Thursday
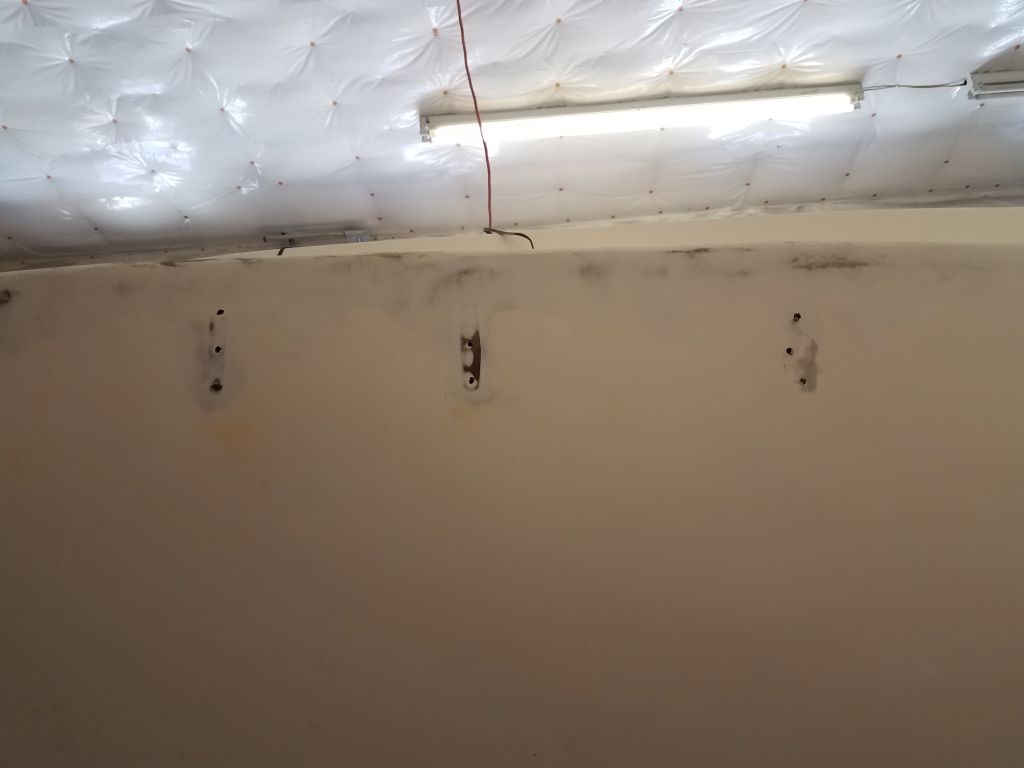
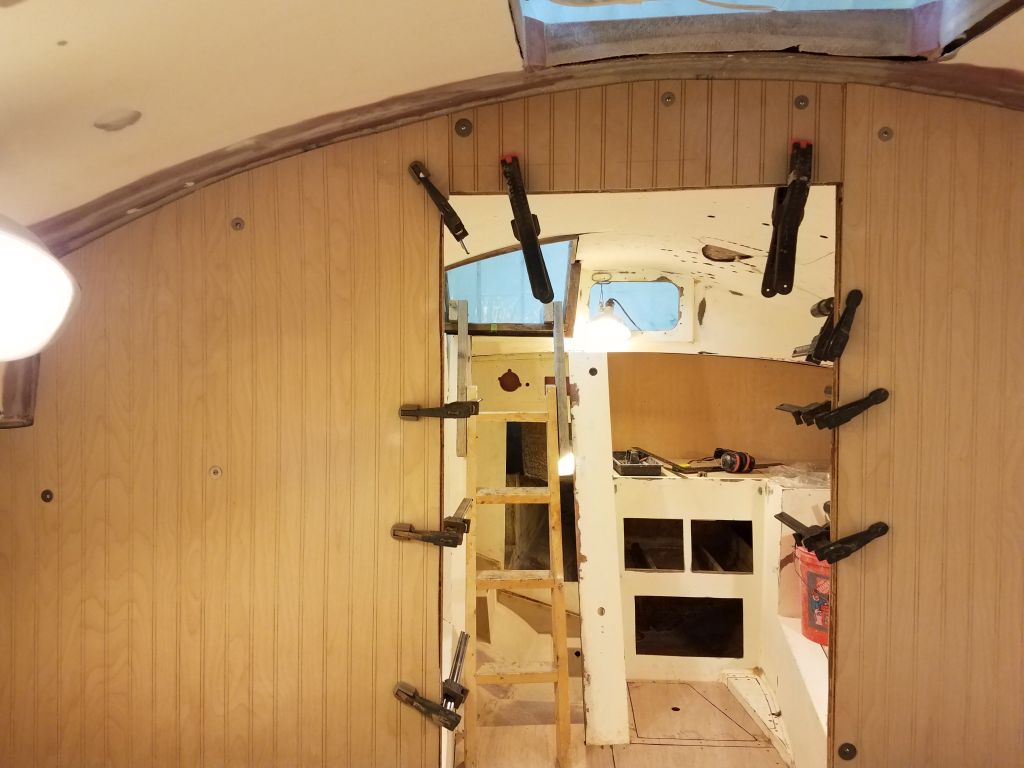
In the forward cabin, I removed the braces from the port ceiling support cleats, which stayed in place despite the challenges in their initial installation.
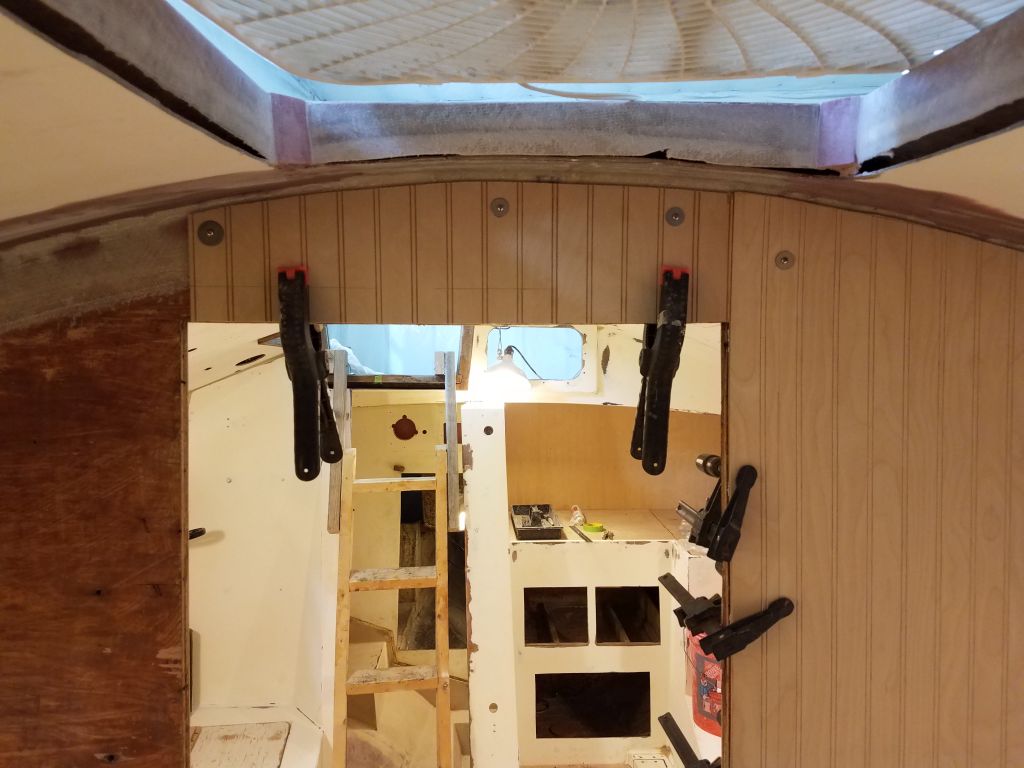
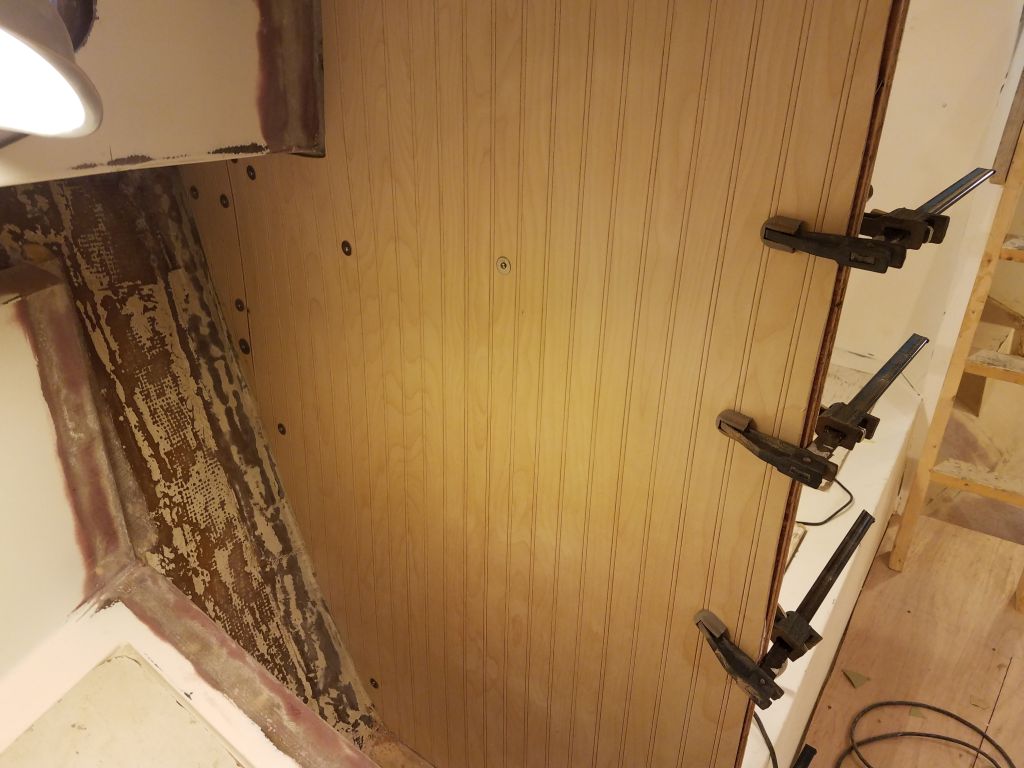
With lessons learned, I turned to the starboard side. Here, once I dry-fit the cleats and braces, I added some hot-glued support blocks here and there to help hold the cleats in place once I’d applied the adhesive during installation, since slippage of the cleats had been the biggest issue on the opposite side.
Now I applied the adhesive to the cleats and reinstalled them with their braces, with no drama nor difficulty this time.
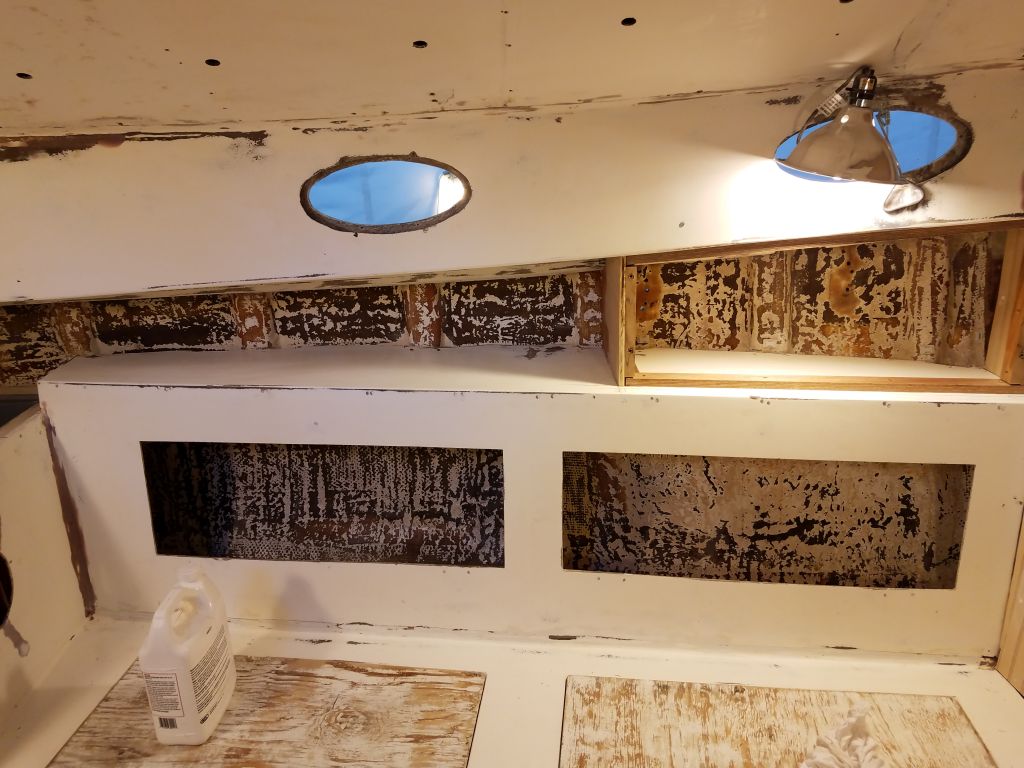
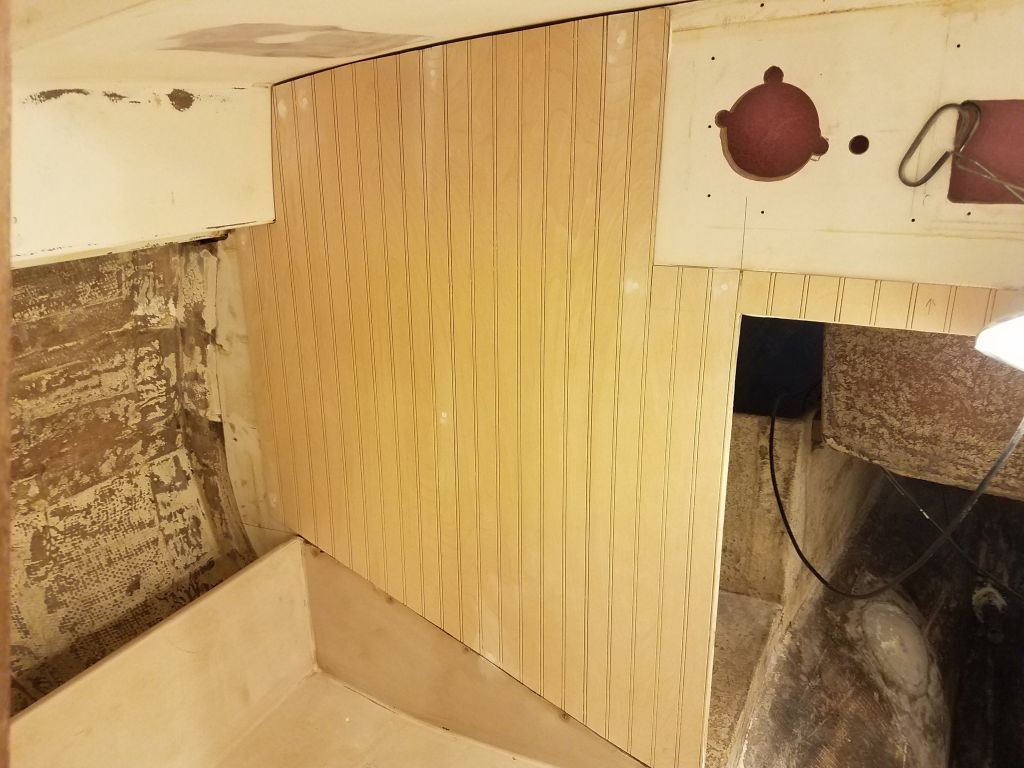
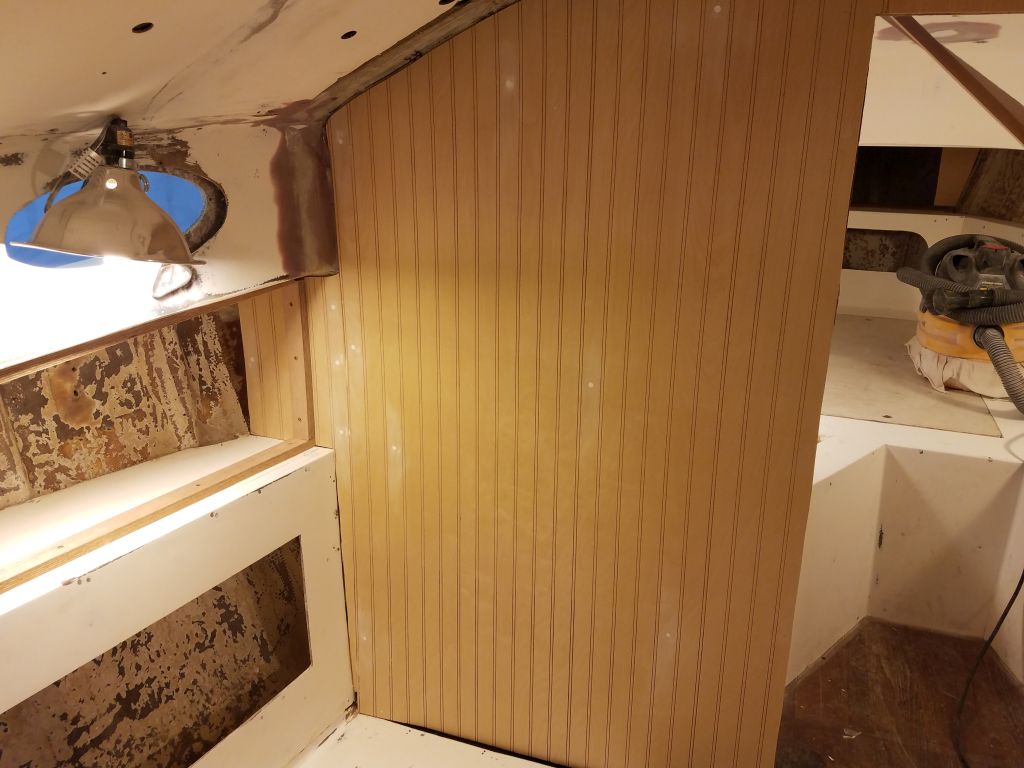
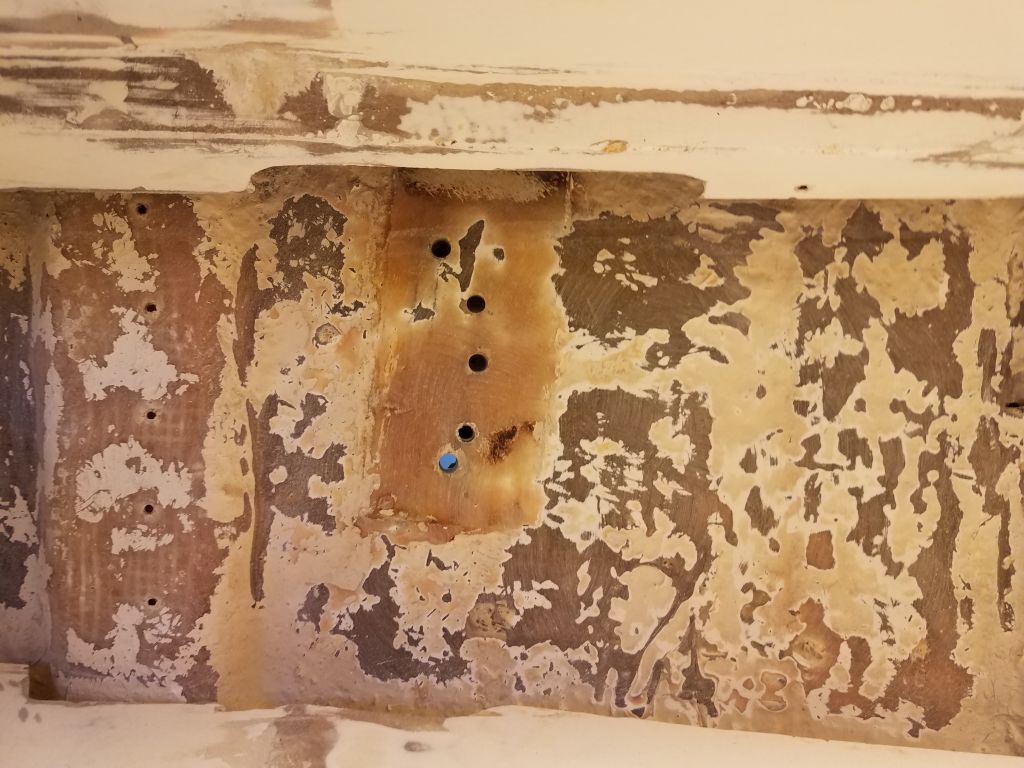
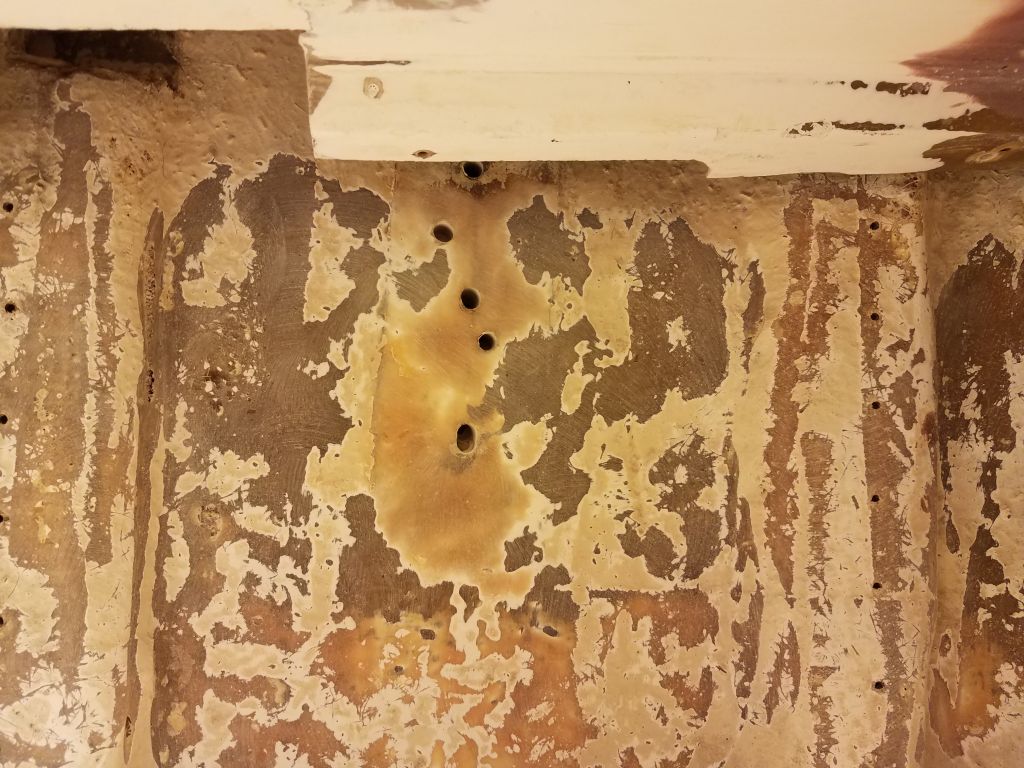
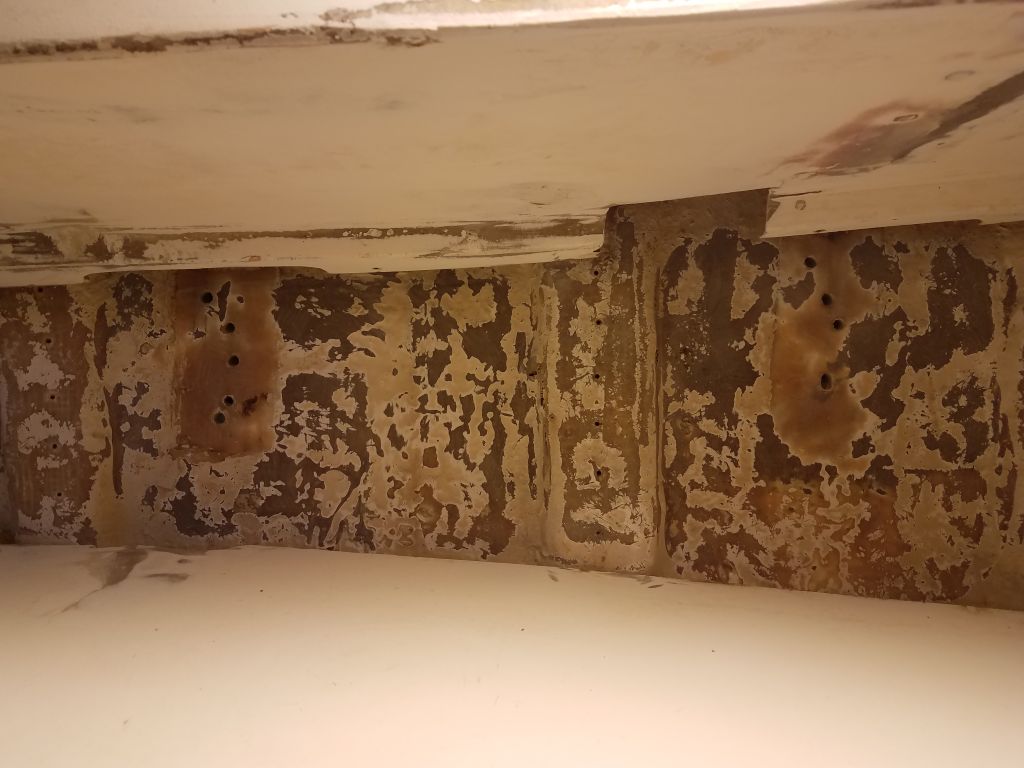
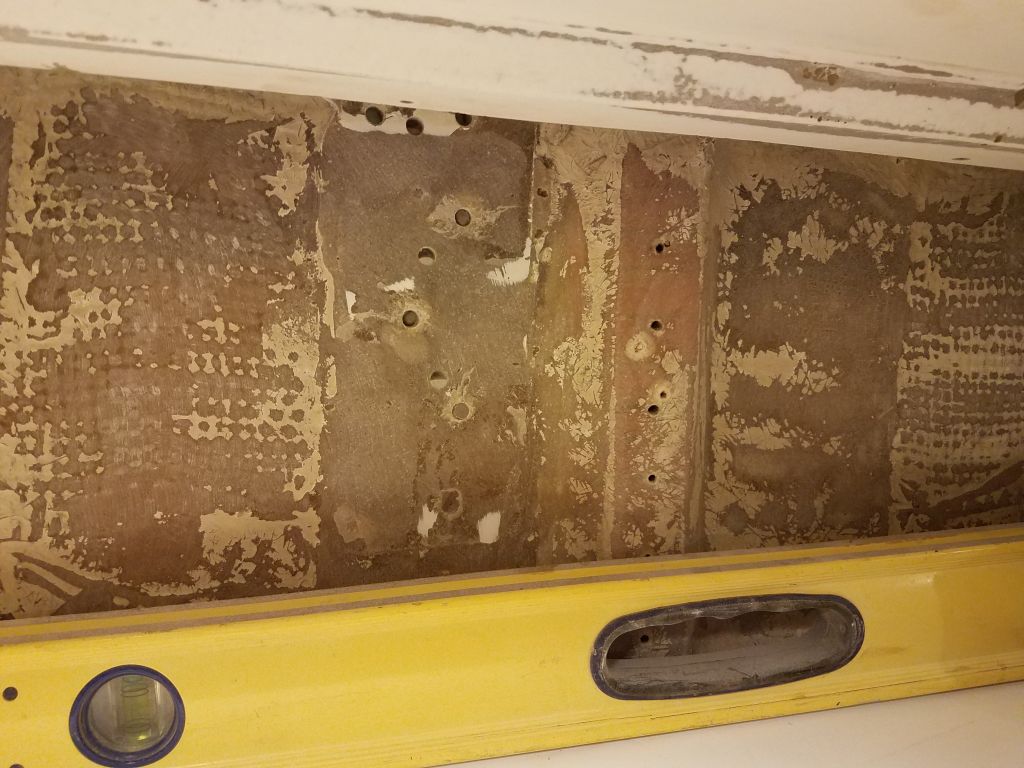
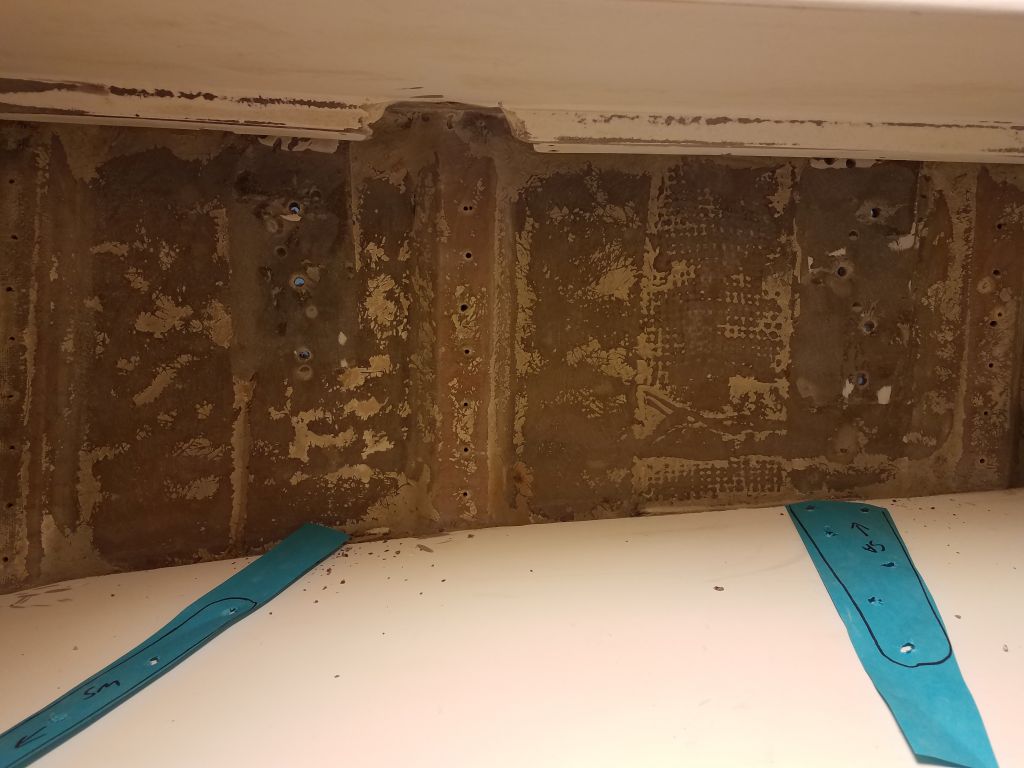
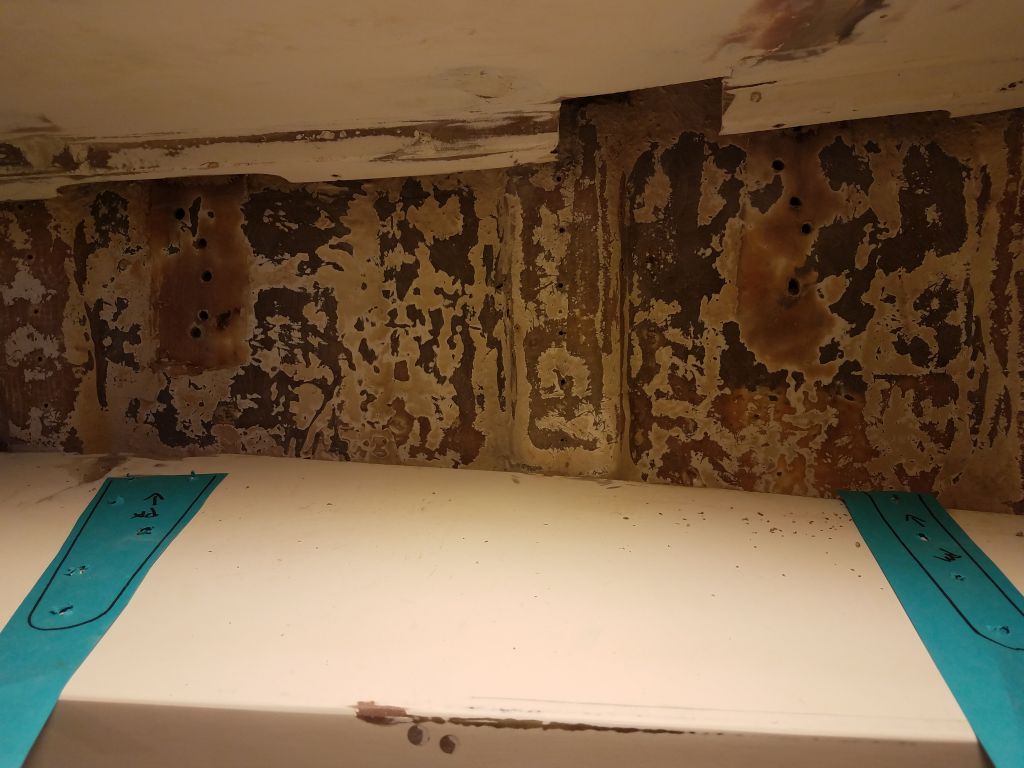
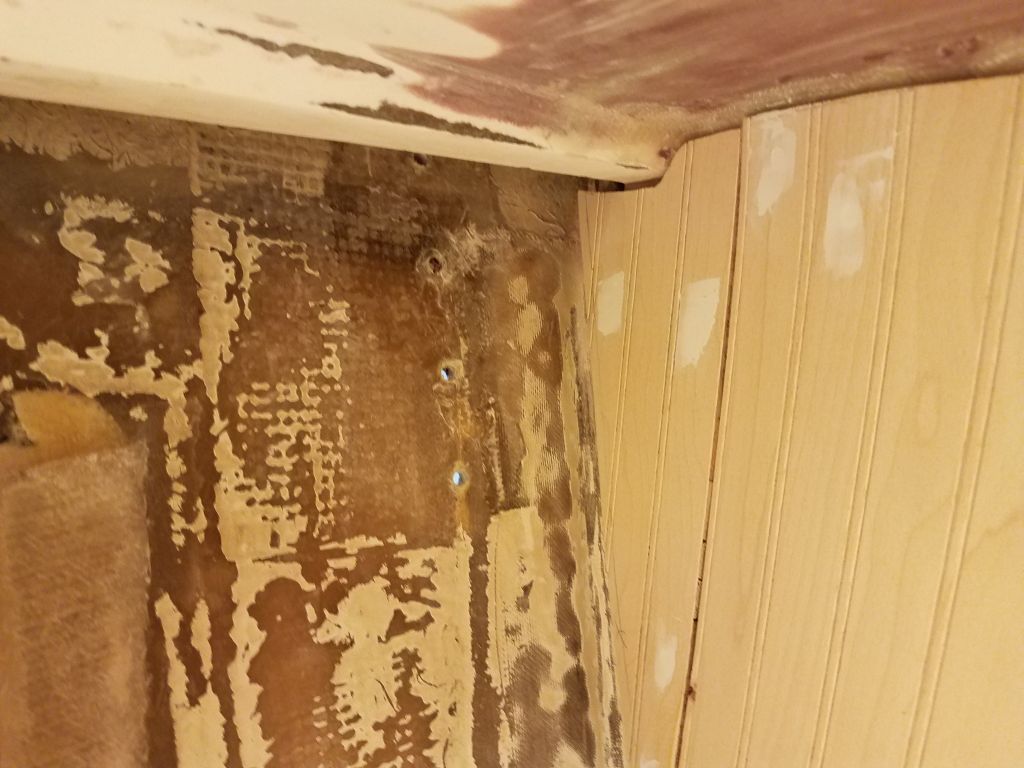
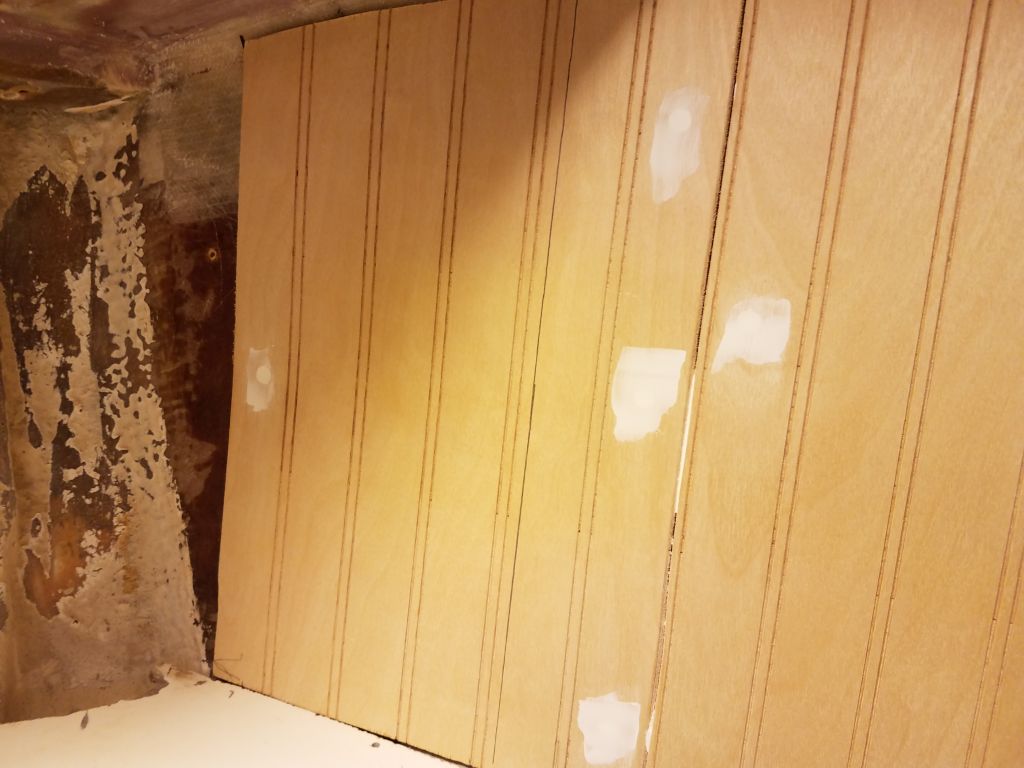
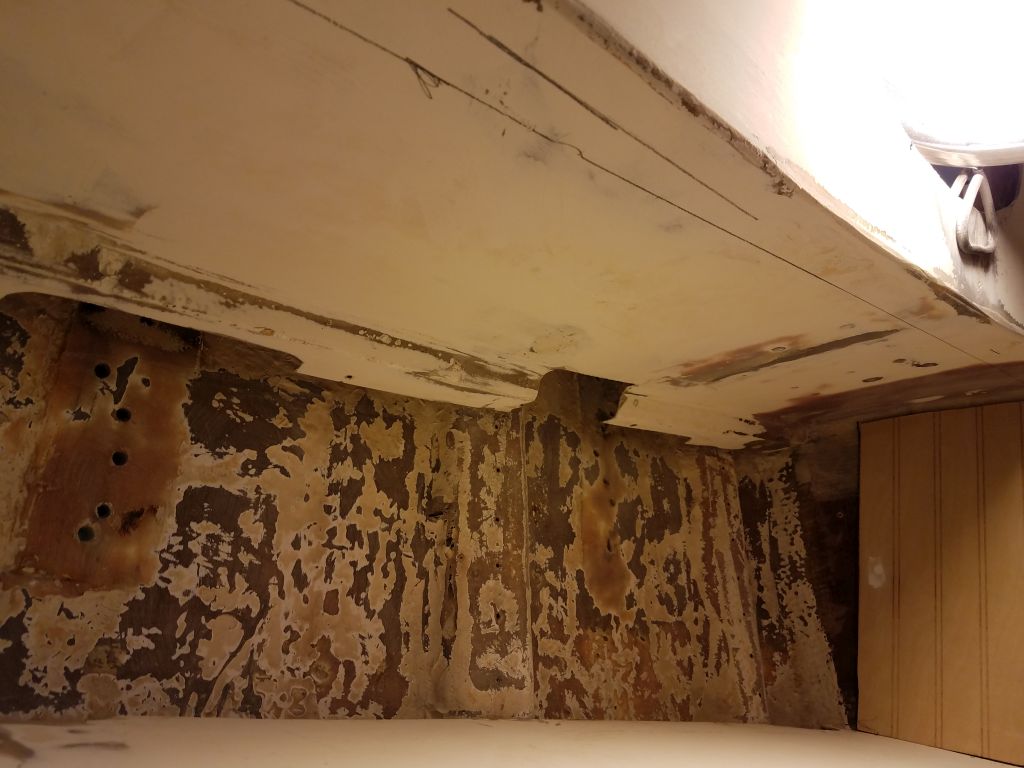
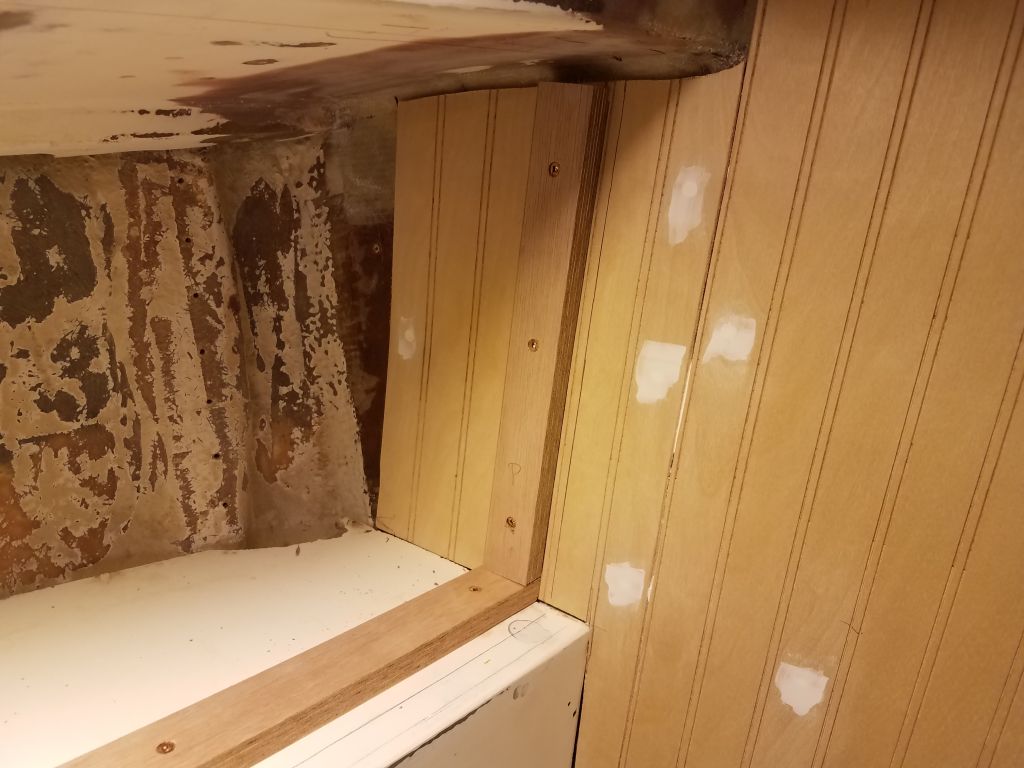
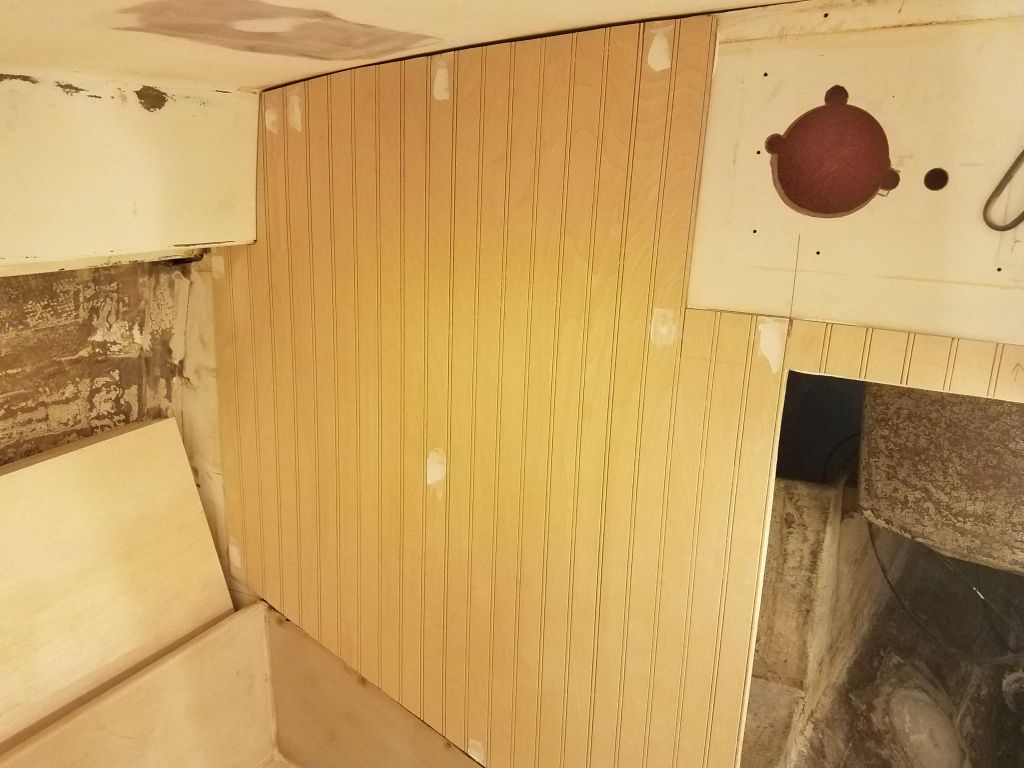
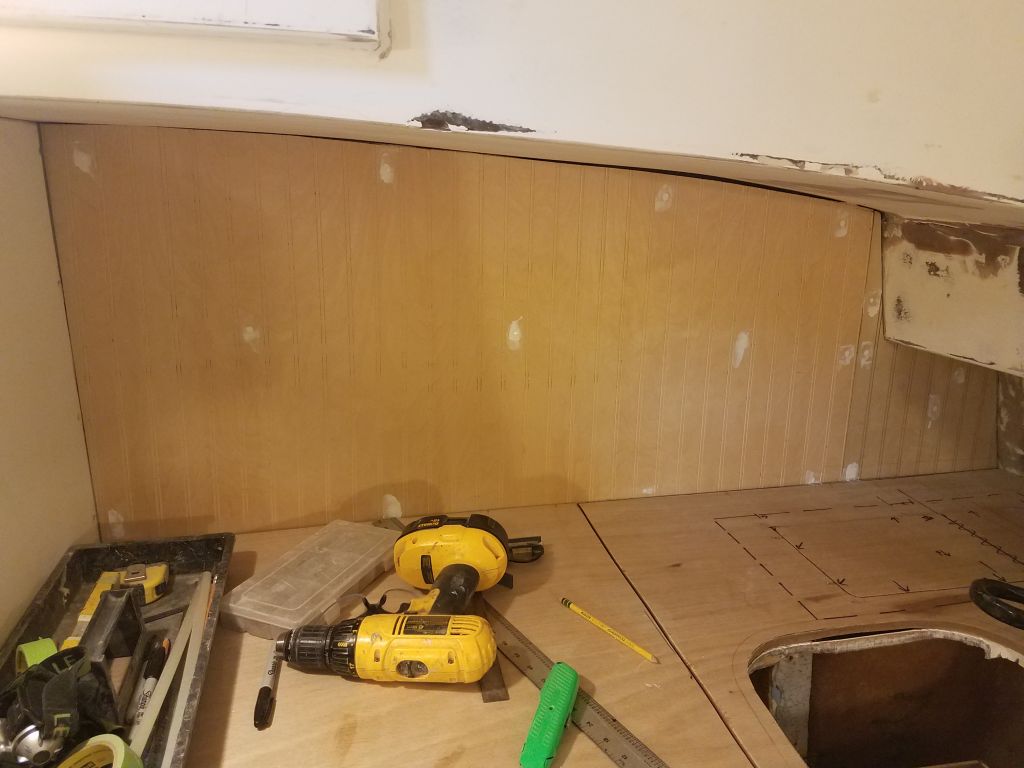
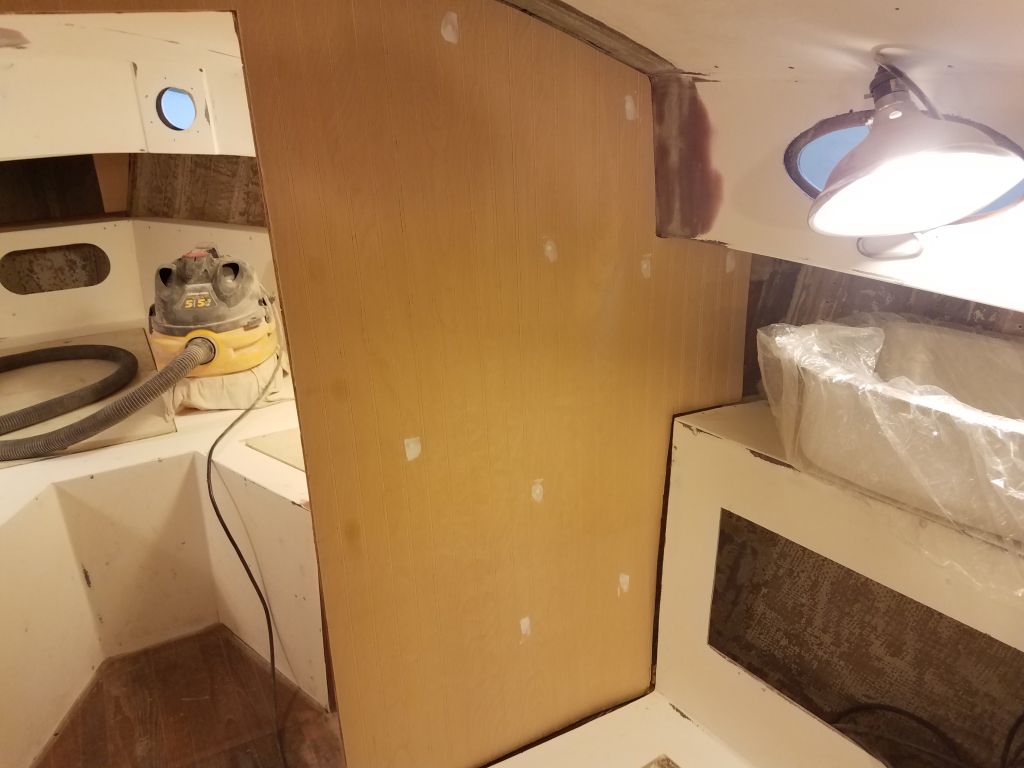
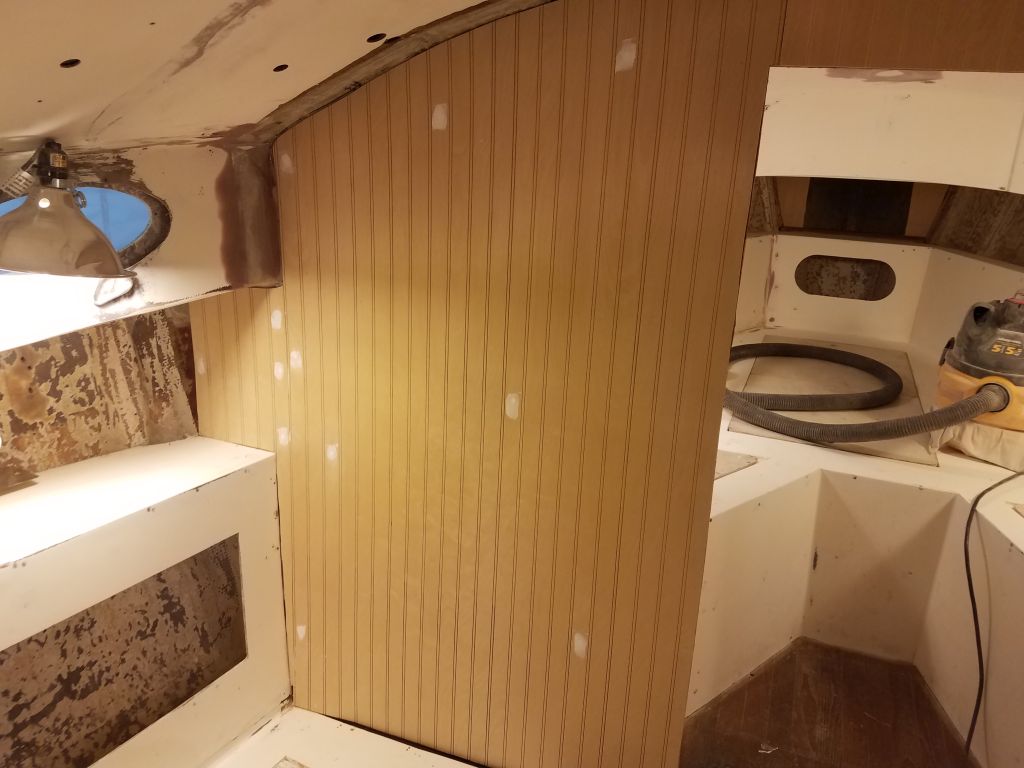
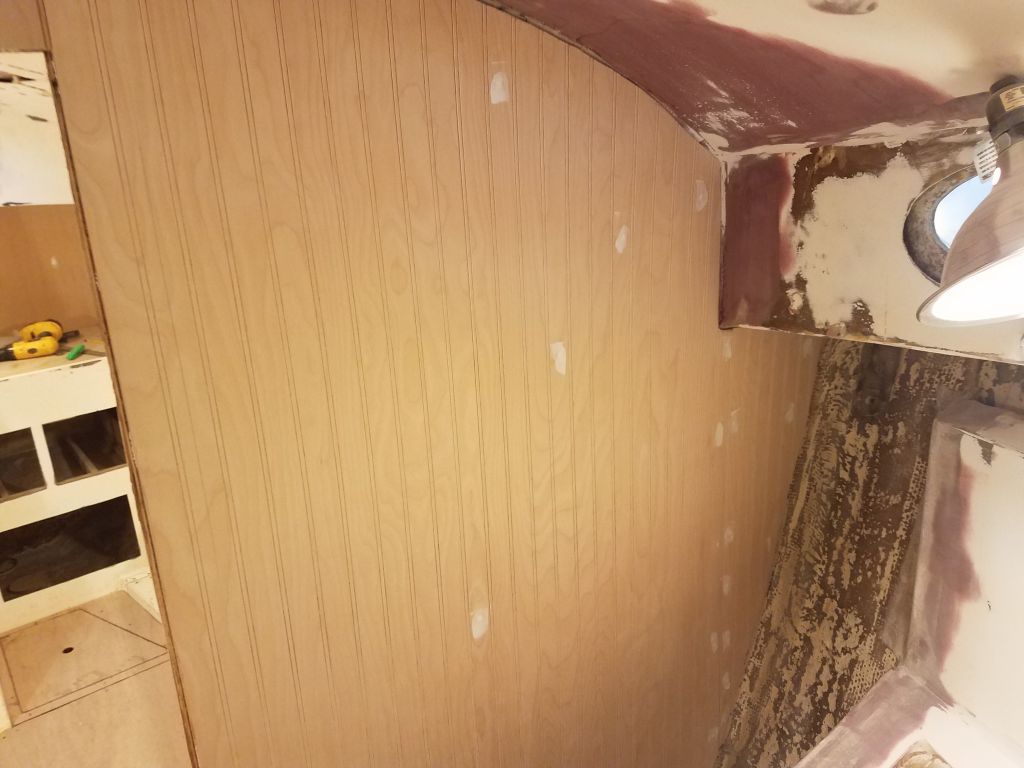
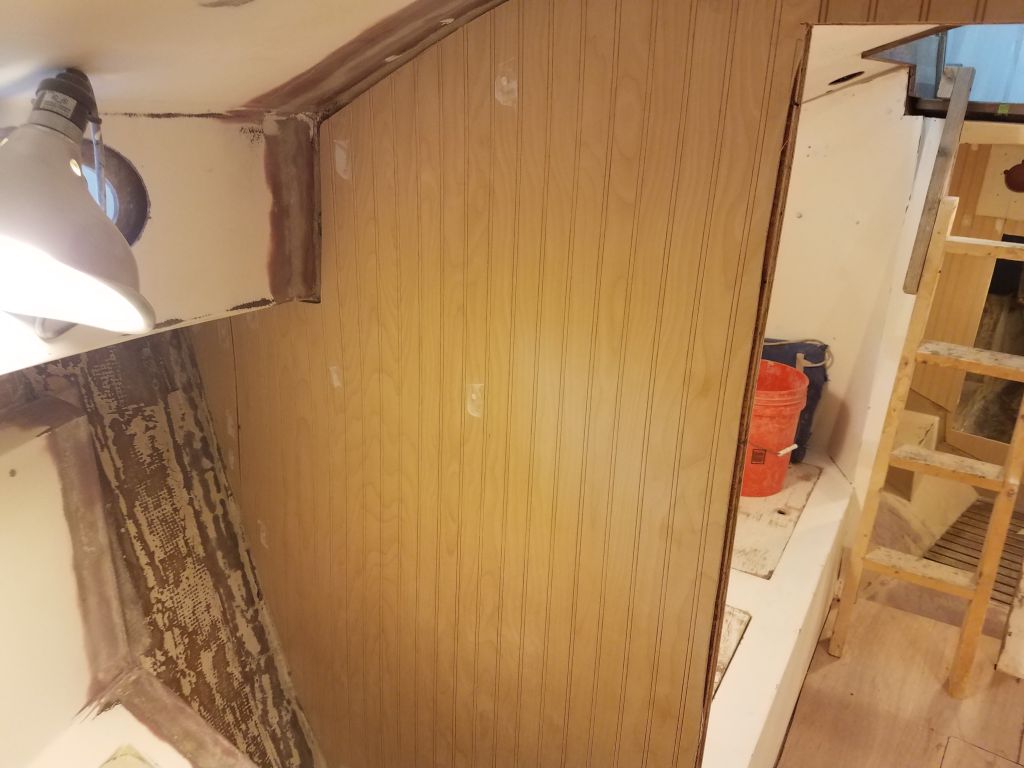
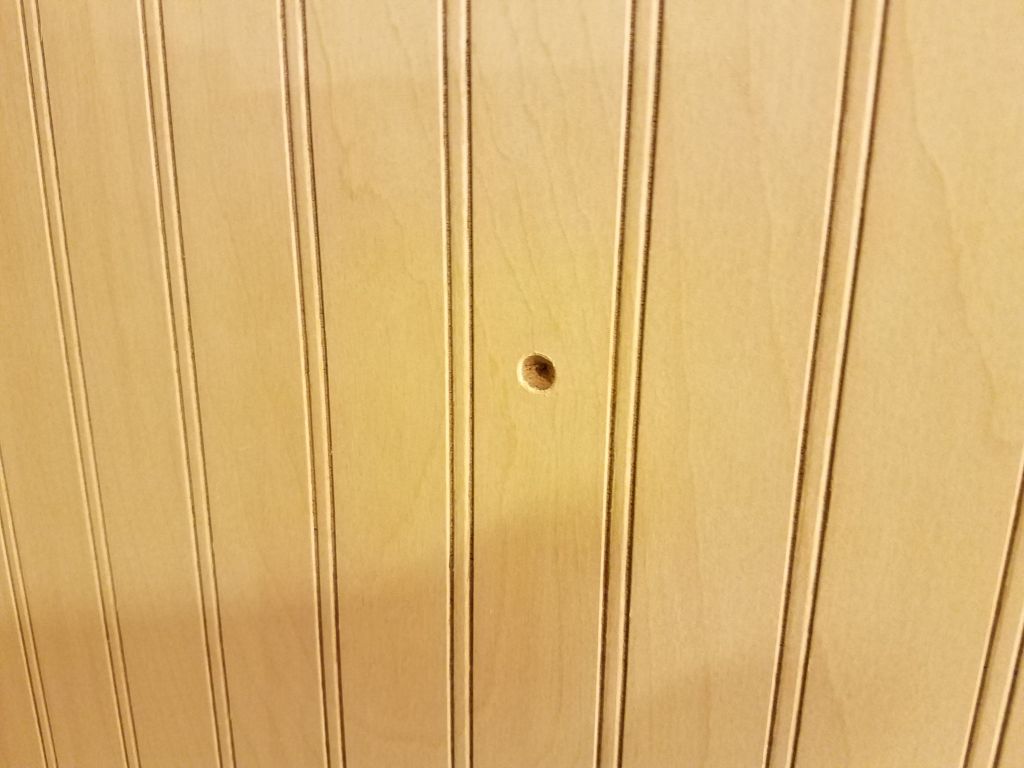
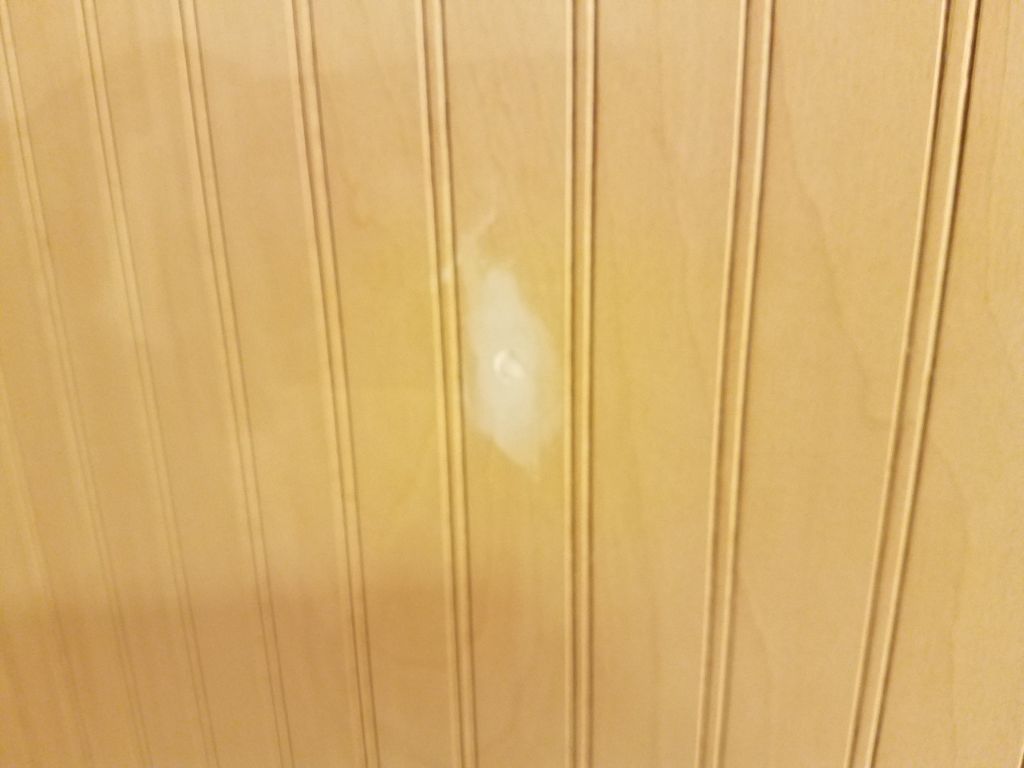
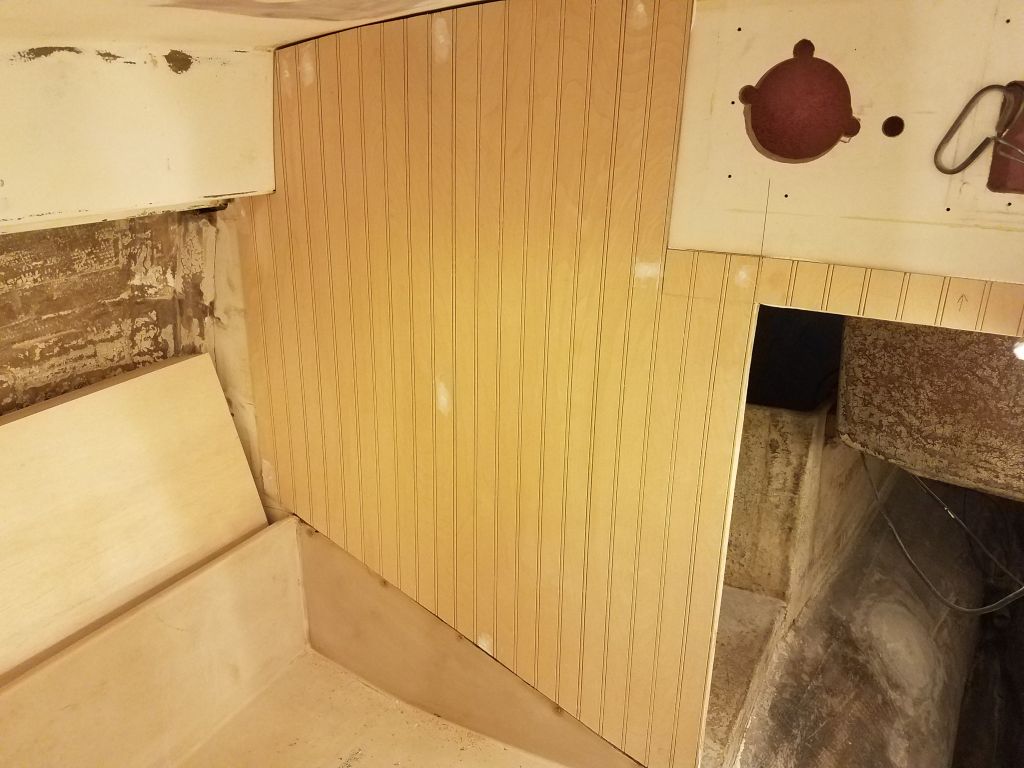
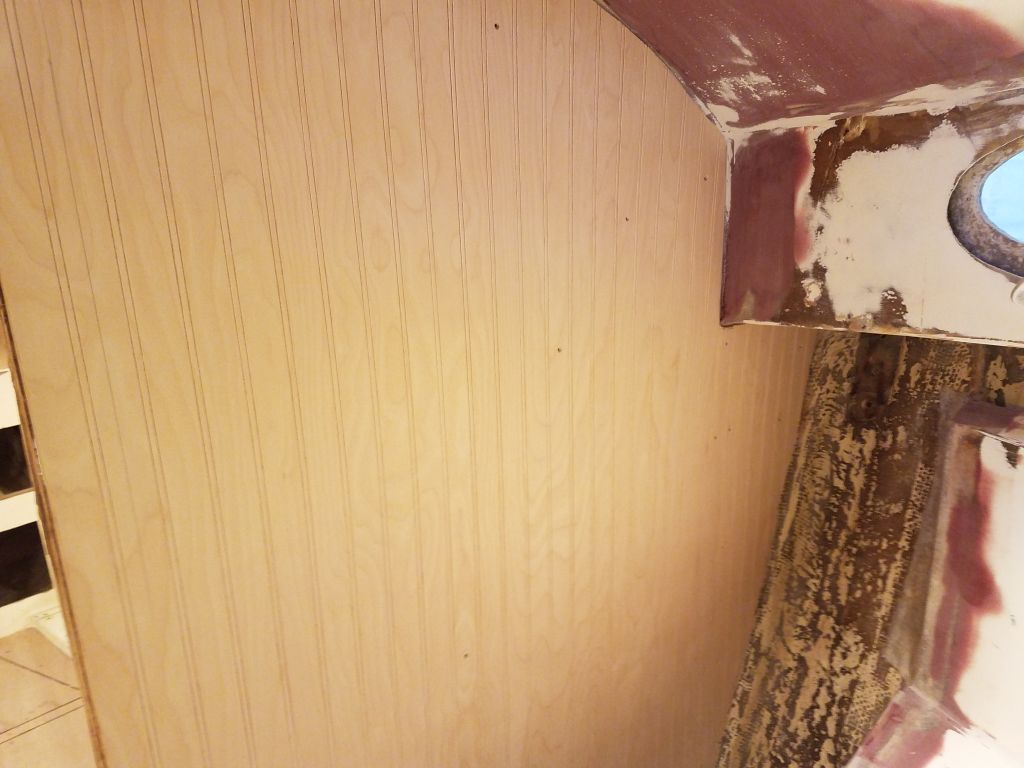
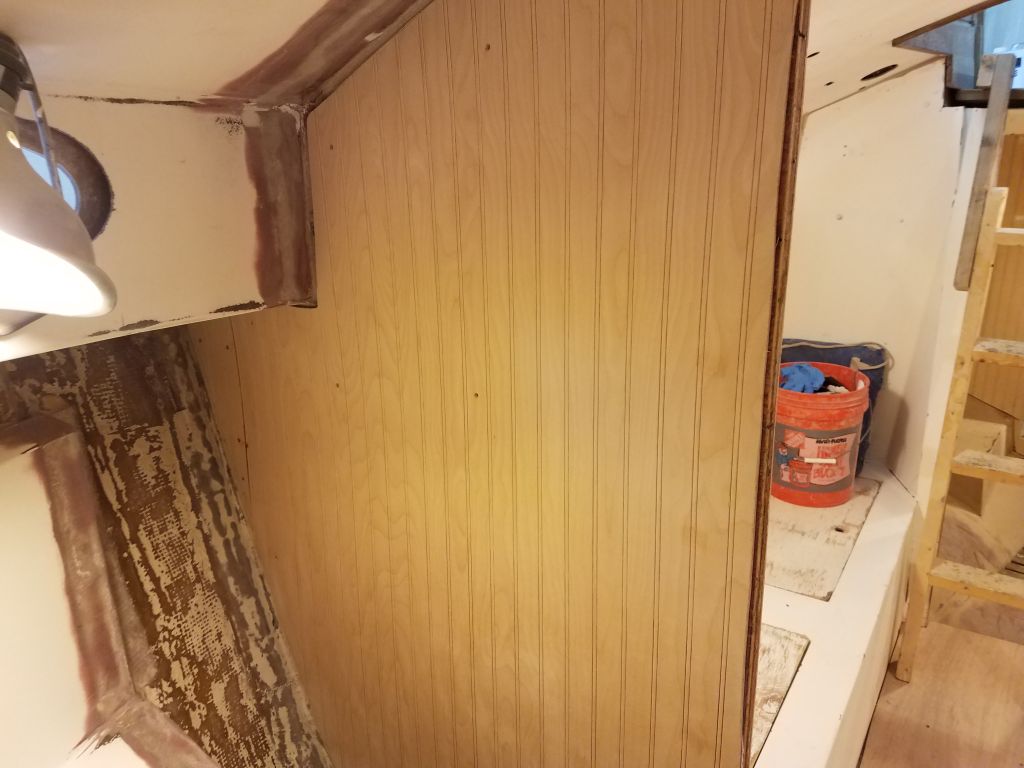
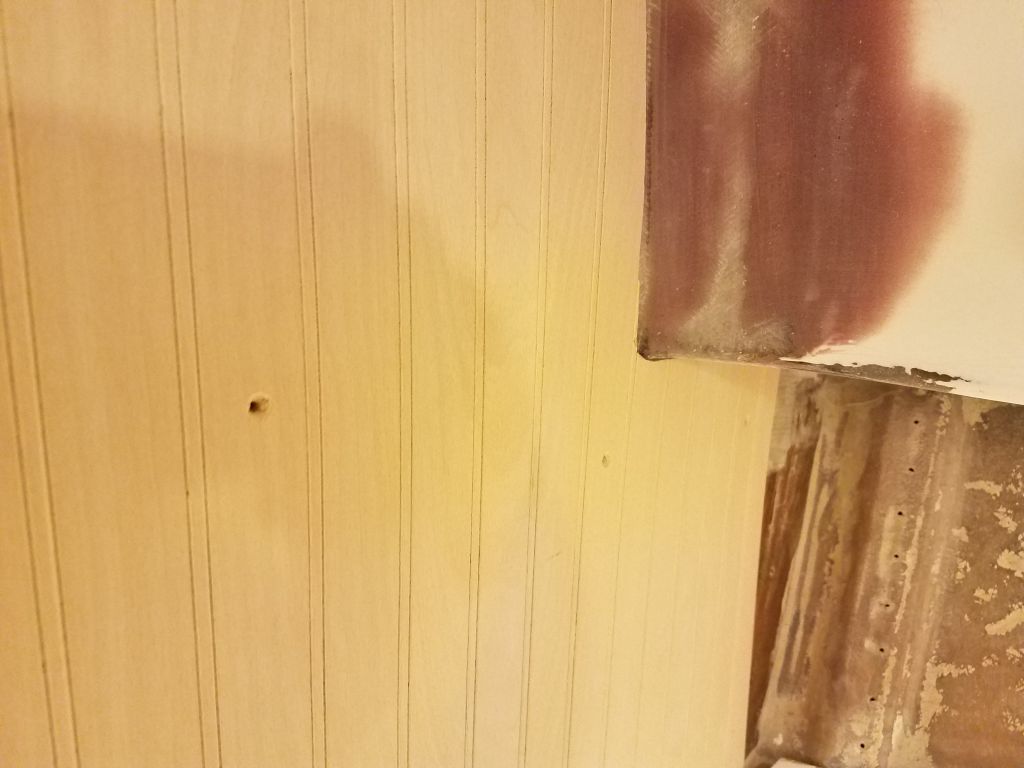
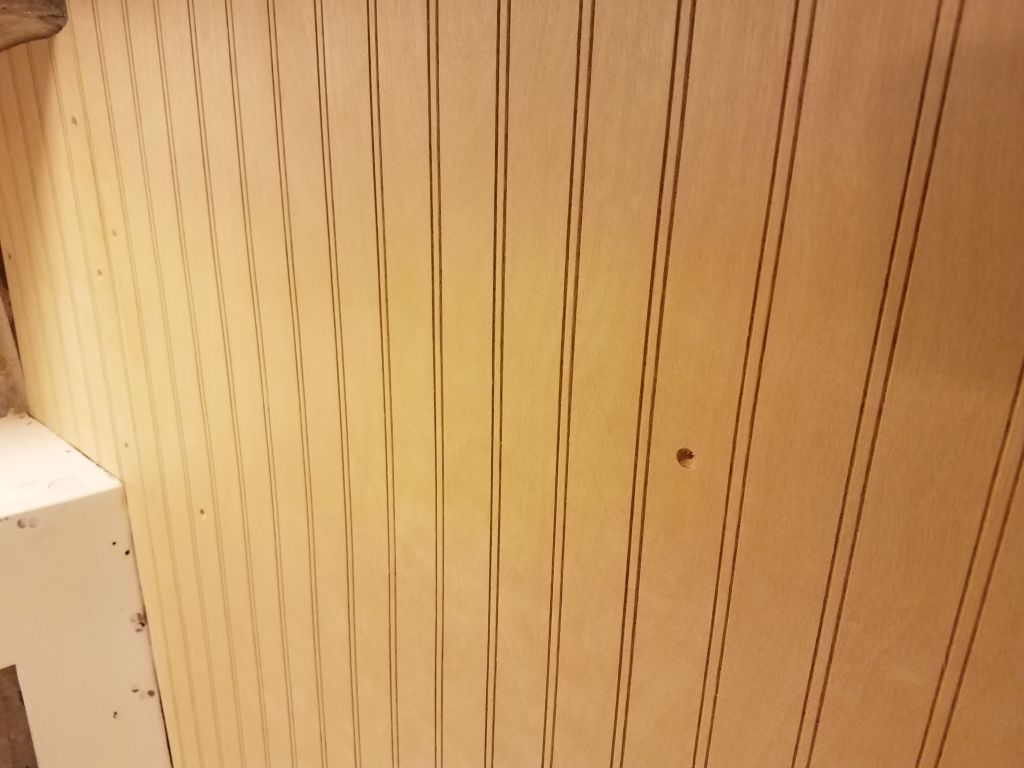
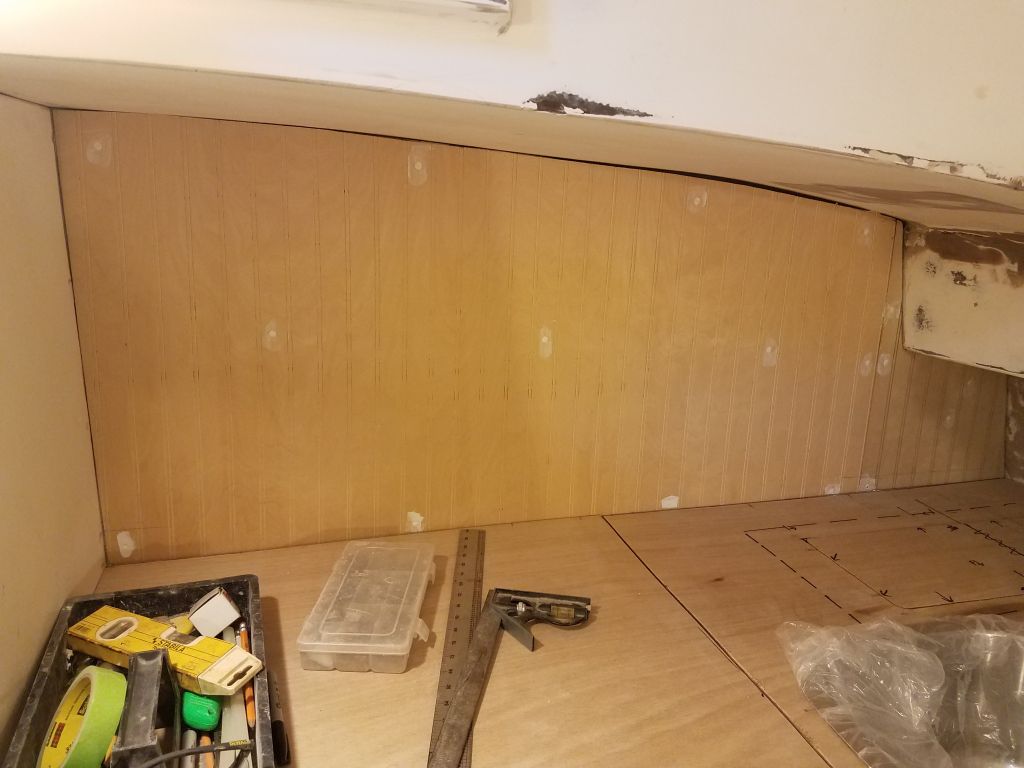
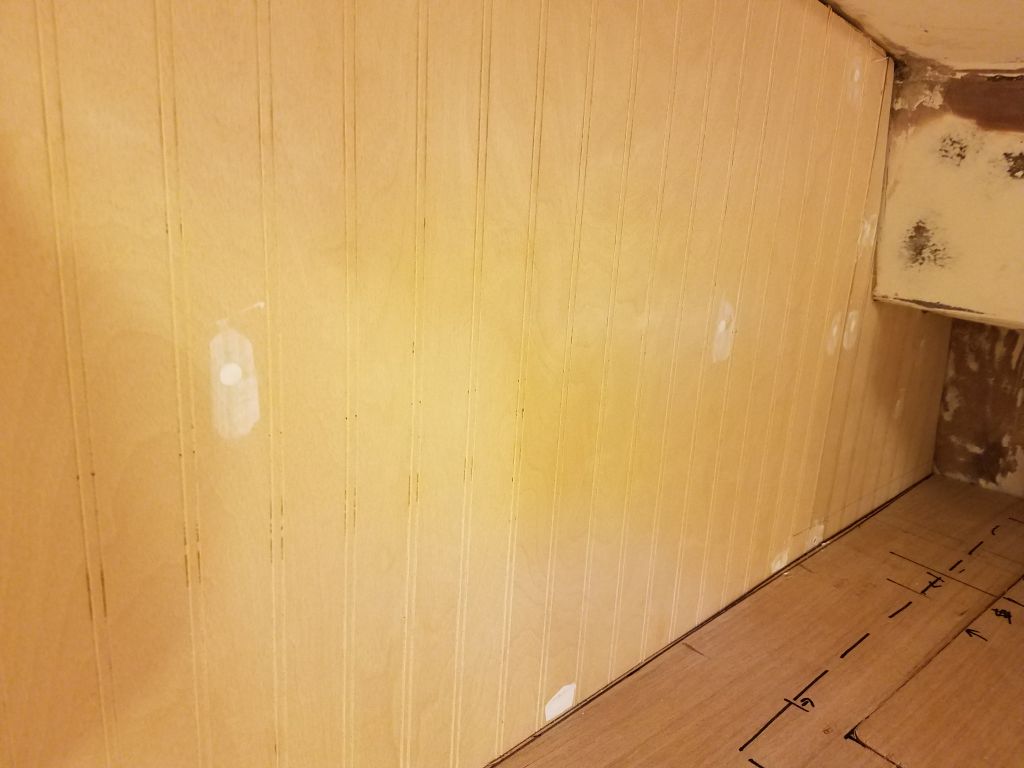
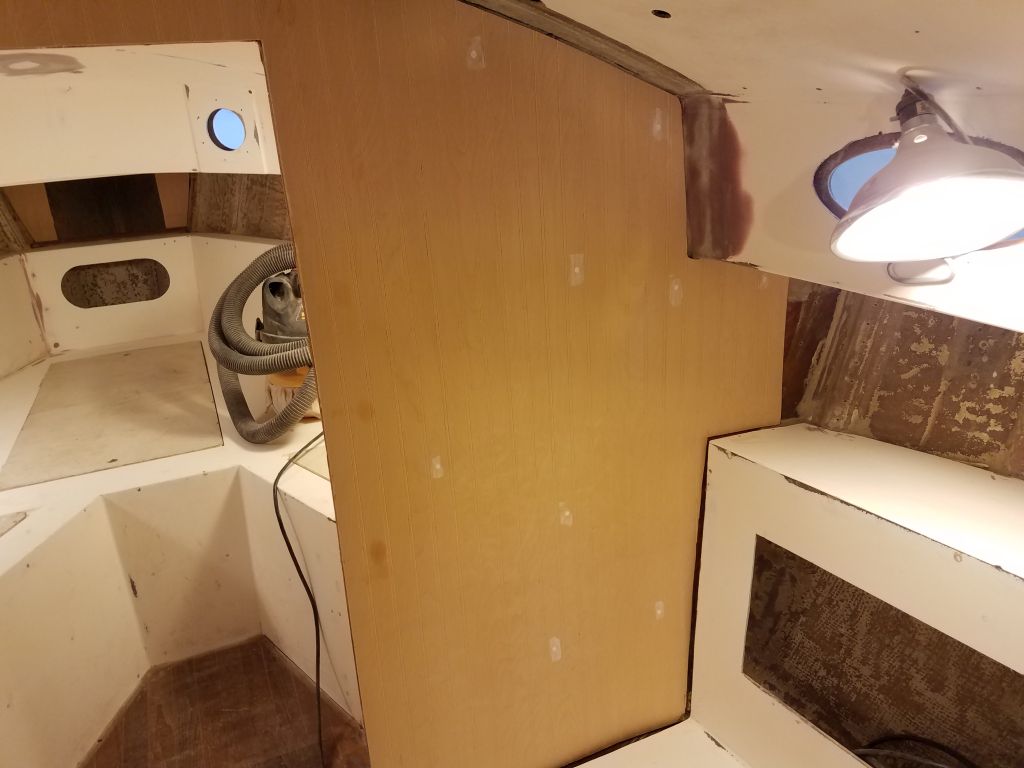
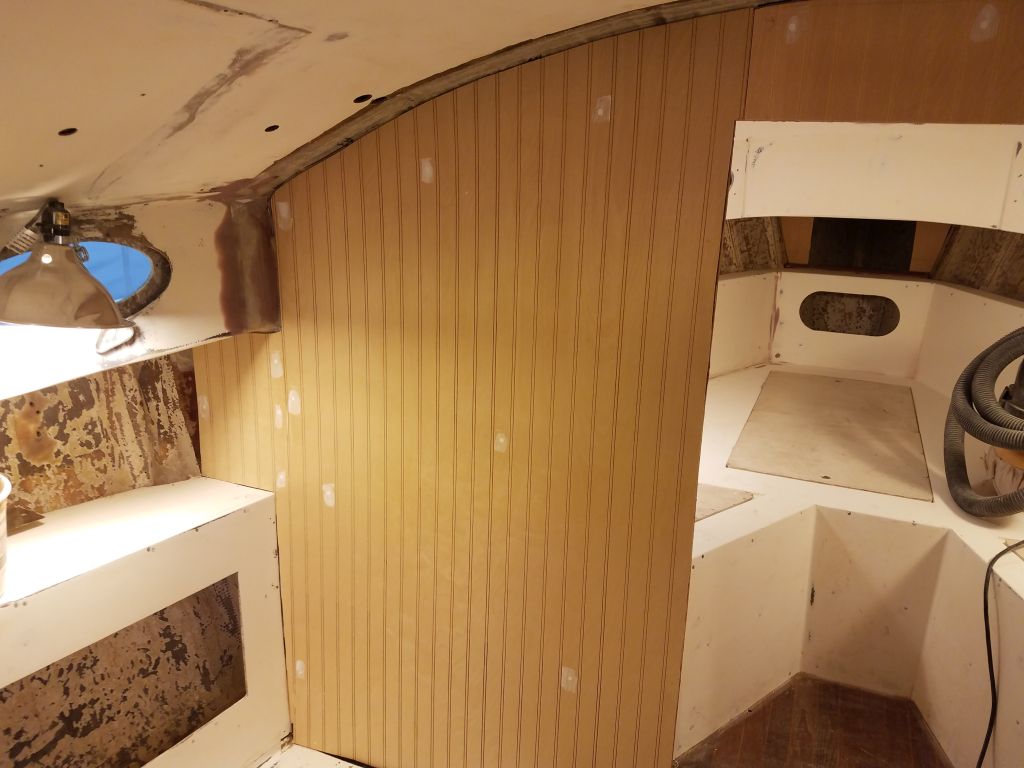
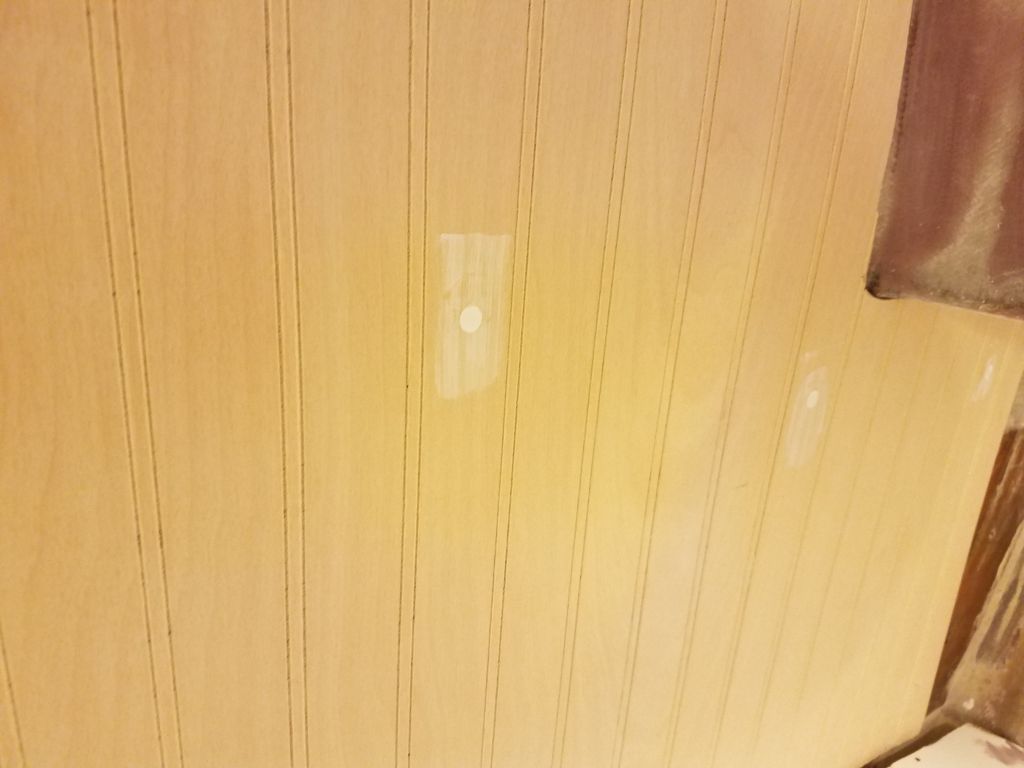
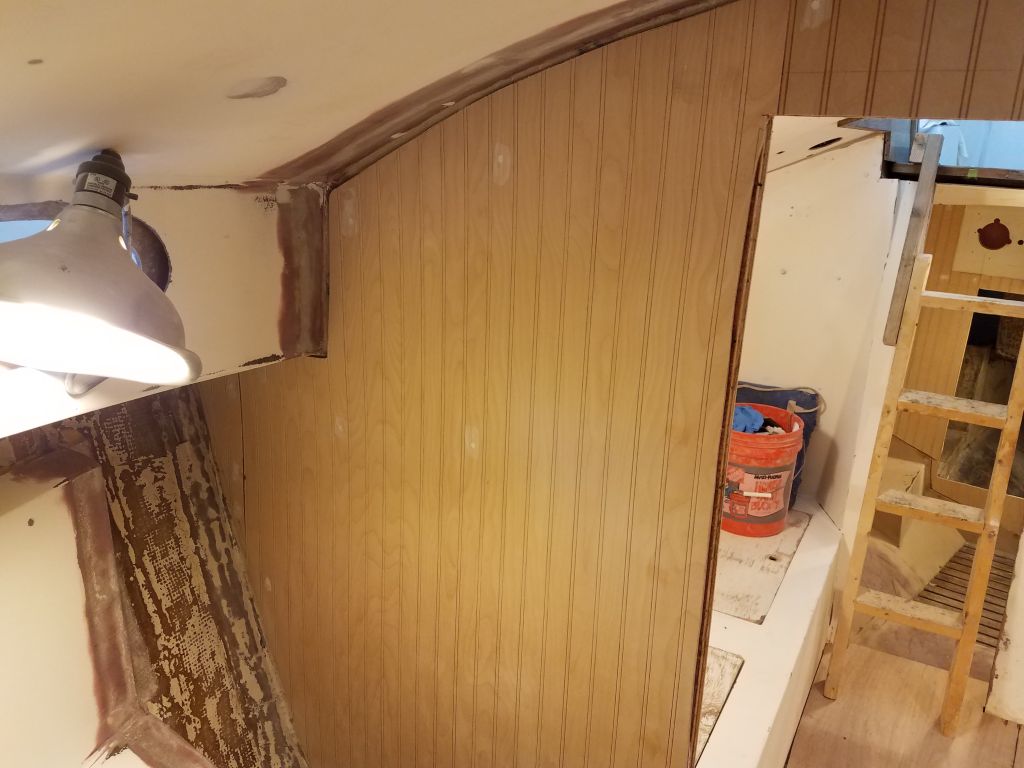
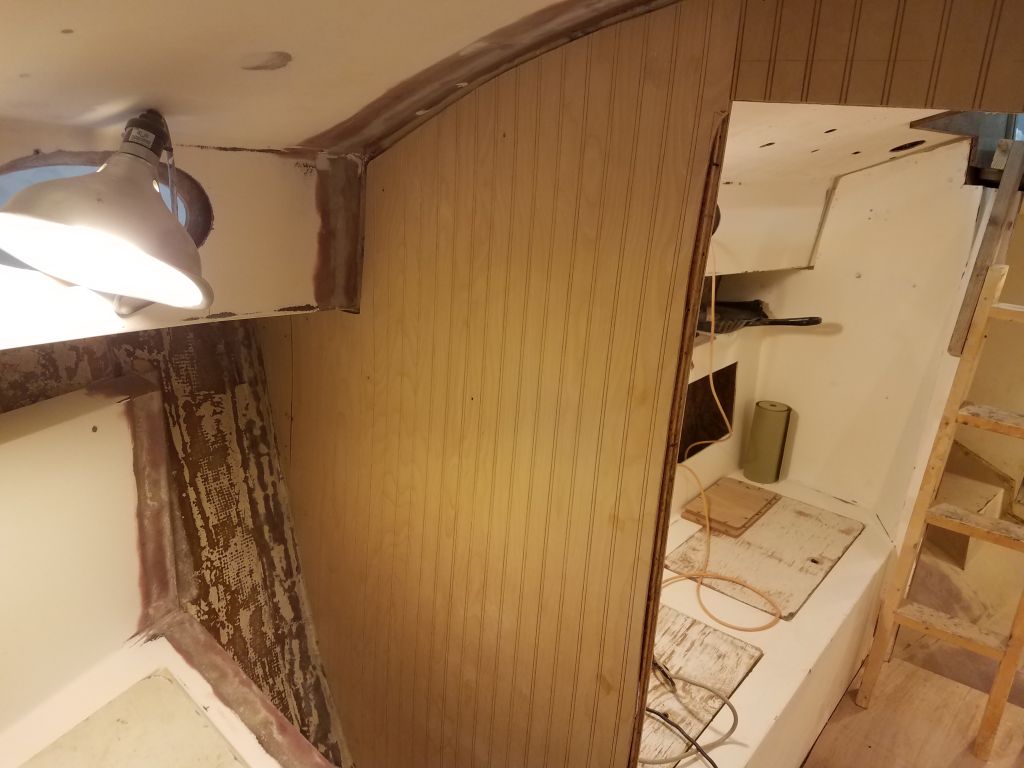
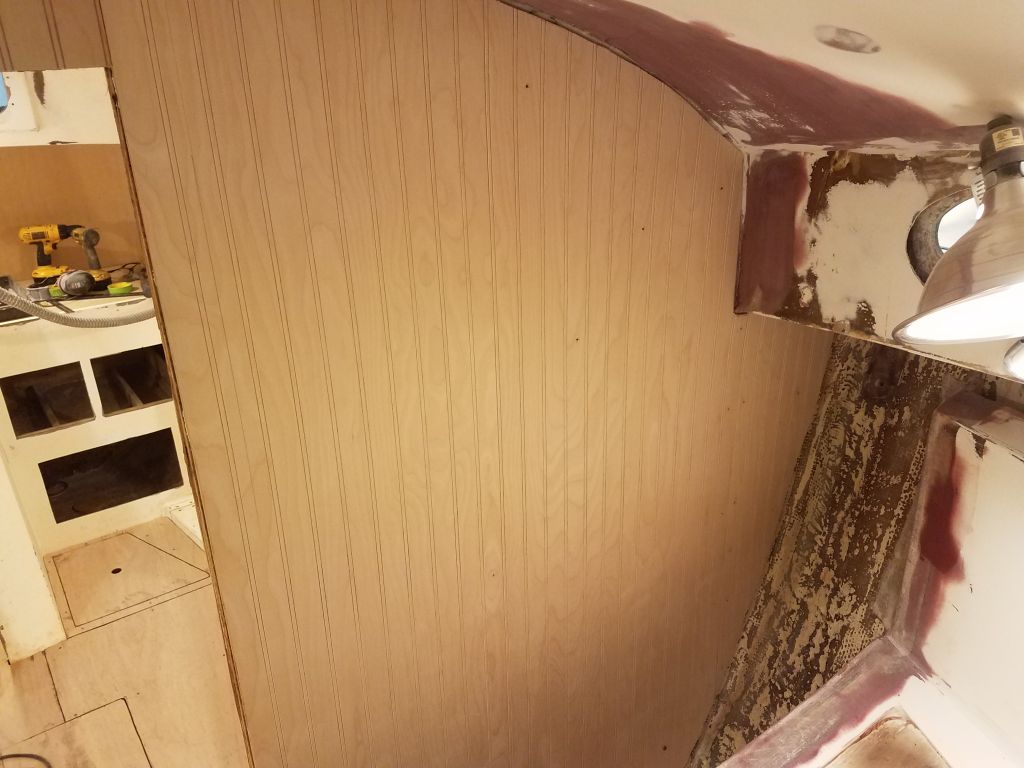
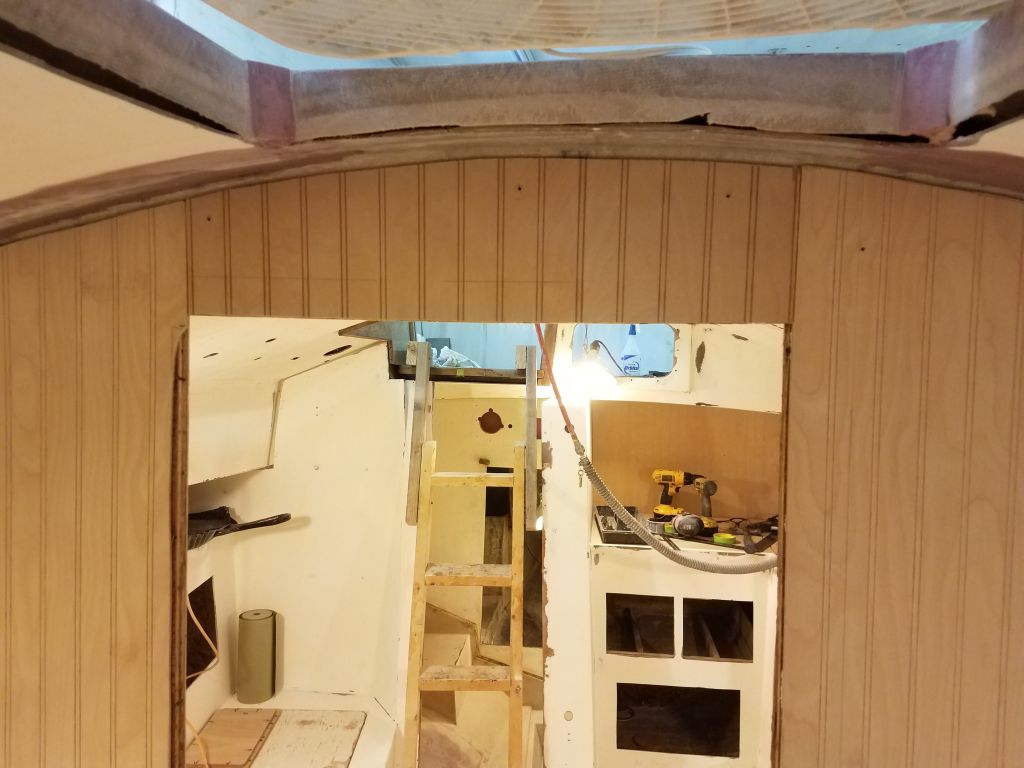
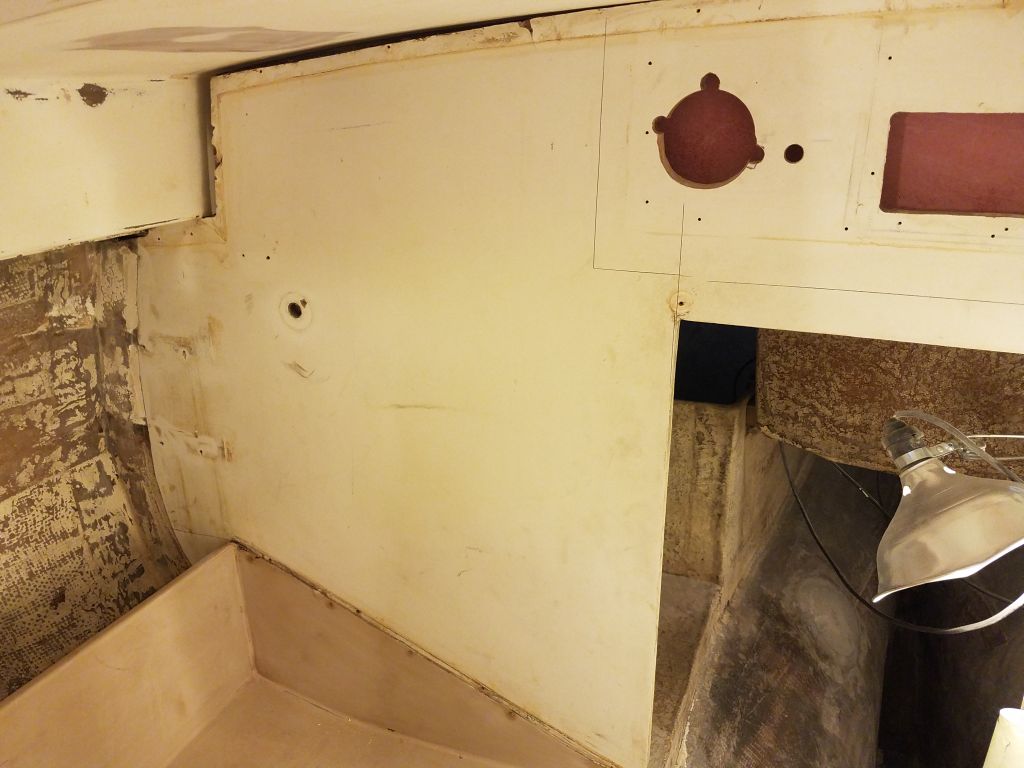
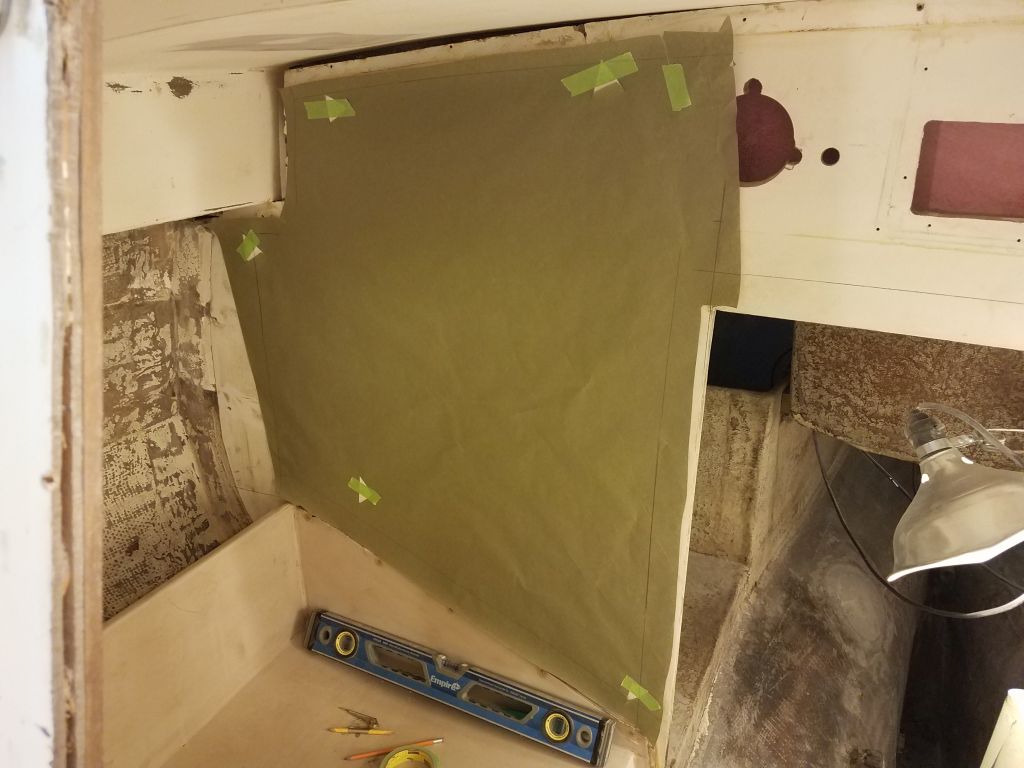
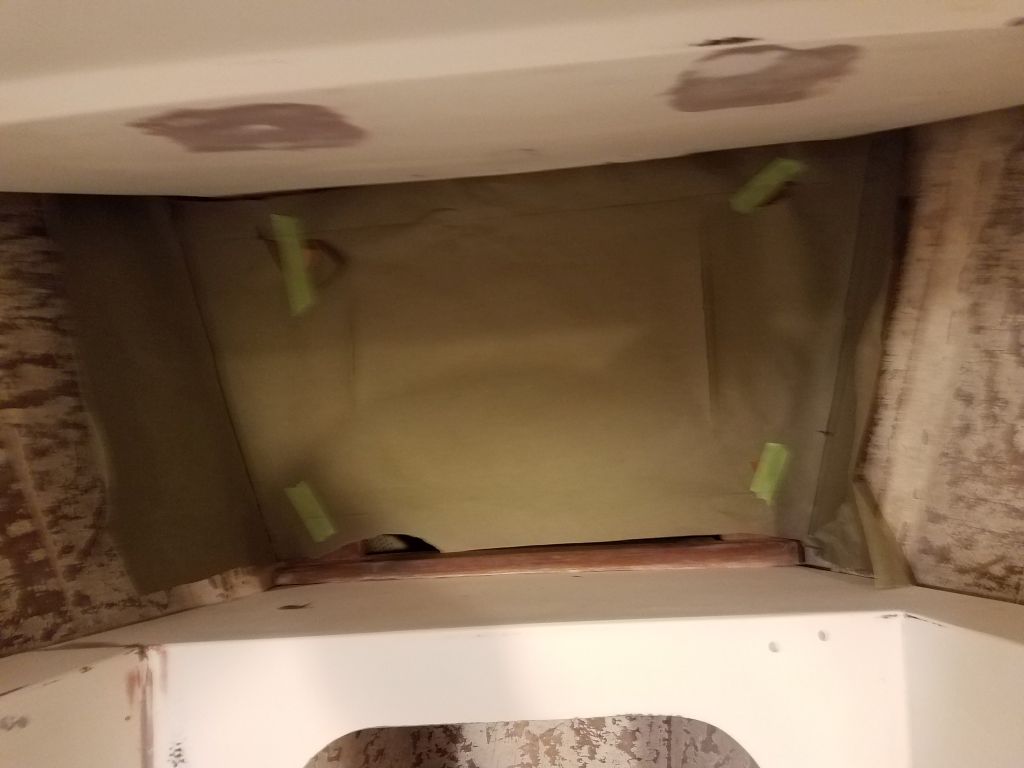
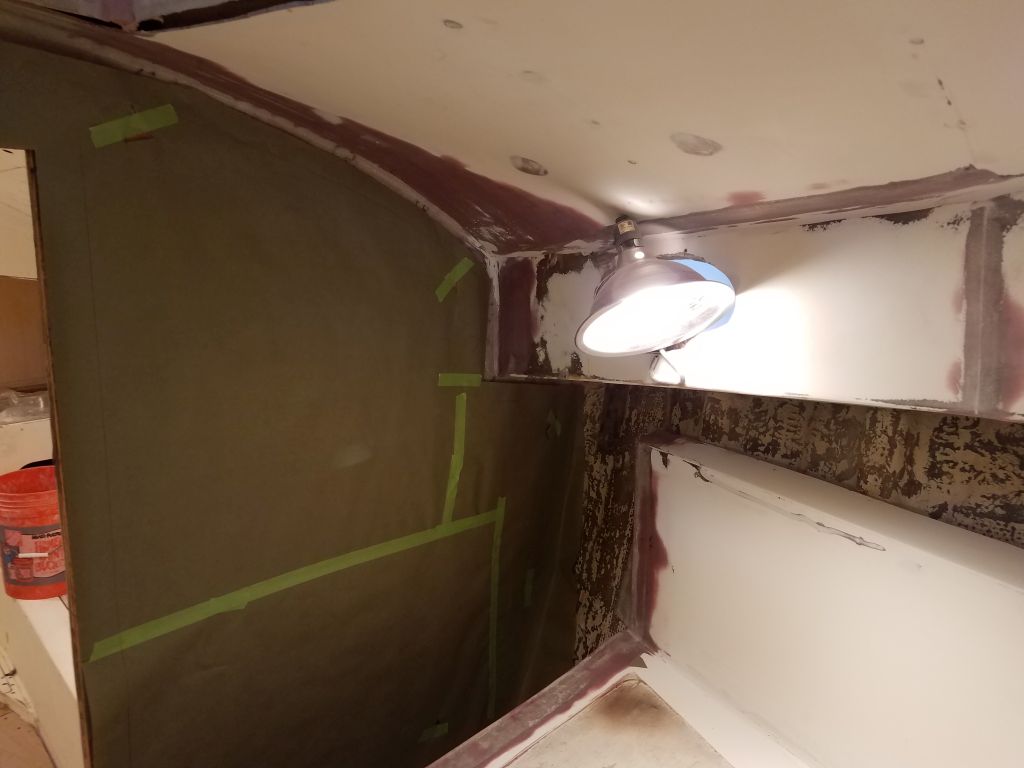
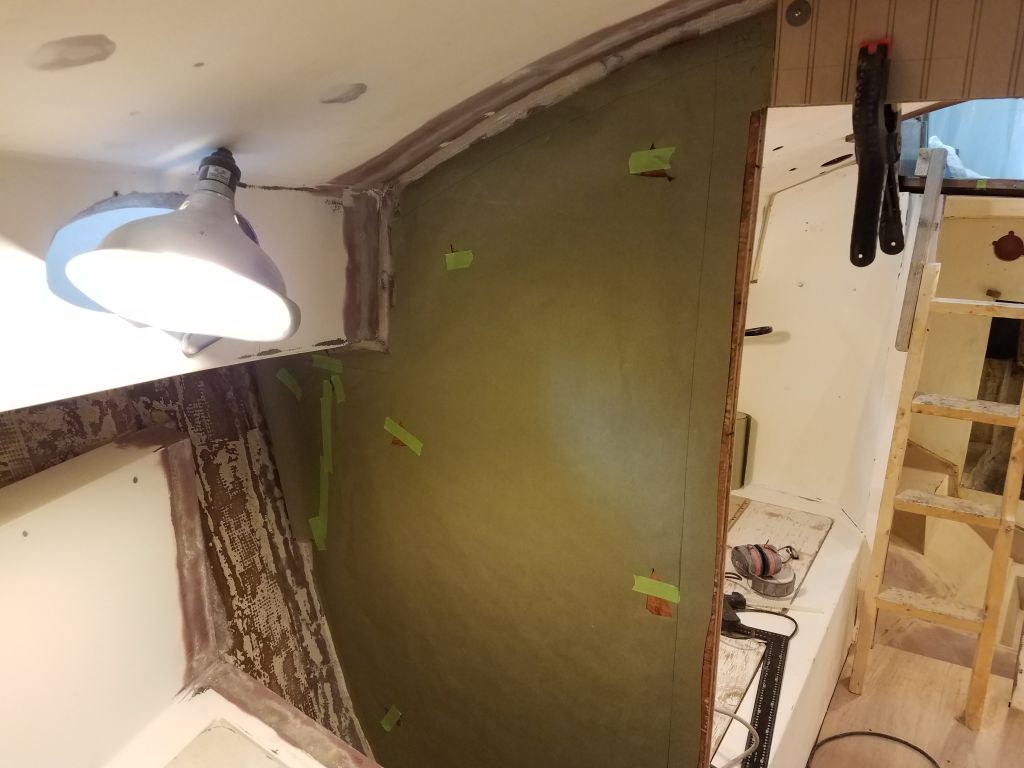
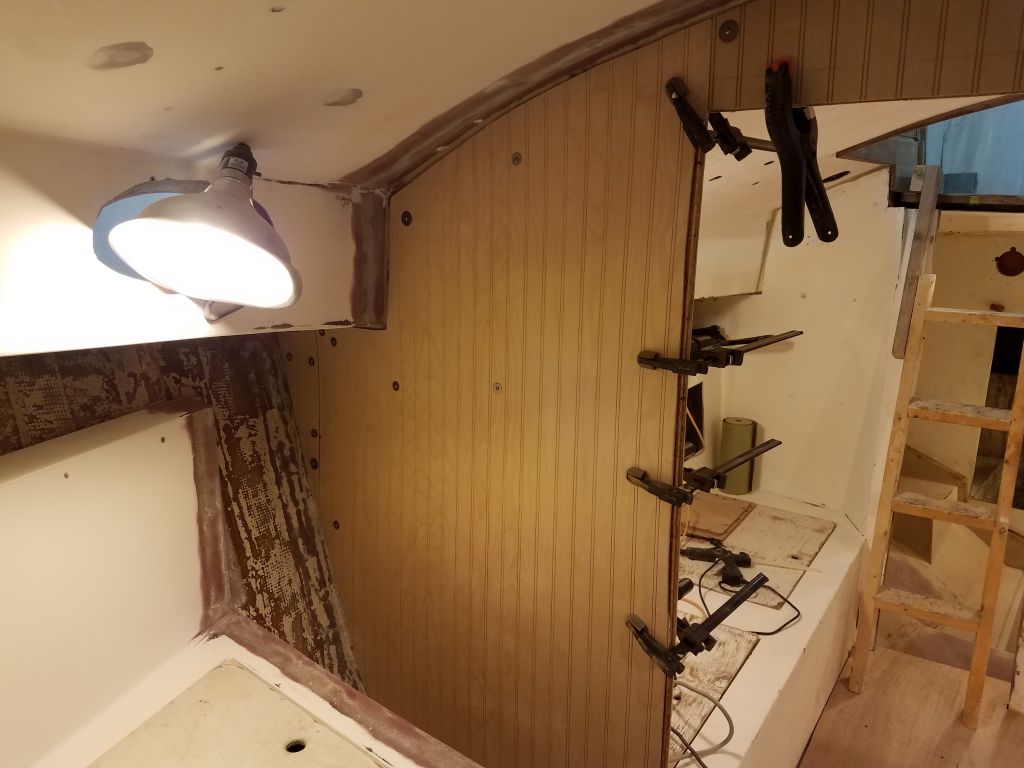
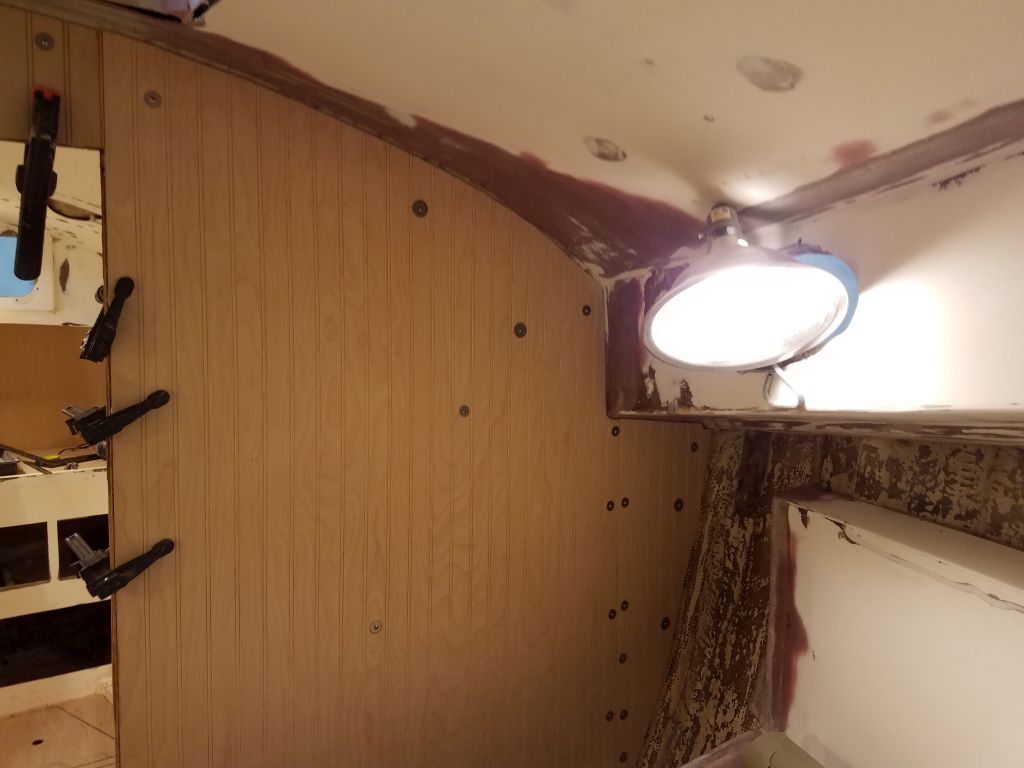
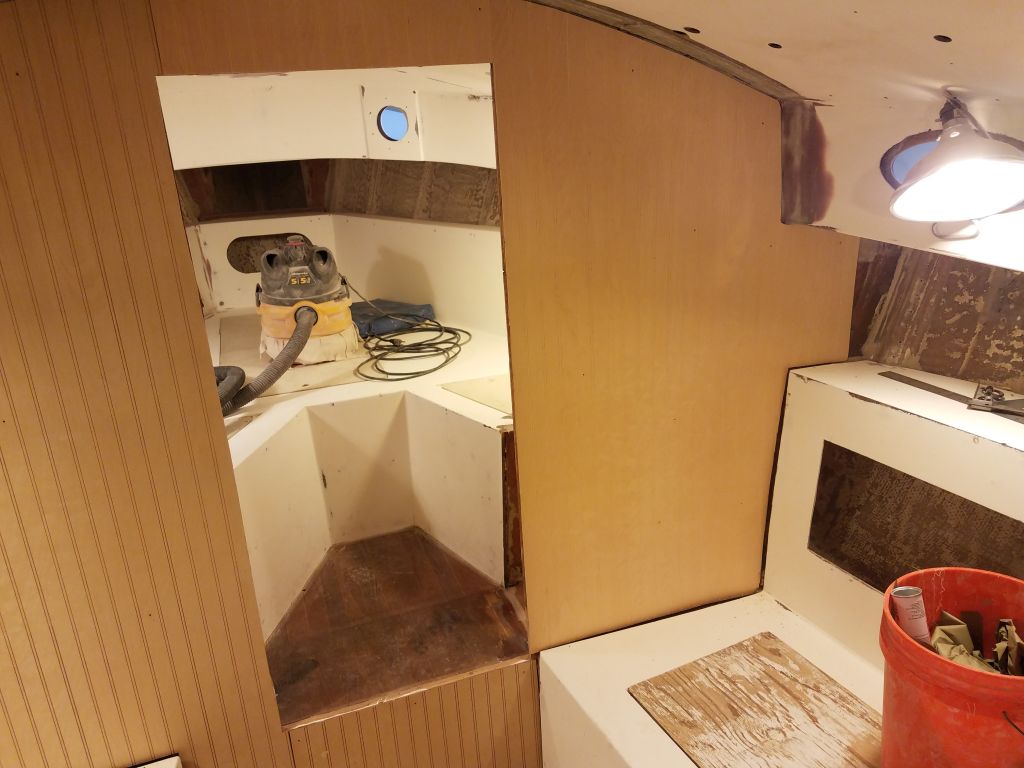
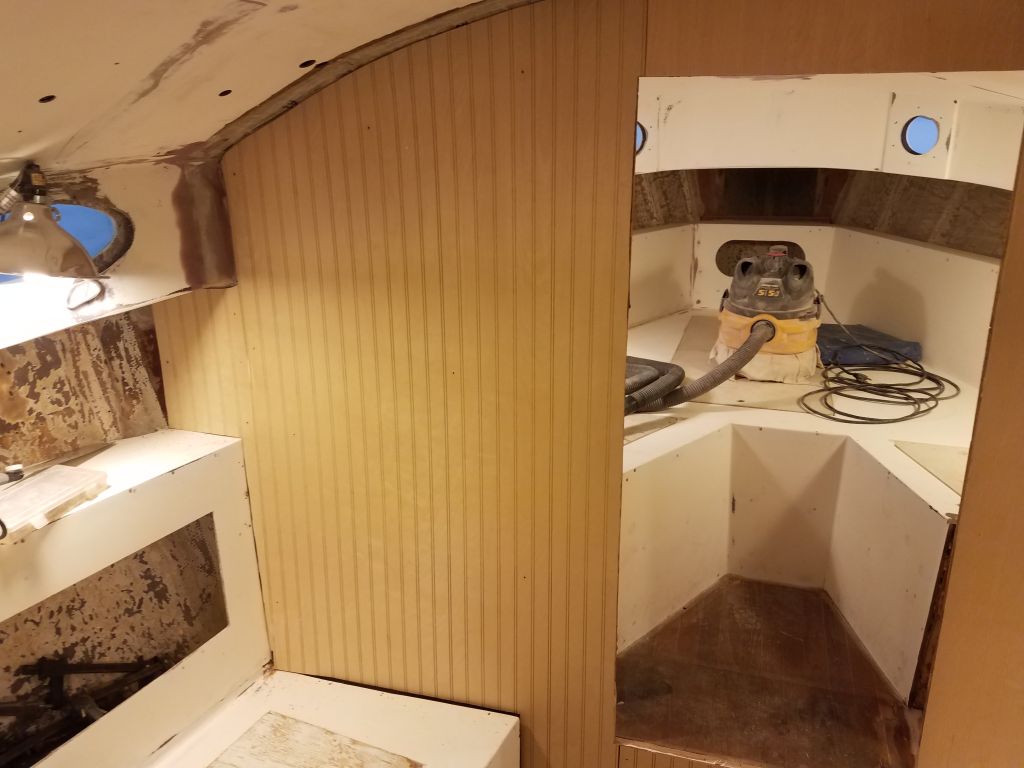
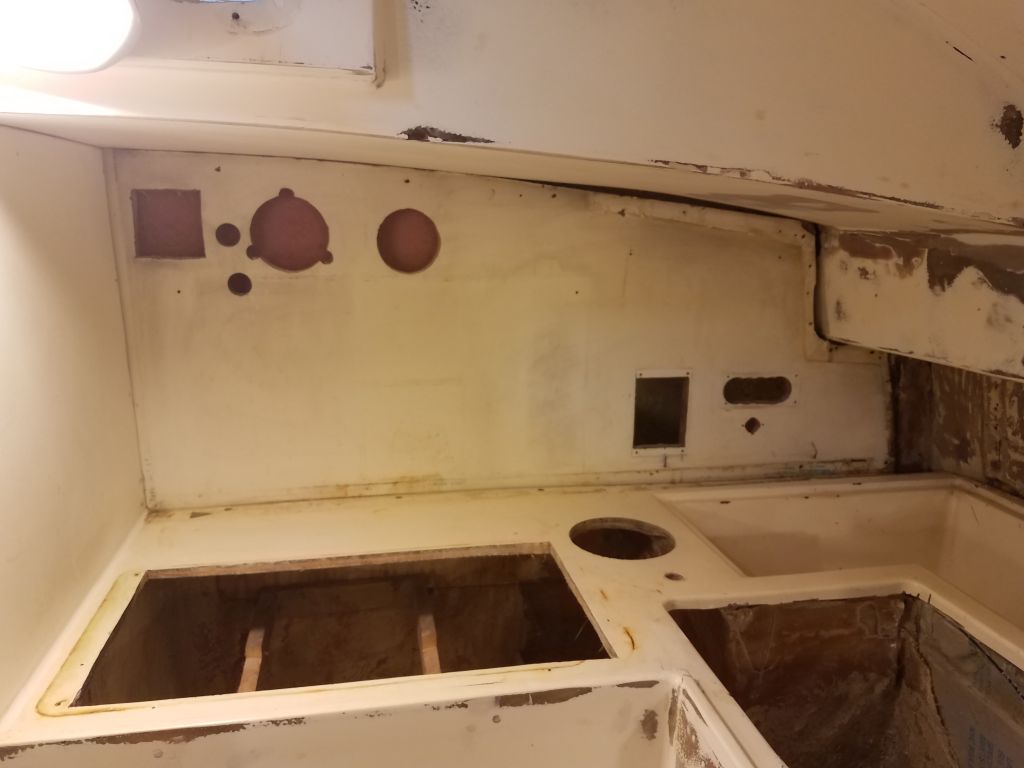
Leaving the forward cabin alone for now while the starboard cleats had a chance to set up, I briefly sanded the various hole patches on the bulkhead paneling in the main cabin, galley, and head. I’d reassess all areas once I’d applied primer and refair any of the holes should it seem necessary then, but for now I called it good.
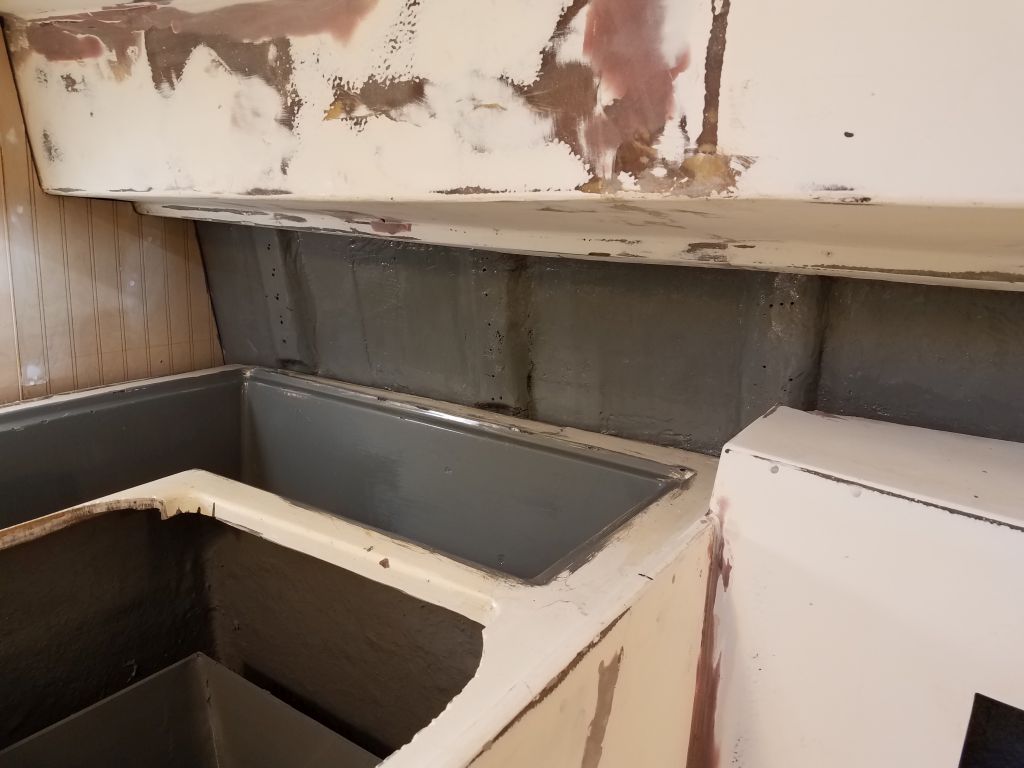
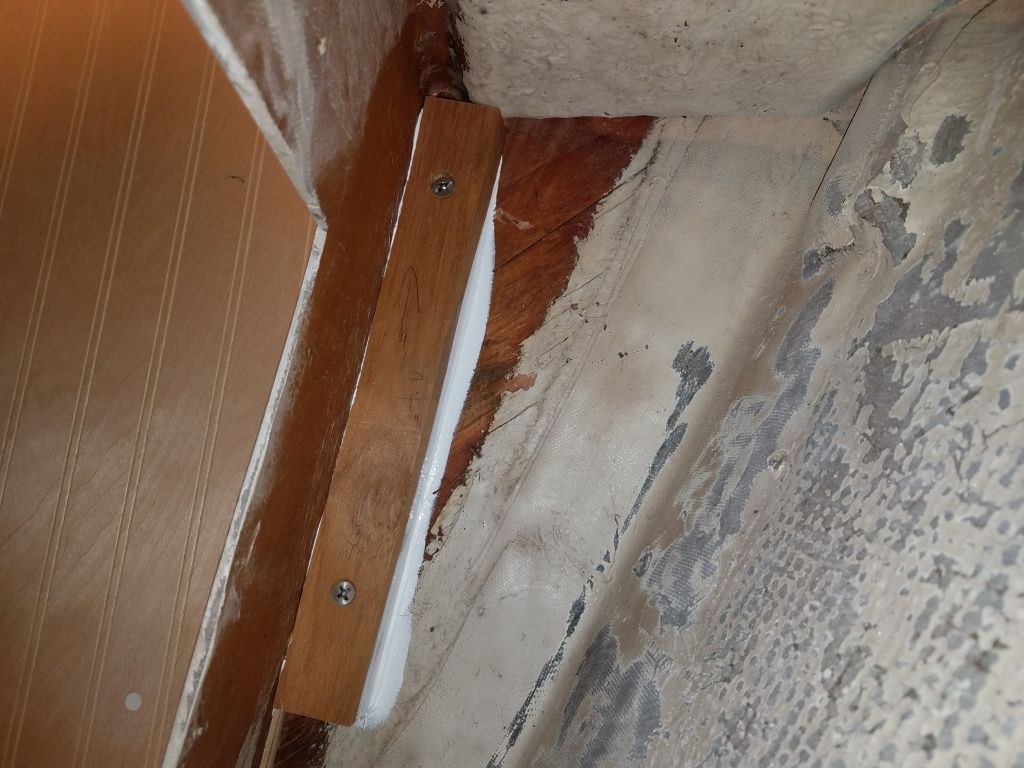
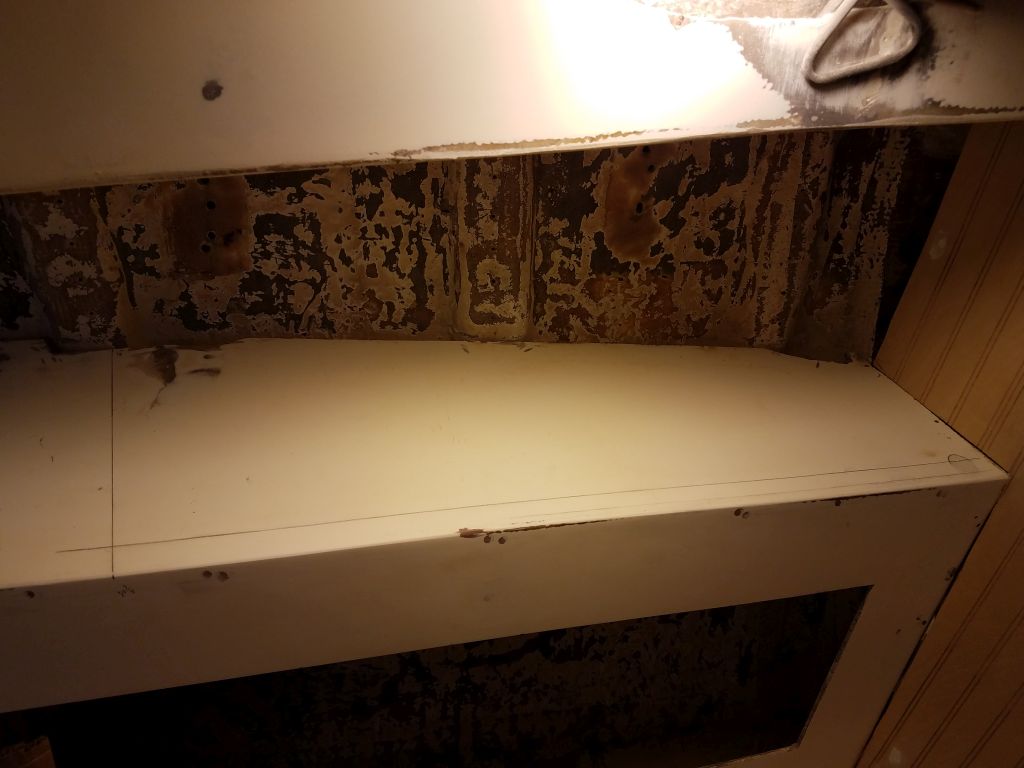
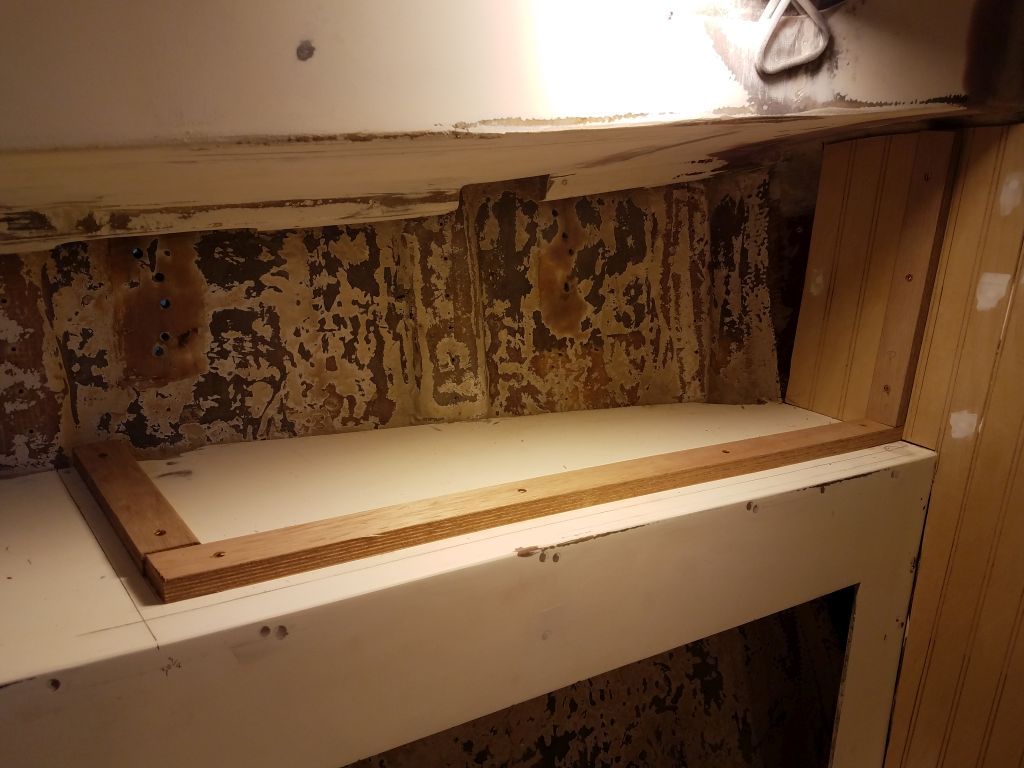
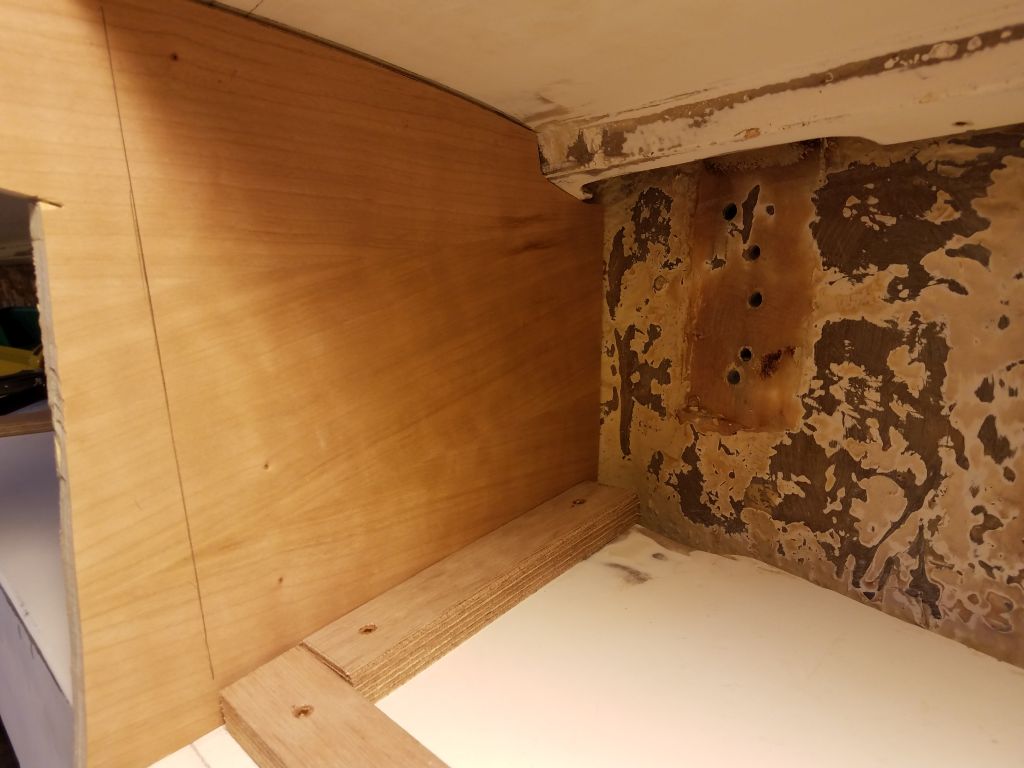
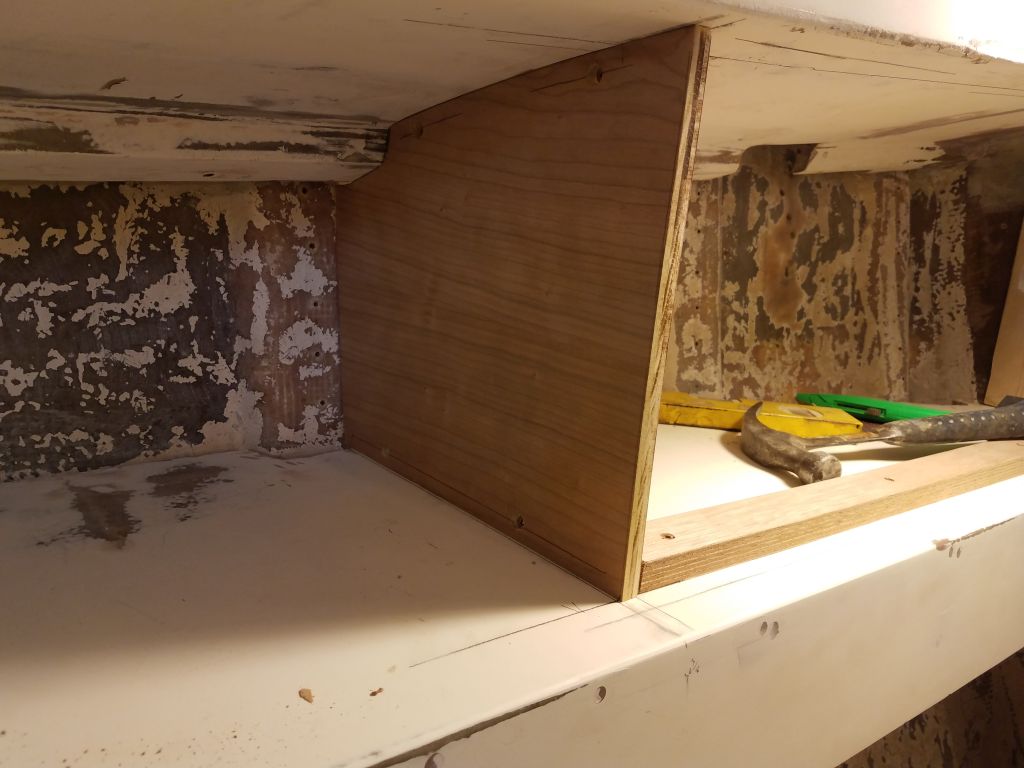
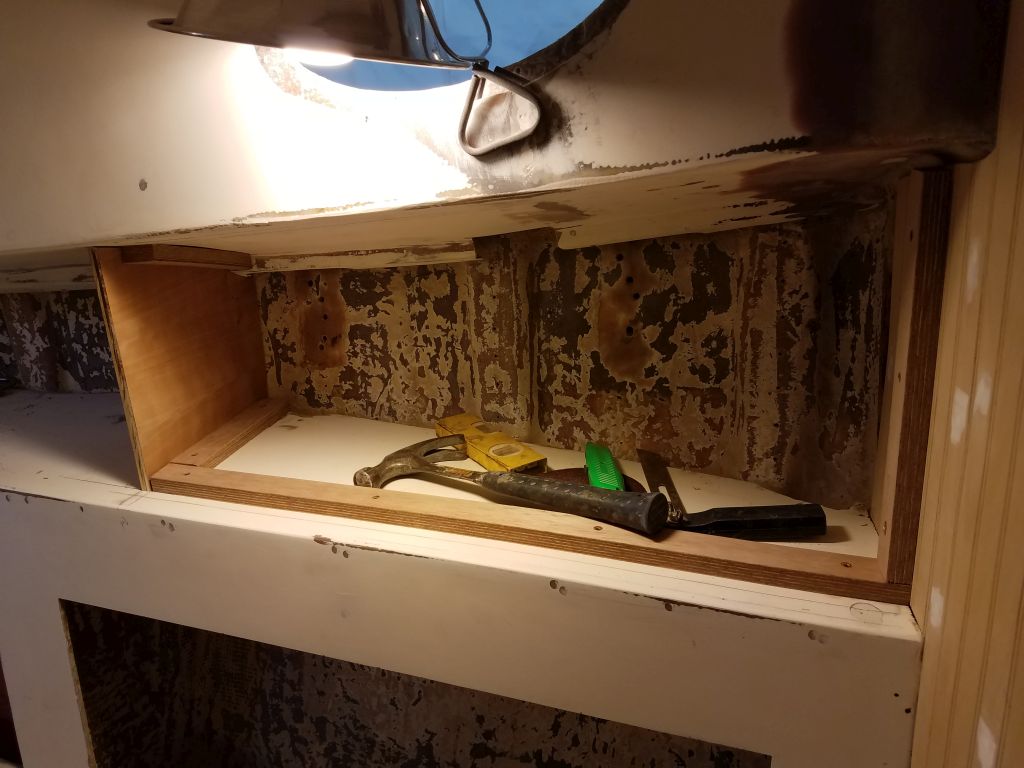
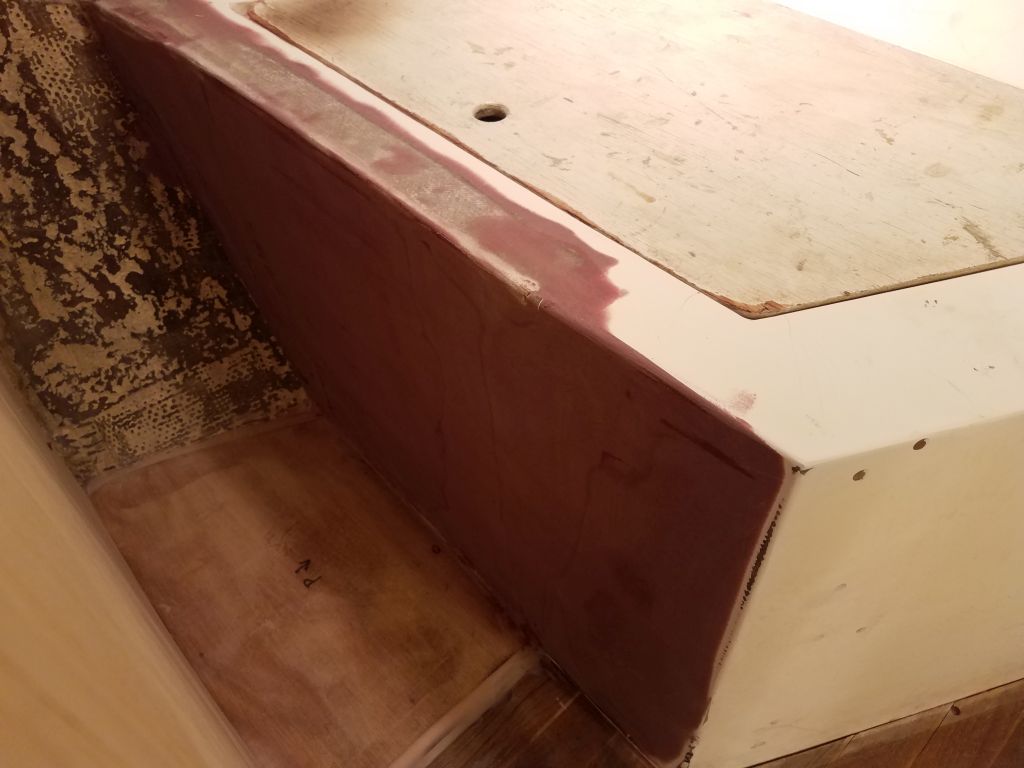
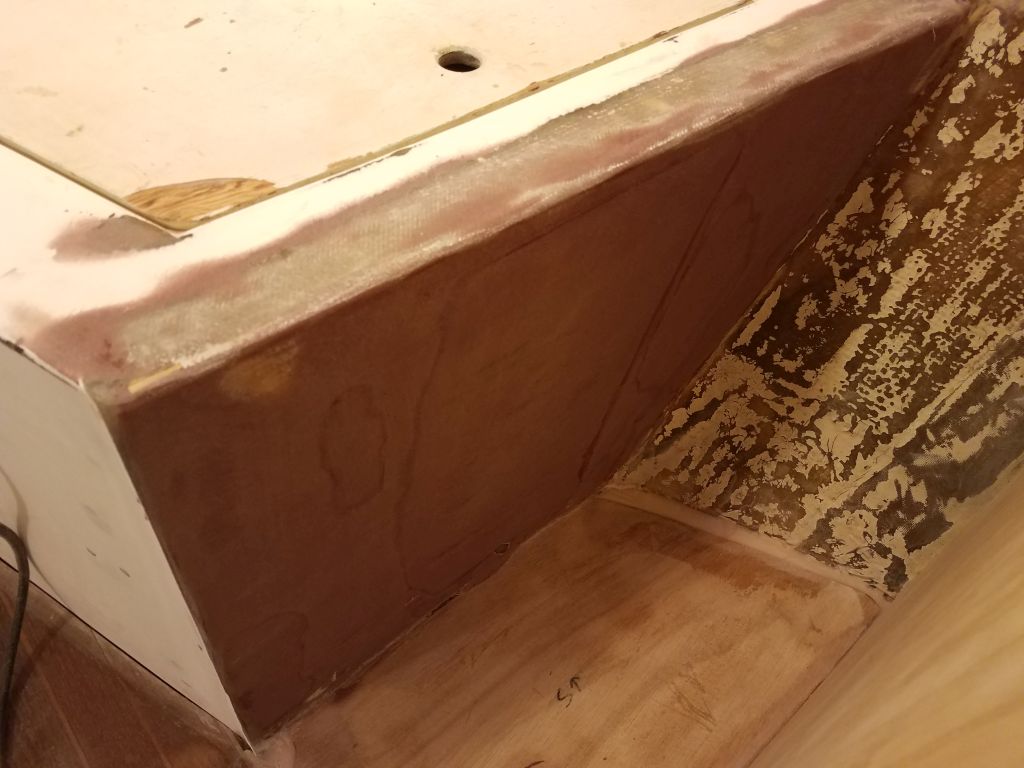
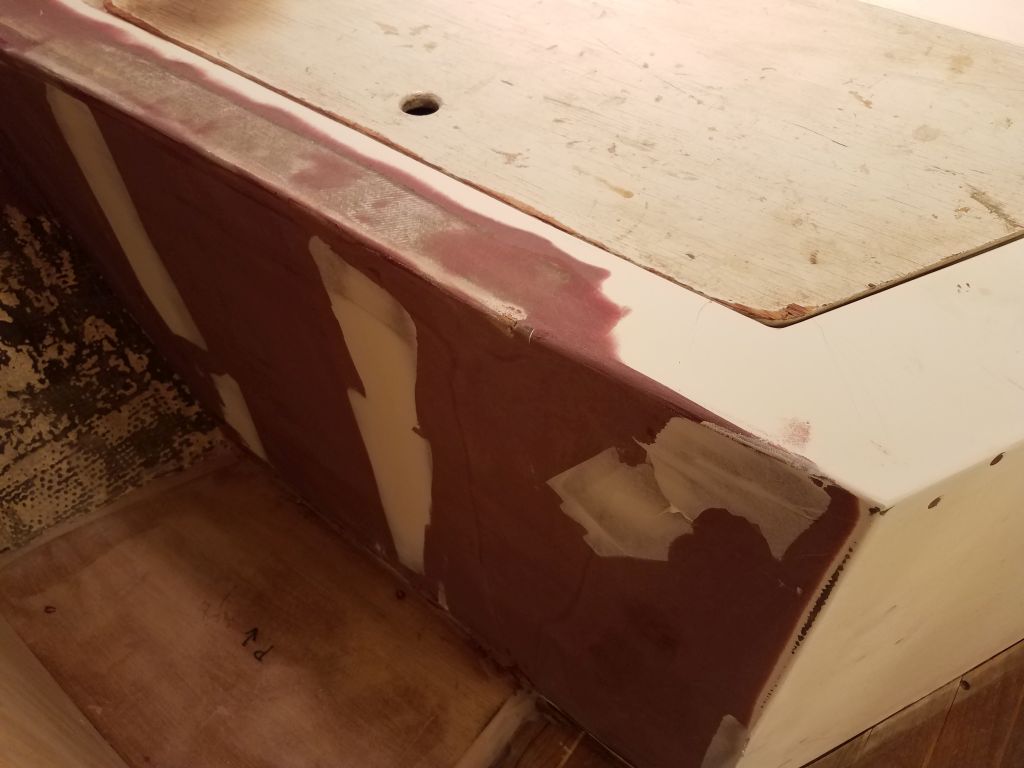
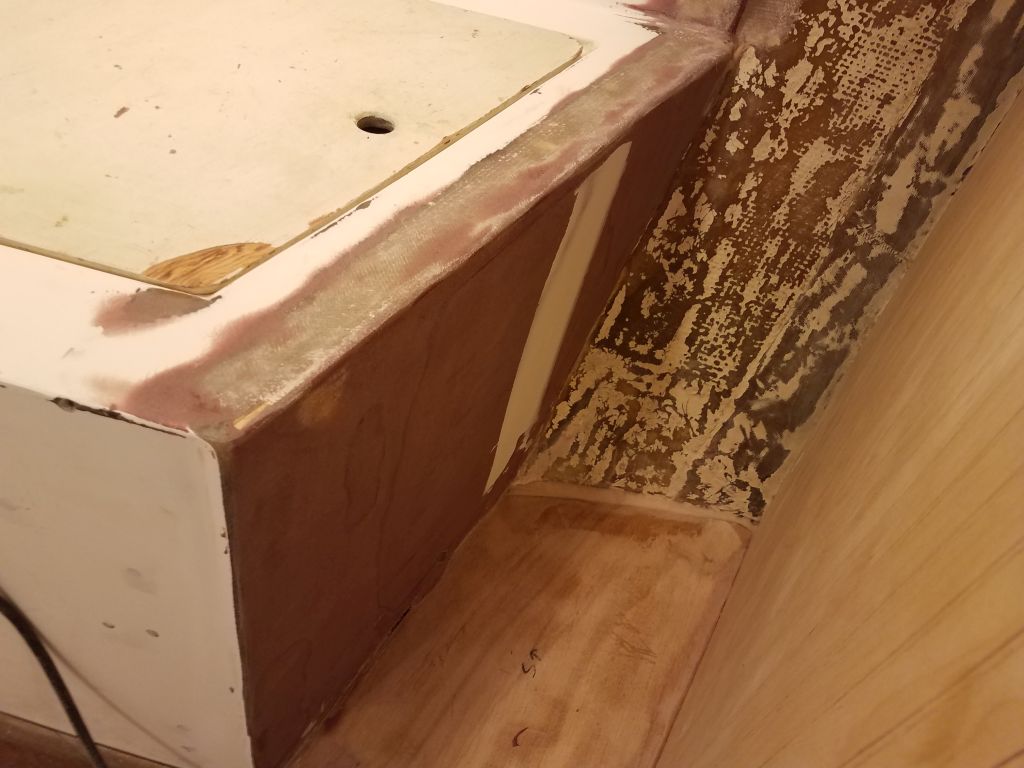
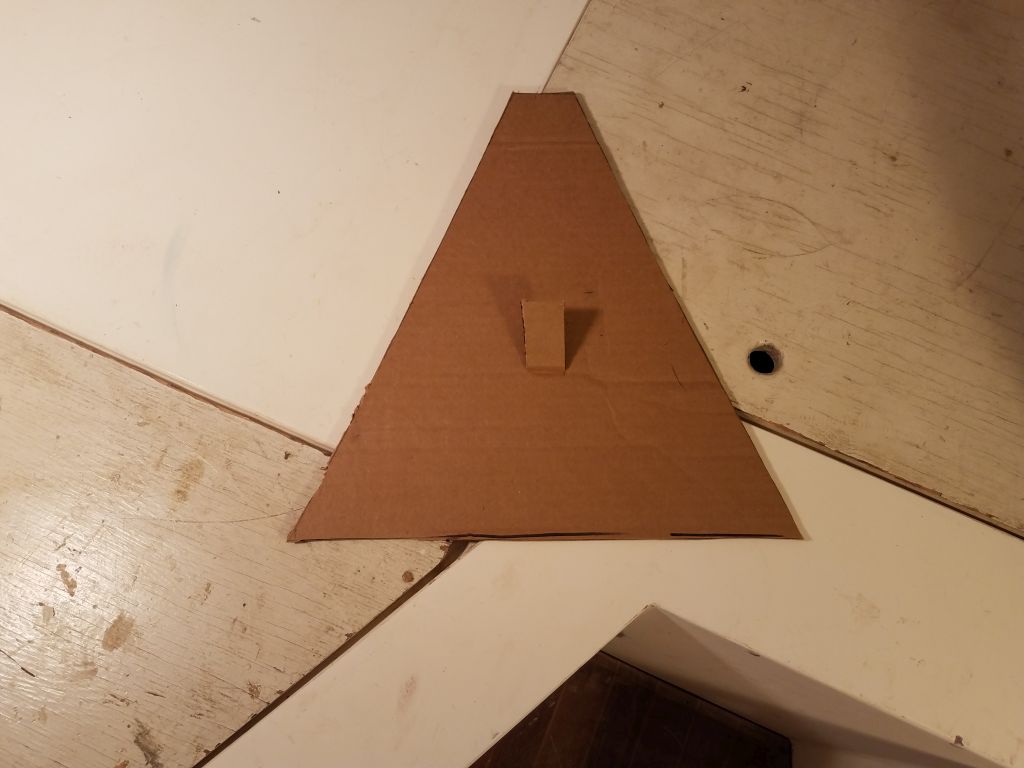
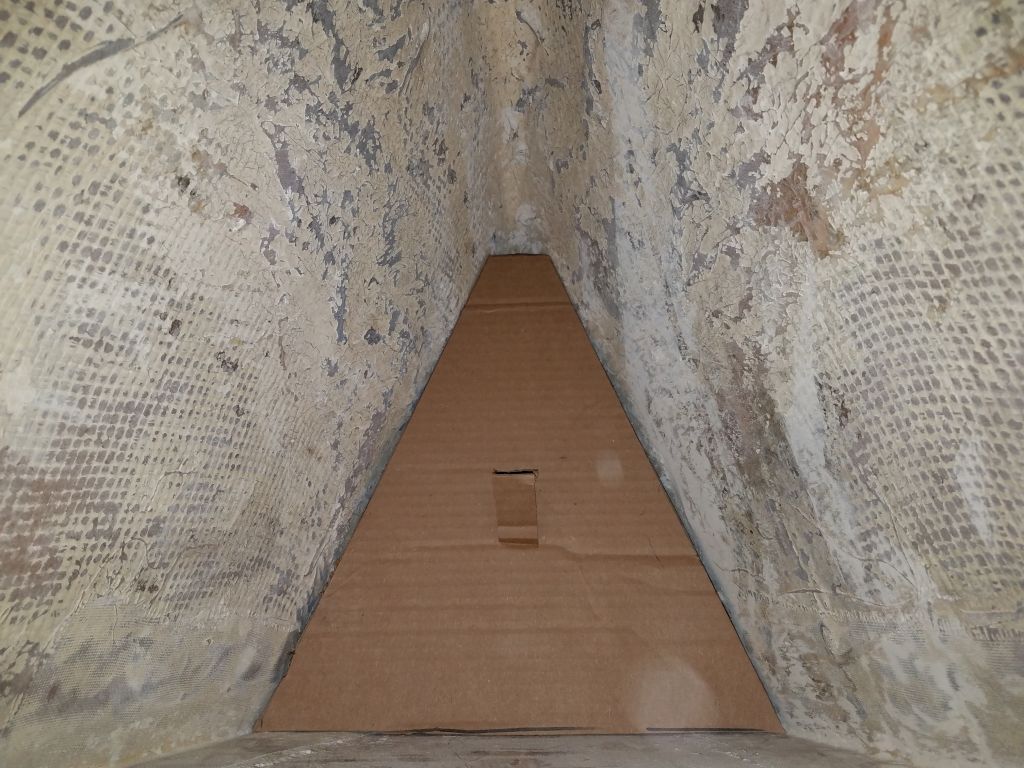
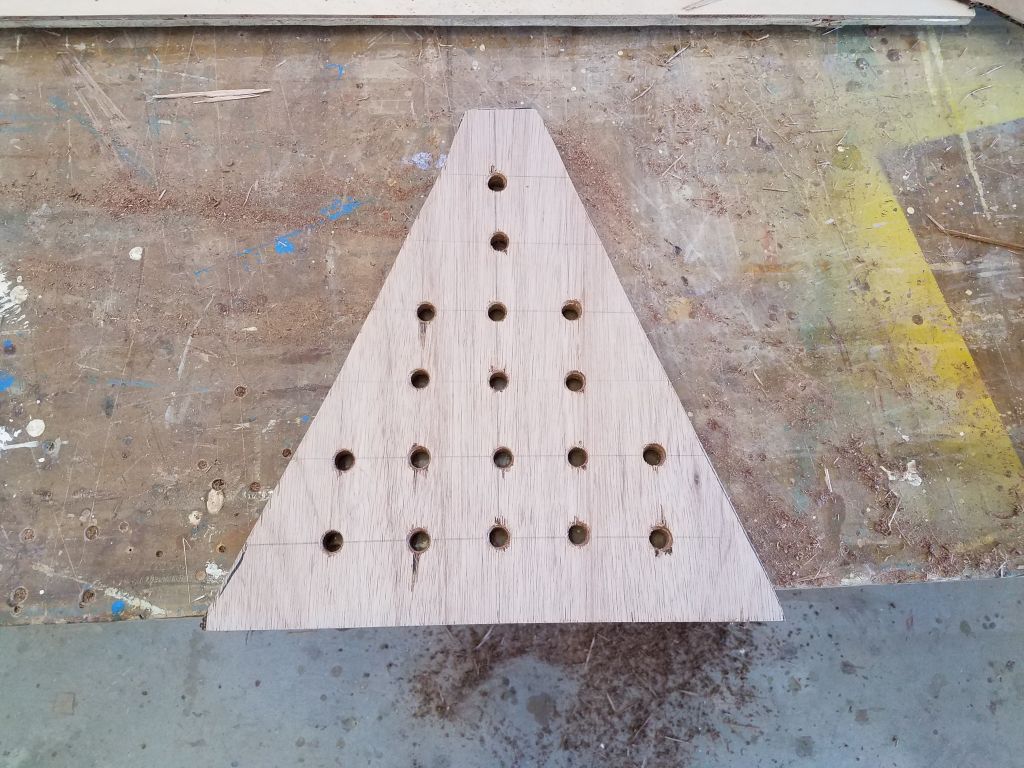
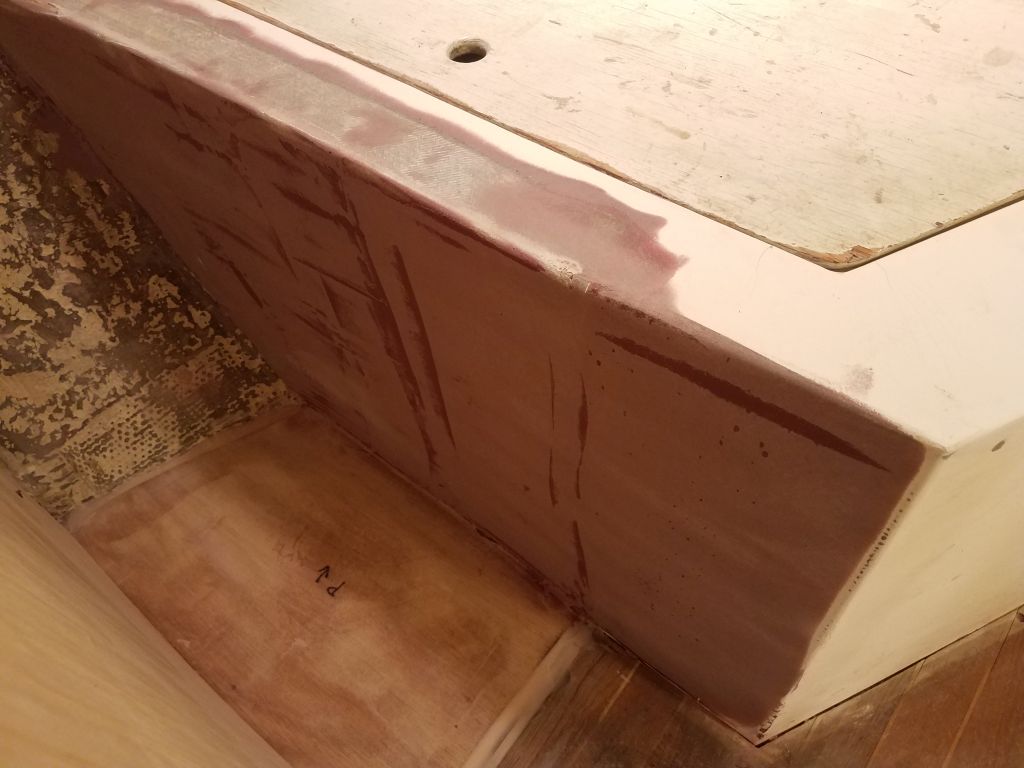
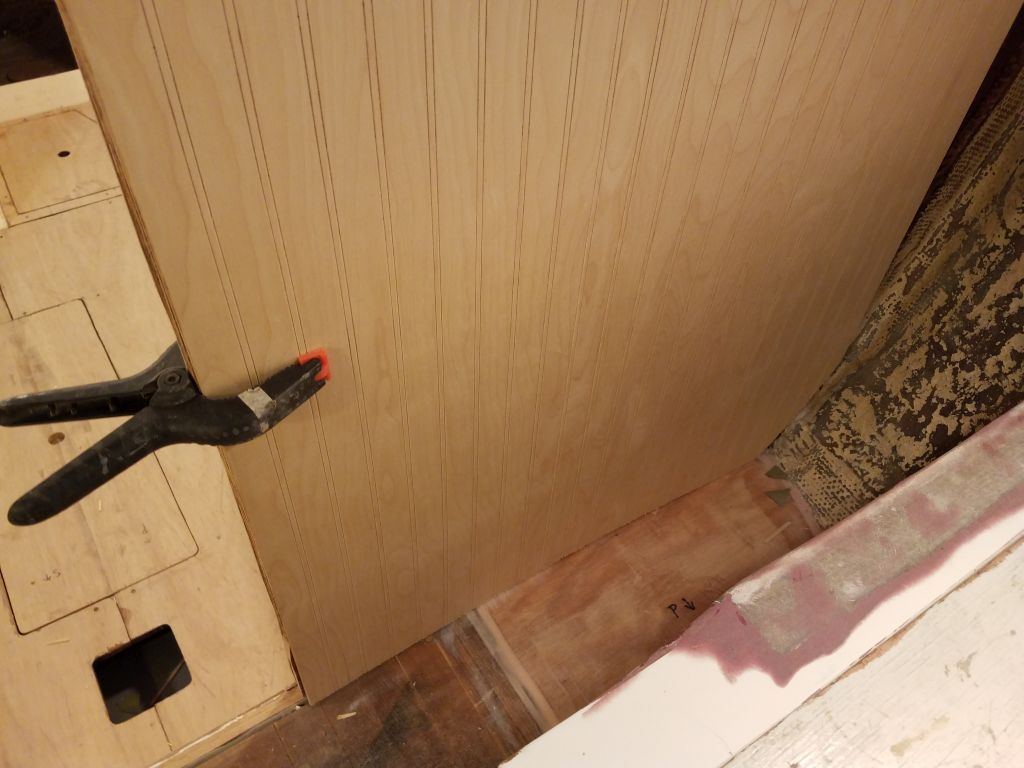
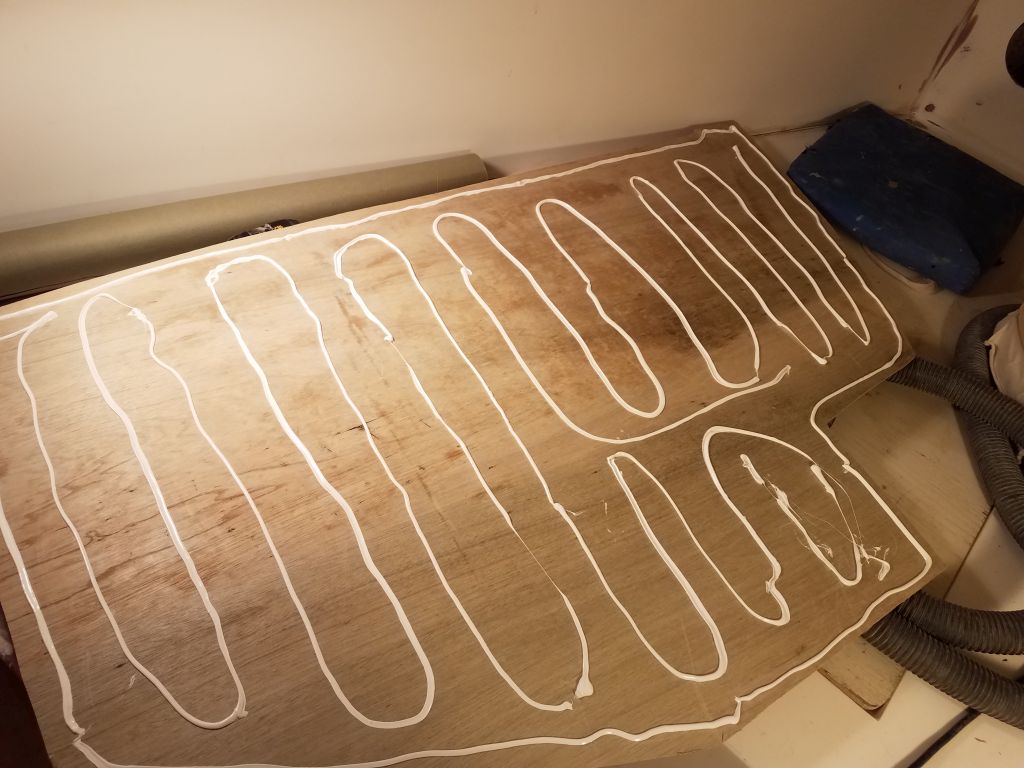
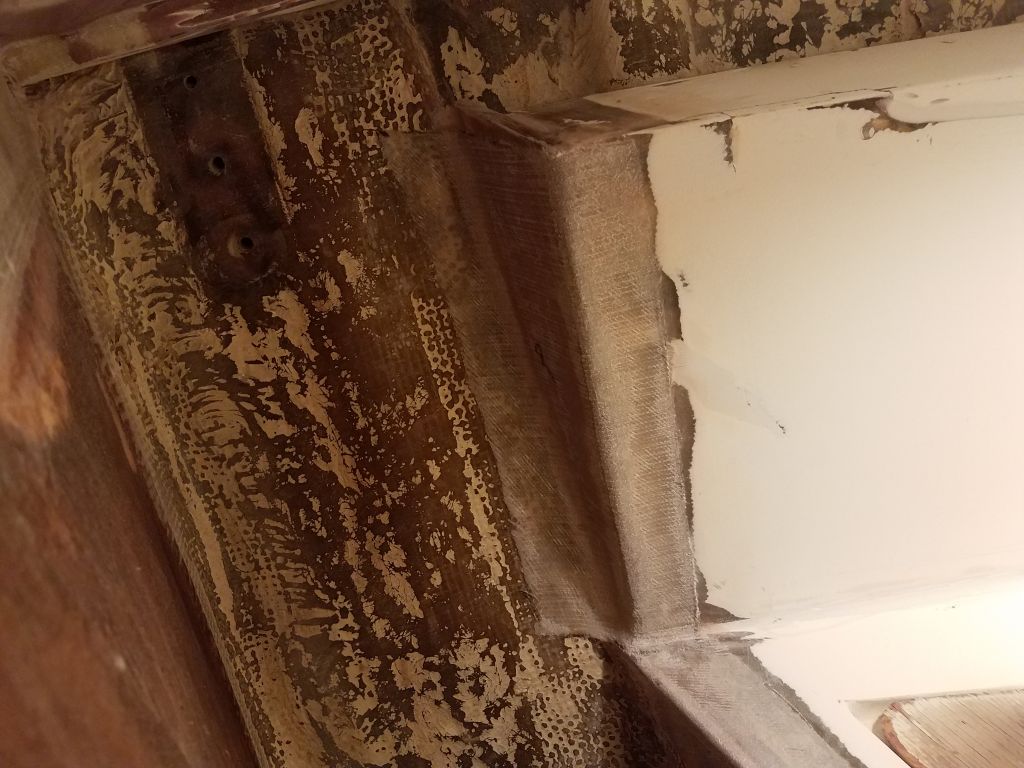
Behind the top corner of the starboard settee back, sometime earlier I’d removed an old, nasty, and ineffective support cleat. Now, I prepared a new hardwood cleat to help support this area, and installed it with adhesive and screws. Since I had the polyurethane right on hand I used it for the installation.
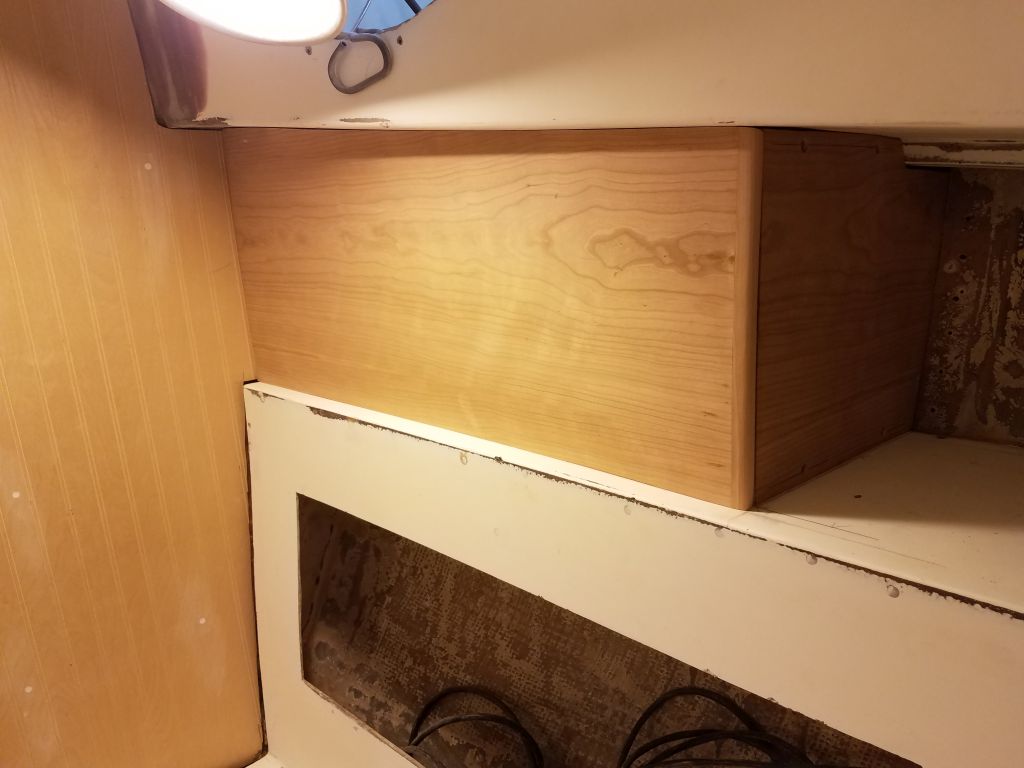
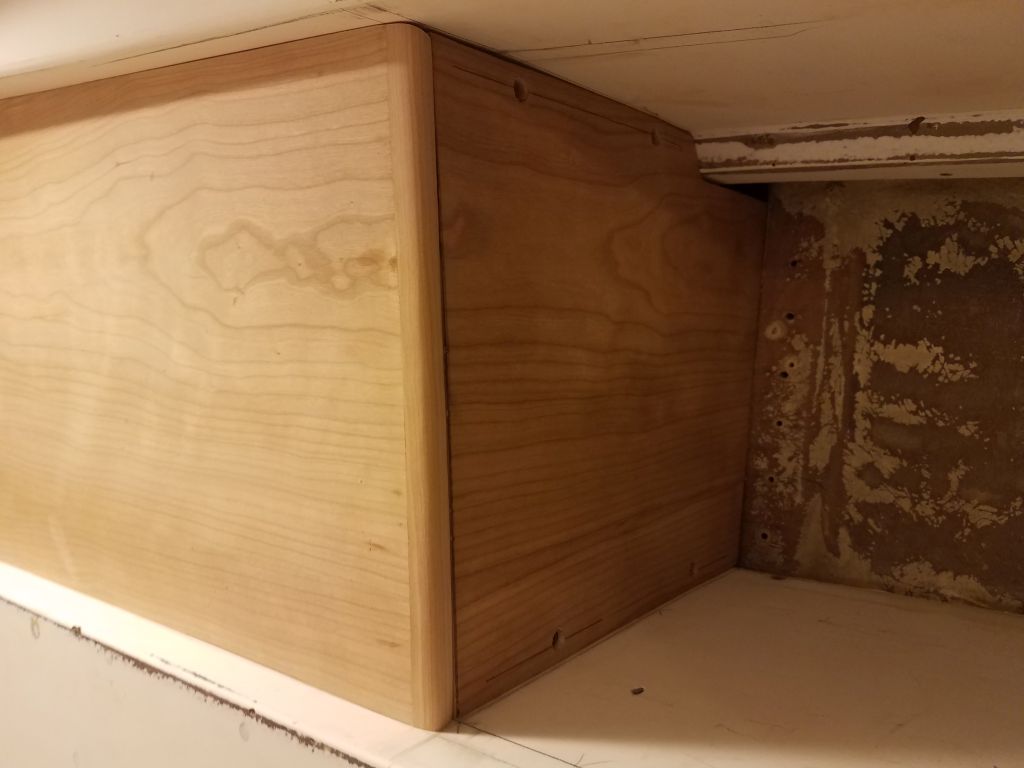
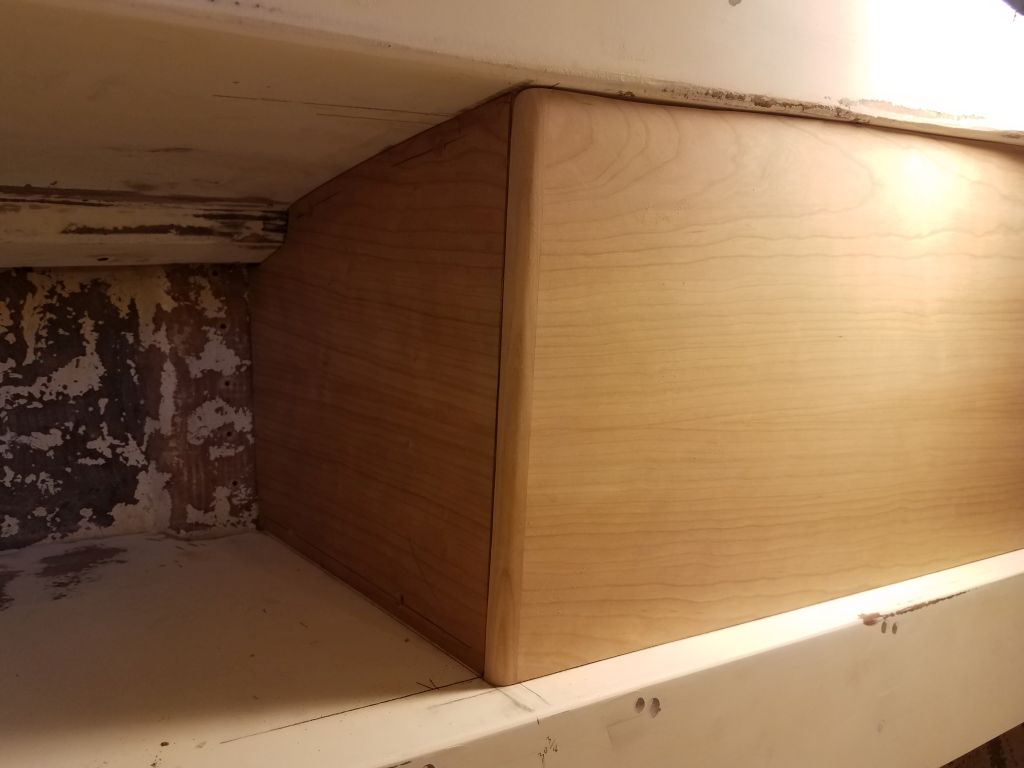
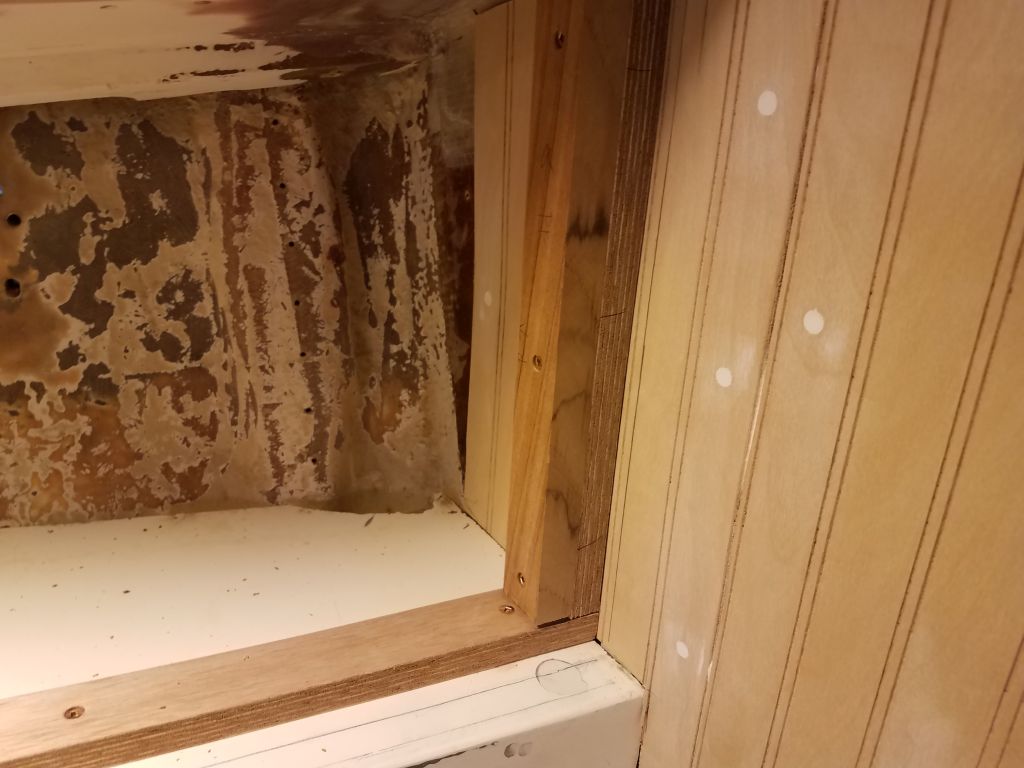
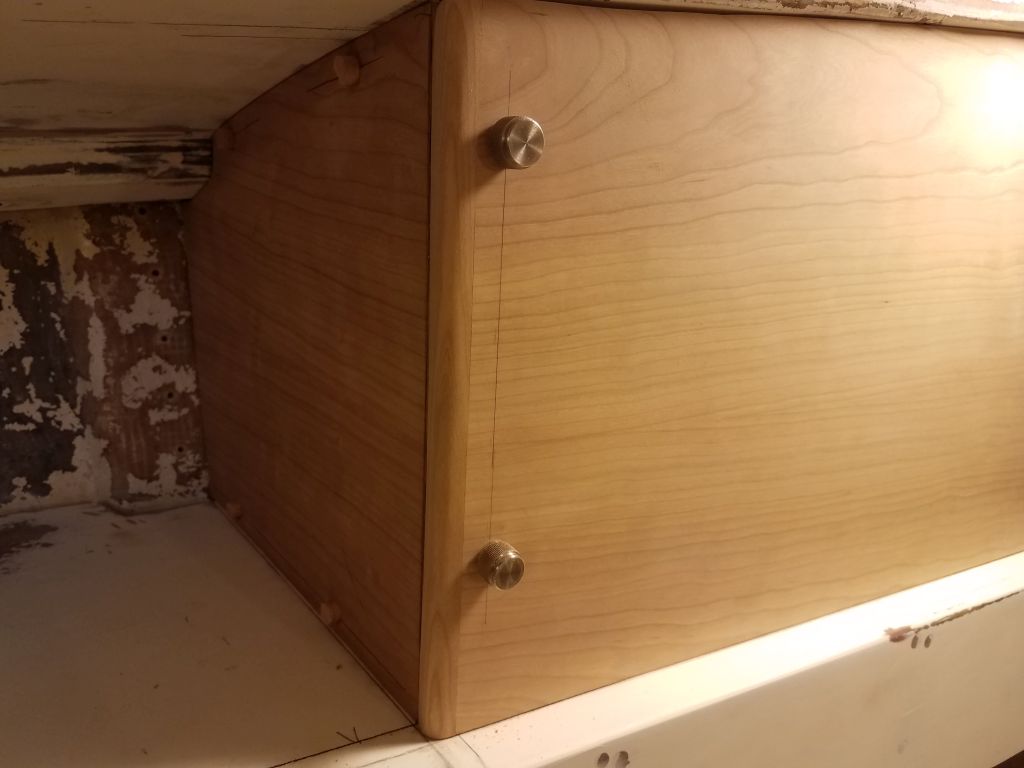
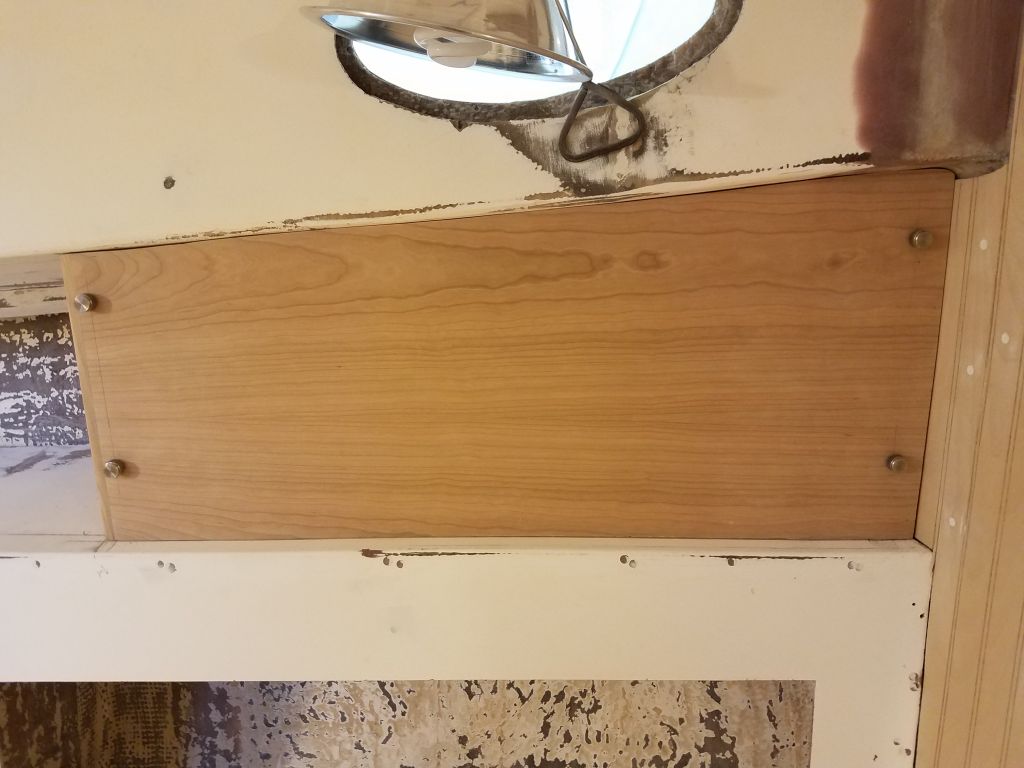
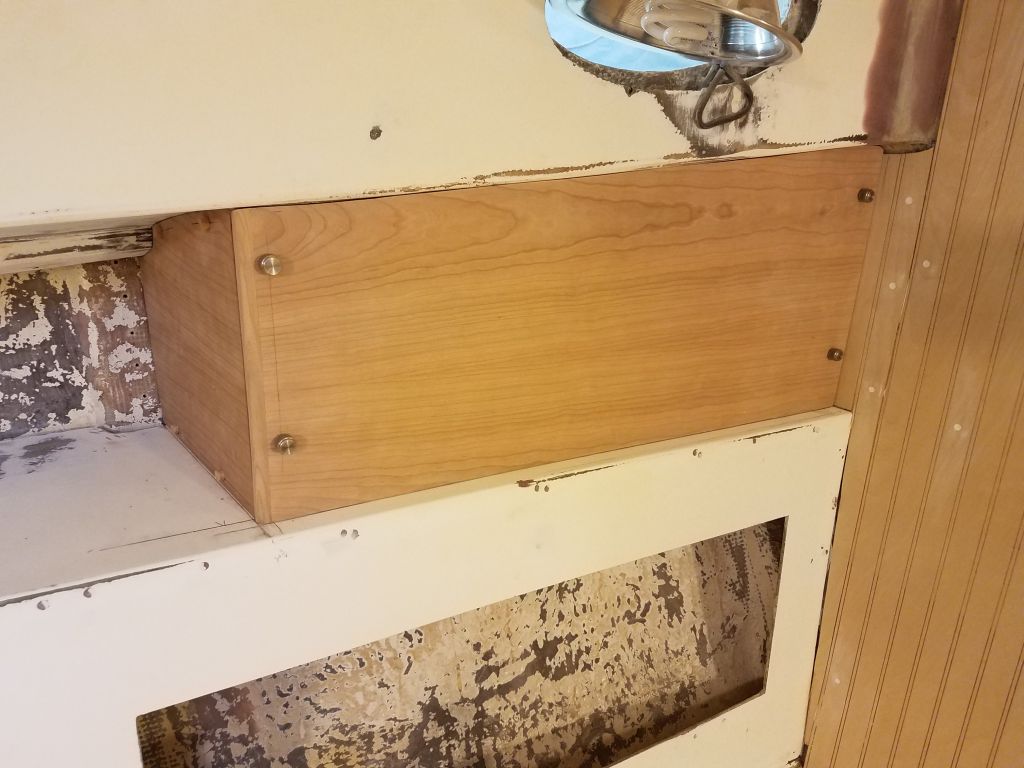
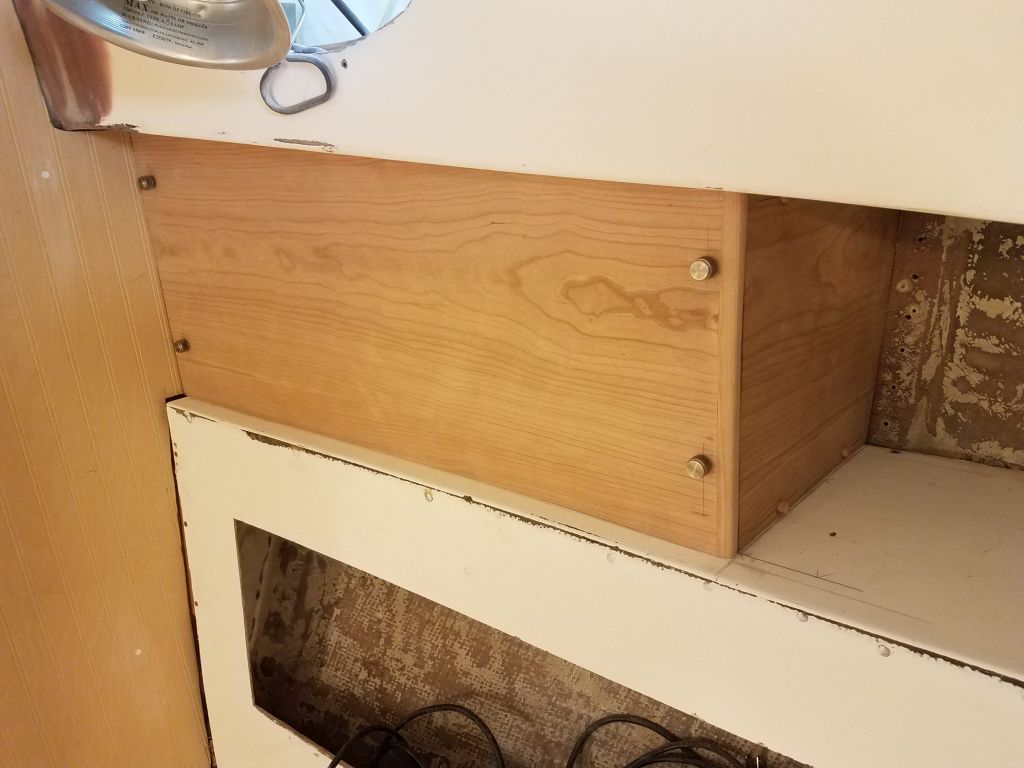
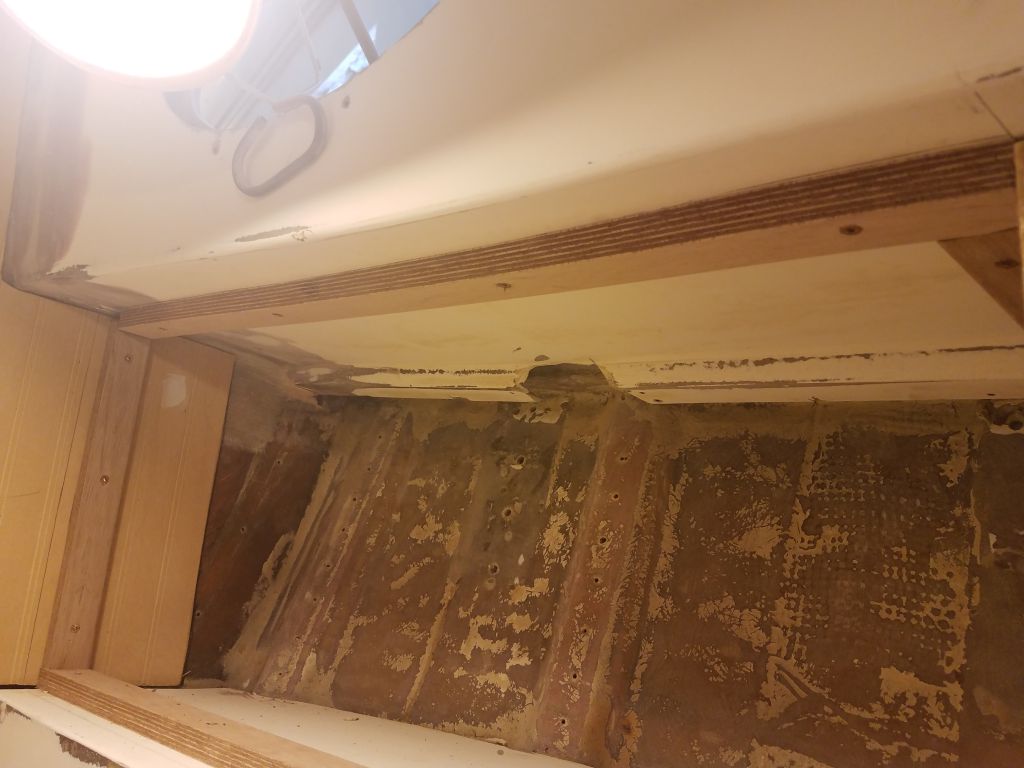
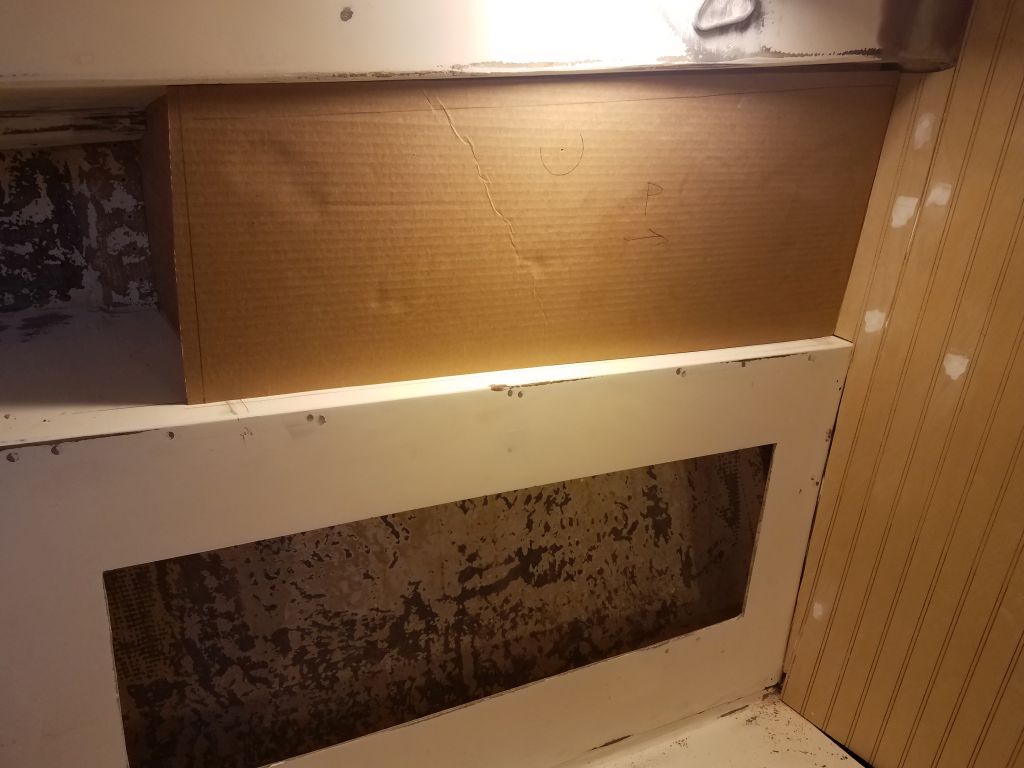
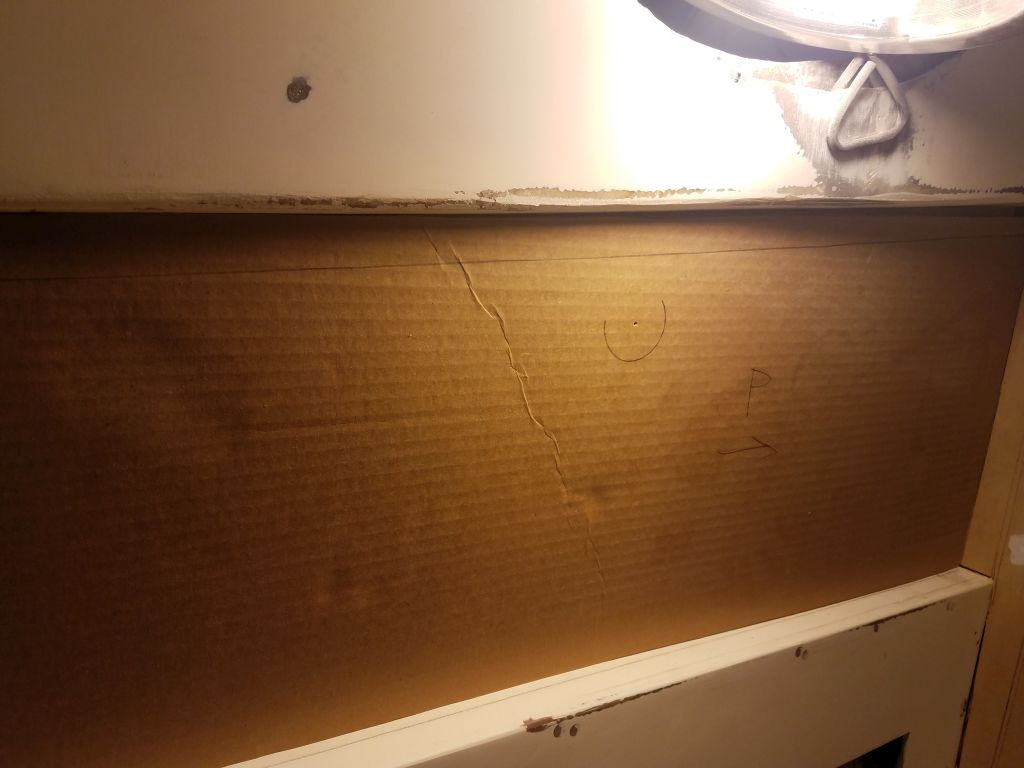
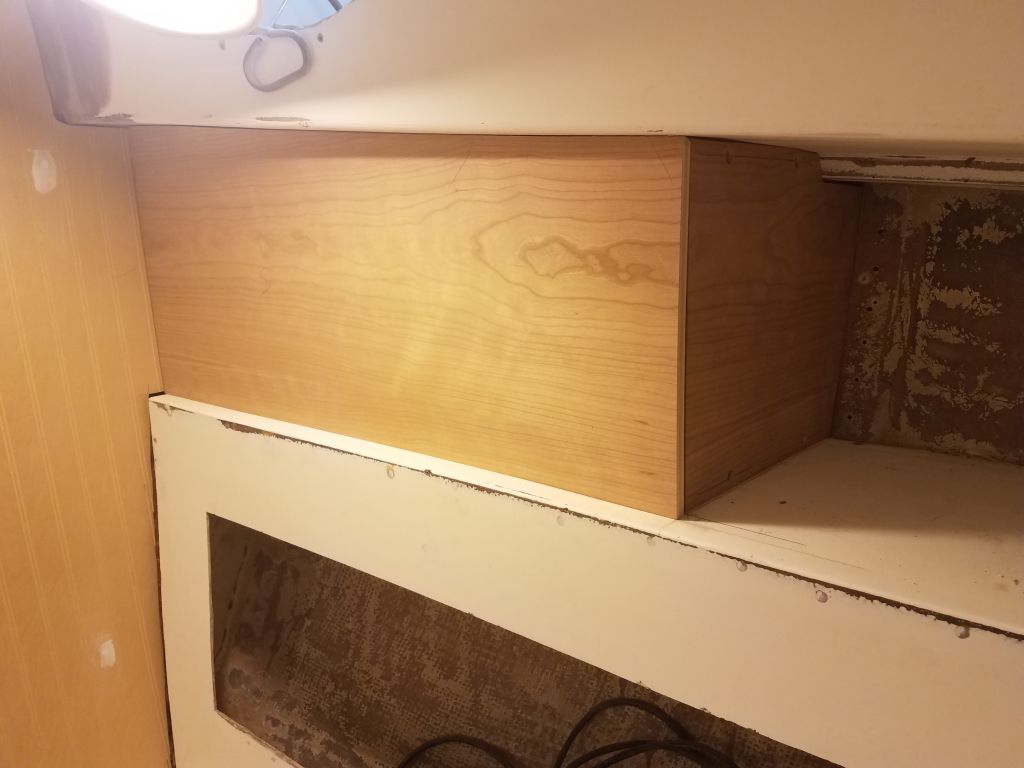
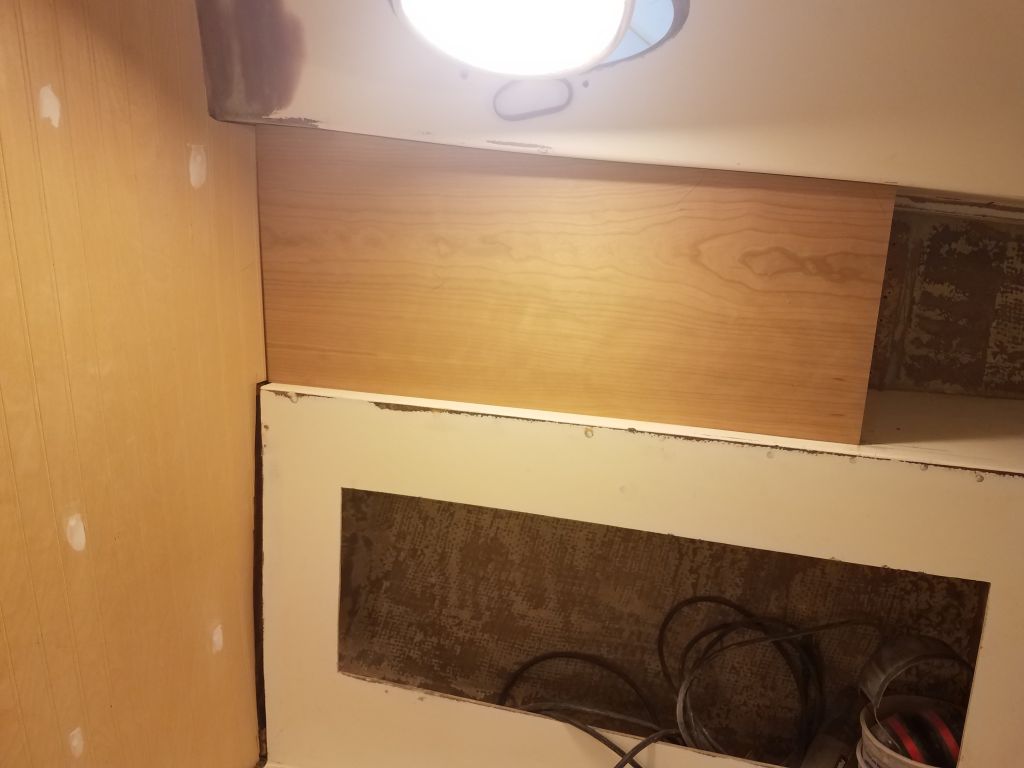
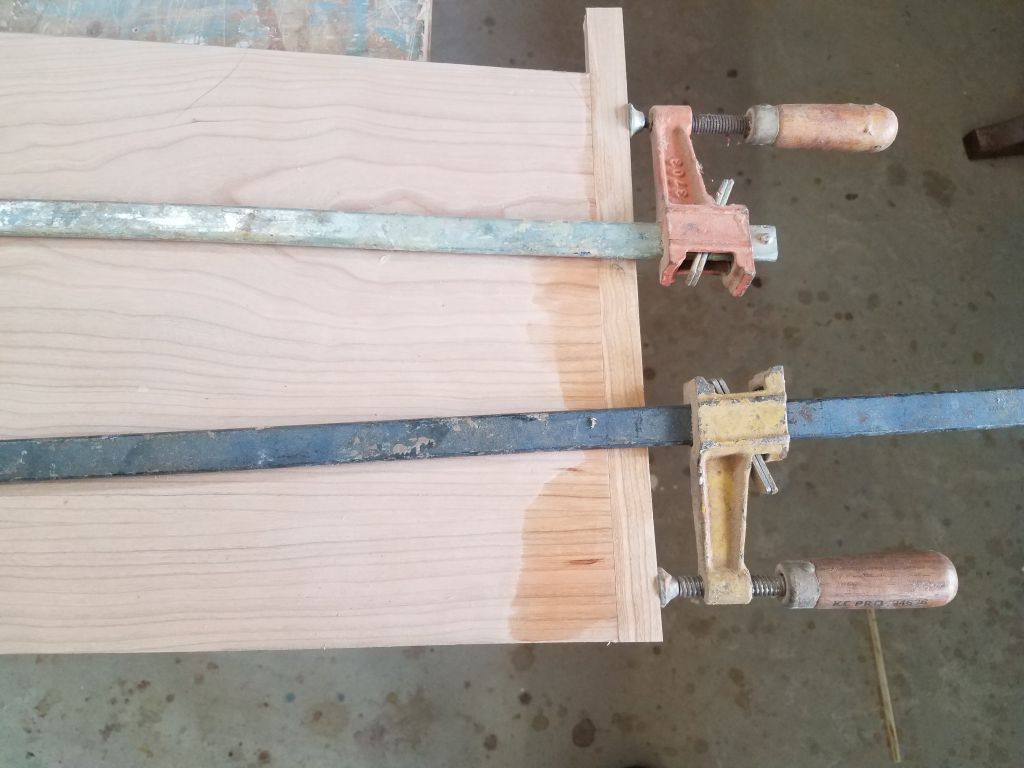
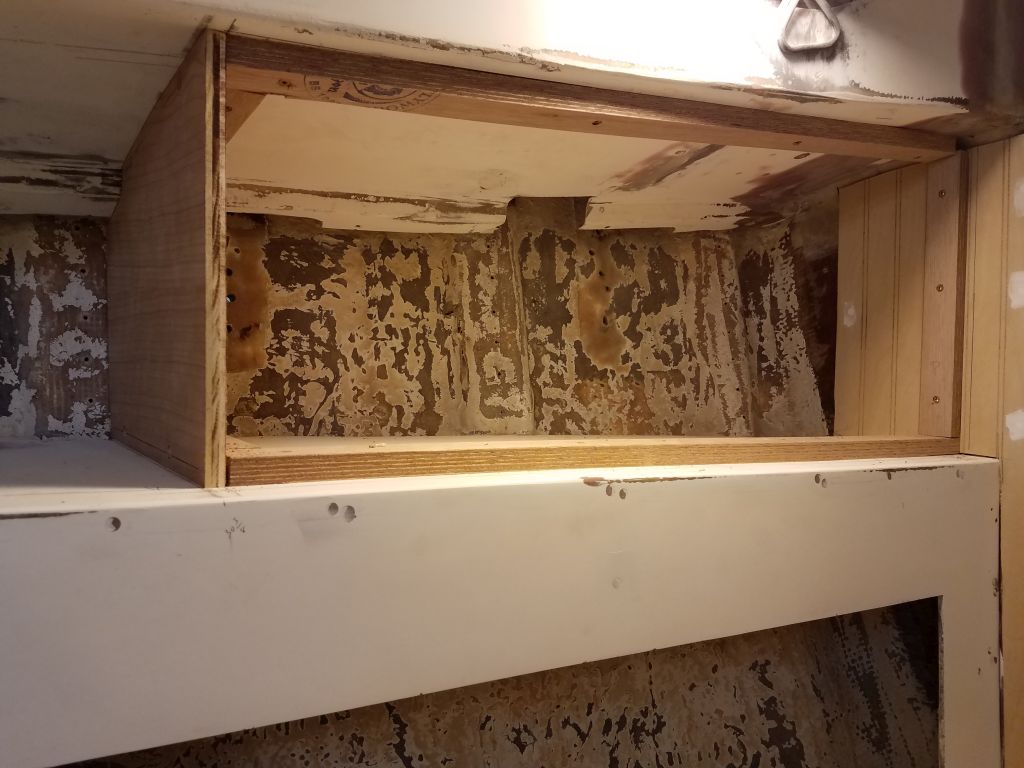
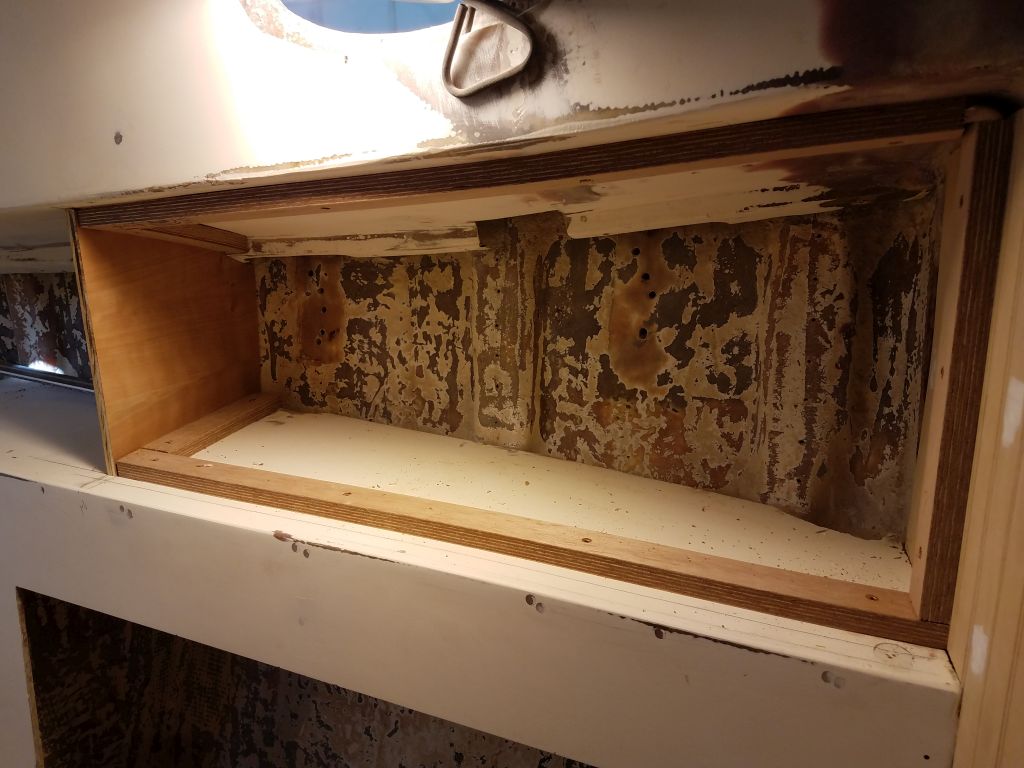
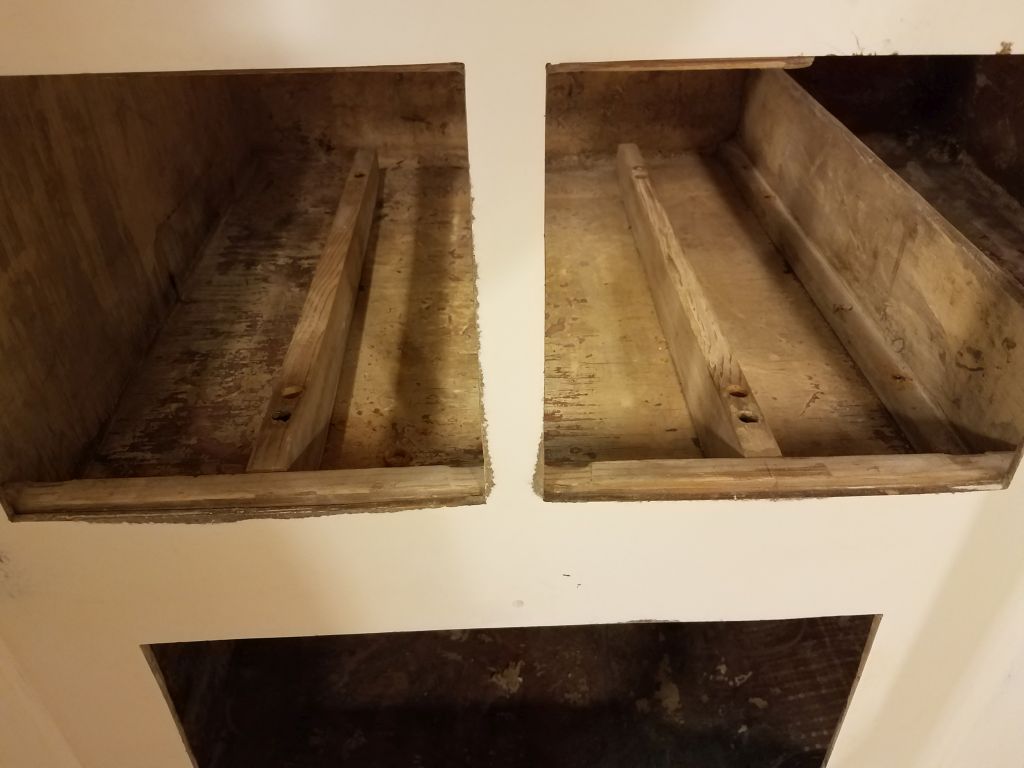
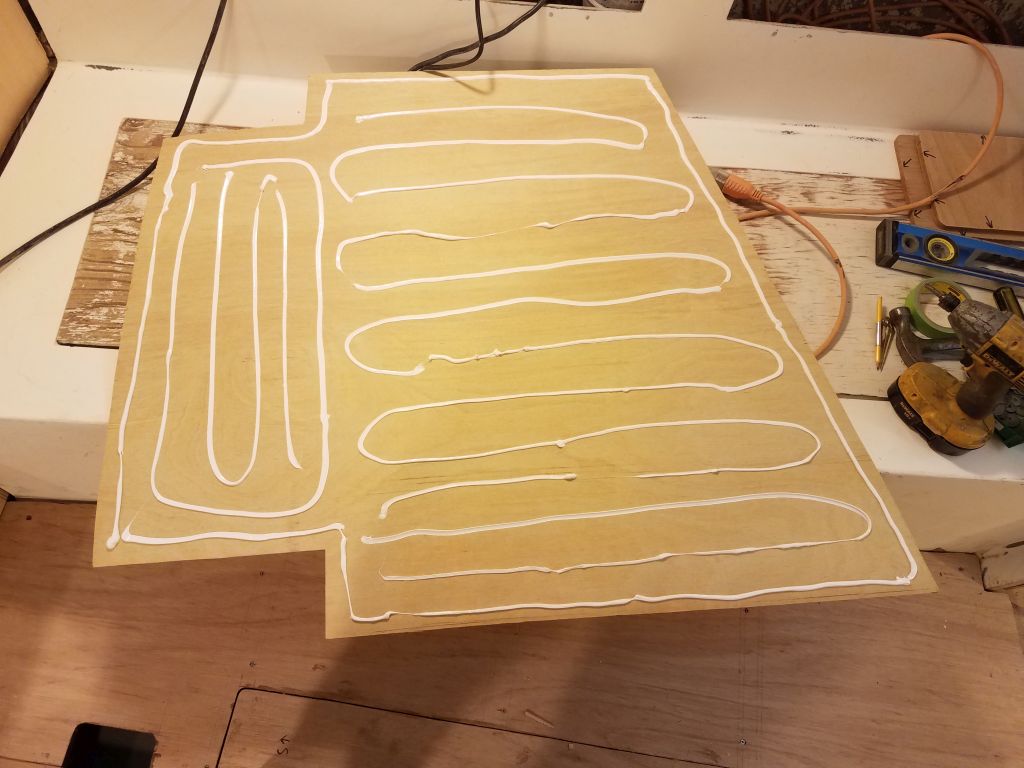
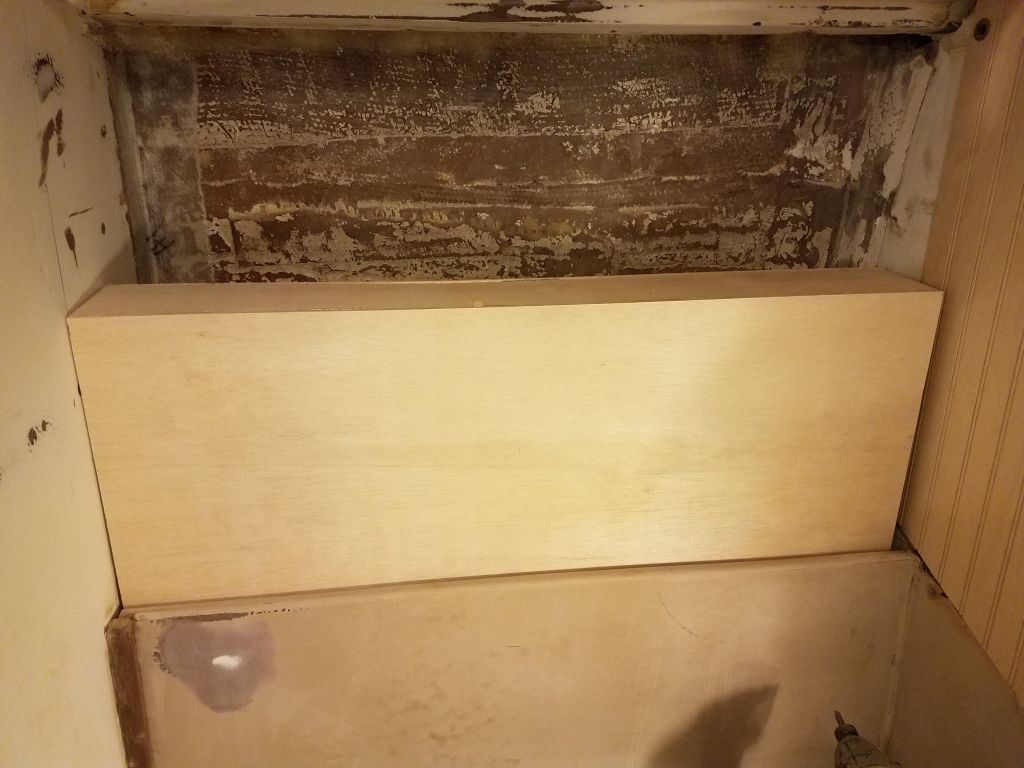
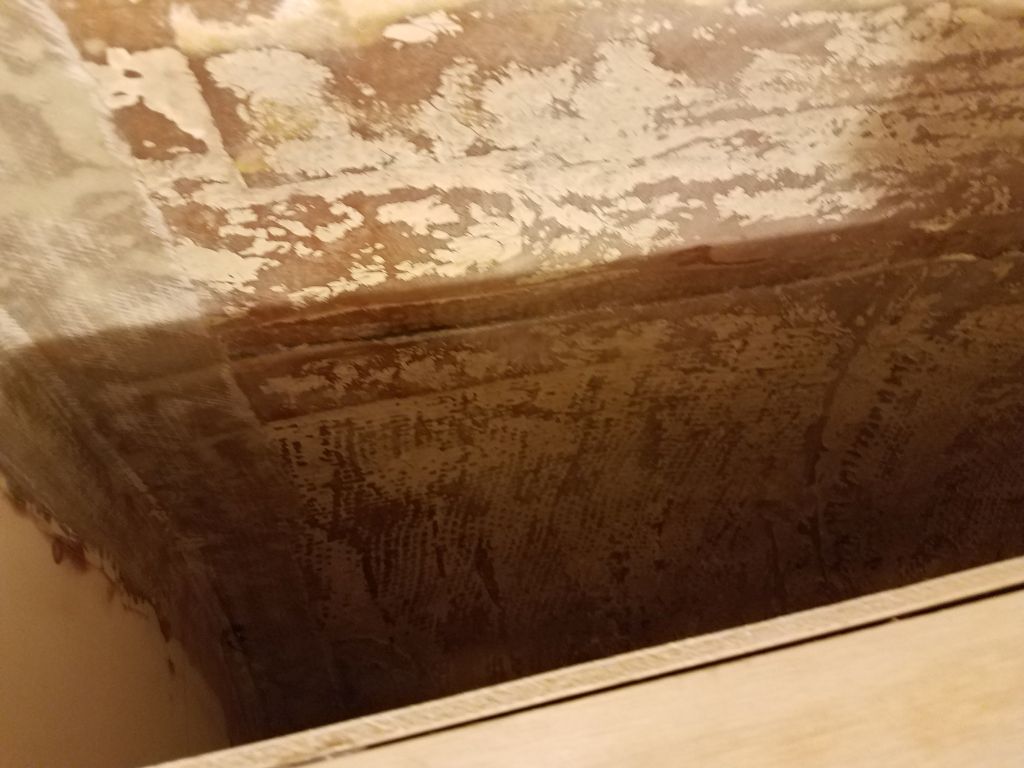
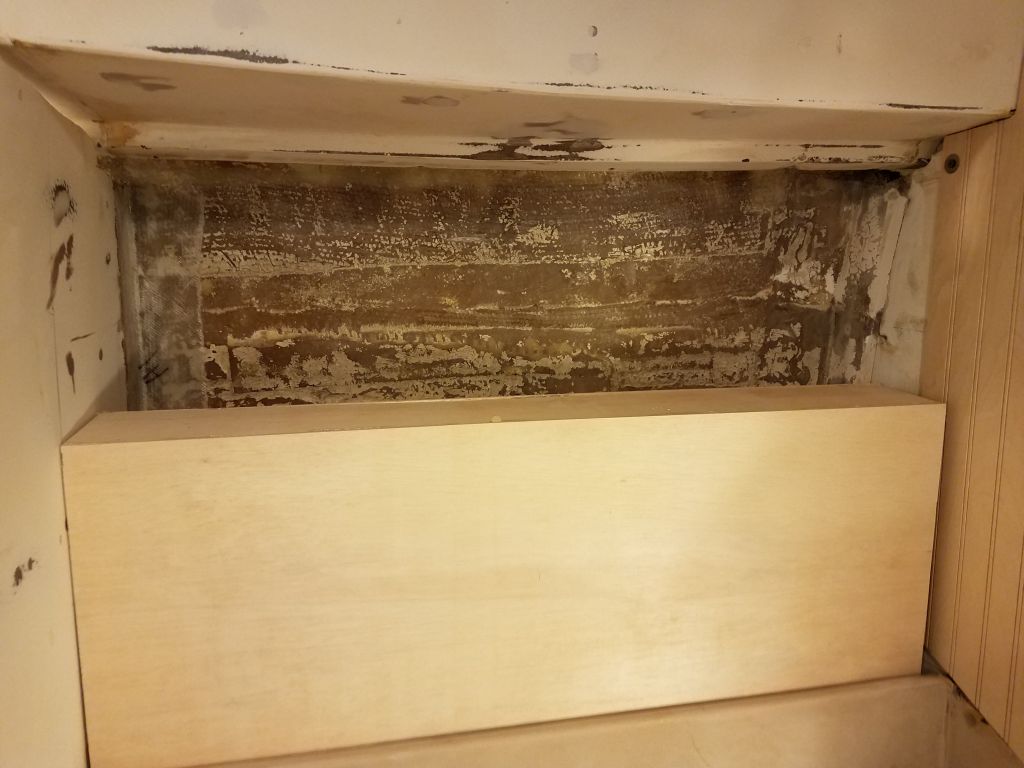
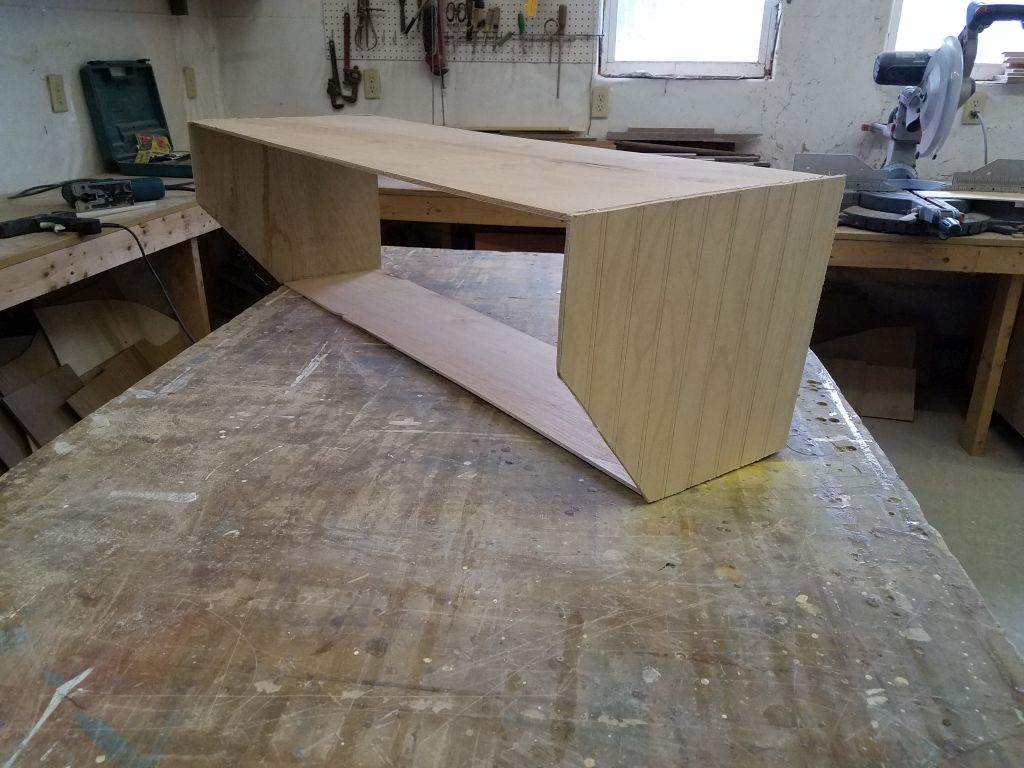
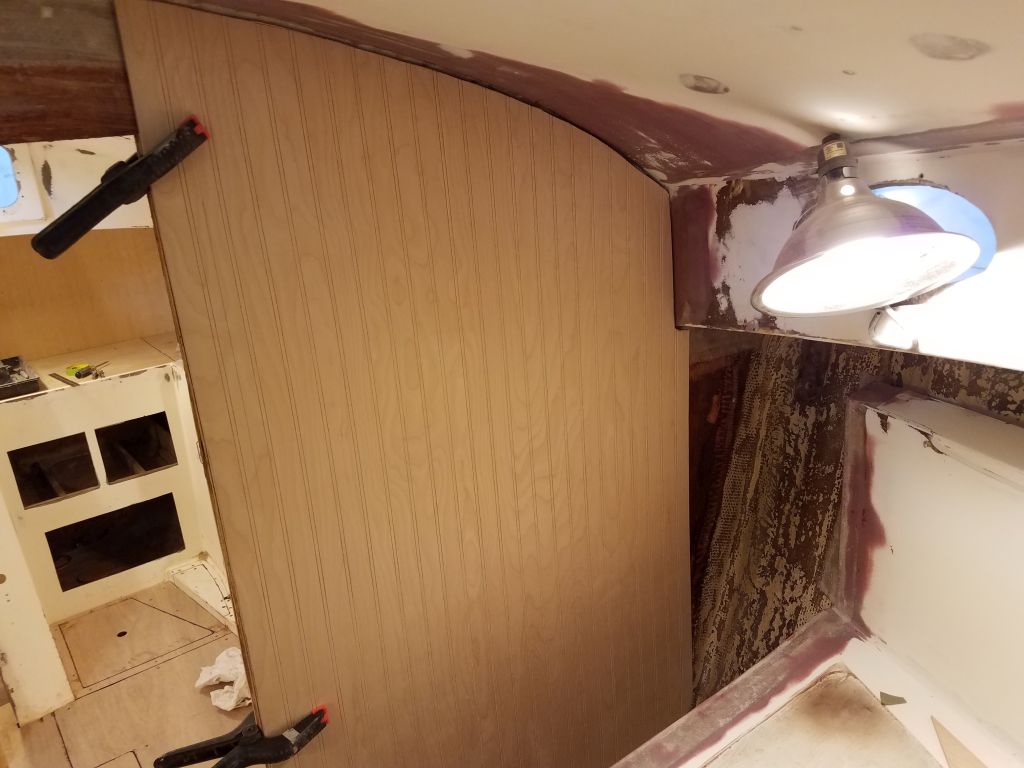
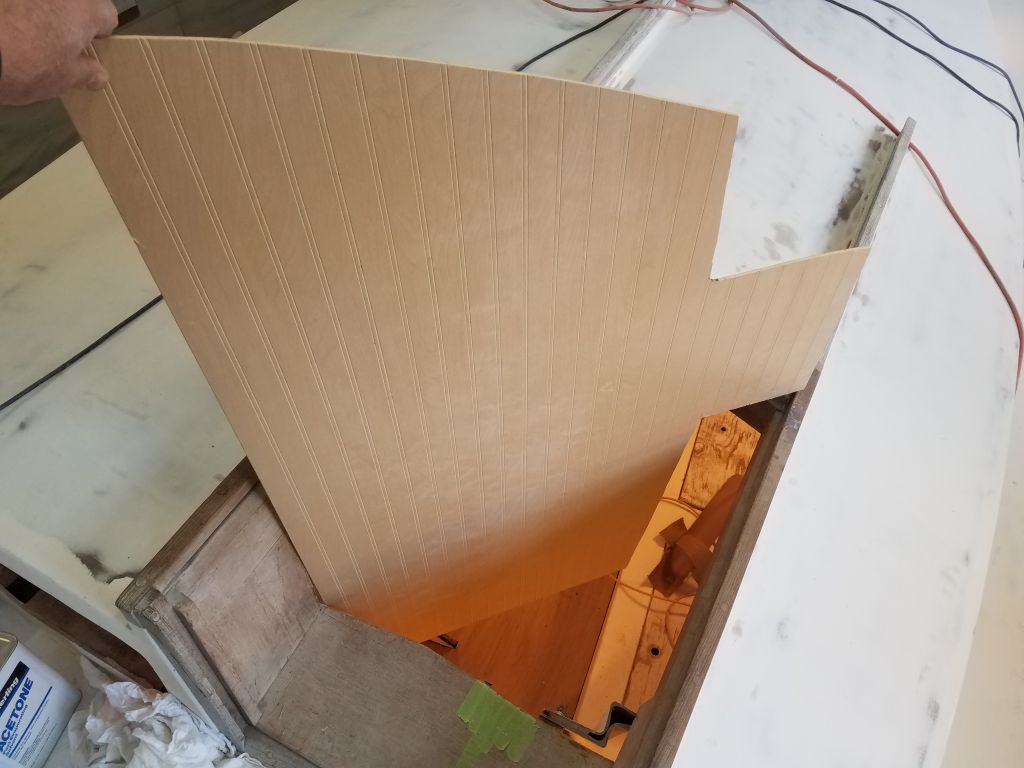
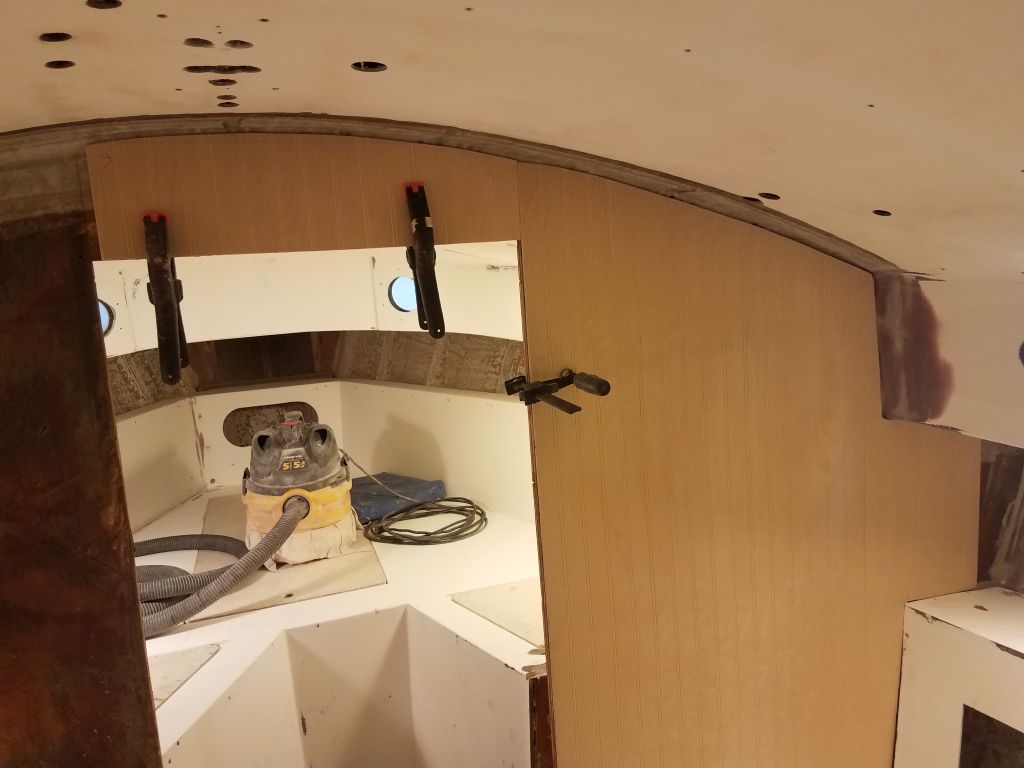
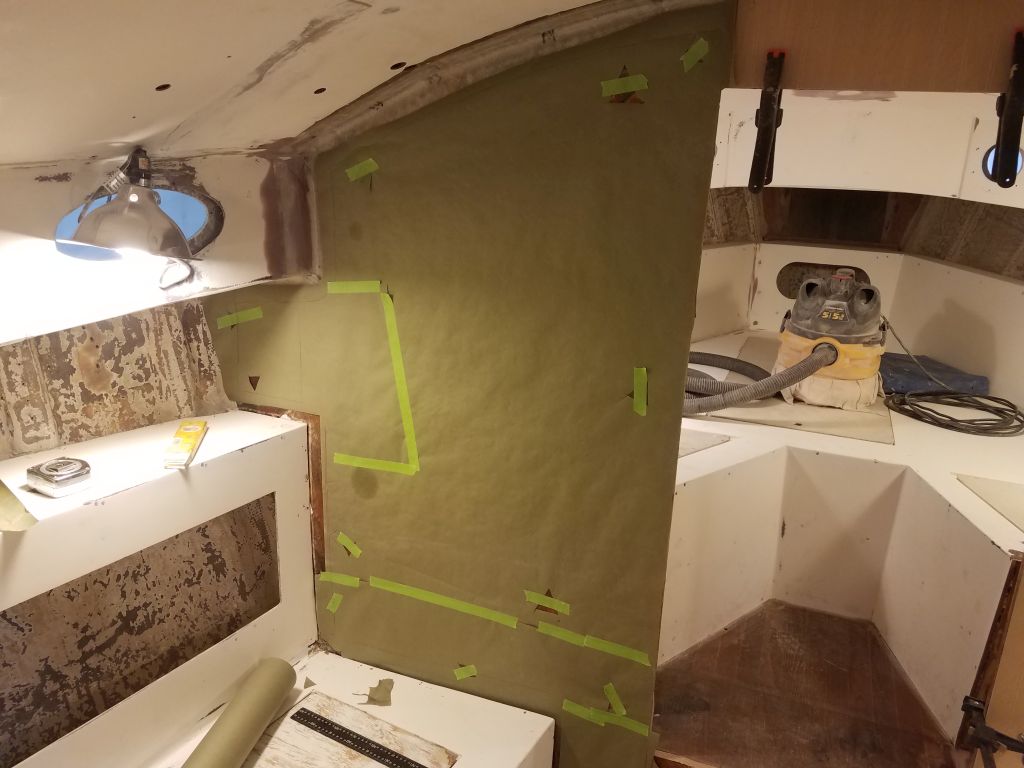
Down in the shop, I unclamped the edge banding I’d installed on the face panels of the new upper cabinets in the saloon, and trimmed the top and bottom flush and shaped as needed so I could test-fit once again. I’d left the solid cherry edge a bit wider than it needed to be so I could mark it exactly to the aft bulkhead and cut to the proper size, which I did now. Then, I rounded the outer edge and sanded the panels and edges smooth.
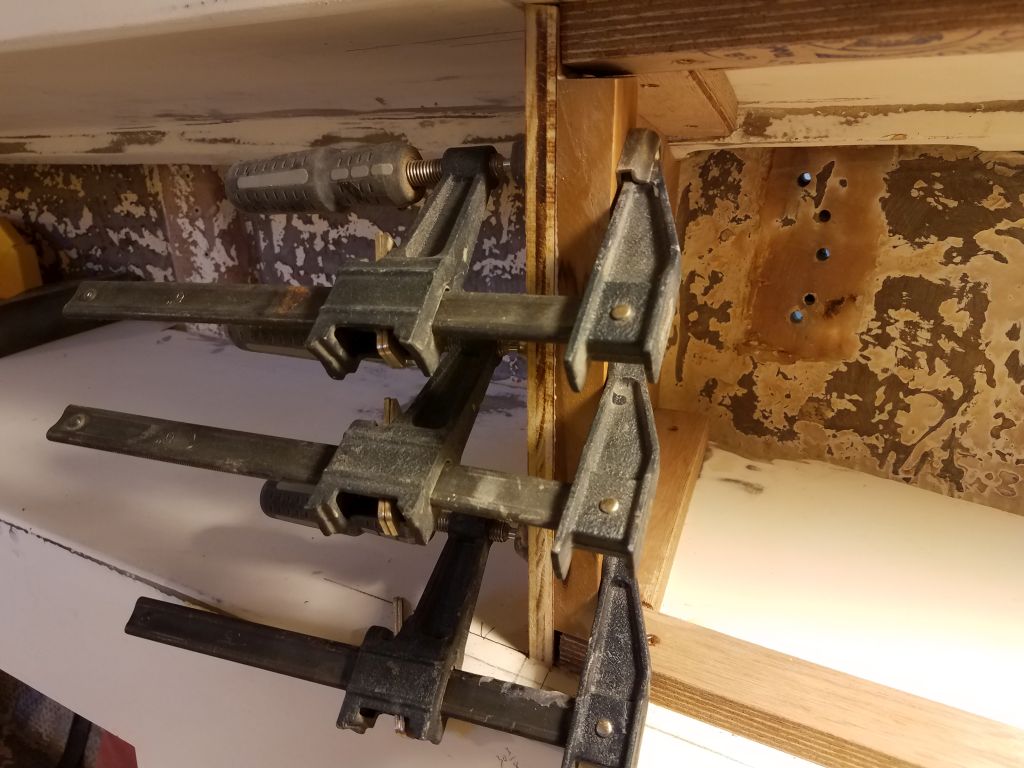
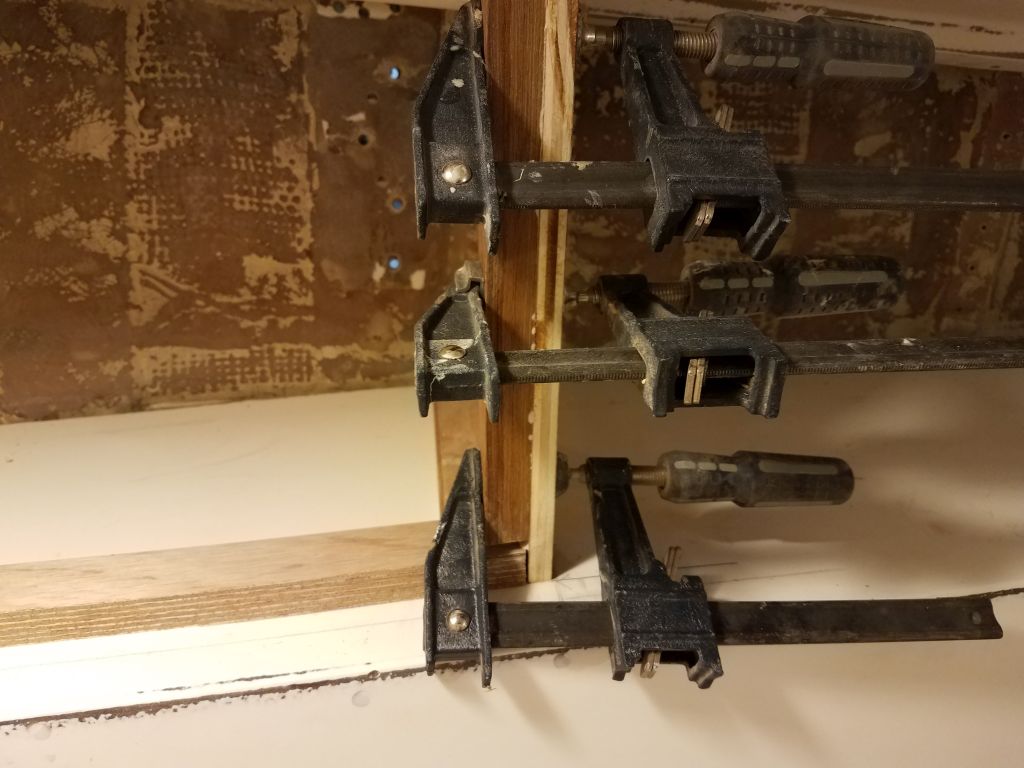
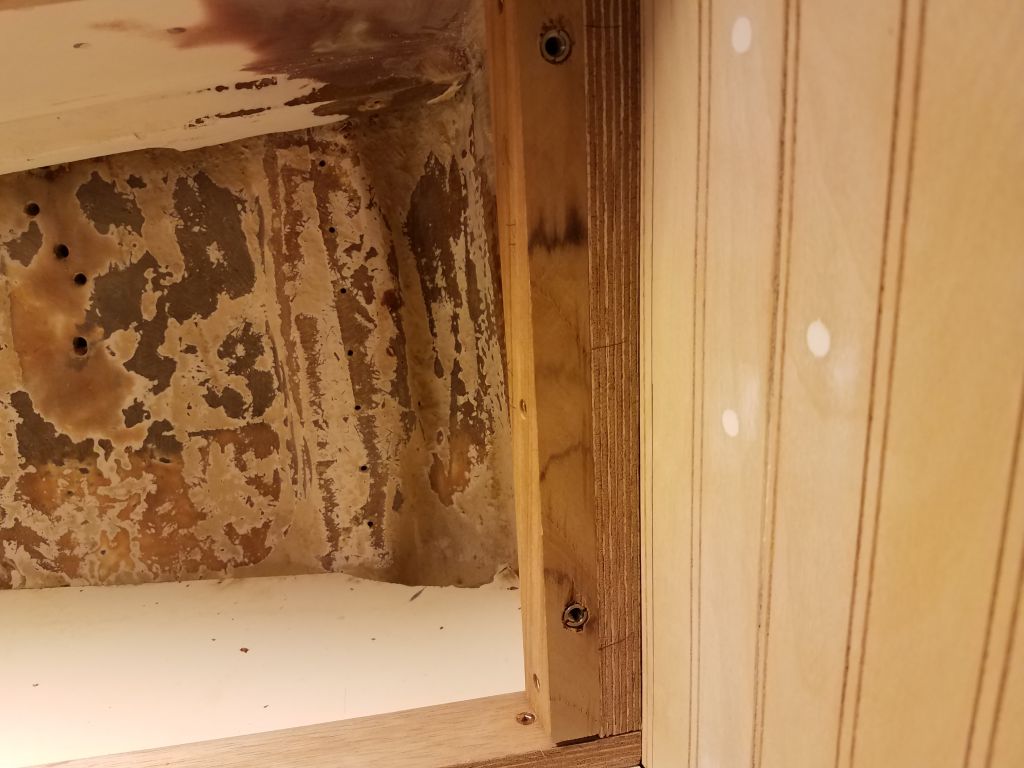
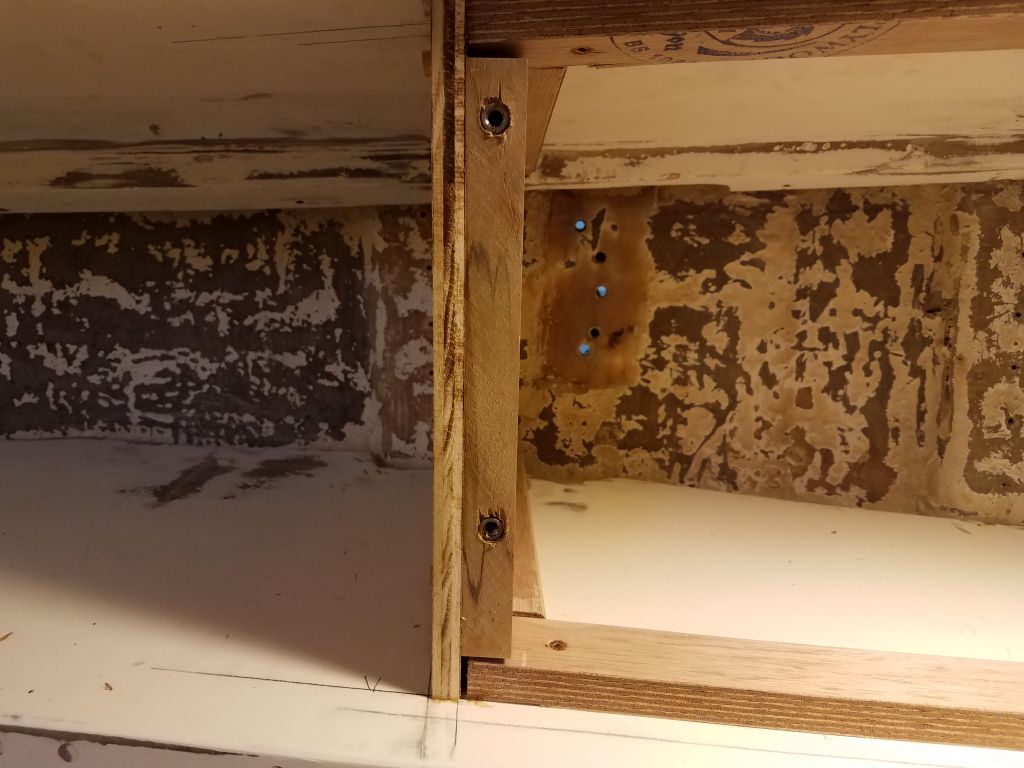
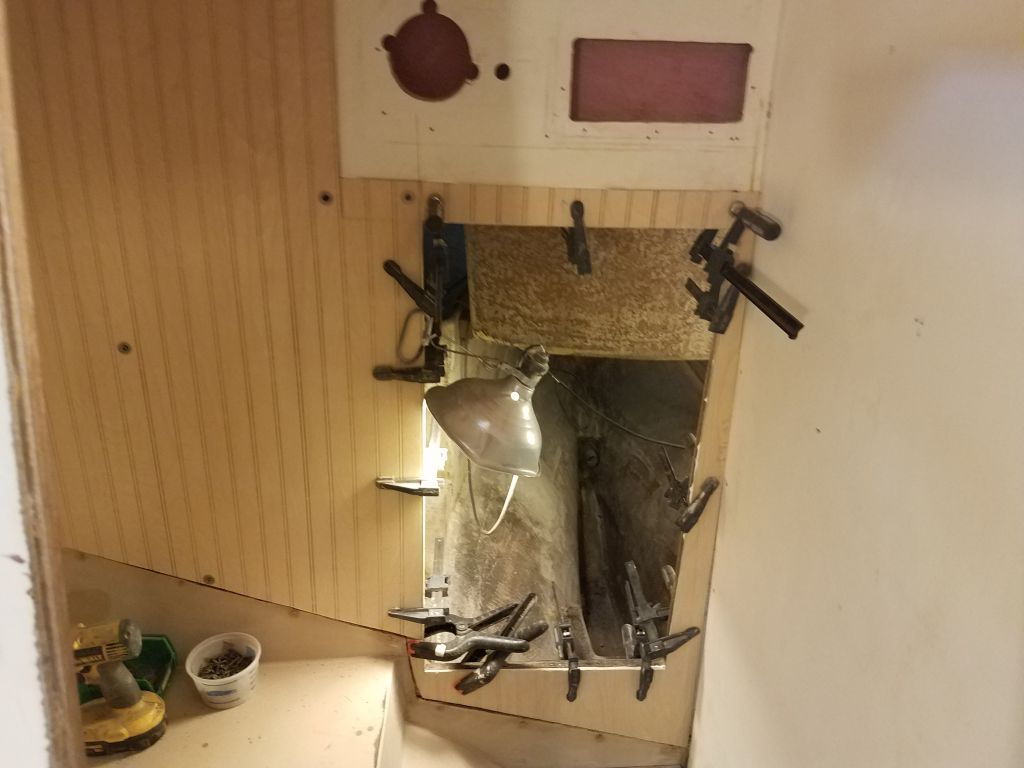
To secure the panels but allow for easy removal for electrical access and the like, I planned knurled hand fasteners and threaded inserts. To give me a place to install the inserts securely, I added teak cleats inside the opening, at the forward and after ends. I secured the forward cleats to the existing plywood cleats with screws, but at the aft end I glued and clamped the cleats in place to avoid fasteners through the cherry bulkhead.
While I had the glue out, I installed cherry bungs in the fastener holes that secured the after sides of the lockers.
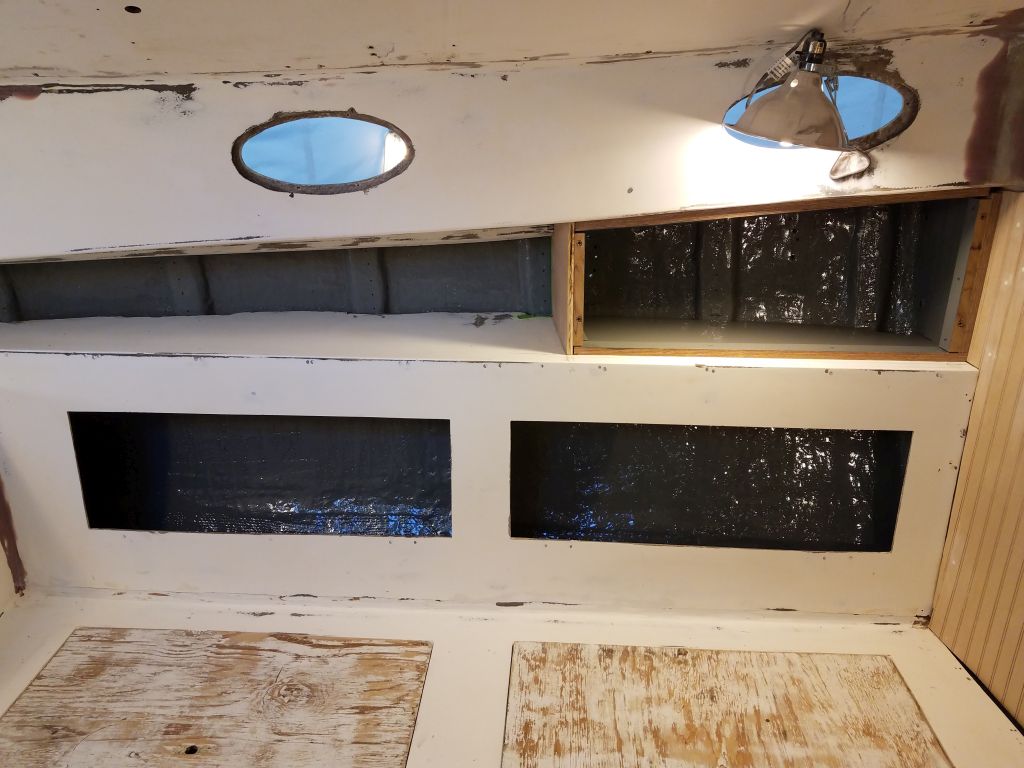
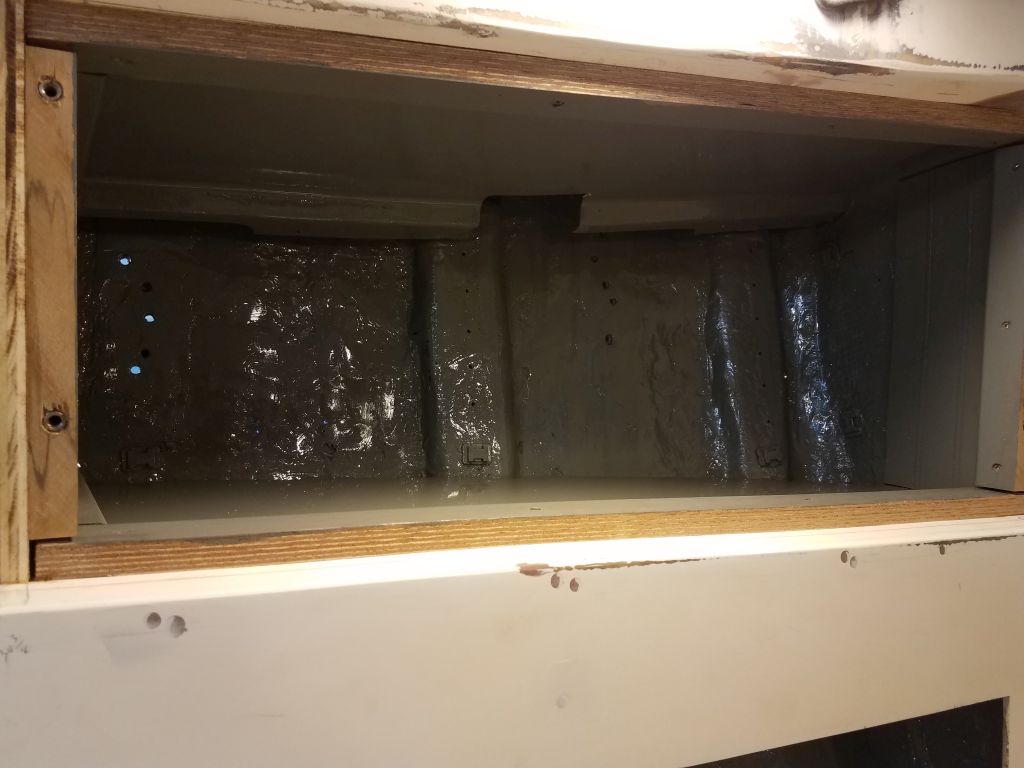
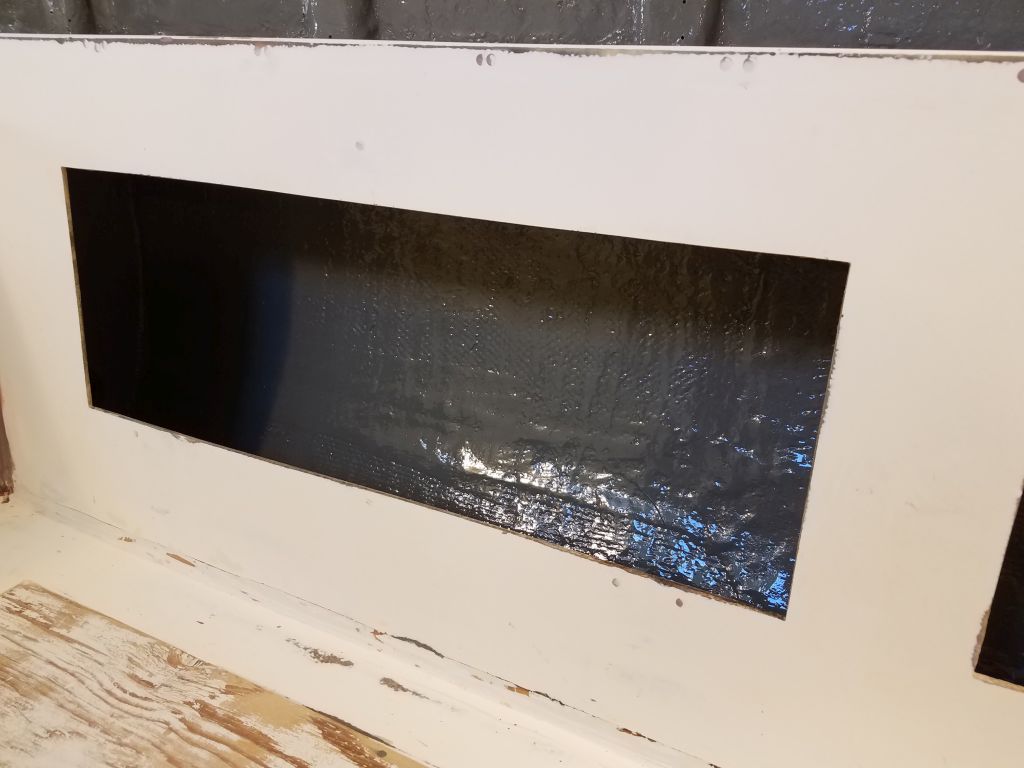
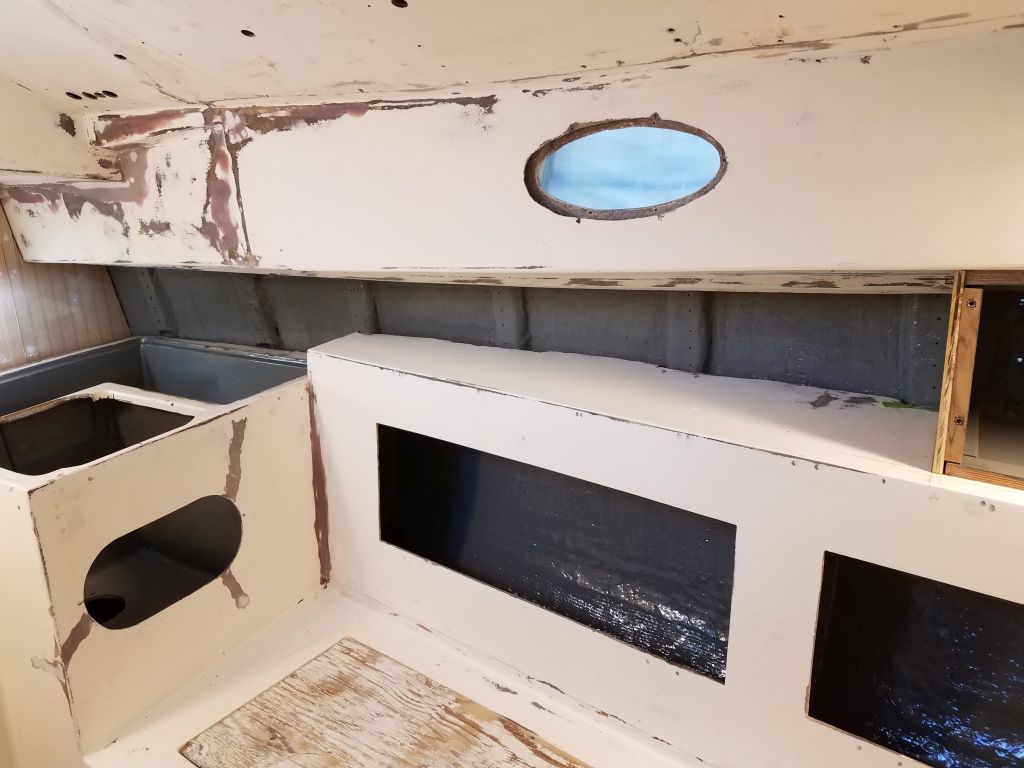
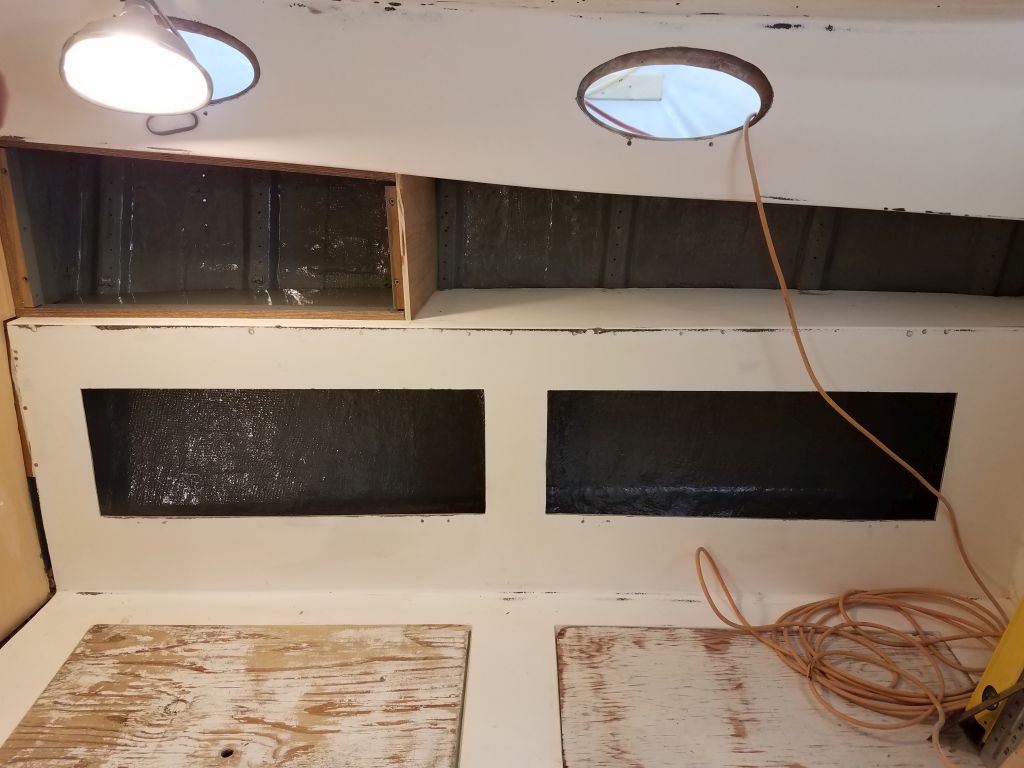
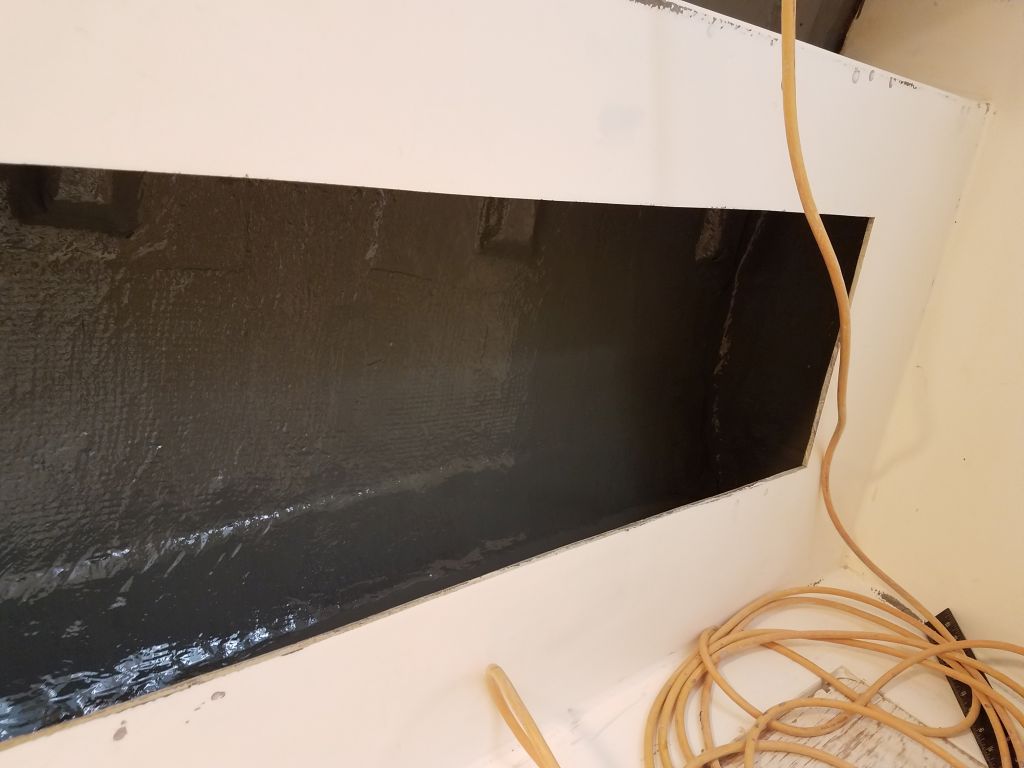
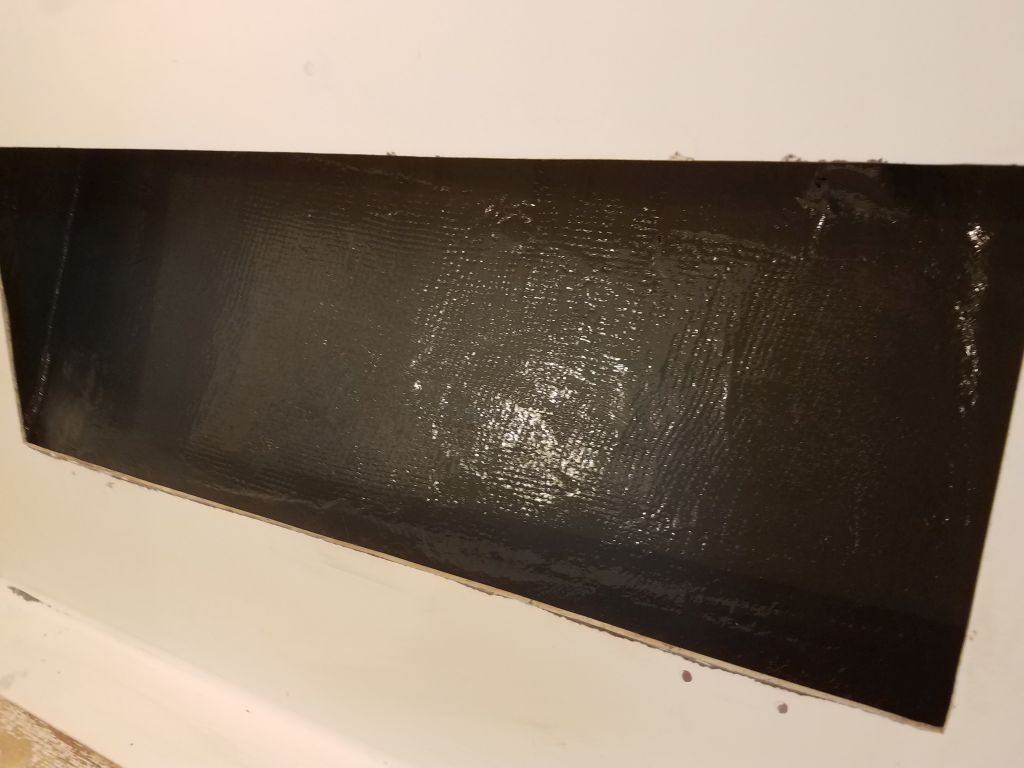
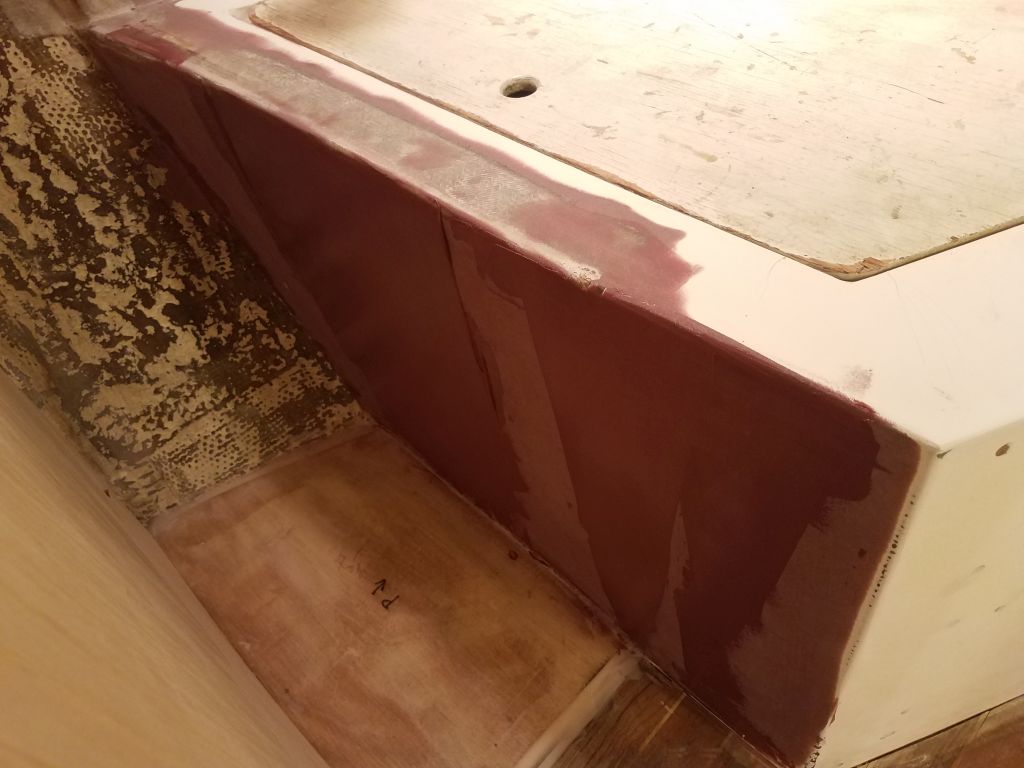
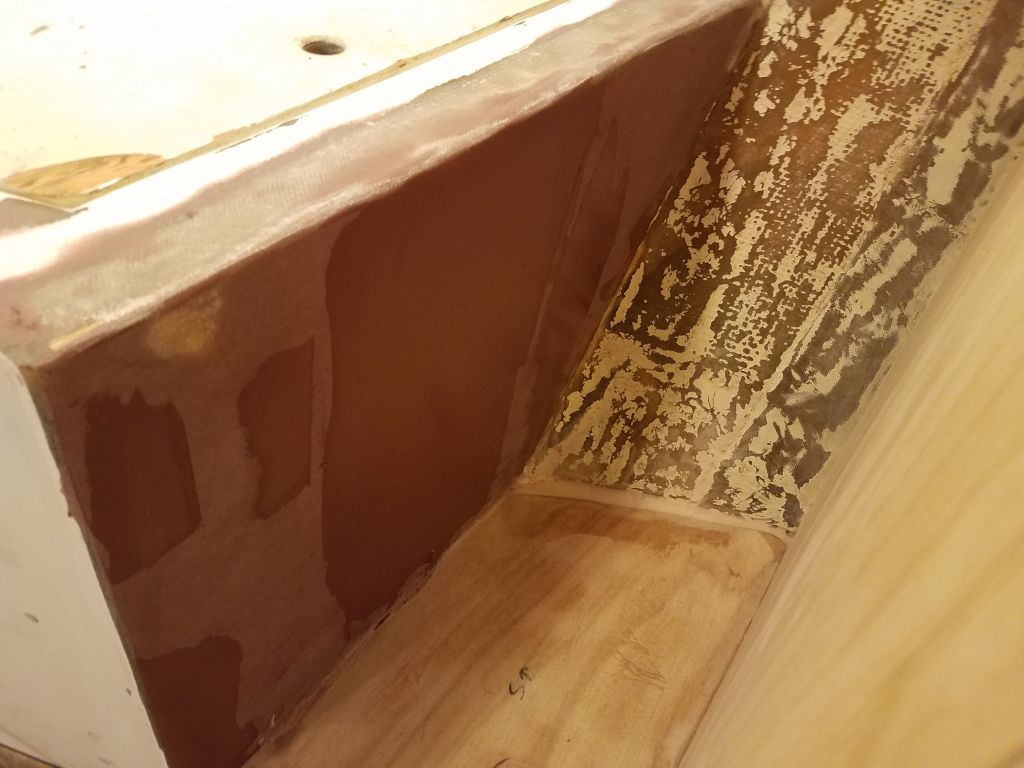
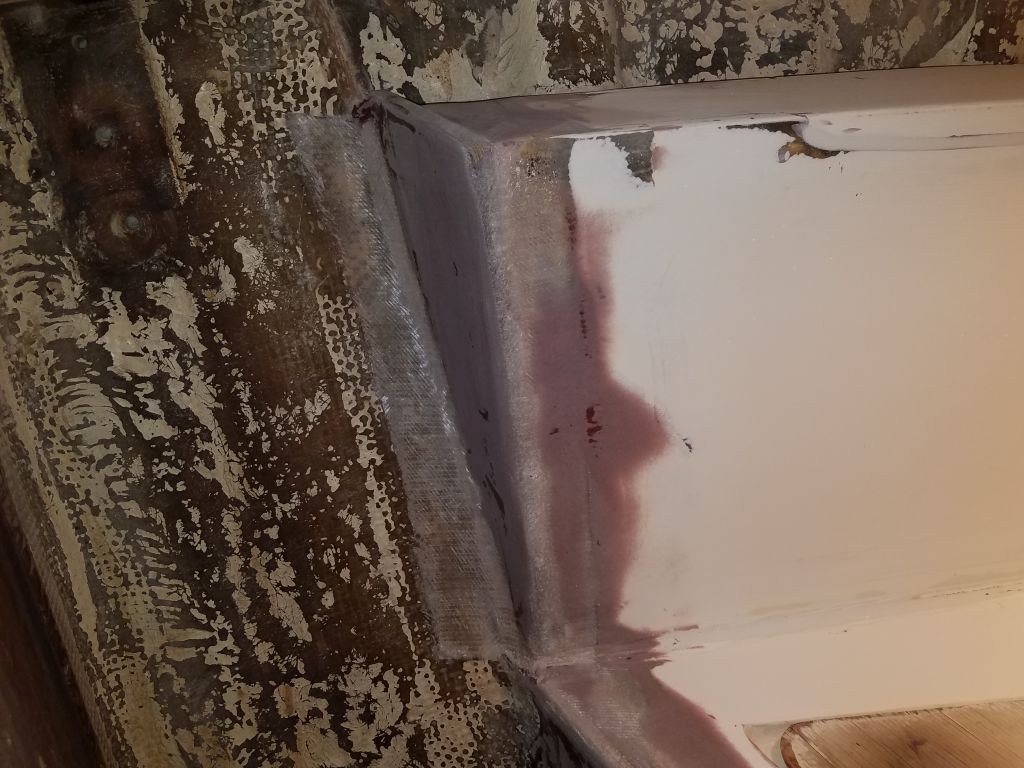
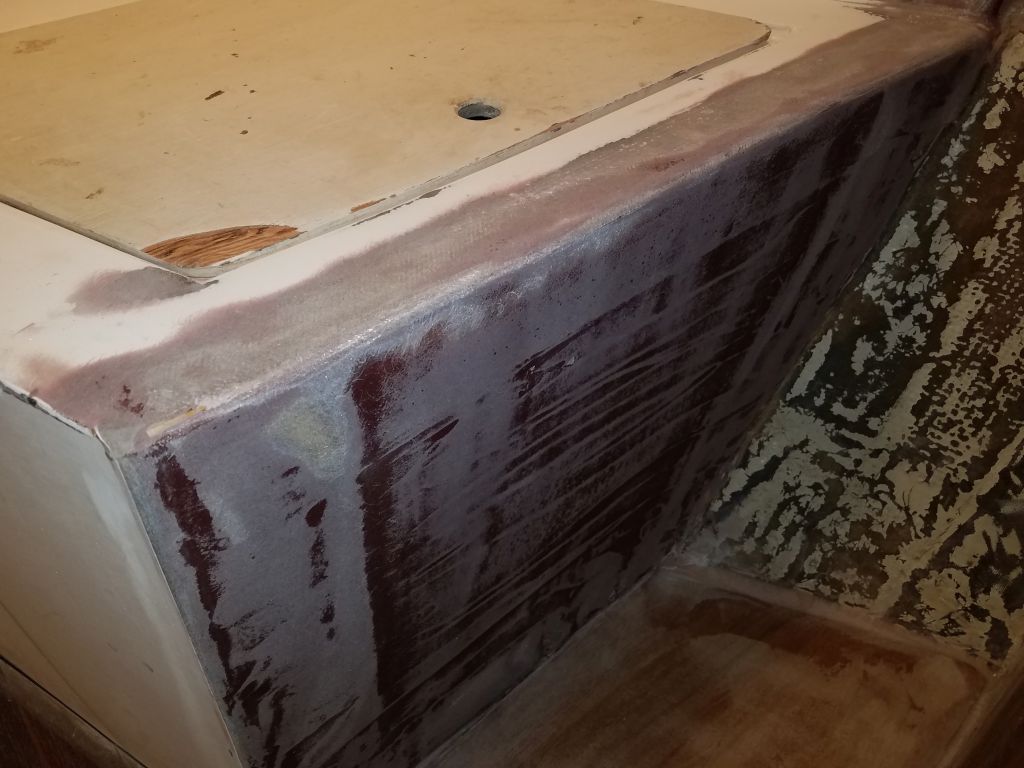
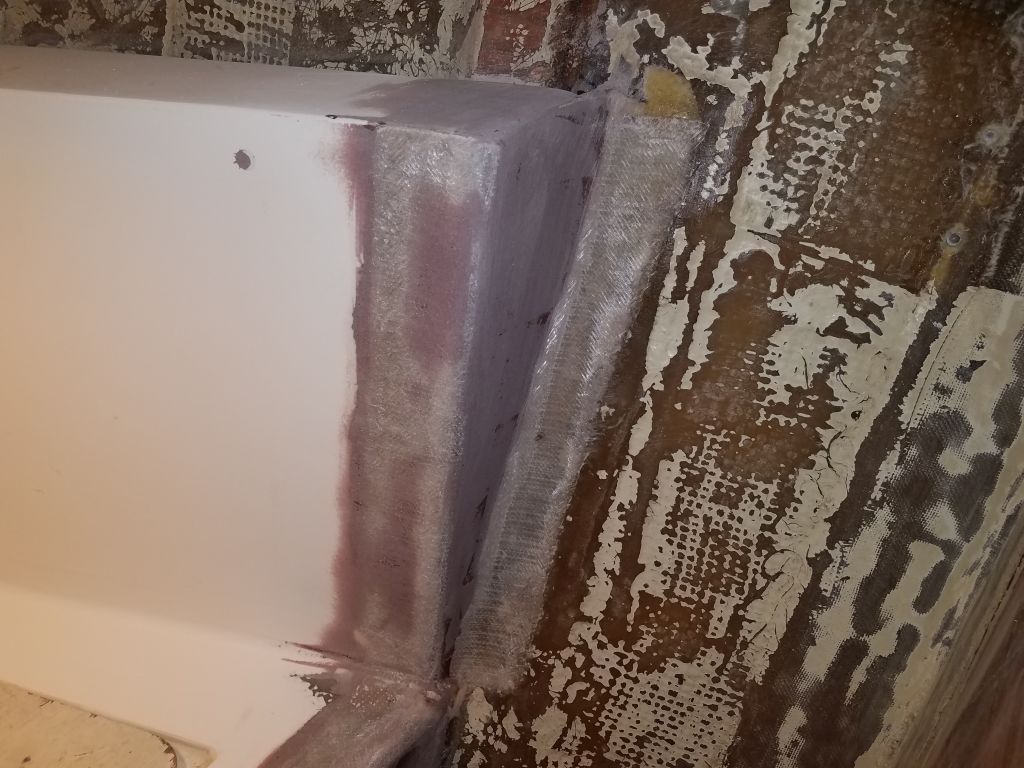
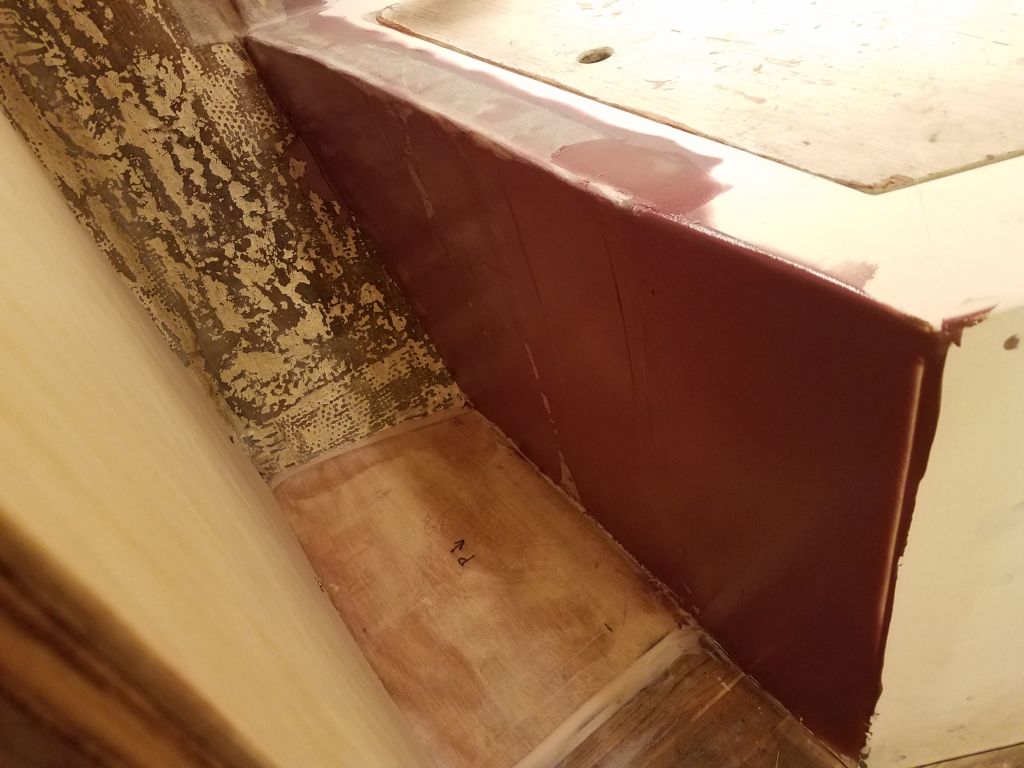
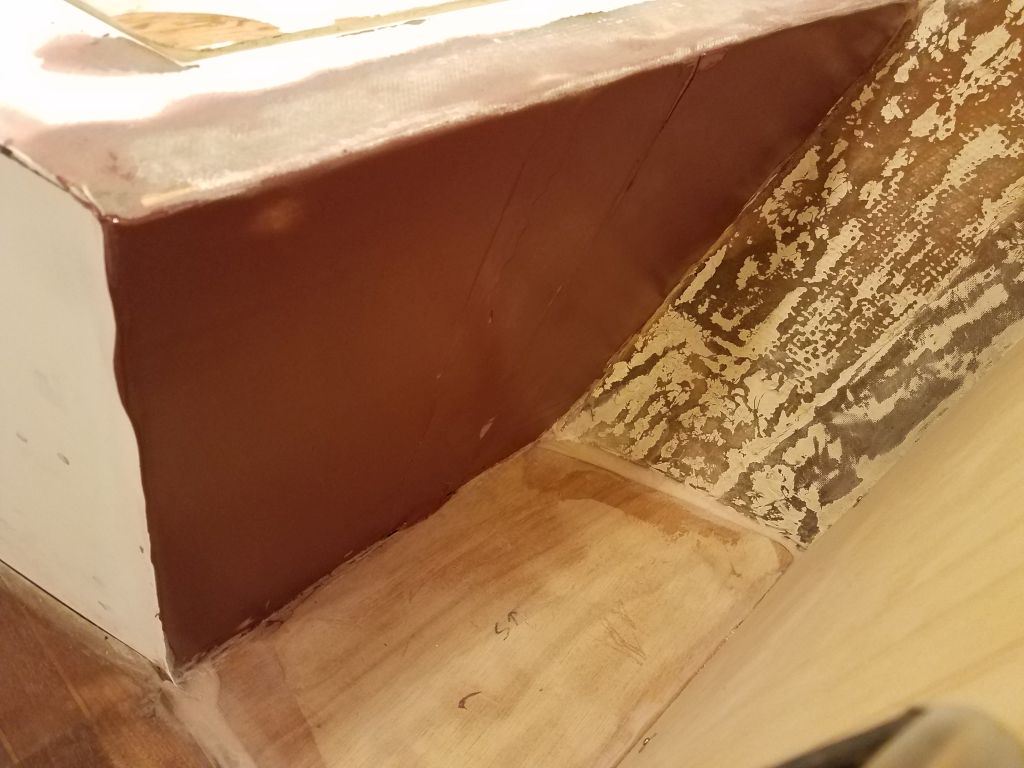
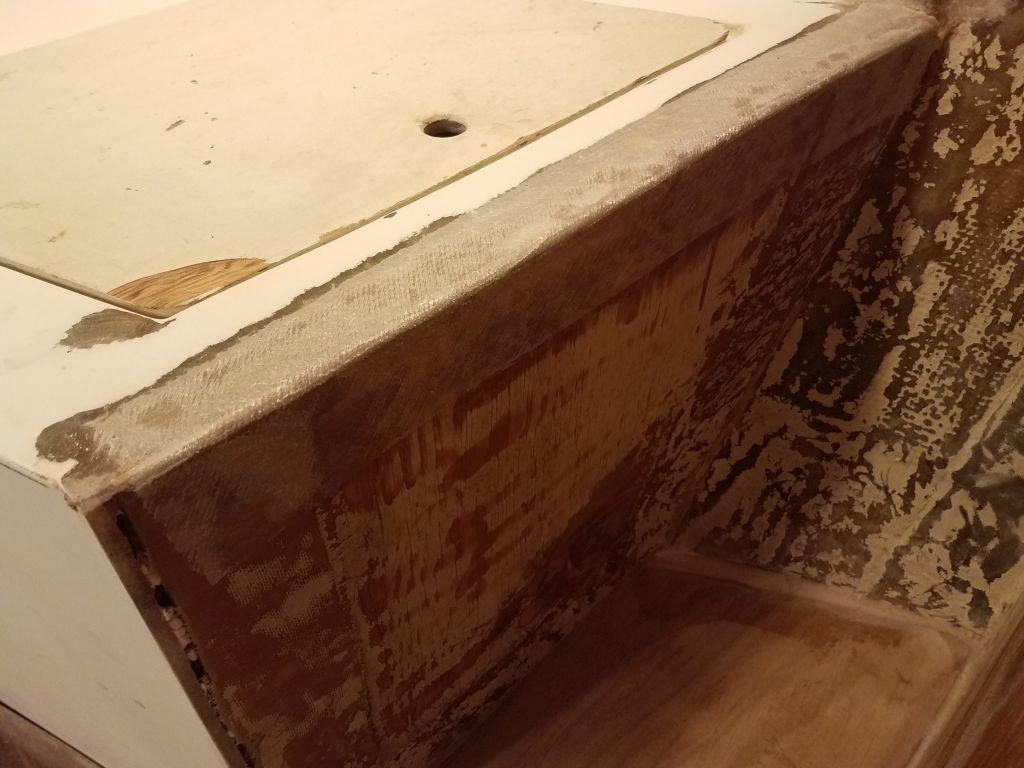
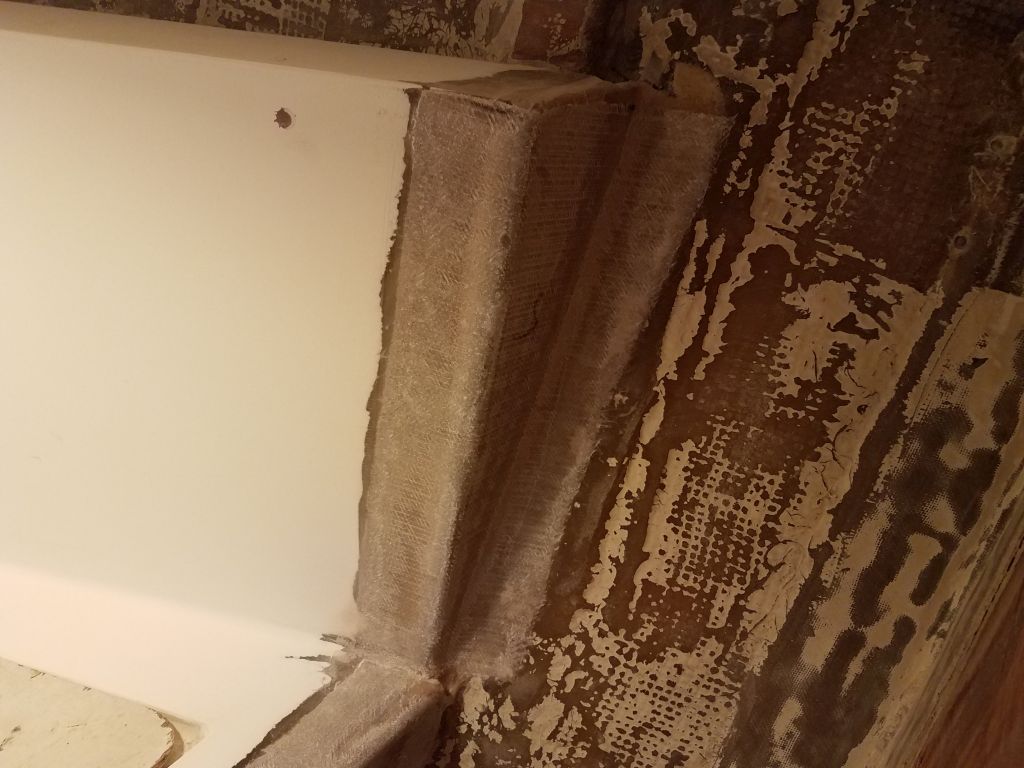
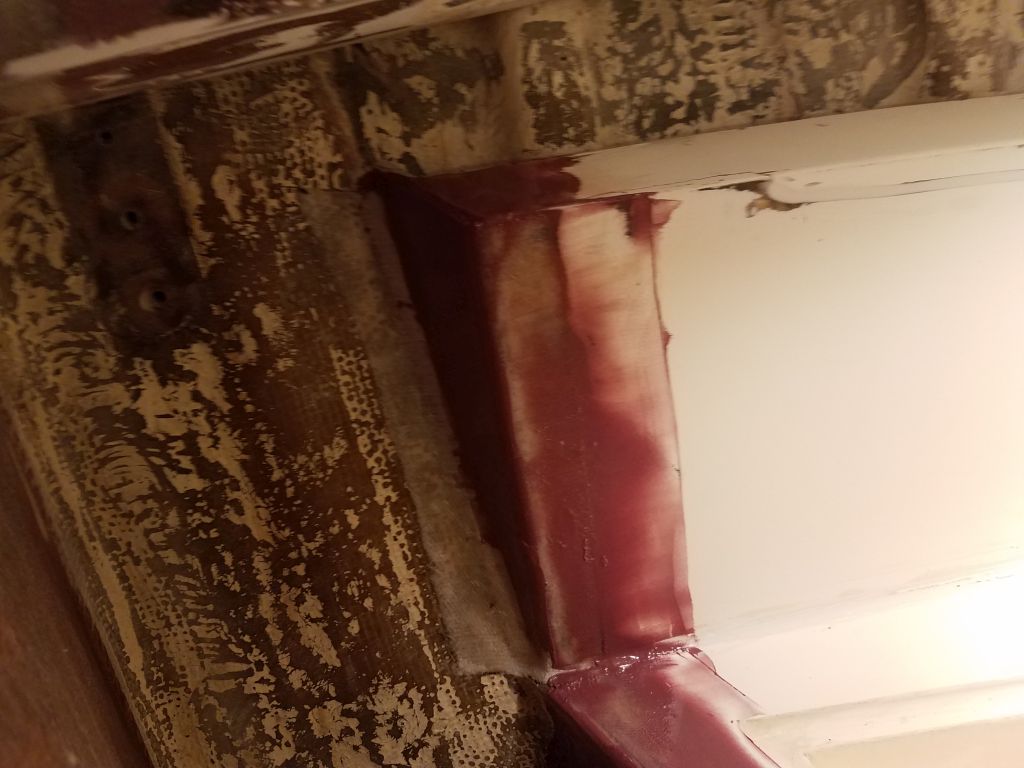
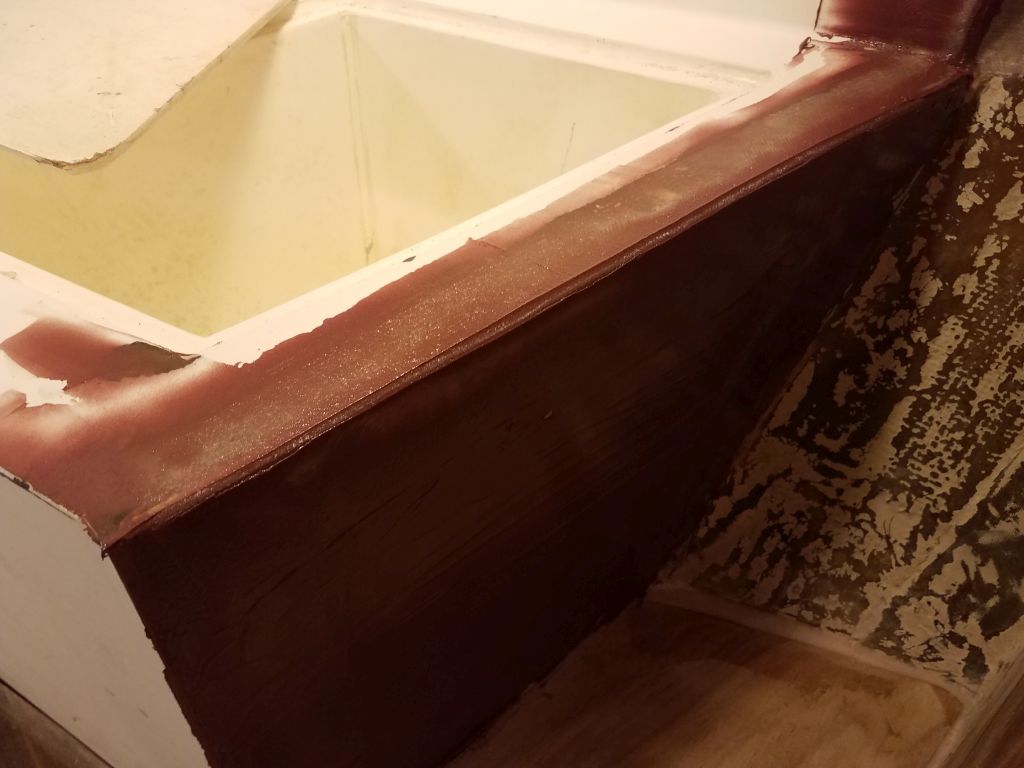
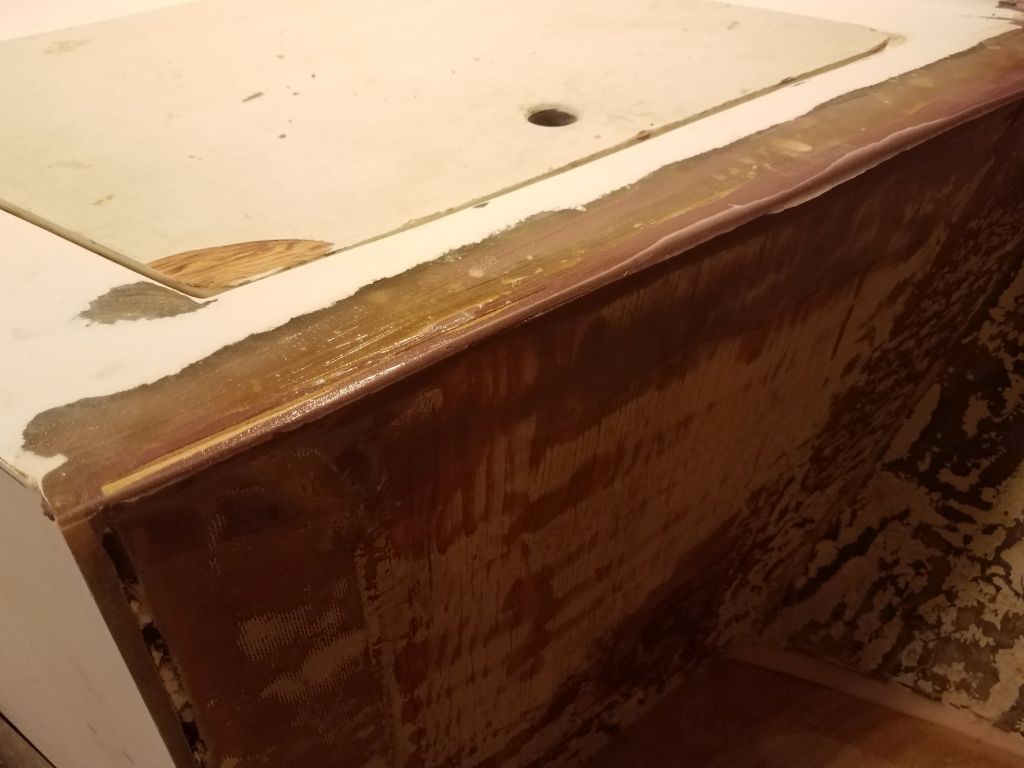
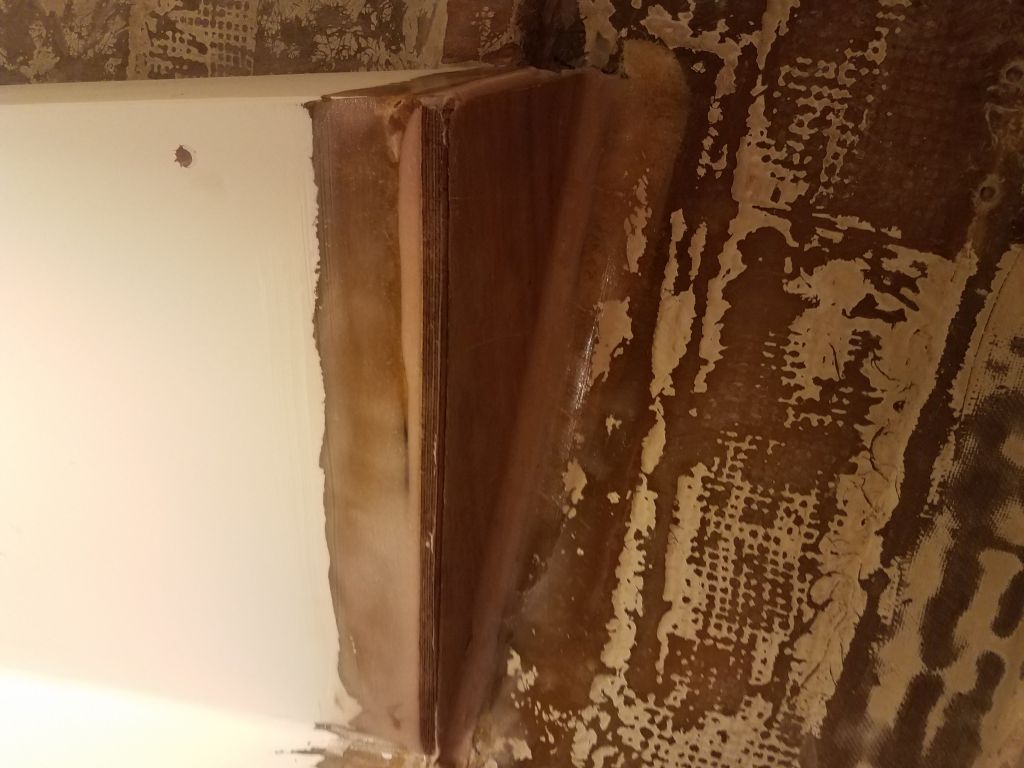
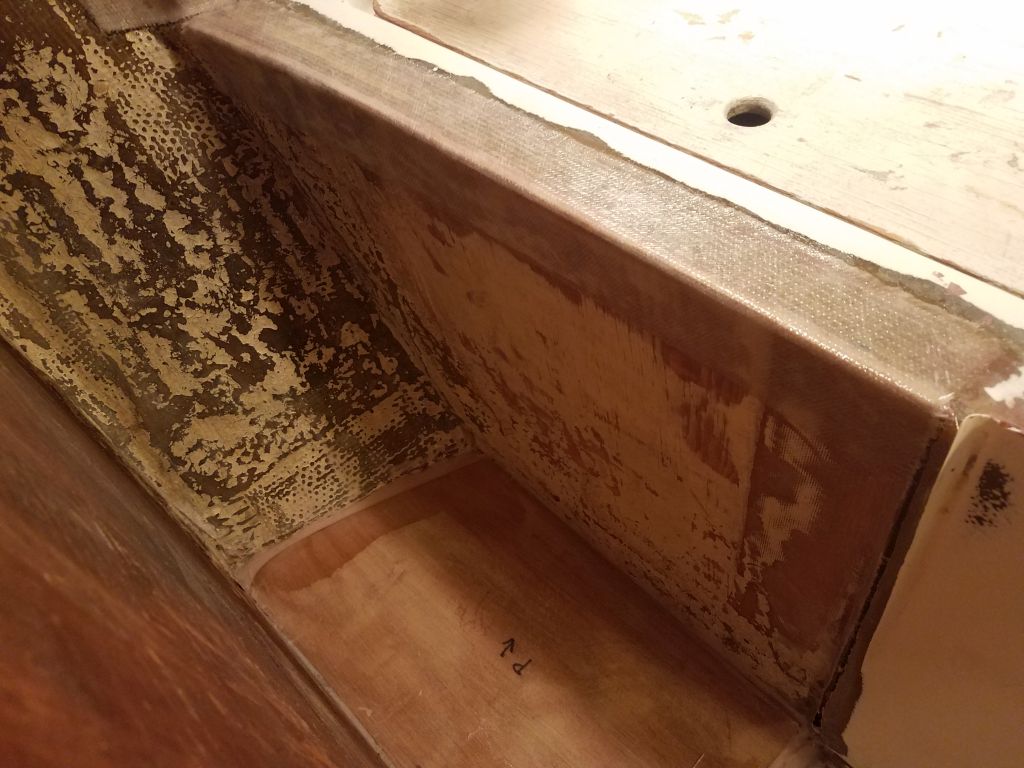
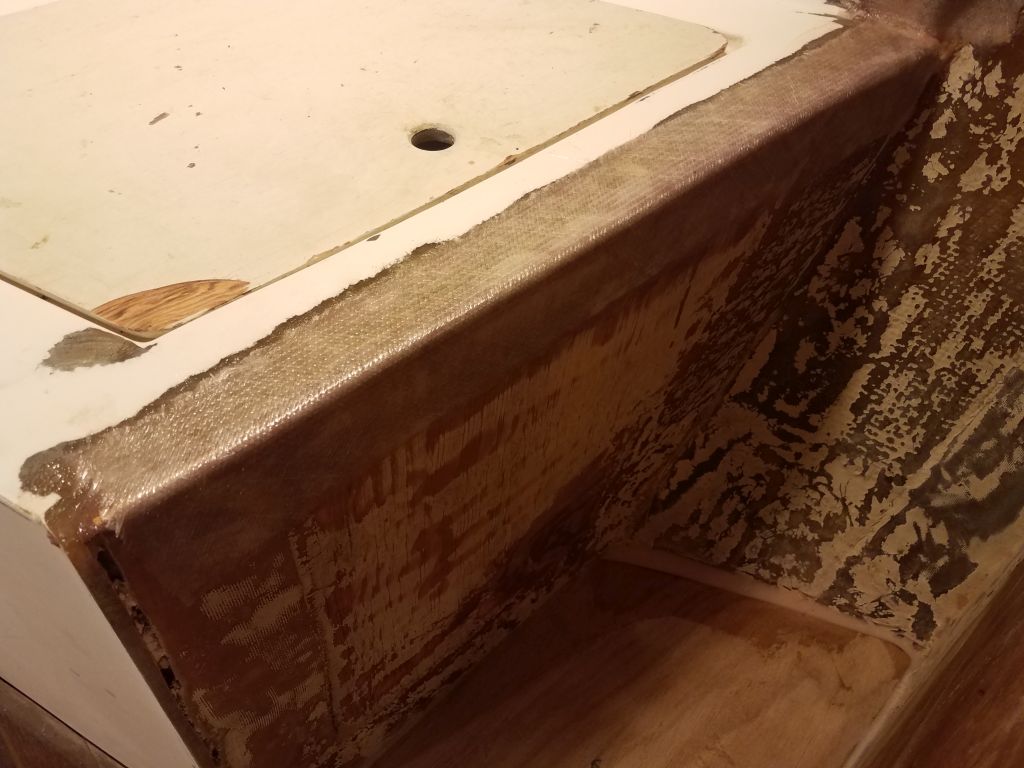
By early afternoon, I was ready for some more work in the forward cabin. On the port side, I added epoxy fillets to the new cleats, not only adding additional strength to the installation but also easing the transition to the hull for easier fiberglassing later.
The adhesive to starboard wasn’t fully cured enough to allow removal of the braces and blocks, but I felt I could work around the area a bit, so I added fillets in all the available spaces, working around the little glue blocks for now. This meant that next time, I’d be able to simply fill in the missing areas and continue with fiberglassing along with the port side, getting me caught back up with where I wanted to be on this installation.
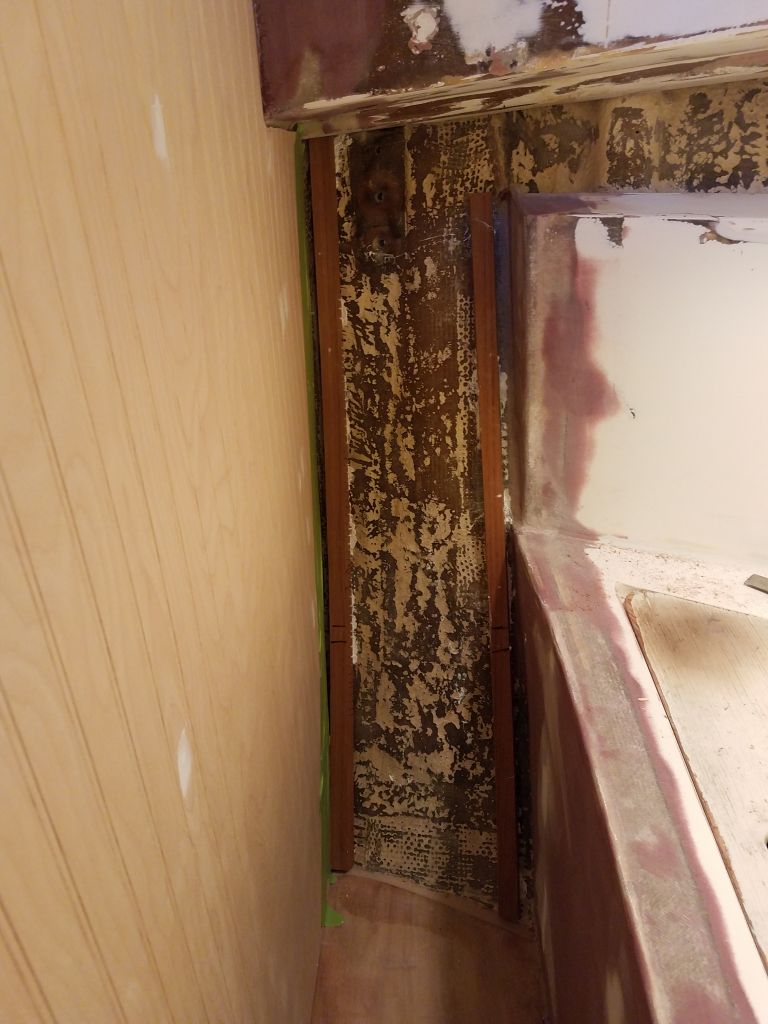
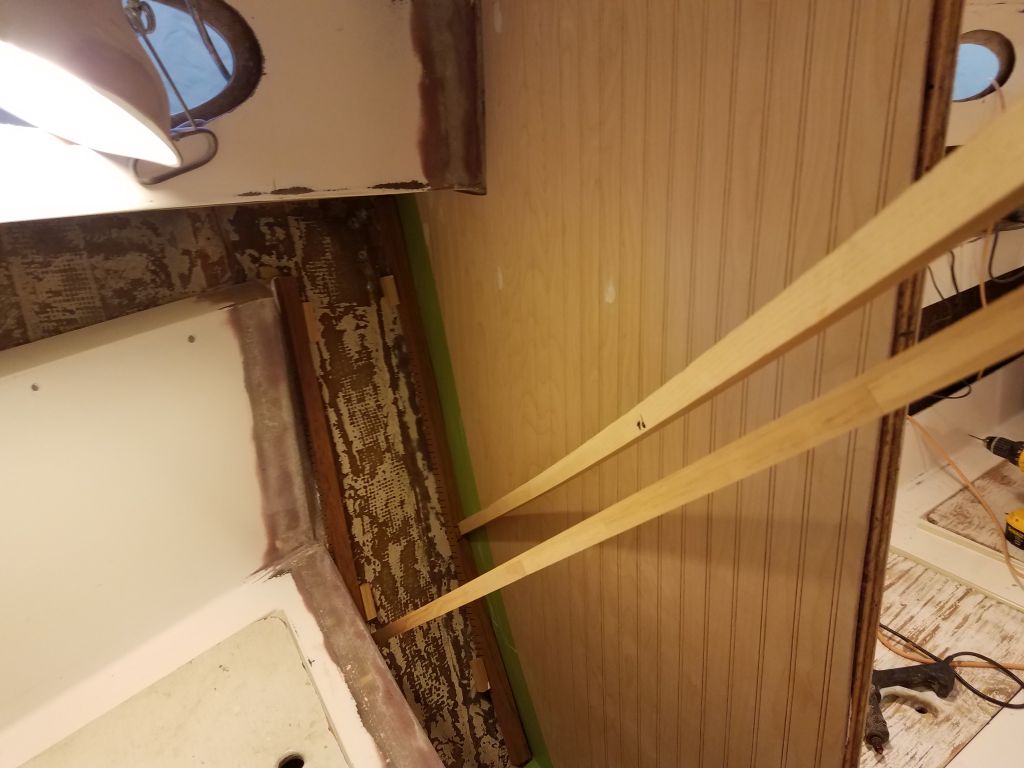
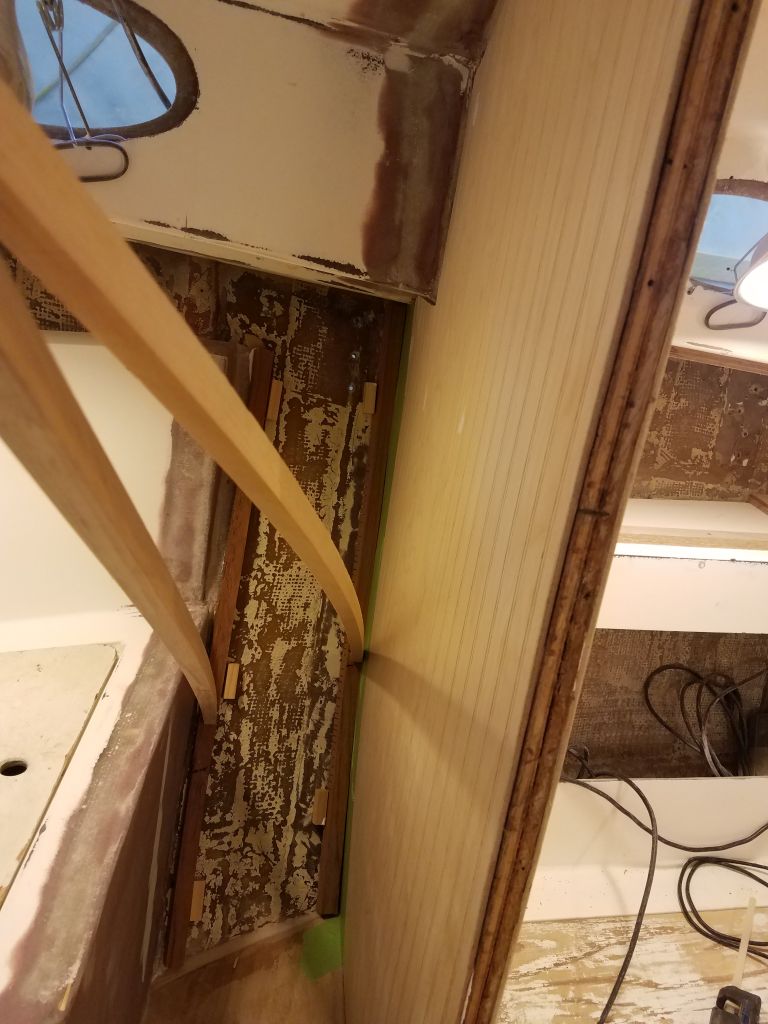
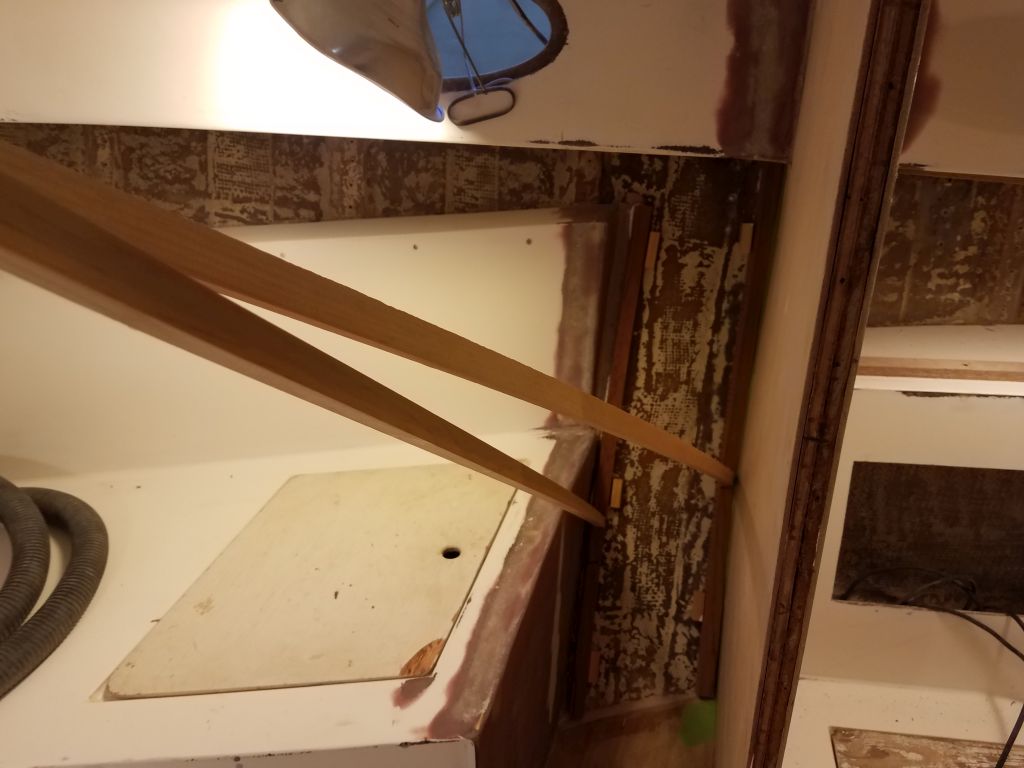
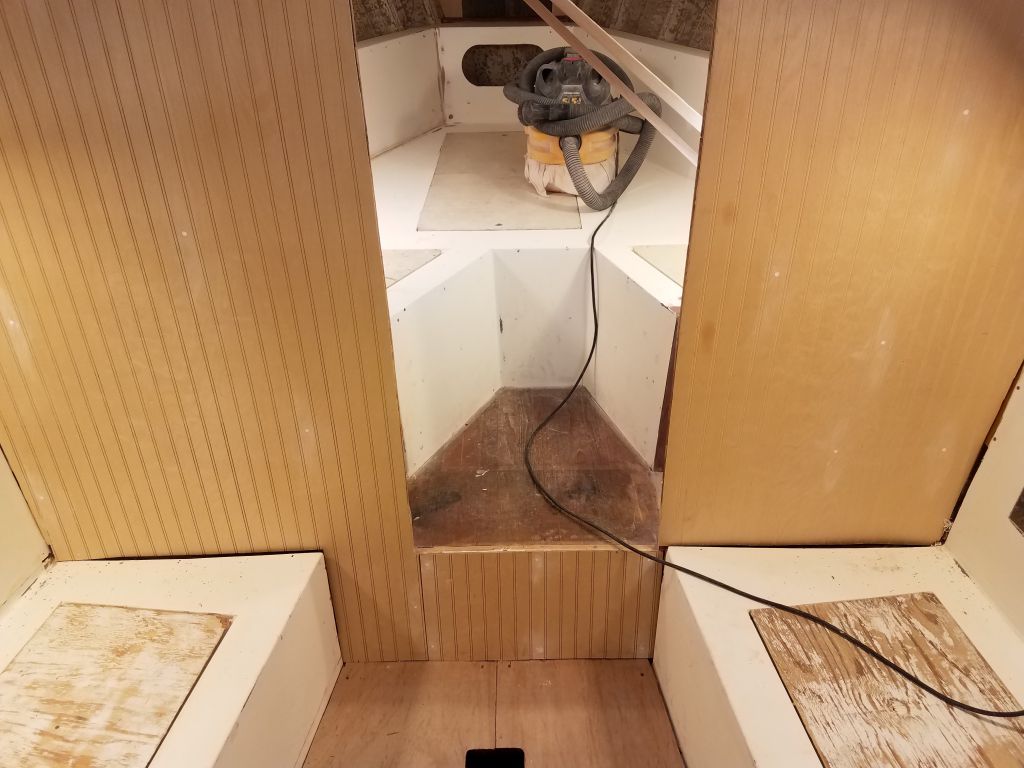
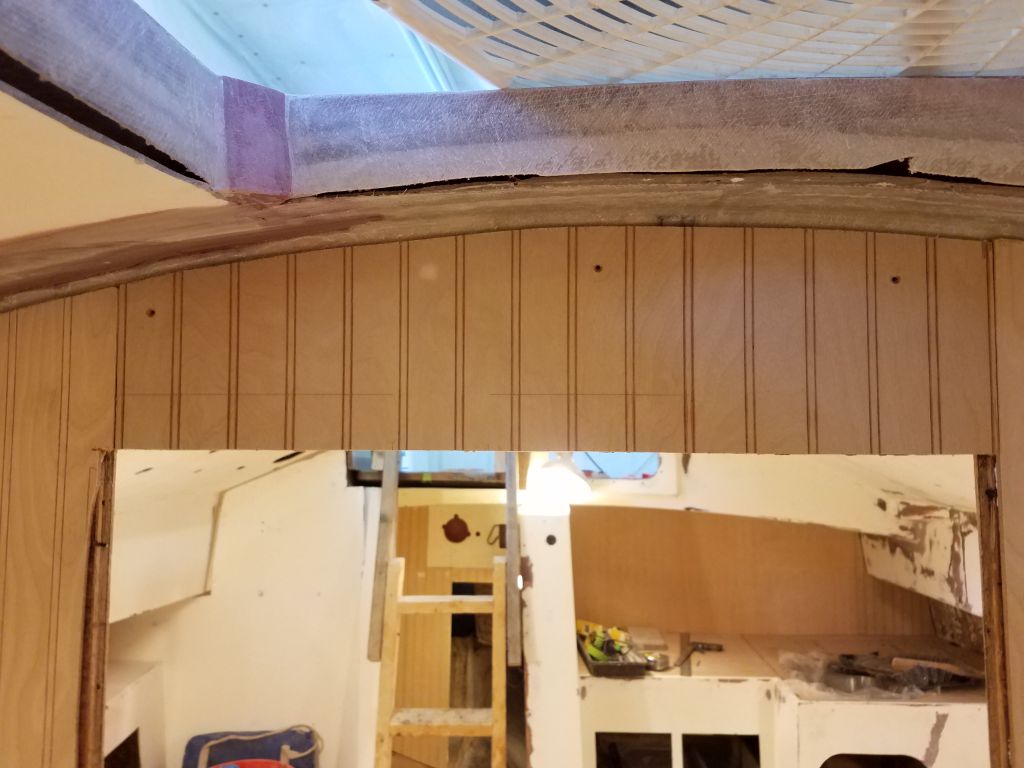
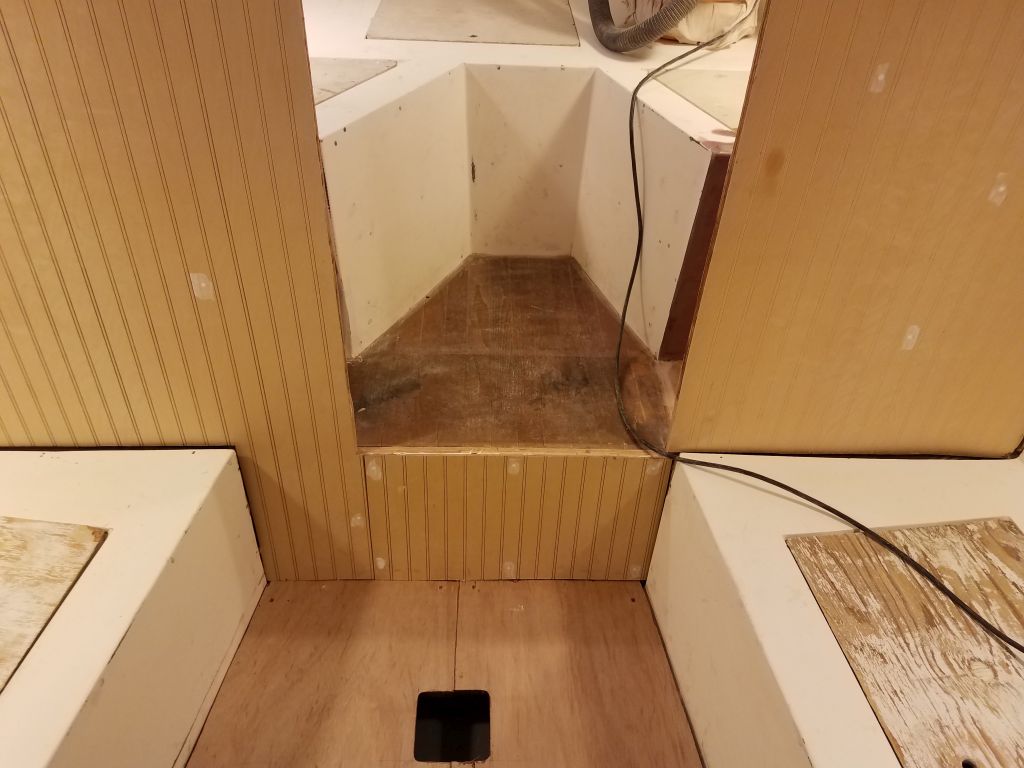
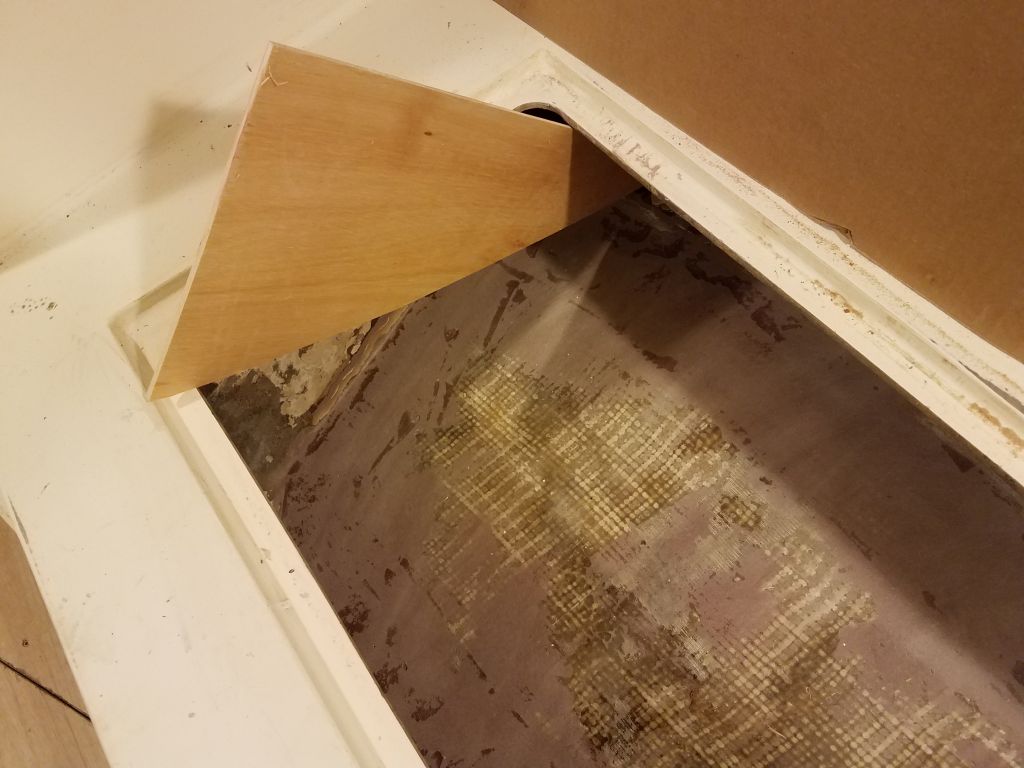
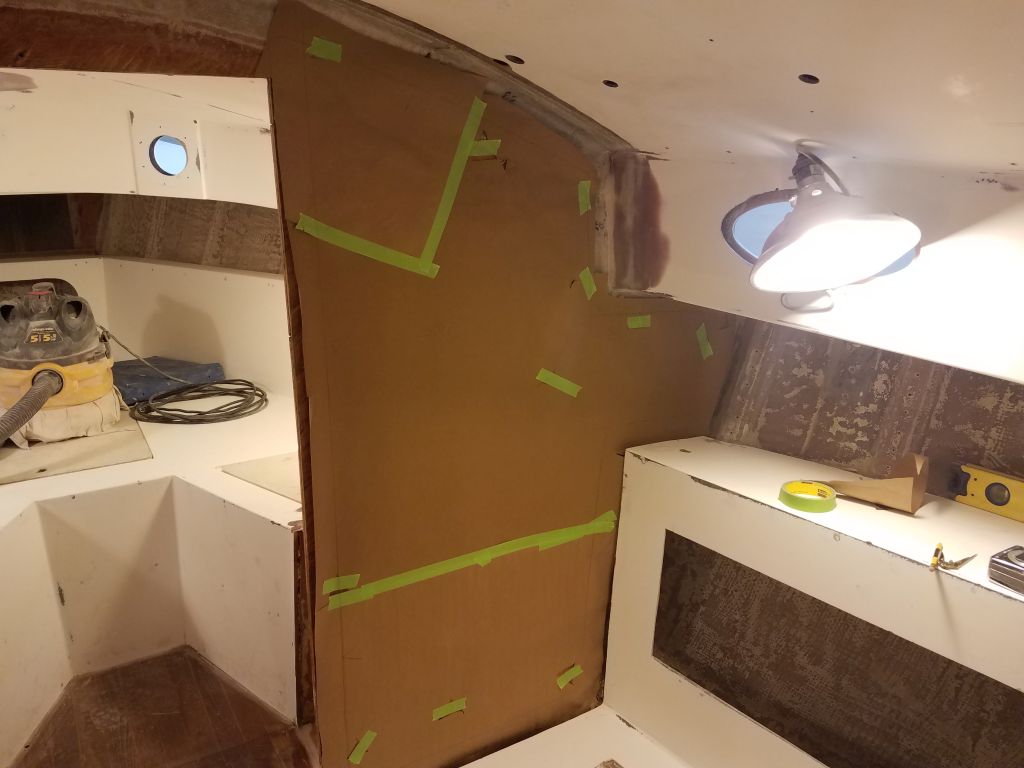
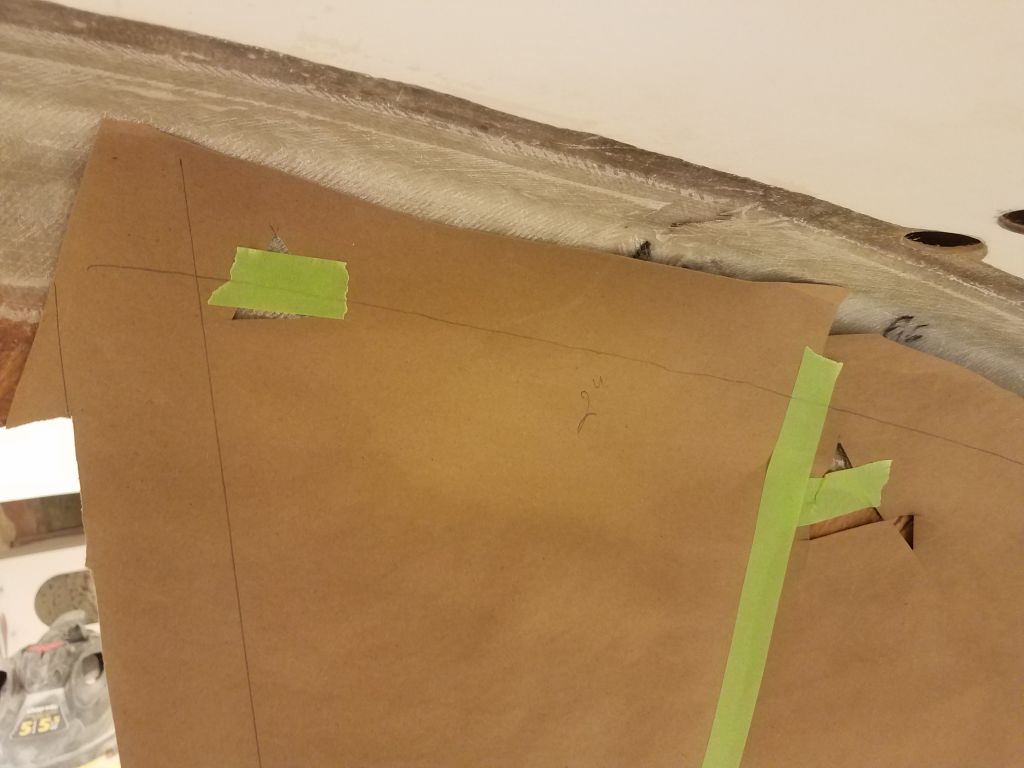
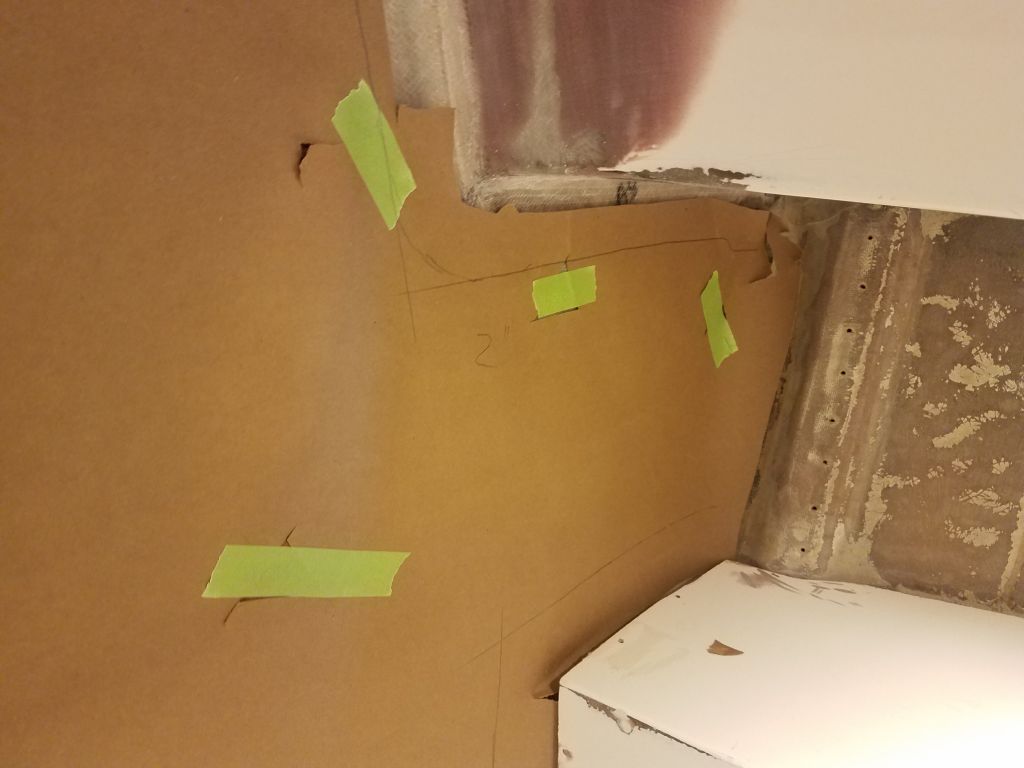
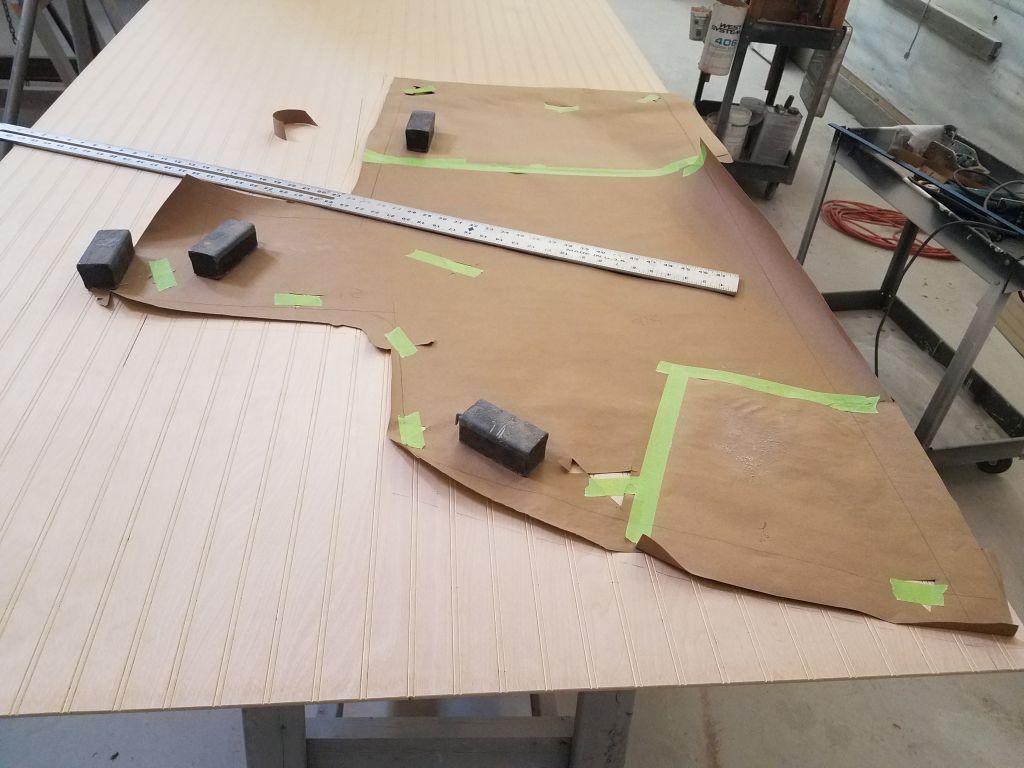
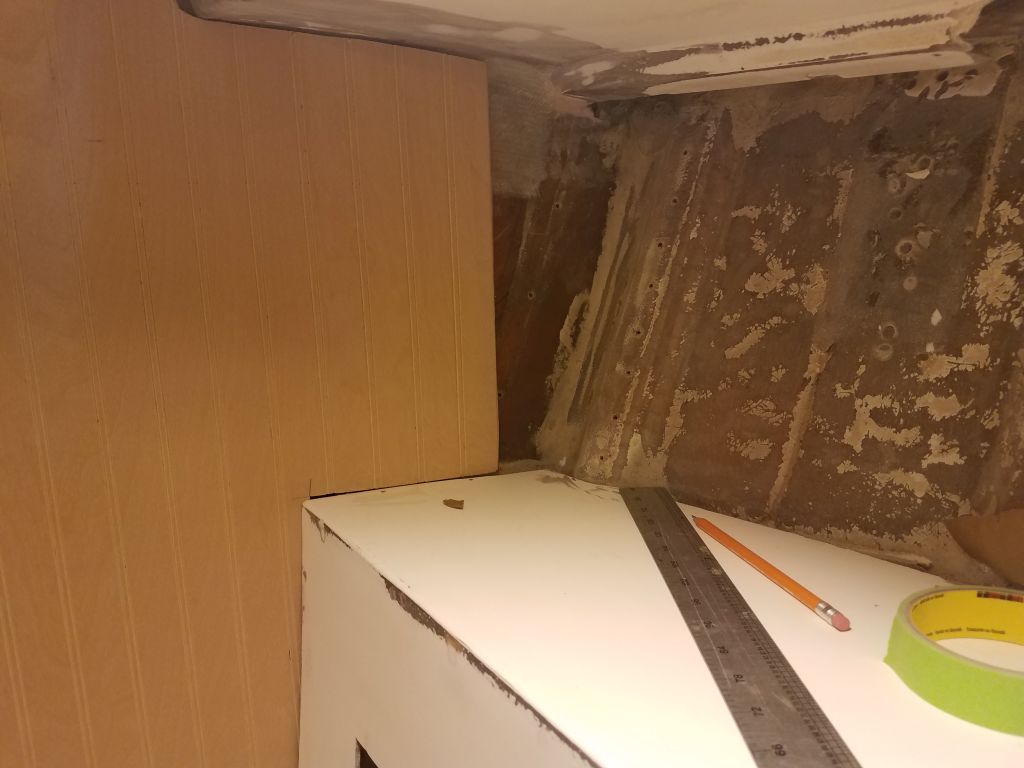
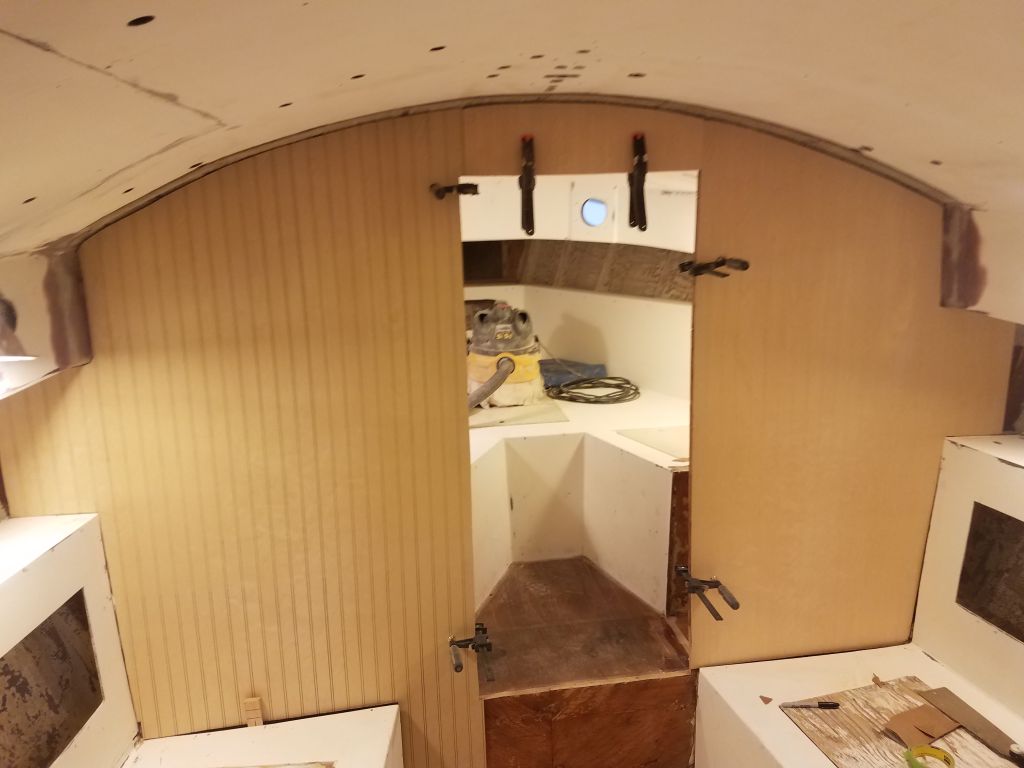
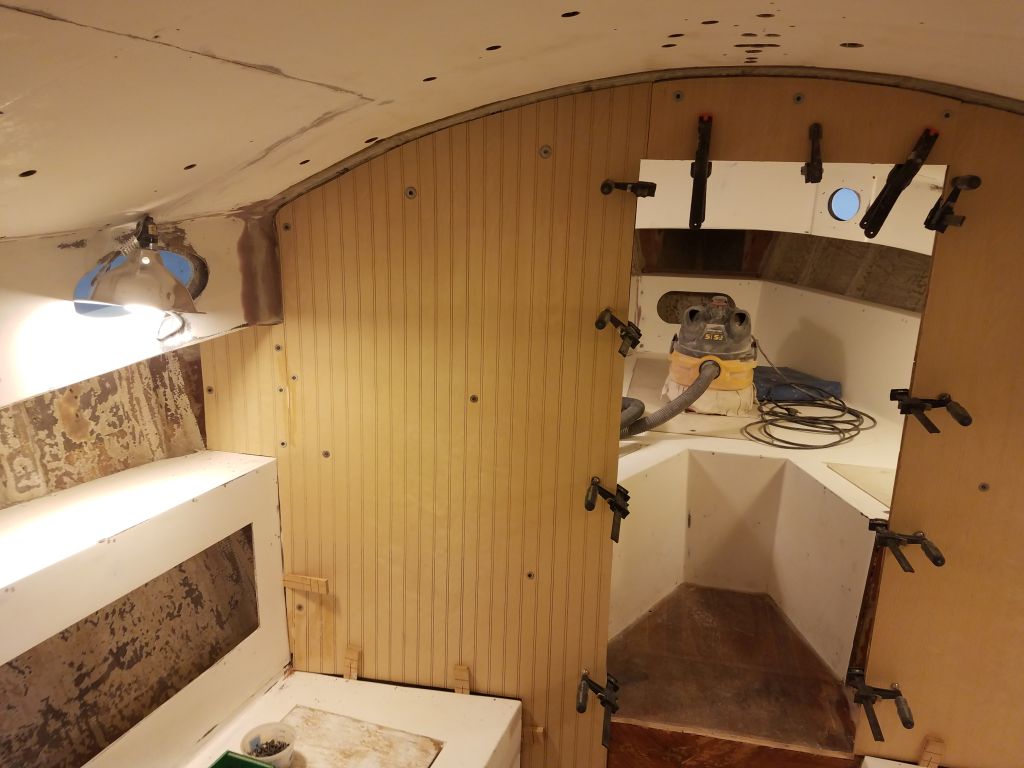
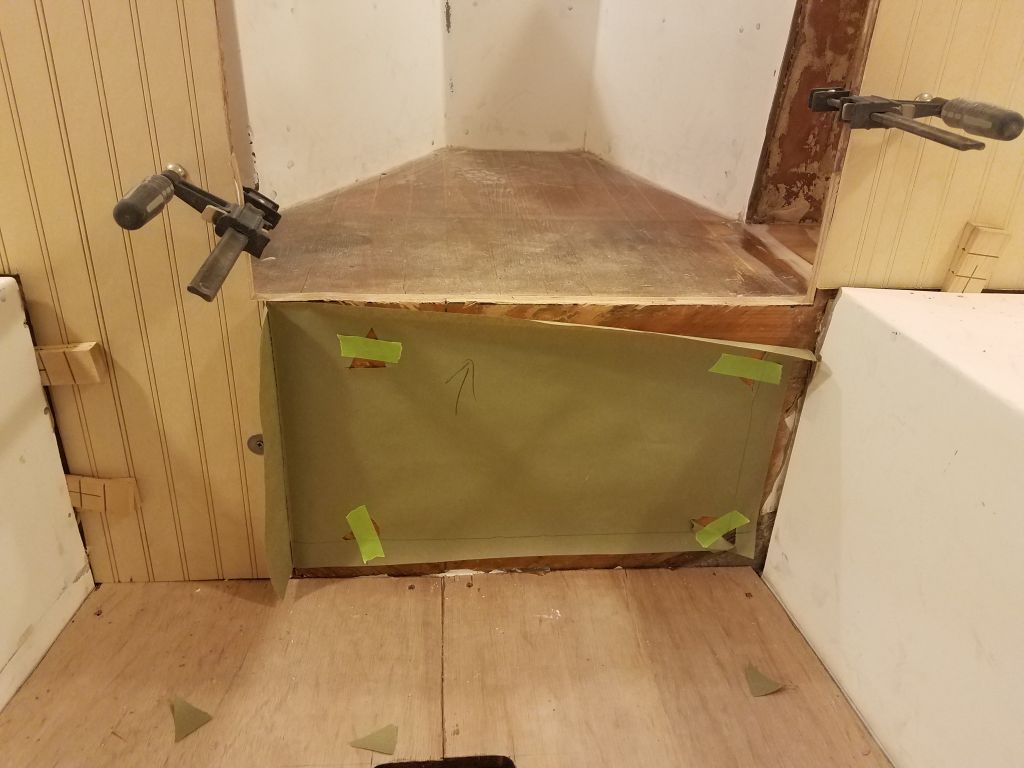
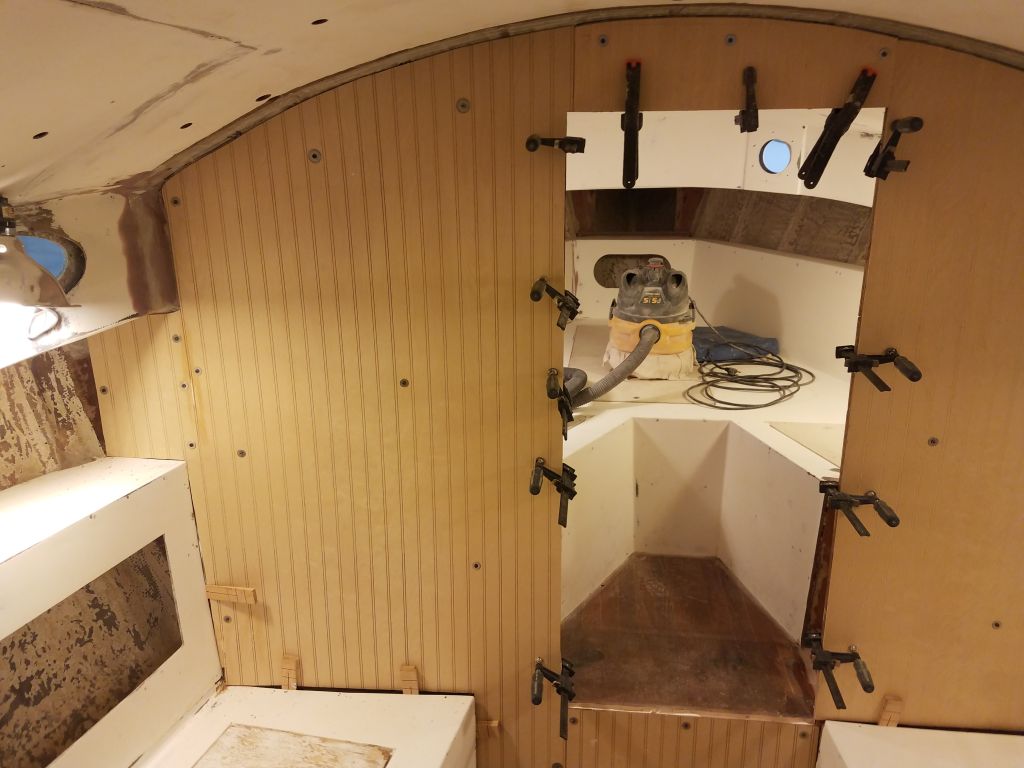
Most of the jobs I’d chosen this week were designed to finish off various tasks required before I could apply primer (and eventually paint) to the whole cabin, but for the moment there wasn’t much more I could do to advance that specific goal, so I turned to the first of the new cherry trim for the cabin. For various reasons, I chose to start with the lower (and upper) trim pieces for the doorway to the forward cabin. Since I’d cut the opening down to sole level in the forward cabin, the new lower trim would not only incorporate the sliding mechanism for the doors, but would also extend all the way across the forward edges of the settees to double as the edge trim there. Since we were starting to think about the interior cushions and upholstery, this extra trim piece would factor into the cushions’ design themselves, so even though I might not install it permanently for a while, it made sense to get started here.
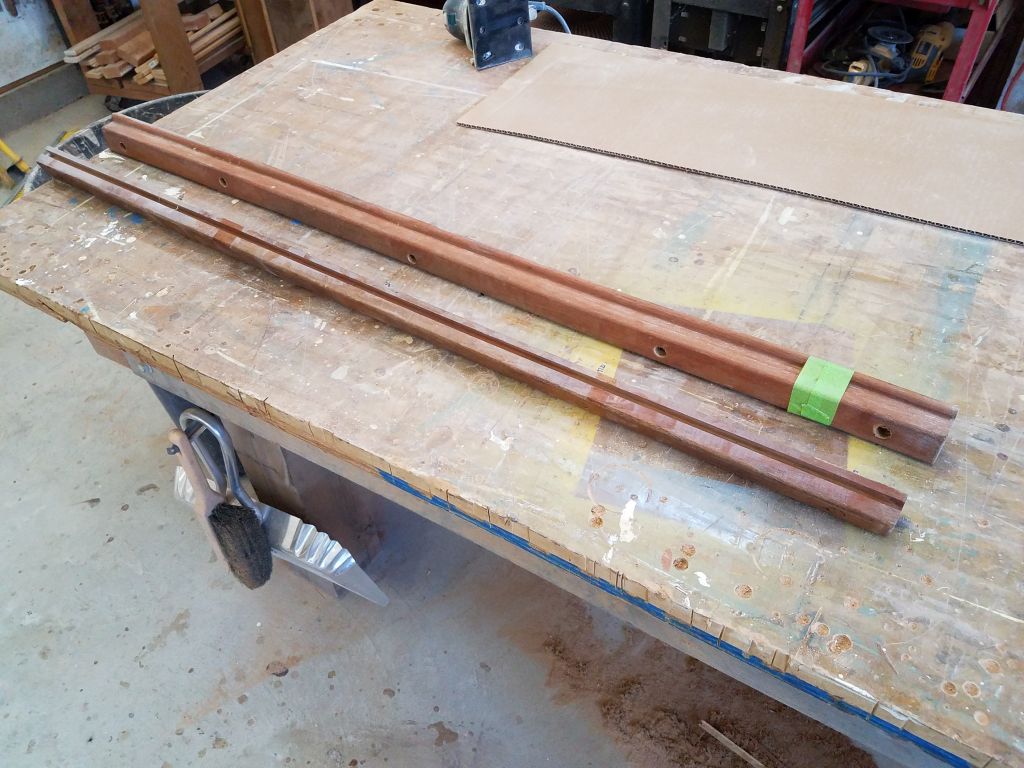
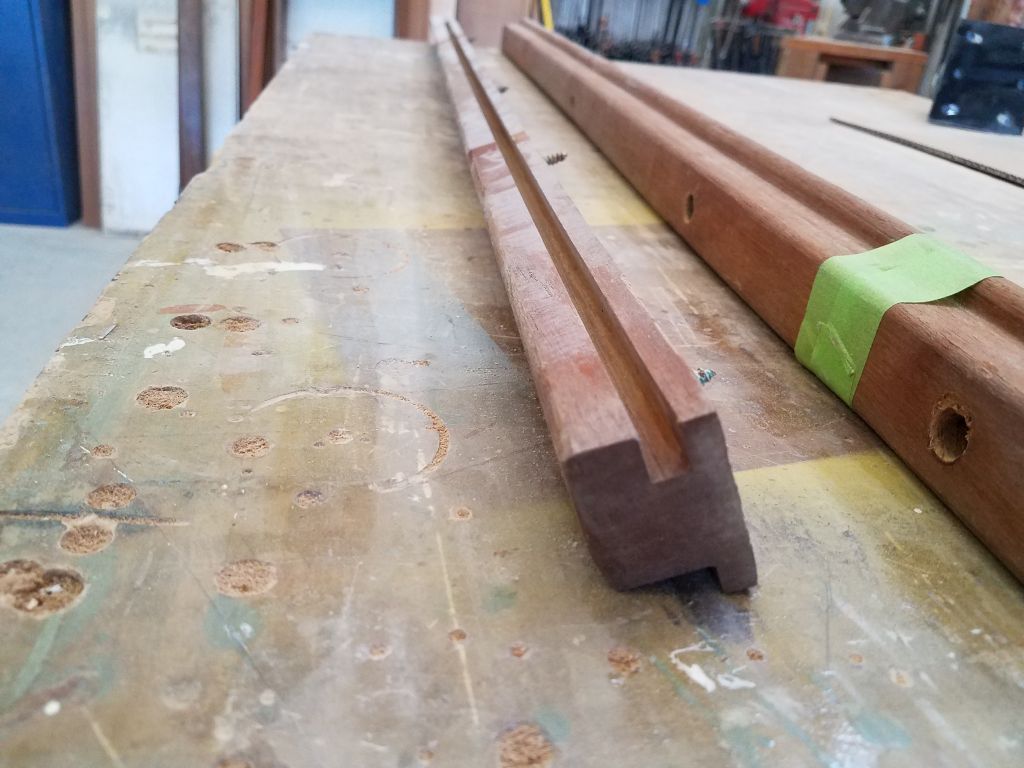
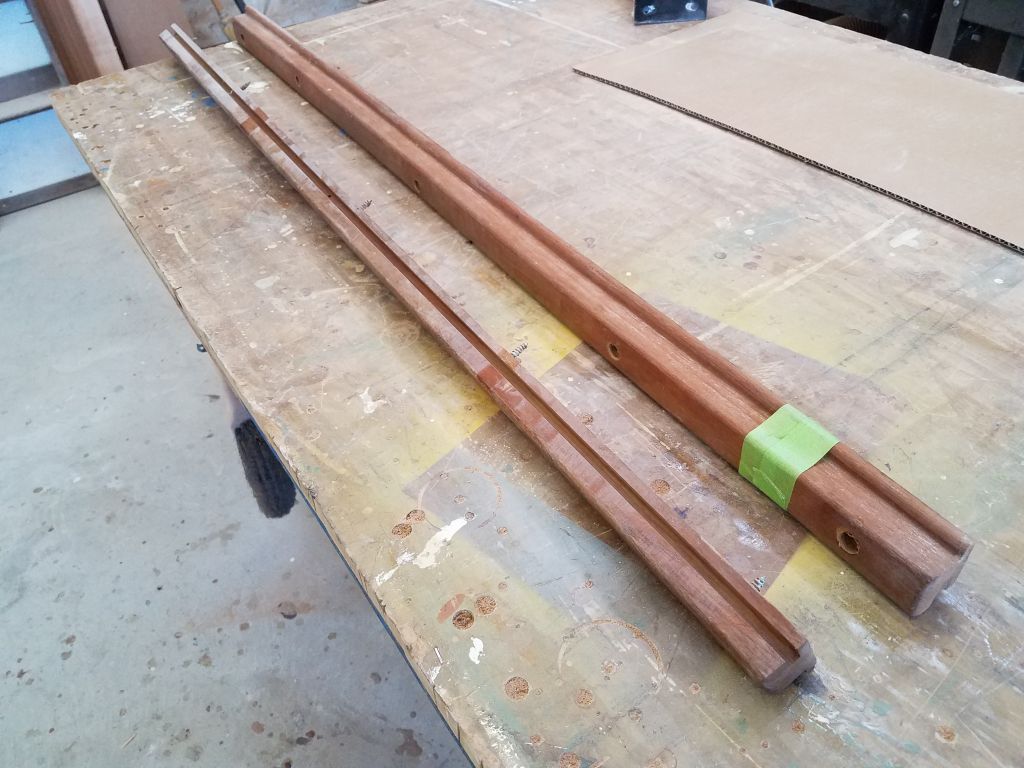
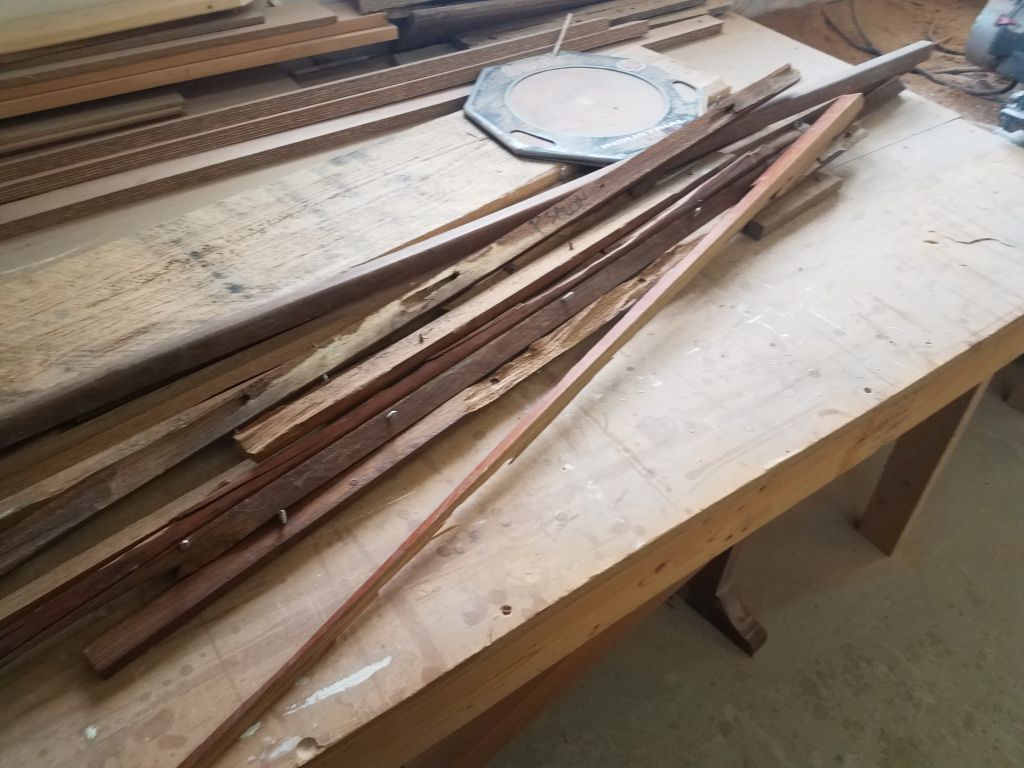
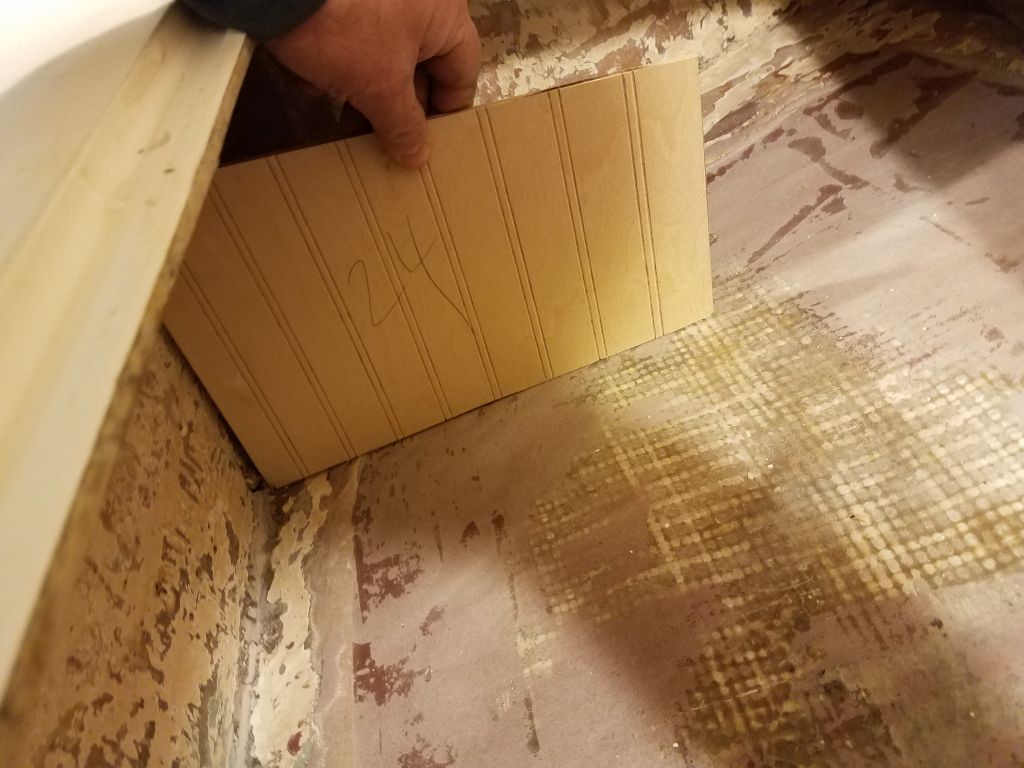
The original door trims, which I’d saved for reference purposes, were one-piece milled with a groove for the doors to fit in, and I planned to emulate though not exactly duplicate the details.
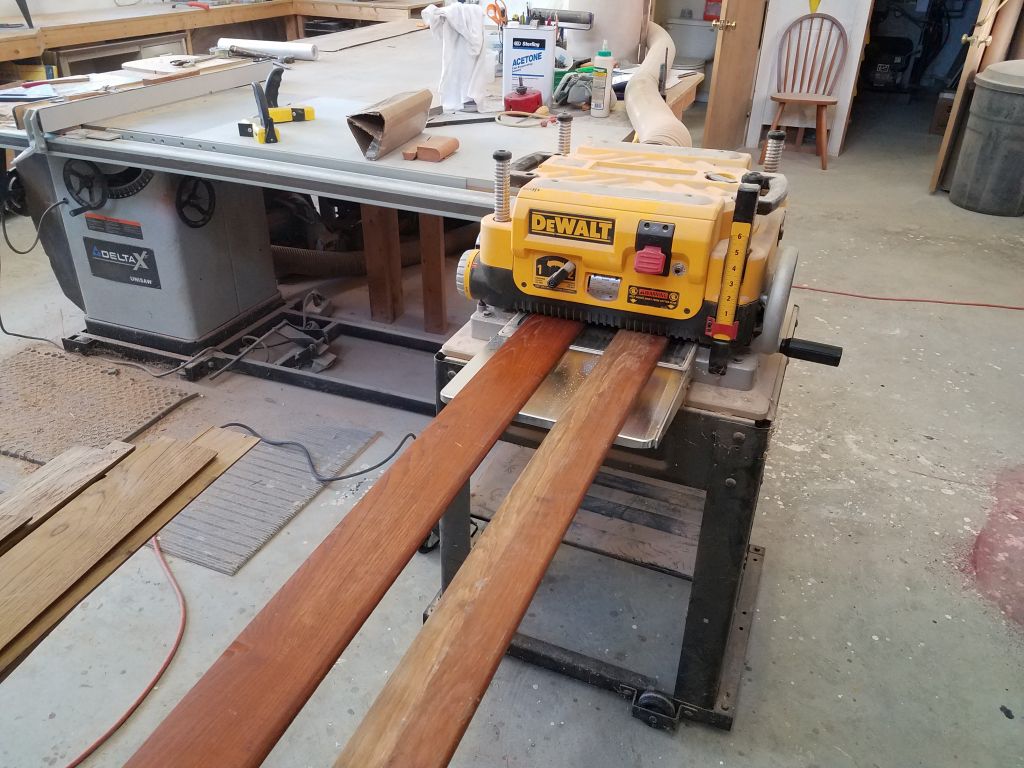
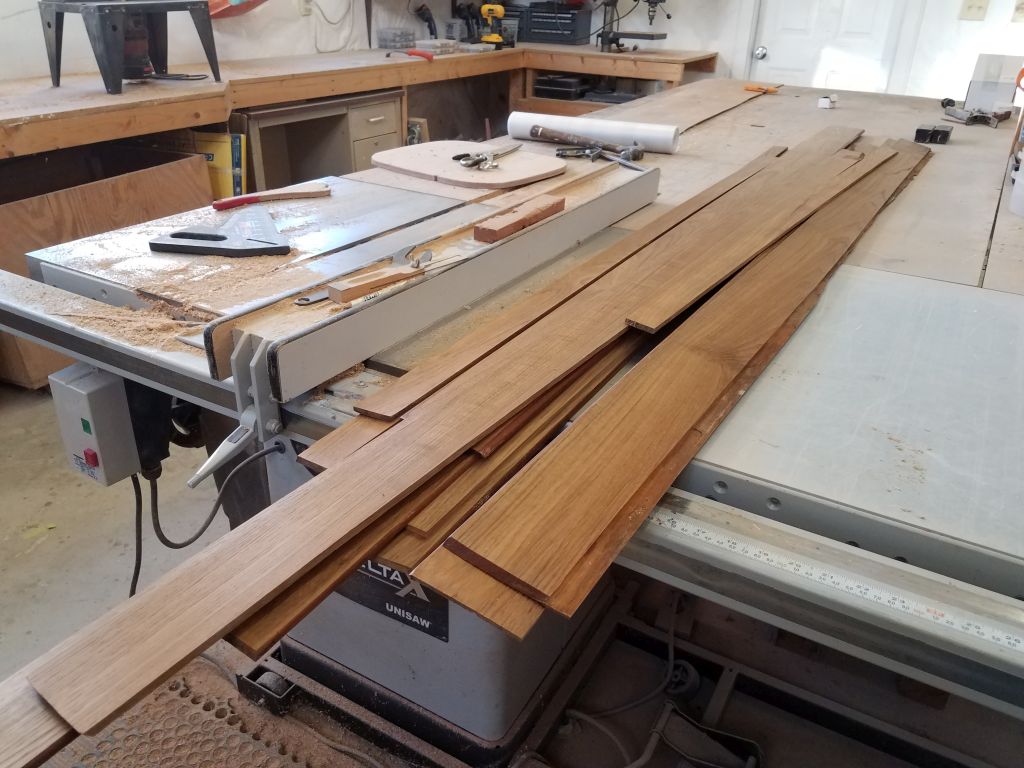
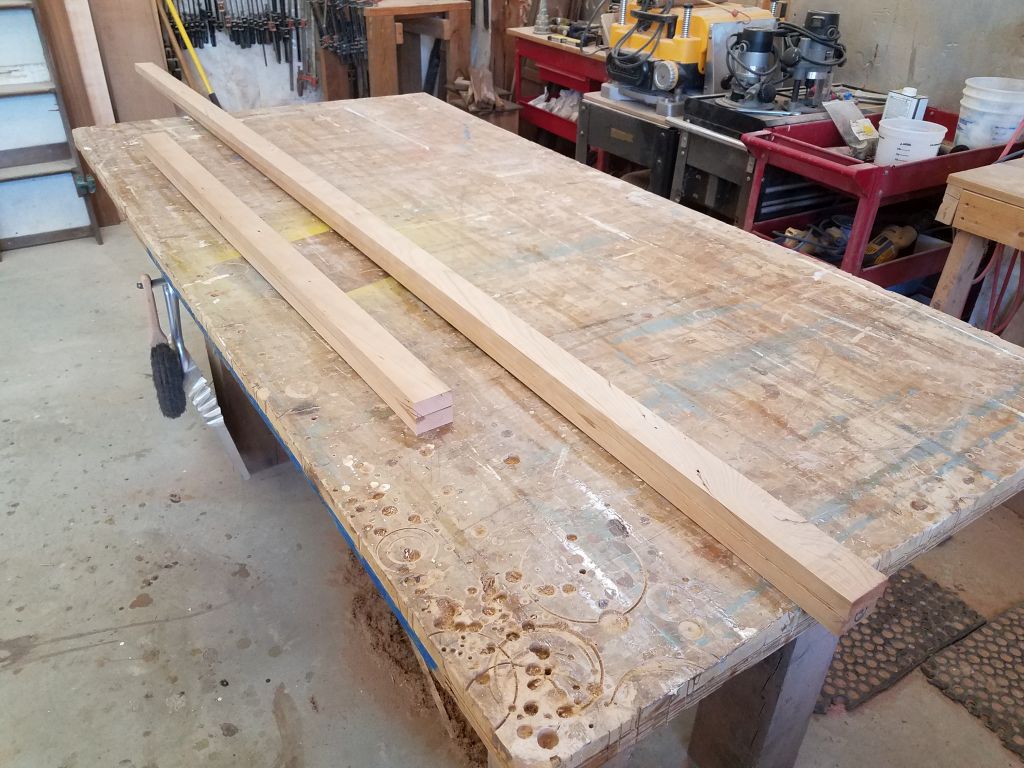
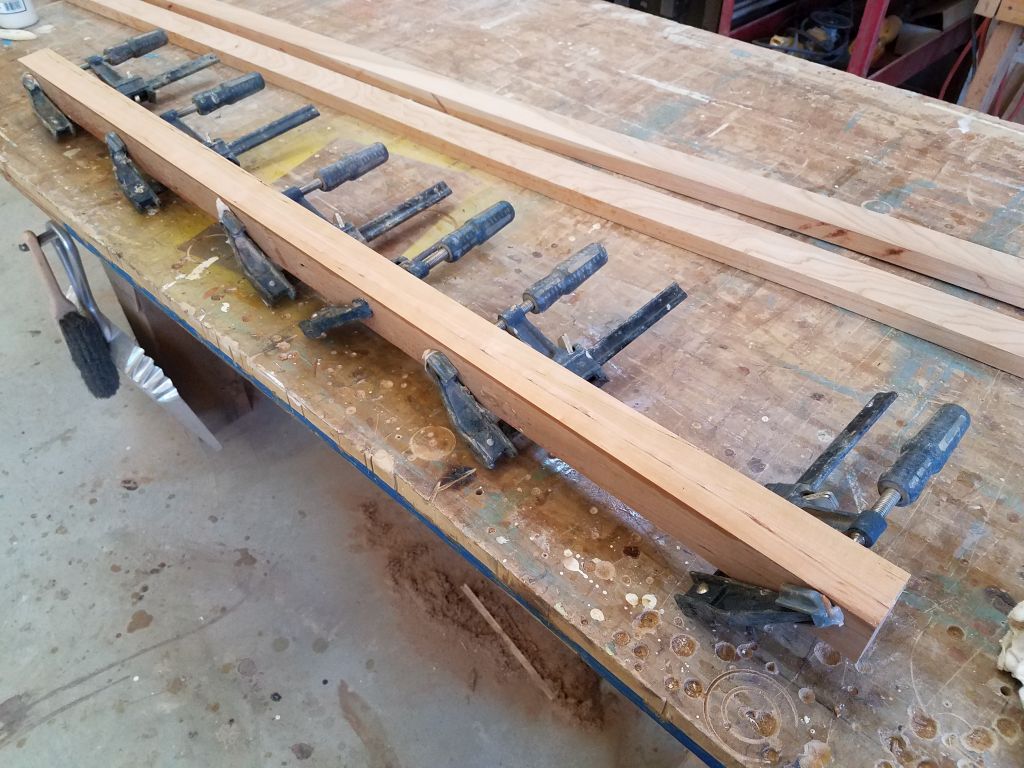
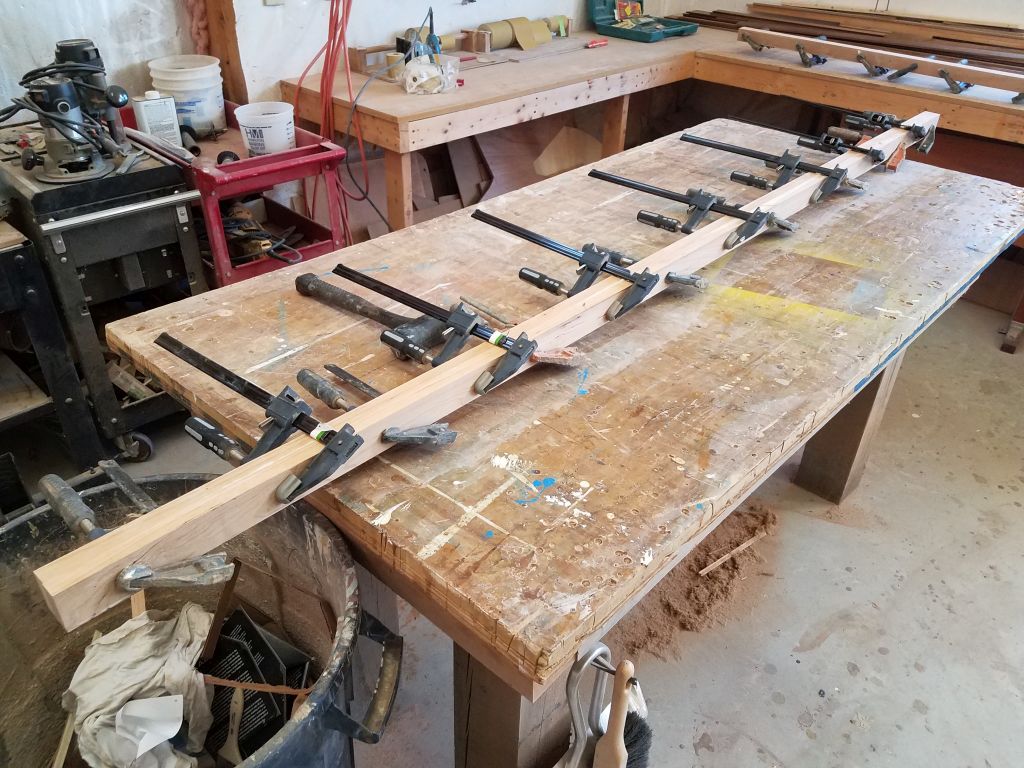
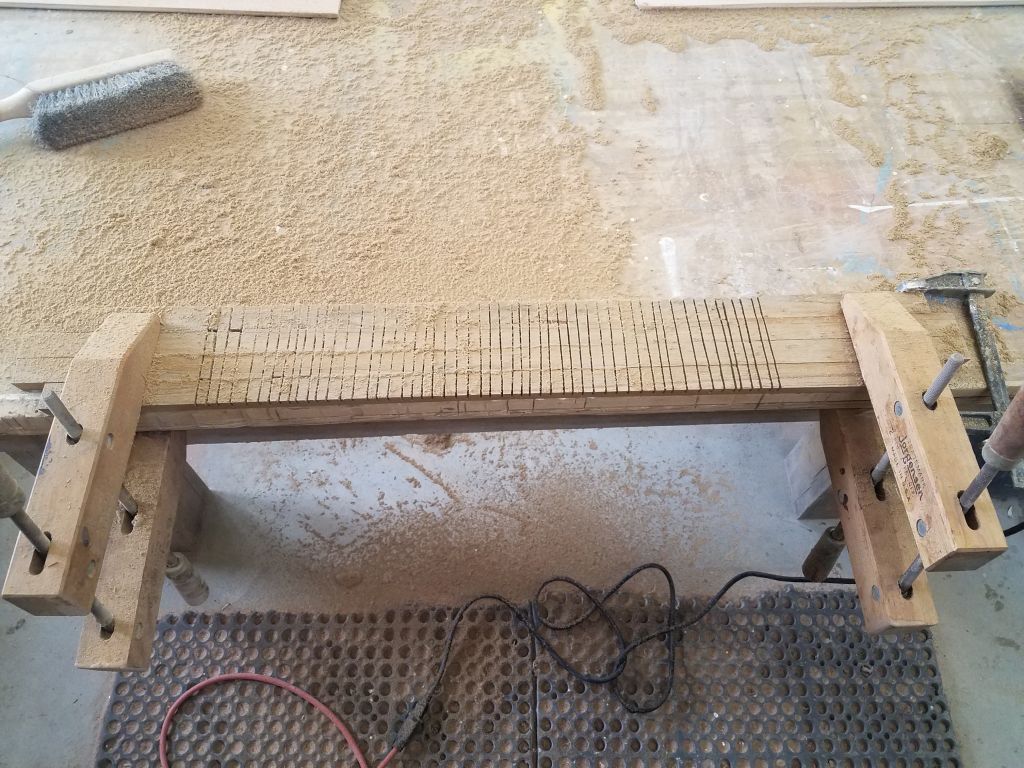
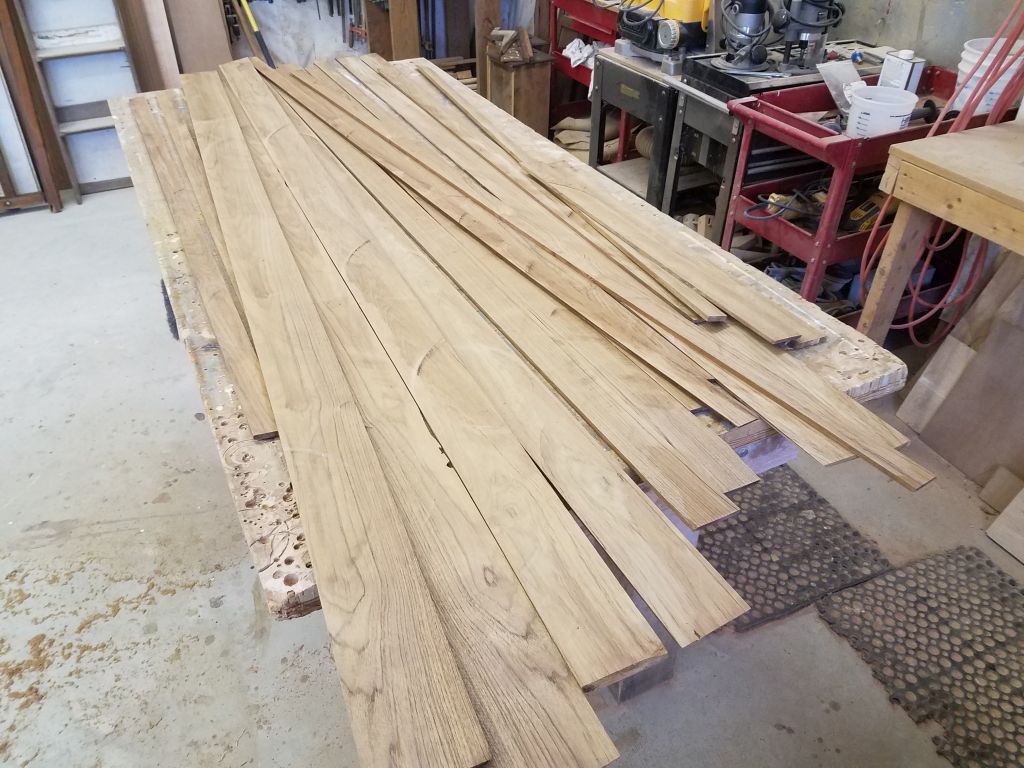
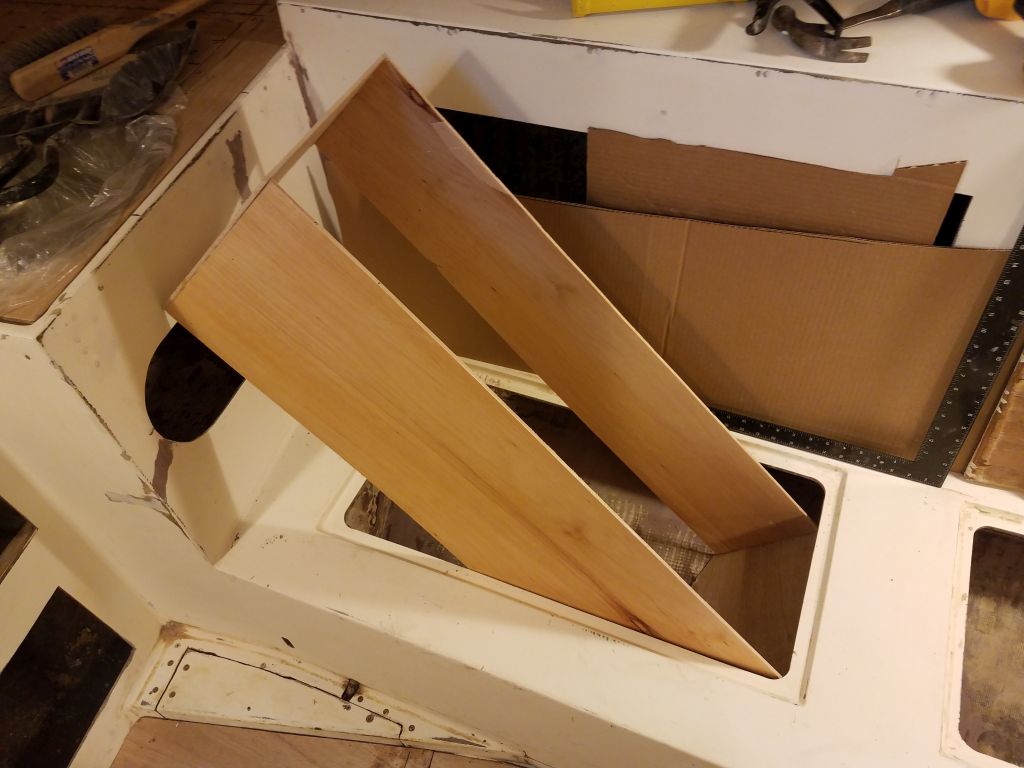
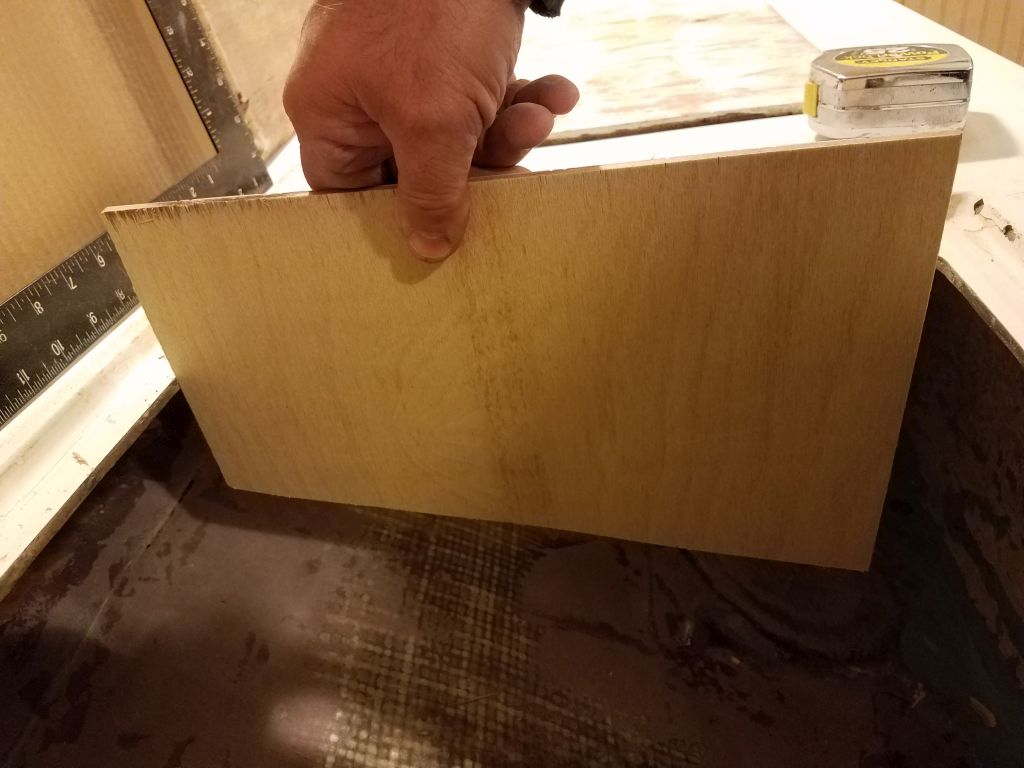
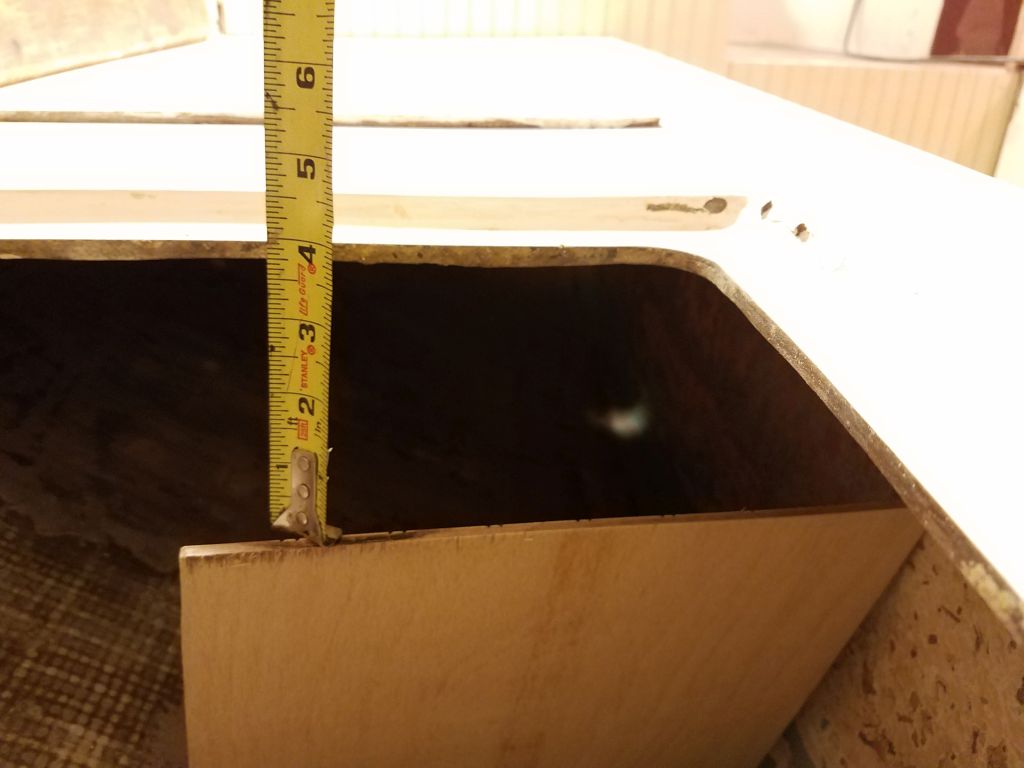
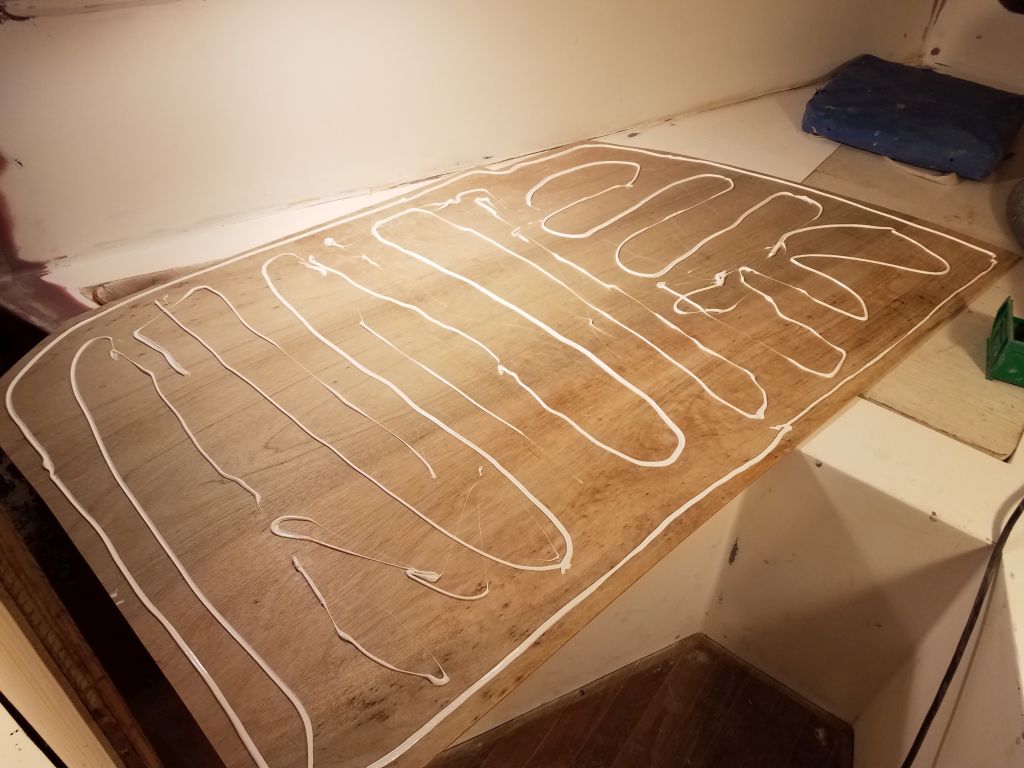
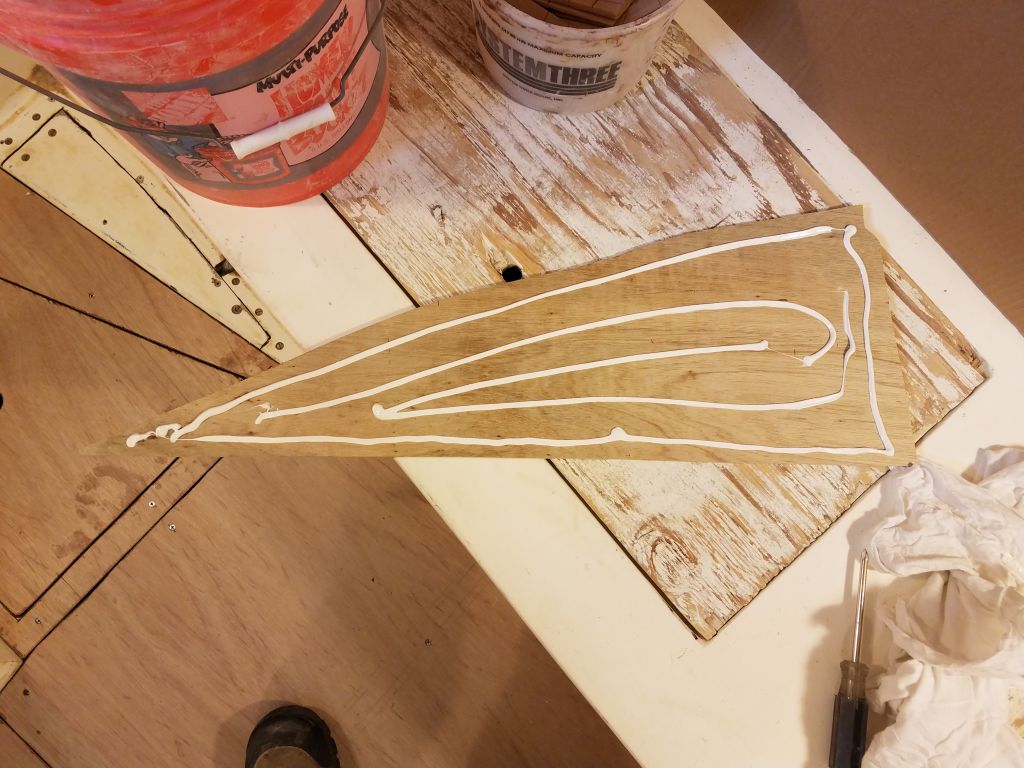
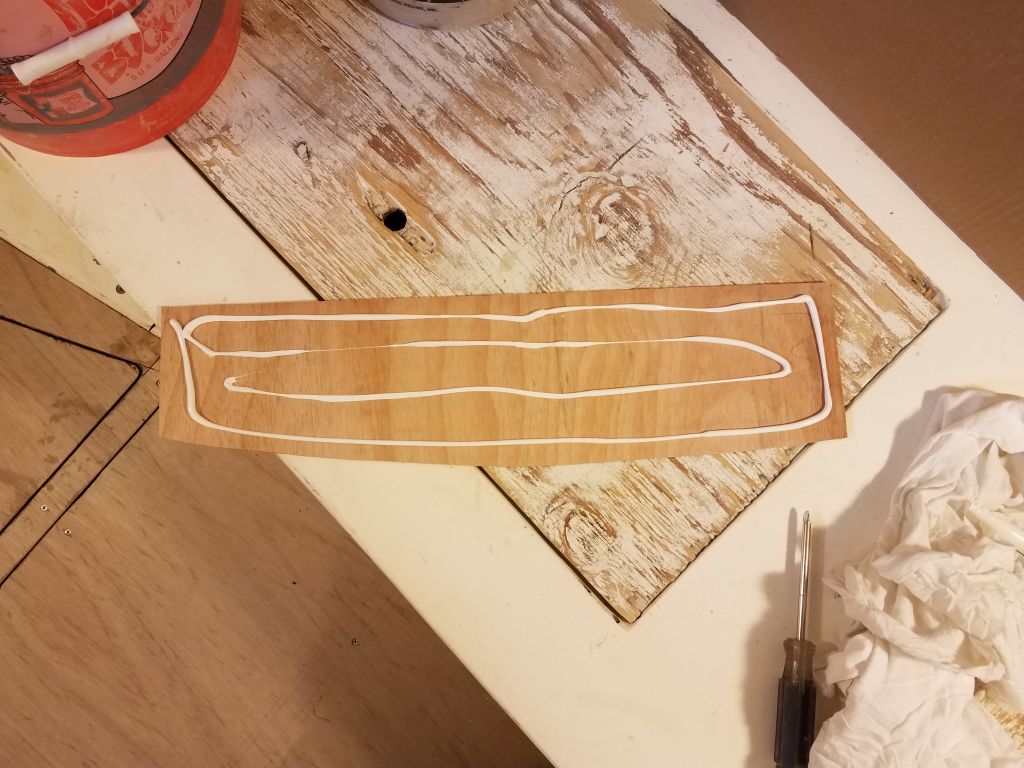
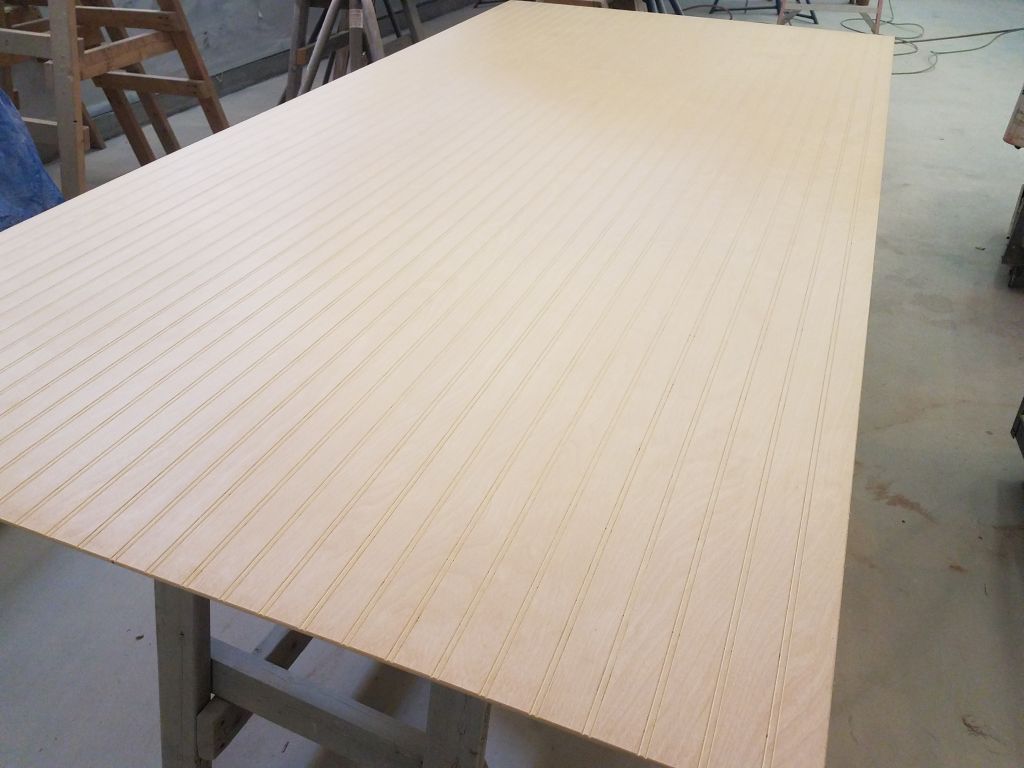
To prepare blanks for the new trim, I needed to glue up a thicker blank from the 4/4 stock I had, so after various measurements I milled two long lengths for the lower trim (extending from settee back to settee back across the forward end of the cabin at berth height), and two shorter lengths for the upper trim, which would remain more or less the same length as the original. Then, I glued up the pieces to create a thicker blank from which I’d eventually mill the new trim. I used waterproof wood glue for the glueup.
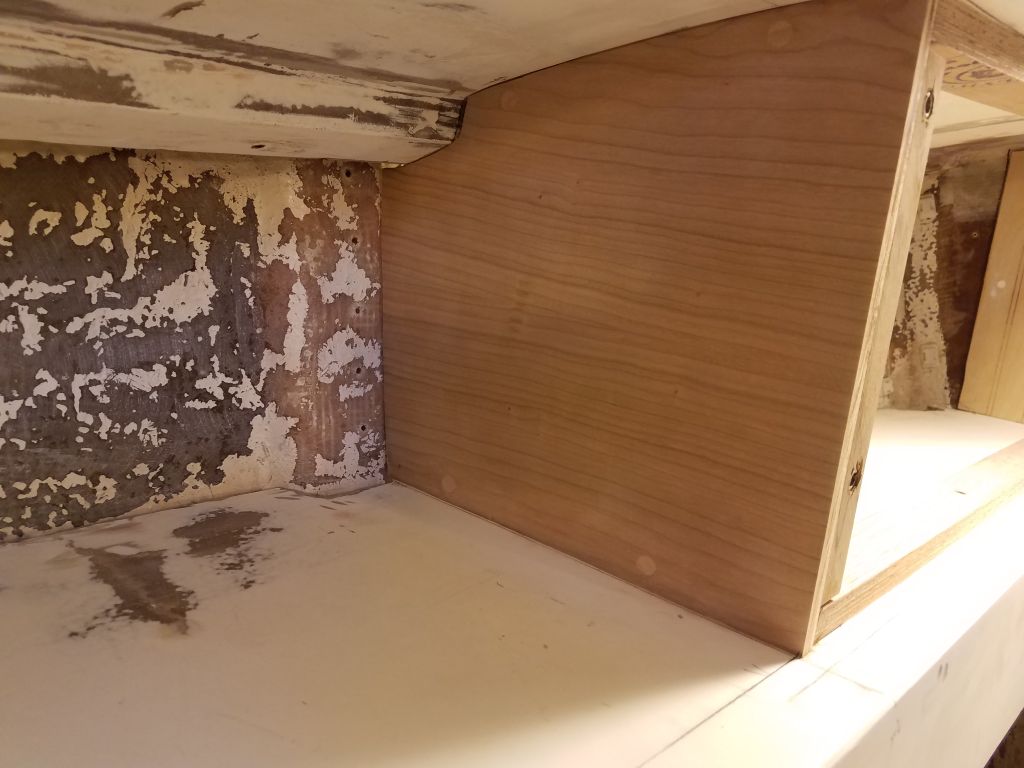
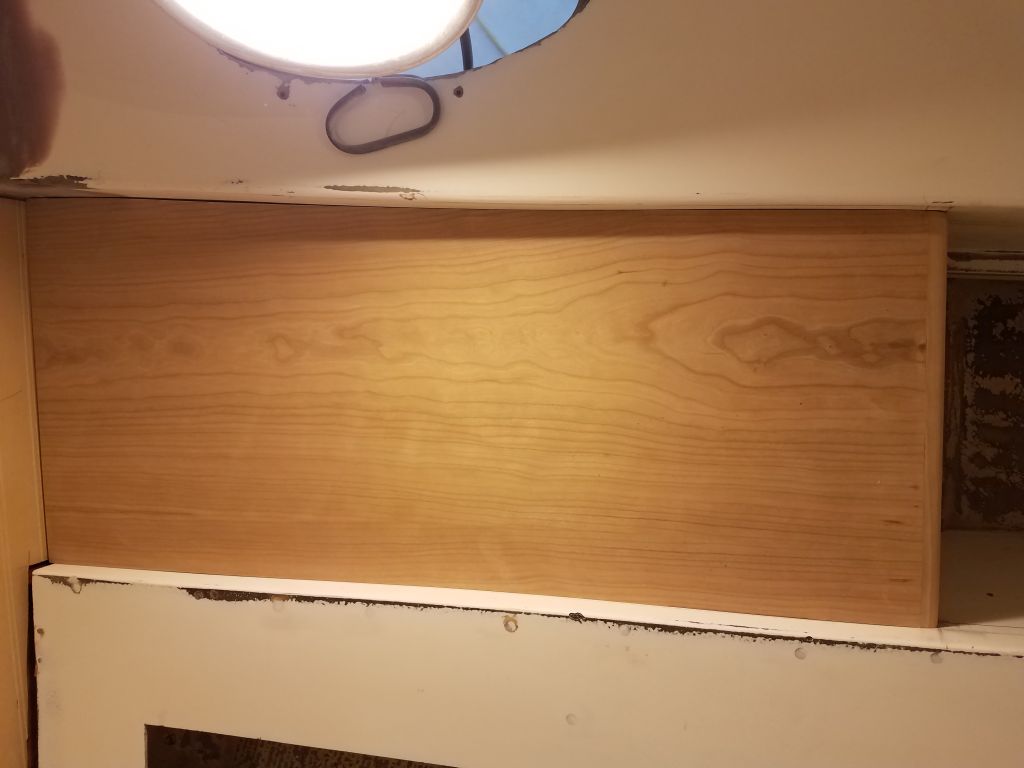
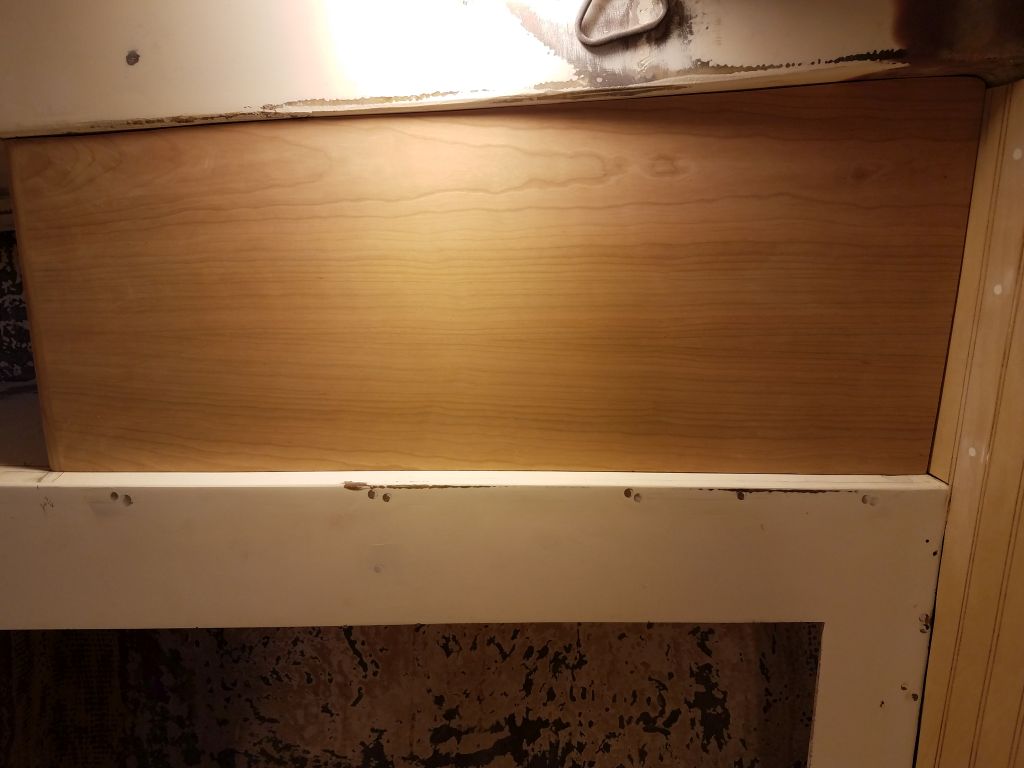
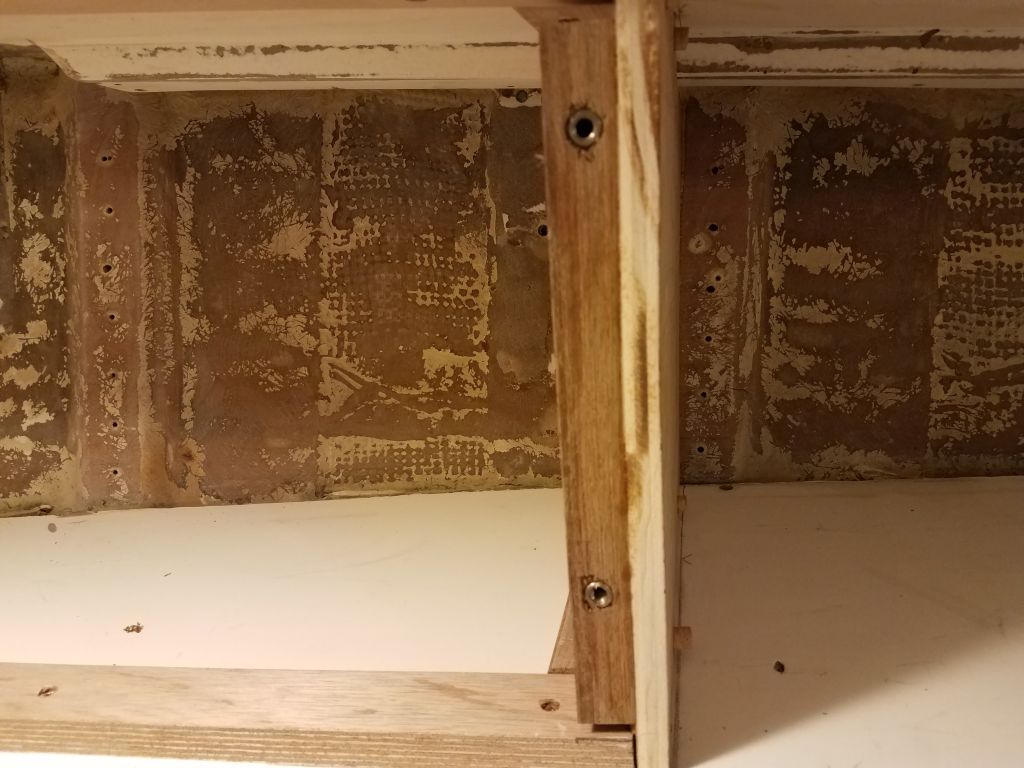
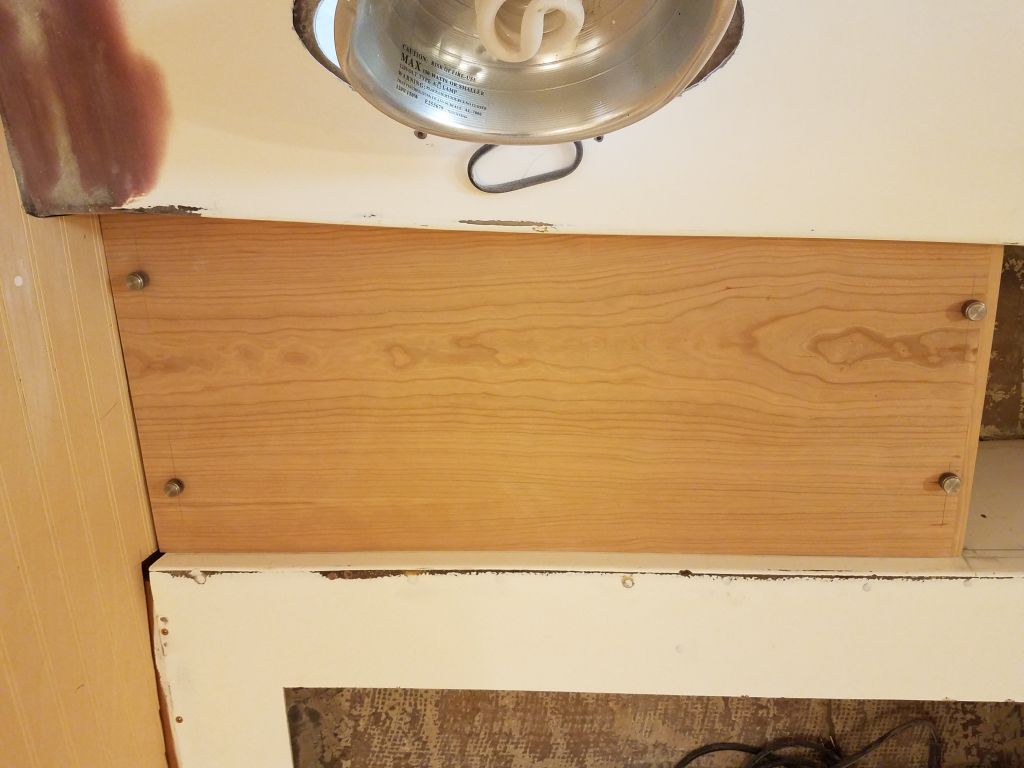
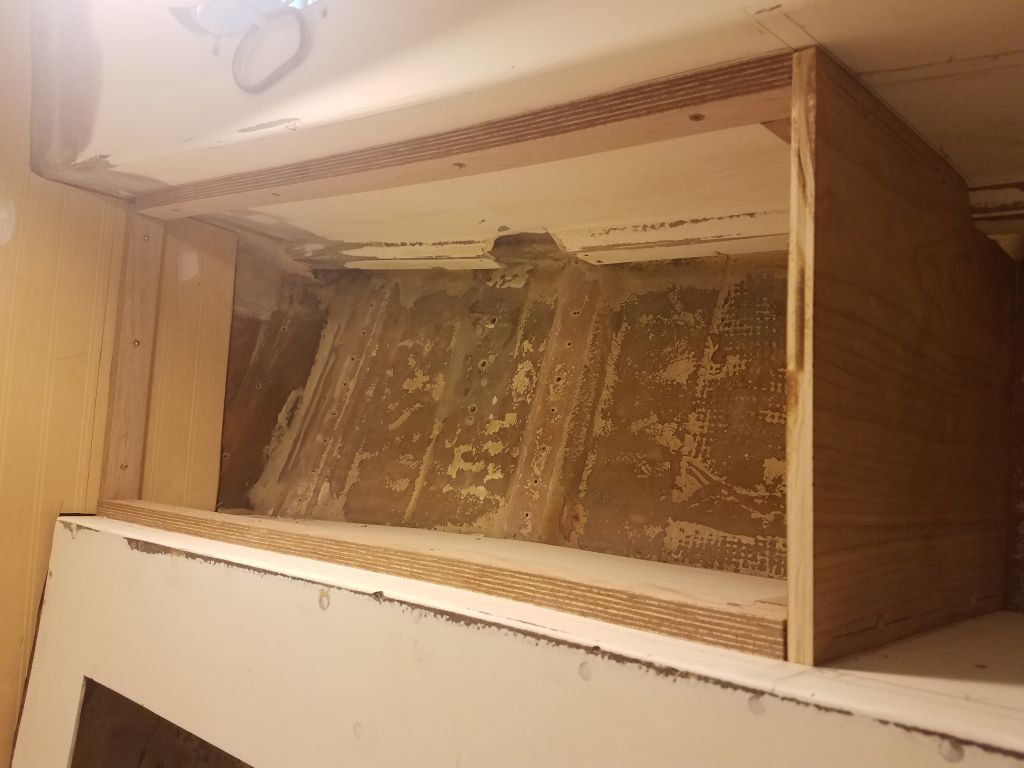
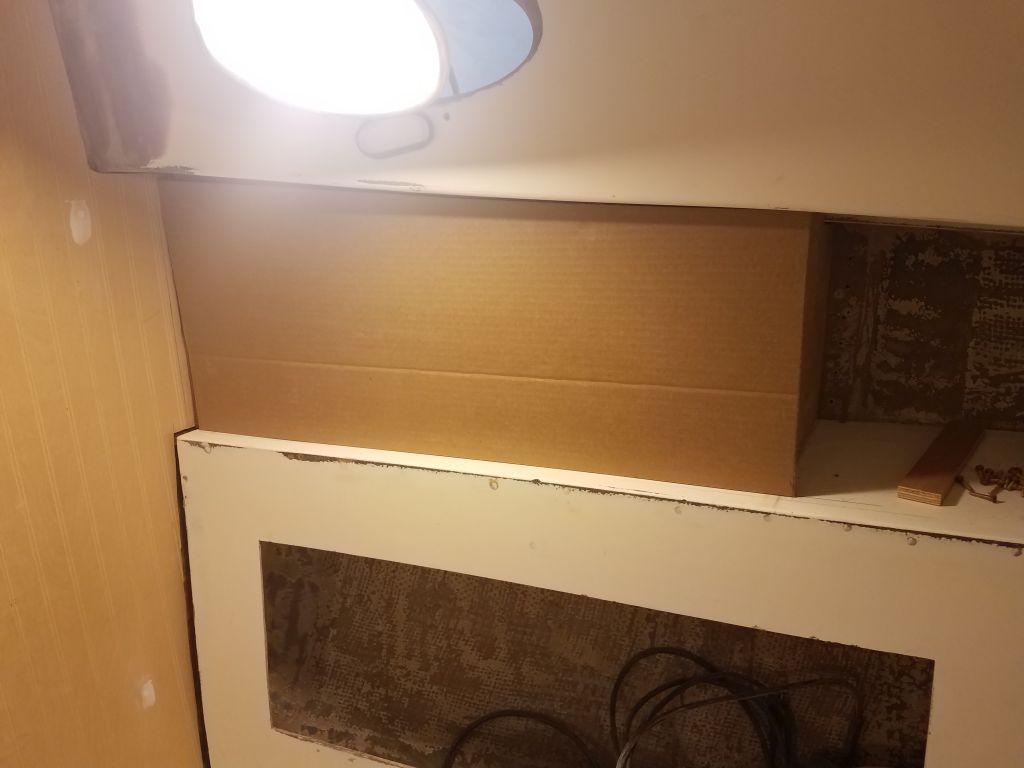
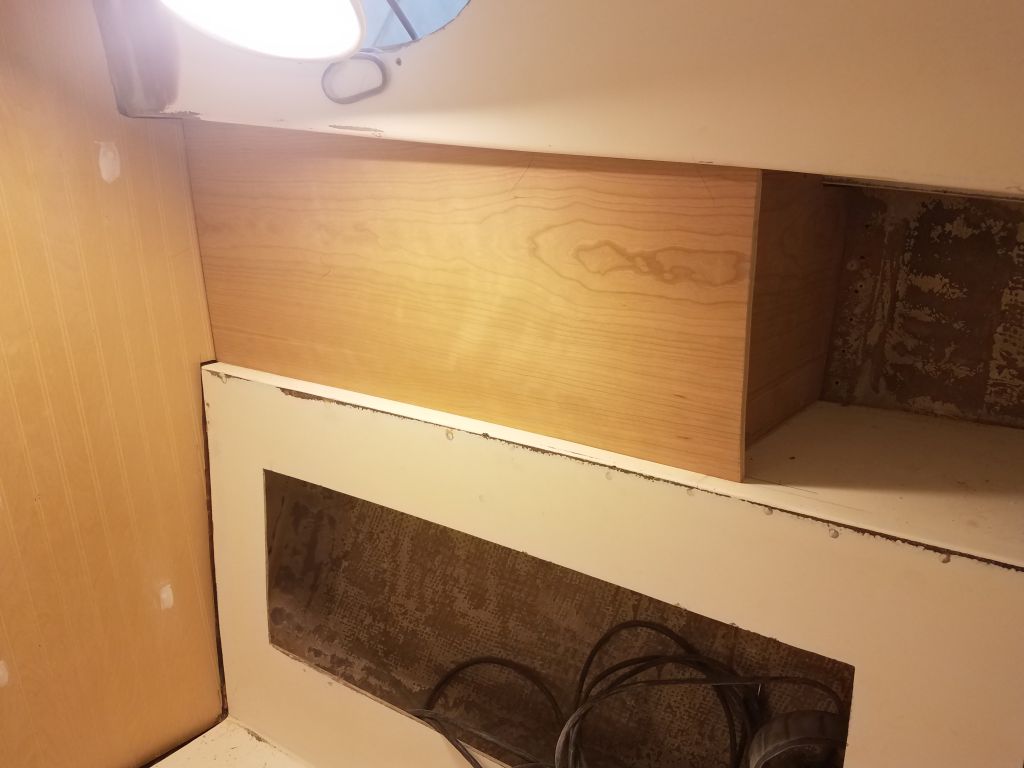
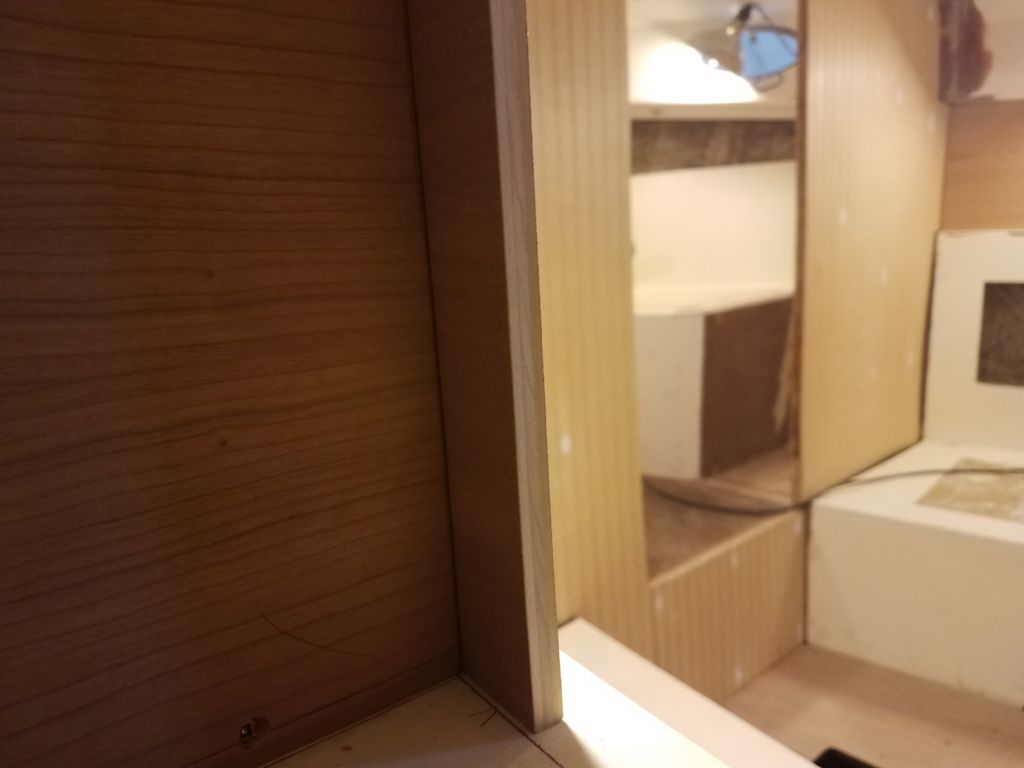
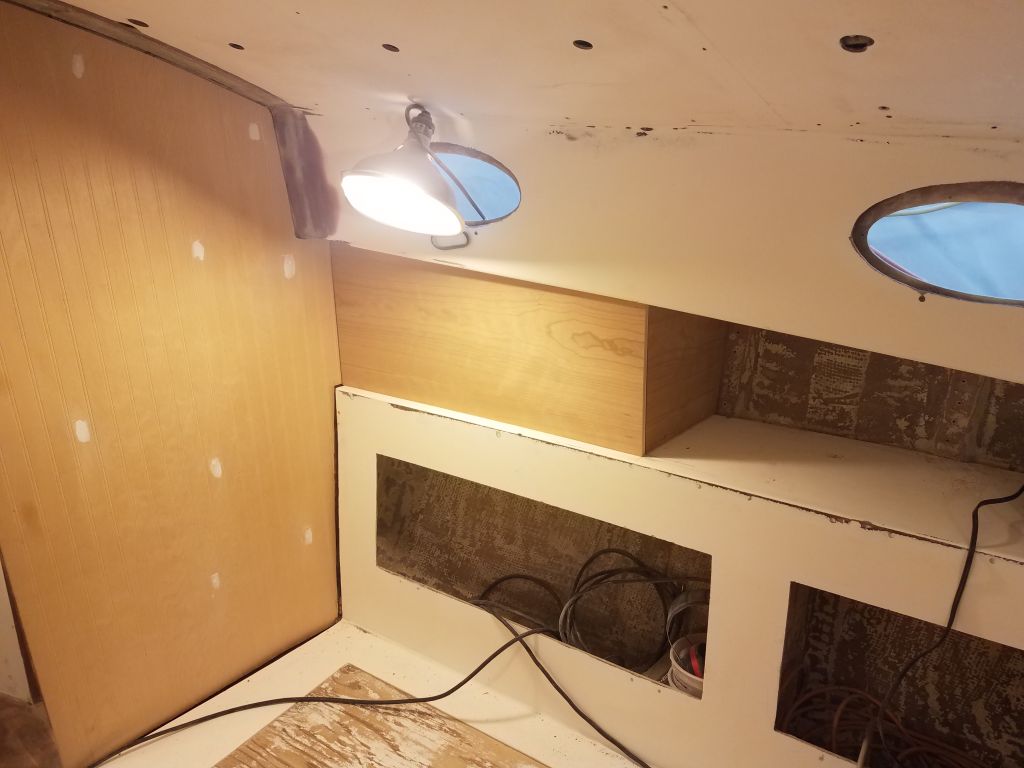
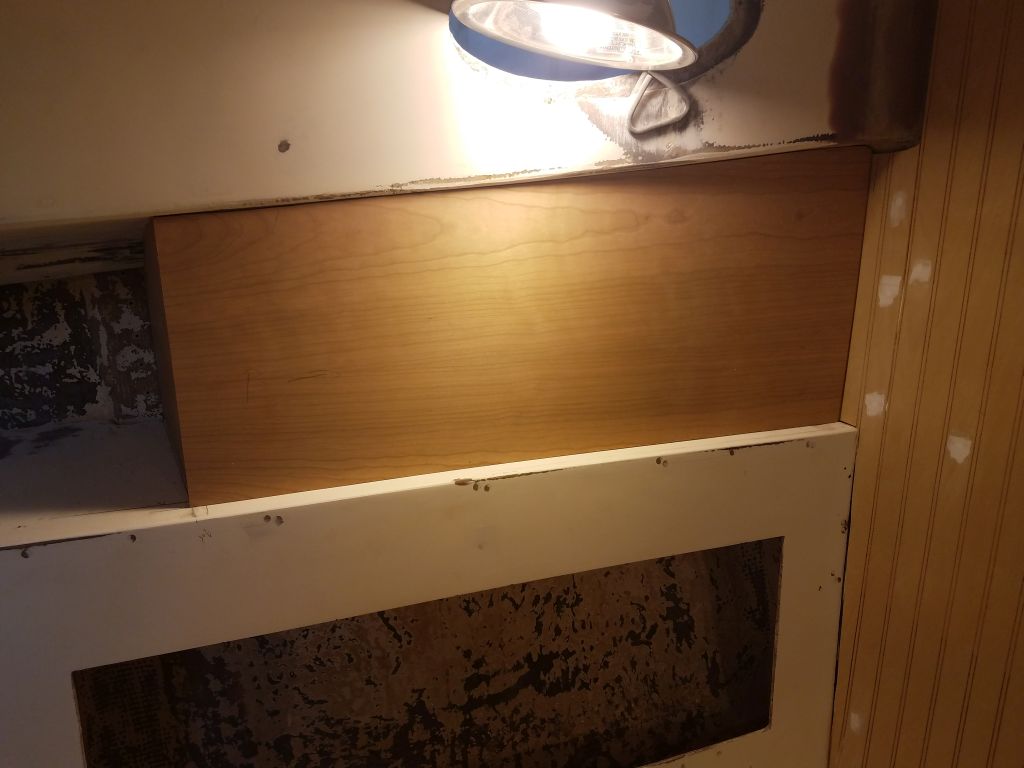
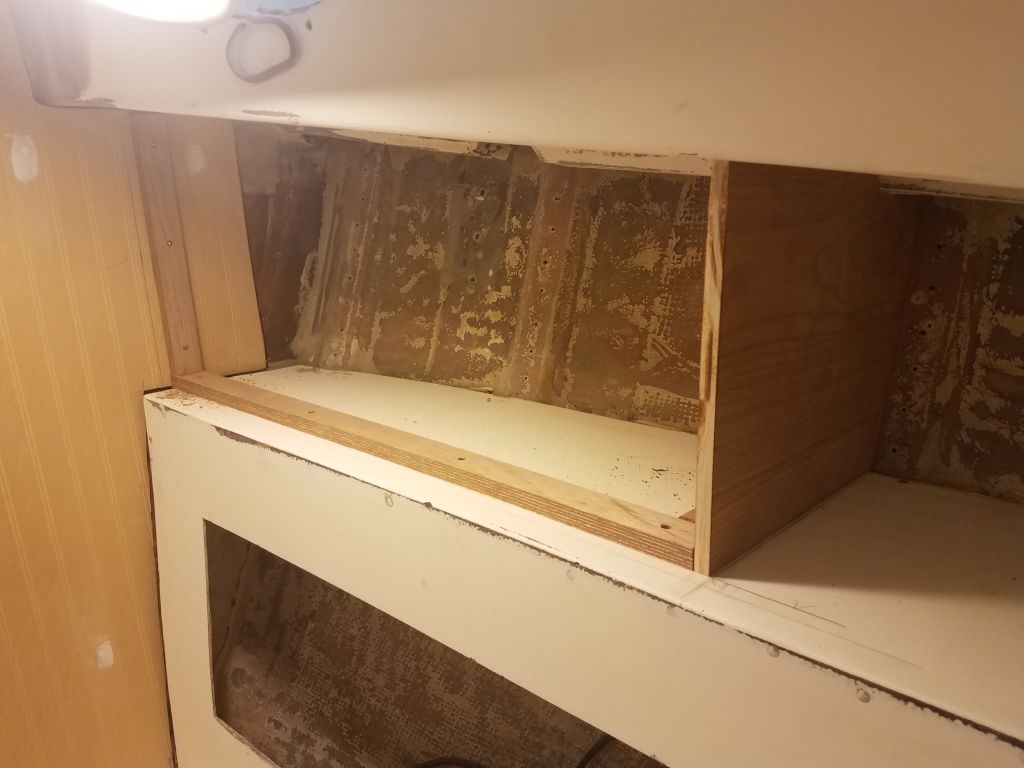
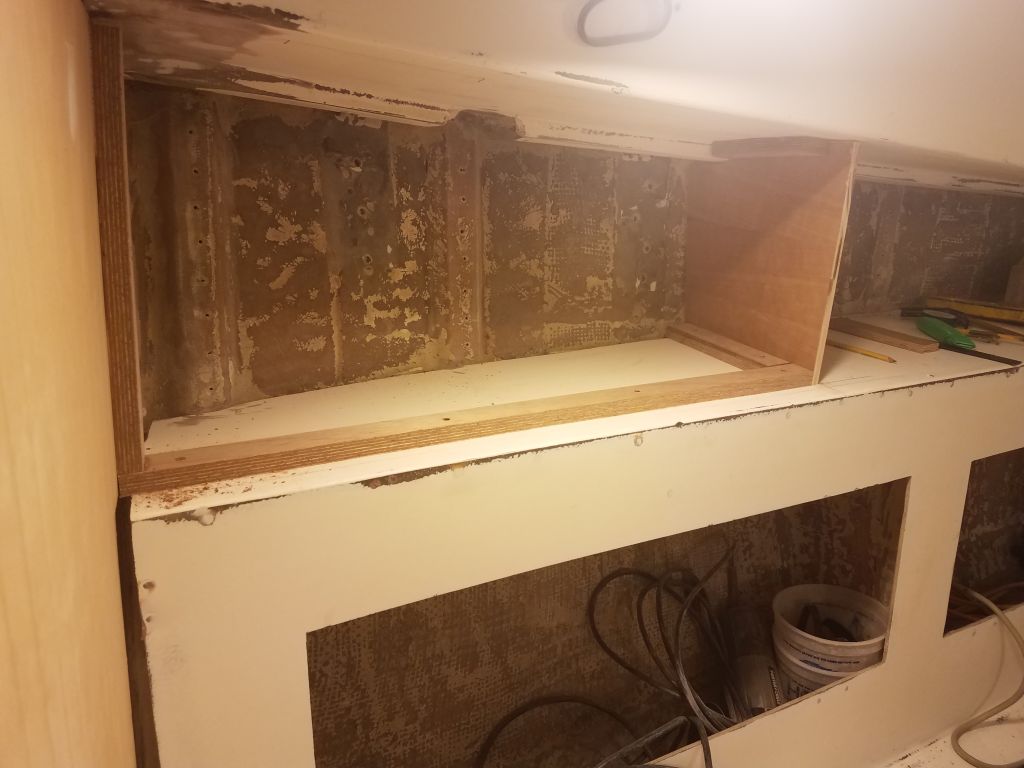
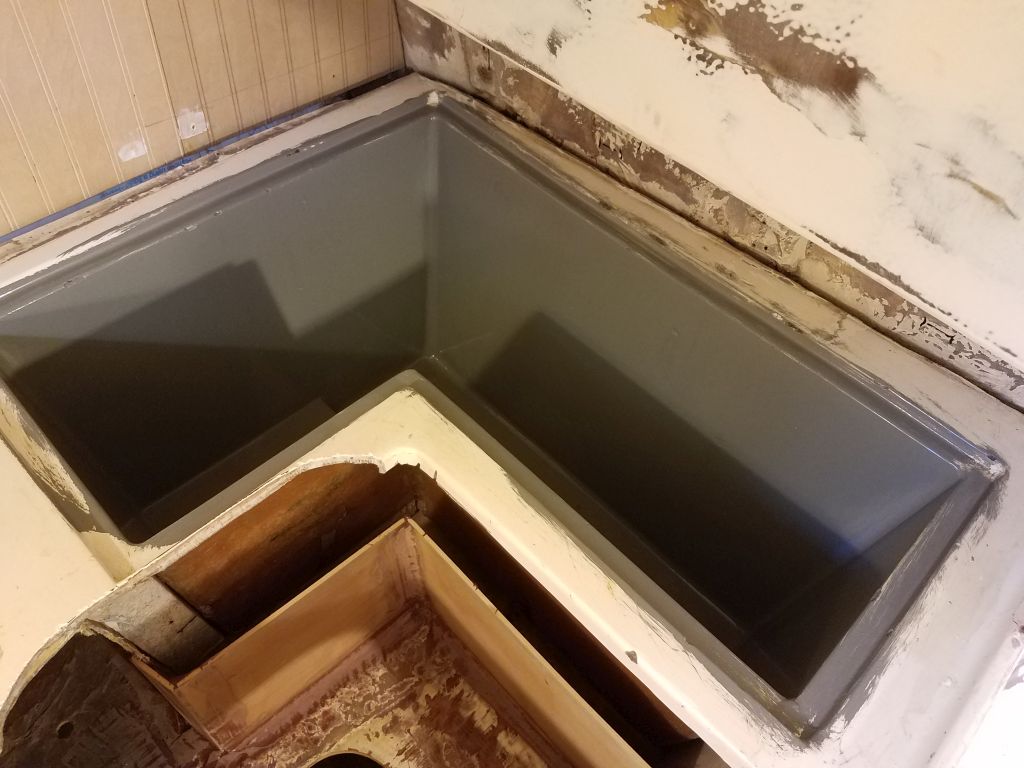
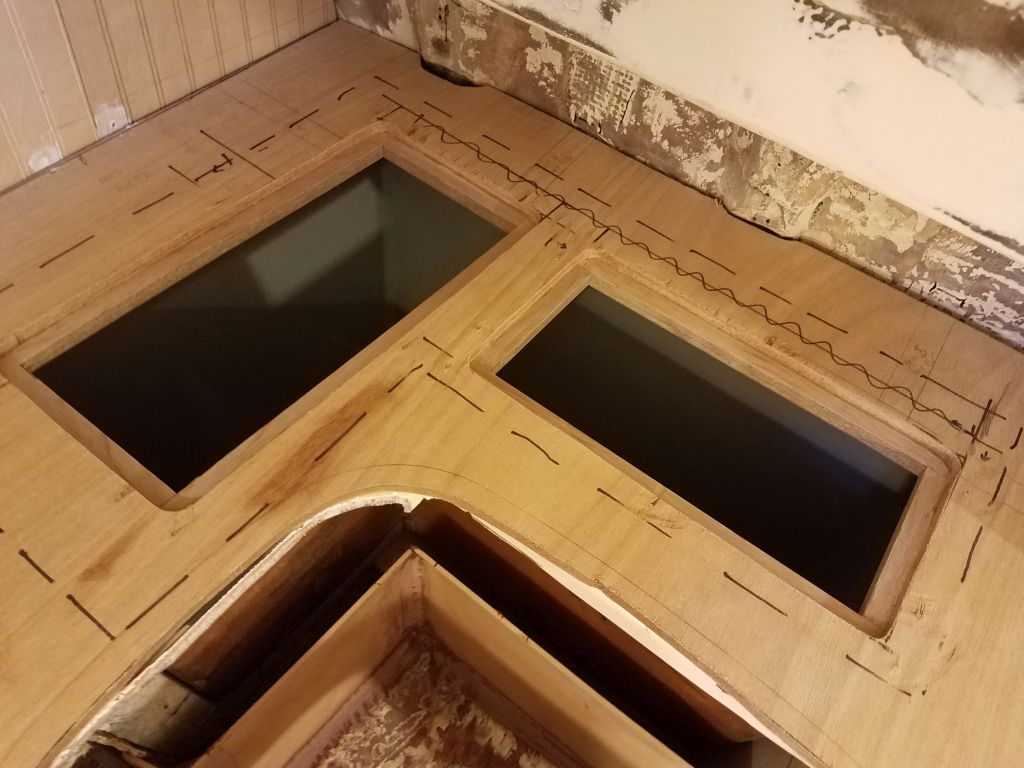
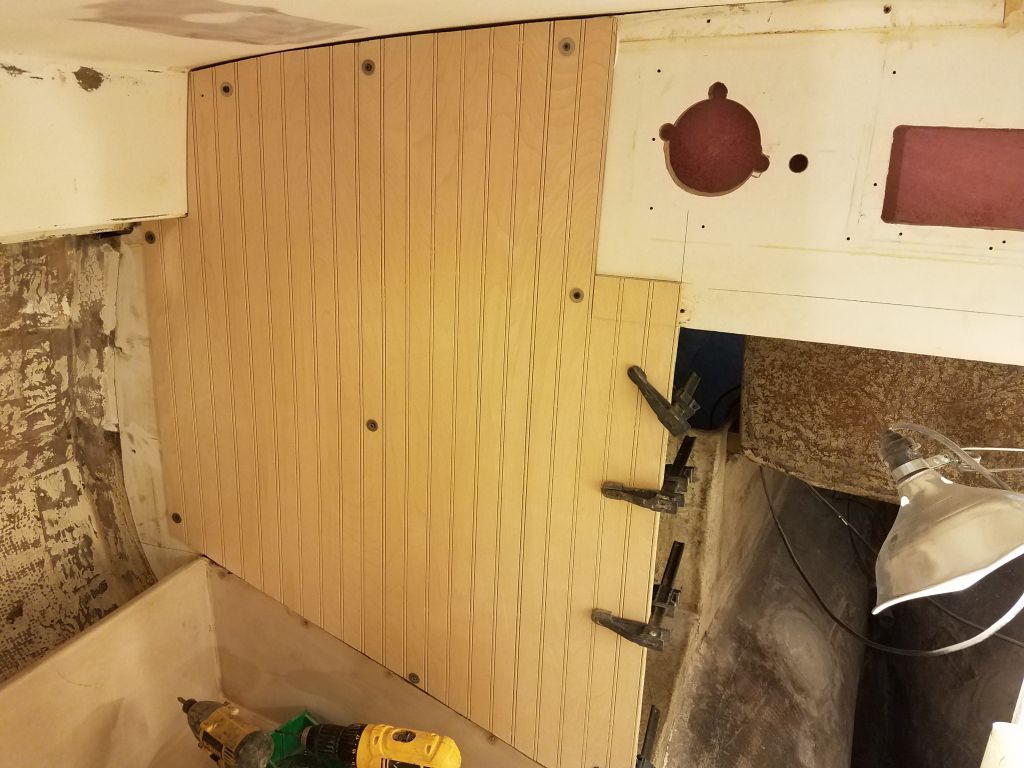
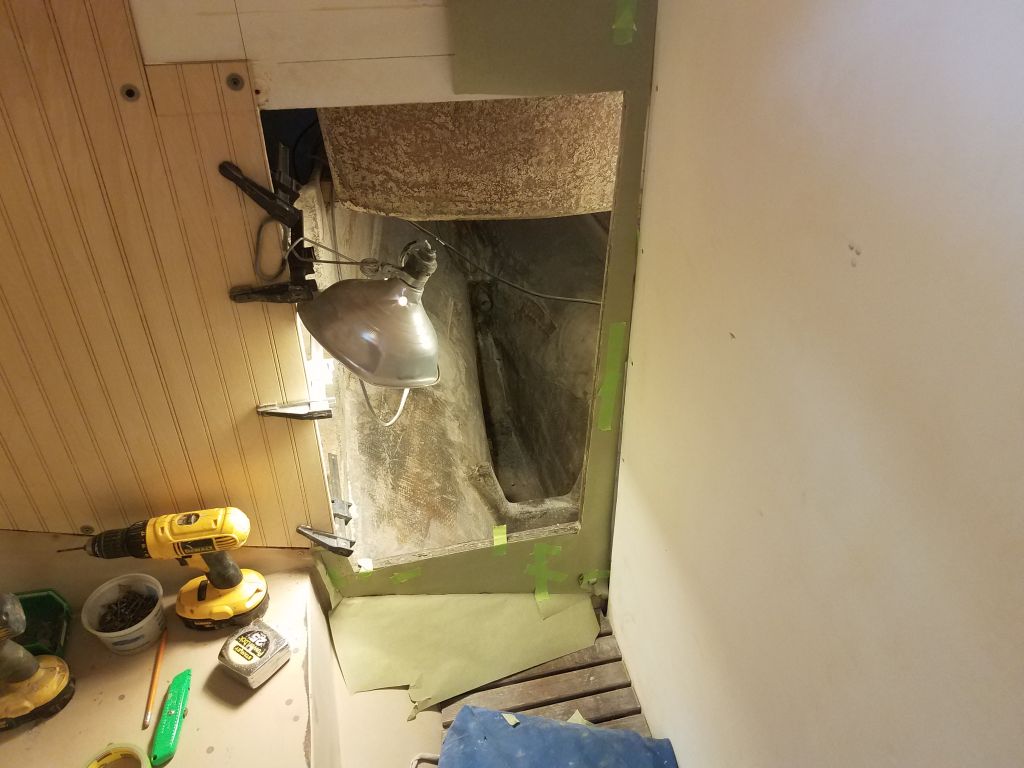
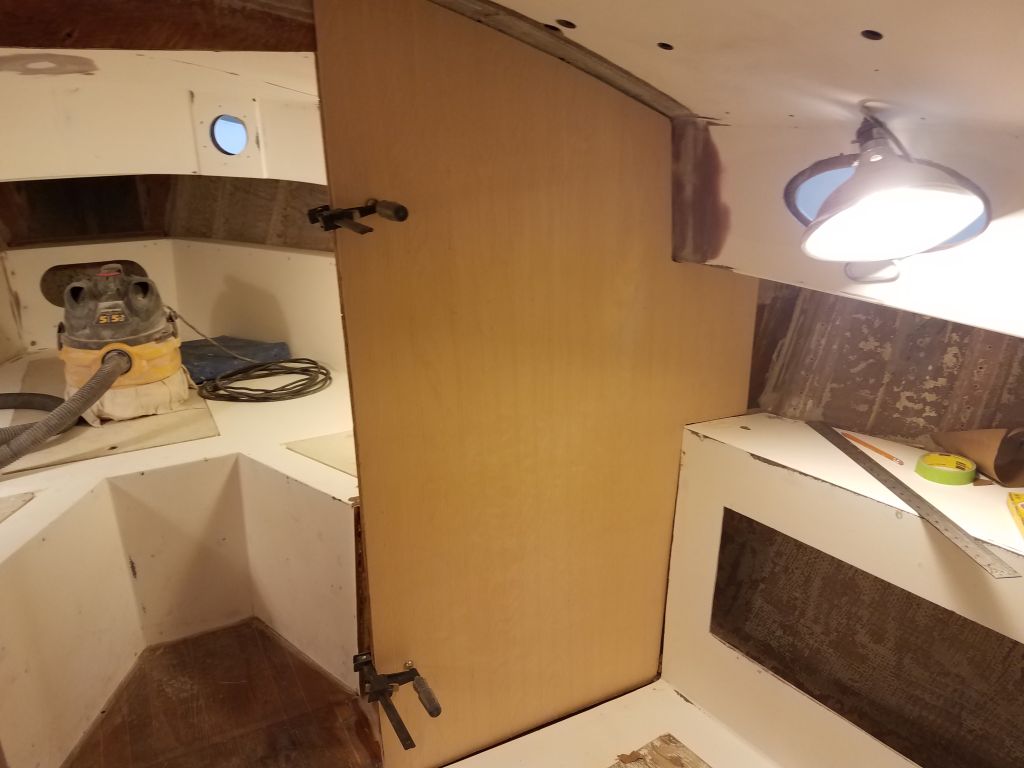
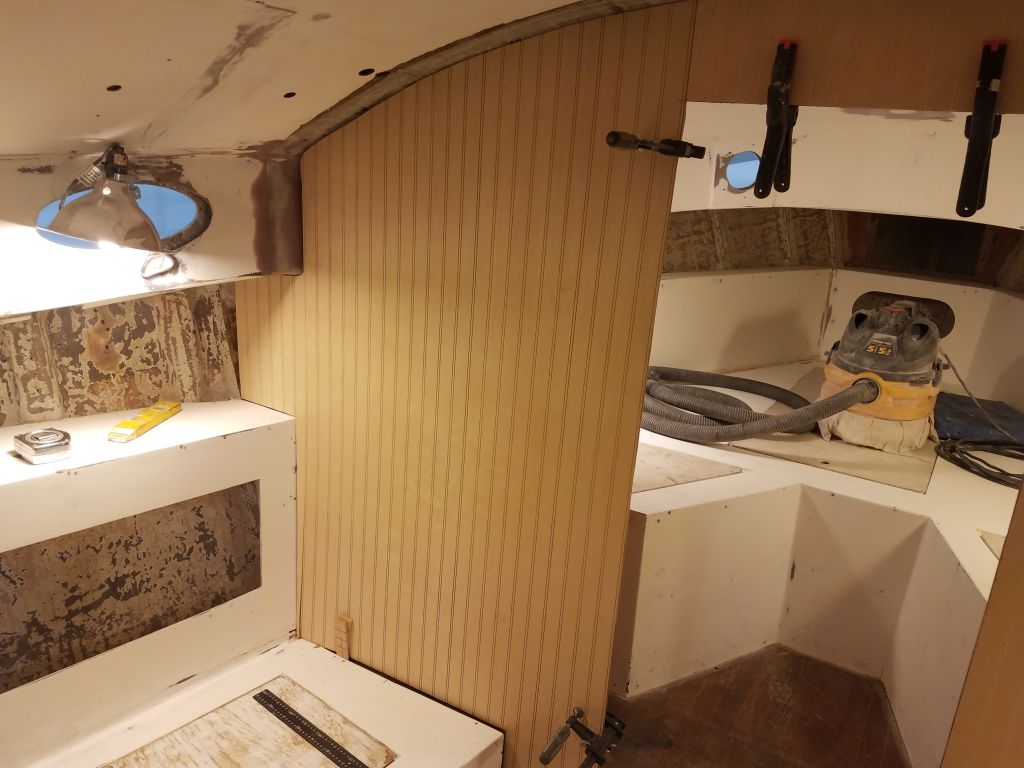
The glue securing the new cleats in the saloon cabinets had now cured enough to remove the clamps, so I moved on with the installation of the panel fasteners and threaded inserts. After taking some measurements to locate the desired positions of the fasteners, I laid out the panel fronts accordingly and drilled holes for the 1/4″ knurled-head fasteners. With the panels in place in their proper positions, I marked the hole locations on the new teak cleats, then drilled for and installed the threaded inserts. These required a 3/8″ hole, and for the installation itself I had a nice little installation tool to easily and accurately install the stainless steel inserts.
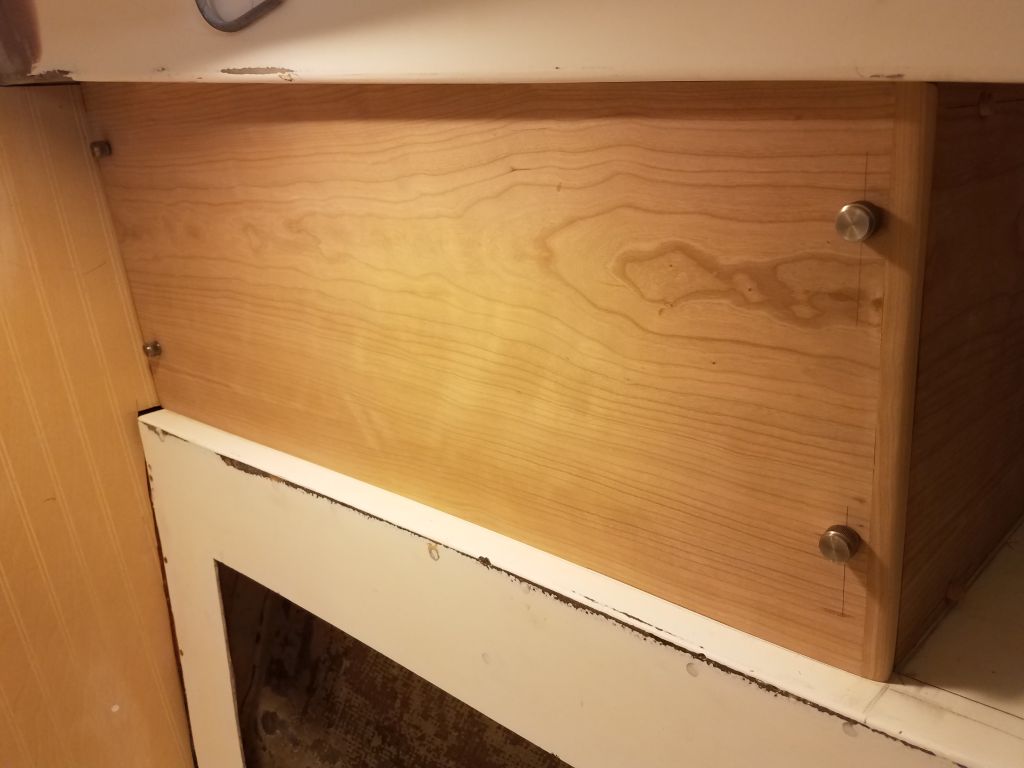
With the inserts in place, I could install the panels with their four fasteners. I had some handles that I intended to install to help a user remove the panel easily later, but for the moment I decided to hold off on installation till I had a better sense of where the handles should go.
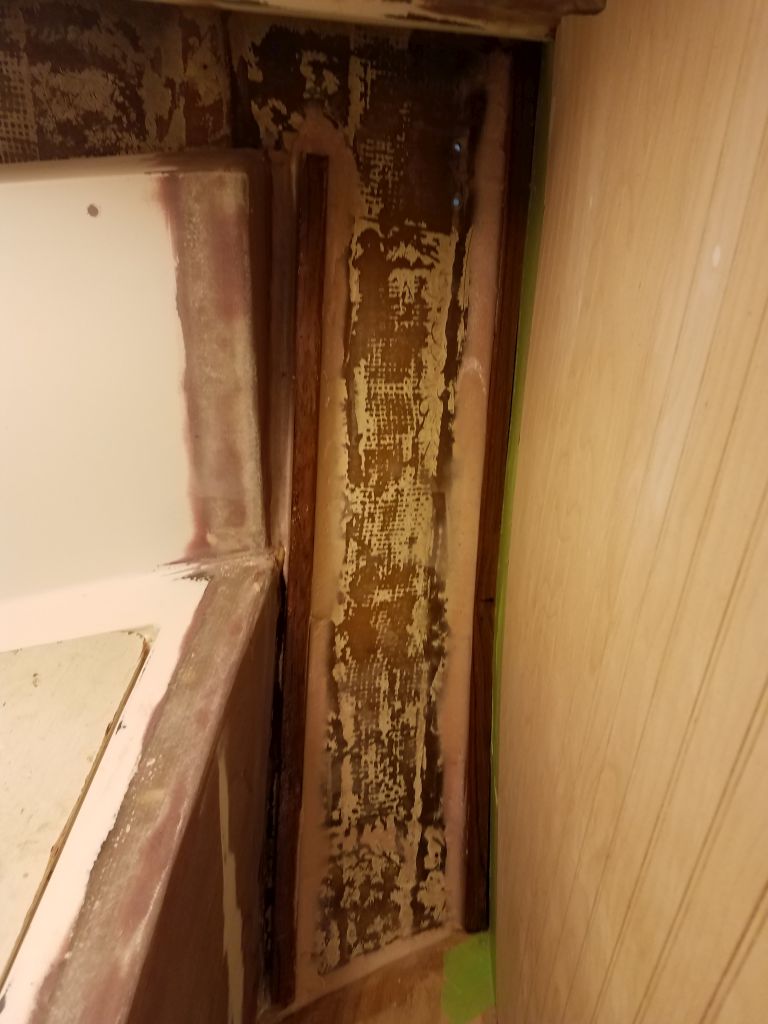
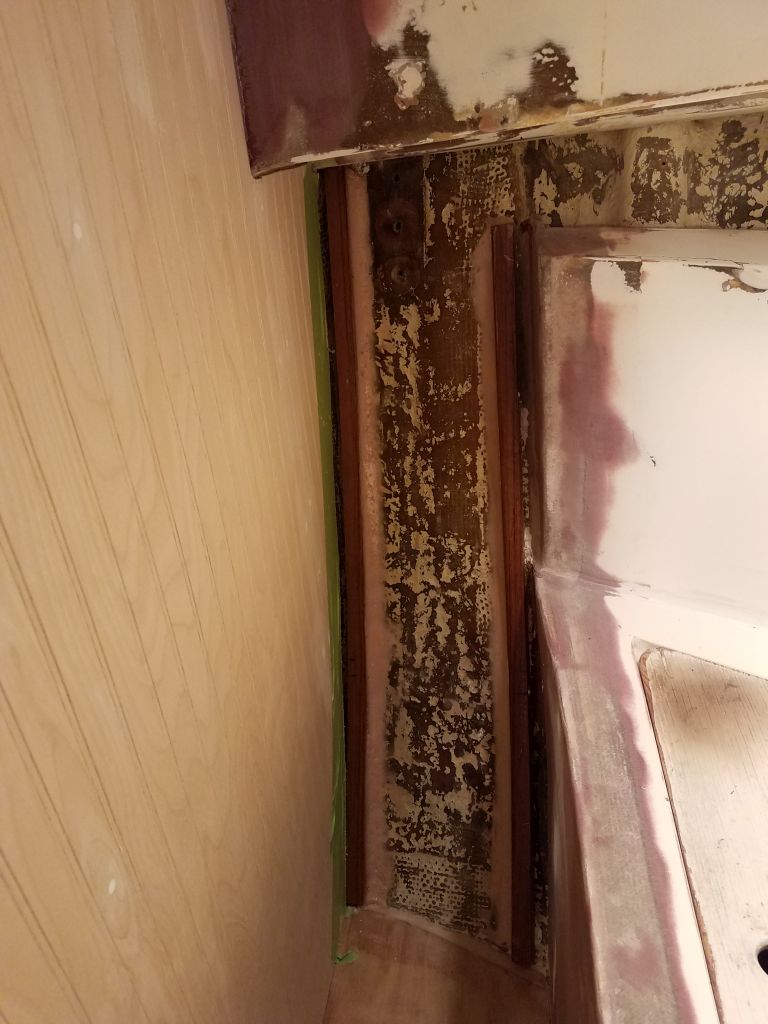
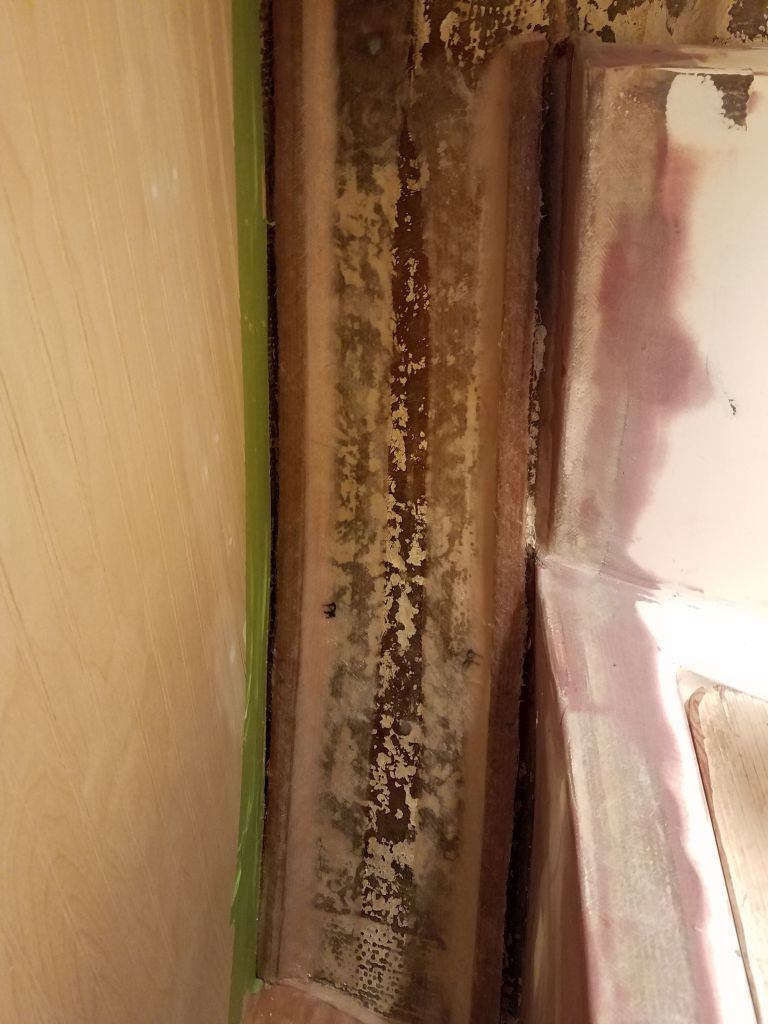
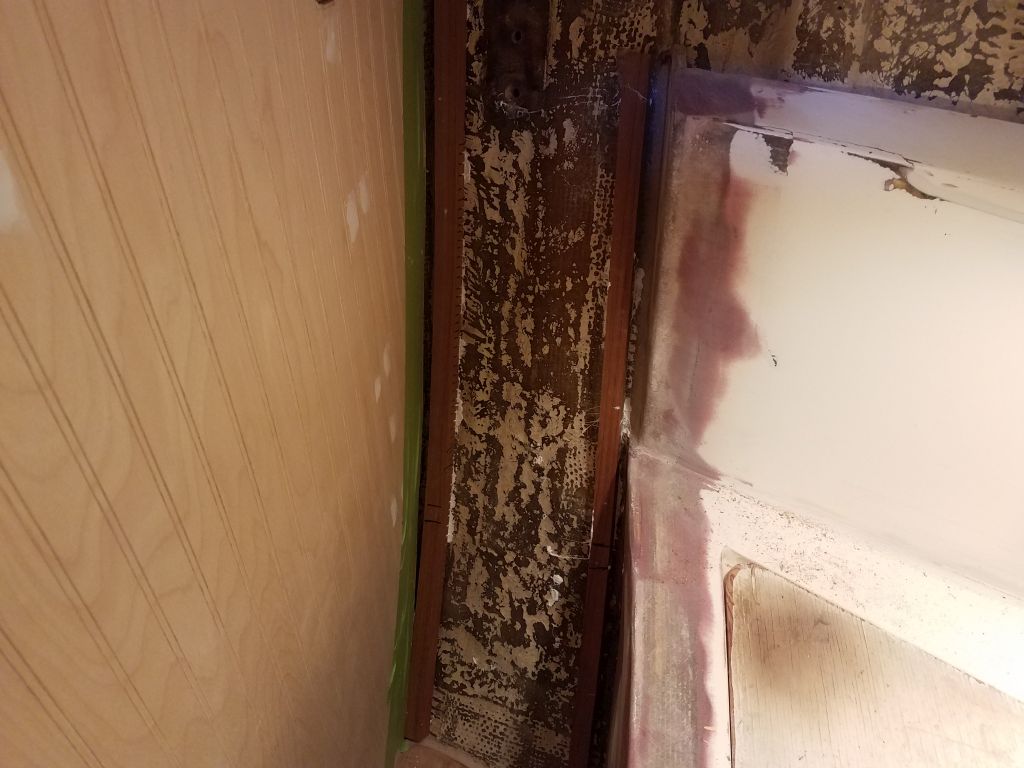
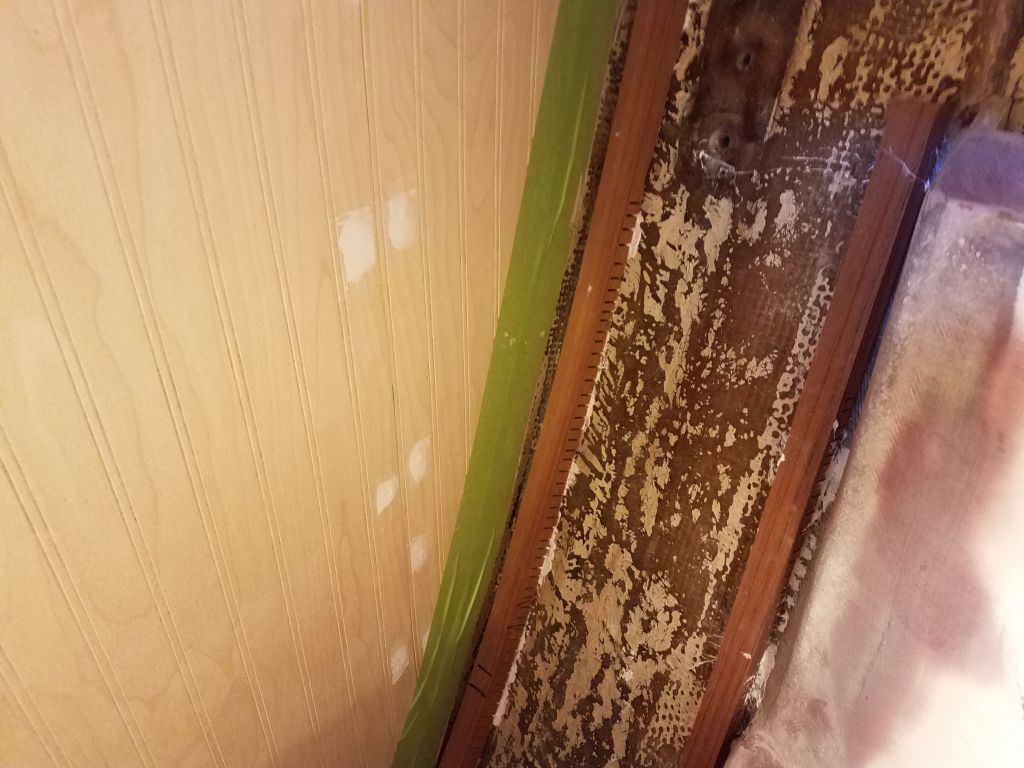
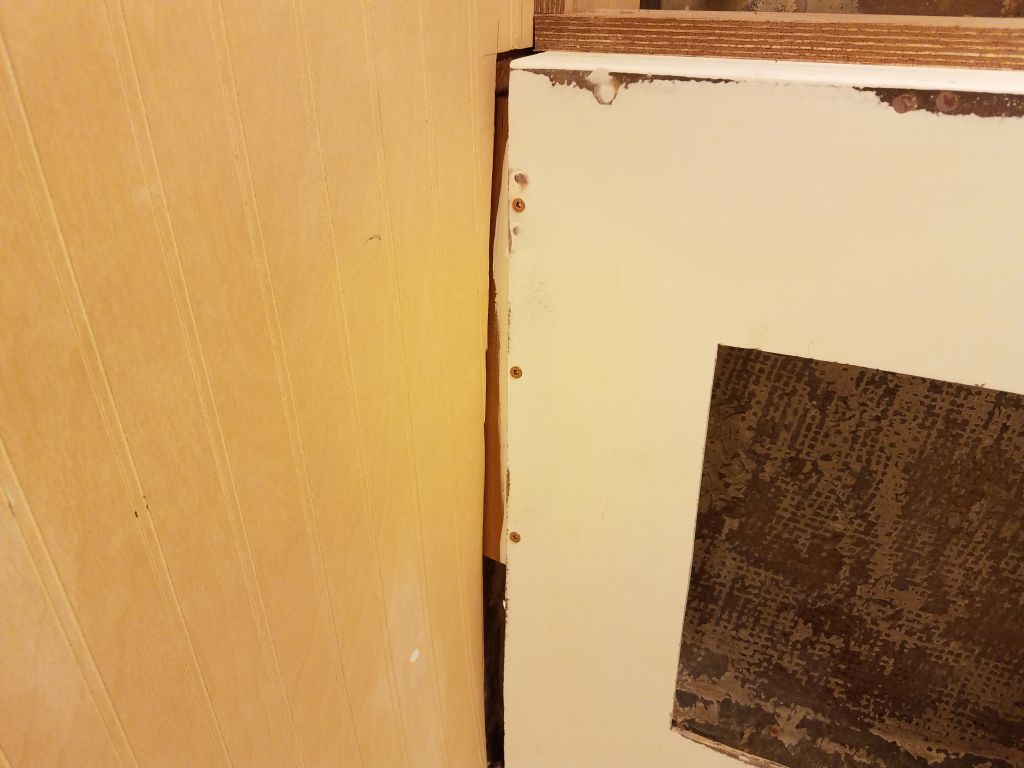
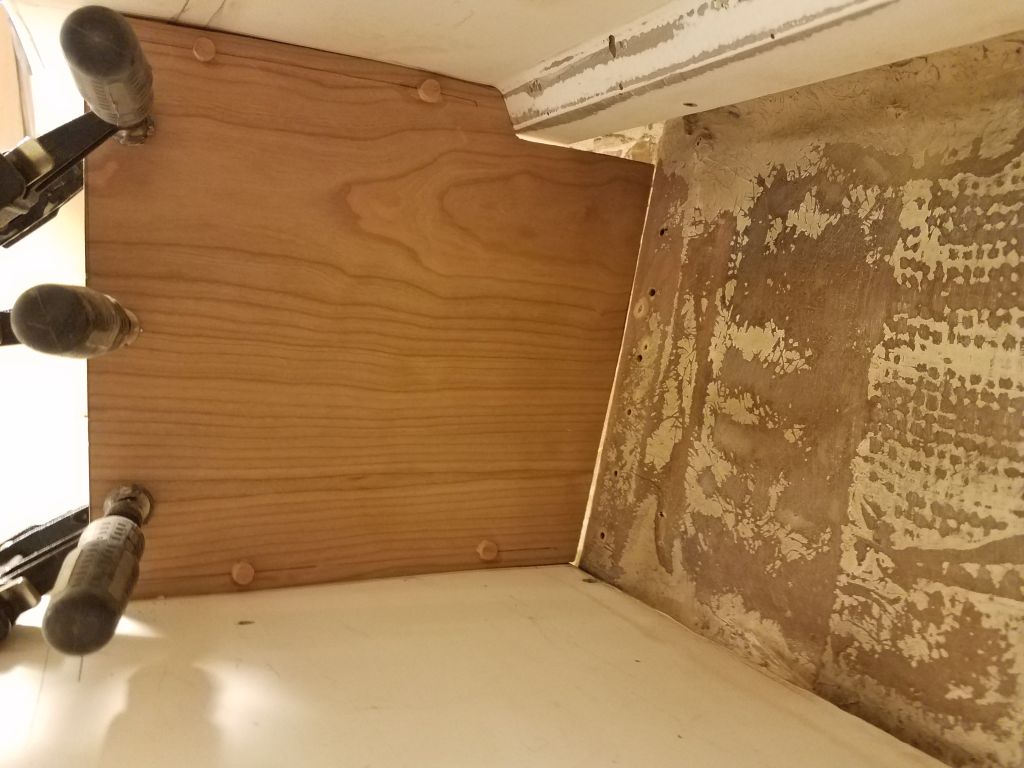
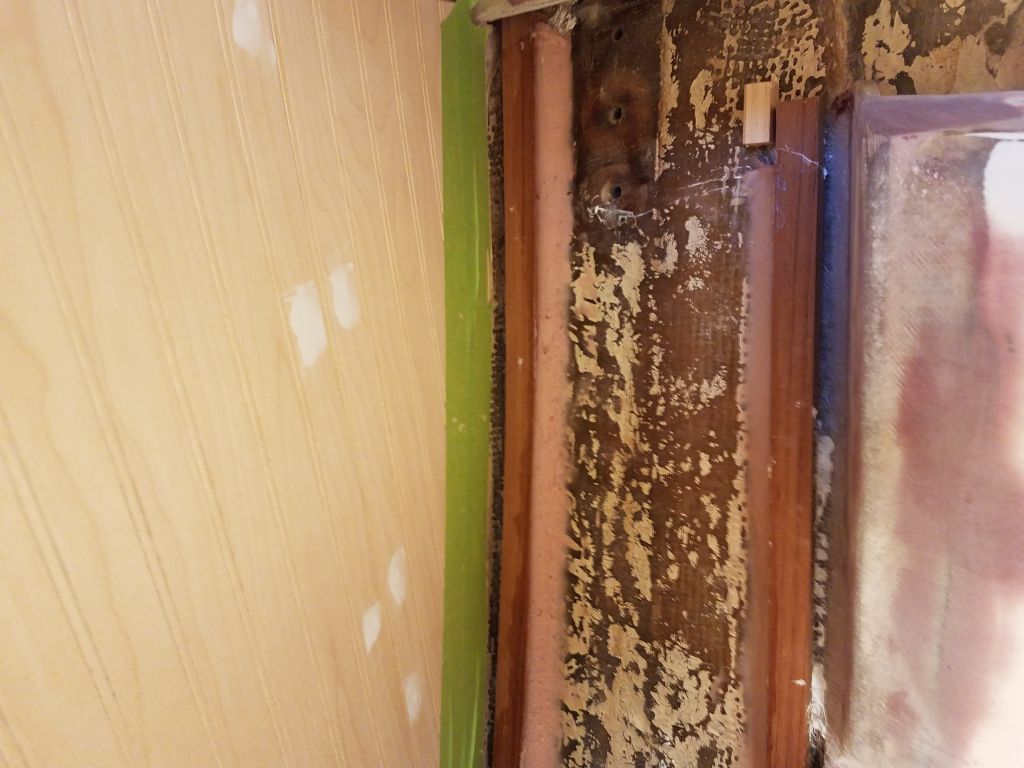
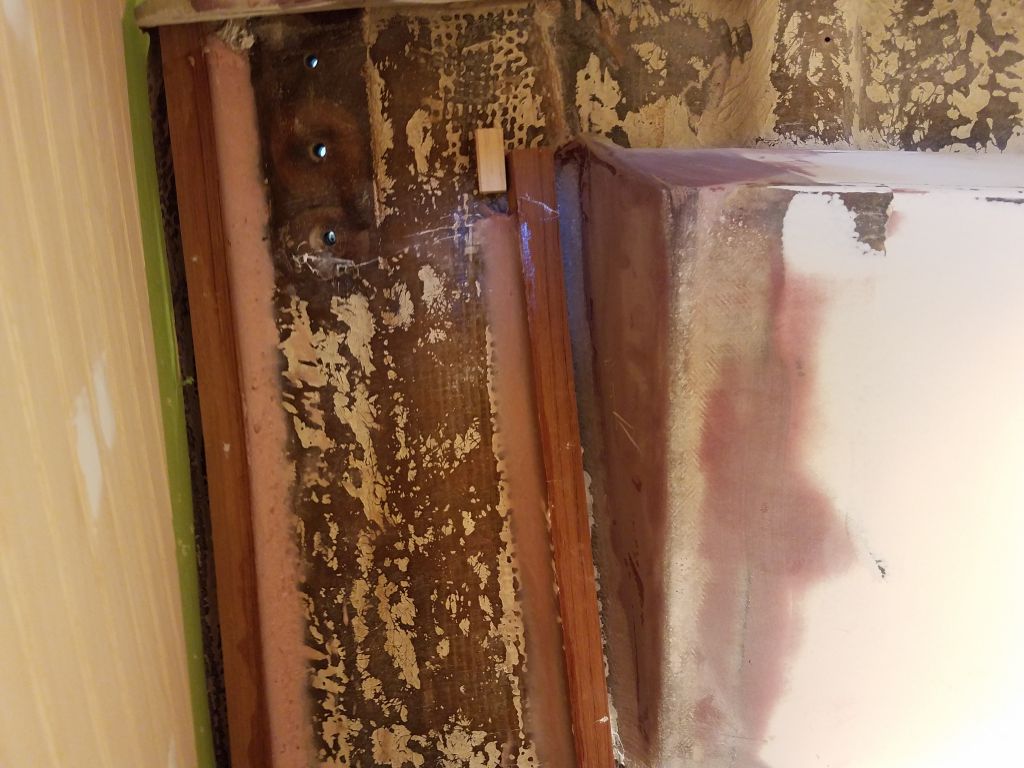
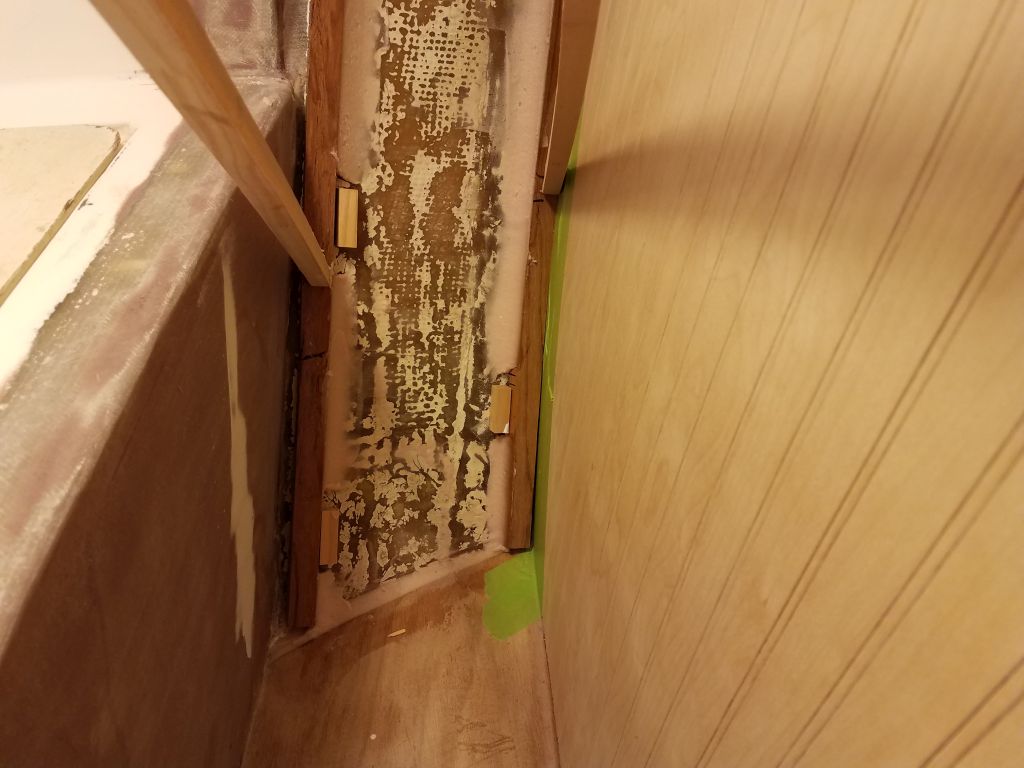
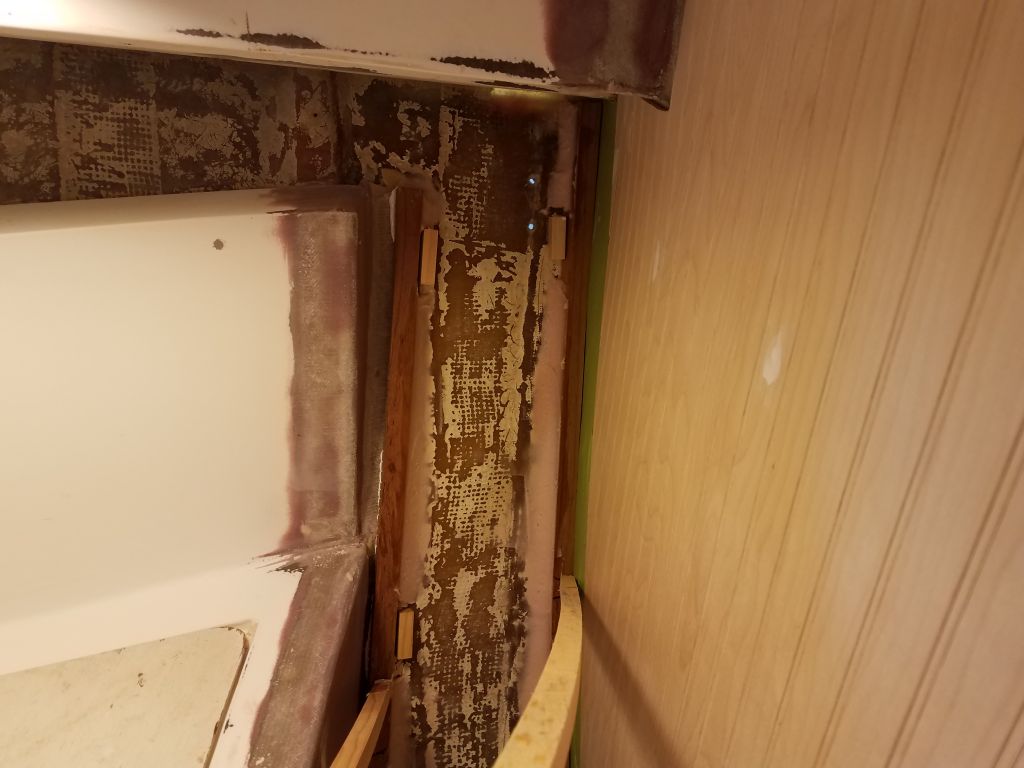
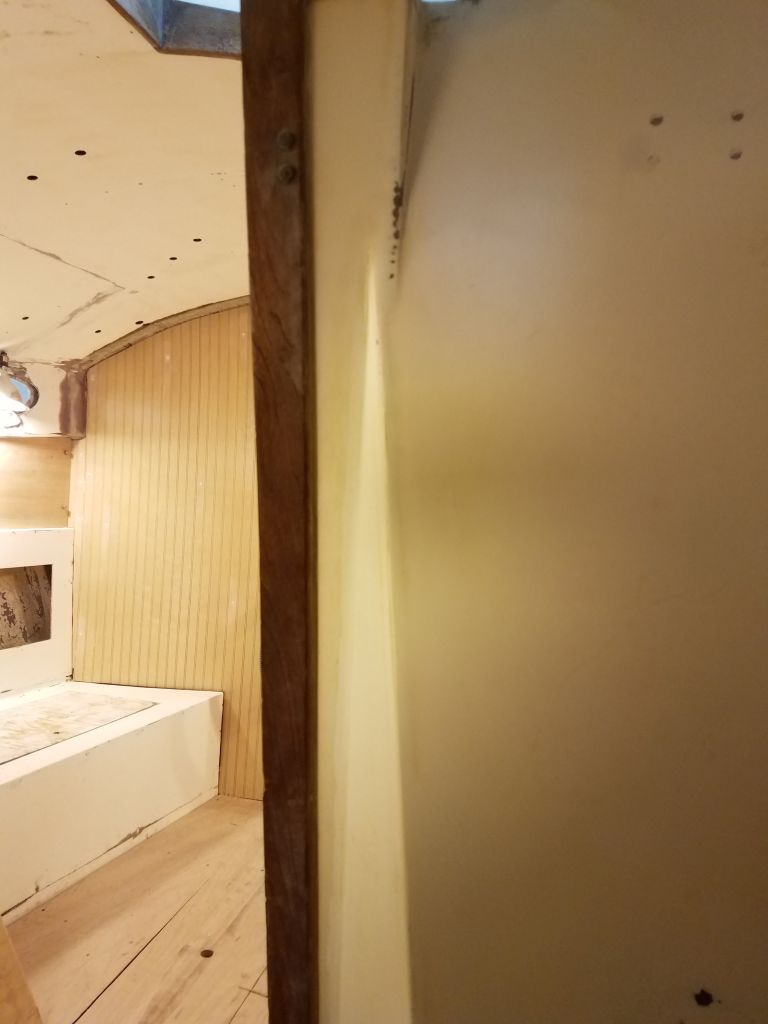
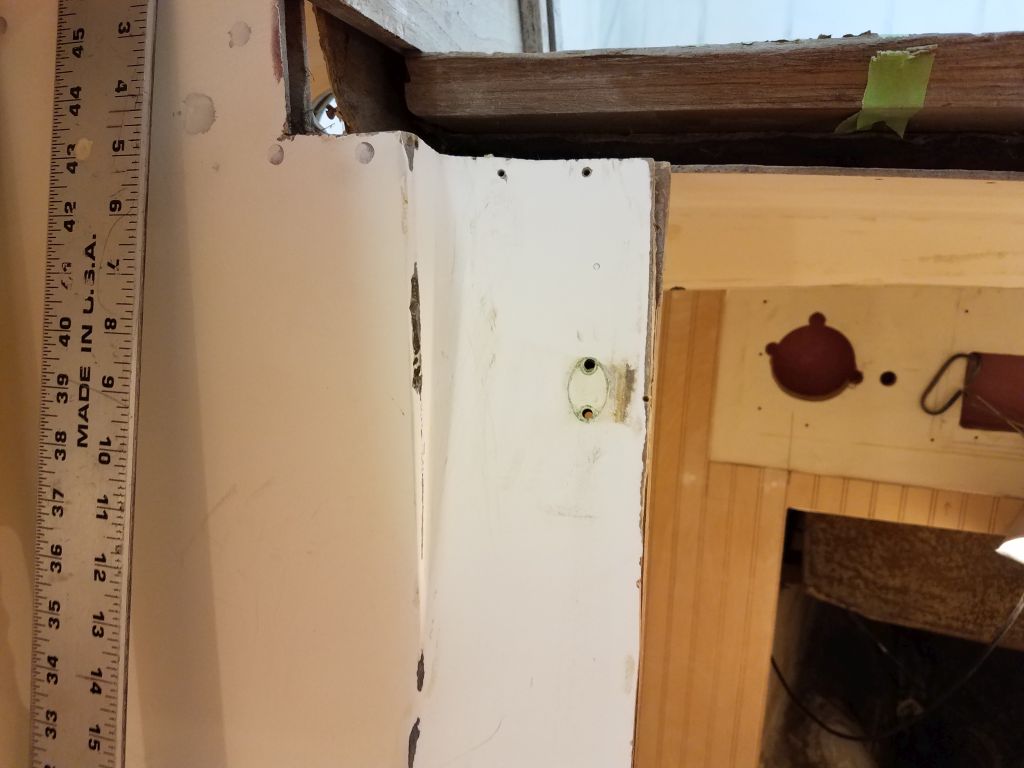
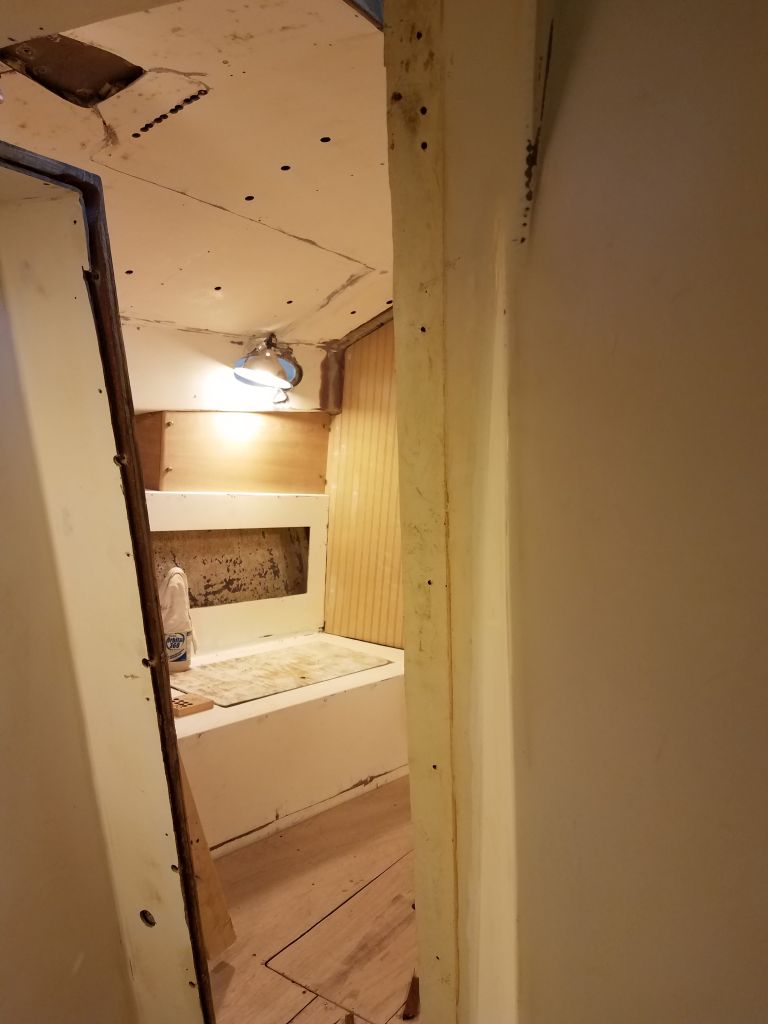
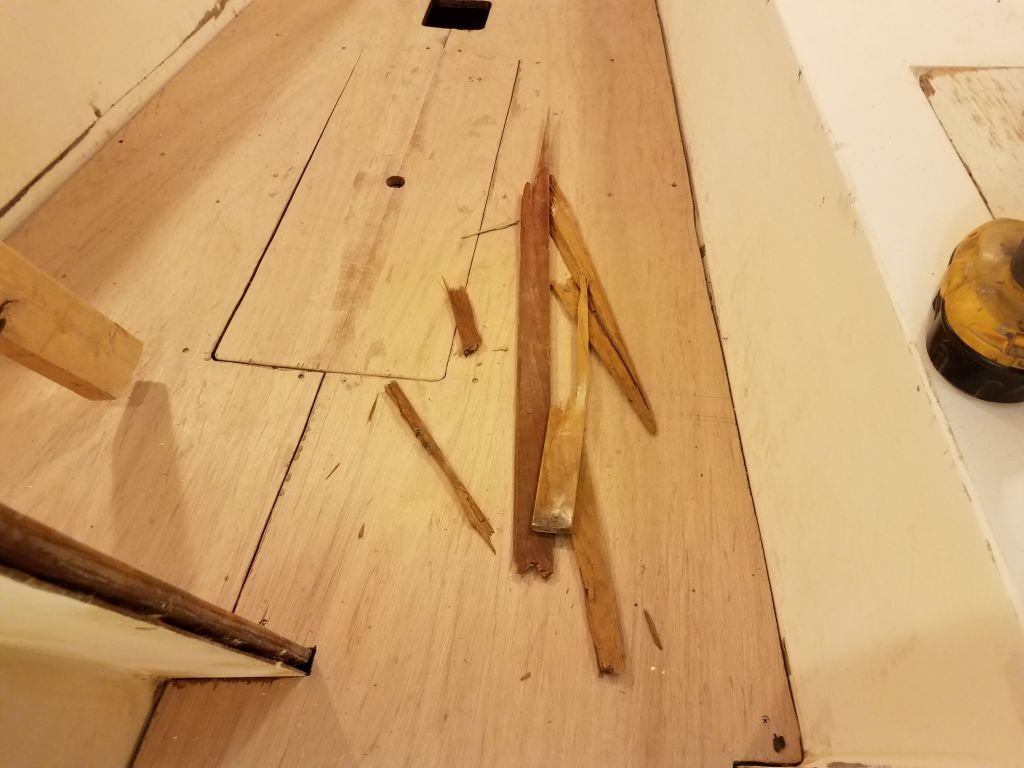
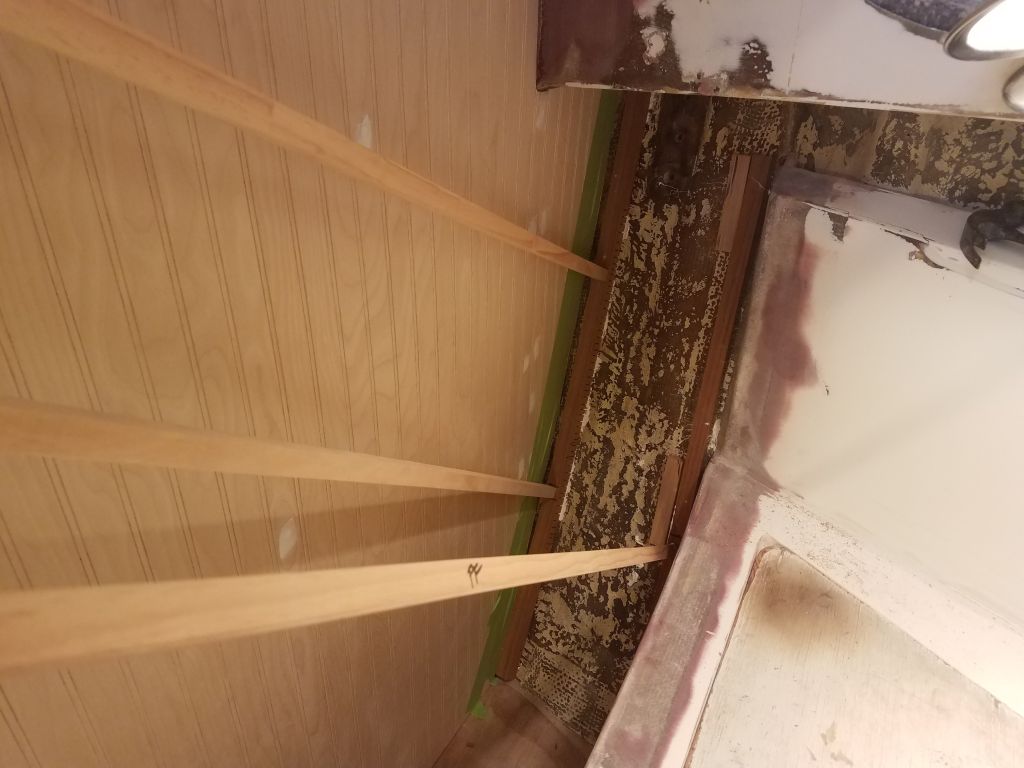
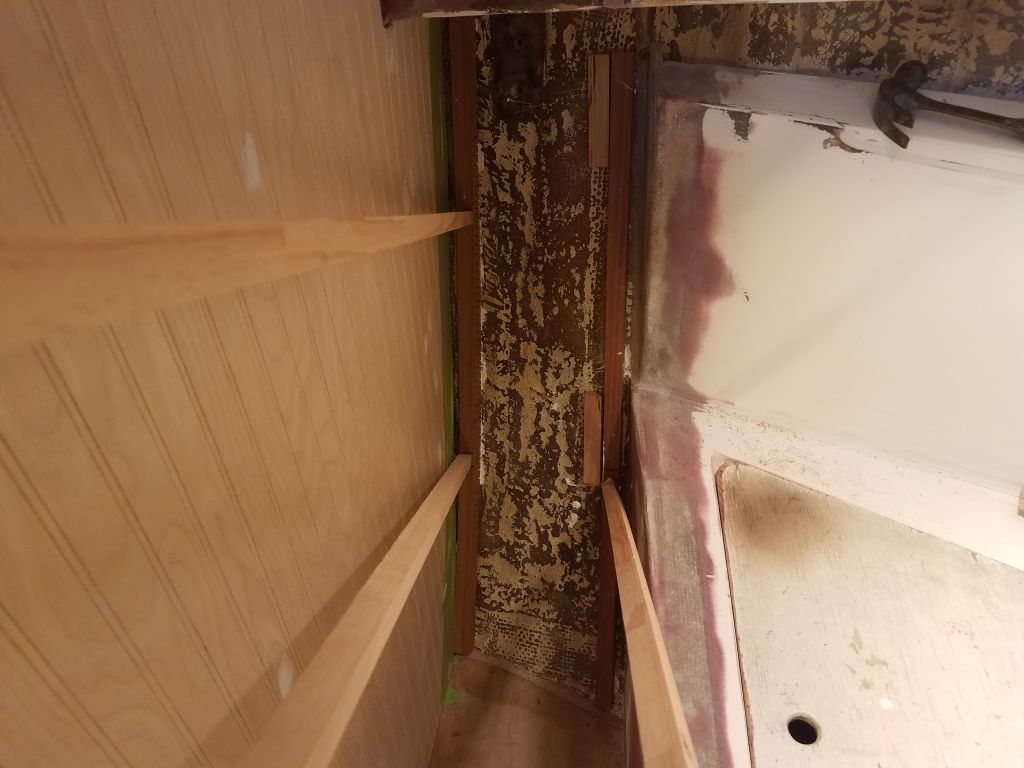
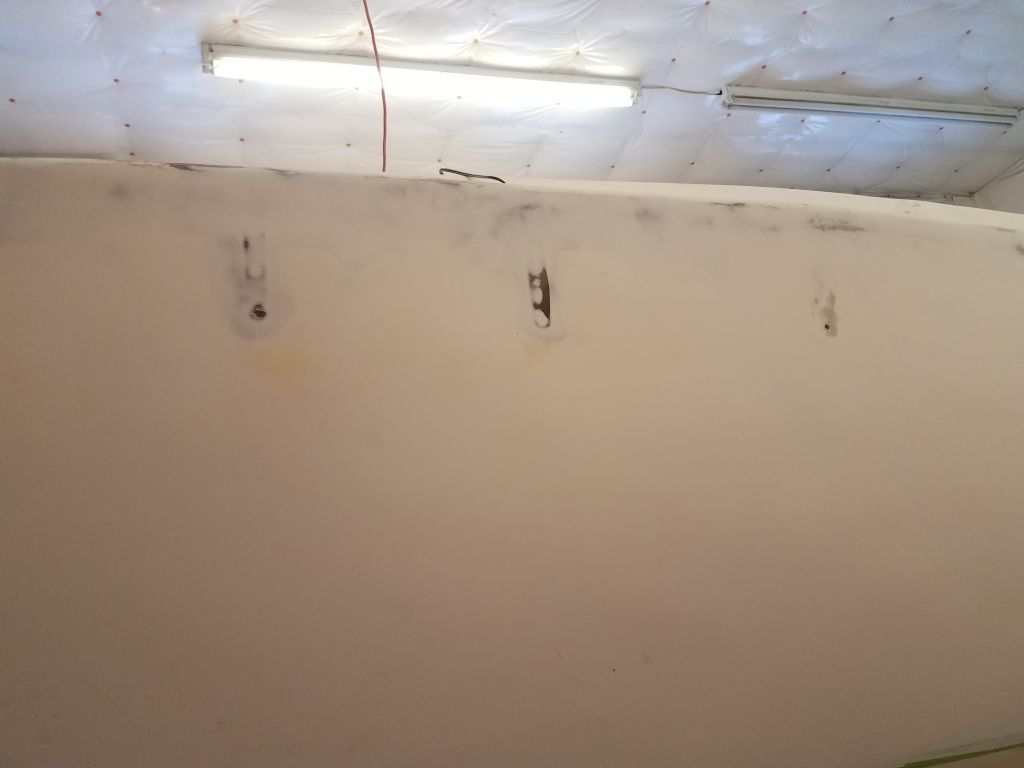
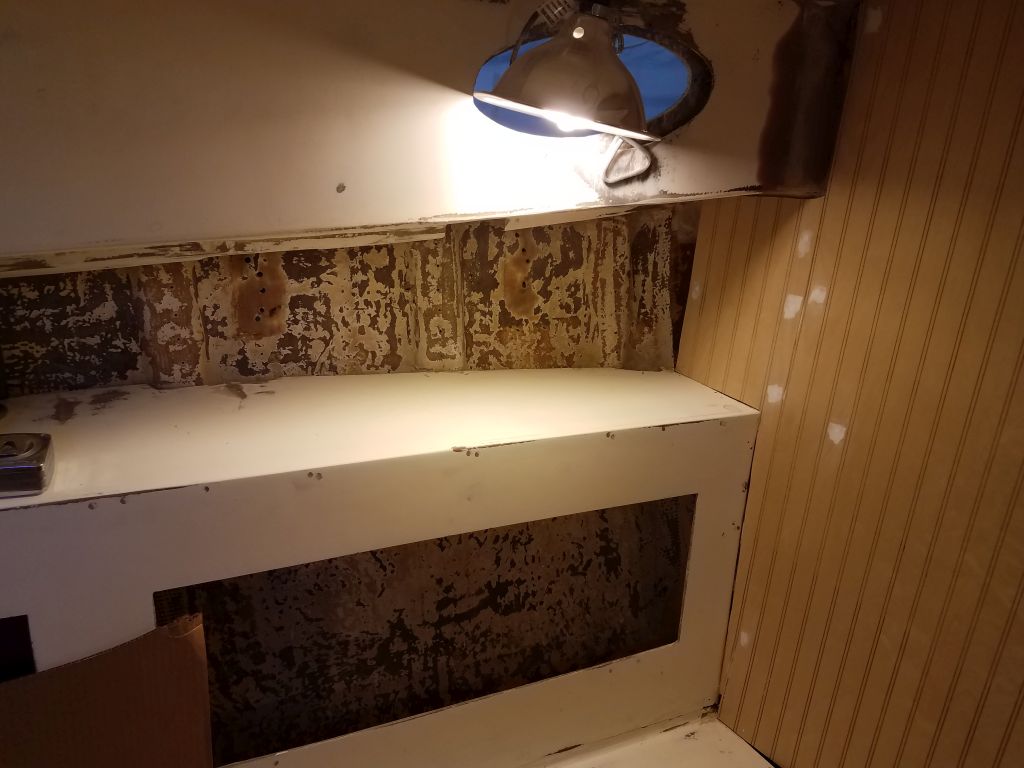
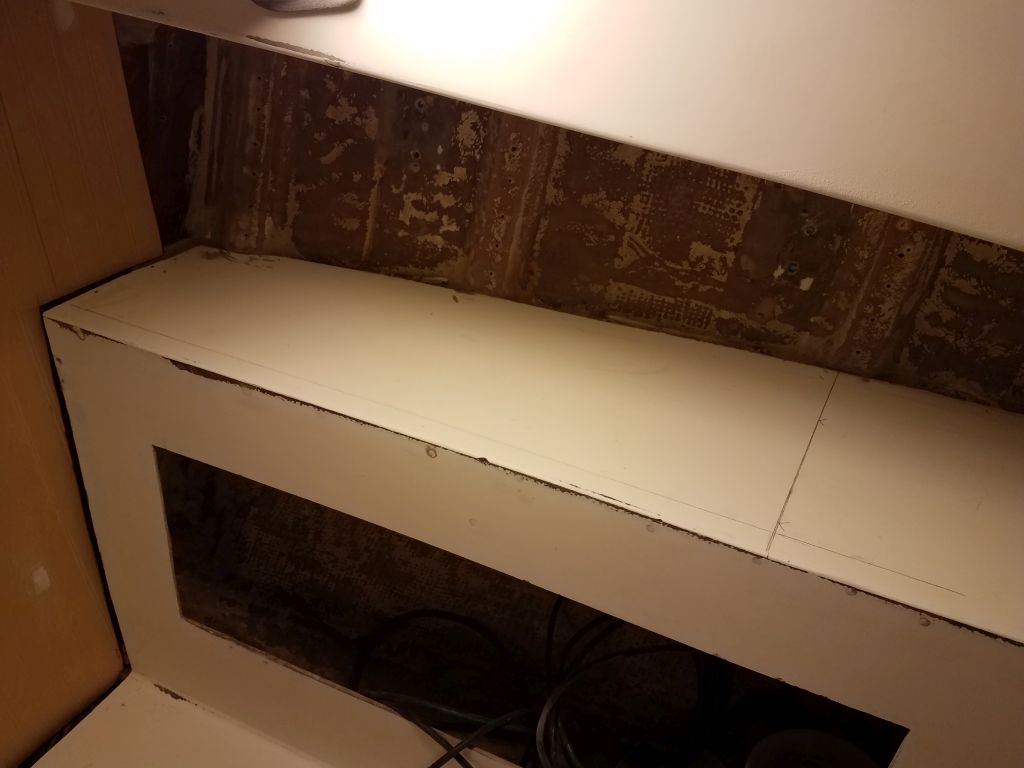
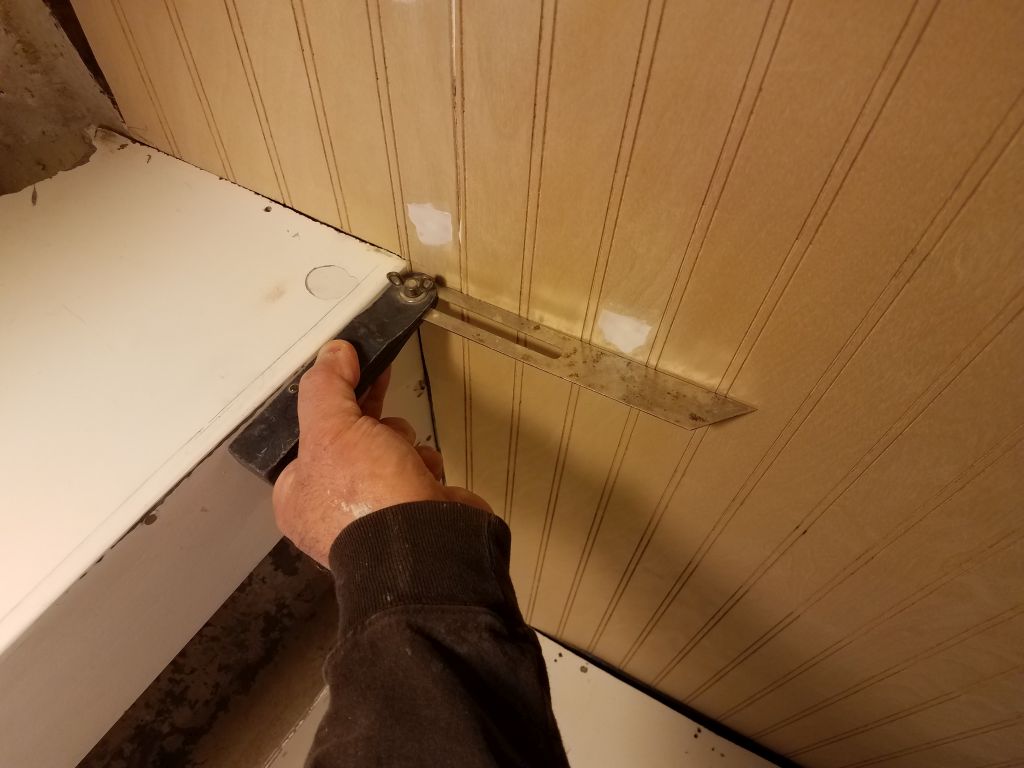
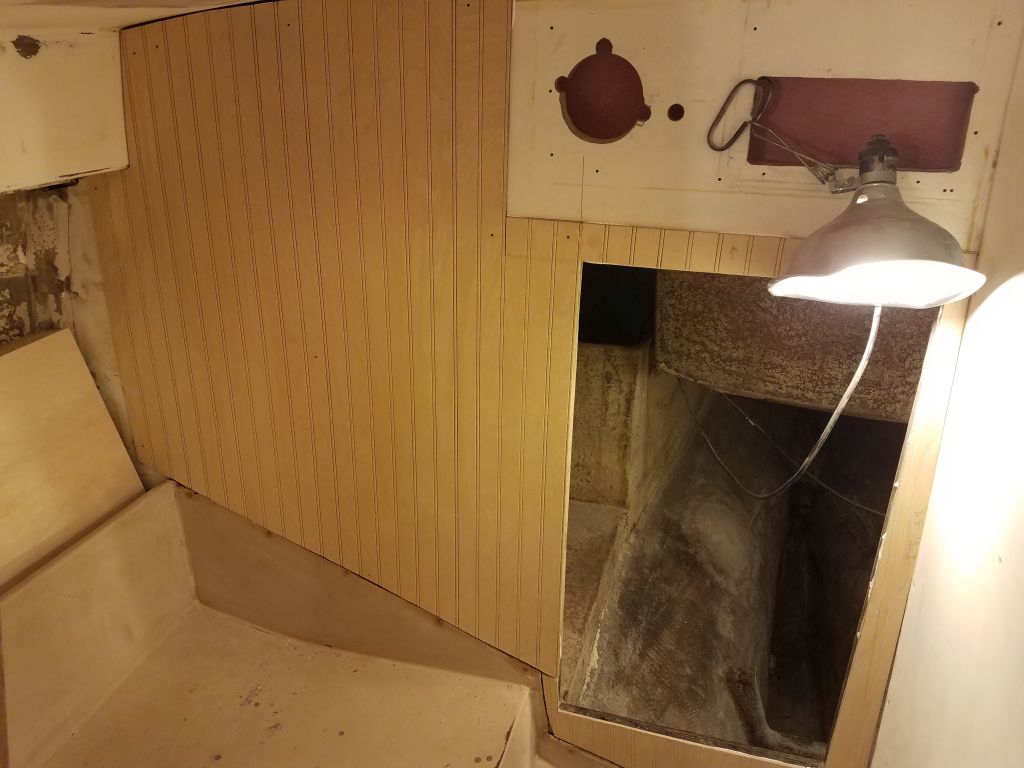
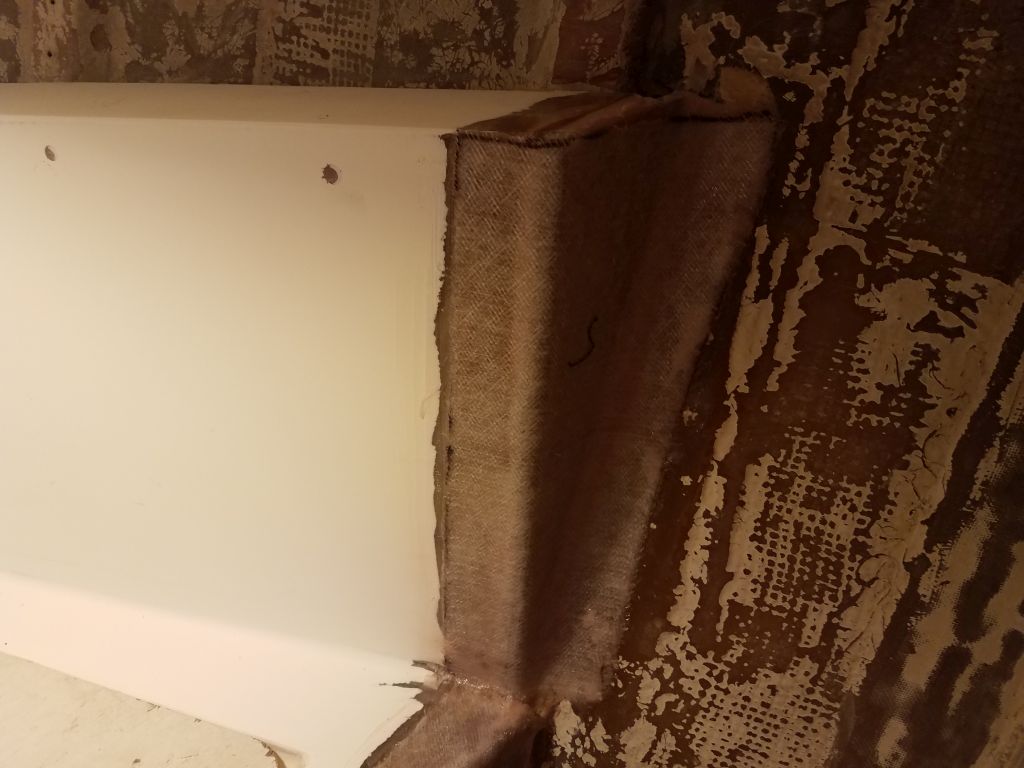
To round out the day, I removed one pesky last piece of original trim that I’d left inside the doorway to the head for some unknown reason. This trim needed to go before I got to the primer application throughout the boat. This required first removing a hook that was still in place, and then I quickly broke out the old trim and removed the screws once the wood was out of the way.
Total time billed on this job today: 8 hours
0600 Weather observation: 8°, high clouds. Forecast for the day: Becoming mostly sunny, 28°