


June 6, 2016
Rhodes 1
Monday
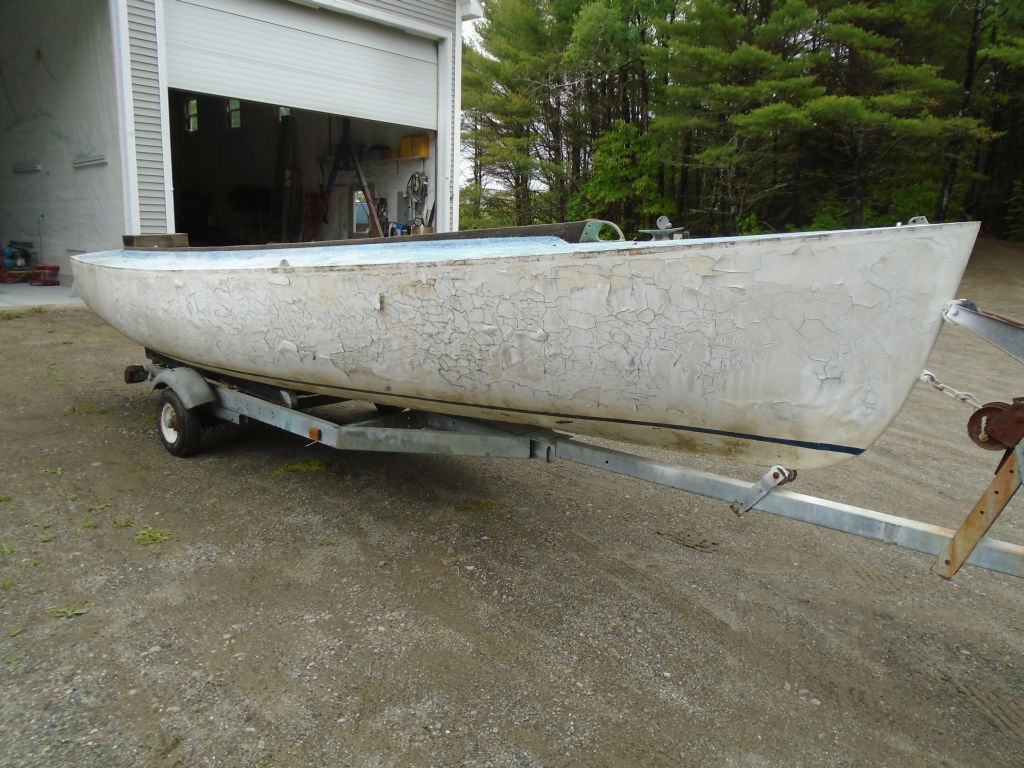
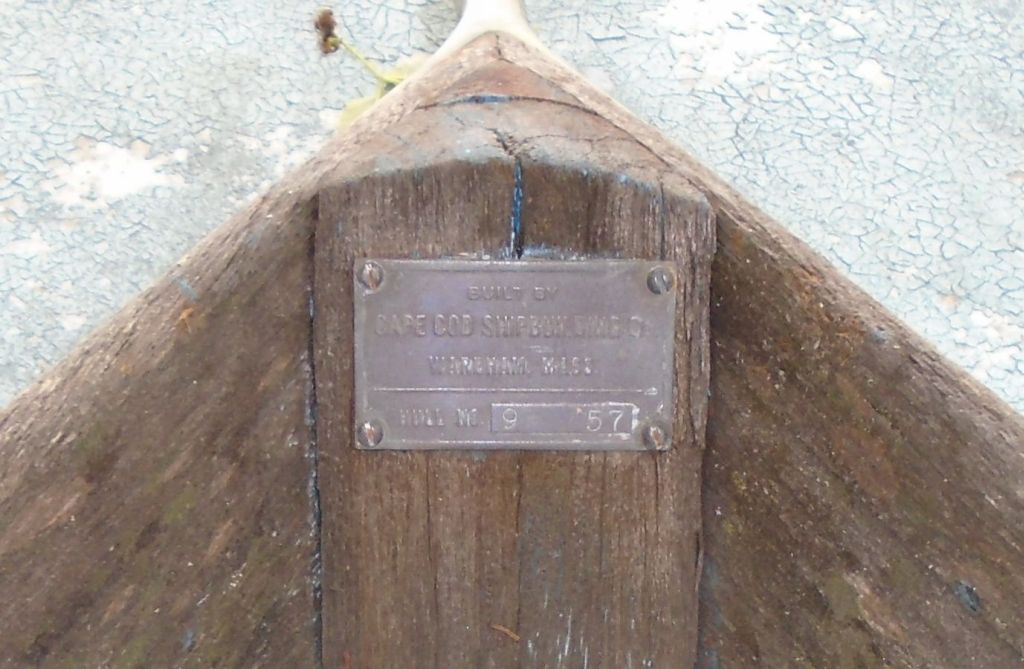
A local owner asked me to help him with some of the initial stages of restoration work on his 1957 Rhodes 18, a classic daysailer that had been rather neglected over the years. I planned to work on the project sporadically over the coming weeks, in and around other commitments I had.
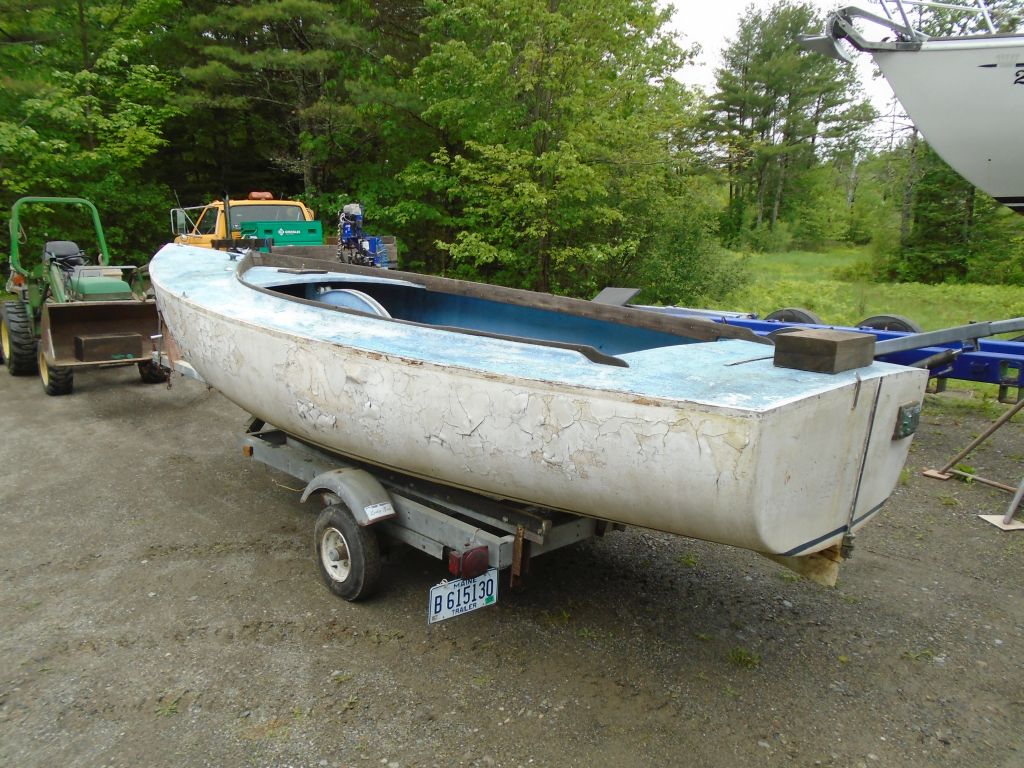
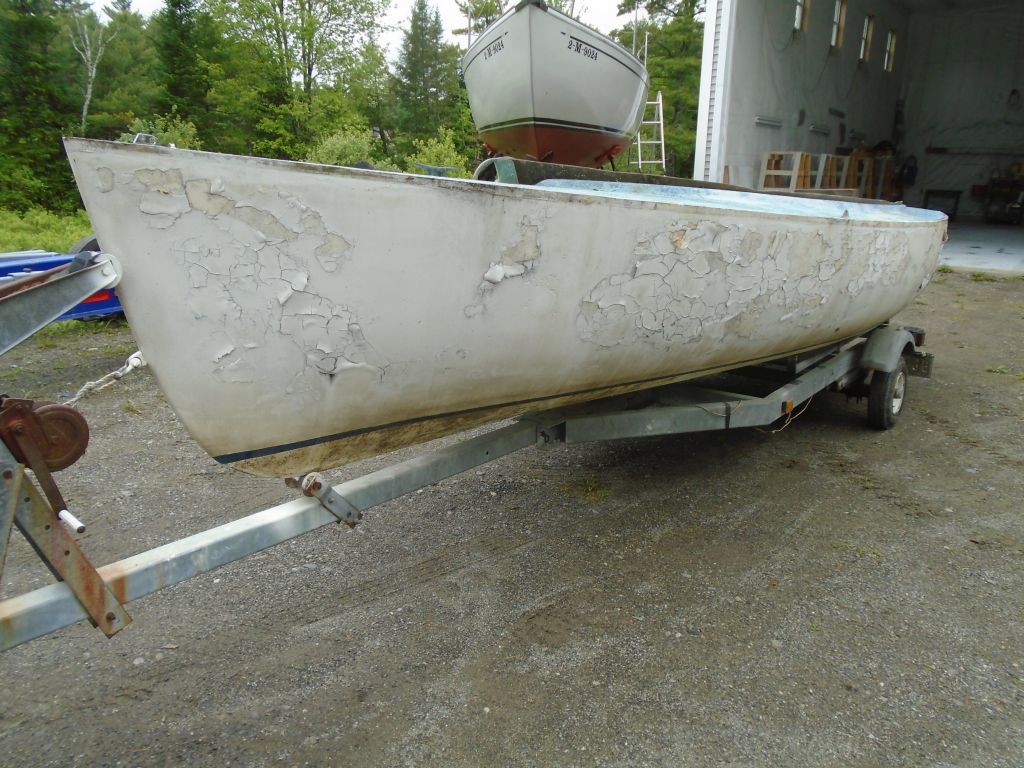
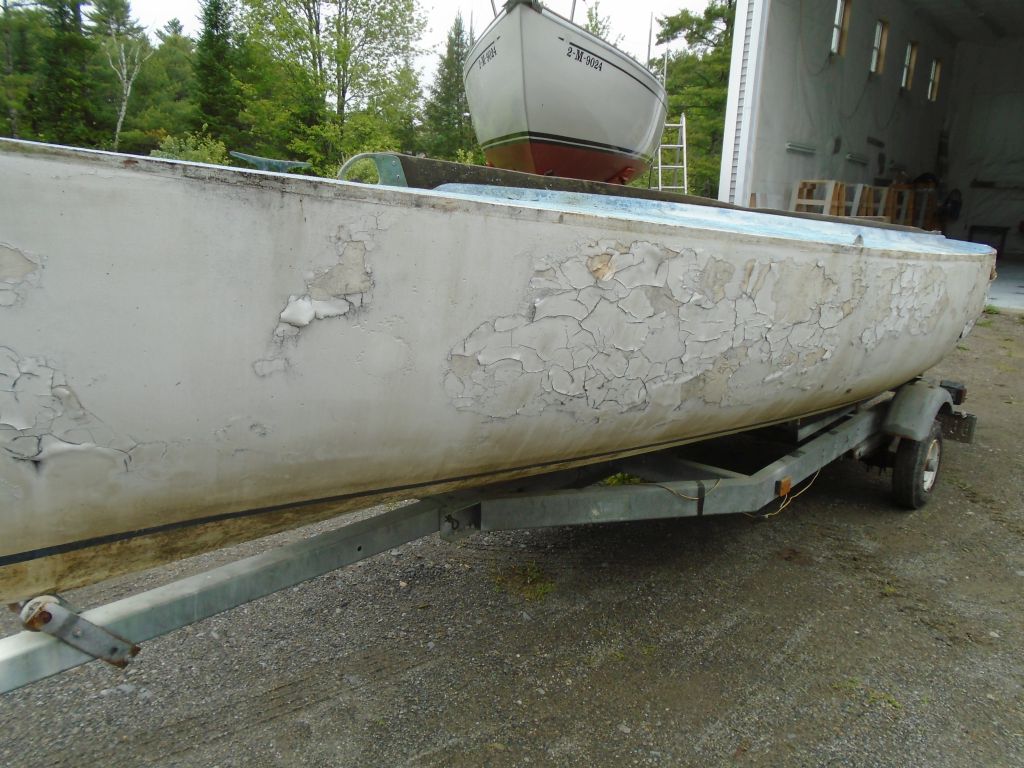
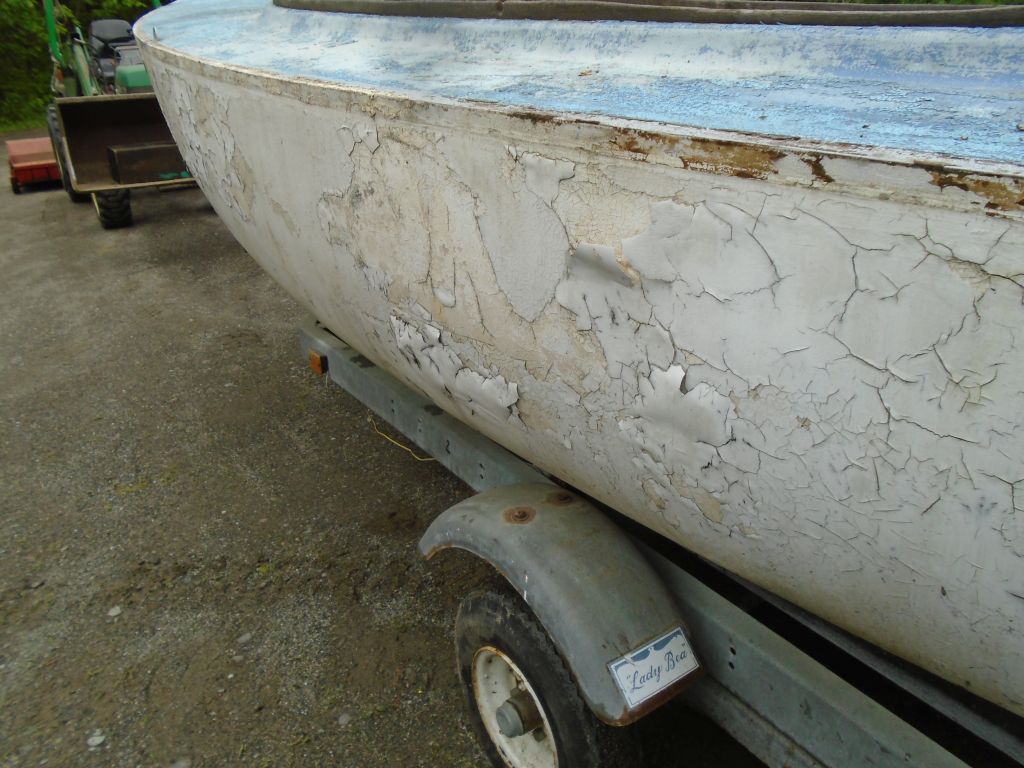
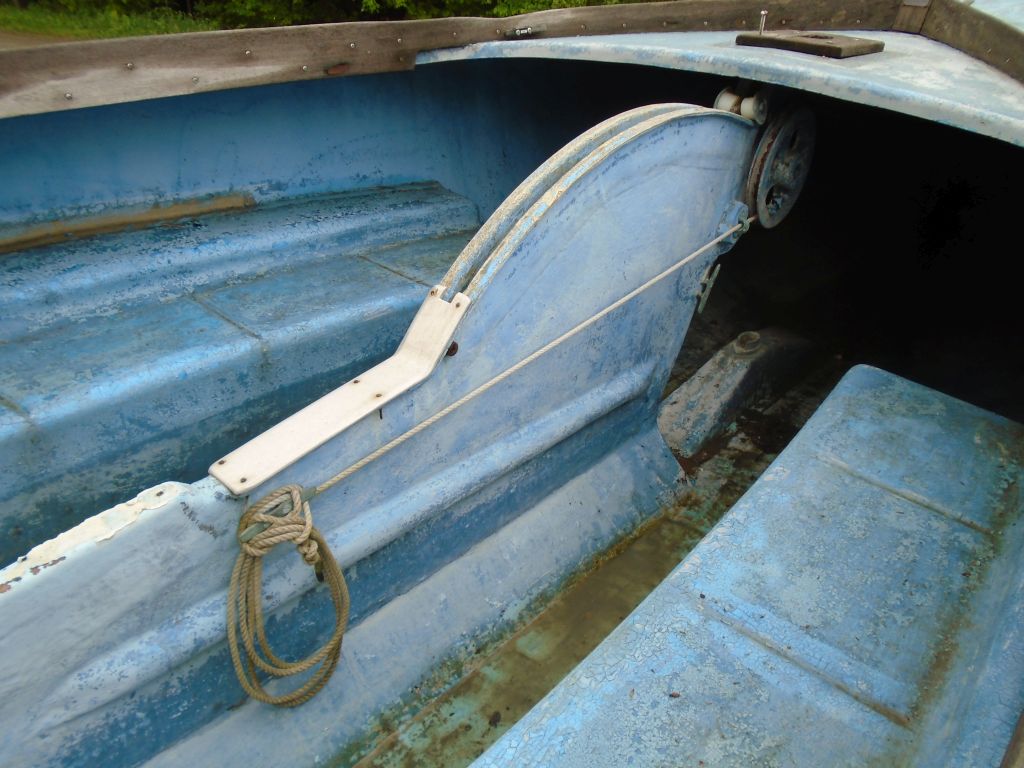
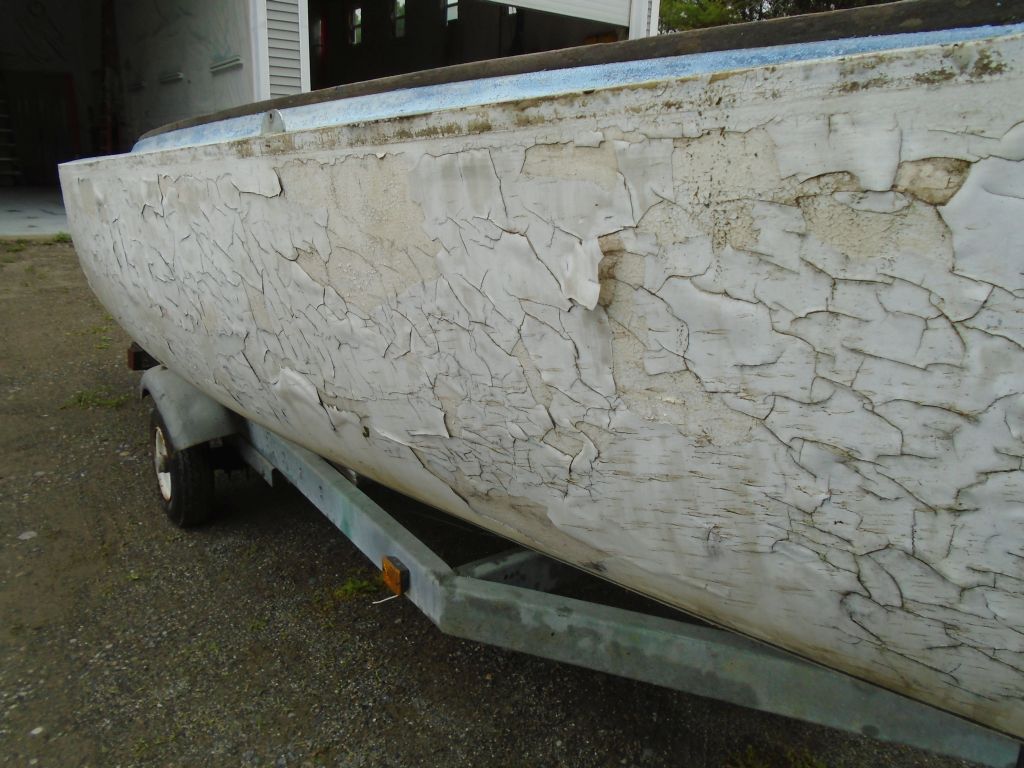
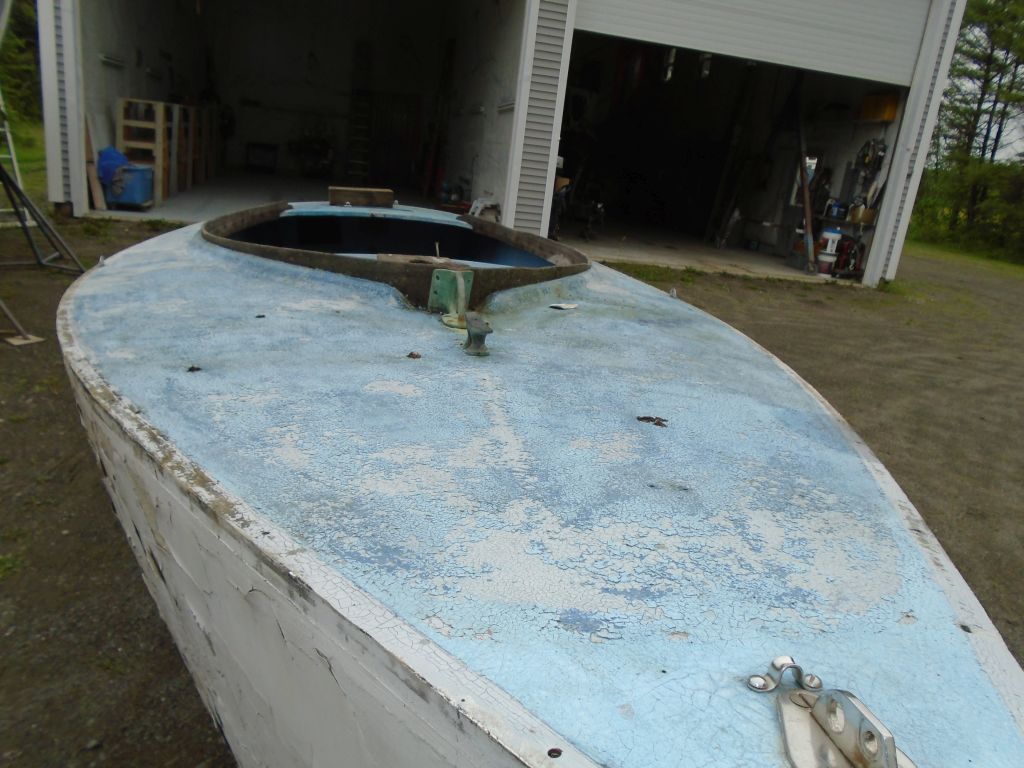
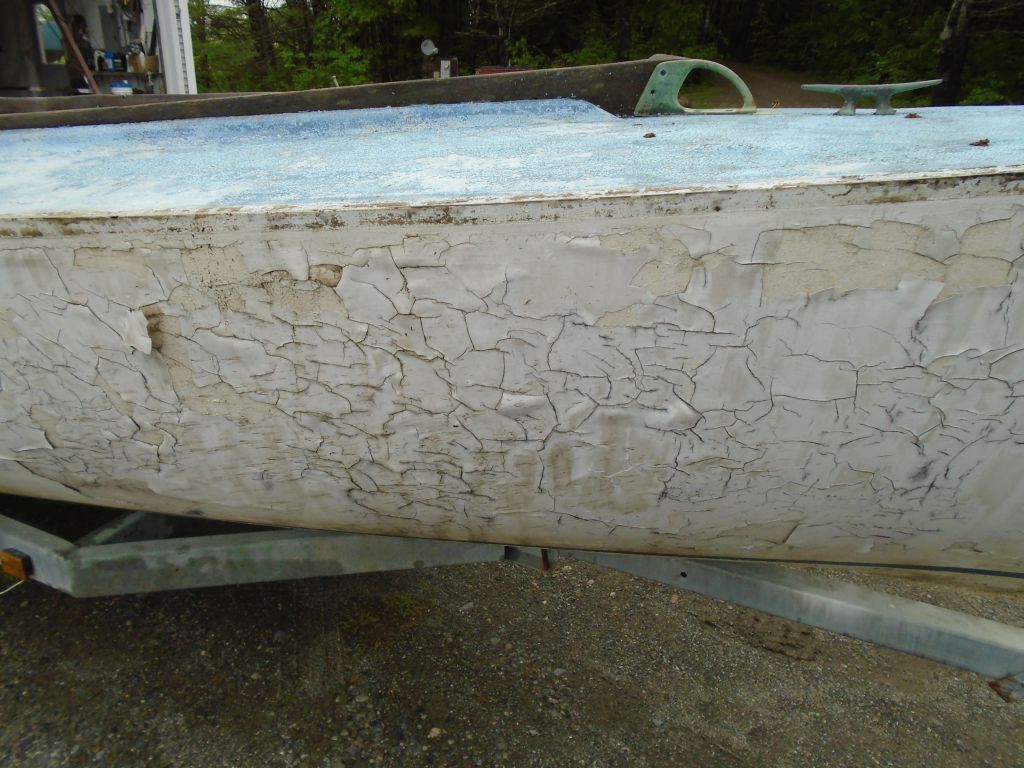
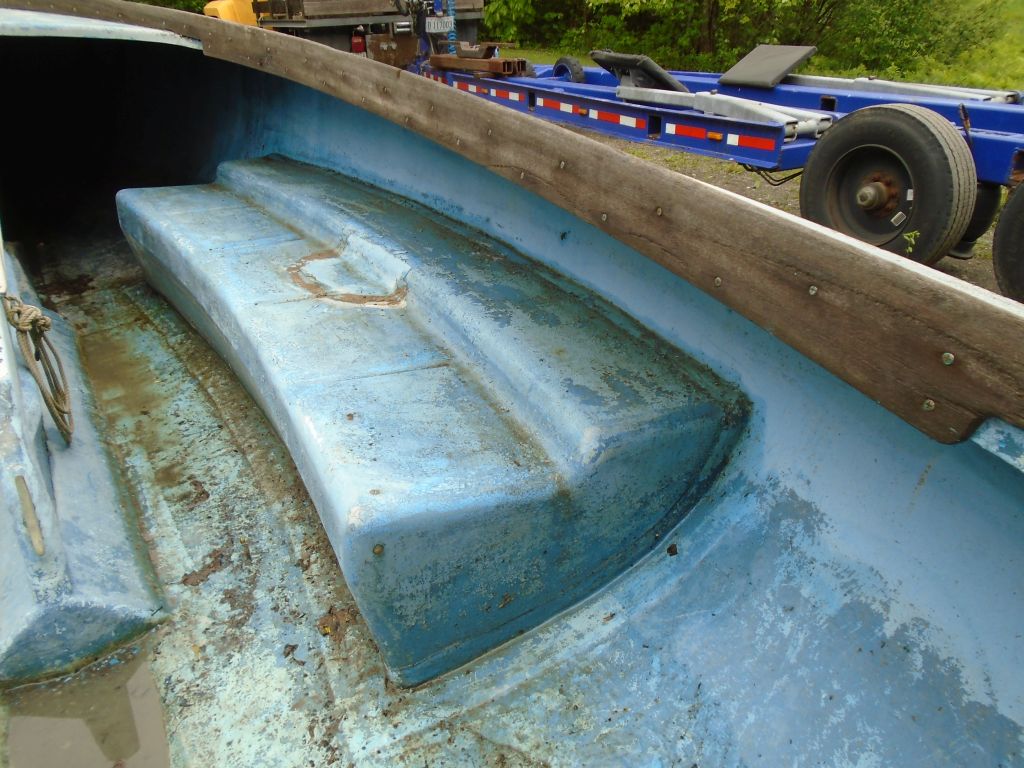
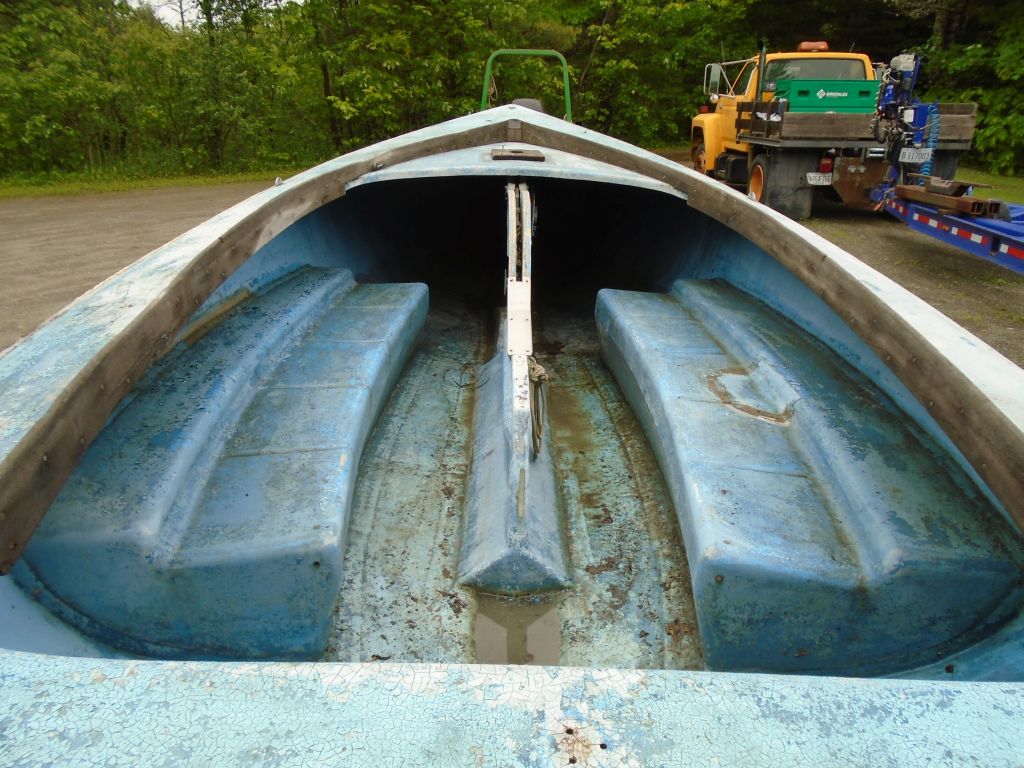
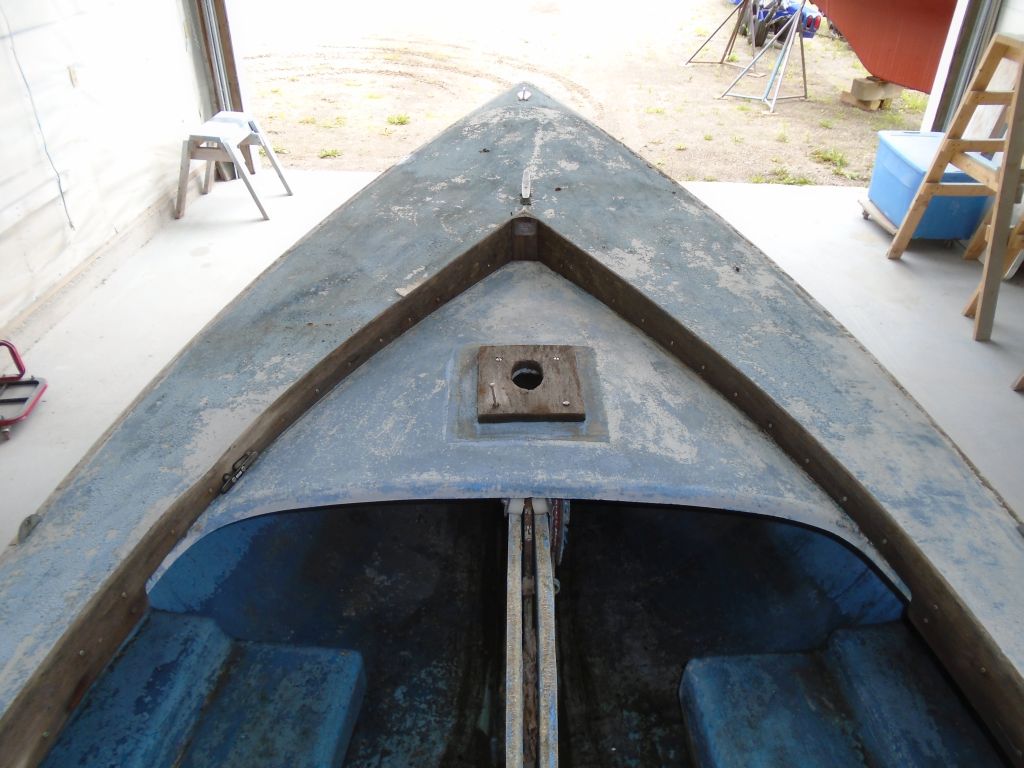
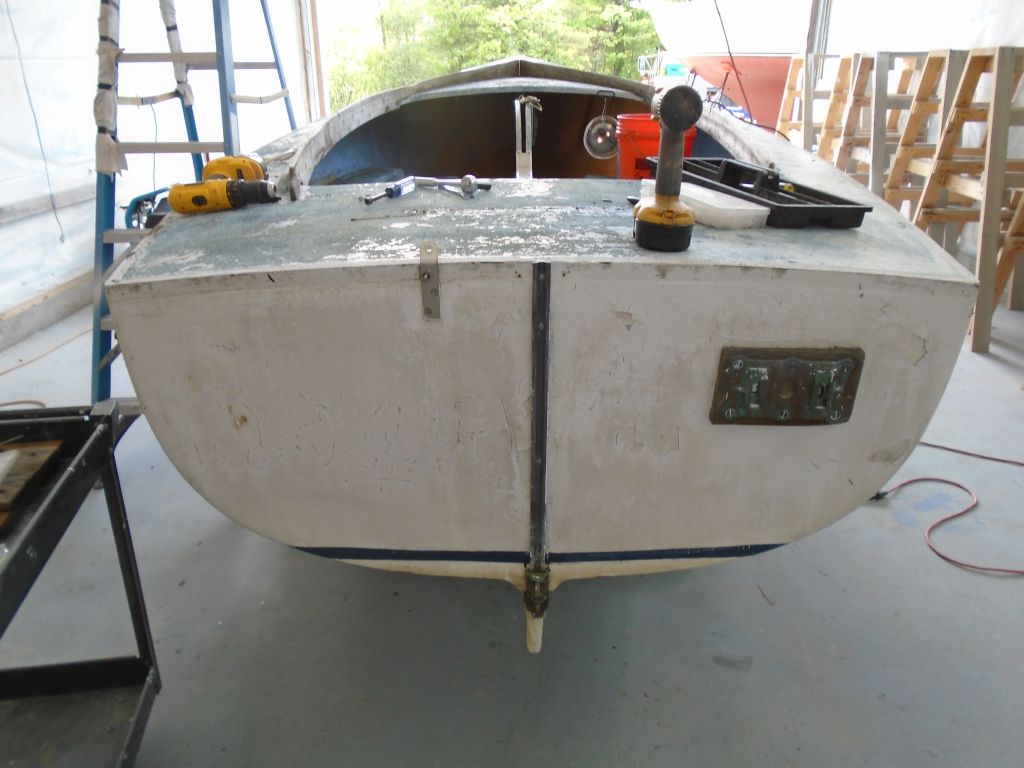
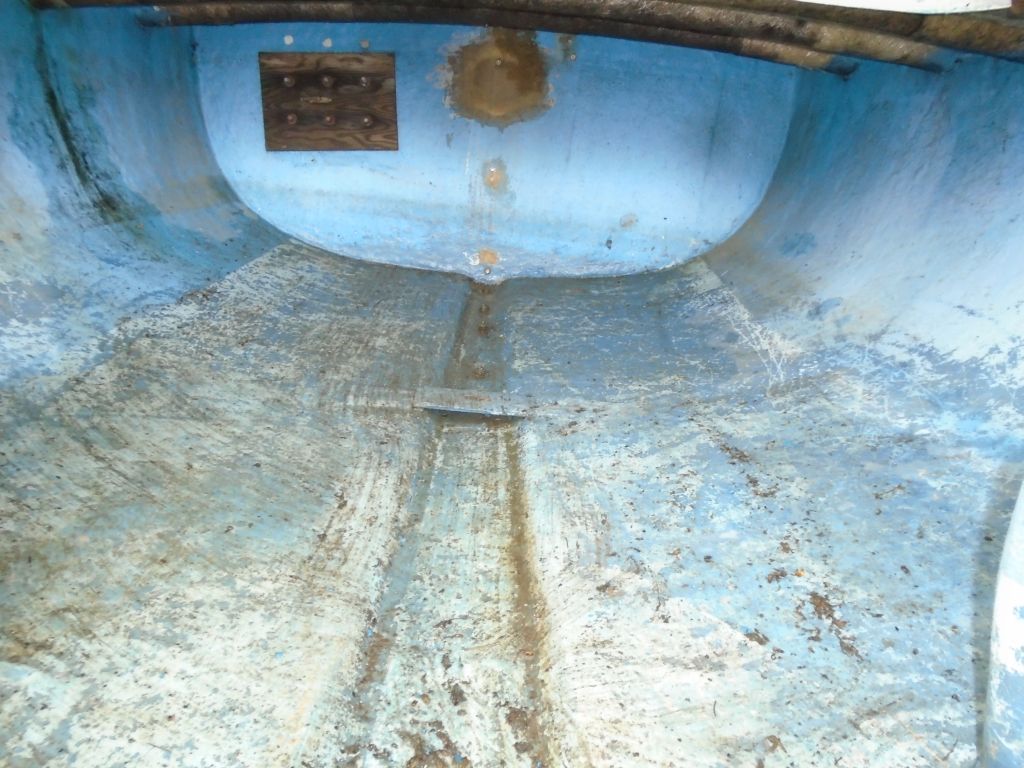
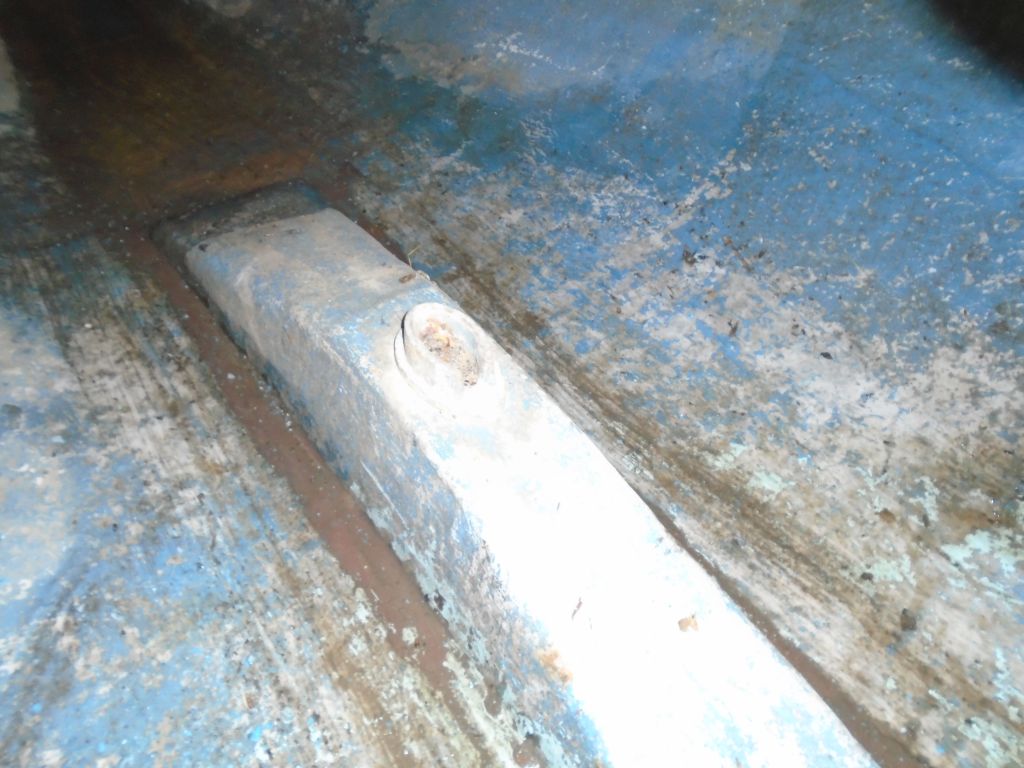
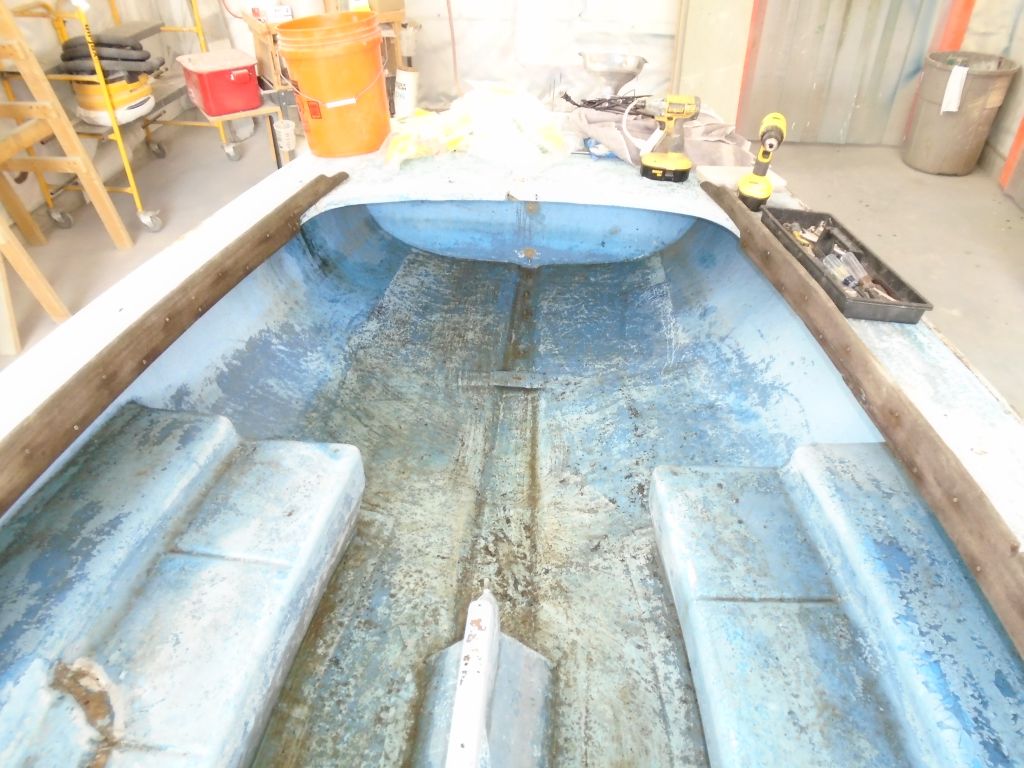
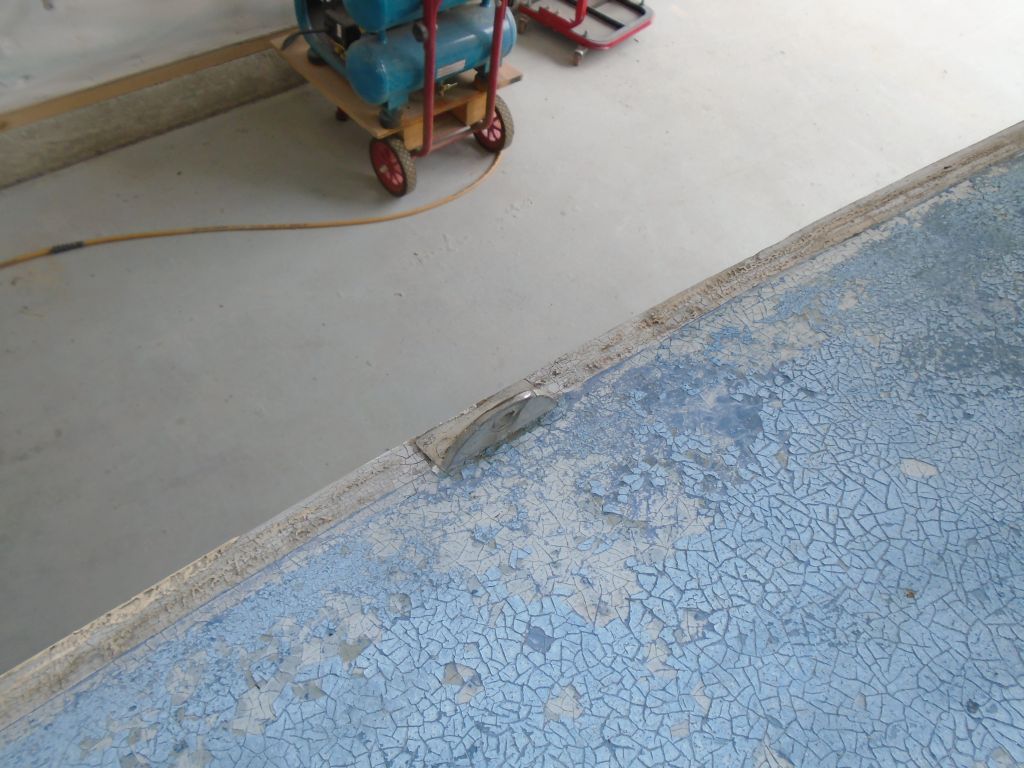
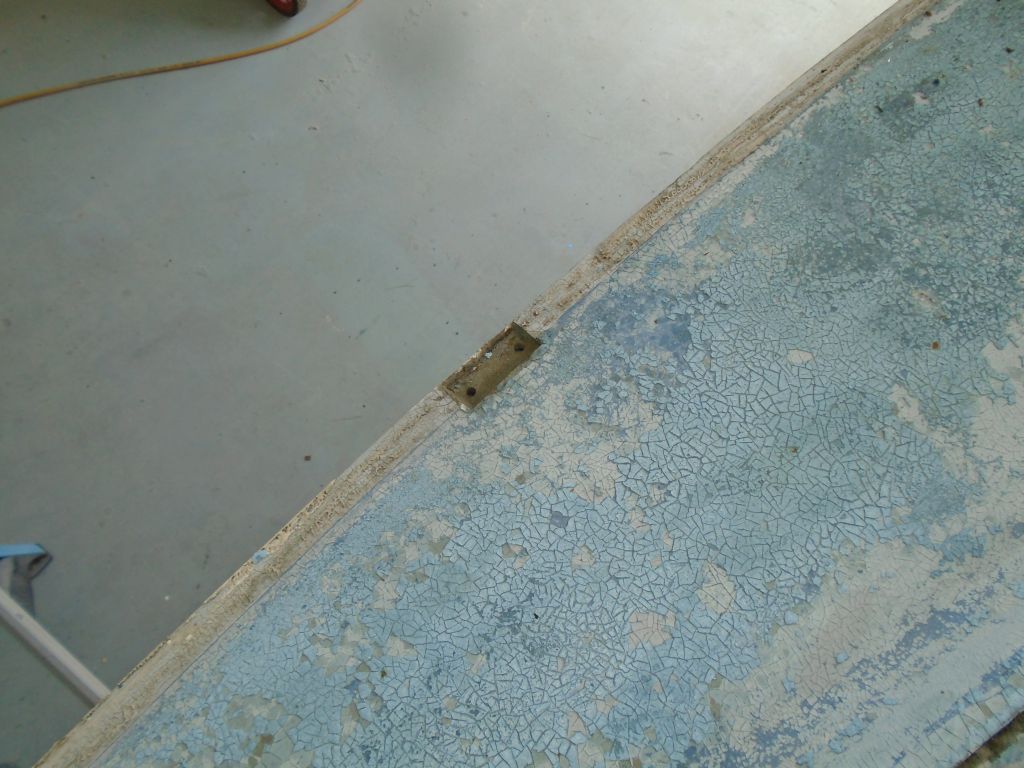
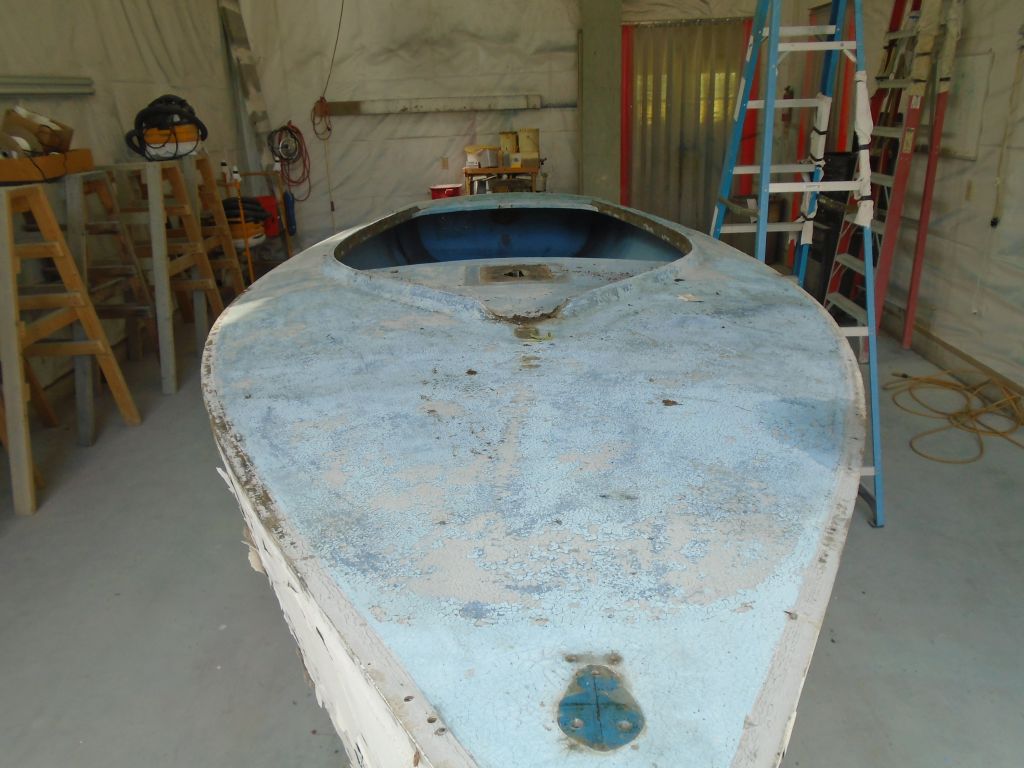
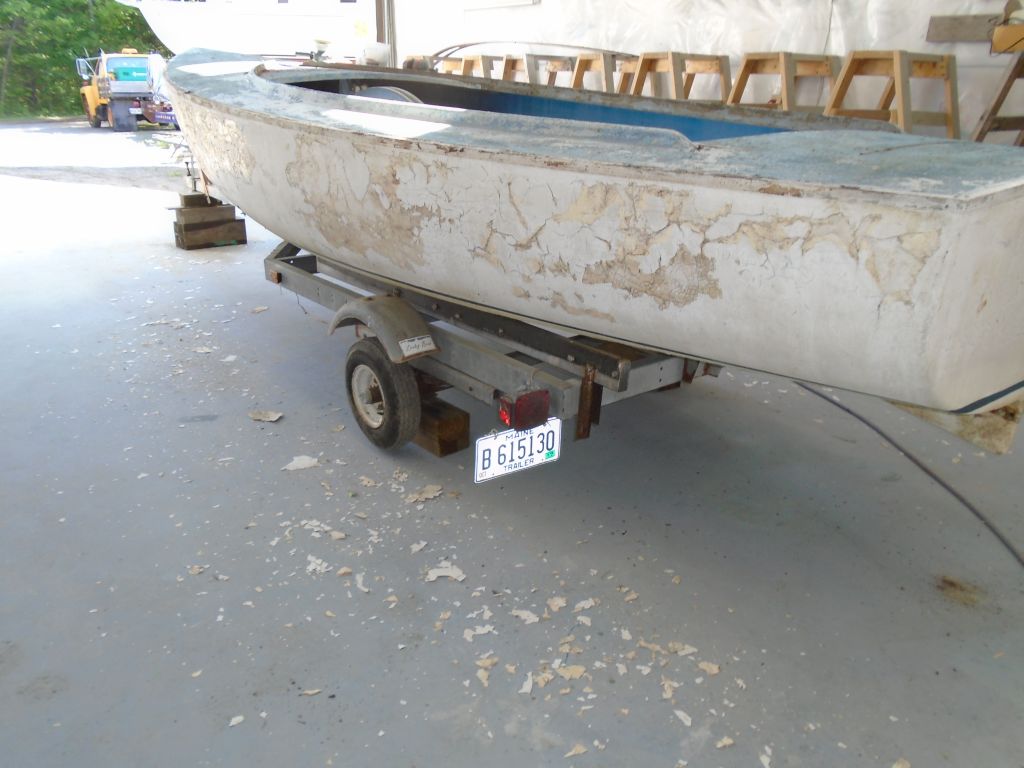
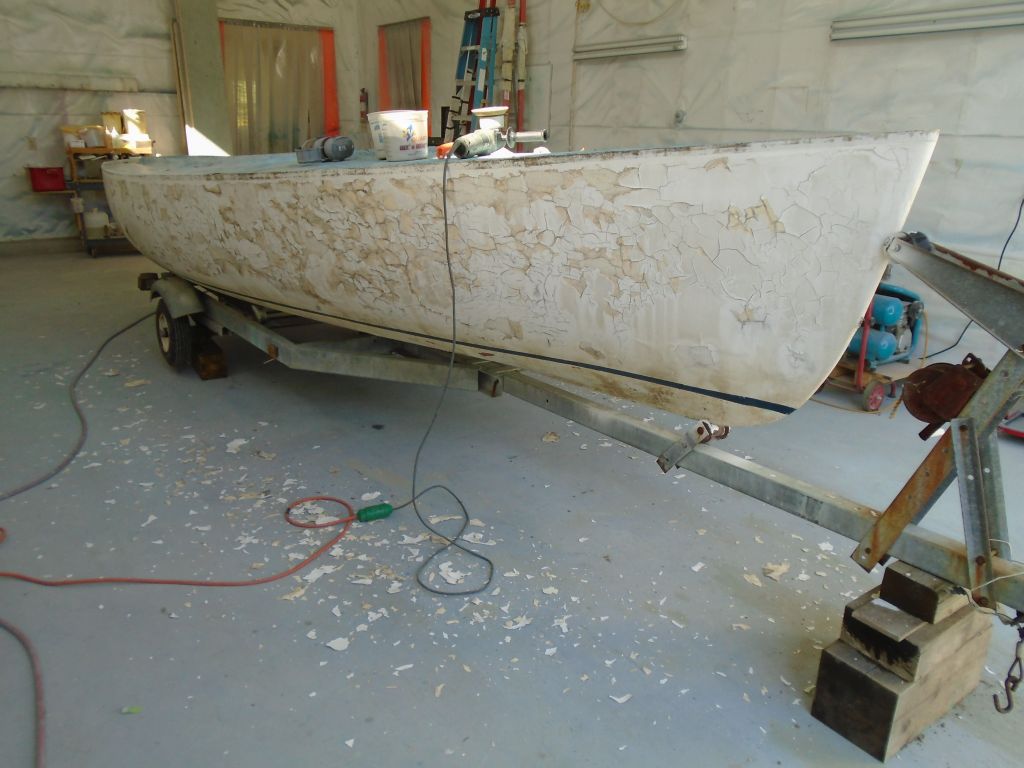
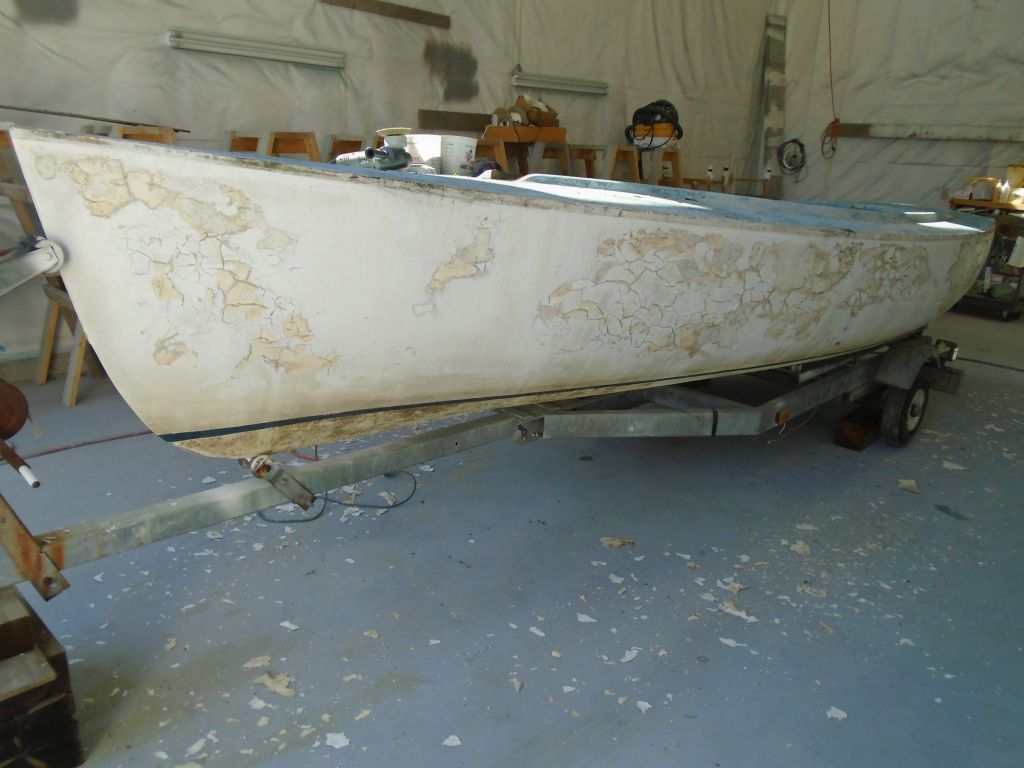
The condition upon arrival was quite poor, with badly weathered woodwork, chipped, cracked, crazed, checkered, and peeling paint and gelcoat, and a general state of disrepair that might make this seem an unworthy project. The hull condition was outwardly horrific, with thick layers of mystery paint peeling off in sheets, and crazing visible in the underlying layers. The deck was well-crazed, but the interior, other than being worn and tired, was in basically good condition.
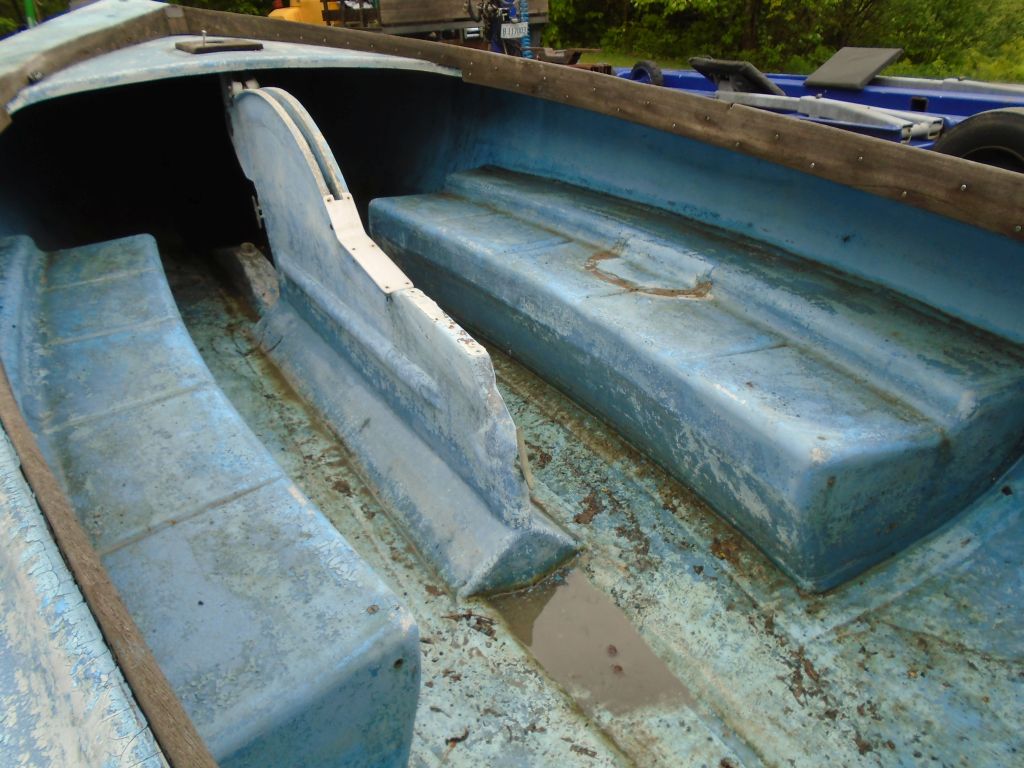


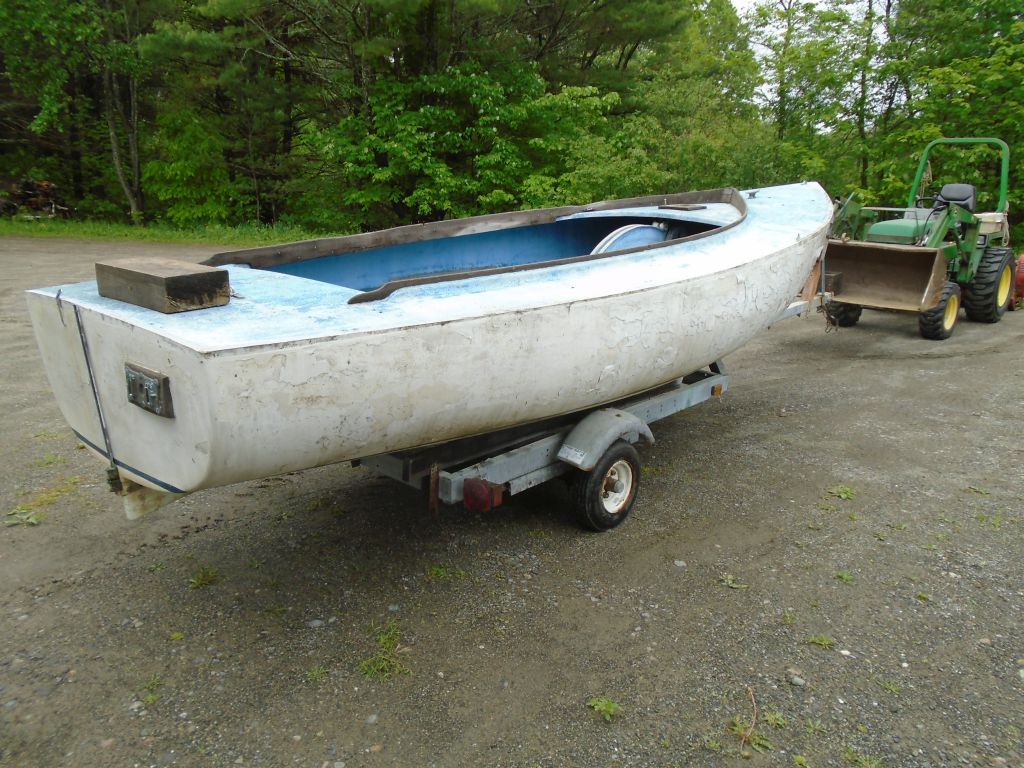

However, the design was unique and interesting, and with still-active classes of the boat hither and yon, as well as the essentially sound condition of the boat (which also had an excellent rig and sails), we decided to dive in and see what we could make of her.
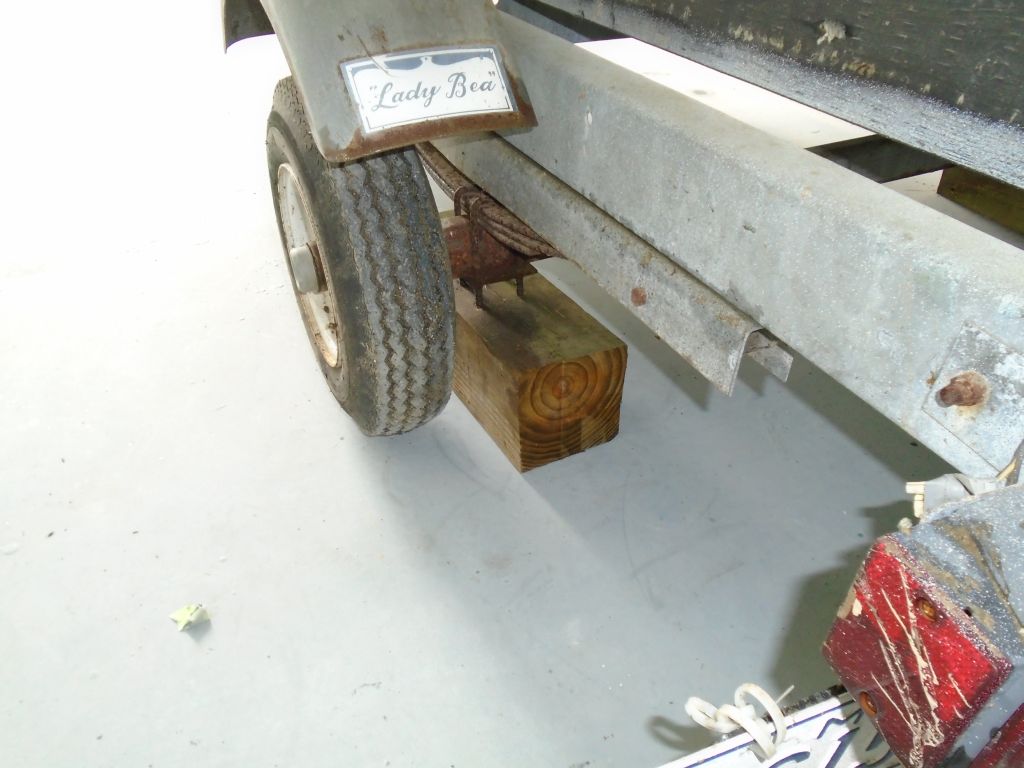
My first task was to support and level the boat on her little trailer. One of the tires was badly cracked and losing air, so I jacked the trailer off both wheels, leveled the boat, and blocked the trailer tongue as well, which lacked its own jack.
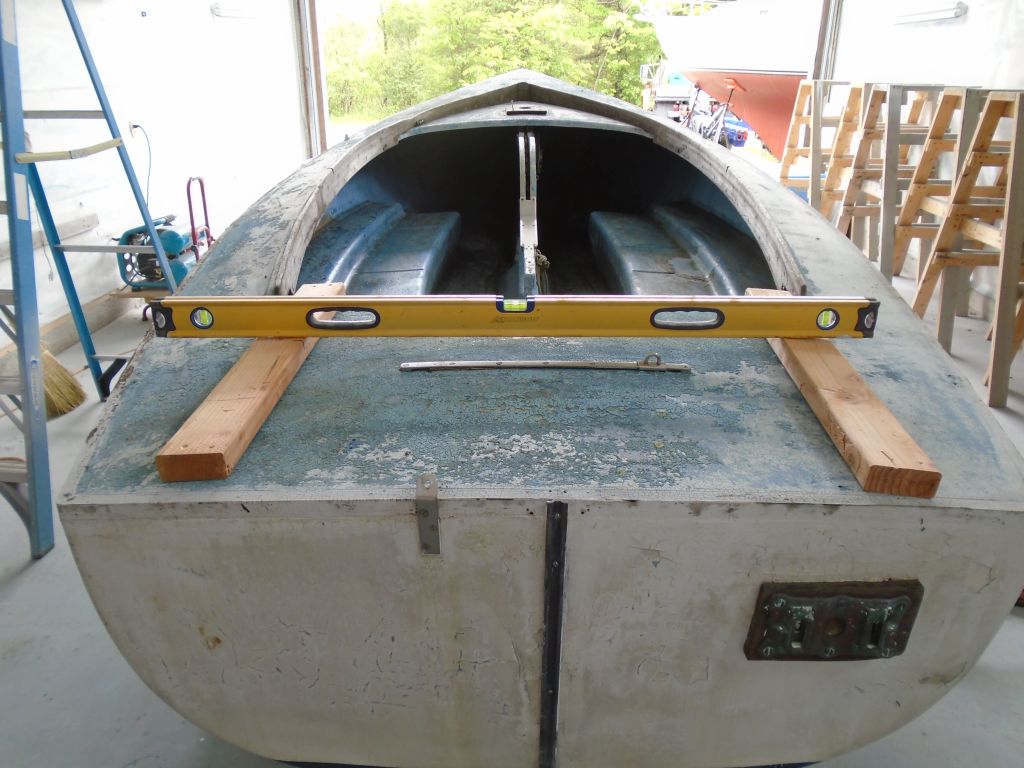


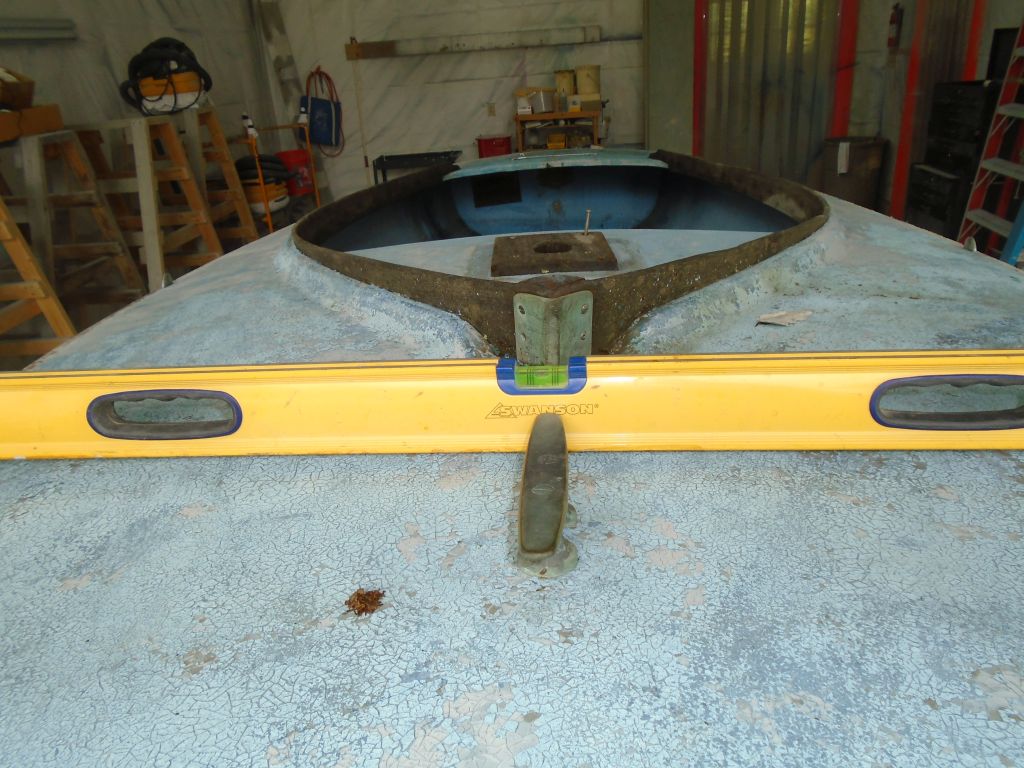

The original coamings were still in place, the only woodwork remaining, and there was still some hardware on deck.
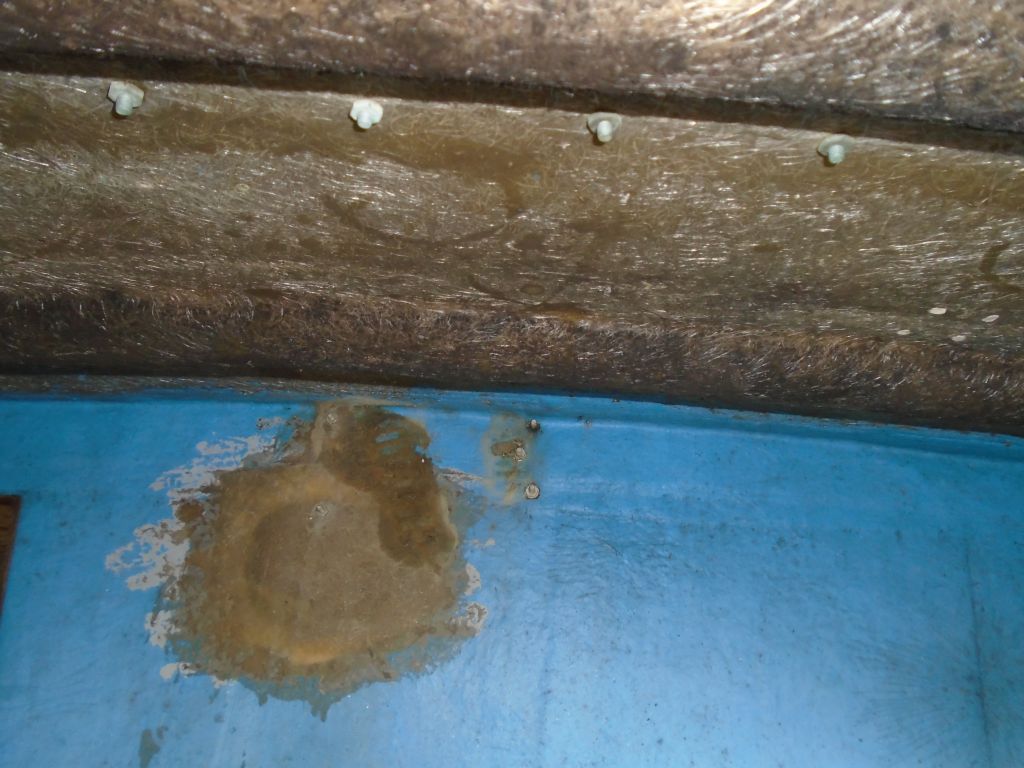


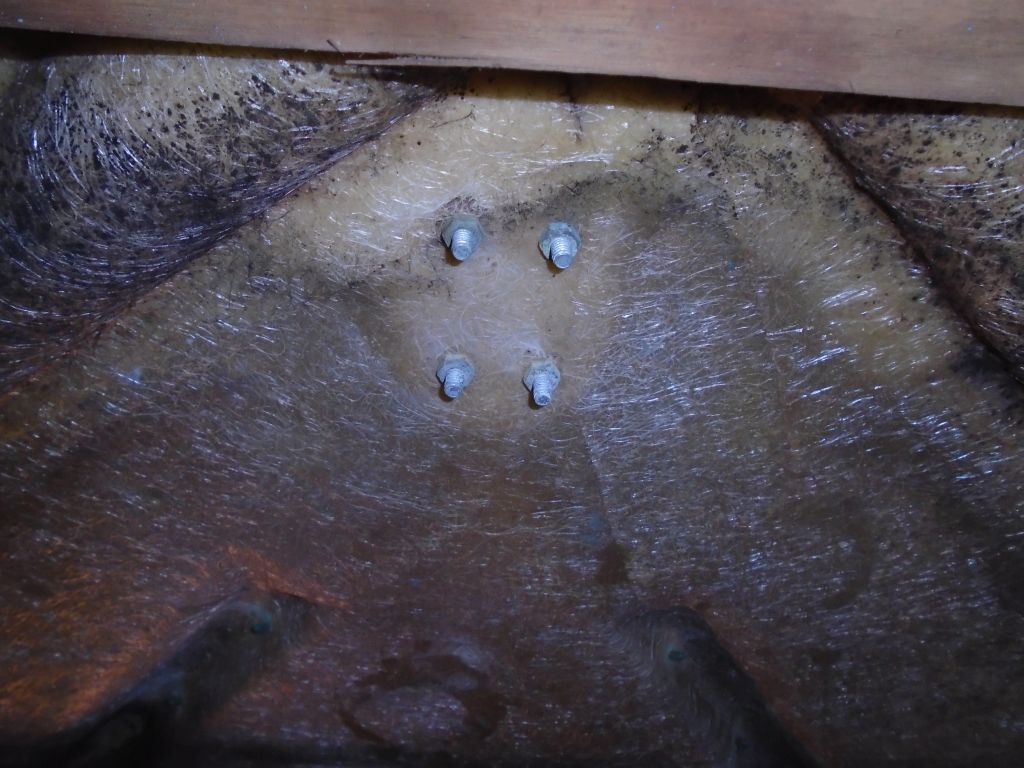
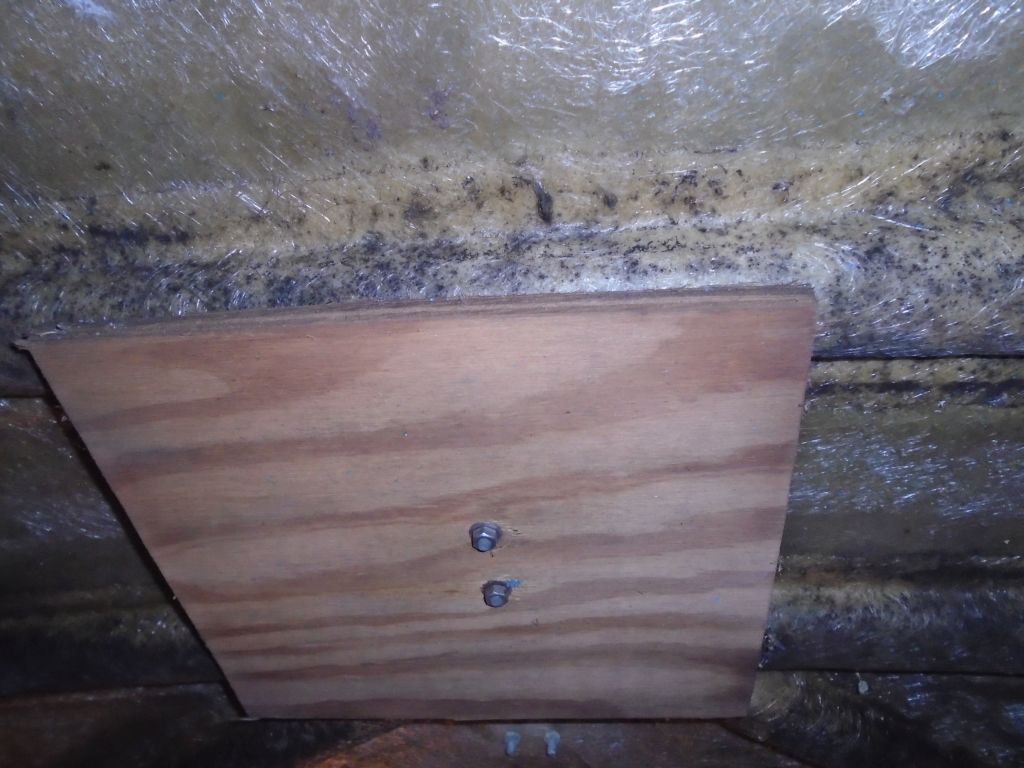

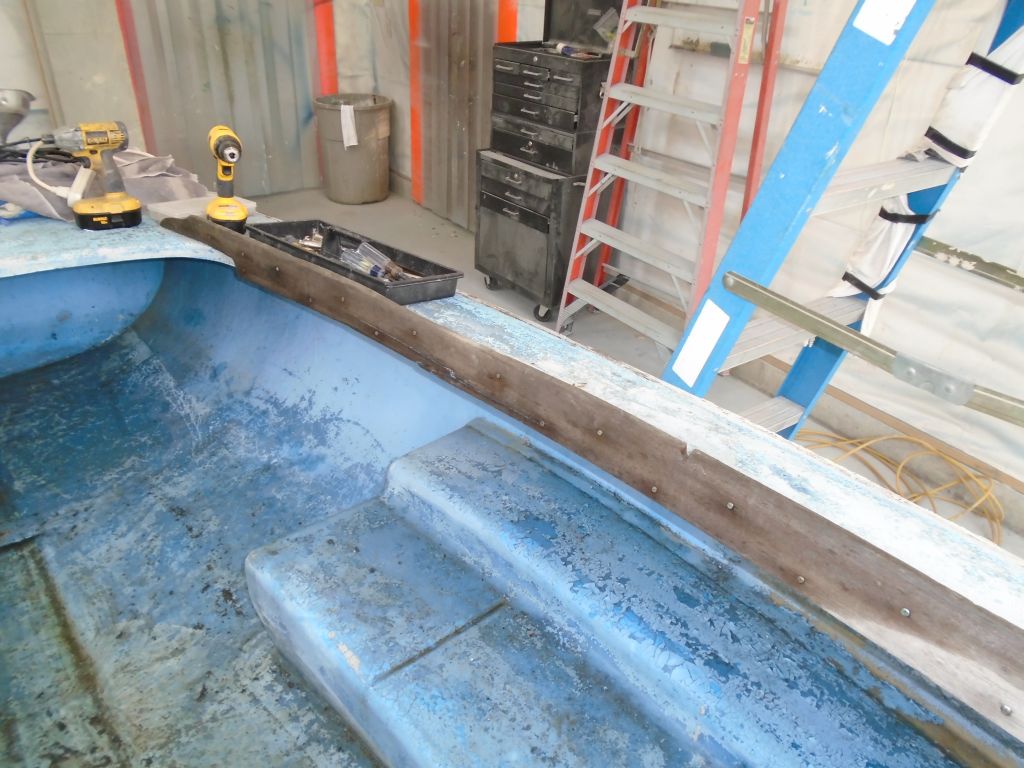

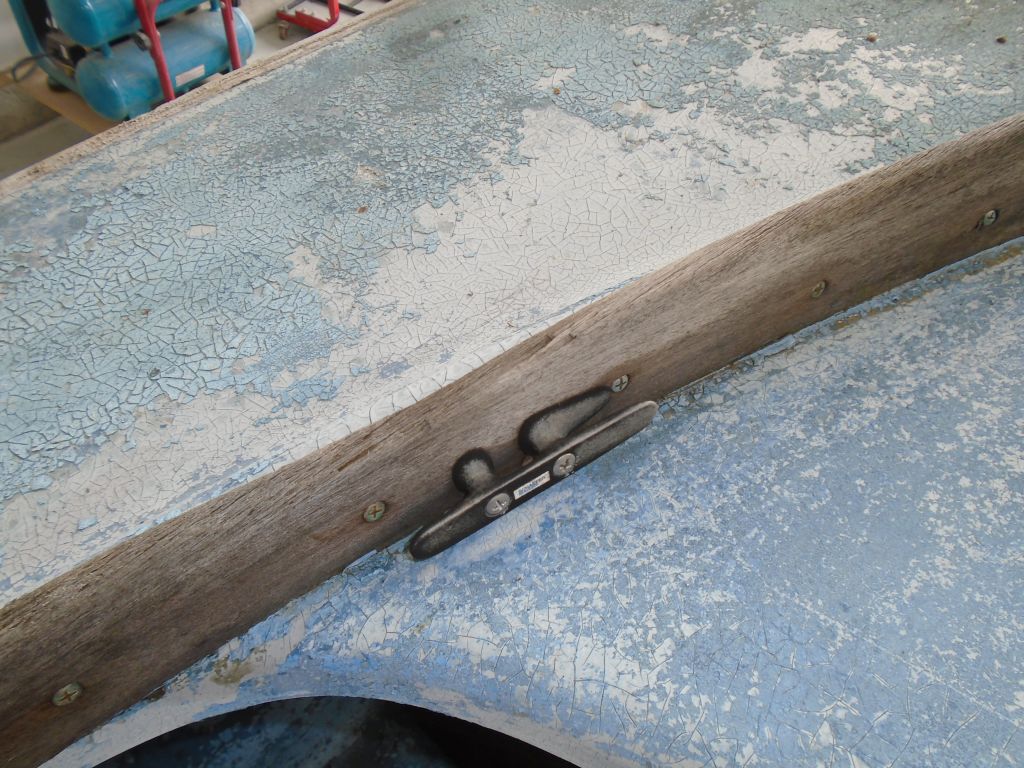
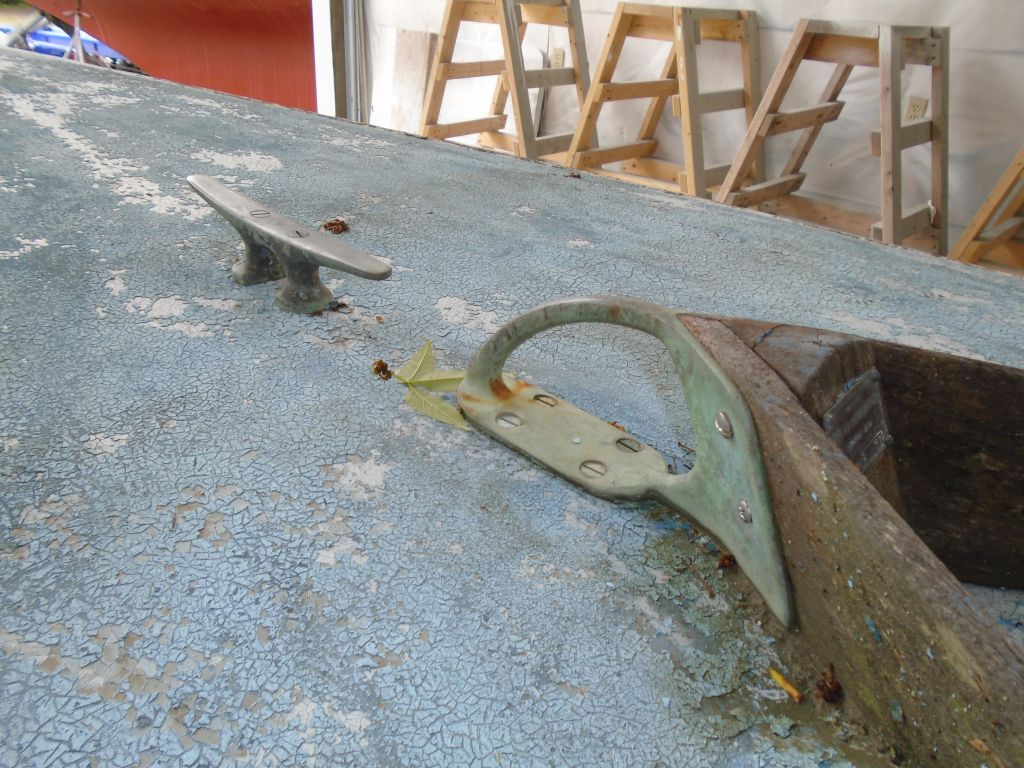

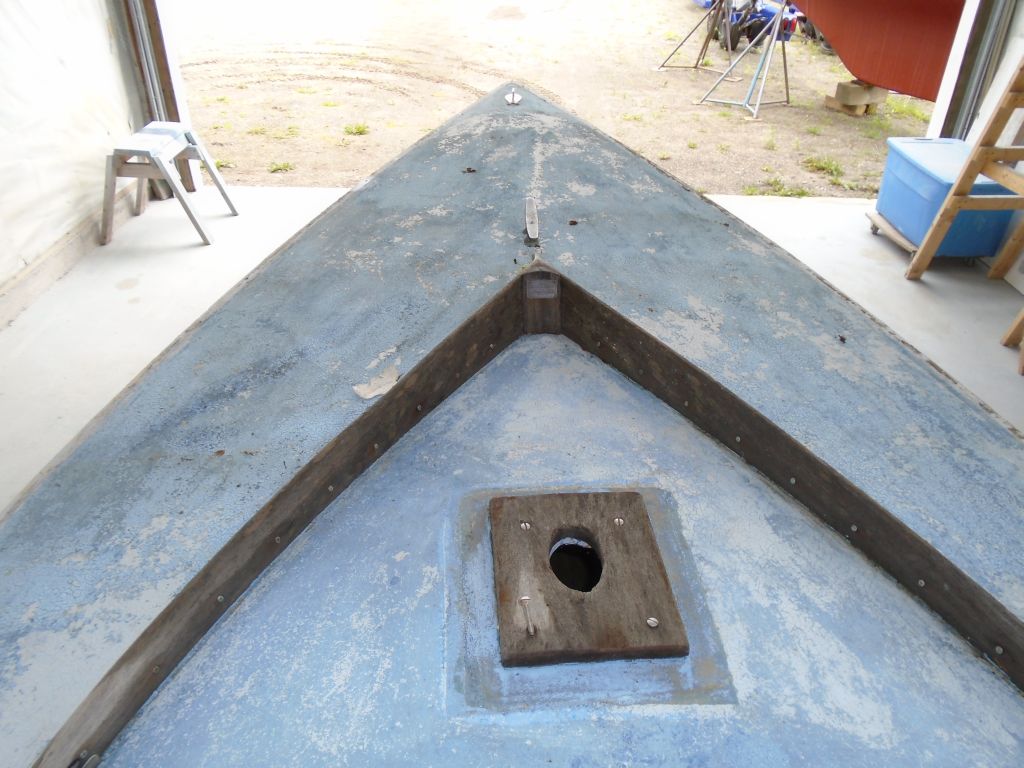

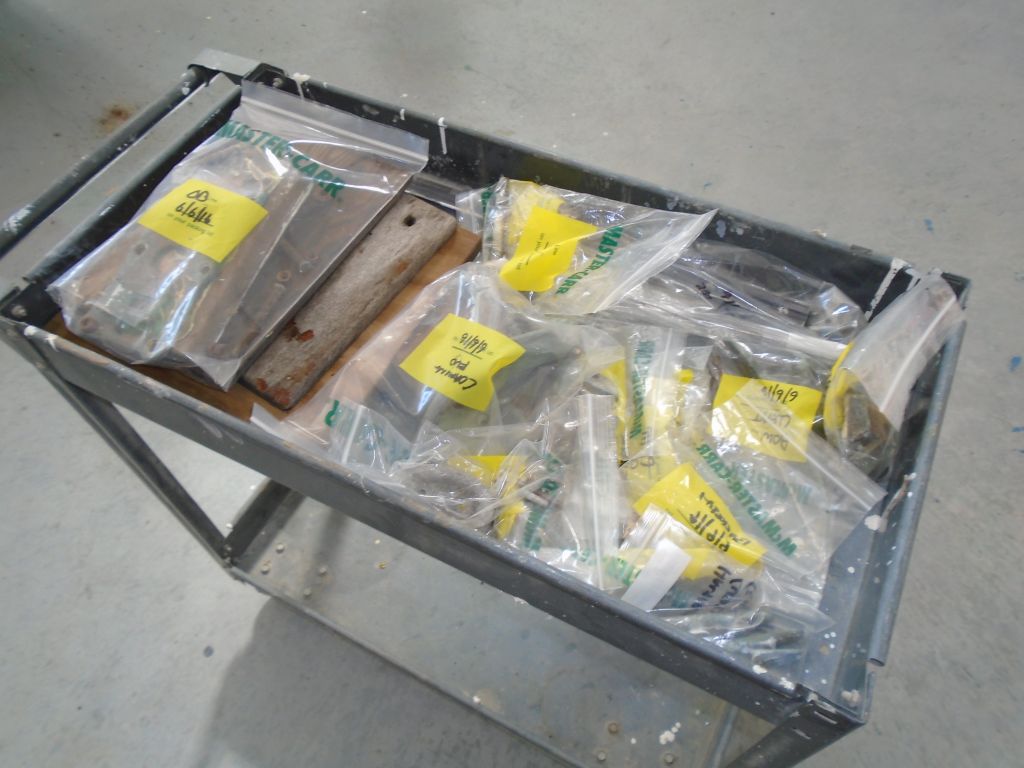
During the remainder of the day, I removed all the hardware, as well as the coamings. The hardware wasn’t difficult to remove, and access was quite good to all areas. The old coamings were secured with many, many old bronze screws–the builders were of the “never use one where four will do” mentality–and the exposed screw heads had been sanded and worn down over the years, so most of the head stripped out during removal, forcing me to drill the heads in order to remove the coamings. I did want to save the original coamings intact, if possible, for future use as patterns during replacement, which the owner would likely do himself once I was done with the boat.


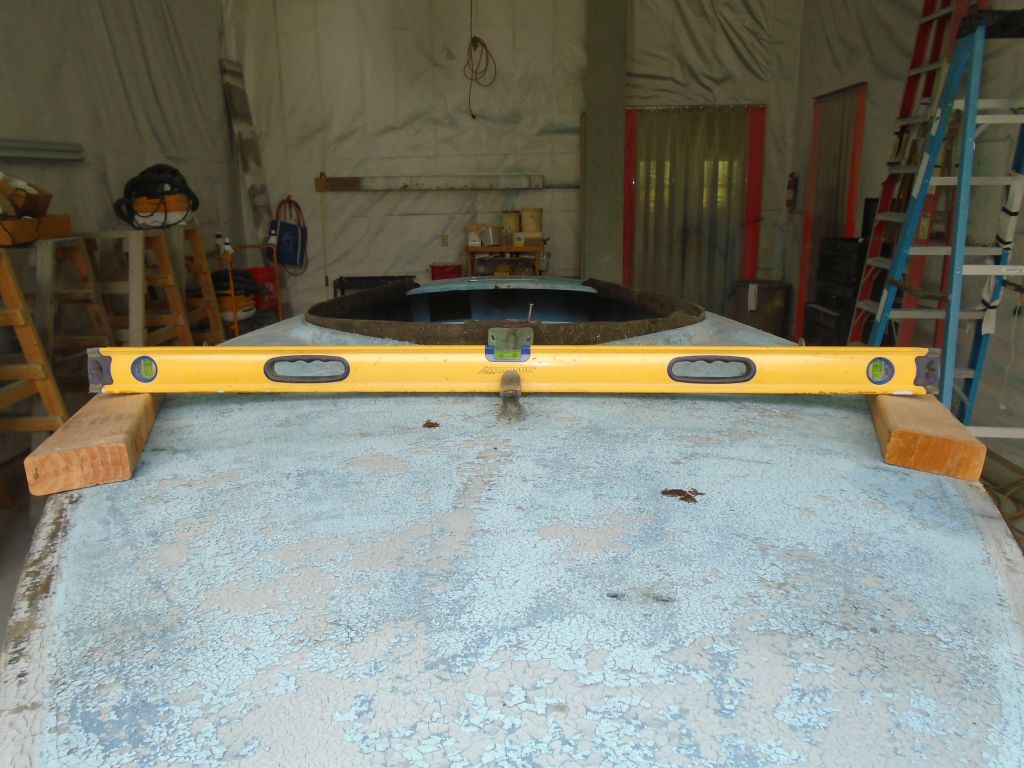
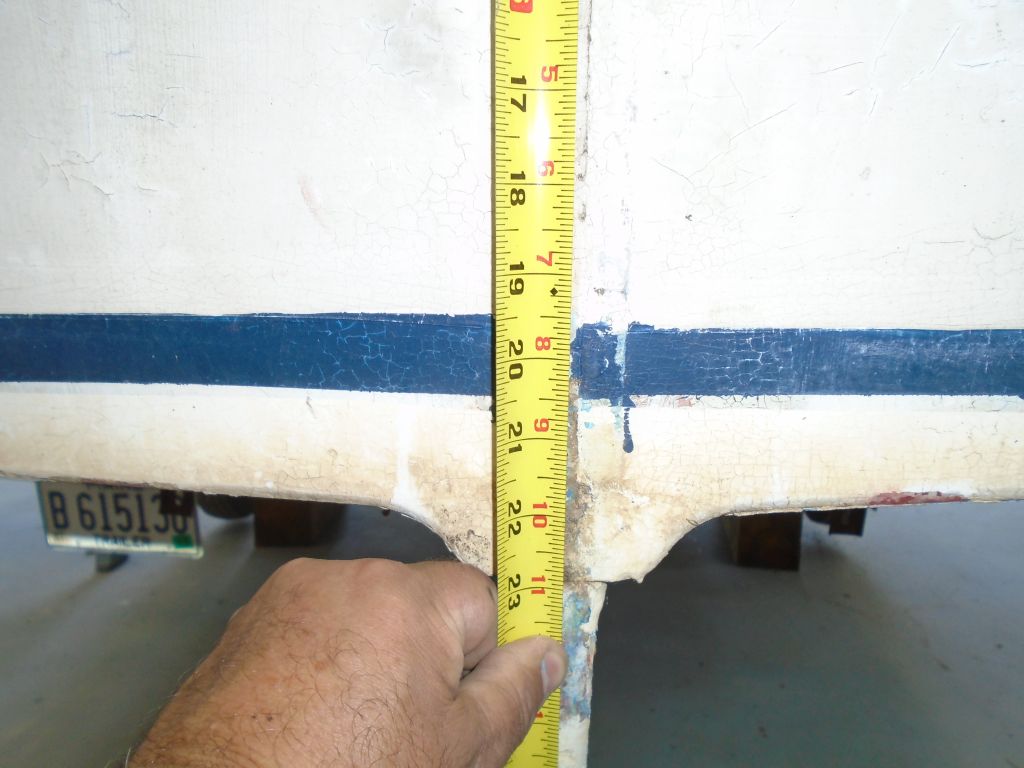
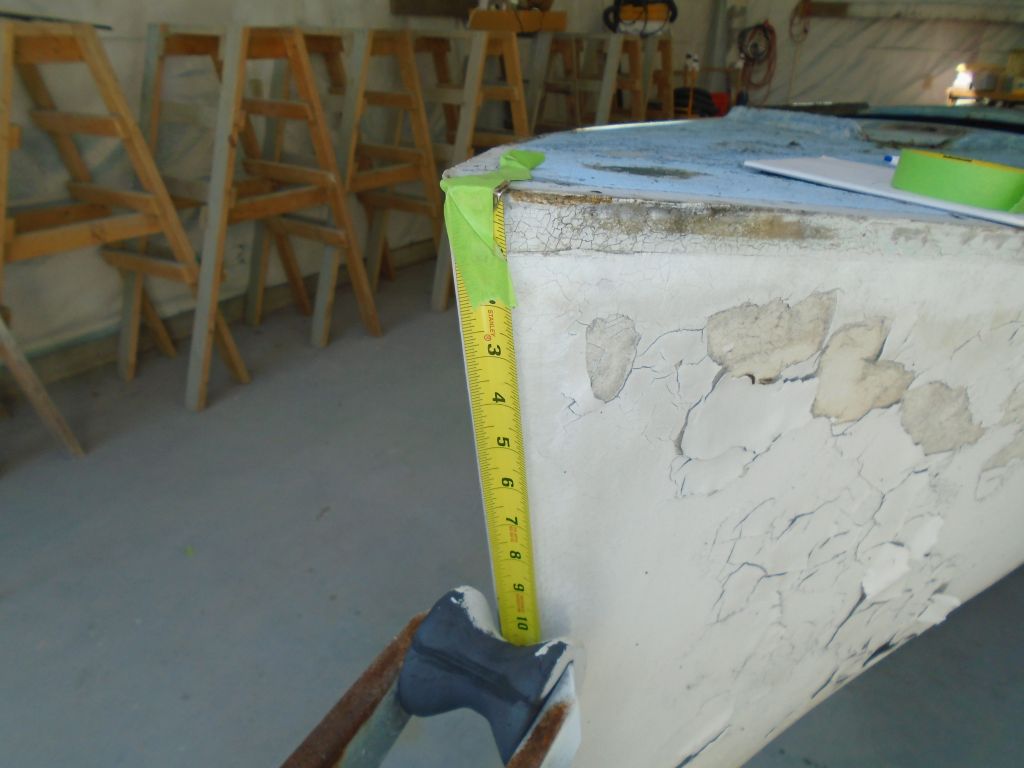
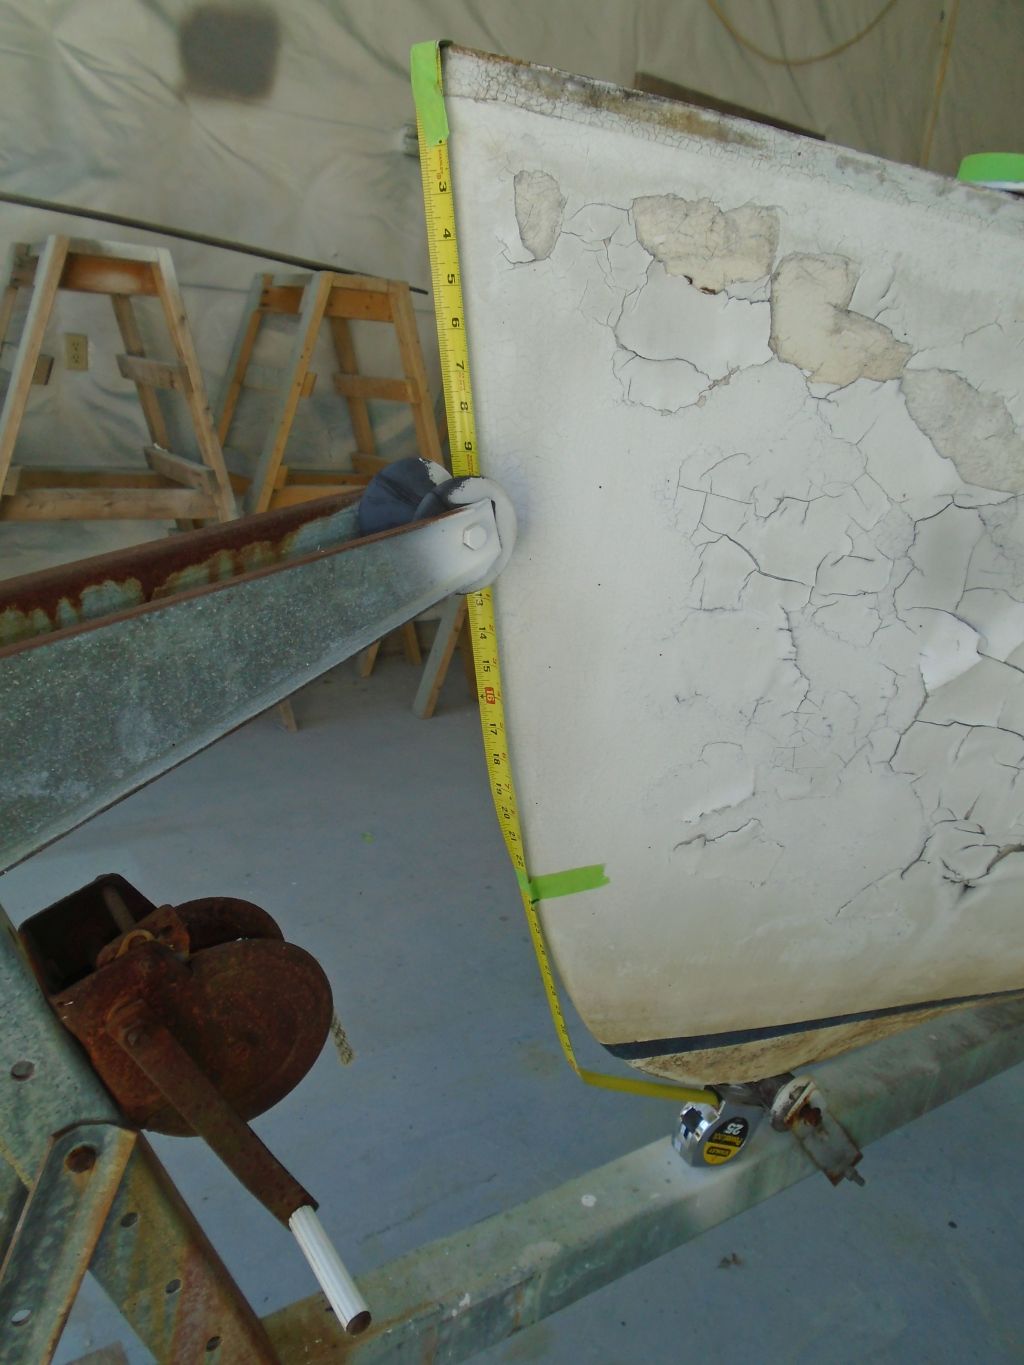
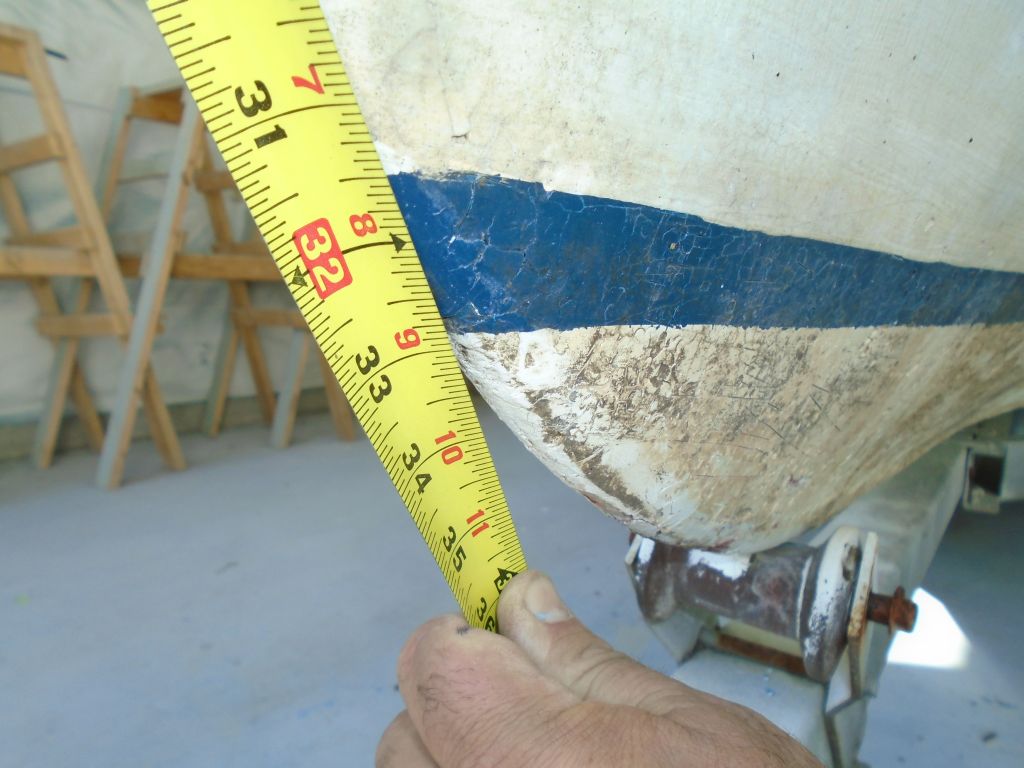
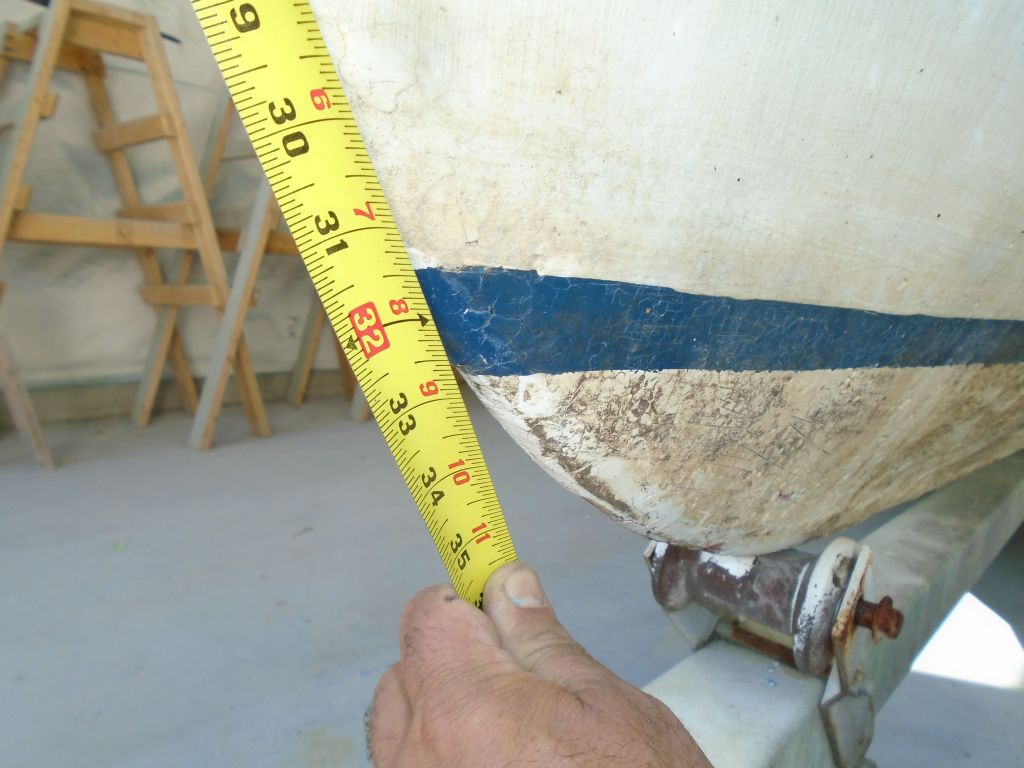
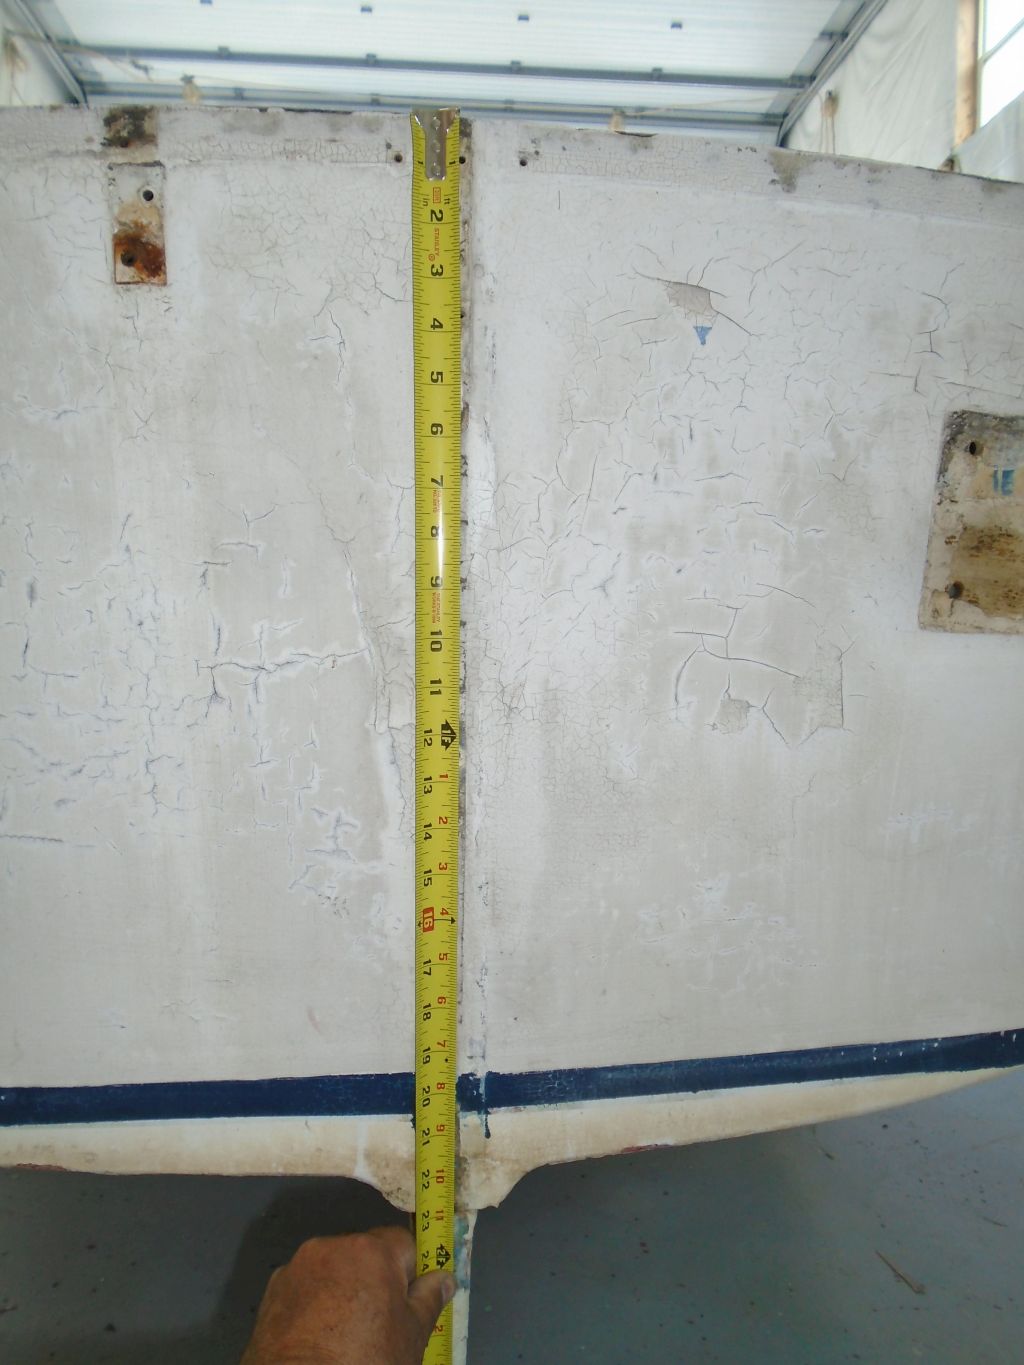
With all that out of the way, I could think about getting down to brass tacks. Before beginning surface preparations on the hull, I noted the existing position of the waterline, aka bottom edge of a painted stripe on the hull. Although my feeling was the stripe was not in exactly the right location, evidenced by the staining at the waterline and other intangible factors, noting the existing position would at least give a starting point for the final coatings later. I used easily-duplicatable reference points for my measuring tape at both stem and stern. For the record, the measurements of note were 20-1/2″ at the stern, and 33″ at the stem.
With time running short on the day, I prepared some tools and equipment for sanding, and then used a putty knife to remove the worst pieces of the loose, thick, peeling coating on the hull. I didn’t know what the outer coating was, but it seemed a lot like latex paint–thick, full of brush marks, and failing and peeling like a dried mud creek bed. But in about 15 minutes’ time, I scraped away the worst parts. Time would tell how this coating would resist sanding, but I’d soon see.

Total time billed on this job today: 3.75 hours
0600 Weather Observation:
55°, clouds and fog. Forecast for the day: Clearing, becoming sunny, high in the upper 70s