

March 14, 2025
PT11-72
Friday
With only final details remaining in the build, I attacked the list of remaining projects, hoping to complete most of the list.
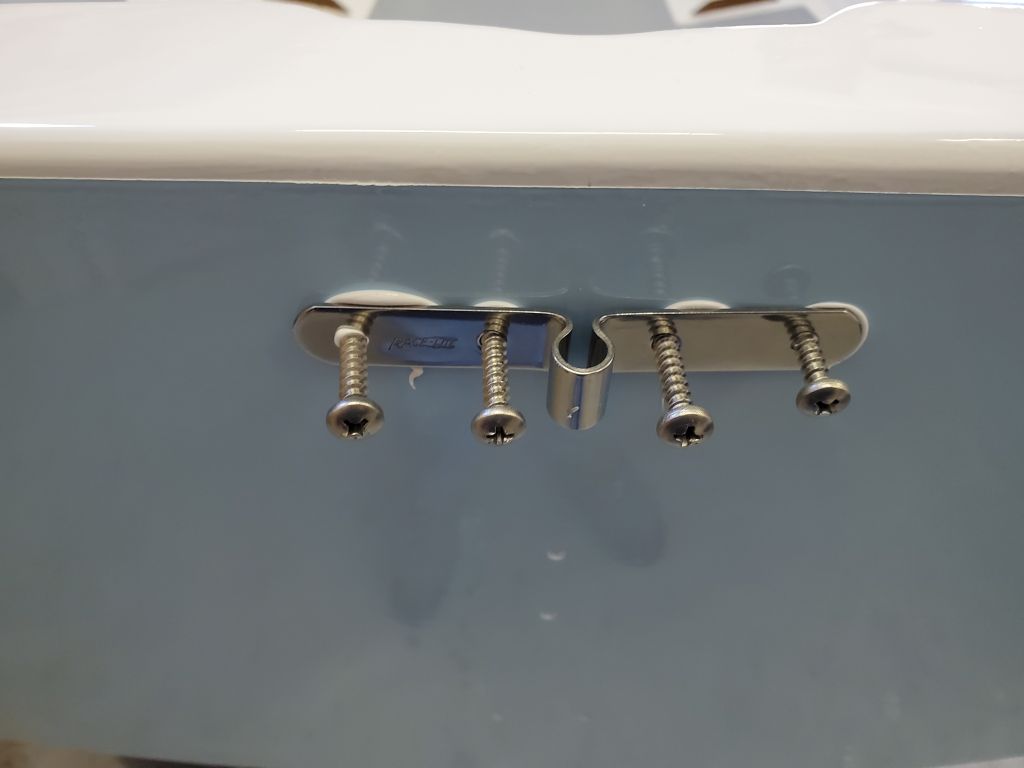
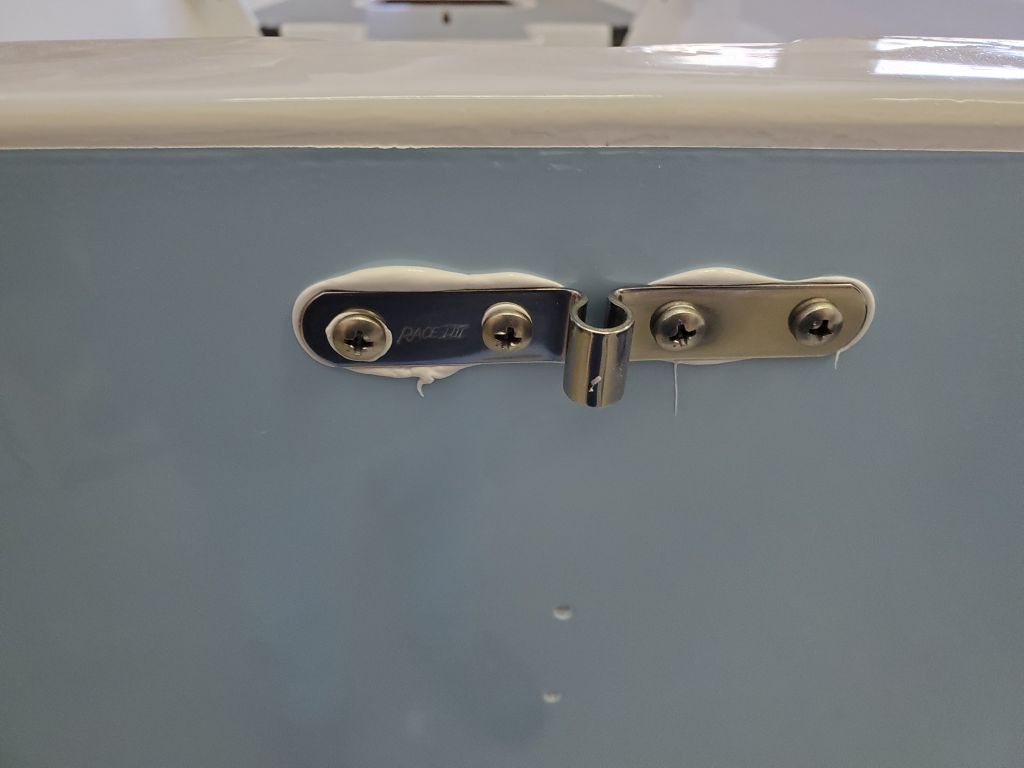
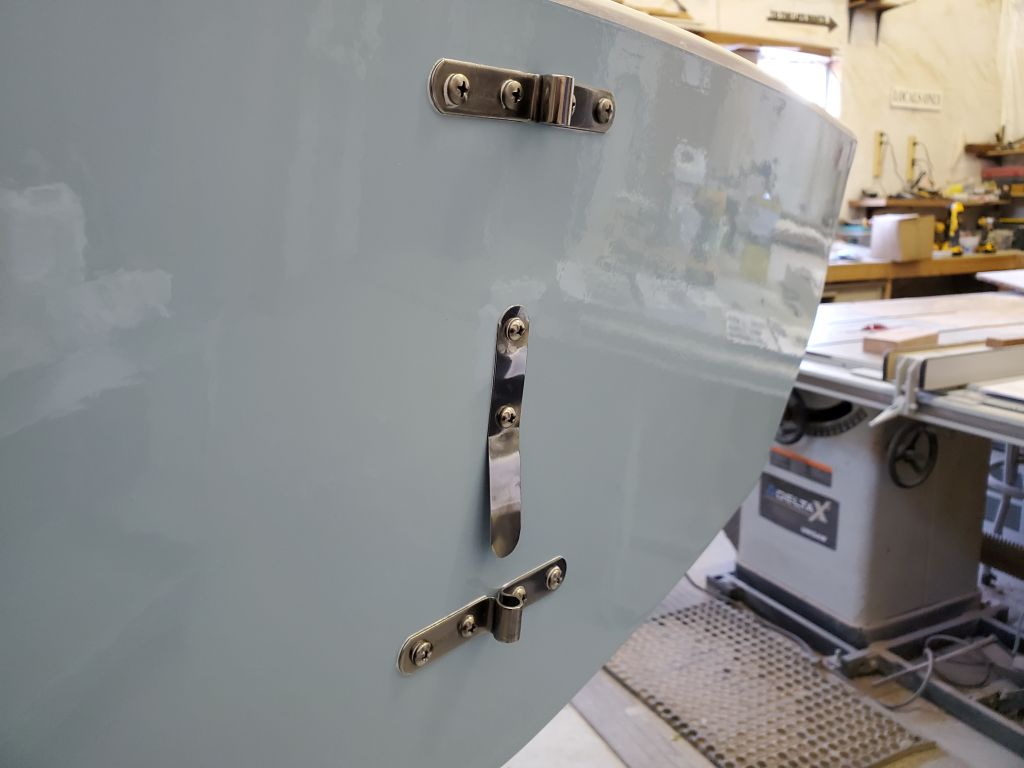
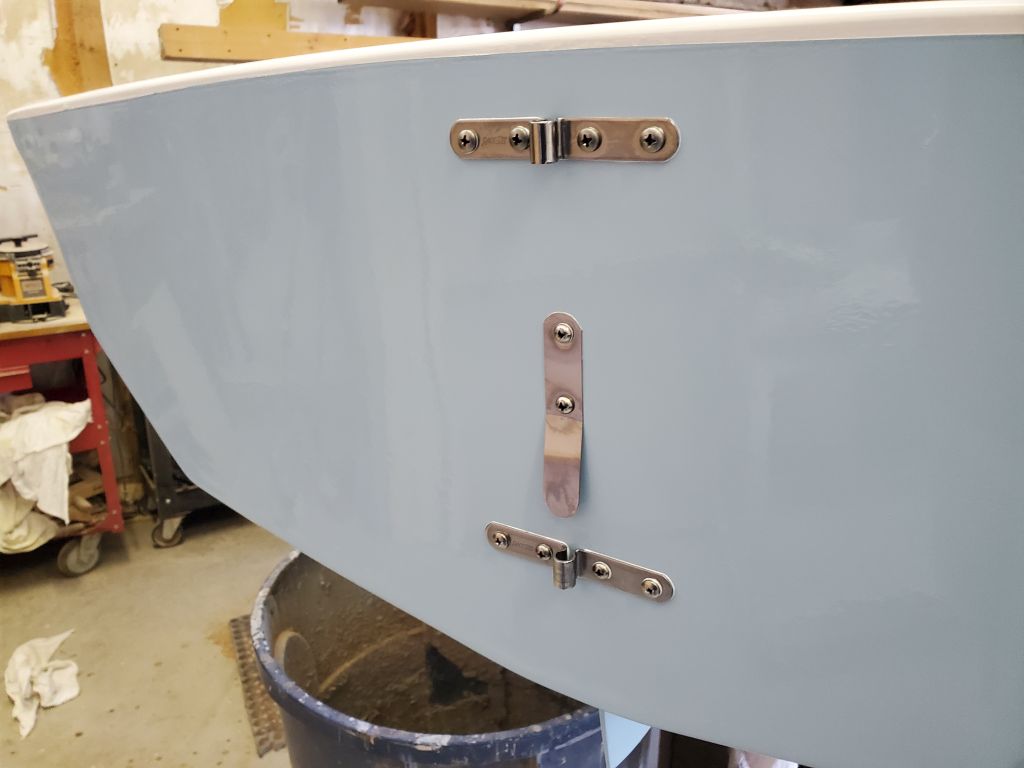
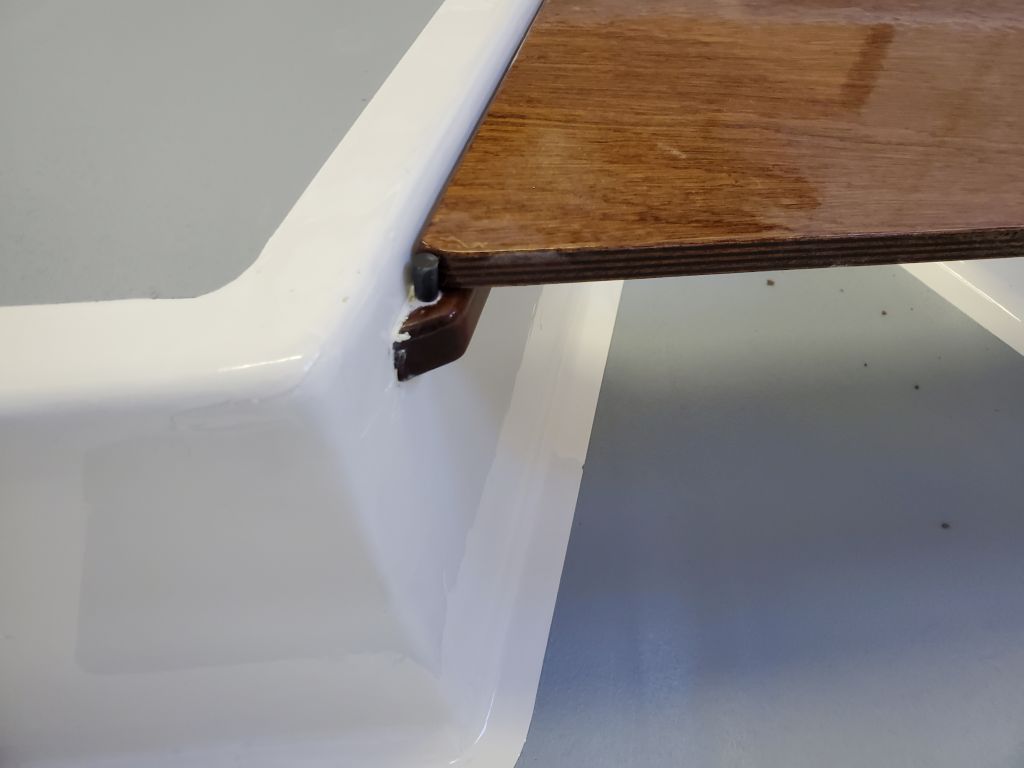
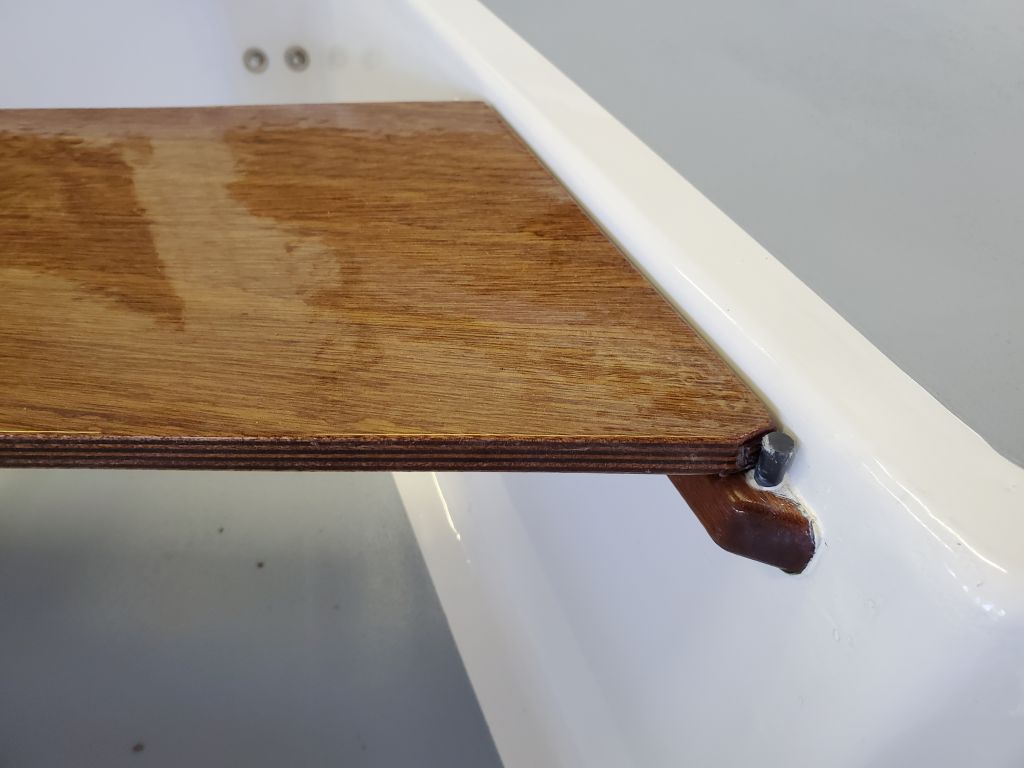
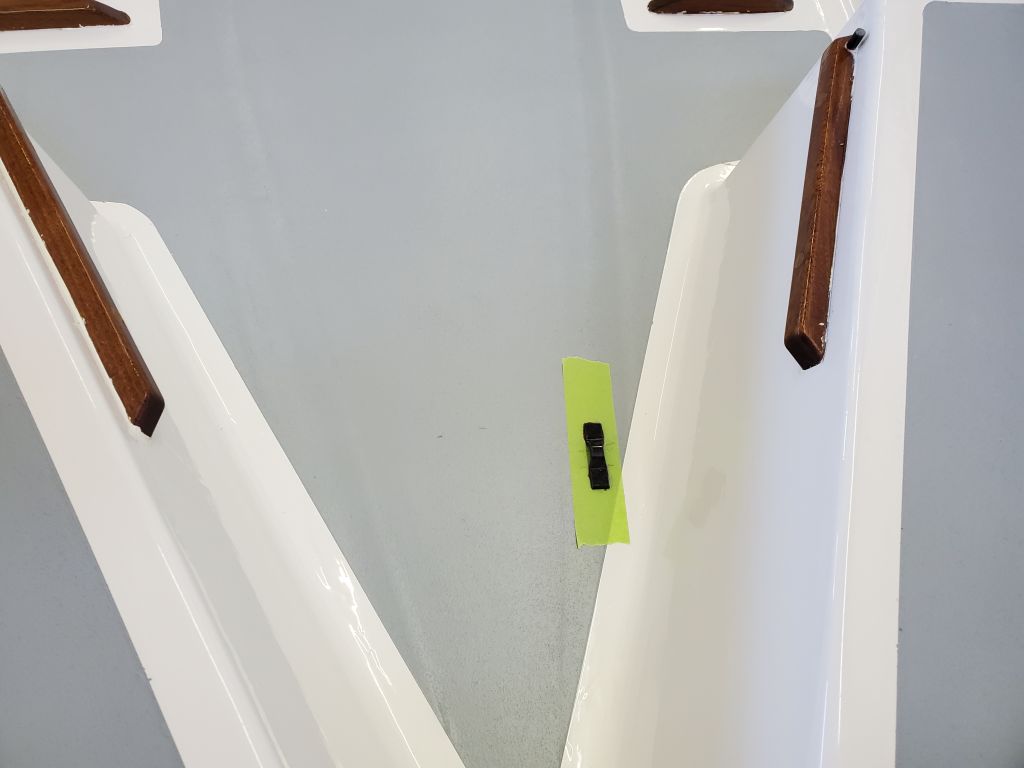
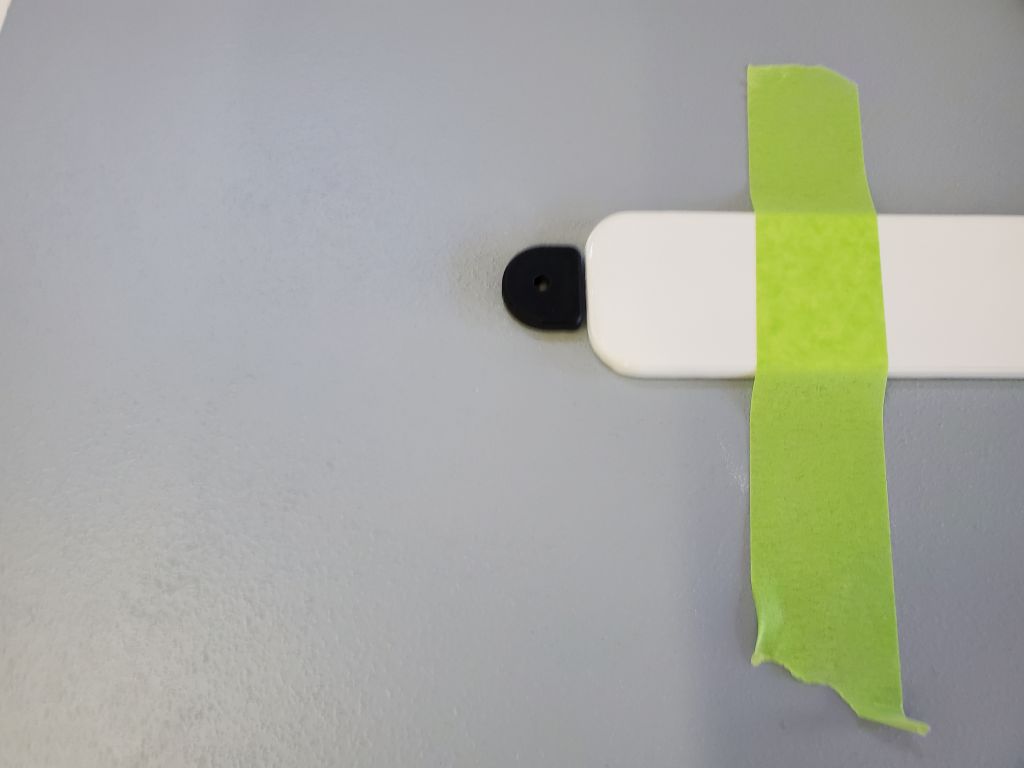
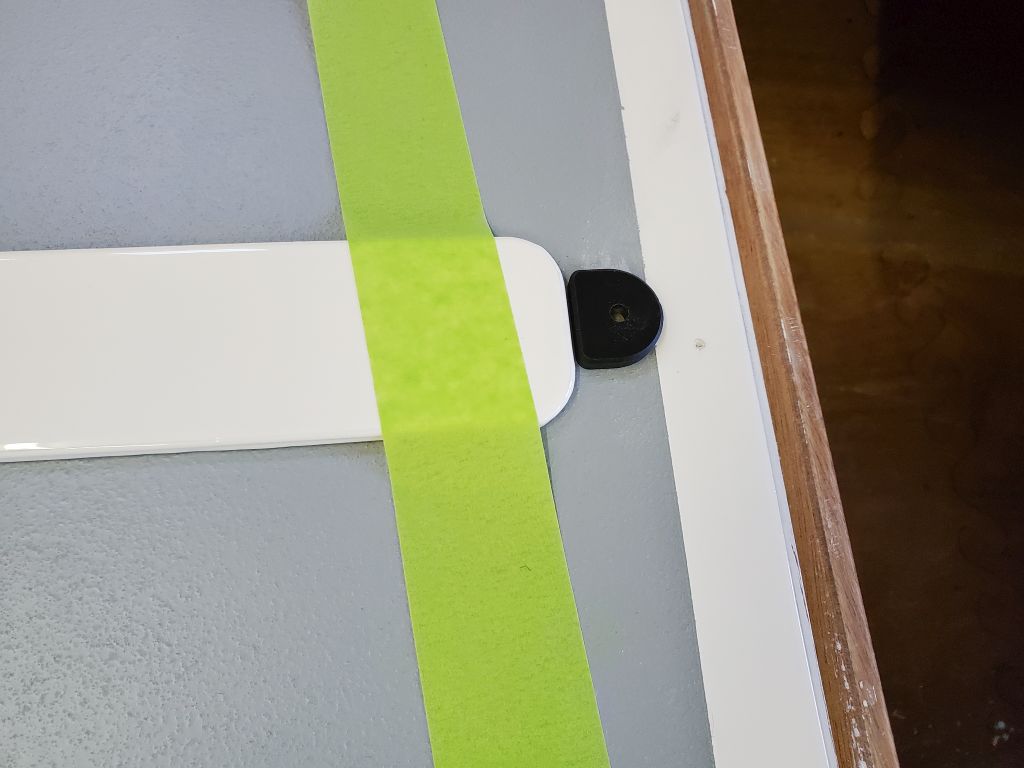
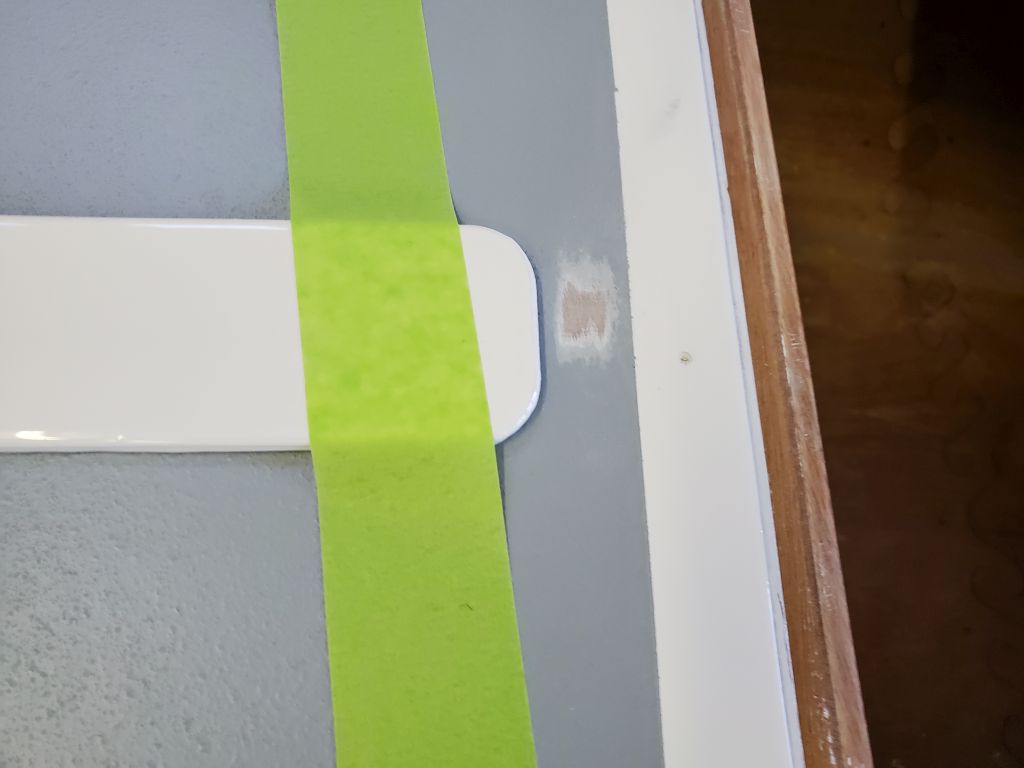
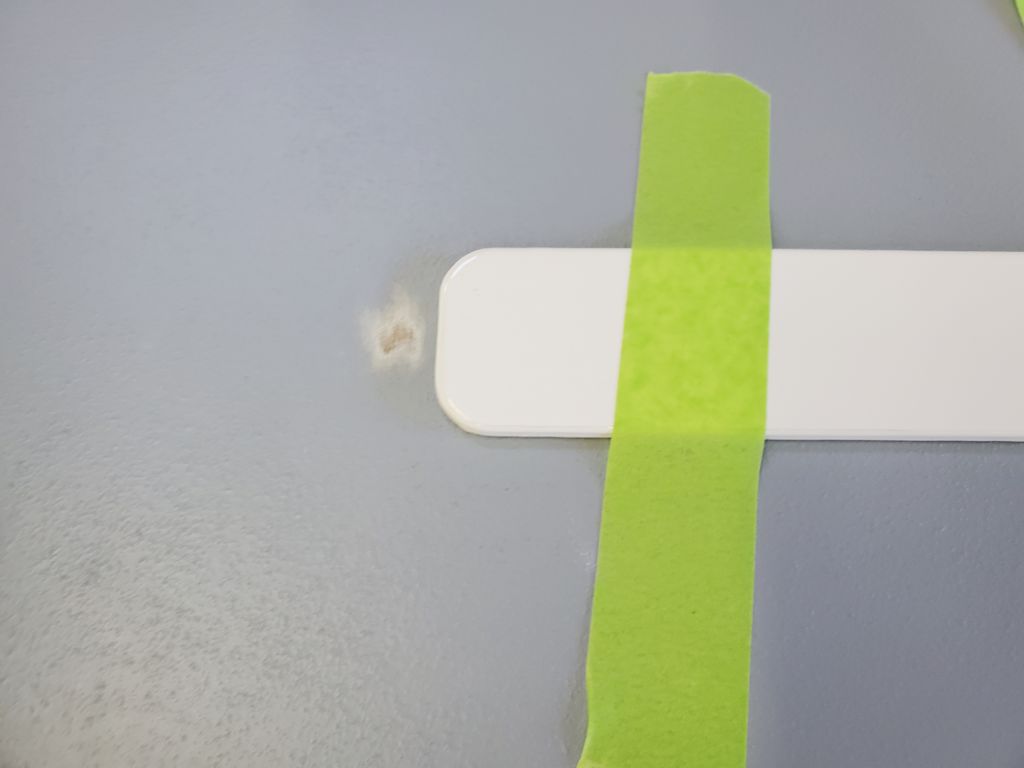
A few days earlier, I removed the dry-fit alignment clips, reversed their positions so the correct clip was on each side–with the angled sides facing outboard and generally inline with the angled bulkhead above–and permanently installed them with sealant at the screw locations.

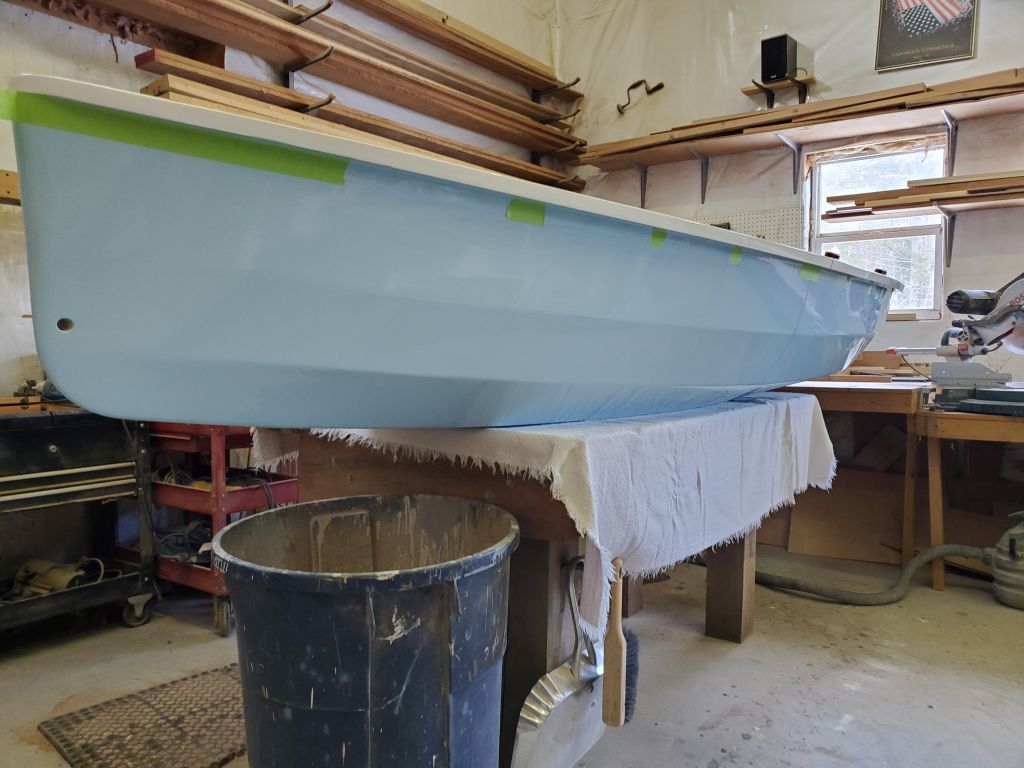
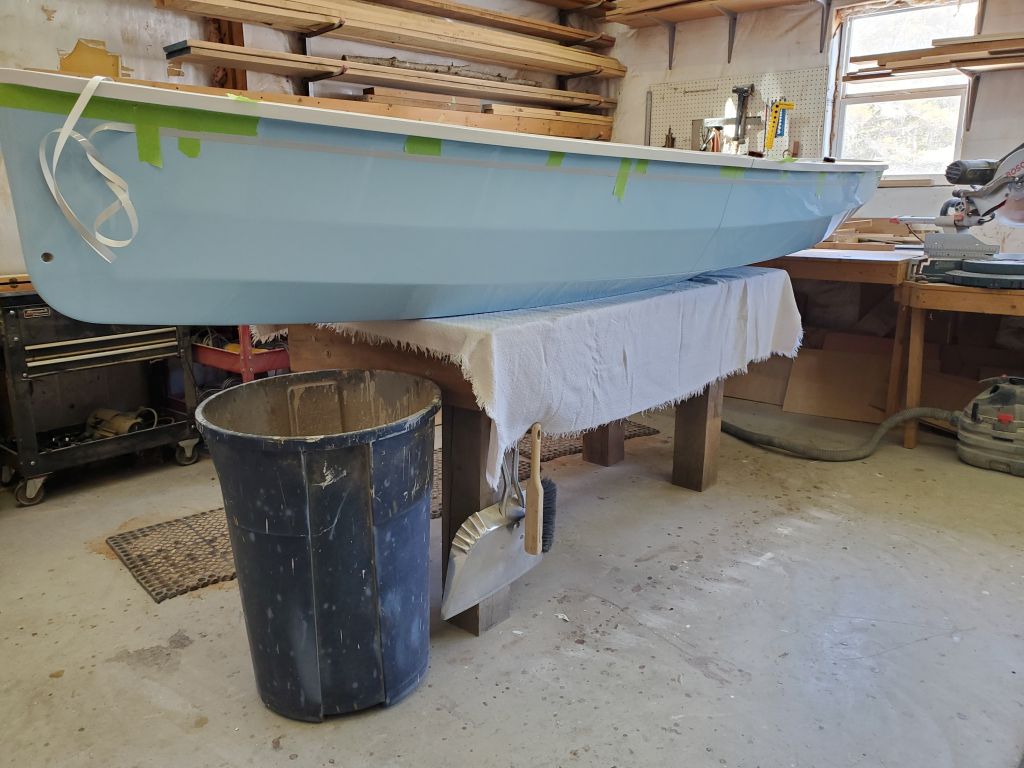
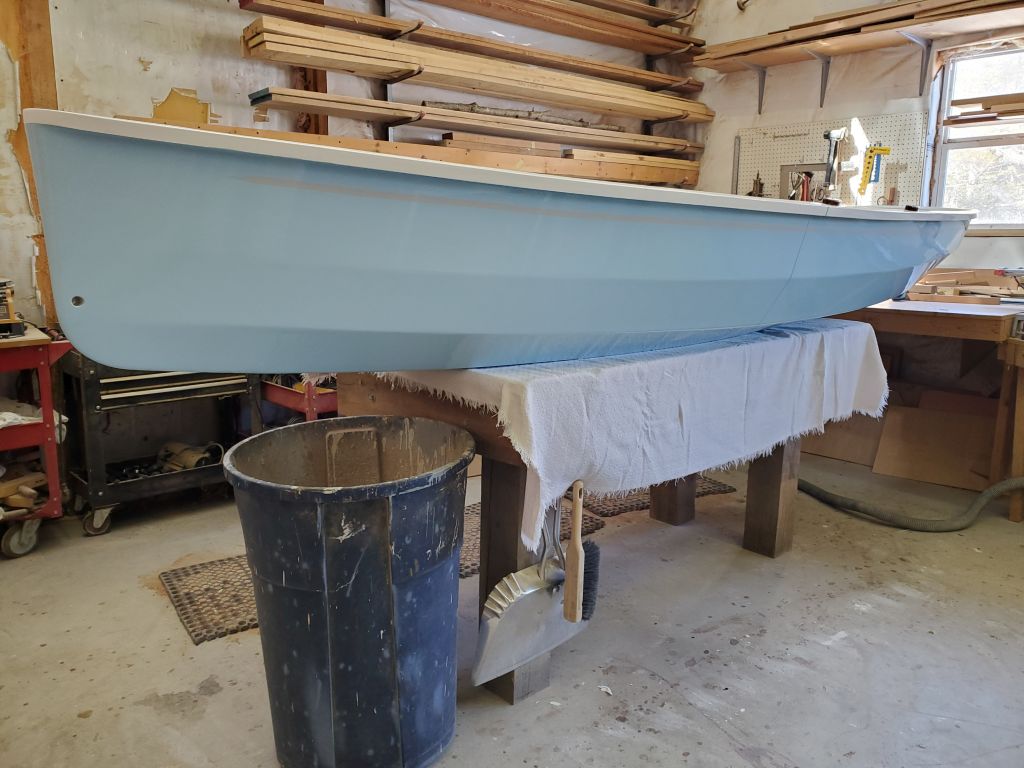
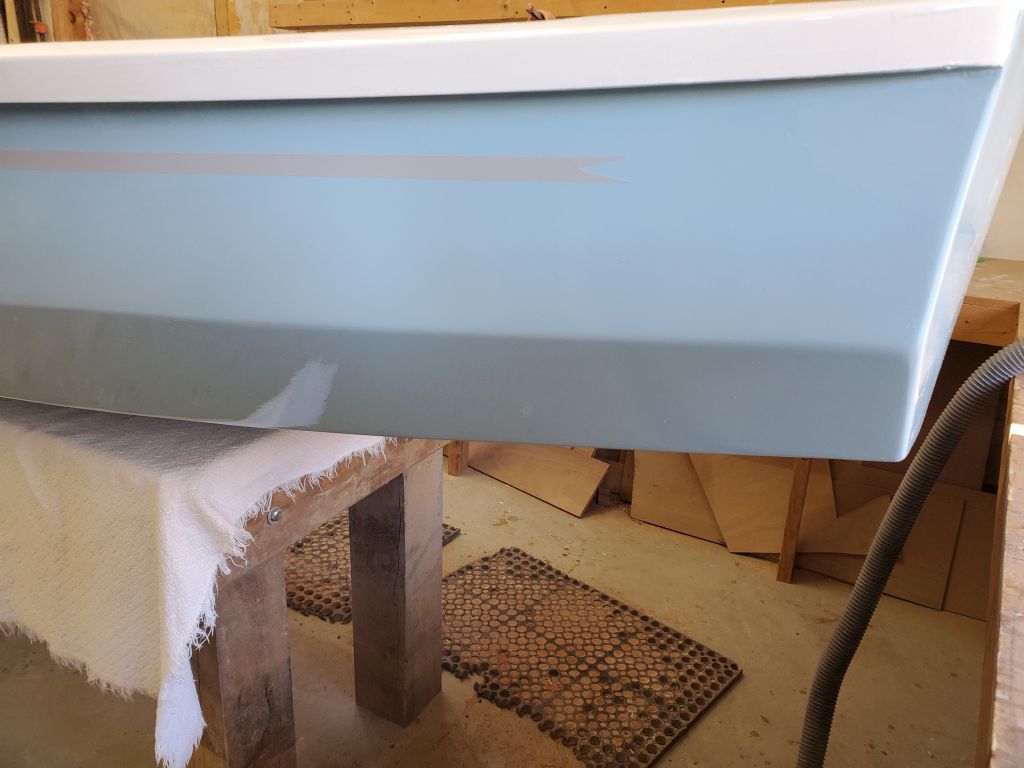
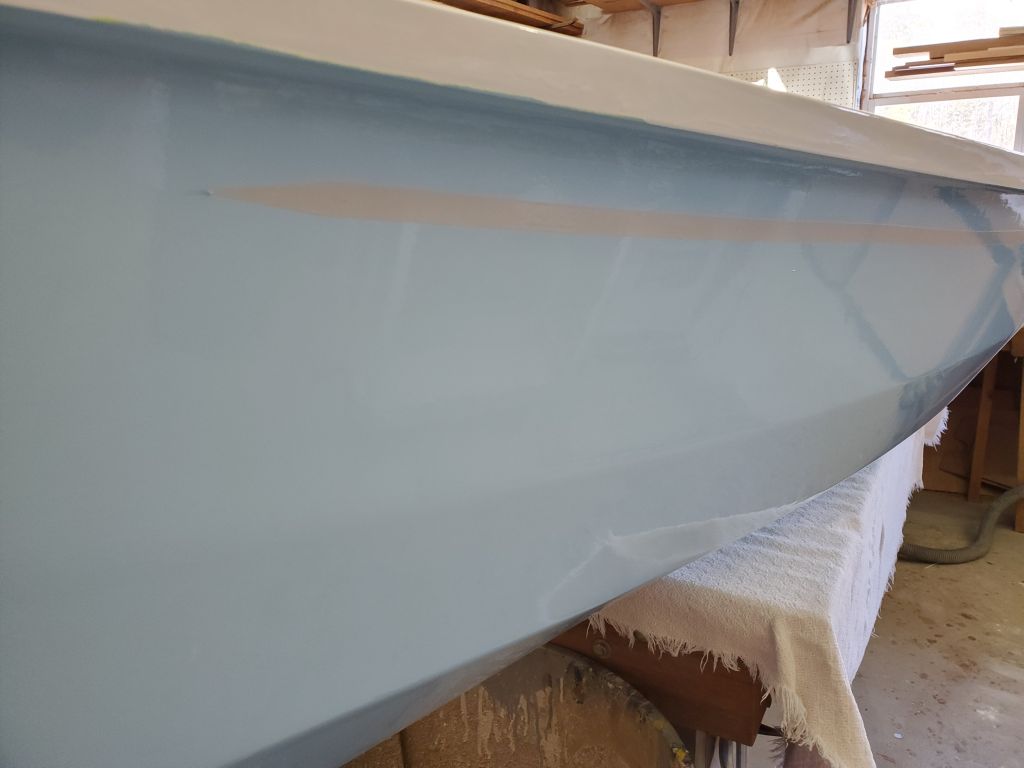
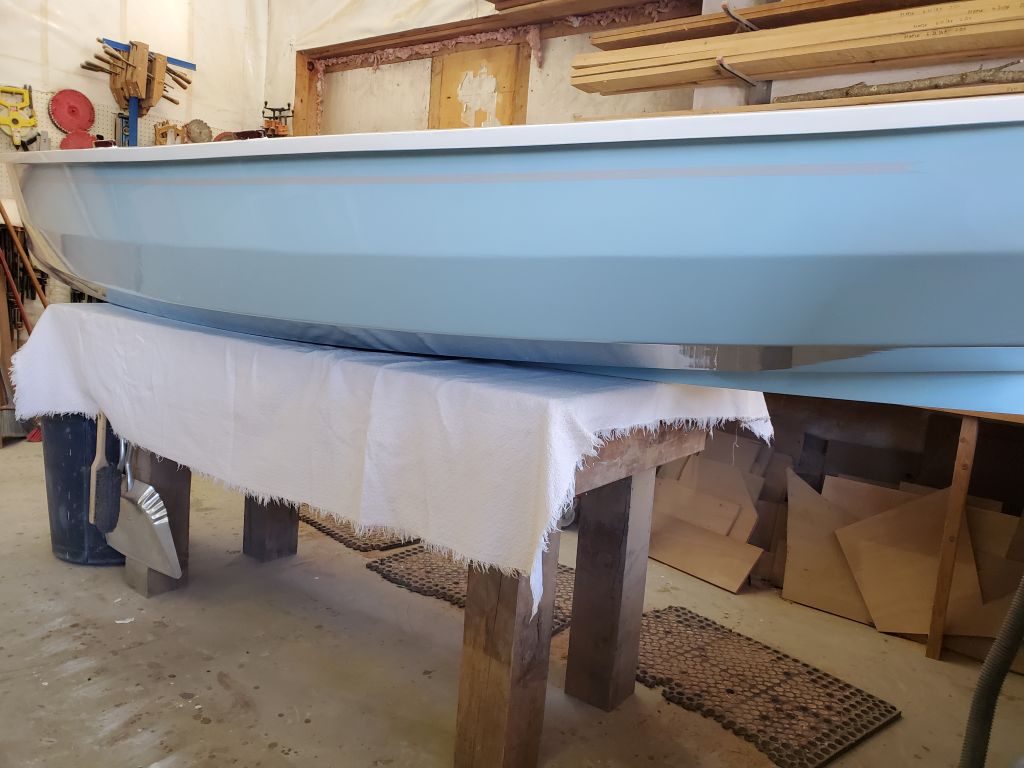
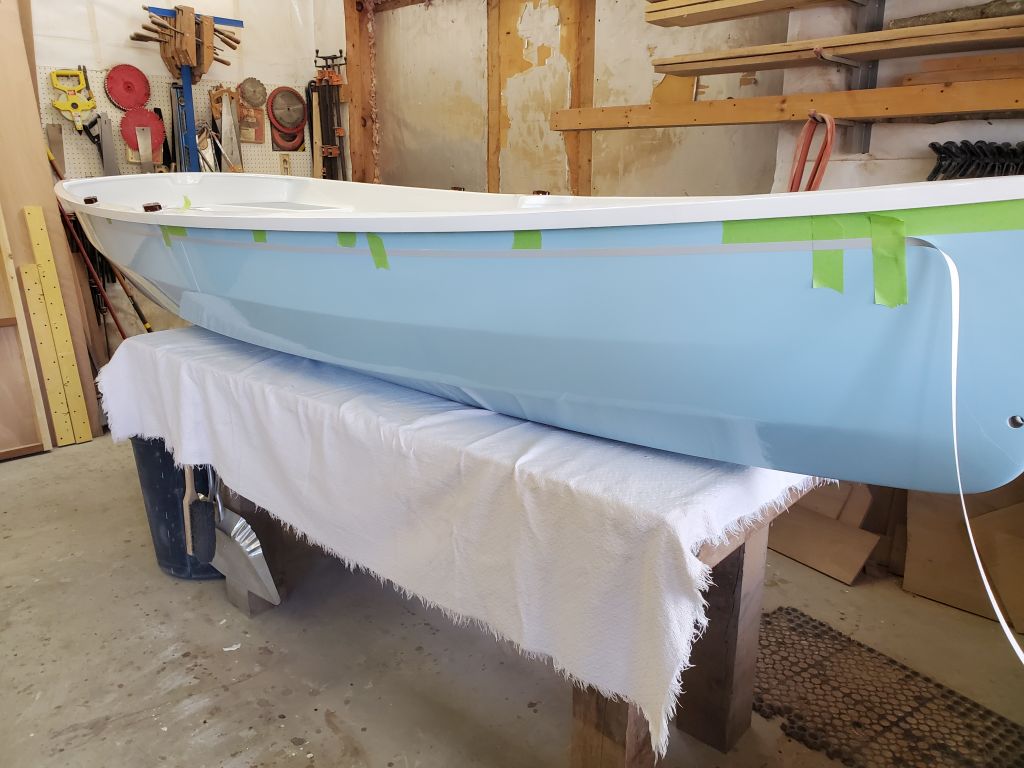
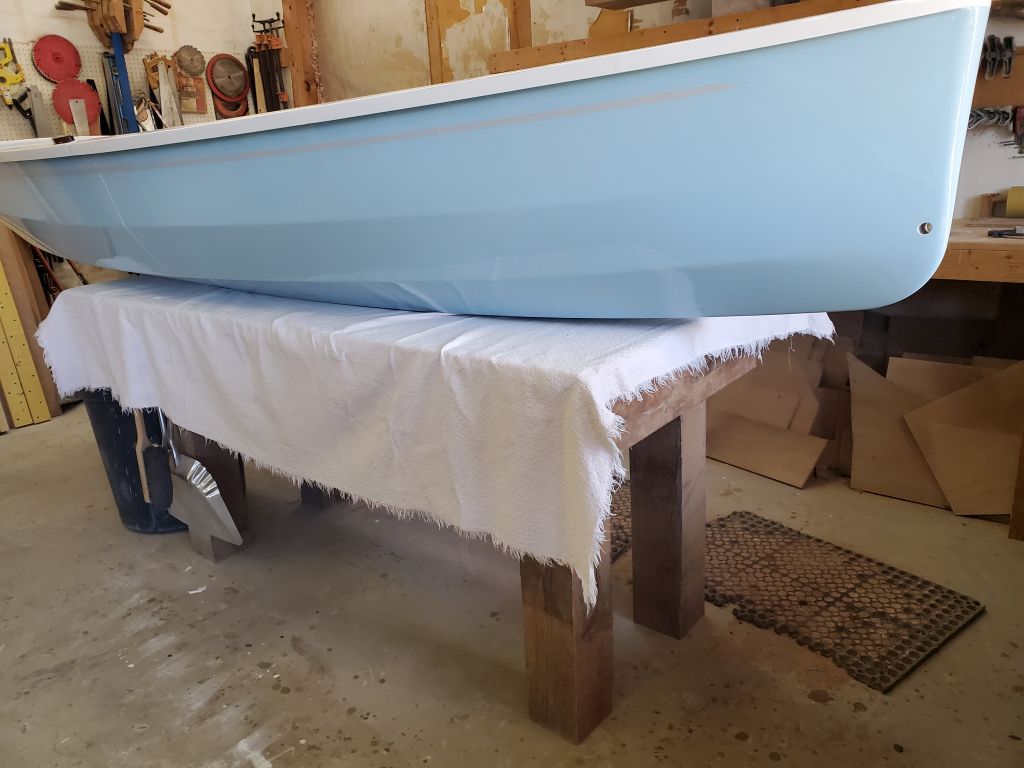
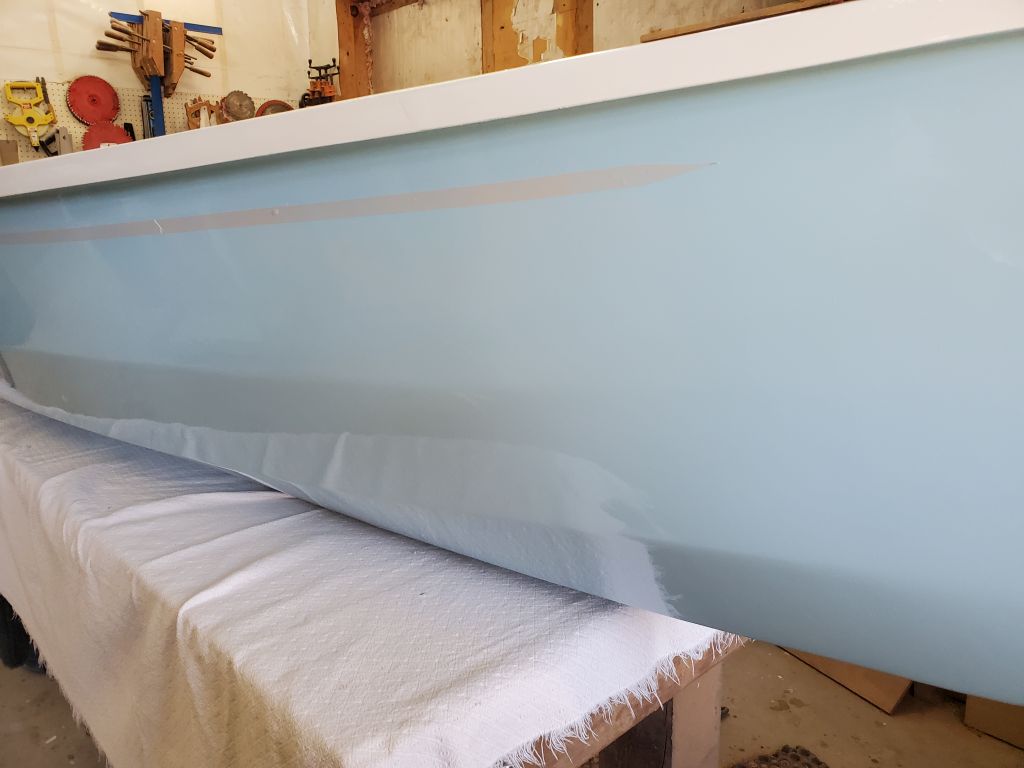
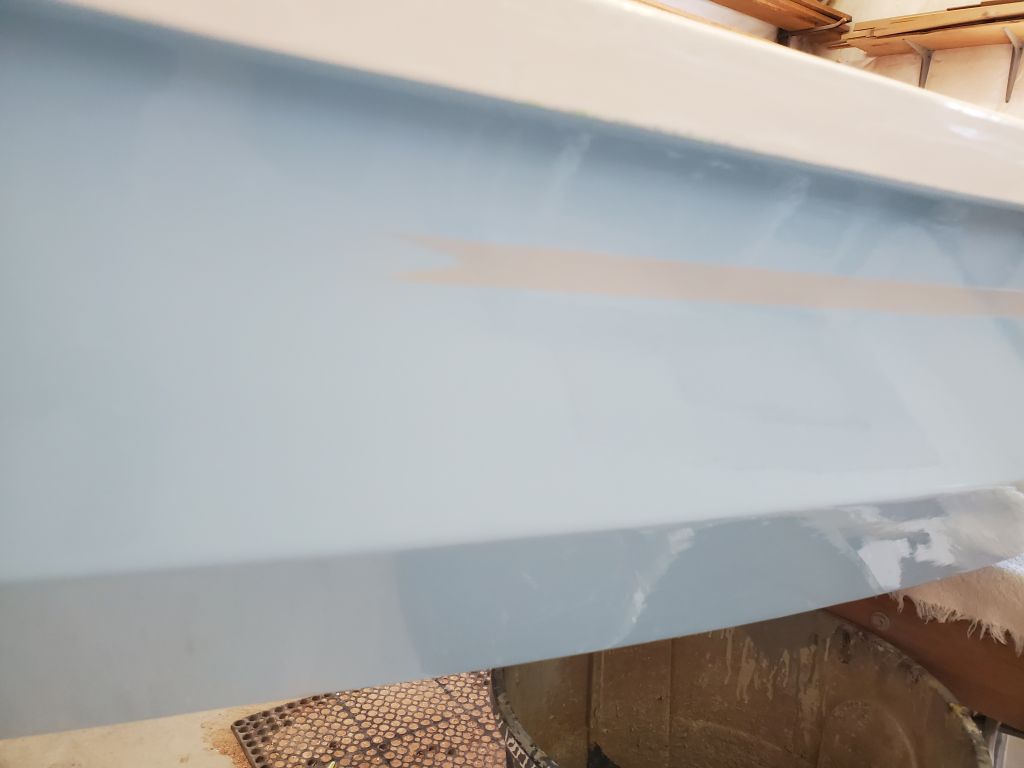
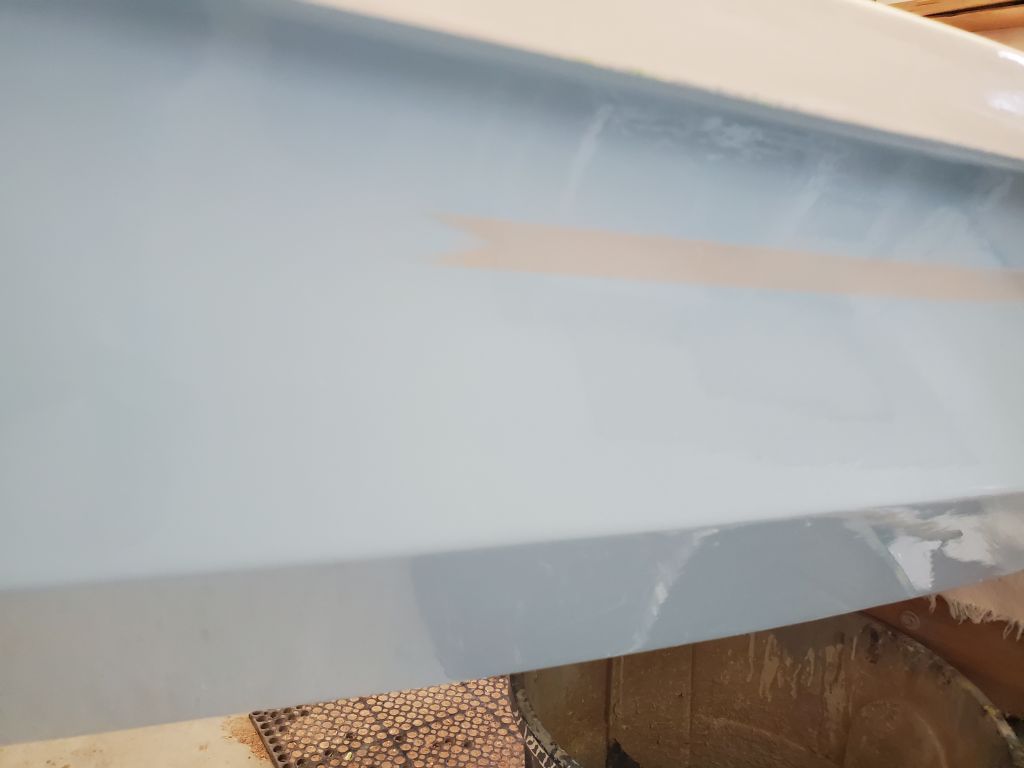
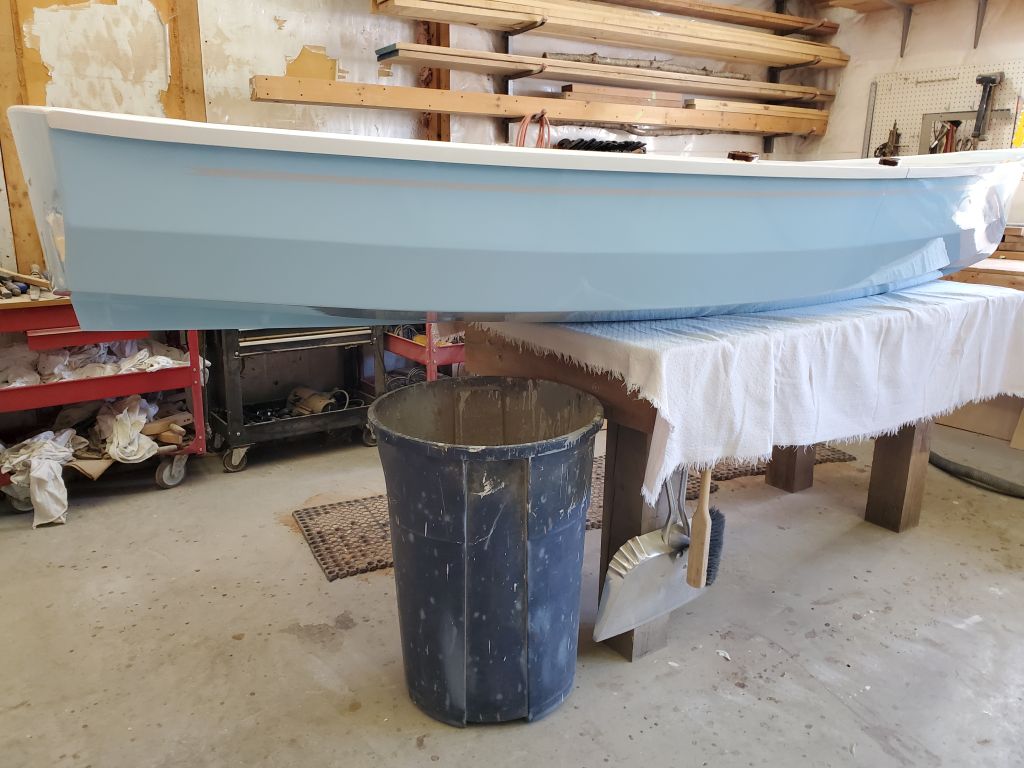
Now, I started with a cove stripe, which I chose in an accent color (light gray) to coordinate with the boottop color of the owner’s sailboat. Installation didn’t take long, and it added subtly to the appearance of the boat.
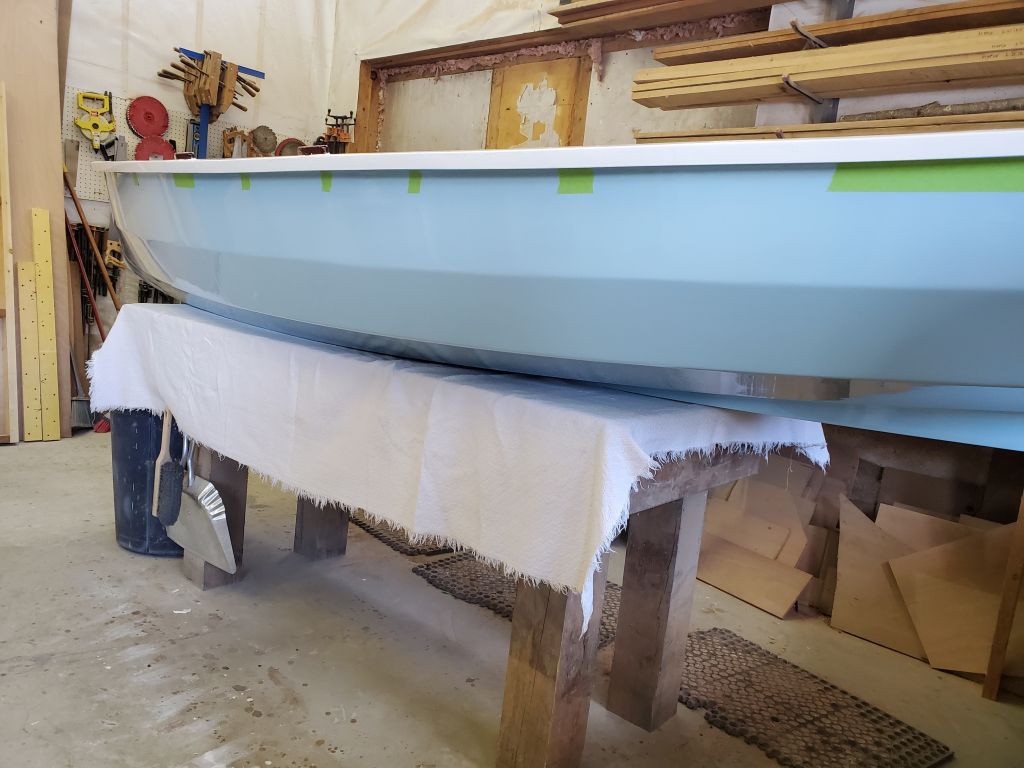
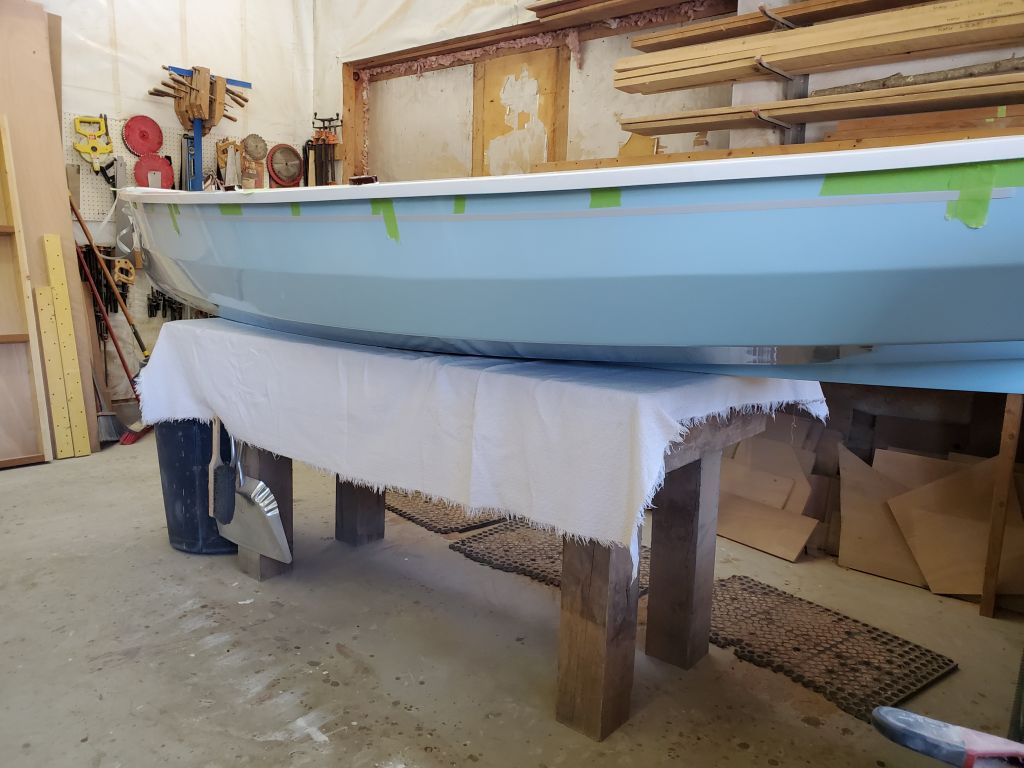
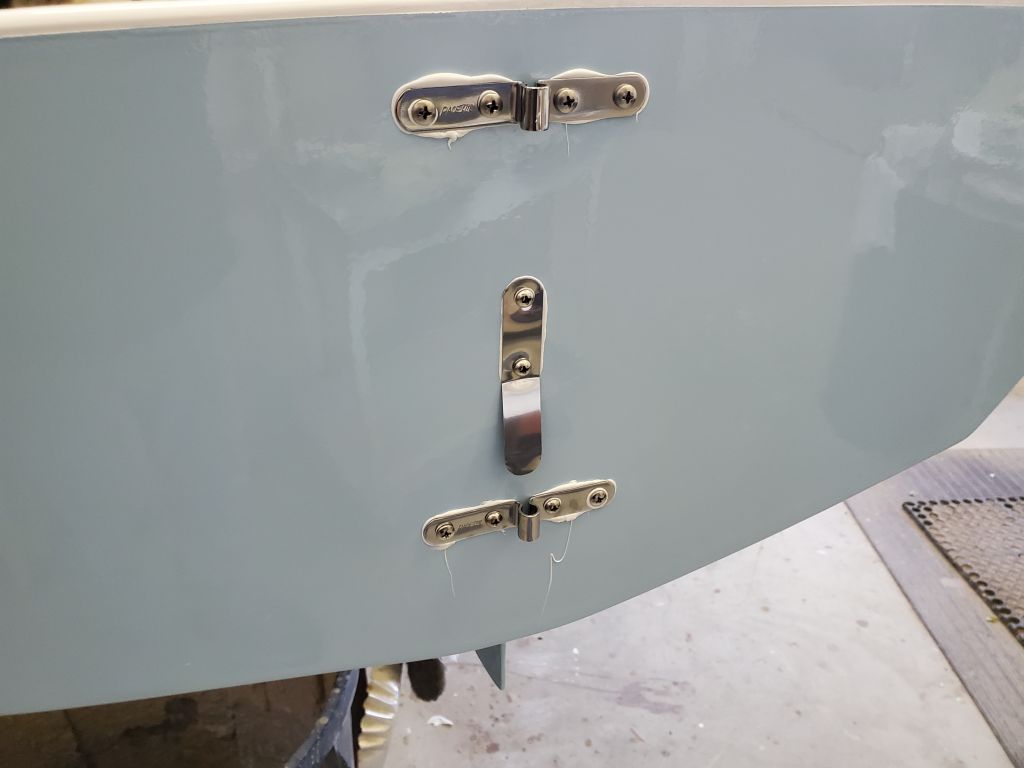
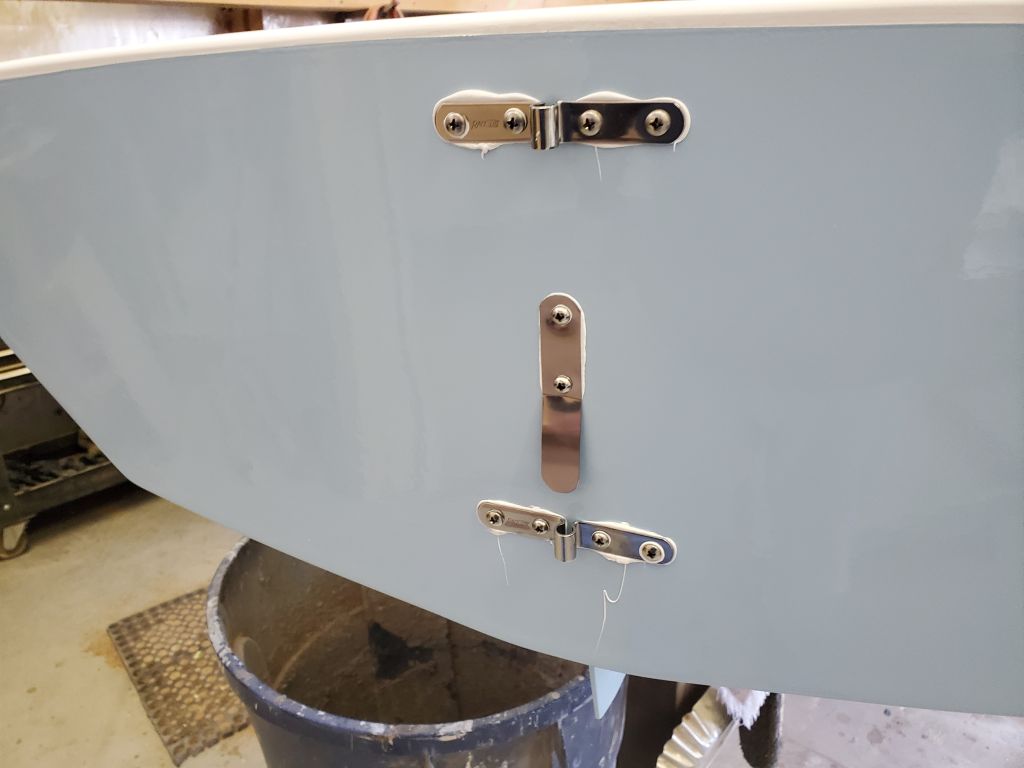
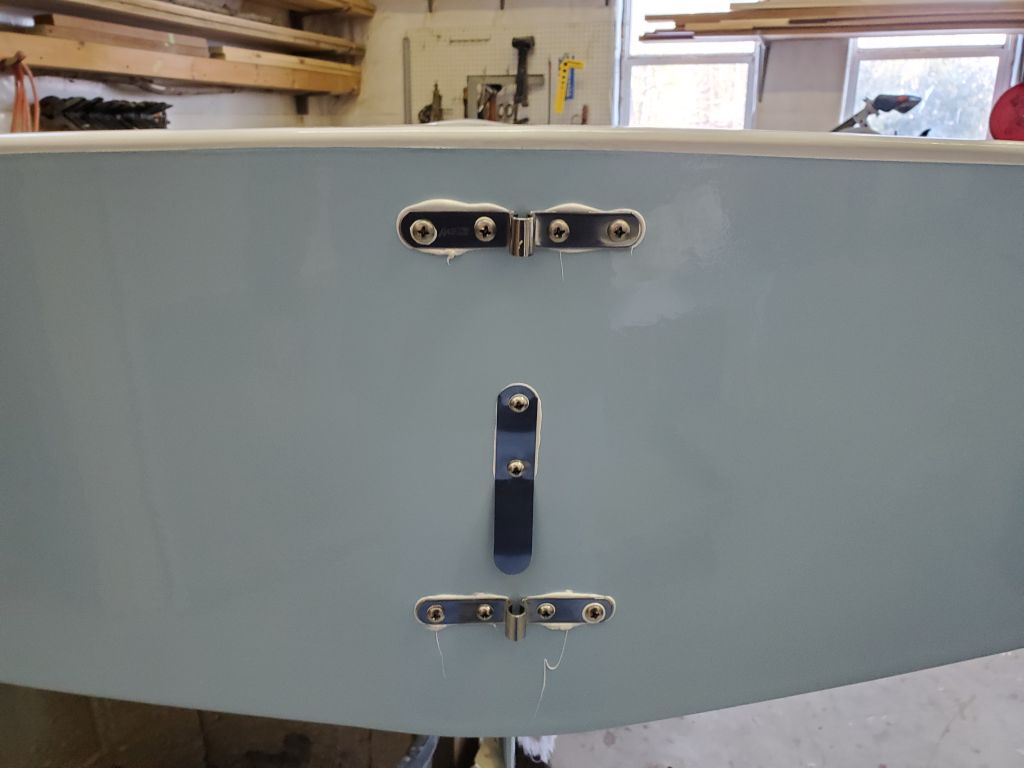
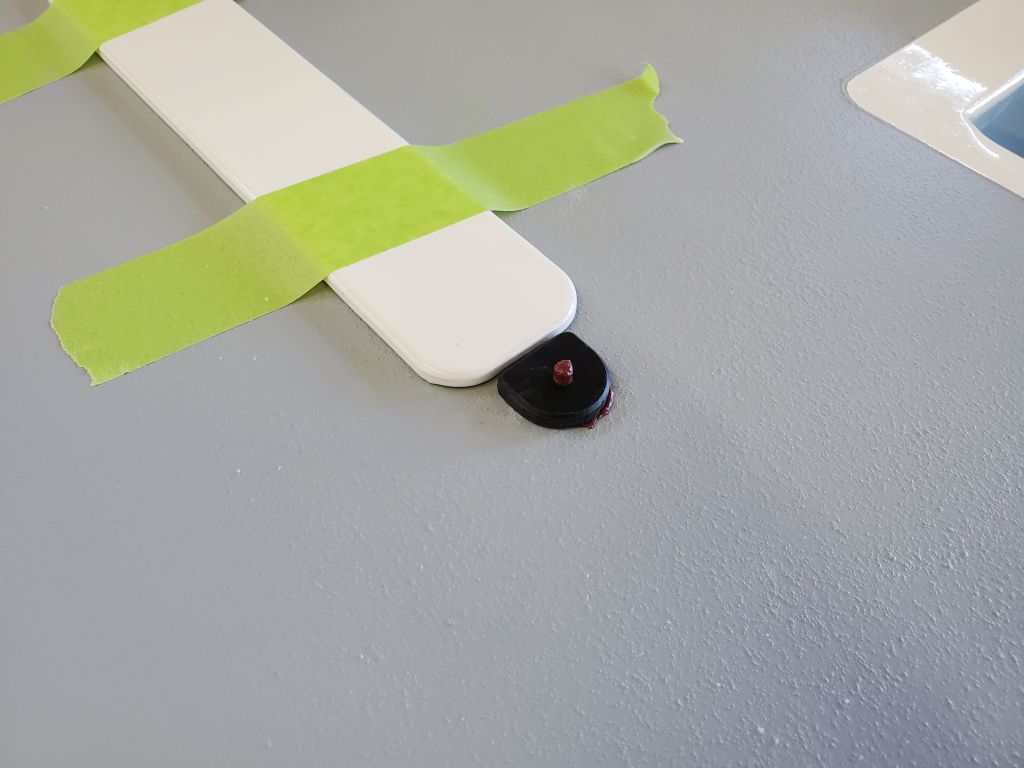
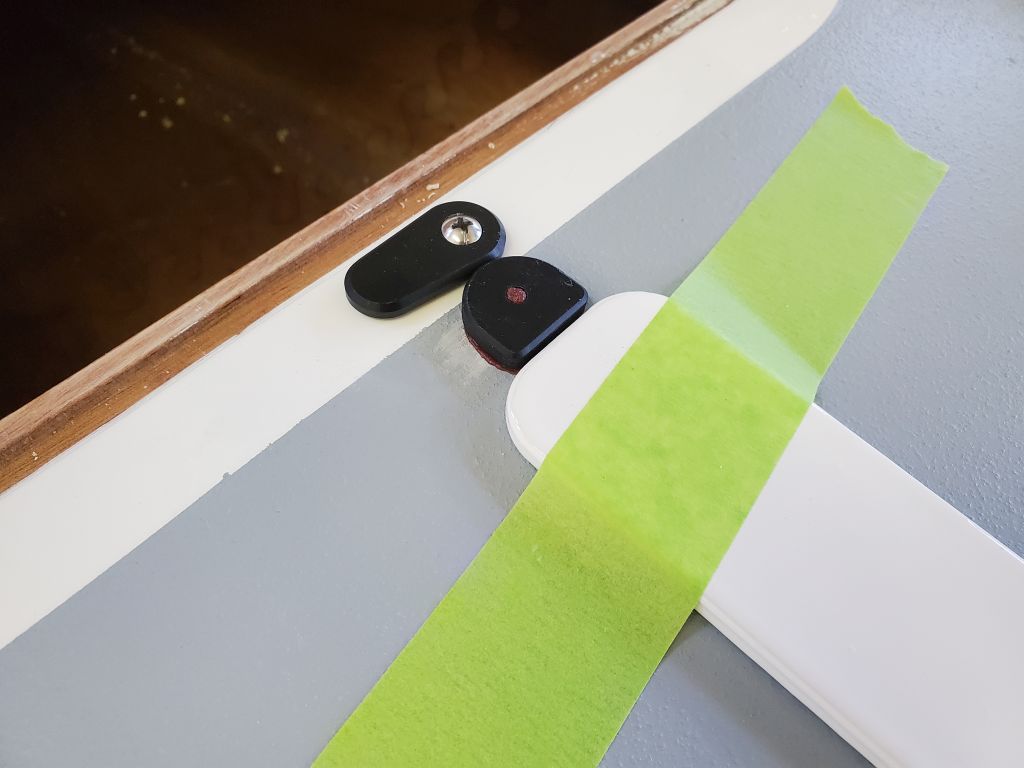
Next, I permanently installed the rudder gudgeons. I’d previously laid out and dry-fit this hardware, so now it was a matter of installing the pieces again with sealant to finish the rudder installation. I forgot to take photos of the rudder in place, but did take video that will be available sometime later.

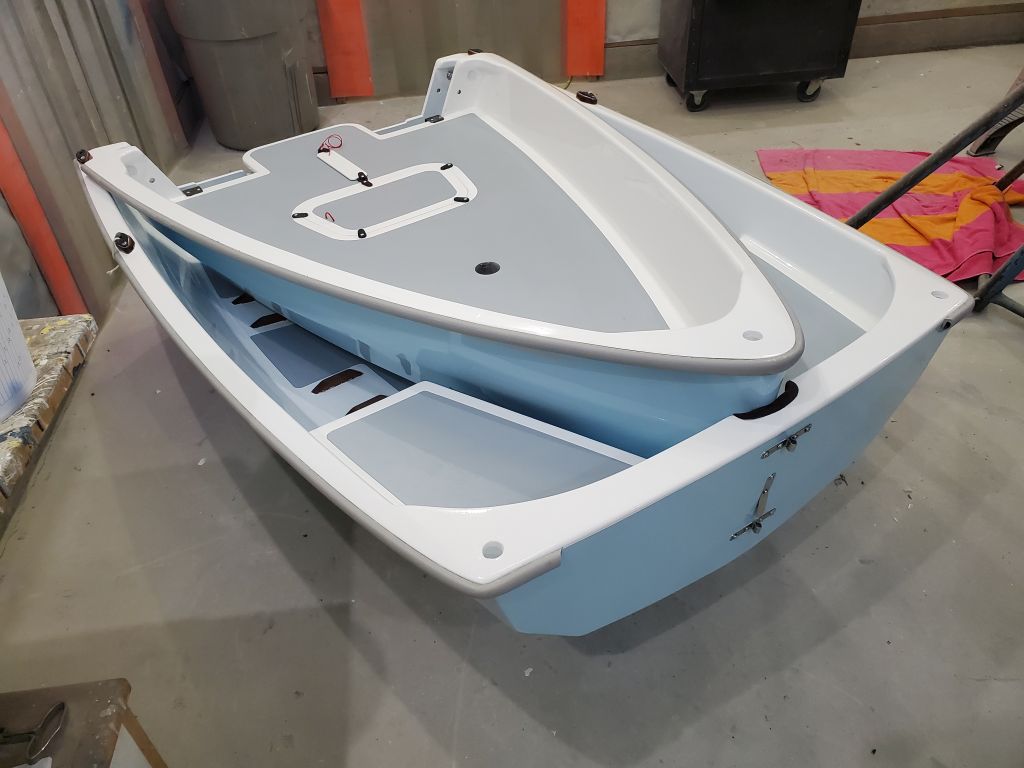
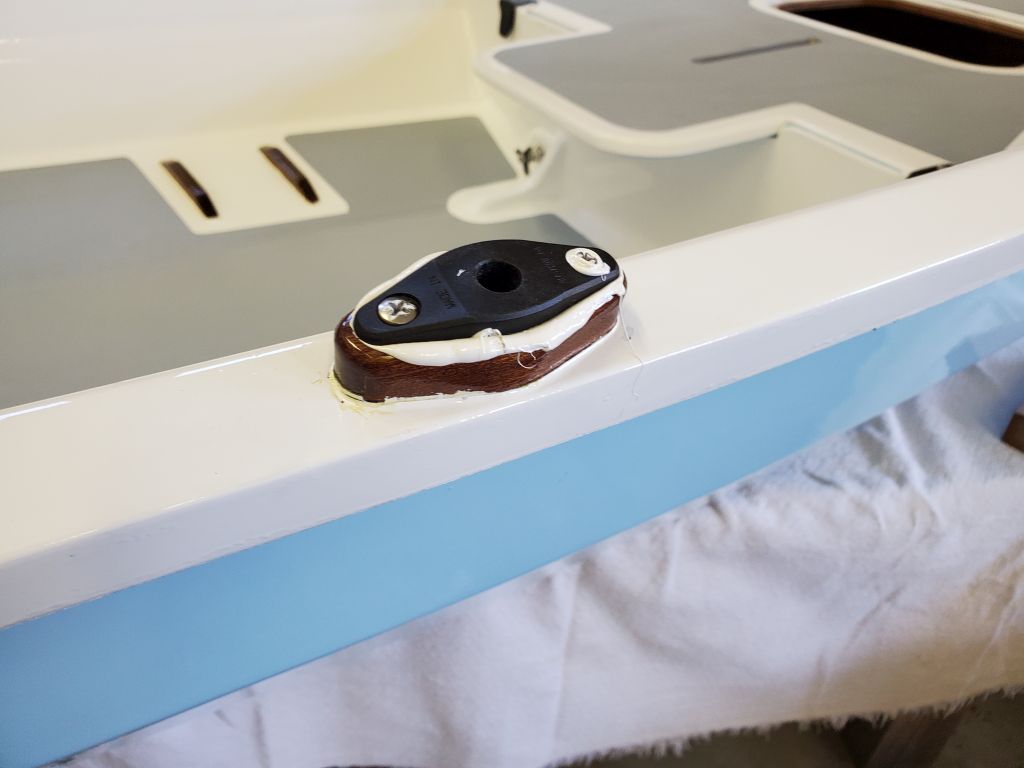
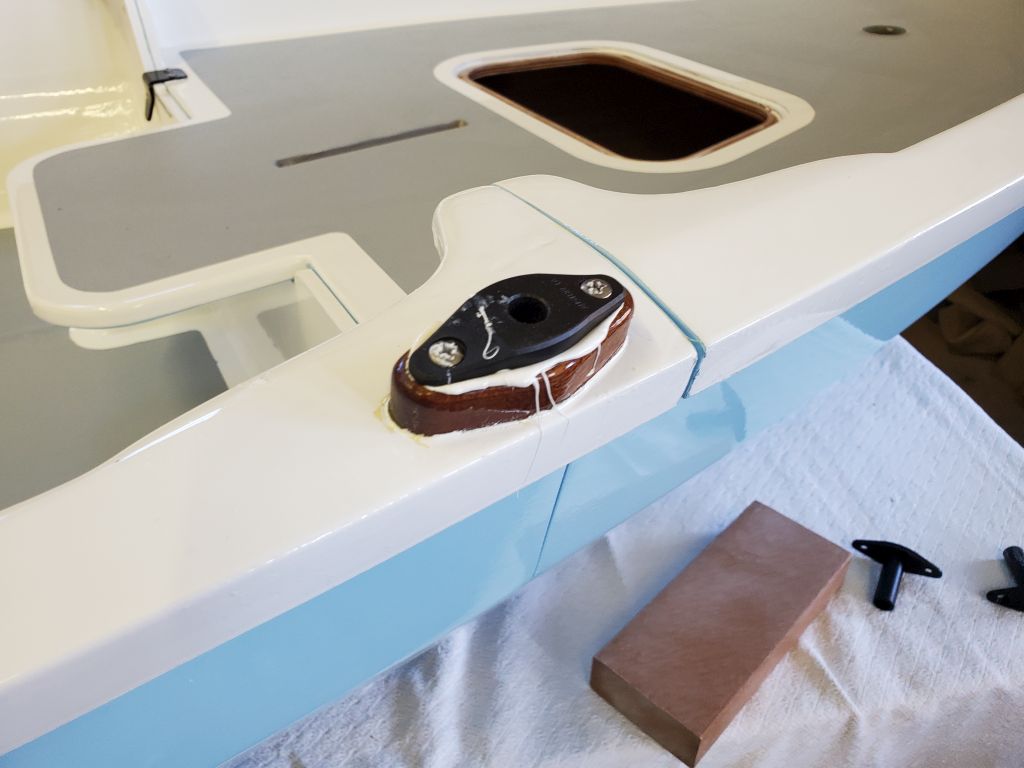
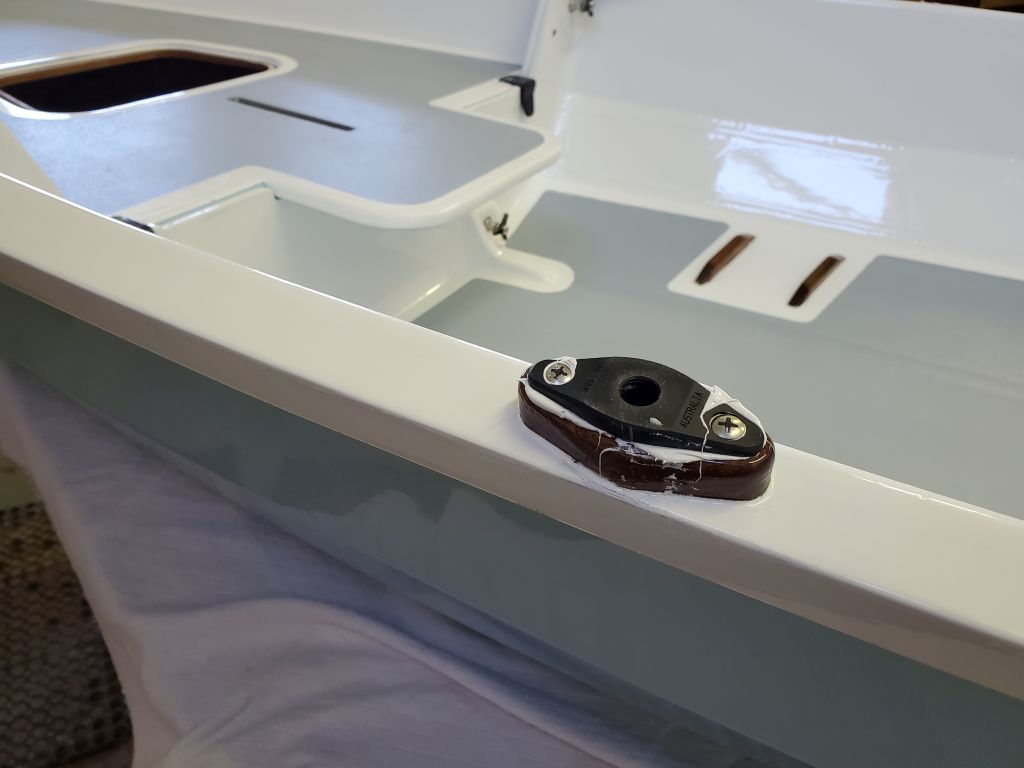
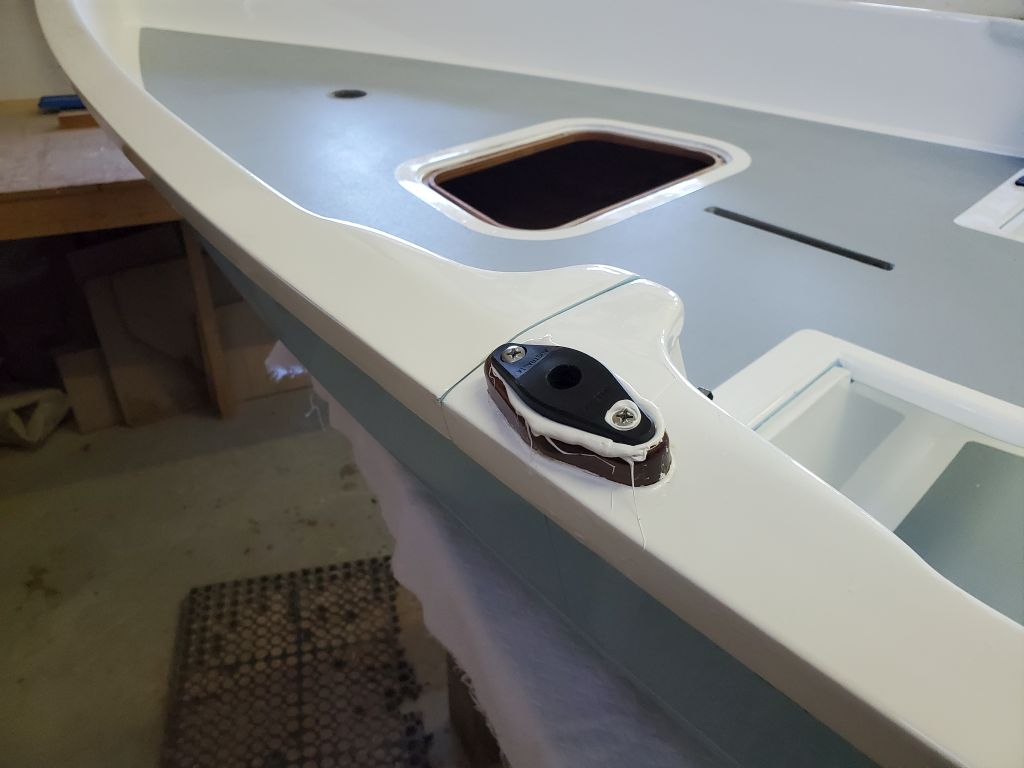
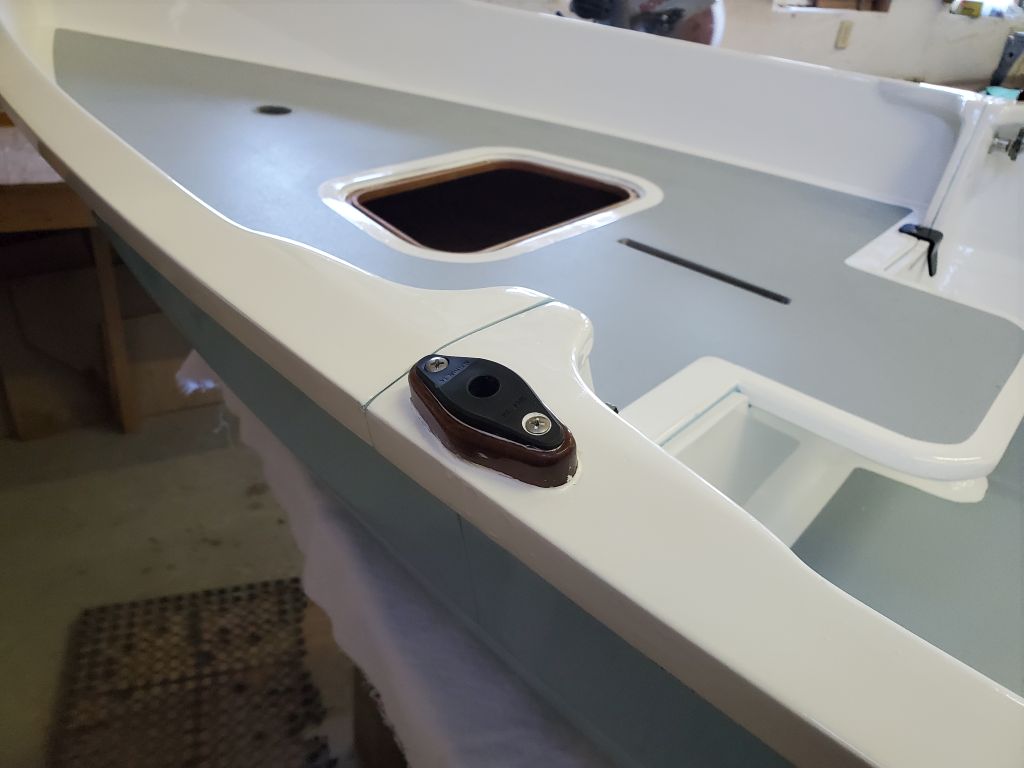
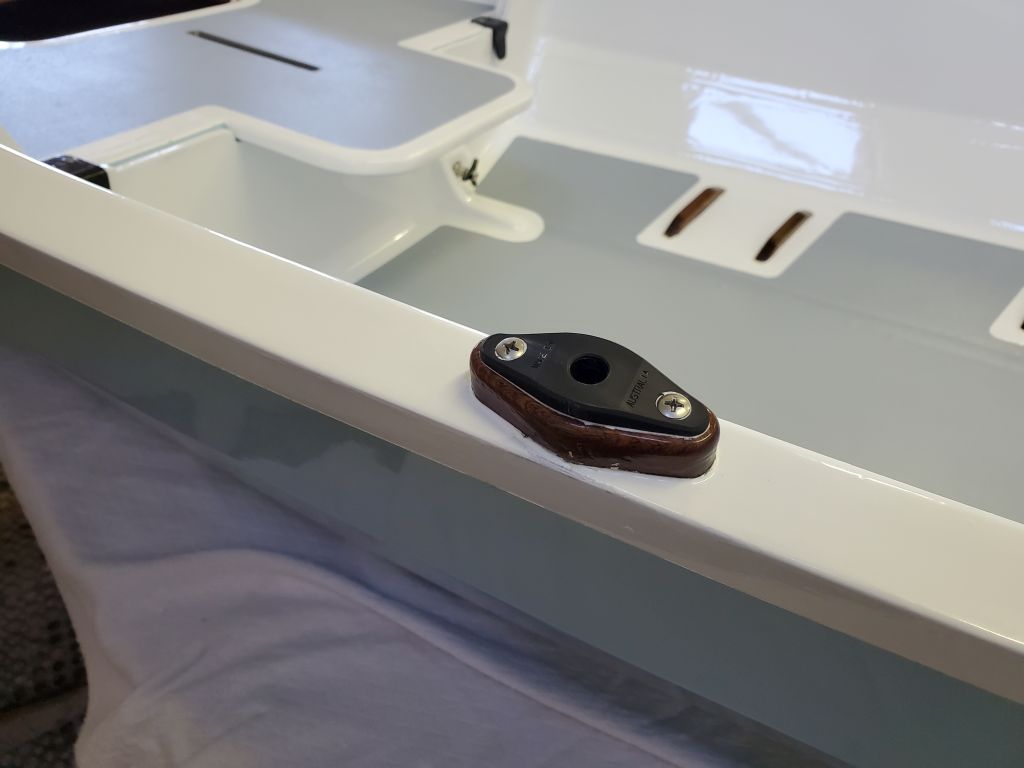
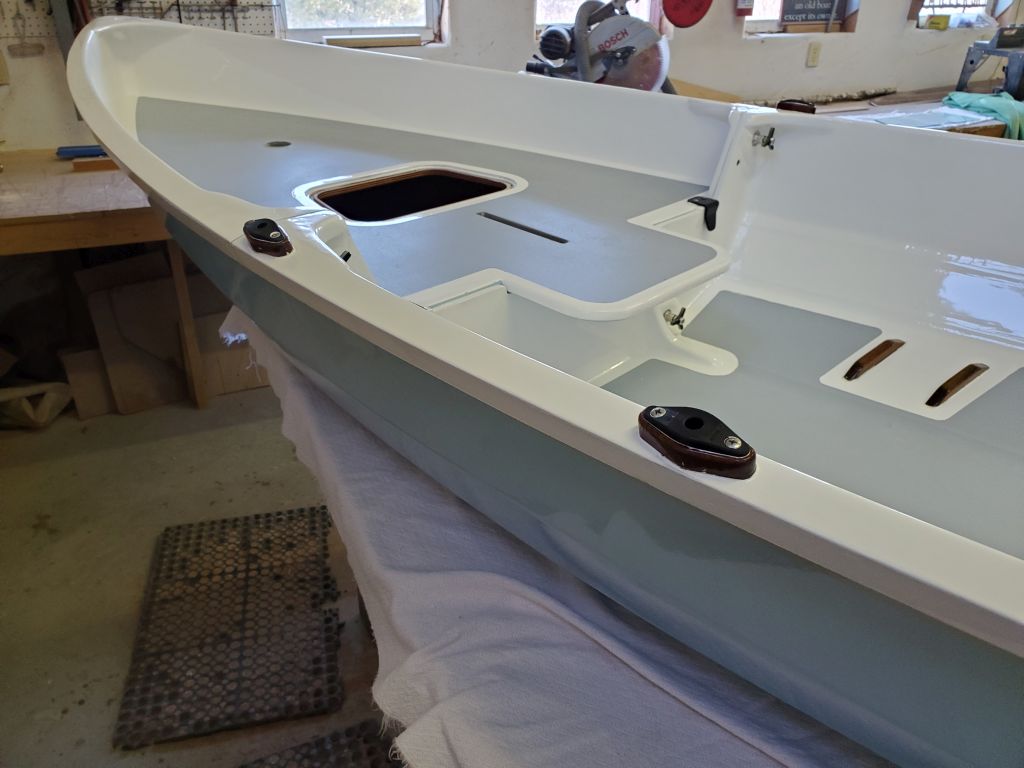
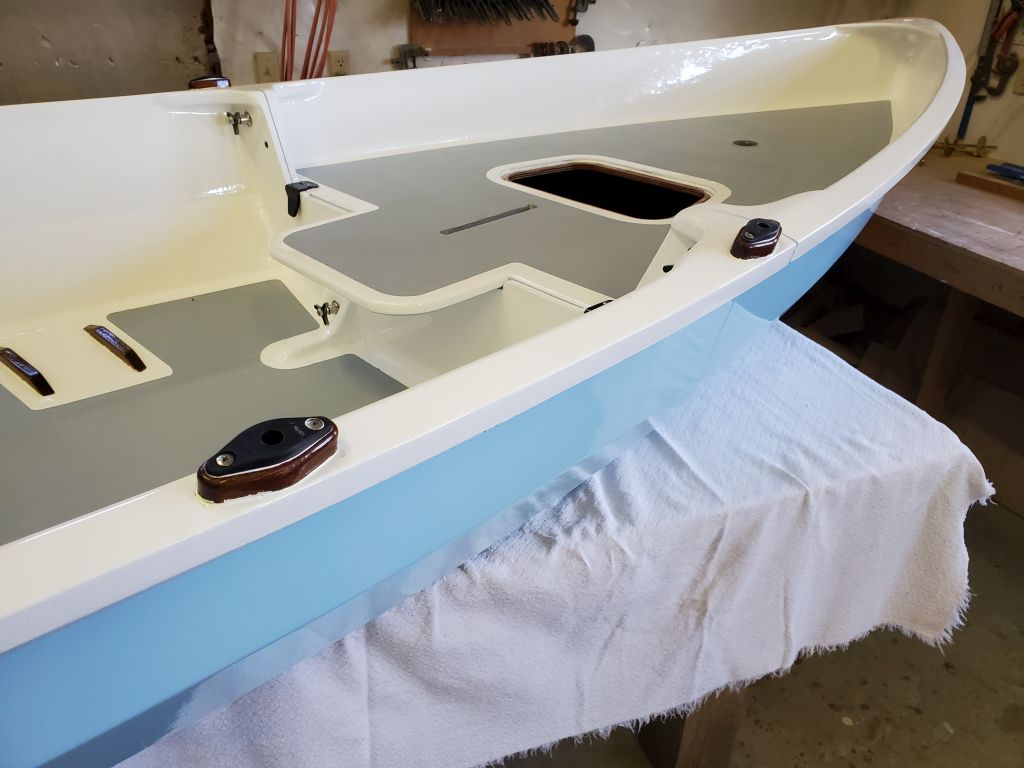
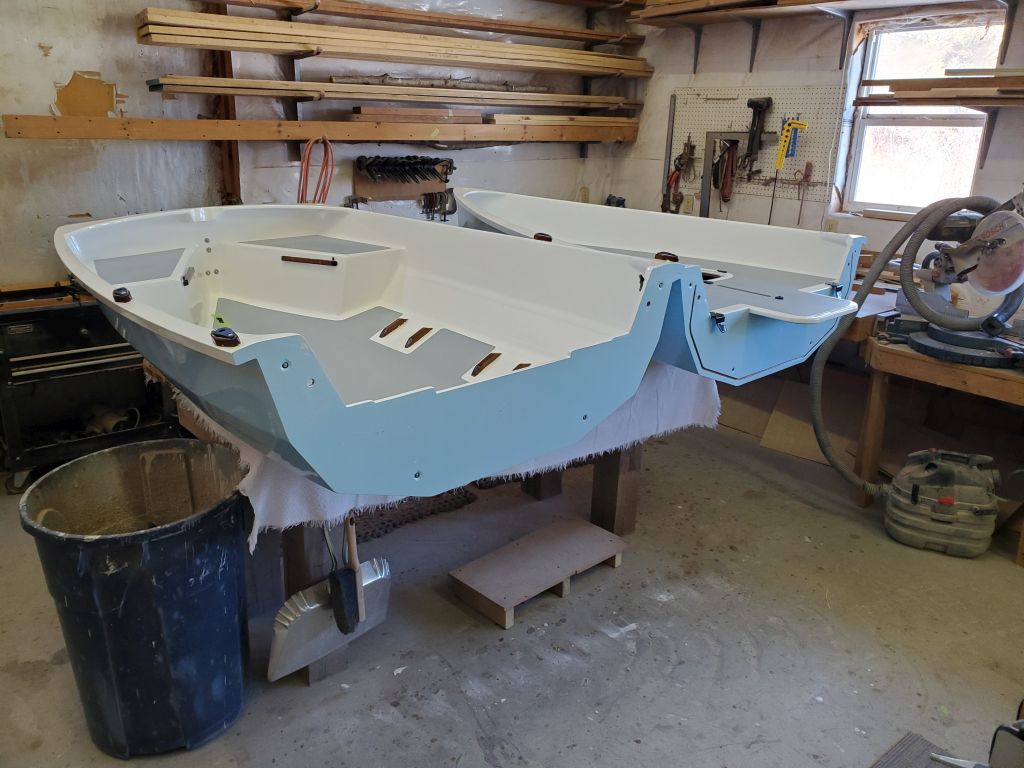
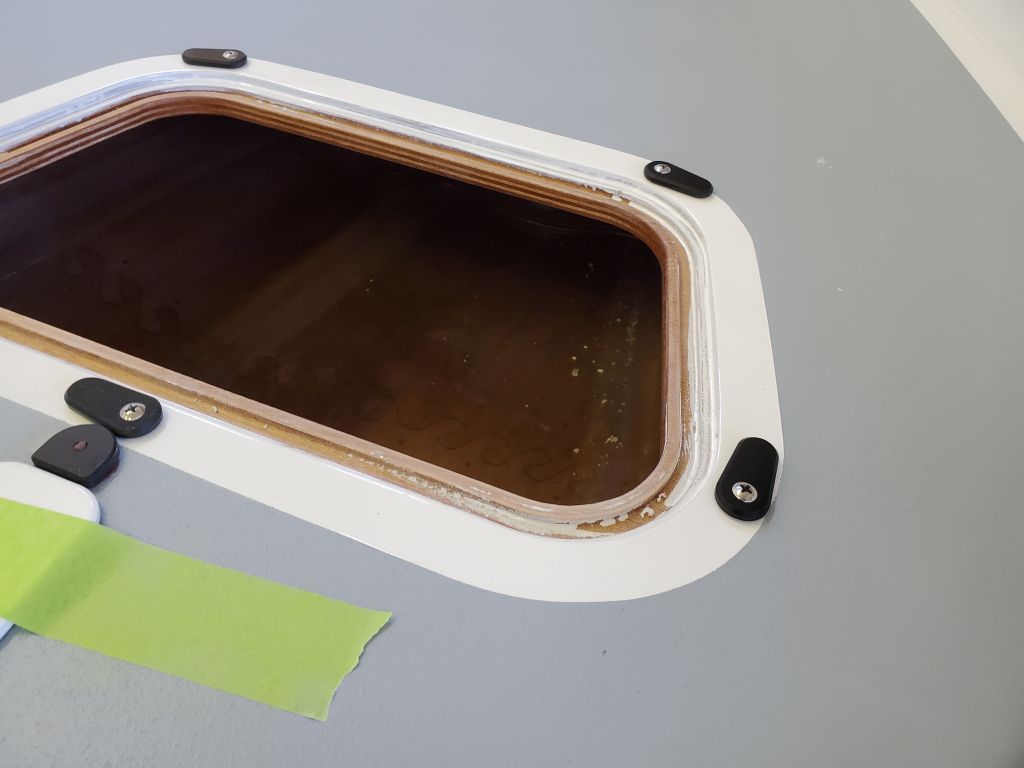
Next, I installed the rowlocks.
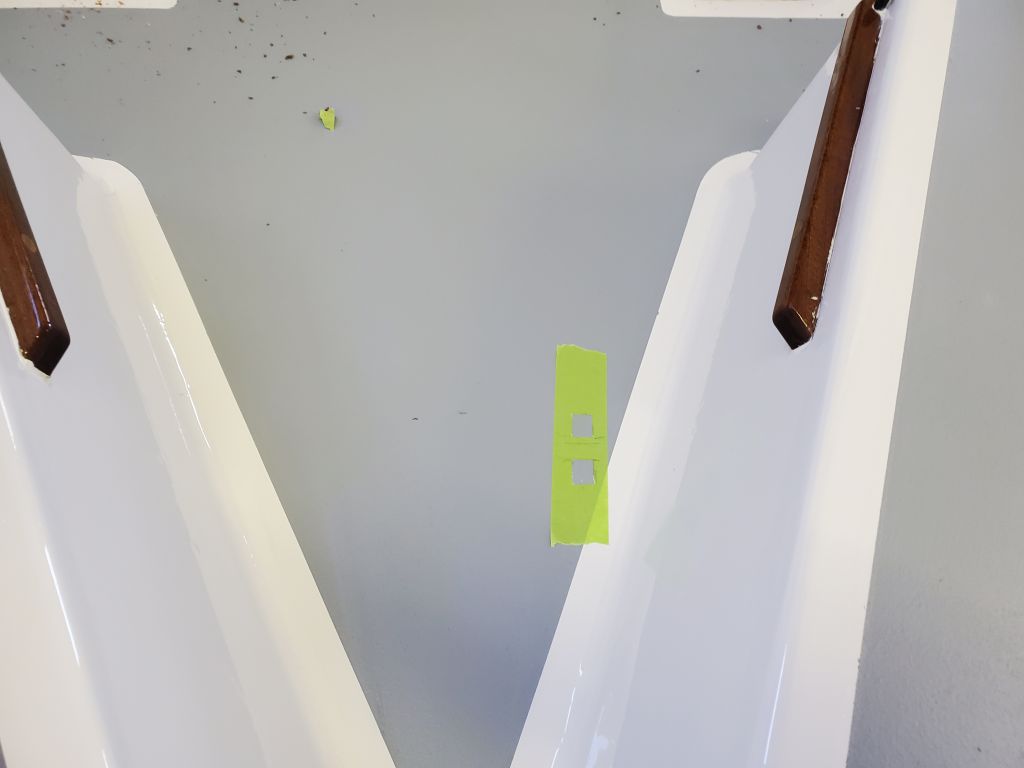
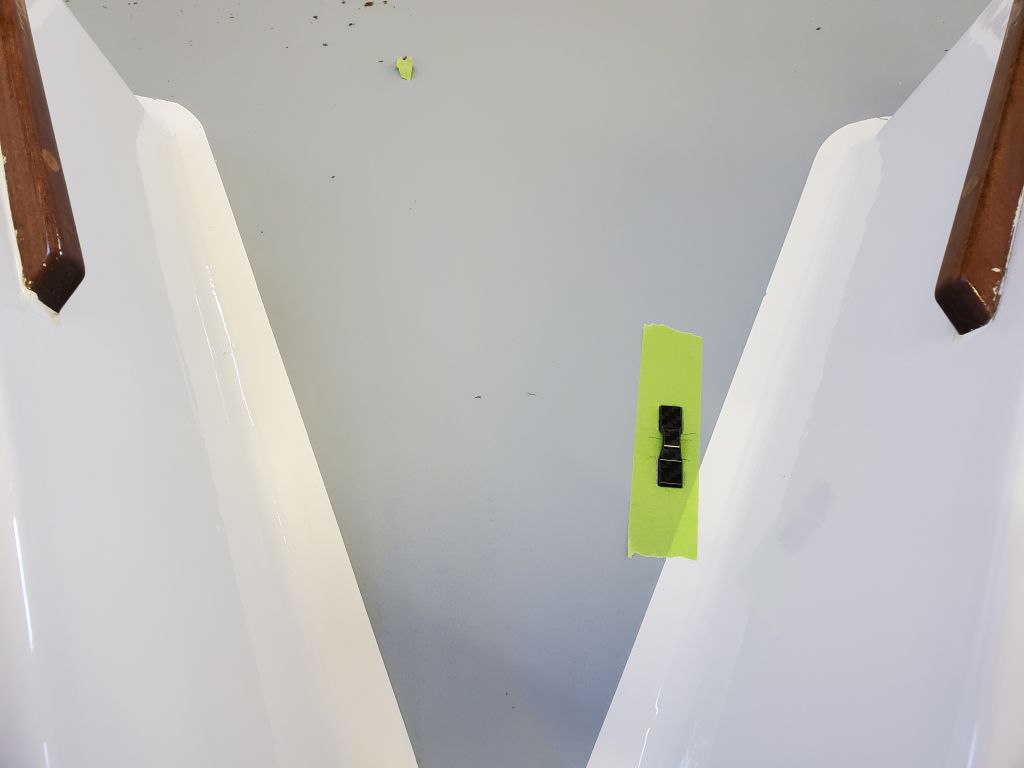
I’d planned to leave the boat assembled so I could install the rubrail, but discovered that the rubrail was designed to be installed in separate pieces, so with that I separated the boat to make access to the foredeck a little easier, and because there was no reason to leave it assembled for now. Separation seemed a bit more challenging than I’d expected, but I discovered that some sealant had seeped out on one side when I installed the alignment clips earlier, and this had glued the halves together somewhat. You can’t get good help anymore.
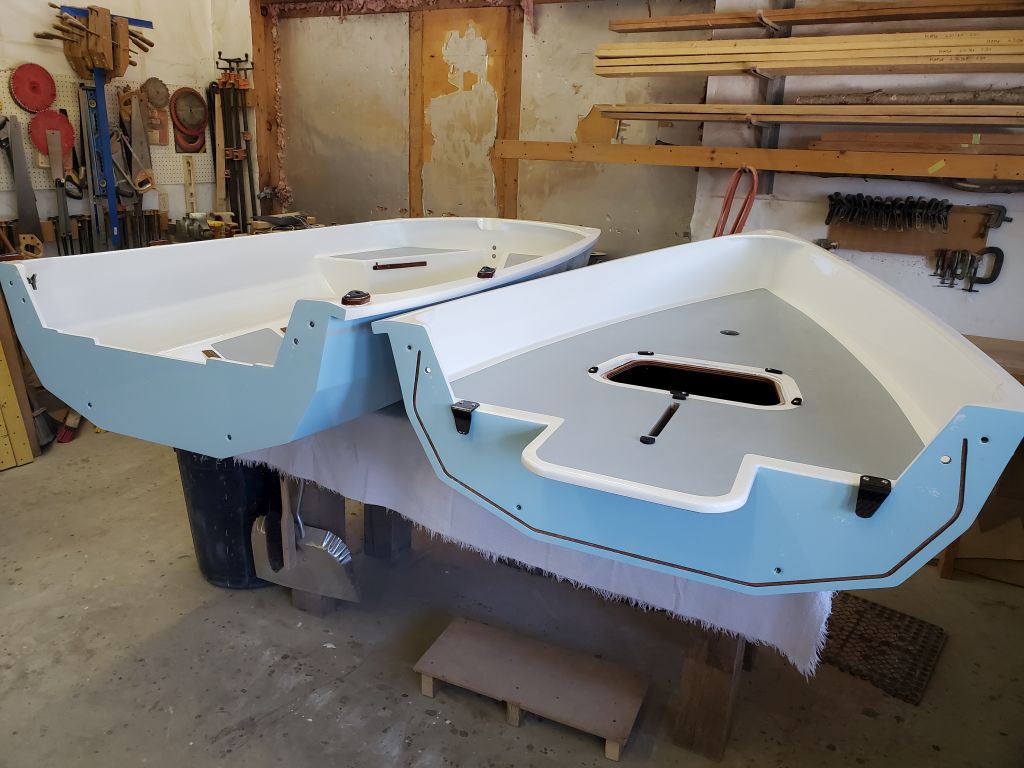
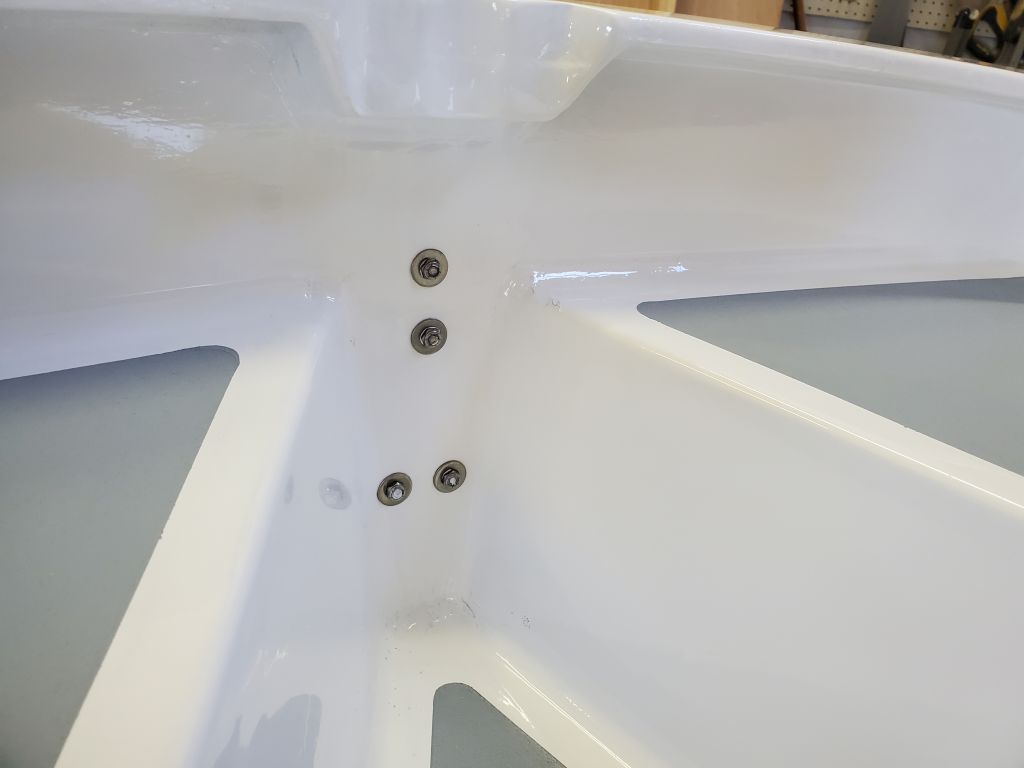
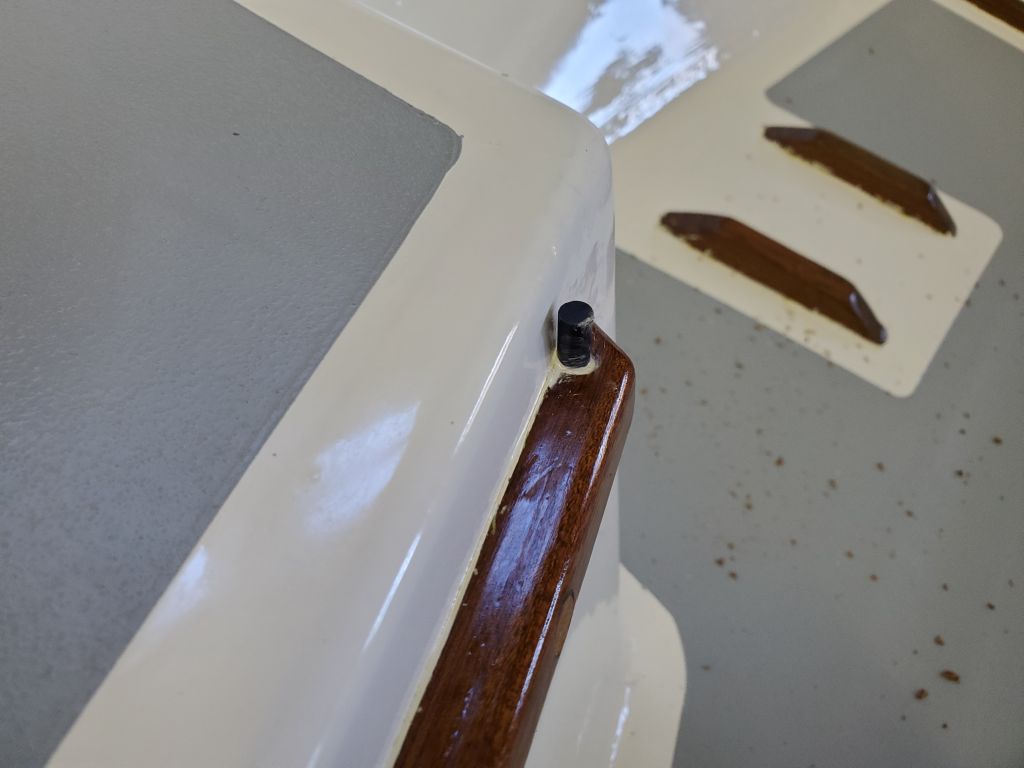
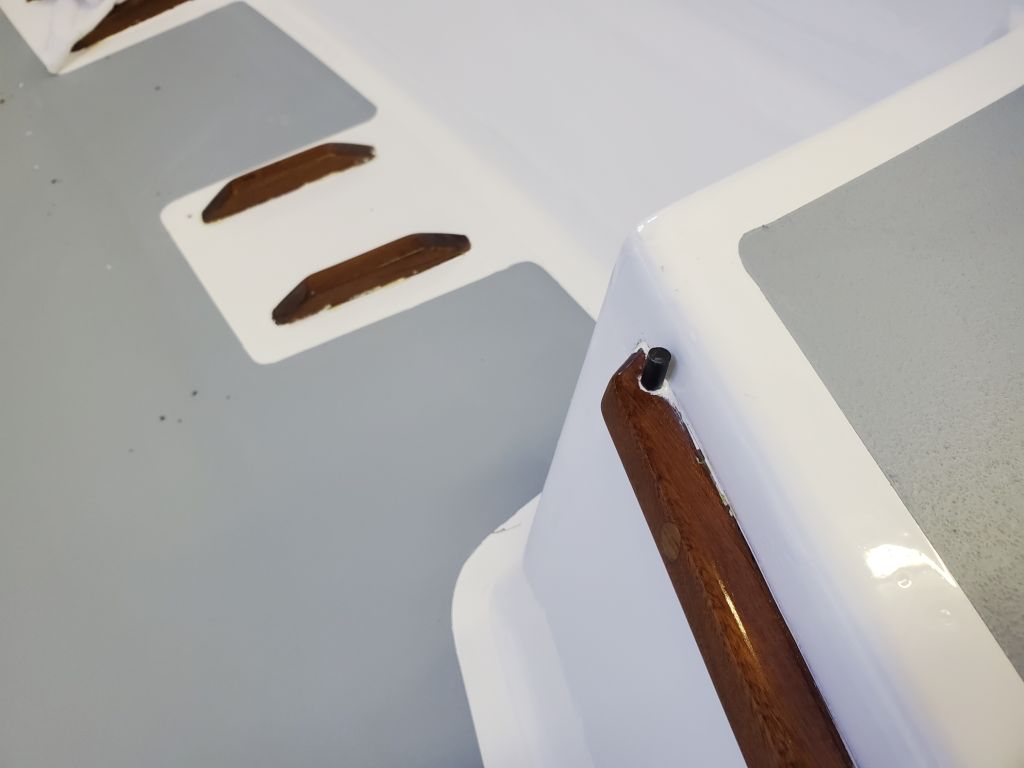
The aft seat required several additional steps, and with epoxy involved, it meant I couldn’t call the installation complete just yet–something that would become a theme of the remainder of the day. The installations on this boat frequently require steps that can only happen on multiple days. For the seat, I started with a pair of fiberglass pins in the forward ends of the support cleats, just forward of the forward corners of the seat. These pins would hold the seat in position.
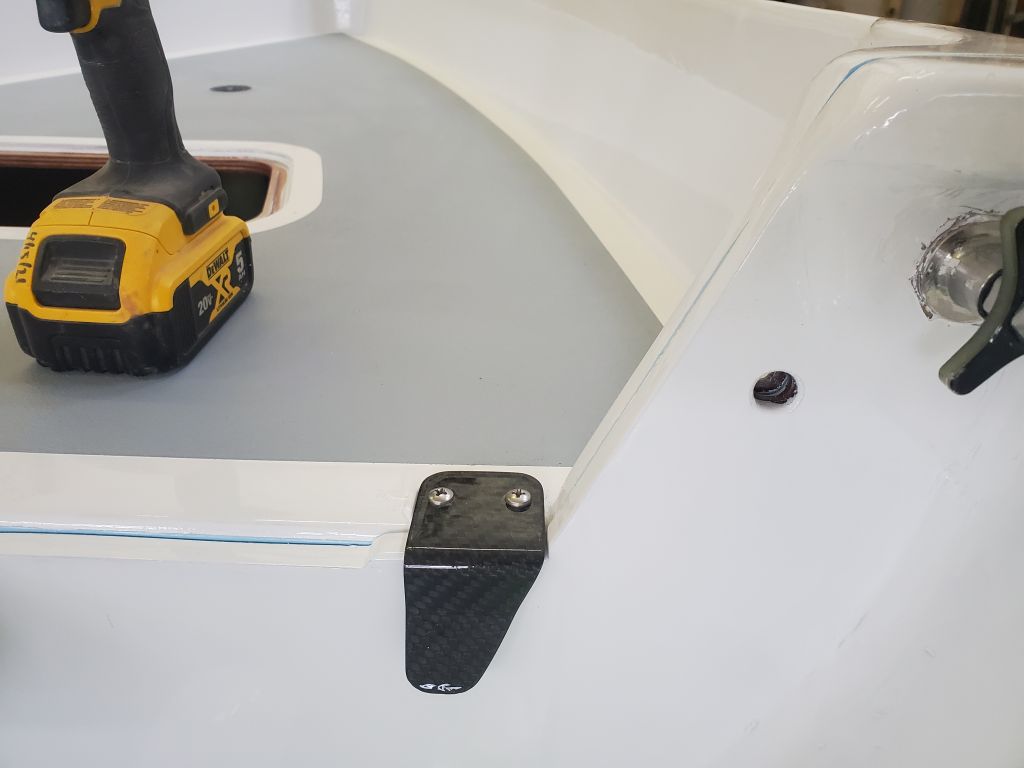
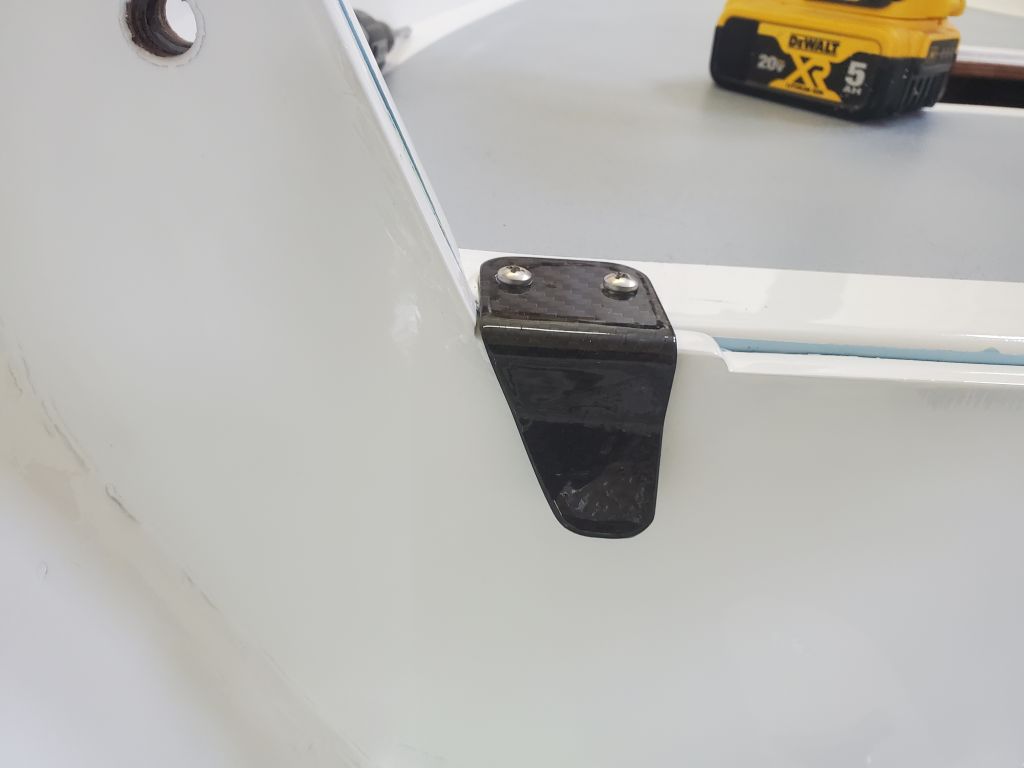
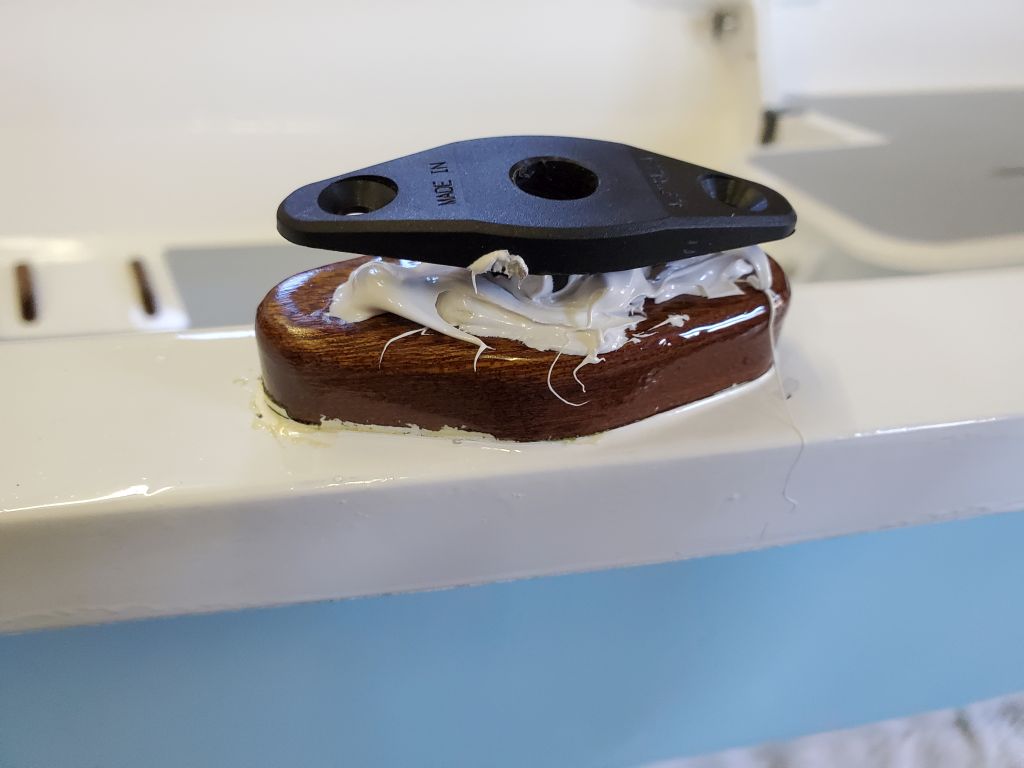
The other part of the aft seat securement was a carbon fiber eye strap, which I had to mount with epoxy to the hull a bit off center to one side (on the lowermost chine). This eye strap would eventually hold one end of a bungee cord that would secure the seat in place, but allow easy removal for when the boat was nested. I masked around the faying surfaces, cutting the tape as needed, then lightly prepared the tiny bonding areas with sandpaper before epoxying the piece in place.

The daggerboard trunk cover required several steps now too, though I couldn’t finish installation either because of the need to wait for epoxy cure time. At either end of the trunk cover, I installed a small fiberglass riser, which I’d taken aside and painted a few days earlier anticipating the installation now. I painted them black to match the turn dogs that would later be installed on them. These risers also got installed in epoxy.
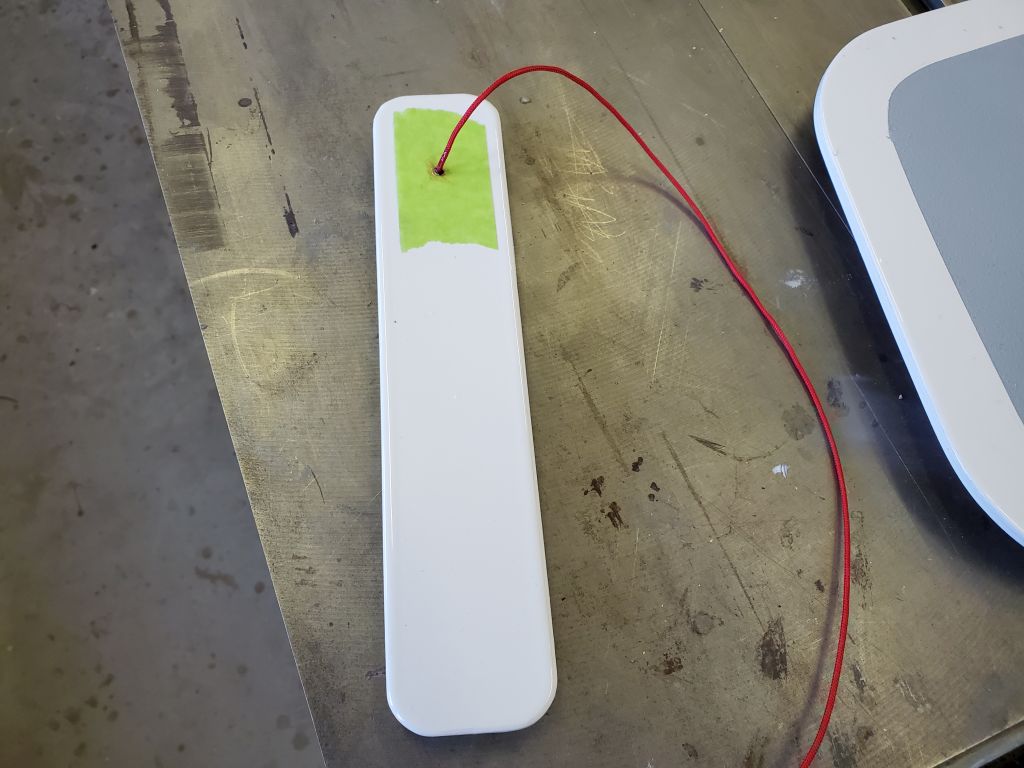
The cover itself needed a lanyard to hold it to the boat, which I installed according to the book by inserting the end of the supplied lanyard into a hole filled with epoxy. Later, the other end of the lanyard would get tied to one of the turn dogs that I was currently working on.
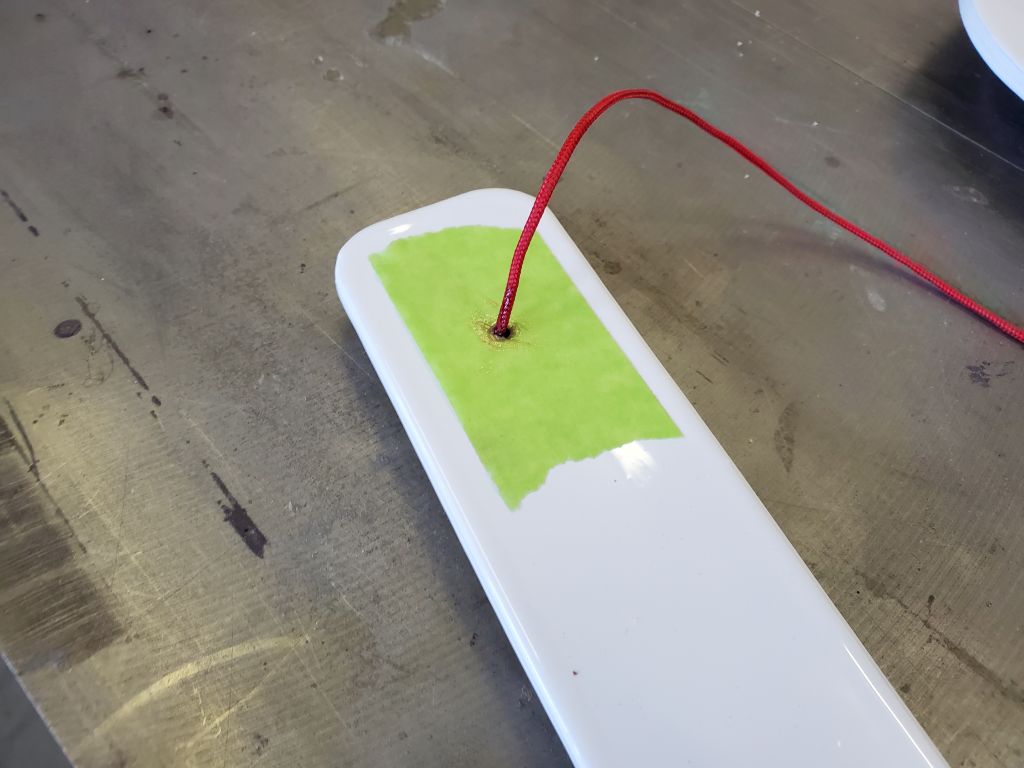
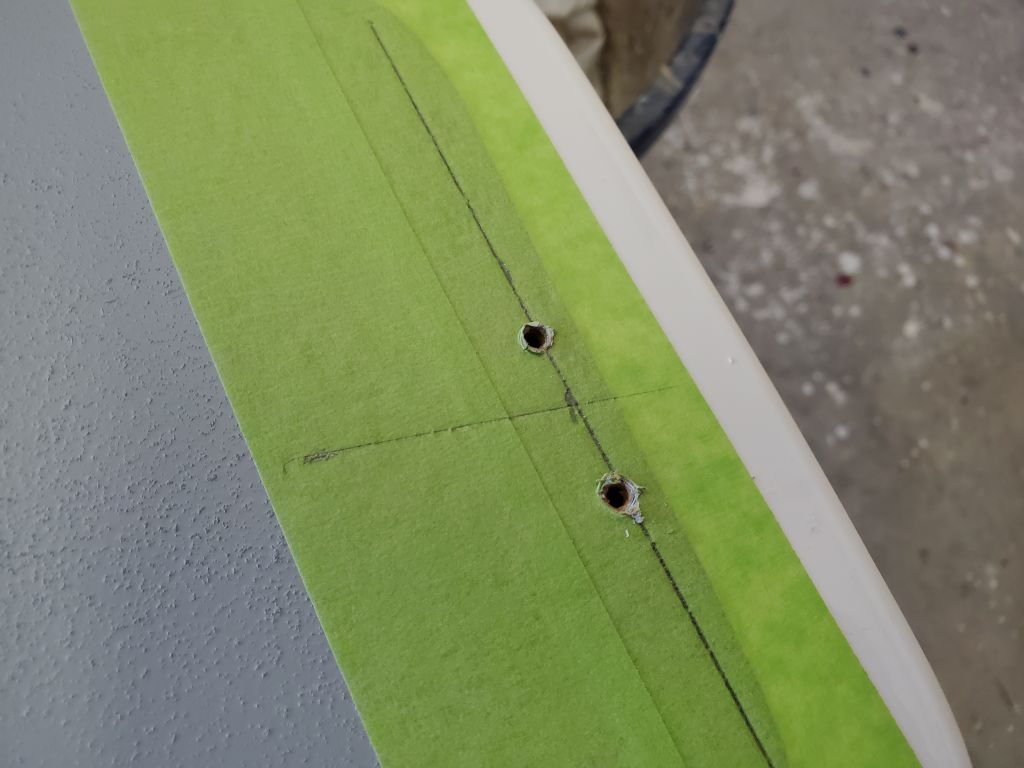
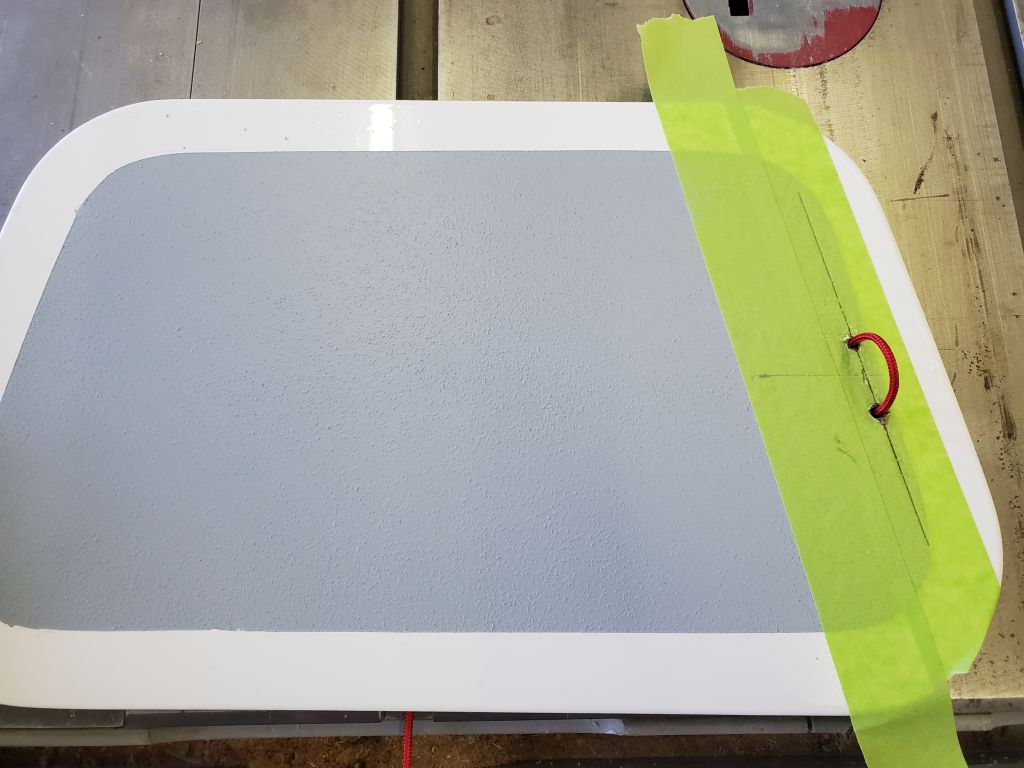
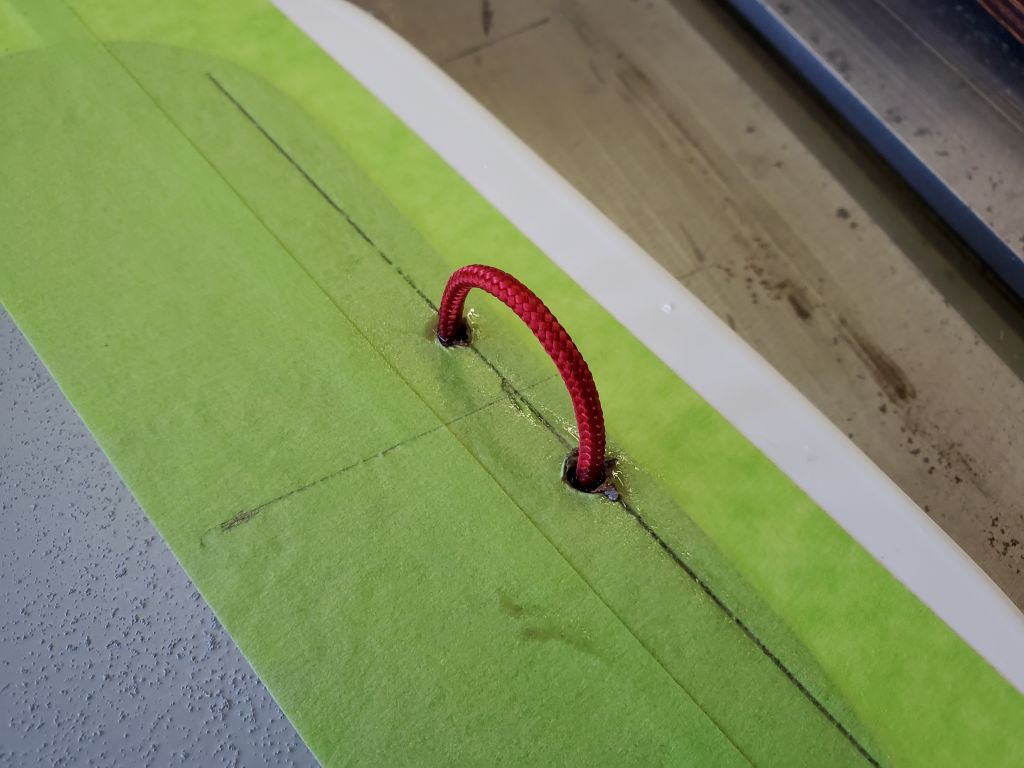
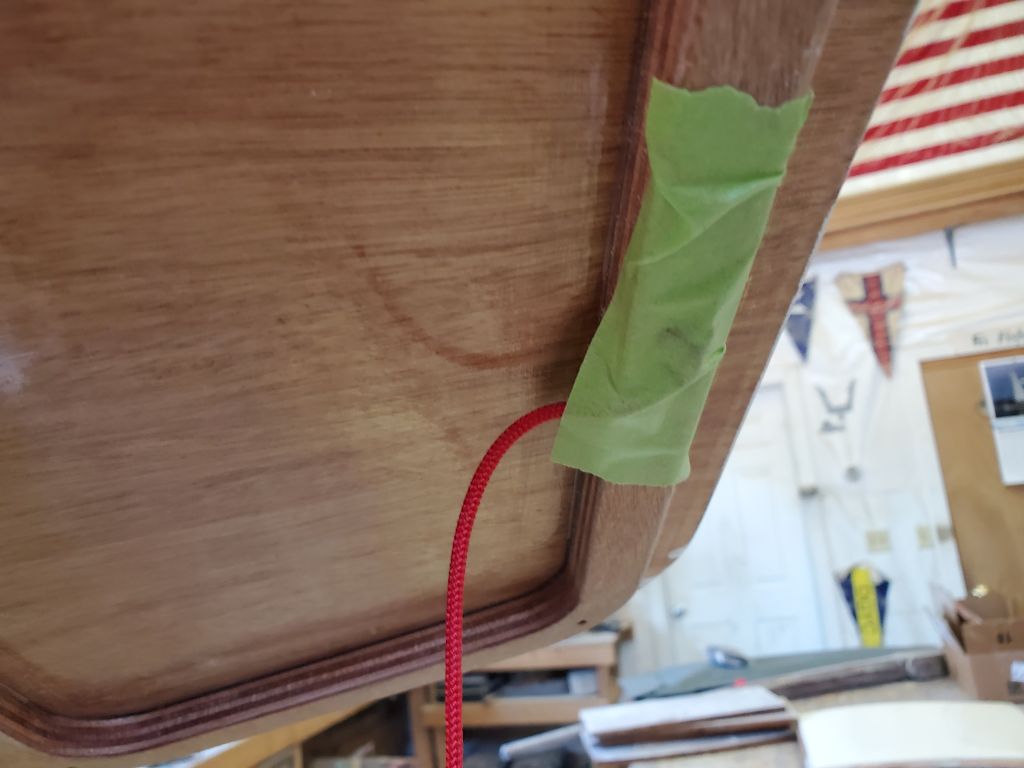
Similarly, the forward hatch received a couple short pieces of line too: one formed into a loop that would function as a handle for removing the flush hatch, with a 3″ piece of small stuff epoxied into a pair of holes on the starboard side of the hatch, and another lanyard on the bottom side, which could later be secured to the mast tube inside the boat.
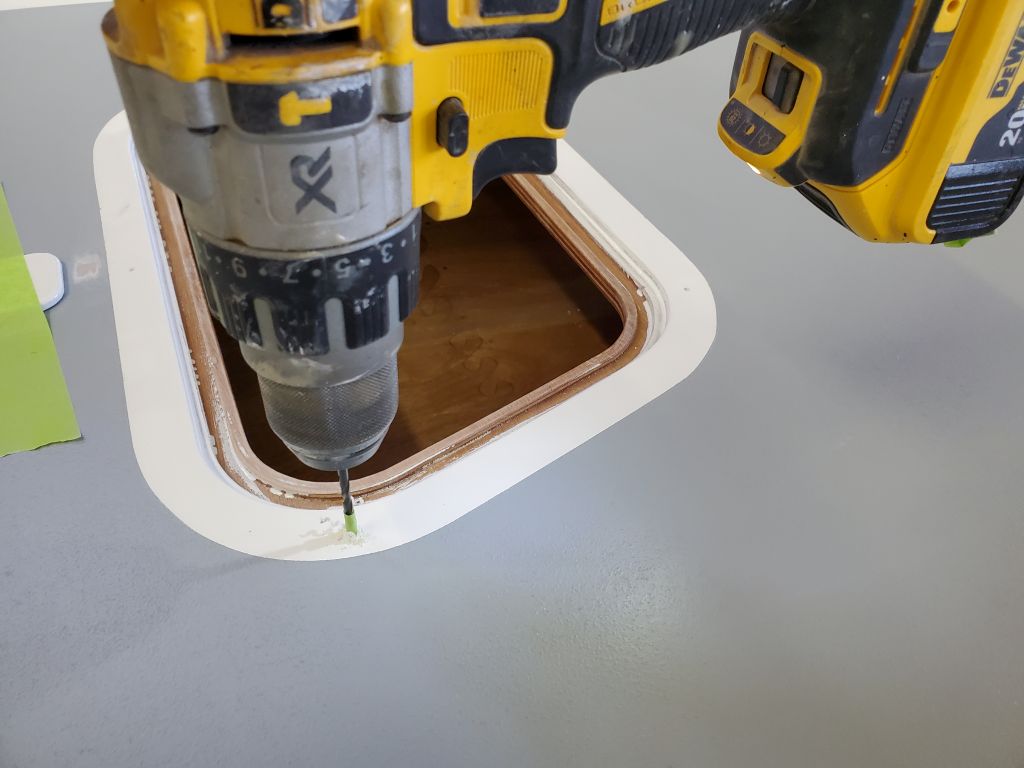
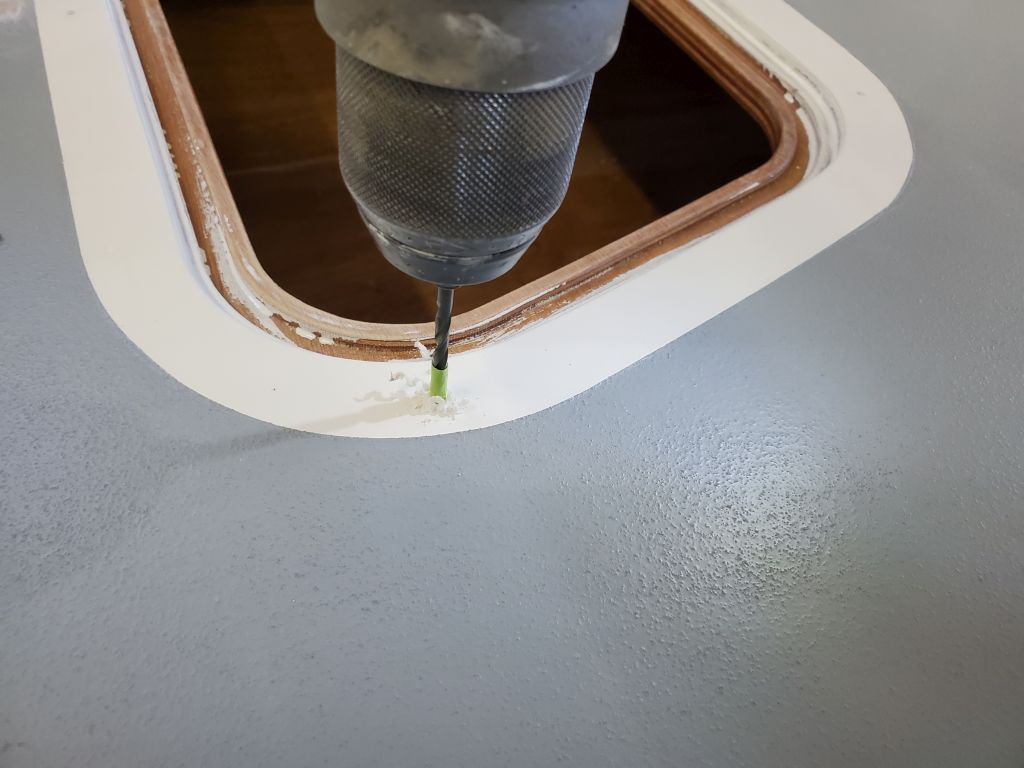
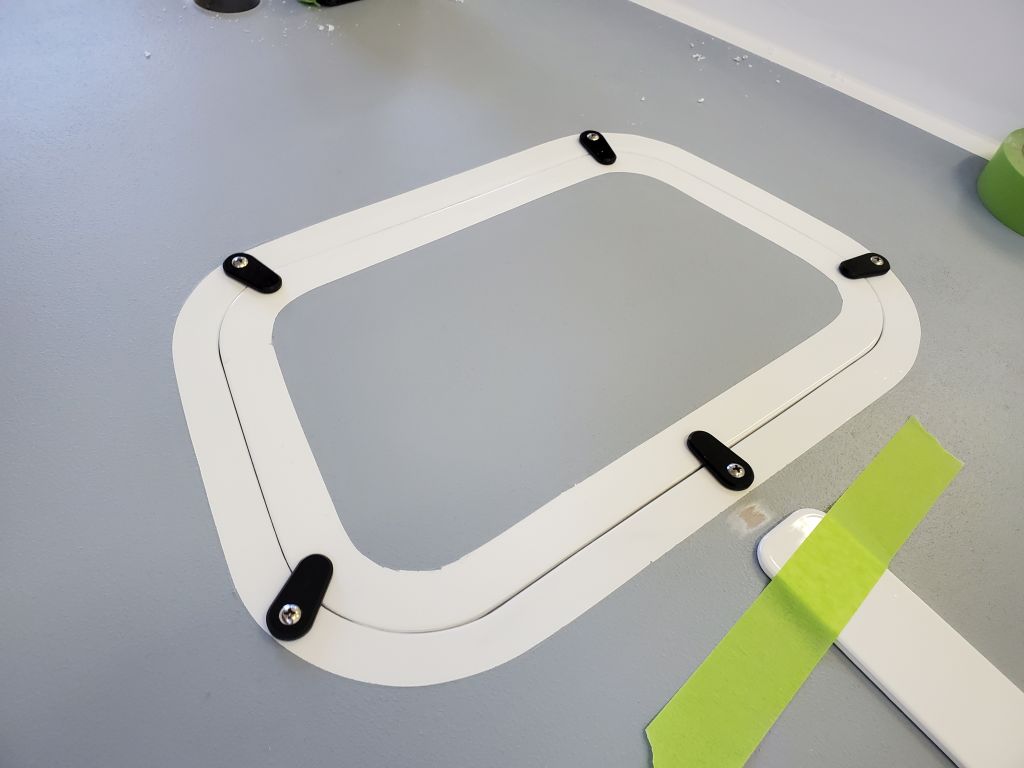
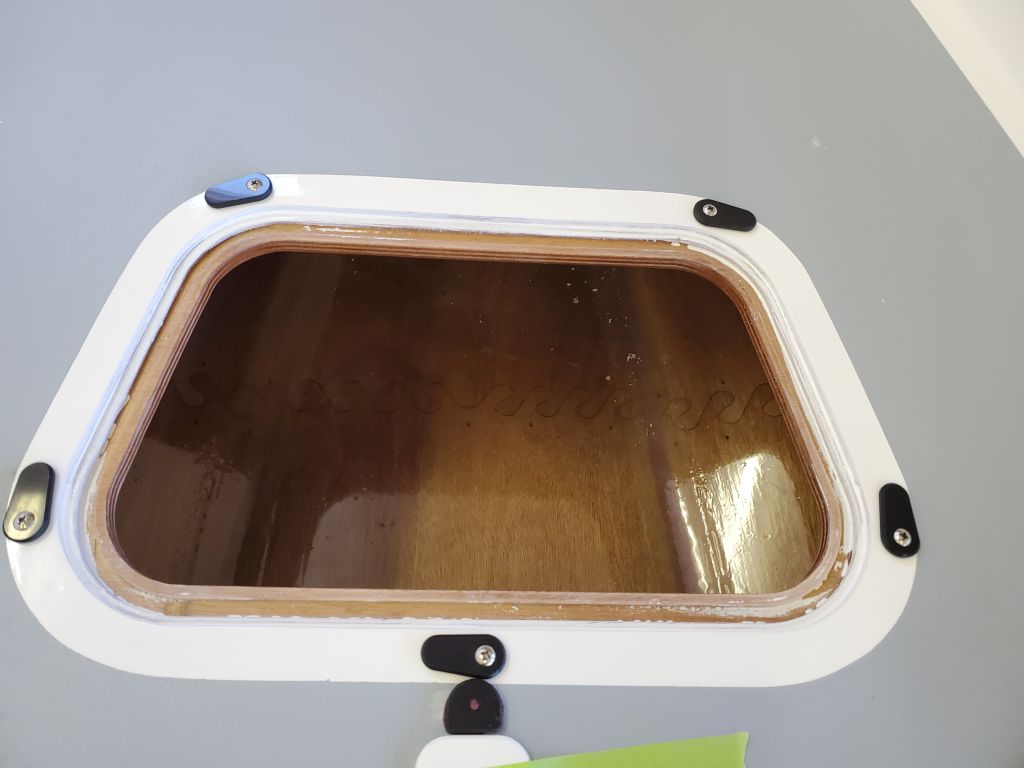
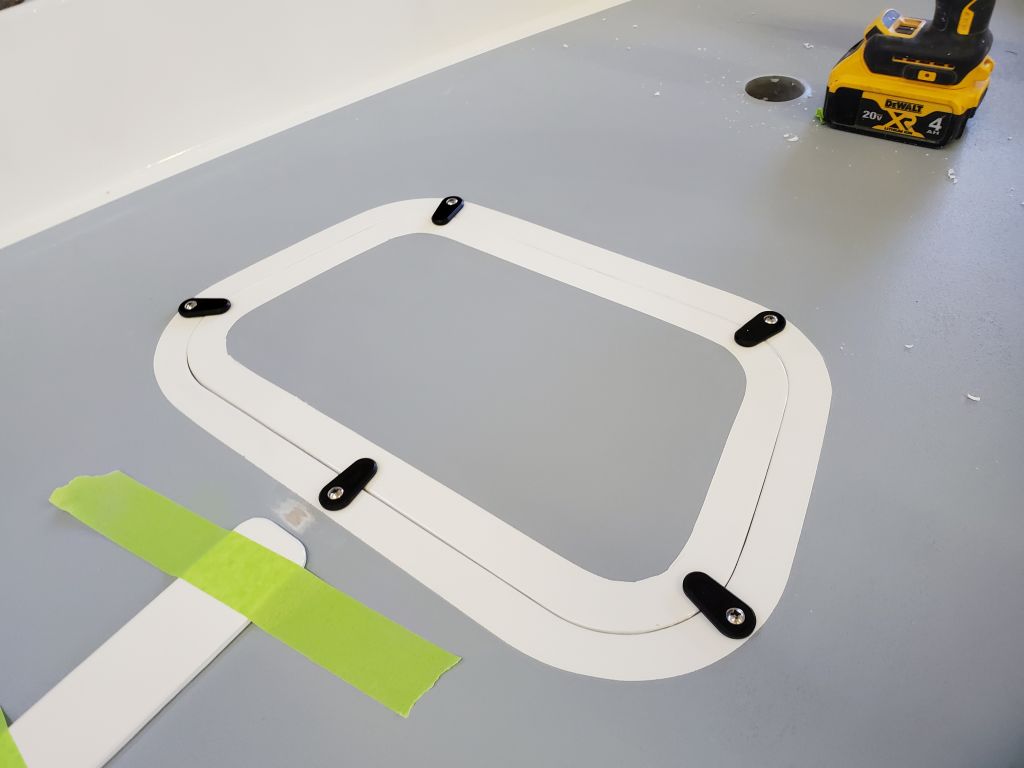
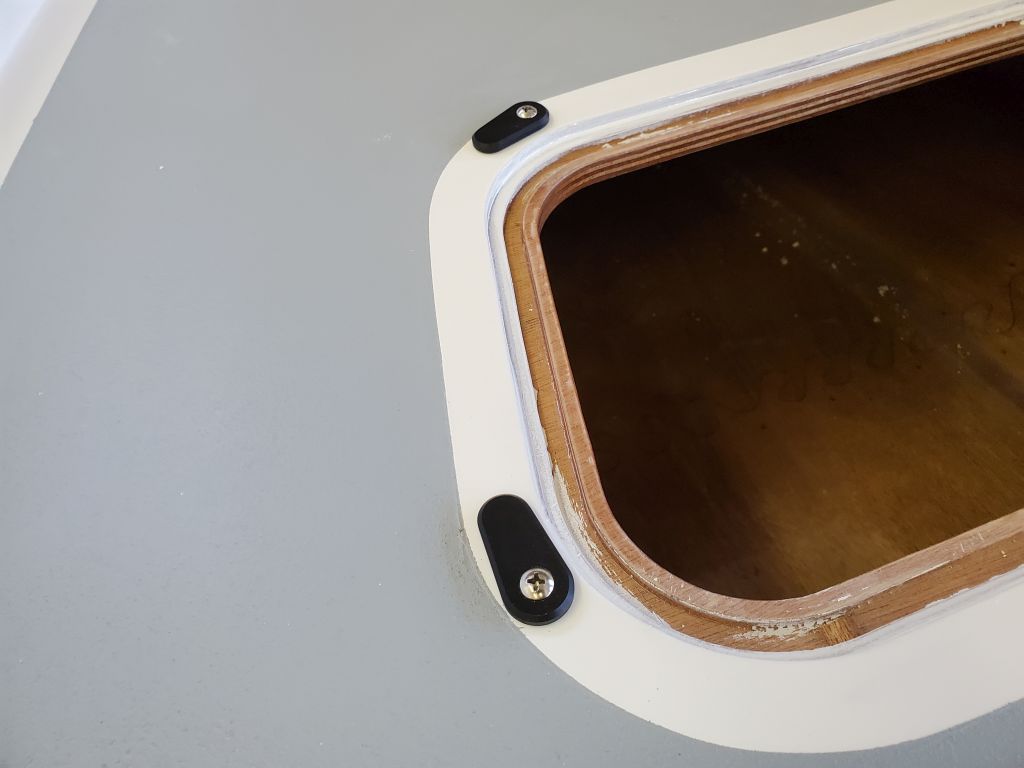
To secure the forward hatch, I installed several turn dogs around the opening. I’d prepared these holes much earlier in the build–they’re filled with epoxy–and before painting had been insightful enough to mark each location with a small pilot hole. making installation easy now. At each hole, I used a larger bit to drill a pilot hole for the fixing screws, then dry-fit all the turn dogs. Afterwards, I removed the screws and dribbled some epoxy into the holes, then reinstalled the screws tightly, before releasing them just a bit to allow the turn dogs to actually turn. When the epoxy set up, the screws would not move, but the latches would spin on their axes.
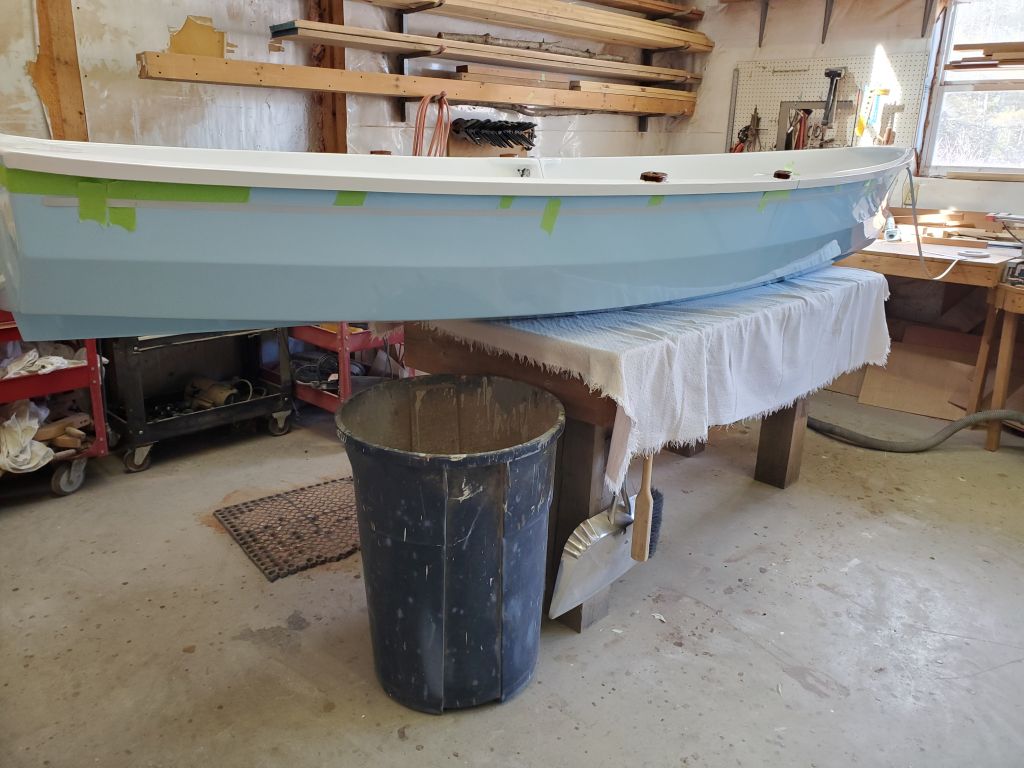
There were more installations I’d hoped to address now, including the vinyl rubrail and some leather protective patches for when the dinghy parts were nested, but with the various epoxy installations underway and taking precedence. new work would have to wait will another day, along with the final steps on the various projects I’d started but couldn’t finish now. With luck, one more work day would take care of finishing all the remaining tasks.
Total time billed on this job today: 5.5 hours