

December 31, 2024
PT11-45
Tuesday
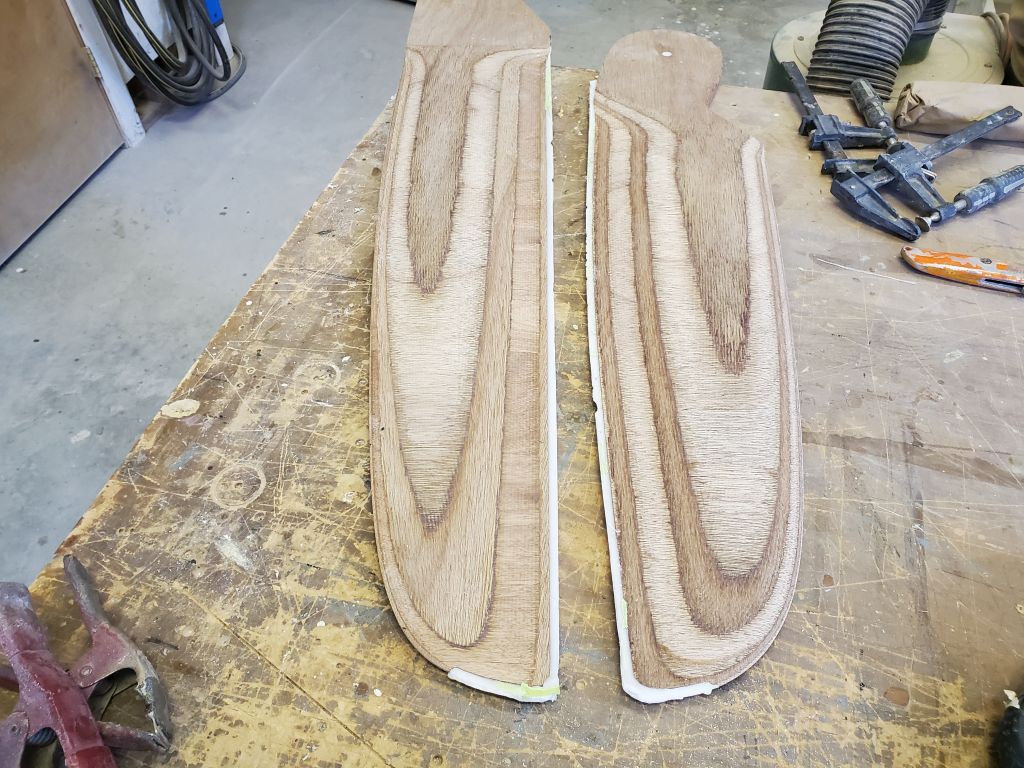
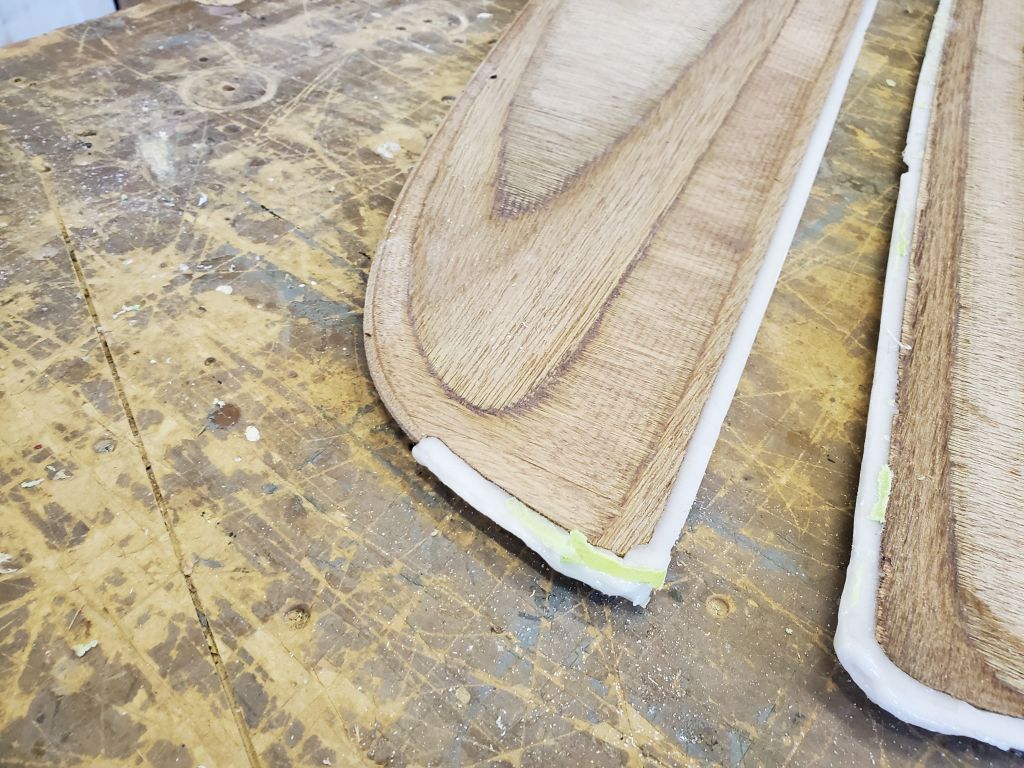
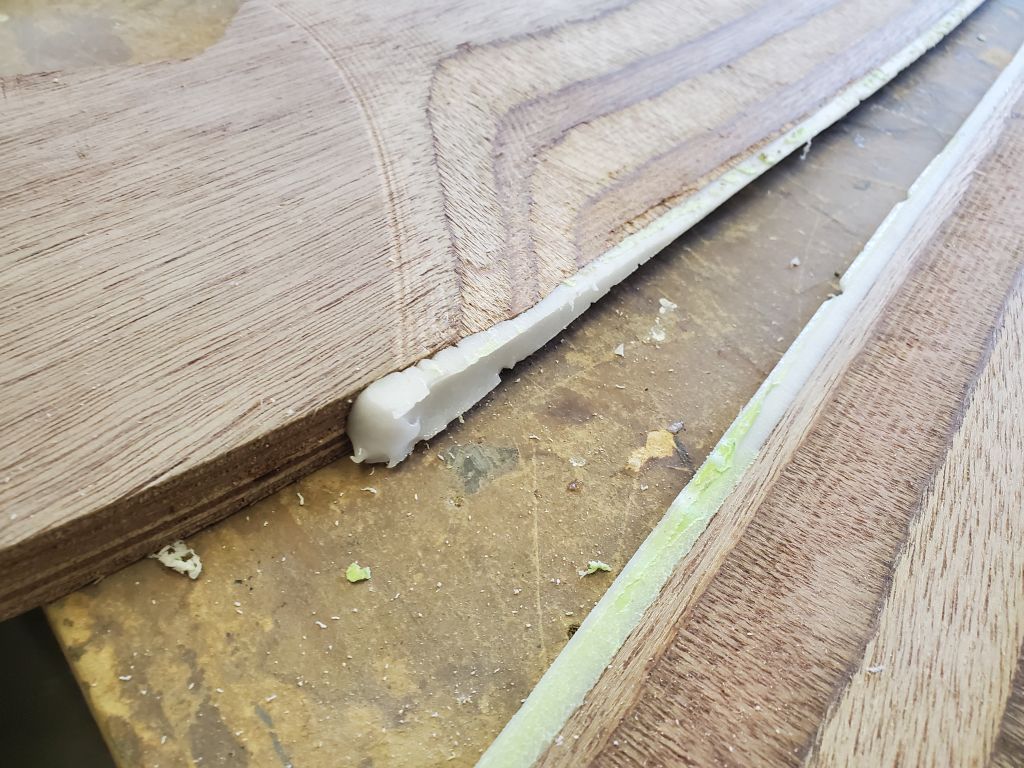
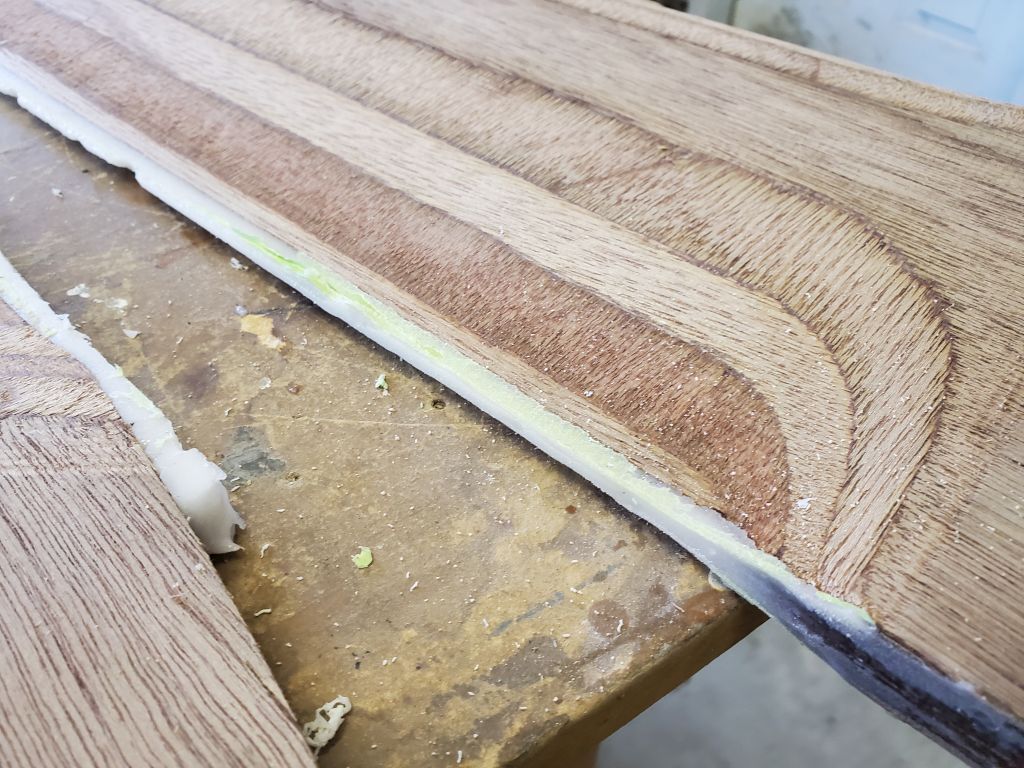
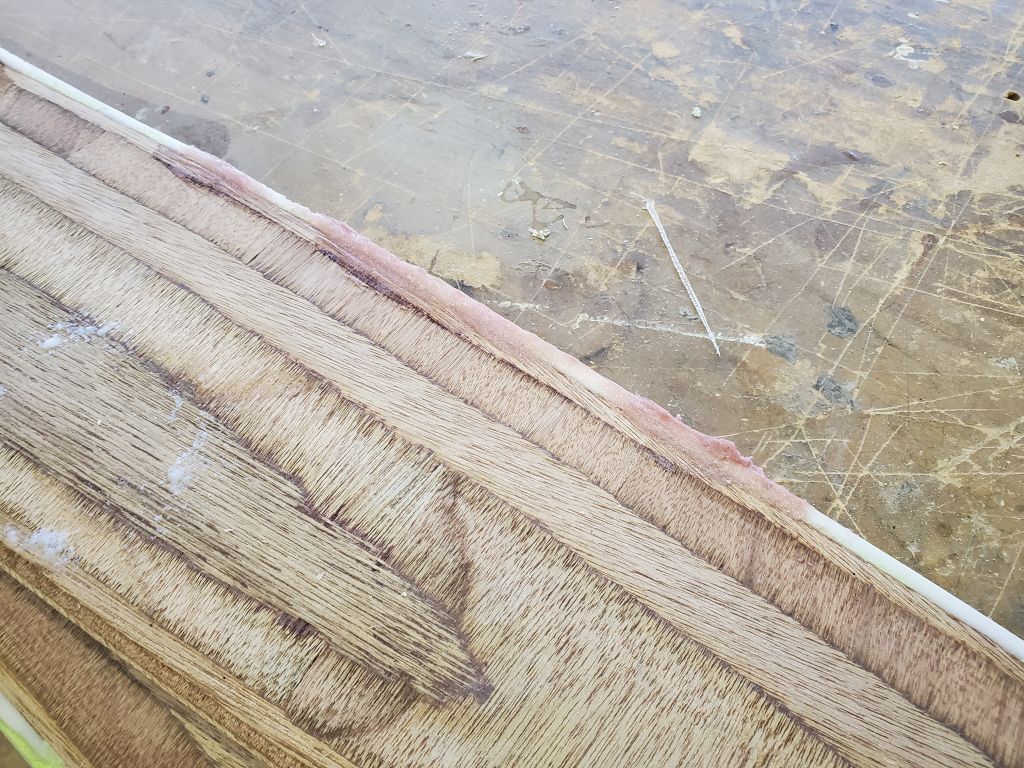
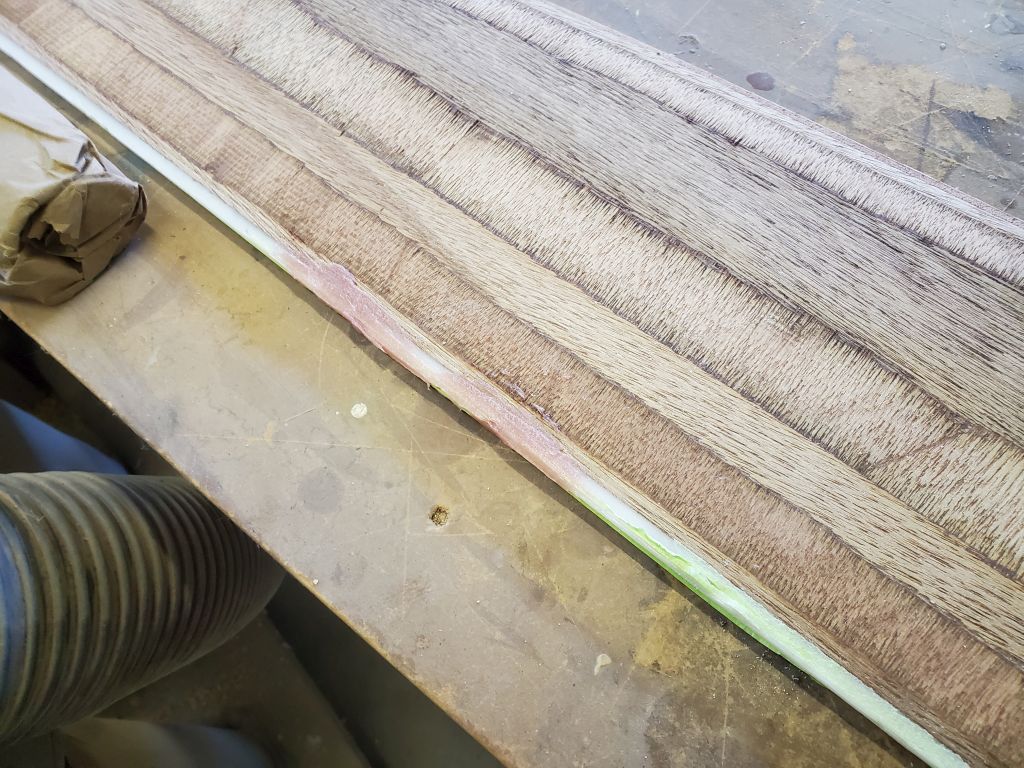
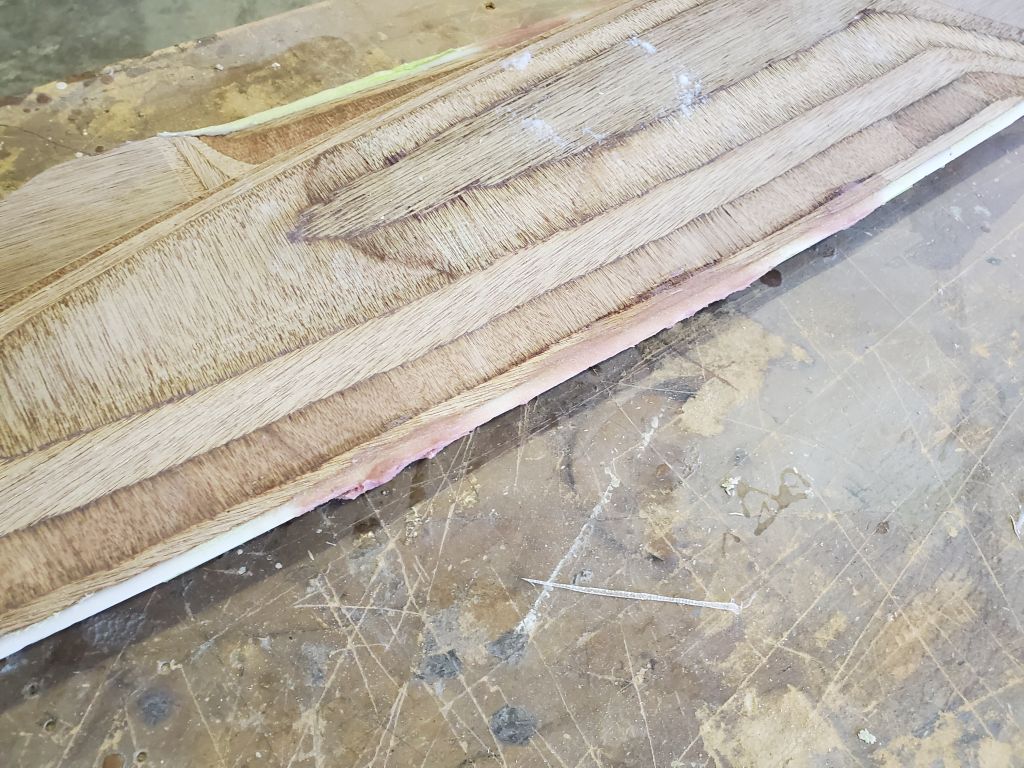
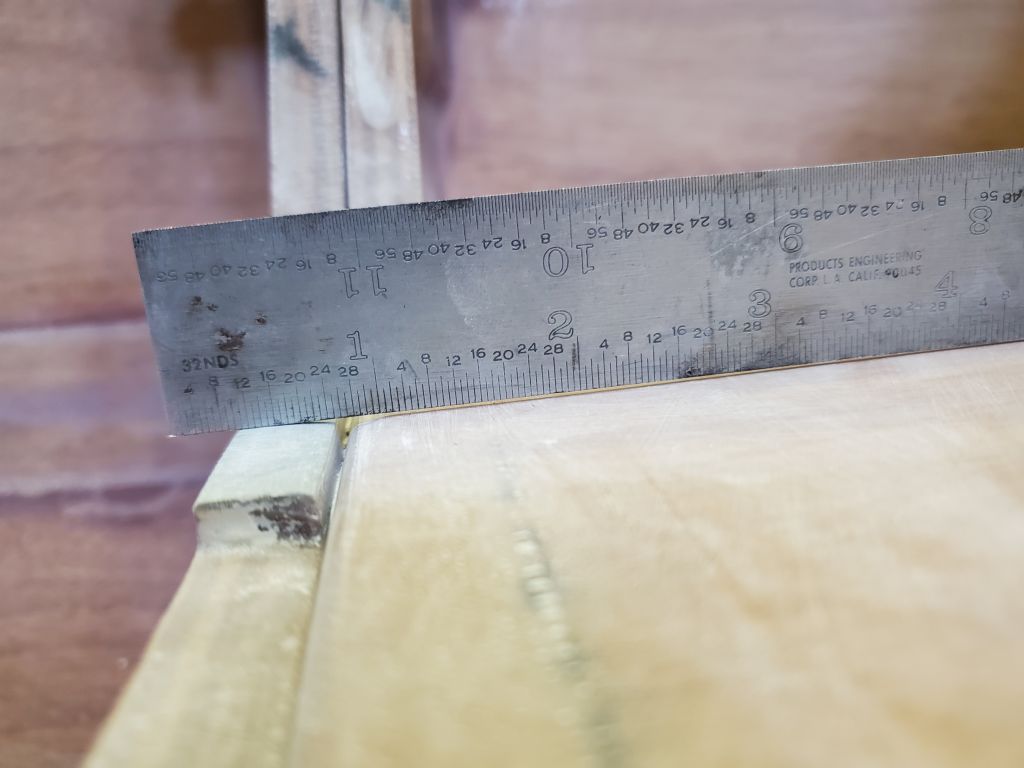
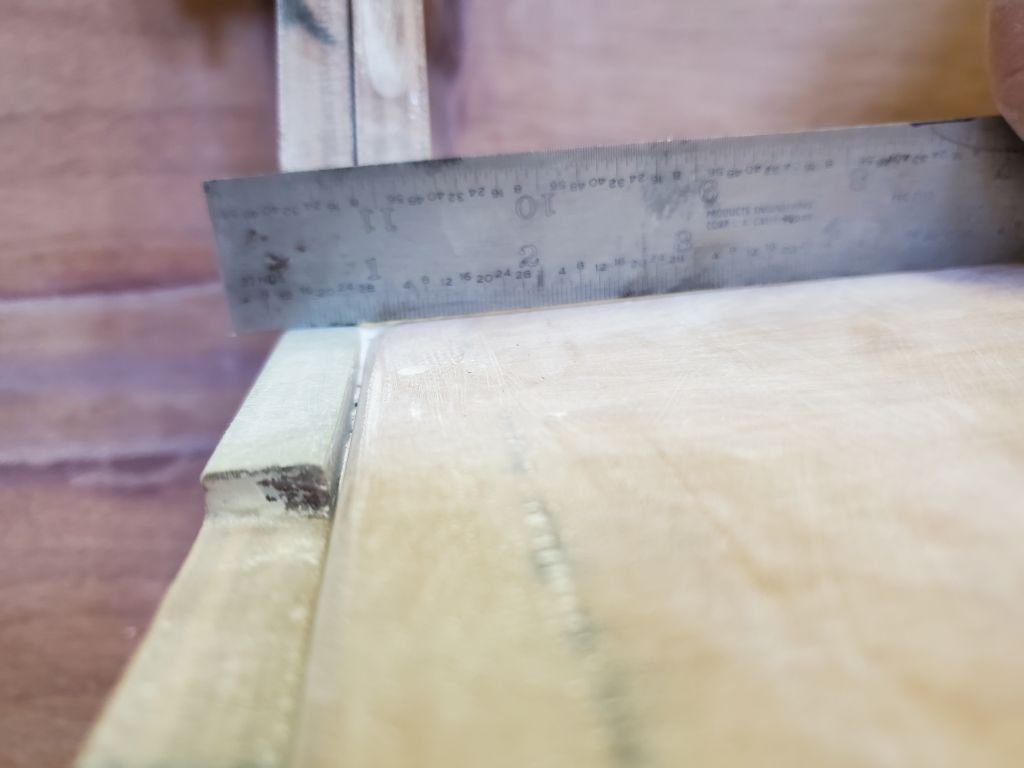
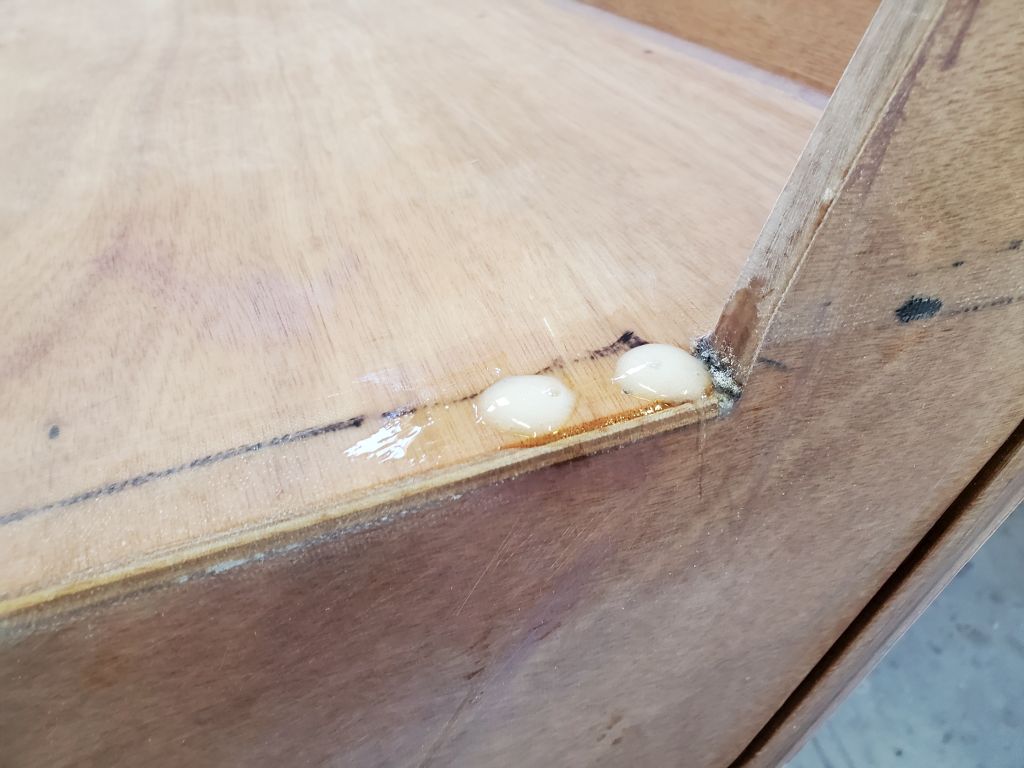
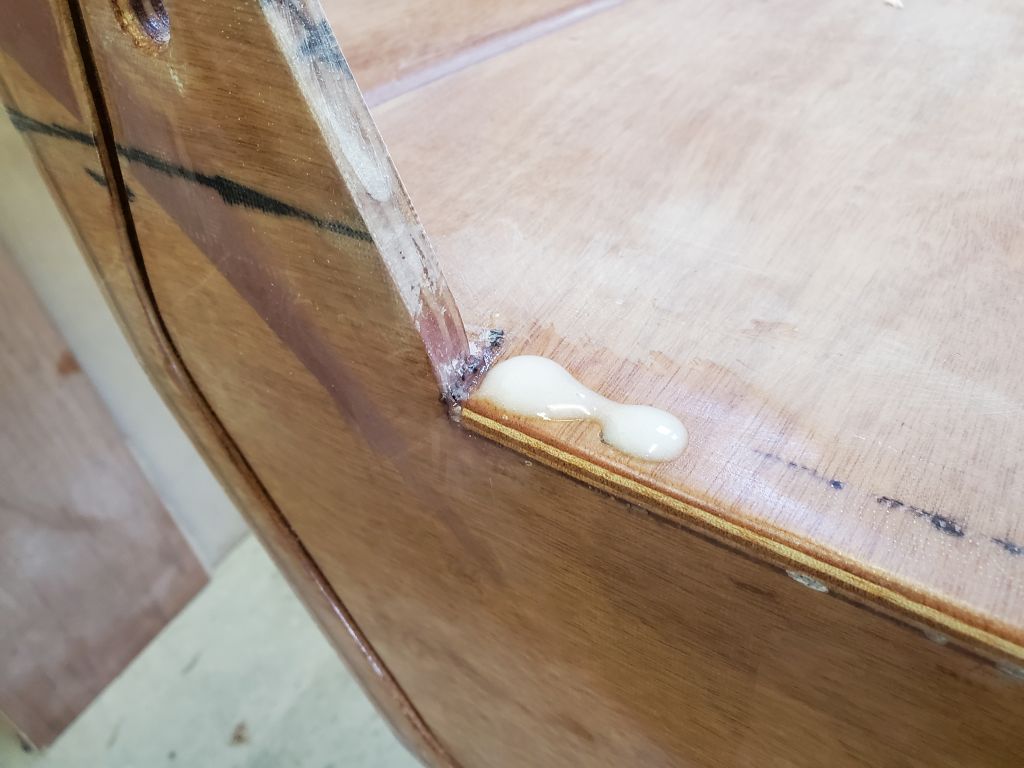
The epoxy forming the new trailing edges and tips on the rudder and daggerboard was not yet ready for sanding and shaping, but I removed the masking tape now to make it easier. I used a scraper to help remove the tape till I found it was chipping the fresh and as-yet unreinforced epoxy, so I stopped; the remaining tape could be sanded away. Eventually, the epoxy trailing edge would be sanded back so it was 3/16″ wide, so much of the chipped area would be removed anyway. Still, I decided to fill in a few chipped areas with new epoxy now.

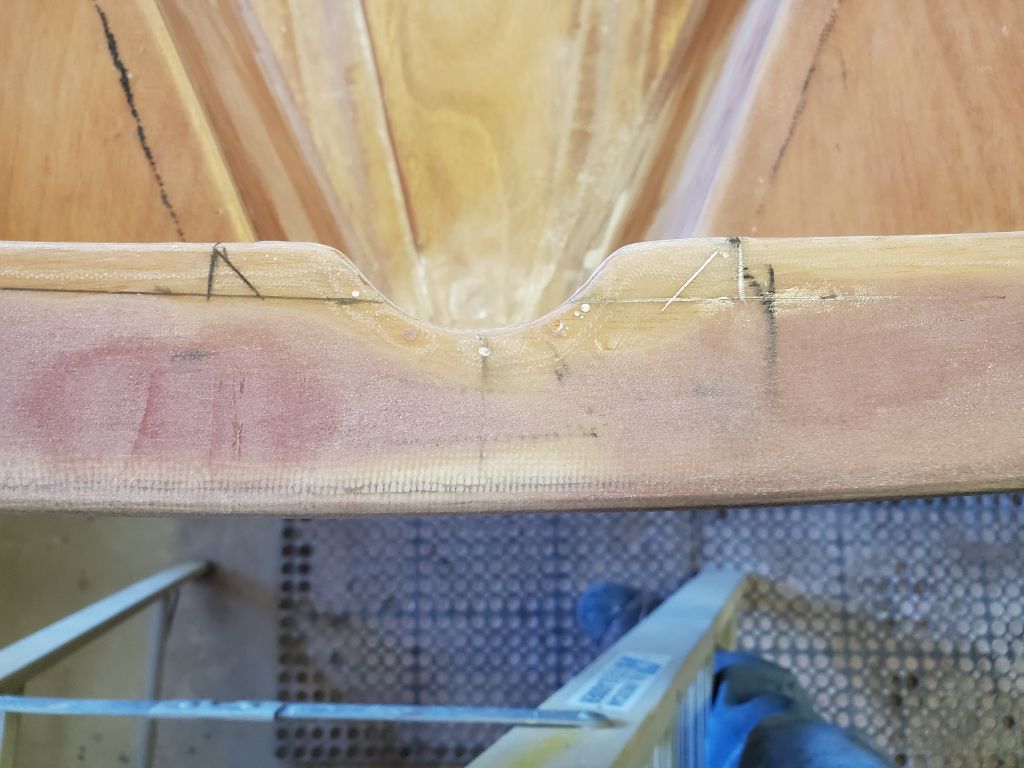
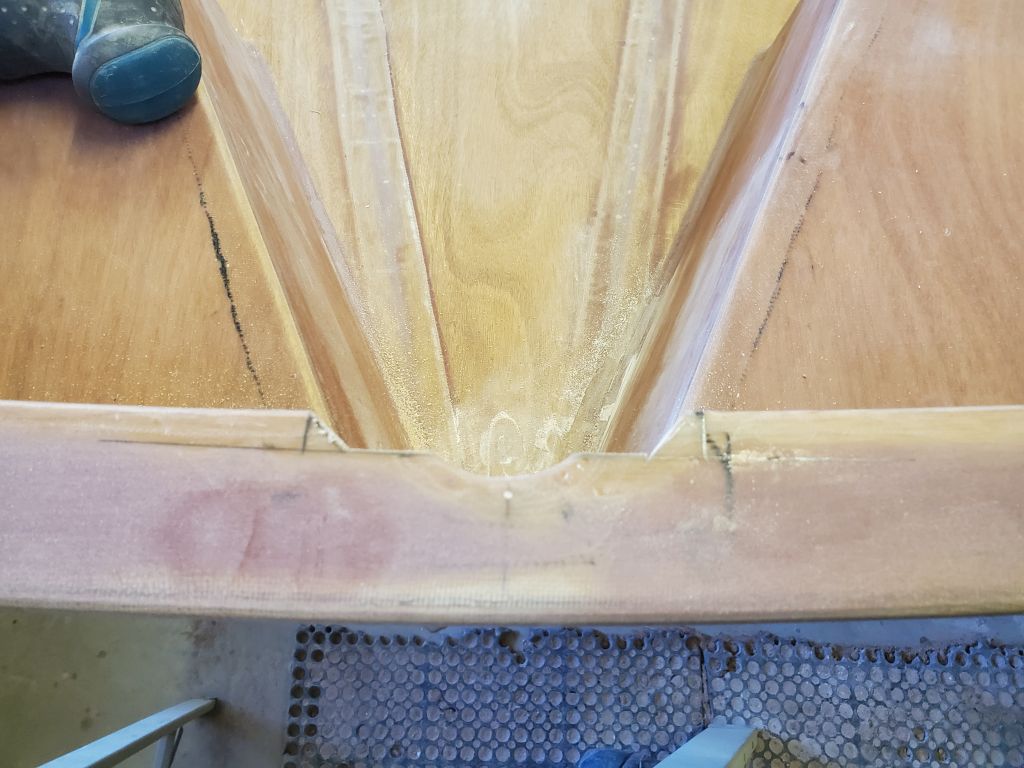
I block-sanded flat the slightly overhanging edges of the fiberglass shims at the aft bulkhead, so the shims were completely flush on both sides of the bulkhead. Then, I assembled the boat halves once more so I could finish the initial installation steps required for the clips. I started by sanding the shims–which now stood a bit proud of the foredeck, as the originals should have done–so they were completely flush with the foredeck.
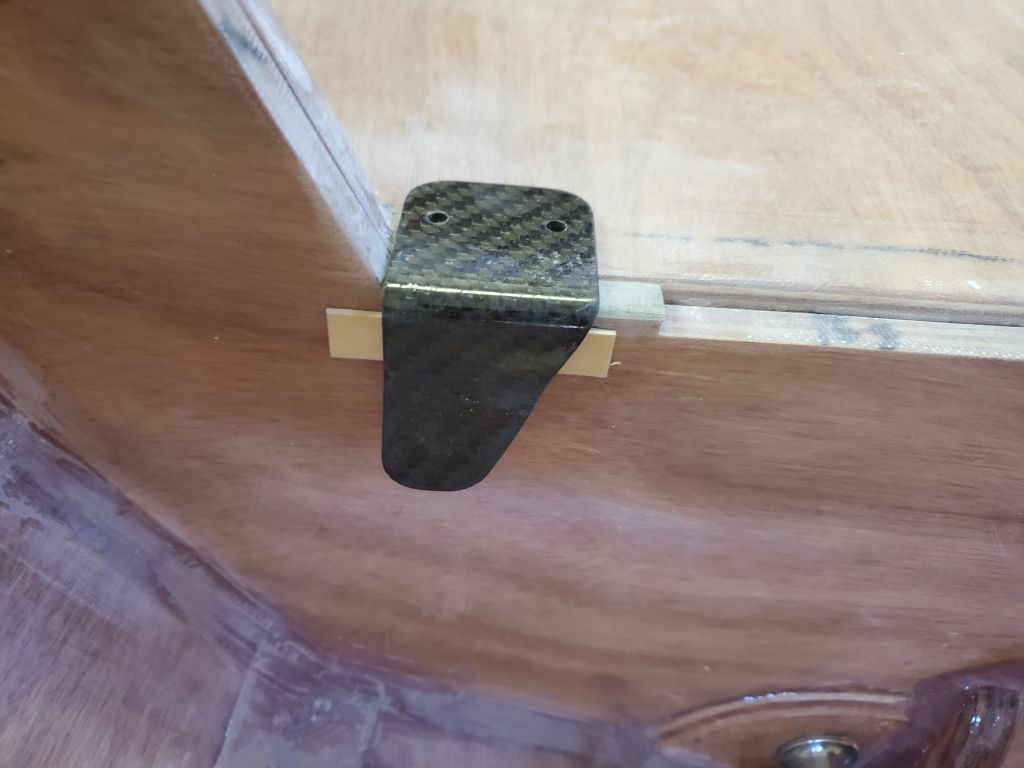
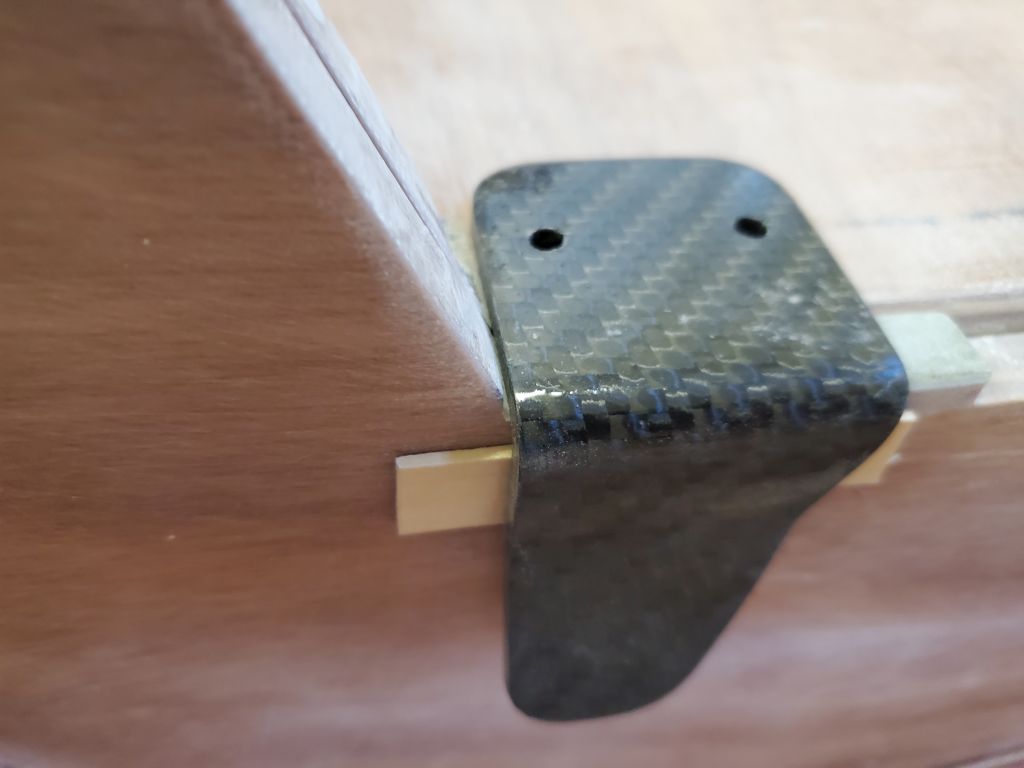
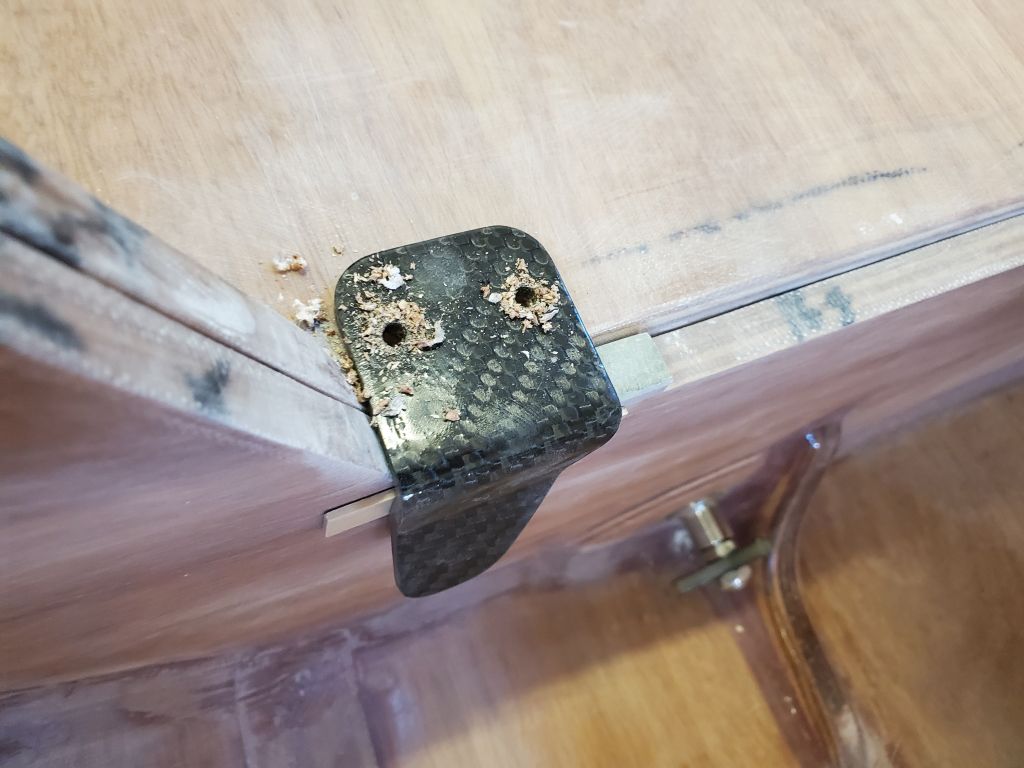
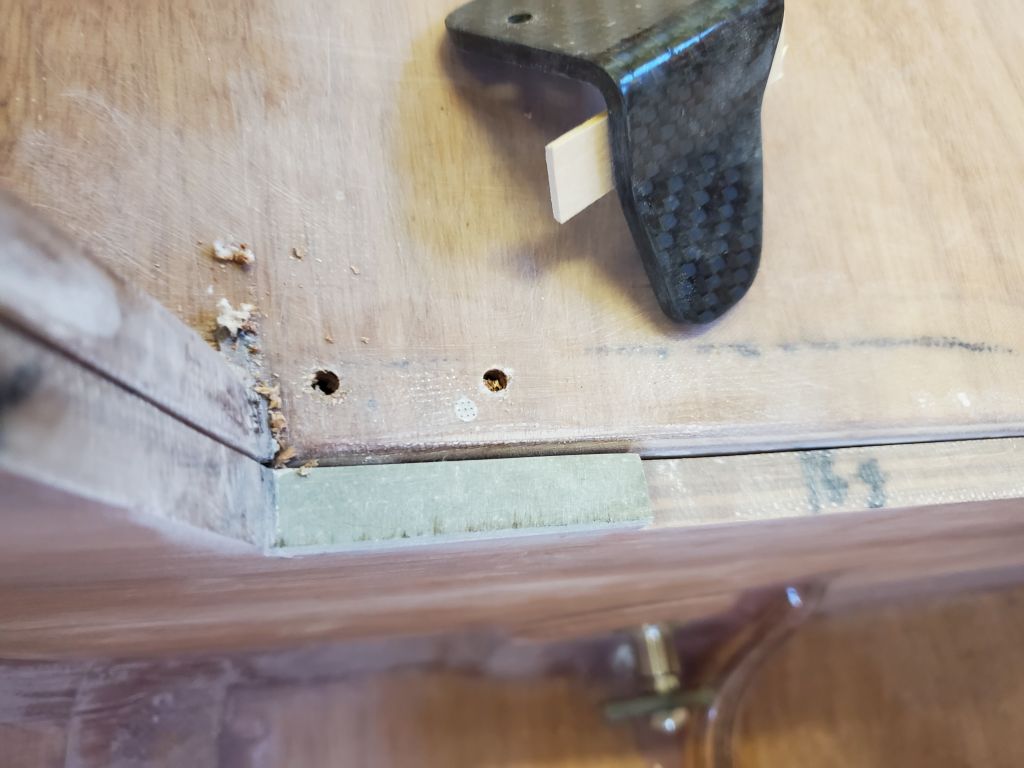
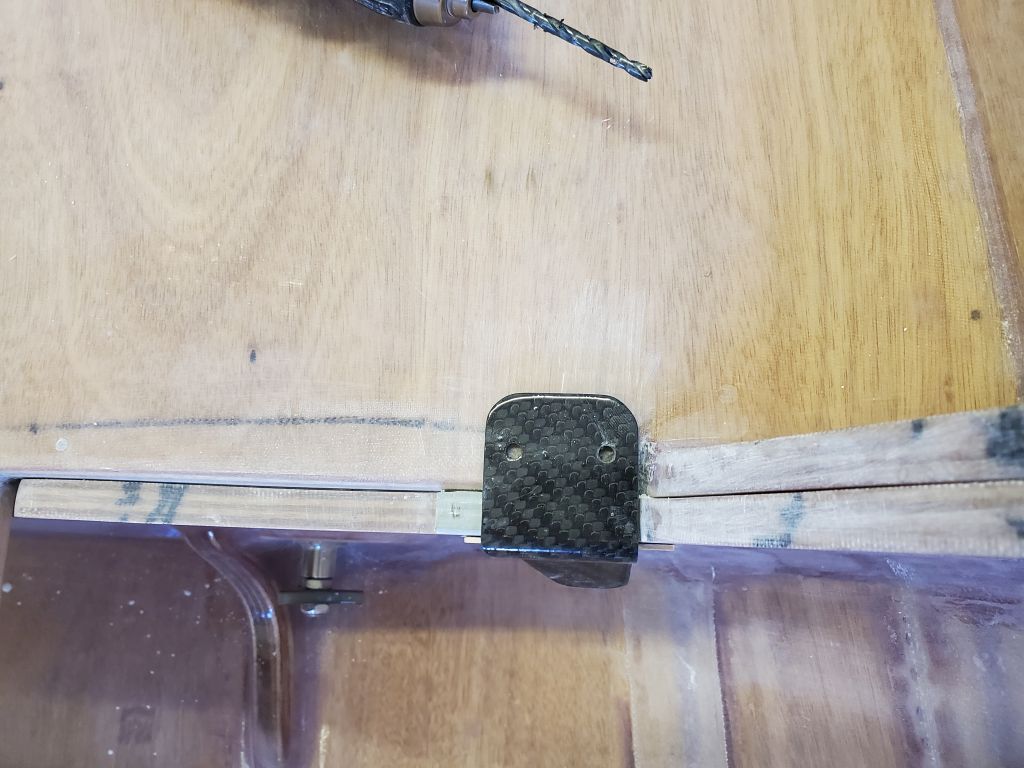
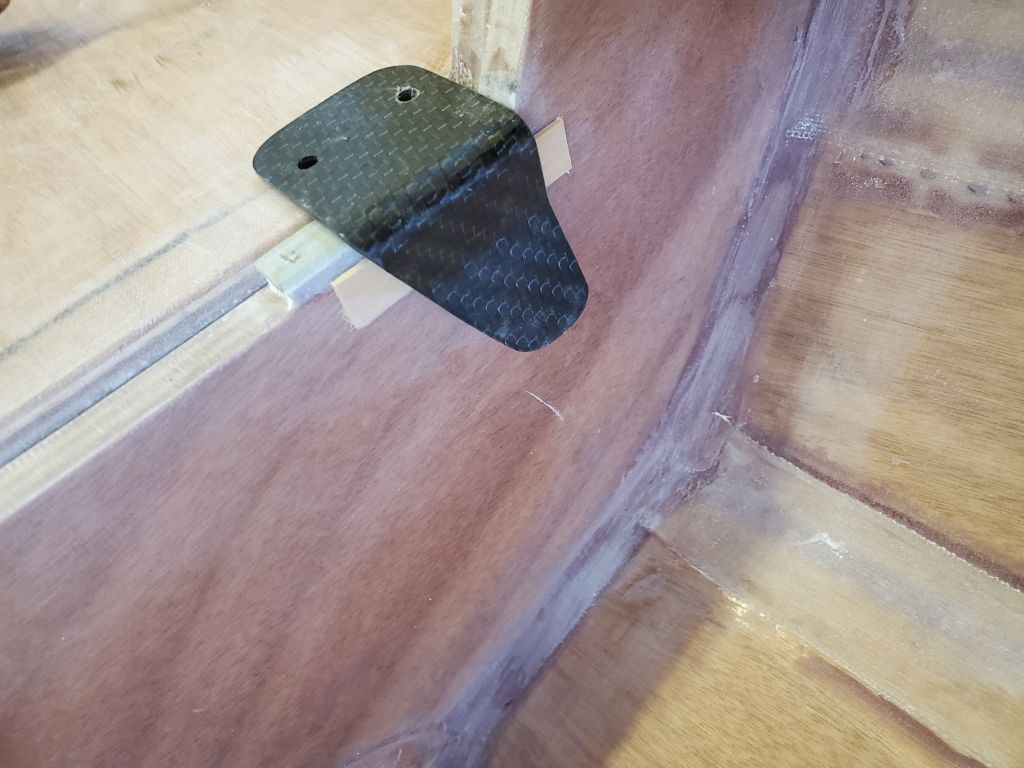
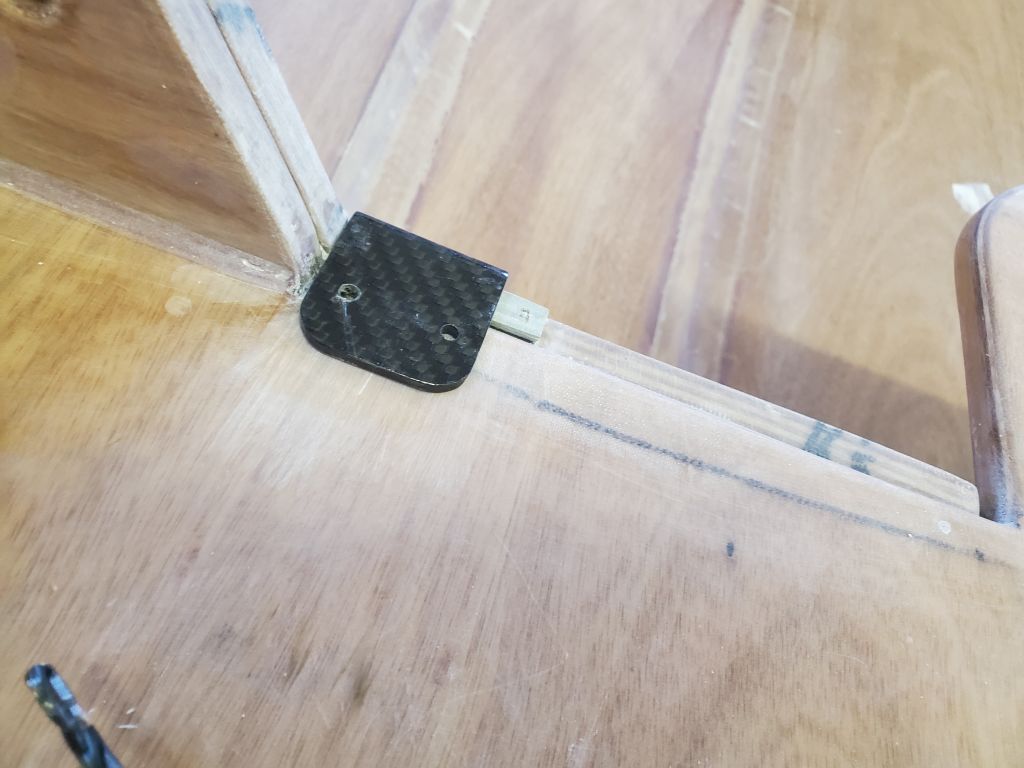
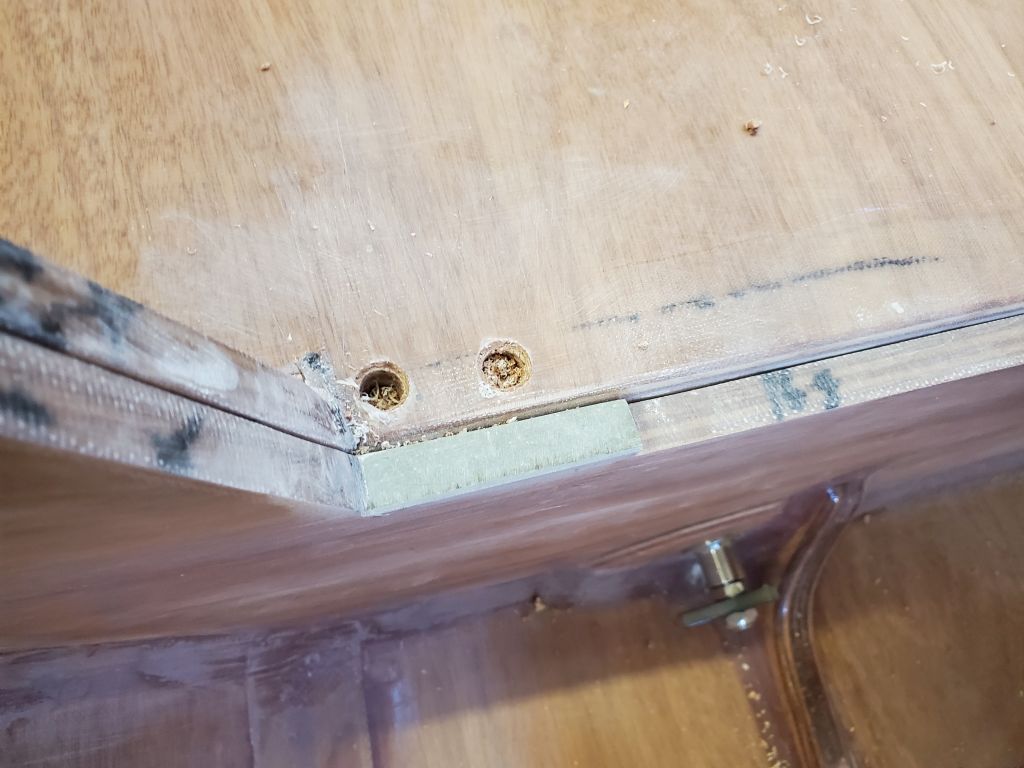
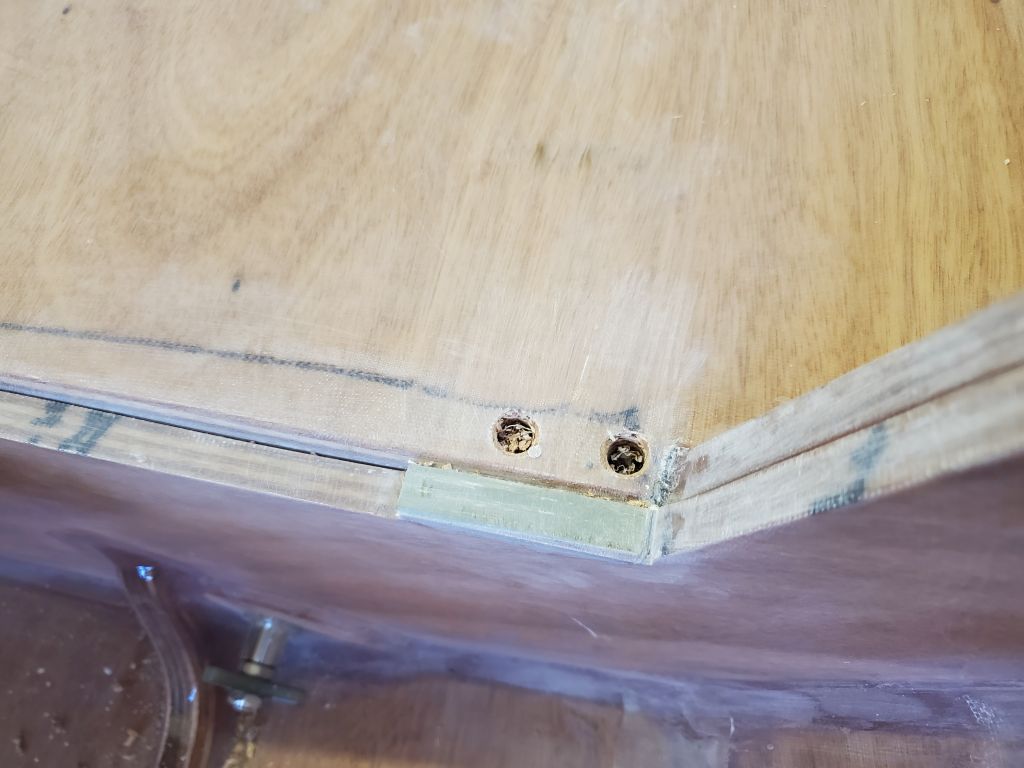
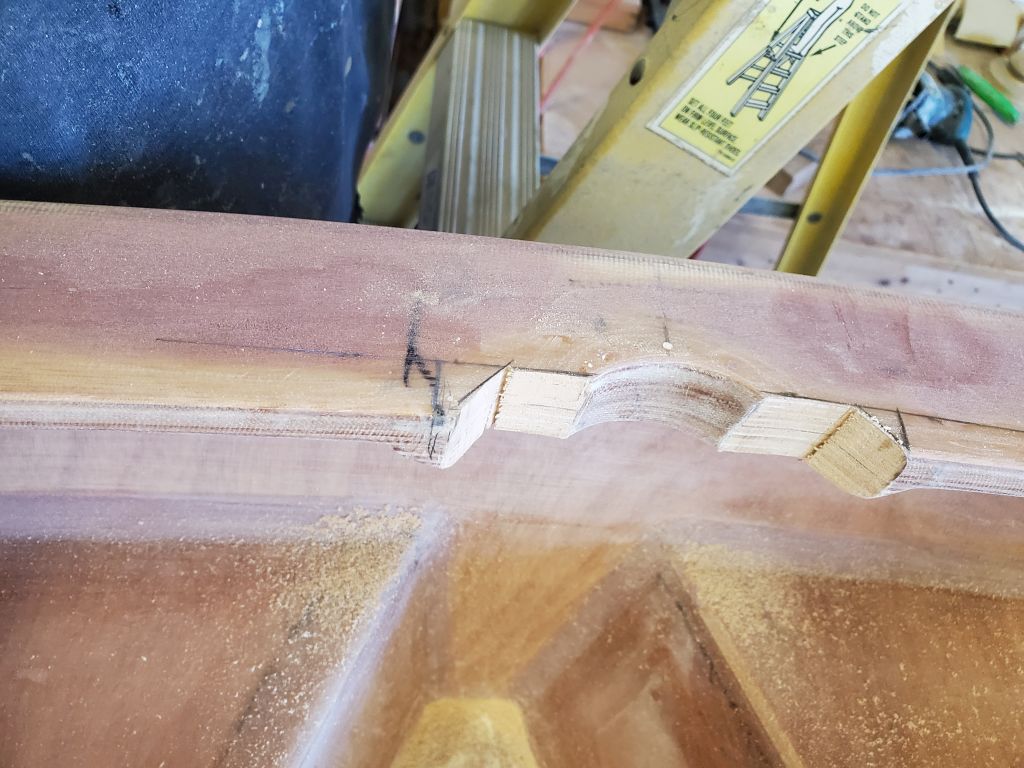
As directed, I fitted the two carbon fiber alignment clips with temporary stick-on spacers (about 1/16″ thick) and, holding each tightly in position firm against the corner of the bulkhead and tight against the spacer on the bulkhead face, drilled shallow pilot holes through the two fastener locations on each clip. Then, I enlarged and deepened these holes with a 3/8″ bit marked at 7/8″ depth and, coated the holes in unthickened epoxy, which I let sit for a while before filling the holes overfull with a thickened but pourable mixture of epoxy near the end of the day.


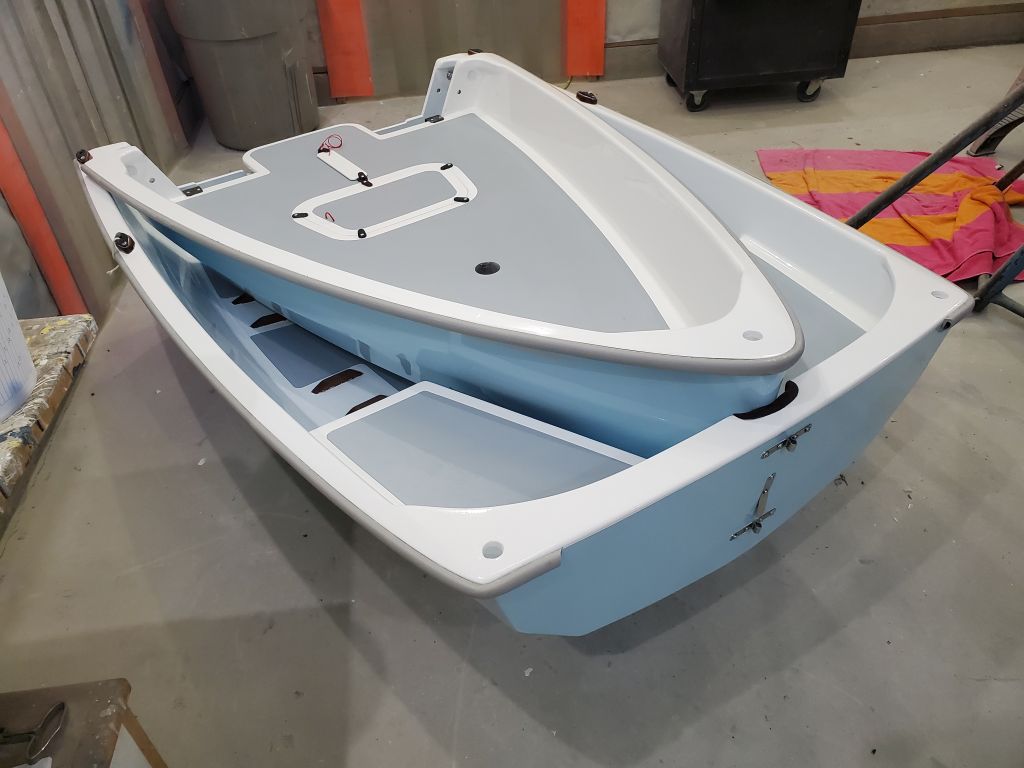
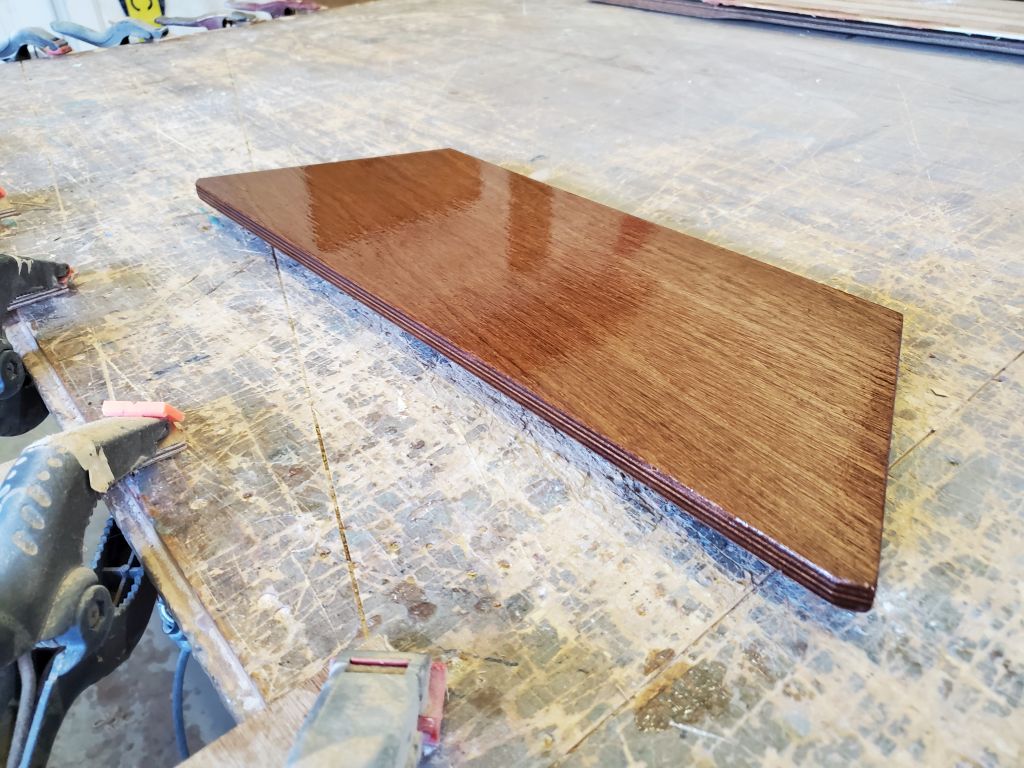
Next, I worked on the modifications at the transom to accommodate the owner’s electric outboard. Following the non-specific guidelines in the book, I marked and cut the inwale to reduce the depth the outboard mounting clamps would have to span, and glued up a 1″ thick reinforcement and clamping pad from two layers of 12mm plywood scrap, which pad I’d later cut to fit and install beneath the new cutout once the lamination was cured, and after that I’d sweeten and finish off the opening.
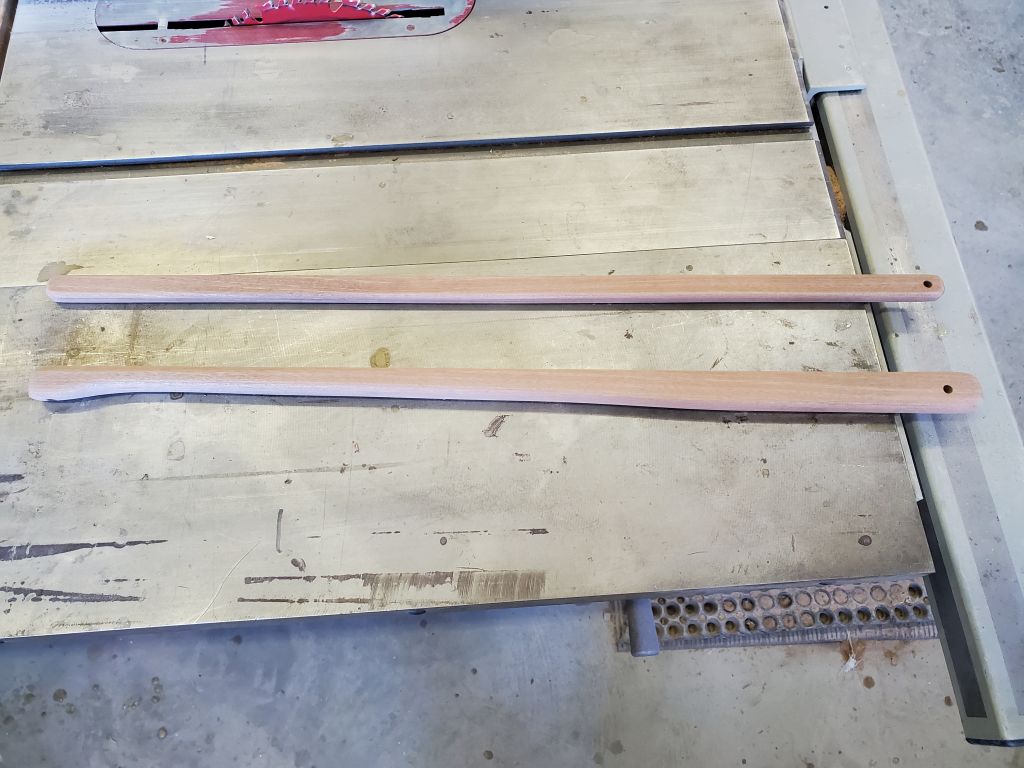
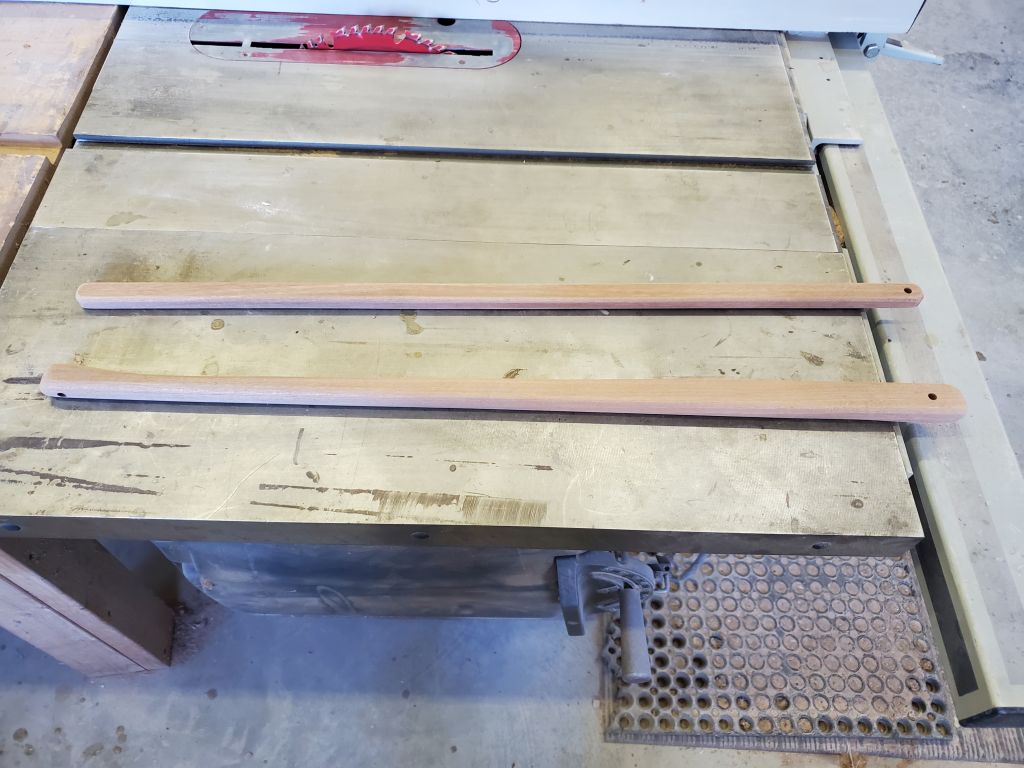
There wasn’t a lot else I could work on at the moment, but I did take the opportunity to cut with a jigsaw the tiller along the scribed marks on the rectangular blank, after which I rounded the edges and sanded the tiller smooth; I also sanded the tiller extension, which came pre-shaped.
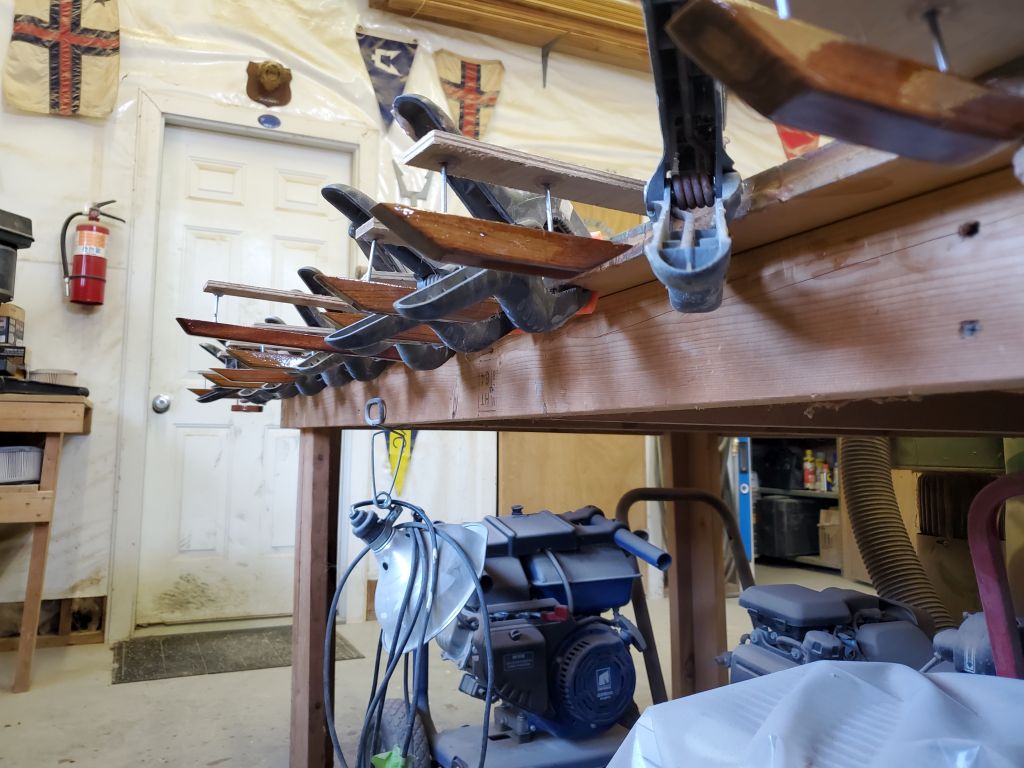
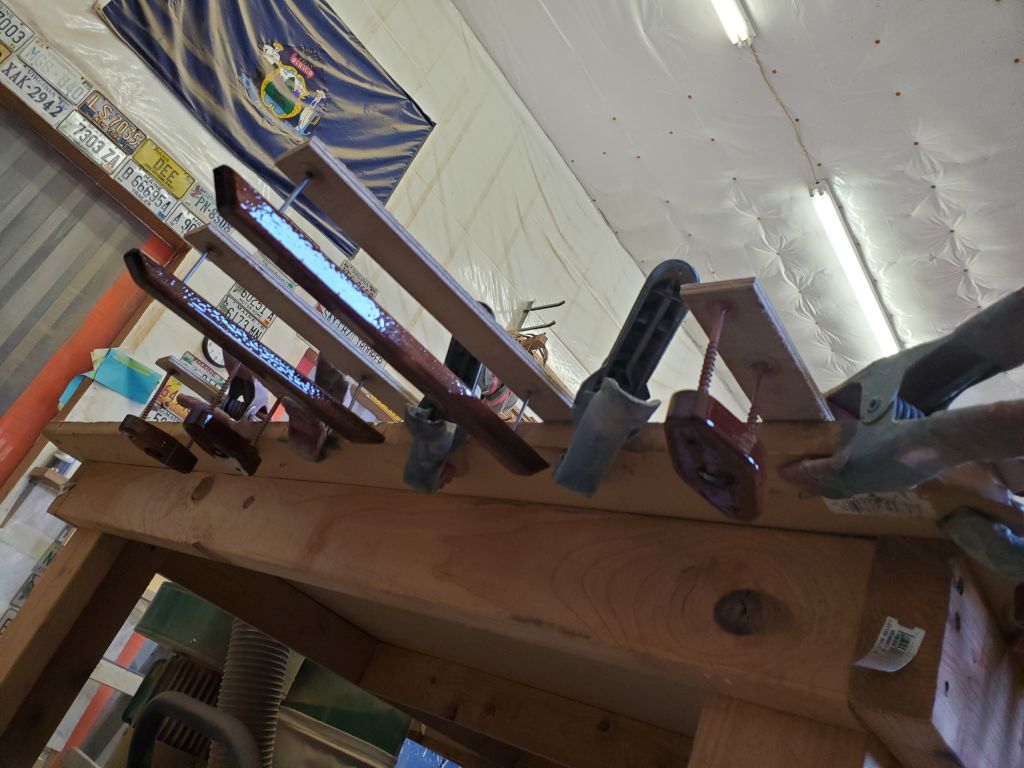
Finally, I applied a second coat of epoxy to all the small parts.
Total time billed on this job today: 5 hours