

February 12, 2025
PT11-65
Wednesday
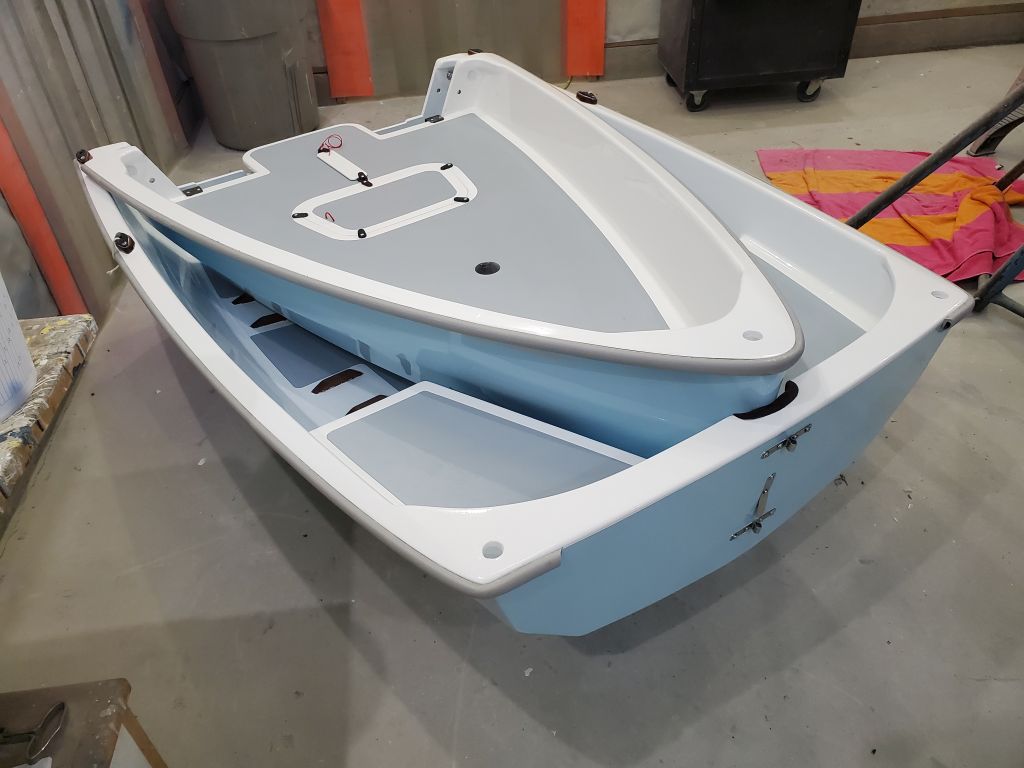
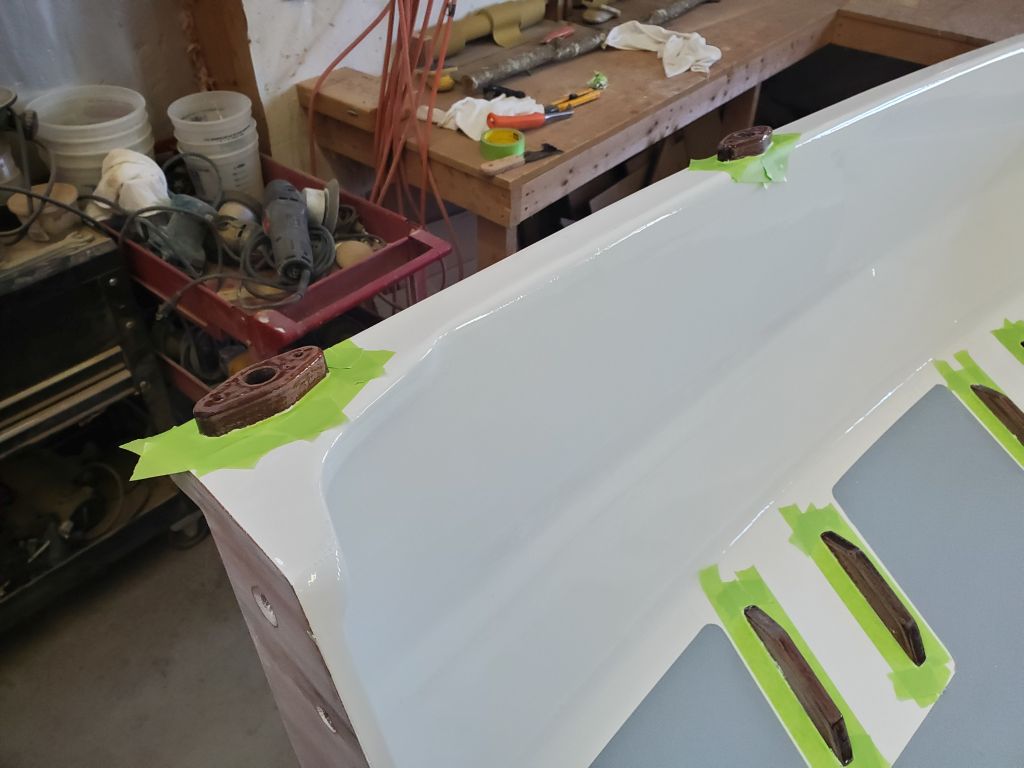
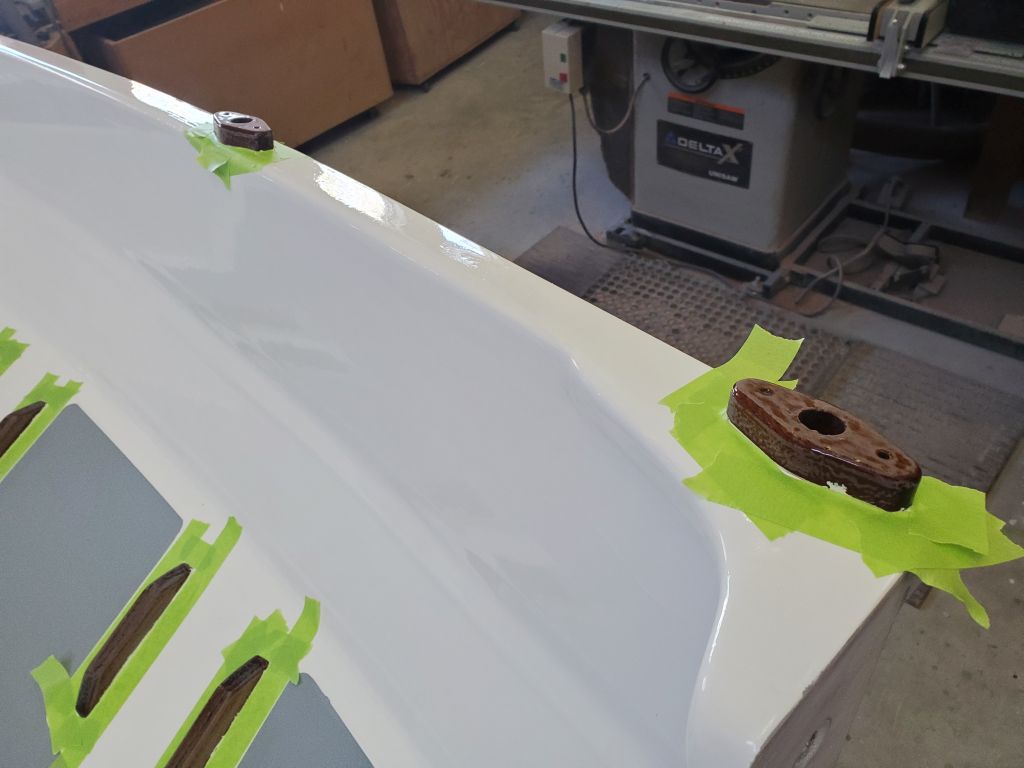
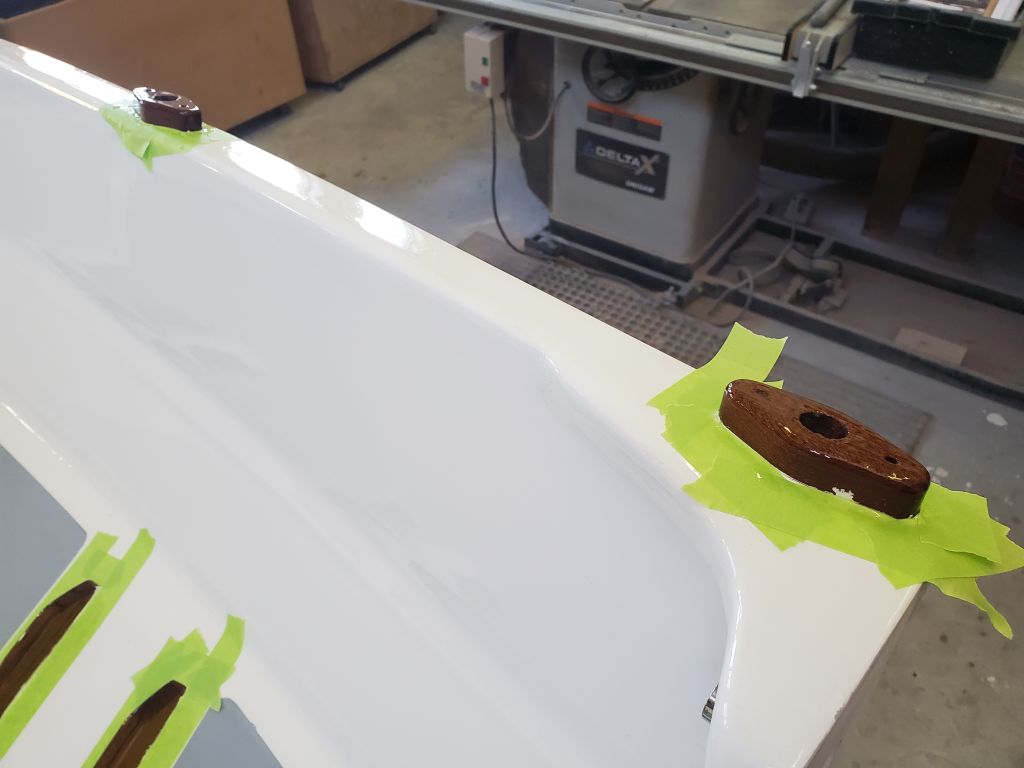
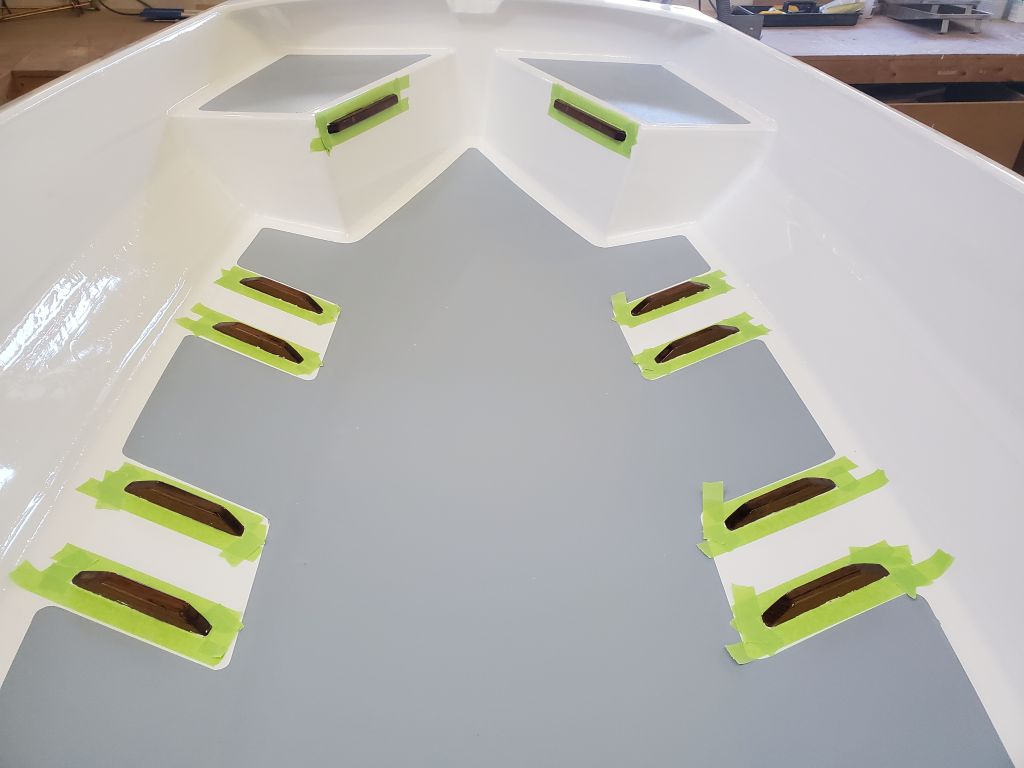
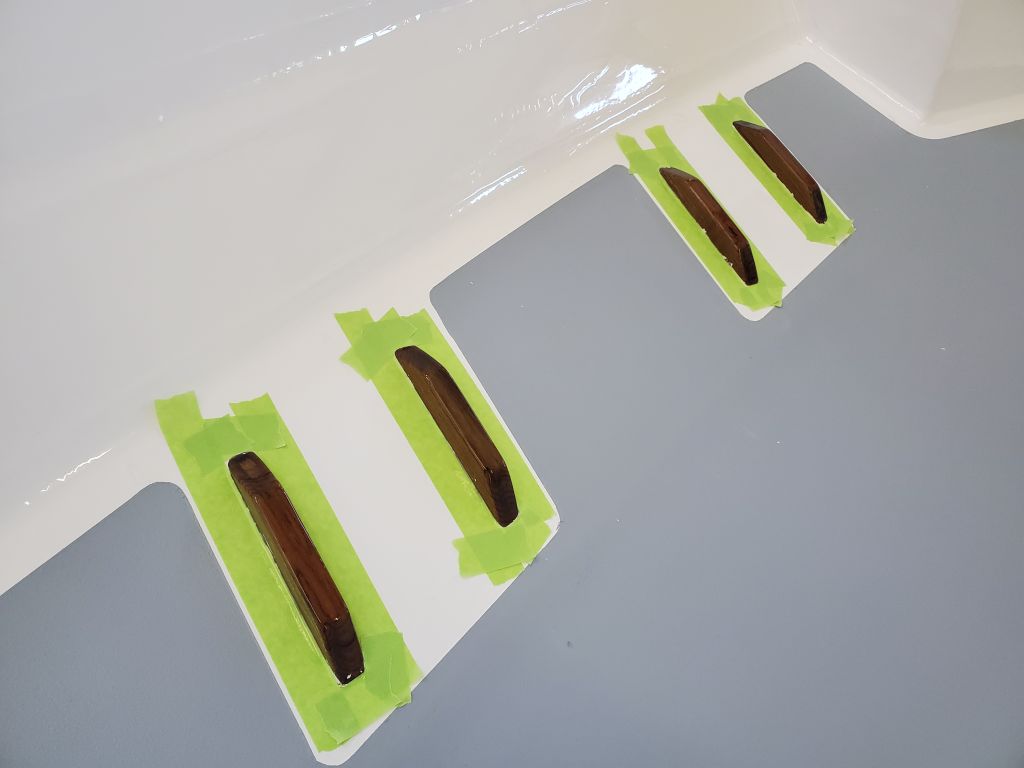
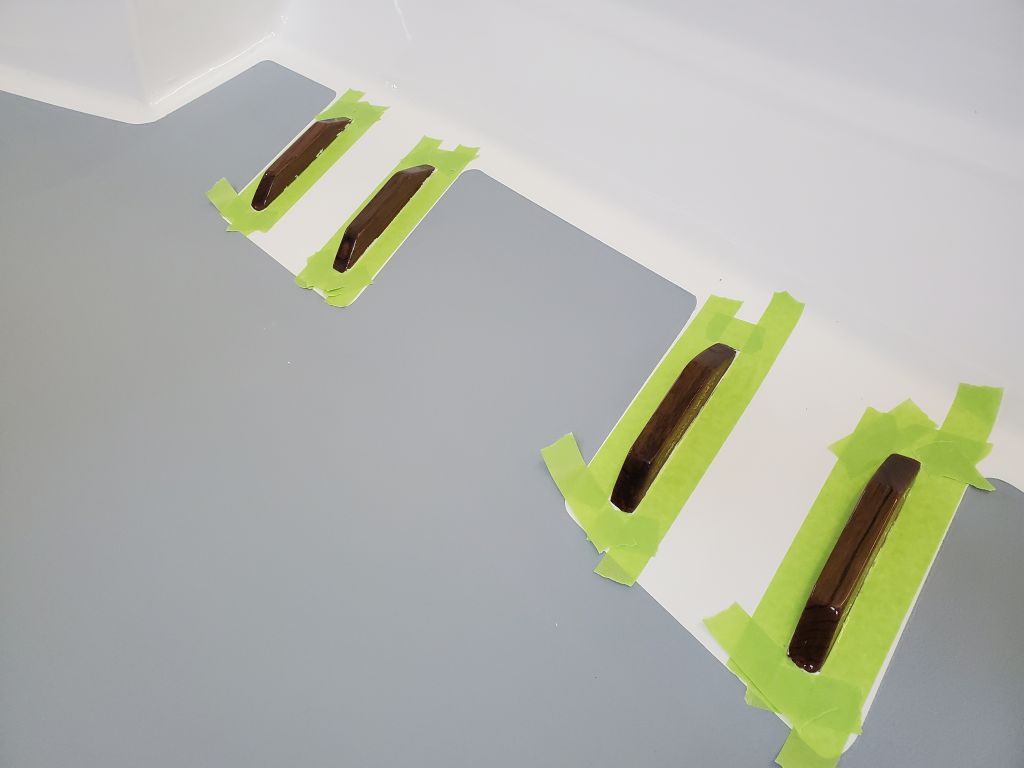
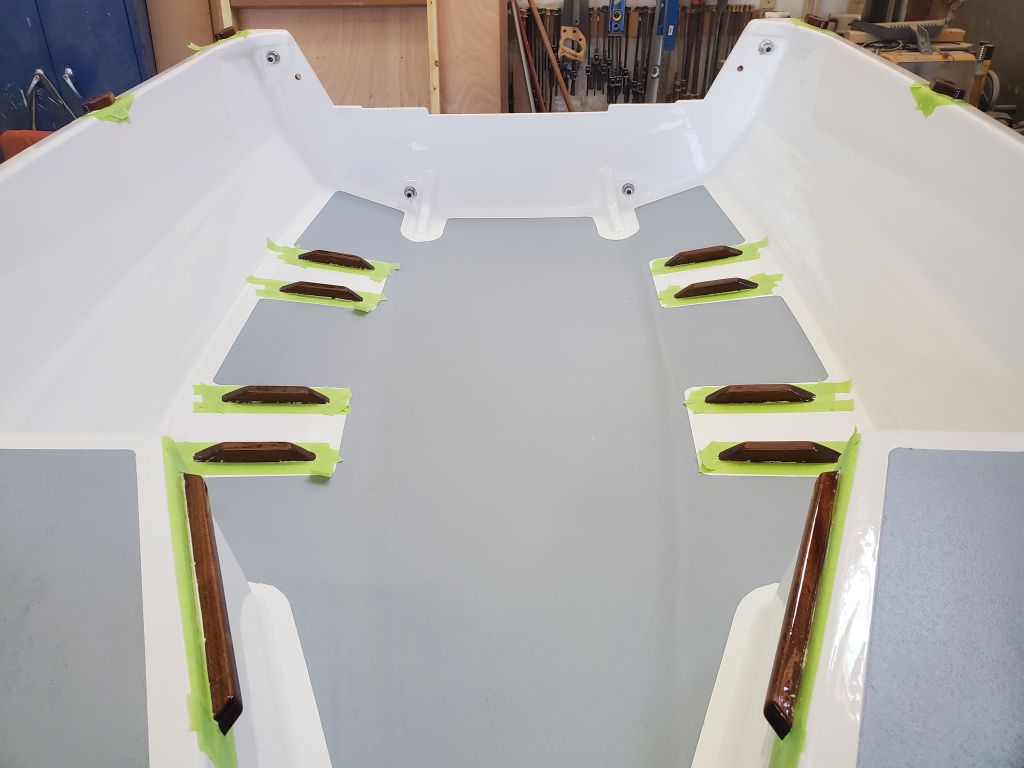
Now that the fresh nonskid had had another full day’s cure time, I felt safe to remove the remaining masking tape from the food cleats and other wooden installations inside the boat. I was disappointed to find that the paint had bled beneath the tape in several areas, staining the varnish work, so I resolved to lightly sand off the offending paint and revarnish all the bits and pieces; I needed to varnish the aft seat cleats anyway, as I’d installed bungs and sanded the faces when I installed those cleats a while back, and hadn’t had a chance to finish up the varnish work there.
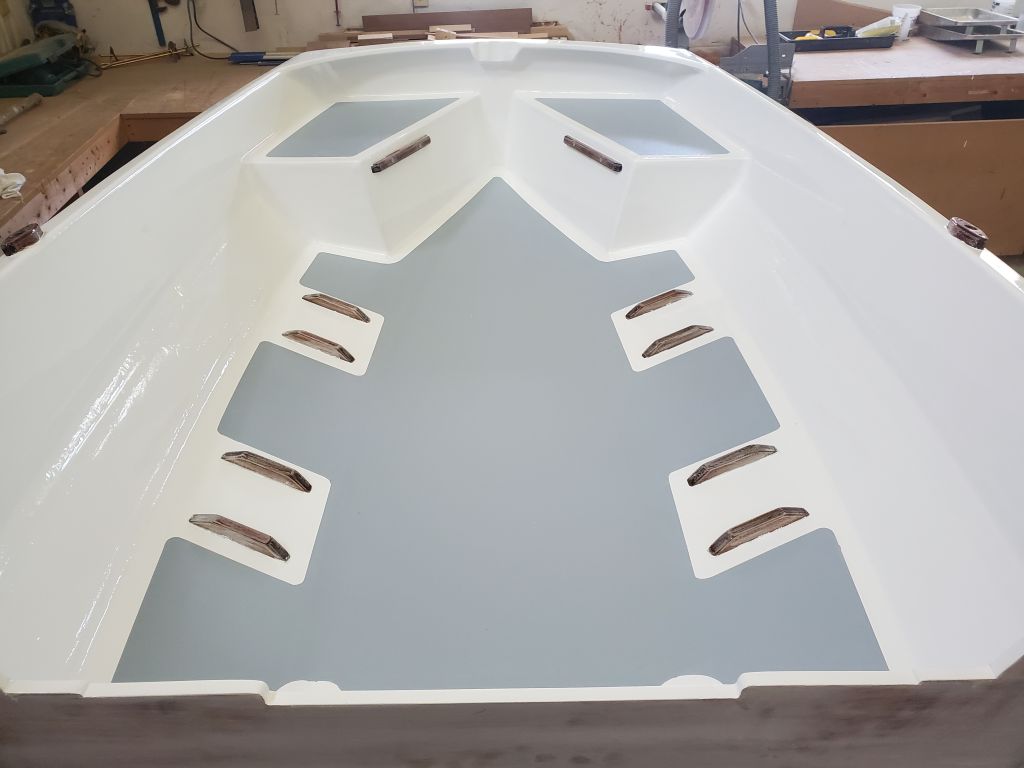
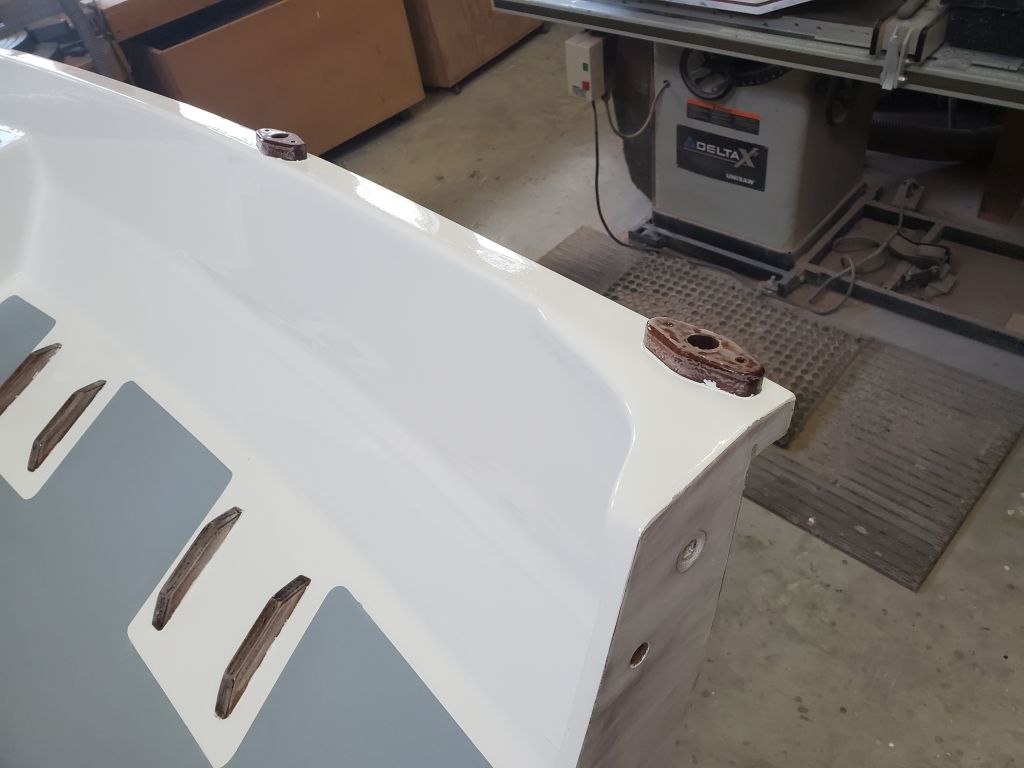
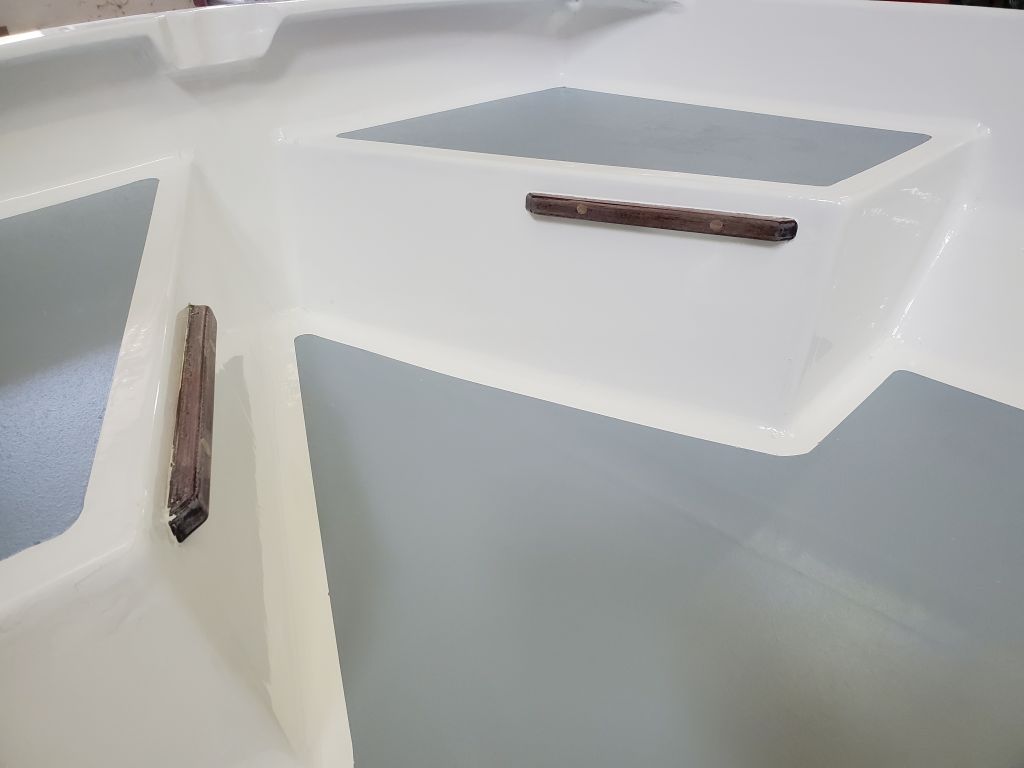


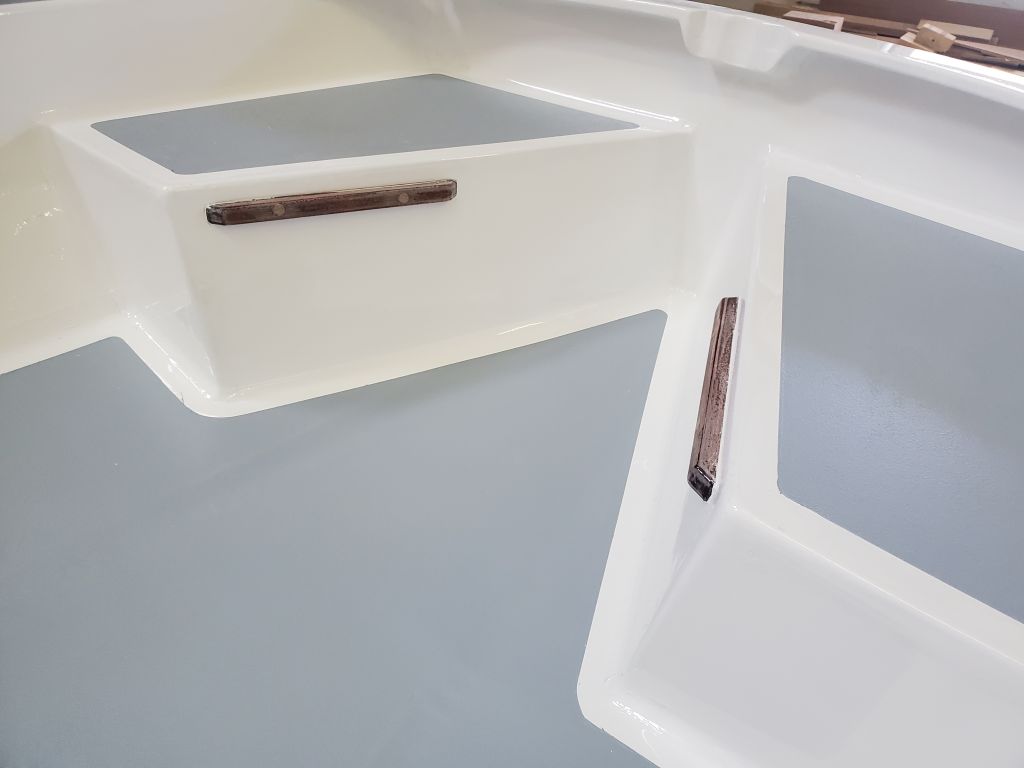
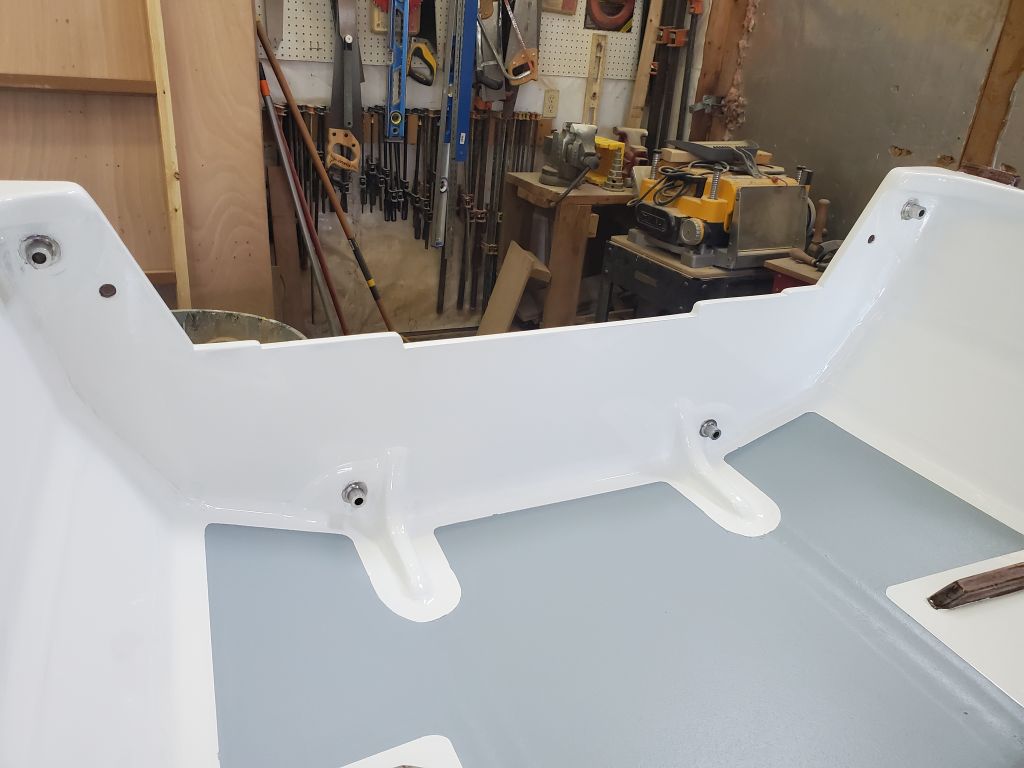
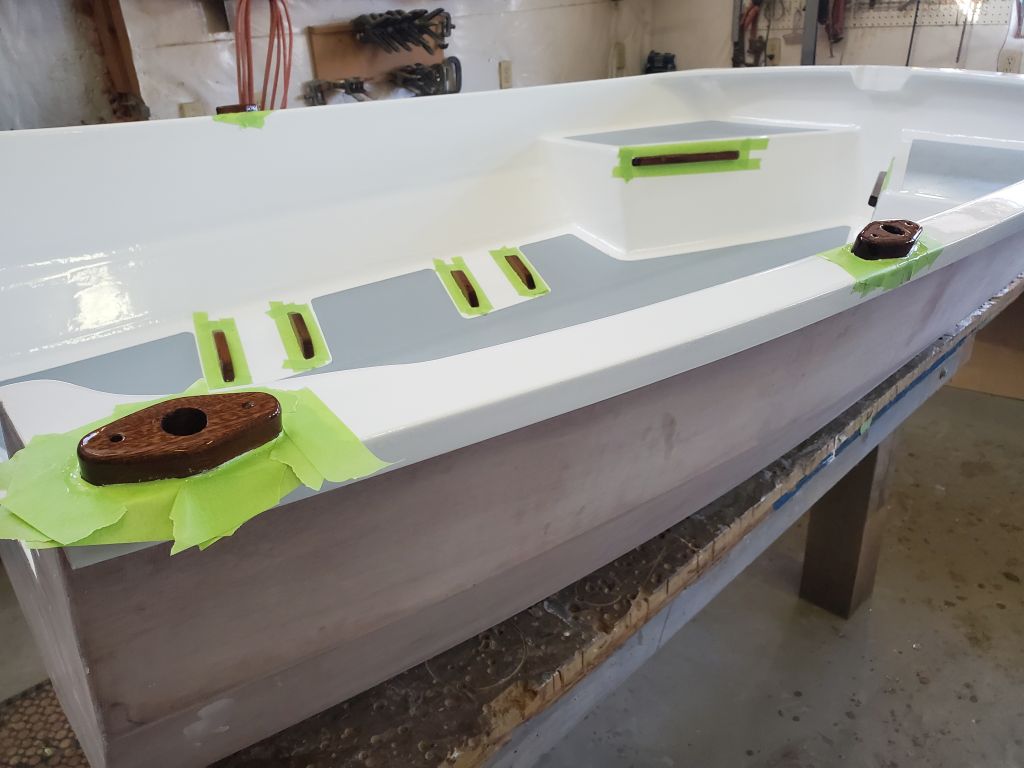
With the cleats and rowlocks thusly prepared, I masked around everything and applied a coat of varnish all around. Just the one coat would be required everywhere as a touch-up, as there was plenty of buildup on all the parts. I didn’t include this time in the day’s billing.
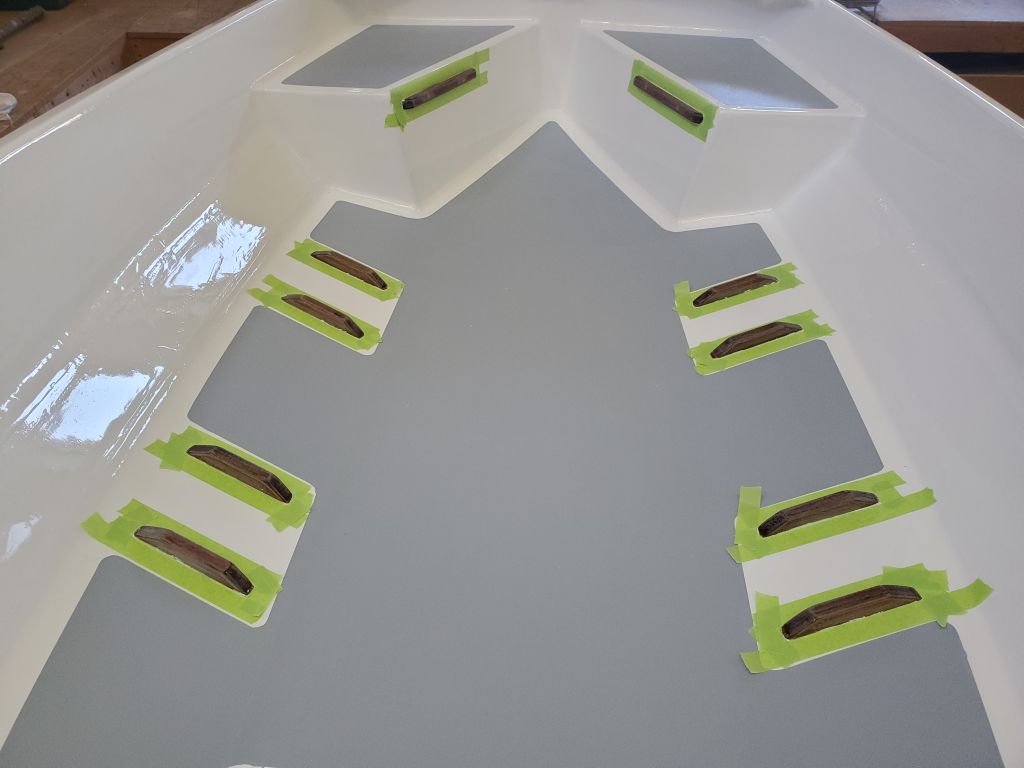


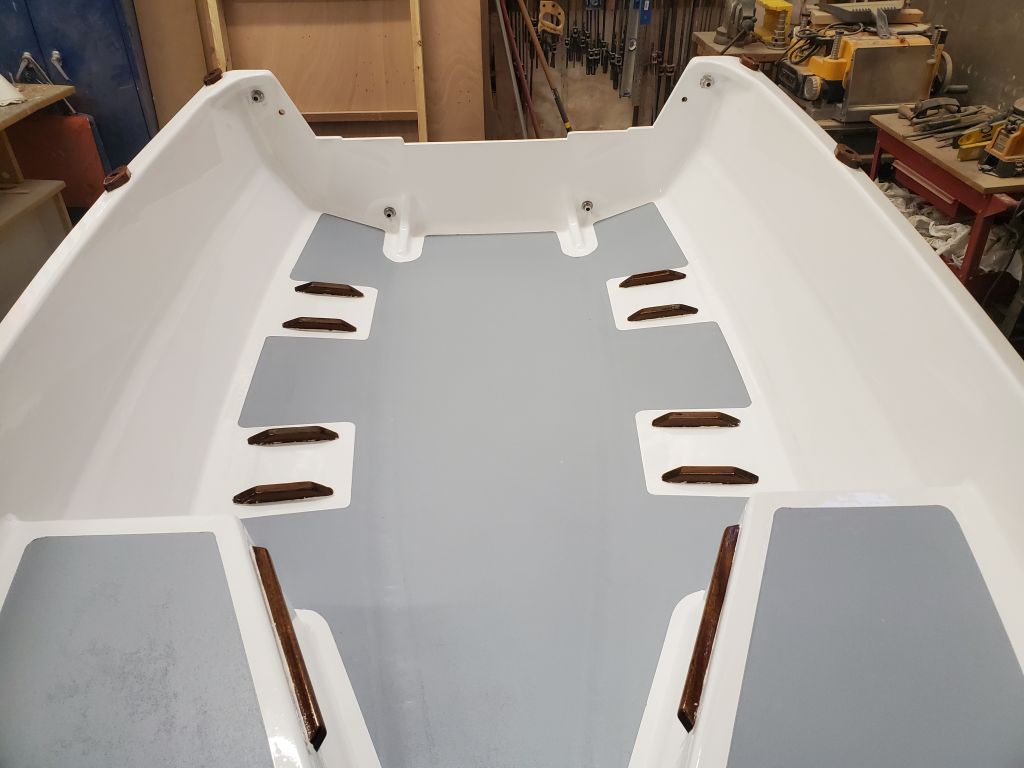
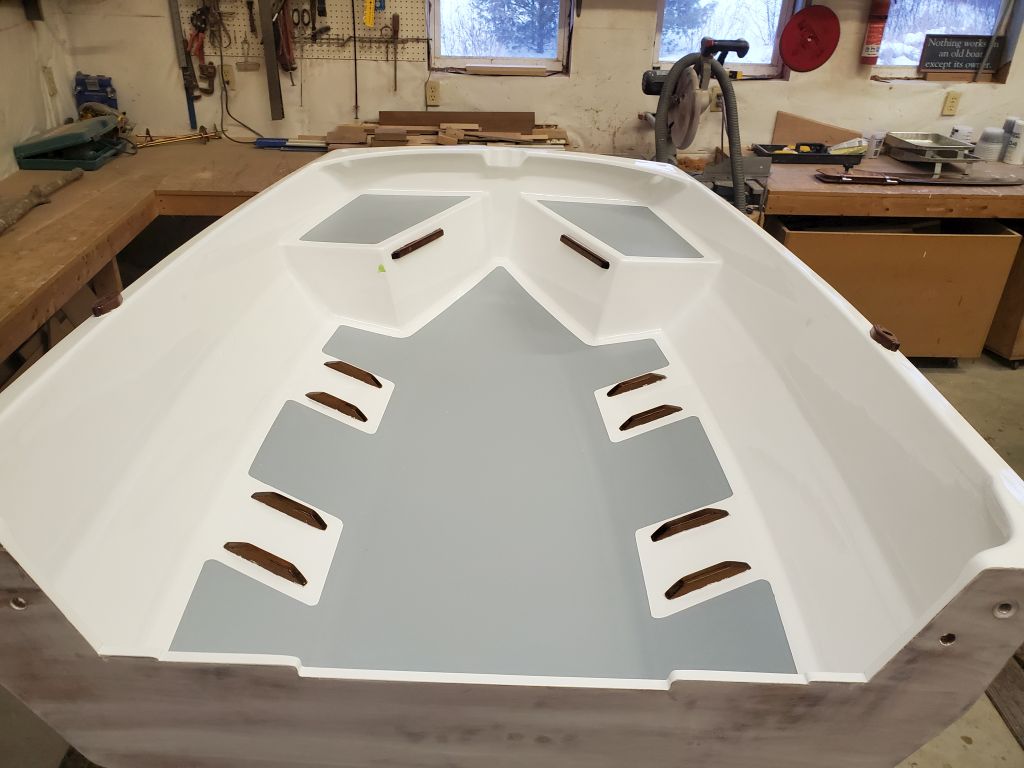
Later on, I removed this masking tape.
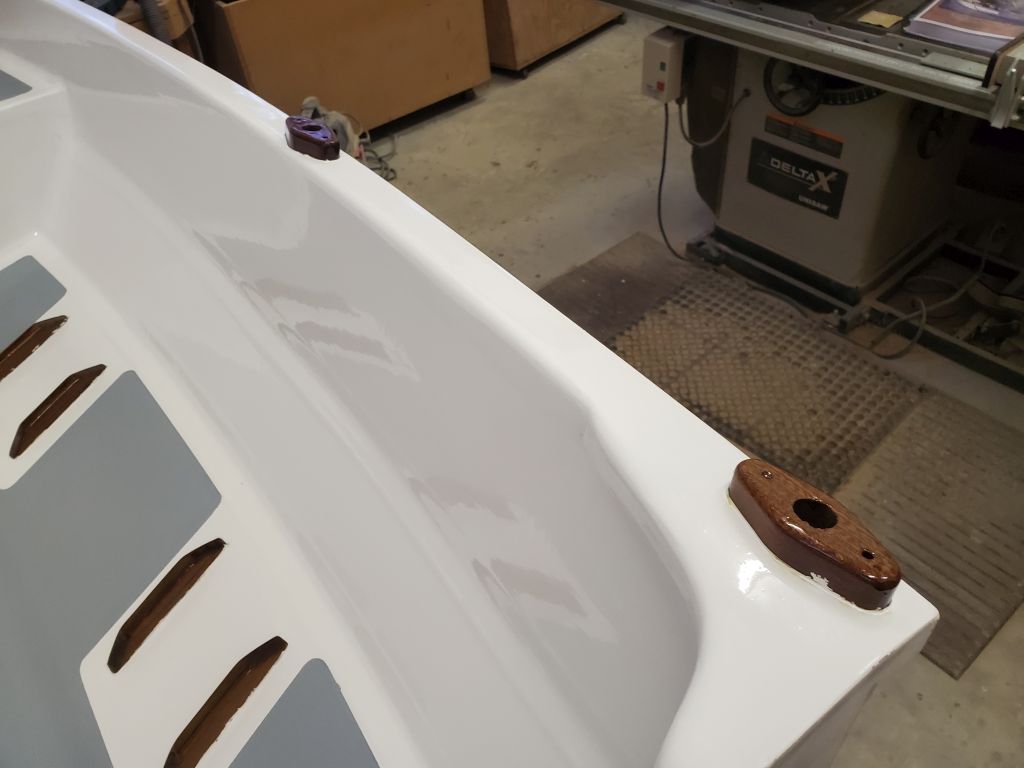
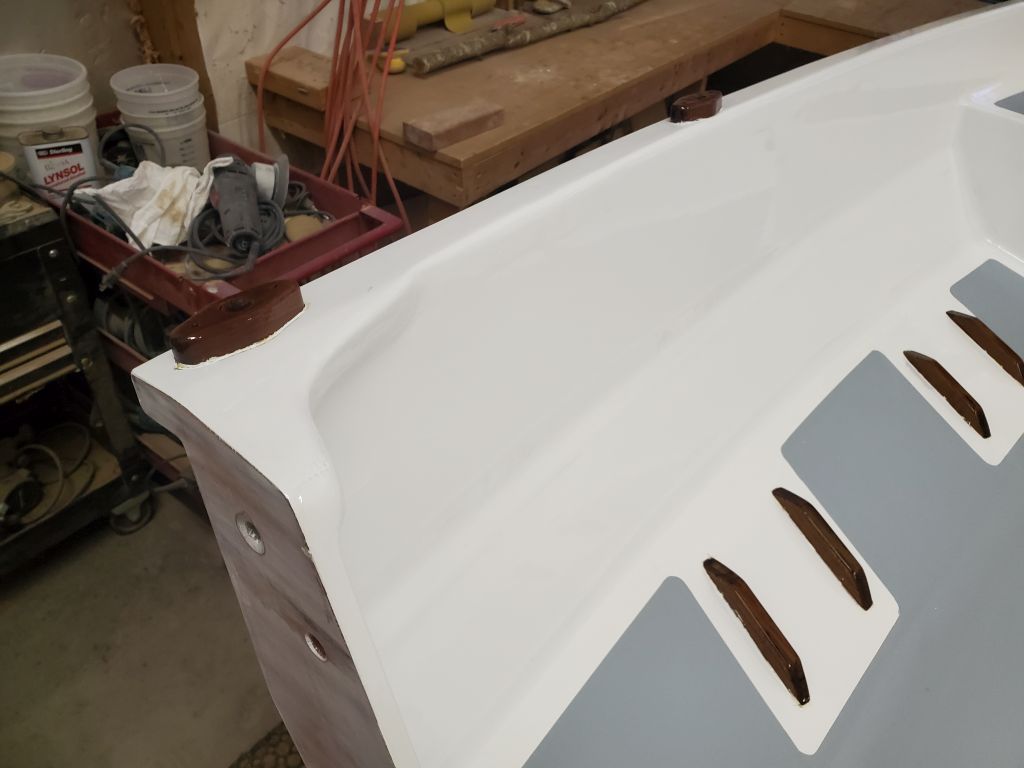
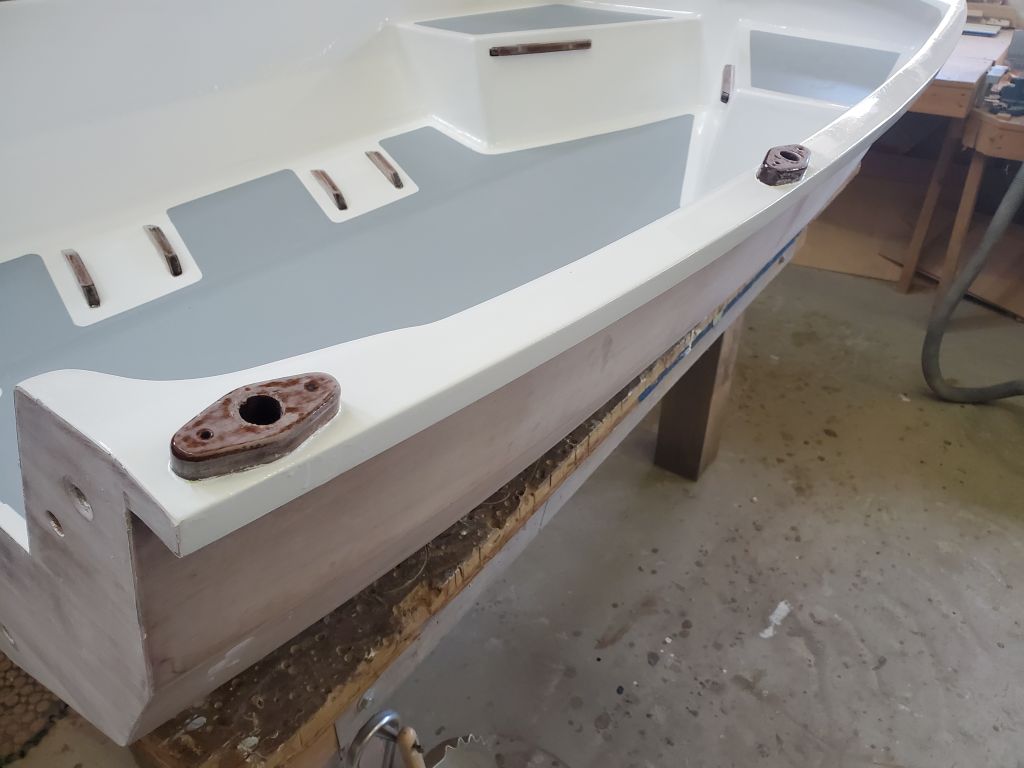
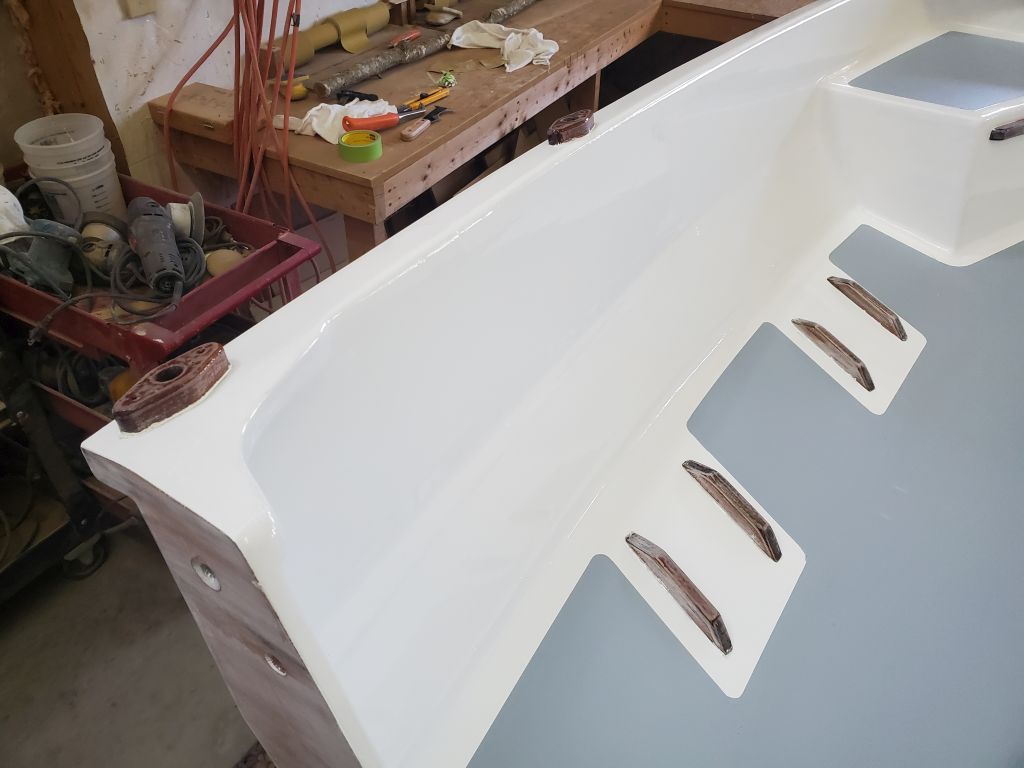
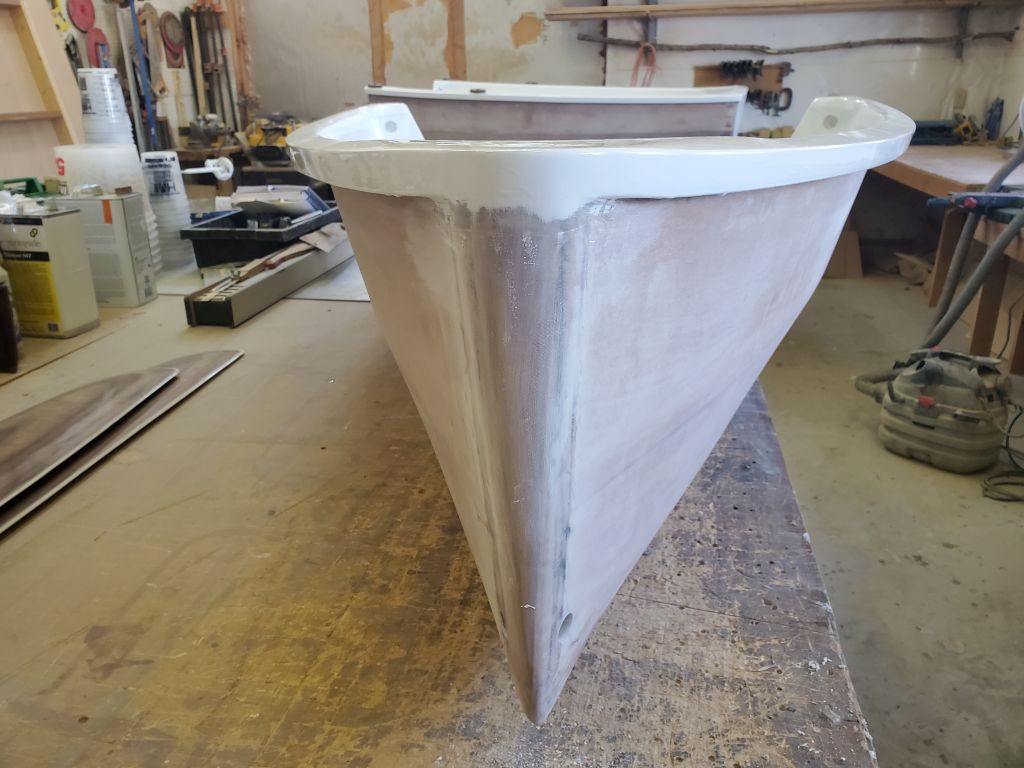
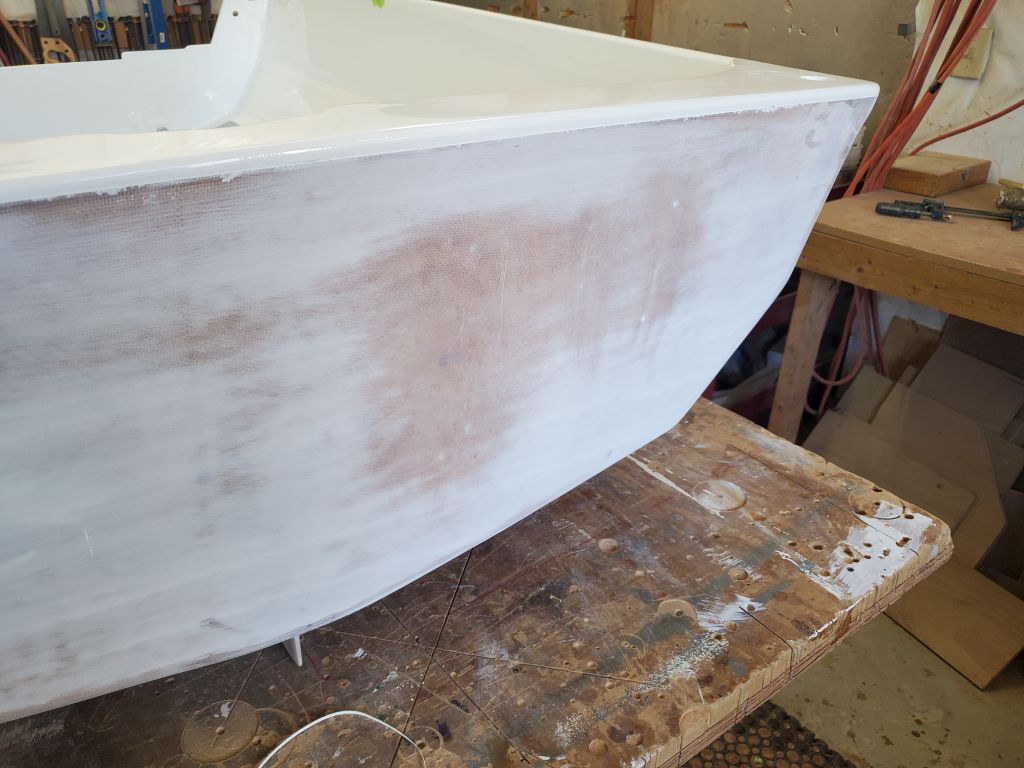
In other works, I took the opportunity (before varnishing) to clean up a few paint drips that had ended up on the hull, mainly on the transom and stem. I used light scraper pressure to remove the bulk, then lightly sanded.
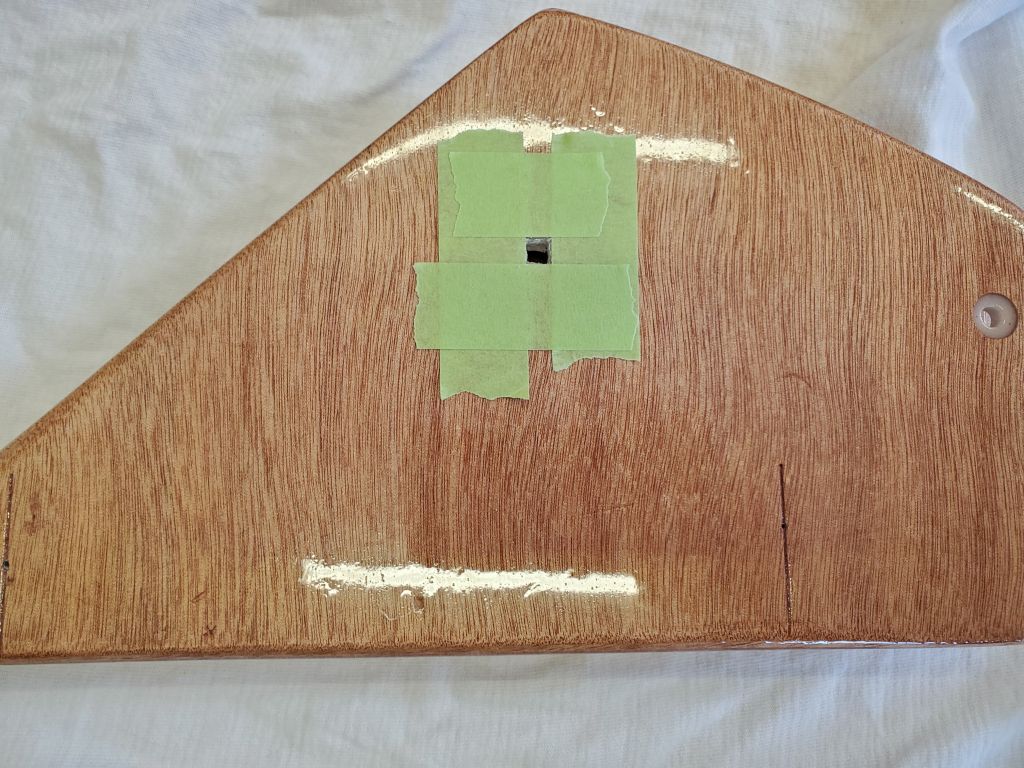
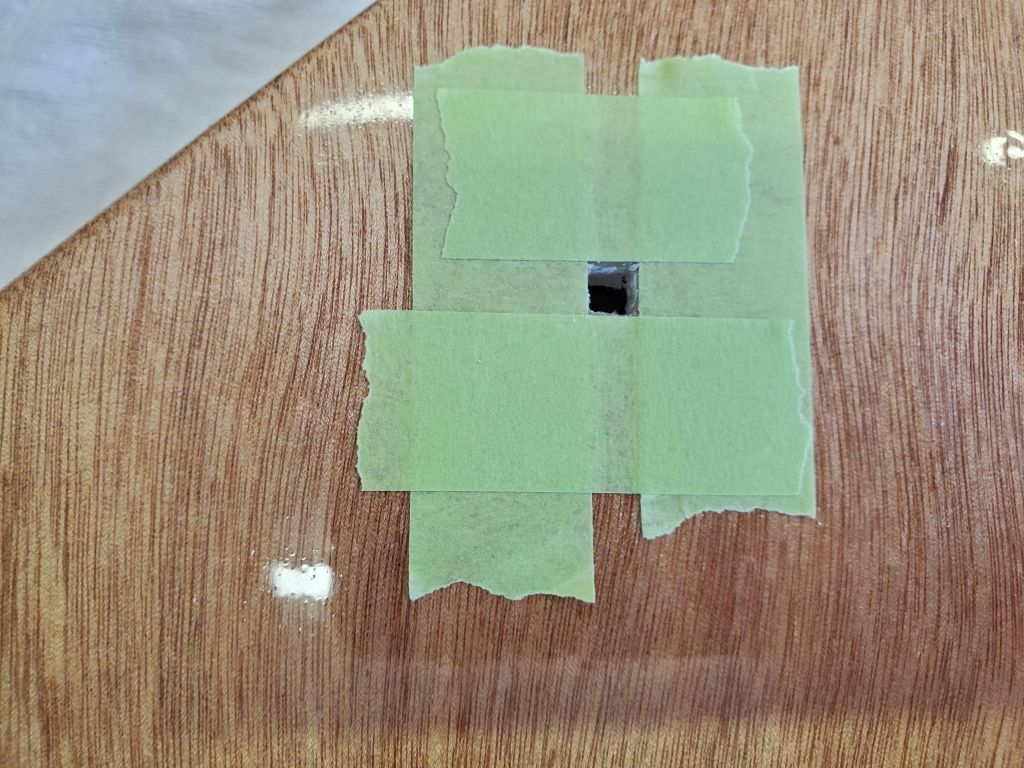
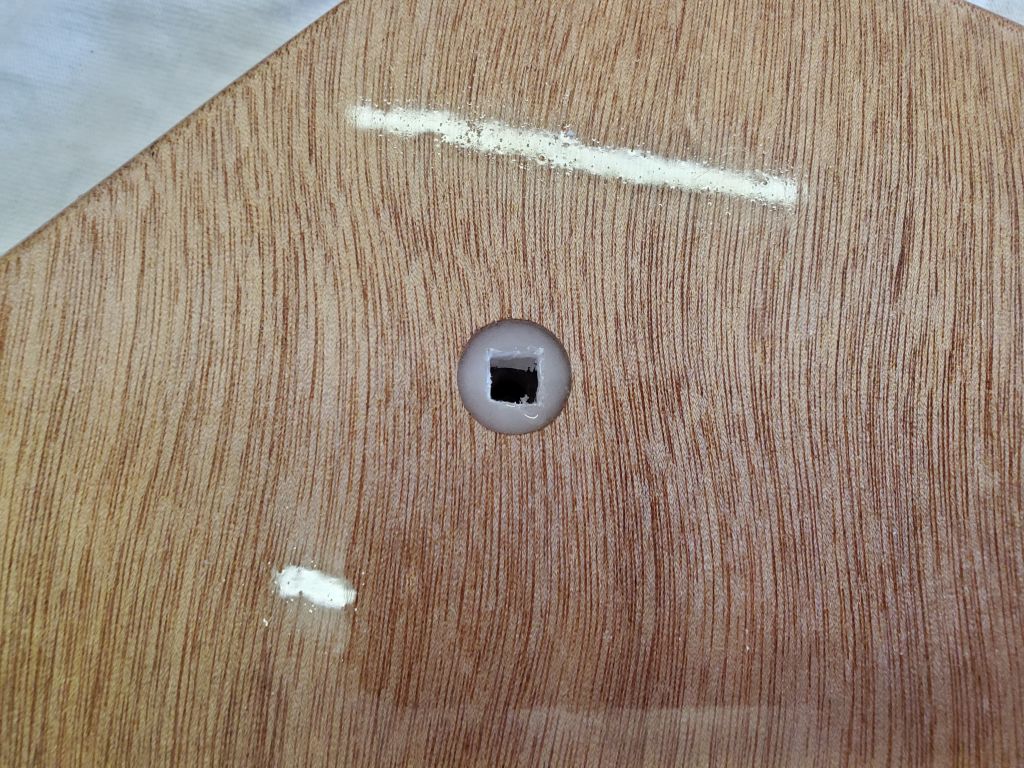
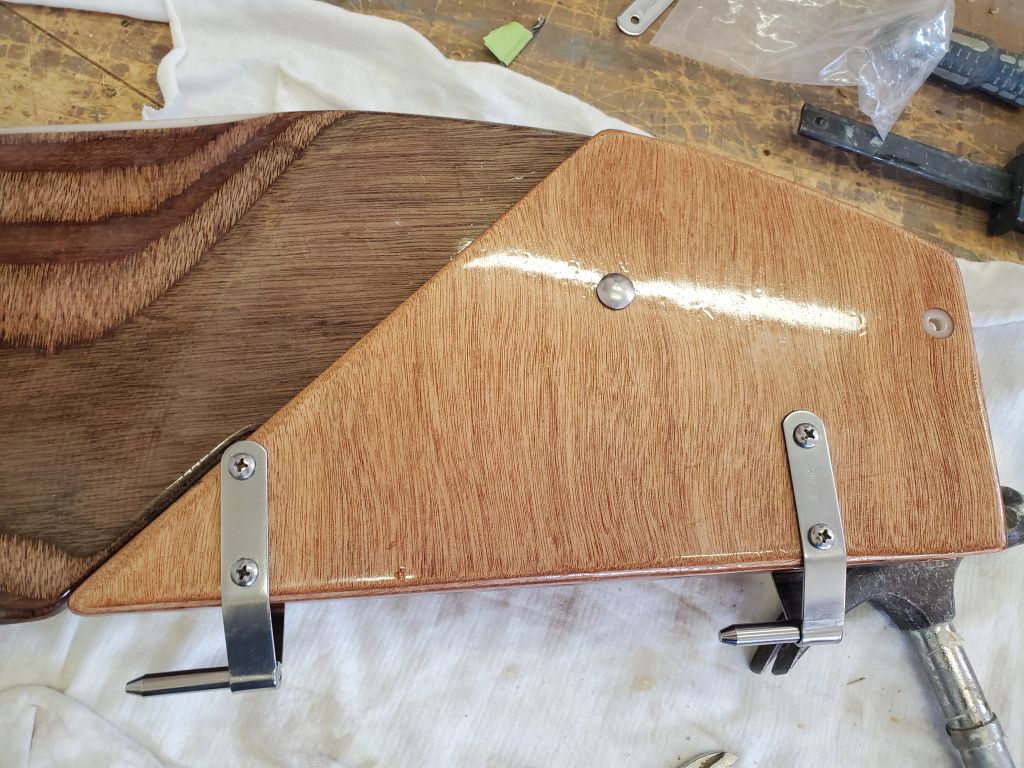
With time left in the day, I turned to some small jobs I could complete on the rudder and daggerboard assemblies. The starboard side of the rudder case required squaring the rudder bolt hole (created in overfilled epoxy) to accept a carriage bolt, so I took care of this task with a chisel, having first marked out the rough square with masking tape around the hole.
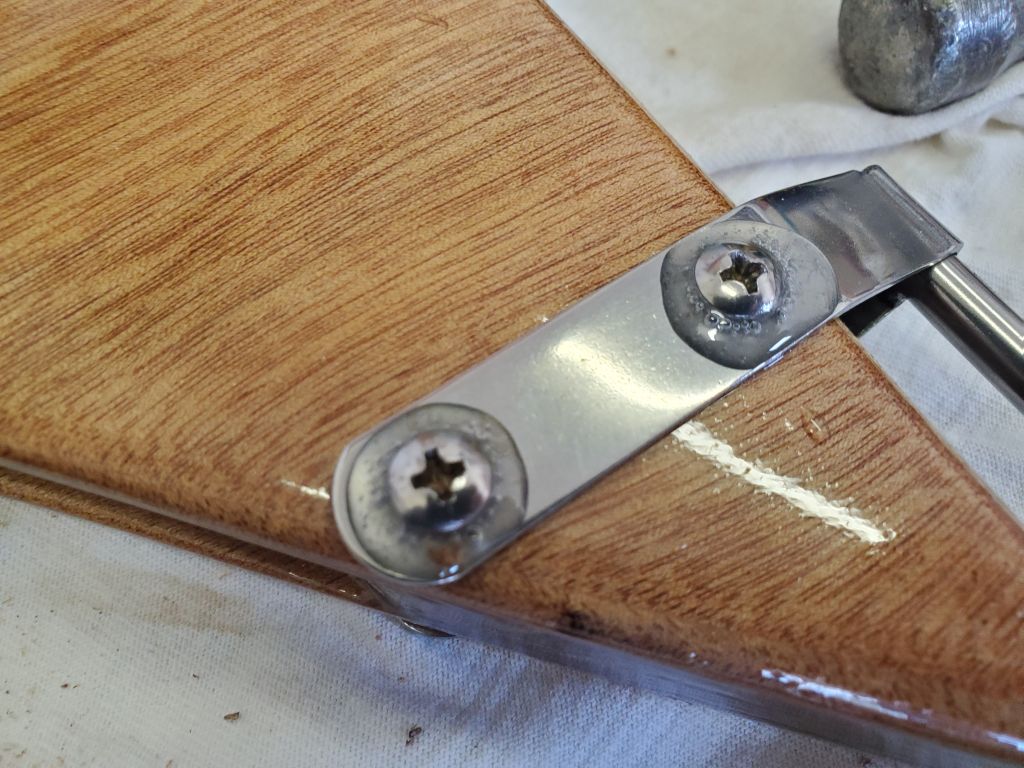
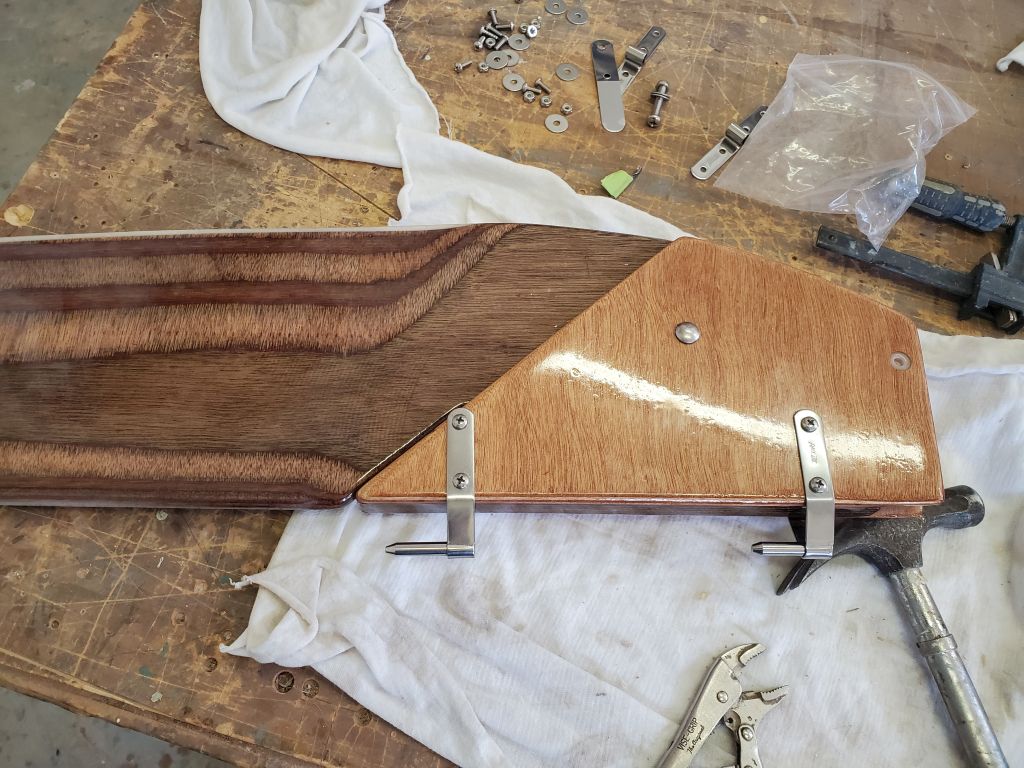
Next, I installed the pintles, a relatively straightforward task. There were scribed marks on the forward edge of the rudder case on both sides, which marks indicated the pintles’ positions, so I followed the instructions to lay out the initial screw holes 3/8″ in from the forward edge at the scribe mark, and dry-fit the pintles with just the one screw on each side. Then, I carefully adjusted their position so the pins were straight and inline with one another, and appropriately spaced from the rudder case itself, and drilled and dry-fit the second set of screws on each pair. The book called for setting these screws in epoxy, which was my final step.
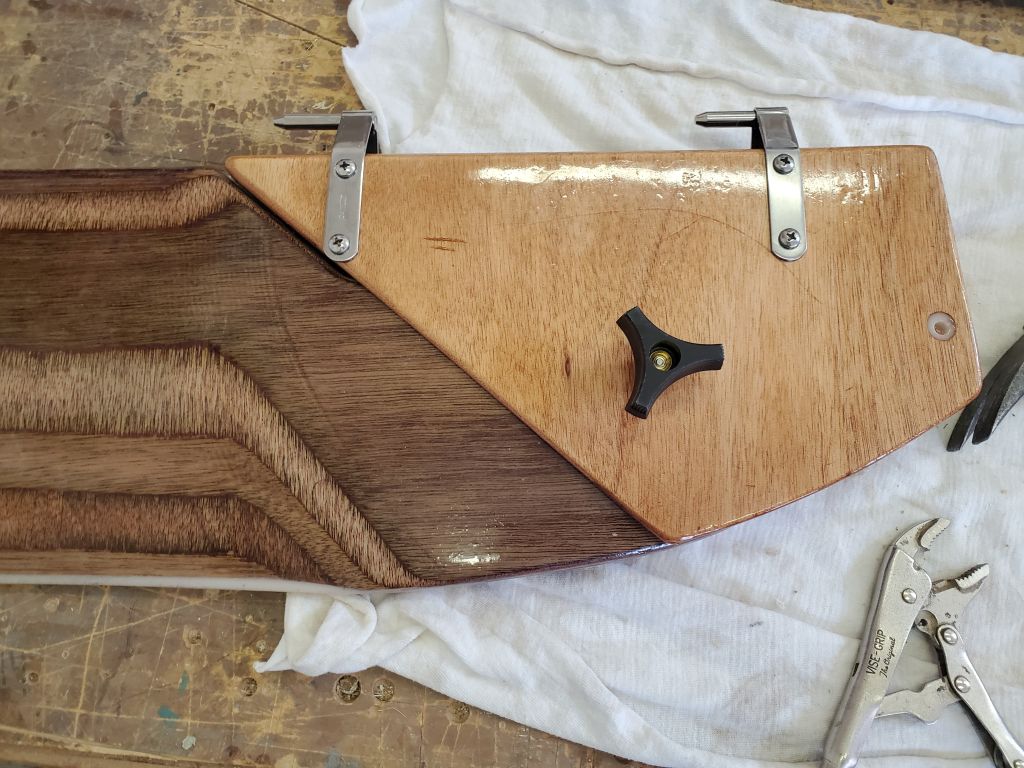
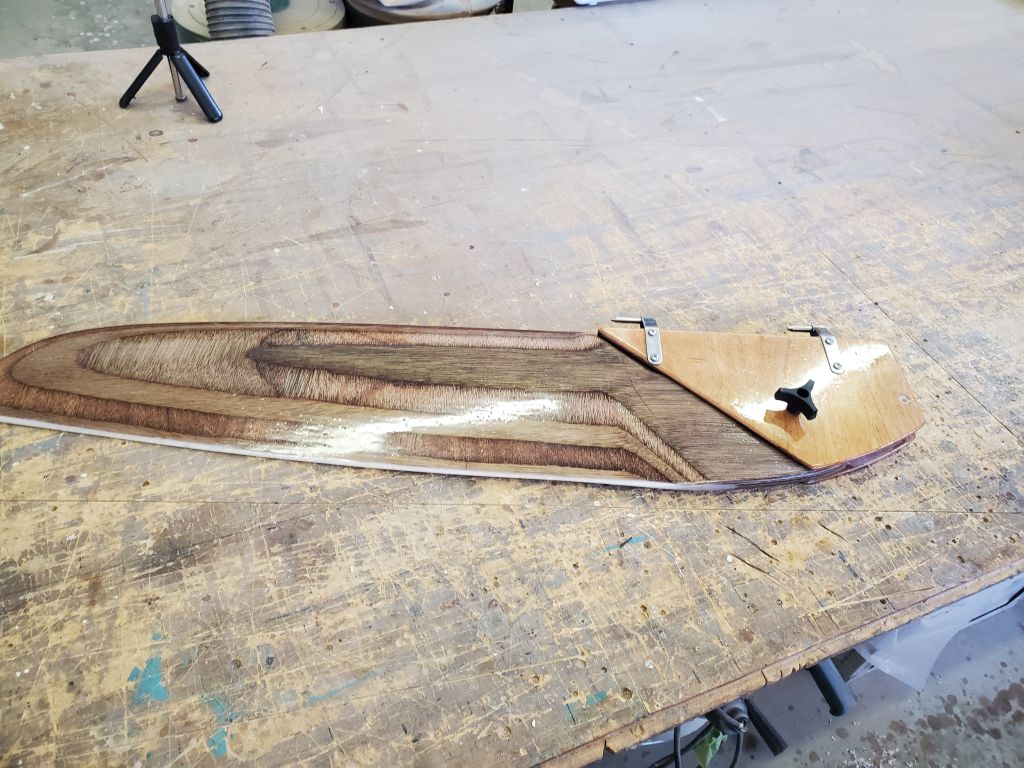
While I had a small batch of epoxy going, I drilled a hole for and installed a hold-down pin at the forward top edge of the daggerboard. There’d be some corresponding hardware mounted to the foredeck itself to finish off this little bit later on. For now, I propped the daggerboard with the pin facing up to keep it secure while the epoxy cured.

The rudder blade got secured to the rudder case with a carriage bolt and hand wheel on the opposite side, making it easy to secure the blade in any position, from kicked up to the sailing position.

Total time billed on this job today: 2 hours (plus one unbilled hour)