December 19, 2024
PT11-40
Thursday
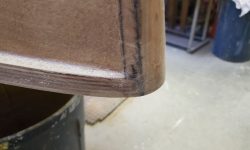
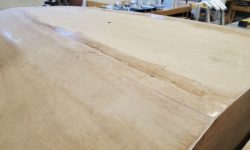
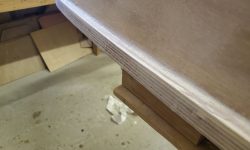
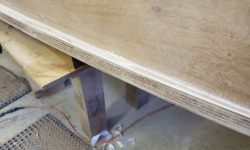
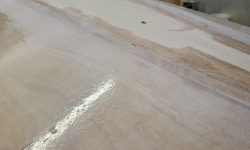
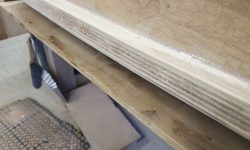
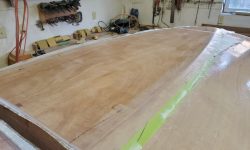
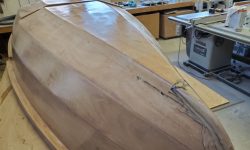
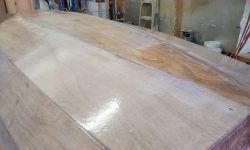
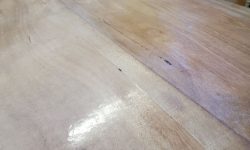
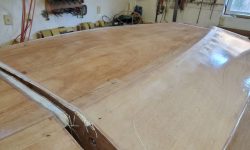
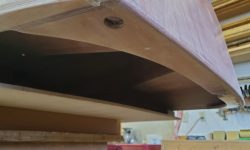
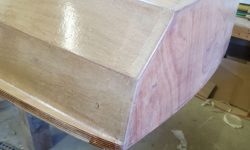
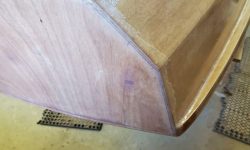
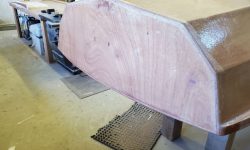
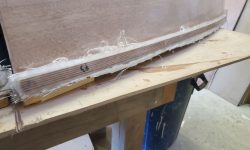
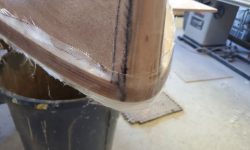
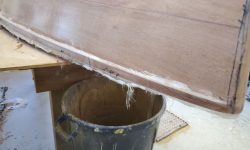
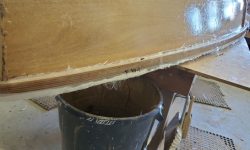
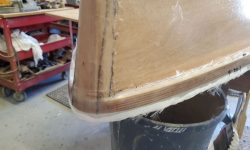
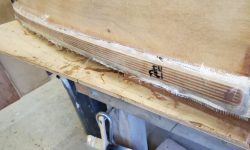
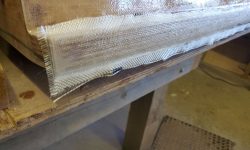
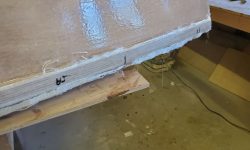
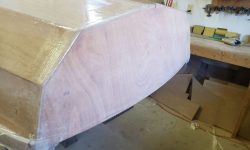
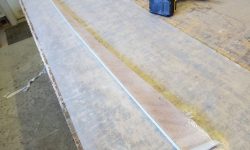
I began by trimming the excess fiberglass from the gunwales and other areas, using a sharp knife to cut the fabric right at the edges of the boat. Then, I did some light sanding prep work at the to edge of the boat and at the transom, where the topsides fabric ended, to ease that transition a bit for the new fiberglass on the bottom and transom. I sanded down onto the hull a couple inches as well, to smooth and remove the gloss from the first fill coat. I also block-sanded the gunwales to bring the overlapping fiberglass back flush with their faces.
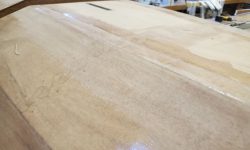
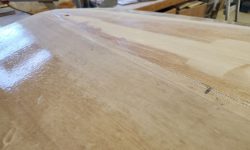
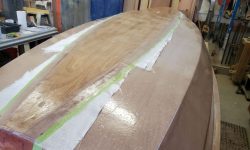
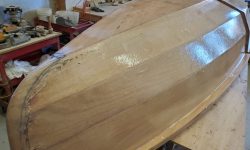
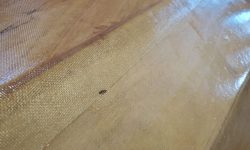
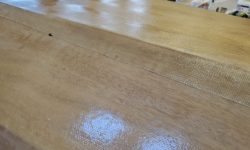
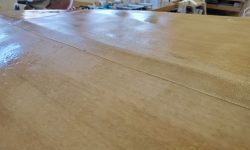
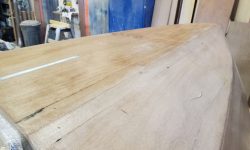
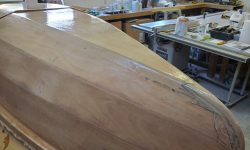
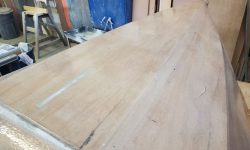
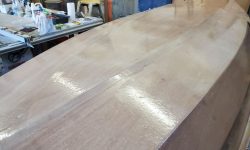
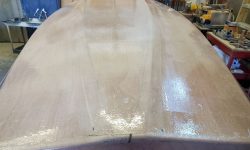
For now, my focus was on completing the sheathing and fill coat on the remaining areas, so further work on the first fill coat would wait till another day. The fill coat looked pretty good overall, but there was still some cloth texture visible through the coating, and I figured I’d do a full second fill coat on the entire hull once the bottom work was done.
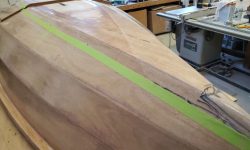
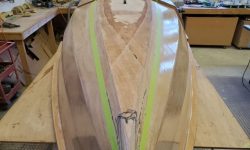
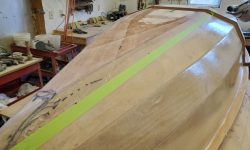
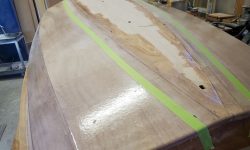
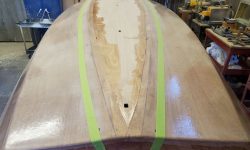
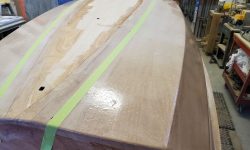
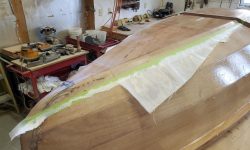
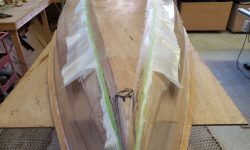
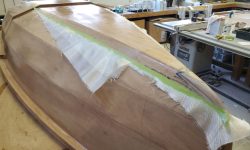
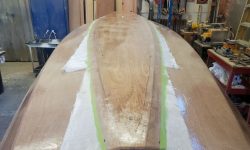
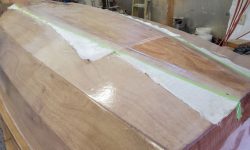
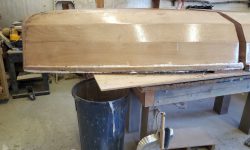
To continue, I made a few reference marks and masked off the bottom of the hull about 1-1/4″ down from the chine on both sides of both hulls. This mark would ultimately be where the bottom cloth would end.
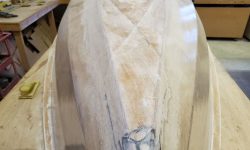
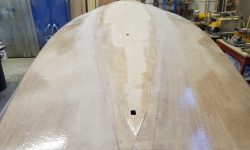
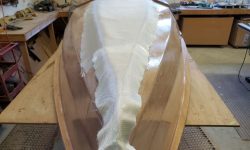
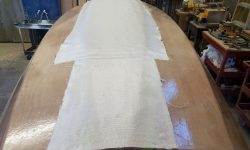
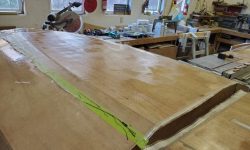
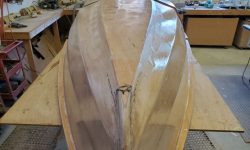
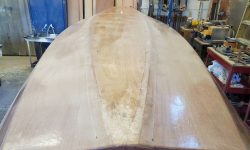
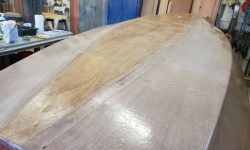
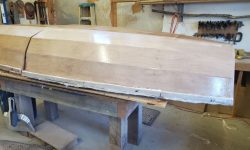
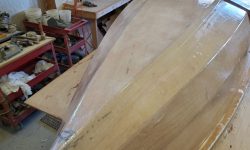
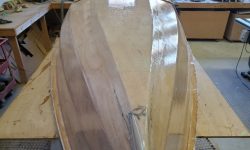
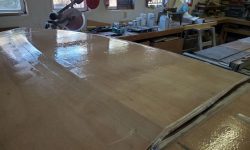
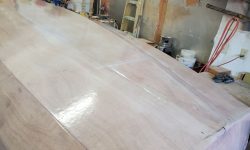
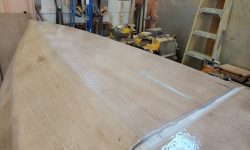
I laid out the pre-cut pieces of 6 oz. cloth across the bottom, letting it run wild over the tape. In the bow section, I skewed the cloth a bit to one side at the stem, leaving me a large enough scrap piece to cut and fill in the pointy end of the stem; at the stern, I cut one more piece of cloth from the roll to cover the last 18″ or so of the hull.
I wet out the first layers in place, then carefully rolled out the second layer (4 oz. cloth this time) from the bulkheads towards each end, and wet that out too.
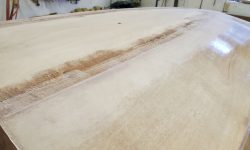
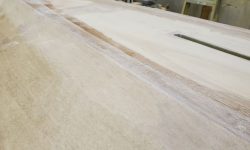
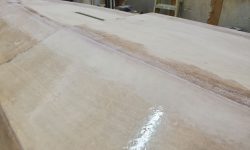
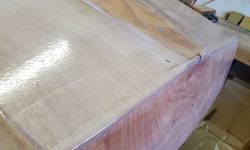
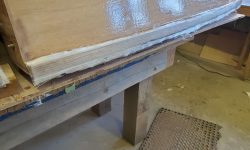
Next, I used a sharp knife to trim the material at the top edge of the tape lines, and removed the masking tape. This left a good double-overlap of cloth at the lower chines: the topsides’ cloth extended 1″ or so onto the bottom panel, and the bottom cloth extended 1-1/4″ onto the topsides, providing more than 2″ of overlap when all was said and done.
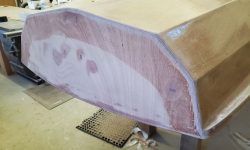
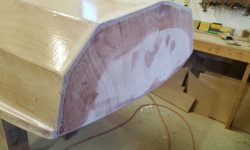
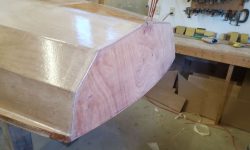
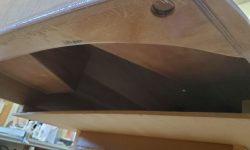
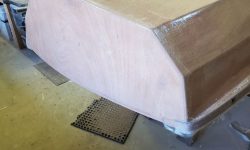
I glassed the transom next, wetting out the transom surface and then unrolling the cloth, which I’d prepared by rolling both ends in towards the center to make it easier to align the cloth properly. I trimmed the edges roughly 1/2″ wide all around, and rolled the material over the rounded edges of the transom and onto the hull and inwale respectively.
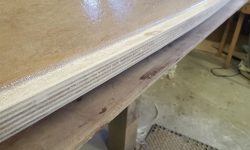
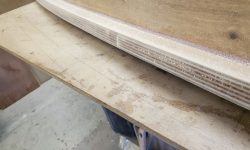
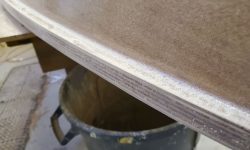
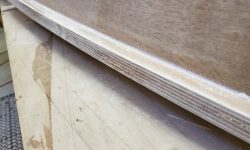
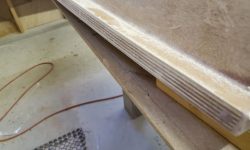
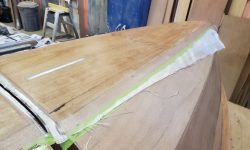
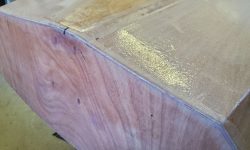
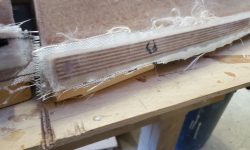
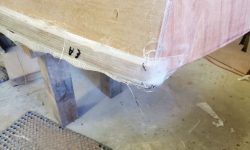
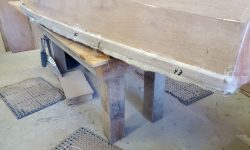
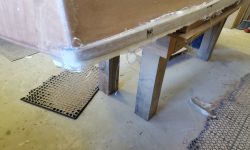
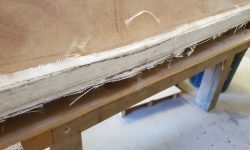
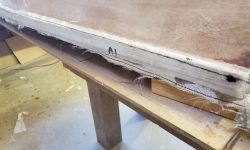
Next, I turned to the gunwales, which required two layers of fiberglass on each half of the boat: two layers of 6 oz. cloth on the bow section, and a layer of heavy unidirectional fabric plus a 6 oz. layer on the aft section. I started by rolling on a coat of slightly-thickened resin (with cabosil) to the gunwale faces, which would help the material stick to the narrow, vertical plywood edge grain. Then I installed the two layers in turn, starting with the bow section. As usual, the work with the fraying edges of the cut cloth looked terrible at first glance, but the ragged edges, despite their awful appearance, were ultimately unimportant since what mattered was that the cloth was well-adhered to the flat faces of the gunwales.
Next, I installed the material on the stern half, starting with the unidirectional fabric, then the 6 oz. cloth over the top. I let these strips run out an inch or two onto the transom.
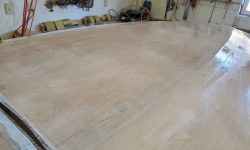
Later in the day, I returned to apply the fill coat to the bottom and transom, again using the mixture of epoxy thickened with 410 filler.
I used some leftover fill coat to fill both sides of the skeg, which I’d previously trimmed of excess glass. I laid the first side down flat on fresh plastic while I did the second side.
Total time billed on this job today: 4.25 hours


