October 4, 2024
PT11-3
Friday
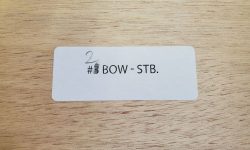
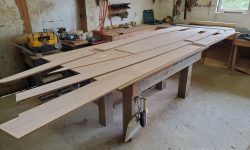
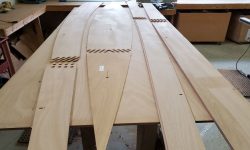
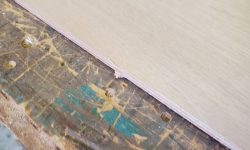
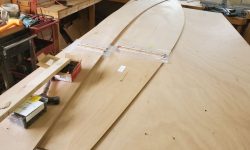
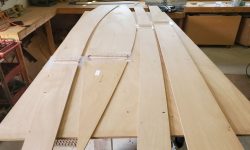
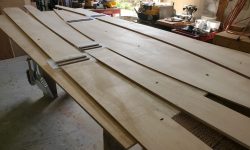
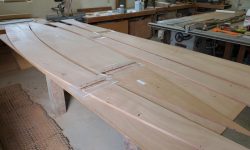
I located and collected all the plywood hull panels from my storage area, and laid them out on the work table: two panels to make up the bottom, and three sets of matched panels to make up each side of the hull. I was briefly confused with one of the starboard bow panels, which didn’t seem to fit with its after counterpart, but soon determined that the panel was simply mislabeled from the kit, as #3 rather than #2, so I corrected the label as needed. As shown in the manual, I laid out the panels on the table and stacked the mirror-image port and starboard panels atop one another in the layout below.
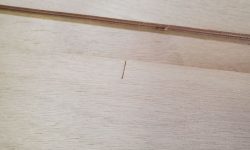
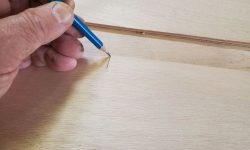
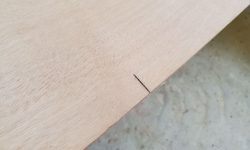
Next, and in accordance with the manual, I located and pencil-darkened all the lightly-scribed alignment marks on the panels; presumably this would help keep these visible through the next steps coming up.
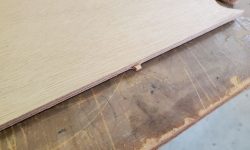
All the panels had some small tabs on their edges, leftover from when the panels were cut on the CNC machine. My next step was to remove these tabs with a knife and sandpaper, bringing each panel to its intended shape. This was a simple, if somewhat tedious, process, but didn’t take long.
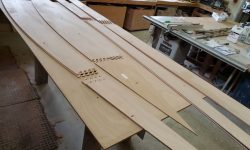
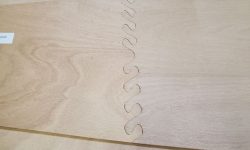
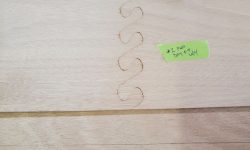
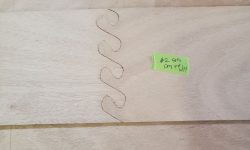
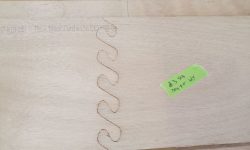
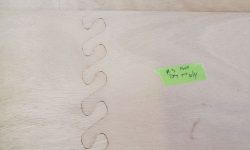
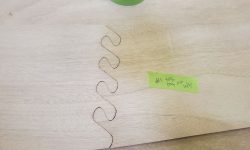
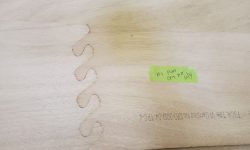
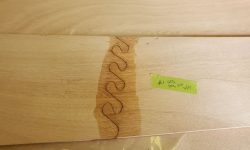
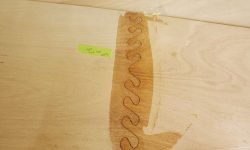
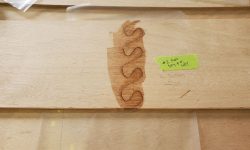
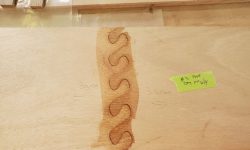
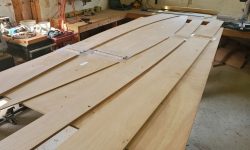
Next on the agenda was to make some final preparations and dry-fit the puzzle joints for each panel. I lightly scuffed the milled joints with a Scotchbrite pad to remove any loose fibers or splinters, then tested each joint for fit. I found the machined joints to be an appropriately-tight fit, easily fitted together with a deadblow hammer and with no need for any adjustments. I assembled all seven joints as seen below.
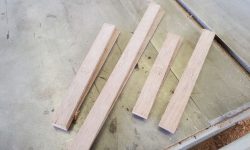
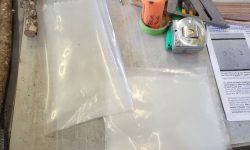
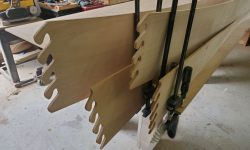
After carefully disassembling the joints and moving the panels out of the way, I prepared some nailing strips from 1/4″ plywood, and some plastic sheeting cut to fit beneath each seam as I assembled the panels flat on the table. Then, I set up some clamps at the end of the work table to hold the hull panels vertically for epoxy application on the puzzle joints, all this as directed in the build manual.
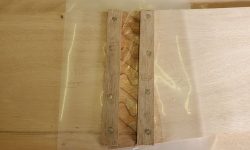
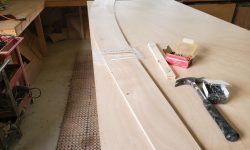
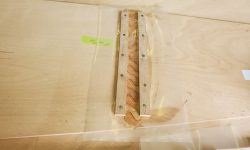
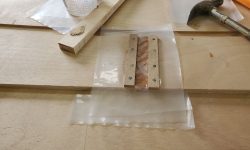
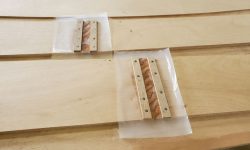
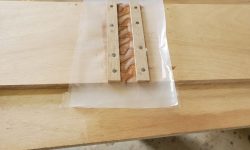
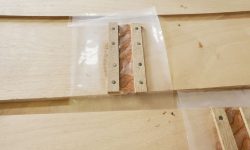
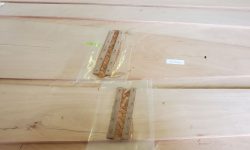
I glued all the joints as described in the manual. Other than the large bottom panel, of which there was just the one, there were two of each of the side panels–one each for port and starboard. The mirror image panels were to be glued one atop the other, so to begin I set up the port and starboard #1 panels (2 pieces per side) in my clamping setup and applied epoxy to the joints–2 coats on all bonding surfaces of the milled joints. Then, I assembled the joints on the flat table, with plastic sheeting beneath the joints and between the two panels, as well as on the top joint, with the inside faces of each panel facing one another. I removed excess epoxy from the accessible side of each joint once I’d assembled them. Finally, I aligned together and secured the two identical–but mirrored–panels to the table top with three small nails (one at each end and one near the joint), and finally secured the joint with a plywood nailing strip on each side.
I repeated the process with the single bottom panel, then the pairs of #2 and #3 side panels, leaving the glued assemblies to cure overnight or longer.
Total time billed on this job today: 3 hours


