December 5, 2024
PT11-28
Thursday
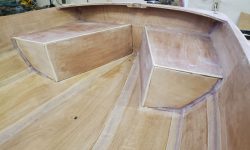
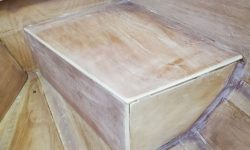
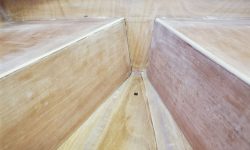
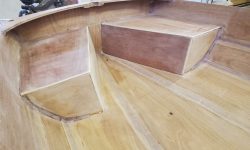
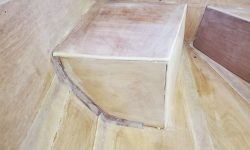
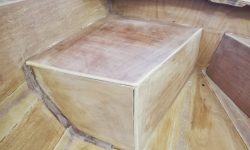
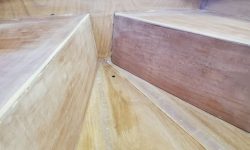
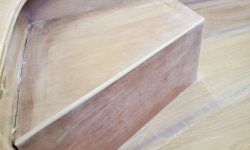
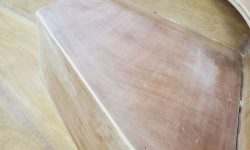
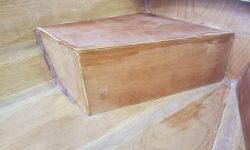
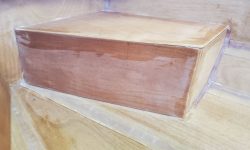
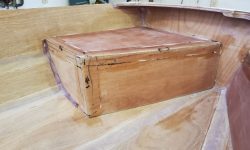
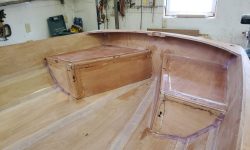
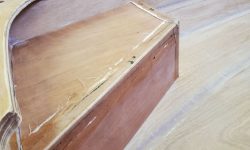
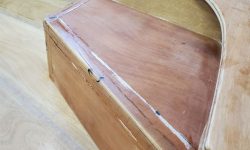
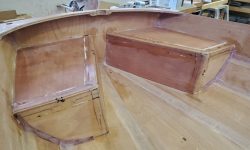
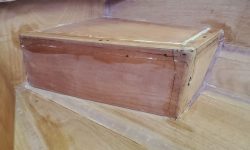
First thing, I worked on the aft tanks to clean up the plywood edges and corners after the glue-up, using a sander and some hand tools to create rounded corners on the three exposed interior edges, and cleaning up any epoxy remnants from around the other edges. All the outside corners were now ready for fiberglass, which I planned to do a bit later in the day.
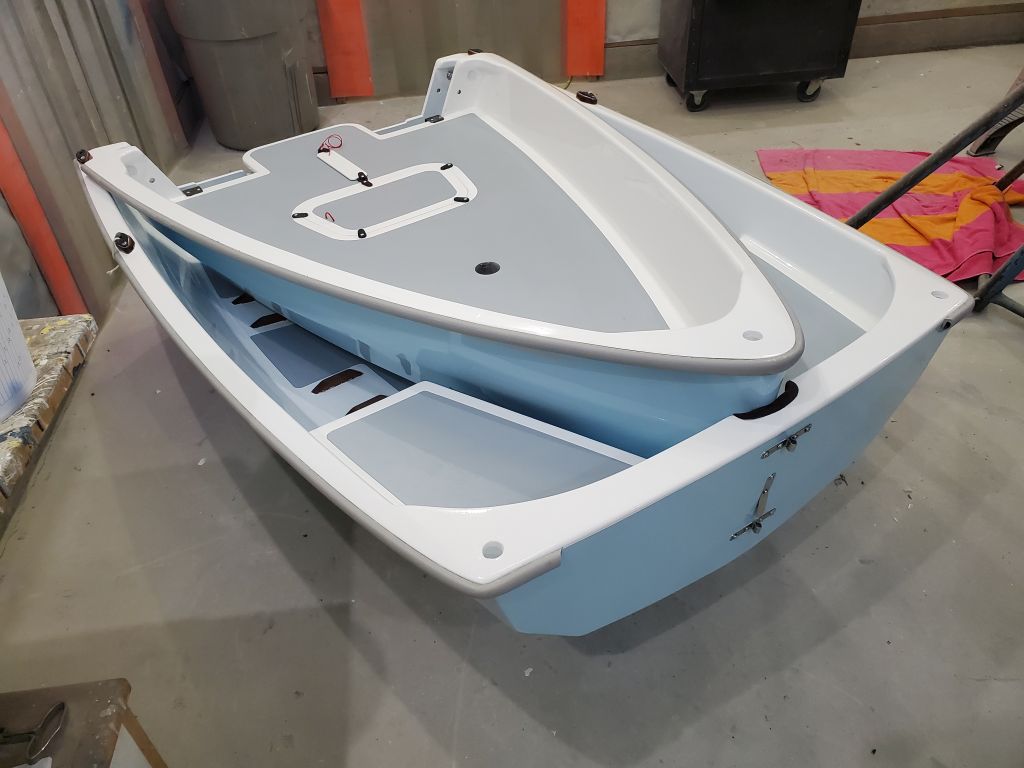
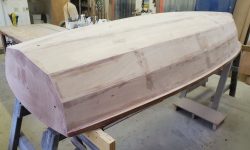
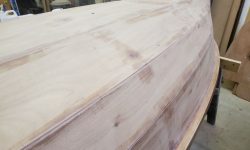
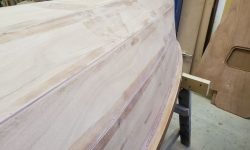
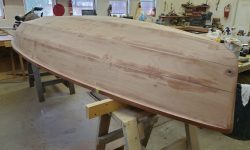
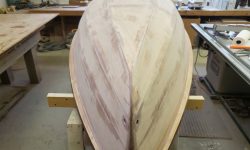
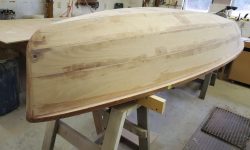
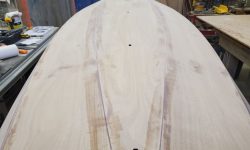
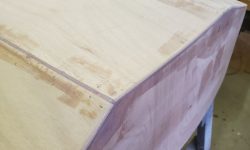
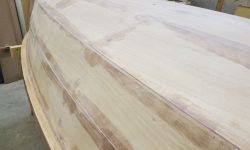
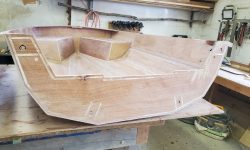
However, the main event for the day was to cut the boat in a half–a milestone step. First, however, I flipped the boat over on the sawhorses and checked over the hull, taking care of some light sanding on the filled main bulkhead slots and otherwise ensuring the hull was in good shape before cutting.
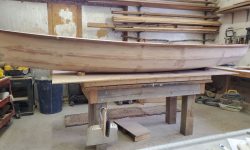
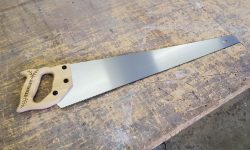
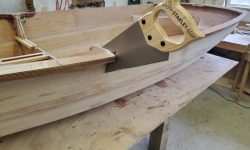
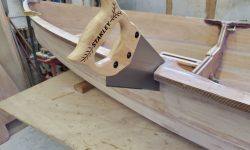
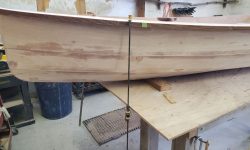
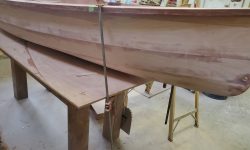
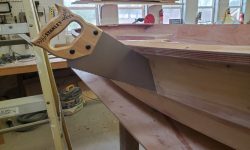
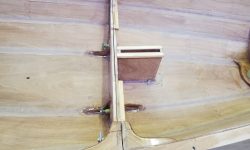
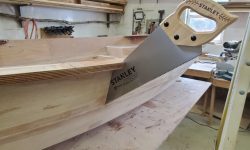
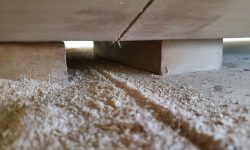
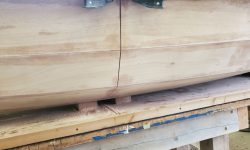
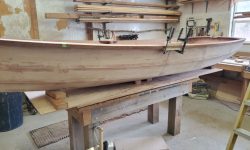
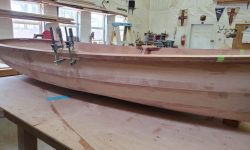
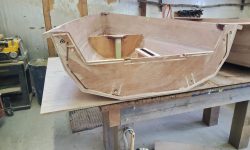
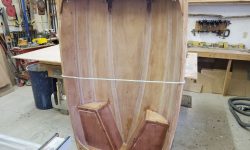
I set the boat up on the work table, upright, and supported it near the ends with some blocking to hold the center of the boat–where the main bulkhead was–just off the table. I unscrewed the four connecting bolts and taped them in place to hold them while I cut through the bulkhead spacers. I had a brand-new handsaw that I got just for this task.
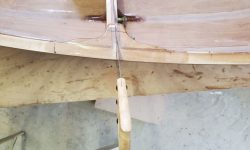
Now there was nothing but to go ahead and start cutting. The manual called for starting by pushing the saw through the bulkhead spacers roughly amidships, and working out towards the gunwale and bulkhead/hull edges from there, keeping as much of the saw within the bulkhead slot as possible to maintain the best alignment. It took a bit more effort to get the cut started than I expected, and was a bit of work even just cutting all the spacers to ease the saw towards the bulkhead, upper gussets, and hull, where the real cutting would be. The boat was higher on the work table than might have been ideal (the manual suggested from the onset that a second, lower table height would be useful–and it would have been, several times, but the specifics of my space and chosen table setup prohibited this). I started out with a small platform and, when that wasn’t getting me high enough, switched to a stepladder to help me cut.
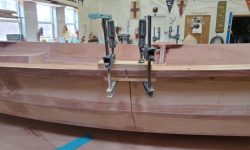
I found that the boat rocked significantly, affecting the cutting operation, so after a couple false starts attempting to shore up the blocking, I ended up stabilizing the boat with two clamps at the bow end of the table. This helped greatly, and eventually I sawed through enough to get into the hull itself.
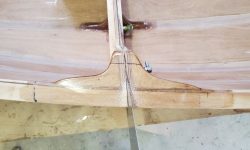
It was tricky to get through the fiberglass at the upper gussets, and the saw tried to wander here; to counter this, I cut from the top a shallow kerf through the fiberglass right on the seam between the two sections, and this helped guide the saw more accurately through the most important part of the cut.
With the port side partially cut like this, I moved over to the starboard side and repeated the process, eventually cutting the hull down to the first chine. Then, I went back to port and brought the cut down till it was even.
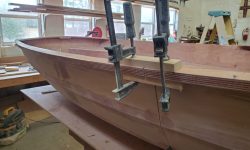
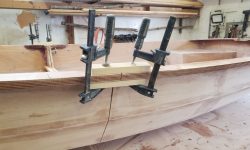
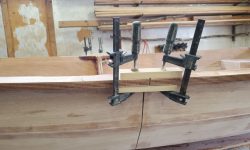
Now, I reblocked the boat with a 2×4 on each side of the main bulkhead, where the cut would be, and resupported the ends as needed, along with the stabilizing clamps. At the guwales, I clamped a pair of blocks over the seam on each side to help hold the boat properly while I finished the cut through the bottom of the boat. The worktable interfered with the saw as I worked towards the centerline, so I pulled the boat towards the side of the table on each side as needed to give the saw clearance to finish the cuts.
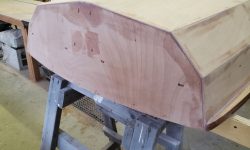
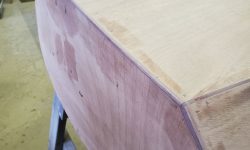
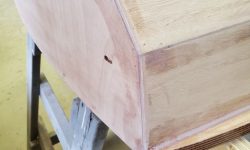
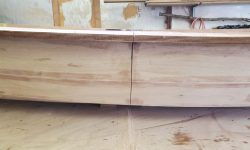
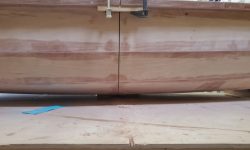
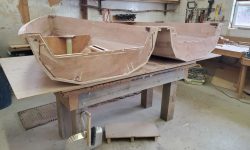
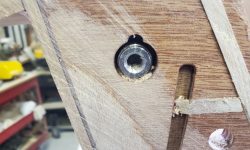
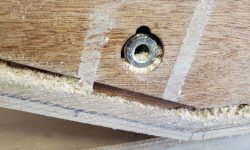
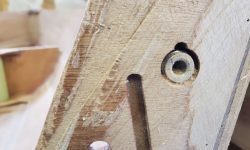
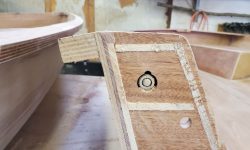
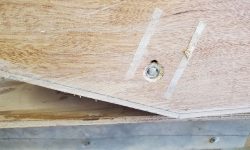
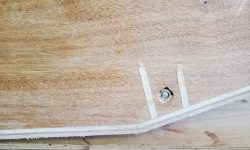
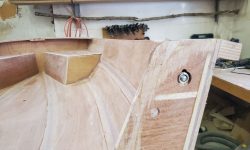
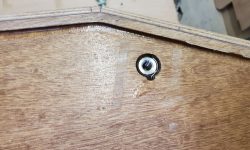
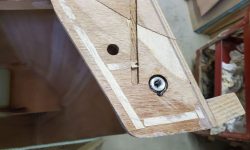
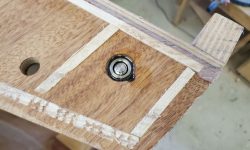
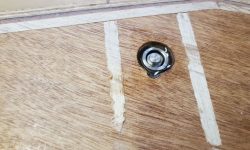
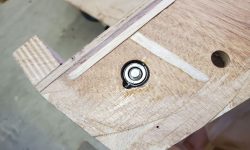
Removing the clamps and separating the boat, I was generally happy with the accuracy of the cut, though there had been some blade wander at the top edges of the bulkheads–minor to starboard, and one place on the port side where I’d adjusted the cut initially going through the gunwales, as described a few paragraphs above. These flaws were to be expected, and I’d fill and fair these with epoxy during the next round of work ahead. The hardware that I’d glued in looked good all around, with plenty of space around the cylinders for epoxy, which was the next step.
Before I did that, however, I prepared fiberglass tape for the aft tanks, and installed it on the three edges required, covered with peel ply. Before installing the fiberglass, I filled any small voids in the plywood seams with a thickened epoxy mixture.
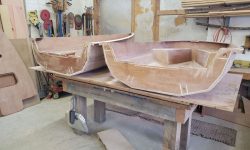
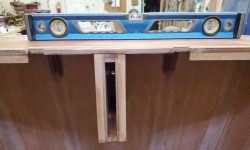
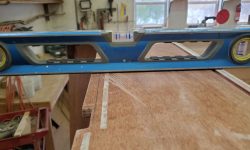
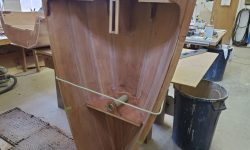
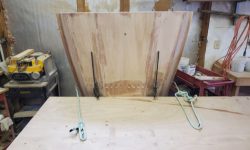
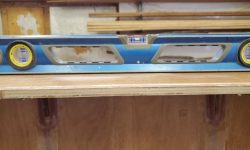
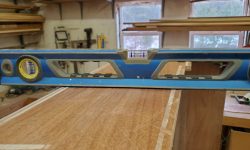
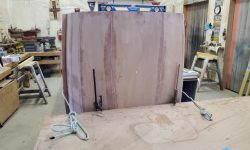
After vacuuming sawdust and cleaning up the main bulkheads, I set the two boat halves up on their ends, with the main bulkhead facing up, and leveled the bulkhead in both directions on each half. I rested the stem/transom on some rubber mats I had, and secured the two halves with clamps and some rope to ensure they couldn’t tip over; they were pretty stable and didn’t require active means to hold them upright.
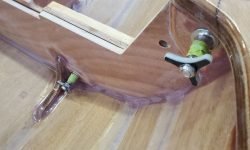
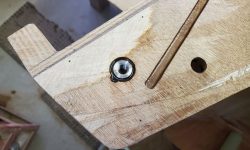
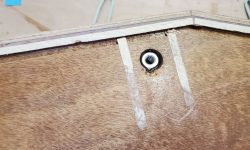
Working off a ladder, I used a syringe to inject unthickened epoxy into the slots around the hardware, working mainly from the half-moon-shaped feed slot on each location. I filled each of the eight locations to the top of the hardware, then went back over each as needed to ensure the recesses were full. As directed, I carefully used the syringe to dab some epoxy out onto the metal of the hardware at each spot, but staying away from the threaded holes and bolts. This was delicate, and I erred on the less-rather-than-more direction here.
I left that epoxy to cure overnight.
Total time billed on this job today: 6.25 hours


