November 26, 2024
PT11-23
Tuesday
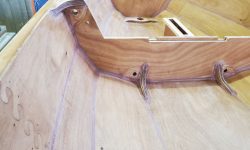
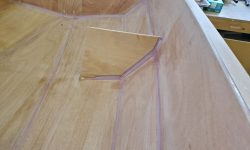
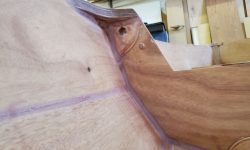
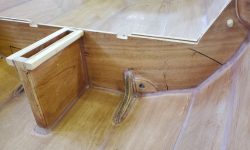
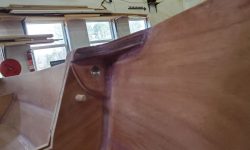
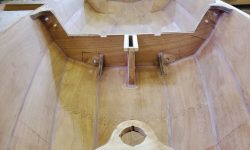
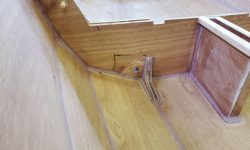
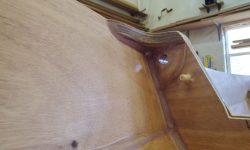
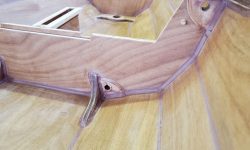
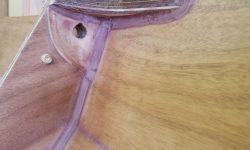
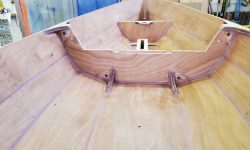
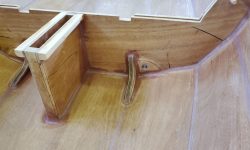
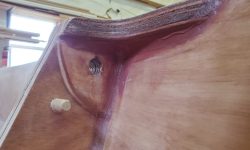
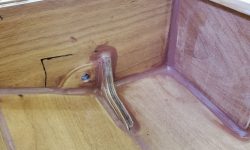
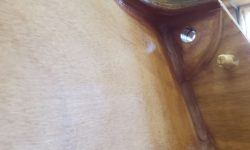
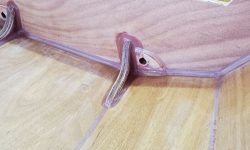
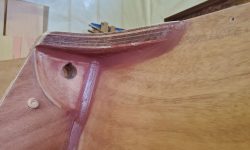
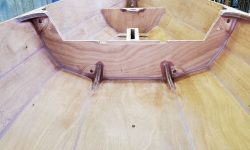
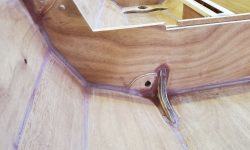
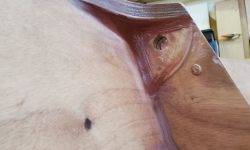
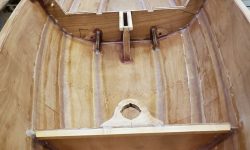
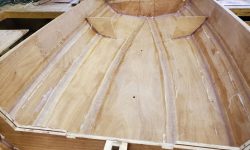
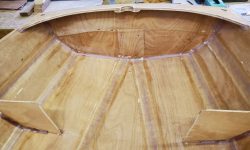
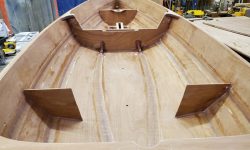
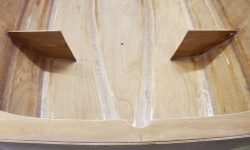
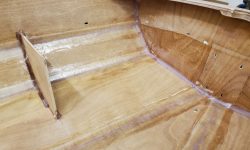
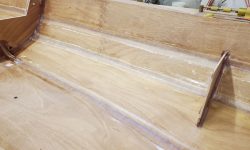
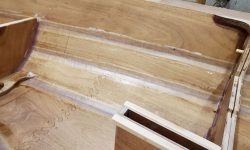
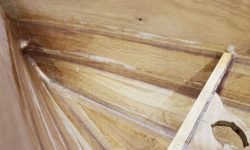
Since I used fast hardener for the fillets, I started by water-washing the new epoxy to remove any blush formation, after which I lightly sanded the fillets to clean up as needed, as well as the surrounding surfaces of hull and bulkhead. The fillets came out well overall and required little sanding other than as a preparatory step for subsequent work, but as expected, in some of the tight inside/3-way corners, I thought I might want to touch things up a bit.
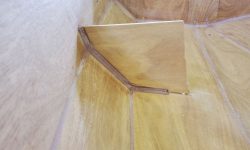
With a small batch of epoxy, I applied more to some of the problem areas, smoothing the repairs with a fingertip and cleaning up those inside corners. This touch-up focused on the corners where the gussets met the hull and bulkhead on each side, and the inside corner of the upper gussets. Cleaning up the corners made the fillets look better, and they’d be smoother once the boat was finished, but mostly they made me feel better too. I’d sand the new work lightly once it cured later.
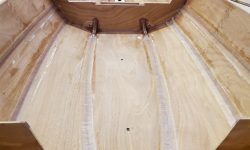
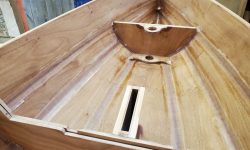
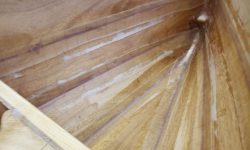
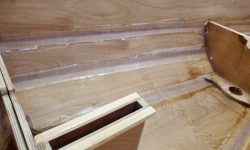
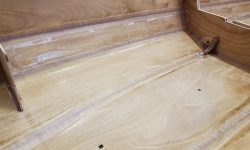
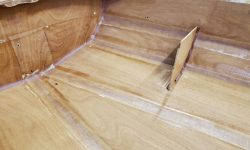
Now I was ready to move on to the day’s main event, which was installing the fiberglass tape over all the interior hull seams (chines). I’d prepared lengths of 2″ wide tabbing and peel ply for all the chines earlier; the manual helpfully gave all the lengths required, and while I took the time to measure a couple of the actual seams for confirmation, I found the published dimensions to be accurate. There were 22 tapes all told.
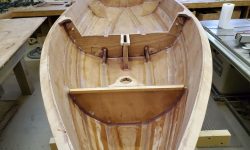
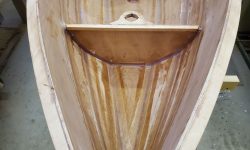
With the inside of the boat completely clean, and working from a wet-out station on a nearby bench, I installed all the tabbing over the remainder of the day, starting with the boat tipped to port for access and working from bow to stern, lowest chine to upper chine in each of the boat’s four compartments. When I completed the port side, I canted the boat the other direction and did the same thing on the starboard side.
I applied strips of peel ply over all the tabbing, which helped the fiberglass lay down well into the contours, but would mainly help provide the smoothest end result and ease the edge transitions between tape and hull. One might recall that all the hull panels were fiberglassed before assembly.
In hindsight, I wished I’d cut the peel ply a bit wider than I did. As it was, it was roughly 1″ wider than the tapes, giving me a theoretical 1/2″ (max) on each side, but in reality but a bit more on either side would have been helpful not only to ease alignment of the tape over the length, but to ensure plenty of the peel ply on both edges to taper the transition between fiberglass and hull. I cut the peel ply a little shorter shorter than the fiberglass tapes, and used short pieces to finish off where the tapes terminated at the bulkhead fillets on each end, since peel ply is not that adaptable to curves and contours. The white edges of the peel ply made the work look kind of ratty at this stage, at least it looked that way to me, but it was only temporary till the epoxy cured overnight, and I was confident with the condition of the actual tabbing itself and knew it would look good once revealed.
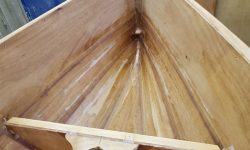
Note that in the bow compartment, the two lowest chine tapes overlapped one another at the stem, and, anticipating this as I installed the first–port–side, I cut back the peel ply there upon installation so that when I installed the starboard tape later, it overlapped the fiberglass only on the tape beneath.
Total time billed on this job today: 6.5 hours


