November 22, 2024
PT11-21
Friday
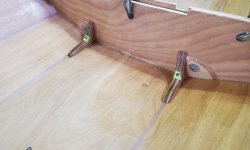
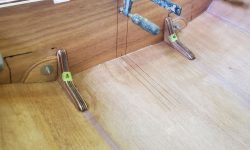
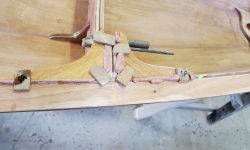
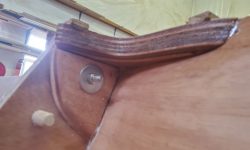
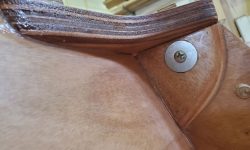
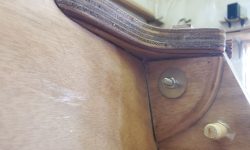
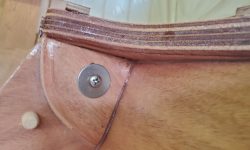
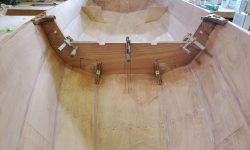
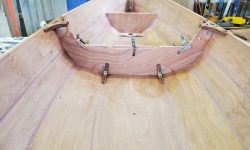
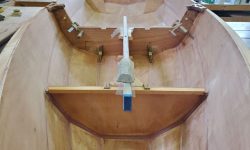
With the main bulkhead installed and cured overnight, my next task was to install the eight supporting gussets. Made from plywood, and pre-shaped and -rounded from the kit, these gussets provided the crucial structural support required to ensure the boat was stiff and secure in two halves, both when mated and separated.
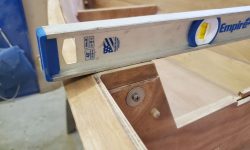
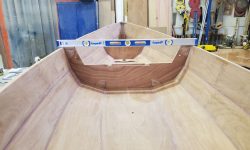
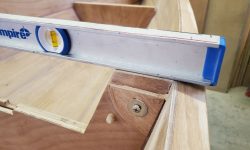
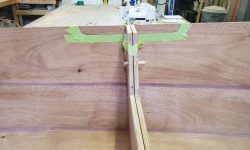
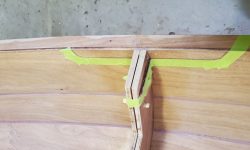
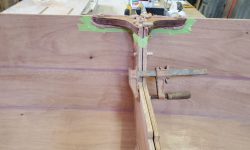
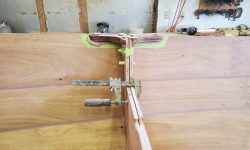
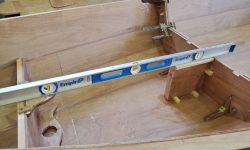
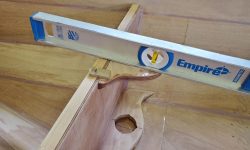
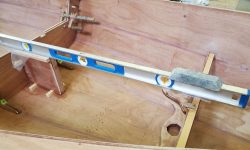
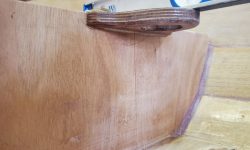
First, I used a straightedge held across the boat at the bulkhead to sand down the top edges of the bulkheads on each side so they were flush with the top edge of the hull, as installed, the bulkhead sections were slightly proud, but had to be just flush before installing the gussets.
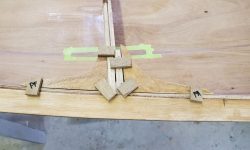
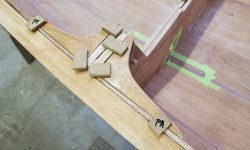
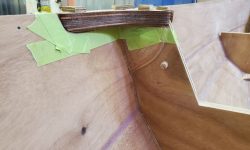
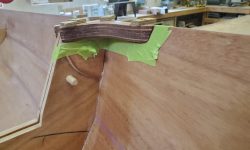
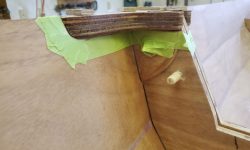
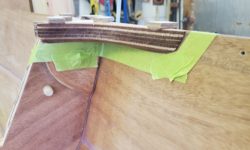
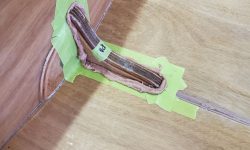
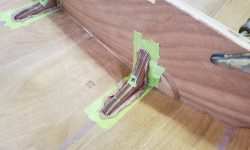
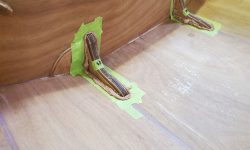
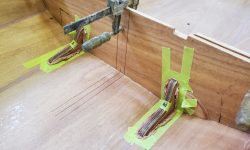
Earlier, I’d coated the gussets with one coat of epoxy, and now I lightly sanded as needed to prepare them for installation. Beginning with the lower gussets, which went on either side of the bulkhead and adjacent to the pie-shaped doubler plates on the bulkheads, I dry-fit the gussets, marked around them, and masked off the surrounding hull and bulkhead.
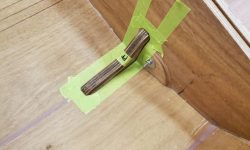
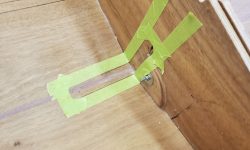
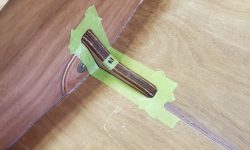
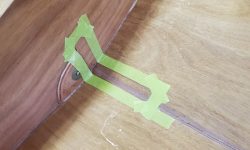
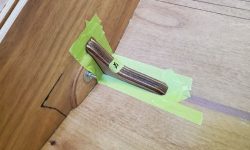
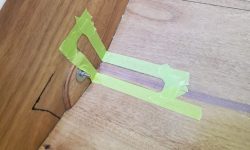
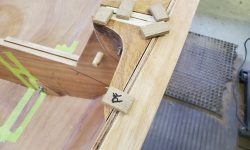
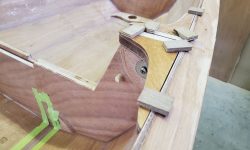
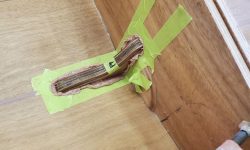
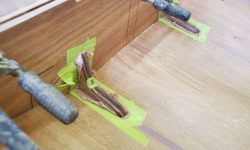
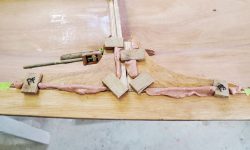
The other pair of gussets were to be located on each side of the bulkhead at gunwale level. To help hold these in position and flush with the gunwales, I installed small alignment blocks with hot glue and, as before, marked around each gusset and then masked off the hull and bulkhead around.
I installed the four lower gussets first. I primed the plywood edge grain and faying surfaces in the hull, then installed a heavy layer of very thick epoxy adhesive to the gussets, pressing them tightly into place and ensuring good epoxy squeezeout all around. I carefully cleaned up the excess epoxy, taking care not to disturb the position of the gussets in the process. Only the thickness of the adhesive held the parts in place during curing. For the gussets, I chose to use shop epoxy, with fast hardener, to help ensure the glue tacked up more quickly to avoid undue disturbance, and to allow me to install a couple other things in the boat later in the day.
I repeated the process with the two upper pairs at gunwale level. As usual, the gluing mix included high-density filler and cabosil for strength and workability.
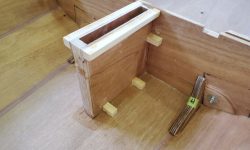
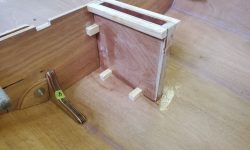
After lunch break, I felt comfortable working on the daggerboard trunk installation. Unclamping the top cleats, I rounded the lower corners of the cleats, cut them to length, and lightly sanded the piece as needed. The instruction manual called for another coat of epoxy on the exterior surfaces of the trunk now, but that would take a whole extra day, and I didn’t see why that couldn’t wait till after installation. Installing the trunk now would allow me also to install the upper section of the mast partners, and having both in place would advance the project significantly next time.
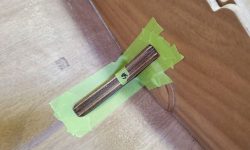
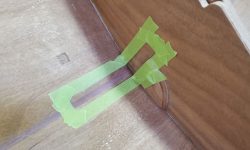
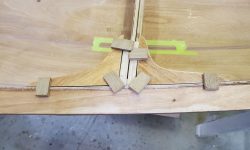
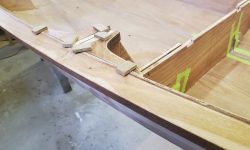
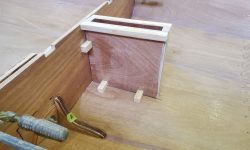
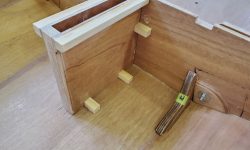
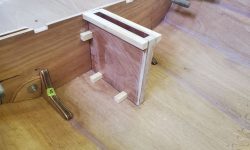
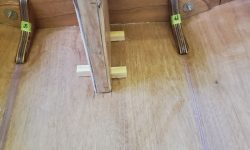
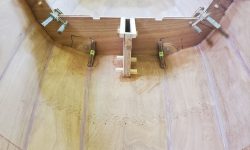
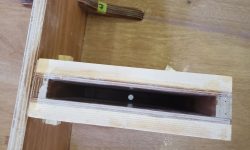
With the daggerboard trunk in place dry, and aligned with the alignment marks on the hull and forward side of the bulkhead, I installed six glue blocks to align and hold the part. Before final installation, I drilled a 1/2″ hole through the bottom on centerline, in the general fore and aft center of the trunk, to allow me to use a pattern bit and router to make the opening from the outside later. I installed the trunk in the usual way, with adhesive on the bottom and bulkhead sides and relying on the glue blocks to hold it in the proper place while the epoxy cured.
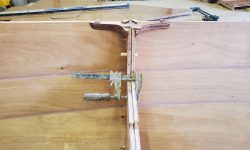
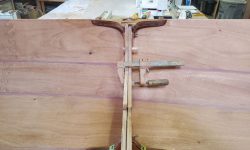
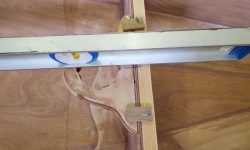
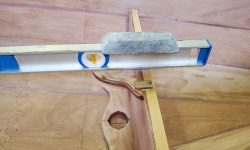
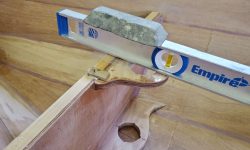
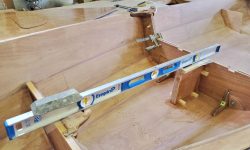
With the bulkhead and daggerboard trunk now in place, everything required to properly align the upper mast partners was in place. Some time ago, I’d coated and otherwise prepared this small part for installation, so it was ready to go now. With a couple temporary alignment blocks to hold the upper mast step in place on the bulkhead, I used a straightedge to determine the plane of the foredeck from the mast bulkhead to the daggerboard trunk and midships bulkhead, and aligned the top of the mast step with this. Satisfied with the dry fit, I epoxied the upper step in place, keeping the straightedge in place to ensure the part cured in the proper orientation.
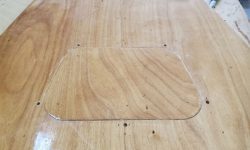
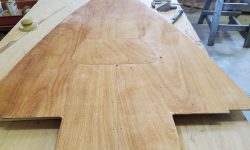
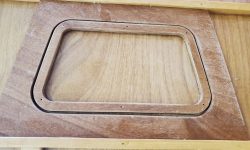
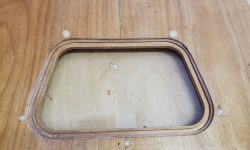
Before ending the week, there were a few things I could do on the foredeck. It took some minor sanding to get the hatch cover to fit in the opening in the foredeck, what with the various epoxy coating that had occurred, but soon it fit as intended. Then, as directed, I redrilled the five holes around the opening (I’d drilled these from the bottom side before installation of the hatch coaming) to a depth of 5/8″, coated the insides with epoxy, and filled them slightly overfull with a thickened epoxy mixture, leaving this to cure. I’d sand this flush when I sanded the top surface of the foredeck soon.
Total time billed on this job today: 6 hours


