November 18, 2024
PT11-17
Monday
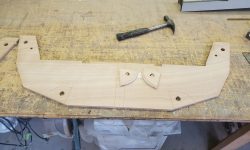
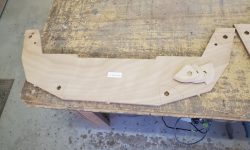
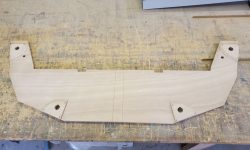
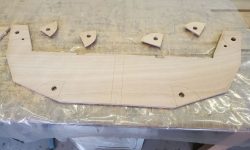
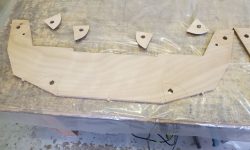
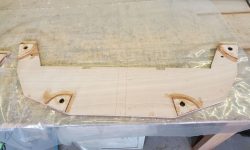
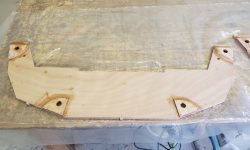
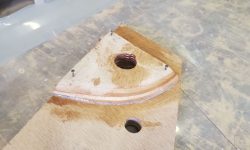
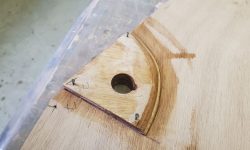
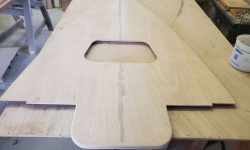
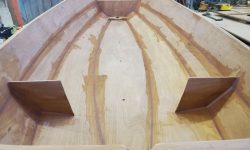
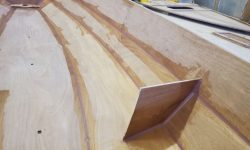
The two main bulkhead sections required several steps before they’d be ready for final installation, beginning with preparing and installing some pie-shaped reinforcements over the fastener locations. These four openings would eventually be the key to the connection of the two halves of the boat.
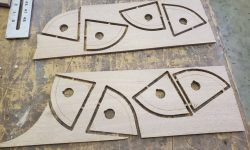
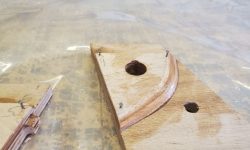
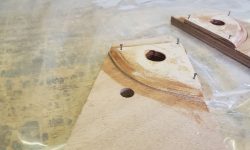
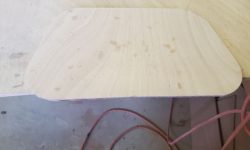
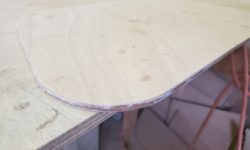
These reinforcements began as a punch-out set of cutouts from 1/4″ plywood panels, Once I’d removed the eight pieces and cleaned up the edges a bit, I sanded a bevel on the curved side of each piece, as directed.
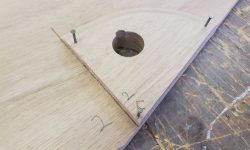
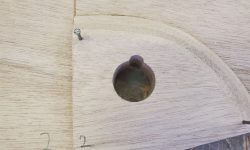
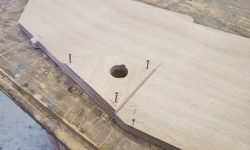
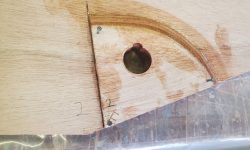
The small reinforcements were labeled as to which of the two bulkheads they fit–forward or aft–but each had to be located according to which hole it fit; each hole had a little keyway, for lack of a better word, and each reinforcement fit only in one place. There were scribe marks on the bulkheads to show how the pieces needed to be aligned. Once positioned, after ensuring that the hole lined up perfectly, I drove three small nails through the pads and part way into the bulkhead to help align the pieces now and during gluing presently.
Removing all the pads, I coated all the bonding surfaces with epoxy as a primer, then mixed a thickened epoxy batch for final adhesion, thick enough to hold the pads without clamping (the small nails provided some clamping power, though they weren’t driven in all the way). I cleaned up the excess epoxy and left the assemblies to cure.
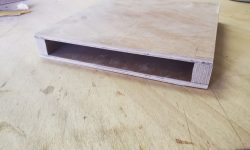
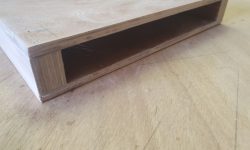
Next, I turned to the daggerboard trunk, which was all glued up. Now I cut off the excess trunk logs from the top and bottom, holding the saw flush with the t ops of the panels, and lightly sanded the cut ends as well as the two narrow vertical sides of the assembly to remove any epoxy drips. The daggerboard trunk was ready for installation as soon as the main bulkheads were permanently installed.
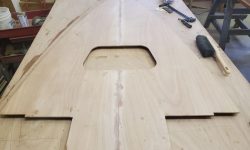
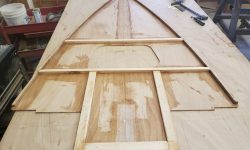
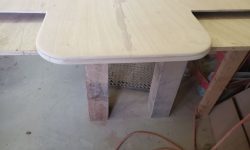
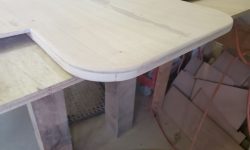
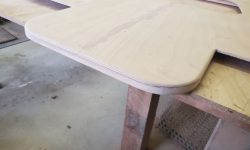
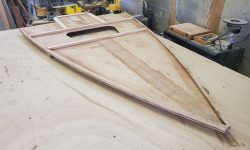
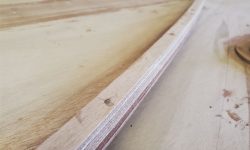
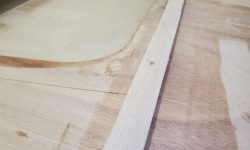
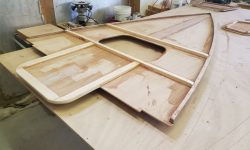
The foredeck and hatch required several additional steps. I’d removed the nails from the foredeck cleats over the weekend, and now I trimmed the excess cleats where they protruded past the seat tongue, and milled a rounded edge on the top side before sanding the areas clean.
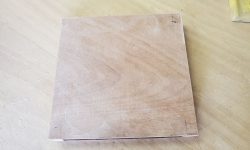
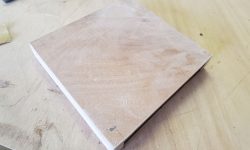
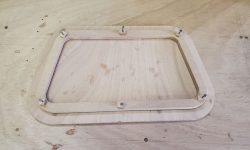
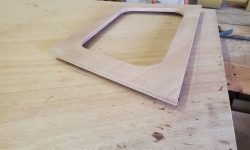
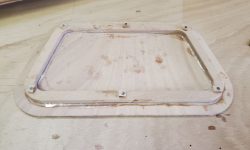
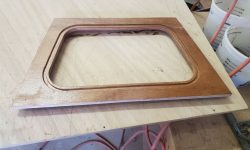
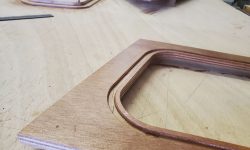
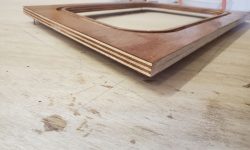
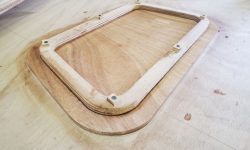
Next, I trimmed the excess fiberglass from the narrow hatch edge and block sanded the remnants flush with the hatch surfaces on both sides. I performed several minor preparatory steps to the hatch frame and hatch collar–mostly light sanding–and set these parts up for epoxy coating and initial assembly. Both sides of the hatch frame would receive a coat of epoxy before installation, and the hatch itself required the inner collar/reinforcement to be installed first with epoxy as well.
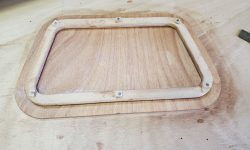
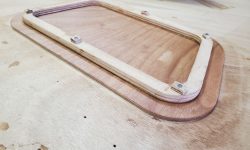
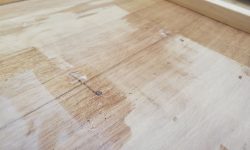
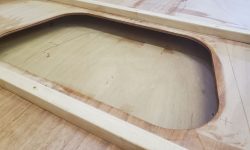
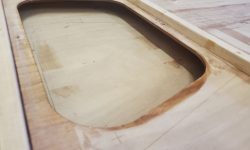
With all the setup and other preparations complete, I turned to some epoxy work, and coated the hatch parts as needed (the frame had both sides coated at once, and held off the bench with cutoff nails driven into the bench), glued the hatch collar to the bottom of the hatch using six of the plywood nailing pads to secure it flat to the bench, then applied the first of two coats of epoxy to the edge grain at the hatch cutout in the foredeck, and filled the nail holes in the underside of the foredeck with epoxy. Late in the day, I applied a second coat of epoxy to this hatch opening edge.
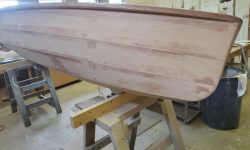
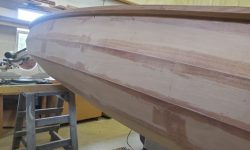
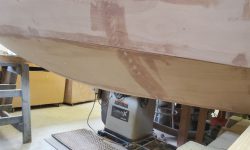
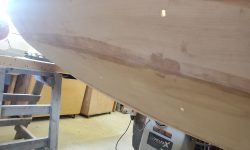
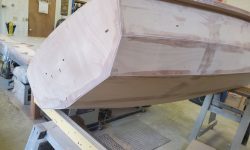
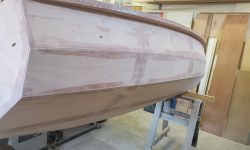
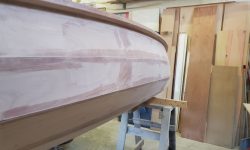
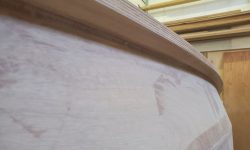
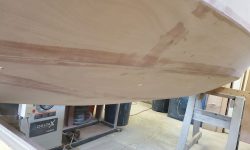
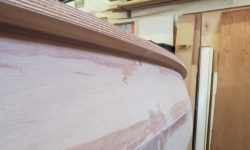
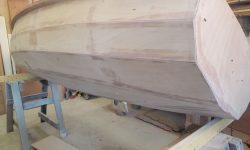
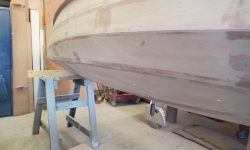
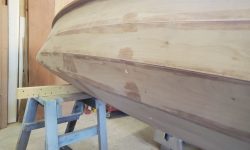
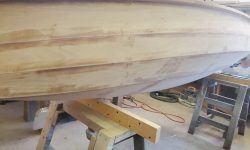
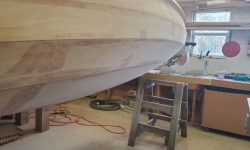
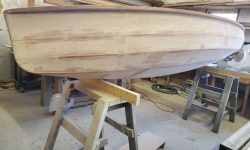
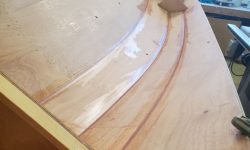
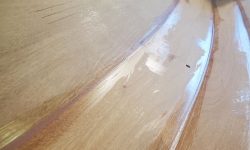
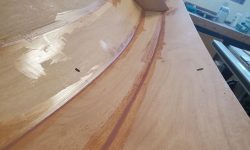
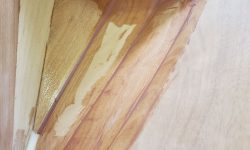
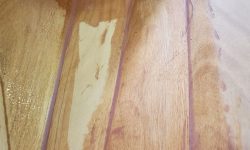
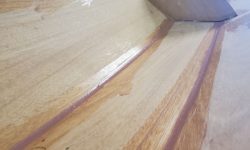
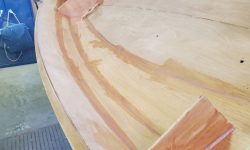
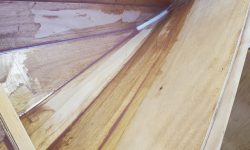
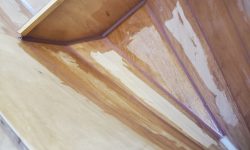
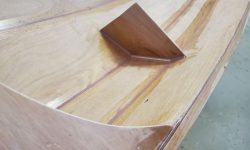
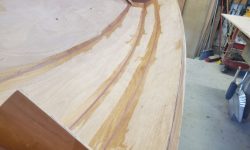
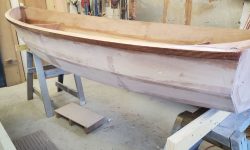
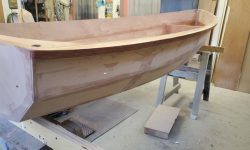
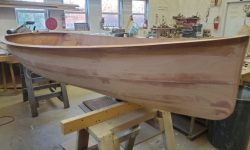
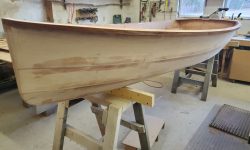
With the various sub-assembly parts all taken as far as they could for now, I spent the remainder of the day working on the hull, starting with sanding as needed the latest epoxy work on the hull seams and gunwale fillets. I forgot to take photos of this work before I turned the hull upright (though I took video that will be published when the time is right), so I had to settle for the following photos that I took from each side when I had the hull propped up to do work on the interior chine fillets. The bulk of the work on the exterior of the hull was complete at this point, though there’d be some minor touch-ups and fine-tuning before doing the hull sheathing sometime later.
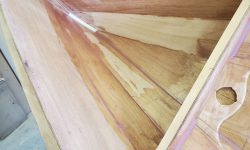
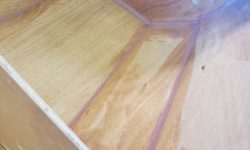
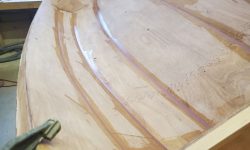
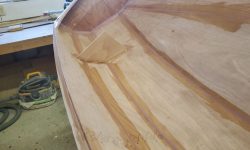
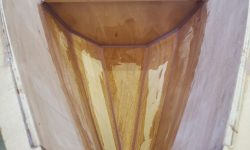
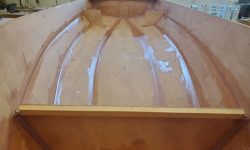
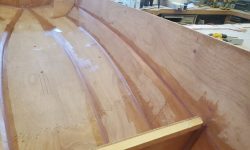
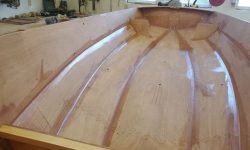
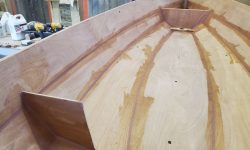
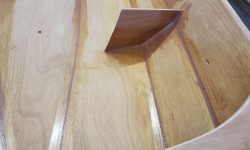
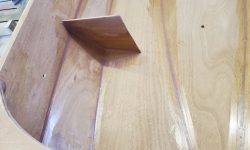
I turned the hull upright and after final preparations installed all the fillets on the hull chines. These were small fillets to fill the insides of the seams and ease the transitions so the chines could be taped with fiberglass soon, but not till after the main bulkheads were permanently installed.
To finish up the day, I applied another coat of unthickened epoxy to the edges of the gunwales.
Total time billed on this job today: 7.5 hours


