

June 7, 2018
Handy Cat 6
Thursday
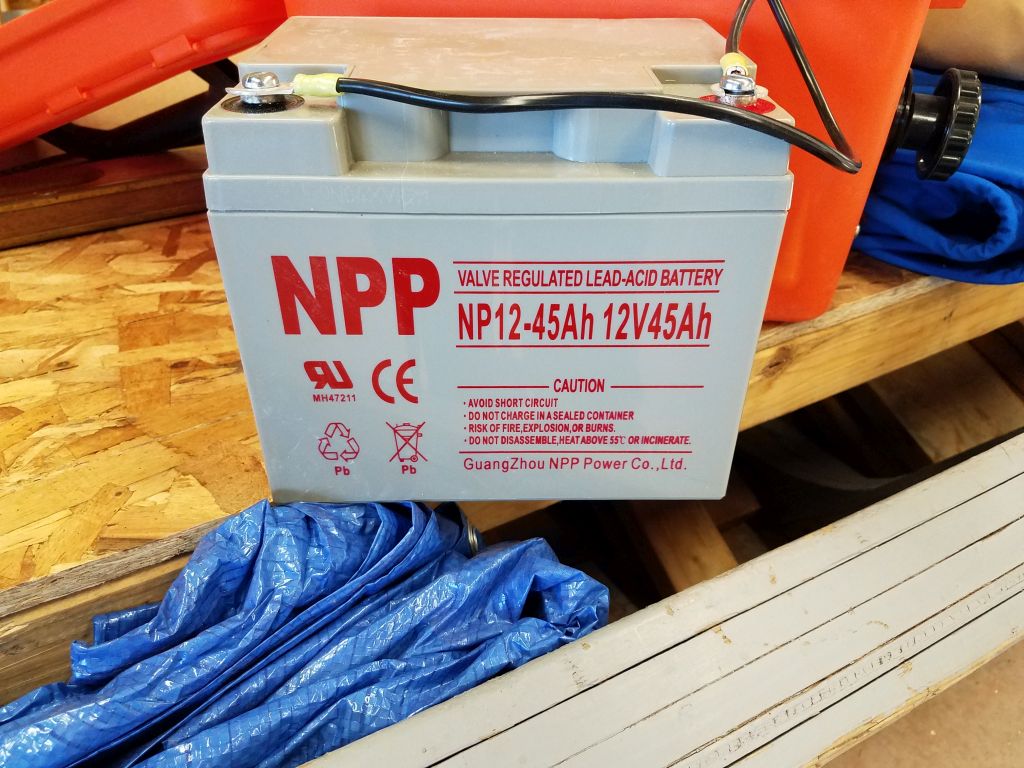
With sailing season now beginning, it was time to put the new electric motor to the test in the real world. To finish up the basic preparations, I purchased a small tractor-sized deep-cycle battery rated at 45 amp-hours–the largest one that would fit in my plastic control/battery box, and with the highest rating I could find. The battery came without terminal screws, and it took some trial and error before I determined they were M6 thread. What I really needed were cap screws, but for the moment I settled on what I could find locally, which worked fine but didn’t give much of a purchase for battery charging cables, which I expected to need frequently to keep the battery at full capacity.

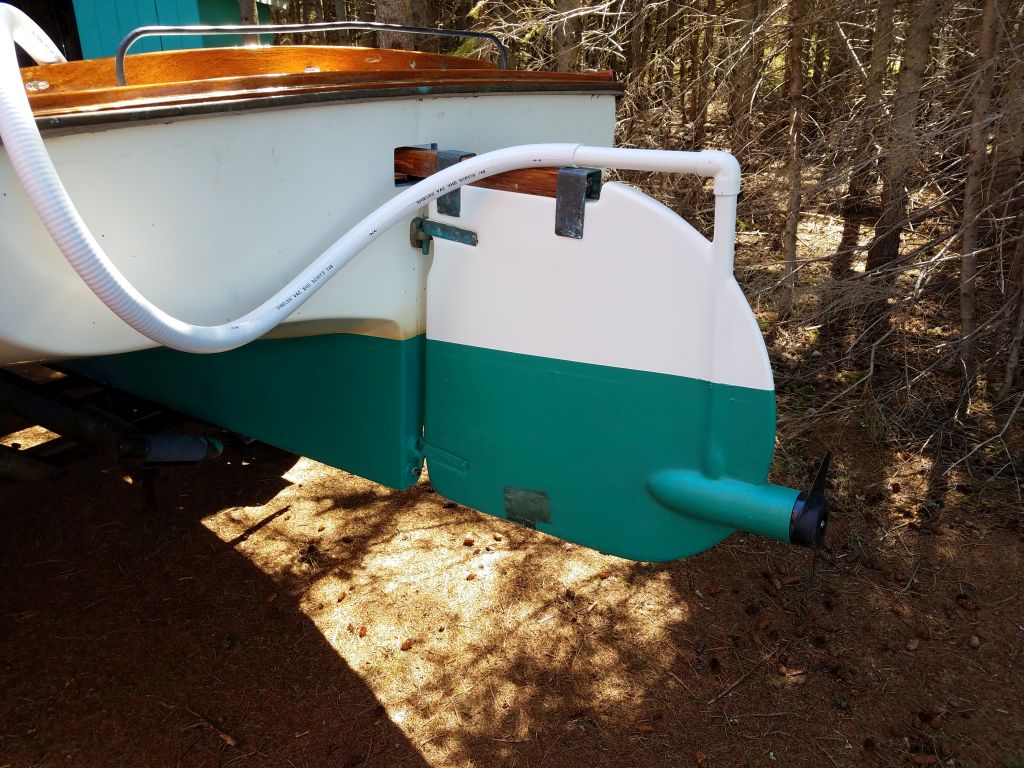
The white hose I’d selected as a conduit for the motor wiring off the rudder was a bad choice (I don’t know why I think that white sanitation hose is ever satisfactory for any use), and turned out to be too inflexible to work as I’d hoped. Instead of providing a clean, minimally-invasive wire conduit, the stiff hose, which retained a memory of its being coiled too tightly when I ordered it from the supplier, was bulky and awful, and would not be tenable for long. For now, it’s what I had, but I planned to replace it as soon as I could.
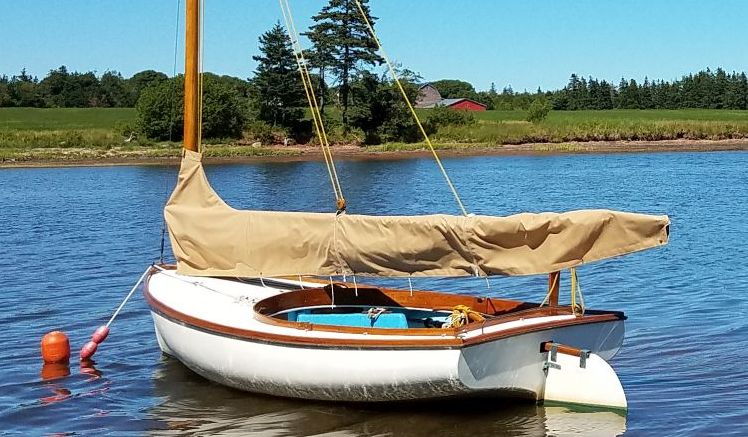
Once I launched and rigged the boat, I took her out on a calm day for a real trial. I was really pleased with how well the little motor worked. There was ample power, and I found that once I got the boat moving in whatever direction using one of the higher speeds (4 or 5 out of 5), I could turn the speed well down and the boat still moved well. This should reduce battery drain, I hoped. With no experience with trolling motors, I really didn’t know what to expect in terms of battery usage, though I knew the battery I’d selected was small–about half the capacity of even a basic car-sized starting battery.
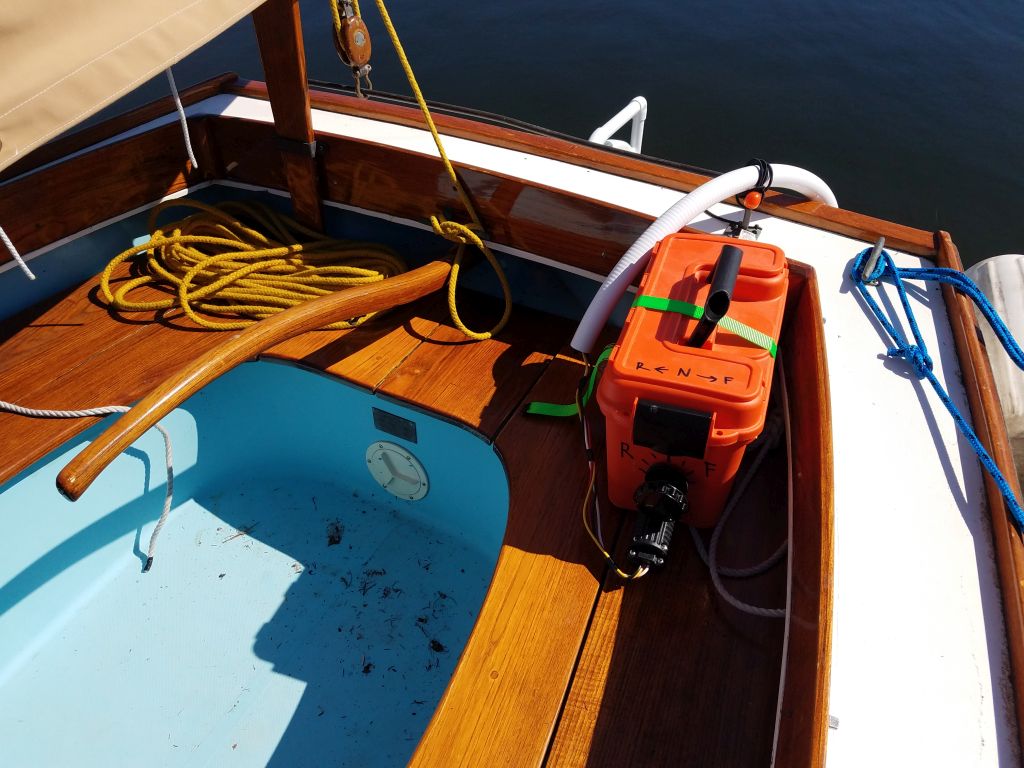
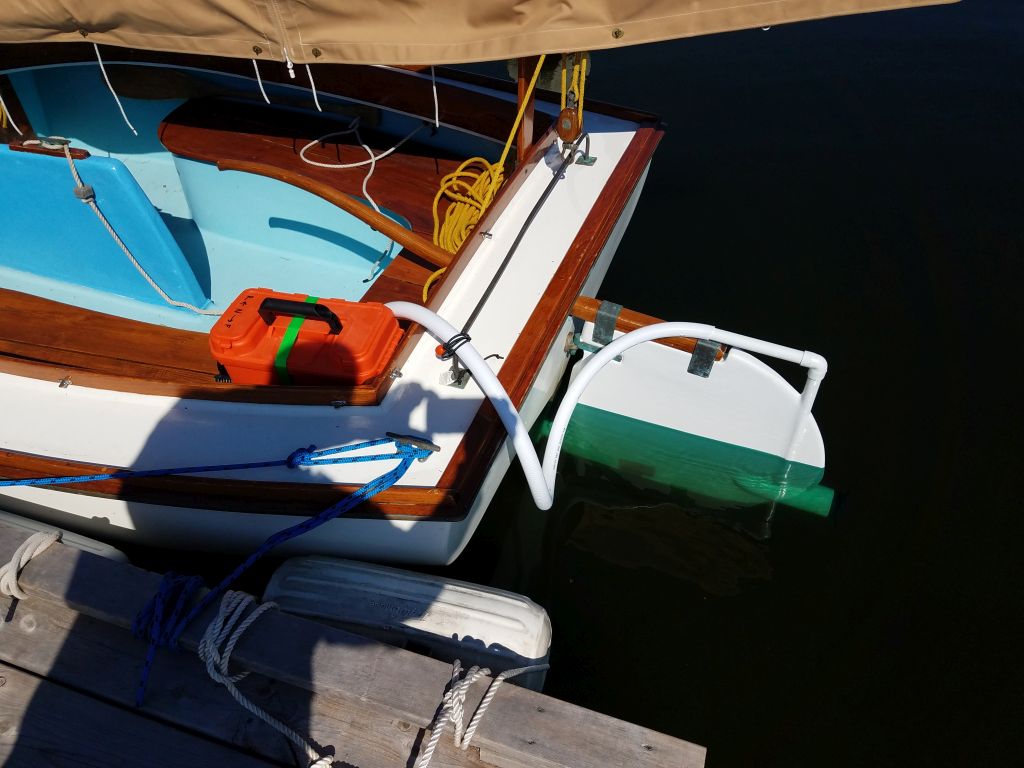
Initially, I’d not had any markings on the control box to show which way to turn the knob, or where the graduations were. This was highly confusing during my launching, when I used the motor briefly to dock the boat. So I made some simple markings on the box, seen in the video below, and later (post-video) I used some white paint to make a tick mark on the knob itself to help register it in whatever position. It wasn’t easy to take video in a way to give much of a sense of things, and I didn’t want to create one of those awful shaky videos that would have happened if I’d tried to manipulate the controls, or somehow get better angles, so this short video is what you get for now.
The worst-case scenario is that I end up needing a larger battery, which I’d then have to install somewhere at the aft end of the cockpit, and which might be less convenient overall. I liked the idea of the control box/battery compartment all in one like I’d conceived it, so I hoped it would work. Further testing in real use will determine whether the battery has the capacity I need. Normal usage will include departing the dock and getting out a narrow channel, probably about 5 minutes’ use at the onset, and then the same thing on the way in. (This all assumes that, as experience seems to have shown, I will be unable to easily sail in either direction.) No harm will come if the battery dies before I’m ready, but it’ll just be inconvenient. The water is mostly shallow, and worst-case is that I point the boat to the nearest shore and walk her home from there. I shan’t be miles from home ever in this boat anyway.
Further updates later as things settle out. The season is just (barely) starting.