

January 27, 2018
Handy Cat 3
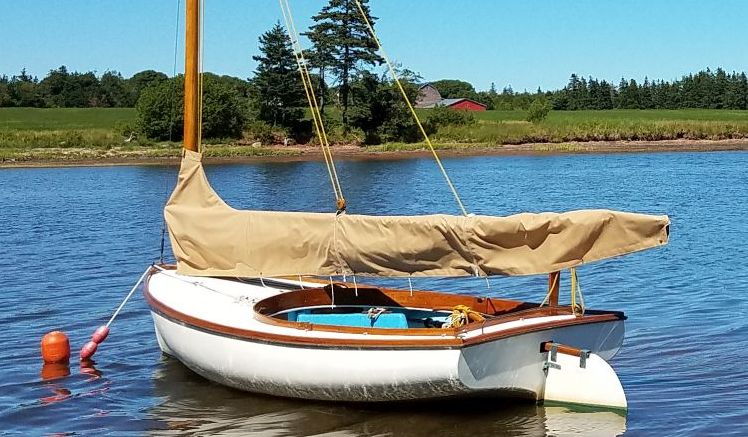
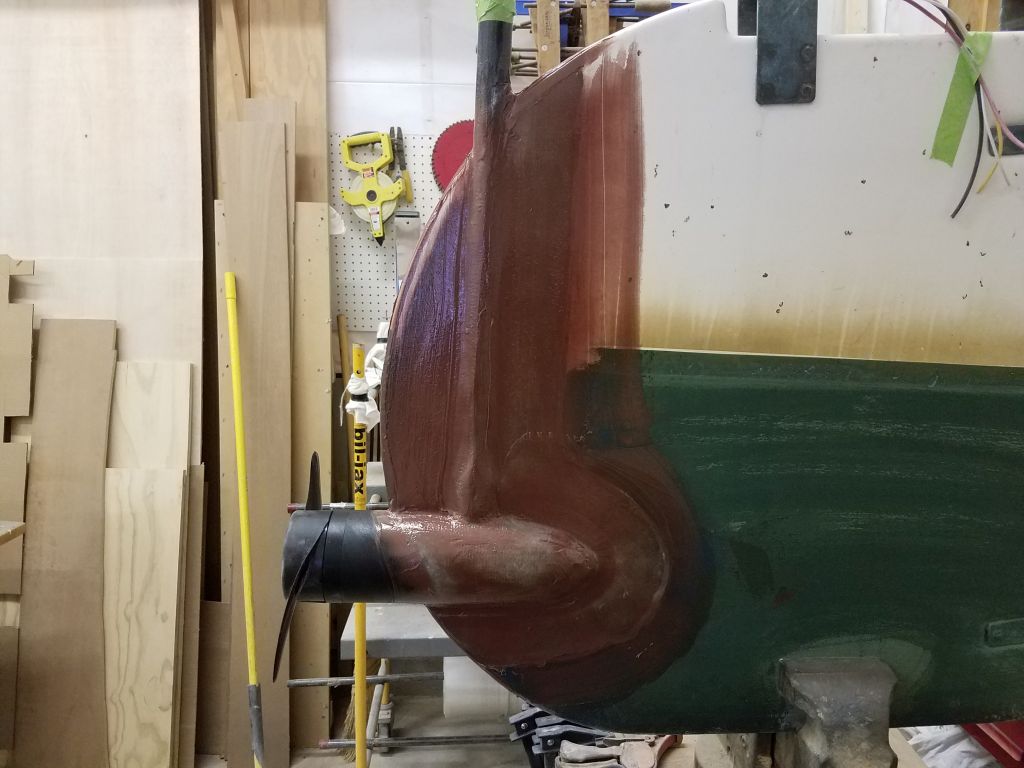
Continuing the project in short bursts over several different days, I kept up the work on the rudder, starting with sanding the fresh fiberglass to smooth and begin to fair it in with the surrounding surfaces.
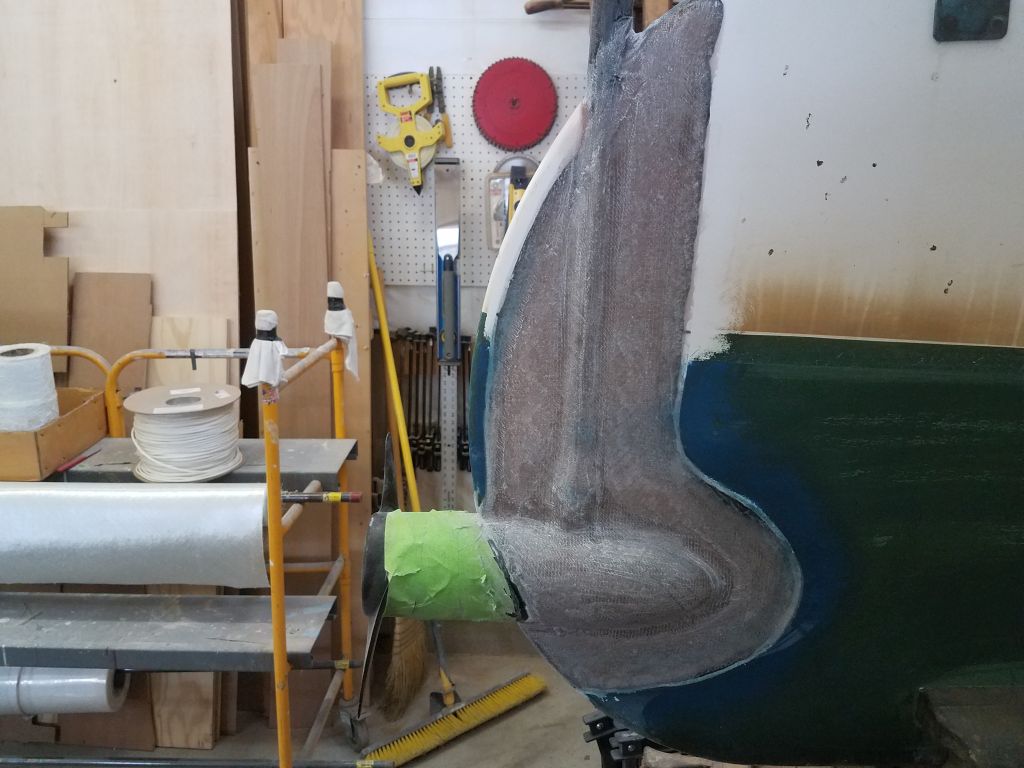
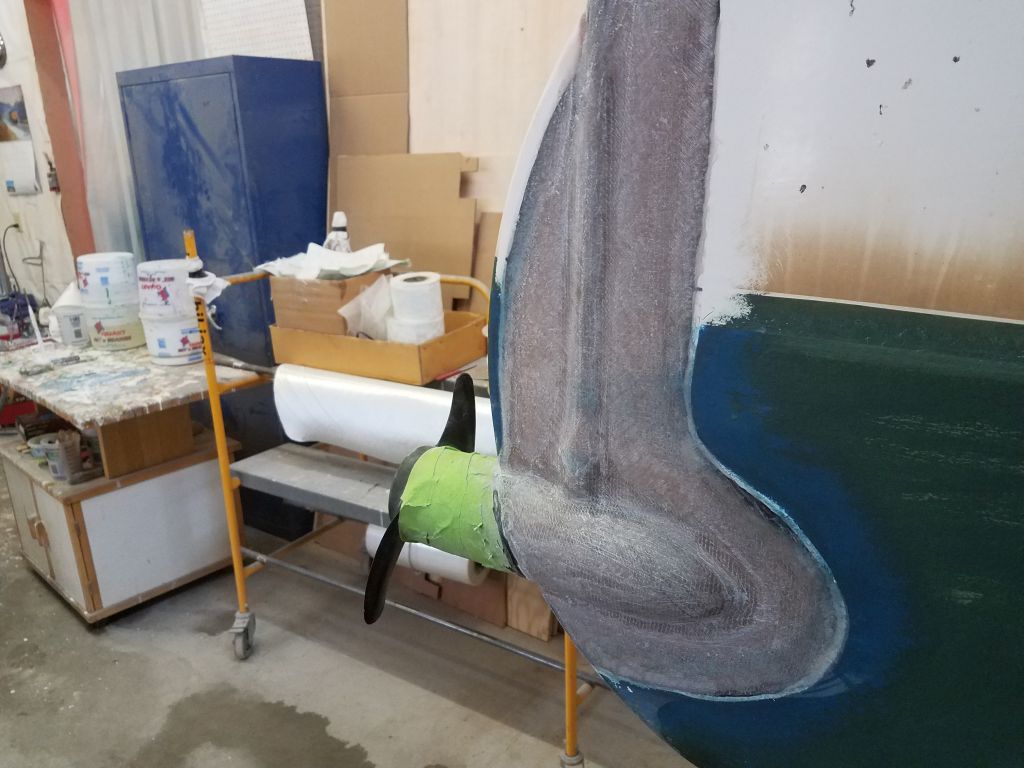
The new fiberglass was mainly smooth and flush with the adjacent surfaces, but to fill the cloth weave and take care of minor low spots, I applied a coat of epoxy fairing filler over the new work.
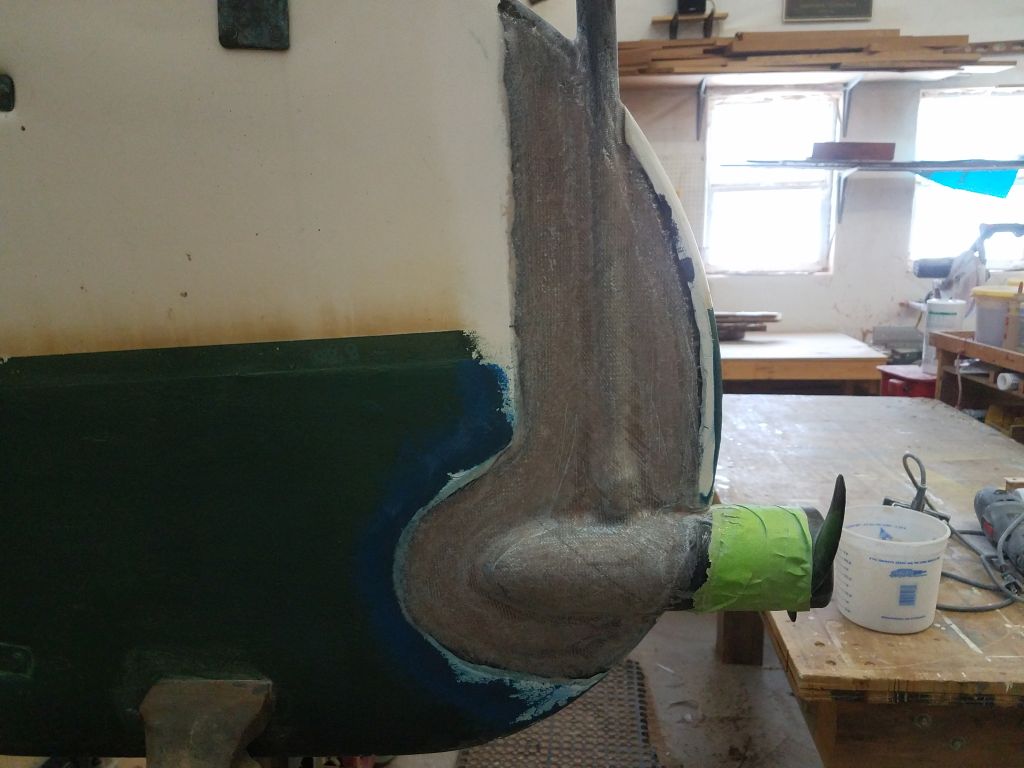
Later, once the filler had cured sufficiently, I sanded once more, bringing the new work nearly to its final contours.
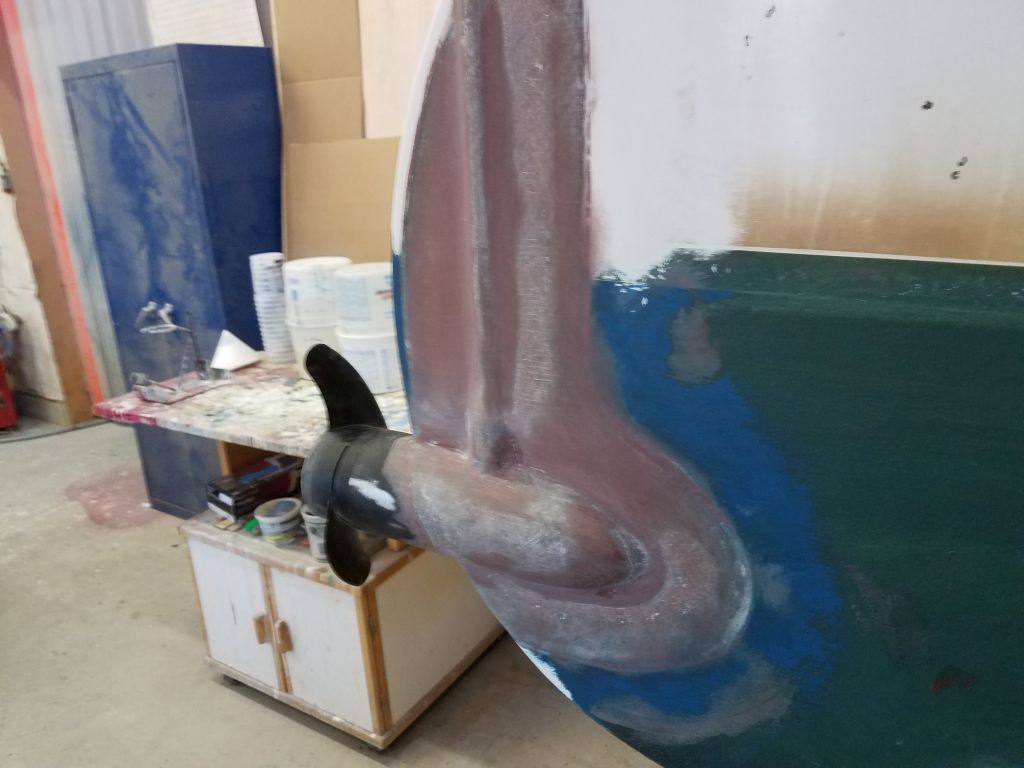
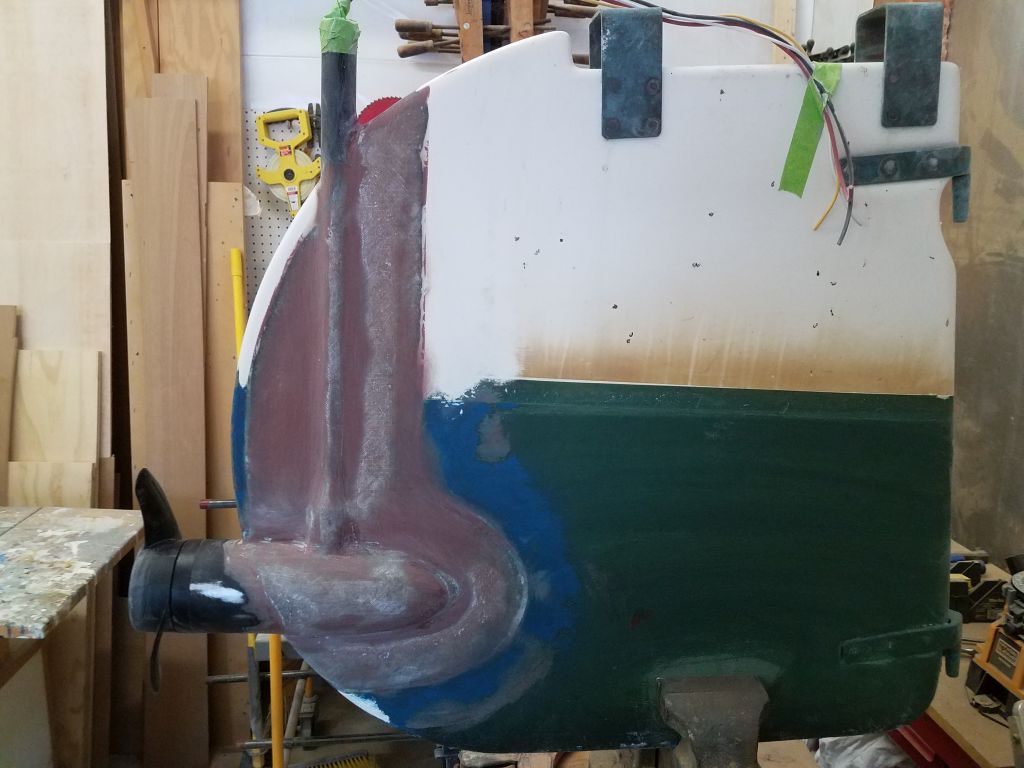

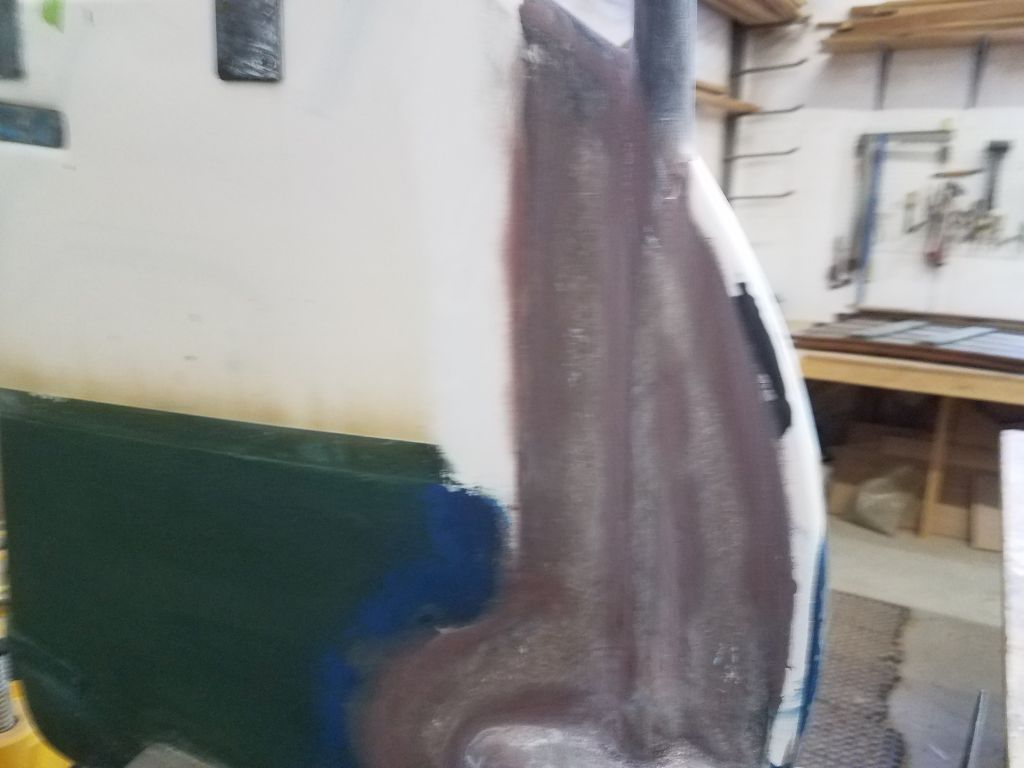
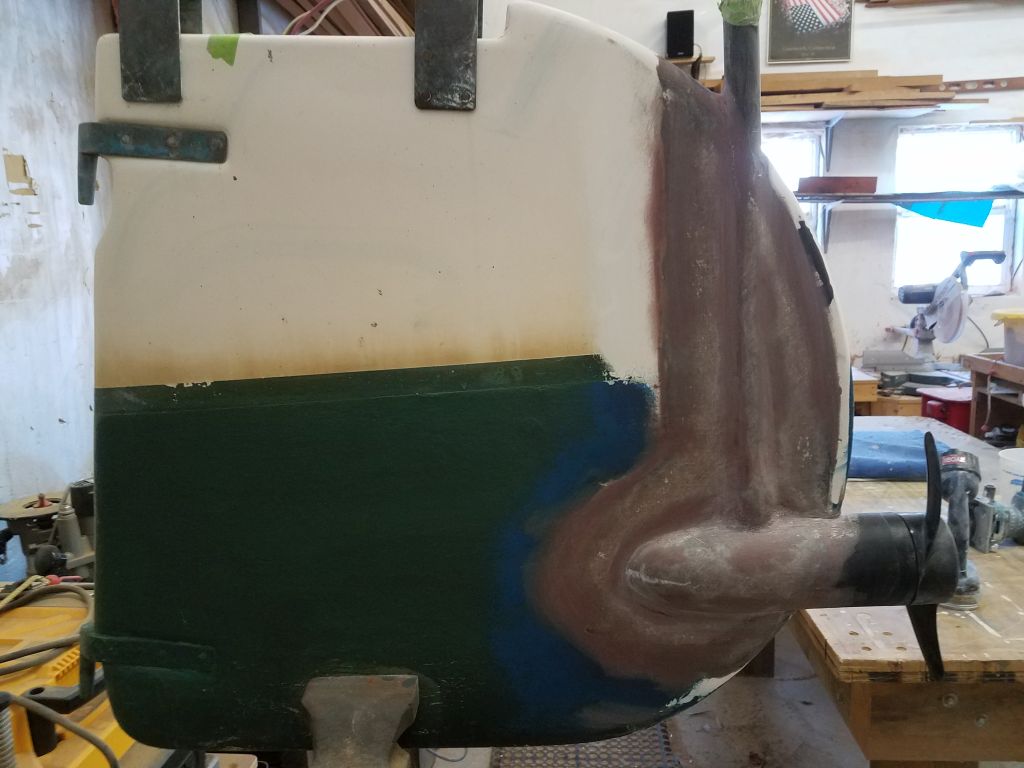
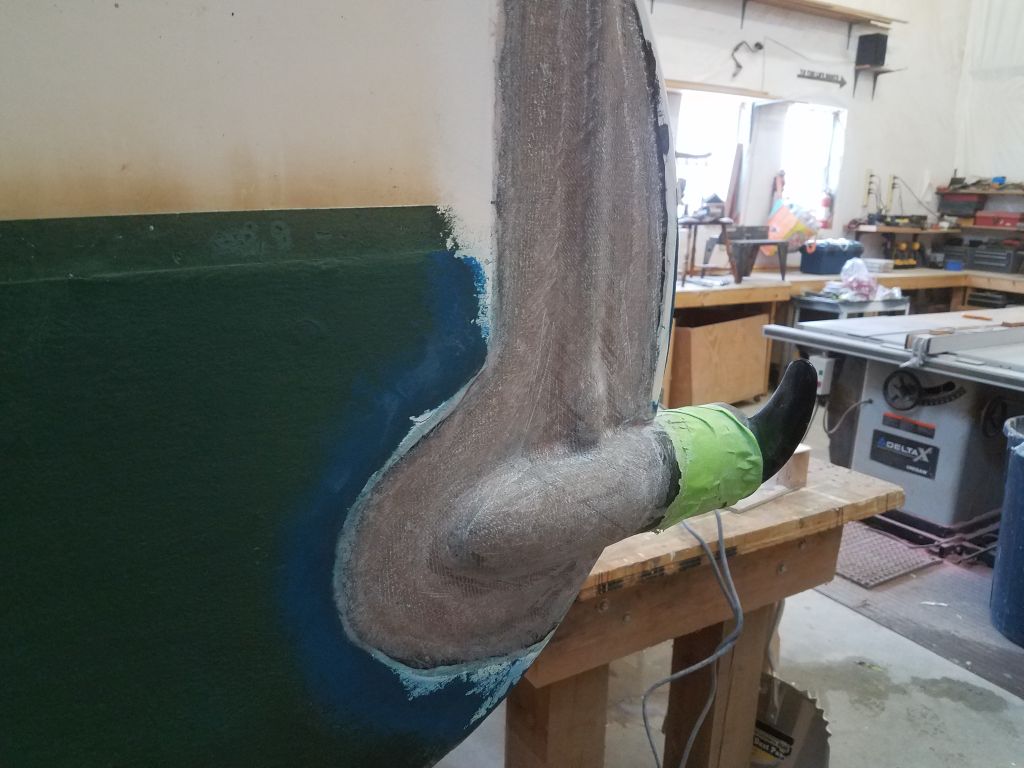
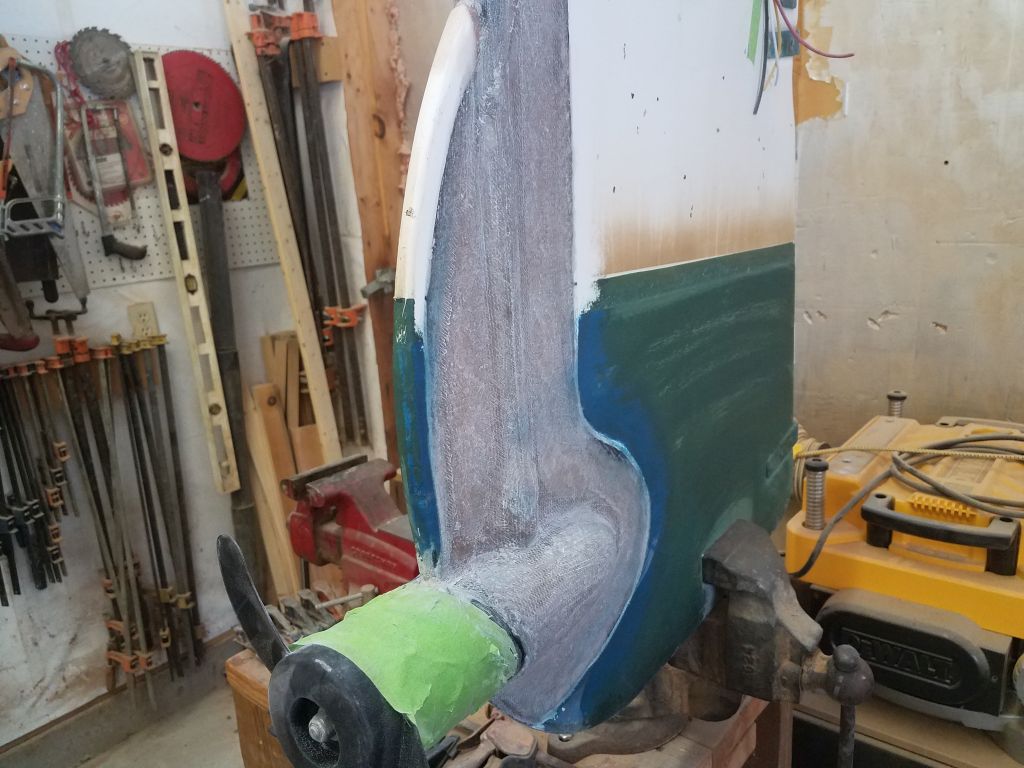
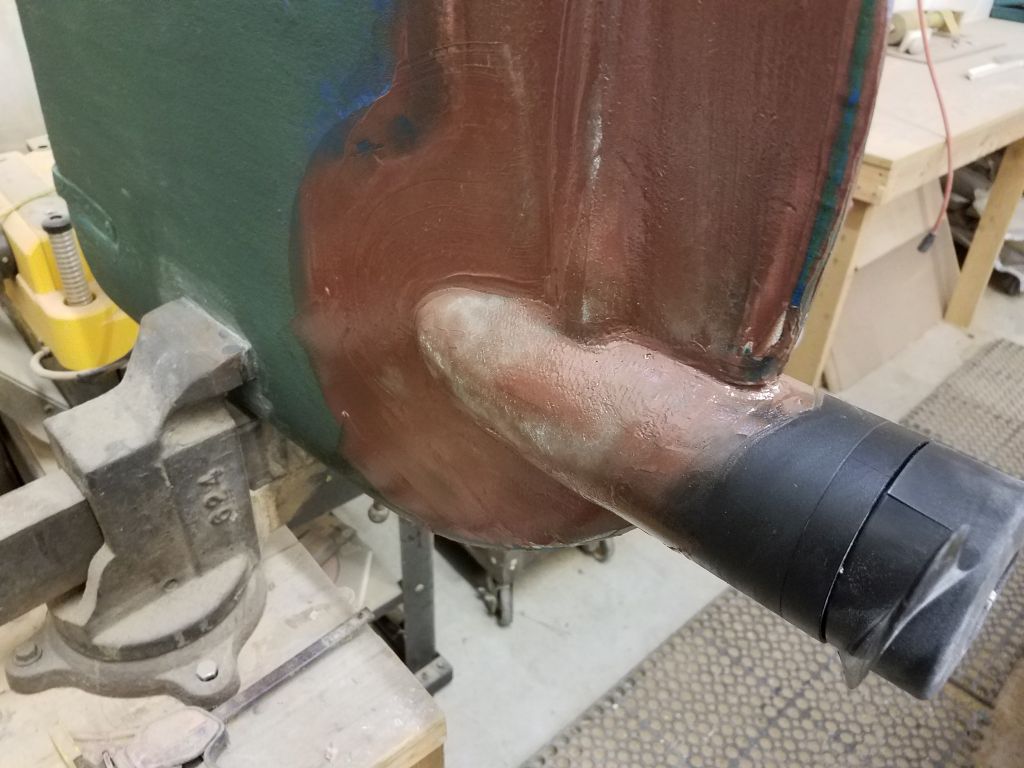
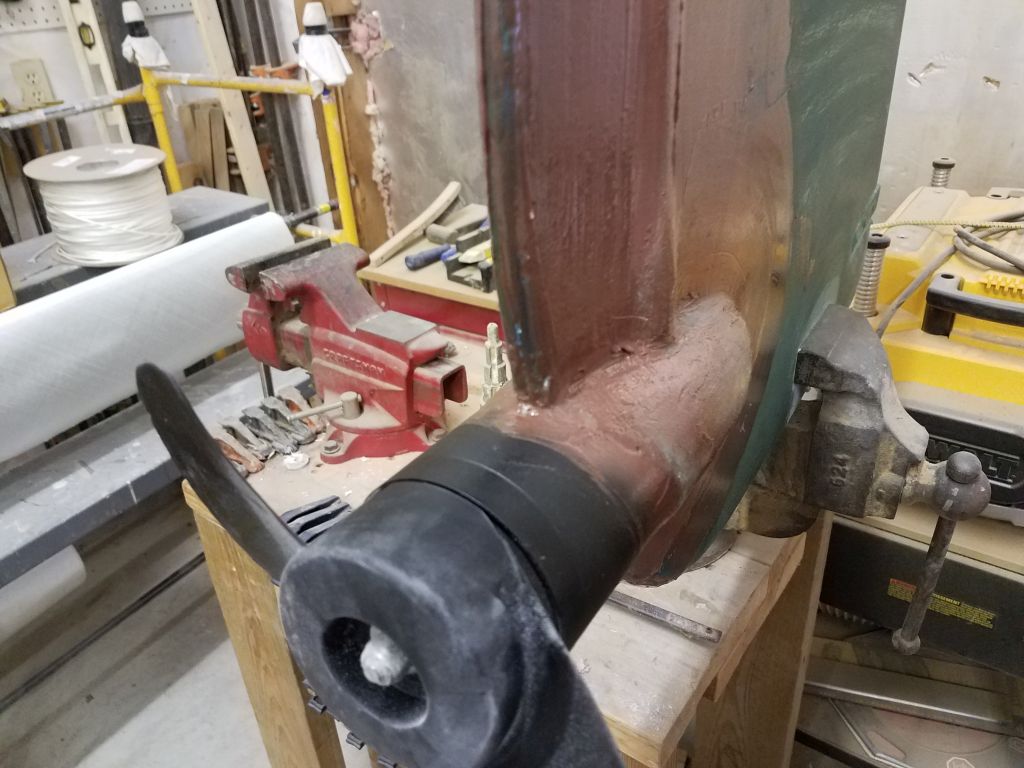
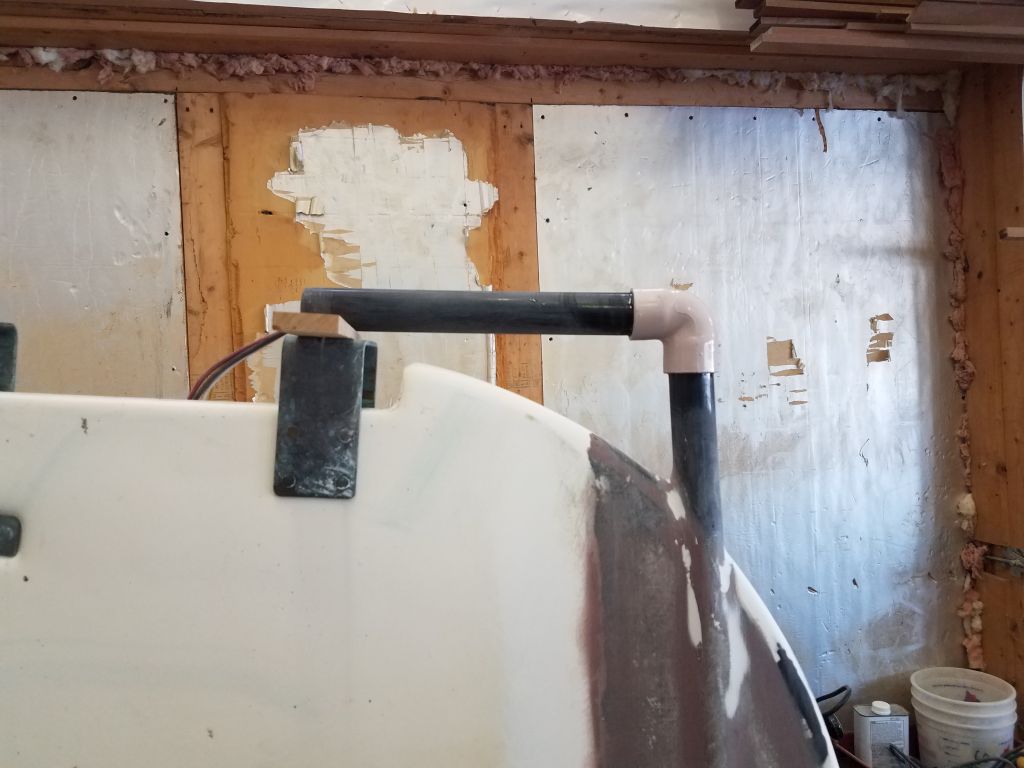
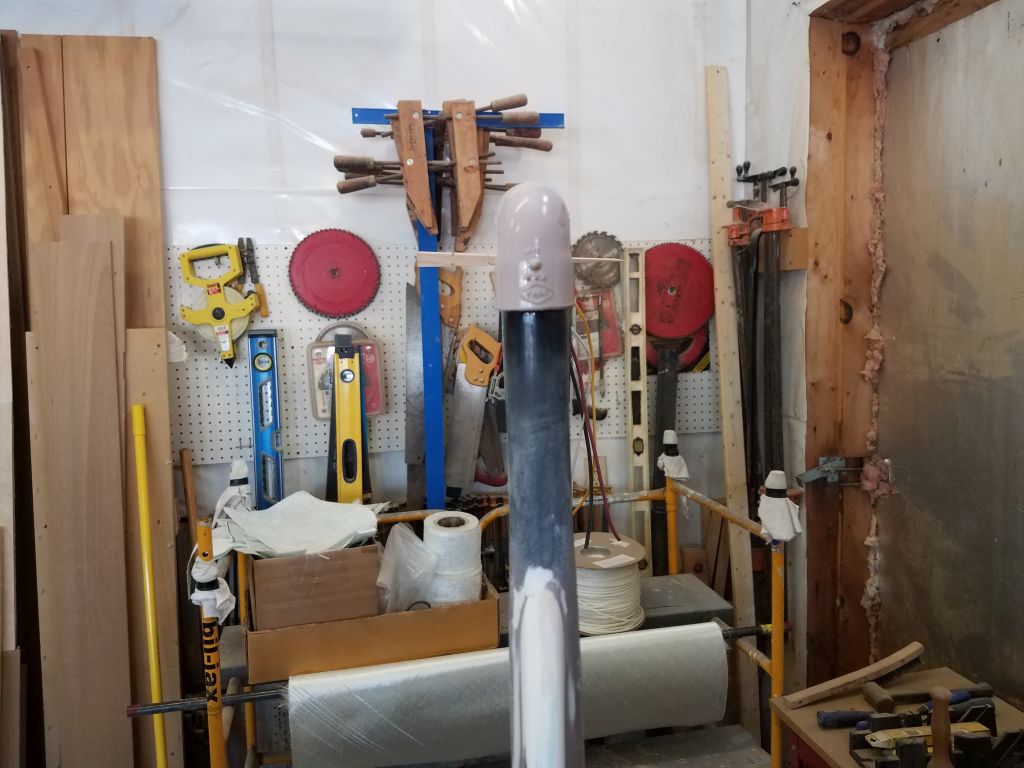
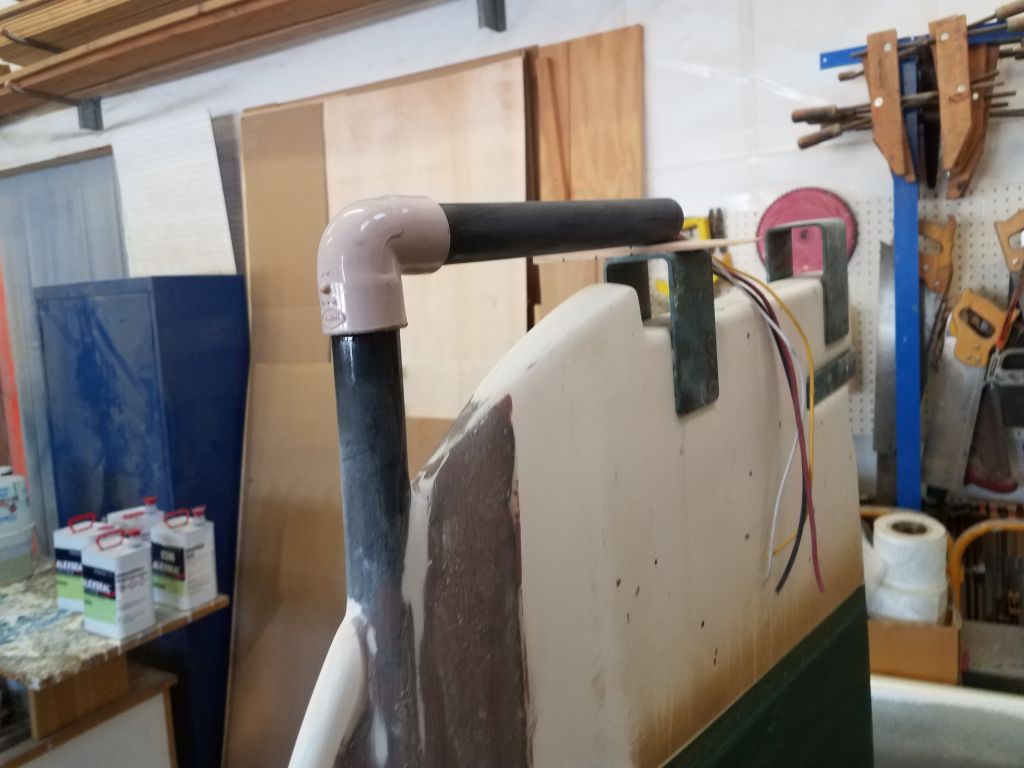
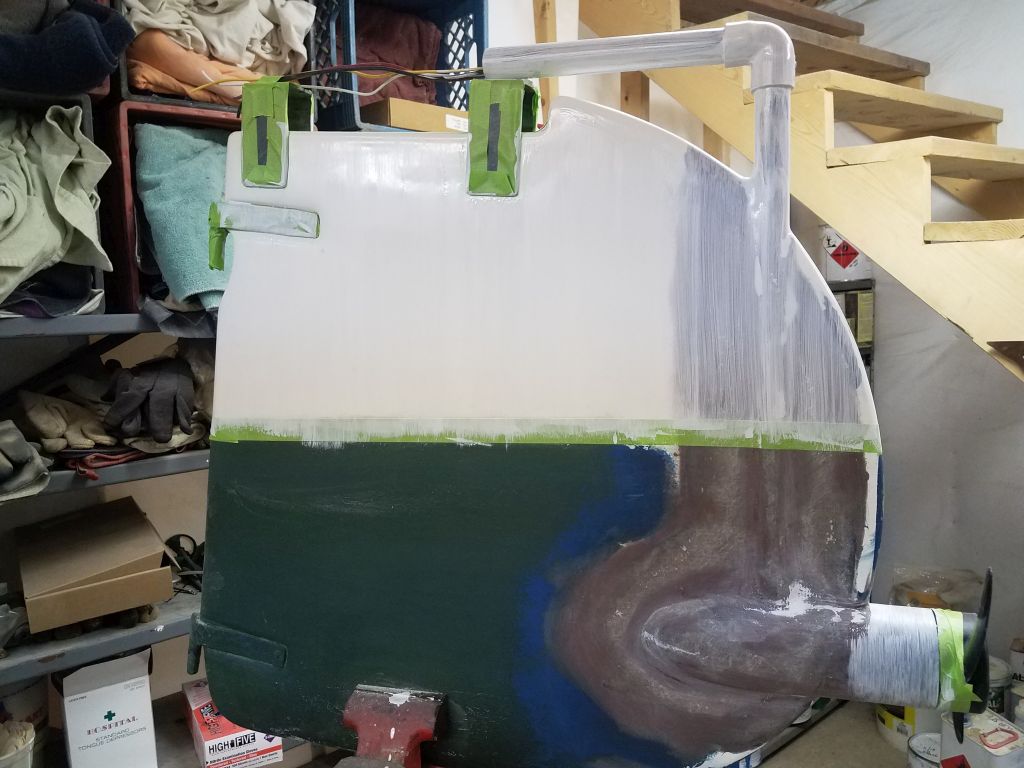
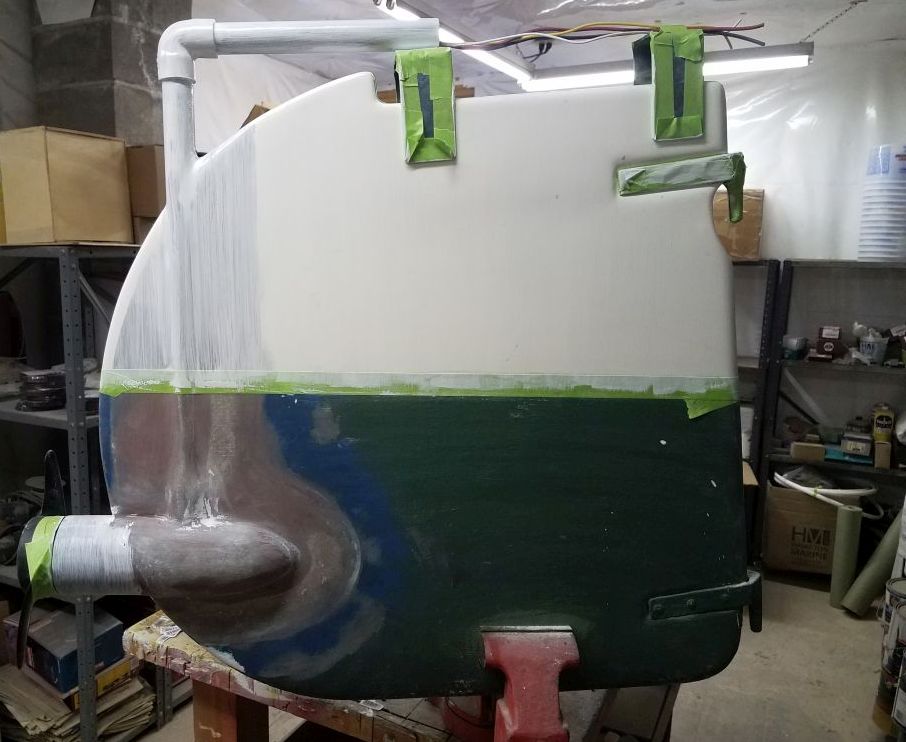
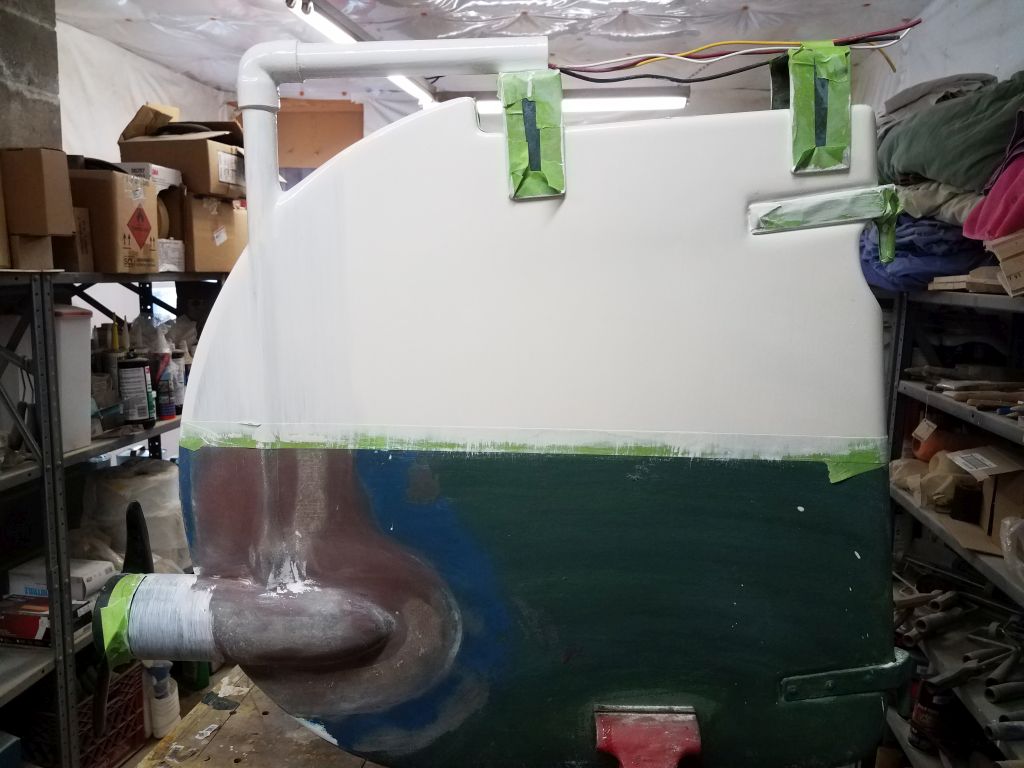
After some final and minor filling on portions of the rudder, mainly around the edge where the vertical shaft now protruded, I continued work on the electrical side. To route the wires forward towards the boat, as well as provide protection and watertightness to the wire run, I added a PVC elbow and used the cutoff length of the original composite shaft to lead the conduit forward across the top of the rudder. I used a 3/4″ PVC elbow, which was a little small for the 1-1/8″ OD of the shaft, so with a heat gun I warmed it up so I could expand the openings as needed to fit the diameter of the pipe. Then, I glued on the elbow and the horizontal section of conduit with some 5-minute epoxy. I used a little wedge at the forward end to ensure that the angle of the pipe was where I wanted it while the glue cured; this would allow room to slide over a length of hose through which the wires could continue their run onto the boat where they’d eventually connect to the controls and battery. I’d need to be back at the boat (located remotely at the moment) in order to finalize the wire and flexible conduit lengths.
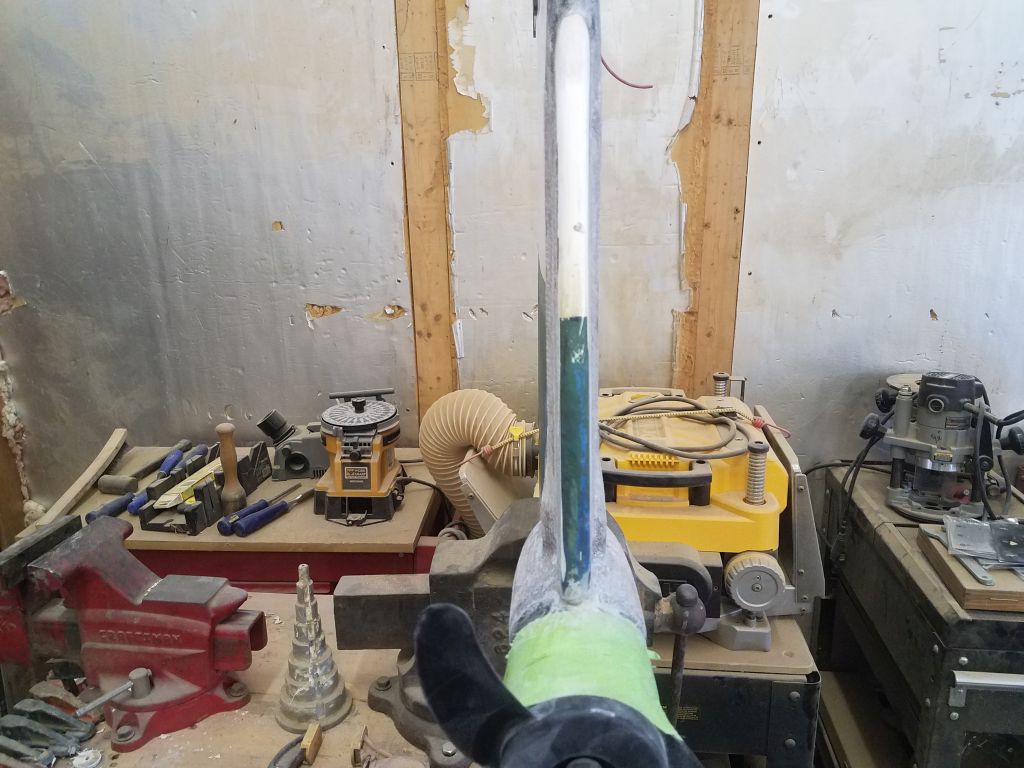
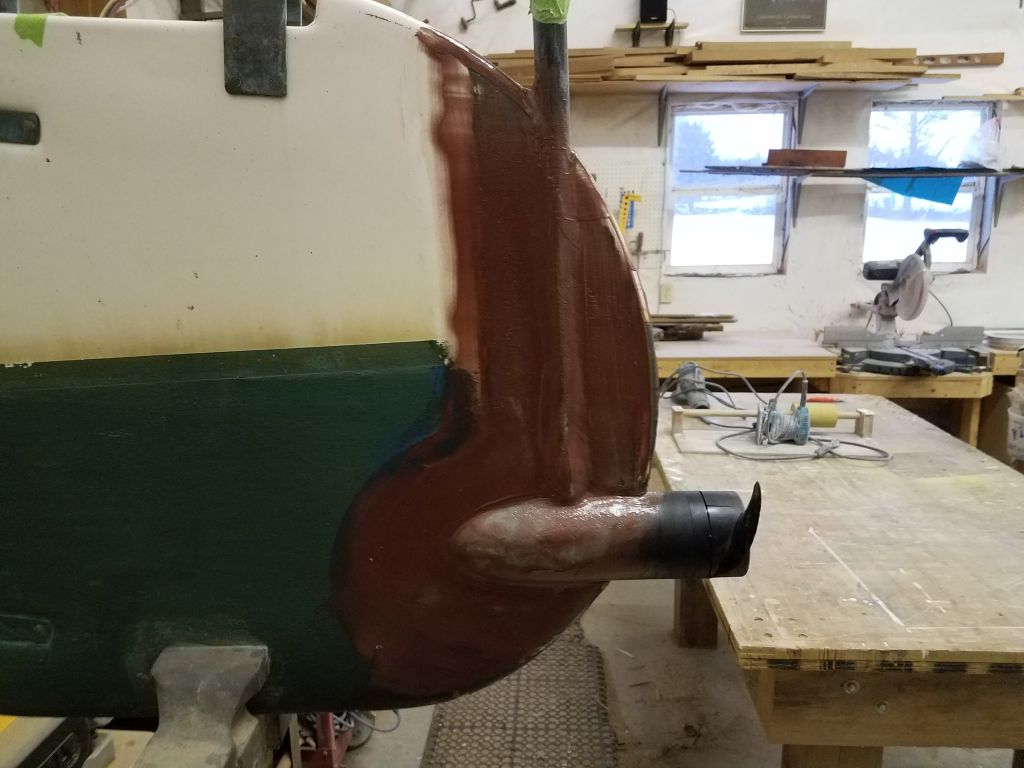
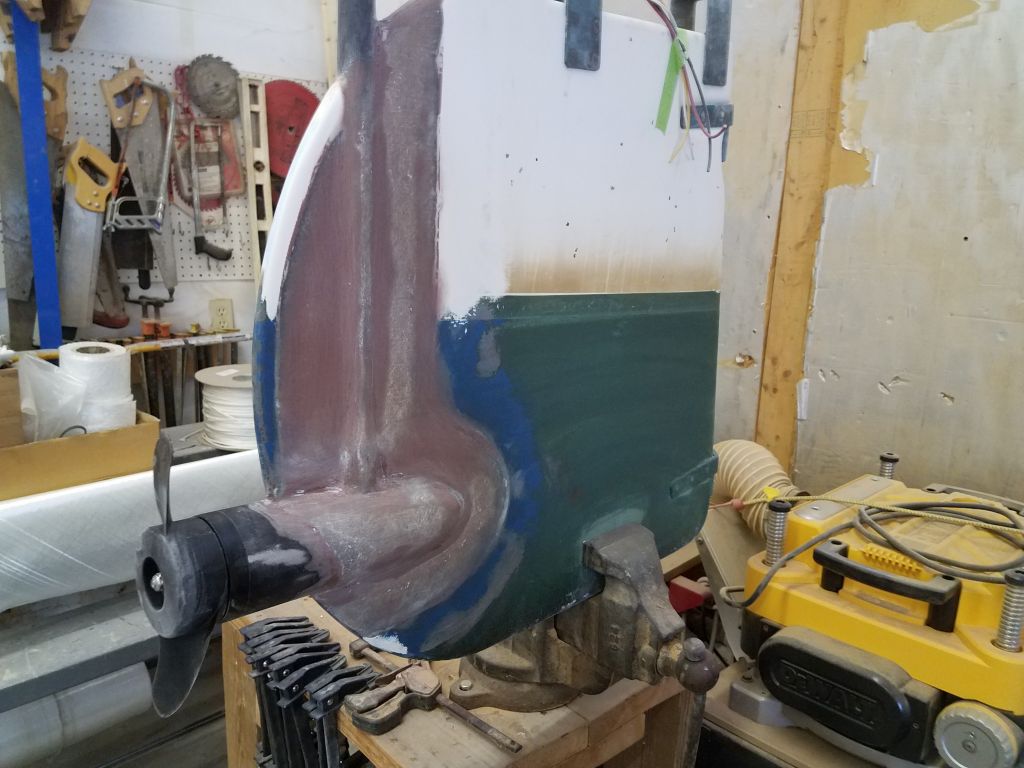
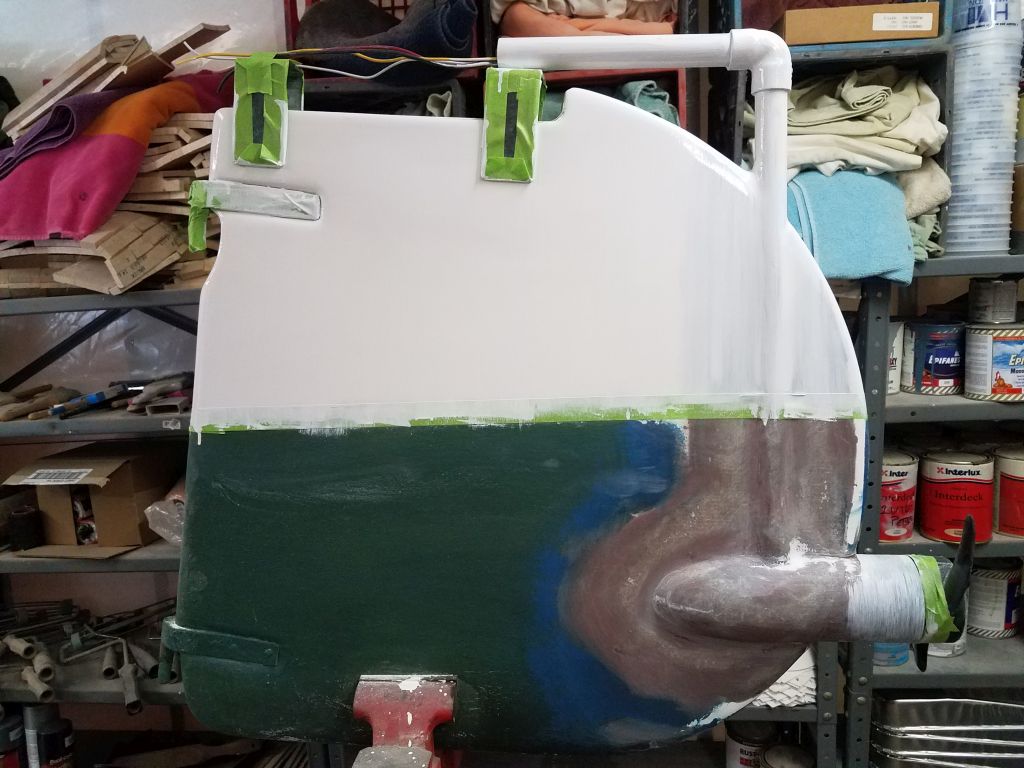
When the glue cured, I performed some final sanding on the new work and the pipe assembly, and also sanded the entire above-waterline portion of the rudder to prepare the original gelcoat for priming and paint along with the new work. After masking off the waterline and hardware as necessary, I brushed on two coats of epoxy-based primer to seal the fresh epoxy work and also provide a consistent base over the gelcoated forward areas, as well as the black wiring conduit.

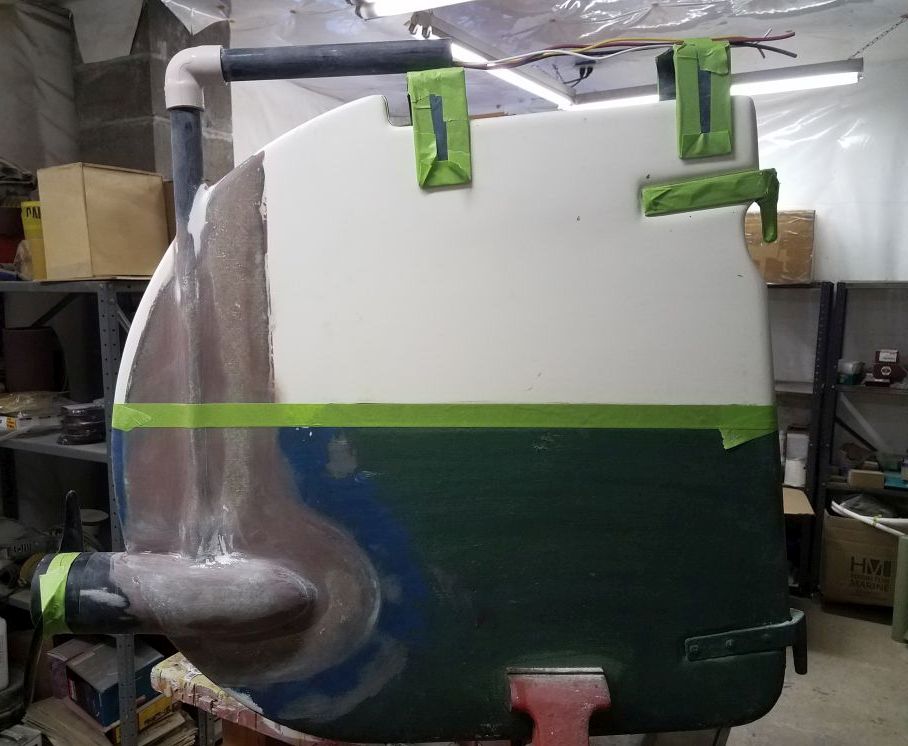
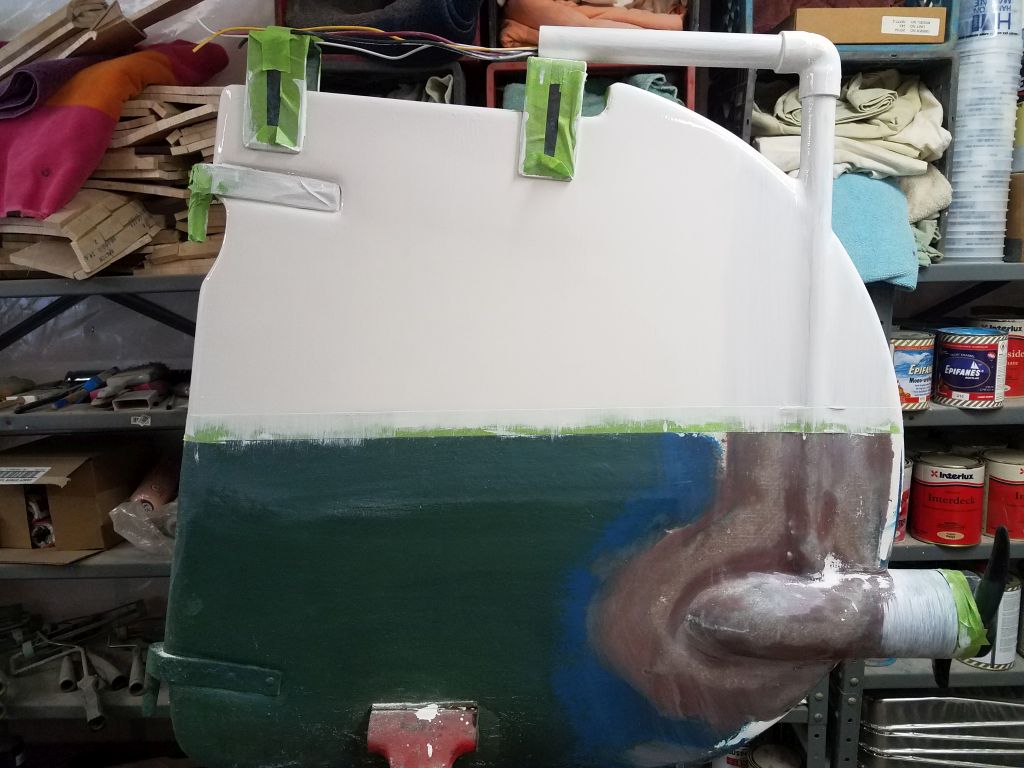
When the primer cured overnight, and after a light sanding, I applied a first coat of gloss white paint.

I wasn’t happy with the first coat and it didn’t cure properly, so the next morning I removed it (it wiped off with paint thinner and minor effort), and started over with a coat of semi-gloss white enamel that I thought would better match the old gelcoat on the rest of the boat.
Total time billed on this job today: 3 hours (spread over 6 days)