


May 14, 2020
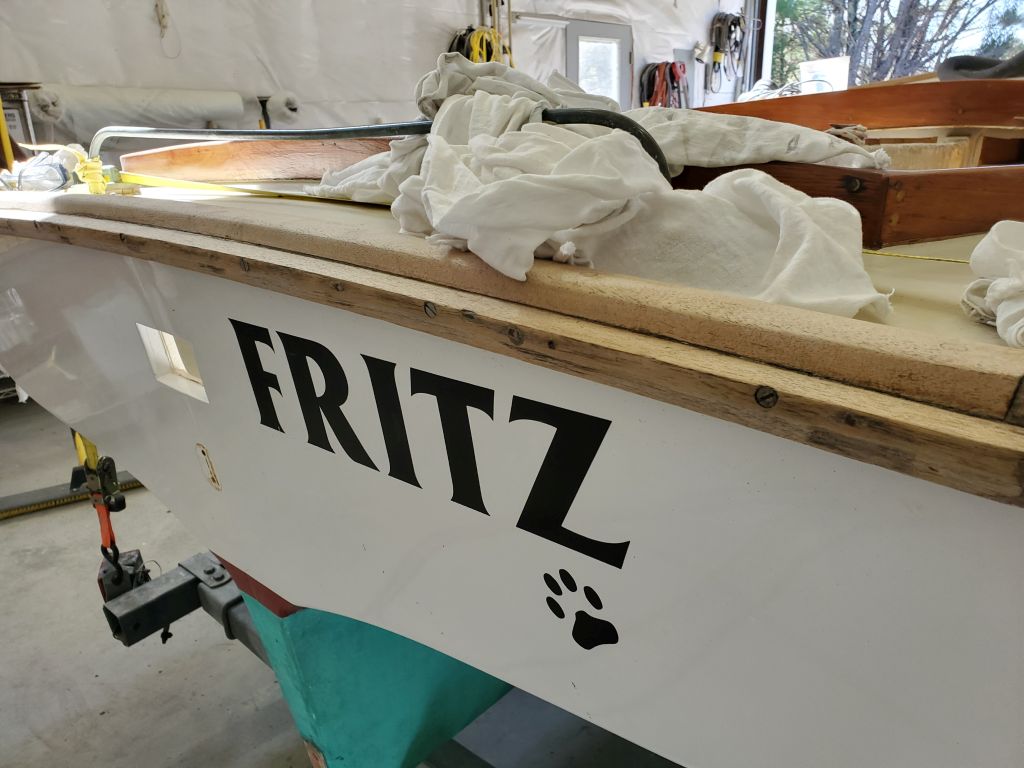
Fritz 4
Thursday
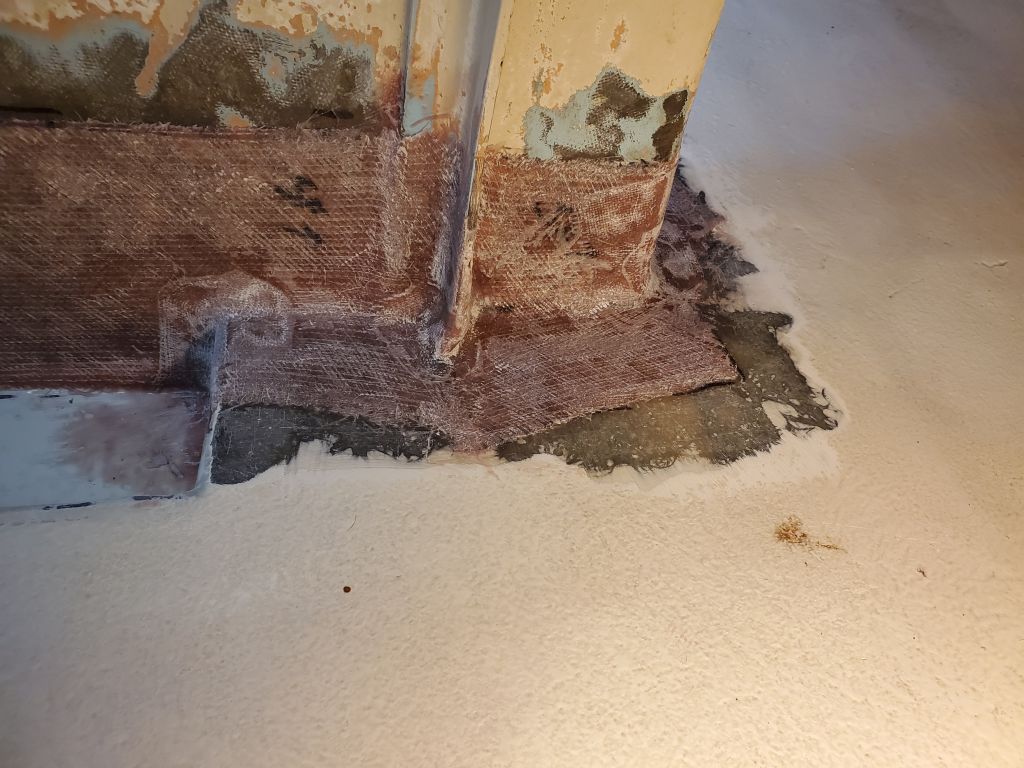
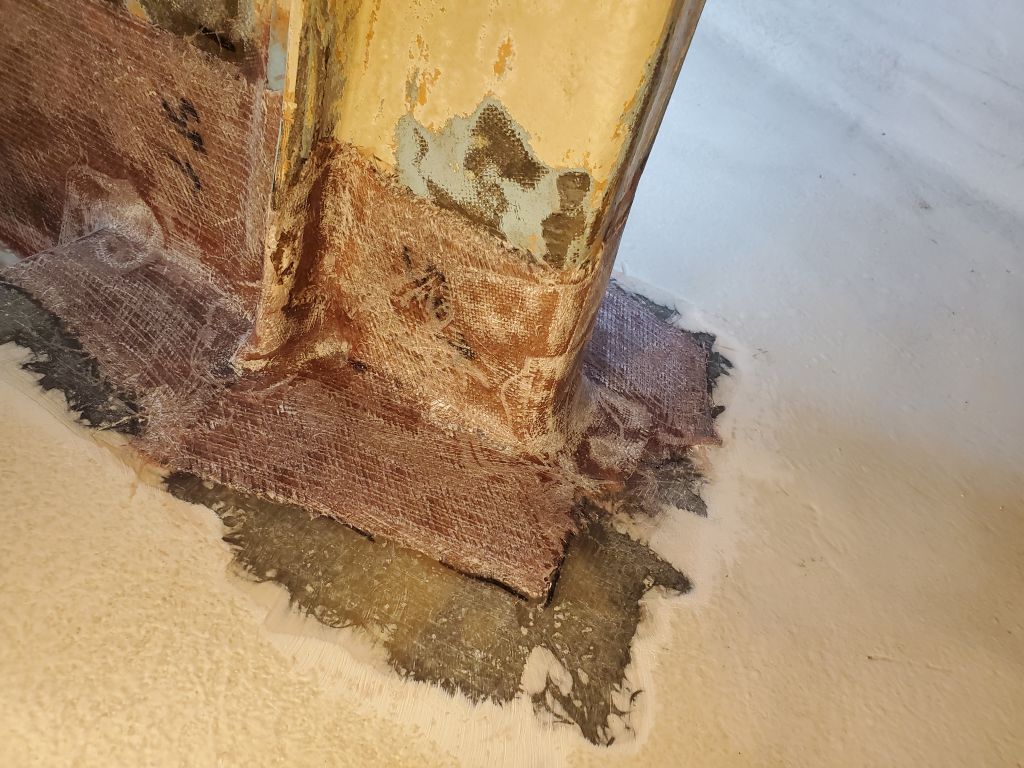
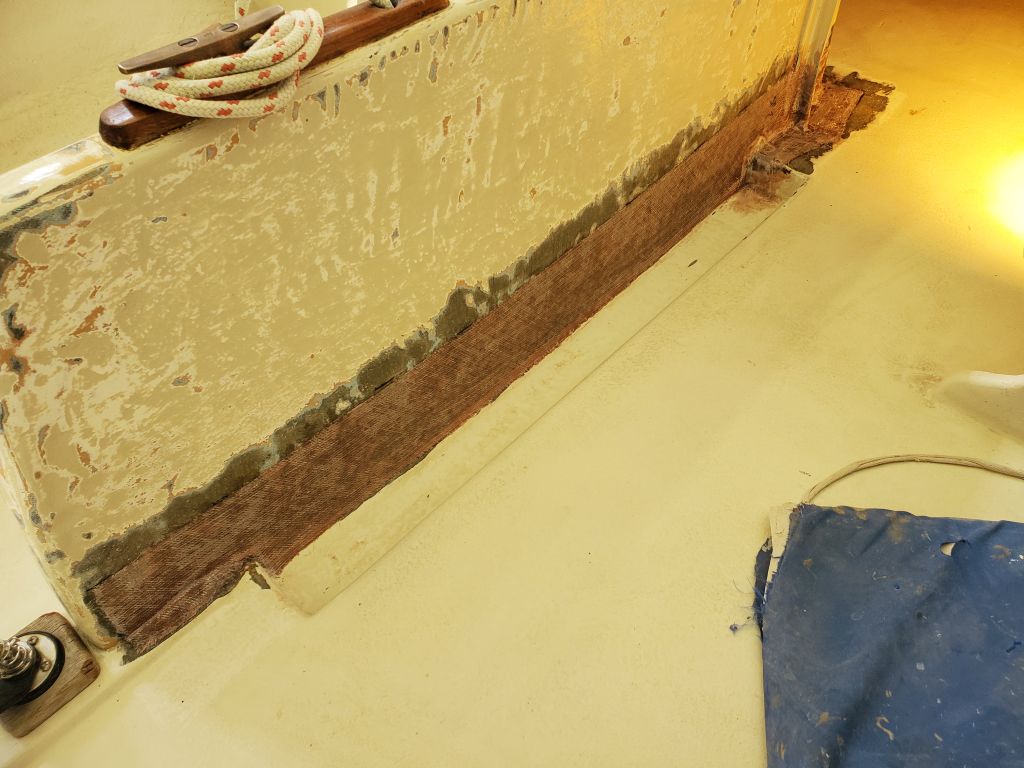
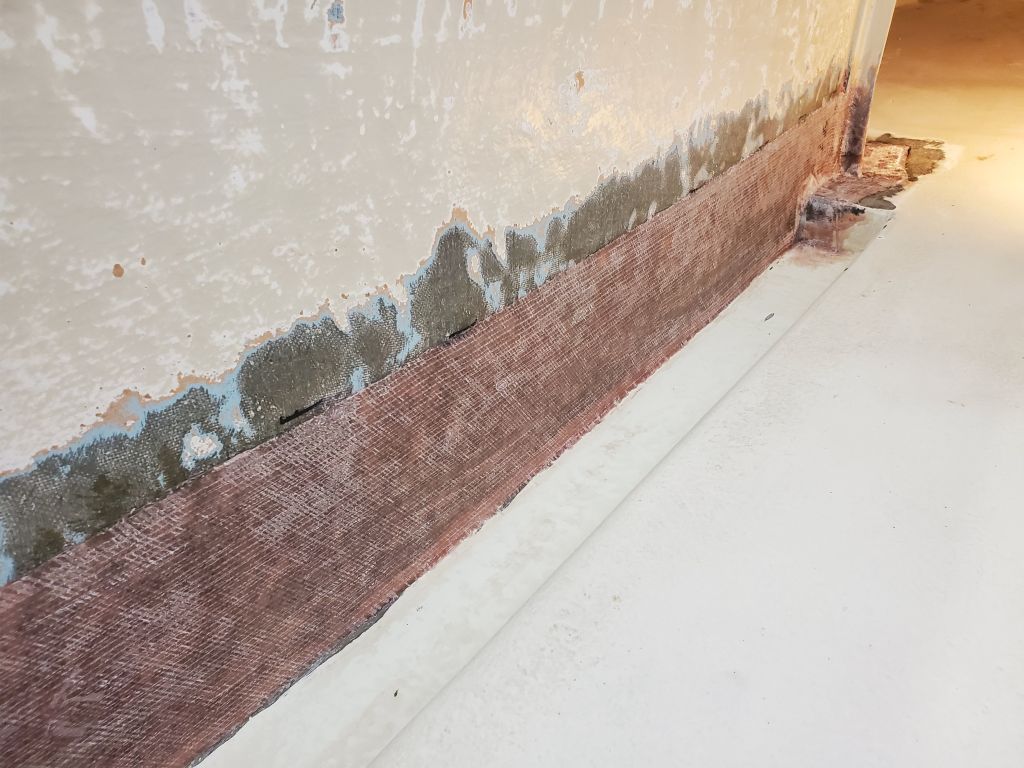
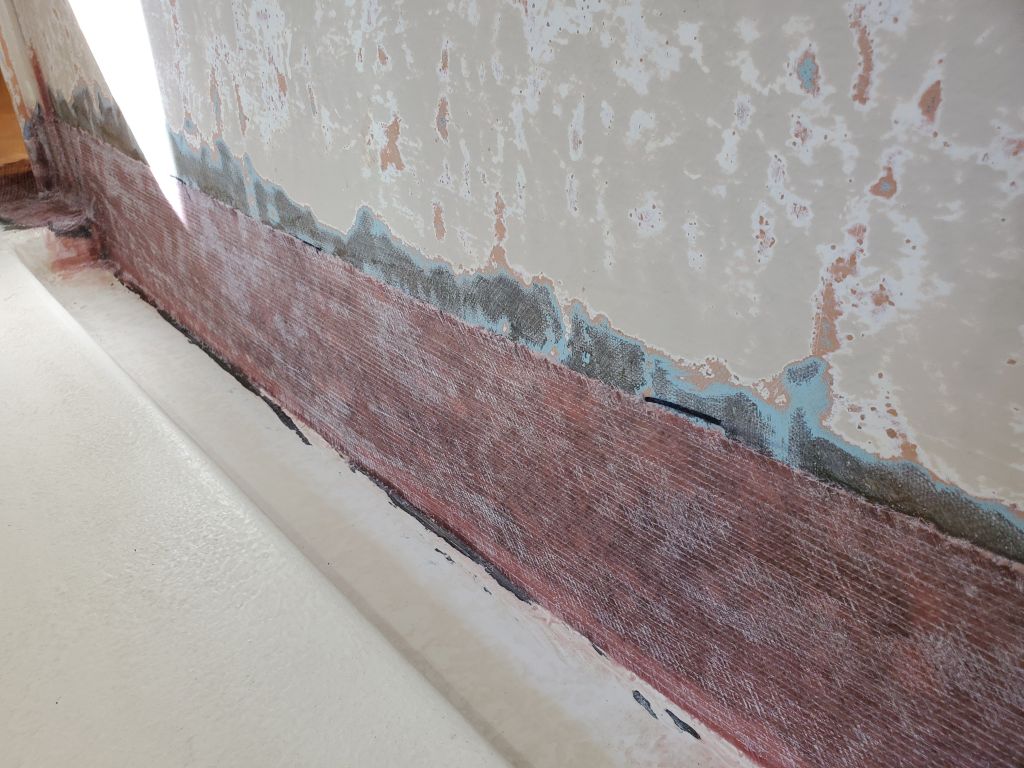
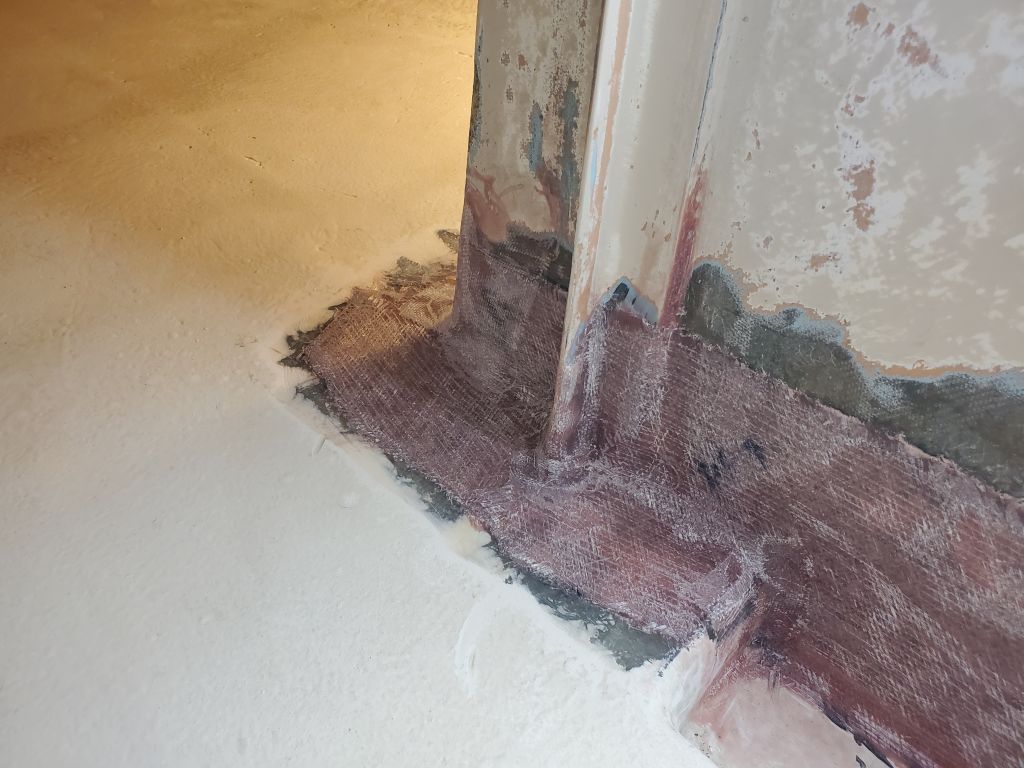
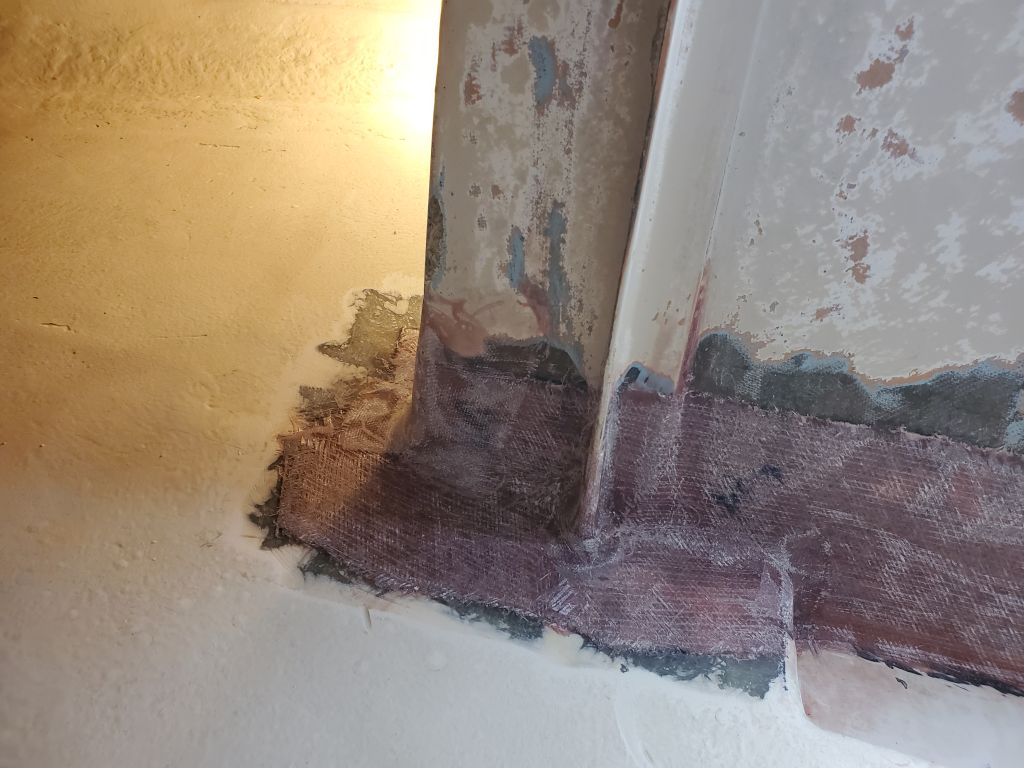
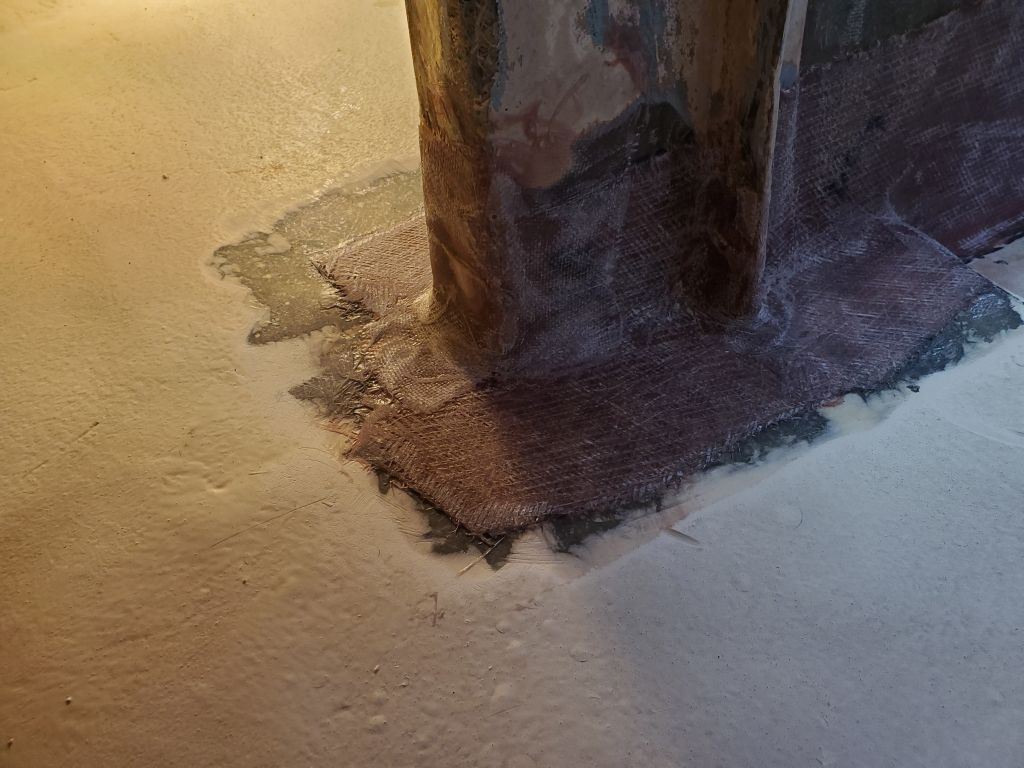
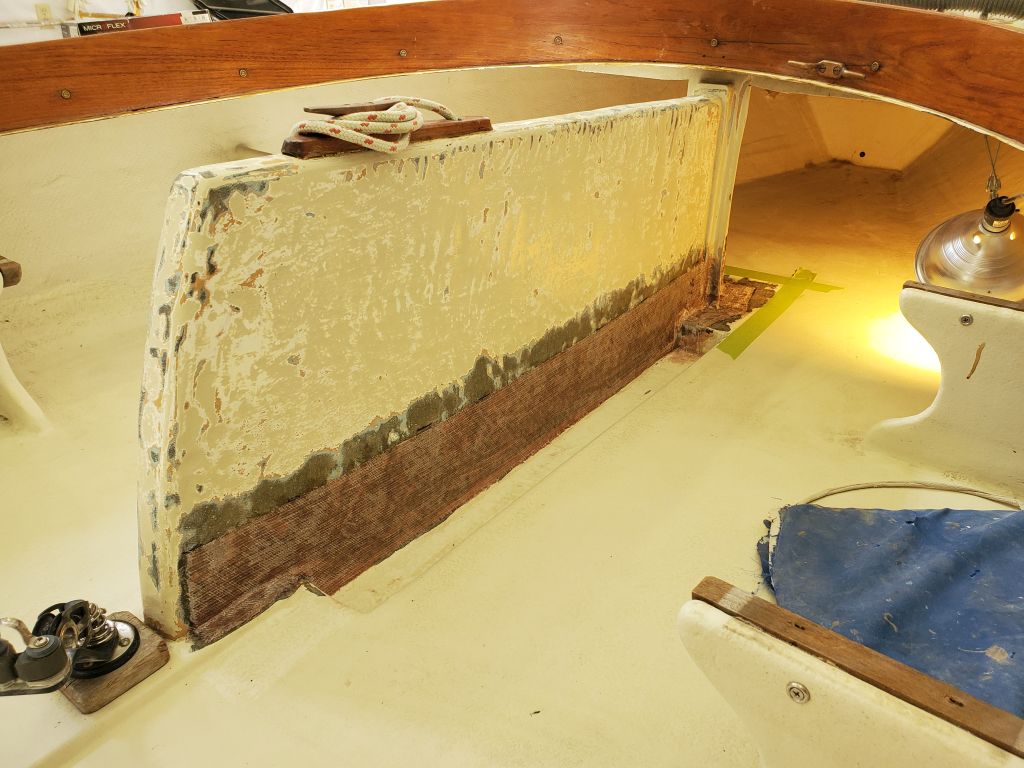
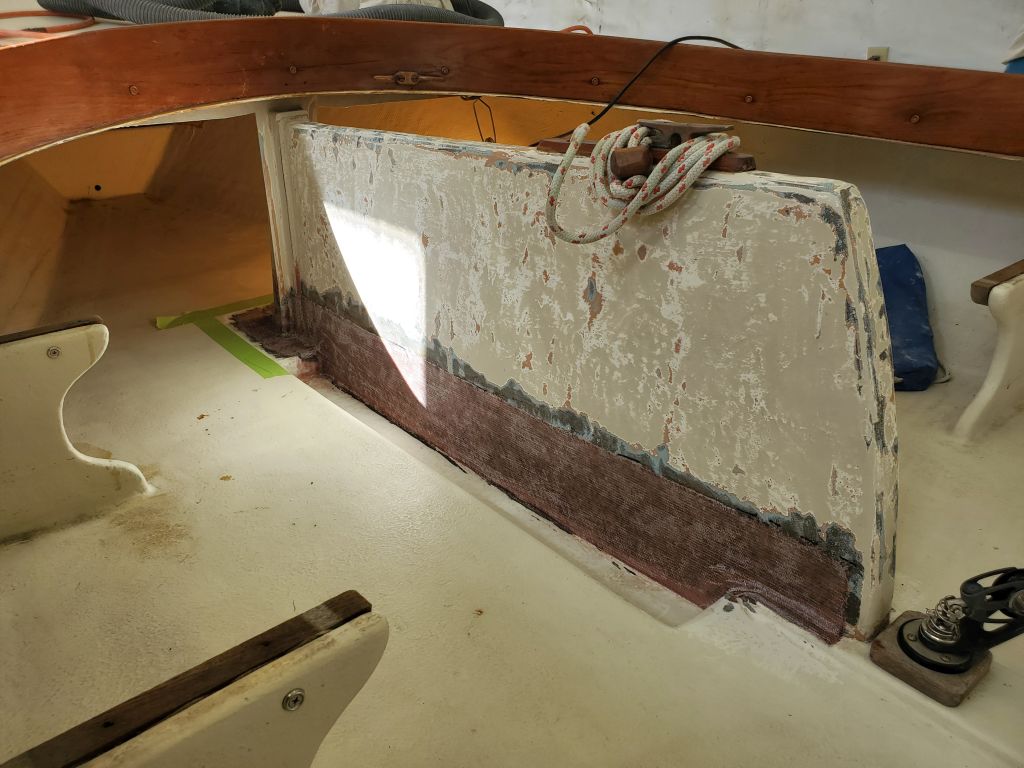
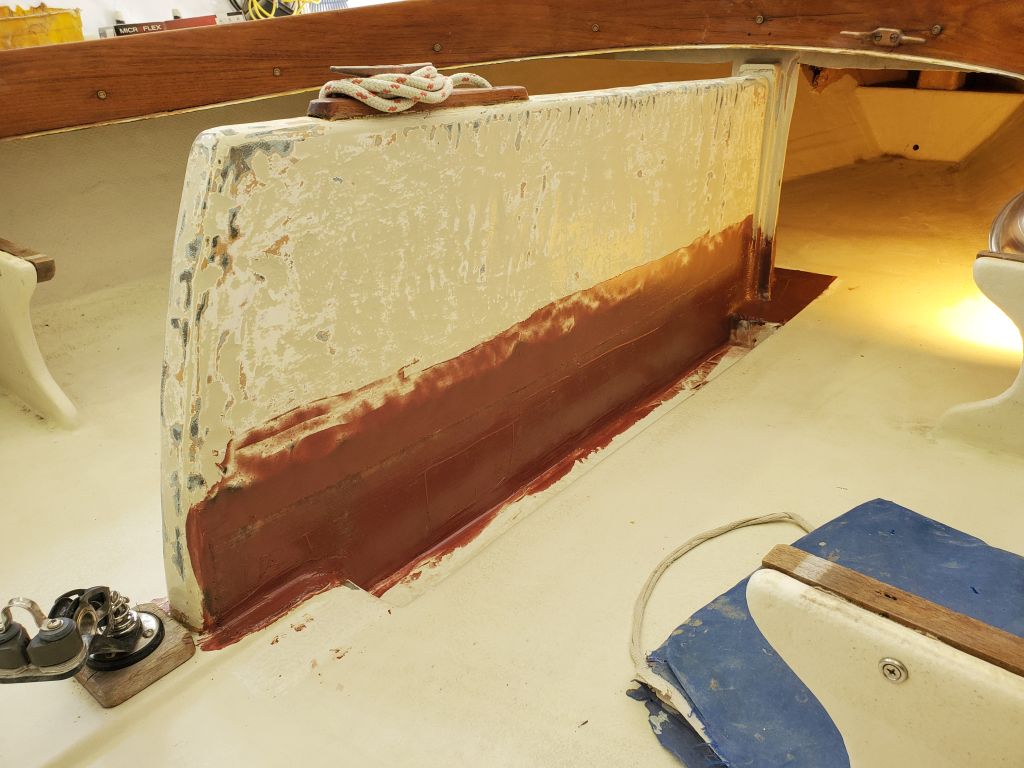
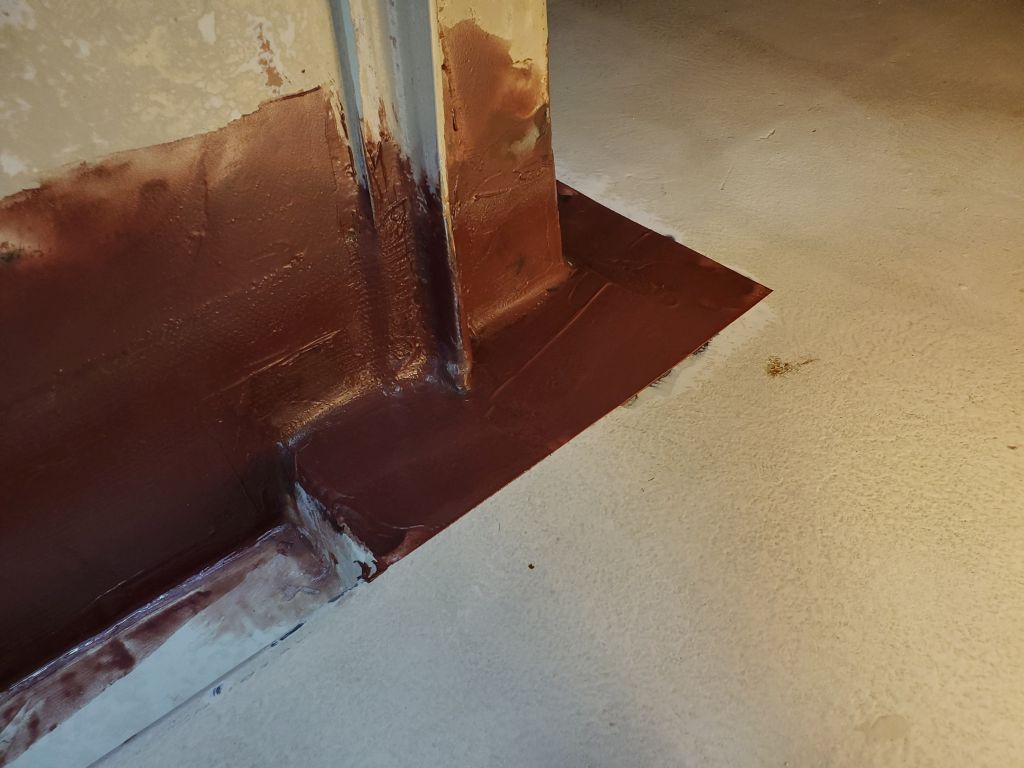
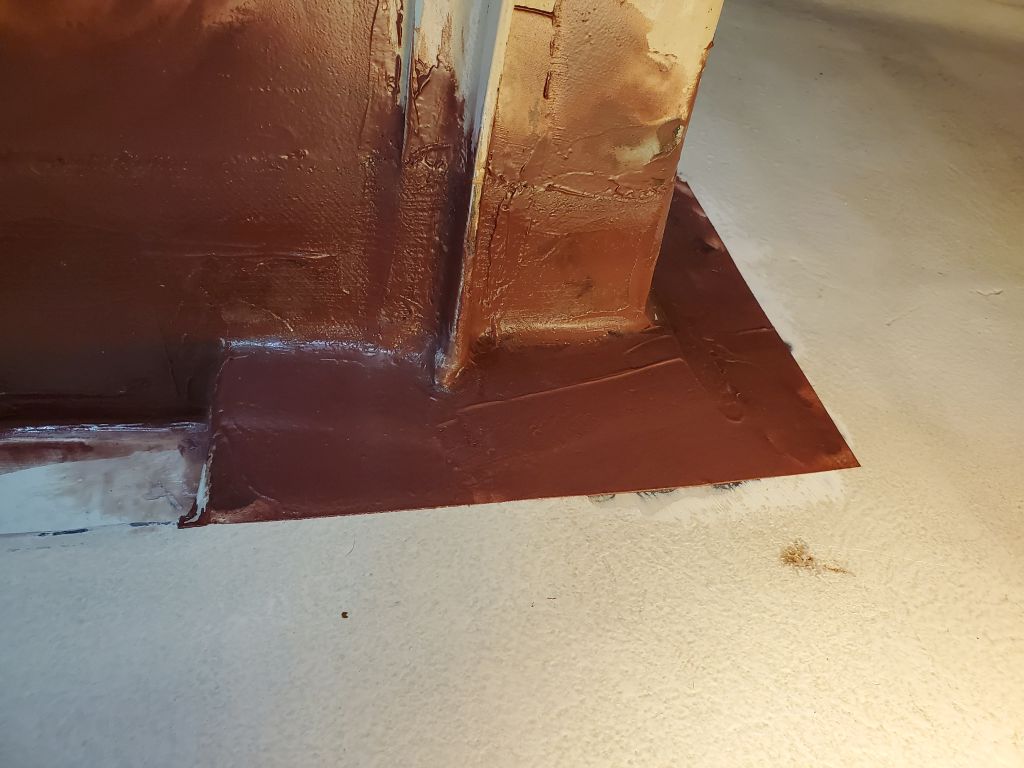
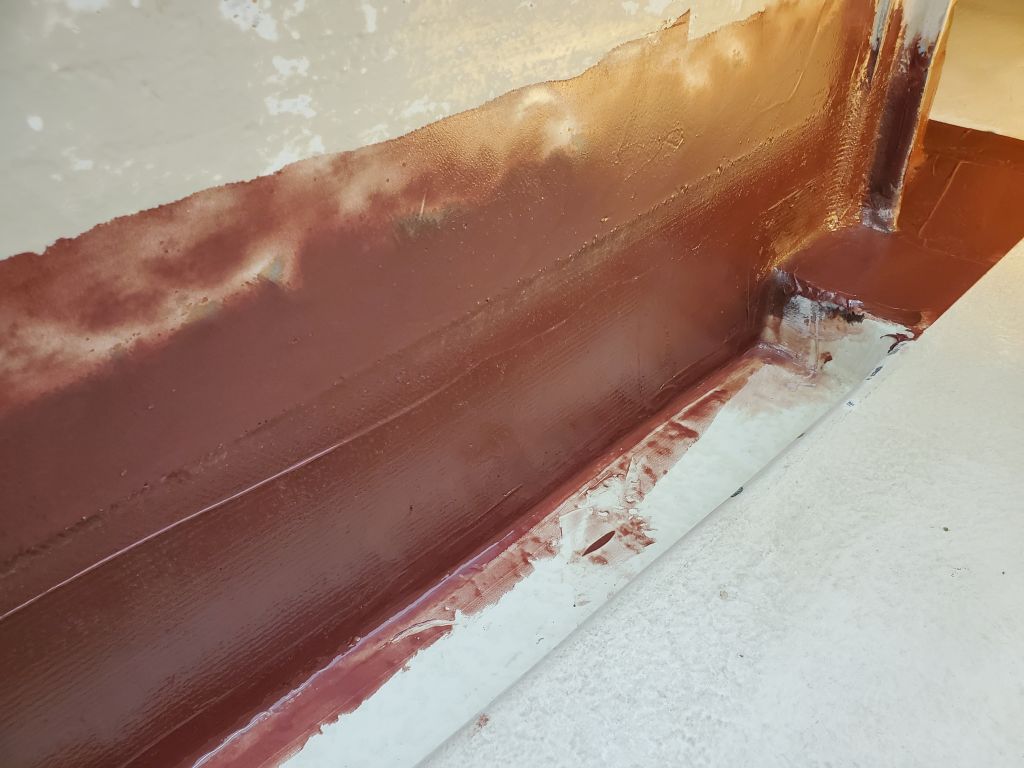
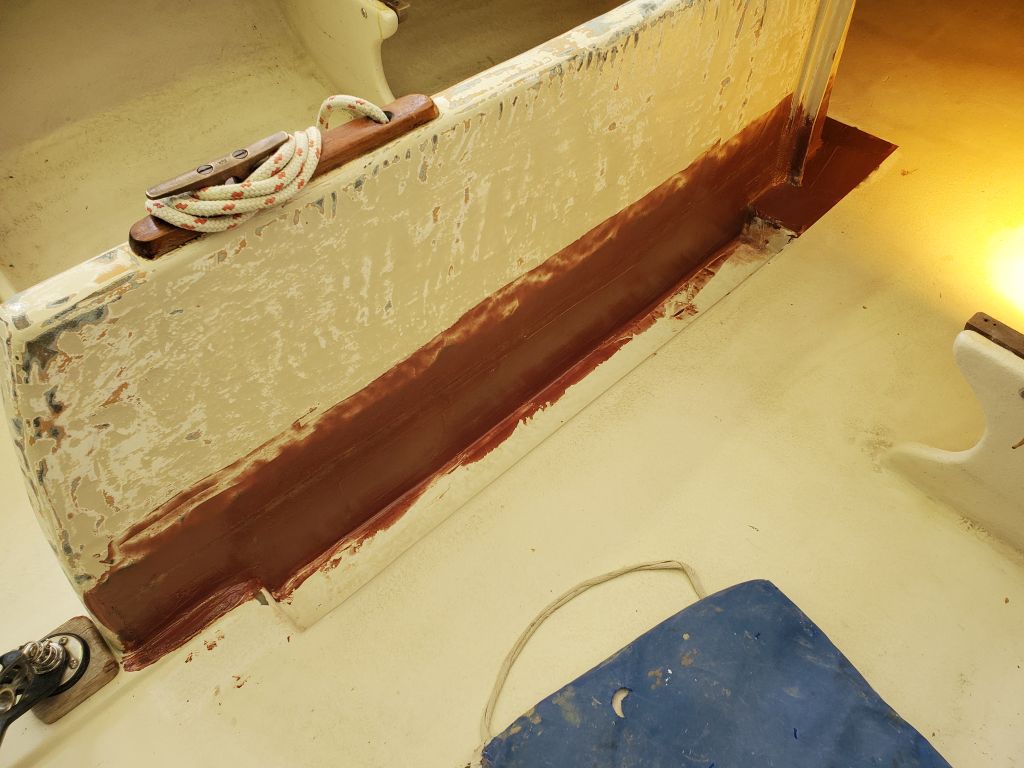
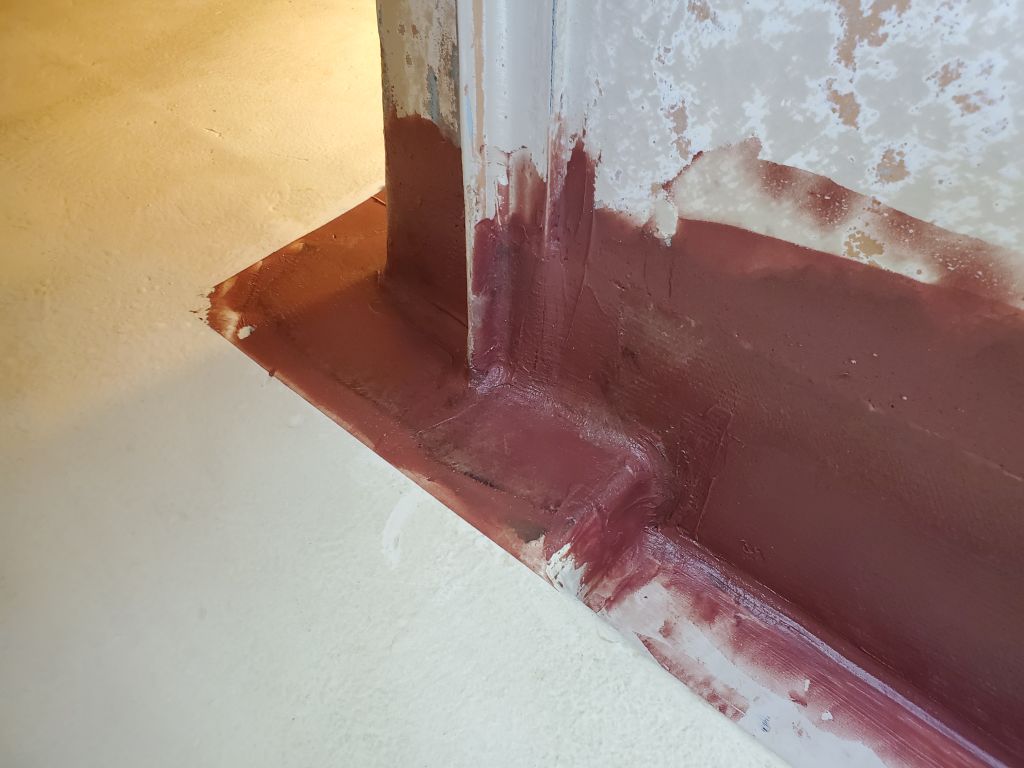
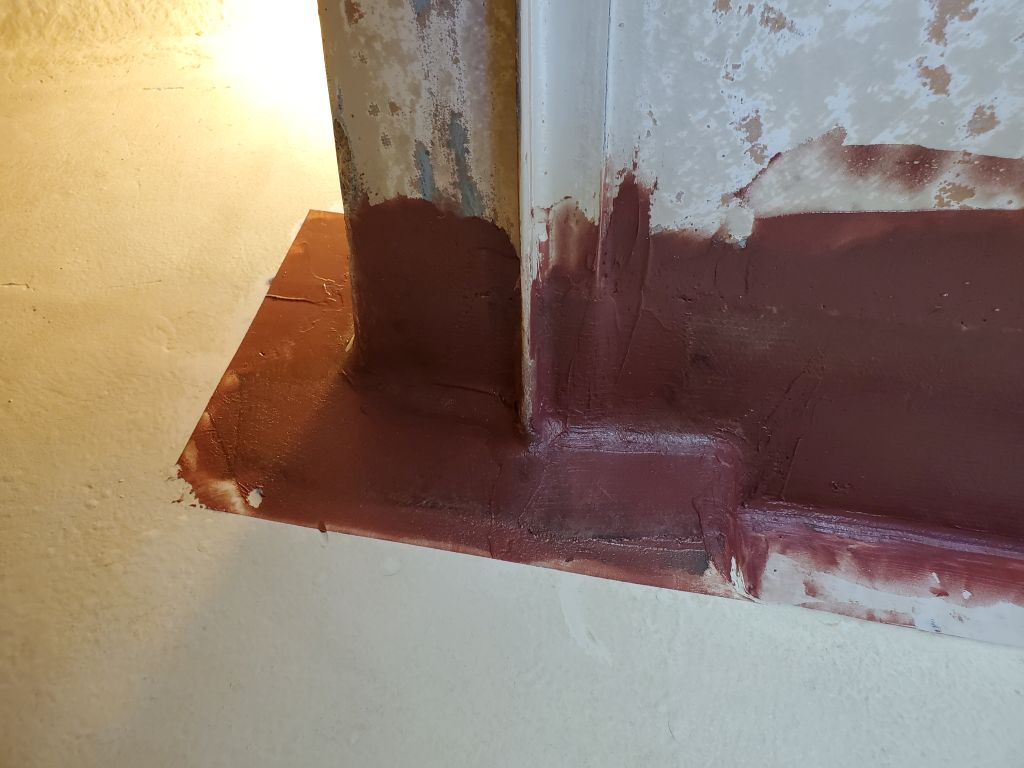
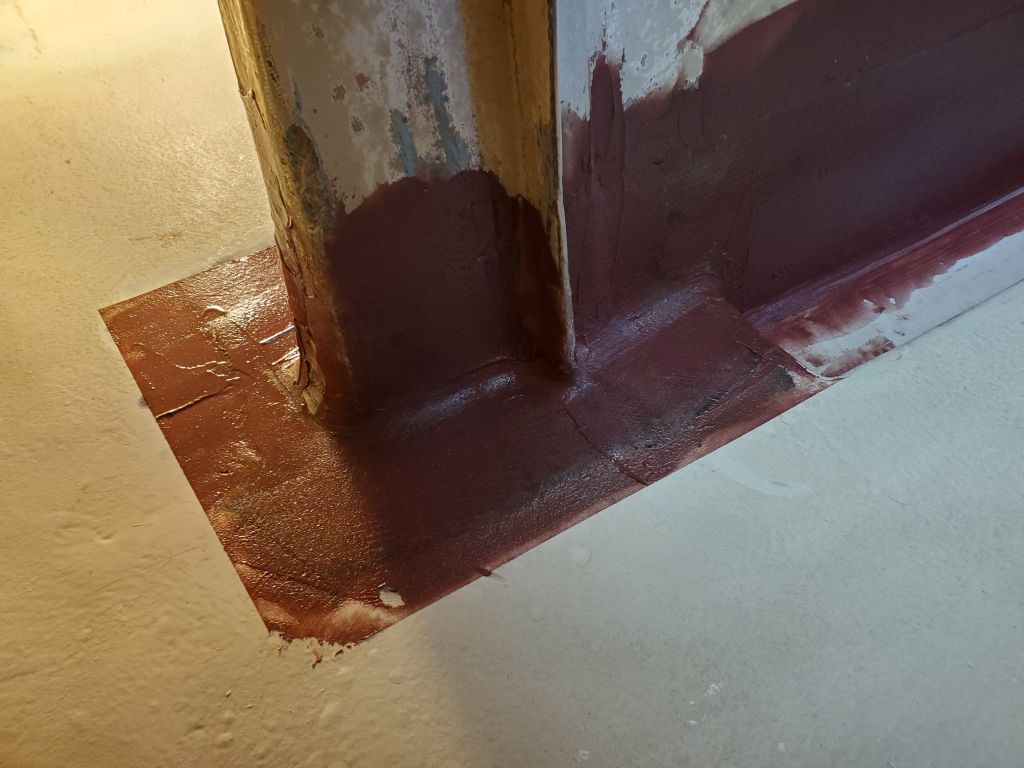
My first order of business was to prep and lightly sand the new fiberglass work on the centerboard trunk, just easing any sharp edges and scuffing the surface to prepare for the next steps.


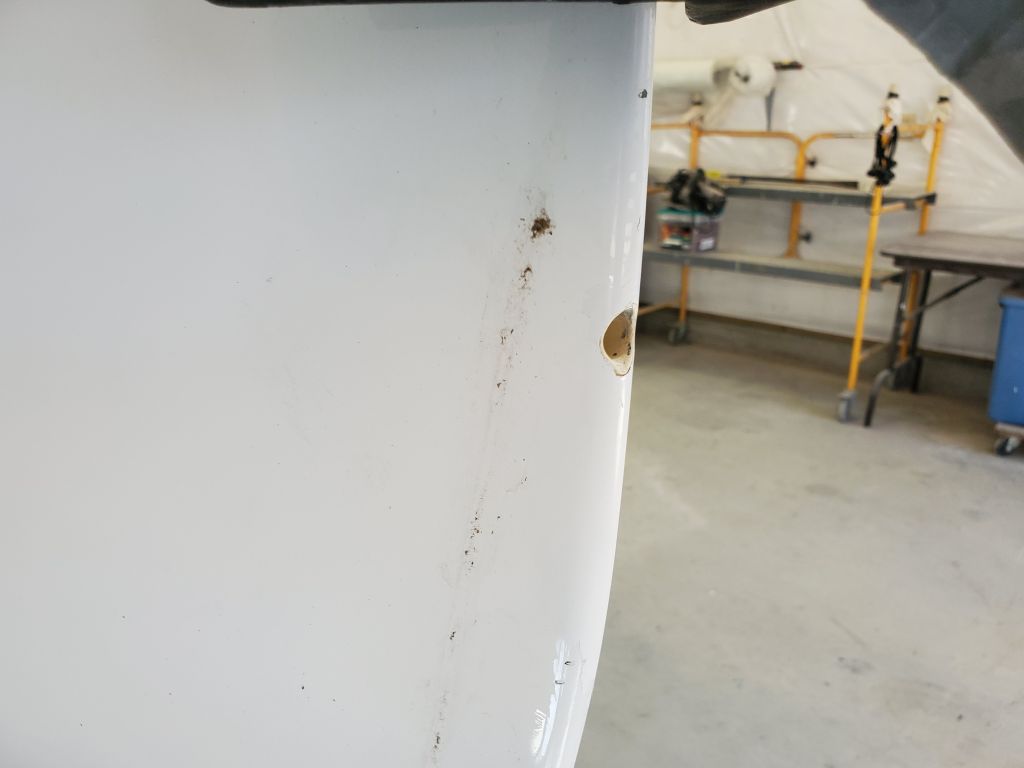
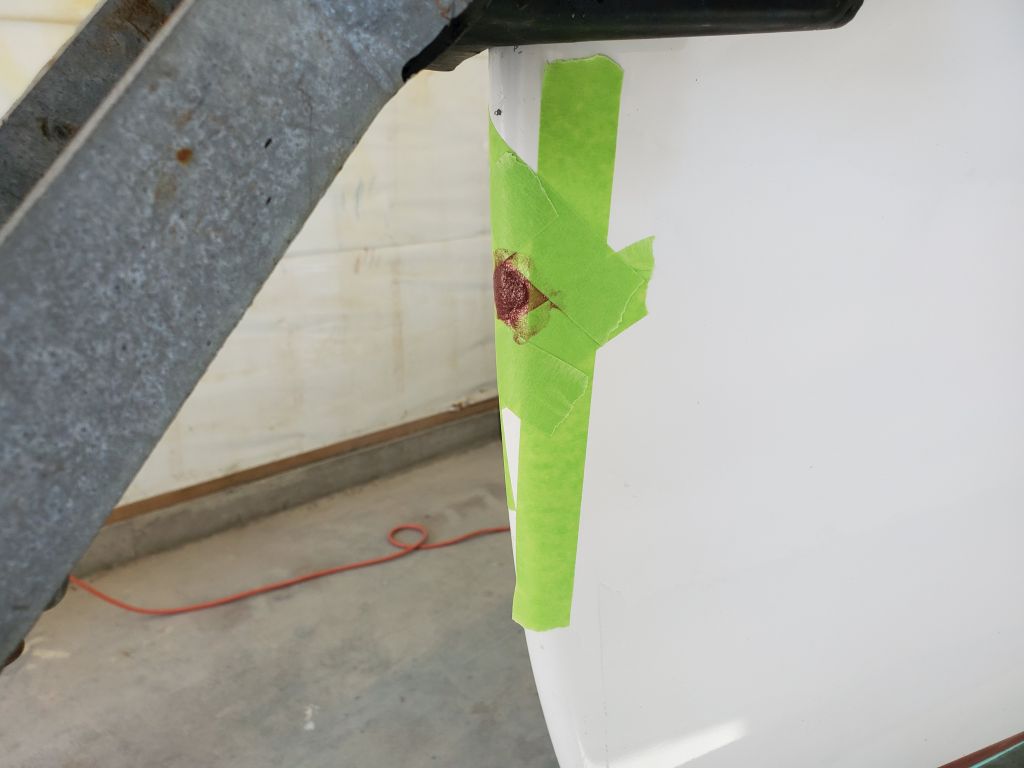
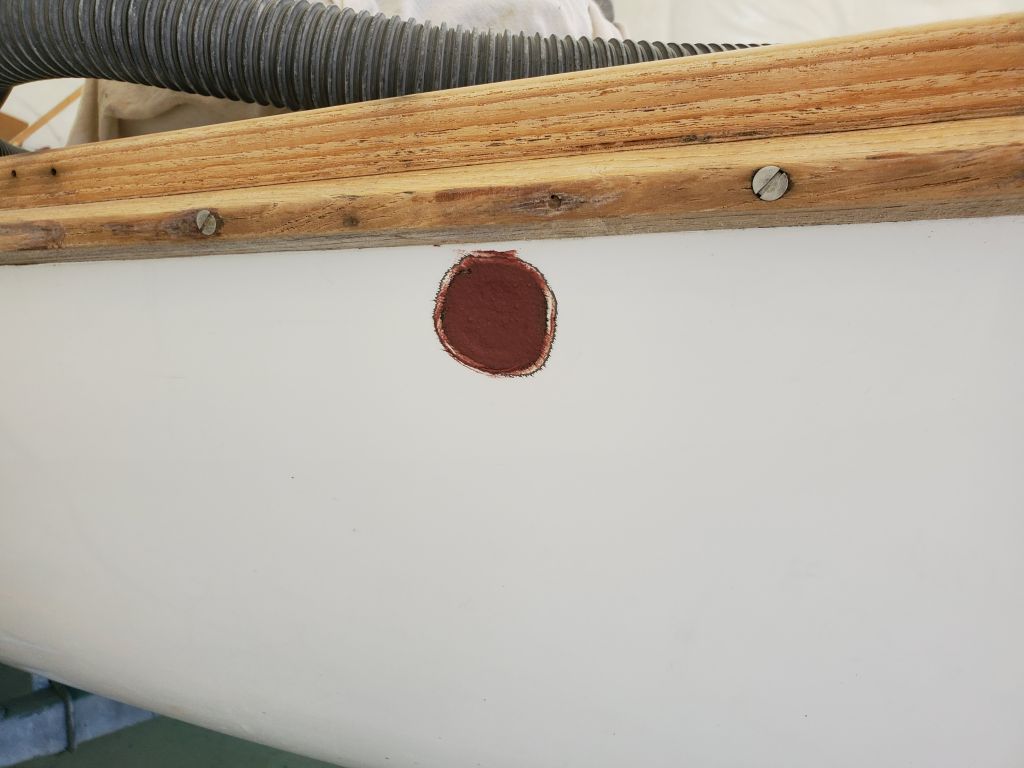
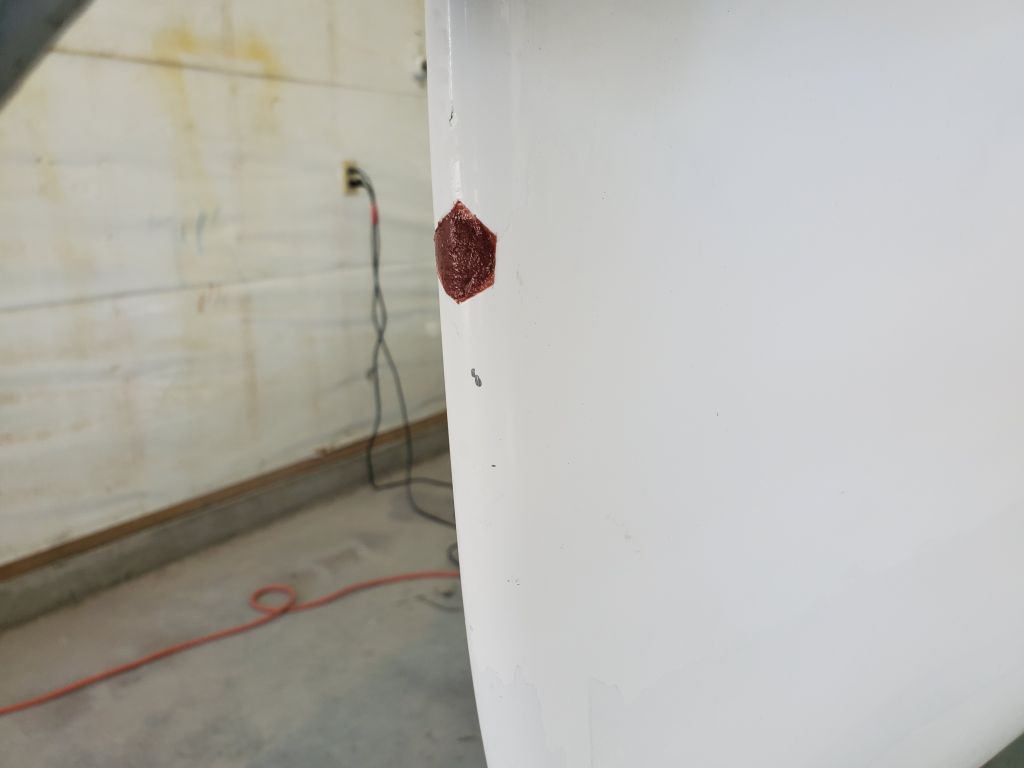
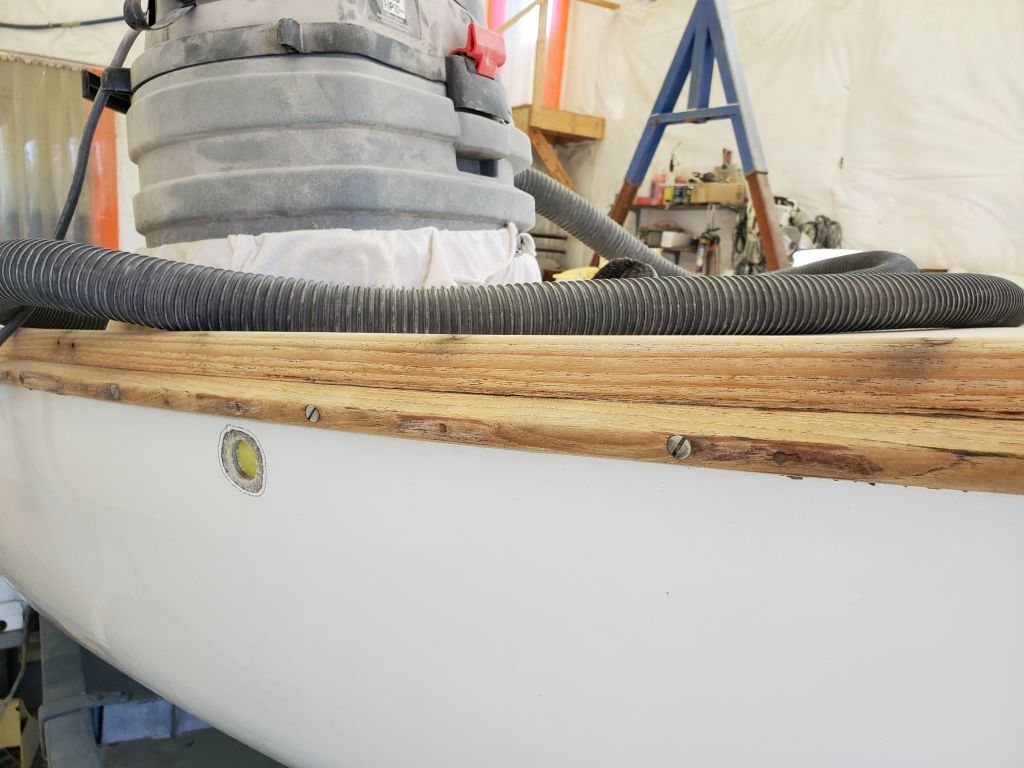
While I was at it, I prepared a couple other small areas of the boat for repair: an old hole leftover from a bow eye system the owner didn’t want, and an inexplicable plastic through hull mounted below the rail on the starboard bow. After removing the through hull, which was just screwed in place with no sealant, I prepared the hull for a fiberglass patch inside and out, keeping the outside area as small as possible to minimize paint patching.

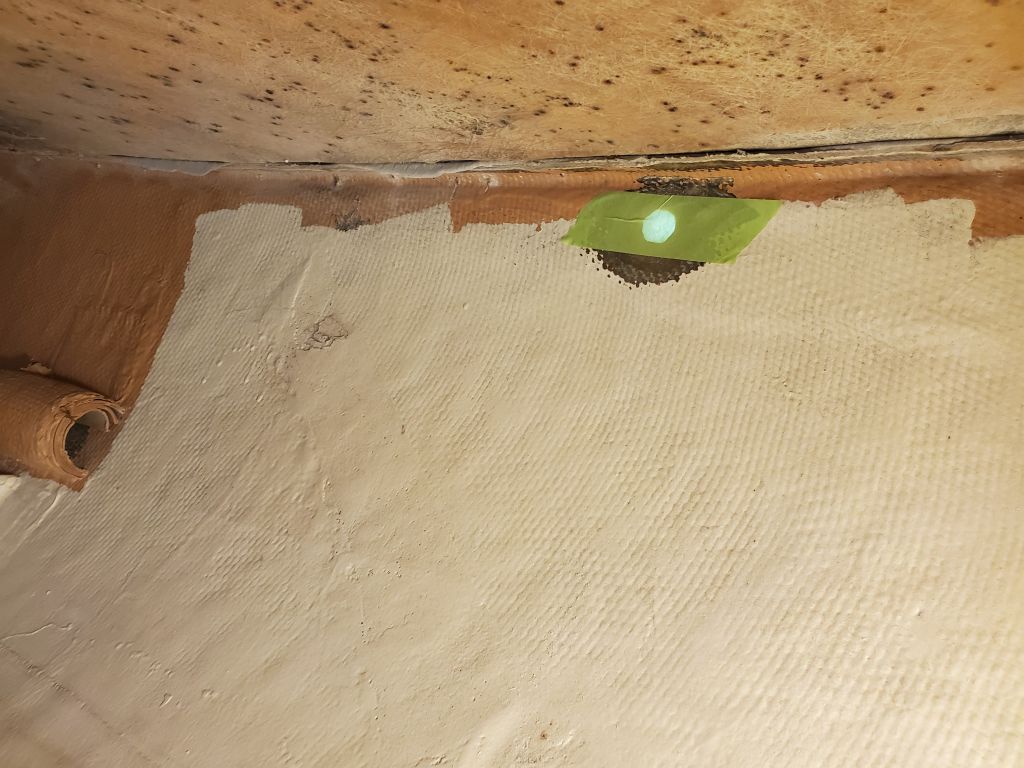

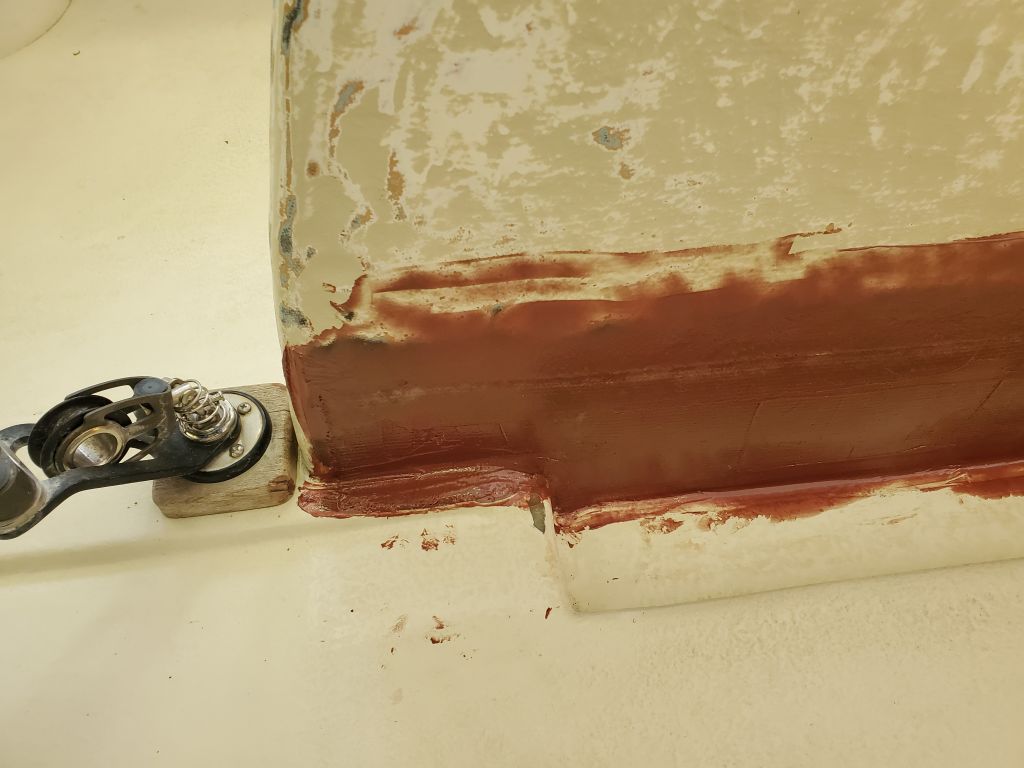
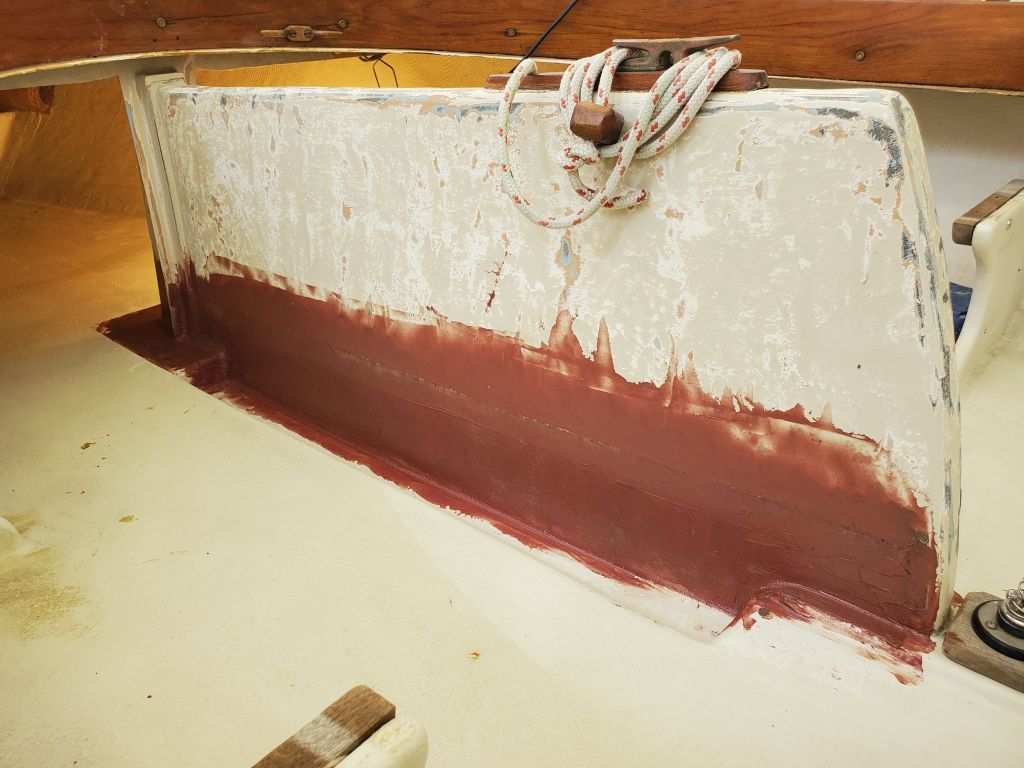
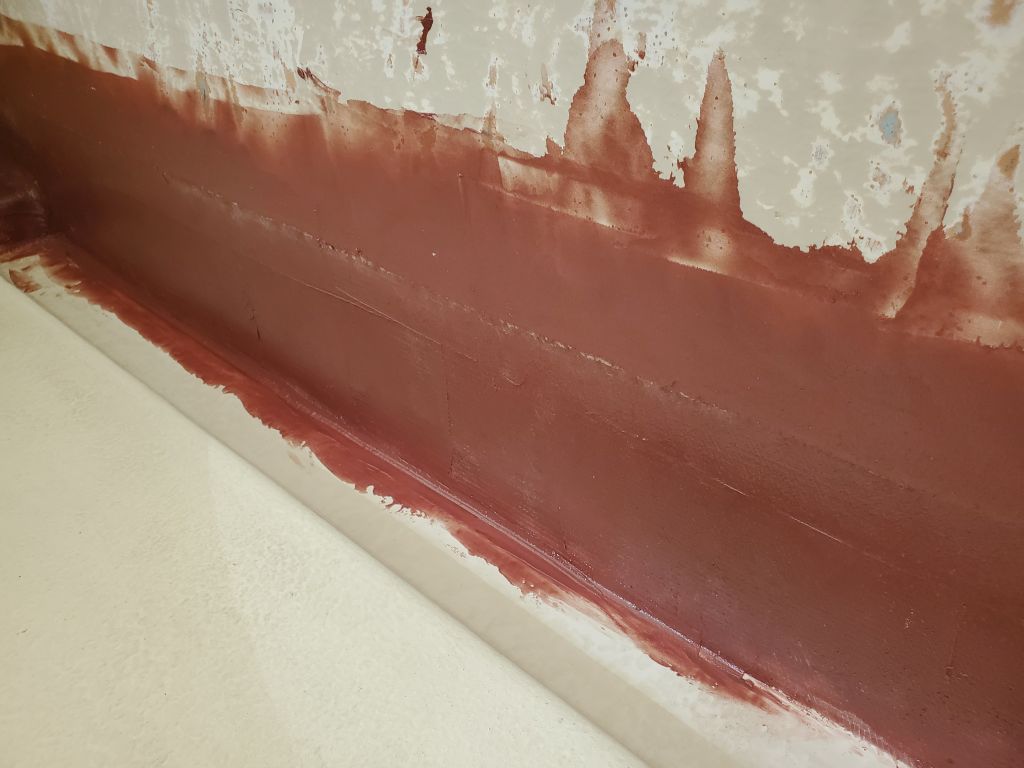
After final preparations, I applied a coat of epoxy fairing compound to the centerboard trunk repairs, mainly to fill the weave and clean up the transitions at the edges of the new cloth. I anticipated that the one coat of filler would be sufficient to match the texture and appearance of the surrounding areas.


Meanwhile, I filled the bow eye hole and the hole leftover from the through hull with leftover thickened epoxy.
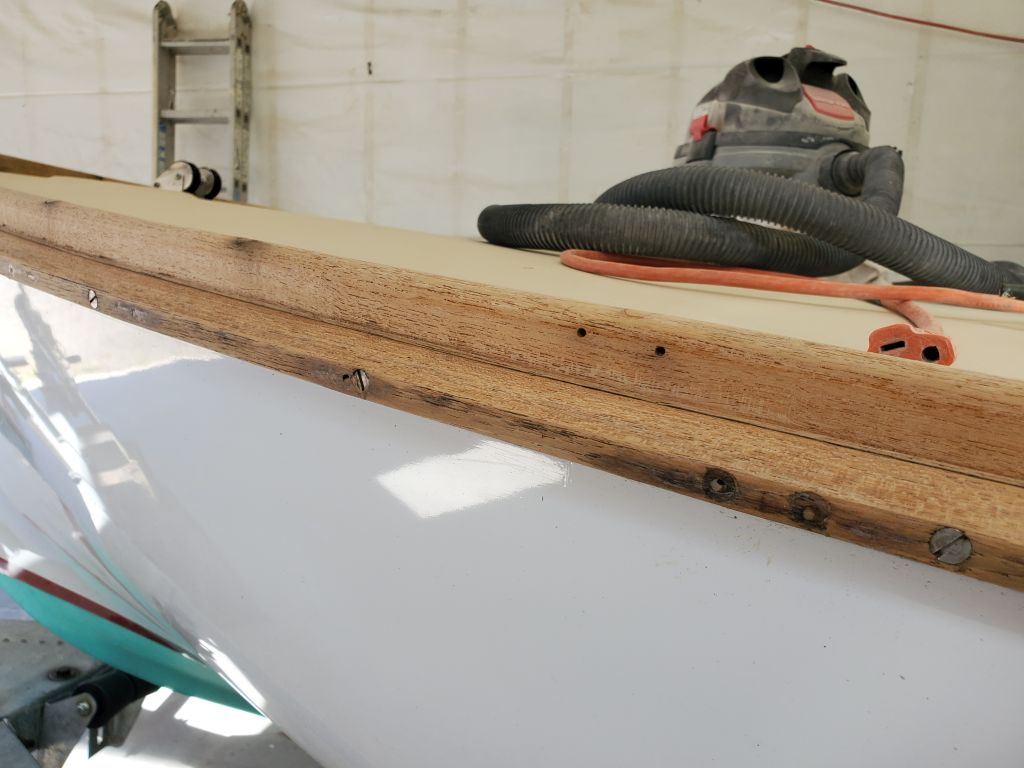
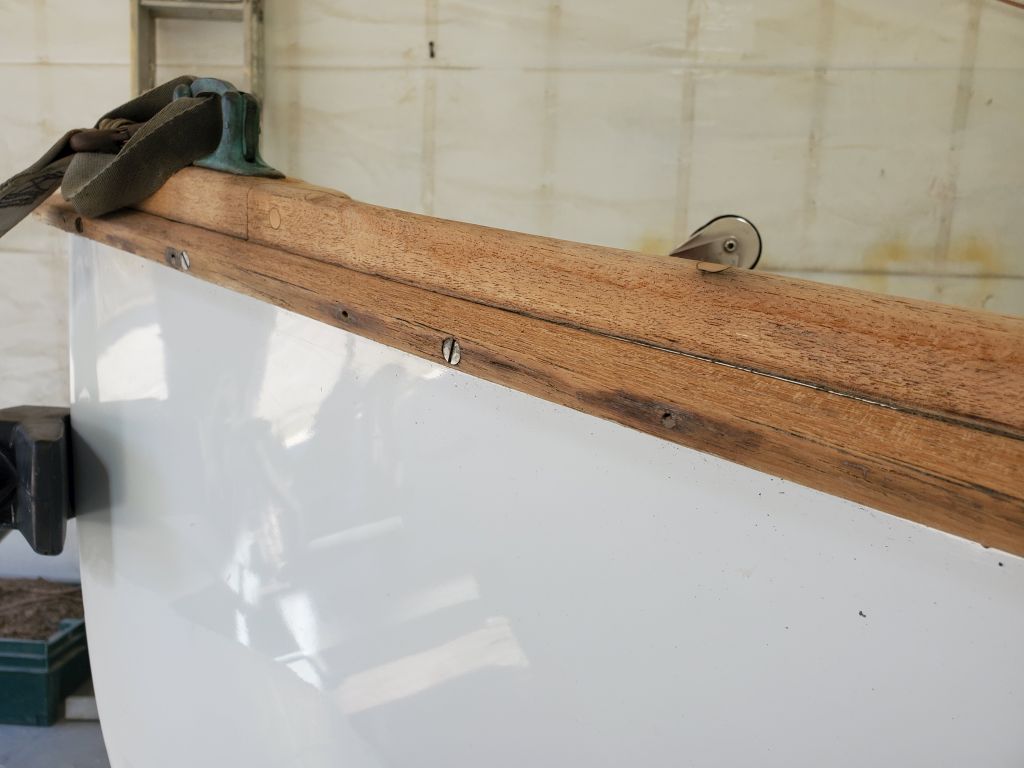
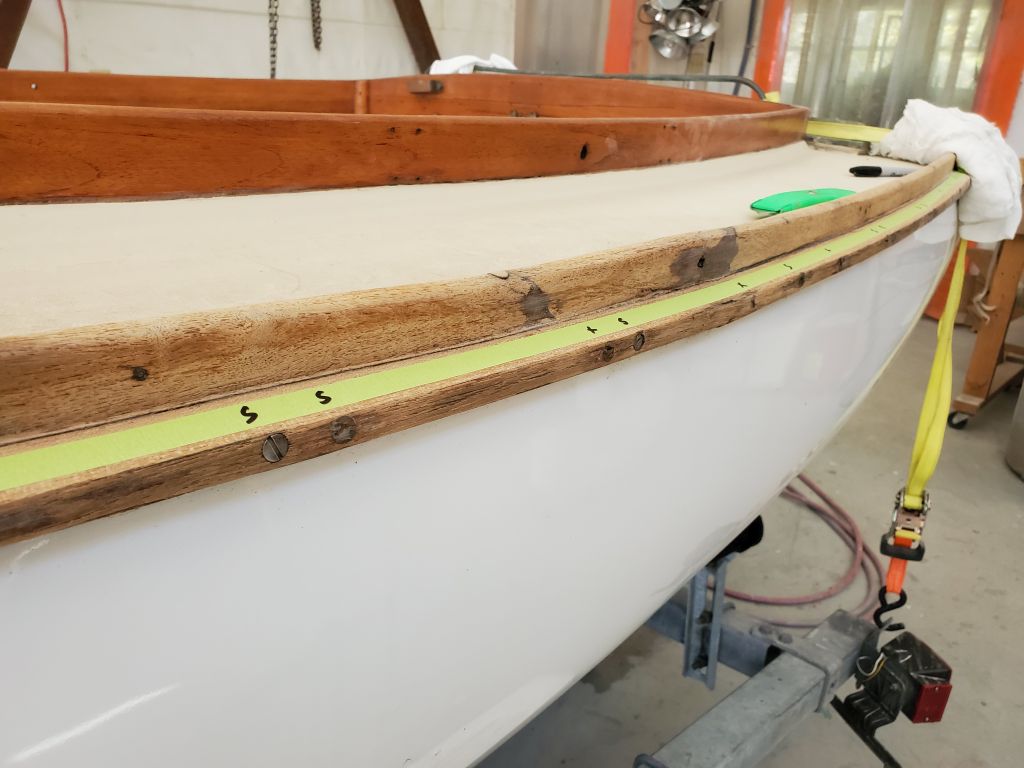
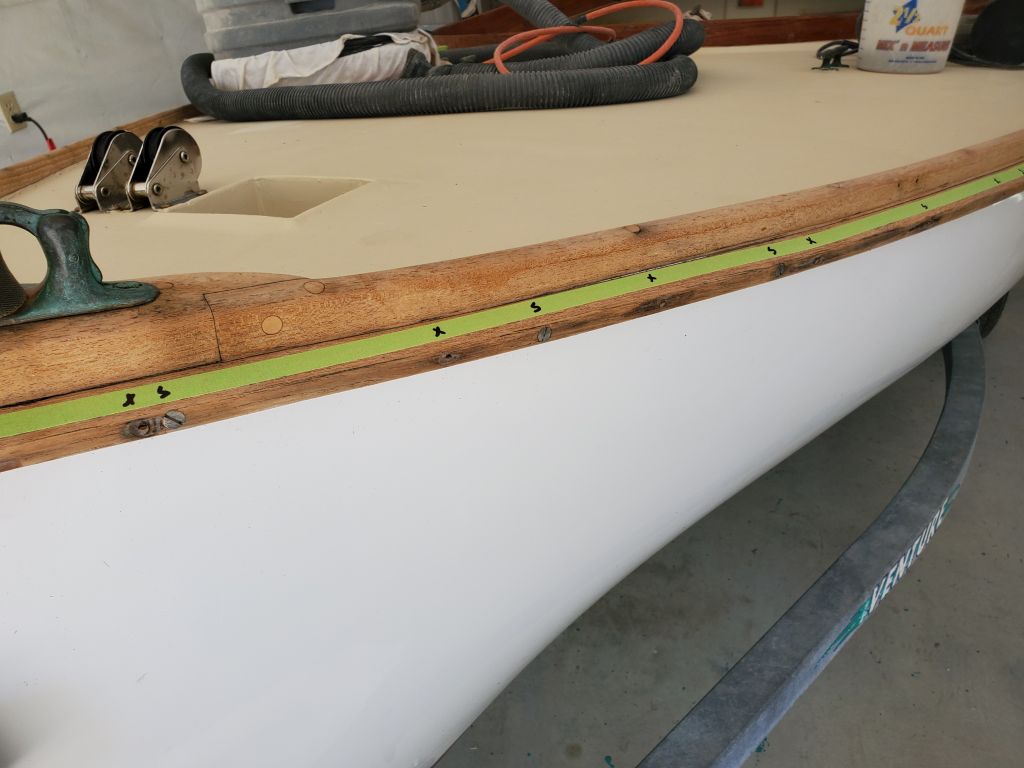
The wooden toerail and rubrail had been stripped to bare wood sometime in the past, which is how the owner wanted it, and now I prepared to install a new half-oval brass rubstrip on the exterior face of the rubrail. With numerous screws holding the wood to the boat, and broken-off studs of the old screws leftover from the original rubrail, there were many impediments to future screw placement.
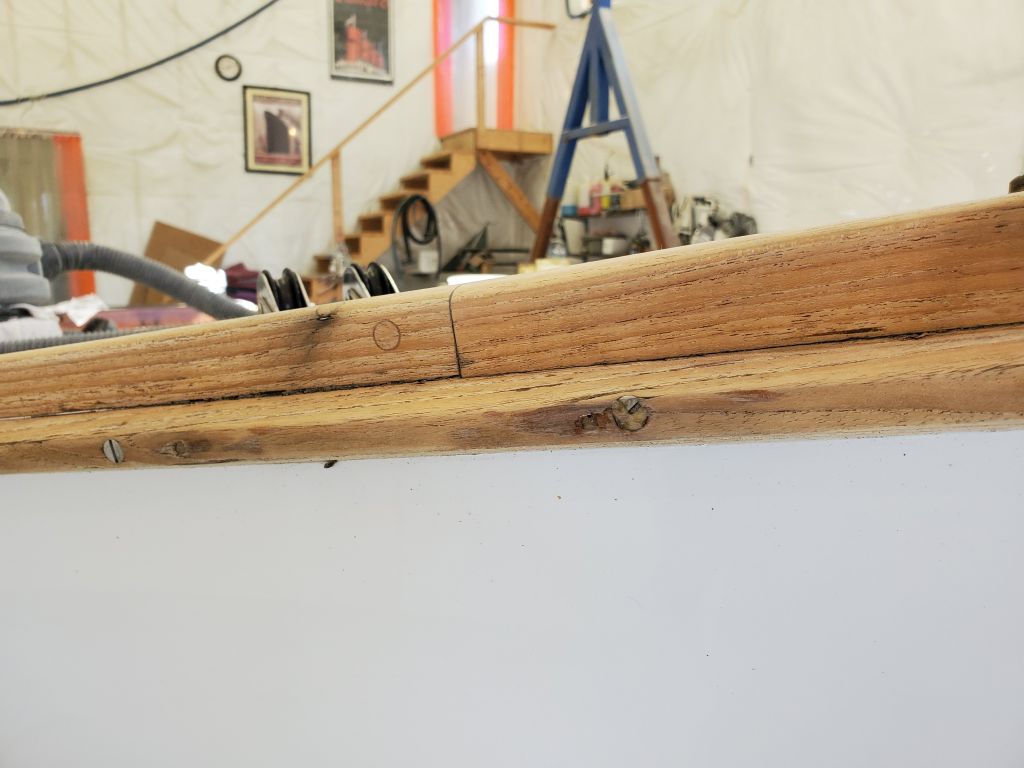
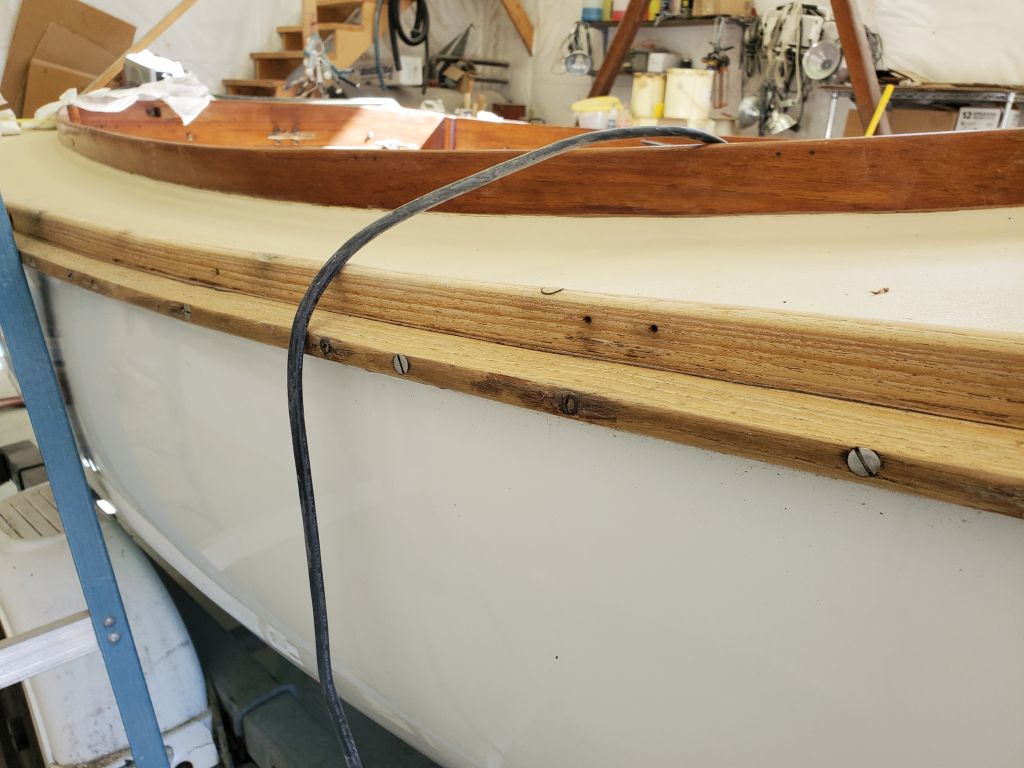
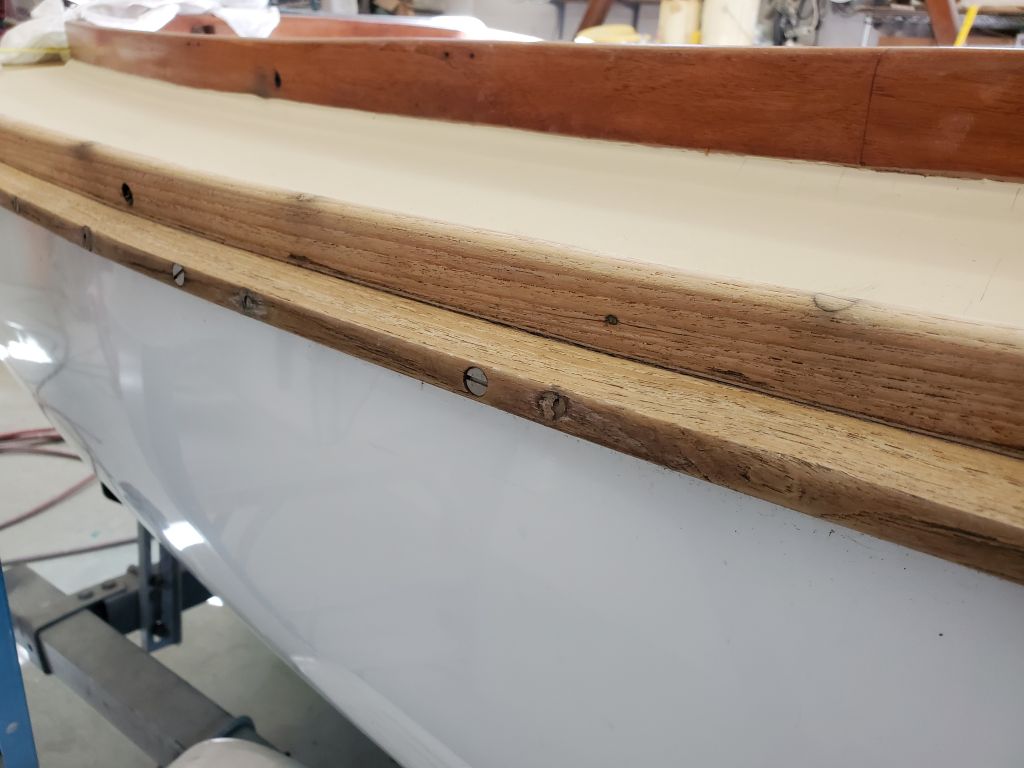
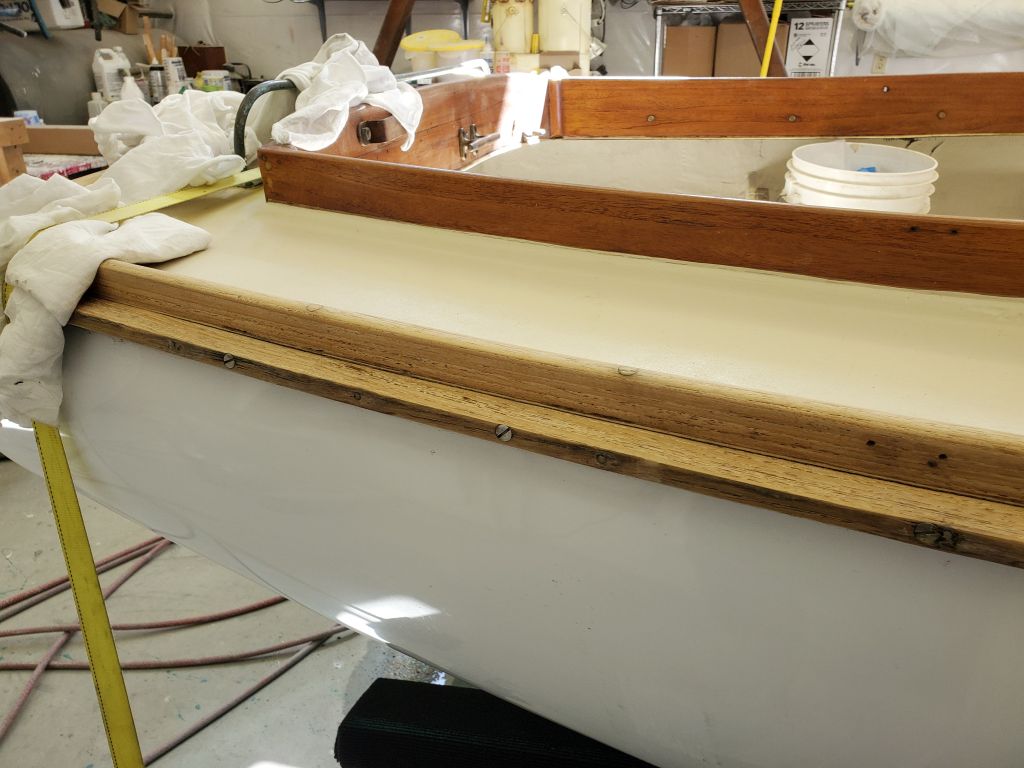
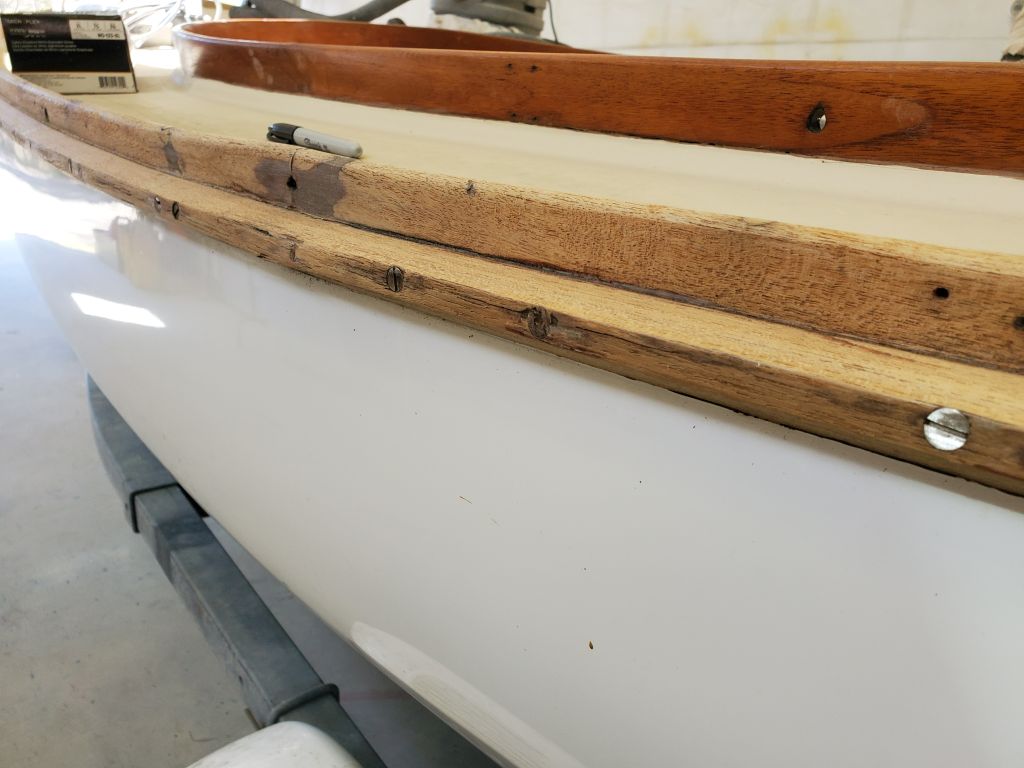

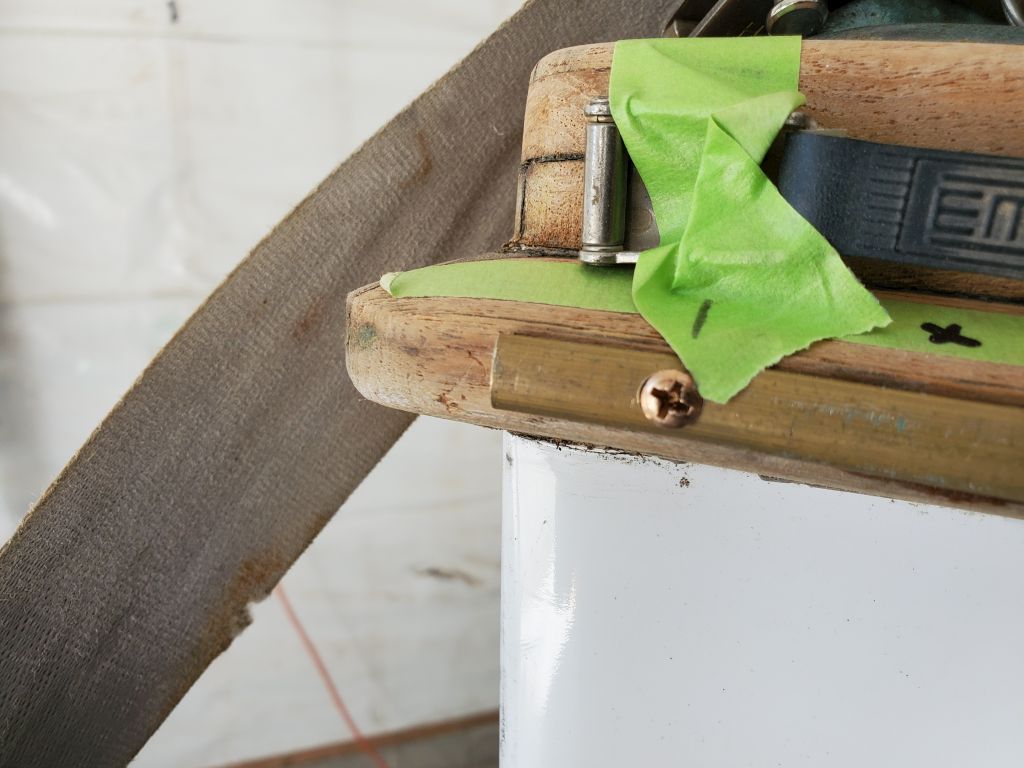
Starting with the port side, I laid out a strip of masking tape along the rail, which gave me a place to mark all the existing screw and broken screw locations.

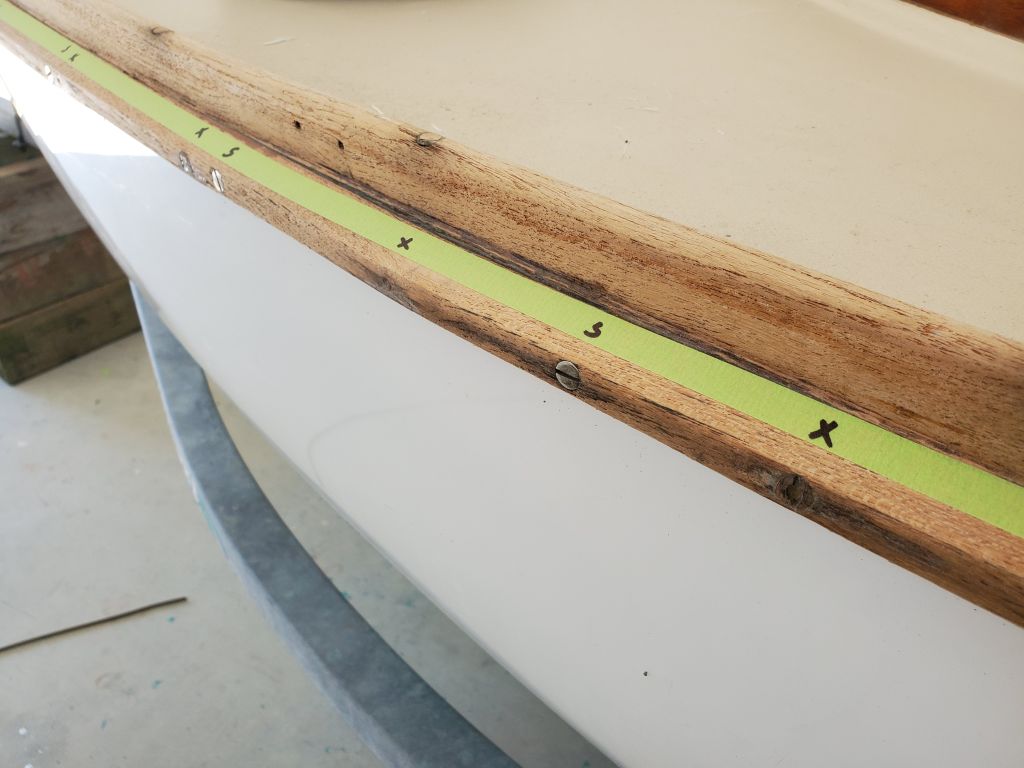
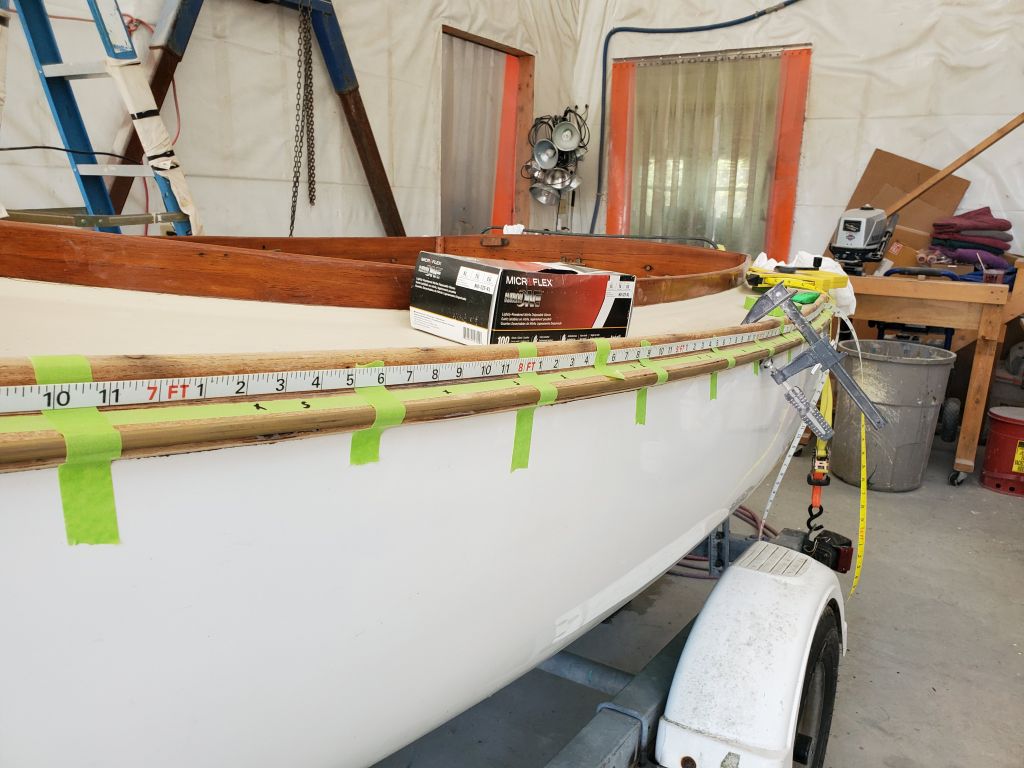
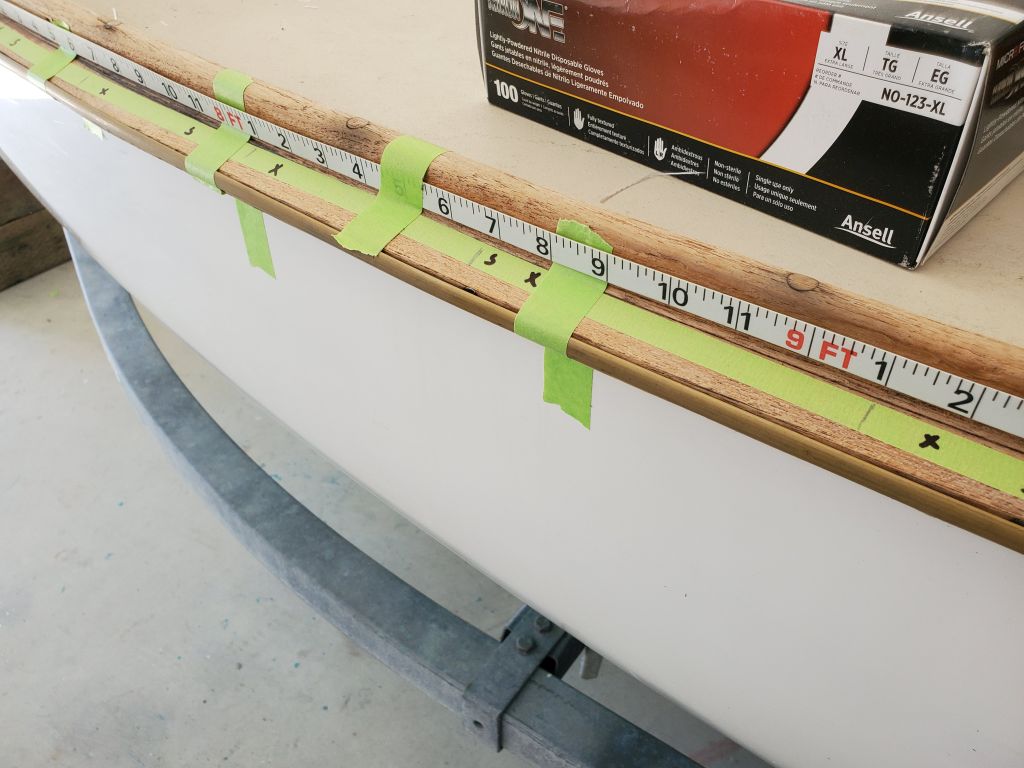
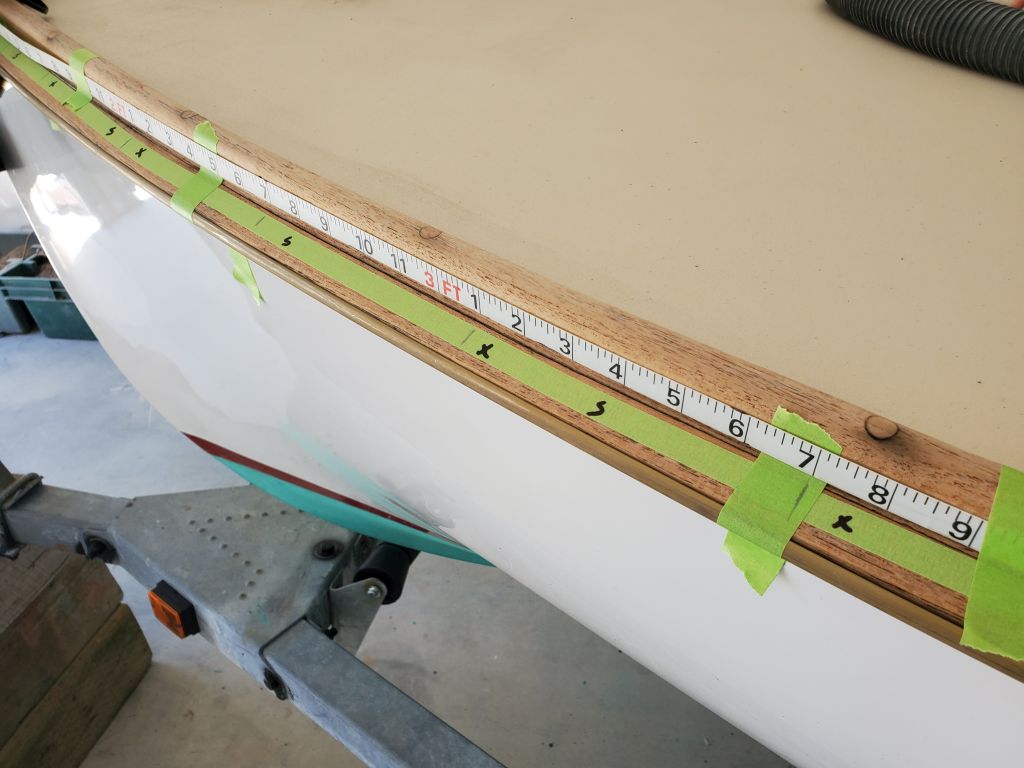
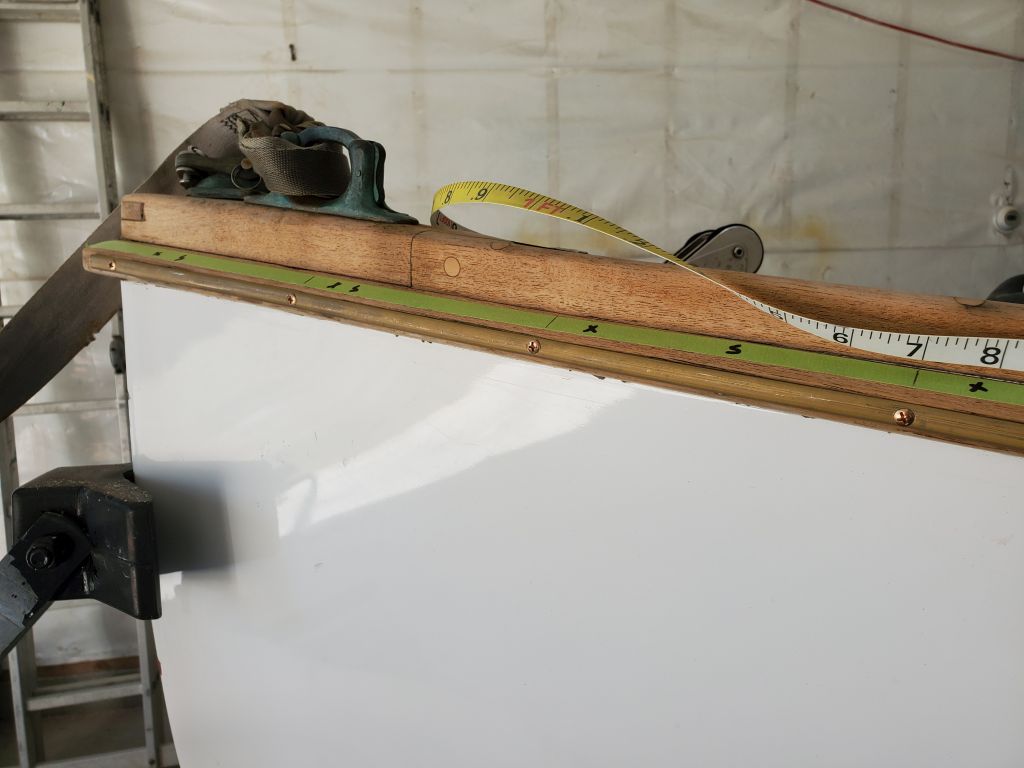
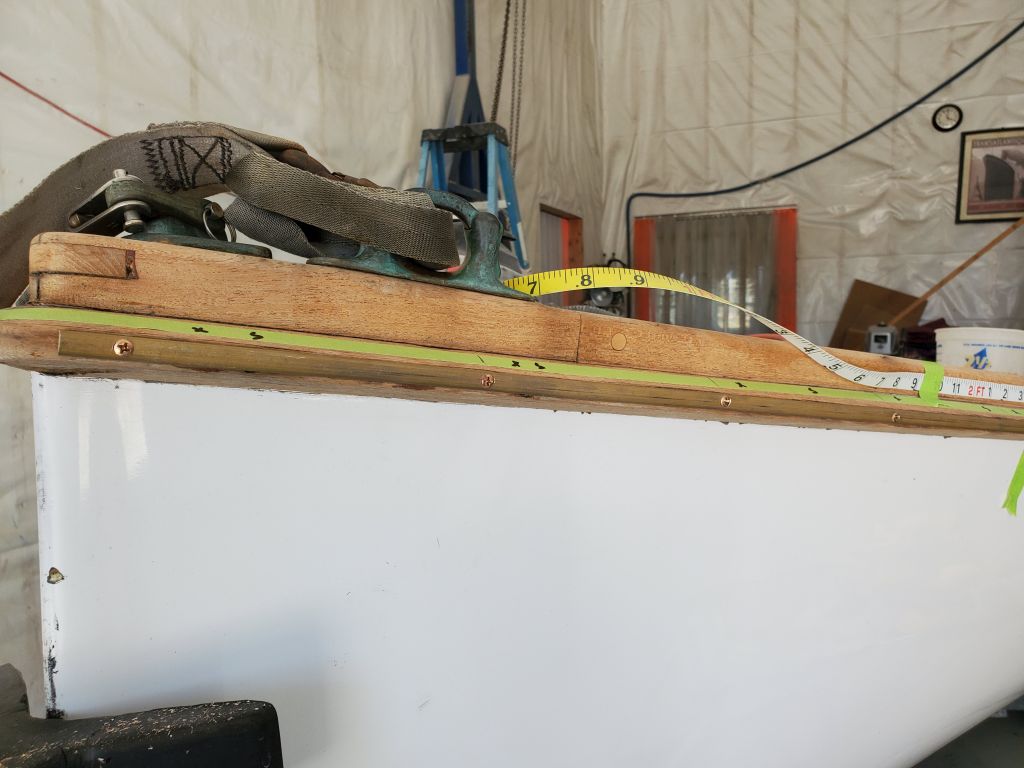
The brass stock (bronze half oval is not available other than, I suppose, through custom order) came in 12-foot lengths without screw holes, and in the 3/8″ x 3/32″ size required for this boat, was delicate, easy to damage, and hard to control at the early stages. I planned to drill and countersink the rail in place to avoid trying to move the flimsy material when full of screw holes, but first I had to tame it enough to get it in place temporarily. I used a few clamps over the rail to help hold the rub strip roughly in place without bending, while I secured it more permanently with masking tape every so often along its length. Then I laid out a flexible tape measure and, keeping clear of the various old and existing screw locations, laid out the new screw locations every six inches on center.

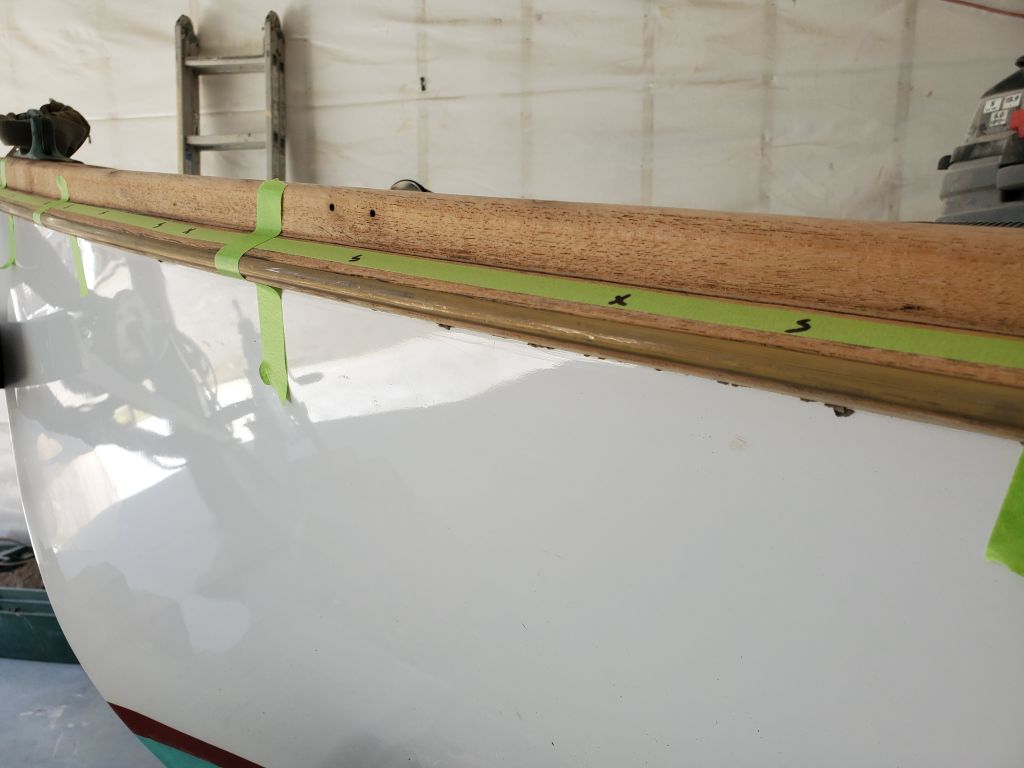


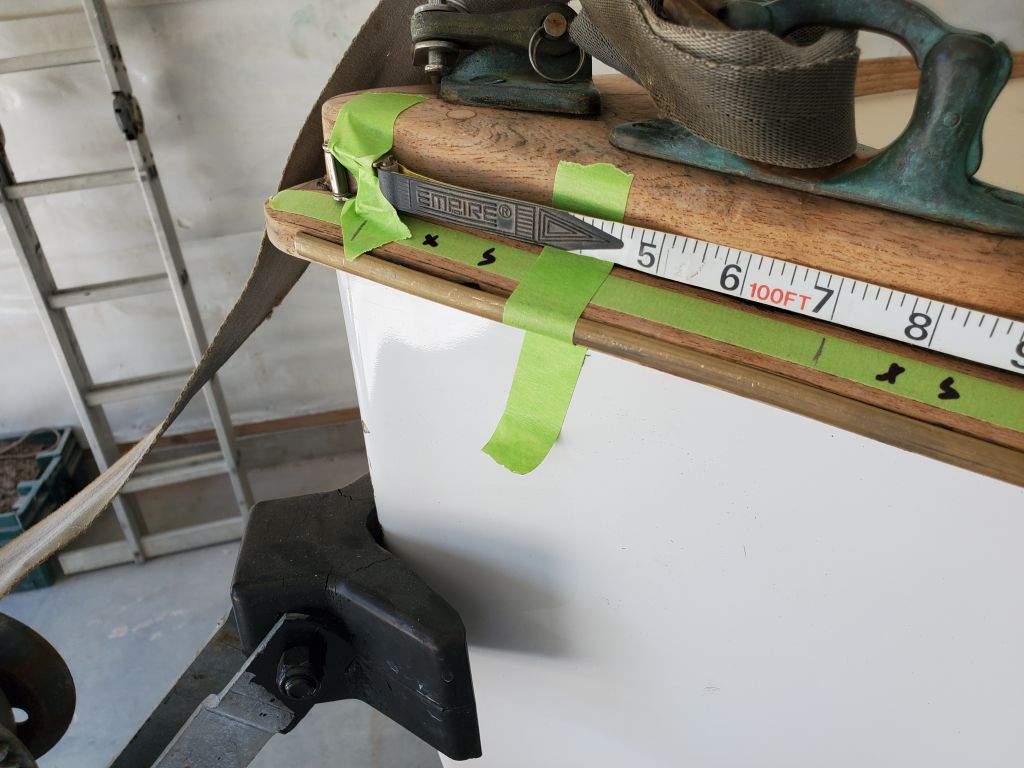
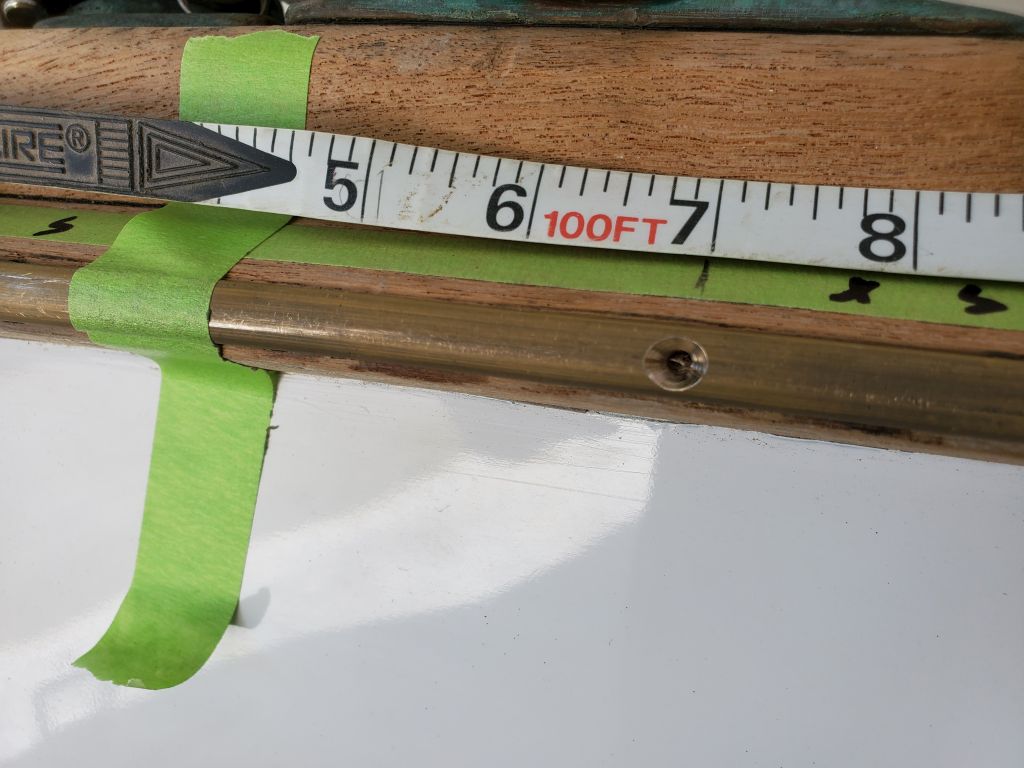
Starting at the bow, I began to attach the rail with #6 bronze oval-head wood screws. At each location, I center-punched; drilled a pilot hole through the brass and into the wood; enlarged the pilot hole through the brass for the screw shank; and milled a countersink for the screw head. As proof of concept, this procedure worked well, and while I was out of time for the moment, I expected the rest of the rail installation would proceed accordingly.
Total time billed on this job today: 3.25 hours
0600 Weather Observation: Clear, 30°. Forecast for the day: Sunny, 65°