


May 13, 2020
Fritz 3
Wednesday
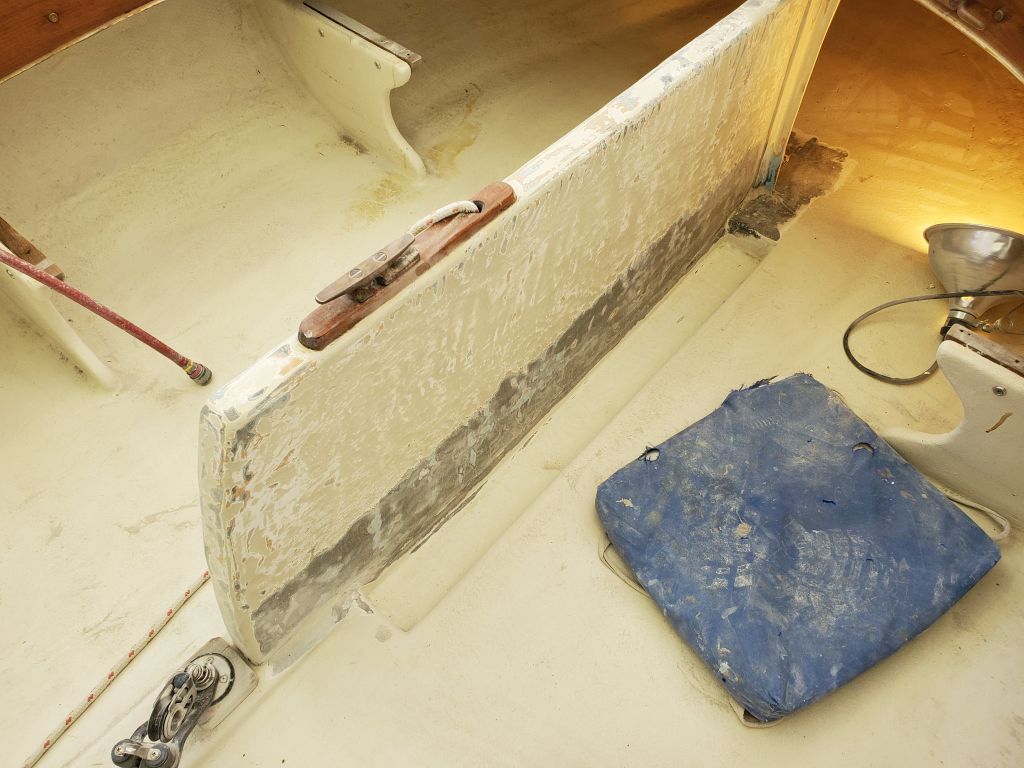
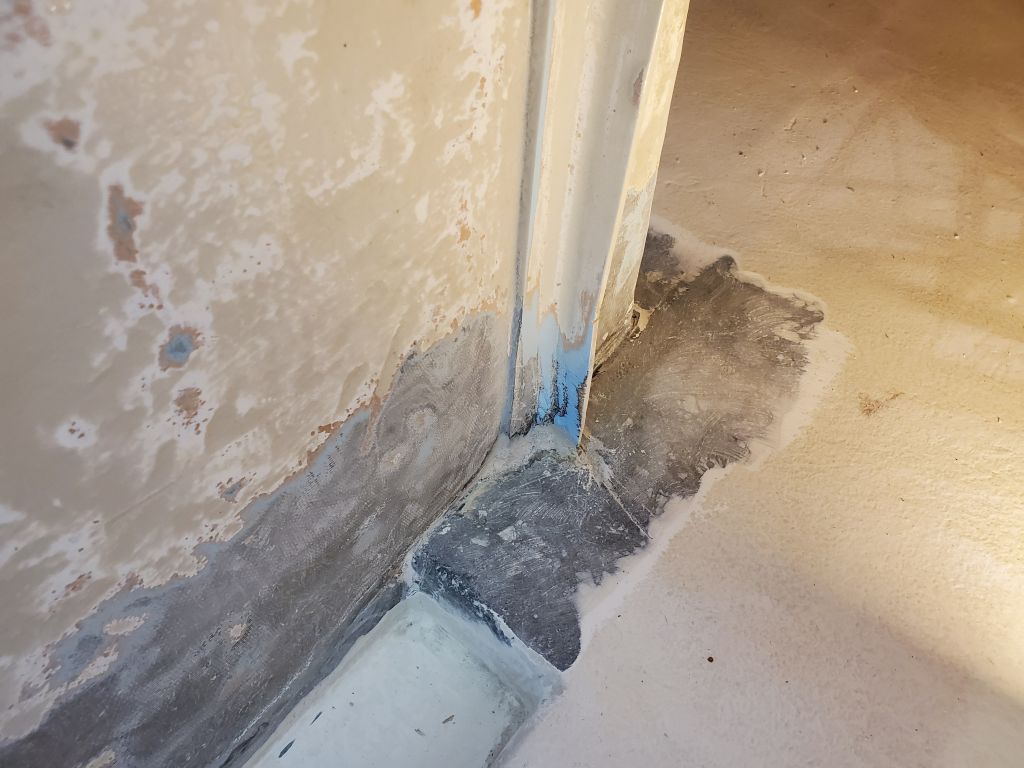
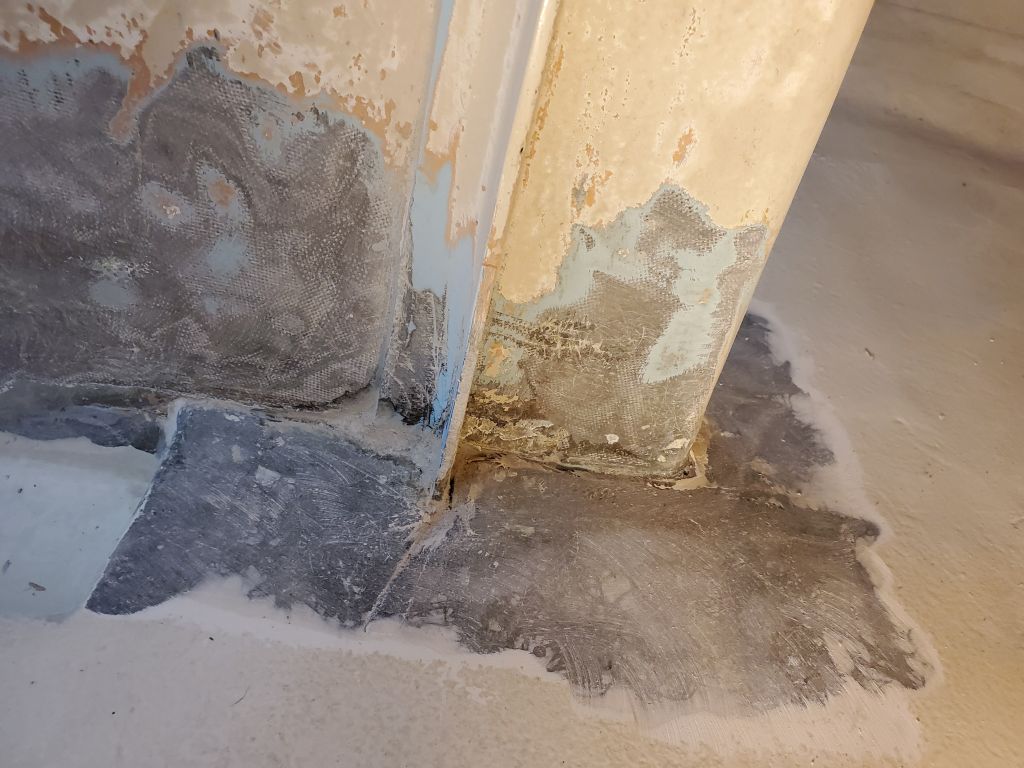
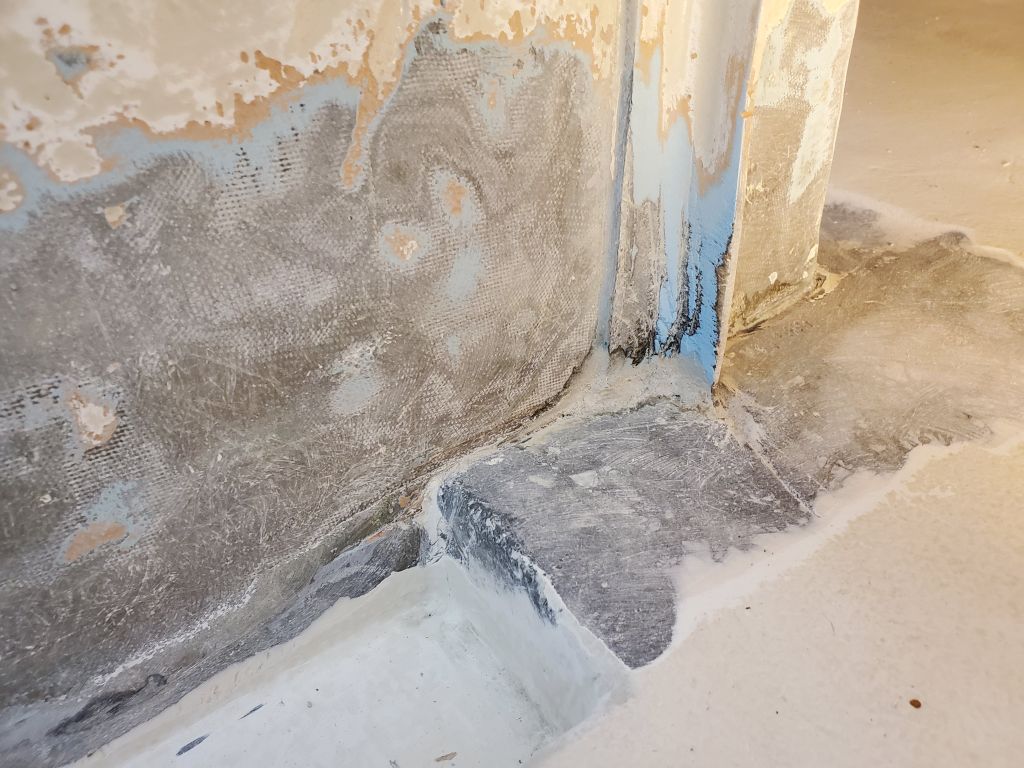
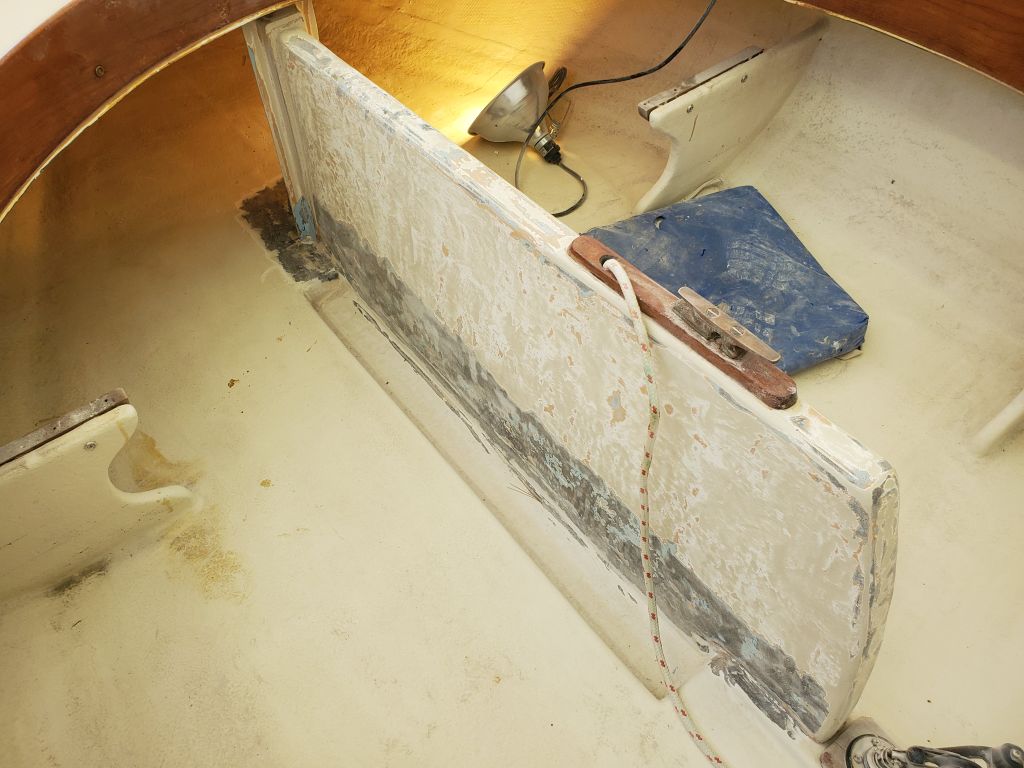
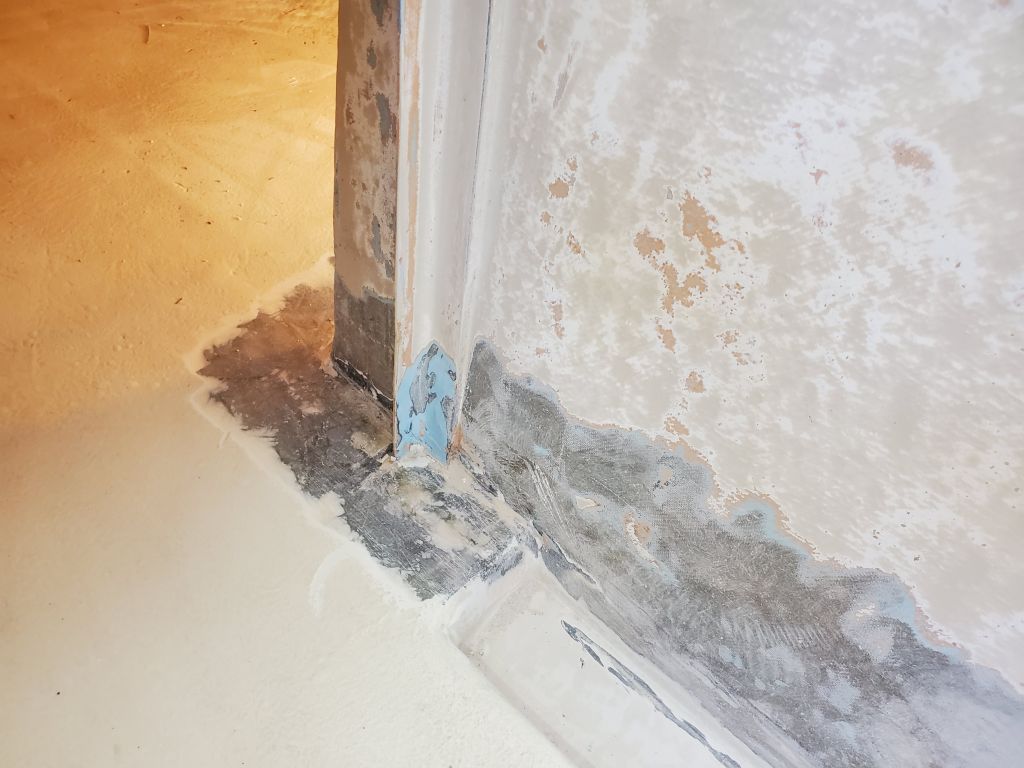
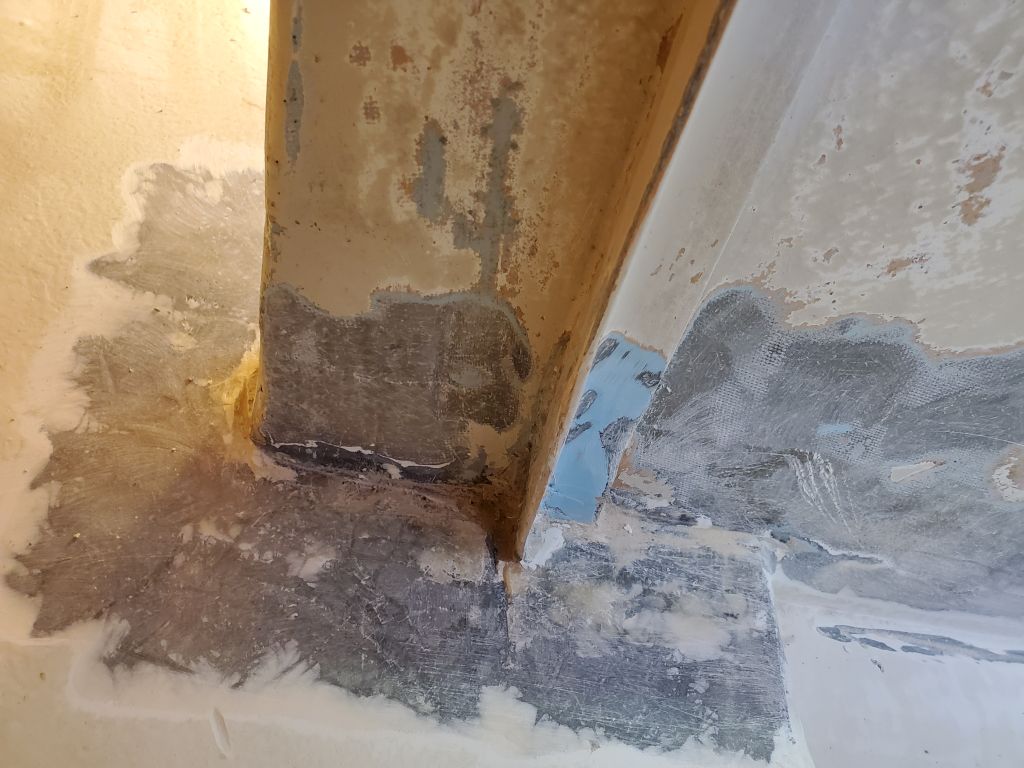
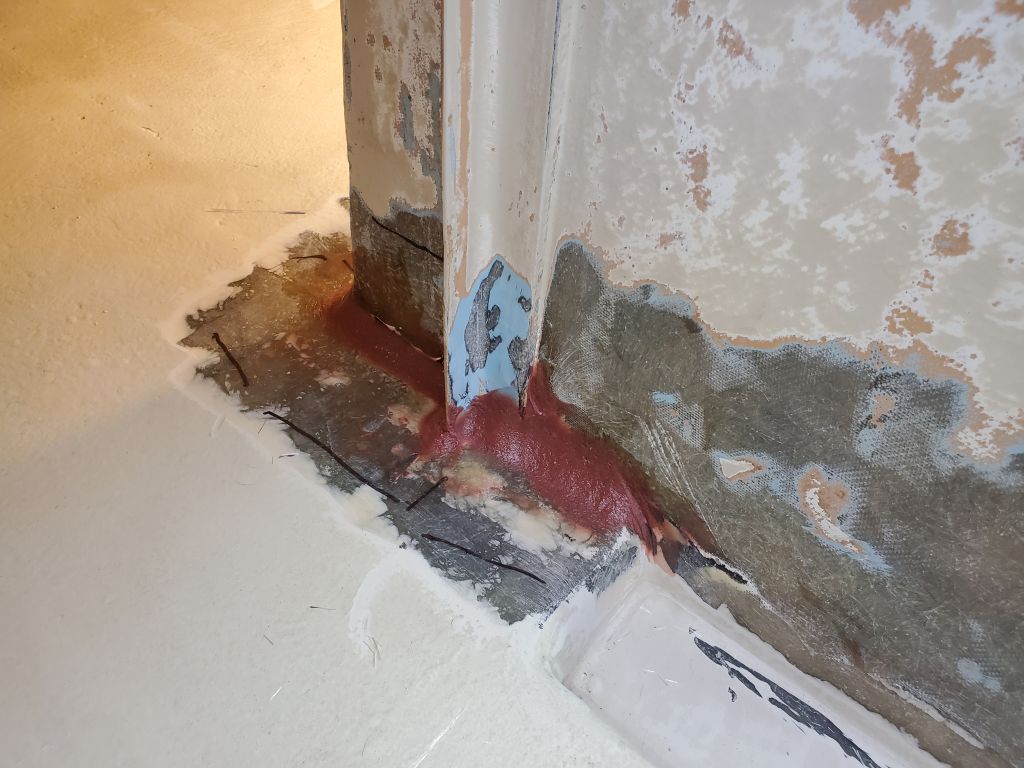
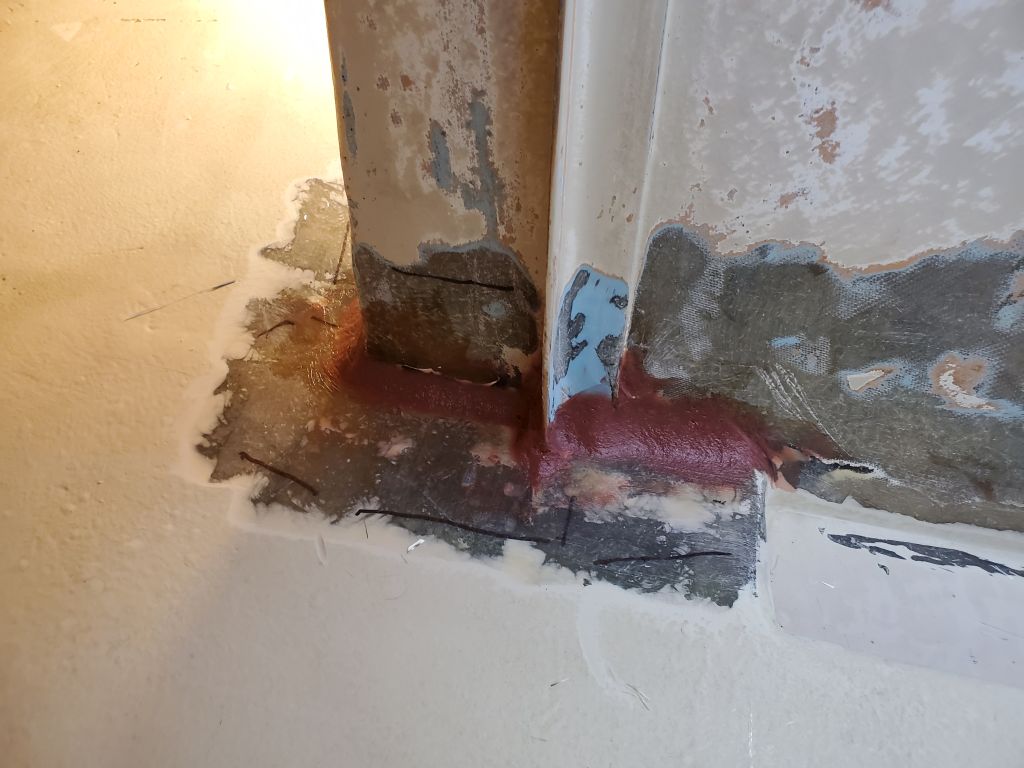
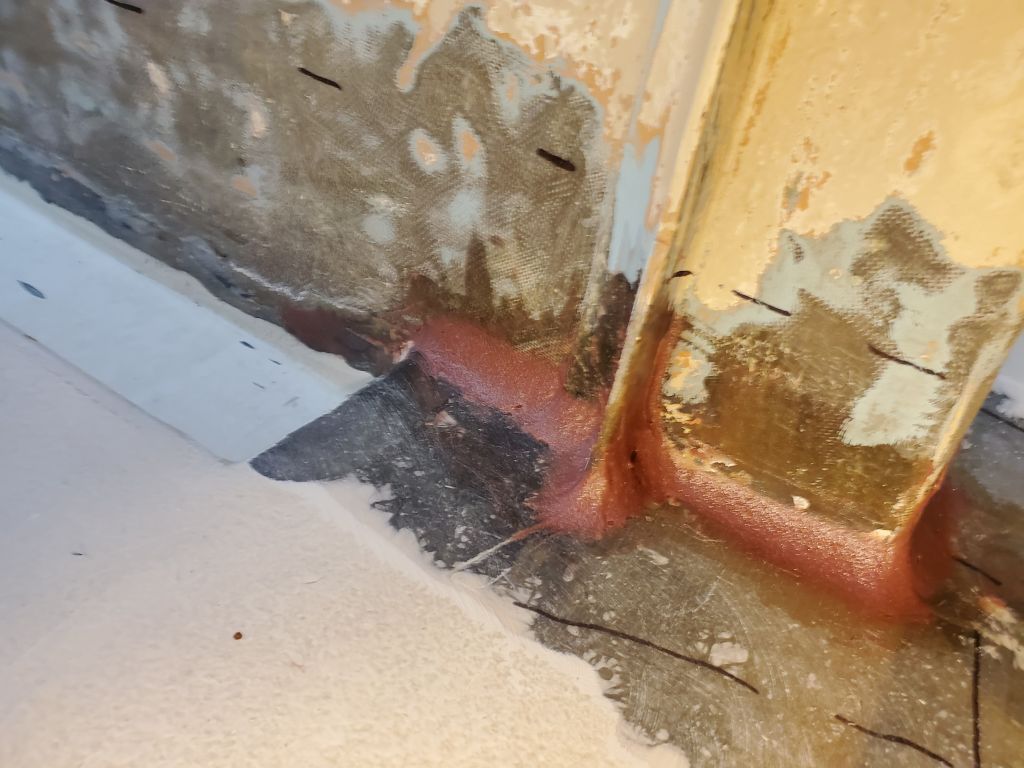
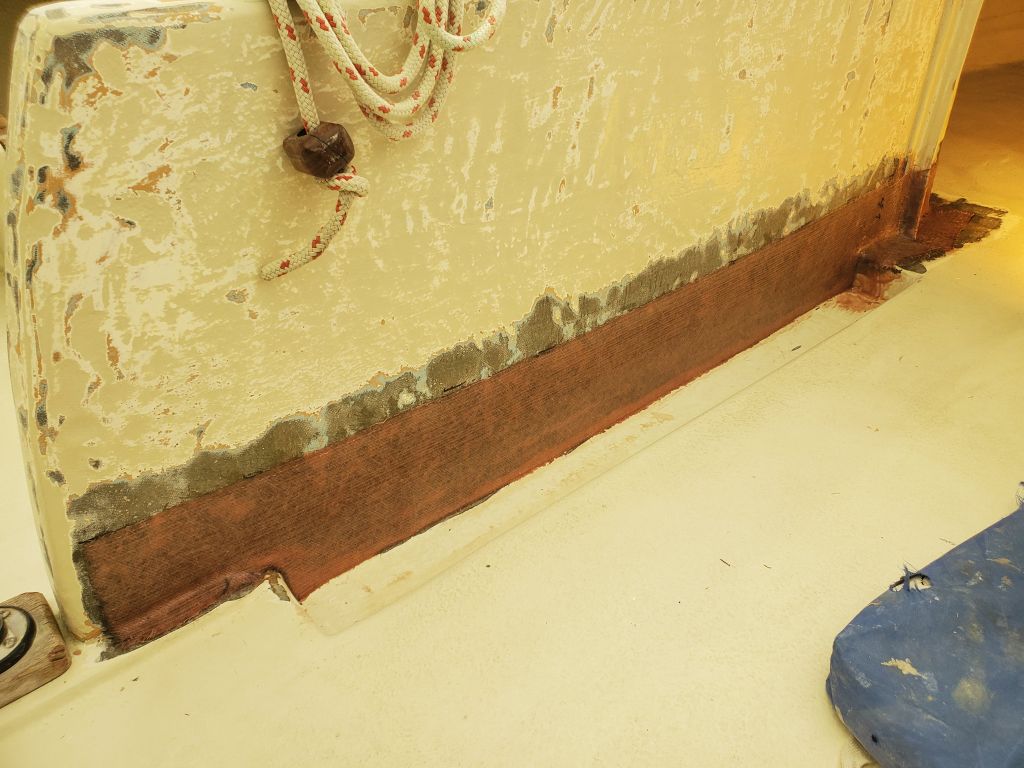
After getting set up with tools and equipment, I prepared the area around and including the centerboard trunk for the intended repair. With flaking paint here and there along the full length of the tabbing seam where the cockpit sole had been secured to the trunk, I decided early on to grind away the paint and any loose material from the full length of the trunk, not just the forward section that I’d pinpointed as a possible cause of the water leakage into the keel sump.
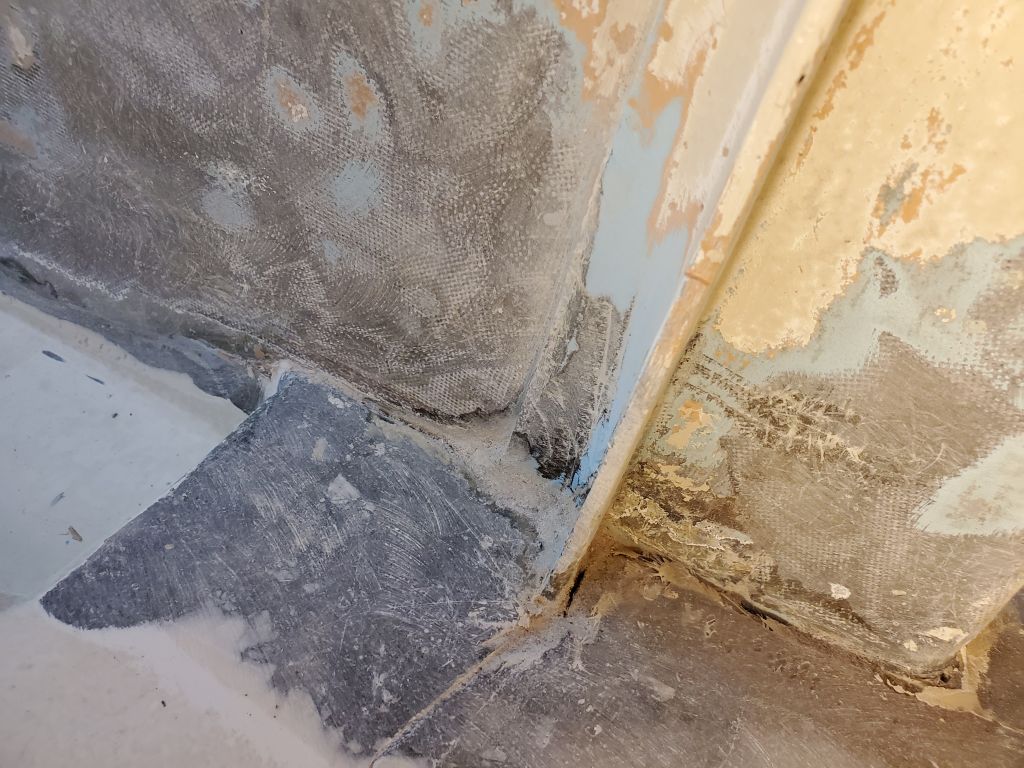
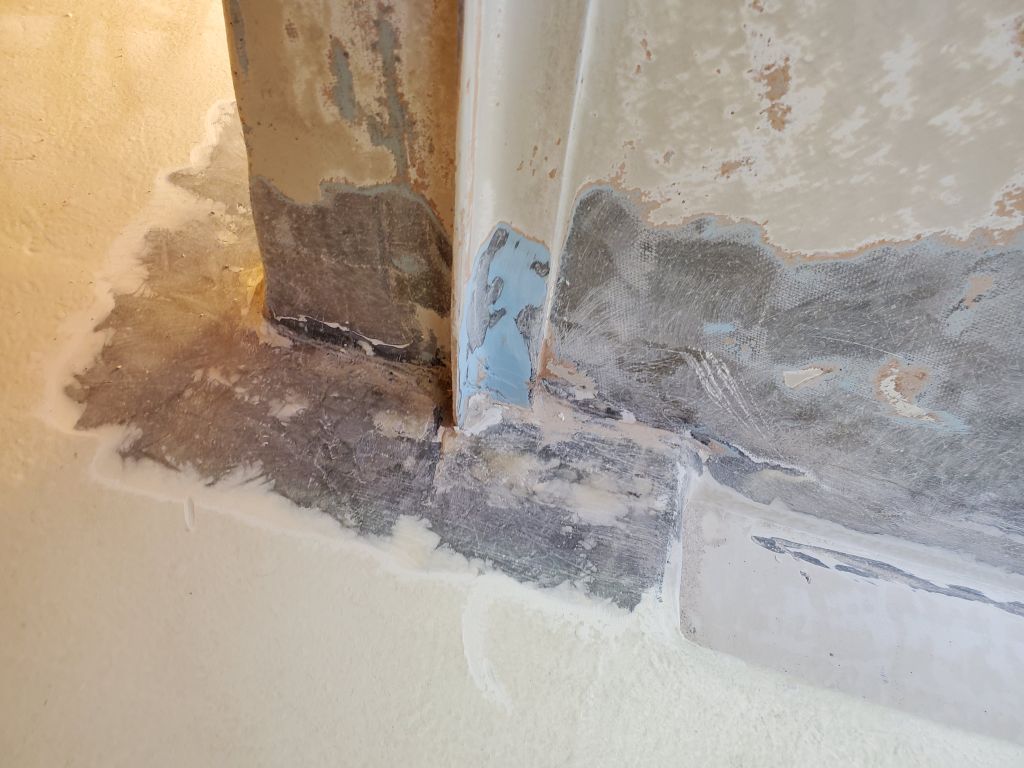
This was a disproportionately unpleasant chore, but eventually I’d removed paint and loose material from the lower 6″ or so of the cabin trunk, spanning the original tabbing seam and extending to the bottom of the trunk where it met the recesses sumps, and around the myriad corners and crevices of the remnants of the old forward bulkhead, which had been mostly cut out during the much-earlier cockpit modifications. This preparation would allow the new tabbing to bond sufficiently in these areas. In the seam where the cockpit met the cabin trunk in these areas, I found some soft adhesive/sealant-type material in the corners; whether this was part of the original construction (which seemed odd) or whether it was a more recent attempt at a fix I did not know, but in any event I scraped, with some effort, all this material out of the various crevices. While I was making a mess, I also sanded the whole remainder of the centerboard trunk to prepare it for repainting when the repairs were done.
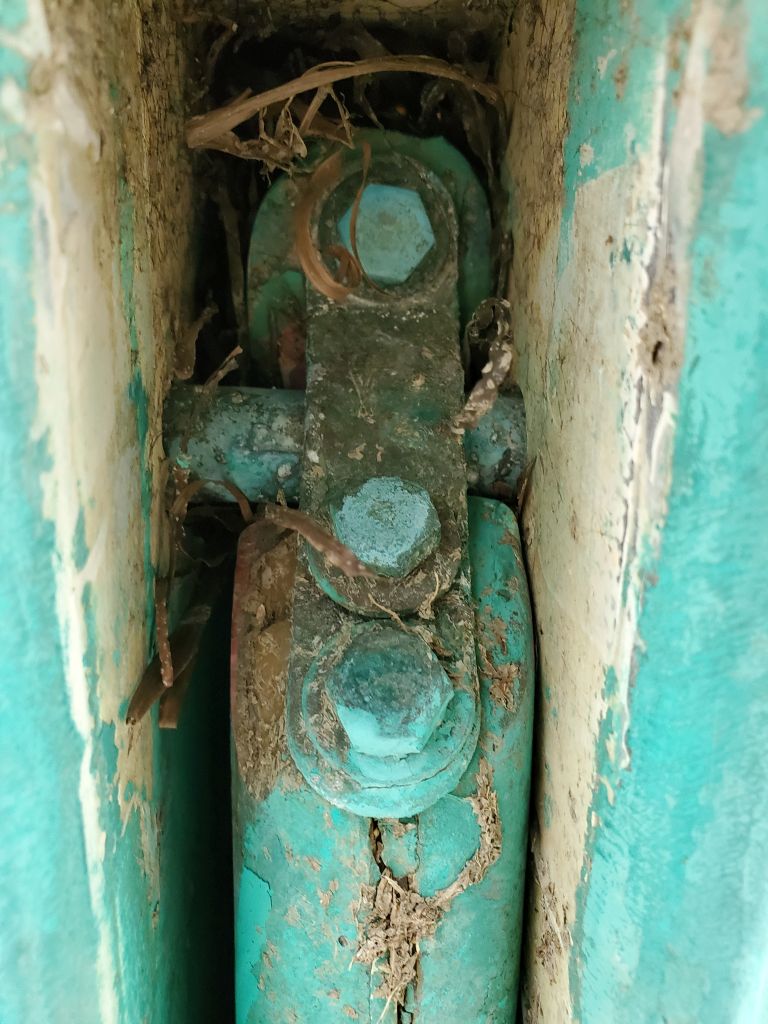
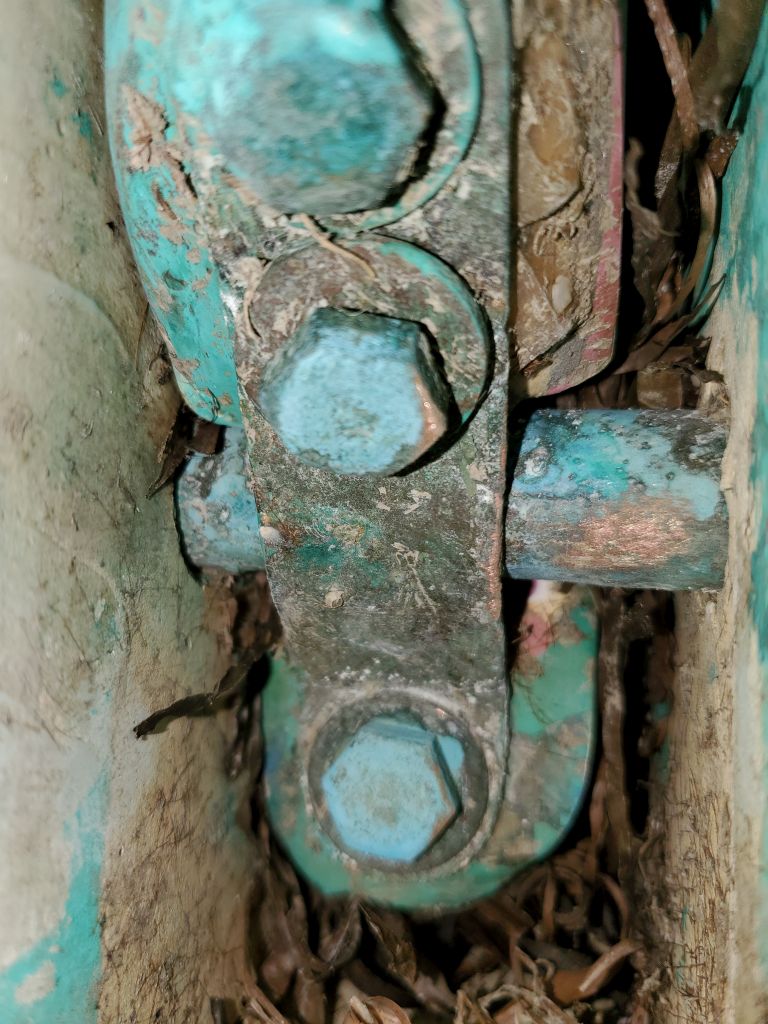
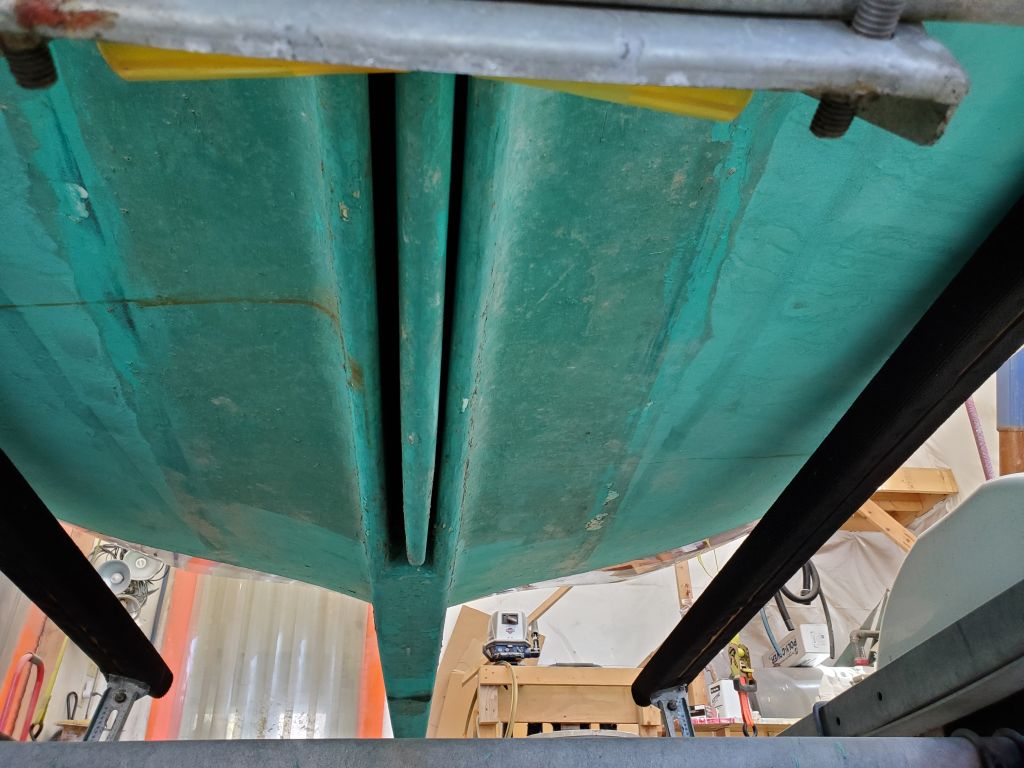
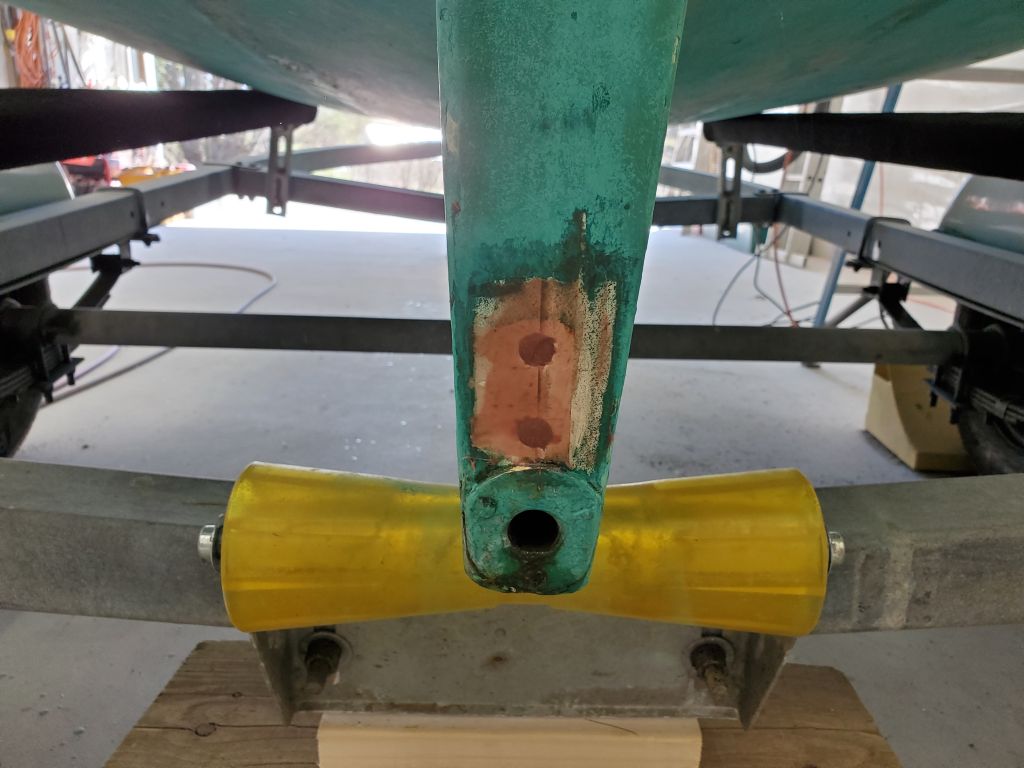
I also inspected the centerboard trunk and pin from below the boat, where I had a relatively clear view. In discussions with the owner, some of the original details of the centerboard pin and its installation became more clear, and for a while we debated whether to install inspection ports in the cockpit above to access–or even replace–the pin in case that was the source of the leak, though we also now knew that rainwater in the cockpit did eventually and slowly drain into the sump; whether that was the only source of the water, or whether there was still and outside source, was as yet unknown.
Since I could confirm from below that the pin was in good shape where visible and made from bronze, we ultimately decided not to install deck plates at this time, largely because any deck plates in this cockpit would simply leak into the bilge, defeating the whole purpose of the modified cockpit arrangement and not in keeping with the original goals. Should problems persist, or the centerboard pin require maintenance later, we’d re-address the issue then.
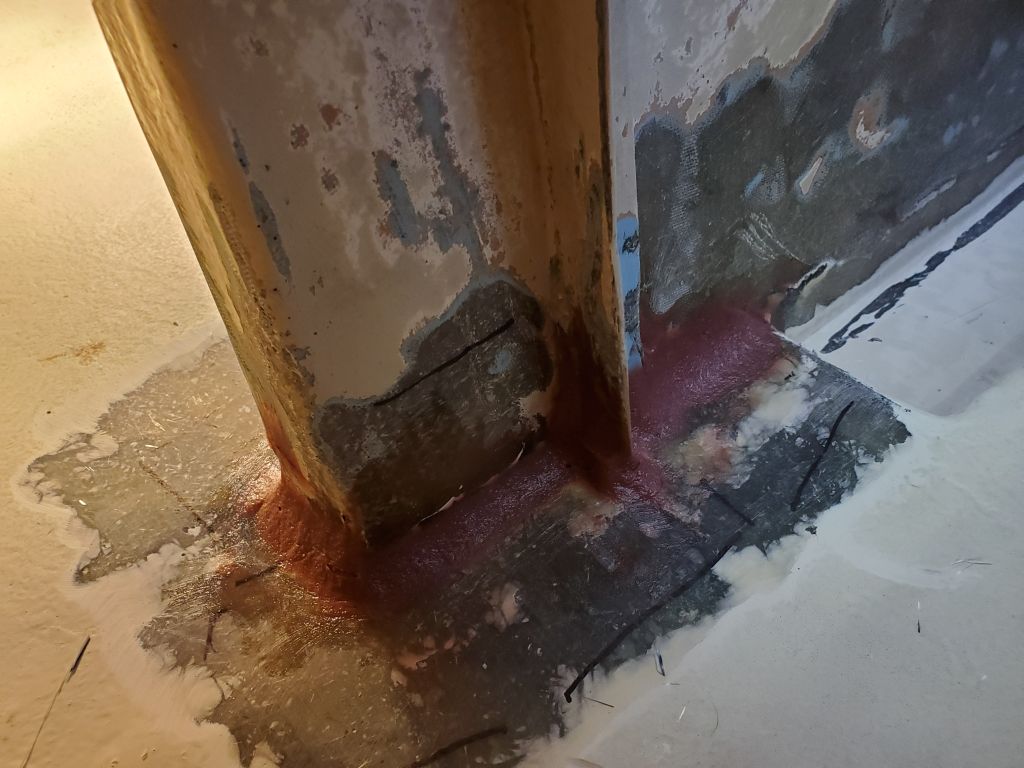
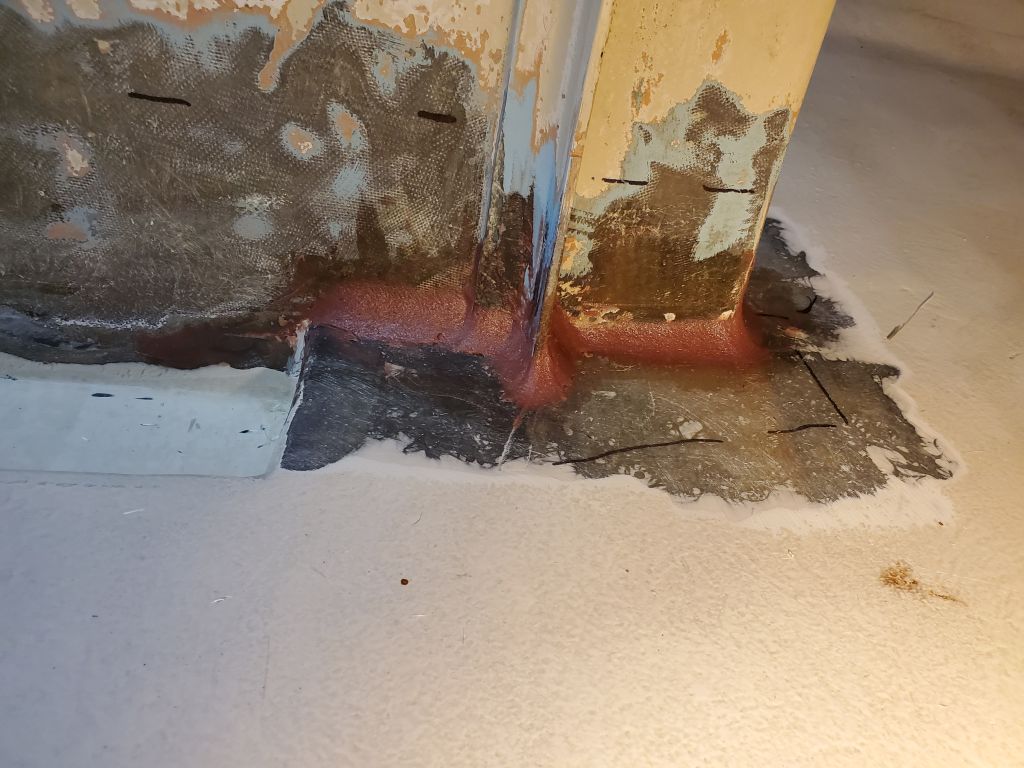
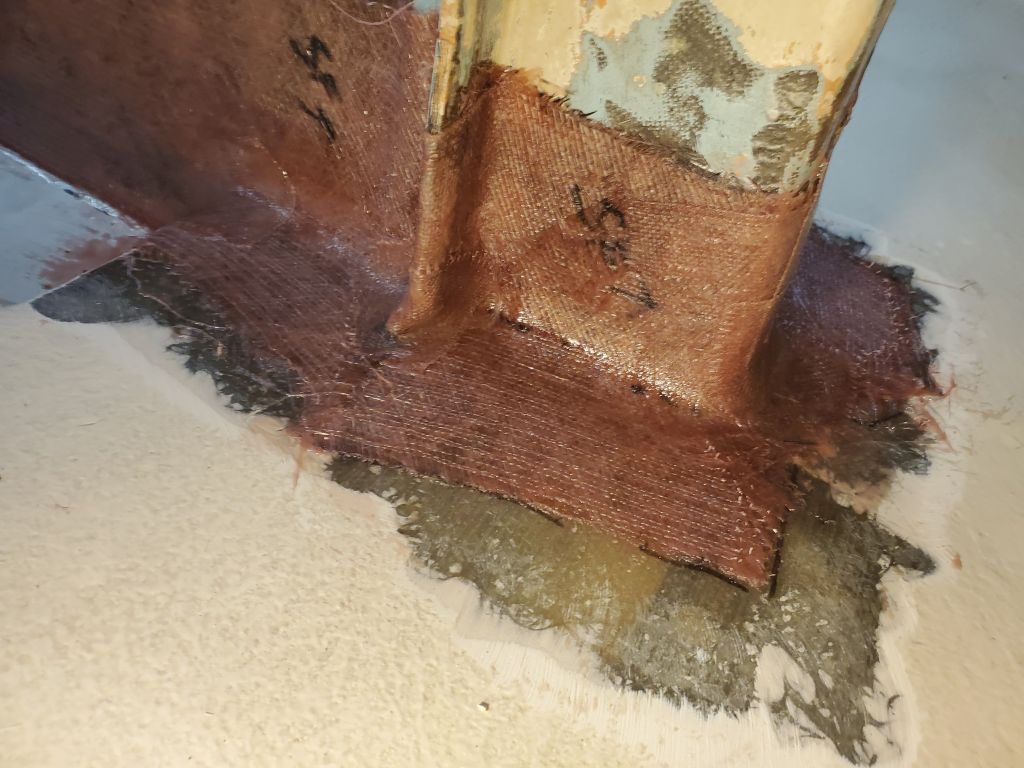
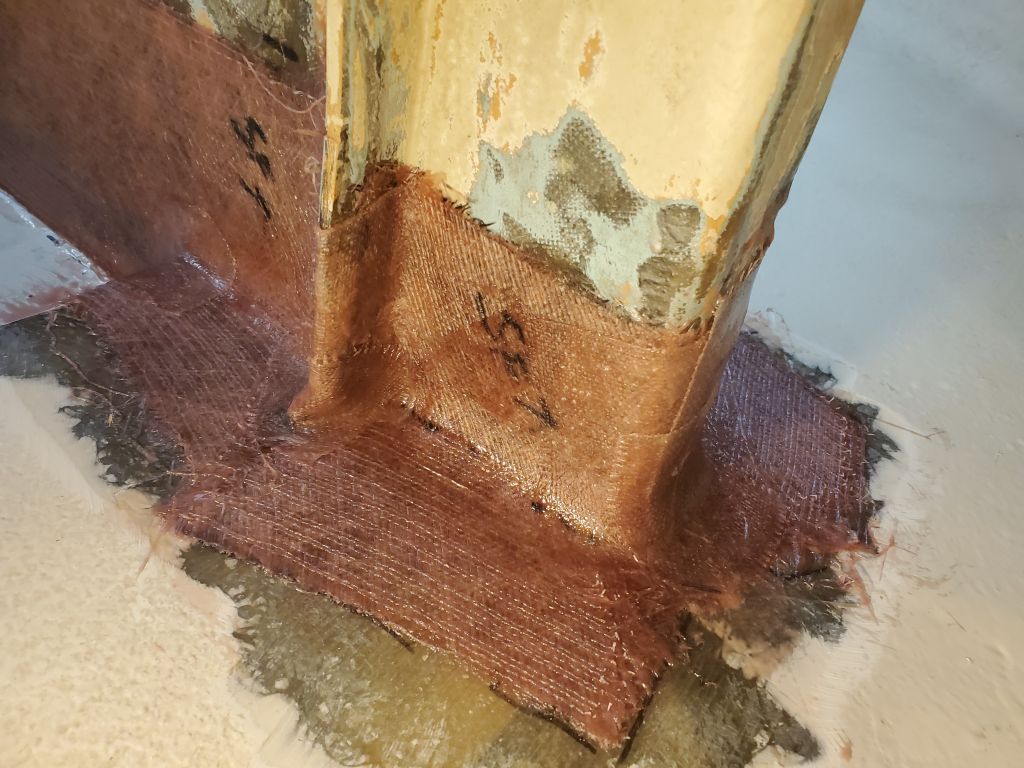
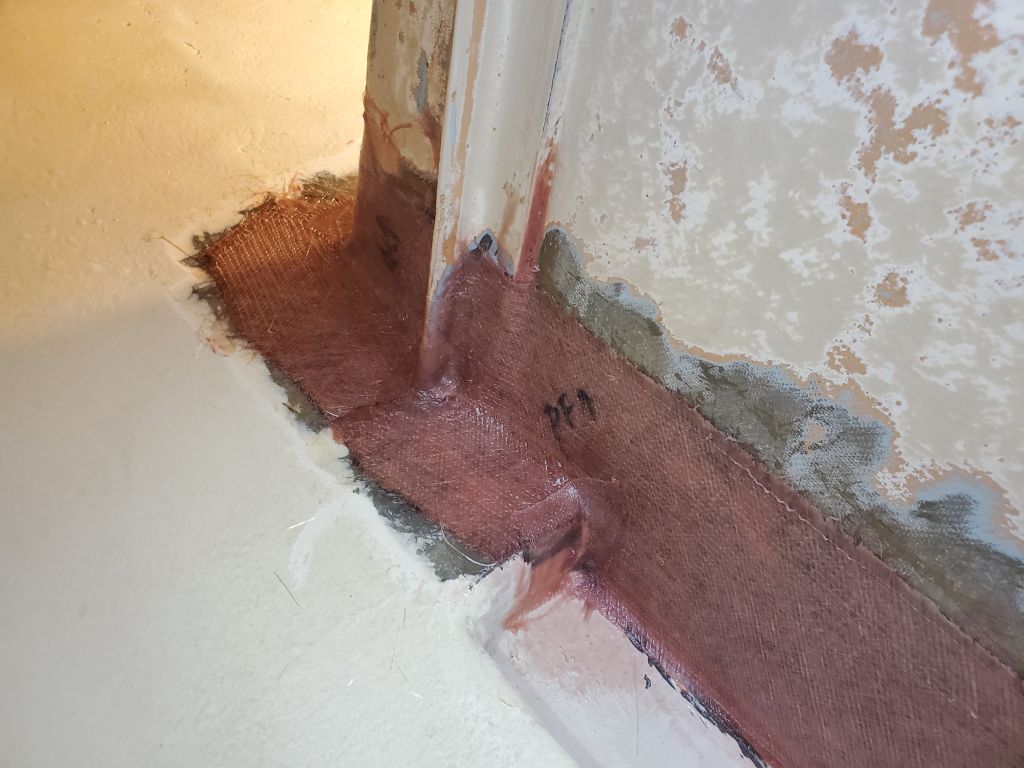
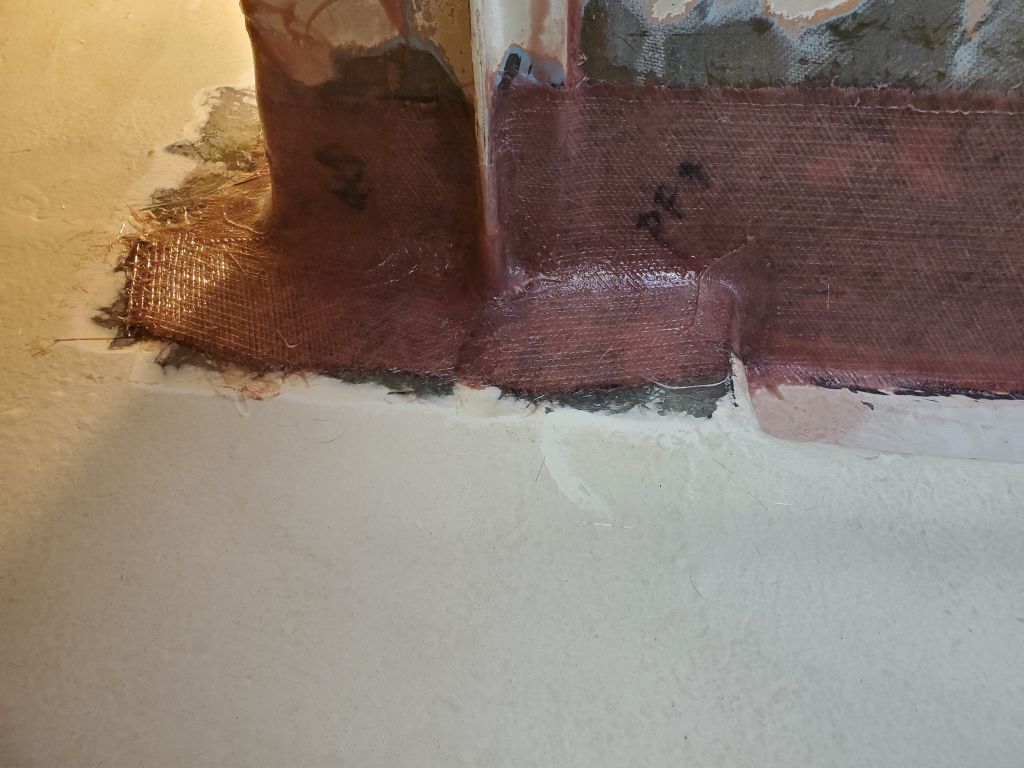
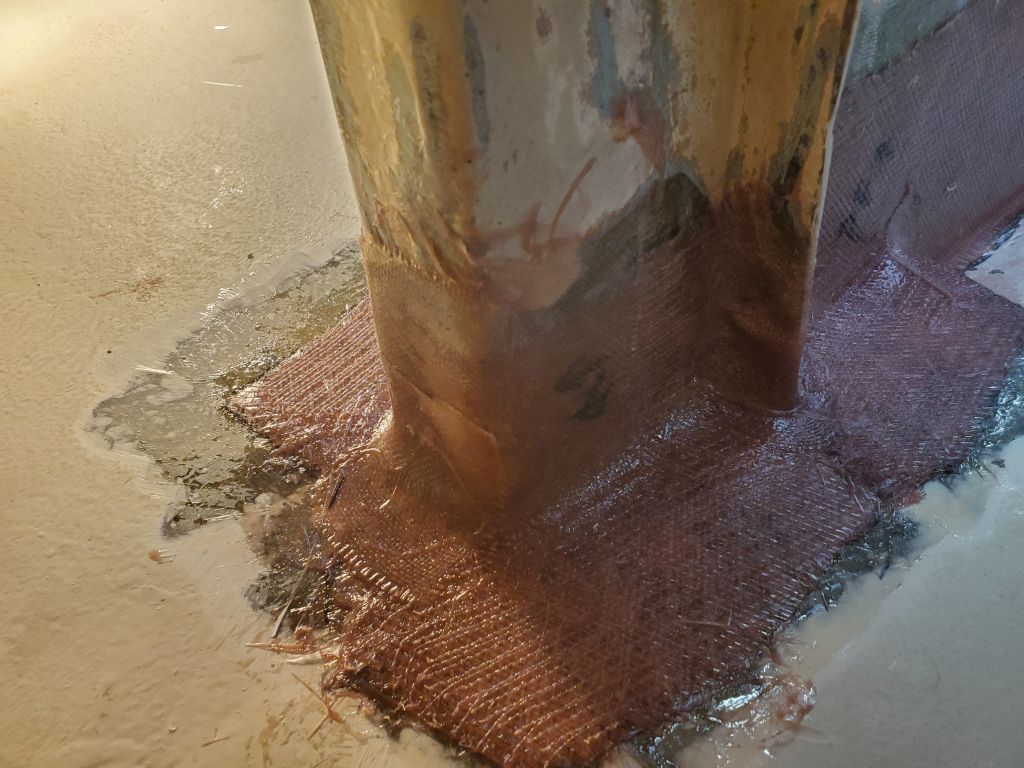
After cleaning up and preparing new fiberglass for the areas I’d ground earlier, I applied a heavy epoxy fillet around all the forward portions of the centerboard trunk and where it conjoined the vertical remnants of the bulkhead, not only to fill and seal the corners of the juncture, but also to ease all abrupt transitions for future fiberglass work.


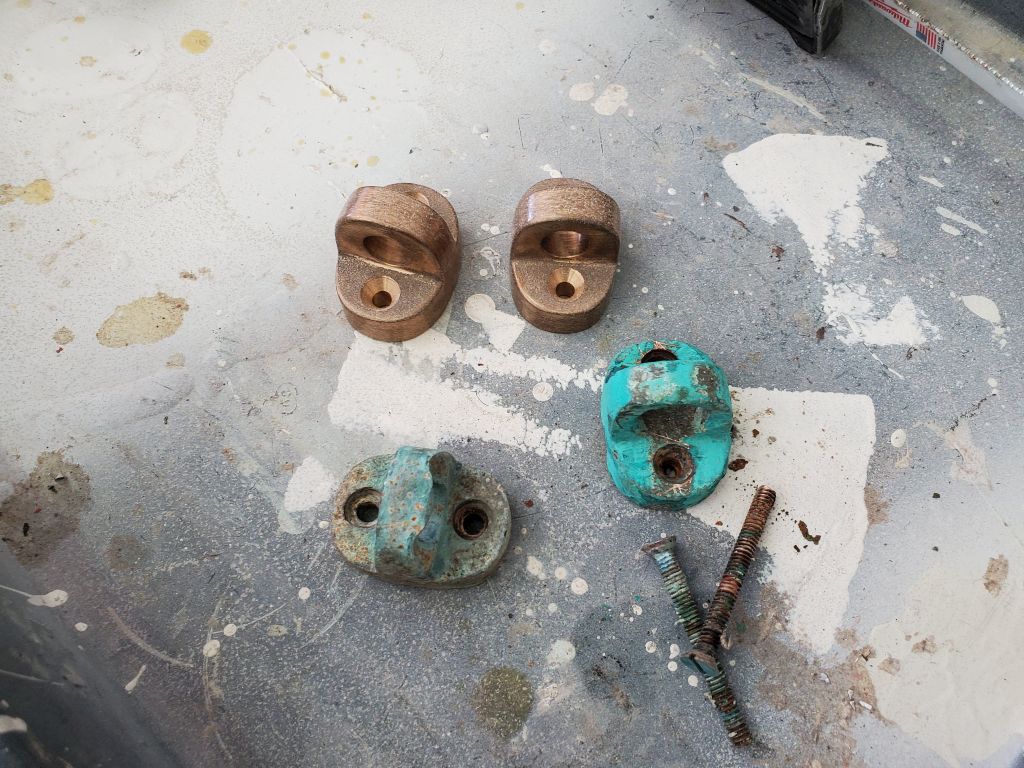
While I left the fillets to gel, I removed the old bronze gudgeons from the stern. The holes for the lower gudgeon near the base of the skeg were ratty, so I reamed them out a bit and filled with a strengthened, thickened epoxy mixture so I could redrill the holes for the new gudgeons as needed.


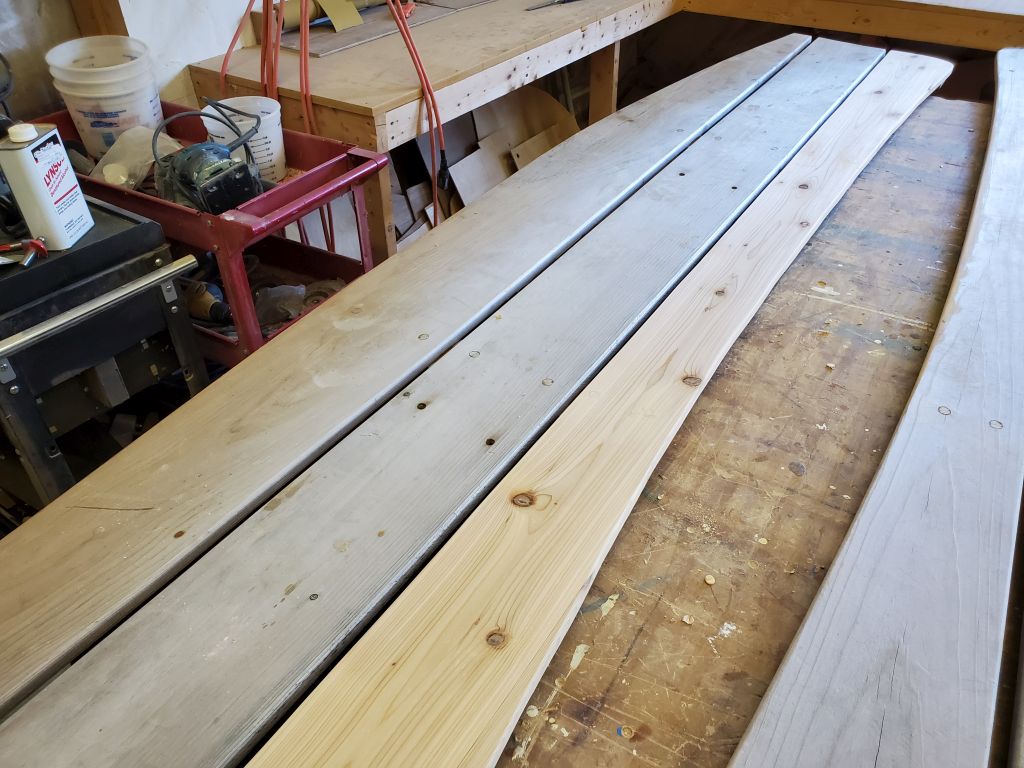
I took a minute or two to pare away and lightly sand the bungs on the replacement cockpit seat slat, completing the seat repair for now.

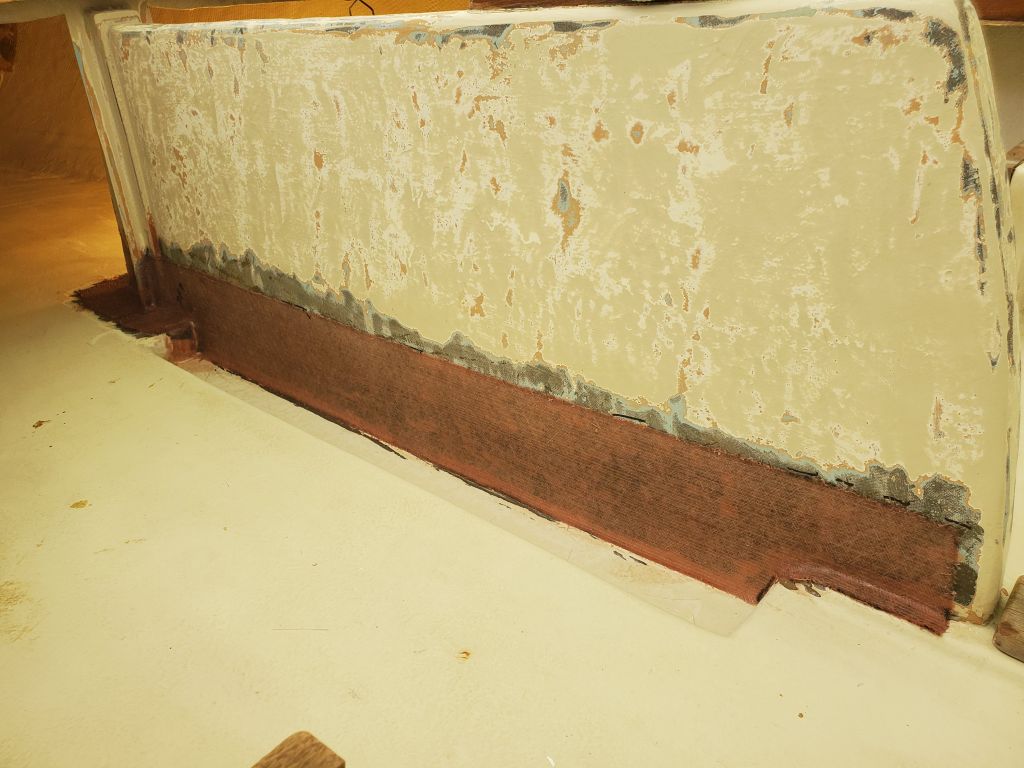
When the fillets were ready for the next step, I wet out and applied biaxial tabbing to the centerboard seam, and around the forward corners, using a few layers of lighter cloth as needed to cover and seal the tightest corners (mainly around the slim bulkhead remnants) that the heavier material couldn’t handle.


Total time billed on this job today: 5.75 hours
0600 Weather Observation: Clear, 30°. Forecast for the day: Sunny, 56°