

July 18, 2018
Dory 3
Wednesday
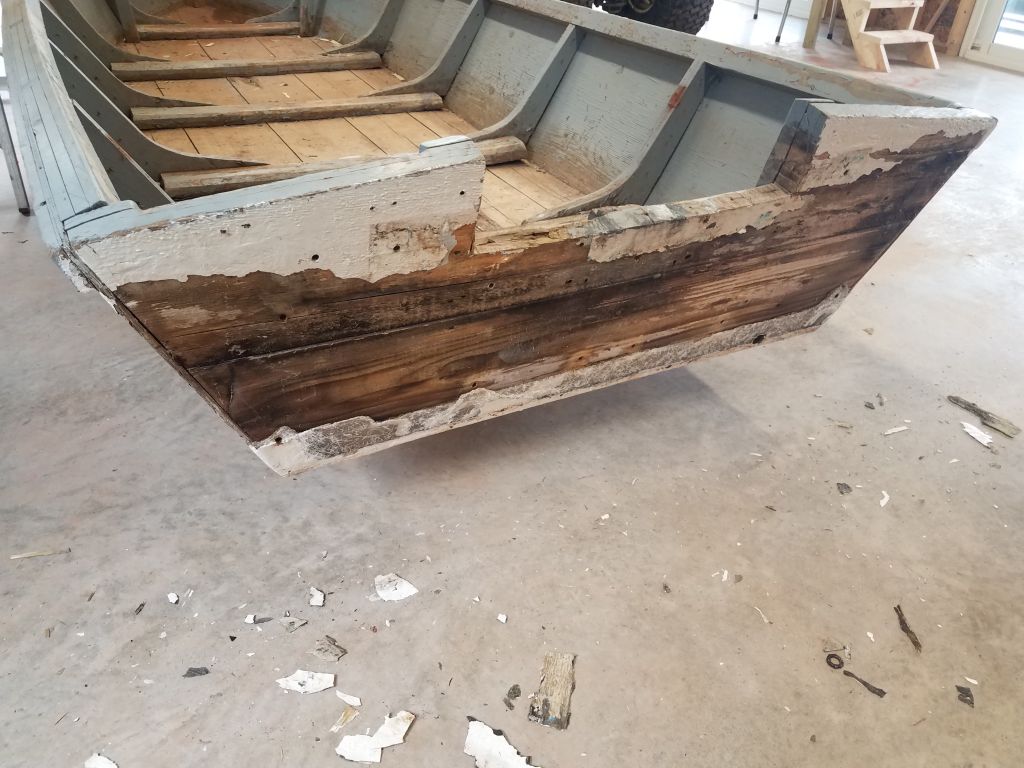
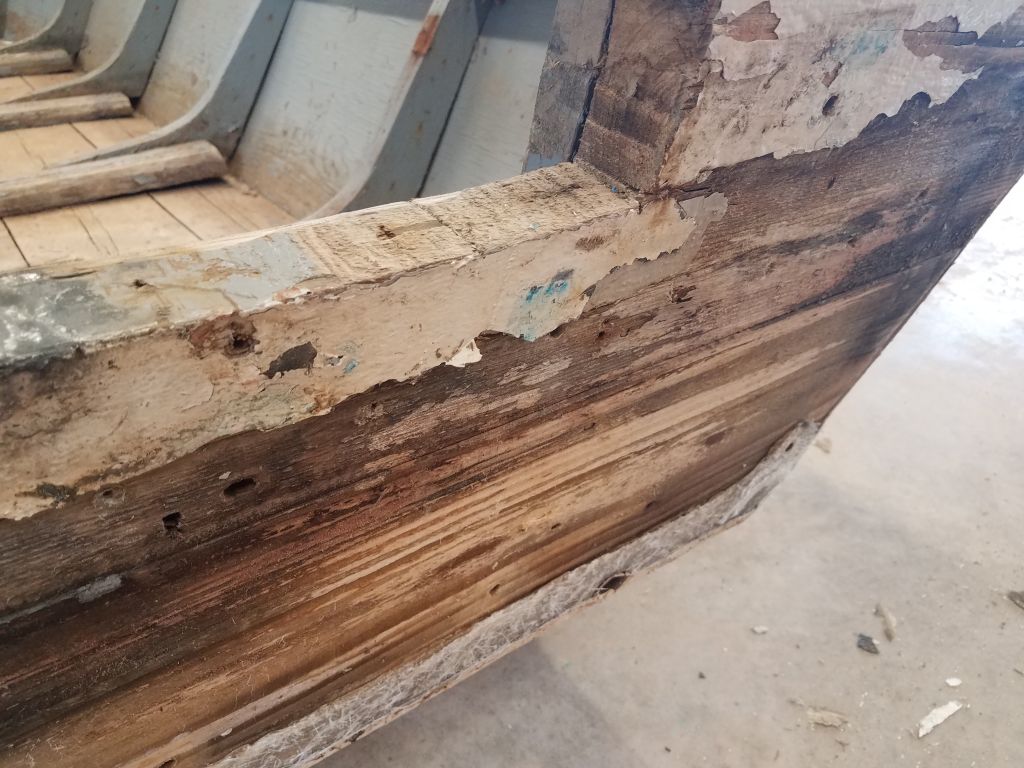
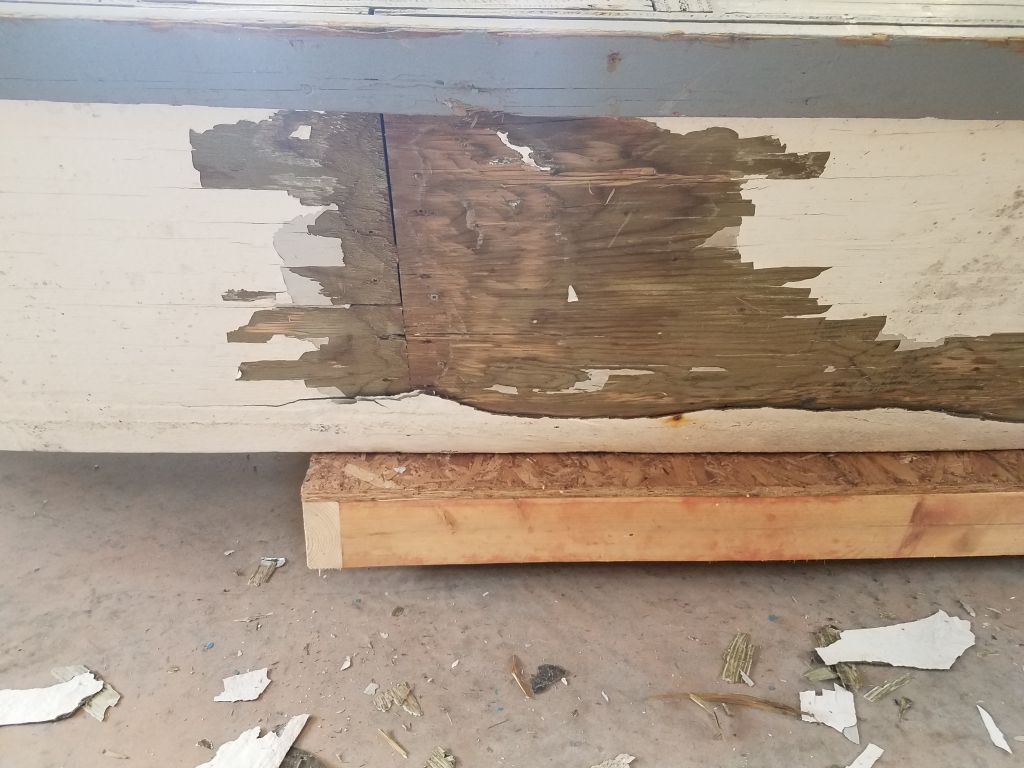
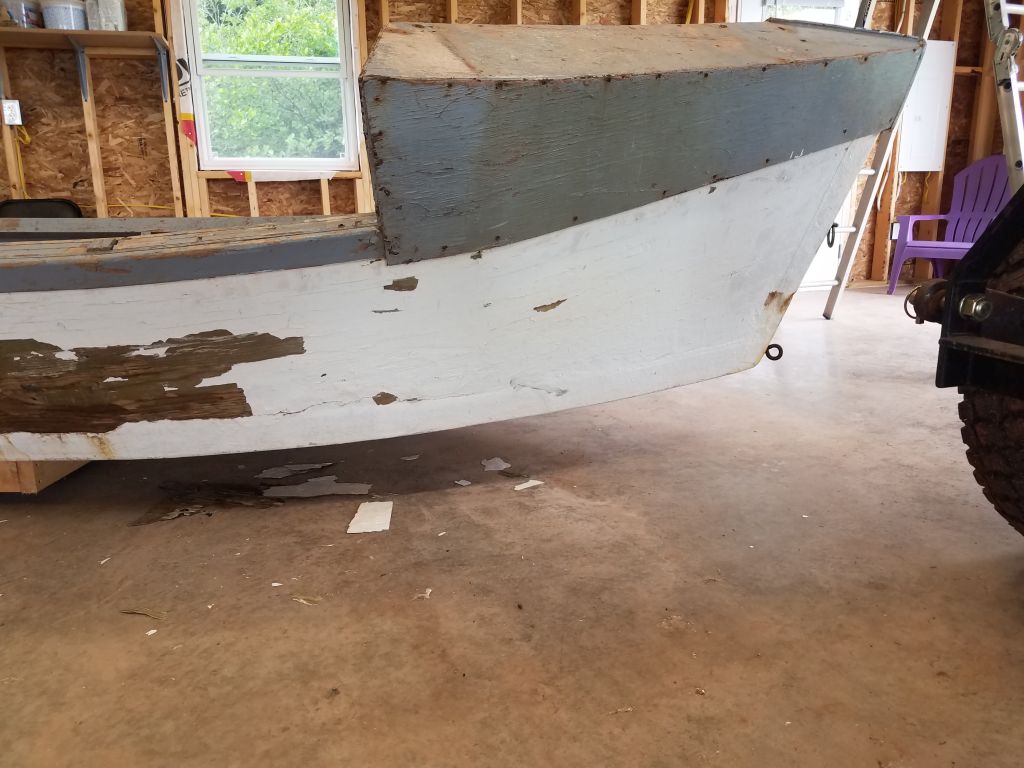
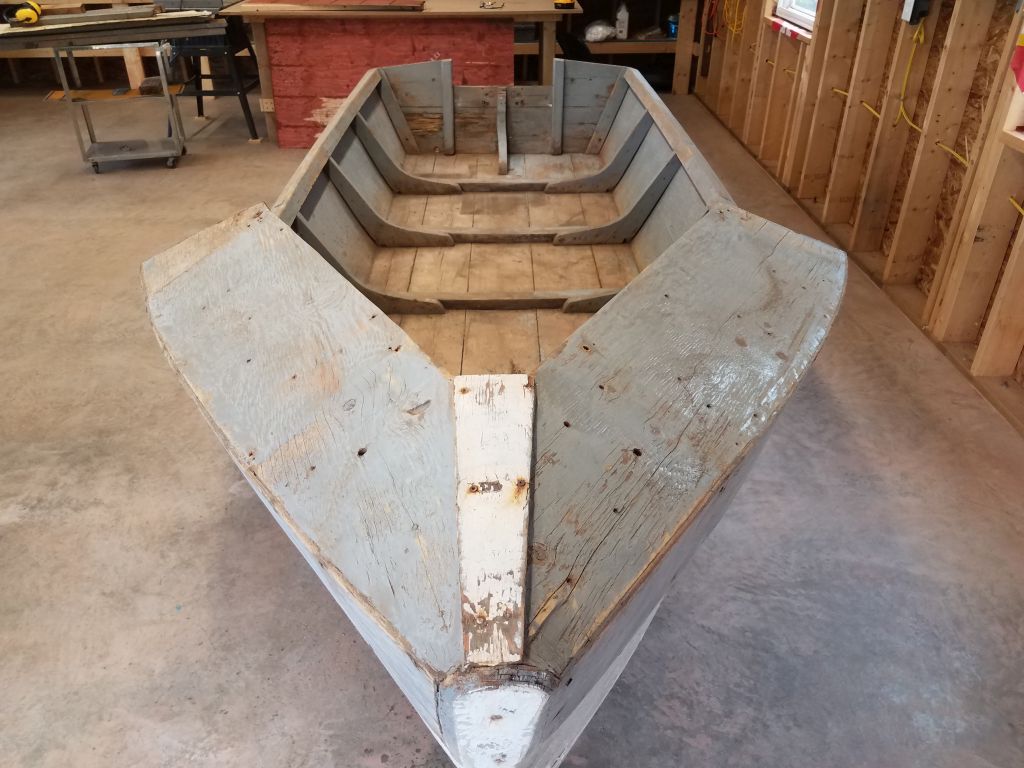
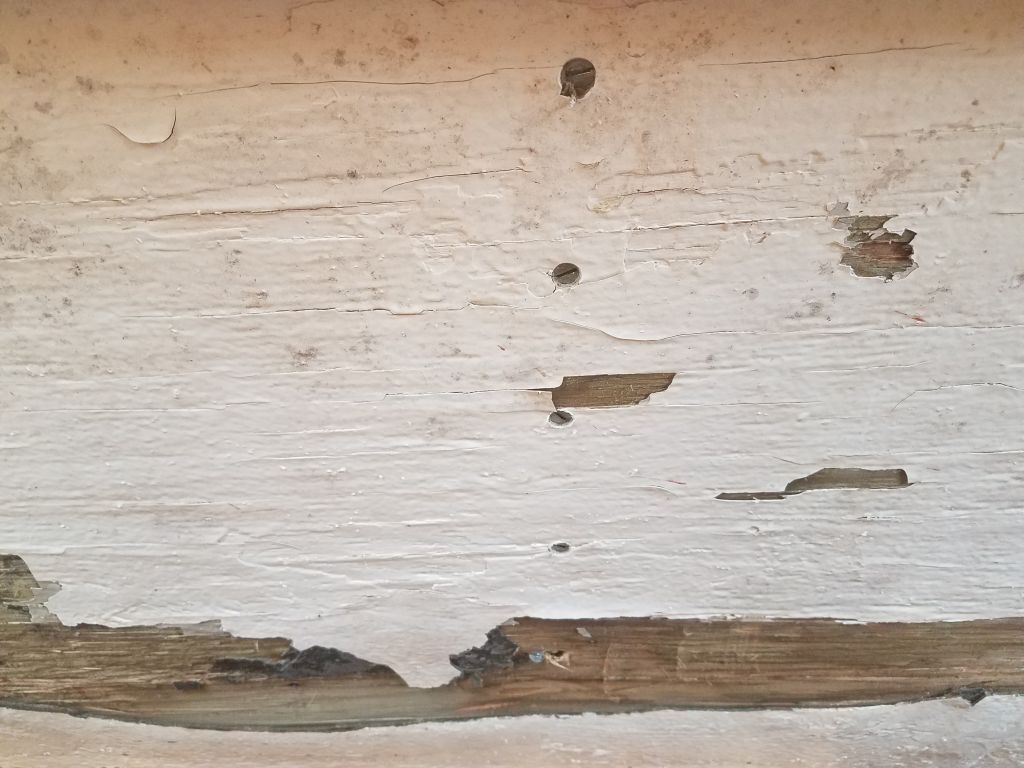
To begin the surface preparations, I used a putty knife to scrape away any loose paint and fiberglass sheathing from various areas, especially the transom (which had been fully sheathed on the outer side) and portions of the lower hull on each side. I had to stop short of what I might do in other circumstances–i.e. additional. more complete surface prep–because frankly, the boat simply wasn’t worth that amount of effort given its entry price, existing condition, and my intended use. I kept repeating the mantra: workboat finish, workboat finish. This is not to excuse poor work, but simply the practical understanding that this old boat was basic in nature, old and well-used, and my time didn’t need to be spent on spit and polish–and indeed, any such attempts would be wasteful. That said, I wanted the boat to be sound, and to look decent when complete, but in the end if I wanted it to be more of a showpiece, I’d be better off simply building new. But for now, I just wanted to bring this particular boat back and up to a usable and acceptable standard.

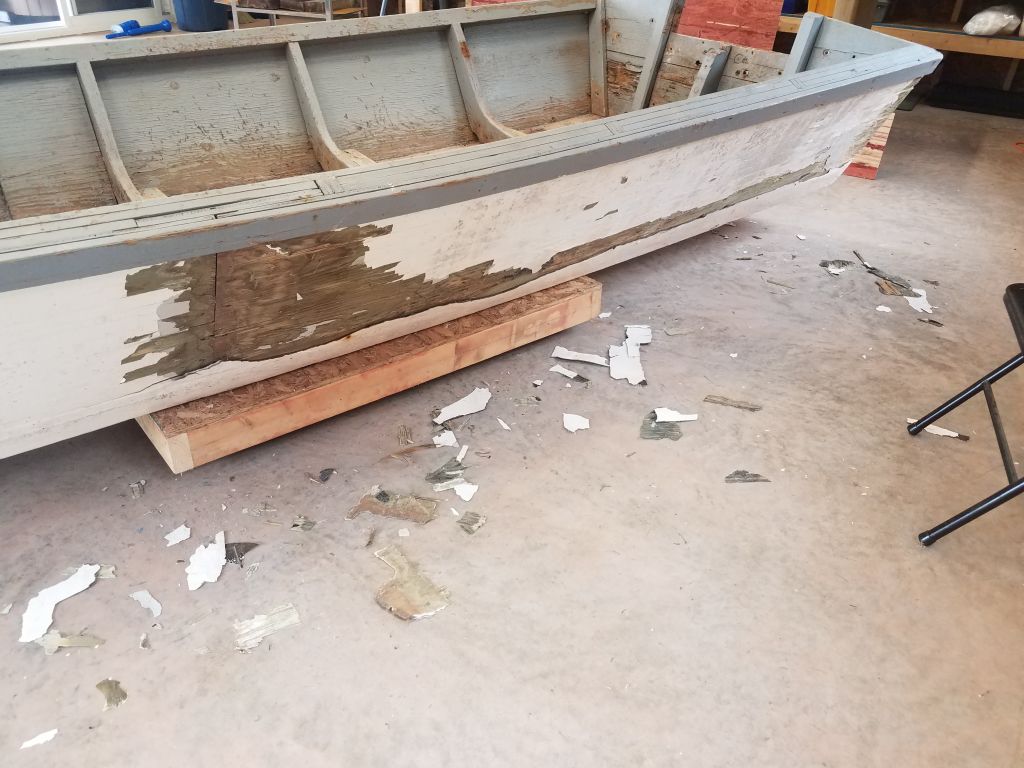

With the scraping complete, I began to sand the inside of the boat to remove loose paint and clean up any areas as needed to prepare for new finish and repairs. Before long, though, the pad on my sander disintegrated, forcing me to use a less-aggressive sander that I had on hand to continue the work. No replacement pads were available locally, so I had to order what I needed before I could continue using my favorite and most effective sander. As a result, I worked only on the interior for now, as I knew I wanted/needed the better sander for the hull and to prepare the damaged fiberglass areas for repair.

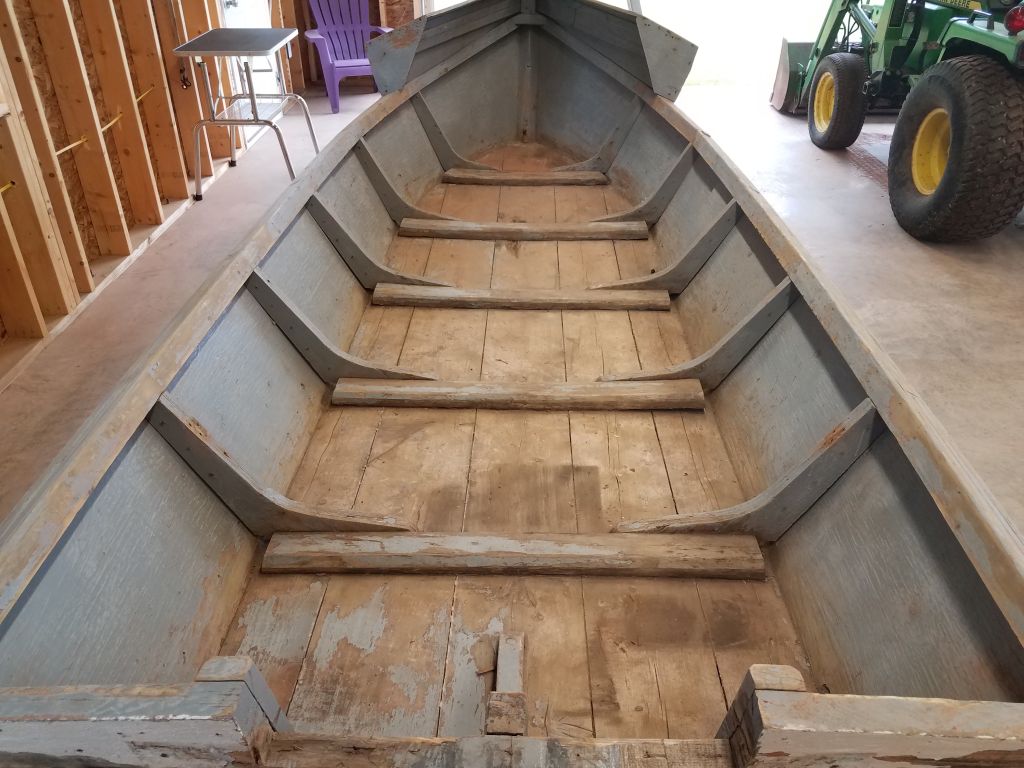
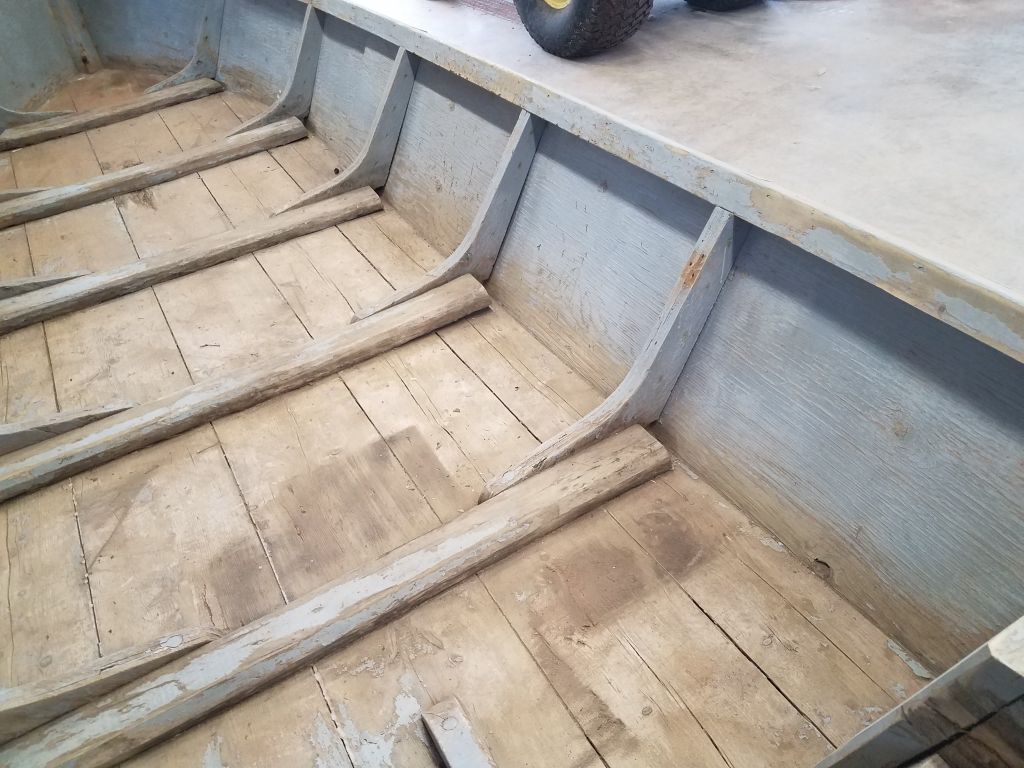
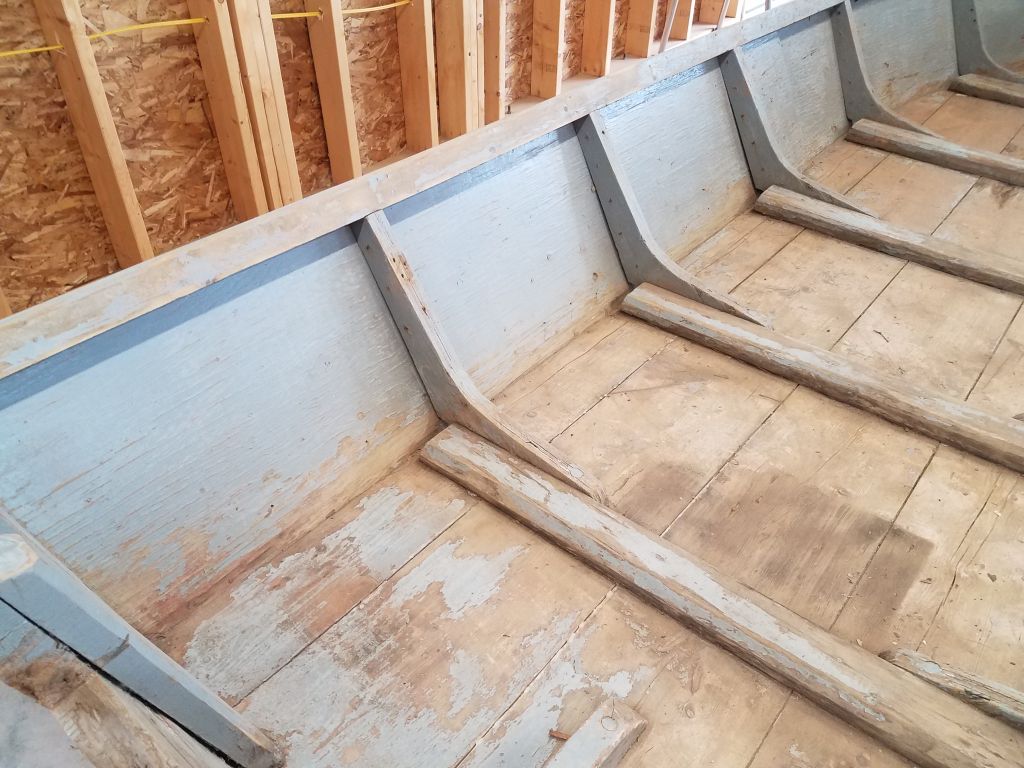
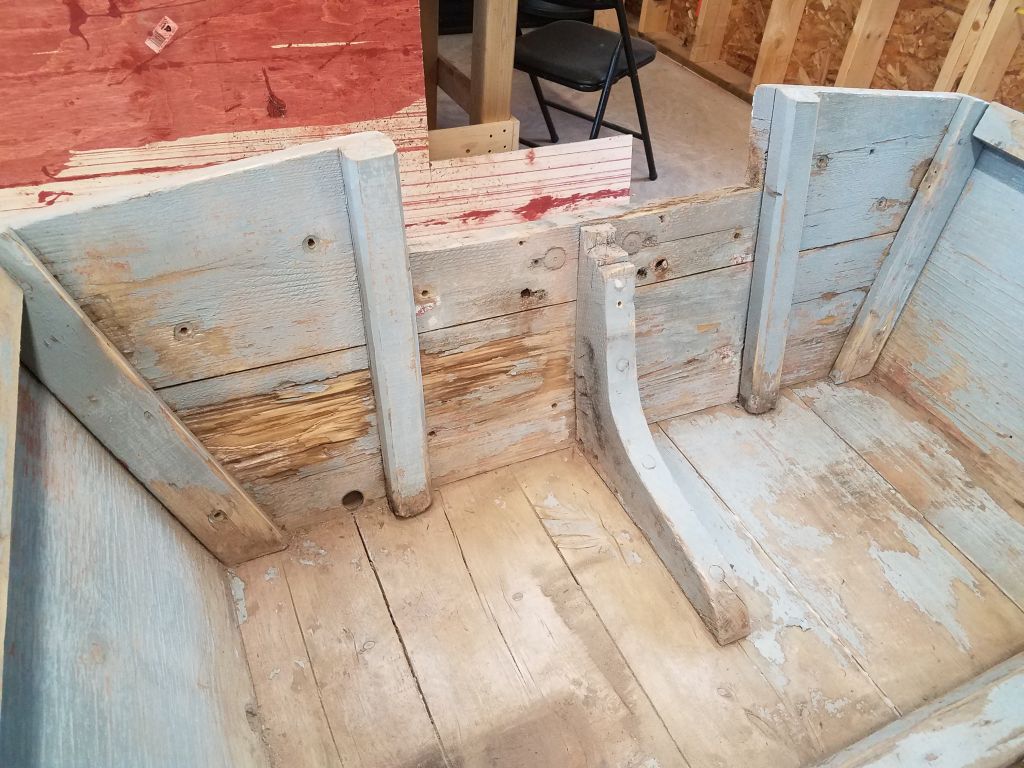
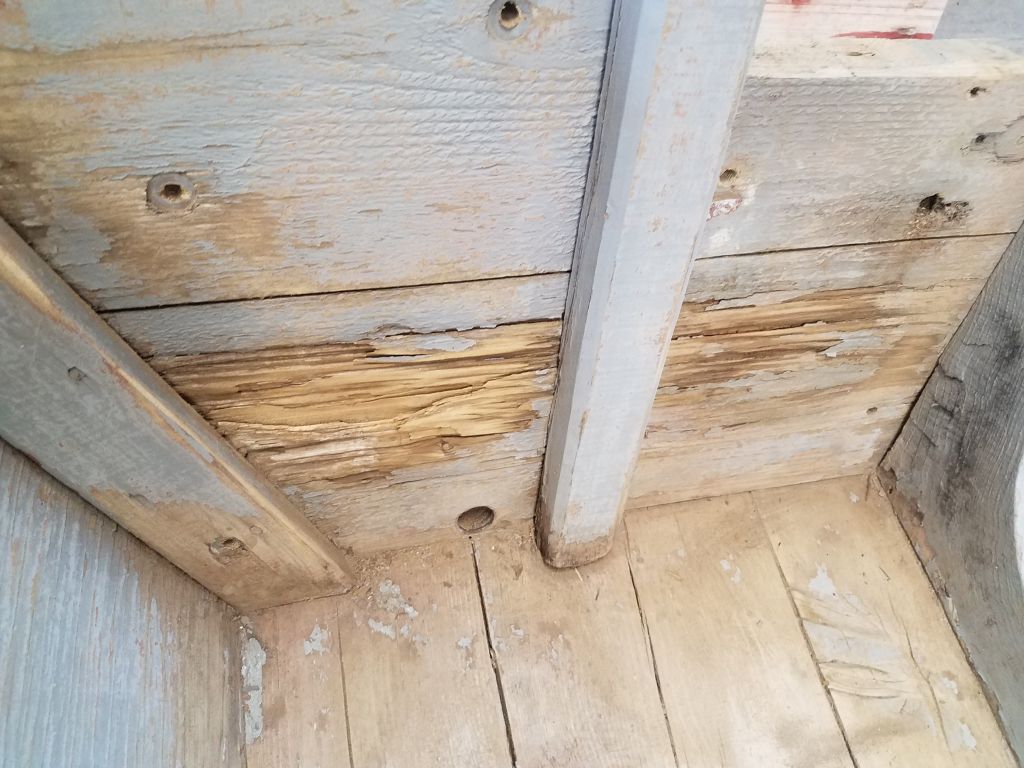
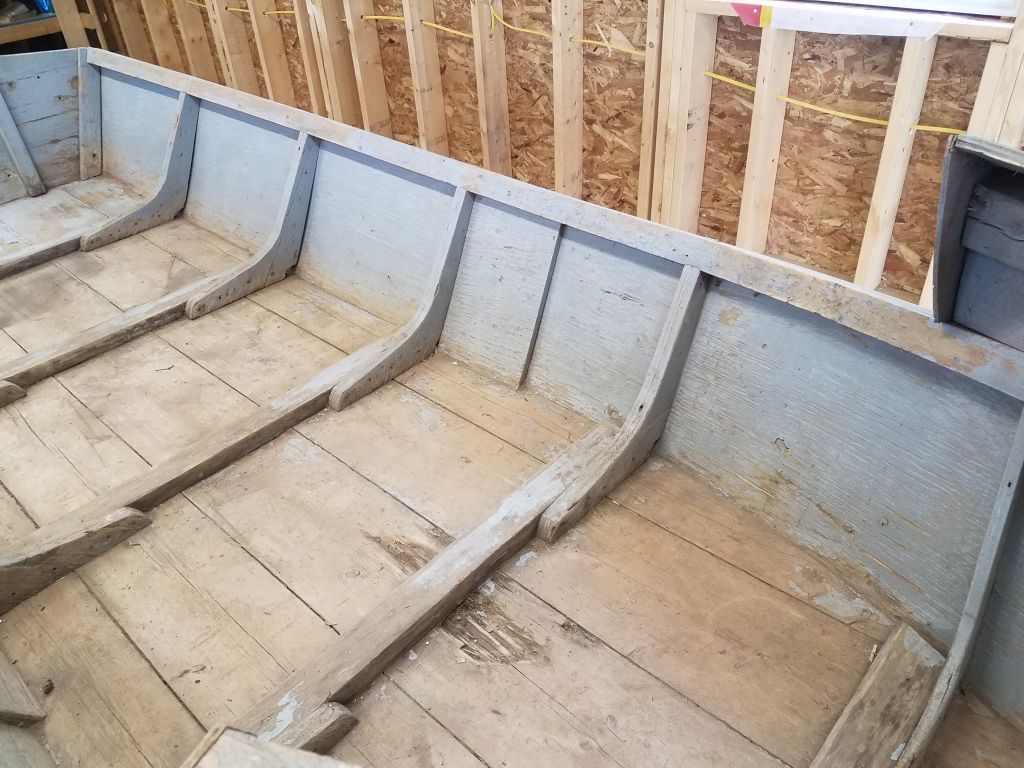

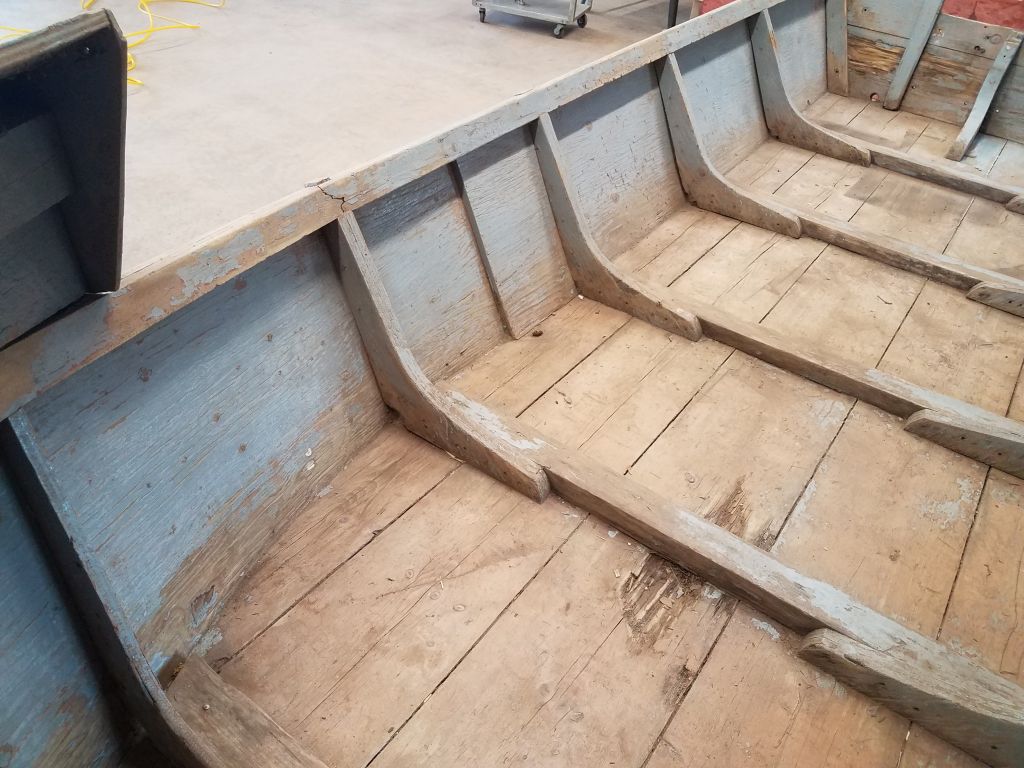
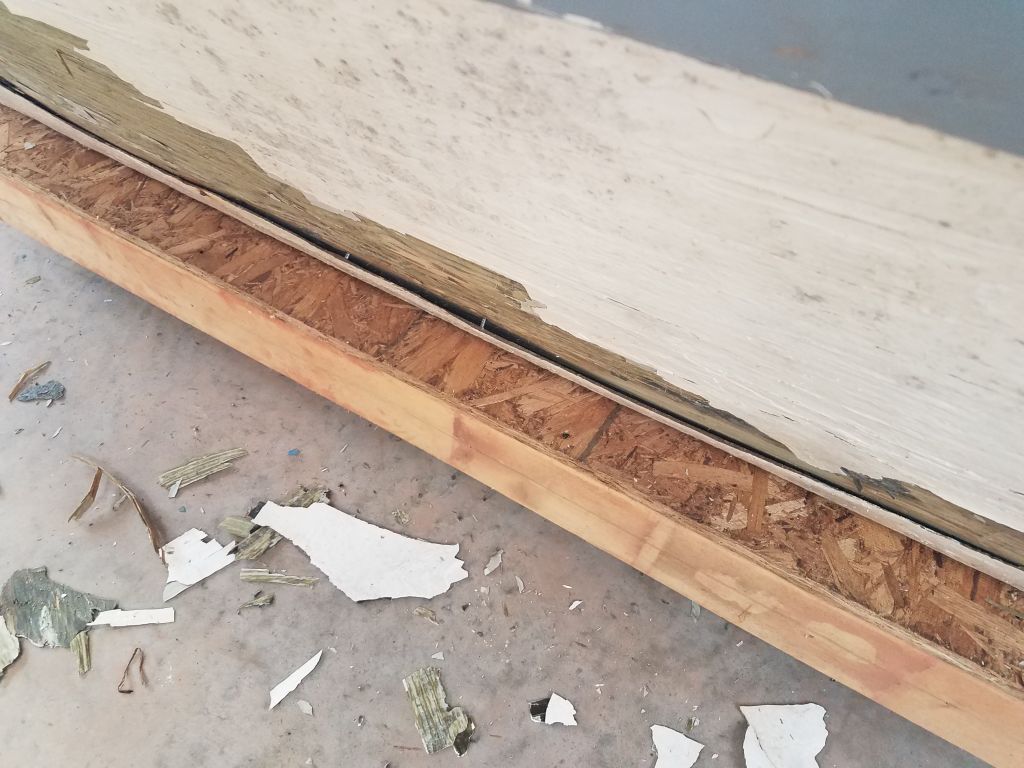
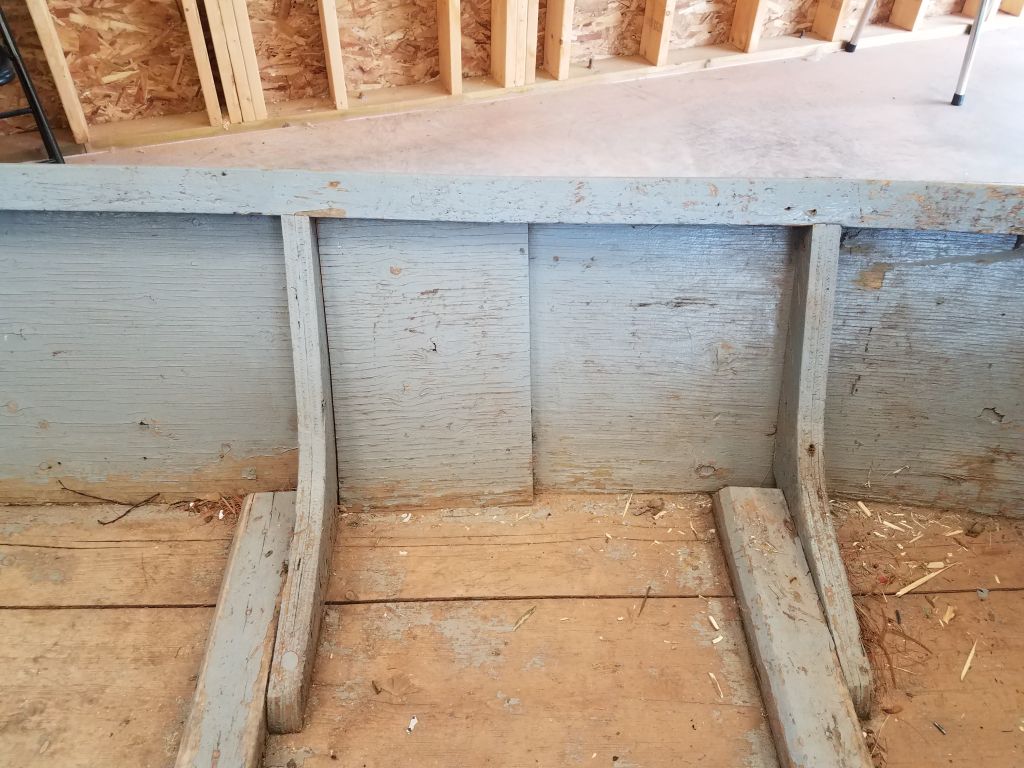
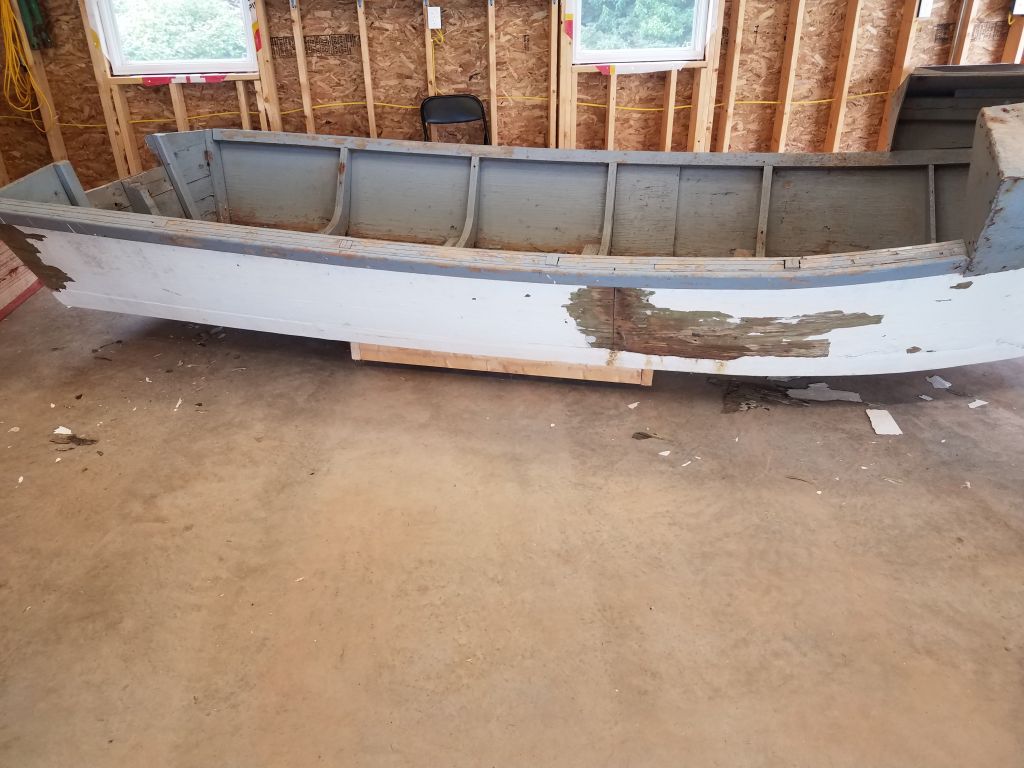
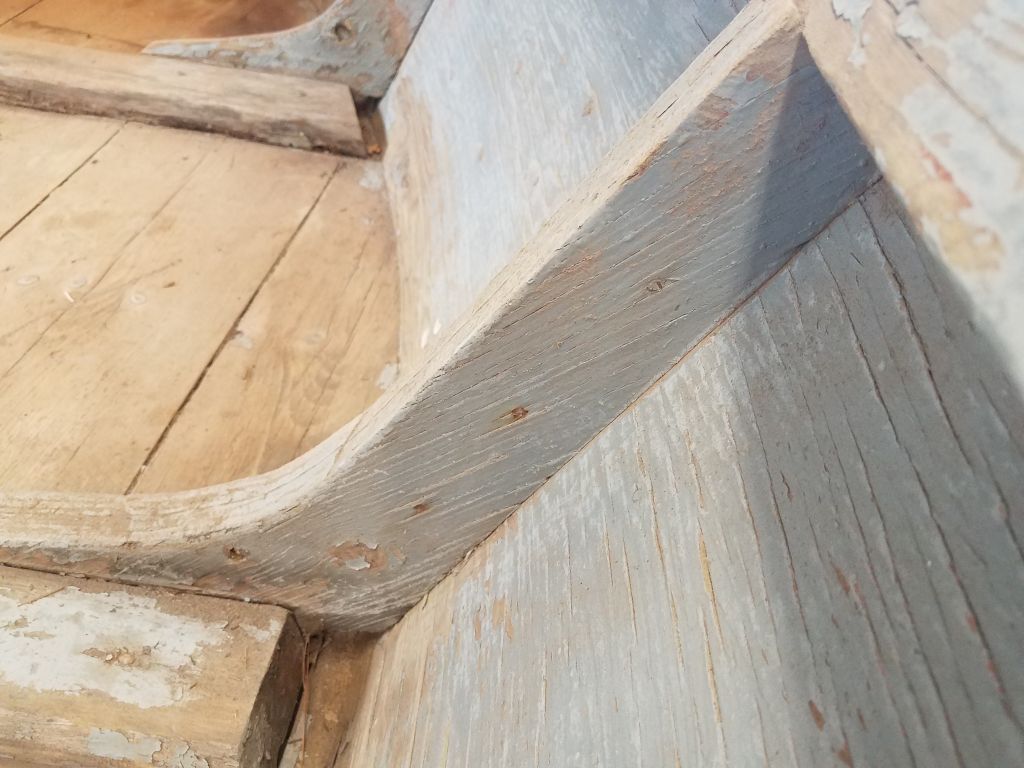
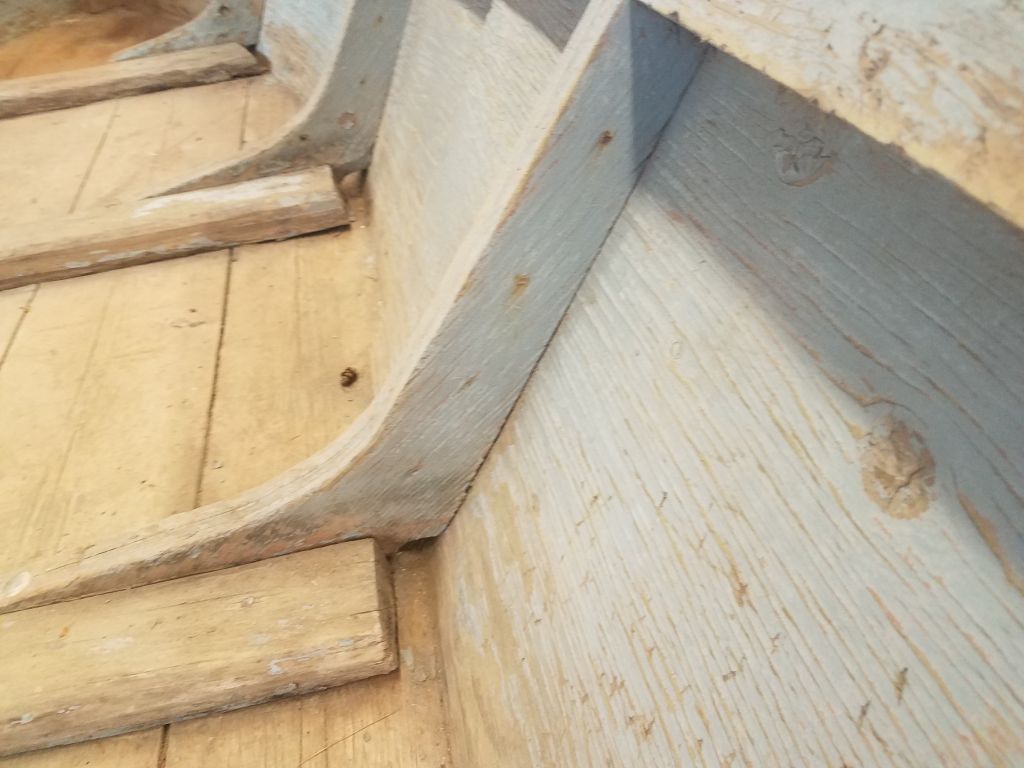
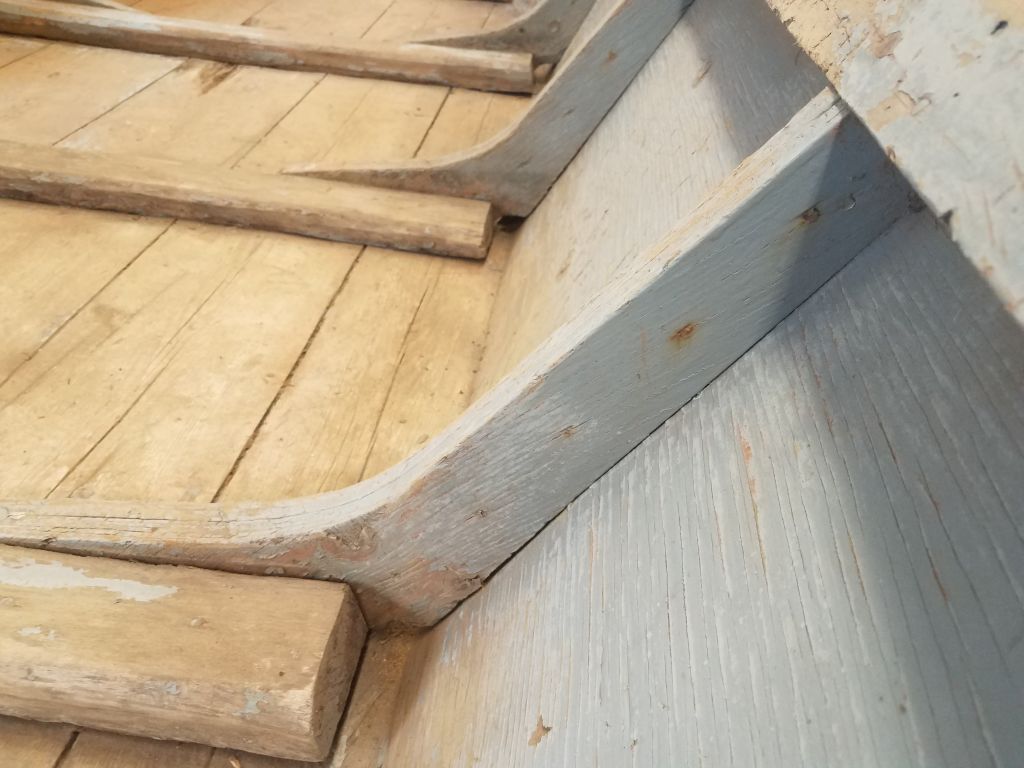
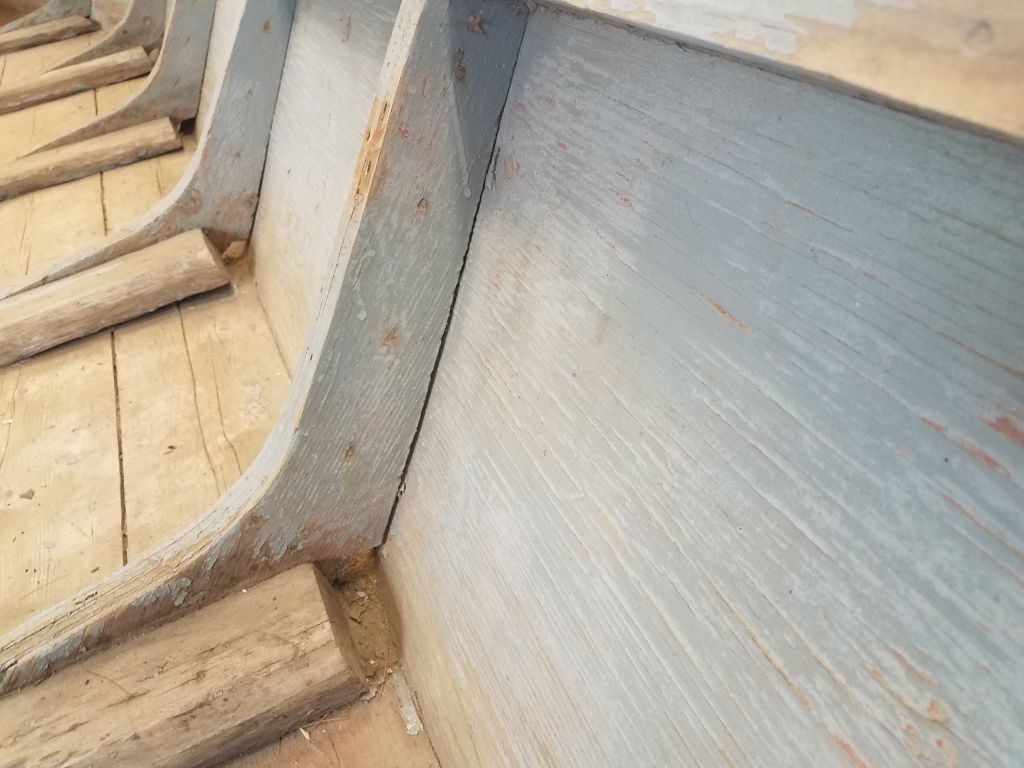
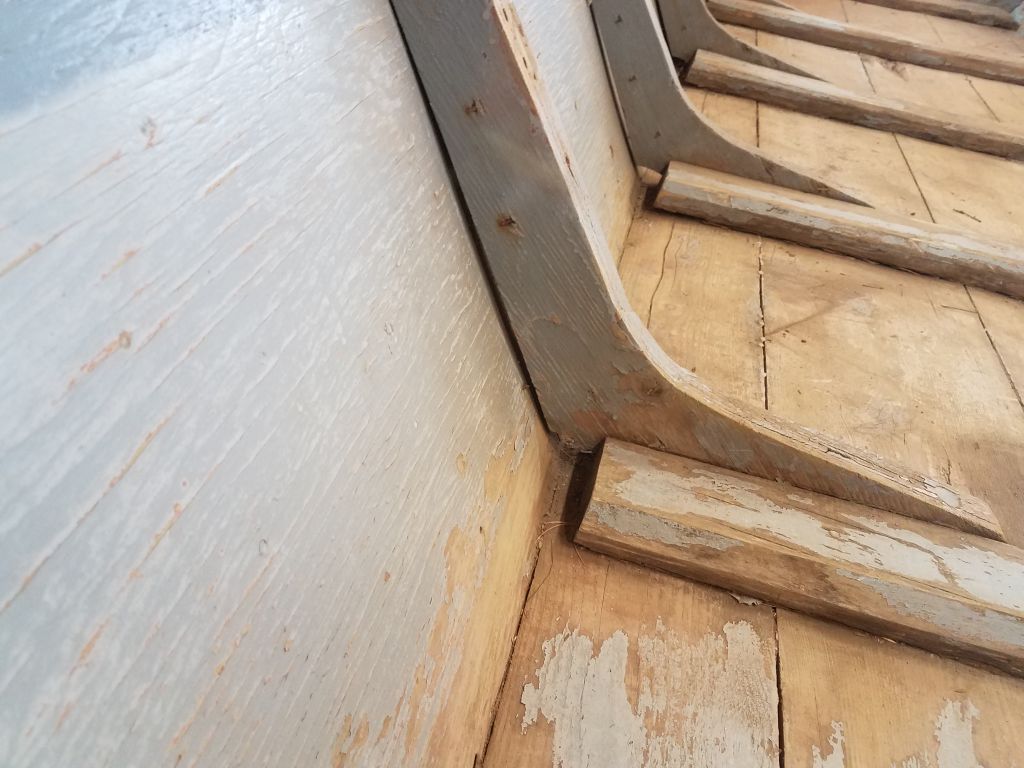
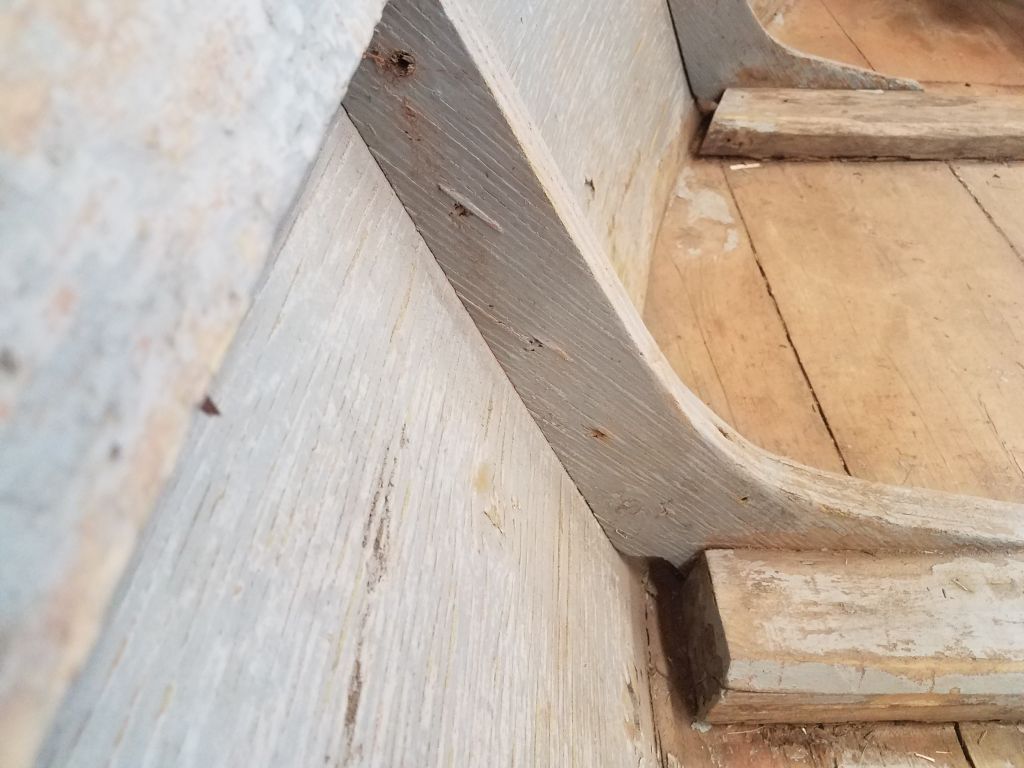
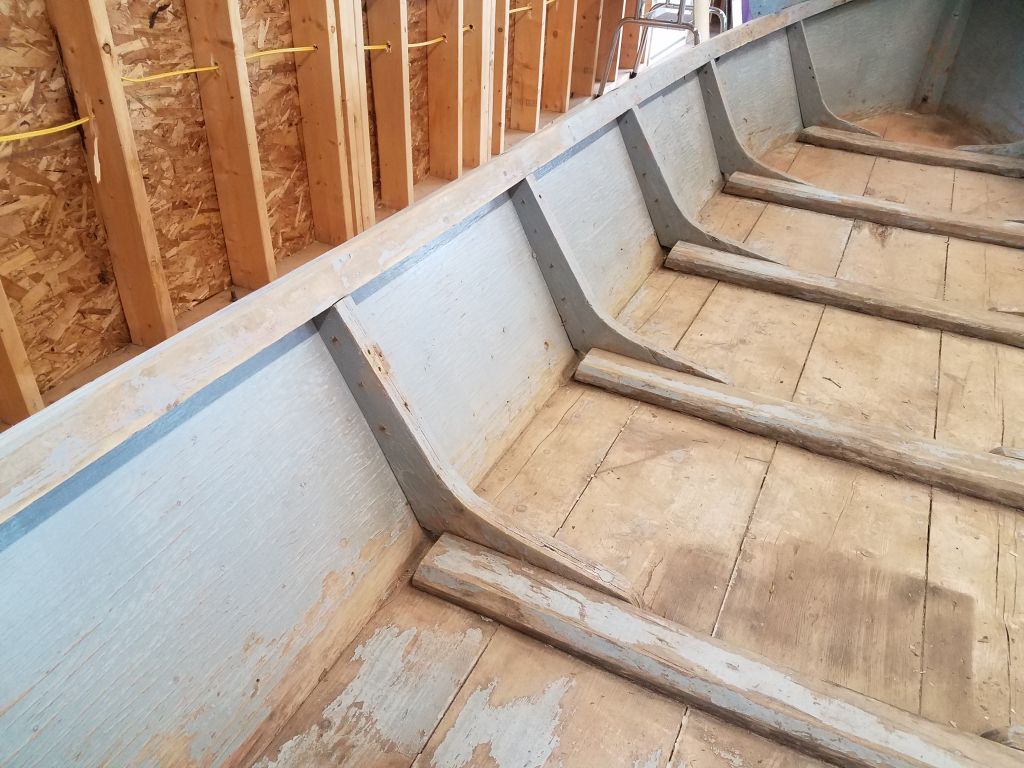
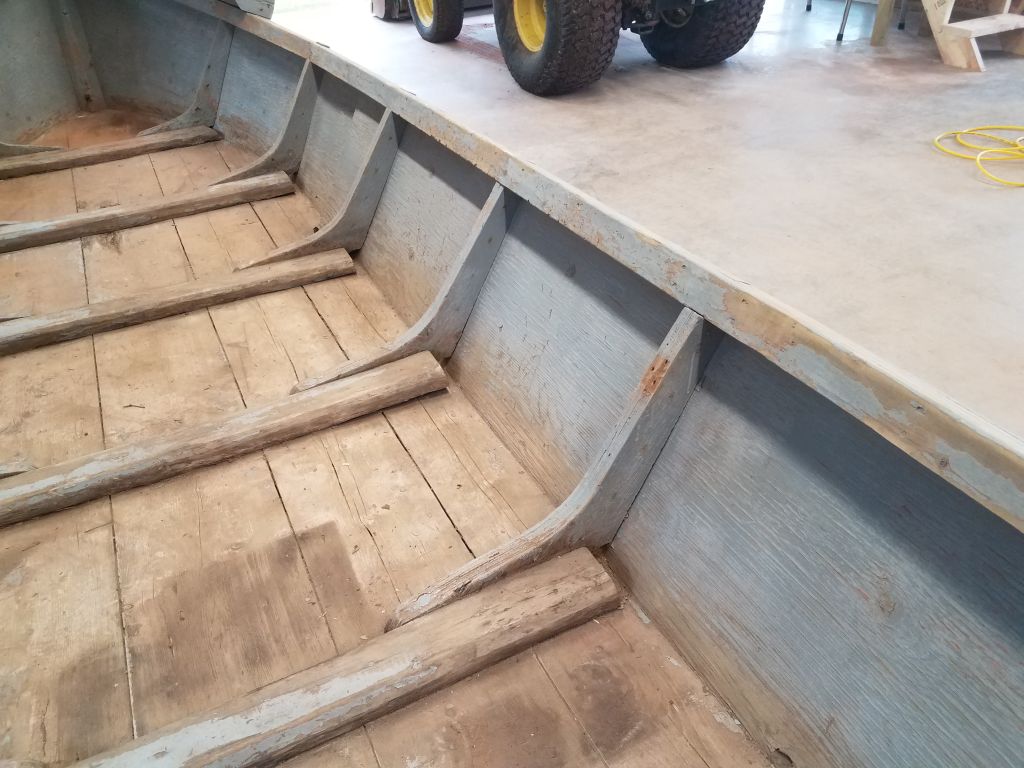
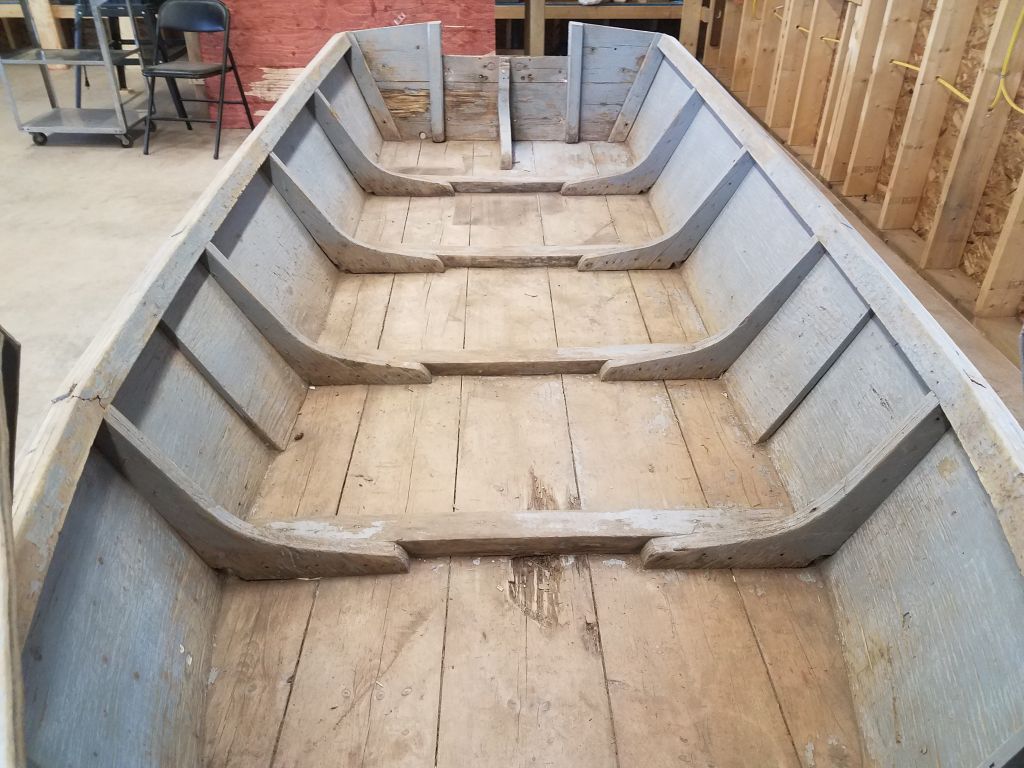
With the interior sanding complete–this was where I really had to start saying “good enough” for my prepwork–I turned to the first of the repairs I had in mind: refastening the plywood hull panels to the interior frames. There were four double-thick plywood frames on each side, plus a single thickness of plywood for the forwardmost frame on each side. The hull had pulled away from the frames, and I planned to install new screws from outside to pull the hull back in tightly.
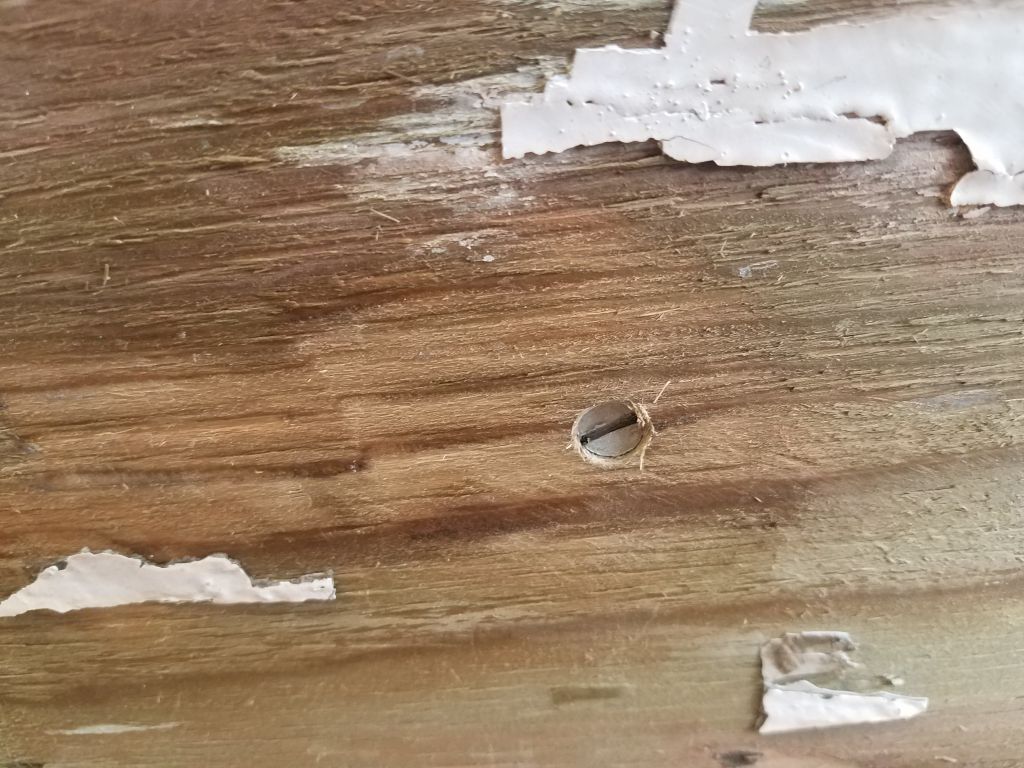
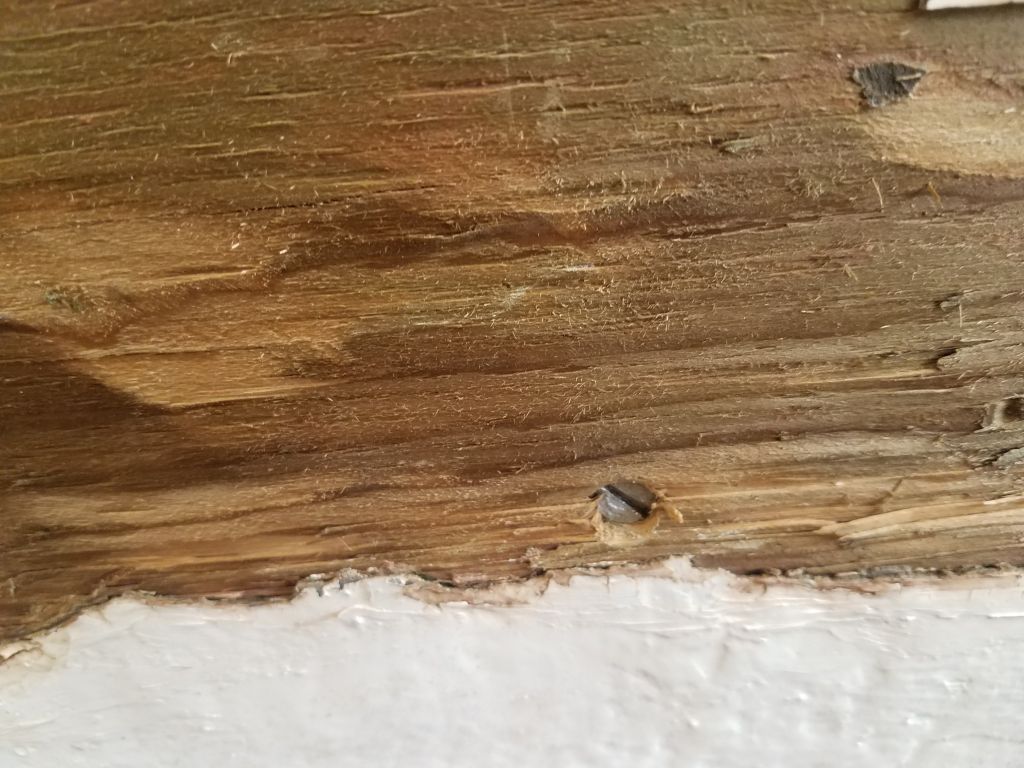
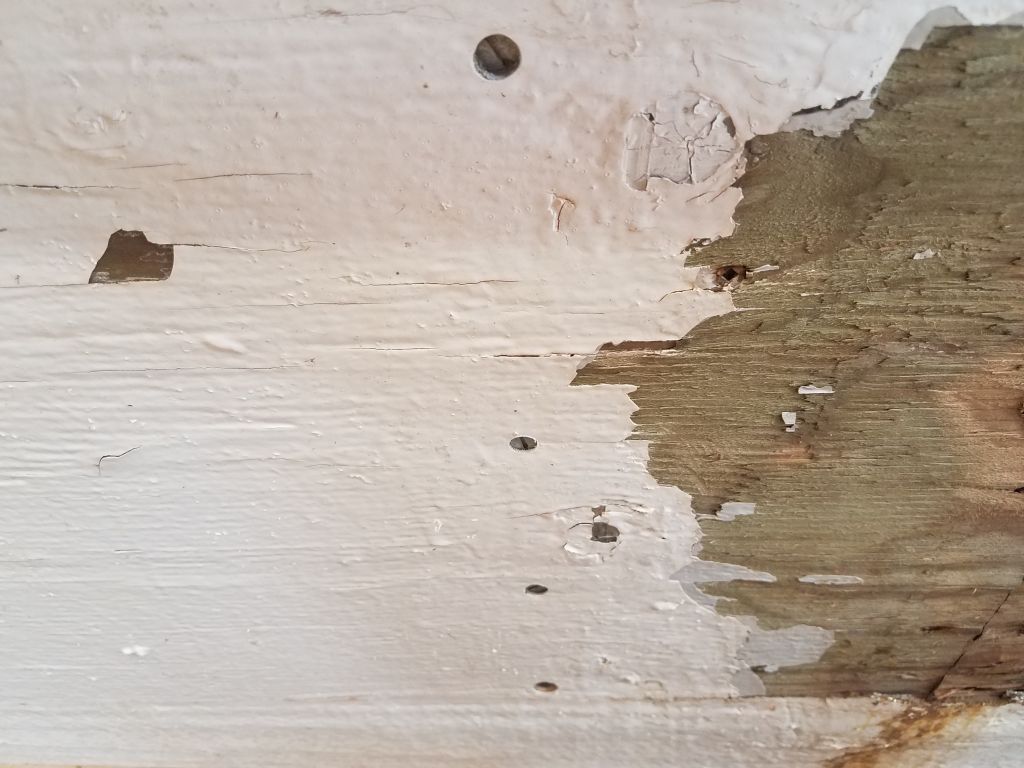
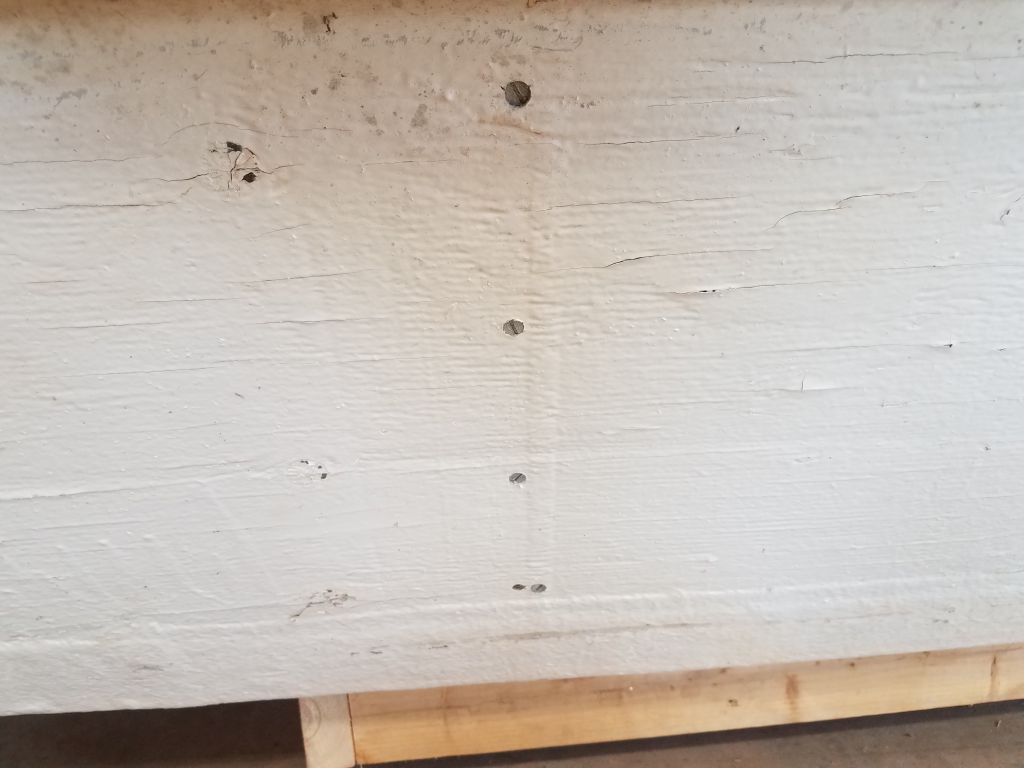
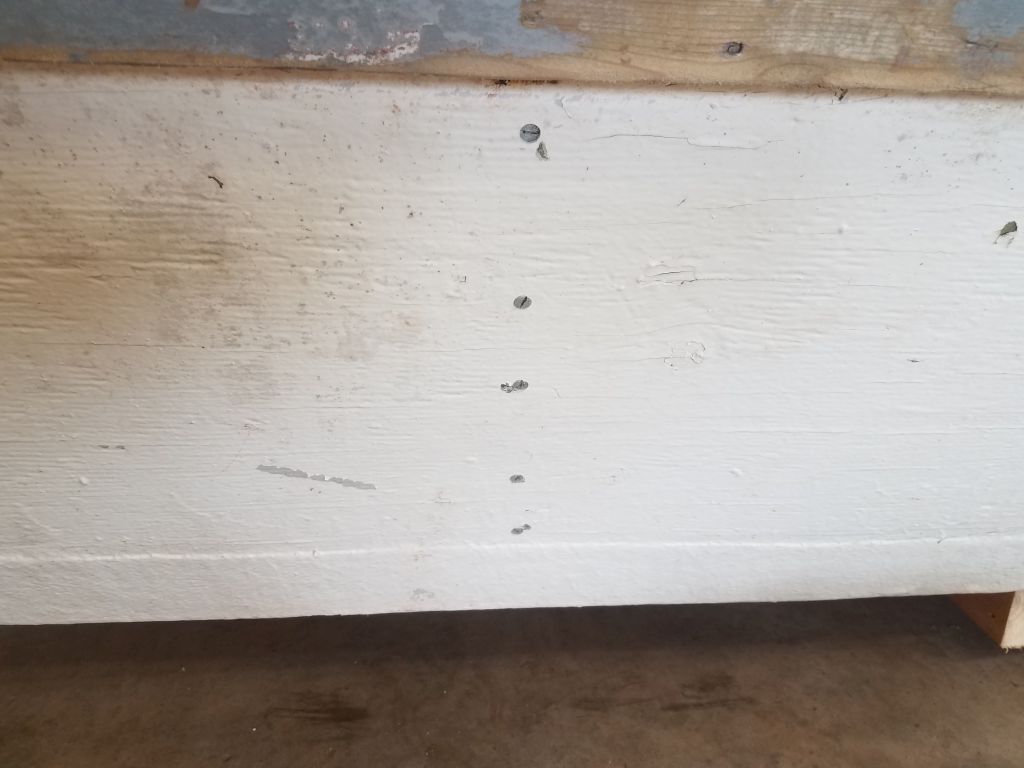
At each of the eight frame locations (I didn’t need to fasten to the forwardmost pair of frames, as these areas were tight as is), I drilled pilot holes and counterbores for #10 x 2″ galvanized screws, which I installed and used to pull the hull sheathing back tightly to the frames. I used three to five screws at each frame location as required. Please refer to some of the original-condition photos to see the gaps between the frames and hull in their original condition.


Total time on this job today: 3.5 hours