(page 3 of 4)

Skeedeen Phase 6-18

Tuesday

Over the course of several elapsed hours early in the day, I applied six coats of a special base color required for the faux finishing on the transom.  I applied the extra coats to ensure there was plenty of paint for me to sand smooth and flat in advance of the faux.  I covered the entire transom with the base coat even though some areas, such as below the swim platform and at the edges, would later receive the regular hull color.

Total time billed on this job today:   4.25 hours

0600 Weather Observation:  45°, mostly cloudy.  Forecast for the day:  Mostly cloudy, 58°

Skeedeen Phase 6-17

Monday

I spent the morning sanding the fresh primer with 320 grit, by machine and hand as needed.  This smoothed the surface and prepared the primer for the next steps.

Afterwards, I cleaned up the boat and shop as necessary, blowing down the shop surfaces, sweeping, and washing the floors before vacuuming and solvent washing the hull to remove sanding dust.

I’d spent the weekend considering the various painting steps ahead, as well as my schedule and that of the painter who’d be coming in to render the faux woodgrain on the transom, and eventually came to the decision, for various reasons, to paint the transom with the special base color required for the faux woodgrain first, then move on to the rest of the hull.  This made sense to me in this case because painting the transom base first would allow the faux painter to come in virtually anytime thereafter, which could be important since her schedule is highly variable based around other jobs she’s working on; also, it would be easier for me to mask off the painted transom in order to spray the rest of the hull, versus the other way ’round.

To this end, I made final preparations for the transom base, masking off the edges of the transom and the boottop, and adding some paper to protect the aft ends of the hull from overspray potential.  With that complete, I set up and prepared the painting equipment for next time.

Total time billed on this job today:  7 hours

0600 Weather Observation:  30°, mostly clear.  Forecast for the day:  Mainly sunny, 62°

Skeedeen Phase 6-16

Friday

It was cozy in the shop first thing, as I’d turned up the heat the evening before, and after final preparations and tacking off the boat was ready for primer.

Over several elapsed hours, I spray-applied four coats of gray epoxy primer on the hull.

Total time billed on this job today:  5 hours

0600 Weather Observation:  60°, overcast.  Forecast for the day:  Cloudy, with showers, 62°

Skeedeen Phase 6-15

Thursday

To begin, I lightly sanded the second round of fine filler as needed, completing the hull repair and fairing work.  Afterwards, I vacuumed and solvent-washed the hull.

I cleaned up and washed the floor, and then masked over the engine room vent openings from outside to prepare for painting.  At the bow, I set up some low staging to help me reach the highest points of the bow when painting.

In, around, and between this, I prepared painting equipment, paint and primer, shop lighting, and the myriad other steps needed to prepare the boat and shop for the work ahead.  Later, I solvent-washed the hull one more time, this time with the proprietary solvent designed for this use by the coatings manufacturer.

Total time billed on this job today:  3.5 hours

0600 Weather Observation:  43°, mostly clear.  Forecast for the day:  Sunny, 66°

Skeedeen Phase 6-14

Wednesday

At first check in the morning, the heavier section of fairing compound at the transom centerline seam was not yet cured enough to sand–a known and expected issue with this particular product, which features a slow hardener and often takes longer to cure in cool temperatures.  So to help this along so I could sand it today, I set up a couple heat lamps and let them warm the area for a few hours.

To complete the transmission removal and provide the rebuild shop everything they requested, I had to remove the damper place, which was bolted to the flywheel.  To gain access, I had to remove the bell housing, which was fairly straightforward although there were many hoses and appliances in the way and secured to the bell housing, such as the transmission oil cooler, but this was just an inconvenience rather than a true impediment.

With the bell housing removed, it didn’t take long to remove the damper plate.  The engine was now unbalanced and unsteady without the counterweight of the transmission, so I bolted a couple blocks to the forward mounts to act as a storage cradle.

Later, I lightly sanded, mostly by hand, the other minor patches where I’d applied the fine fairing filler earlier, then the transom seam as well.

This process highlighted a few areas with pinholes and otherwise requiring some additional attention, so after preparations I applied more of the fine filler where needed.  This was all I could do to advance the project at this time, though I did a first-round shop cleaning afterwards as I began to prepare for primer and paint soon.

Total time billed on this job today:  2.75 hours

0600 Weather Observation:  48°, mostly clear.  Forecast for the day:  Sunny, 65°

Skeedeen Phase 6-13

Tuesday

The areas I’d filled with epoxy fairing compound were ready for sanding after the long weekend.  After I’d lightly sanded as needed, I vacuumed and solvent-washed the whole hull so I could closely inspect it for whatever further work was required.

Going over the hull closely, I marked with tape several tiny scrapes and divots around the boat–anything that needed a bit more sanding or some fine filling, along with the more obvious places where I knew I’d need at least one coat of fine filler to complete, such as the centerline seam on the transom and a couple places around the engine vent openings.

After final preparations, I applied a coat of fine fairing filler (epoxy) as needed.  The filler is gray in color and most of the areas I filled were minor in nature.

Without much more I could do on the boat itself at this time, I went ahead and masked off the waterline (i.e. top of the bottom paint), following the lower scribe line that I’d uncovered as I sanded the hull earlier.  I followed the masking with some paper to protect the bottom paint from overspray when I started the priming and painting.

The owner asked me to remove the transmission from the engine so he could get it to the shop that was going to rebuild the transmission as a matter of course.  This was not something I did routinely, so after some brief self-education I set to work and removed the transmission without difficulty.  To access all the mounting bolts (four bolts and two studs with nuts), I first removed the transmission mounts, then the mounting bolts.  The port lower stud came out with the nut, but the starboard stud remained in place till the transmission was loose, after which I removed the stud myself.

I still had to remove the damper plate, but for now the day was late and I left this for another time.

Total time billed on this job today:  5 hours

0600 Weather Observation:  40°, mainly cloudy.  Forecast for the day:  Clouds, showers, then rain, 55°

Skeedeen Phase 6-12

Friday

To begin, I finished up with the plank seam and scribe mark sanding, mainly on the starboard side and transom.

The transom had some cracking down the vertical centerline, a standard occurrence on boats built in two-part molds.  Structurally insignificant, it did create a cosmetic problem to be dealt with, so I ground out the cracked area and a bit beyond to provide a wide bonding area, then applied the first of a couple coats of epoxy fairing compound.

Also in the area, I reamed out and filled screw holes left from the old scupper flaps; we planned to install new flaps of a different nature, and they had a different fastening pattern.

At the engine vent openings, I masked around the openings inside and out, then wet out the reamed out core edges with epoxy before installing a thickened, strengthened epoxy mixture into the voids.  Afterwards, I removed the tape and filled the old fastener holes with epoxy leftover from the transom work.

This short work day left me in a good position for the beginning of the week, when I’d work through the remaining preparation tasks required before painting.

Total time billed on this job today:  2.25 hours

0600 Weather Observation:  25°, clear.  Forecast for the day:  Sunny, 55°

Skeedeen Phase 6-11

Thursday

Continuing where I left off, I finished up the first pass of sanding on the port side of the hull, removing the boottop paint and sanding the entire surface with 120 grit.

Next, I sanded the entire hull once more, this time with 220 grit paper, to smooth the surface properly for the finish primer.  This didn’t dramatically change the appearance from the first round of sanding.

With the bulk sanding complete, I turned to the detail work, mainly the plank lines.  Starting on the port side, I hand-sanded the depths of the plank lines as needed to scuff and prepare them for the primer, and spent additional time removing the vestiges of white paint from the boottop scribe line.  In this manner, I worked along the port side, leaving the starboard side for next time.

Total time billed on this job today:  5.5  hours

0600 Weather Observation:  50°, mainly cloudy and windy.  Forecast for the day:  Sunny and windy, 56°

Skeedeen Phase 6-10

Wednesday

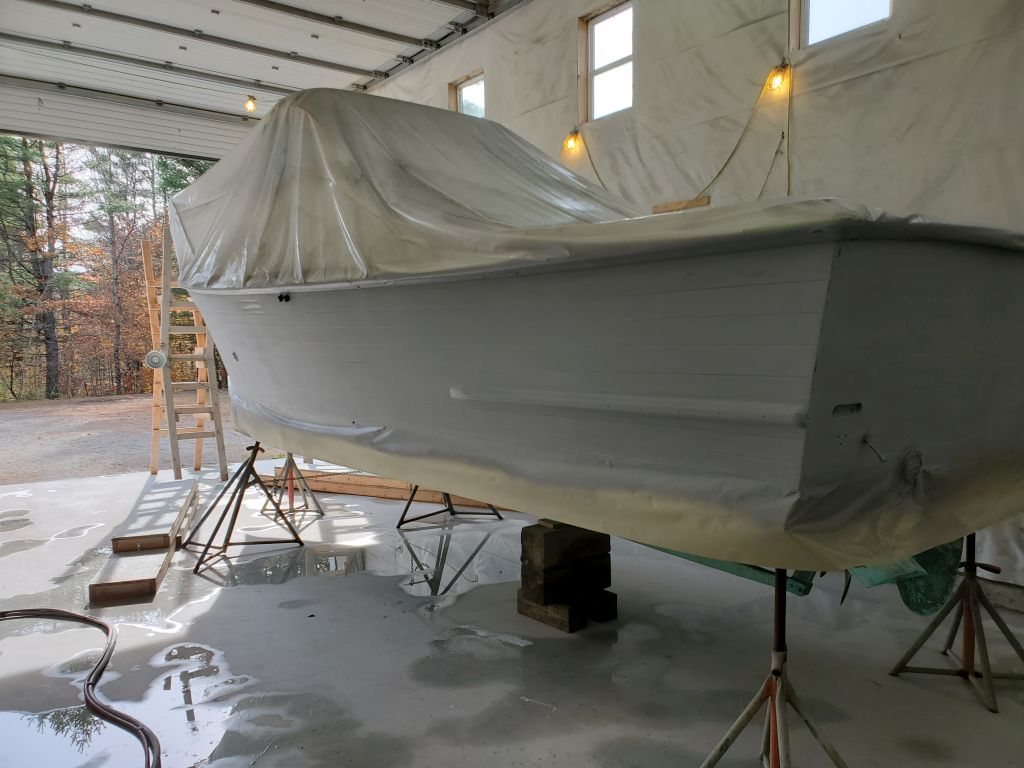
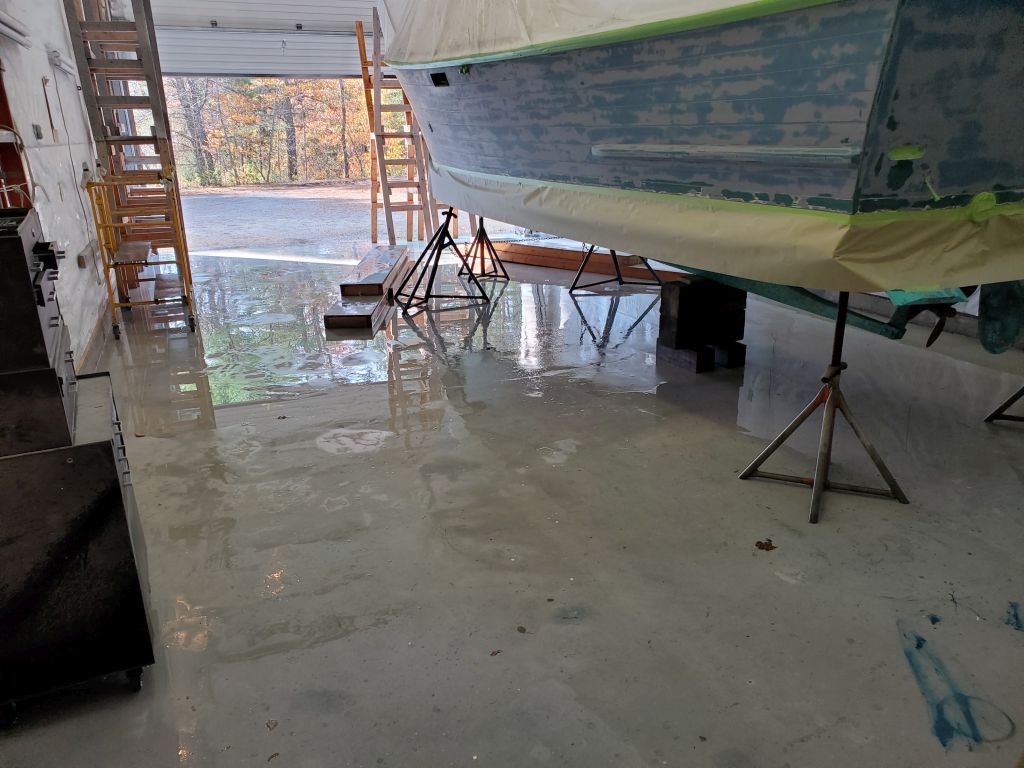
The morning dissolved into a series of unplanned events that prohibited production, including preparing for a boat delivery later in the day, minor equipment failures, paint delivery that required collating,  and an unexpected errand to pick up a special can of paint for the transom, but with all that out of the way I looked forward to getting started on the hull prep.

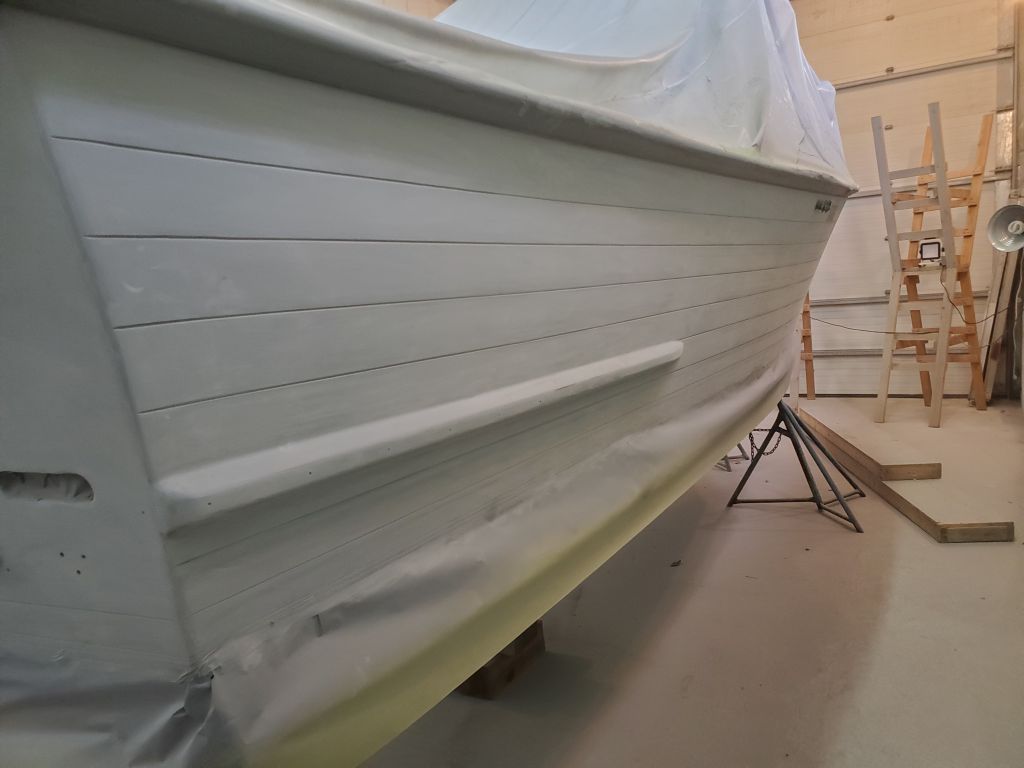
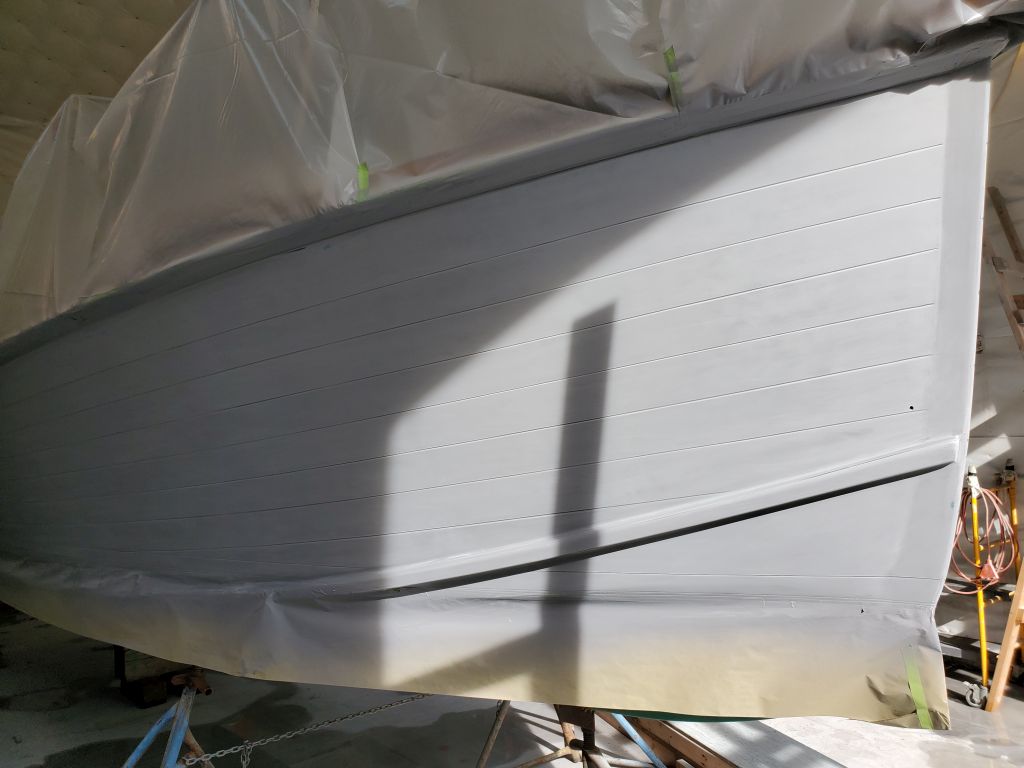
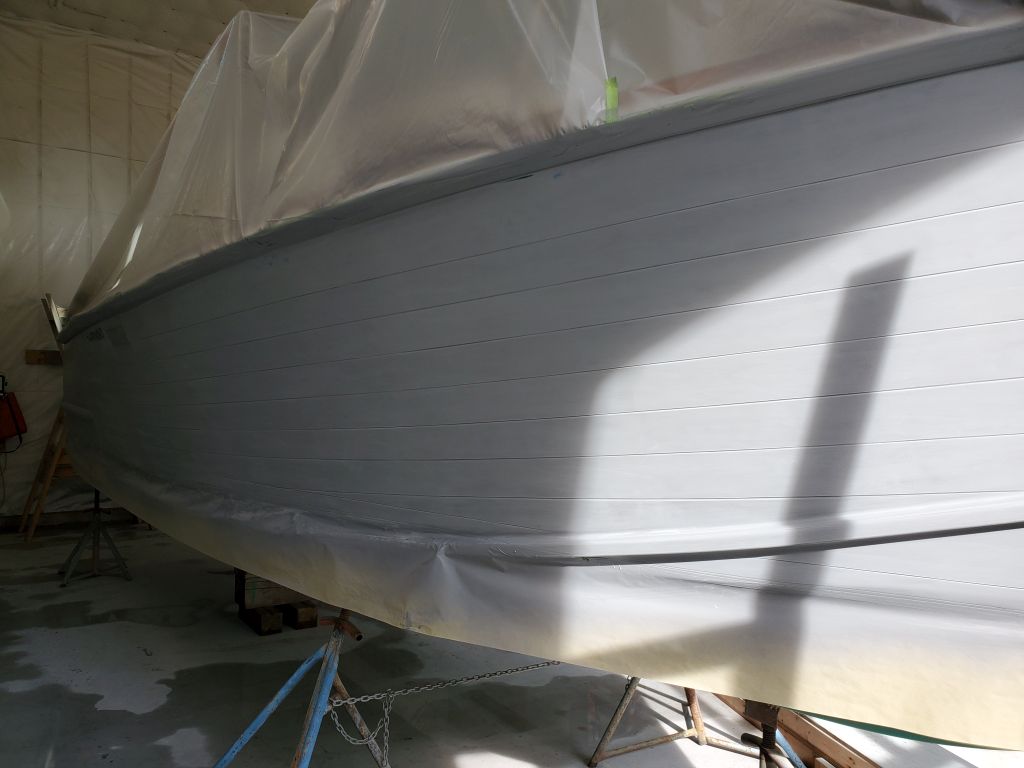
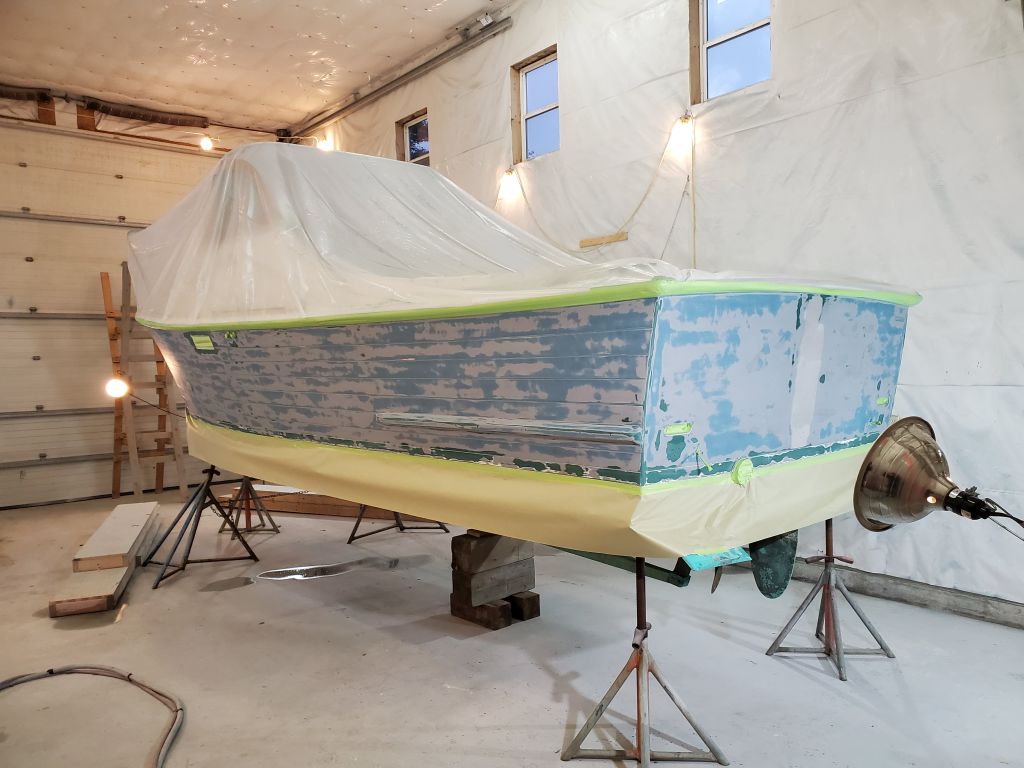
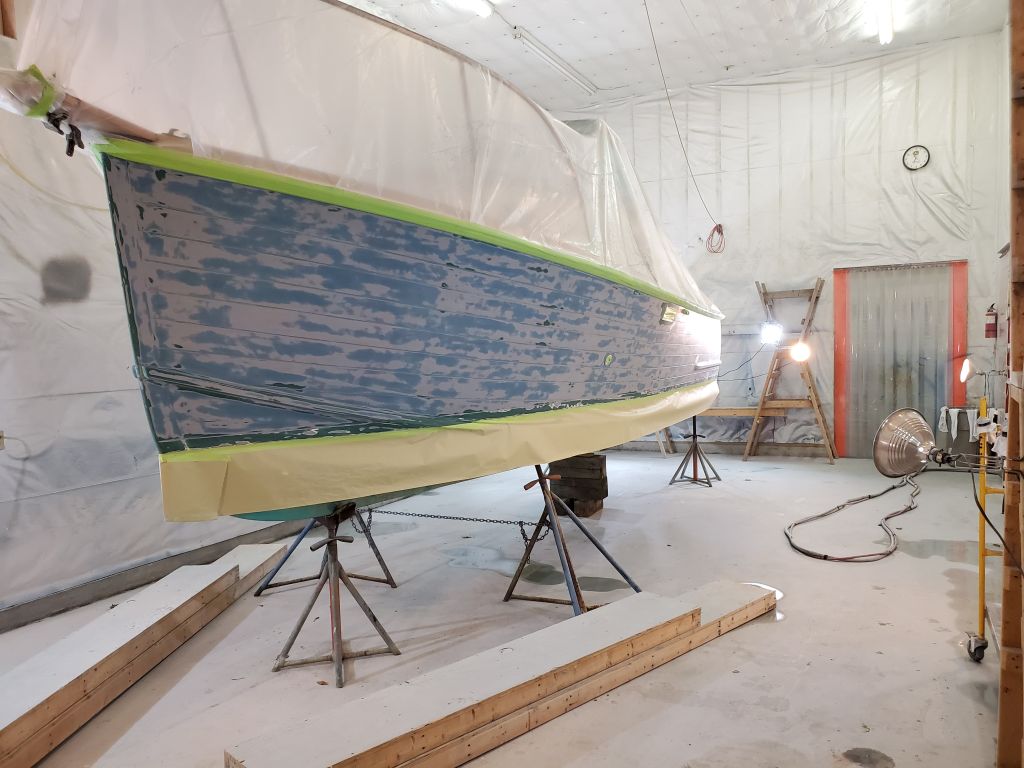
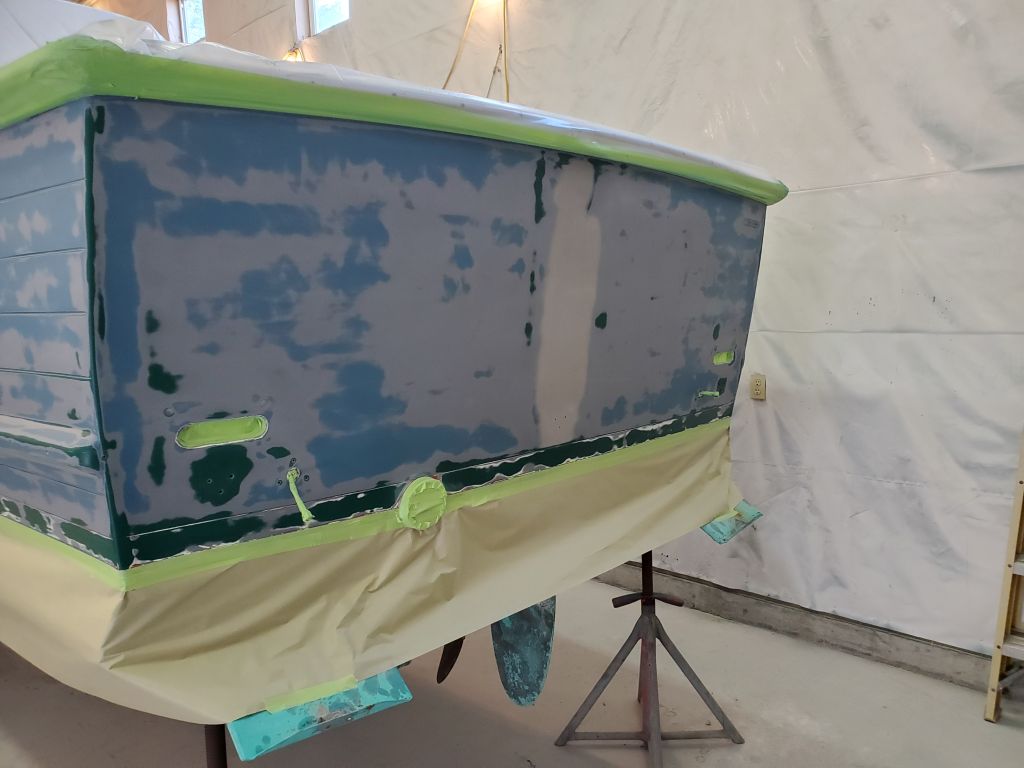
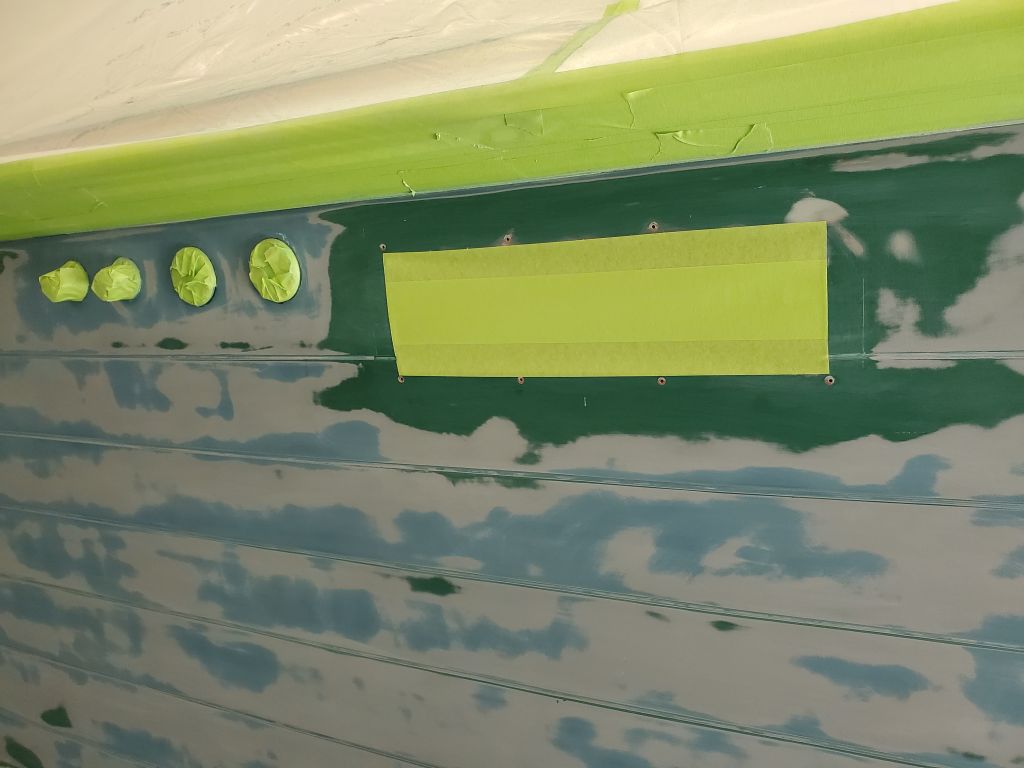
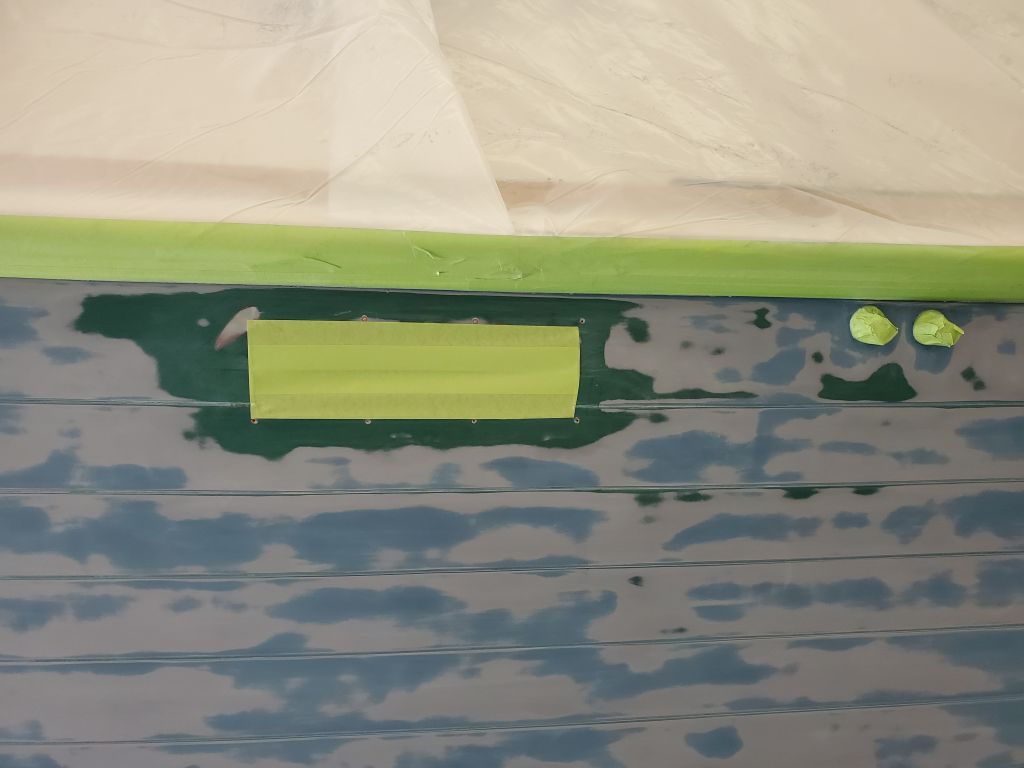
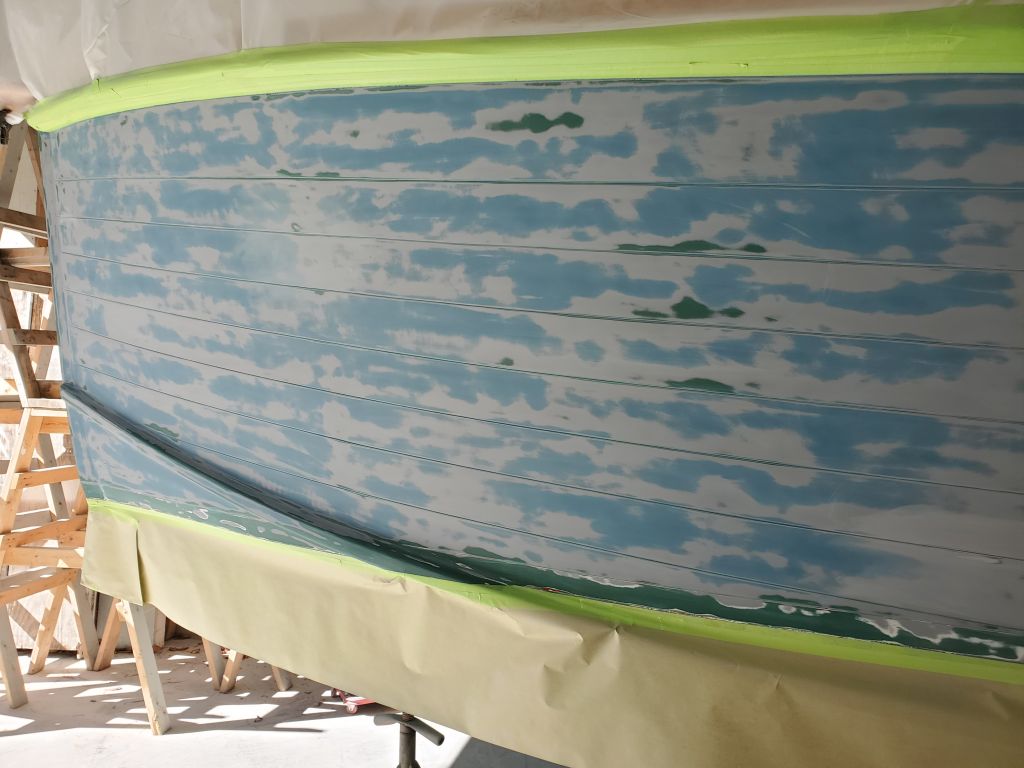
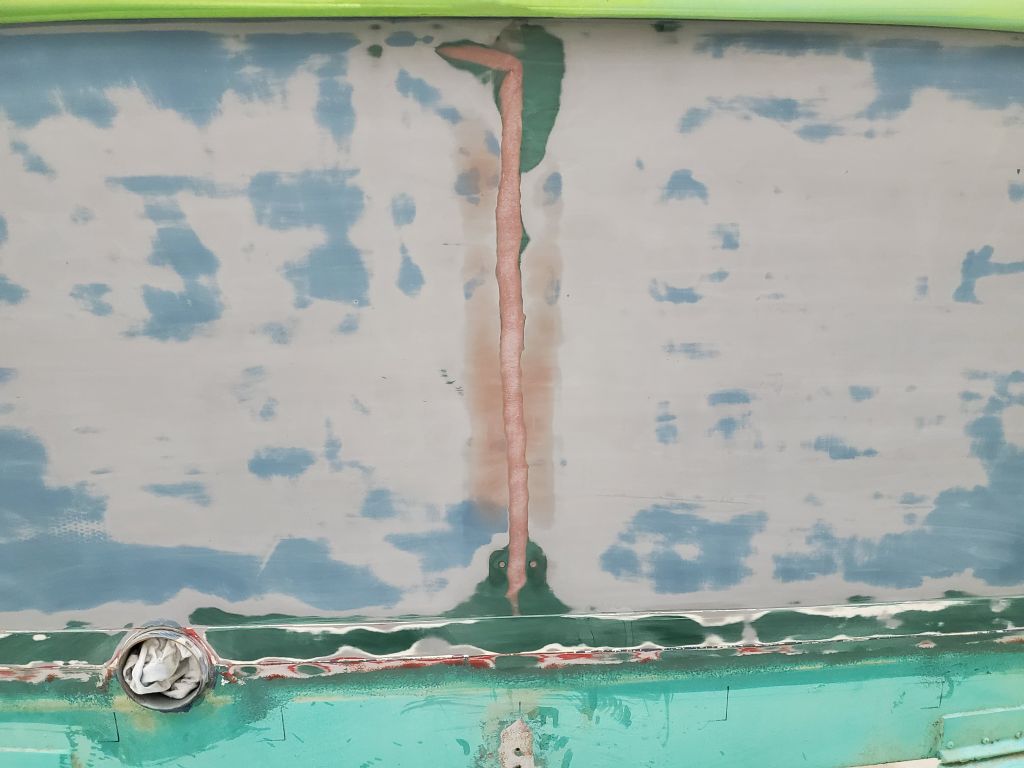
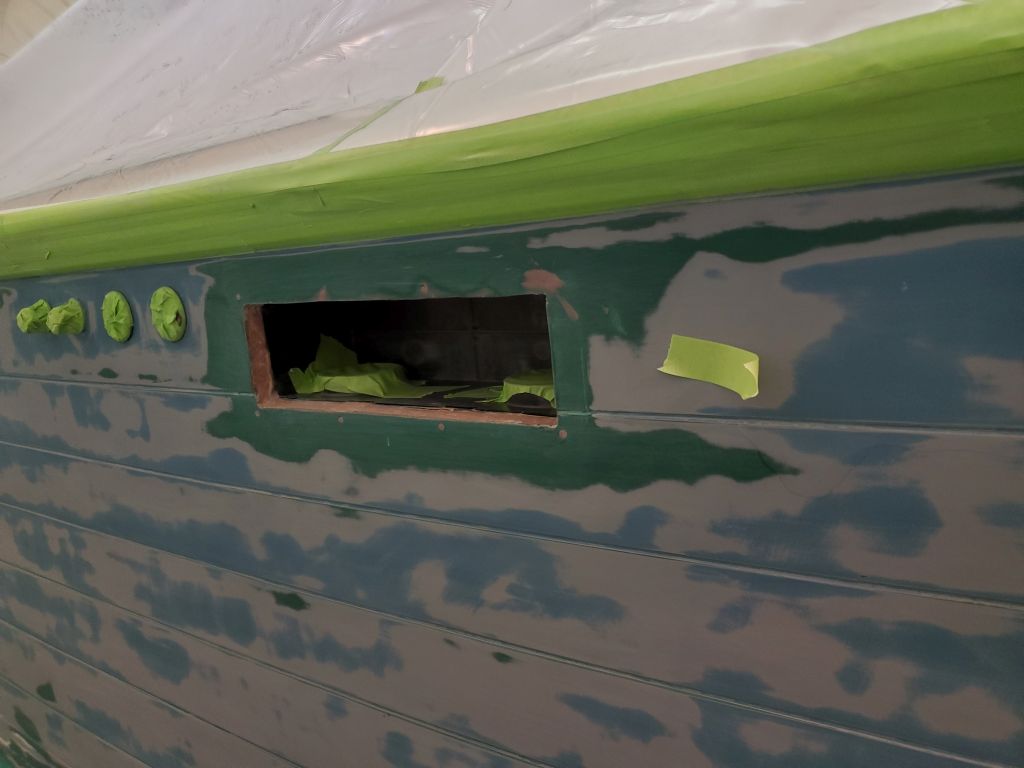
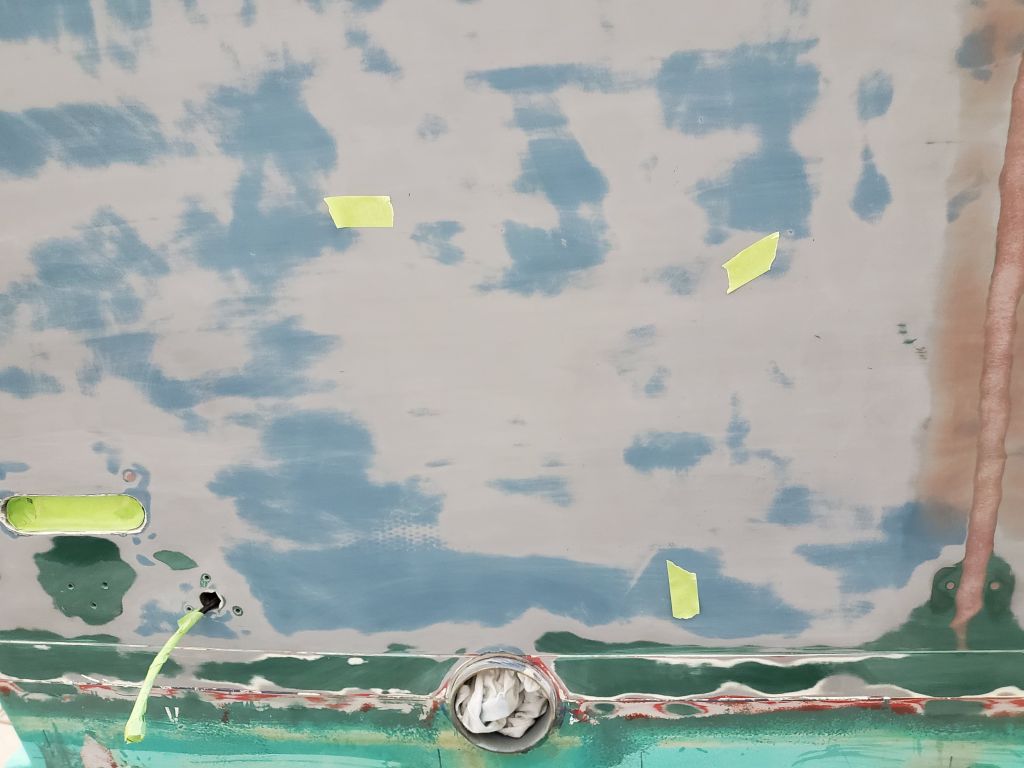
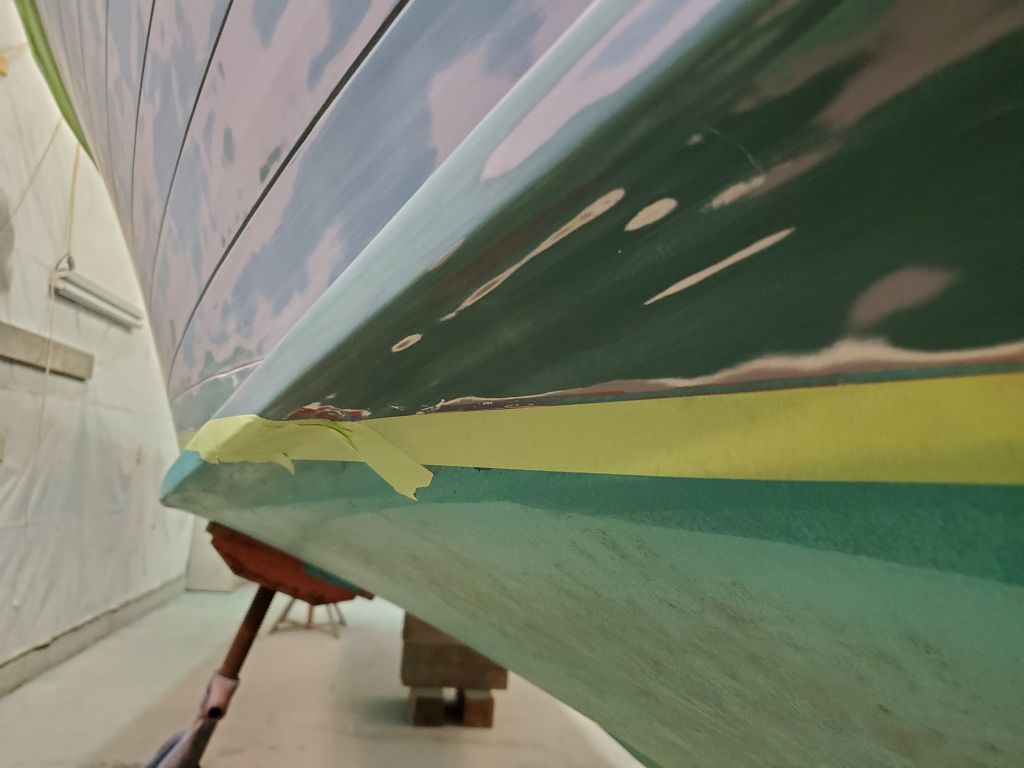
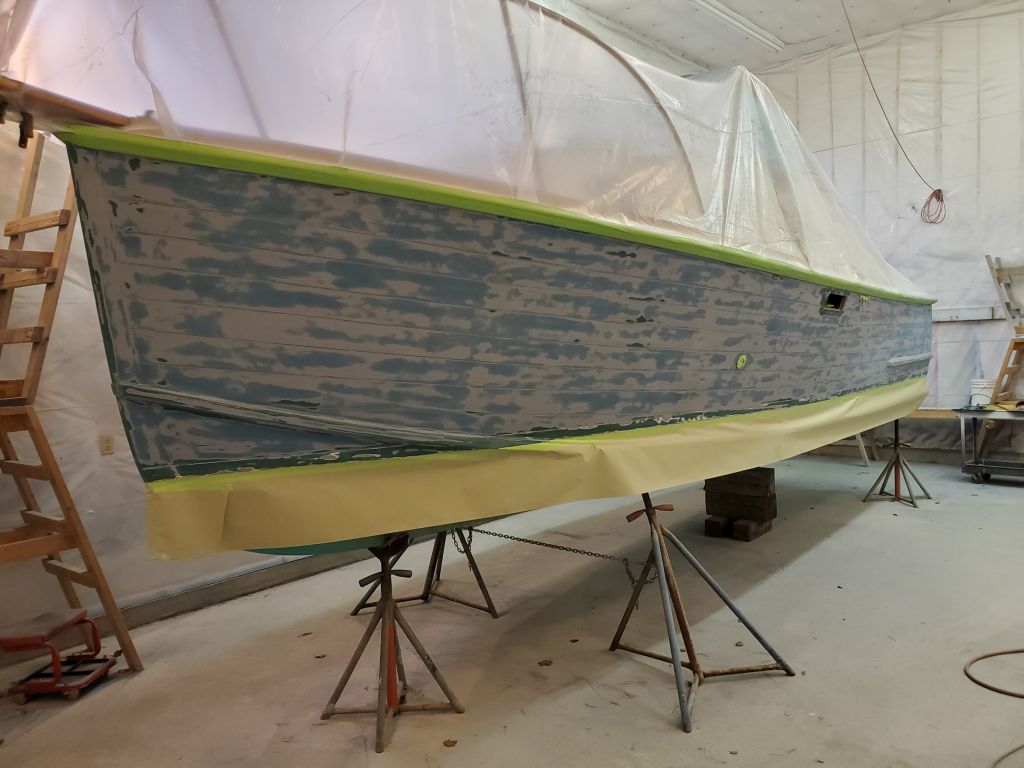
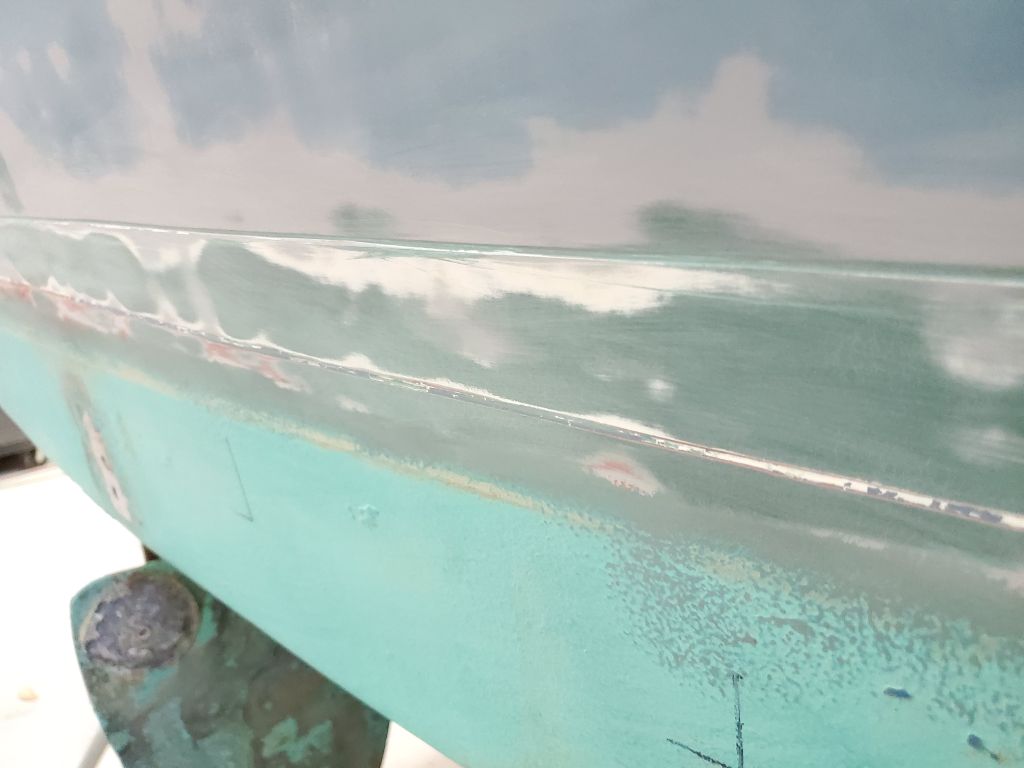
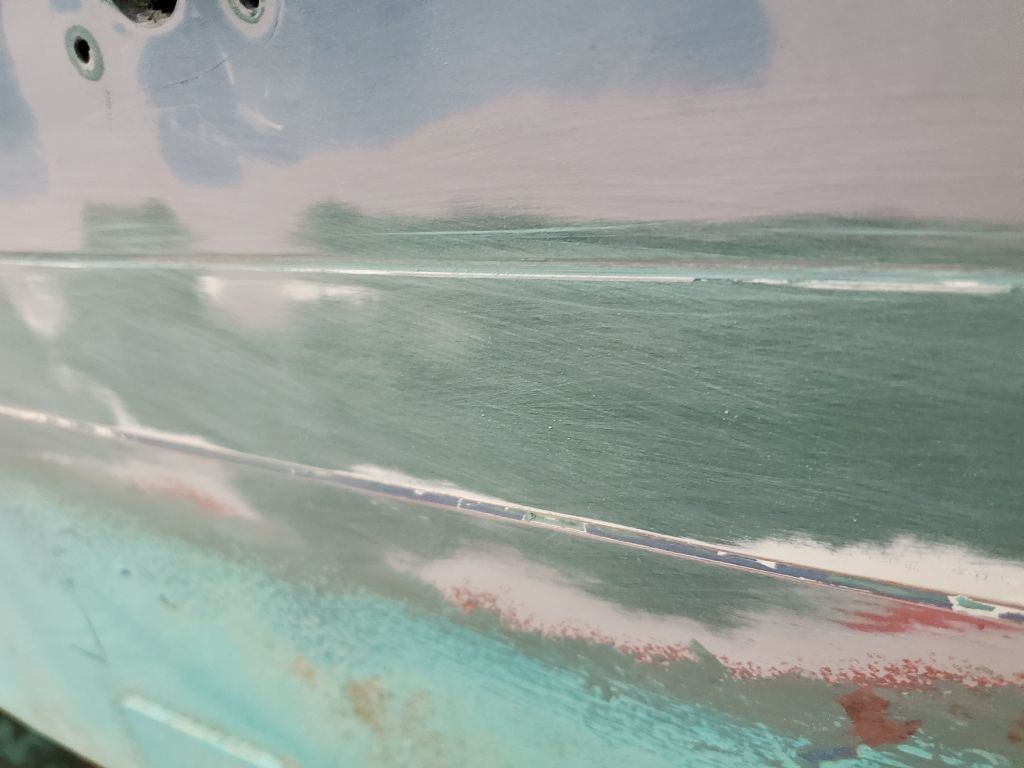
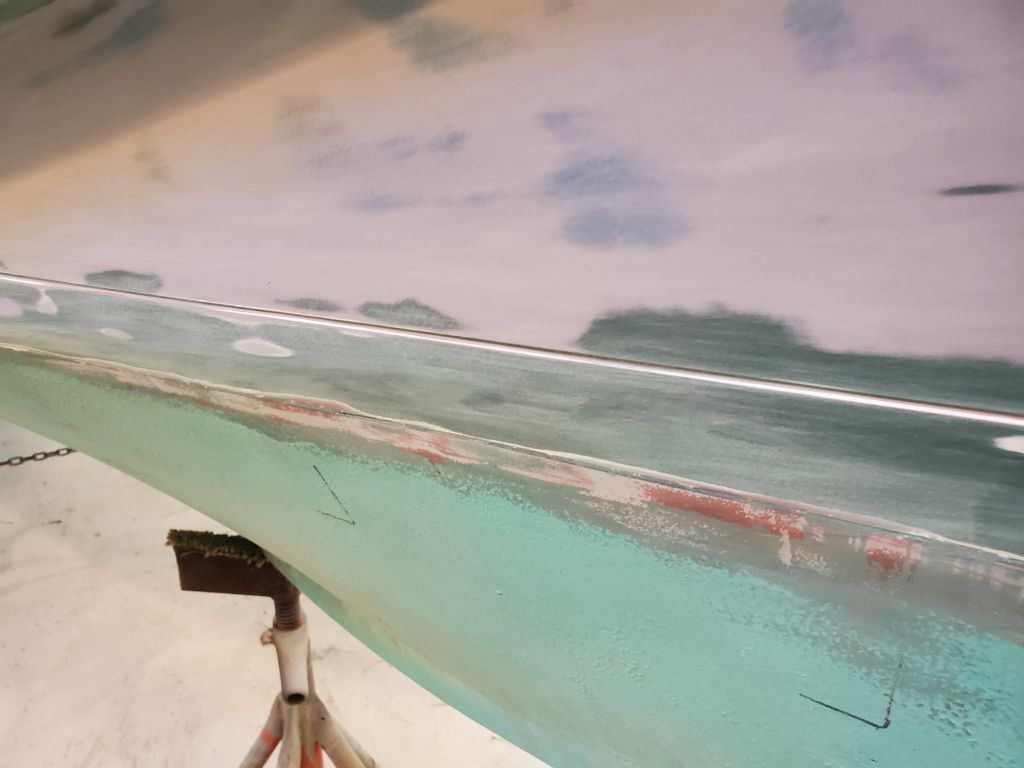
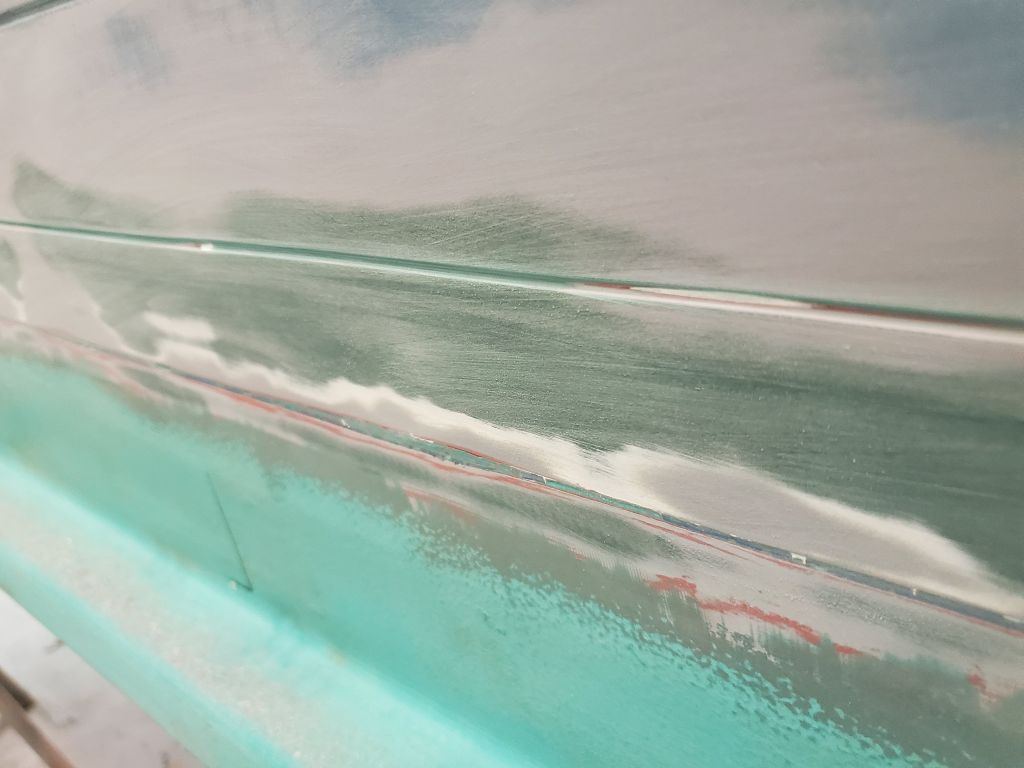
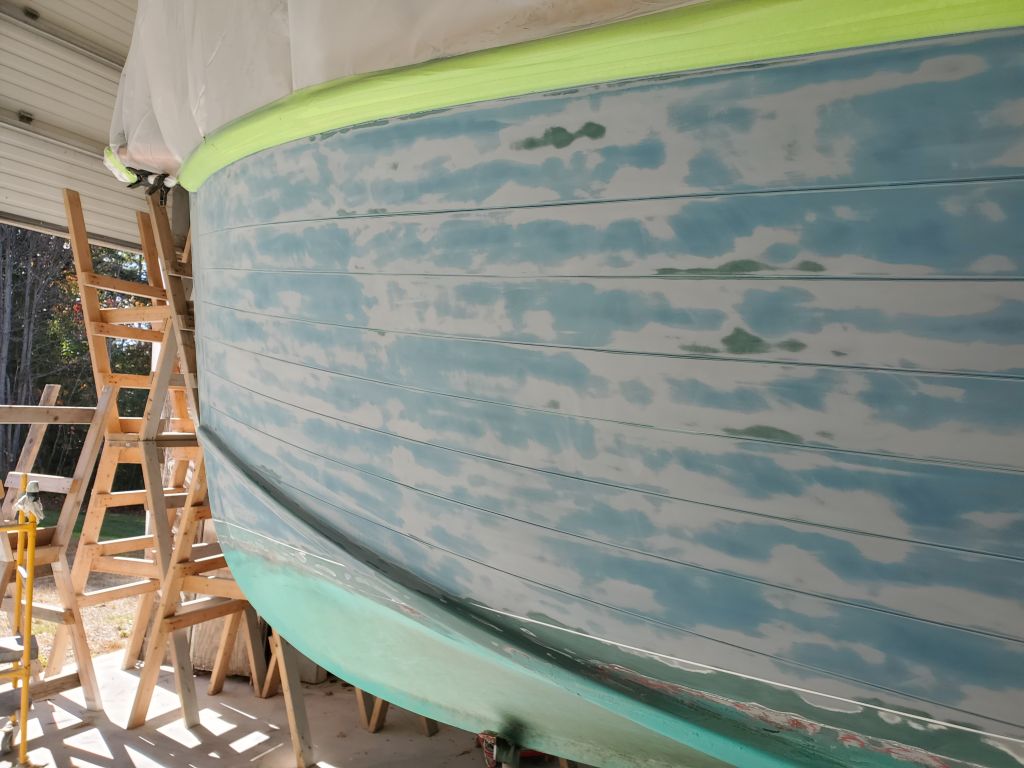
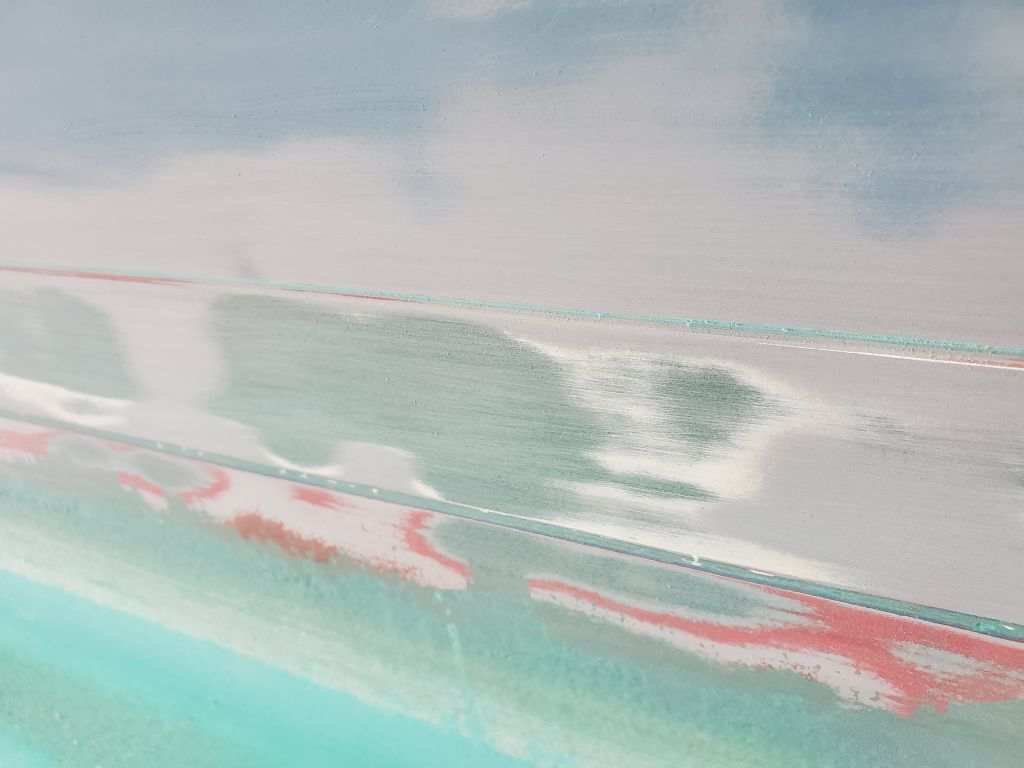
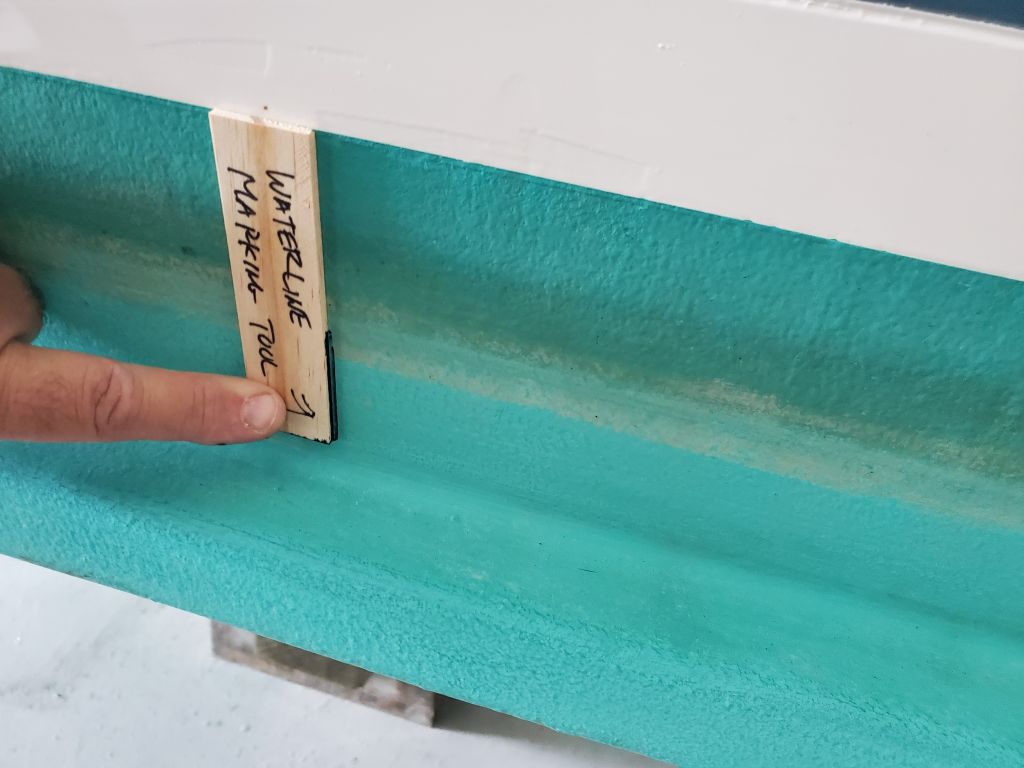
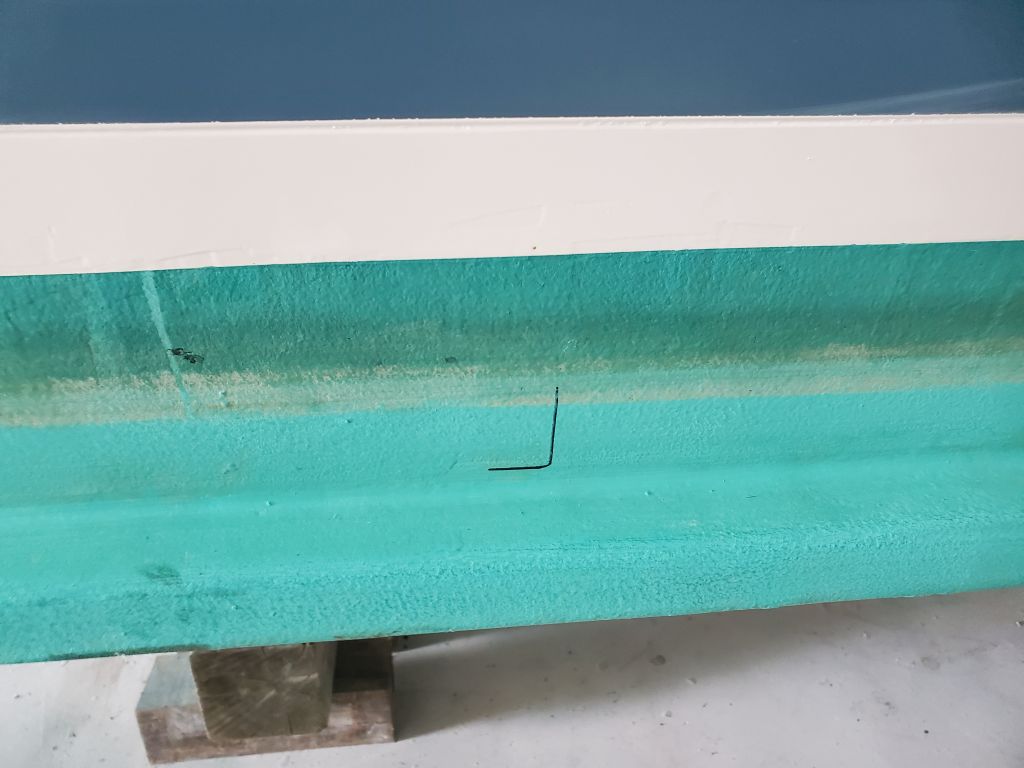
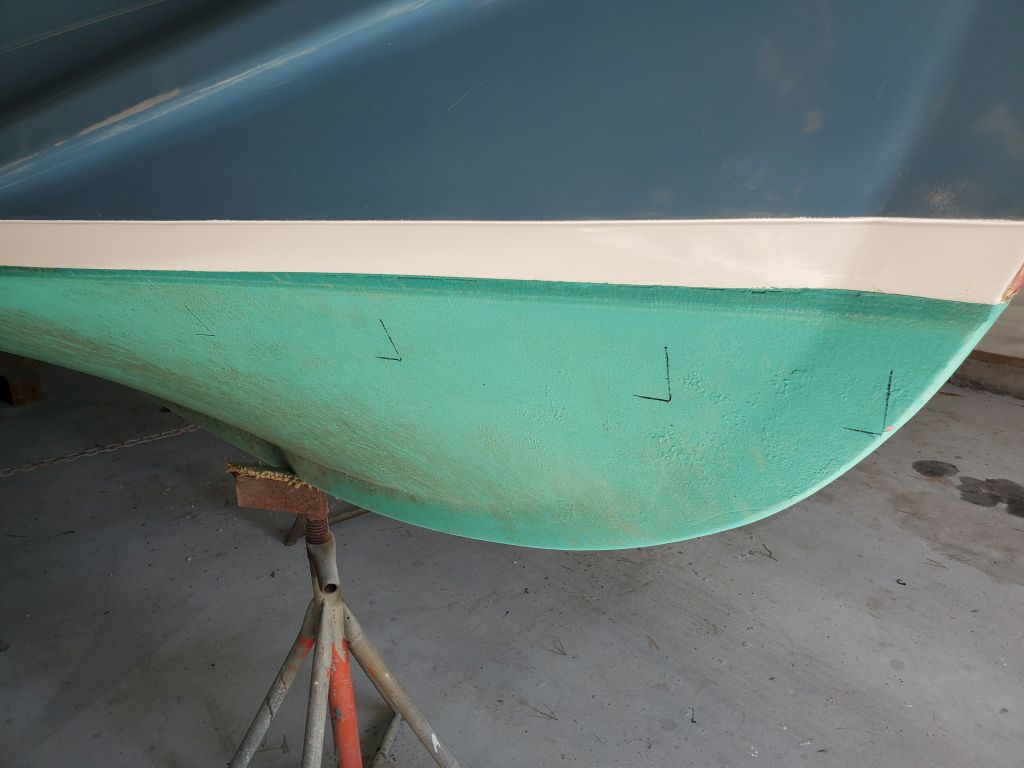
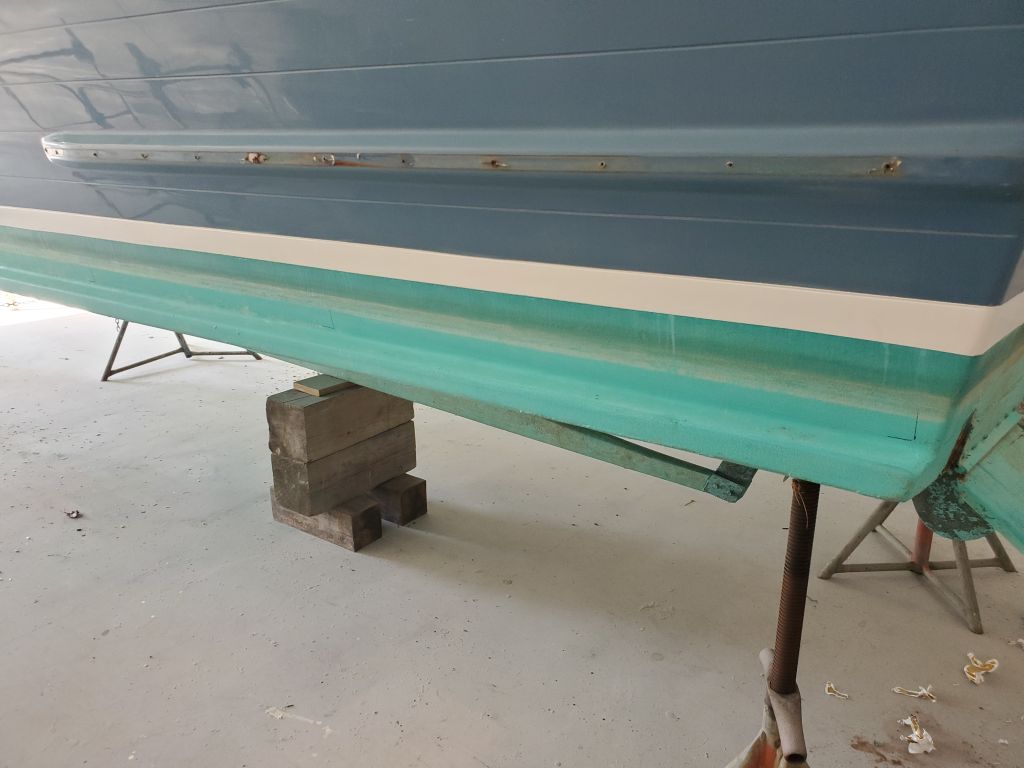
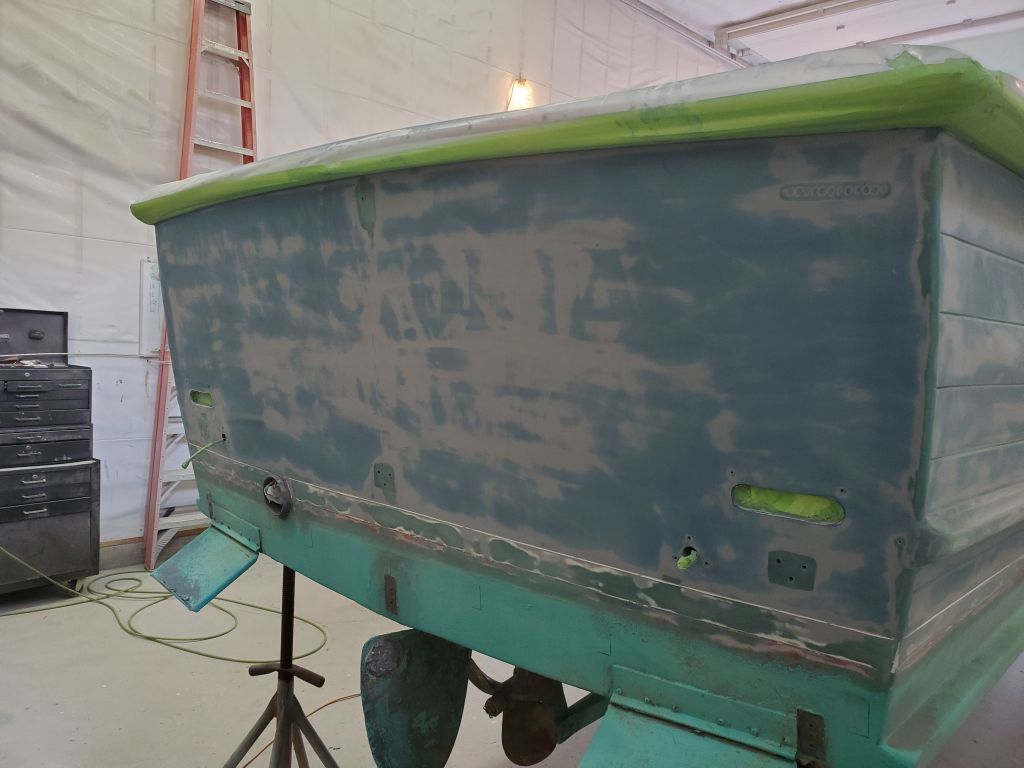
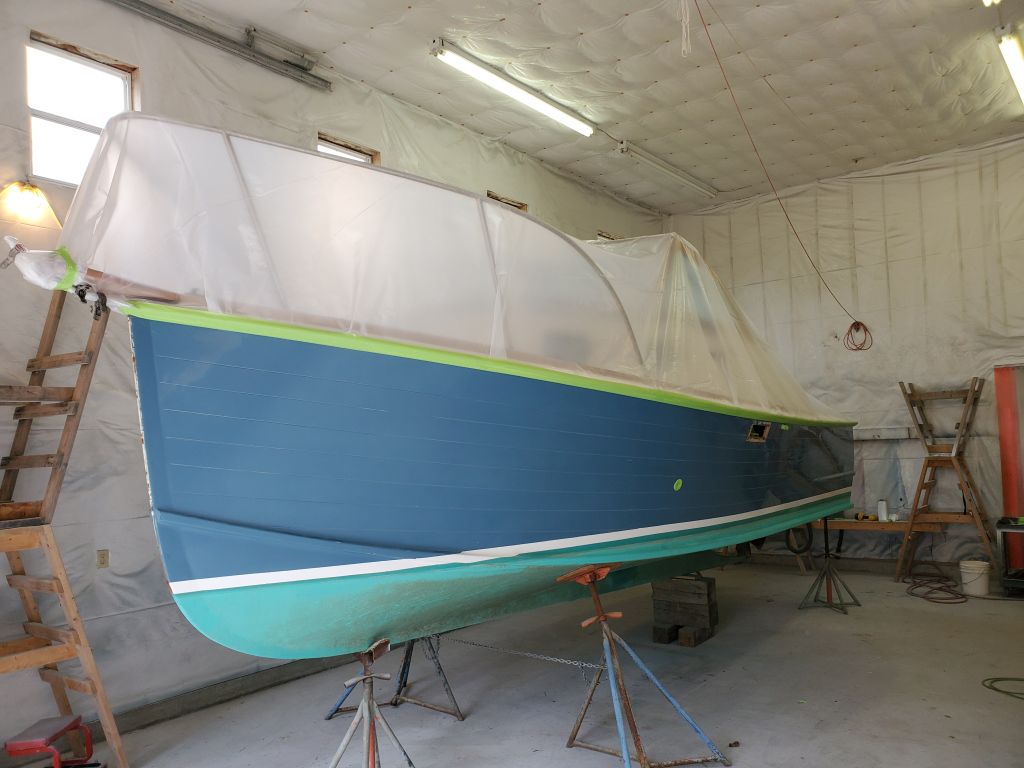
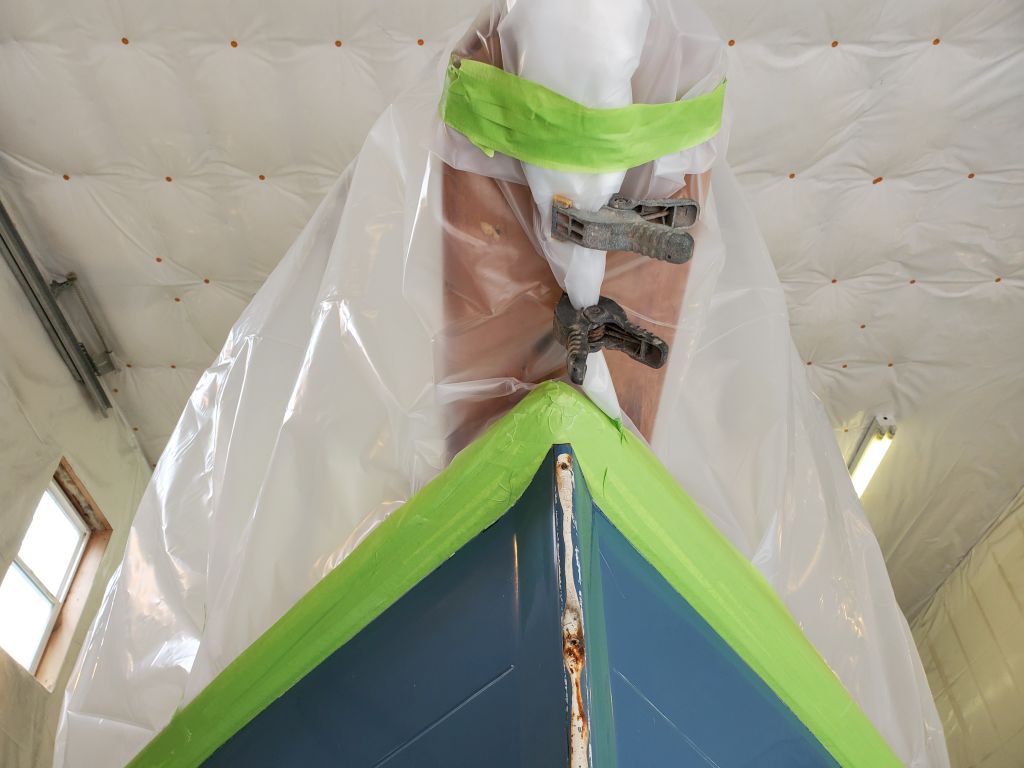
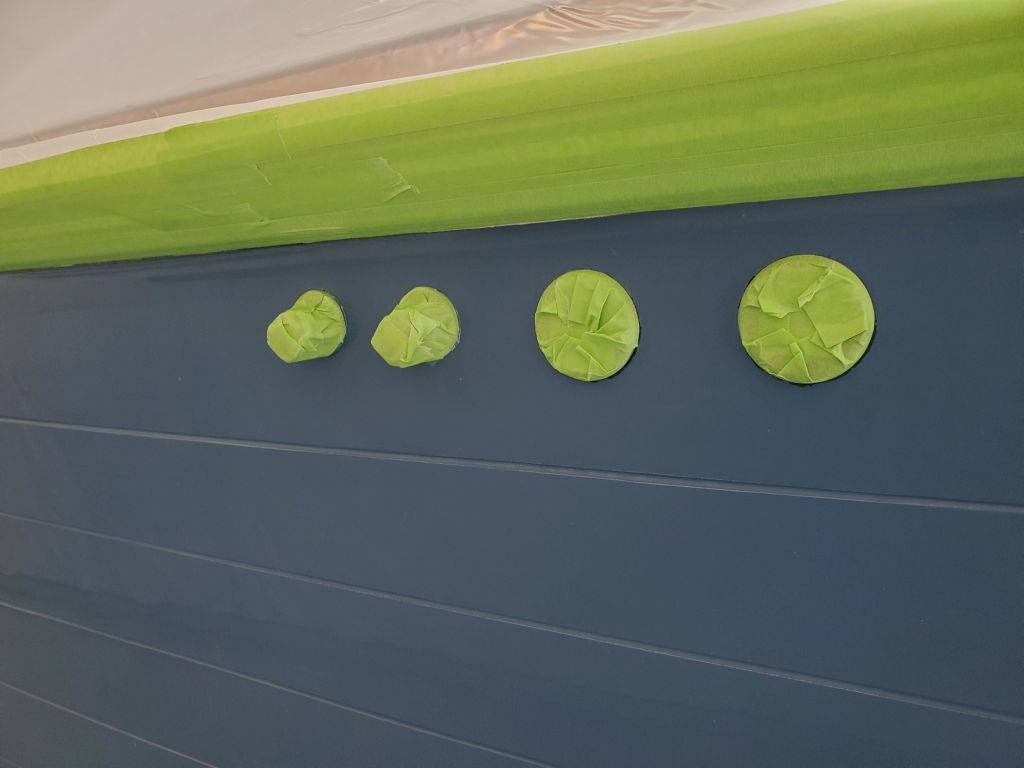
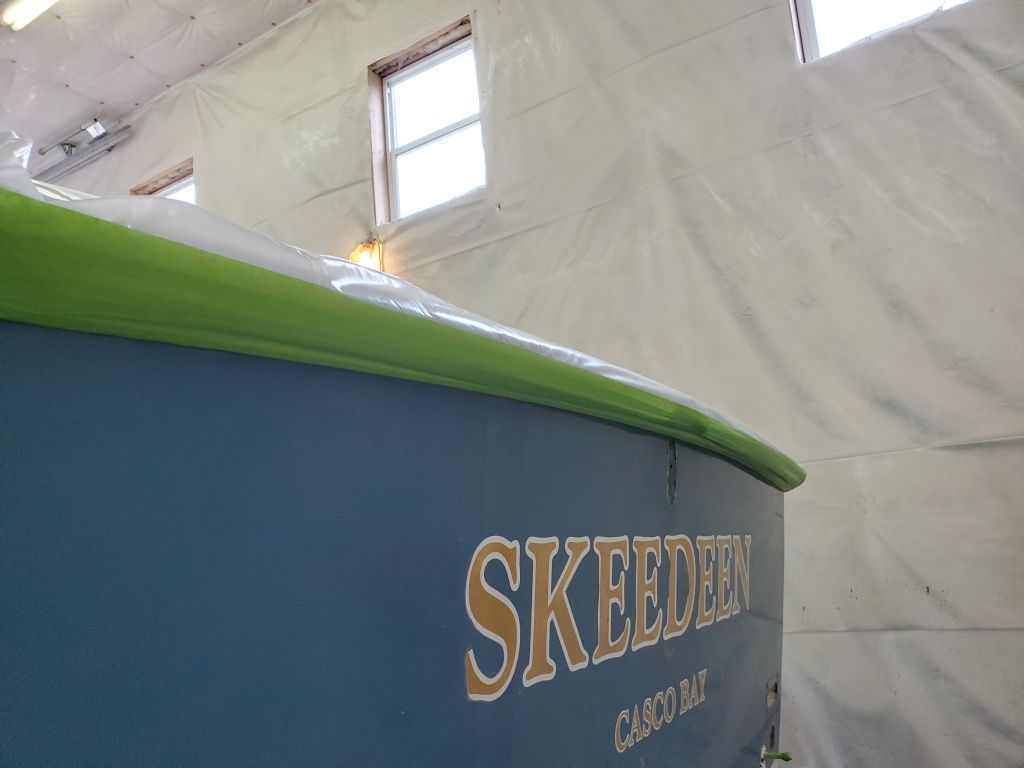
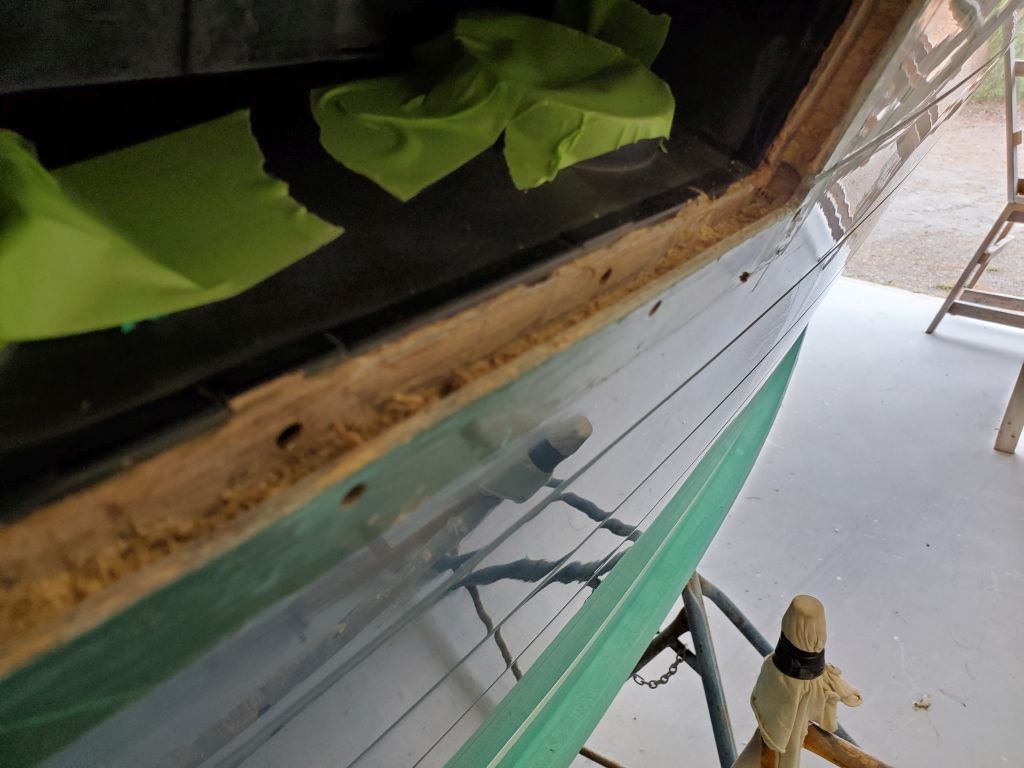
Before beginning, I made some reference marks so I could recreate the waterline (i.e. top of the bottom paint) if necessary.   The boottop had a scribe mark delineating its top edge, but I couldn’t see one at the bottom edge, so to be safe I used a simple wooden gauge to mark a set distance down from the waterline, which would make it easy enough to restrike the line later.  As it happened, I later found that there was indeed a second scribe mark (on the grassy knoll), but that’s getting just a bit ahead of things.

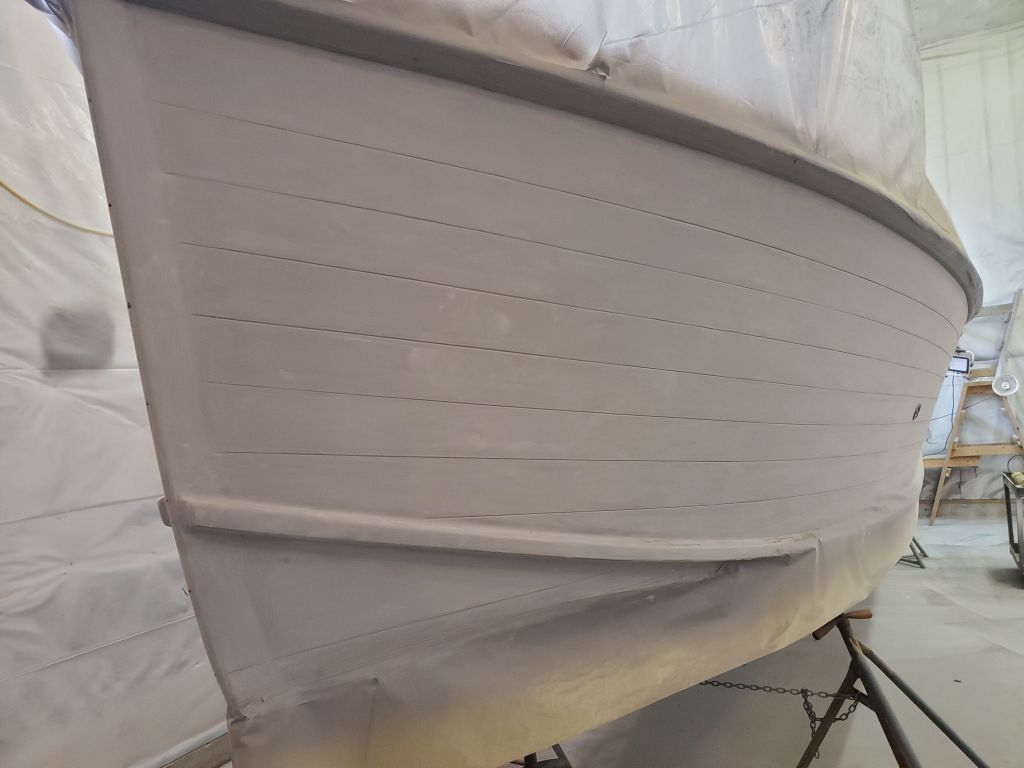
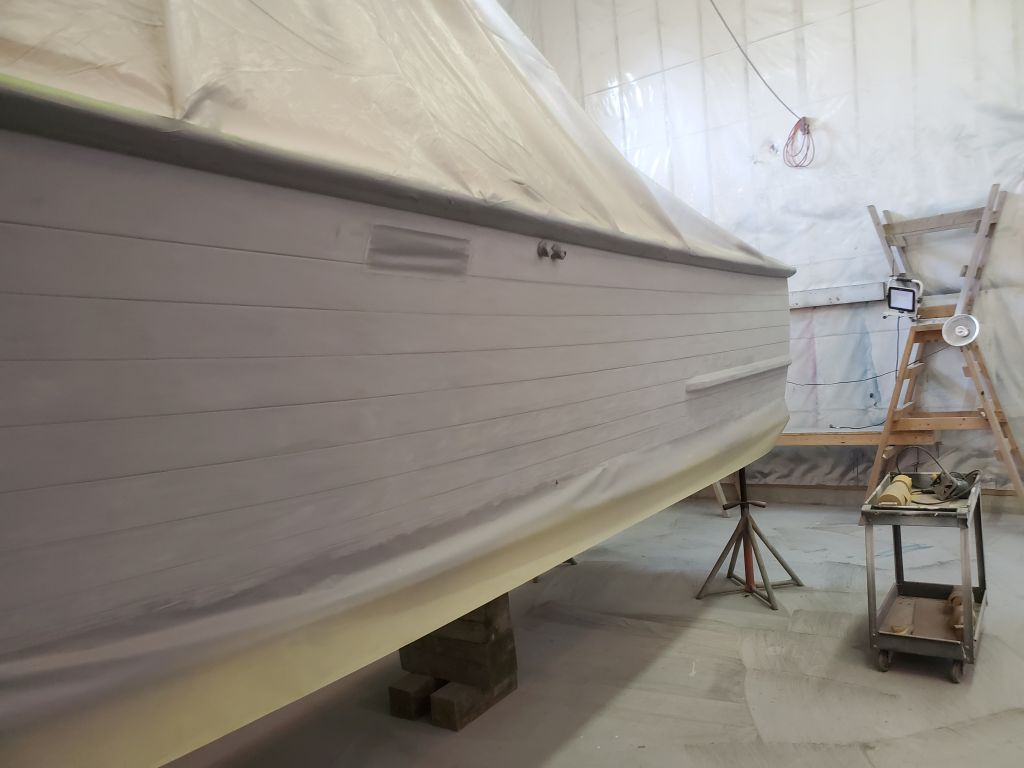
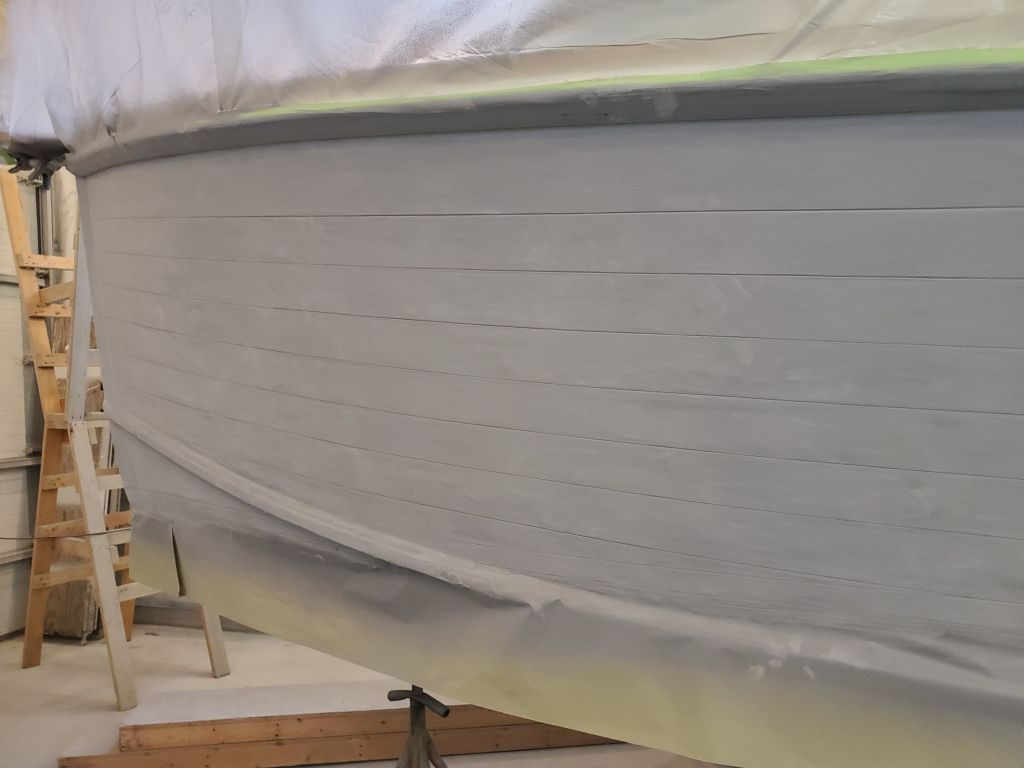
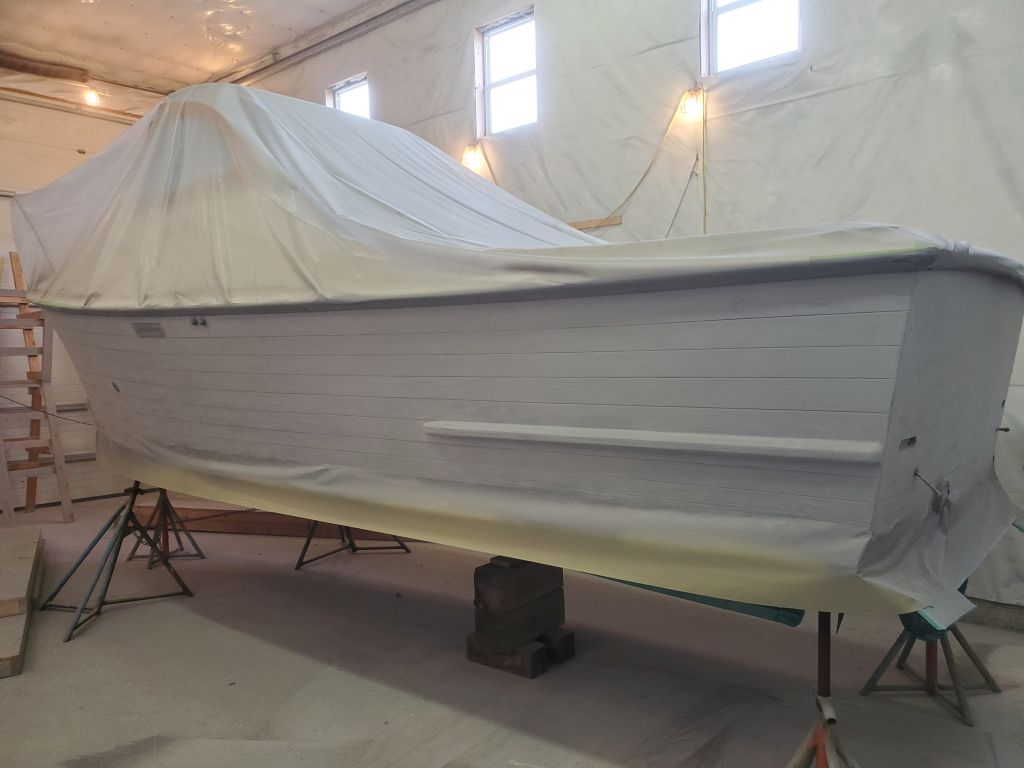
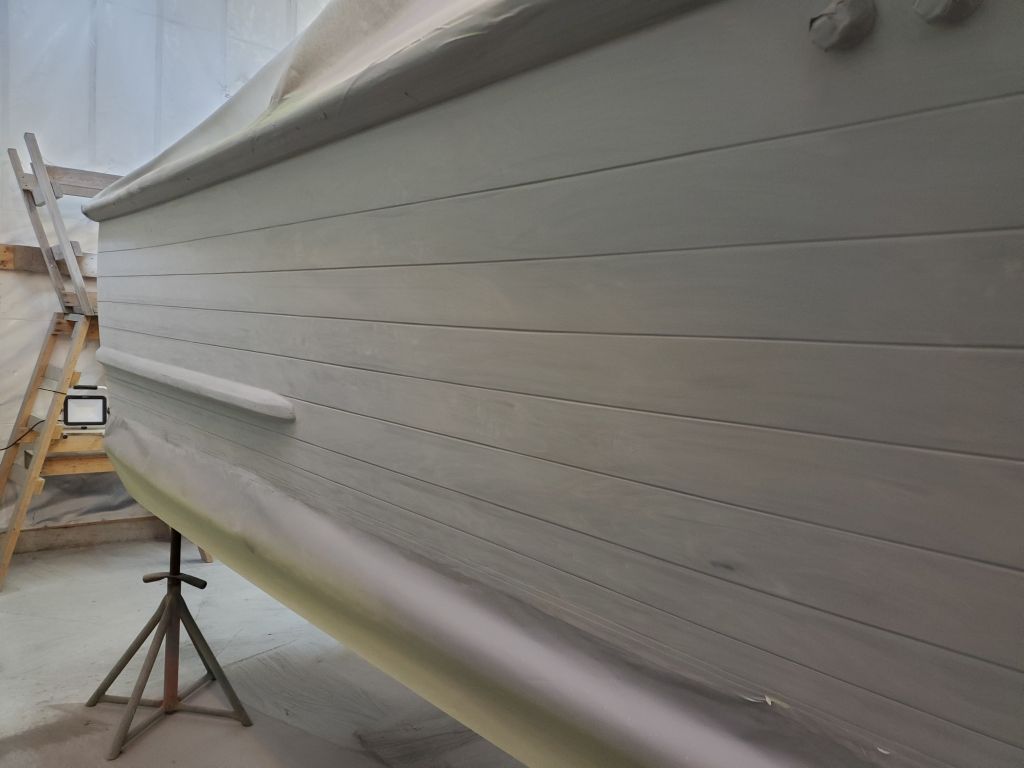
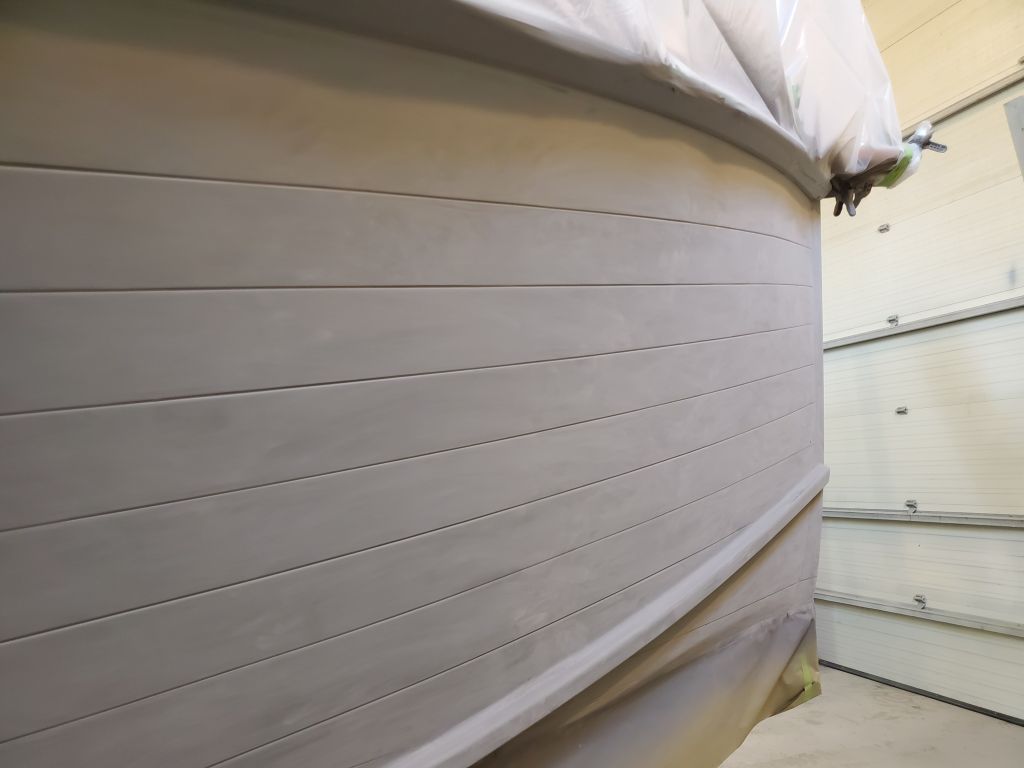
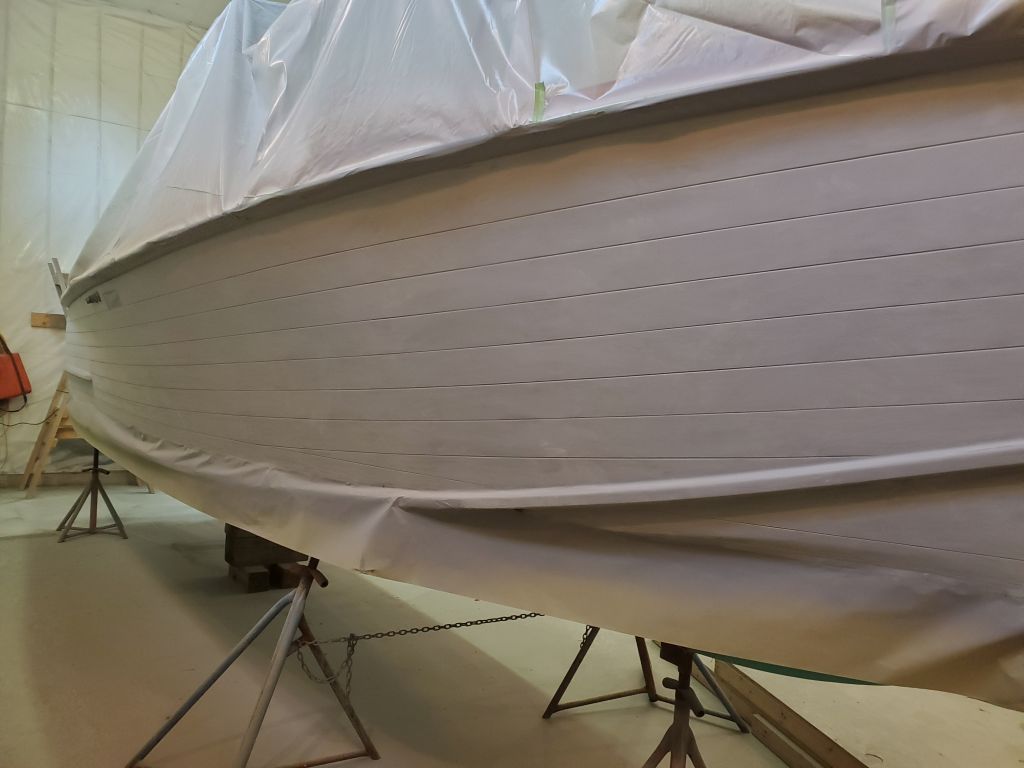
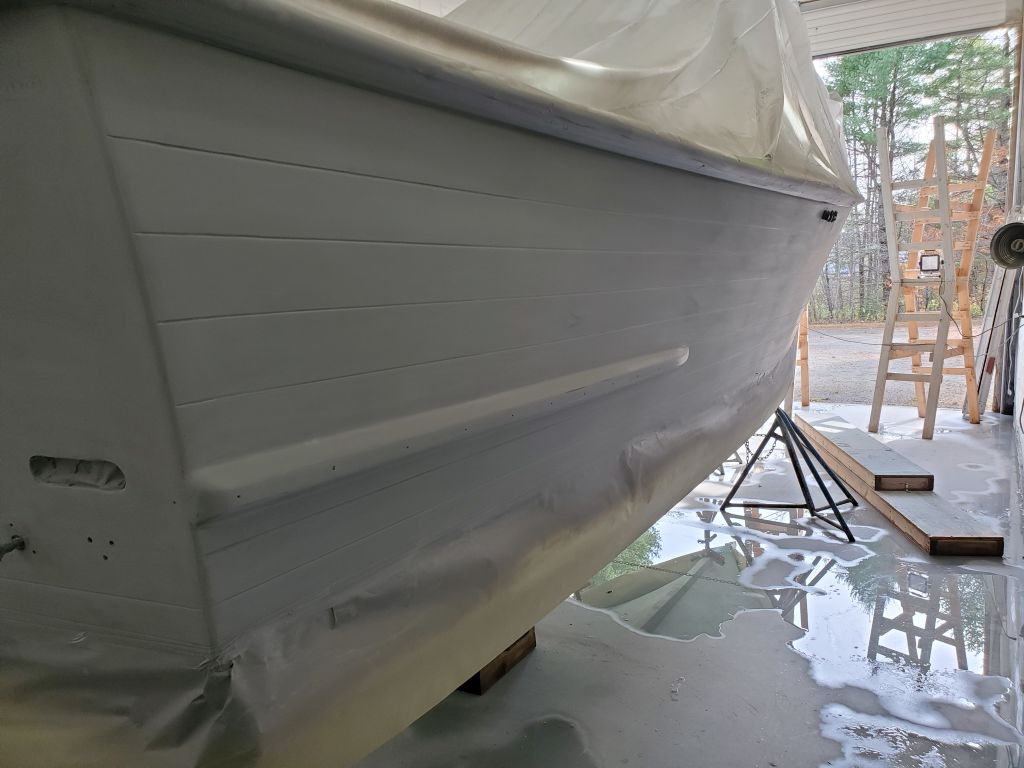
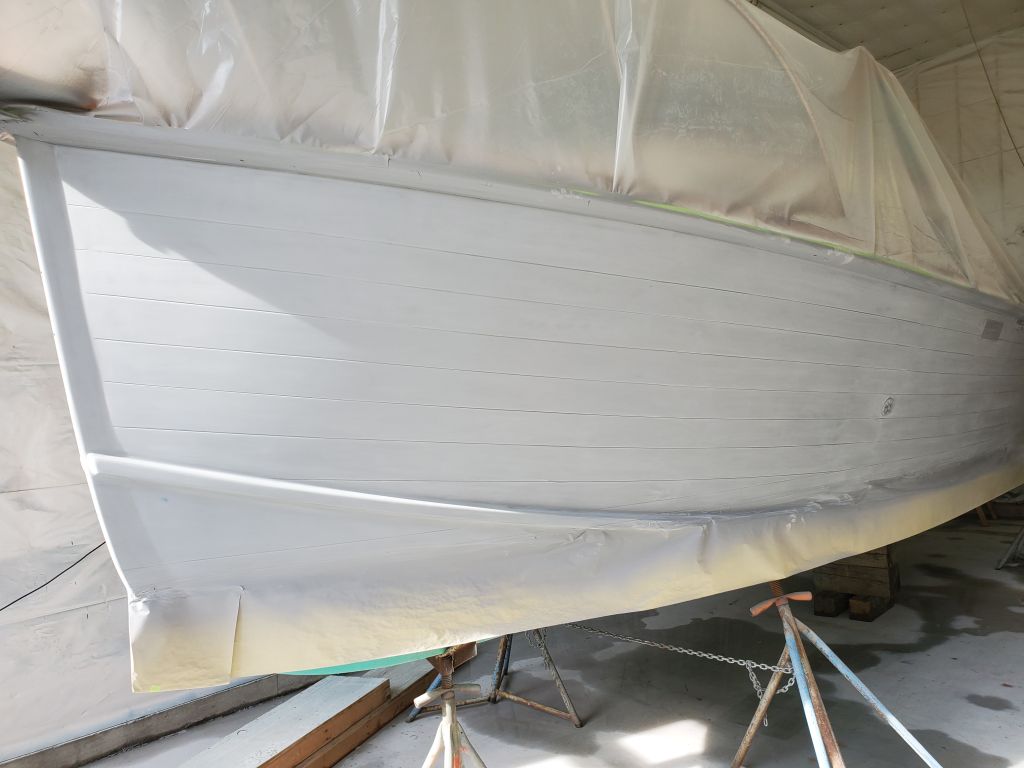
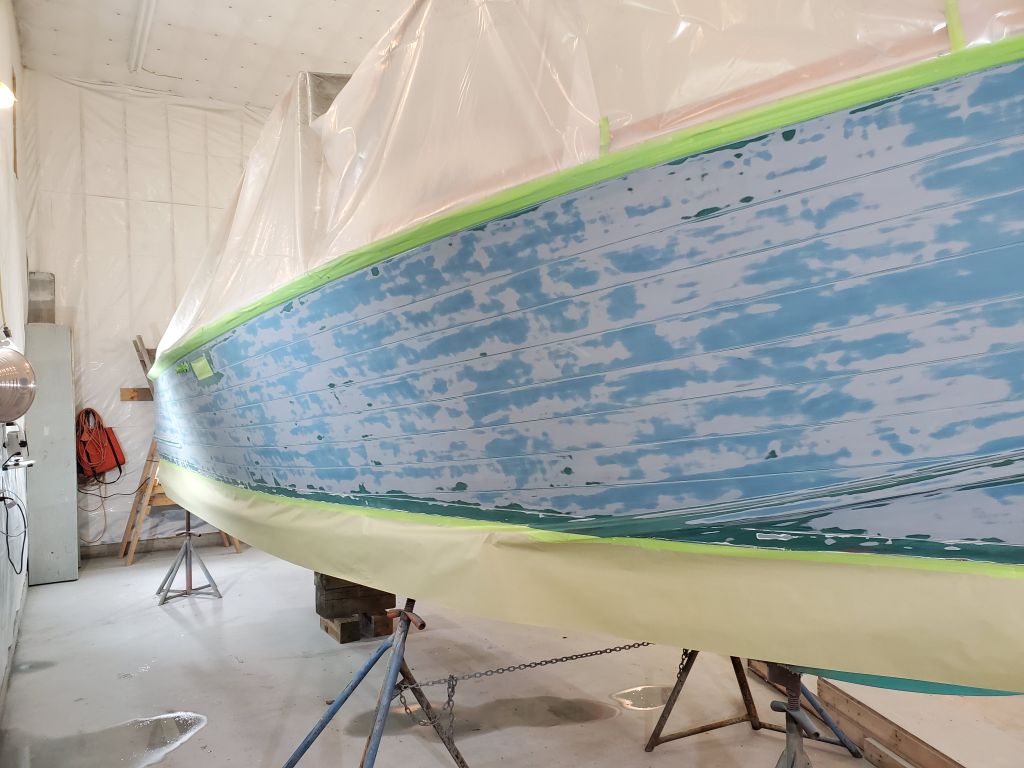
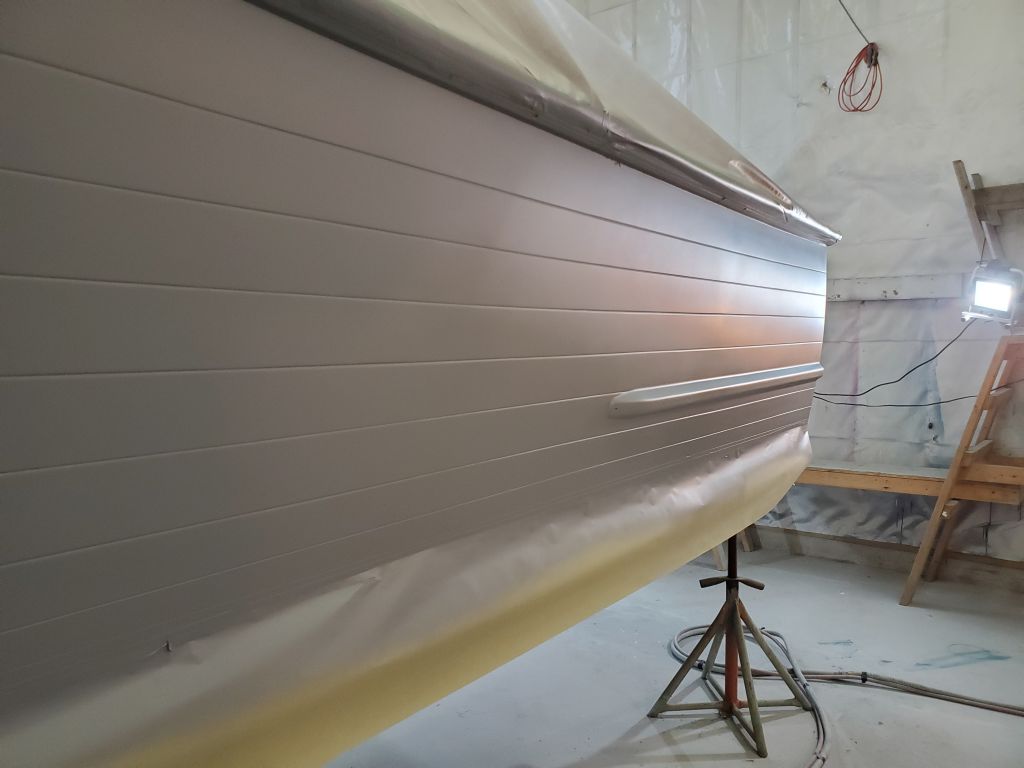
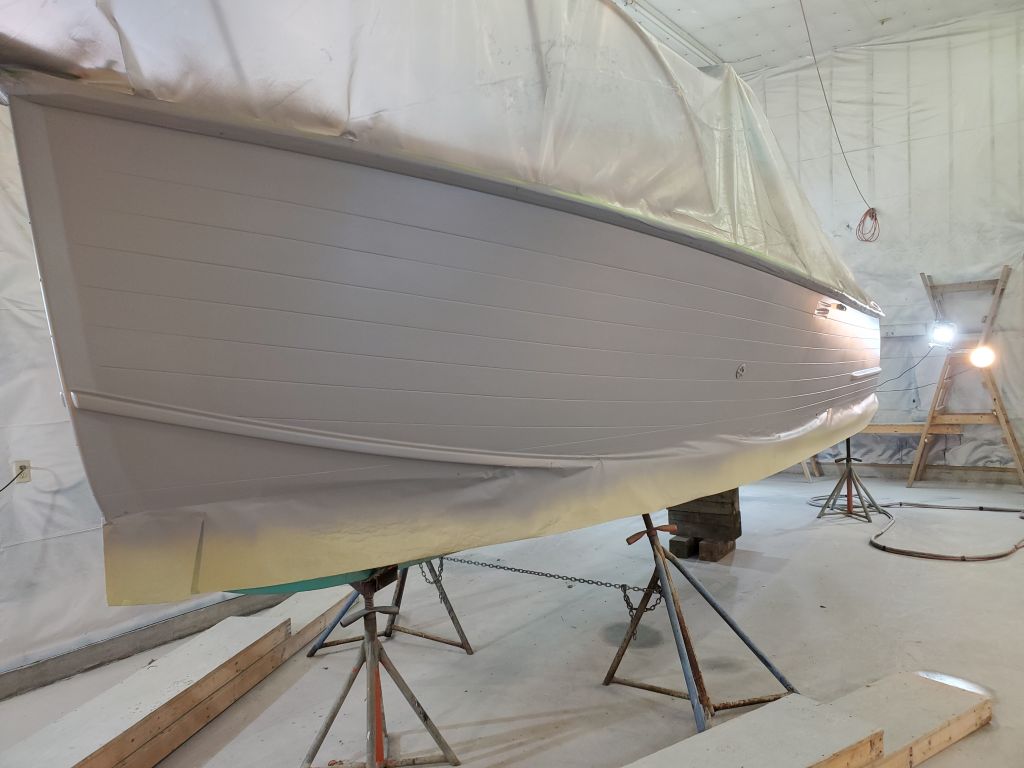
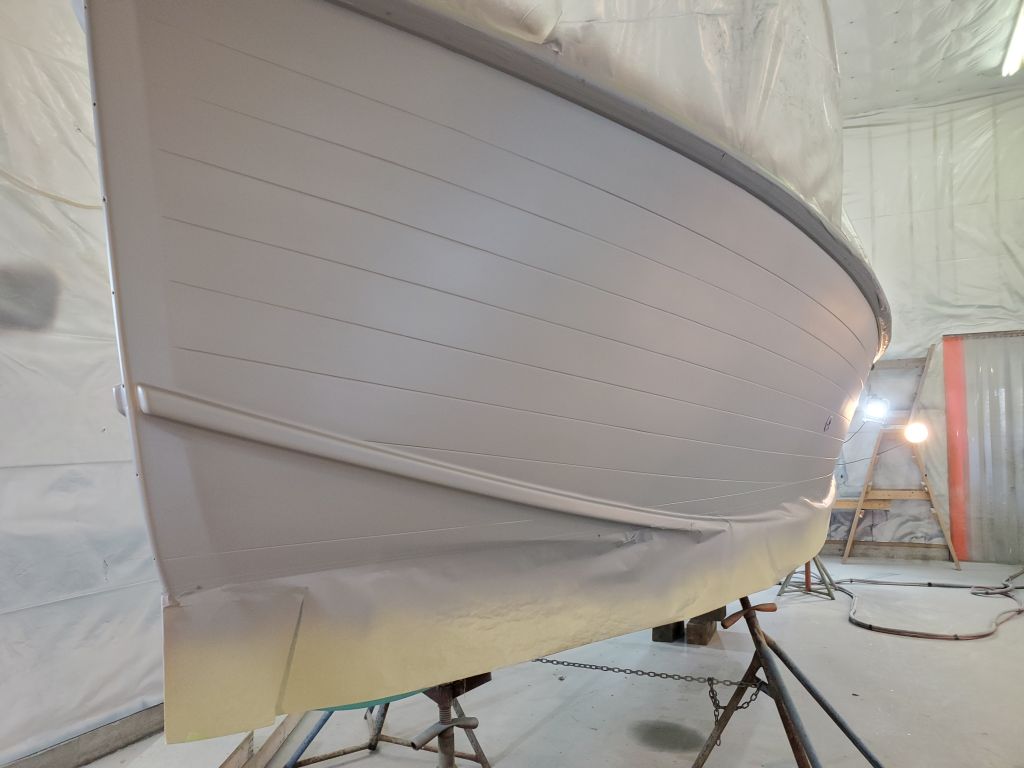
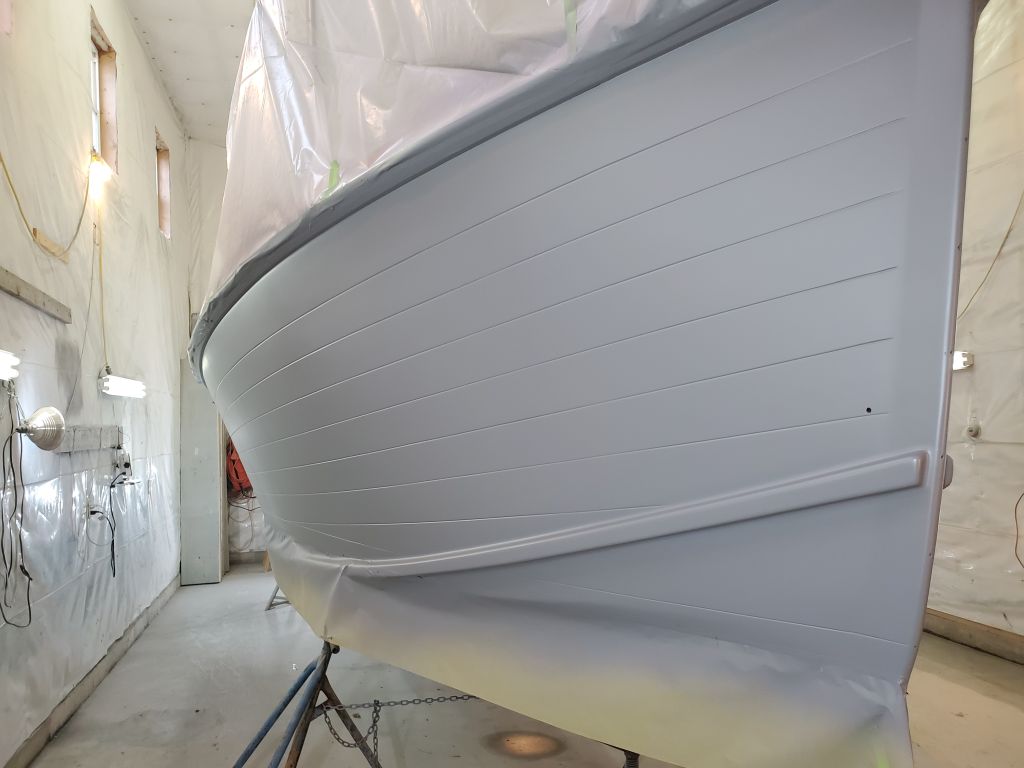
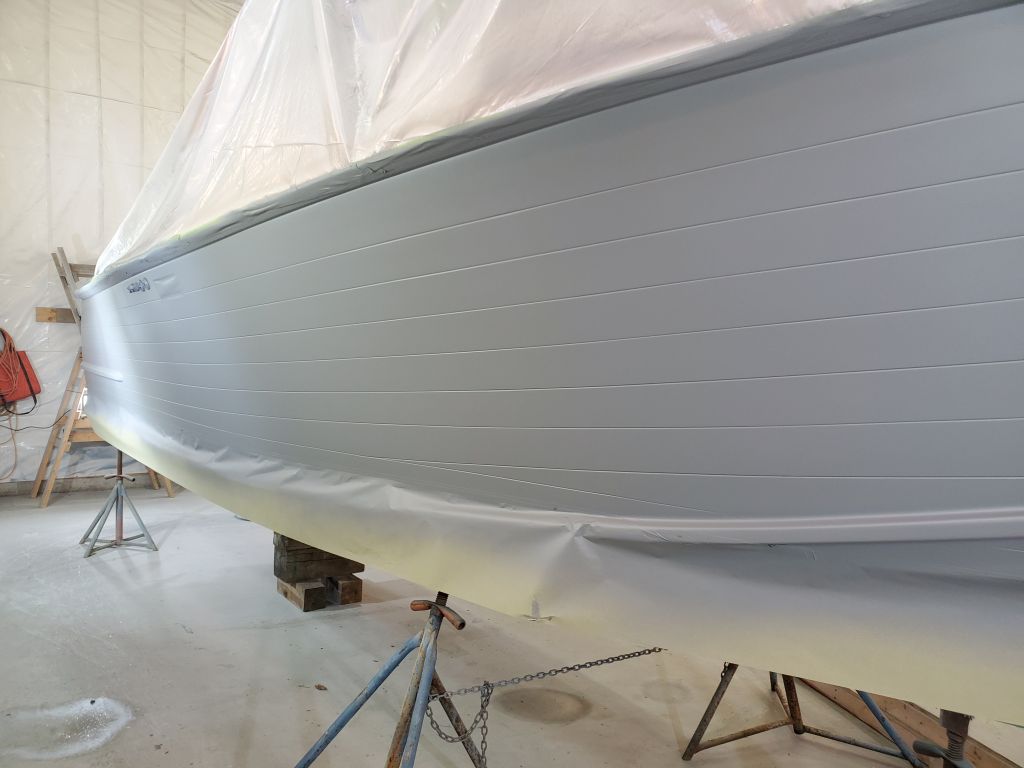
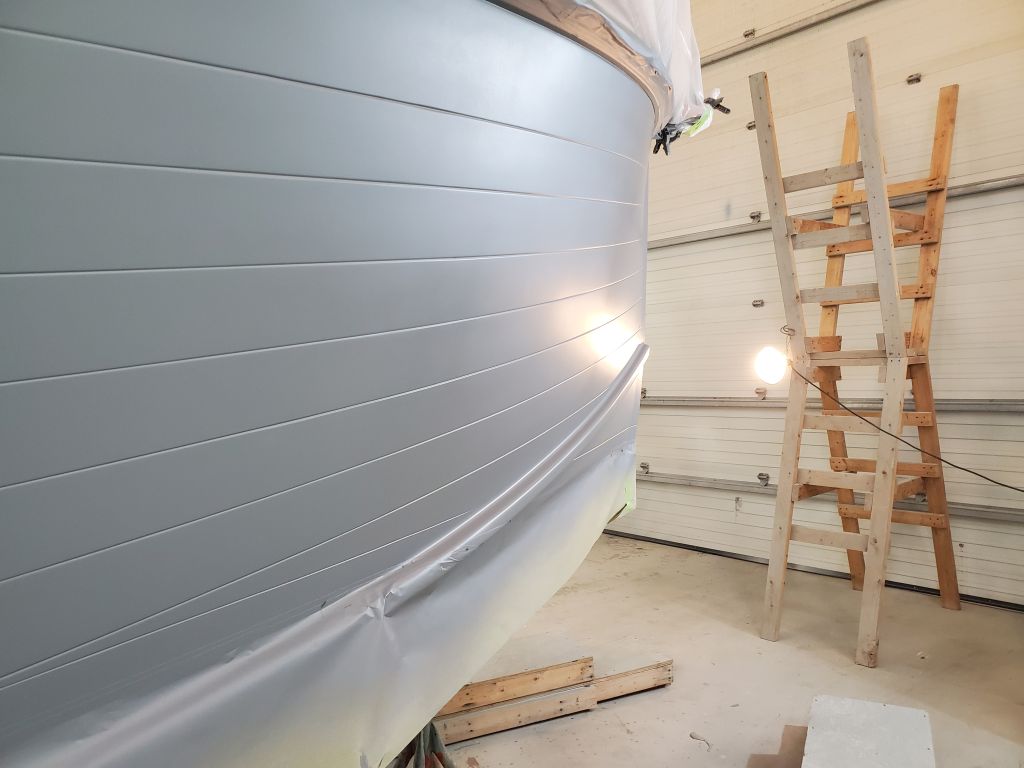
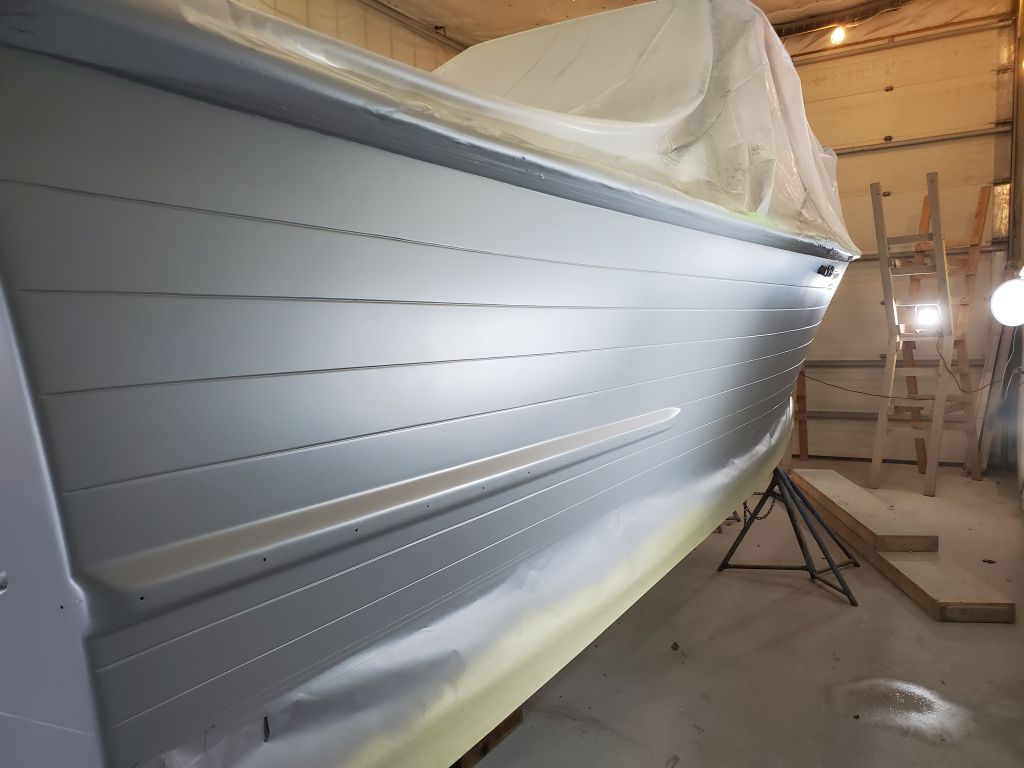
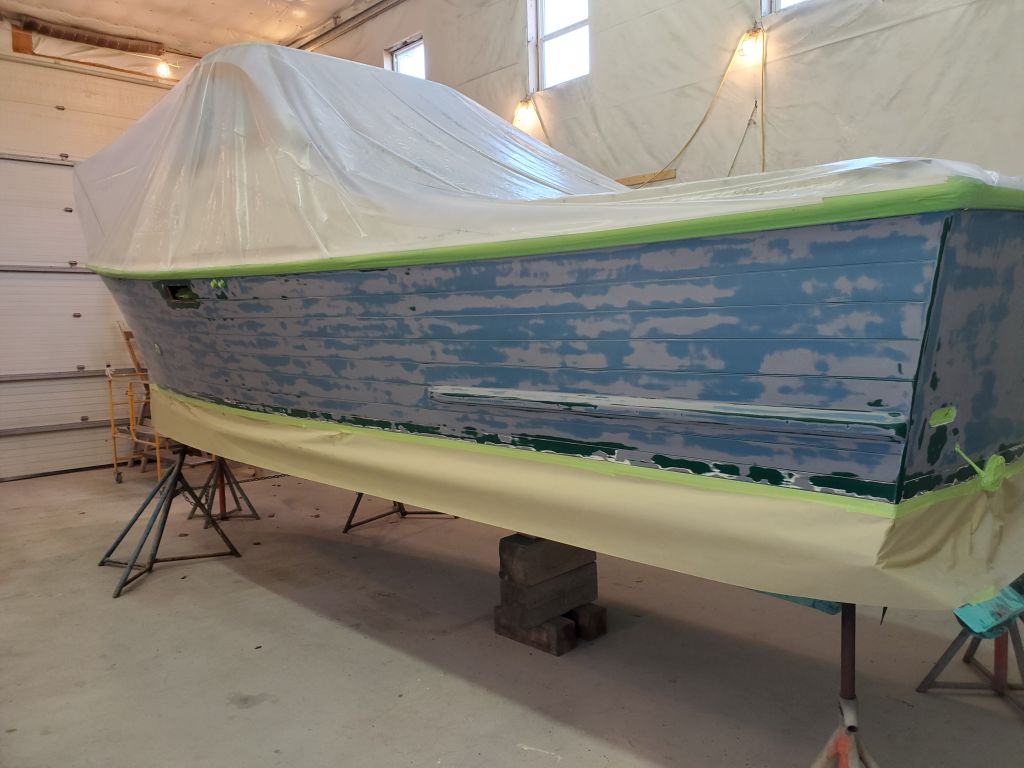
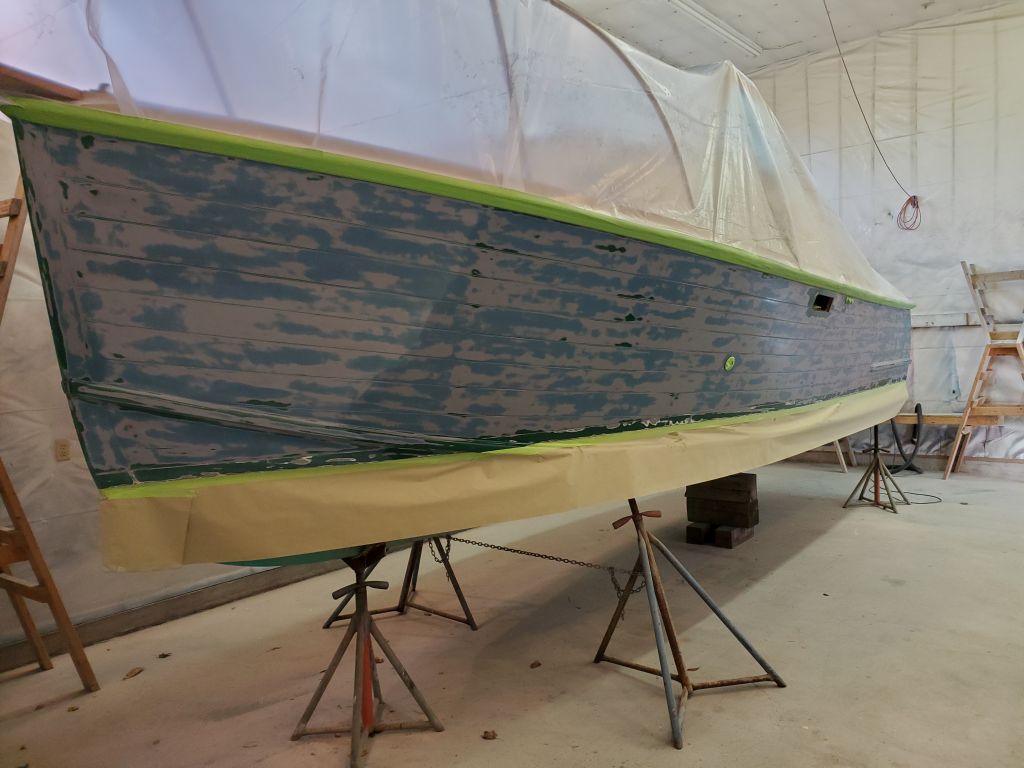
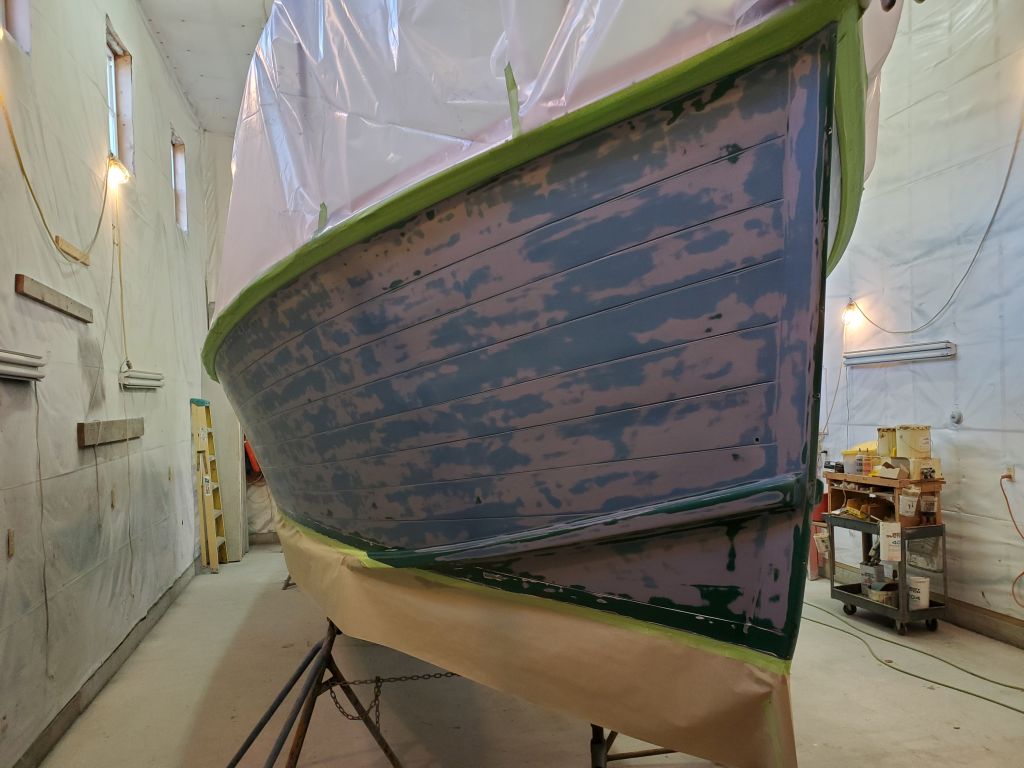
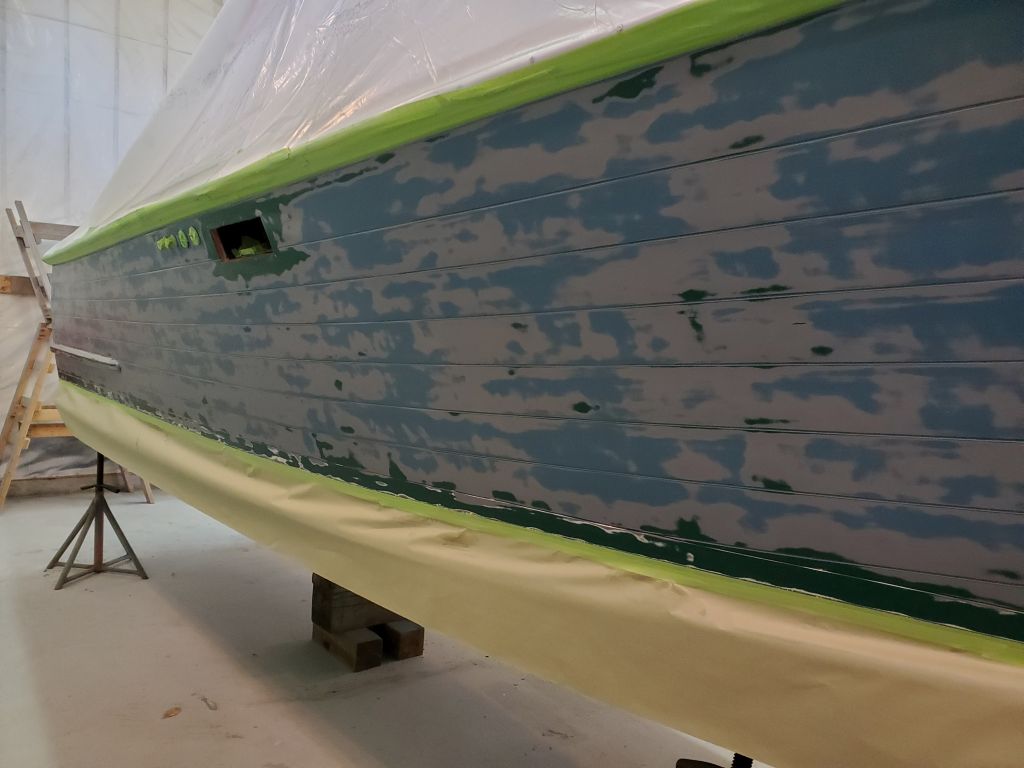
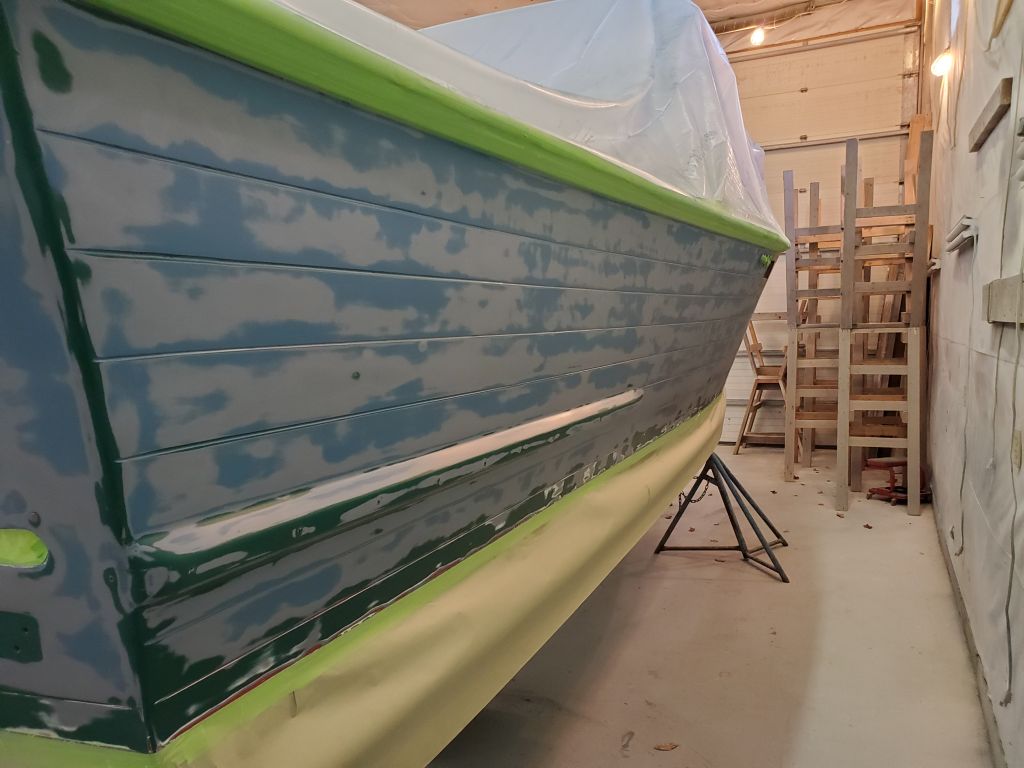
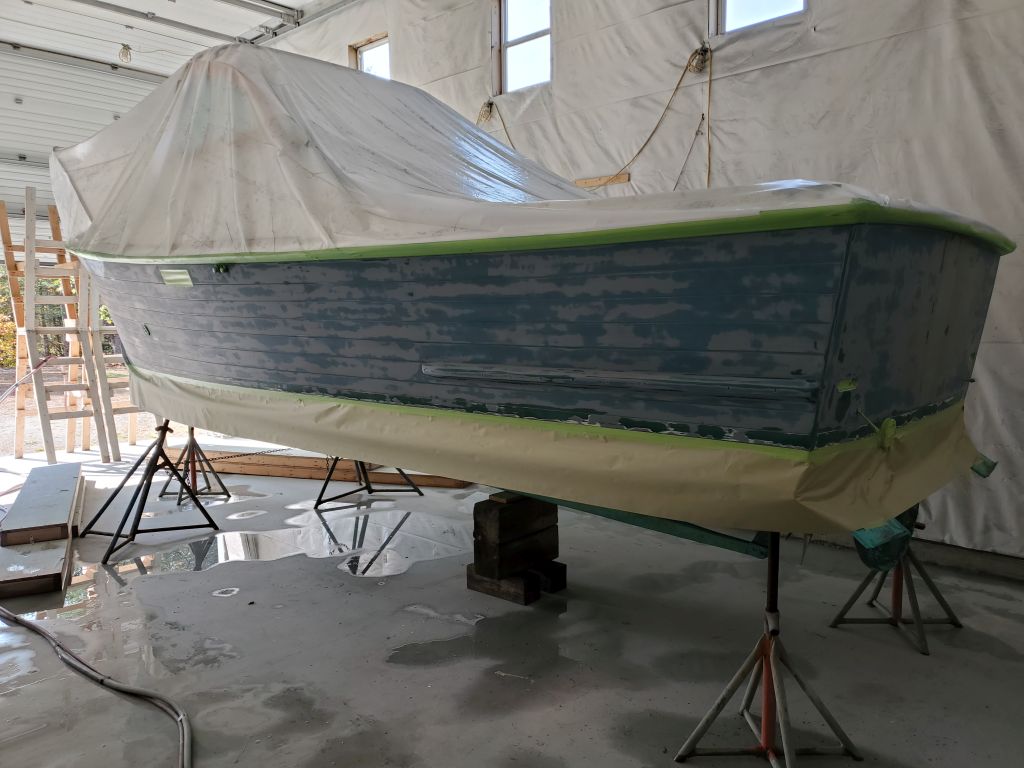
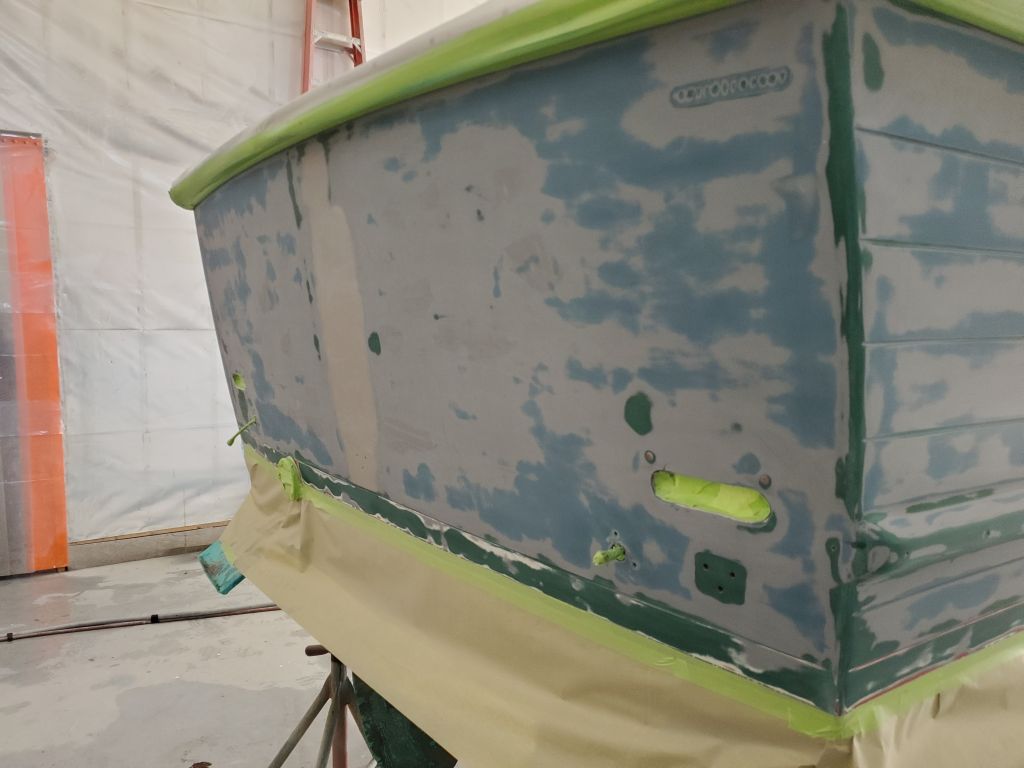
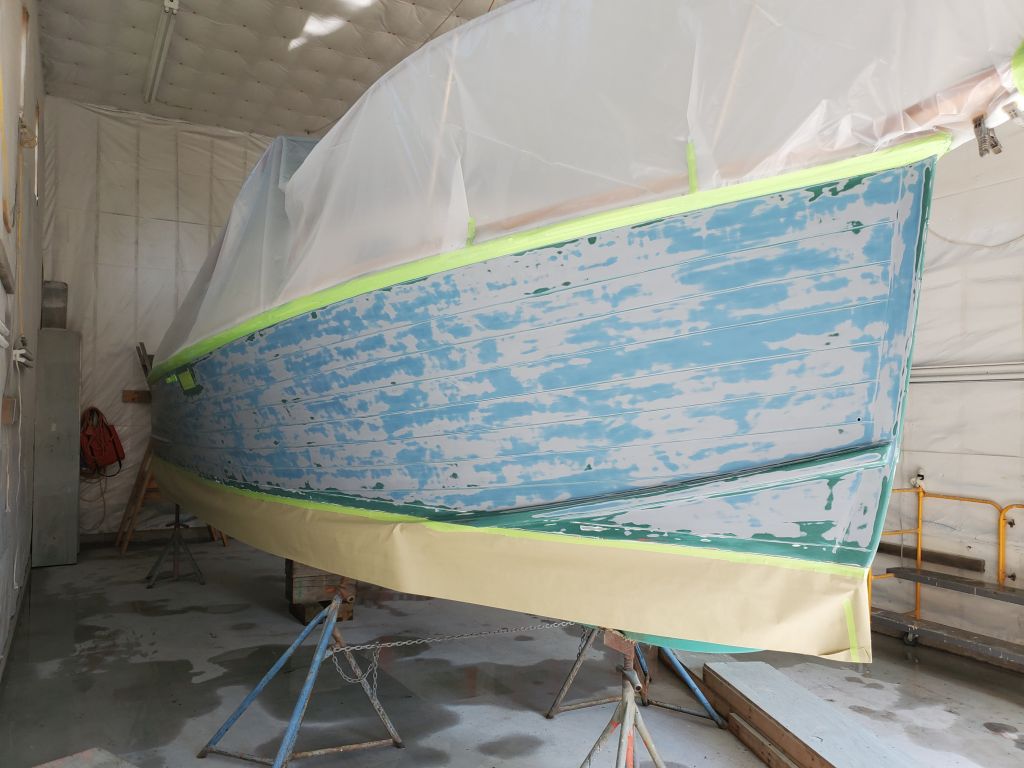
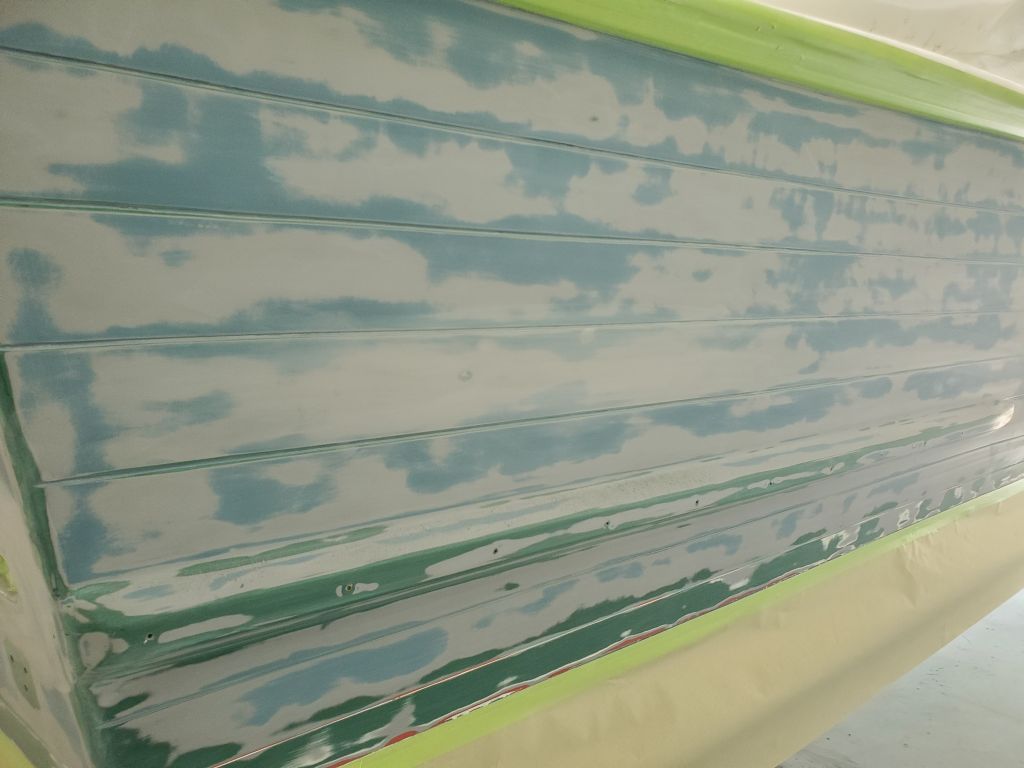
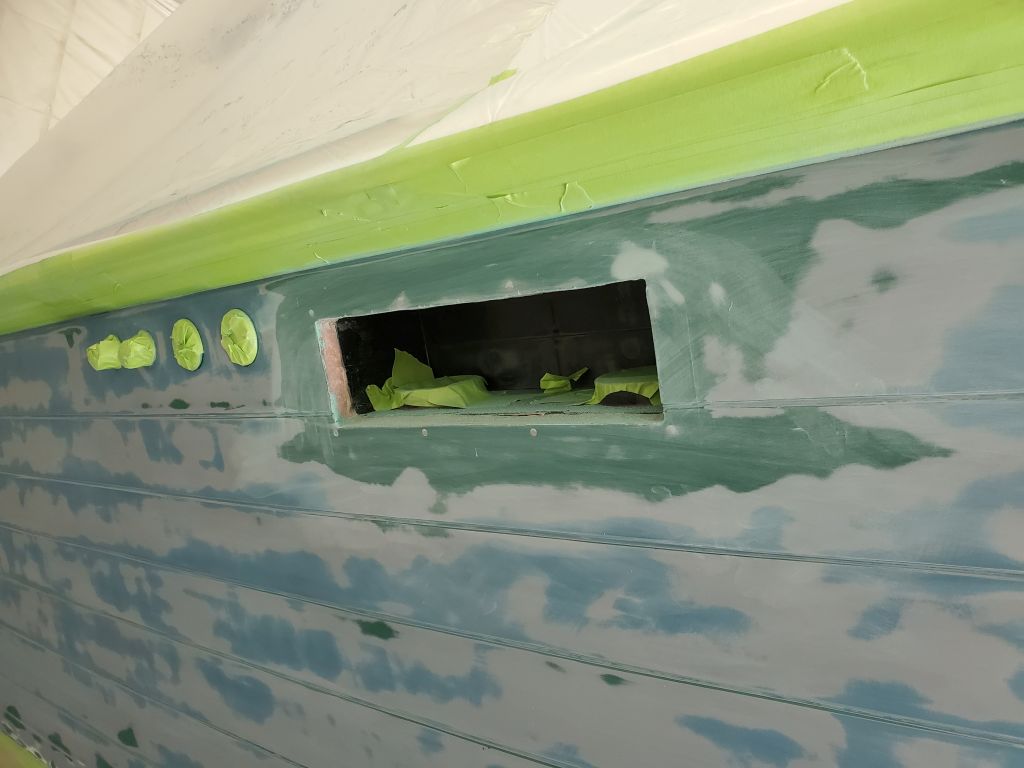
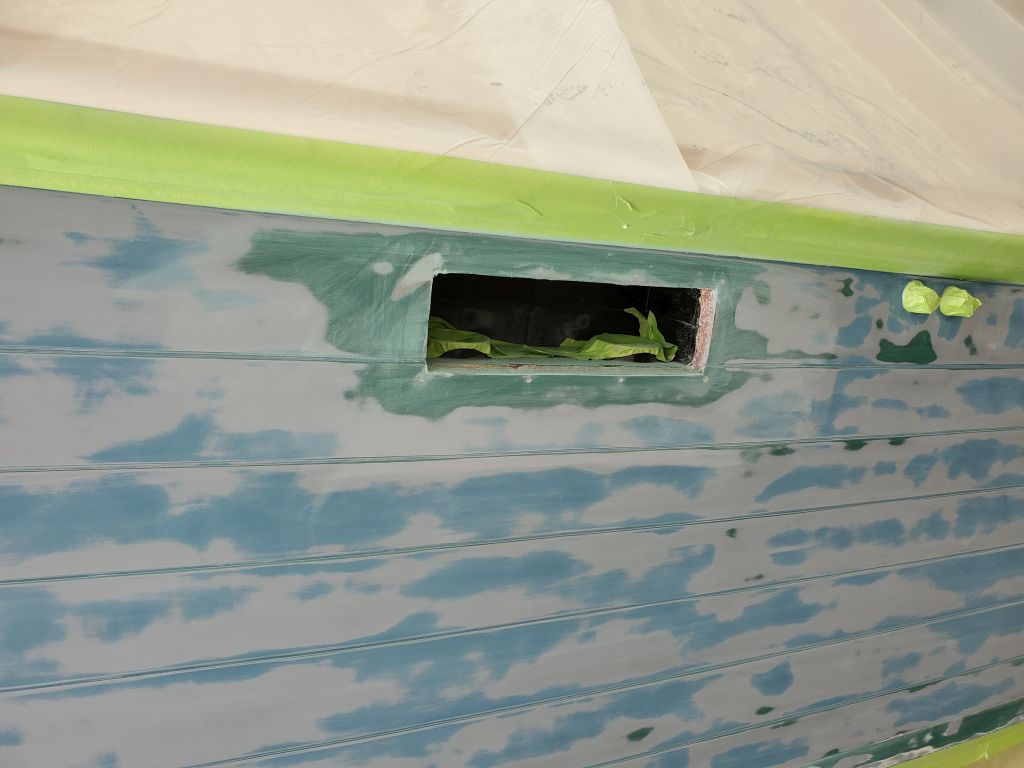
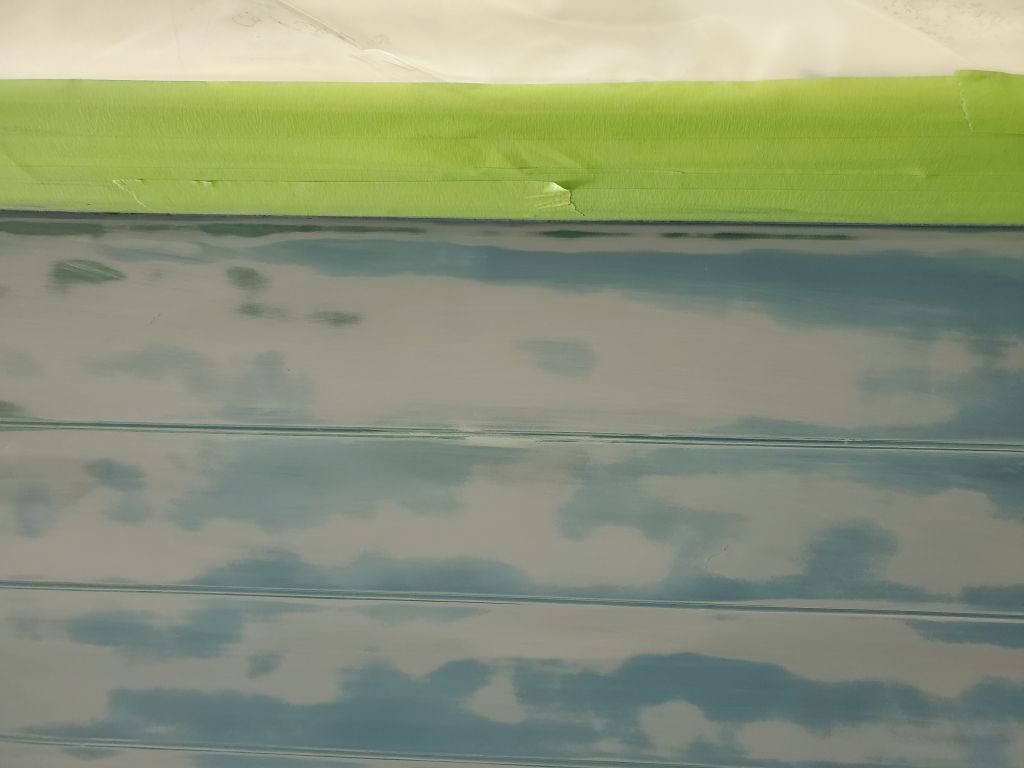
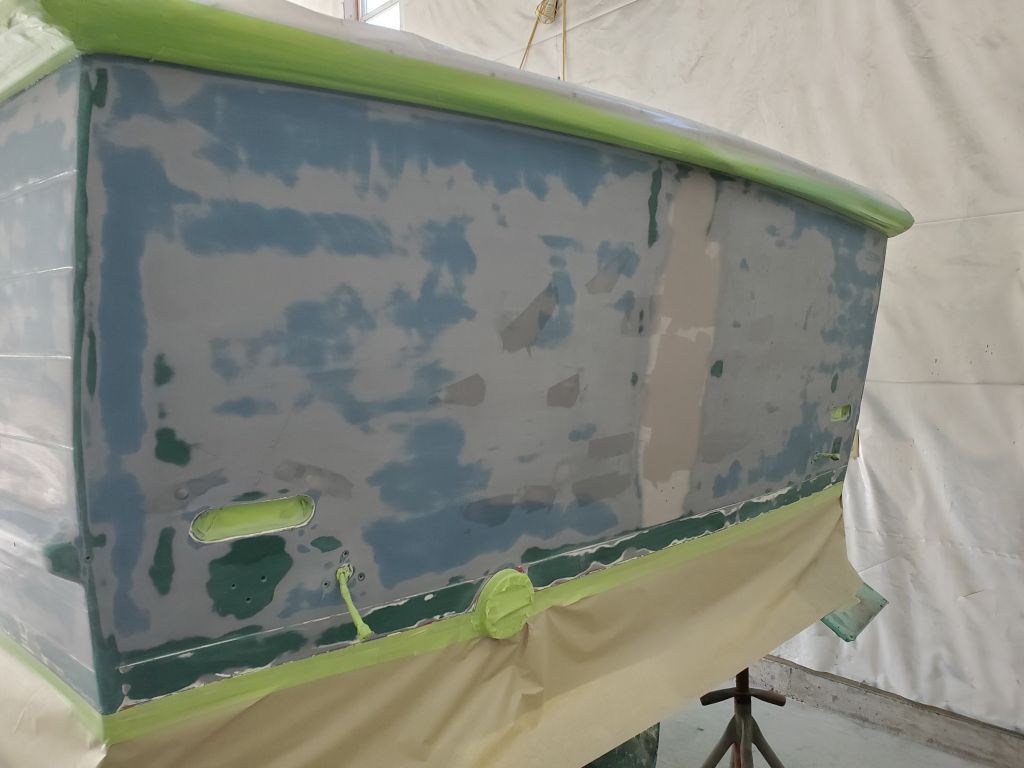
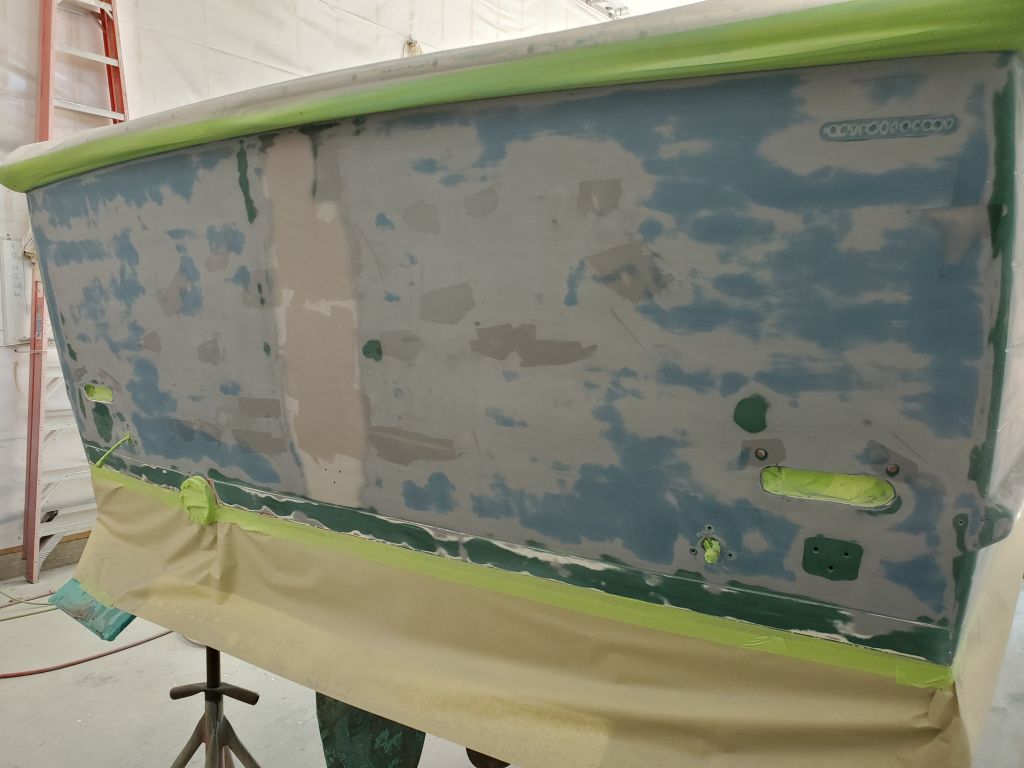
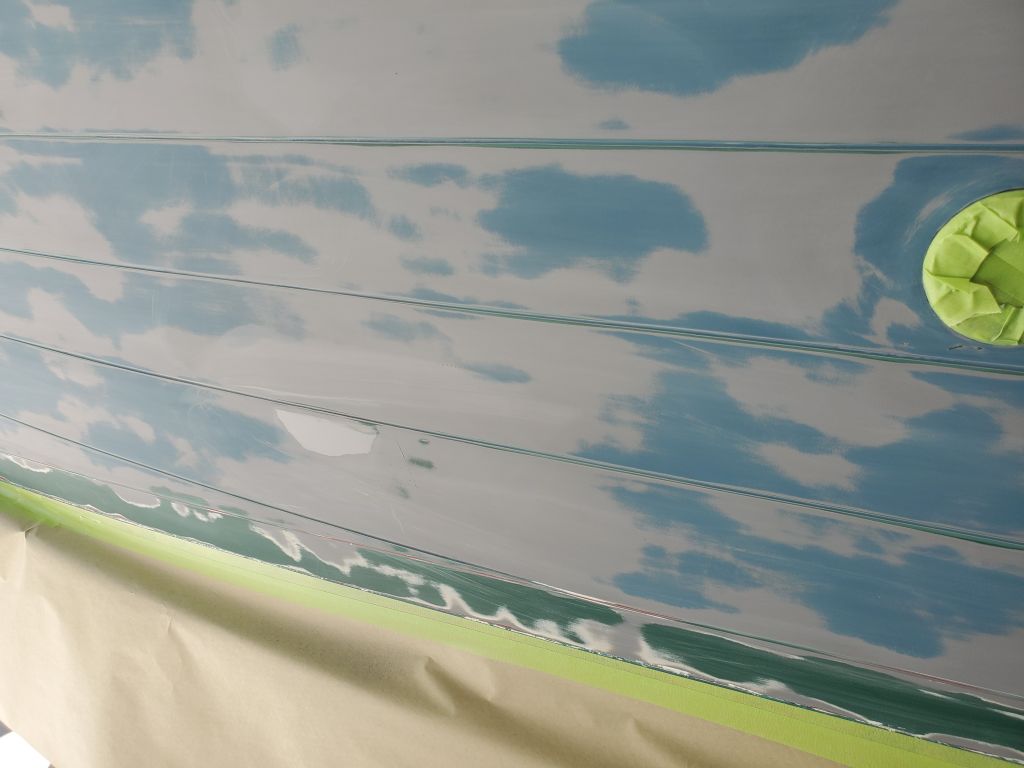
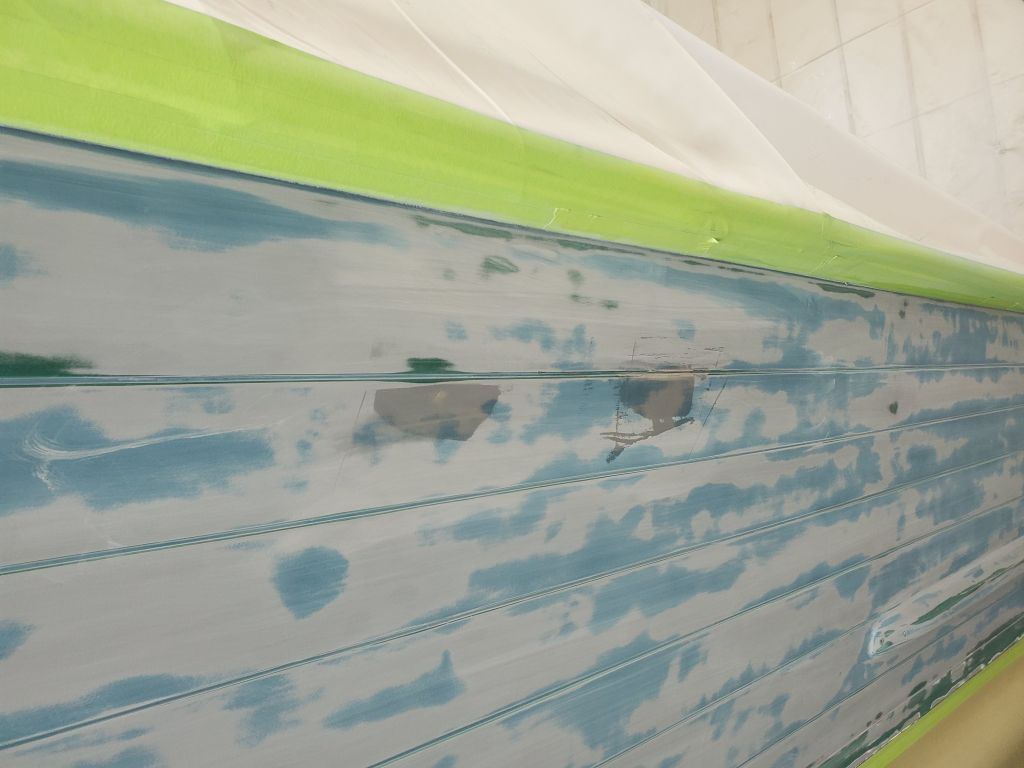
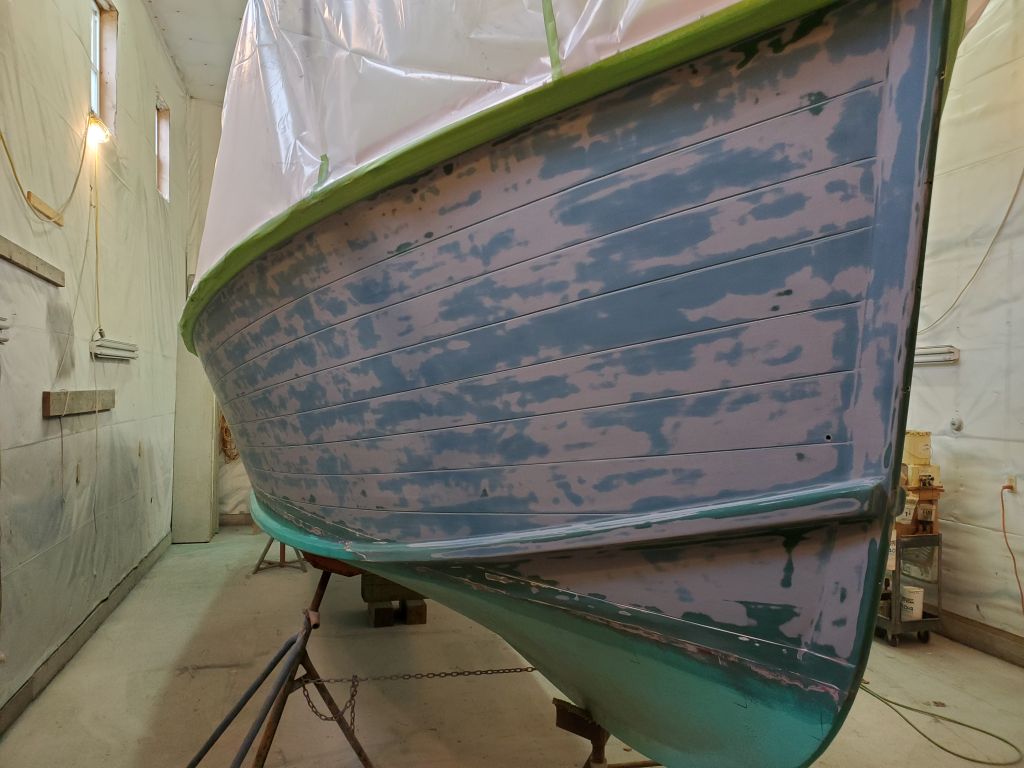
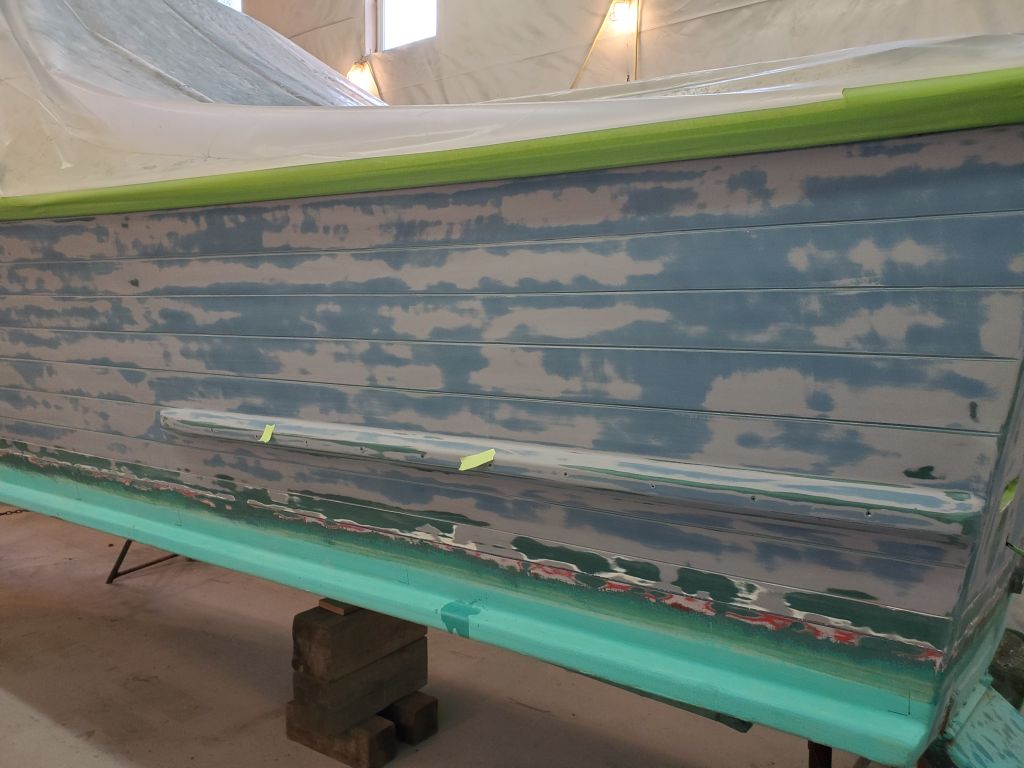
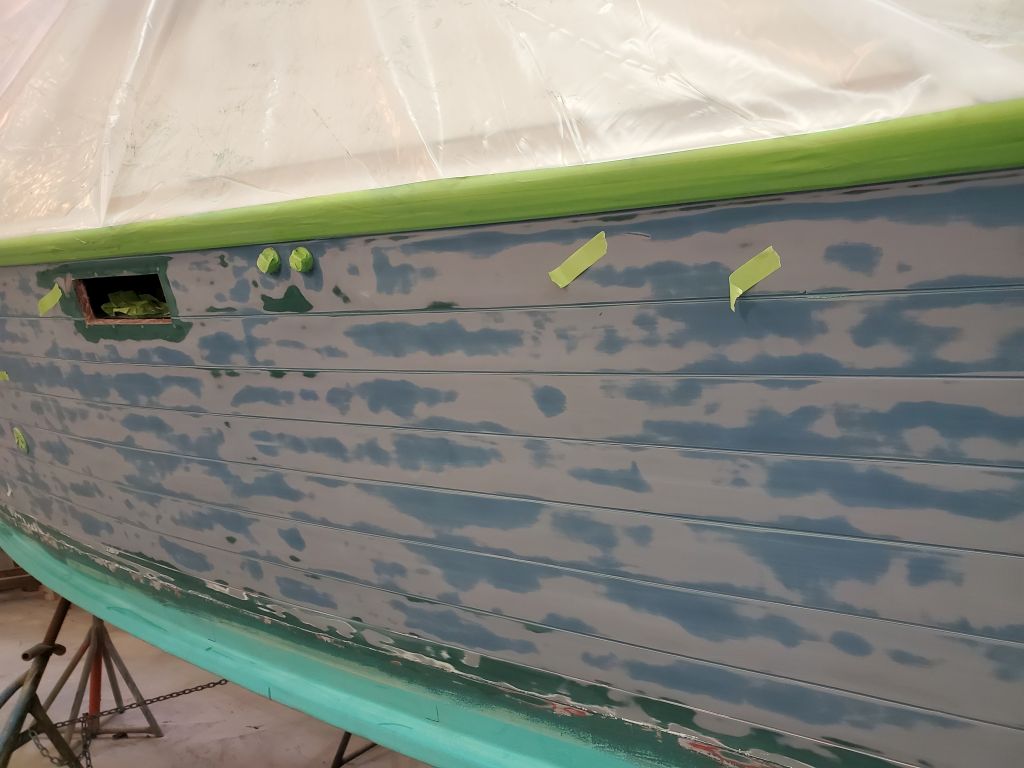
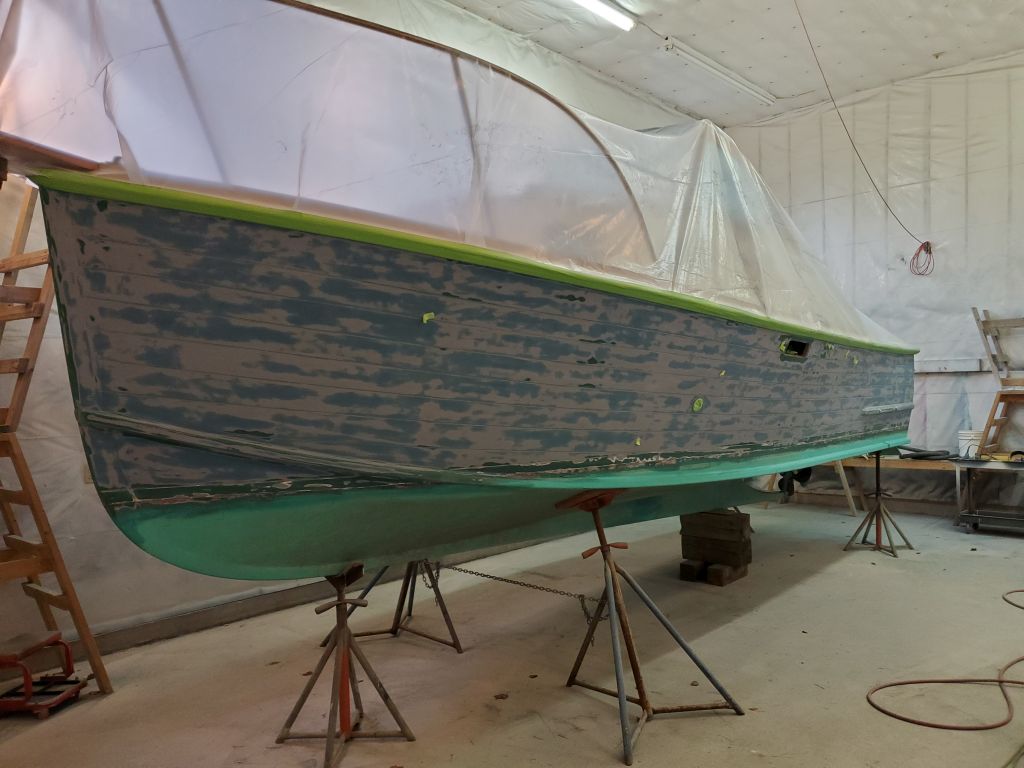
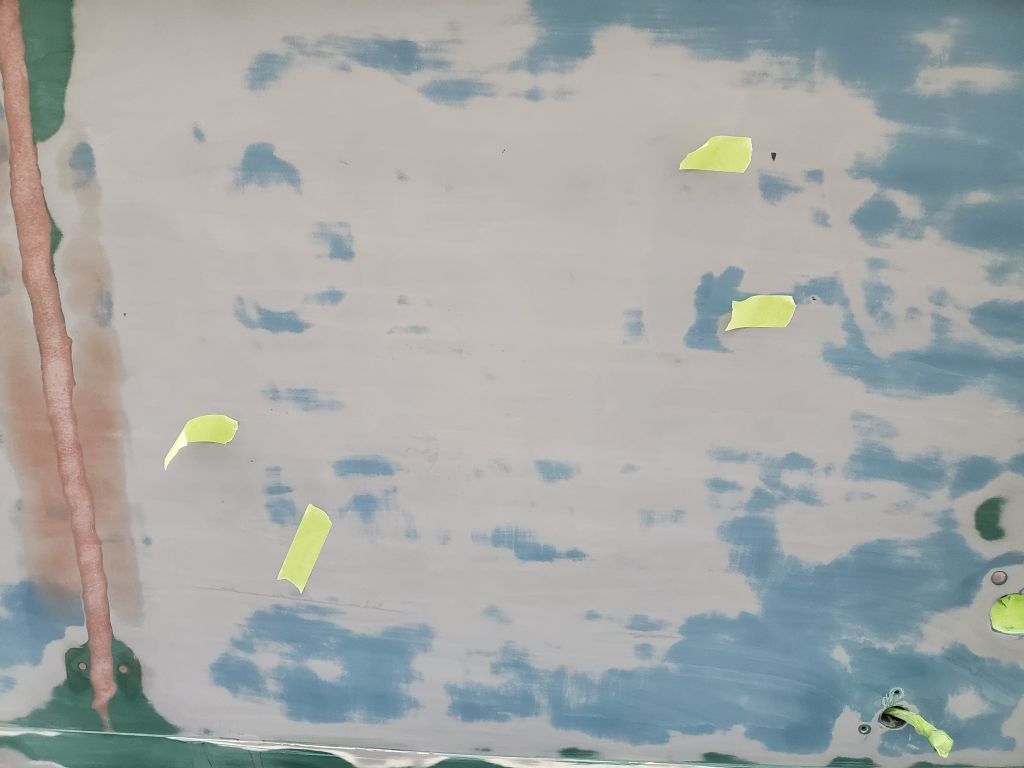
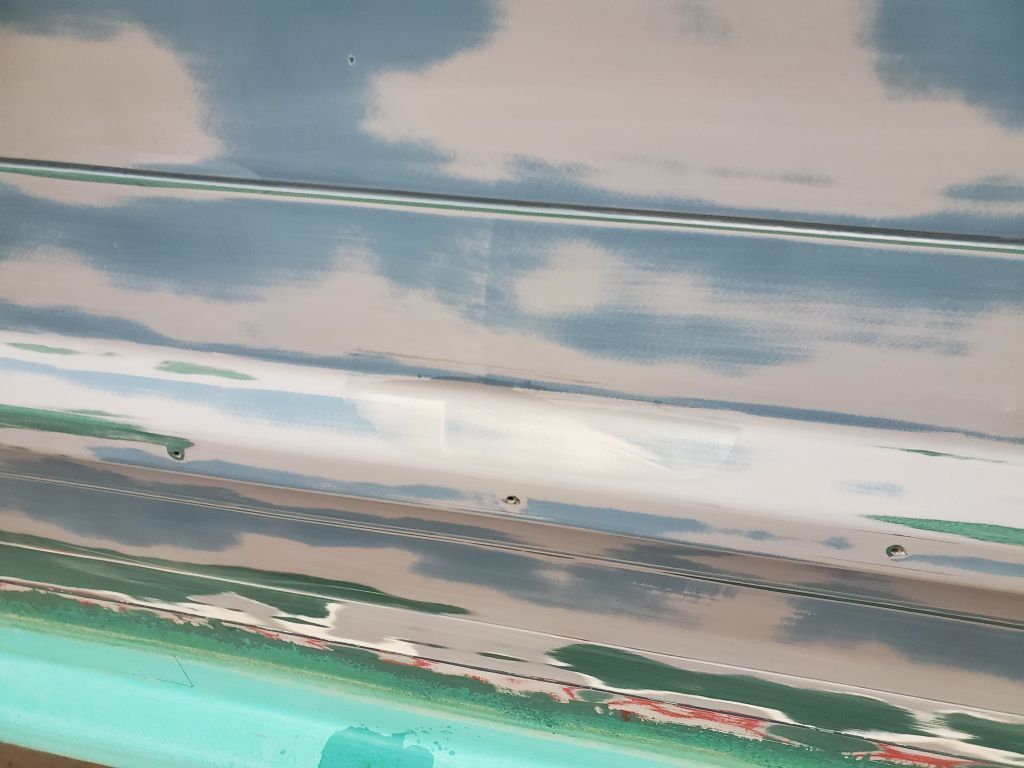
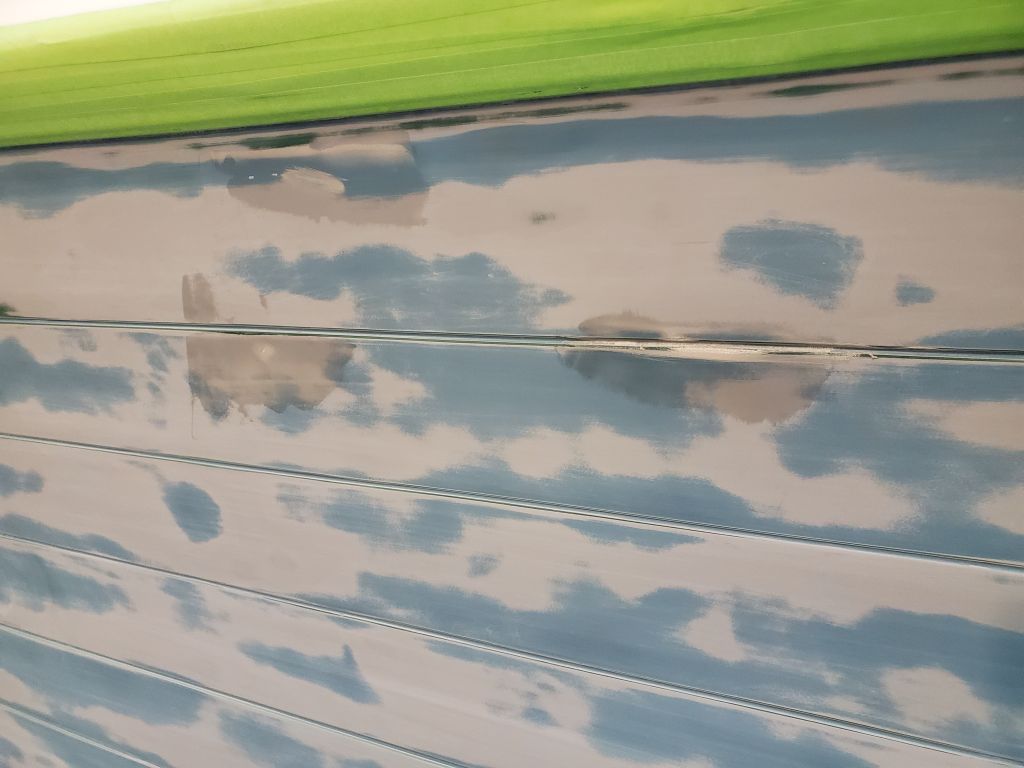
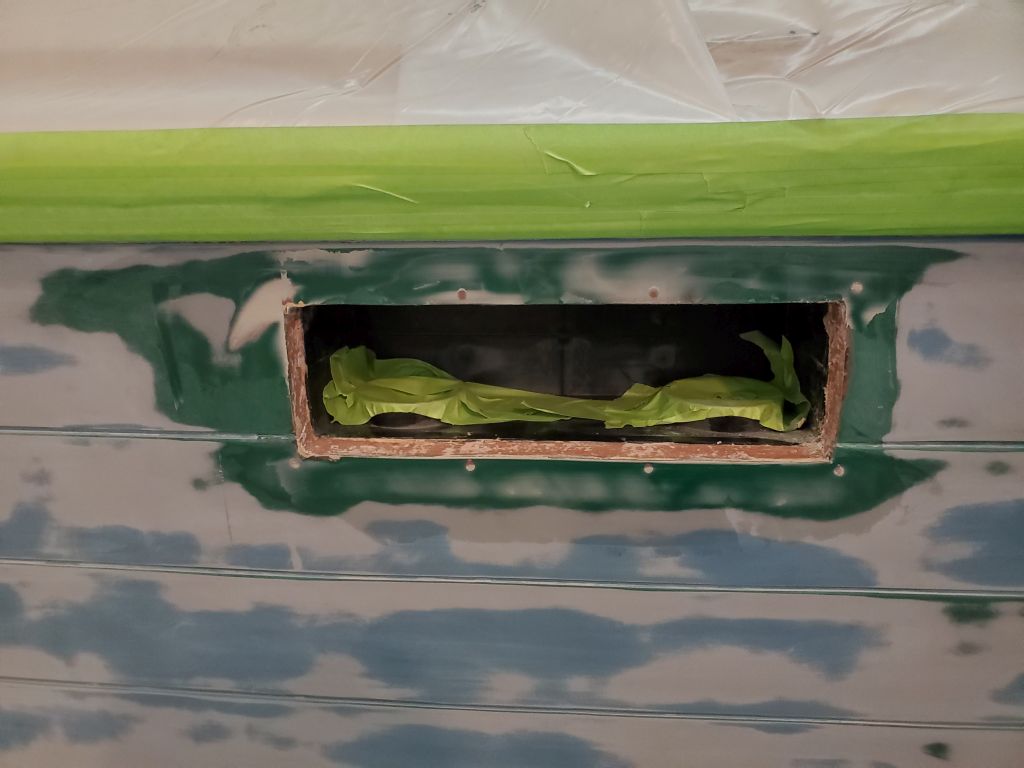
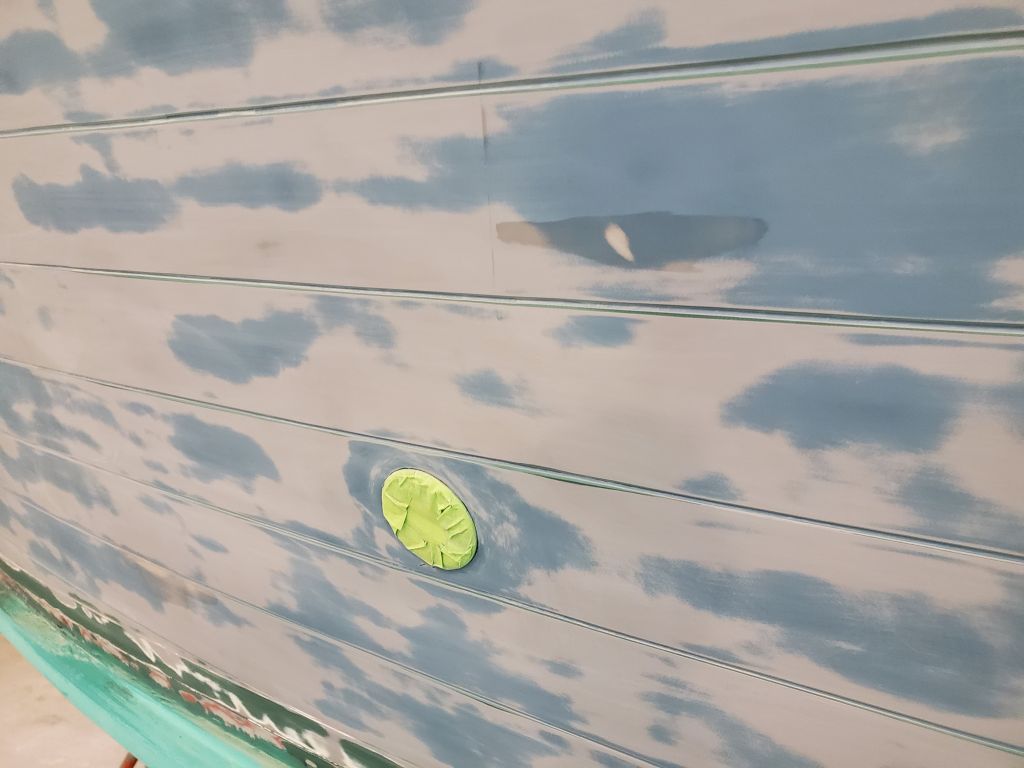
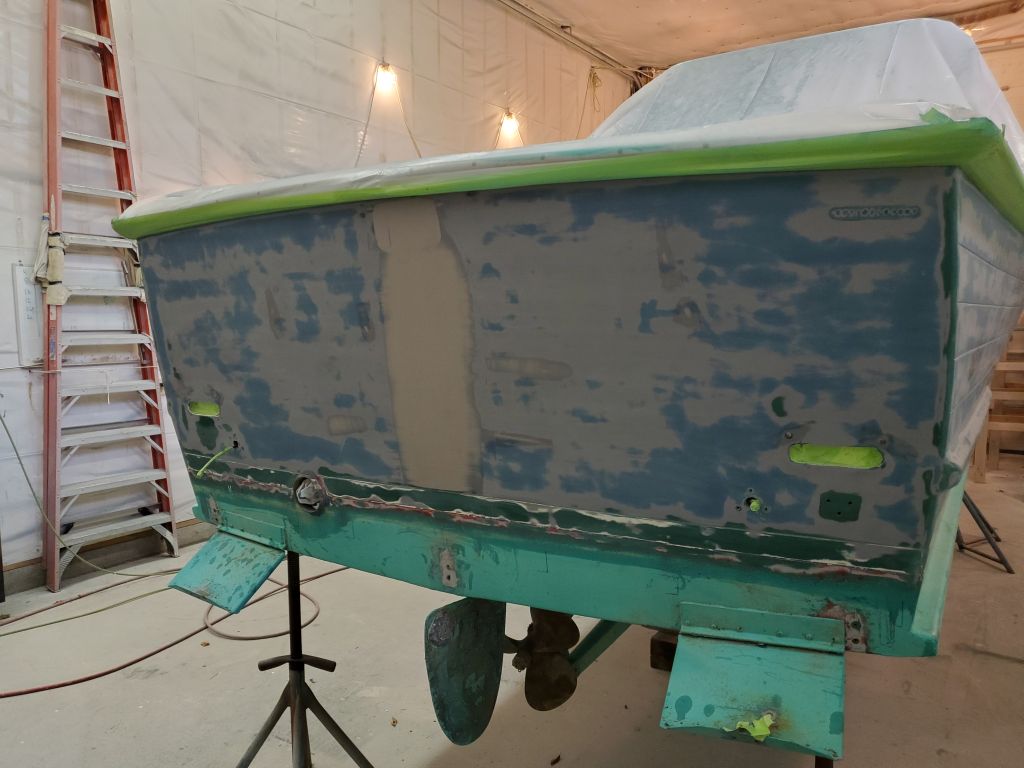
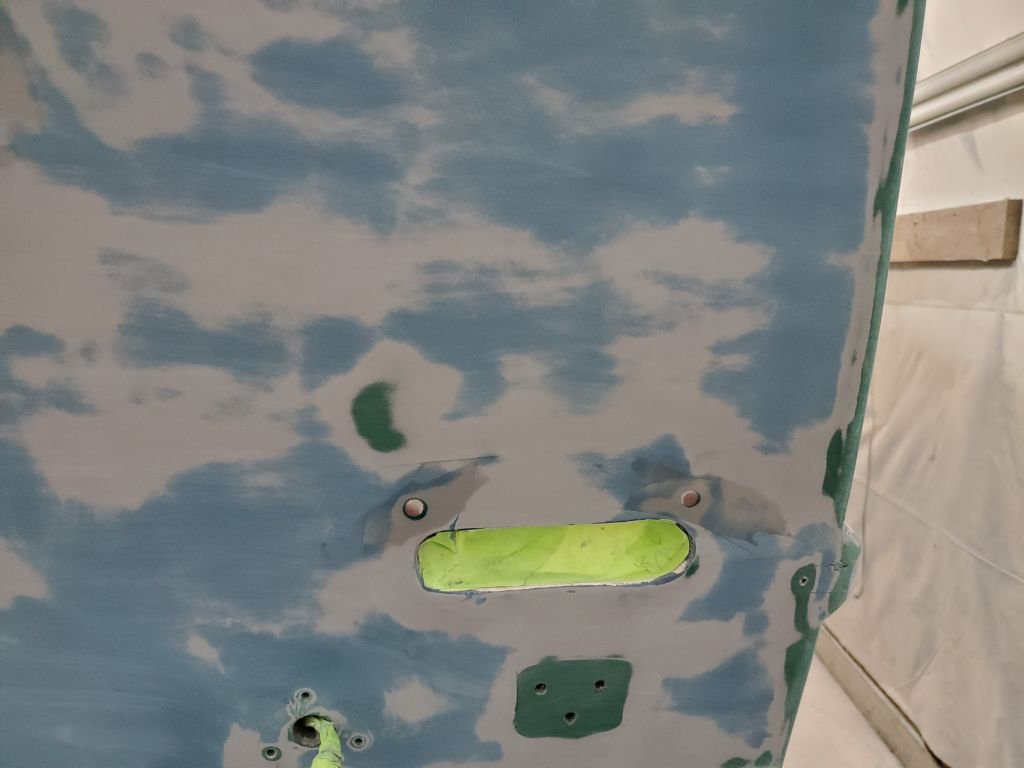
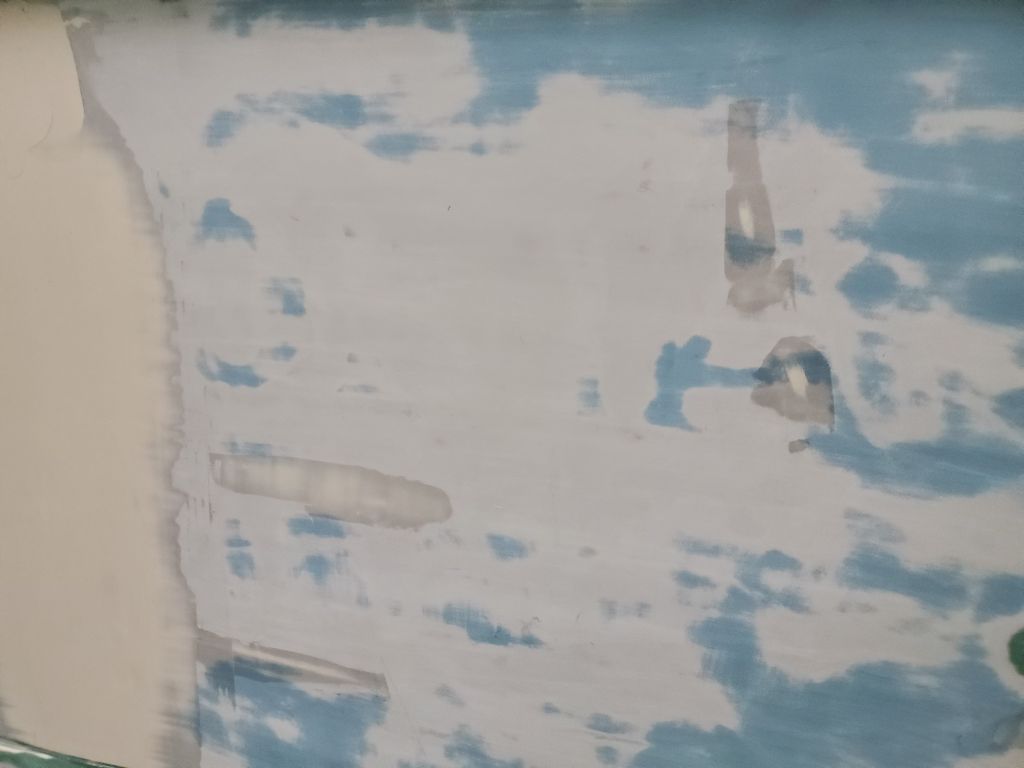
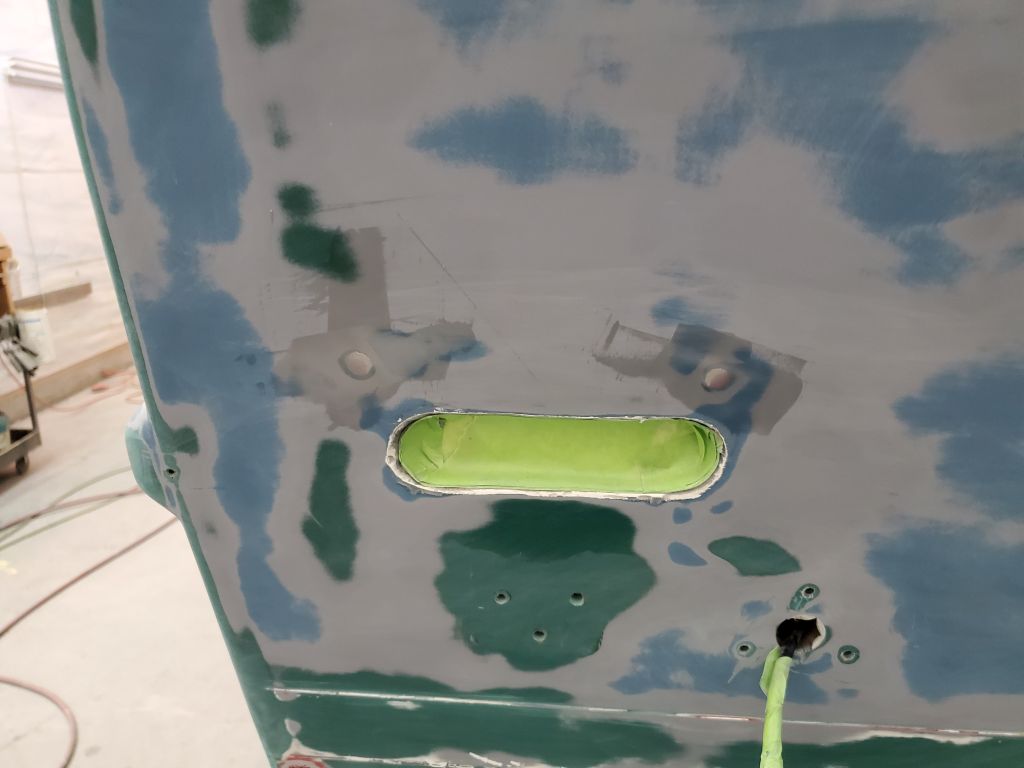
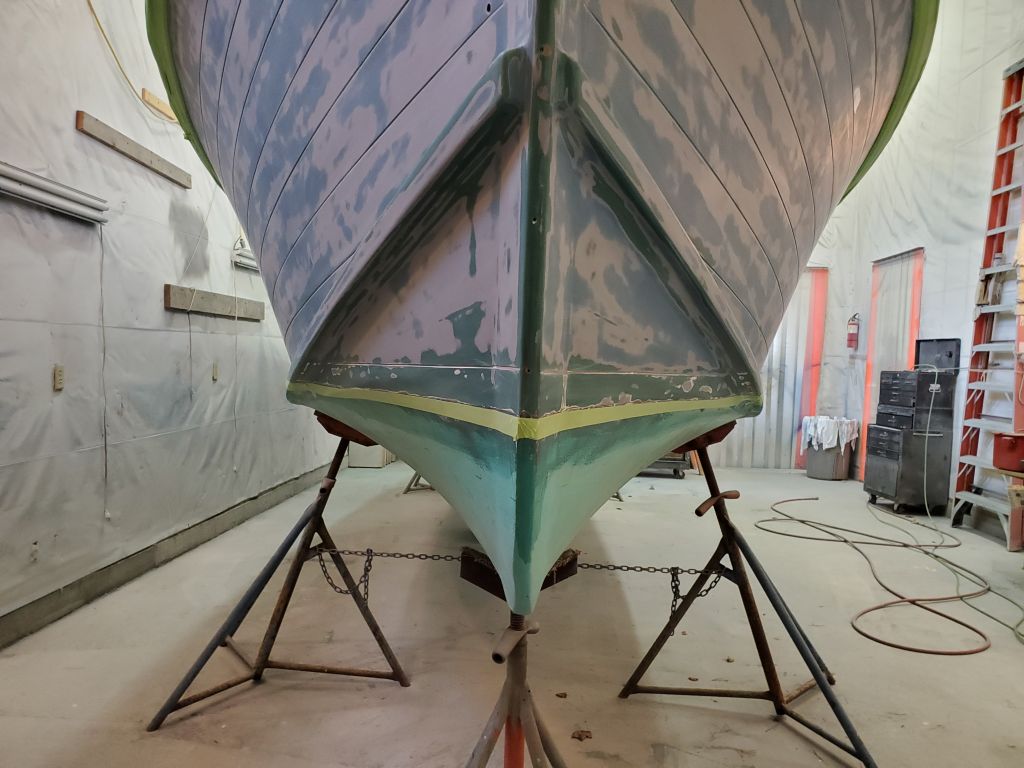
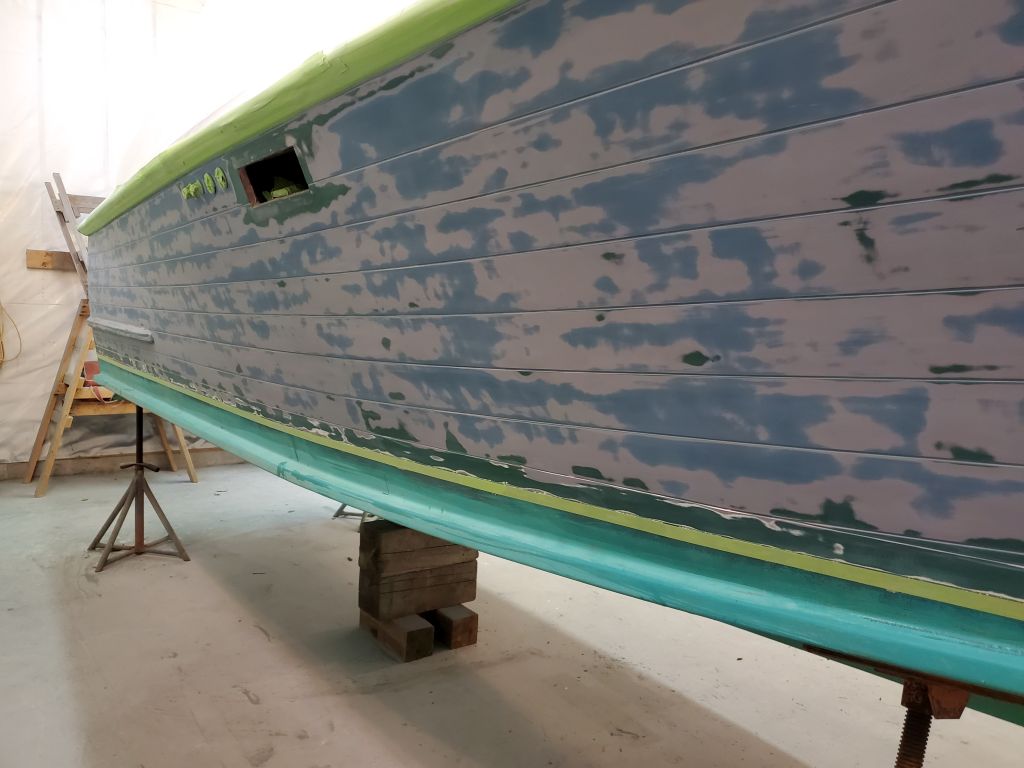
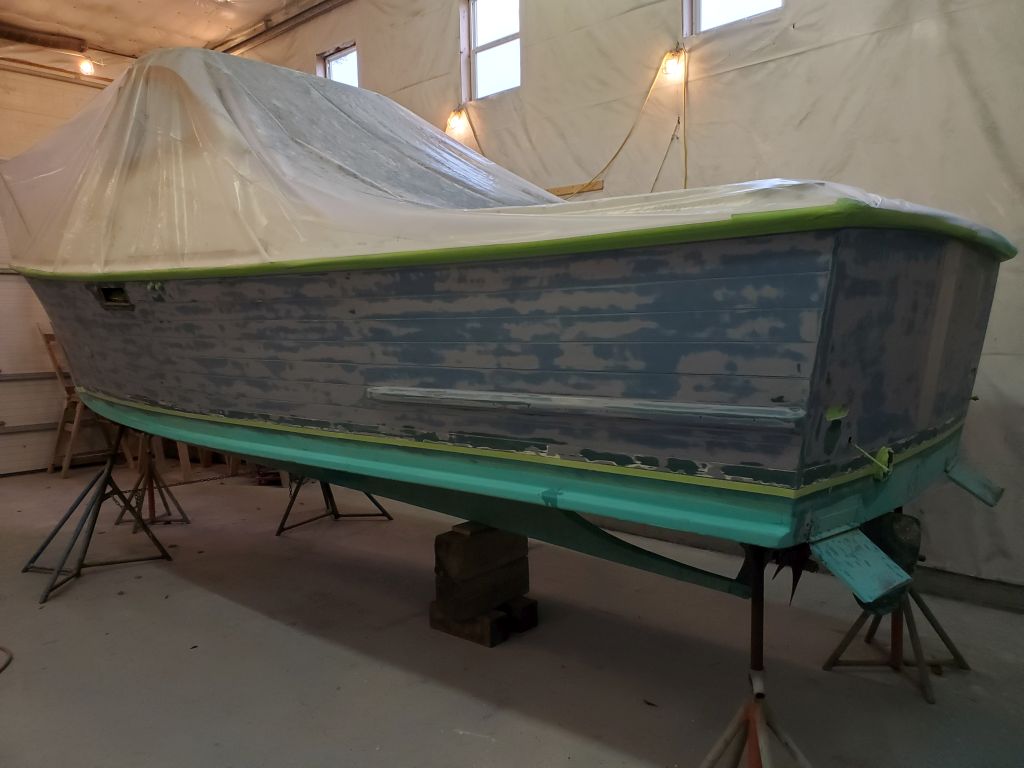
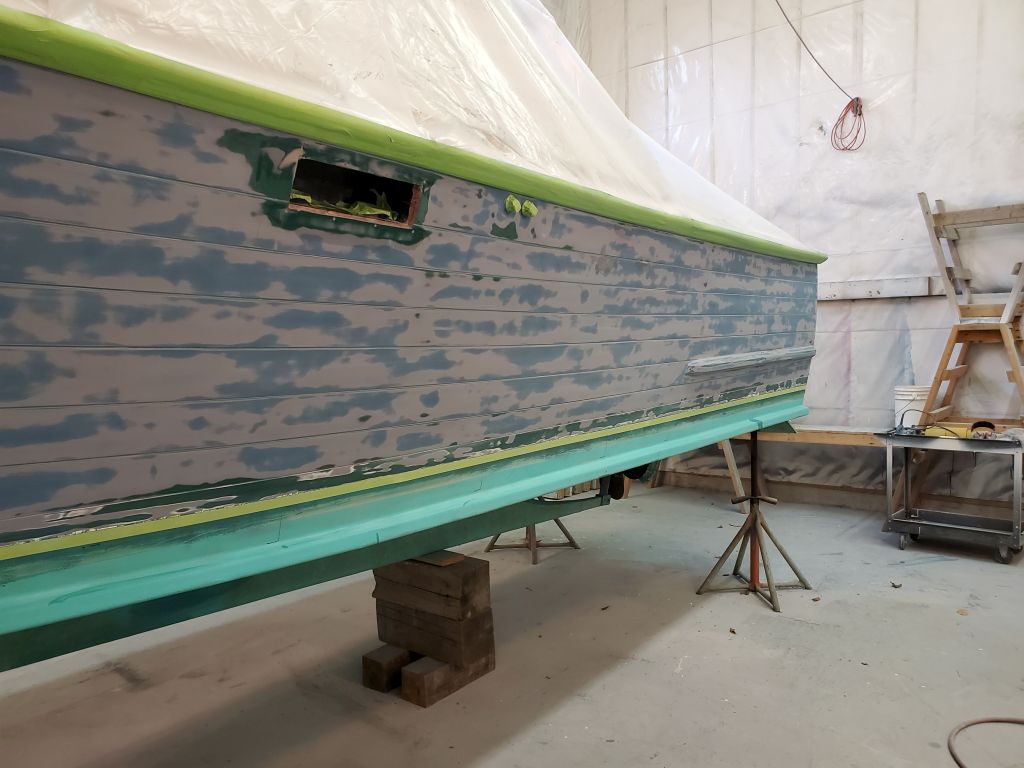
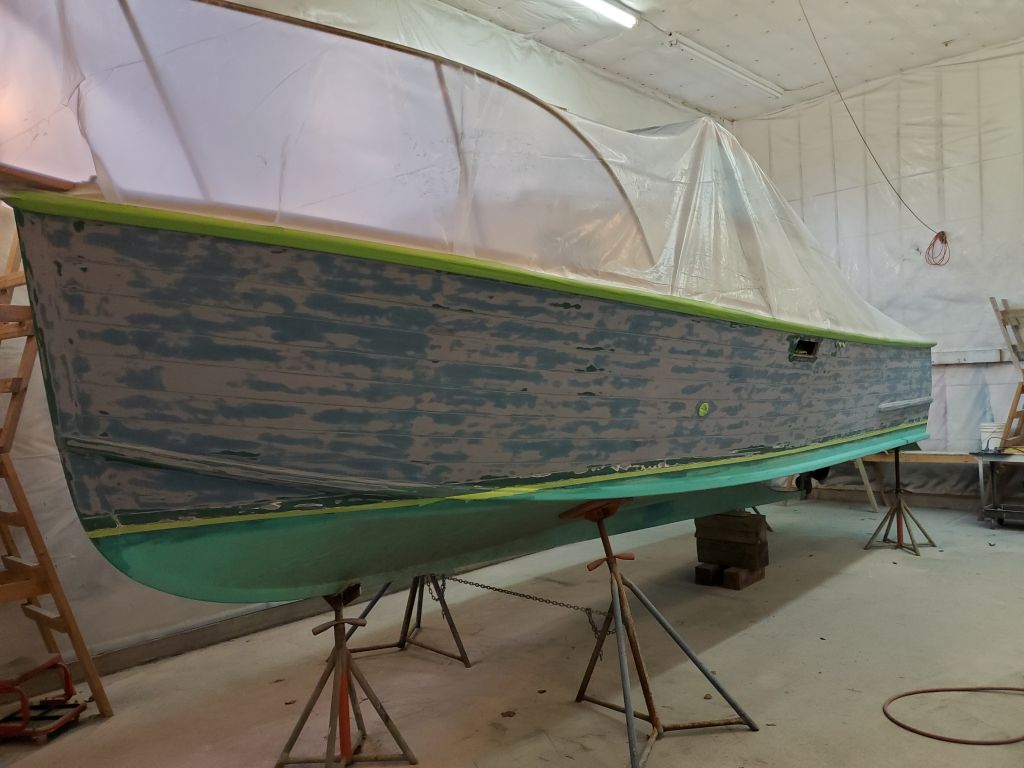
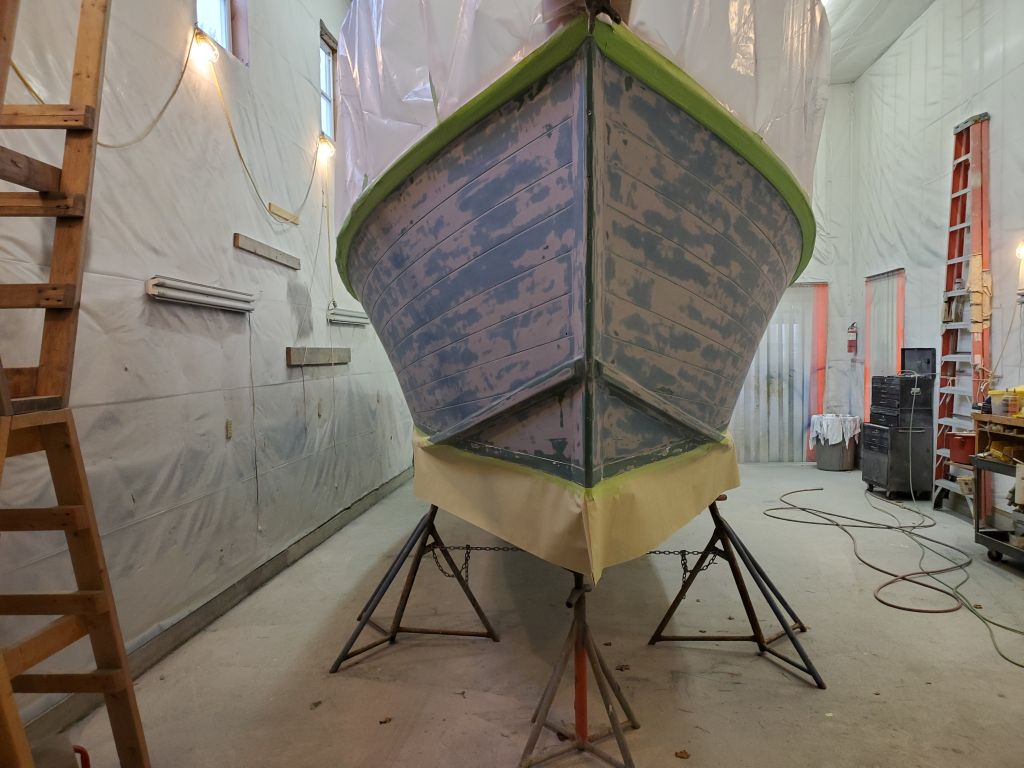
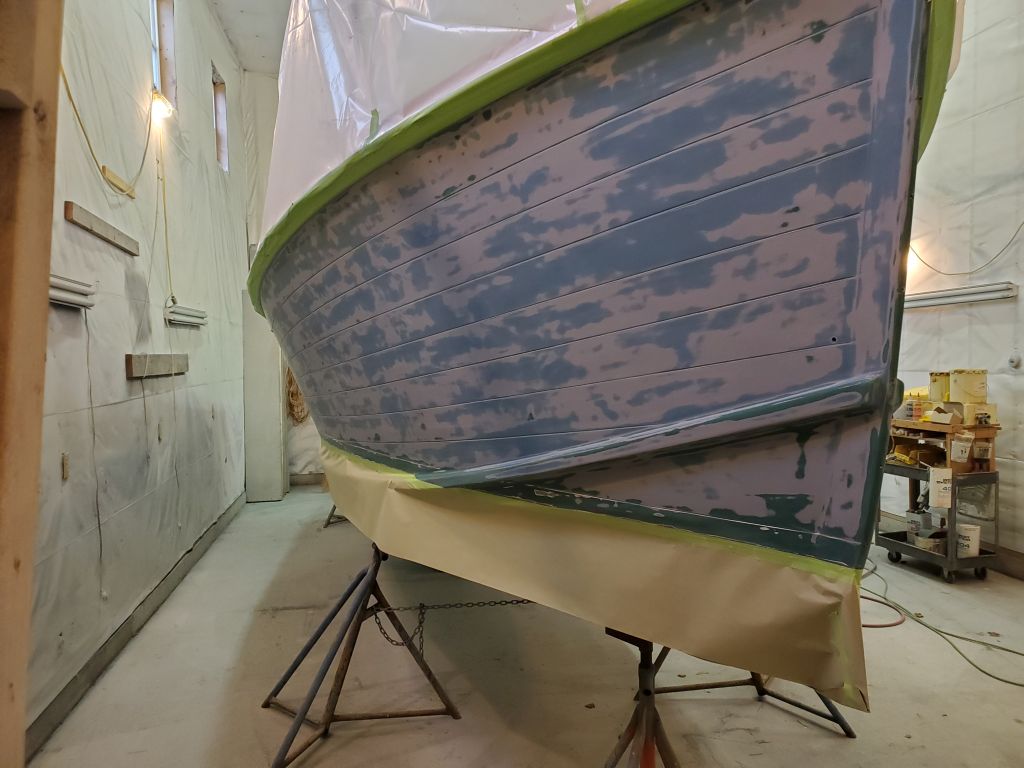
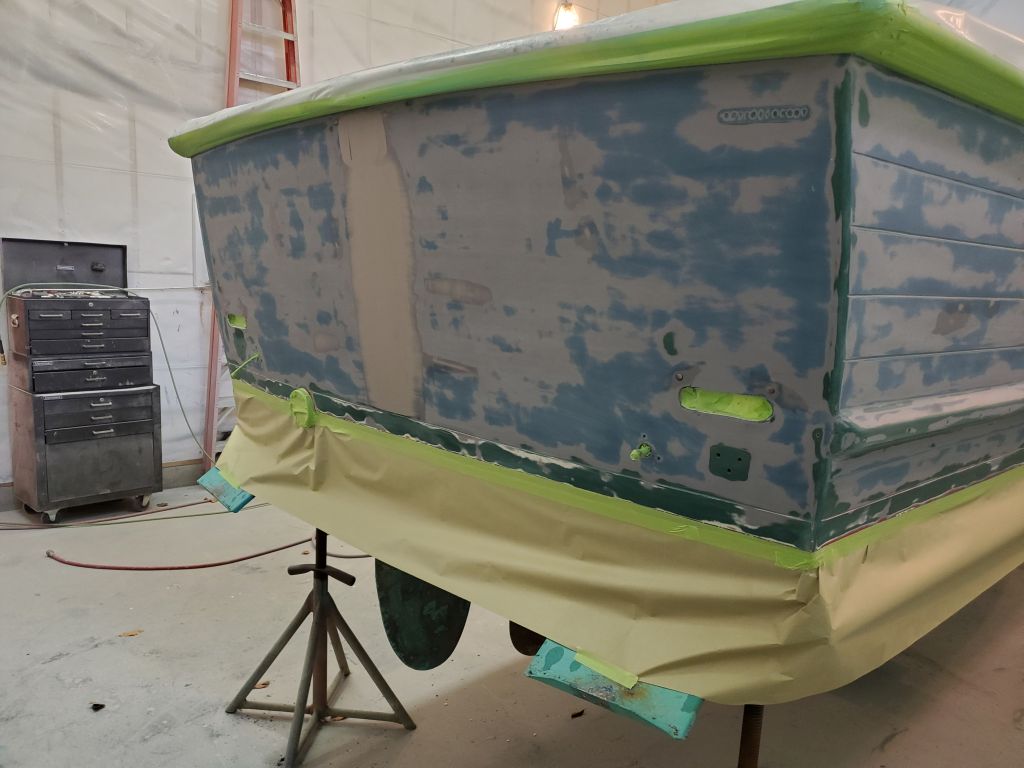
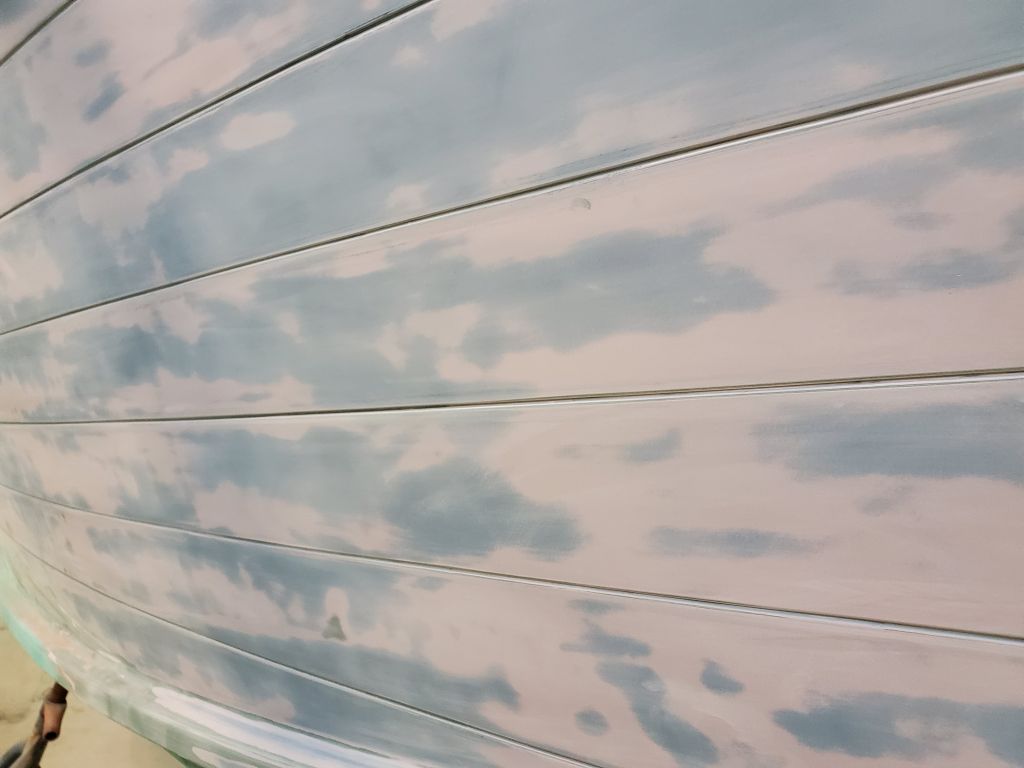
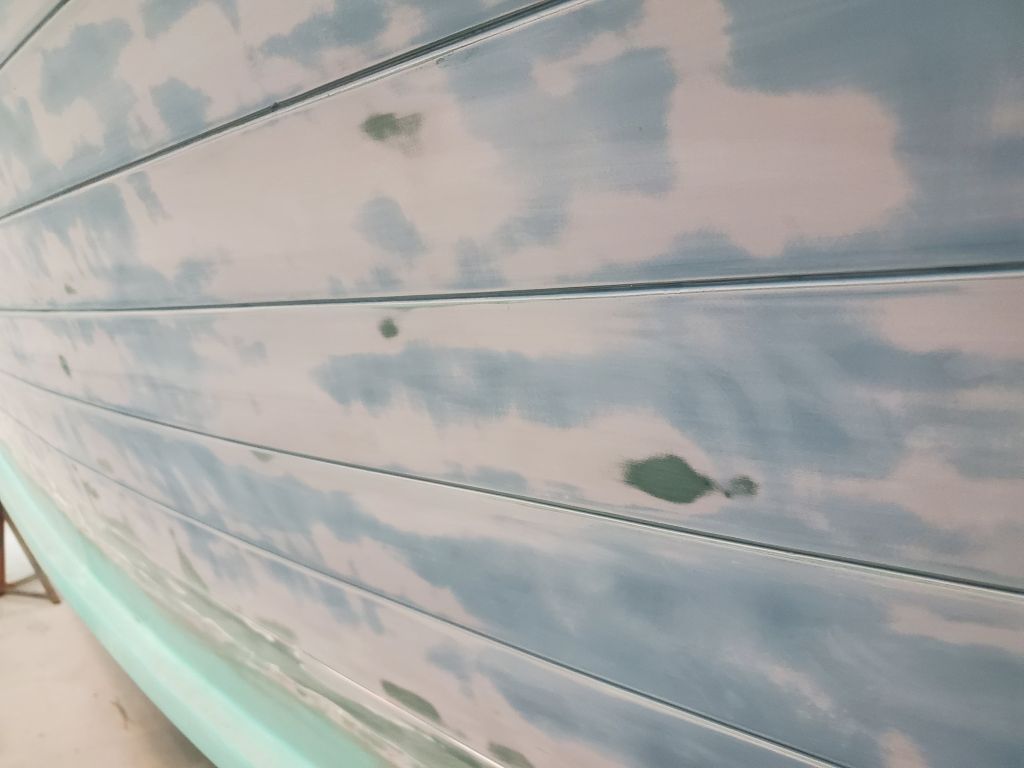
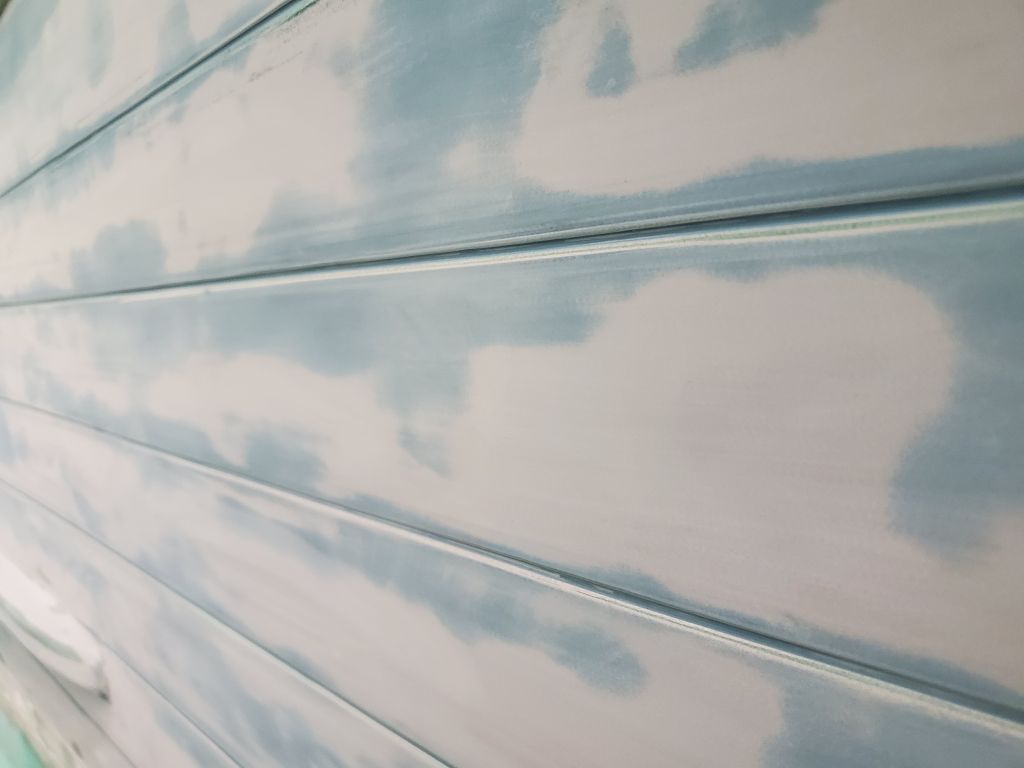
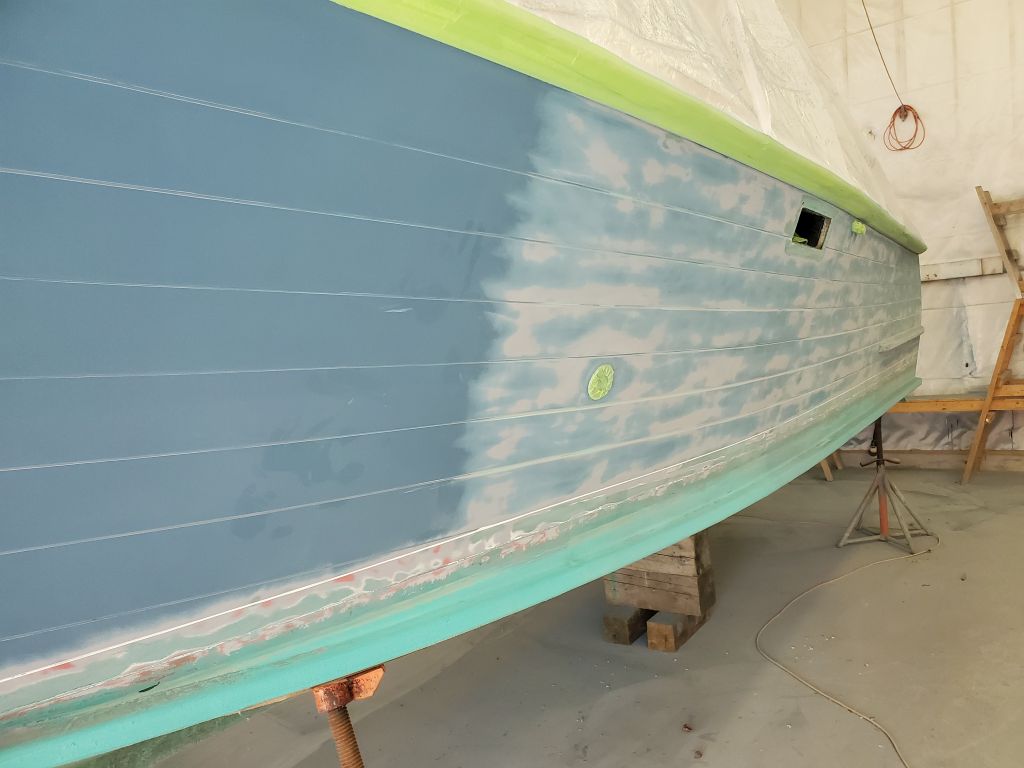
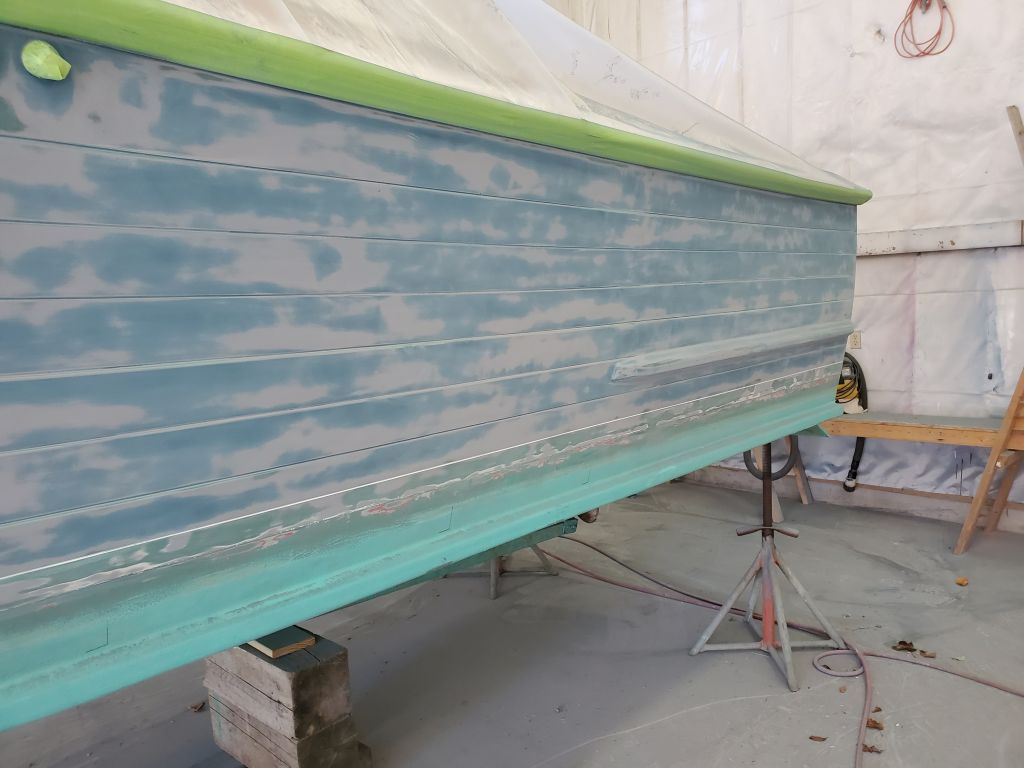
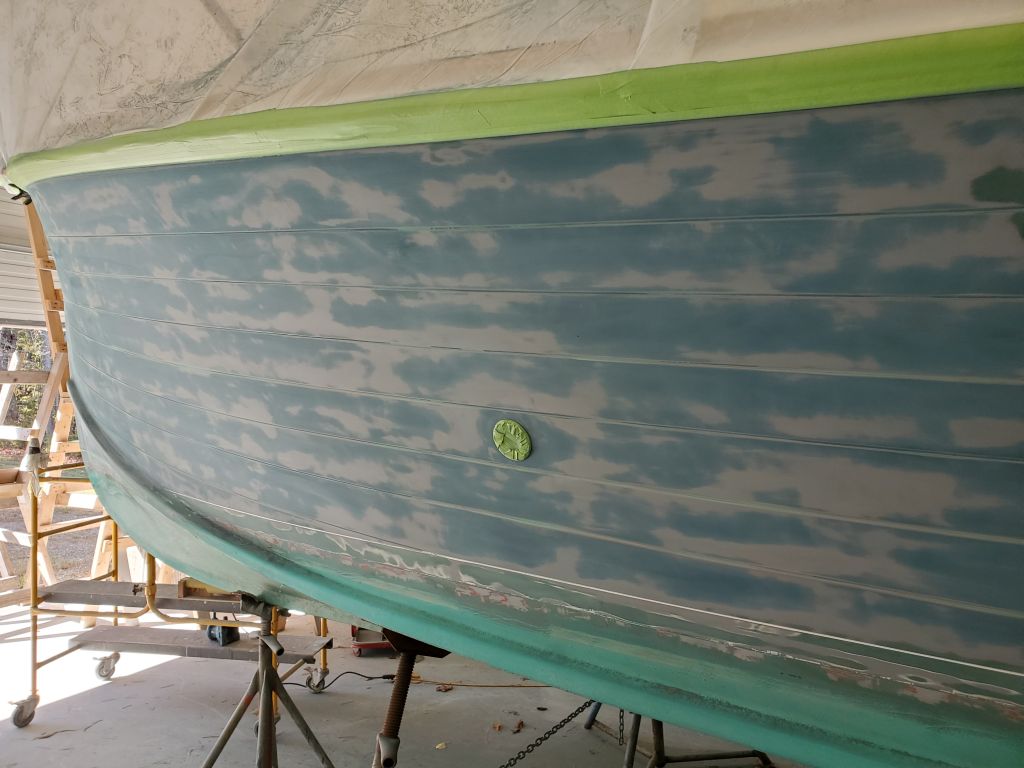
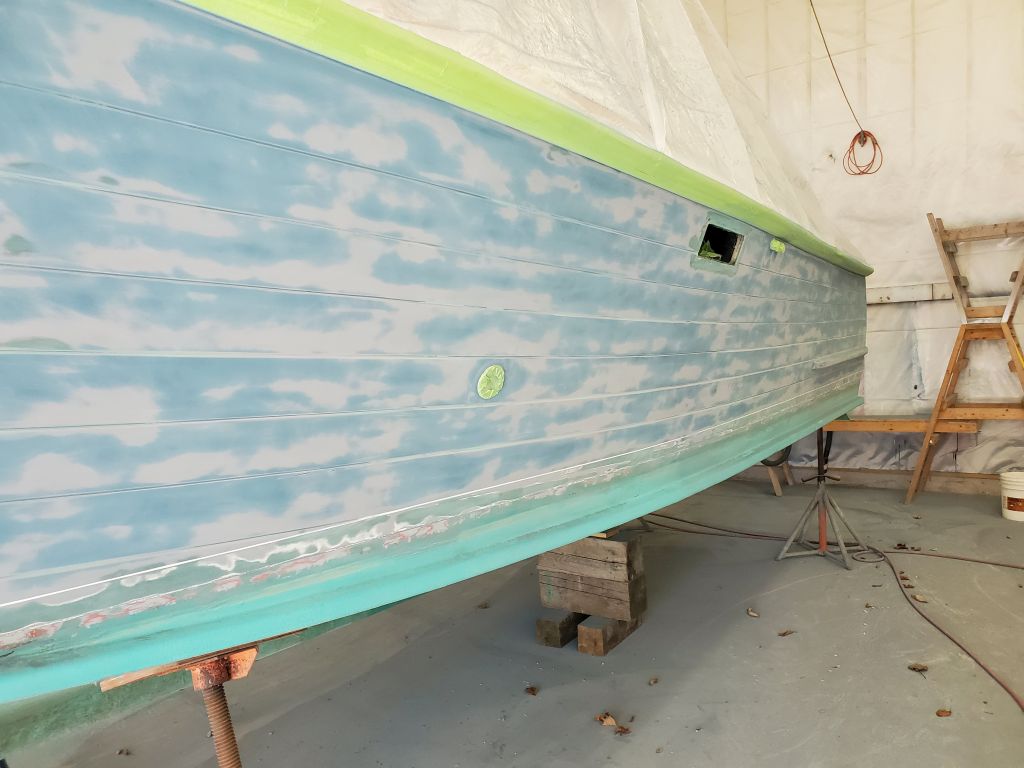
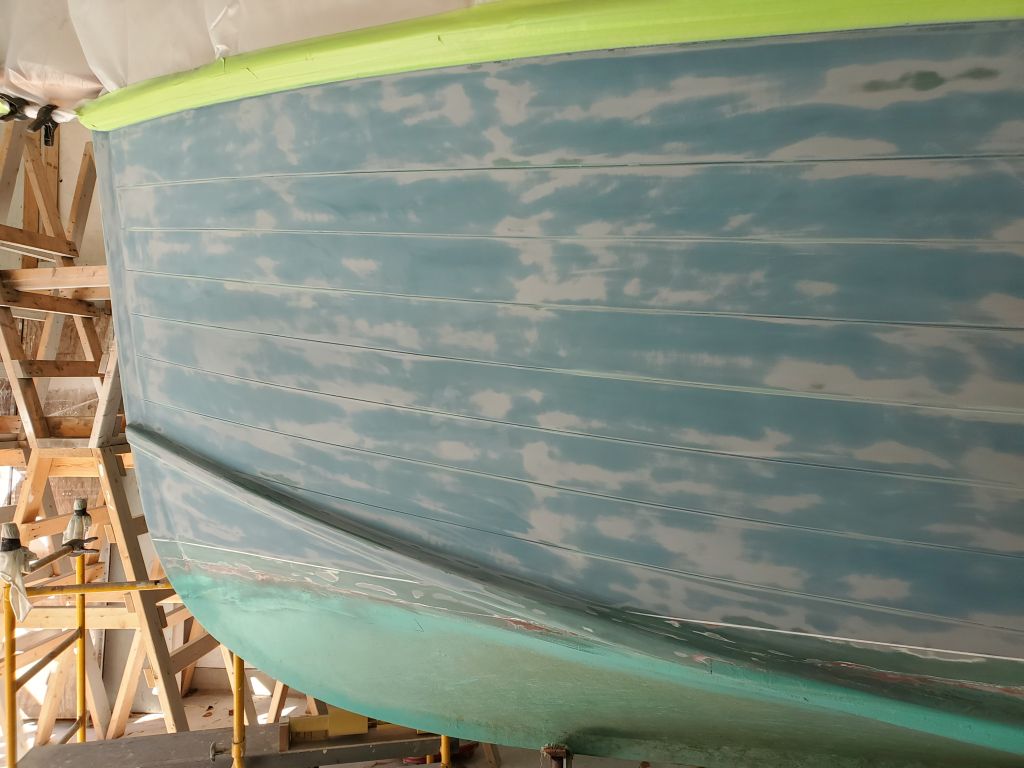
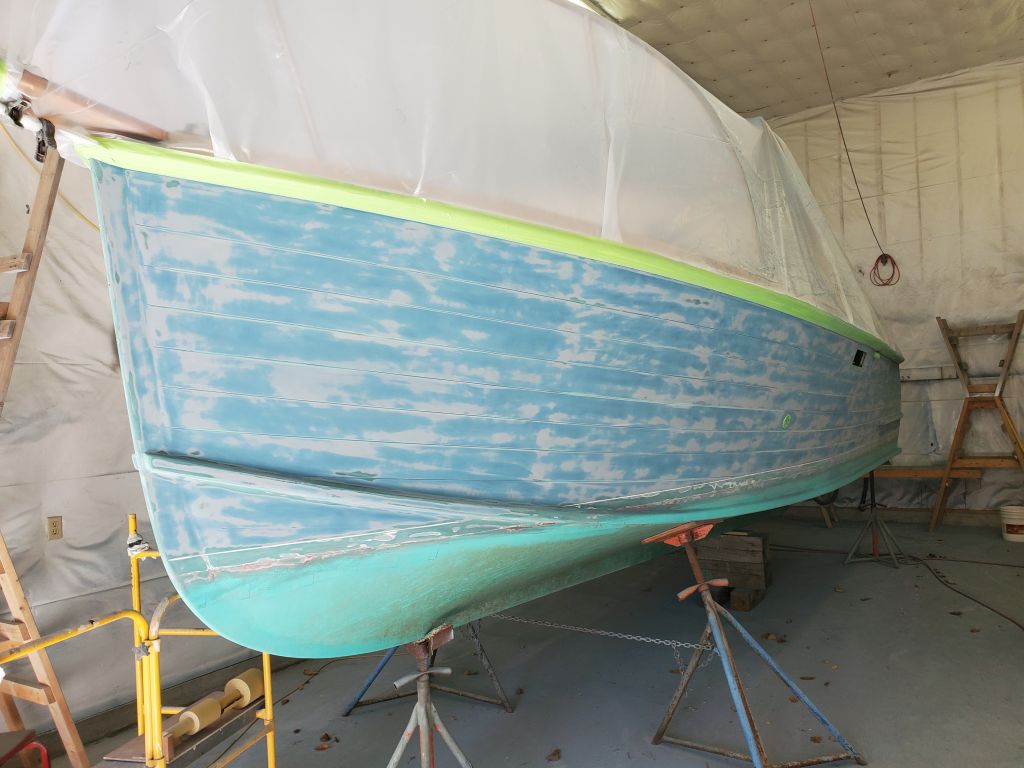
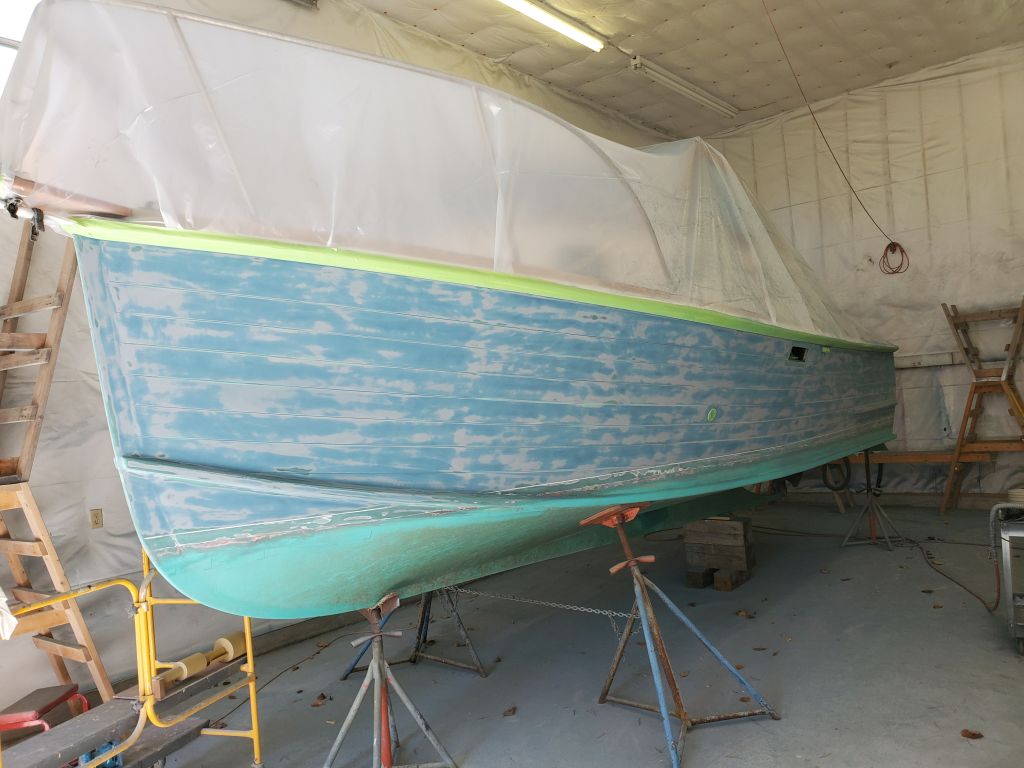
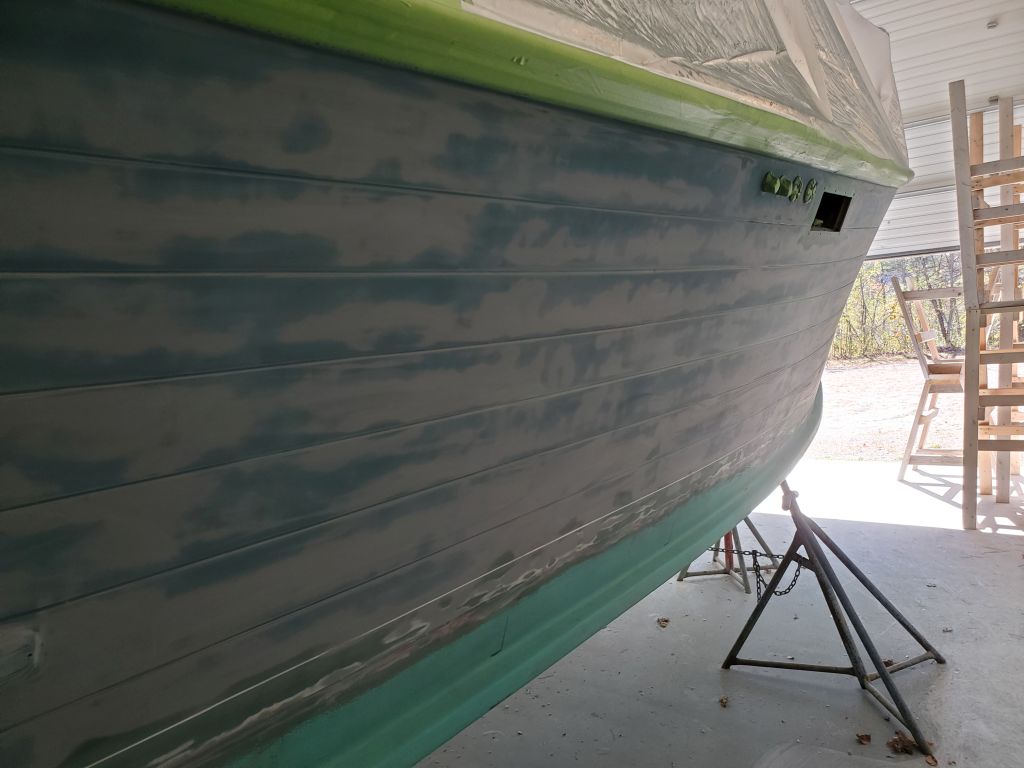
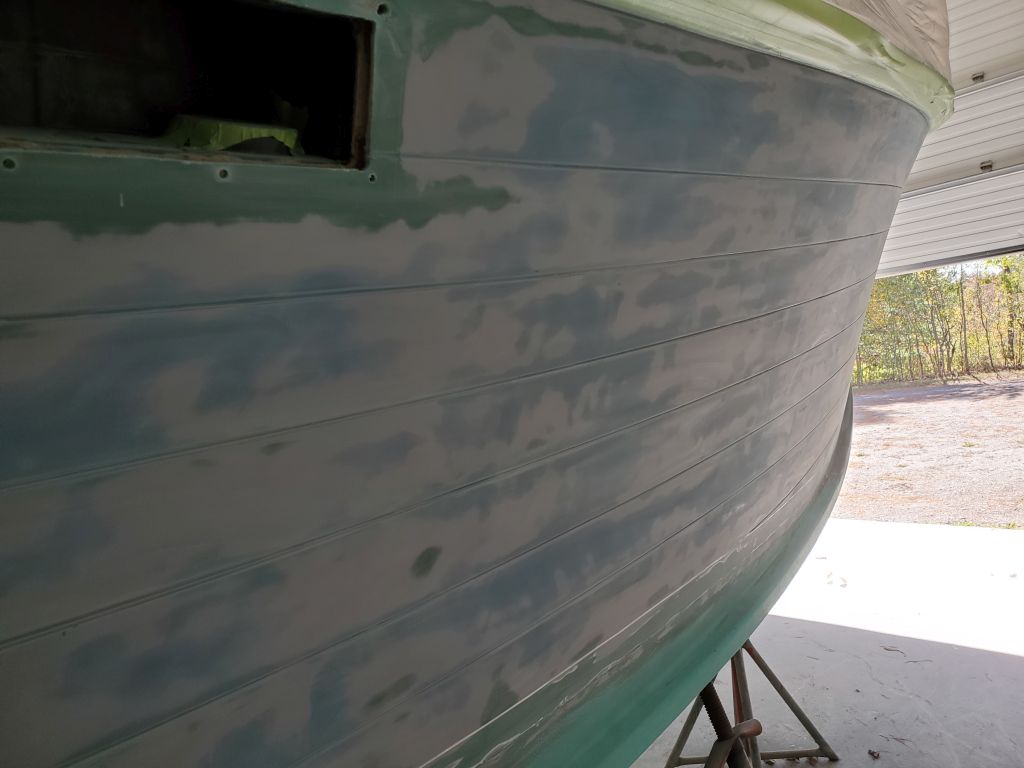
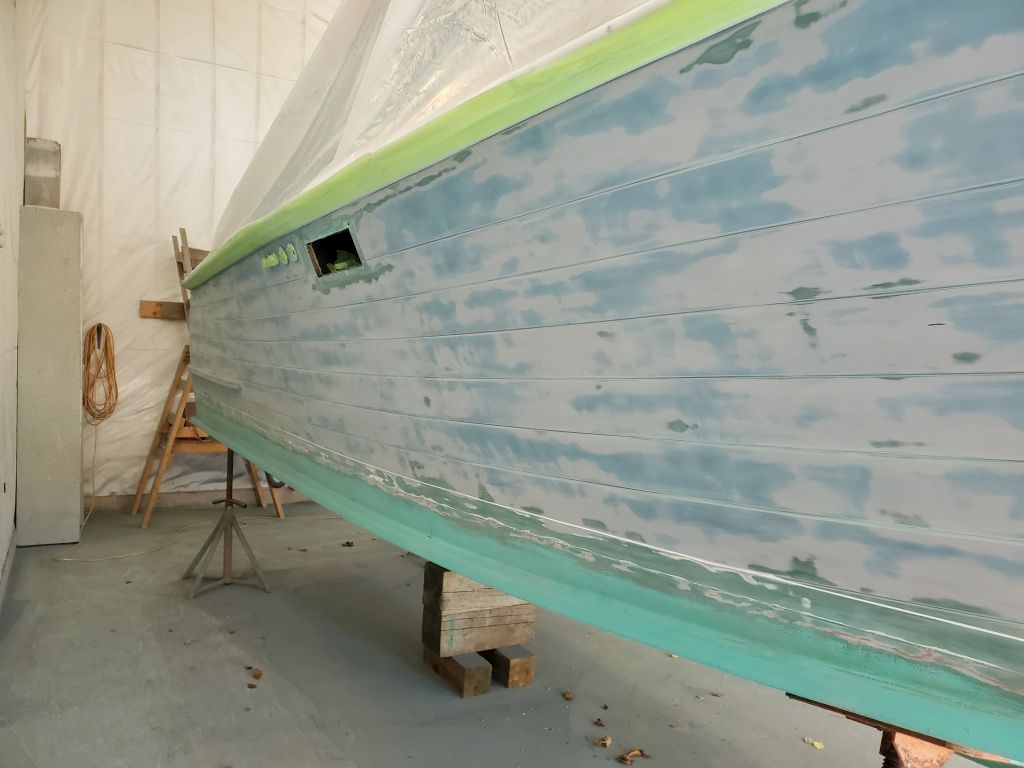
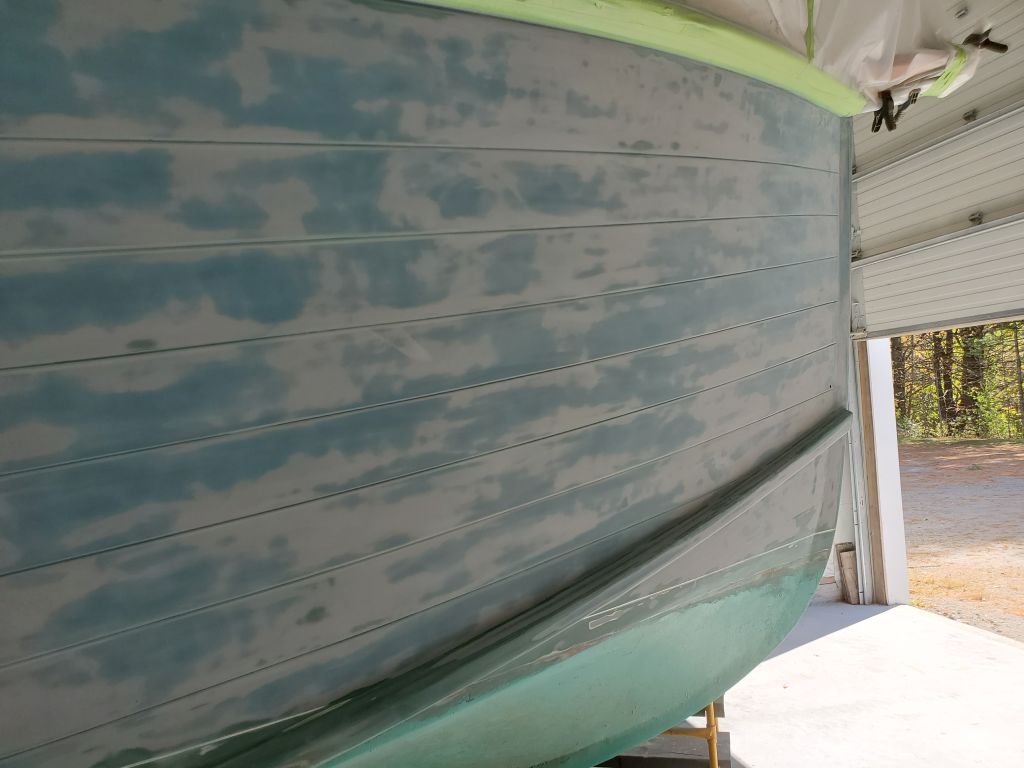
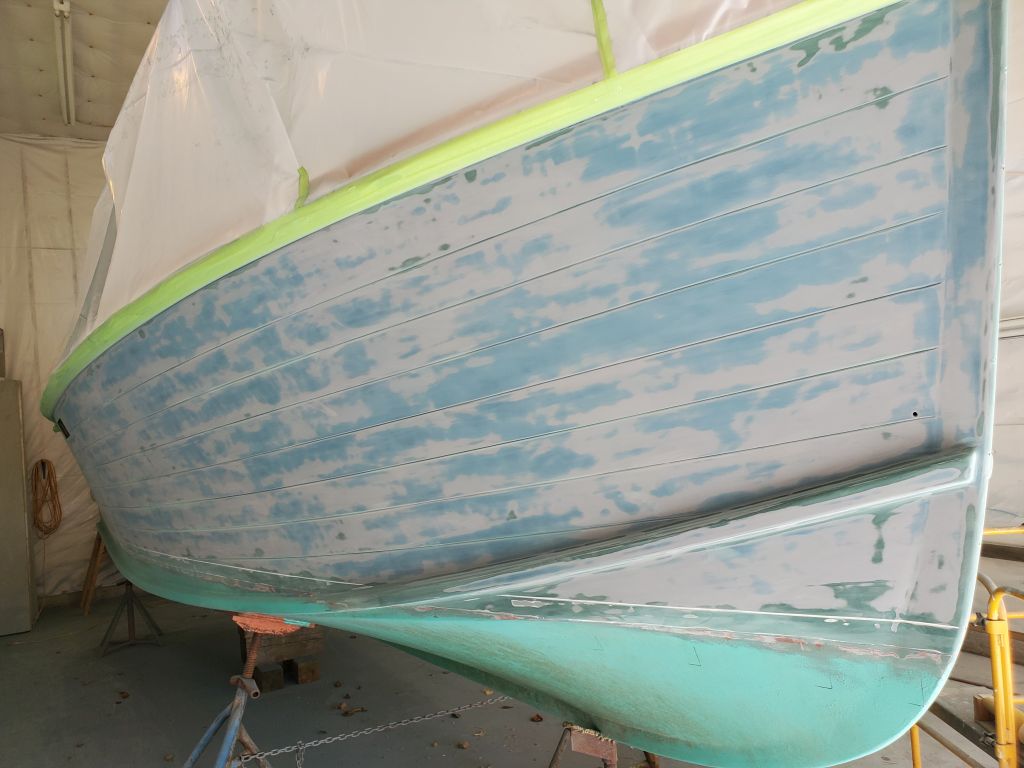
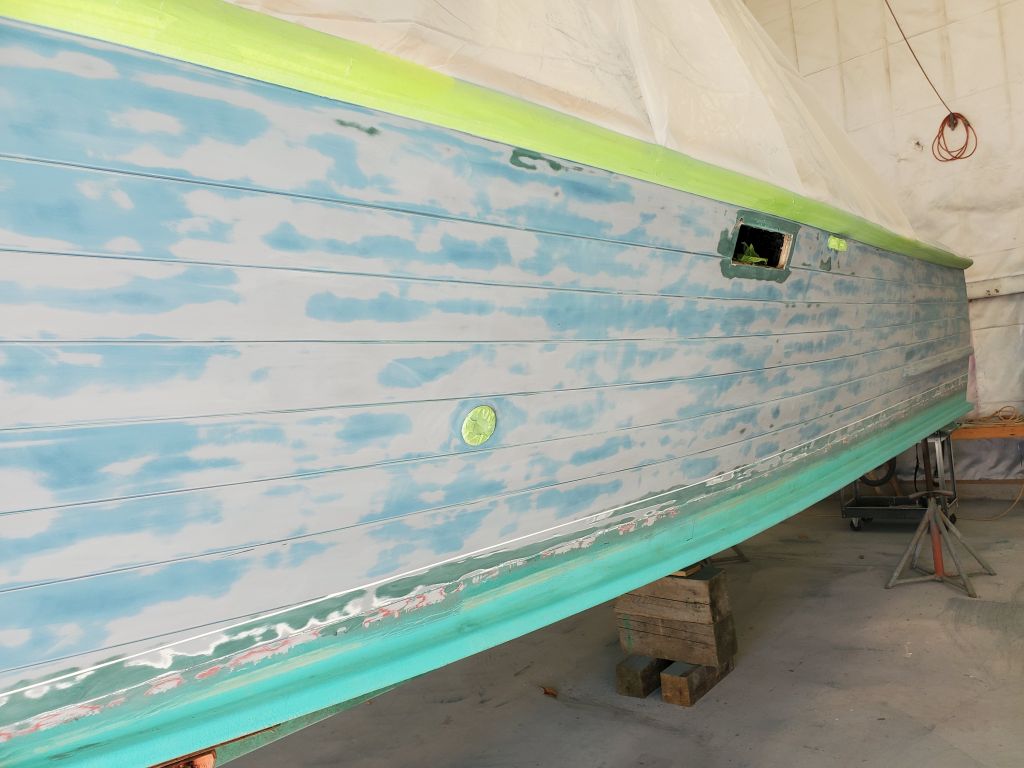
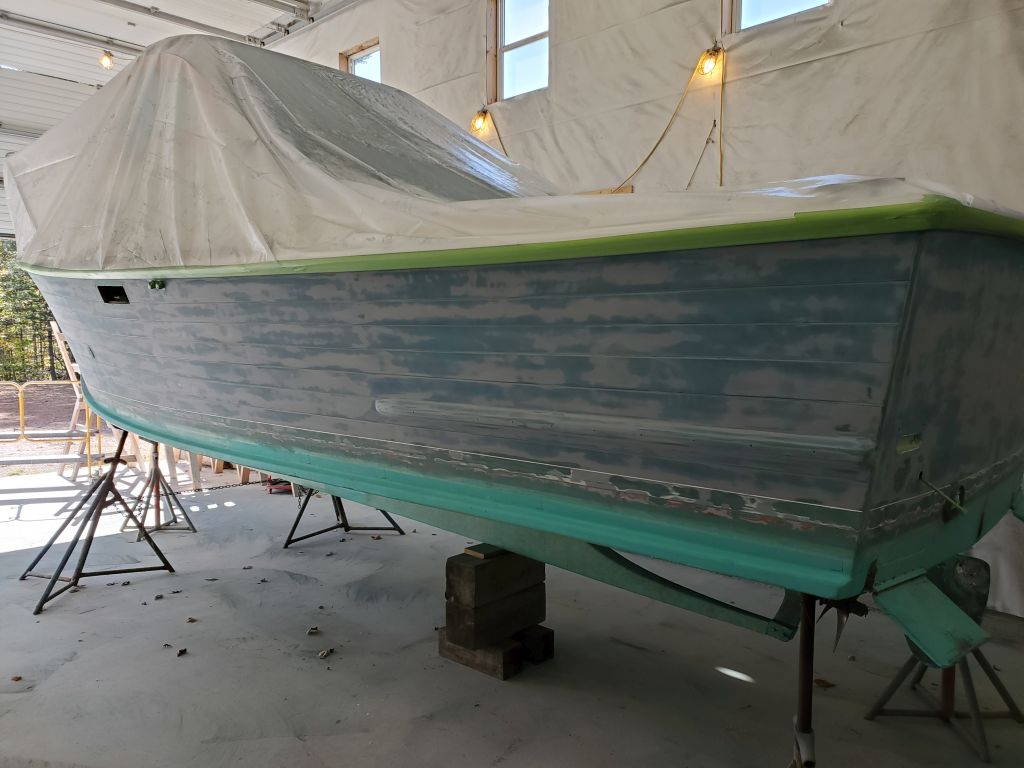
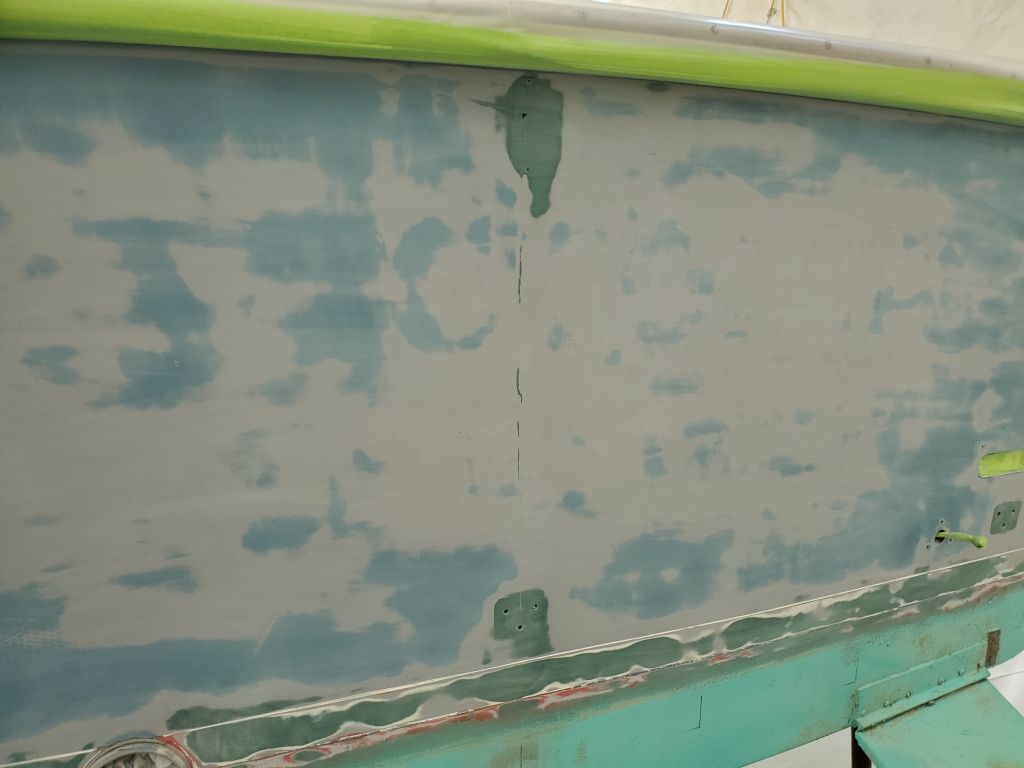
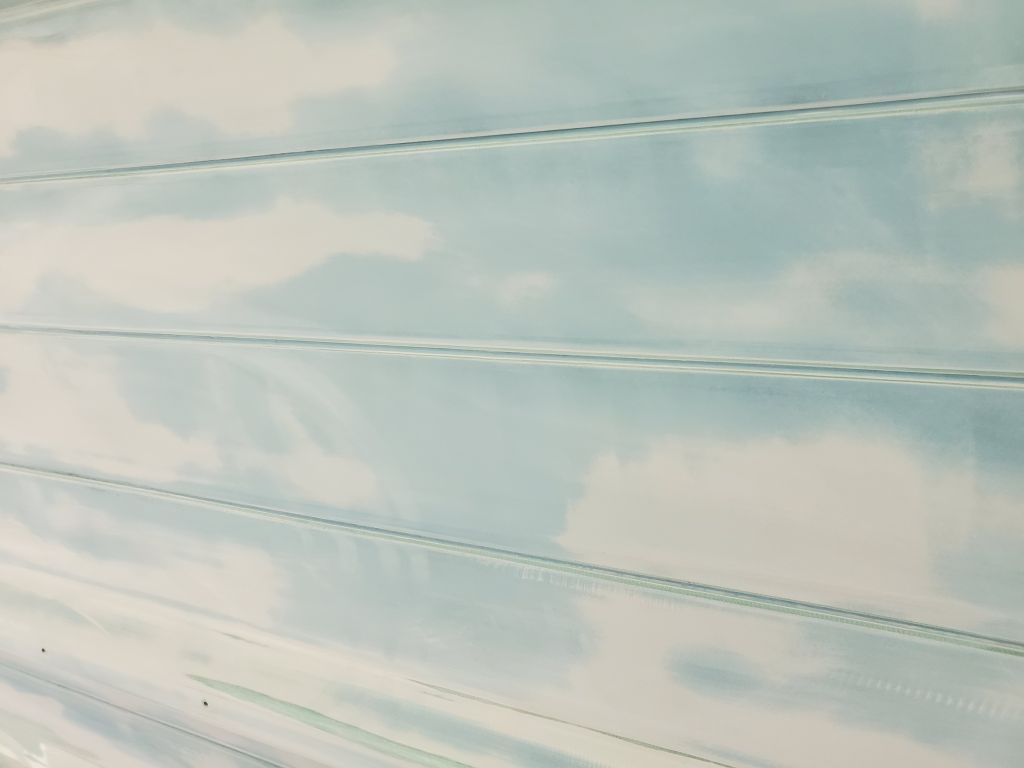
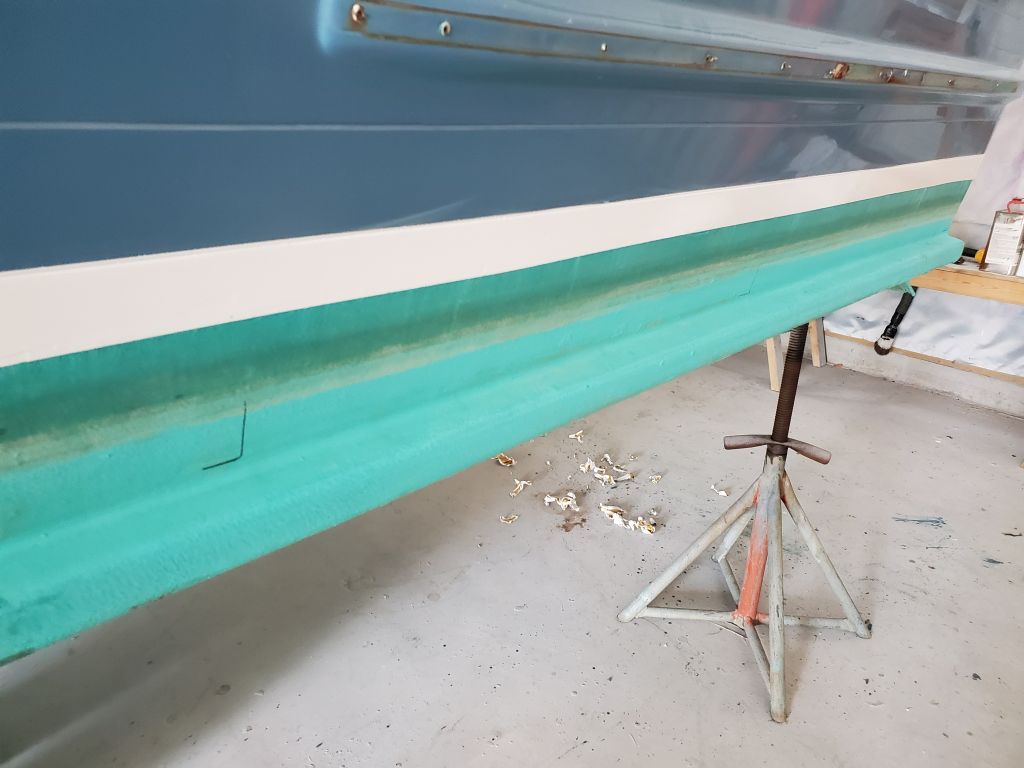
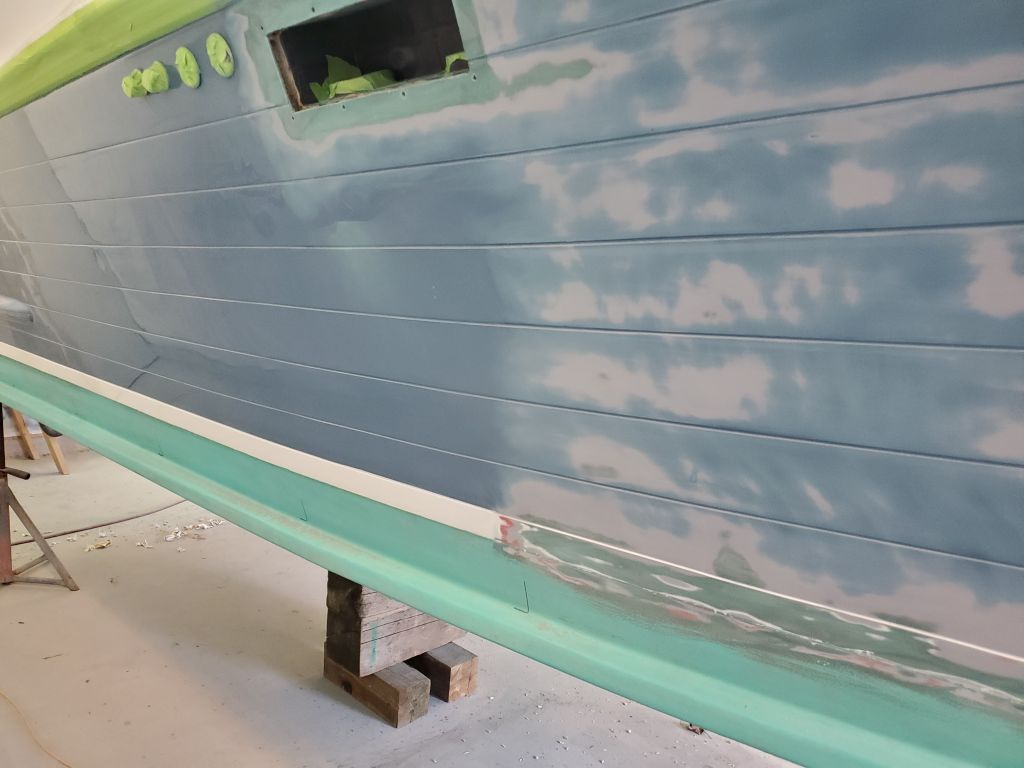
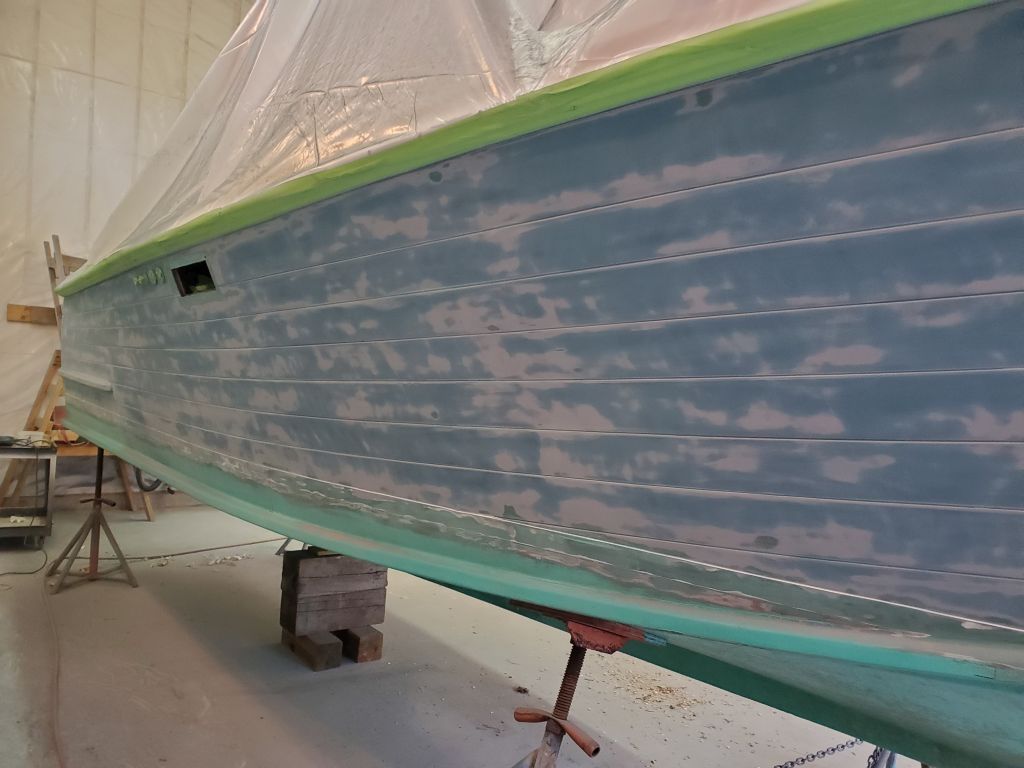
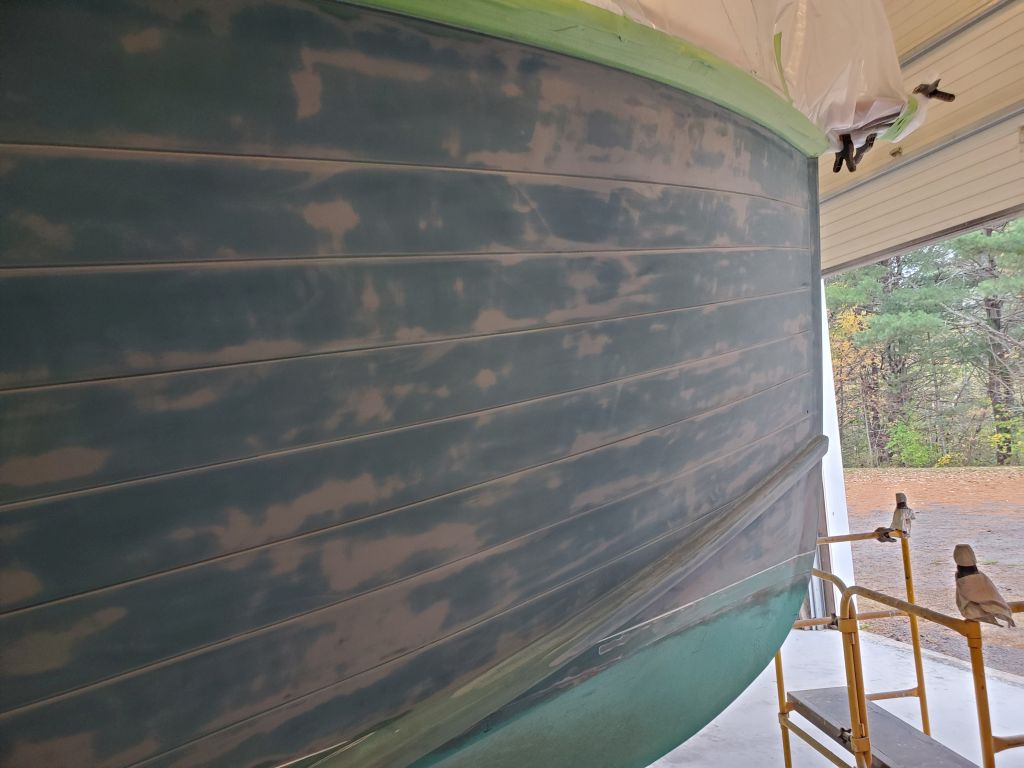
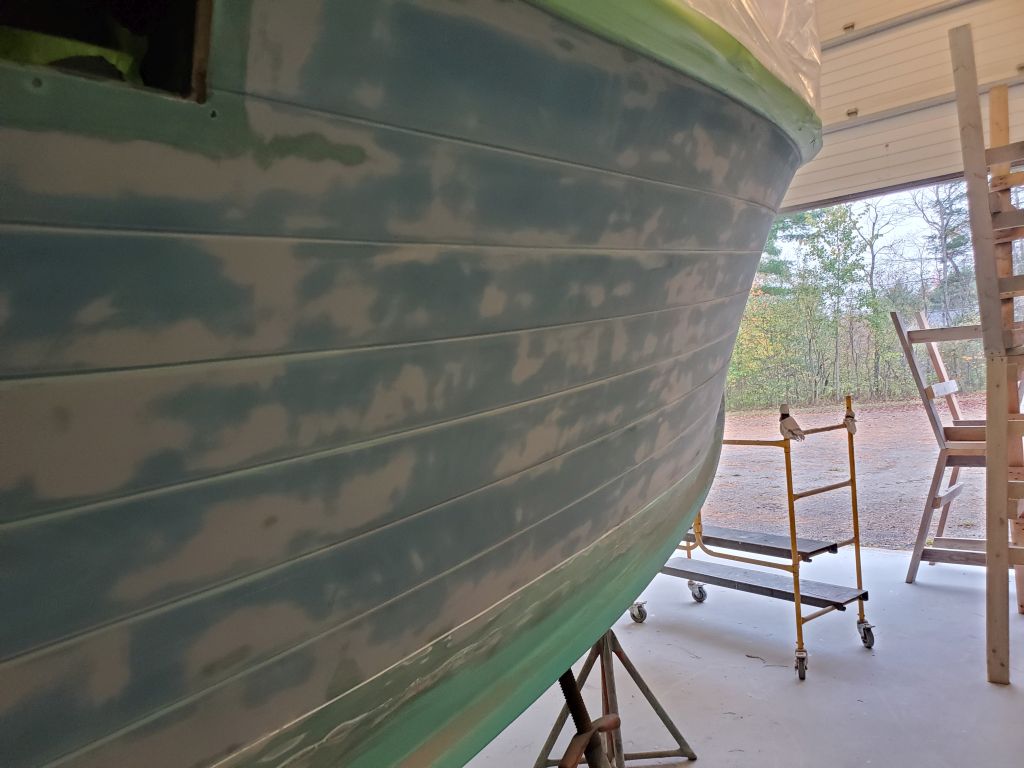
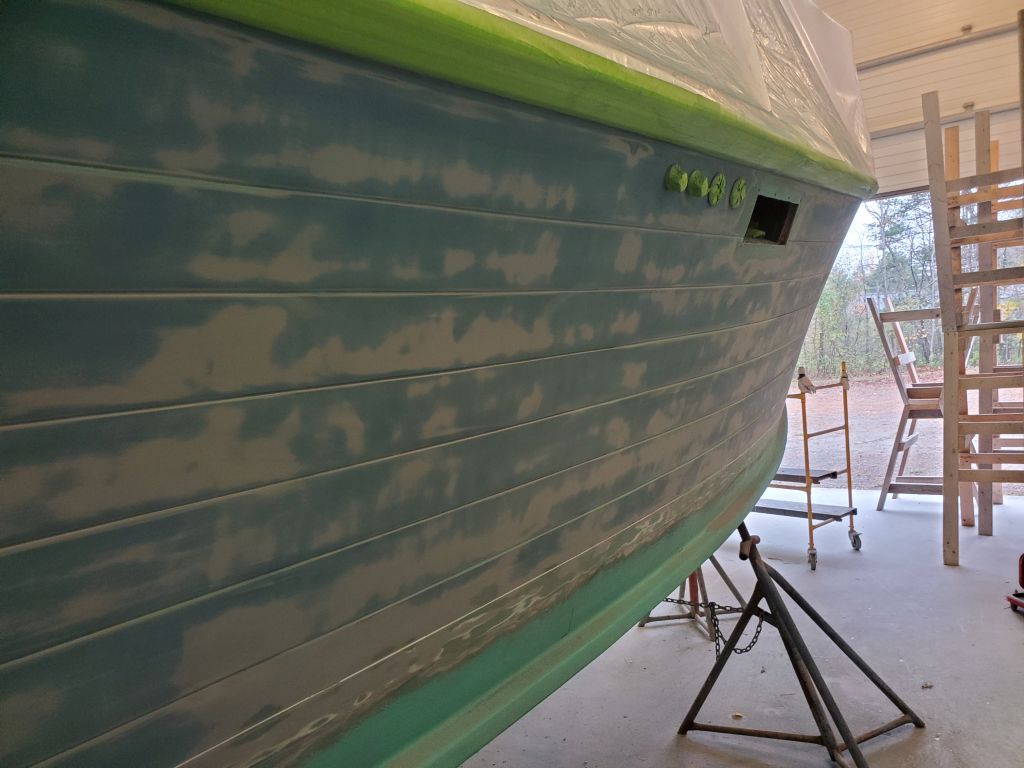
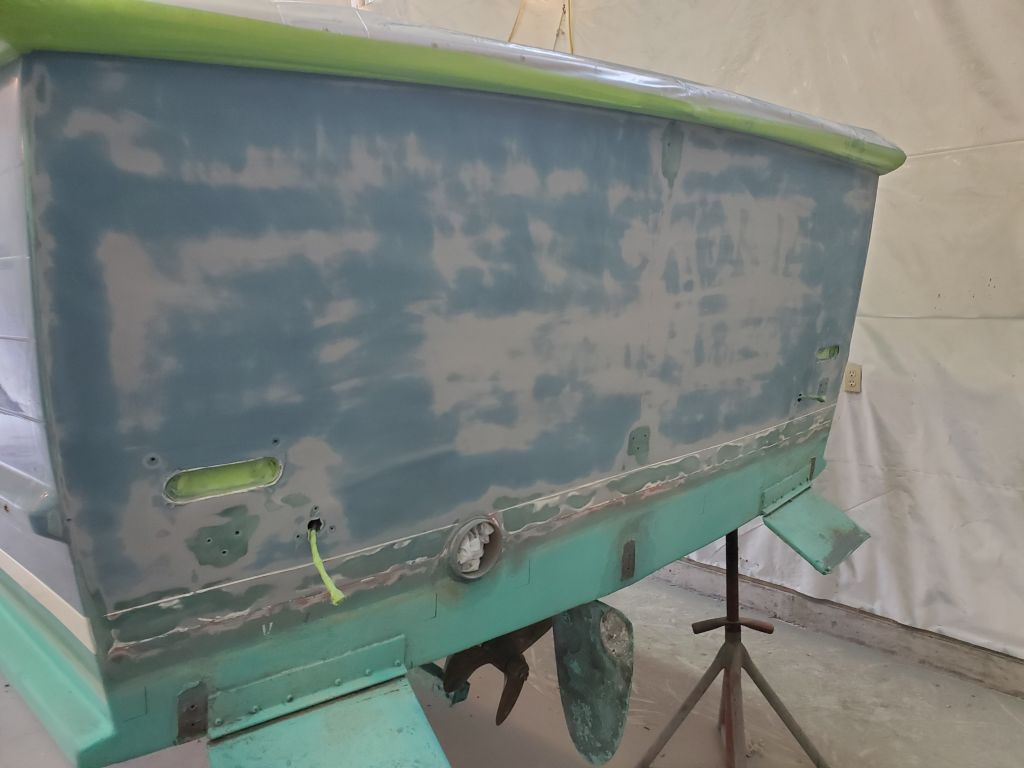
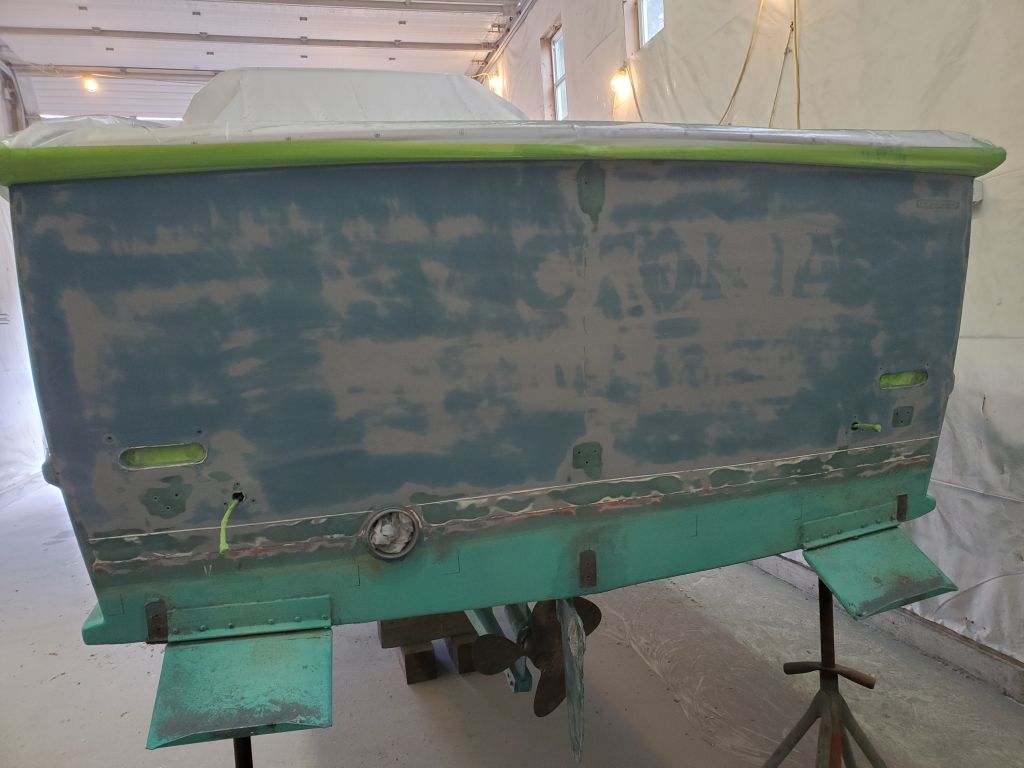
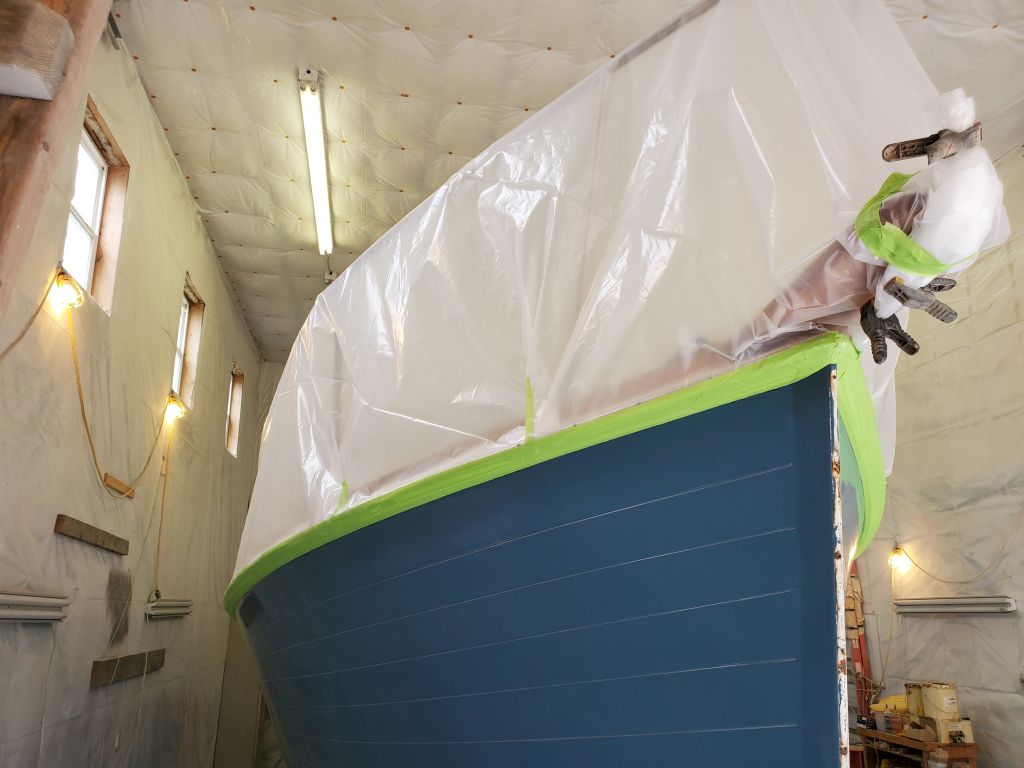
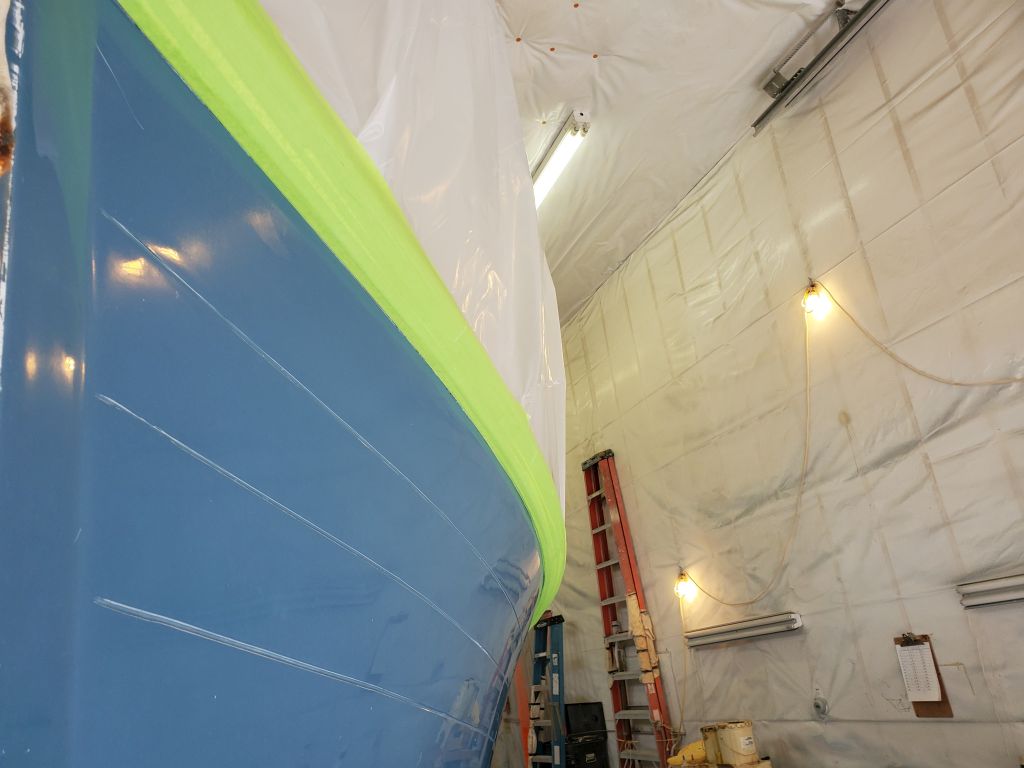
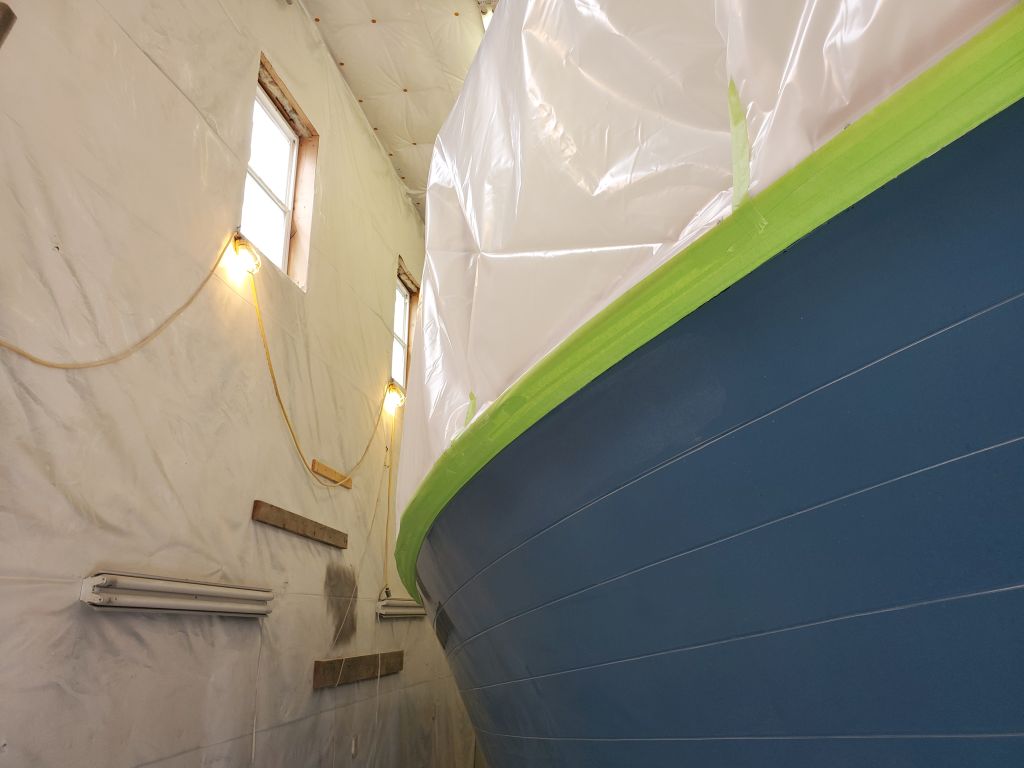
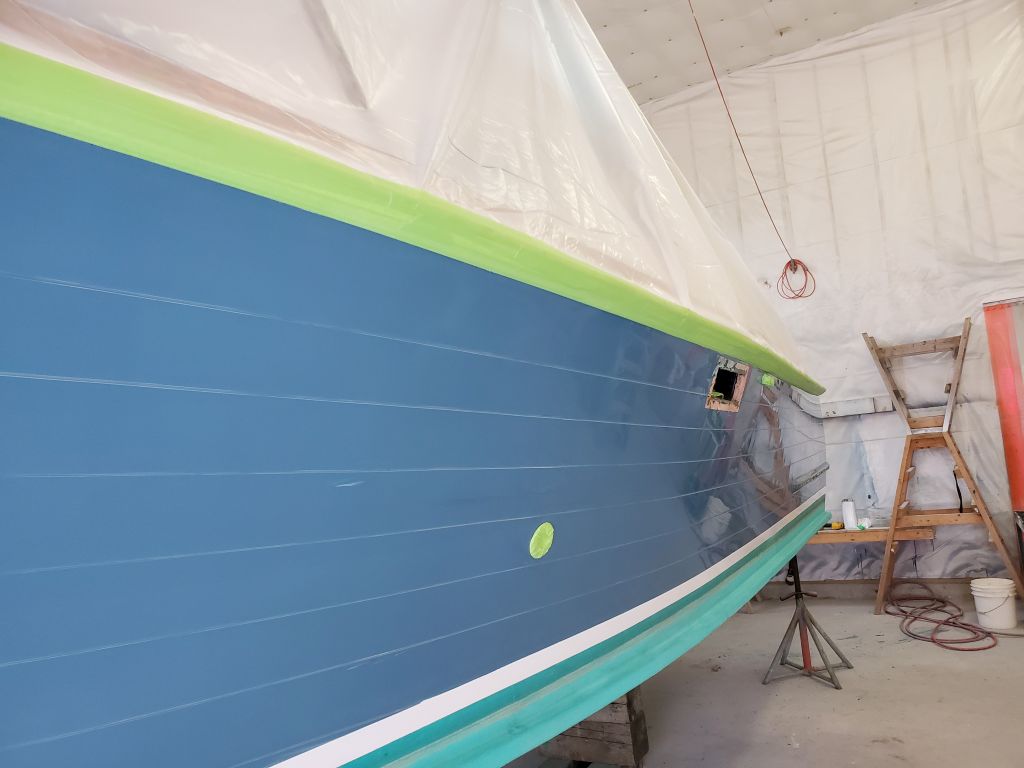
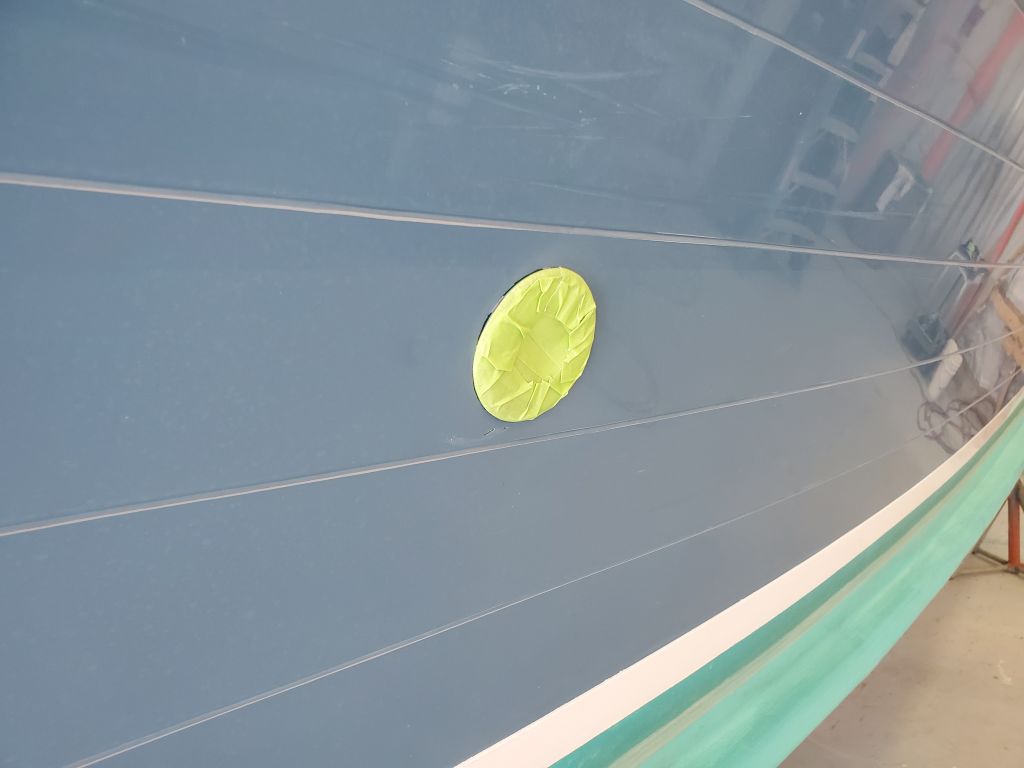
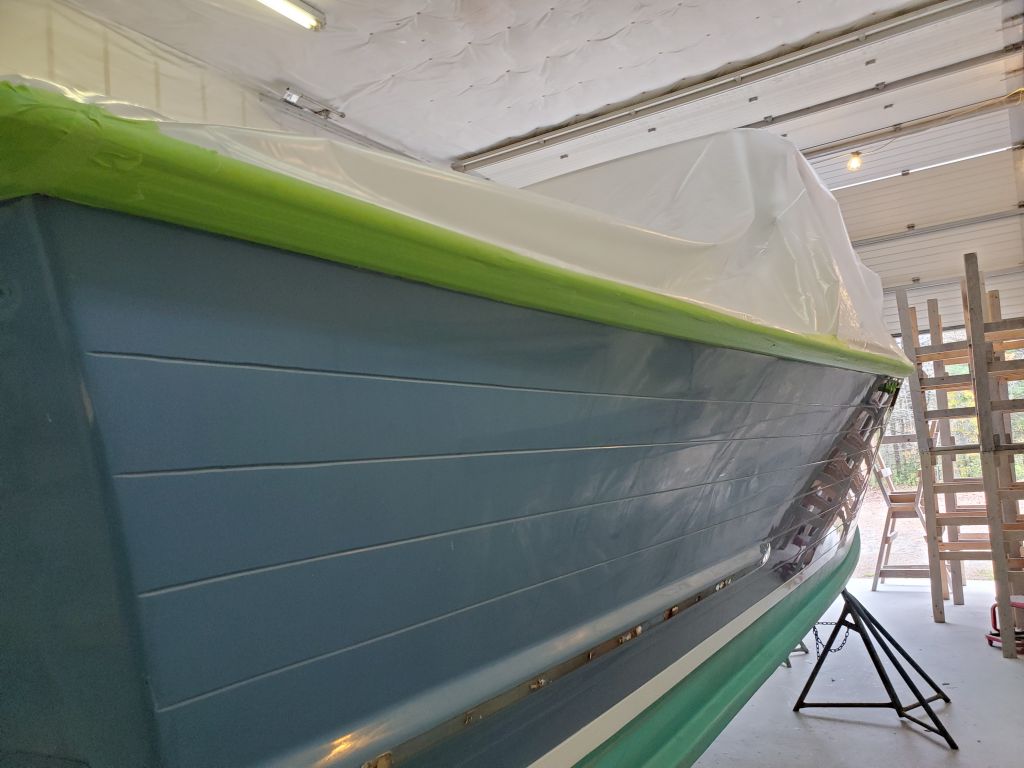
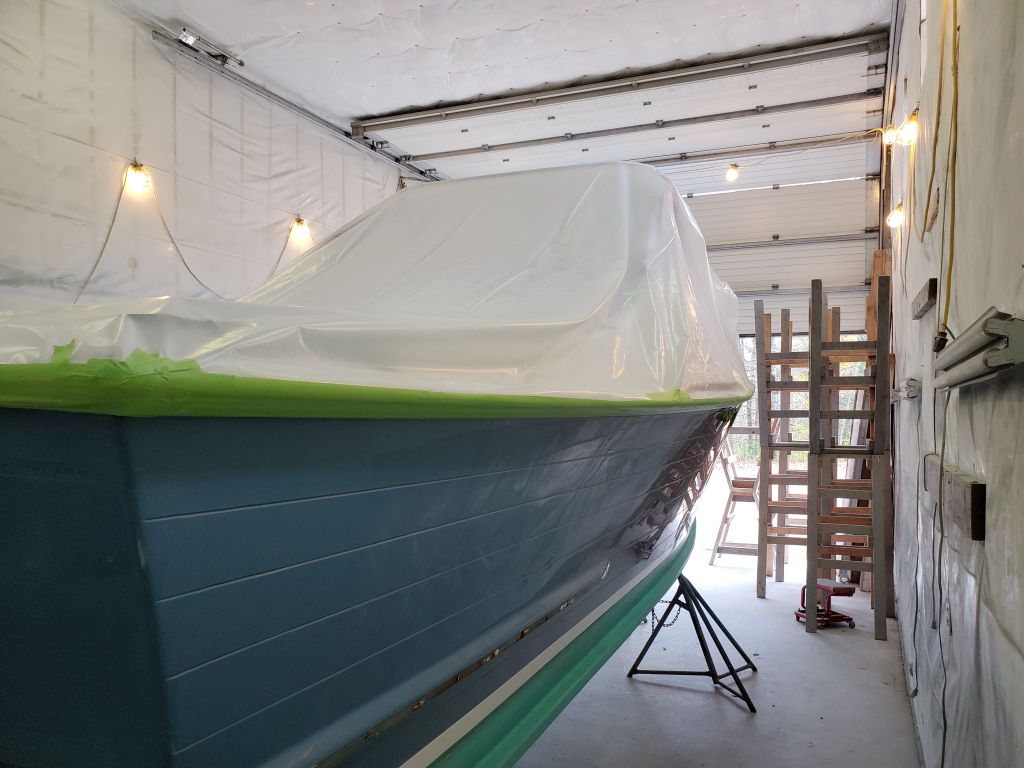
The hull was in good condition overall, and the existing coating was Awlgrip, so the existing surface would provide a good substrate with minimal preparation.  Because I was pretty sure the hull had been polished or even waxed at some point, I started with a solvent wash to decontaminate the surface.  Afterwards, starting at the starboard bow, I sanded the hull with 120 grit paper and a palm sander, scuffing the surface and removing gloss.    I planned to follow with additional sanding and 220 grit later, but for now I concentrated on the single grit.

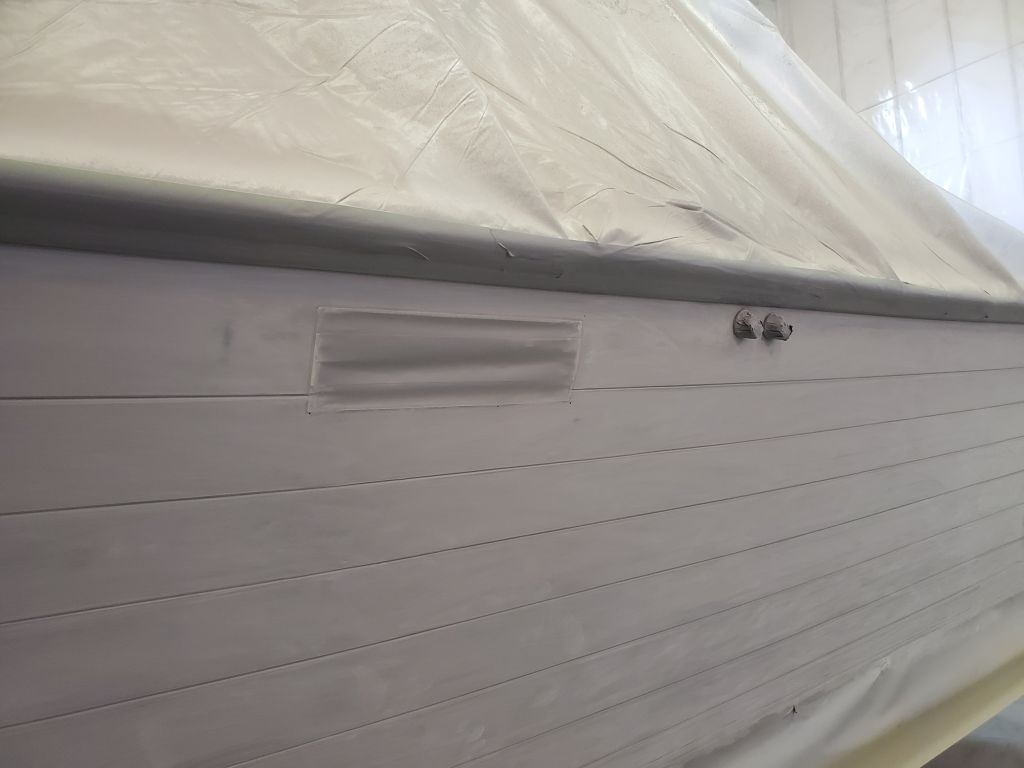
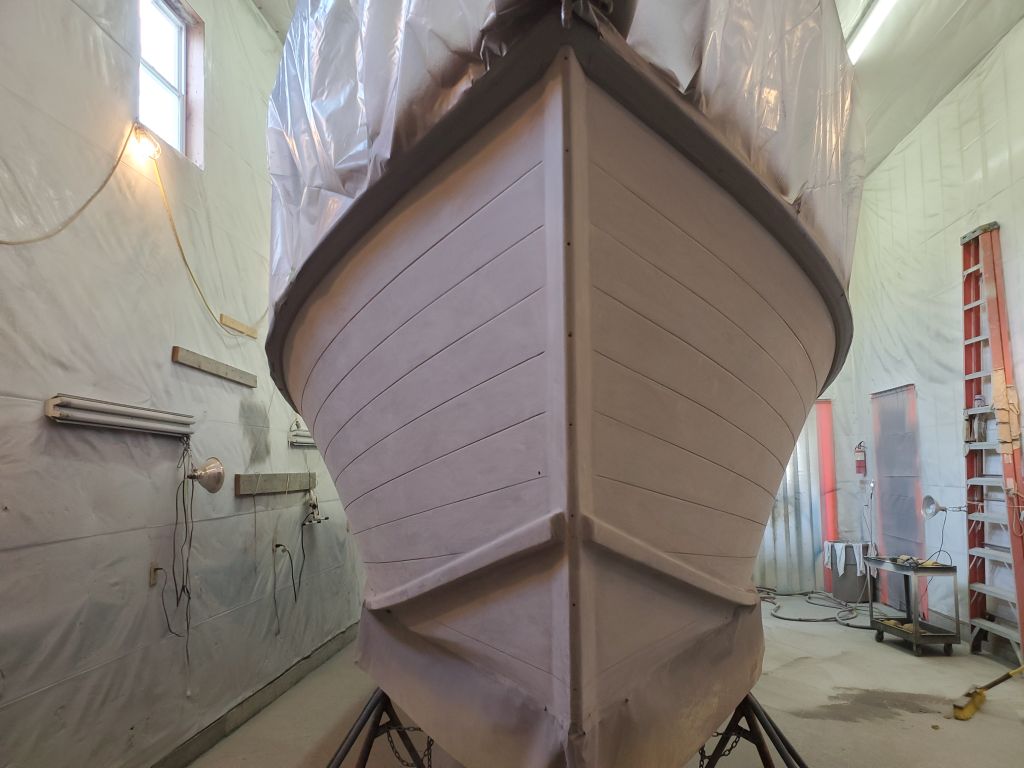
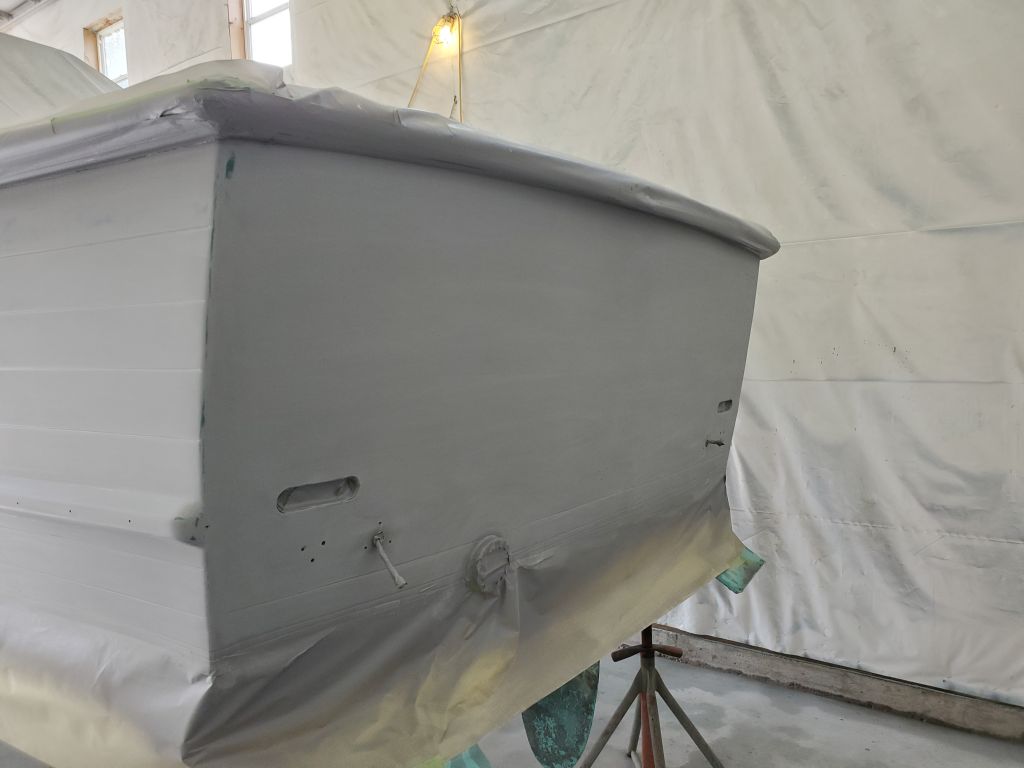
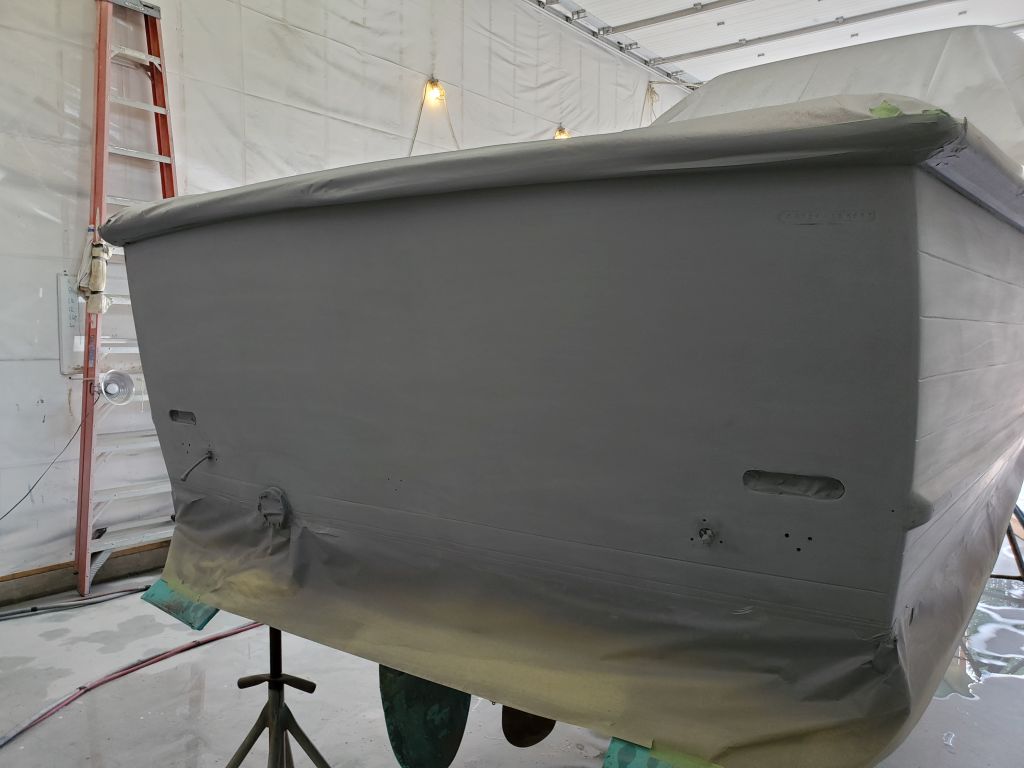
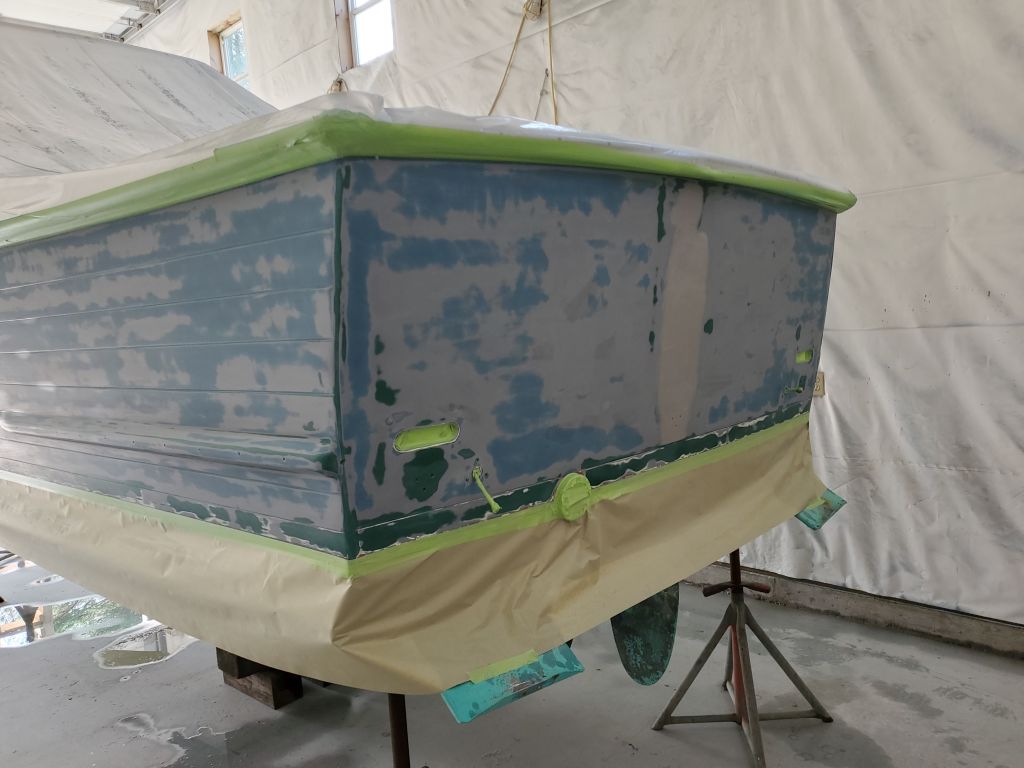
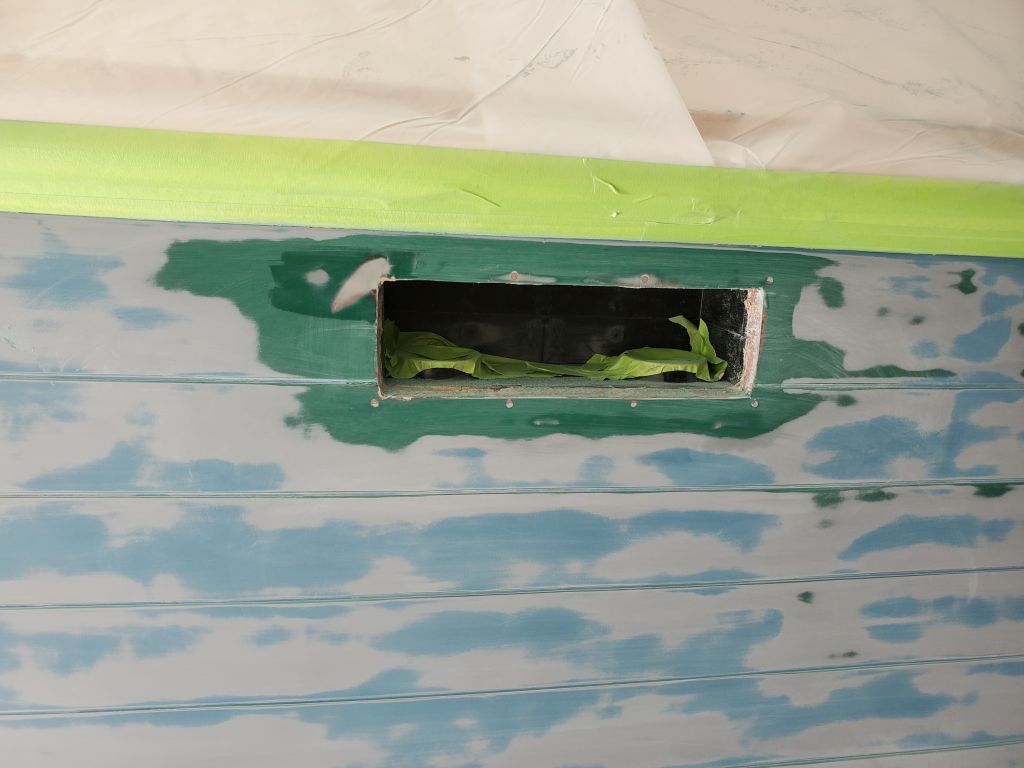
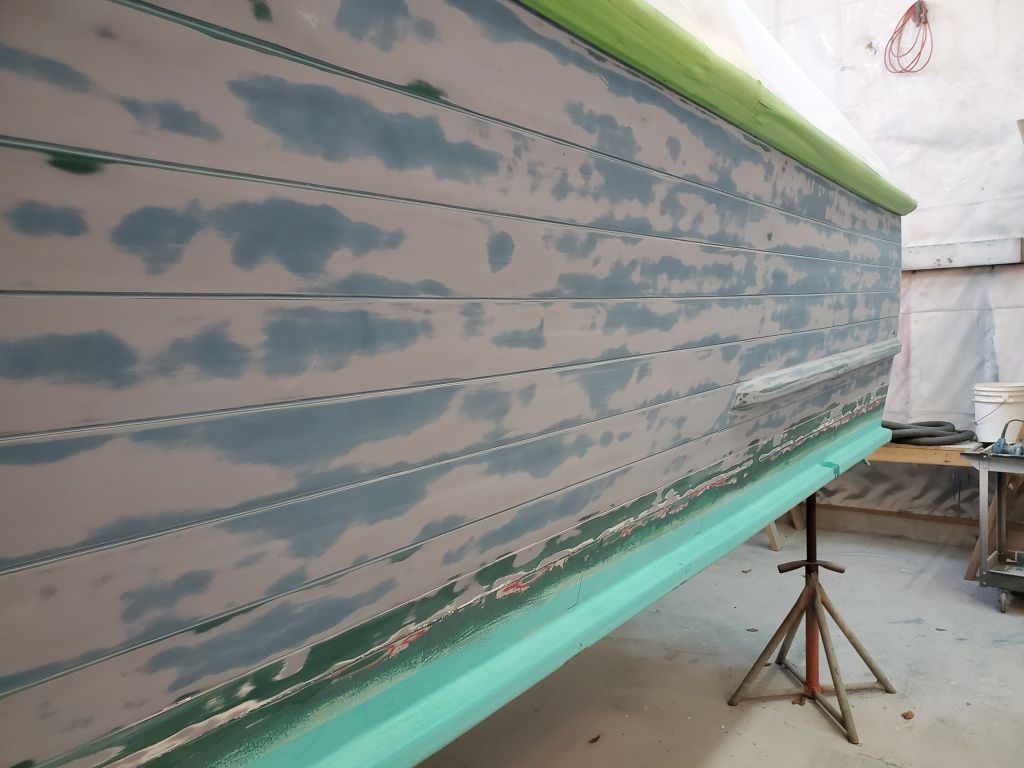
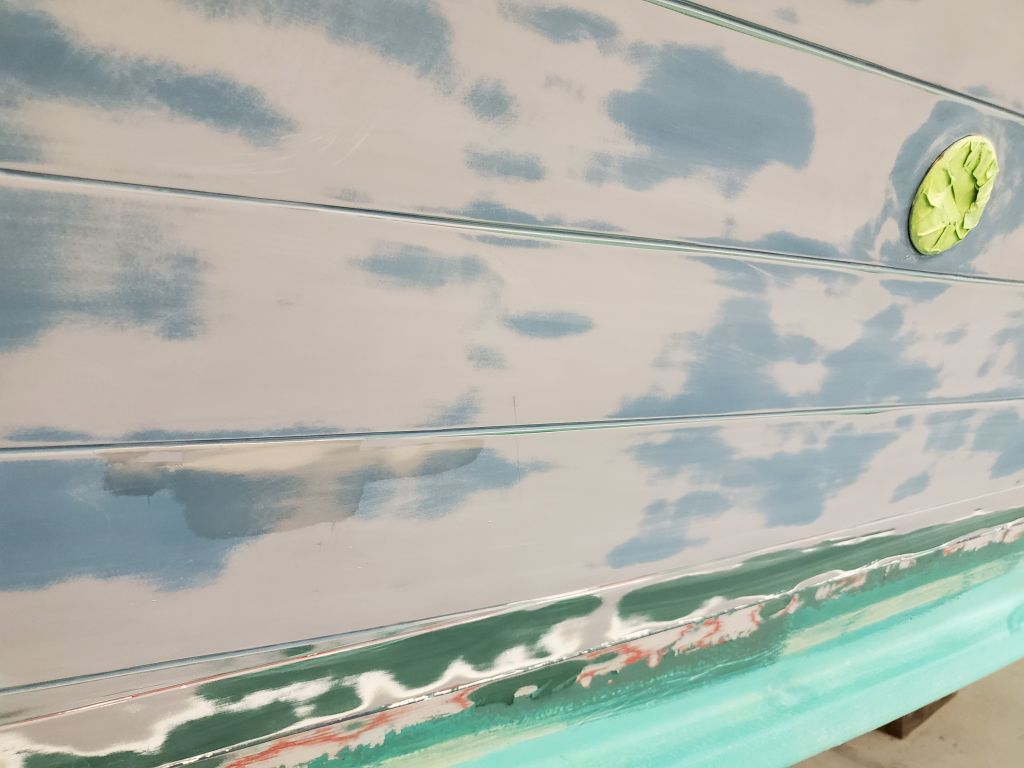
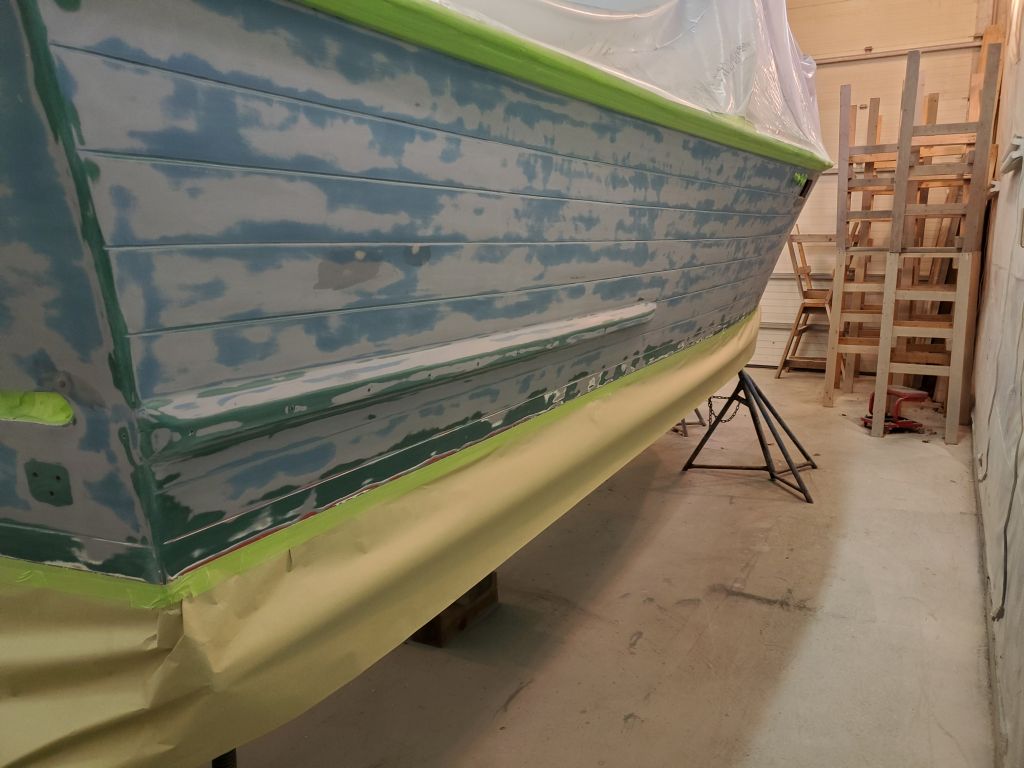
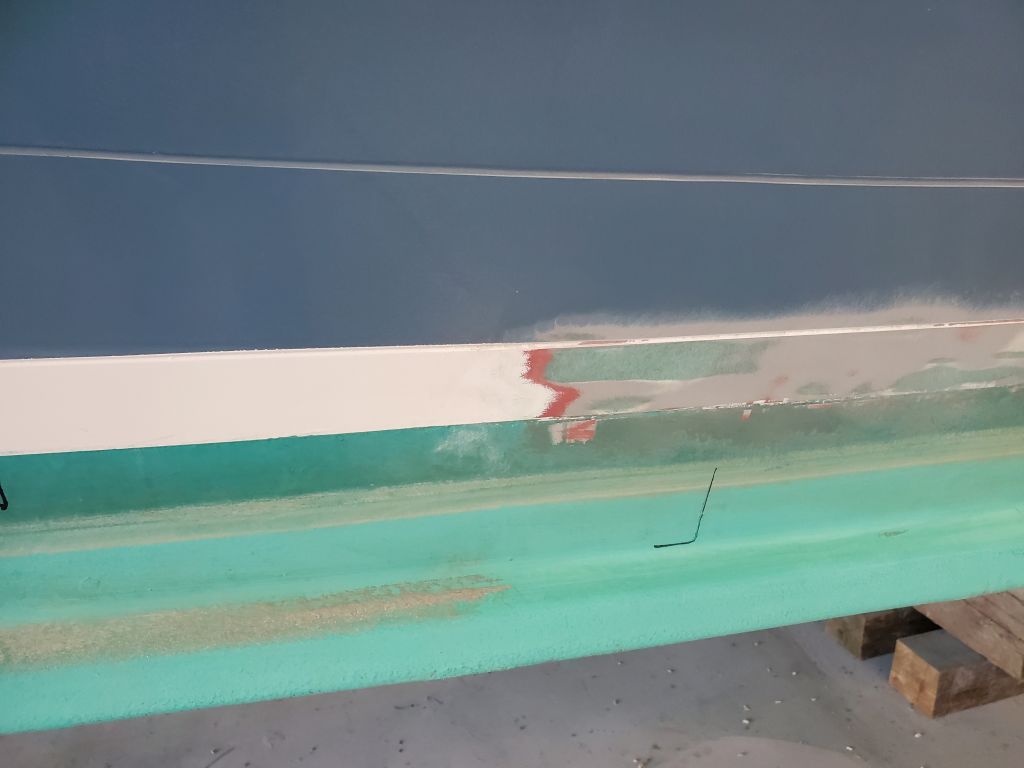
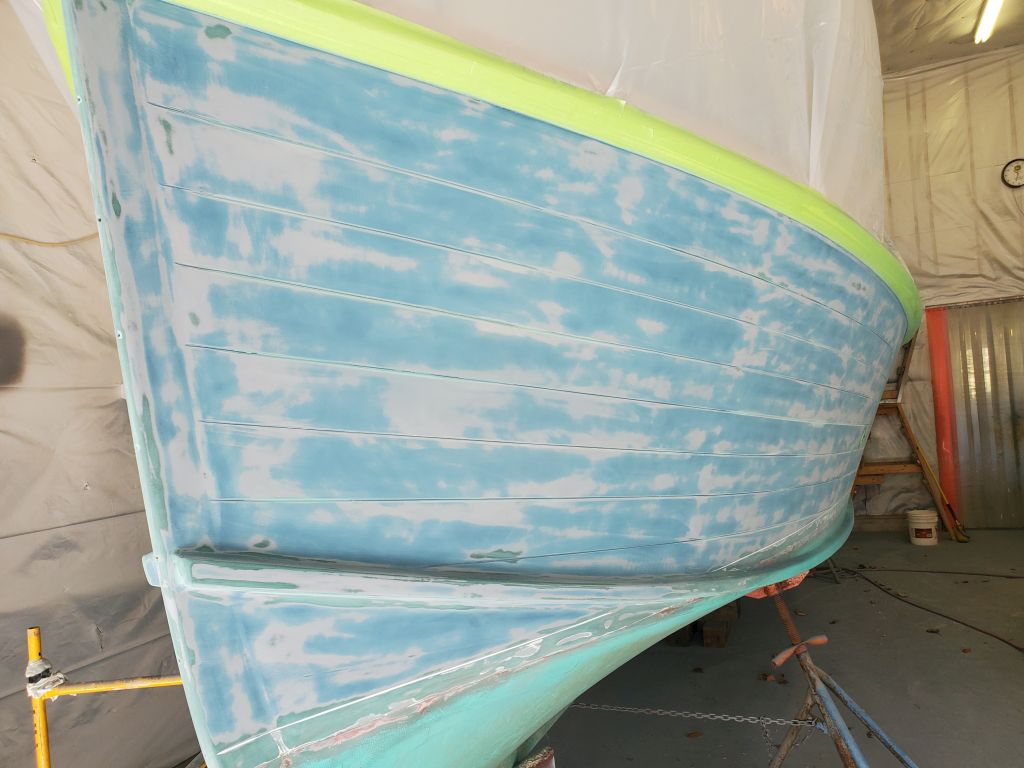
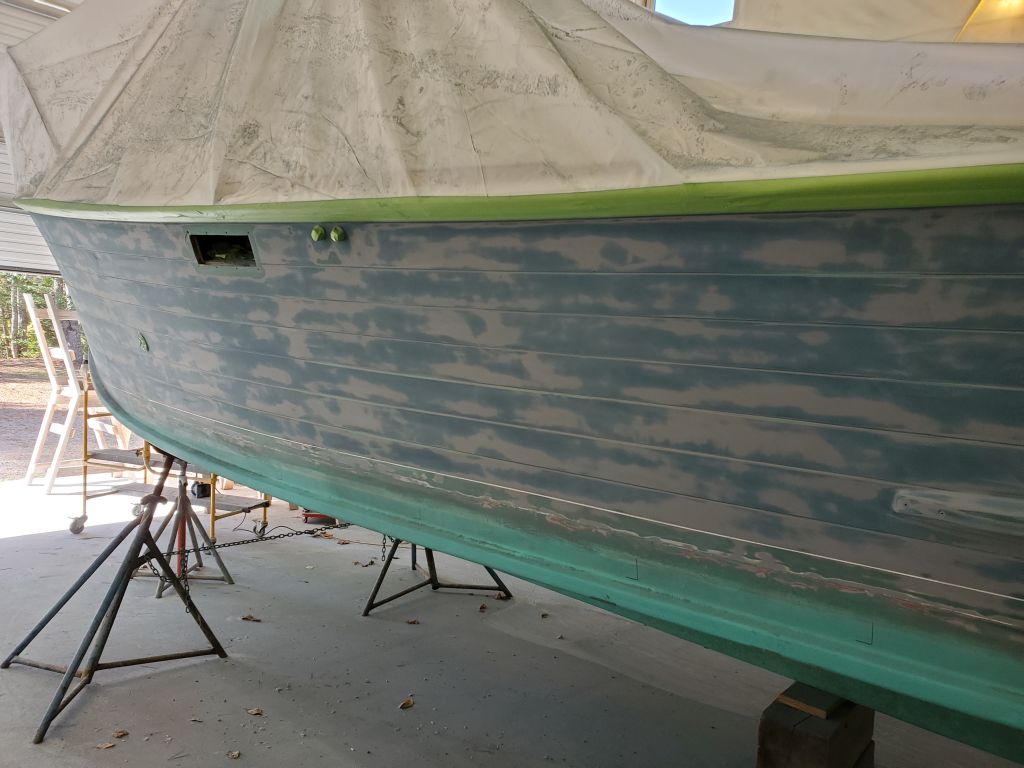
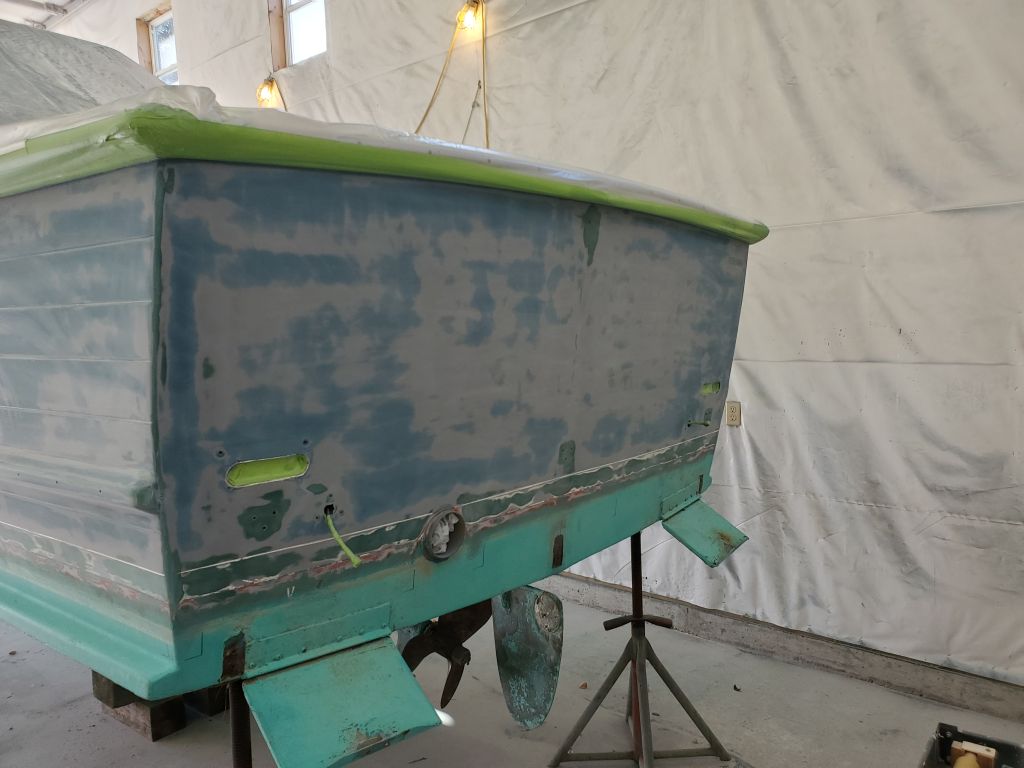
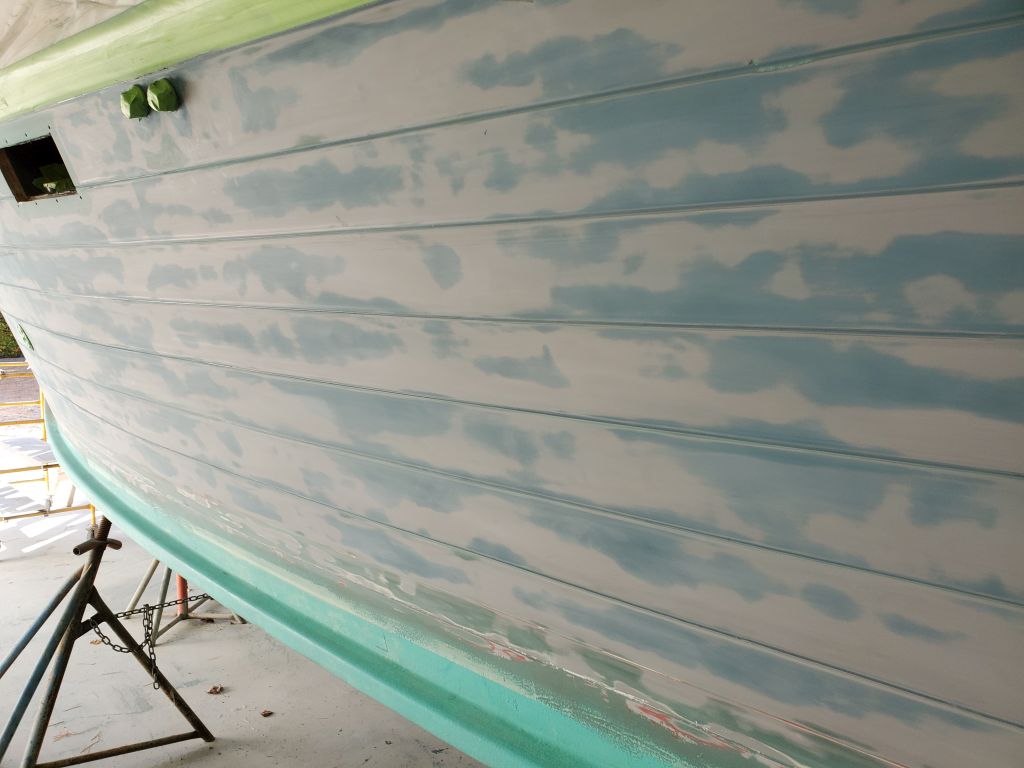
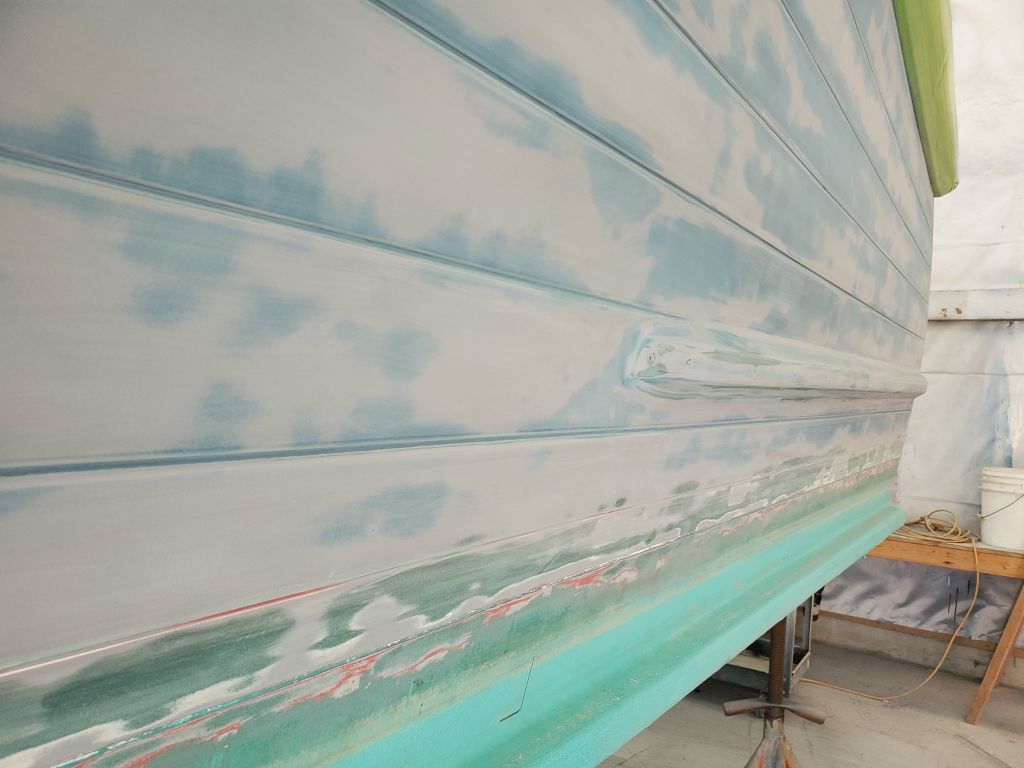
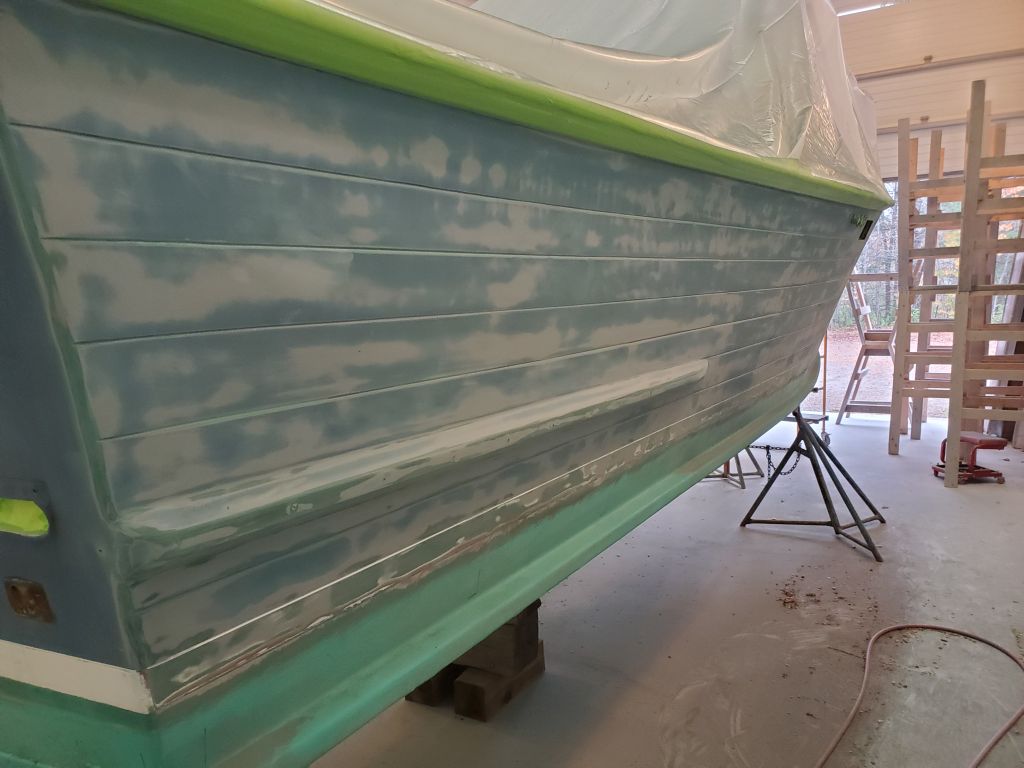
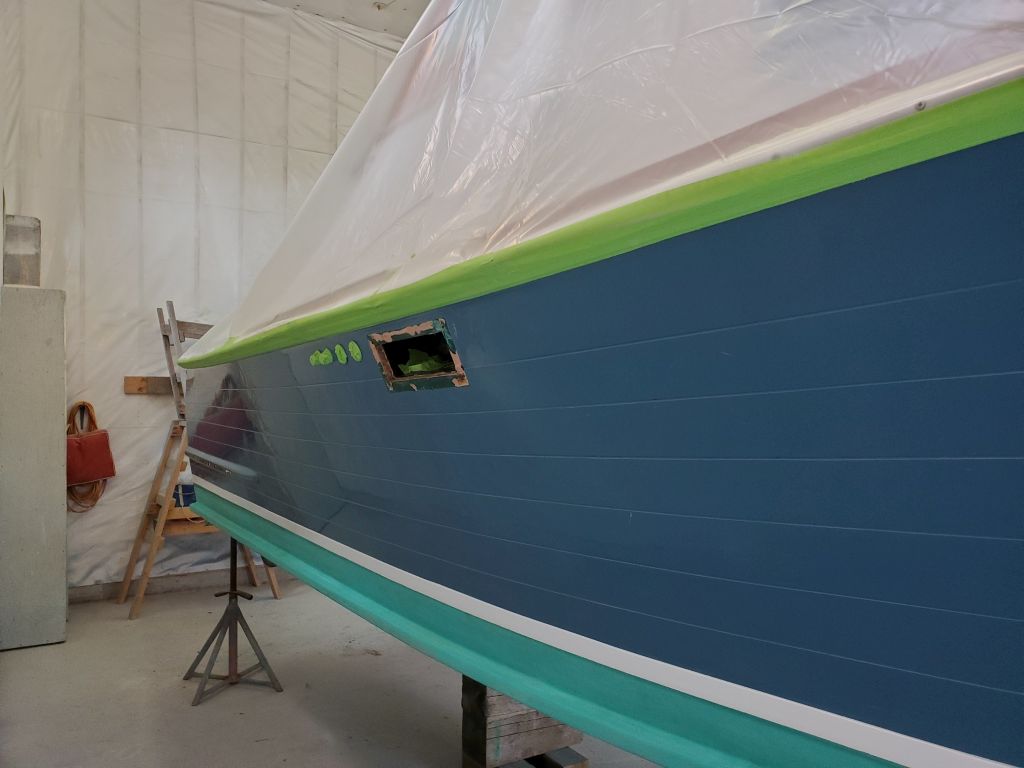
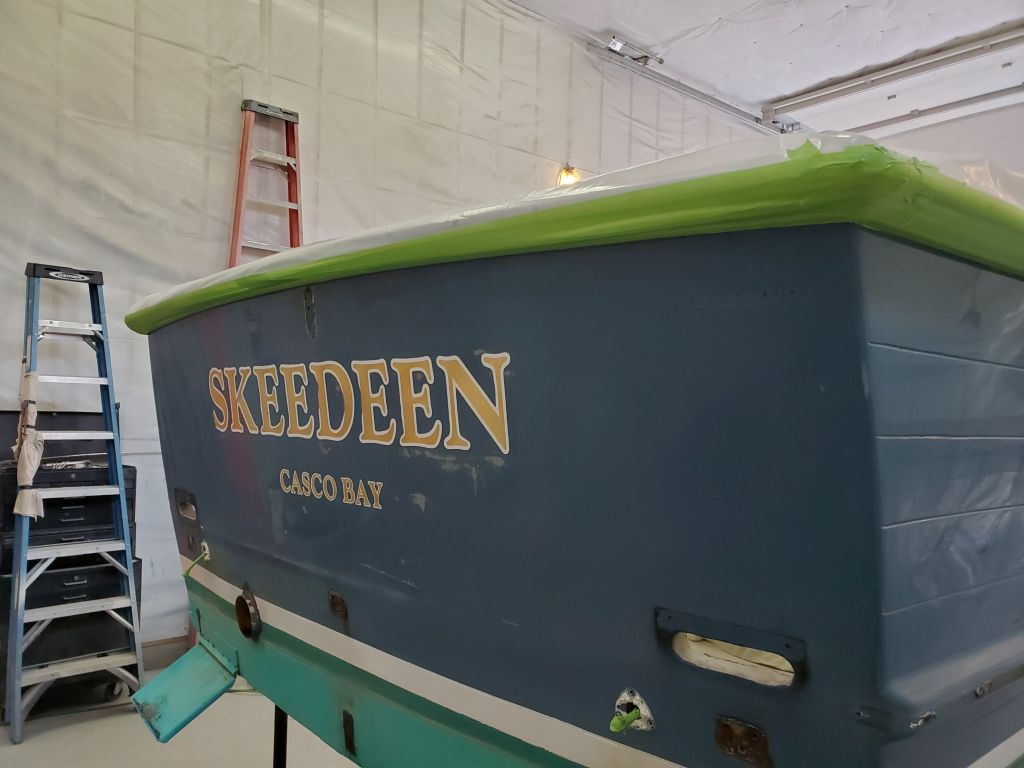
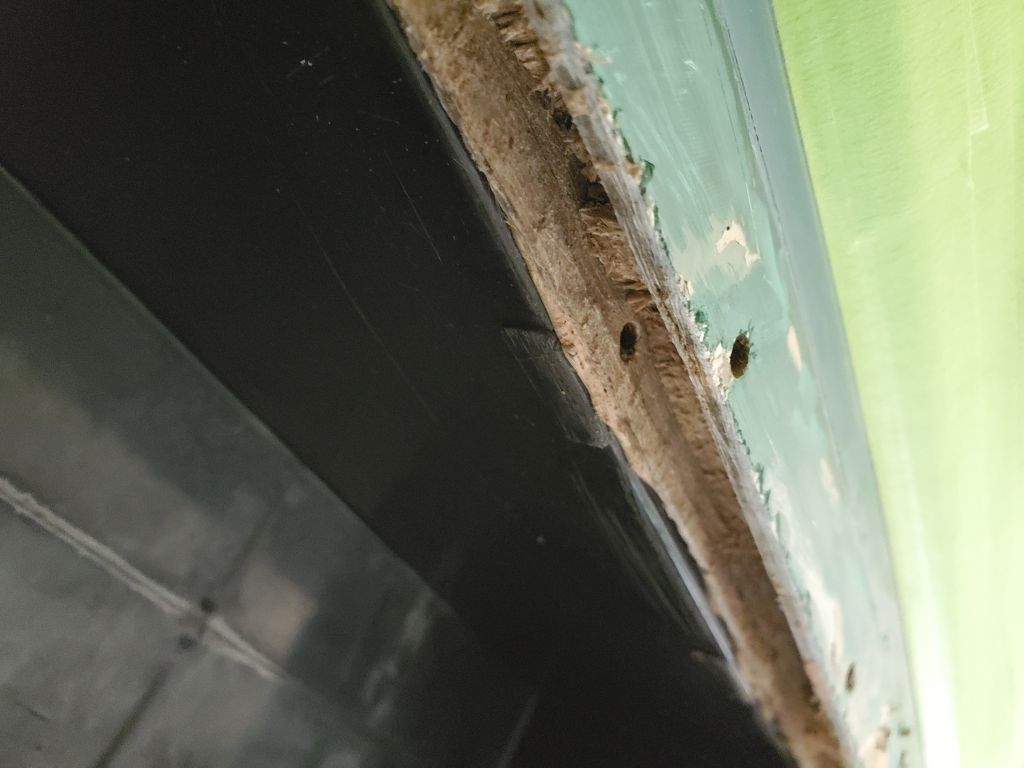
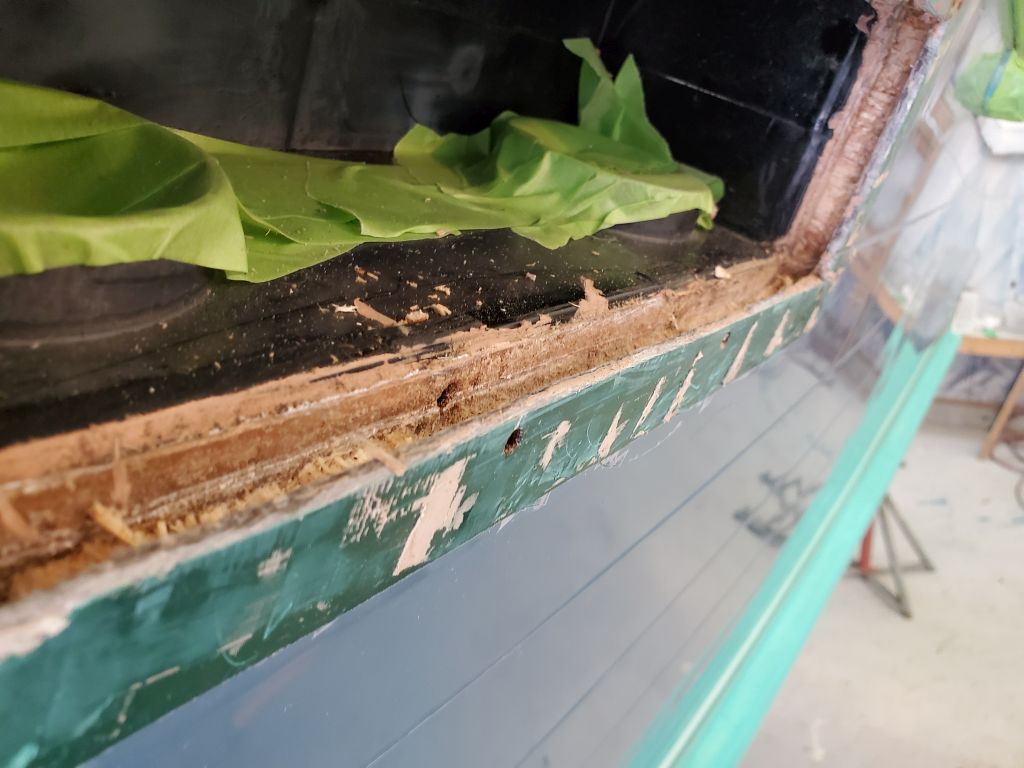
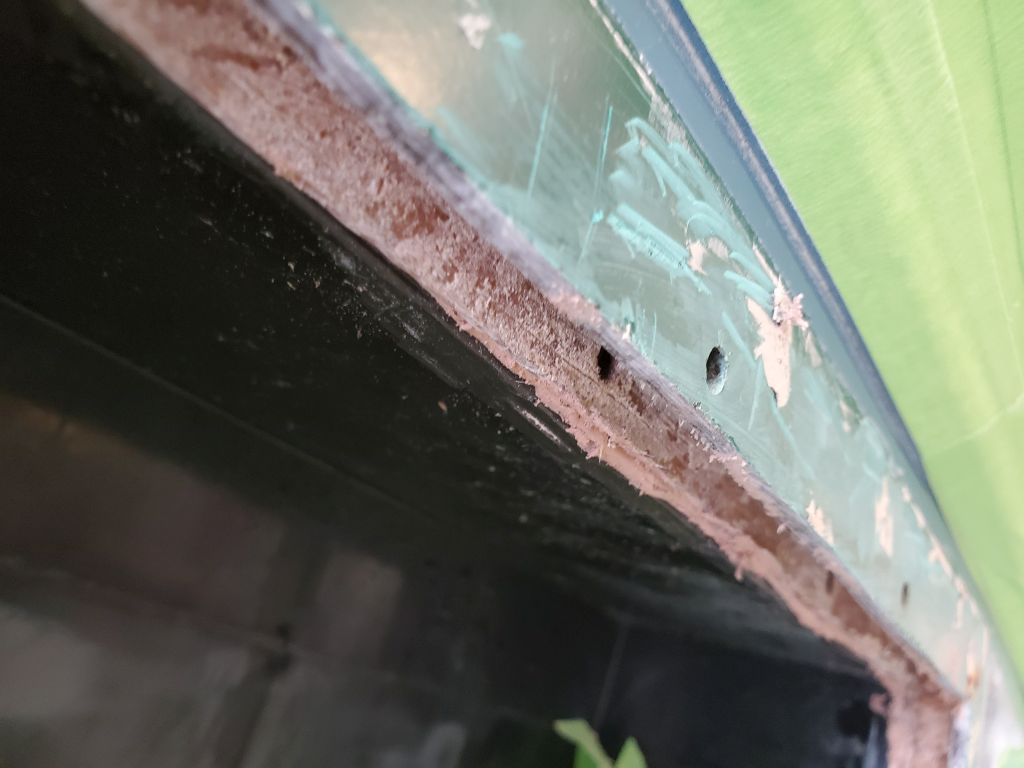
At the waterline, I used a more aggressive tool to remove most of the boottop paint–several layers of one-part white over a red layer of undetermined nature–and then finished up with the palm sander.  Now I discovered the lower scribe mark, which had simply been filled with paint and not immediately visible.  This meant my reference marks were mostly erroneous.

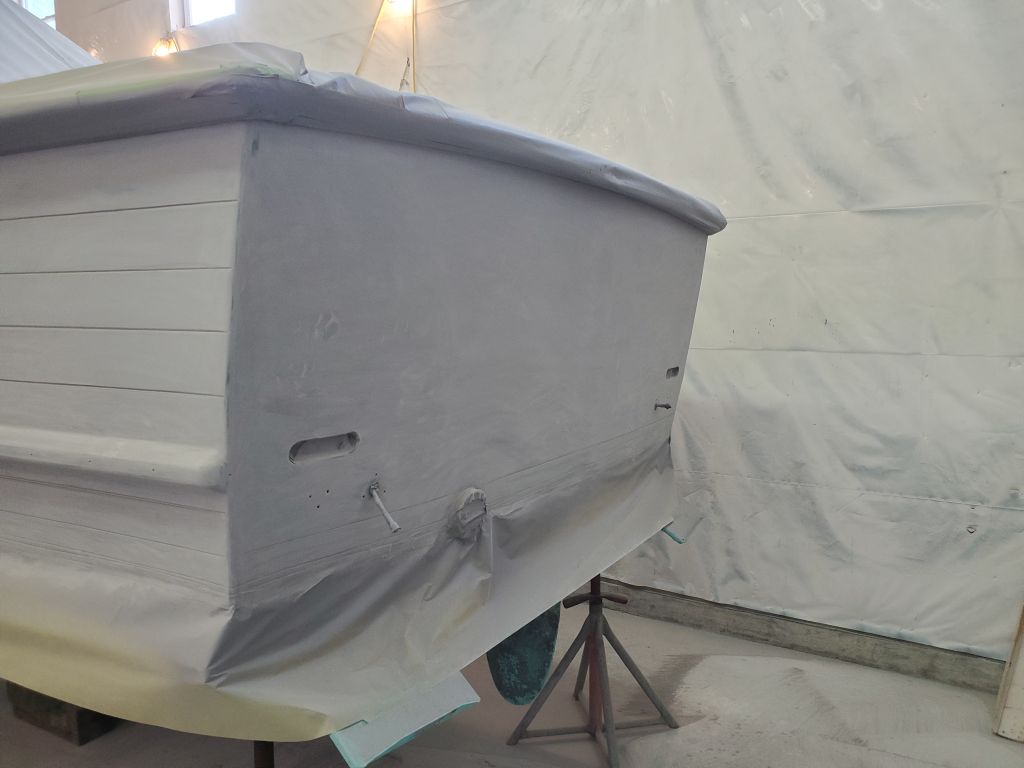
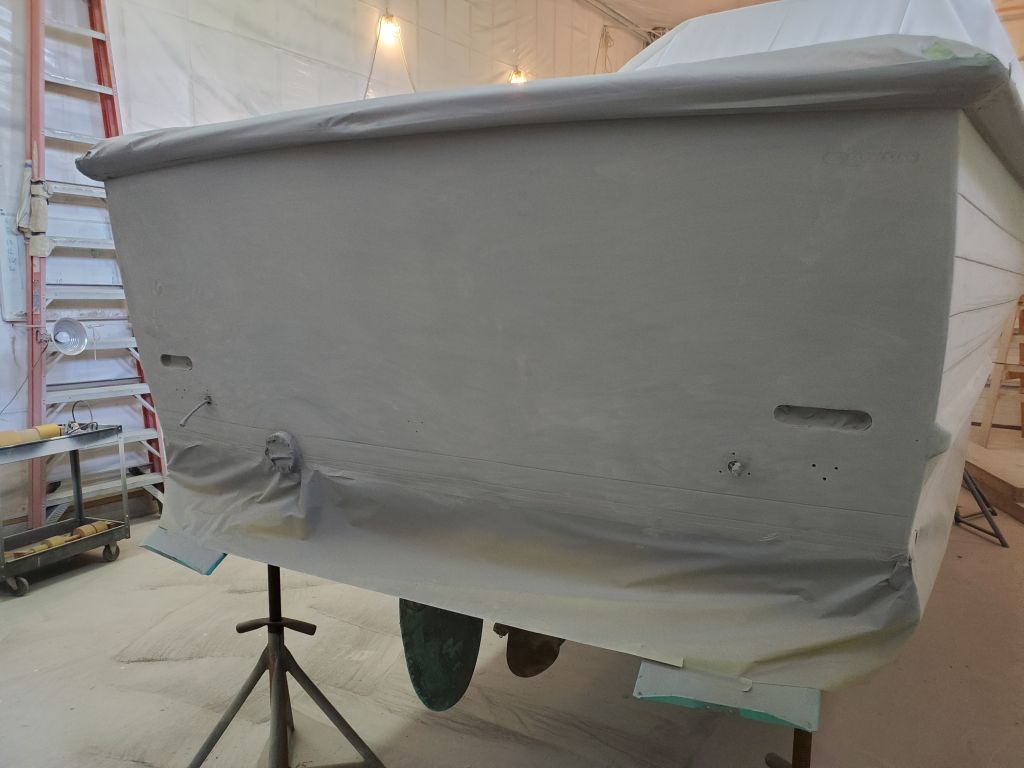
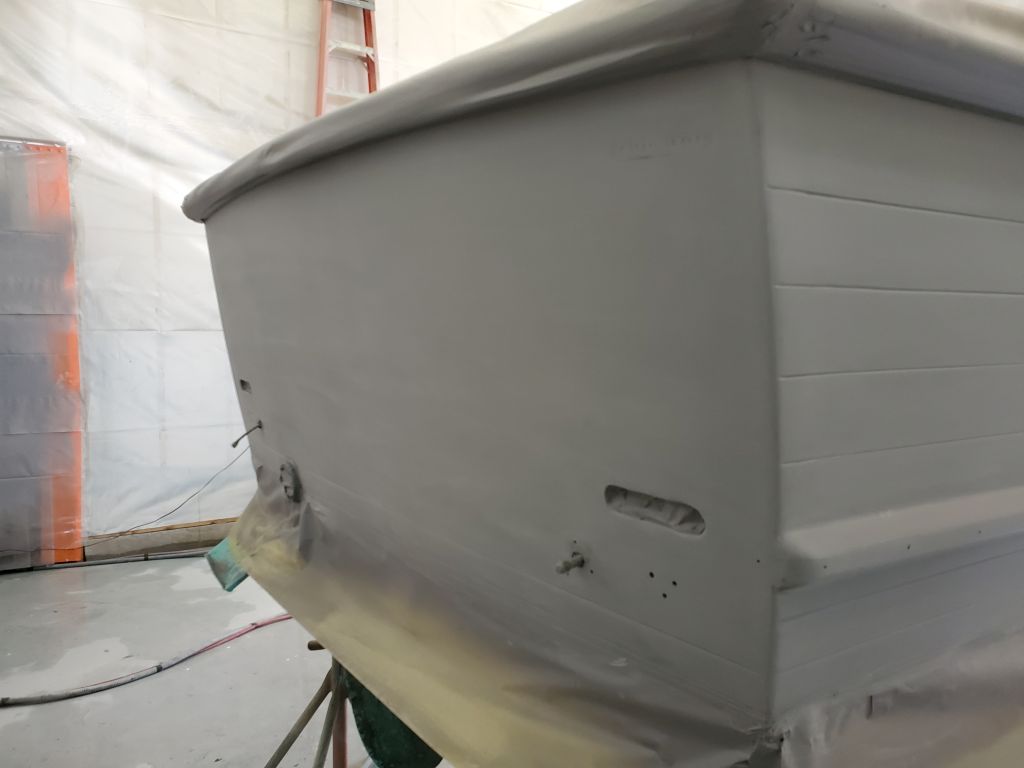
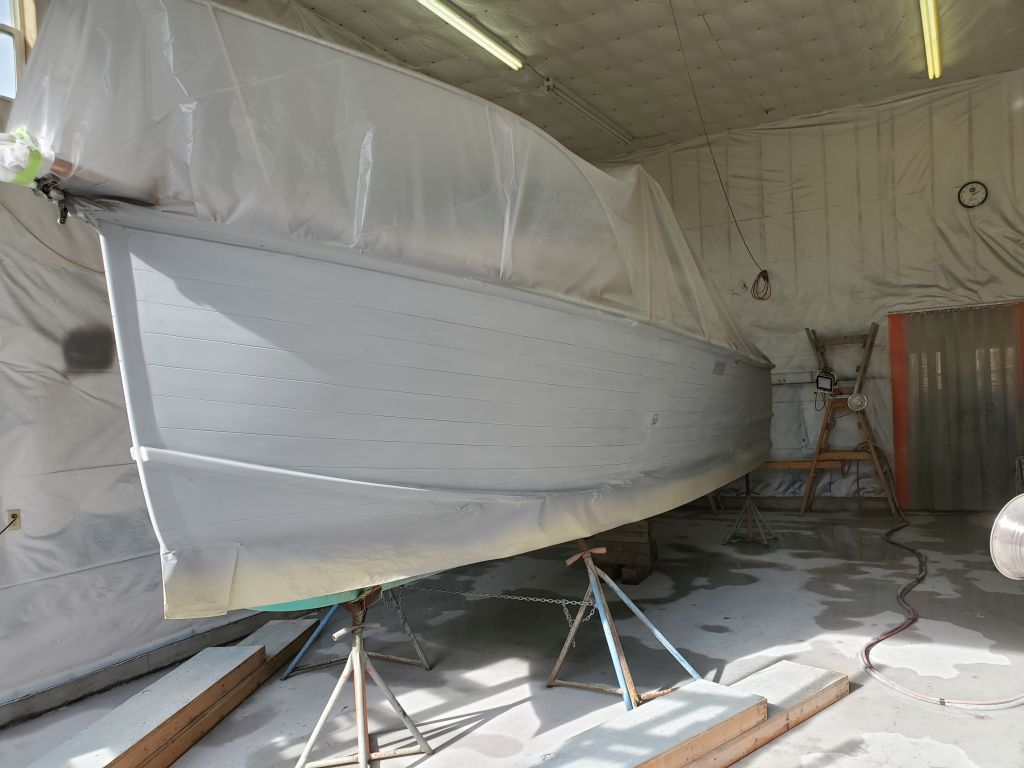
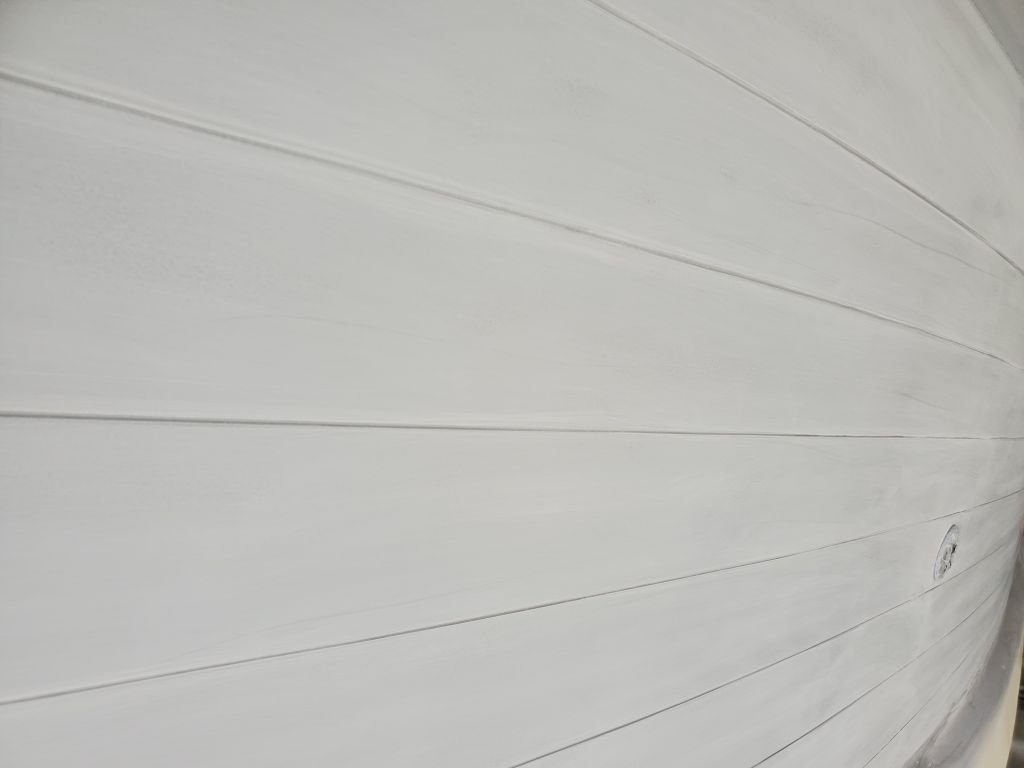
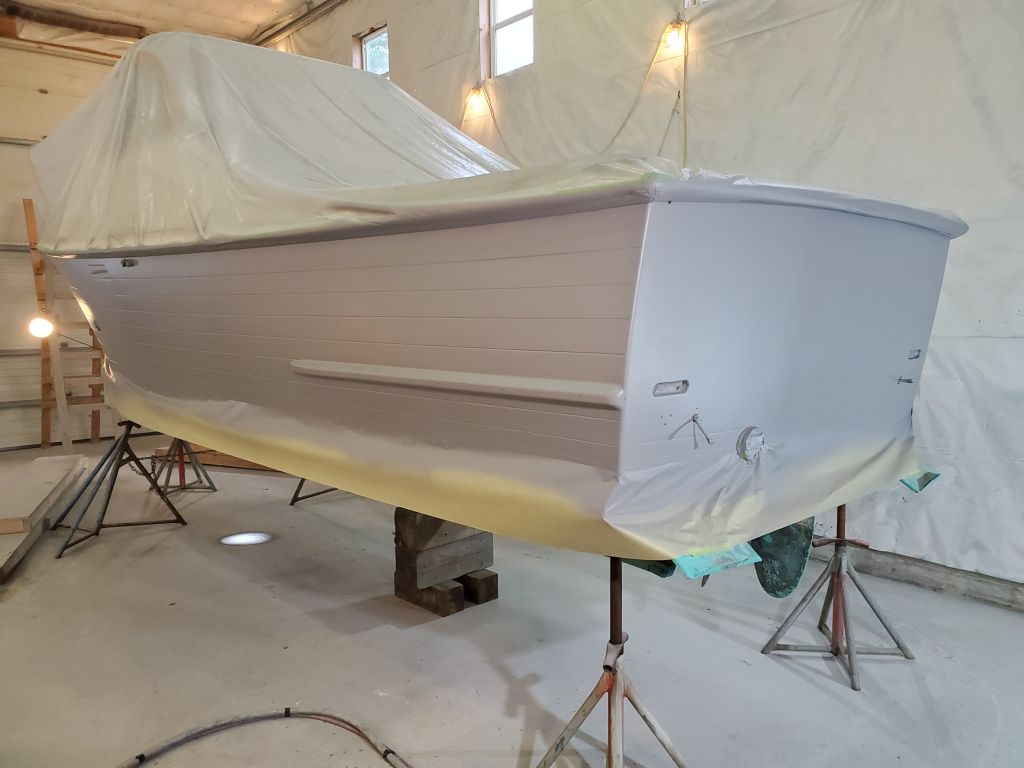
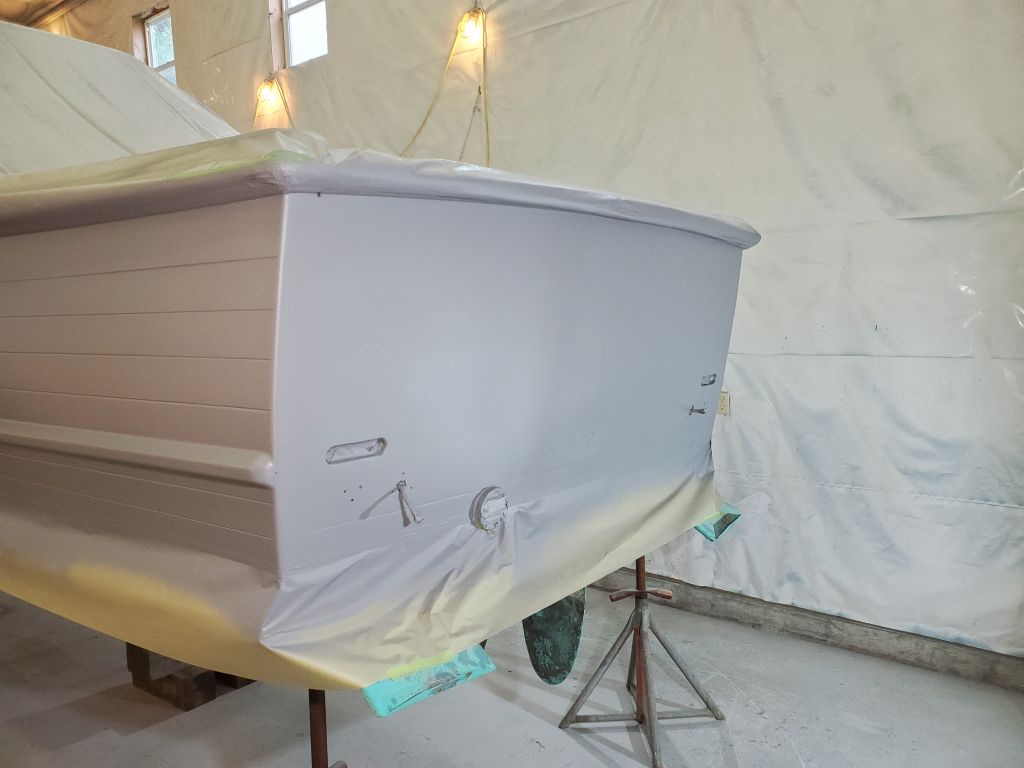
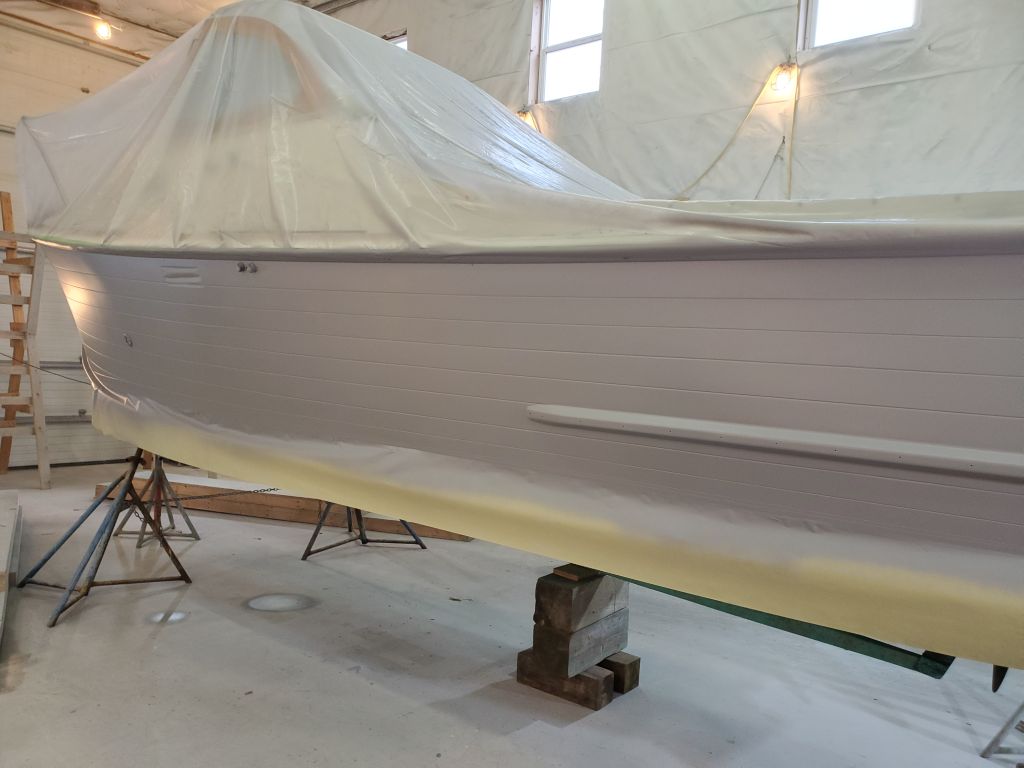
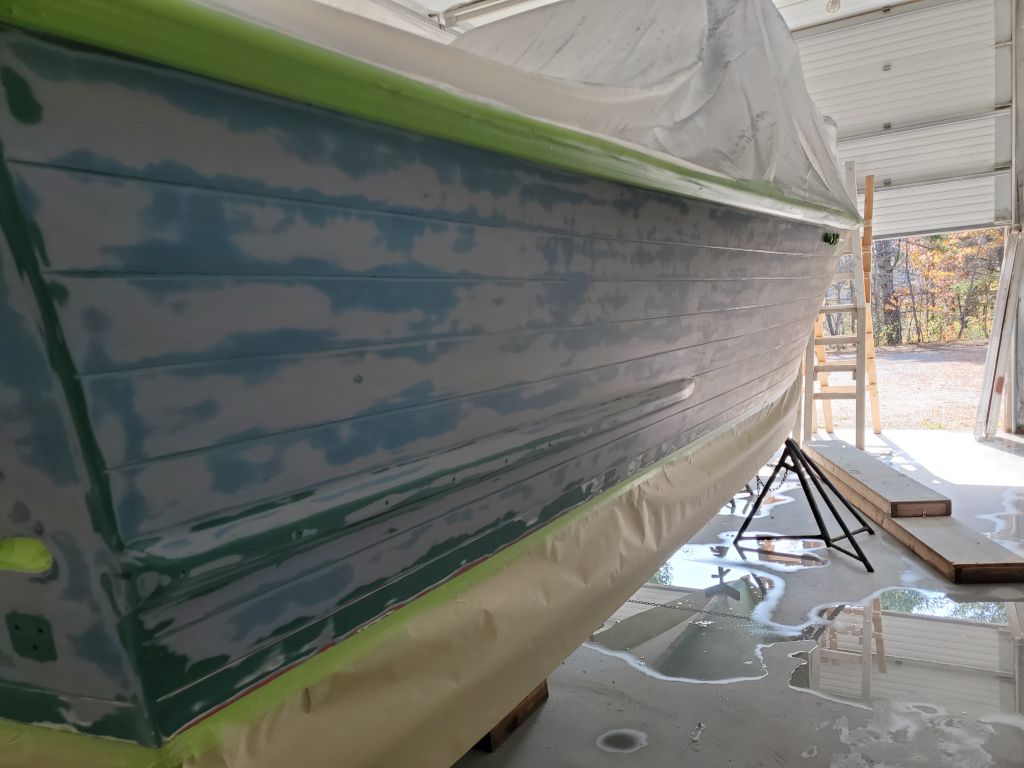
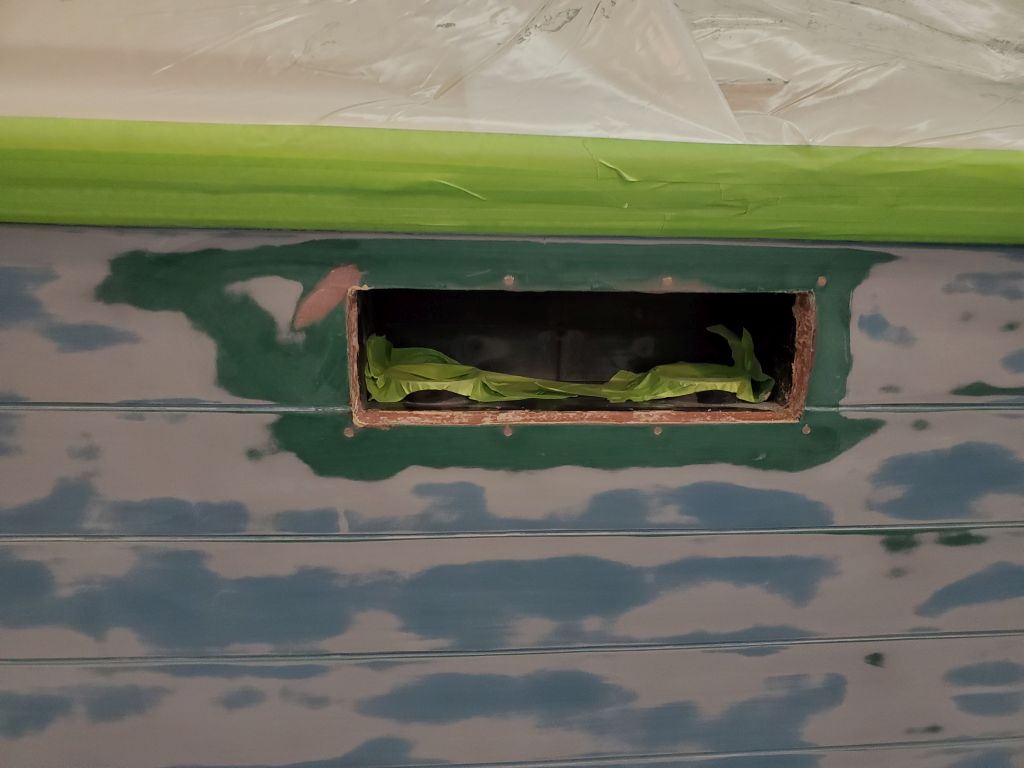
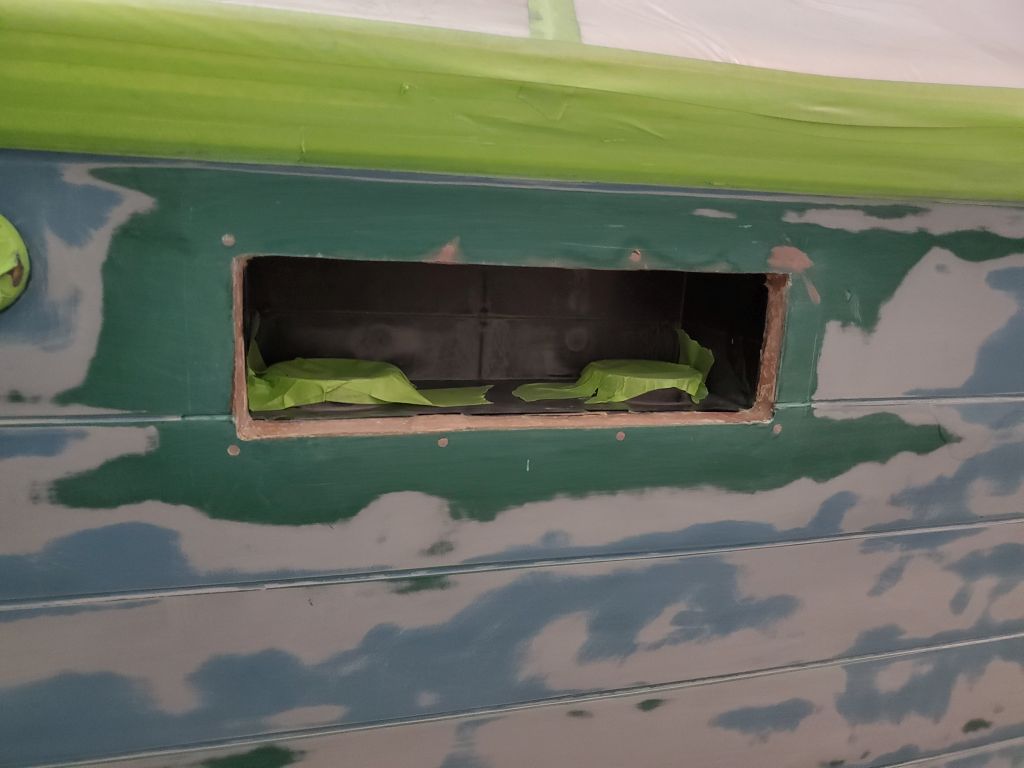
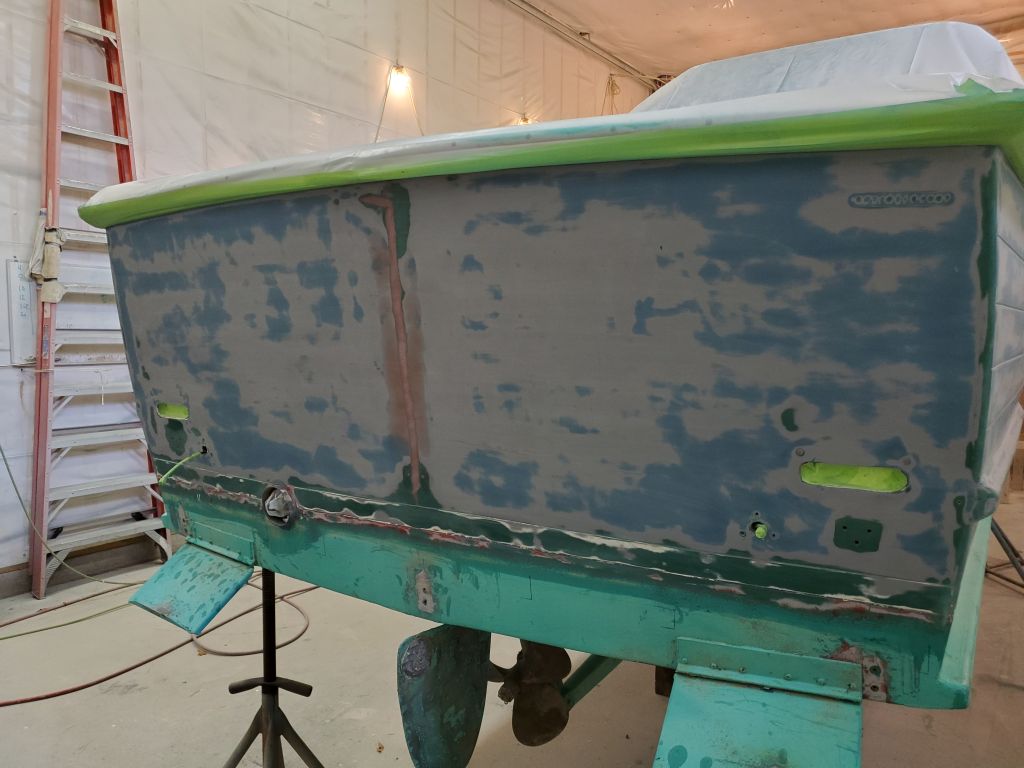
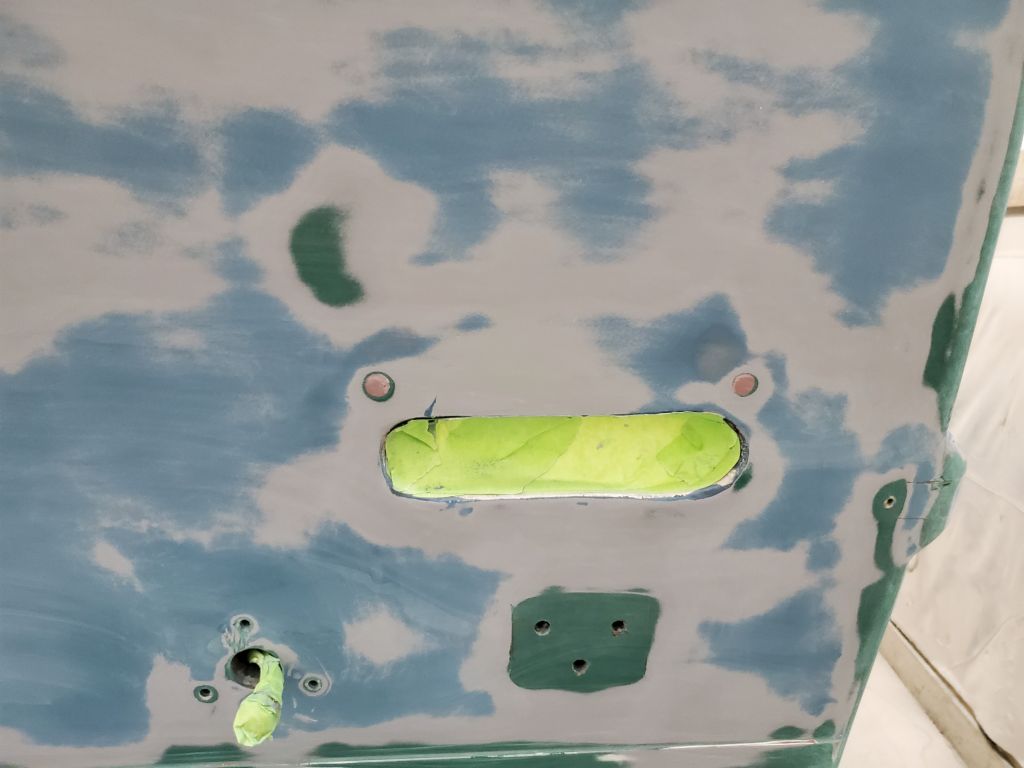
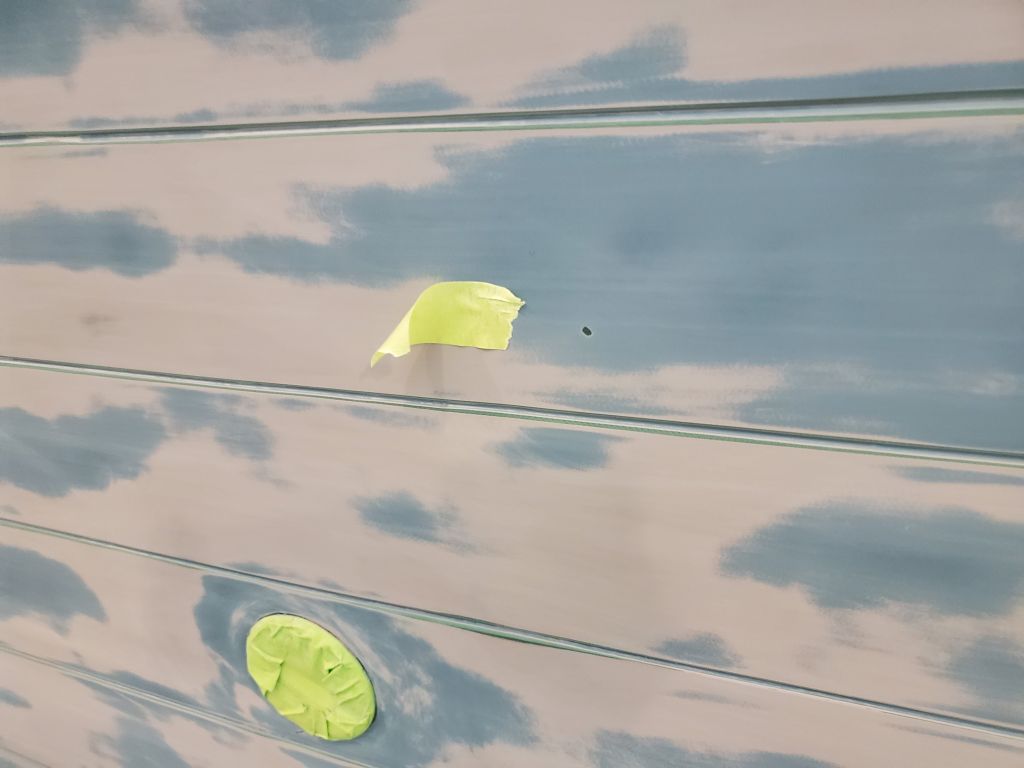
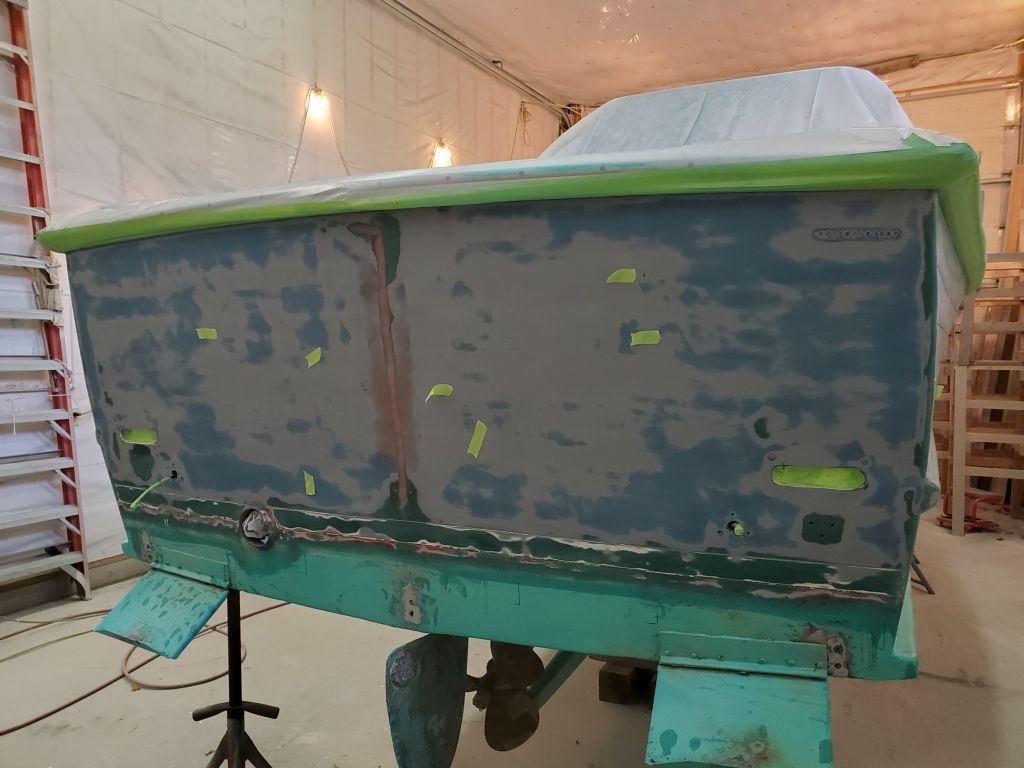
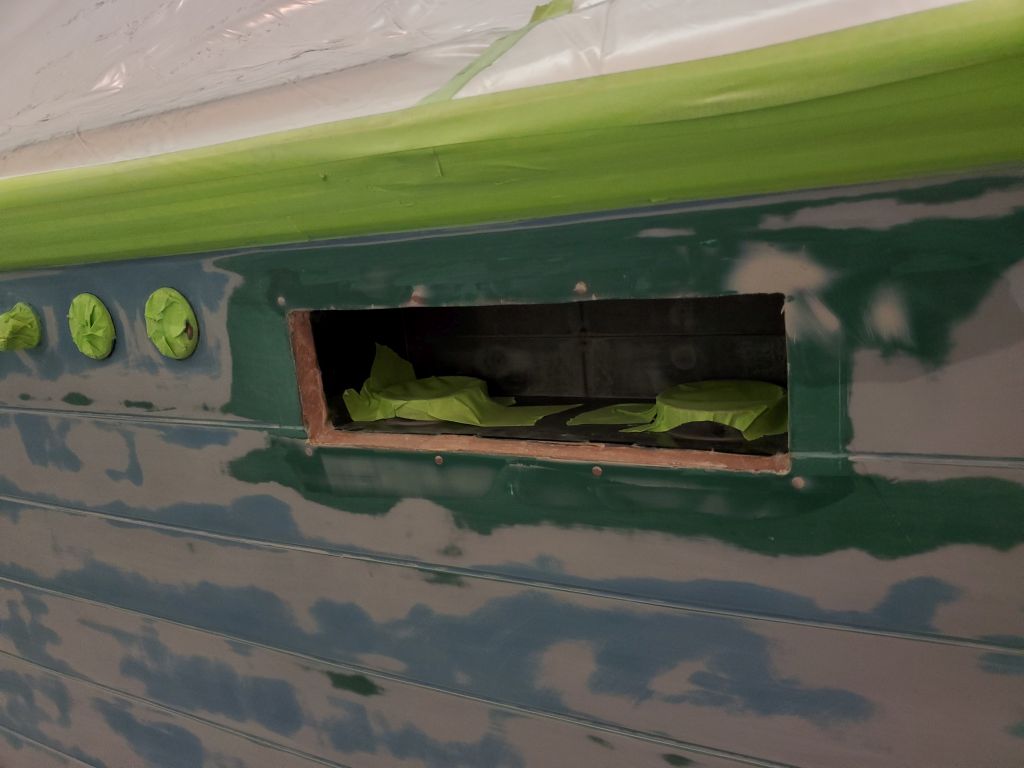
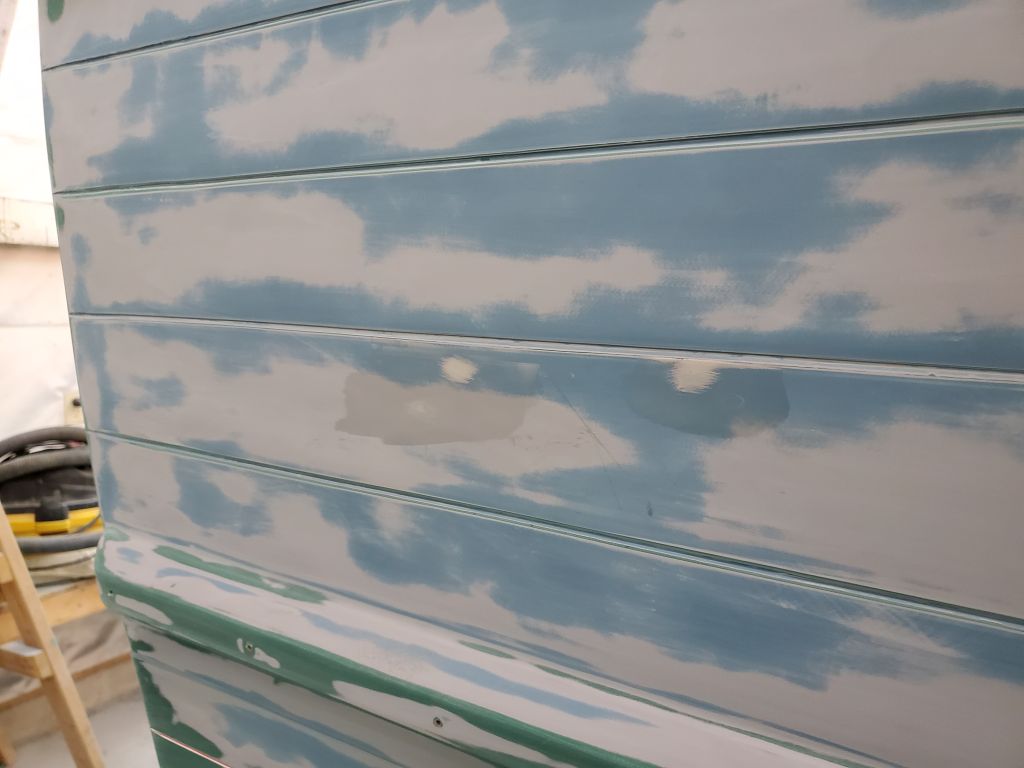
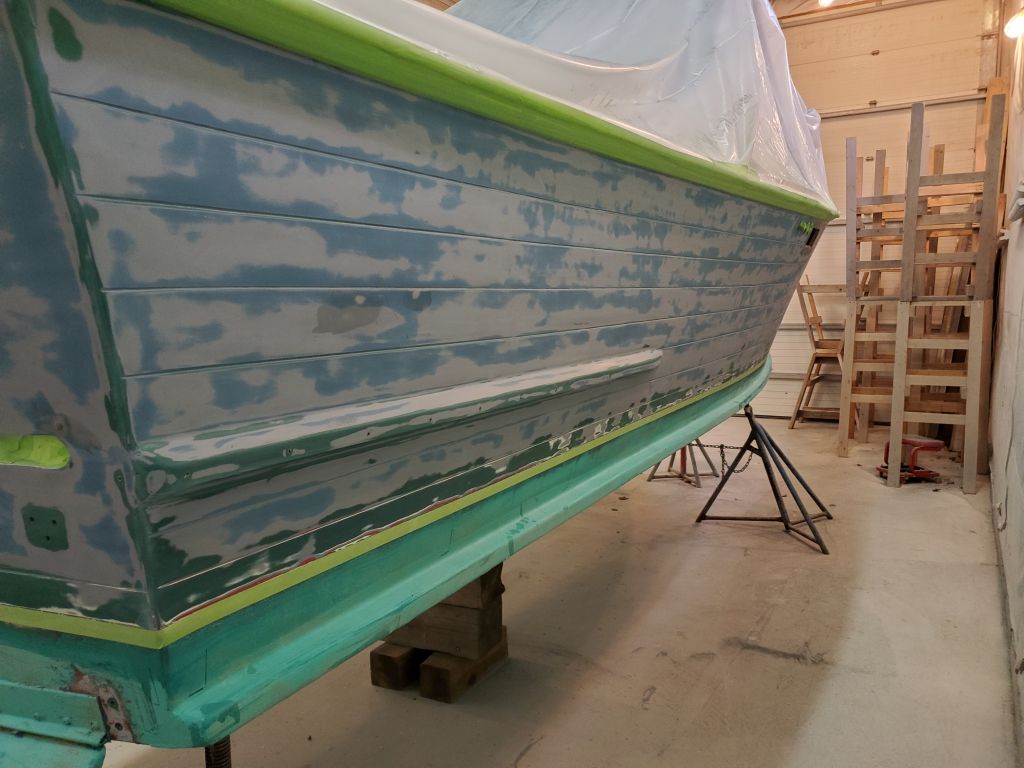
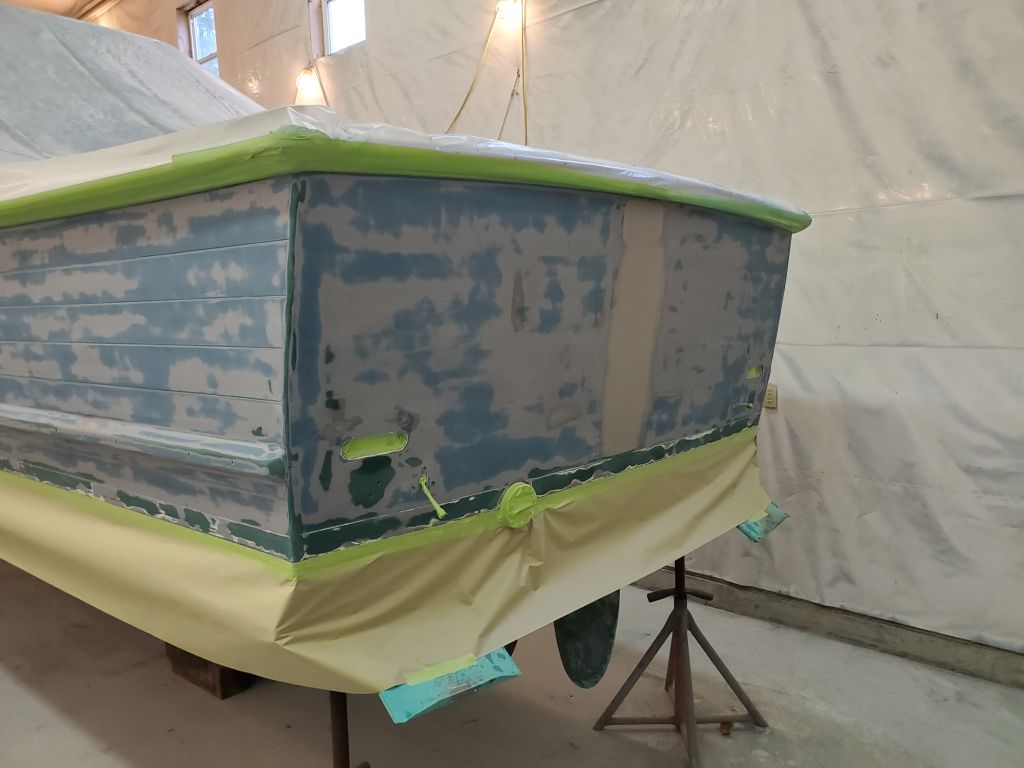
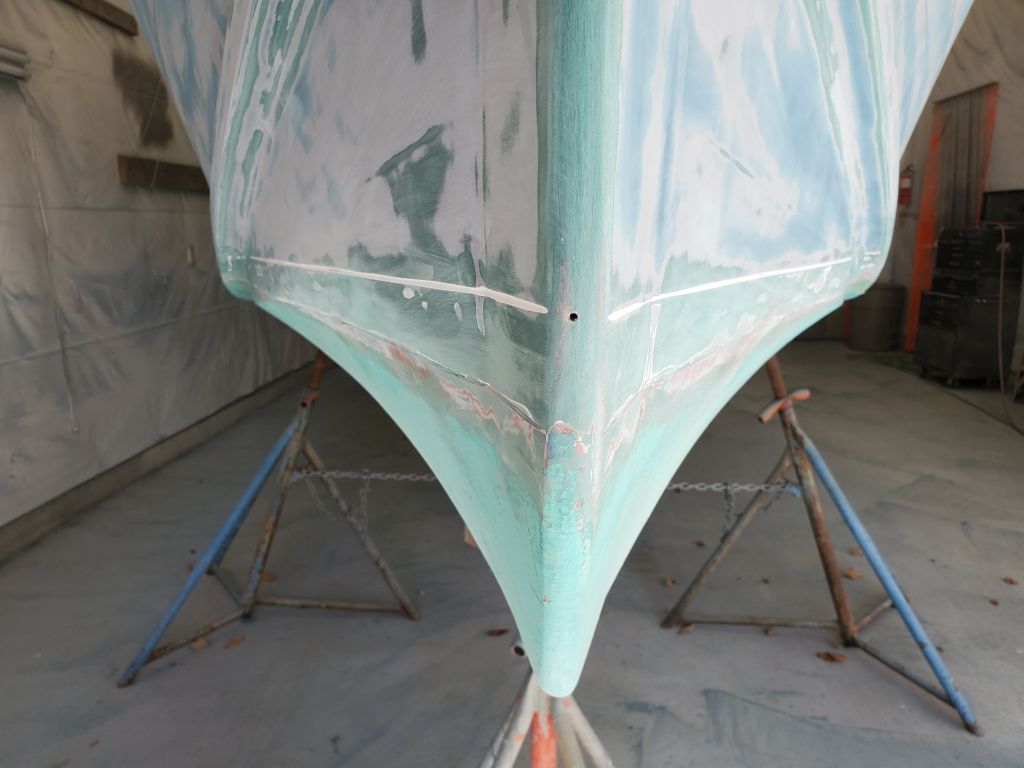
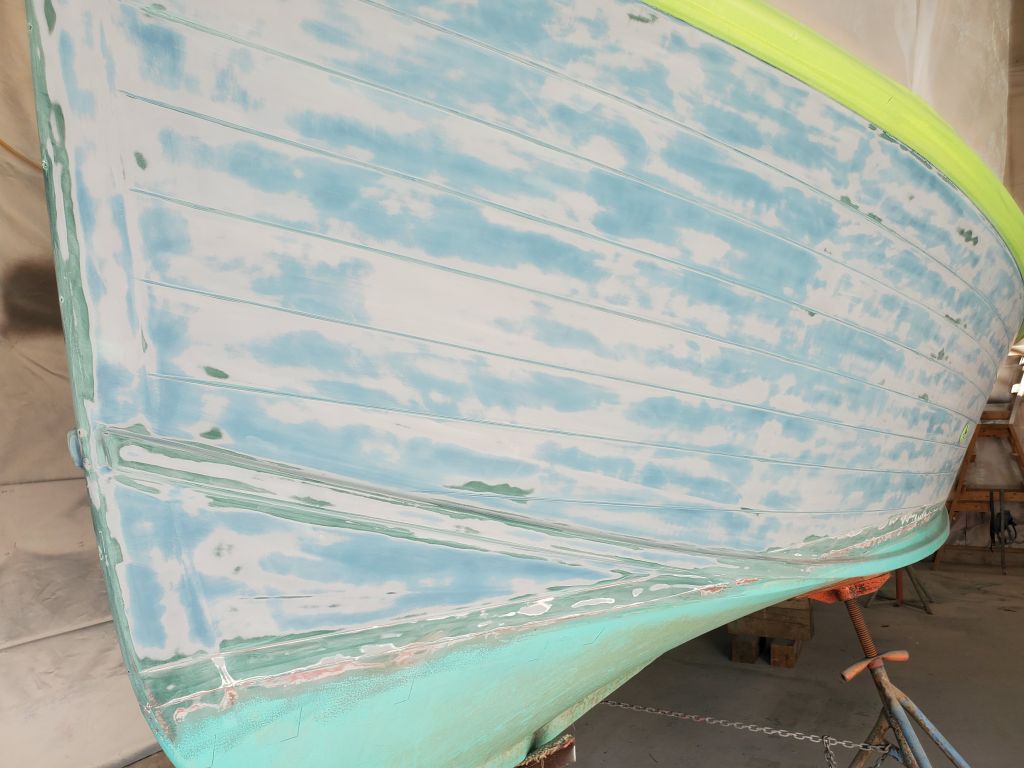
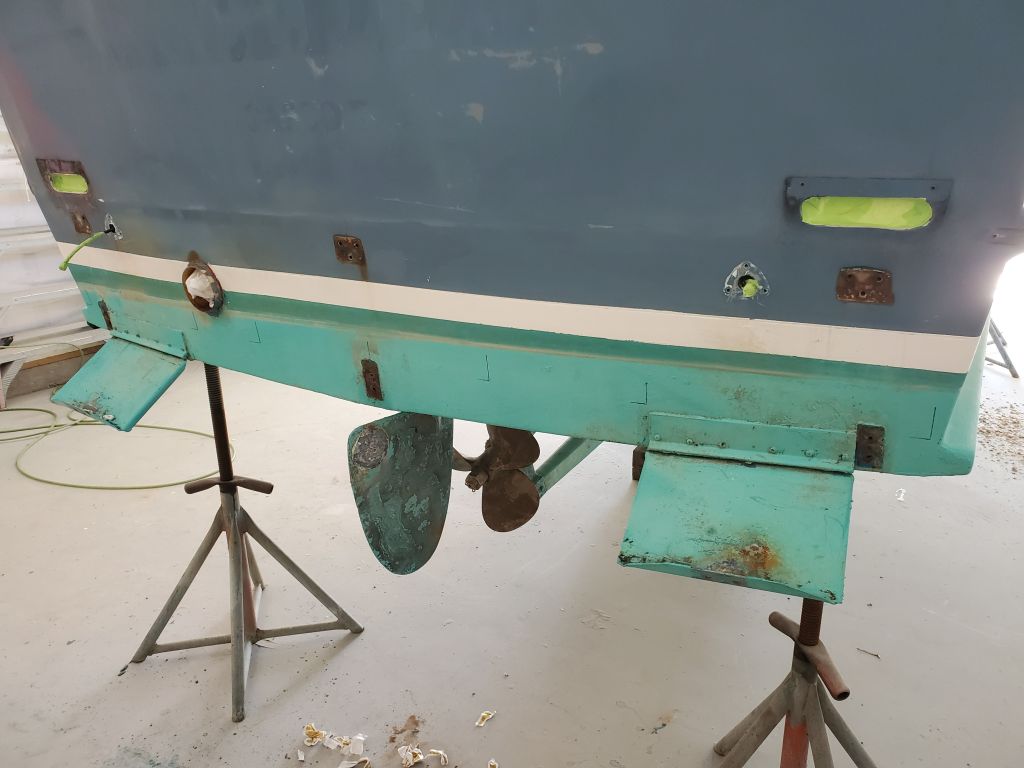
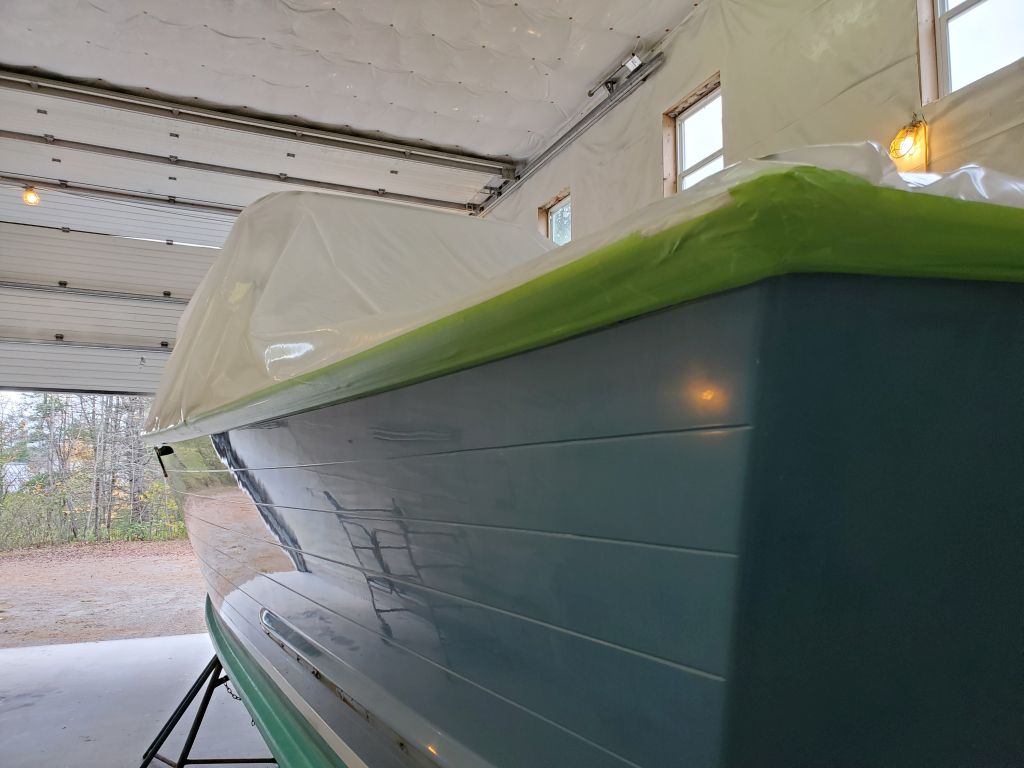
During the course of the afternoon session, I sanded the entire starboard side and transom in this manner.  By about halfway down the hull, I’d discovered that the palm sander, held at an angle in the simulated plank lines, would do a fair job of deglossing the paint in those tight recesses, which I’d been struggling with by hand up till then.  Next time, I’d finish up the initial sanding on the port side, and later rounds of sanding with finer paper would complete the job.  Repairs and other prep work promised to be  minimal thanks to the good condition of the hull.

Total time billed on this job today:   5 hours

0600 Weather Observation:  55°, overcast.  Forecast for the day:  Overcast, chance of showers, 66°

Skeedeen Phase 6-9

Tuesday

The engine room paint looked good after curing overnight, and I removed the masking tape.  For now, I’d await reinstalling the wire/hose bundles and other things till later in the process, as the fresh paint wasn’t ready for new work just yet and it was time I move on to the exterior hull work.

Removing anything that mattered from the deck areas, I prepared to mask off the decks against the hull preparations and painting work to come, and spent the bulk of the day draping plastic and masking it securely to the rubrails.  I masked off various vents and through hulls that I wouldn’t be removing, and masked over the open vents in the hull to prevent dust from getting in; later I’d mask over the larger openings before painting.

After taking some measurements for future reference, I removed the old vinyl lettering from the transom.

At the engine vent openings in the hull, the exposed core in the original installation had been (fortunately well) sealed against moisture with lots of flexible sealant, which I now removed from the edges and in way of the vent openings.

To better seal the hull core for the future, I planned to omit the core and fill the opening with epoxy, so my first step was to ream out the core from about the openings on all sides, removing approximately 1/2″ core all around.  In these photos, I’d yet to clean out all the spoils and bits and pieces.  I’d continue working on these areas next time and going forward throughout the hull prep process.

Total time billed on this job today:  6 hours

0600 Weather Observation:  50°, overcast.  Forecast for the day:  Becoming party sunny,  64°

Older posts Newer posts