(page 4 of 4)

Skeedeen Phase 6-8

Monday

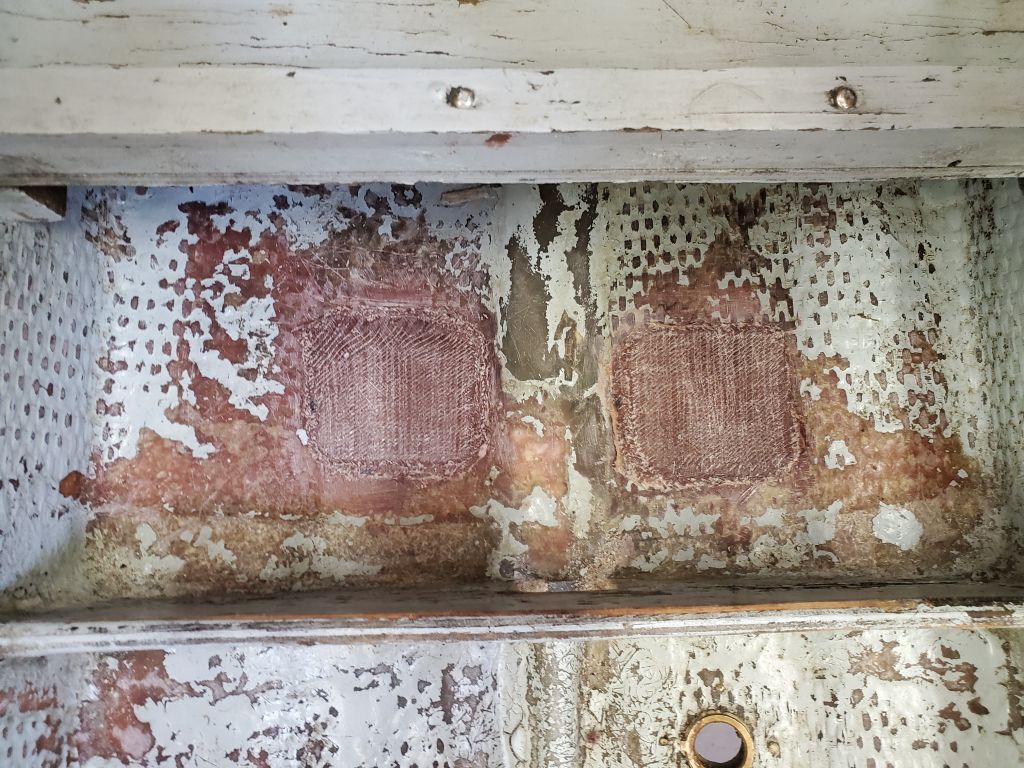
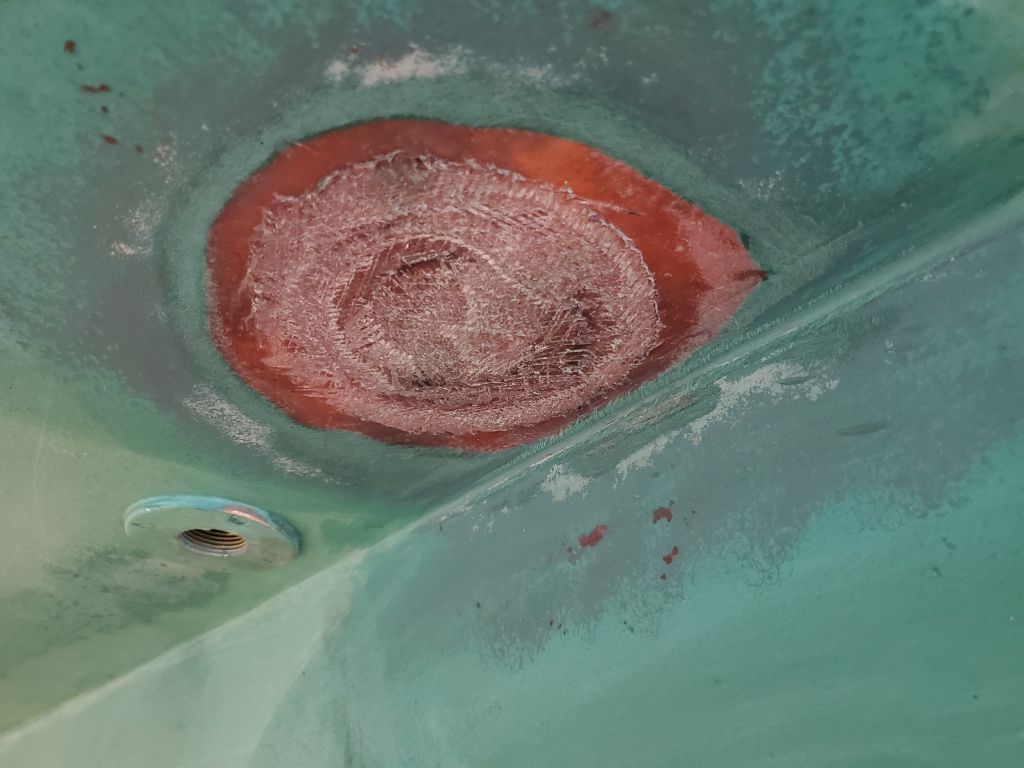
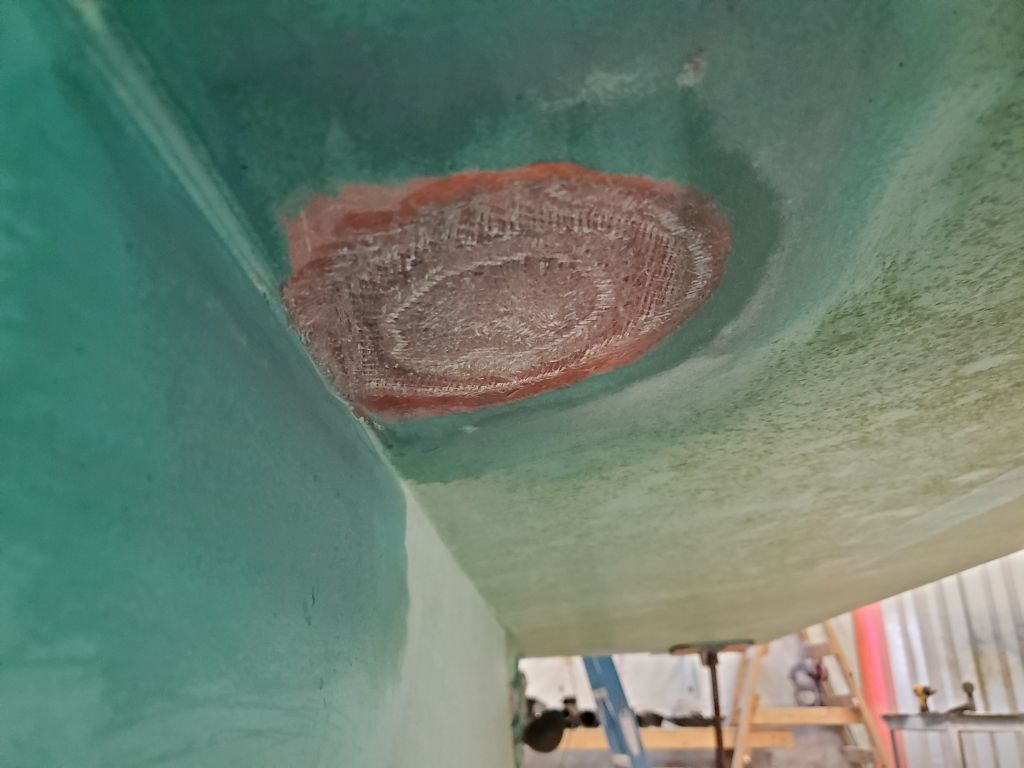
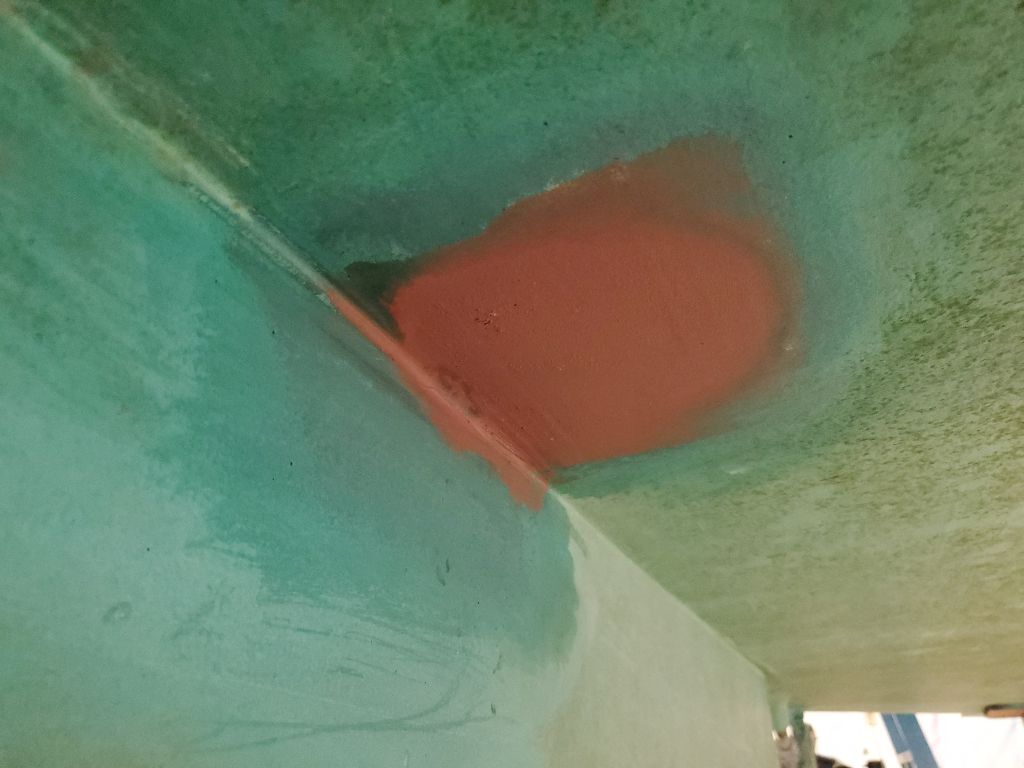
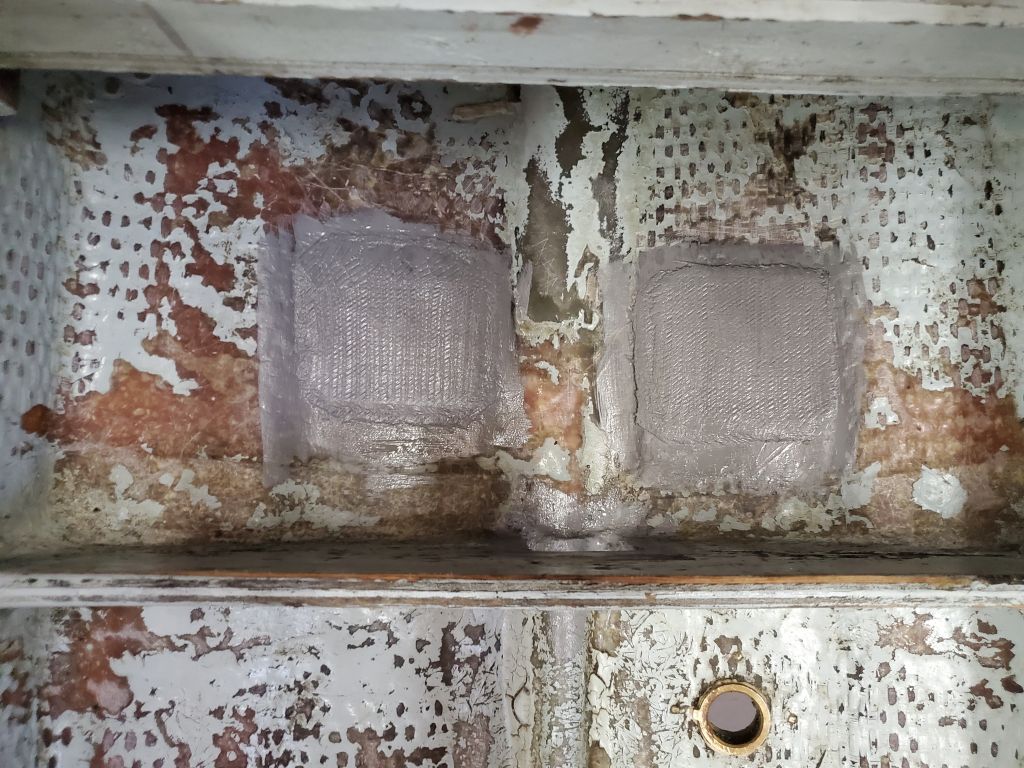
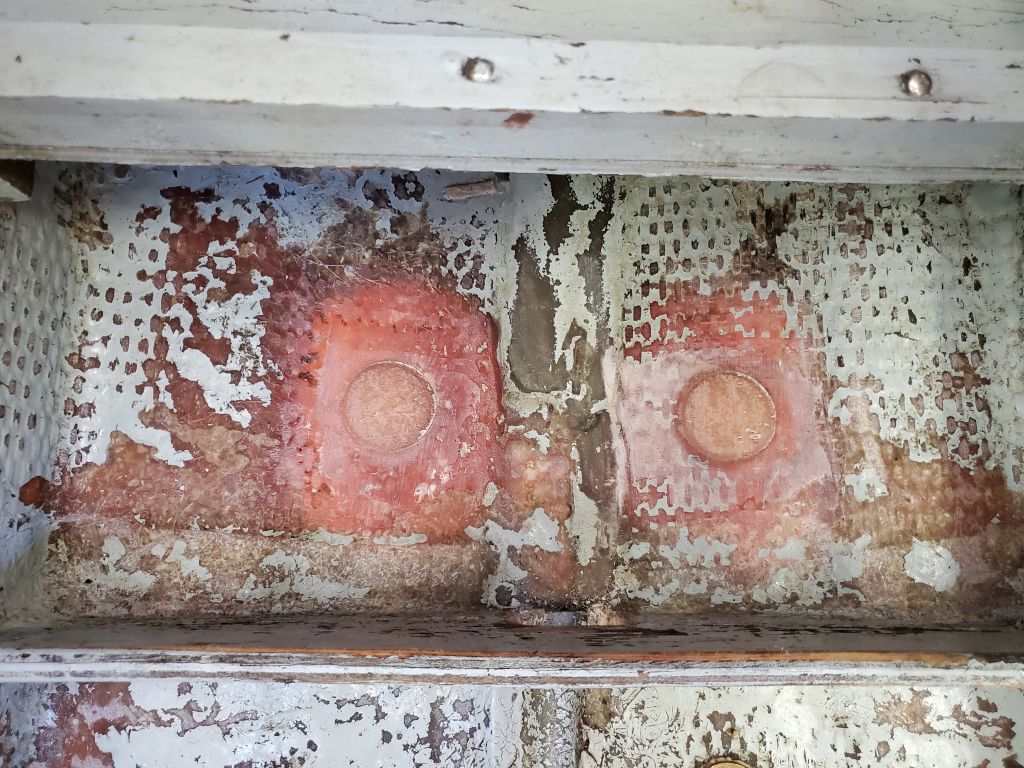
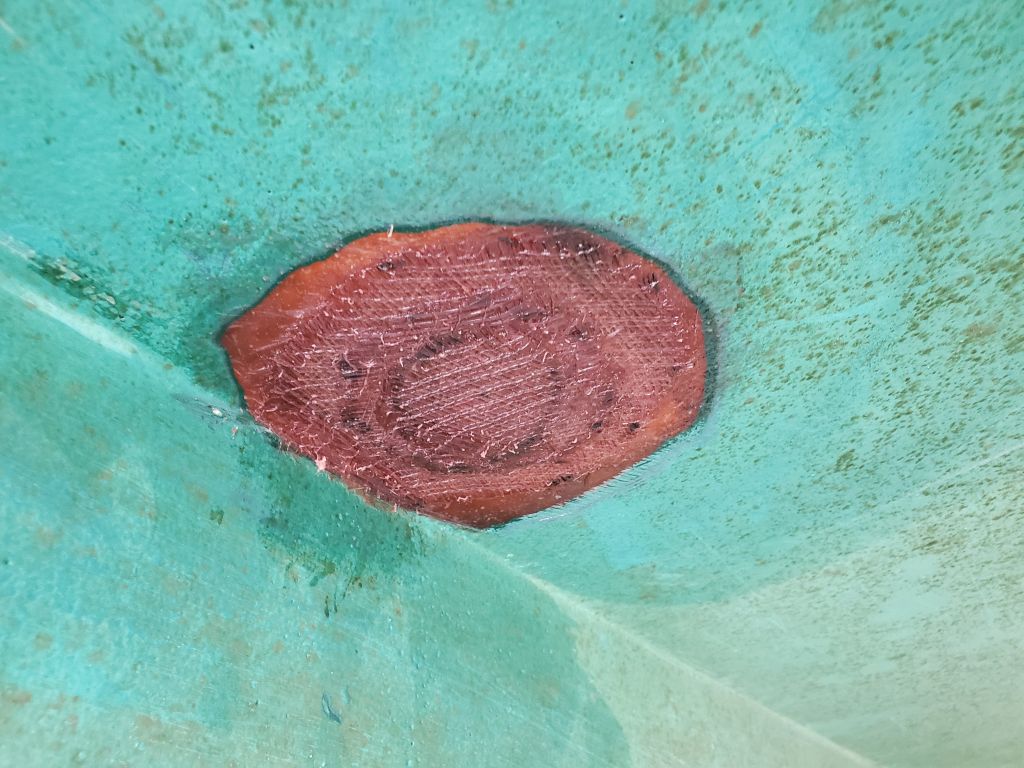
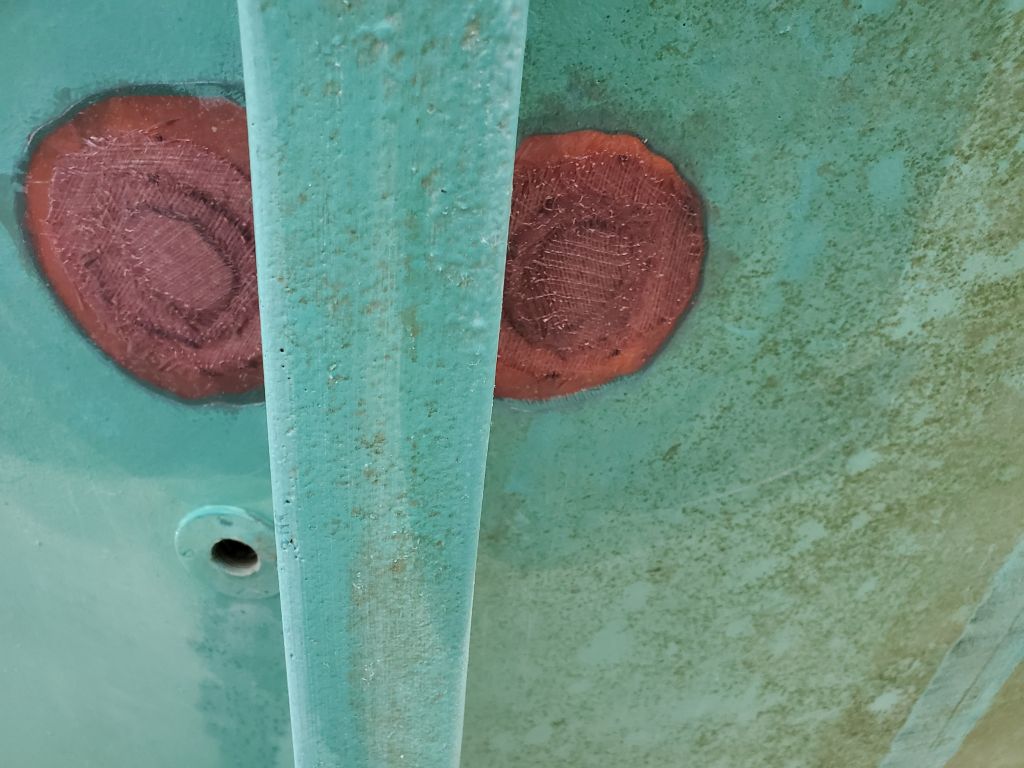
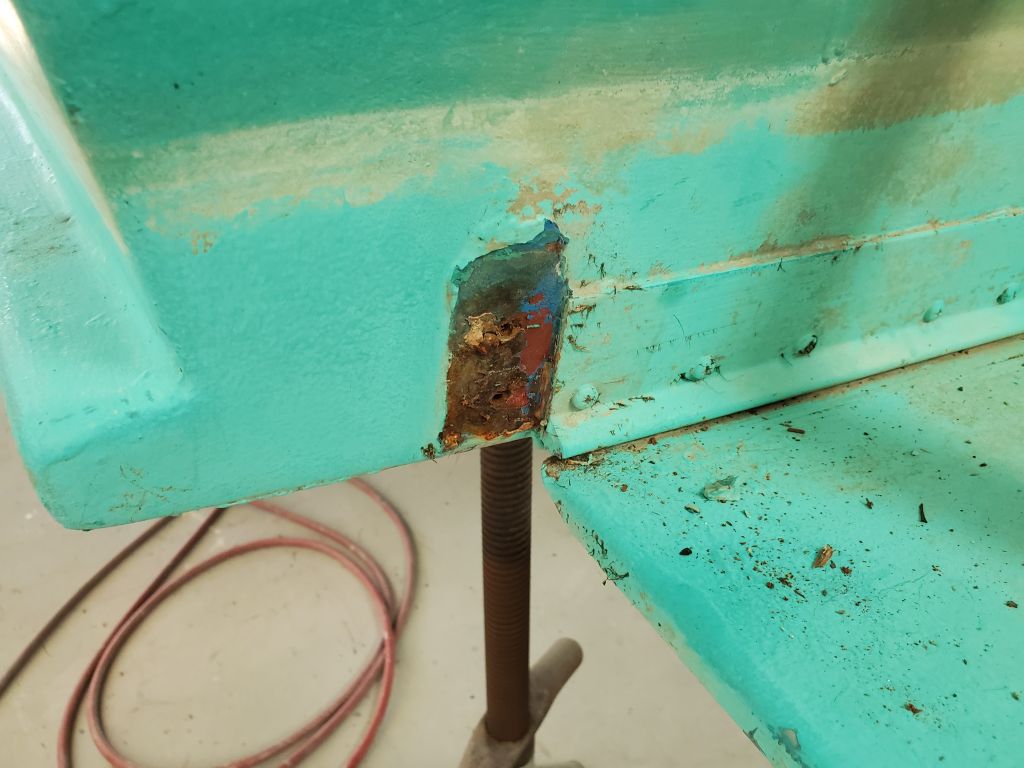
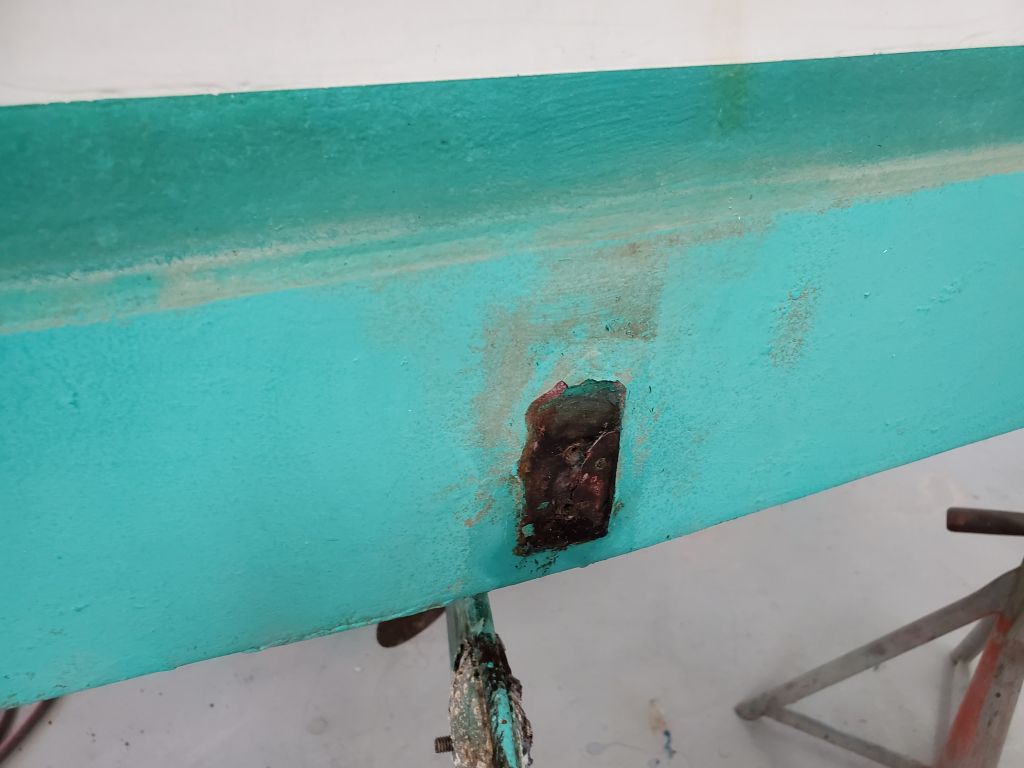
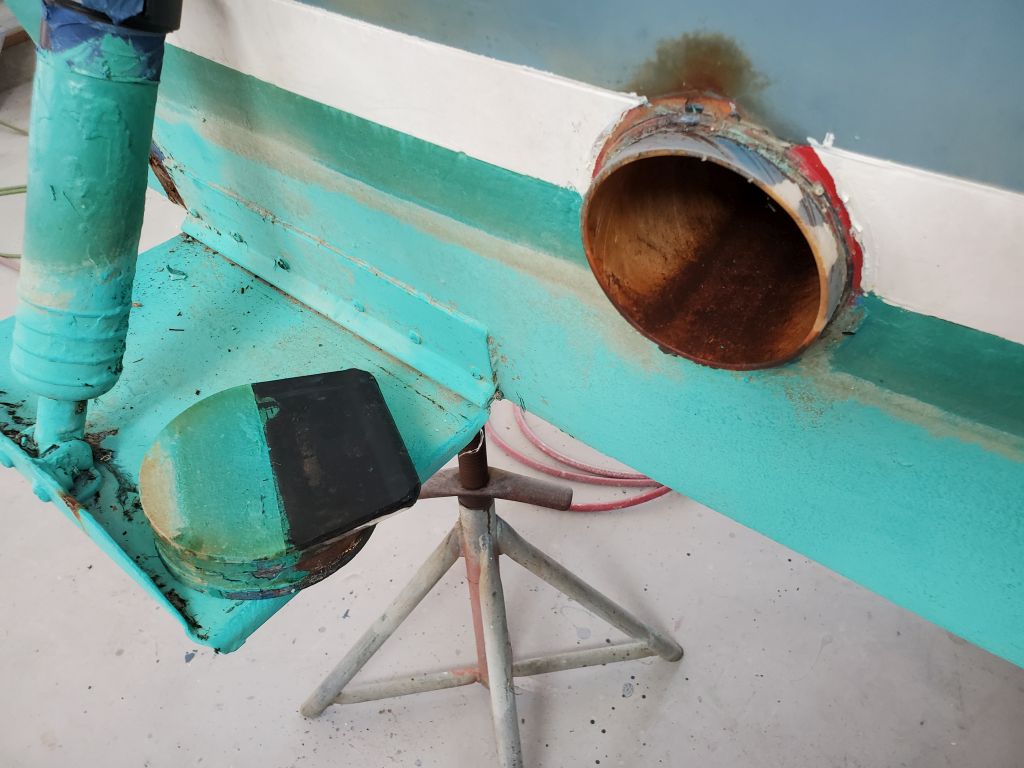
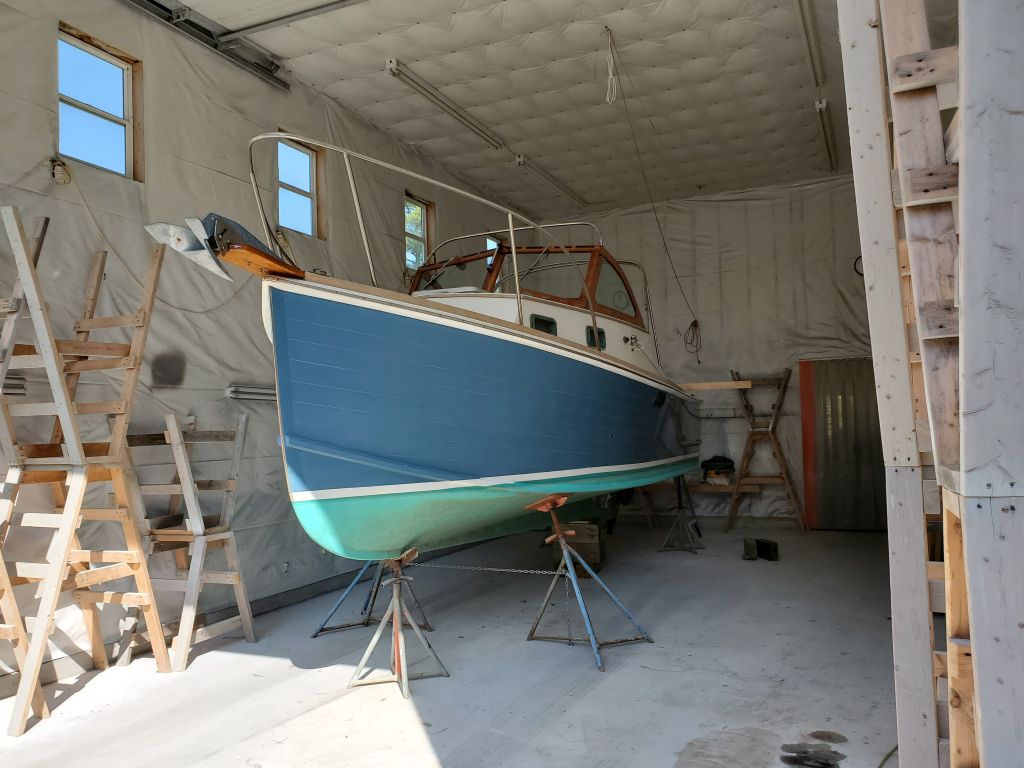
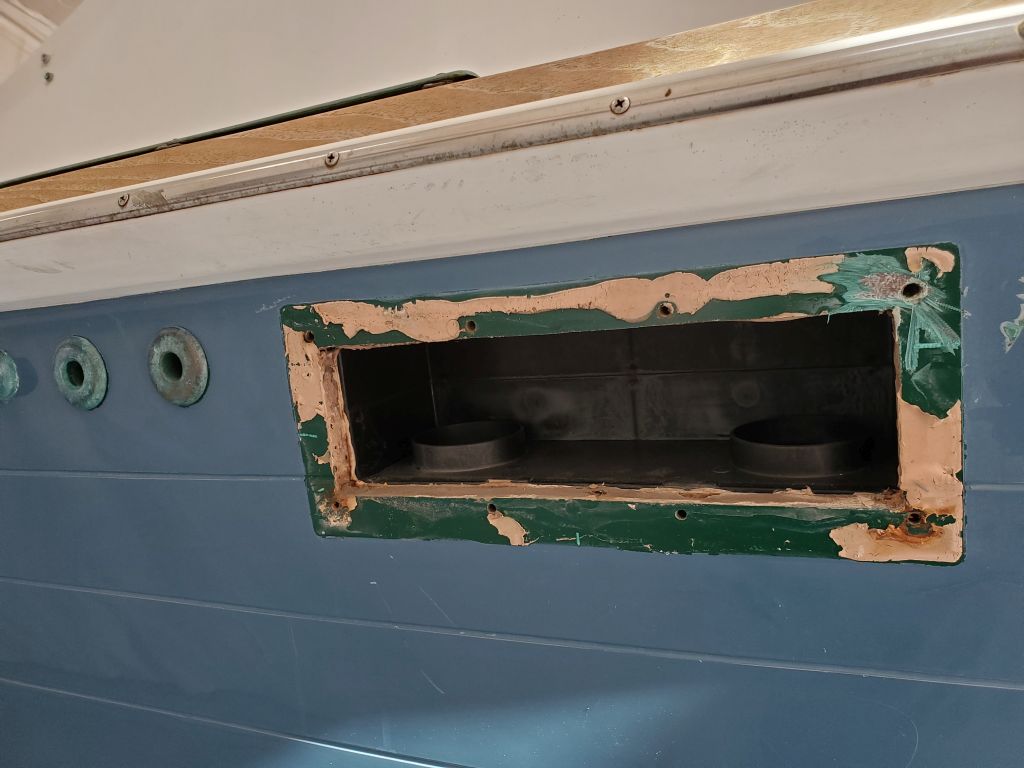
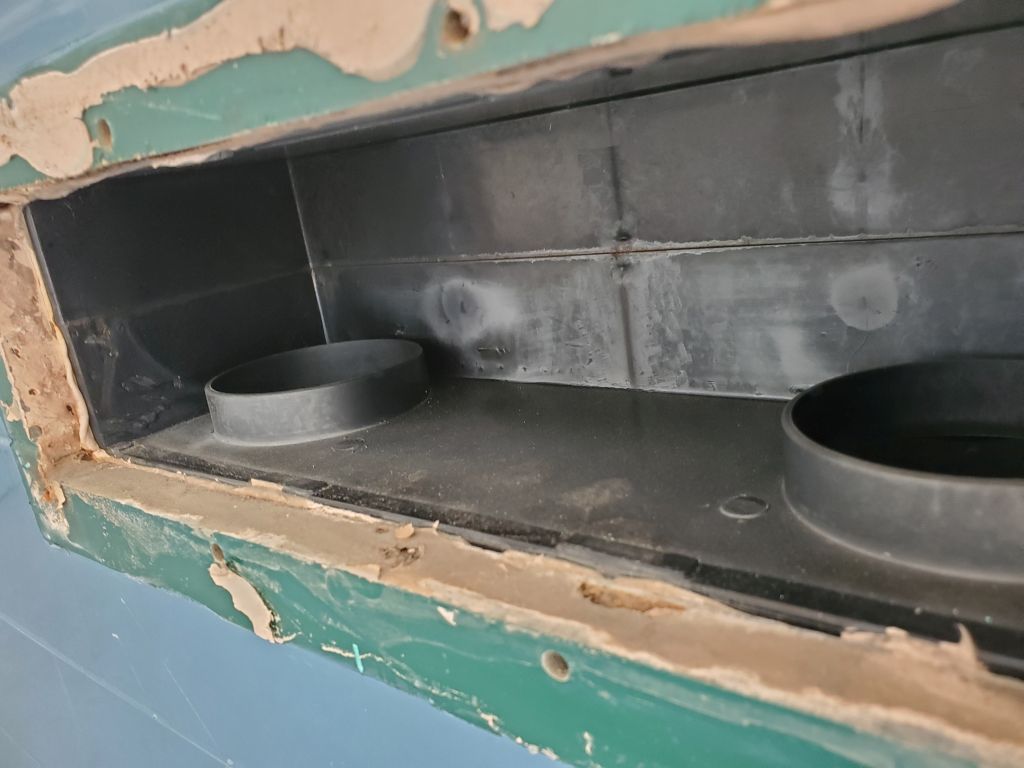
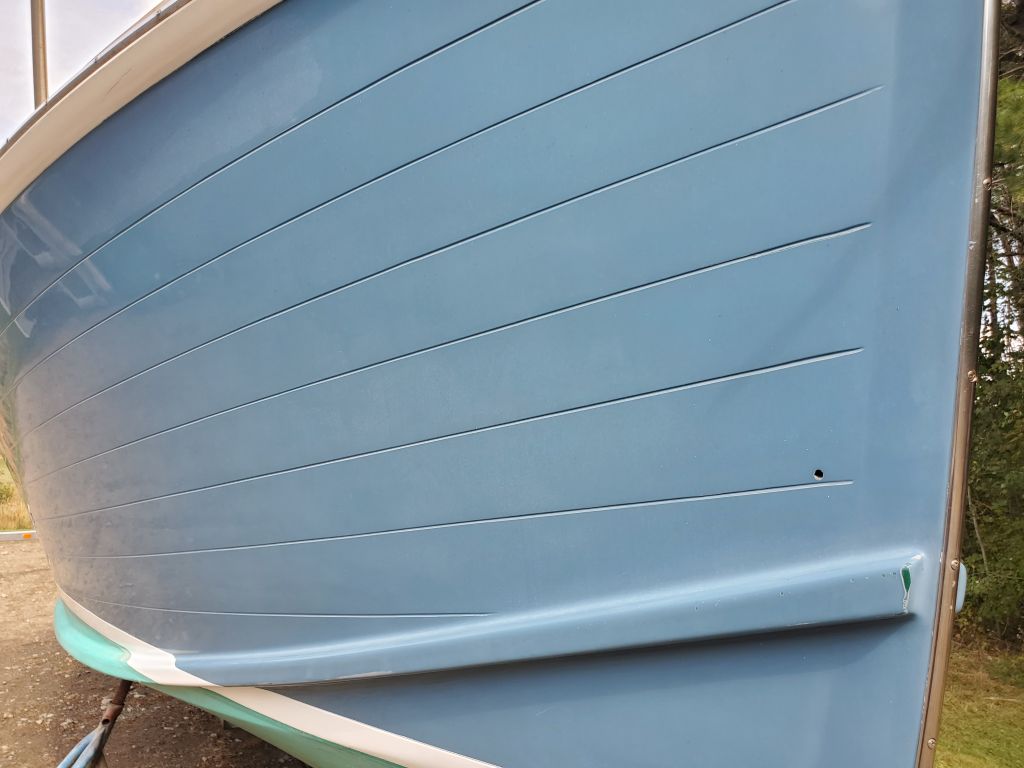
After a light sanding, I deemed the two through hull patches complete.  Sometime later I’d seal the fairing compound with some plain epoxy, but for now the work was done.

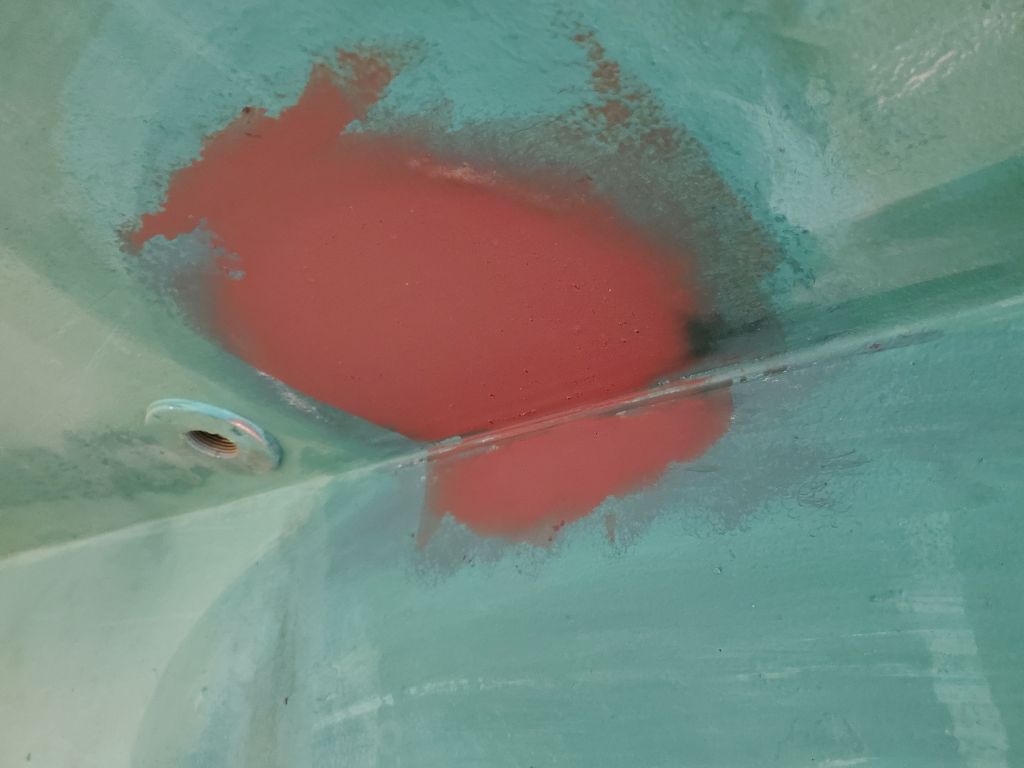
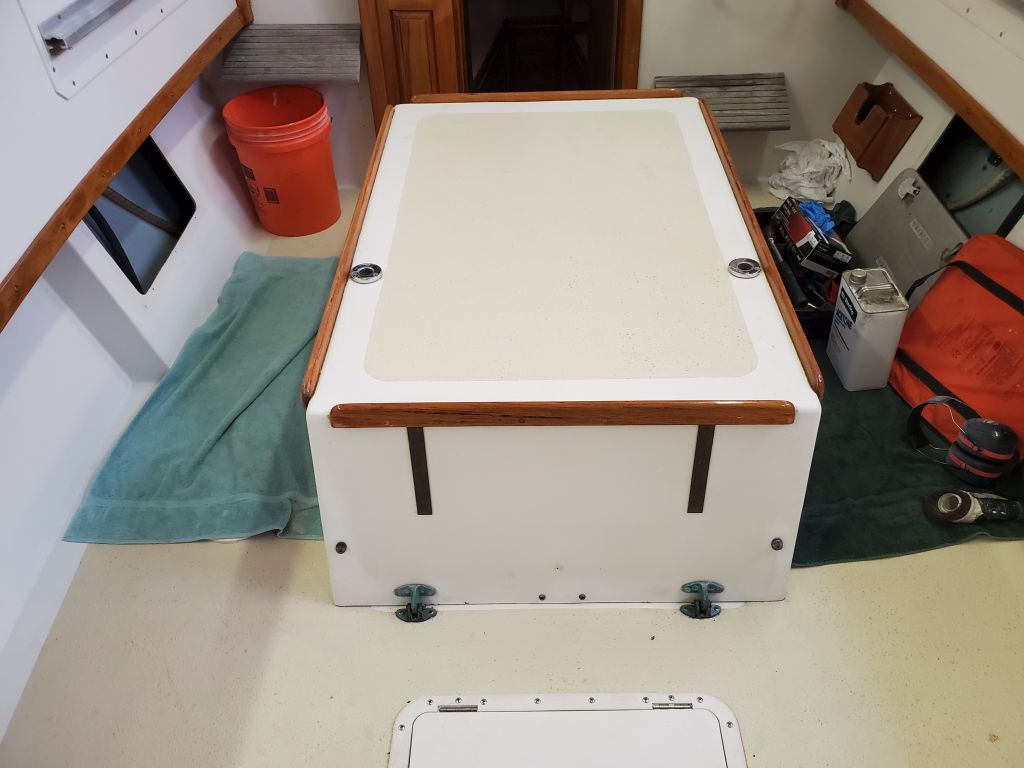
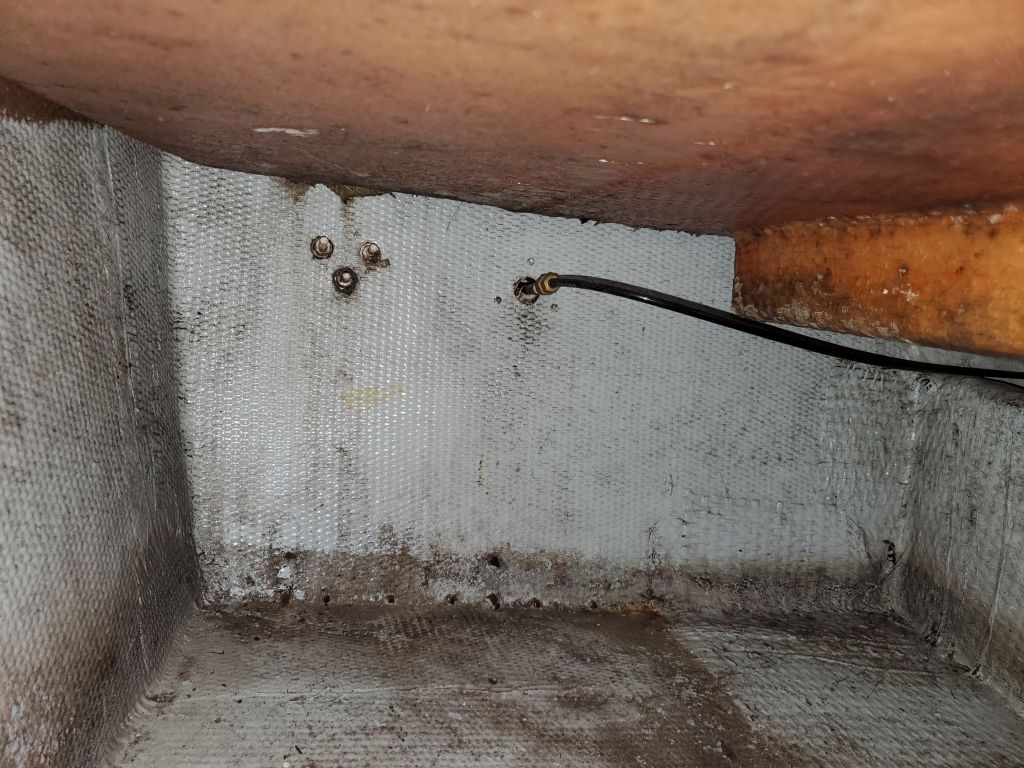
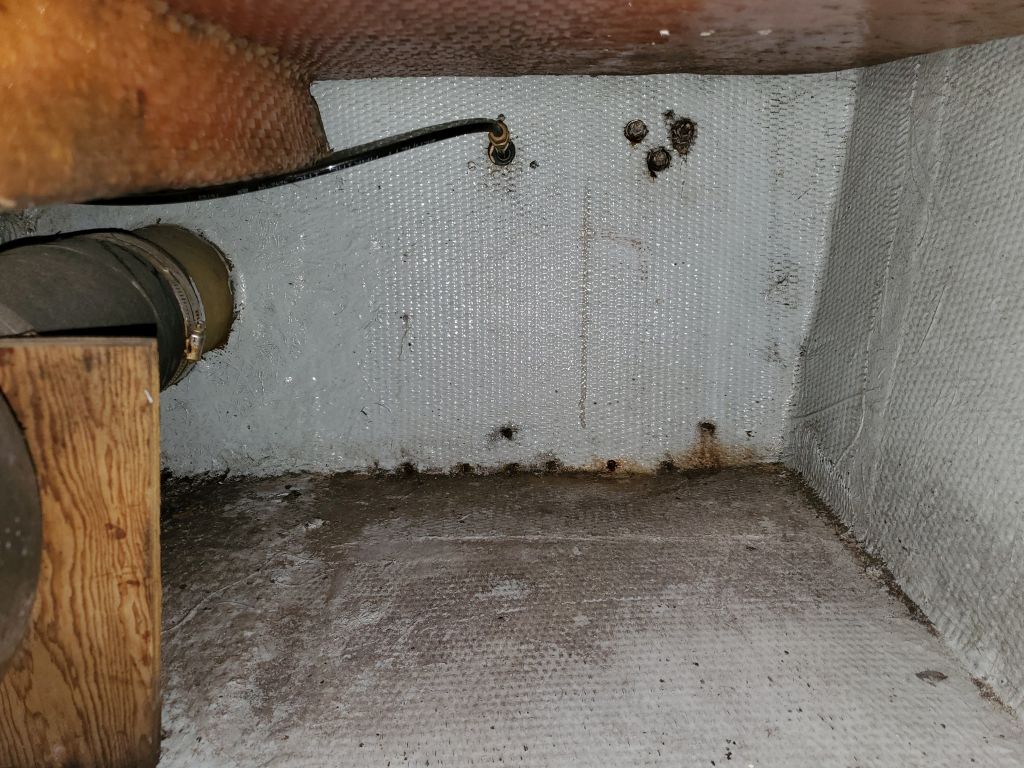
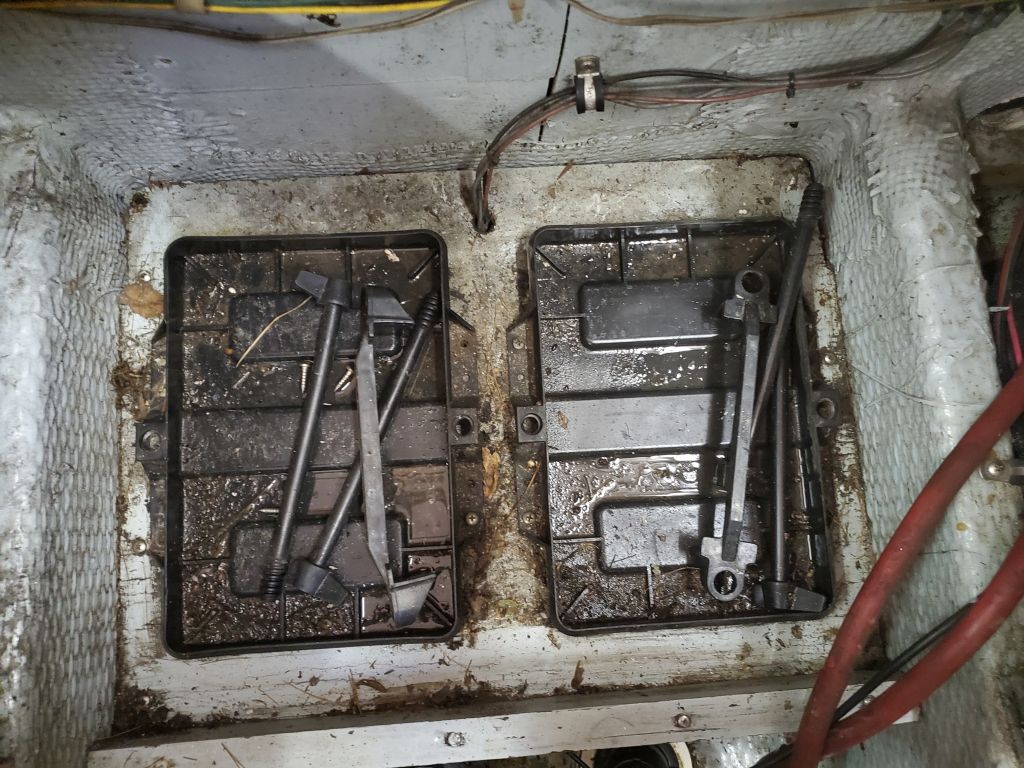
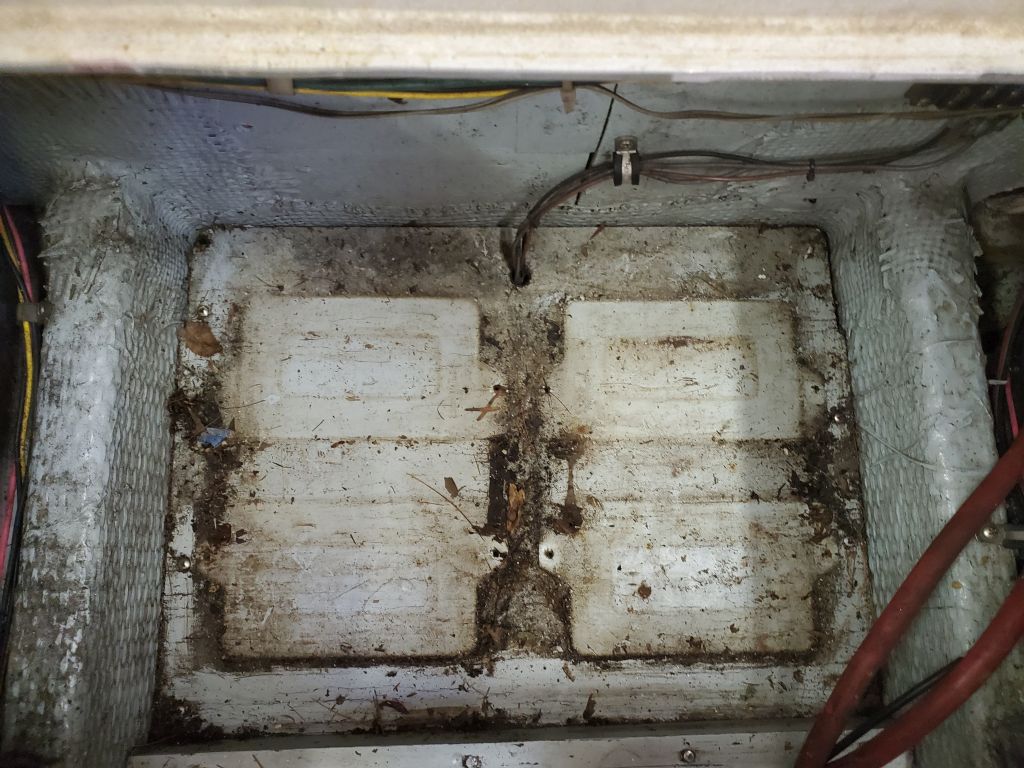
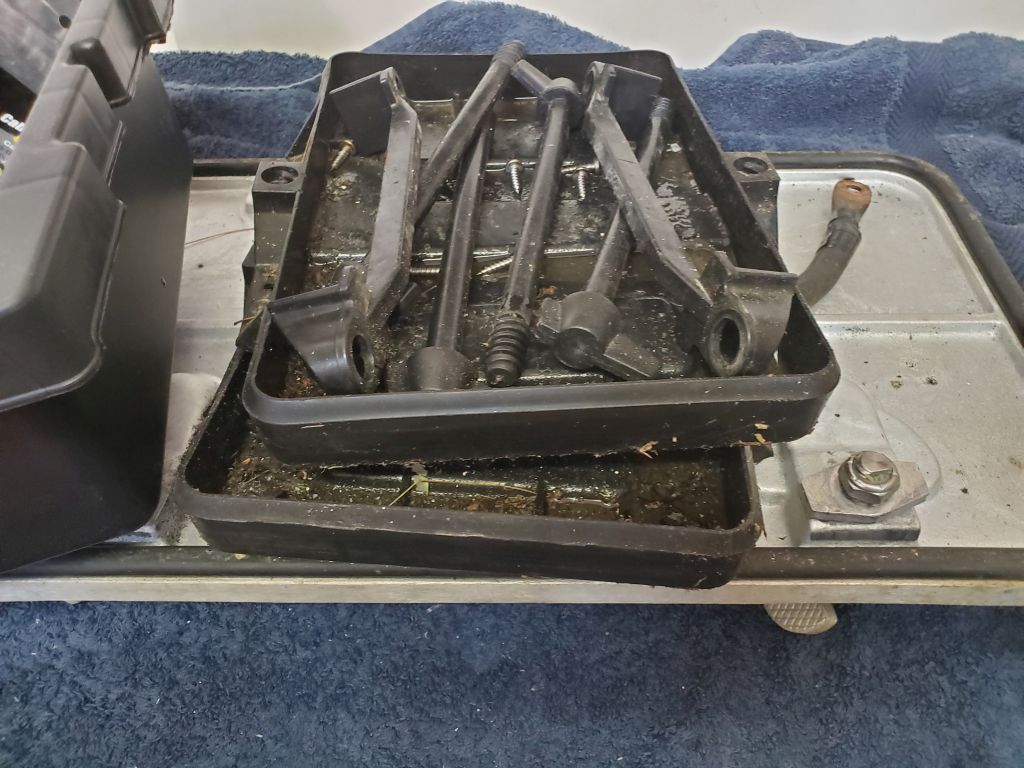
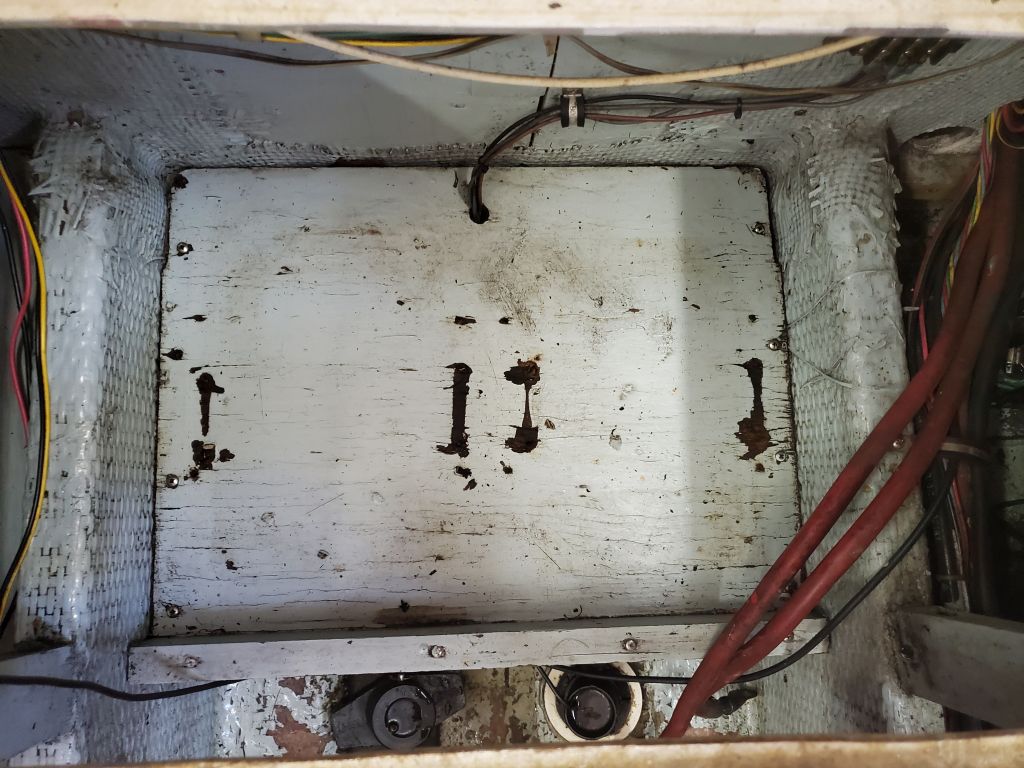
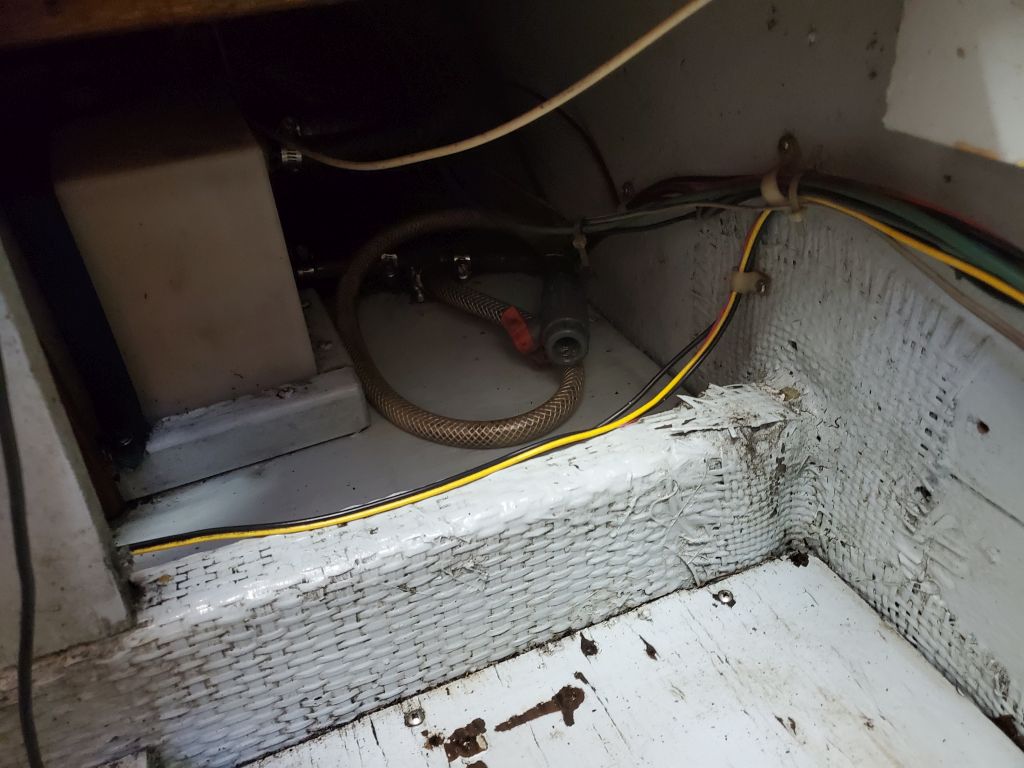
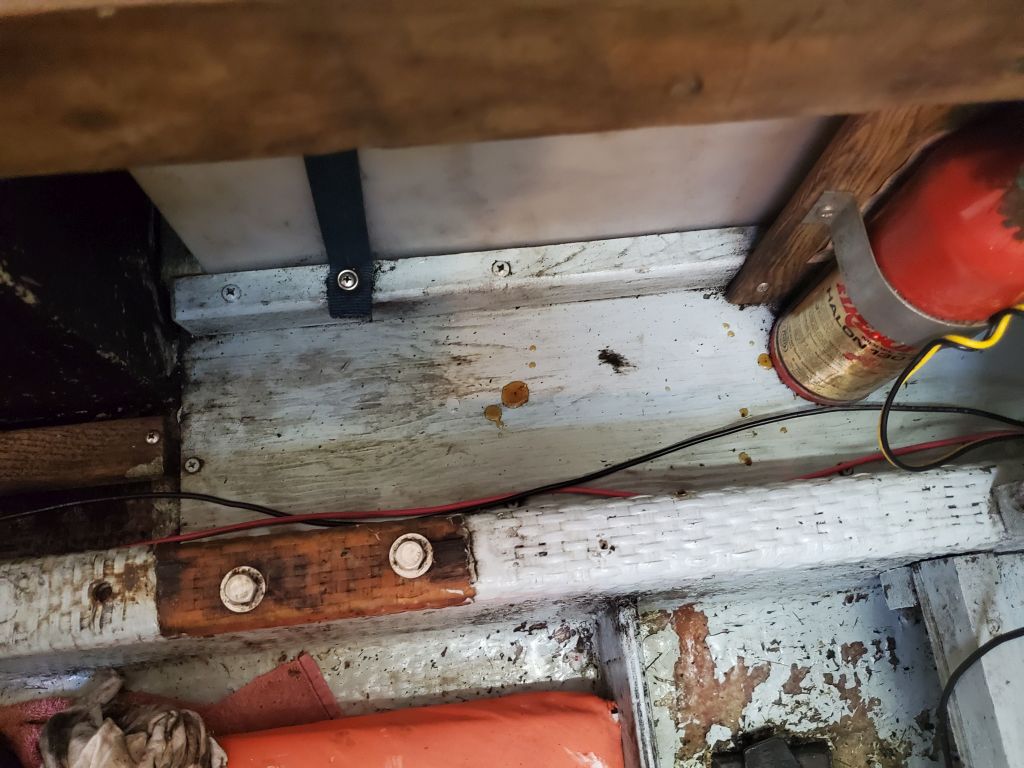
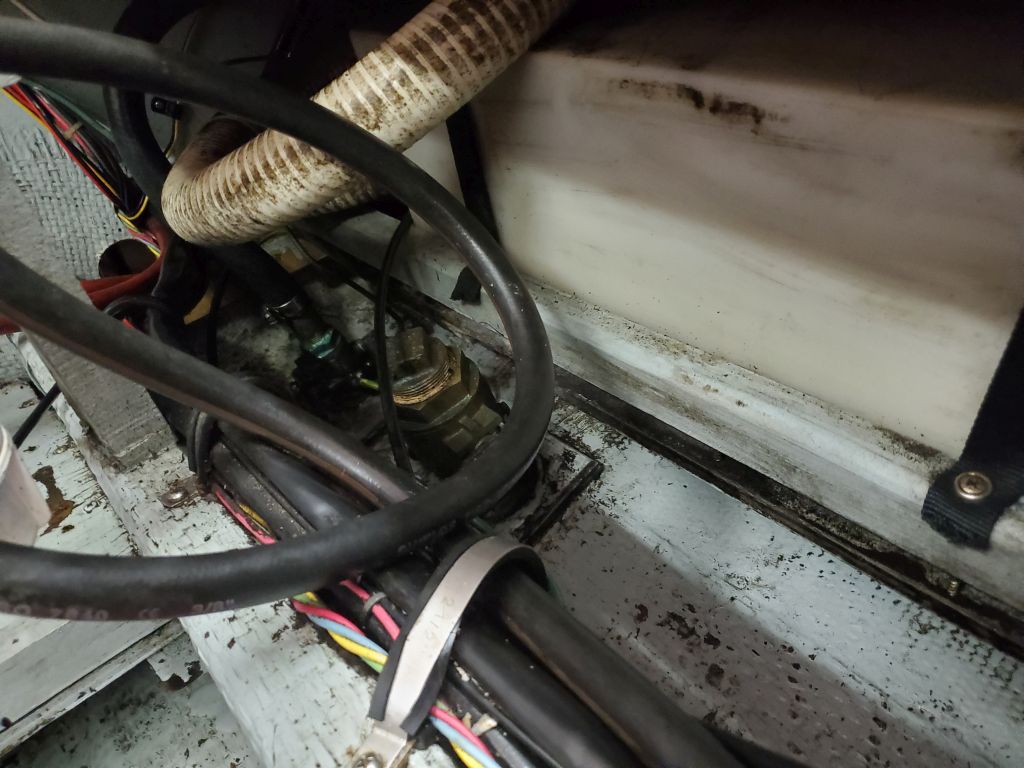
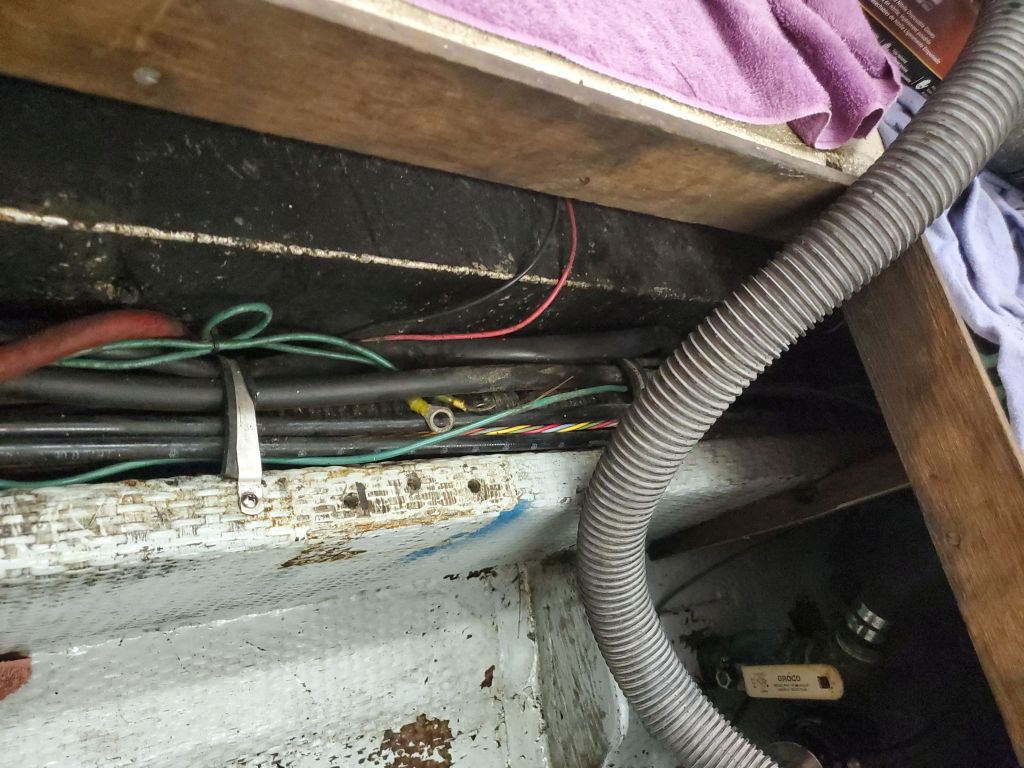
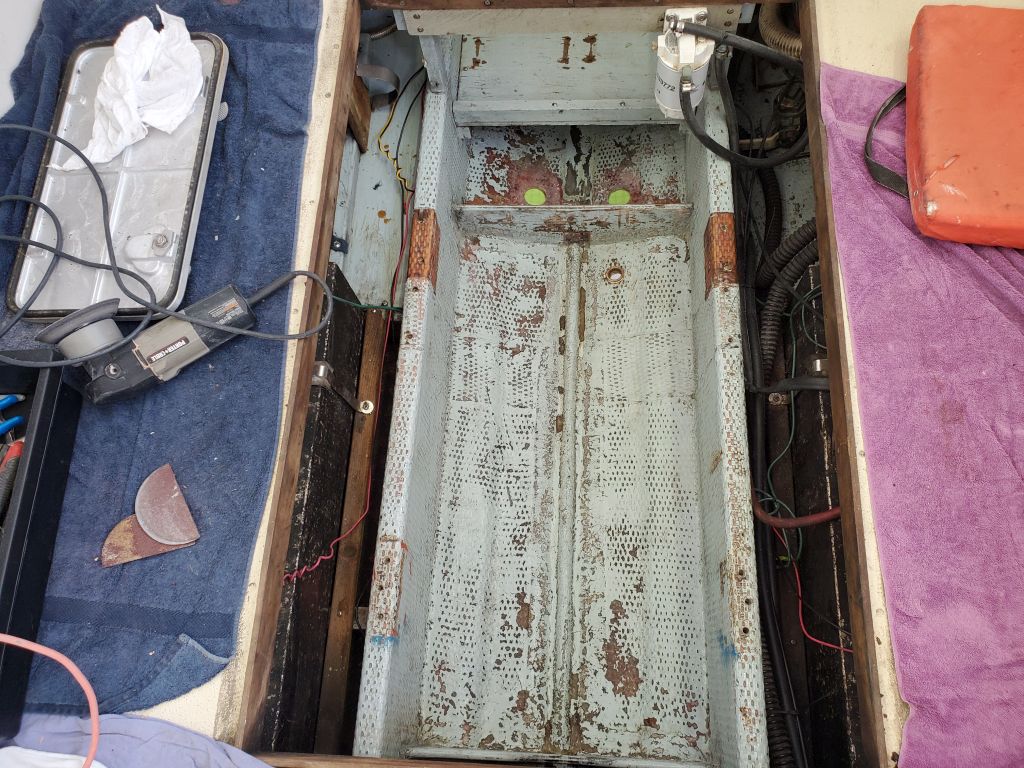
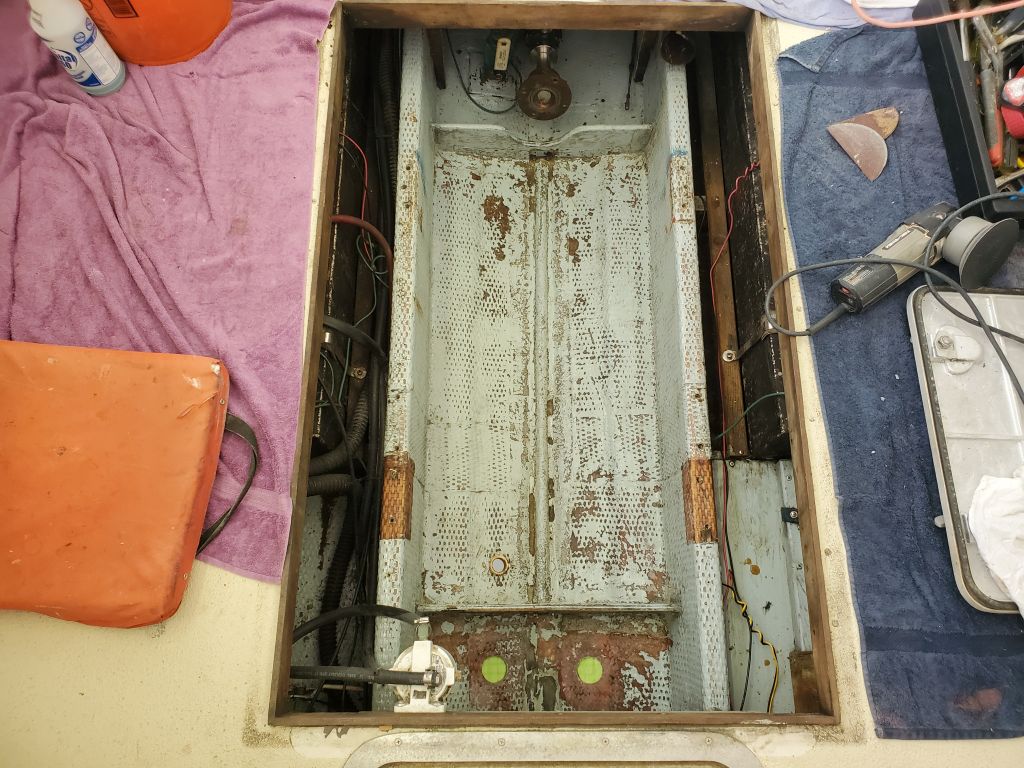
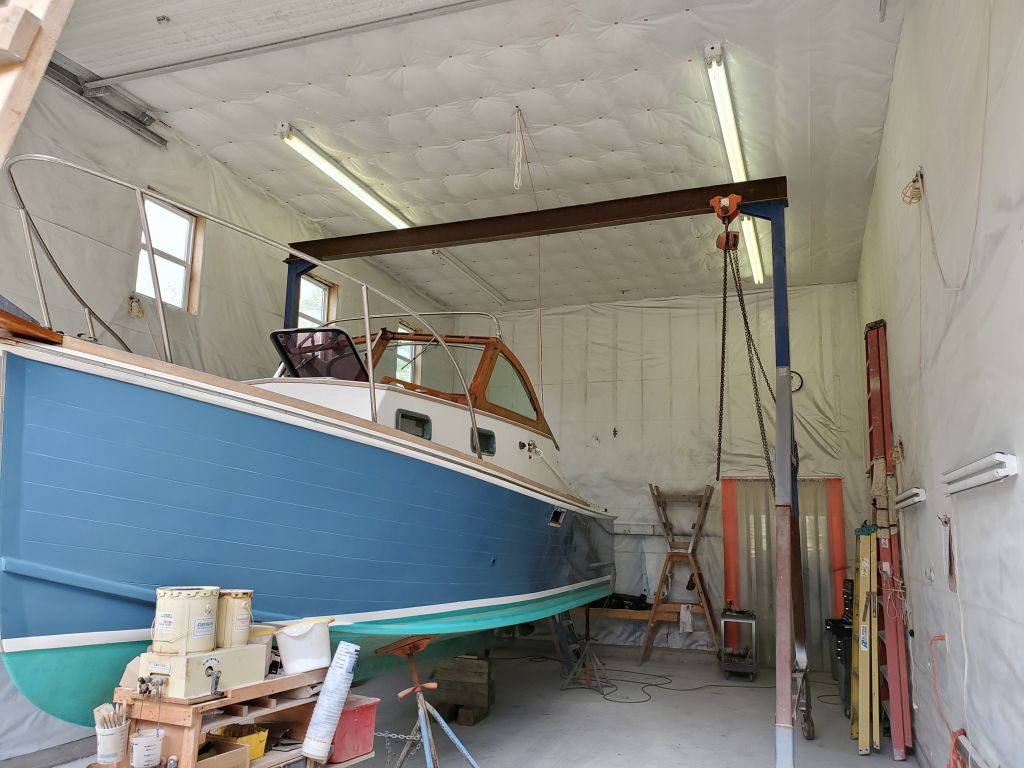
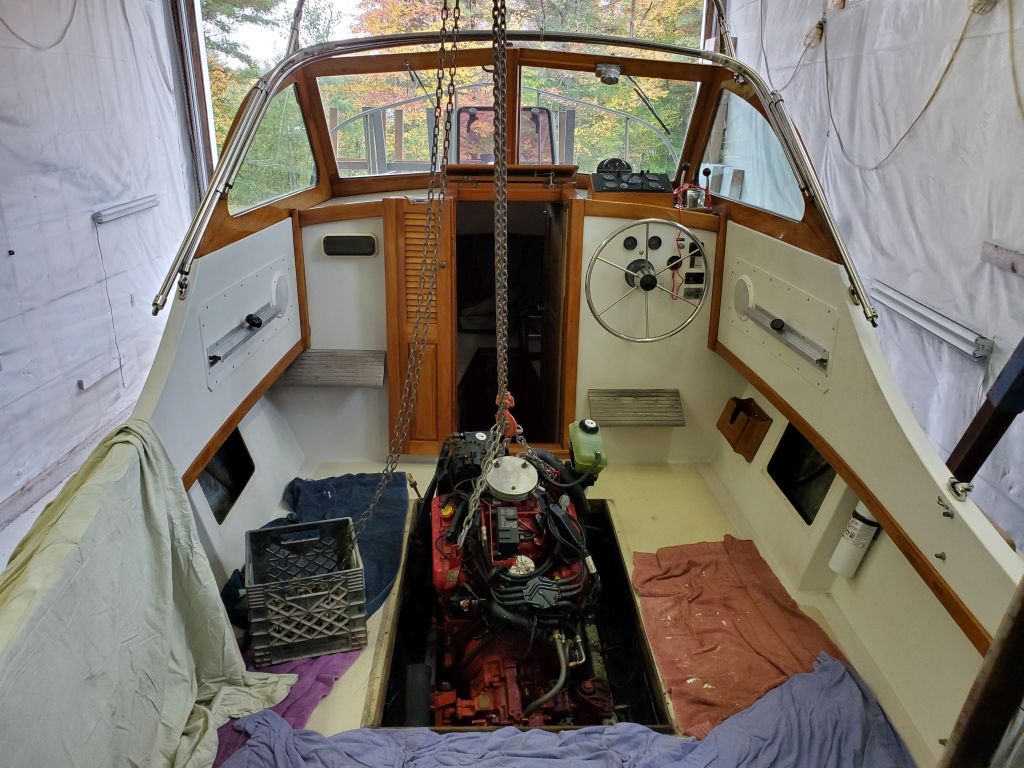
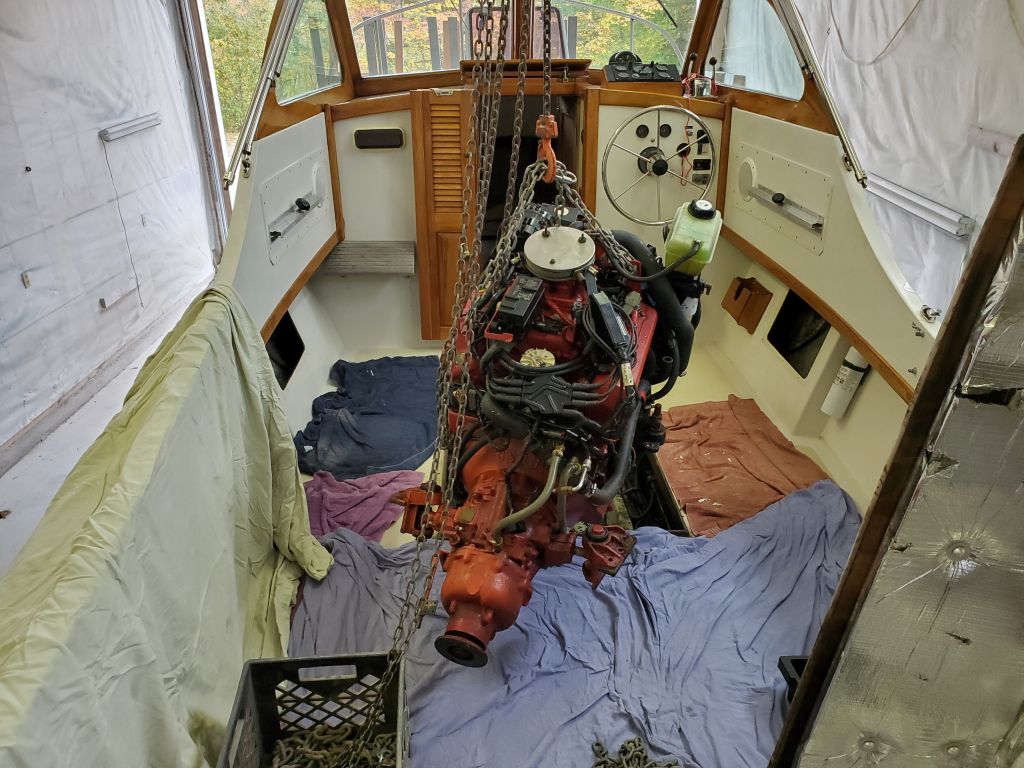
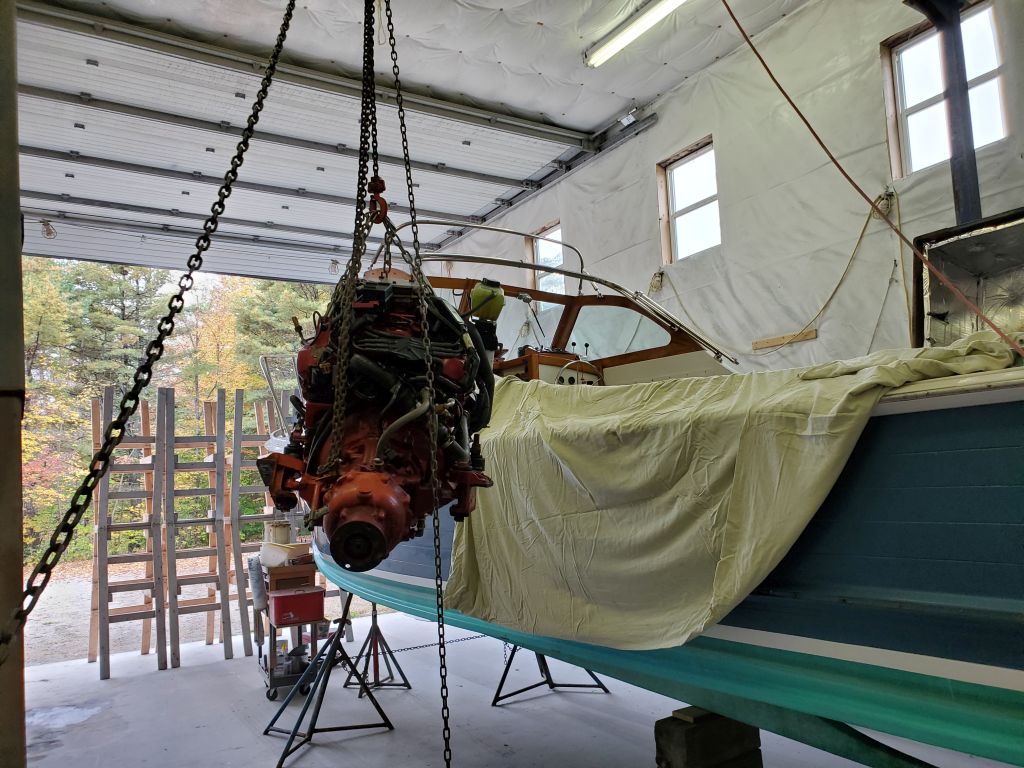
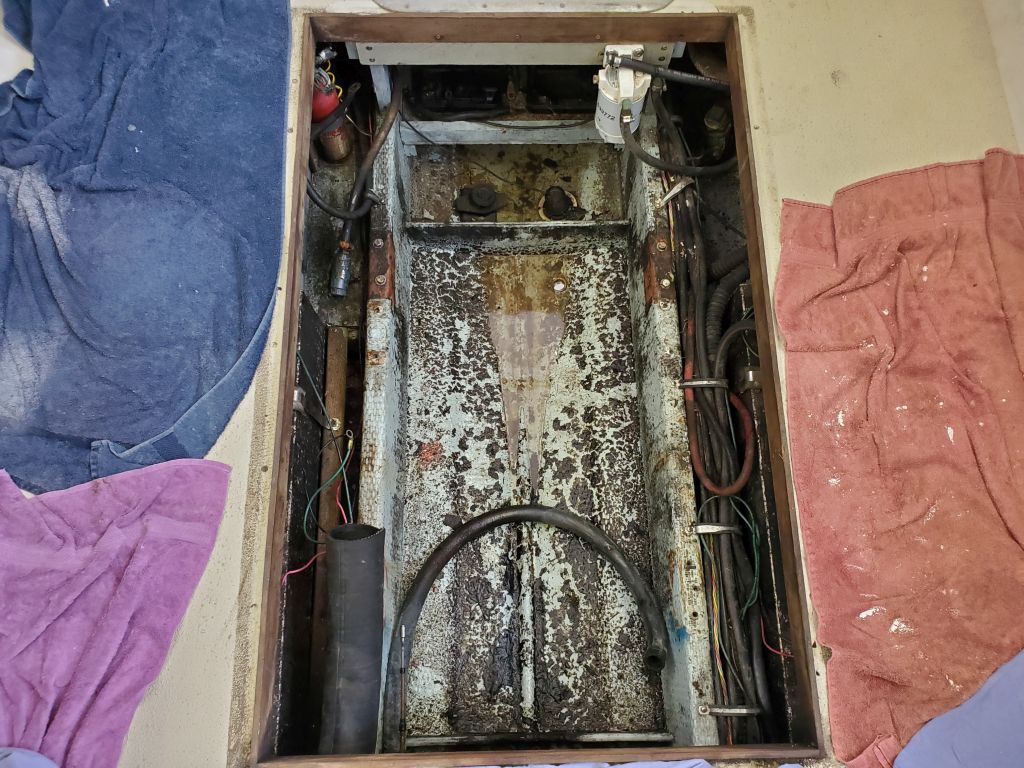
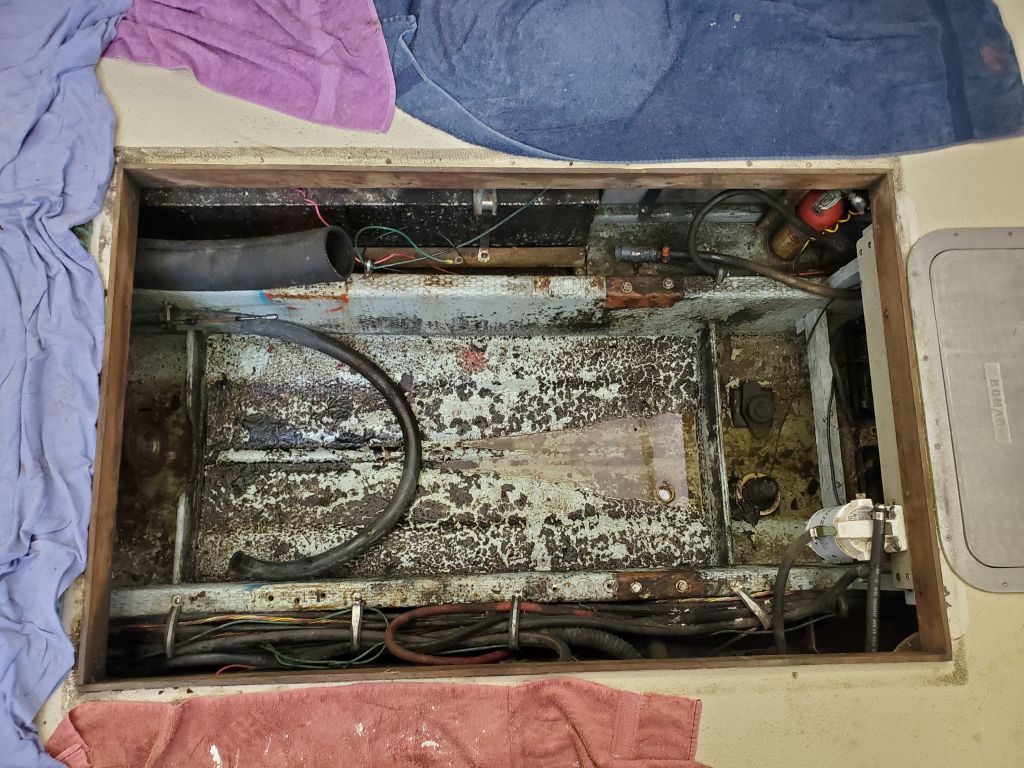
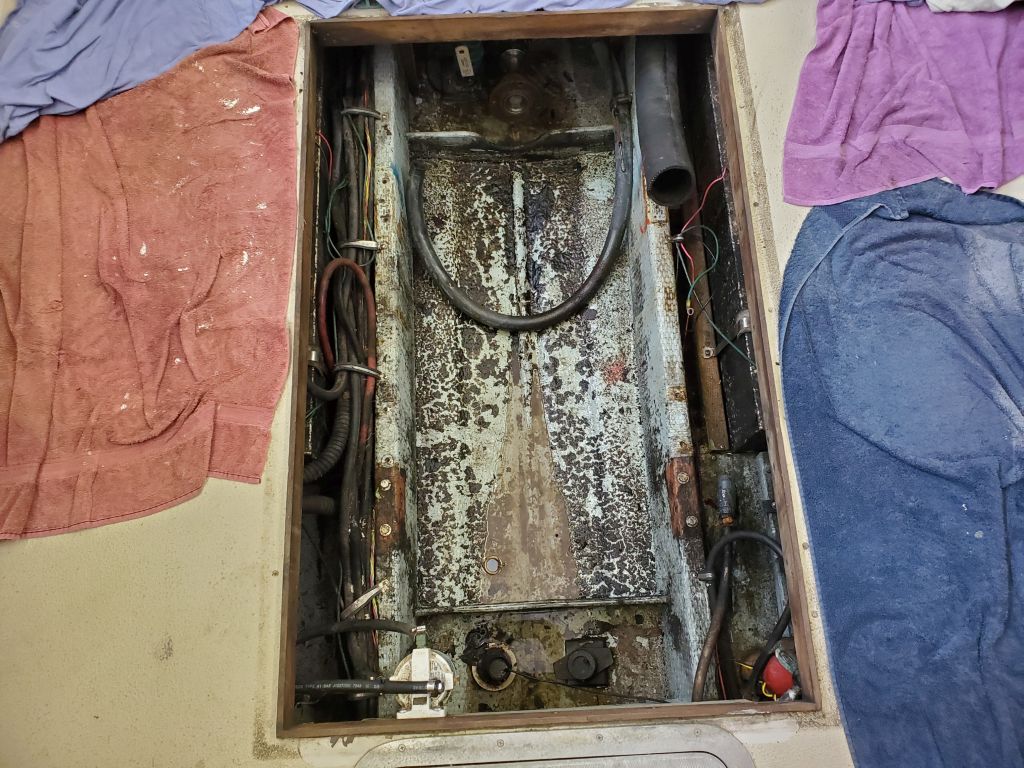
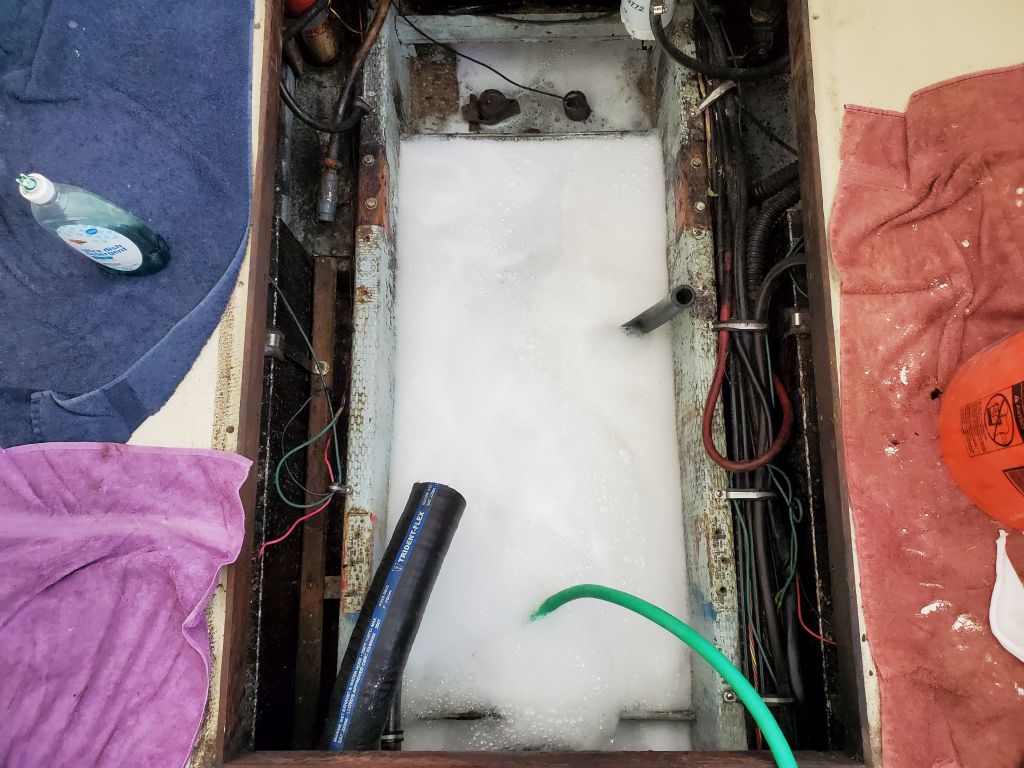
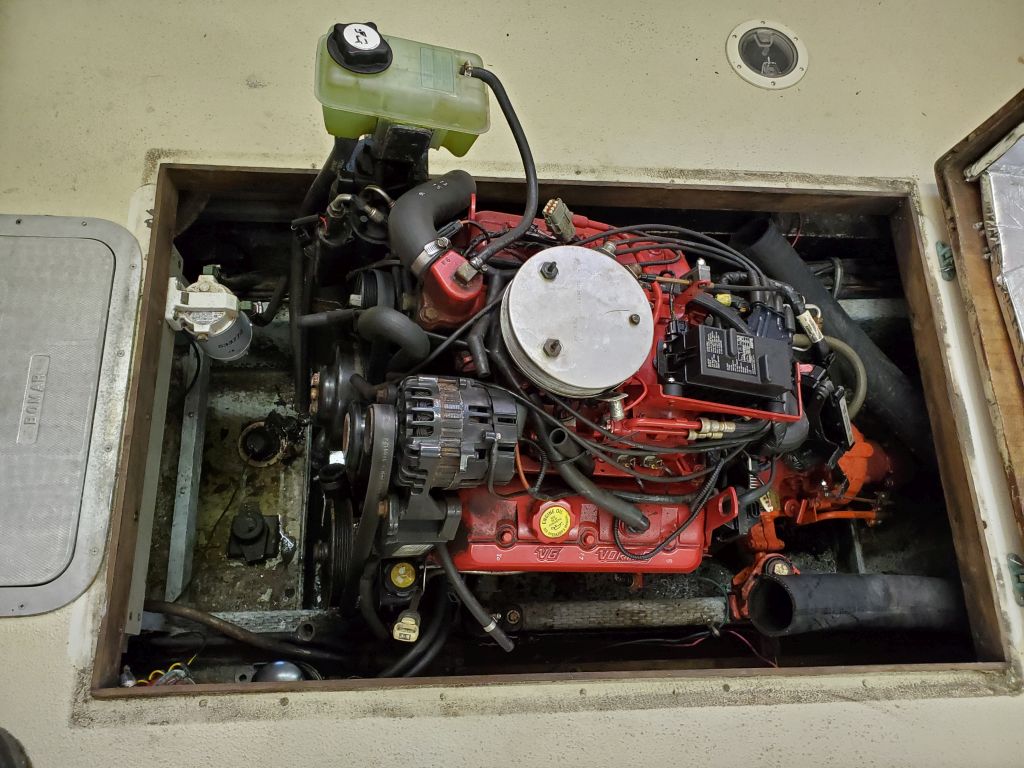
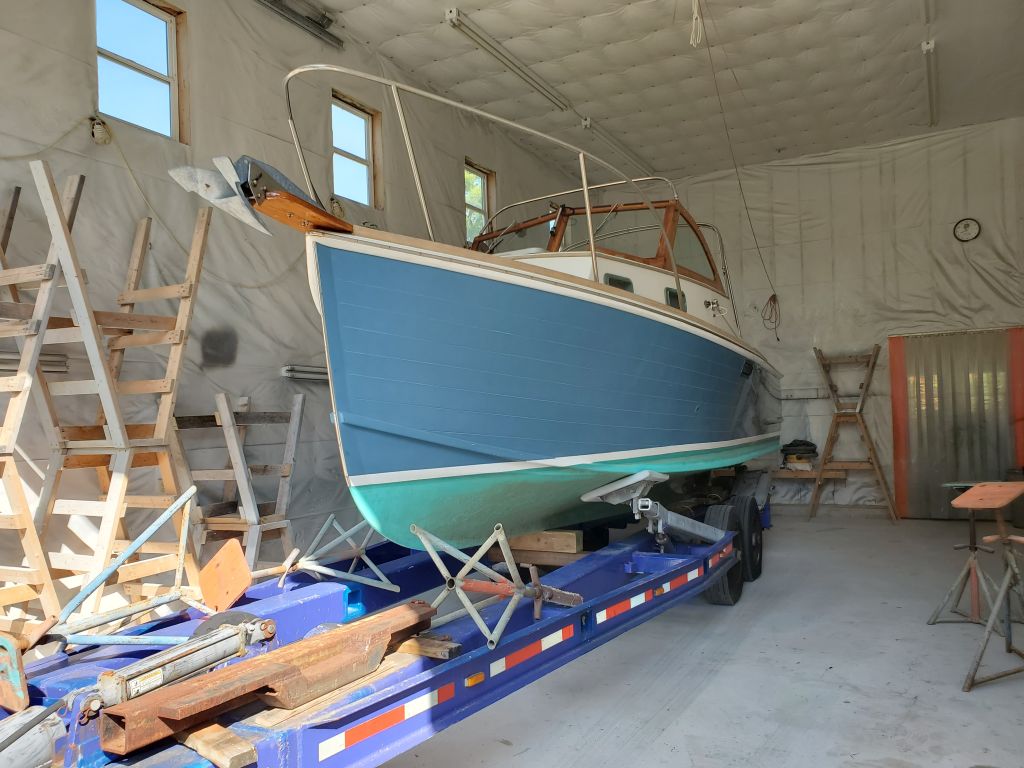
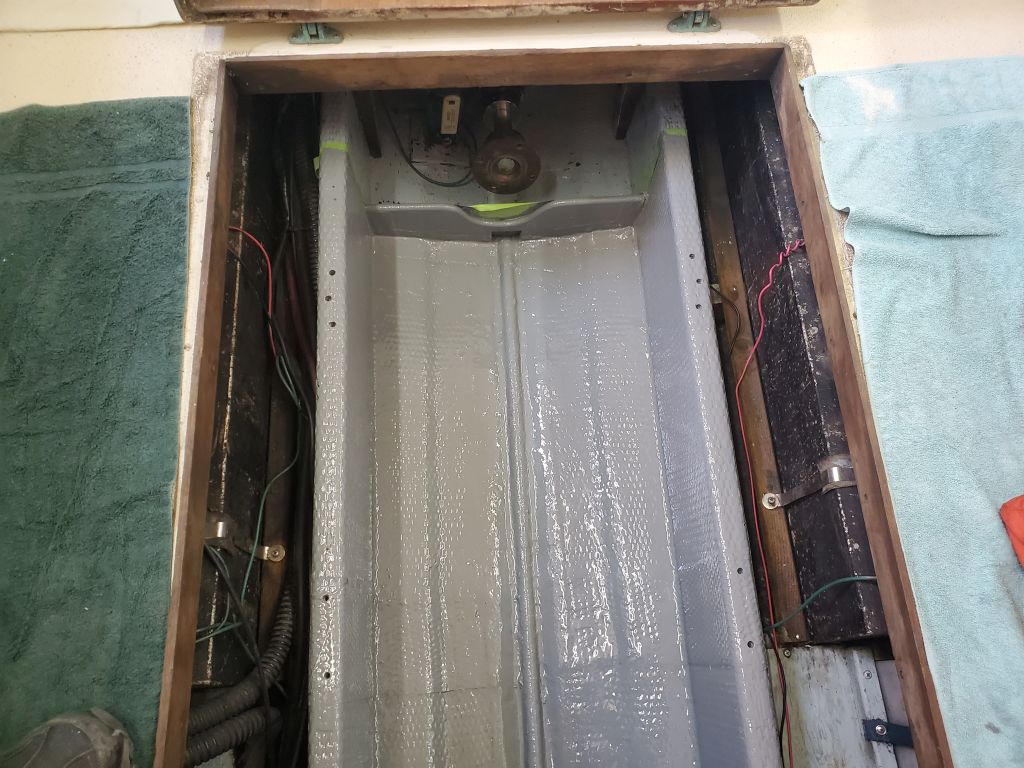
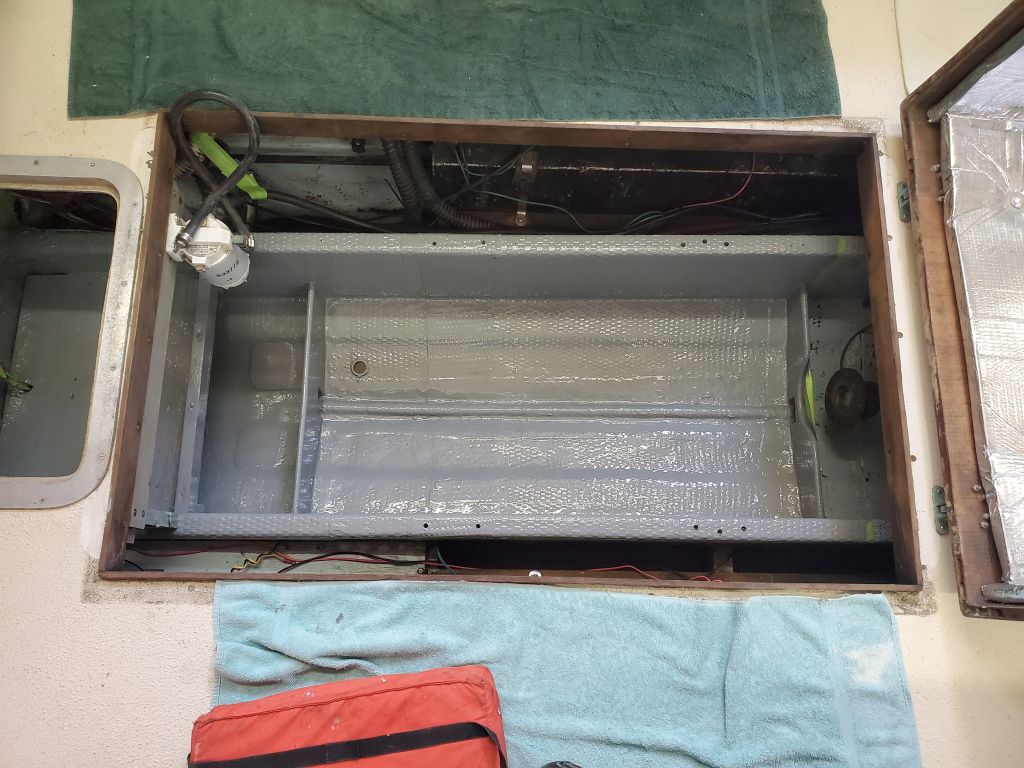
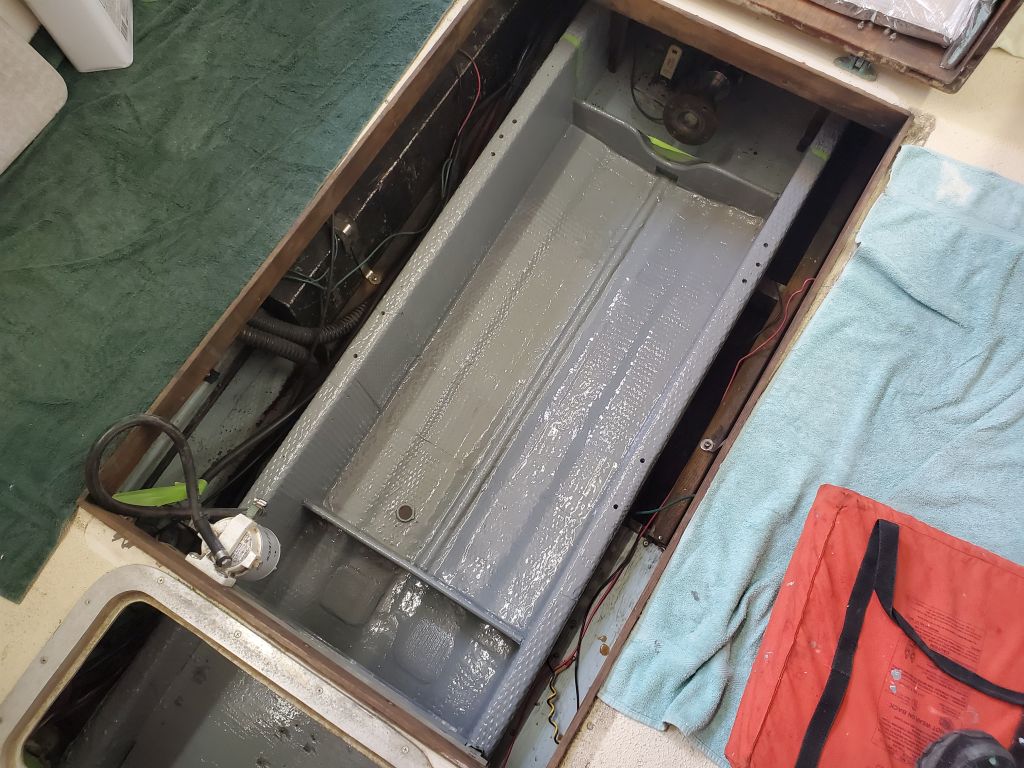
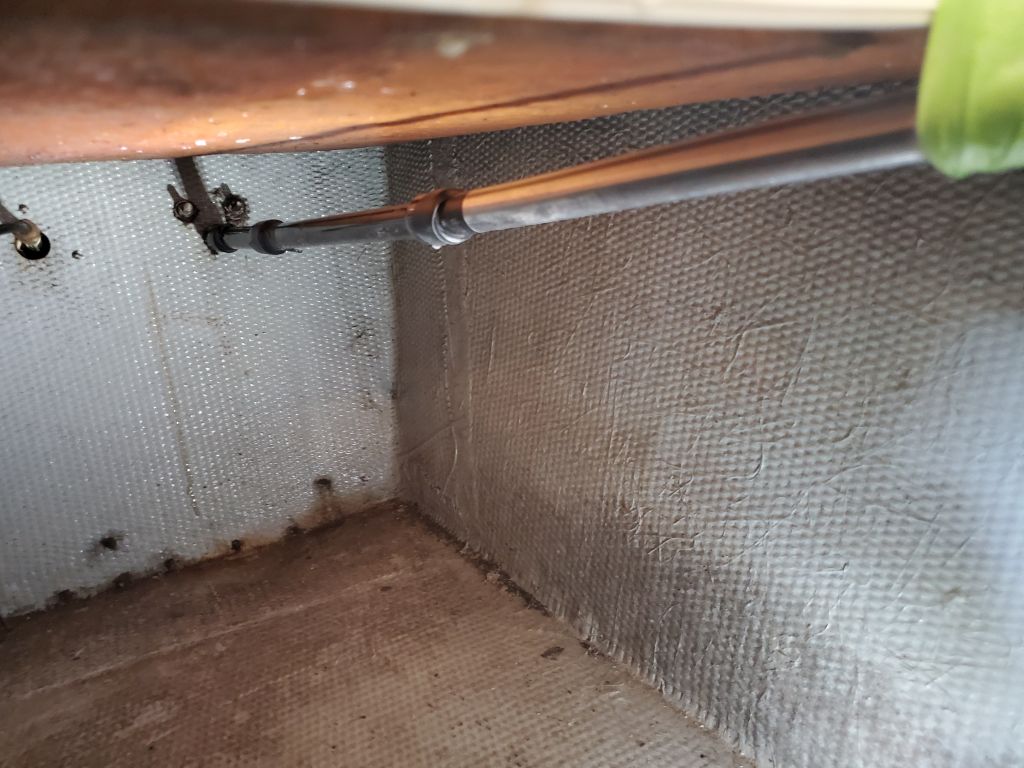
After final preparations and masking, I applied a coat of gray bilge paint to the engine room and battery compartment, bringing the fresh paint up to and including the tops of the stringers.

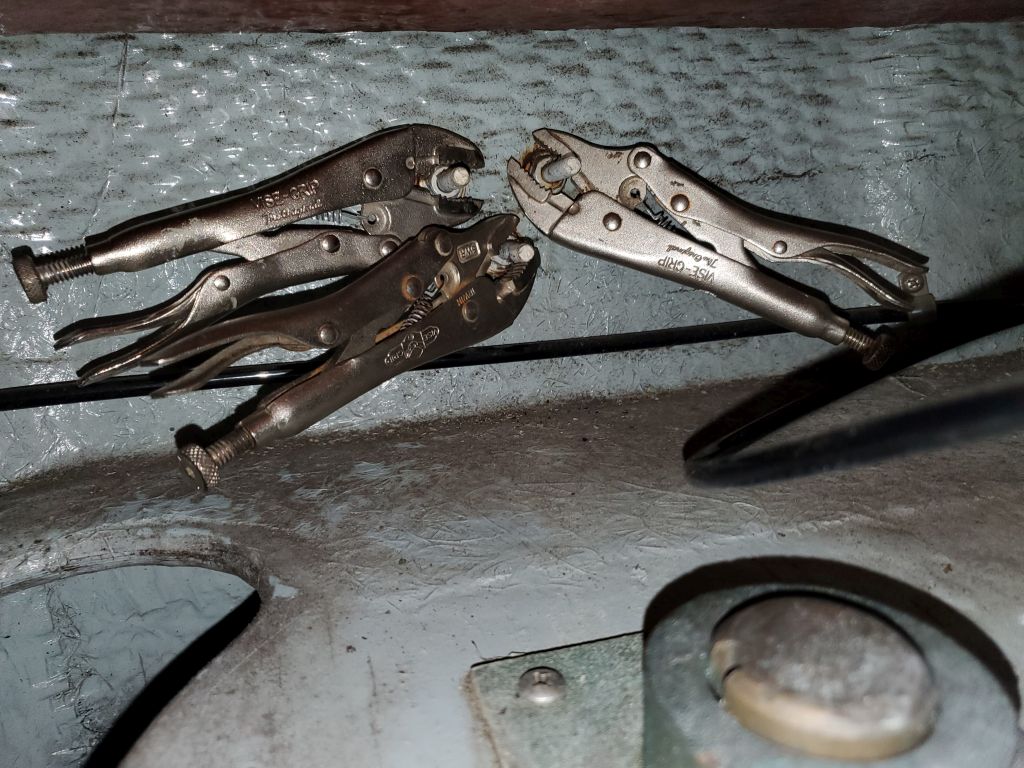
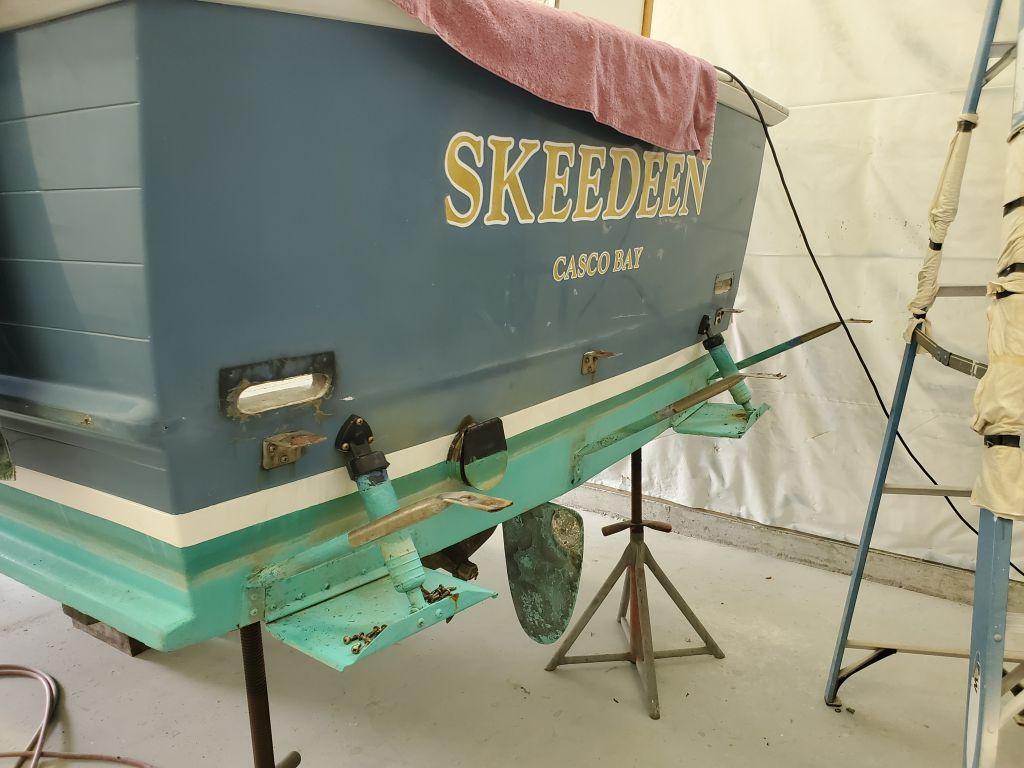
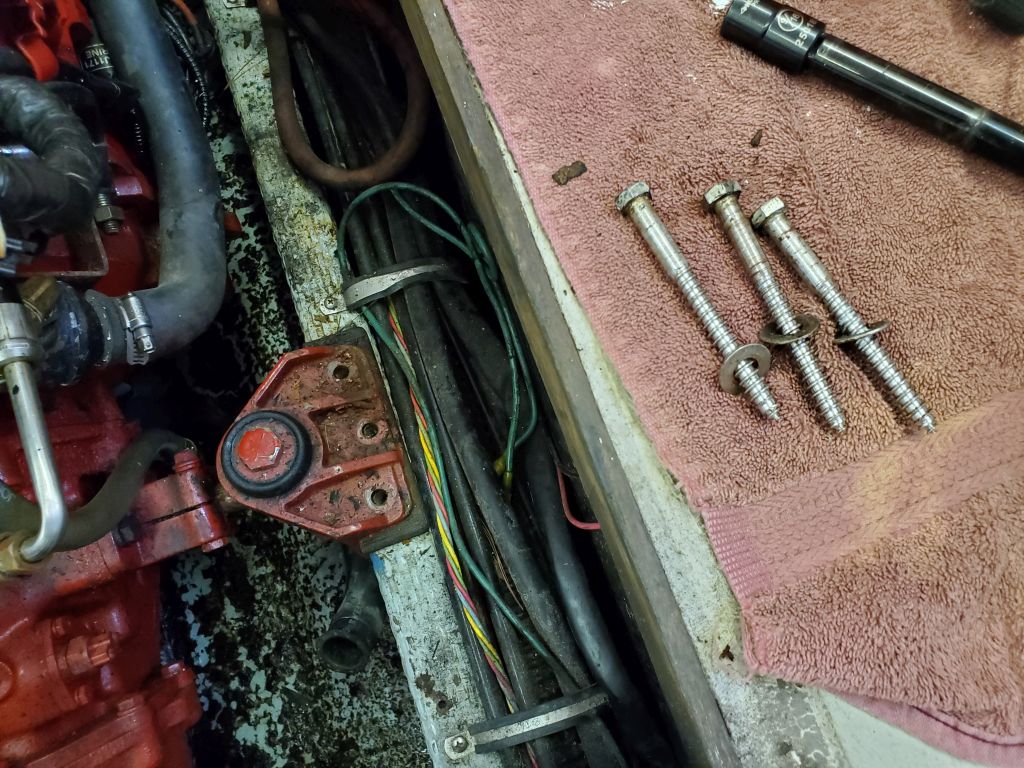
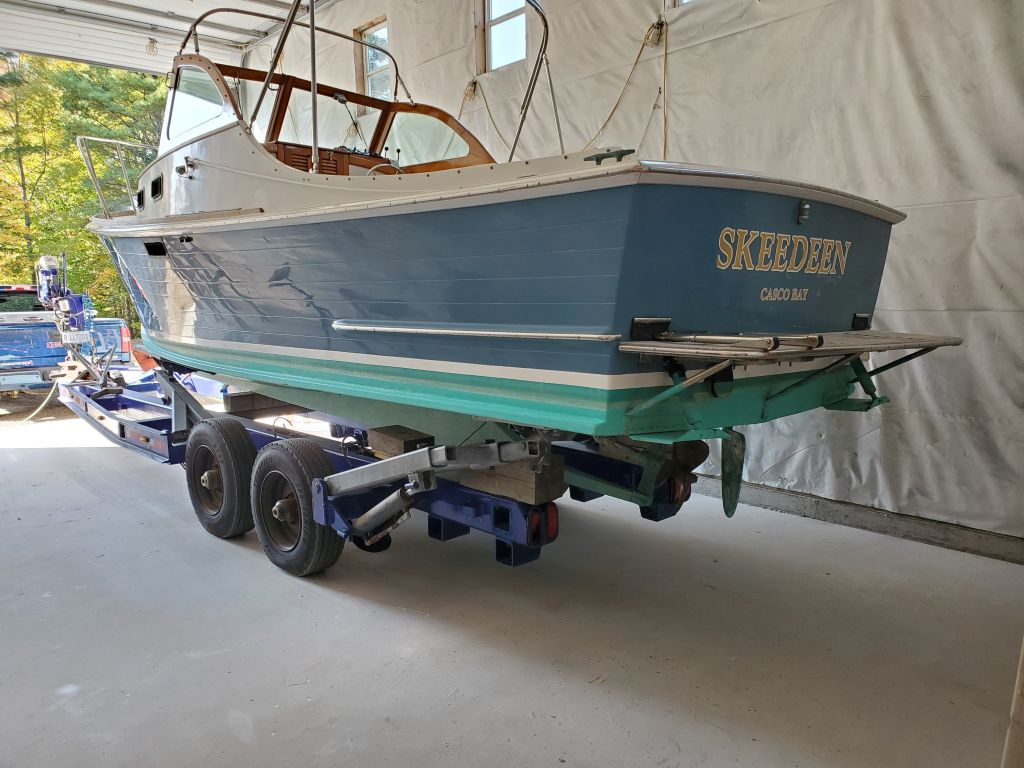
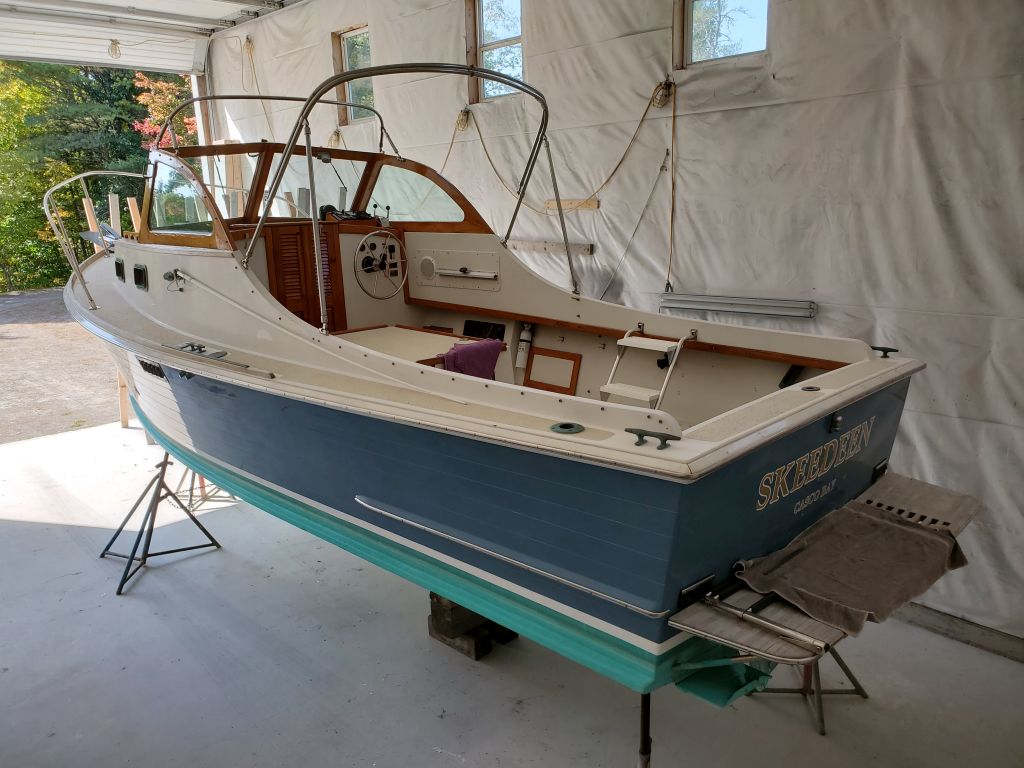
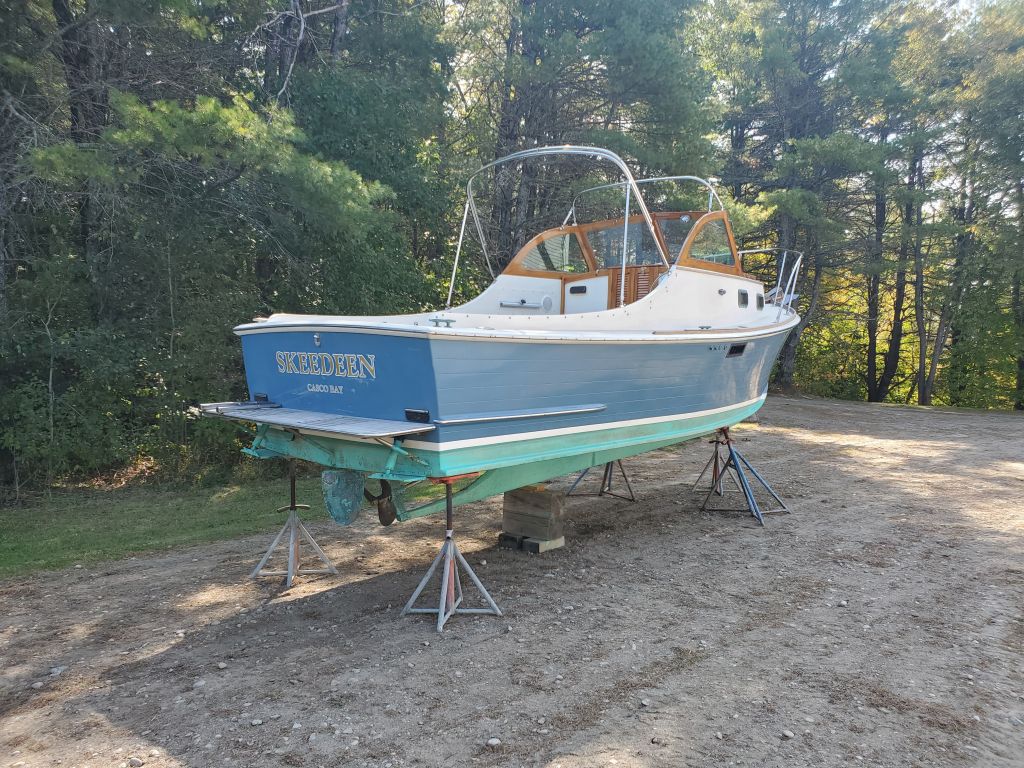
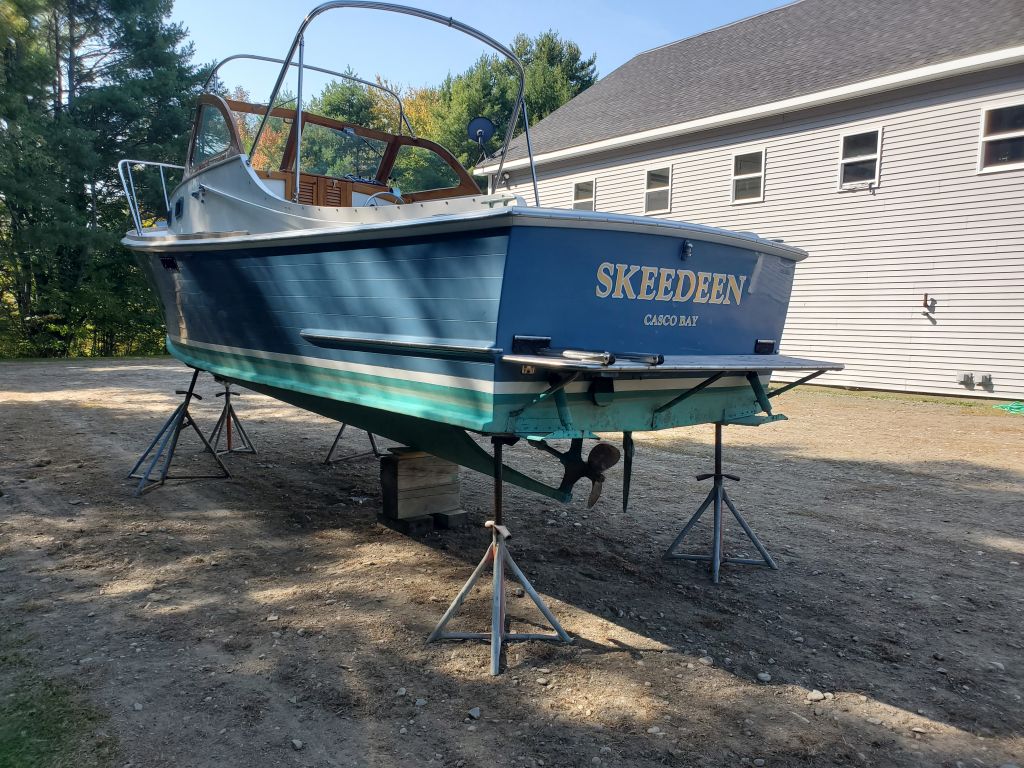
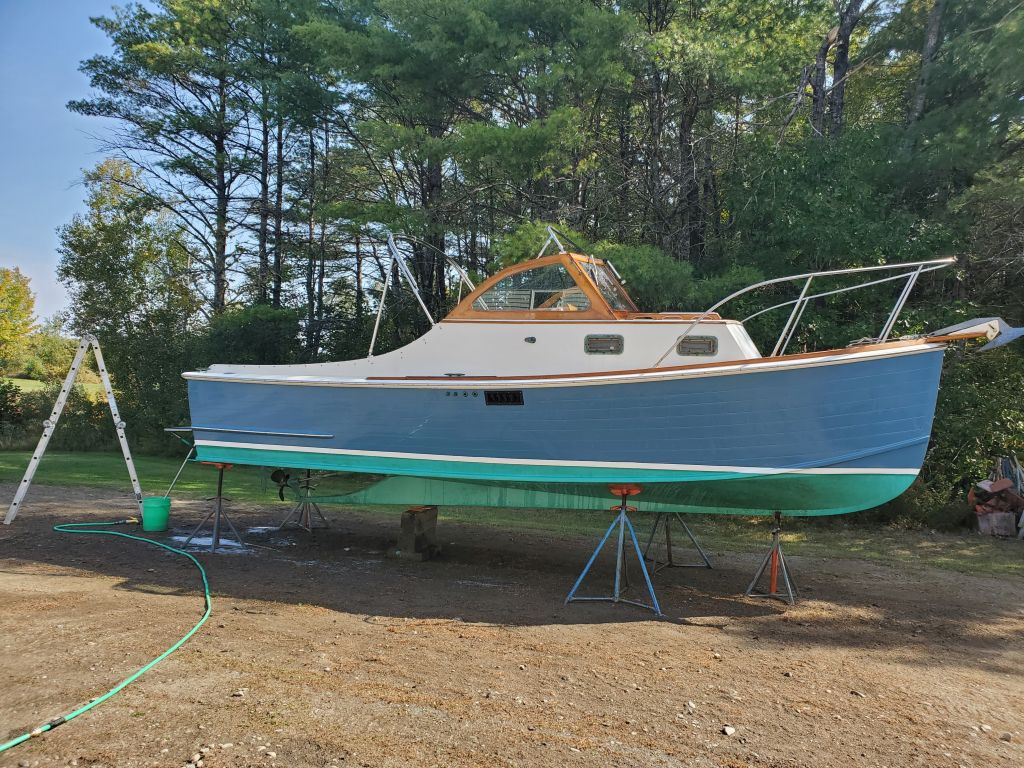
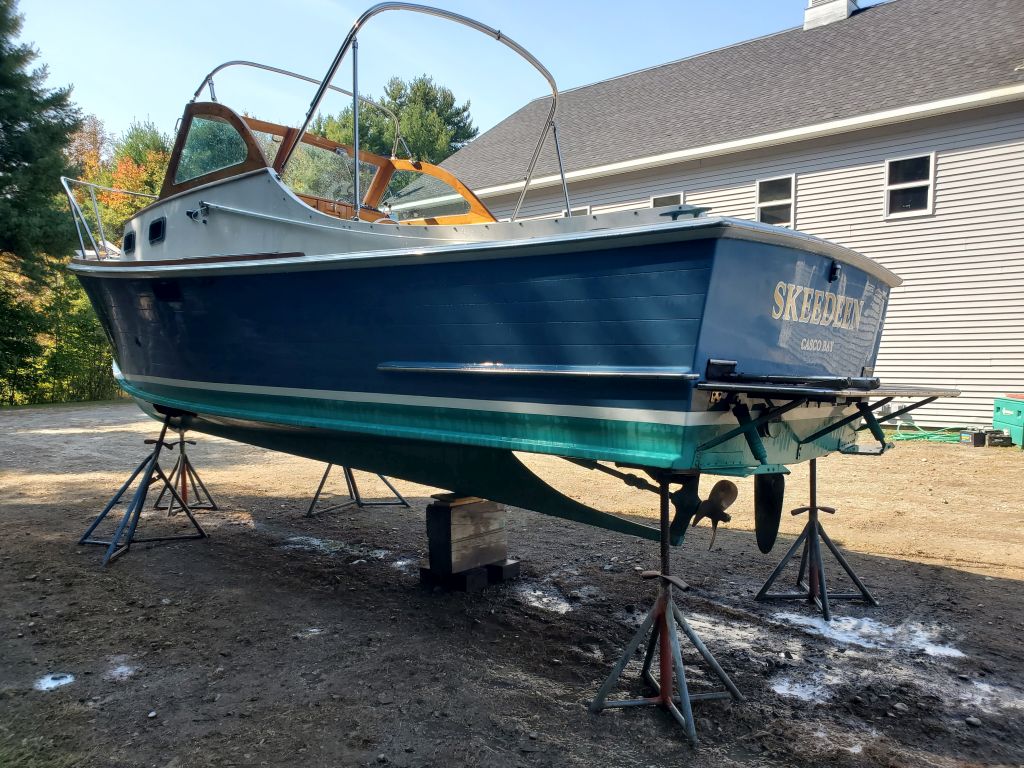
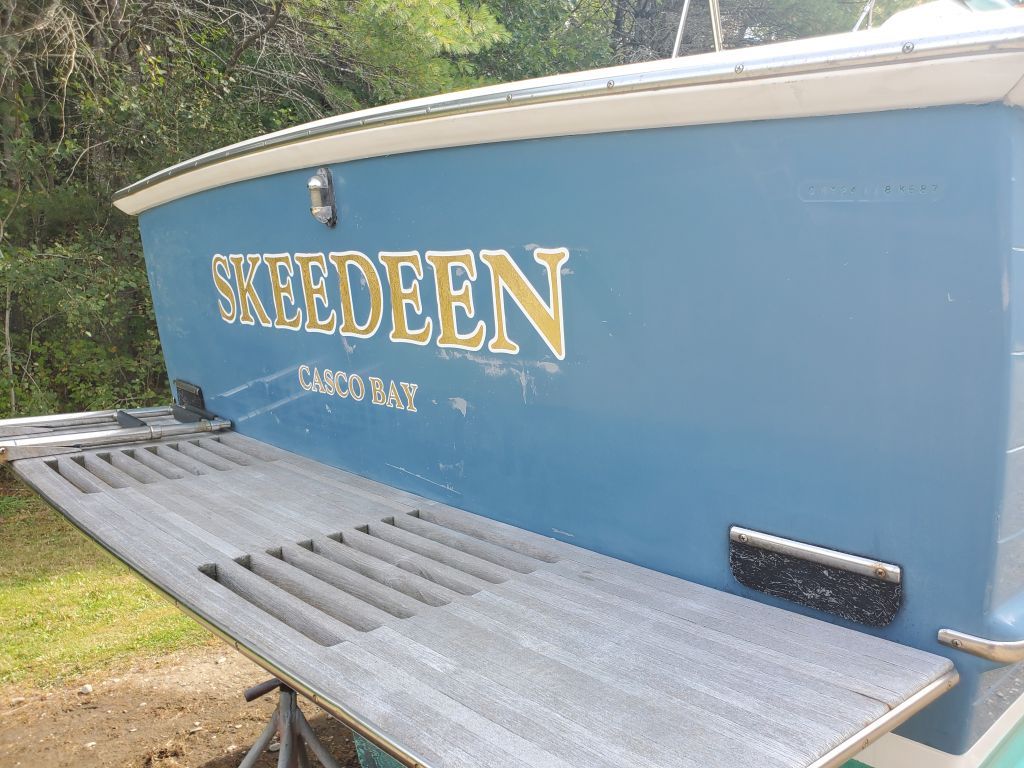
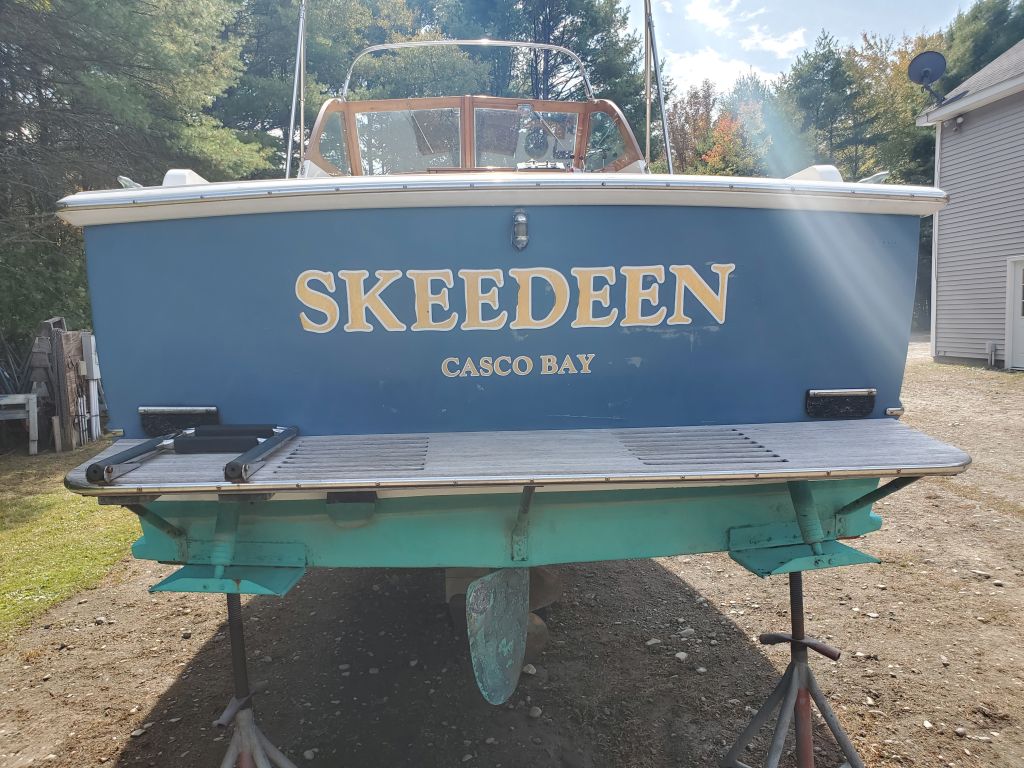
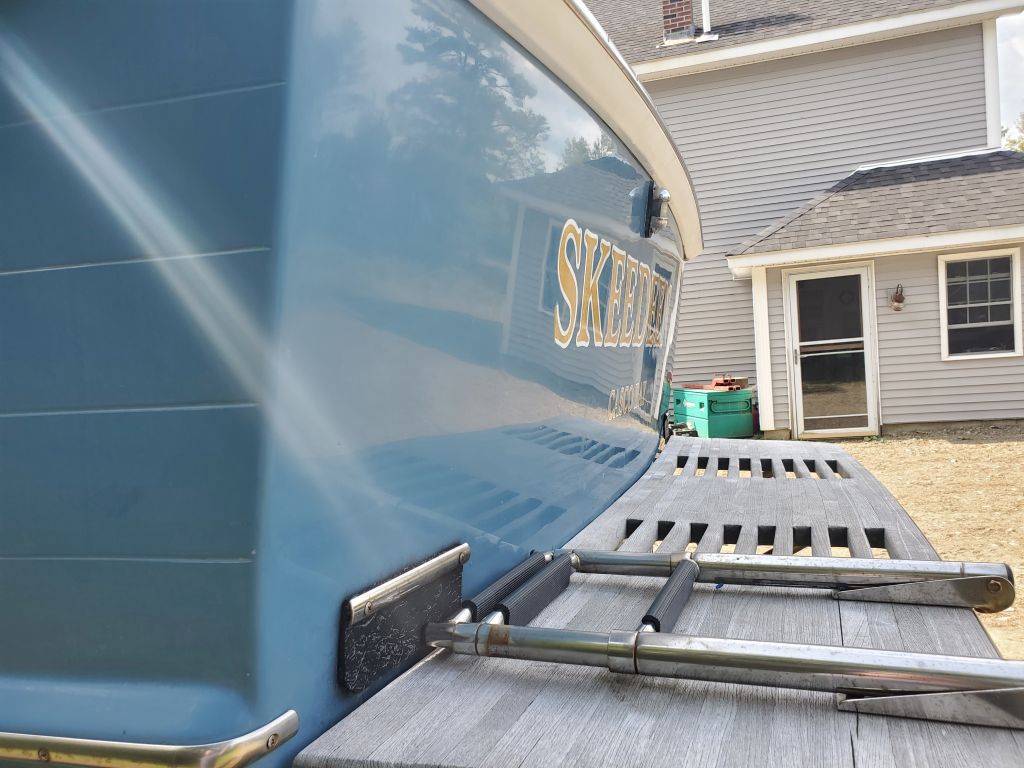
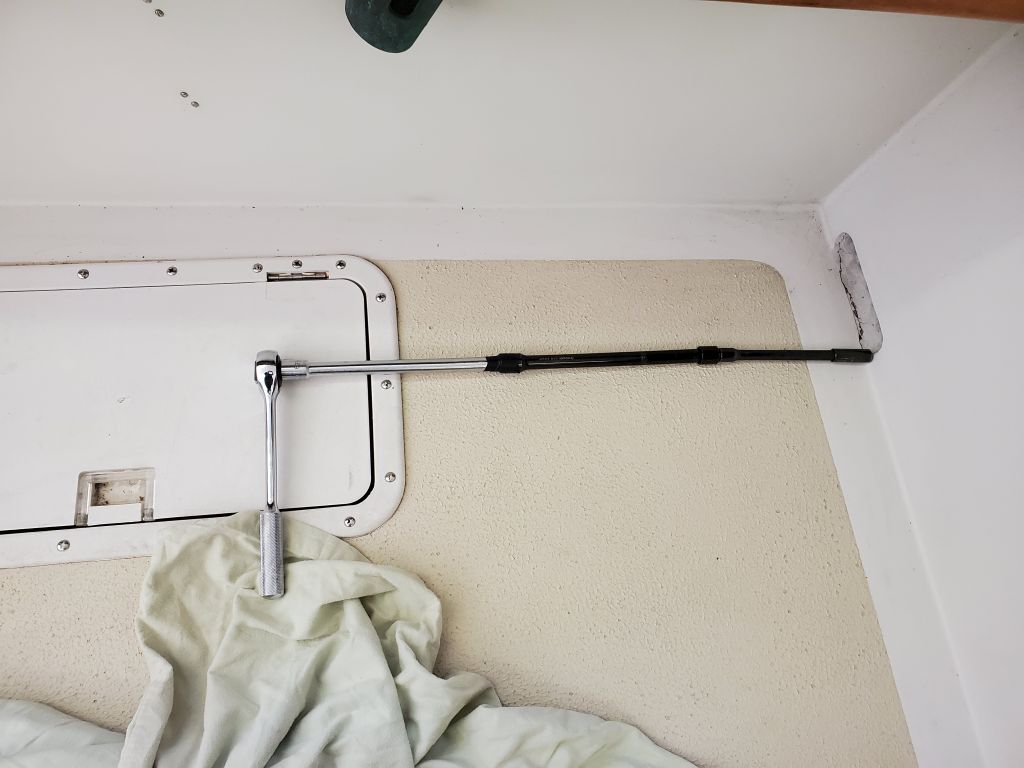
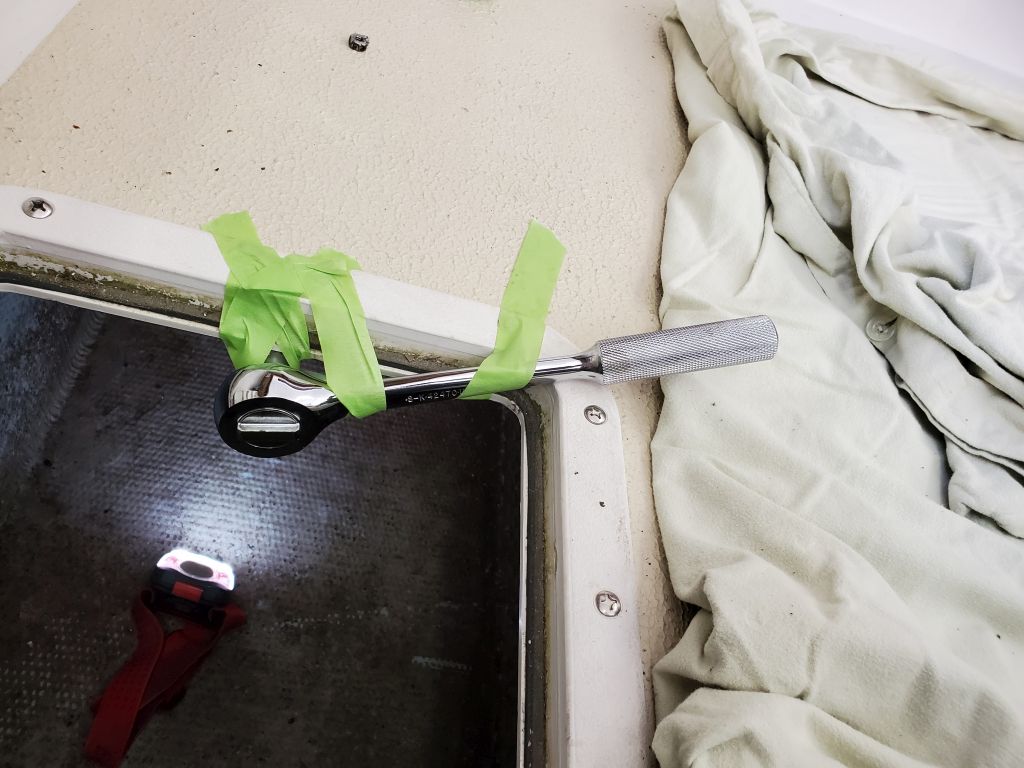
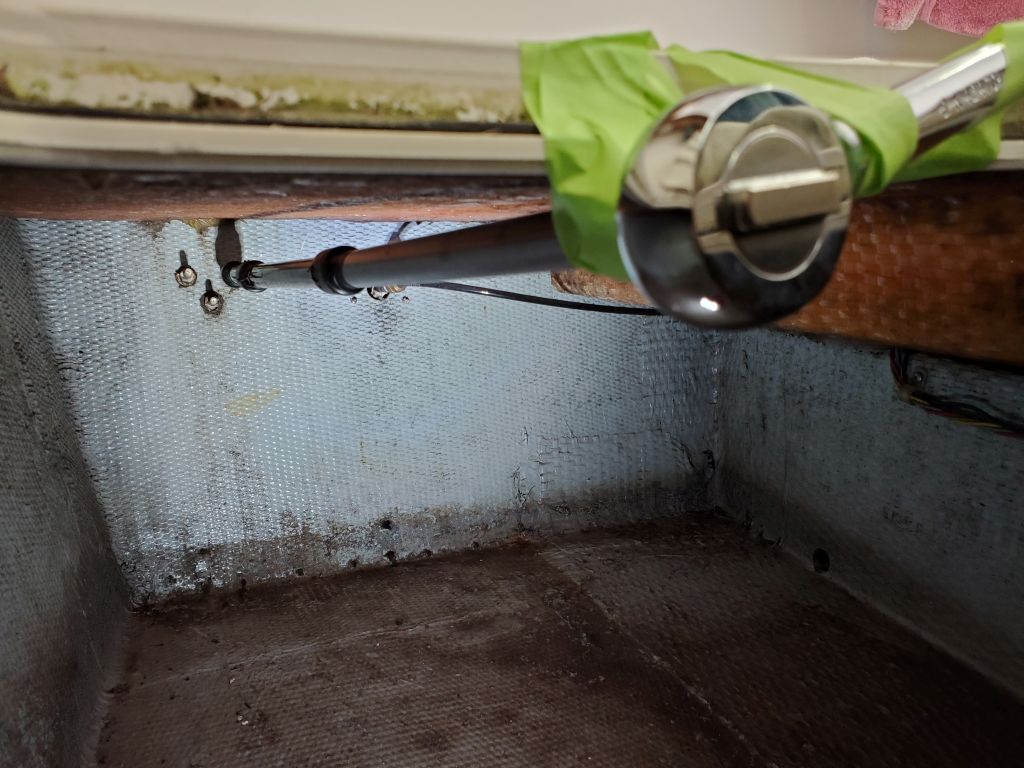
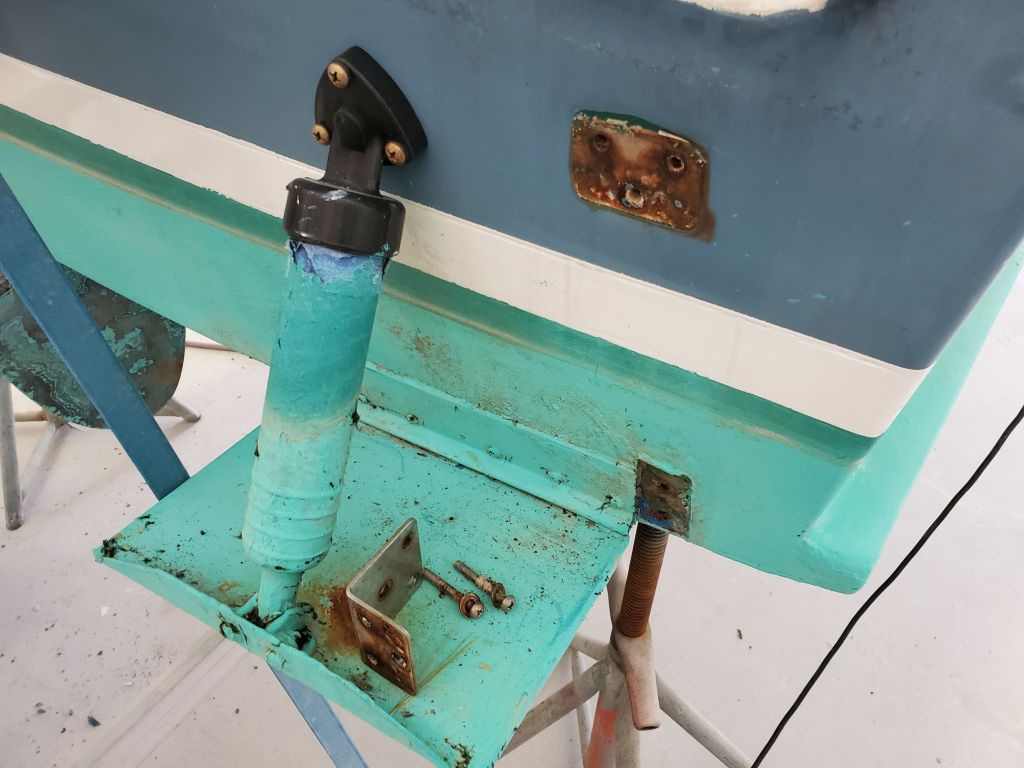
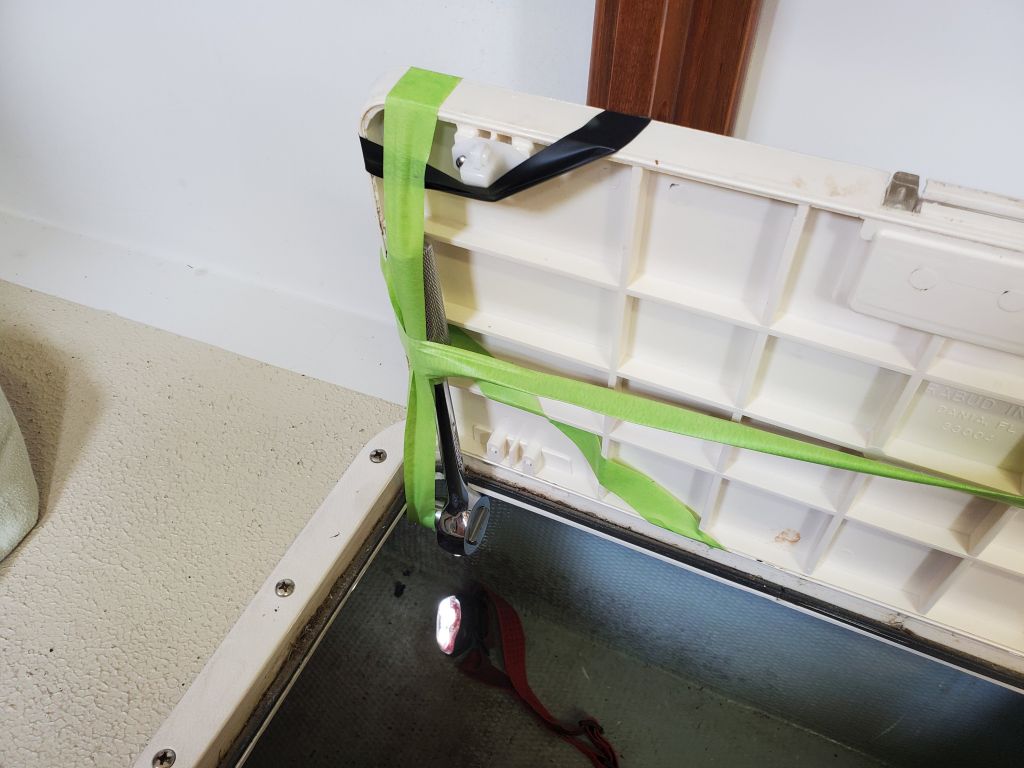
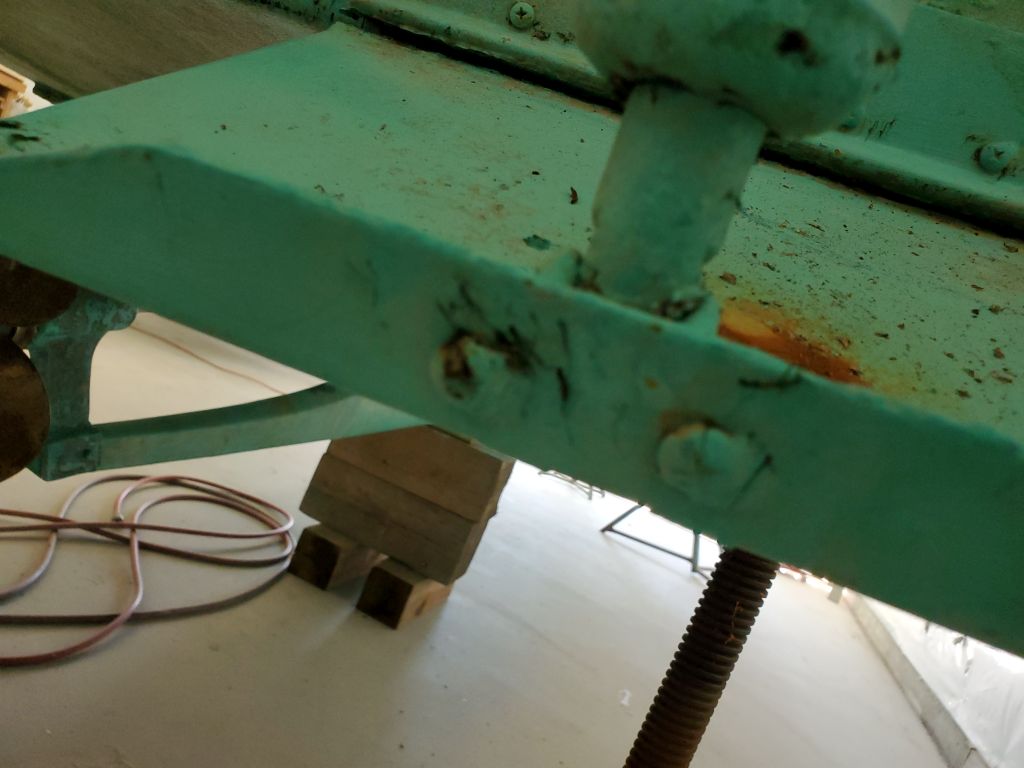
Over the weekend, I’d thought that with some luck I could probably remove the remaining swim platform fasteners and brackets with a socket and long extensions.  Fortunately I had ample extra extensions around so I could assemble the length I needed to reach the nuts at the transom from the nearby (but not near enough) deck hatches.  By taping the ratchet handle in place to the deck and hatch covers as needed, I could go outside the boat and remove the screws one by one, resetting the extension setup for each of the three nuts on both sides.  It took a while and plenty of backs and forths, but it worked.

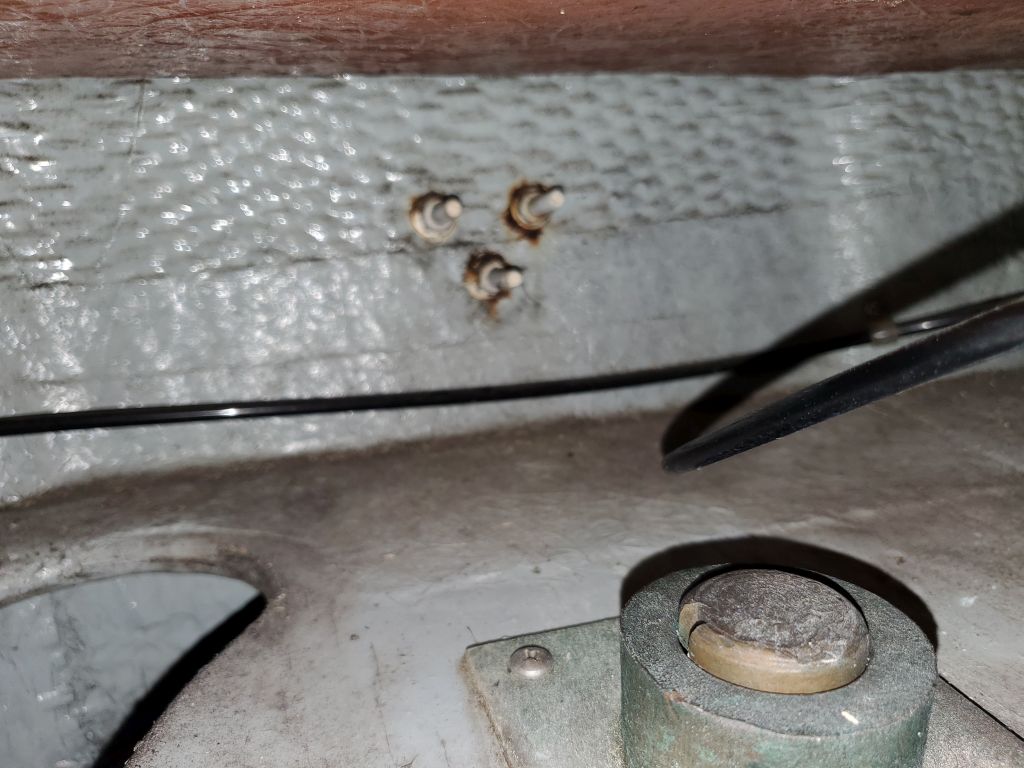
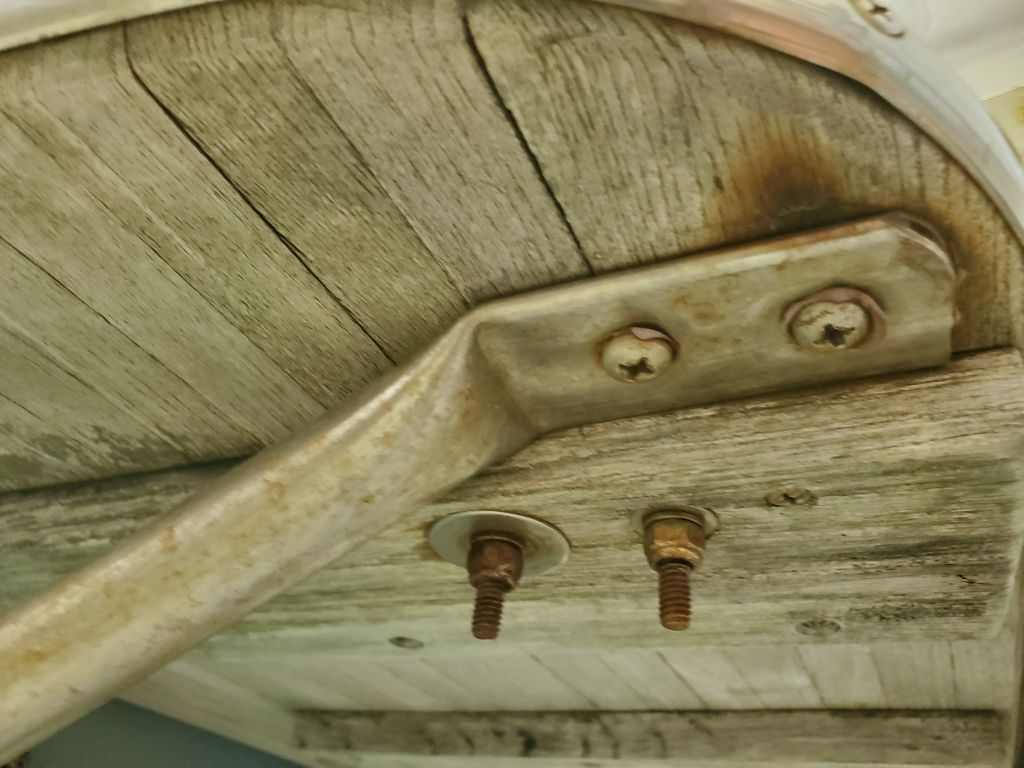
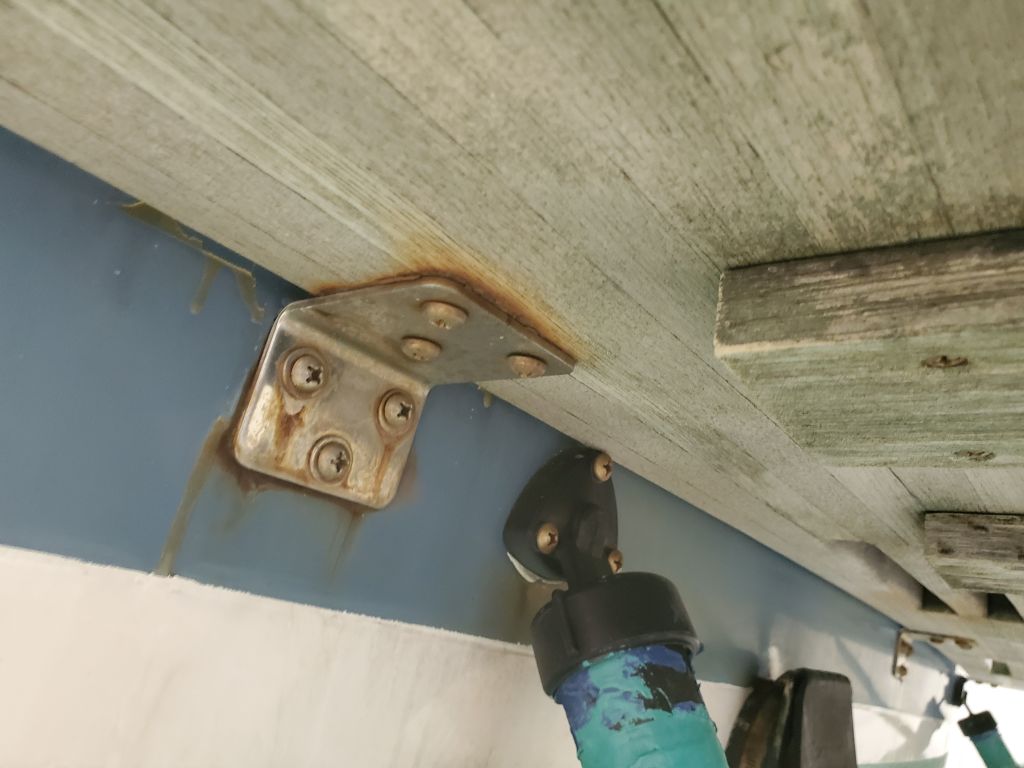
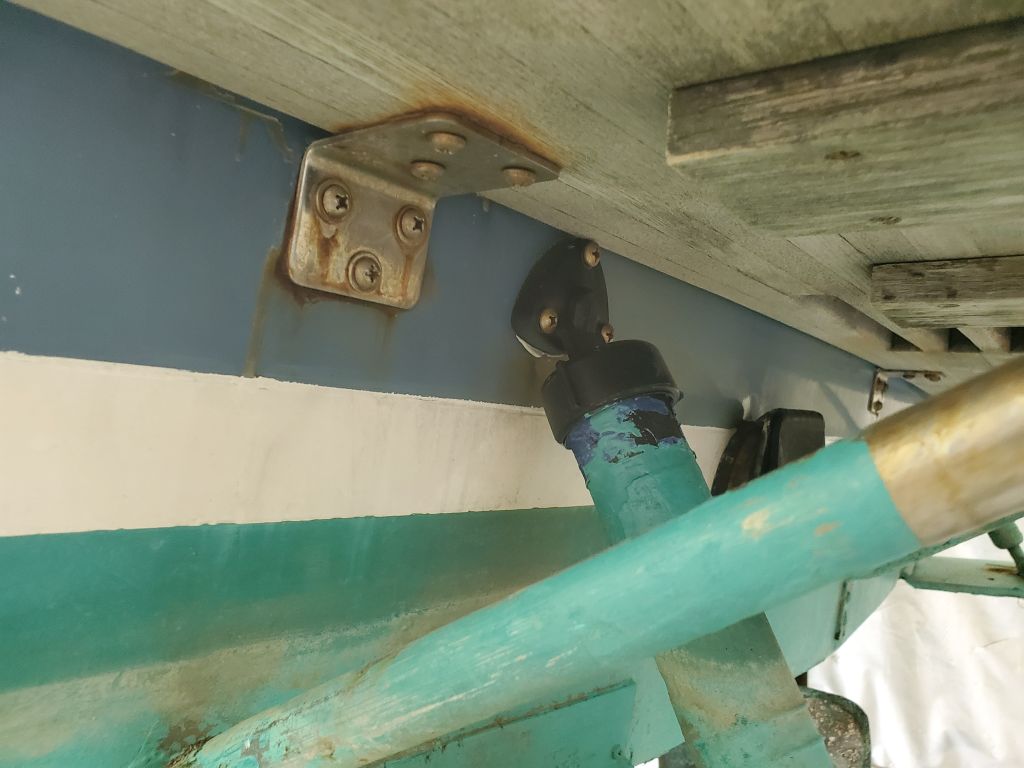
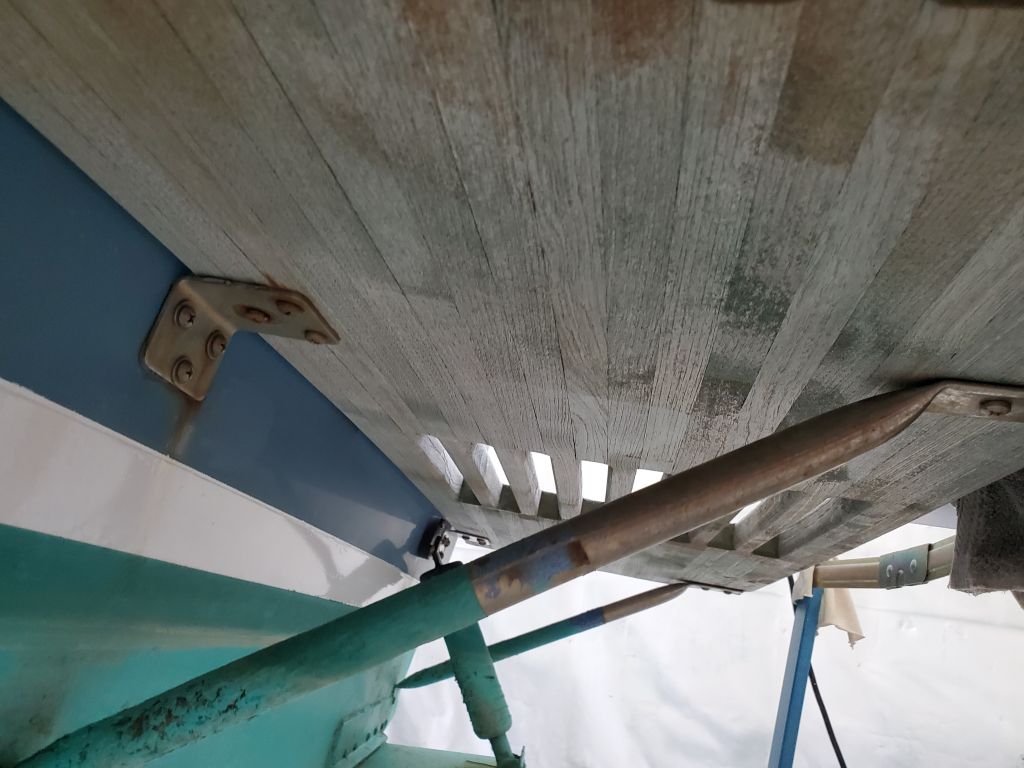
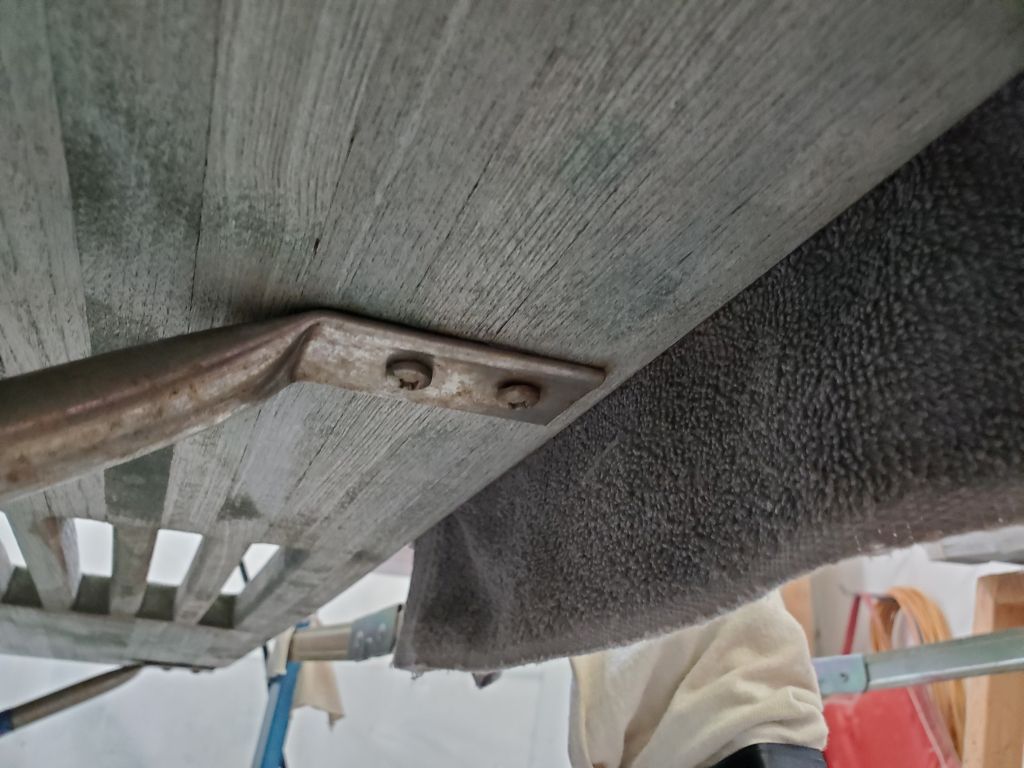
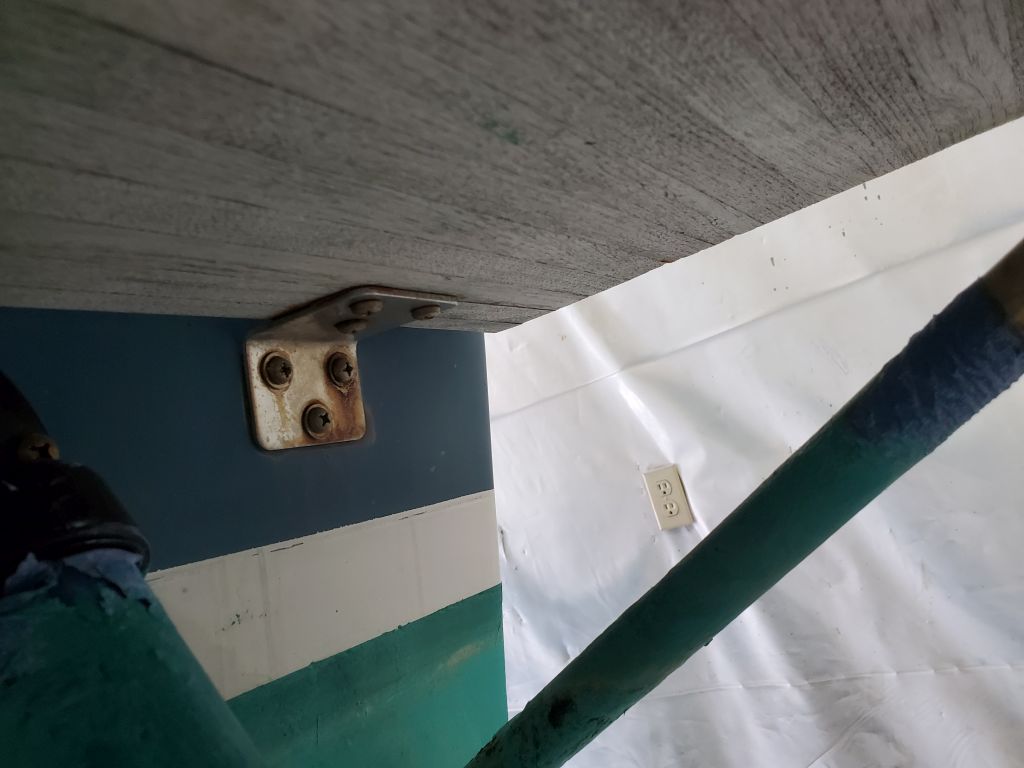
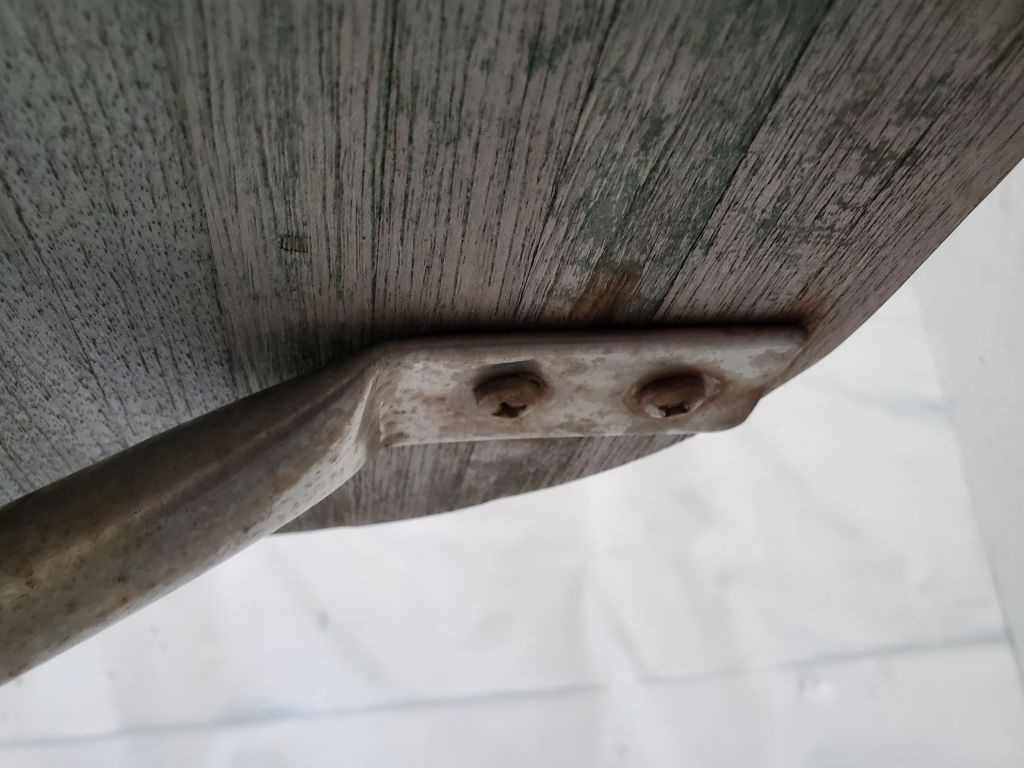
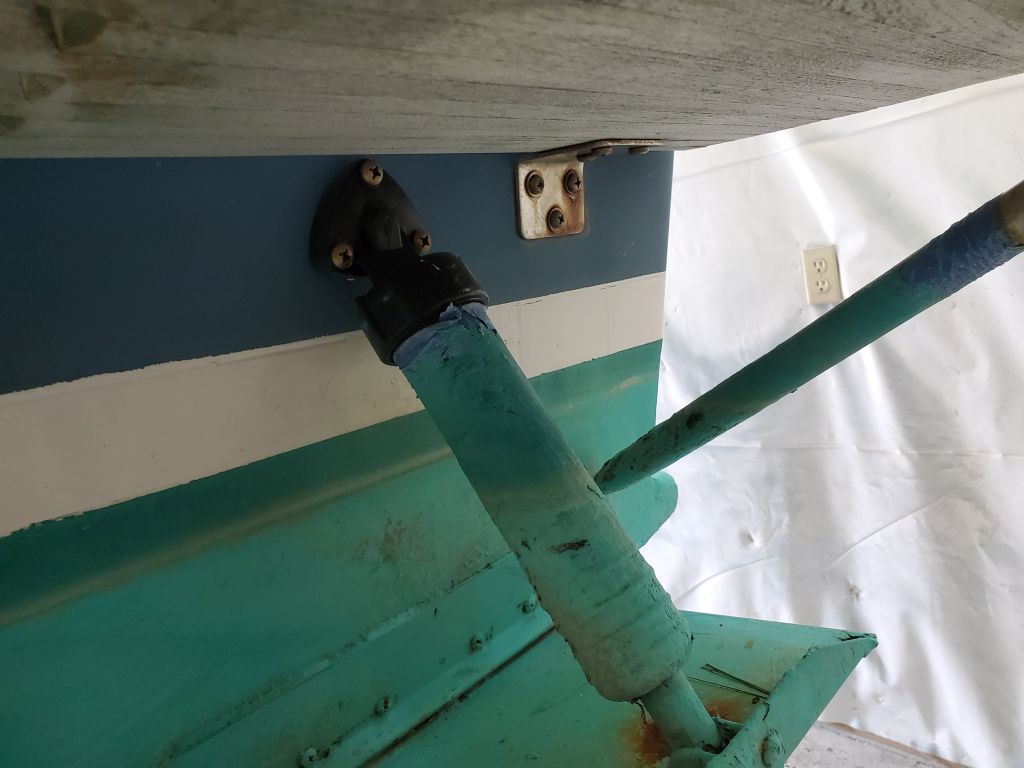
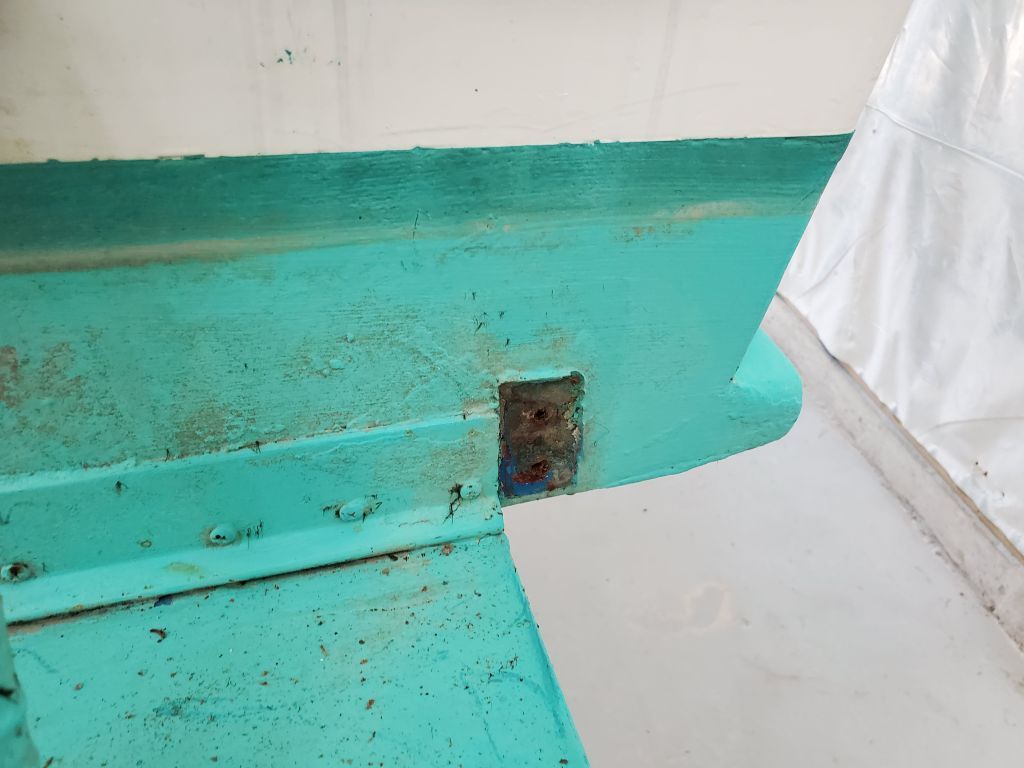
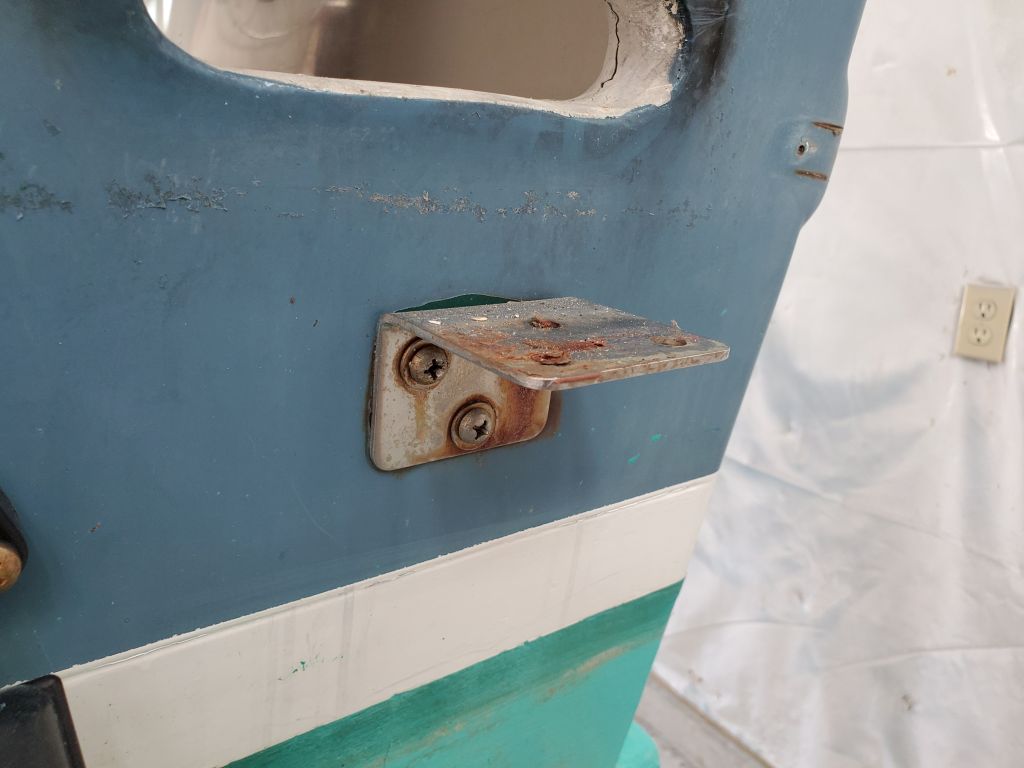
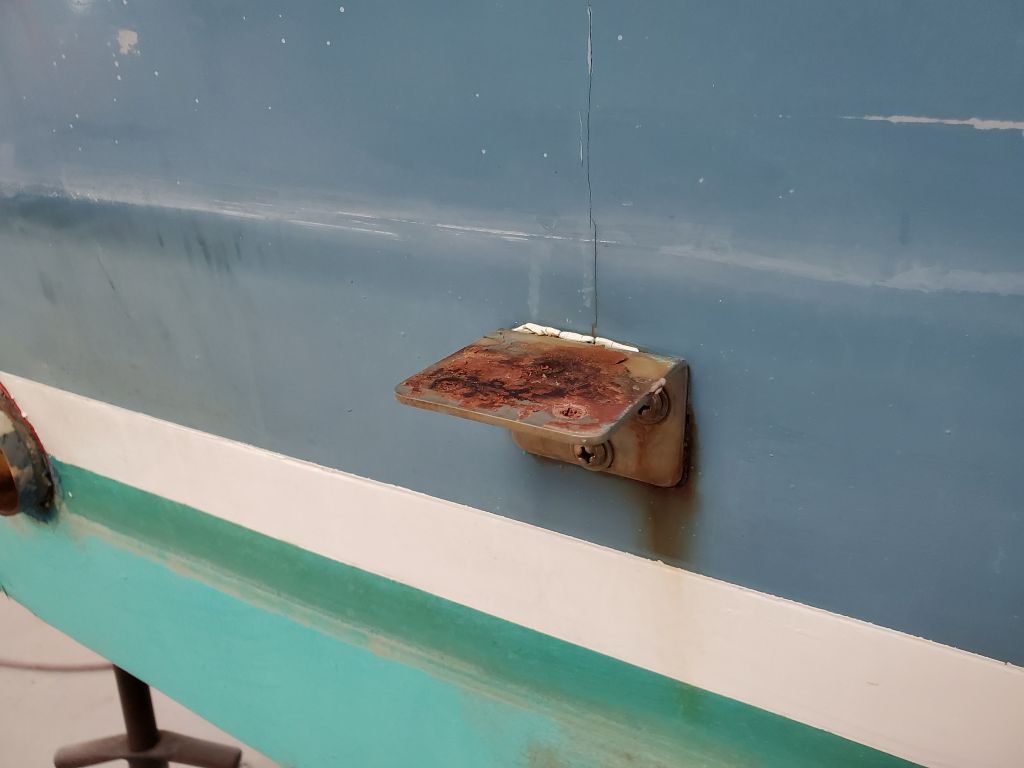
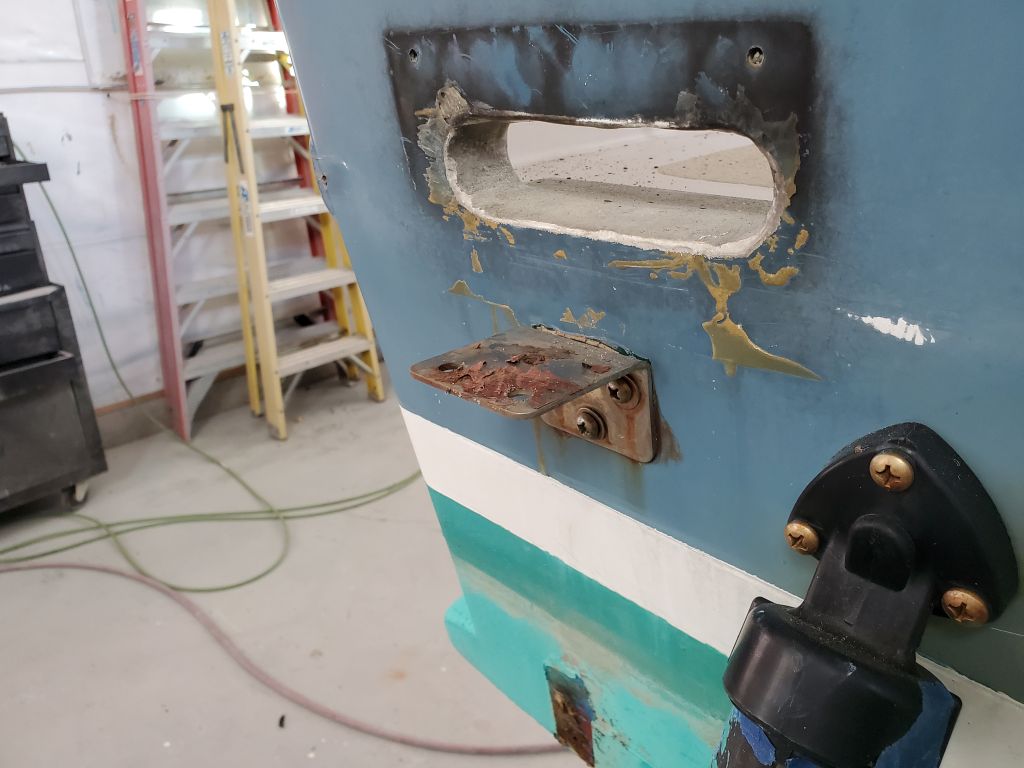
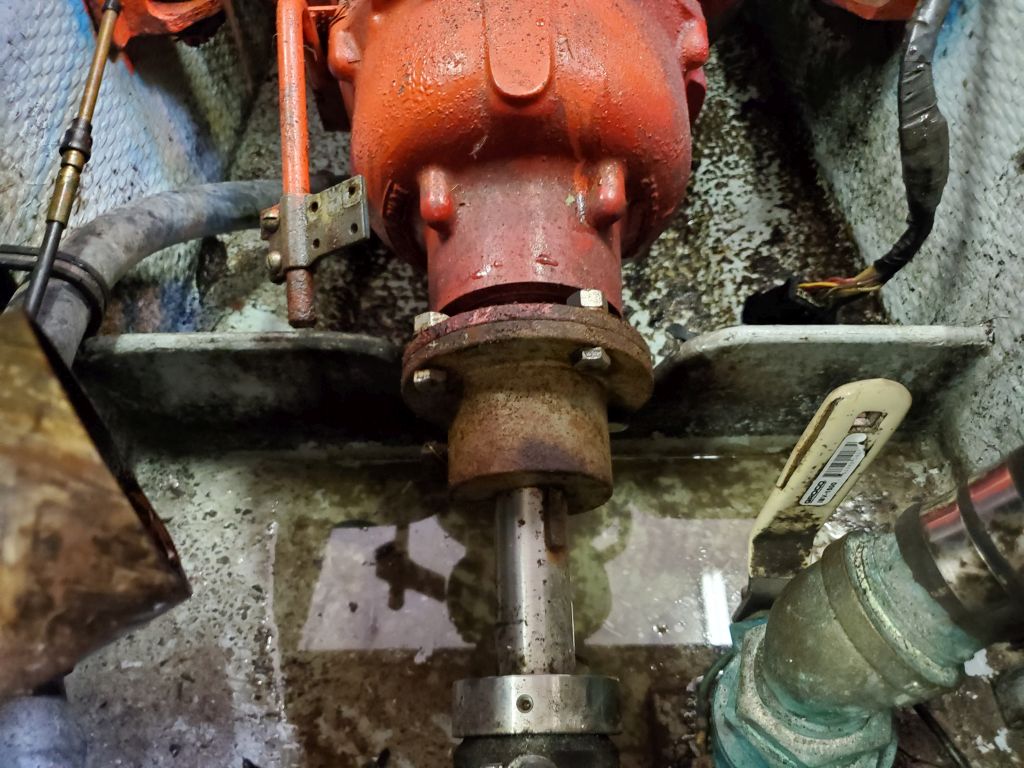
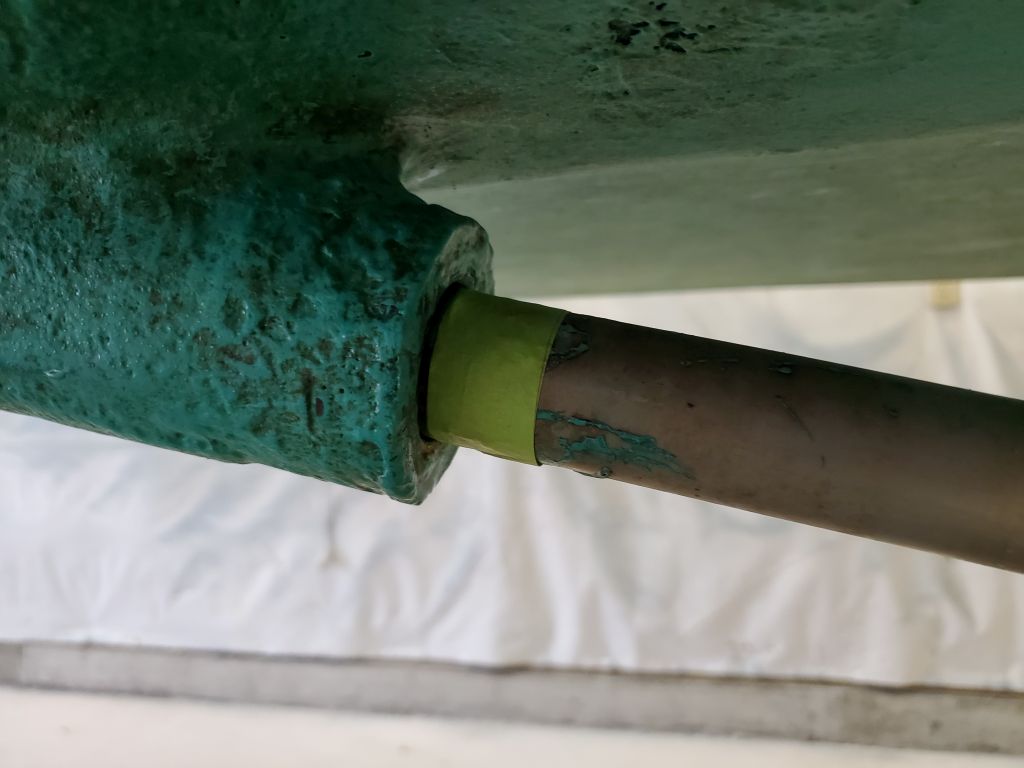
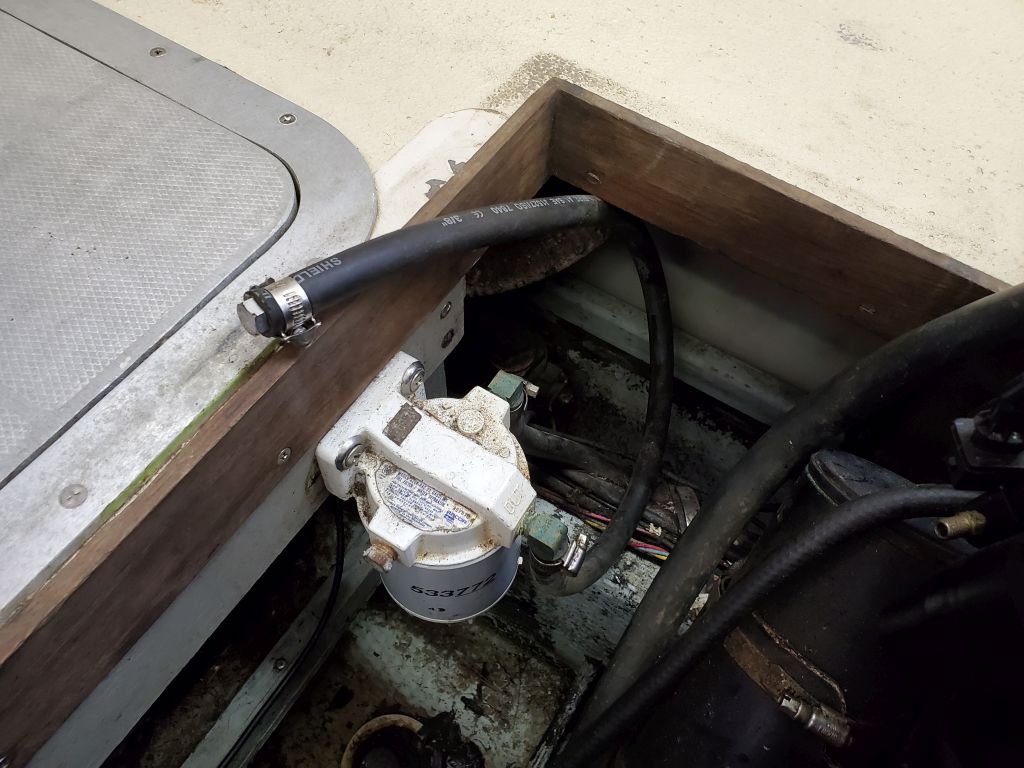
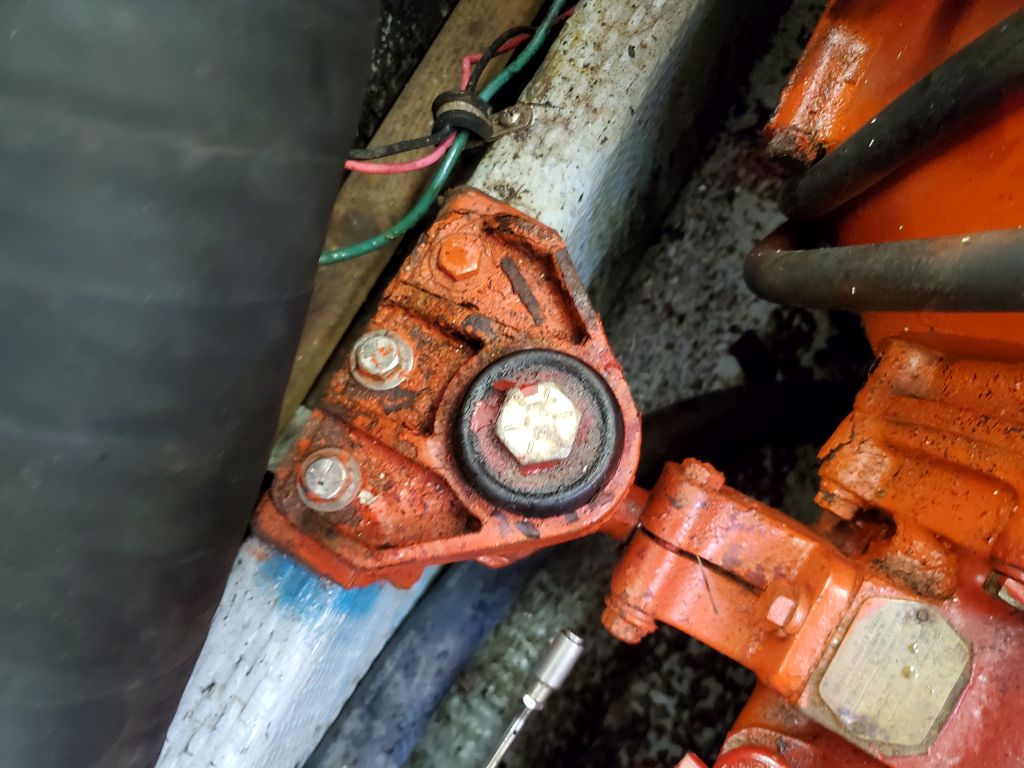
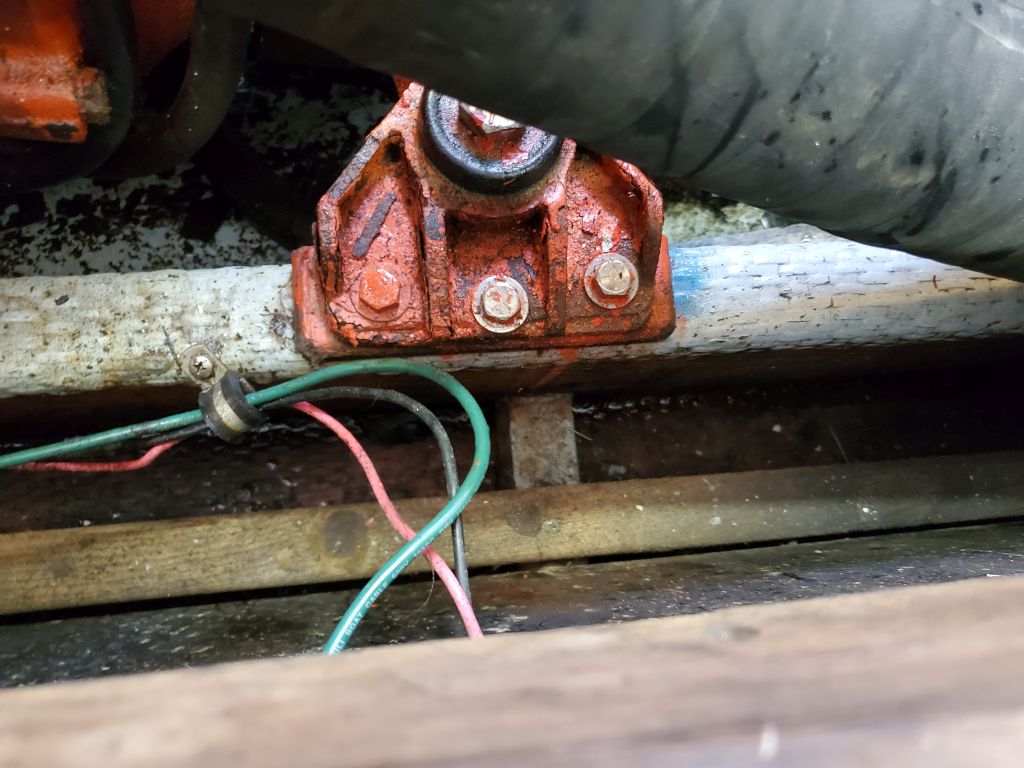
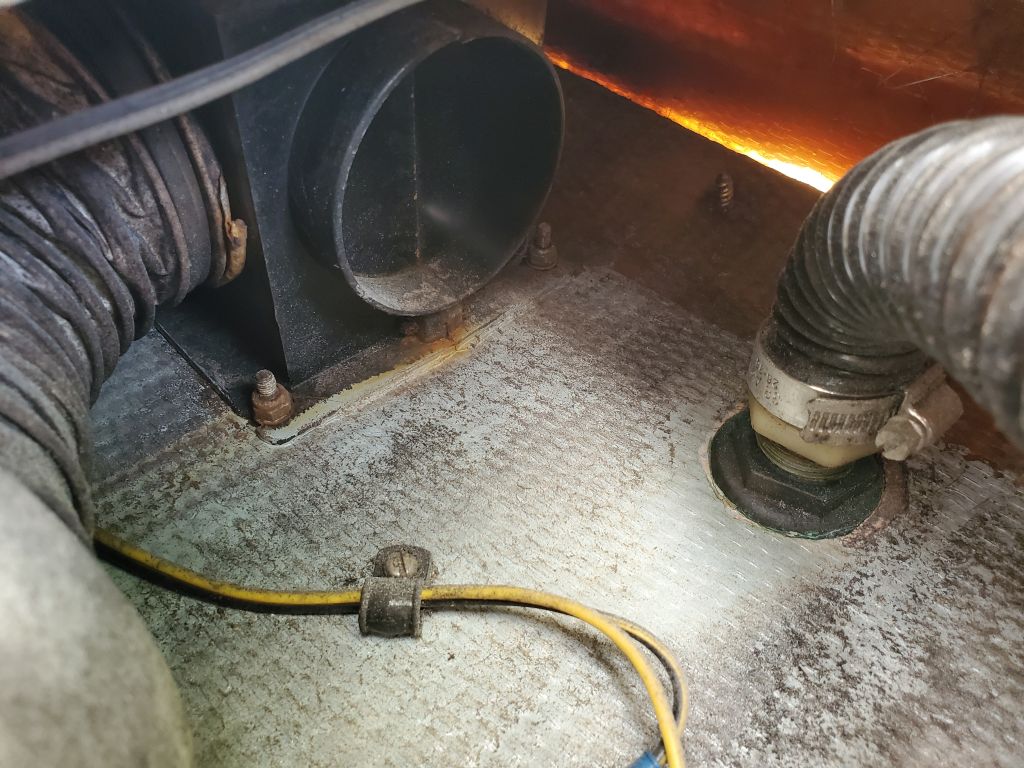
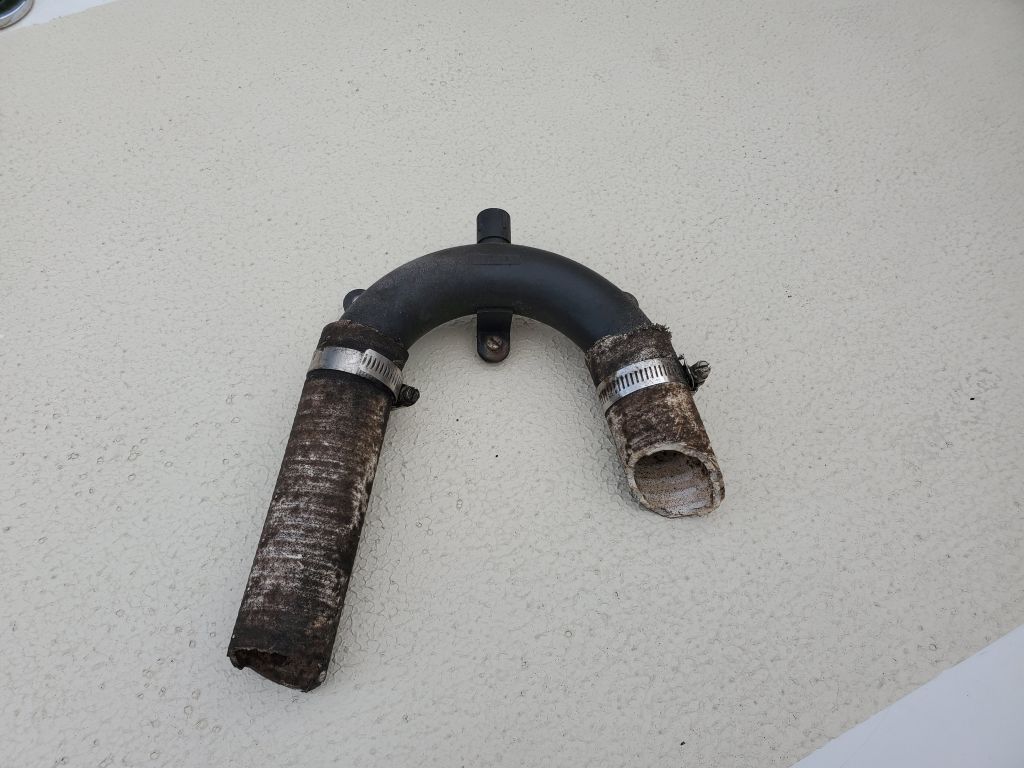
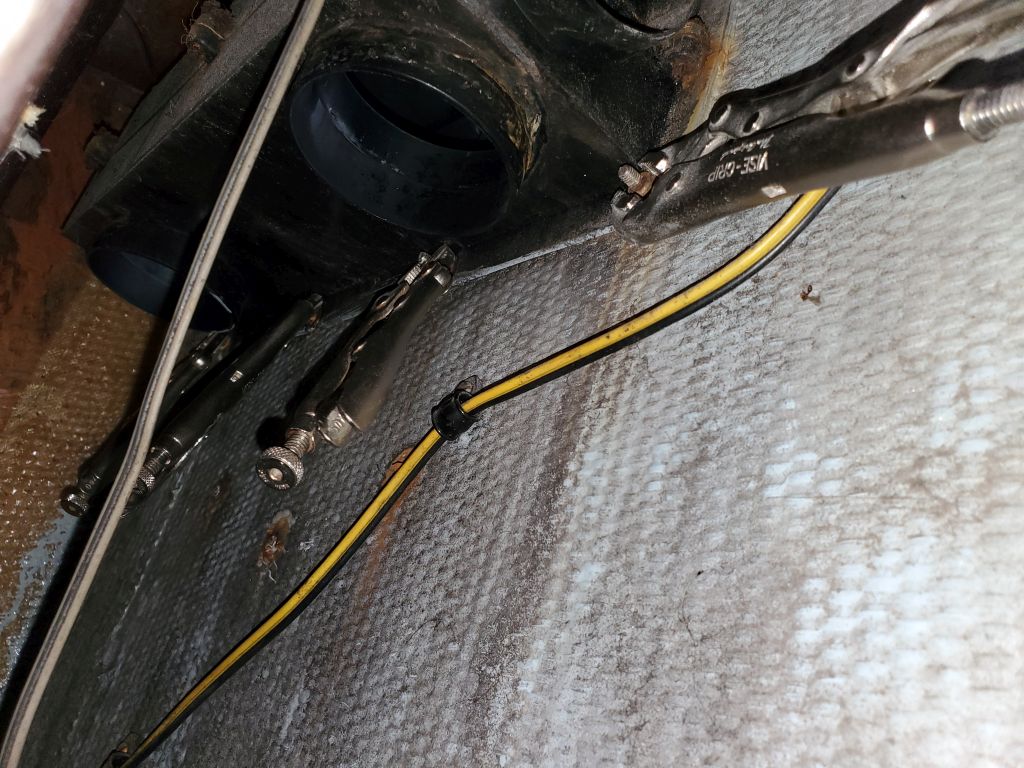
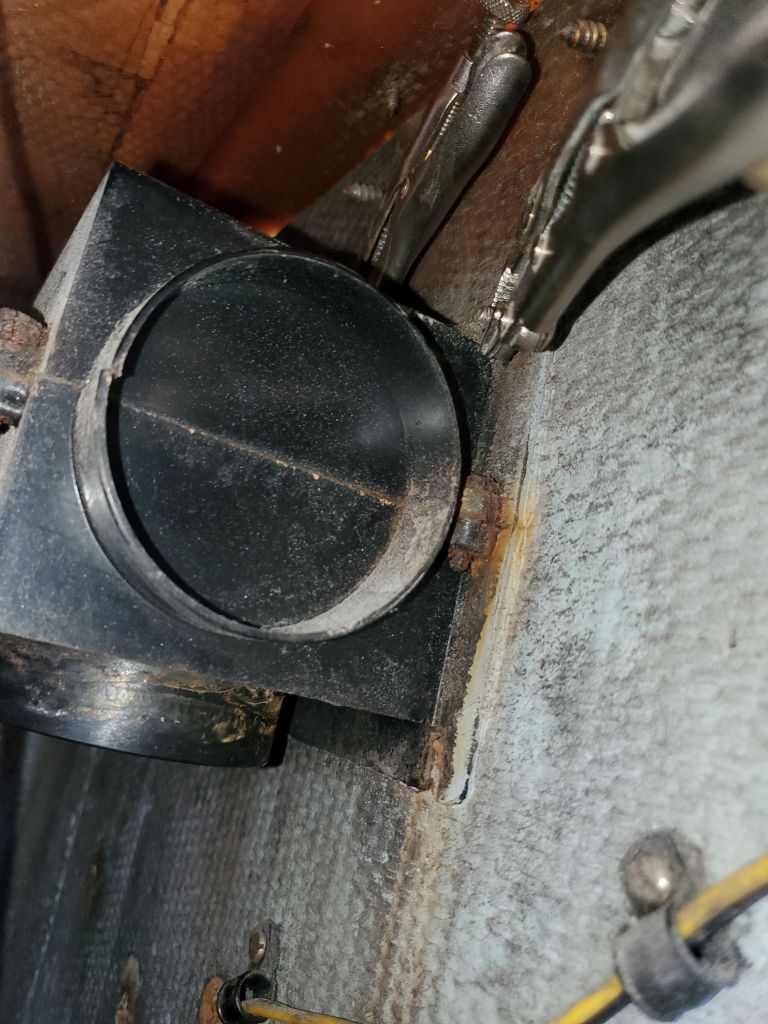
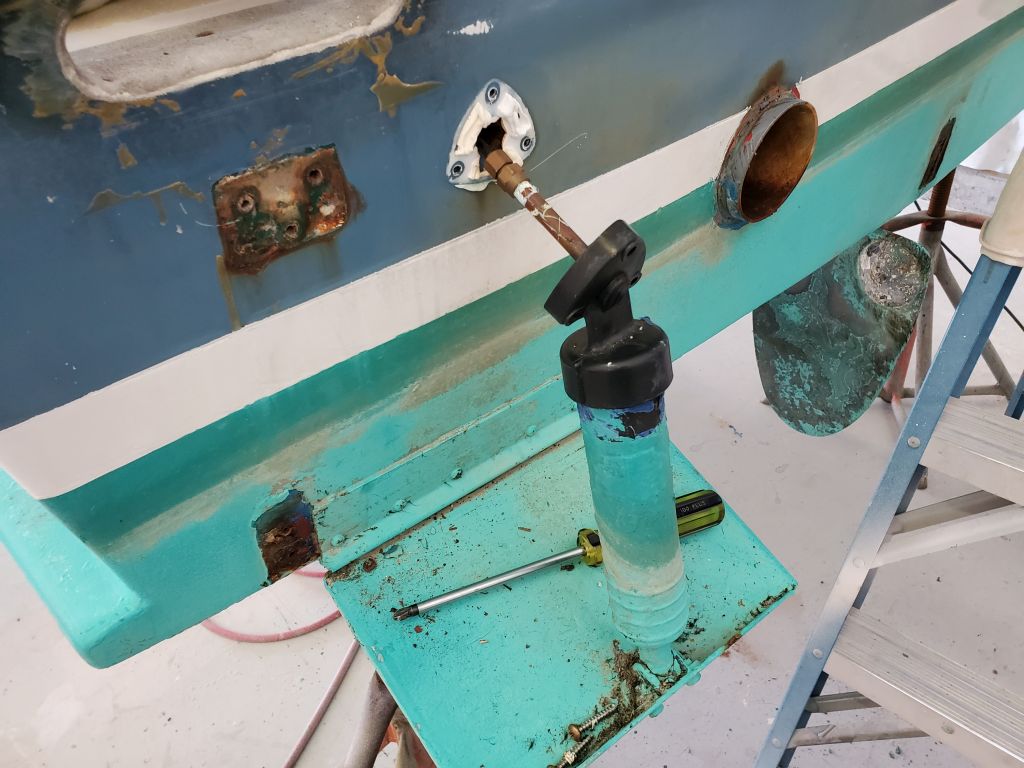
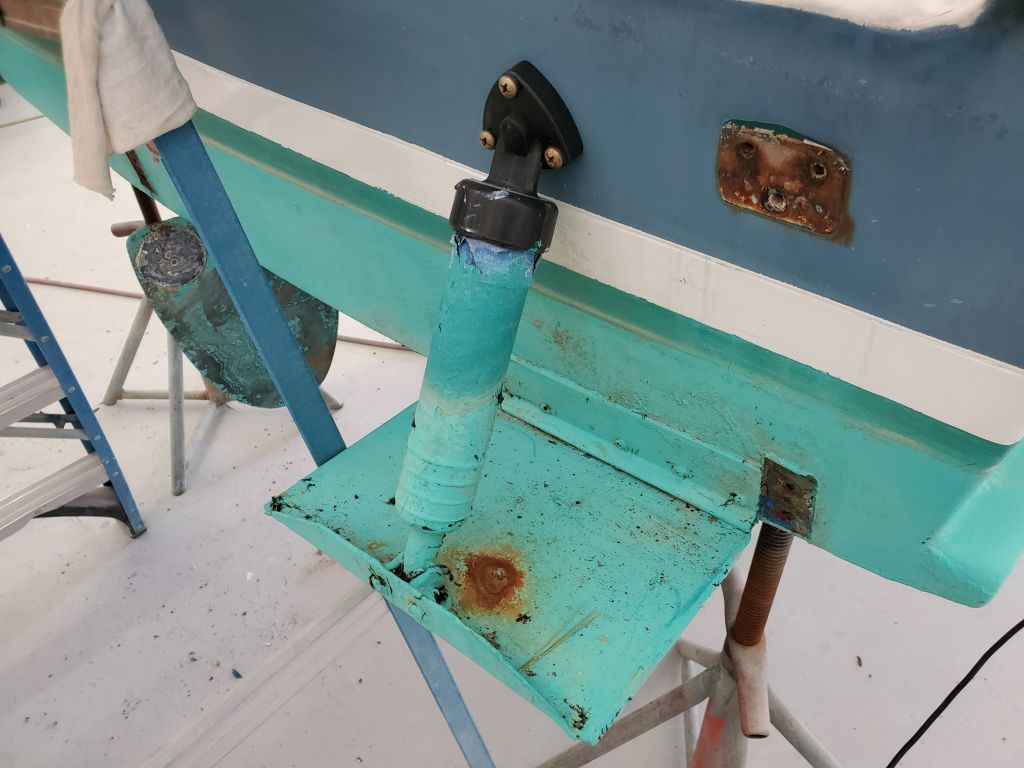
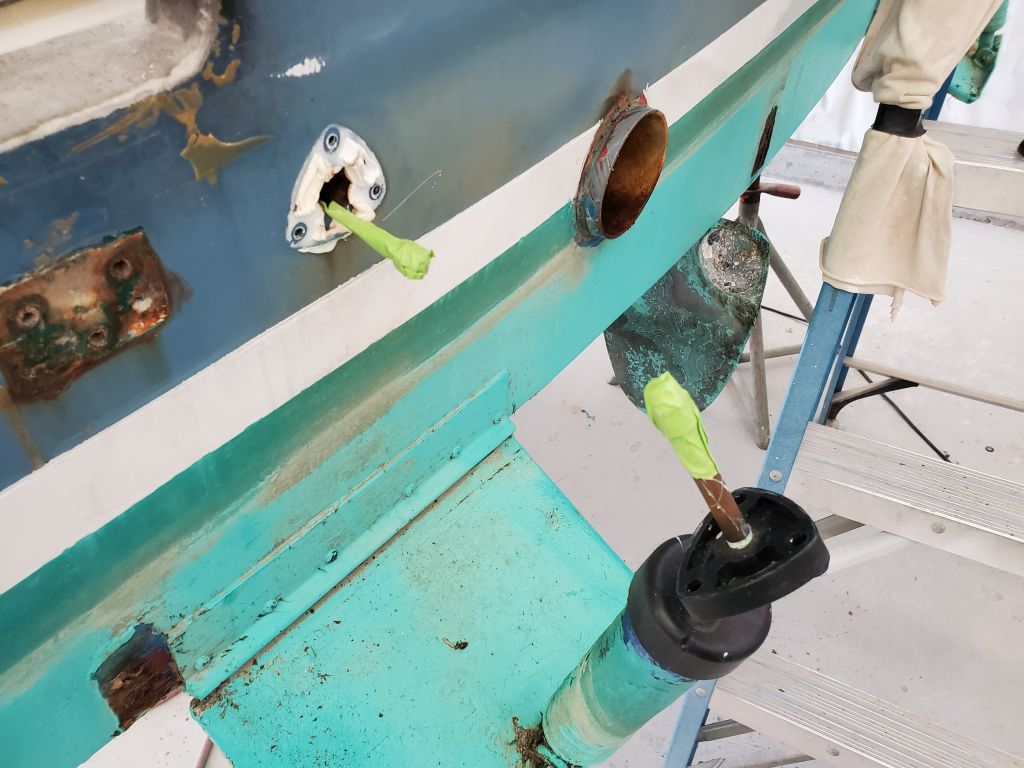
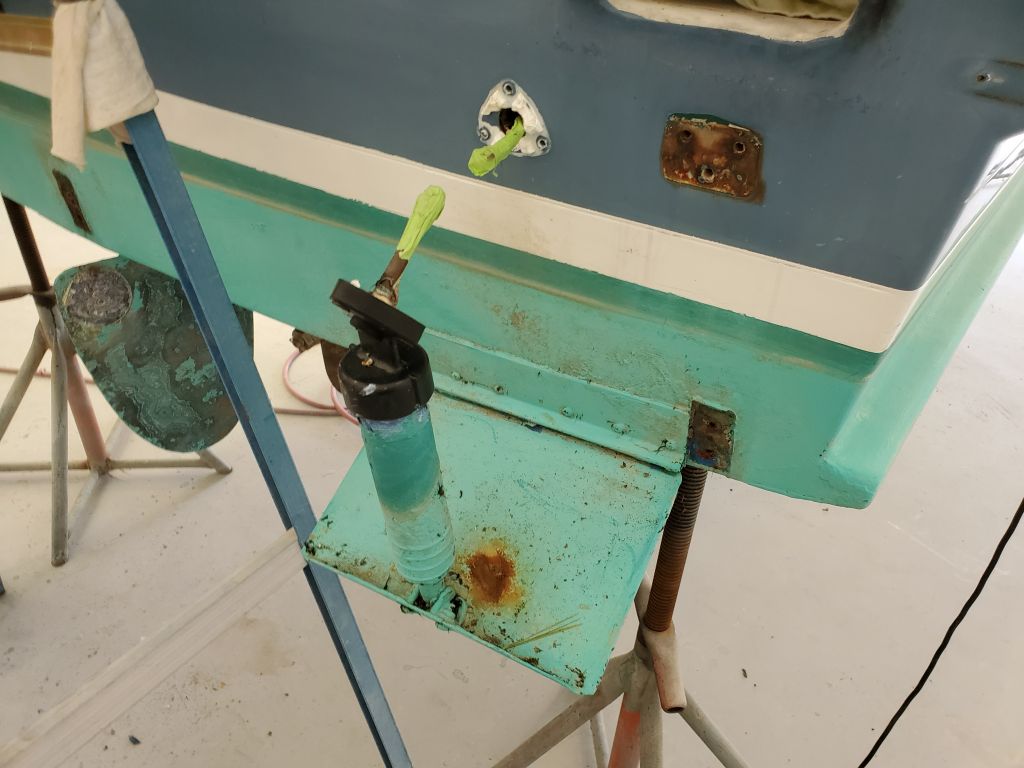
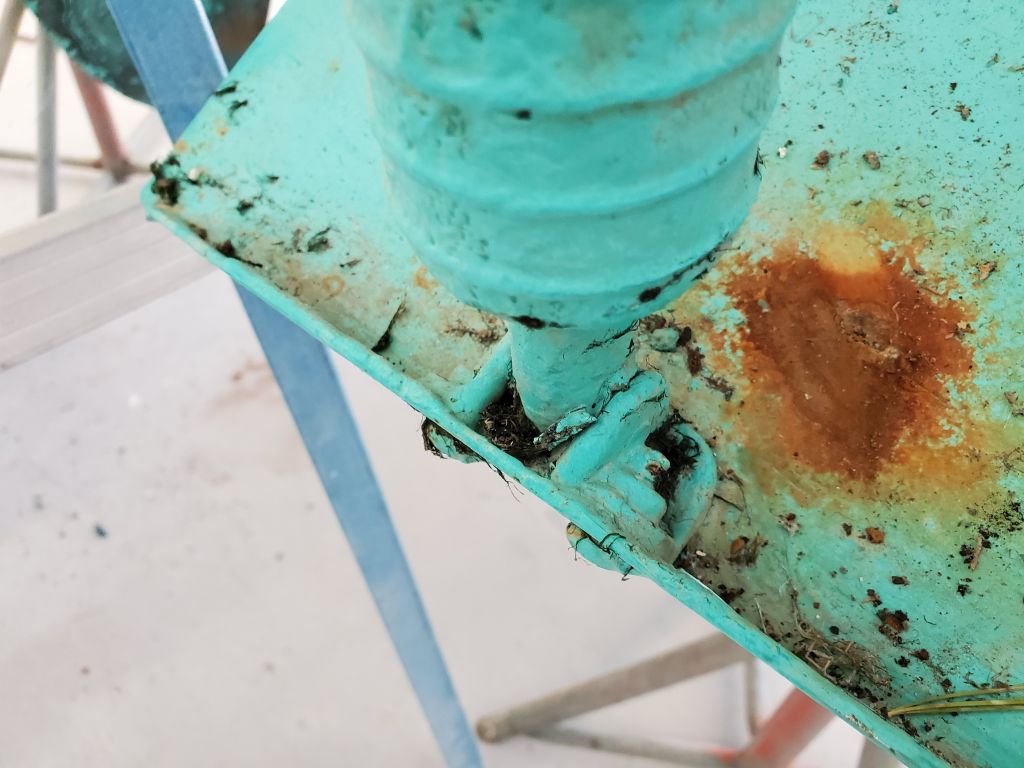
Next, I unscrewed the tops of the trim tab cylinders, which allowed me to pull out the hoses enough to undo the compression nuts holding them in place.  I masked over the open ends of the connectors on both sides, and later removed the cylinders from the tabs themselves, a straightforward operation that got them out of the way for the work ahead.

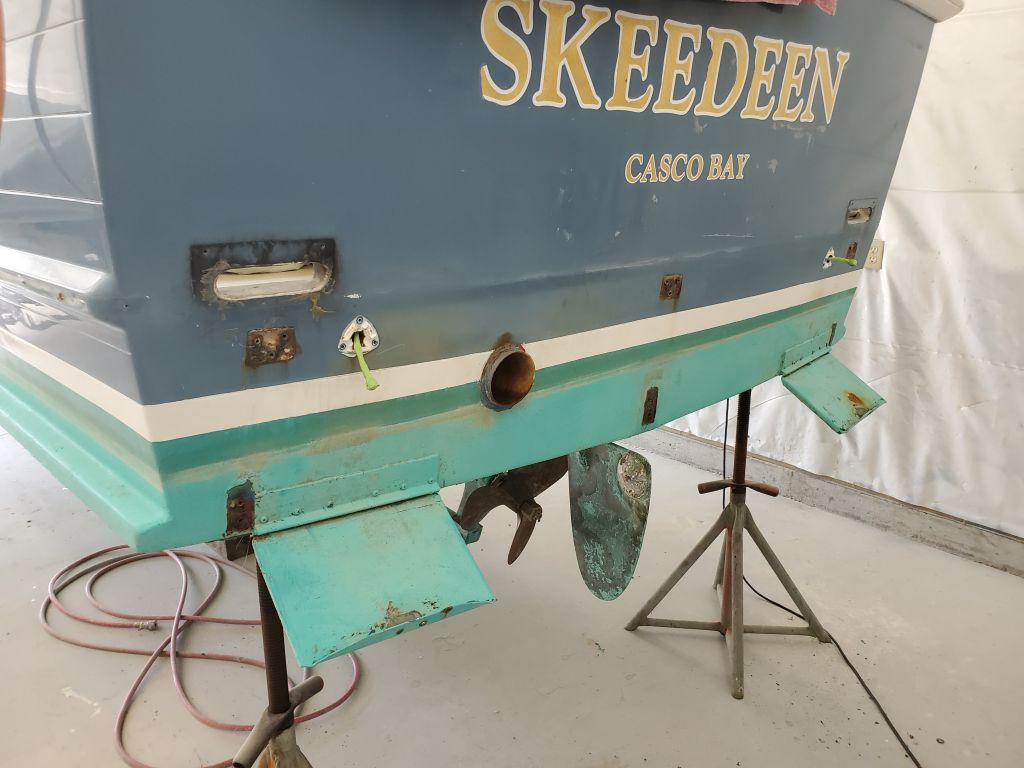
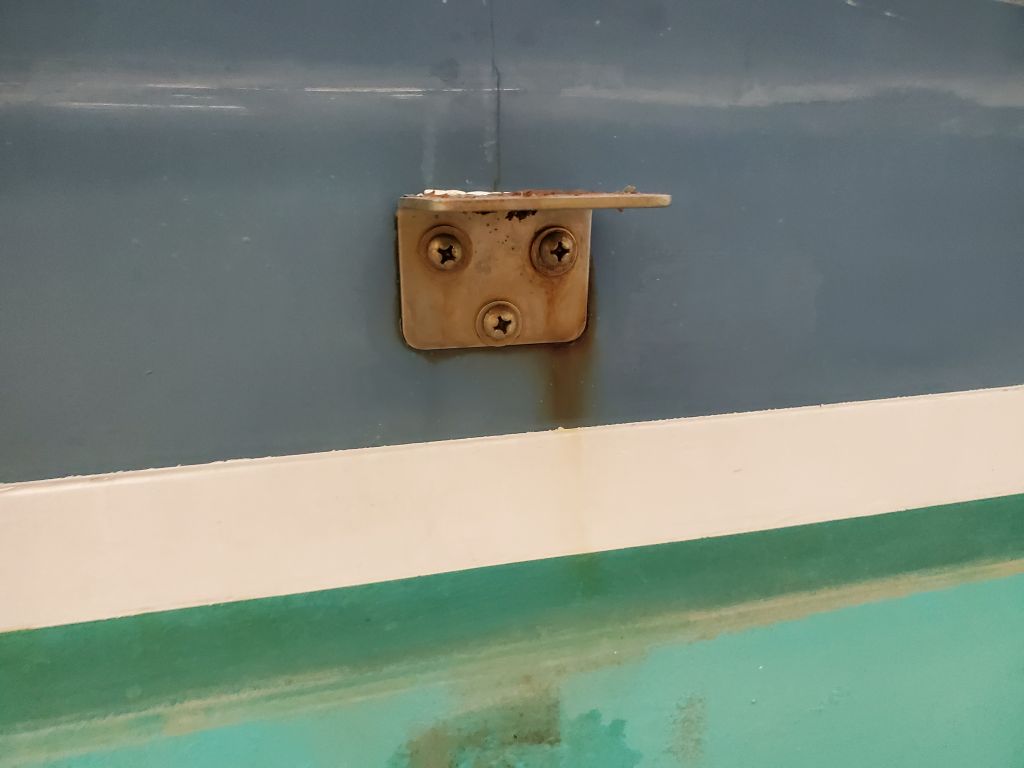
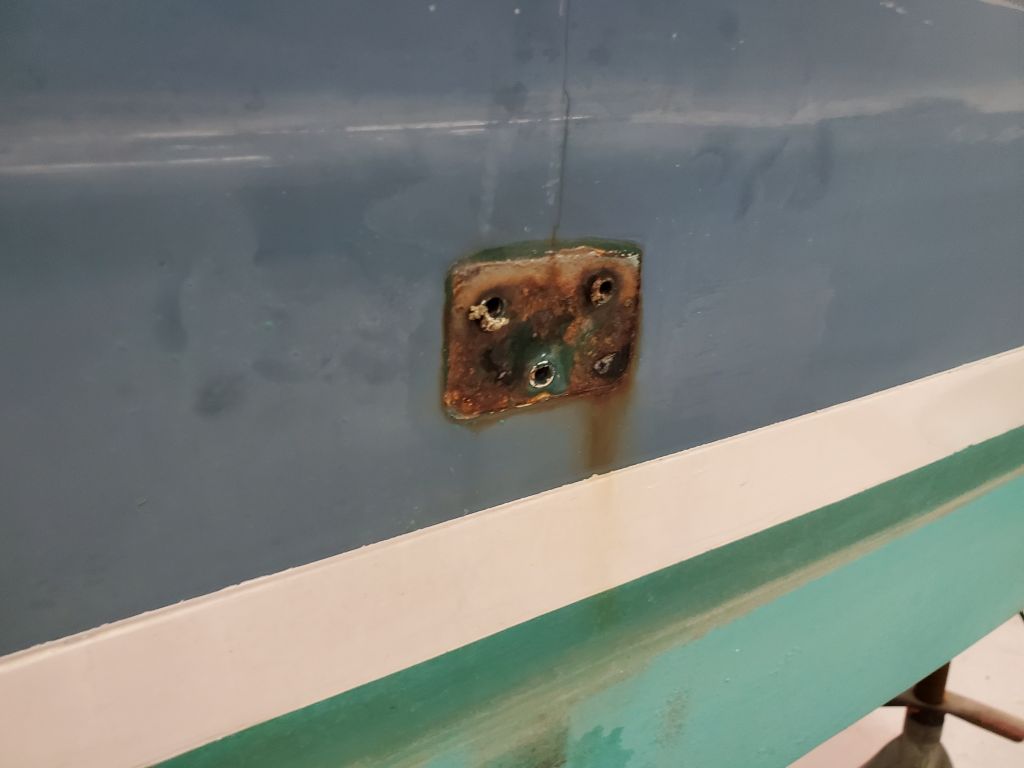
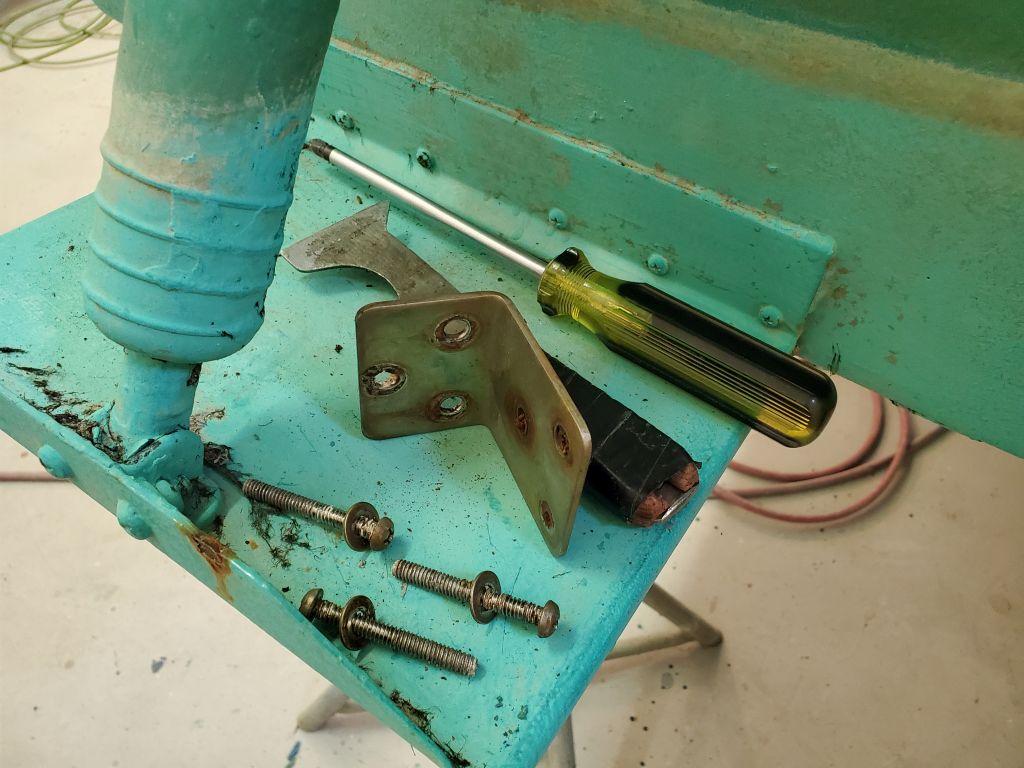
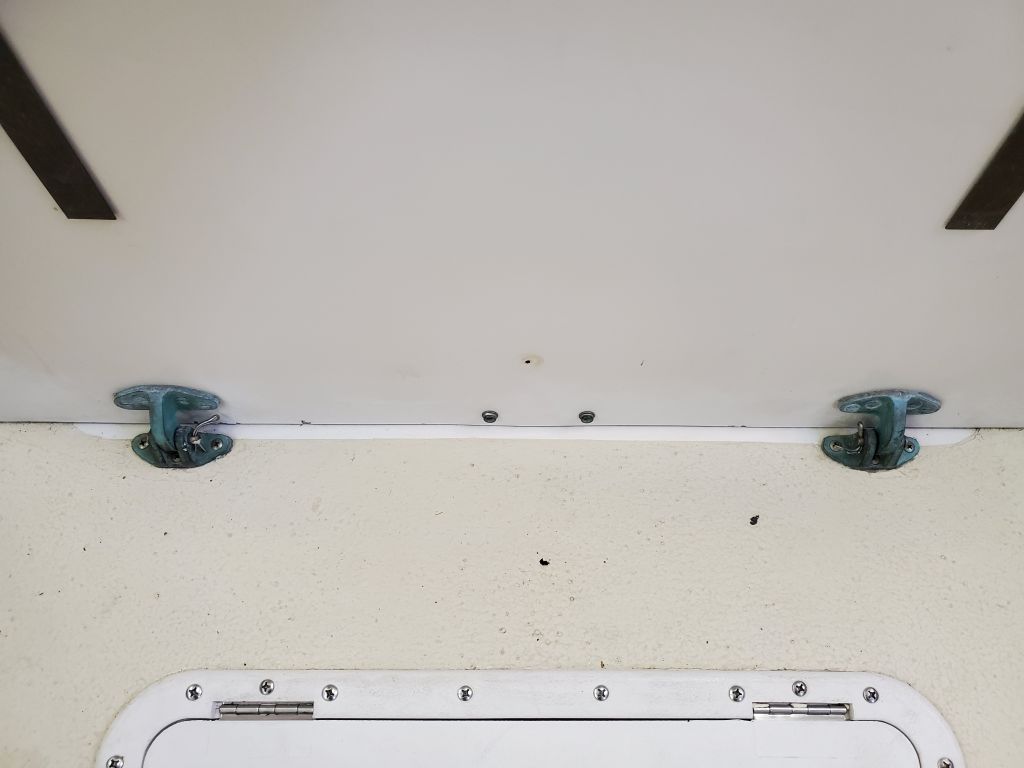
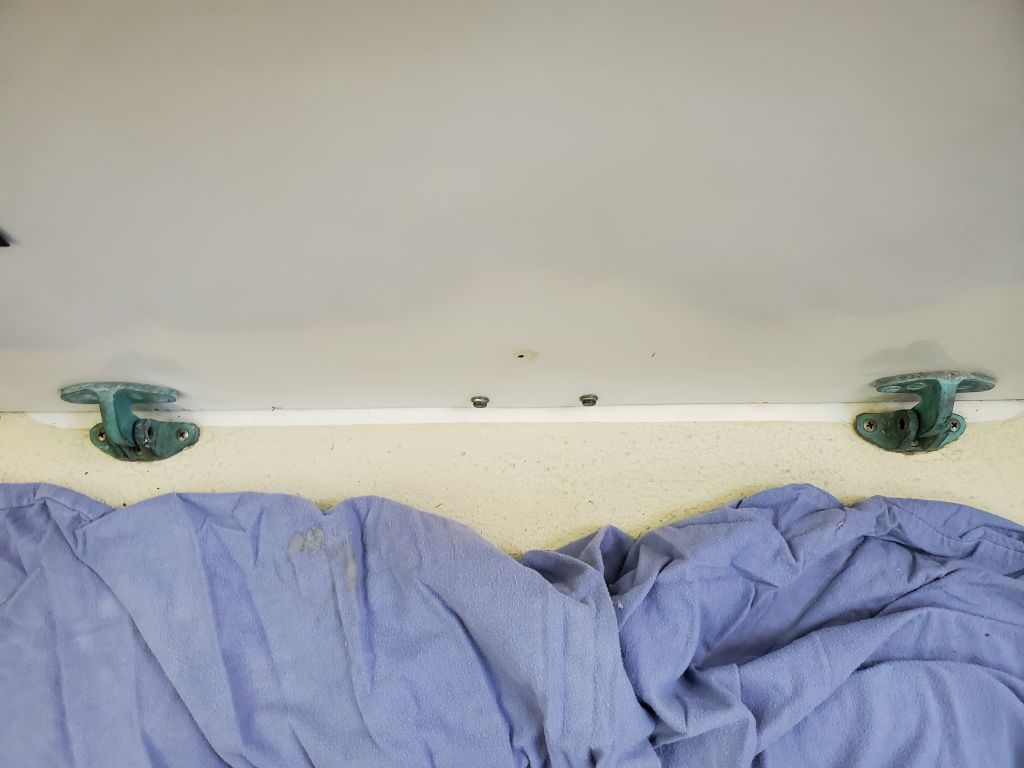
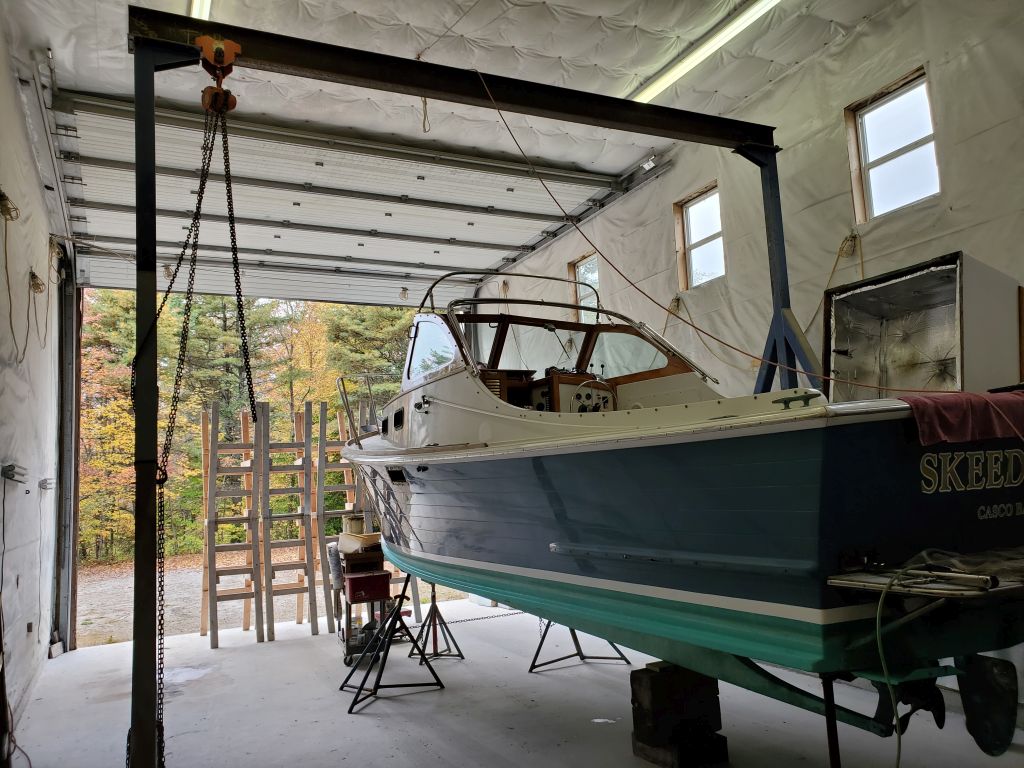
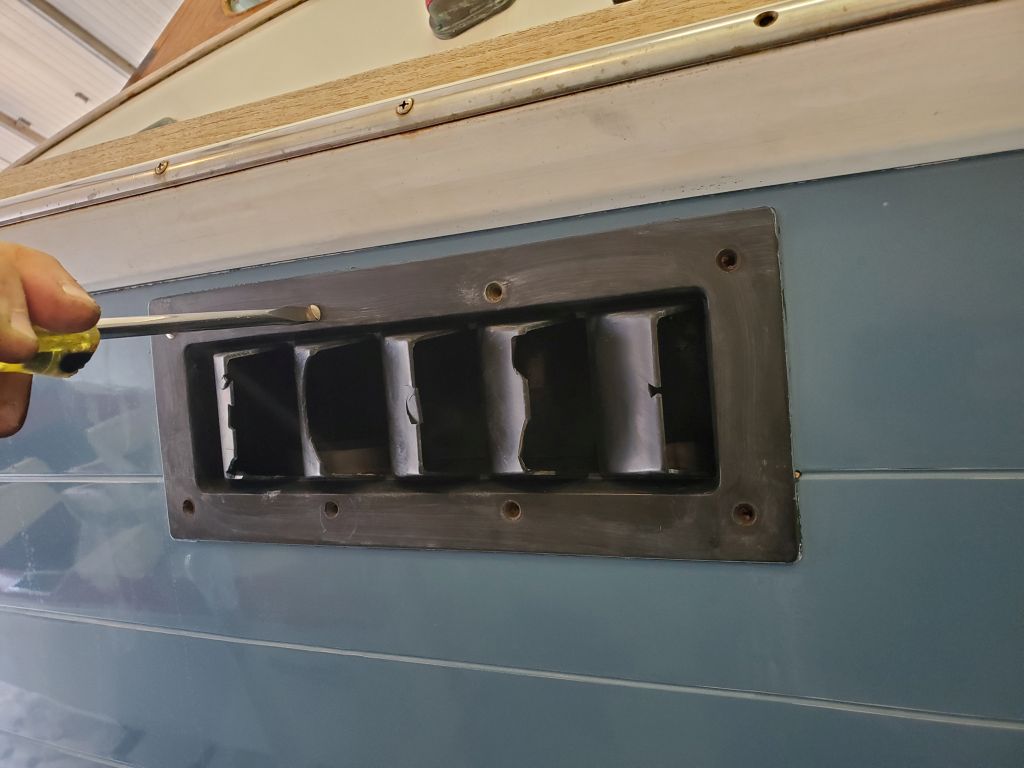
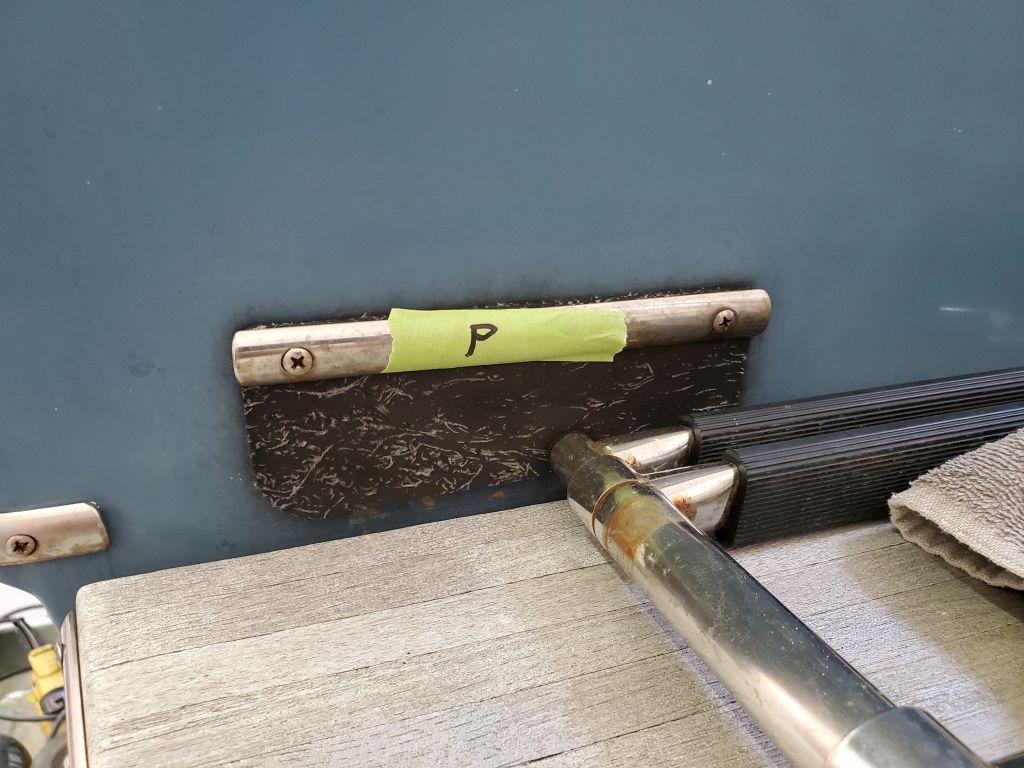
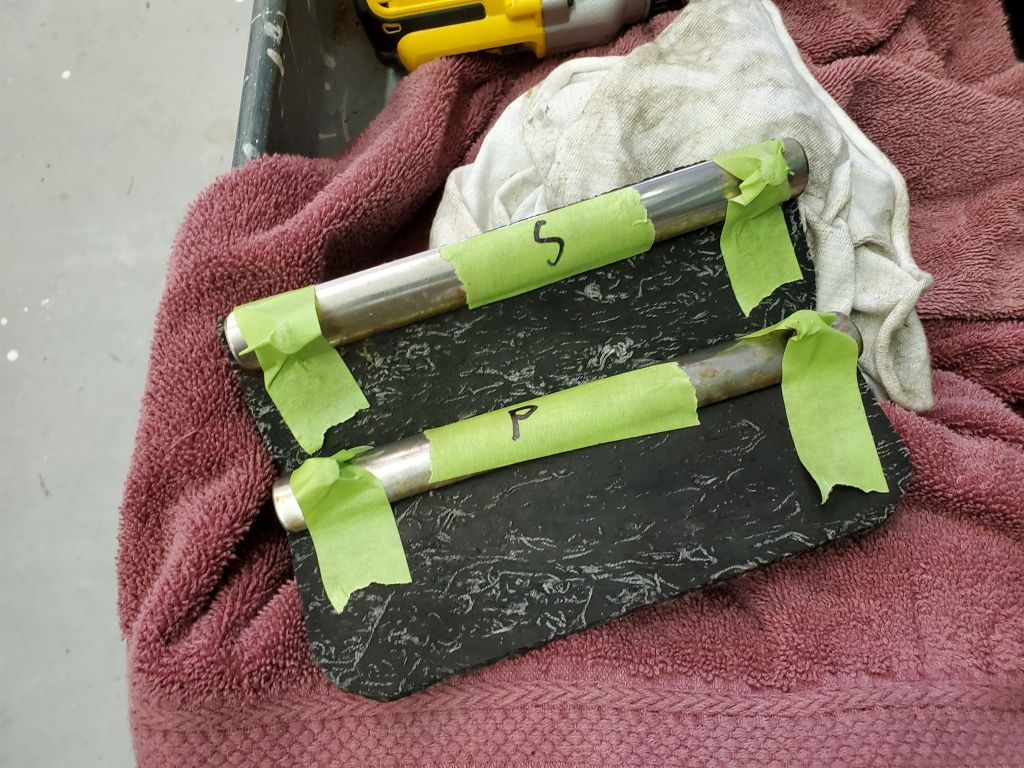
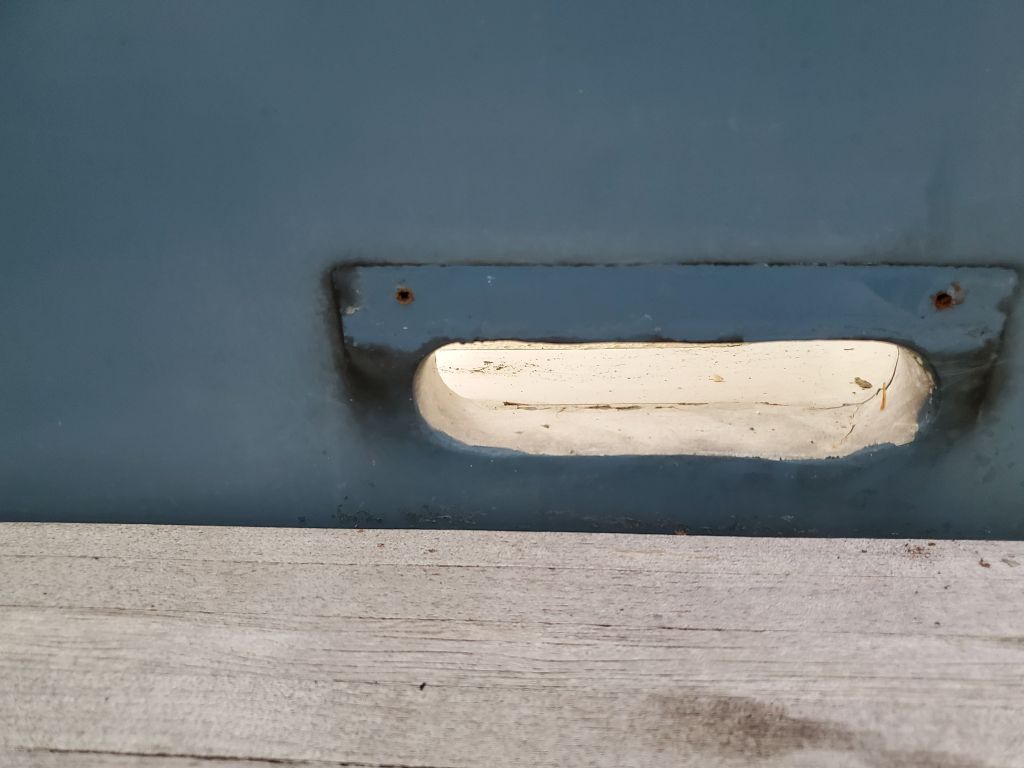
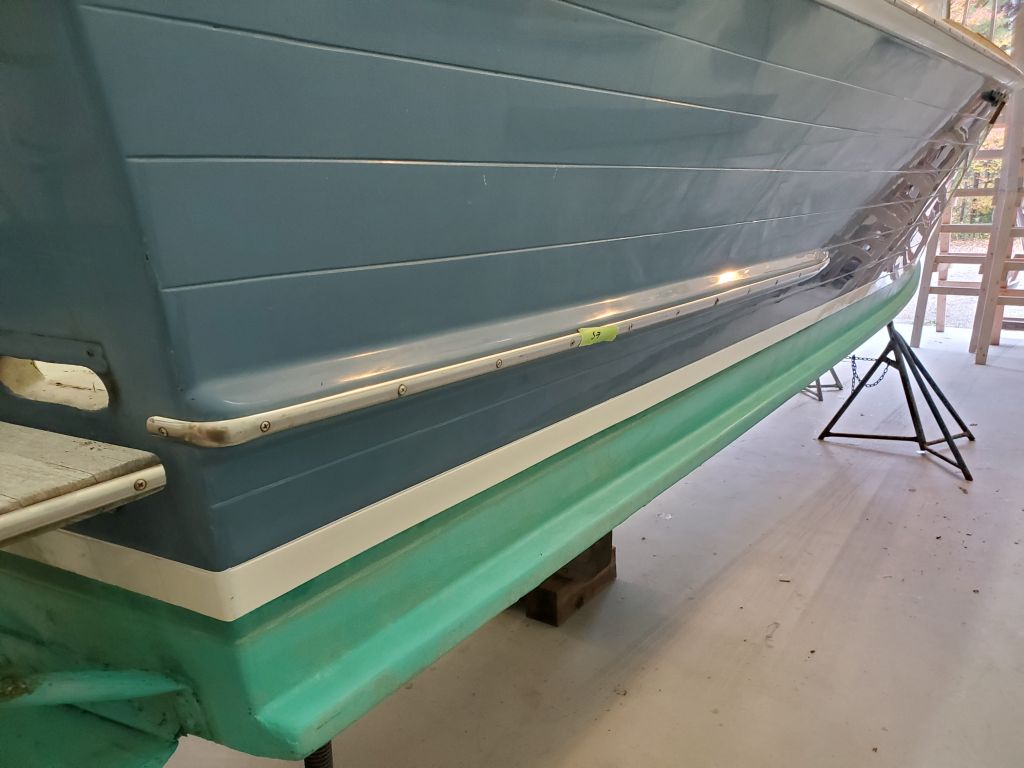
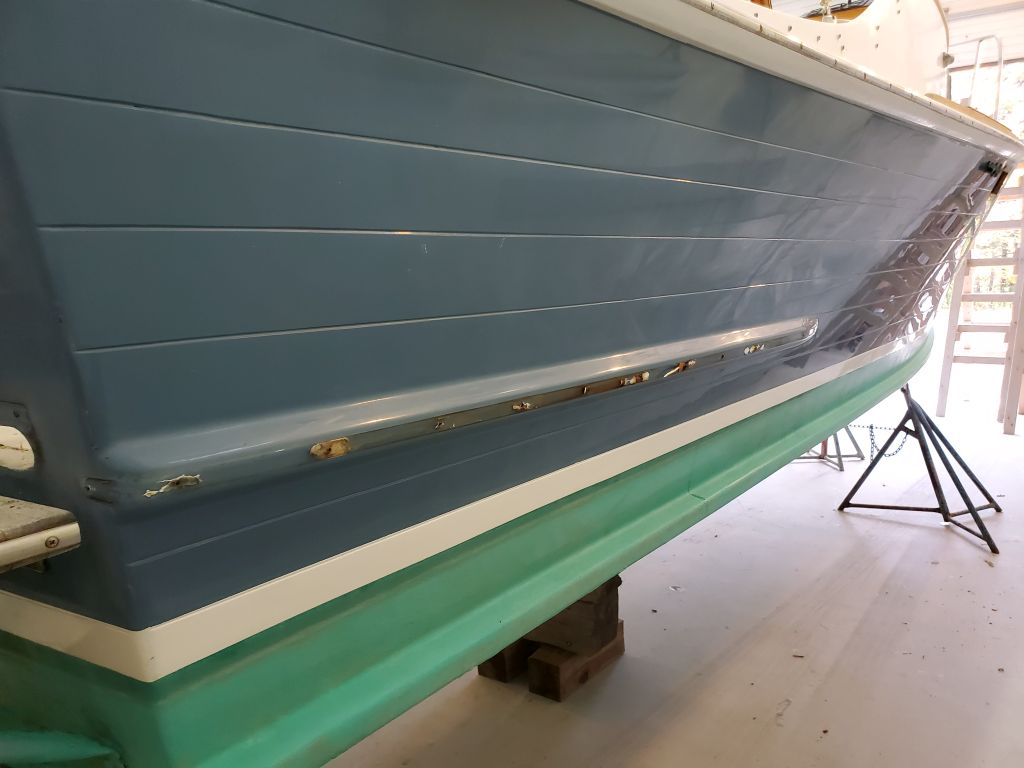
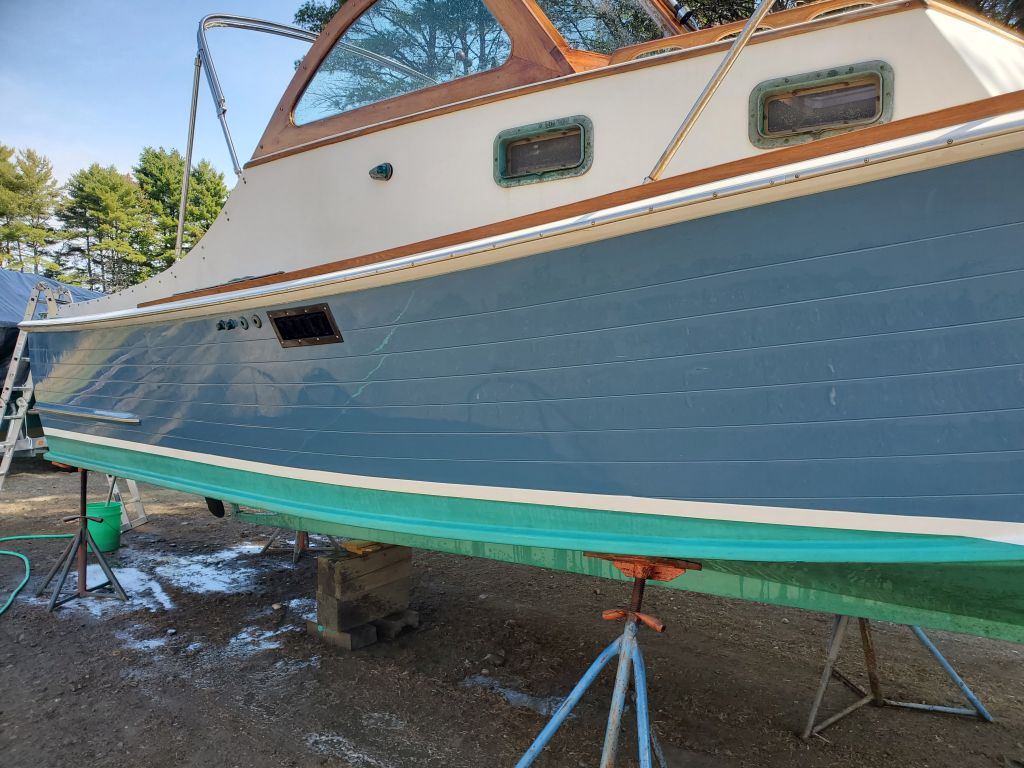
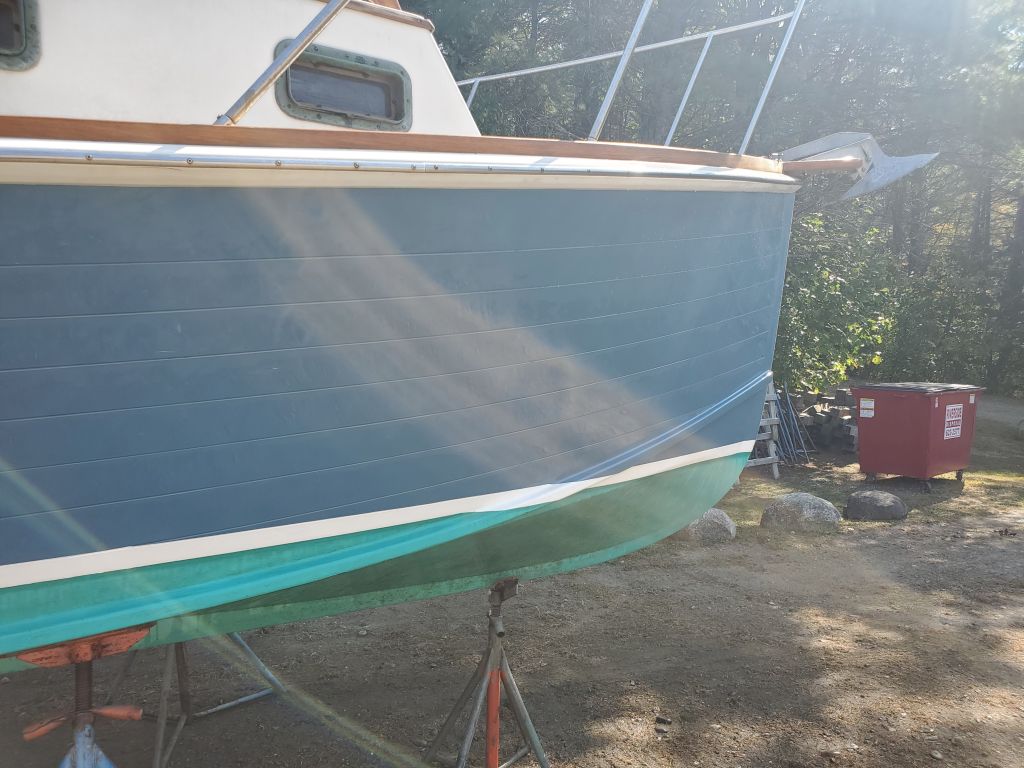
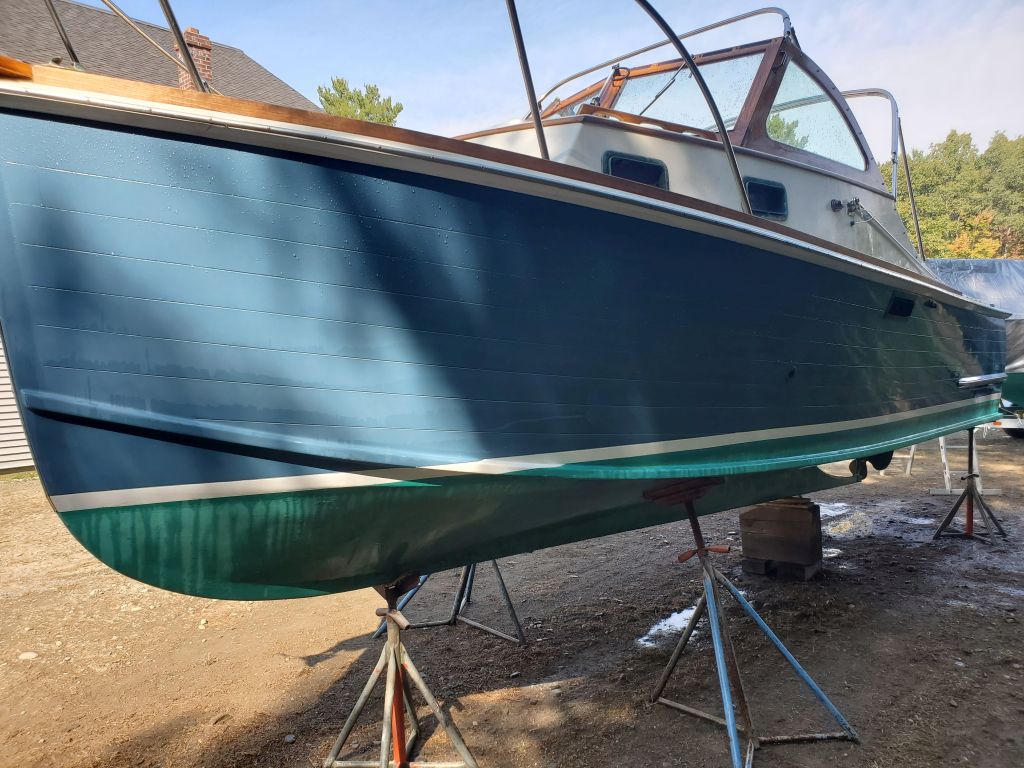
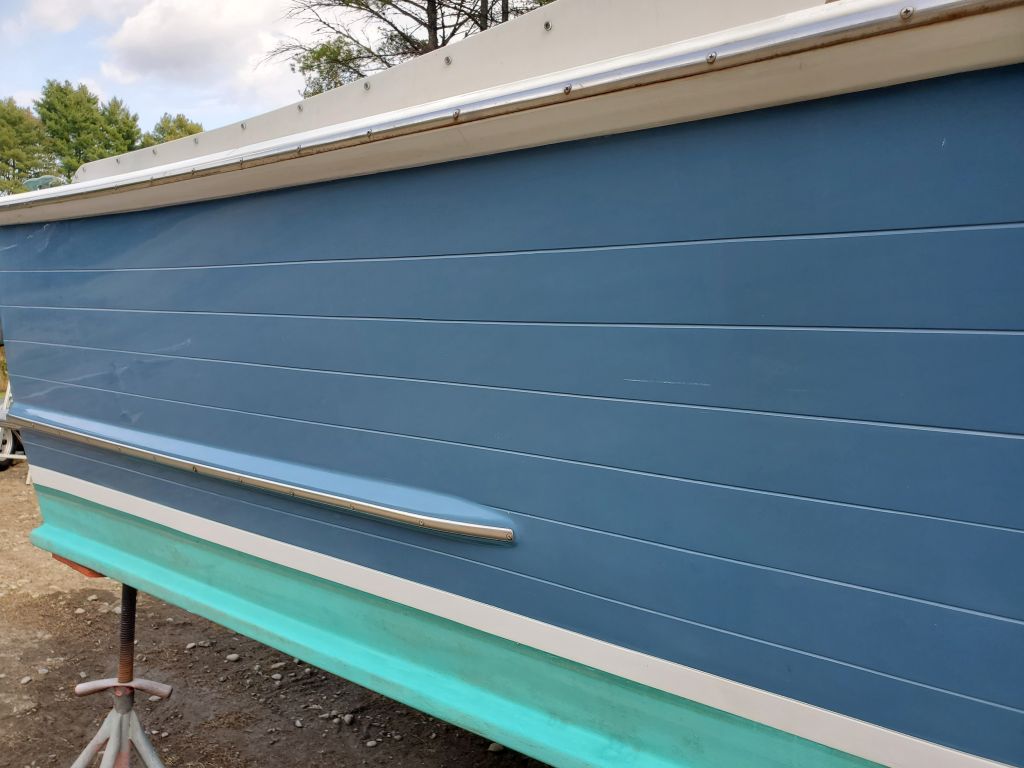
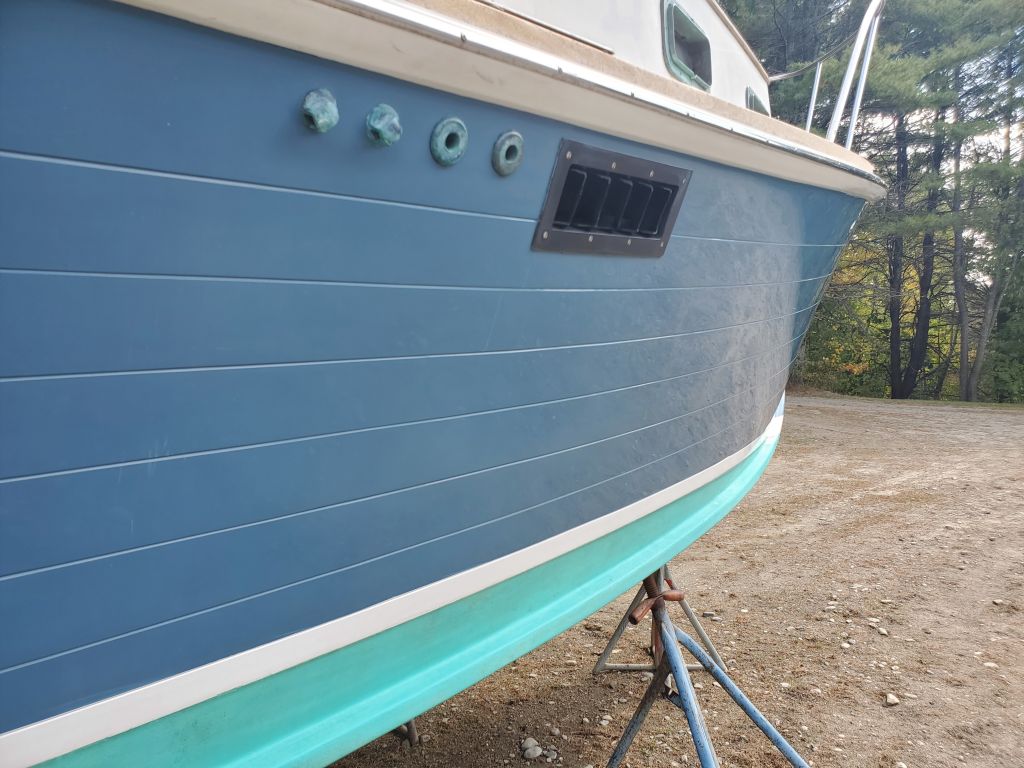
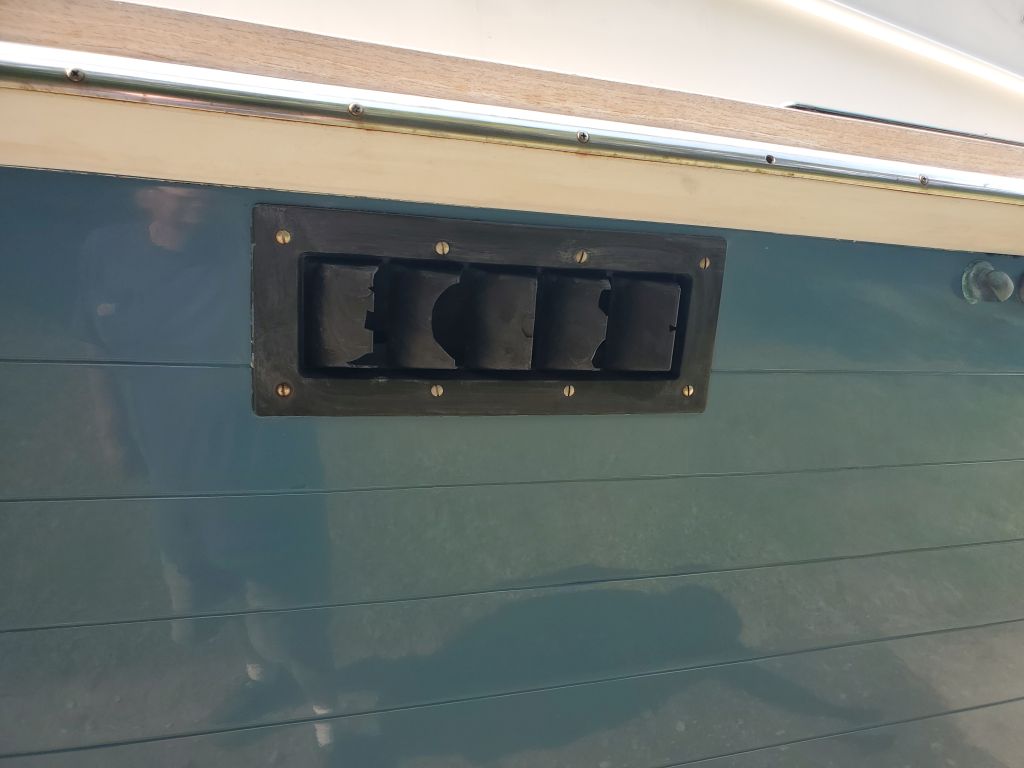
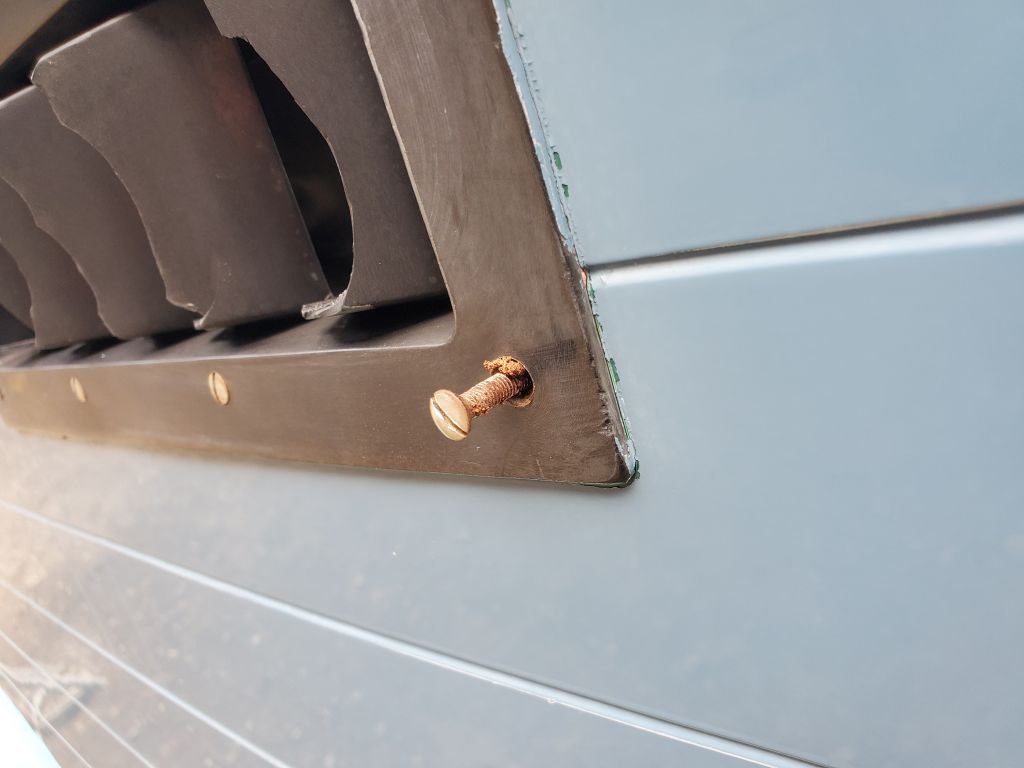
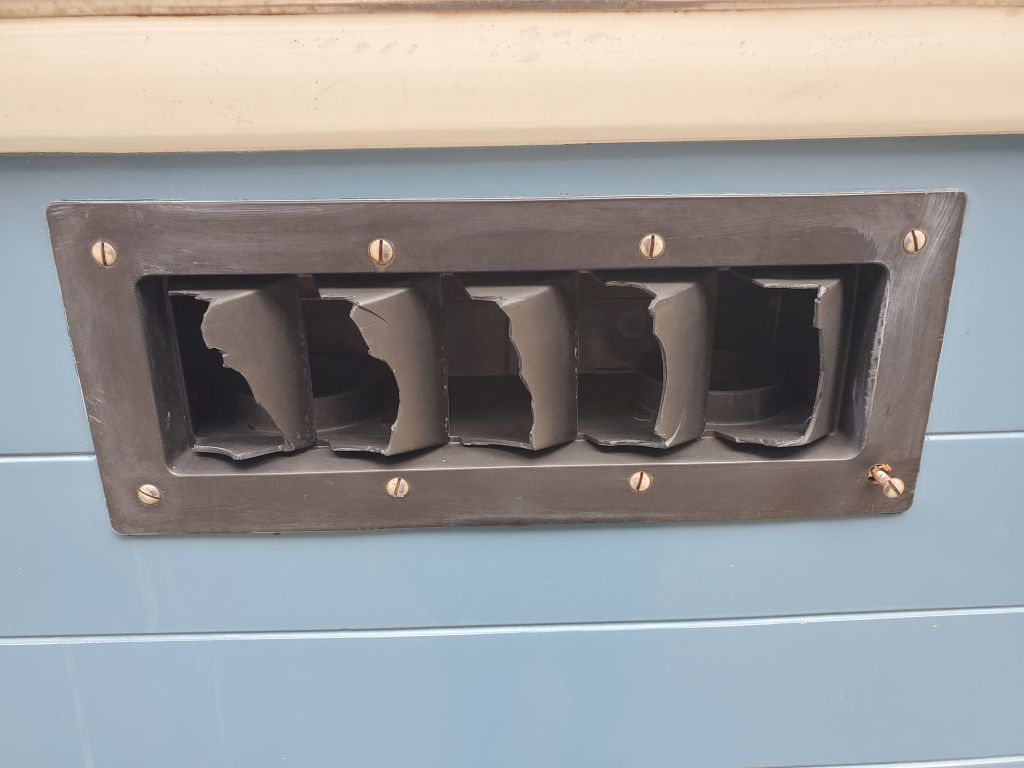
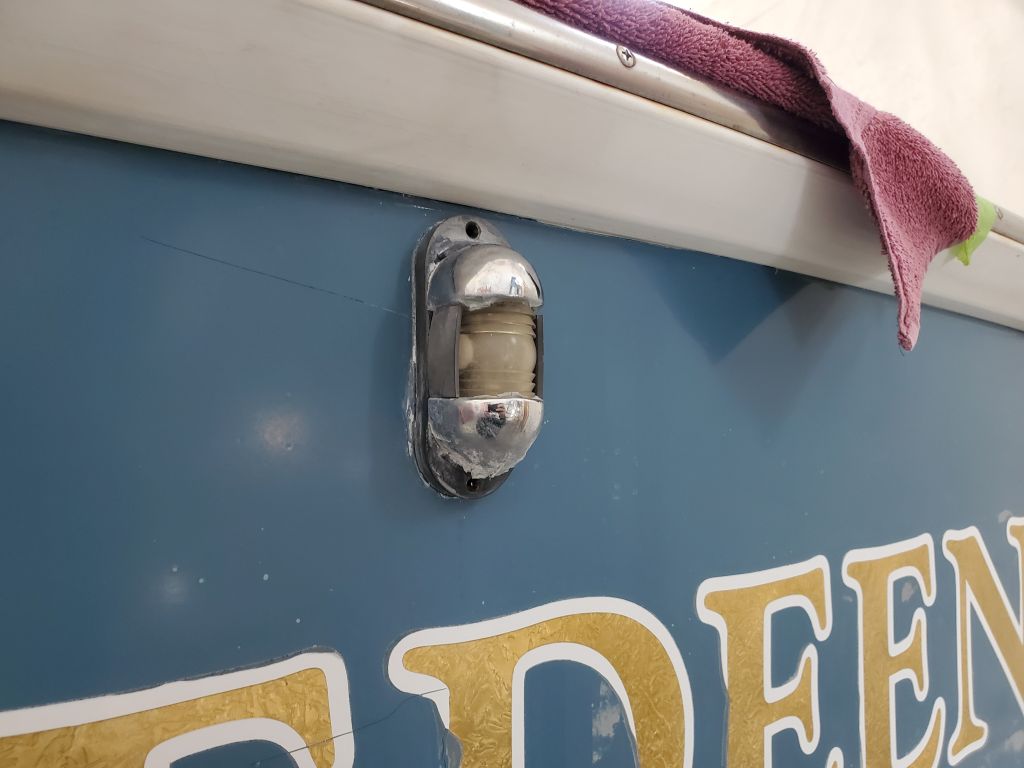
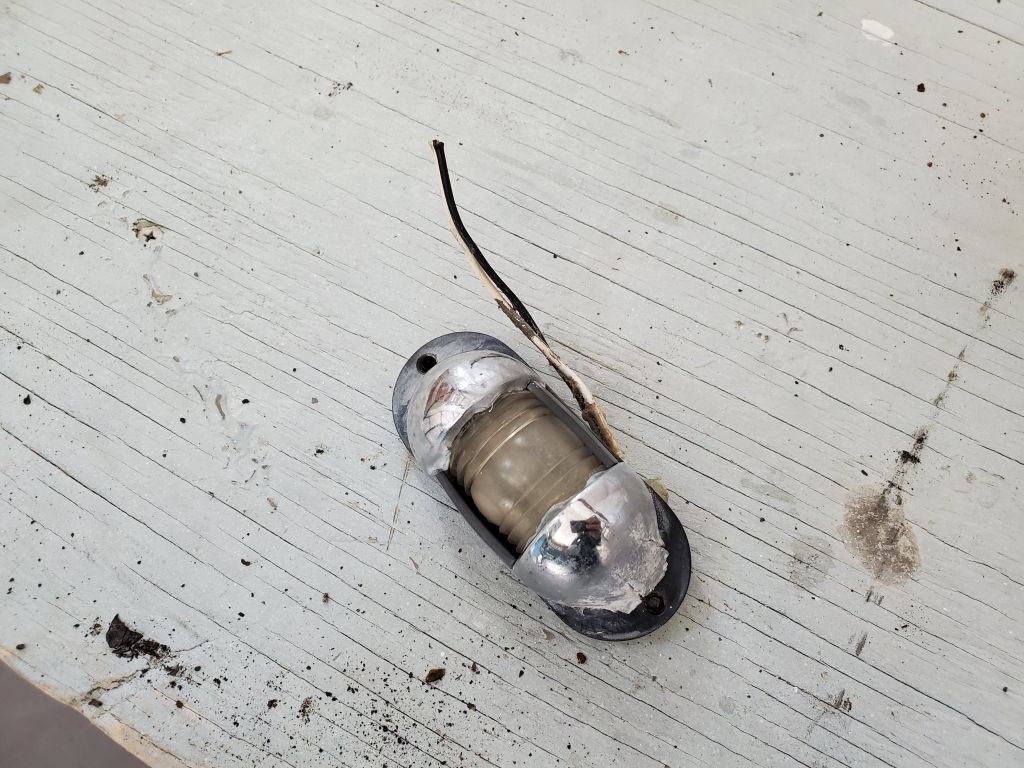
The only hardware remaining on the hull for me to remove now was the stern light fixture and a half oval trim on the stem, both of which I removed and set aside.  With just a few final decisions and lingering jobs on deck, it wouldn’t be long before I could start the hull prep in earnest.

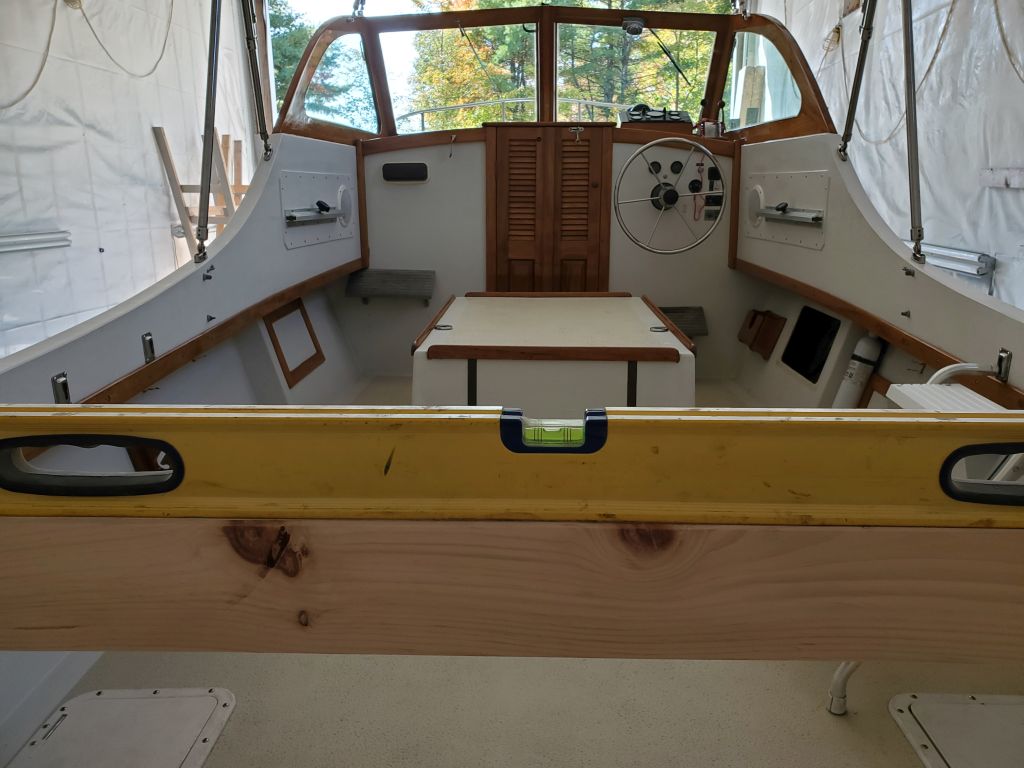
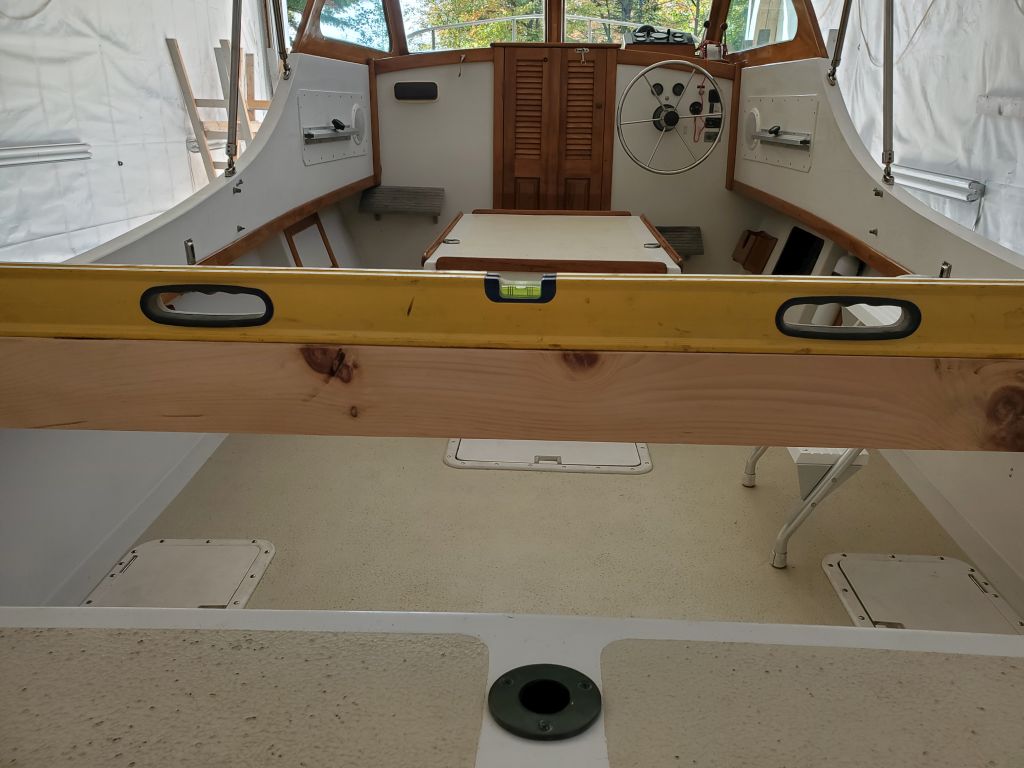
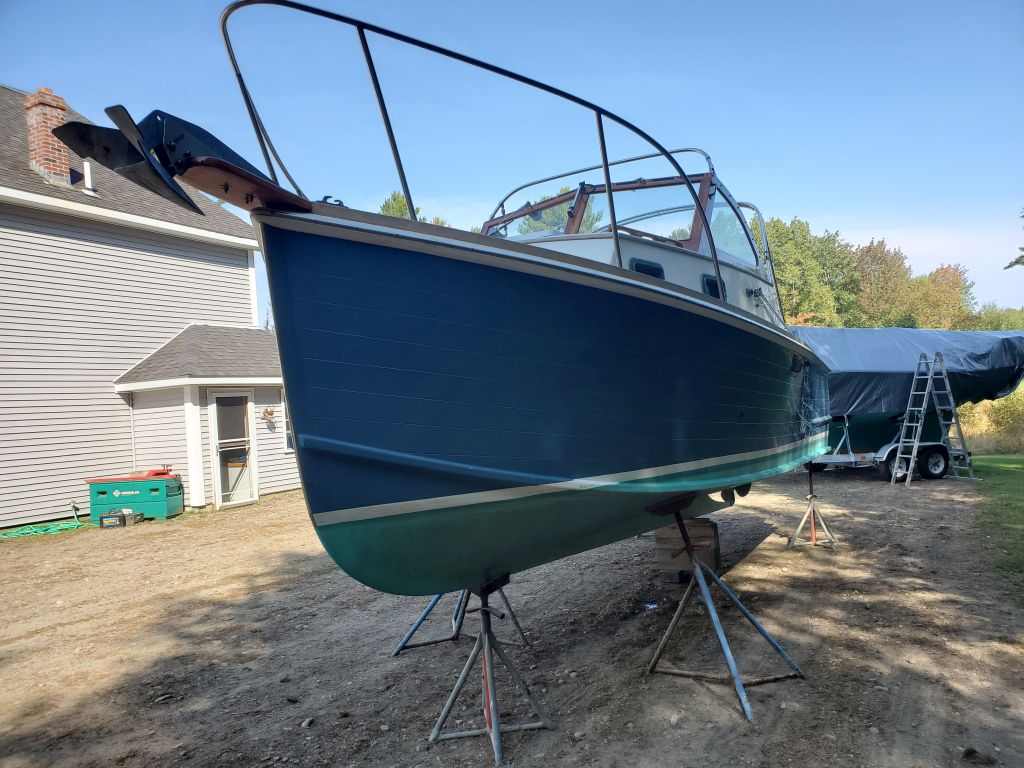
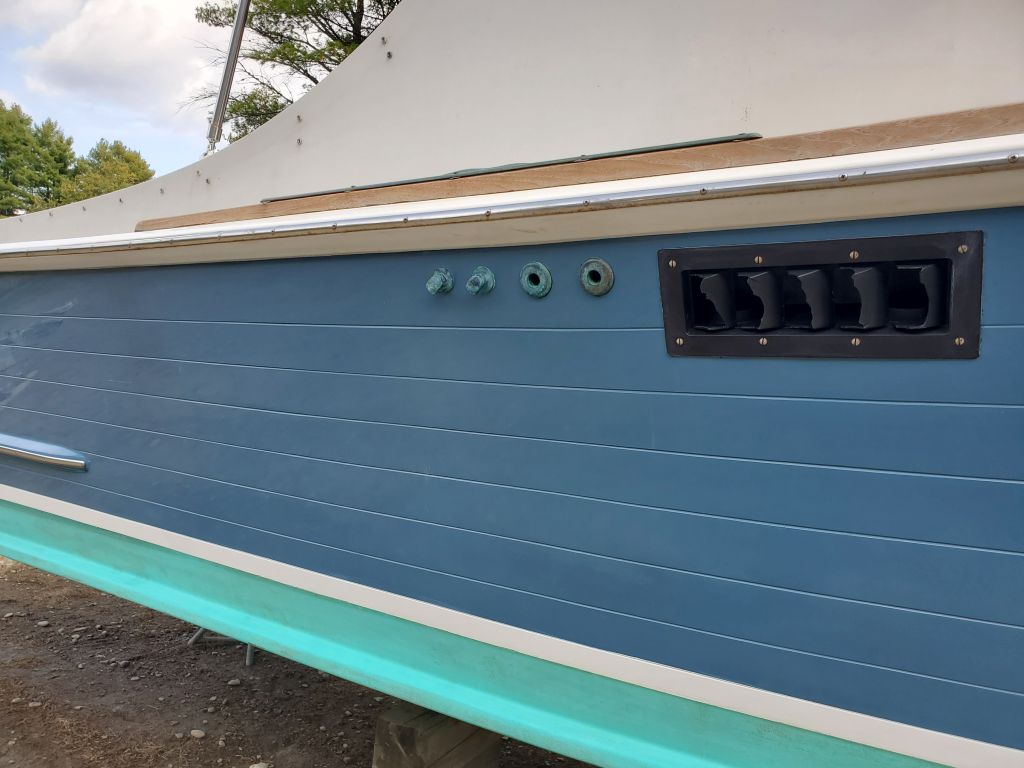
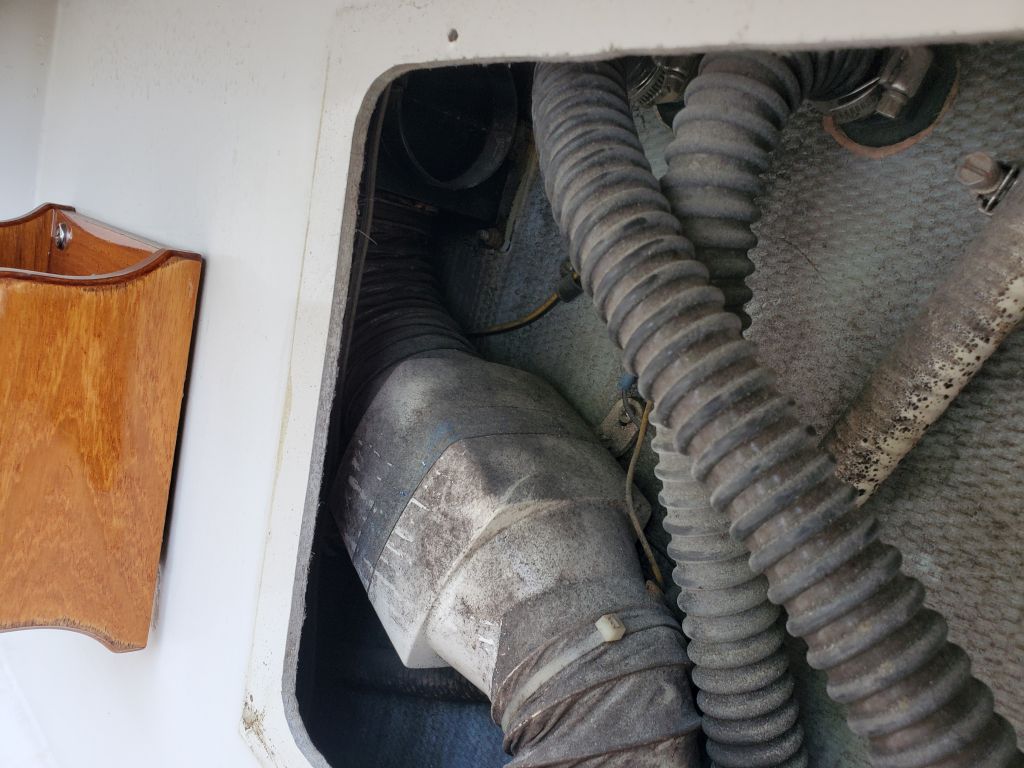
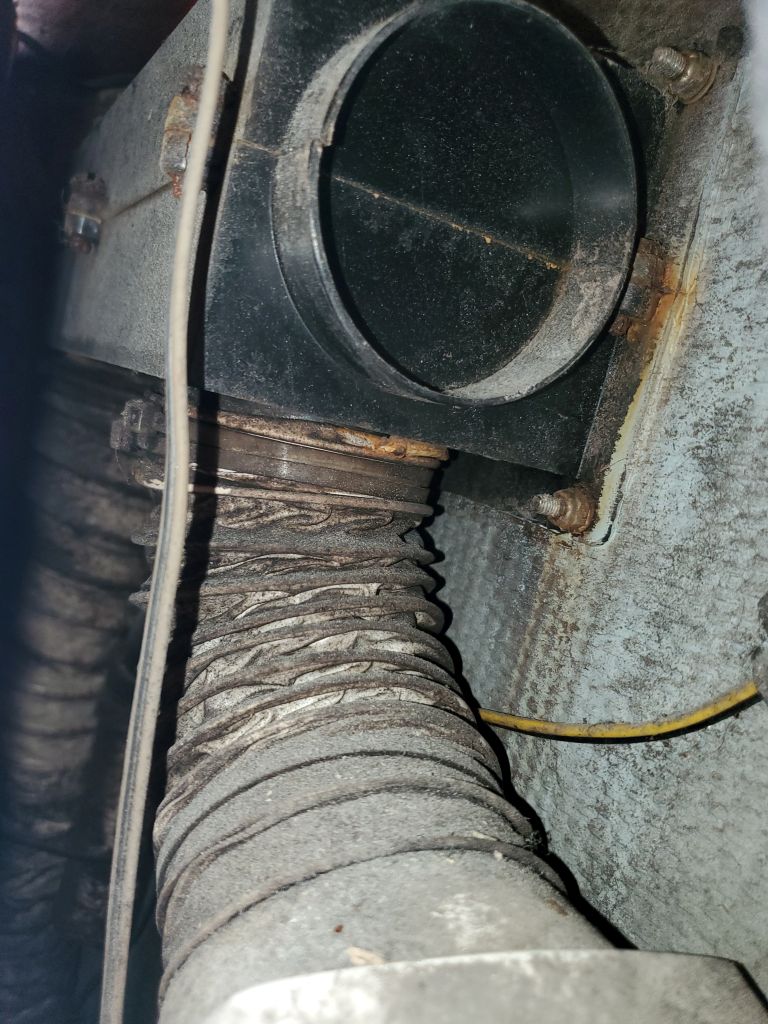
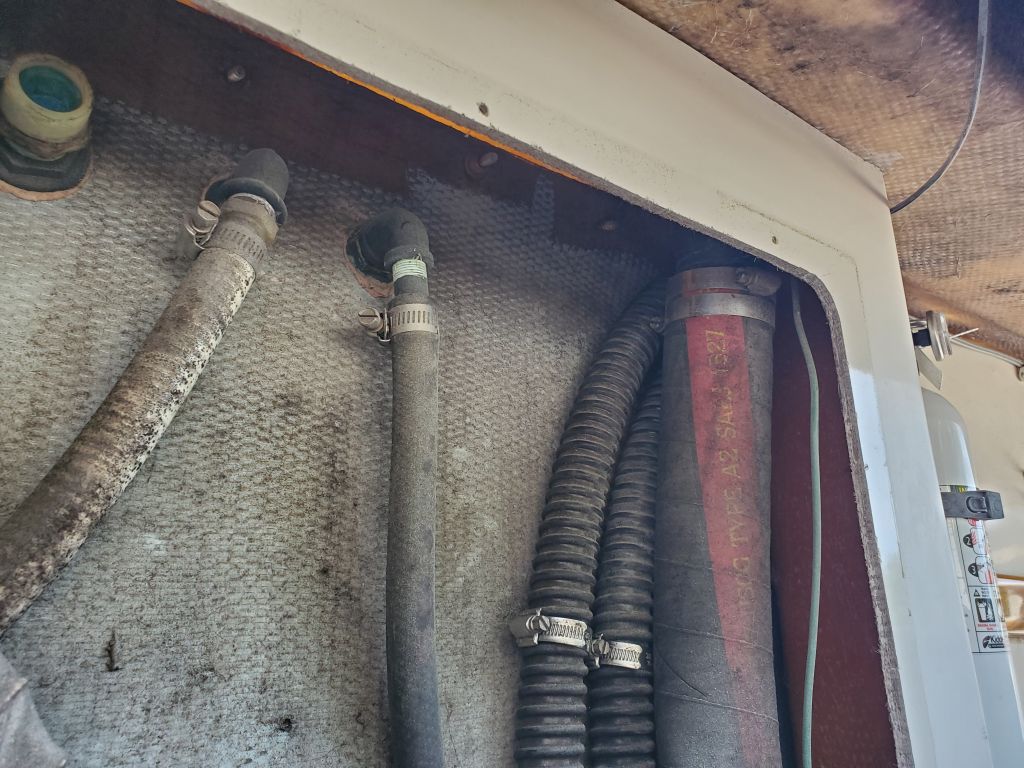
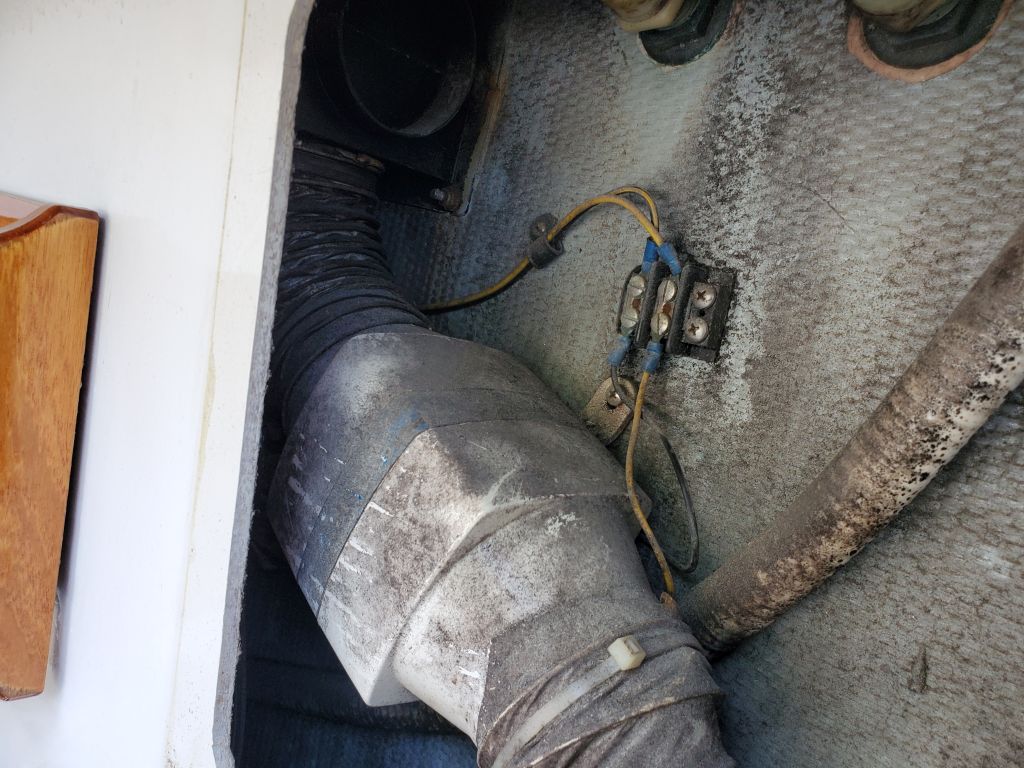
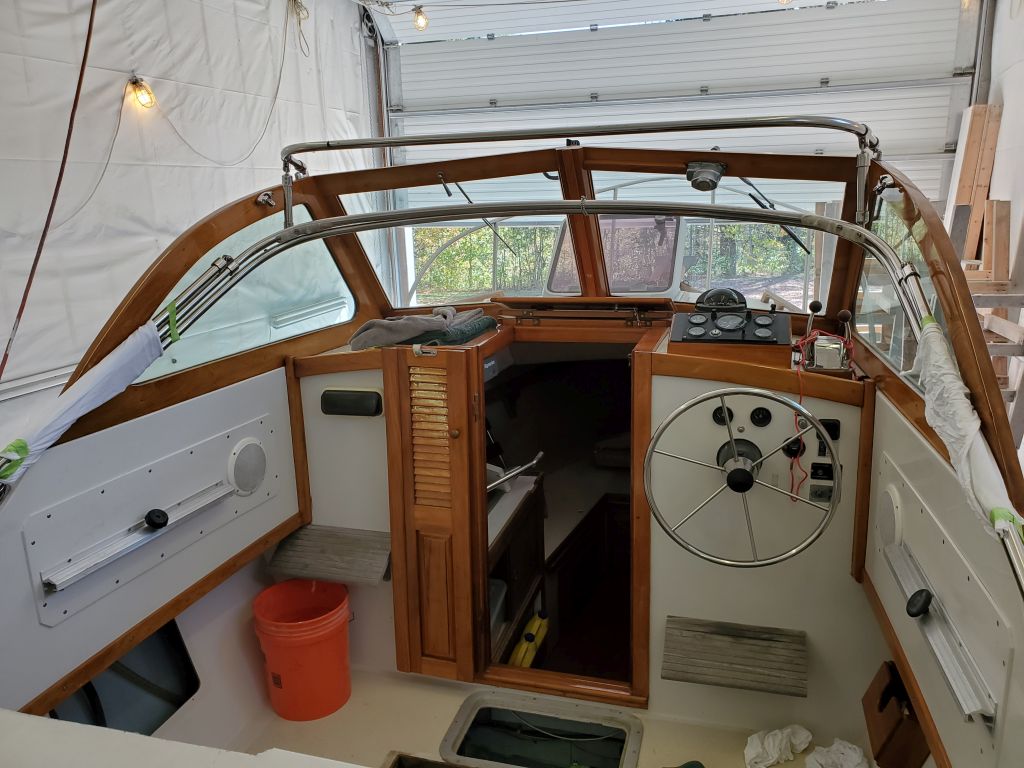
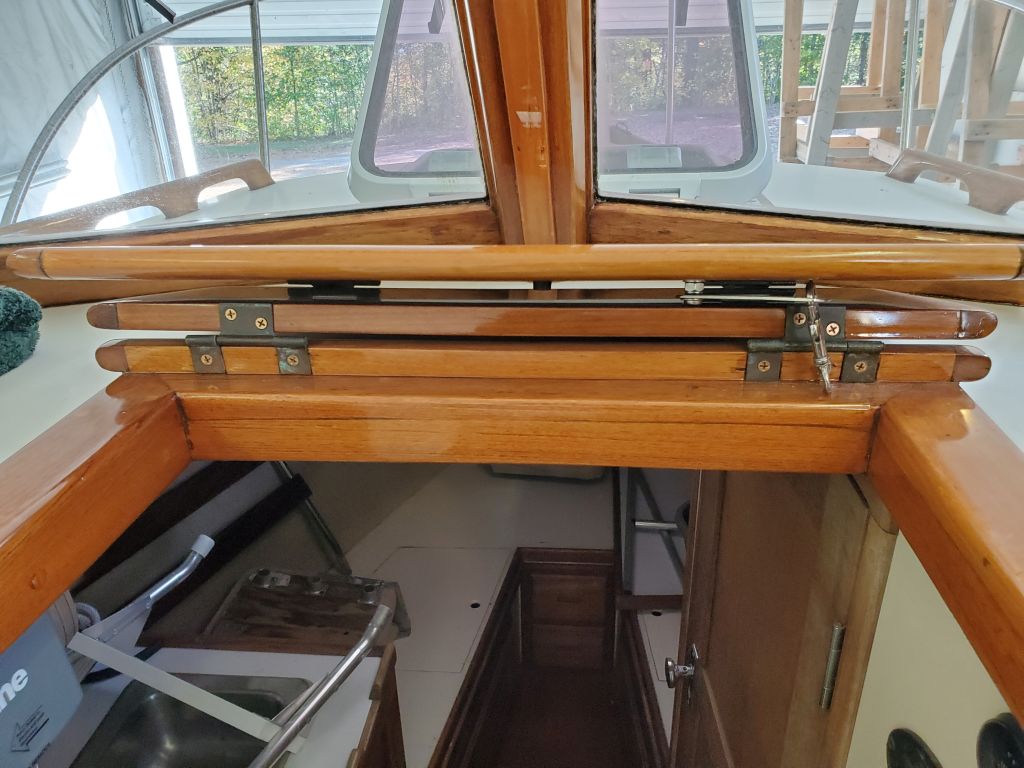
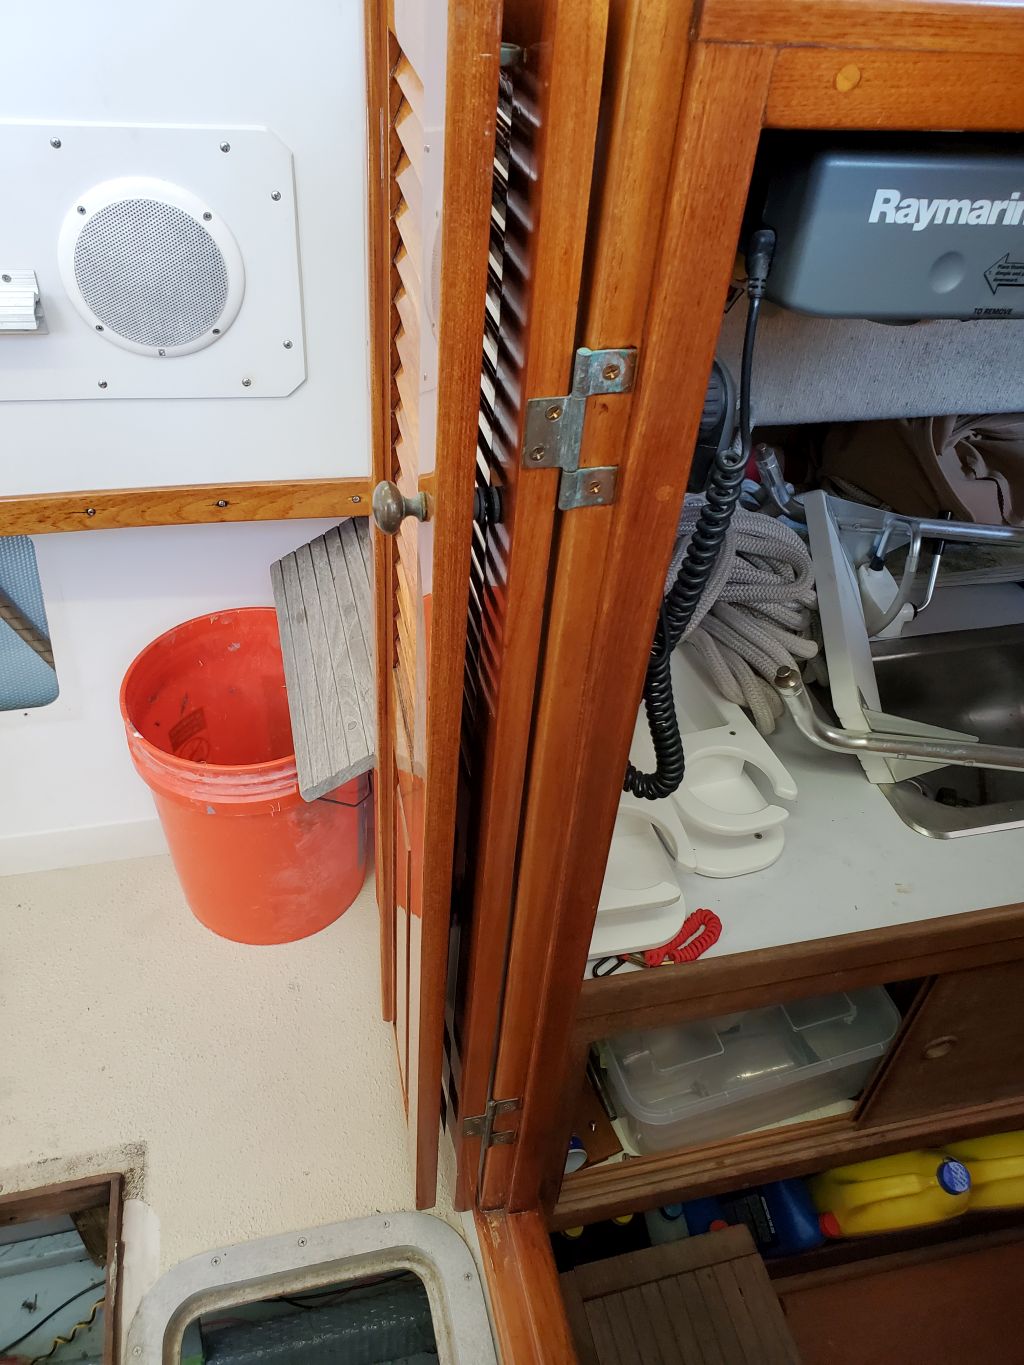
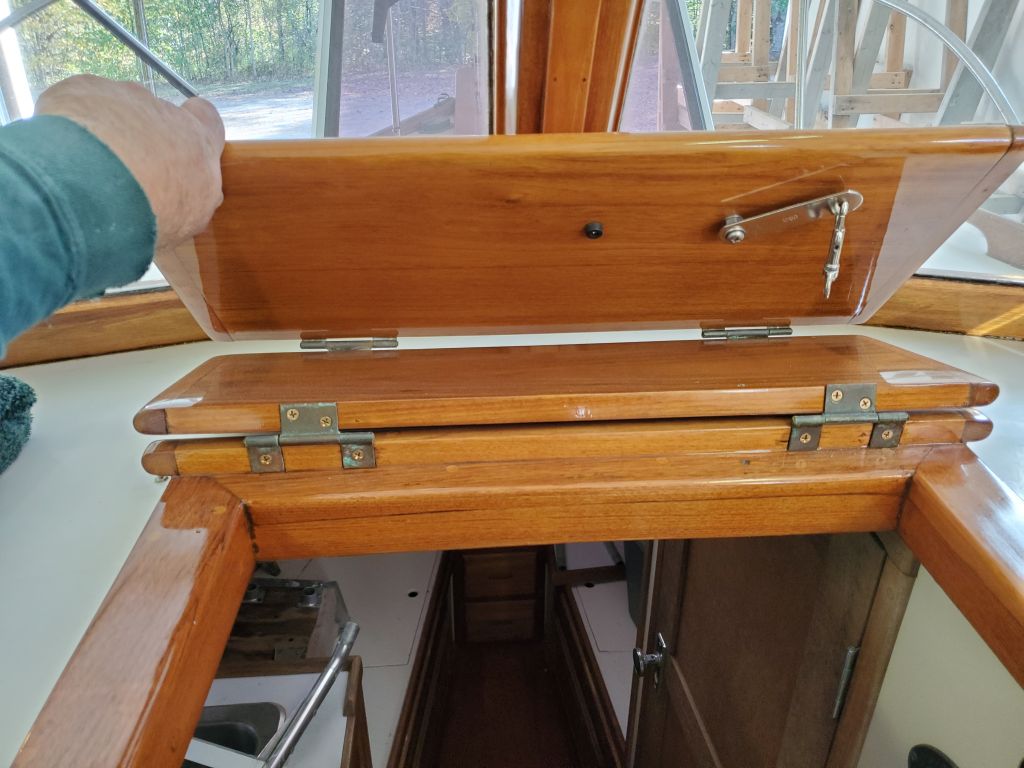
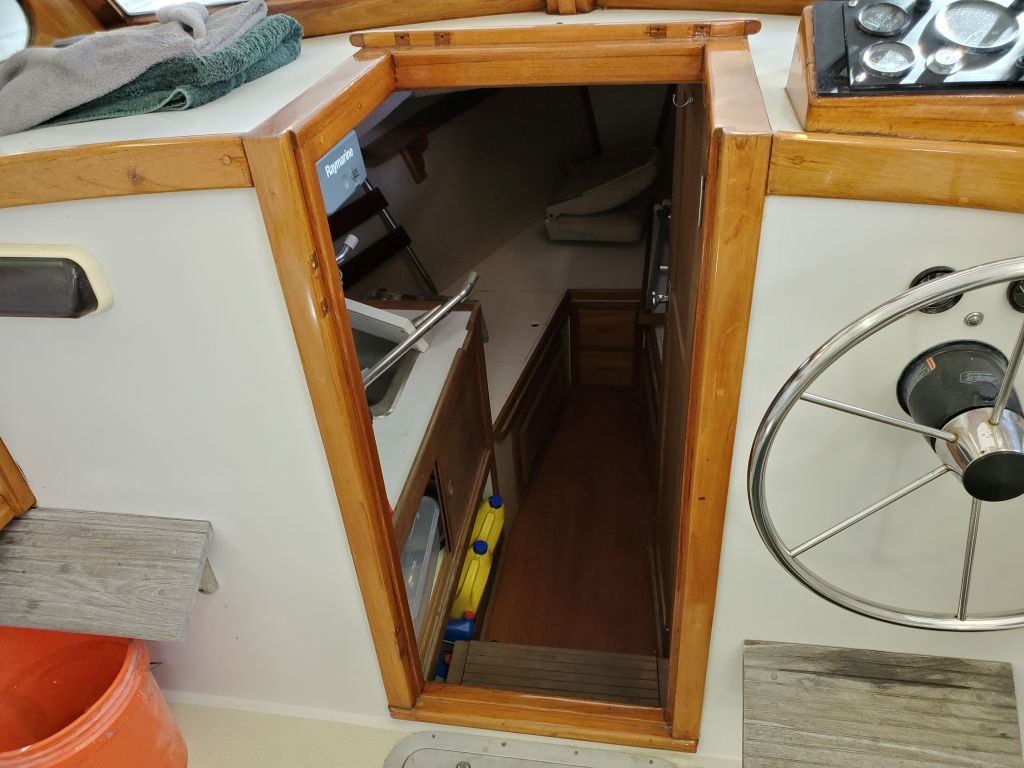
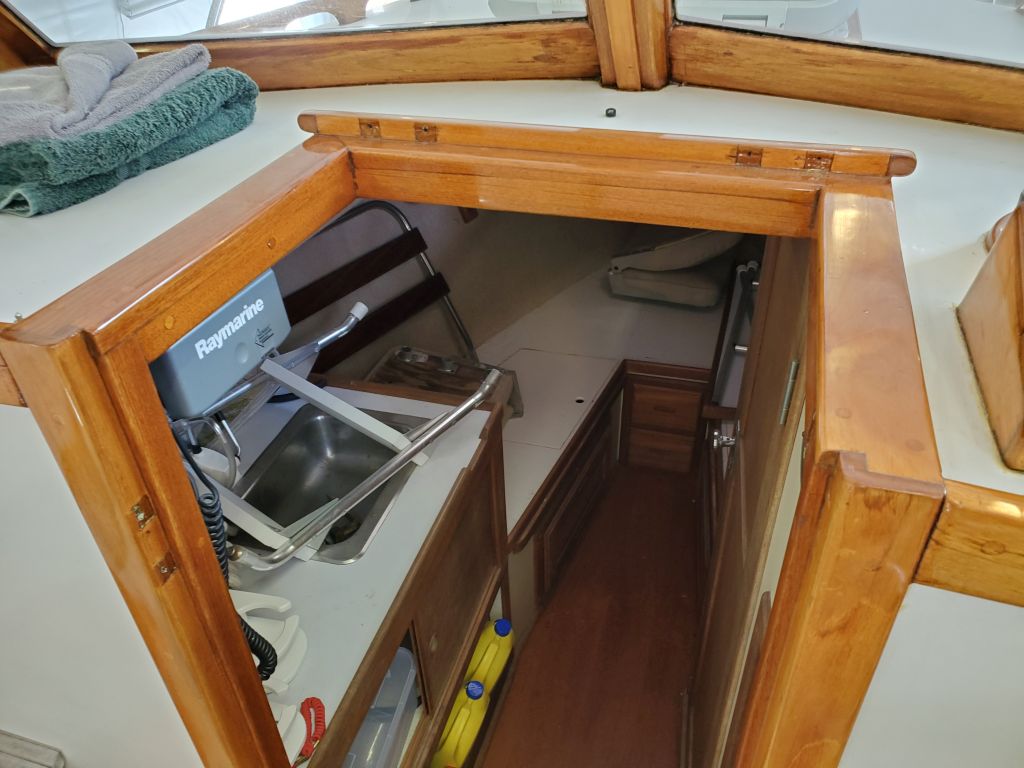
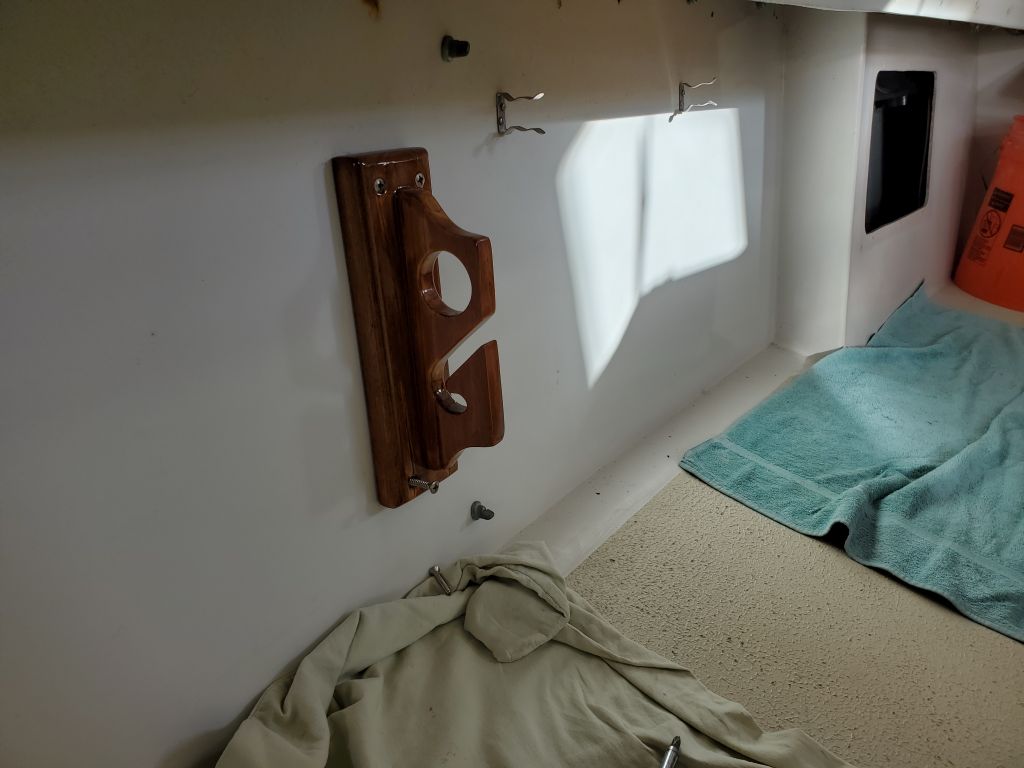
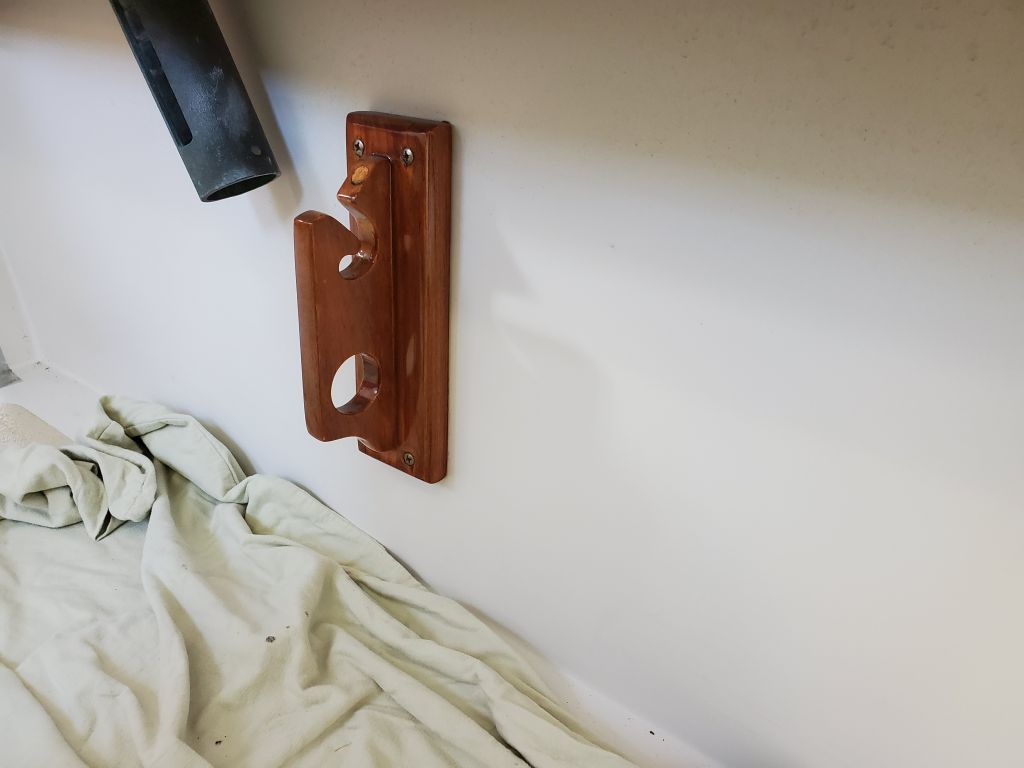
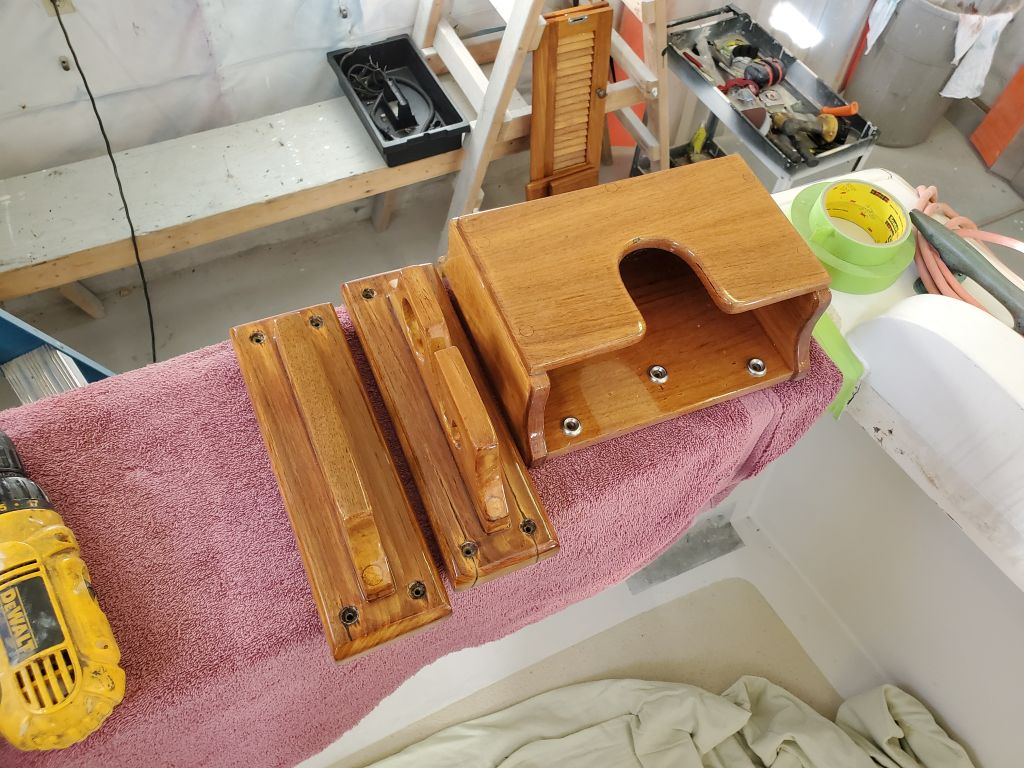
For the moment, there wasn’t much more to do on the hull till I could wrap and mask up the decks, so for now I filled the rest of the day by removing some of the brightwork trim from the cockpit (companionway hatches, rodholders, and the cockpit lower edge trims on both sides and transom–not shown here).  With brightwork maintenance on the list for later in the project, I could work on some of these loose pieces during natural slow times throughout the painting process, particularly once the work on the faux teak transom and lettering began.

Total time billed on this job today:  5.25 hours

0600 Weather Observation:  50°, overcast, foggy.  Forecast for the day:  Becoming sunny,  65°

Skeedeen Phase 6-7

Friday

After a bit of office time compiling a list and ordering materials for the upcoming paint work, I got back to work on the through hull patches, starting with a quick water wash and sanding as needed inside and out.  In the engine room, I just needed to lightly scuff the surface and remove any sharp edges, while on the exterior of the hull I sanded the new patches flush with the adjacent hull as needed.

Afterwards, I applied a coat of epoxy fairing compound to the exterior of the patches.  Inside, to prepare the fresh epoxy for engine room paint as soon as possible, I applied a coat of epoxy-based primer over the new work, acting as the needed tie coat to allow one-part paint to cure atop the epoxy without waiting weeks for the epoxy to completely cure.

The engine box was now in the way in the cockpit, so I reinstalled it on its hinges over the engine room.

After a few undocumented odds and ends, I removed the center swim platform bracket from the transom, since I could reach the nuts from the centerline hatch in the cockpit.

Checking again the two outboard brackets, as well as the trim tab mounts, I thought that maybe, just maybe, it would be possible to get a wrench on the nuts if I had a helper outside to turn the screws.  The trim tabs looked like I could pull the fluid lines out of the hull from the outside and disconnect them there, which was helpful since there was no way I could get to those from the narrow locker openings in the cockpit.  In any event, that would wait for another day.

Total time billed on this job today:  2.25 hours

0600 Weather Observation:  48°, overcast.  Forecast for the day:  Clouds and showers, then light rain later, 62°

Skeedeen Phase 6-6

Thursday

With a short day in the shop around other commitments, I focused first on the through hull patches.  After a light water-wash and scuff with sandpaper on both sides of the epoxy-filled holes, I skimmed all areas with a thickened epoxy mixture to fill minor voids and wet out the surfaces before installing fiberglass patches inside and out–two layers in, three layers out.

To provide clear access to the transom for prep and painting, I had to remove the swim platform, which was secured at its inboard edge with three angle brackets to the transom, and three supports running from the bottom of the hull to the outboard end of the platform.  The platform was secured to these six locations with screws through the brackets and into the teak, so removal of the platform itself was straightforward.

The tubular support brackets proved to be simply screwed into the hull laminate at the bottom edge of the transom, so these were easy to remove as well.

However, the upper brackets were throughbolted, not unexpectedly, but access might prove to be something of a challenge, particularly on the outboard brackets.  From inside, there was no direct access to the transom here:  the only existing access was through a deck hatch on each side, but unfortunately these hatches were located several feet forward of the transom, too far a reach for me.  The centerline hatch was closer to the transom and I expected that I could get to the fasteners for the midships bracket without issue.  It was apparent from inspecting the brackets that they’d not been removed the last time the boat was painted, somewhere around 15 years earlier, so they’d been in place since original construction.  I’d assess their removal more in the immediate future.

While in the area, I removed the rubber exhaust flapper, which was secured with a substantially rusted hose clamp–which fortunately succumbed to screwdriver pressure despite its appearance.  The flapper itself was in good condition and would be reused later, though with a new clamp to hold it in place.

Total time billed on this job today:  2 hours

0600 Weather Observation:  48°, clear.  Forecast for the day:  Sunny, 70°

Skeedeen Phase 6-5

Wednesday

With the rough, first-round cleaning complete, I turned to the adjacent spaces and detail work in the engine room, starting with the battery compartment, which was filthy; to better clean, and eventually paint, this area, I started by removing the plastic battery trays, setting them aside for their own cleaning later.  The space looked much better after cleaning with soap and water.

Meanwhile, I worked on the accessible spaces adjacent to the engine room, as well as in the engine bilge itself, using vacuum, soapy spray bottle, and rags to clean up the nearby spaces, corners, and other areas as much as possible.   Along the engine stringers, proper cleanup involved temporarily removing various clamps and supports so I could clean the hoses and wire runs of accumulated grime, as well as to better clean the stringers themselves.    Later, I planned to paint the engine room bilge, battery area, and stringers.

The owner asked me to remove a Halon fire extinguisher from the engine room for inspection and servicing, so I did, after noting the proper wiring locations.

The owner also asked that I remove two obsolete transducers from the space just forward of the engine room–and old depthsounder and knotmeter.  Both plastic locking rings came off from inside without issue, and, working from both above and below as needed, I removed the two plastic fittings without too much trouble.

I prepared the openings inside and out as needed, using a drum sander to clean up the insides of the holes through the hull.  I sanded the inside of hte hull to remove the paint and prepare for patching, and outside, ground circular areas to accept the new patches.

With the cleaning and degreasing done in the engine room, I lightly scuffed the surfaces to prepare for new paint soon.

After cleaning up as needed, I masked over the holes from beneath the boat, then, from inside, filled the holes flush with a strong, thickened epoxy mixture, the first step in the process that would eventually see layers of fiberglass on both sides.

Total time billed on this job today:  5.5 hours

0600 Weather Observation:  65°, cloudy, wind, rain shower.  Forecast for the day:  Rain showers and windy, then clearing, 71°

Skeedeen Phase 6-4

Tuesday

The owner asked me to remove the old engine and clean up the engine room to prepare for whatever lay ahead in that department (still pending), so to begin I removed the engine box cover for full access, storing the box at the aft end of the cockpit for now.

With clear access, and beginning at the aft end, I systematically began disconnecting and removing anything securing the engine to the boat, starting with control cables for shifter and throttle and the engine main wiring harness plug.  For better access to this space, before beginning I removed one of two exhaust hose lengths leftover from the original installation; this was difficult and time-consuming, and for now I left the port hose in place, as it was not impeding access.

Continuing, I unbolted the shaft coupling and pulled it just aft of the transmission.  Before doing this, I used some masking tape to mark the shaft where it exited the hull below, for future reference in positioning and alignment.  The metal disc of the dripless packing box prevented the shaft from moving too far aft, but it was enough and I didn’t bother loosening the disc.

I removed several green grounding and bonding wires from the after engine grounds, and removed the raw water intake hose from the engine inlet.

I removed the positive and negative battery cables from their respective attachment points, and removed and plugged the fuel line at the secondary fuel filter.  I also plugged another length of what appeared to be fuel line, but later I realized it was probably the raw water injection line leading to the packing box (which line was made from fuel hose).

Now all that remained was to remove the lags holding the engine mounts to the stringers, and to secure for storage all the loose and sundry semi-dismantled engine parts left dangling by the service yard during the initial diagnosis, including a control box, the remote oil filter, spark plug wires, and portions of the cooling system at the front of the engine.

After debating with myself during the morning’s work whether to move my crane from its spot in the second work bay, or to move the boat over to the crane, I decided to move the crane to the boat.  Normally I hate doing this because the crane is large and heavy, and if the ground outside is remotely soft, it digs in and is hard and frankly dangerous to move, but since apparently it never rains in Maine anymore in the summer, the ground was nearly as hard as tarmac, so I decided in this case it was just more efficient to move the crane.  I had to move a lot of stuff out of the way in both bays to allow the crane’s passage.

Once the crane was in position, in short order I had the engine hooked up and it was soon over the side and safely on the ground, where I stored it on a rolling platform pending its final disposition.

The engine room was filthy beneath the engine, and a good cleanup had been long awaited.

I began by wiping out some of the spooge, then installed the hull plug and filled the bilge with soapy water to let soak for a while.  After a while, I agitated the water and scrubbed the spaces with a brush, then drained the water and cleaned up the accessible spaces as much as possible for now, including the after portion of the bilge near the transom.  There remained behind some greasy residue and dirt that I’d continue working on next time, along with cleaning up the adjacent spaces and wire/hose bundles as much as possible.

Total time billed on this job today:  6 hours

0600 Weather Observation:  50°, foggy.  Forecast for the day:  Mainly cloudy, chance of a shower, sun in the afternoon, 74°

Skeedeen Phase 6-3

Monday

I continued where I left off with the port engine room vent.  After a few more failed attempts to get locking pliers on the nuts of the two middle bolts (the tight space and awkward angle made it apparently impossible for me to get a good grip), I managed to eventually remove these two bolts by arranging an open-end wrench on the nut and hoping it would stay in place while I turned the screws from outside.    I had to reset the wrench two different times on the second nut, but otherwise this approach was ultimately successful.

For the final, forwardmost upper nut, I knew I couldn’t reach it from inside, so I ground off the head enough from outside so I could remove the vent cover.  Since these plastic covers were not to be reused (though I wanted to keep them intact for templates), I didn’t worry about grinding a bit into the plastic to get the screw head free.  Once the plastic vent was removed–as with the opposite side, this one was well-bedded to the hull), I cut off the remains of the screw head and pushed the bolt through to the inside.

The various vent hoses–two per side–appeared to be original and, along with the bilge blower, were slated to be replaced at this juncture.  One hose on each side ran all the way into the bilge beneath the engine (the other on each side were shorter), and I found they were secured in a few places along the way, so now I released the bounds and removed these hoses from the boat.  They were filthy with dirt, debris, and belt dust.

Late in the summer, the engine had had an overheating problem, and the engine room was filled with various engine and exhaust parts that the service yard had left there after diagnosing and inspecting the engine a few weeks back.  To clear the way, I removed all these loose parts, setting them aside for safekeeping.

After removal, the engine room looked better already:

Meanwhile, I continued with some of the exterior hardware removal, the first baby steps towards preparing the hull for painting.  With a little time left before the end of the day, I removed the scupper flaps, and a pair of SS half oval trims from the lower rubrails on the hull.

Total time billed on this job today: 2.75 hours

0600 Weather Observation:  50°, foggy, rain showers.  Forecast for the day:  Mainly cloudy, chance of showers, 70°

Skeedeen Phase 6-2

Friday

To begin, I moved Skeedeen into the workshop, setting her up level fore and aft and side to side.

Later, I returned to the starboard vent removal.  I decided to drill out the screw head on the final bolt, since I couldn’t think of a way to get to the inside.  While this approach was ultimately effective, it was still time-consuming and difficult, since the screw tended to spin while being drilled, but eventually I removed enough of the head to pry free the vent itself (which was well-bedded with sealant).  The original dark green hull color was visible beneath the vent face, and the hull core seemed to have been effectively sealed so far, but I thought it would probably be good to remove the sealant and some of the core from the opening in favor of some solid epoxy to better seal the opening going forward.  The plastic vent box inside the hull was also sealed in place, and I planned to leave it as is.

Forearmed with the knowledge of the vents’ installation now, I turned to the port side, and after some minor disassembly within the access panel soon had the locking pliers in place on the four lower nuts, and then from outside presently removed the four lower bolts.  I removed the aftermost, and most visible, bolt from the top set, but after struggling with the next couple–access on this side was even tighter than to starboard–I’d reached the end of the day and decided to attack the final three bolts fresh next time.

Total time billed on this job today:  2.25 hours

0600 Weather Observation:  Clear, 50°.  Forecast for the day:  Sunny, 75°

Skeedeen Phase 6-1

Thursday

Skeedeen arrived at the shop for another round of work, this time focused on repainting the hull, with the added interest of having a local artisan paint the transom in faux teak woodgrain, something both the owner and I were looking forward to watching come together.

The boat had recently spent some time at another boatyard because of some engine problems, and as a result she was quite dirty.  I’d had the boat hauler drop the boat outdoors so I could start by washing the whole boat to remove boatyard grime and dirt, which was my first task.

Preparing for the work ahead, I documented the existing condition of the hull for later reference.  The existing paint, which had been applied sometime before the current owner bought the boat over 12 years ago, was still in good condition with only minor wear, oxidation, and fading.

I planned to start the project in earnest soon, but one of the first tasks I intended to complete was to remove the existing black plastic engine room vents on each side of the hull.  The owner and I had talked about having new vents made from bronze, through some contacts at a local yard, and I hoped to remove the old vents forthwith so they could be replicated as soon as possible.

Starting on the starboard side, I thought I’d quickly remove the vents with a screwdriver, but immediately I found that to my dismay, the vents were throughbolted.  Removing an access panel in the cockpit liner, I found to my further dismay that the vents weren’t directly accessible through the panel:  In fact, the vents were completely forward of the opening, and the narrow space within would make access to the eight nuts and bolts difficult.   Various installations also in the compartment further complicated the access.  The vent box and grill had clearly been installed in the boat before the deck and liner were assembled during original construction, and had equally clearly never been touched or removed before.

To improve access, I unclamped the two corrugated bilge pump hoses from their outlets in the hull, and moved the hoses out of the way.  Then, I removed the bilge blower and its hoses, along with another length of vent/intake hose further forward.  Also in the mix was an old septic system vented loop, which had been disconnected many years earlier, and now with relatively clear access I could remove this from the space permanently as well.

With the clutter out of the way, at least I had a chance of accessing the nuts, though the tight confines of the space and the shape of the vent box itself made it impossible to use regular wrenches or sockets on the nuts.  I managed to get four pairs of locking pliers on the lower nuts, and from outside the boat removed the screws without much added difficulty.  Then, working one at a time because the access to the top side of the vent box was so poor, I removed three of the four nuts there, but simply and physically could not manipulate any wrench or pliers as far forward as the top forwardmost nut.  I left dealing with that for another day.

Total time billed on this job today:  2.5 hours

0600 Weather Observation:  Clear, 50°.  Forecast for the day:  Sunny, 75°


Newer posts