(page 4 of 6)

Lyra Phase 2-25

Monday

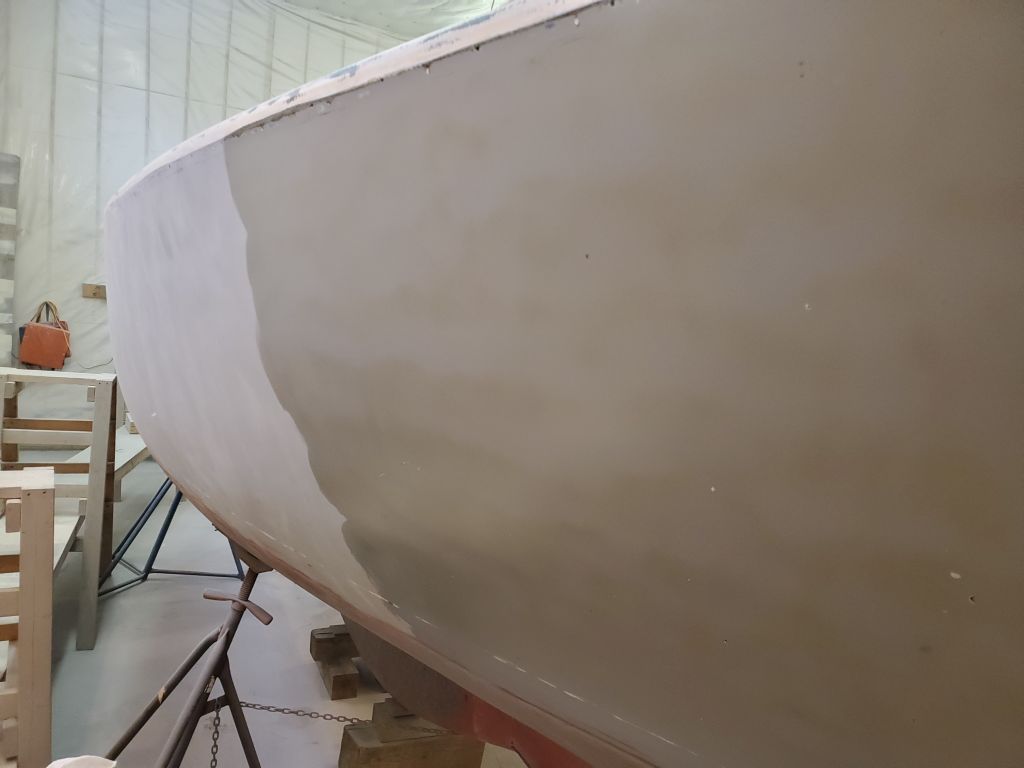
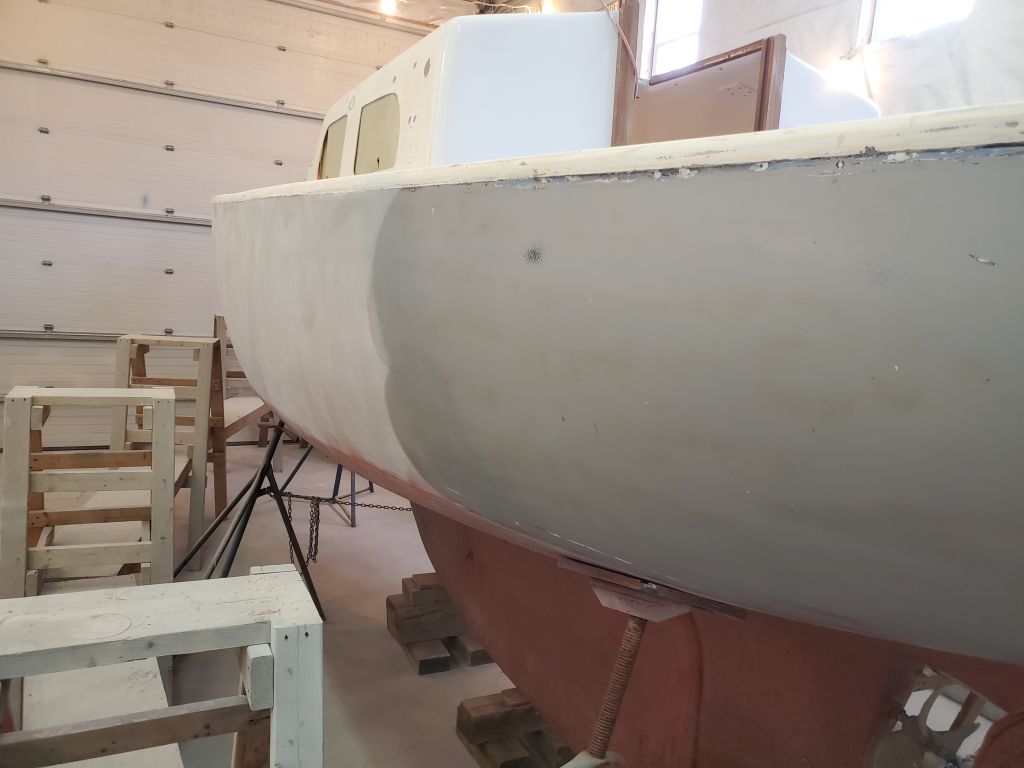
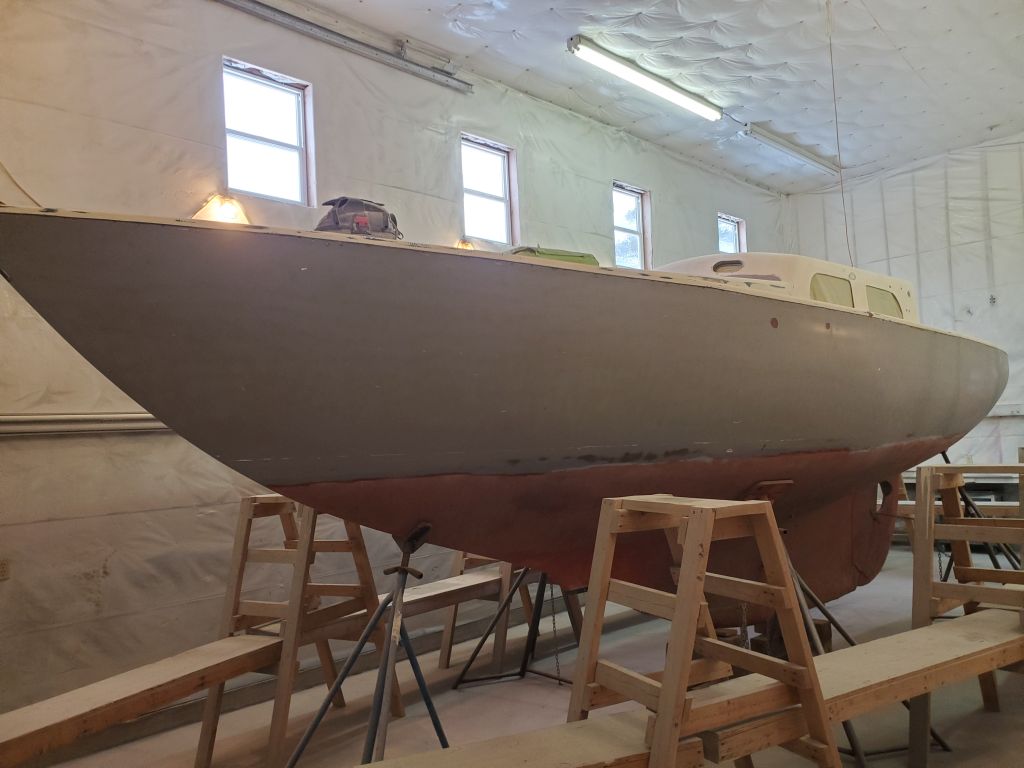
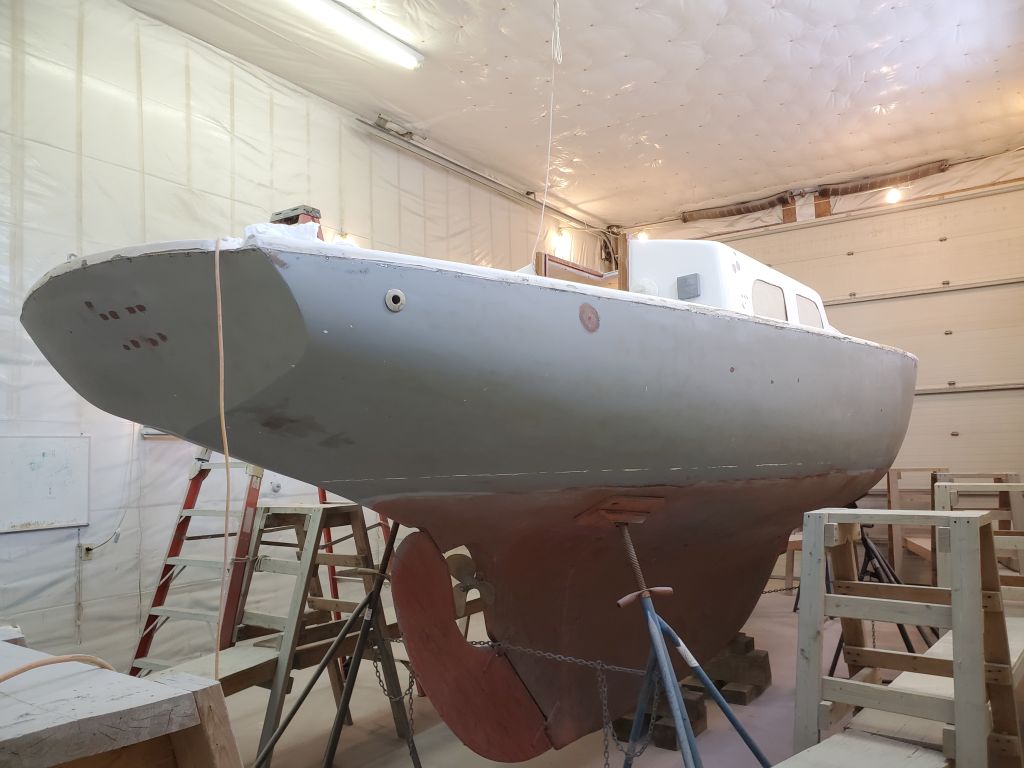
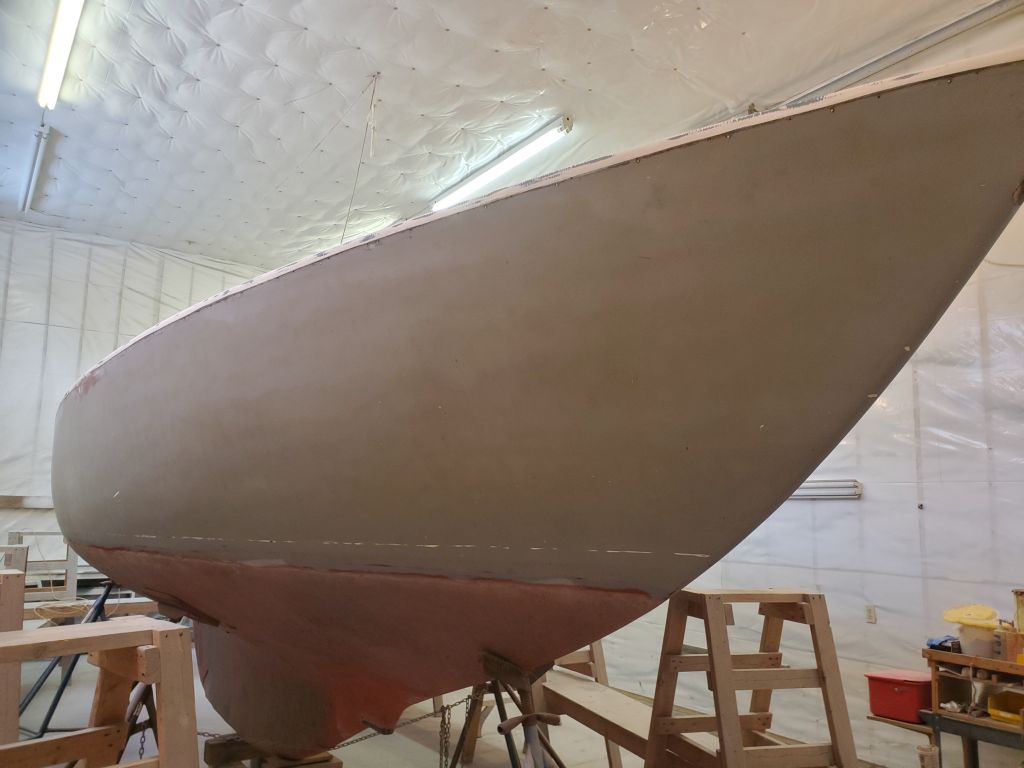
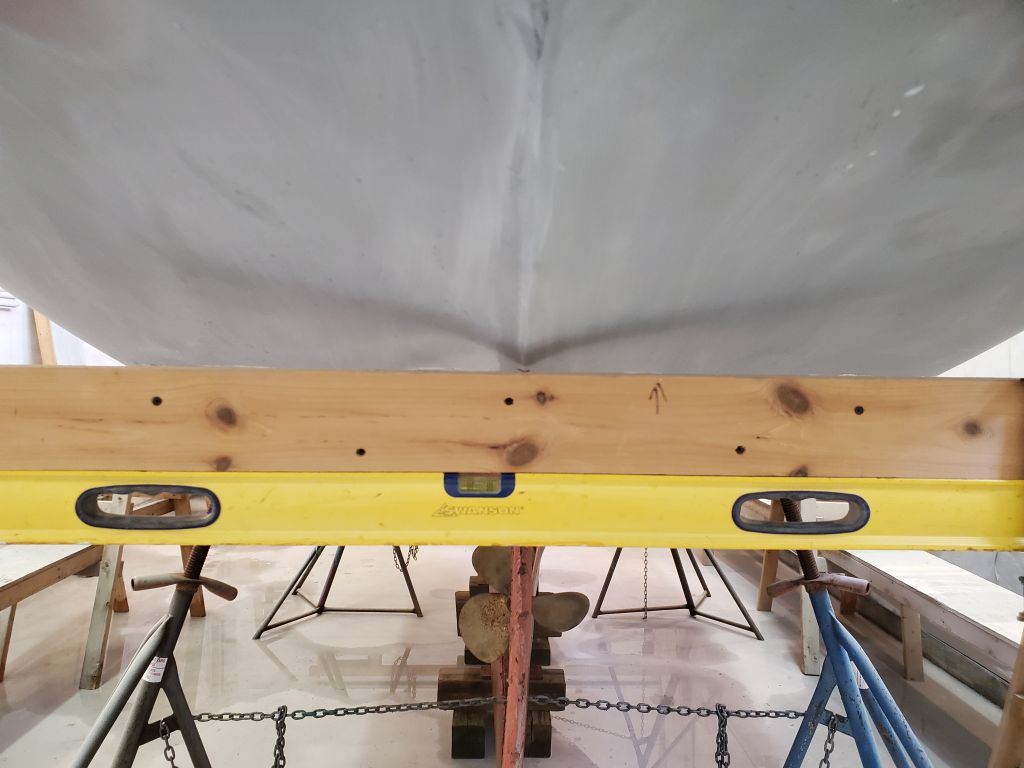
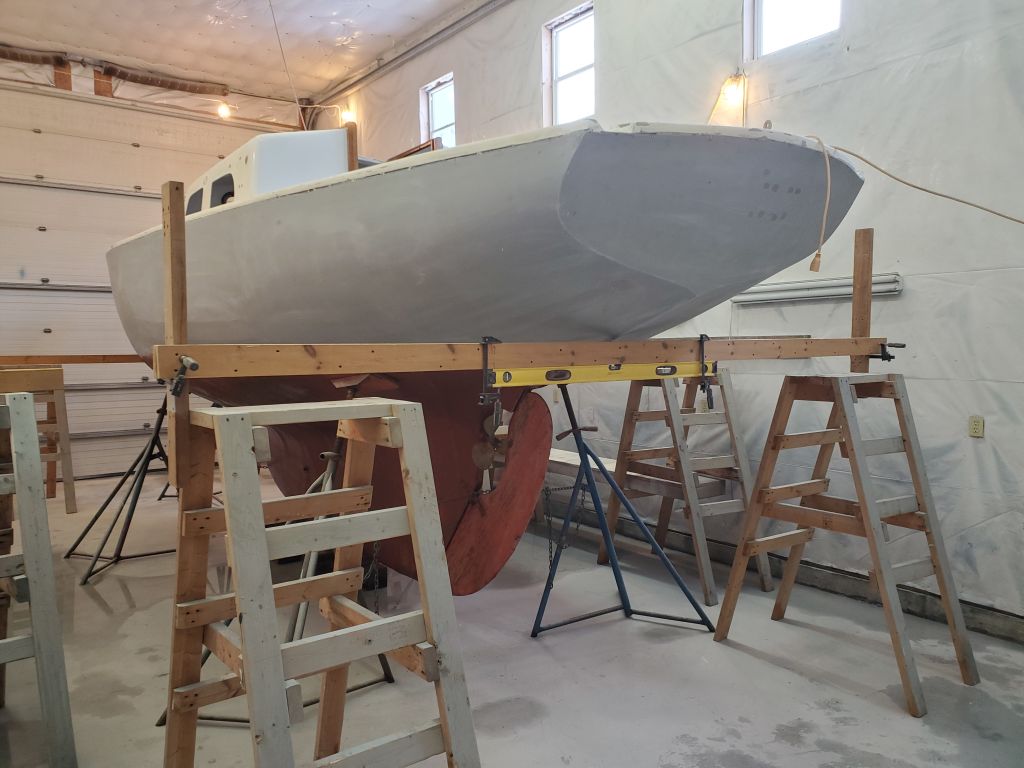
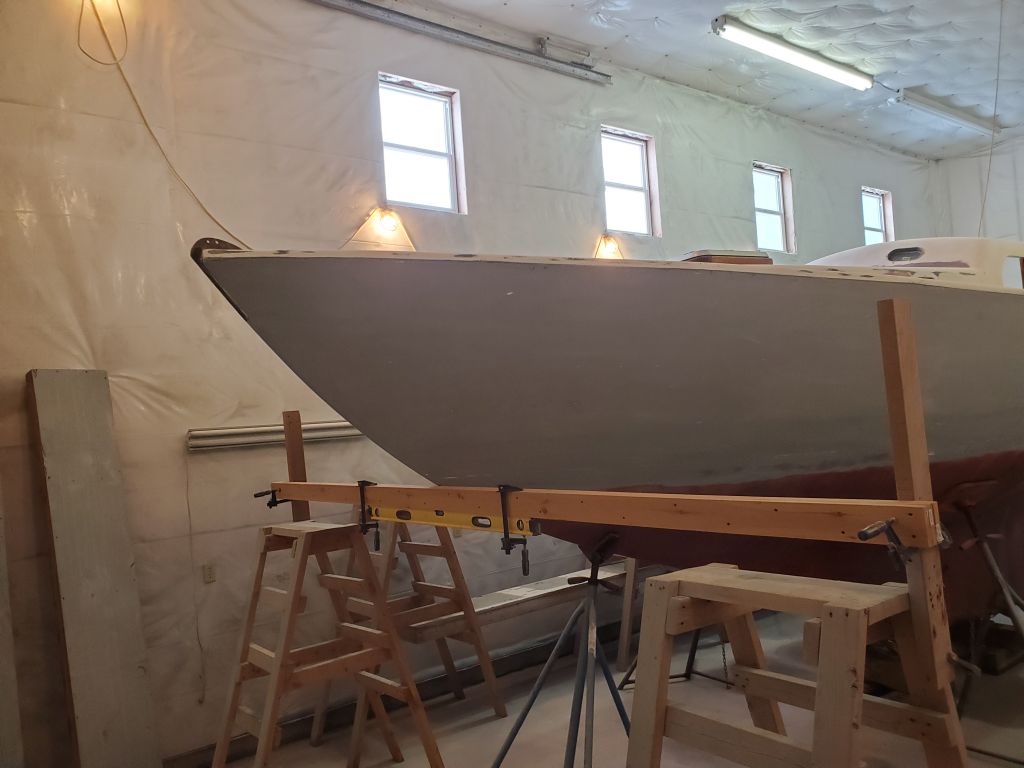
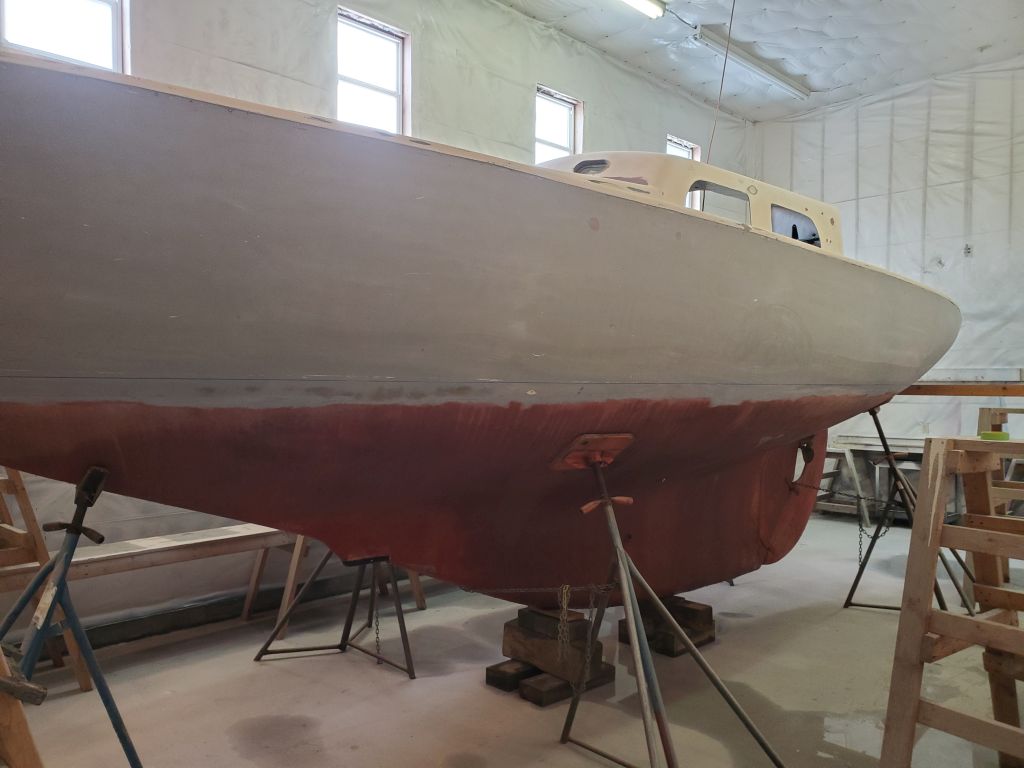
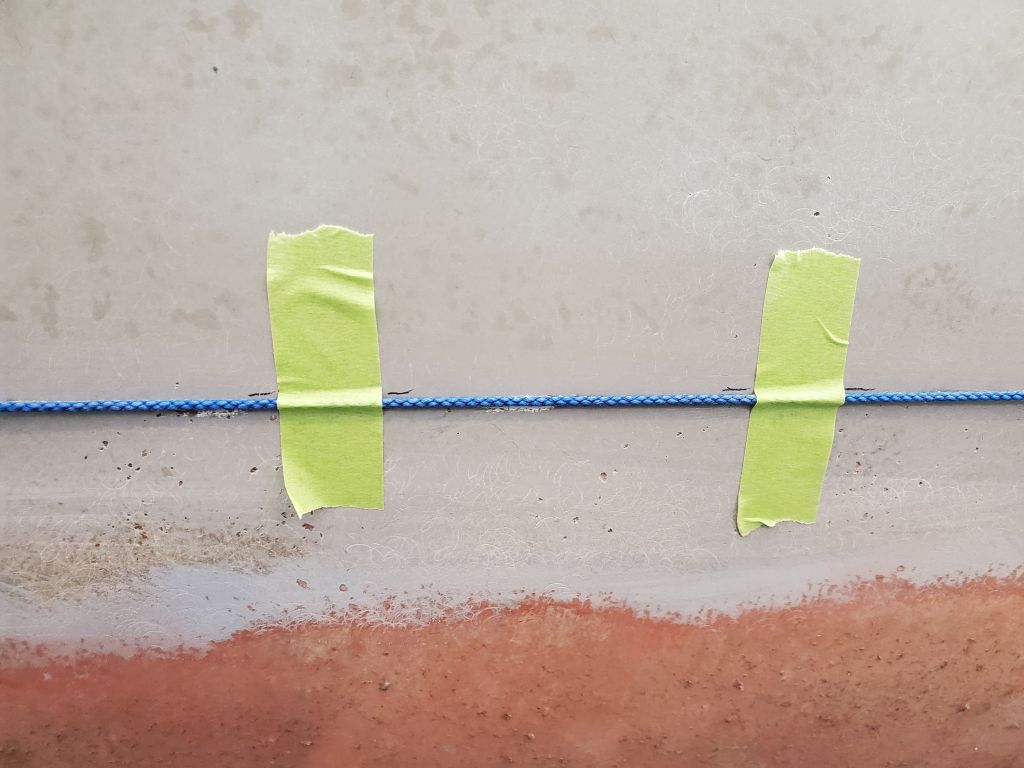
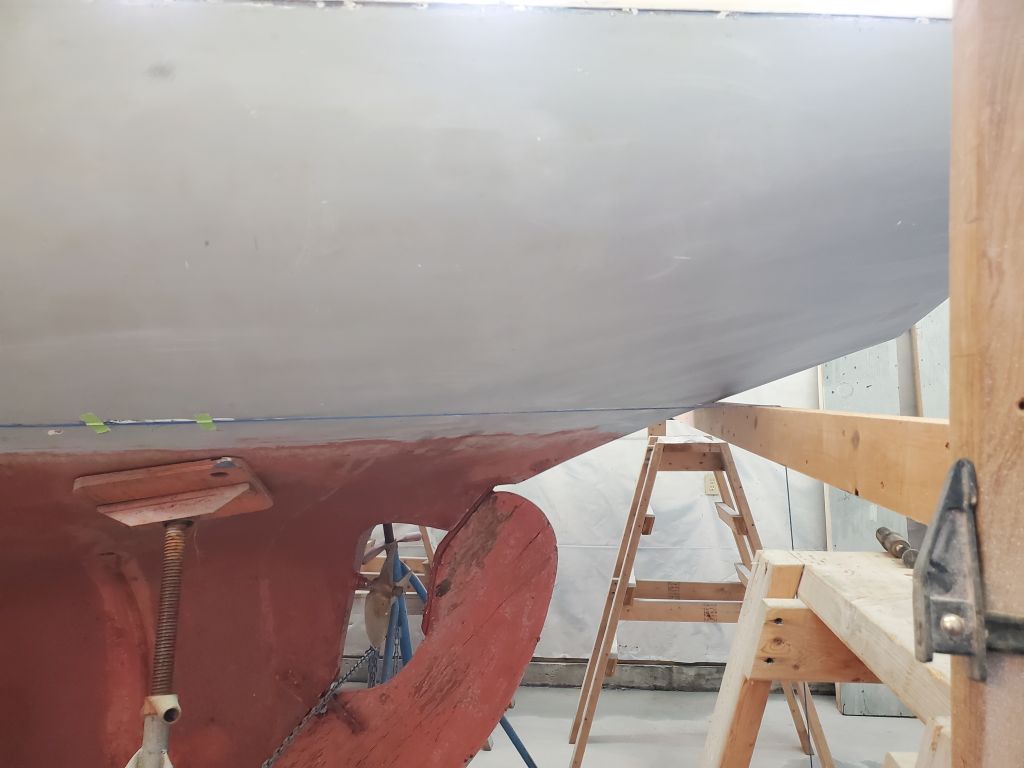
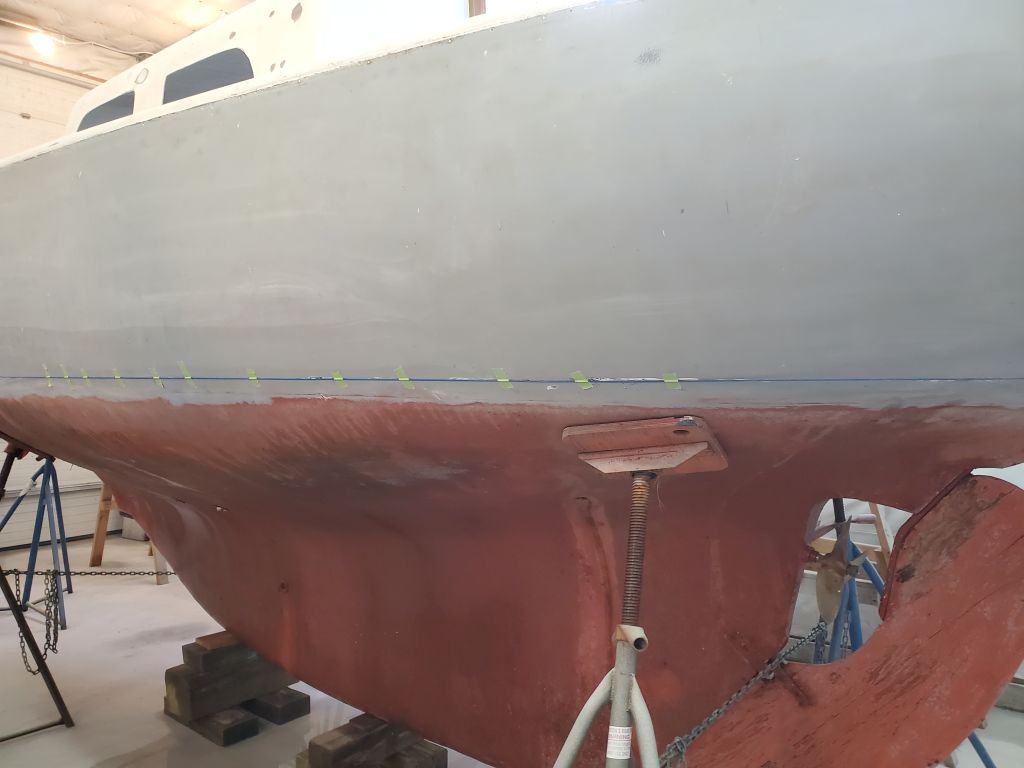
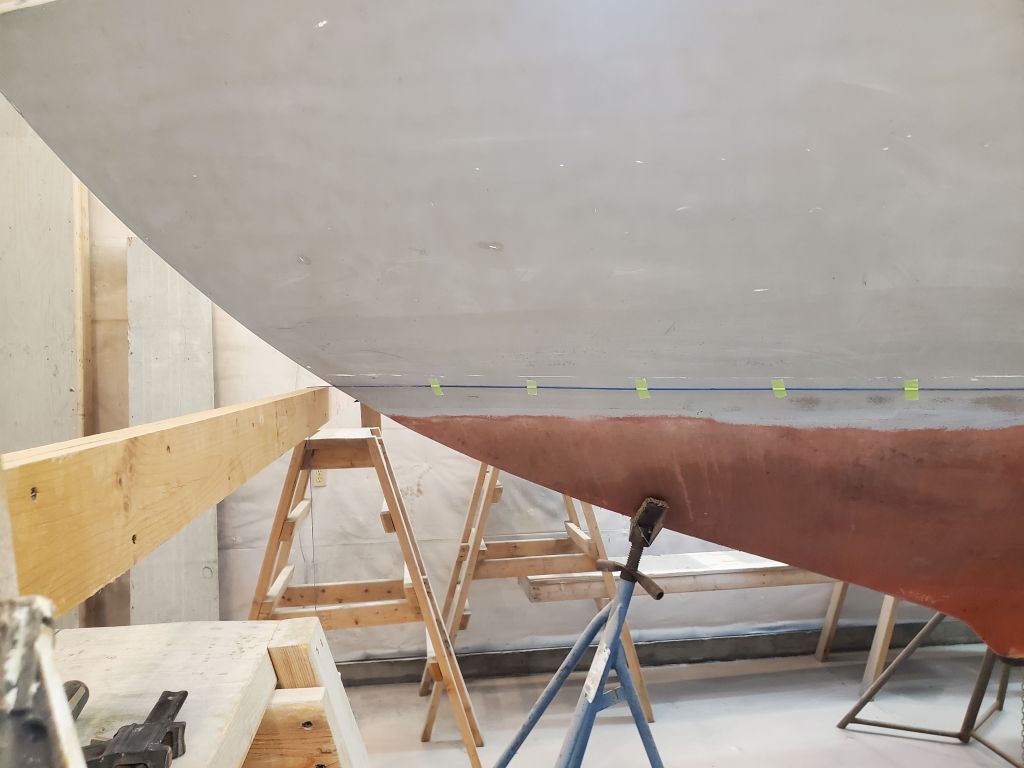
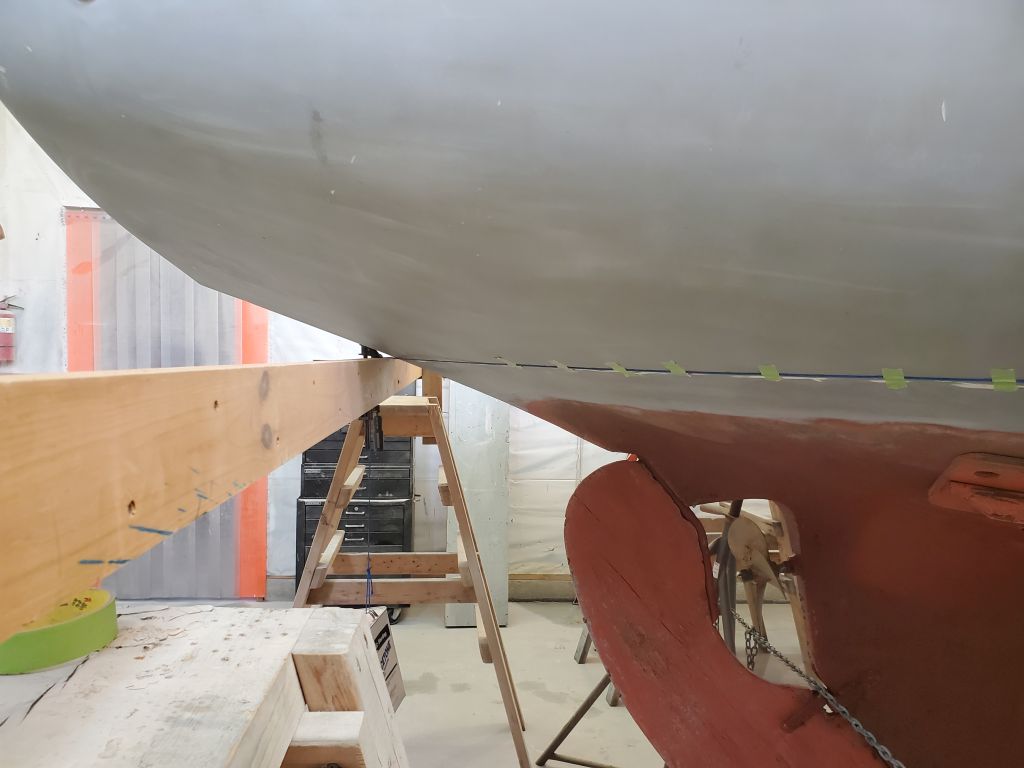
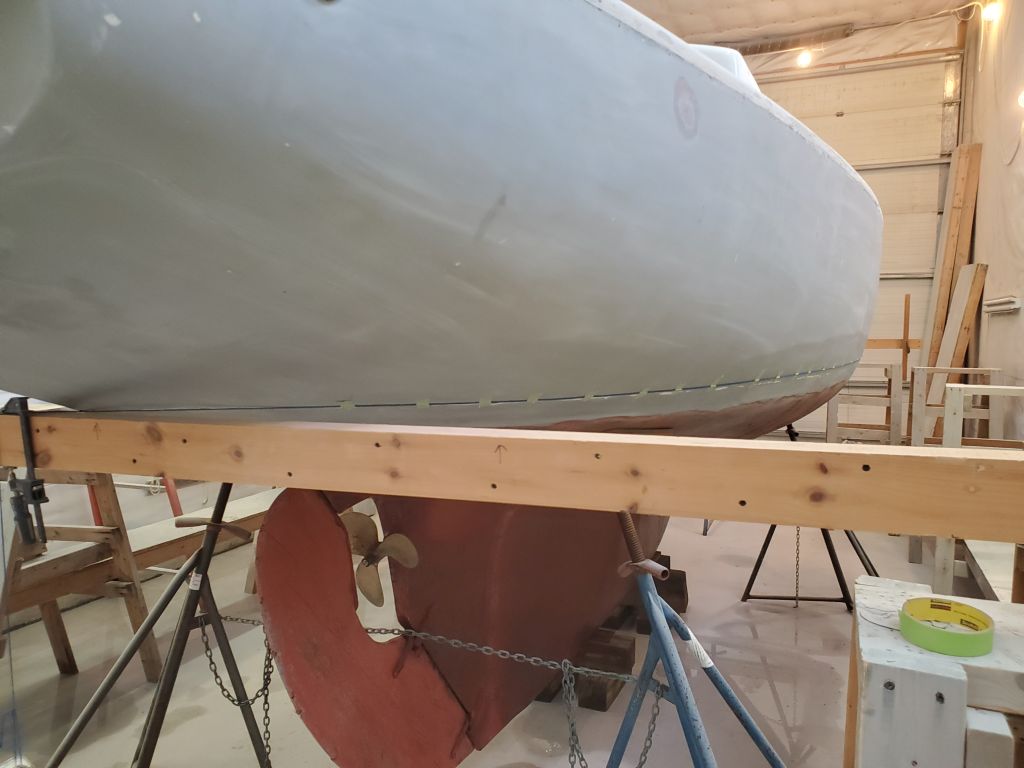
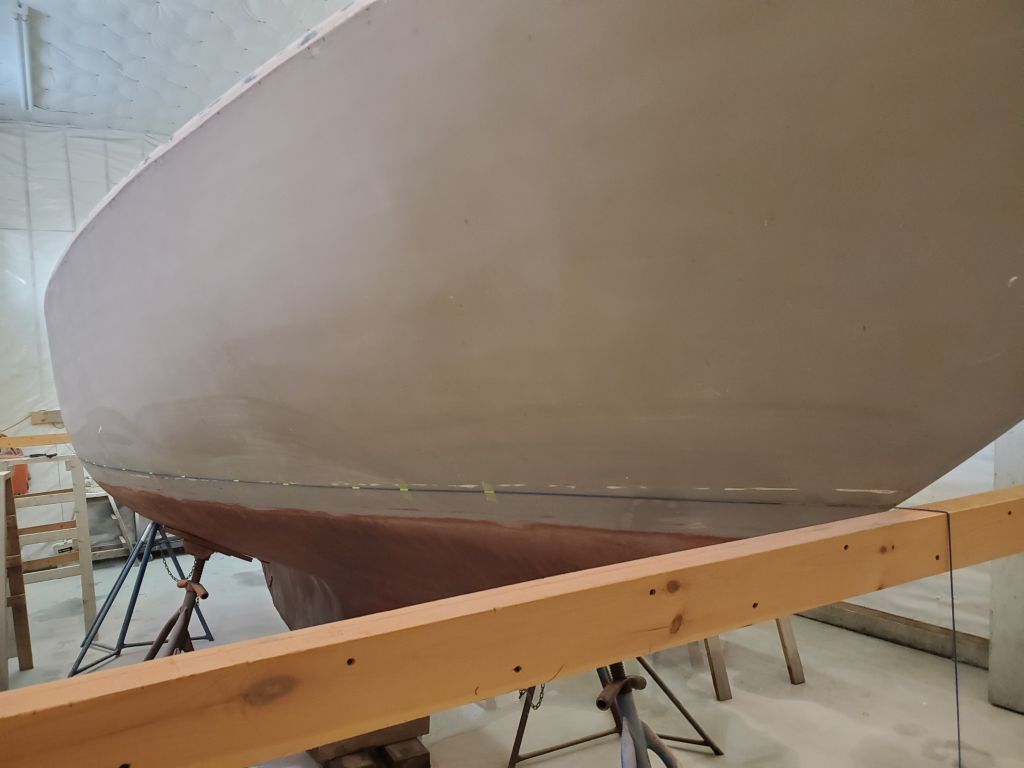
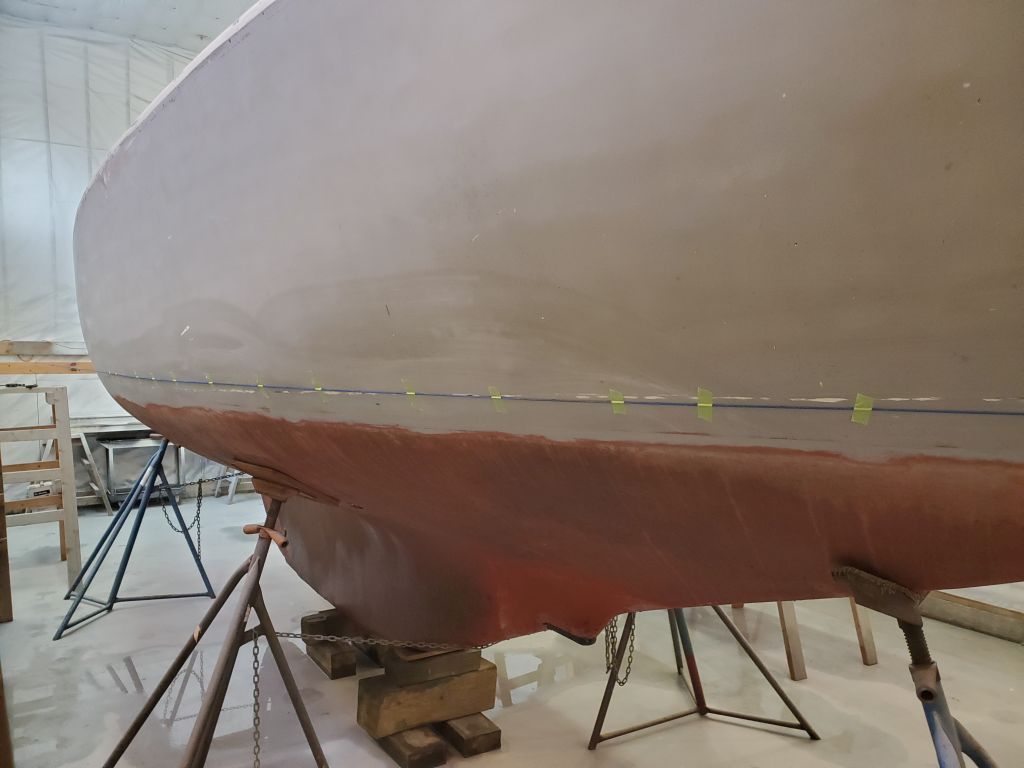
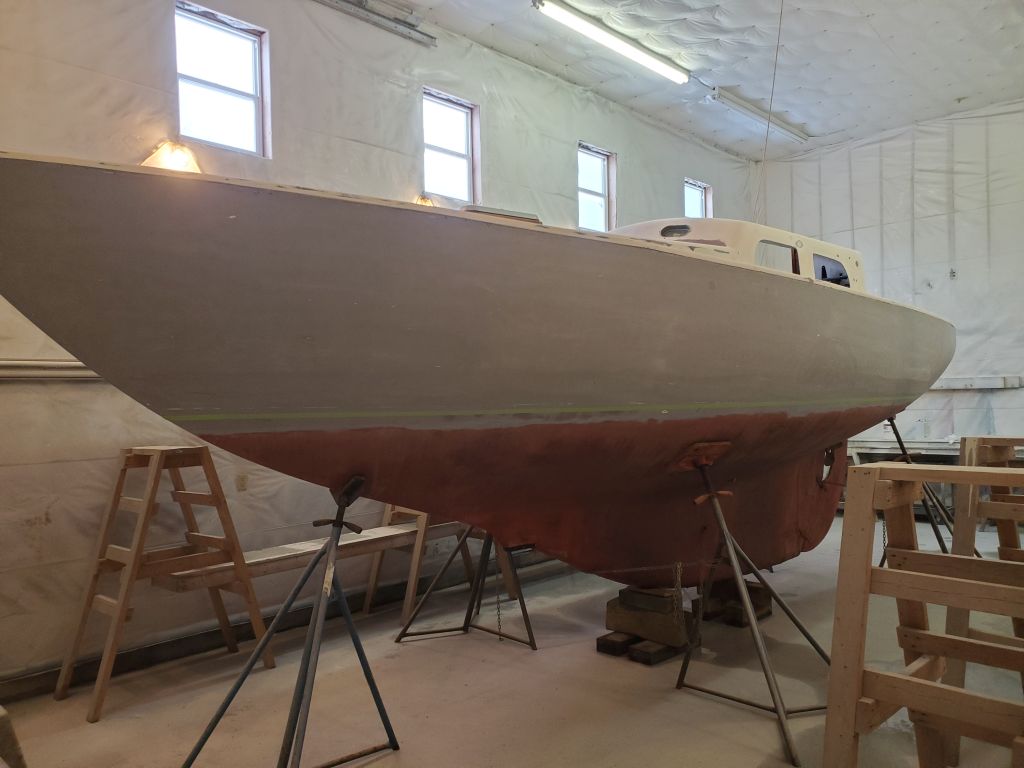
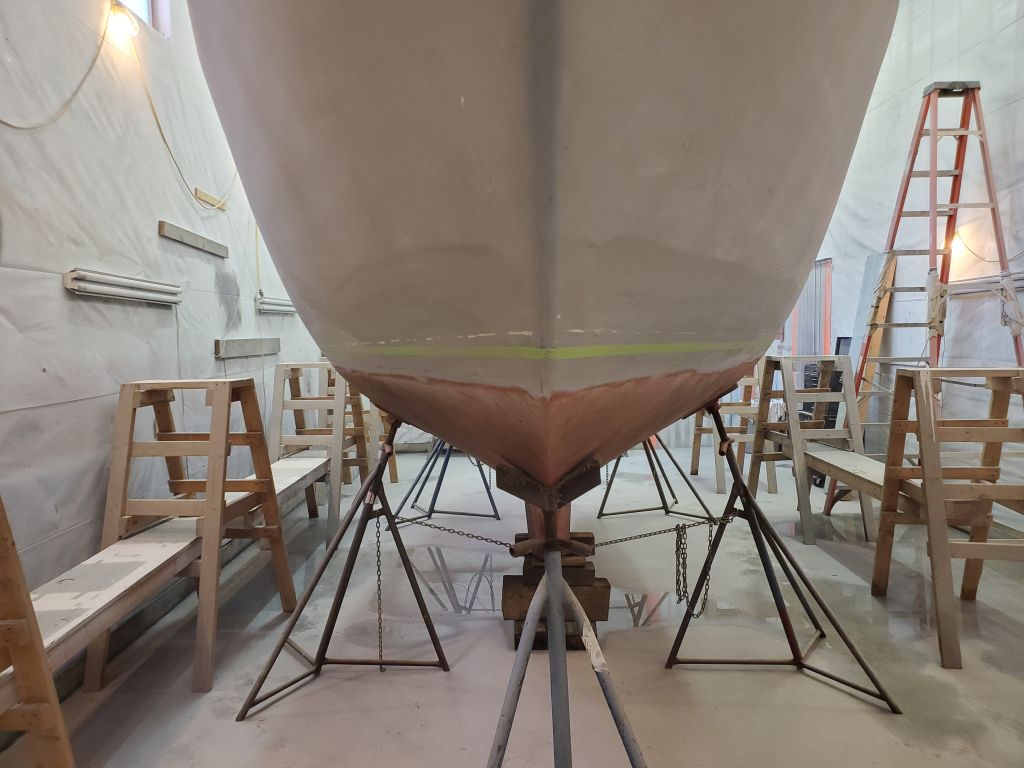
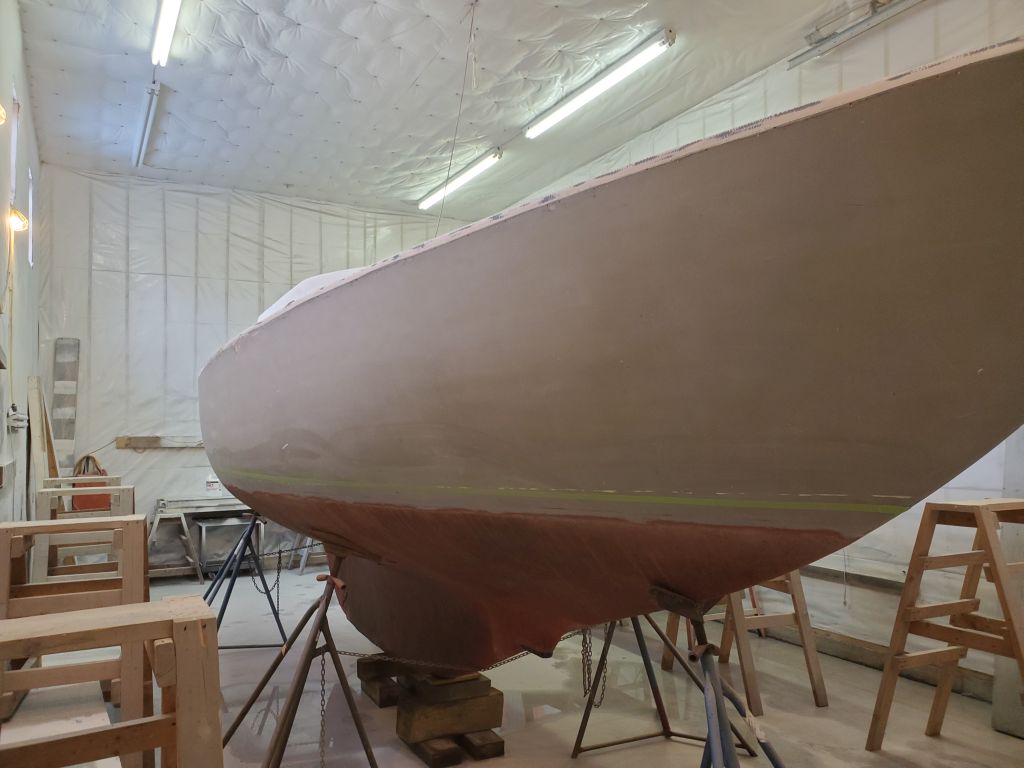
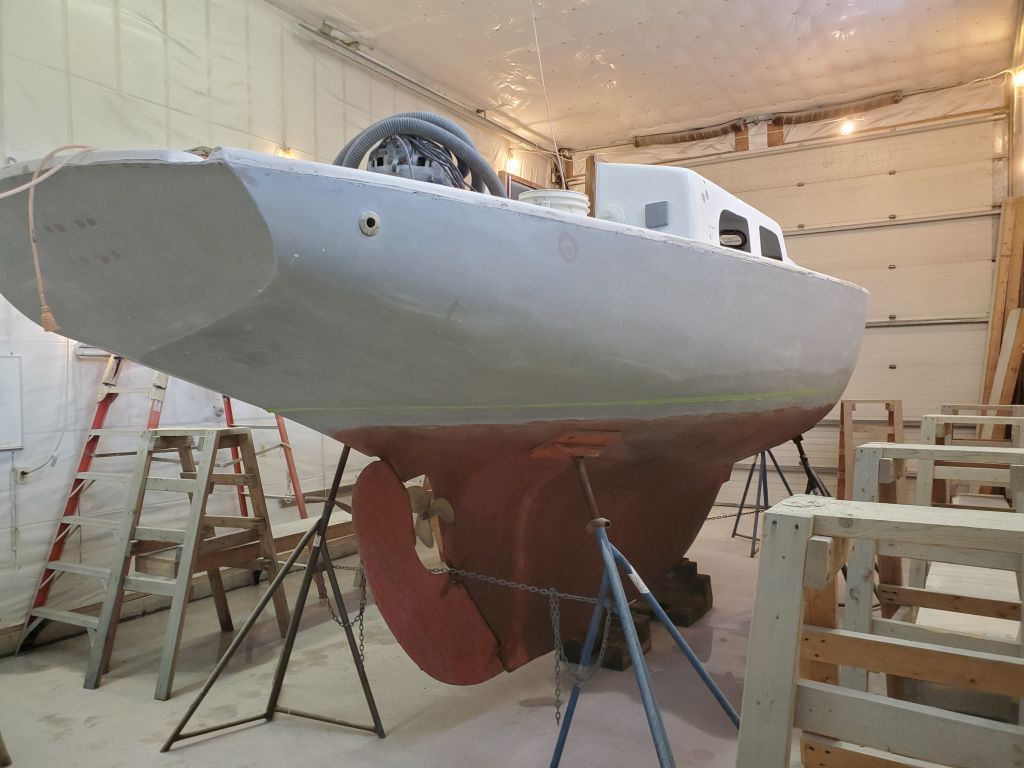
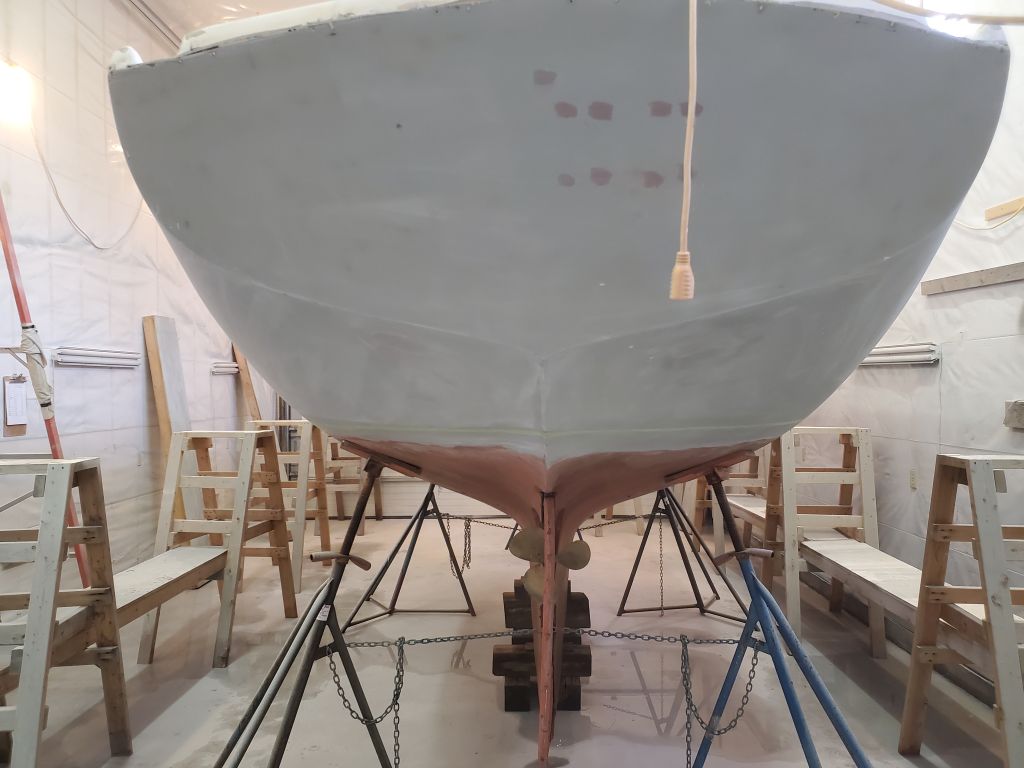
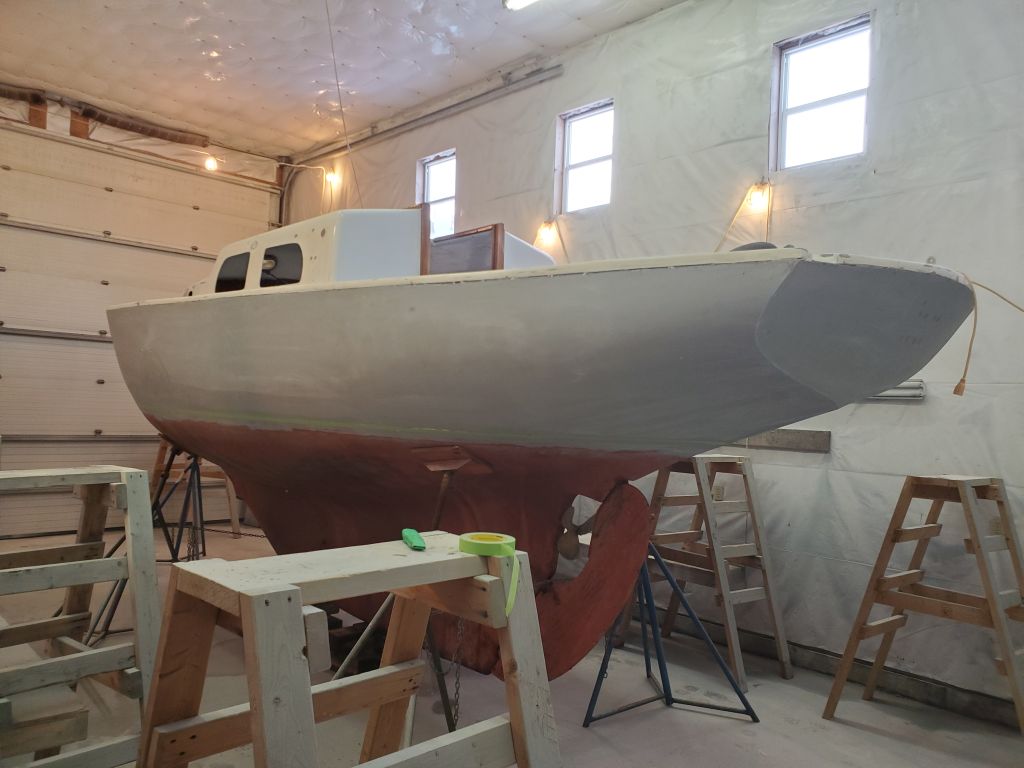
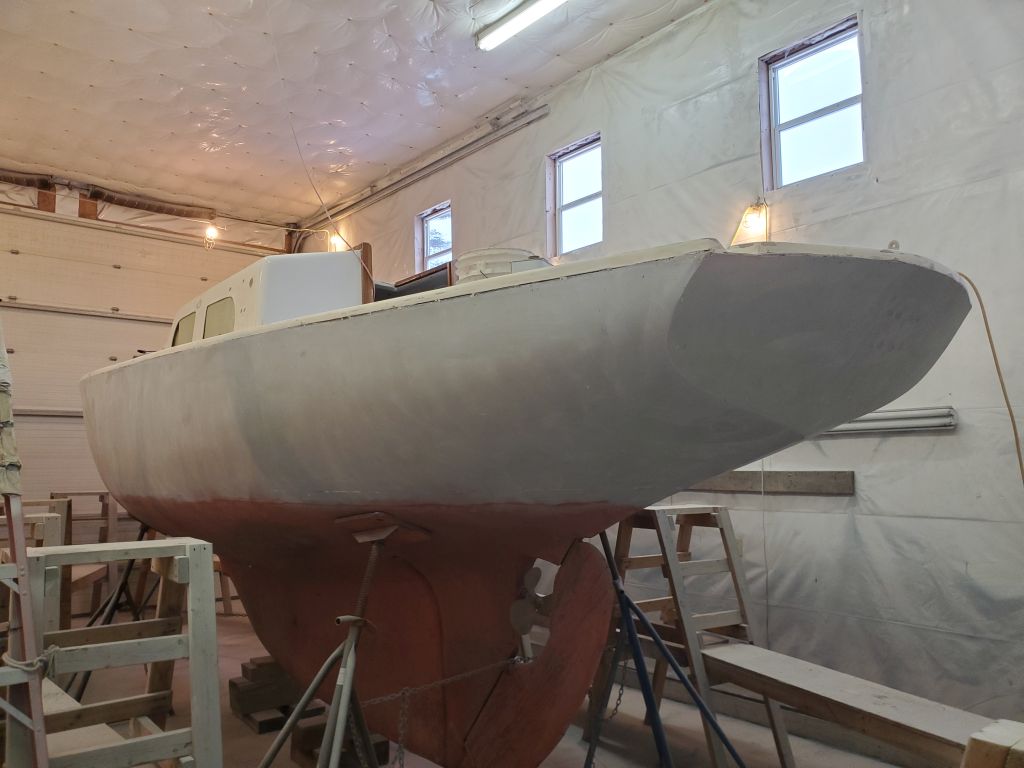
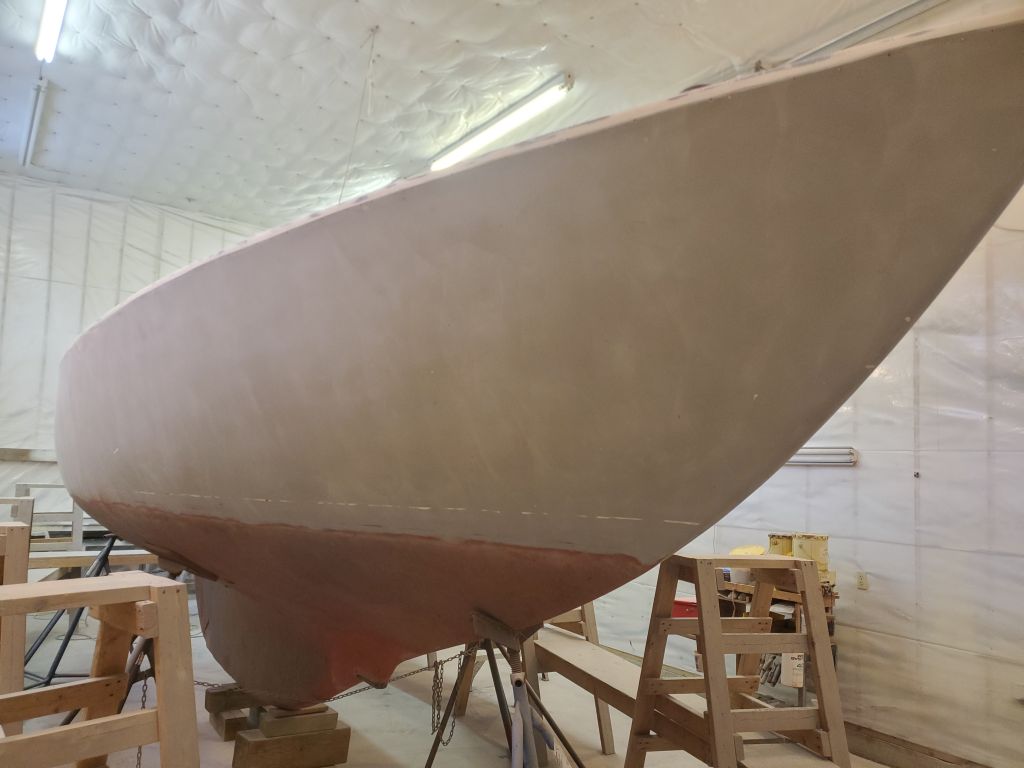
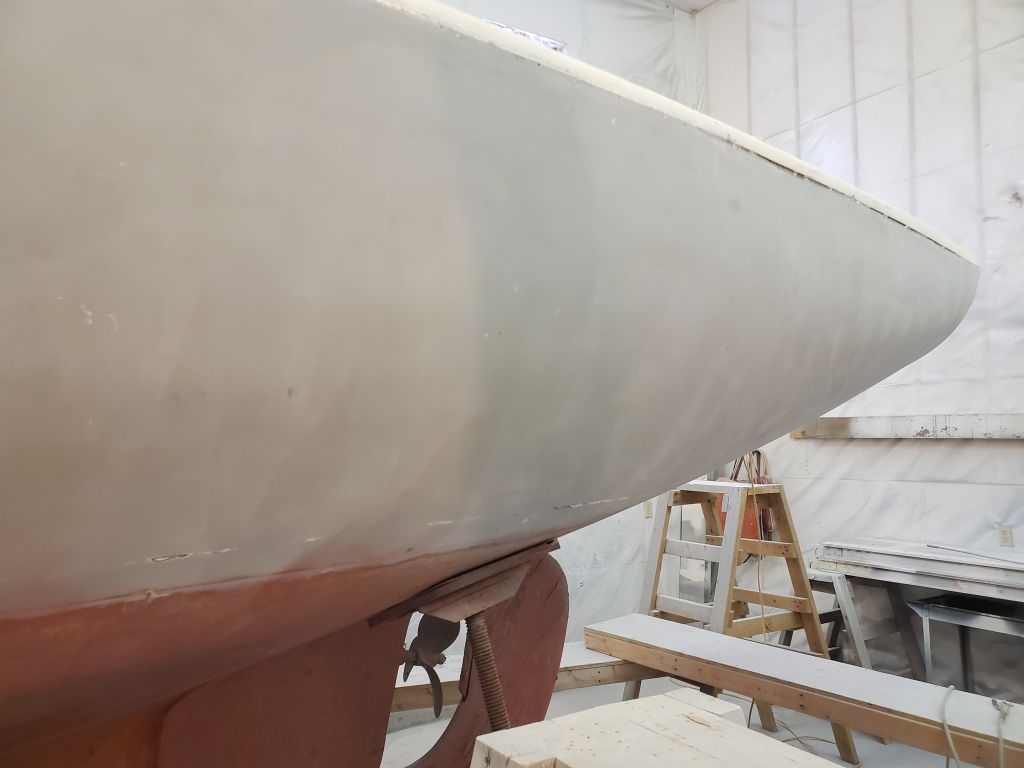
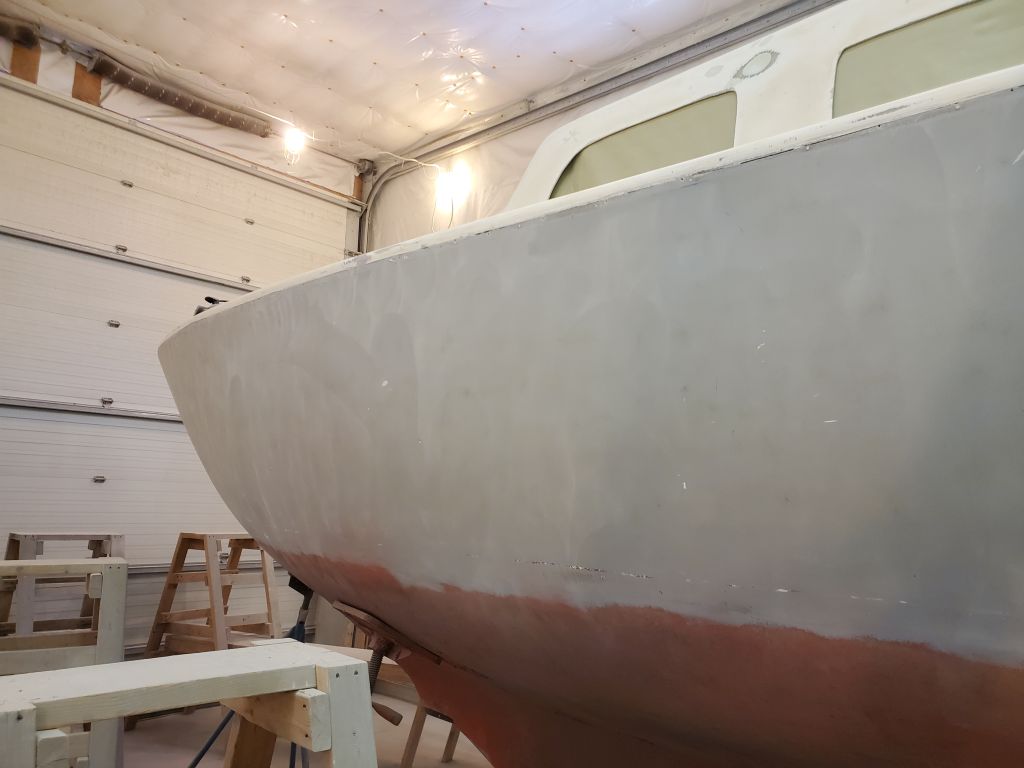
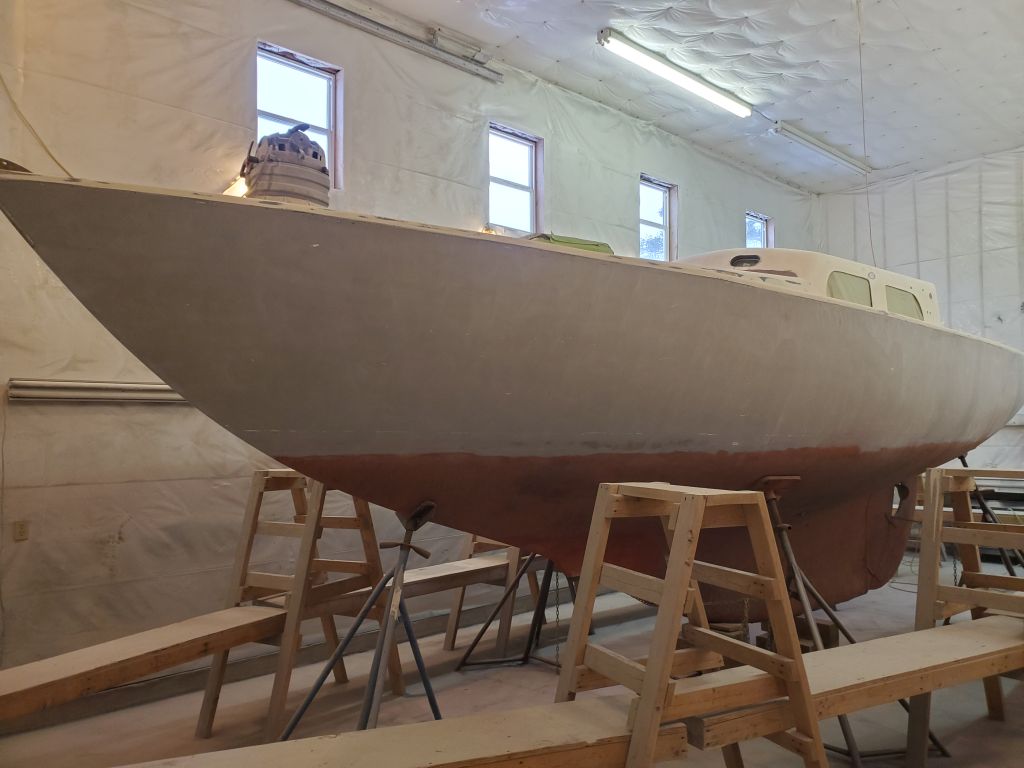
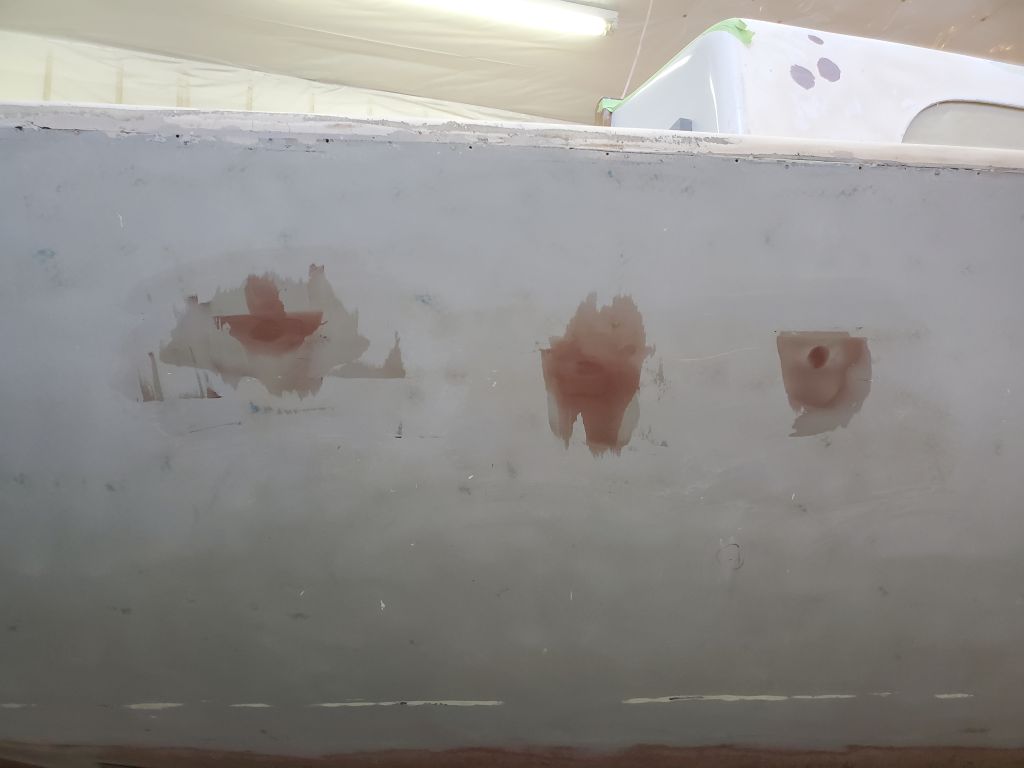
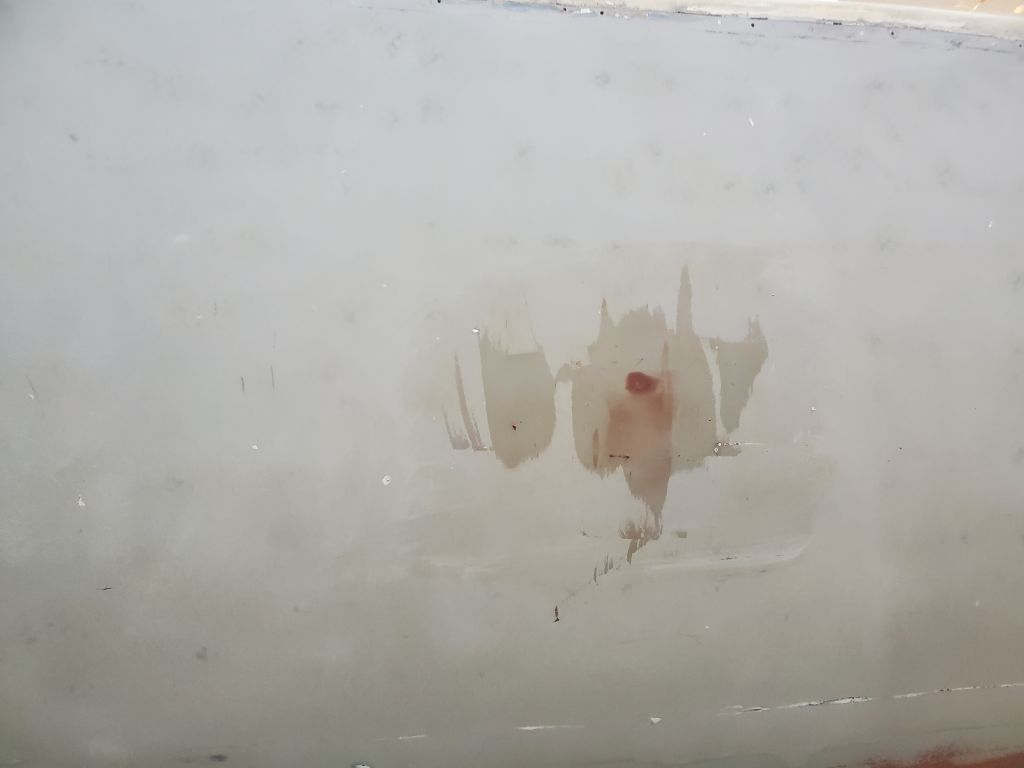
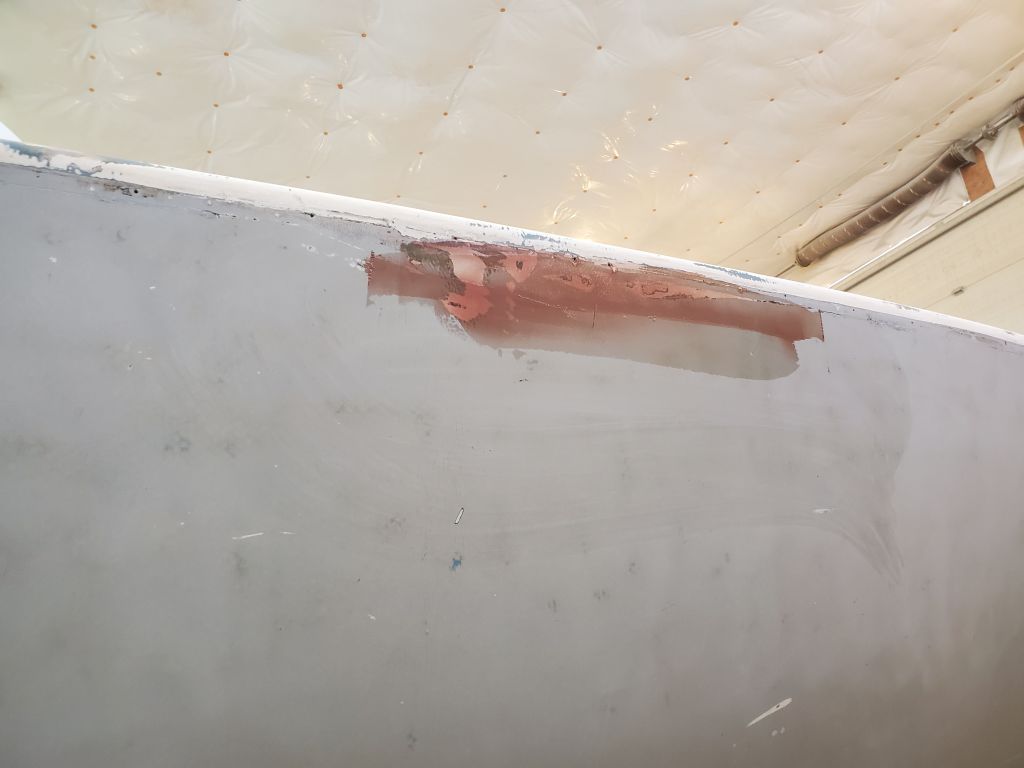
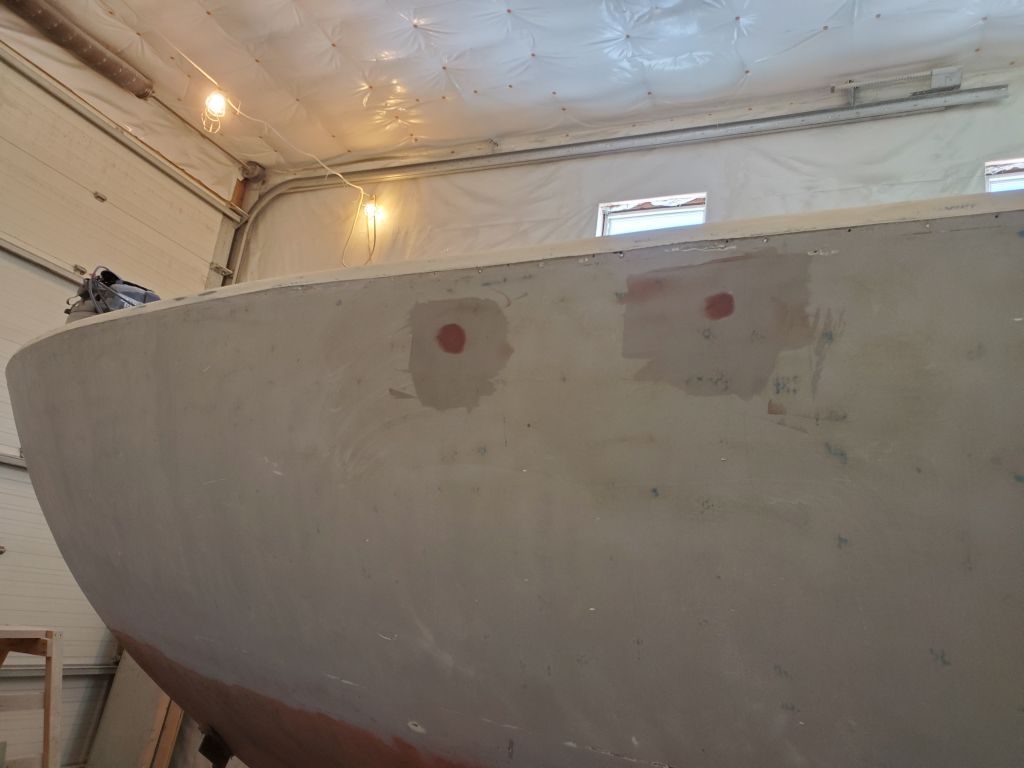
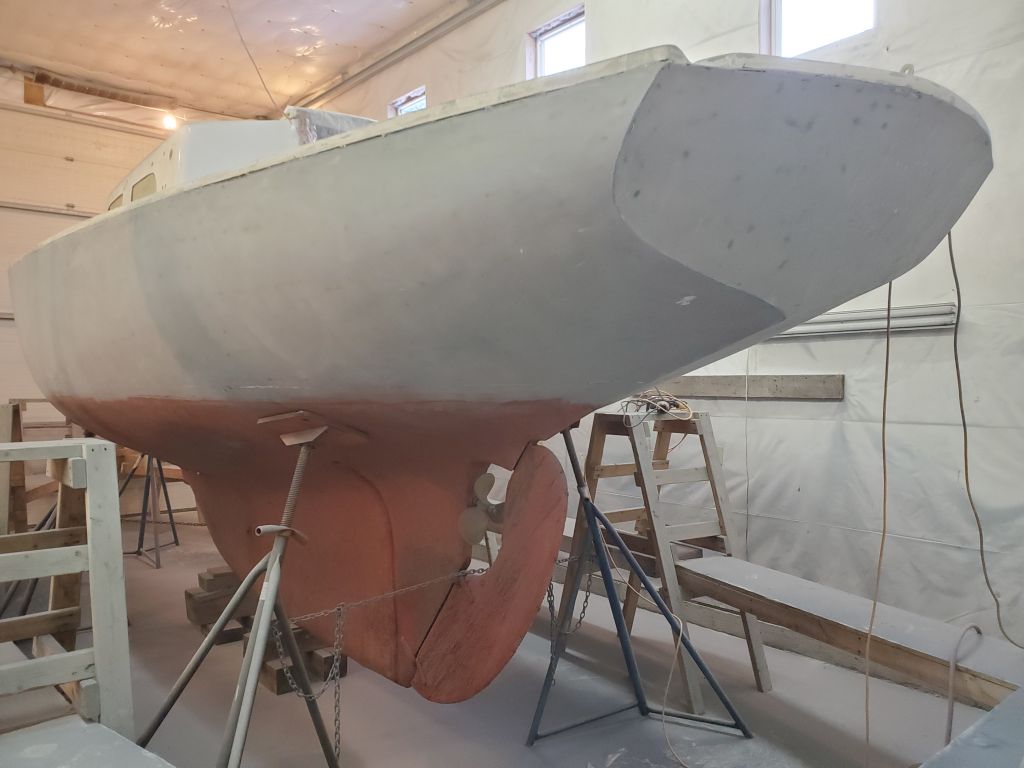
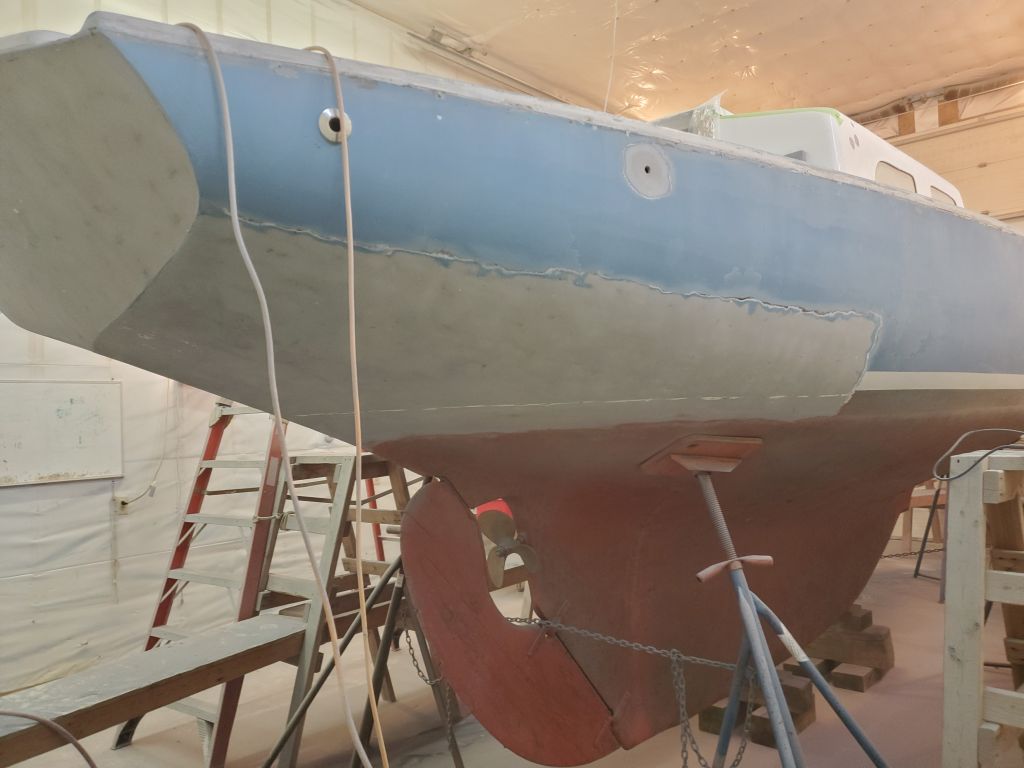
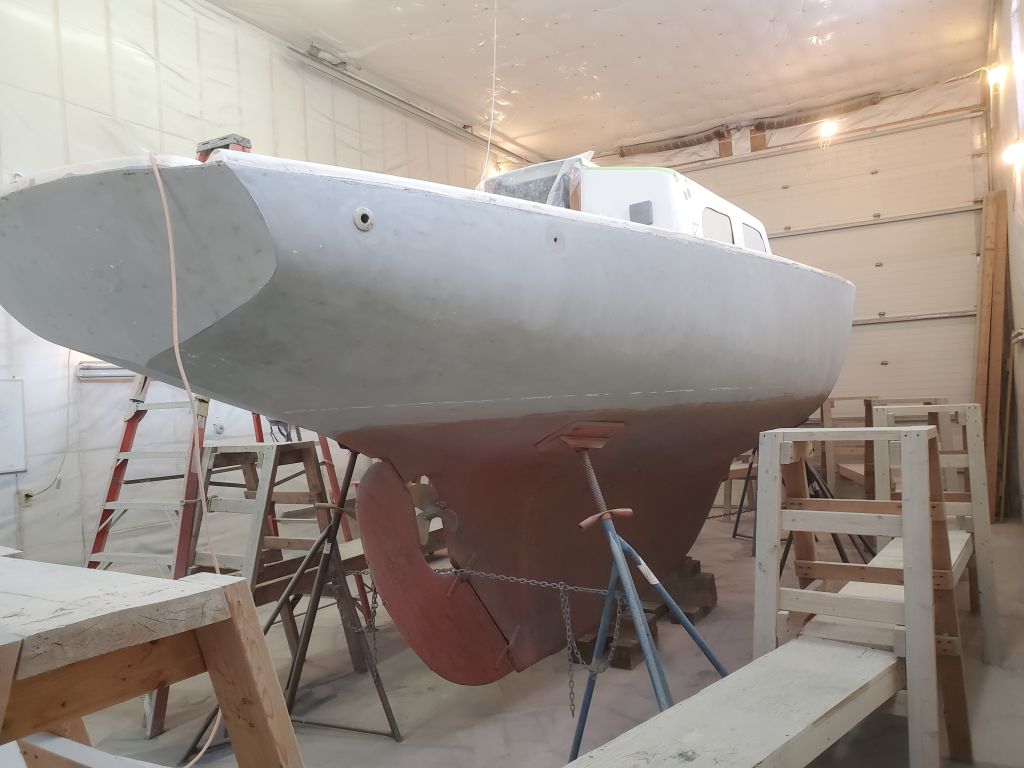
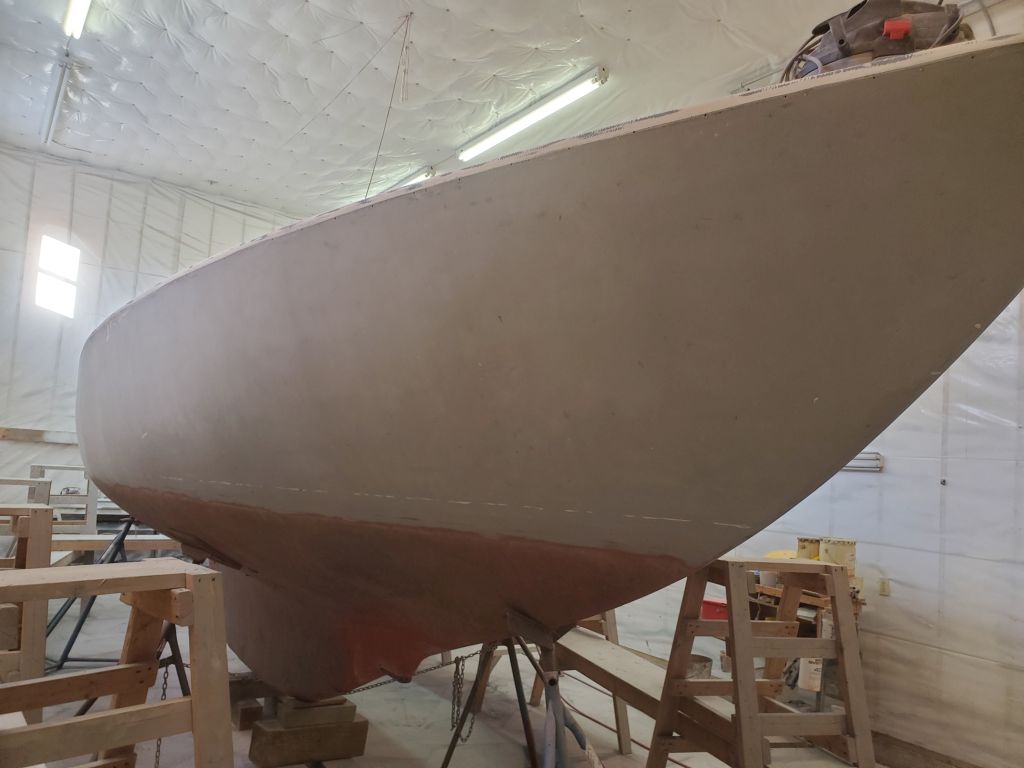
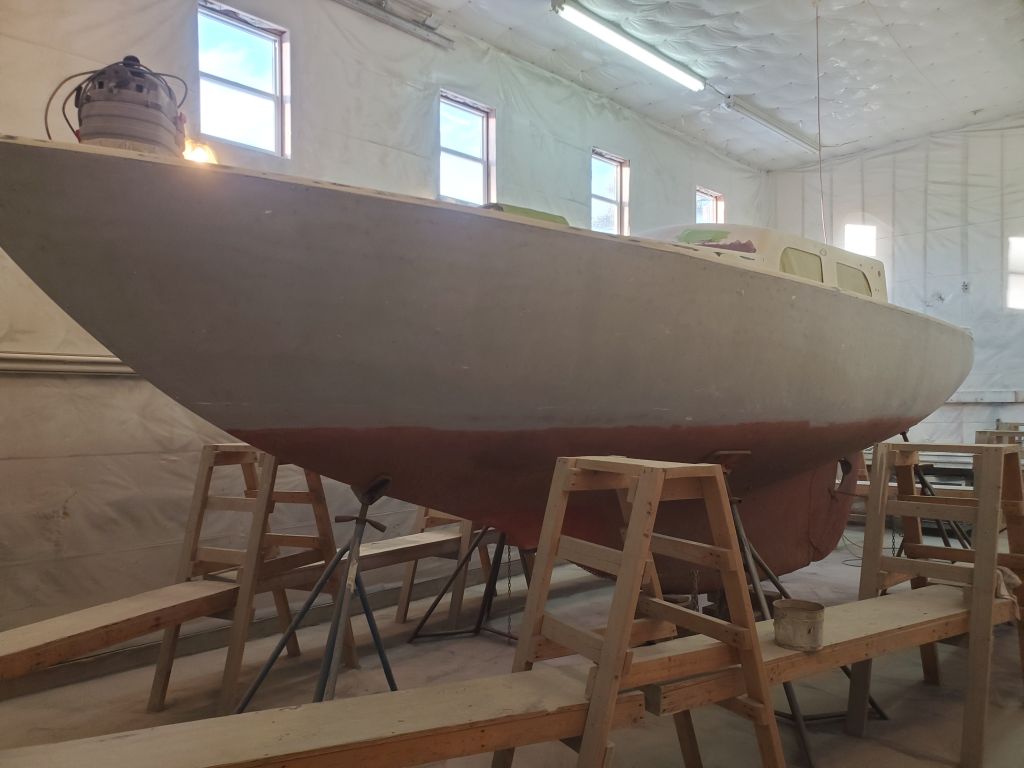
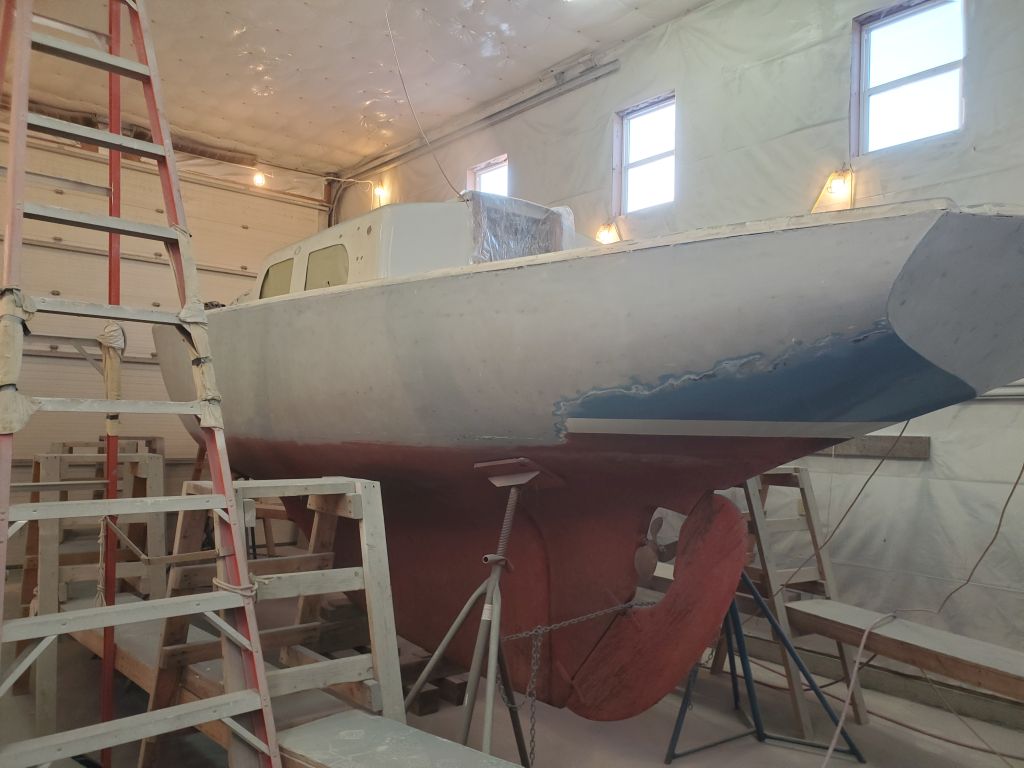
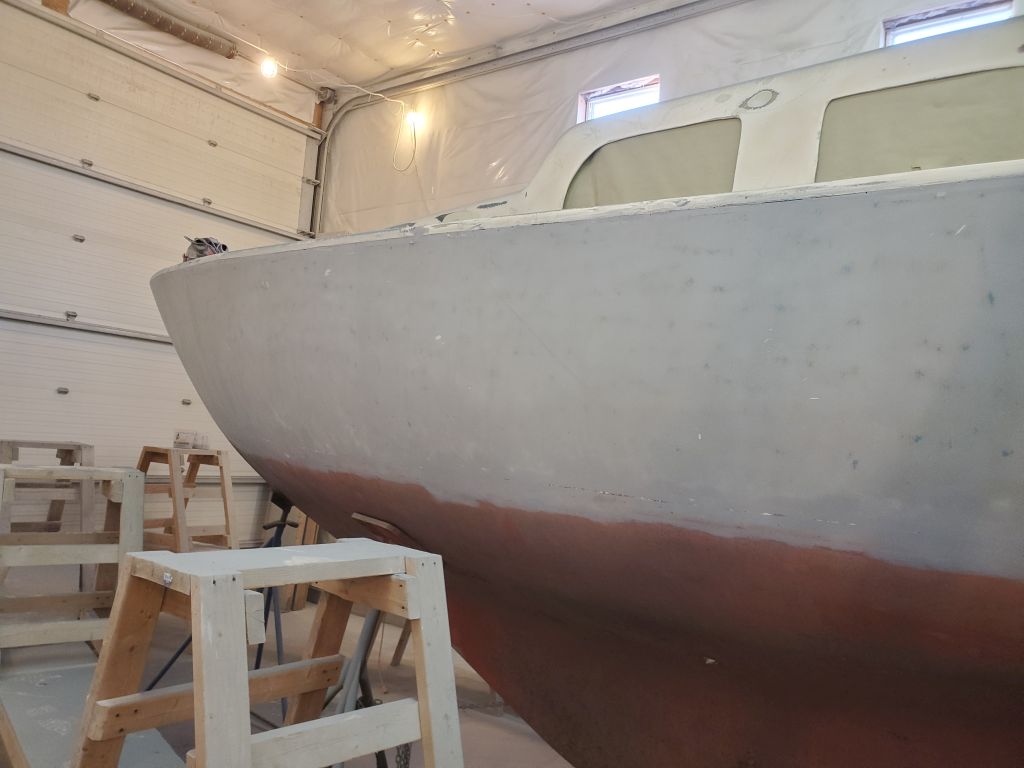
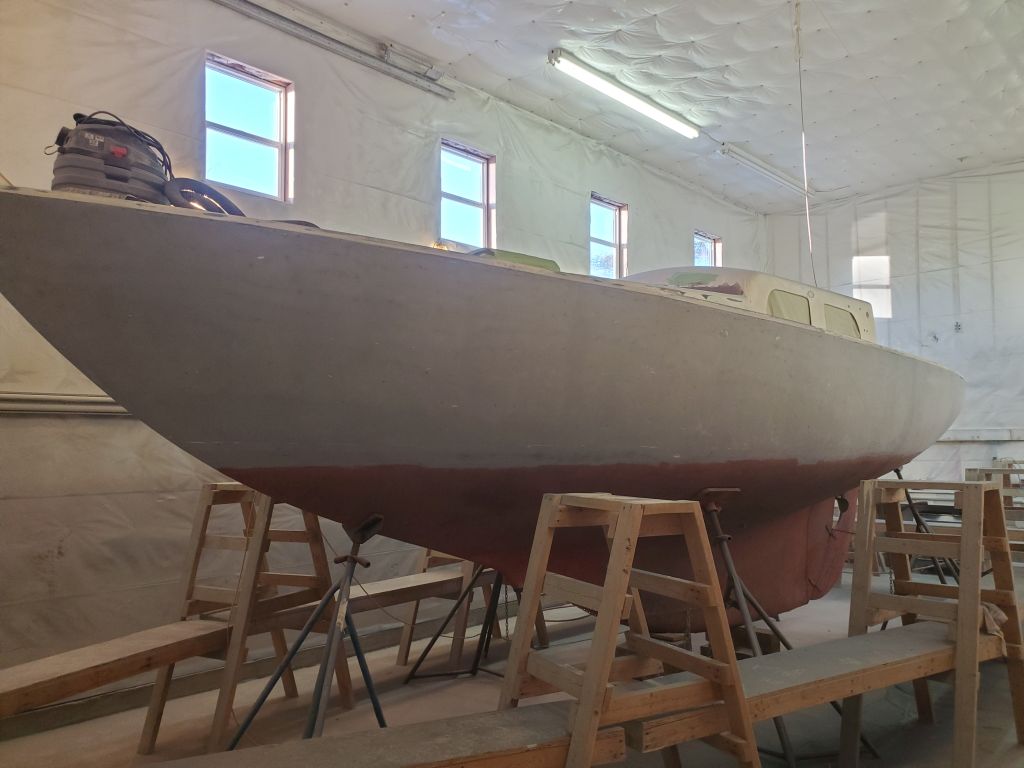
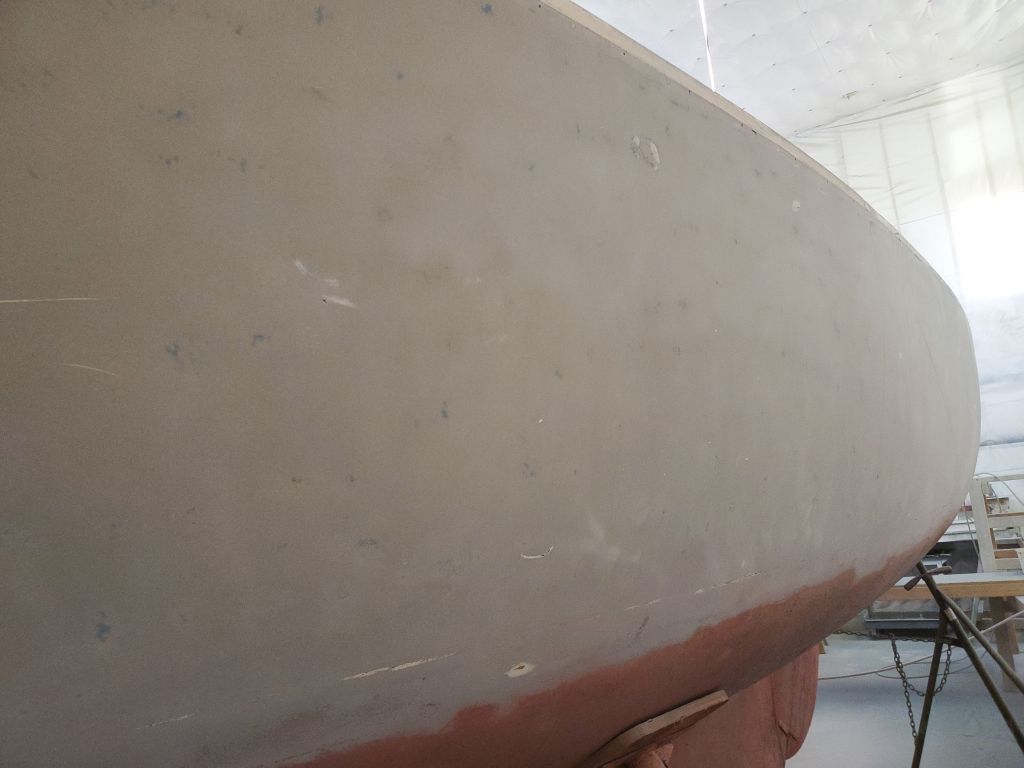
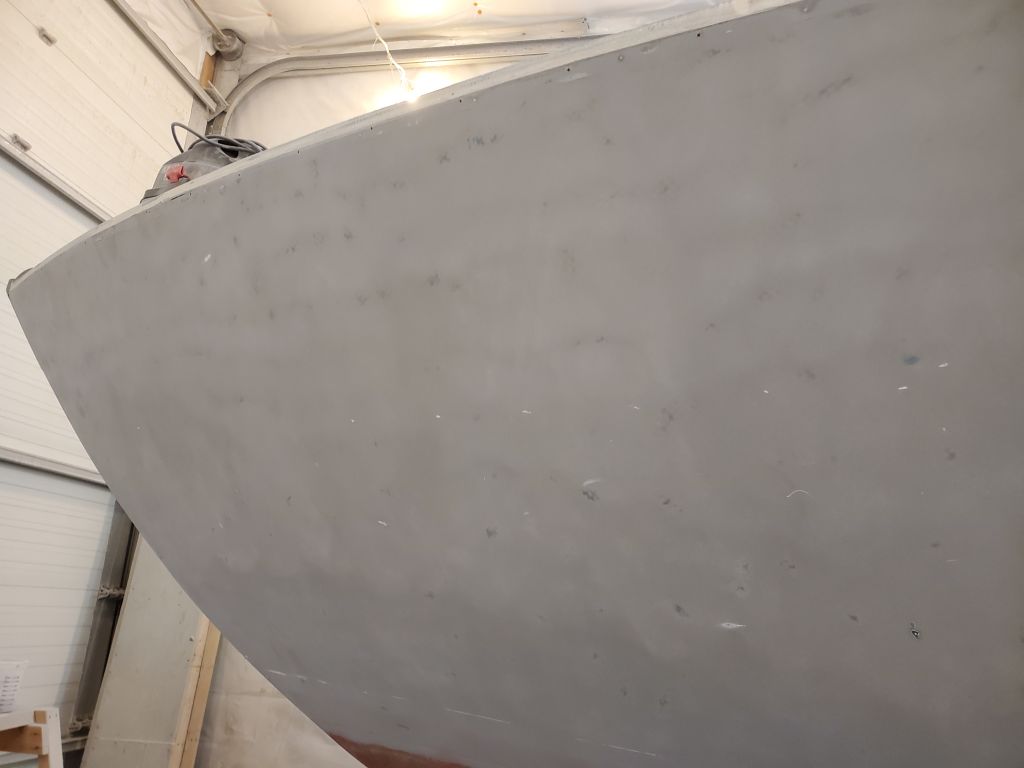
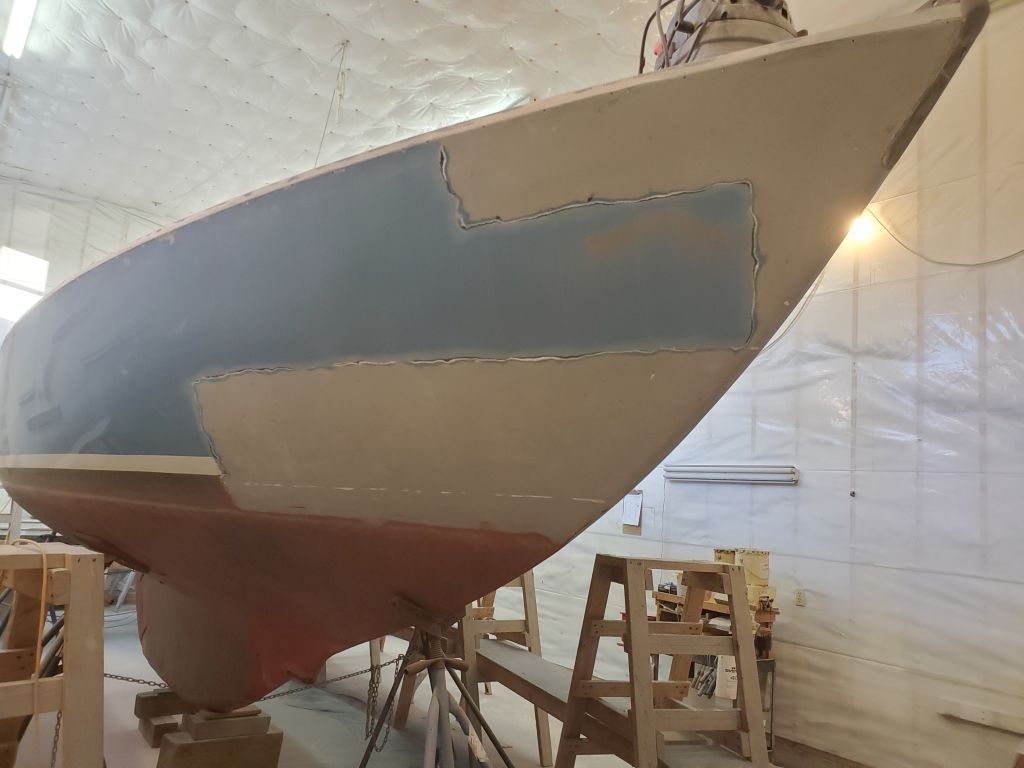
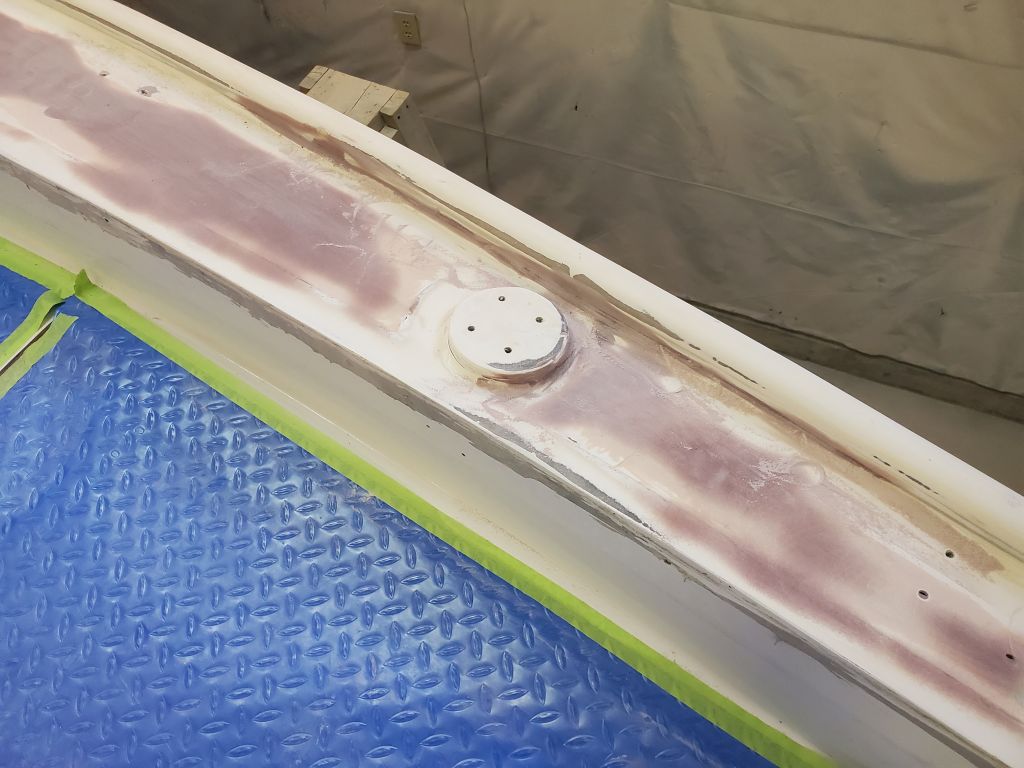
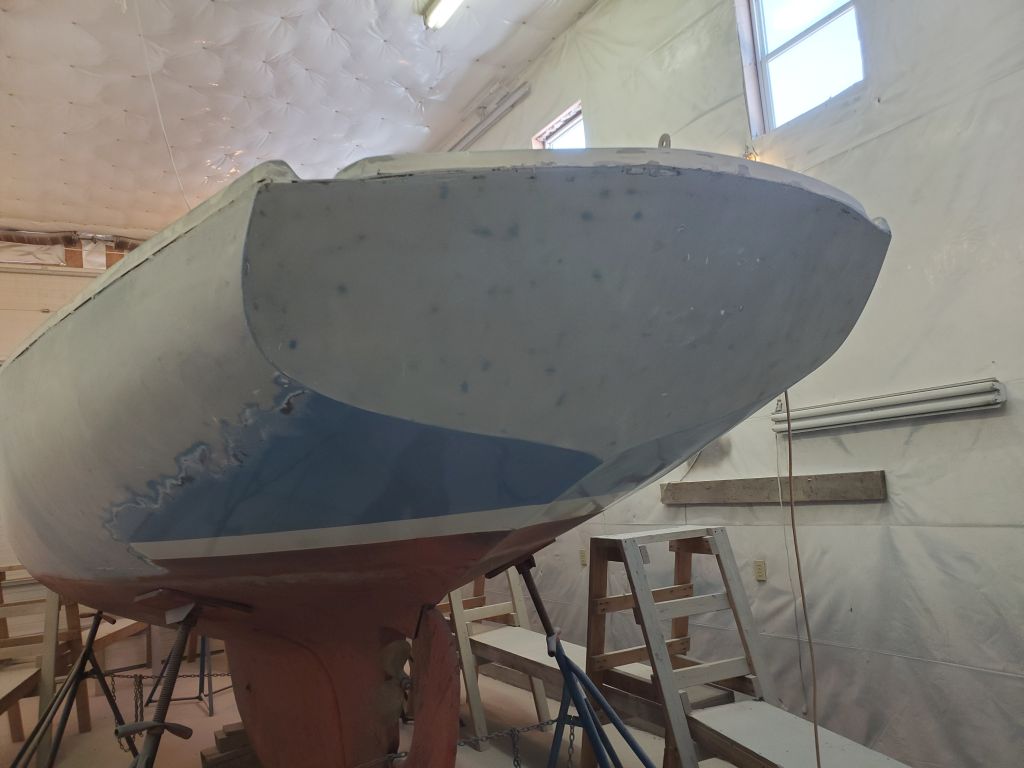
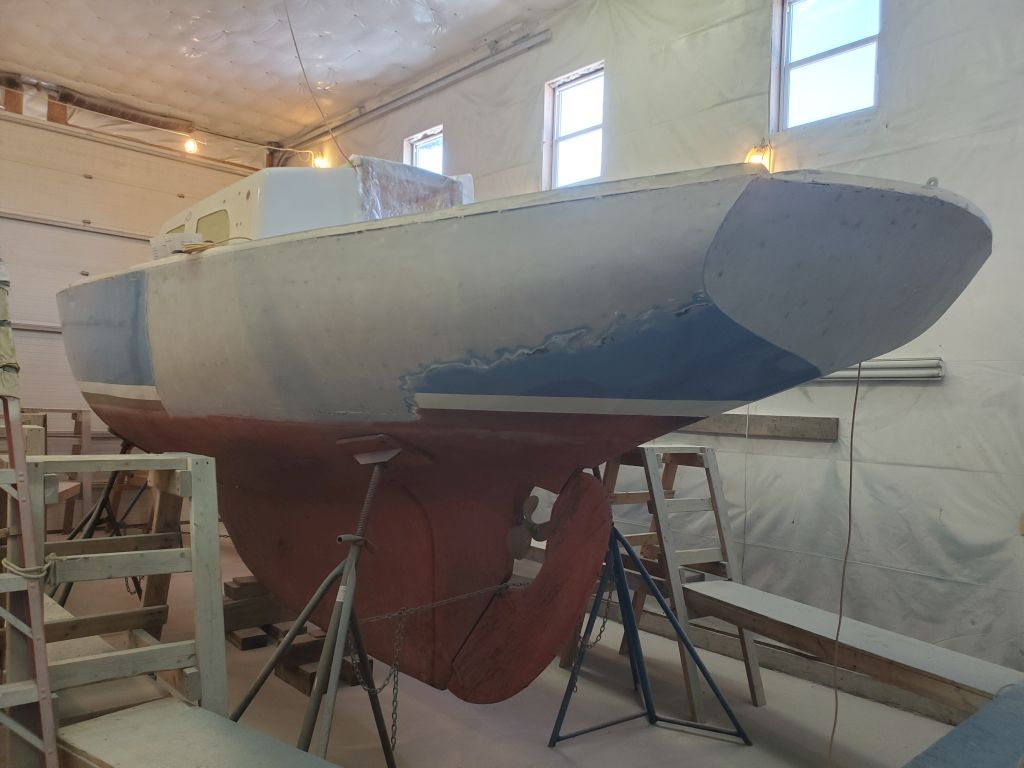
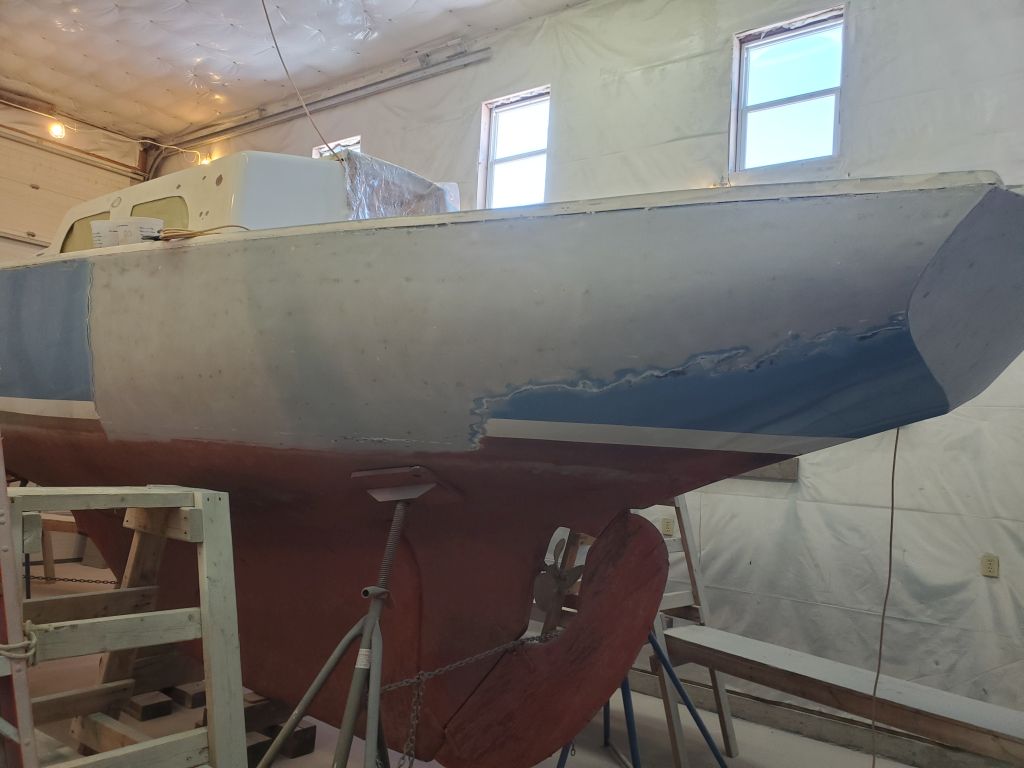
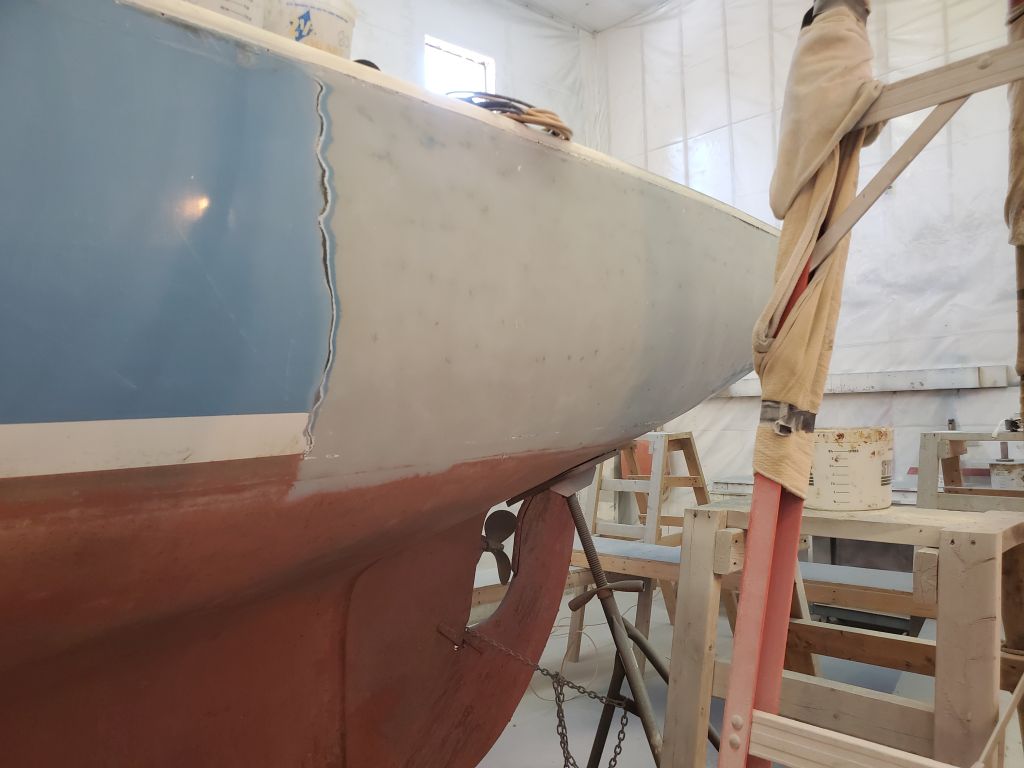
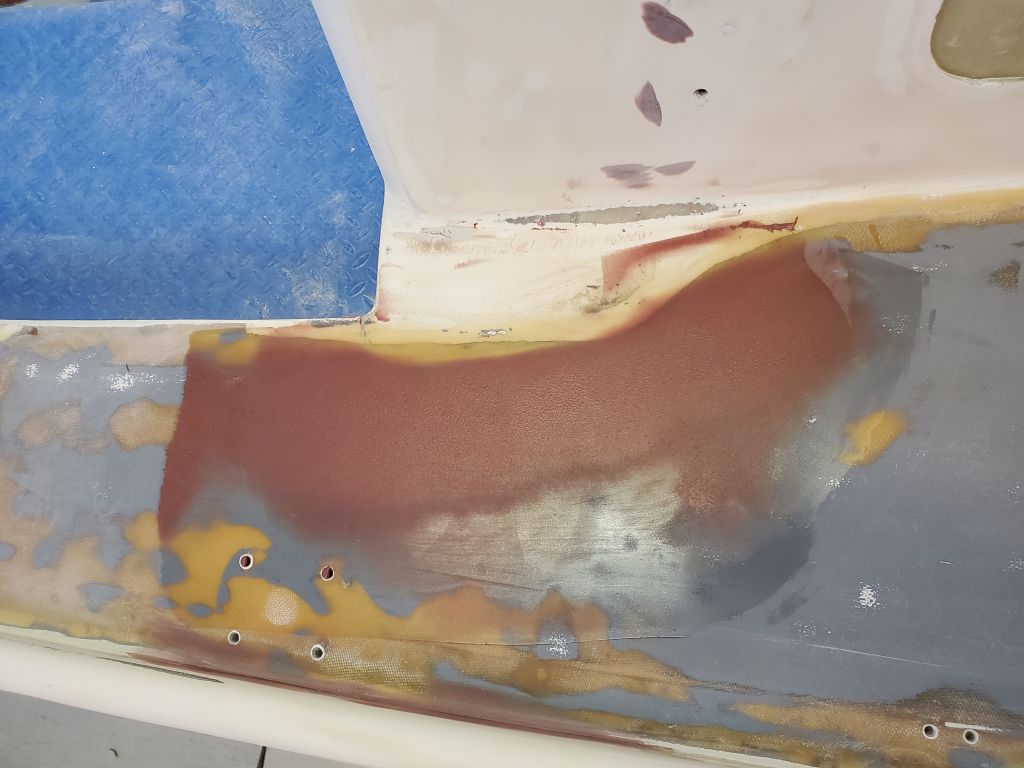
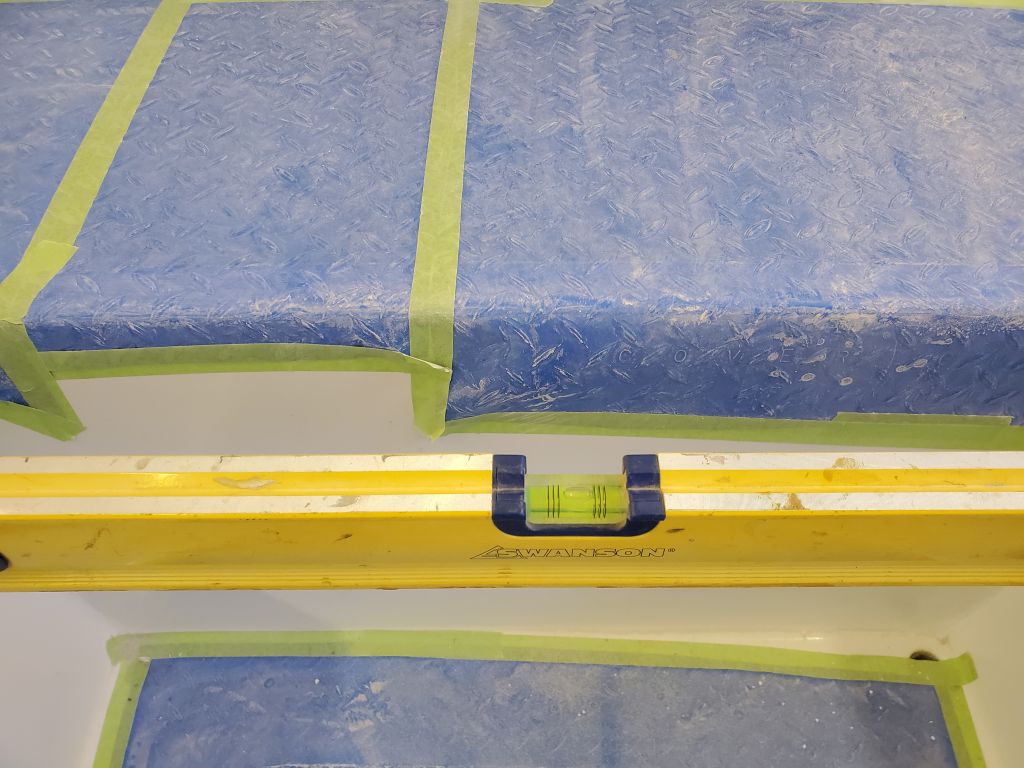
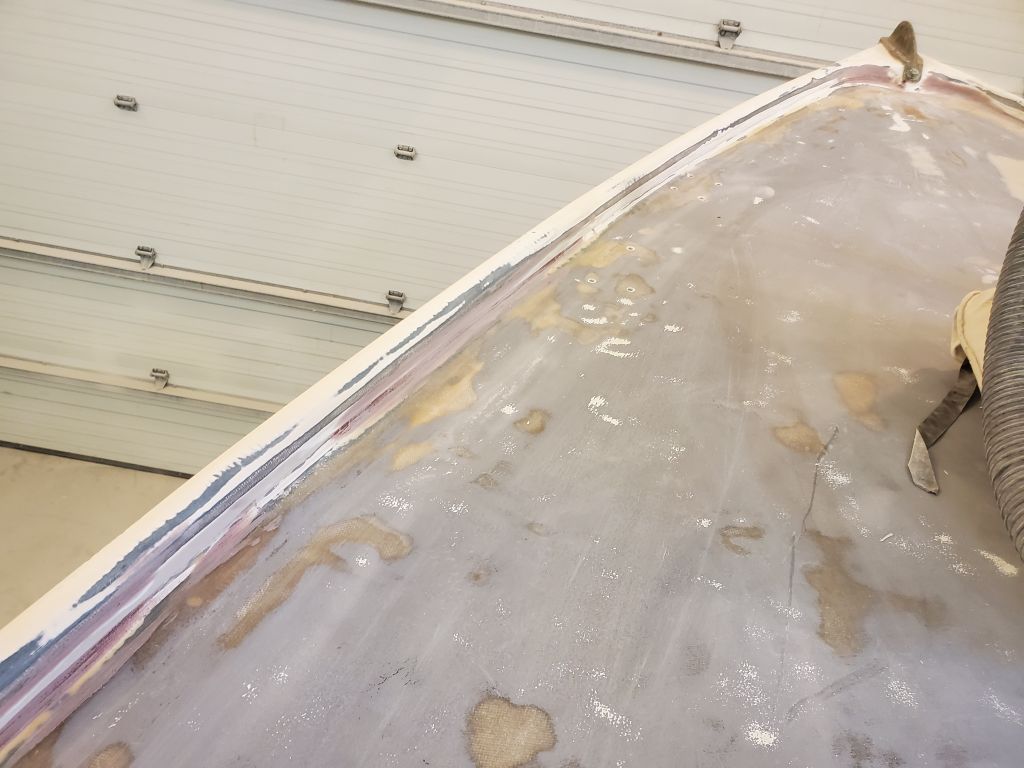
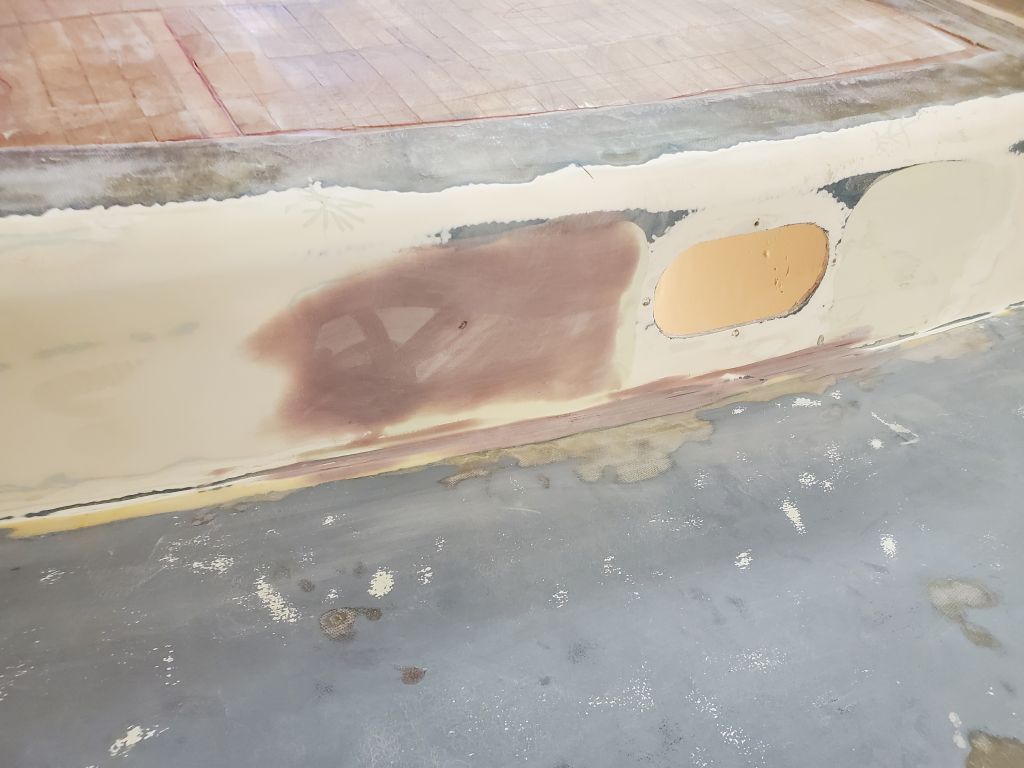
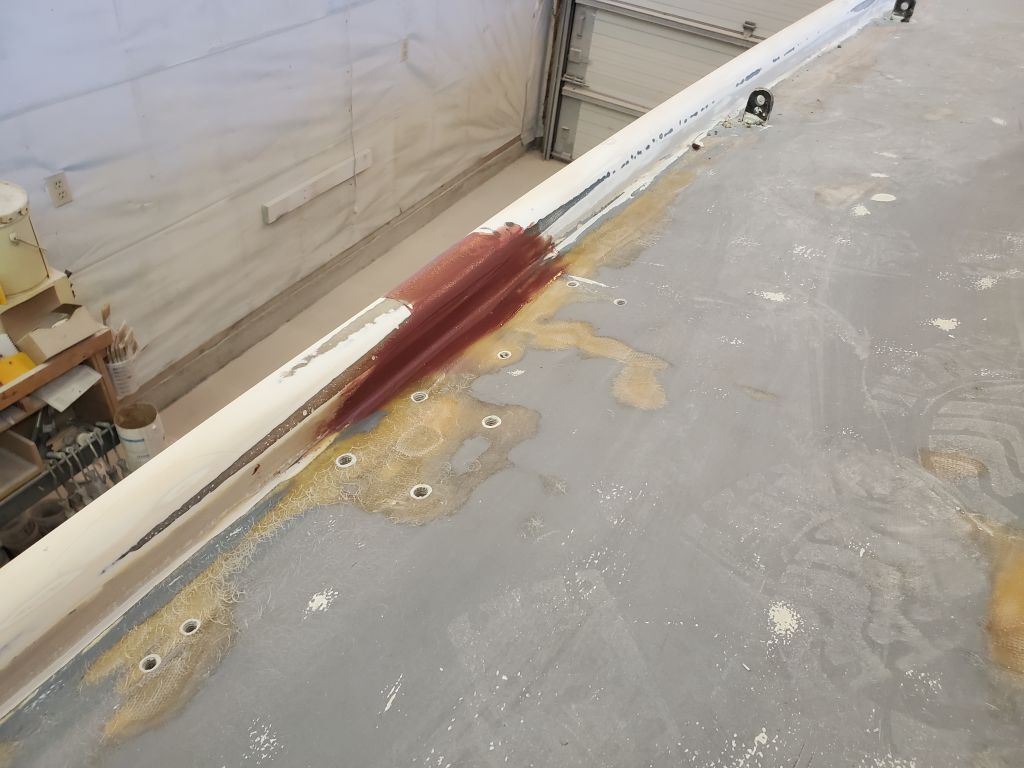
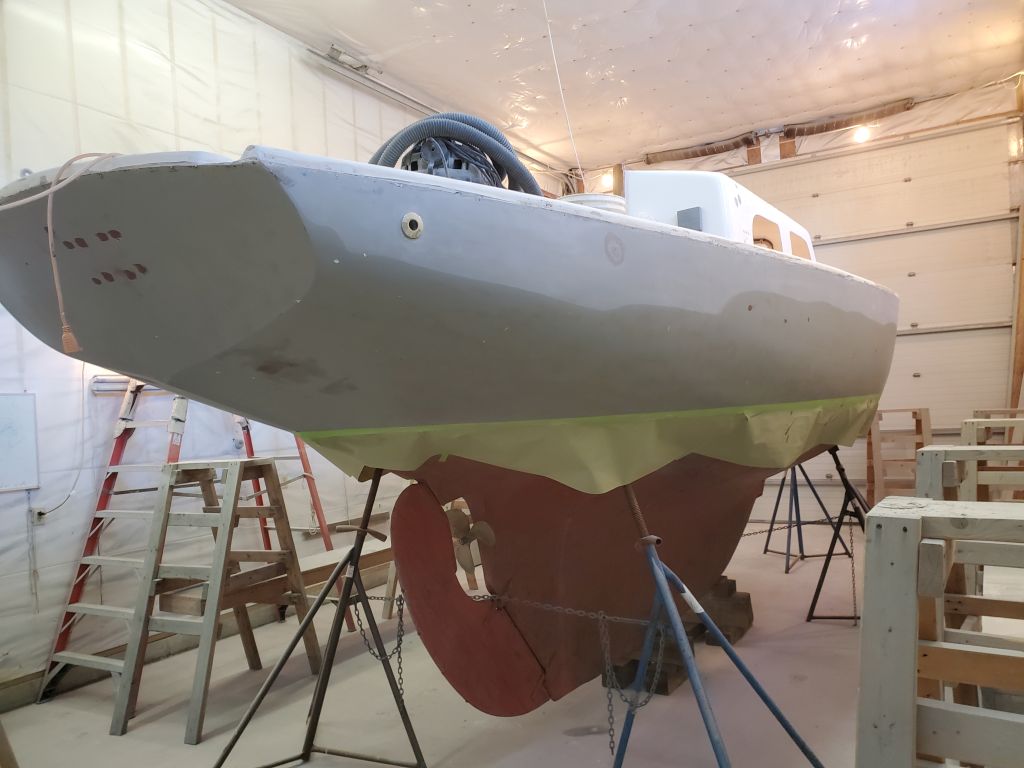
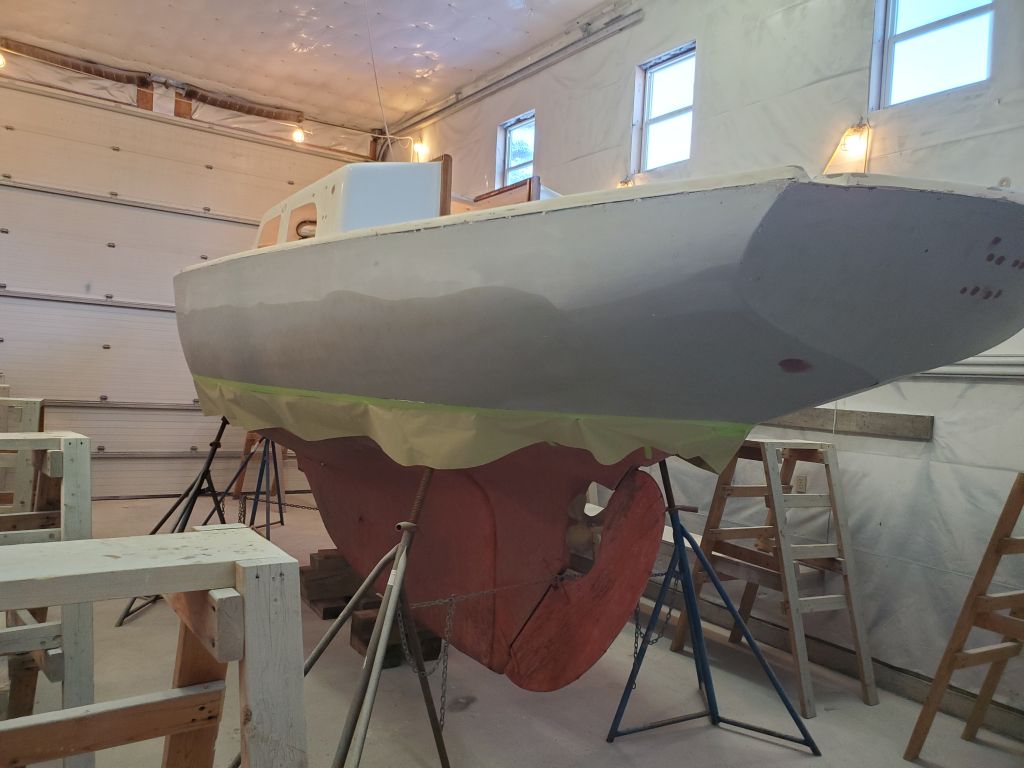
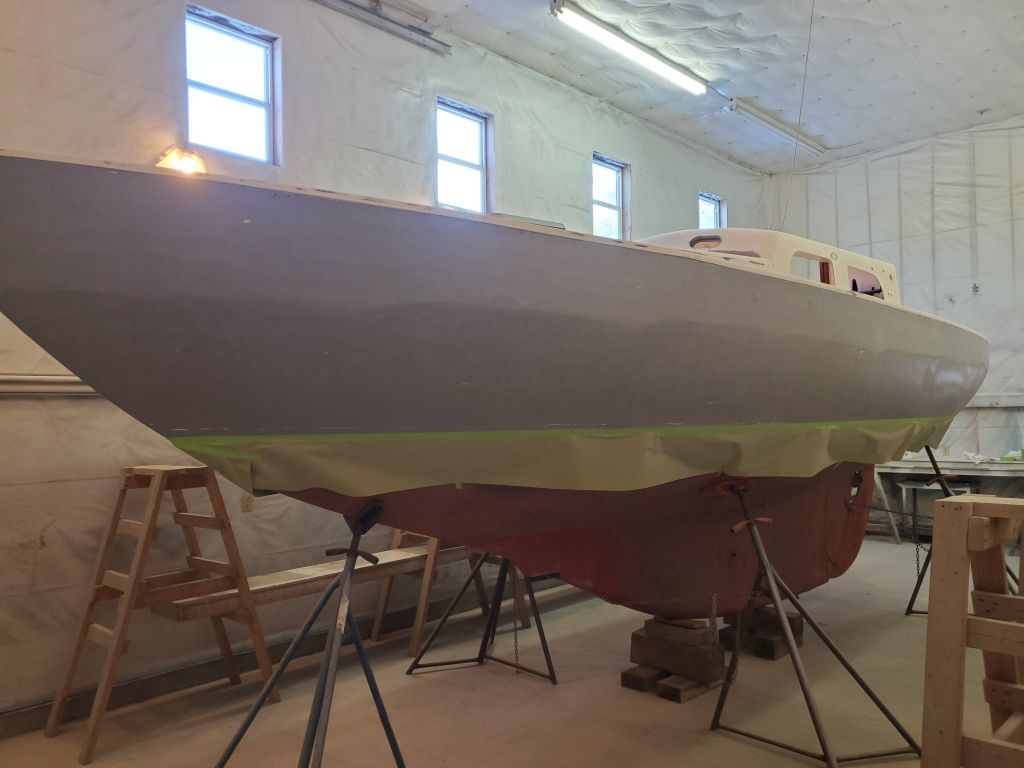
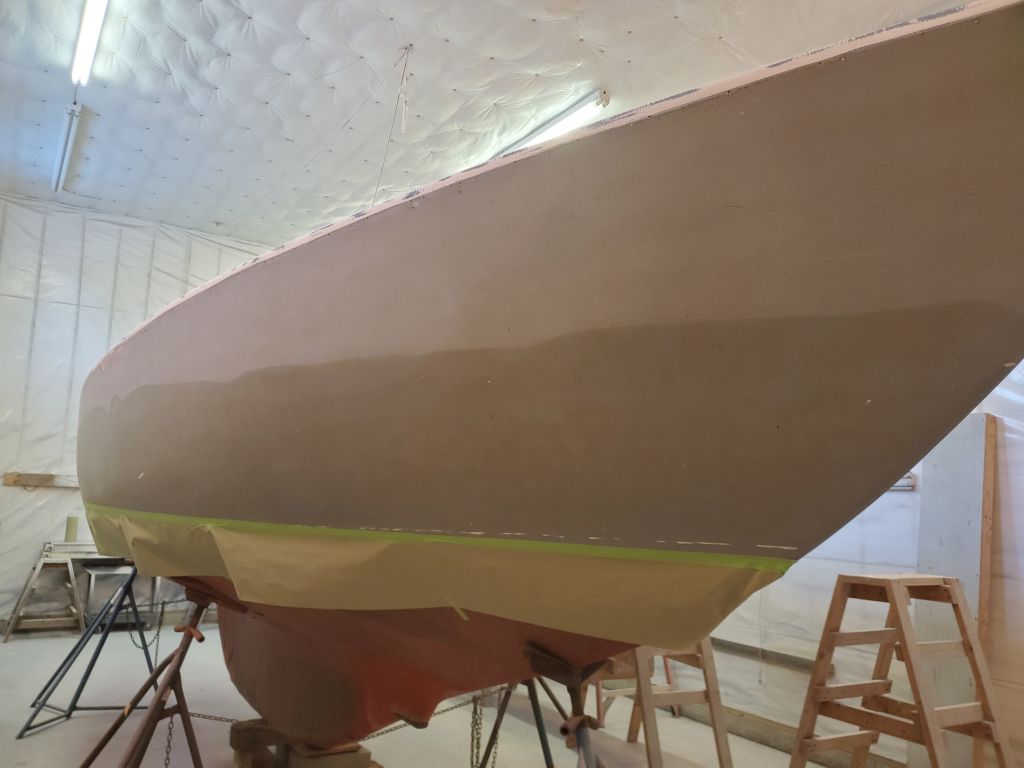
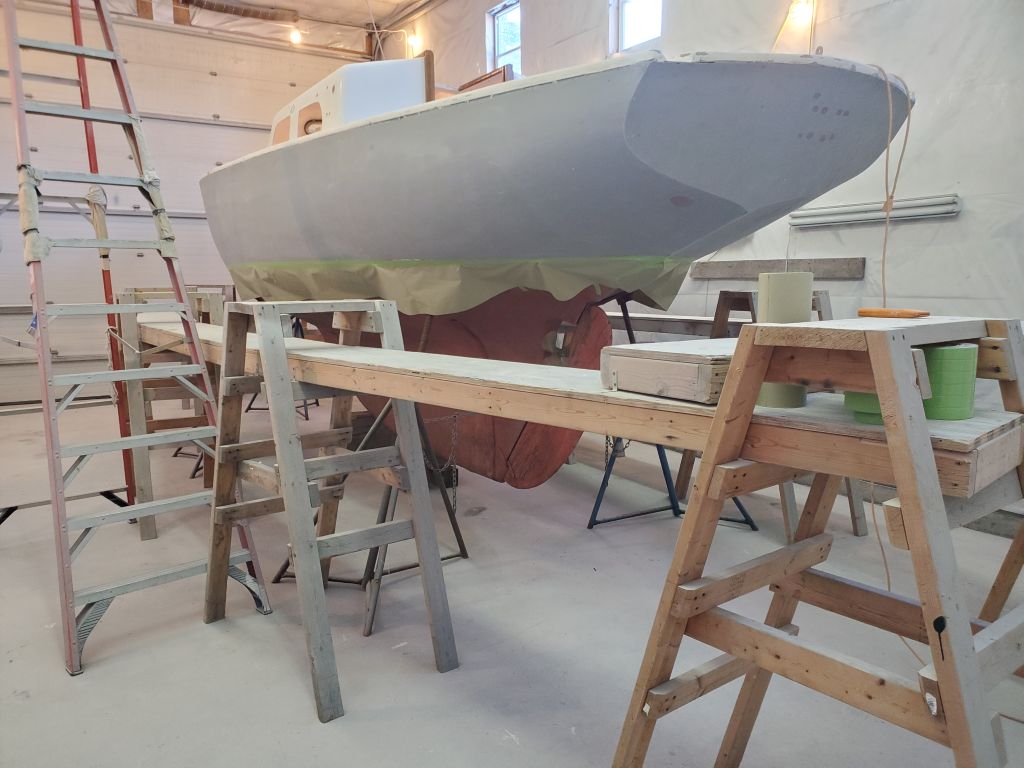
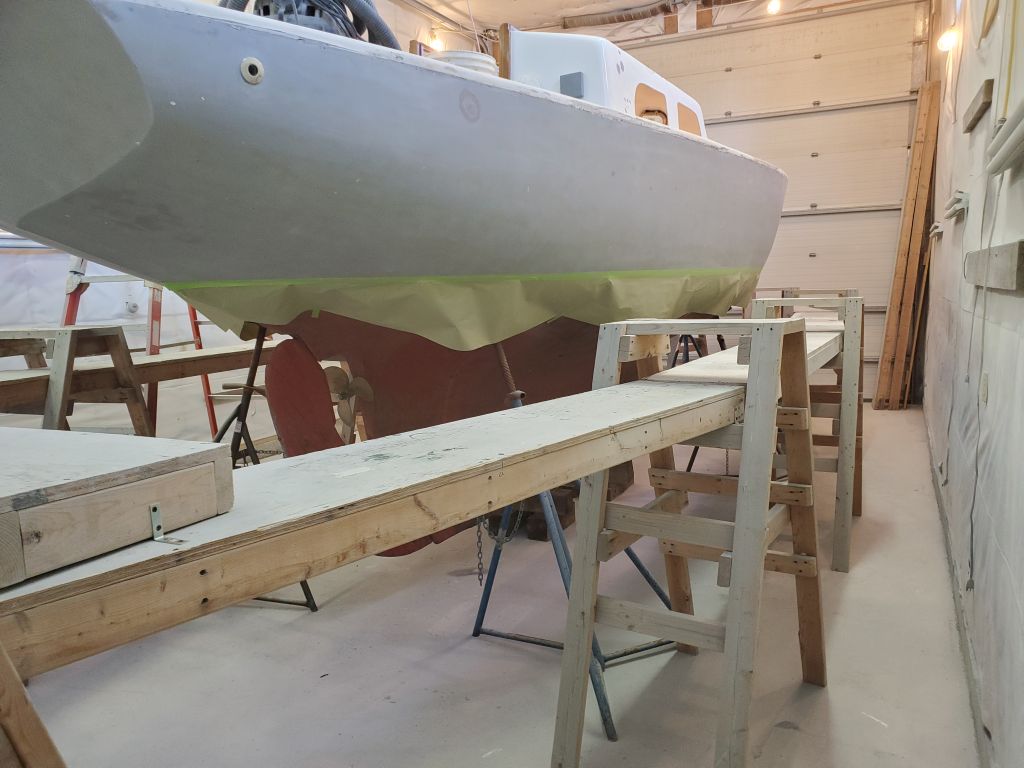
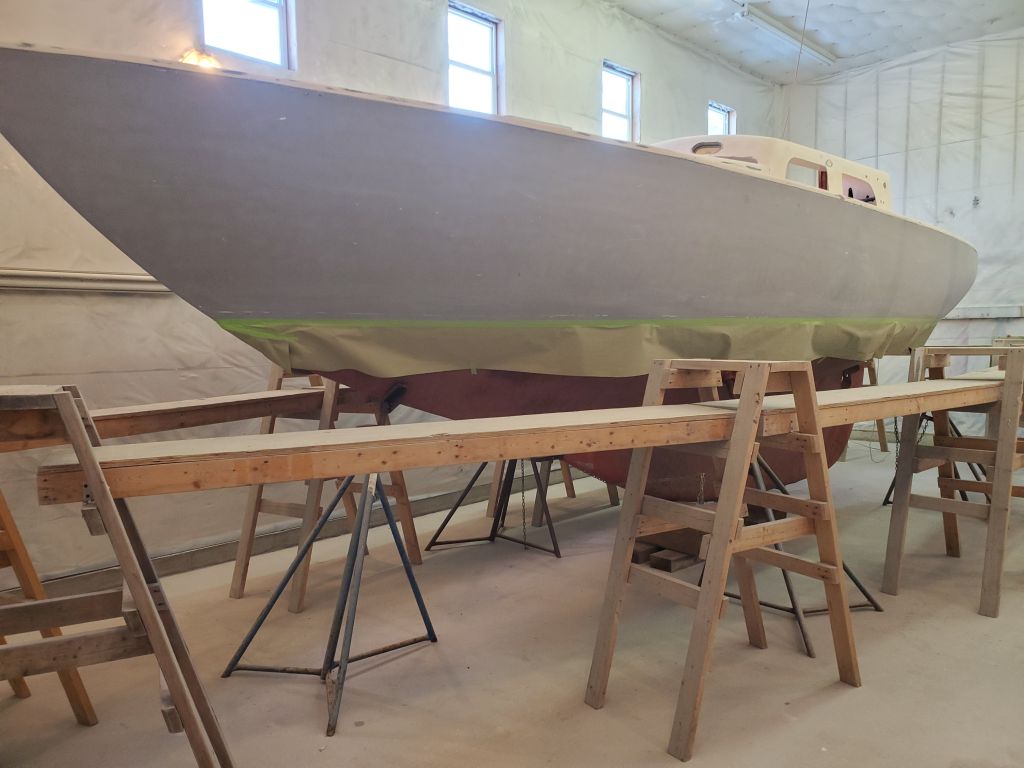
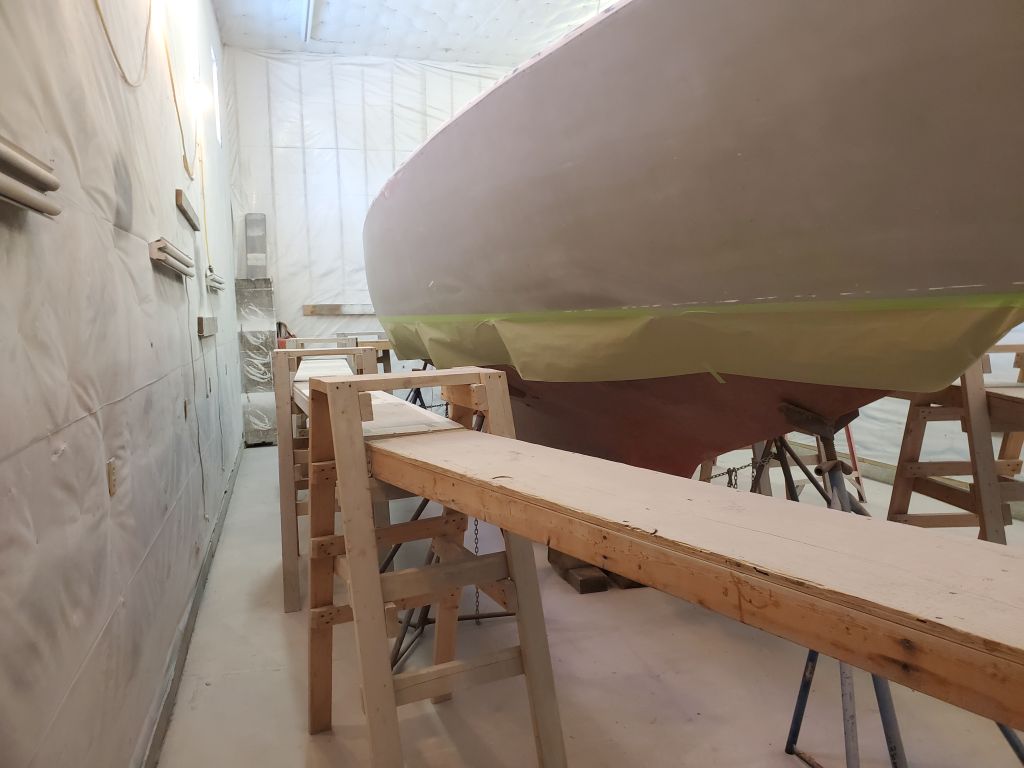
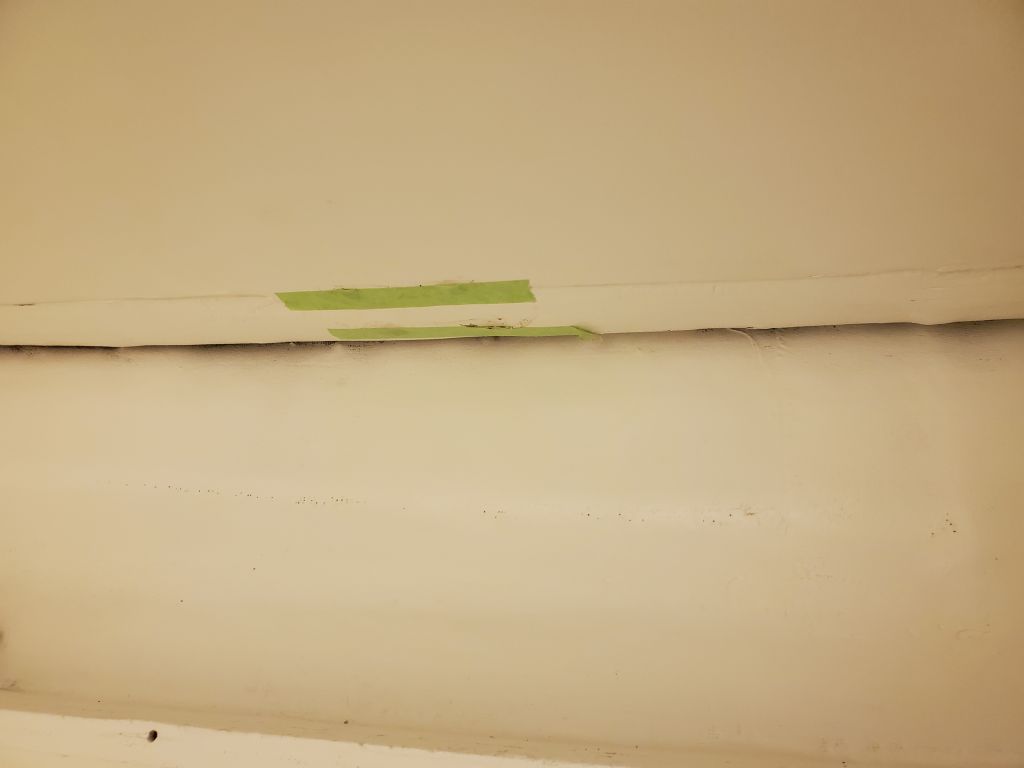
Continuing work on the hull, I installed masking paper below the taped line at the waterline, just for some overspray protection beneath, then took the opportunity to solvent-wash again the hull from the waterline and as far up as I could reach while I had clear access.

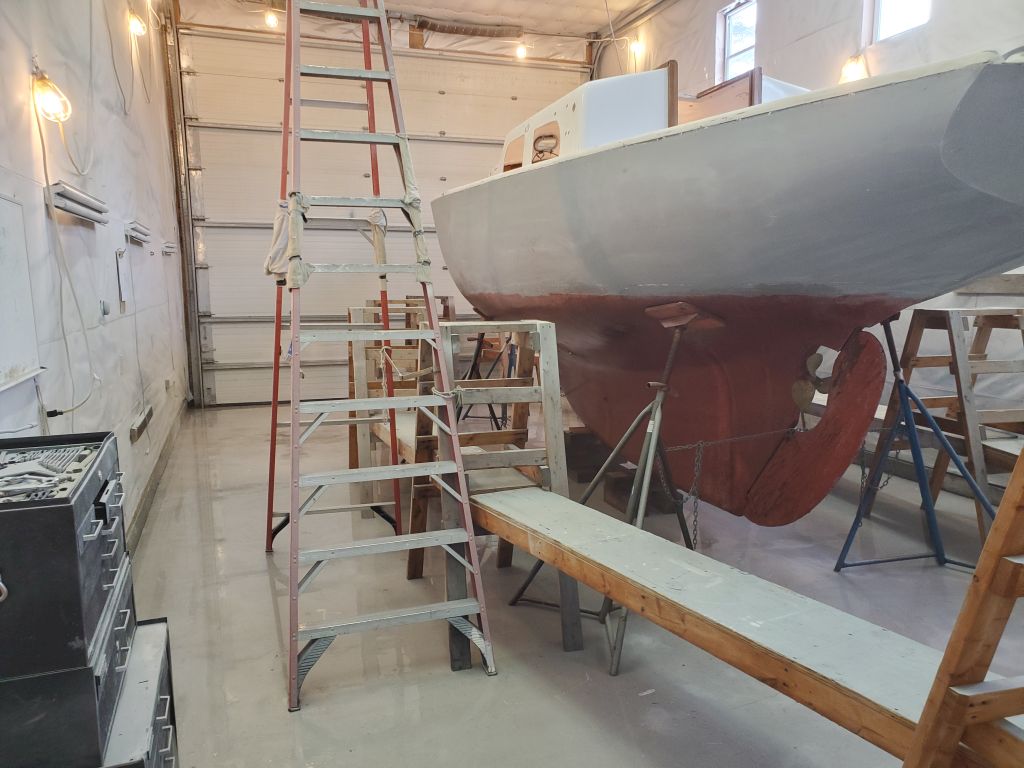
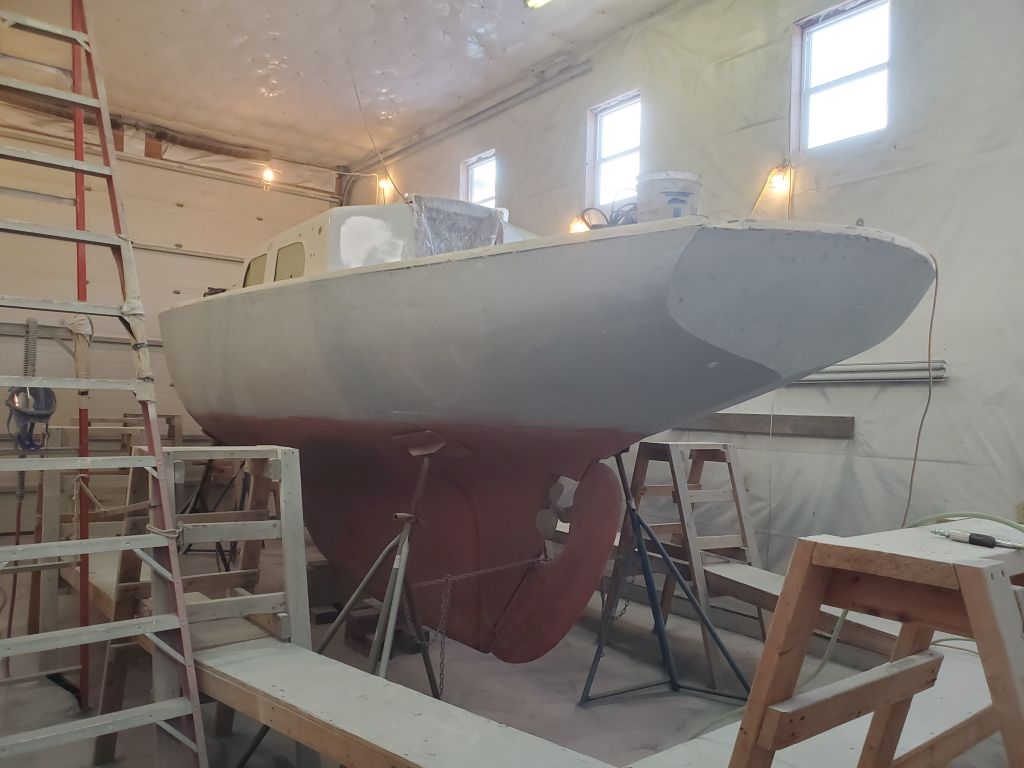
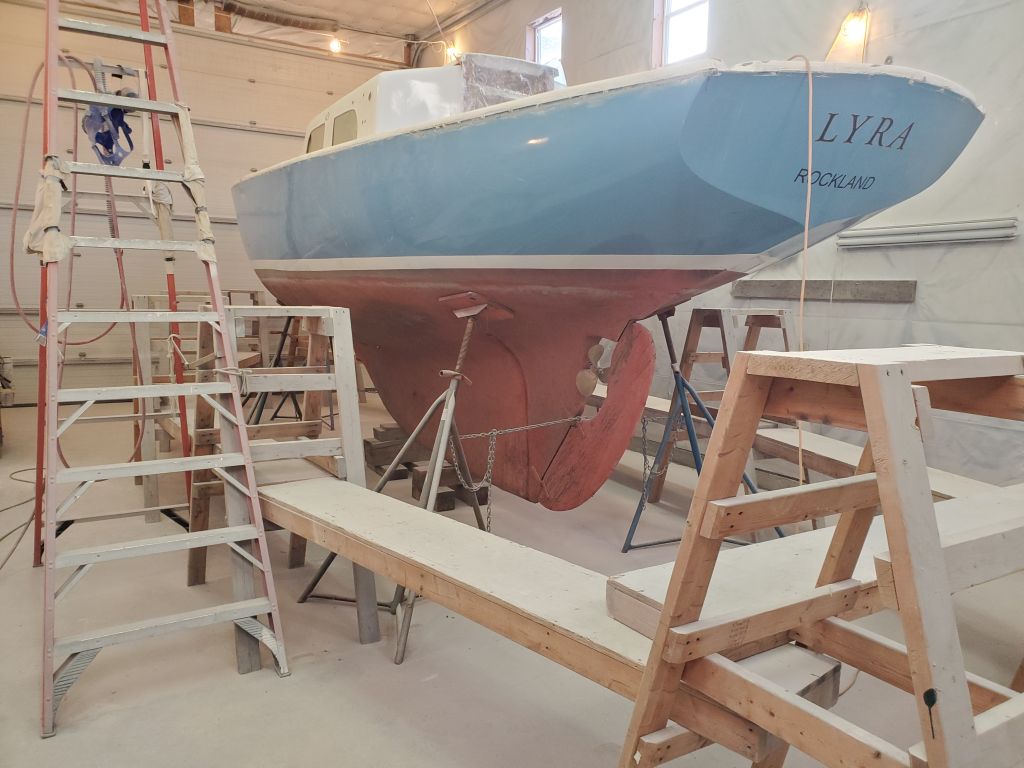
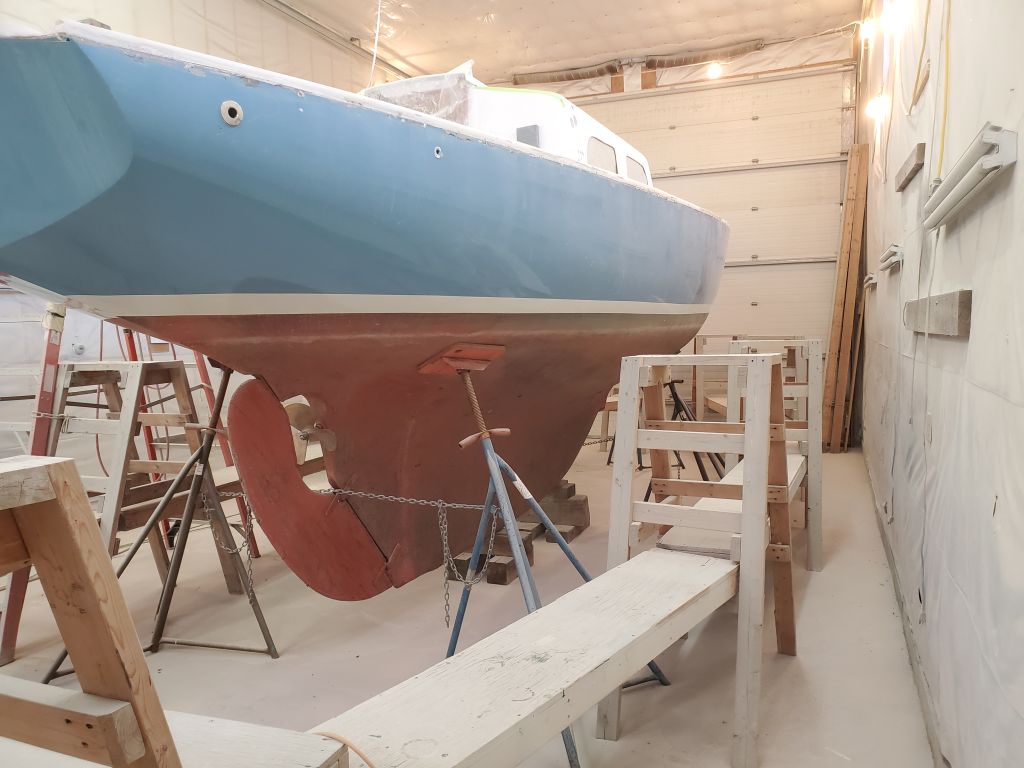
Next, I reassembled the staging at a convenient height for the deck work.

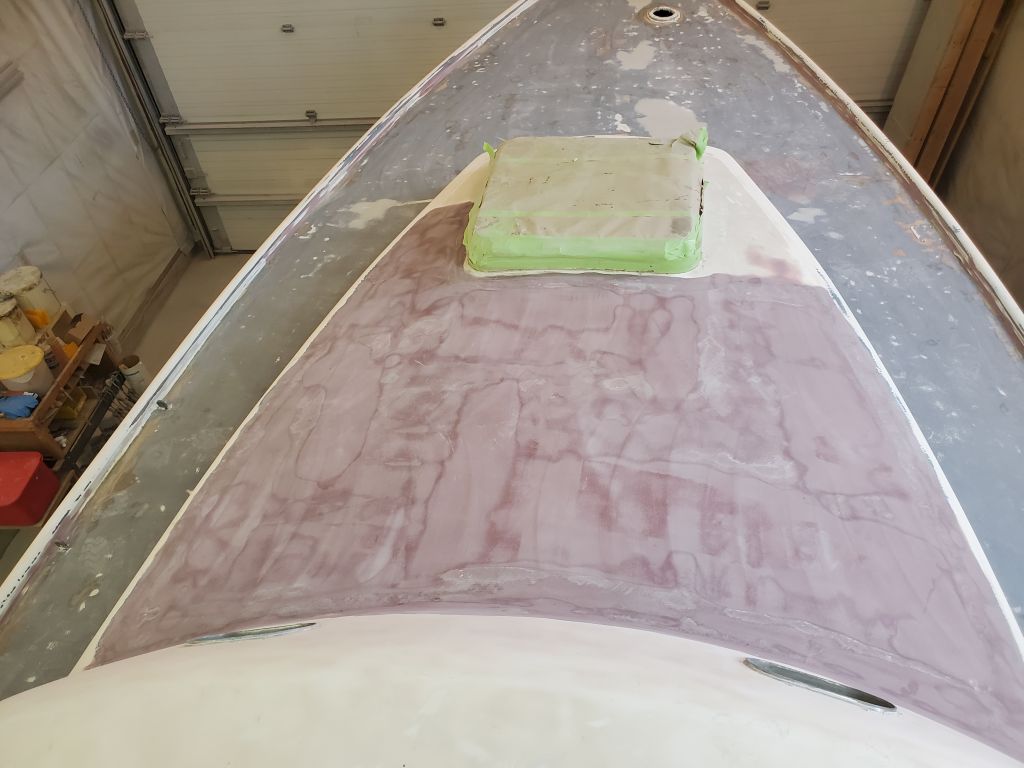
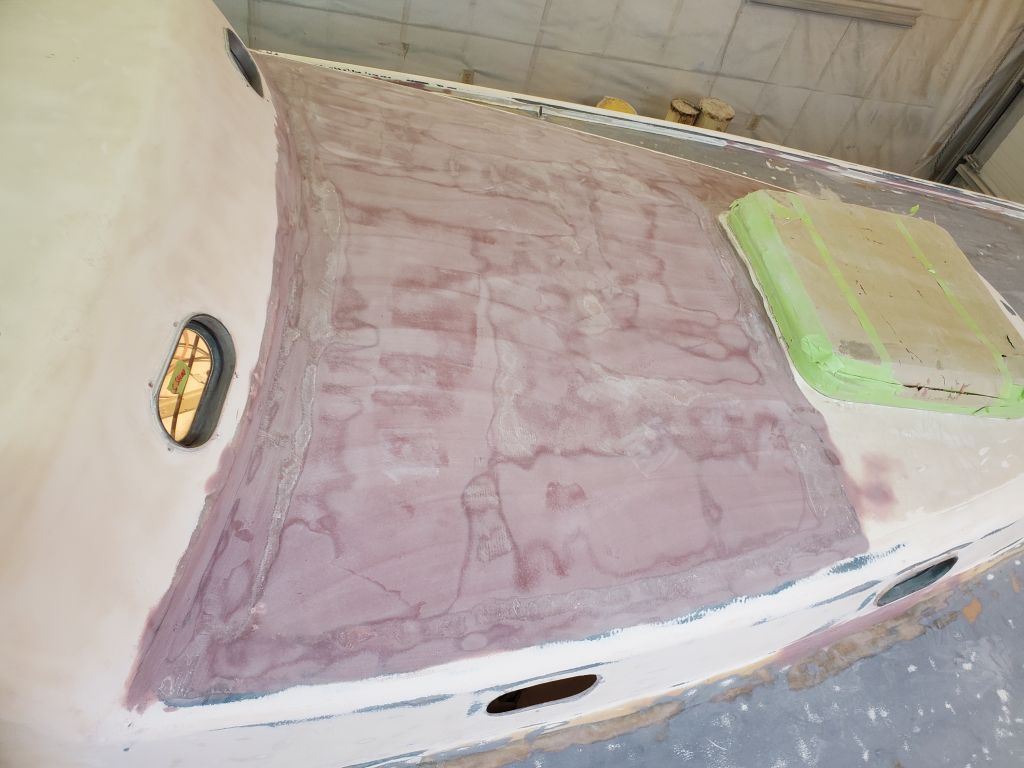
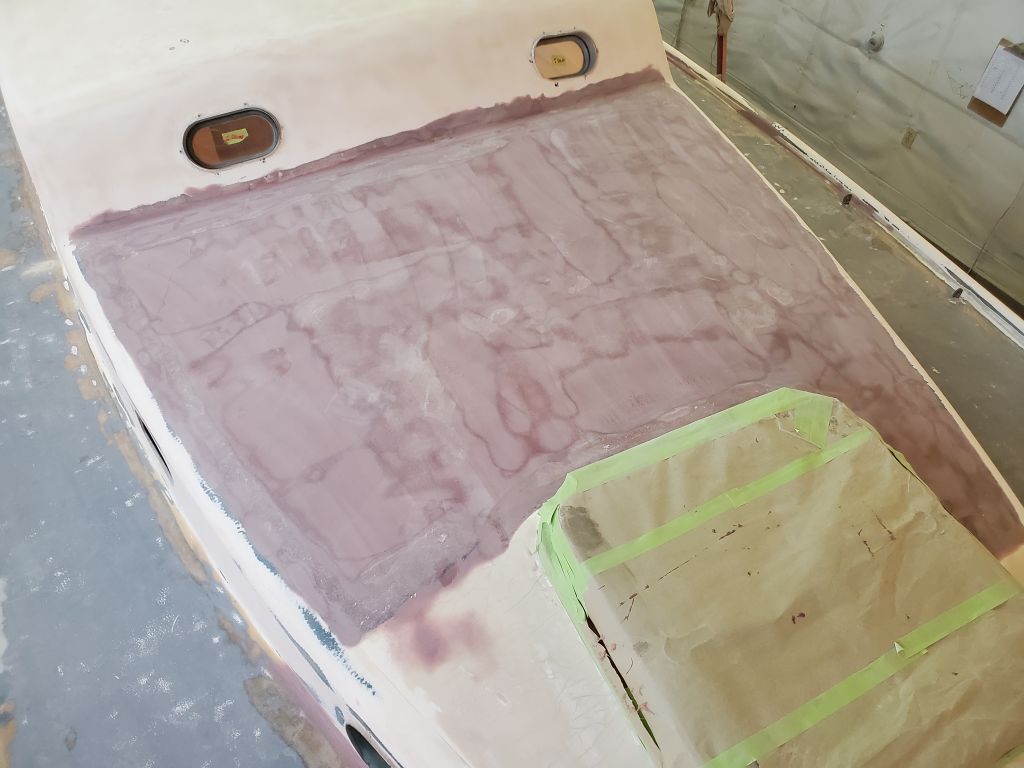
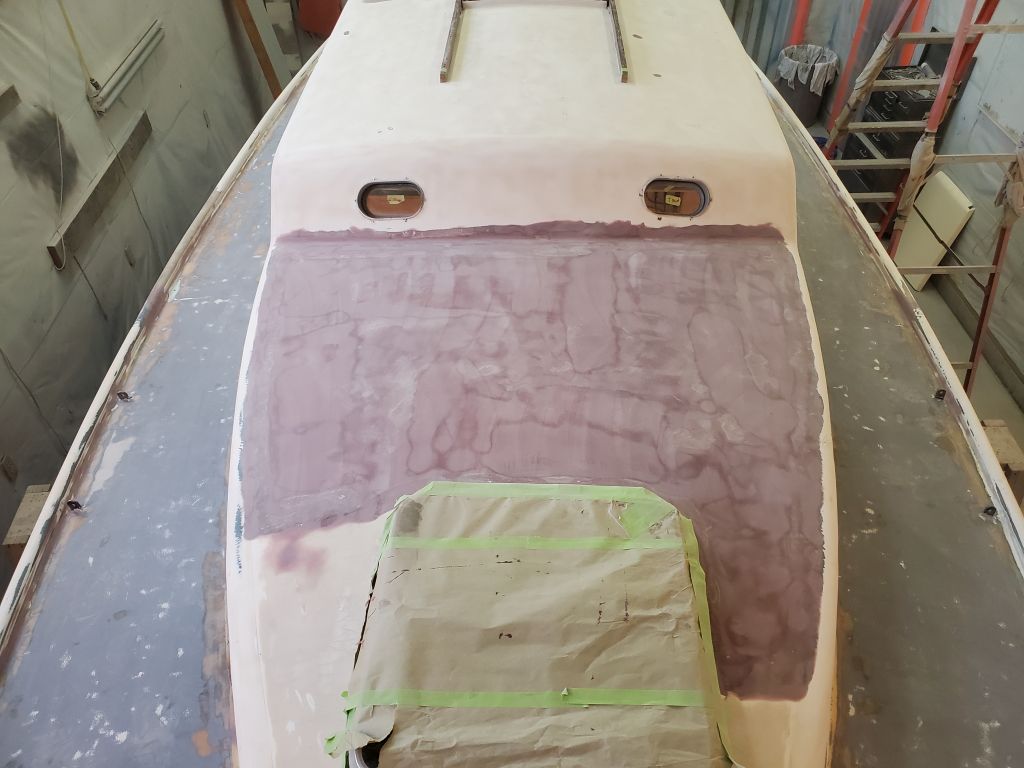
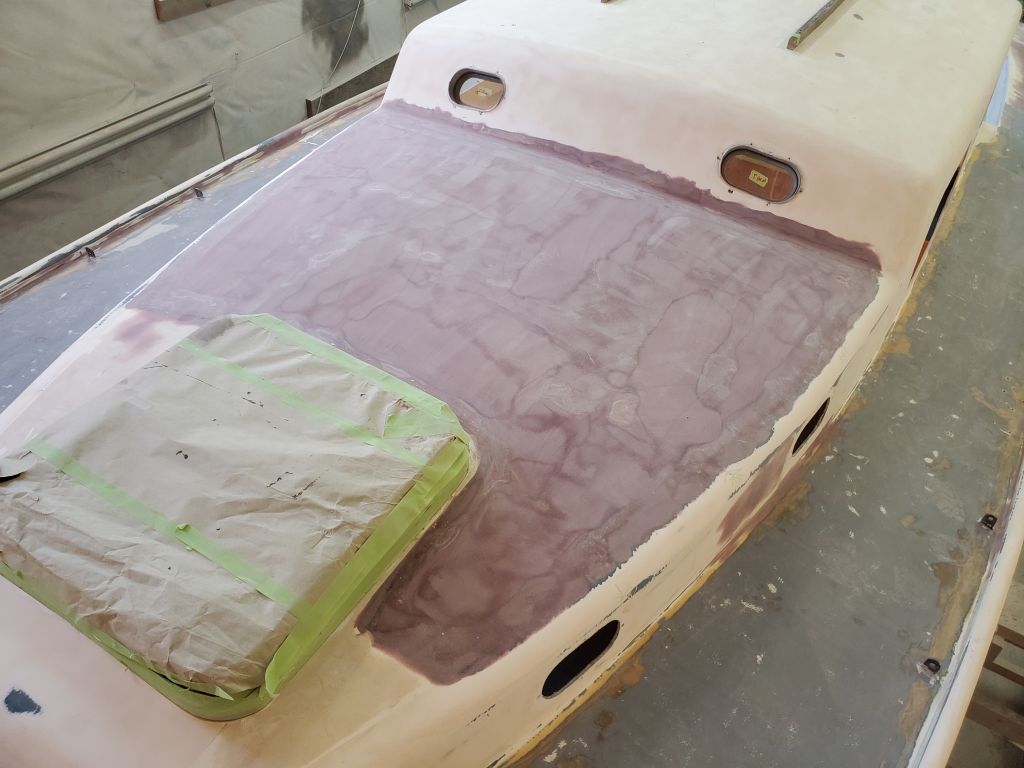
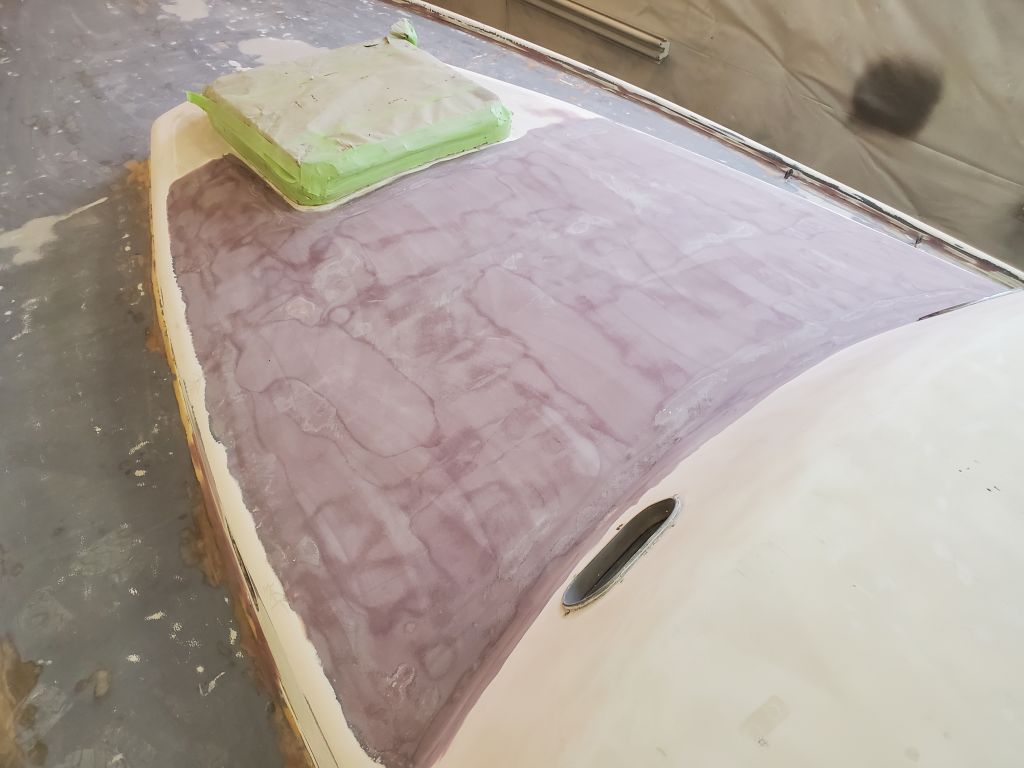
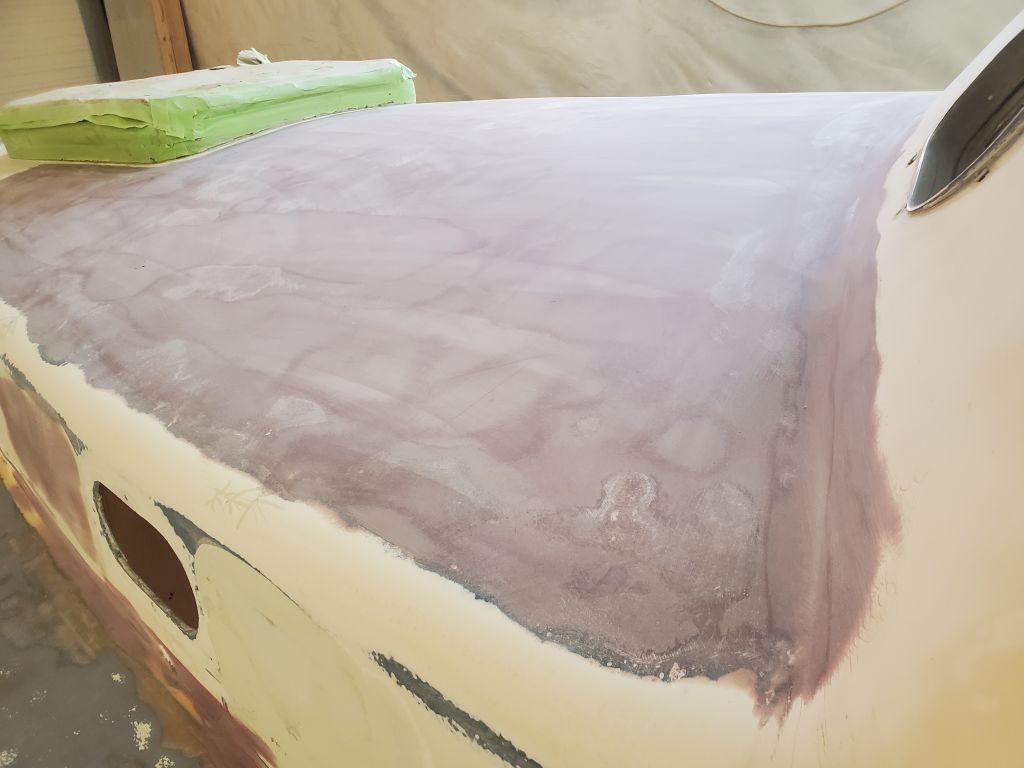
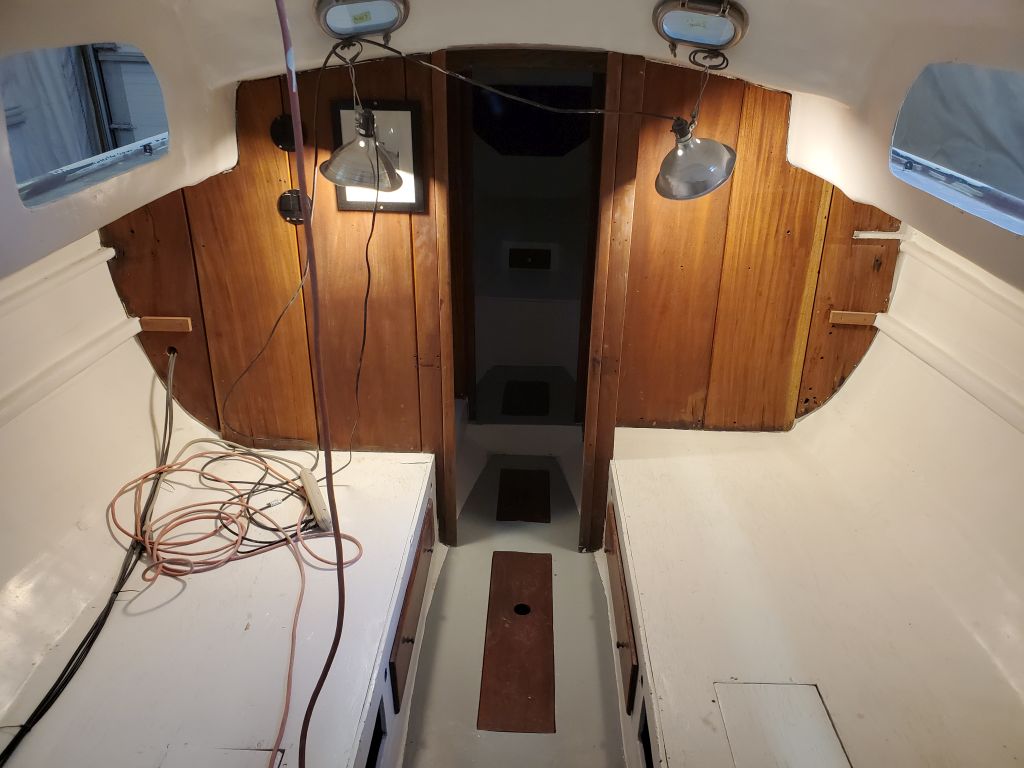
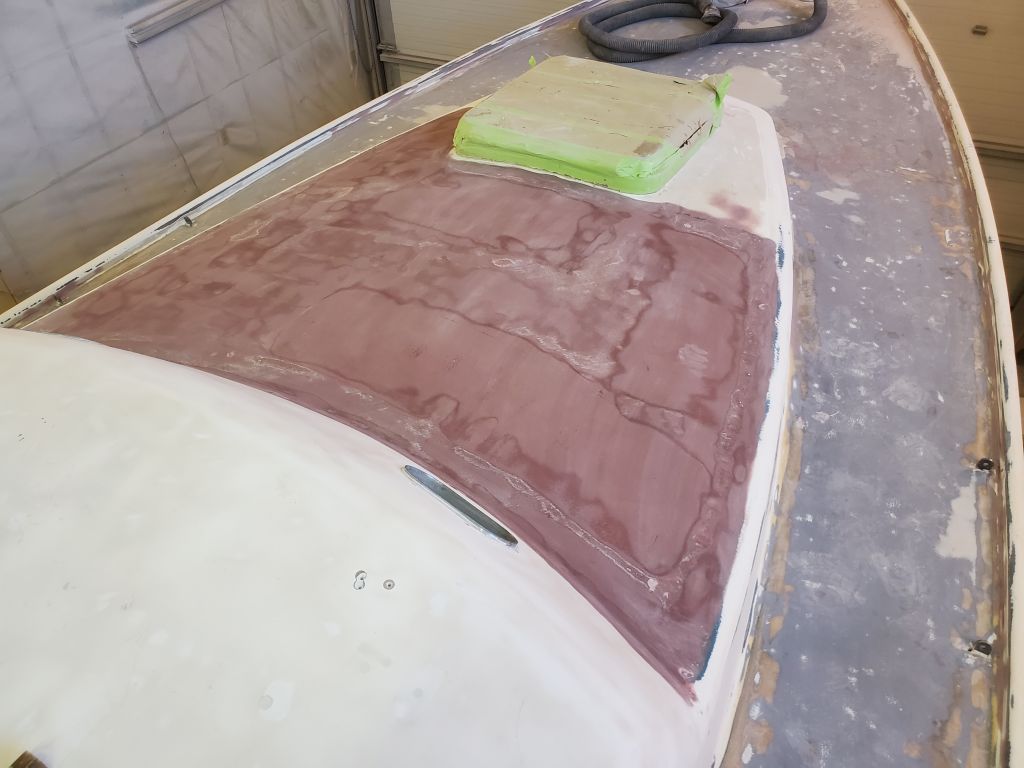
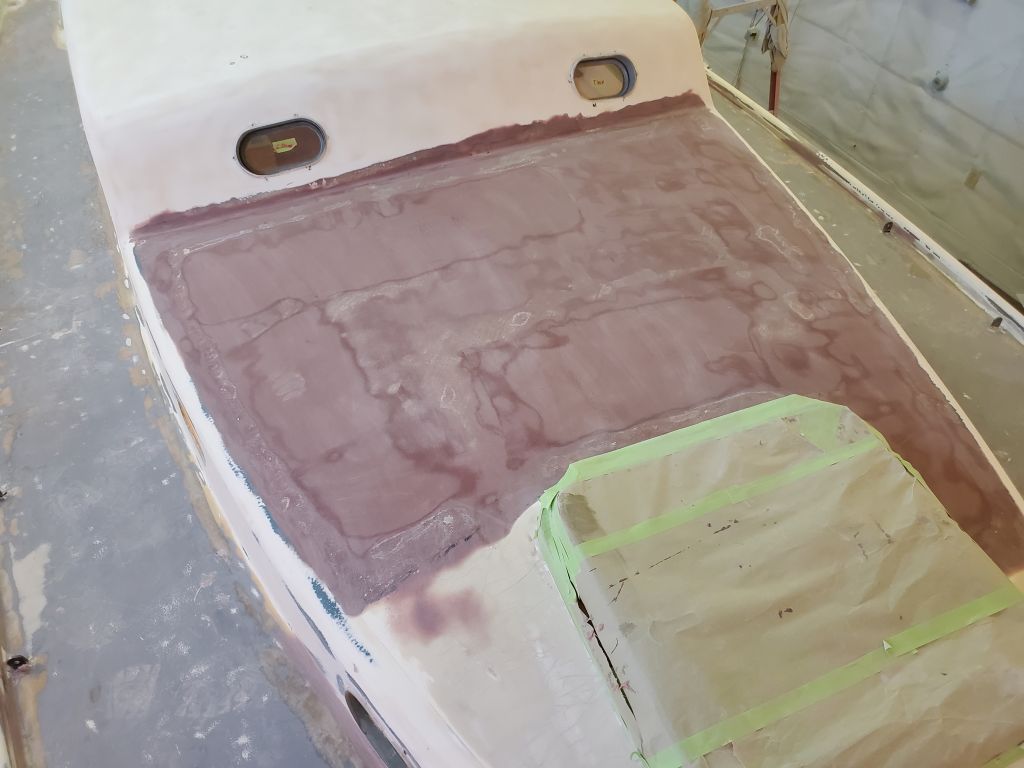
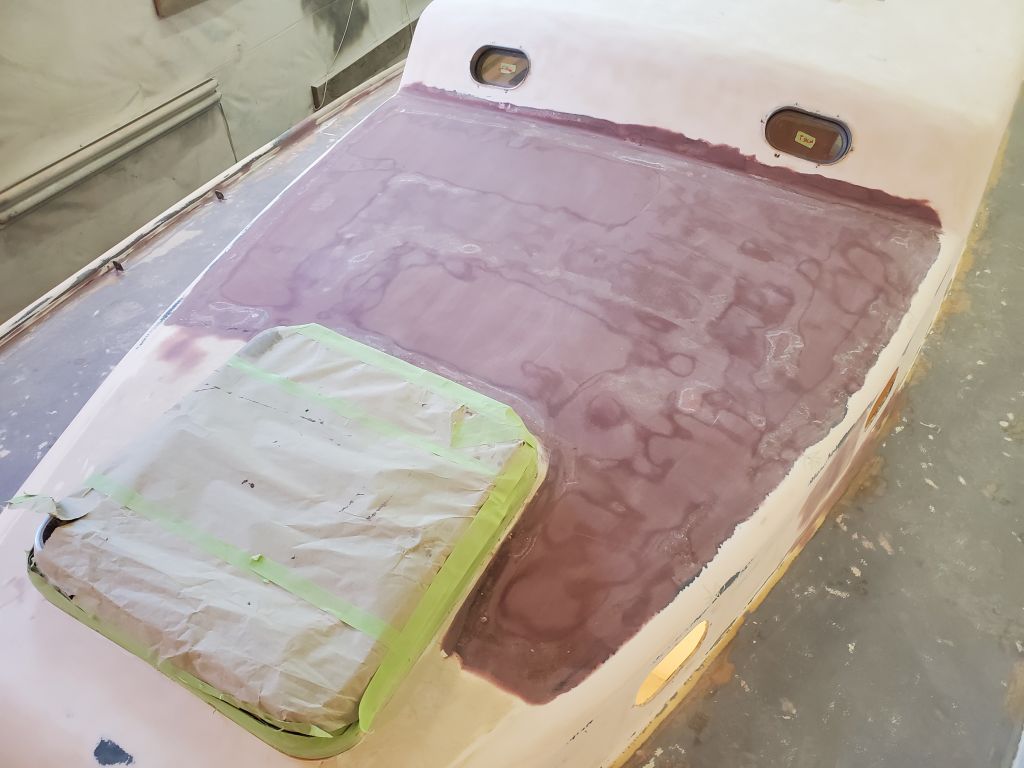
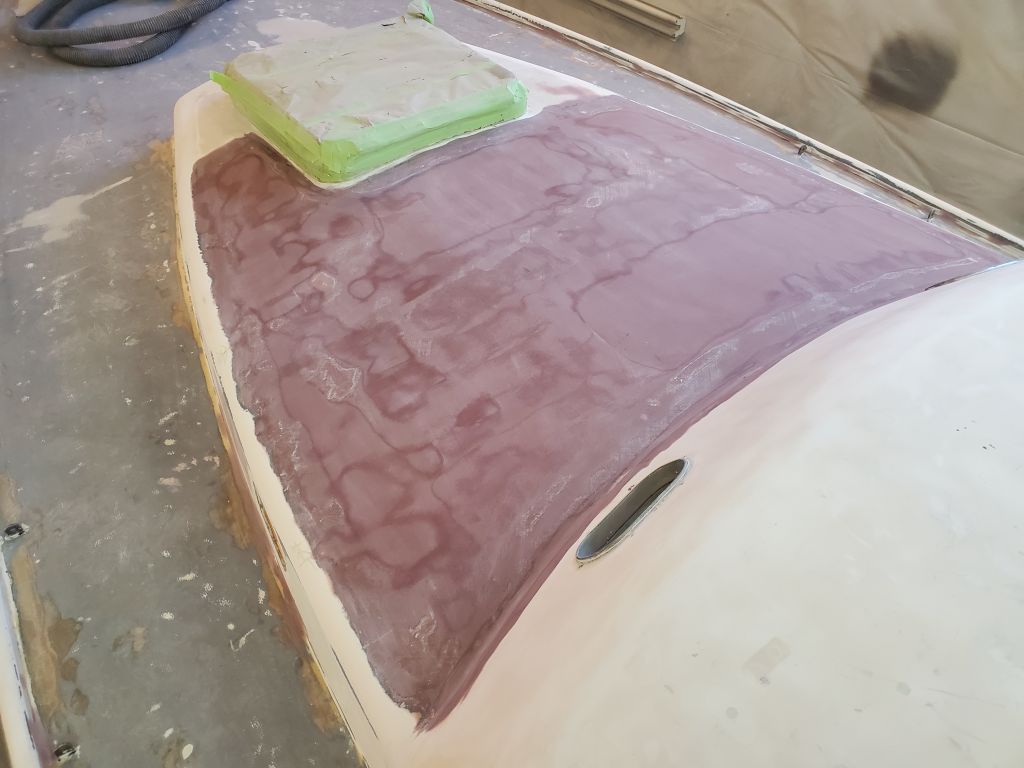
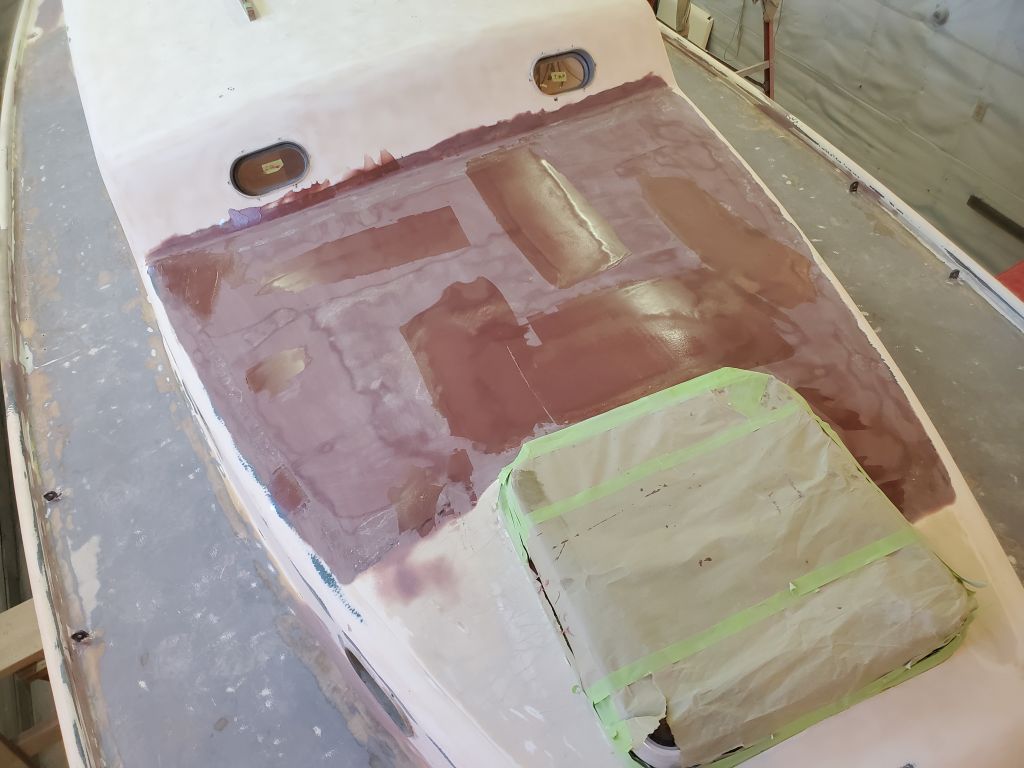
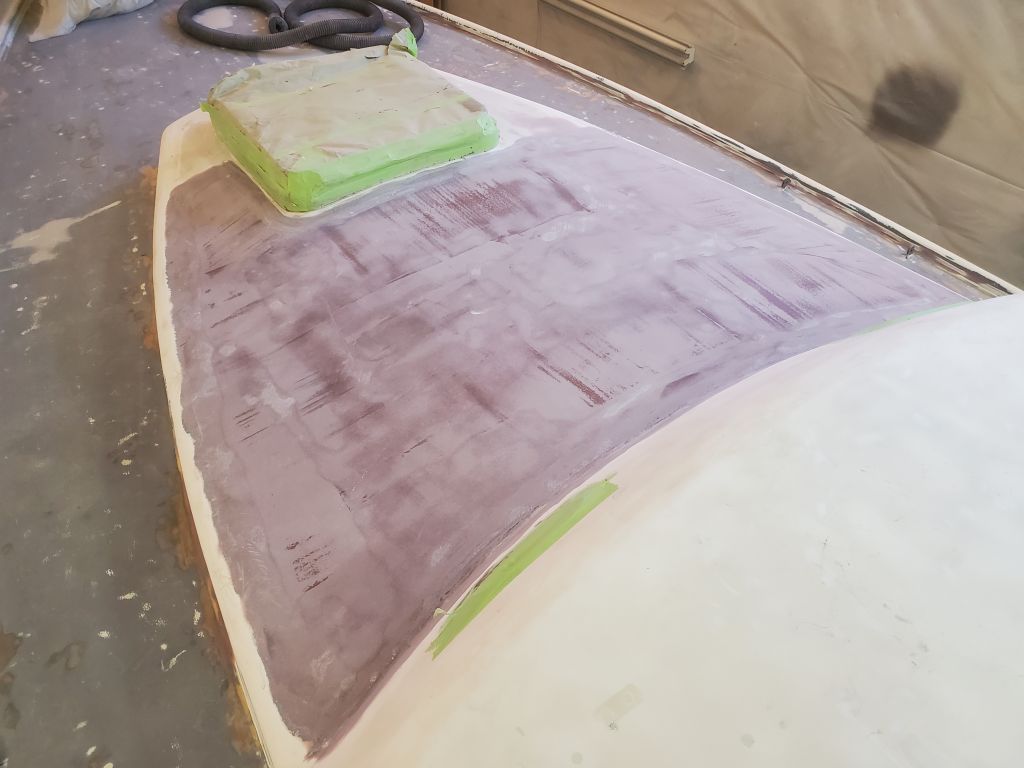
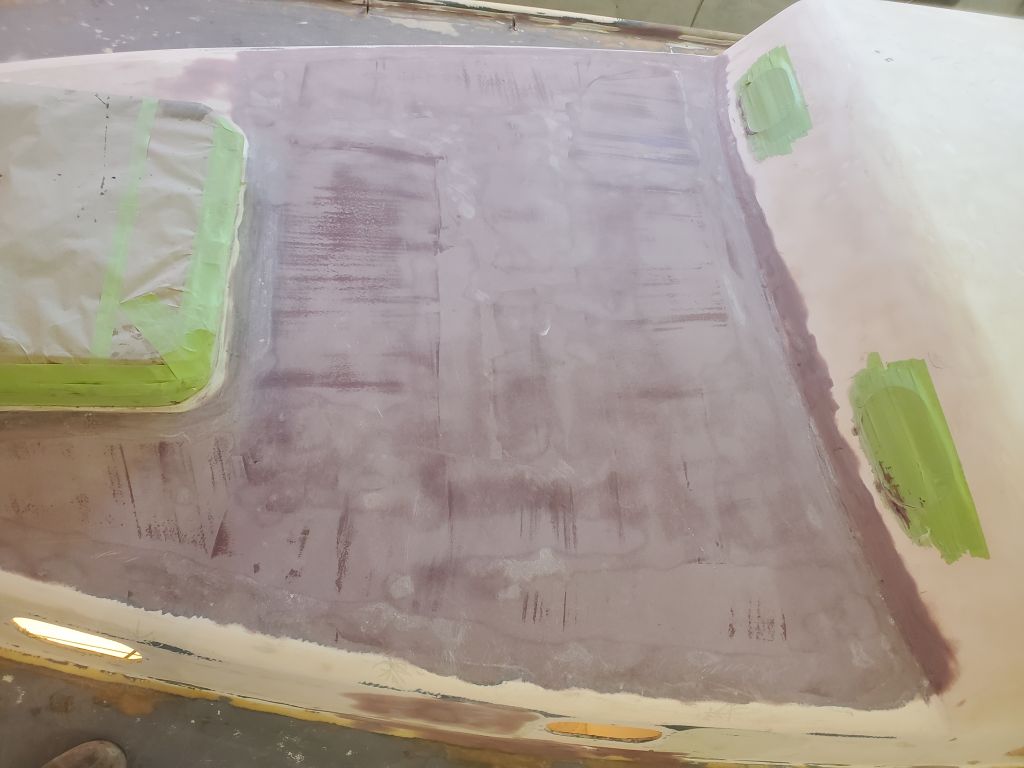
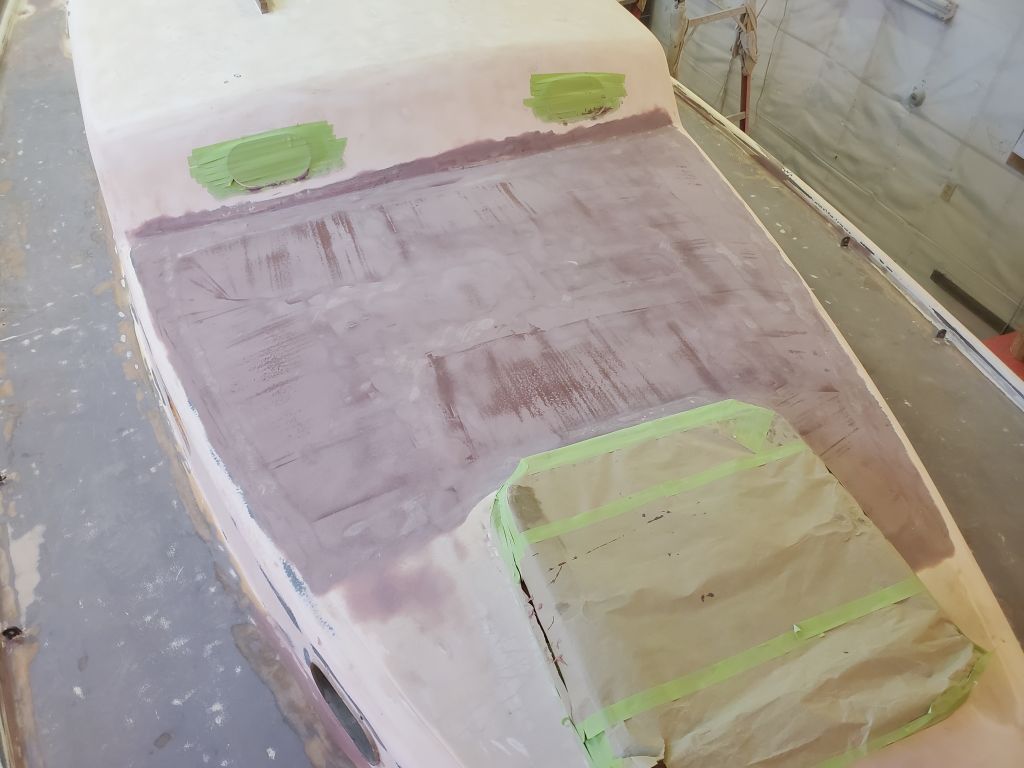
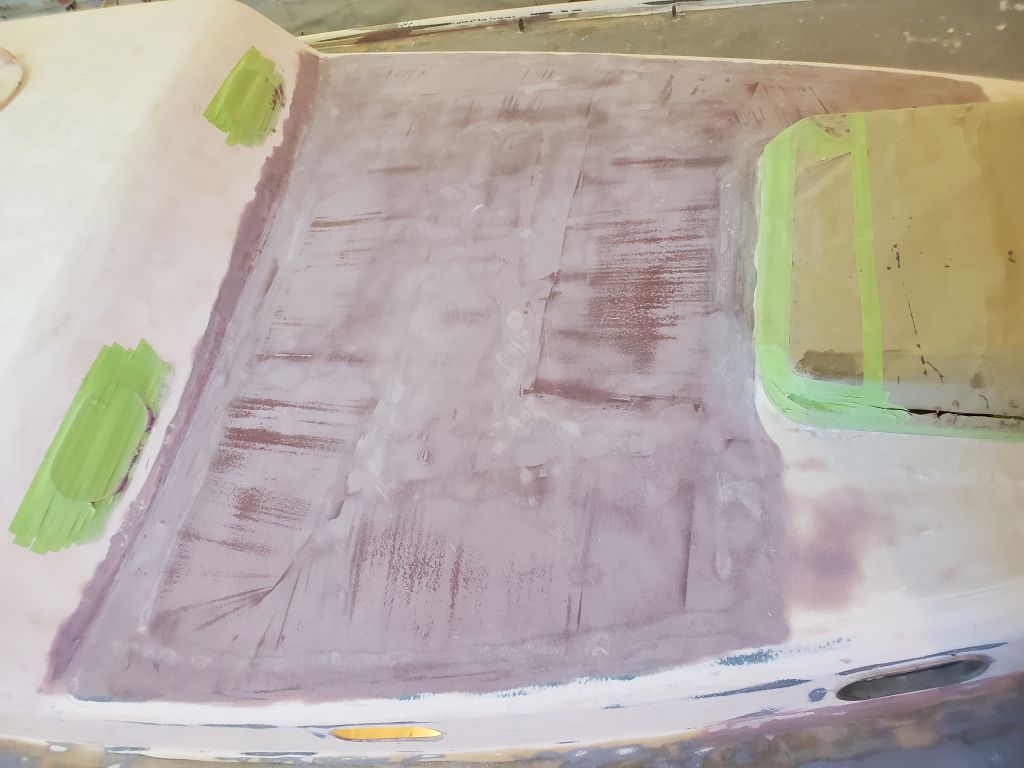
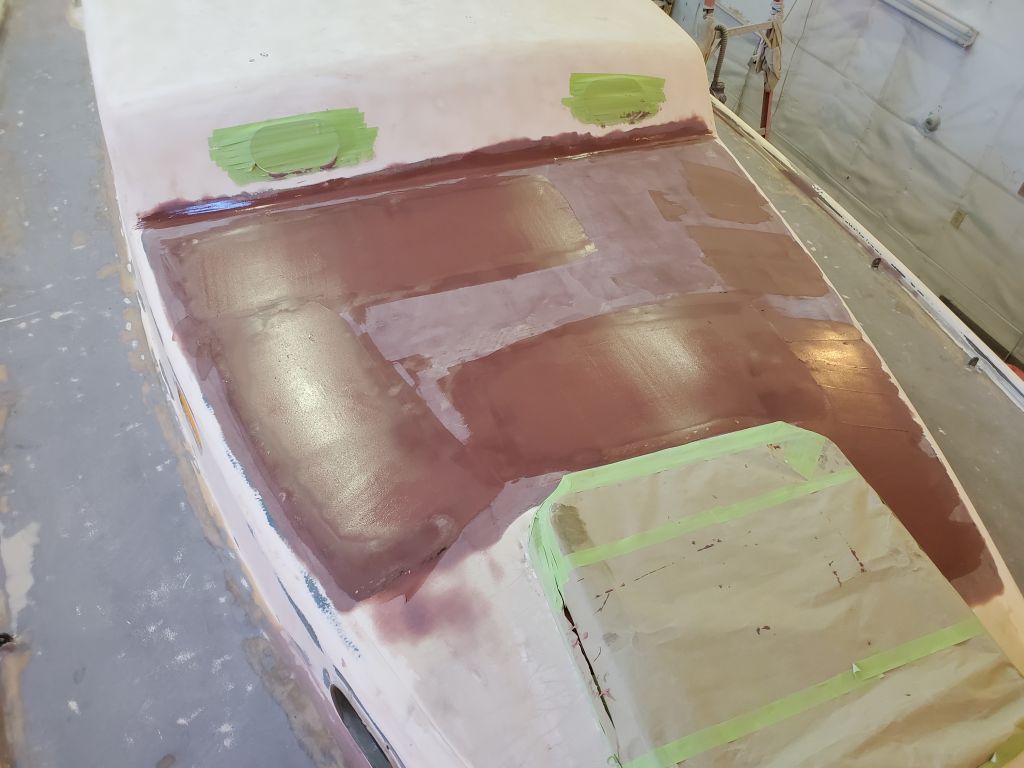
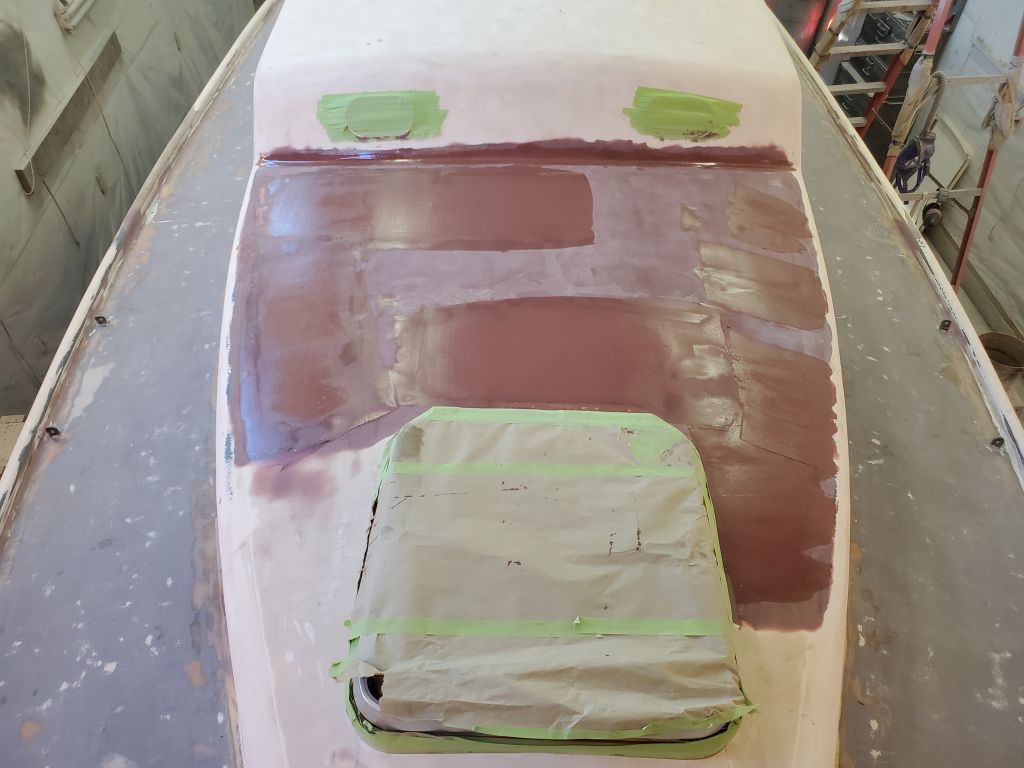
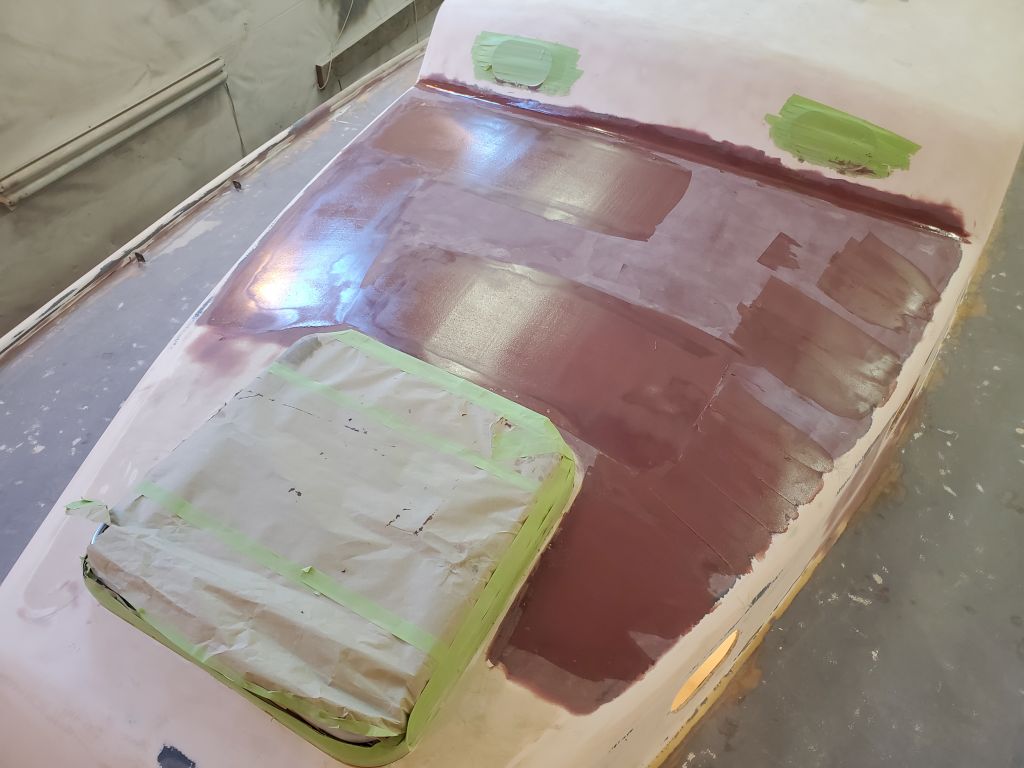
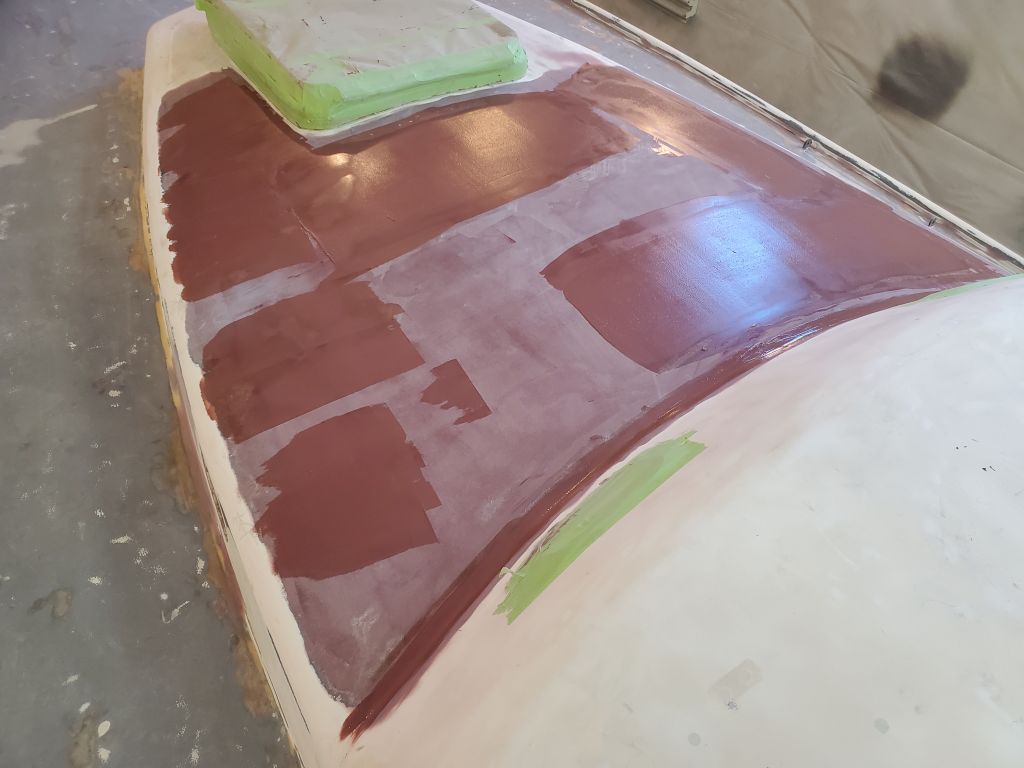
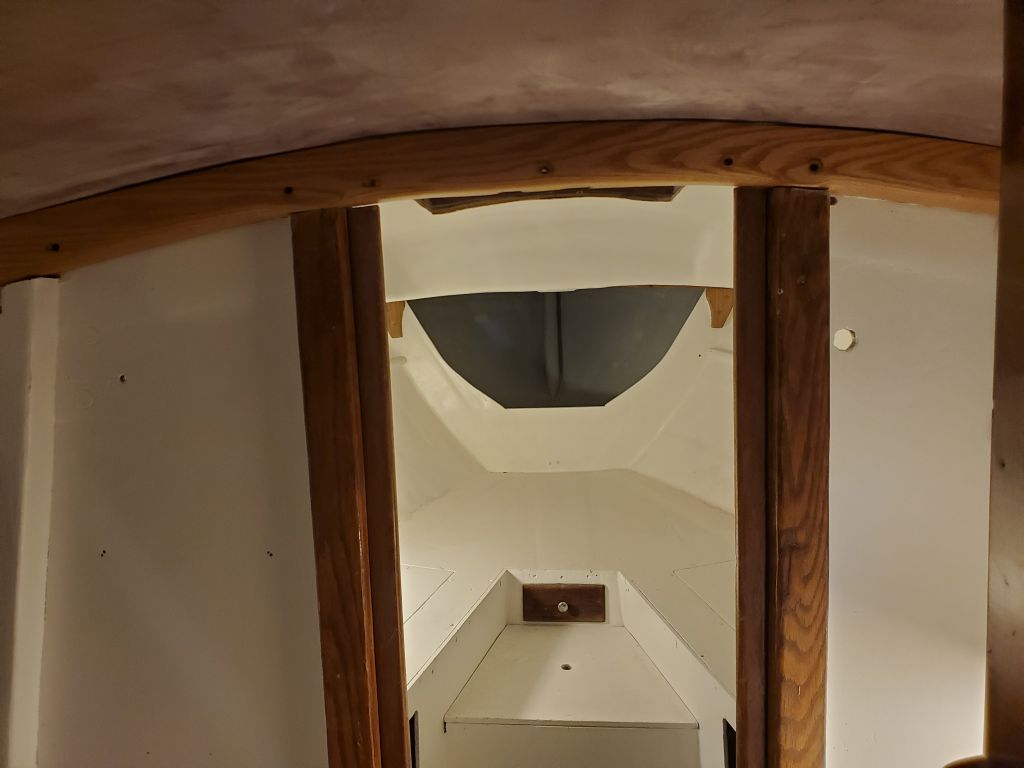
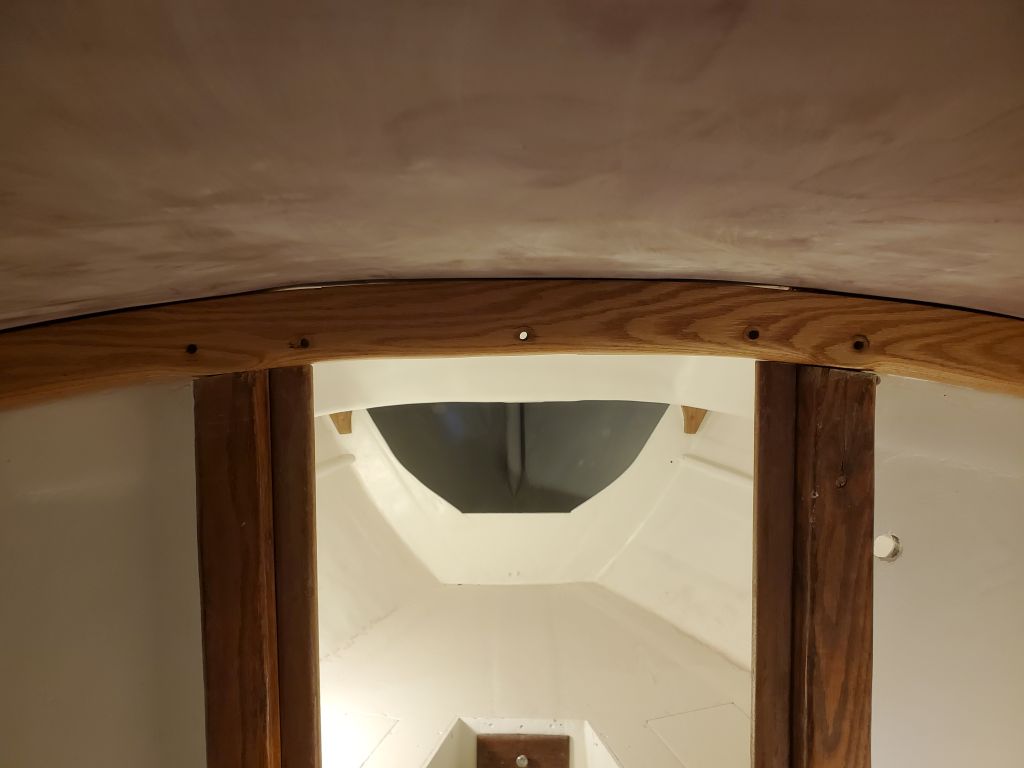
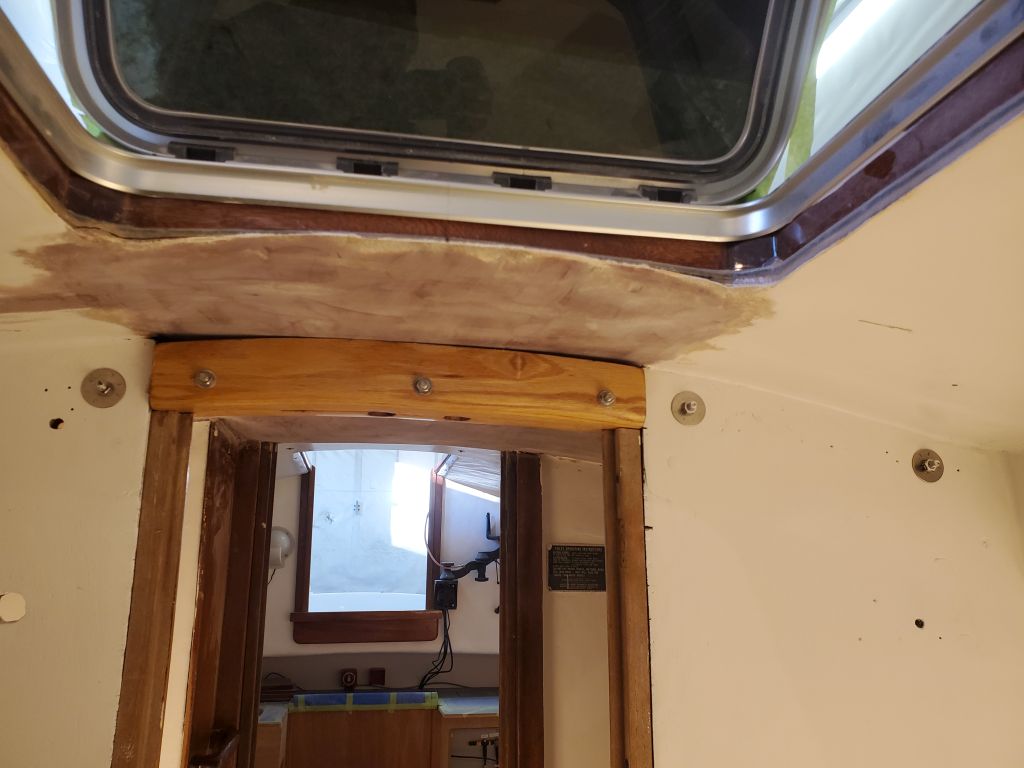
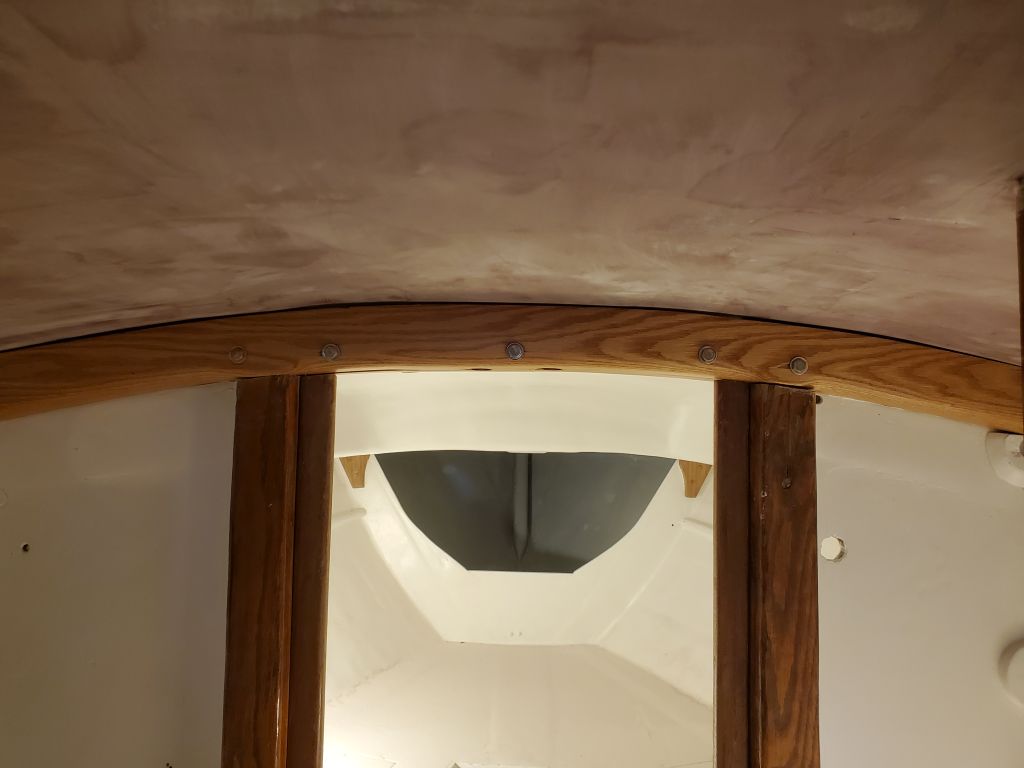
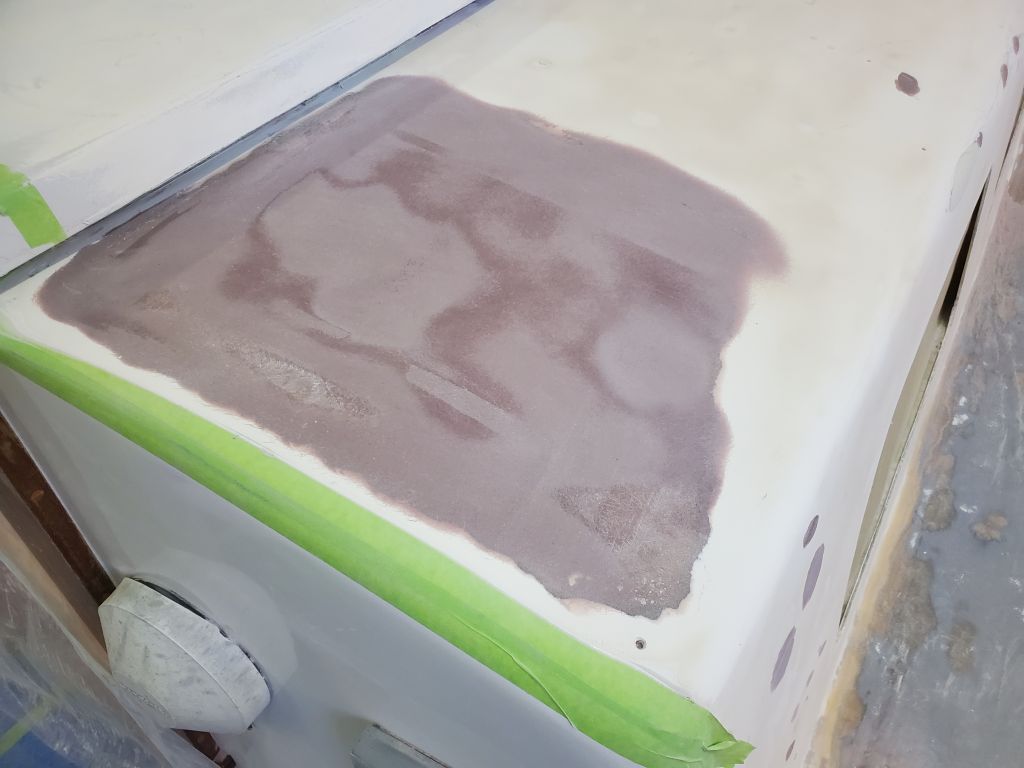
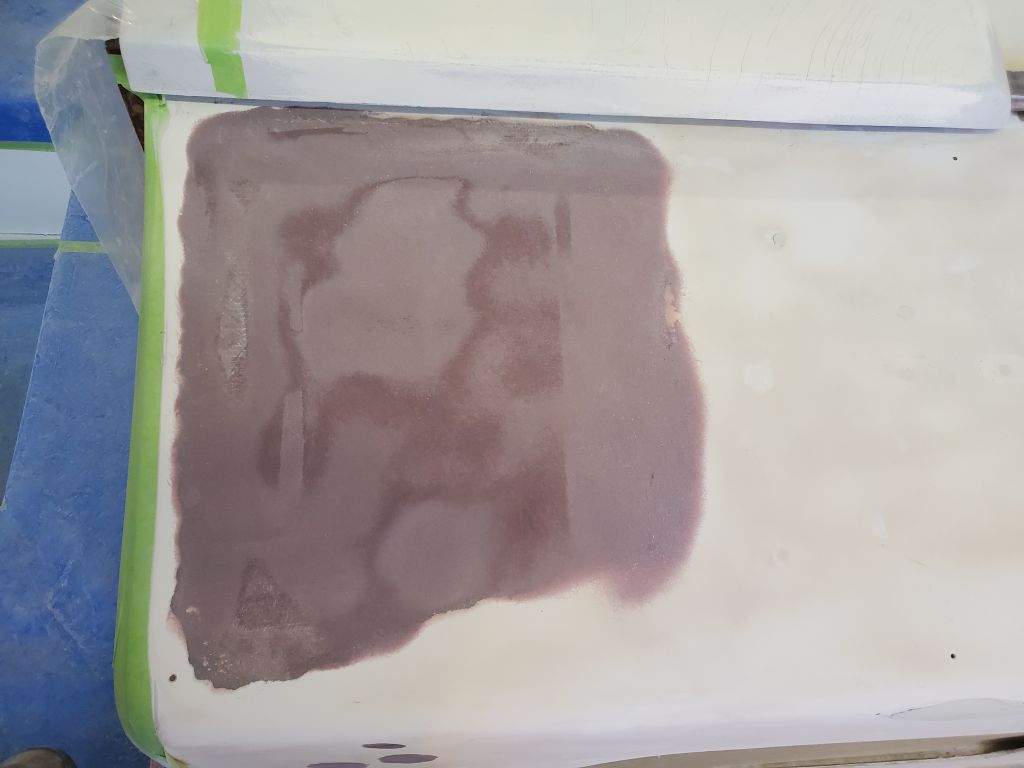
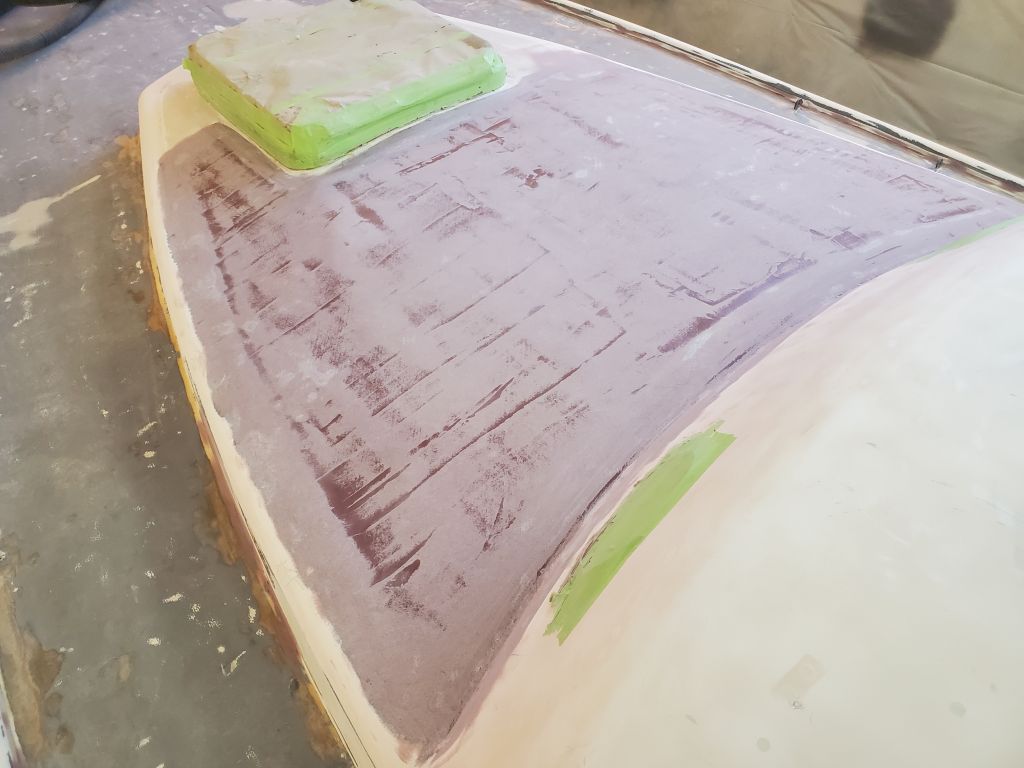
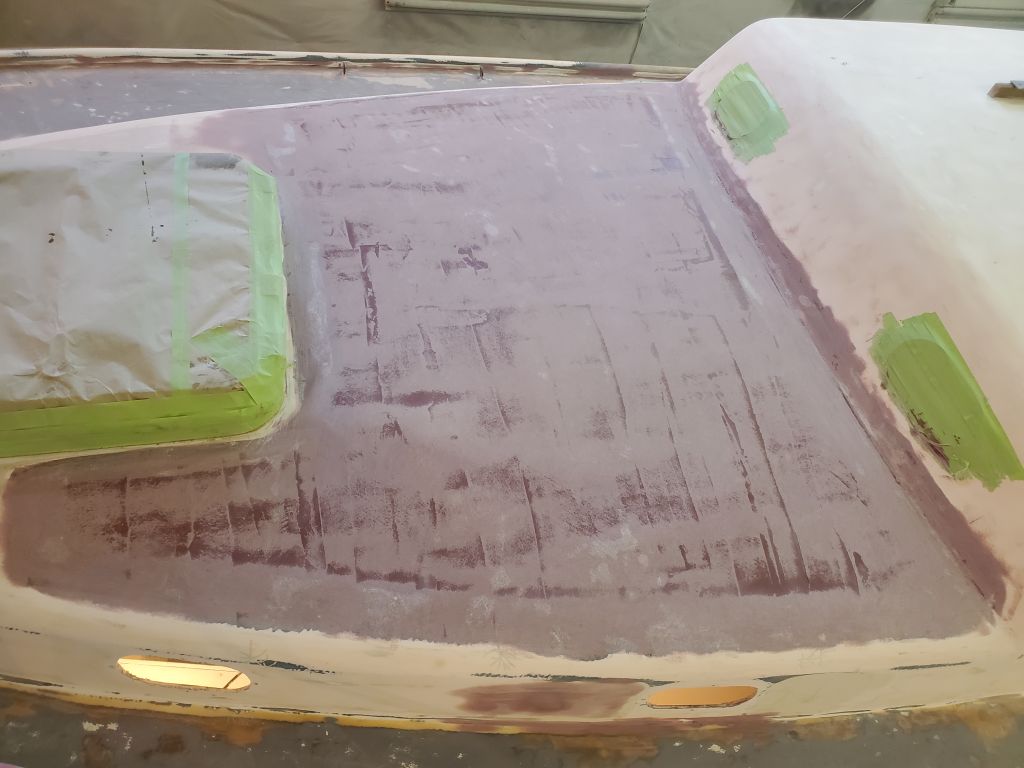
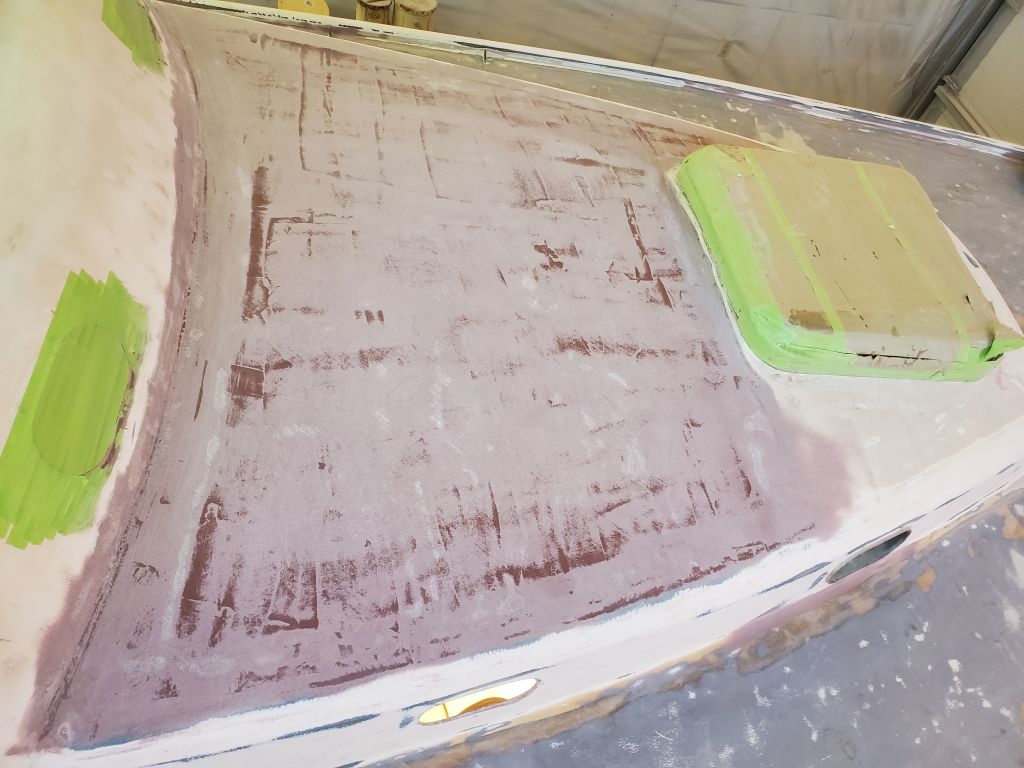
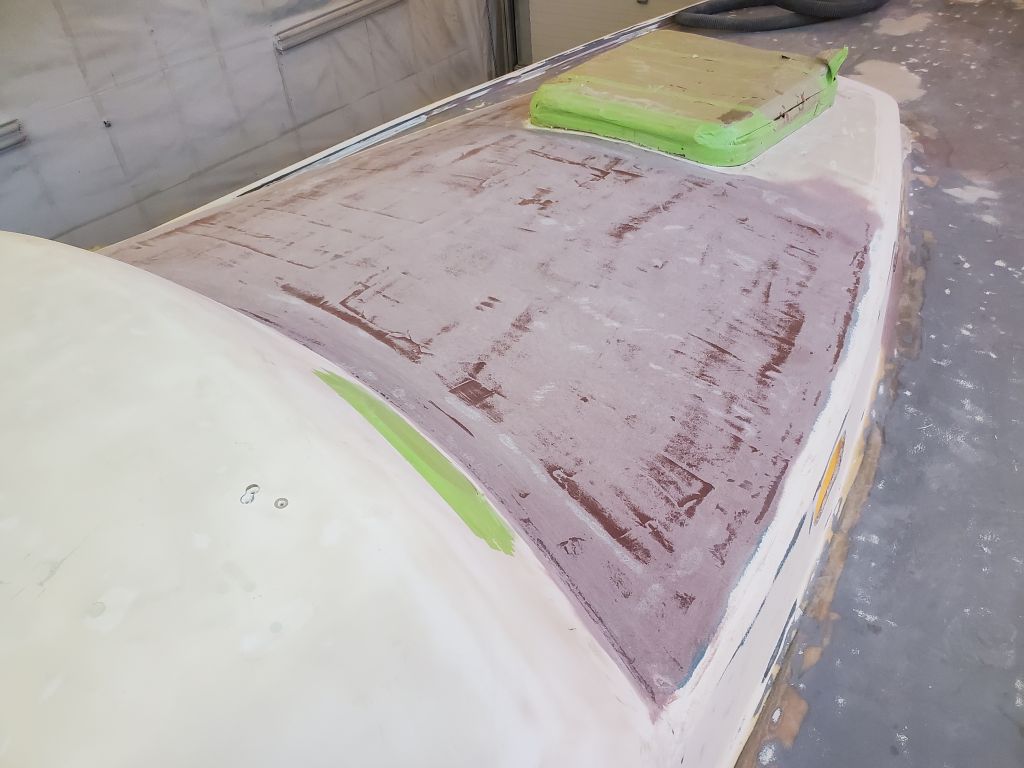
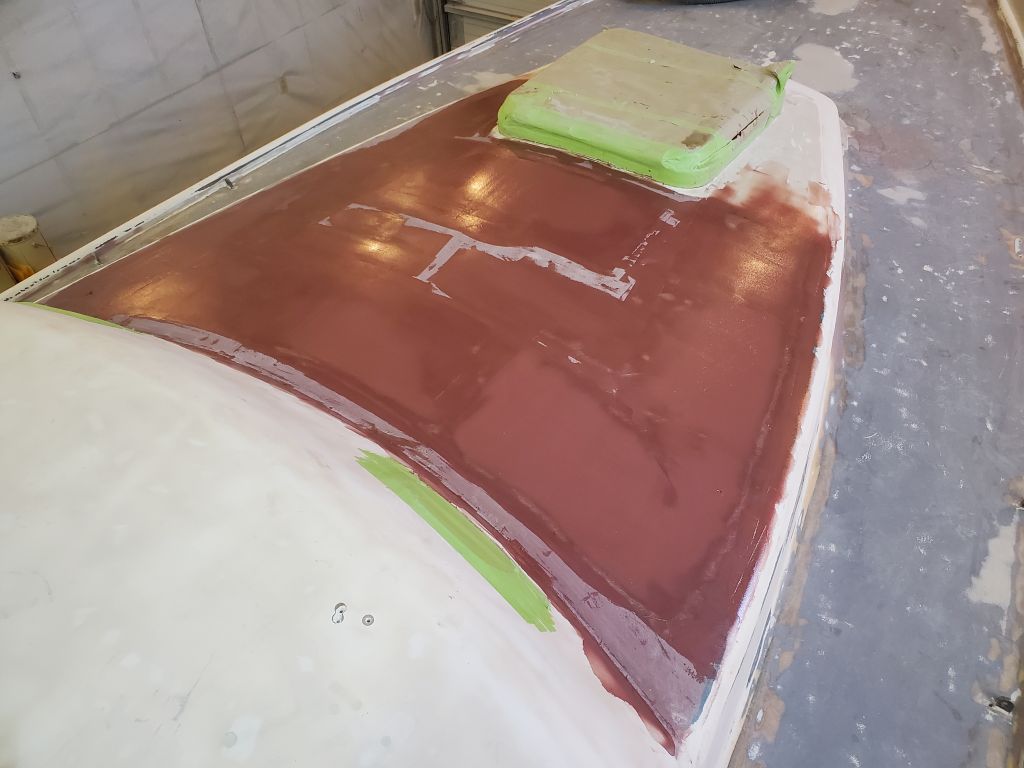
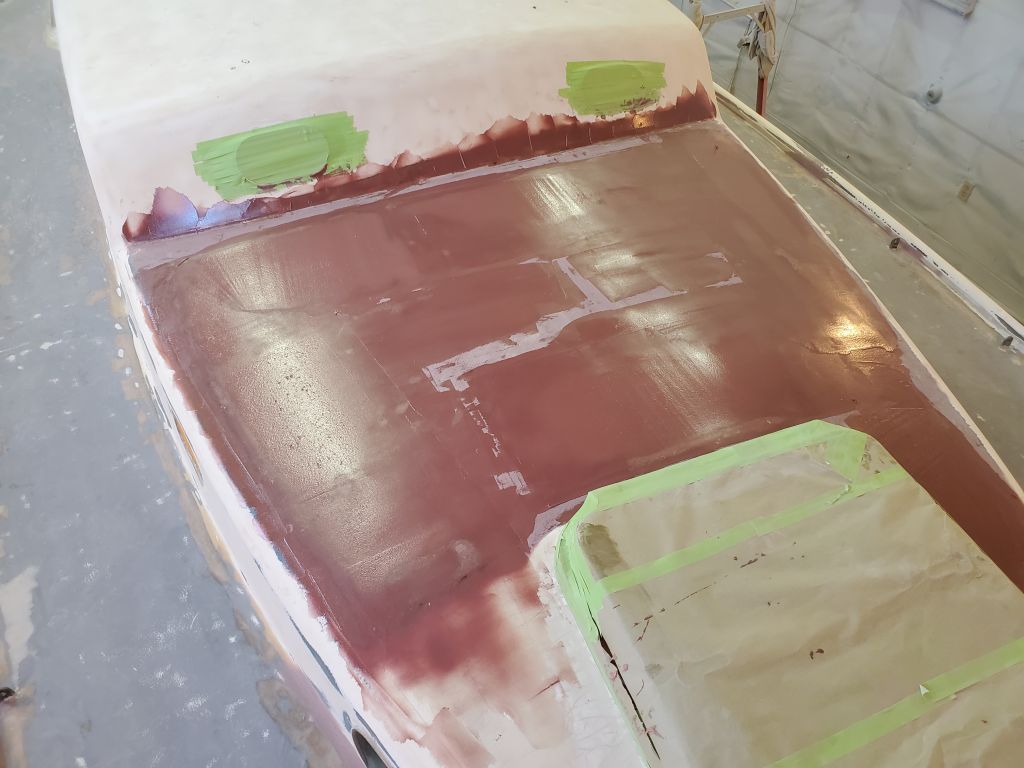
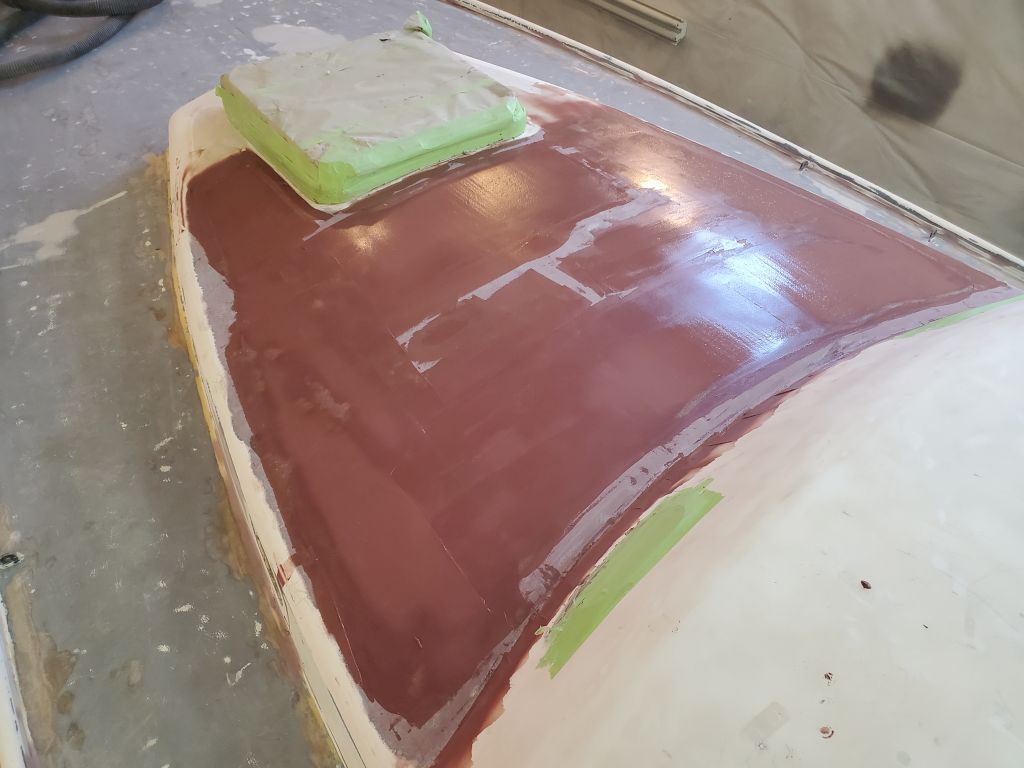
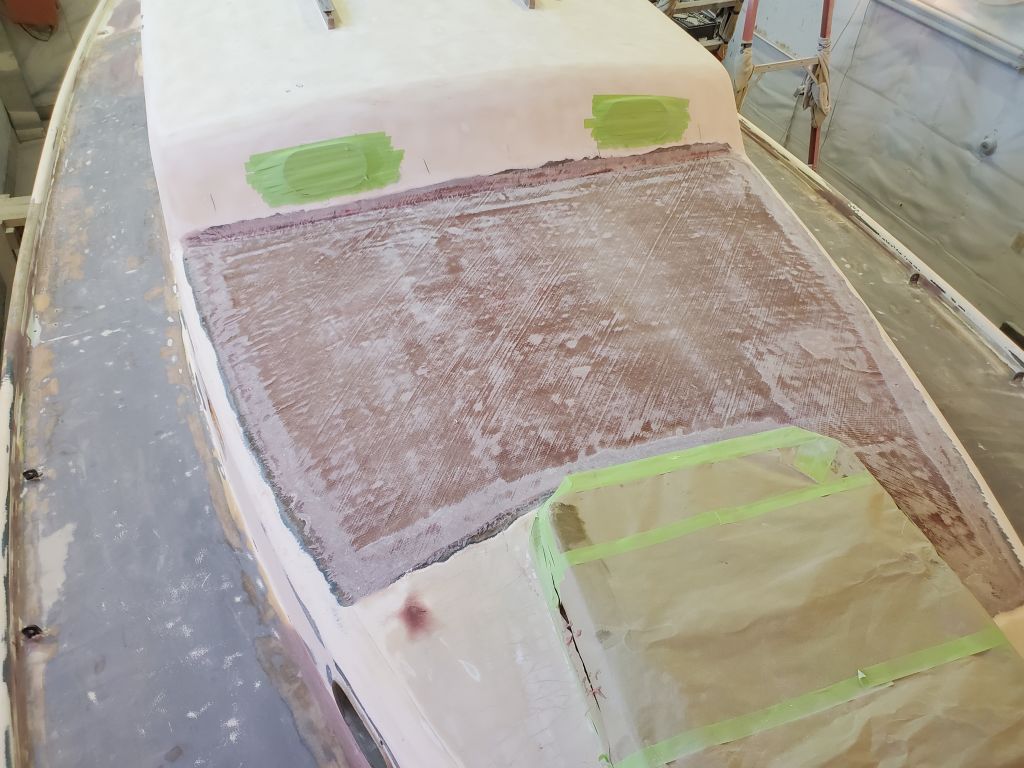
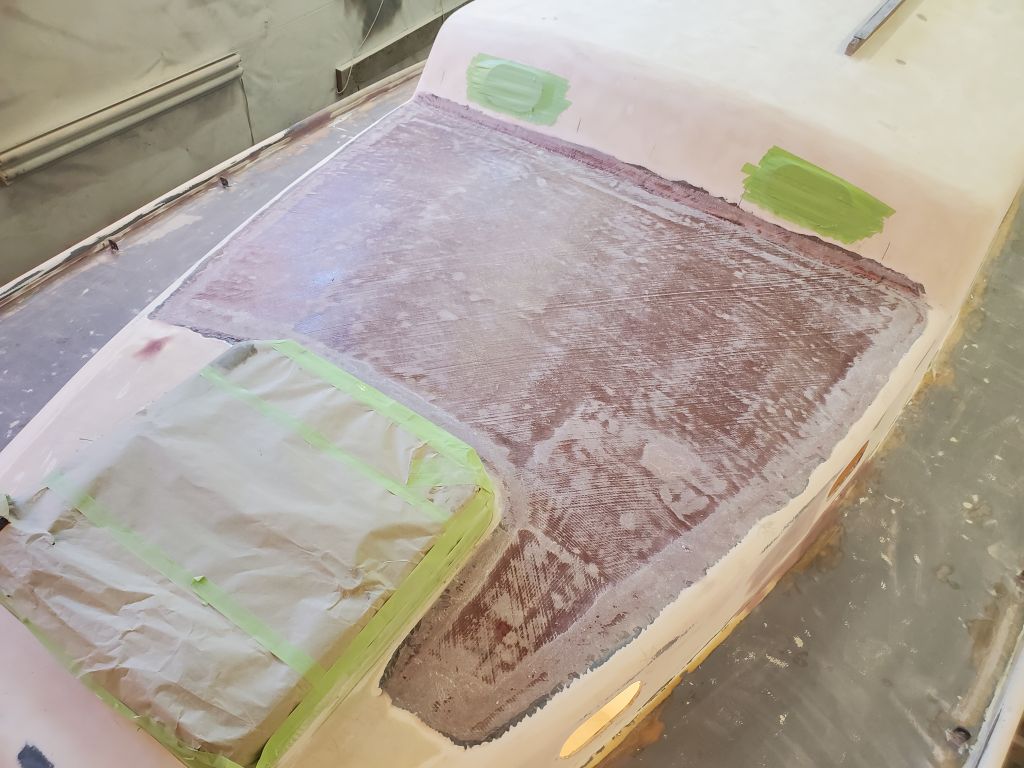
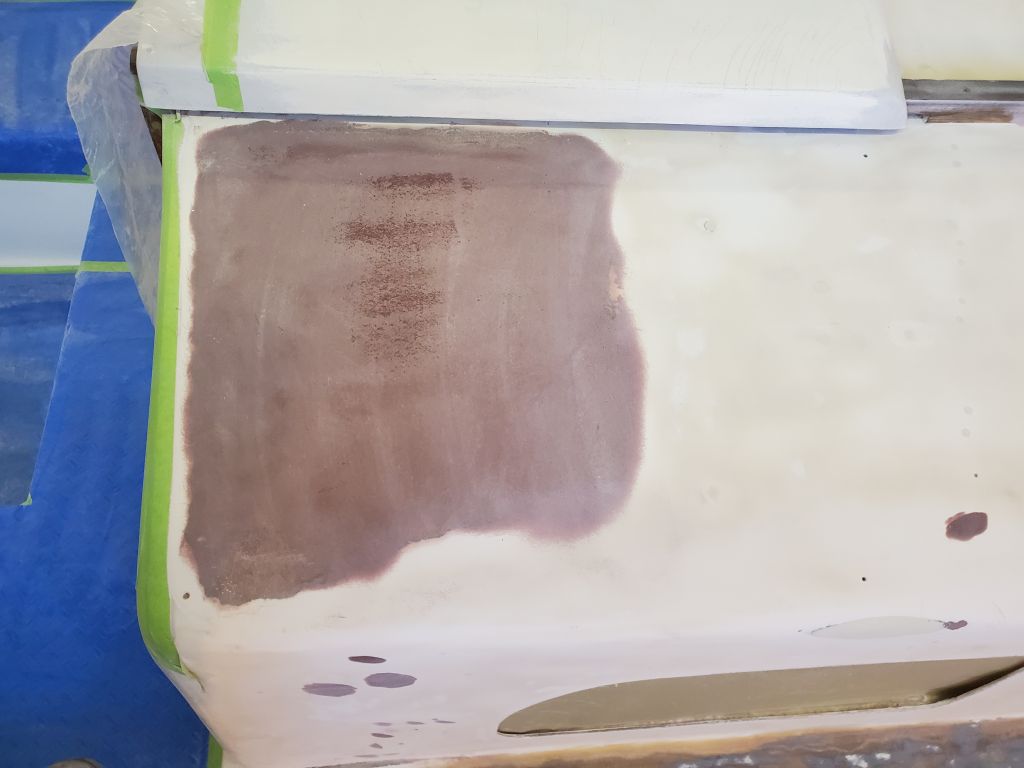
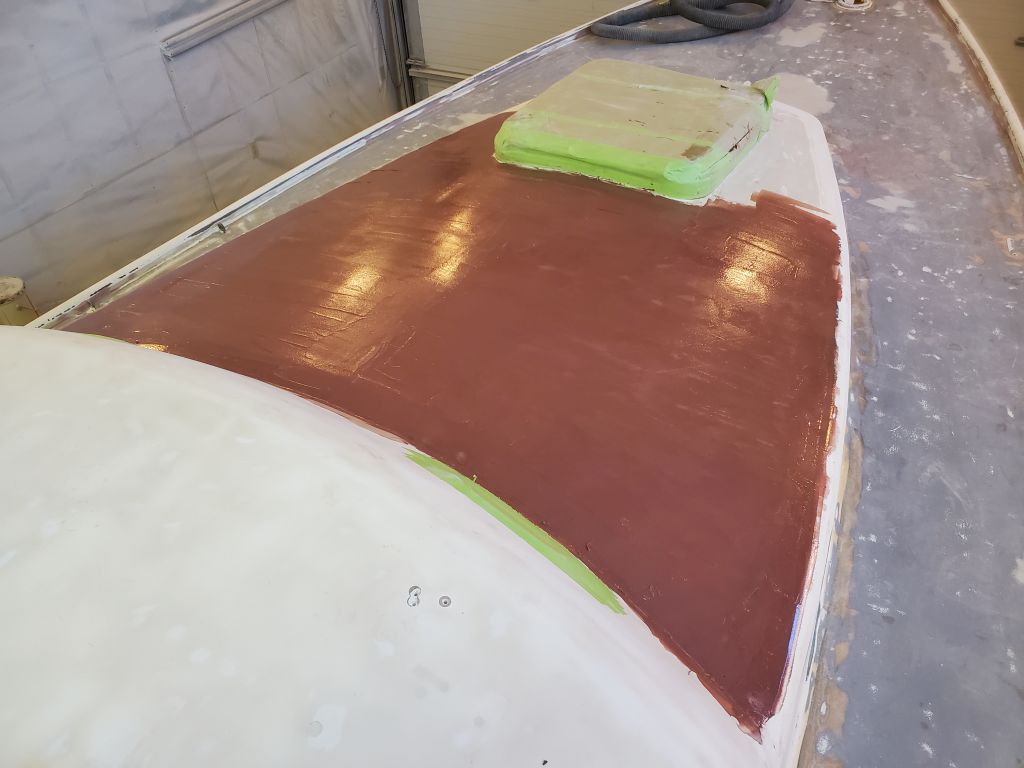
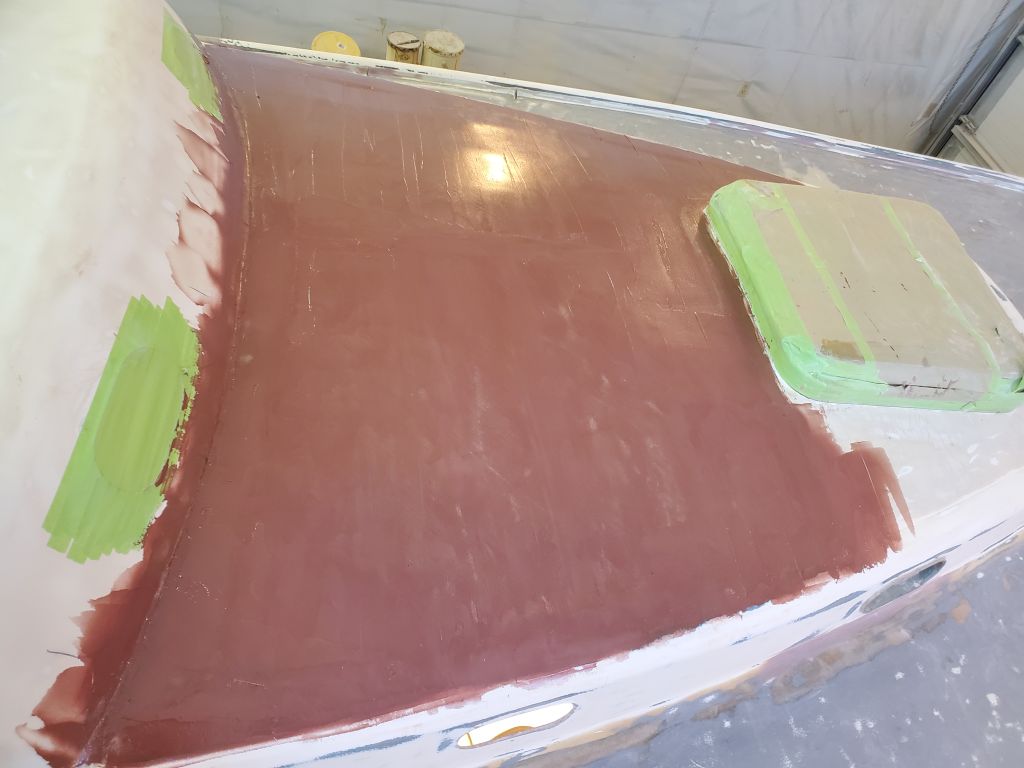
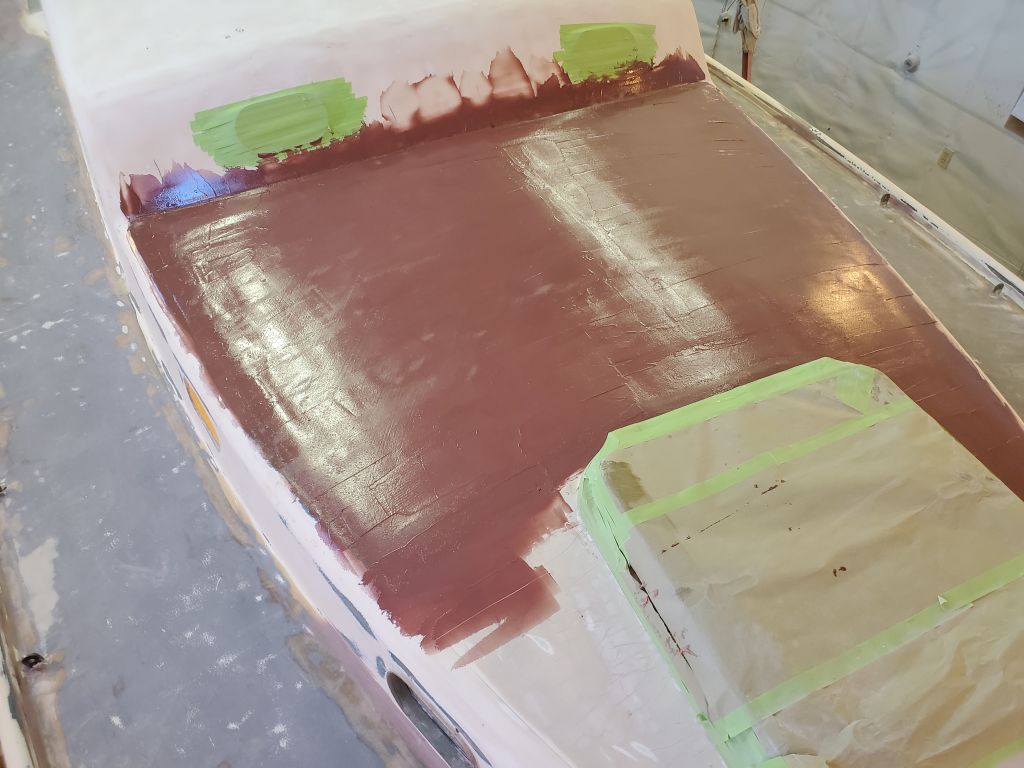
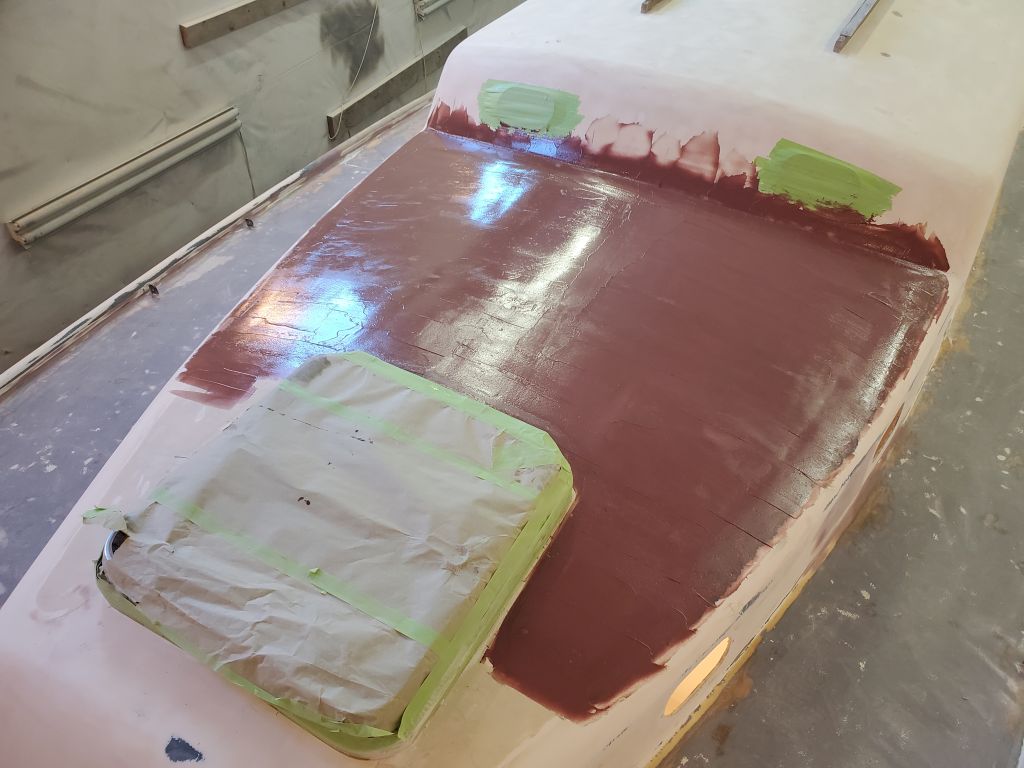
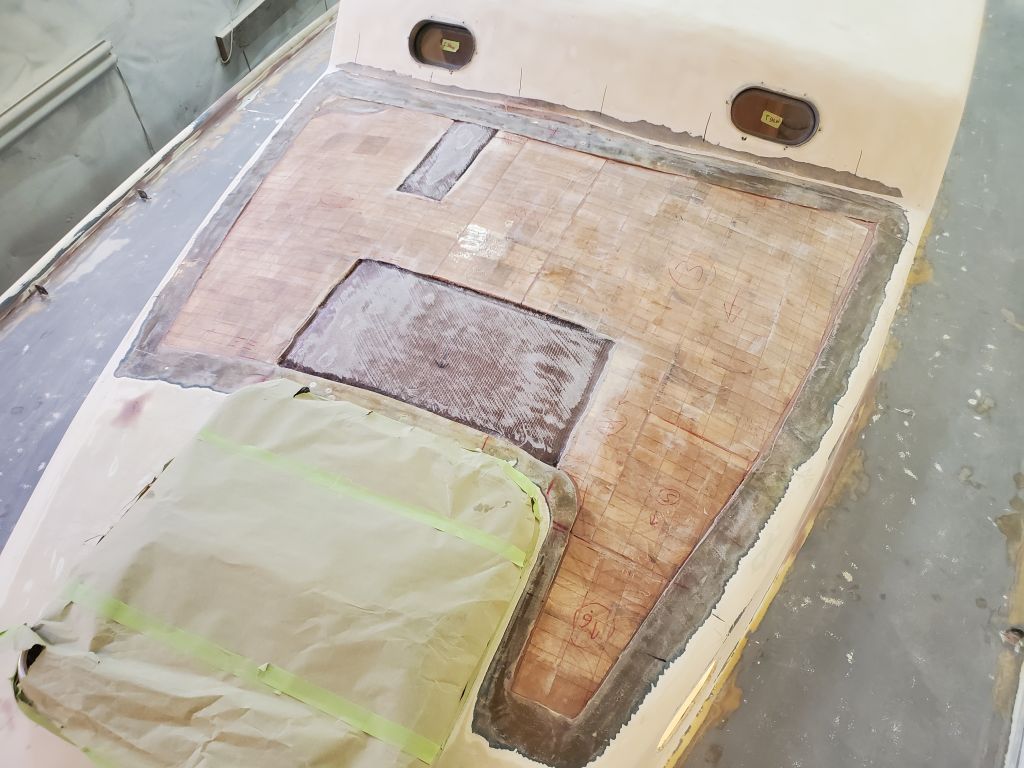
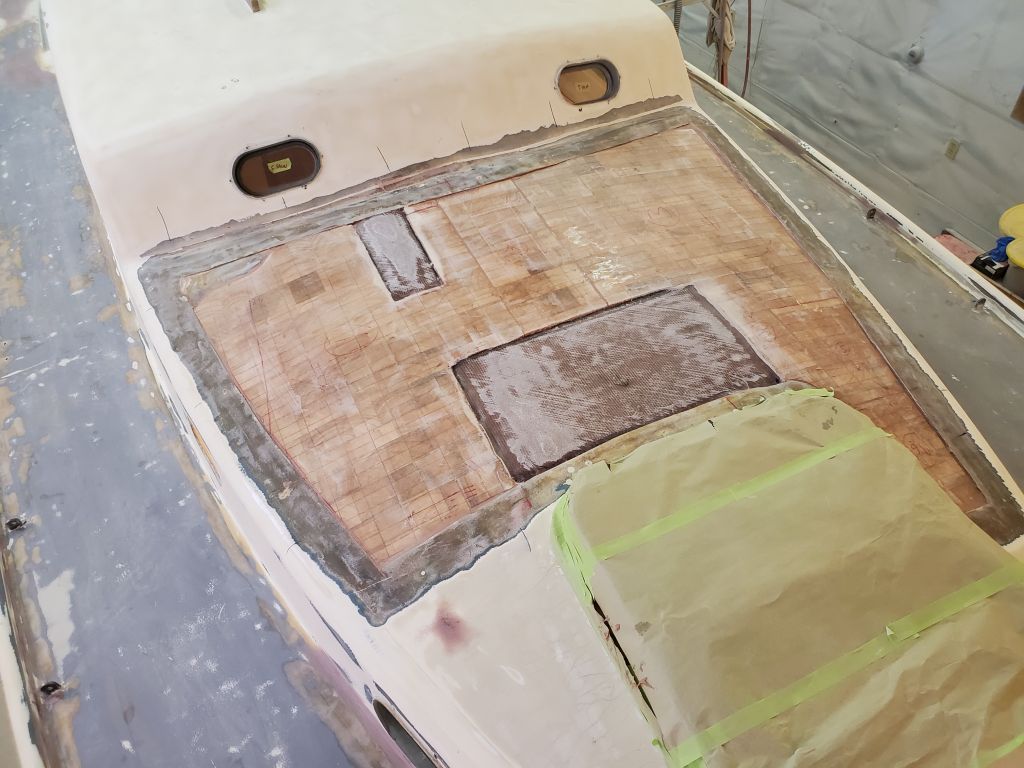
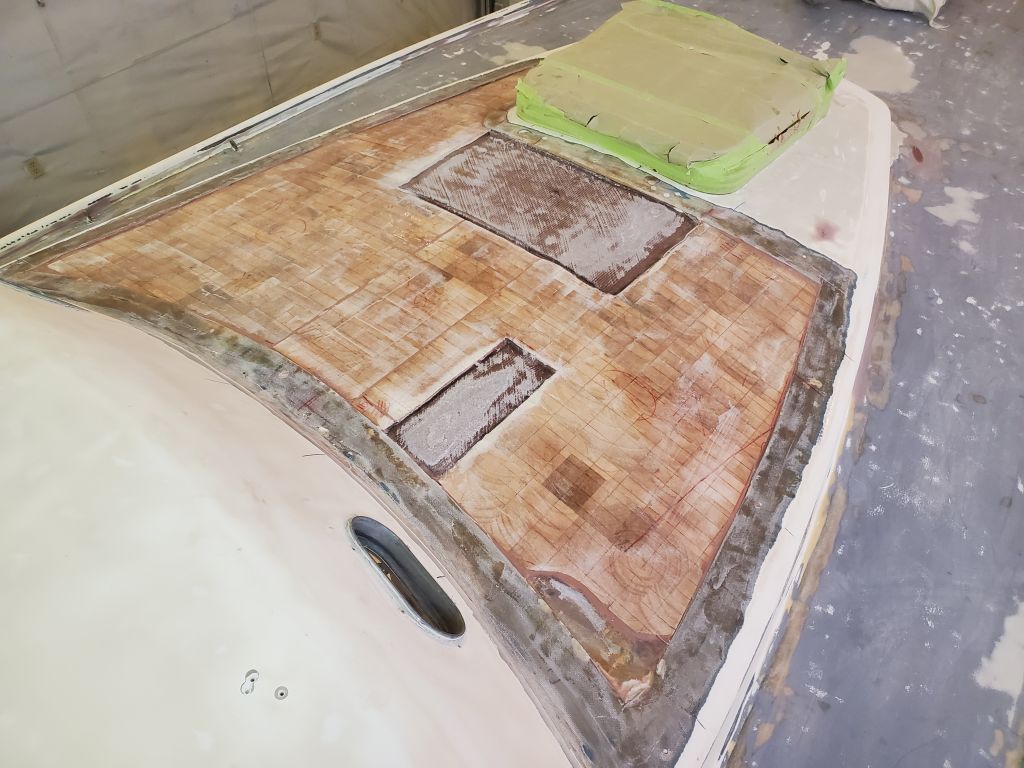
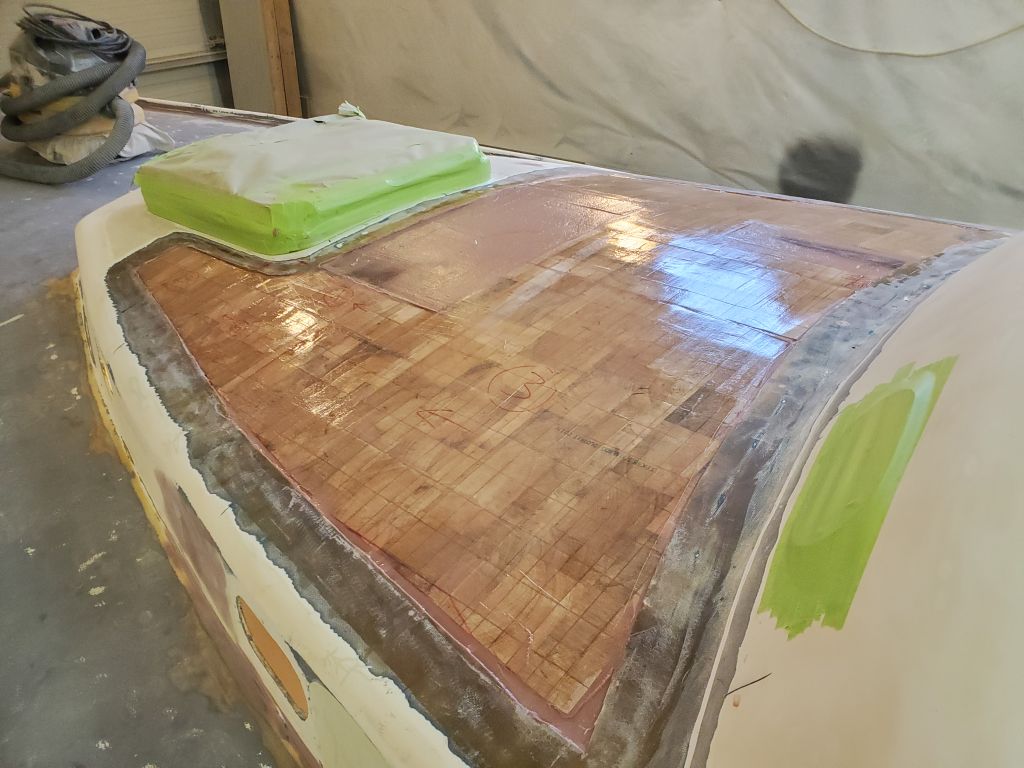
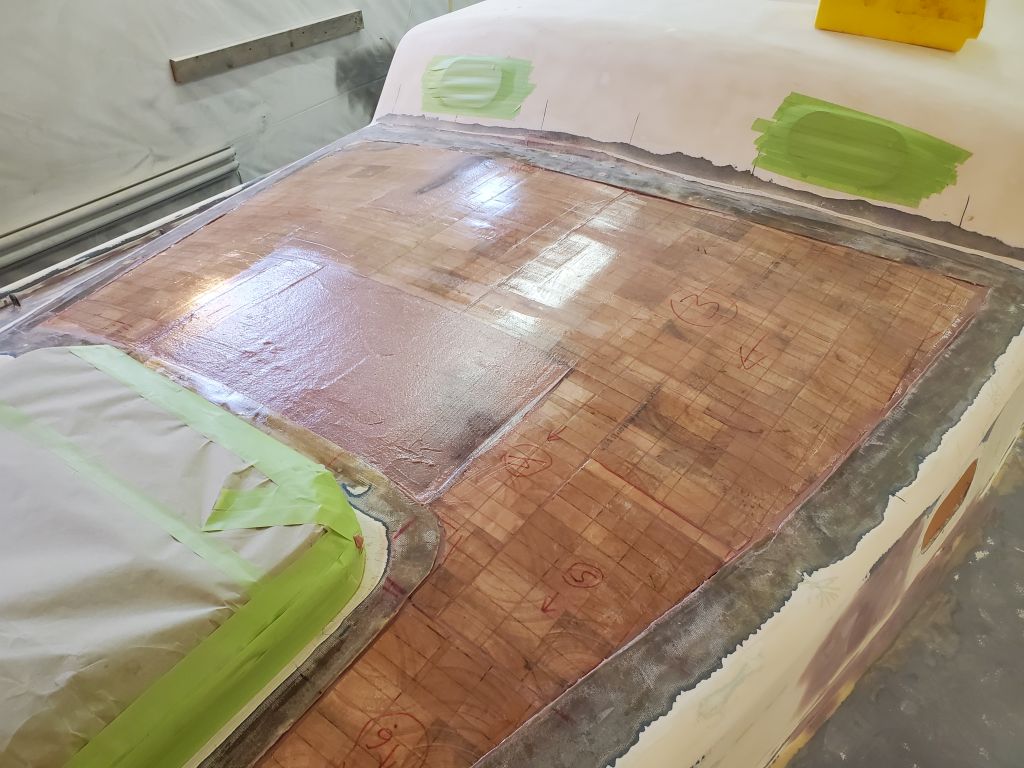
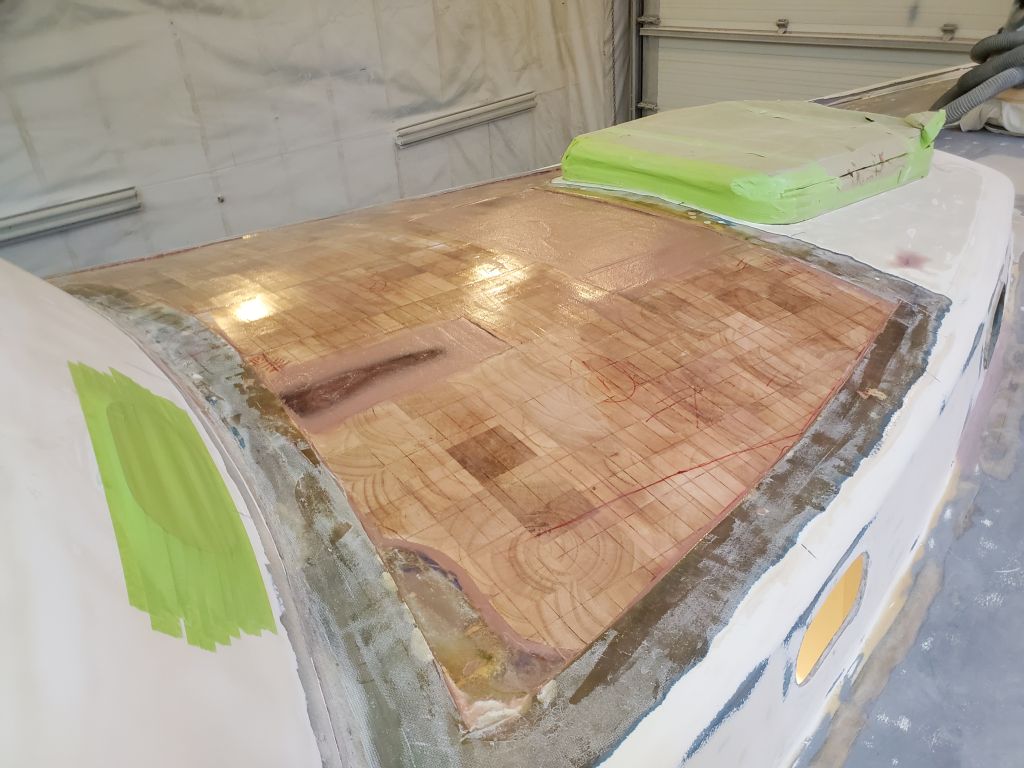
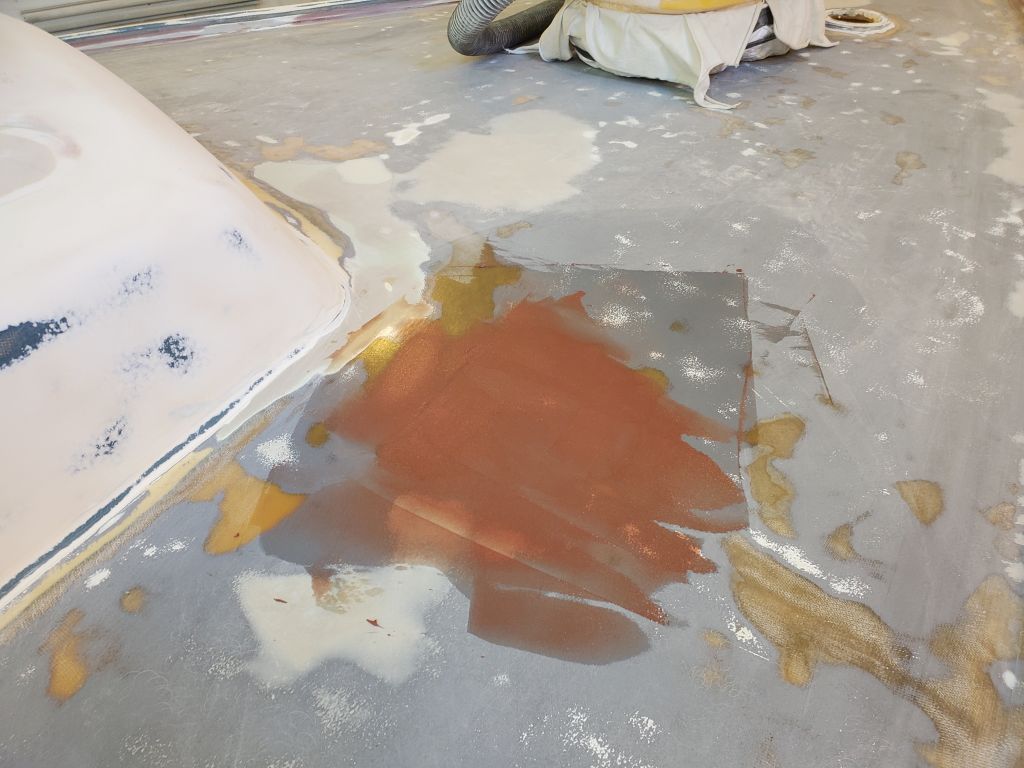
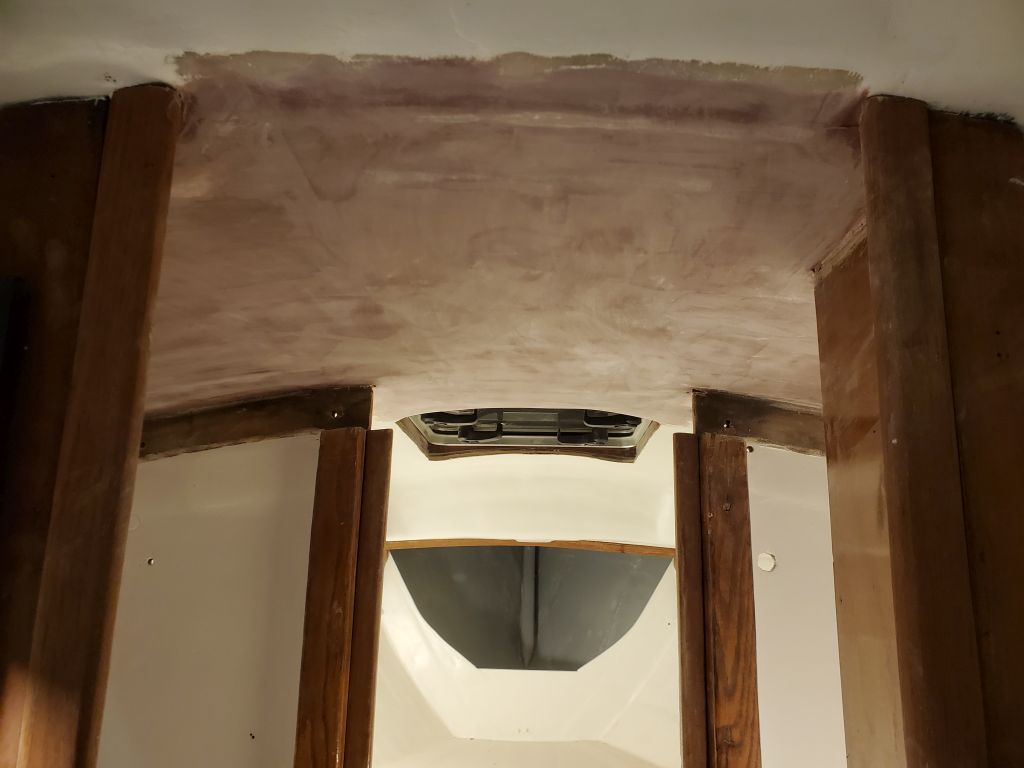
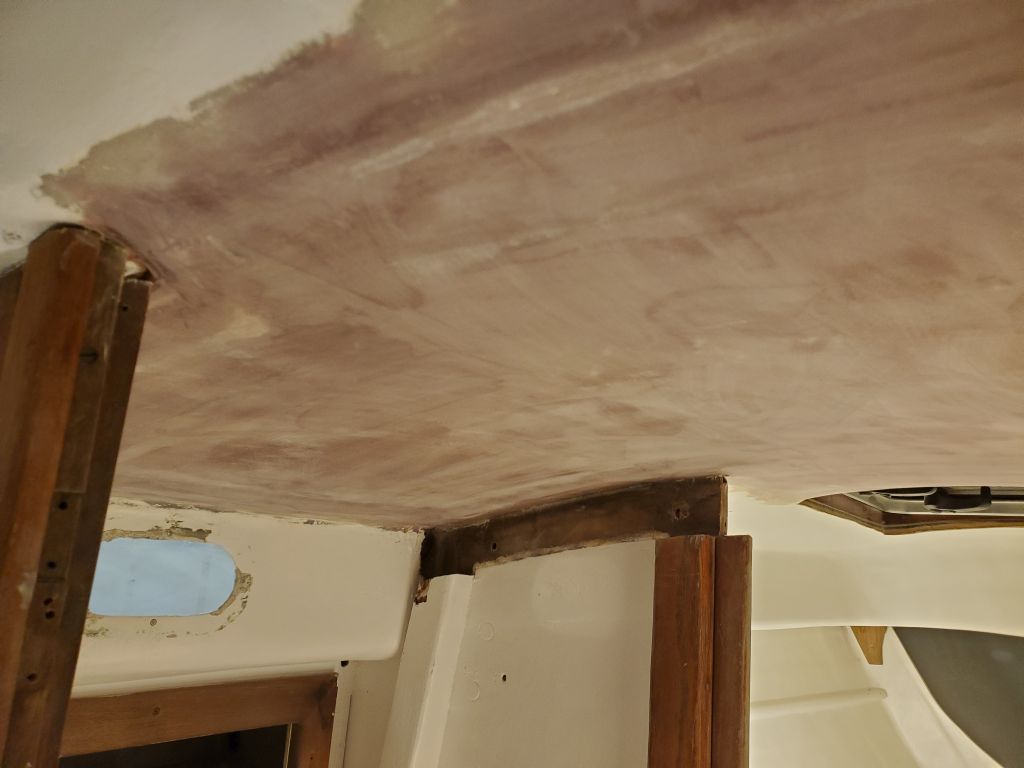
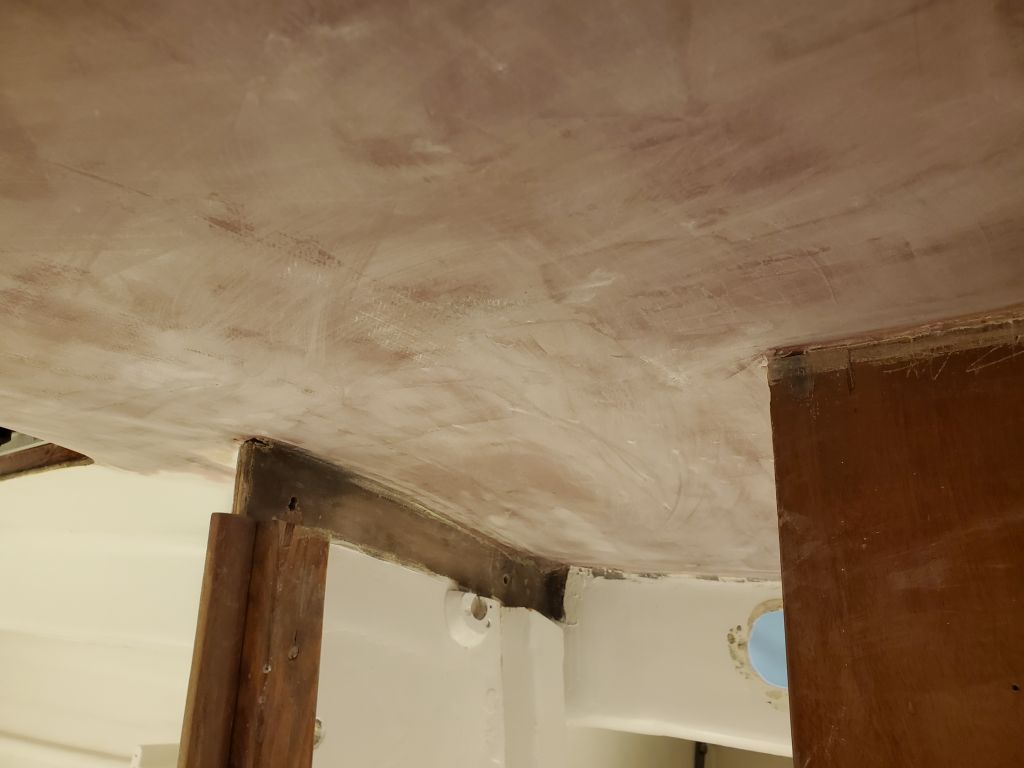
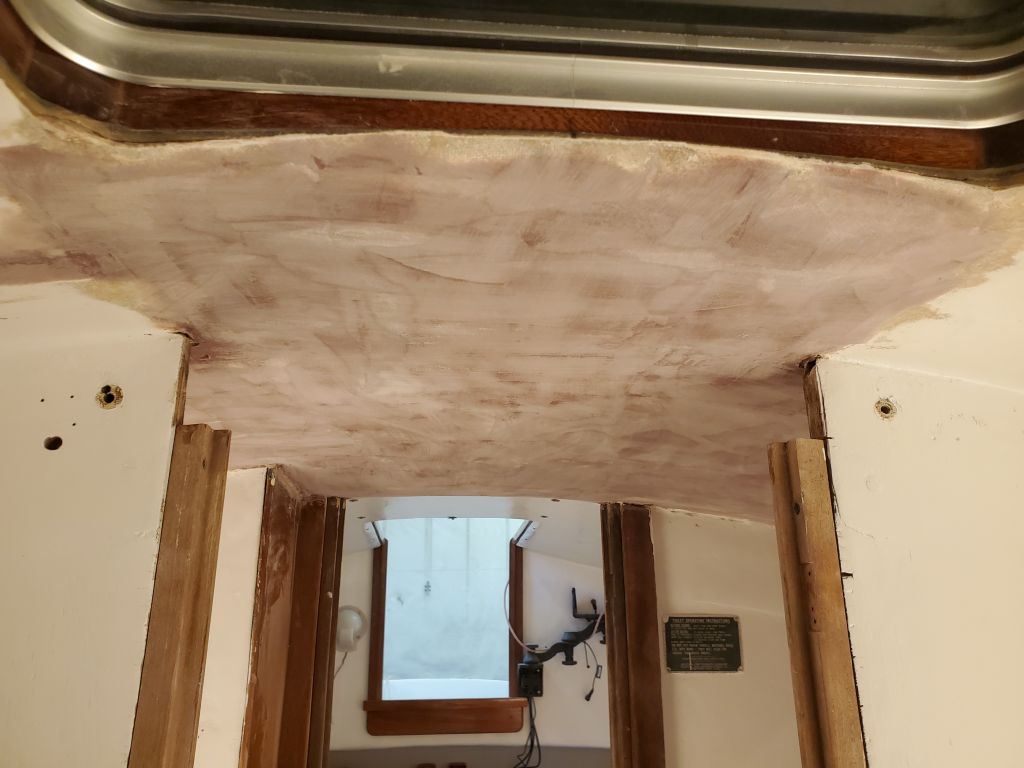
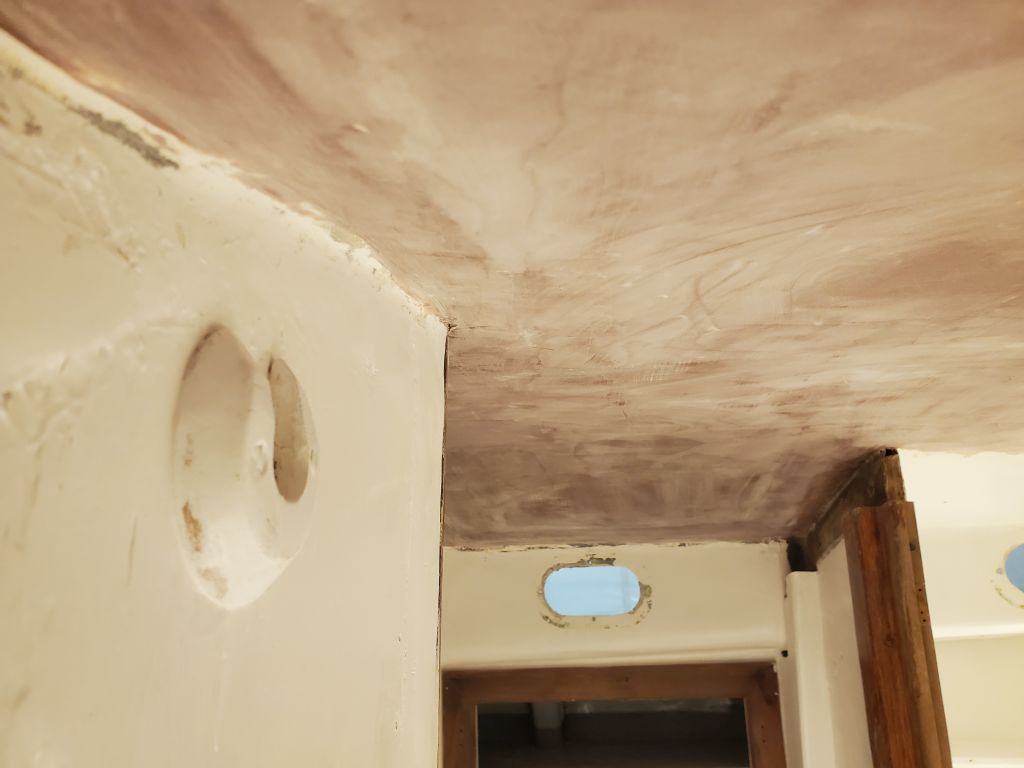
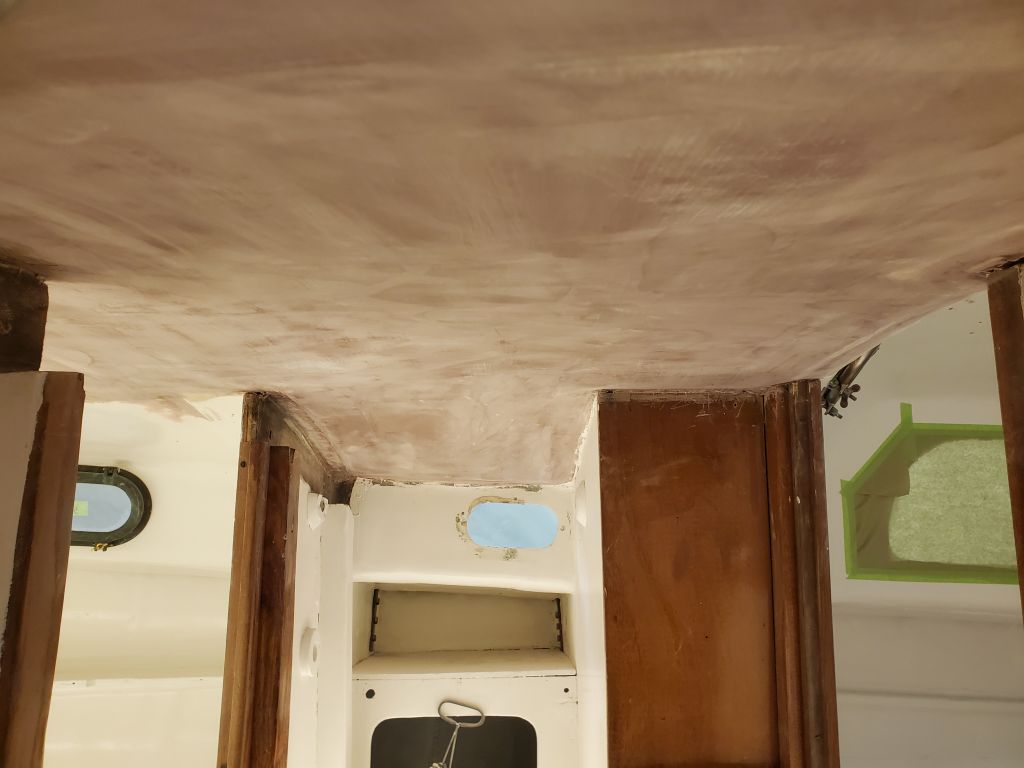
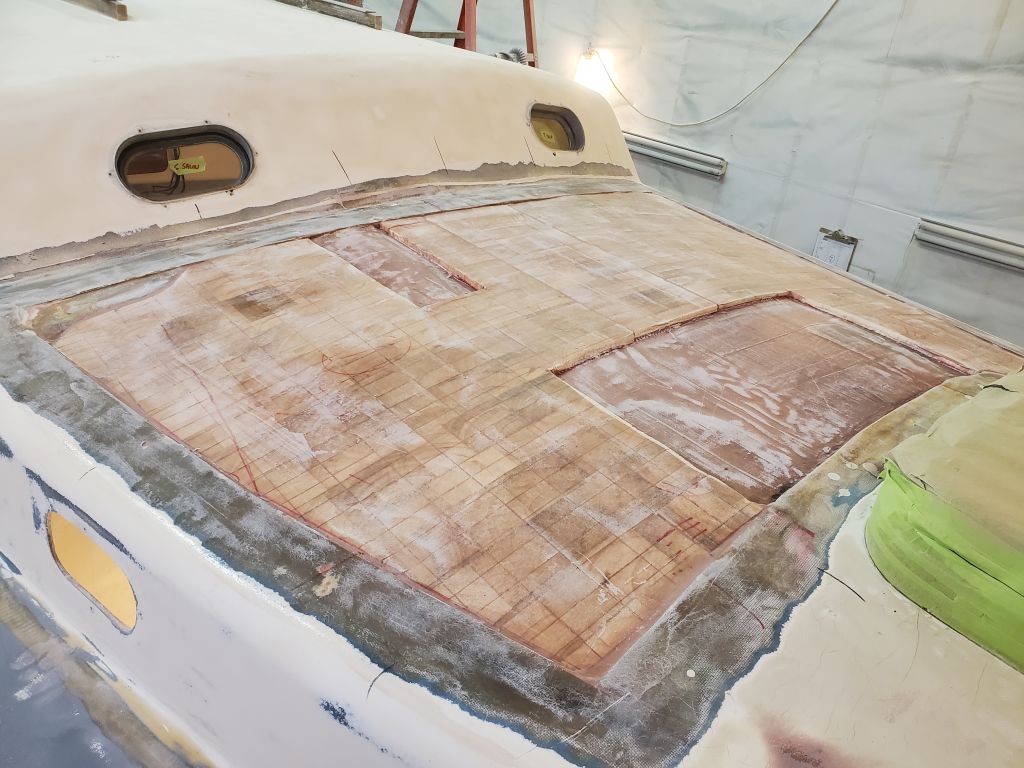
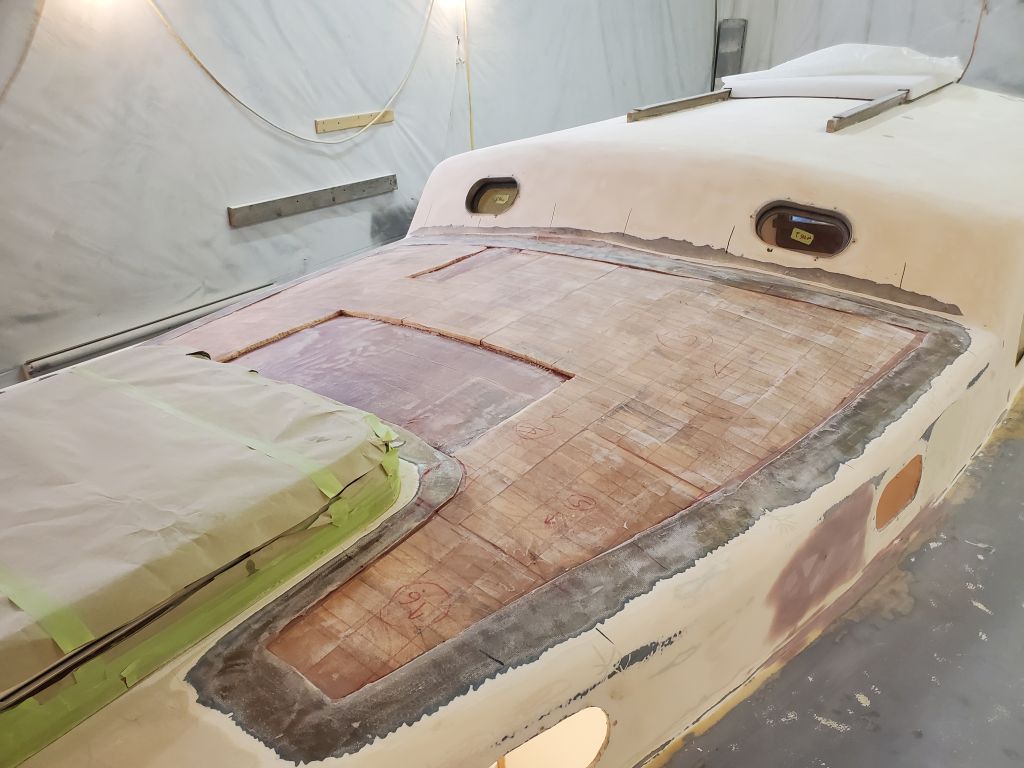
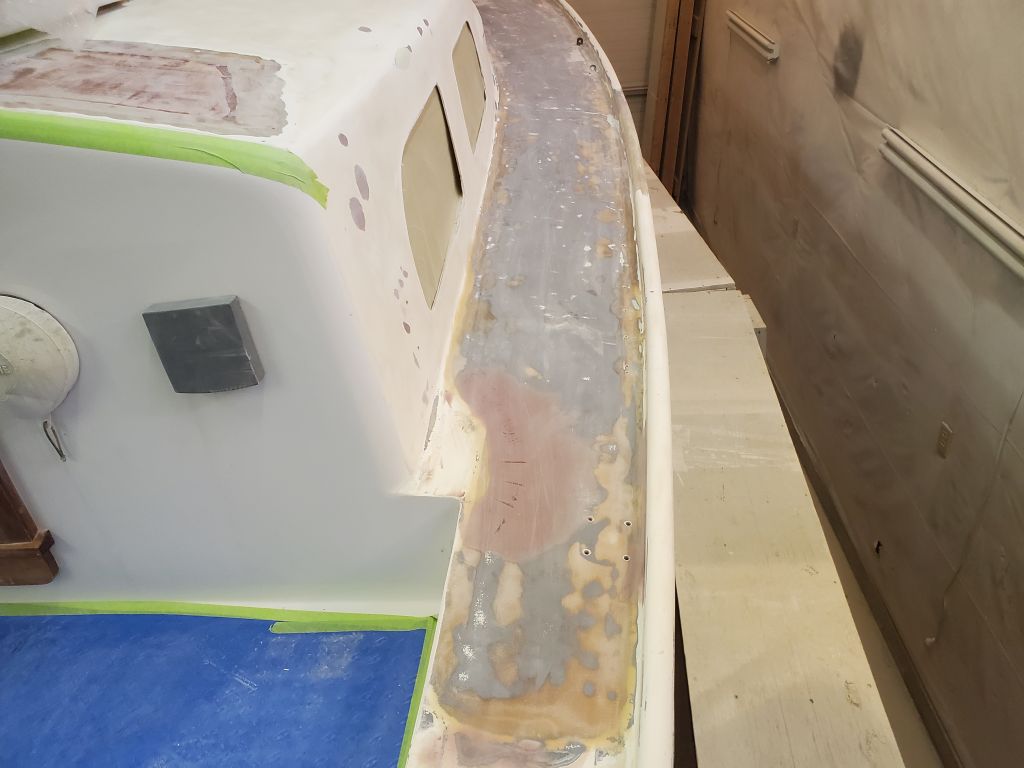
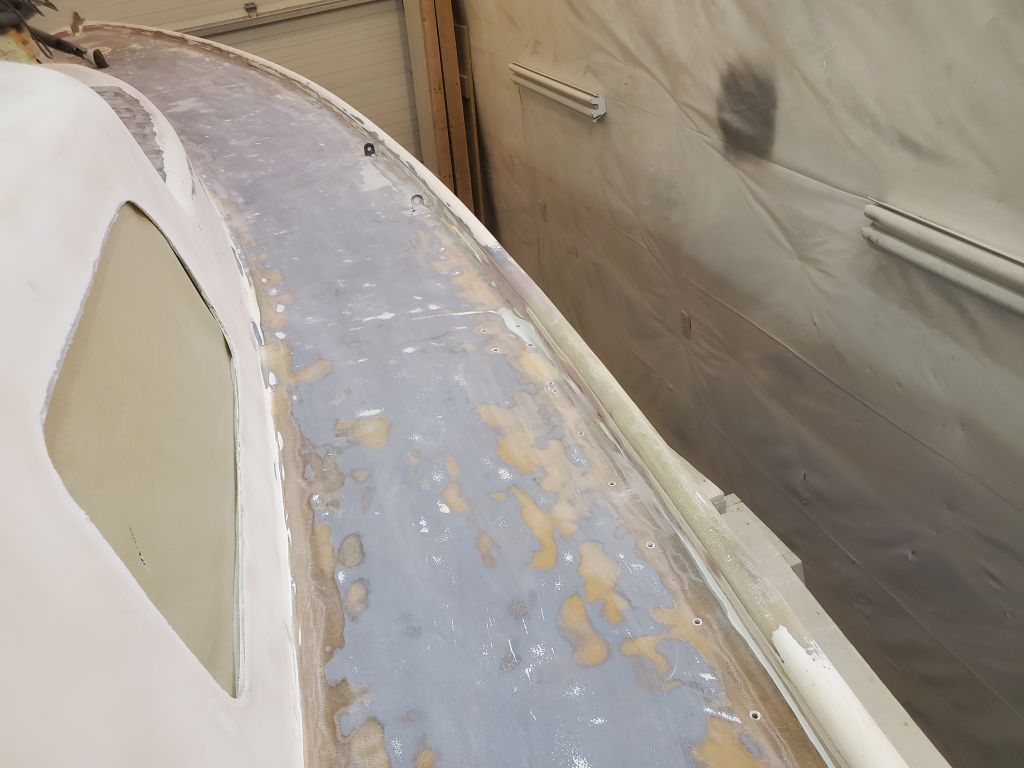
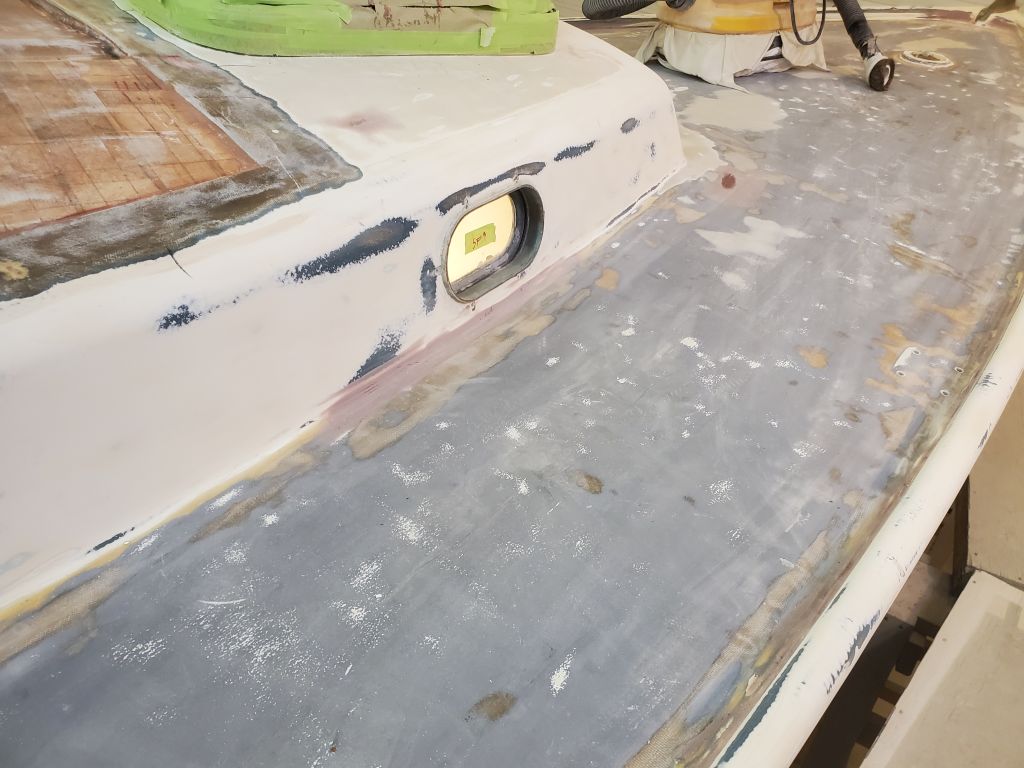
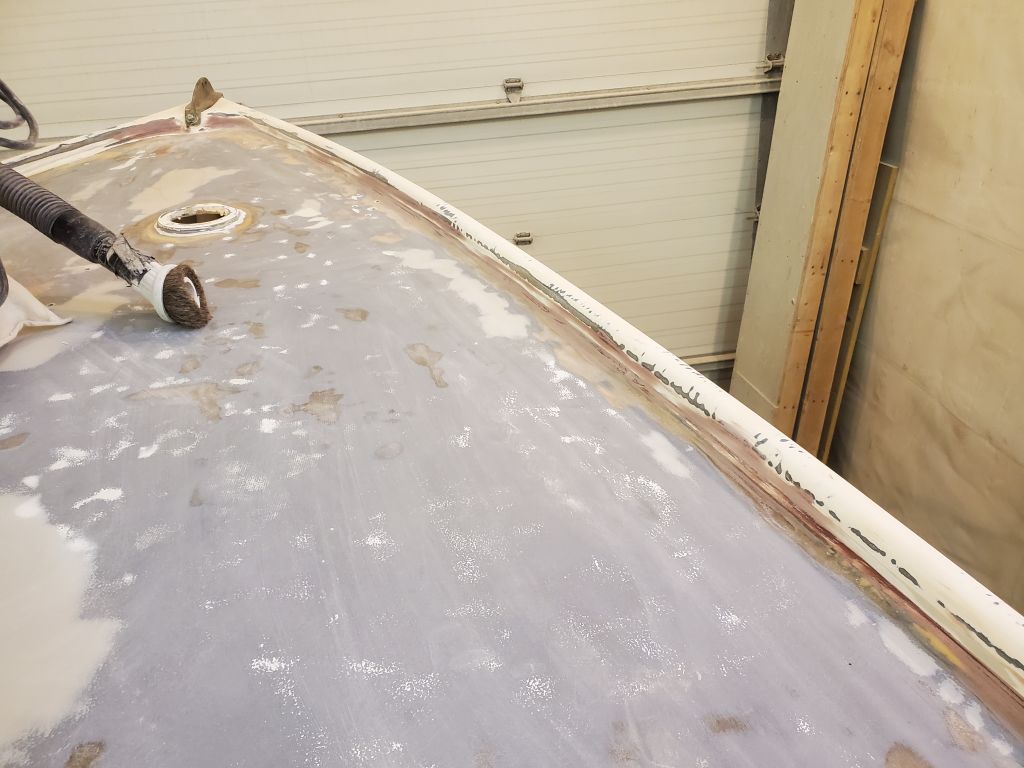
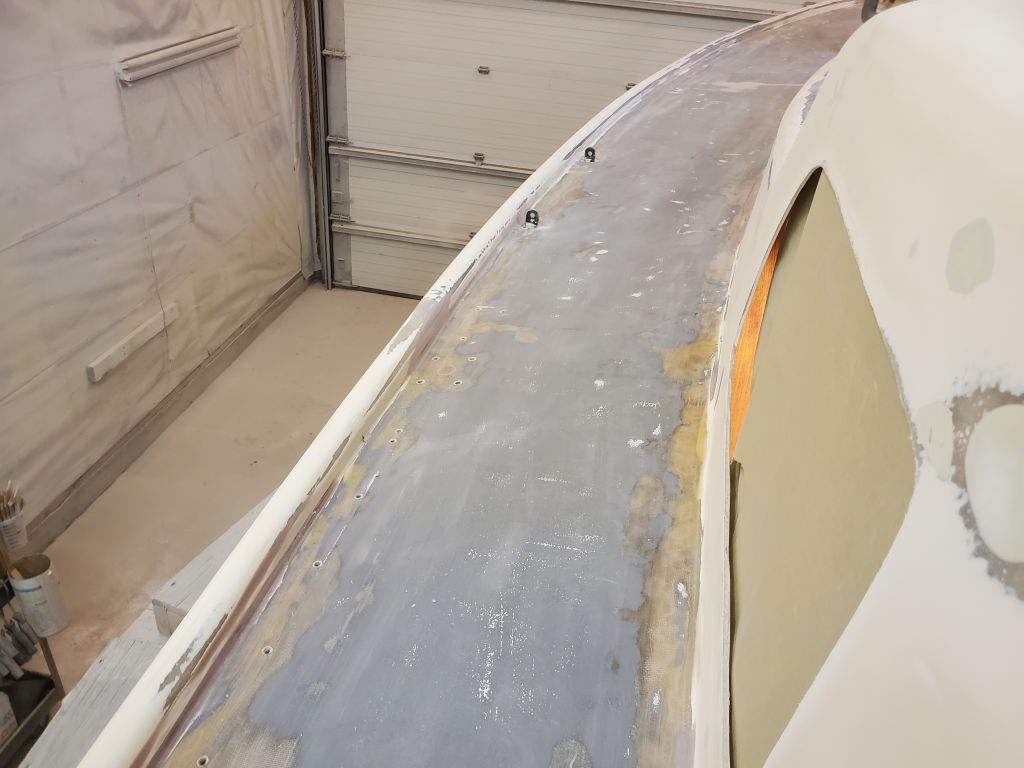
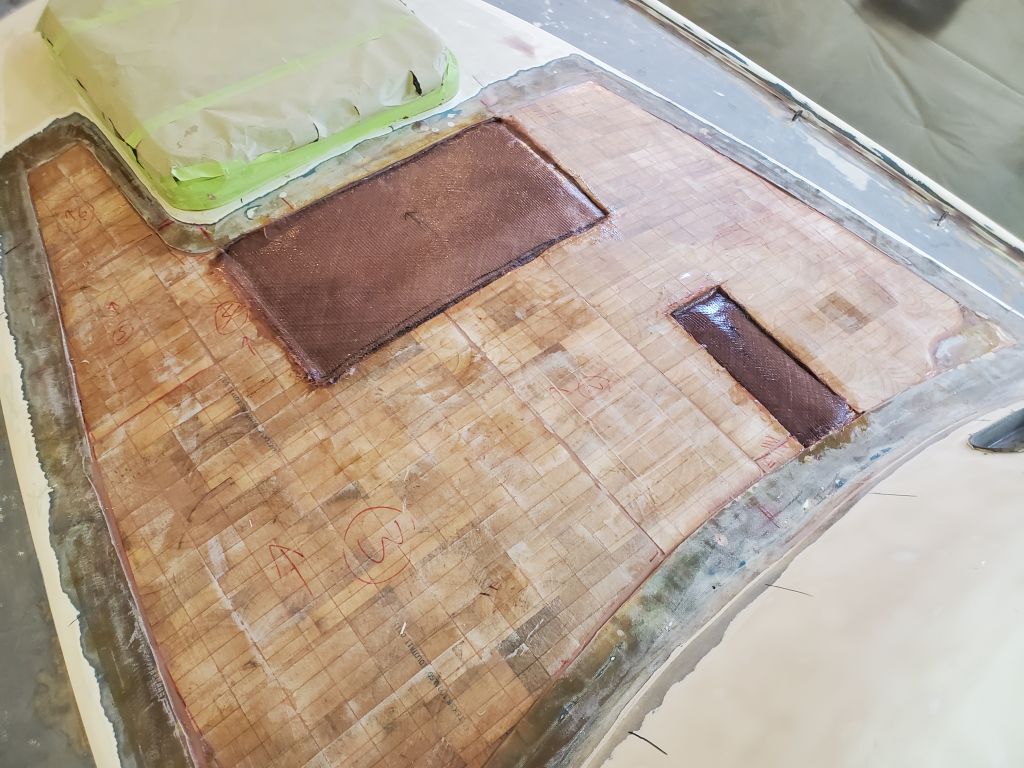
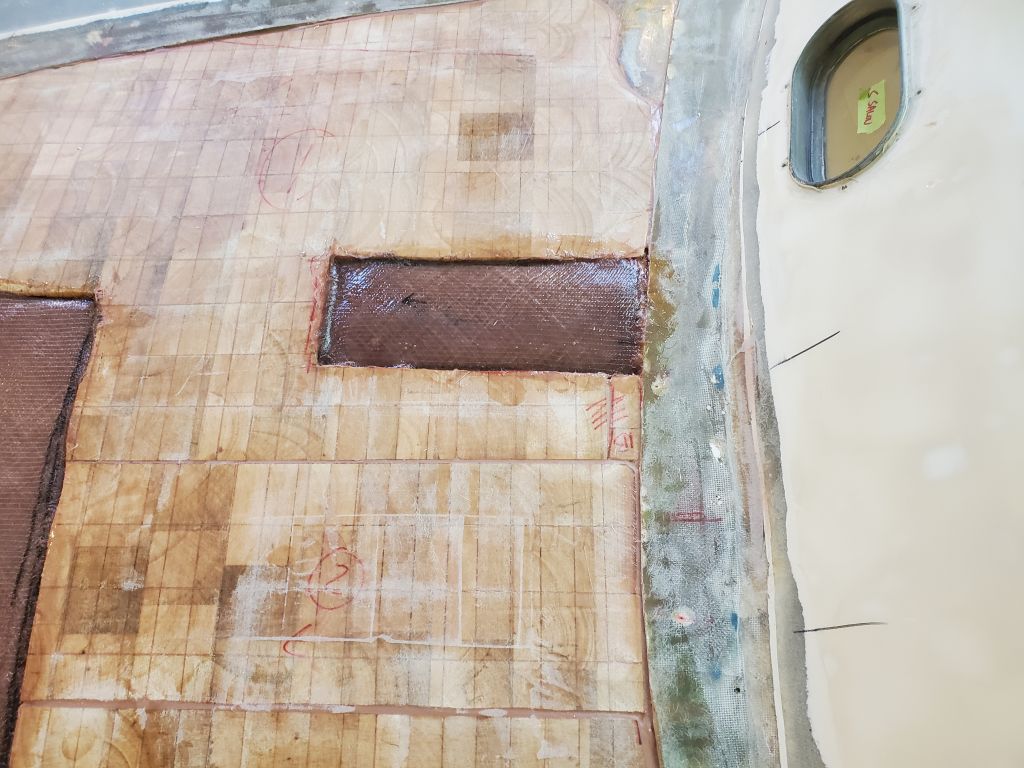
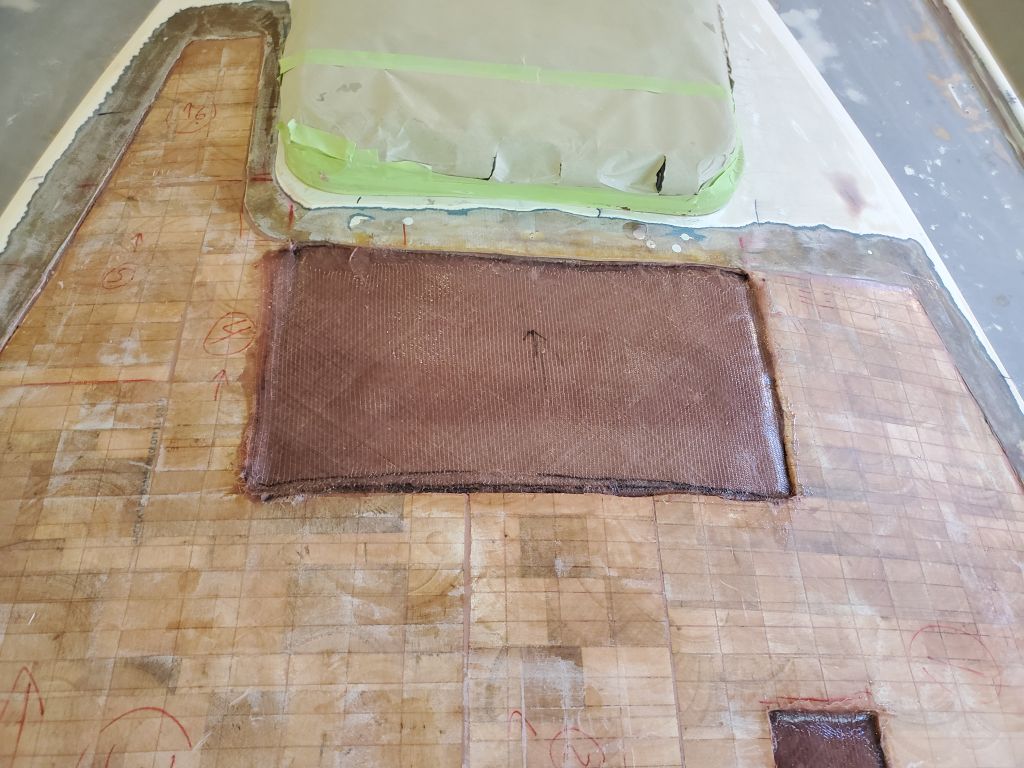
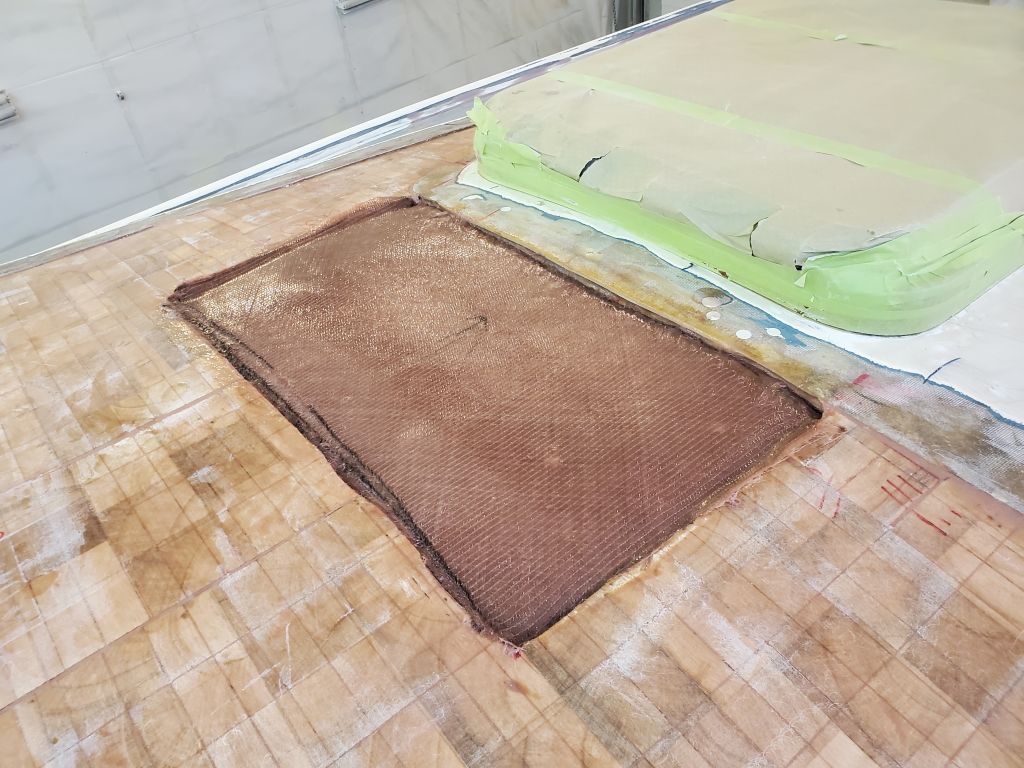
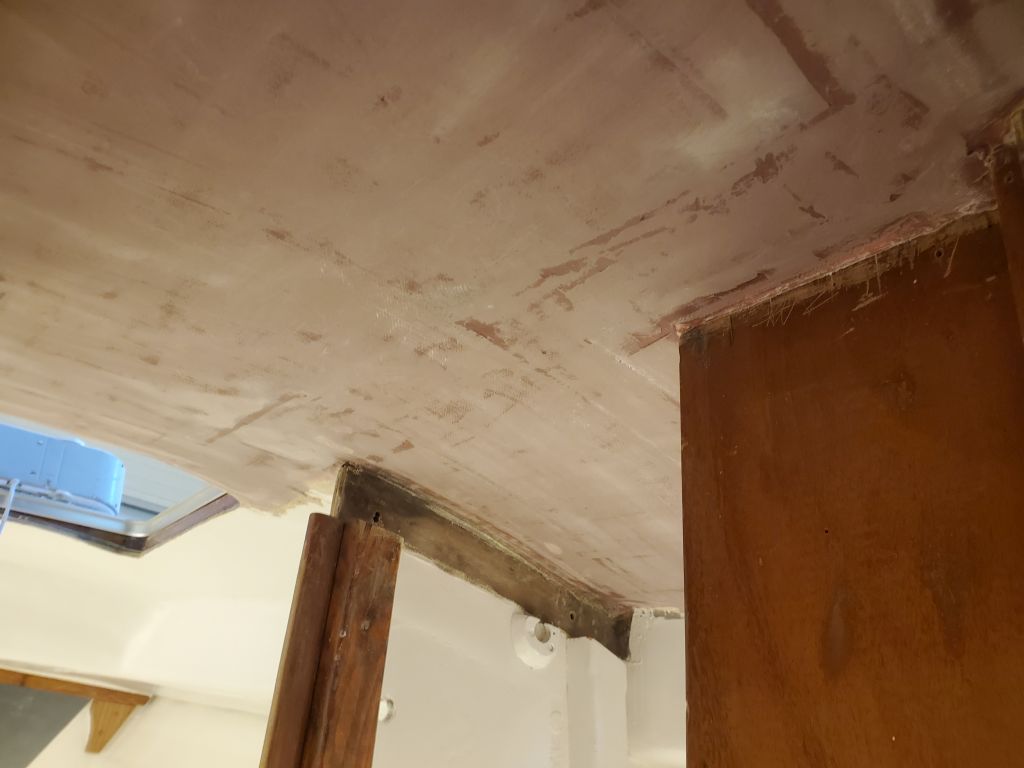
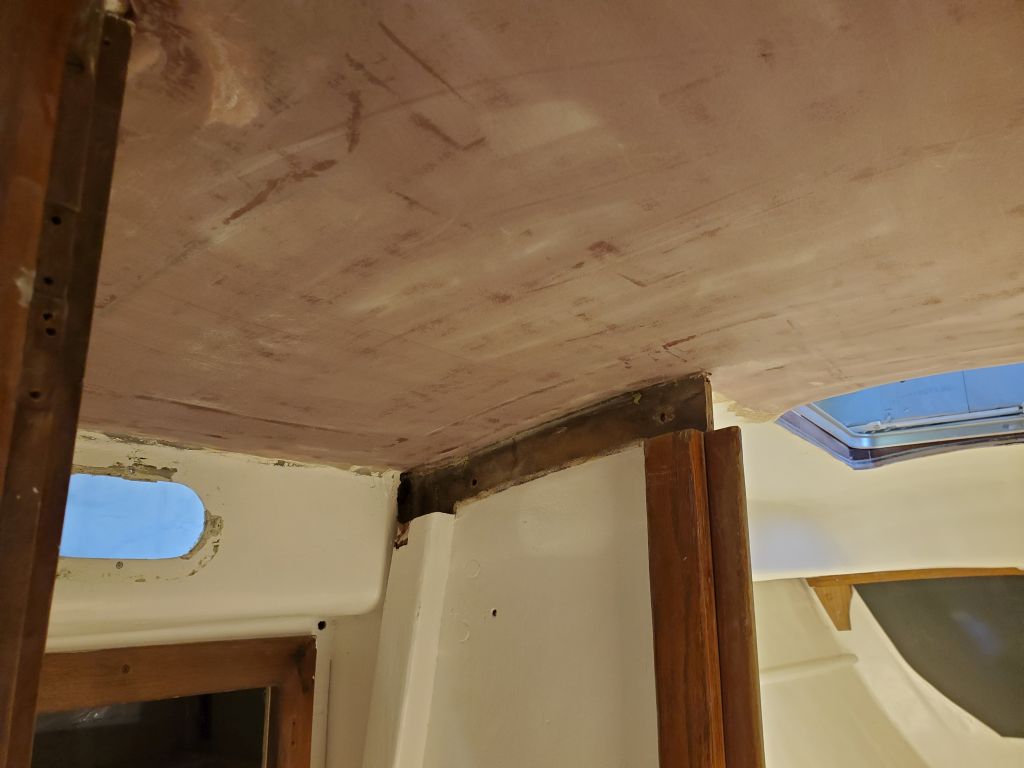
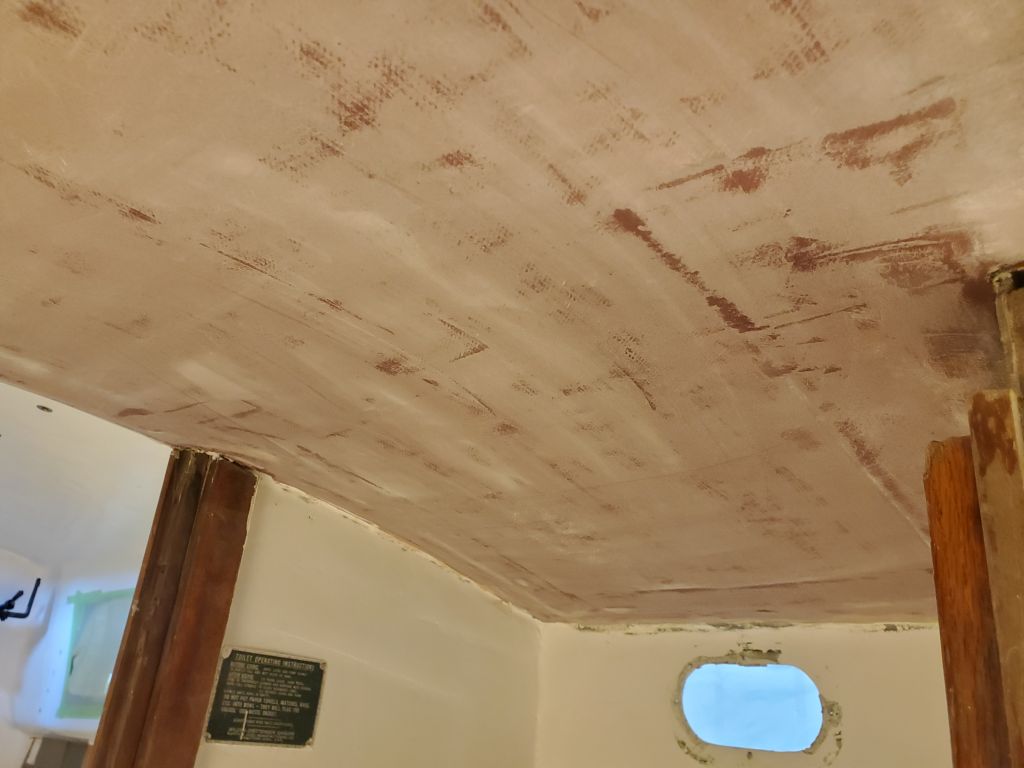
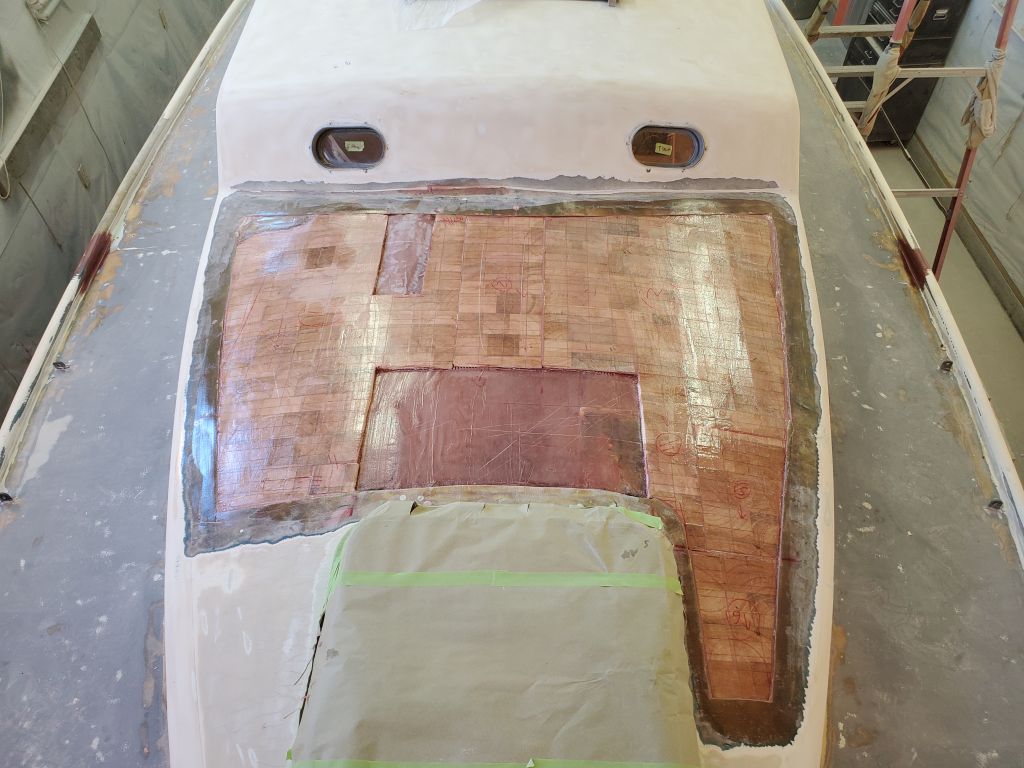
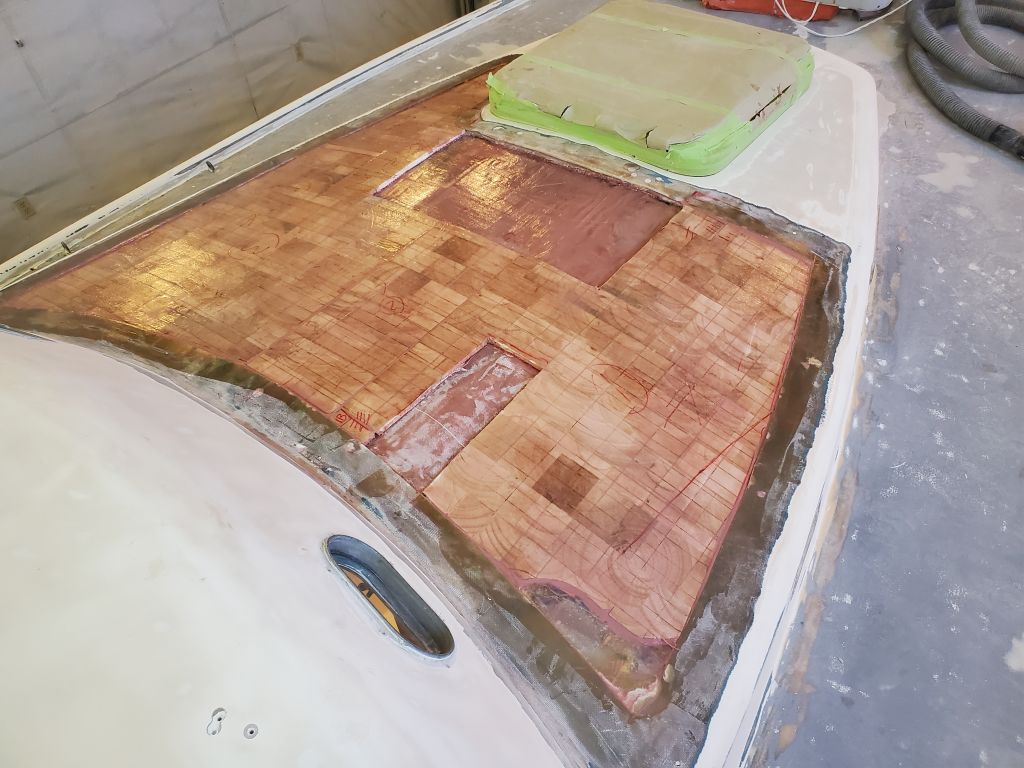
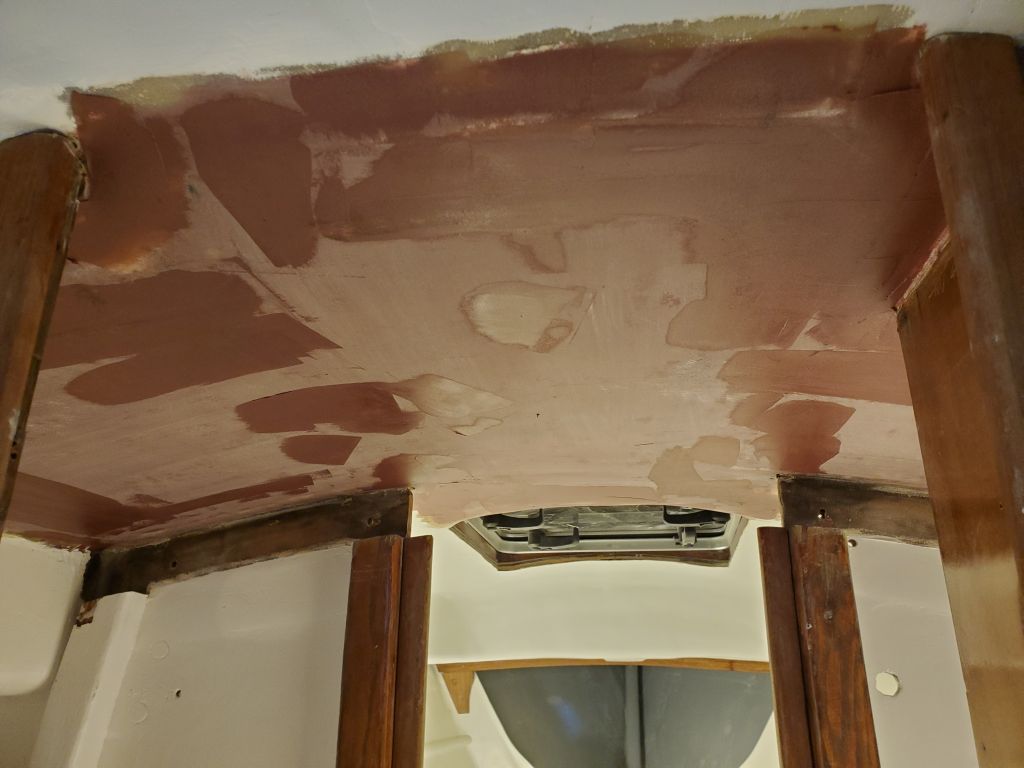
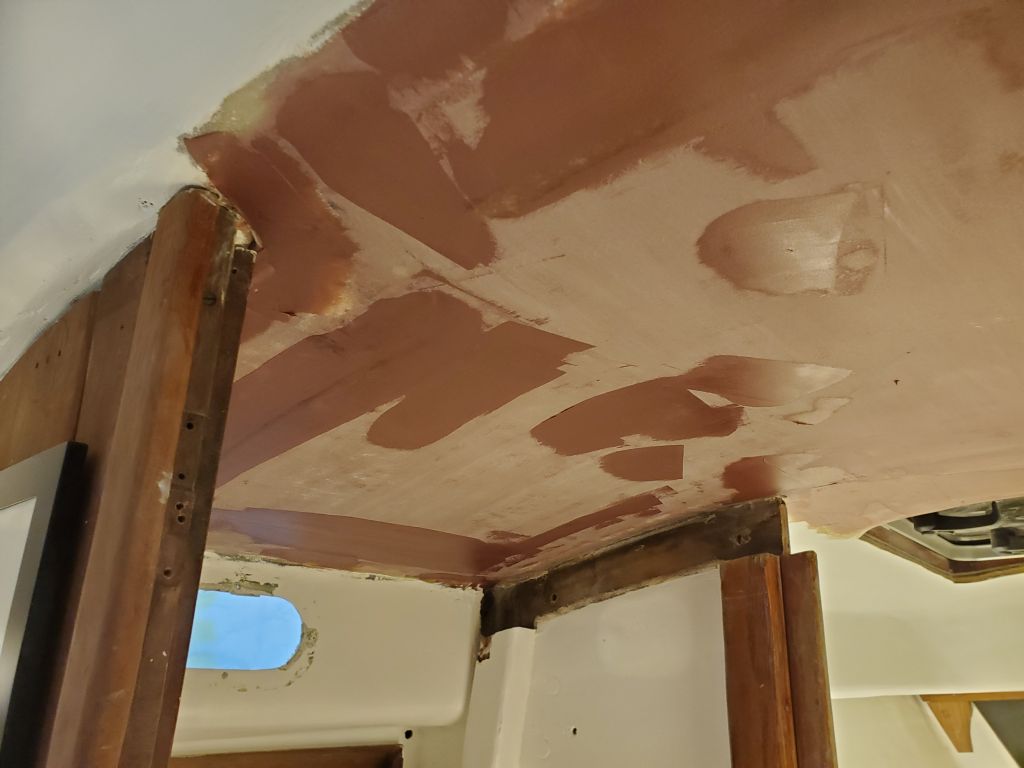
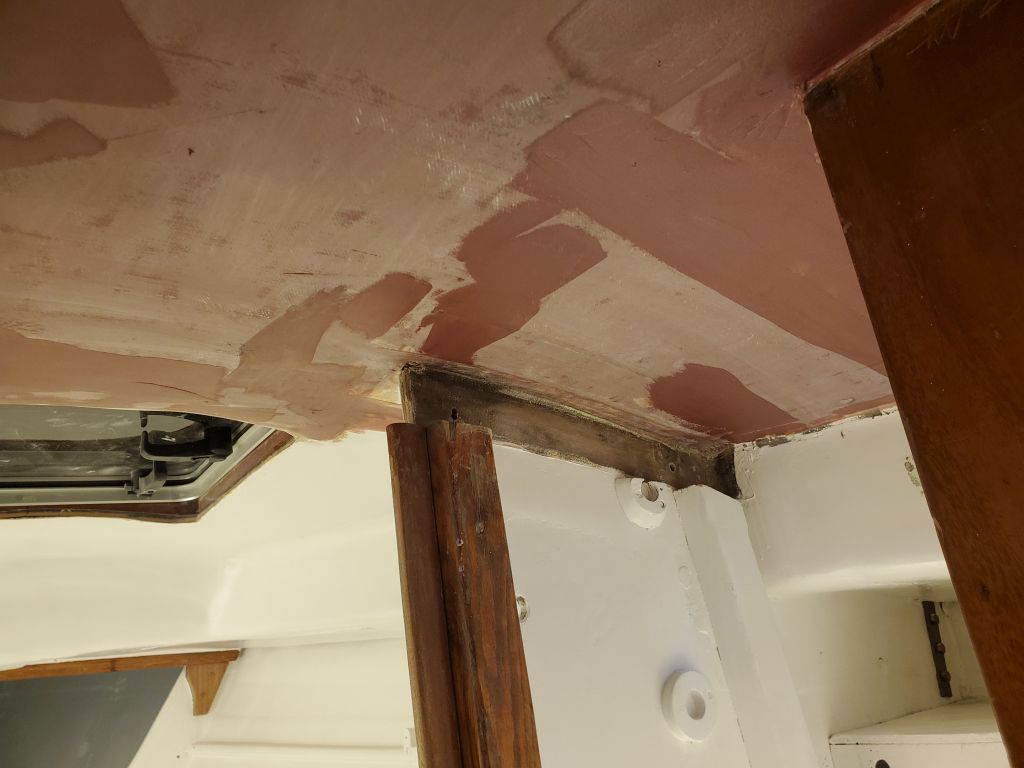
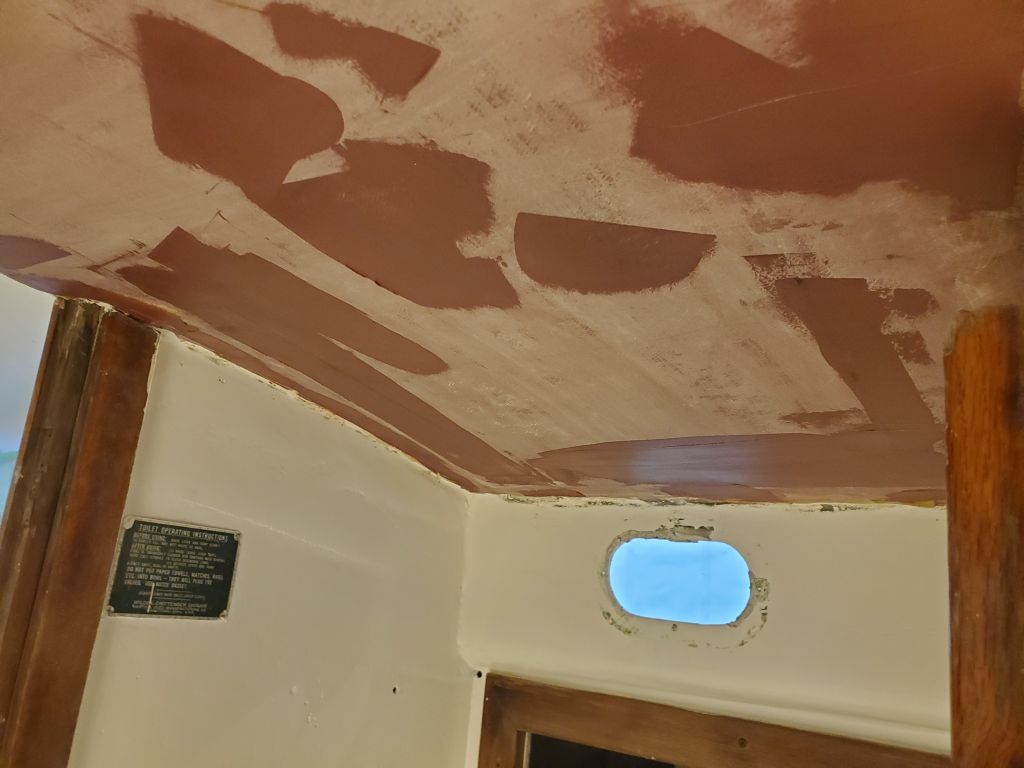
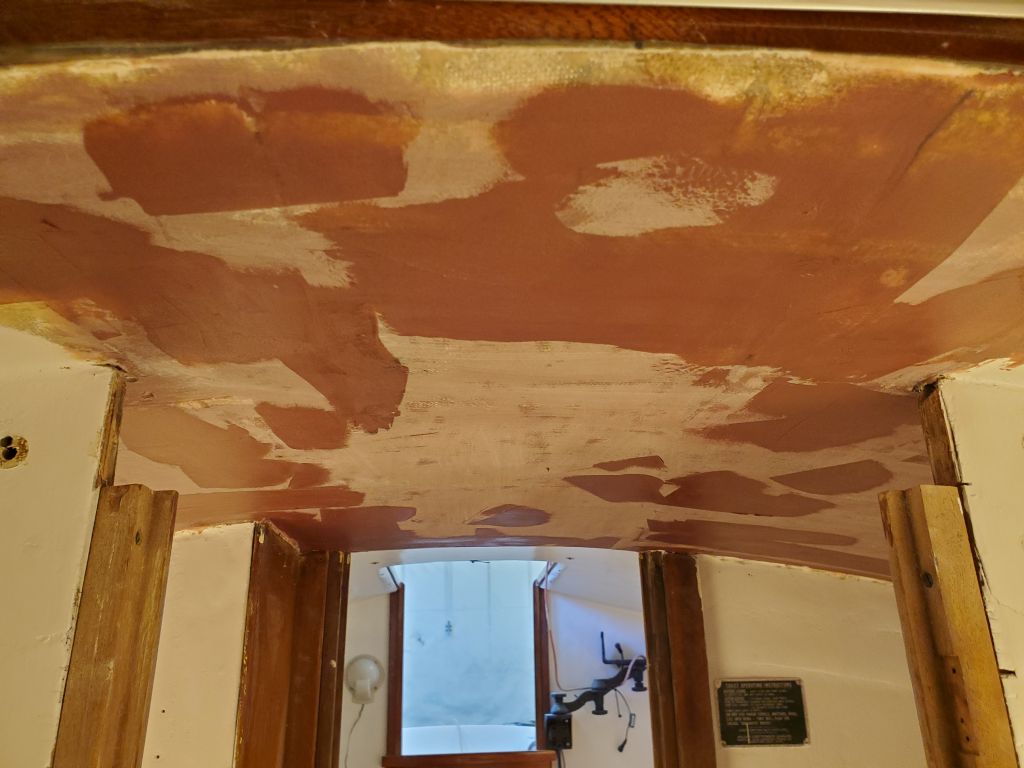
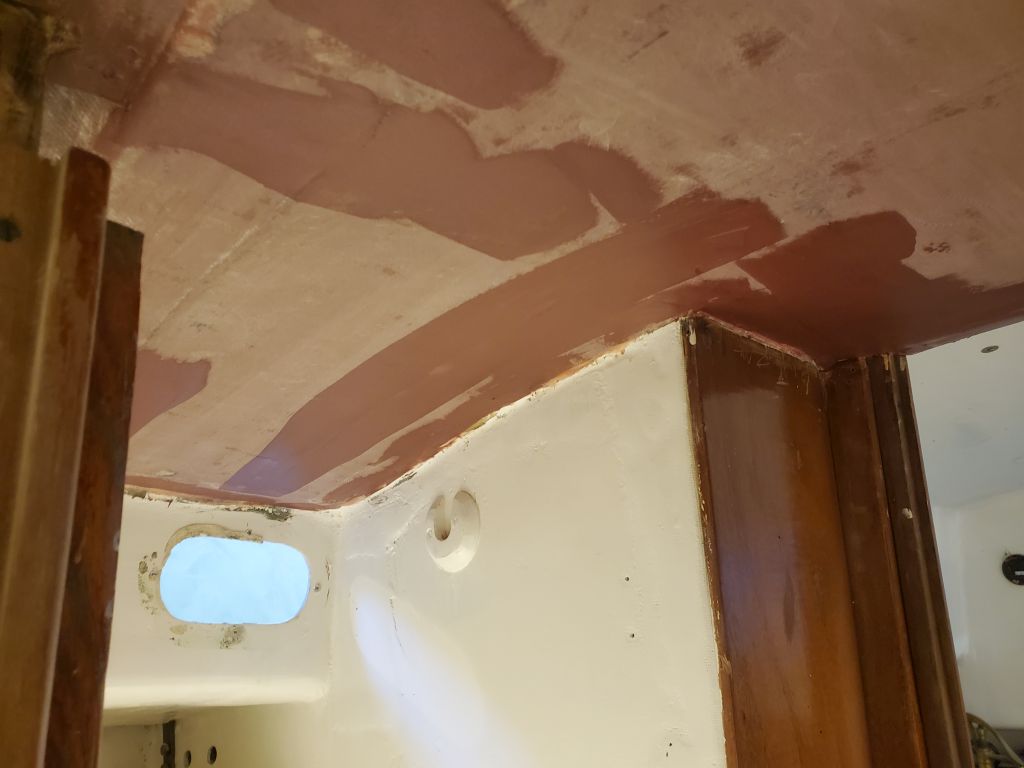
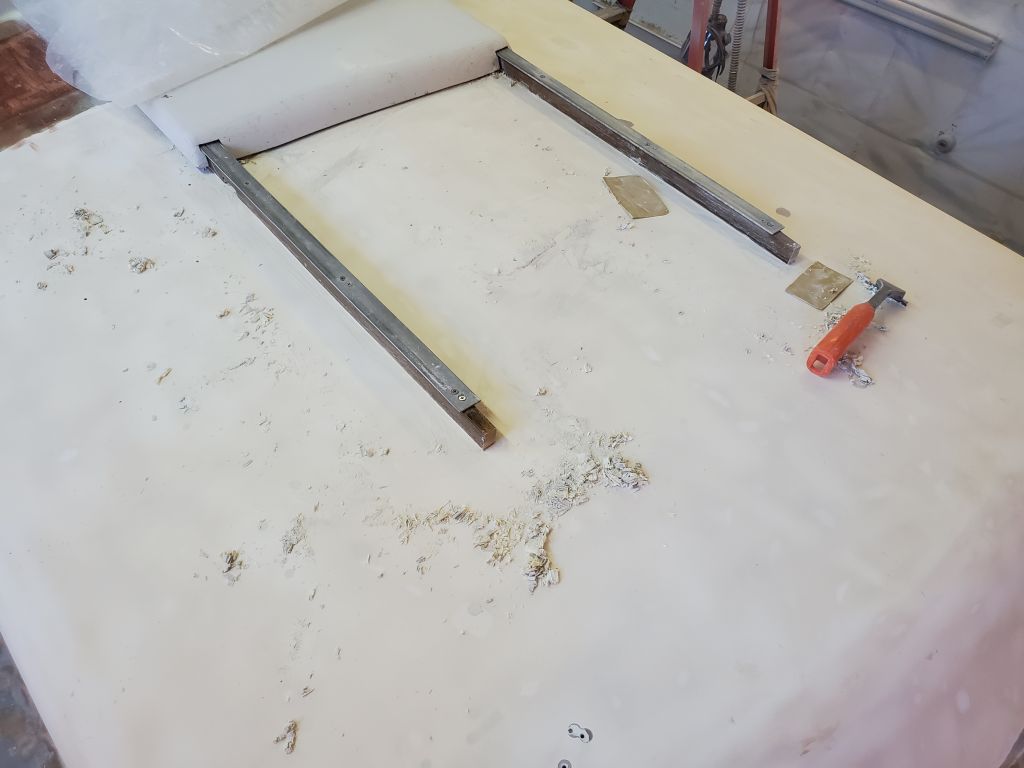
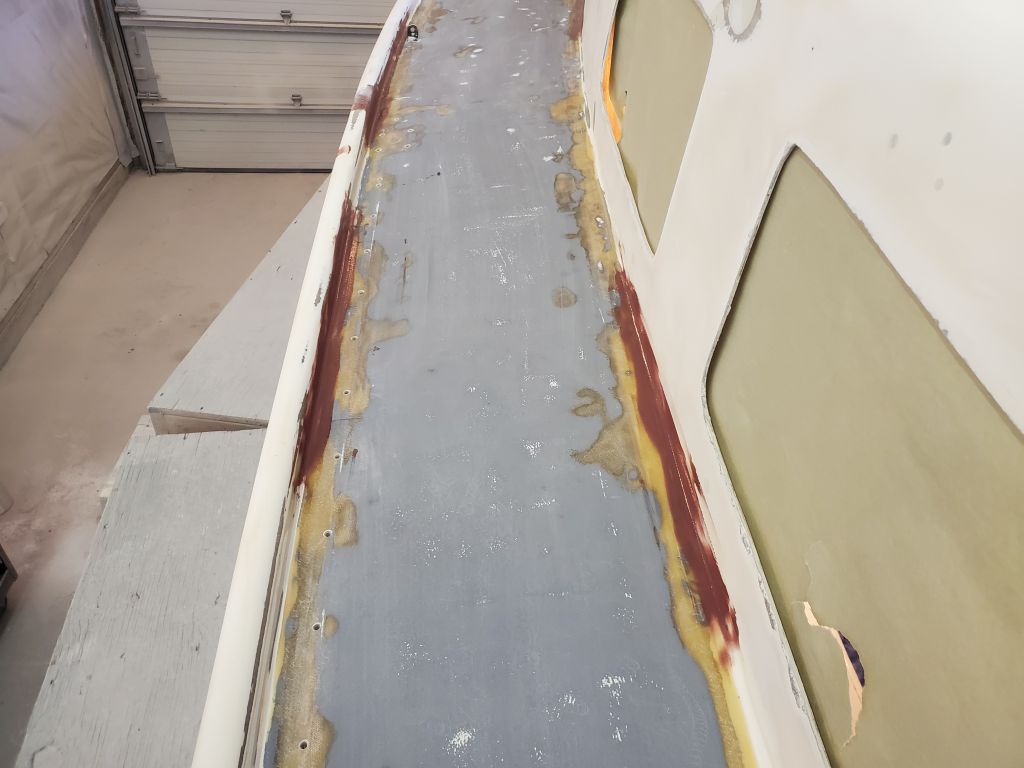
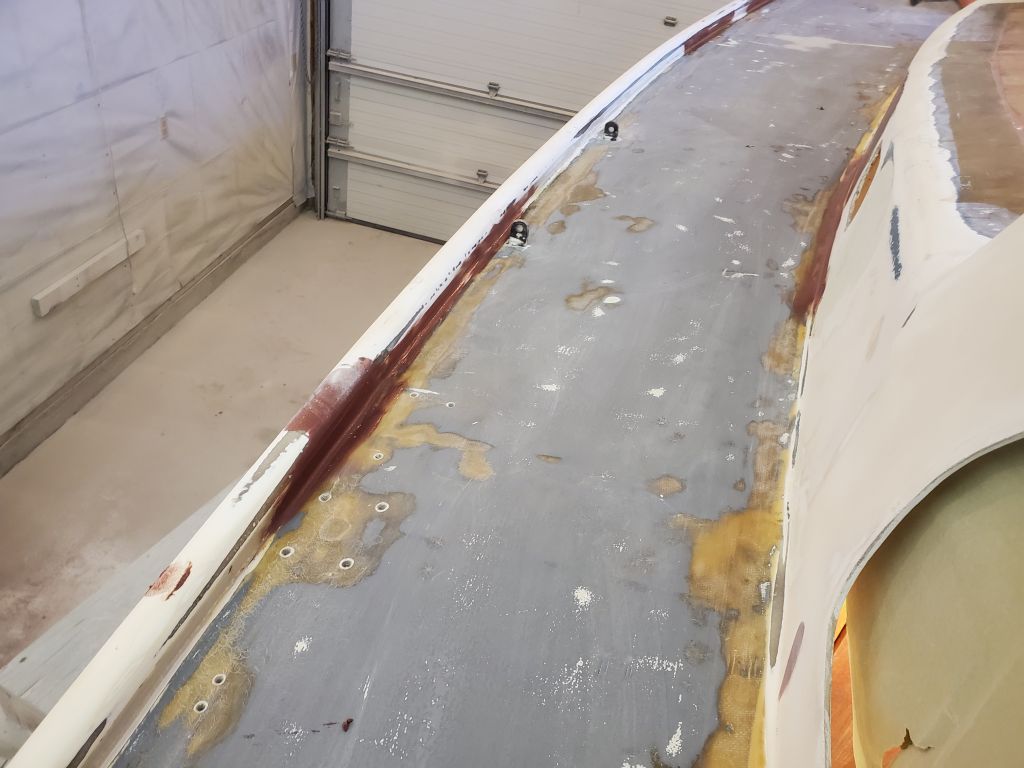
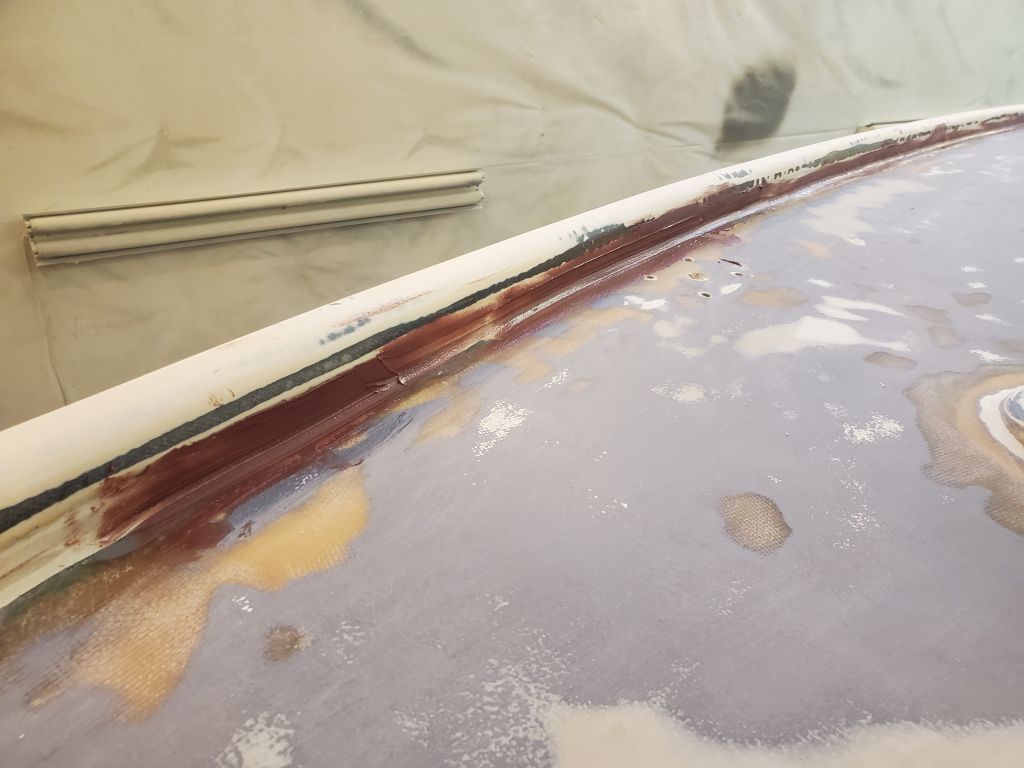
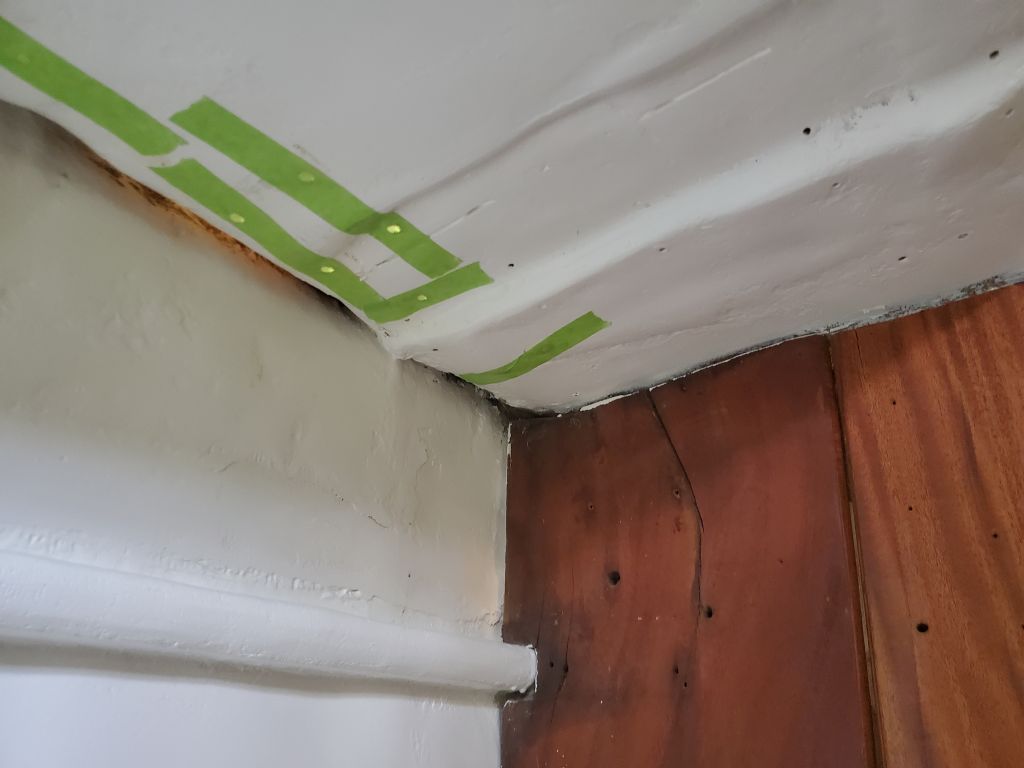
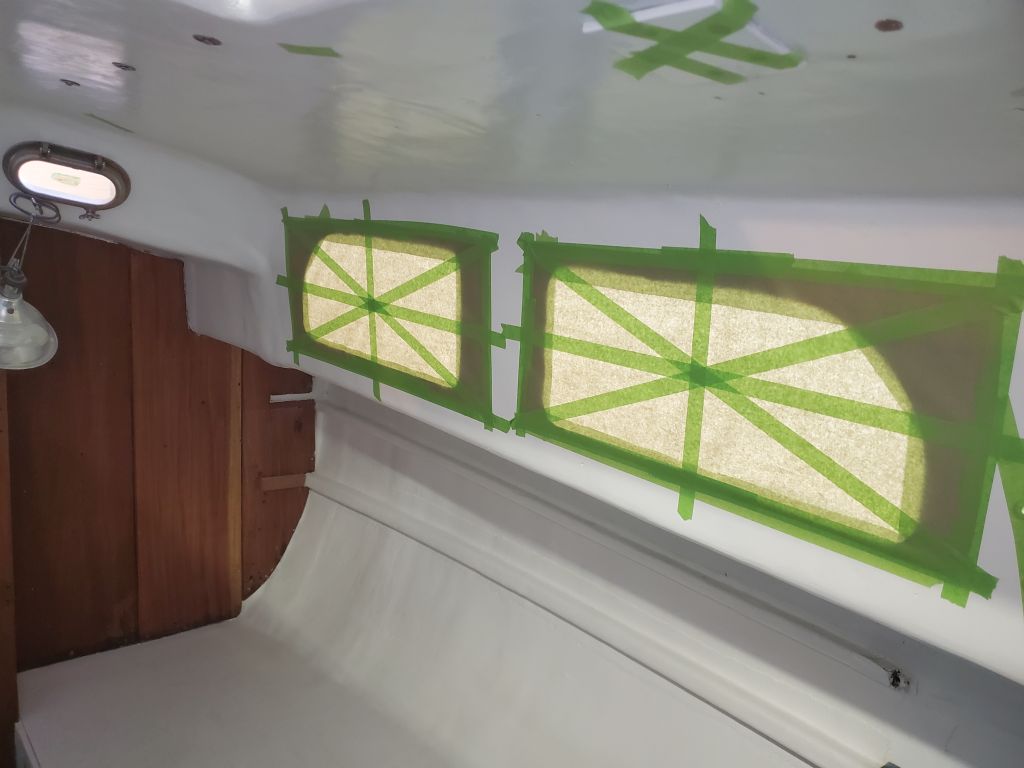
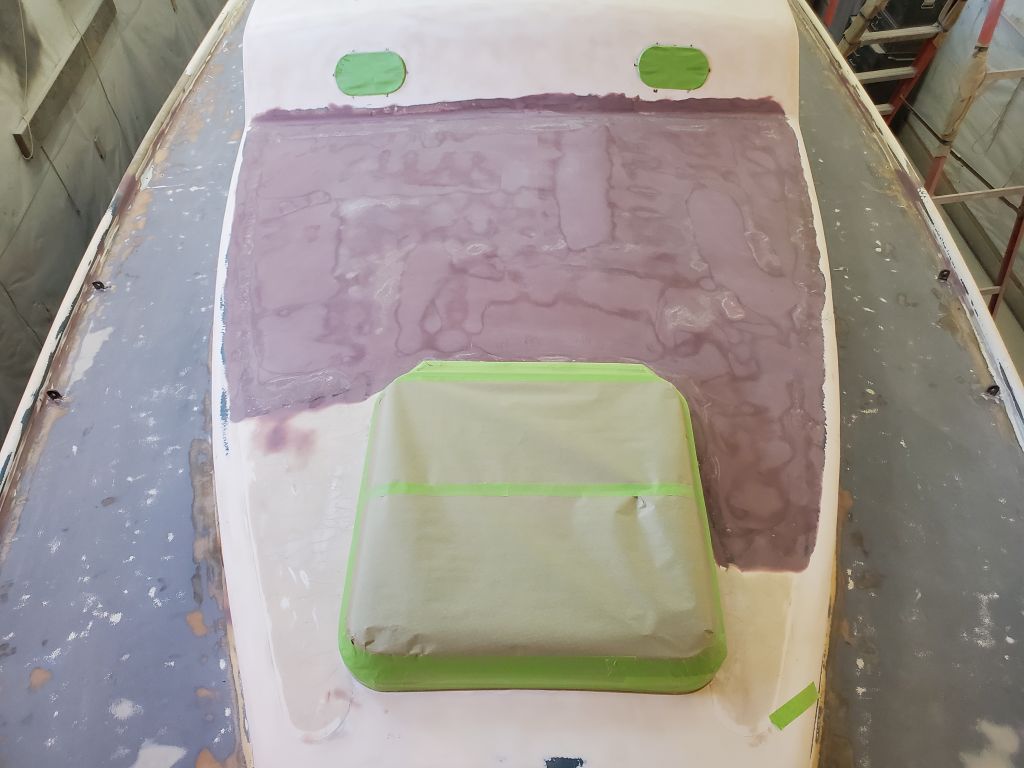
Back on deck and inside, I finished the cleanup process there, wiping all areas of the interior to ensure that tape would stick, and solvent-washing the decks, which I’d only vacuumed during the earlier cleanup.

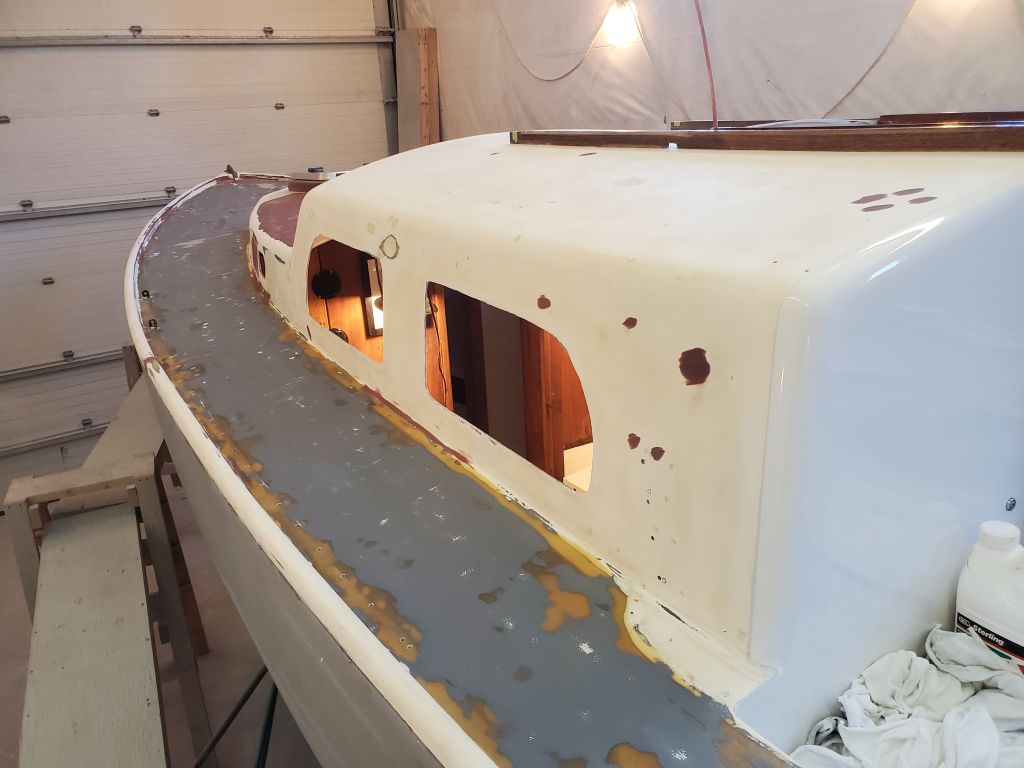
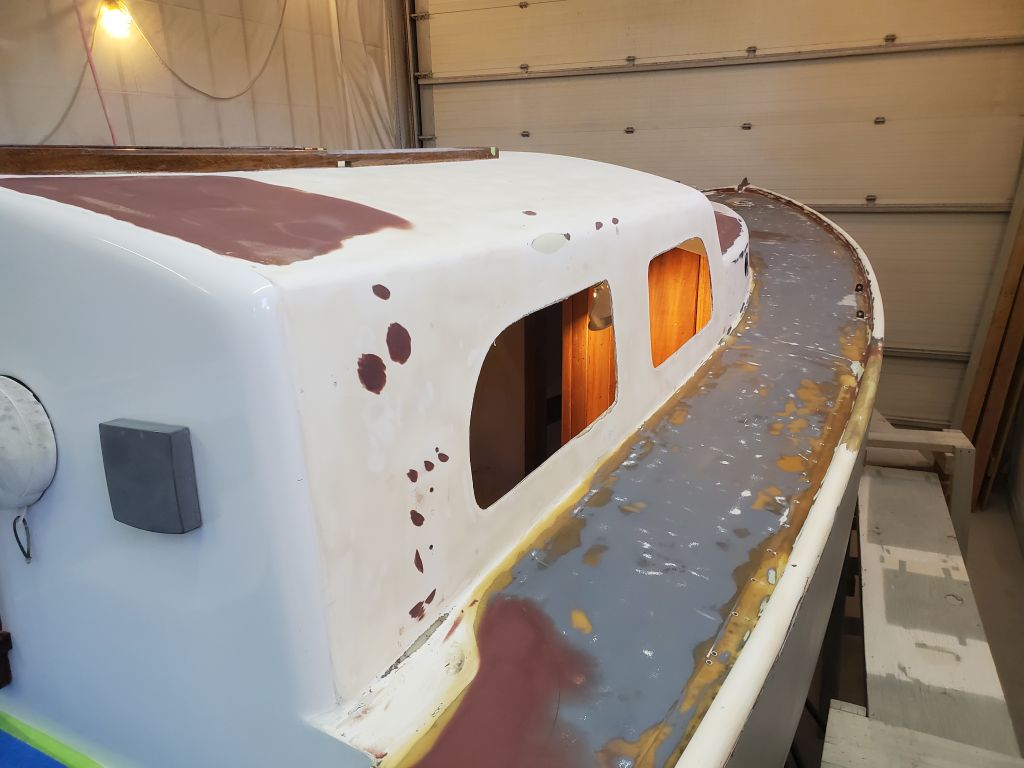
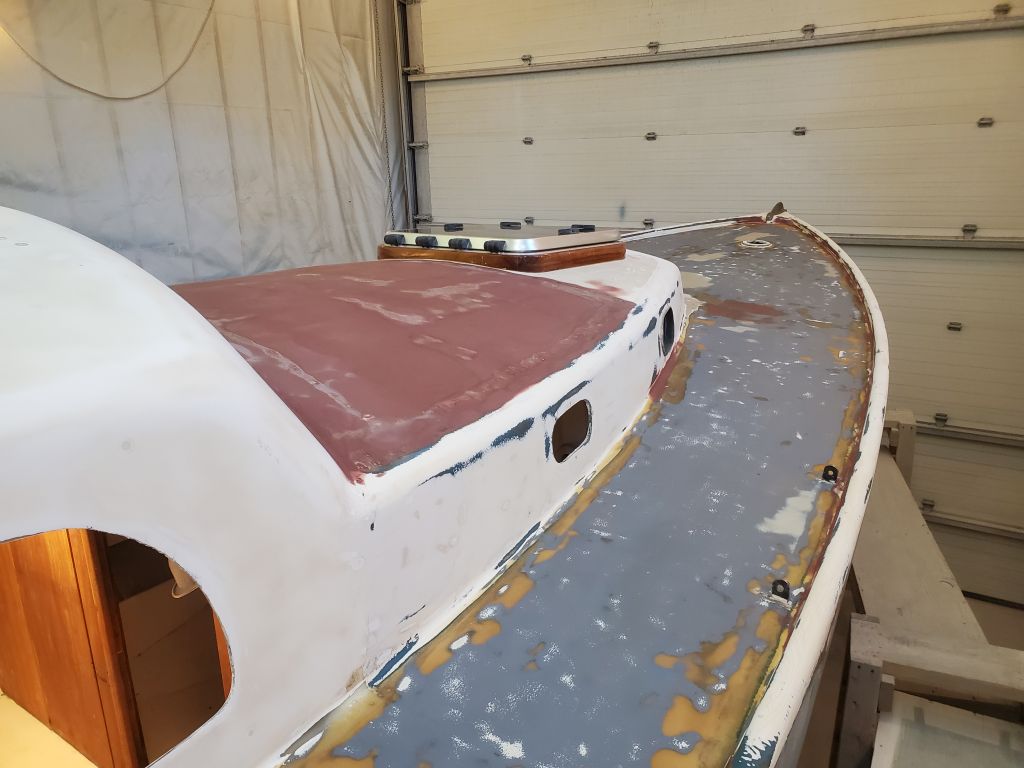
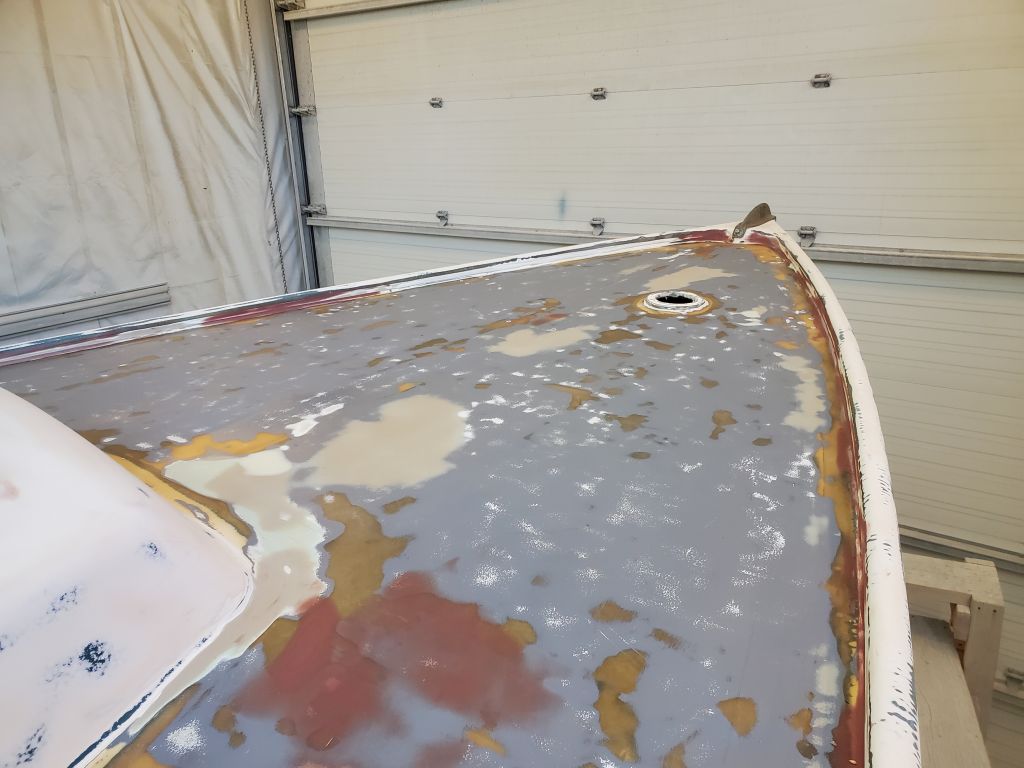
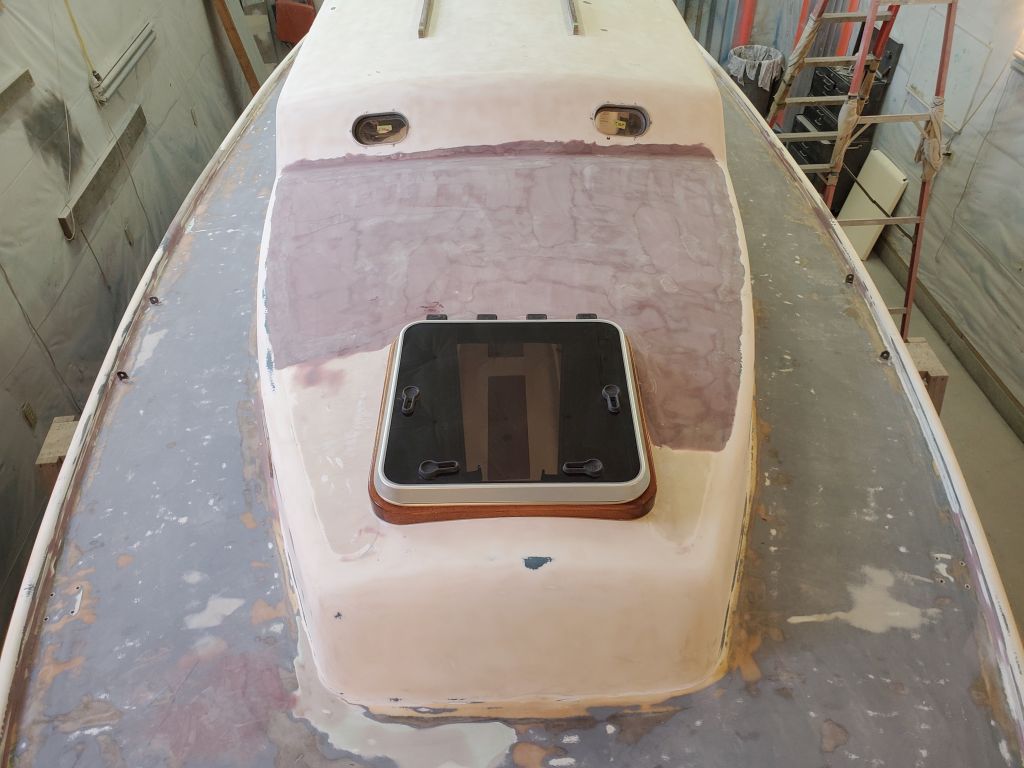
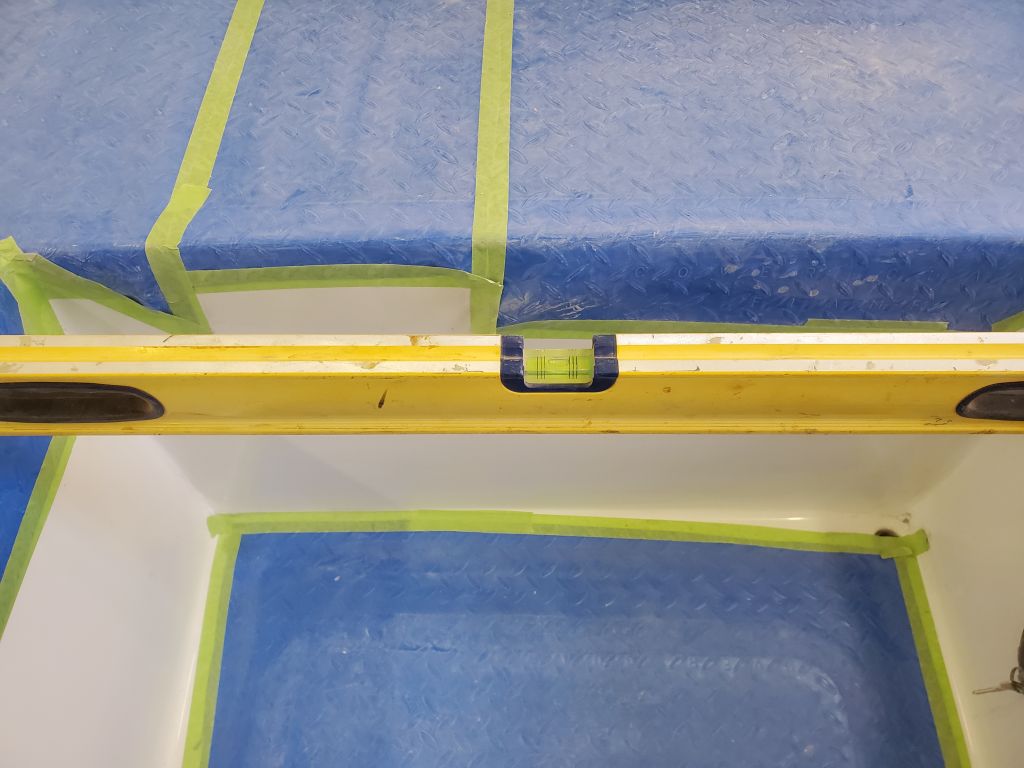
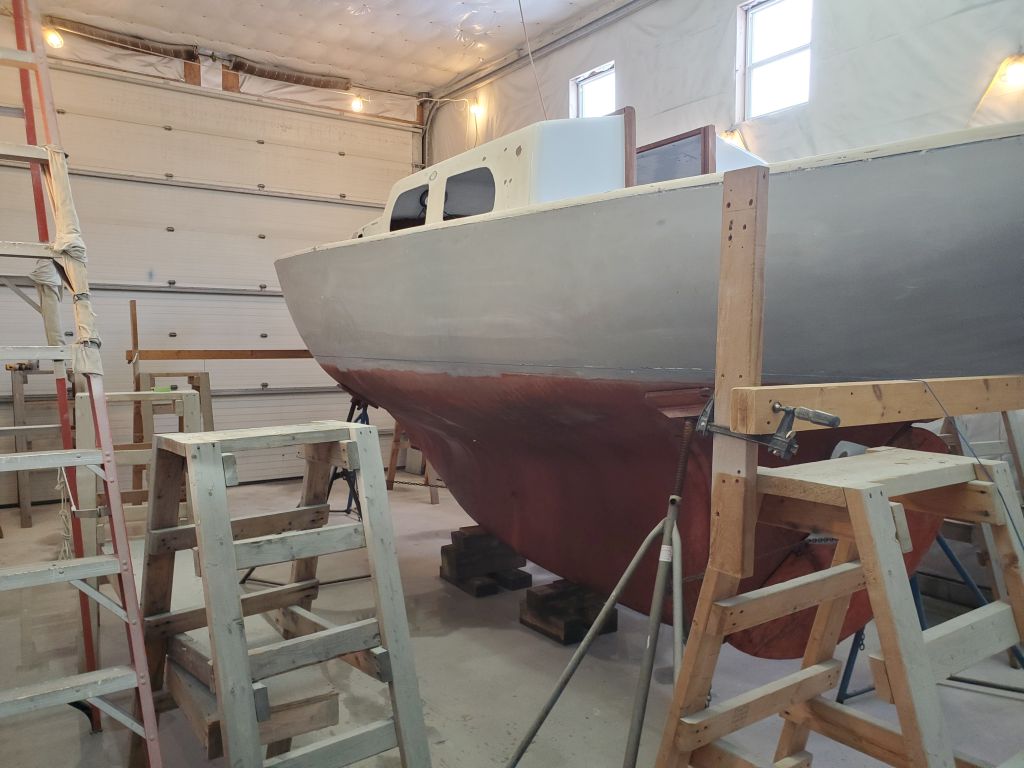
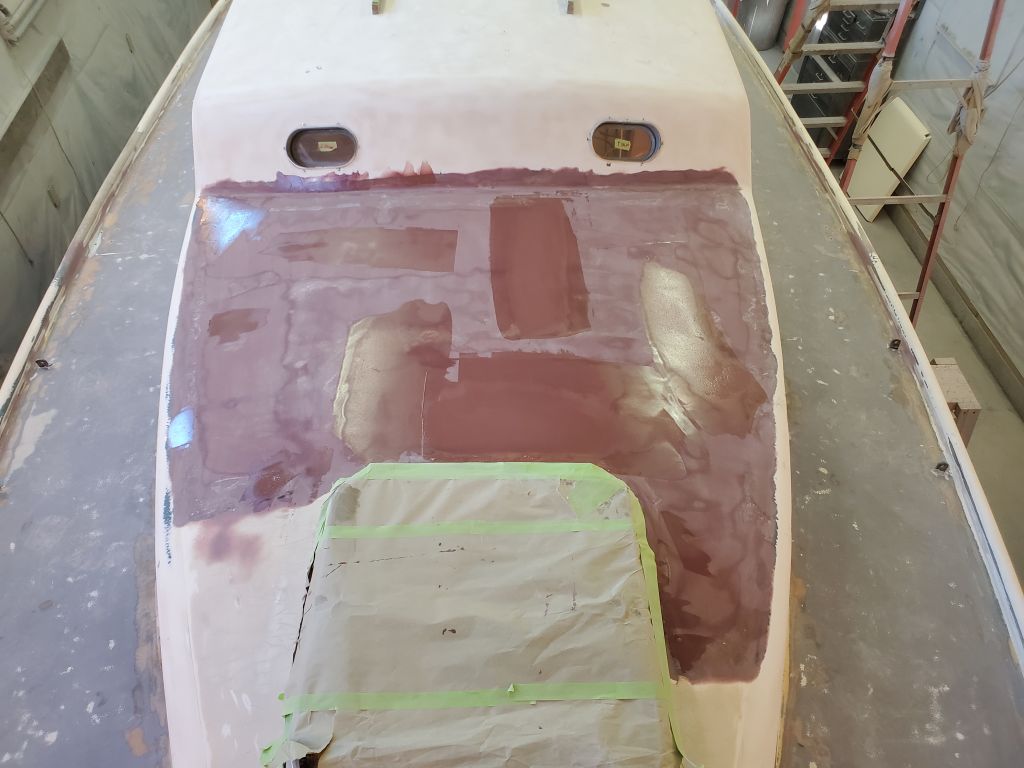
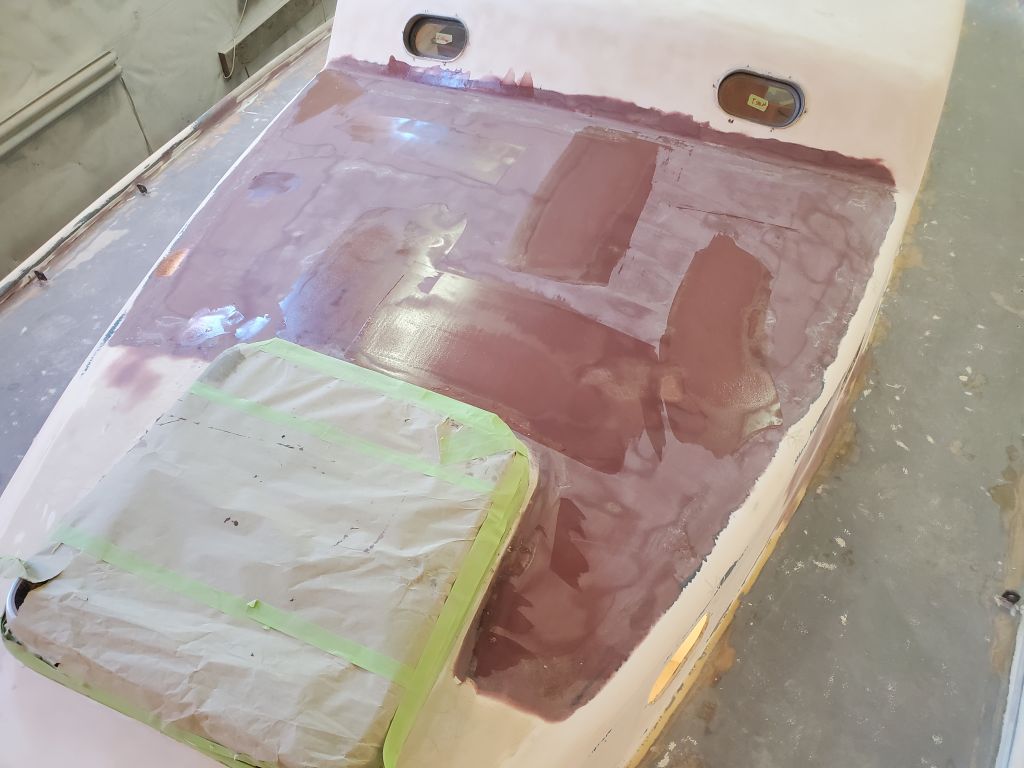
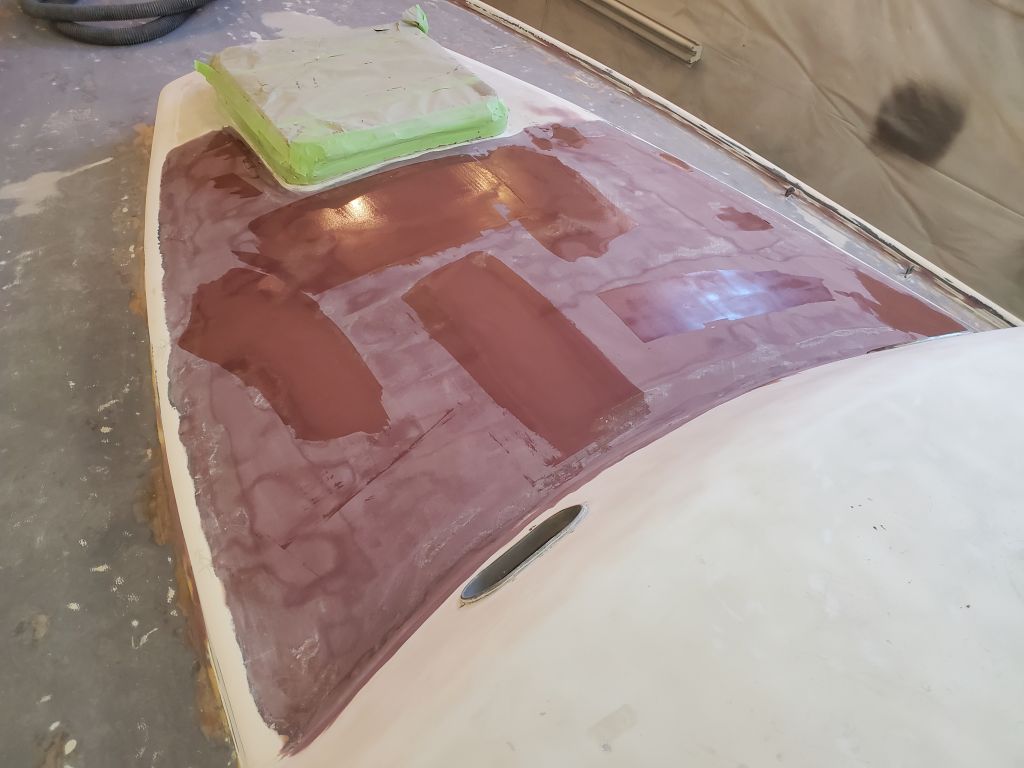
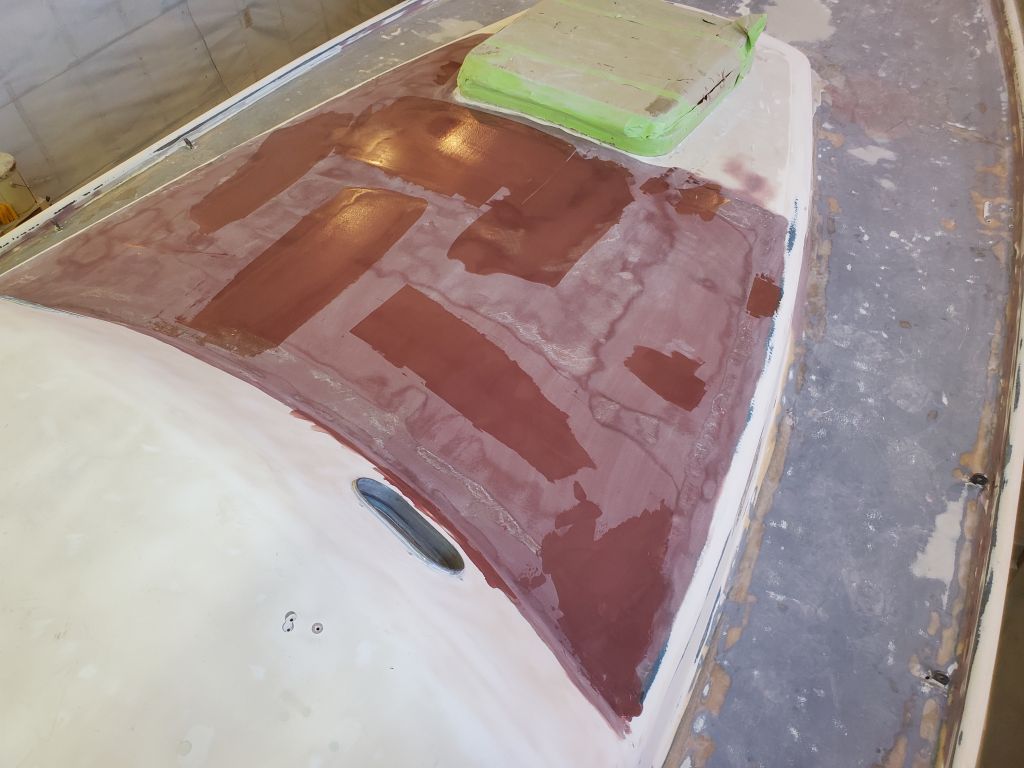
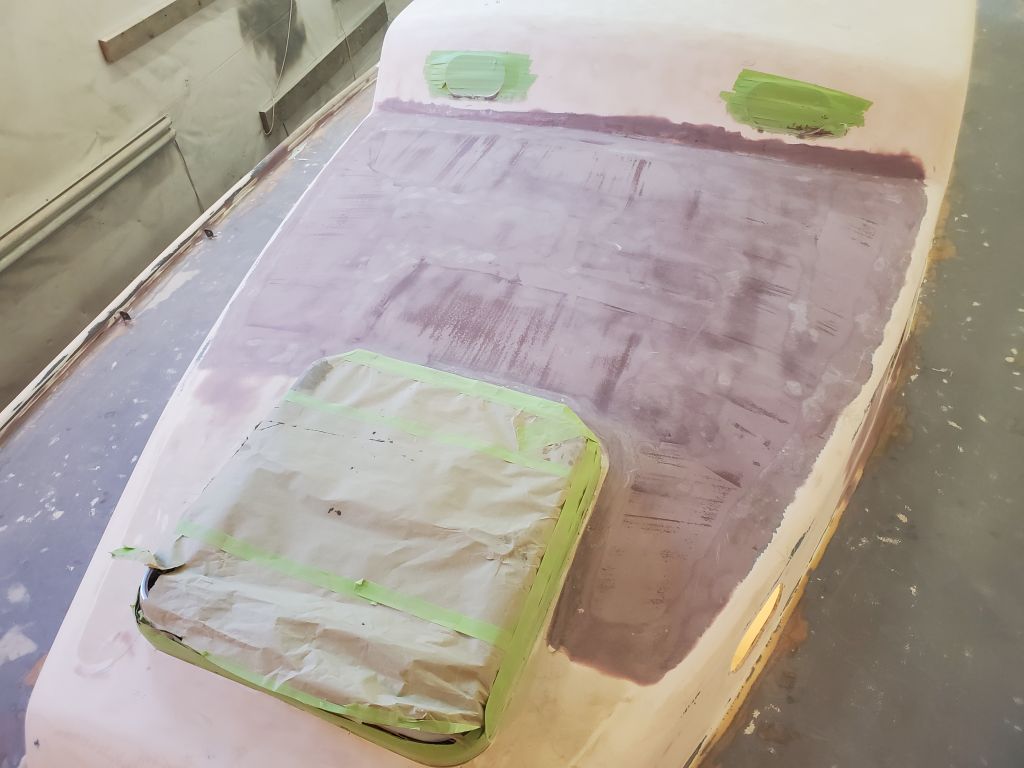
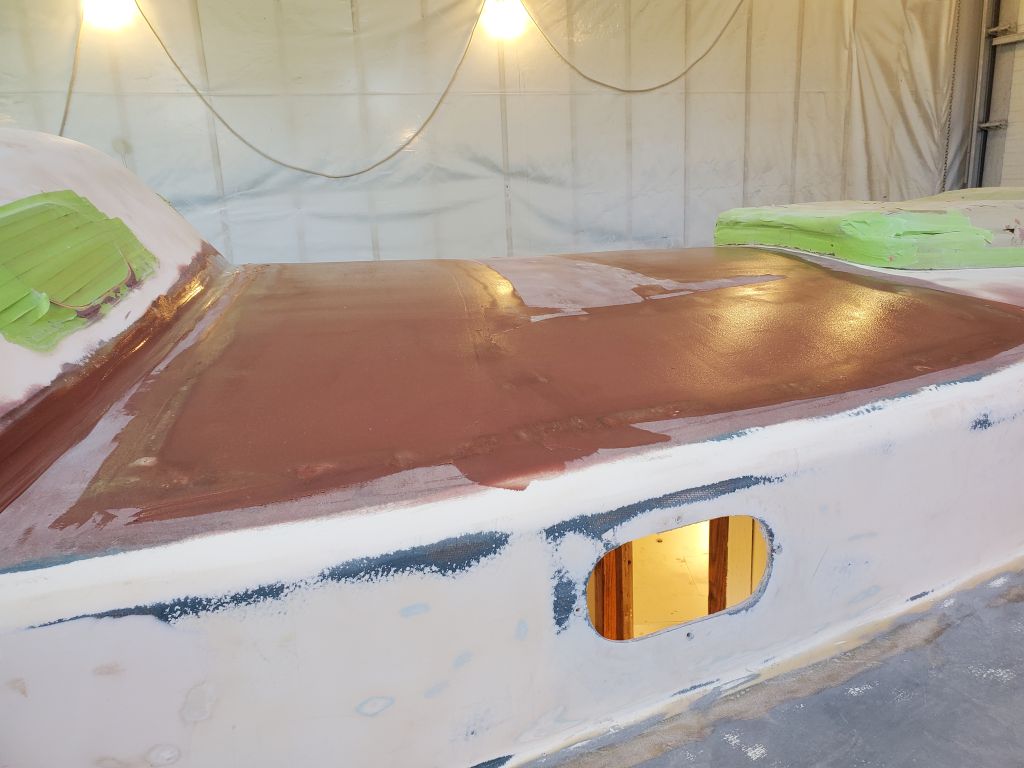
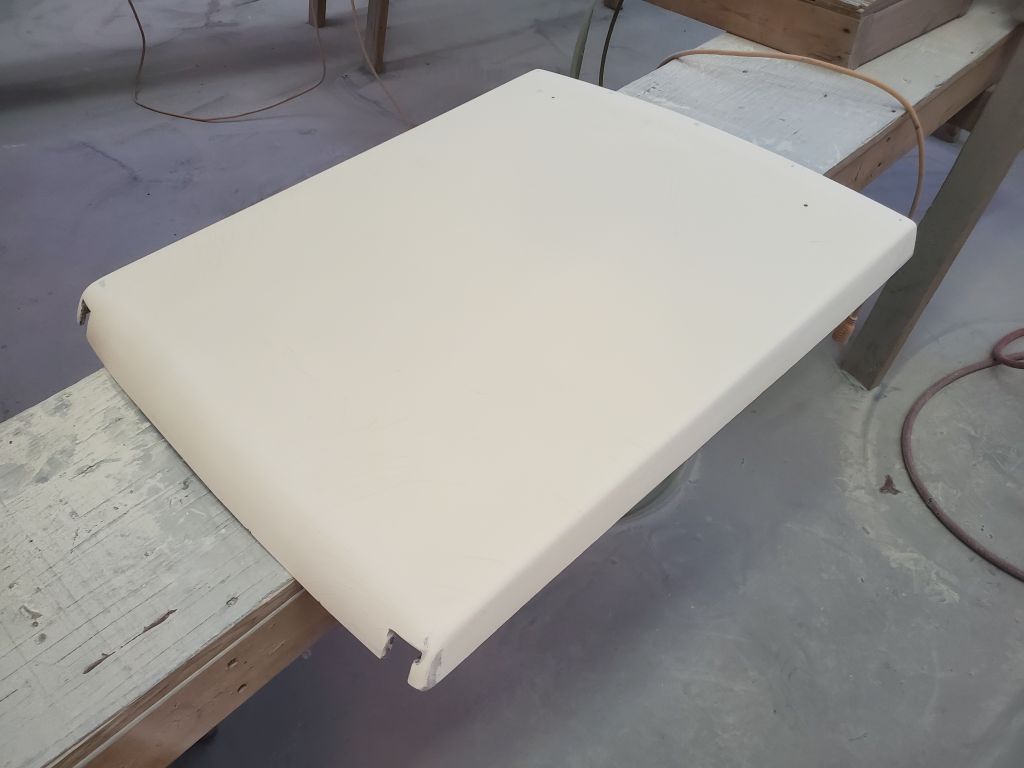
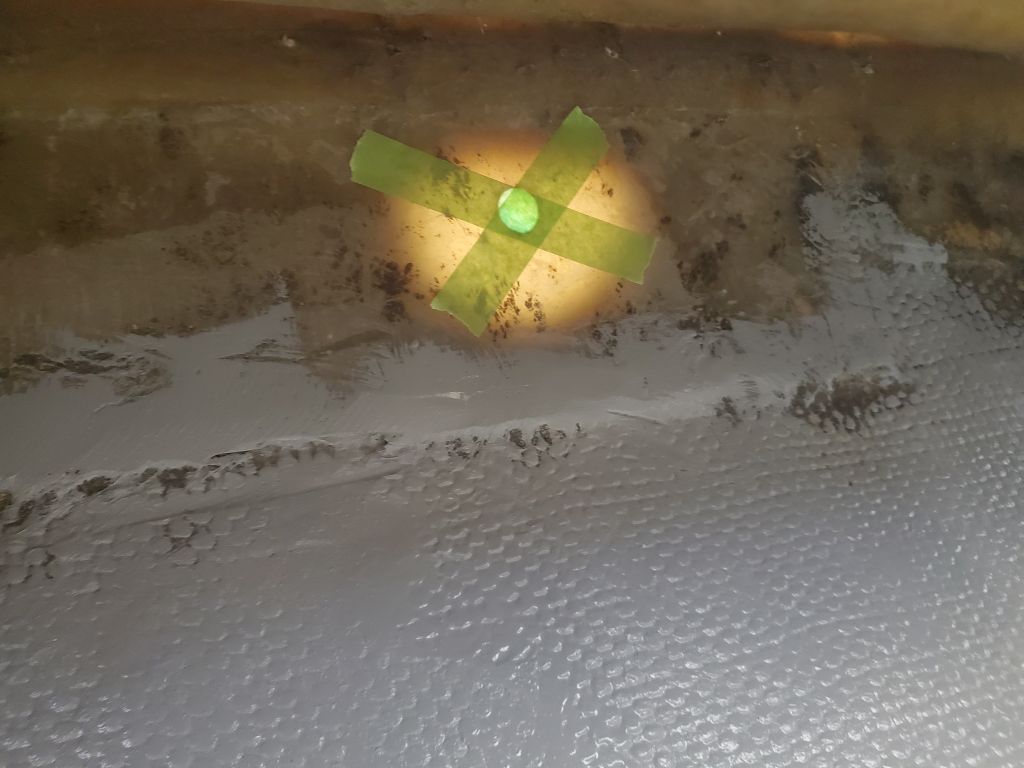
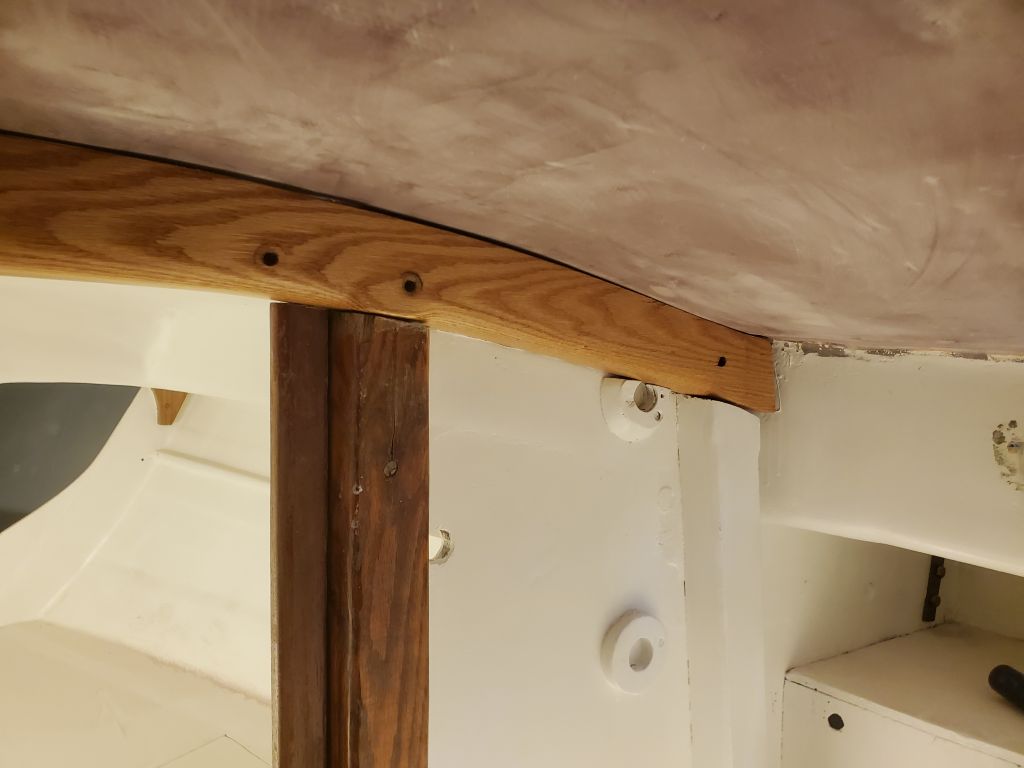
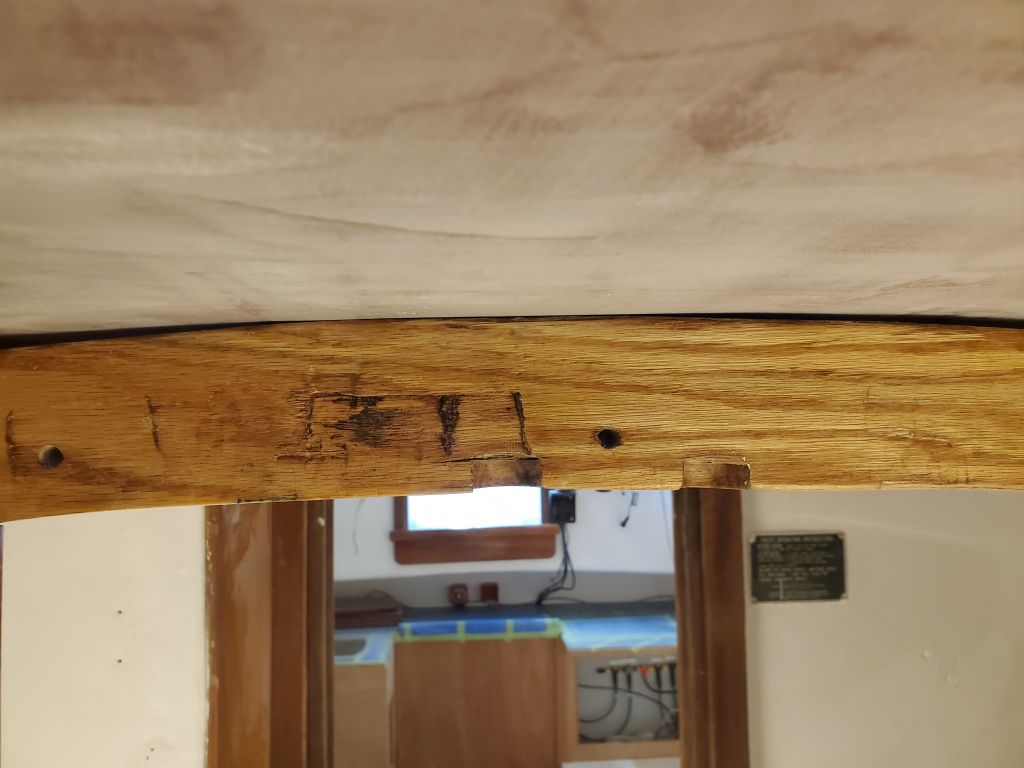
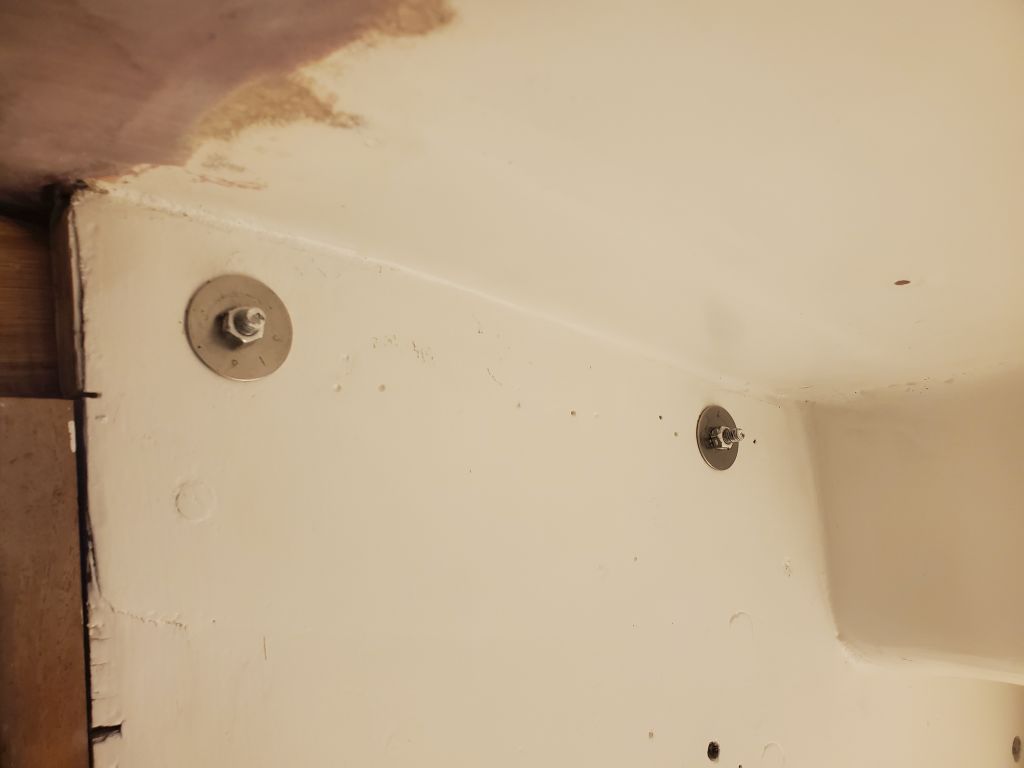
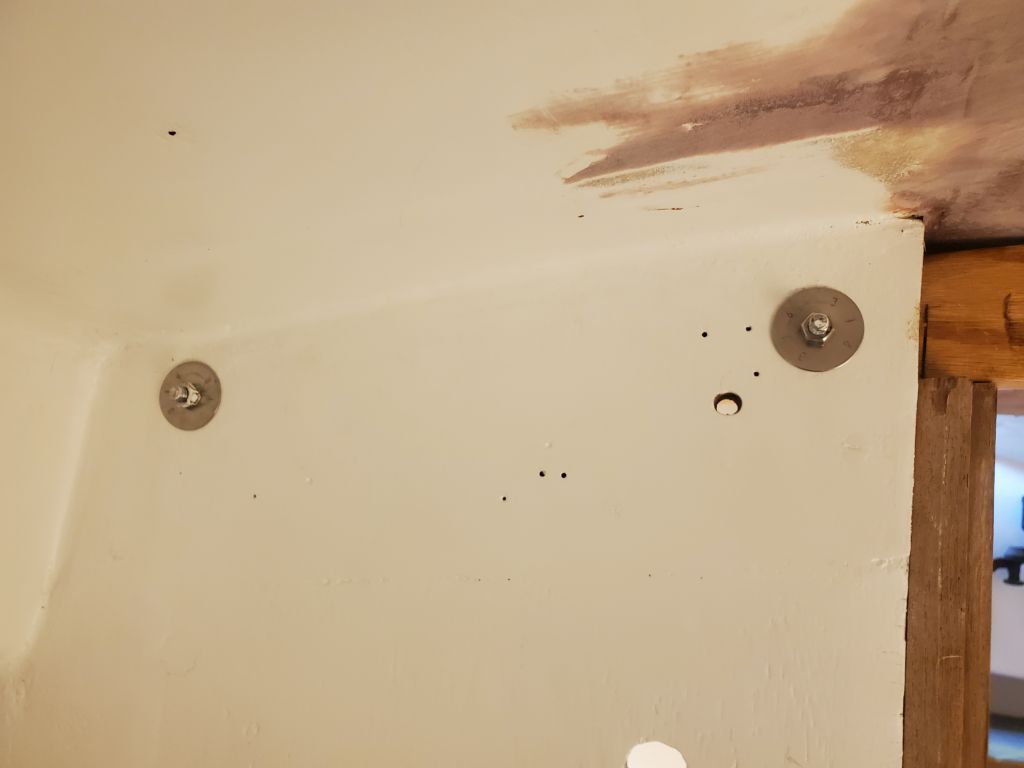
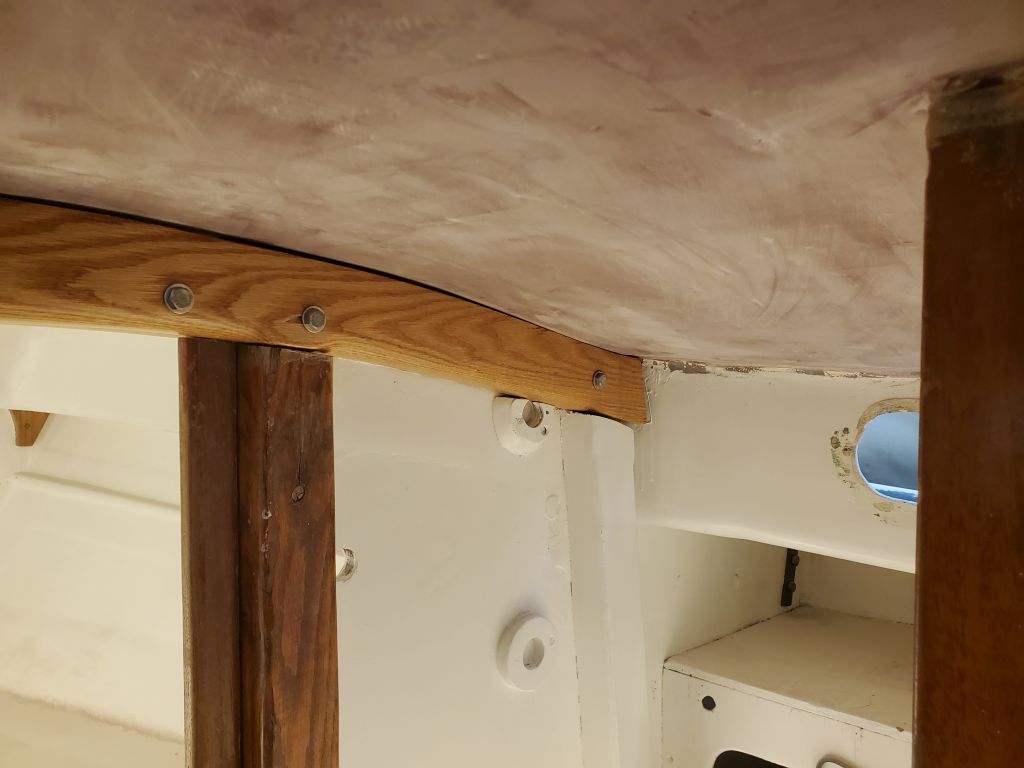
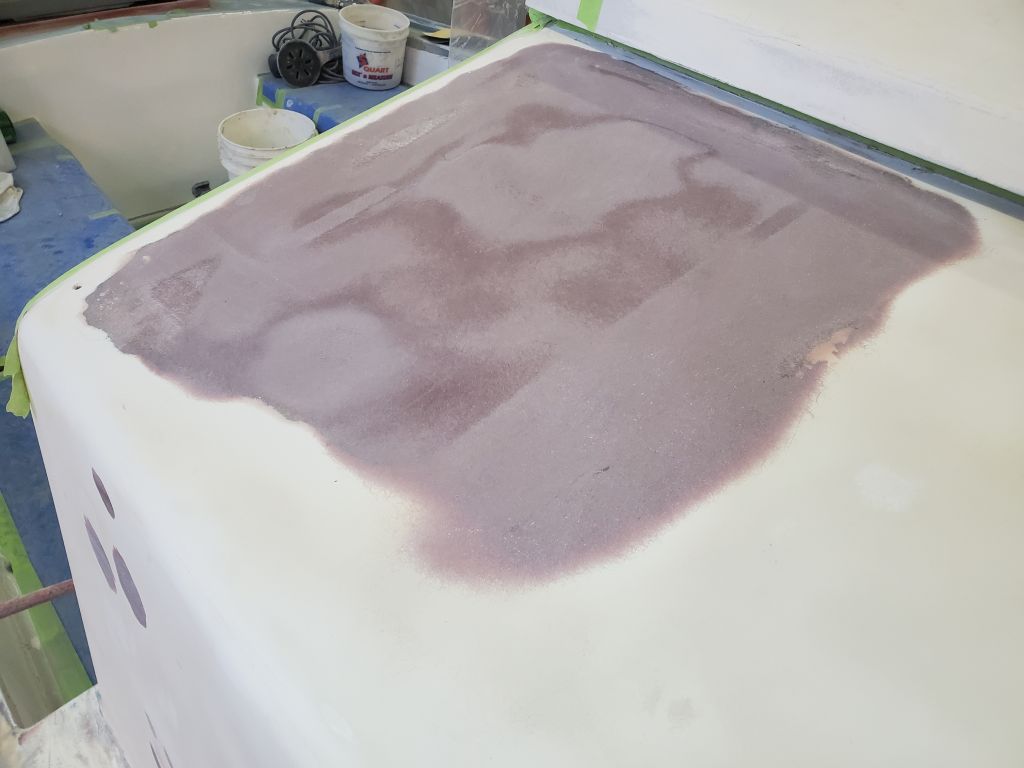
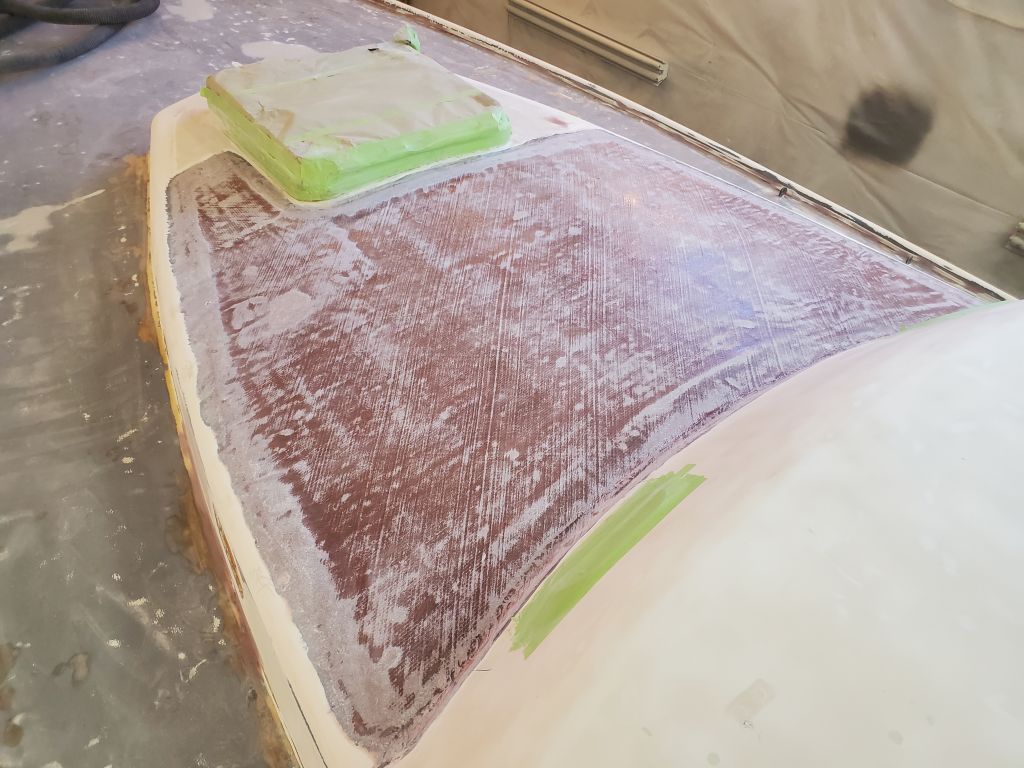
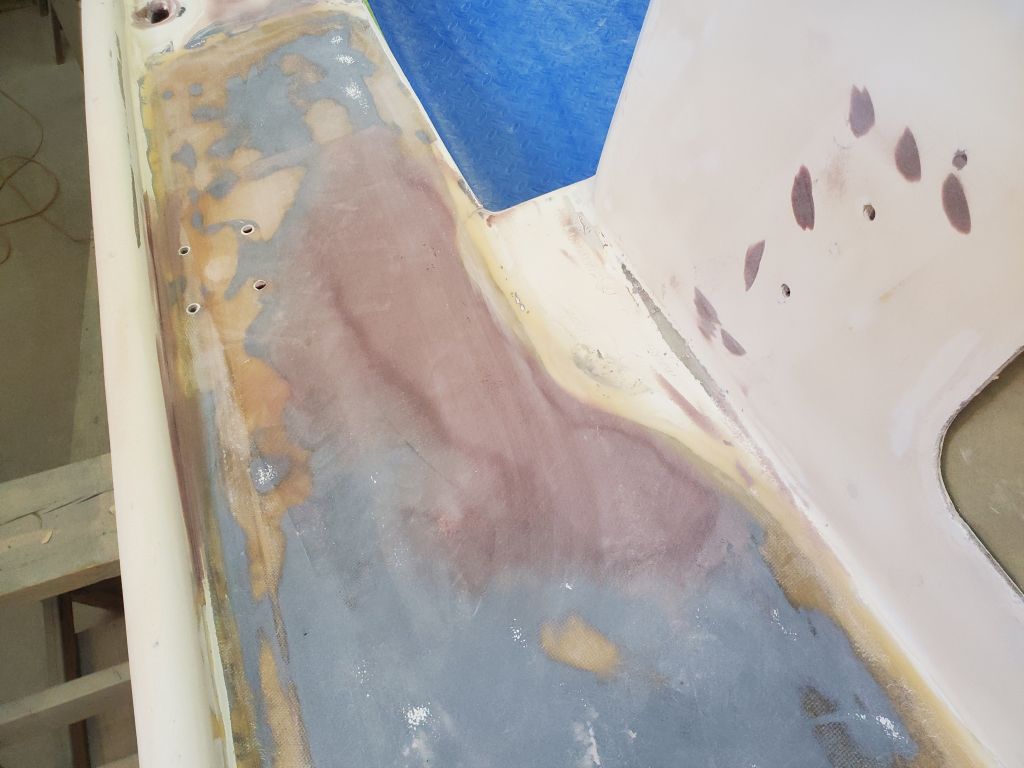
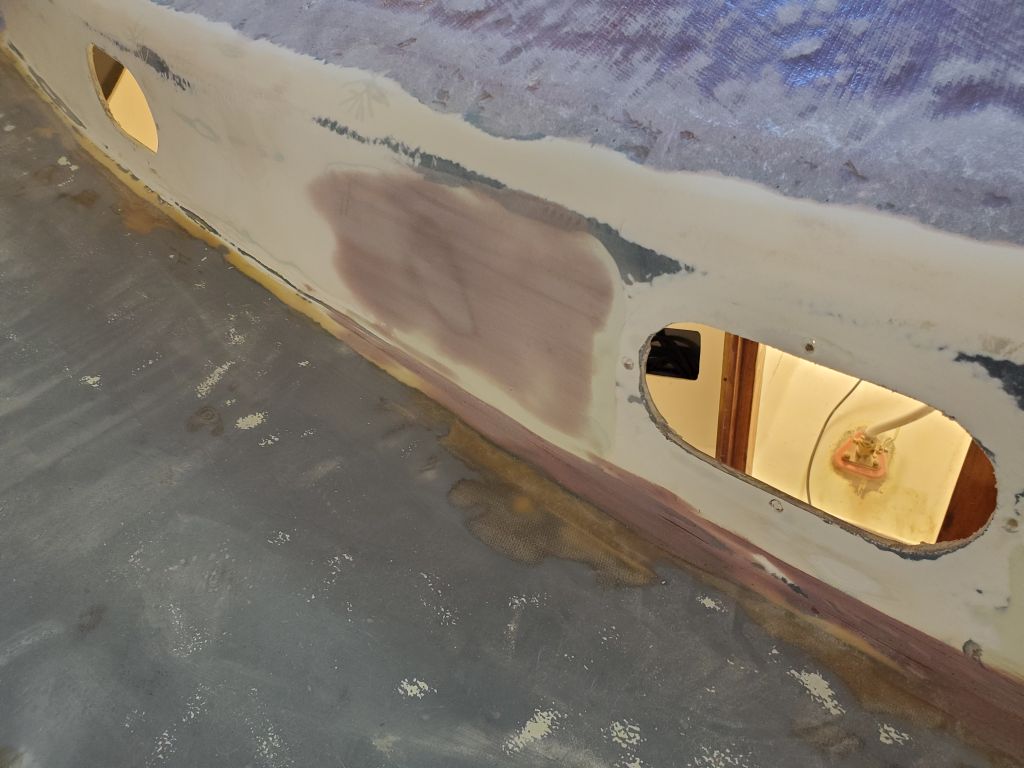
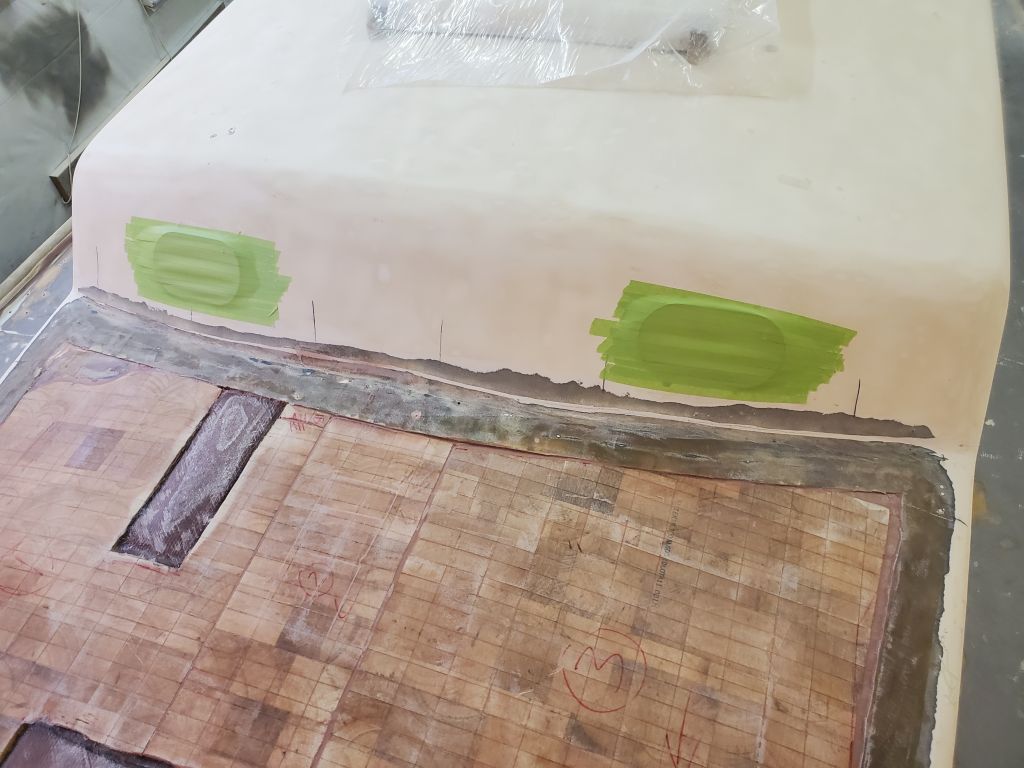
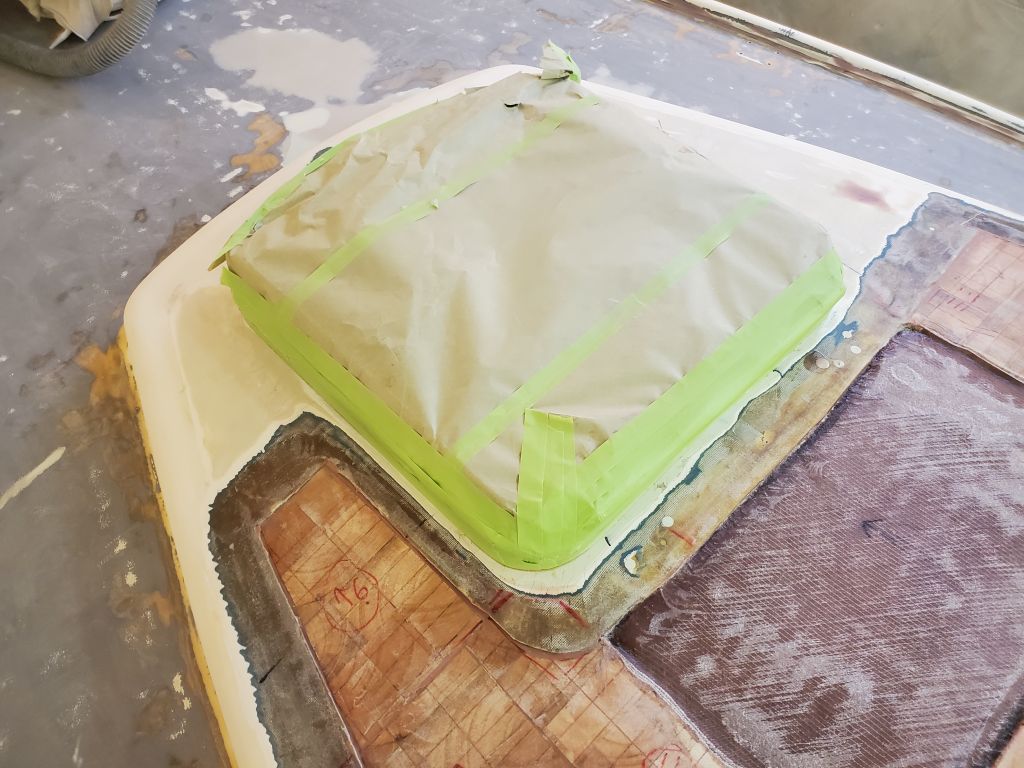
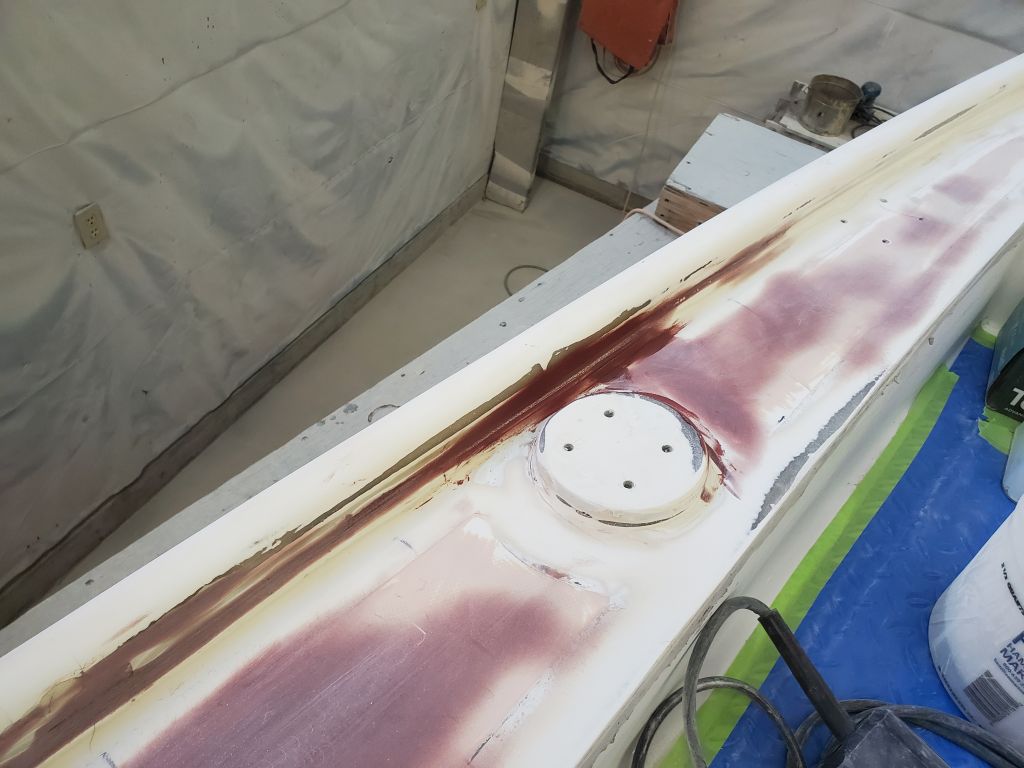
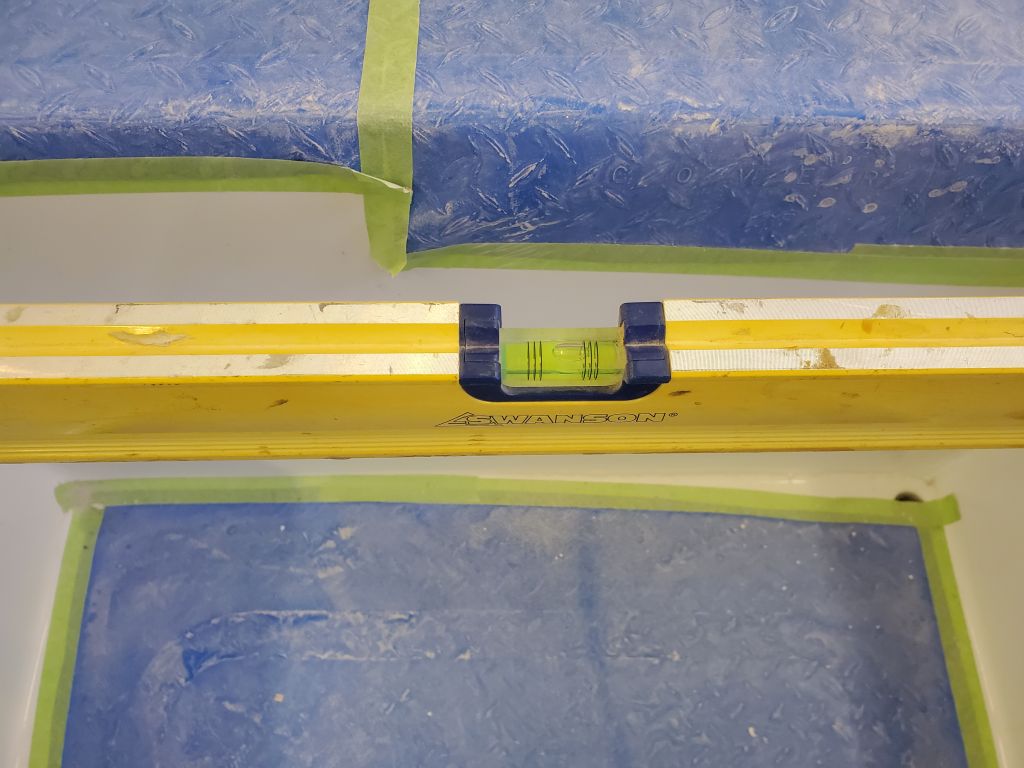
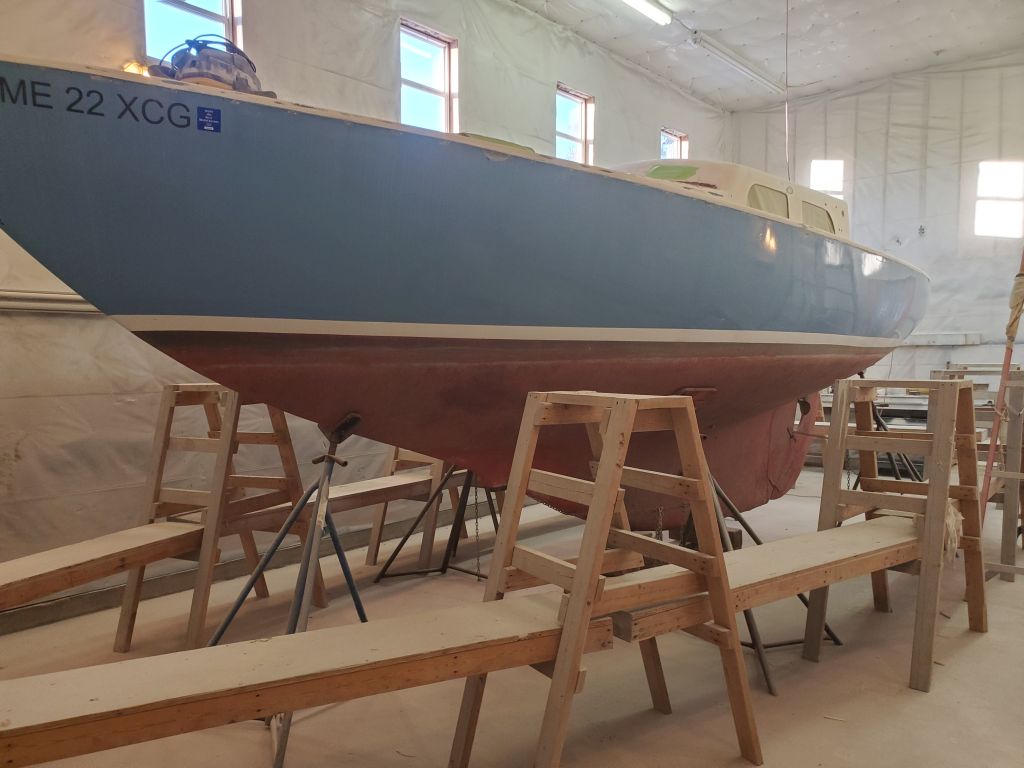
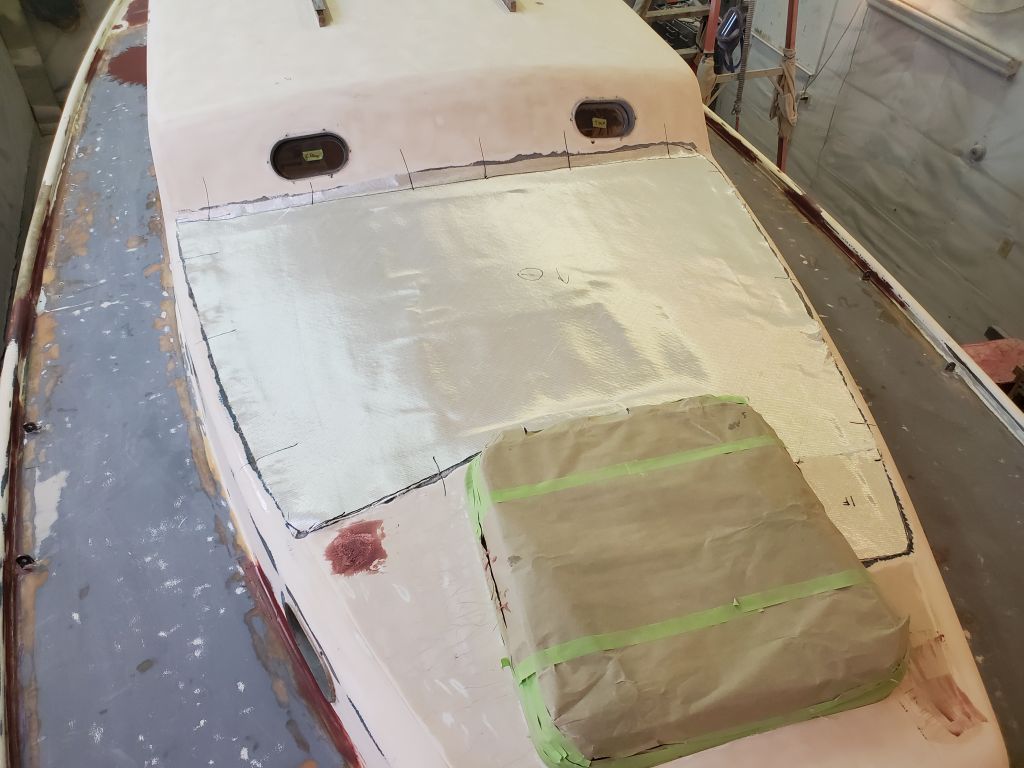
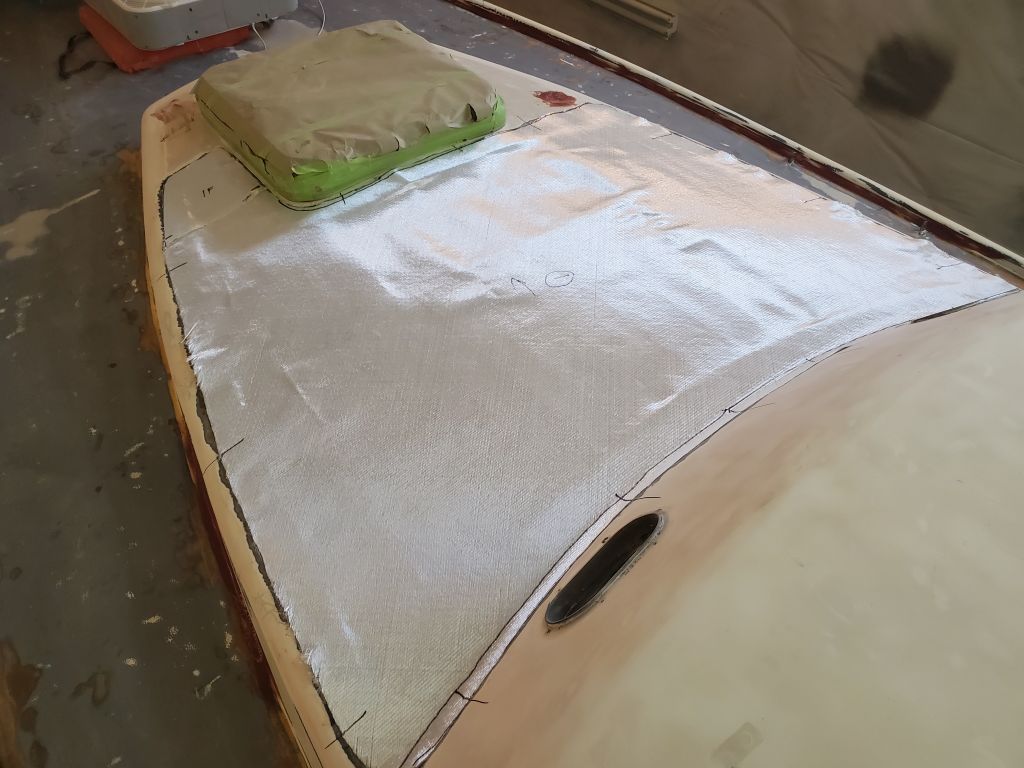
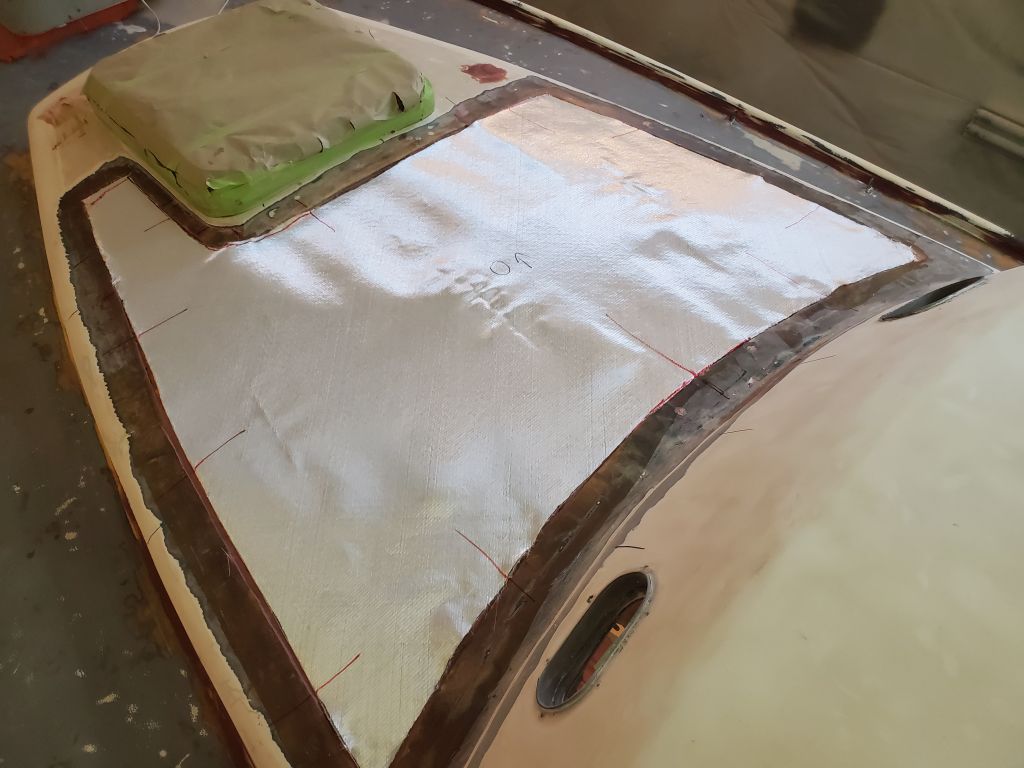
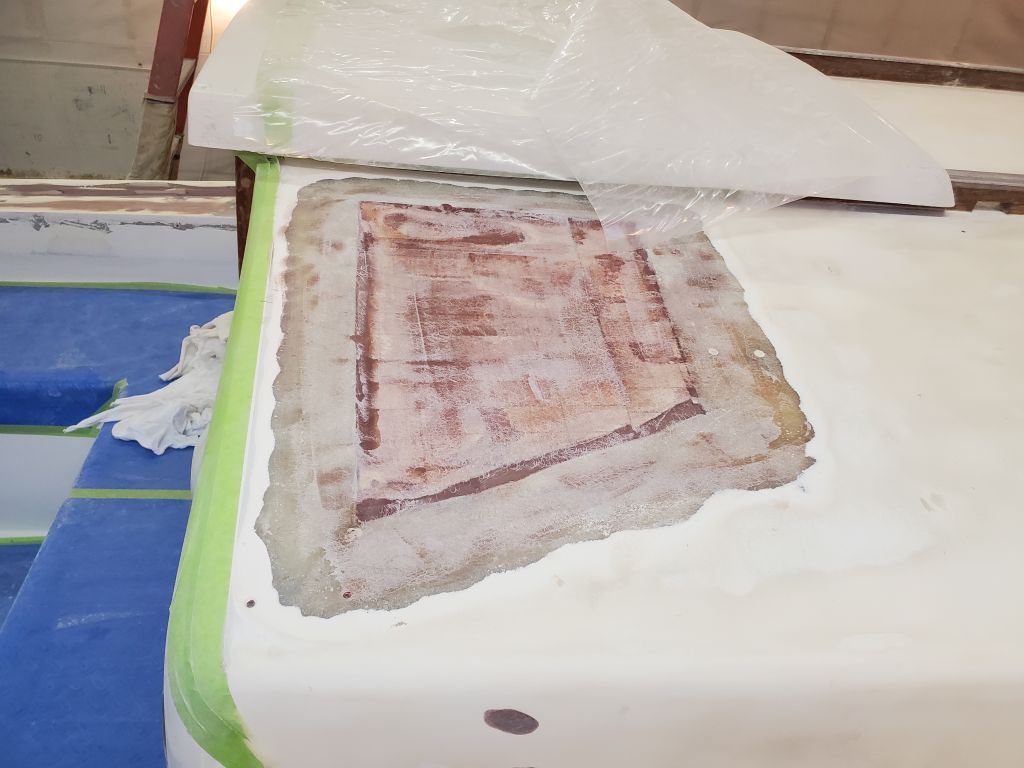
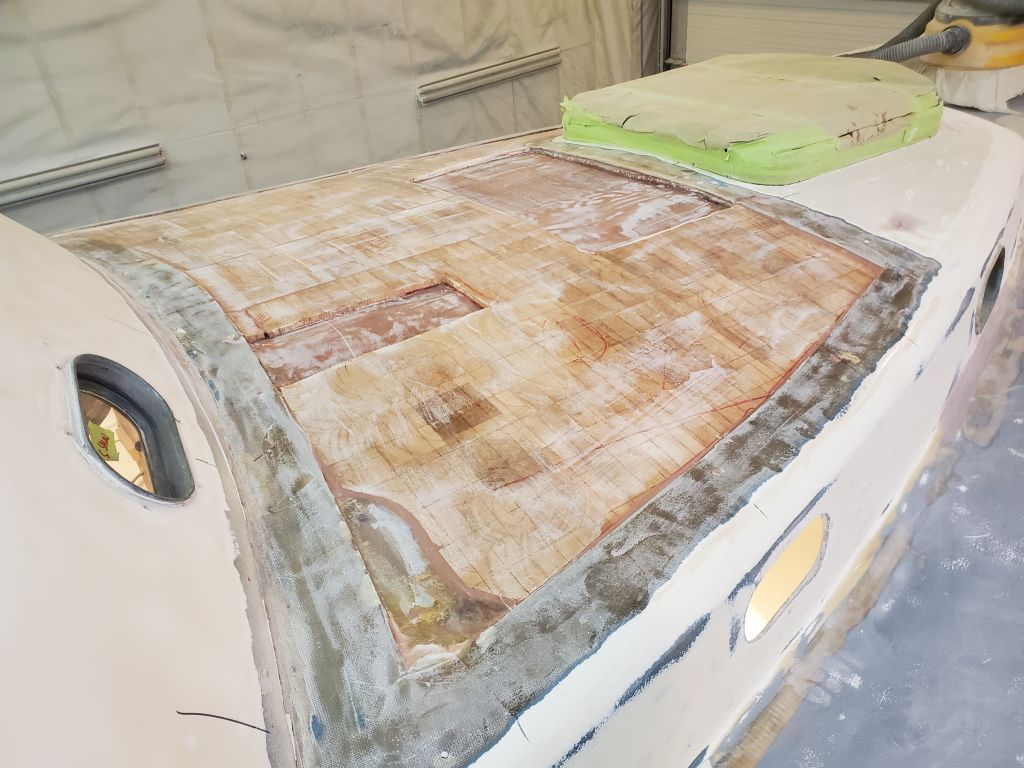
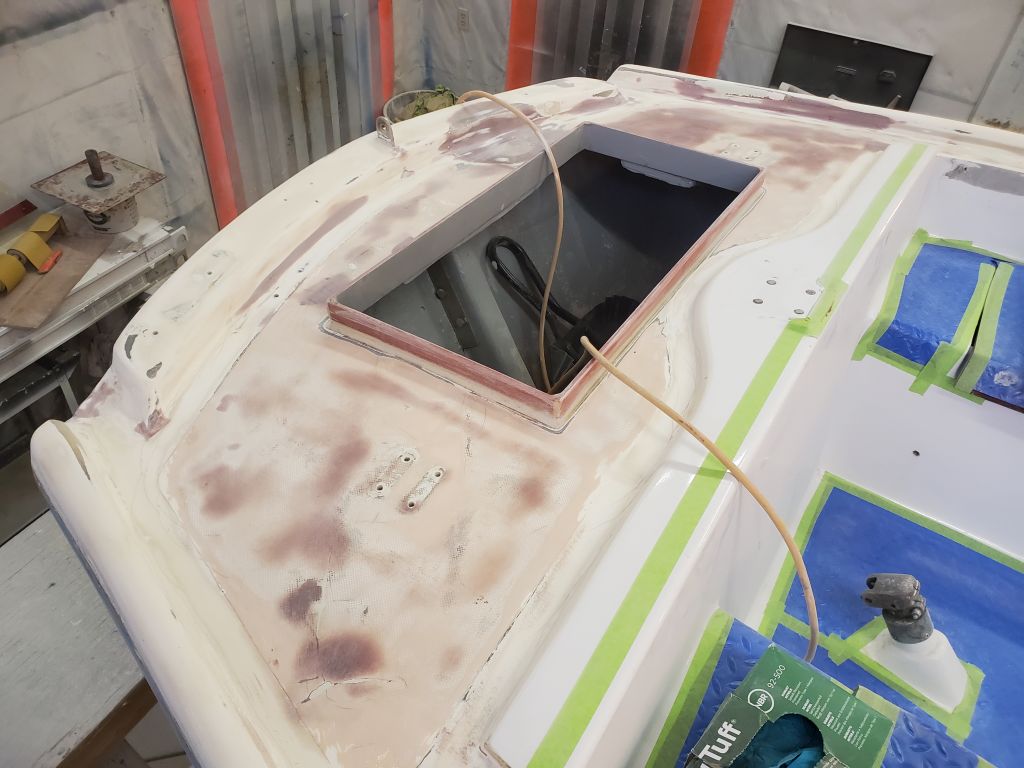
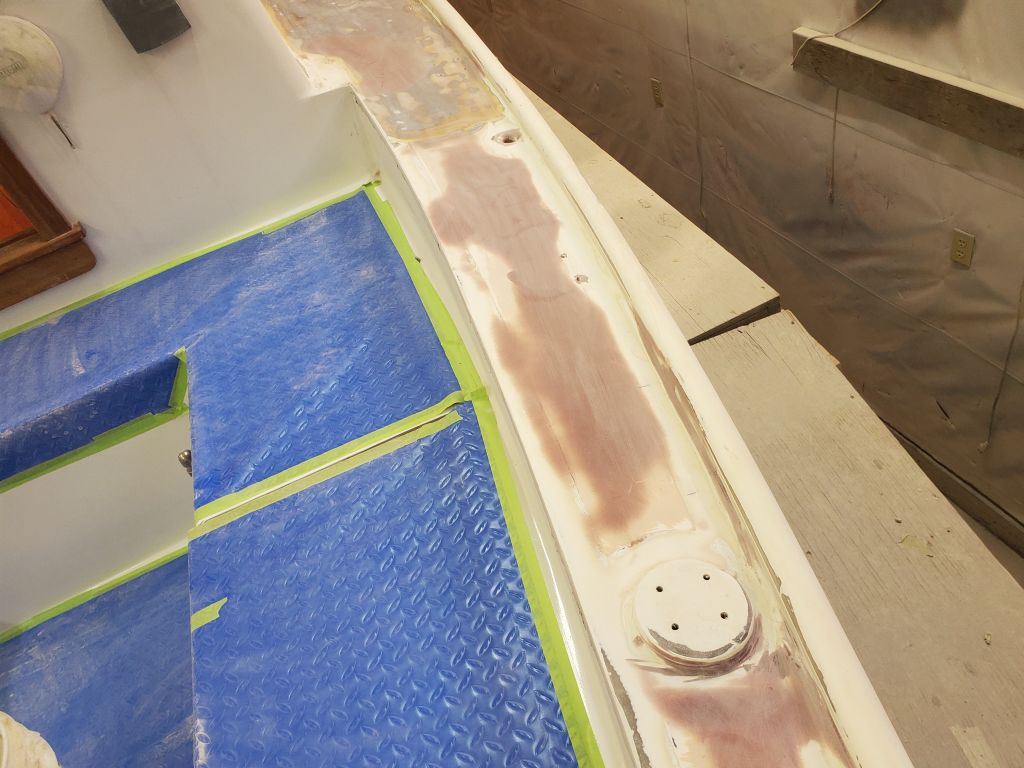
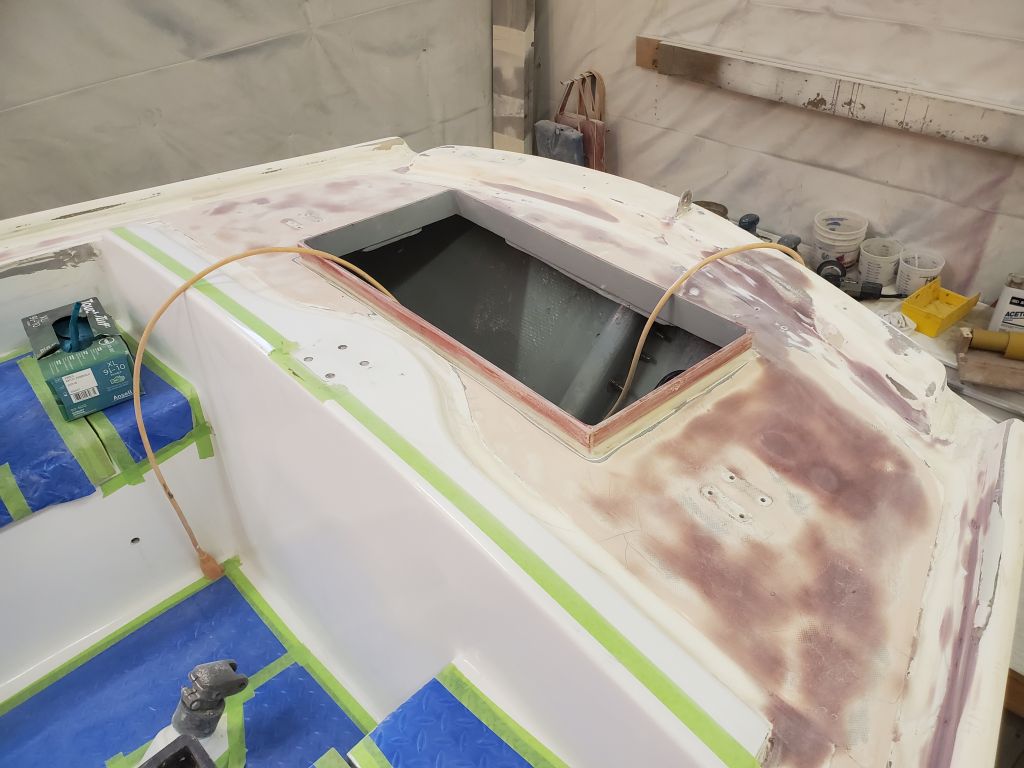
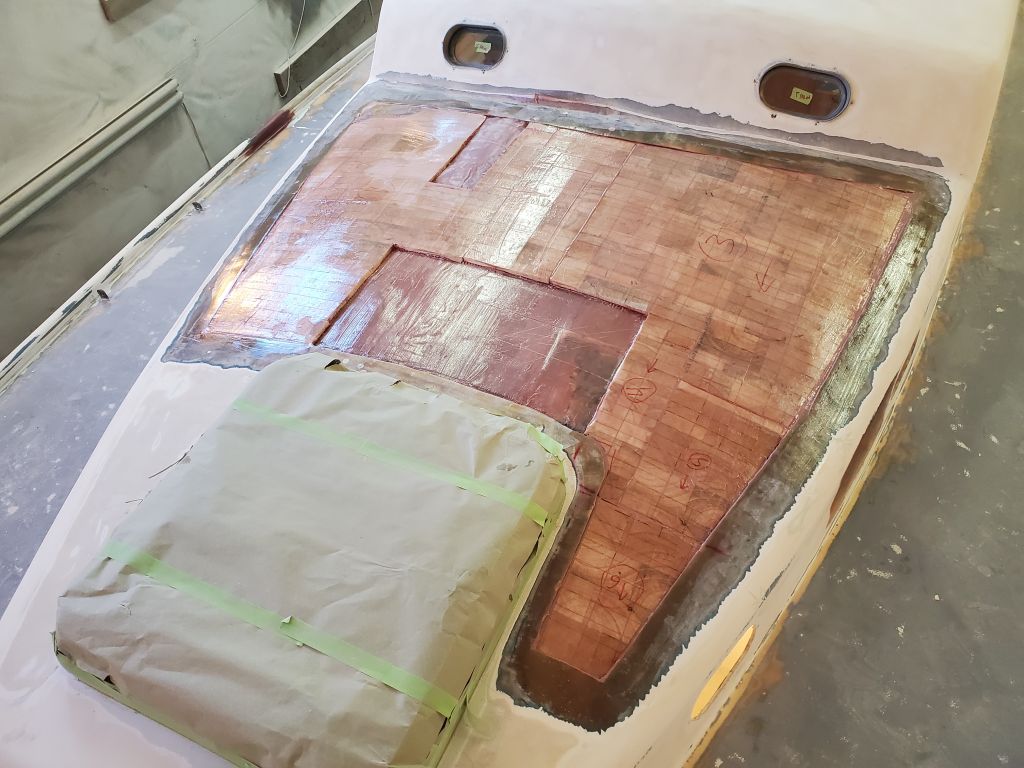
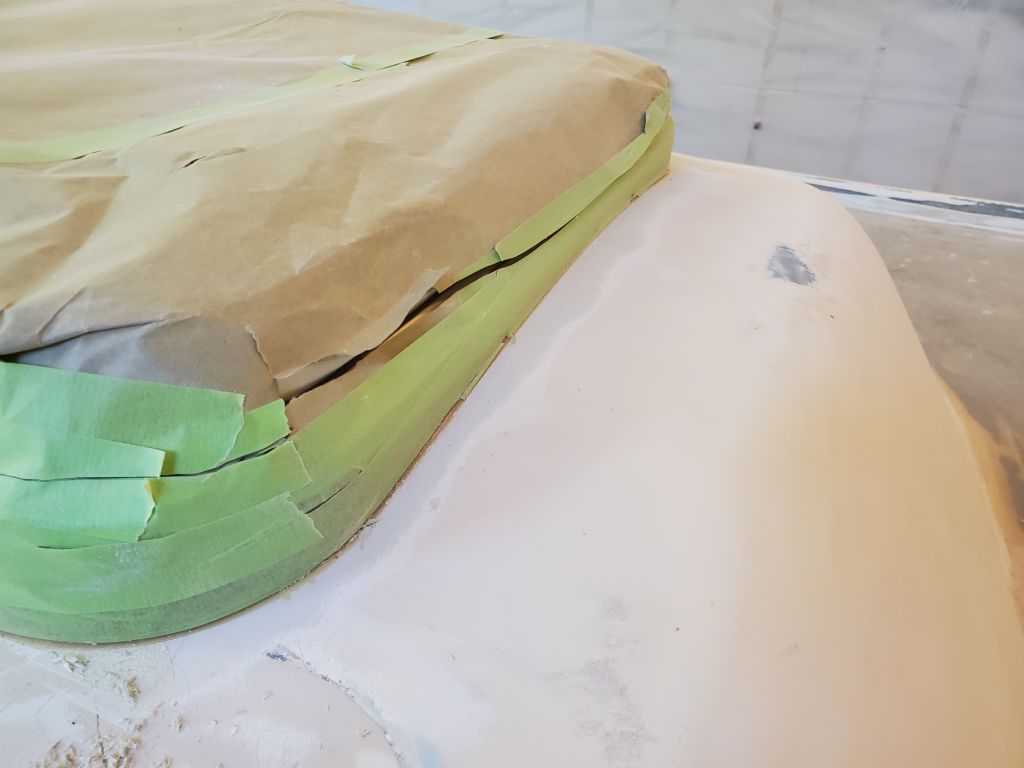
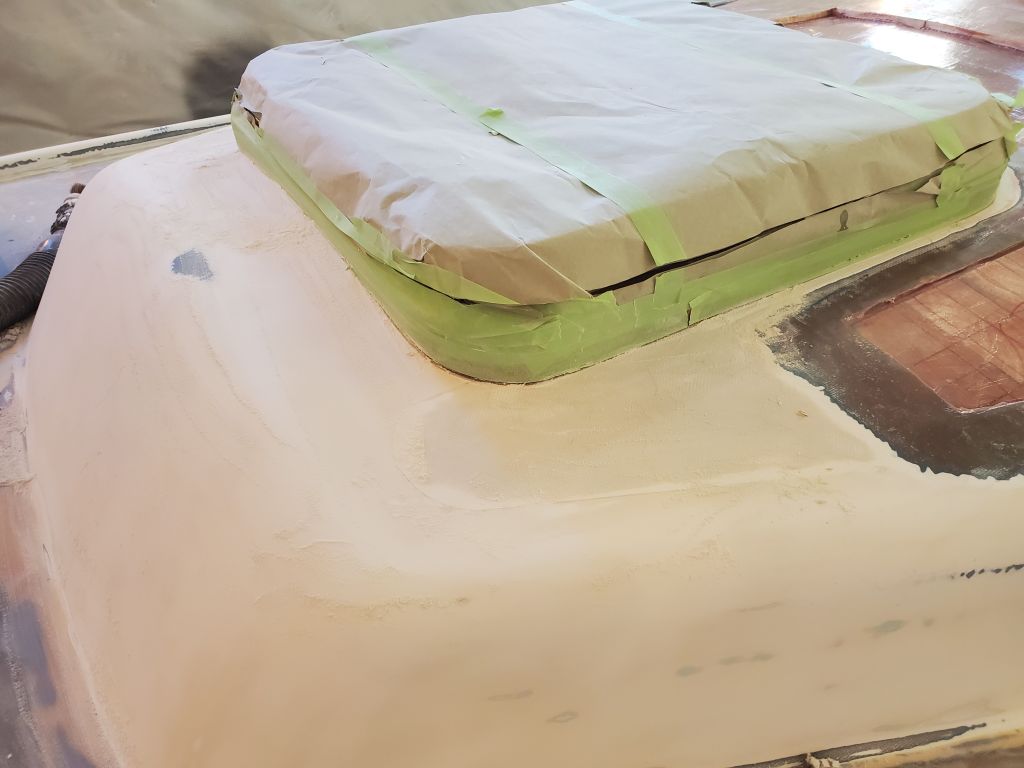
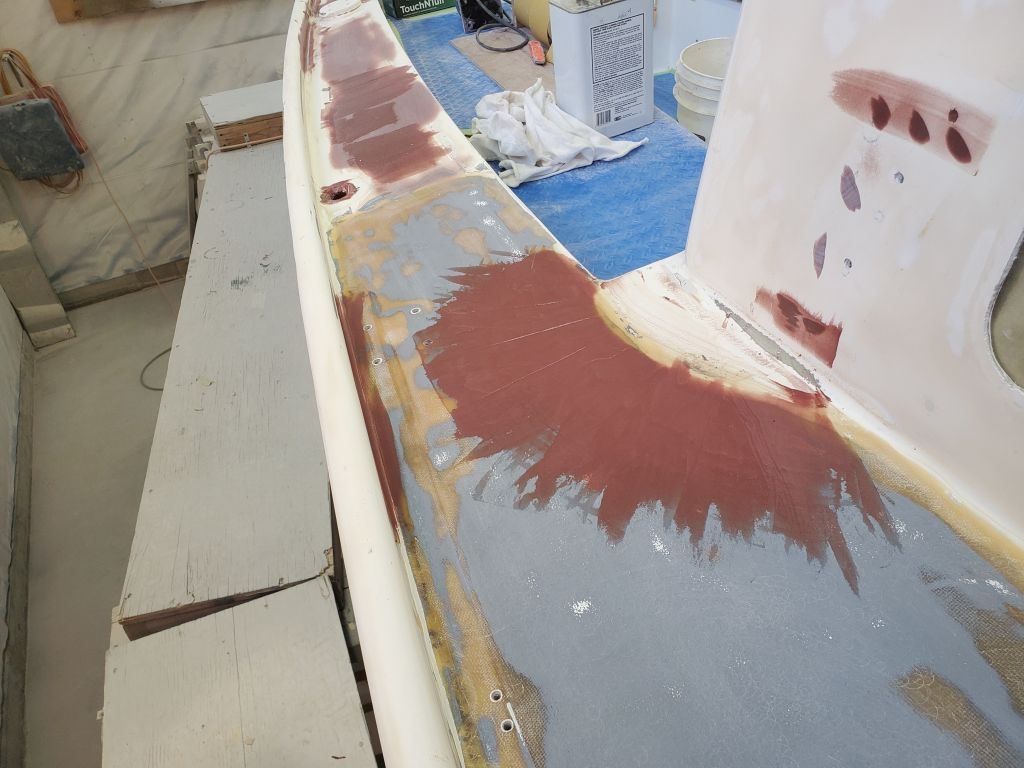
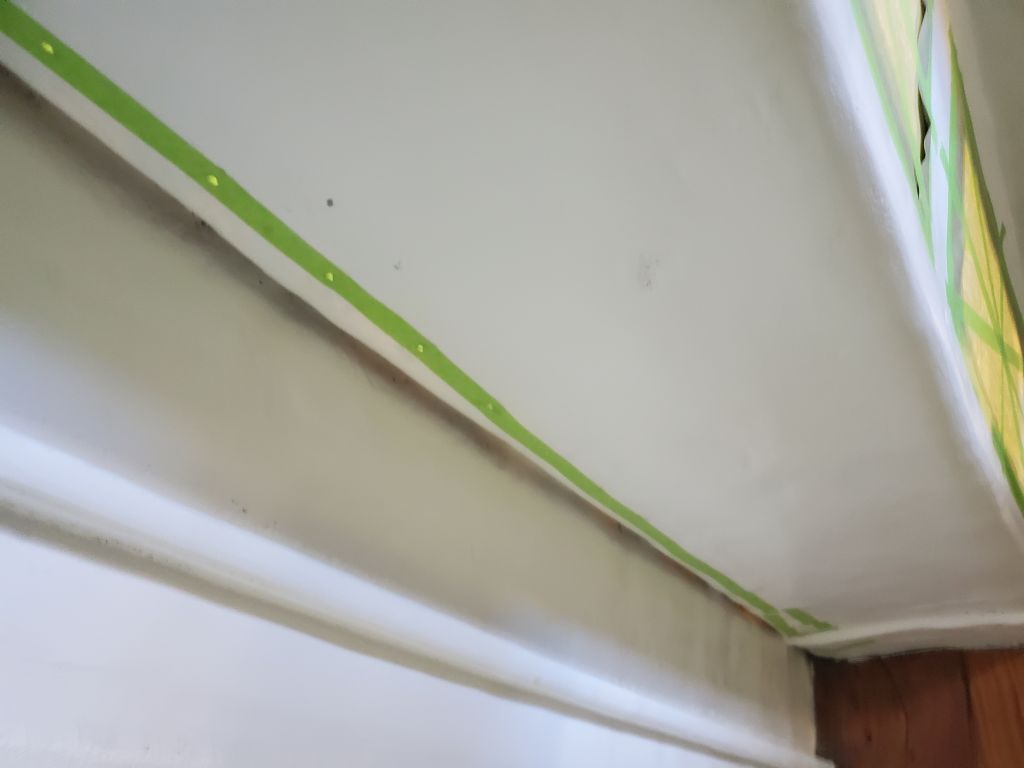
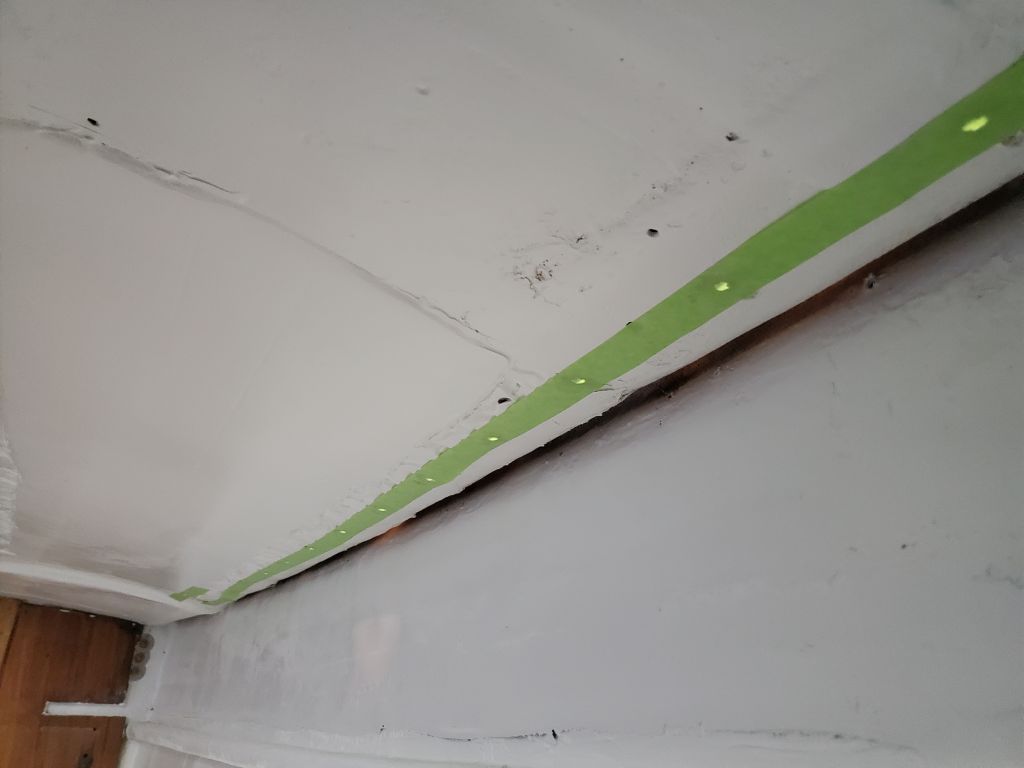
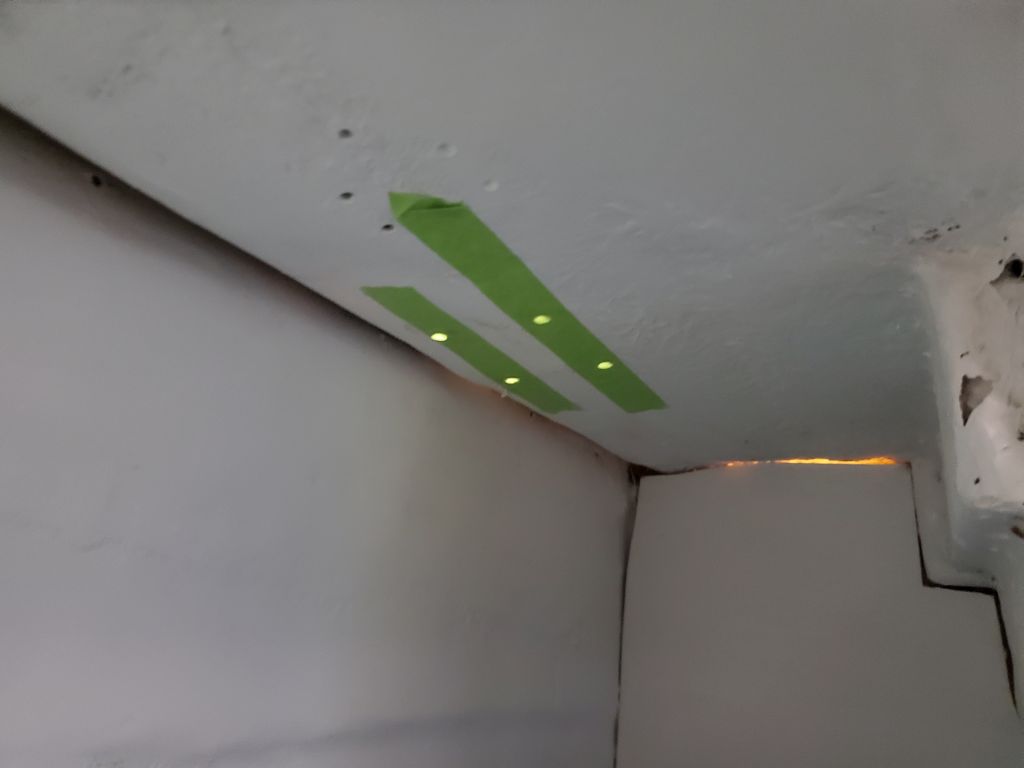
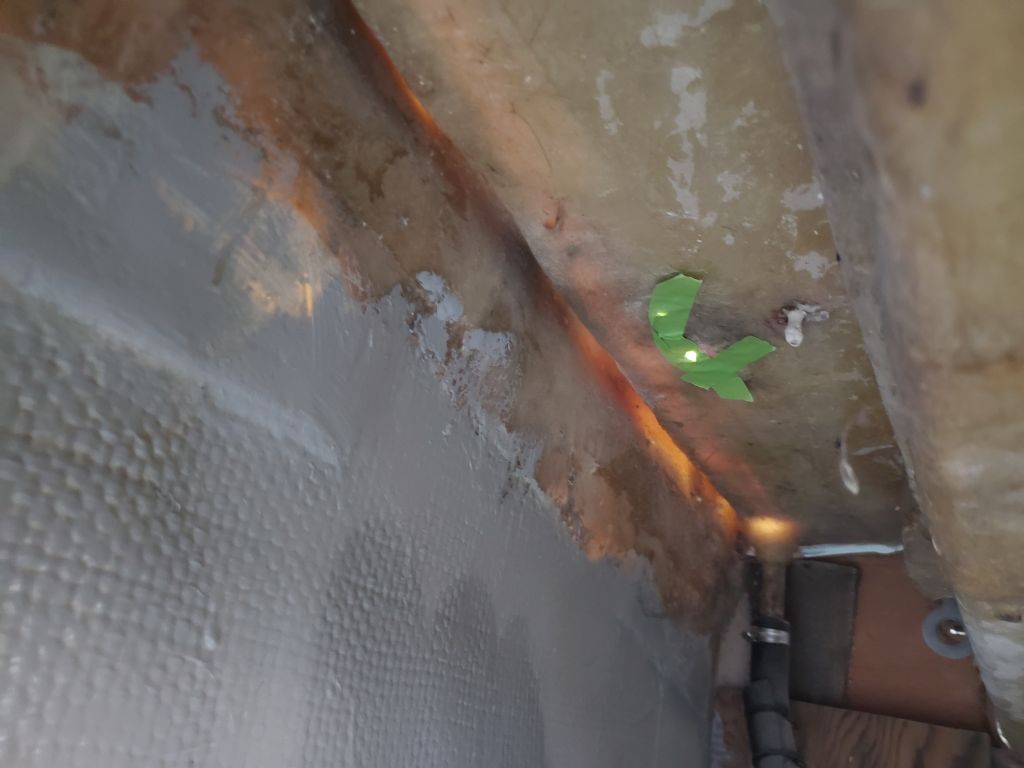
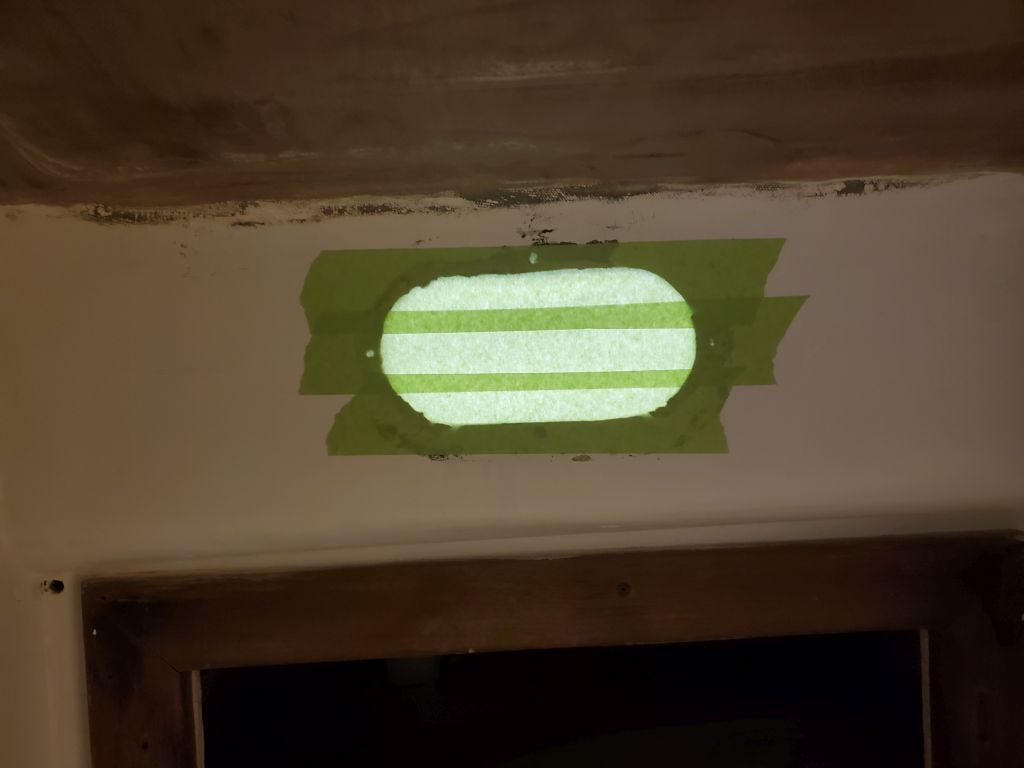
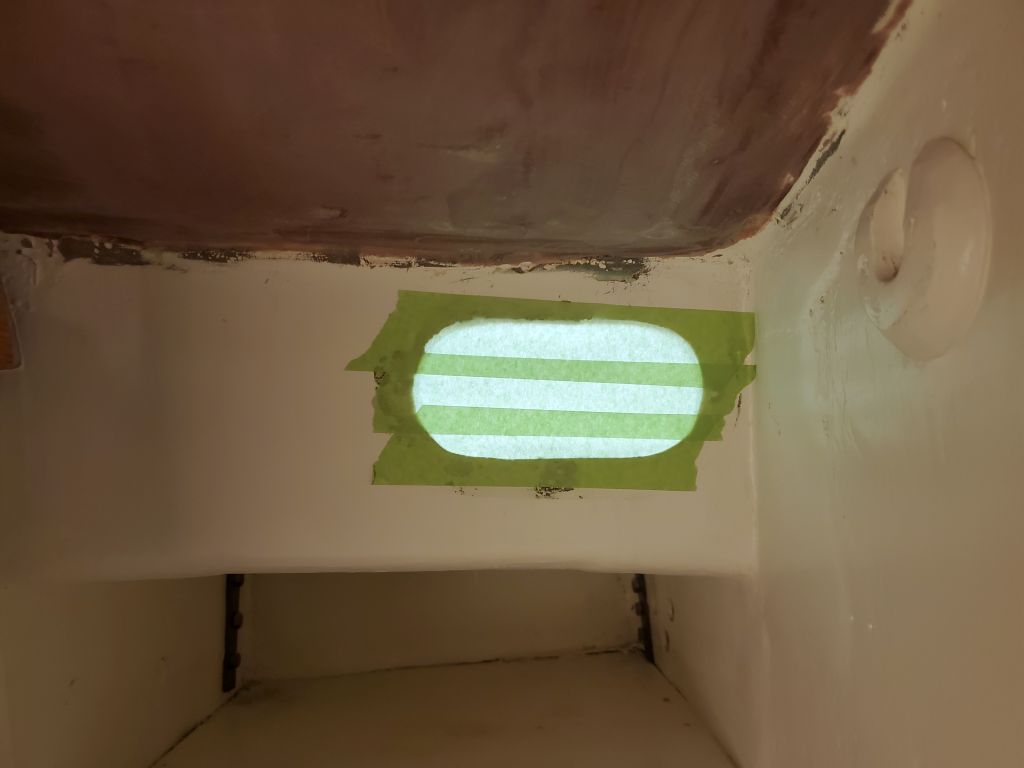
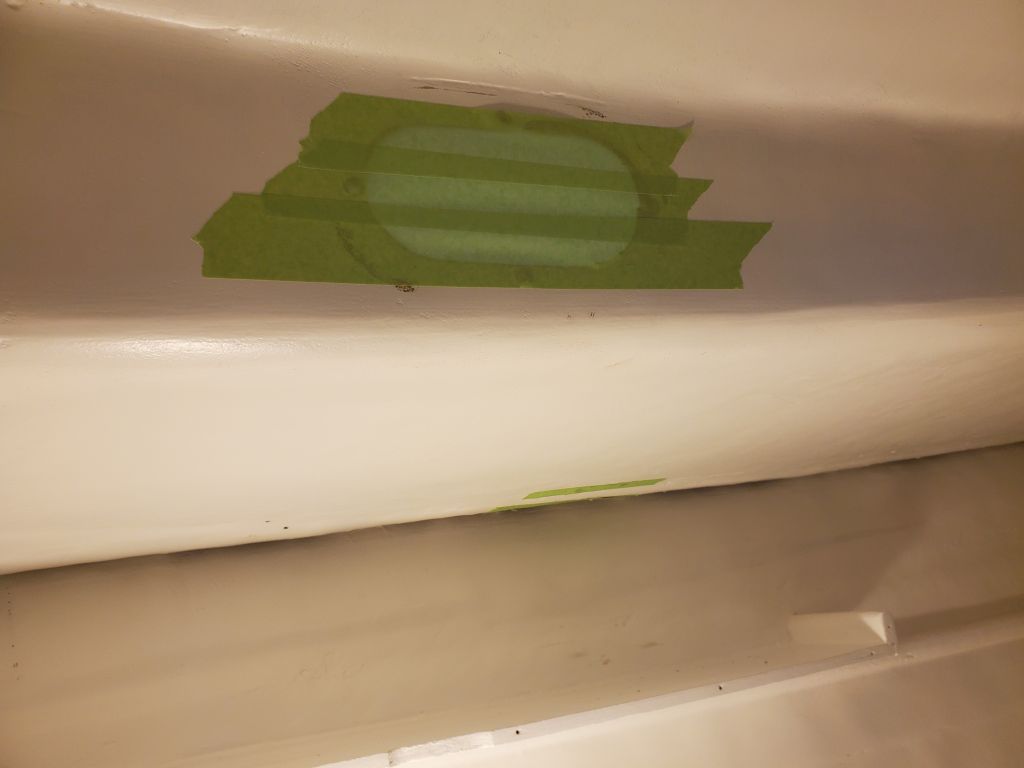
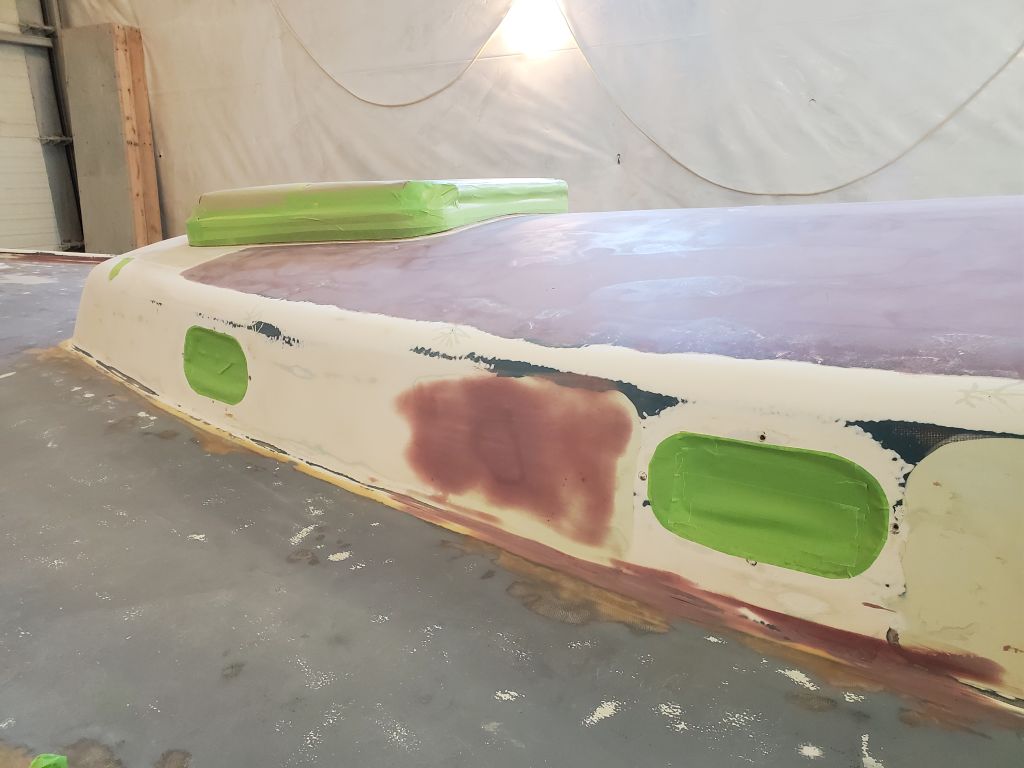
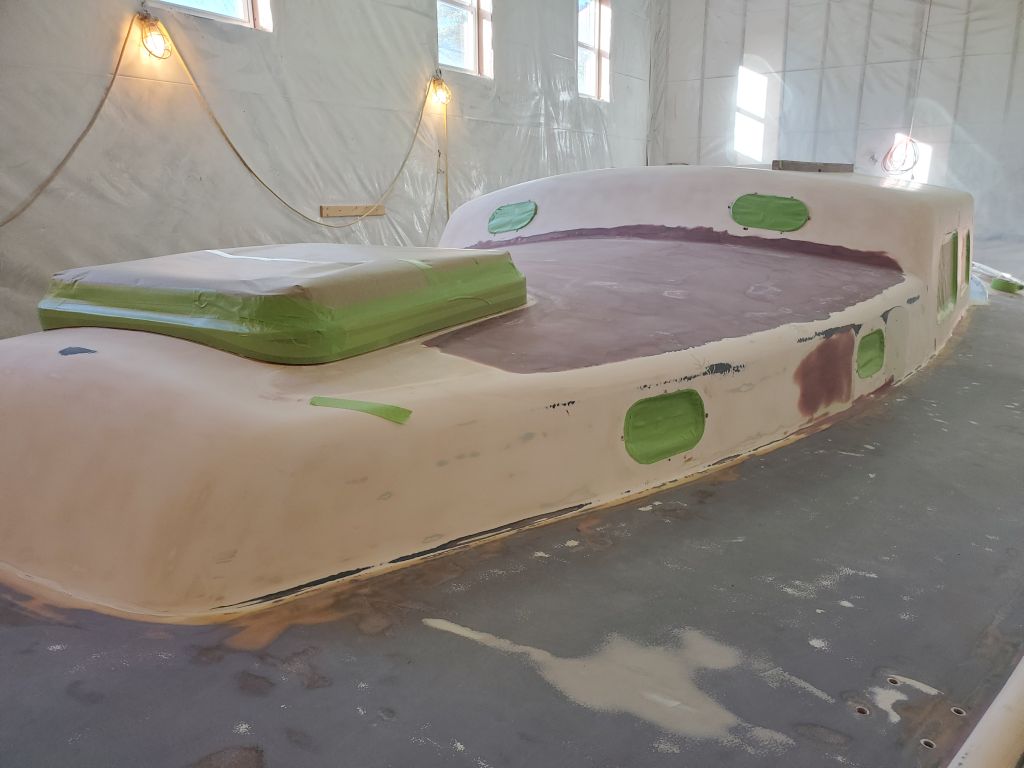
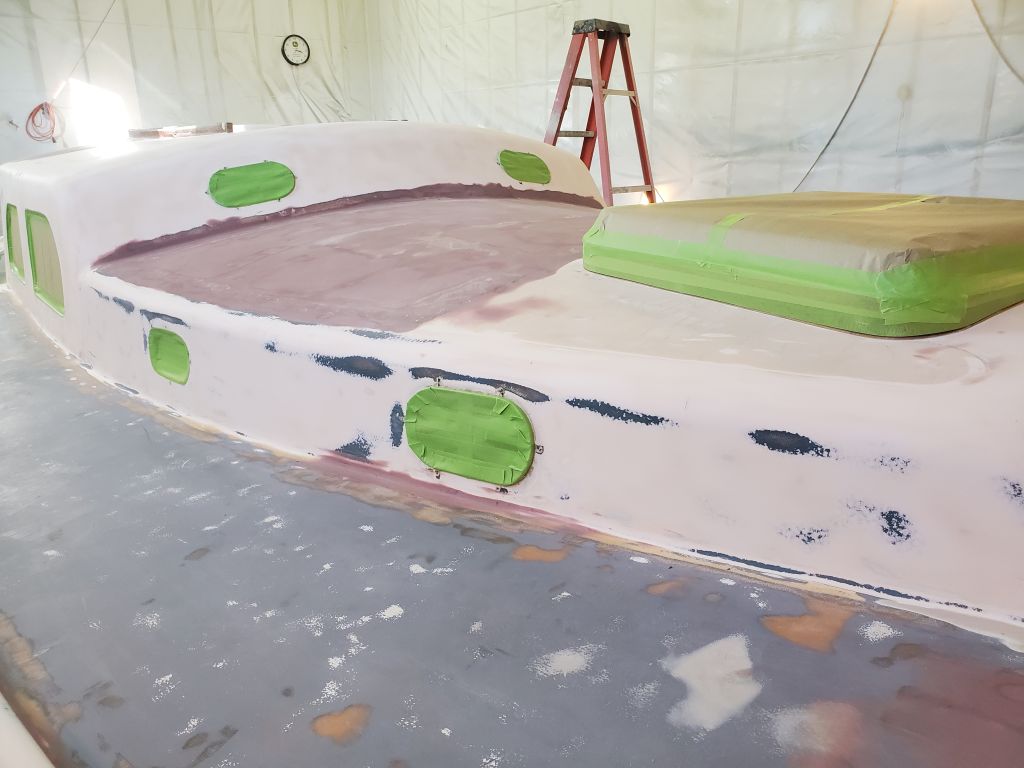
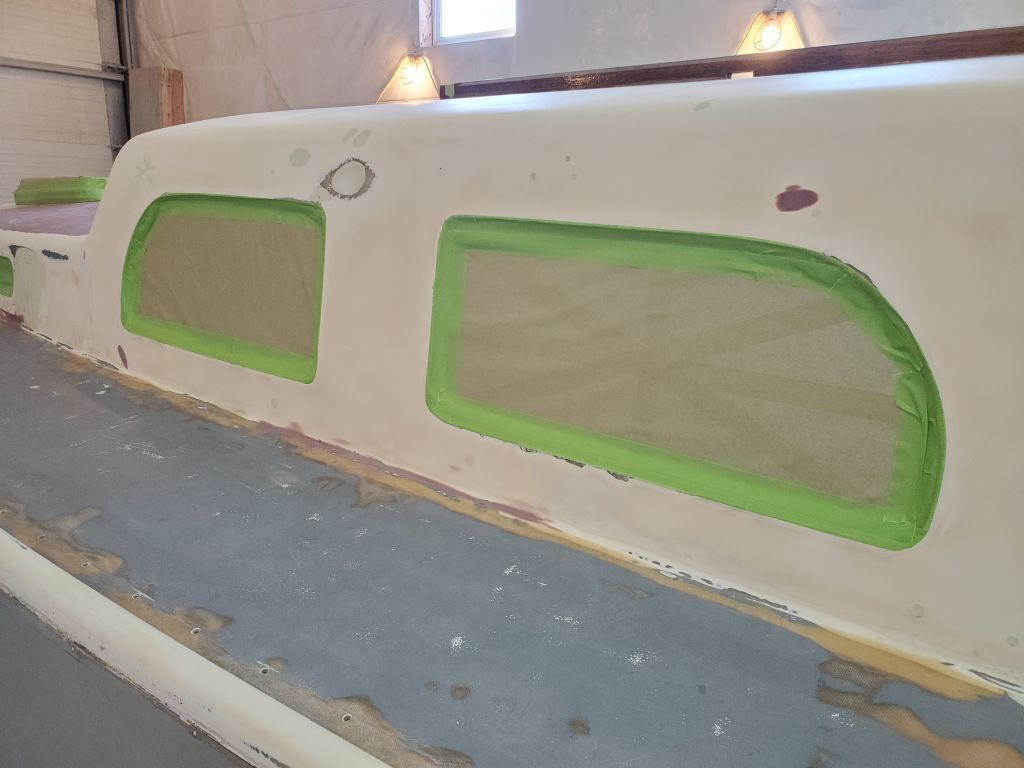
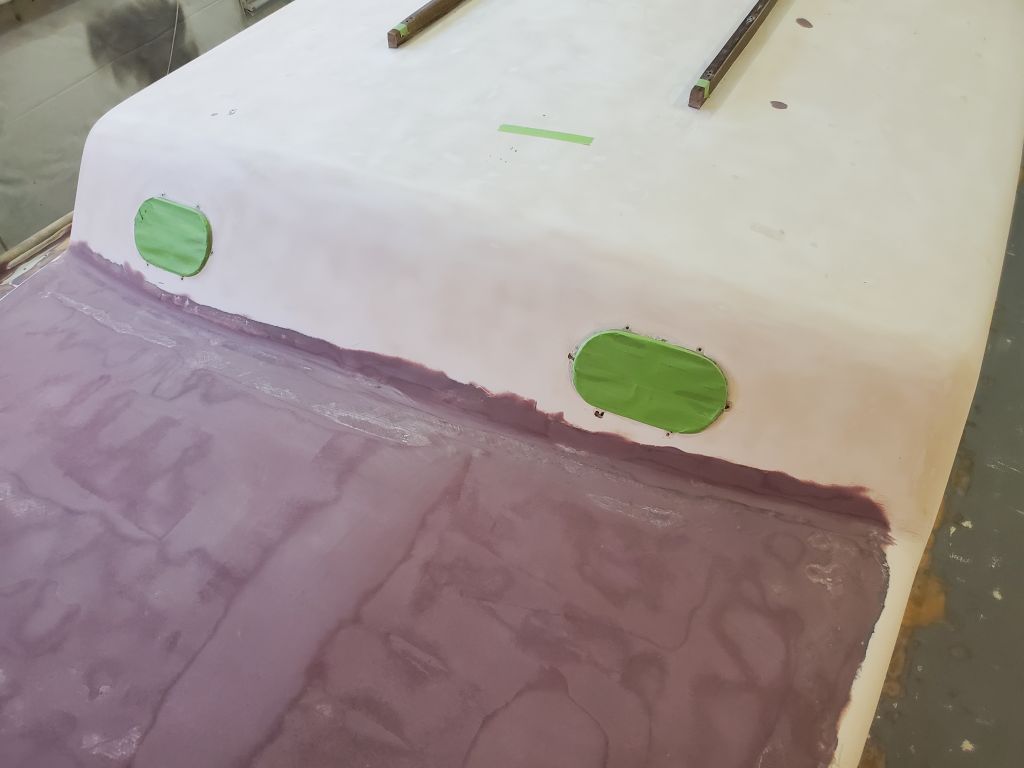
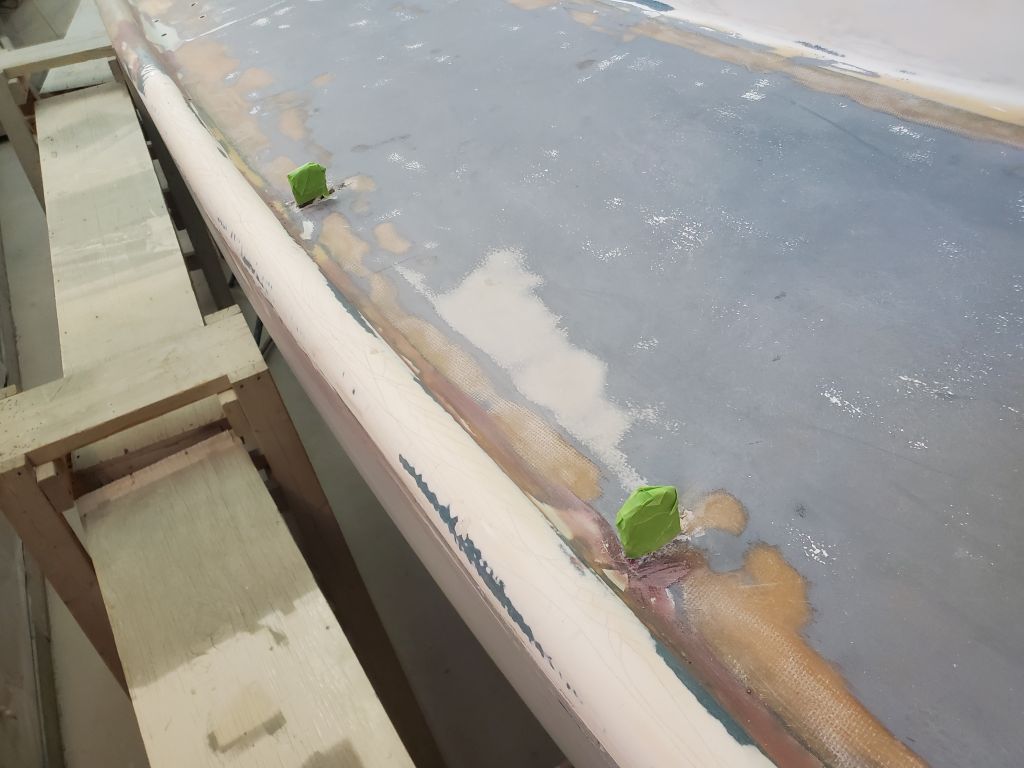
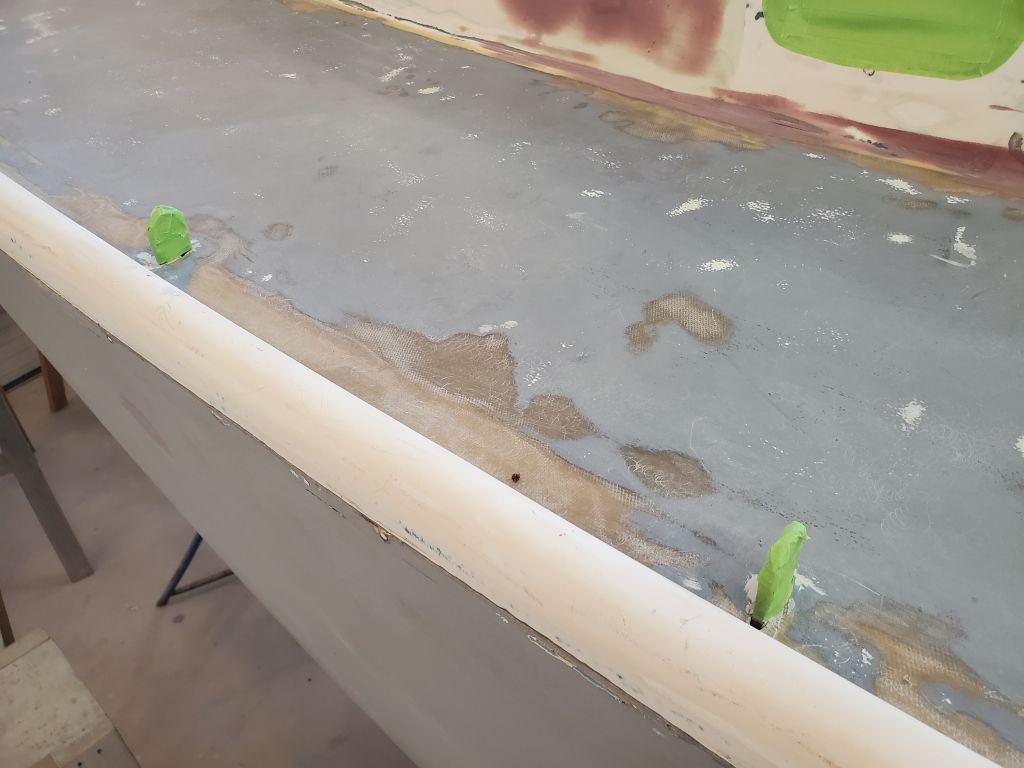
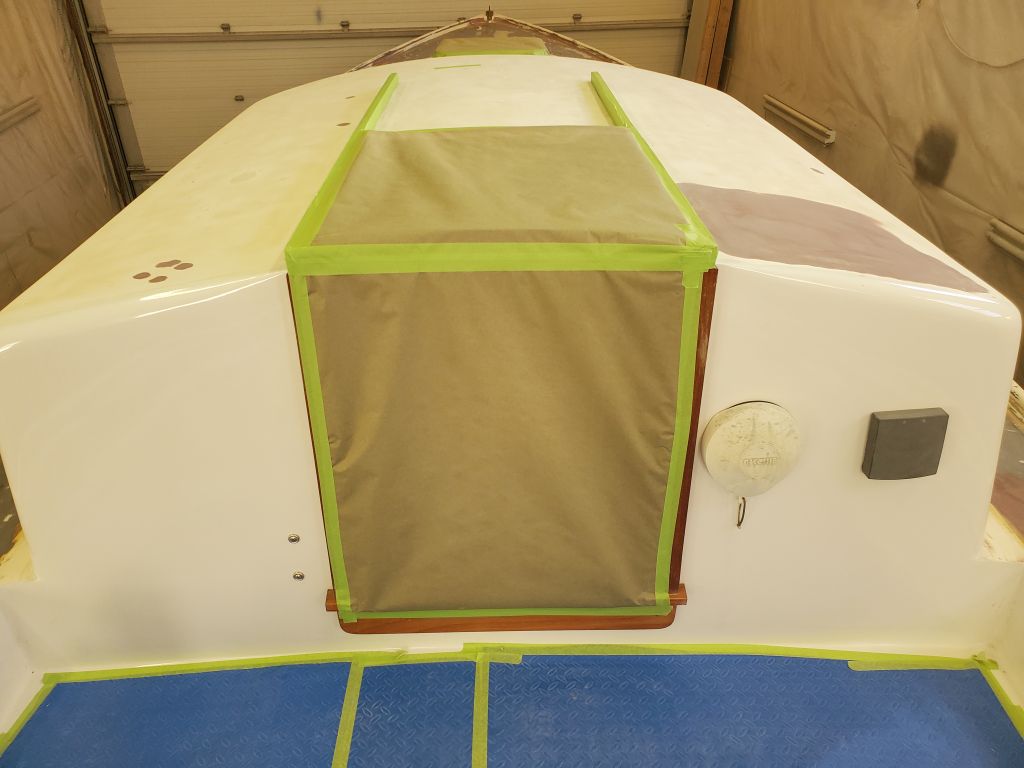
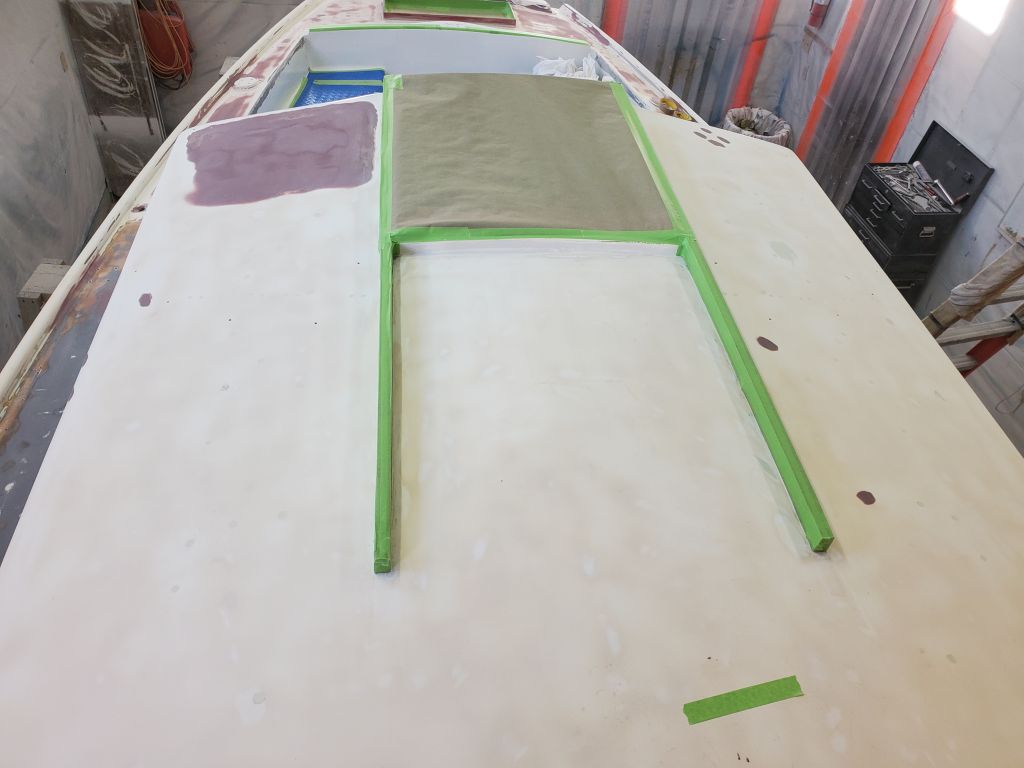
For the rest of the day, I masked as needed, mainly the port openings, hatches, and covering all the fastener holes from beneath.  By the end of the day, the masking was nearly complete, except for the cockpit, which I had to cover completely–but with several hours’ worth of other prep work still ahead before I could think about painting, I planned to finish next time.

Total time billed on this job today:  6 hours

0600 Weather Observation:  -8°, clear.  Forecast for the day:  Sunny, 25°

Lyra Phase 2-24

Friday

Beginning once more on deck, I finish-sanded the coachroof recore project, now for the last time this go-round.  I was pretty pleased with the end results but once the high-build primer was on I was sure there’d be a few pinholes and minor additional filling needed.

And just like that, it was time to transition into primer prep for real.  I began this with a significant cleanup of the boat and shop:  Blowing down the boat and walls; vacuuming the boat inside and out; sweeping; and, since I planned to dismantle the staging and reinstall it at deck height again, took the opportunity to solvent-wash the hull first.  Finally, I rinsed off the staging and floor to settle the remaining dust.  Clear air once more.

Before moving back up to deck level to begin the final primer preparations there, I checked again the boat’s level and found it a bit off; I’d found a loose stand before and so it wasn’t a surprise that things had shifted a bit.  So I made the requisite adjustments to bring the boat back to level (side to side).

While the staging was in limbo, it was a great time to mark the waterline (in this case meaning the upper edge of the bottom paint, or lower edge of the hull paint to come).  When I’d made my reference measurements before beginning hull paint removal, I’d pre-determined and measured for the new line, so now it was  pretty simple matter to recreate these marks at the stem (40″ down from the bottom of the chainplate) and stern (18.5″ from the transom corner at the centerline).  I set up horizontal (level) beams stem and stern at these heights.

With a string tautly suspended between the two beams, I marked the new line, starting roughly amidships (or at maximum beam) and, bit by bit, bringing the string into touch the hull, taping it in place and making pencil marks above, starting first with the aft half (till the string reached the centerline at the counter), then from amidships forward to the stem in the same way, and repeating the processes on the other side of the boat.

After removing the paraphernalia, I masked to the pencil marks, fairing by eye and delineating the area to be primed above.  By now it was late in the day, and with the floor still wet in places I decided to await installing my habitual strip of masking paper beneath the tape till next time.

Total time billed on this job today:  6.5 hours

0600 Weather Observation:  19°, mostly cloudy.  Forecast for the day:  Mostly cloudy, 30°

Lyra Phase 2-23

Thursday

I began once more on the coachroof, this time with more of a detail sanding with finer materials and by hand as needed as the surfaces edged closer to completion.  The net result was still a bit shy of its final stages, with a few minor low areas that would require another round of fairing compound.  This was not unexpected, but one always hopes for the fewest rounds.

After cleanup and other preparation, I applied more epoxy fairing compound to those areas as required.

I had to take a break to attend to other business during the late morning, but after lunch I returned to work on the hull, sanding smooth the various epoxy repairs and fairing compound I’d started here and there, and then sanding the entire hull twice more, this time with 80-120 grit paper on a 6″ finishing sander, bringing the hull to its final state of readiness for primer.

Total time billed on this job today:  5.25 hours

0600 Weather Observation:  -9°, clear.  Forecast for the day:  Sunny, 21°

Lyra Phase 2-22

Wednesday

Back on deck, I sanded once more the forward coachroof, bringing the overall shape closer to its final contours and further defining the various areas requiring more attention.

Afterwards, I applied more fairing compound as needed, focusing on the obvious lows and using a wider trowel.

Now that the worst of the sanding was over with, I removed the sliding companionway hatch and, down on the bench, worked it over with various grits and machines to prepare it for primer,

I went around the hull and, with a grinder, prepared various small areas for additional repair, mainly small dings or older repairs that required refreshing, along with a series of old outboard-mount bolt holes on the transom (which I’d spot-filled during phase one), the old engine exhaust, and, on the starboard counter, a funny area with a slightly wavy texture.  Afterwards, I applied epoxy fairing compound to these areas, and filled-then-fiberglassed the old fuel tank vent opening on the starboard quarter.

With little else to do to move the project forward at the moment, I decided the time was right to install the mast beam.  As anticipated, I found that the original beam required some minor fitting before I could  get it properly back into position, mainly some slight planing of the top surface around amidships and on the starboard side, where the beam contacted the overhead before slipping into the “pocket” above the vertical beams. After a couple test-fits and minor trimming, I got the beam in place.

The beam had never been a particularly close fit, and now it actually fit more closely along the crucial centerline area, where the beam spanned the passageway to the forward cabin directly beneath the mast step; I had to tap it in place in order to make it fit, which I deemed a win.

With the main beam in place and secured with the two bolts on either side through the bulkhead, I fitted the short forward section of the beam, which also required just a bit of trimming at the top center in order to fit in place.  I installed the final three bolts to secure it, completing the installation.

Total time billed on this job today:  5.25 hours

0600 Weather Observation:  11°, clear.  Forecast for the day:  Sunny, 16°

Lyra Phase 2-21

Tuesday

Because I knew I’d never be able to face it late in the day, I began the day’s sanding at the counter, working to remove the paint from the area I’d left behind on the port side, and an equivalent area to starboard.

With the “worst” part done, I moved back to the bow and picked up where I left off, spending the remainder of the day removing the rest of the paint from the hull with 40, then 80, grit paper.  The gray substrate left behind was in good condition, and there were no unpleasant (or even pleasant) surprises.  There’d be a few small areas requiring some minor repair/fairing attention, which I’d attend to in the immediate future.

Total time billed on this job today:  7 hours

0600 Weather Observation:  19°, light snow, an inch or so down overnight.  Forecast for the day:  Snow showers, possibly some additional accumulation, around 30°

Lyra Phase 2-20

Monday

Beginning on deck, I sanded as needed the fairing compound on the smaller repair on the upper coachroof, bringing this area close to, or to, its final contours, other than an additional round of finish sanding that would happen in the near future.

Continuing, I sanded the forward coachroof repair, smoothing the first round of fairing filler all around and beginning the overall fine-tuning of the shape of the deck.  With the weave of the fiberglass filled, in most areas there was just a thin coating of hte fairing compound left behind, but, as expected, there were several lower areas that would require additional filler, mainly around the edges.

After cleaning up, I applied the second round of epoxy fairing filler, concentrating on the lows and using a wide trowel to shape the fairing material where needed, and a smaller trowel to fill in some of the minor tool marks in the field of the repair.

This work took a couple hours, and afterwards I spent the remainder of the day continuing the paint removal on the hull, working through 40-80 grit paper to scrub away the old coatings and leave behind the smooth gray substrate, which I increasingly thought might be an epoxy barrier coat-type finish that someone had applied over the entire boat sometime in the fairly distant past.  In the event, it was in good condition, consistent, and durable.  Additional rounds of finish sanding later would further smooth the surface and remove the last bits of the old coatings.  By the end of the day, I’d made it forward along the port side and a bit aft on the starboard bow.

Total time billed on this job today:  6.5 hours

0600 Weather Observation:  16°, mainly cloudy.  Forecast for the day:  Decreasing clouds, 23°

Lyra Phase 2-19

Friday

On deck, I lightly sanded the new fiberglass on the recored coachroof, fairing in the edges as needed with the adjacent decks and otherwise scuffing the surface to prepare it for the next steps.

I sanded the various small patches of fairing compound on the other parts of the deck, including the smaller recore repair.

After cleaning up and solvent-washing, I applied a coat of epoxy fairing compound to the coachroof repair, concentrating on the edges and filling the weave of the cloth over the entire area.

With my deck work done for now, I turned to the hull, starting at the transom and working my way up the port side from there to remove the old coatings down to the final substrate, which in this case appeared to be light gray gelcoat.  I didn’t make it as far as I’d hoped during this short day, as the deck work took a bit more time first thing, and the paint removal was pretty slow going as I got used to the various layers and how far to take it with the initial coarse grit; the exisiting polyurethane paint was touch and hard, not unexpectedly.  I used two grits of sandpaper for the chore, removing the bulk of the paint with the coarser grit than finishing up with a finer paper.  I sanded down as far as I could comfortably reach along the counter, then, once I was forward of the most shapely sections of the boat, sanded down roughly to the original scribe mark denoting (incorrectly) the waterline of the boat; this removed a couple inches of the existing antifouling paint so I’d be sure to have clean, prepared hull down beyond the restruck waterline later.

Hull work would continue thus for the immediate future.

Total time billed on this job today:  4 hours

0600 Weather Observation:  2°, clear.   Forecast for the day:  Sunny, 14°

Lyra Phase 2-18

Thursday

I began with a round of sanding on the new solid laminates at the mast step and “bulge” on the forward coachroof recore, bringing the edges flush as needed and otherwise preparing these areas.

On the upper coachroof, I sanded the new laminate covering the recore repair there, bring it flush all around and preparing the area for fairing.  While I was there, I sanded most of the paint off the companionway hatch; I’d finish this up later, once I removed it from the boat.

To prepare the large repair for its new fiberglass, I applied some epoxy filler as needed, fairing the two solid glass areas in with the surrounding core.  This was mainly at the edges of the solid areas, where there was a slight depression.  Before beginning, I masked over the two nearby portlights, and remasked the after part of the forward hatch for protection during the glasswork to come.

Next, I installed three layers of 1708 in epoxy resin, starting with the smallest piece that just covered the core and extended to the edges of the cutout, filing this area up to the level of the surrounding decks, then the two larger, overlapping layers extending to the outer reaches of the prepared deck areas.   The port edge of the largest piece unraveled a bit as the cloth stretched during installation, leading to the messy appearance along that edge, but most of that would get sanded off in the next steps.

Pleased to have the deck whole again, I finished up the deck work for now with some additional fairing compound on the two or three spots requiring it around the deck, and the first coat of fairing filler on the small recore repair.

With the bulk of the deck work complete, and no longer a pressing need for staging at deck height, I lowered the planks to a height comfortable for working on the hull, which would be my next and immediate focus in the coming days.  Before moving the staging, I slightly adjusted the jackstands as needed to bring the boat level, which would be required later when it was time to strike the waterline.

Total time billed on this job today:  6 hours

0600 Weather Observation:  26°, cloudy.   Forecast for the day:  Cloudy, chance of snow showers, then clearing and temperature dropping thereafter.

Lyra Phase 2-17

Wednesday

Before beginning any dirty work on deck, I checked the fit of the large piece of fiberglass I’d cut for the coachroof repair, laying it in place on the coachroof.  I noted a couple areas where minor adjustment was needed, but otherwise it was a good fit and I could use it to pattern the remaining two pieces required for the new top skin, which I laid out and cut now, also test-fitting the first layer that would fit within the cut lines of the repair area and help bring the area above the new core up to the proper height with the adjacent deck edges.

I spent much of the day on sanding duty once more, starting with the overhead in the head, the bottom side of the coachroof repair.  Sanding this area, even relatively minimally as this round required, was an unpleasant chore, as the space was tight, and the headroom was about the worse possible height:  Too low to stand upright, too high to sit or kneel, requiring the most uncomfortable of crouching postures…but soon enough it was done, and looking pretty good.

On deck, I lightly sanded the two core repairs just to scuff the skim coats from the day before.

Then, I sanded all the various small repairs and new fillets along the toerails, mainly by hand, and bringing the bulk of the deck into its final state of readiness before high-build primer, other than a couple small areas that would require spot-filling, and, of course, the recore repairs.

After cleaning up from the day’s sanding, I cut several small pieces of fiberglass to fit the mast step area and the “bulge” in the coachroof repair, then wet out and installed these layers in their respective voids:  8 layers in the mast step (installed in two “lifts”), and three layers in the smaller area.  This filled the voids roughly to the top of the core.

At the same time, I cut and installed three layers over the upper coachroof core repair.  These new laminates would cure overnight, allowing me to do the final lamination work next time.

Total time billed on this job today:  6.25 hours

0600 Weather Observation:  6°, partly clear.   Forecast for the day:  Cloudy, chance of snow or snow showers, 33°

Lyra Phase 2-16

Tuesday

I started by removing the weights and paraphernalia from the new core installation.  Later, I washed and lightly sanded the area to scuff the surface, remove any hard edges, and, in a couple areas, pare down the core a bit where it was a little high, mainly around the fiberglass bulge on the starboard side.  (It seems somehow I forgot to take any photos after the sanding, unfortunately.)

Before getting into any dirty work, I made basic patterns of the mast step and bulge areas, which I planned to fill with solid fiberglass, and also of the smaller recore area on the upper coachroof, so I’d have these available for cutting the smaller pieces.  I’d hoped to start building these up now, but, still awaiting my new roll of fiberglass, I found I didn’t have scraps large enough for these areas (other than the smallest one), so I postponed that for now.

On the underside of the repair, I sanded a little more around the edges and with a finish sander to fine-tune the first round of sanding from the day before, and removed the masking so I could clean up the edges.

After cleaning up above and belowdecks, I used more thickened epoxy to fill the kerfs in the core, and to fill around the edges as needed.

On the overhead, I spot-filled as needed to take care of the various minor low spots left behind, and clean up some of the edges.  This would be the final round of filler on the overhead.

I went round the decks, focusing mainly on the toerail, doing any final hand-sanding required and marking areas that would require some epoxy work.  I also scraped and sanded away final bits of the old paint around the companionway and forward hatches.  After cleaning up the decks, I applied epoxy fairing compound as necessary, mainly at the base of the toerails to clean up the fillets there, but also in a few other areas where needed.

With the arrival of my fiberglass late in the day, and the coachroof area cured sufficiently for this purpose, I went ahead and made a plastic pattern of the whole area, marking both the overall edges of the repair (for the largest piece) and the inner section along the cut lines.  Before the end of the day, I laid out and cut the largest piece required for the new top skin, which I’d test fit on the morrow when the epoxy was fully cured and then use it to create the slightly smaller second layer, before moving onto the remaining fiberglass patterns.

Total time billed on this job today:  6.5 hours

0600 Weather Observation:  27°, partly cloudy.   Forecast for the day:  Sunny, windy, temperature dropping.

Older posts Newer posts