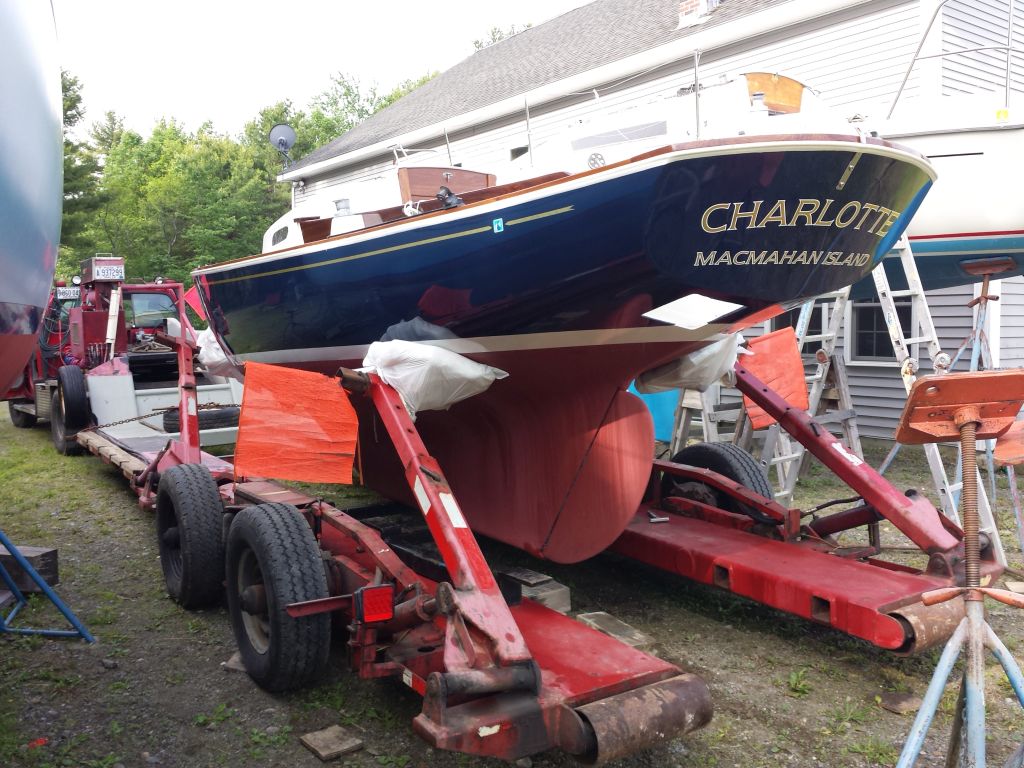
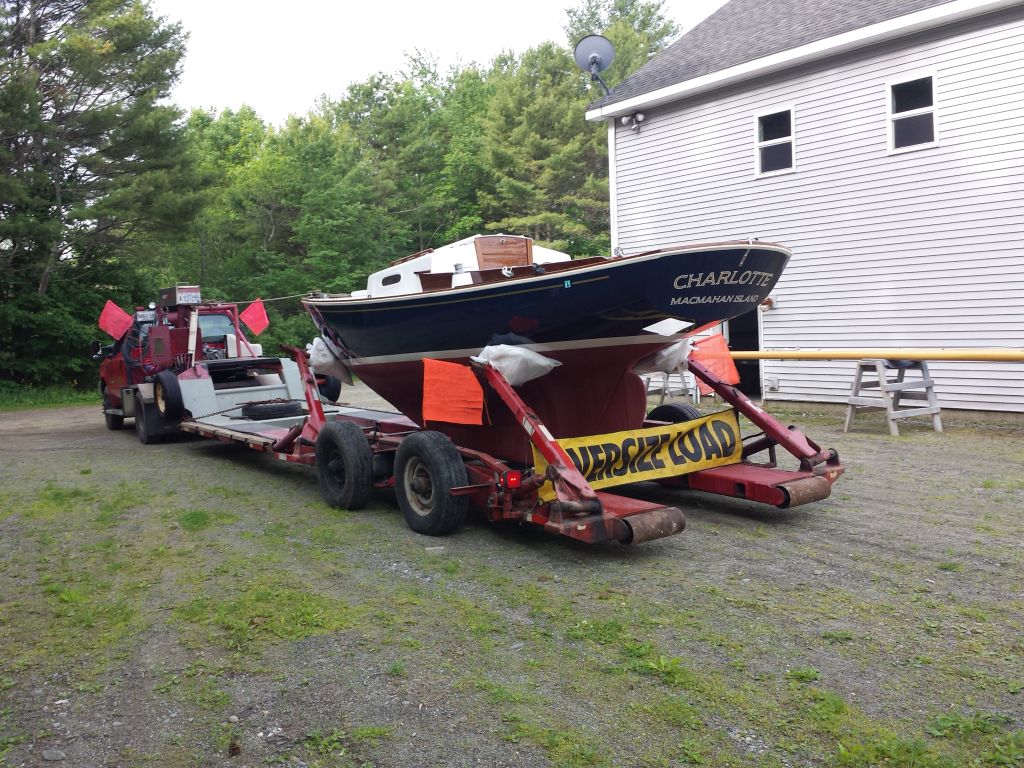
Tuesday
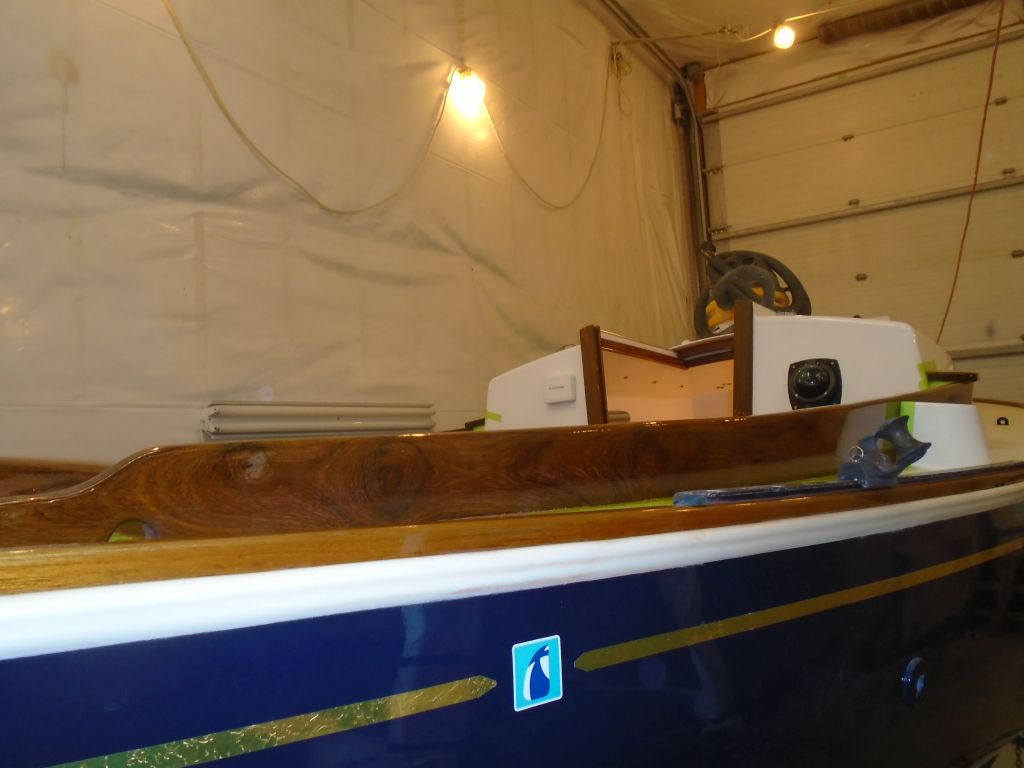
First thing in the morning, a local transporter arrived to bring Charlotte to a boatyard near the owner’s home, where the boat would be launched and later rigged.


Tuesday
First thing in the morning, a local transporter arrived to bring Charlotte to a boatyard near the owner’s home, where the boat would be launched and later rigged.
Thursday
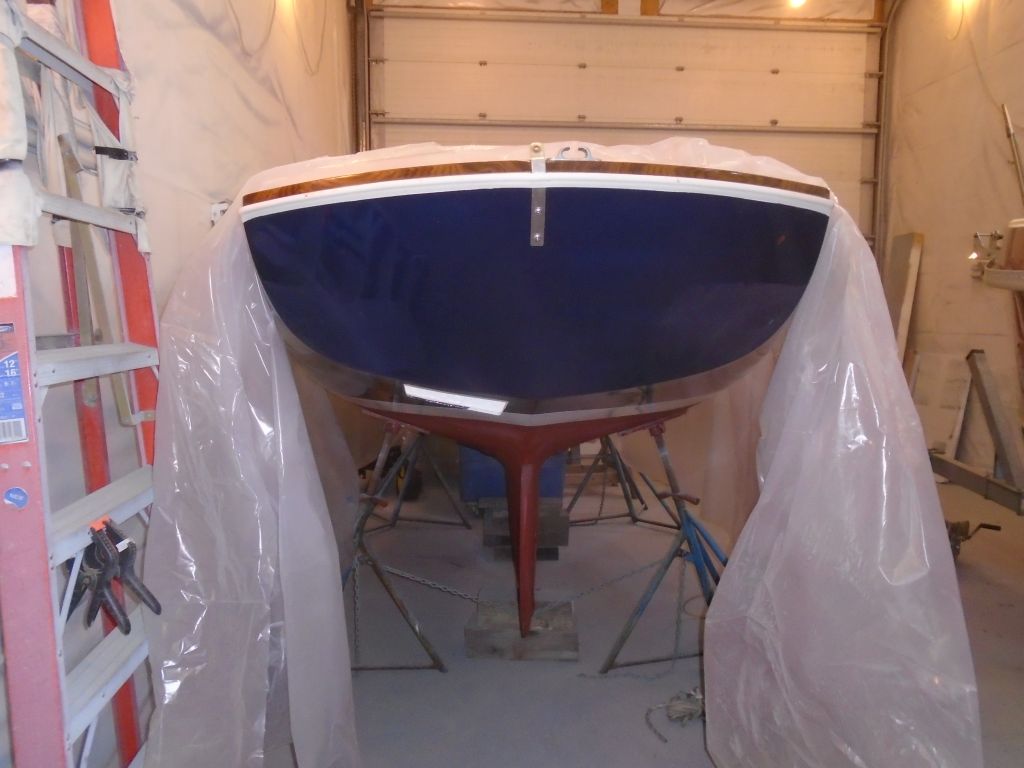
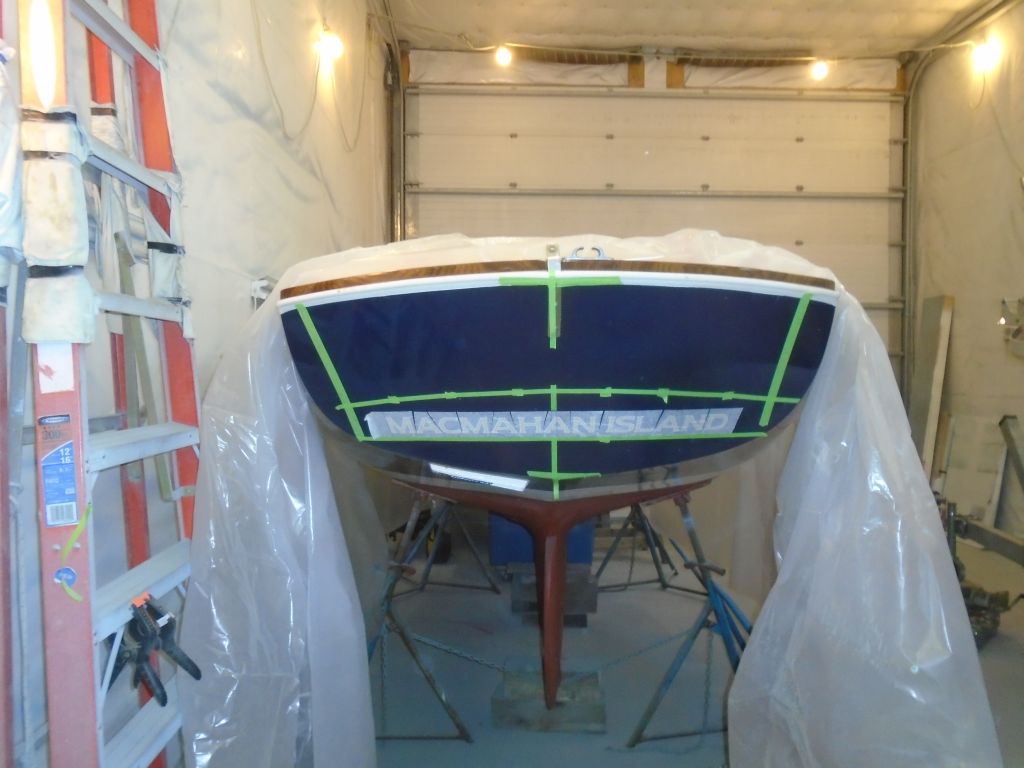
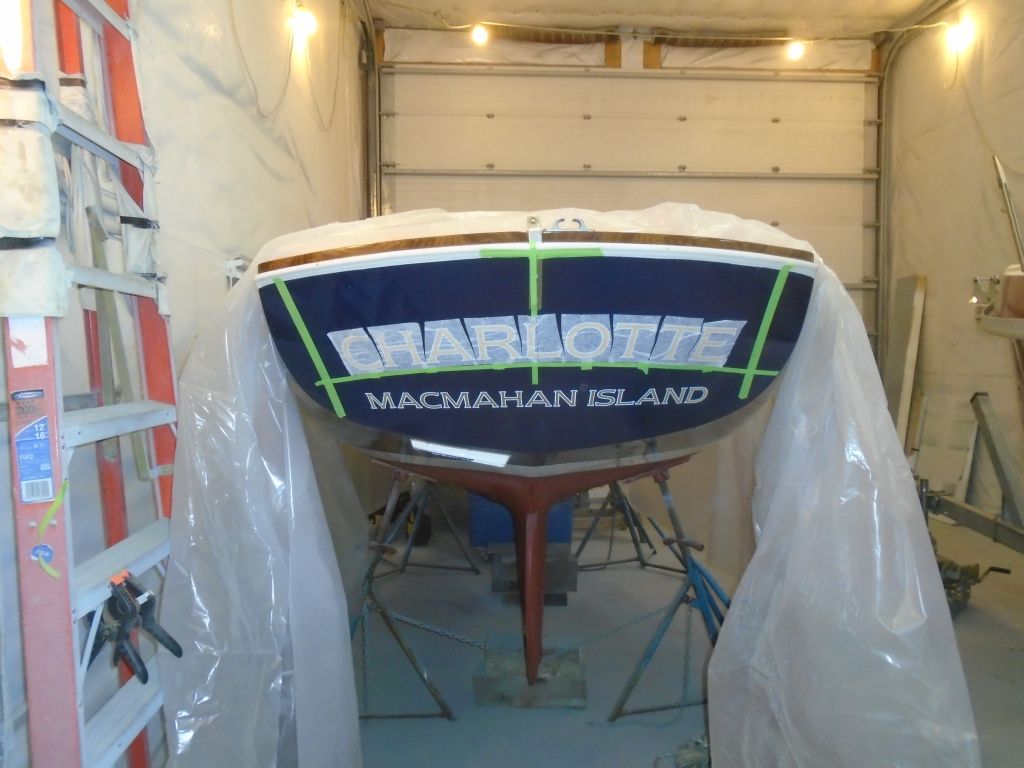
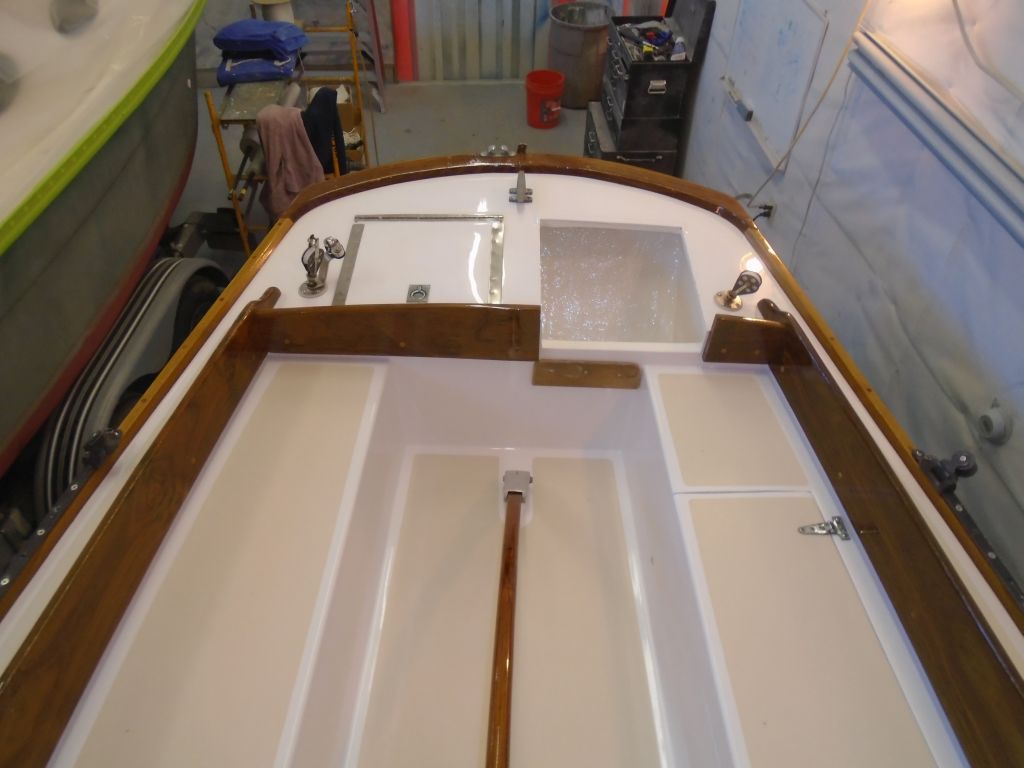
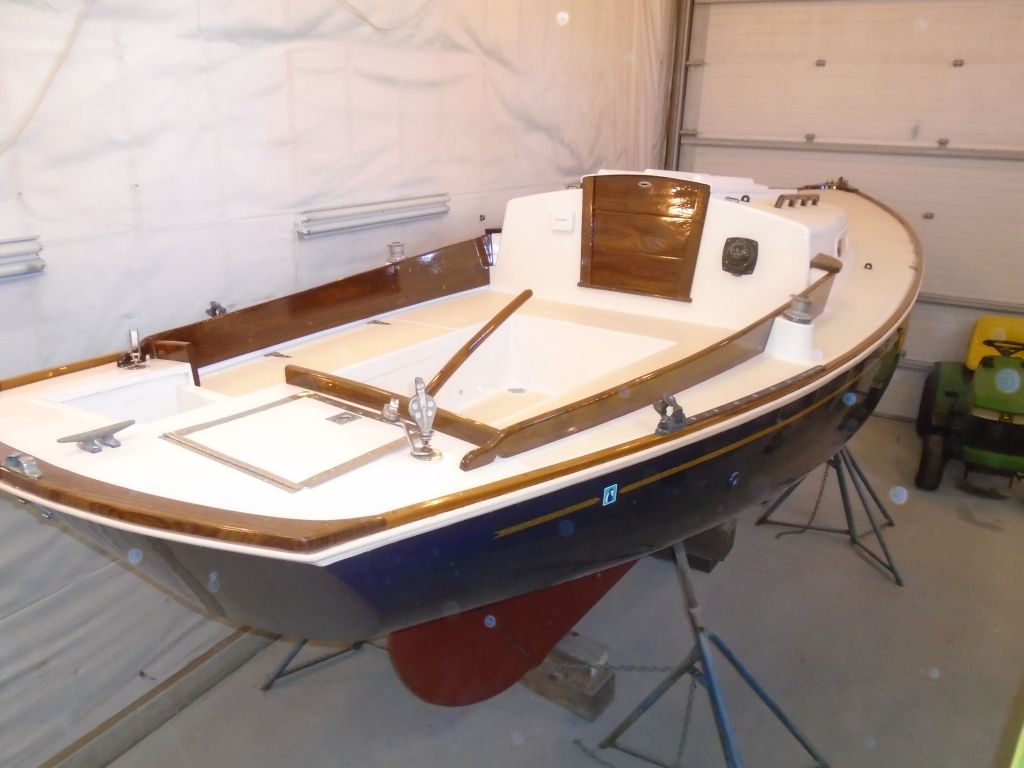
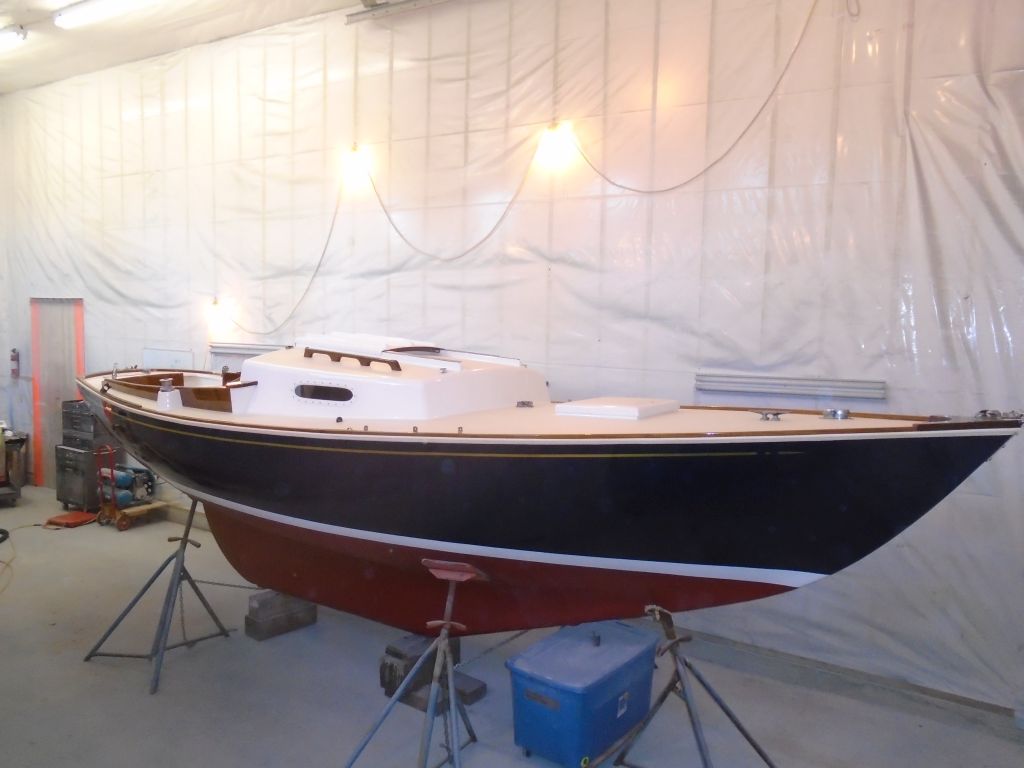
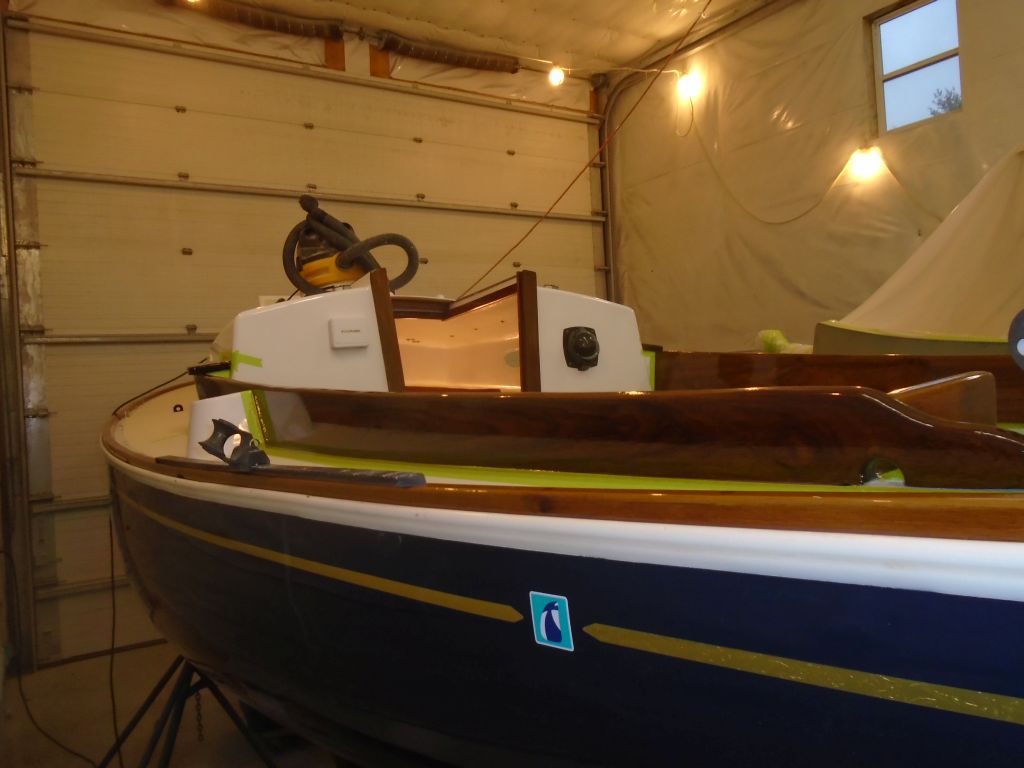
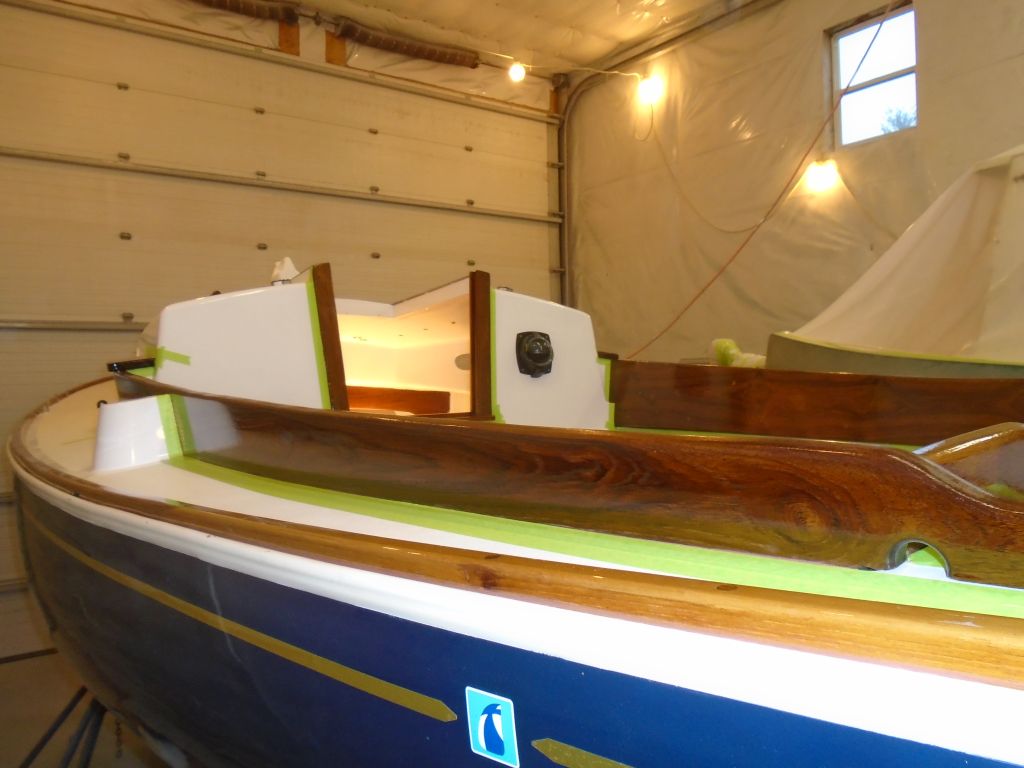
I’d delayed installing the new name and other graphics when I wrapped up the main part of the project because I knew I had additional graphics to get during the winter, so I combined the orders for efficiency. With the new vinyl on hand, the boat still indoors, where she’d been all winter, and some spare time in my schedule, I got to work on the name and hailport.
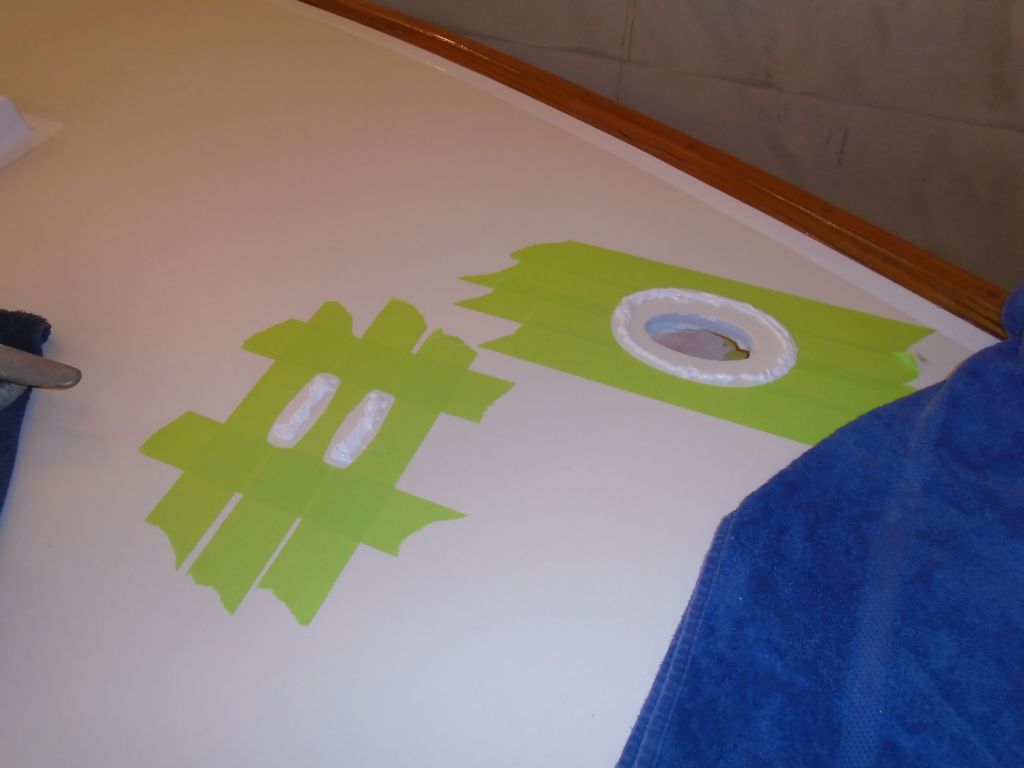
After a rough test-fit to see how the supplied graphics fit on the transom, I applied some masking tape in several vertical lines so I’d have somewhere to make some reference marks. At the center of the transom, I applied a vertical centerline (the right edge of the tape is the actual centerline), and, with a basic measurement from my rough fitting as a guide, I made a series of marks on the pieces of tape where I could apply a curved base line that matched the camber of the deck and top of the transom. The name would fit to this line for best appearance, and once I’d marked the baseline I temporarily fit the name in place, cutting between the letters as required to allow me to bend it into shape.

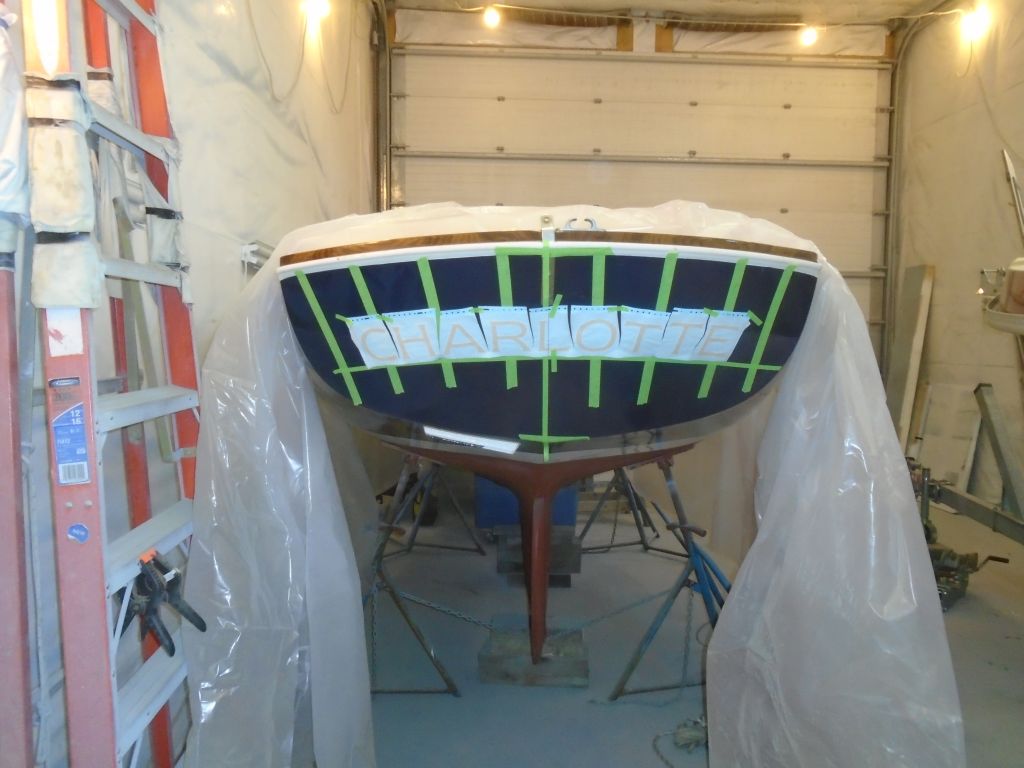
Because the chosen hailport was quite long, it had effectively driven the size of the name, and also the overall layout on the stern, since it wasn’t a large transom to begin with. So before proceeding with the name, I wanted to rough out the port as well, which I’d install on a visually horizontal line beneath the slightly-arced name. By eye, I determined what looked best, and marked out a base line for the hailport.
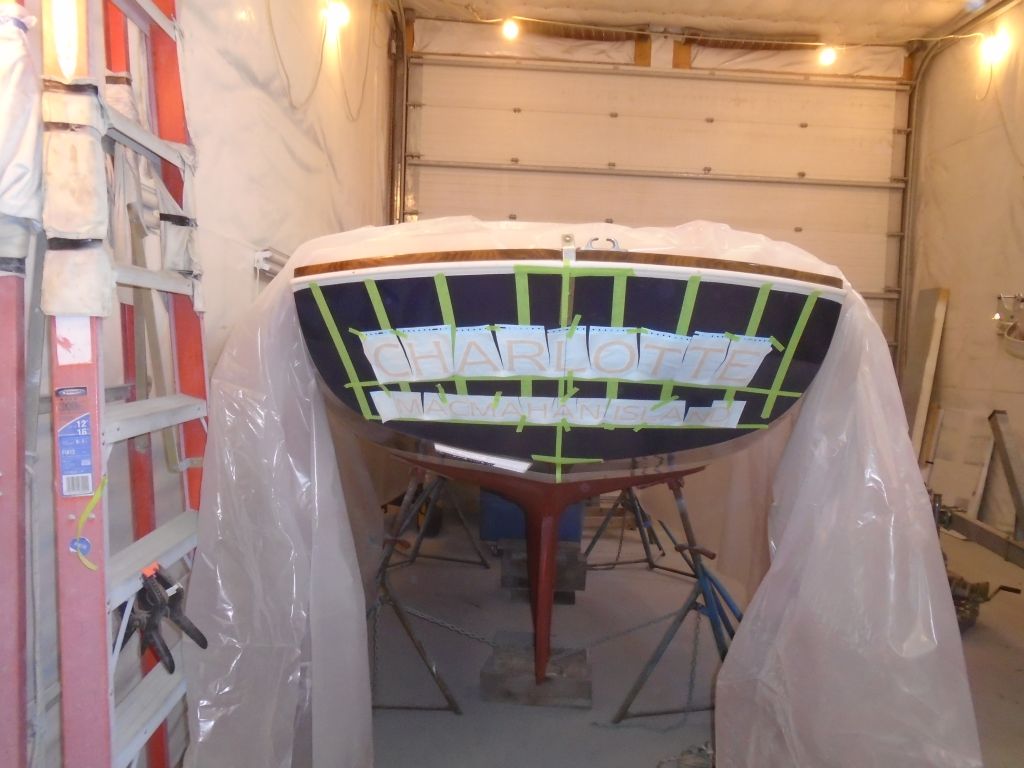
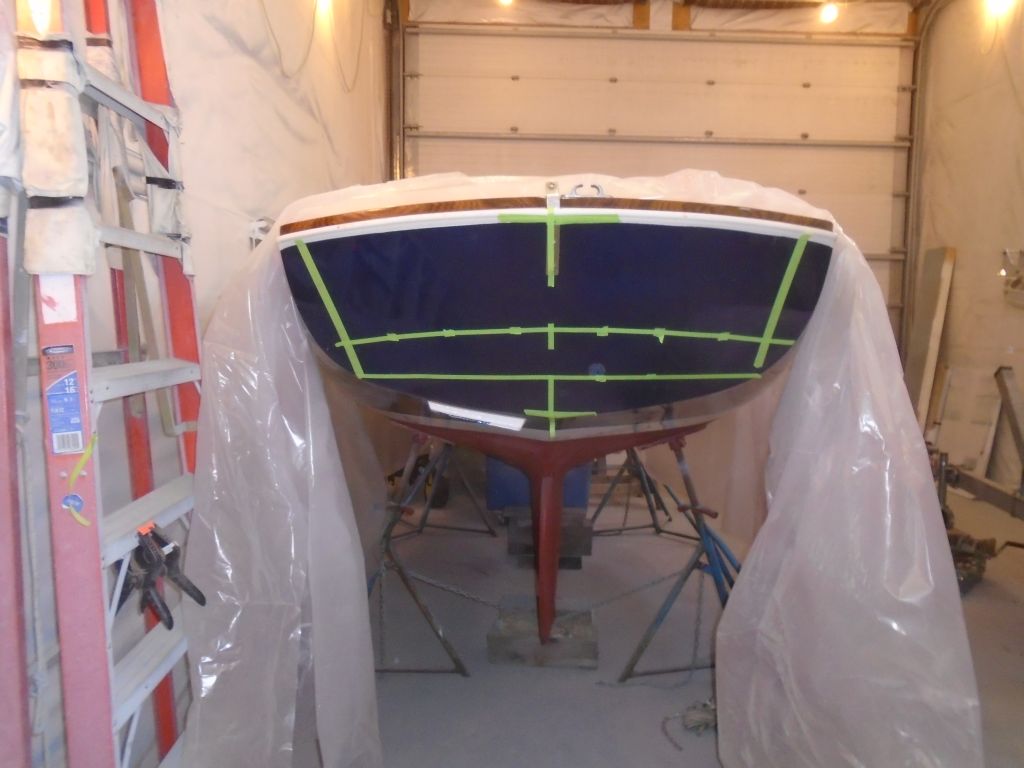
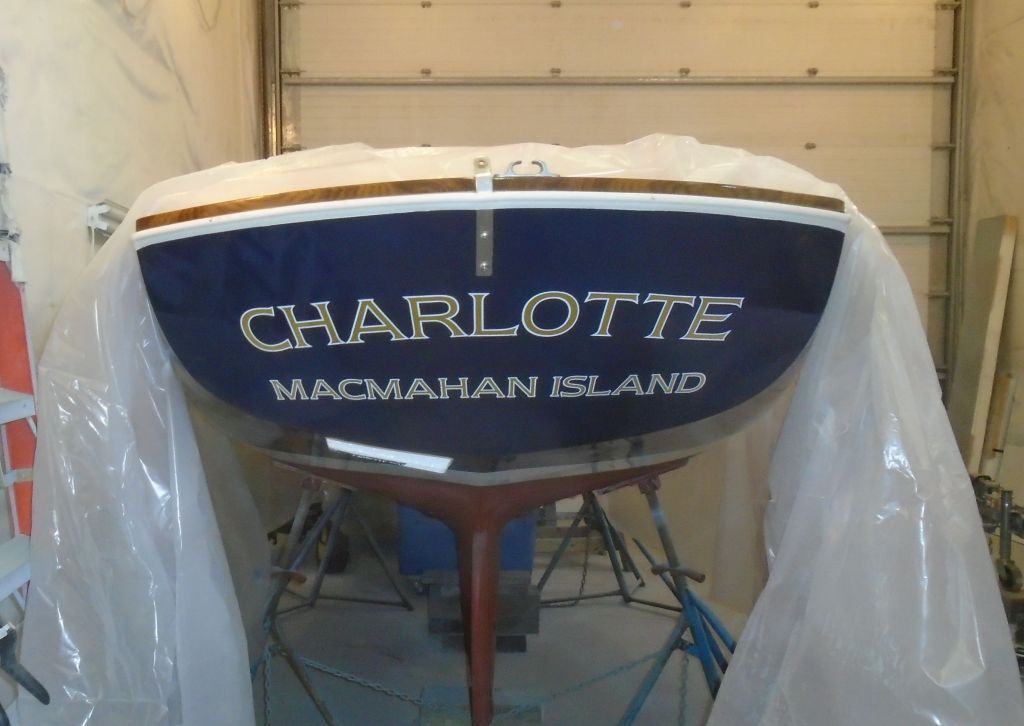
Satisfied with the layout, I completed the installation of both name and hailport.
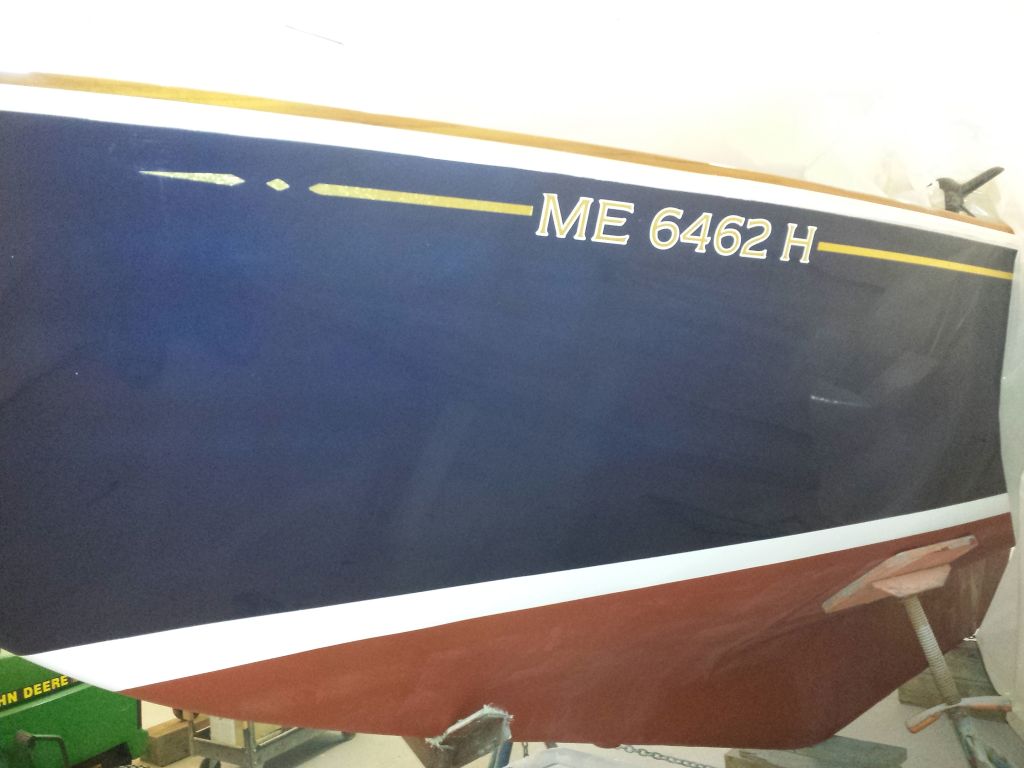
At the bow, I removed a short section of the cove stripe on each side and installed registration numbers.

Total time billed on this job today: 2.5 hours
0600 Weather Report:
22°, light snow, about 0.75″ on the ground. Forecast for the day: light snow changing through freezing rain, sleet, and rain, high somewhere in the 30s.
Wednesday
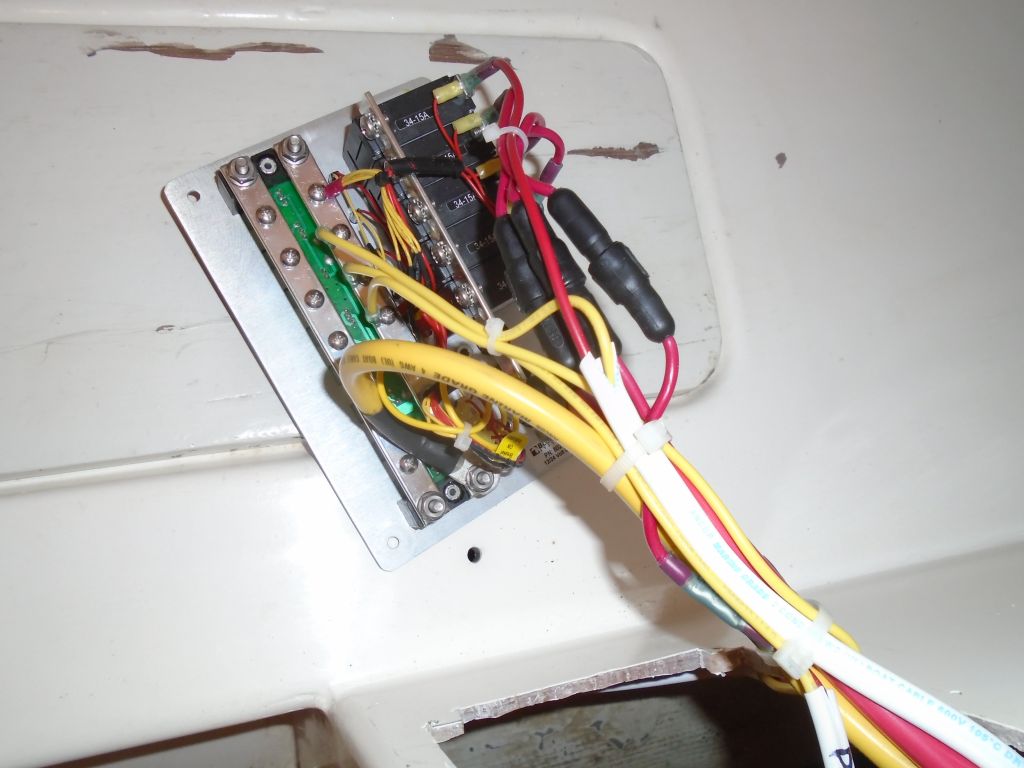
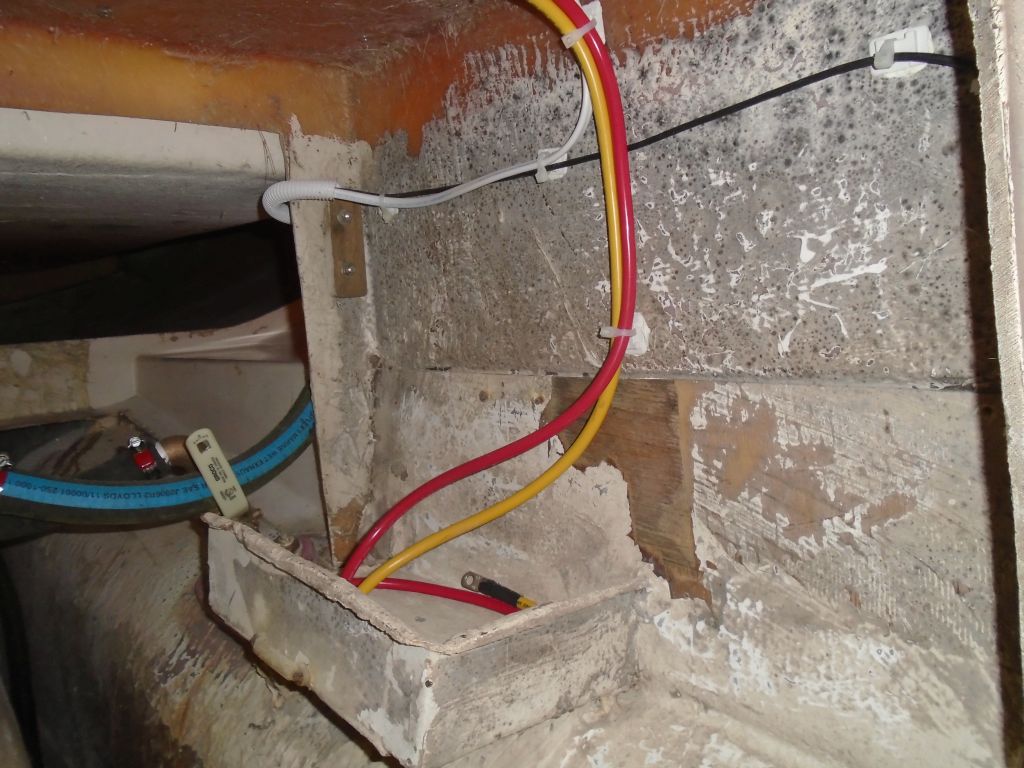
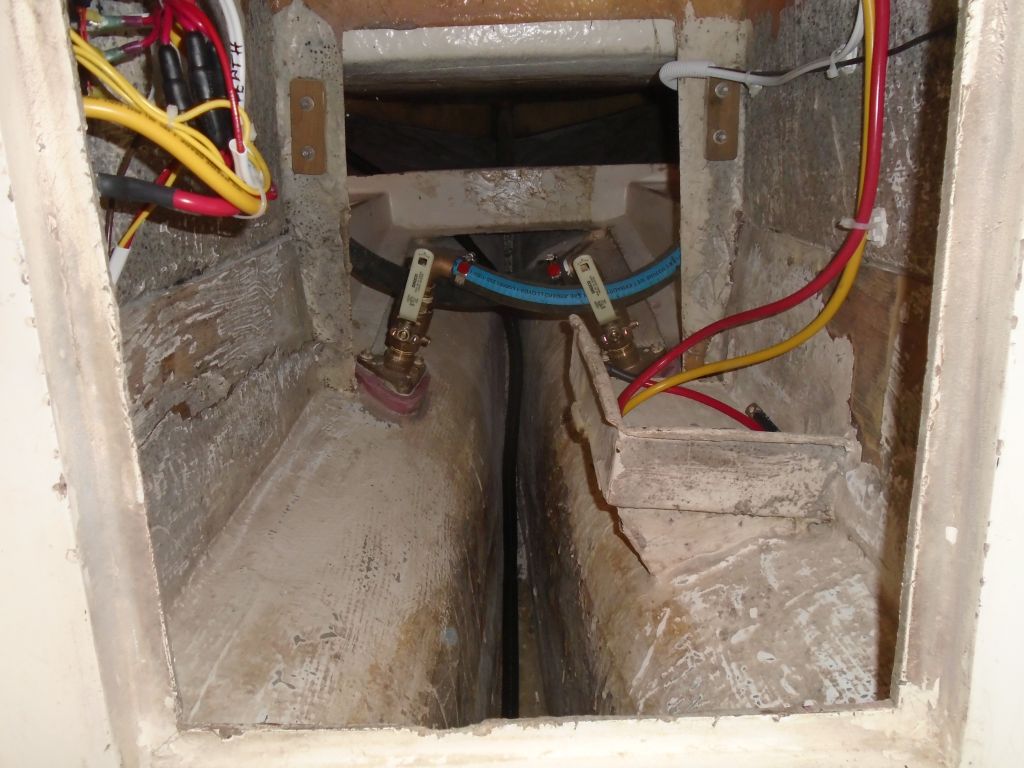
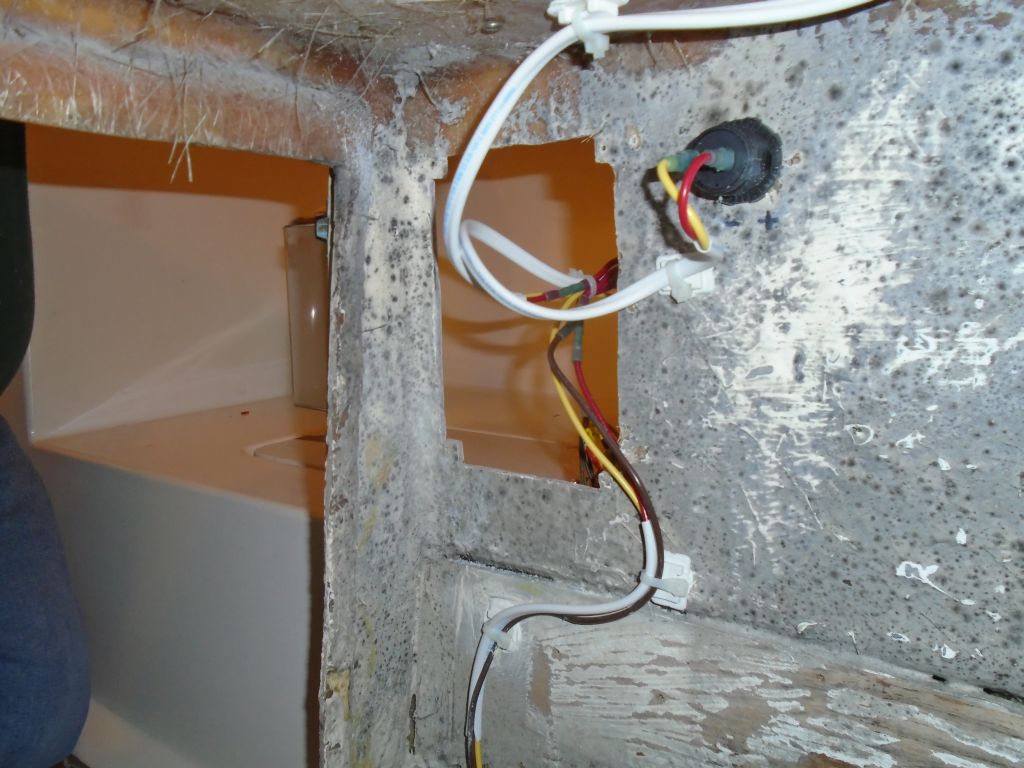
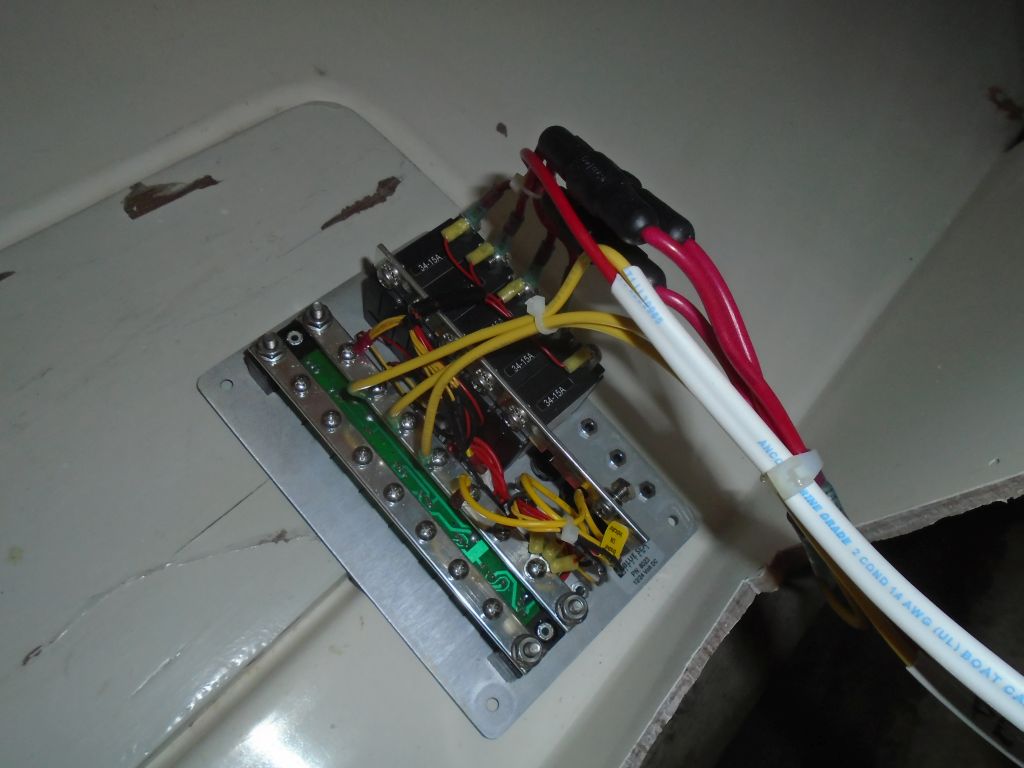
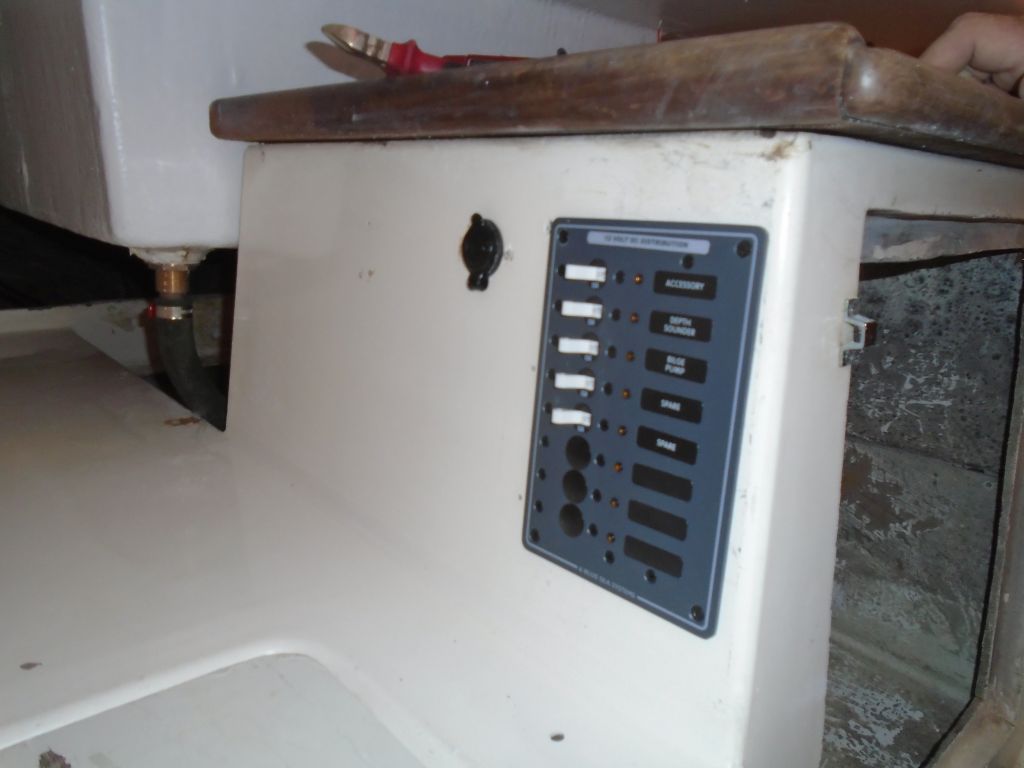
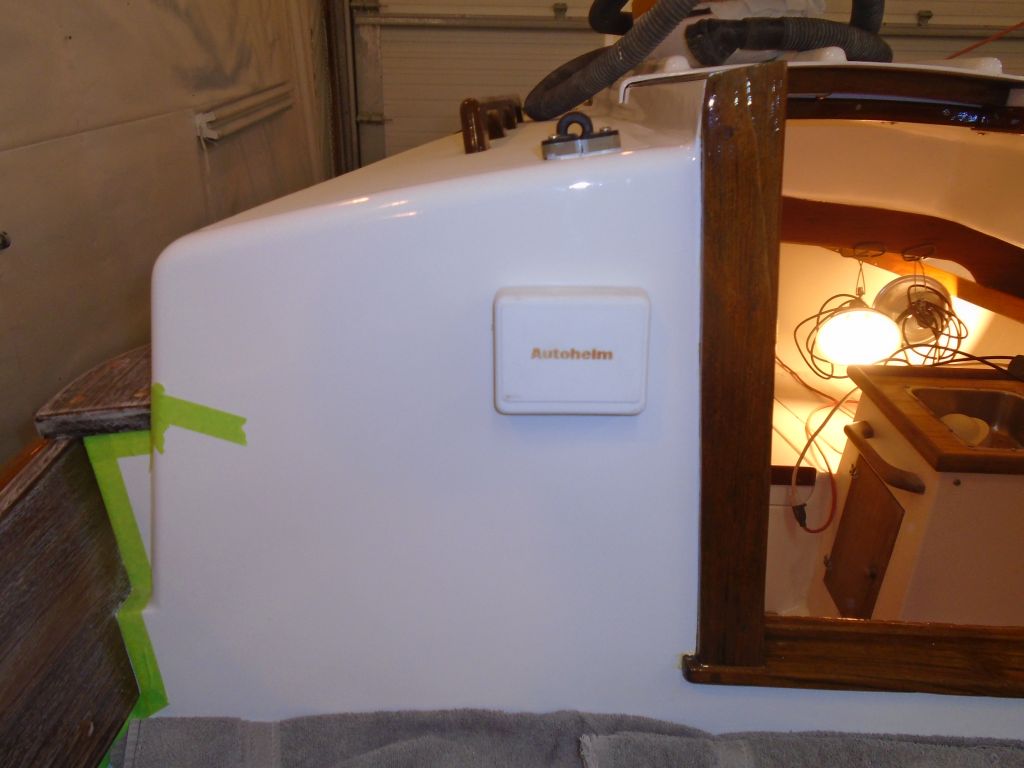
With some #4 battery cable now on hand, I finished up the electrical system, running the cables from the battery storage area to the panel and making up the connections. I’d wait on purchasing and installing the battery till later, closer to the season.


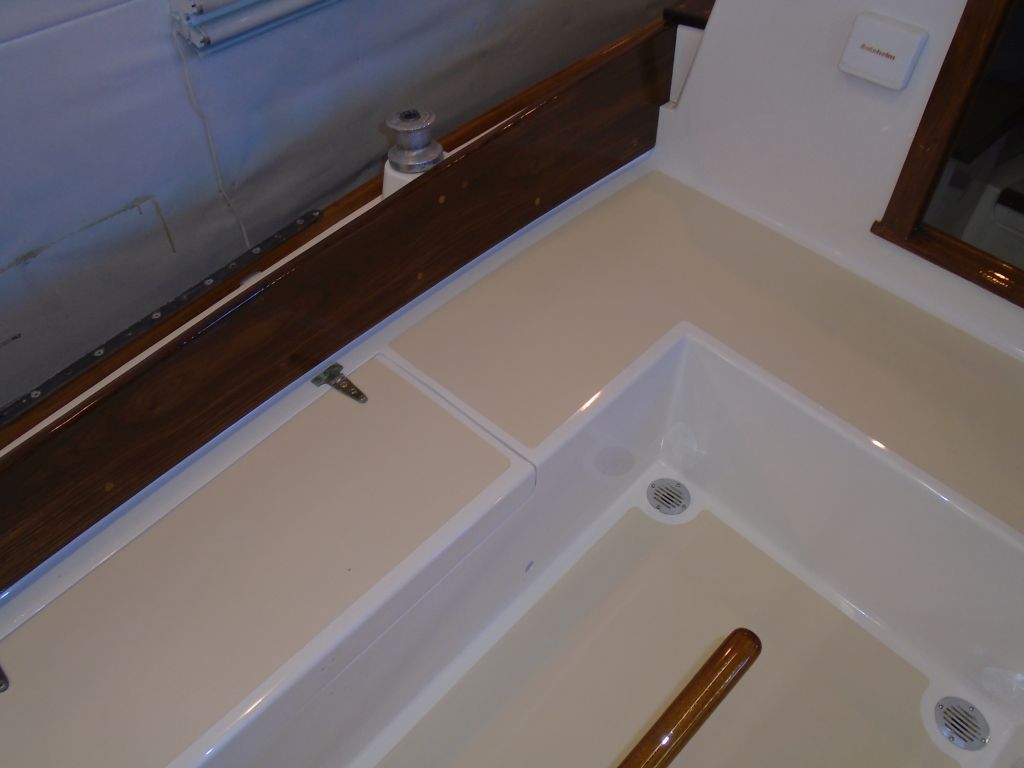
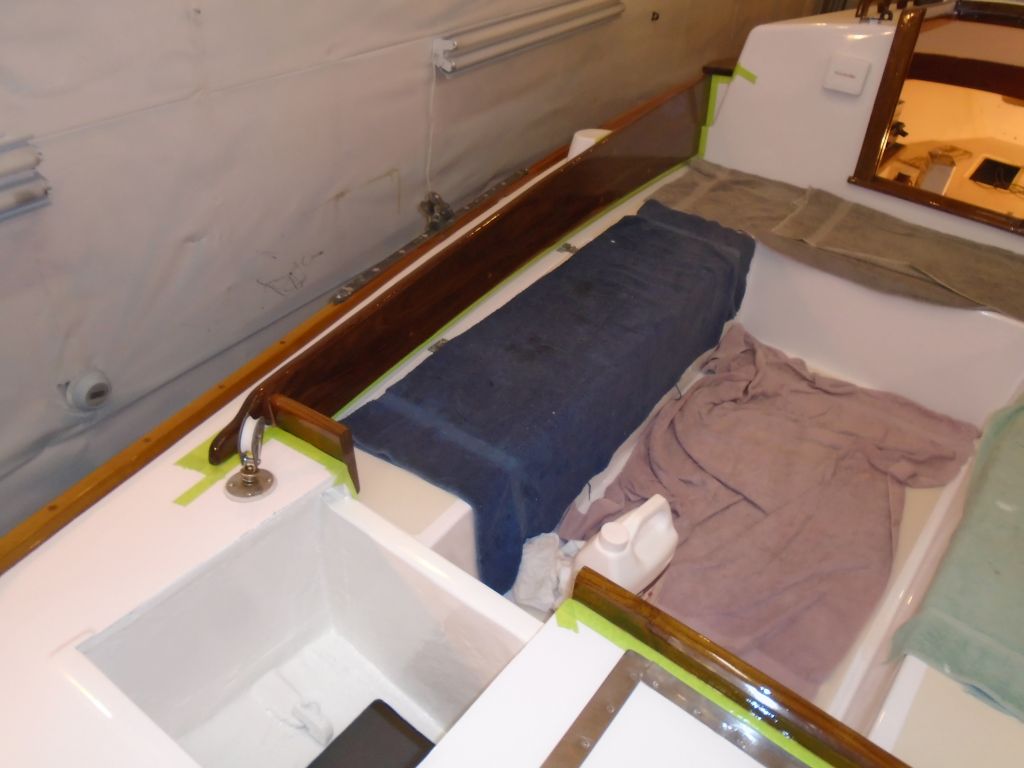
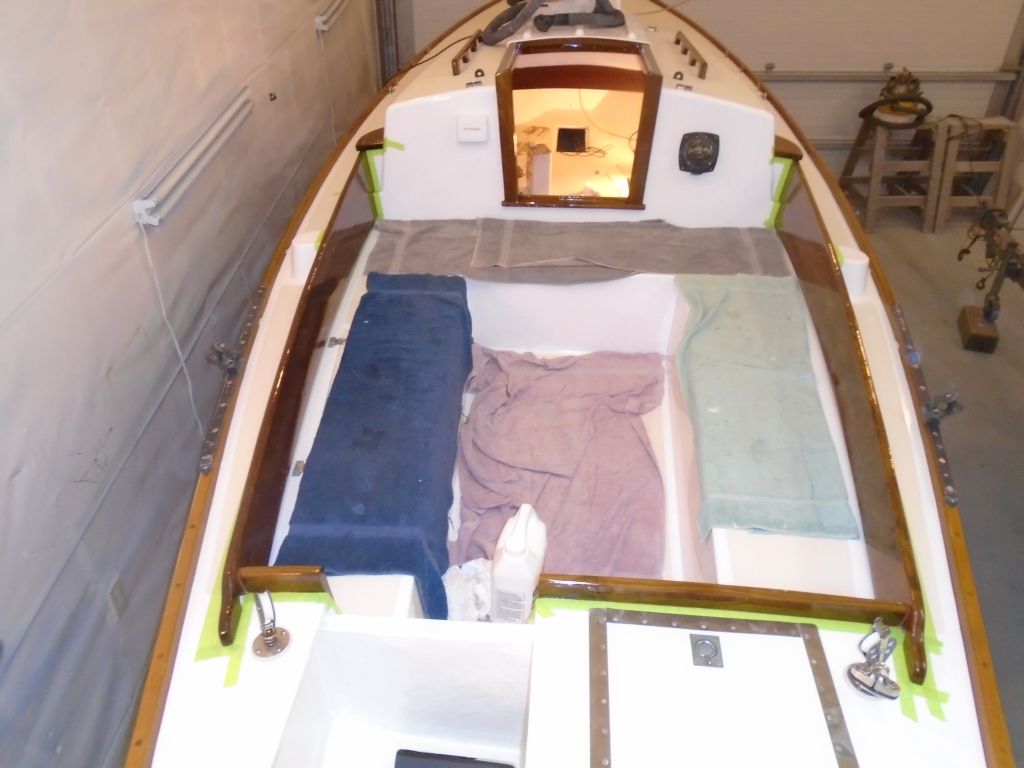
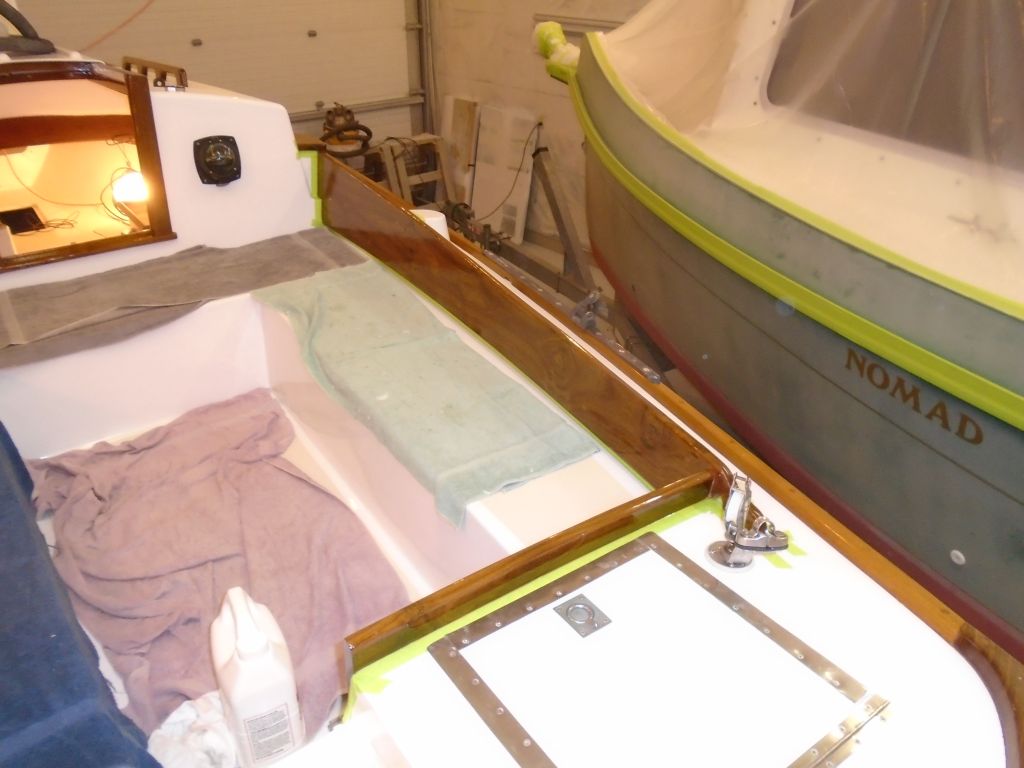
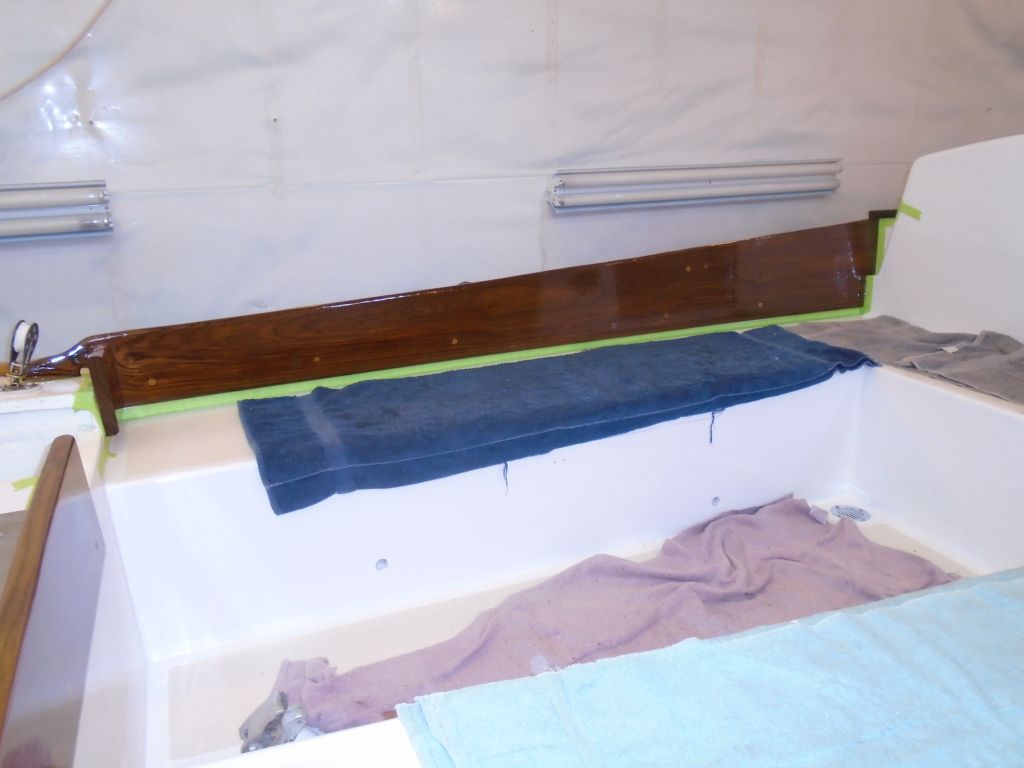
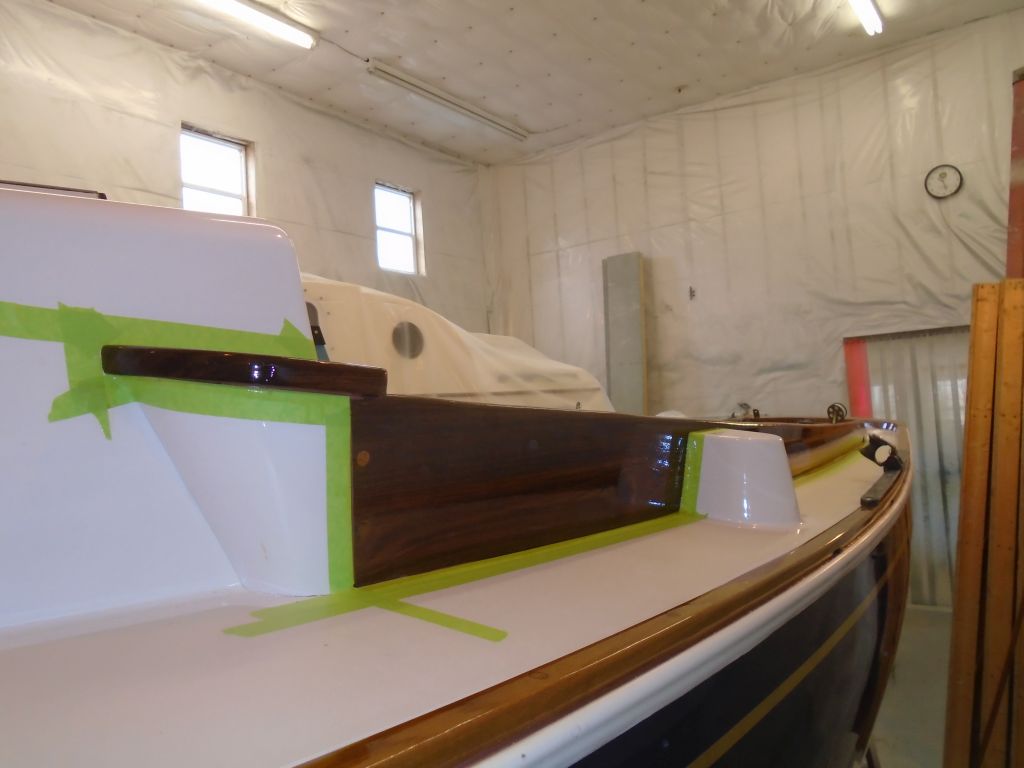
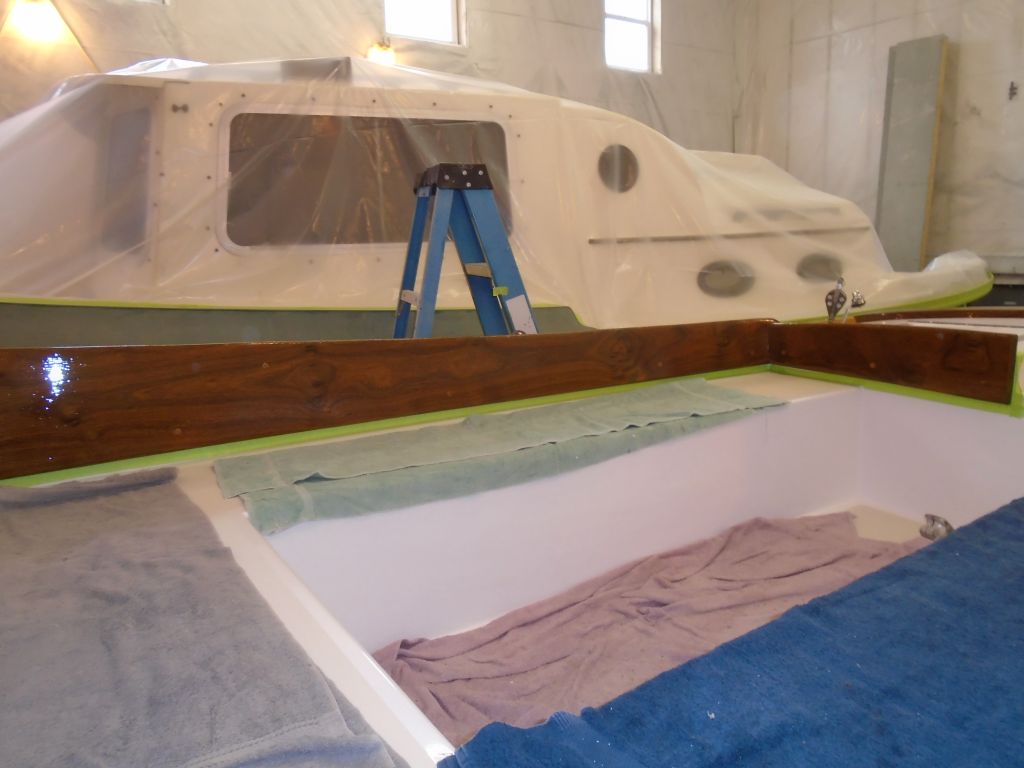
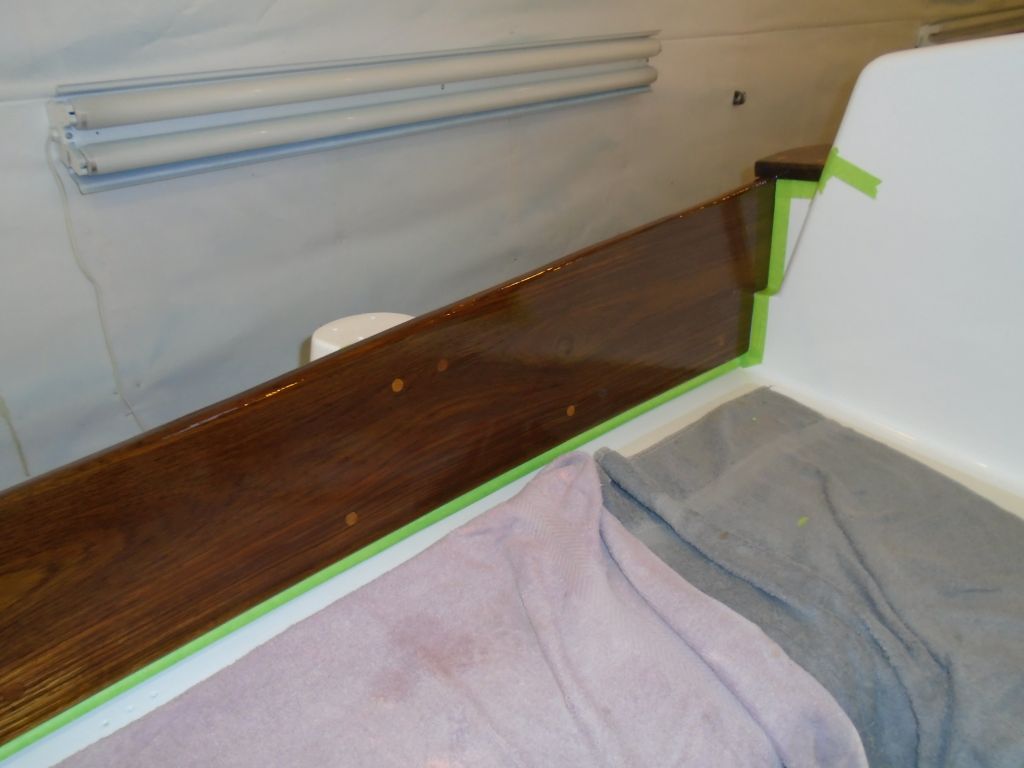
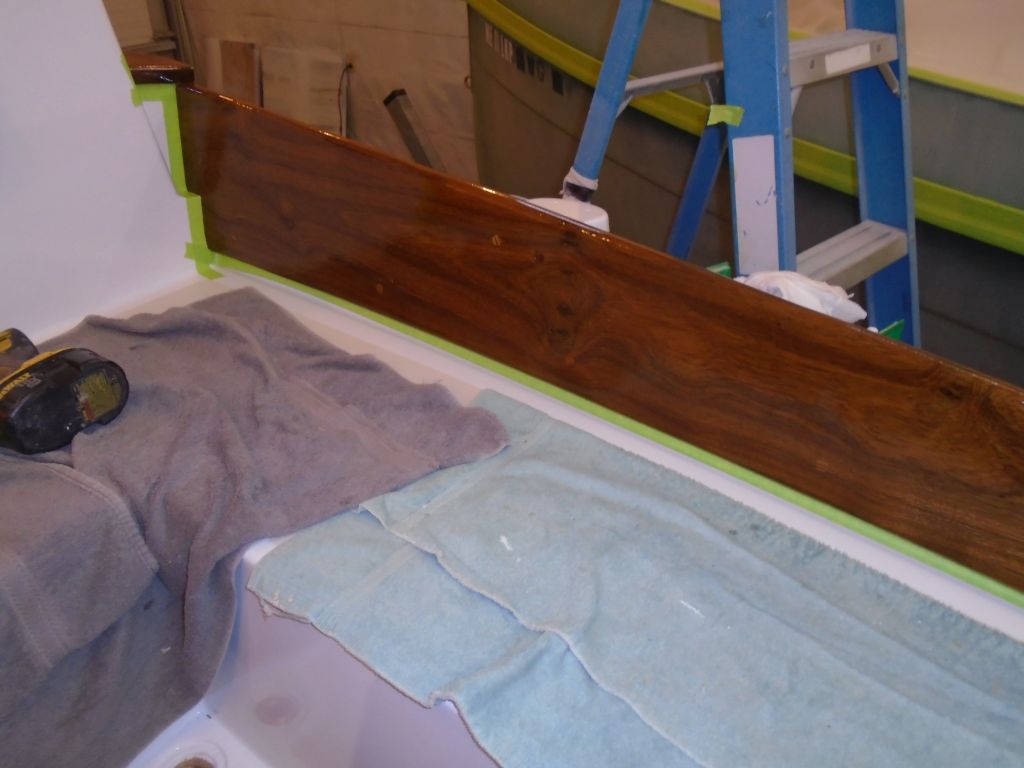
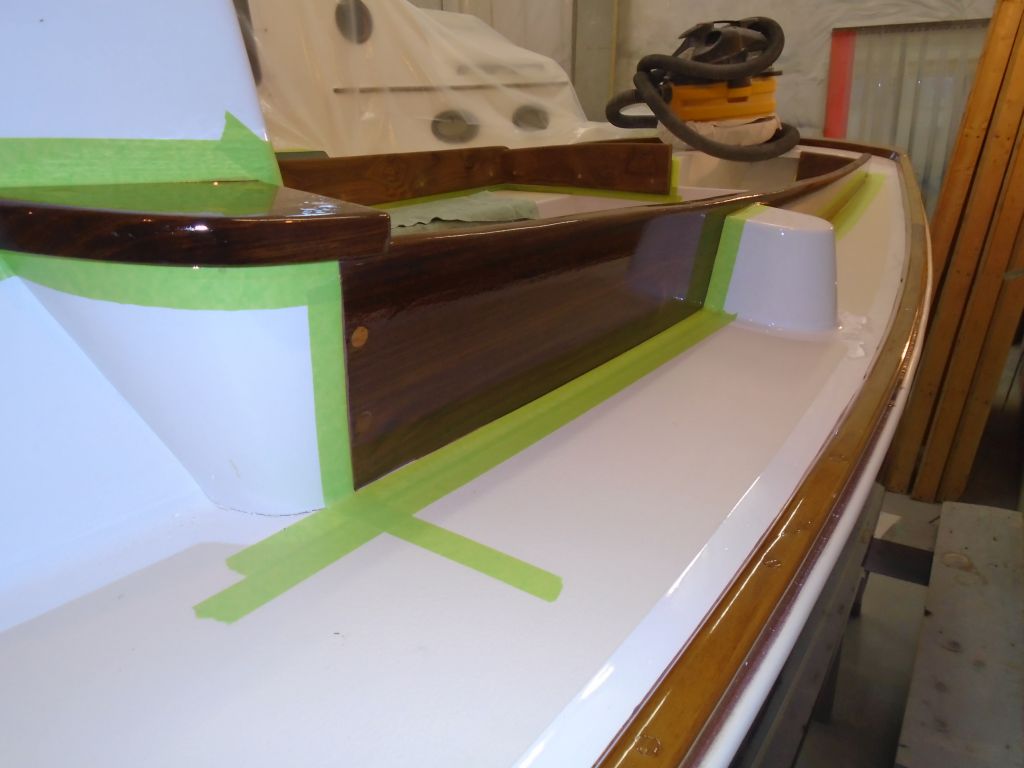
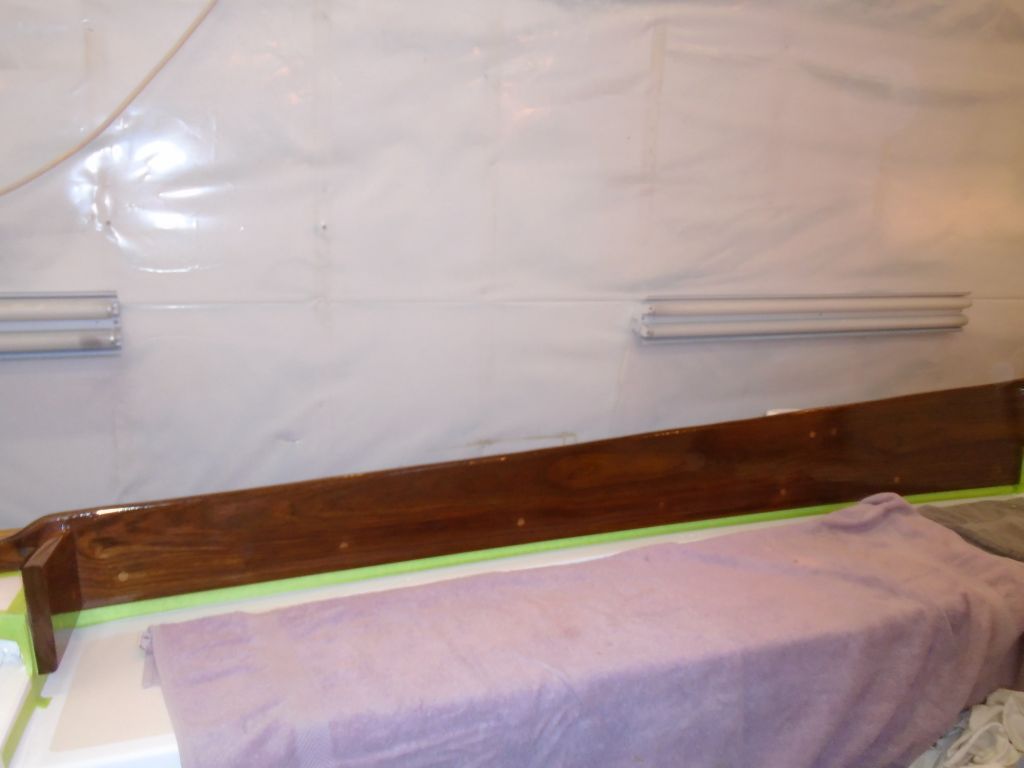
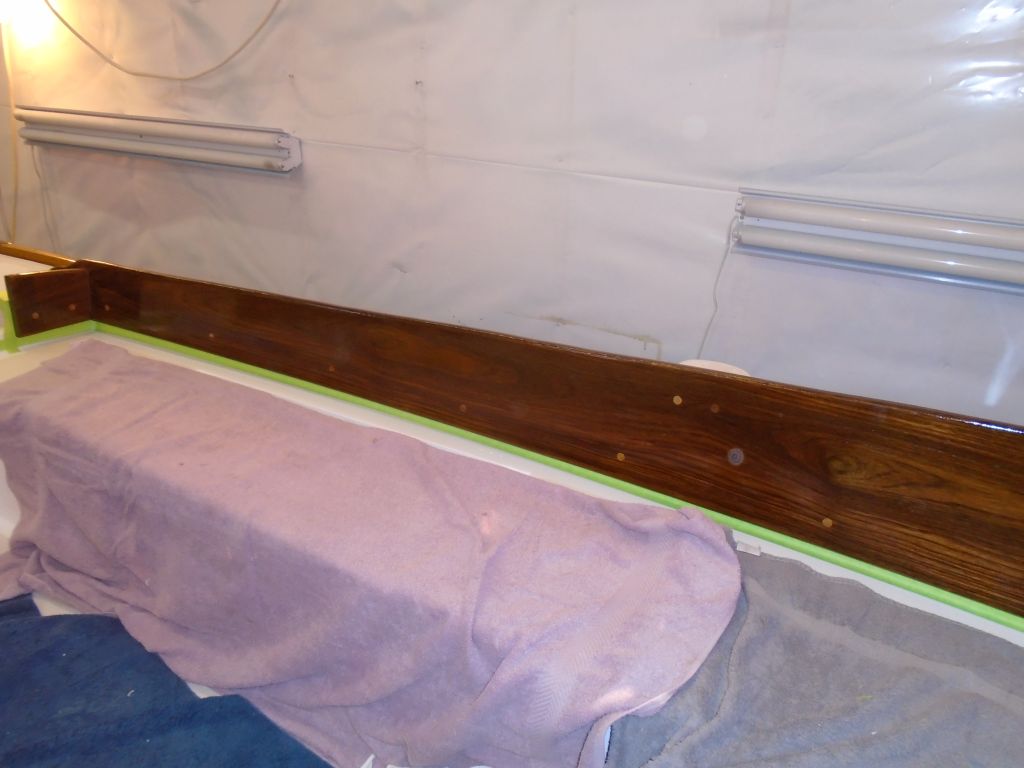
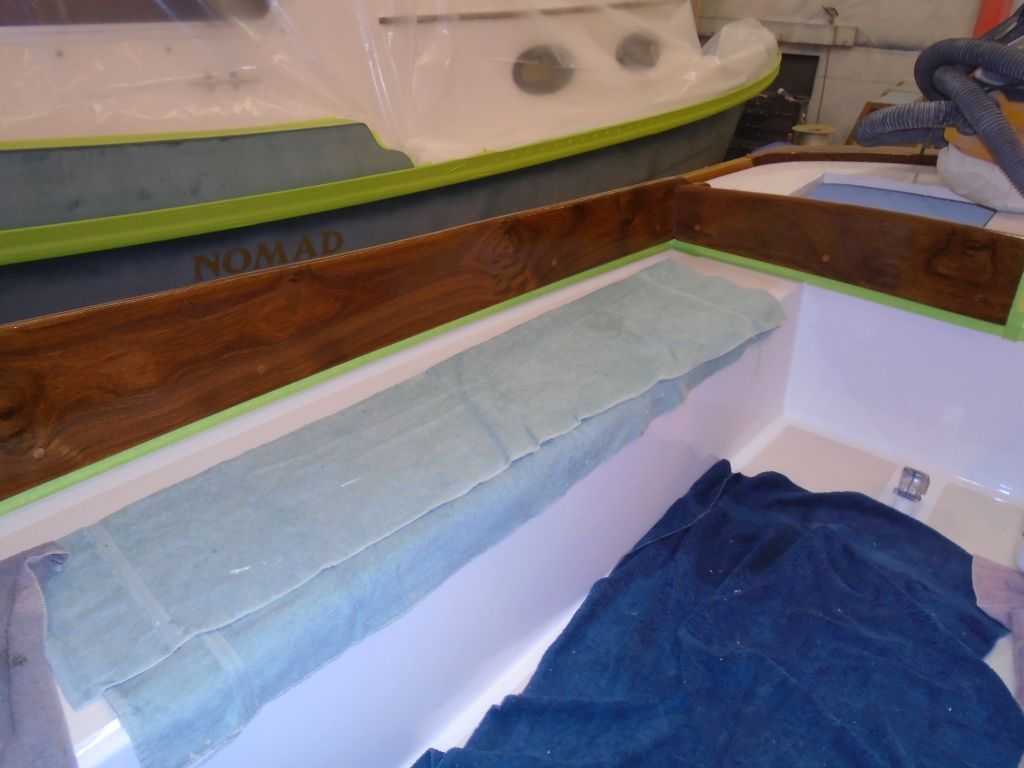
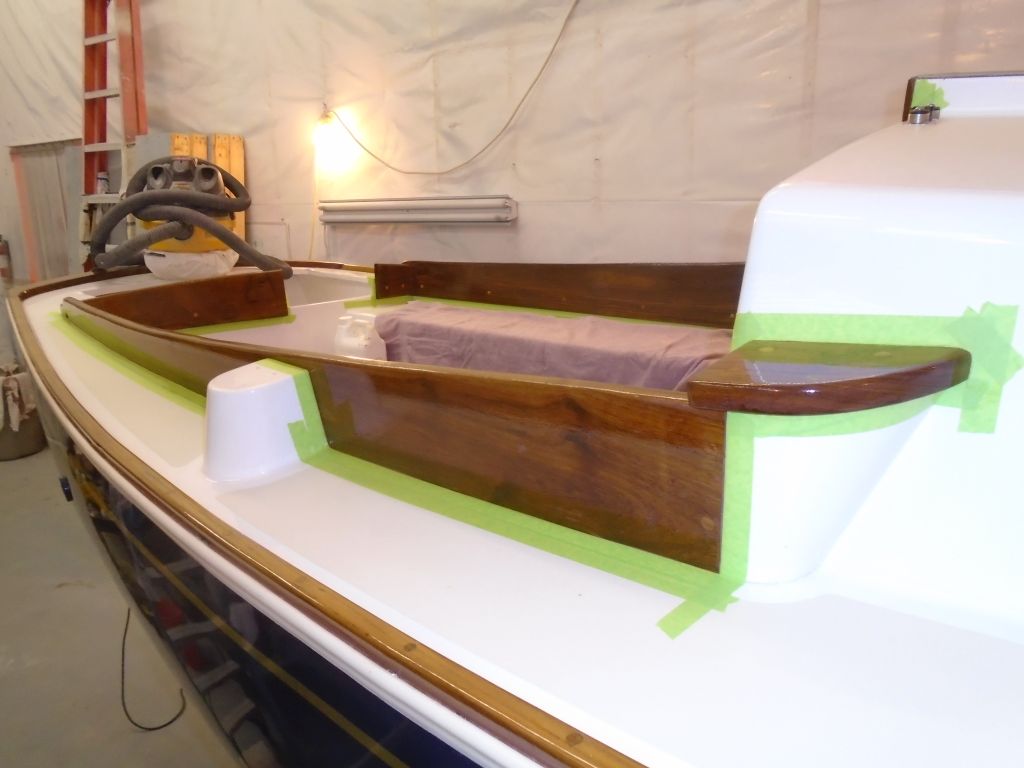
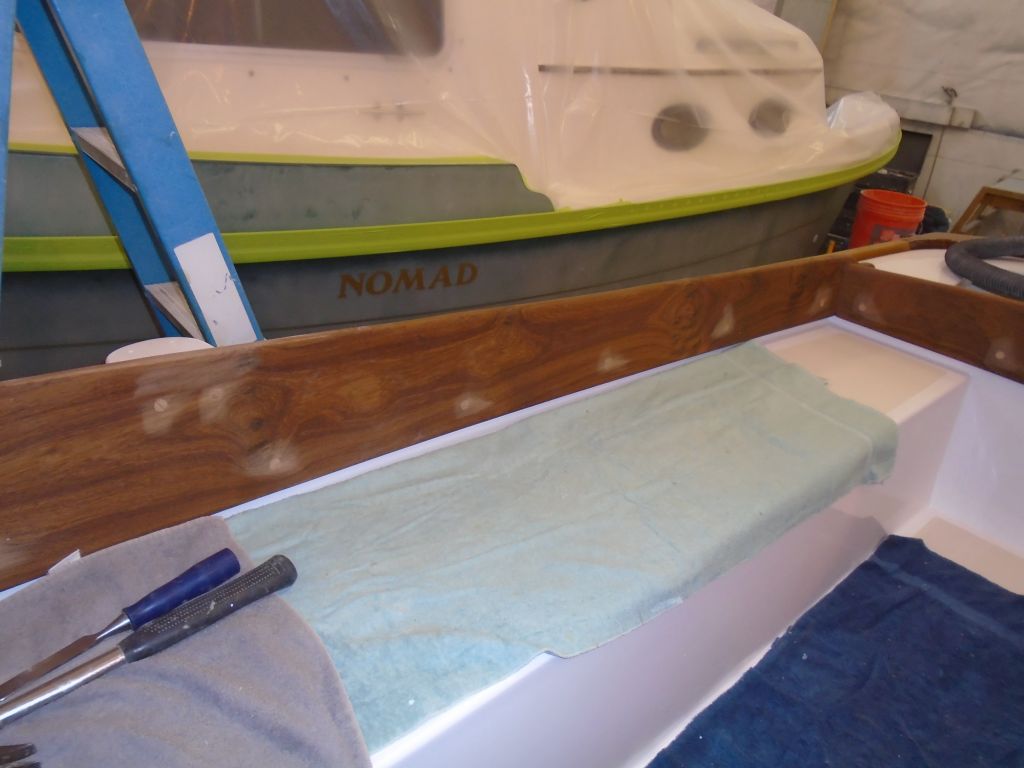
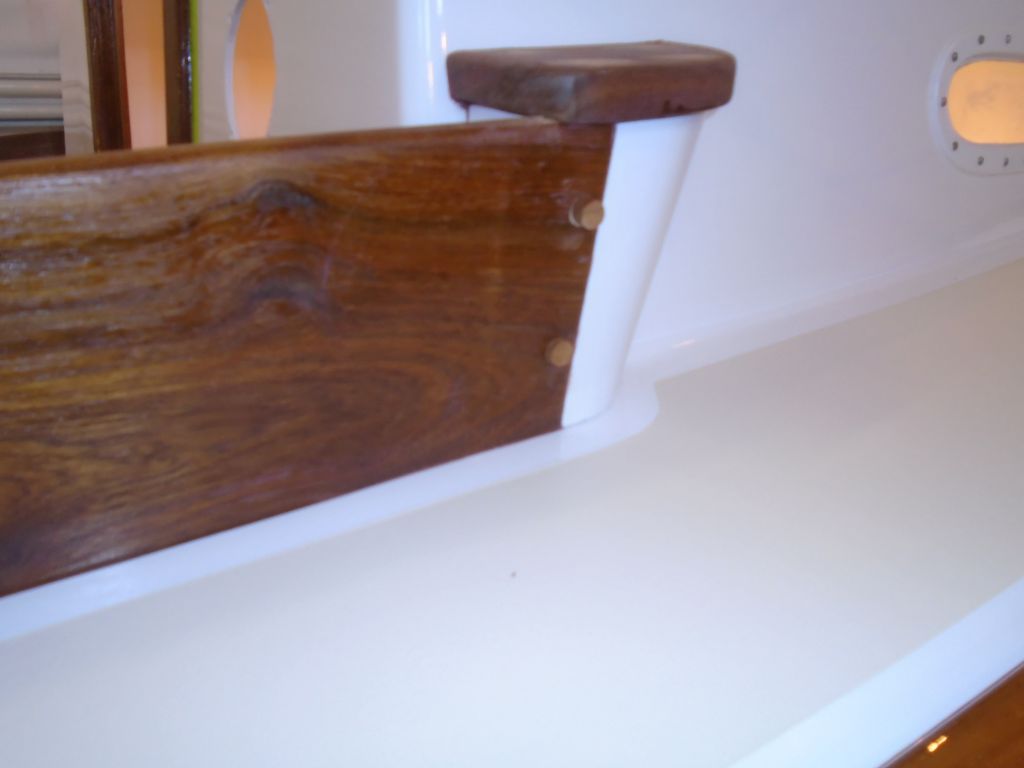
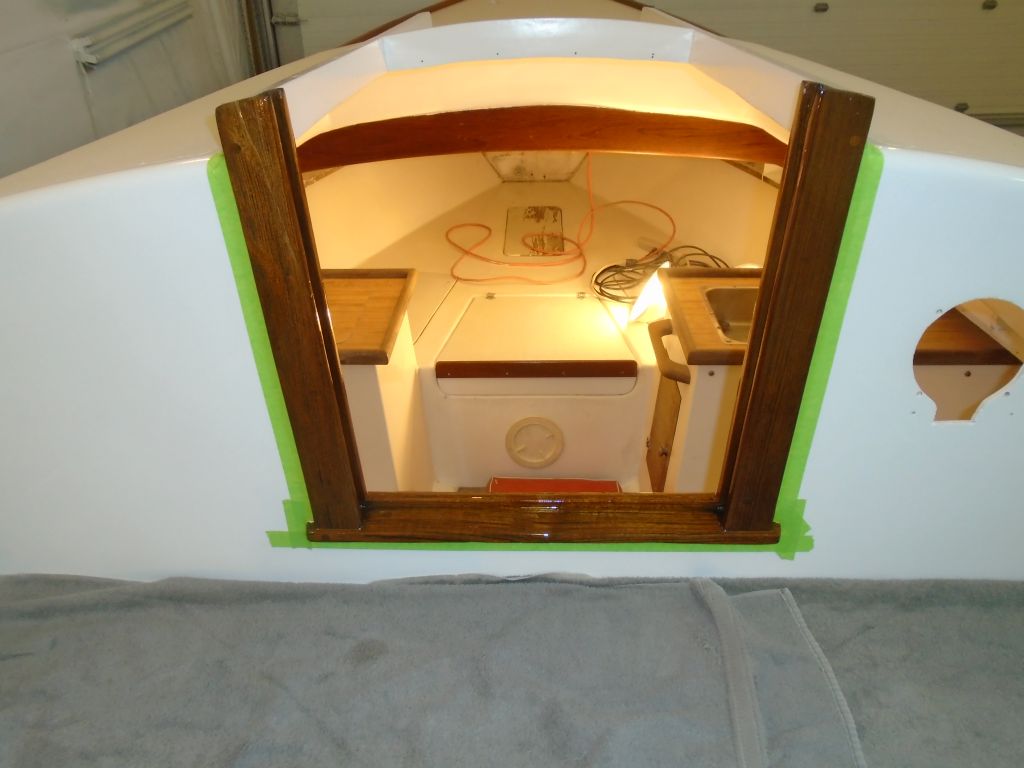
On deck, a few final tasks remained. I deemed the varnish work on the coamings complete and removed the masking tape, then installed the genoa sheet winches and the plain teak backing board at the engine well, which I’d held off for now so it wouldn’t interfere with the varnishing.

With that, the work list was essentially complete, and I’d be moving on to other jobs. I had a small punch list to take care of before the season, including installing and testing a new battery, and supplying and installing the new name (still pending) and registration numbers, and I’d take care of those in due course.

Total time billed on this job today: 3 hours
0600 Weather Report:
26°, clear. Forecast for the day: Sunny, 40.
Tuesday
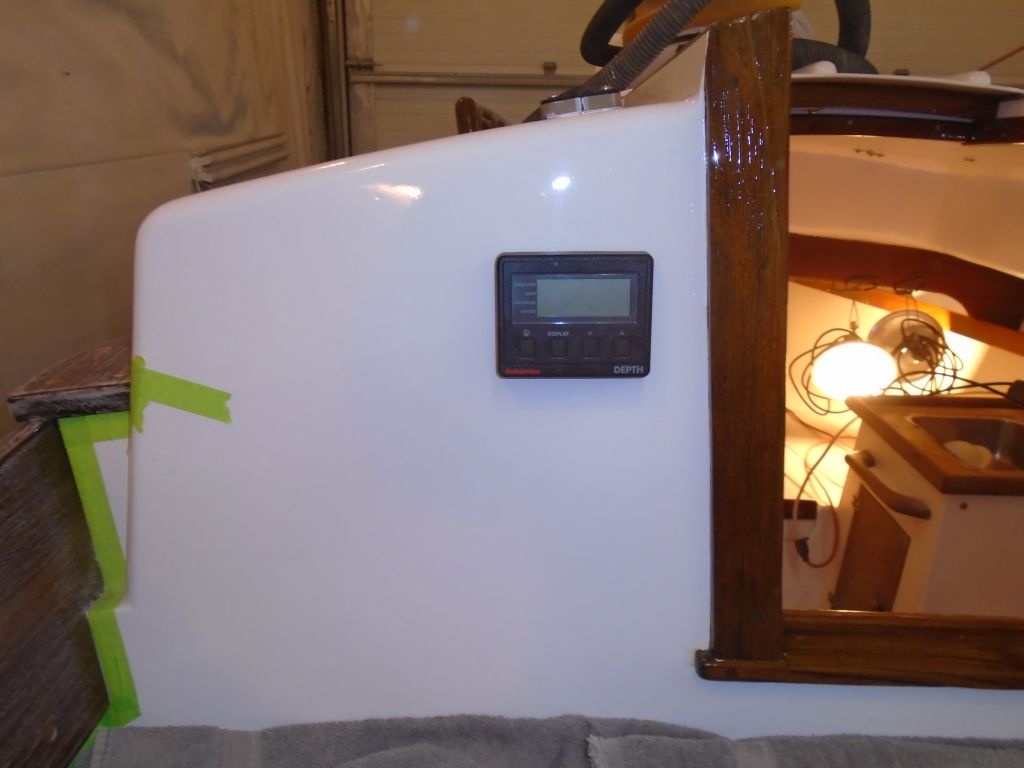
I spent the morning installing most of the electrical system., running new wiring as needed to the depthsounder (including rereouting the existing transducer cable) , outlet, and bilge pump and making up the final connections at the panel.

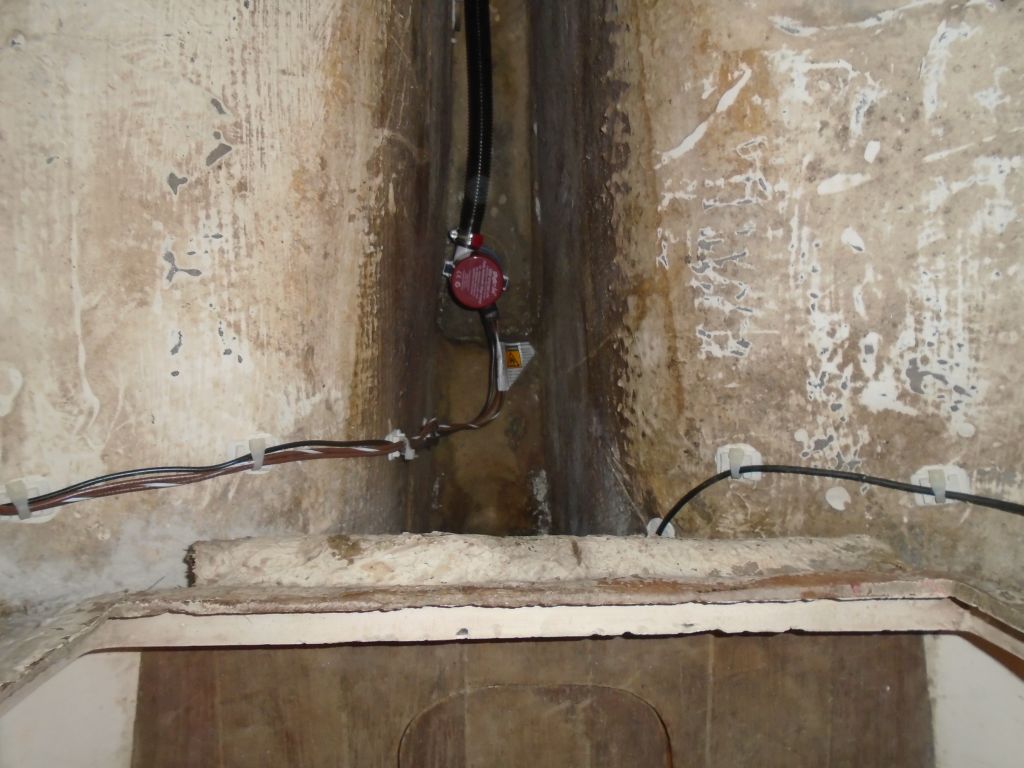
I’d hoped to finish up the wiring with the battery cables, materials for which I’d ordered earlier, but although I waited as long as I could, the shipment arrived late in the afternoon, late enough that I’d already moved on to the varnish work again, so I’d wrap up the cabling next time.


Total time billed on this job today: 4.5 hours
0600 Weather Report:
Rain and showers, 40°. Forecast for the day: showers ending later and warm, near 50.
Monday
With most of the other work now complete, I turned my attention to the interior. The work list here was minor, as most of the interior–consisting largely of molded interior structures and liners–was in generally good condition, and the owners had no particular plans for truly using the interior. Earlier, I’d painted the overhead in the main cabin, but we deemed the forward cabin OK as is, other than requiring some cleaning and sprucing up.
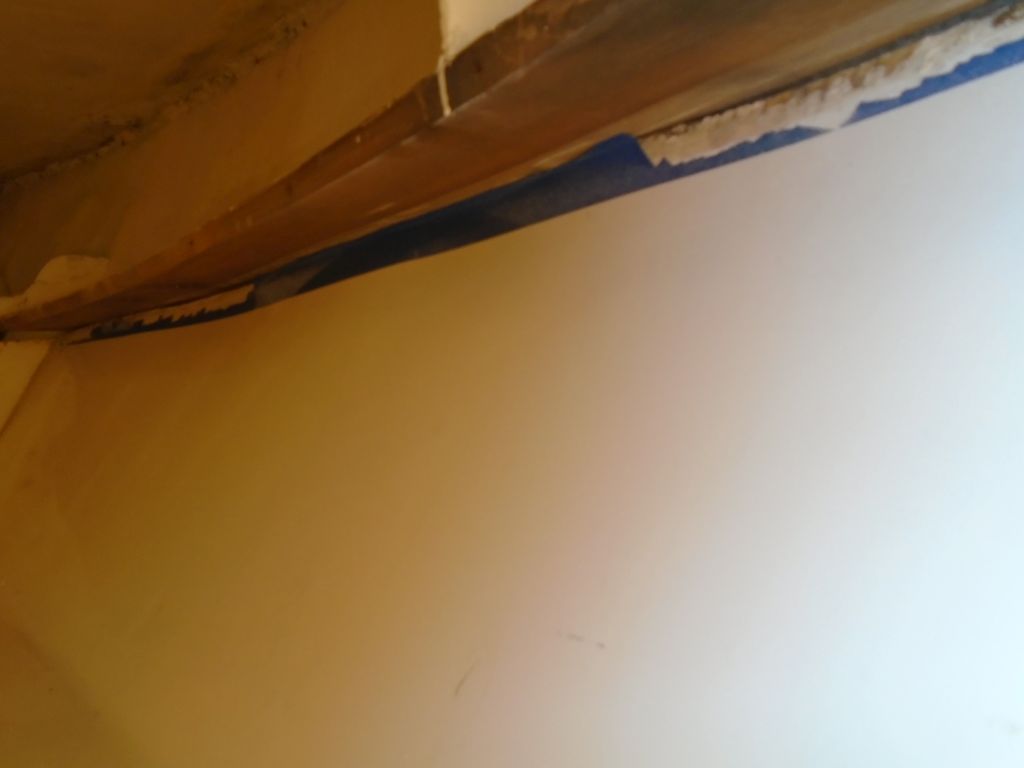
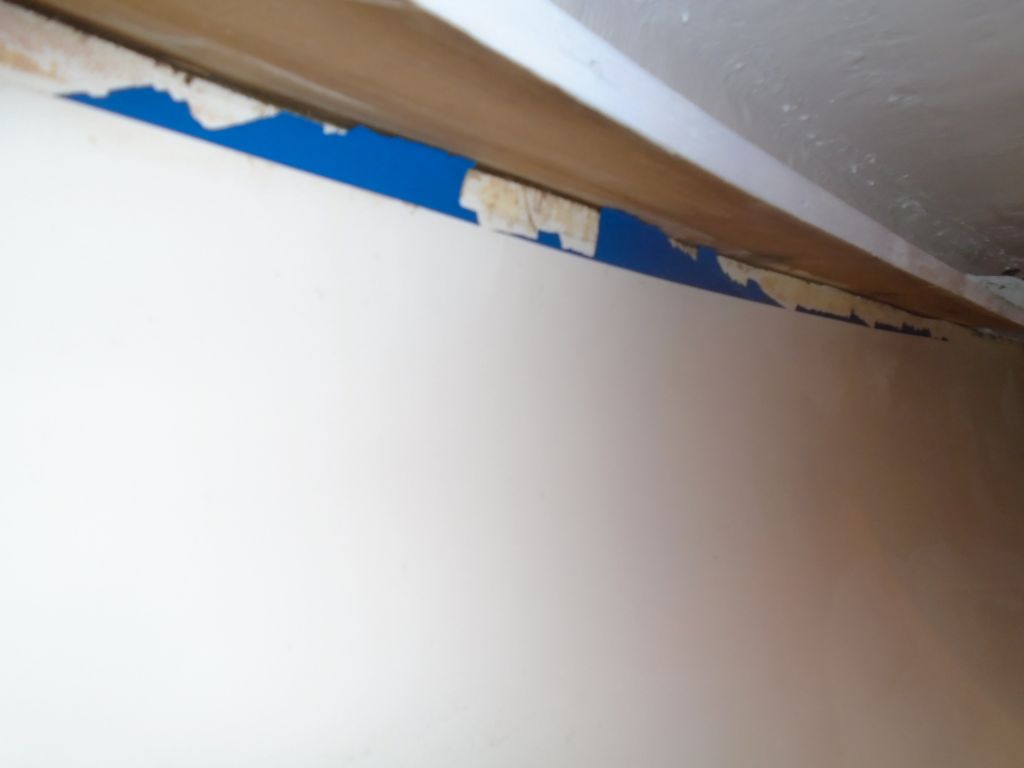
Someone in the past had applied some blue plastic tape as a sort of molding or trim beneath the full-length shelves along the sides of the cabin. The tape was in poor condition and had to go. so I removed it with a heat gun and solvent to get rid of the substantial adhesive residue.
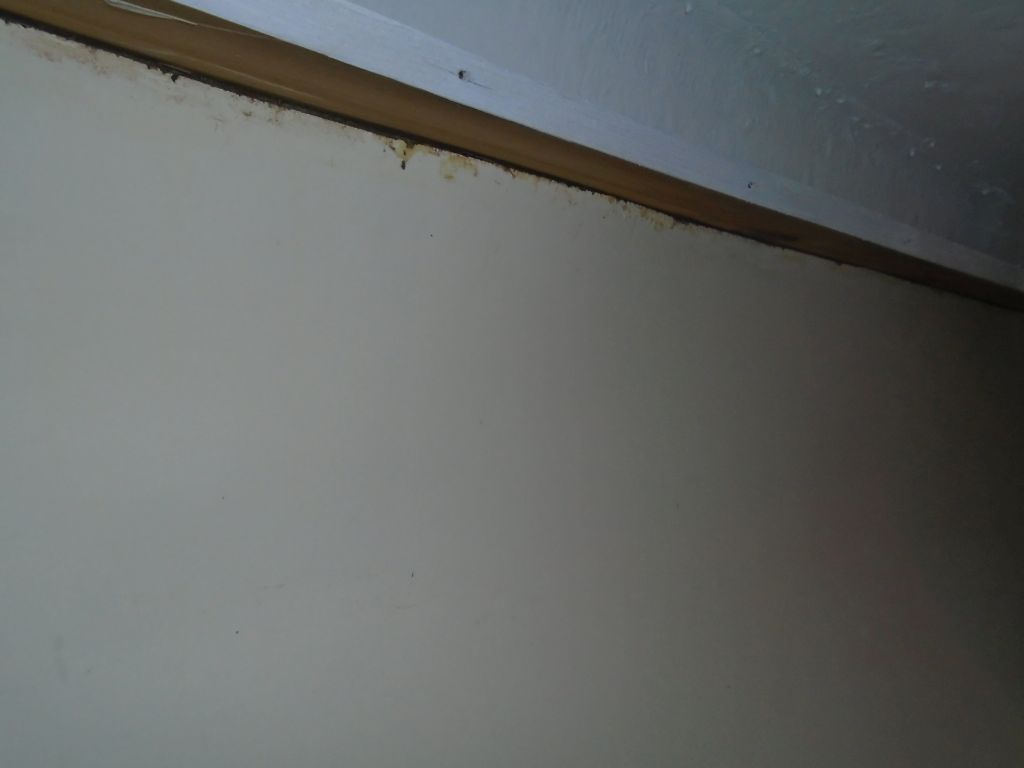
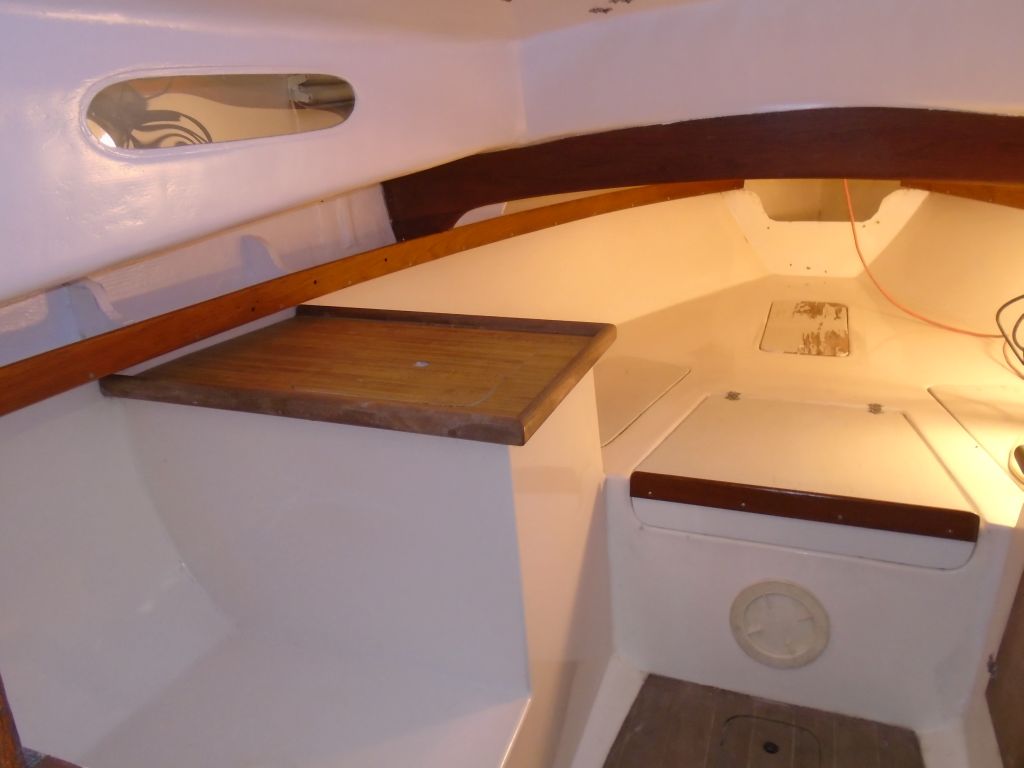
Afterwards I vacuumed everything, then washed the exposed hull and overhead to remove dirt and mildew, which improved the appearance above the shelves and liner. and lightly buffed the gelcoated liners and interior structures to clean them up. Finally, I reinstalled the newly-varnished teak fiddles on the long shelves. The net result was a completely presentable interior.
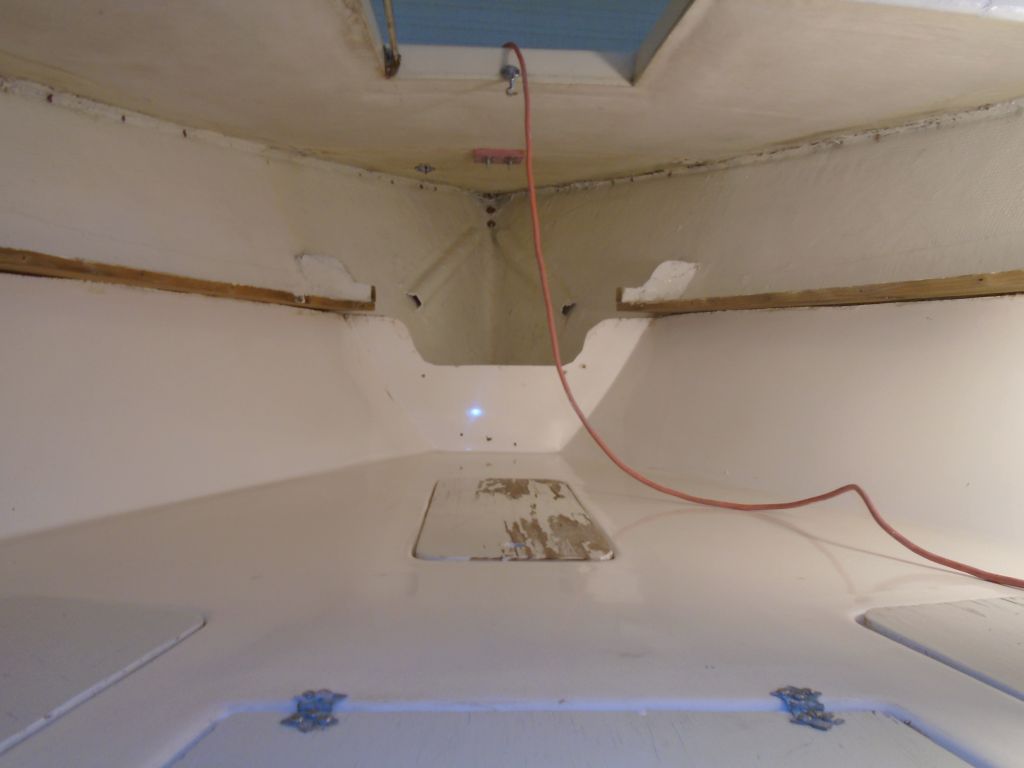


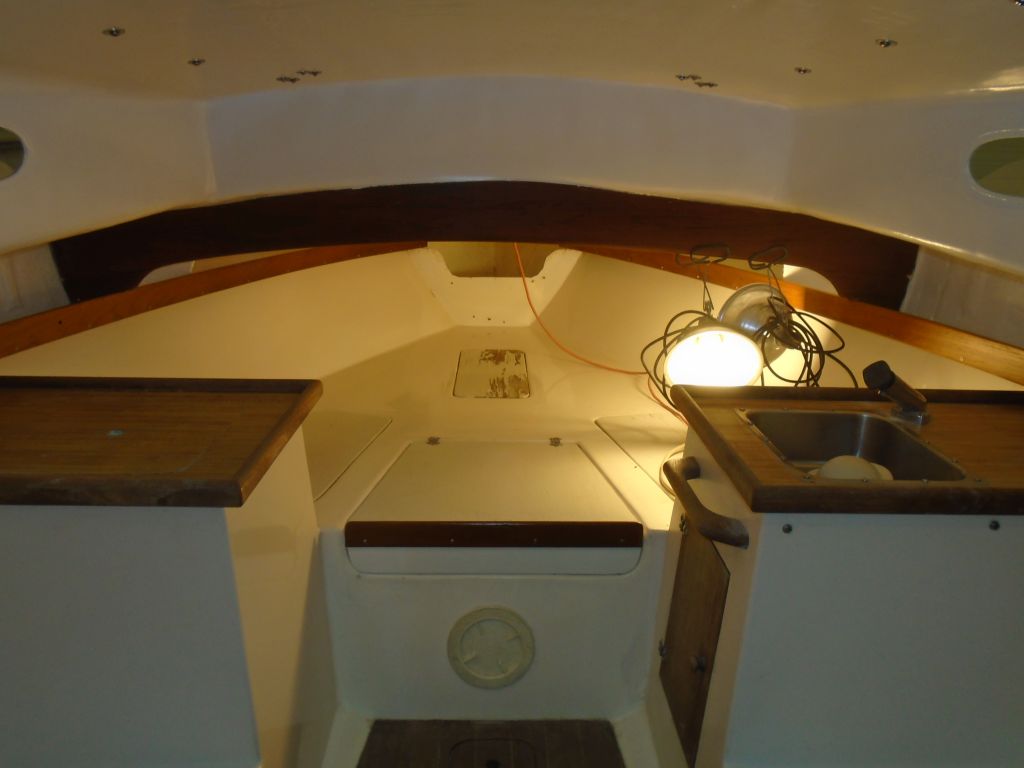
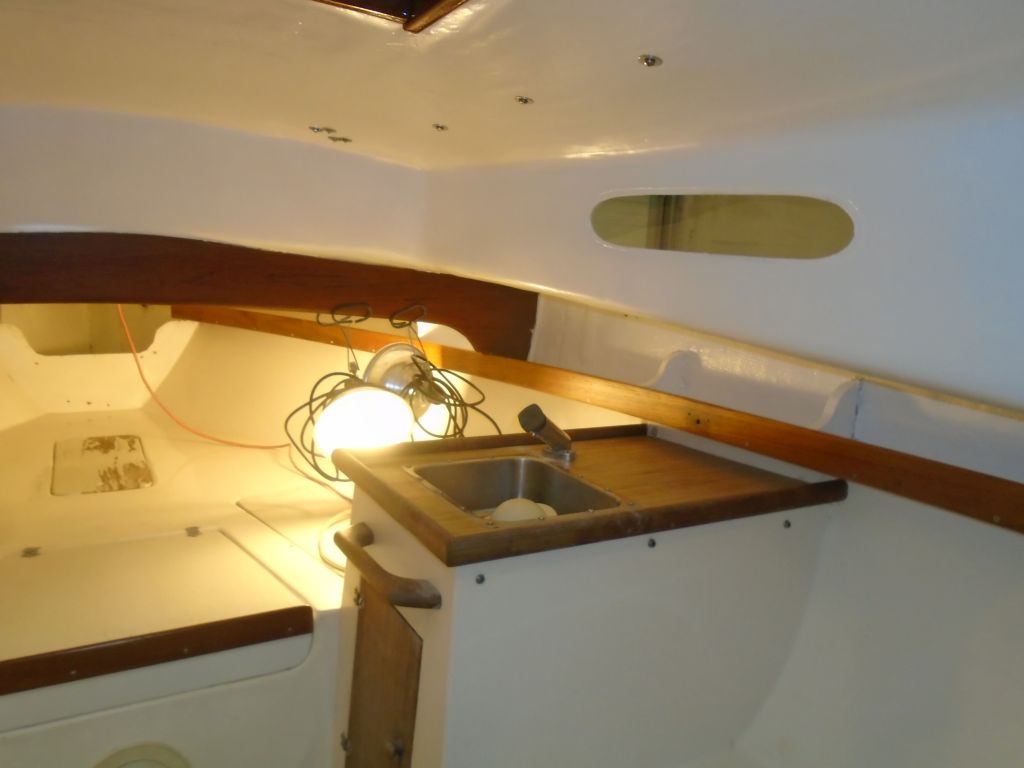
Getting started on a basic electrical system–required for a bilge pump, 12-volt outlet, and depthsounder–I increased the size of an existing cutout in the step area beneath the companionway, making room for a new electrical panel, which I temporarily installed for now, along with a new outlet in an existing hole to replace an old one that I’d removed before.
I installed a new automatic bilge pump to replace the one that was in the boat originally, along with a new hose. Later, I’d complete the wiring.
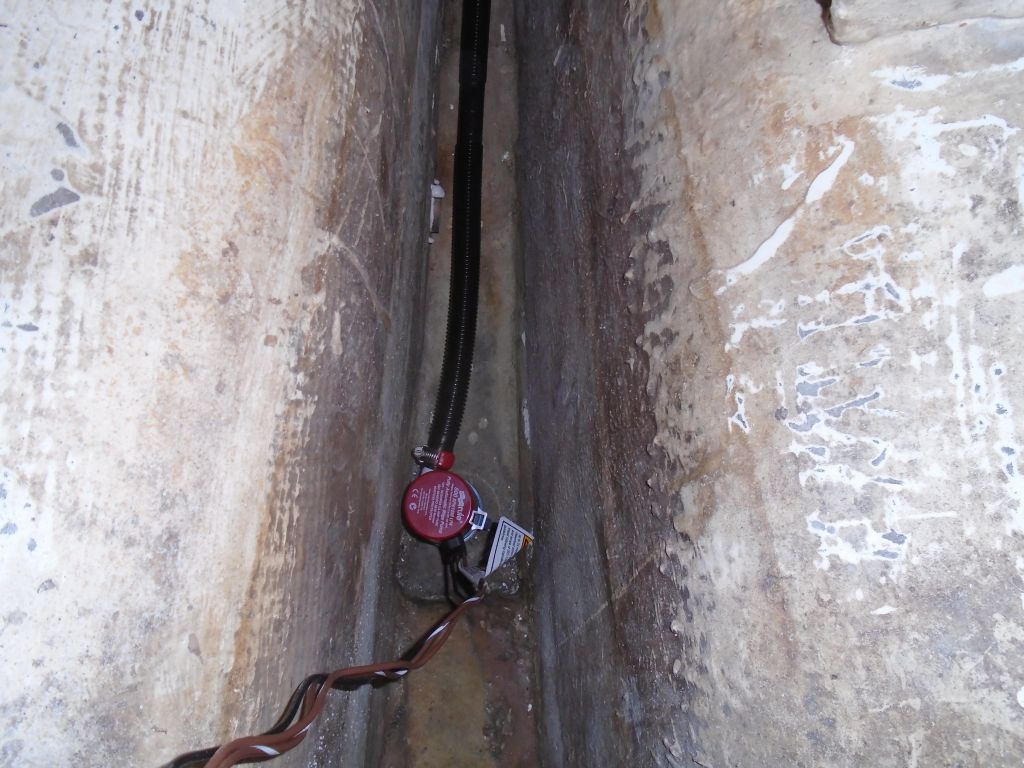
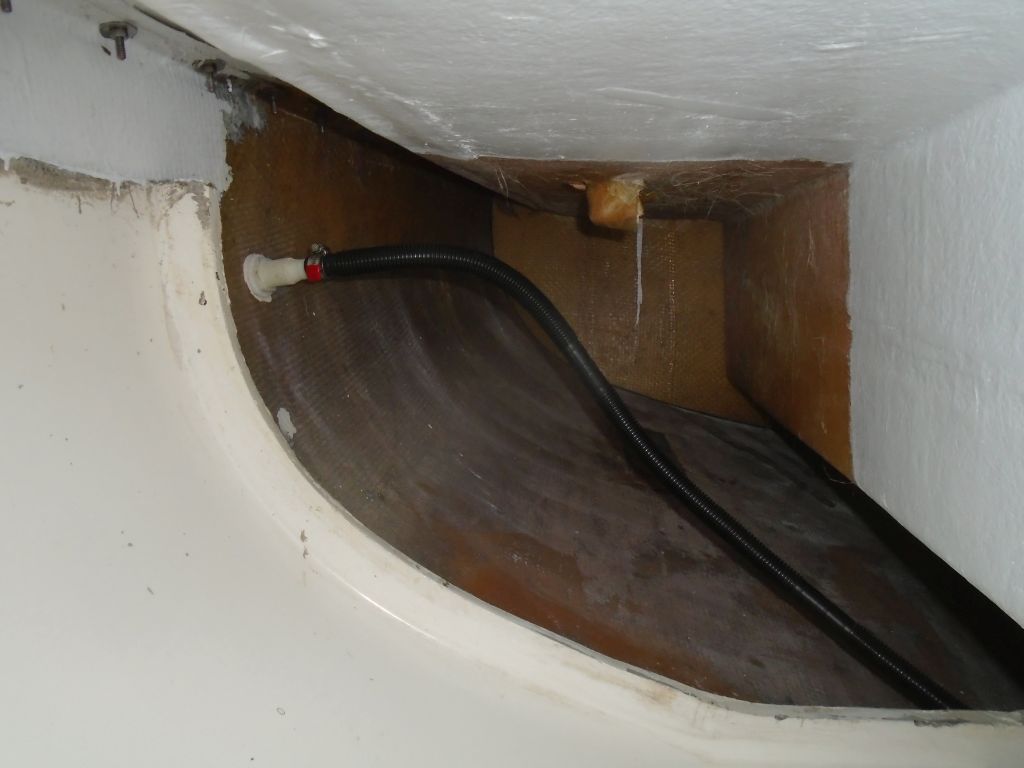
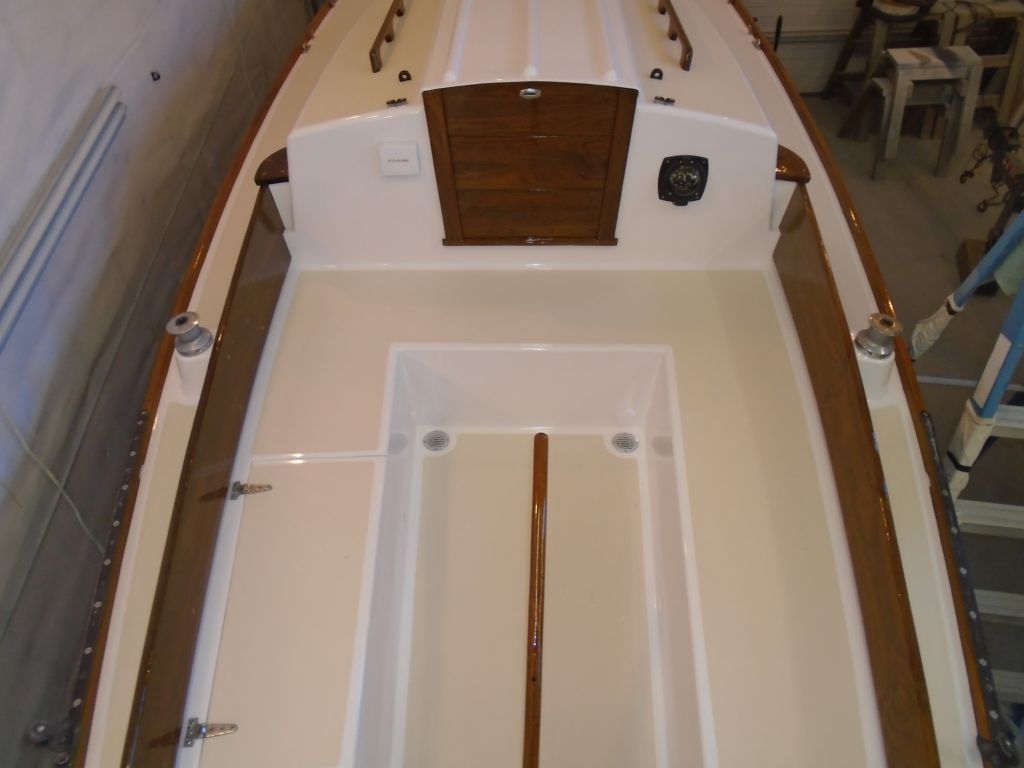
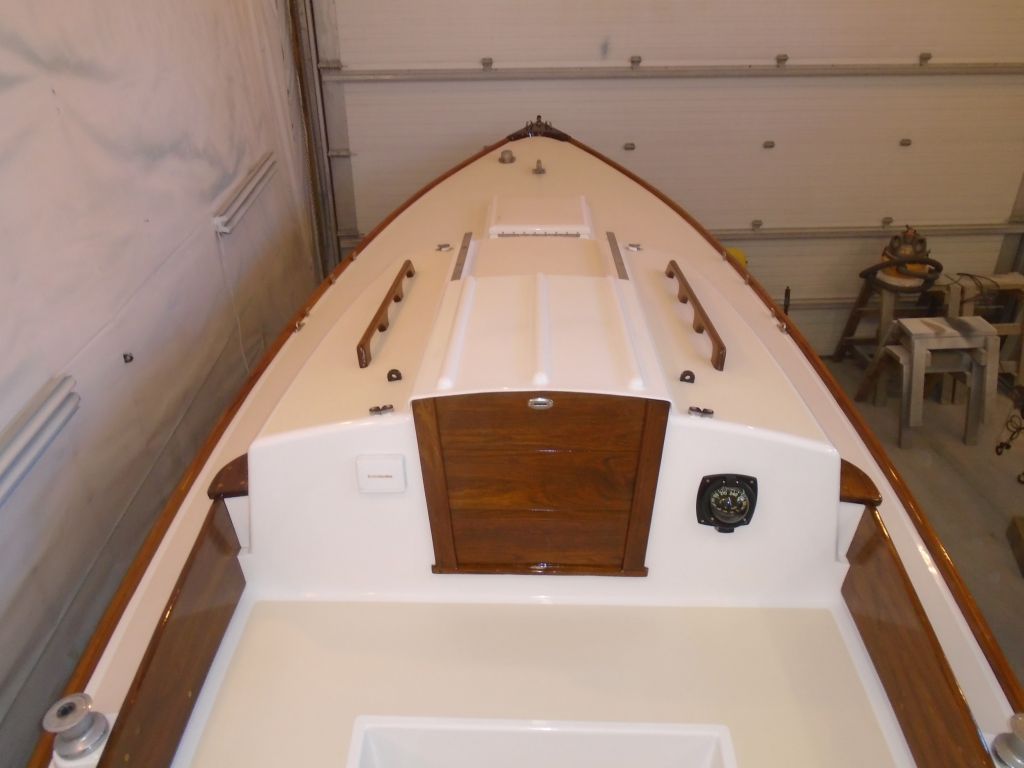
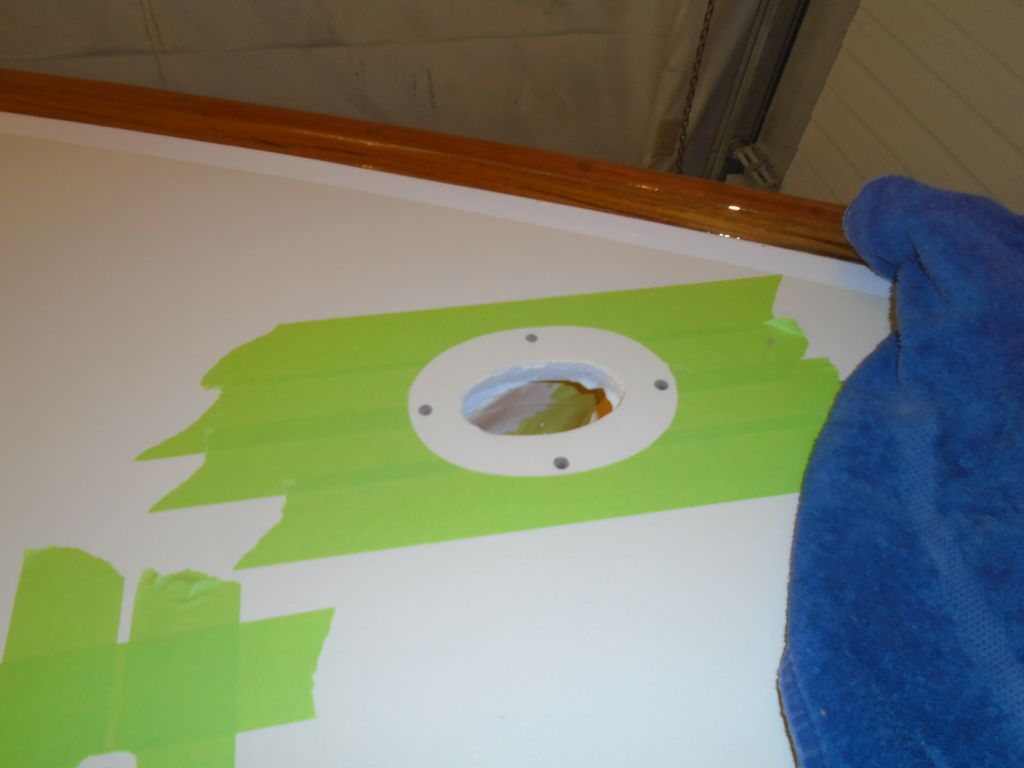
In the port cockpit bulkhead, I reinstalled the depthsounder that I’d removed early in the project.
I’d wrap up the wiring for these items soon, but for now I had to transition to varnish mode, and apply another coat to the coamings.
Total time billed on this job today: 6.75 hours
0600 Weather Report:
35°, cloudy. Forecast for the day: Clouds and showers, around 40.
Saturday
I wanted to keep the varnish work going, so with prep already done from the day before it was a quick matter to apply another coat to the coamings.

Total time billed on this job today: .75 hours
0600 Weather Report:
35°, mainly cloudy. Forecast for the day: Mostly sunny, 50
Friday
Although I began the day as usual with the prepwork for the next coat of varnish on the coamings, as the day wore on I ultimately decided to focus on finishing up the hardware, rather than necessarily leave enough time at the end of the day for the varnish work, and along with some time spent moving another boat into the shop during the afternoon, in the end I didn’t get to the varnish after all, but did expunge all the hardware installations from my list, leaving only the genoa winches off for now, since it would make the varnish work easier without them.
I reassembled the companionway sliding hatch with its forward stop, then slid the hatch on the tracks and installed the after stop, completing its installation, Meanwhile, I reinstalled the varnished trim along the inside edges off the companionway.


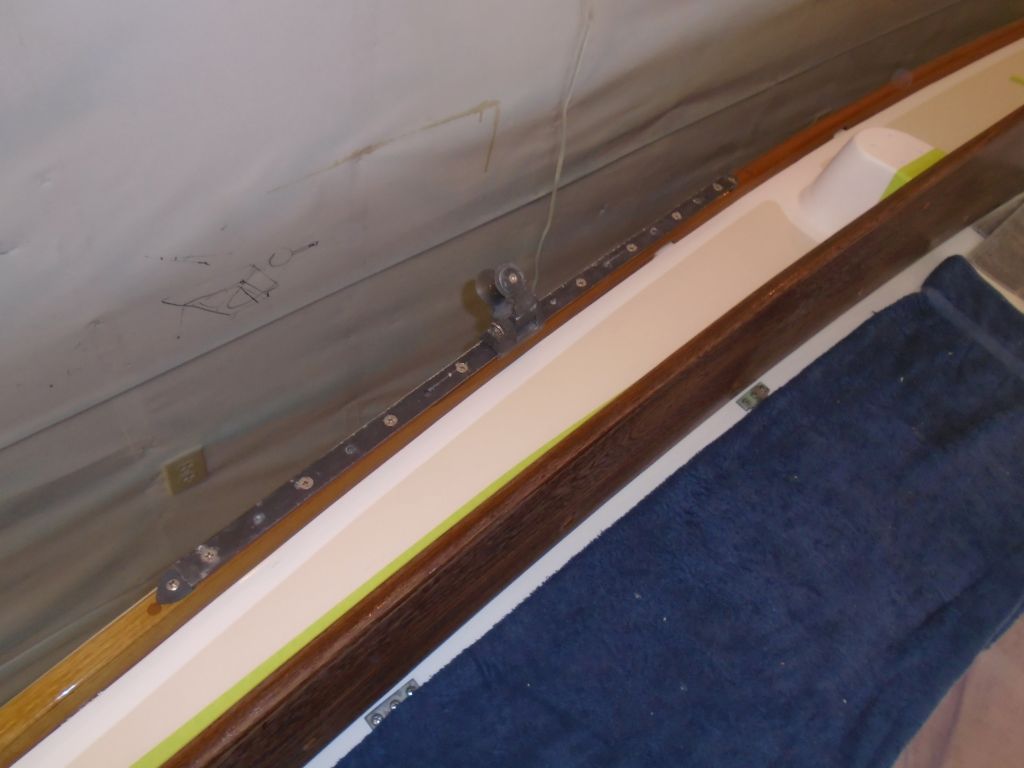
Using some reference measurements I’d taken earlier in the project, I determined the positions of the genoa tracks, and reinstalled them. For each track, I drilled and tapped through the toerail and deck for 1/4″ machine screws, then applied sealant before driving home the screws and installing nuts and washers from beneath.
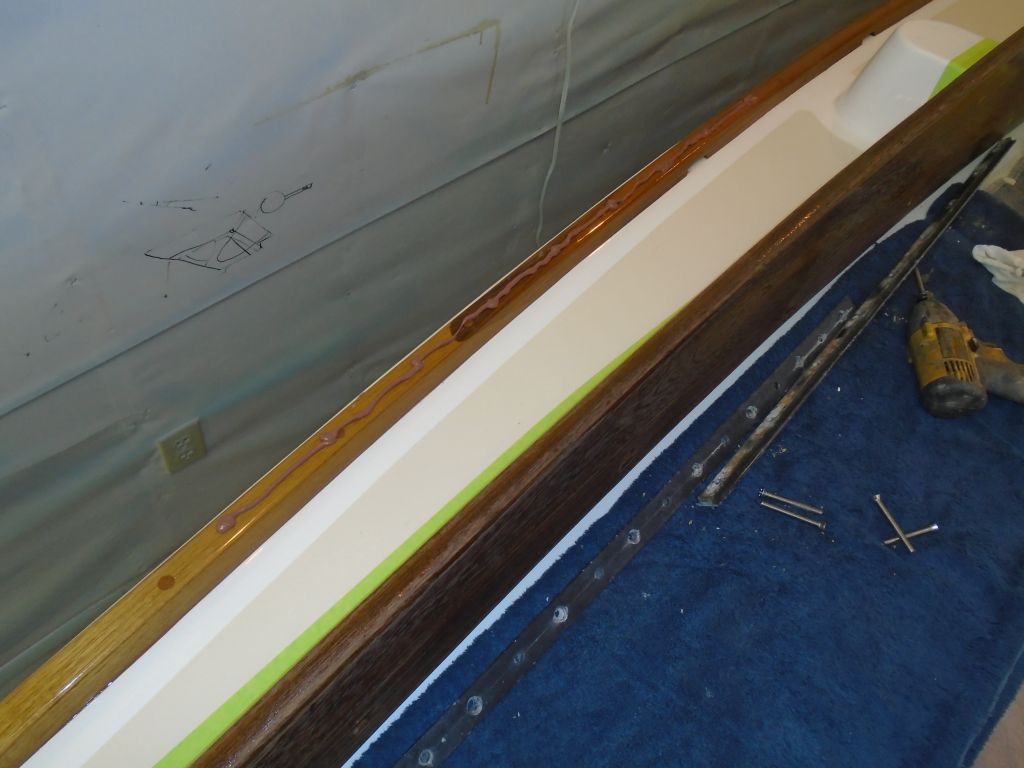


I resecured the cockpit locker lid hinges with screws and sealant.
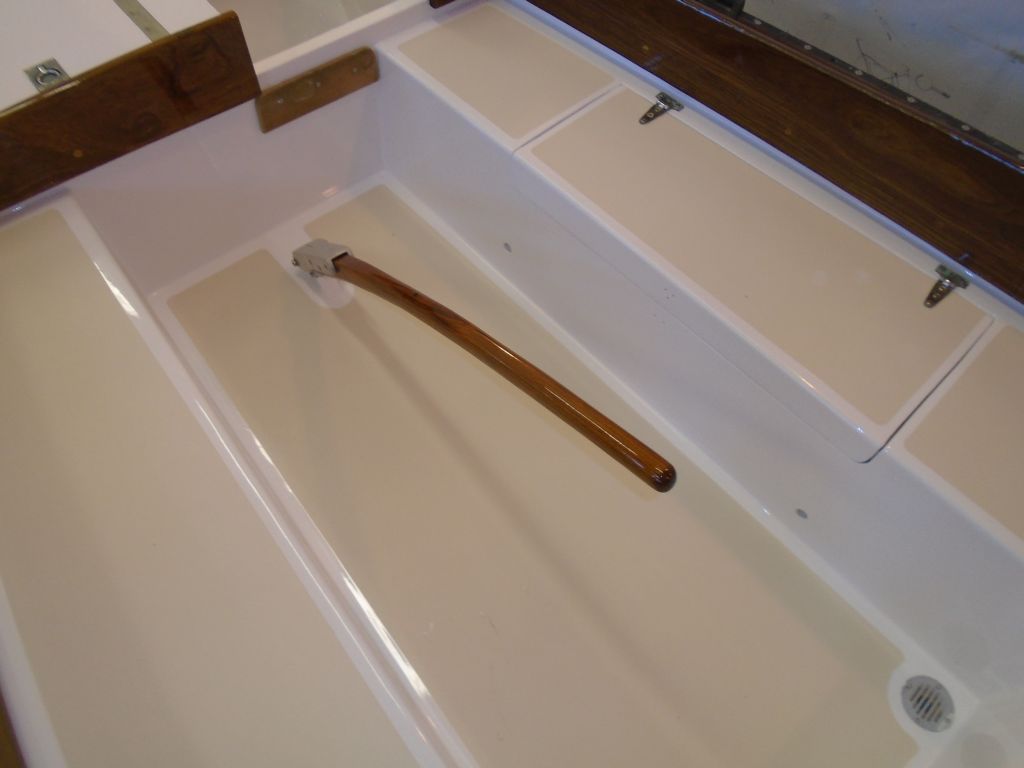
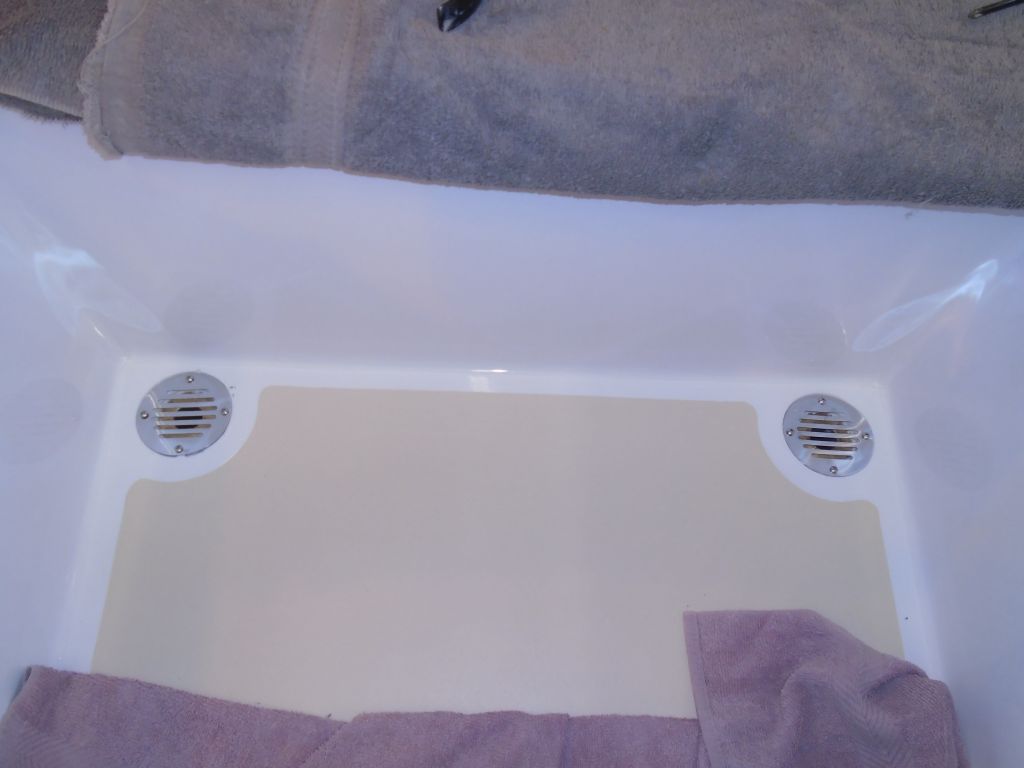
In the cockpit well, I installed a pair of new screens to protect the scuppers from debris.
With the correct fasteners now on hand, I could finish up the mast step installation.
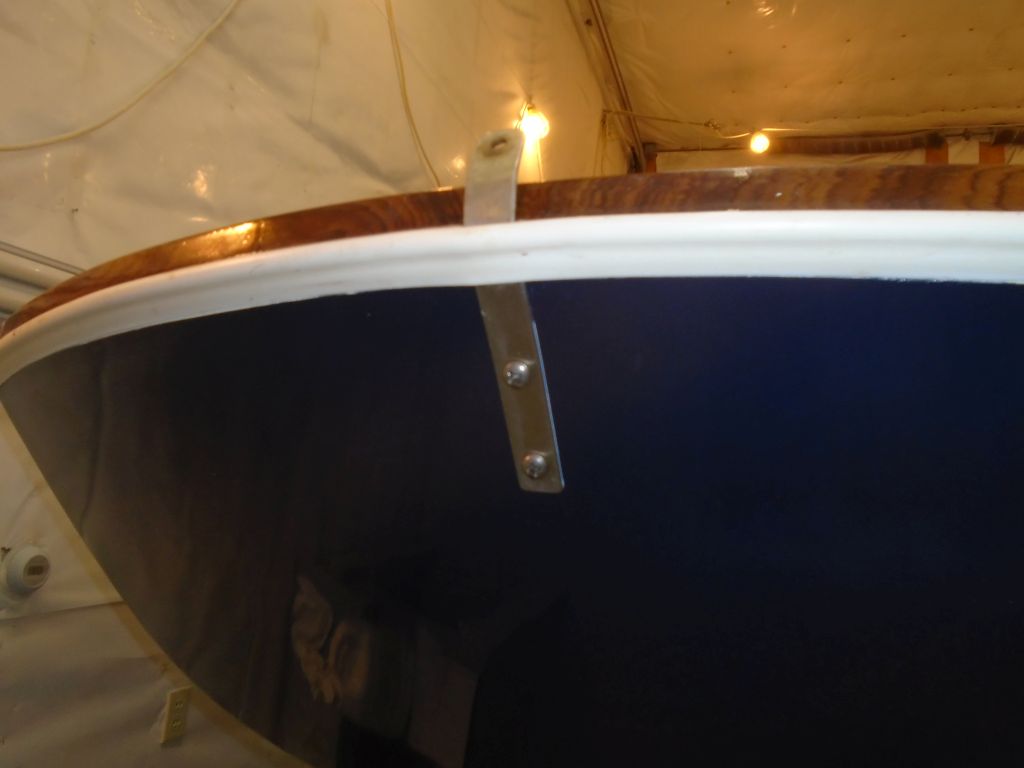
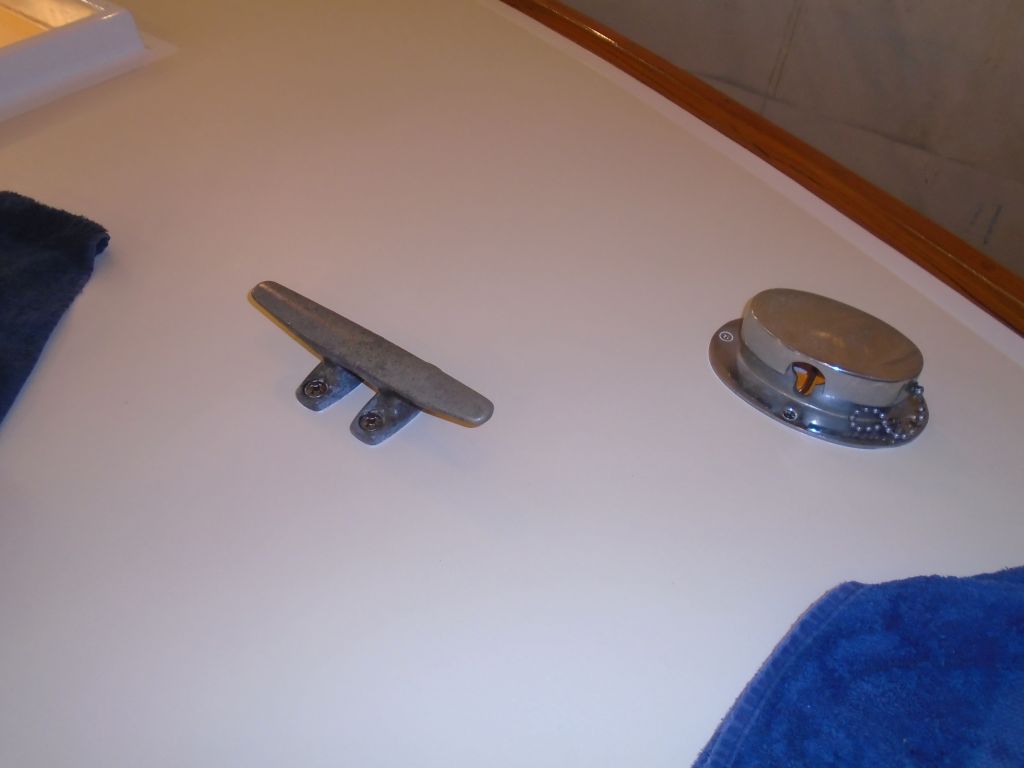
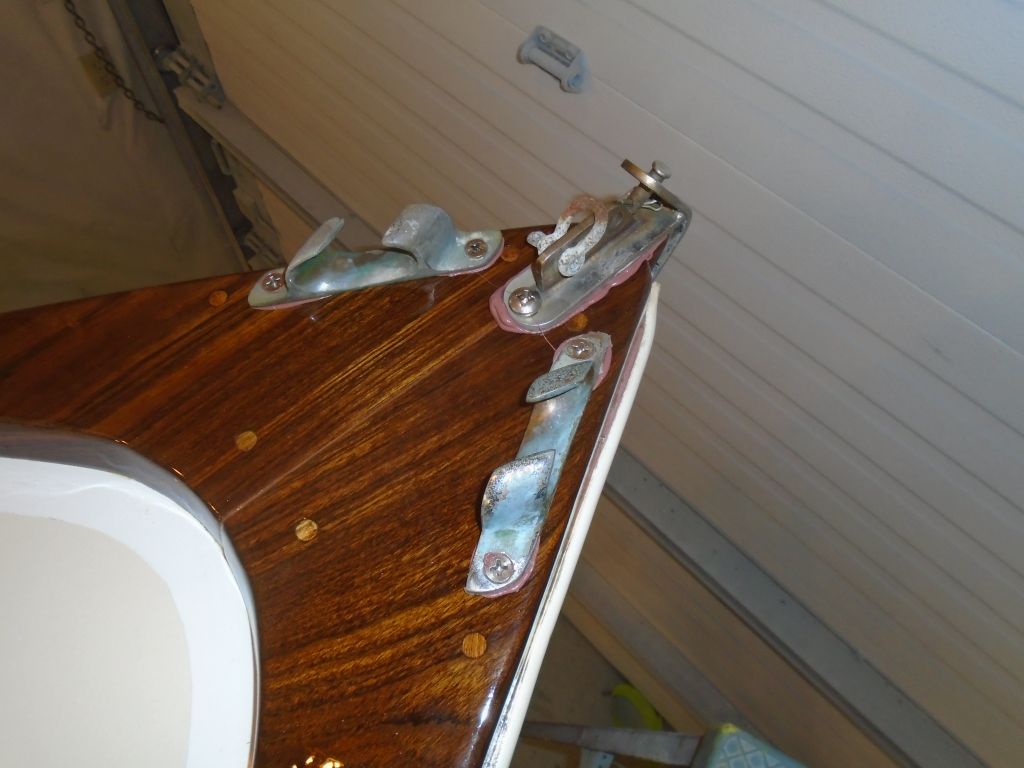
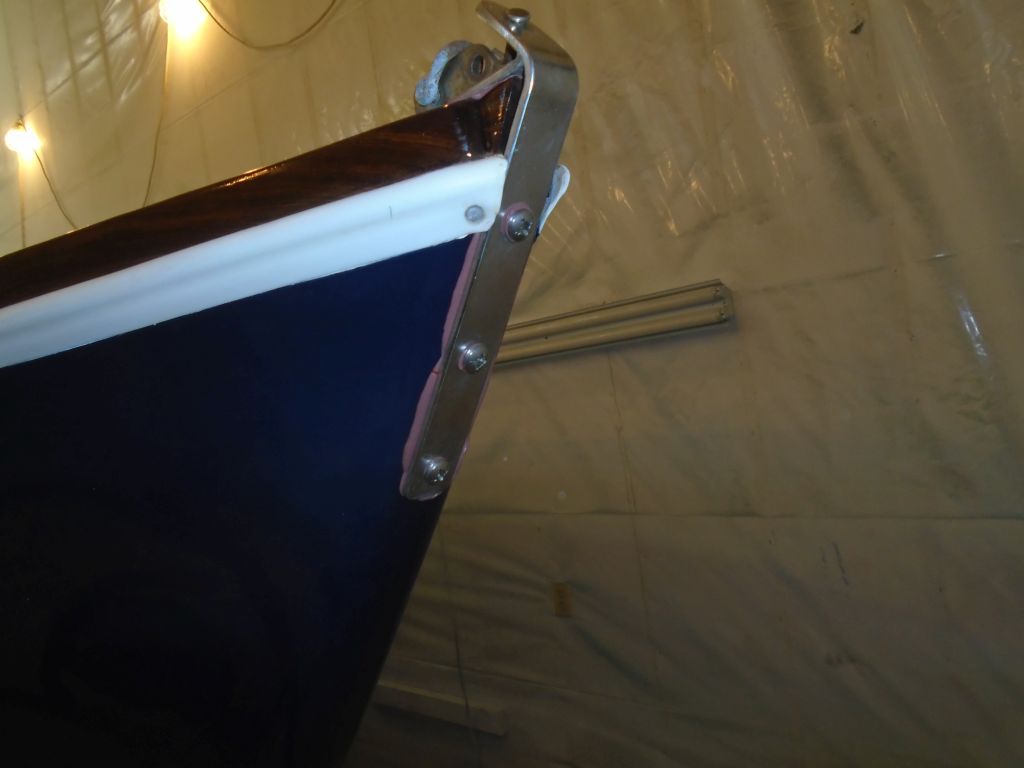
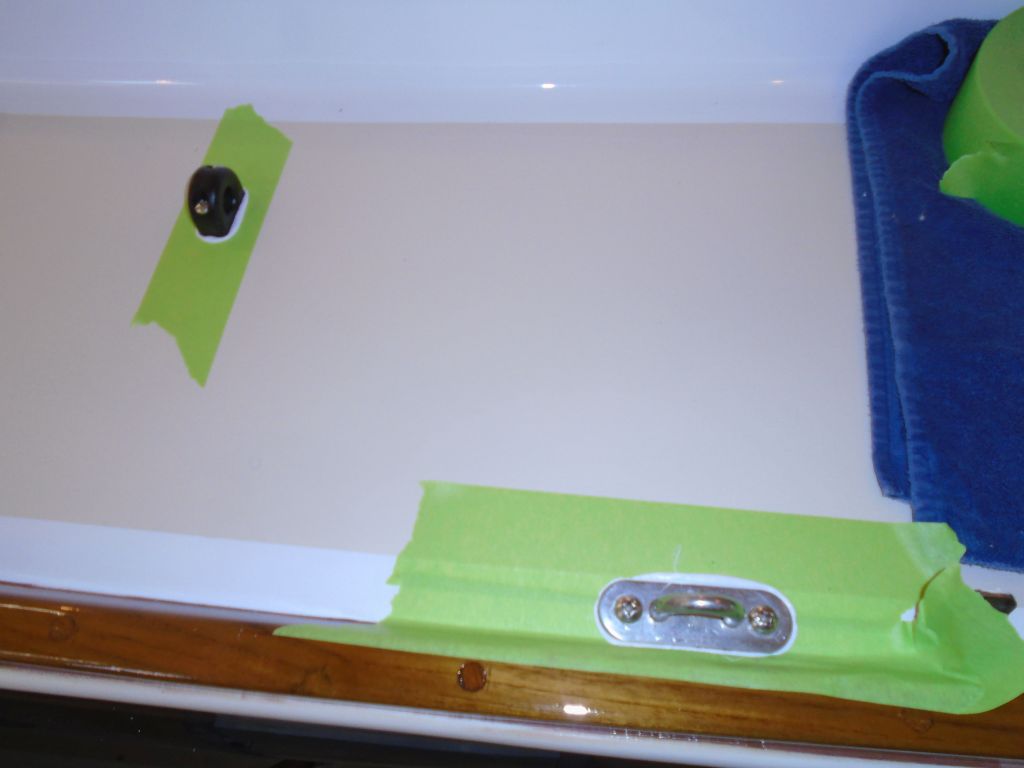
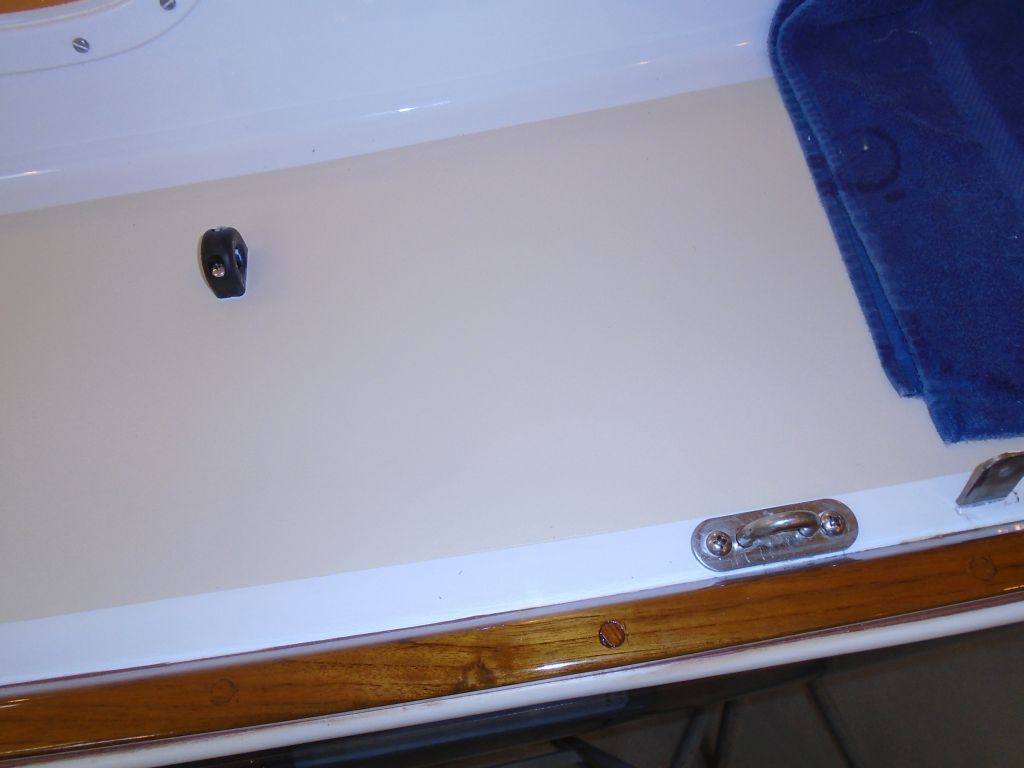
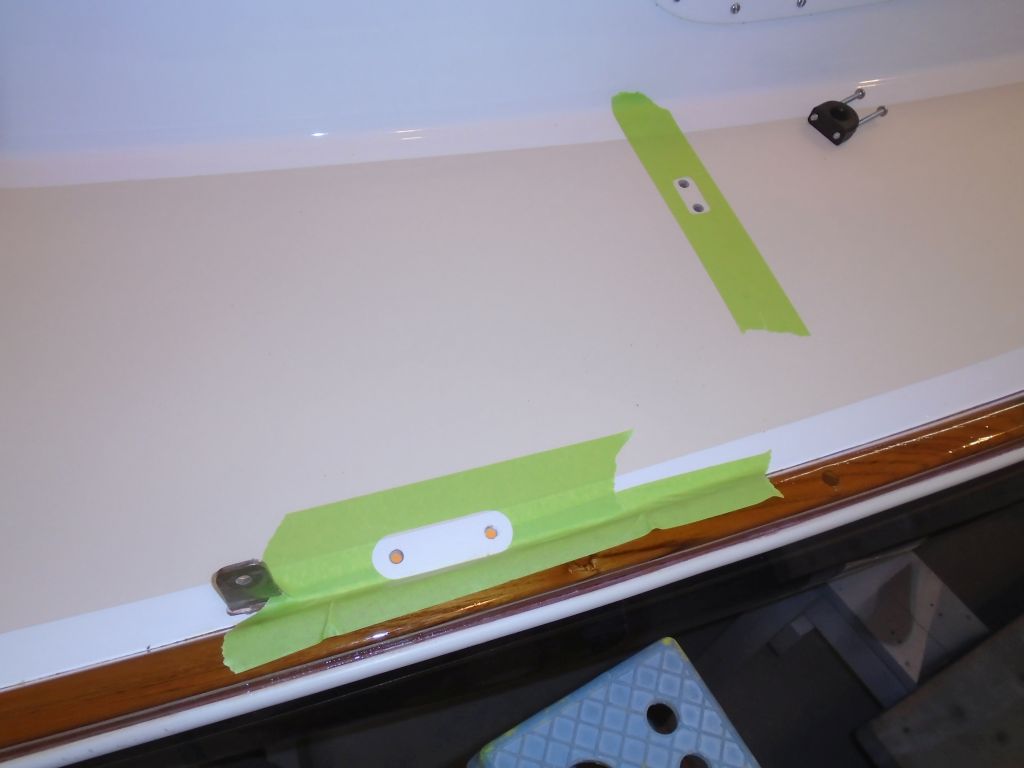
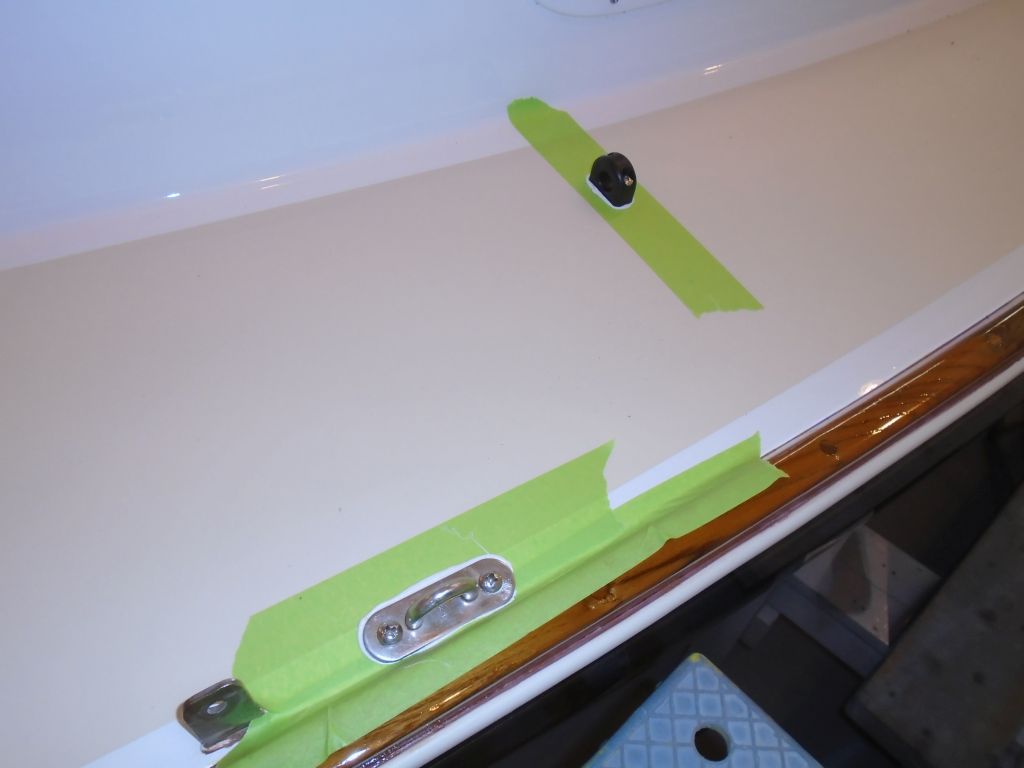
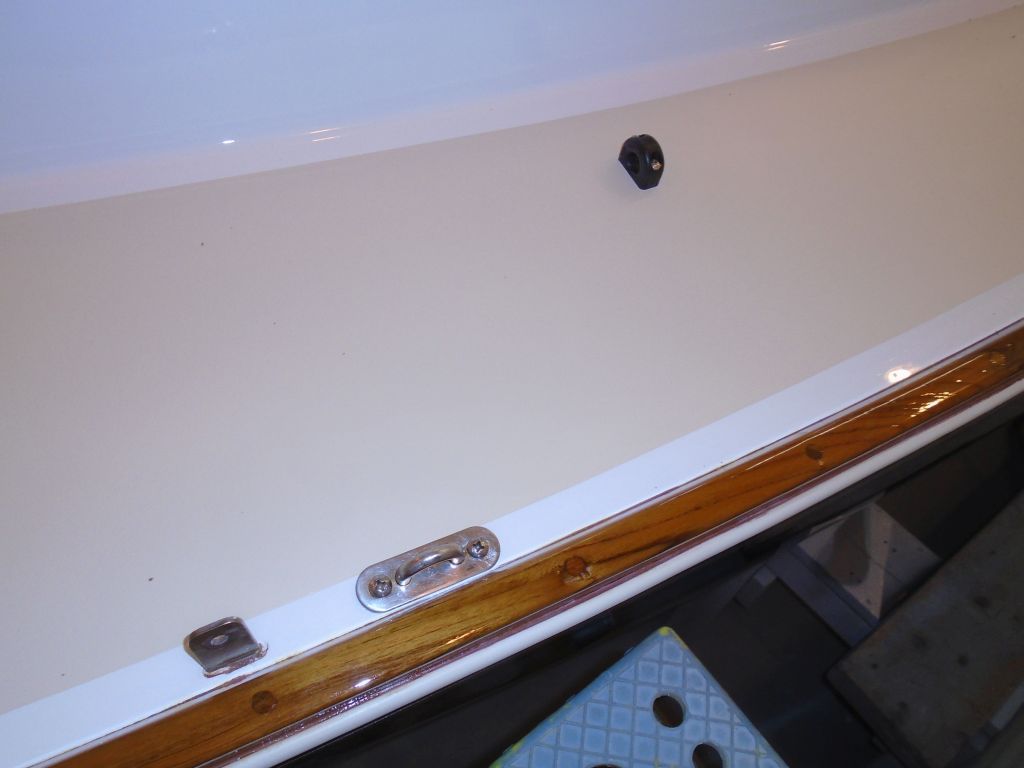
Finally, at the stern, I finished up the installations with the backstay chainplate, cleat and chock, and mainsheet hardware.
Total time billed on this job today: 5.75 hours
0600 Weather Report:
Foggy, 39°. Forecast for the day: fog, clouds, low 50s
Thursday
I spent the first part of the day lightly sanding the coamings, companionway, and loose pieces, then vacuuming and solvent washing the wood to prepare it for more varnish later in the day.
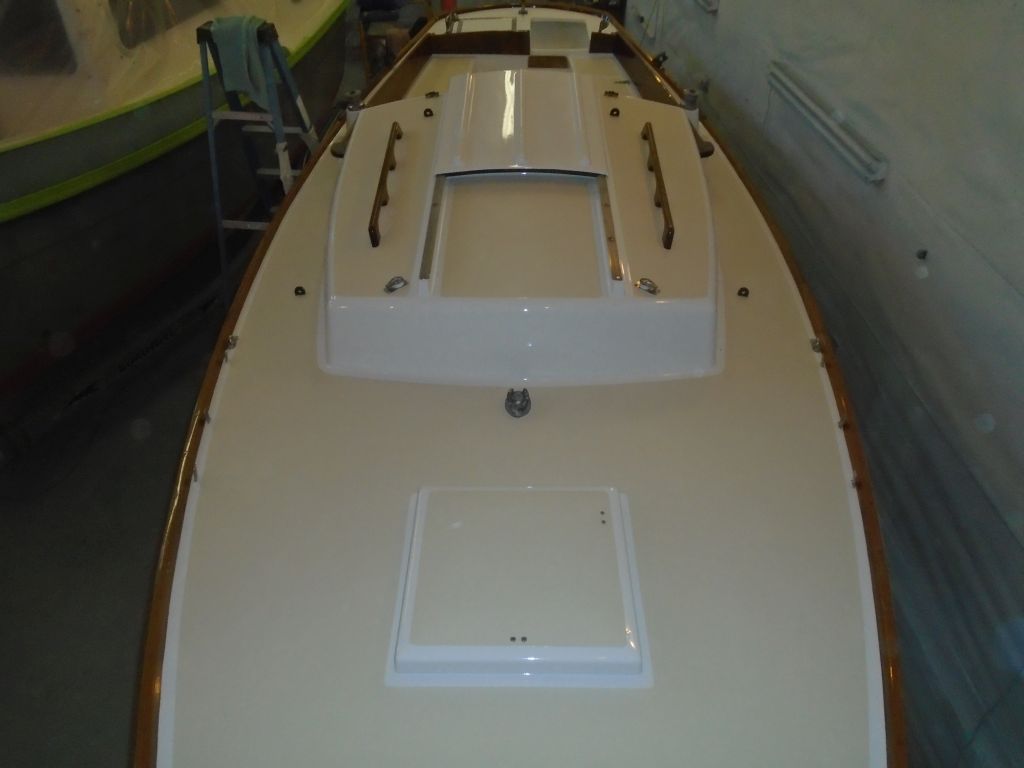
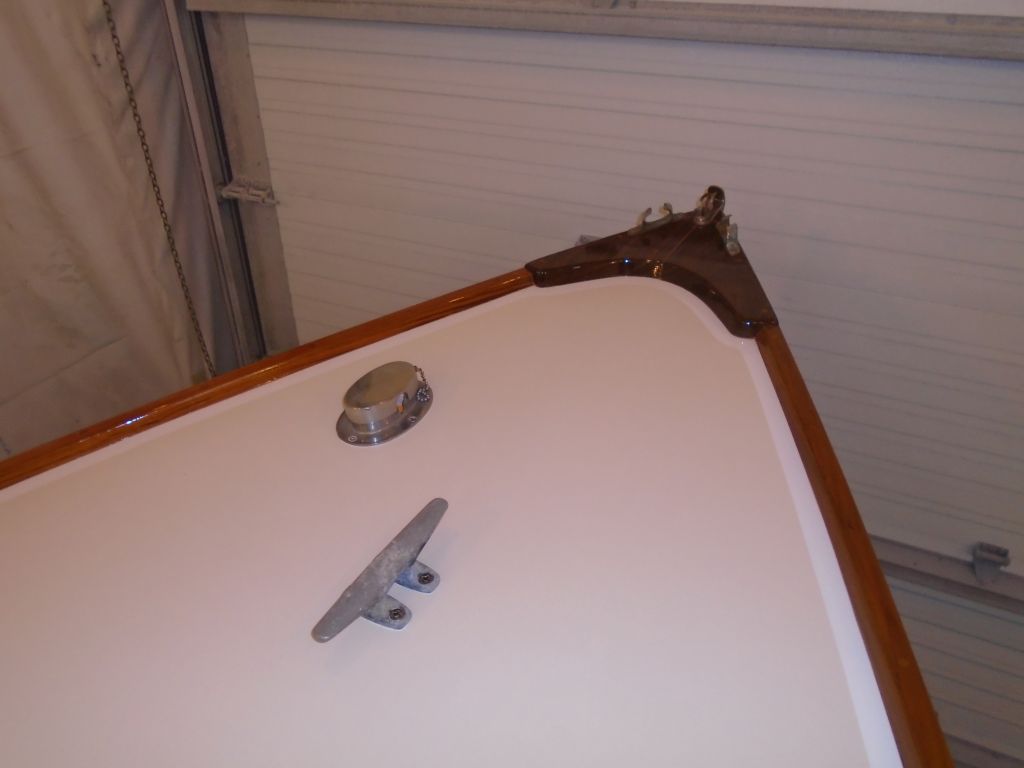
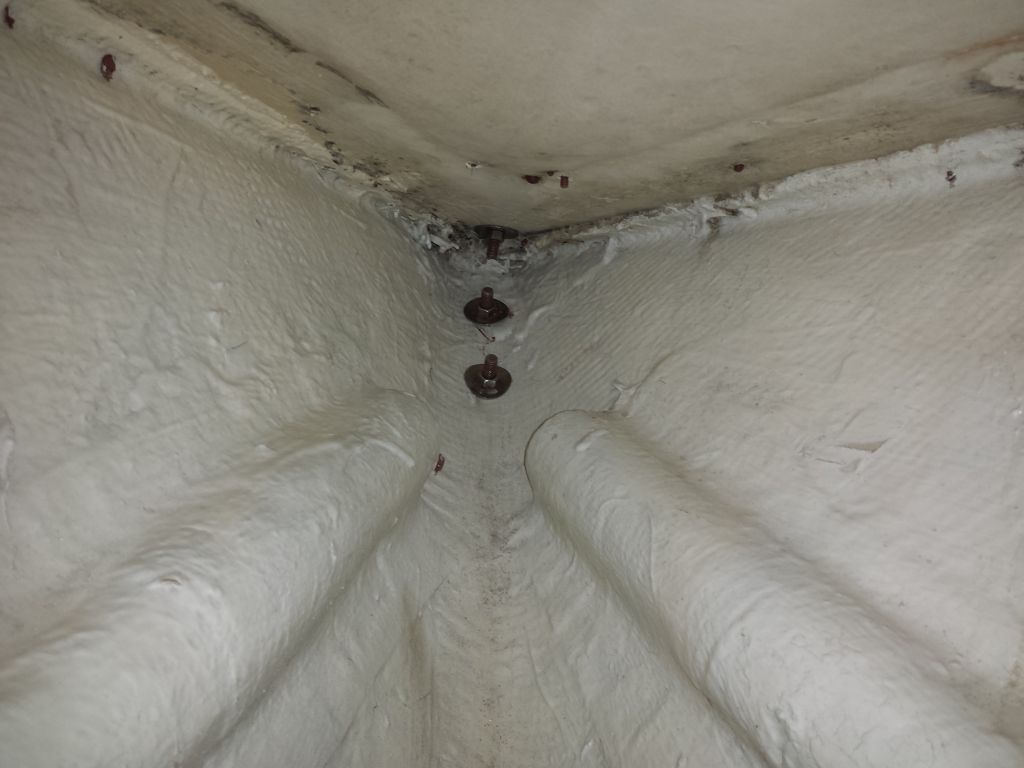
Next on my hardware list was the bow. During deck work earlier in the project, I’d prepared the fastener holes for the bow cleat in the middle of the foredeck and marked the holes so they remained visible during painting, so to continue its installation I simply needed to drill and tap the holes in my habitual way, this time for 5/16″ machine screws. Next door, I prepared the holes for the anchor chain hawsepipe as well, before installing both pieces with sealant and new fasteners. I added a fiberglass backing plate and large washers to support and reinforce the mooring cleat from underneath.


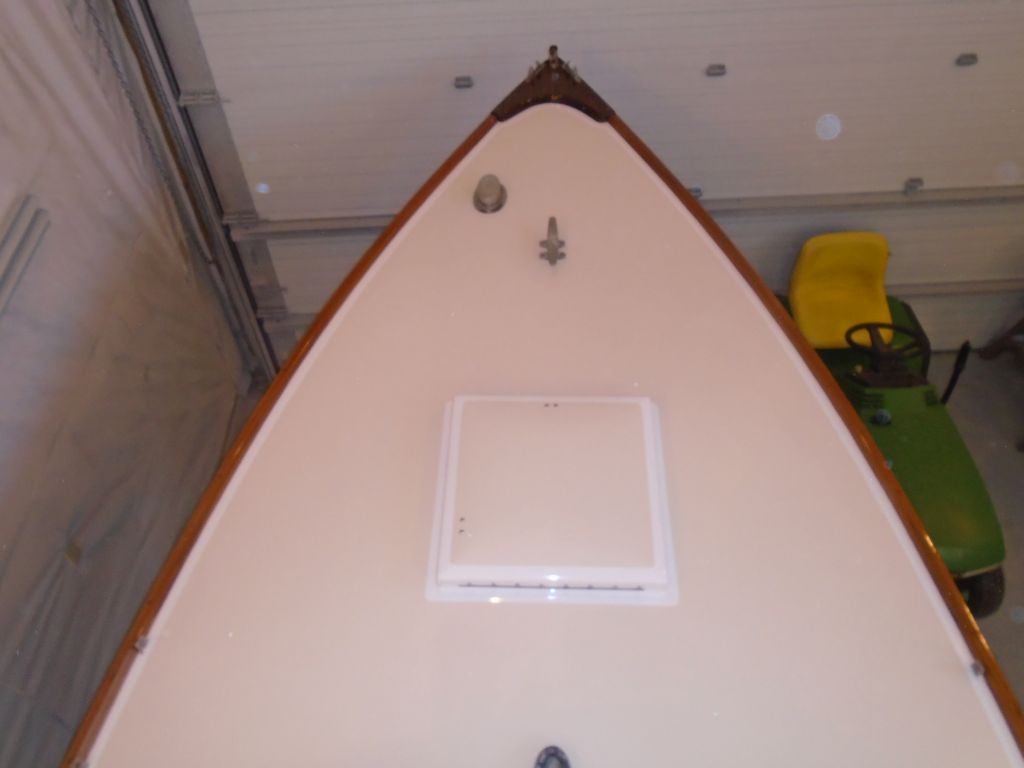
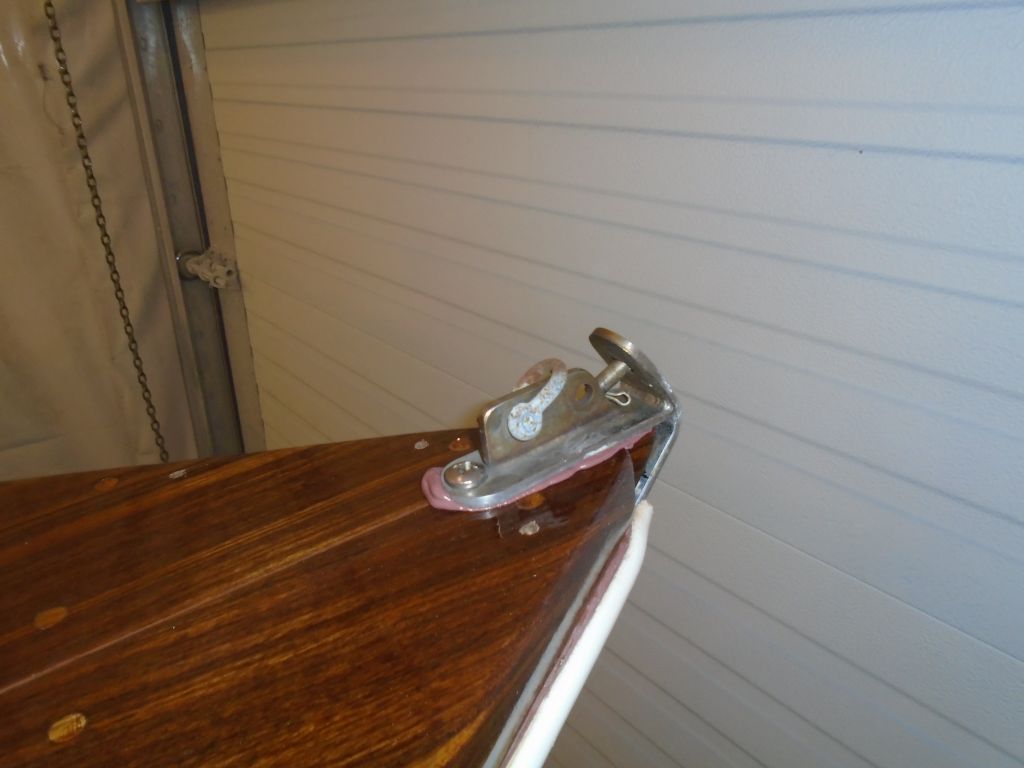
Next, I installed the stem fitting, which required three fasteners through the stem itself (the topmost of which was blind), plus a fastener through the top of the fitting and through the deck and stem toerail. At the same time, I installed the bow chocks.
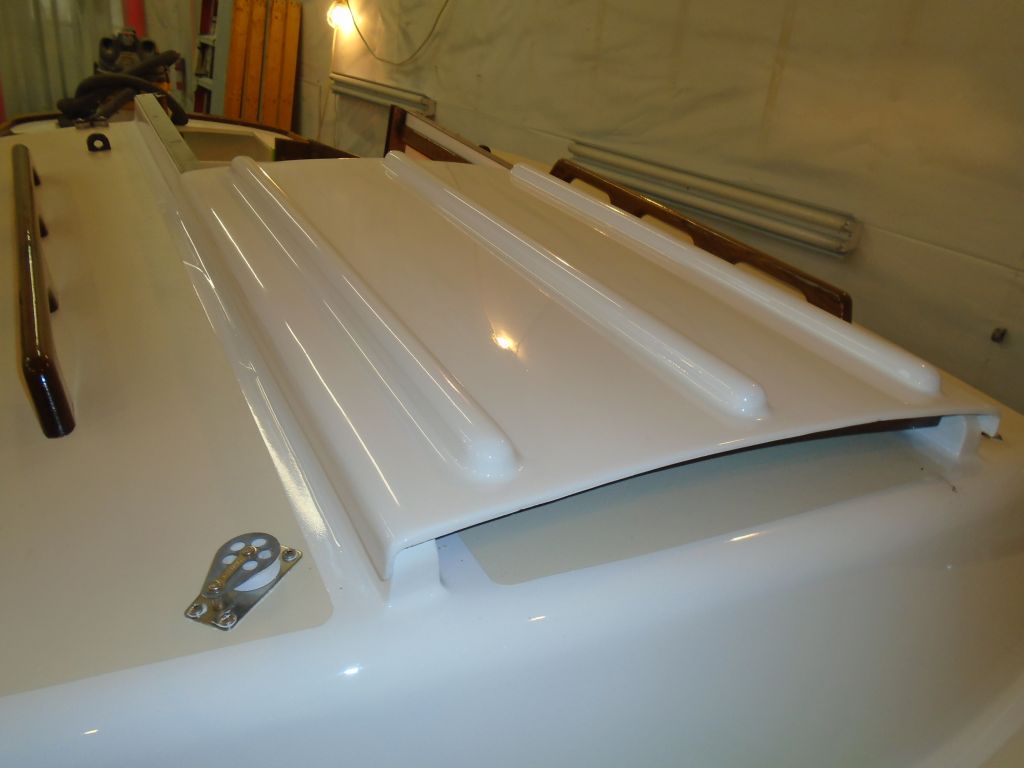
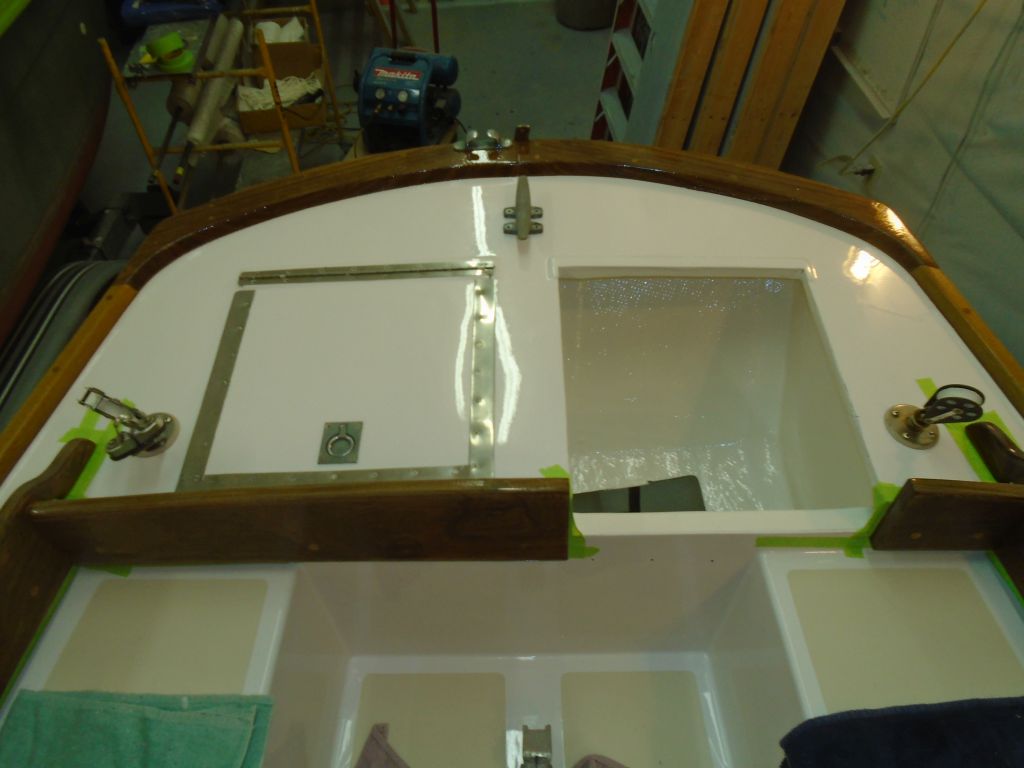
I reassembled the hardware on the forward hatch, including piano hinge, latch, and support arm, then installed the hatch back in place.


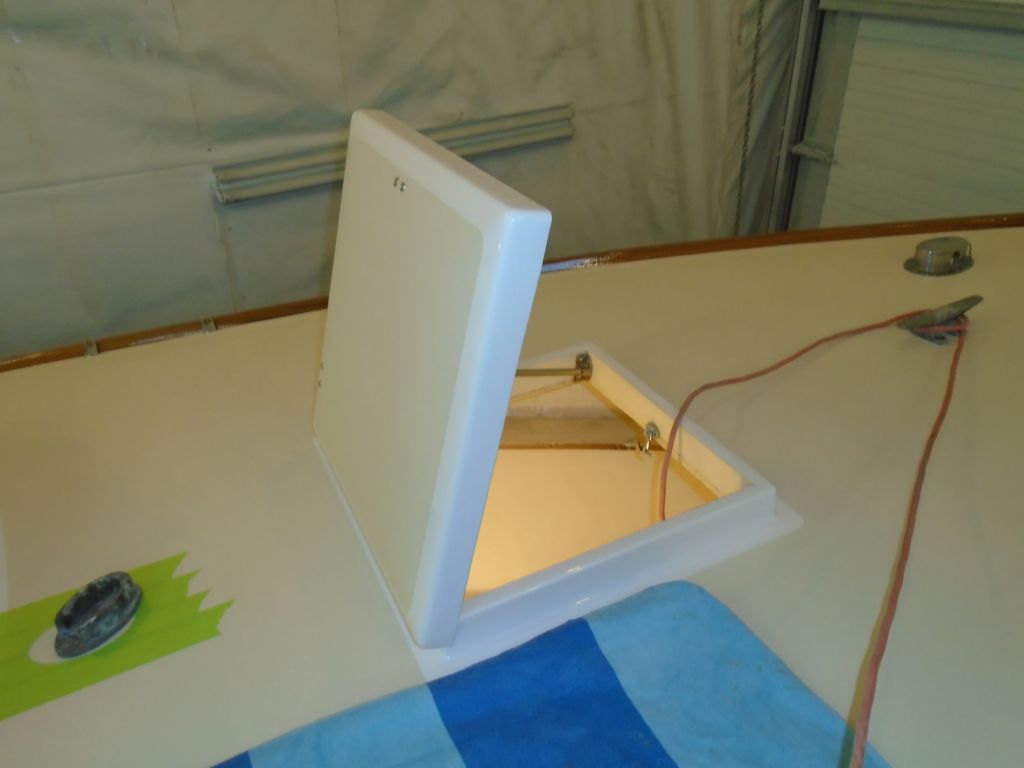
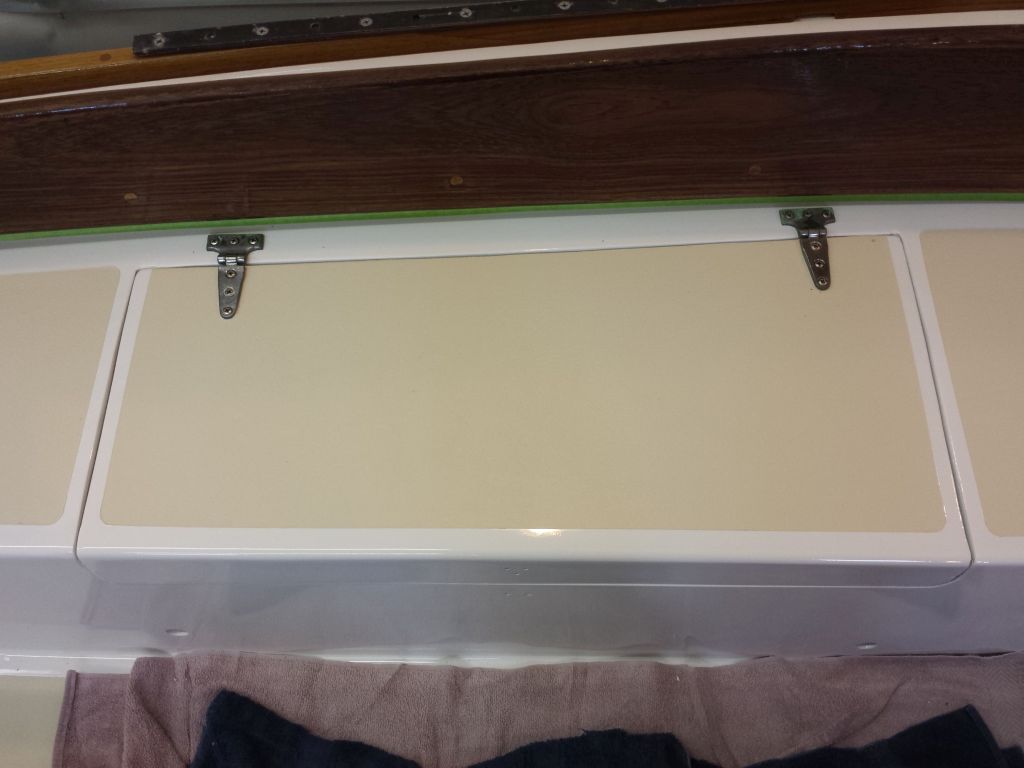
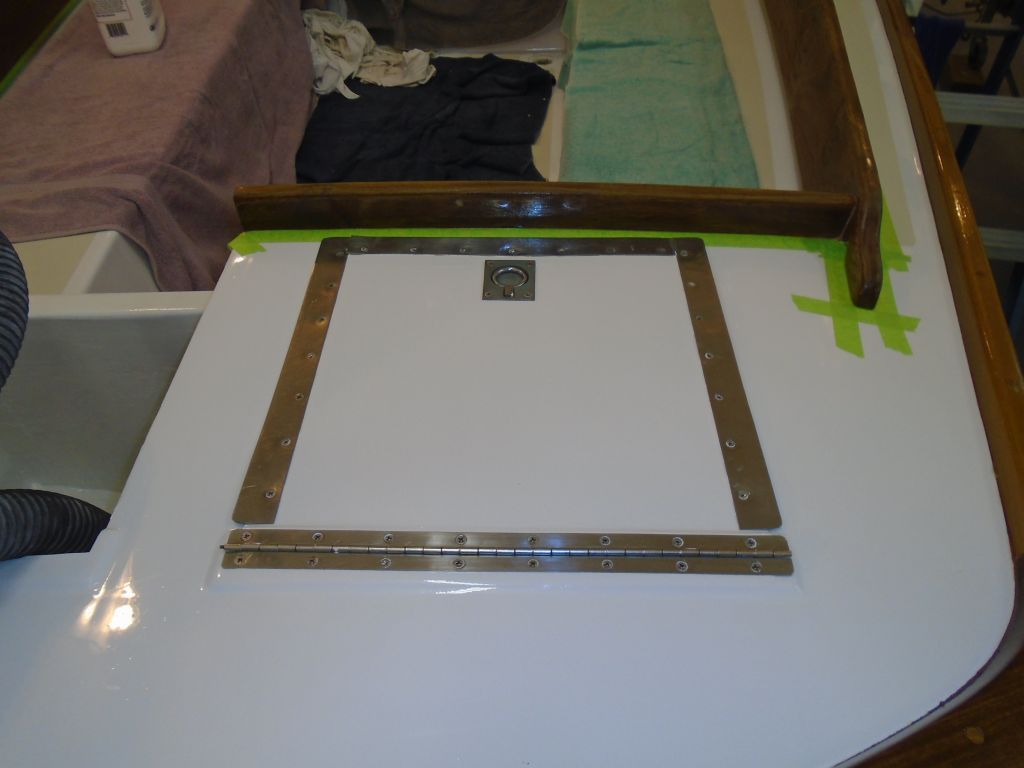
At the stern, I reassembled the stainless trim and hinge around the lazarette hatch, and installed the hatch in the deck.
Finally, after final preparation and tacking off, I varnished the coamings and other woodwork.


Total time billed on this job today: 6 hours
0600 Weather Report:
40°, cloudy. Forecast for the day: Possible showers, mainly cloudy, near 50
Wednesday
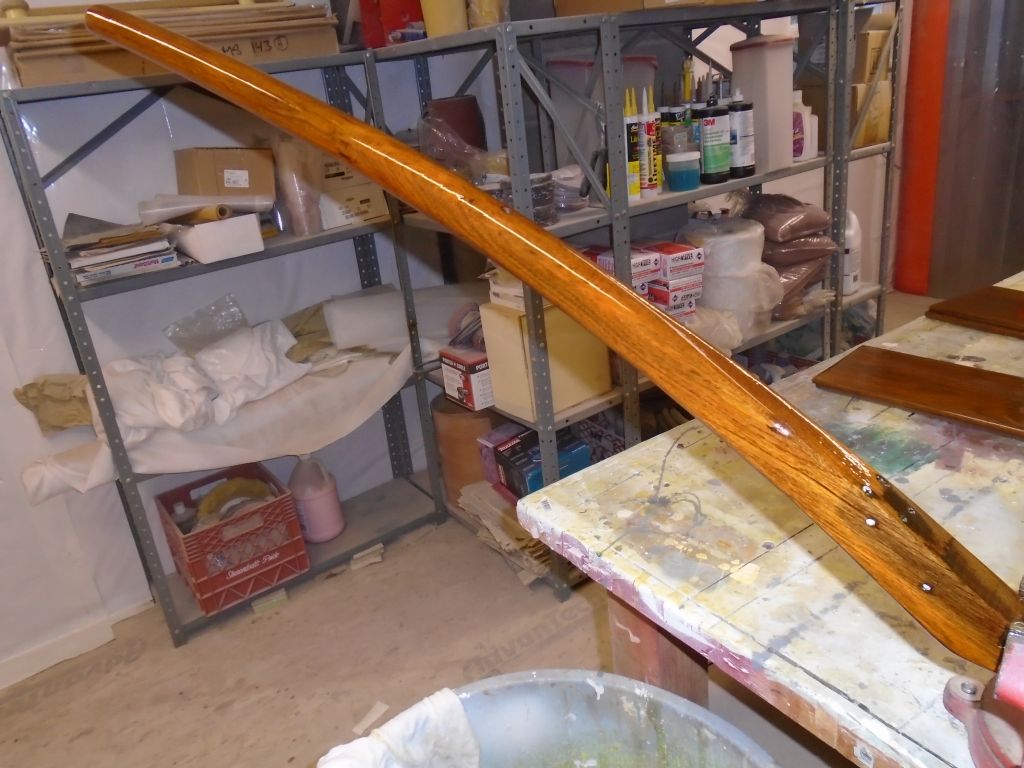
I got things rolling by preparing the coamings for the beginning of their varnish sessions, which would be a daily event for the next week or so. After paring away the final bungs from the coamings, I masked around the coamings as necessary, then lightly sanded them and cleaned to prepare for varnish, which I’d do late in the day.
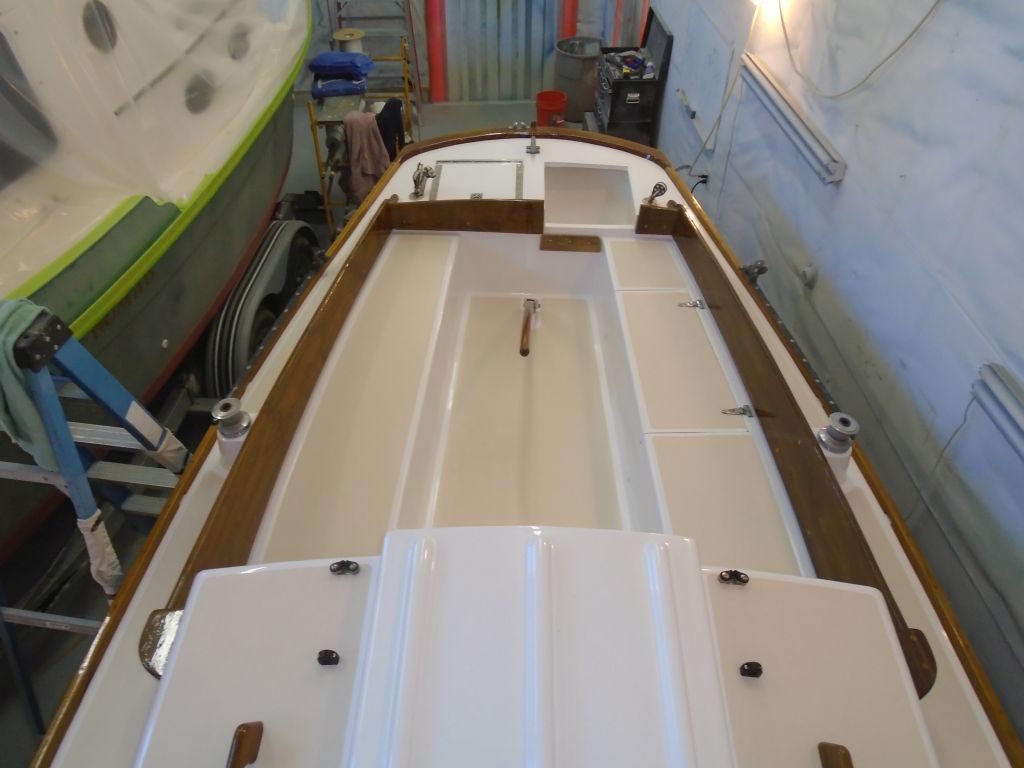
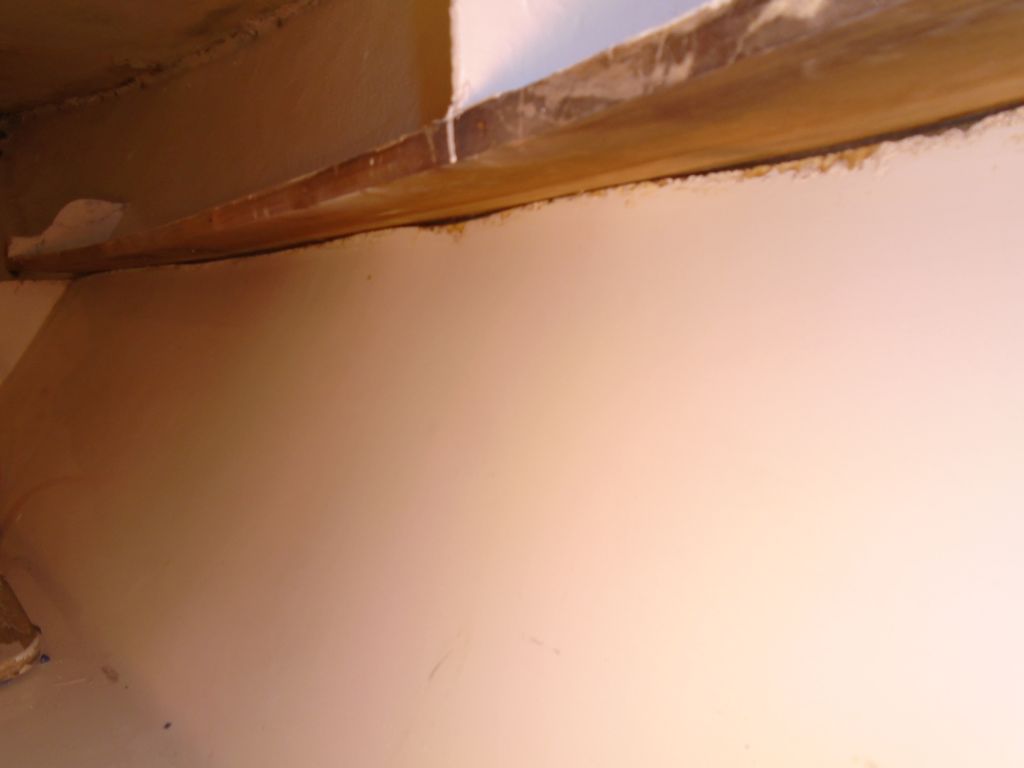
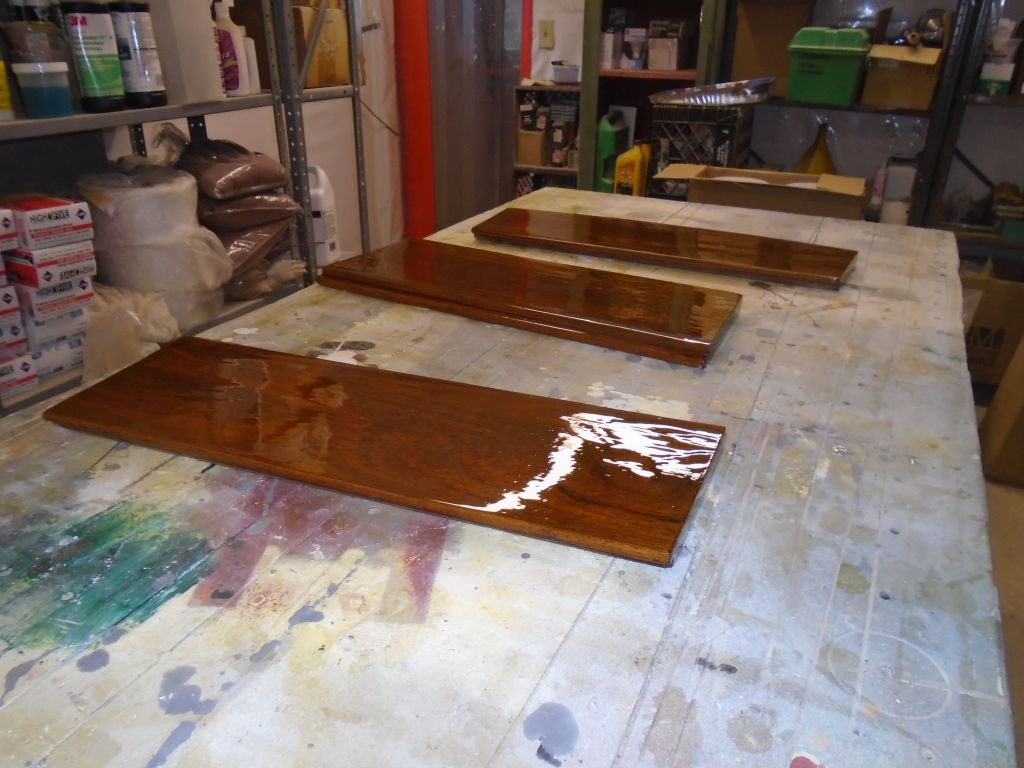
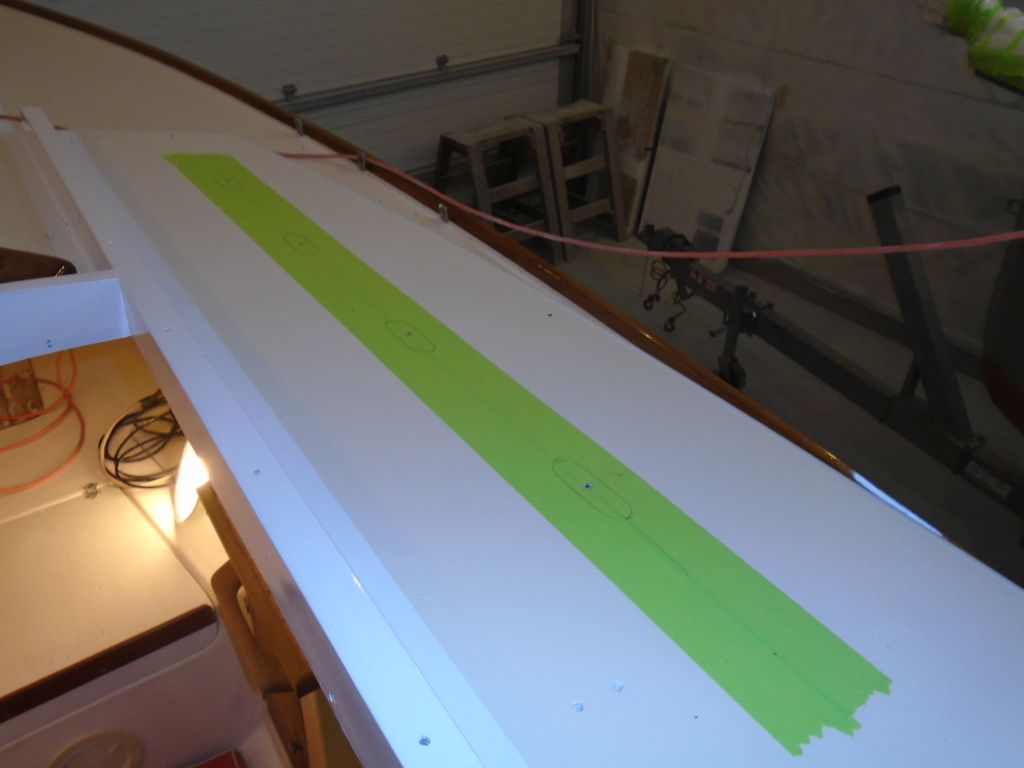
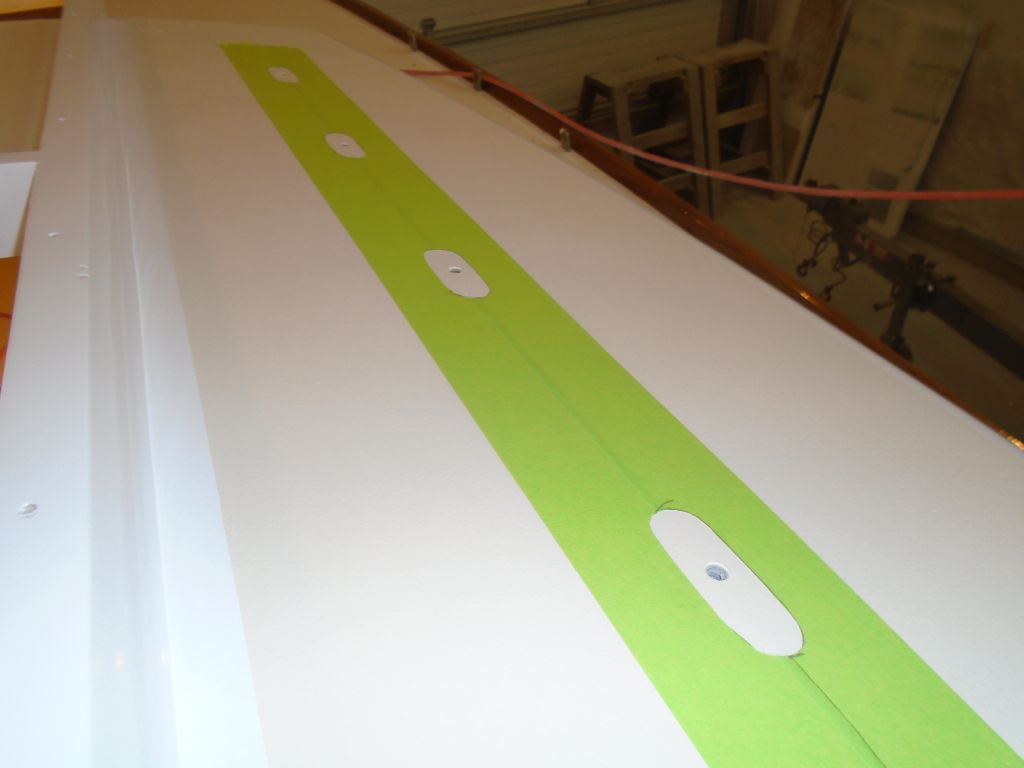
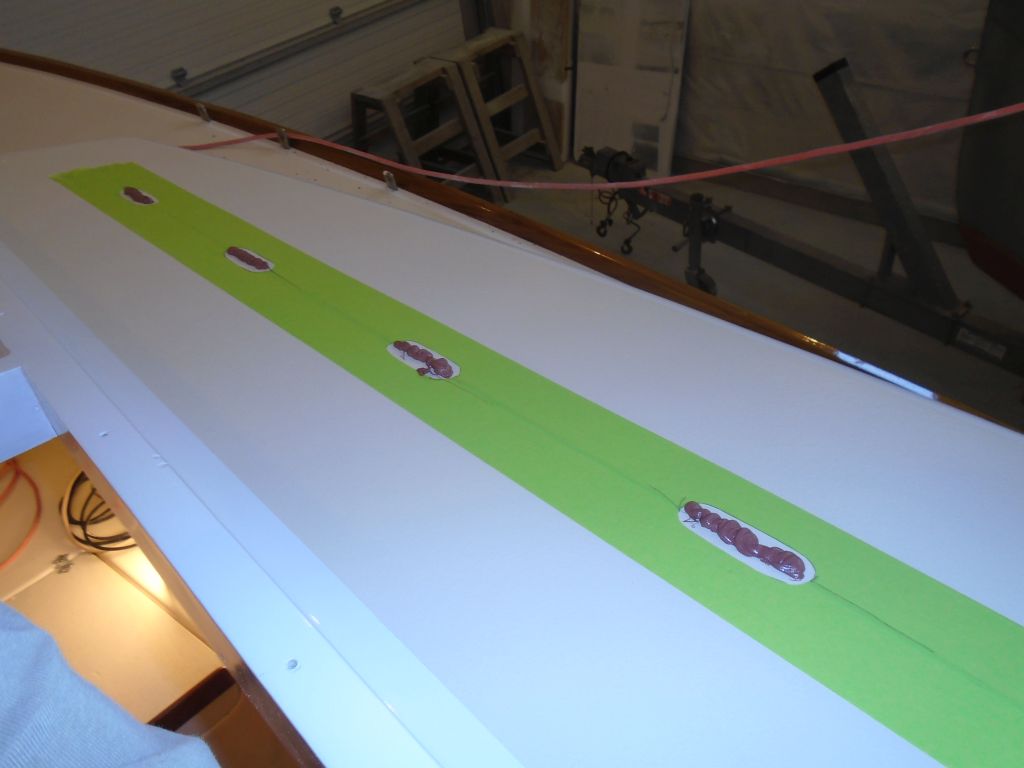
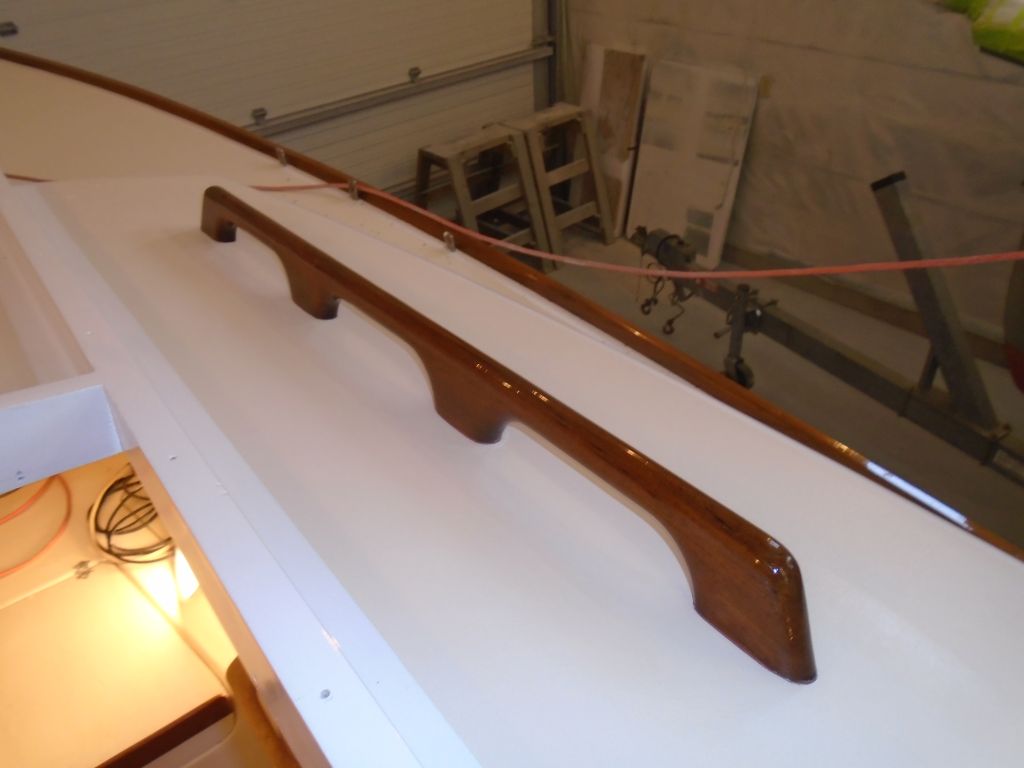
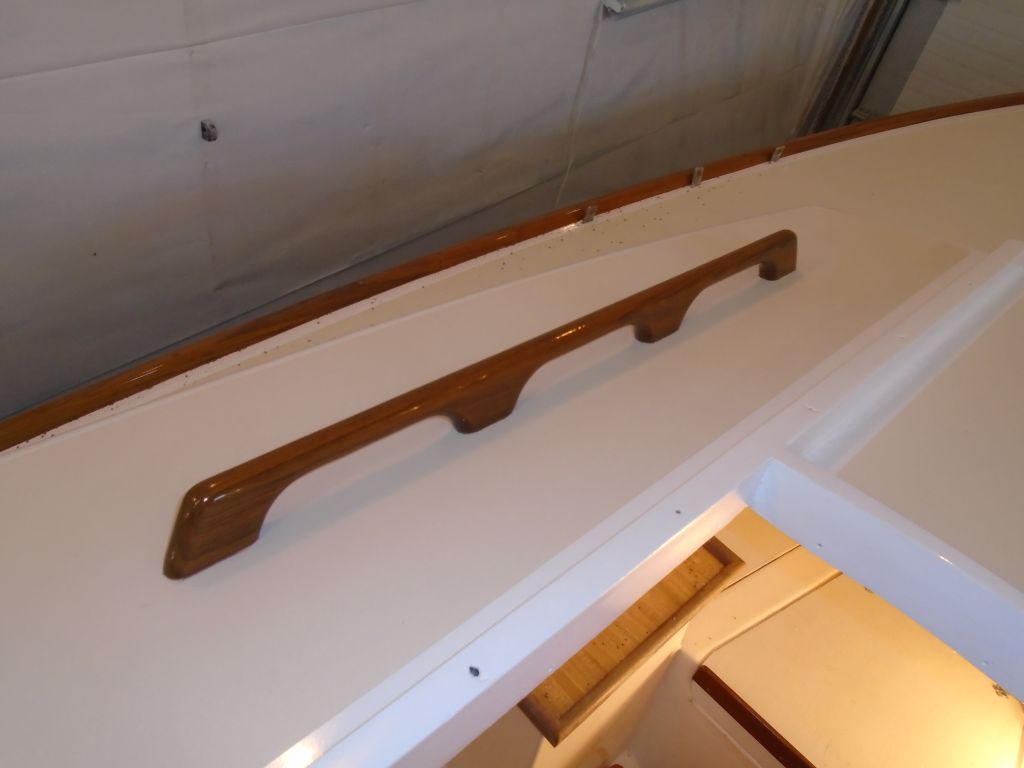
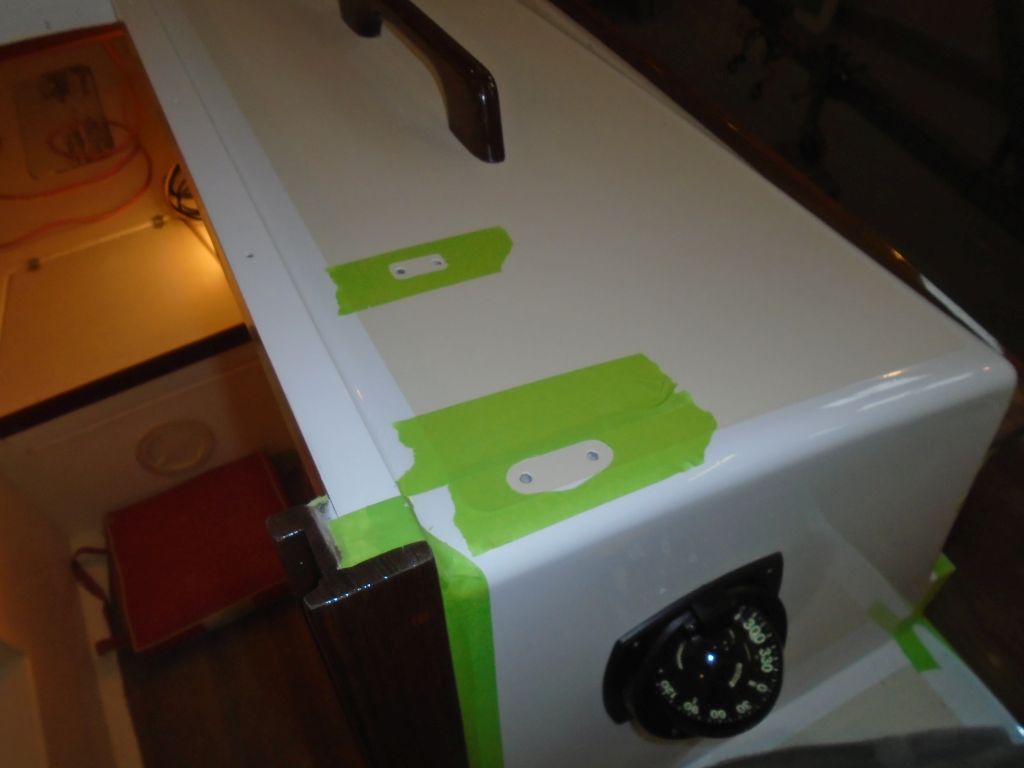
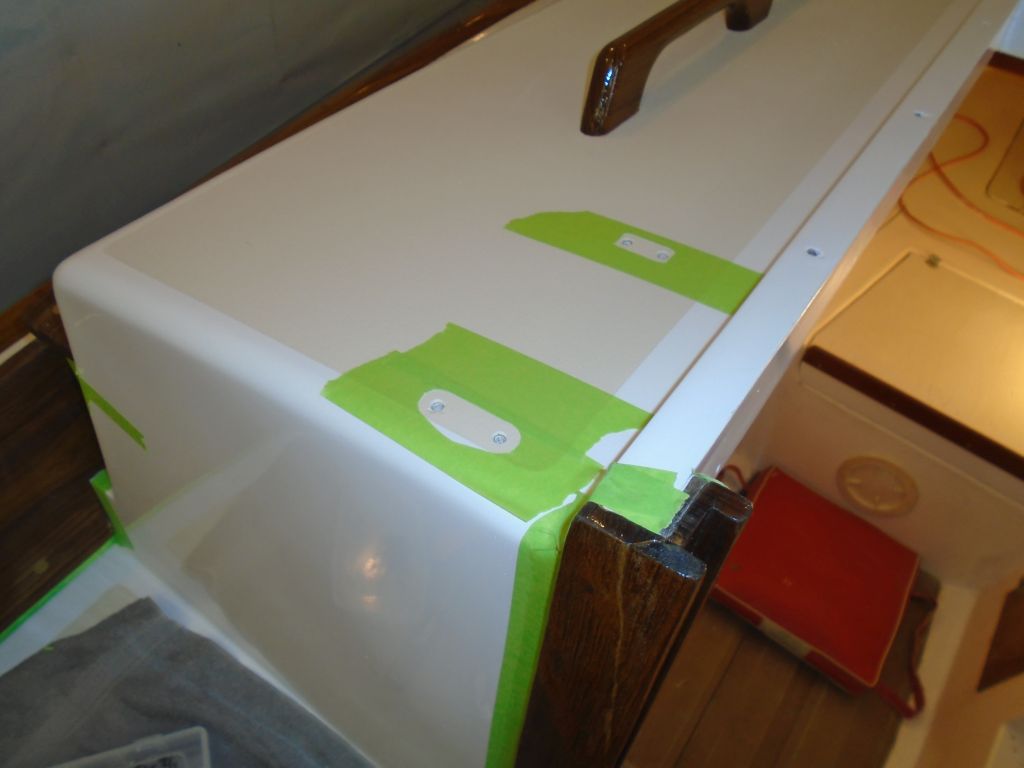
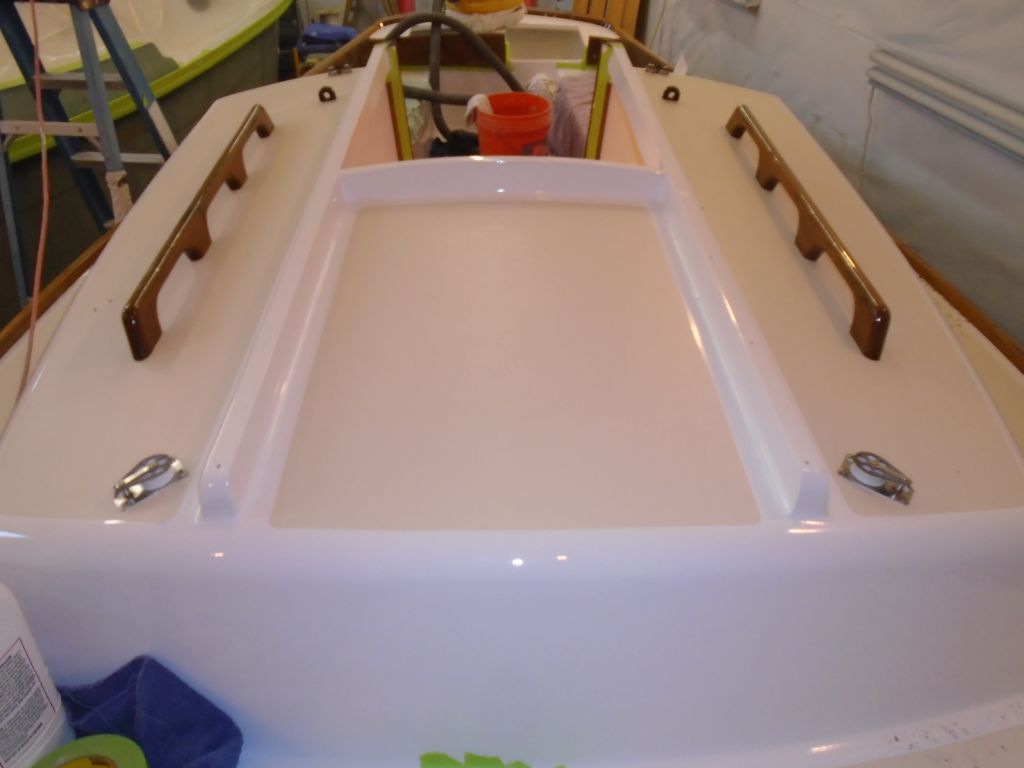
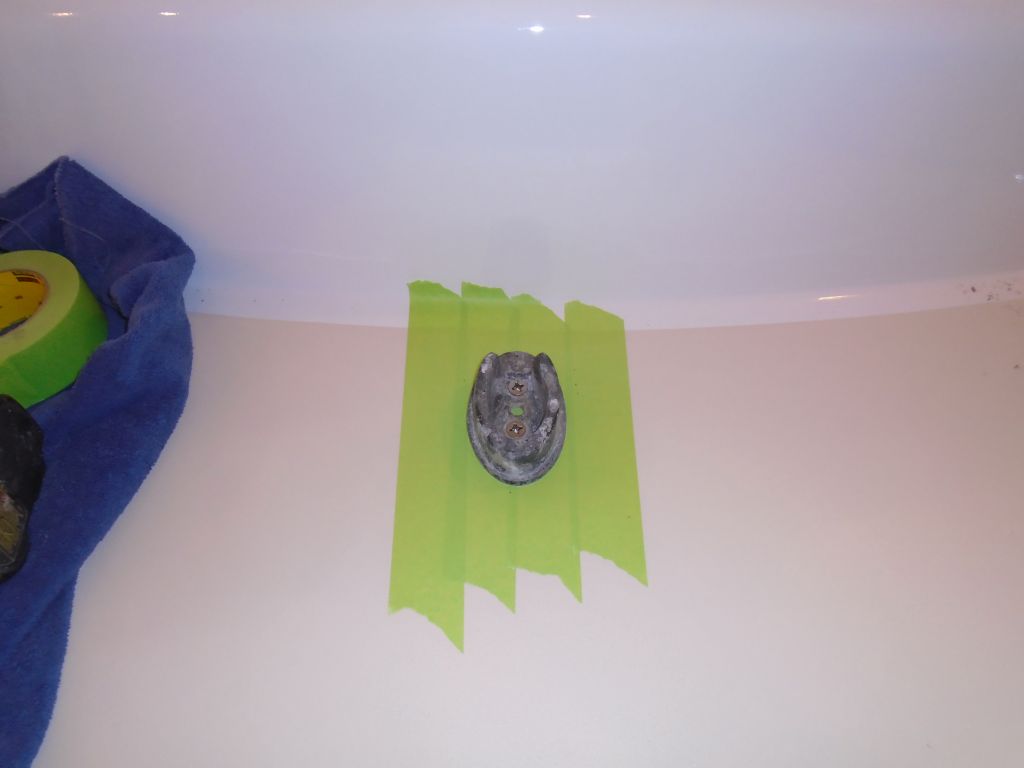
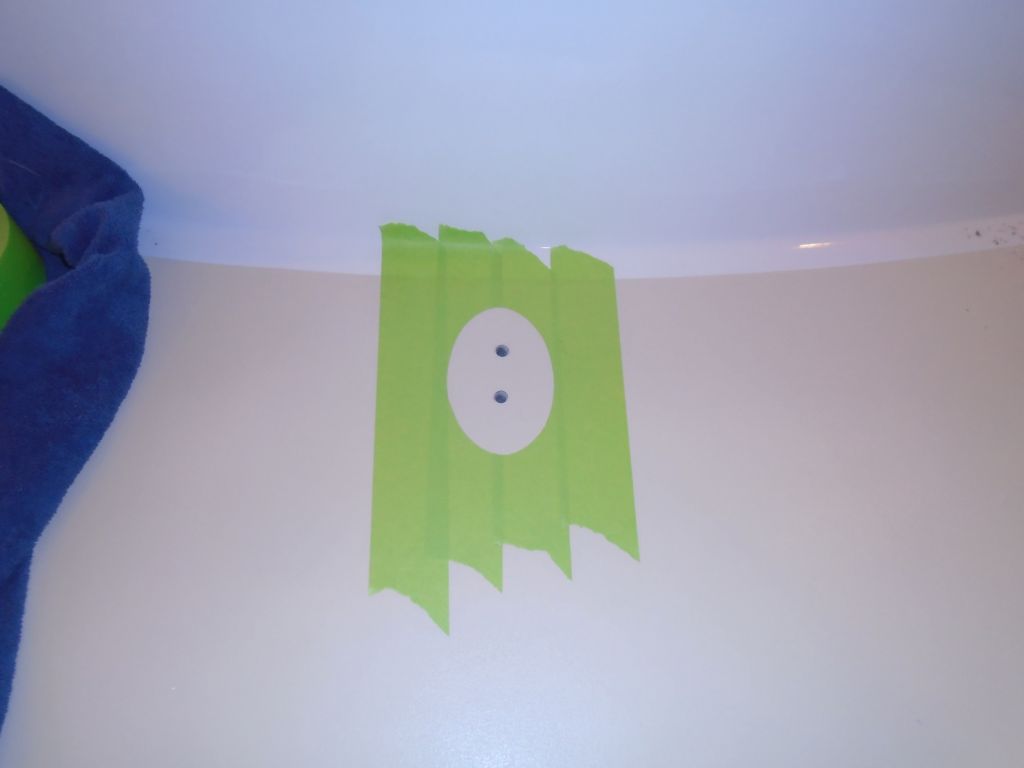
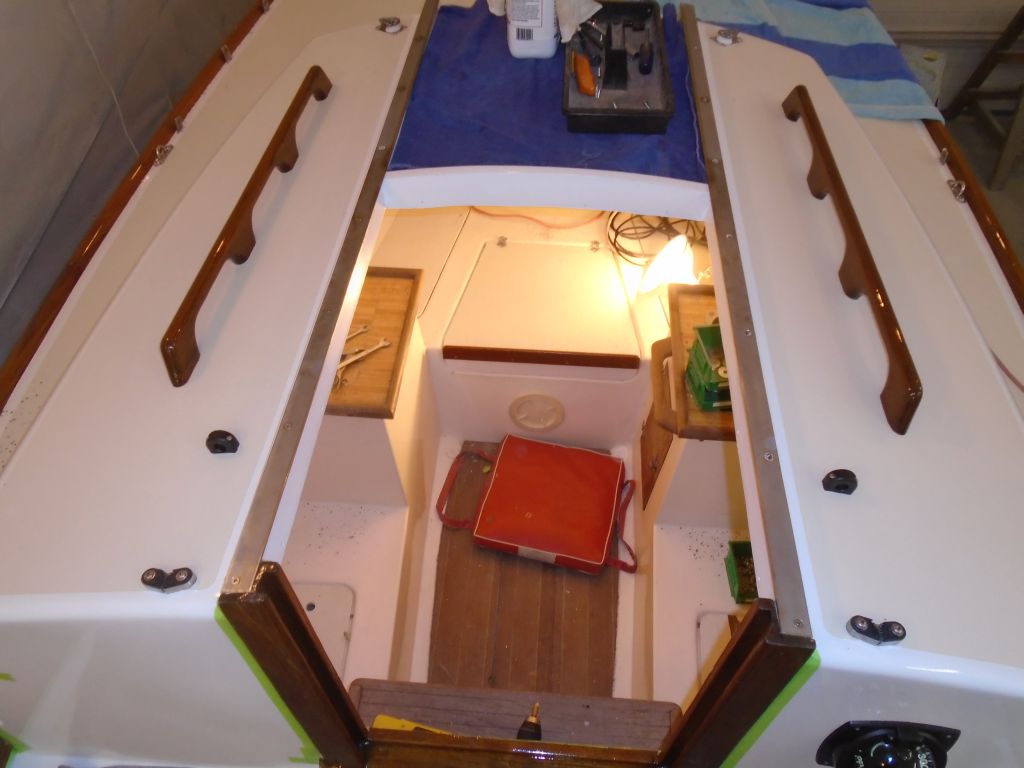
The focus of the rest of the week was deck hardware. I began on the cabin top, and installed the new handrails, which I’d pre-varnished on the bench. I’d left the original holes in the deck, so I masked off the deck in way of the holes, then laid out the new rail to determine its position against the holes before aligning it and drilling pilotholes up from within. With the rail temporarily in place, I traced around the bases so I could remove the tape in the bonding areas.
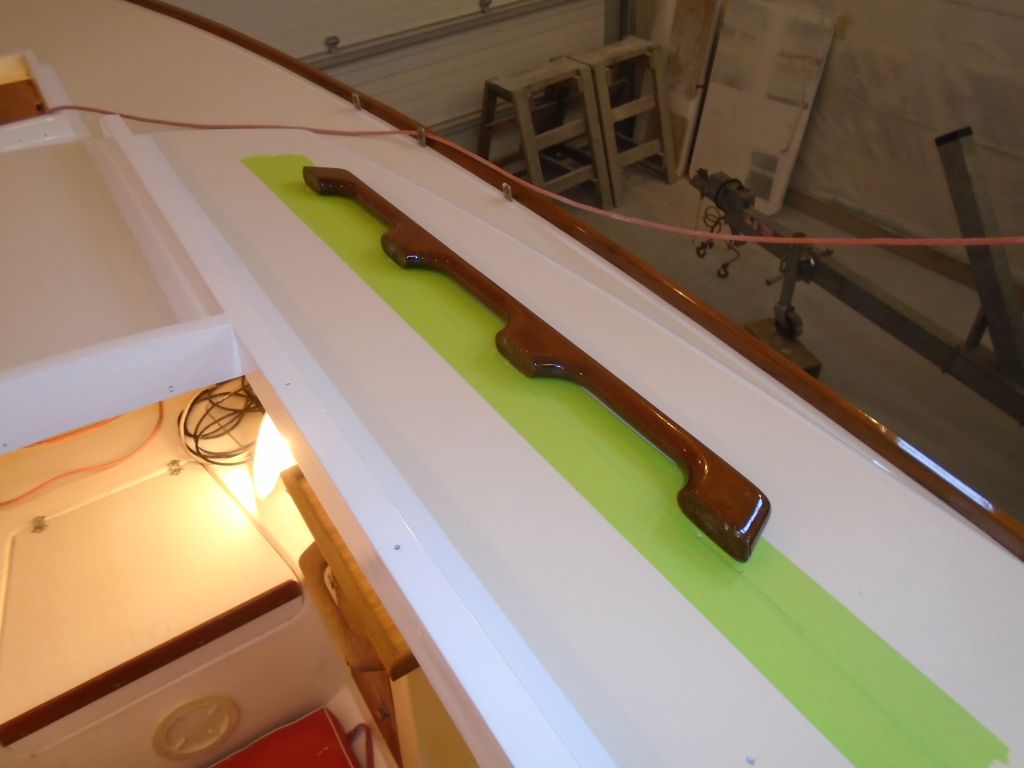
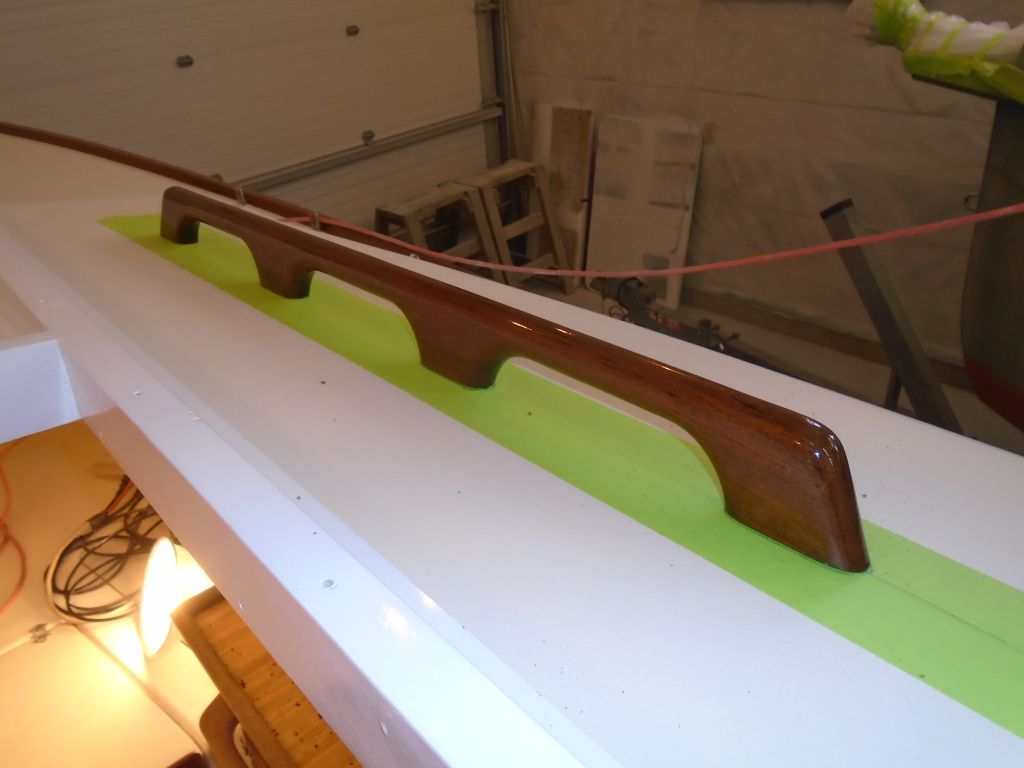
I installed the rails with a bed of brown sealant and #14 x 2″ screws from beneath.
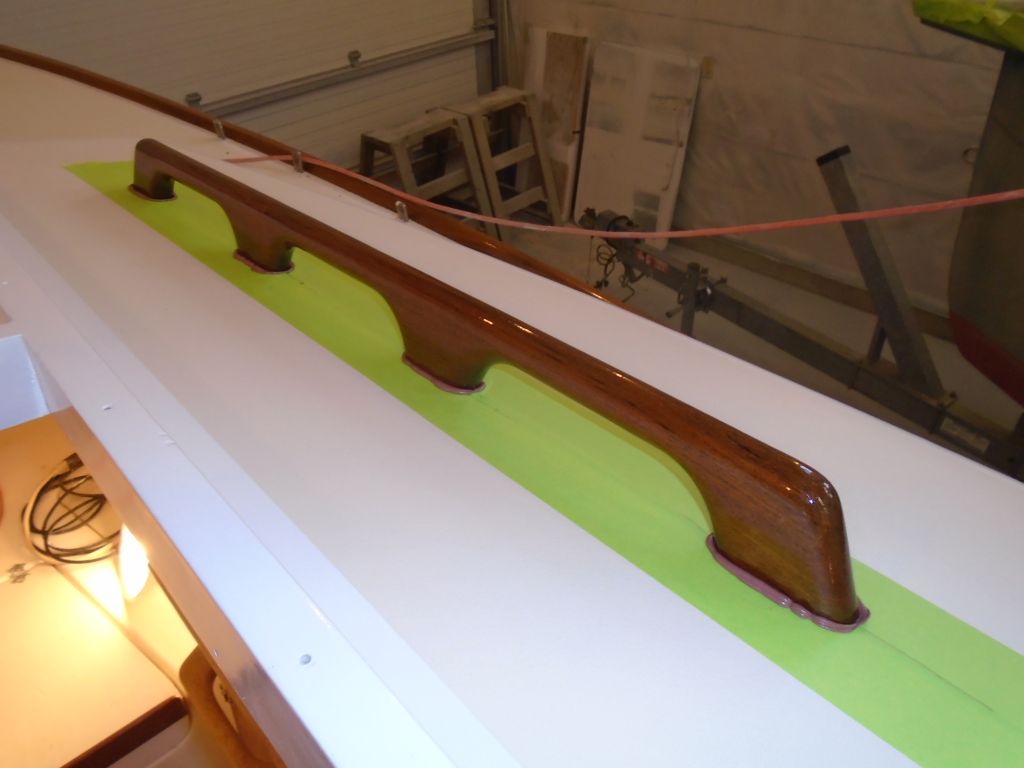
I repeated the process with the port handrail.


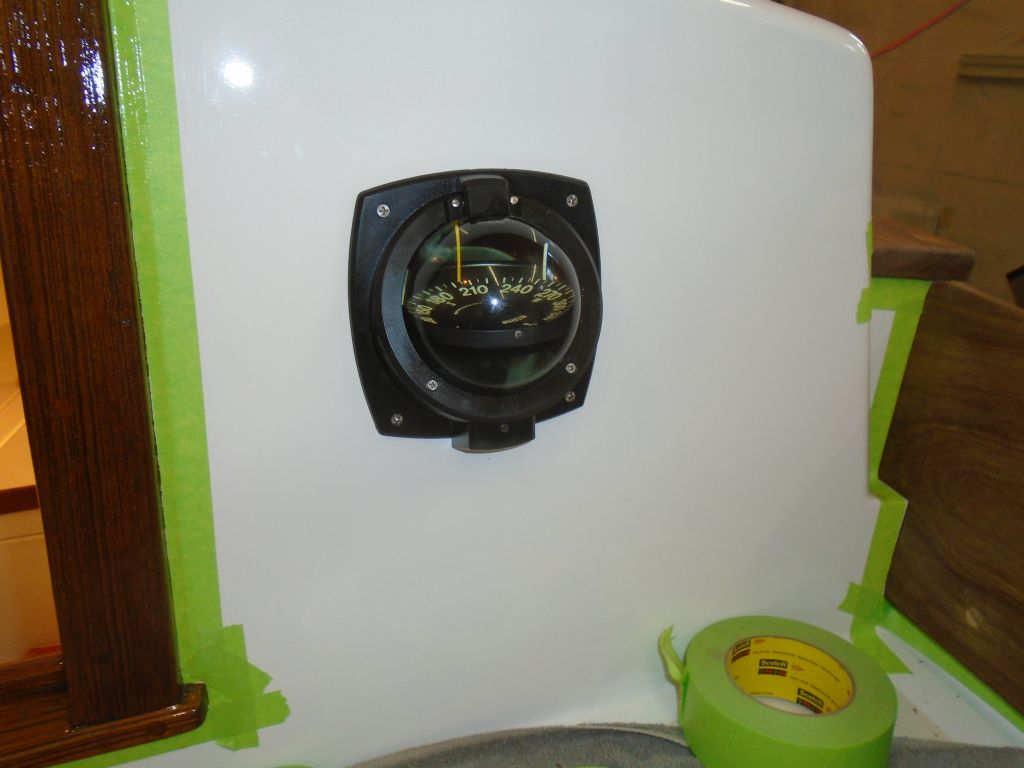
The bulkhead compass had been devoid of fluid when I removed it early in the project, so at some point I refilled the compass (I was glad I didn’t have to do that every day for a living) and left it for a while to see if it leaked. It didn’t seem to, so I reinstalled it in its original hole.
Continuing on the cabin top, I prepared and installed various line control hardware for the halyards, reusing existing fastener holes and original hardware, except for the plastic bullseye fairleads, which I replaced with new that I had on hand. The cabin top was uncored fiberglass, so there was no need for additional hole-preparation work.
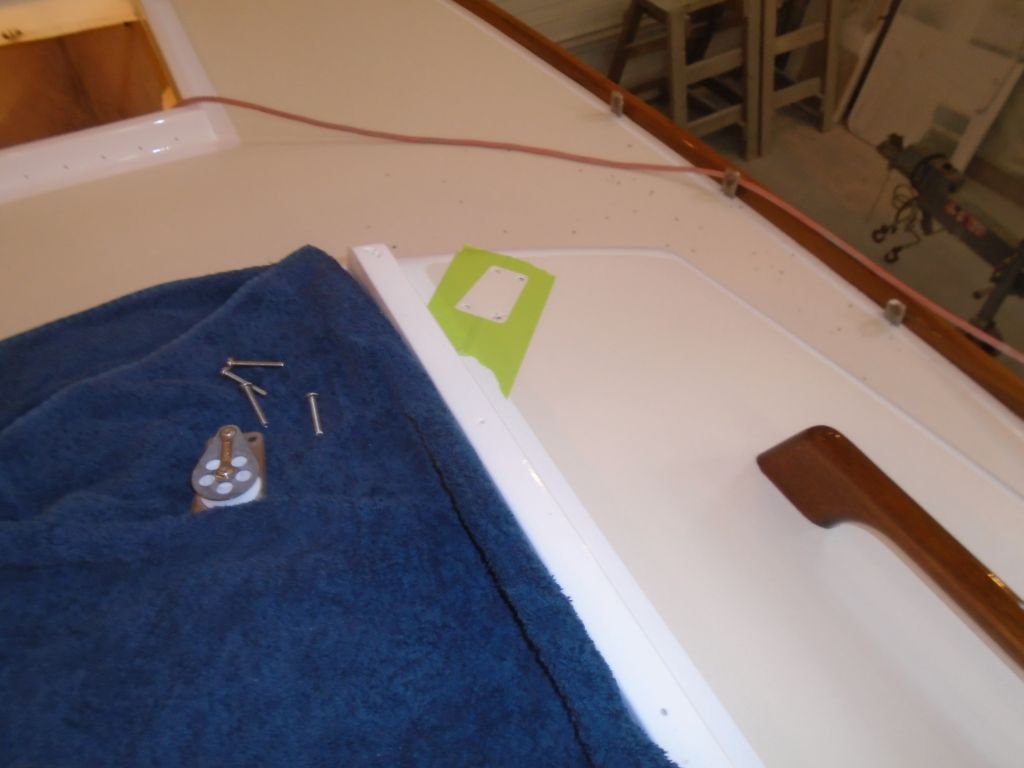
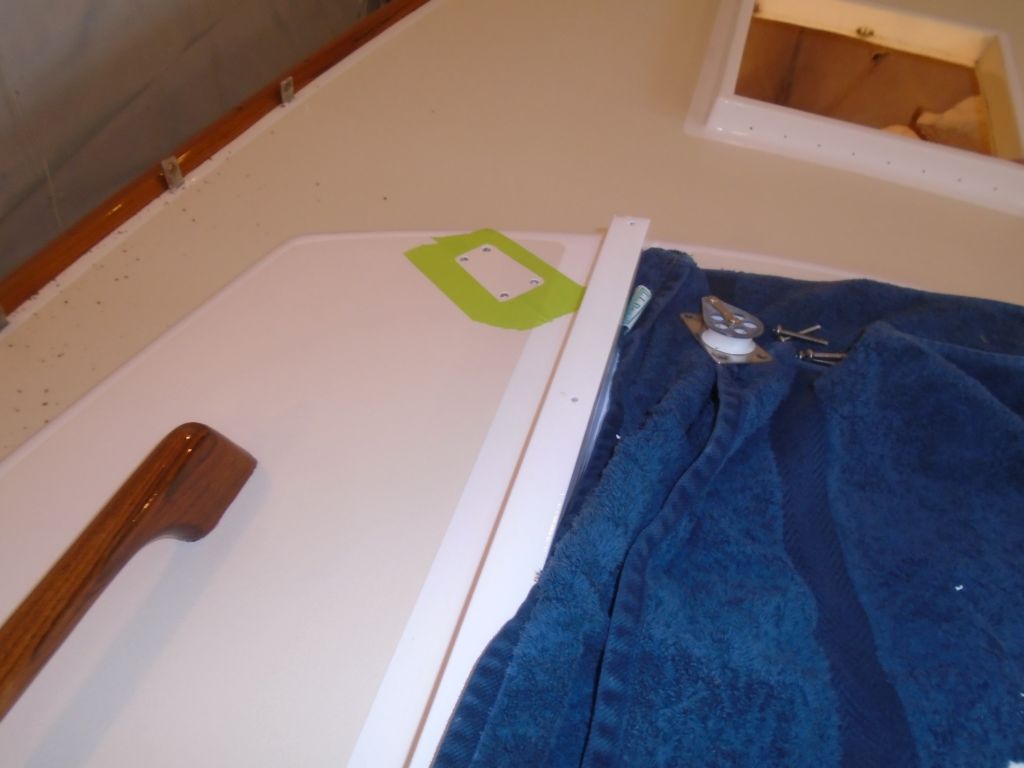
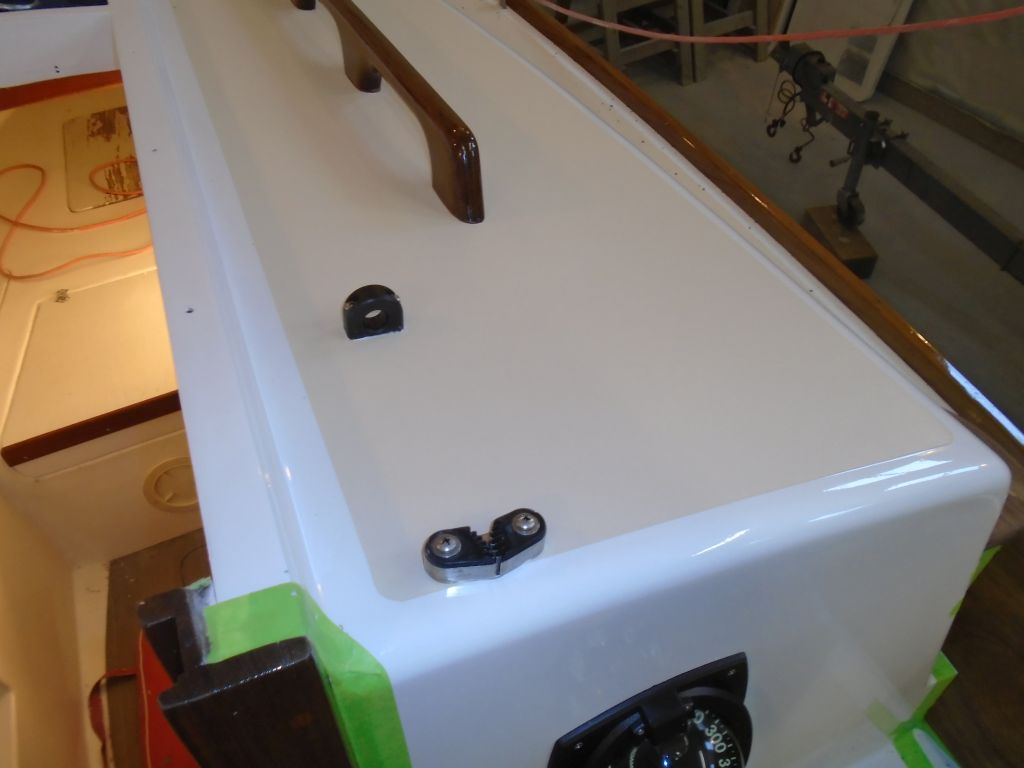
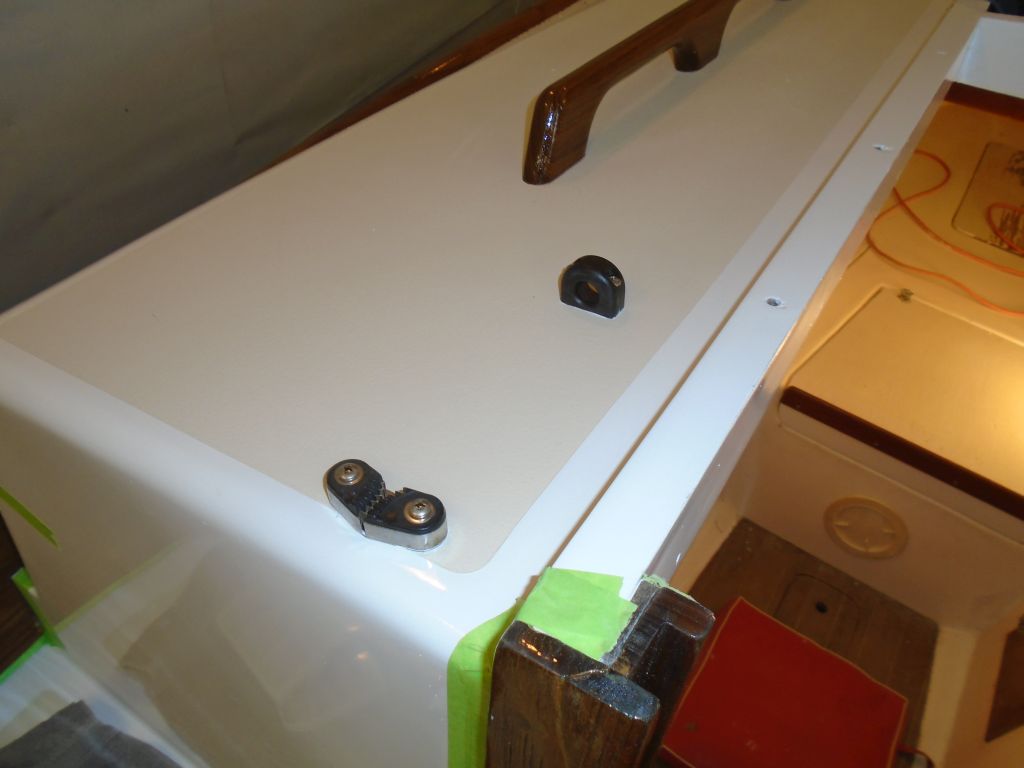
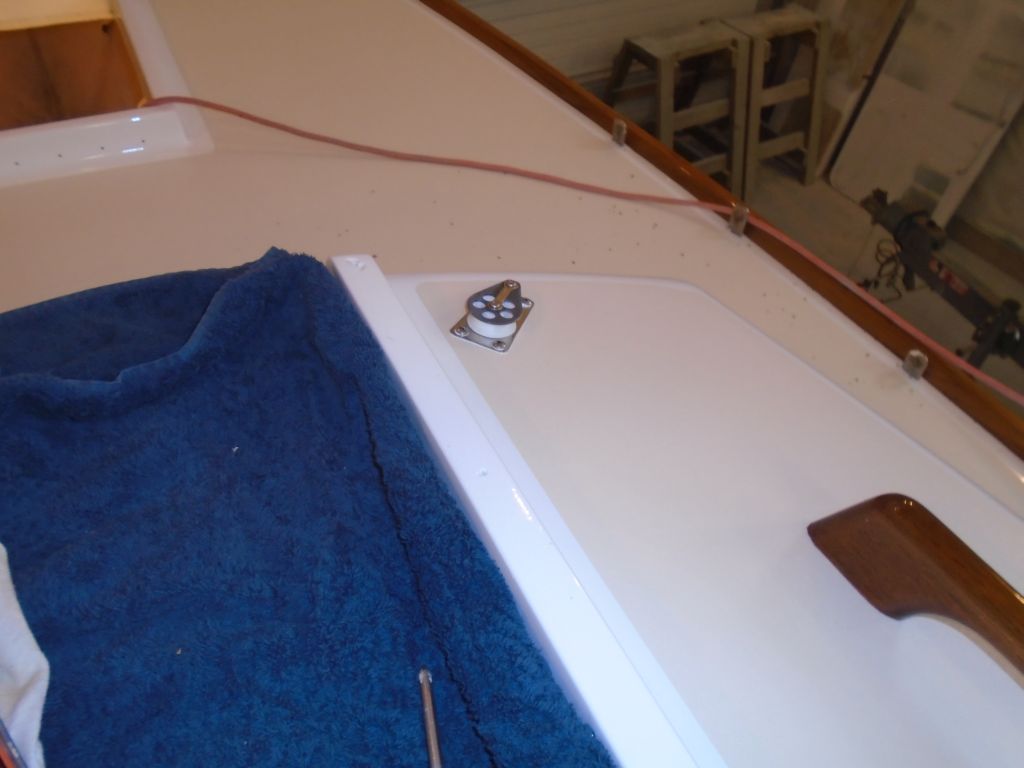
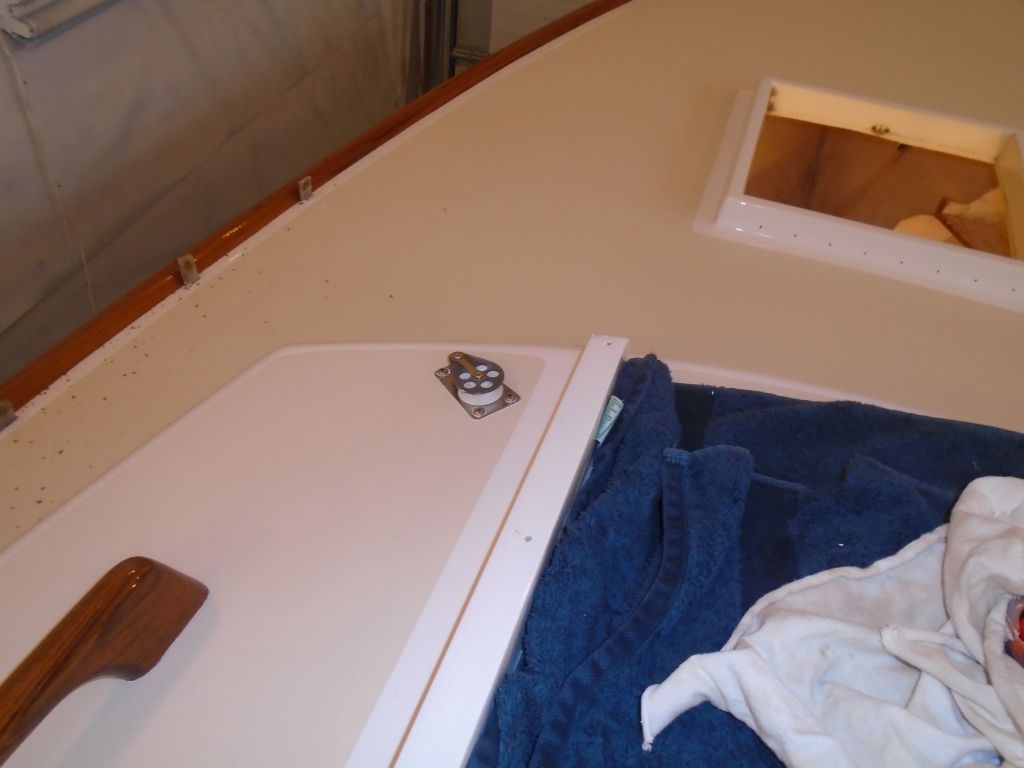
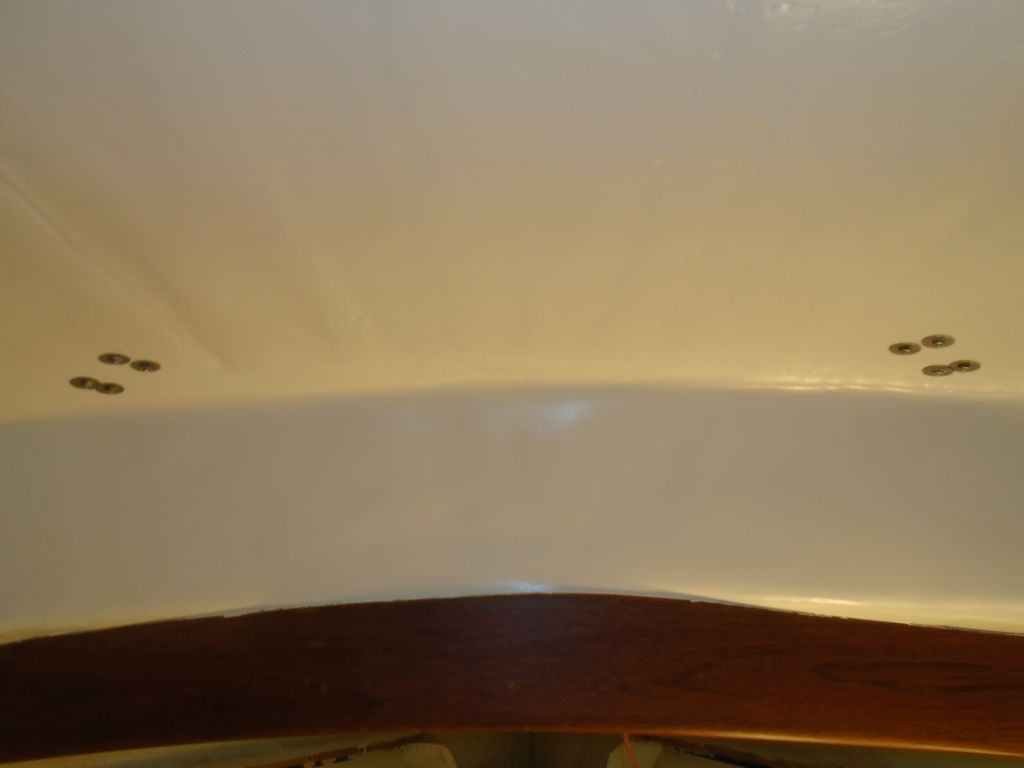

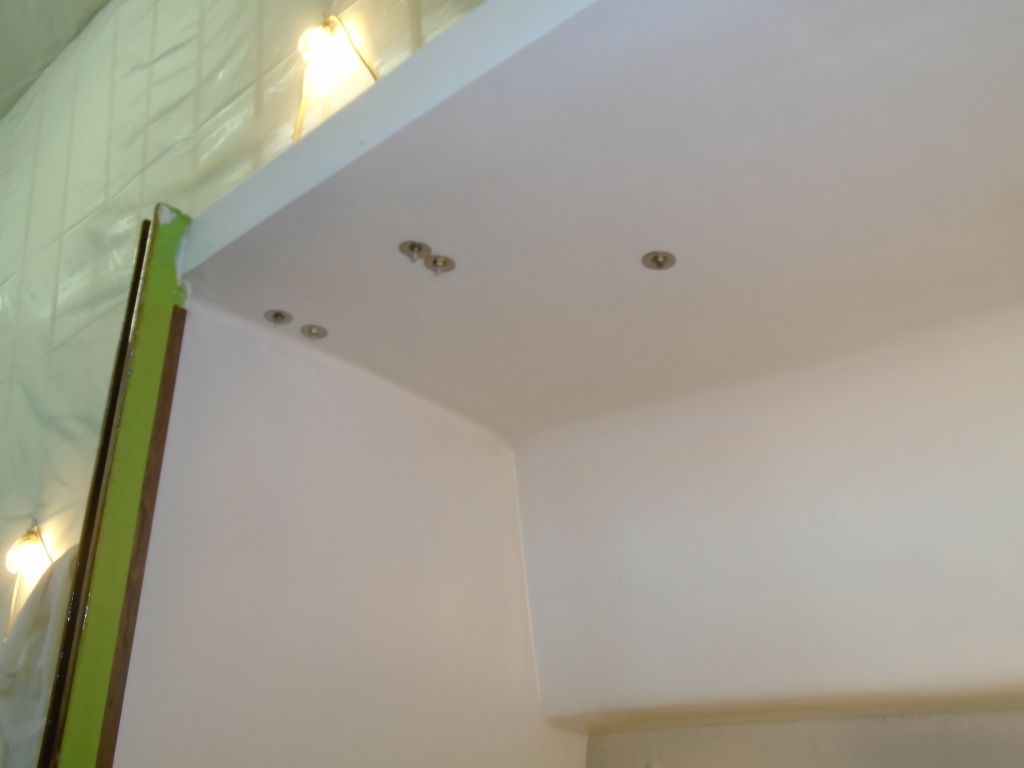
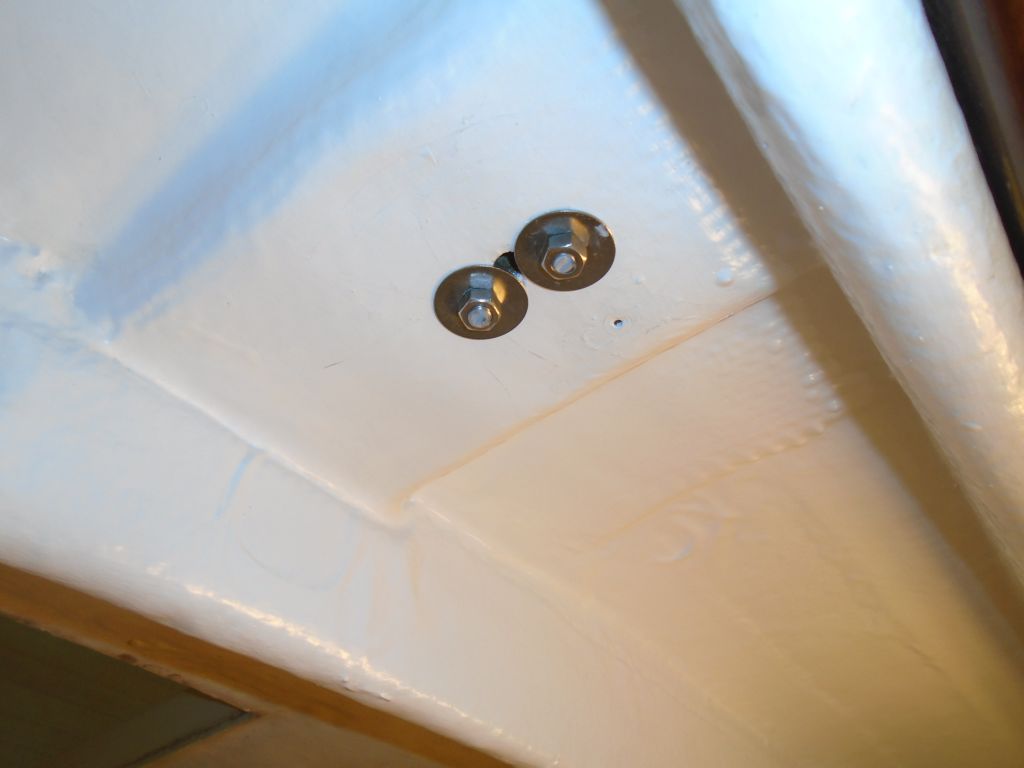
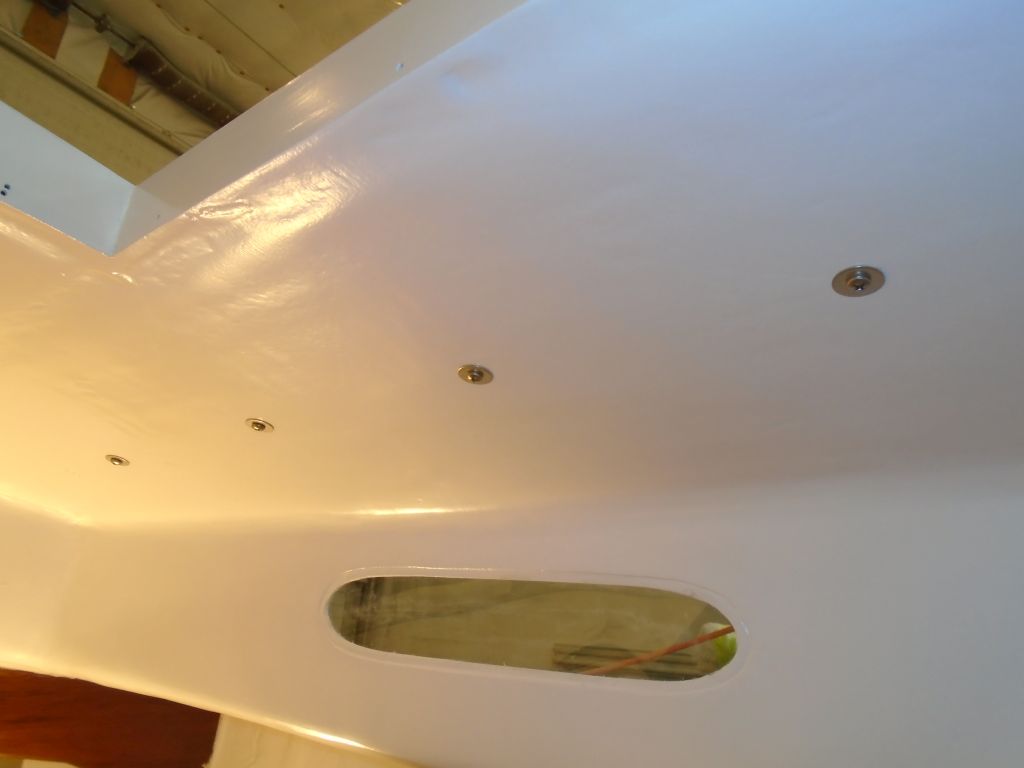
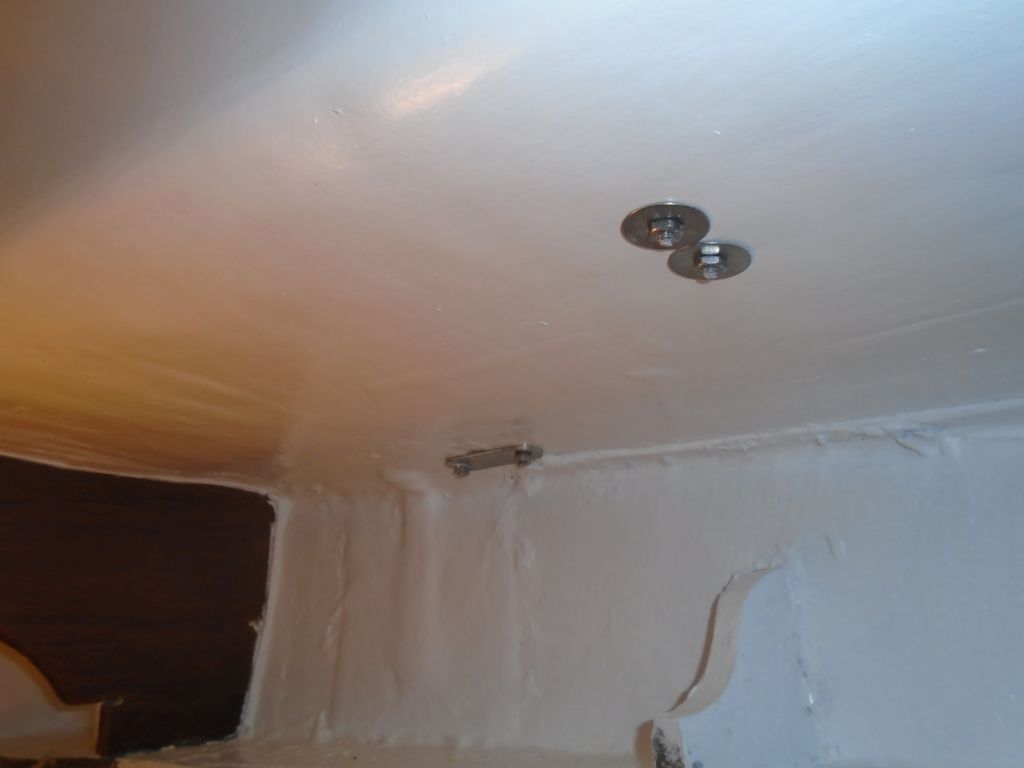
Next, I installed padeyes and another set of bullseye fairleads on the sidedecks, reusing existing locations and hardware. During deck work much earlier, I’d overbored and epoxy-filled the hole locations for the little fairleads int he middle of the deck, so now all I had to do was drill pilot holes, tap for machine screw threads, and install the hardware. The padeyes went through the outer portion of the deck where there was no core. I did the starboard side first, then repeated the process with the port side.


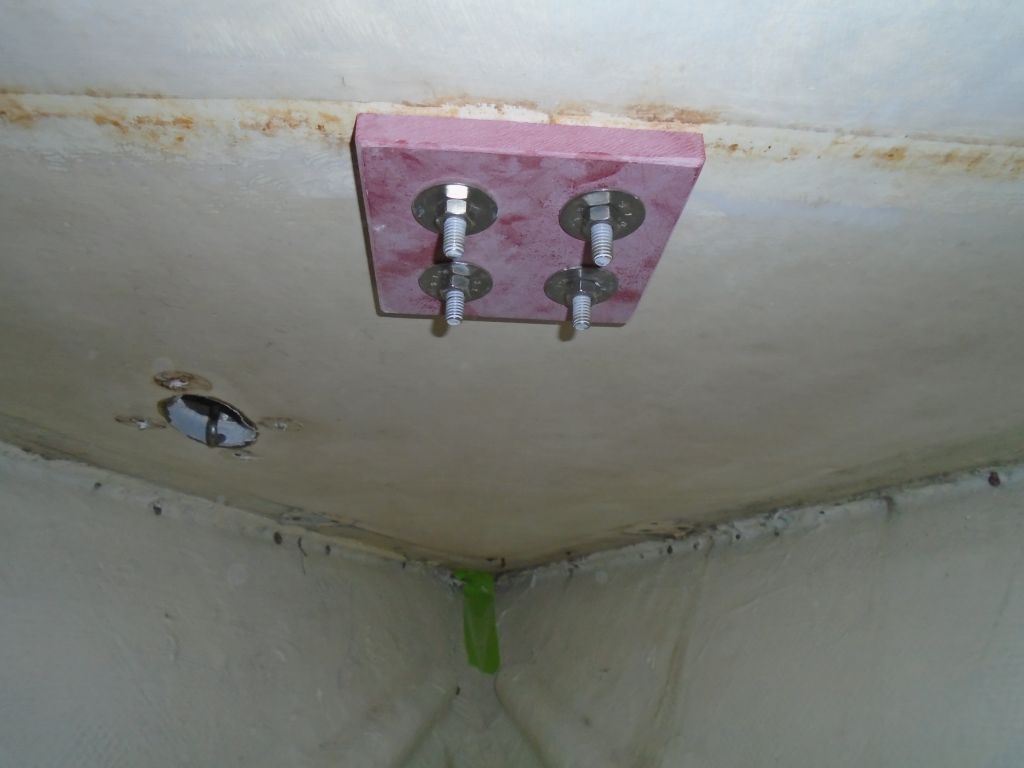
To reinstall the mast step, I first drilled a small pilot hole from beneath, where the old fastener holes were still visible, to help me locate the step on the deck. With the single locating hole, I could adjust the step properly and drill the two mounting holes, which I tapped for 5/16″ machine screws. I prepared the area for final installation, but found that the screws I had were too short, though I thought I’d determined the length correctly, so I had to order different ones. I’d pick up this installation as soon as the new fasteners arrived.
I wanted to leave ample time for the varnish work, but I had enough time first to install the companionway rails.
After cleaning up from the deck hardware work, I applied a coat of varnish to the new cockpit coamings.


Total time billed on this job today: 7 hours
0600 Weather Report:
25°, clear. Forecast for the day: Mainly cloudy, 40°
Tuesday
With only a short day on hand, I didn’t stray far from some basic tasks suited to the time available. I started by removing the excess bungs from the coamings, but I discovered that I’d forgotten to bung a few holes where the coamings joined the return blocks, so I added bungs there.

Later, I continued the varnish work on the companionway and the loose trim pieces.

Total time billed on this job today: 1.5 Hours
0600 Weather Report:
25°, clear. Forecast for the day: Sunny, high around 40