(page 2 of 4)

Arietta 23

Tuesday

After final preparations, I applied three coats of Alexseal snow white to the prepared cockpit and locker lids (and outboard bracket), taking several elapsed hours with breaks between coats.

Total time billed on this job today:  3.5 hours

0600 Weather Observation:  27°, cloudy, snow shower.  Forecast for the day:   Cloudy with chance of snow showers, 32°

Arietta 22

Monday

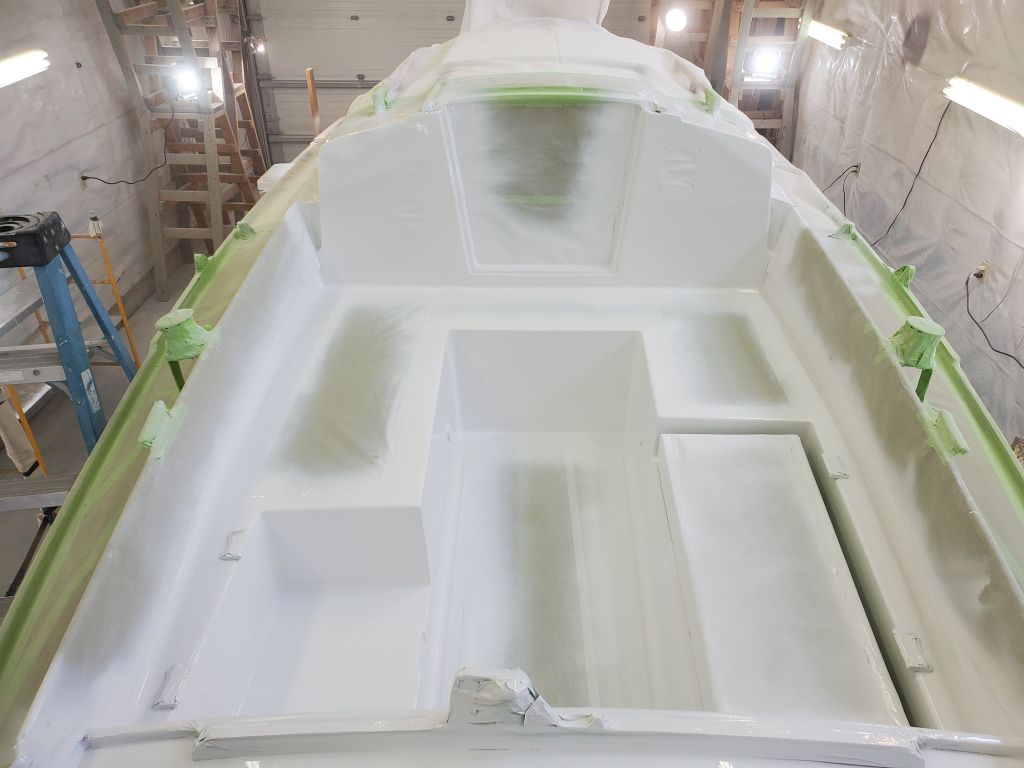
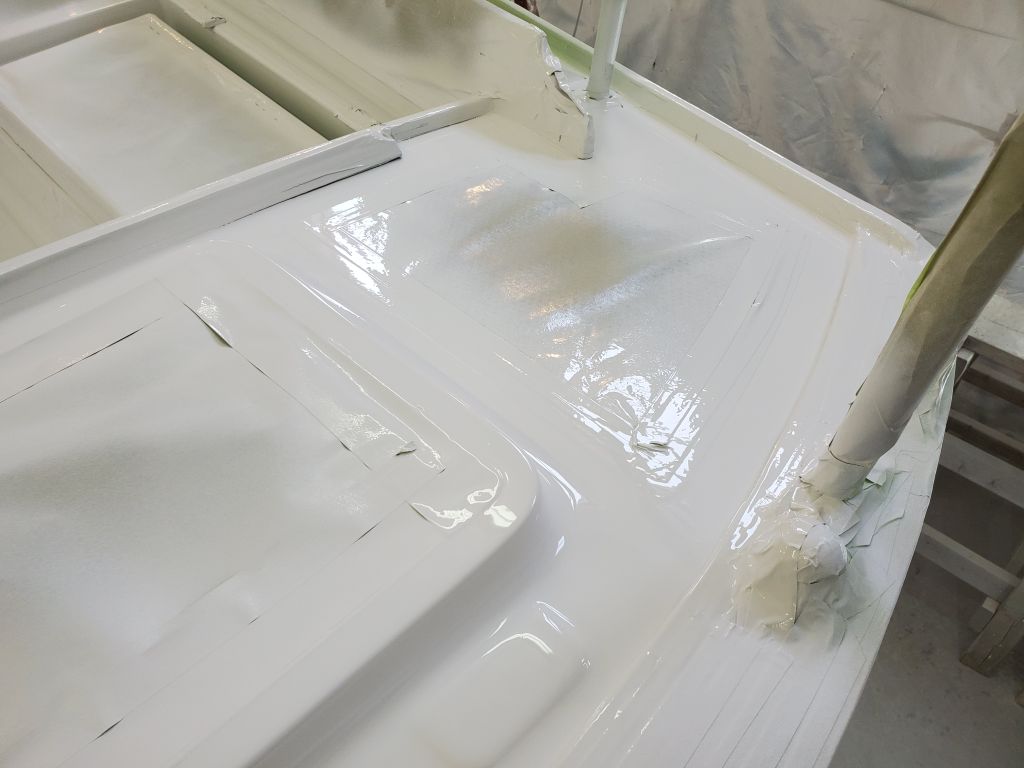
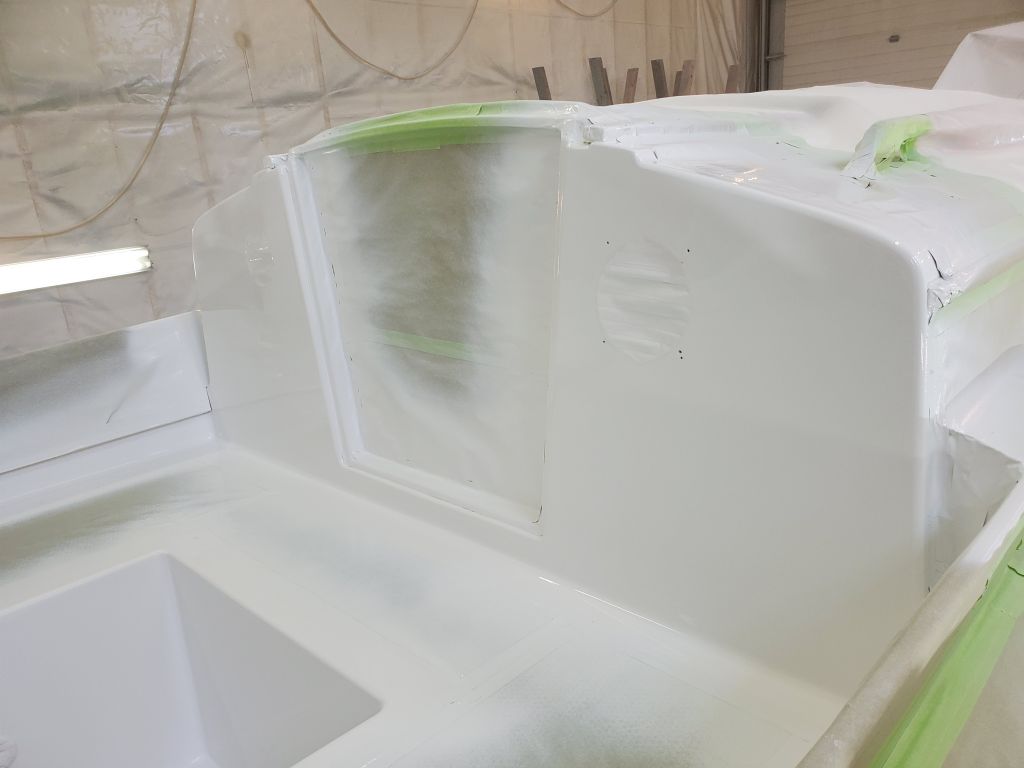
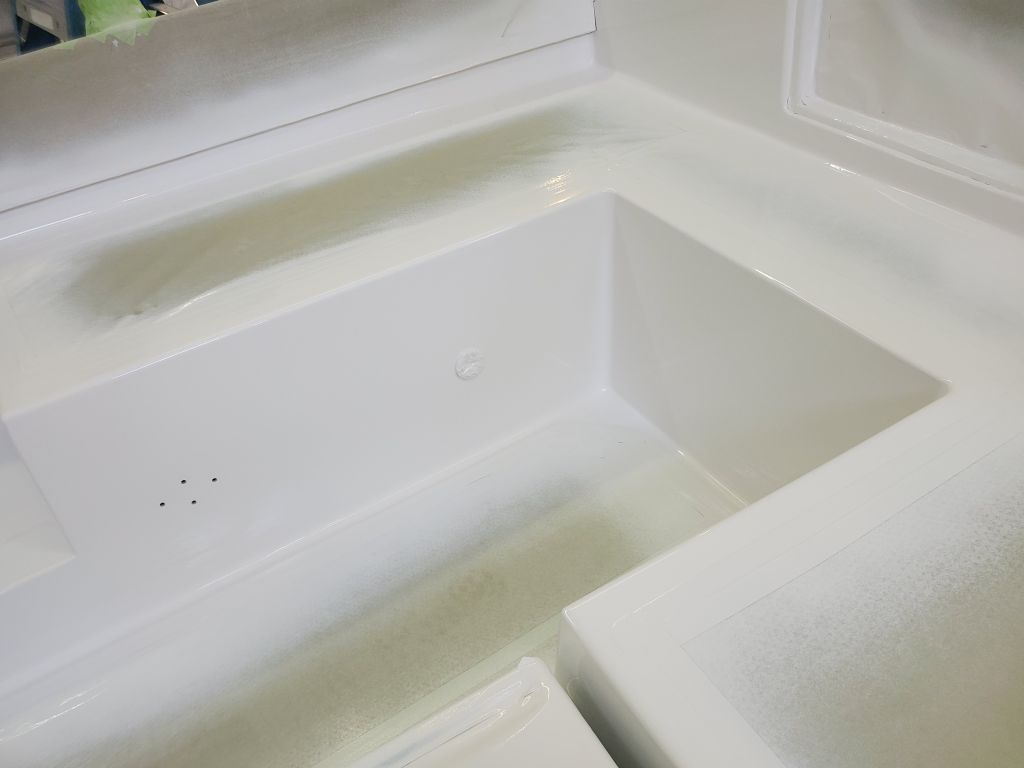
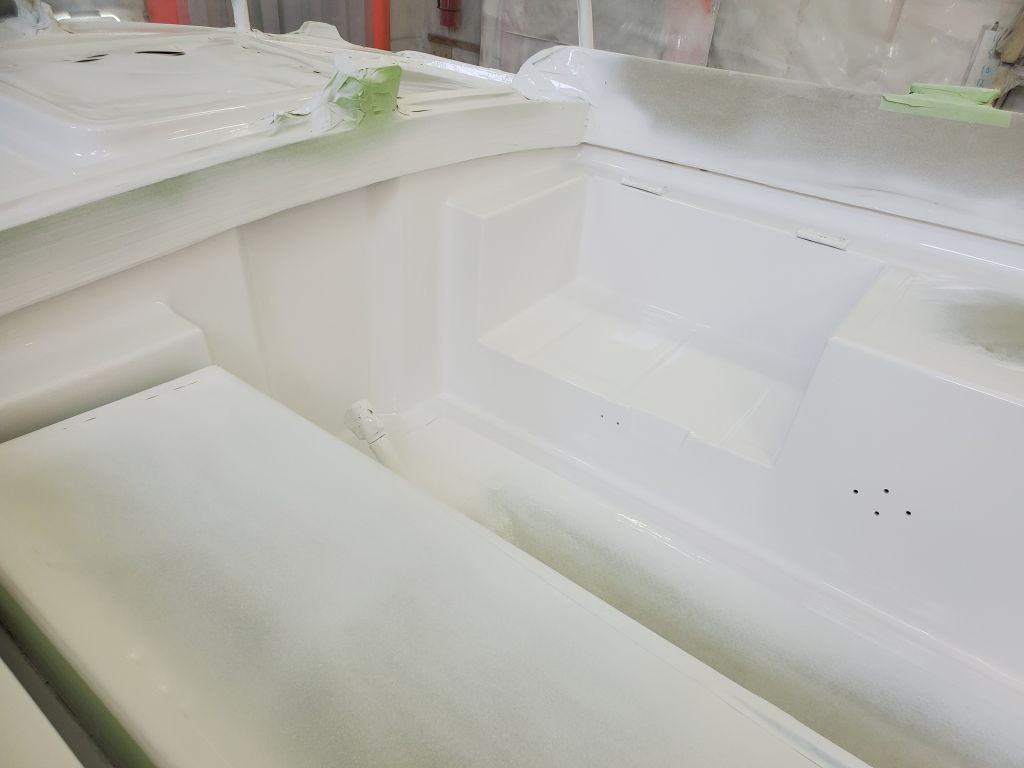
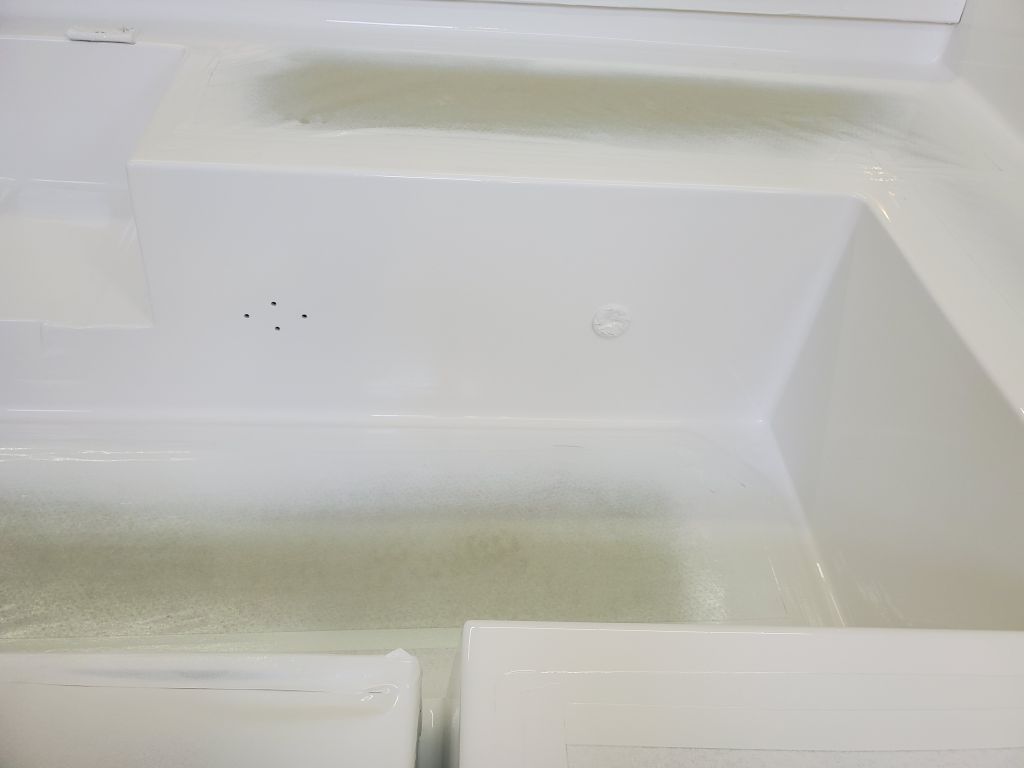
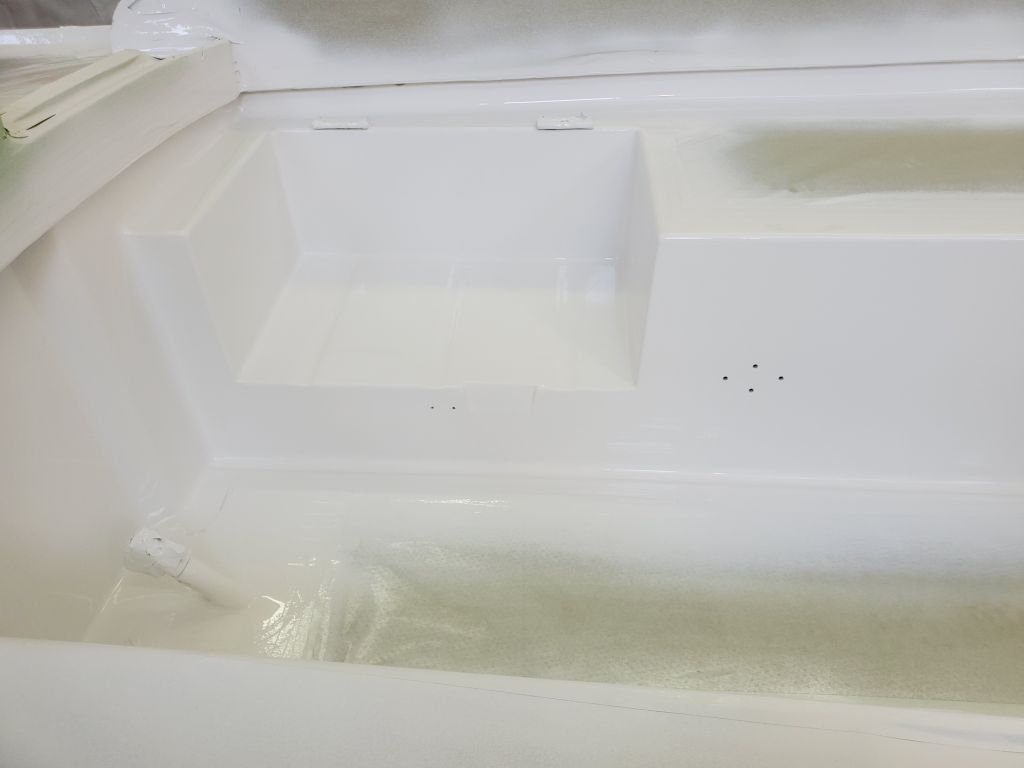
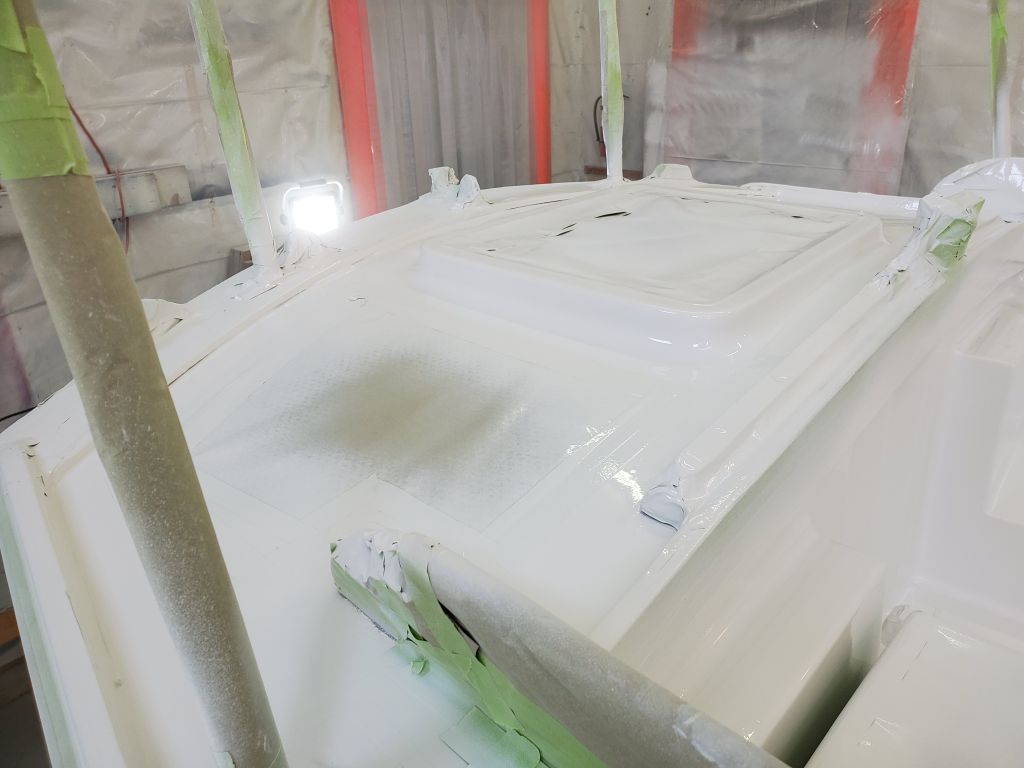
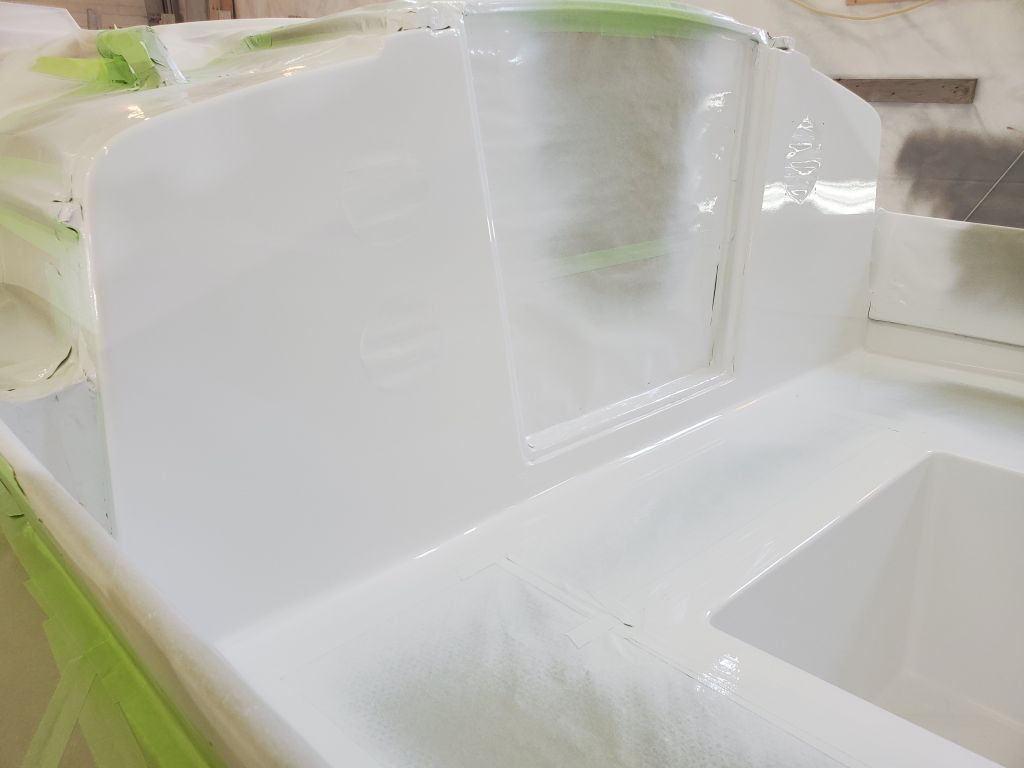
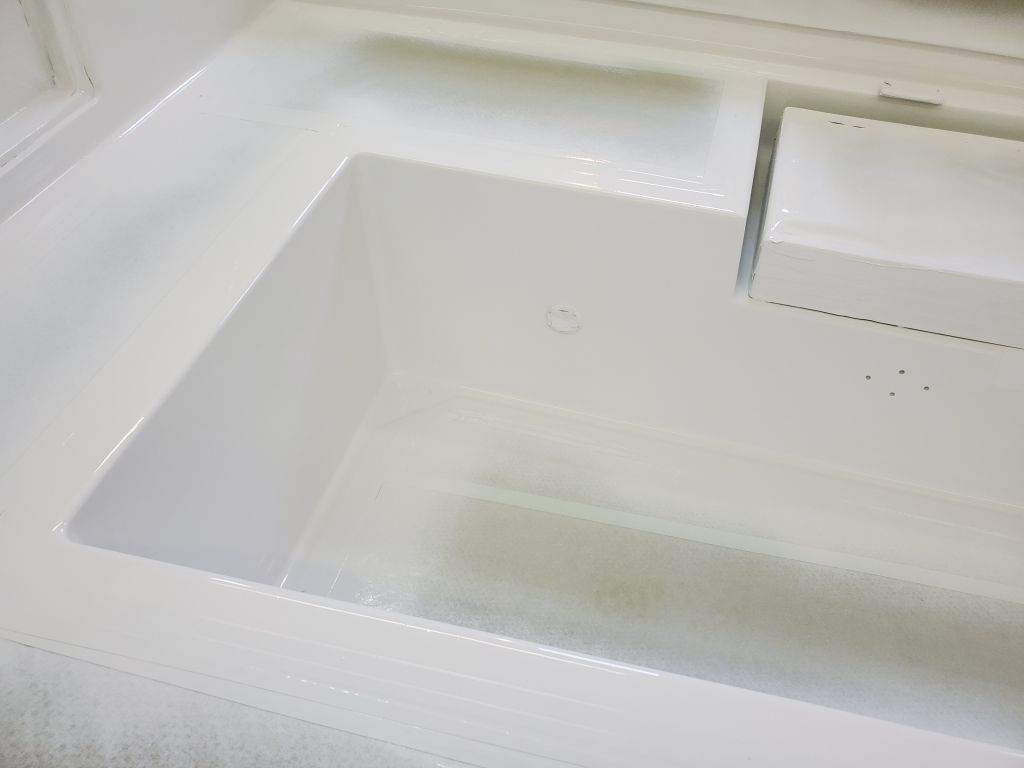
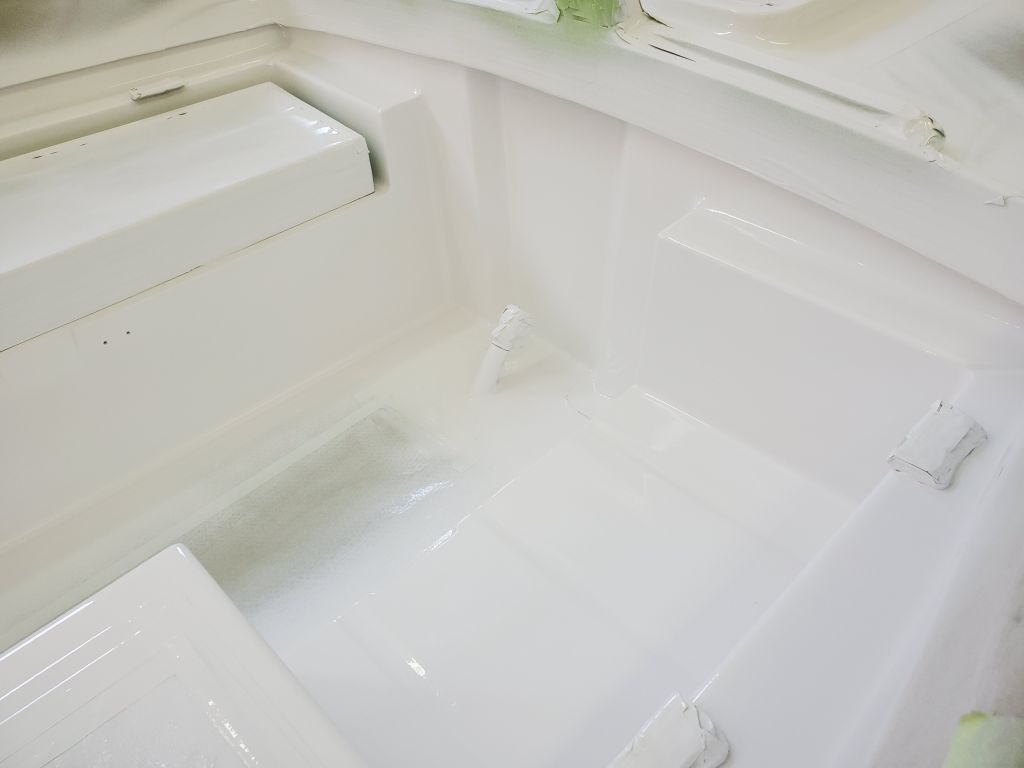
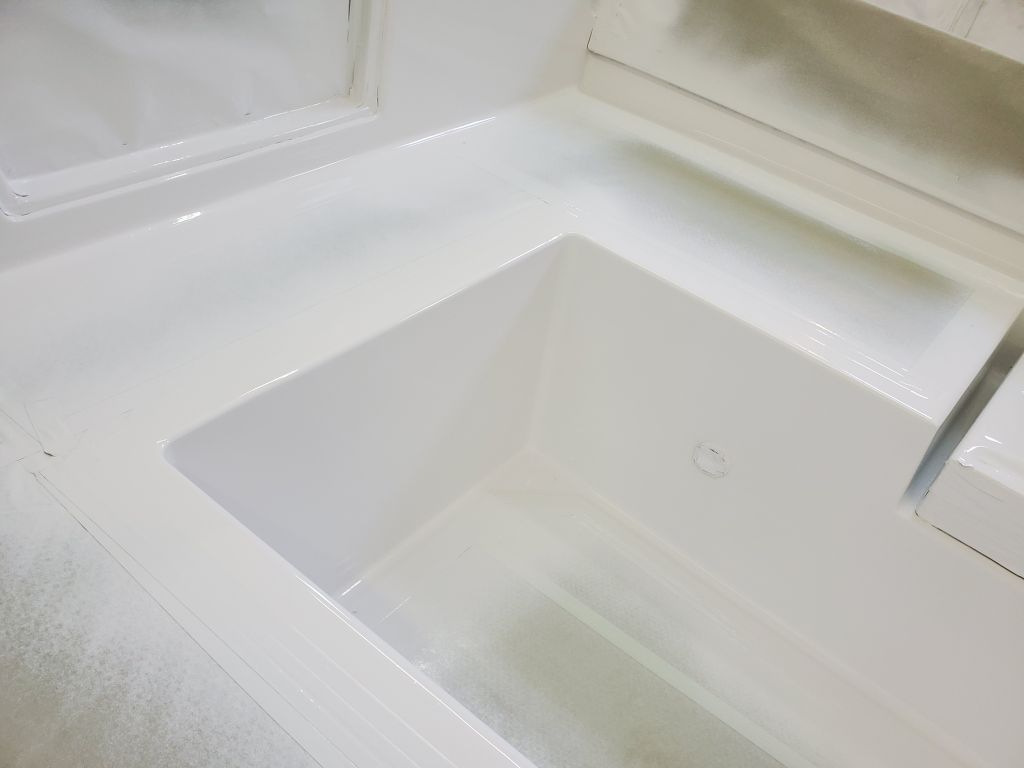
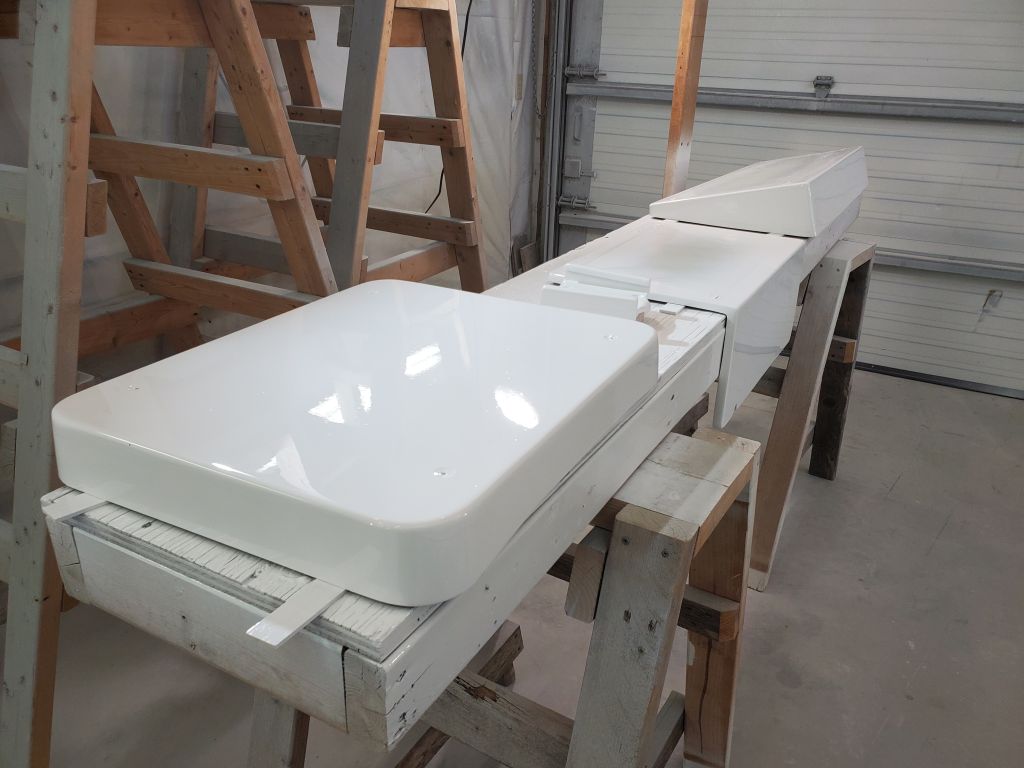
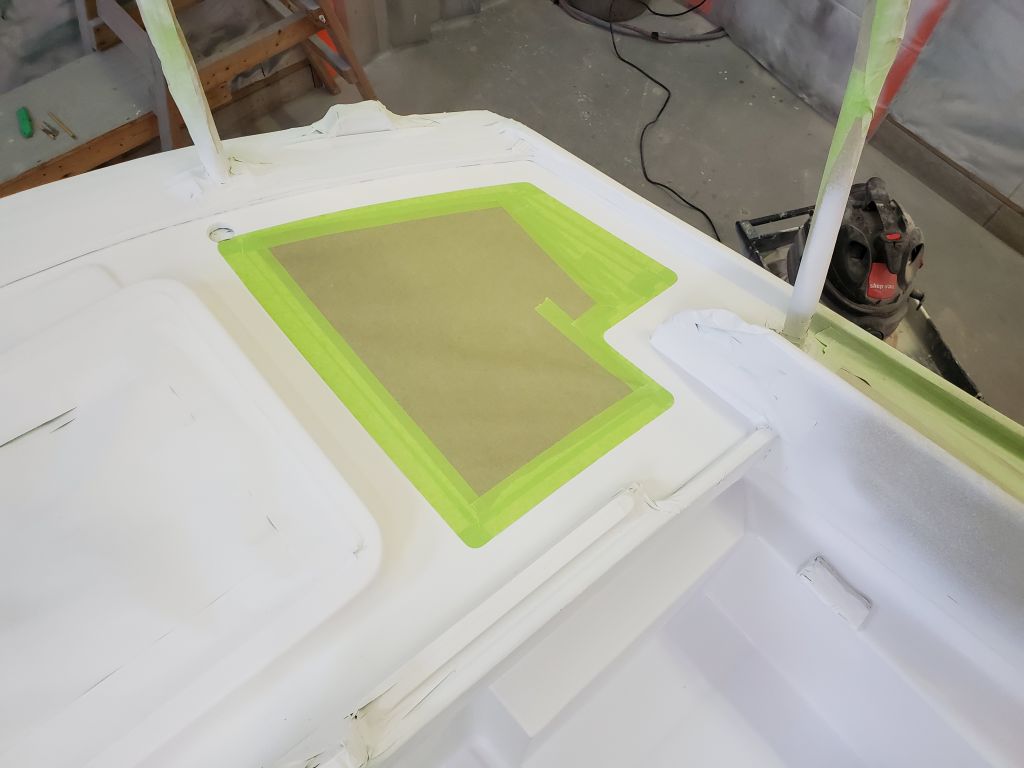
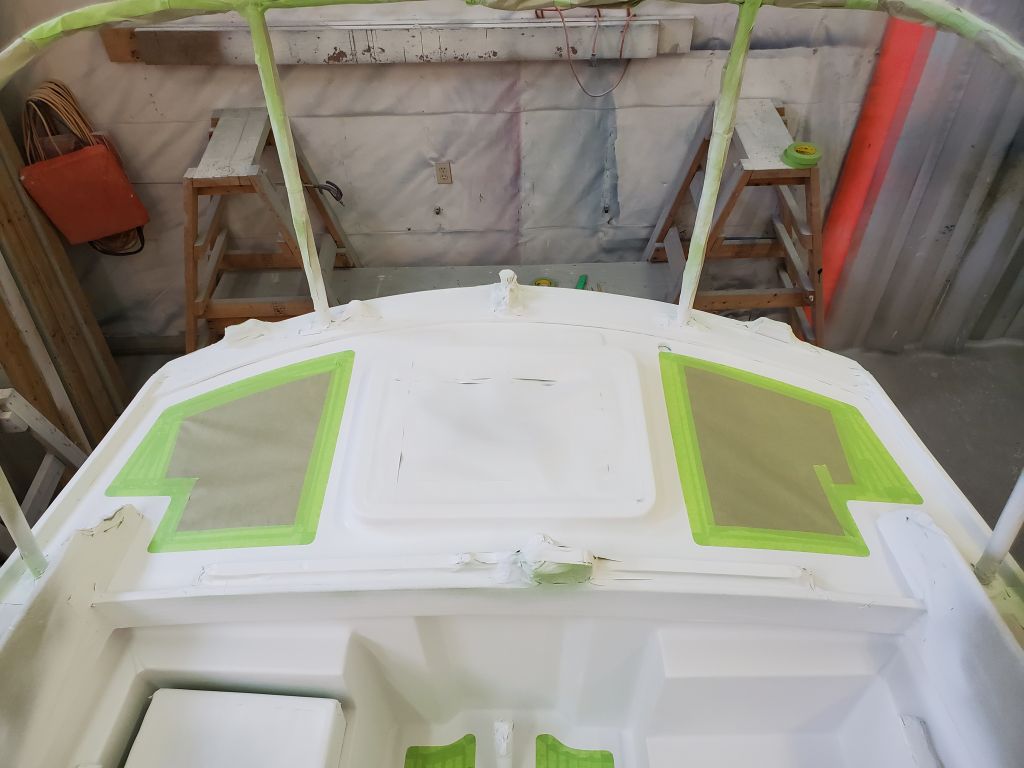
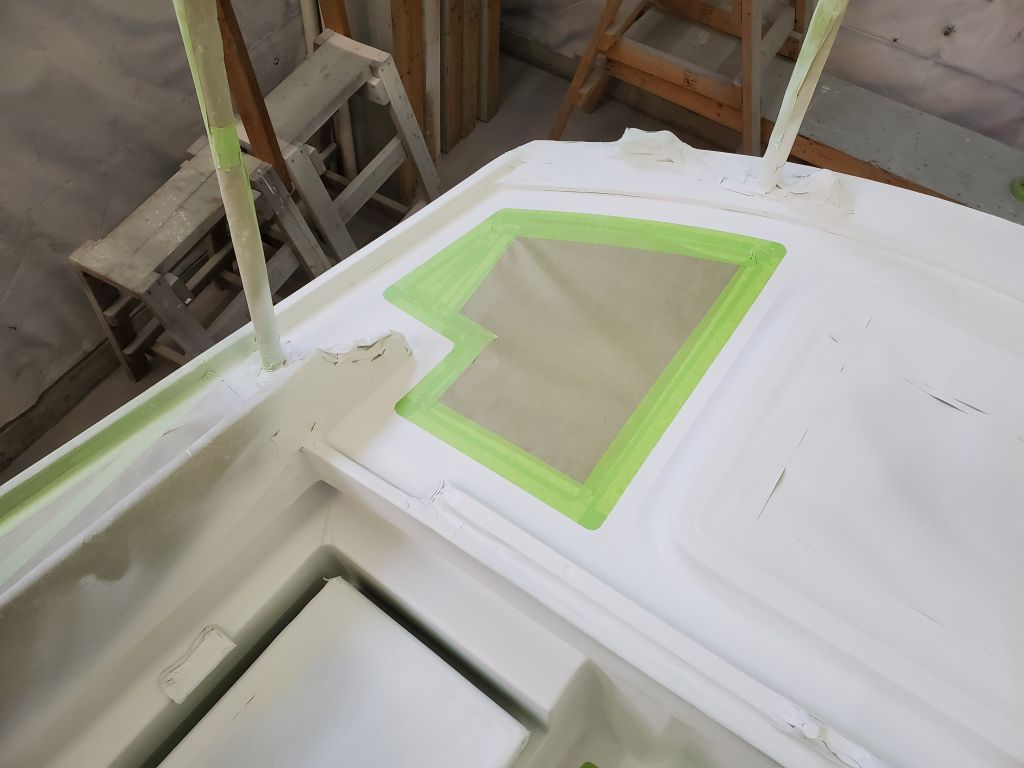
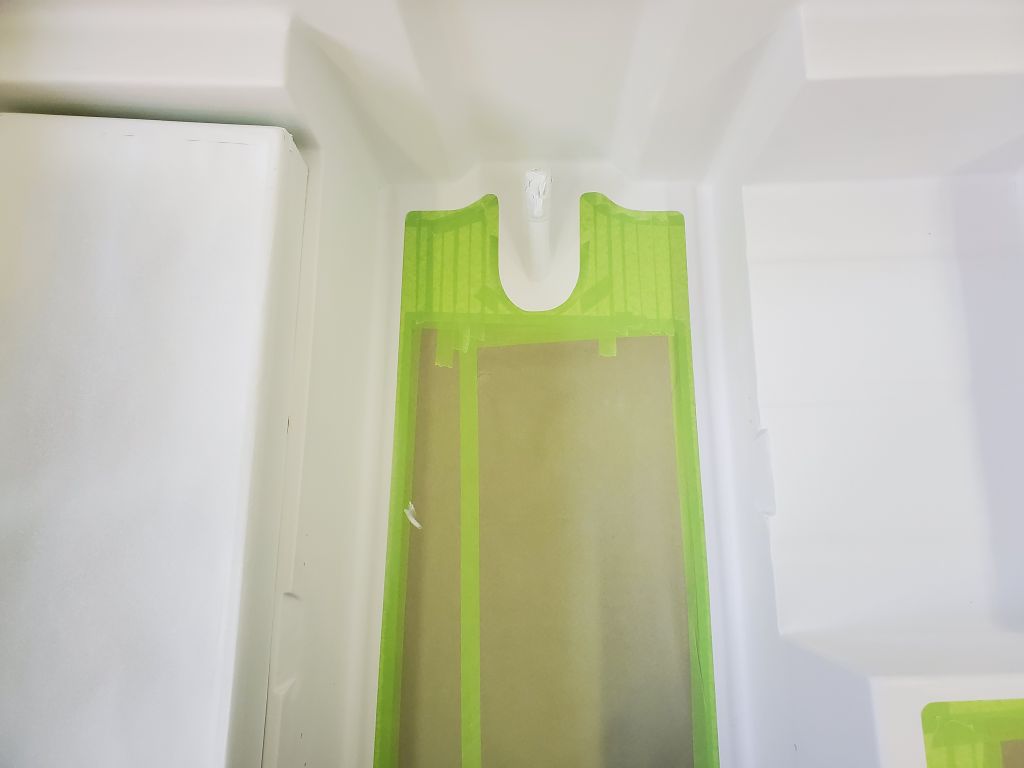
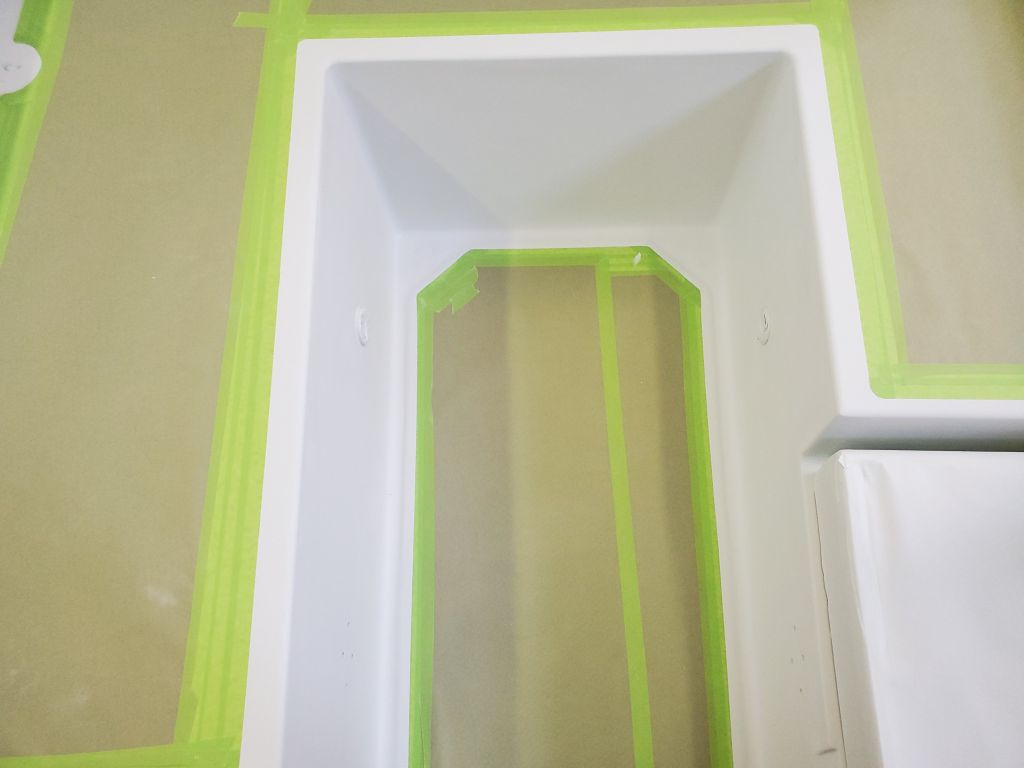
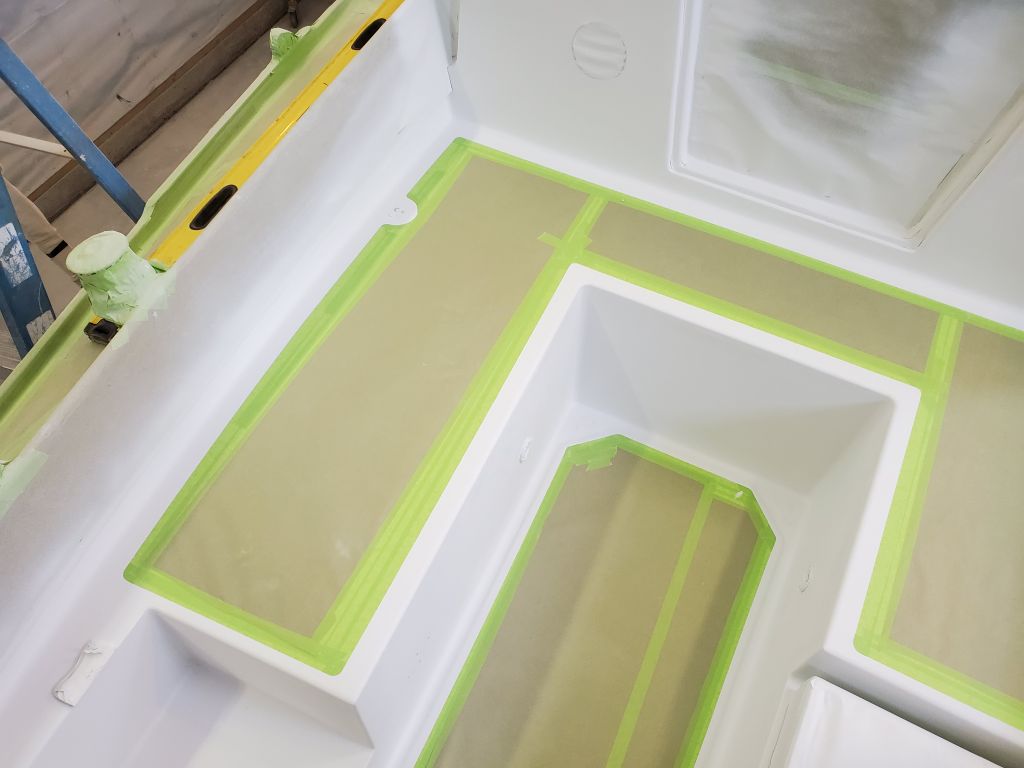
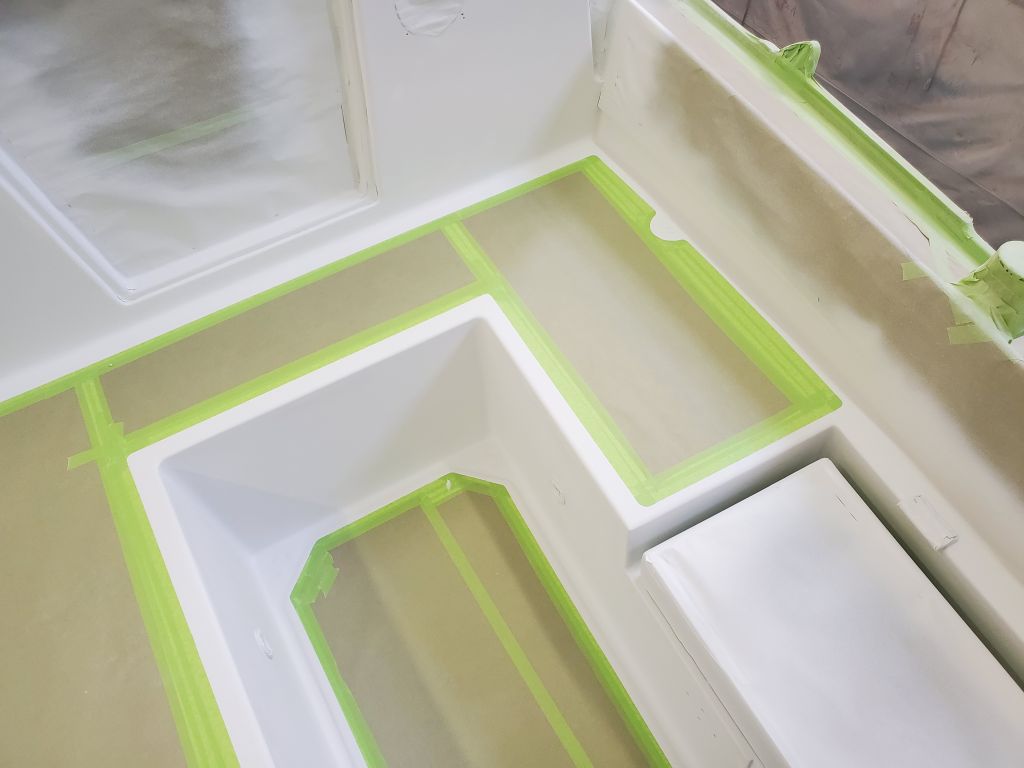
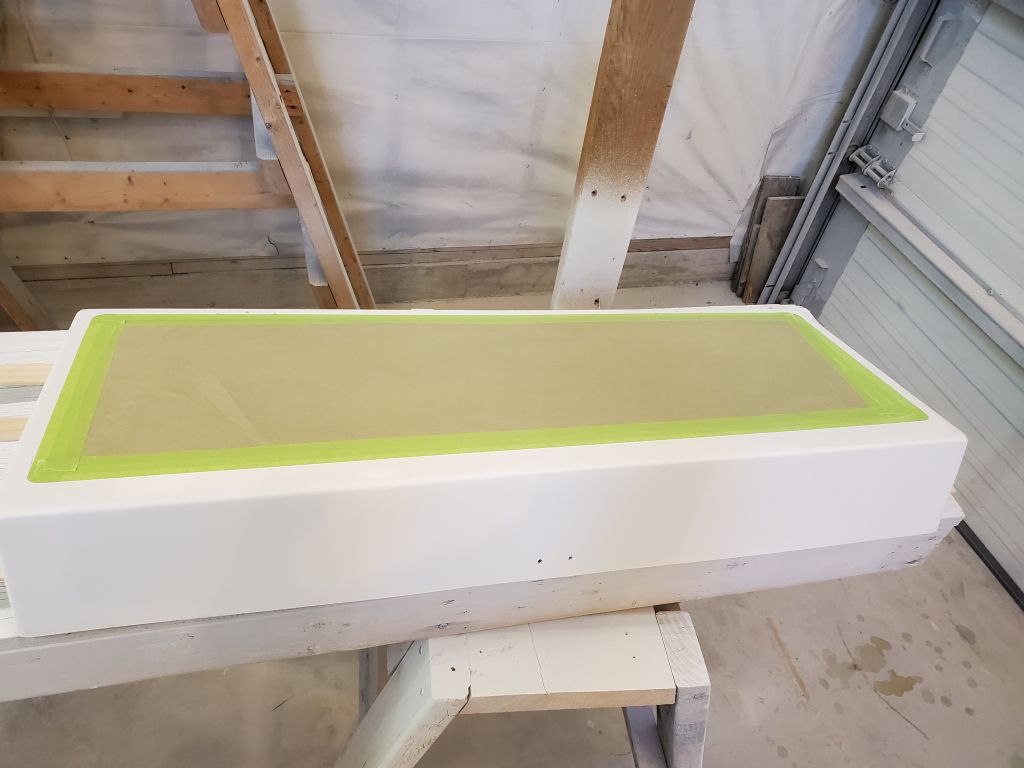
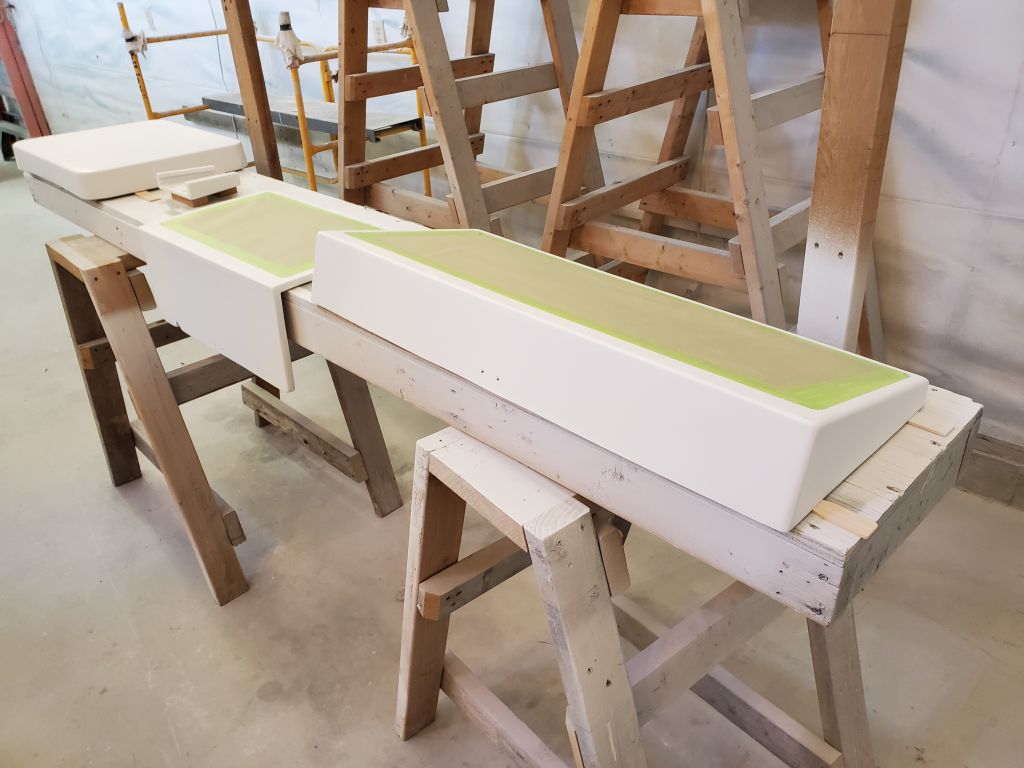
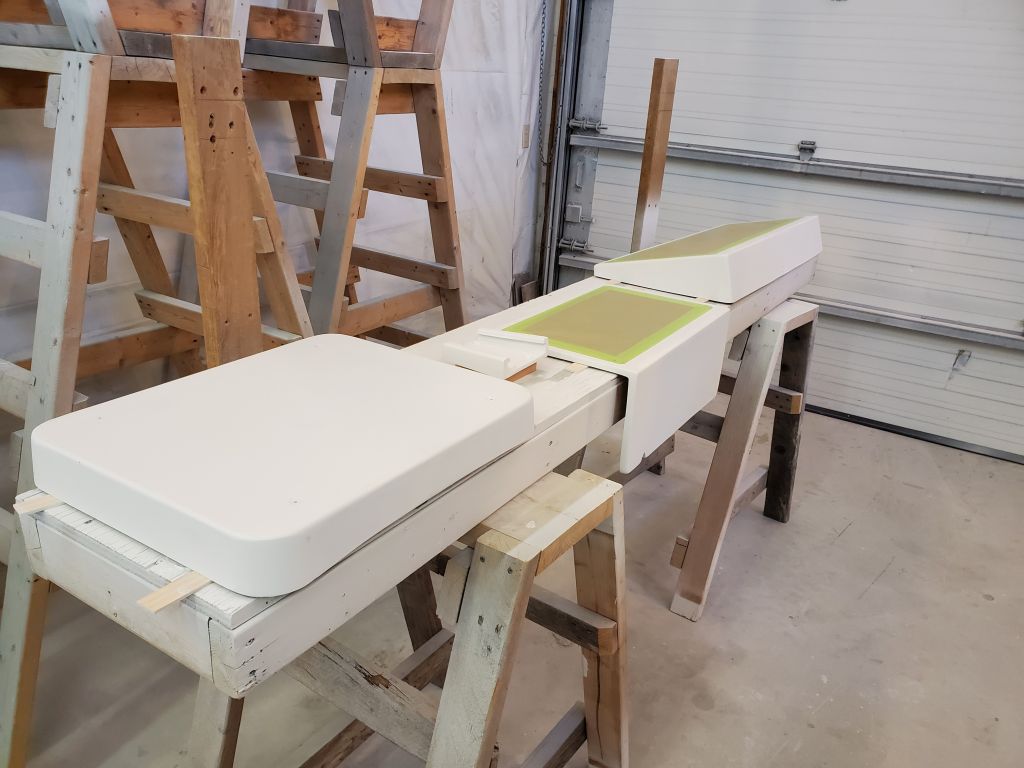
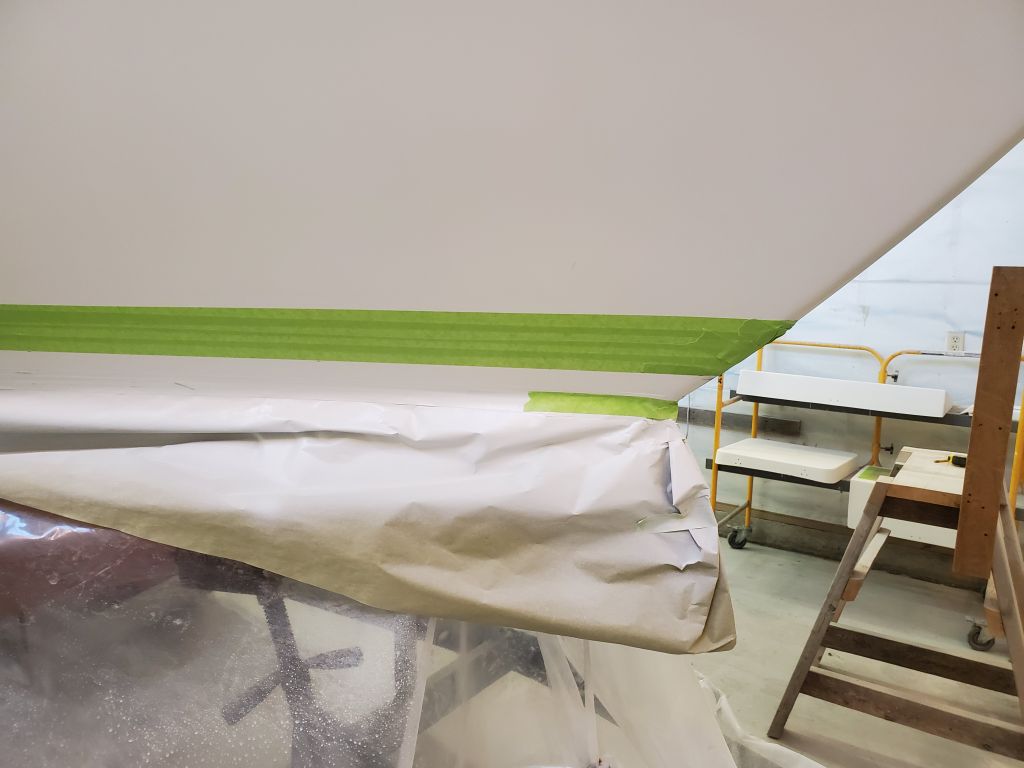
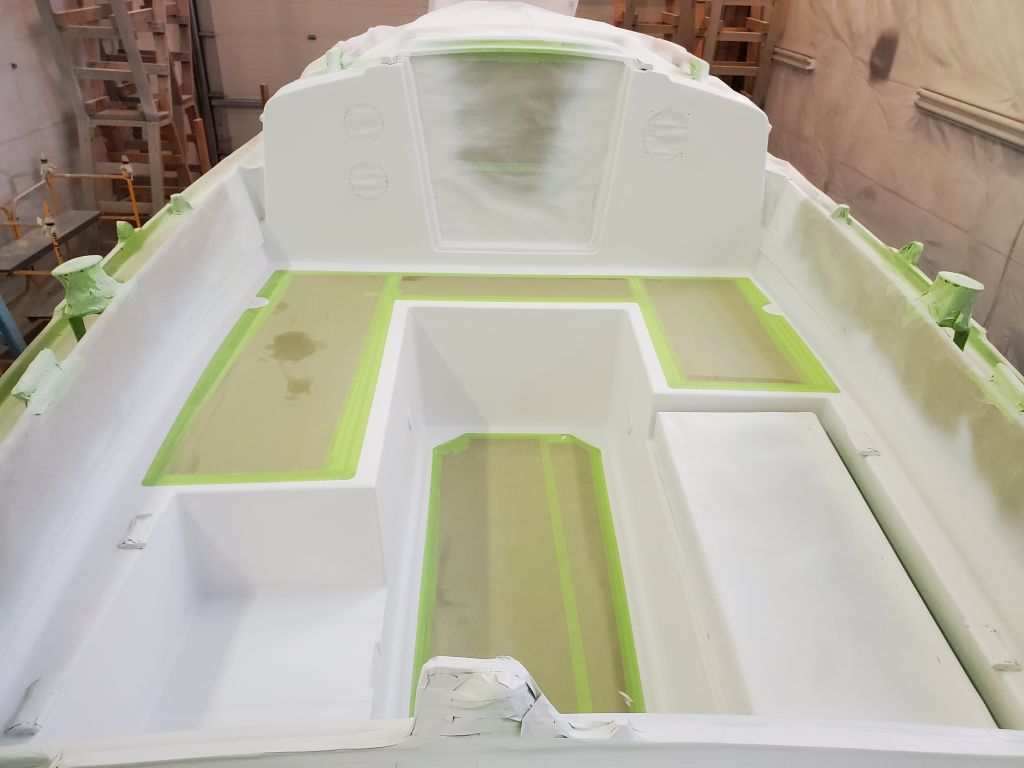
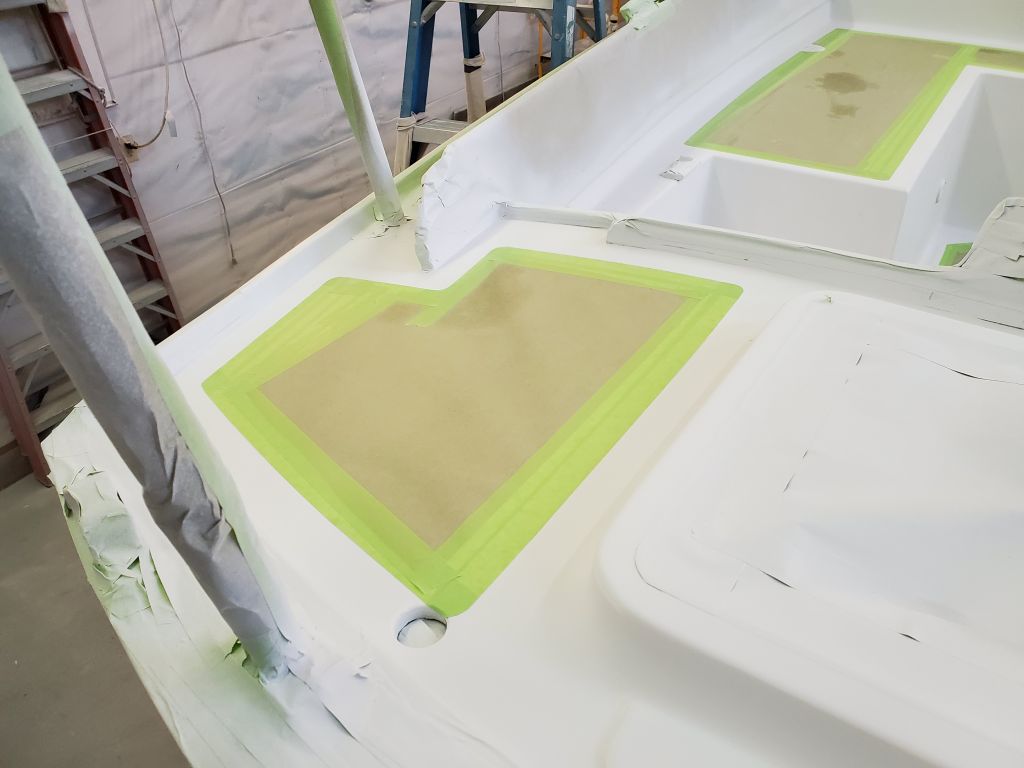
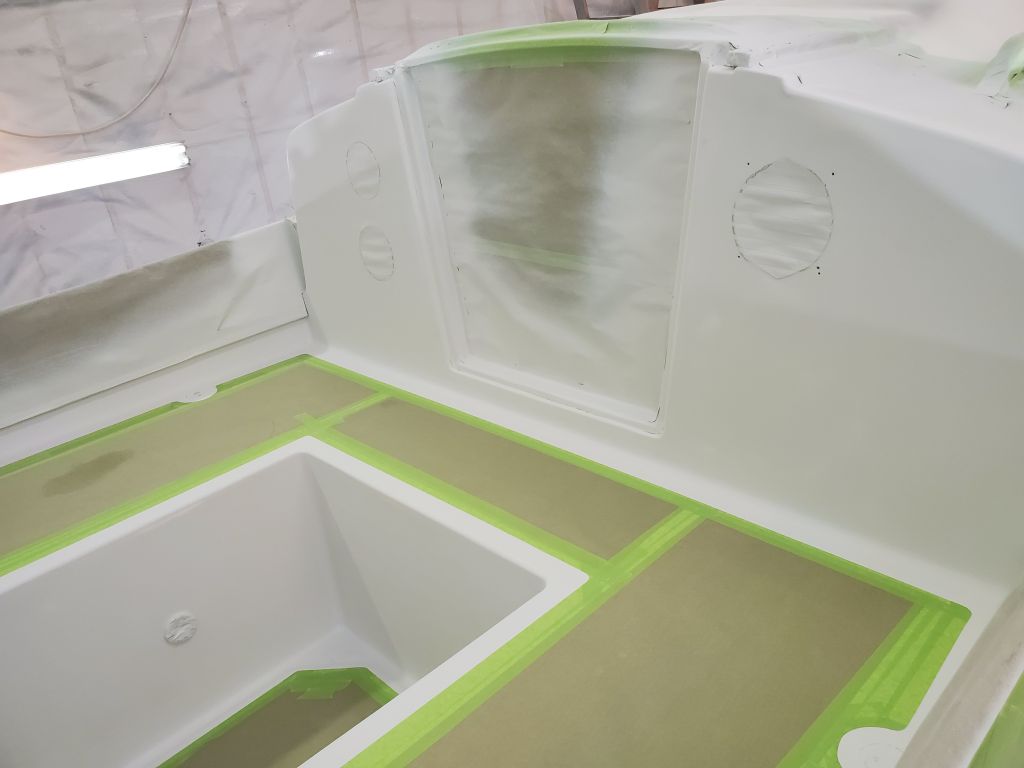
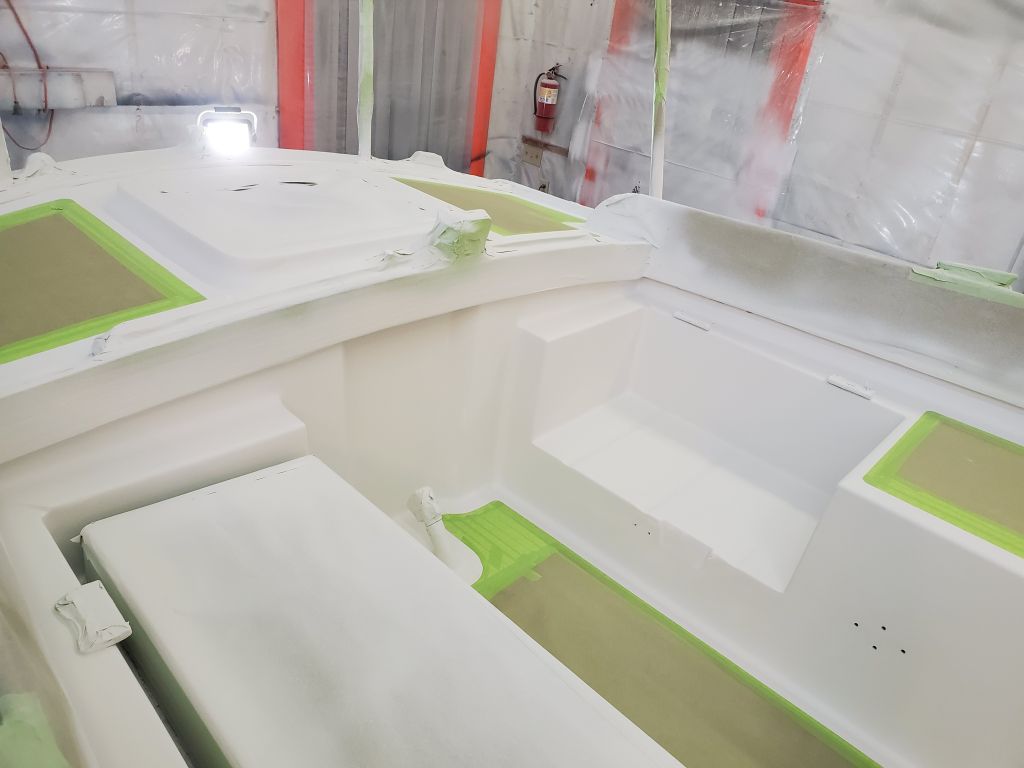
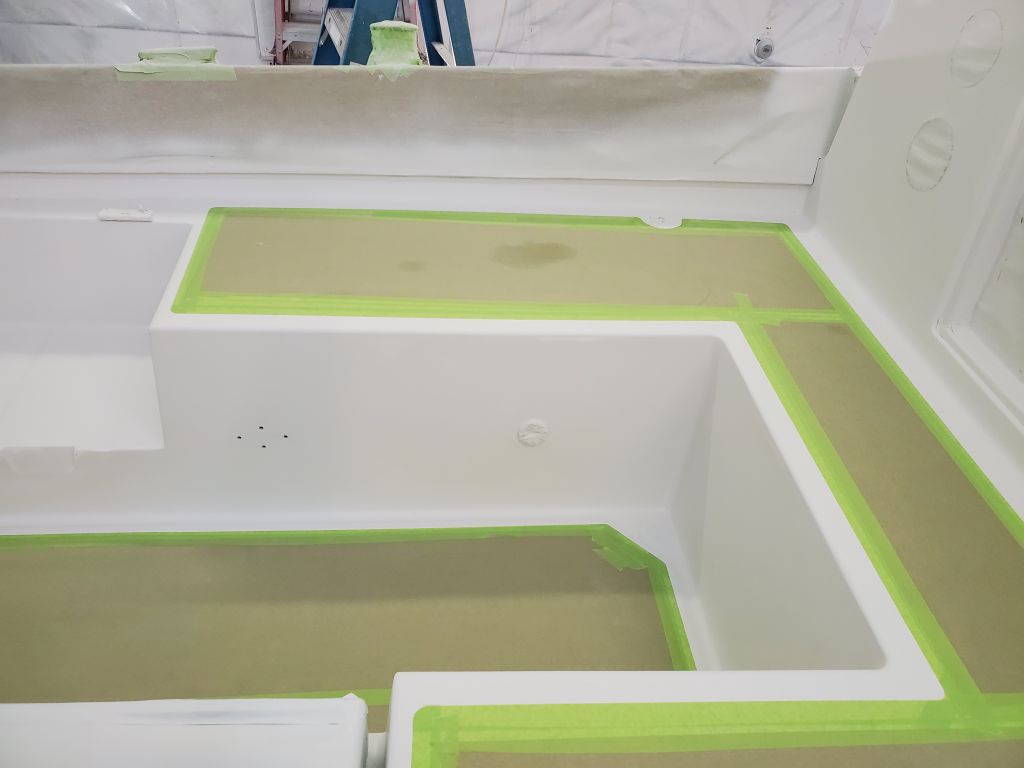
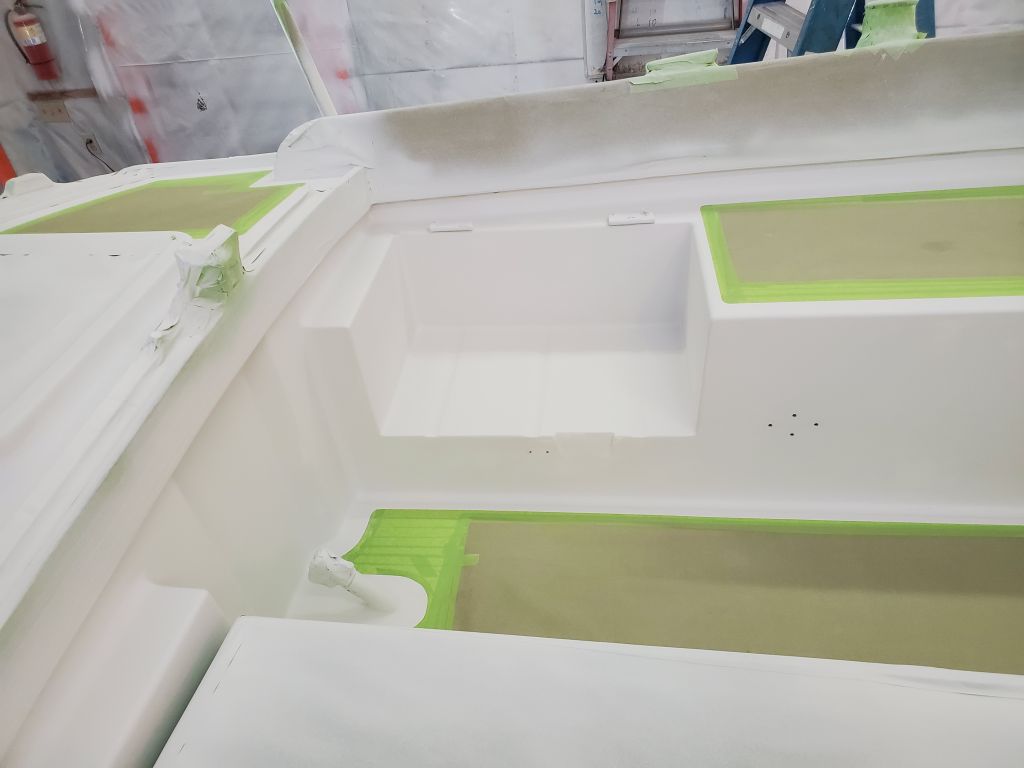
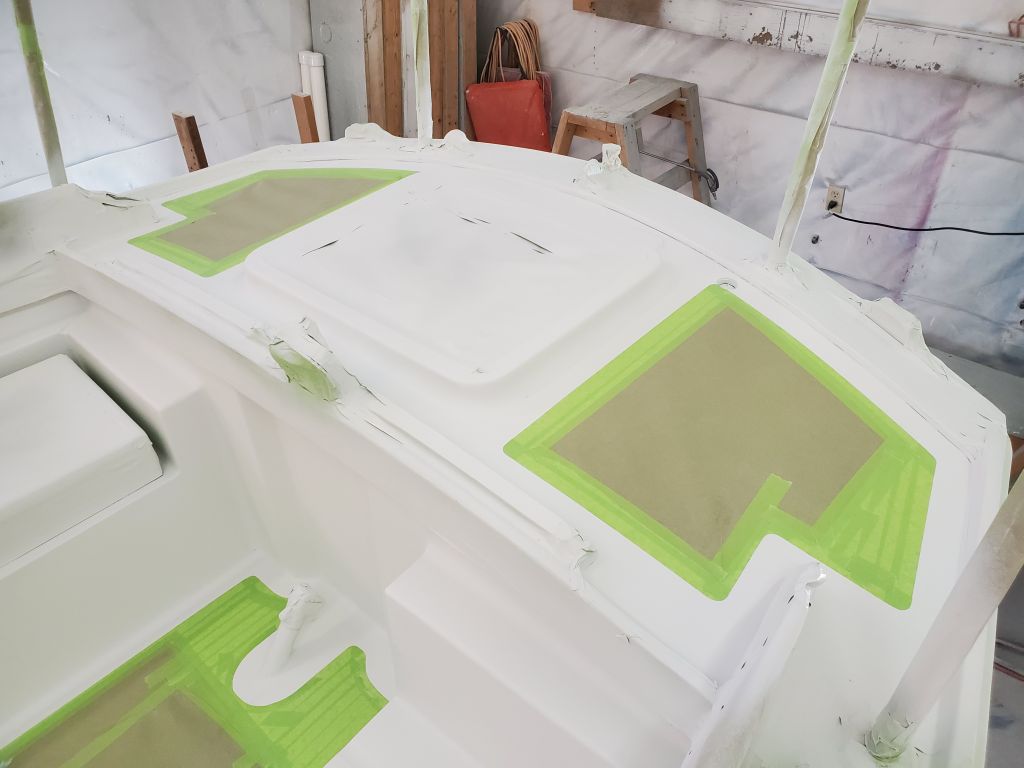
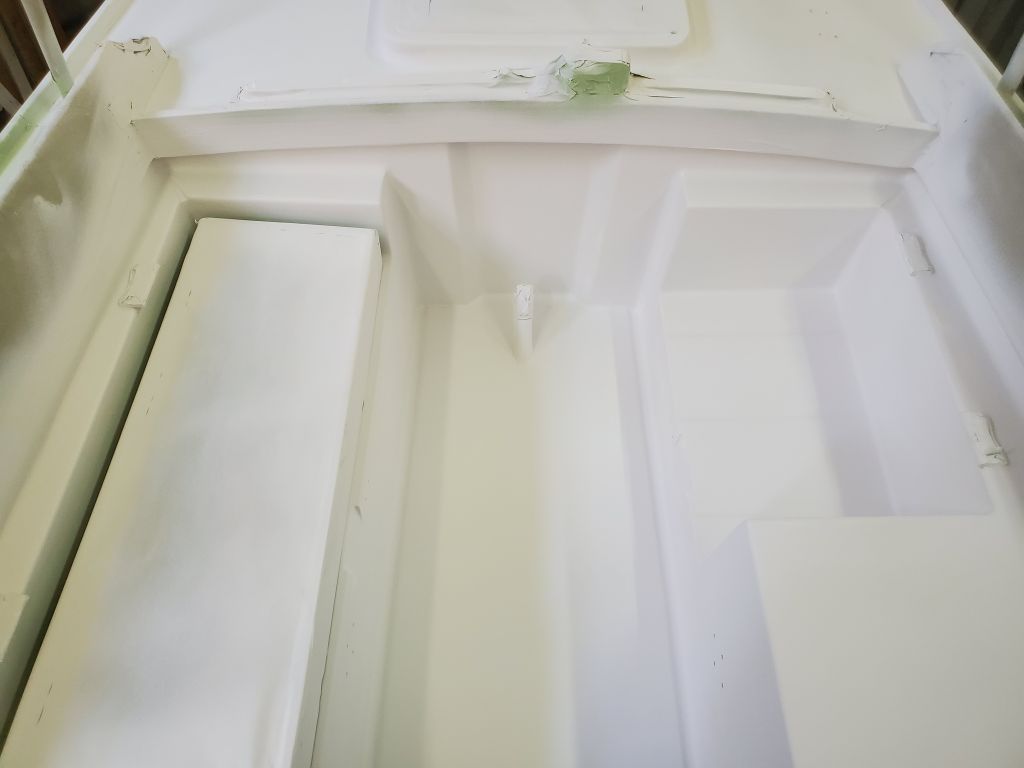
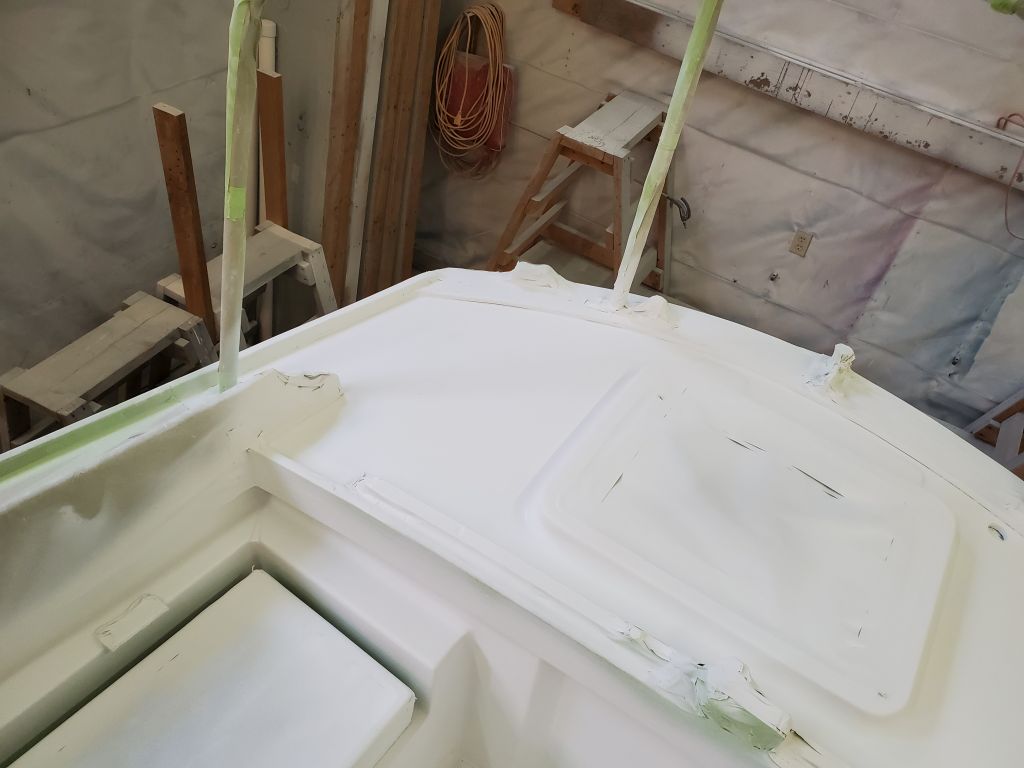
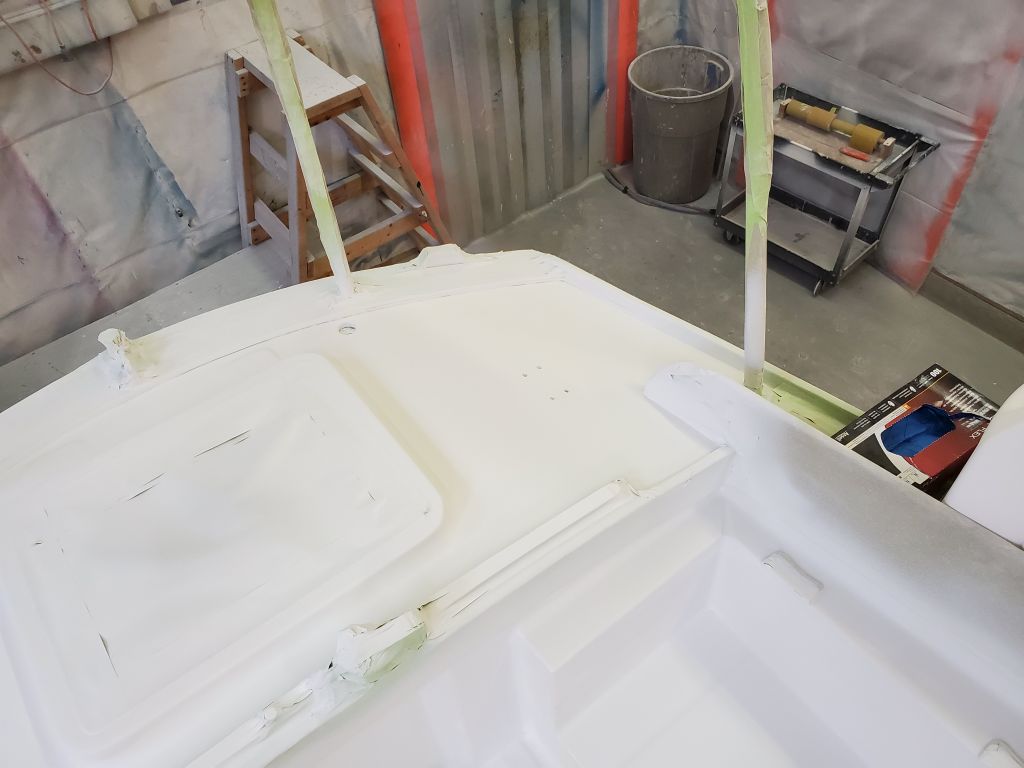
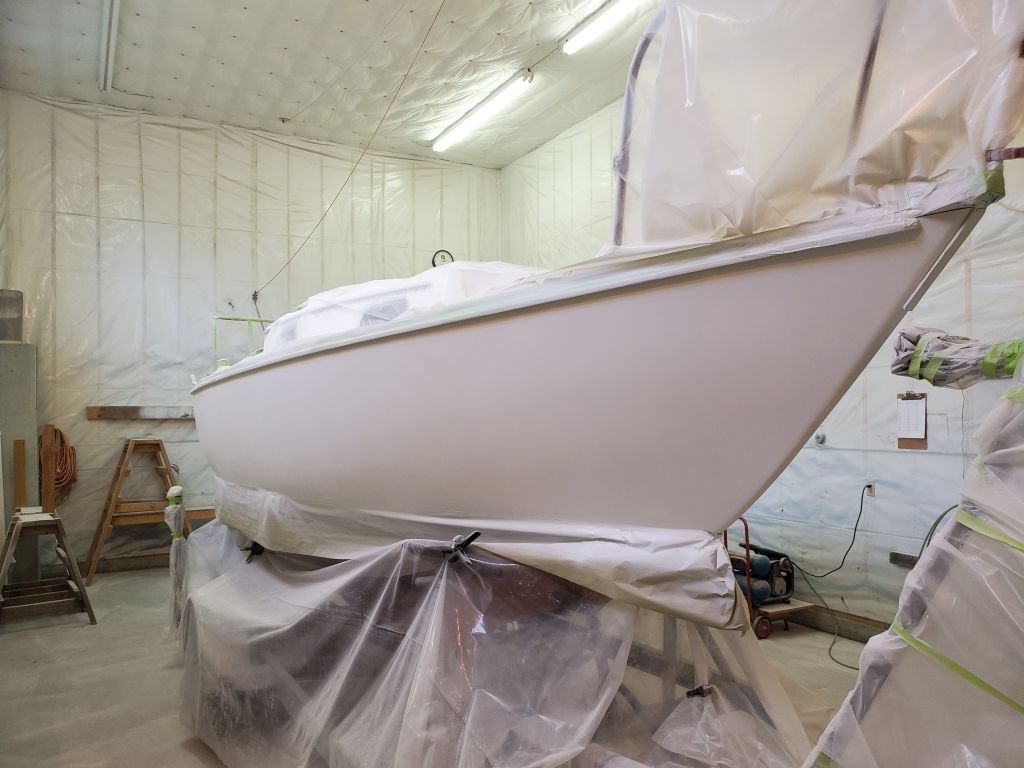
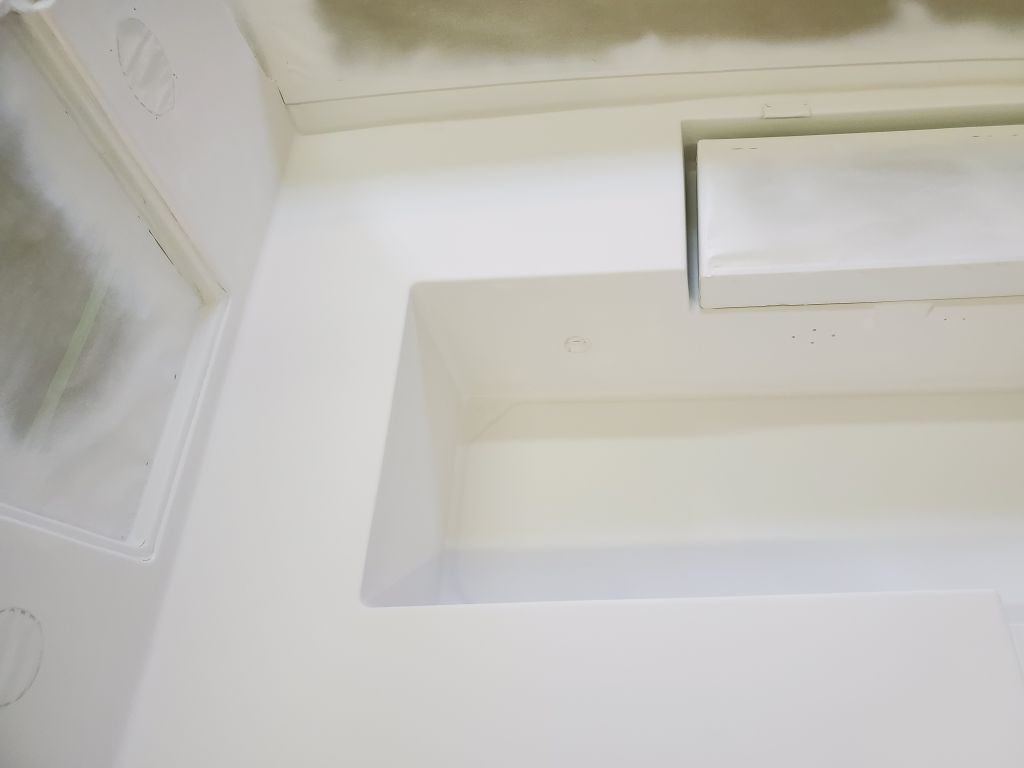
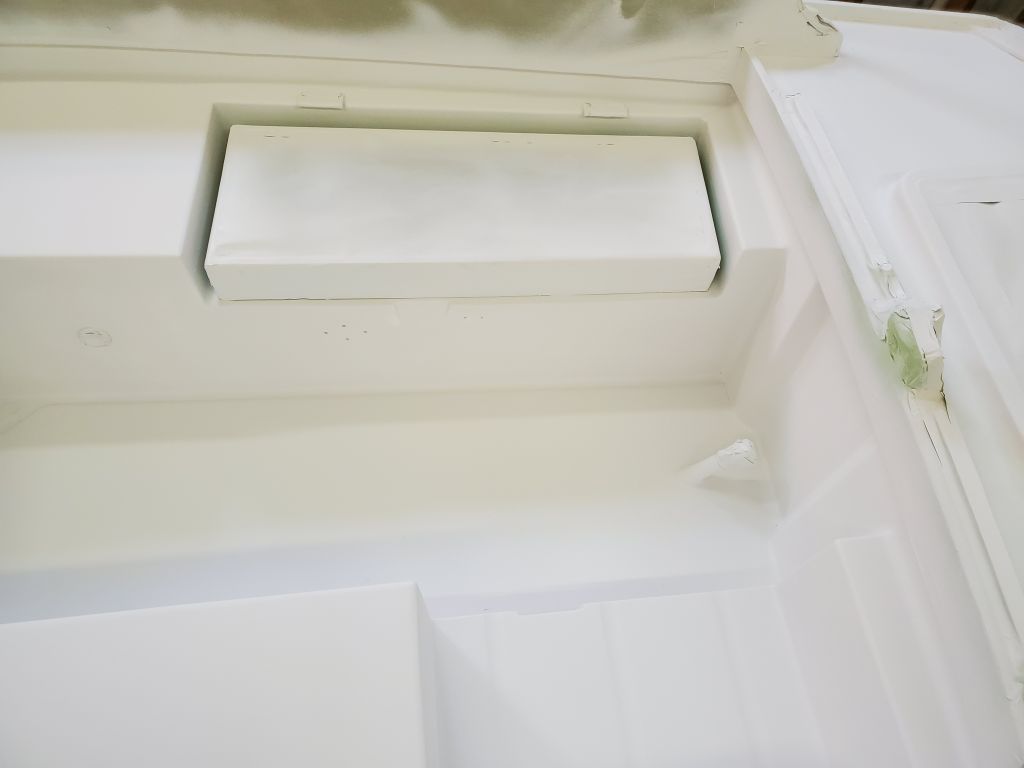
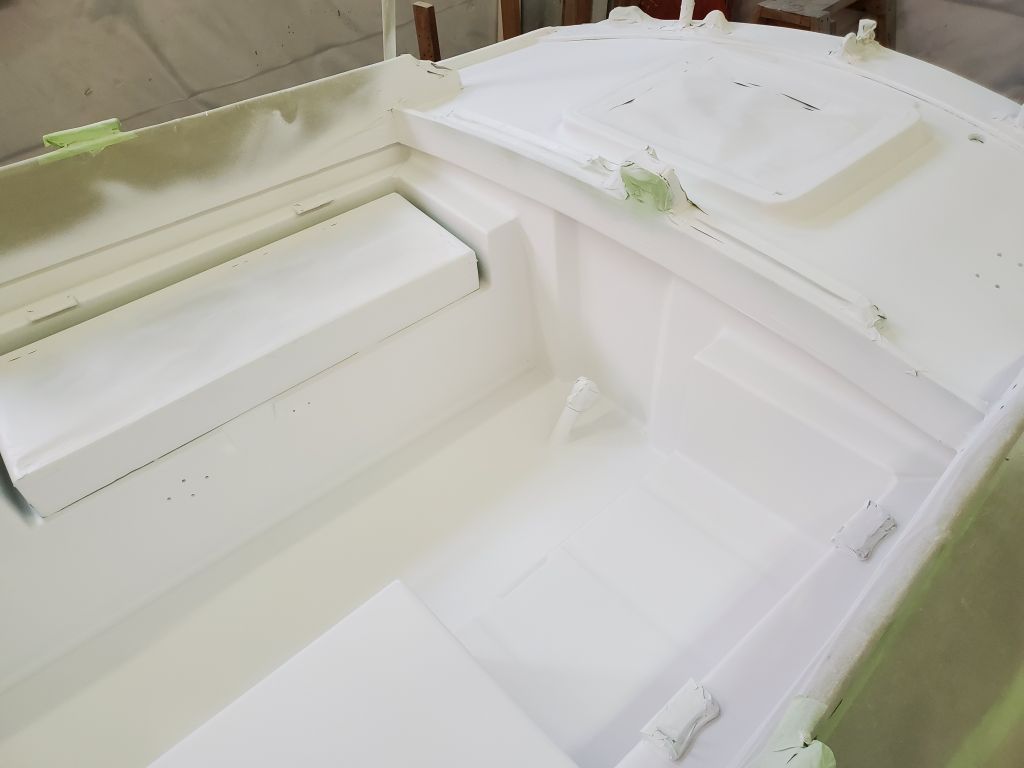
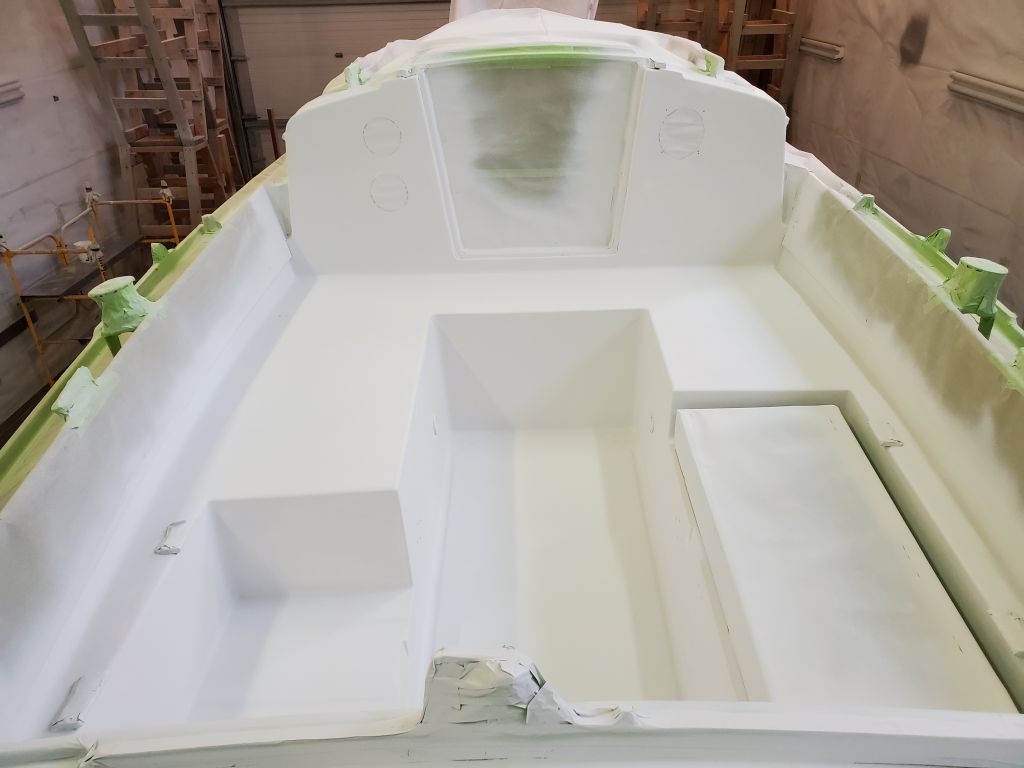
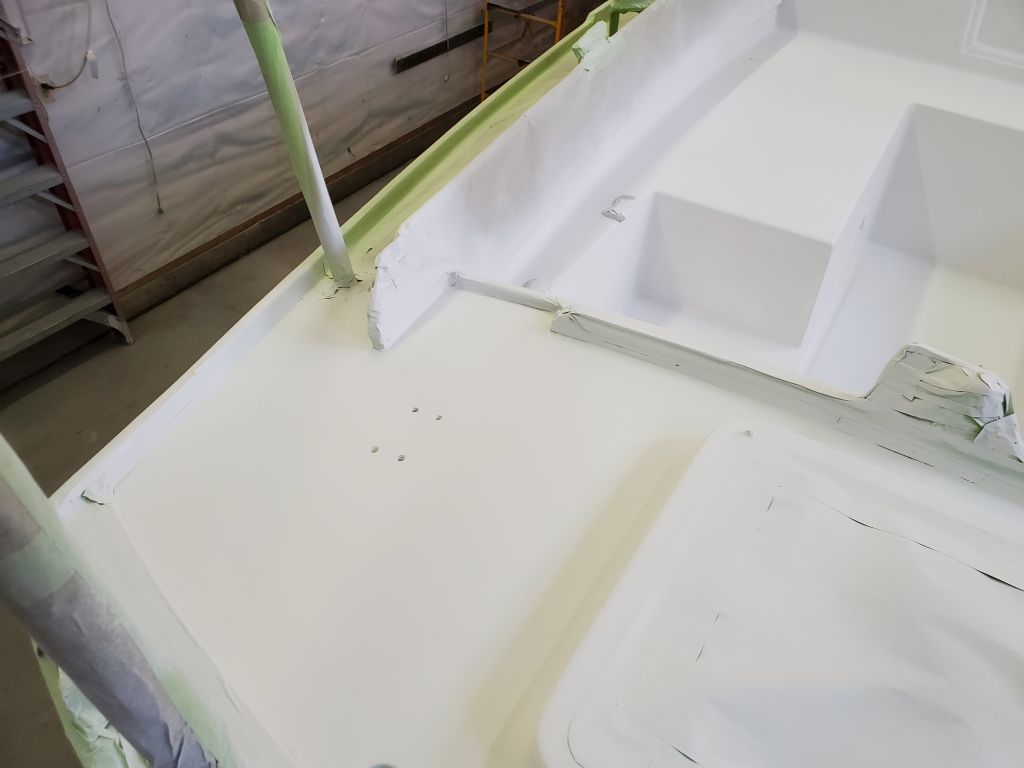
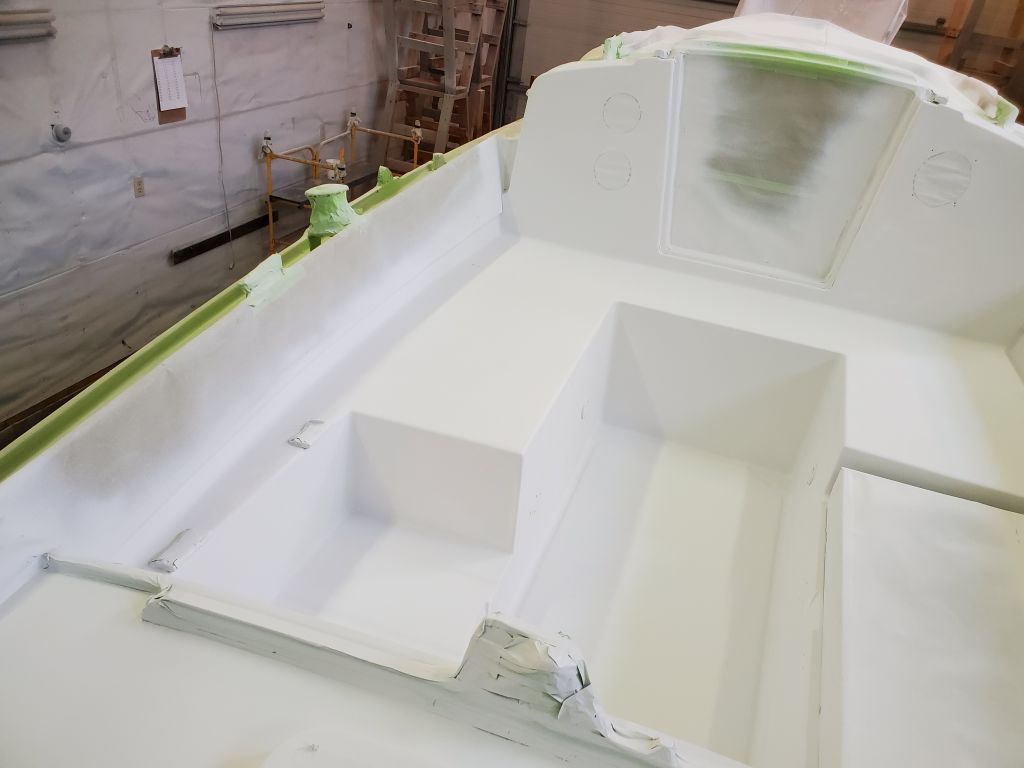
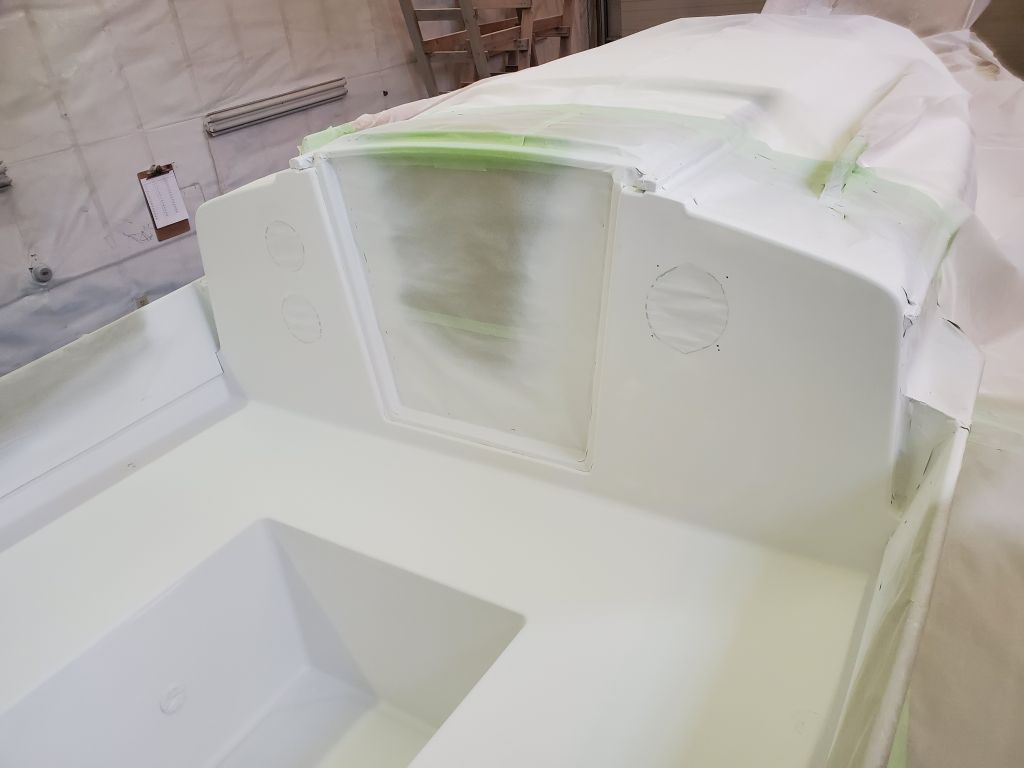
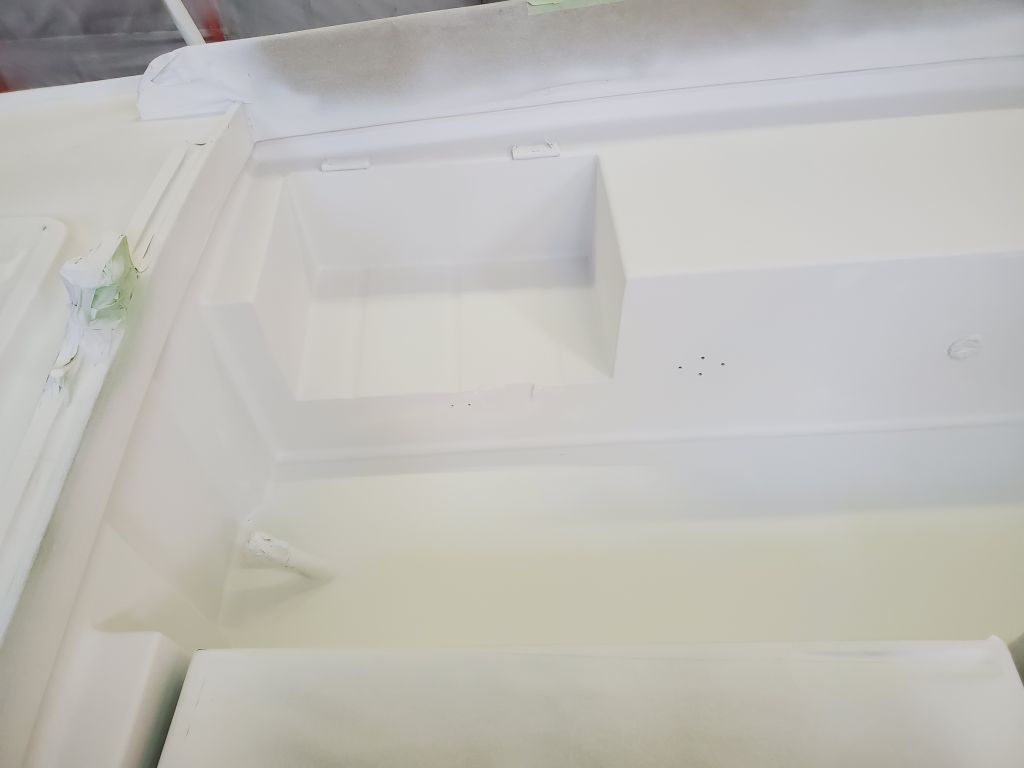
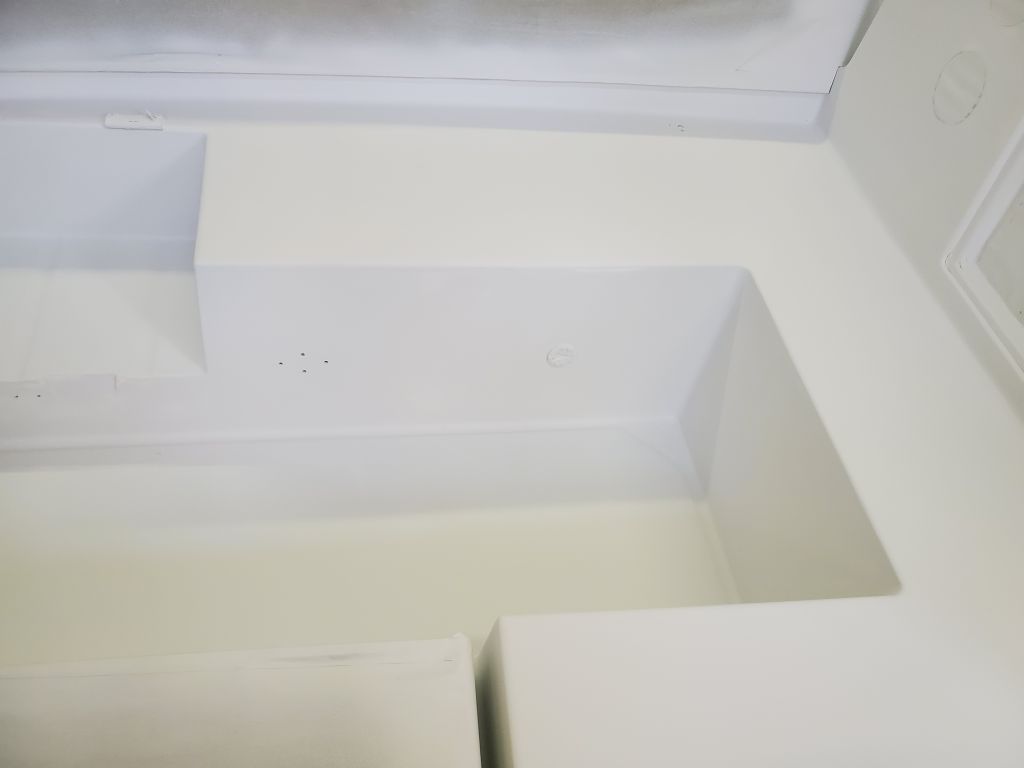
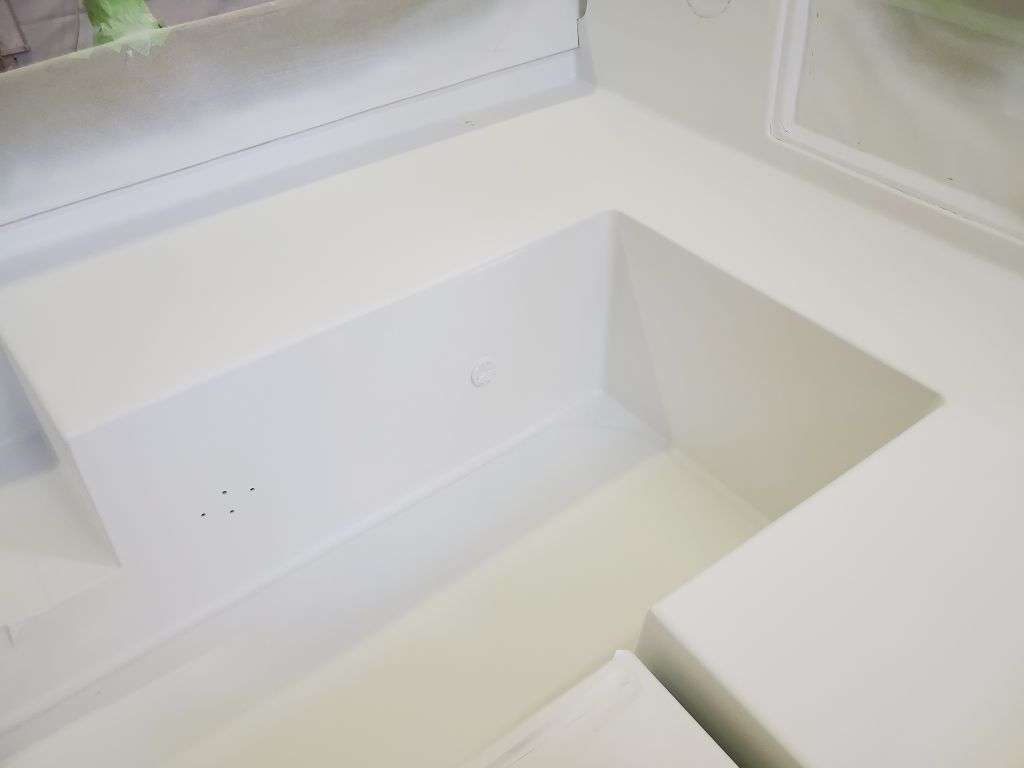
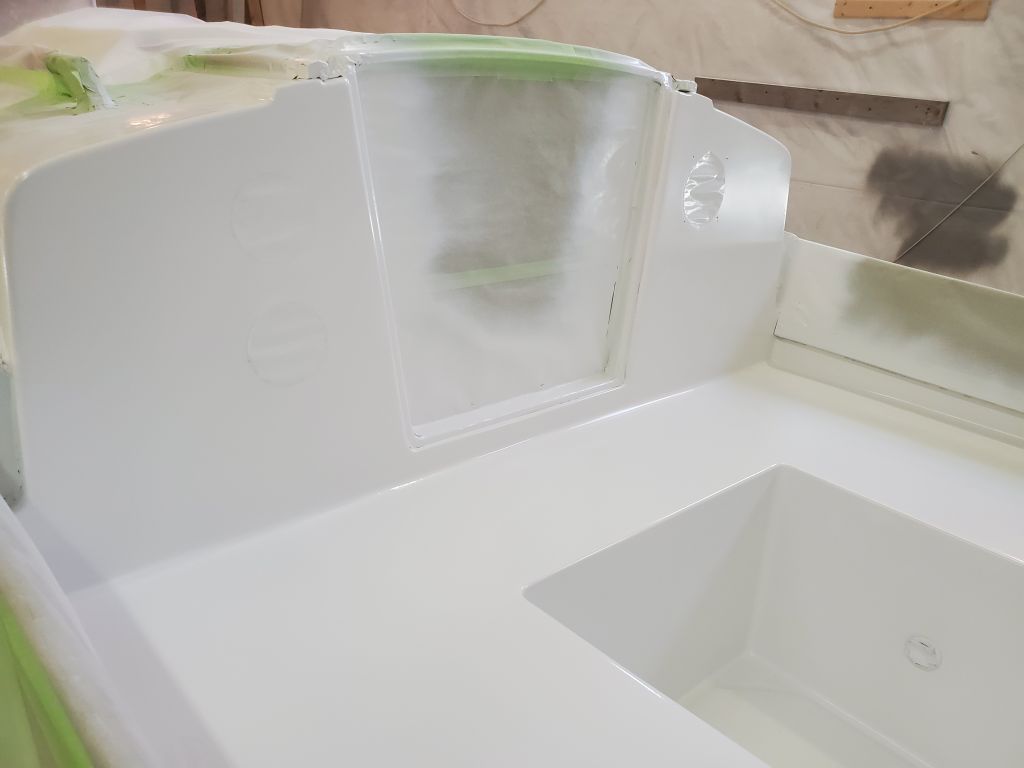
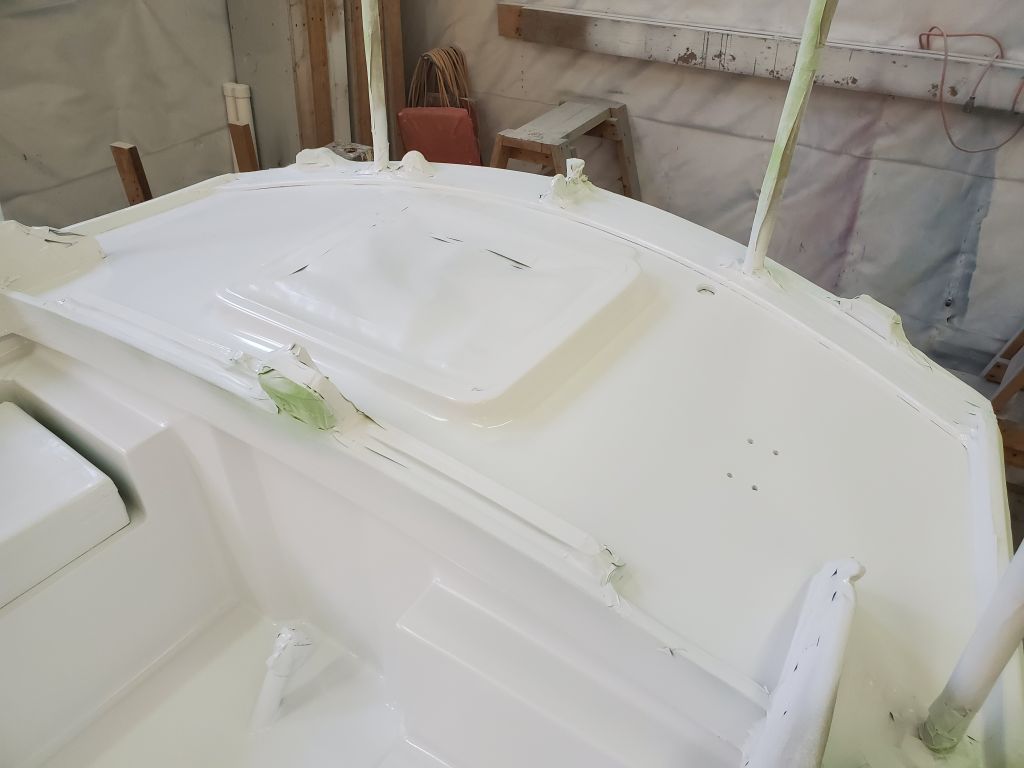
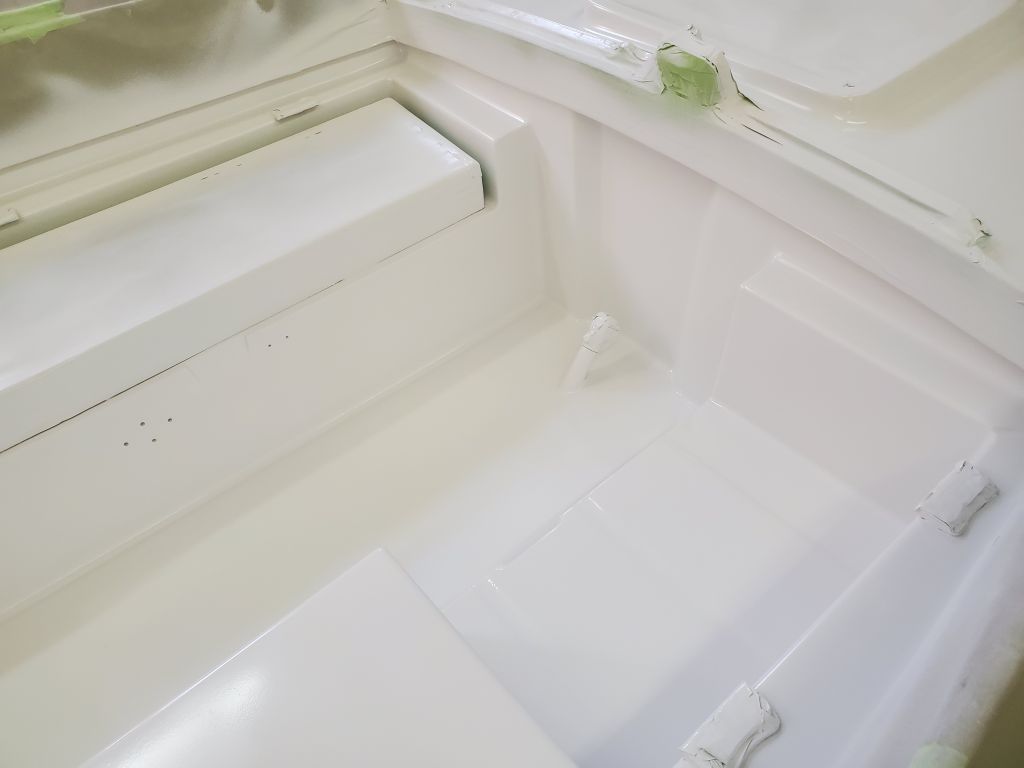
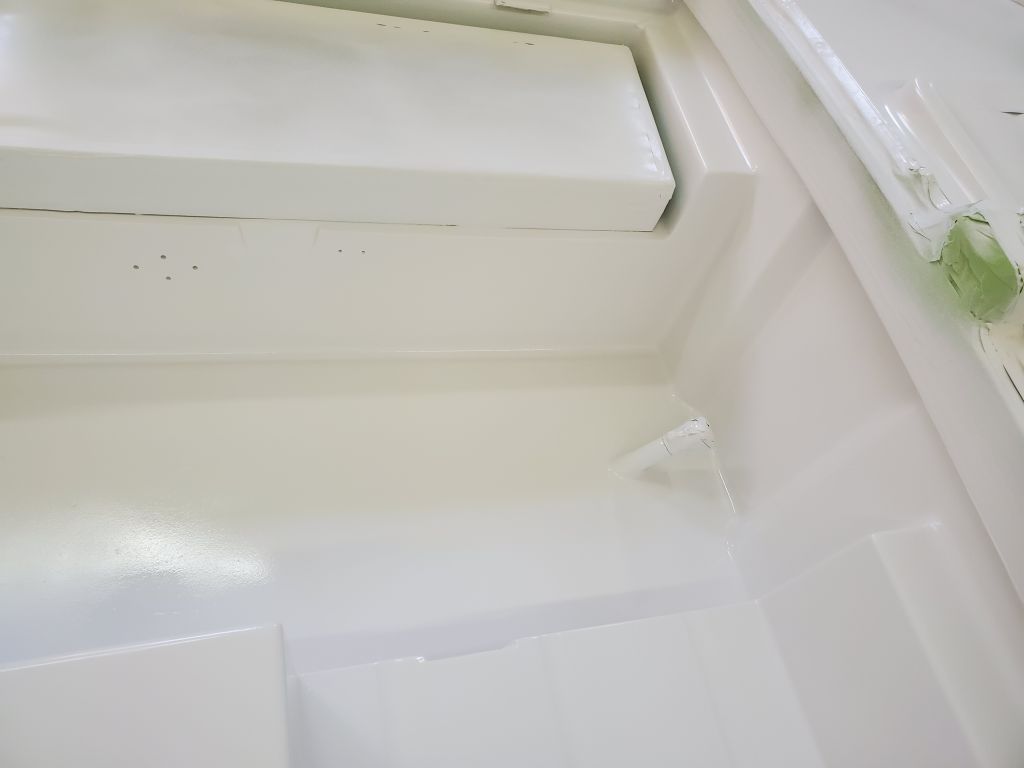
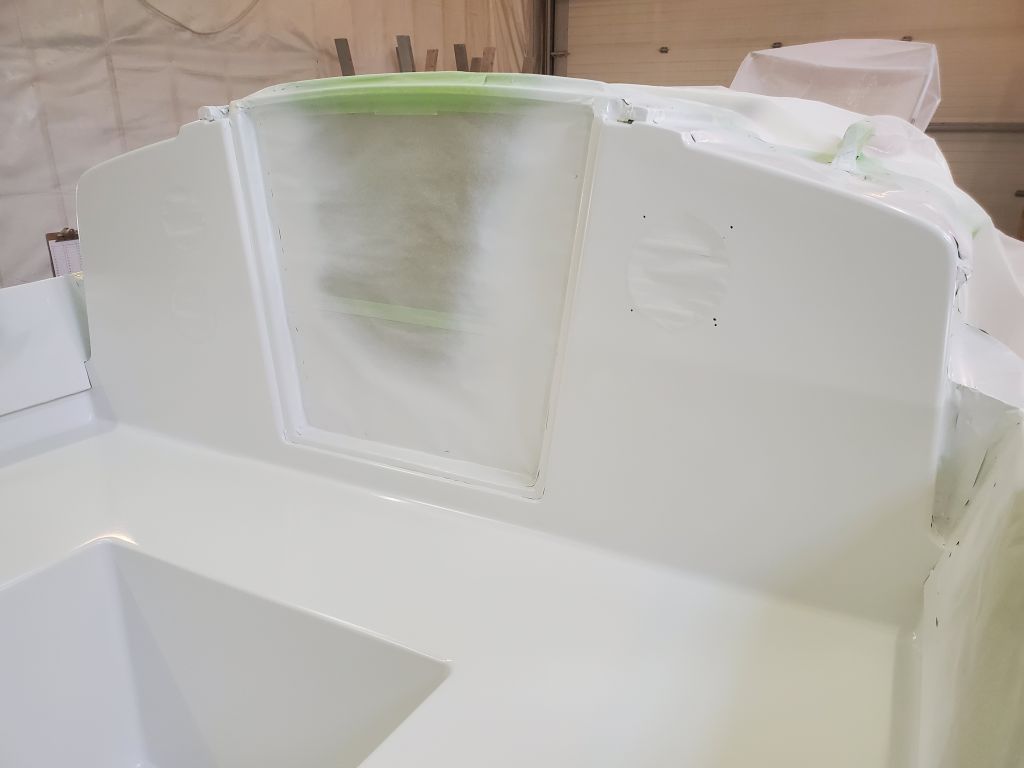
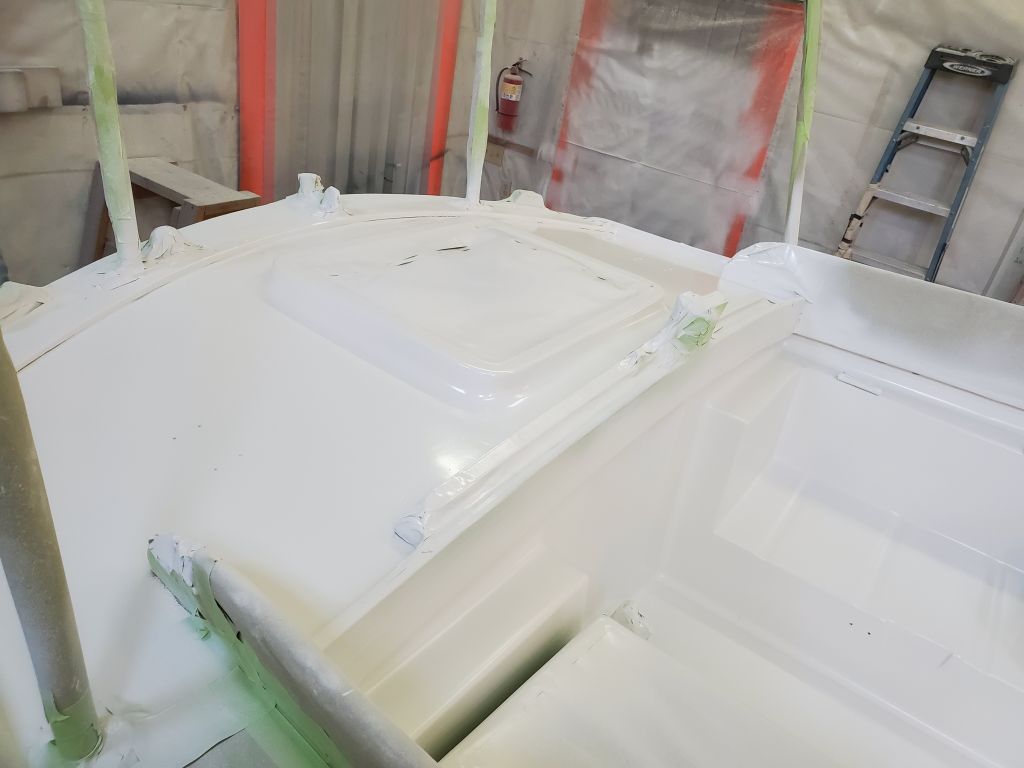
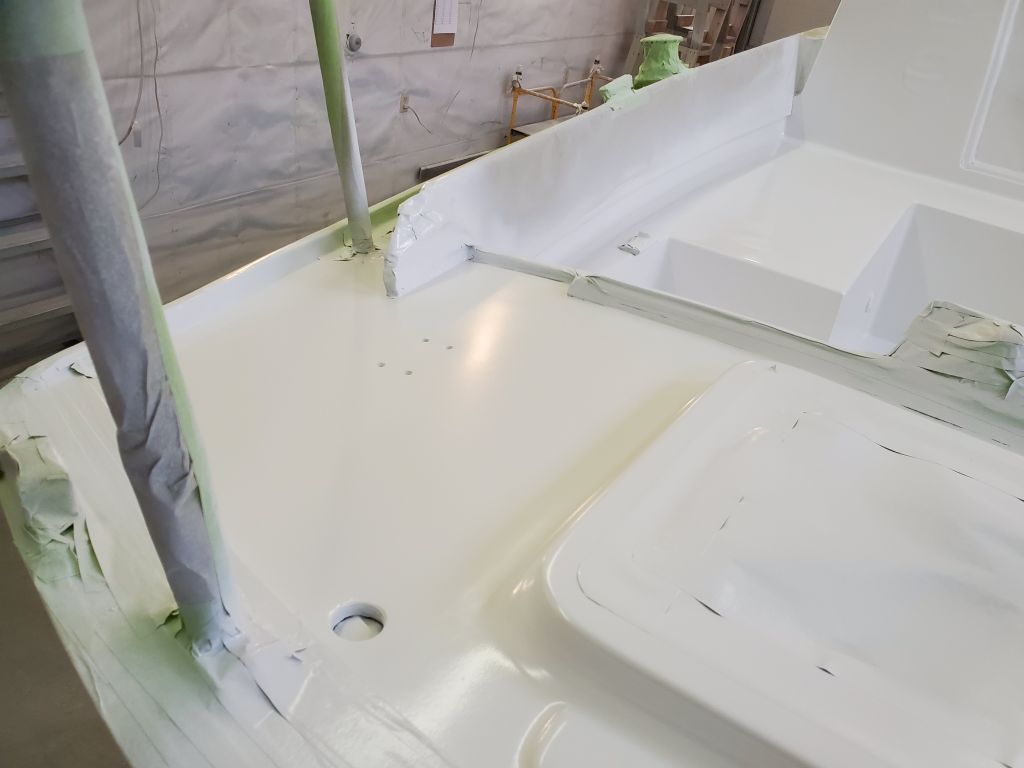
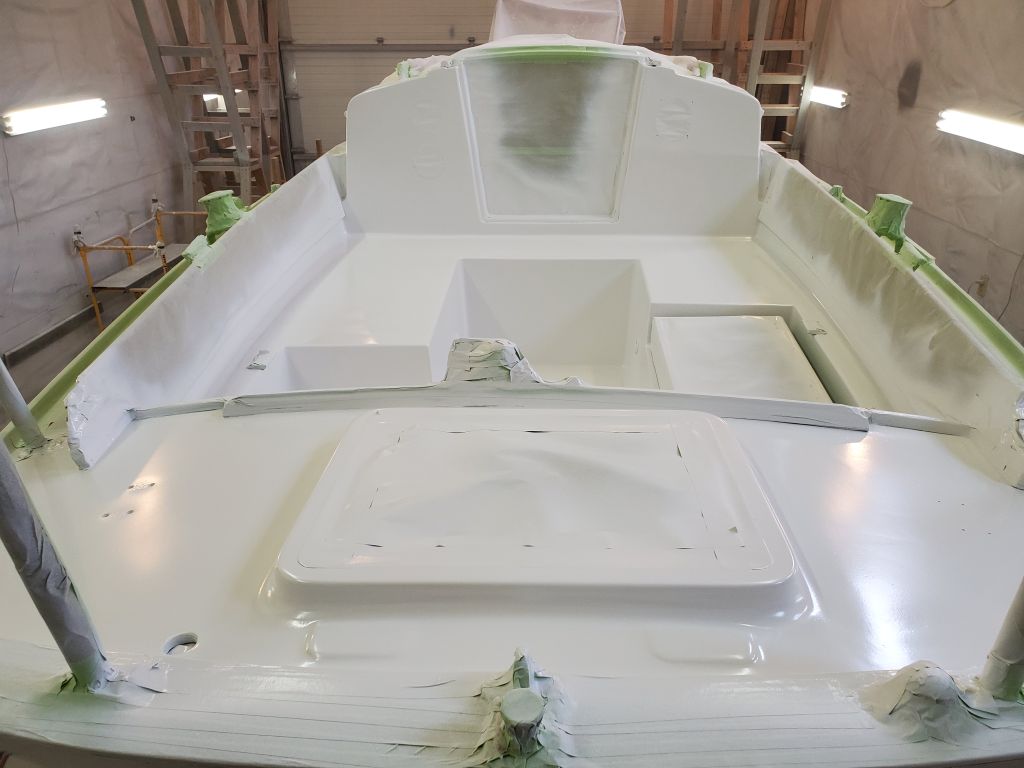
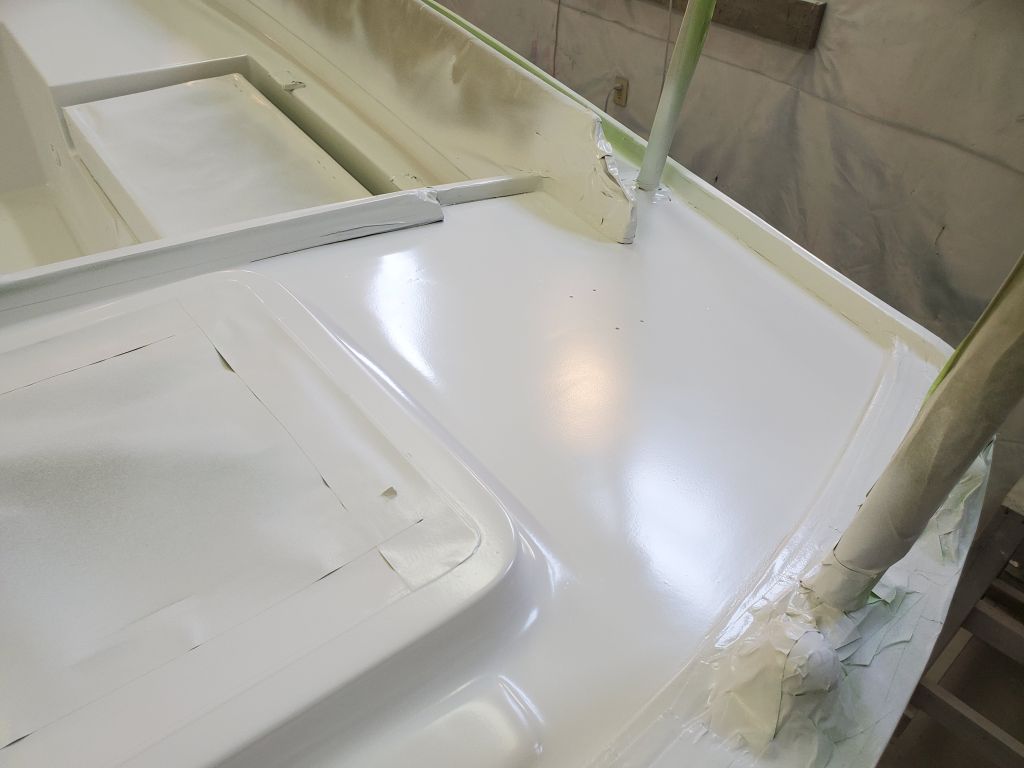
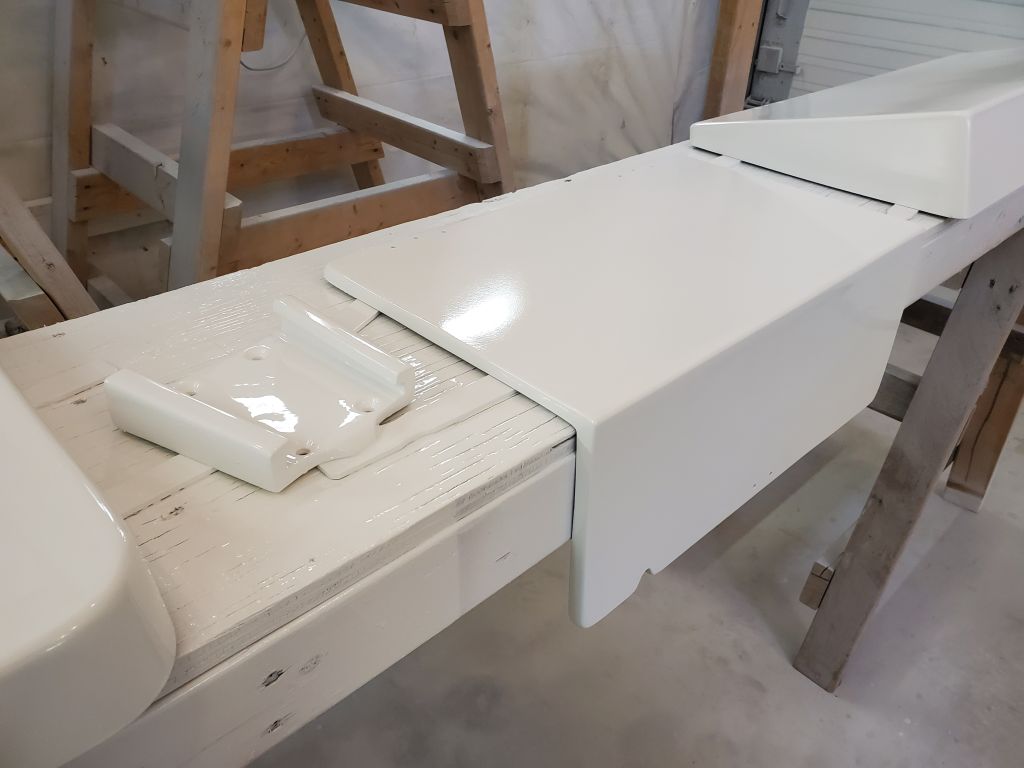
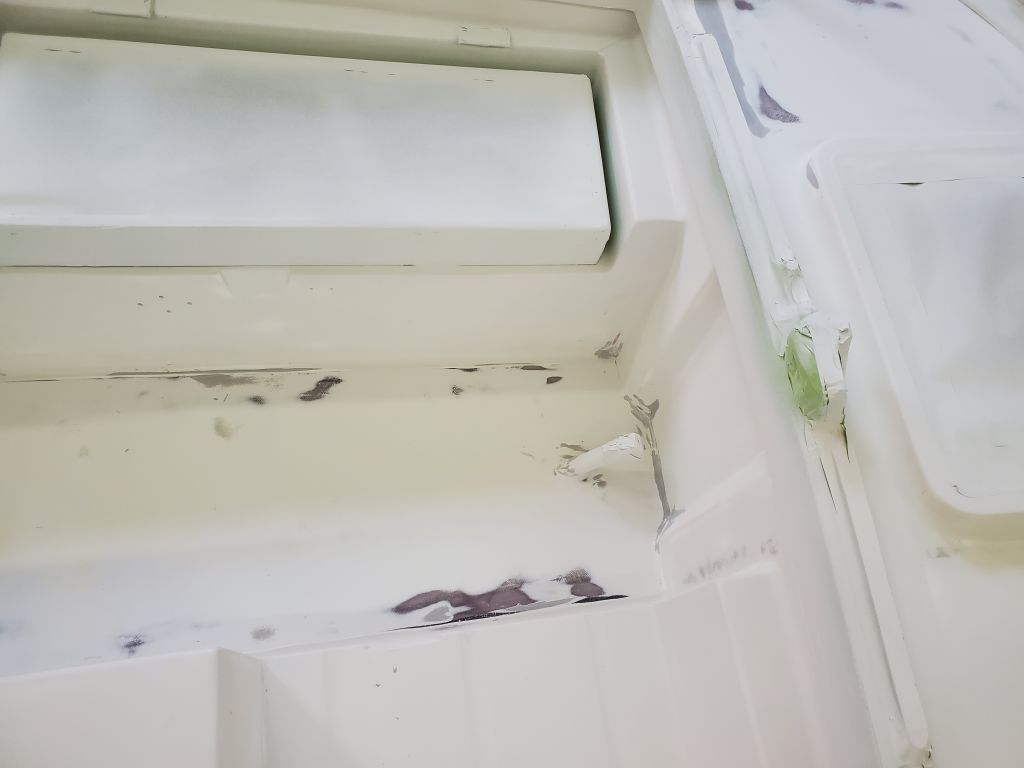
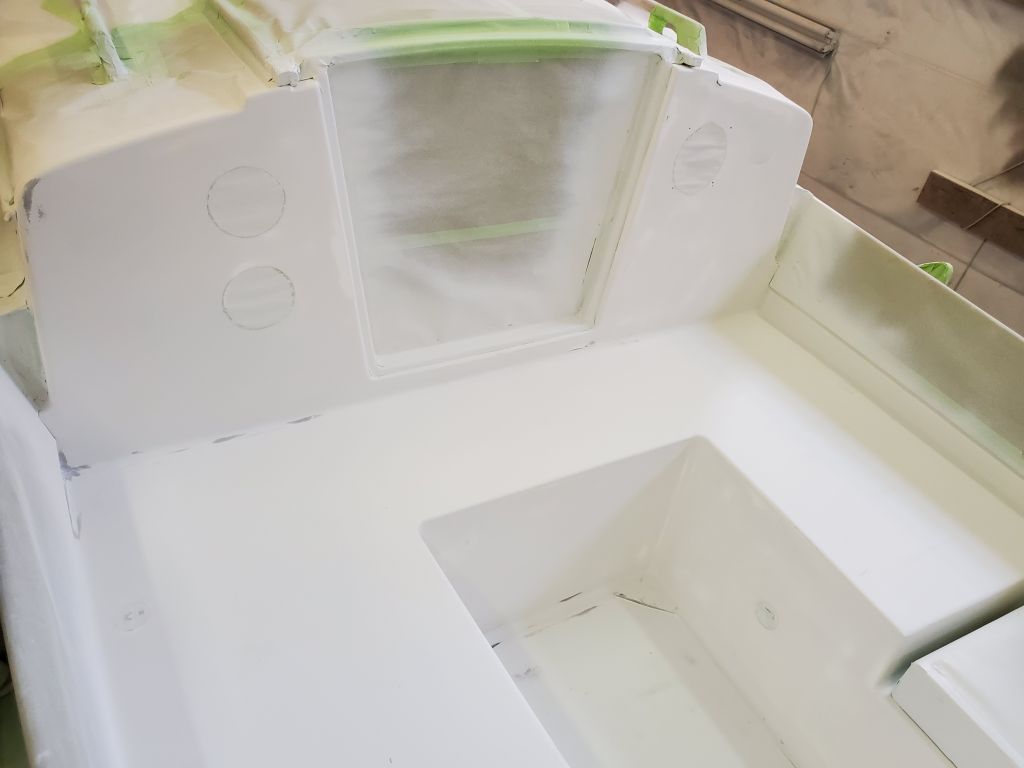
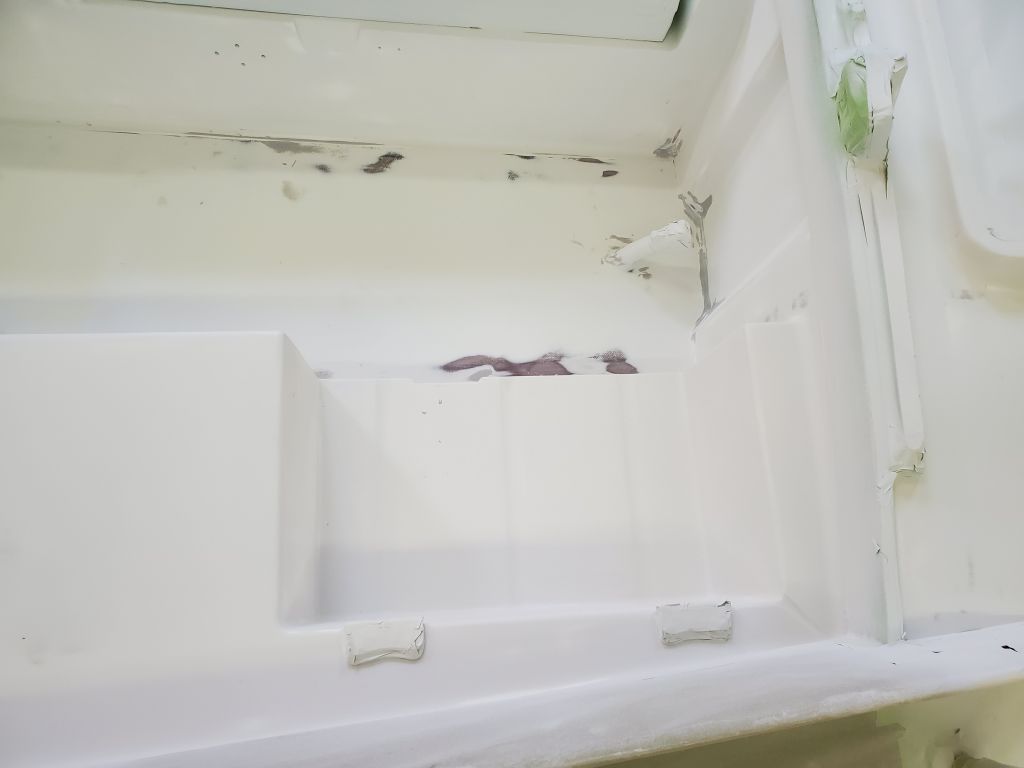
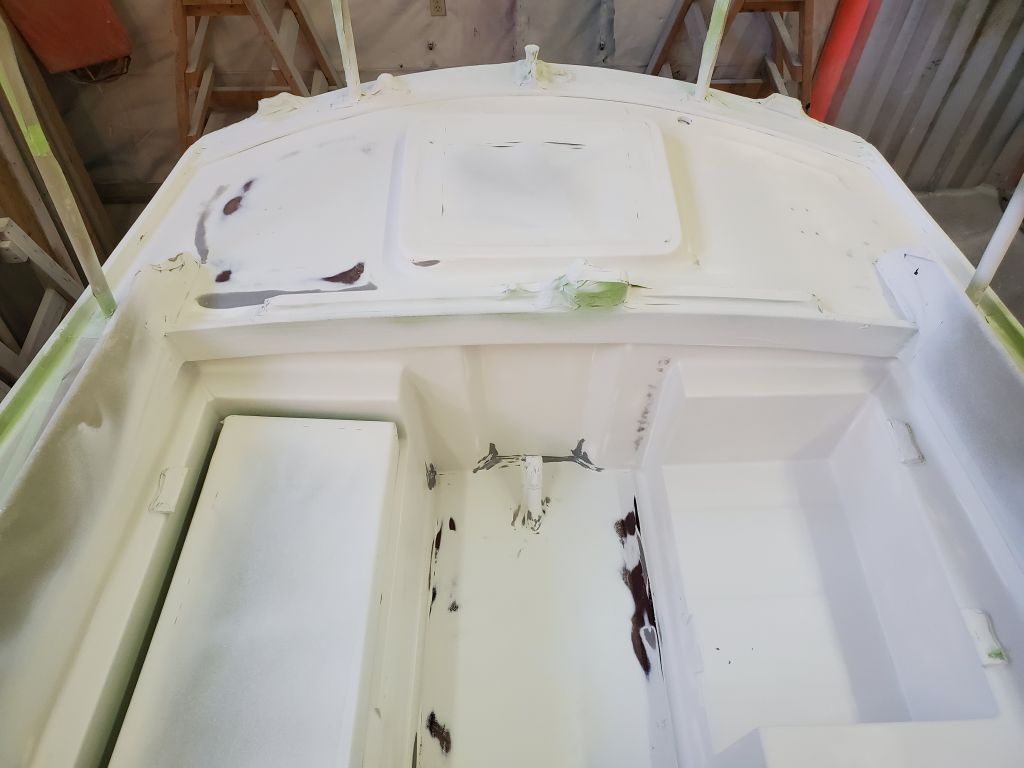
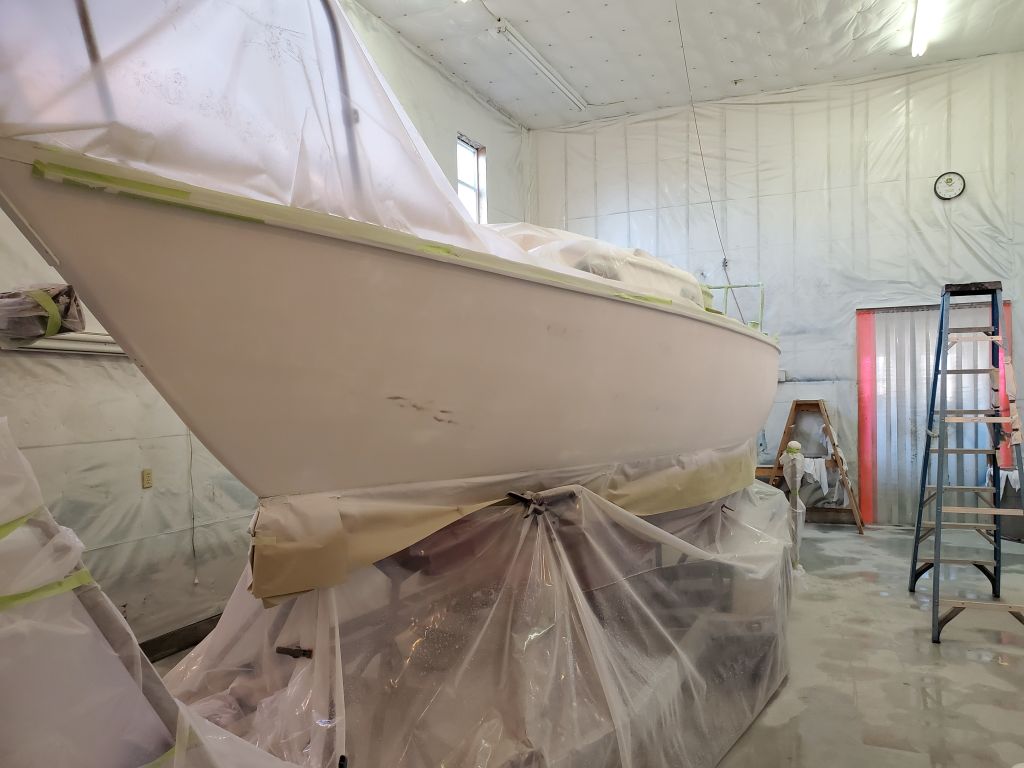
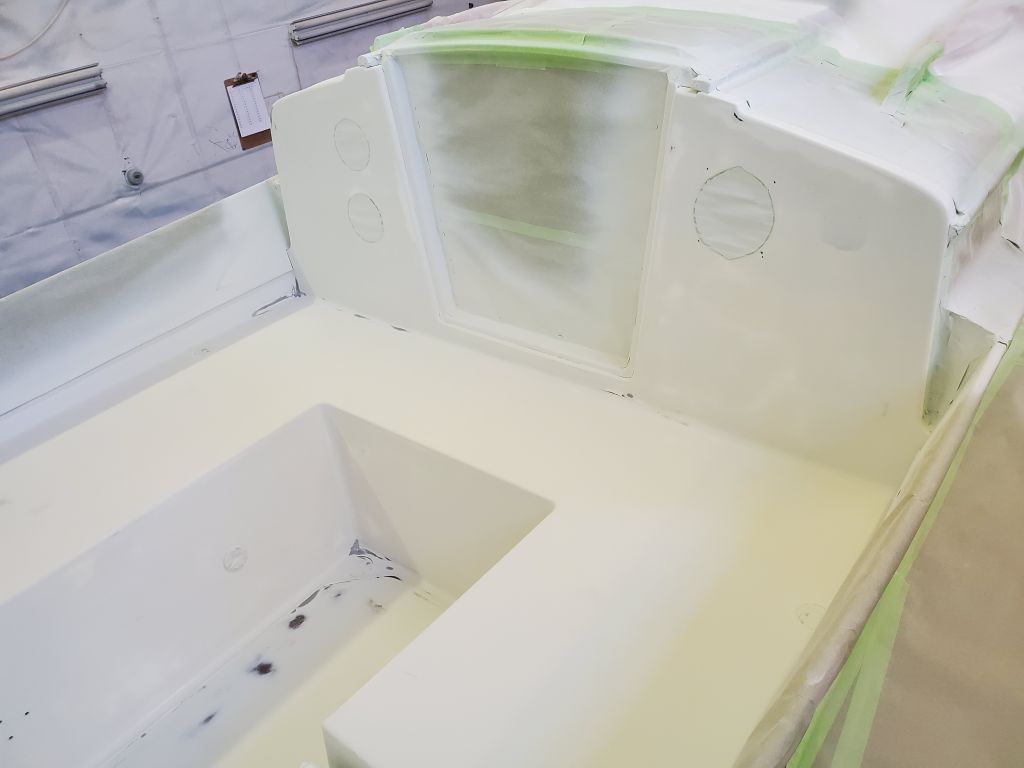
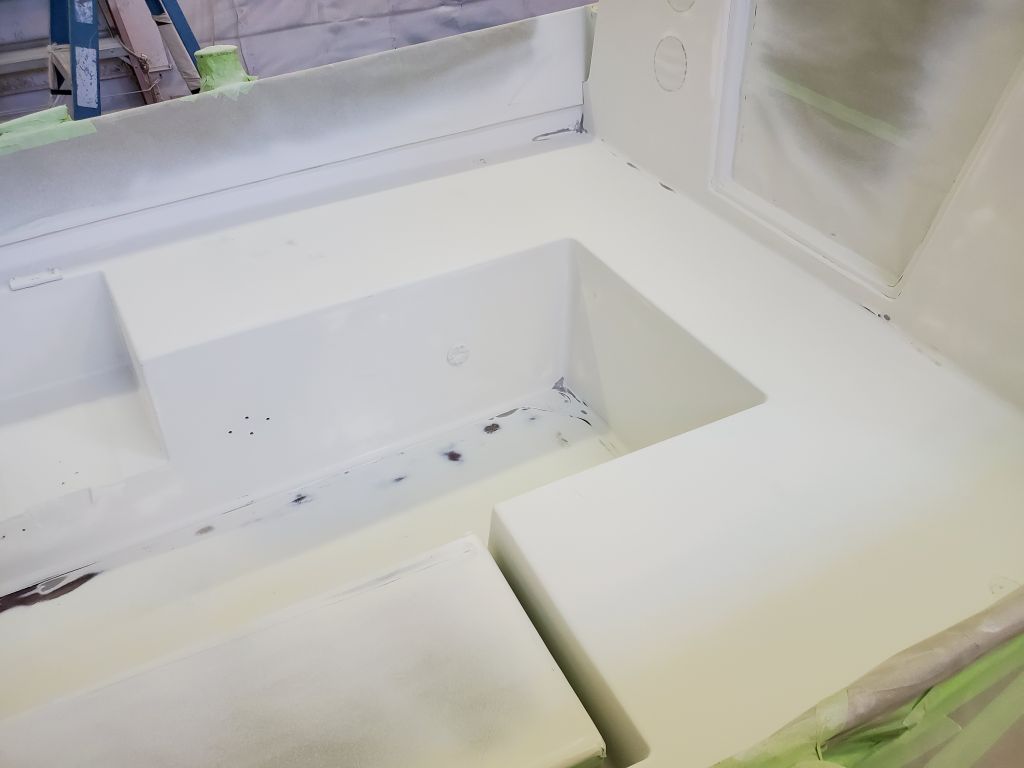
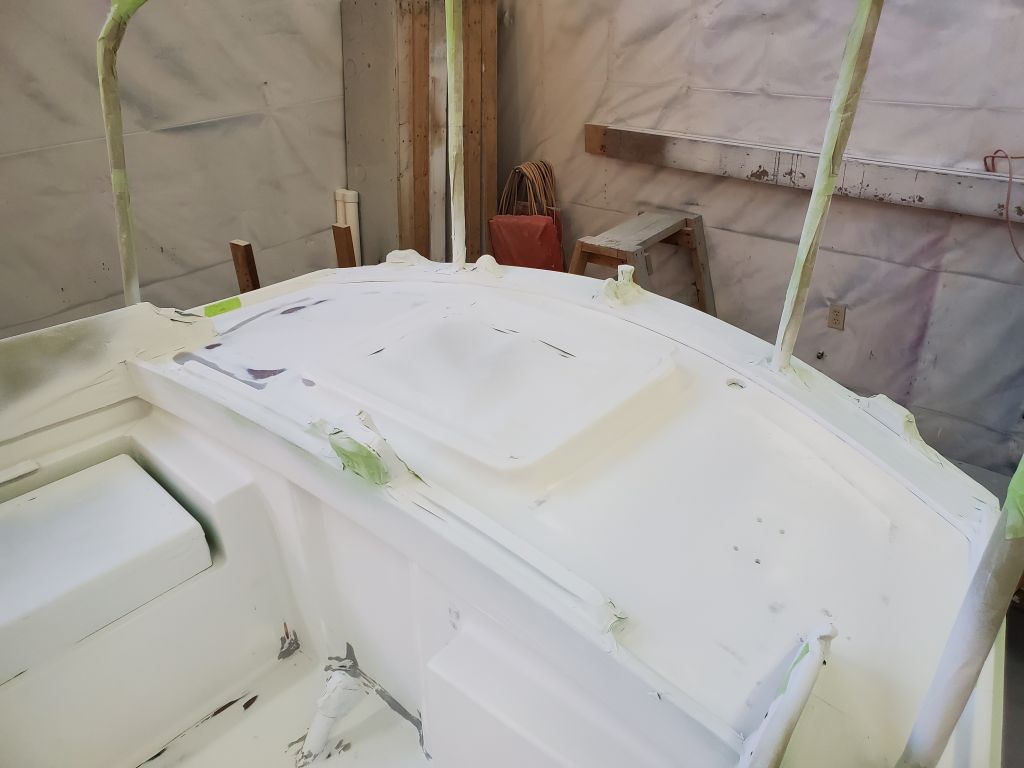
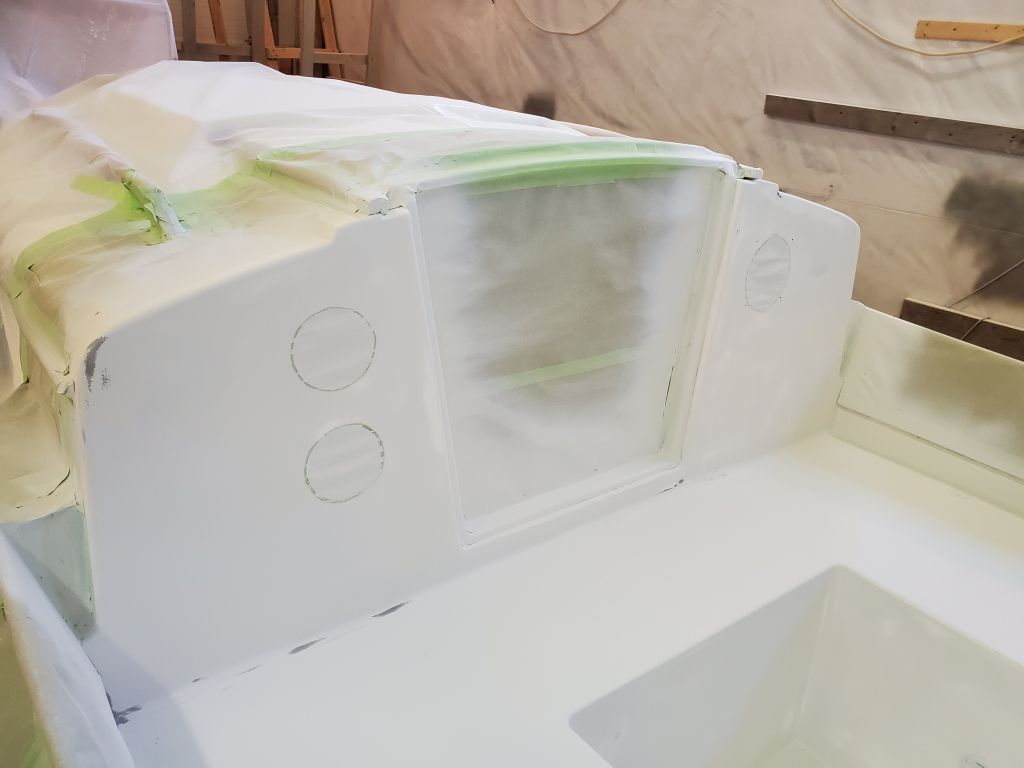
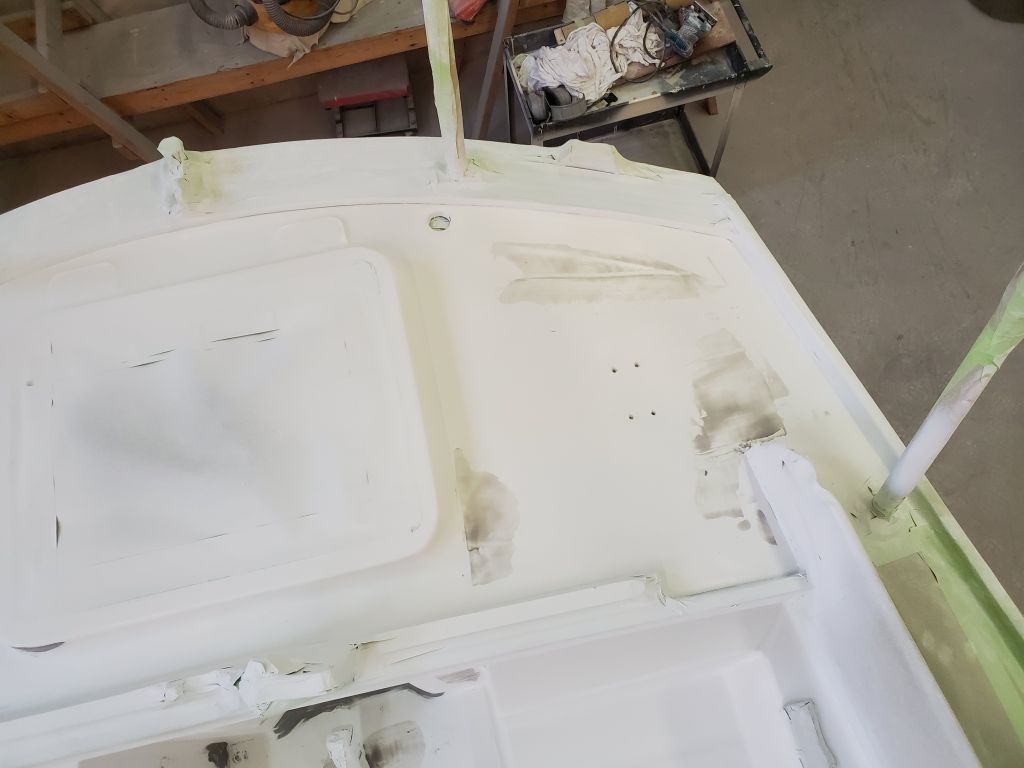
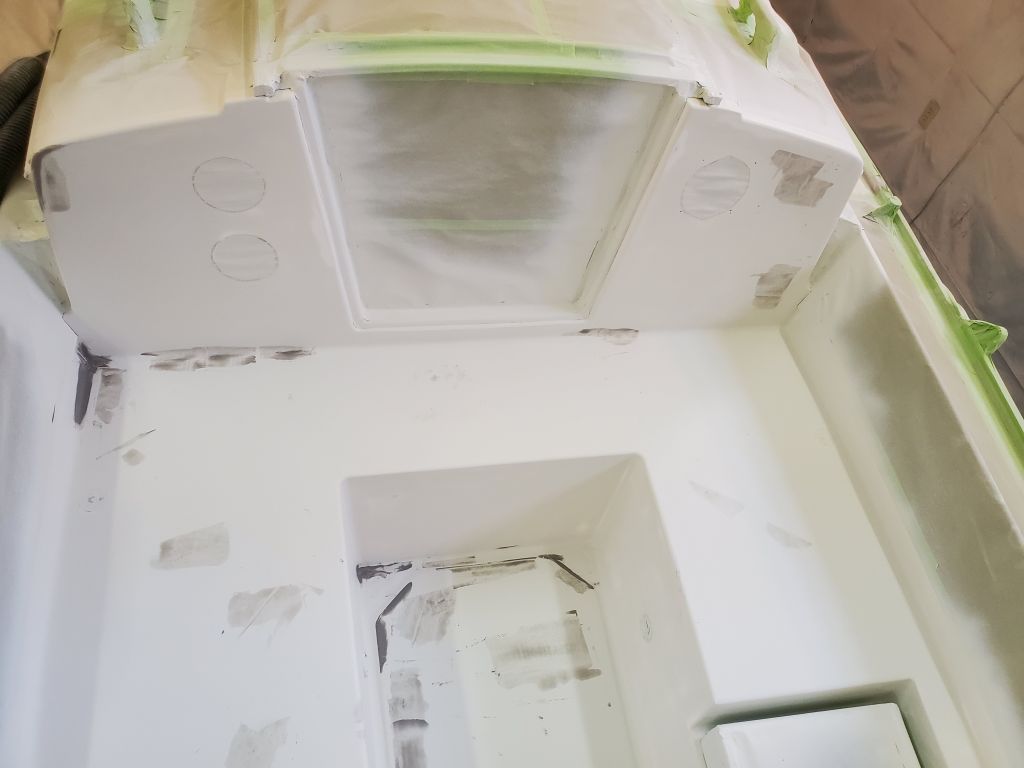
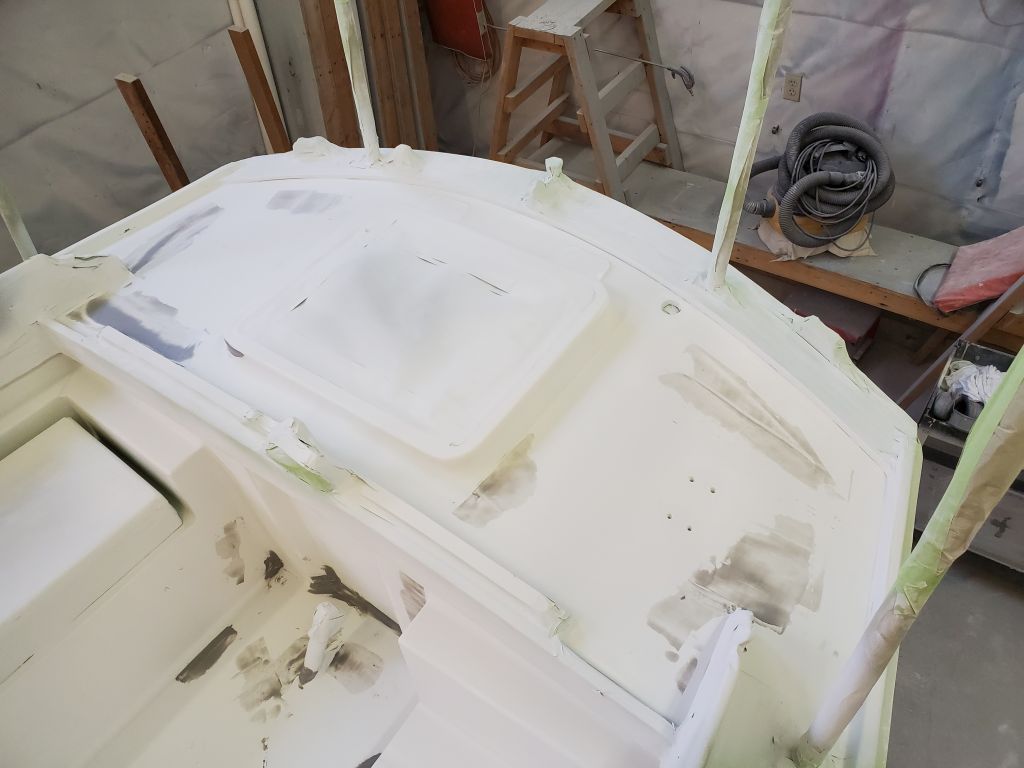
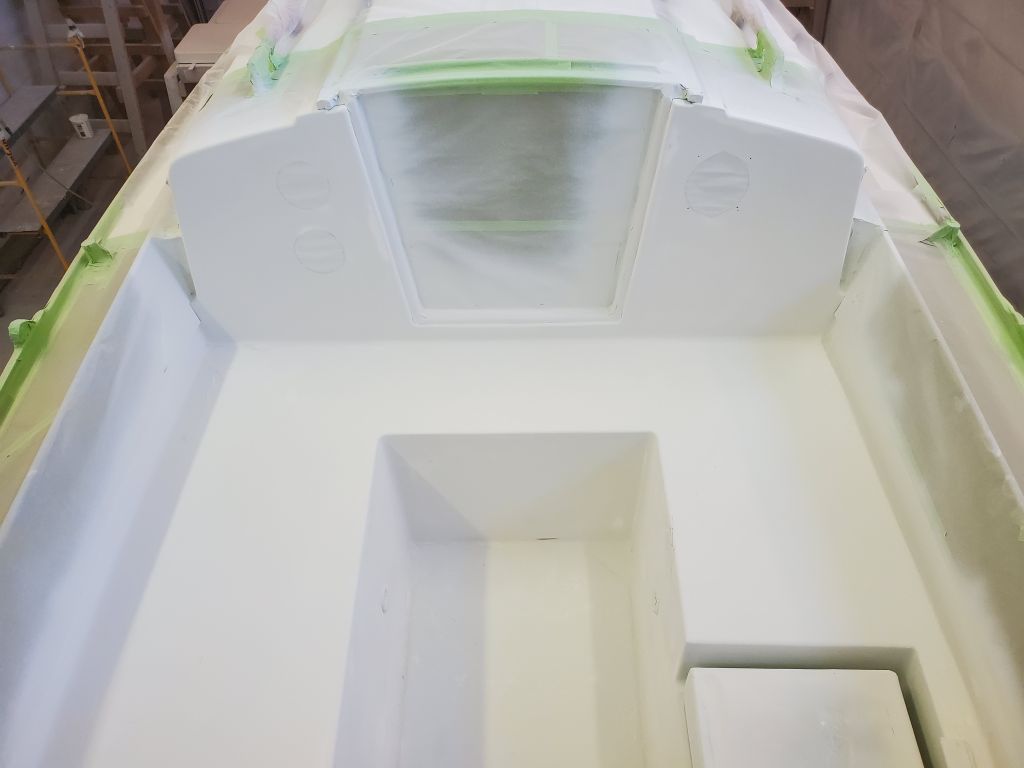
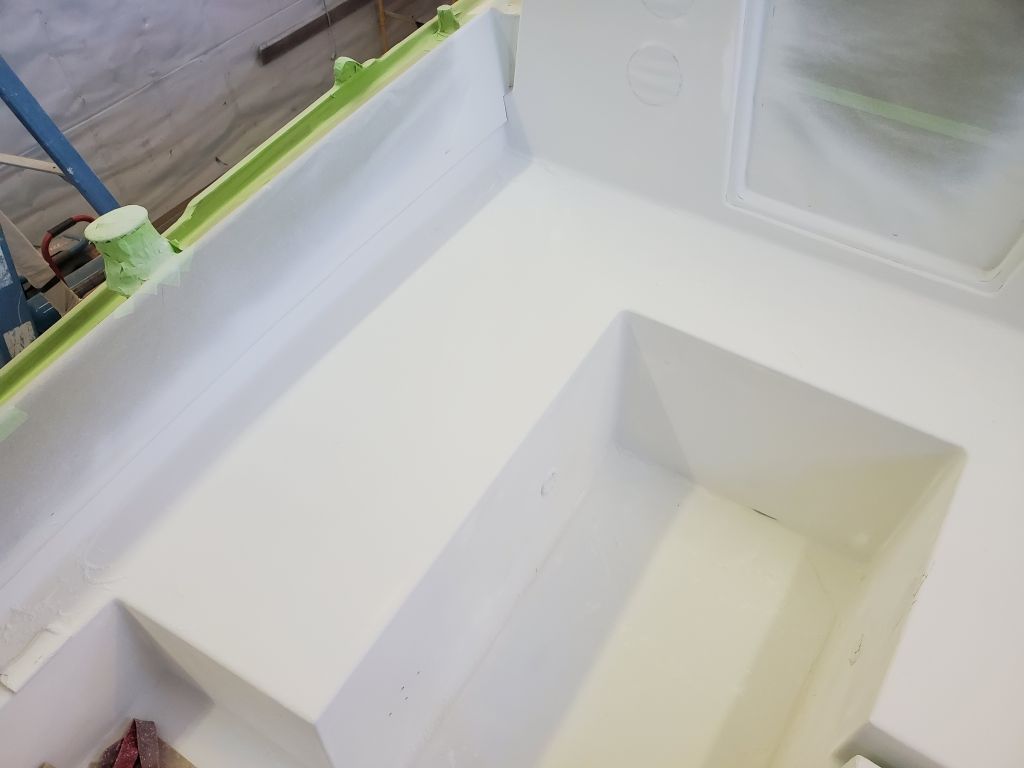
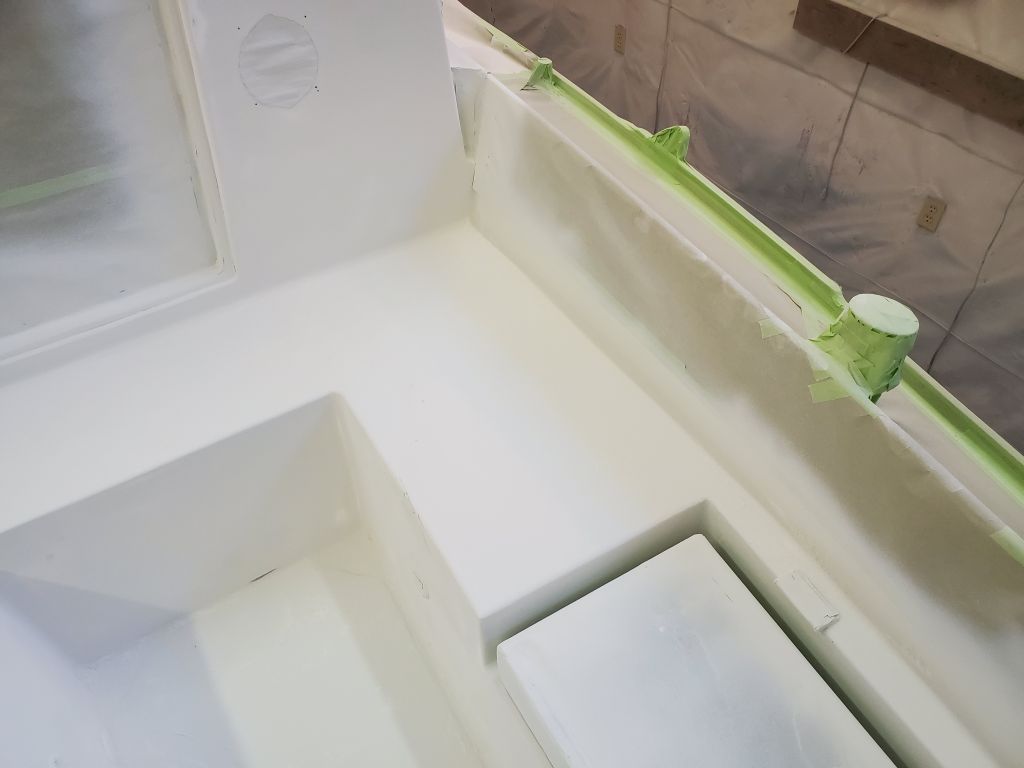
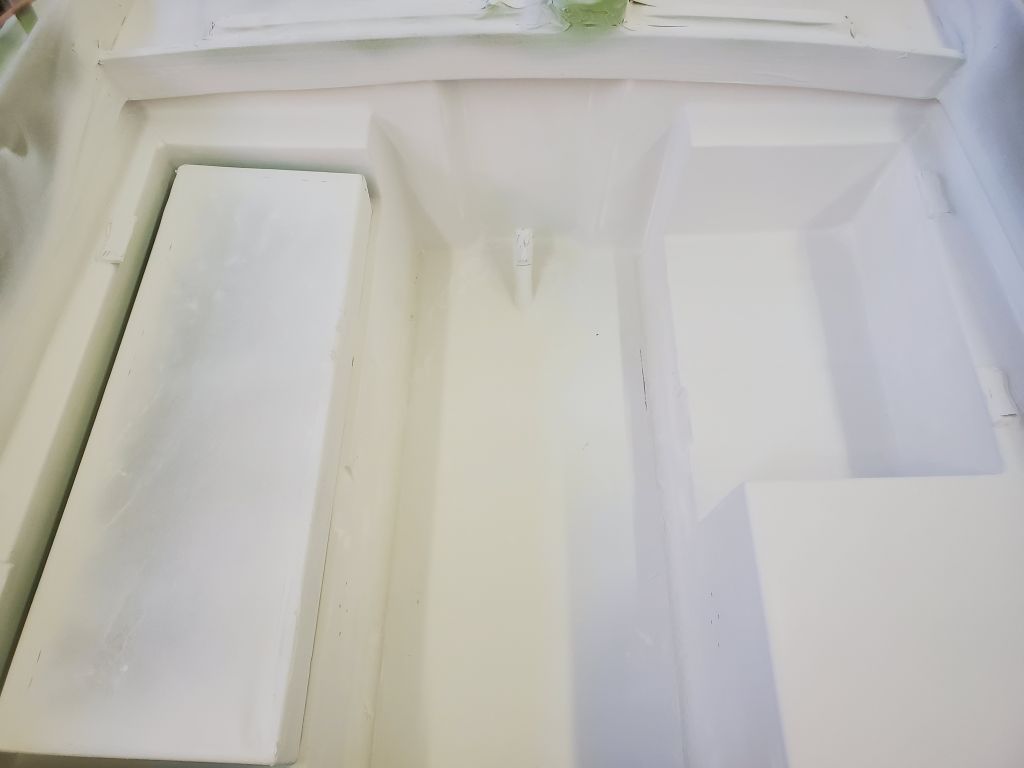
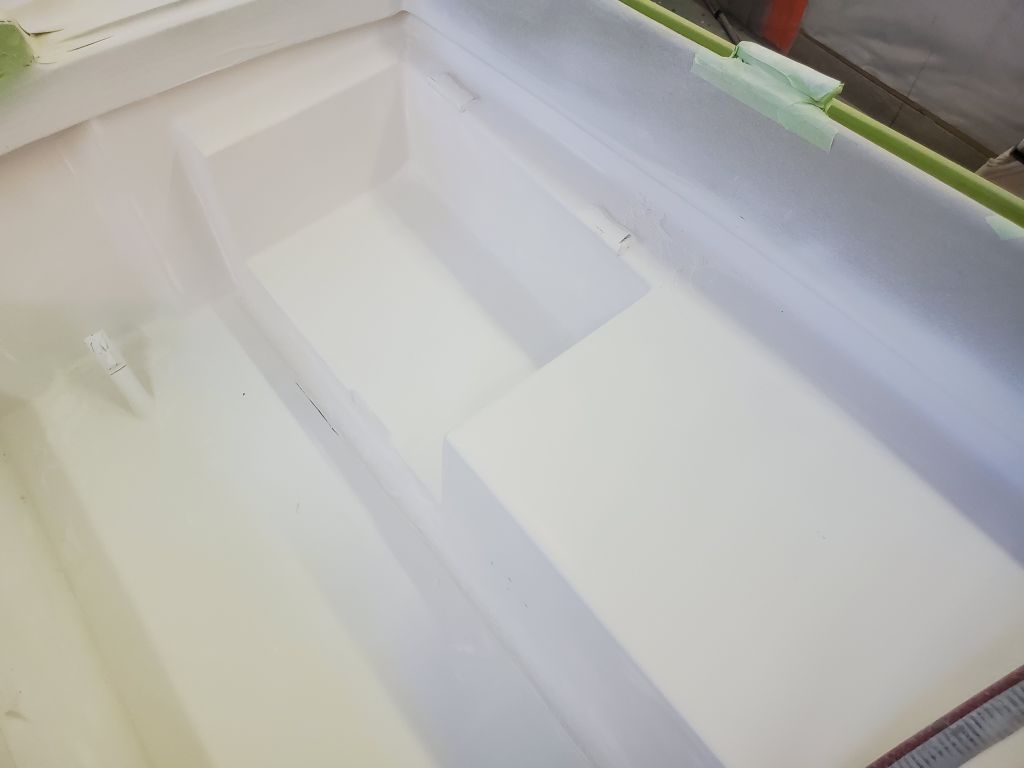
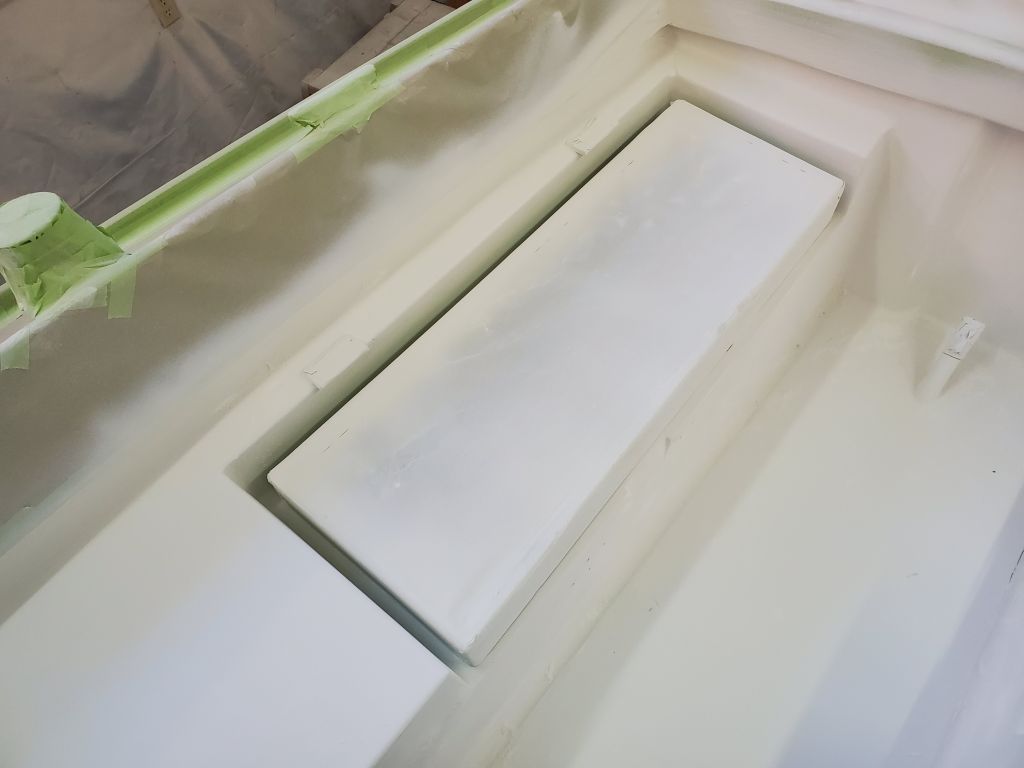
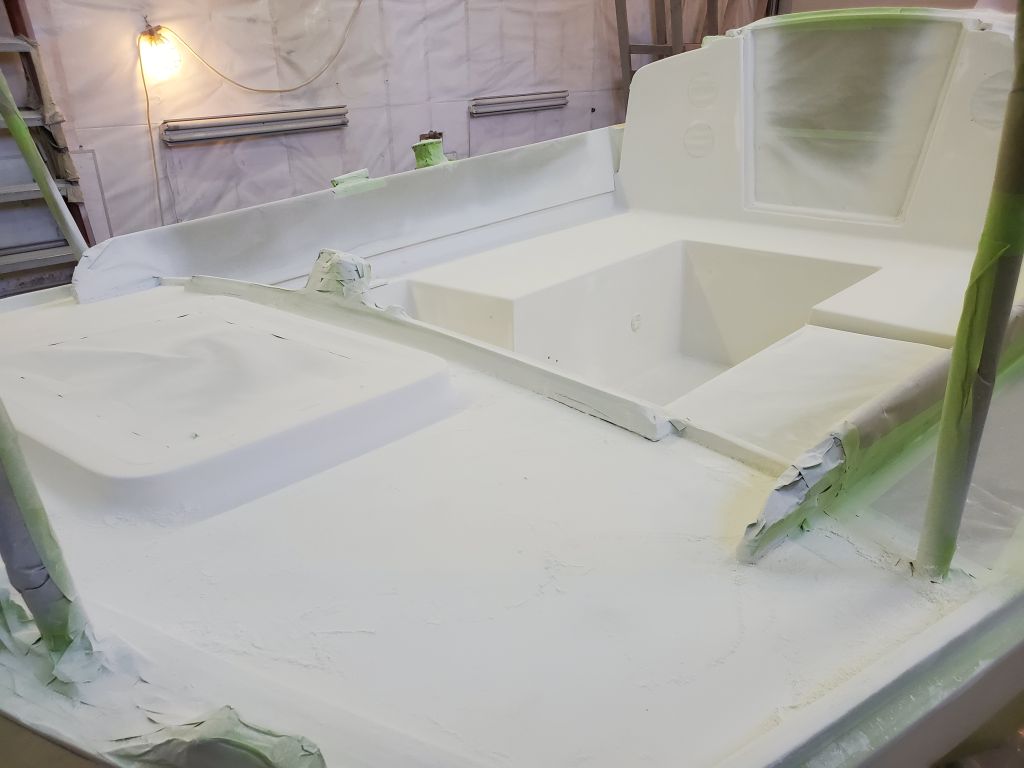
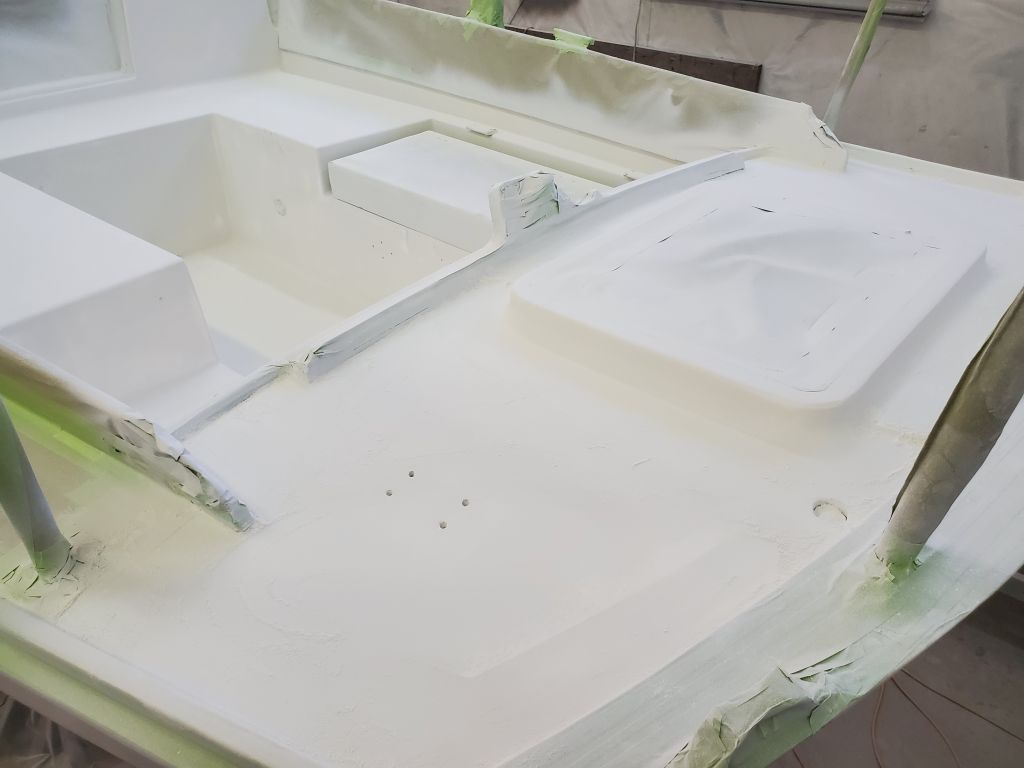
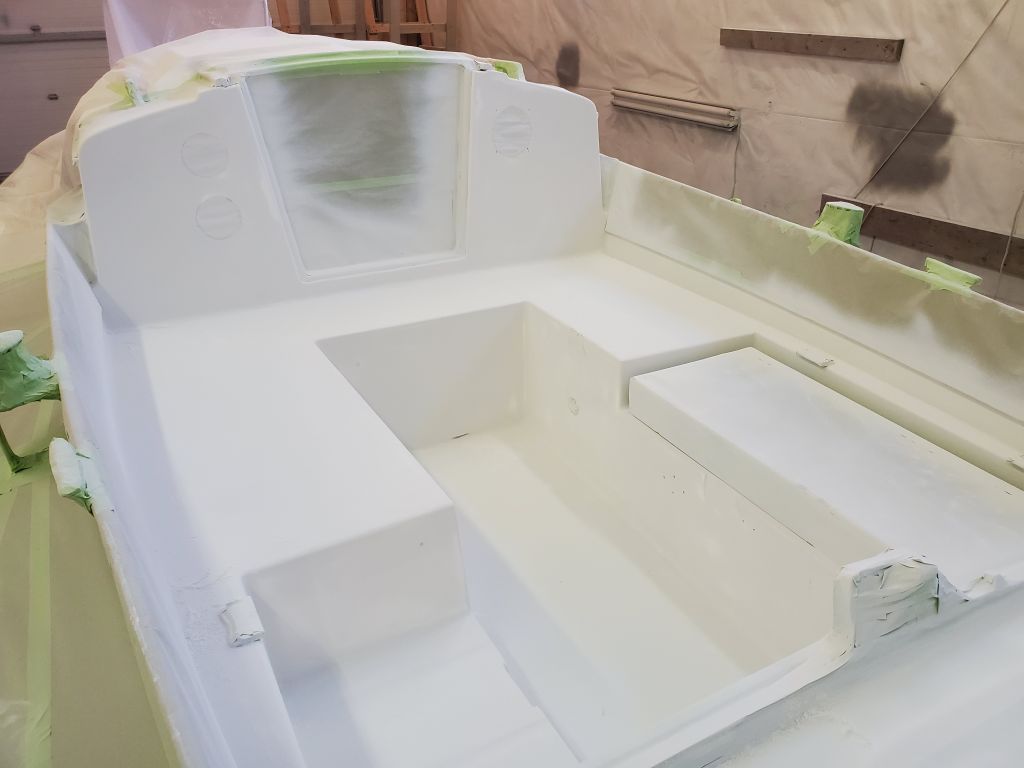
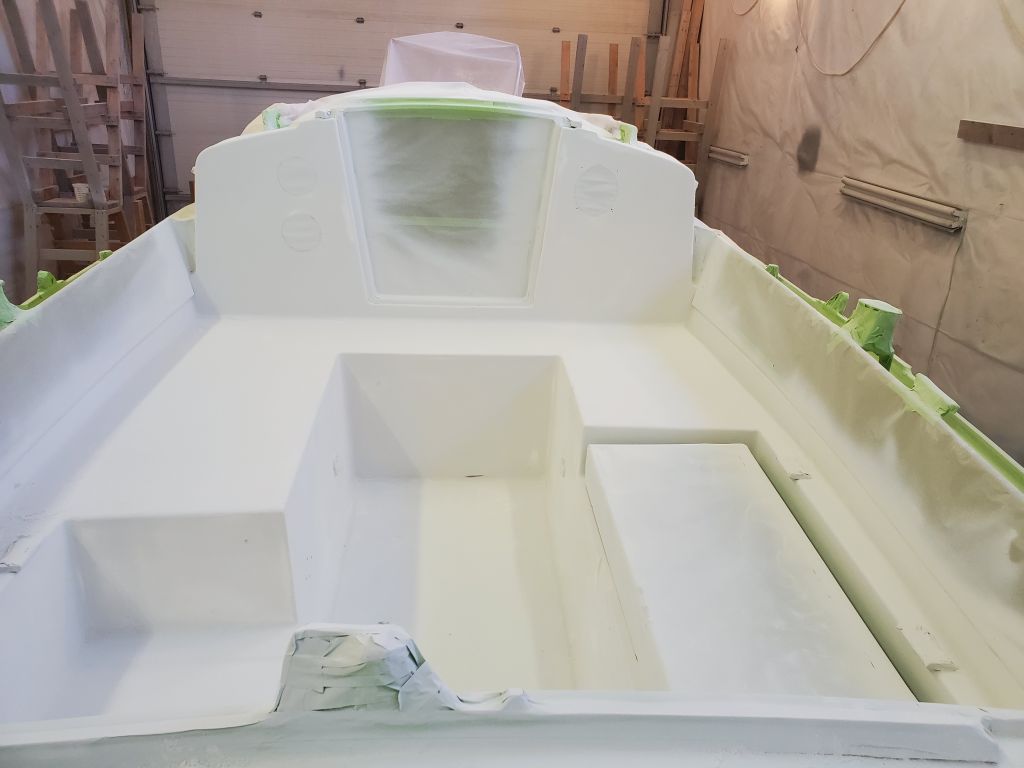
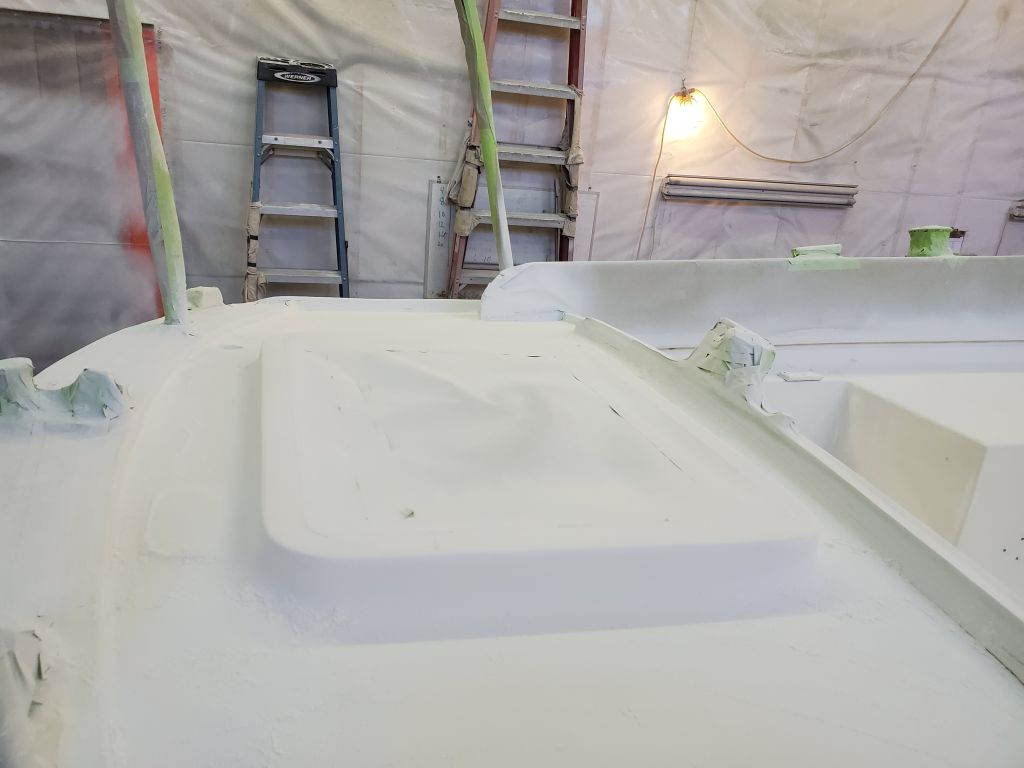
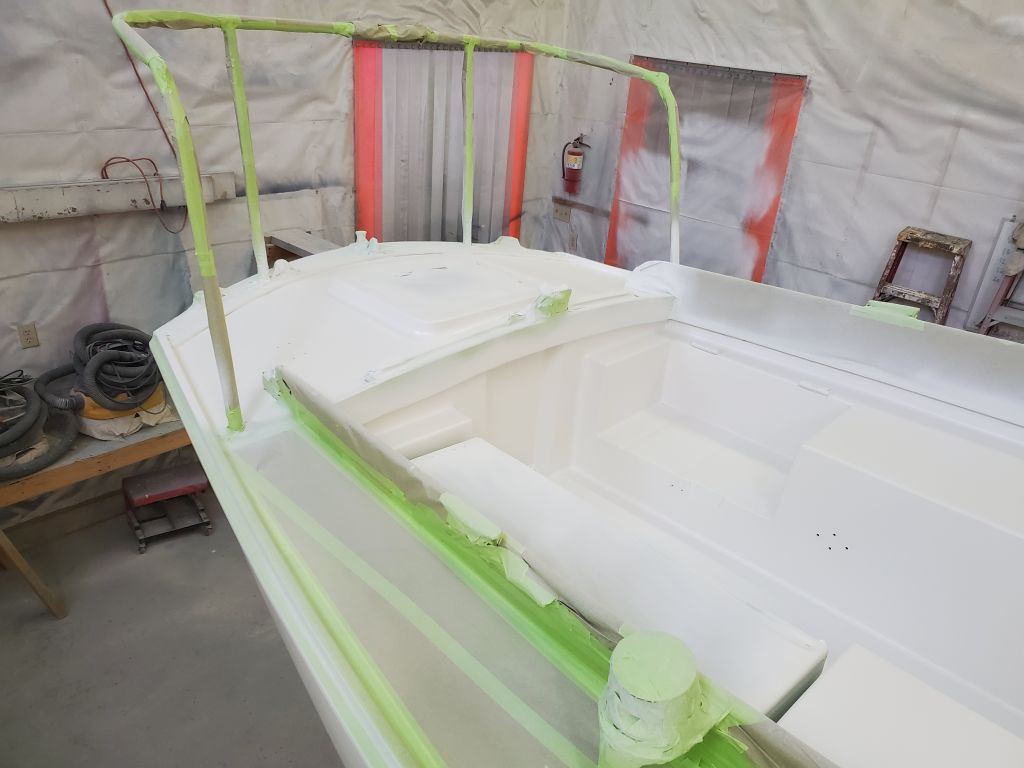
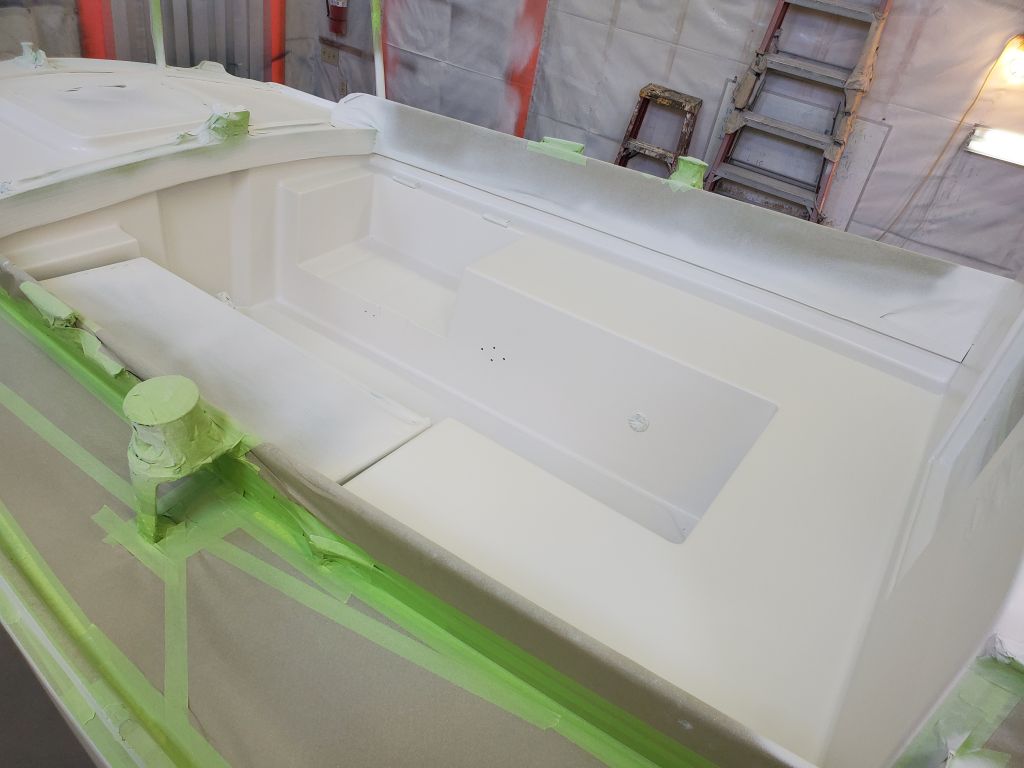
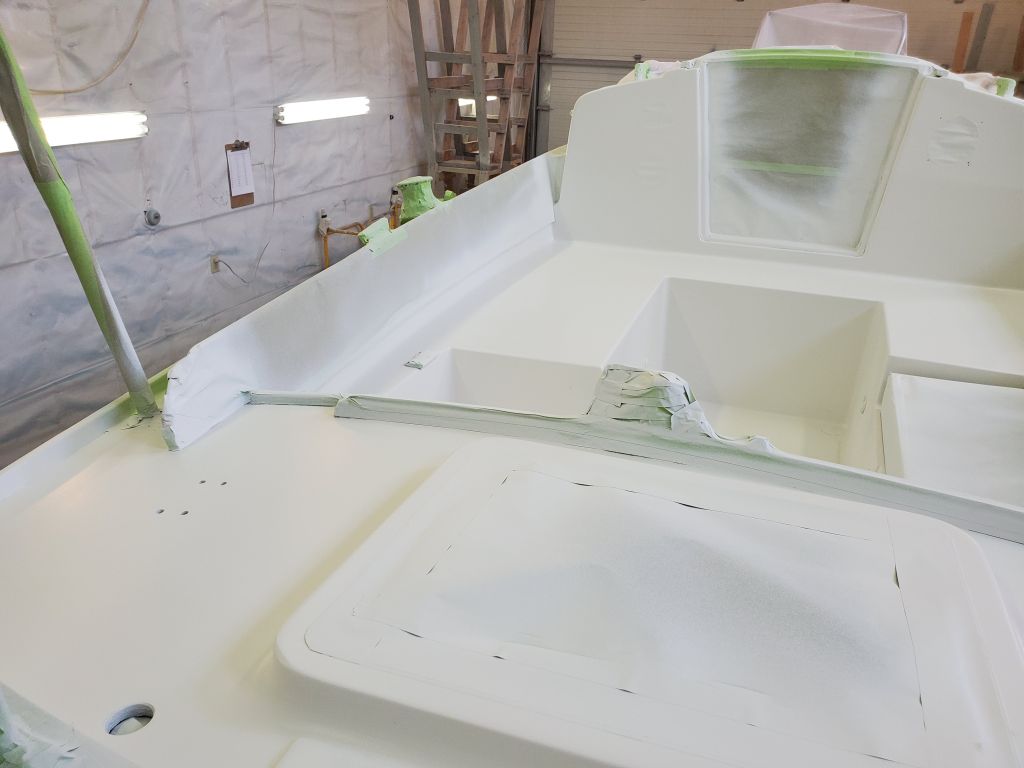
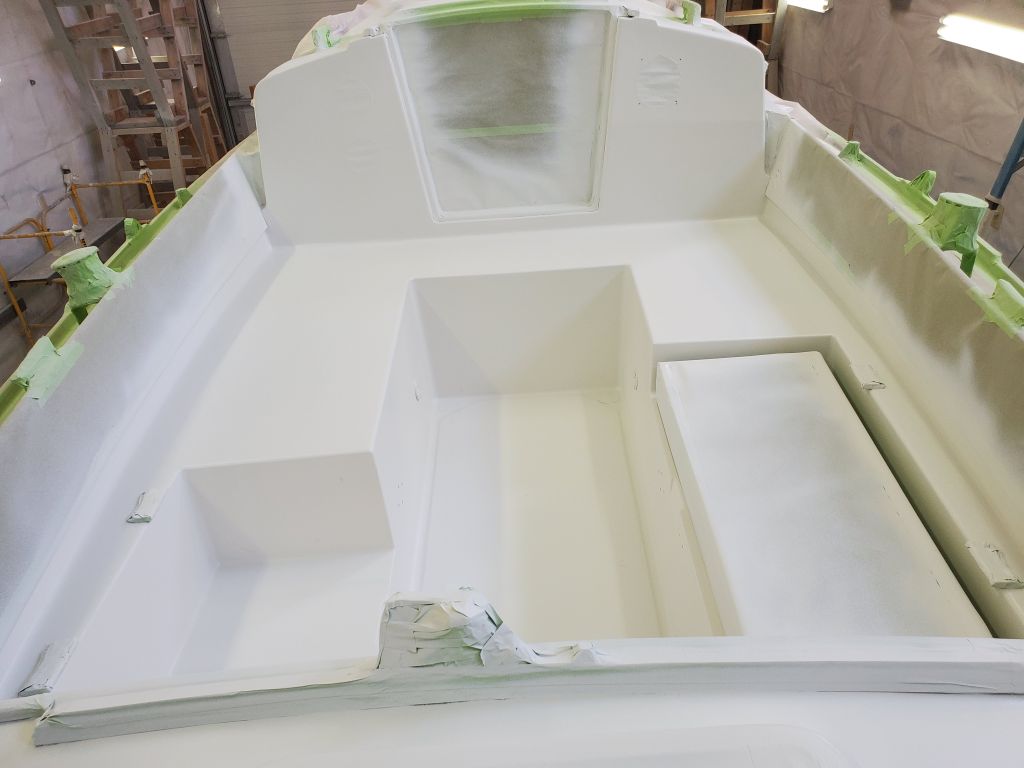
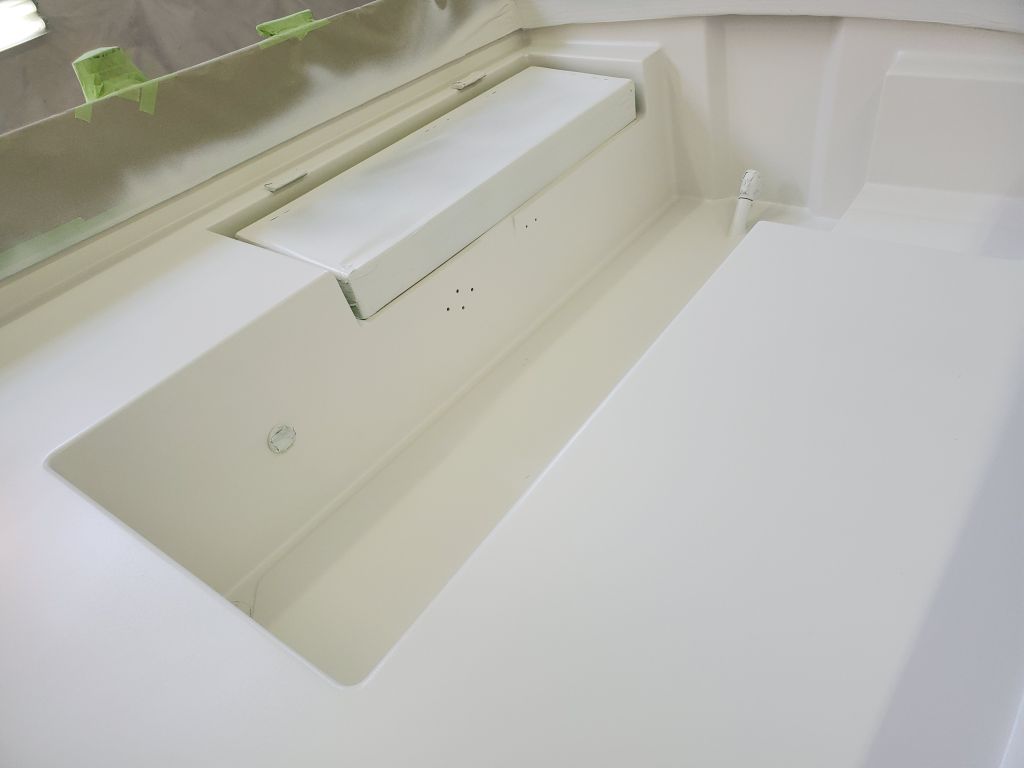
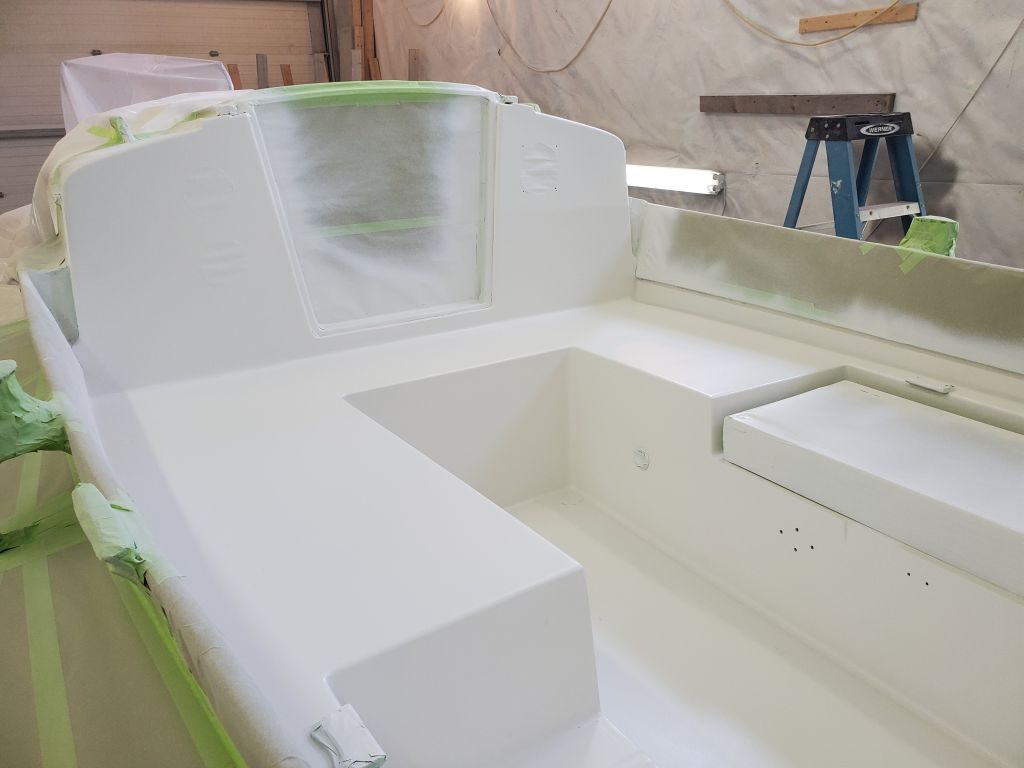
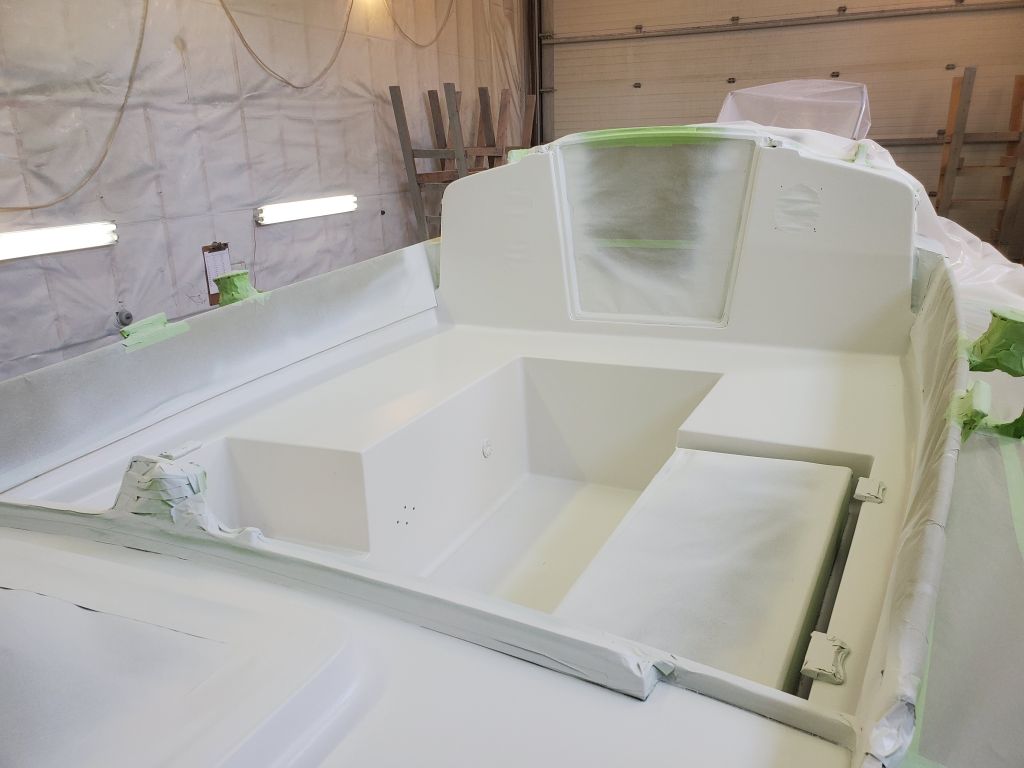
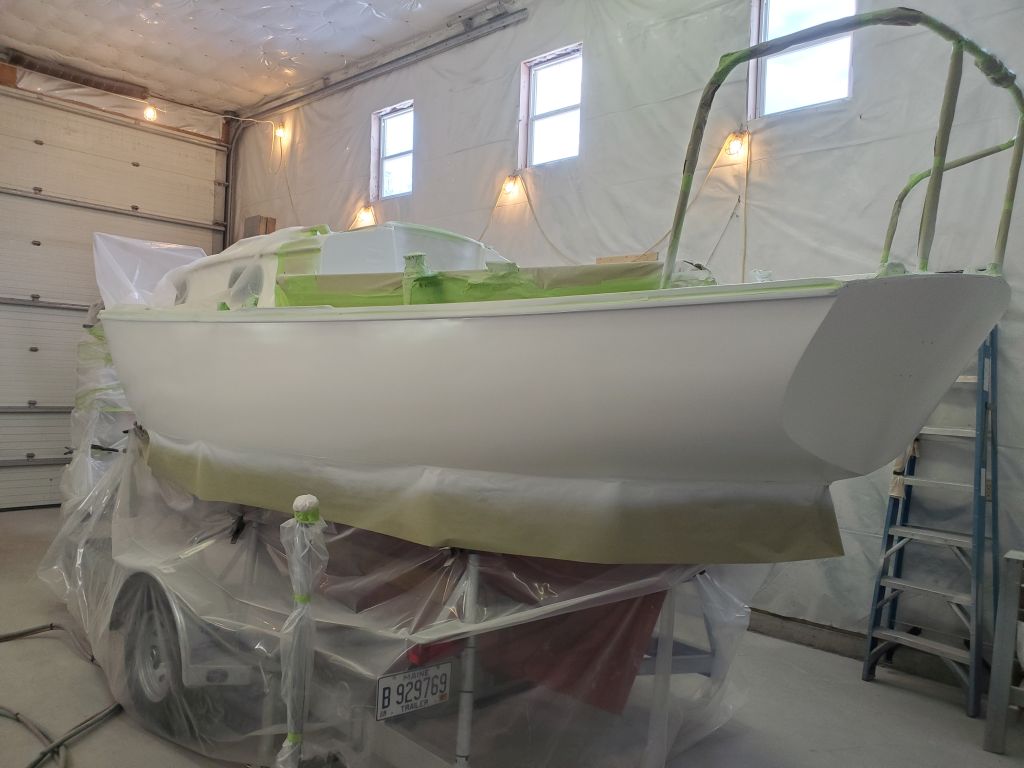
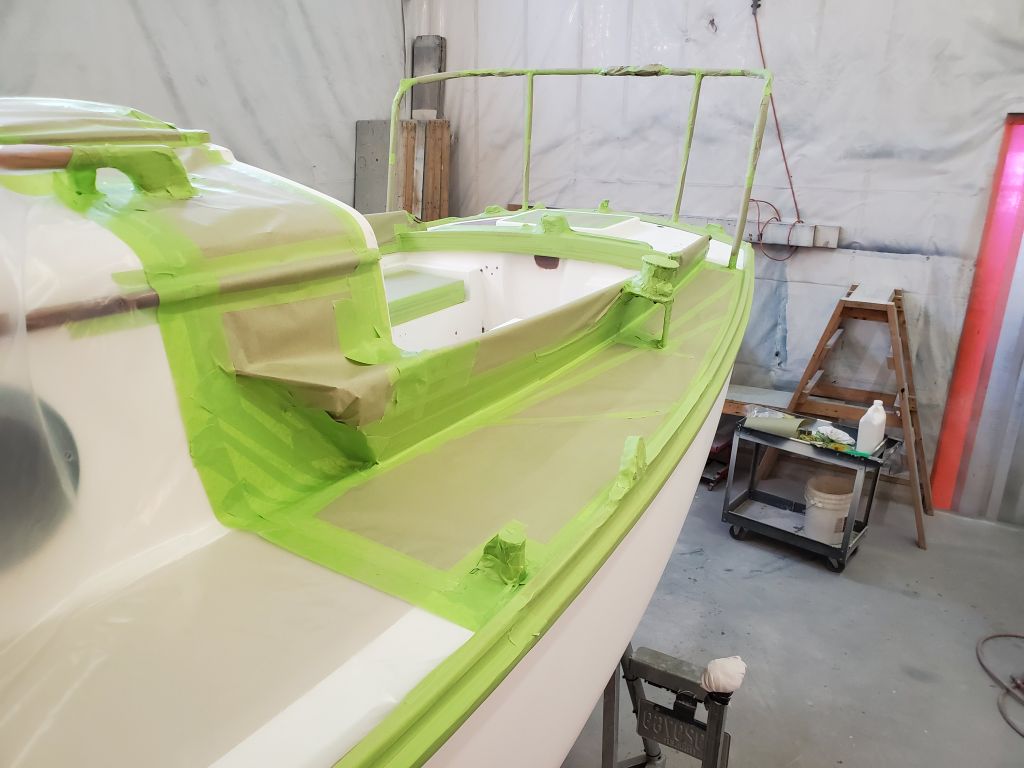
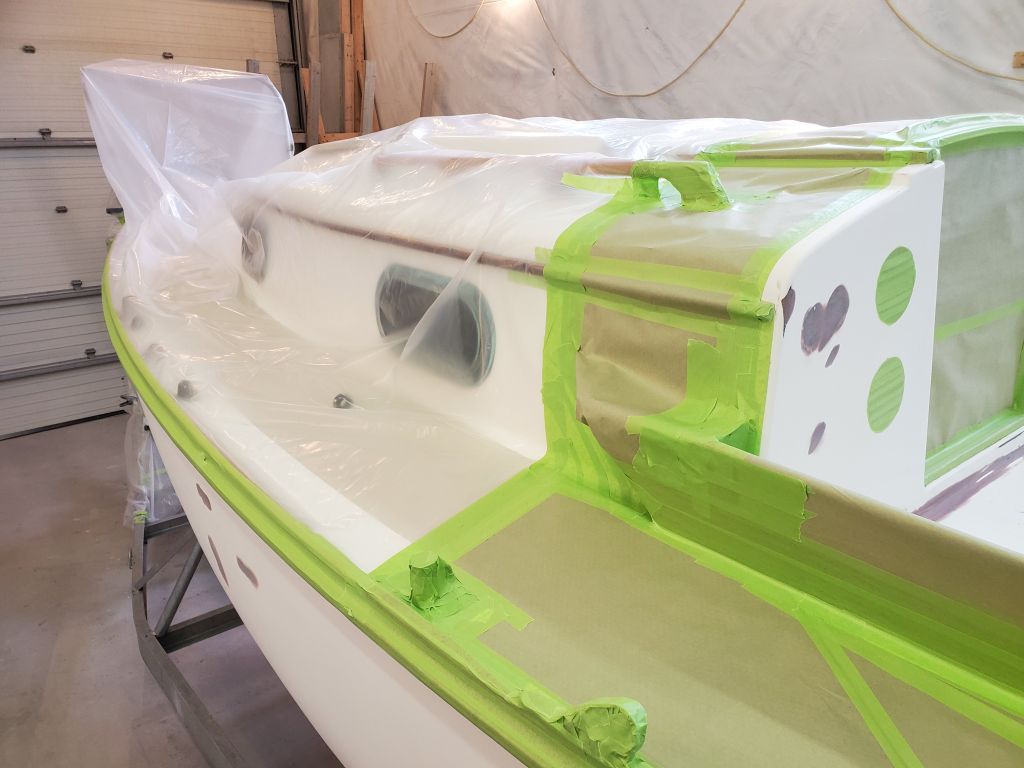
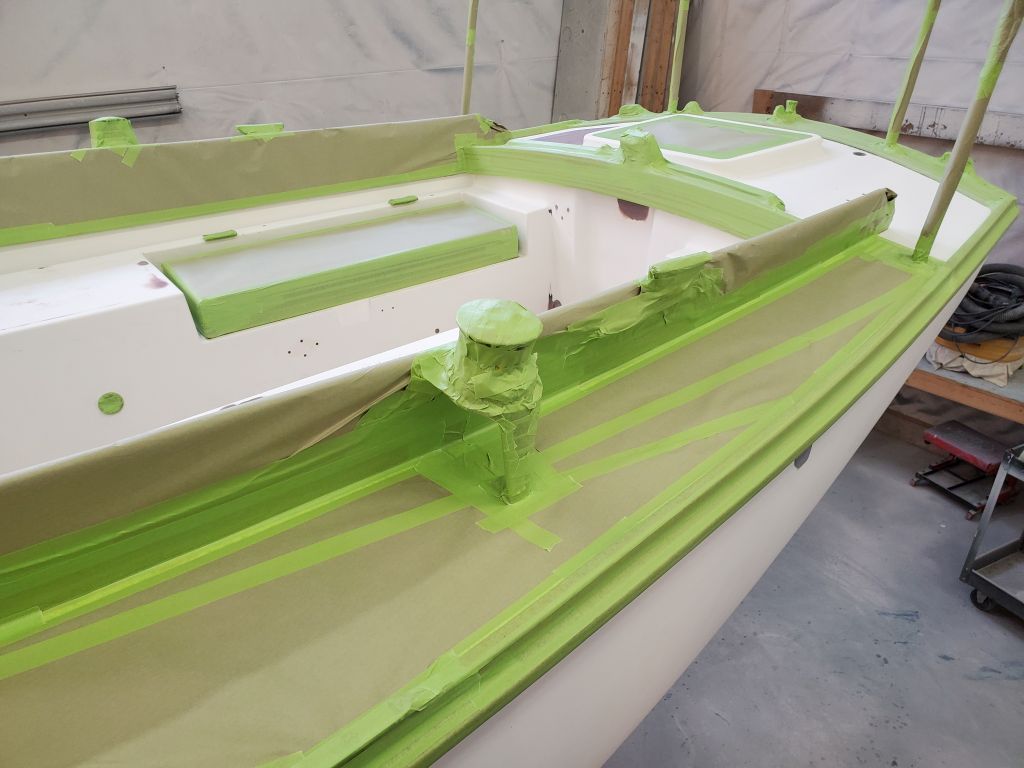
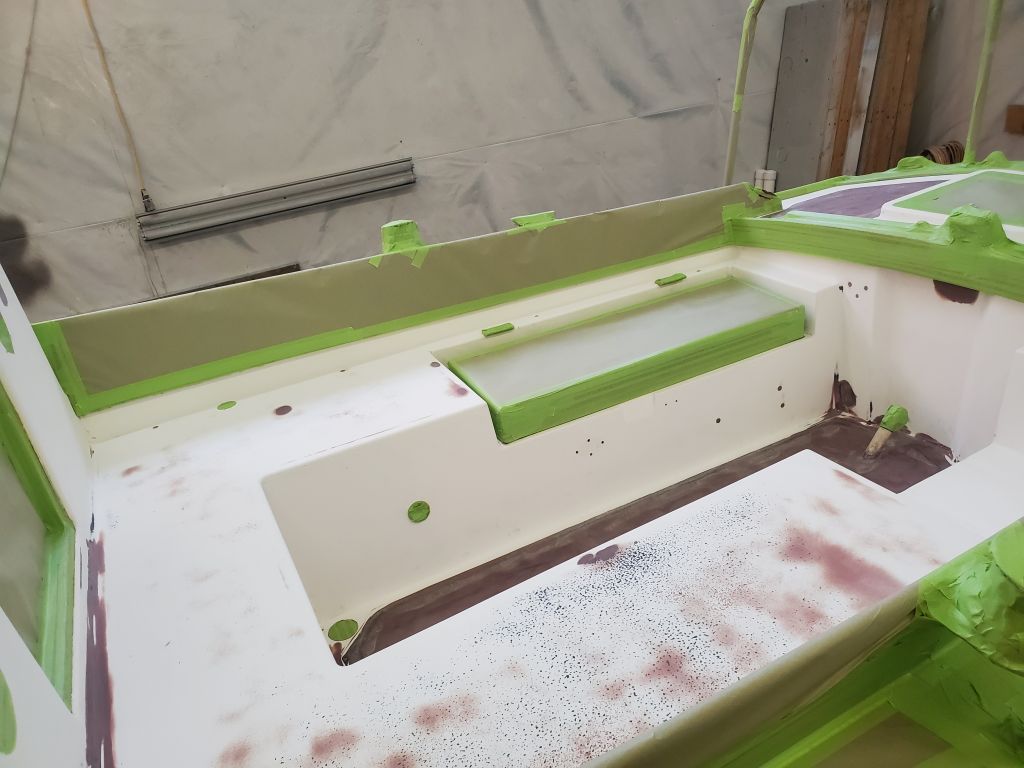
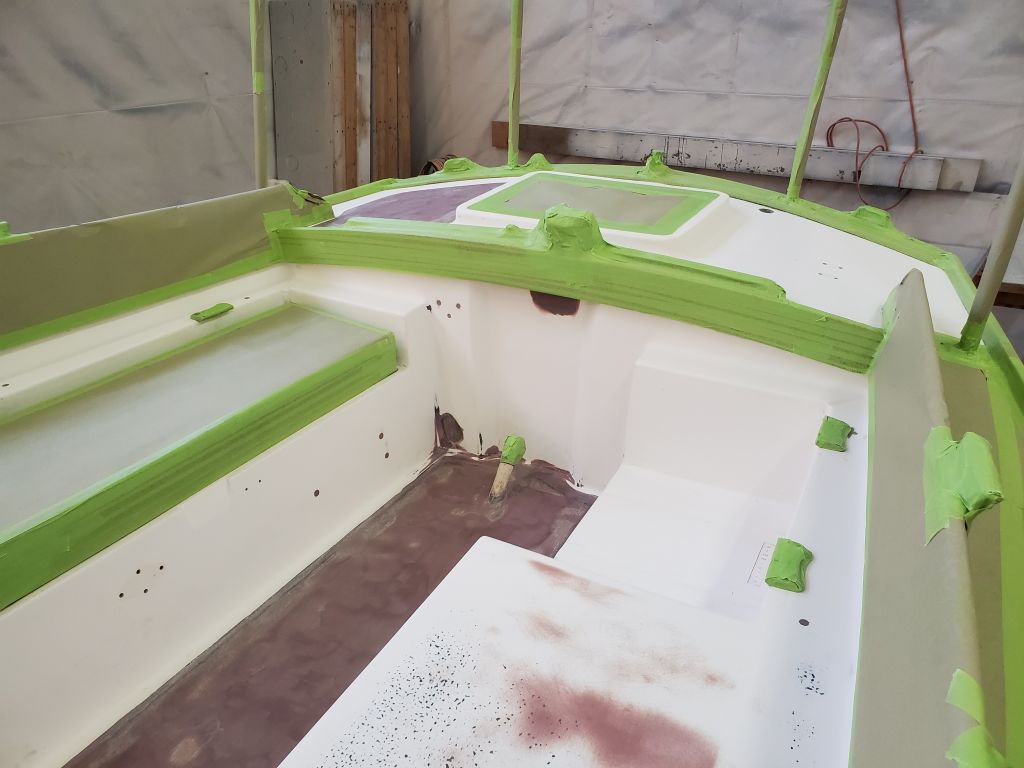
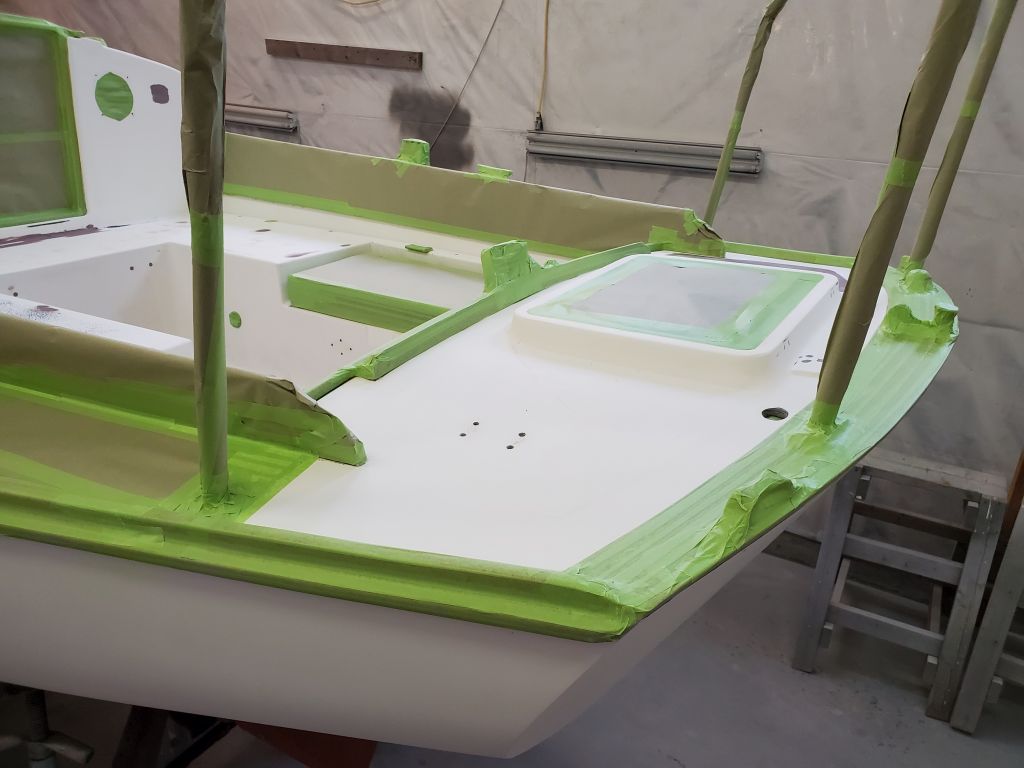
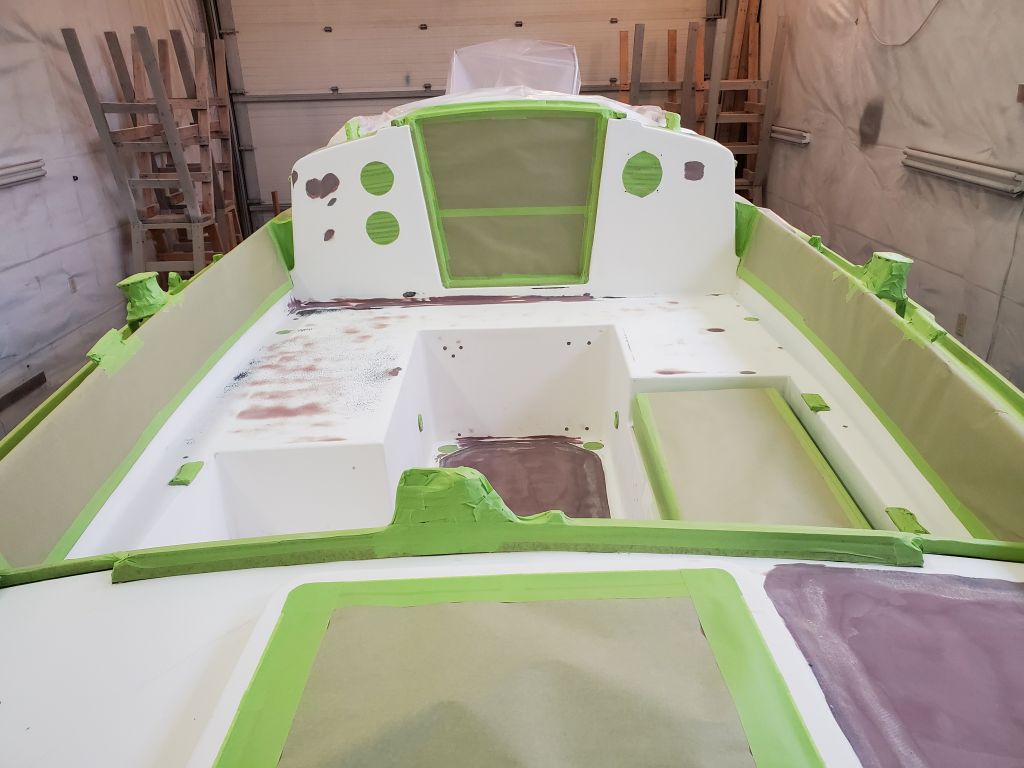
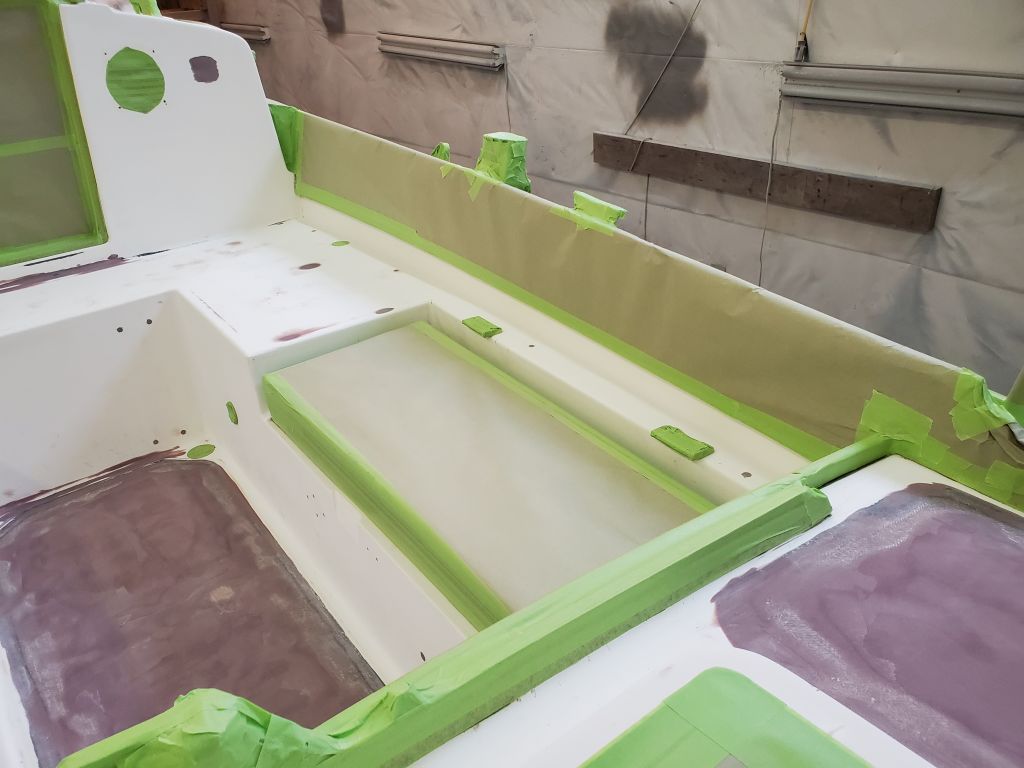
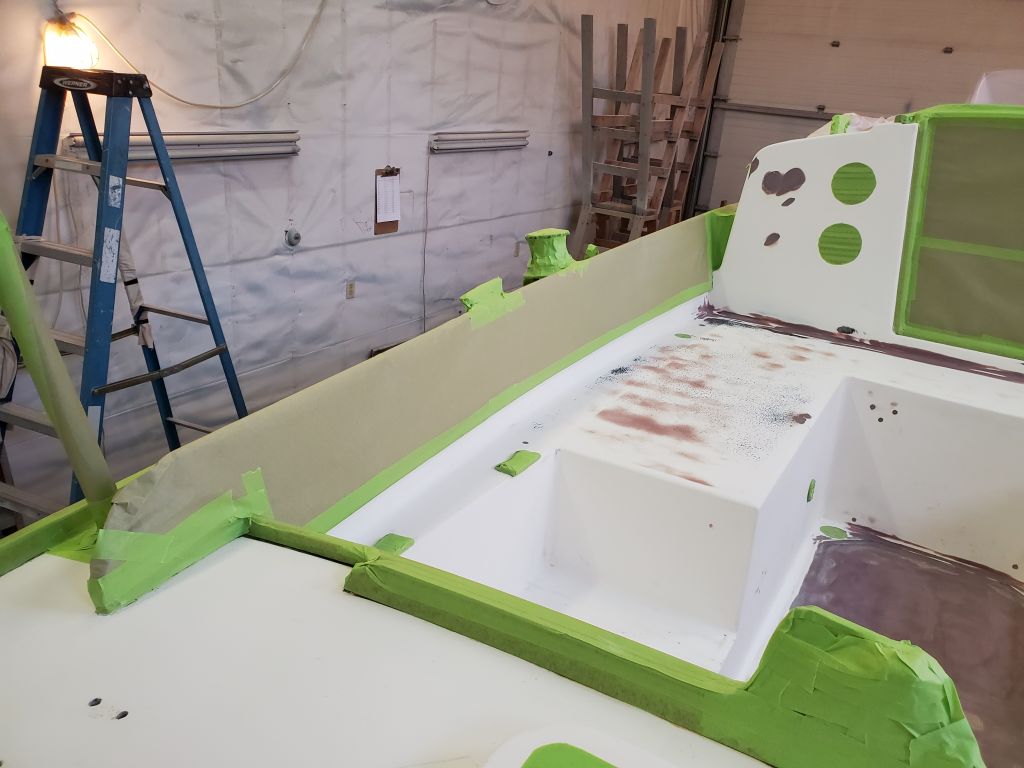
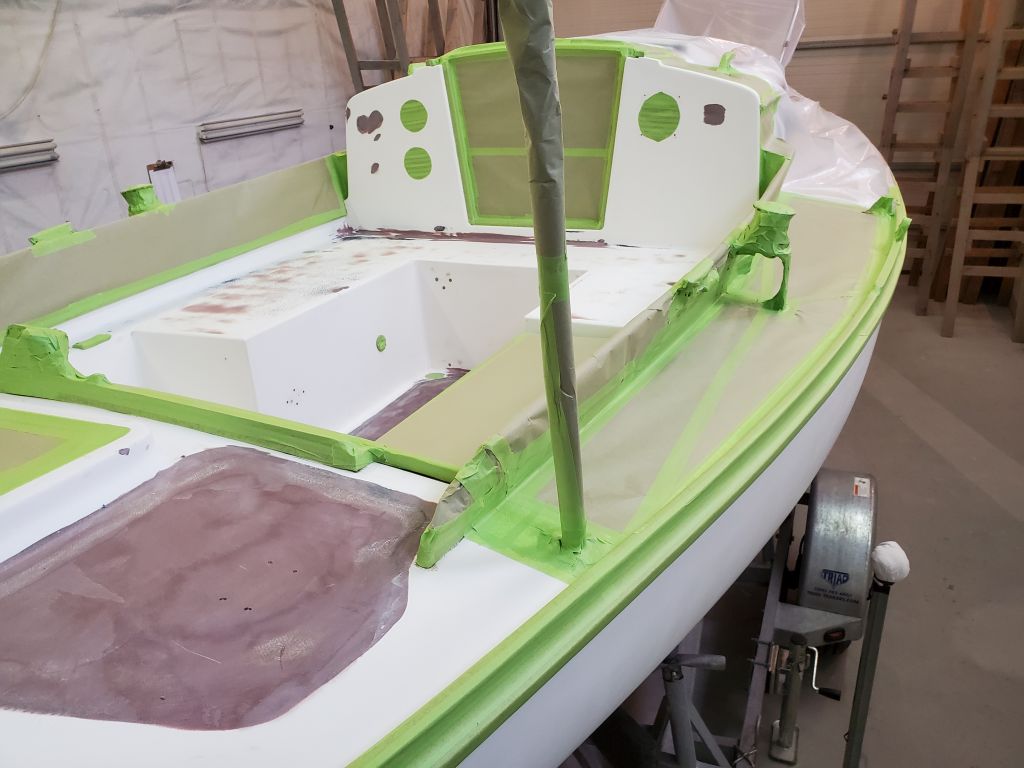
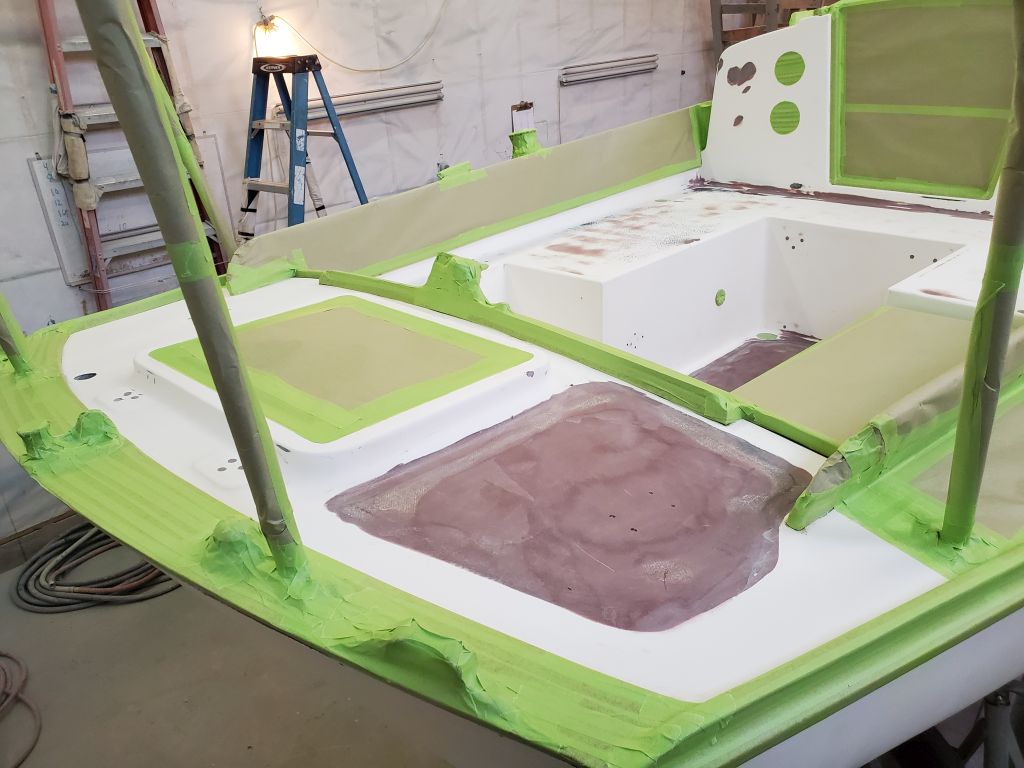
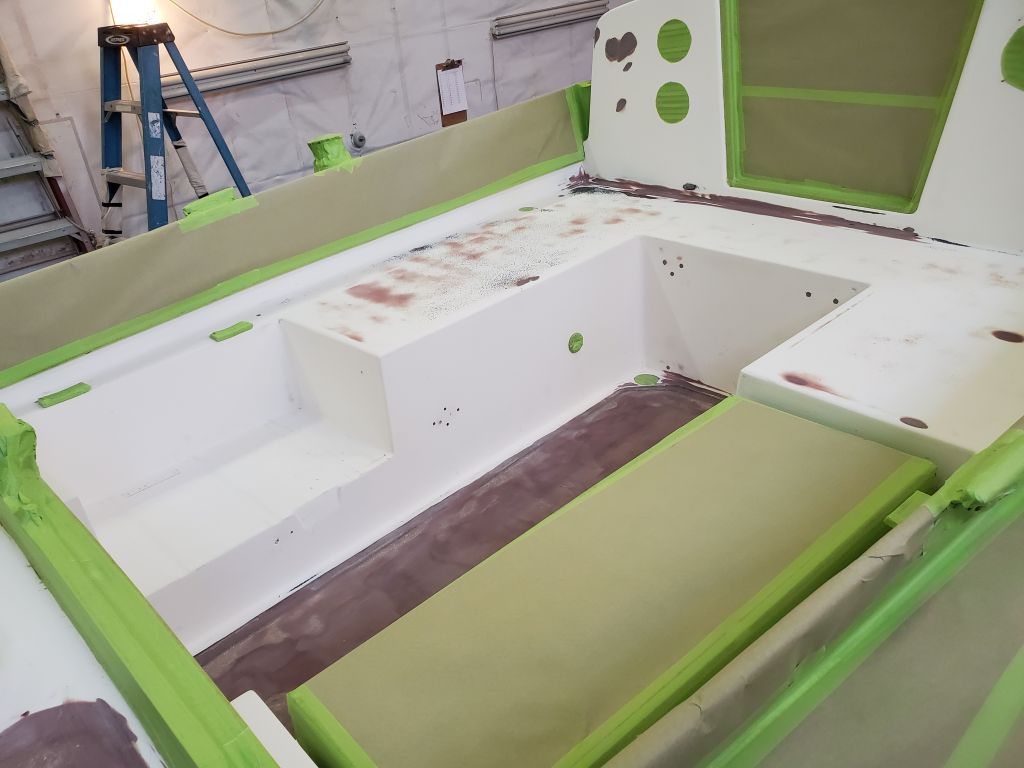
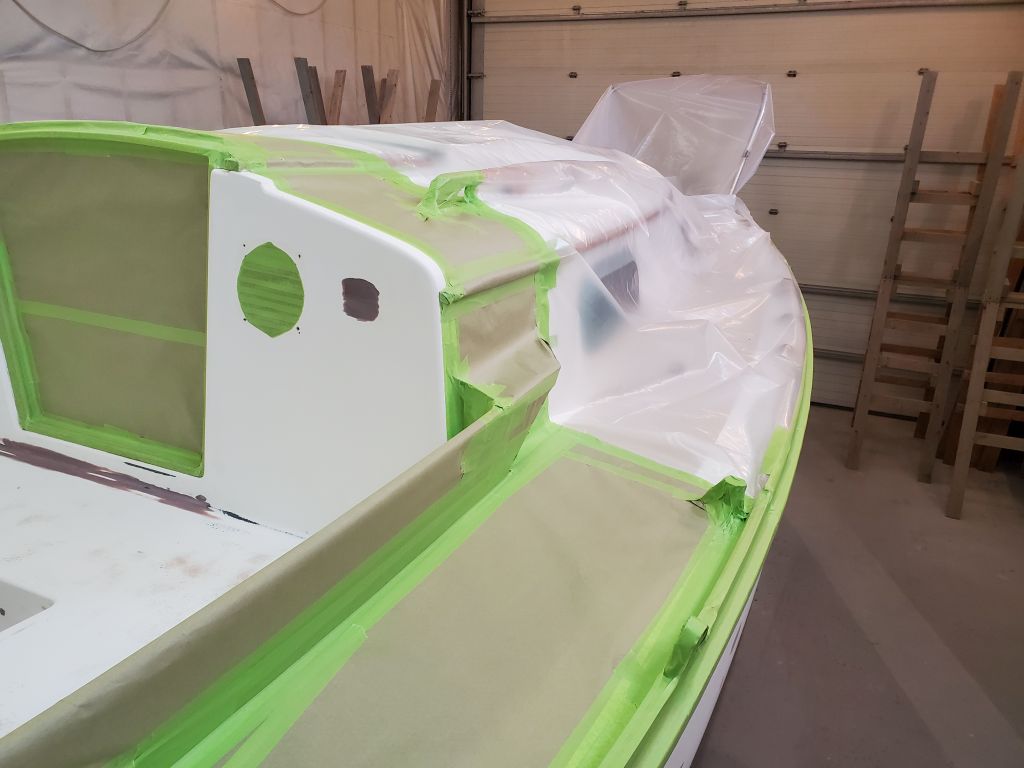
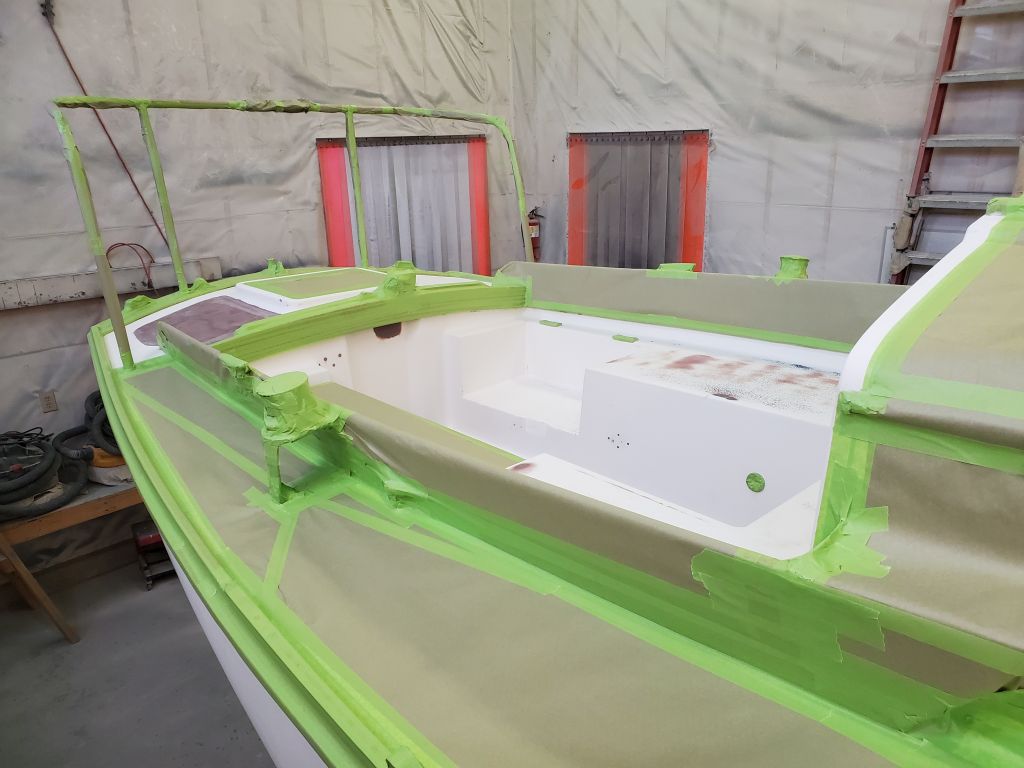
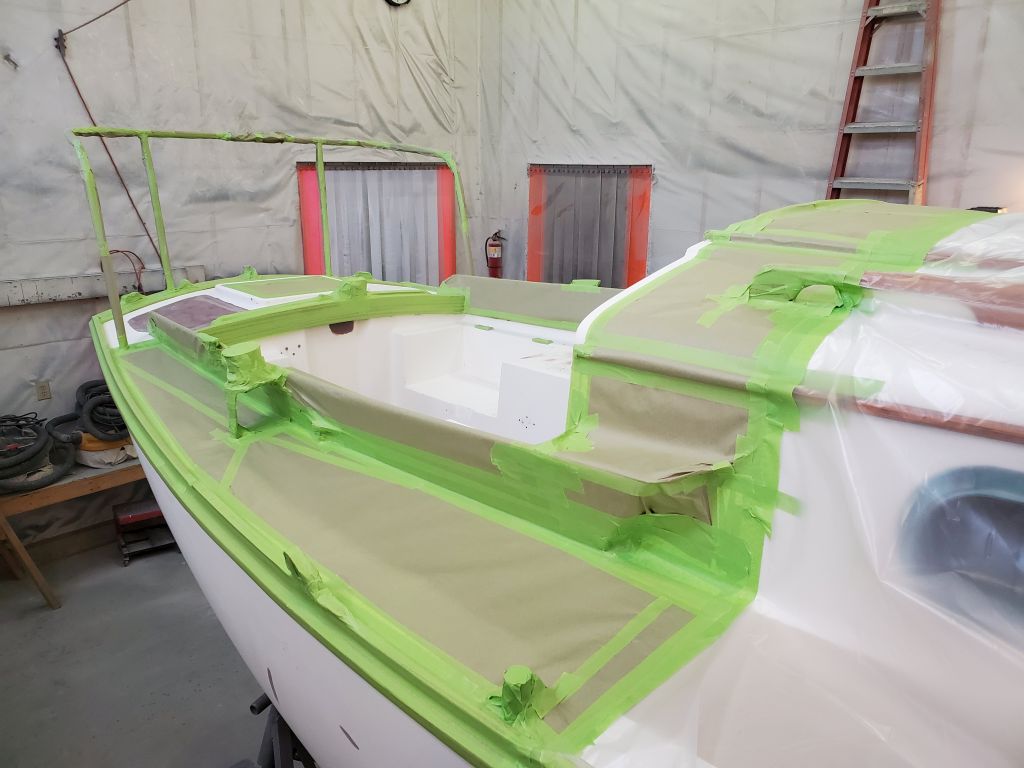
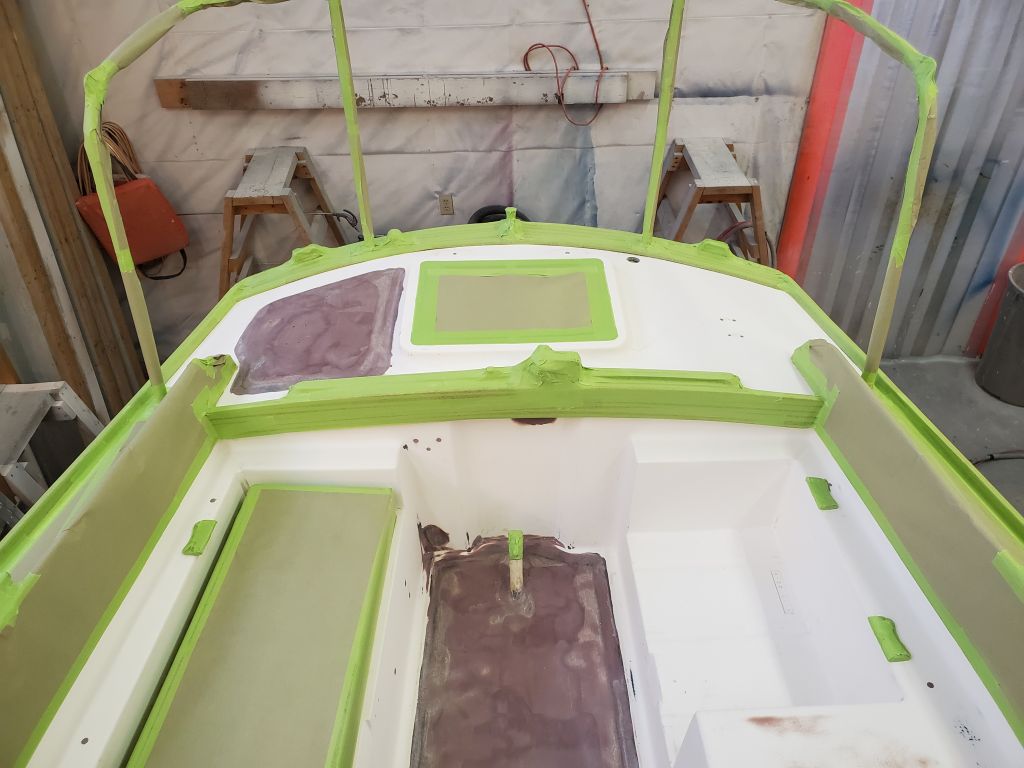
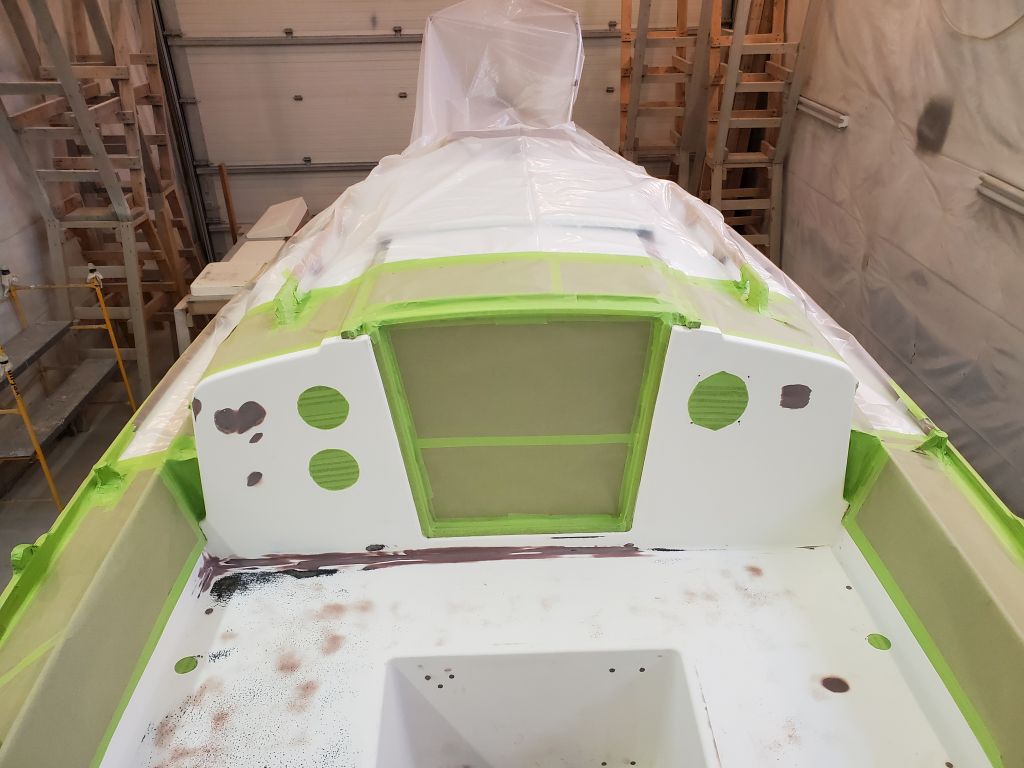
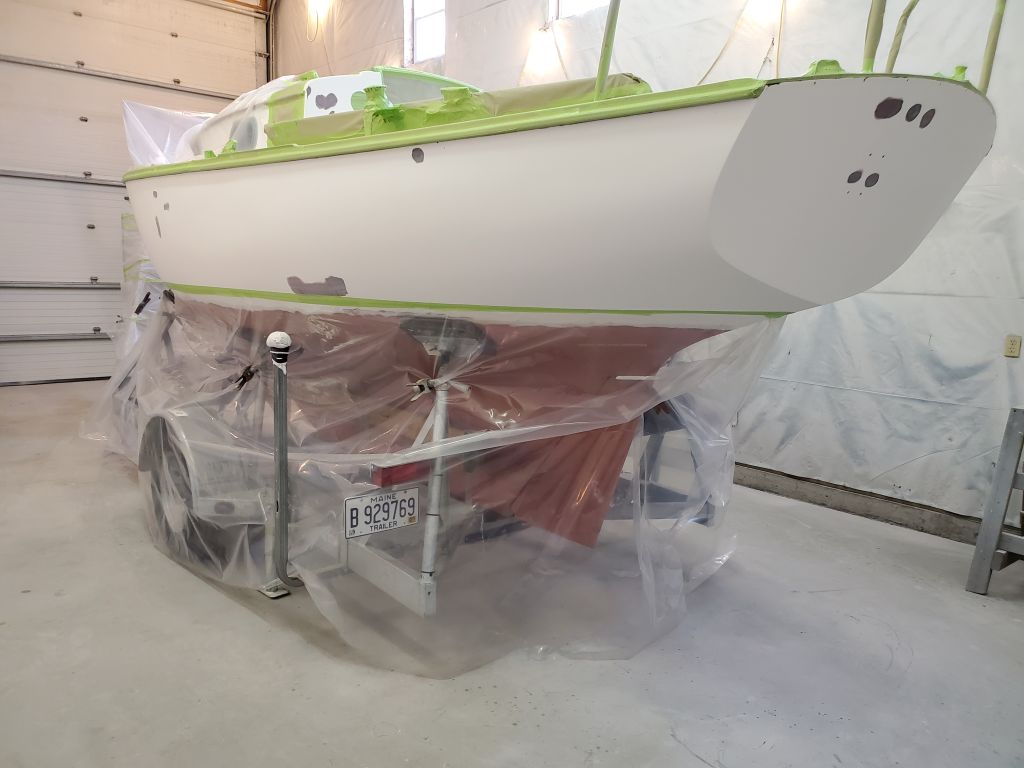
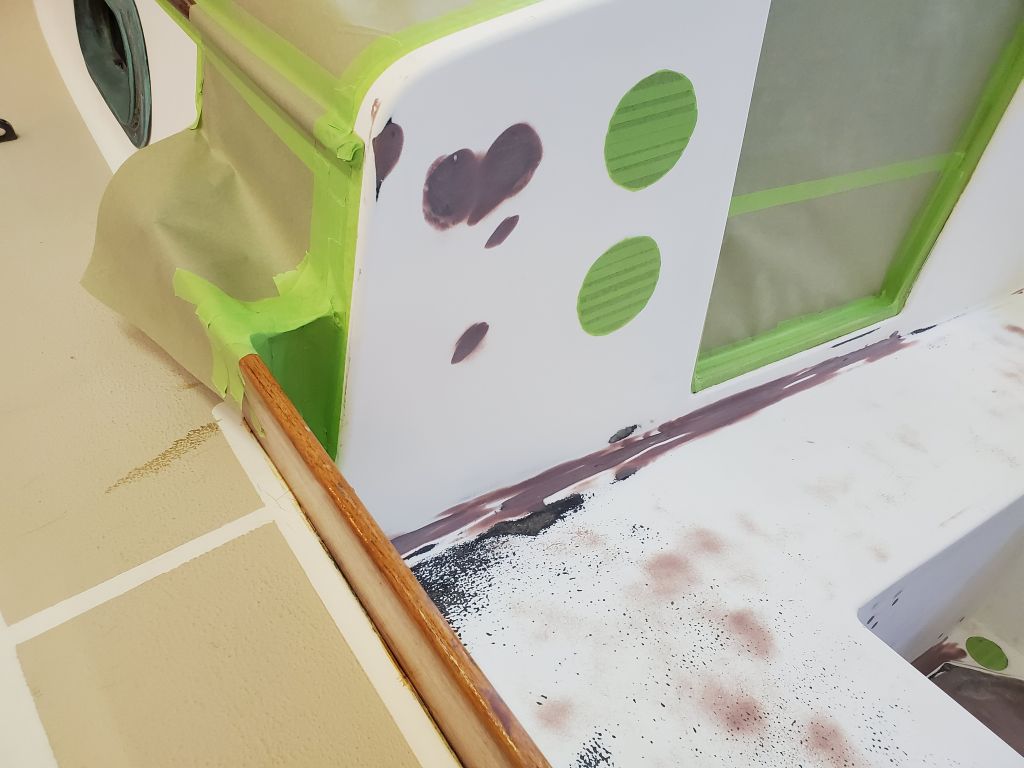
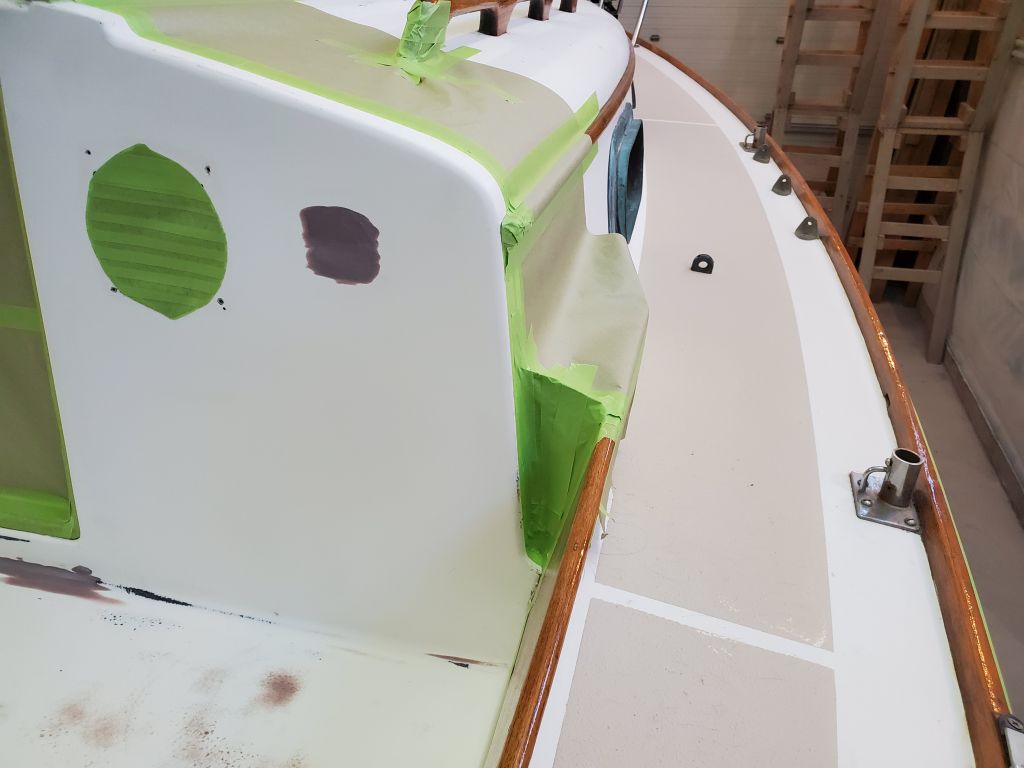
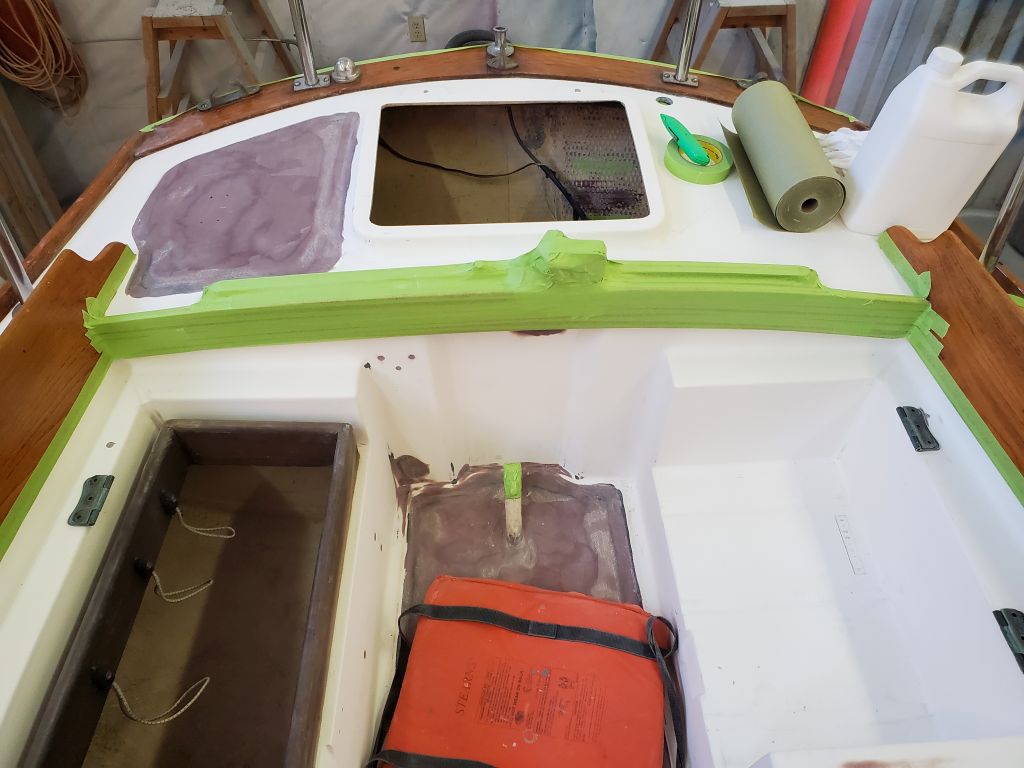
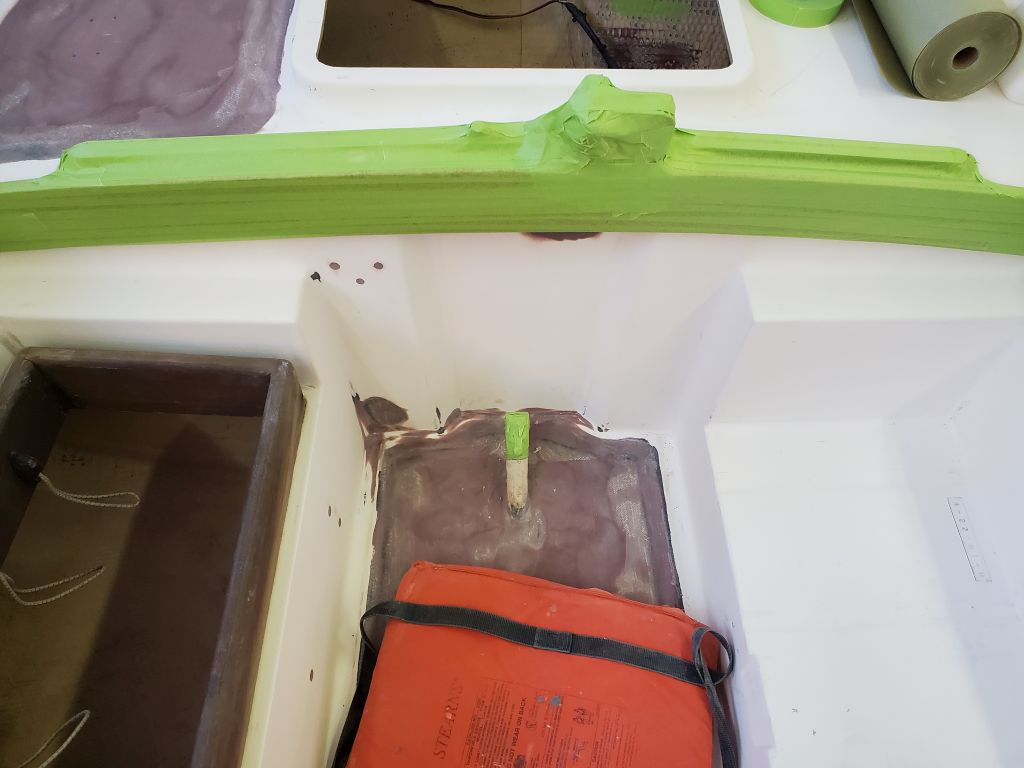
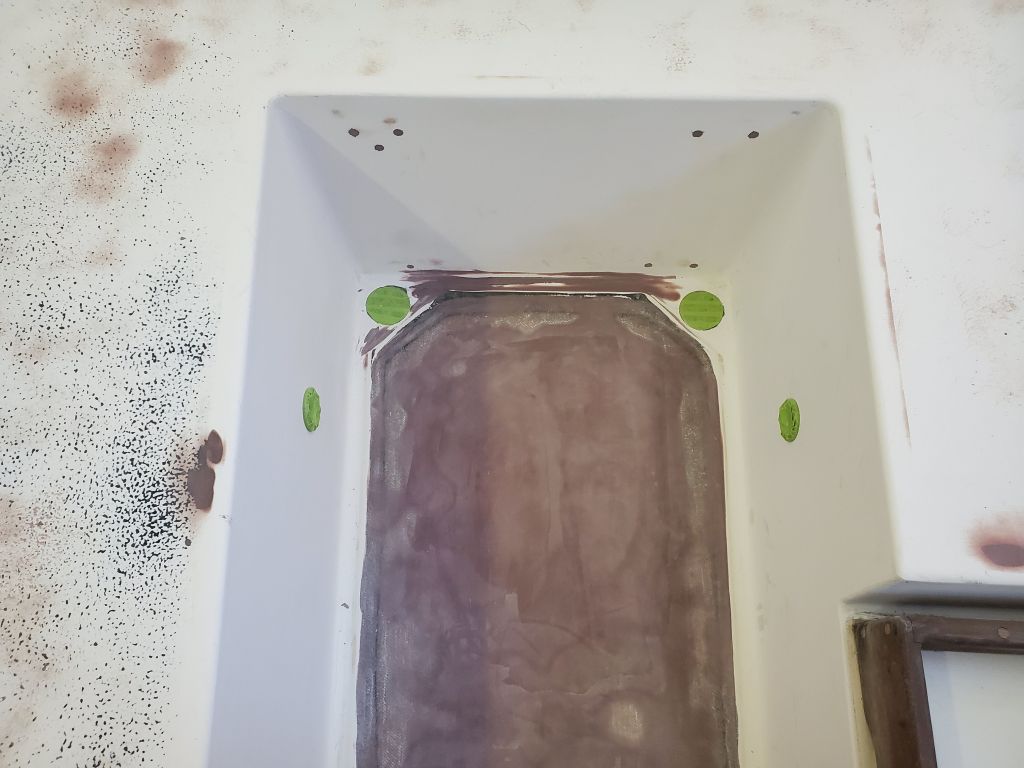
To prepare for the final topcoats in the cockpit, I laid out and masked off the eventual nonskid field areas, leaving a 1-1/2″ border around the edges in most areas.  At the locker lid openings, I reduced this to 3/4″ at the adjacent edges so that a corresponding 3/4″ border on the lids themselves would complete and make up the visual 1-1/2″ border.  I covered the field areas with masking paper to protect against overspray.

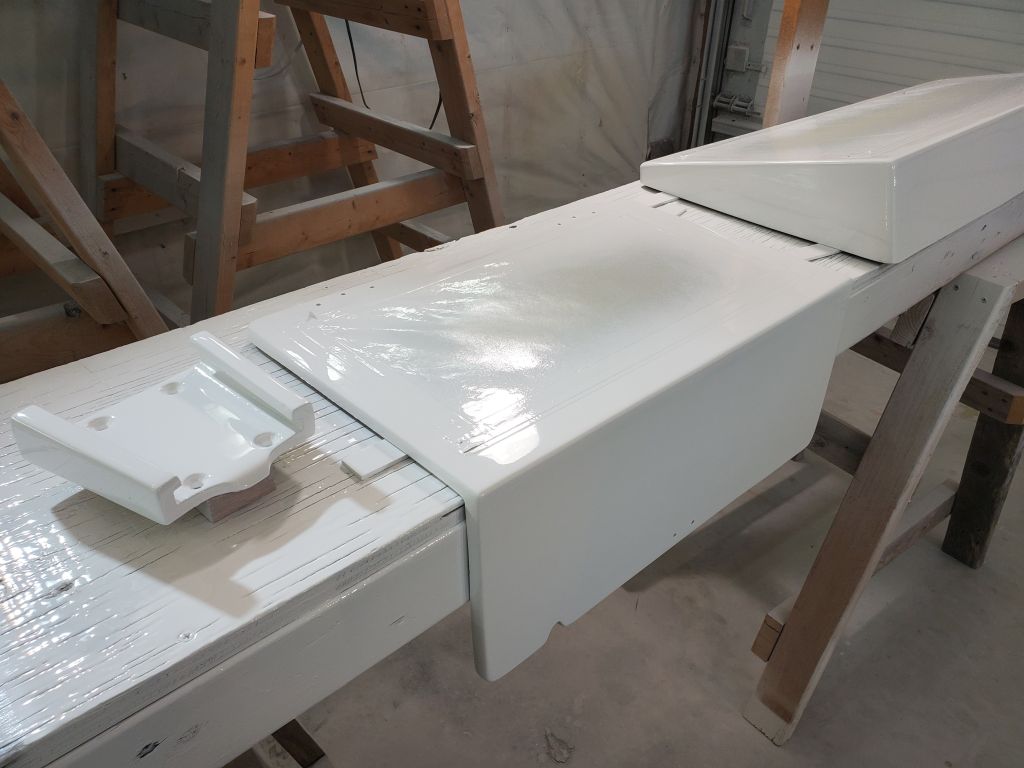
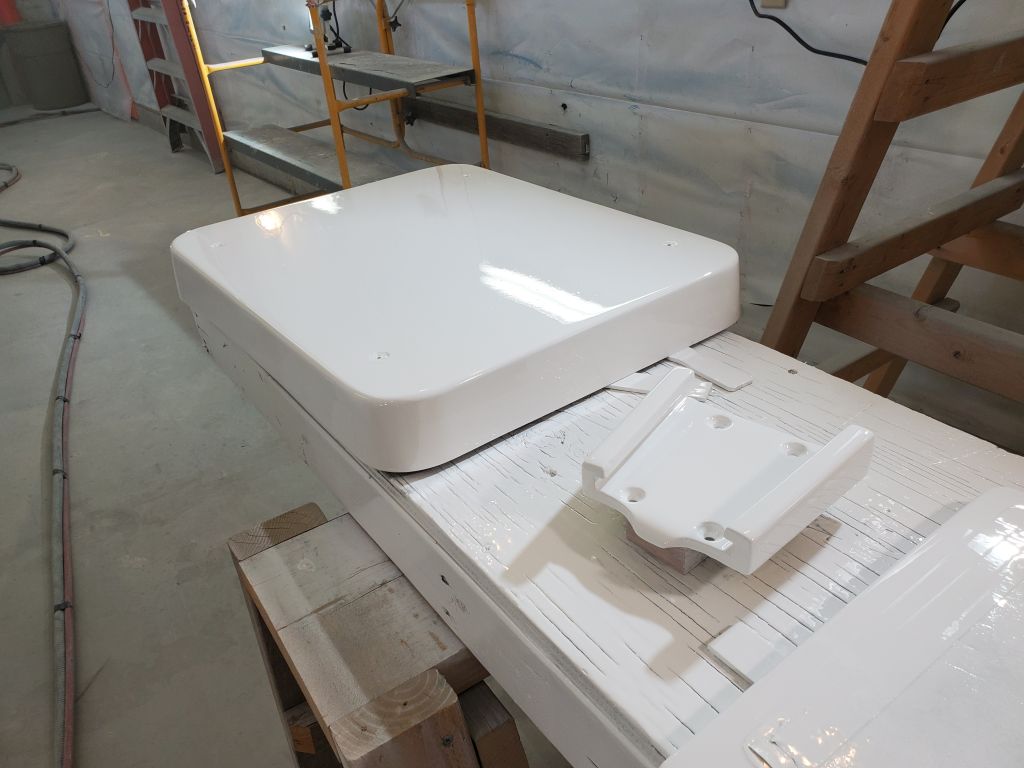
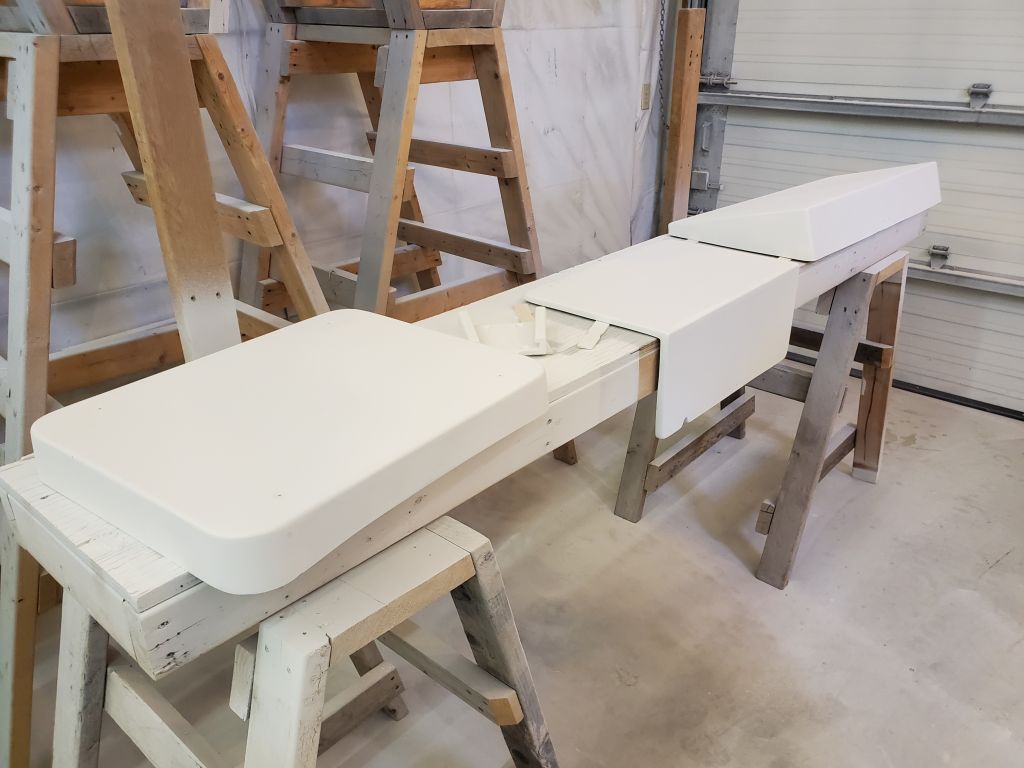
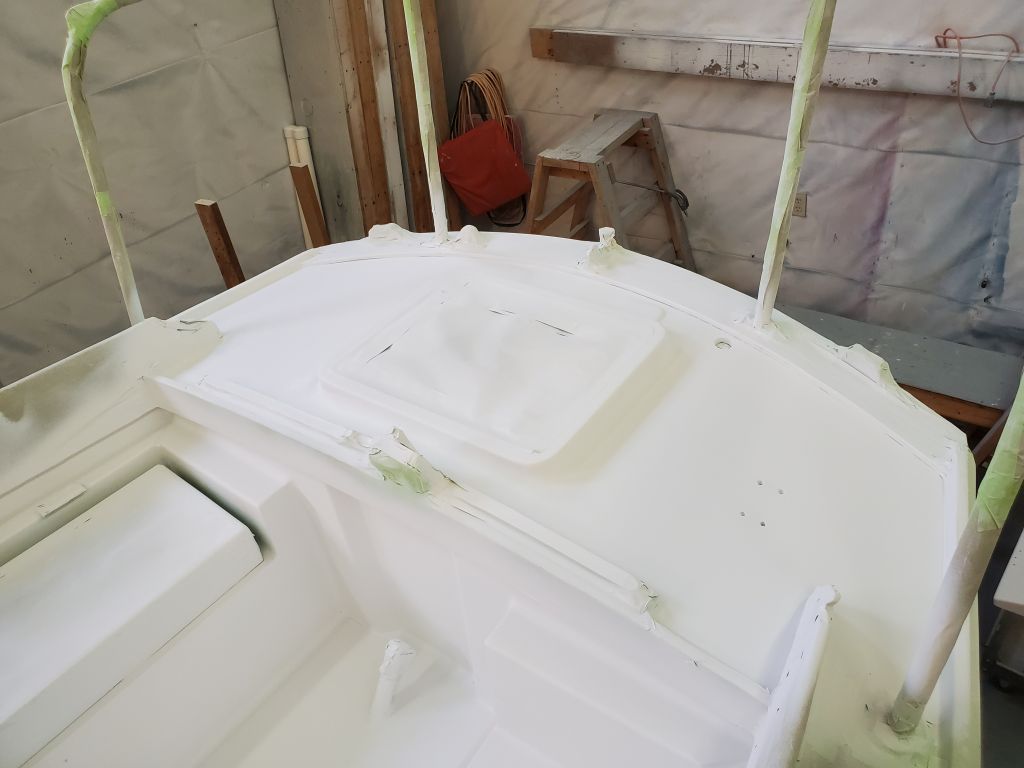
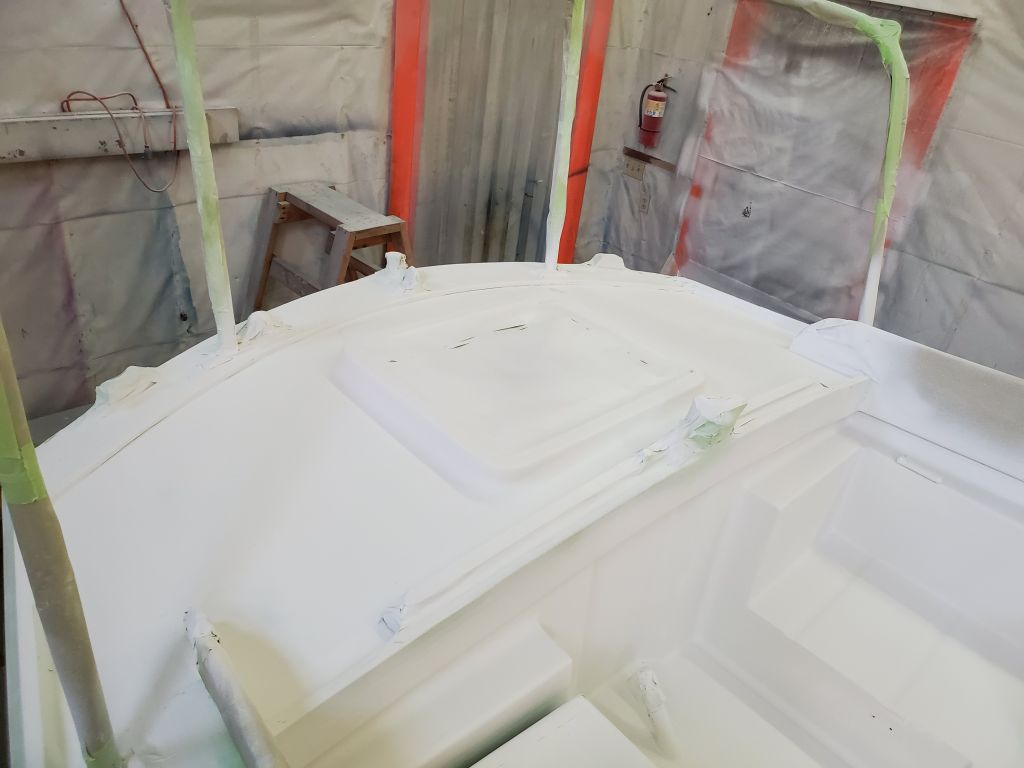
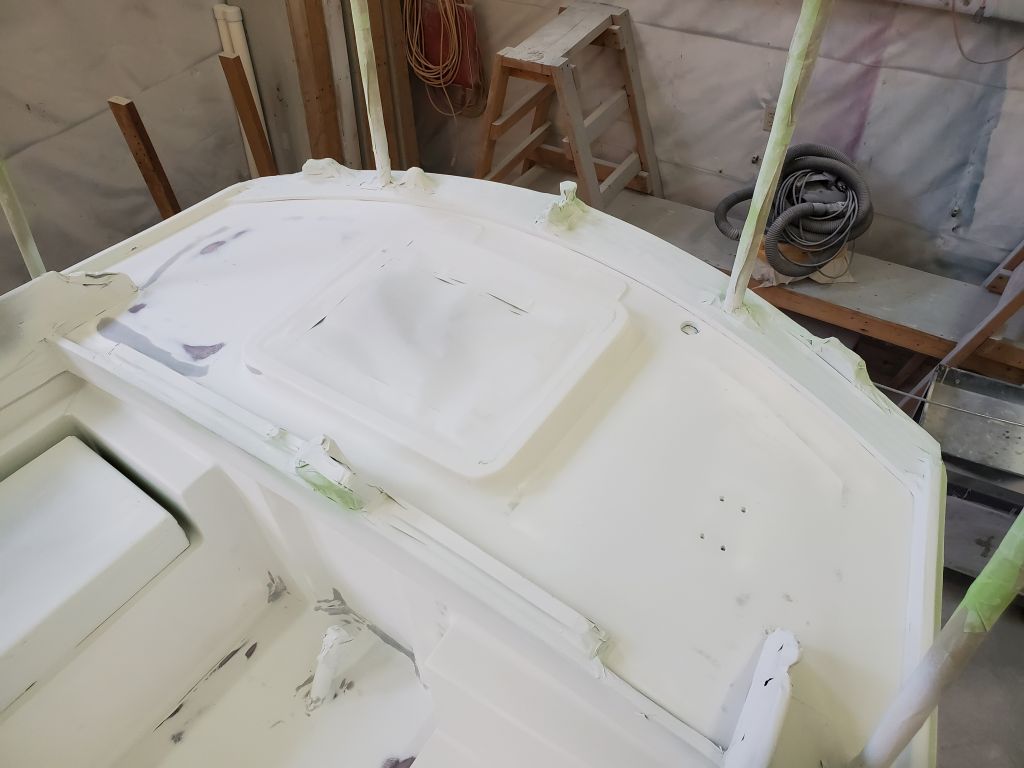
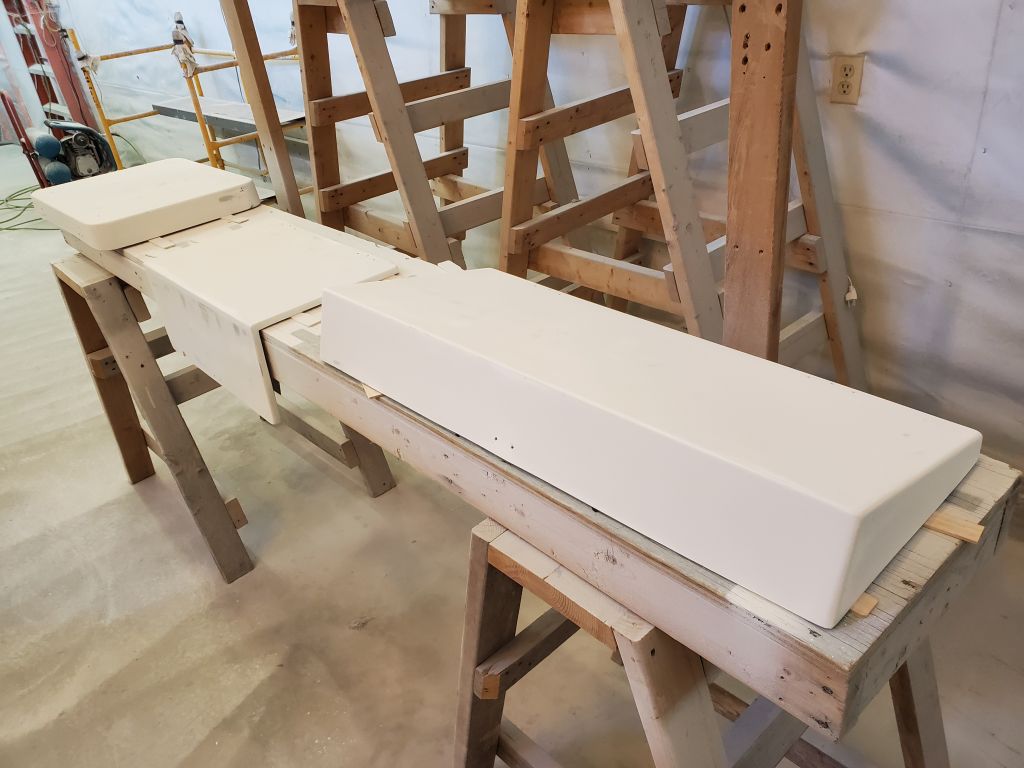
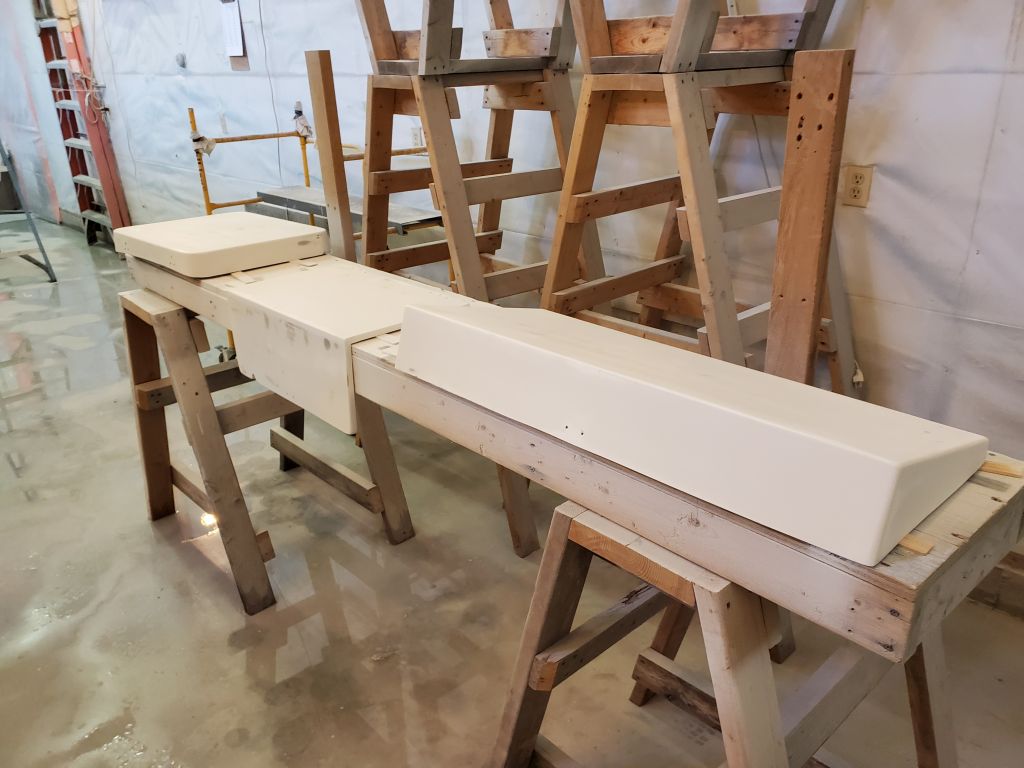
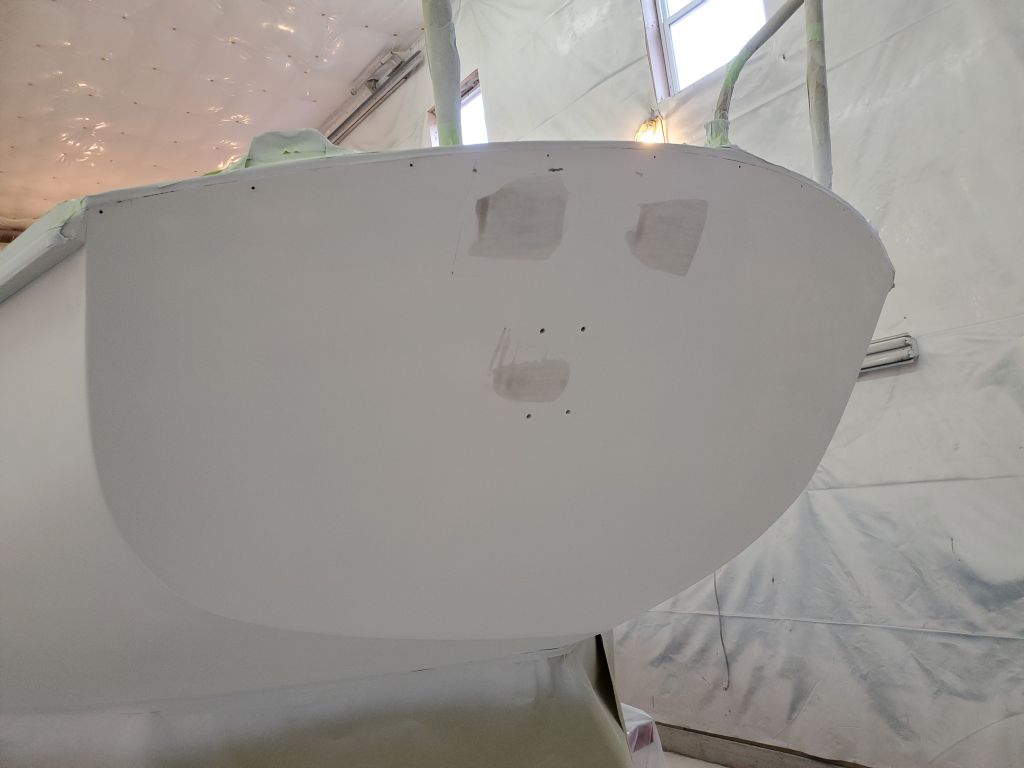
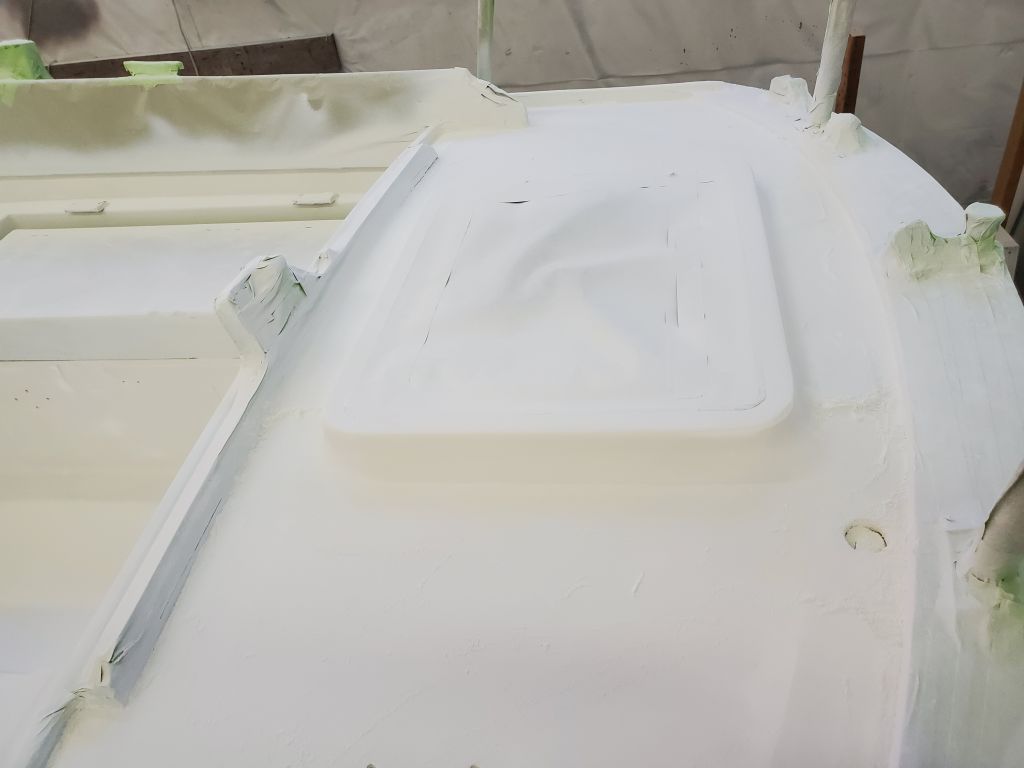
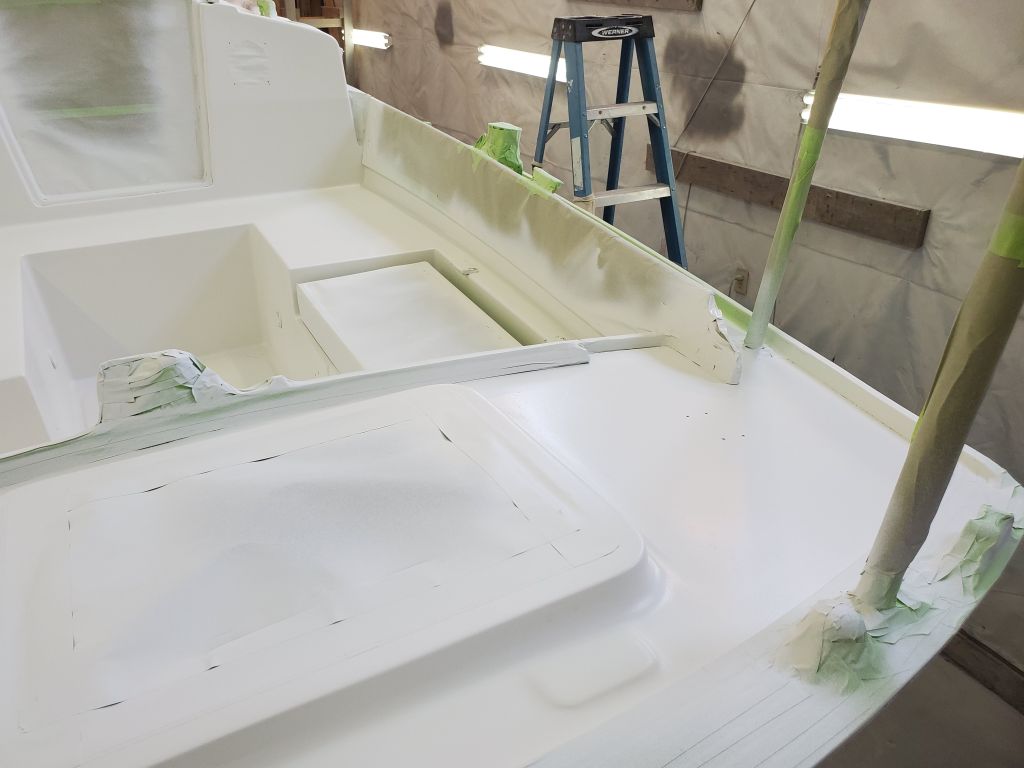
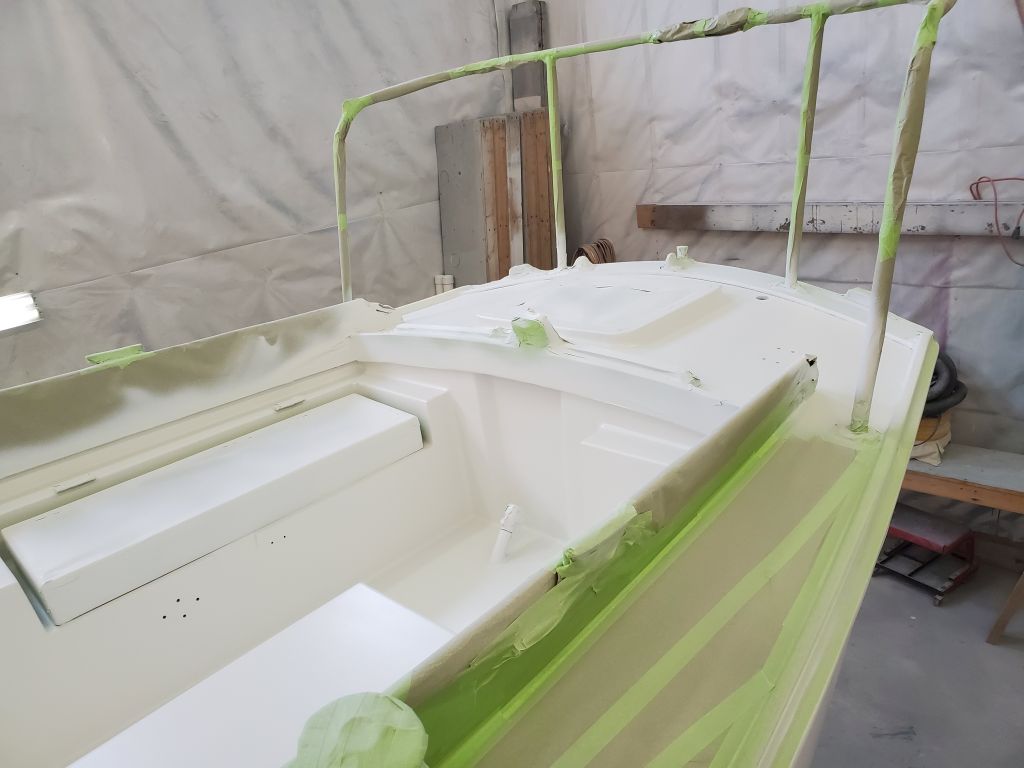
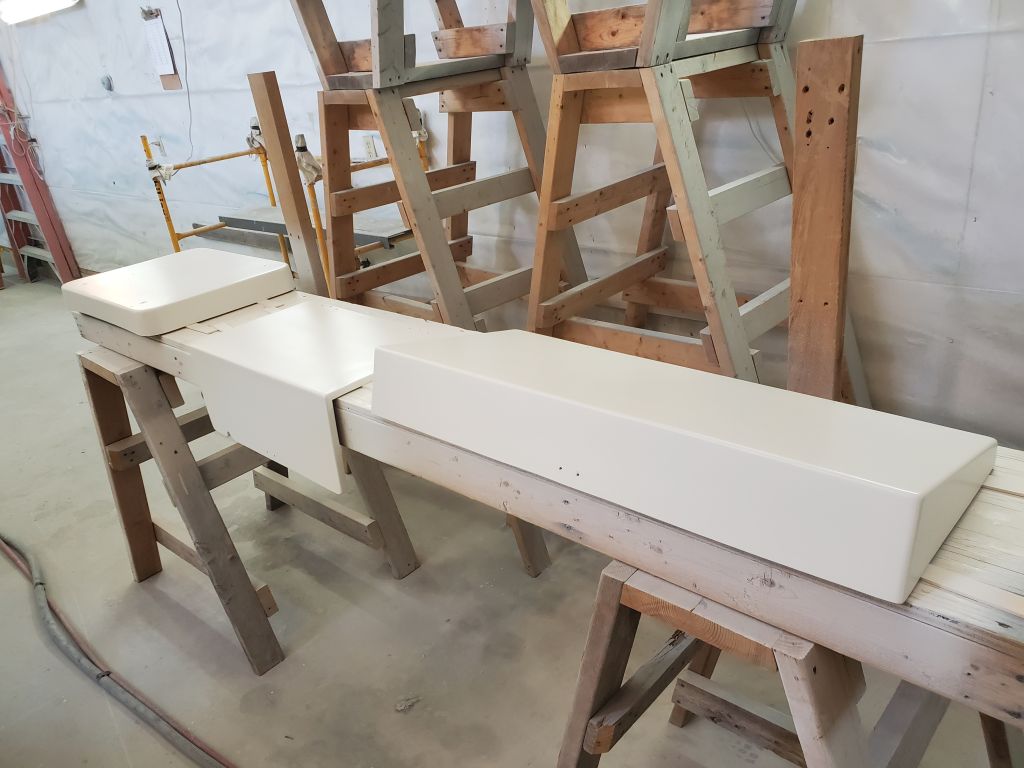
I put the lids temporarily in place while I marked and masked the borders against the cockpit well, so that the border would be straight and consistent between the lids and adjacent cockpit faces, but I finished up the masking down on the bench.  I didn’t mask off a nonskid area on the lazarette hatch since most of this hatch would be covered by the permanently-attached solar panel, and I saw no reason for the textured surface there, but nonskid could easily be added to this hatch in the future if desired.

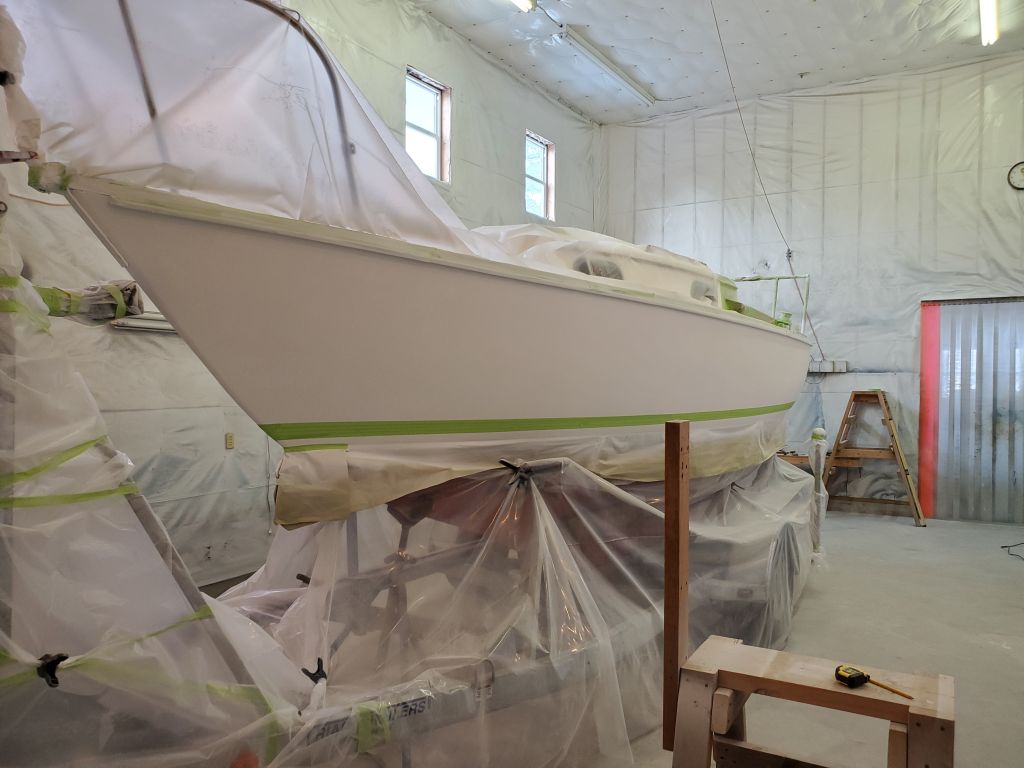
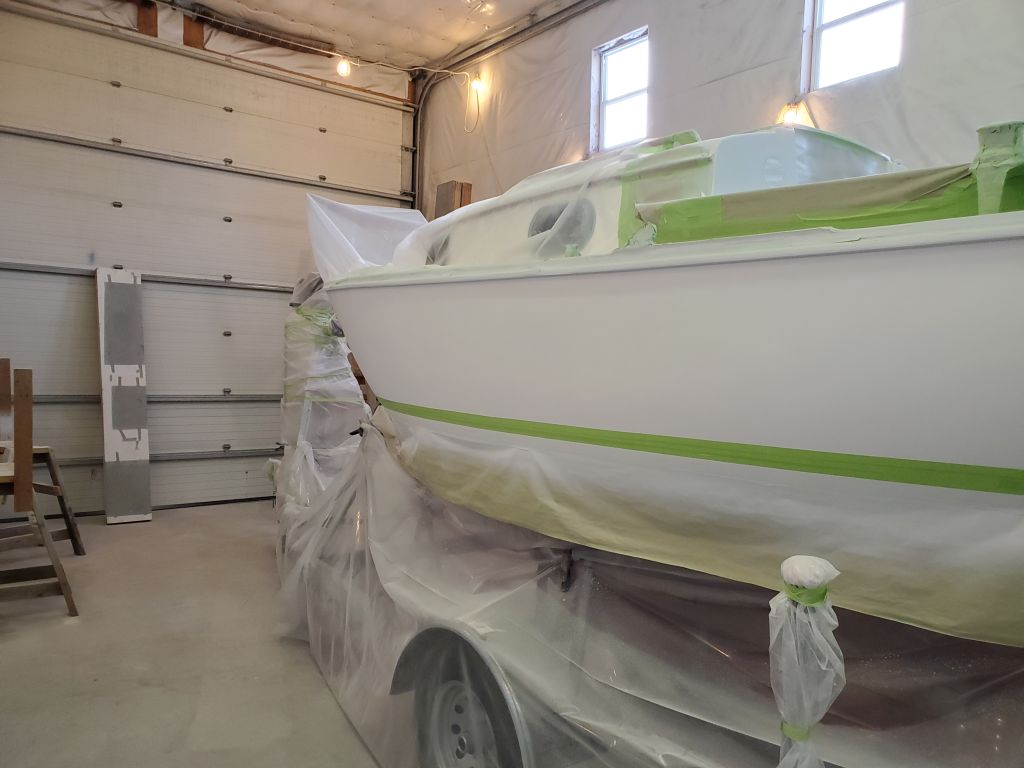
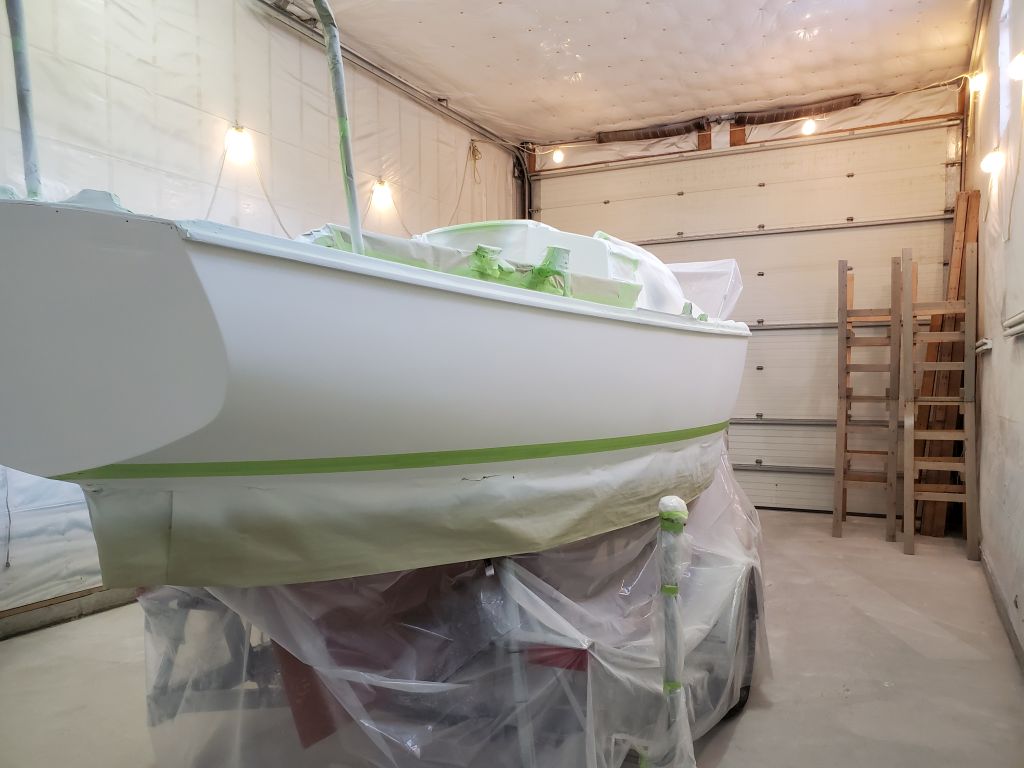
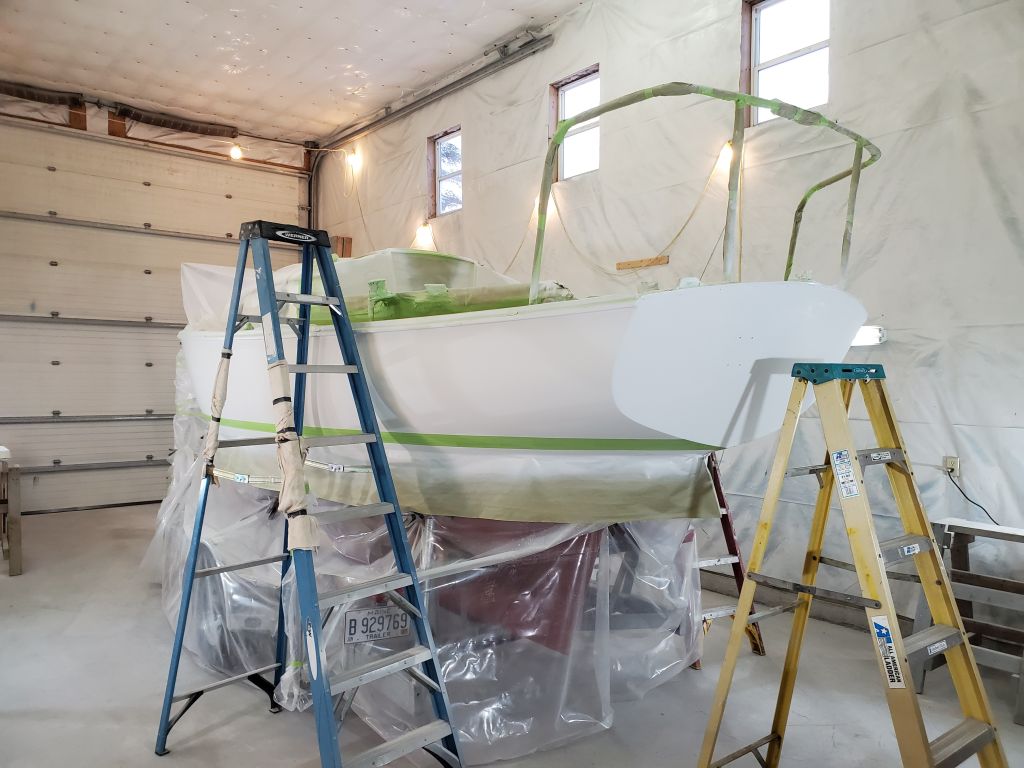
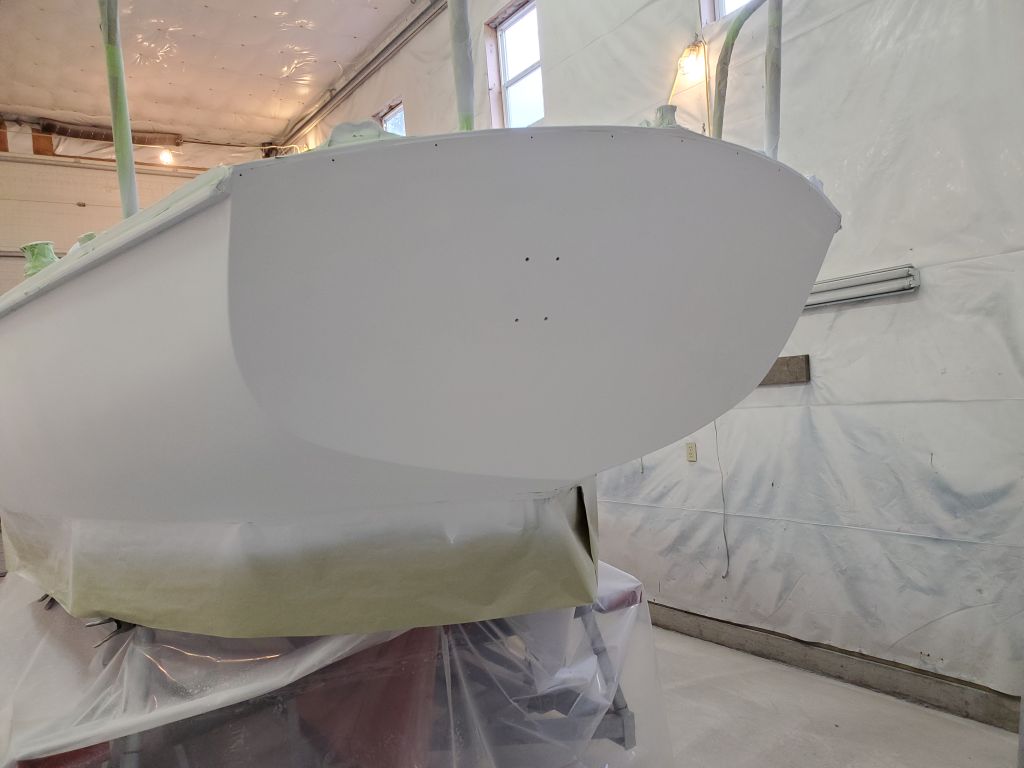
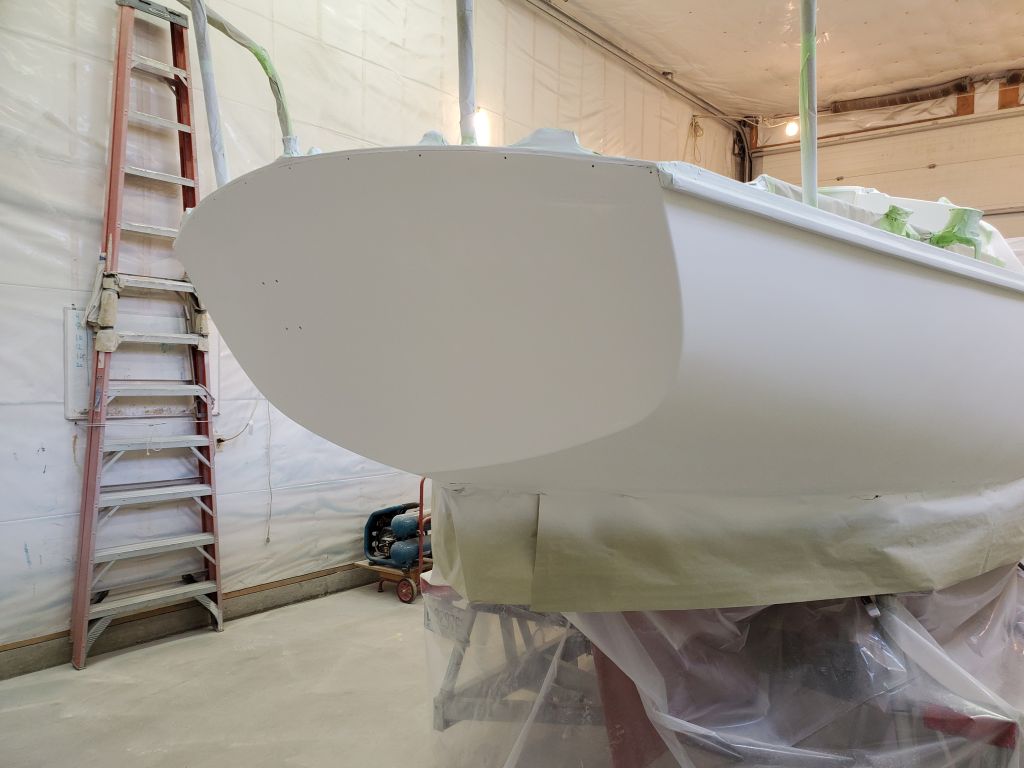
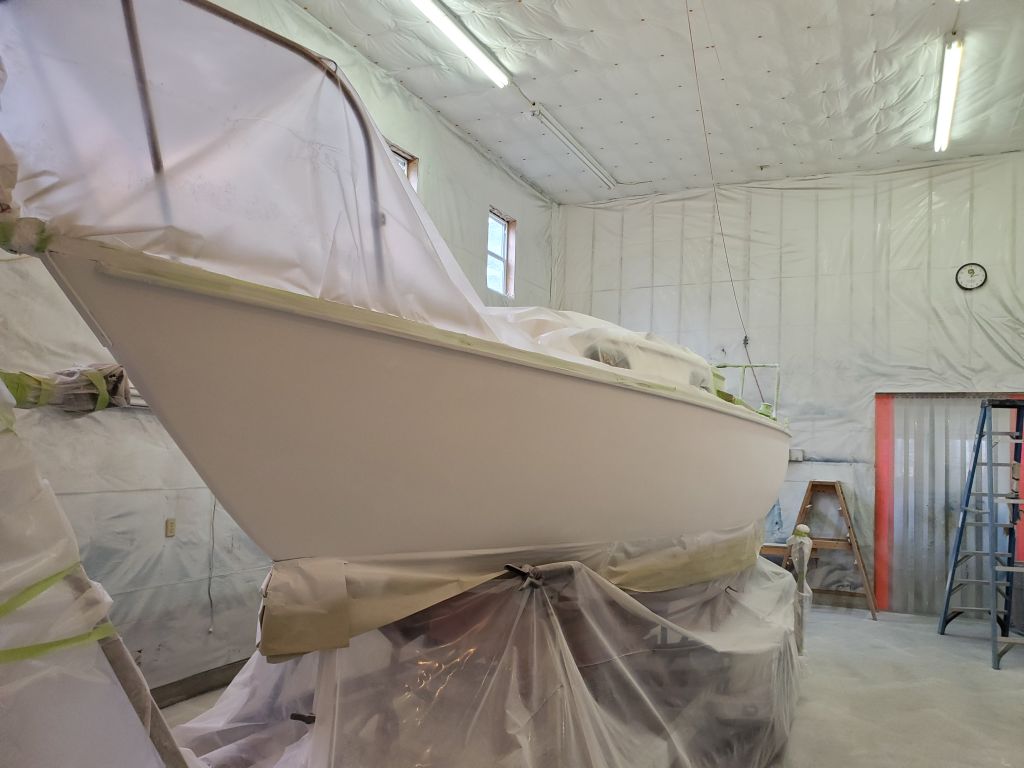
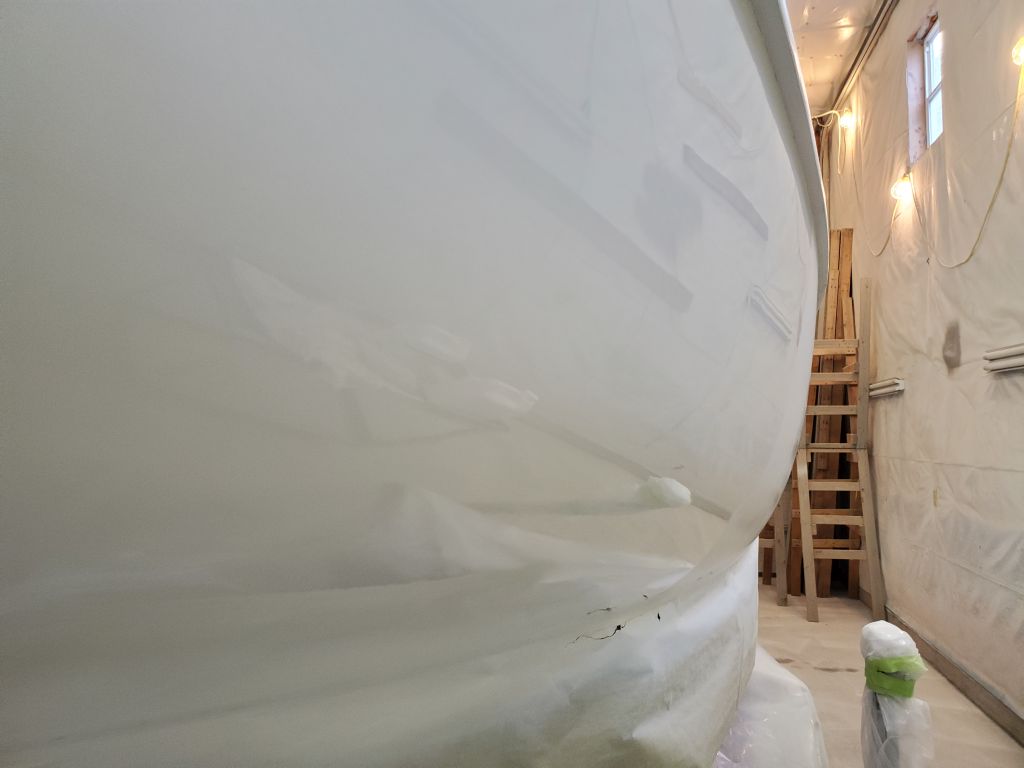
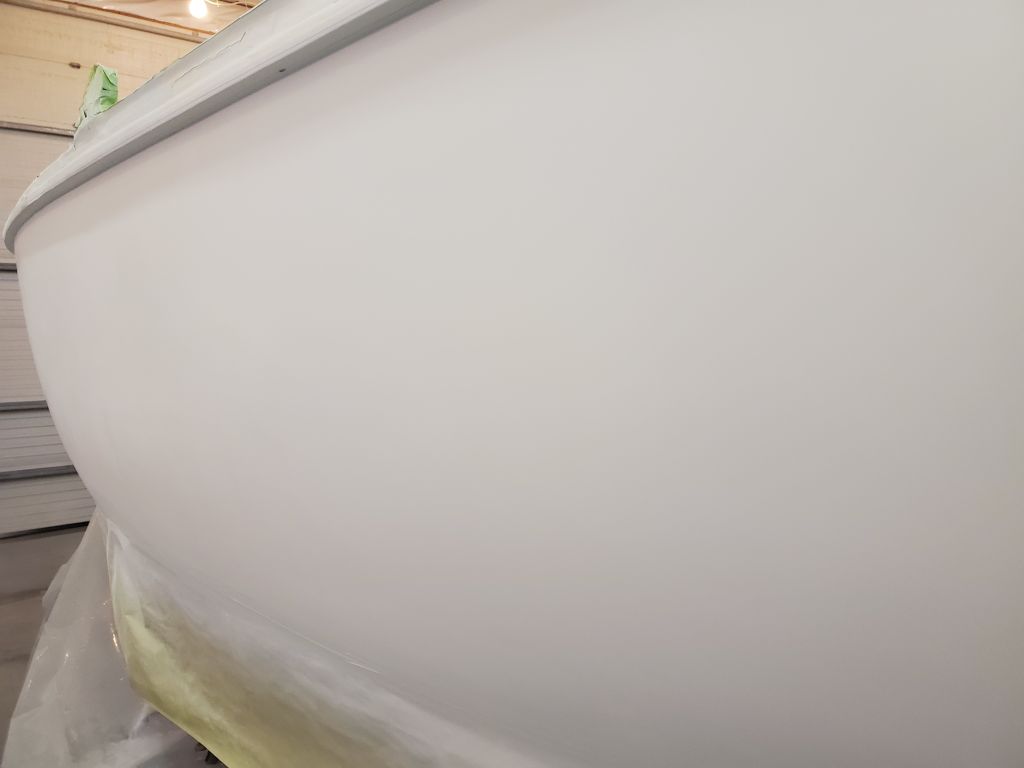
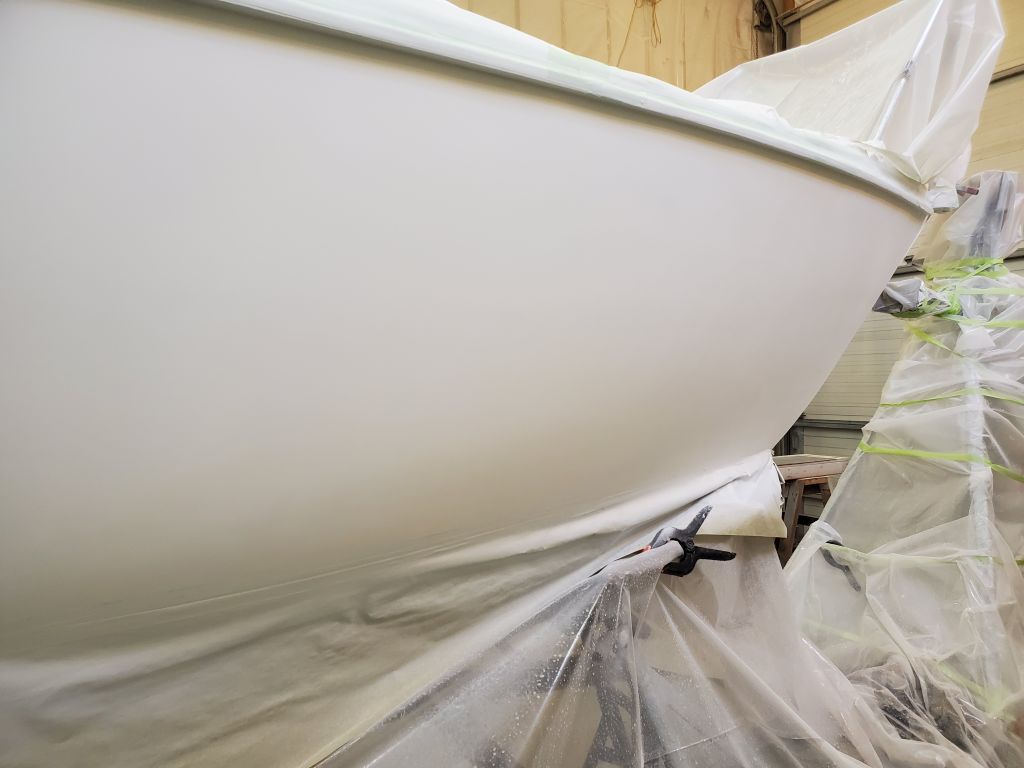
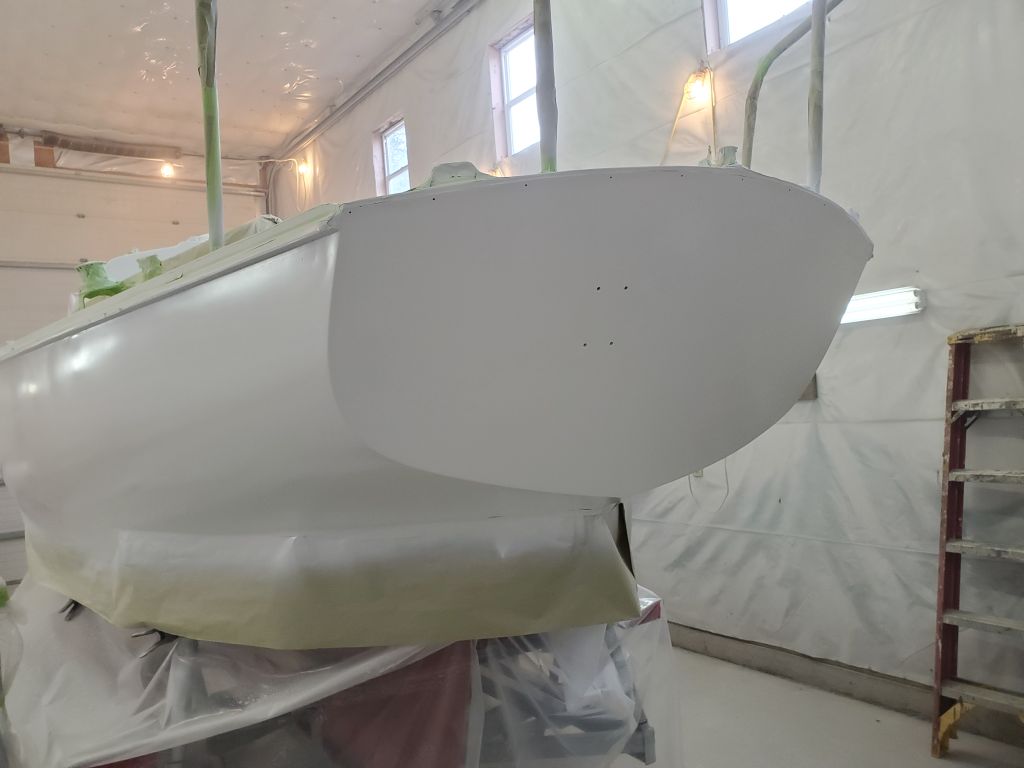
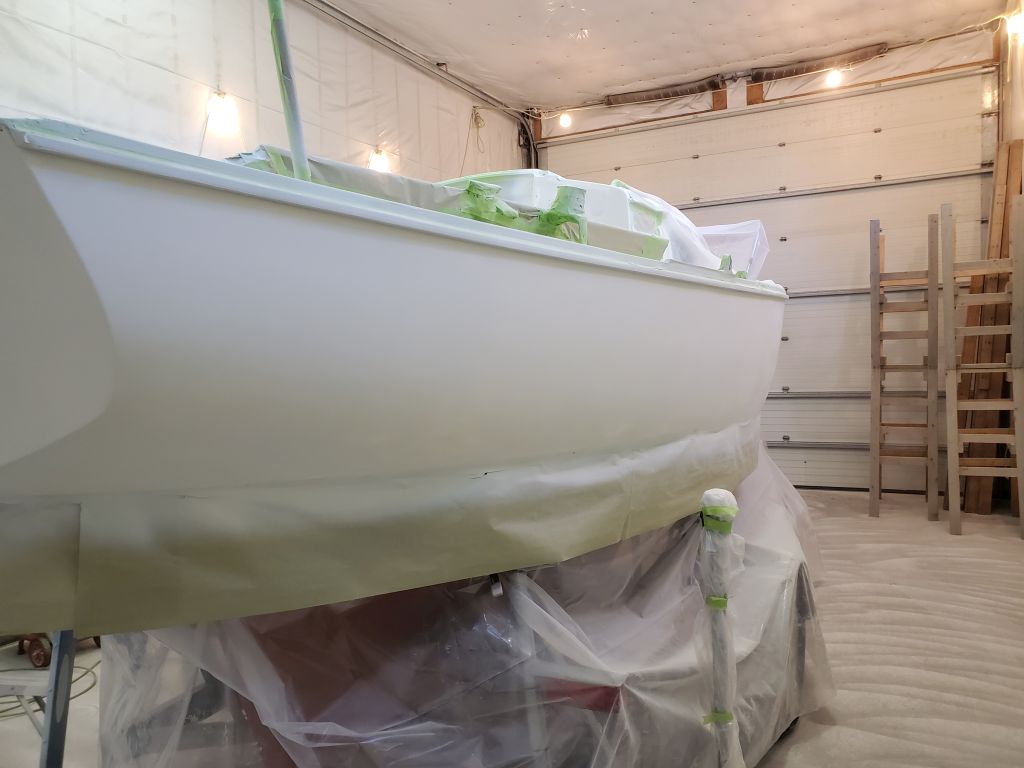
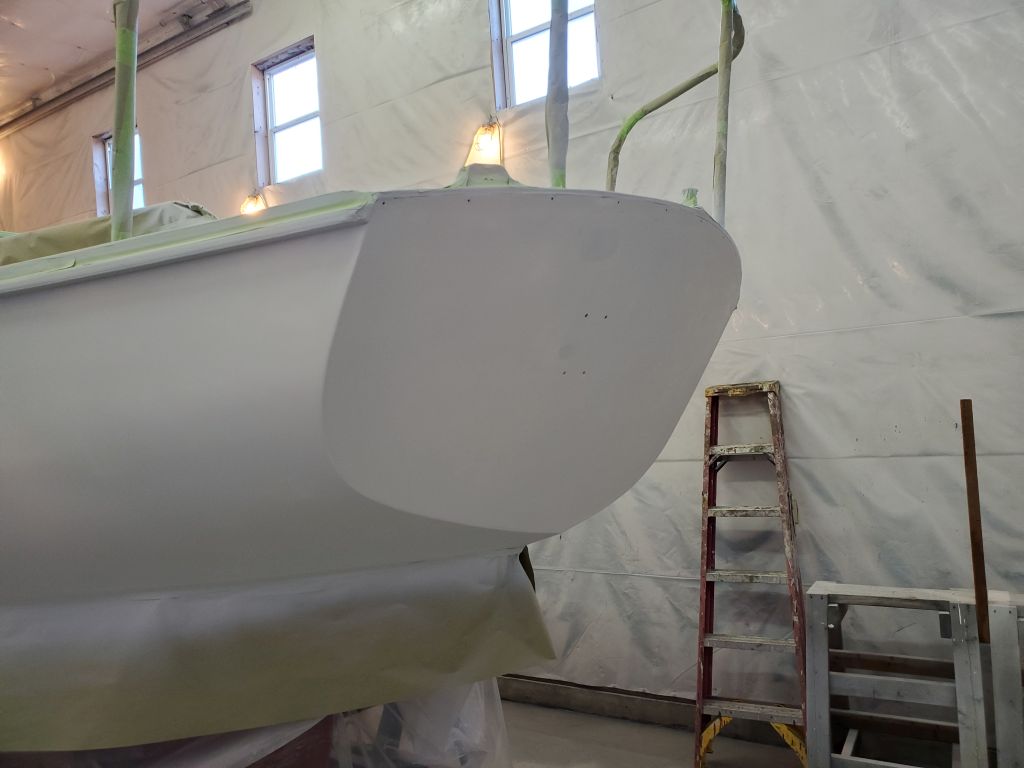
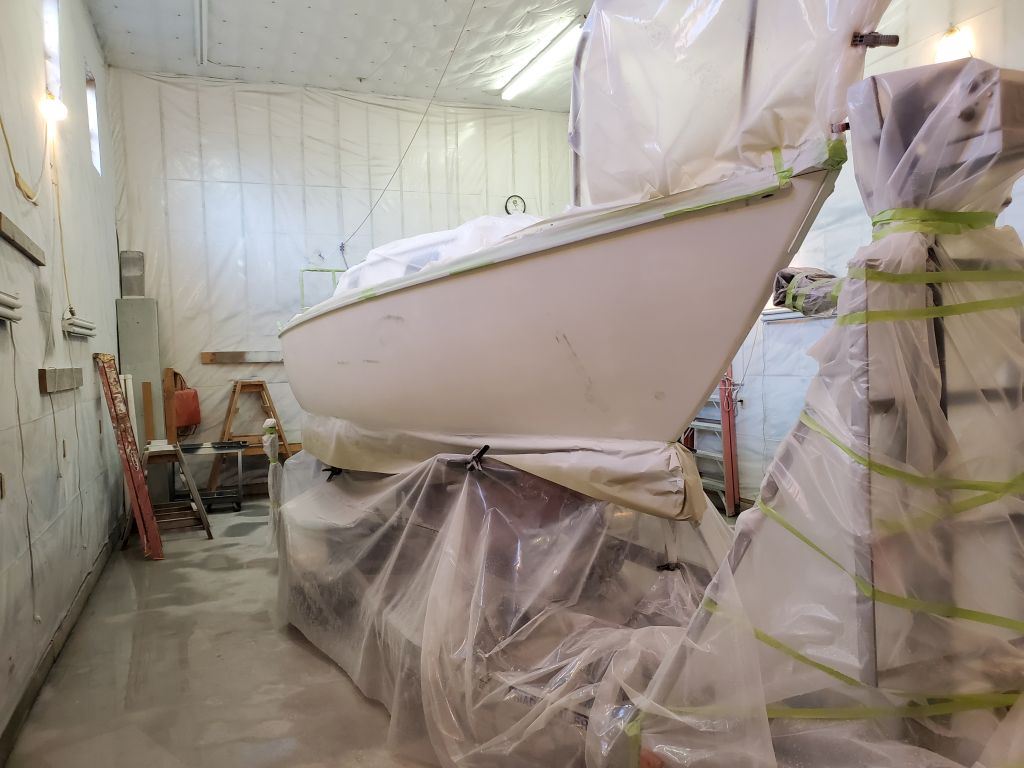
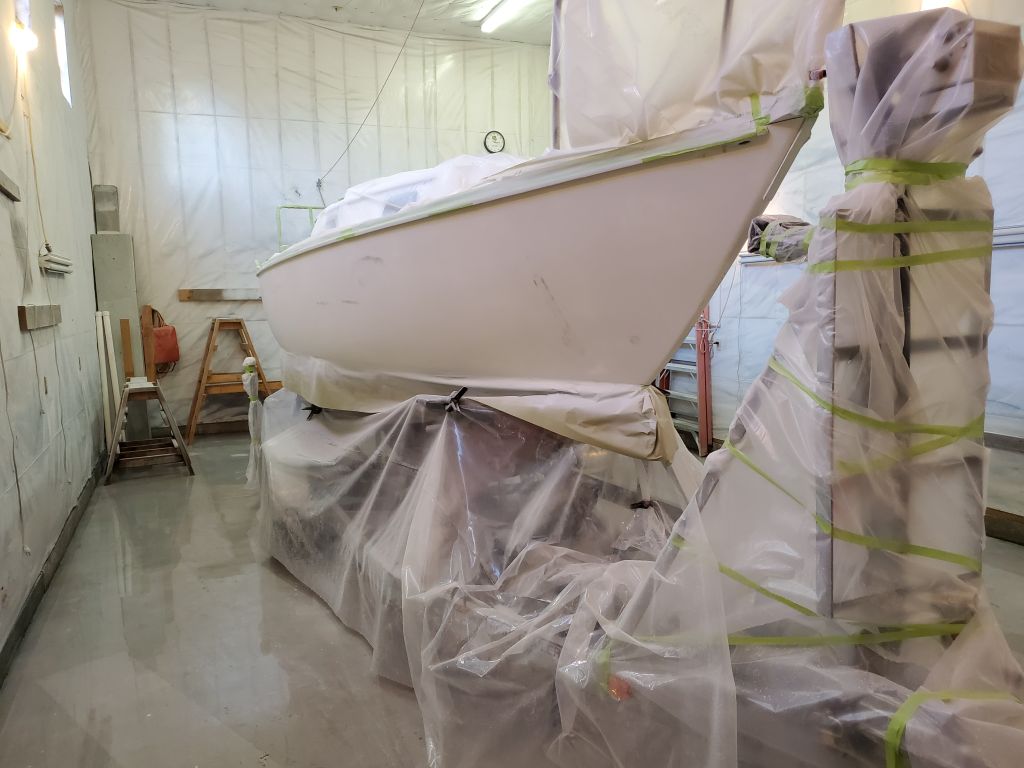
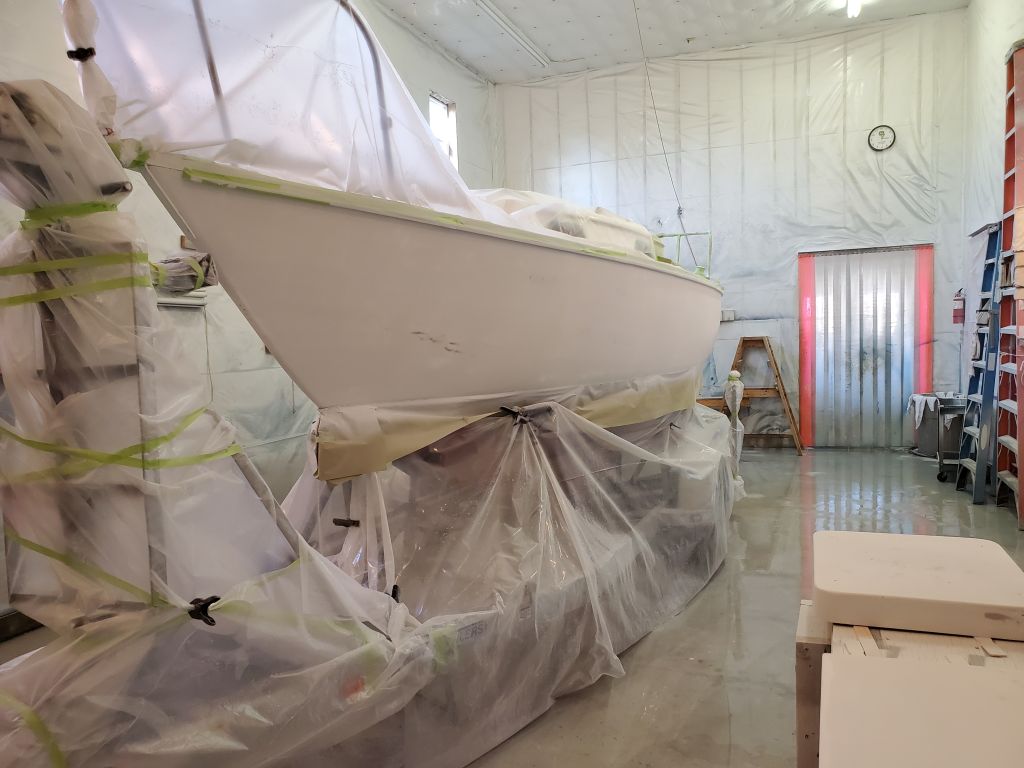
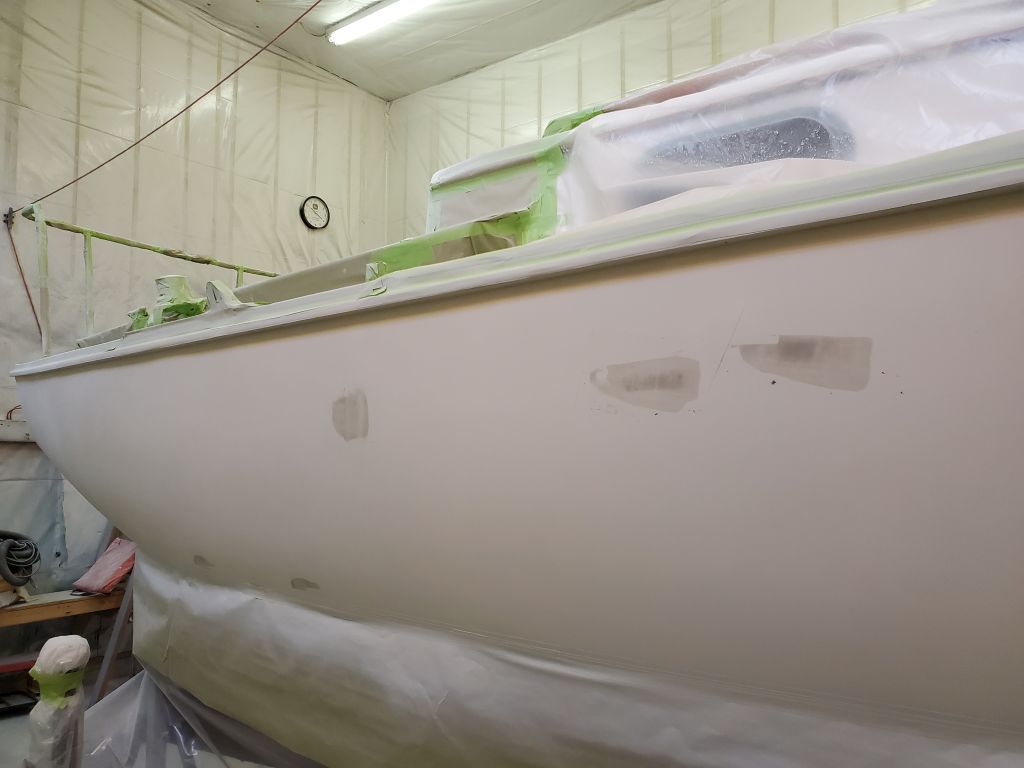
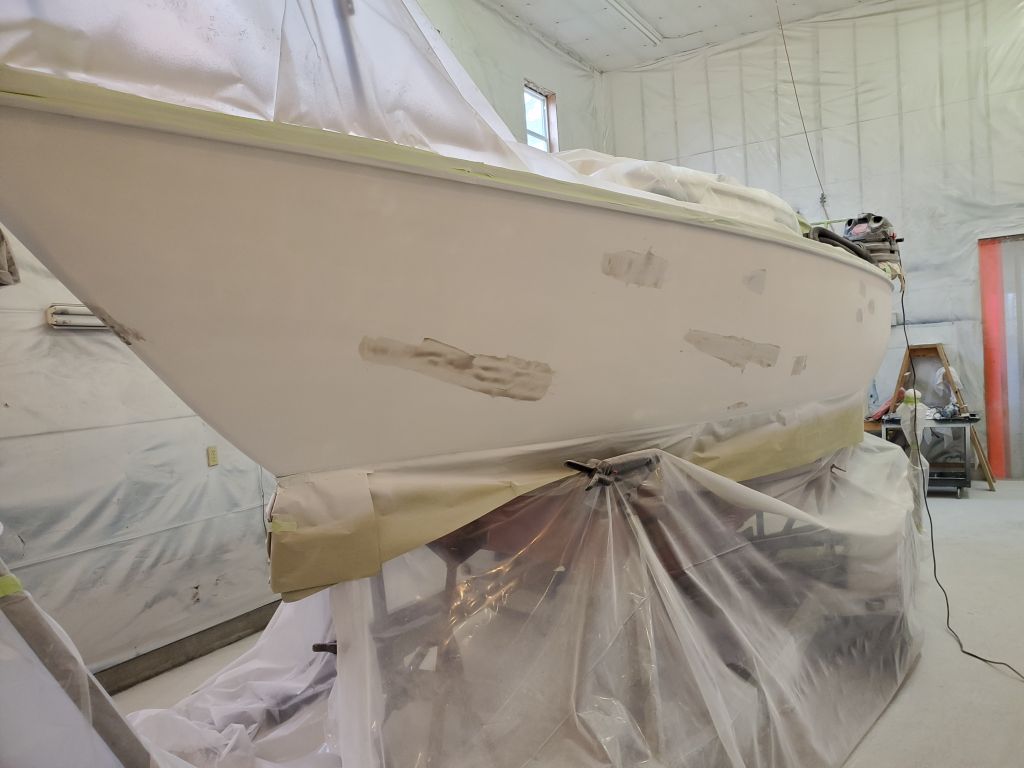
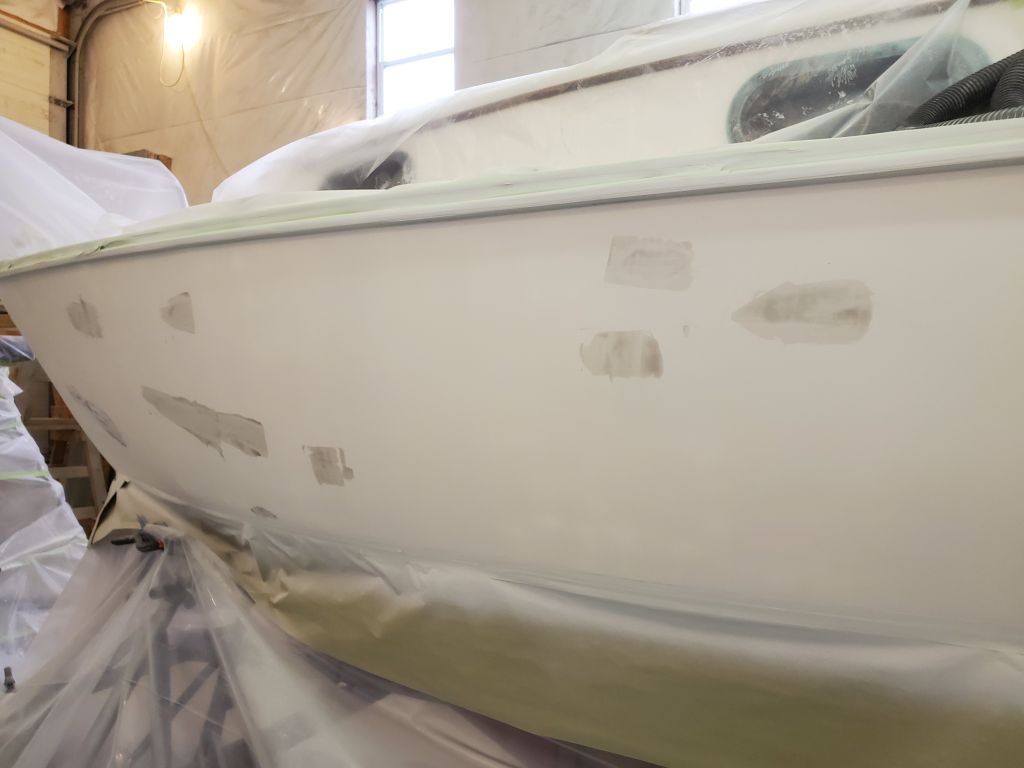
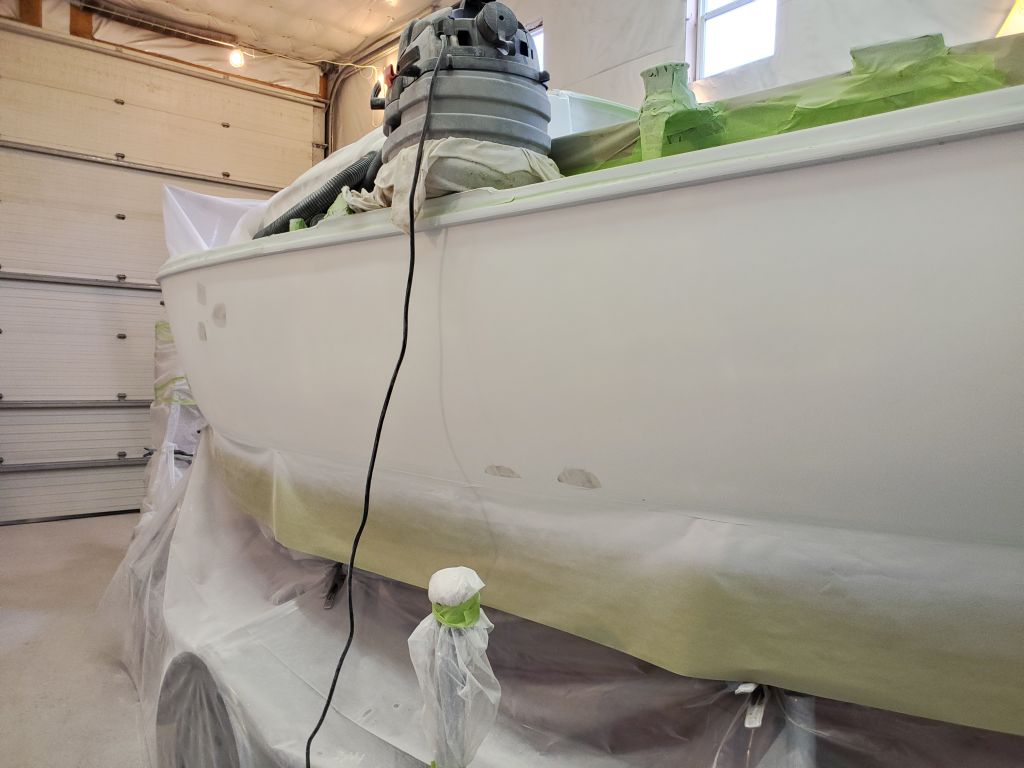
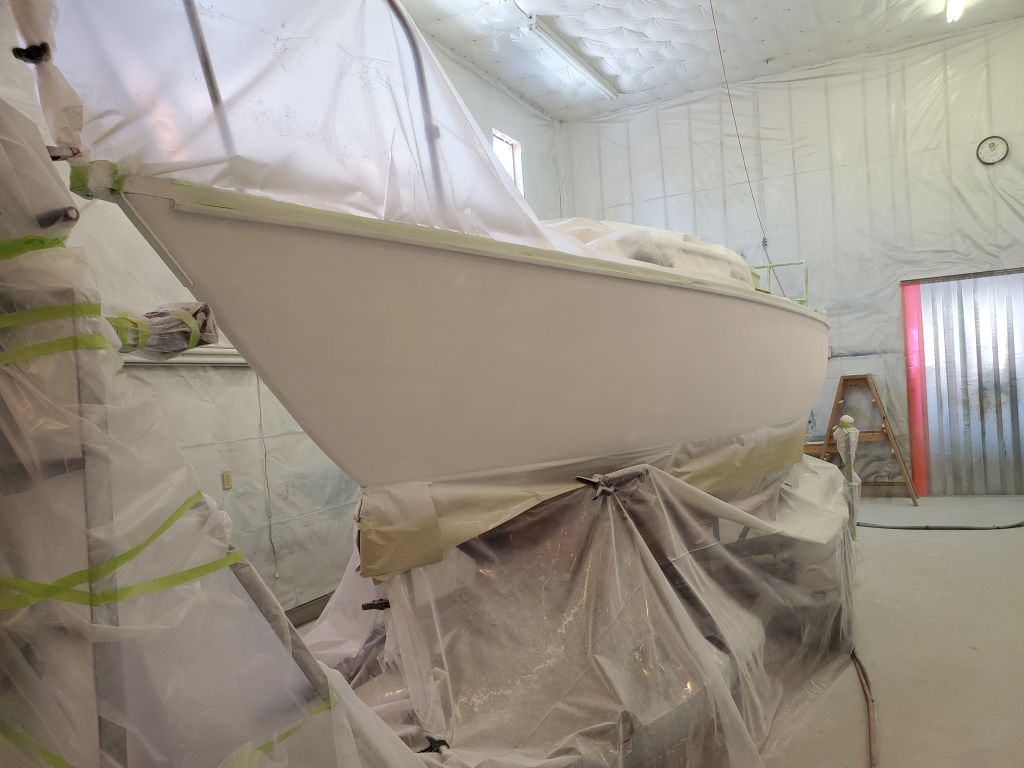
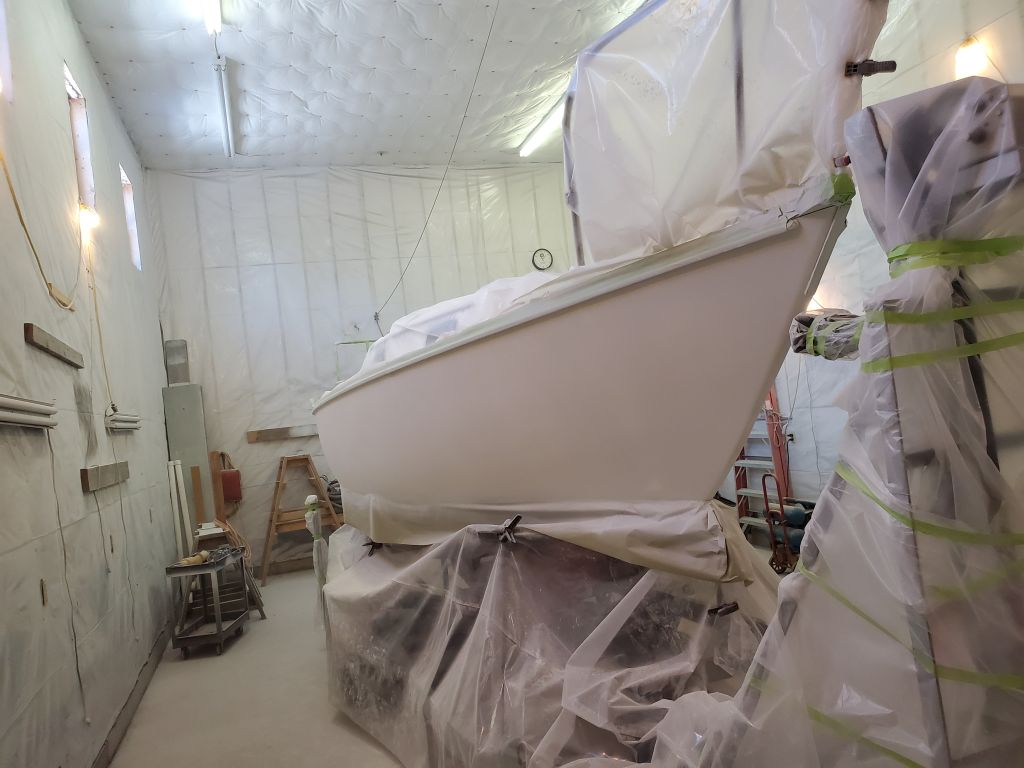
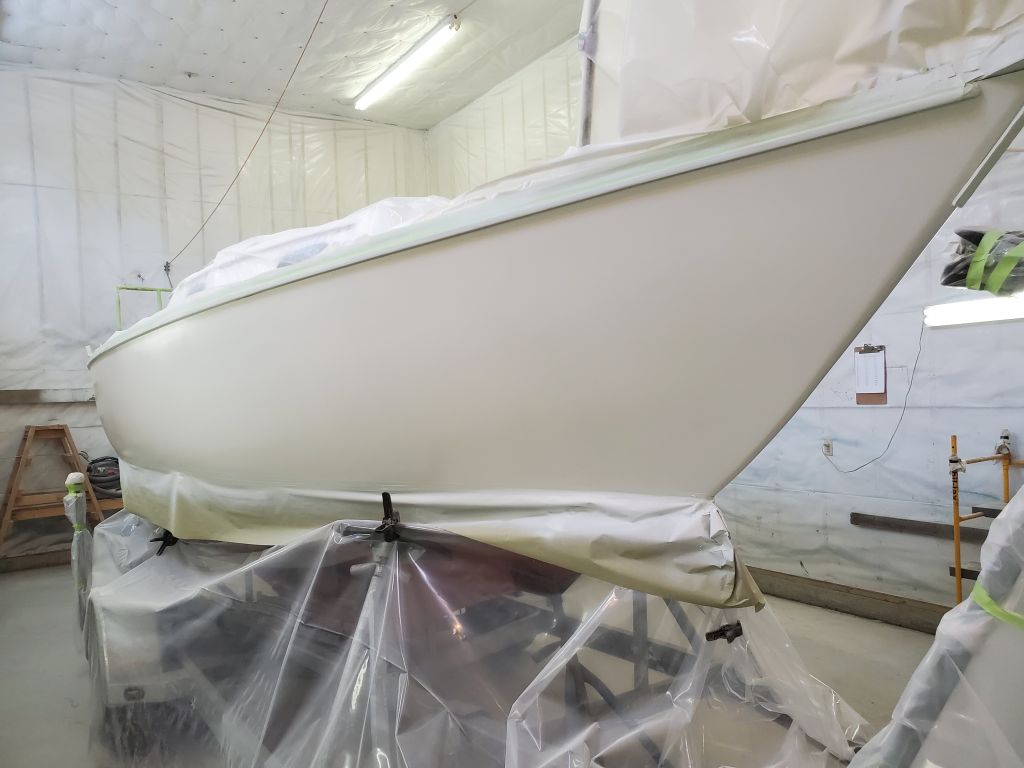
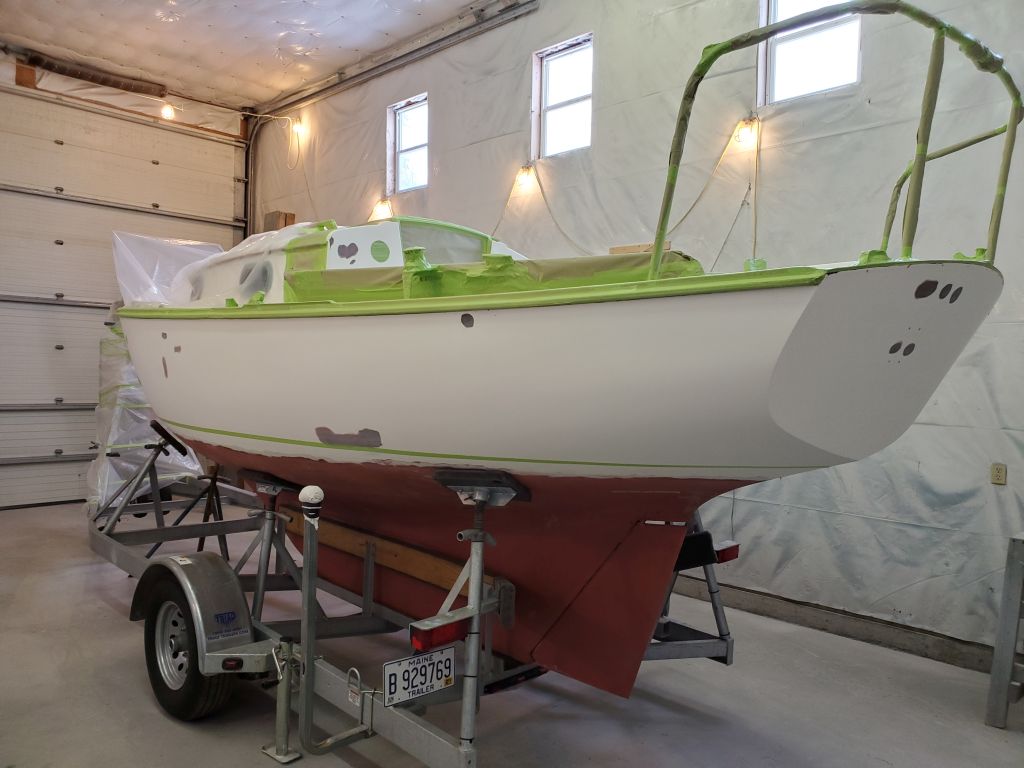
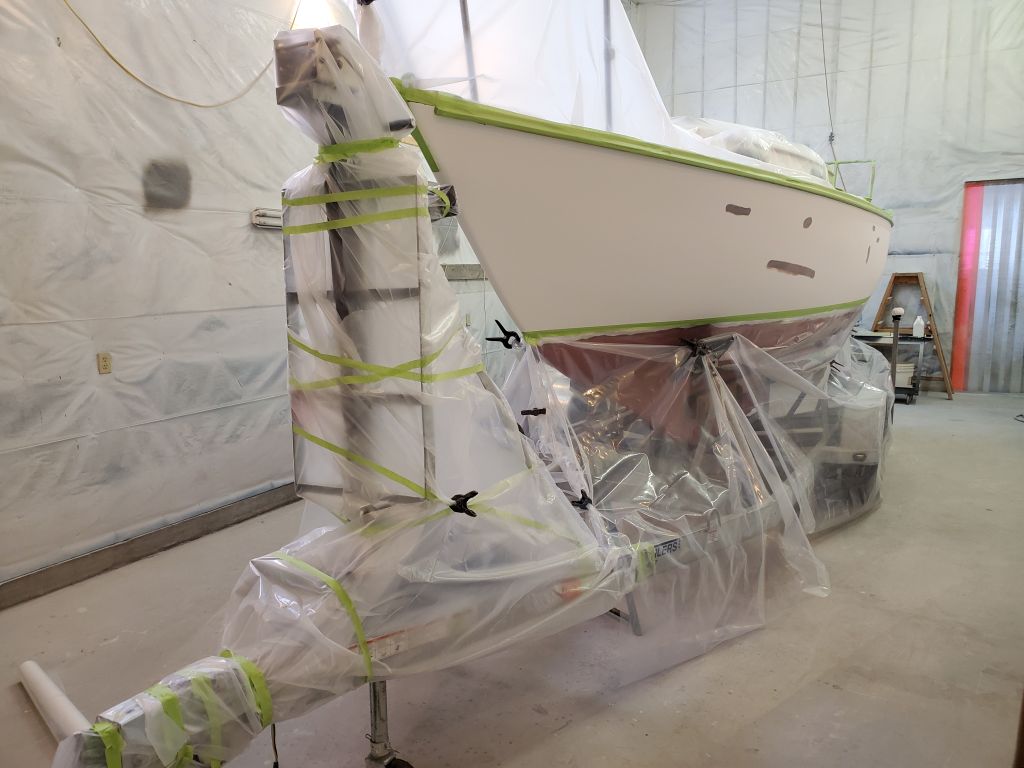
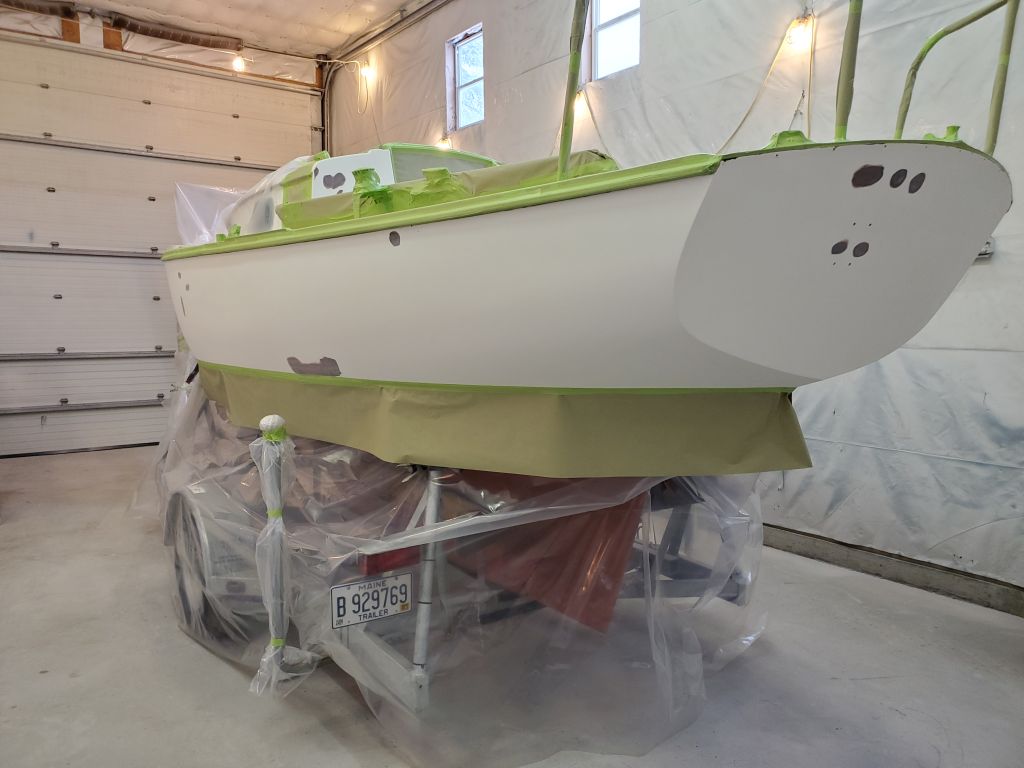
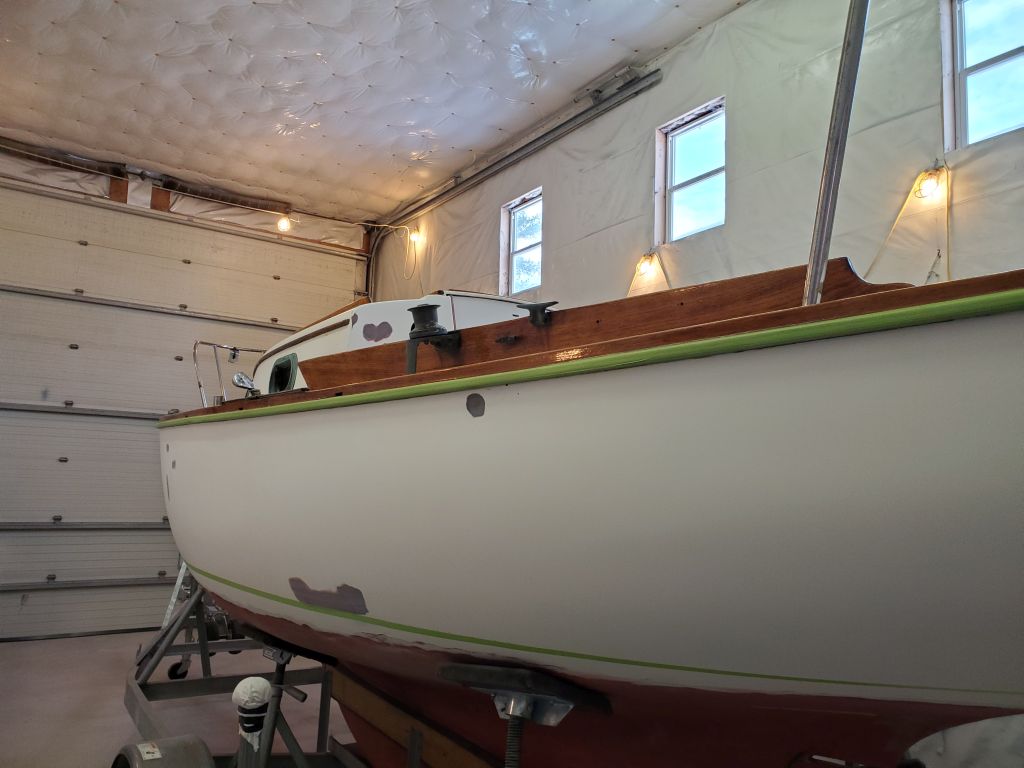
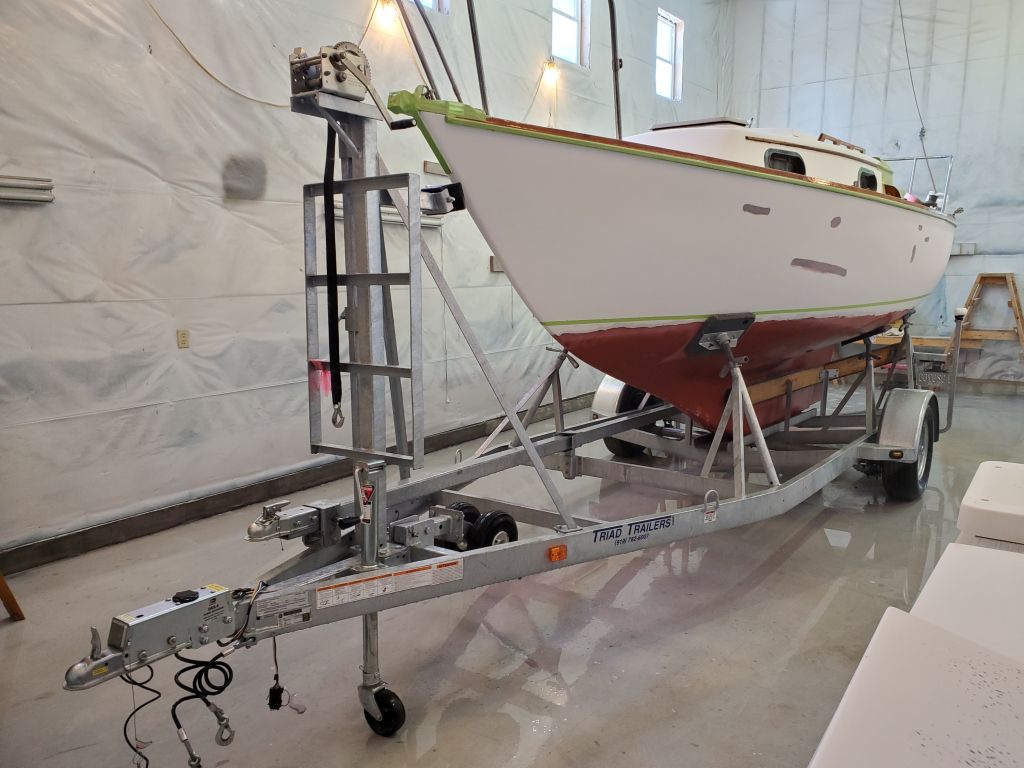
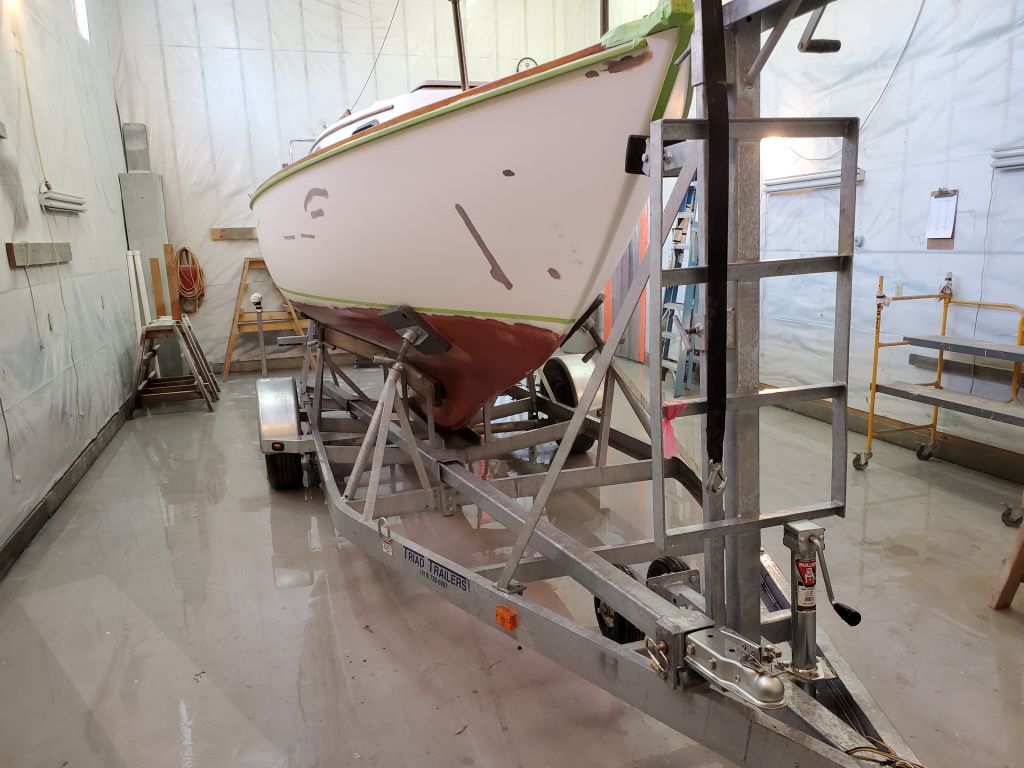
With the decks prepared, I moved on to the hull.  Though I wouldn’t be able to spray the cockpit and hull on the same day this time around because I couldn’t risk overspray from the hull besmirching the cockpit paint (this hadn’t mattered during primer steps), I still wanted all the hull prep complete so it would be ready to go the day after the cockpit.

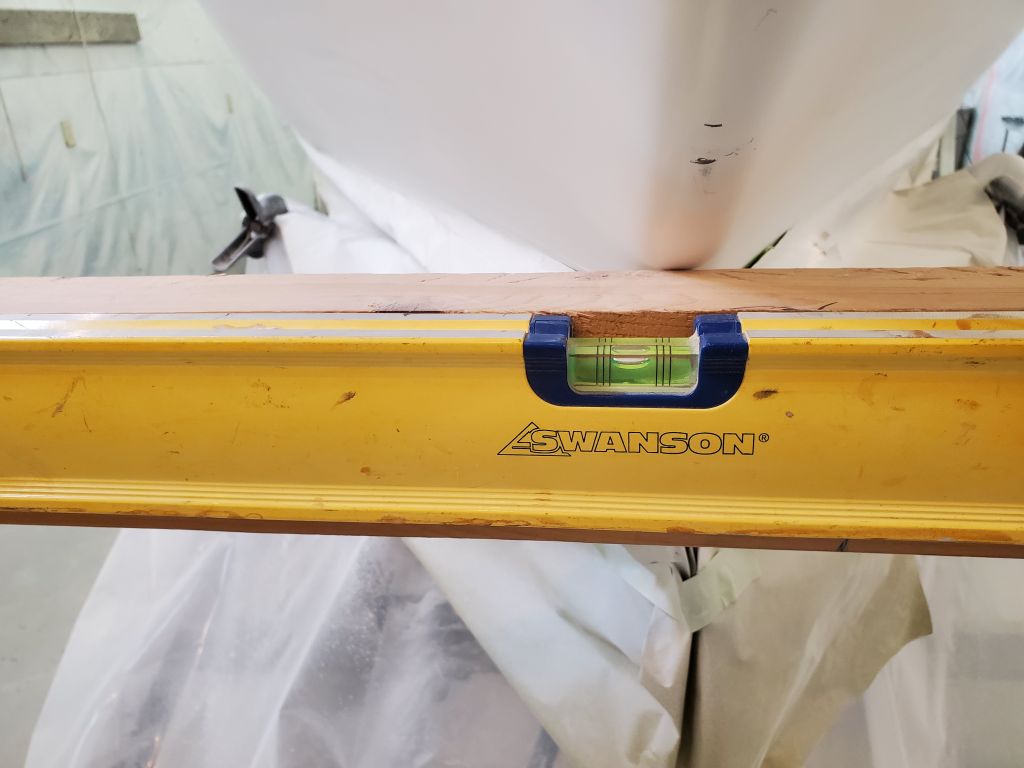
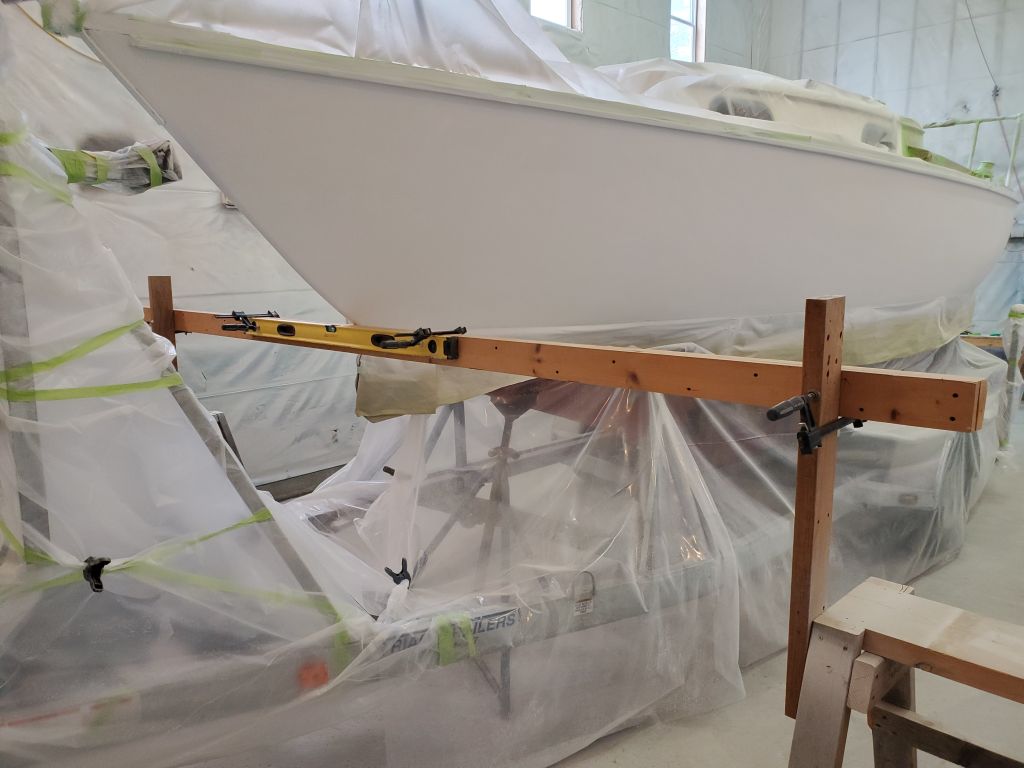
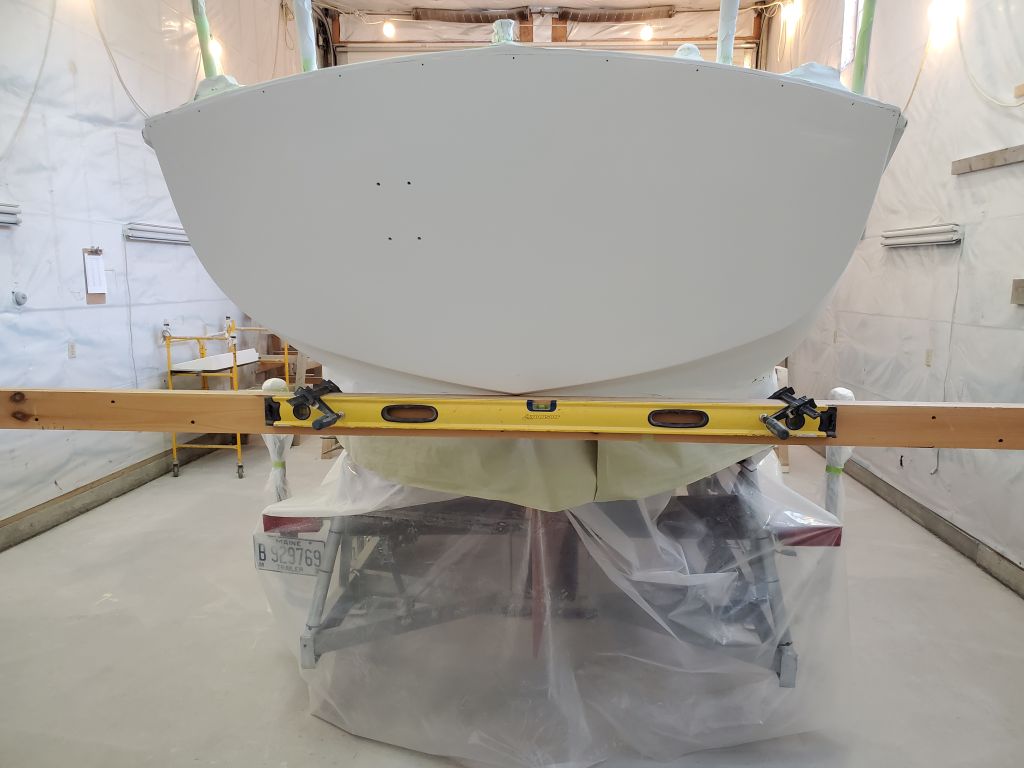
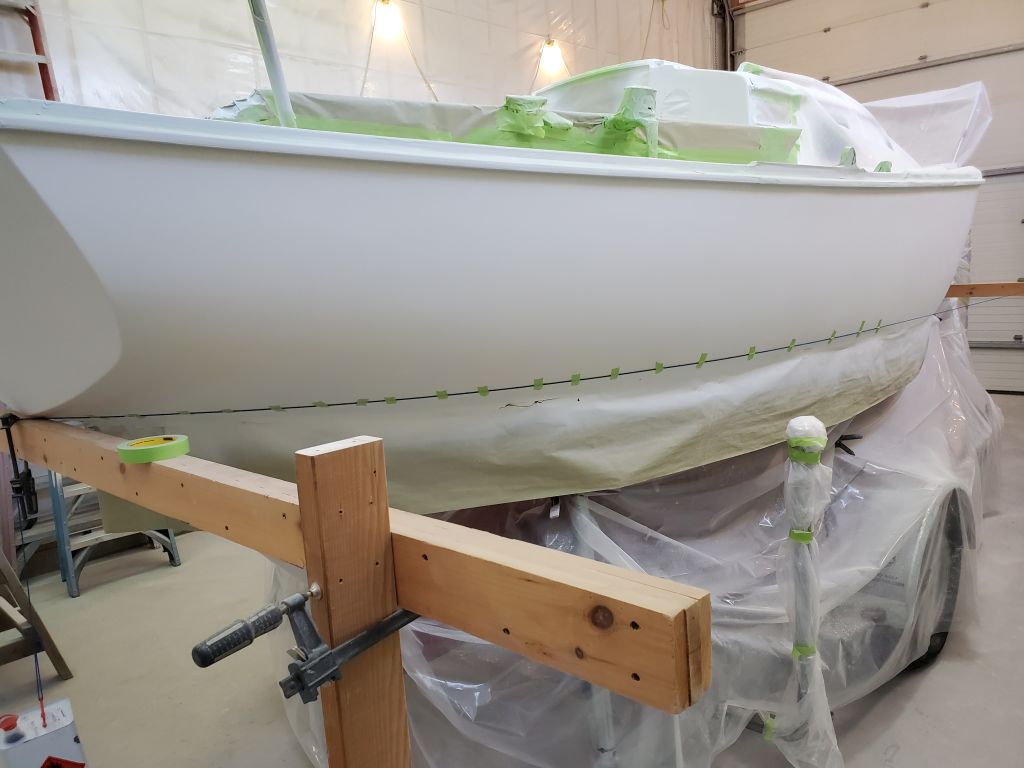
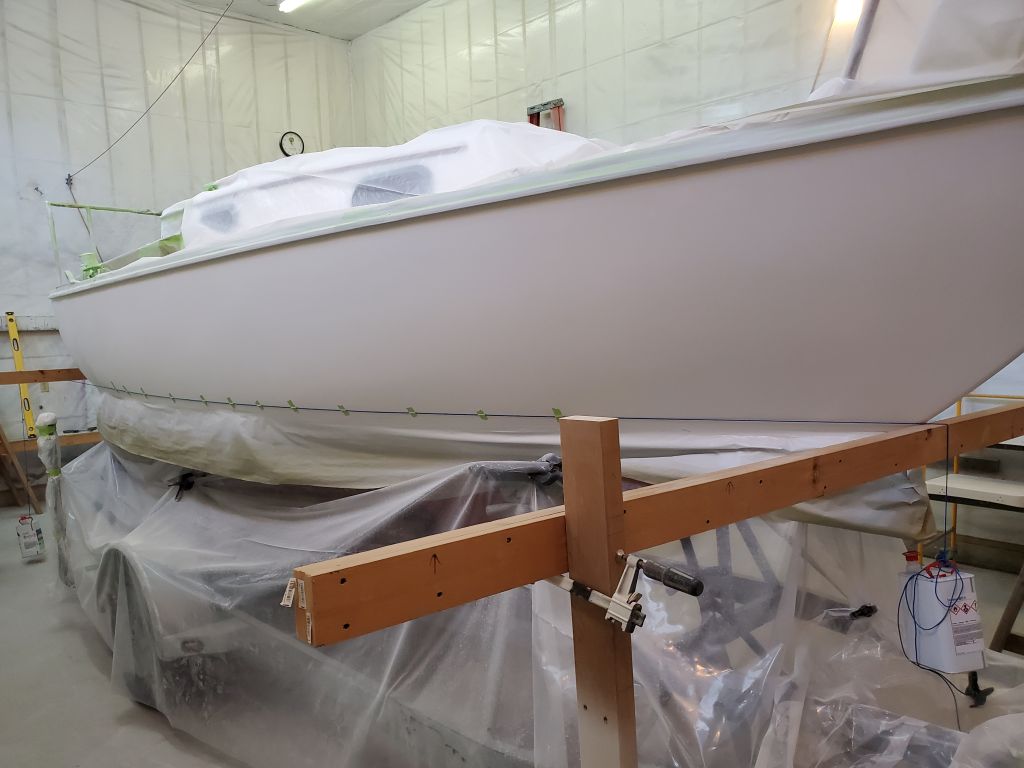
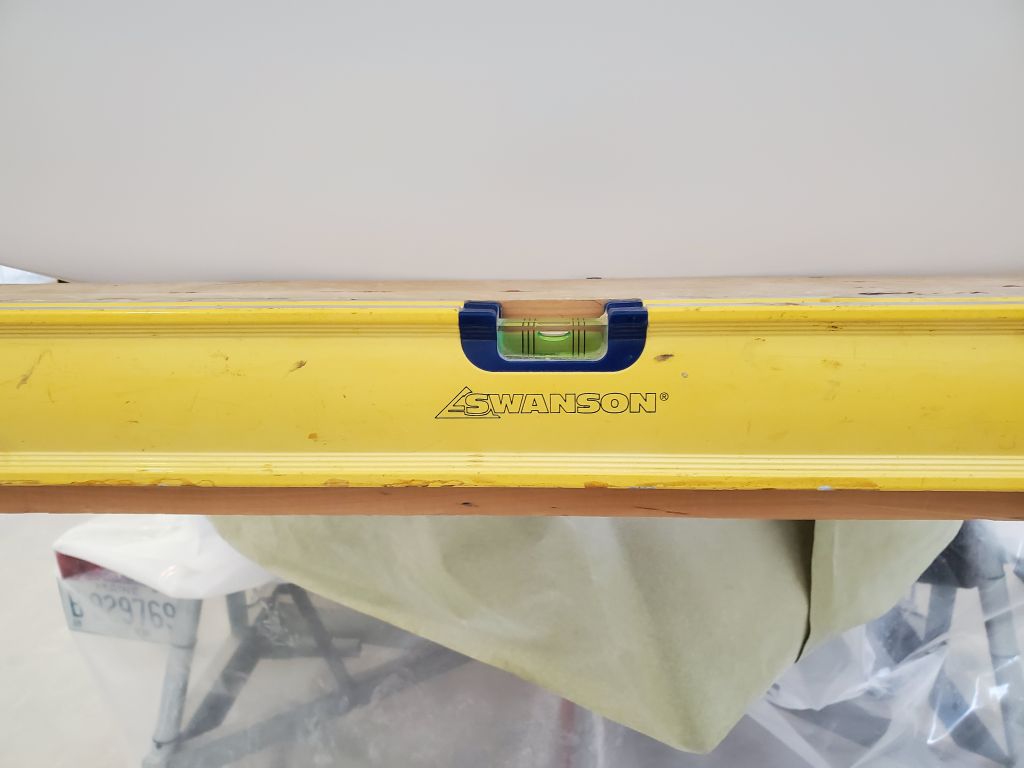
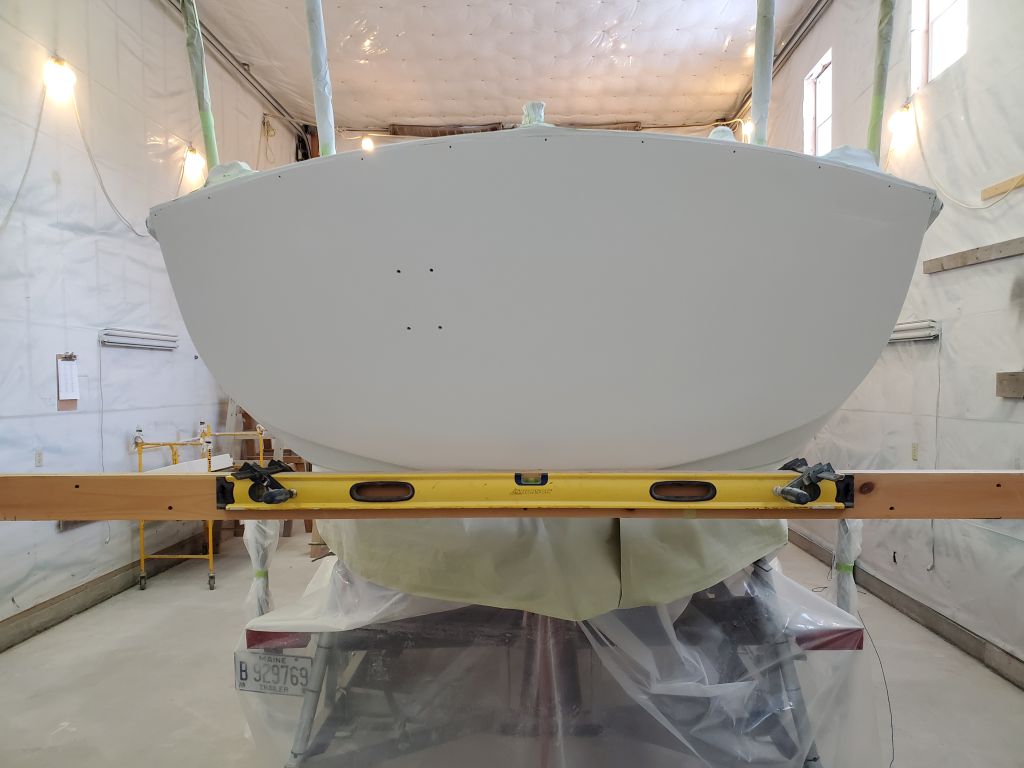
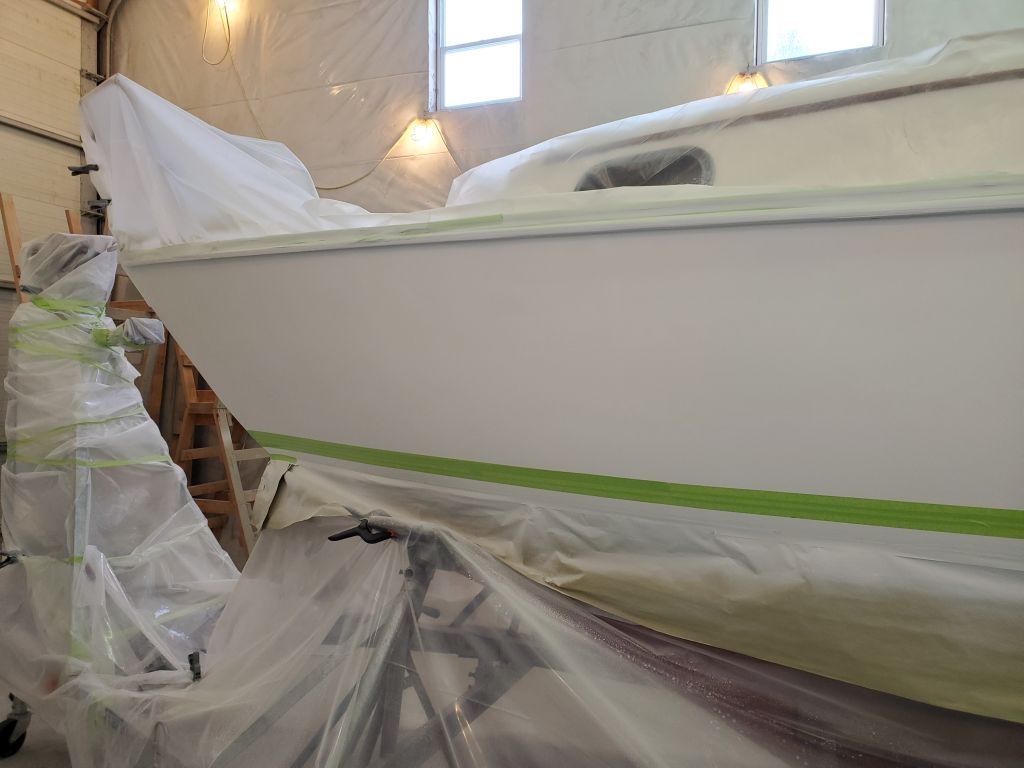
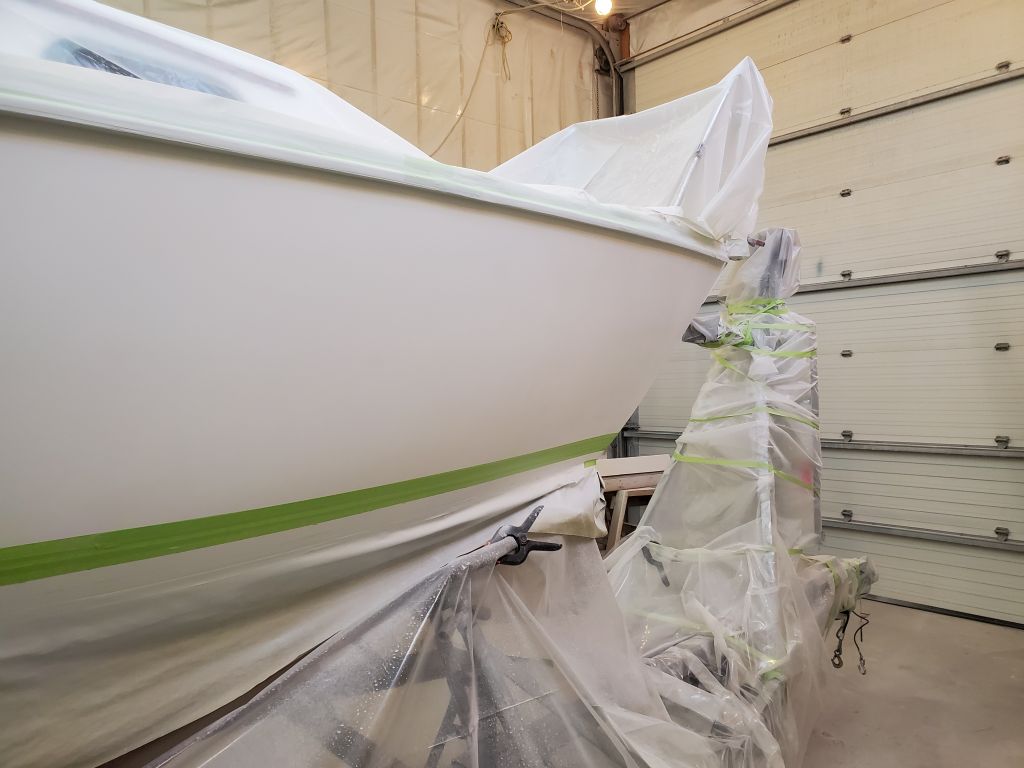
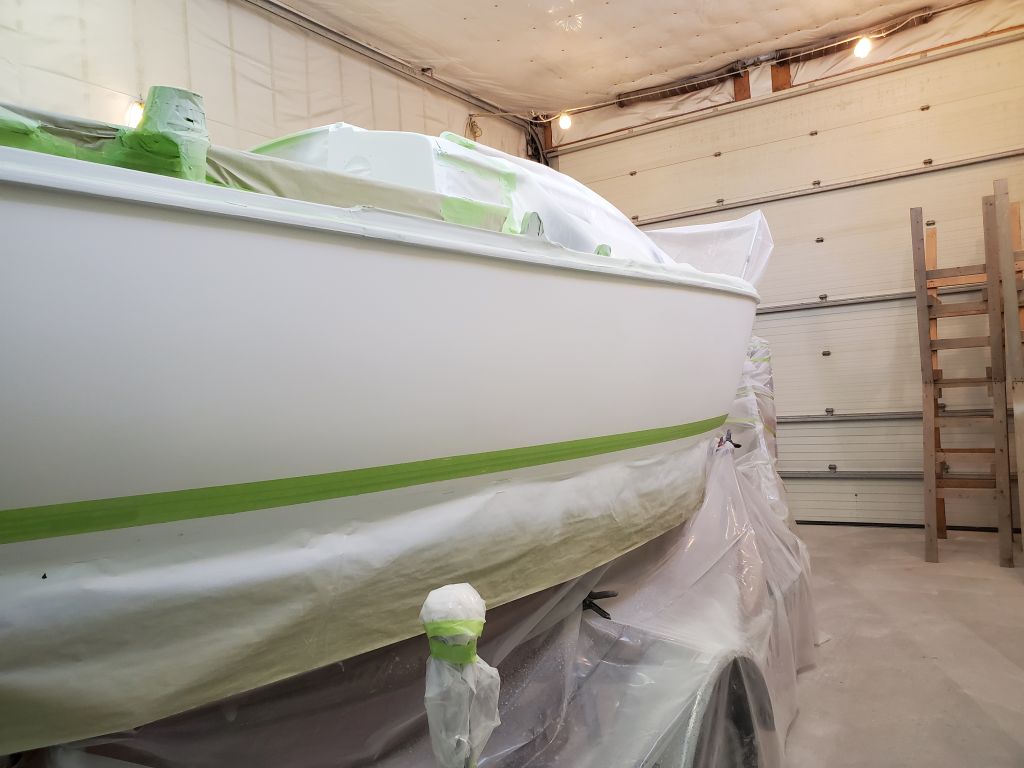
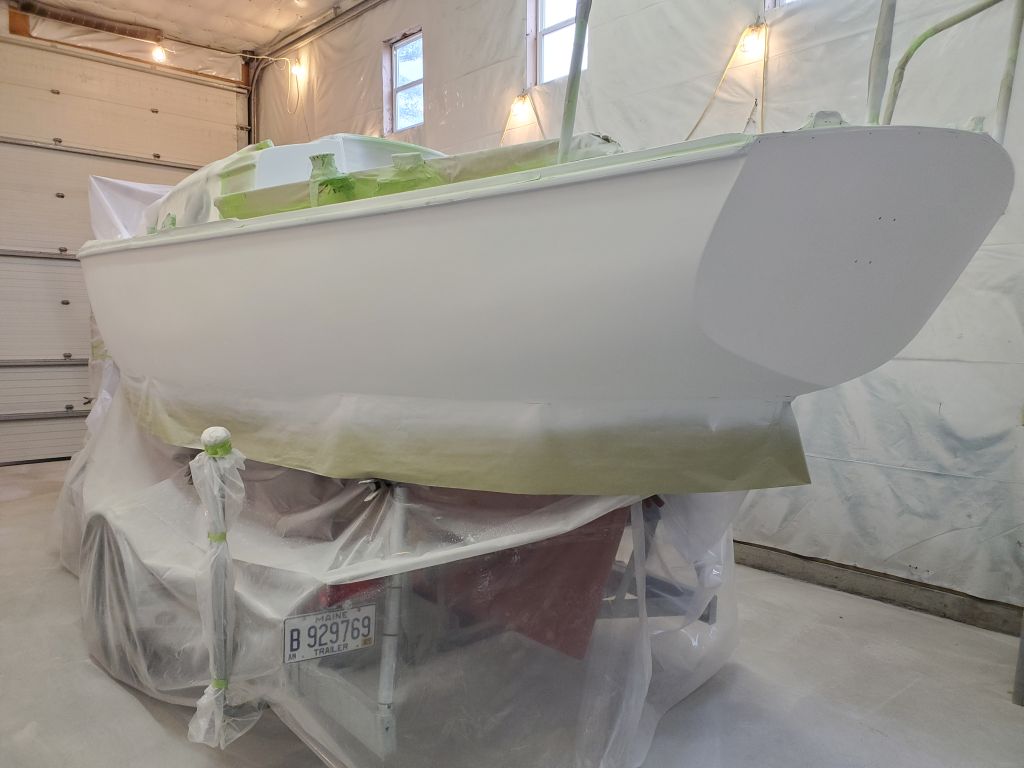
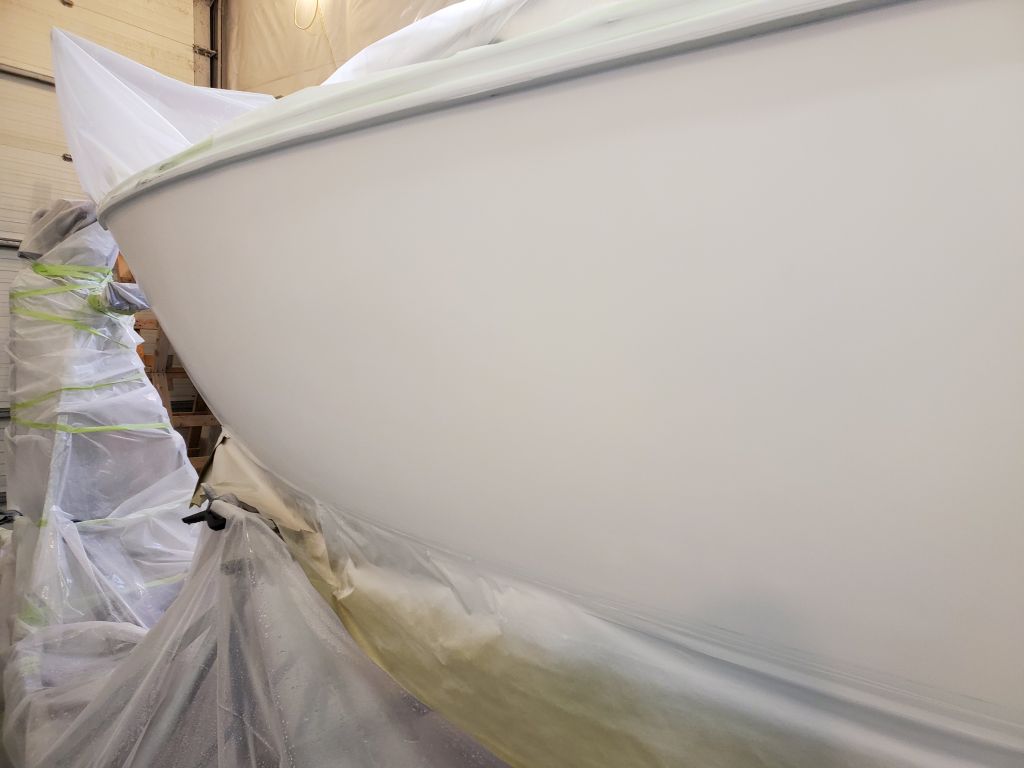
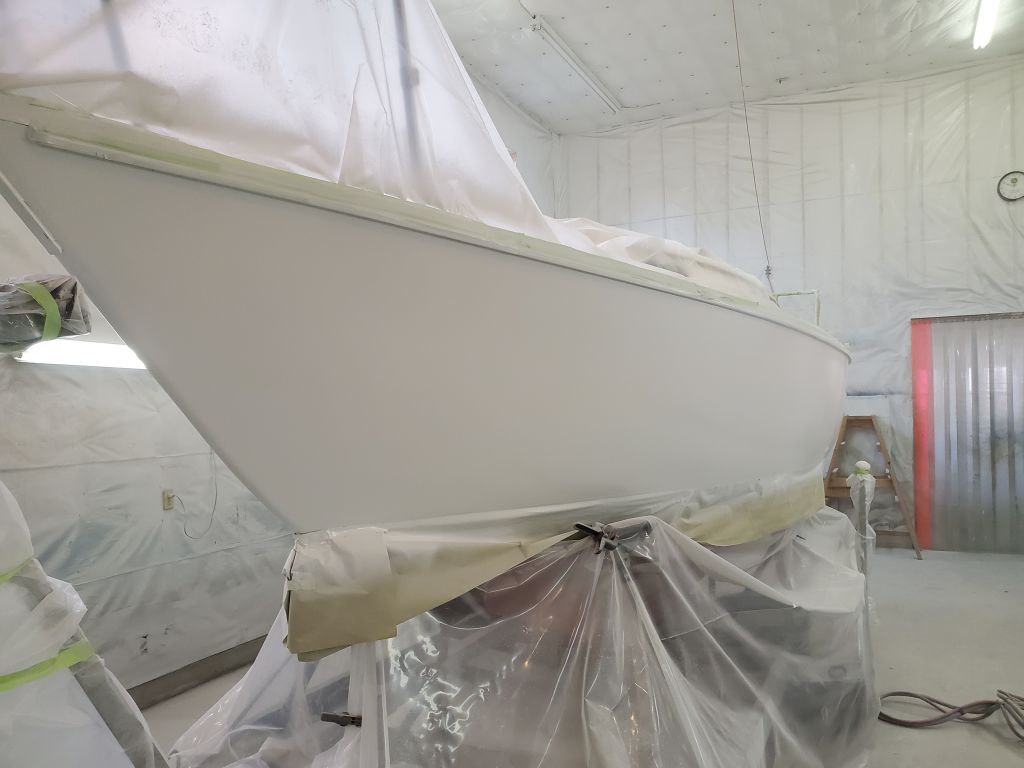
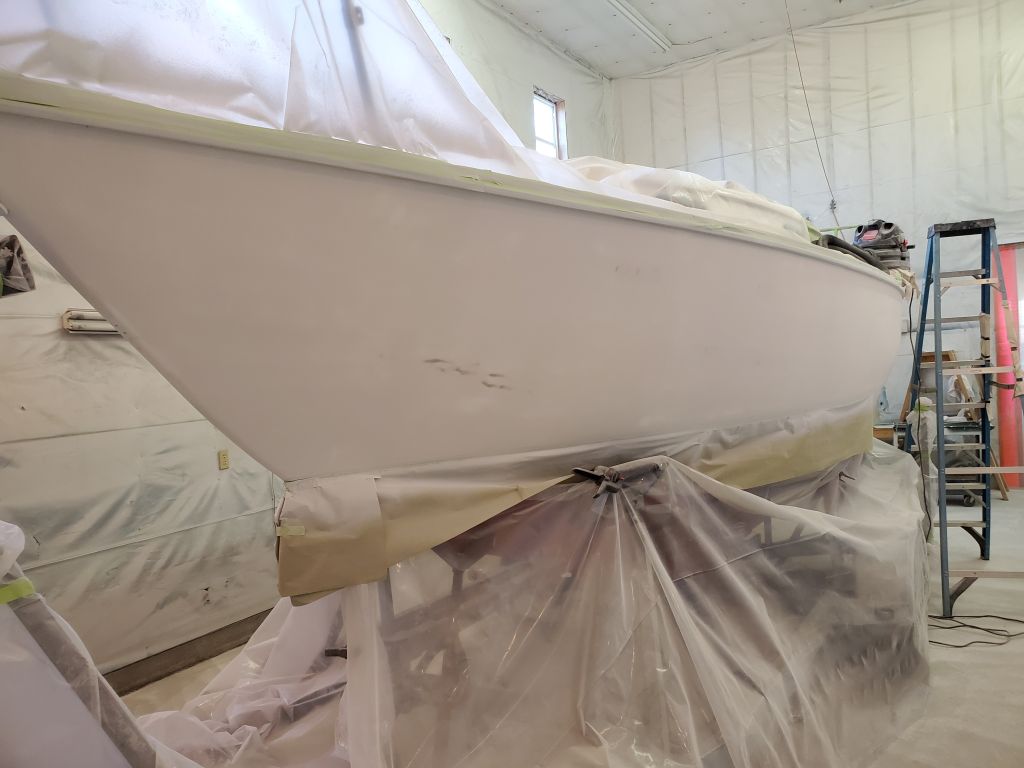
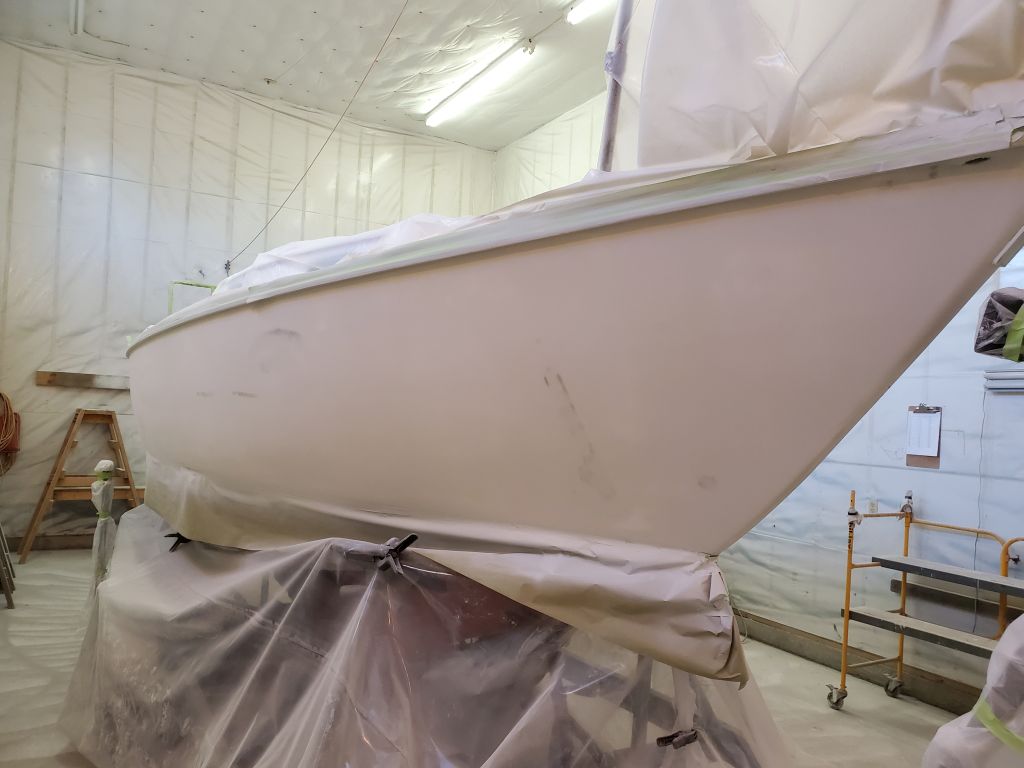
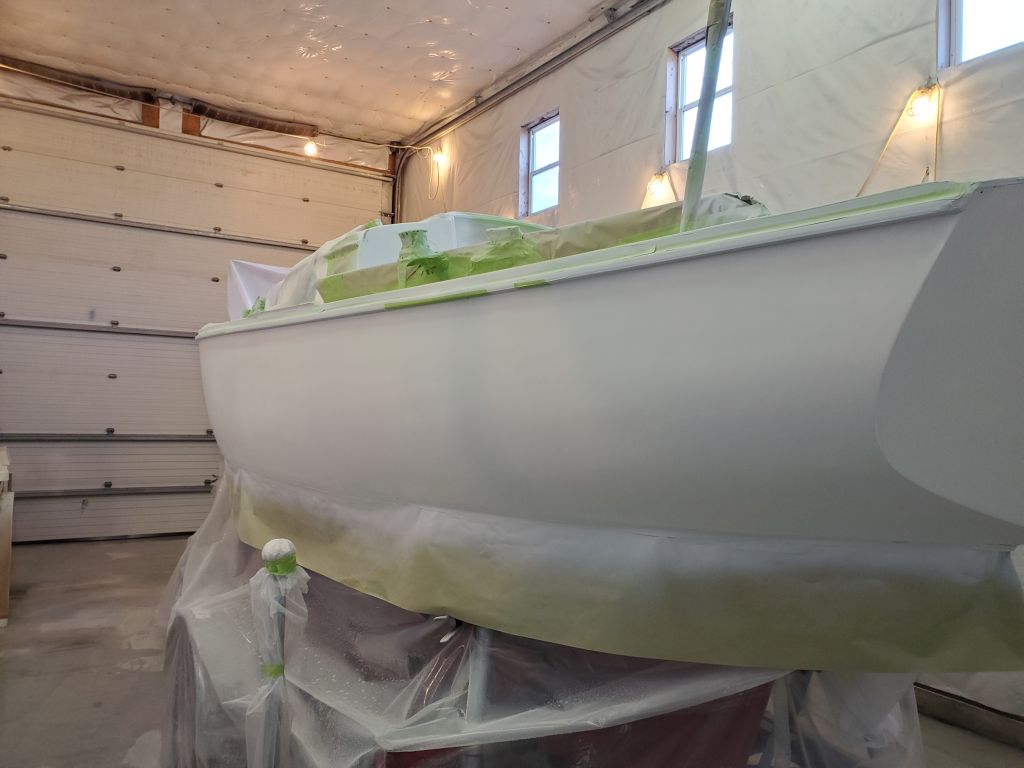
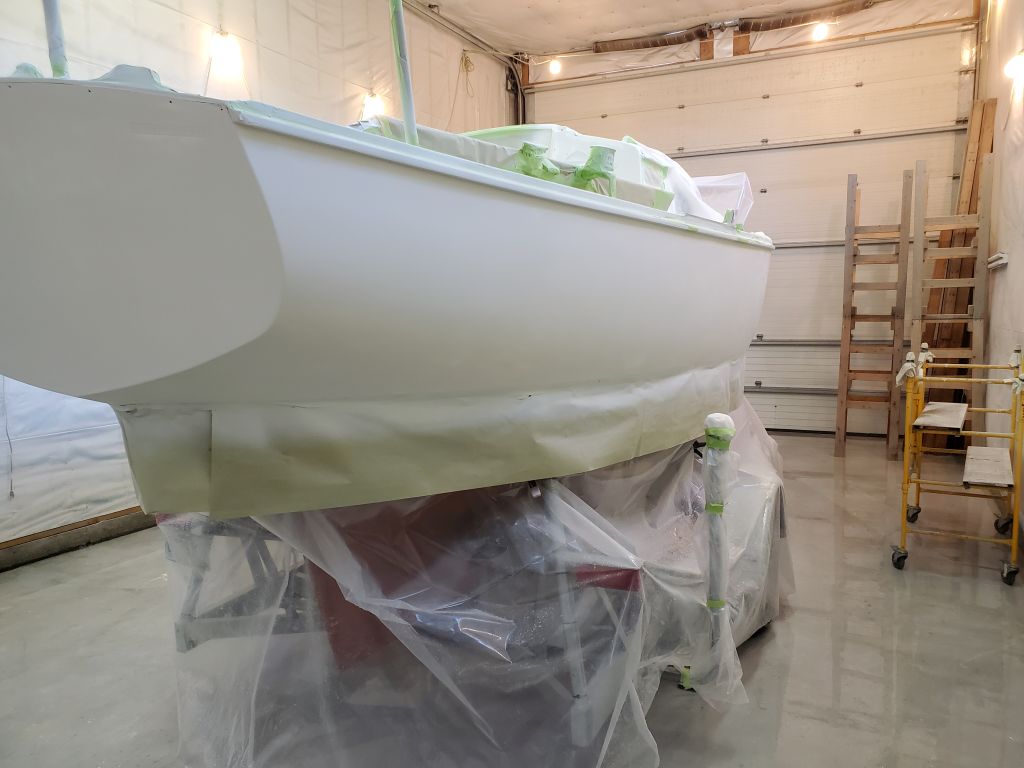
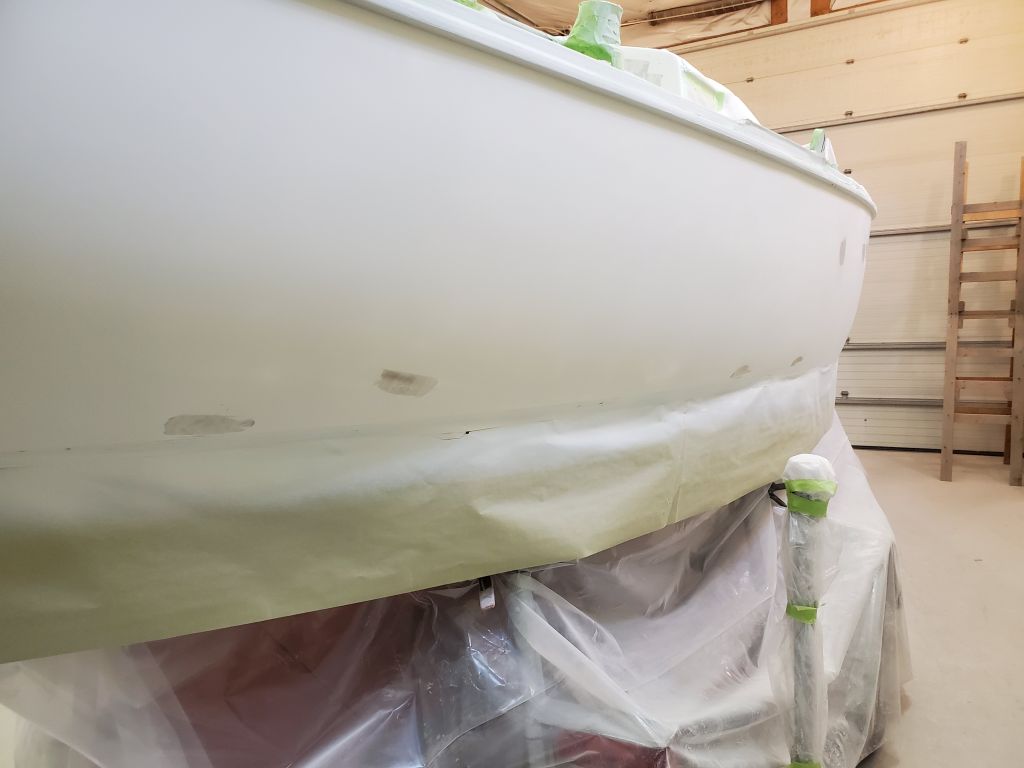
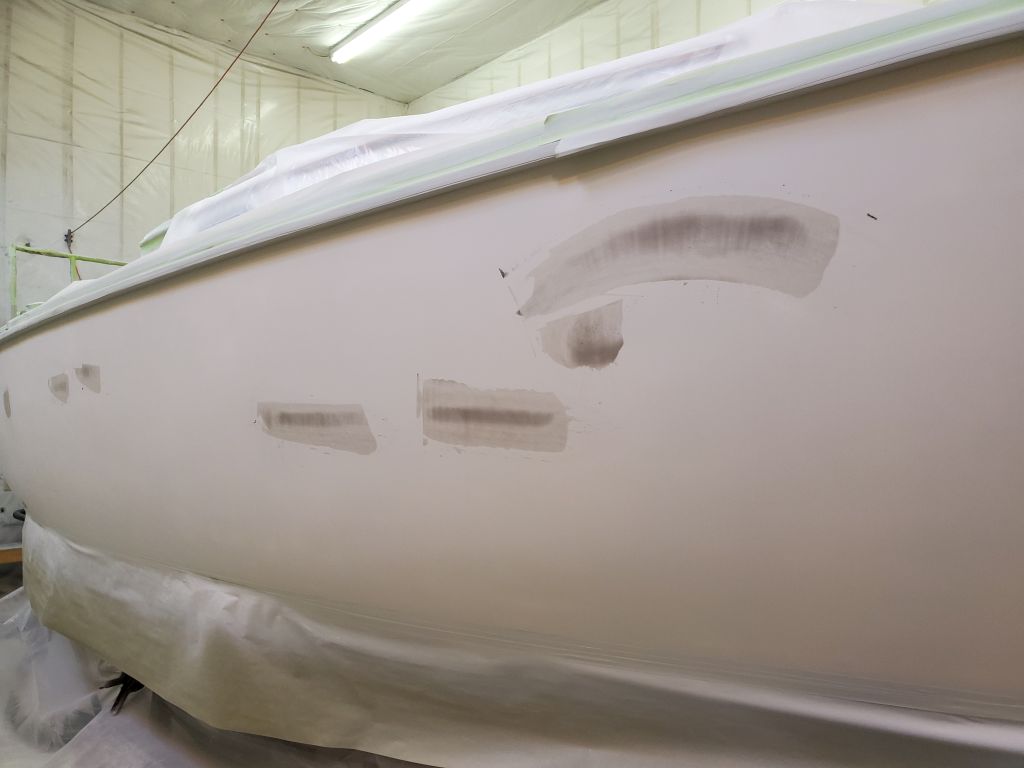
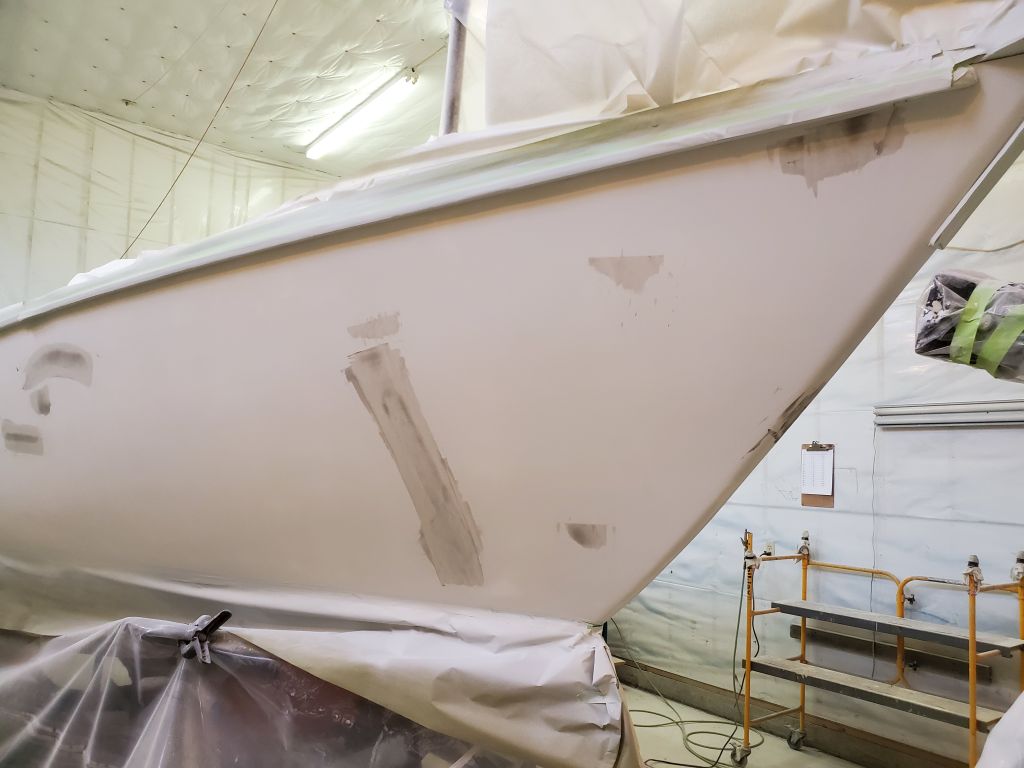
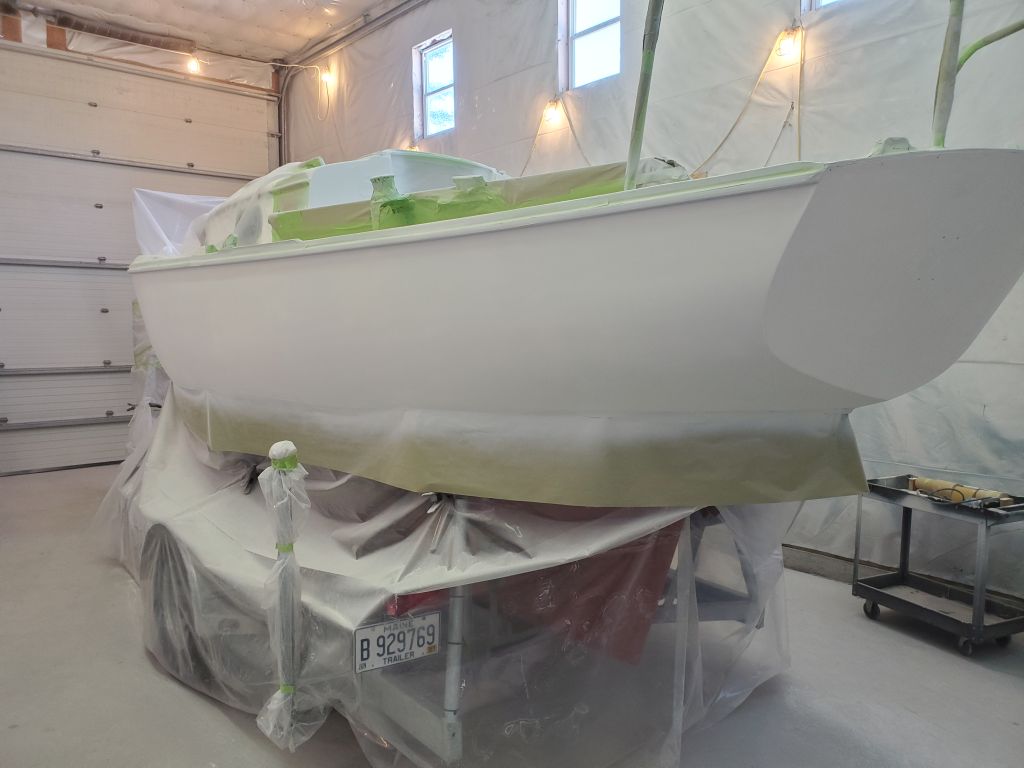
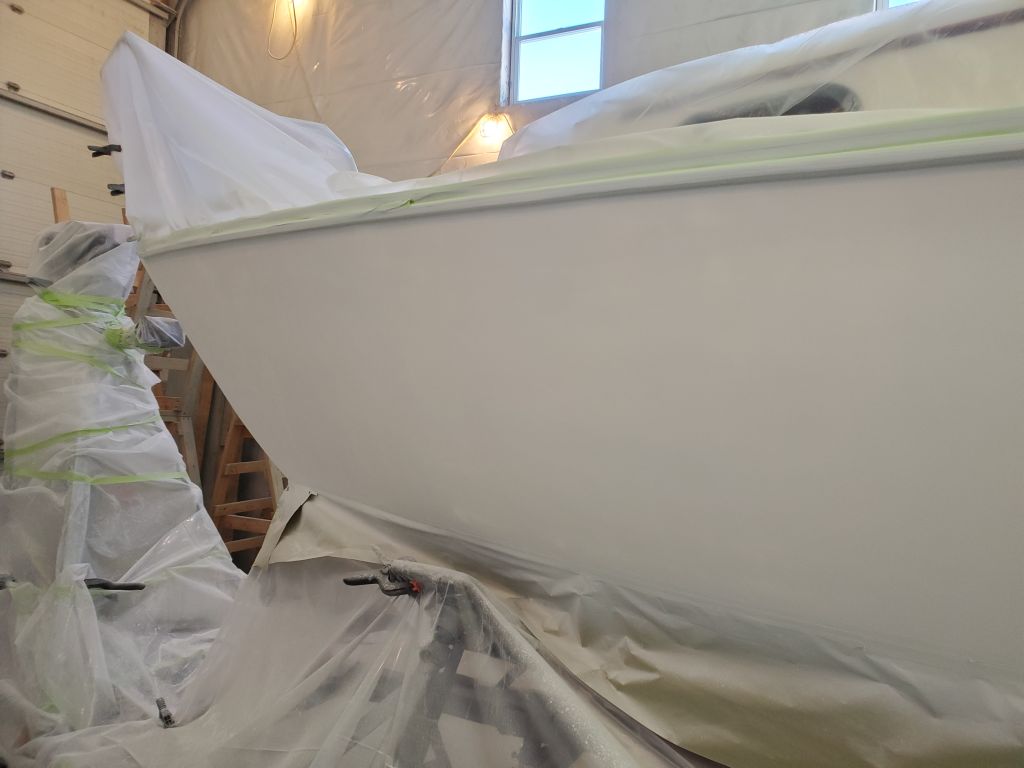
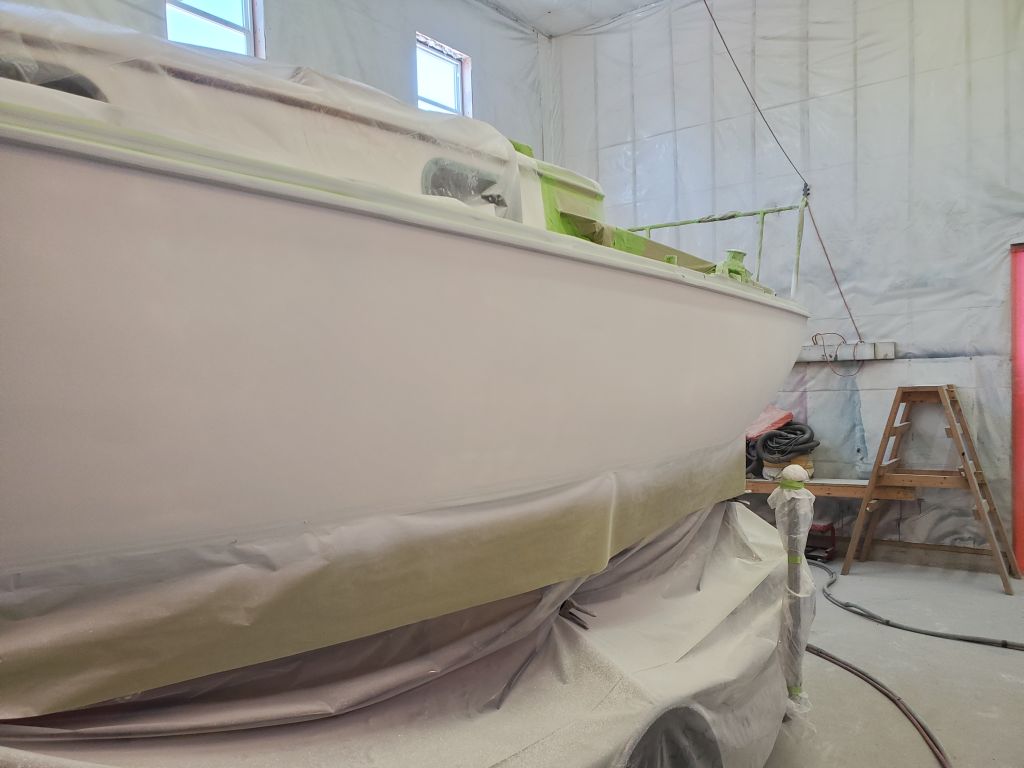
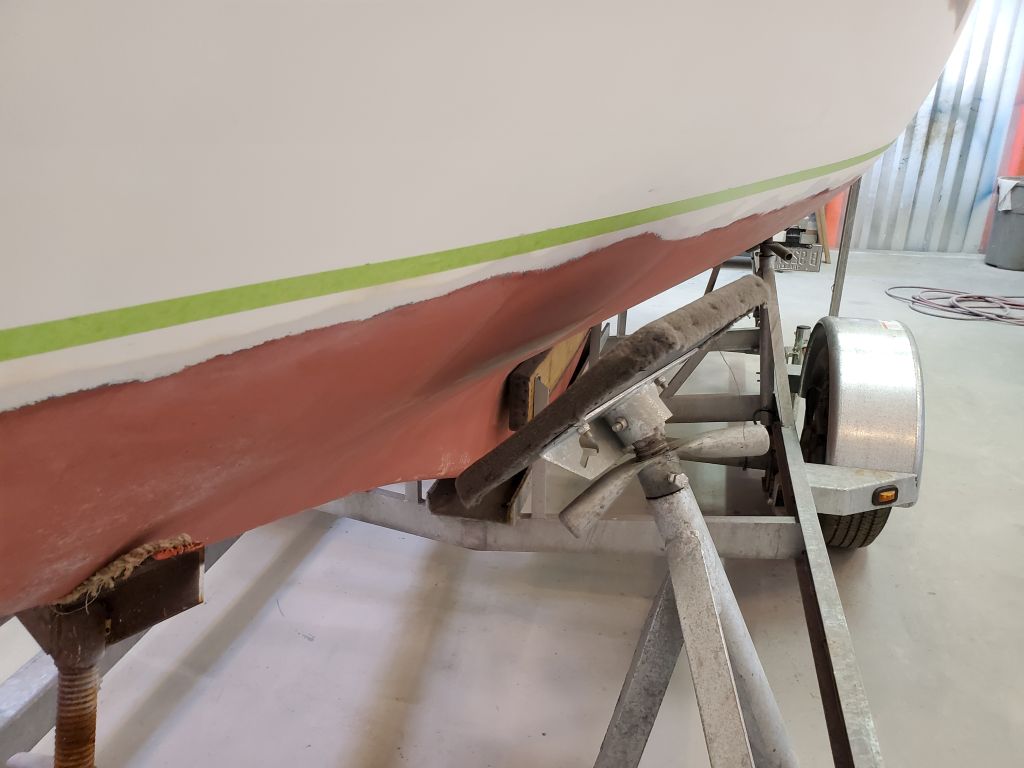
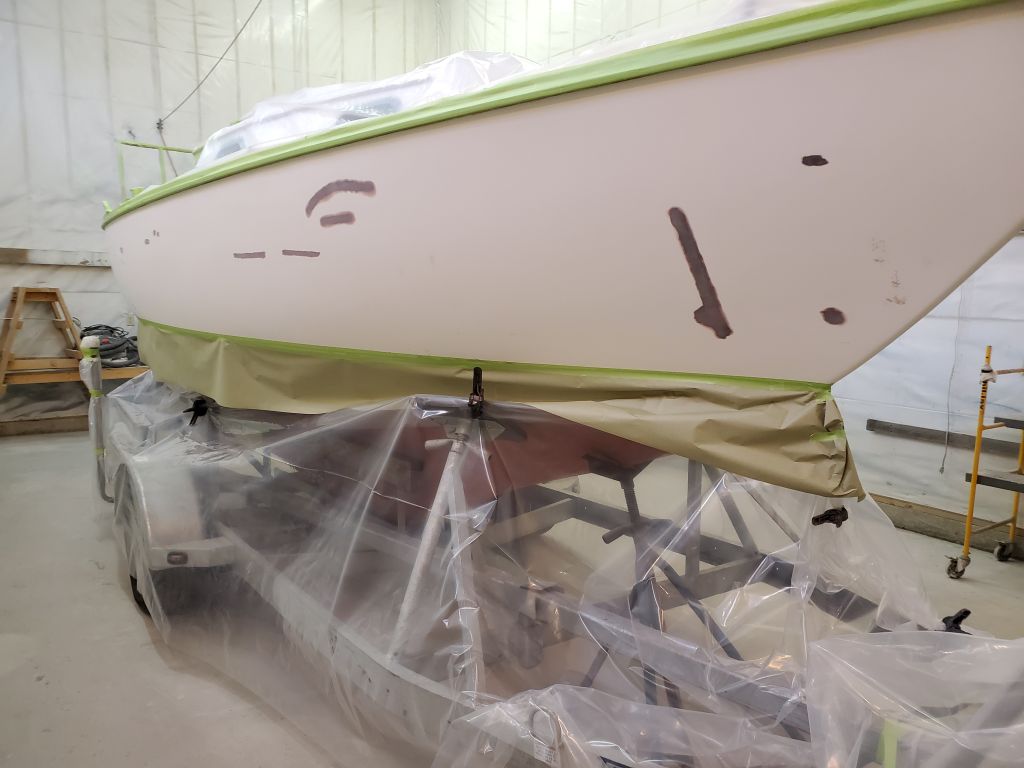
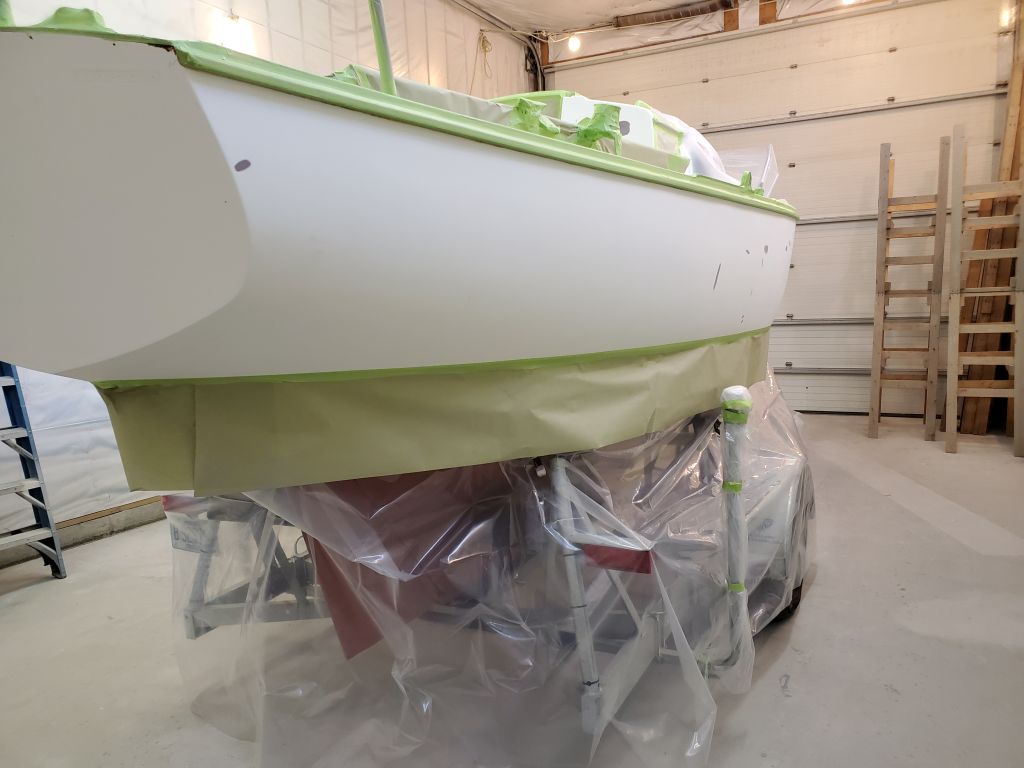
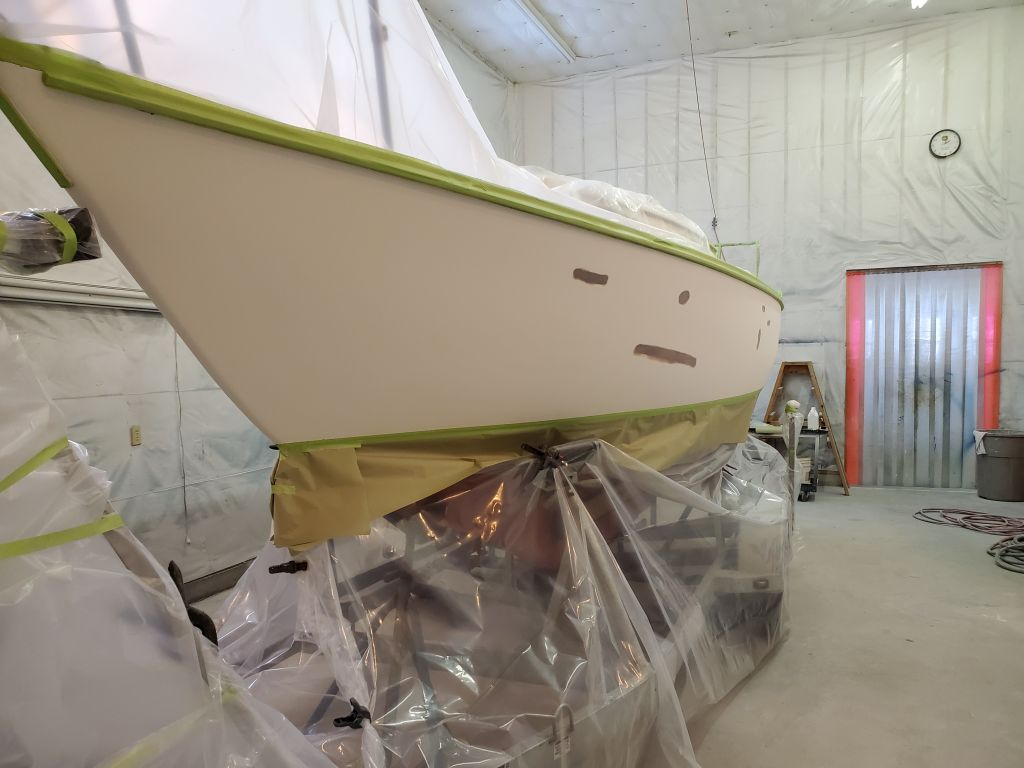
The final hull prep centered around the new boottop.  Here, the owners requested that I leave a narrow strip of hull color between the boot and the bottom, which is a nice look, so this required striking two new lines to demark the bottom and top edges of the new stripe.   With a level across the cockpit seats, I confirmed that the boat was still level from side to side and that the painting and sanding work hadn’t shifted things at all.

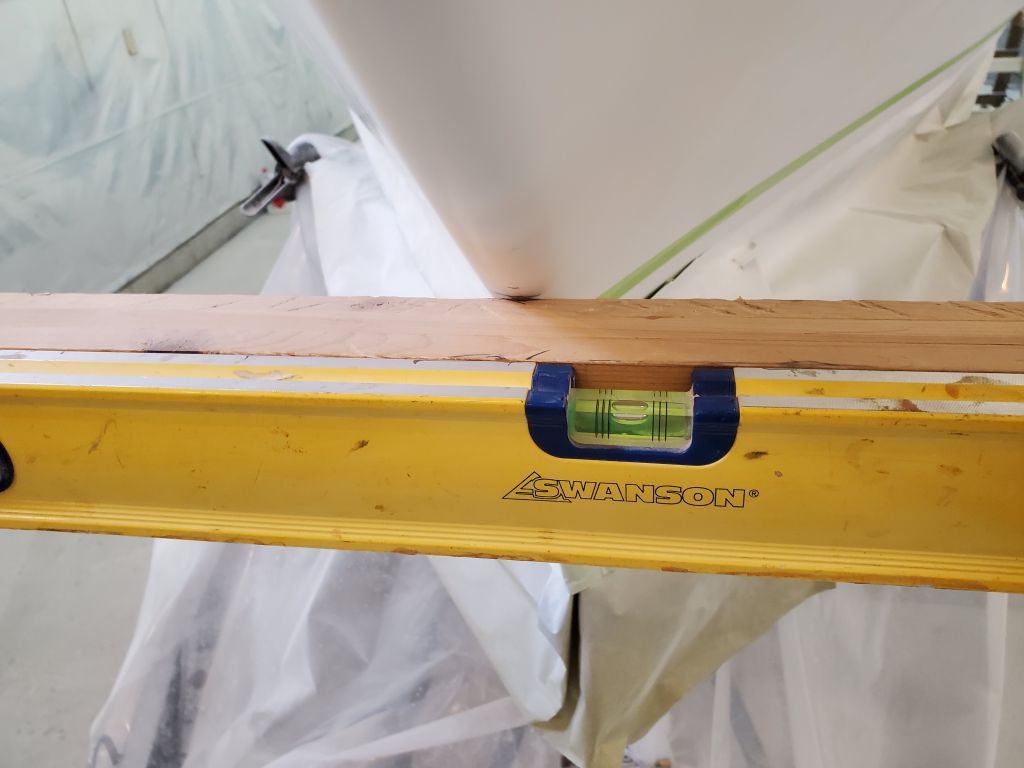
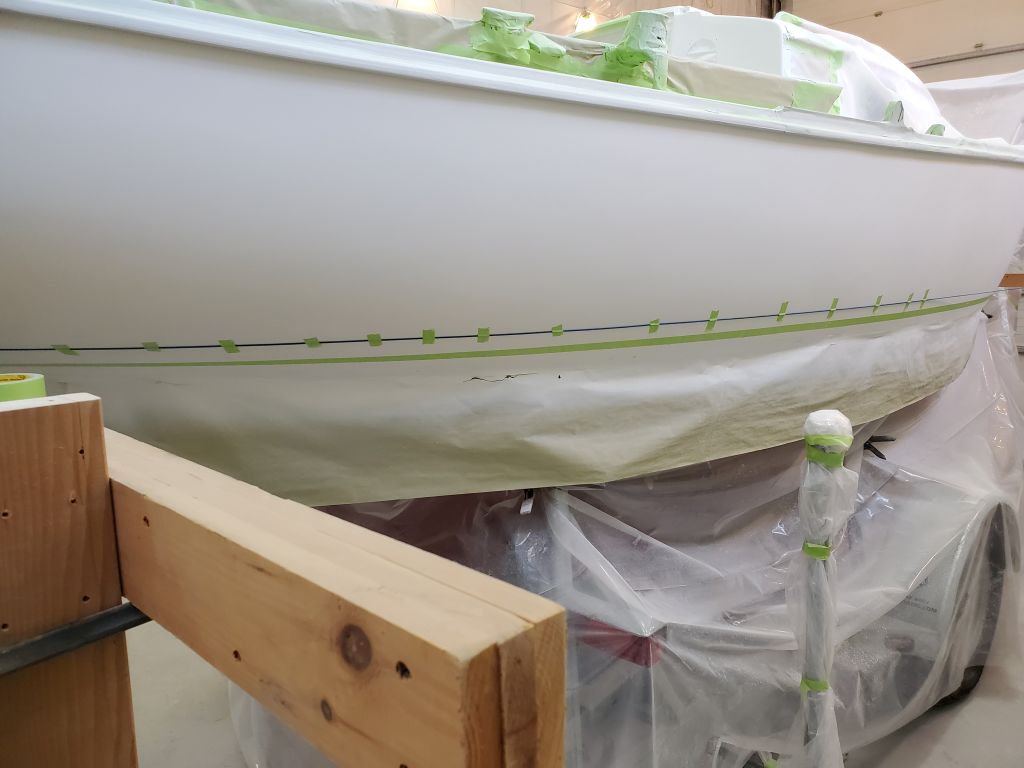
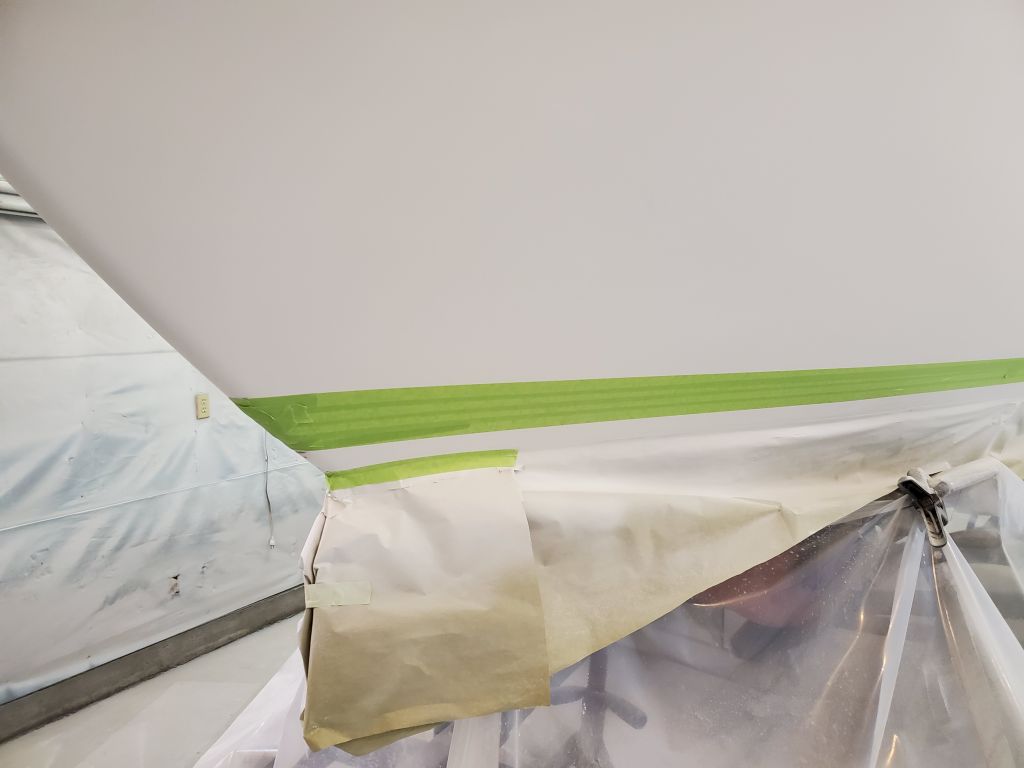
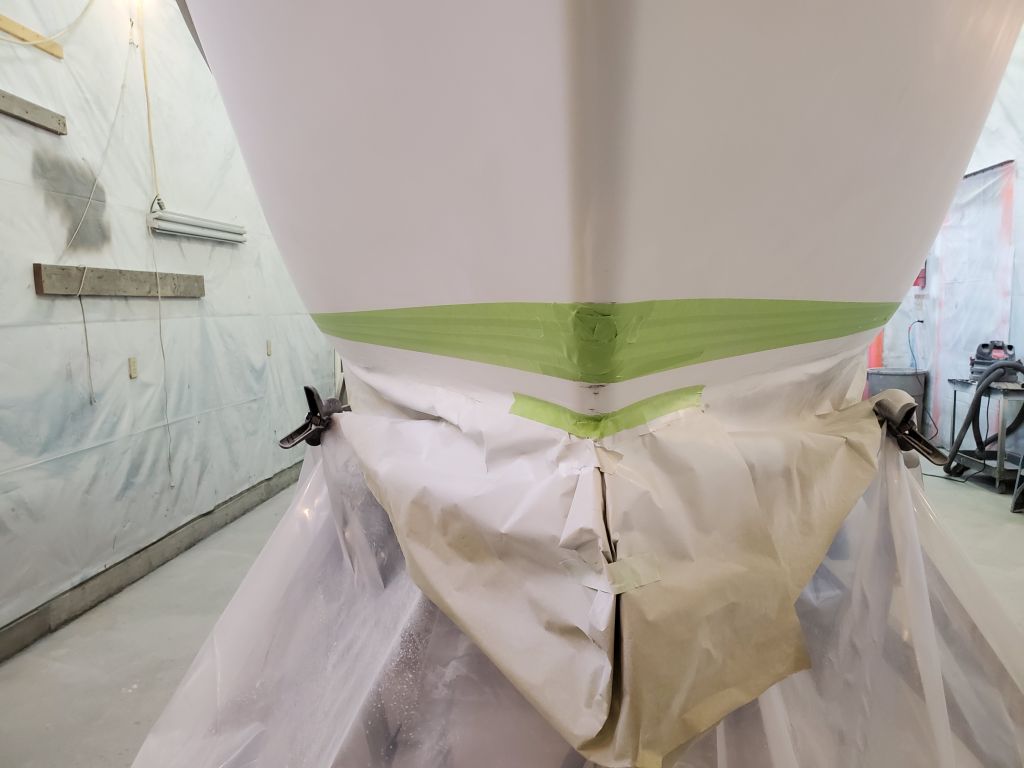
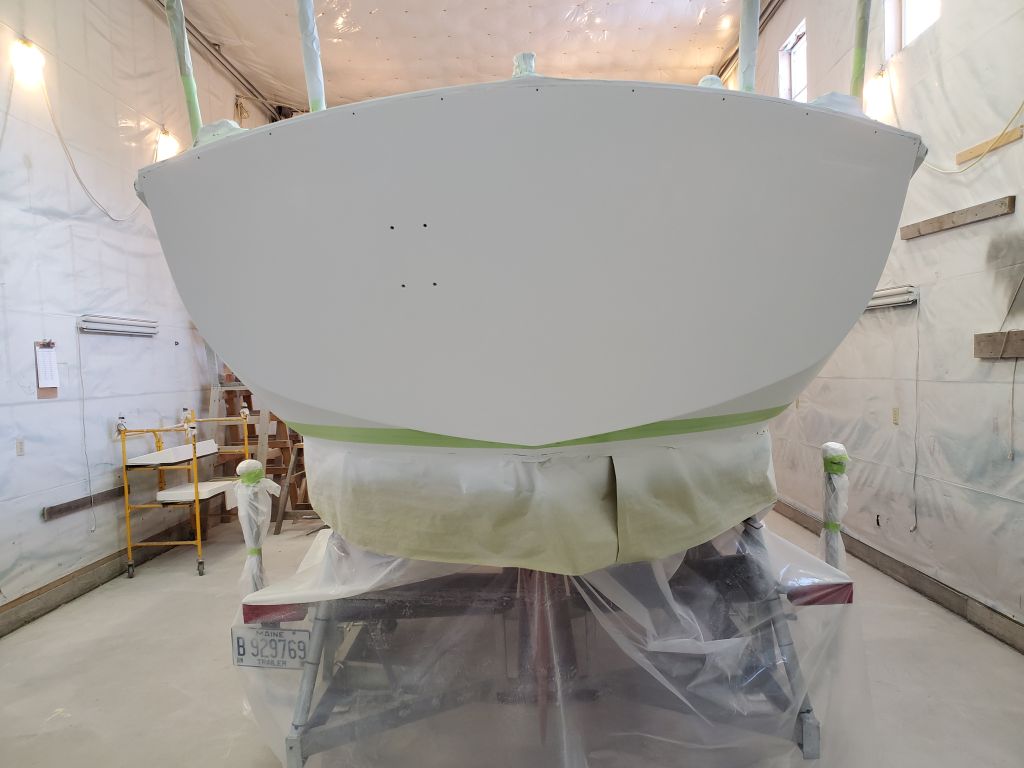
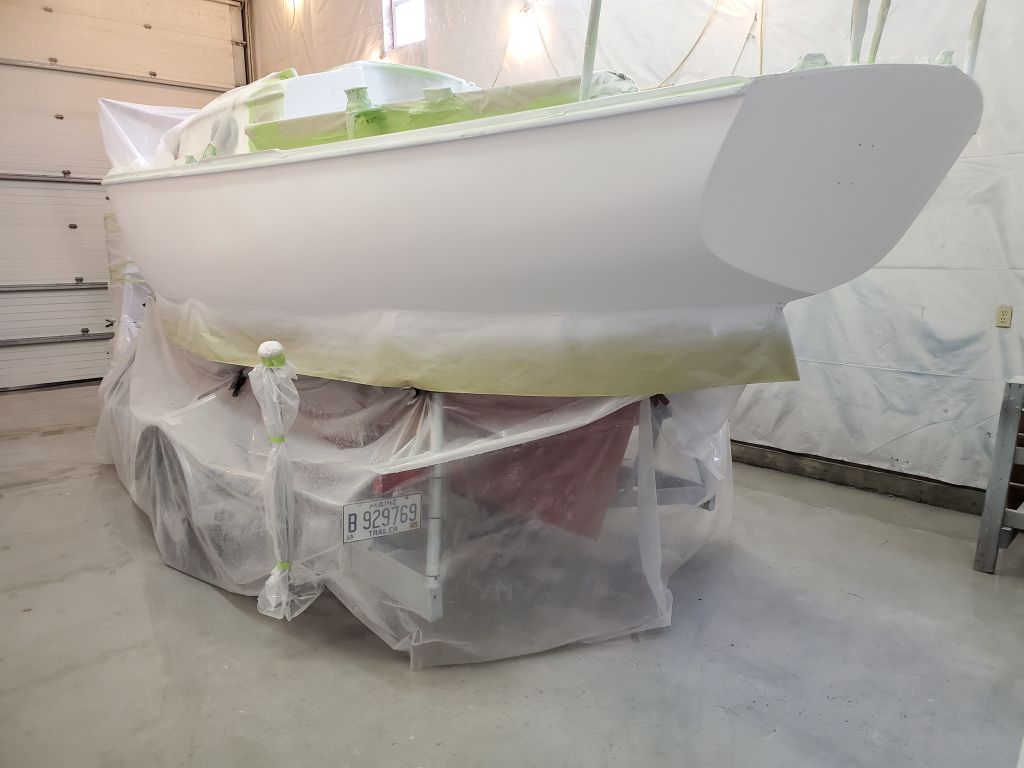
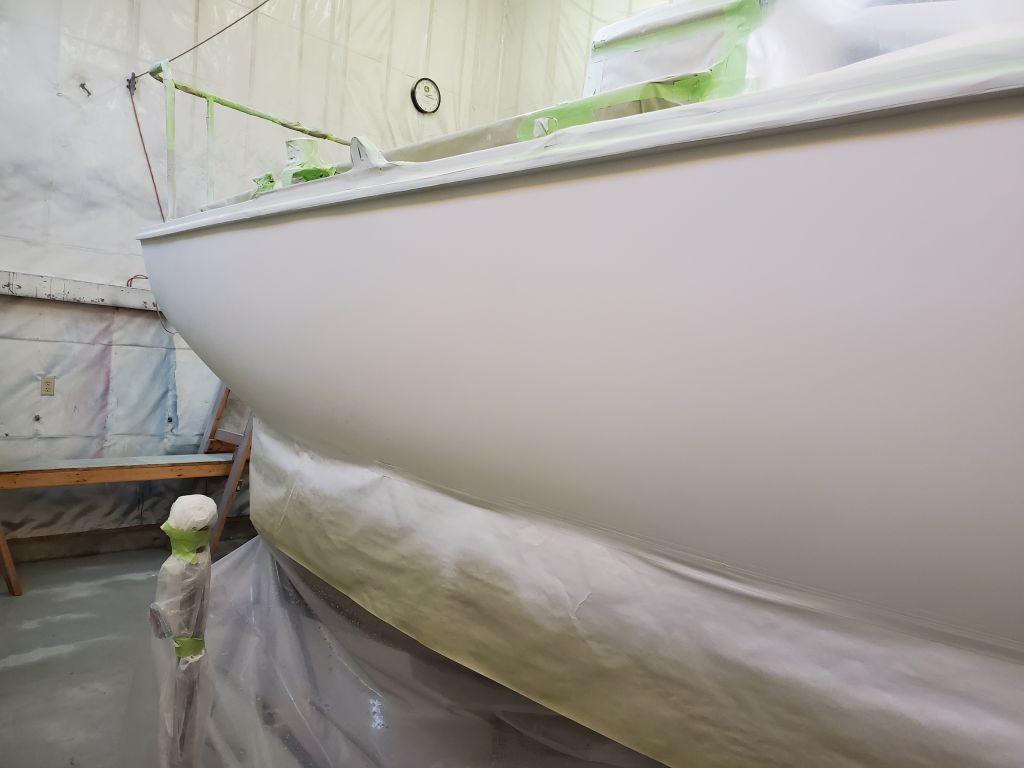
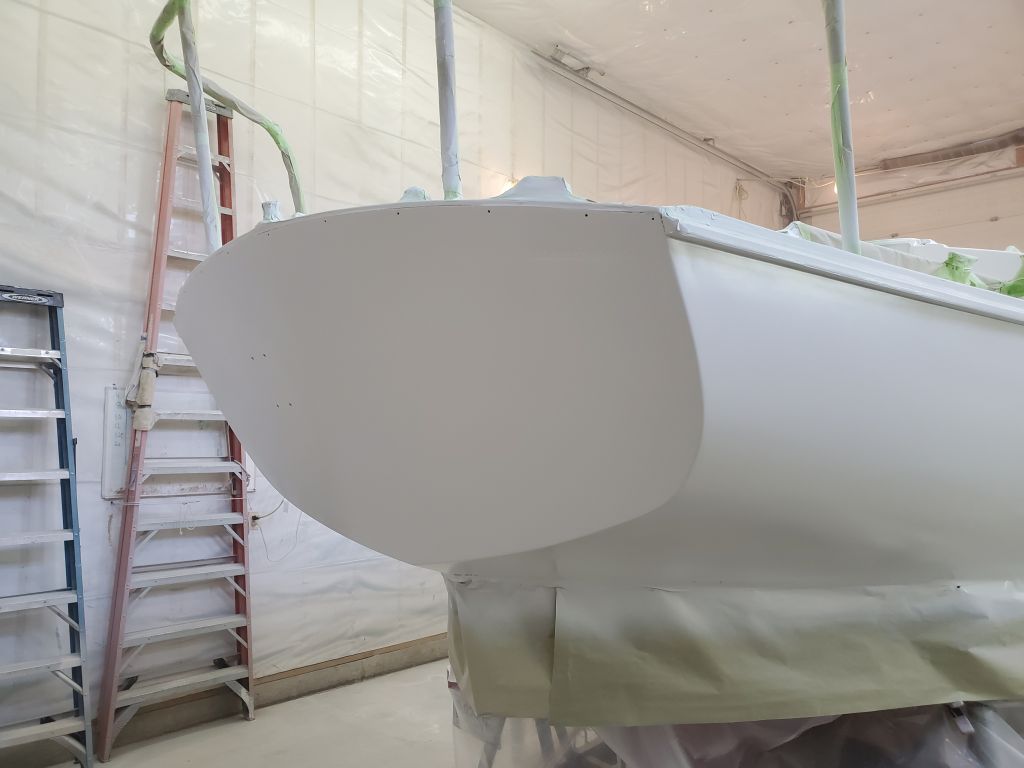
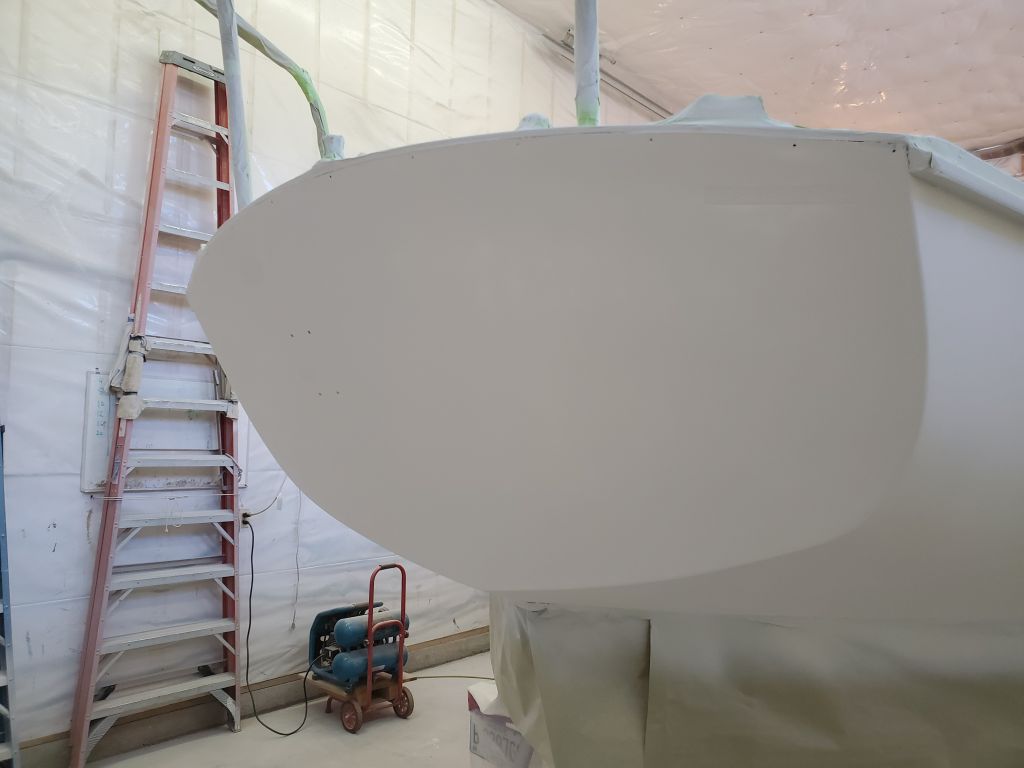
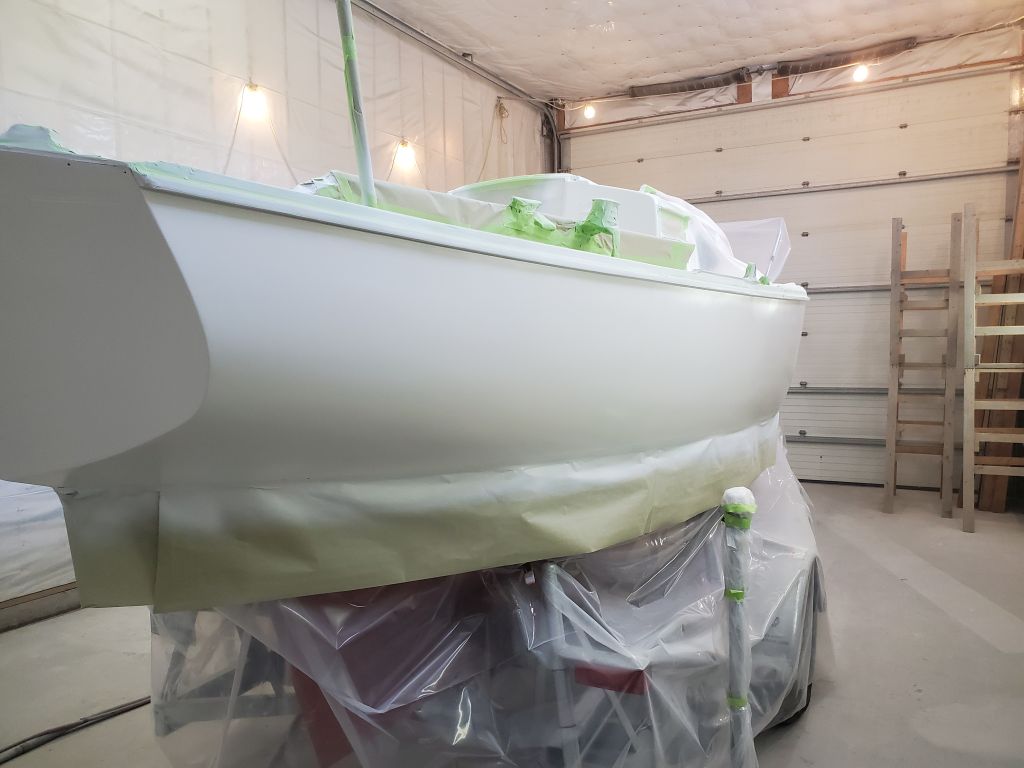
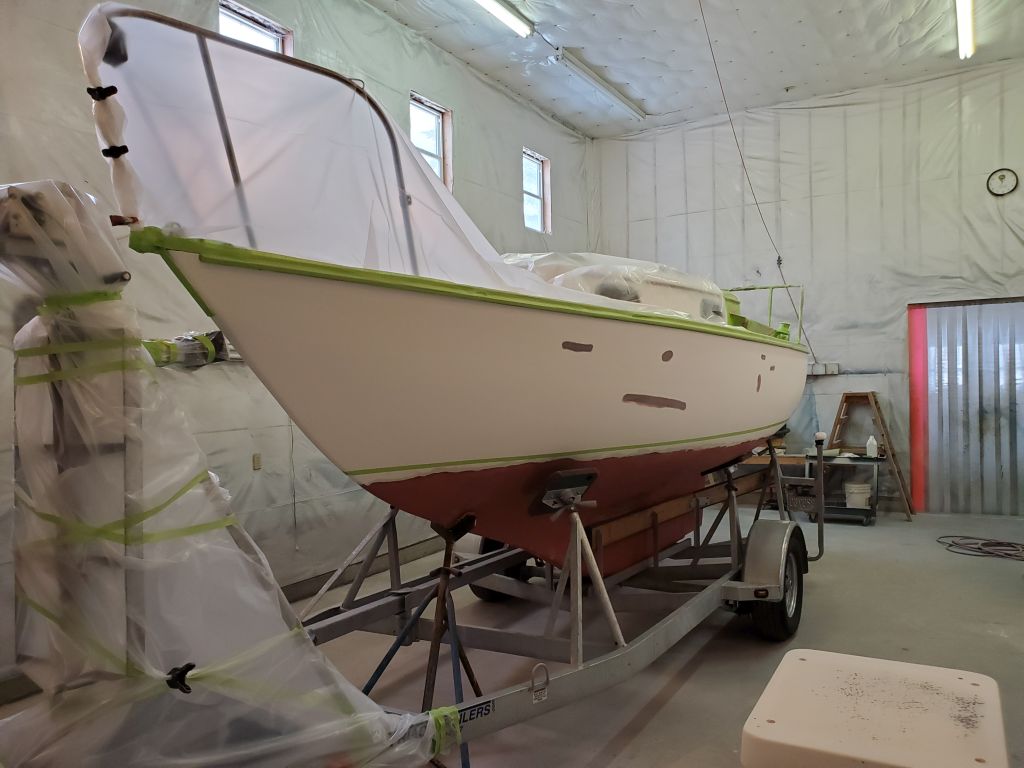
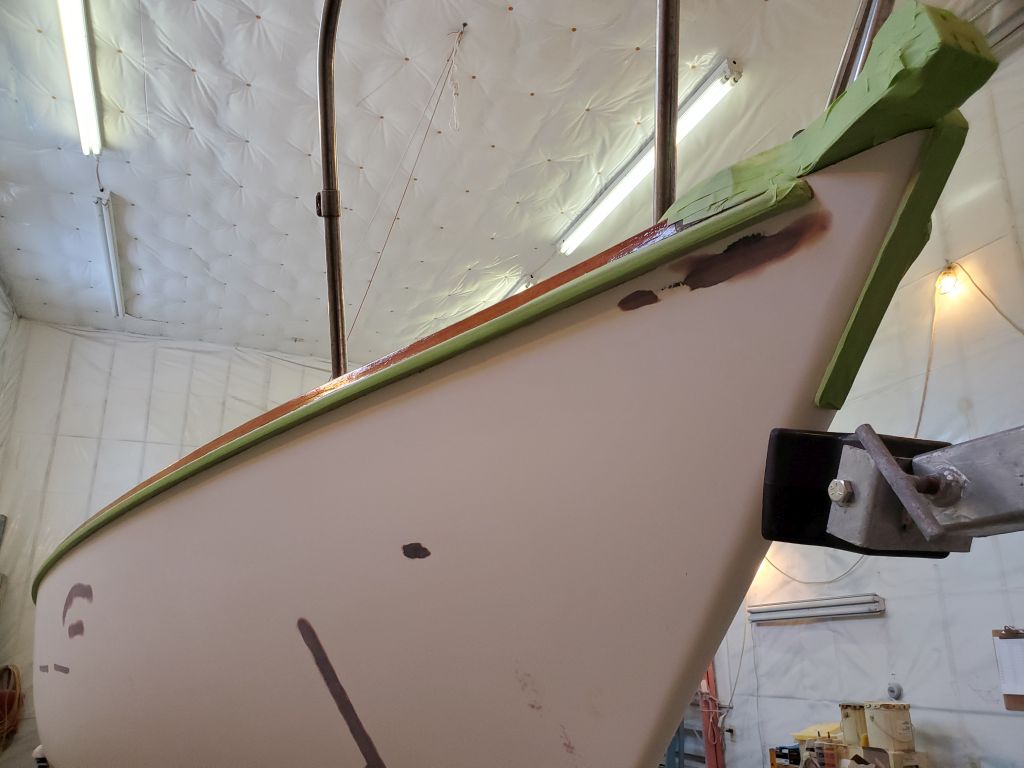
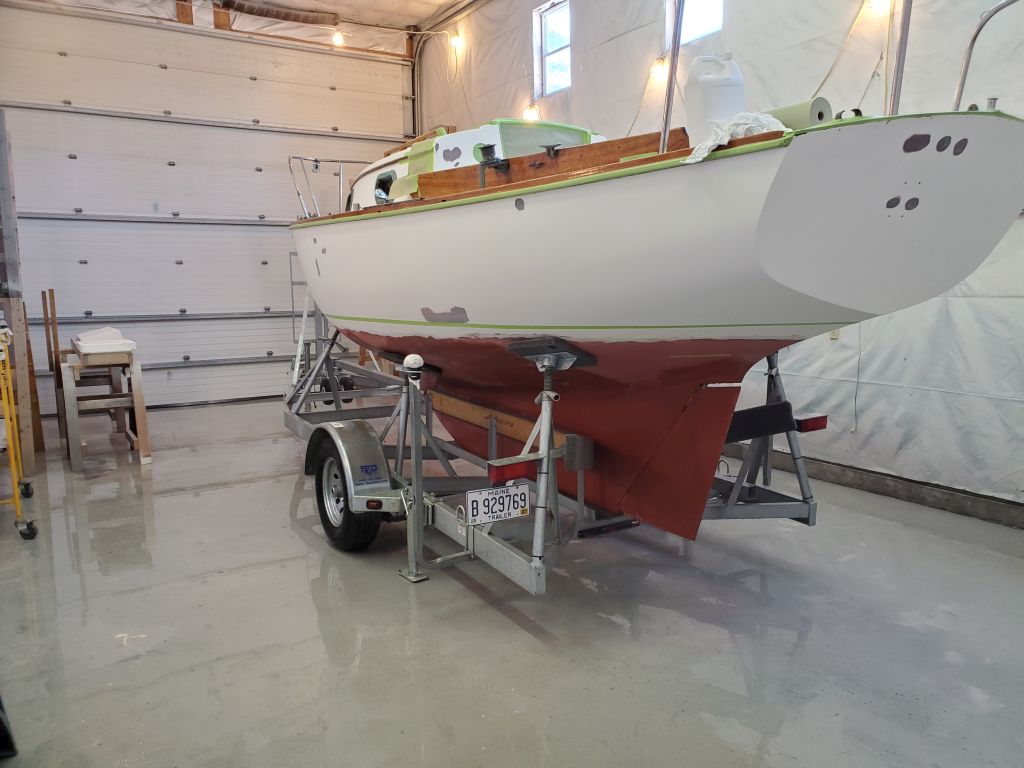
To begin, I used a small level, straightedge, and two marking blocks (3/4″ and 2″ thick, respectively) to transfer the existing, and newly-struck, waterline (top of the bottom paint) marks at stem and stern 3/4″ higher for the lower edge (leaving a 3/4″ visual border), and 2″ above that for the visual thickness of the new boottop.

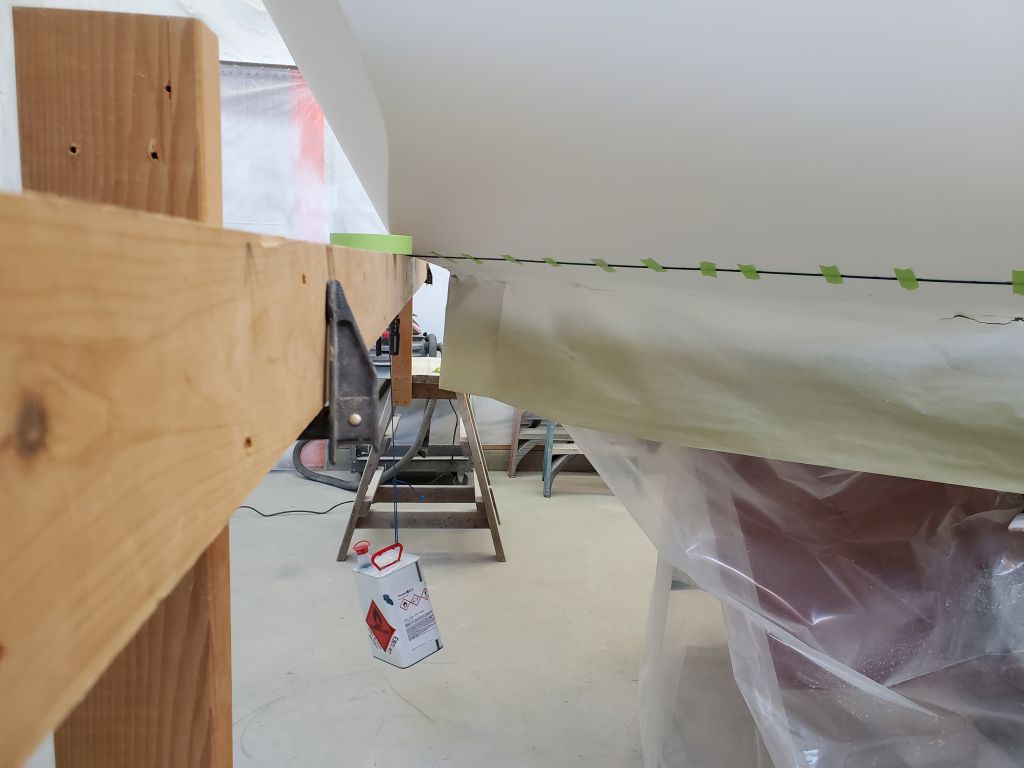
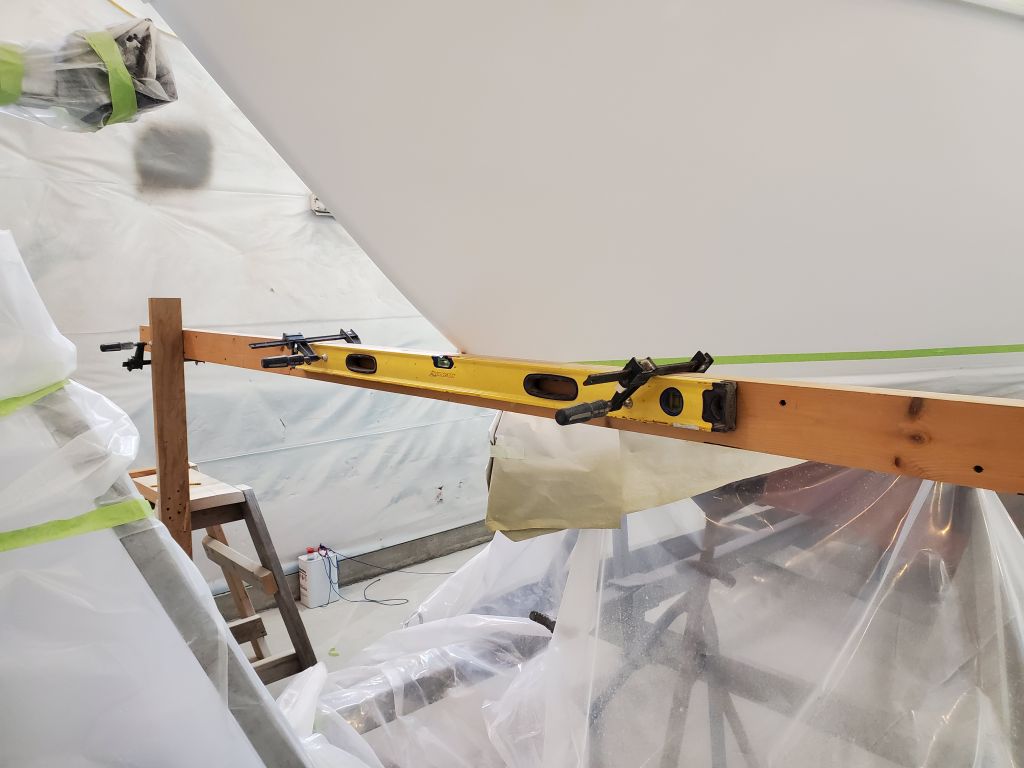
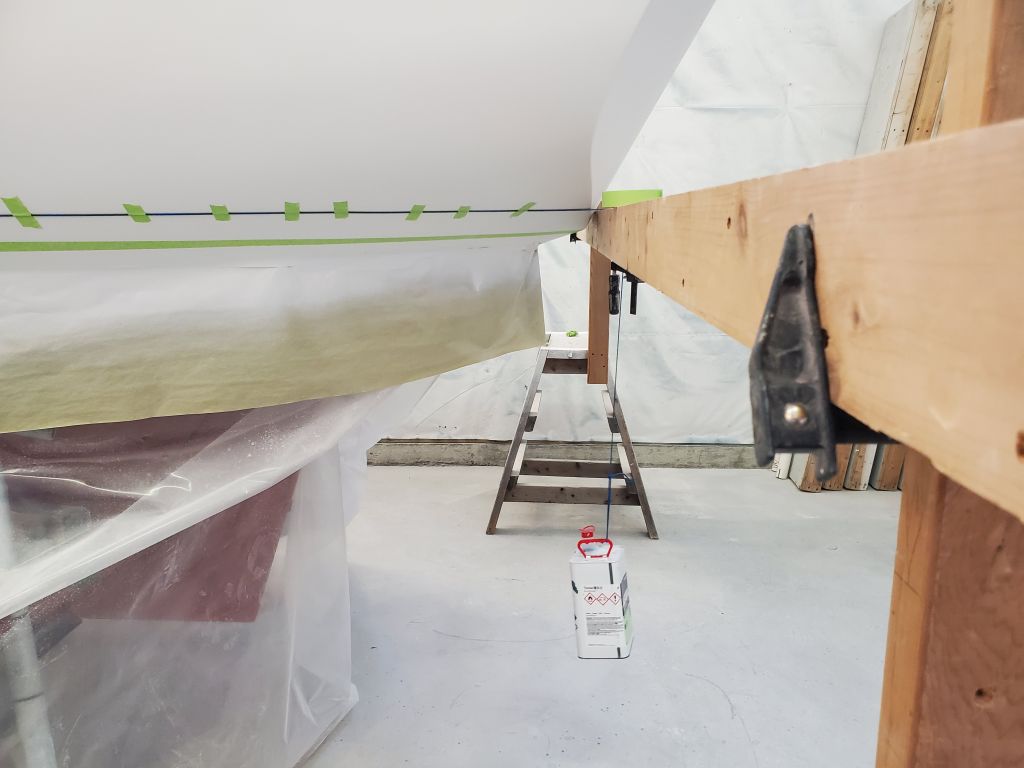
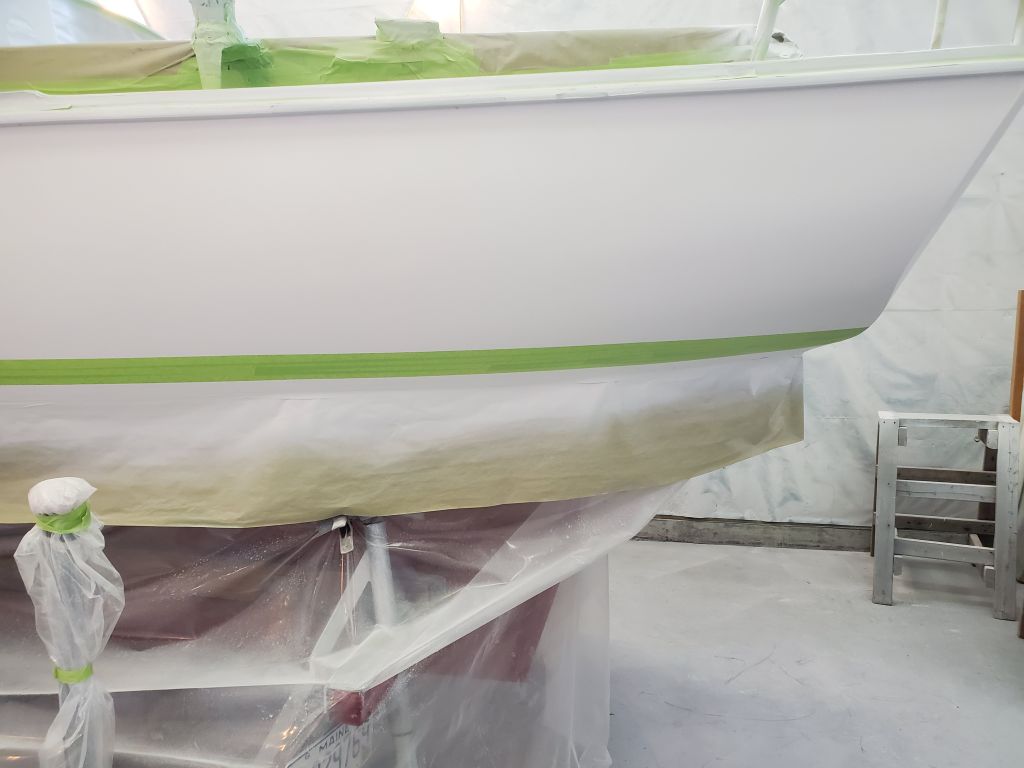
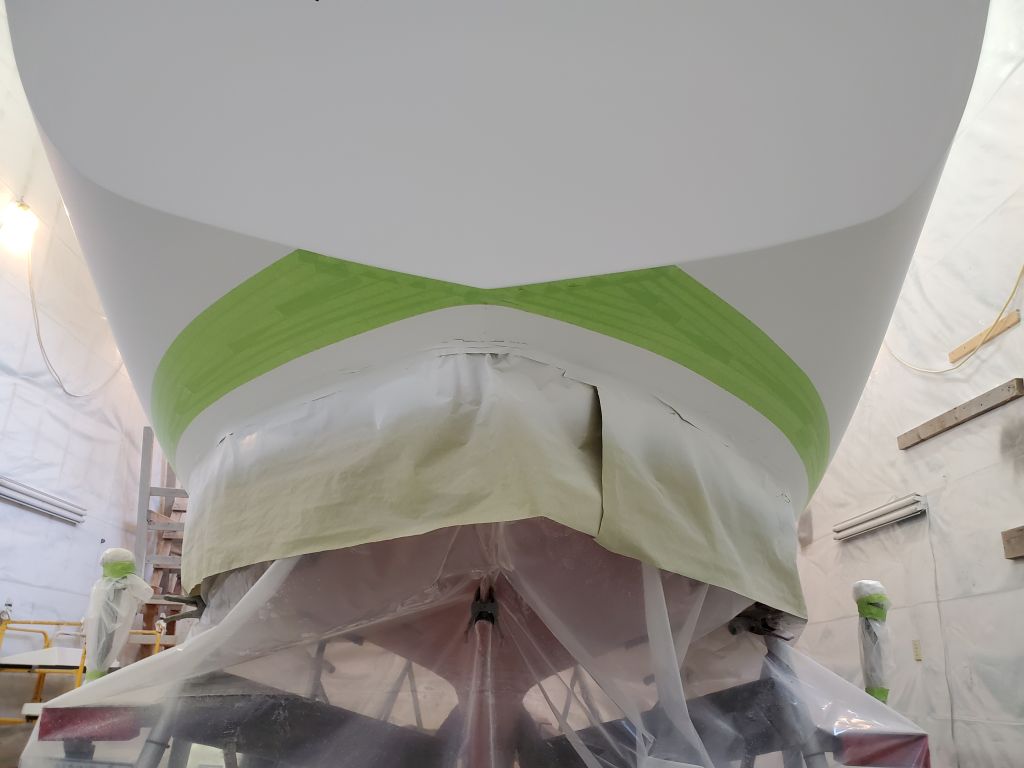
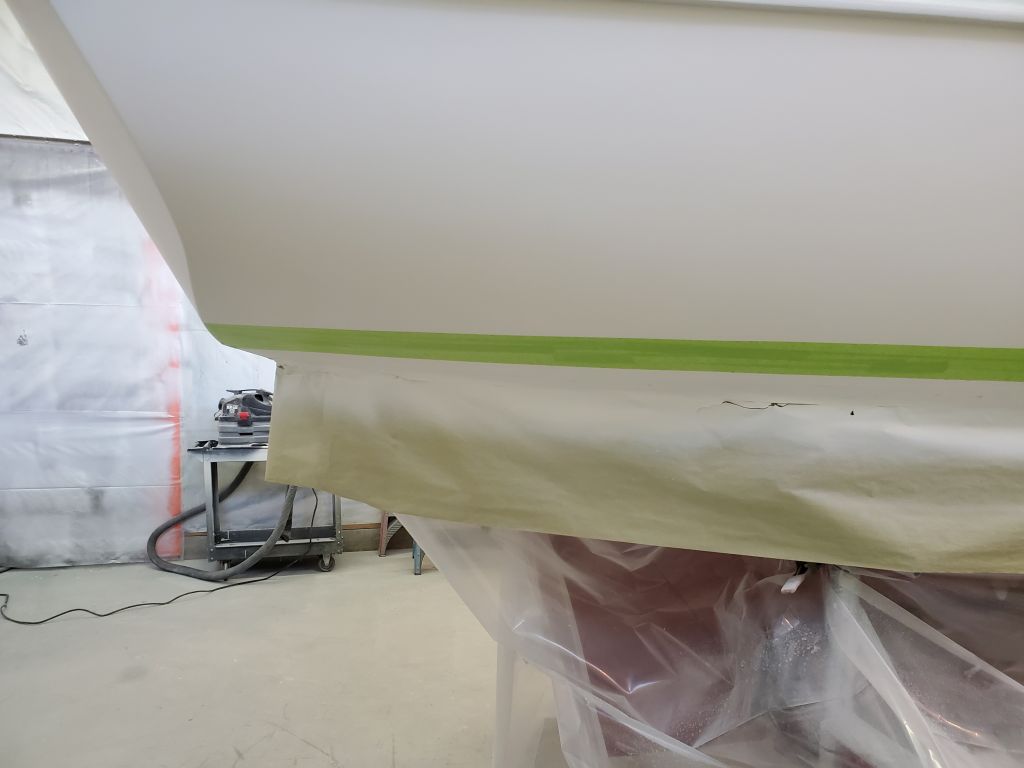
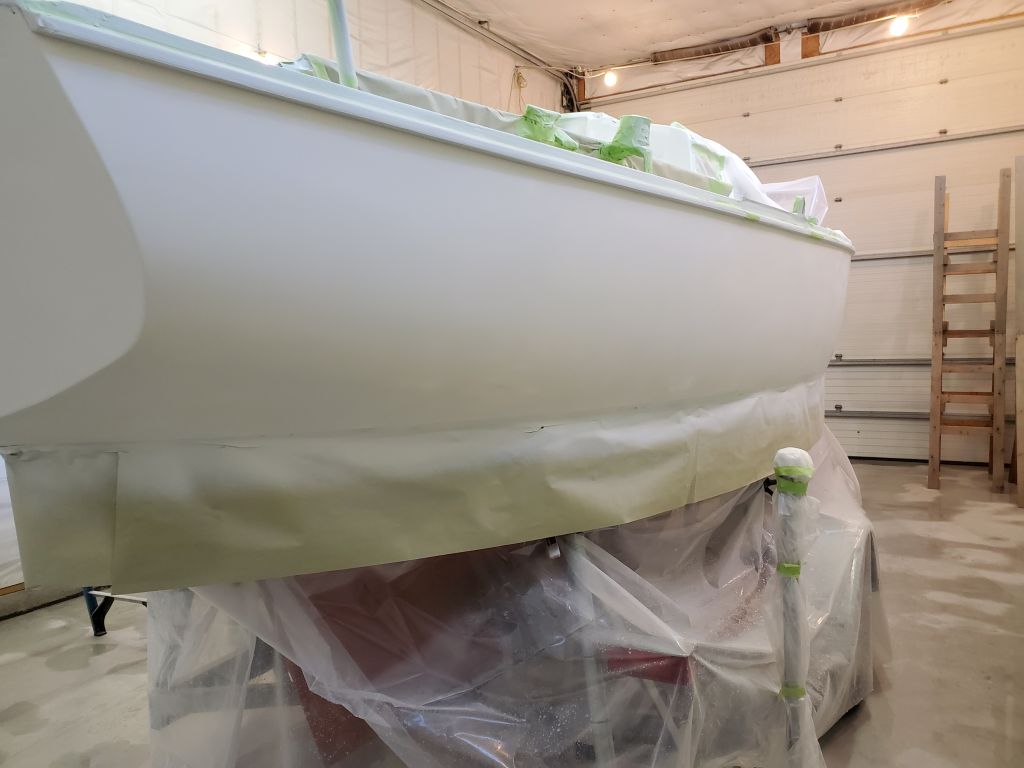
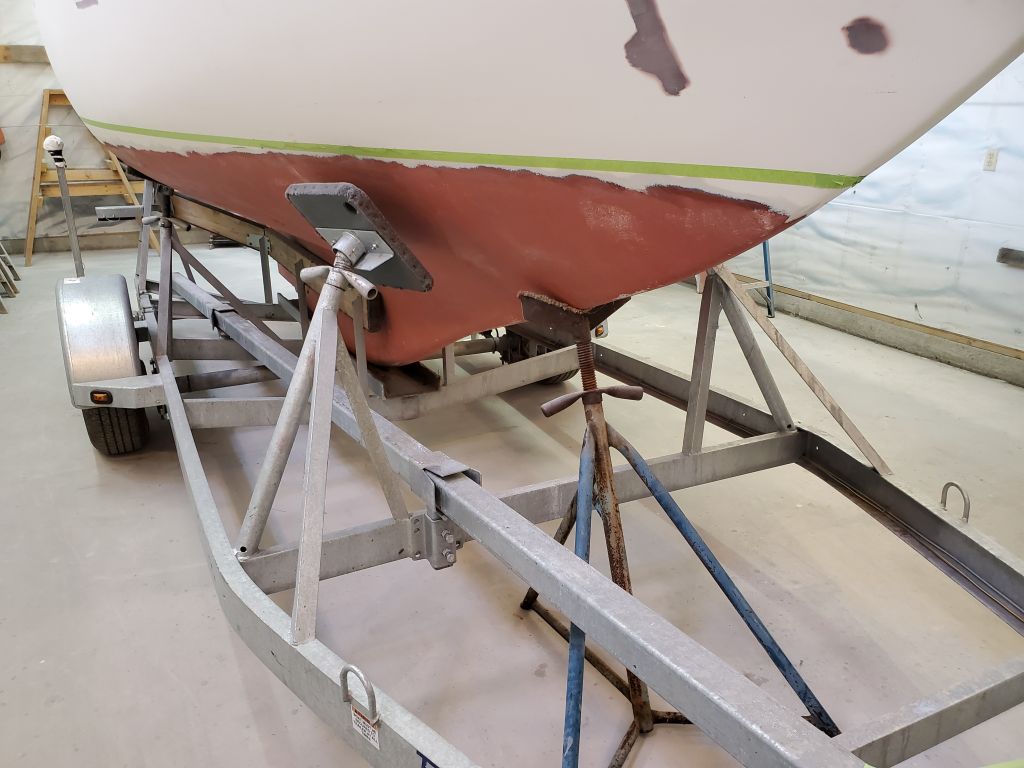
With the new marks for reference at the stem and stern, I set up my horizontal crossbeams at the first, lower mark and, after leveling both, set up my string and, as before, marked the lower edge of the boottop along both sides of the hull.  This mark would leave a visually 3/4″ wide border of hull color beneath the boottop.

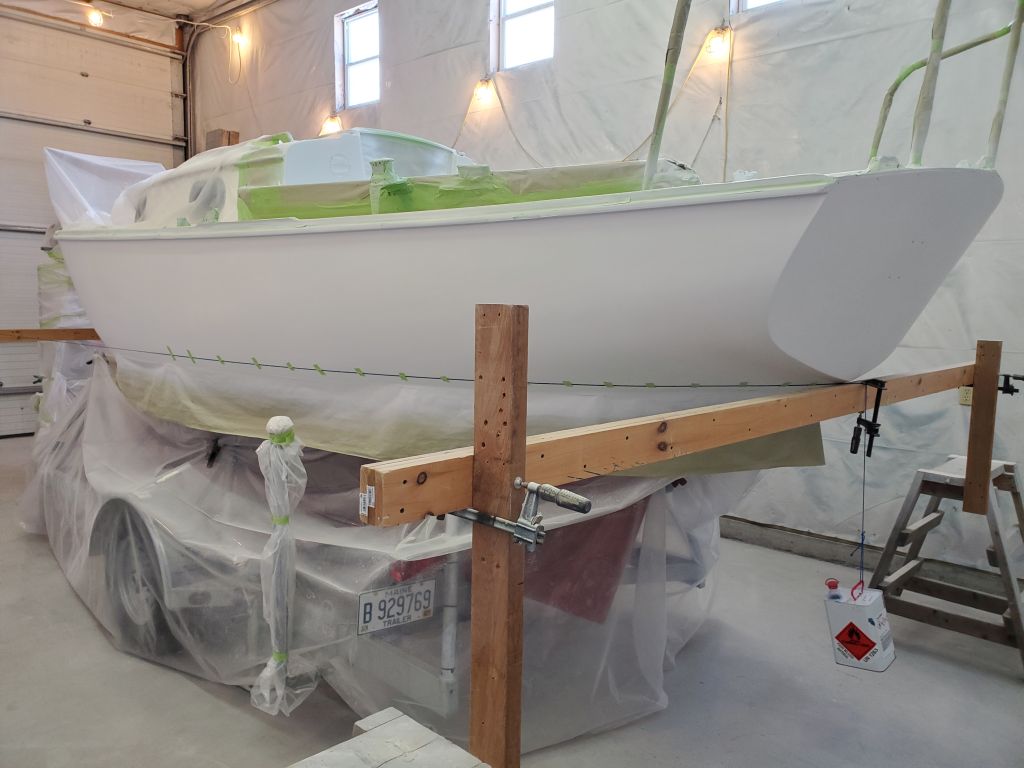
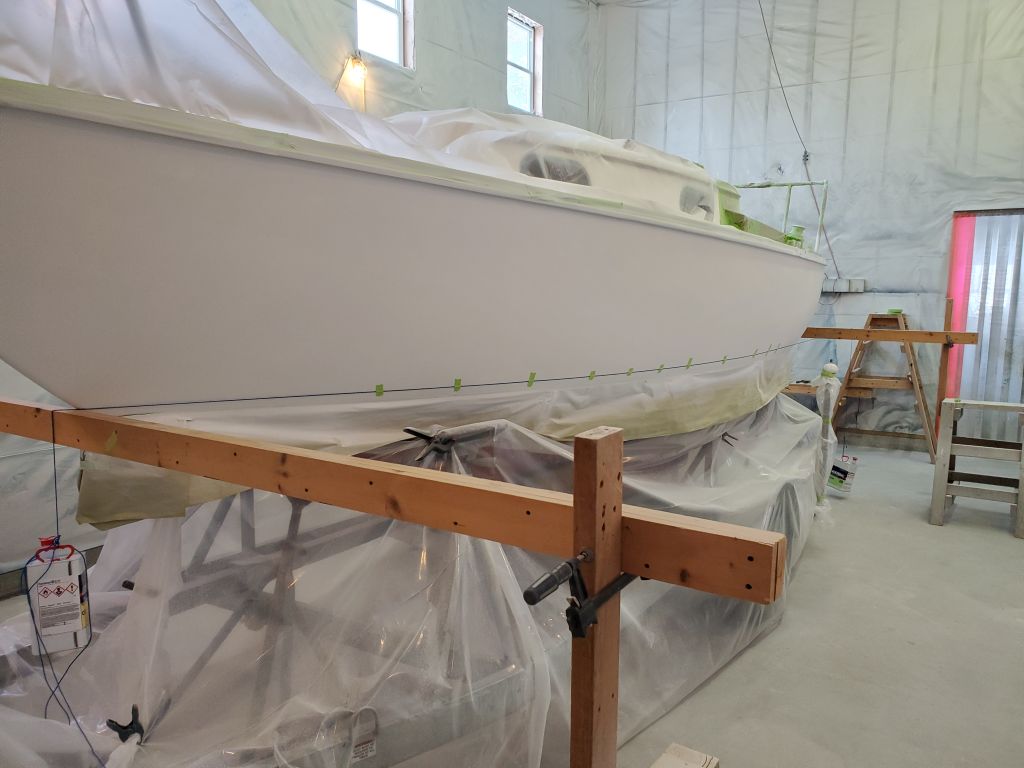
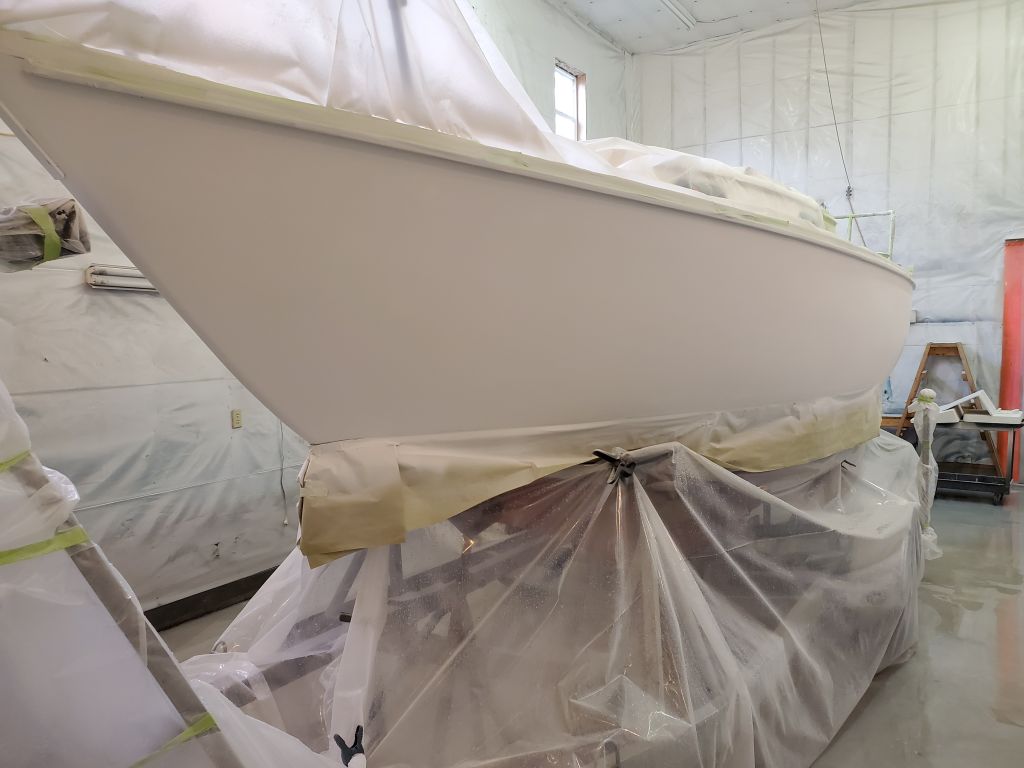
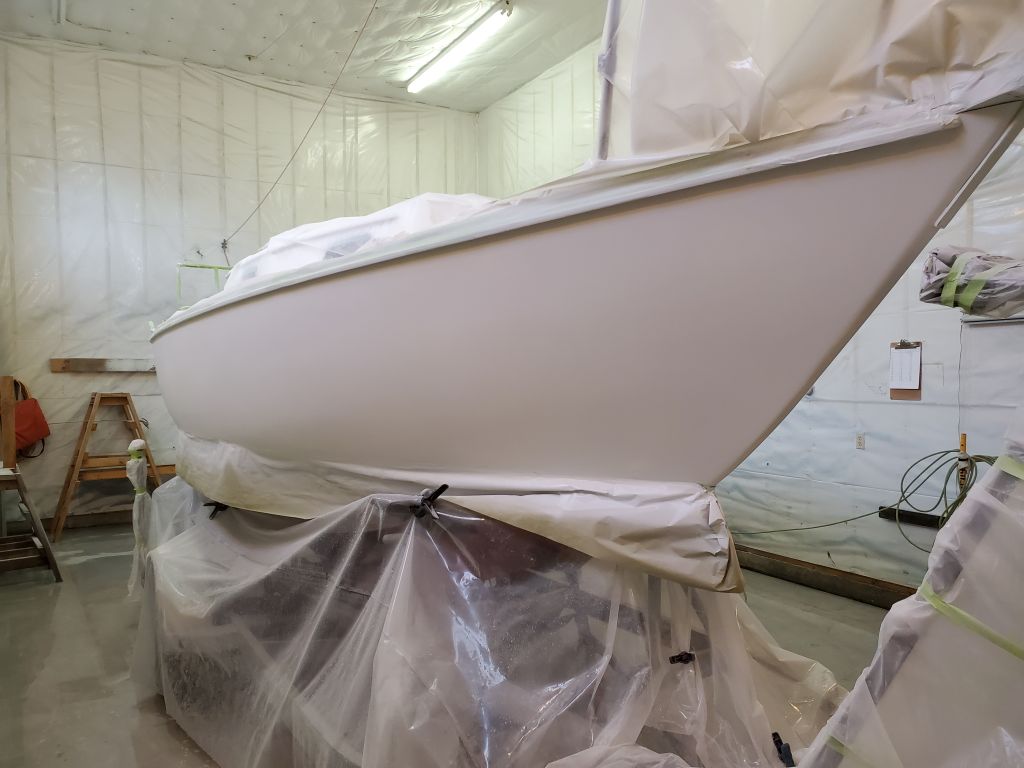
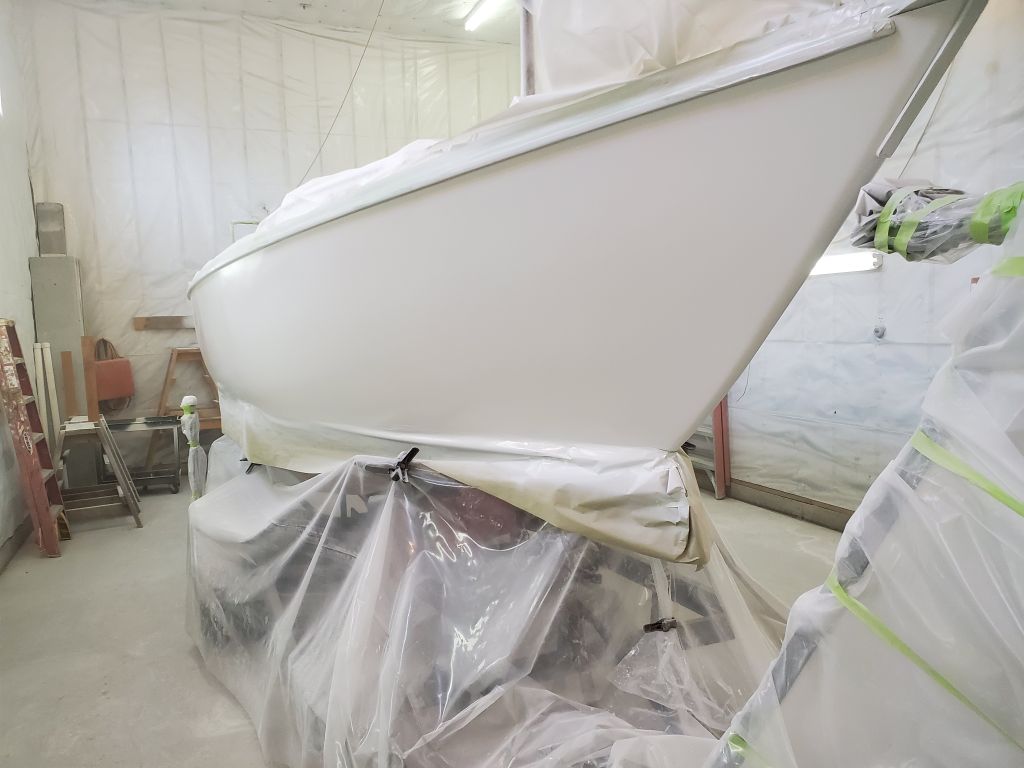
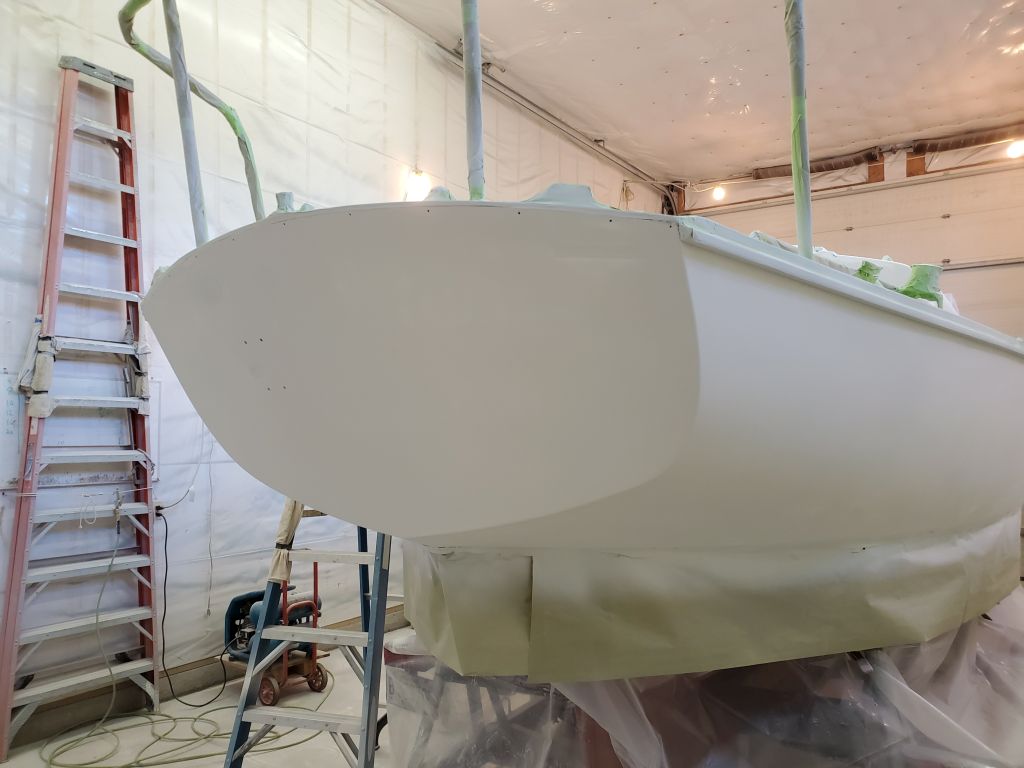
Moving the beams temporarily while resetting them to the height of the upper edge of the boottop gave me time and opportunity to mask off the lower edge along the pencil marks I’d made during the layout.  With that complete, I reset the beams 2″ above the lower mark, creating a stripe that would be 2″ wide amidships.

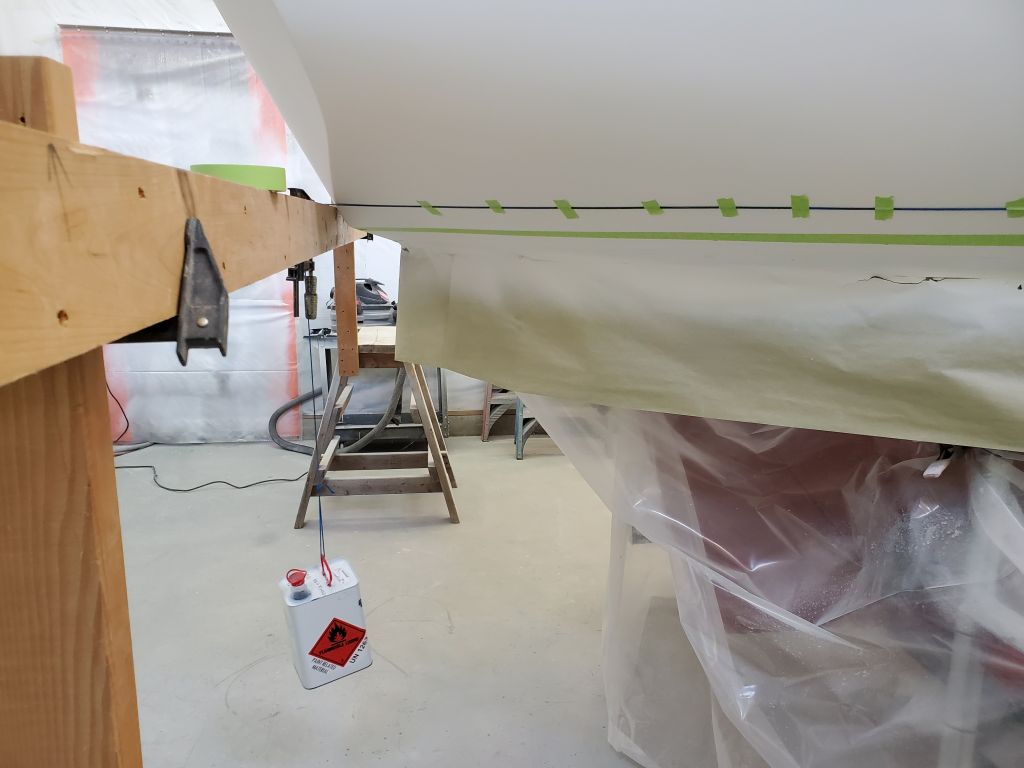
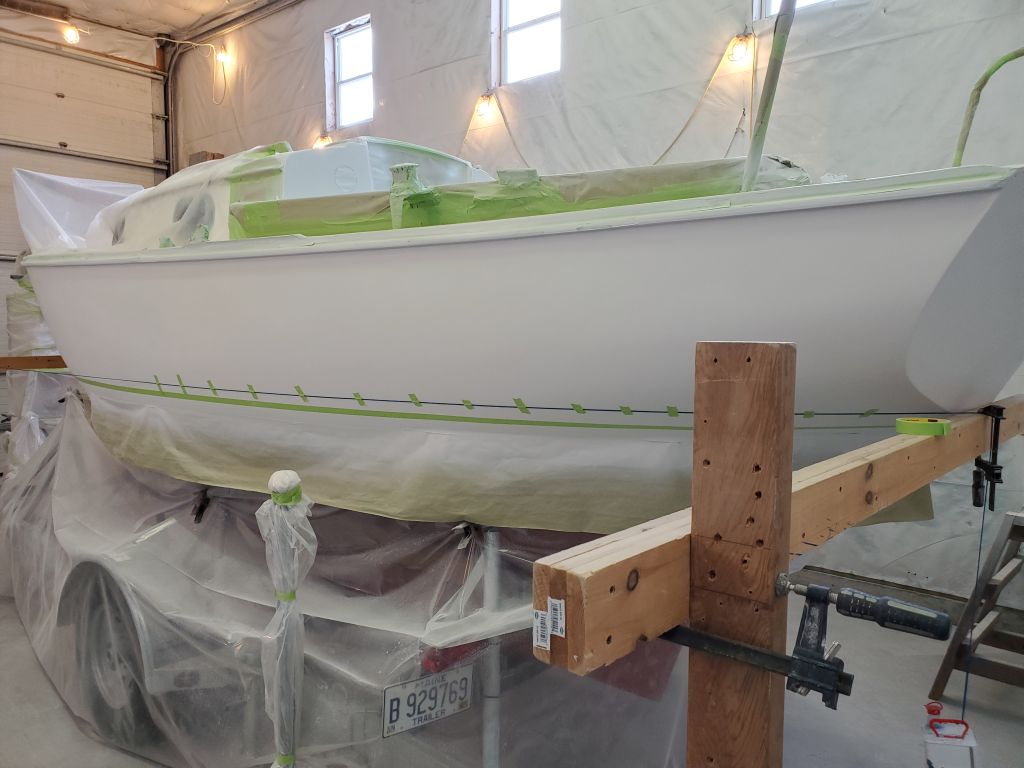
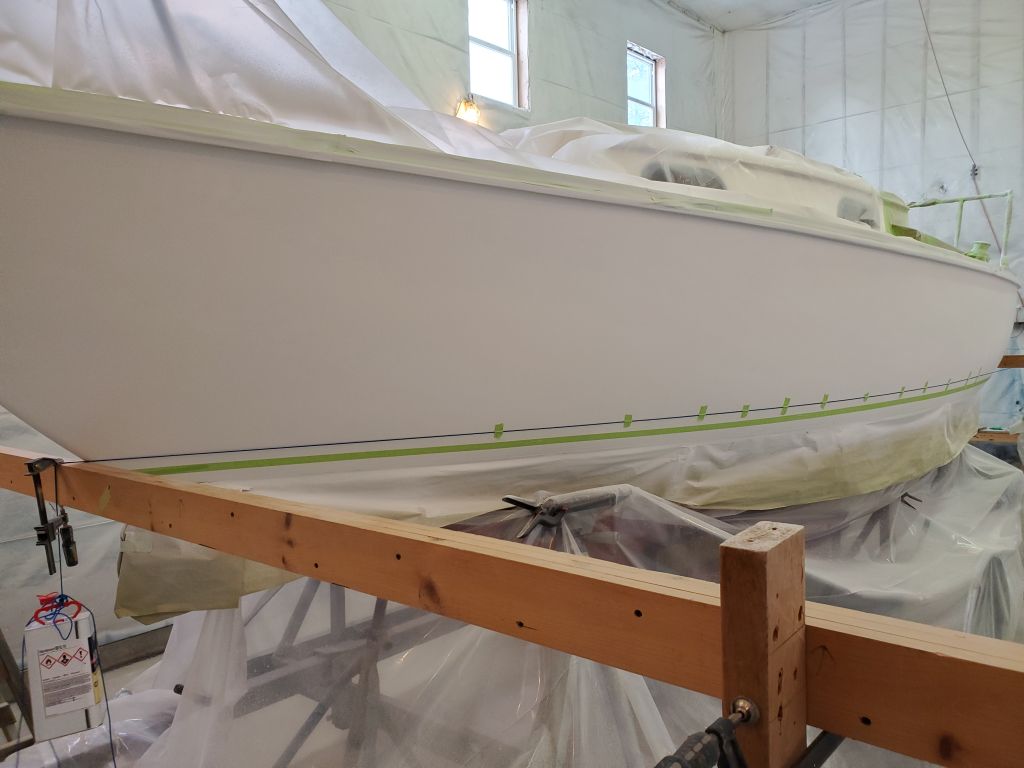
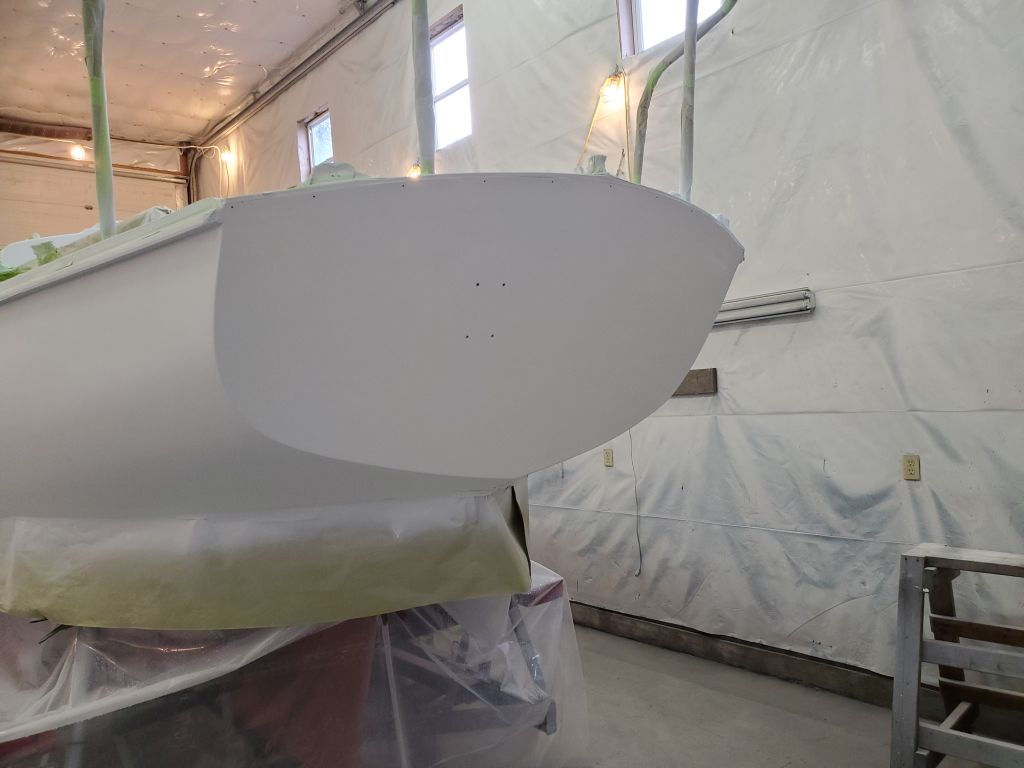
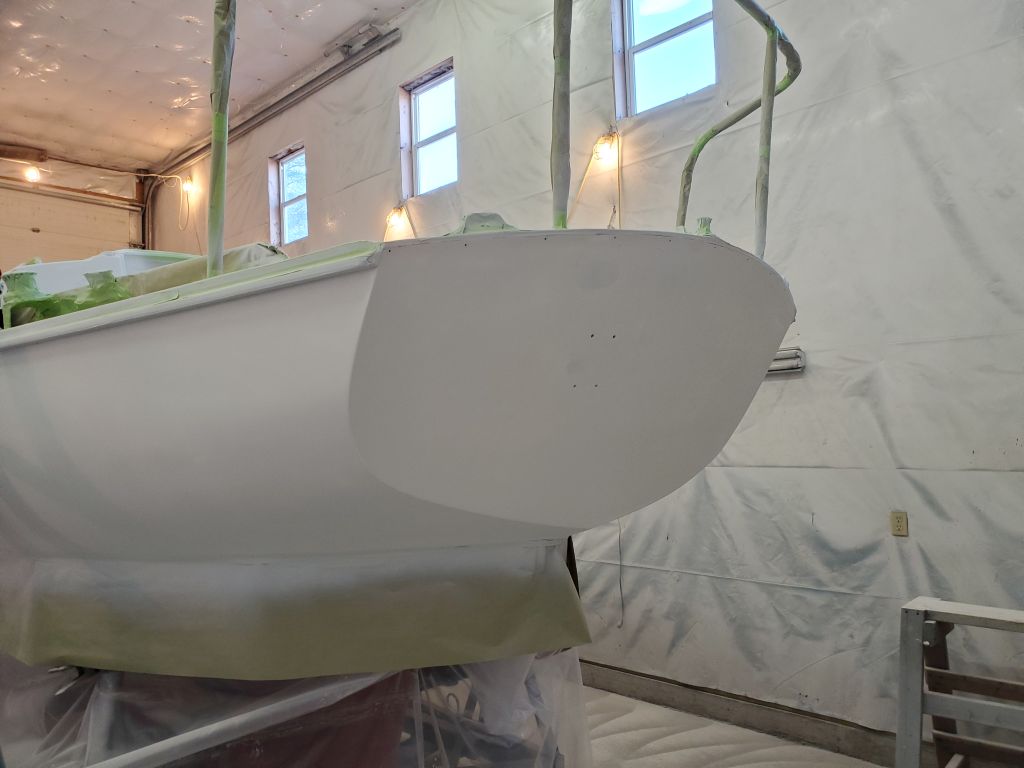
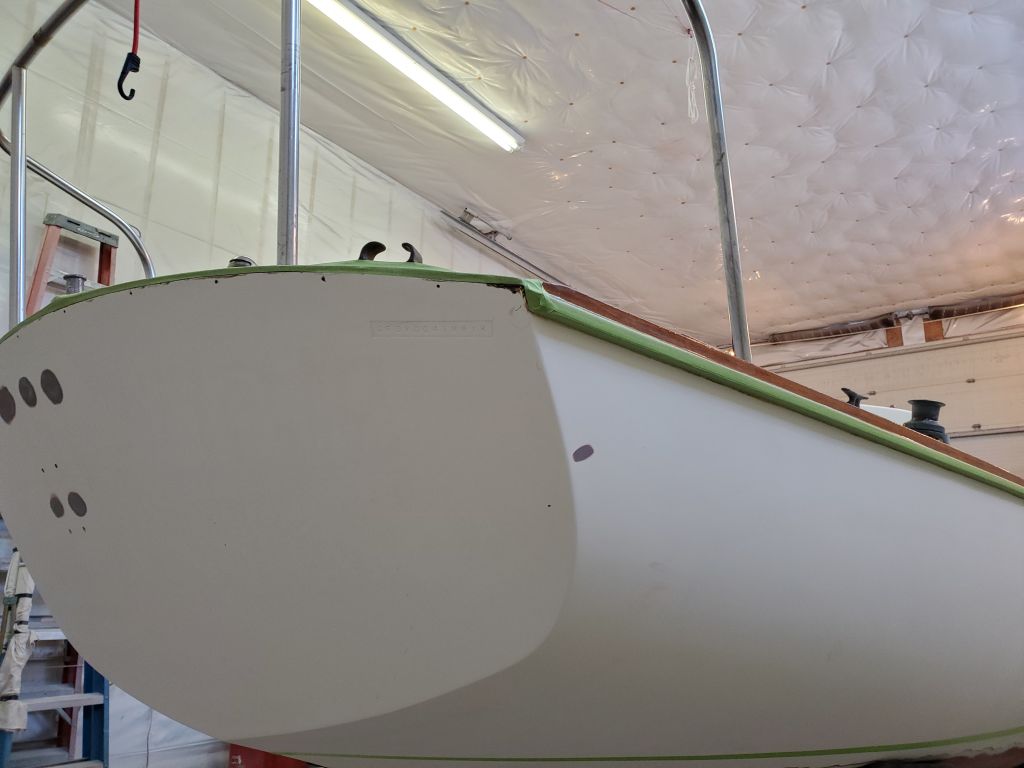
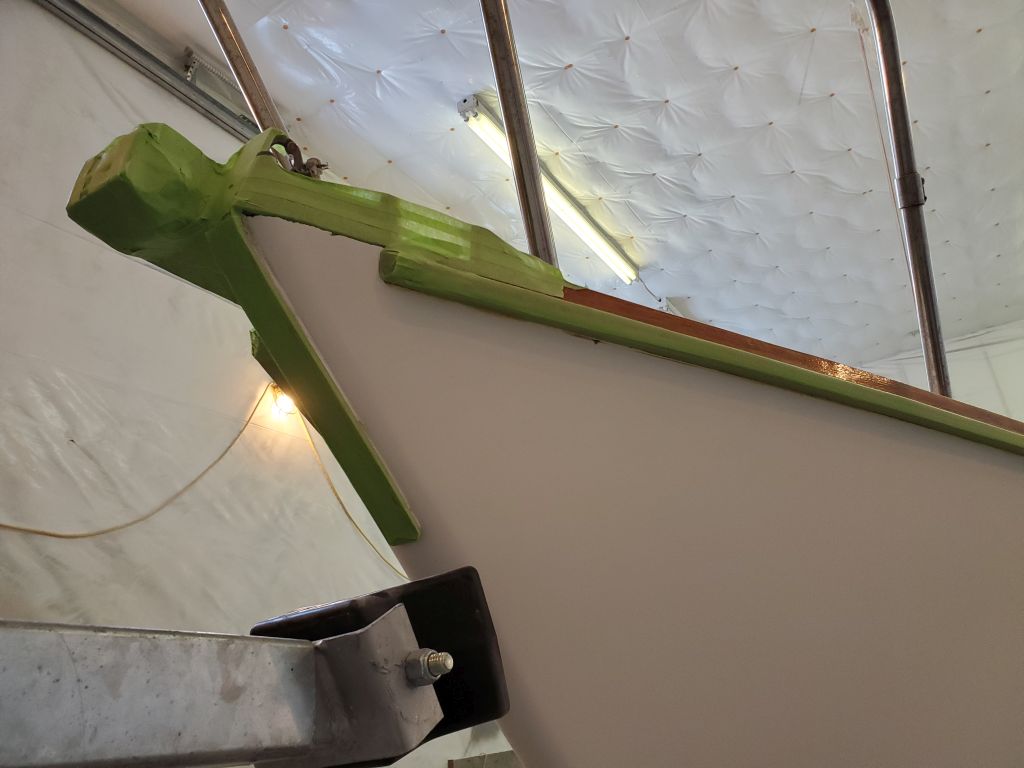
With the layout complete, I masked off the top edge of the new stripe, following the tick marks on the hull.   At the bow, I increased the height at the stem by about 3/4″, and flared the top edge of the stripe along the forward third or so of the boat, to a point roughly 6′ aft on each side, chosen more or less randomly but by eye.  This subtle flare improved appearance by offsetting the eye’s tendency to see the stripe as narrower at the bow because of the shape of the hull and sheerline there.

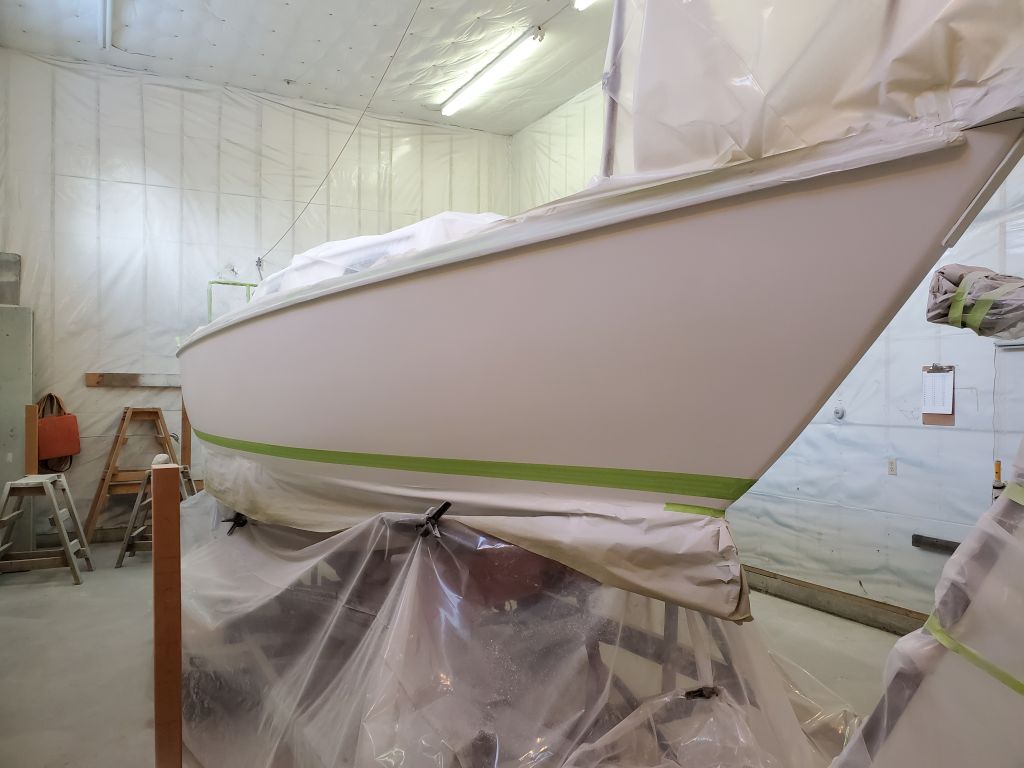
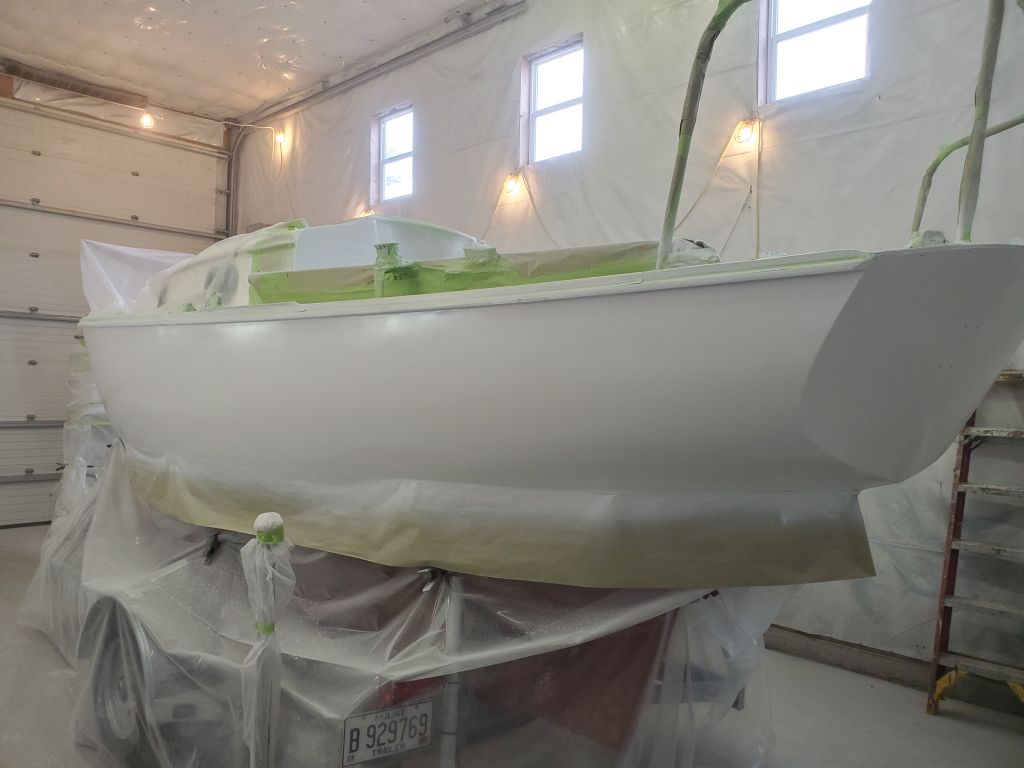
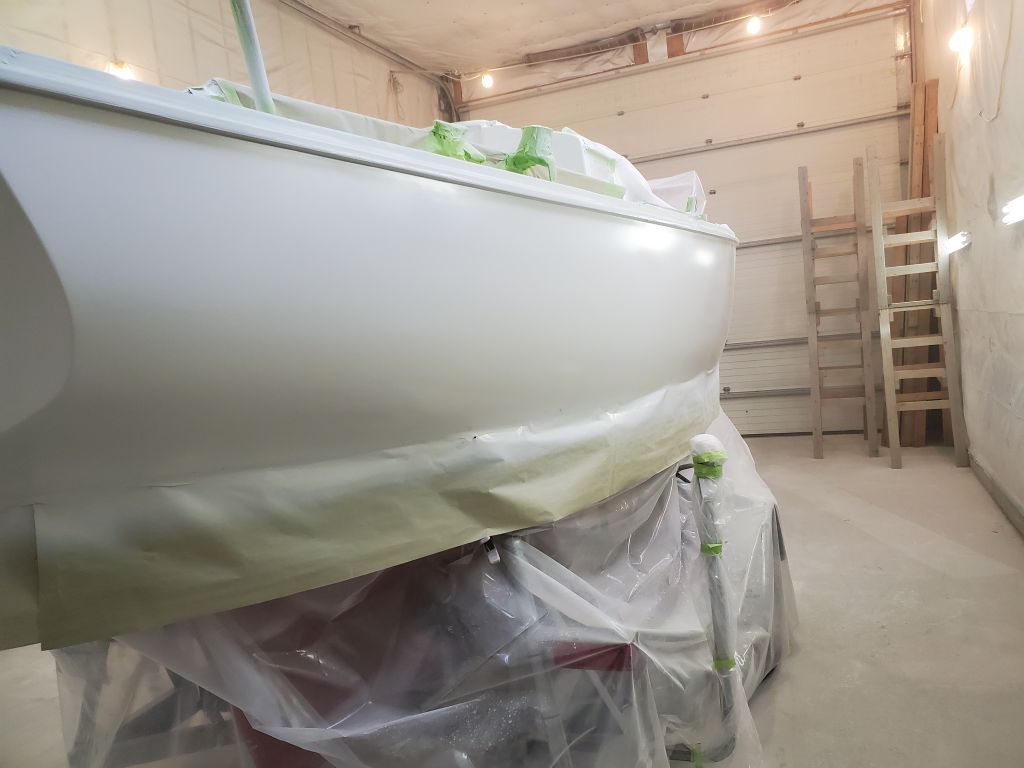
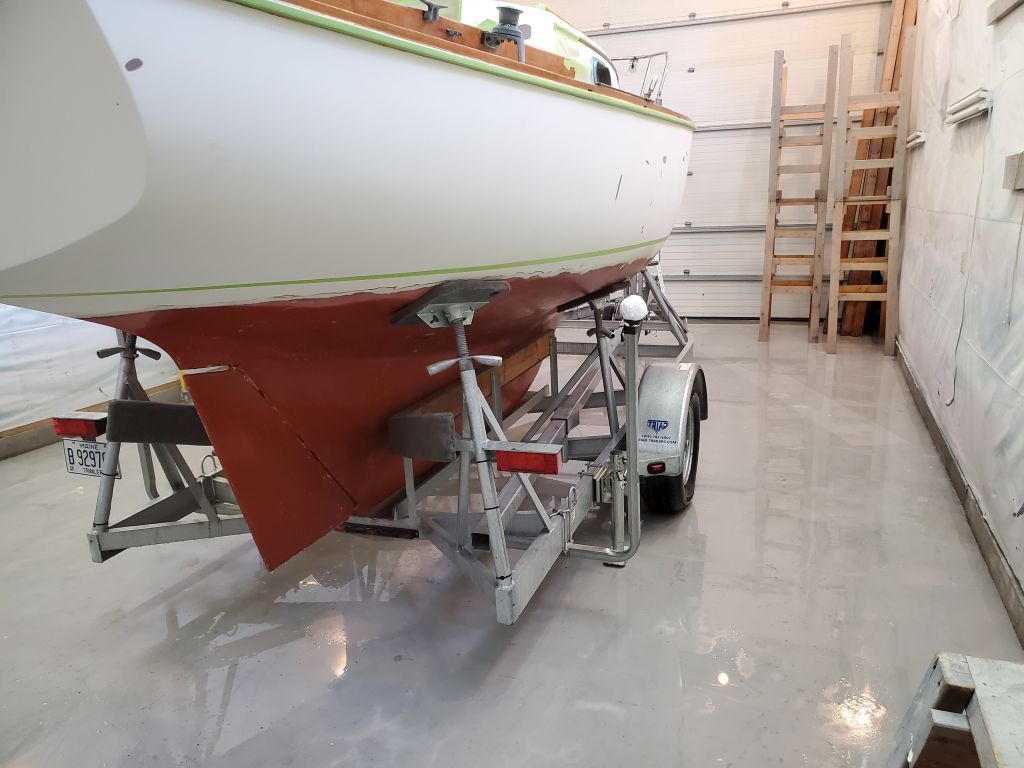
With the top and bottom edges masked and defined, I filled in between with more masking tape.

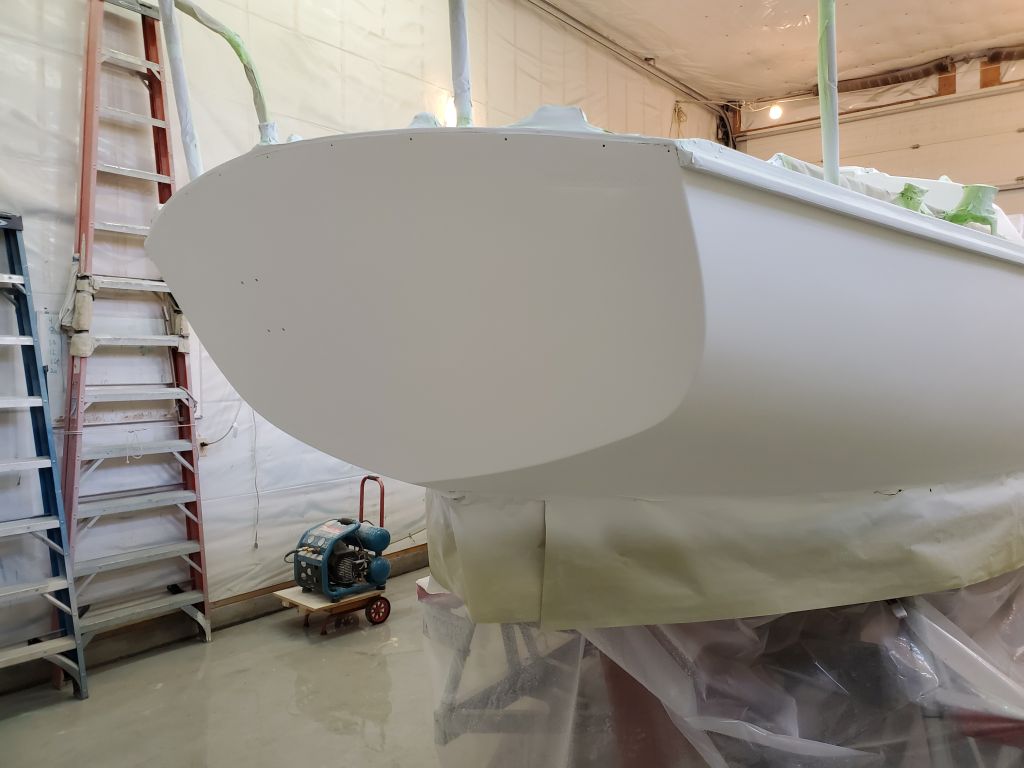
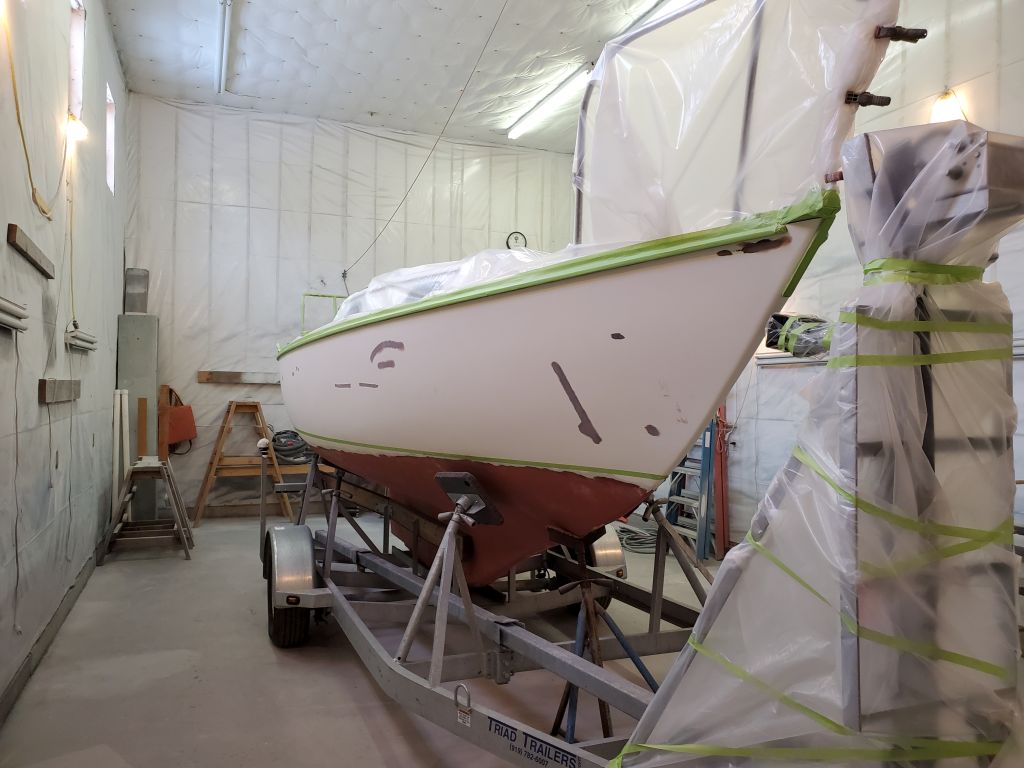
With all masking complete, I finished up with day with a final solvent wash of deck and hull, along with paint, lighting, and equipment preparations for the cockpit topcoats next time.

Total time billed on this job today:  8 hours

0600 Weather Observation:  27°, cloudy.  Forecast for the day:   Cloudy with chance of snow showers, 34°

Arietta 21

Thursday

I got started in the cockpit and poopdeck, sanding the fresh finish primer with 320 grit paper by machine and hand as needed.  Afterwards, I continued with the loose hatches and outboard bracket on the bench.  The primer had turned out well, and this was as quick a process as it could be given the myriad surfaces in the cockpit.

Next, I sanded the hull with 320 by machine and hand.

With the sanding complete, I spent the remainder of the day cleaning the shop and boat.  This included blowing off the boat, trailer, and walls; sweeping the floor; vacuuming and solvent-washing the hull and deck; and rinsing off the floor and fixtures to settle dust.  Now the boat was ready for the next steps, which I’d start after the long weekend.

Total time billed on this job today:  4.5 hours

0600 Weather Observation:  32°, cloudy.   Forecast for the day:  Clouds with breaks, slowly clearing, 40°

Arietta 20

Wednesday

After final preparations, including tacking off, I applied three coats of white finish primer to the cockpit and poop deck.

With the cockpit and deck spraying complete, I moved on to the hull, where I also applied three sprayed coats of the finish primer.

Here is a short video showing me spraying the second coat of primer.  It’s the first time I’ve ever tried a video like this.

Total time billed on this job today:  4.75 hours

0600 Weather Observation:  18°, clear.  Forecast for the day:  Sunny, increasing clouds, chance of snow showers overnight, 33°

Arietta 19

Tuesday

I spent the first part of the day sanding the fine filler that I’d applied around the boat, with most of the time spent in the cockpit, where, along with the tight spaces and corner work, there were some larger patches that could have stood a bit more cure time.  Sanding the fairing compound also gave me a chance to go over all areas again to catch any places that could use a bit more sanding after the initial round right after the primer application.

The hull and loose hatches were quicker and easier to sand.

Next, I cleaned up the boat and shop:  Blow down; sweep; vacuum; solvent-wash deck and hull.  This removed the bulk of the sanding dust from the two sanding rounds over the past few days.

Next, I washed down the shop floor and trailer skirting, settling any remaining dust.

To round out the day’s work, I finished off with a final solvent wash of the hull and deck, this time with the proprietary wipe-down solvent, and prepared paint and spray equipment as needed for finish primer next time.

Total time billed on this job today:  6 hours

0600 Weather Observation:  34°, mostly clear.  Forecast for the day:  Sunny, temperature falling throughout the day.

Arietta 18

Monday

After cleaning the hull and deck from excess sanding dust, I applied light amounts of fine fairing compound where necessary, mainly to fill small pinholes and the occasional void that had escaped detection during earlier fairing steps.  On the hull, I could just see faint shadows beneath the primer to indicate some of the places I’d repaired and filled earlier, and I focused on these areas to be sure there were no pinholes left that the primer hadn’t filled.  On deck, I found several areas where some of the repair work required a bit of touchup.

The filler would have to cure overnight, so for now I’d done all I could on the boat.

Total time billed on this job today:  2.25 hours

0600 Weather Observation:  29°, cloudy.  Forecast for the day:  Cloudy, chance of showers, 43°

Arietta 17

Wednesday

With the primer sufficiently cured overnight, I began in the cockpit and sanded all surfaces with 220 grit by machine and hand as necessary, smoothing the primer to prepare it for the next steps.

With the deck areas sanded, I moved on to the hull, sanding all areas with 220 grit paper.

I was pleased with the primer and the resulting substrate in all areas.  Coming up next:  Cleanup, inspection, and fine filler application on pinholes or other areas requiring additional attention before finish primer.  But for now it was time for Christmas break.

Total time billed on this job today:  4  hours

0600 Weather Observation:  29°, clear.  Forecast for the day:  Increasing clouds, 31°

Arietta 16

Tuesday

After final preparations, I sprayed three coats of epoxy-based high-build primer on the cockpit and poop deck.

With the deck spraying complete, I continued with the hull, applying three sprayed coats of the primer there as well.

Total time billed on this job today:  4.75  hours

0600 Weather Observation:  32°, clouds.  Forecast for the day:  Becoming sunny, 38°

Arietta 15

Monday

I spent the morning in the cockpit and surrounds, finishing up the masking.  I covered the coamings, sidedecks, trim, hatch openings, and stern pulpit, and forward of the cockpit I covered the remainder of the deck with plastic sheeting, masking it securely to the toerails and bow casting as needed.


The well-masked, papered sidedecks would allow me room to kneel or crouch and reach the furthest depths of the cockpit from the sides during spraying.

The new waterline passed just barely clear of the forward trailer pads, and for access I needed to lower these for now.  The boat was bow-heavy without any forward support (the V-shaped centerline stem fitting was also retracted for access to the hull), so I added an external stand to help support the bow during the work ahead.

Next, I draped the entire trailer in plastic below the boat’s waterline to protect the trailer from overspray.  I secured the plastic with some clamps to the trailer and boat here and there to help hold the weight and take the pressure off the tape.  I wrapped the tall bow support and trailer tongue, and later wrapped the supports for the loading guides aft (not seen in these photos).

Right below the waterline, I added a strip of masking paper, since overspray on plastic tends to flake away and cause problems later.

To finish up the day, I prepared paint and spray equipment for the primer to come, otherwise readied the shop, and washed the cockpit and hull with the proprietary solvent designed for this purpose with the paint system.

Total time billed on this job today:  8 hours

0600 Weather Observation:  31°, clouds and fog.  Forecast for the day:  Clouds and fog, 33°

Arietta 14

Friday

I spent the morning masking, starting with the rubrail where it met the hull, as well as the stem casting and bow roller.  I masked up high enough all around so that when I installed the plastic sheeting over the decks, all applicable areas would be well covered.

Continuing in the cockpit, I worked to mask off the cabin trunk forward of the cockpit bulkhead, as well as the instrument openings, scupper hardware, and the lower edges of the coamings plus the entire aft coaming before reaching a stopping point.  With only the cockpit and poop deck being painted at this time, there’d be a fair bit of additional masking to complete to cover the coamings, remaining hardware, and other areas not to be painted this time around, but I’d finish that up next time and then be ready for the first round of primer on the hull and cockpit.

For now, I needed to wash off the trailer (and at the same time the shop floor) so that it would have ample dry time in order to finish the masking below the waterline and cover the trailer to prevent overspray.

Total time billed on this job today:  4 hours

0600 Weather Observation:  15°, clear.  Forecast for the day:  Mostly sunny, 26°

Older posts Newer posts