(page 4 of 8)

Acadia 44

< Back to Acadia

Wednesday

The main bulkhead on the starboad side featured a built-in bookshelf and folding table.  Before continuing with the old finish removal, I decided to remove the table.

I hadn’t necessarily planned on doing a lot of refinishing work to the bookshelf itself, but as I examined it it was clear there was no way I could leave it be, and I’d need to refinish the outer surfaces at a minimum.  Access to the bulkhead areas within the shelf was tight, and eventually I determined that the shelf unit was simply screwed to the bulkhead from the back side, in the head.  So I went ahead and removed the shelf, which would make it easier nnot only to work on the bulkhead refinishing, but also on the shelf itself.

Now I could finish up the stripping job on the starboard side.  During the remains of the morning, and a short work day, I finished up the main bulkhead and the forward side of the galley bulkhead, as well as the trim at the shelves at the top of the settee.  This completed the stripping on the boat itself; sanding the starboard side would be first on the list for next time.  In addition, there were lots of small pieces down in the shop awaitingstripping and sanding, but all in due course.

Total time billed on this job today:  3.75 hours

0600 Weather Observation:
30°, clear.  Forecast for the day:  sunny, 40s

Acadia 43

< Back to Acadia

Tuesday

Yesterday, I’d been unhappy to find that I had no spare scraper blades on hand (I always have them on hand), so I made do with the one blade out of several scrapers on hand that was still OK, though by the end of the day it was approaching uselessness.  So since I’d have to await delivery of replacement blades till sometime in the afternoon, I chose to go ahead and work instead on sanding the newly-stripped port side.  During the morning, I sanded all the stripped trim and the other surfaces  with 120 grit, smoothing the bare wood for a bright finish and preparing the other areas for primer and paint.  I’d go over all the trim with 220 grit later.  At this writing, I didn’t yet know if the settee back panels would end up finished bright or painted; there’d been minimal old varnish on them, and although I’d not stripped them the existing finish was OK as a base for new varnish if desired, or else primer and paint.  I thought the final choice of new upholstery fabric for the seat backs might end up making the decision more clear–a dark fabric might like the contrast of a white panel, or vise-versa–but in any event this decision would soon be made.

In the nav station footwell, I removed the trim along the sole, exposing the area so I could pattern and install the new sole to match that in the main cabin.  I’d refinish the existing trim down on the bench with all the other small pieces.

I had to bide time for a little while after lunch while I waited for the delivery with my new scraper blades, but afterwards I prepared to strip the trim and various bulkheads on the starboard side.  As with the other side, the original condition of the old varnish was varied, but generally poor.  The trim on the engine hatch cover was in better condition, and I saw no reason to strip it, though I’d sand it and varnish it along with the other trim too.

By the end of the afternoon, I’d stripped the trim in the galley, plus the handrail and window trim and part of the galley bulkhead.  I’d continue next time.

Total time billed on this job today:  5.25 hours

0600 Weather Observation:
30°, clear.  Forecast for the day:  Mostly cloudy, 40

Acadia 42

< Back to Acadia

Monday

The minor keel repair work was complete, and I water-washed and lightly sanded the epoxy coating that I’d applied last time, then applied some bottom paint to cover.

Before beginning the work in the cabin, I removed the two lamps from the forward bulkheads.

The existing condition of the old varnish on the trim and bulkheads was poor enough that stripping would be required before refinishing the areas that would be varnished anew; areas to be painted wouldn’t require as much prep work or stripping, but the old finish was uneven and drippy in places (it looked like someone might have even used Cetol over it in some areas?), and all in all there’d be ample prepwork throughout the cabin.

With a heat gun and scraper, I worked through the day to strip the old finish from those areas requiring it on the port side:  trim; handrails; main bulkheads that would be refinished with varnish.  The underlying wood and veneer was in good condition, and with sanding would be ready for varnish.

The lower settee bulkheads and areas around the nav table were to be painted, and I’d prepare those areas with sanding later, at the same time I sanded the now-stripped trim.  I’d continue with the preparations on the starboard side next time.

Total time billed on this job today:  6.25 hours

0600 Weather Observation:
32°, light snow and a dusting.  Forecast for the day:  clouds, showers, 40.

Acadia 41

< Back to Acadia

Friday

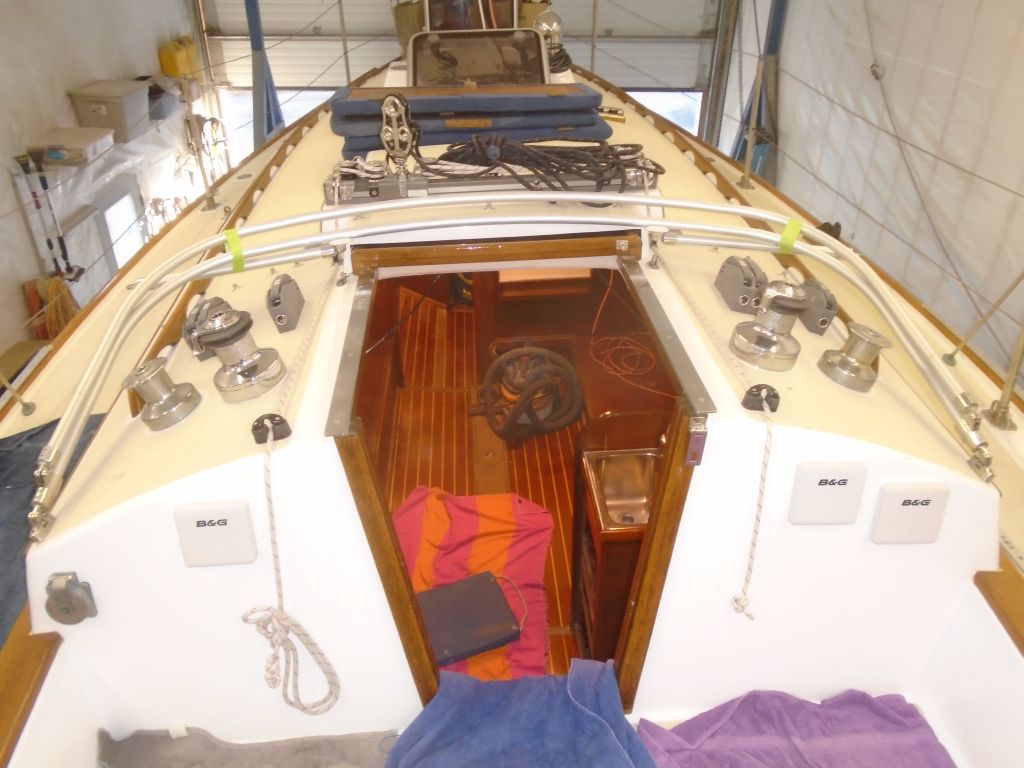
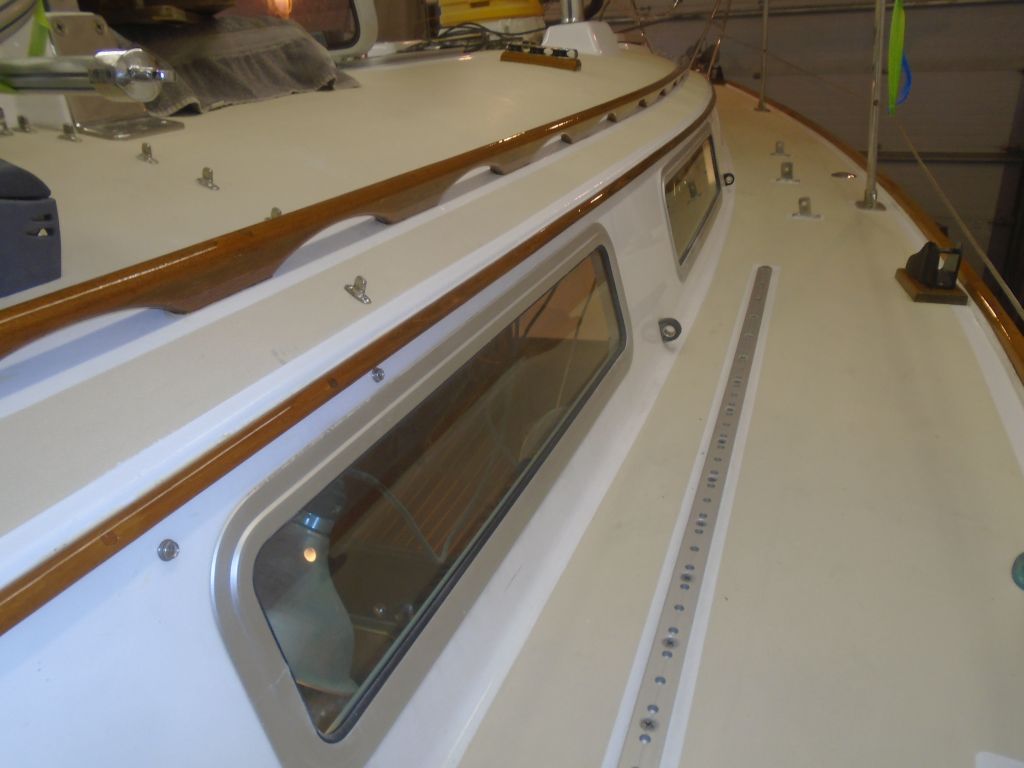
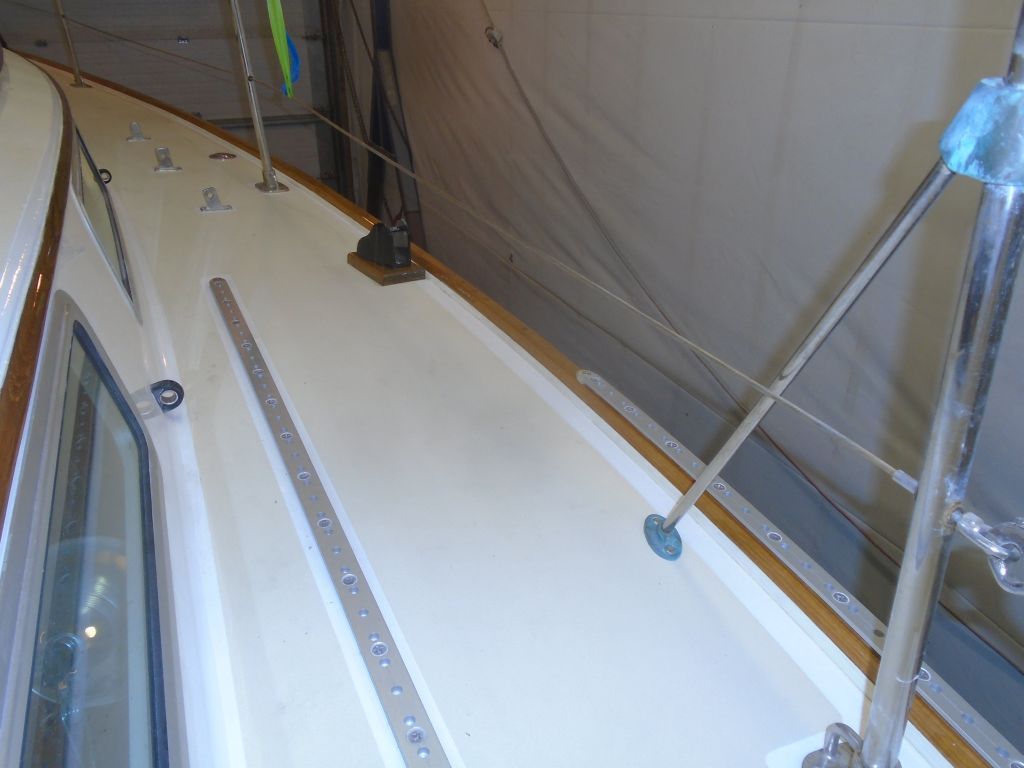
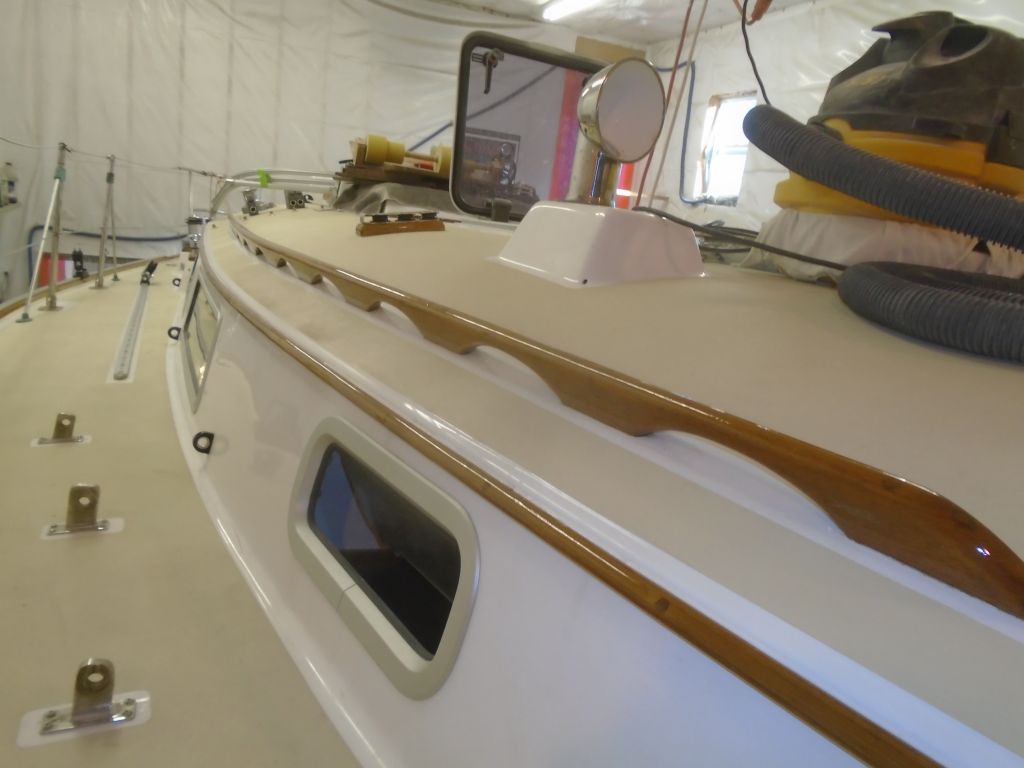
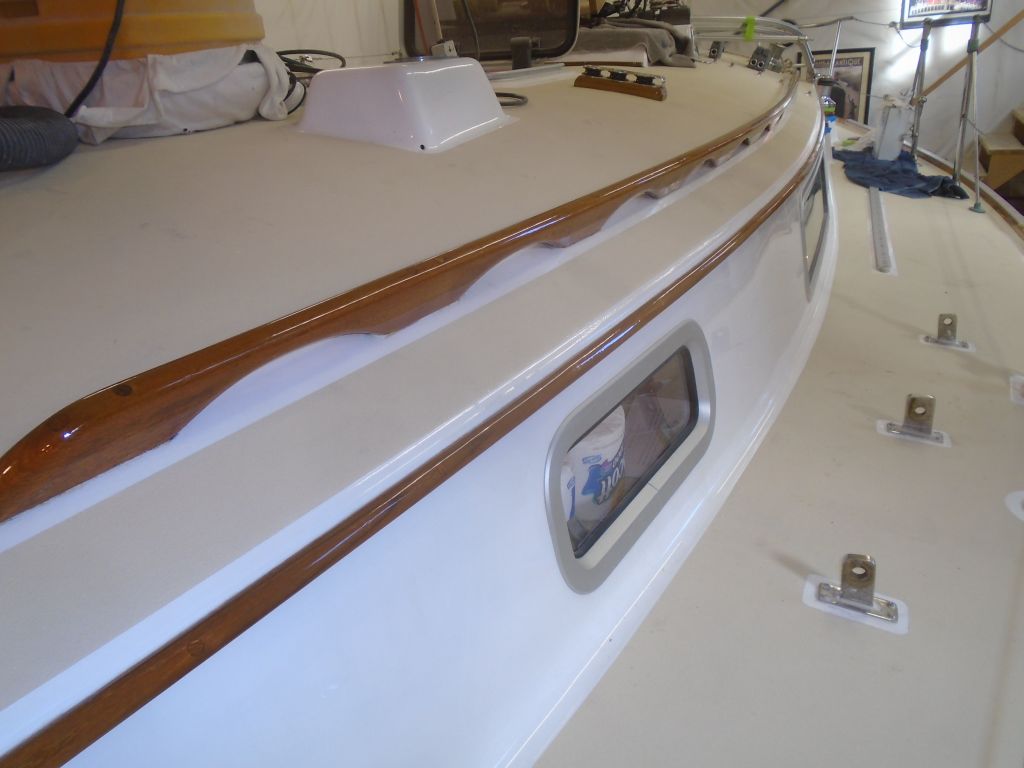
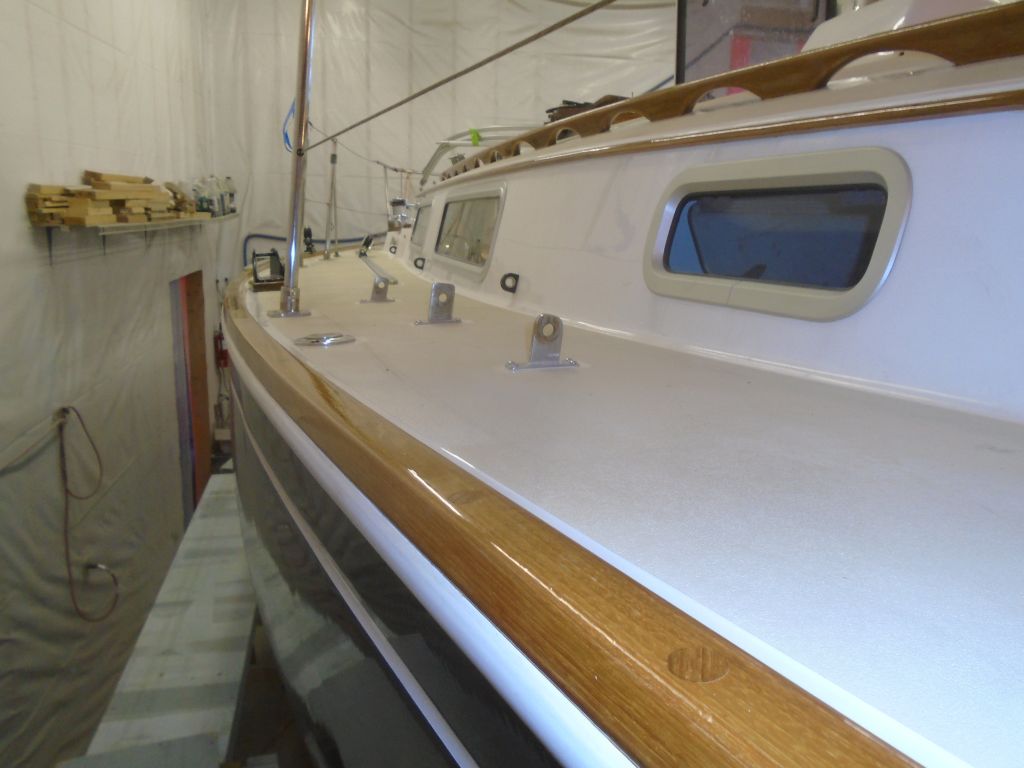
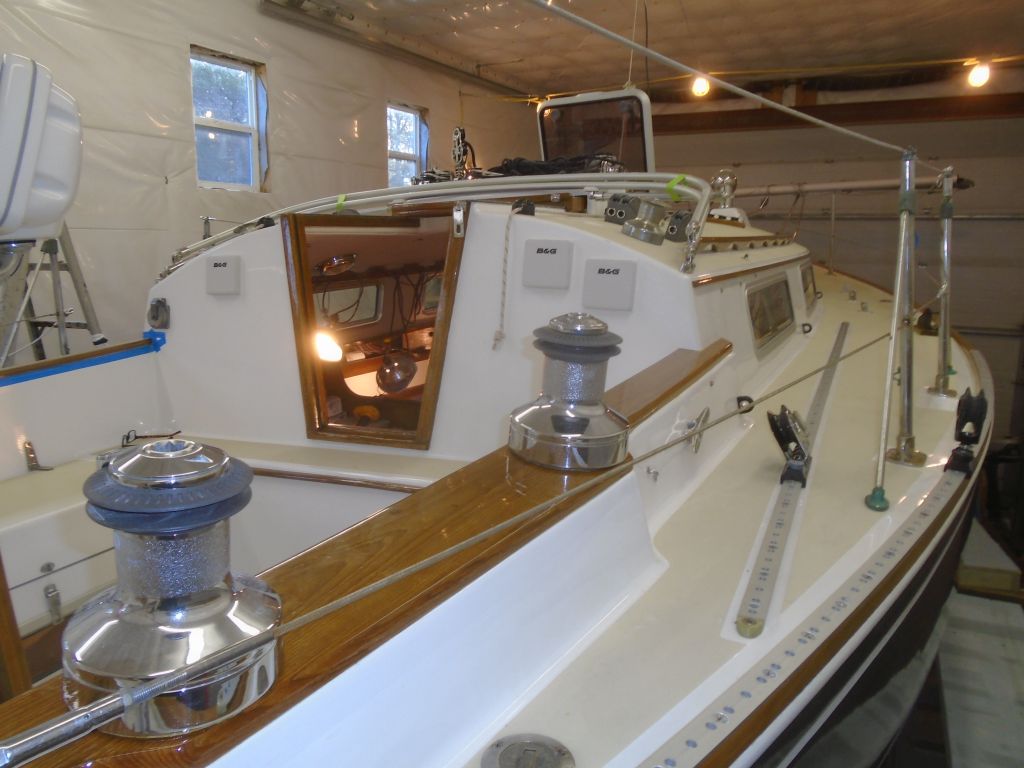
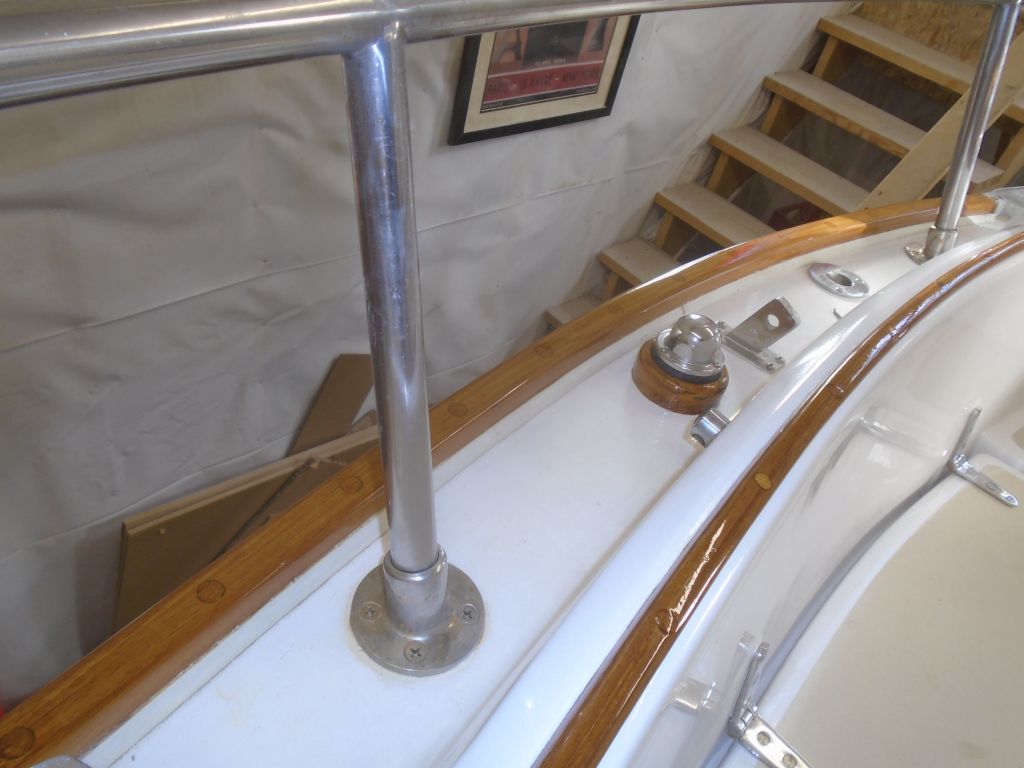
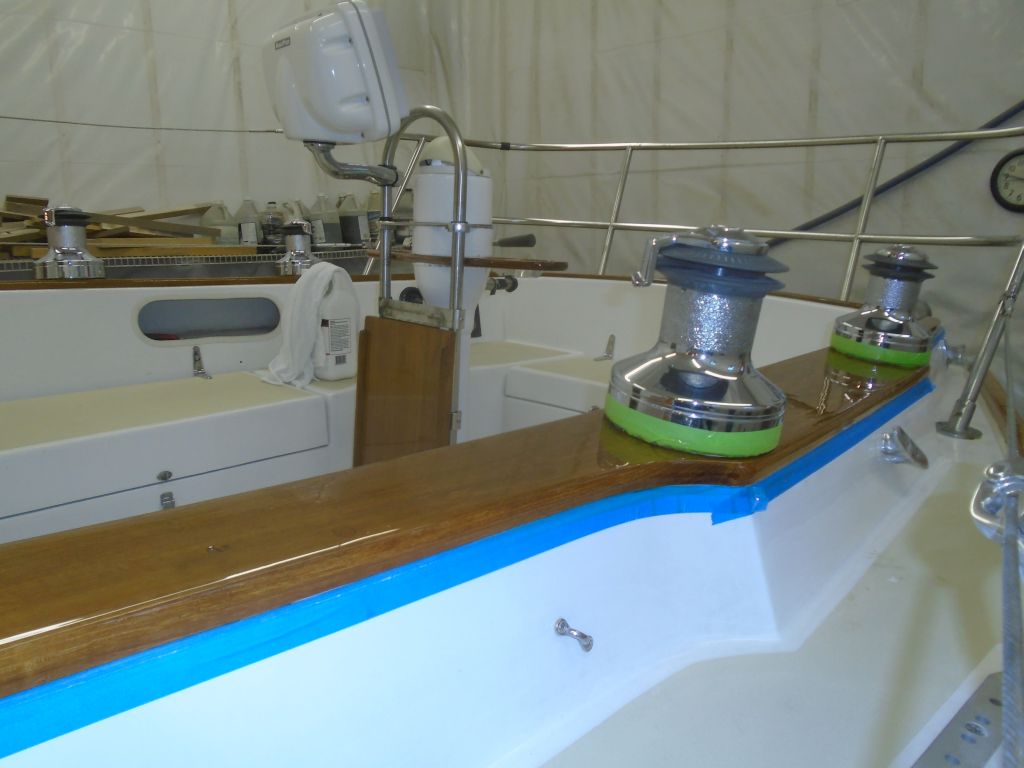
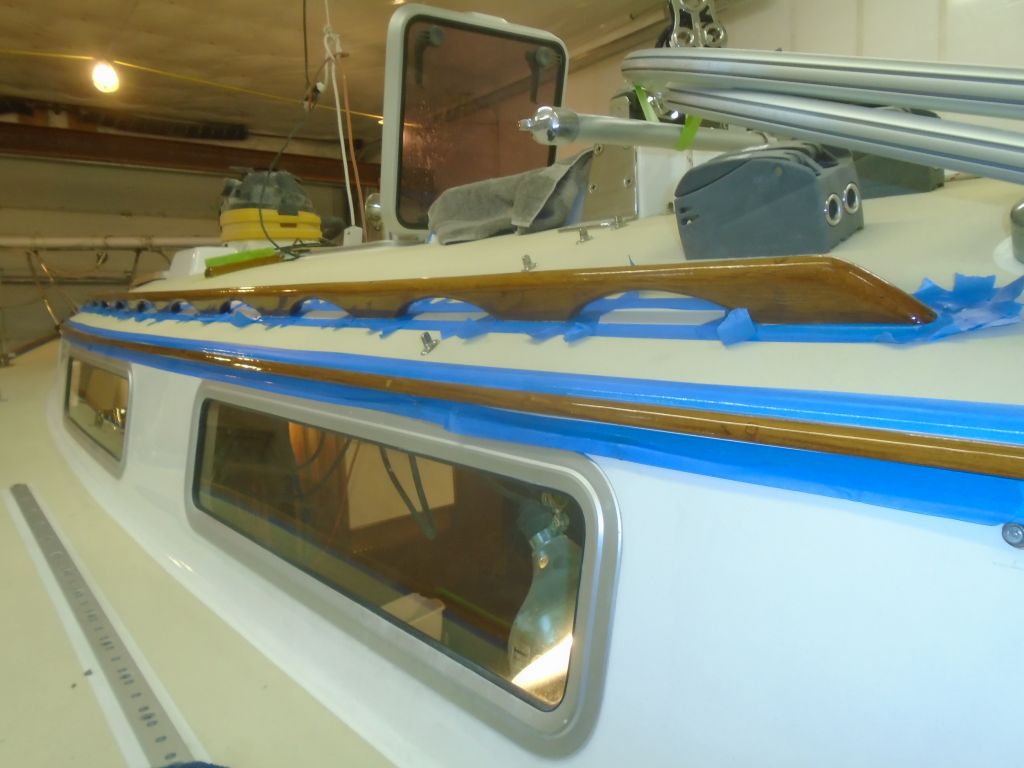
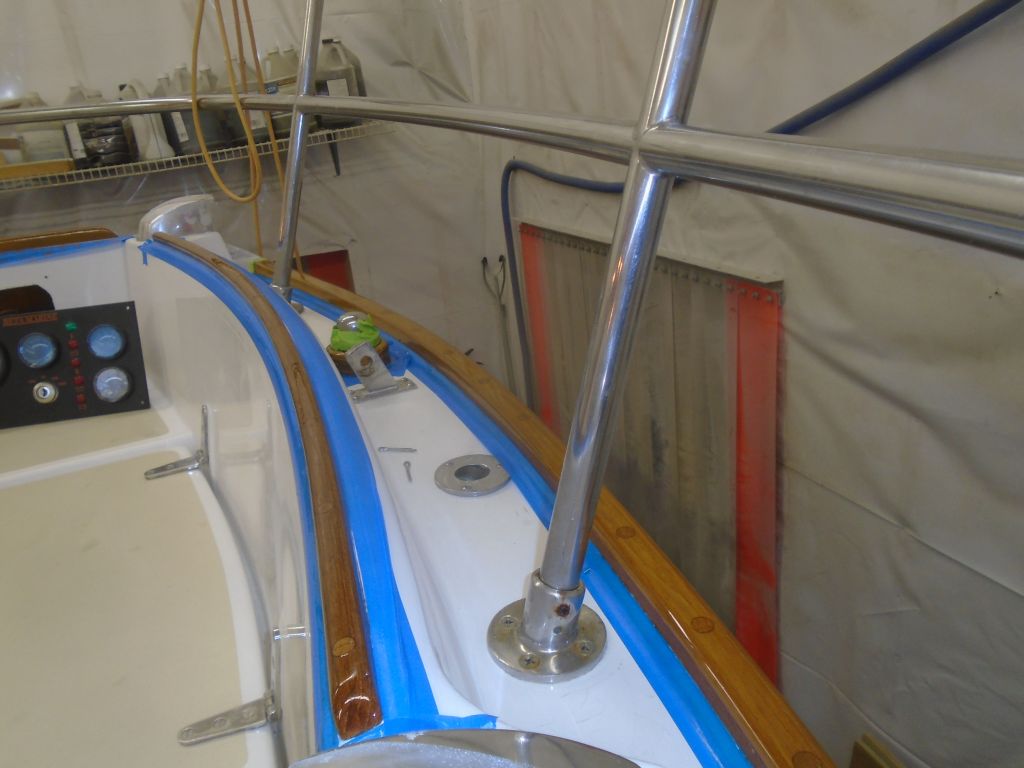
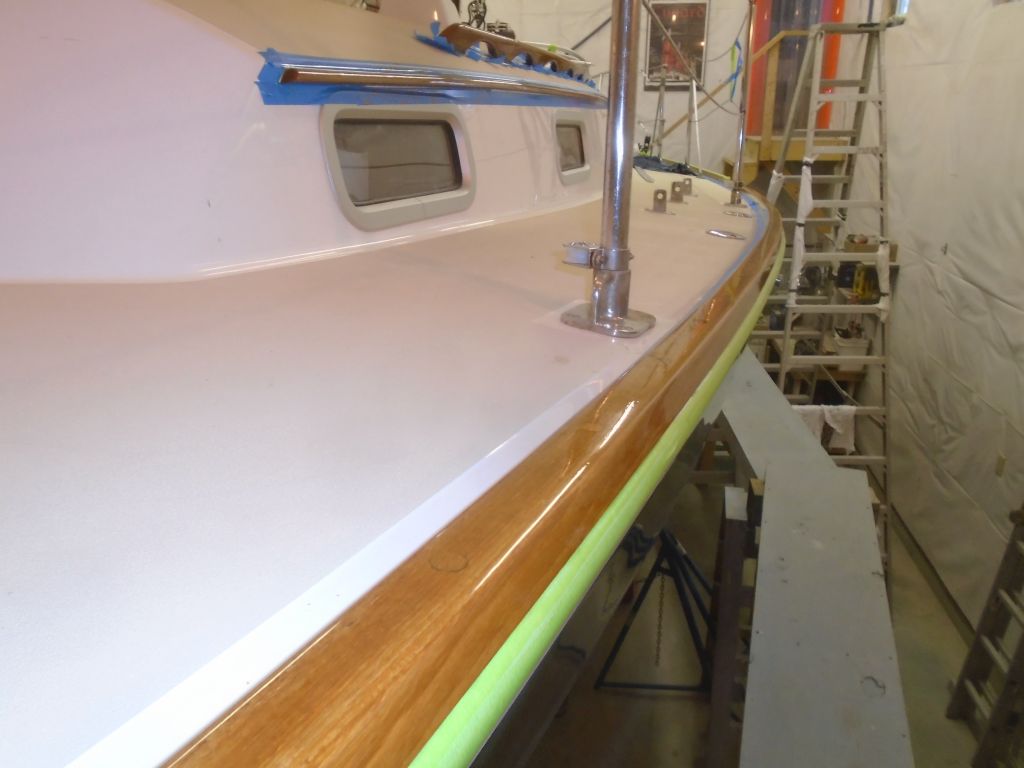
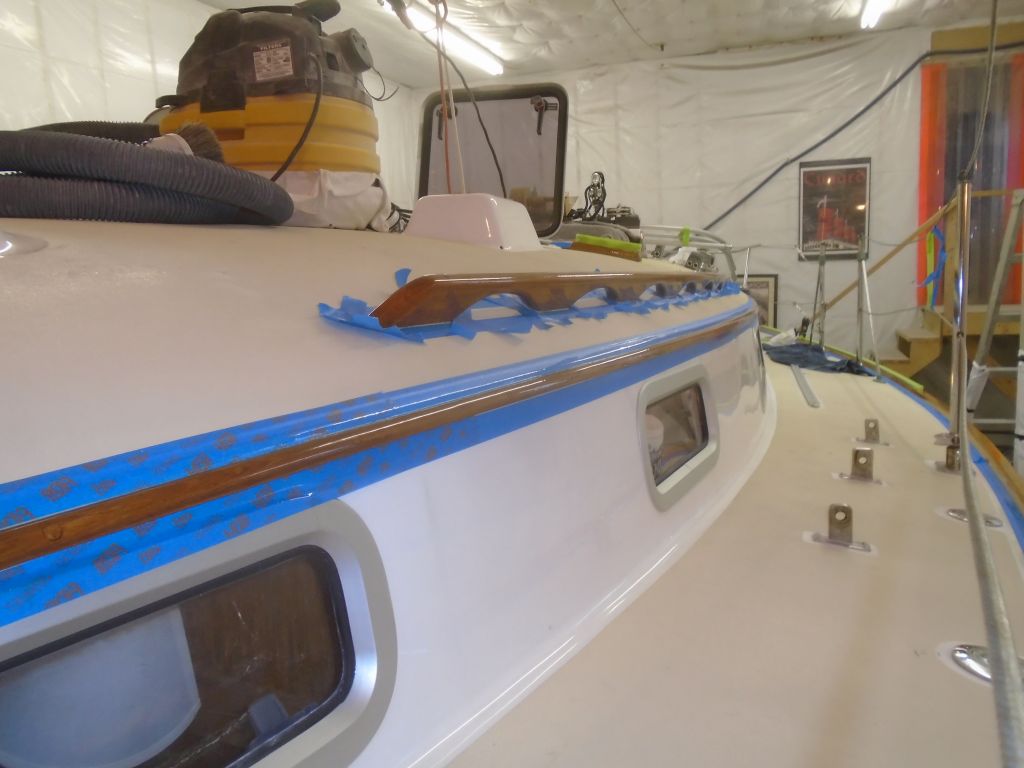
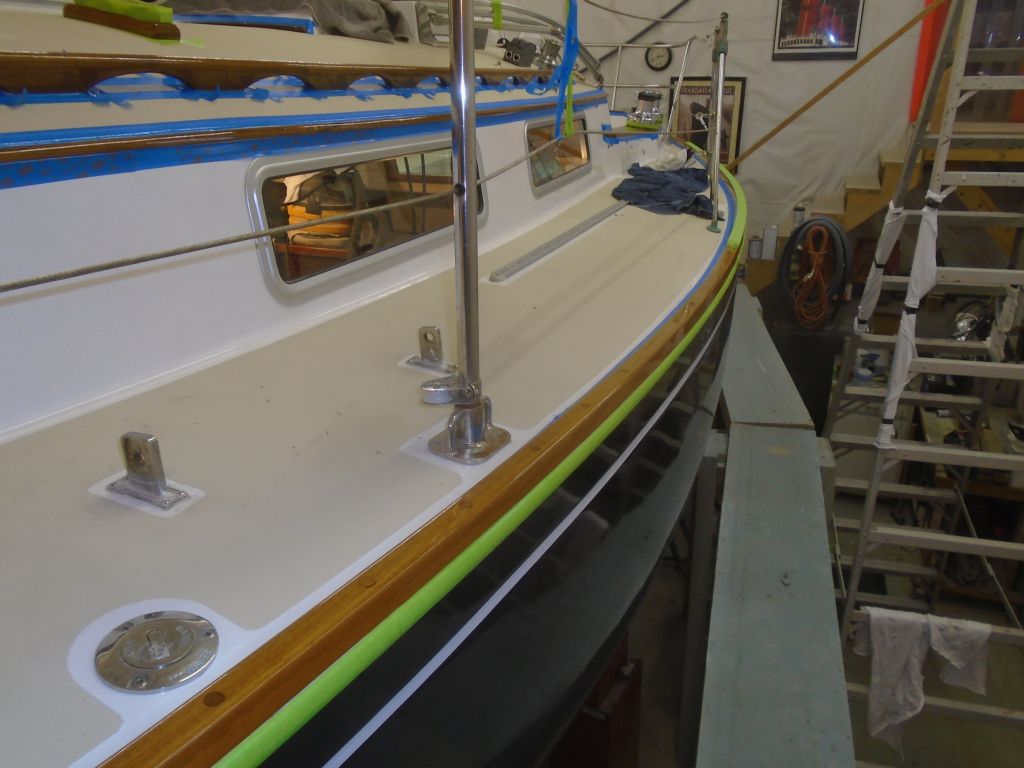
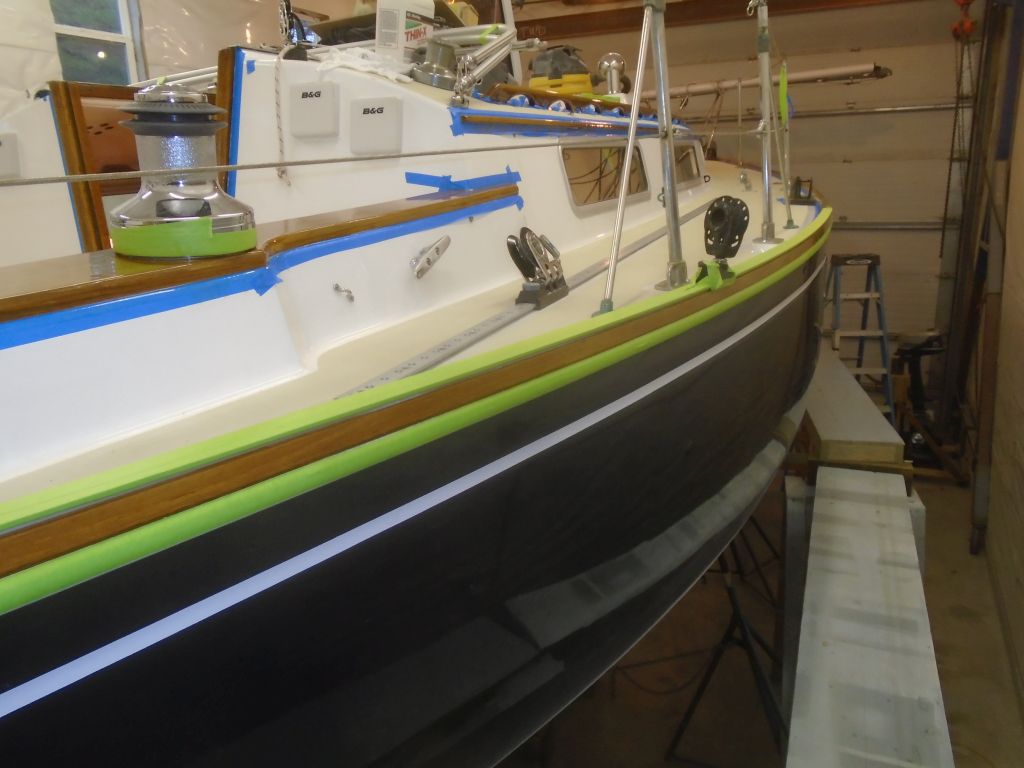
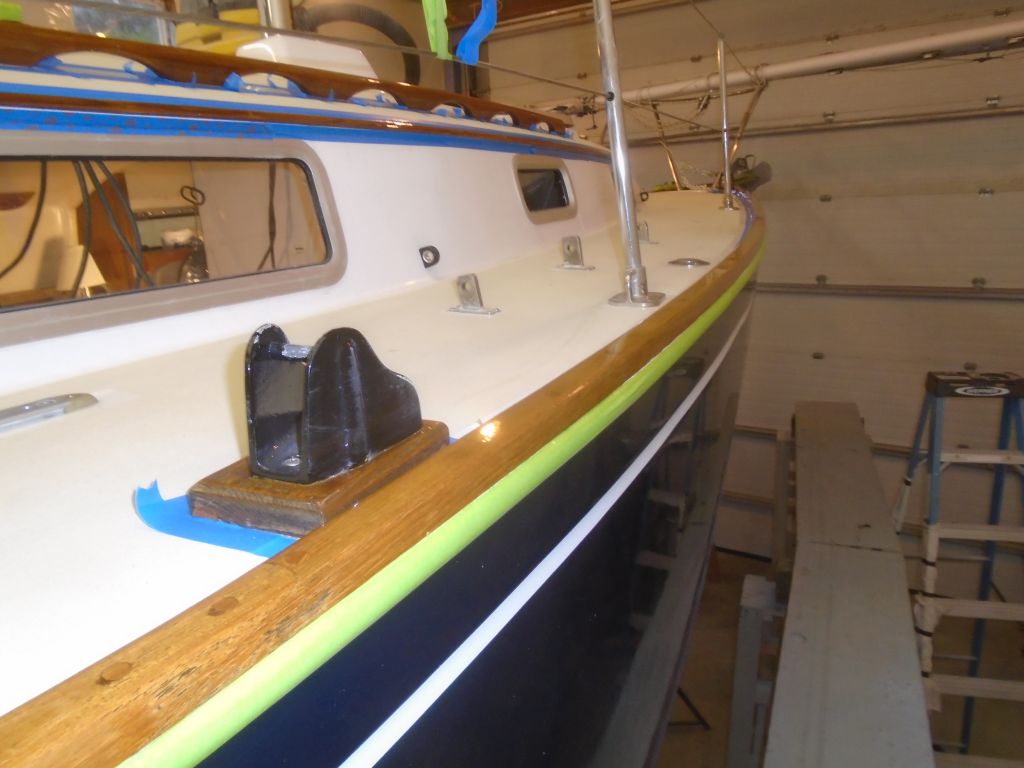
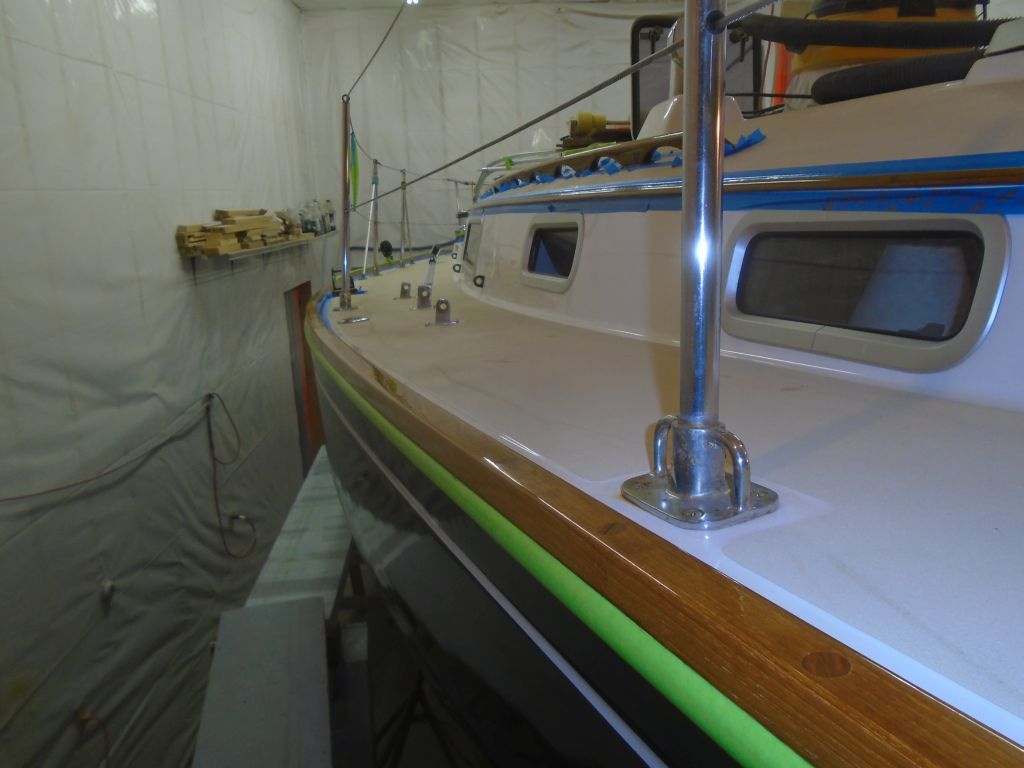
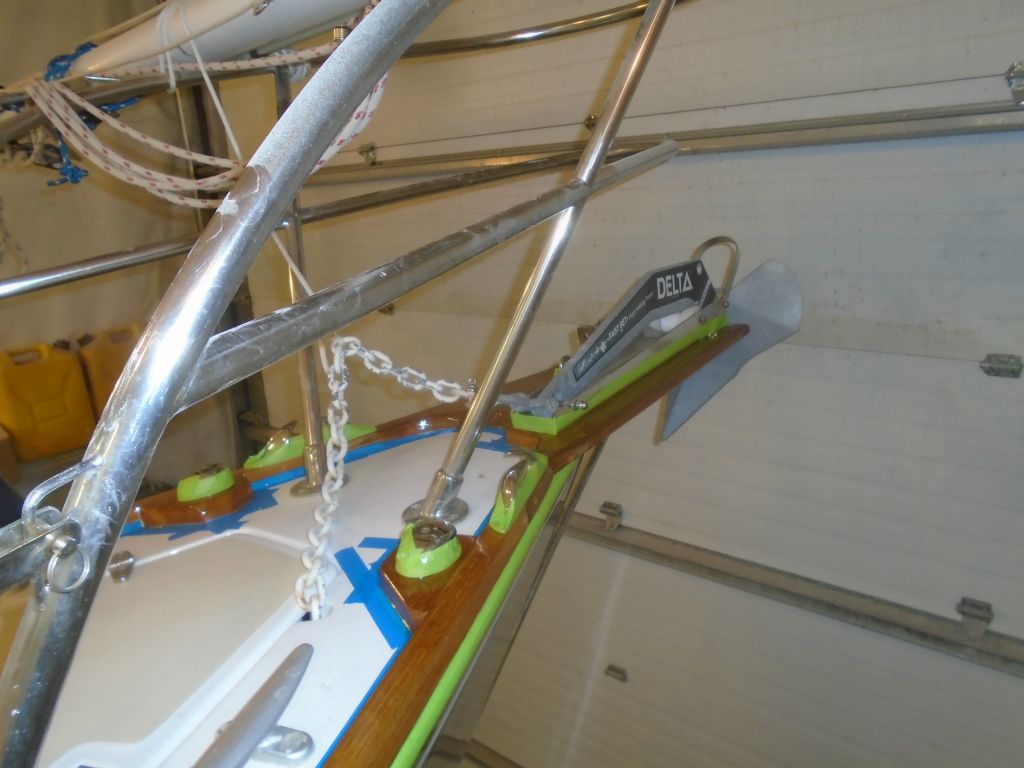
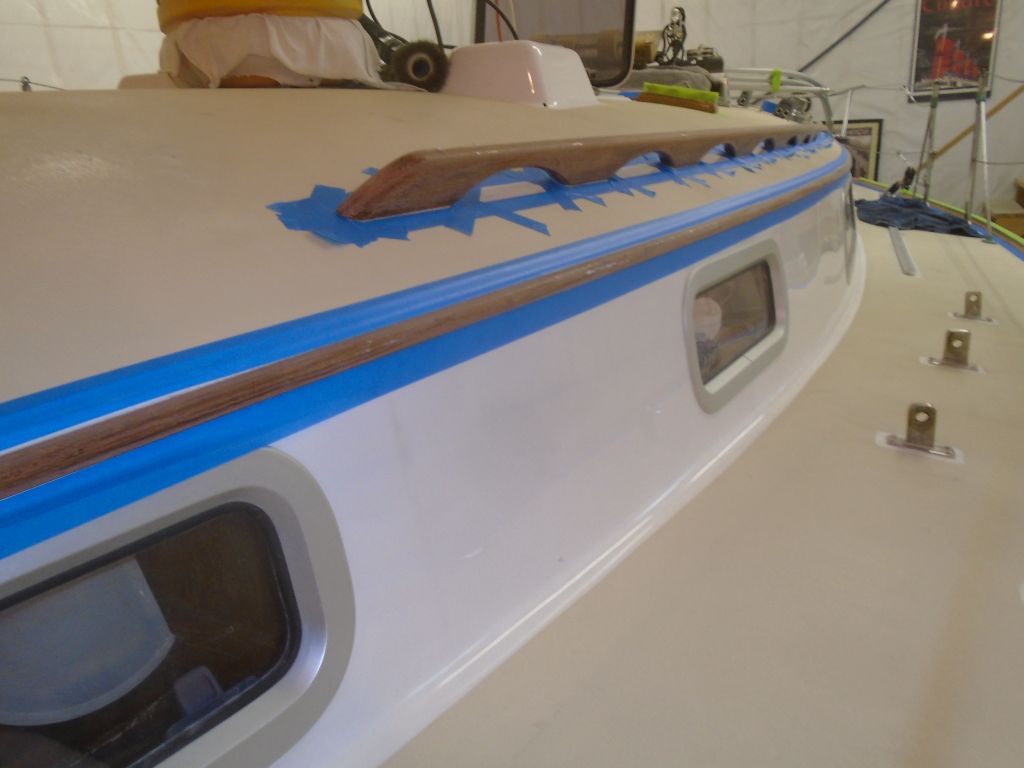
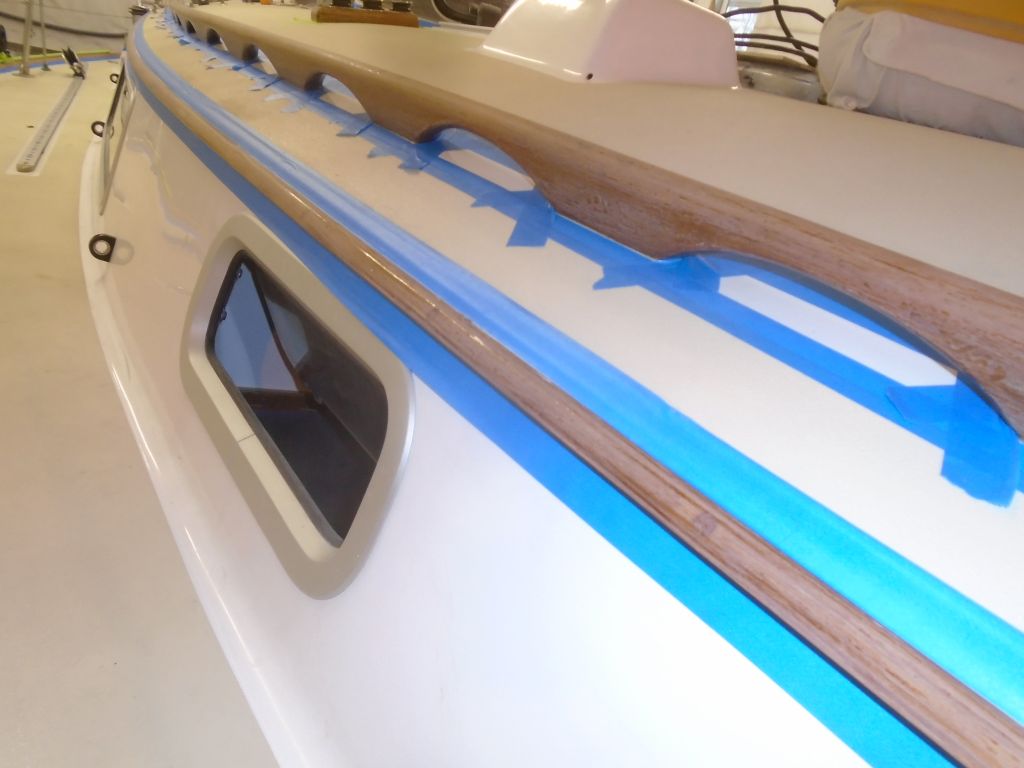
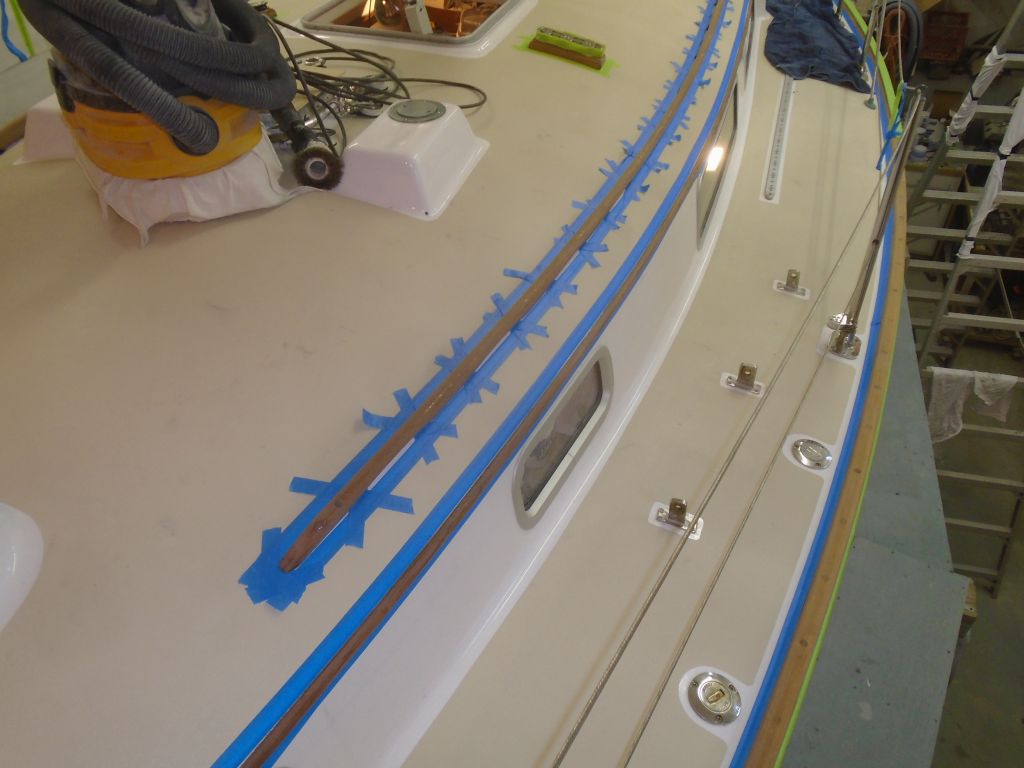
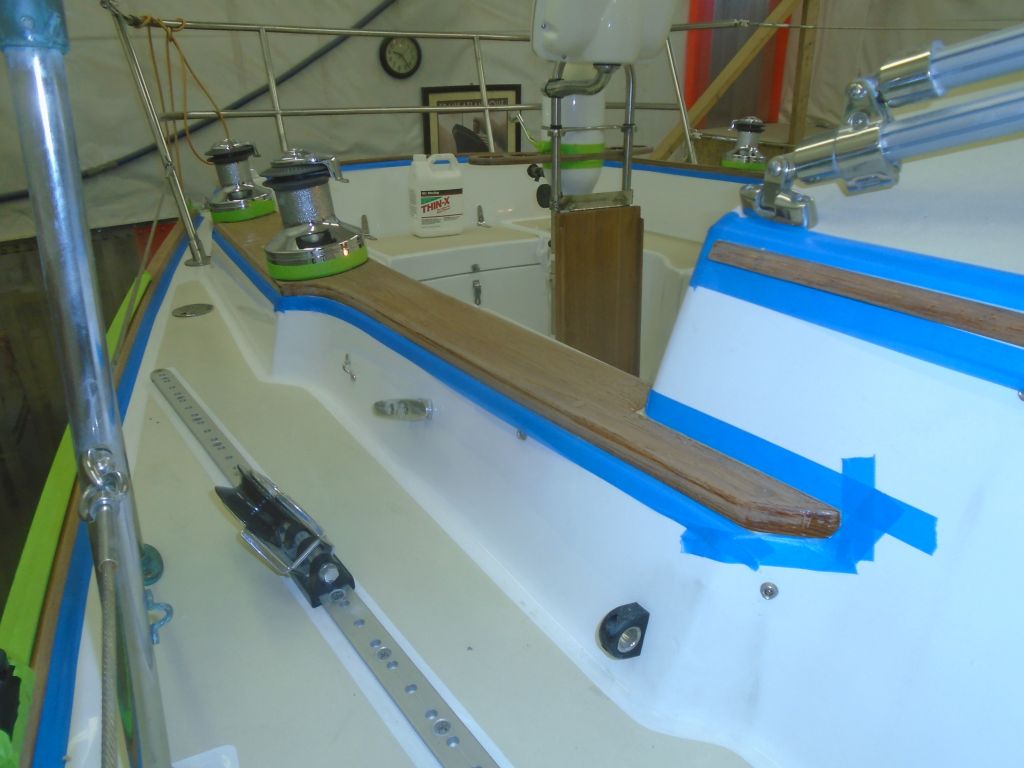
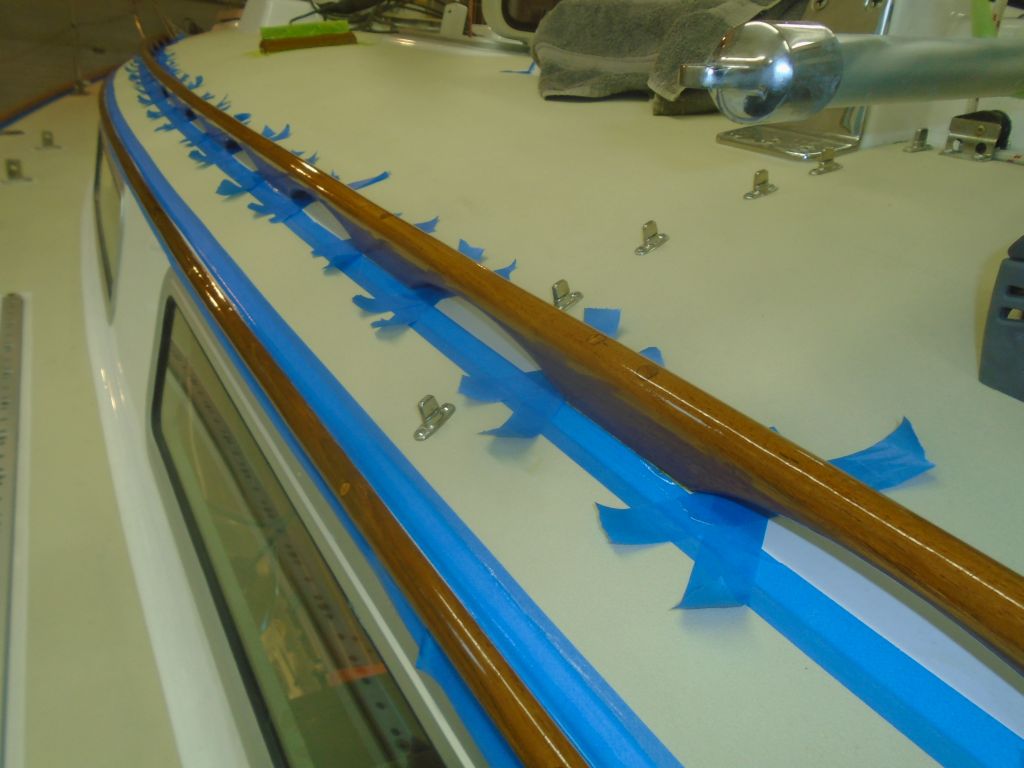
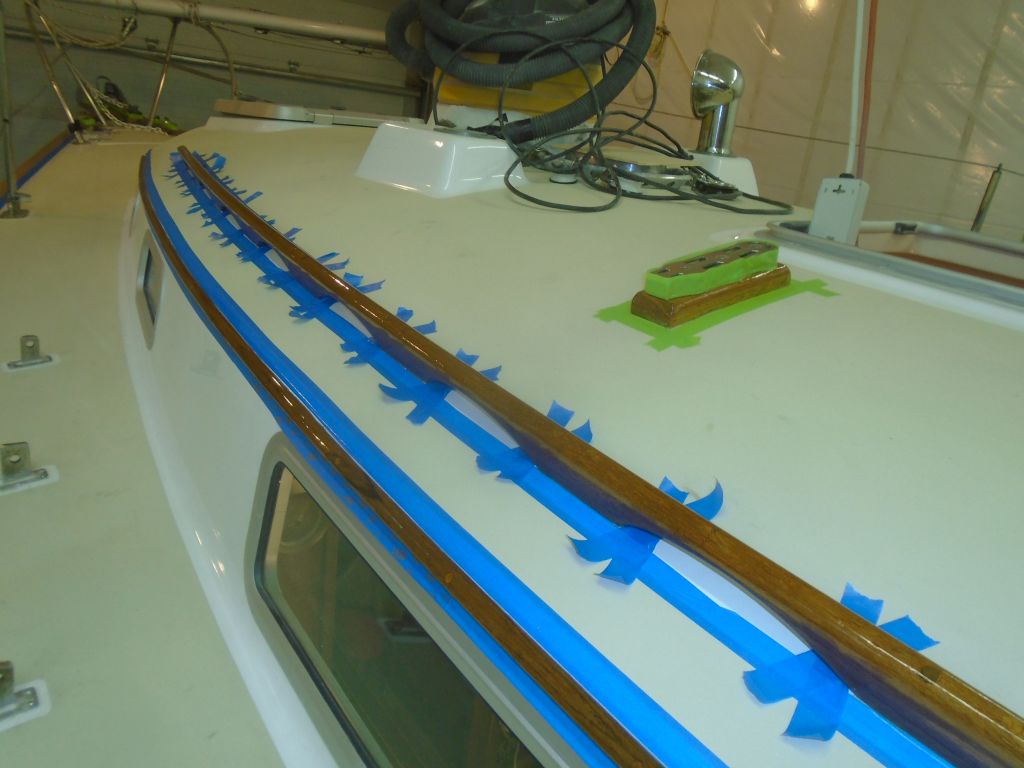
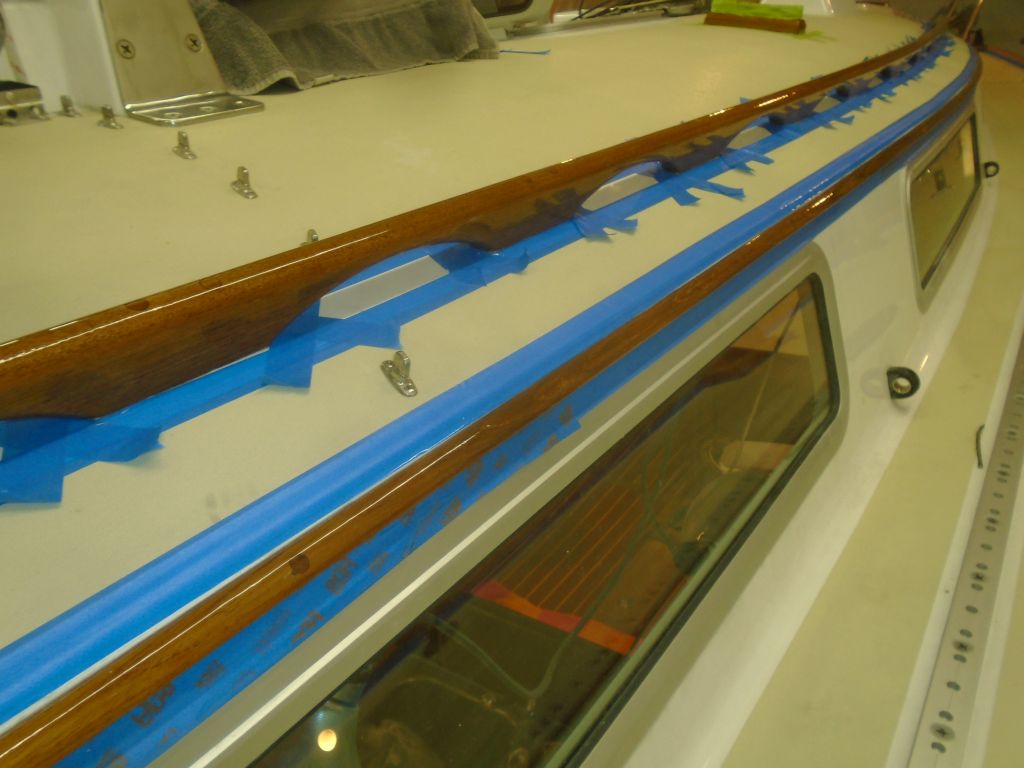
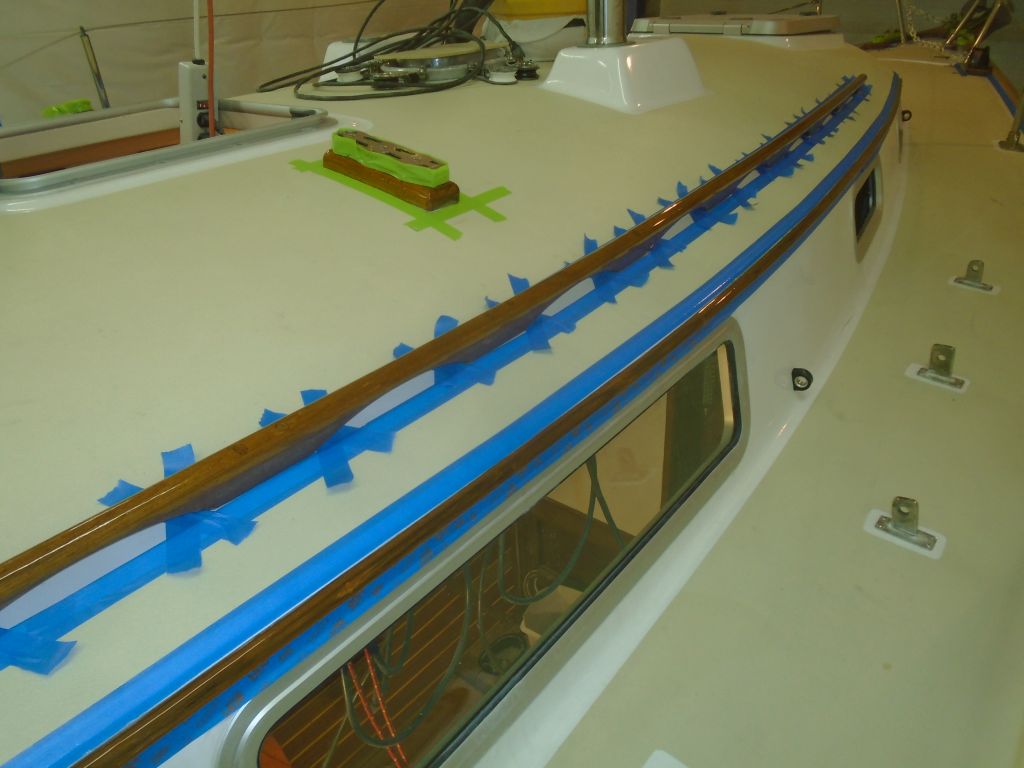
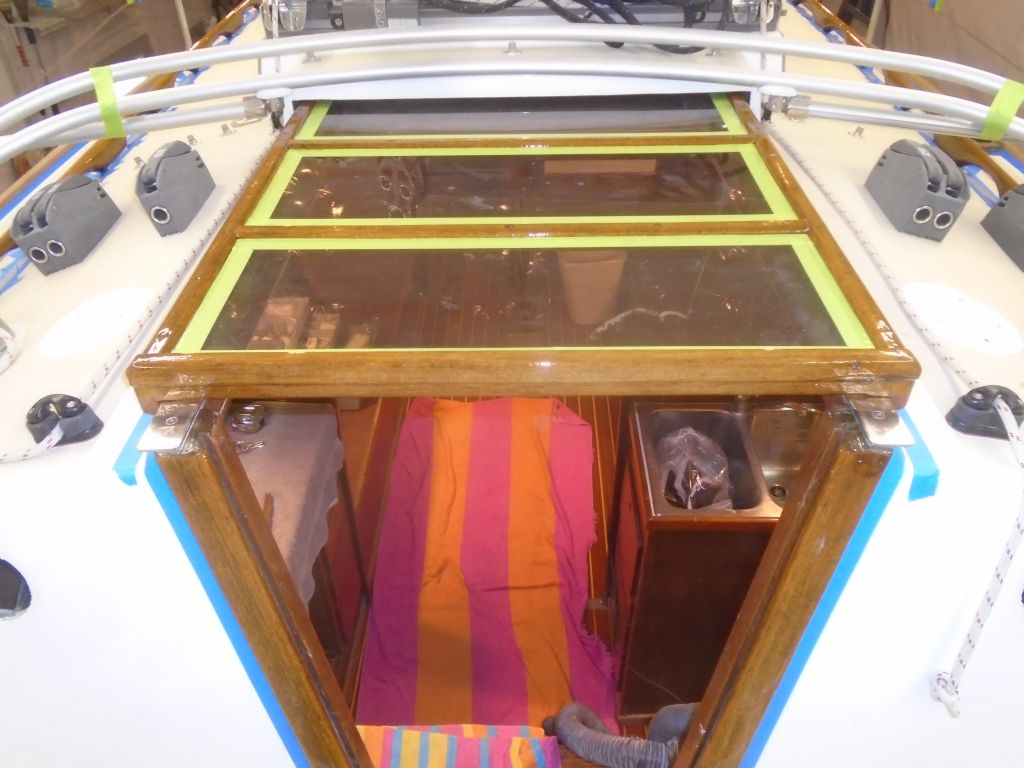
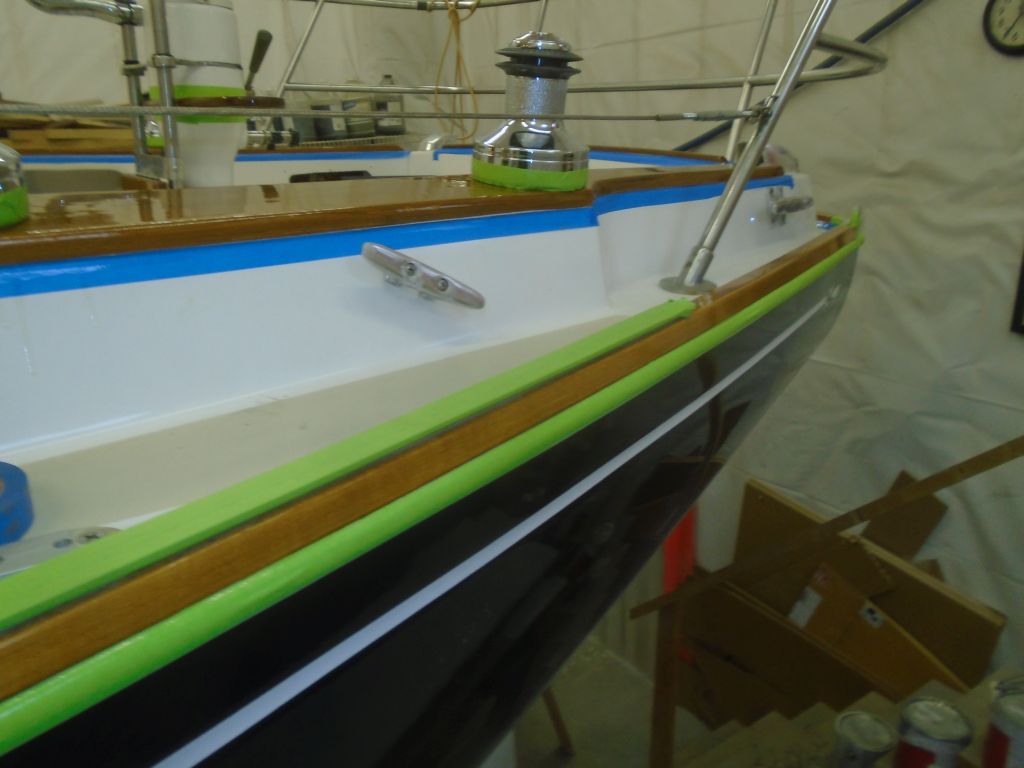
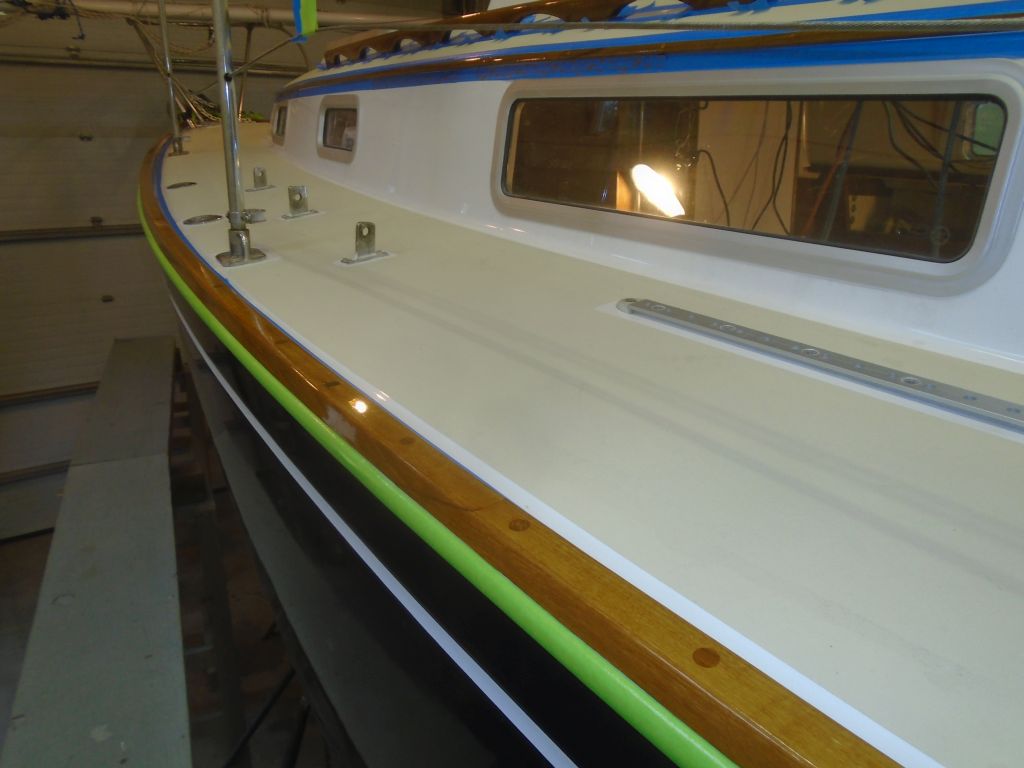
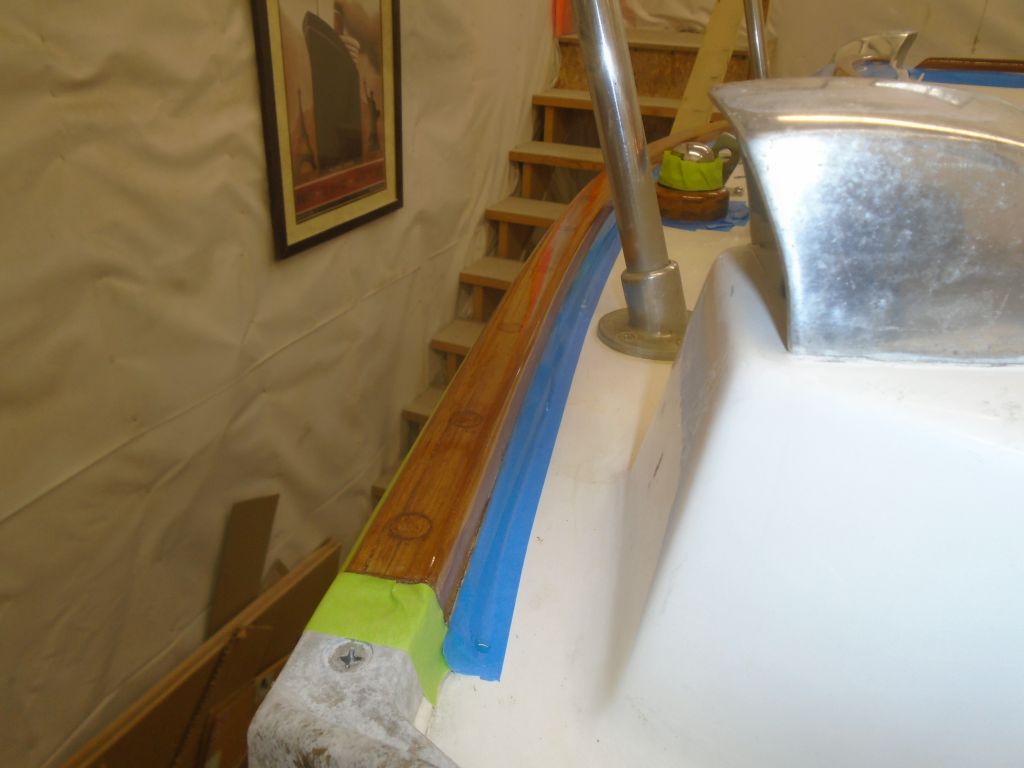
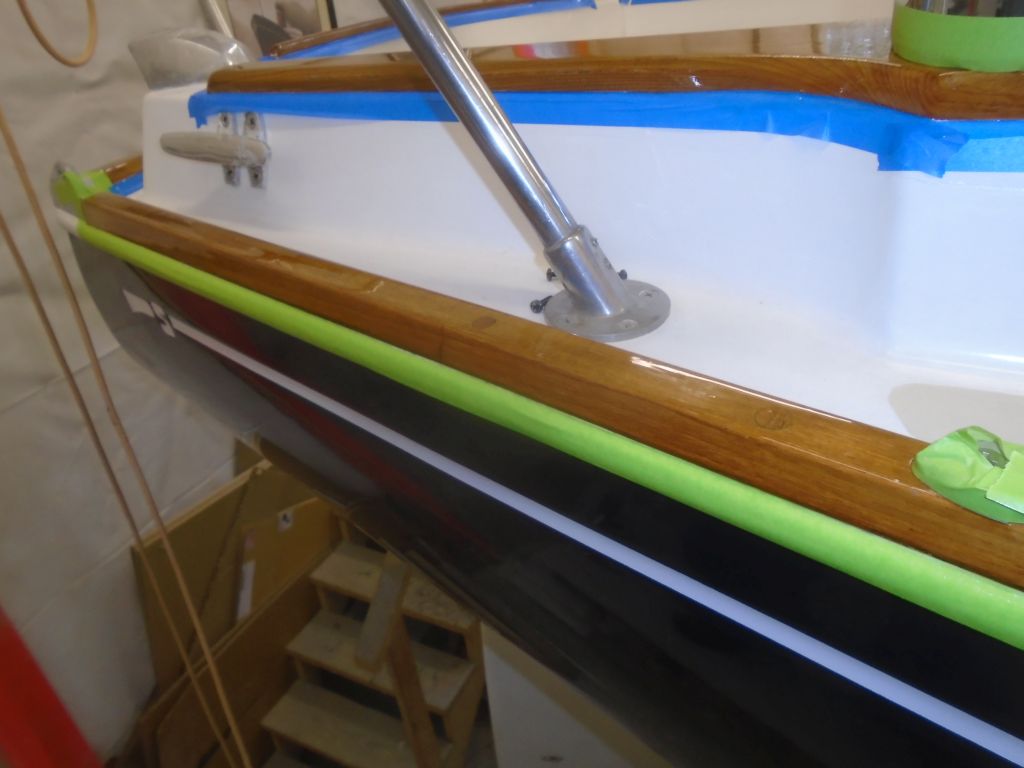
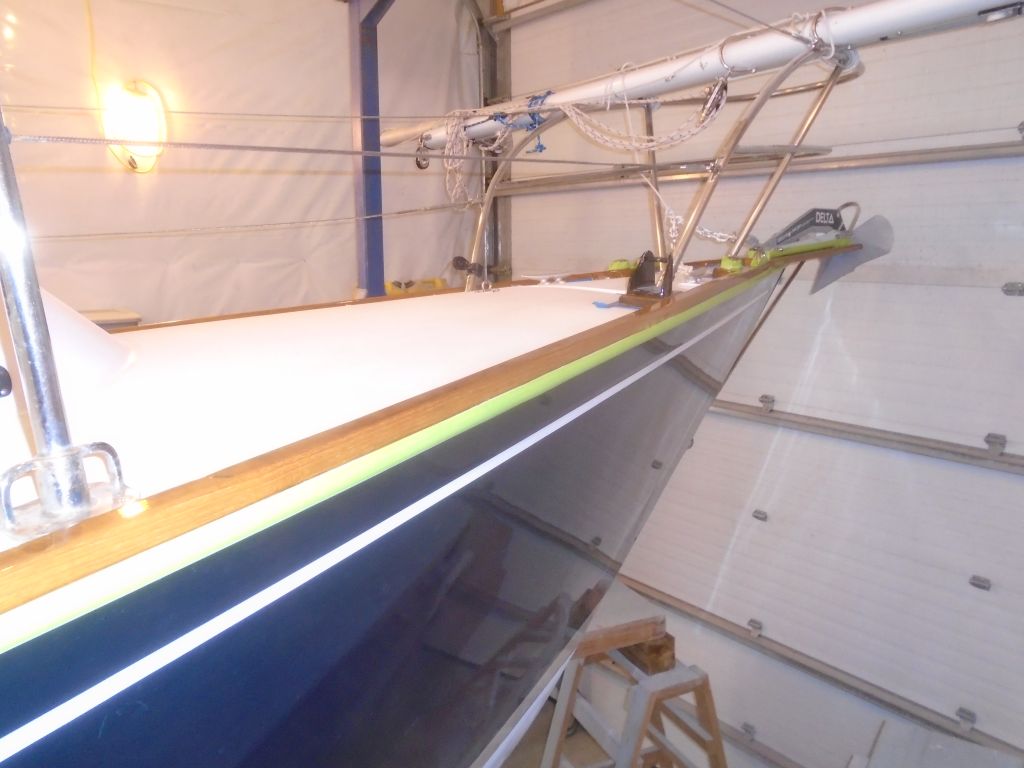
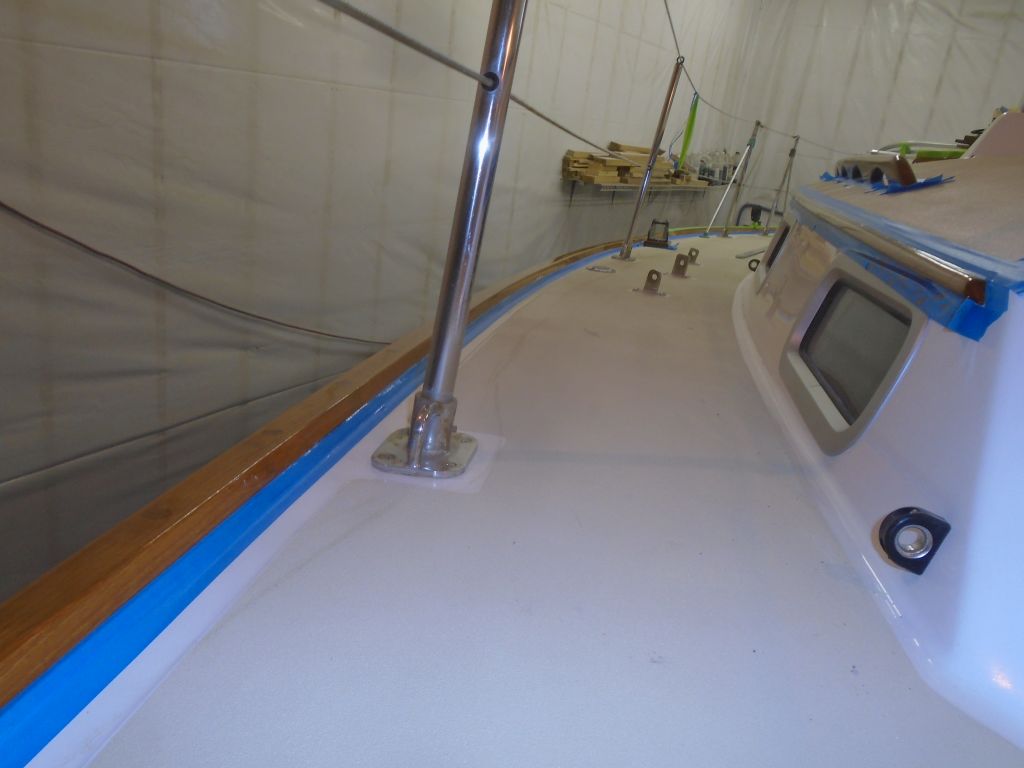
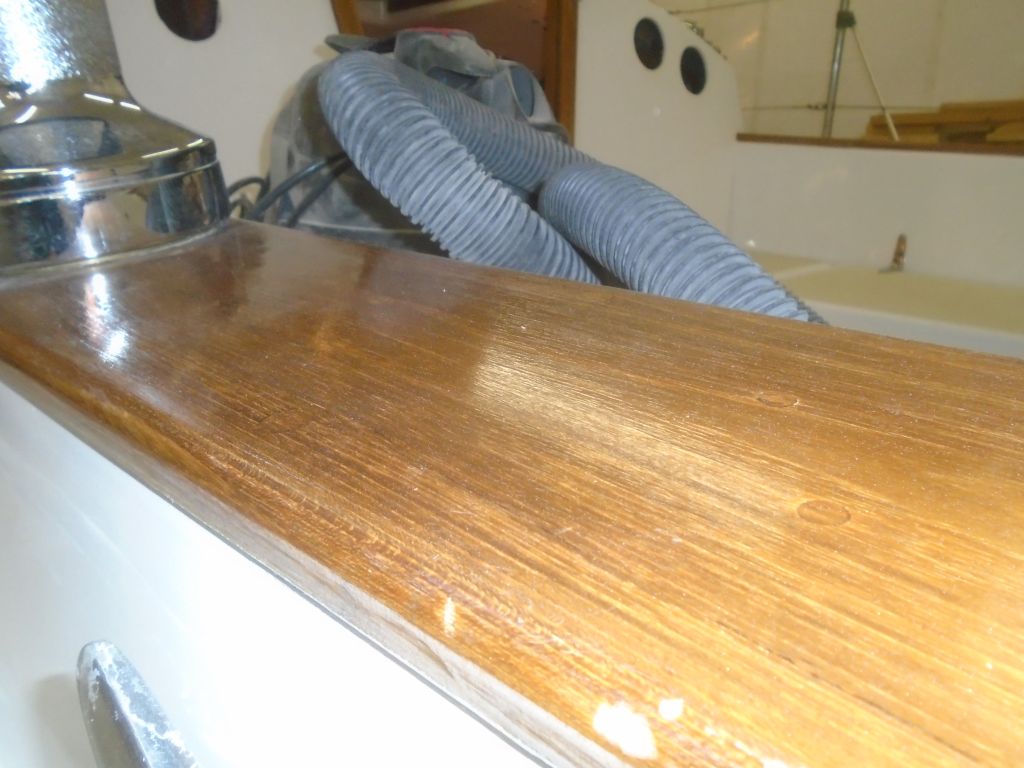
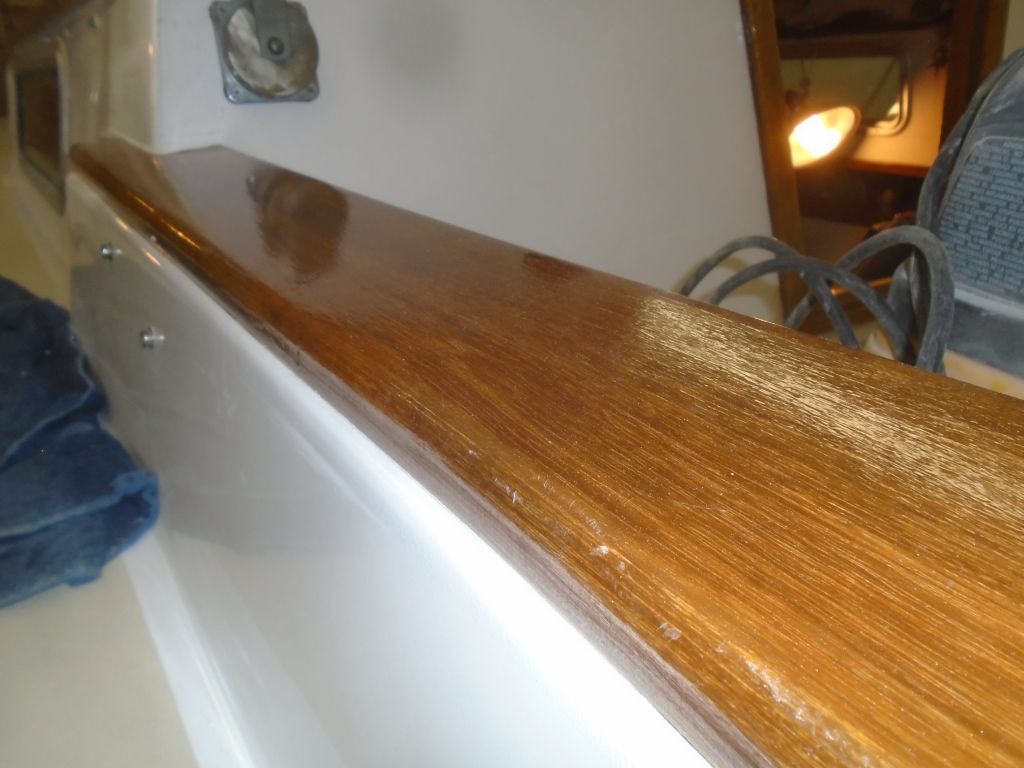
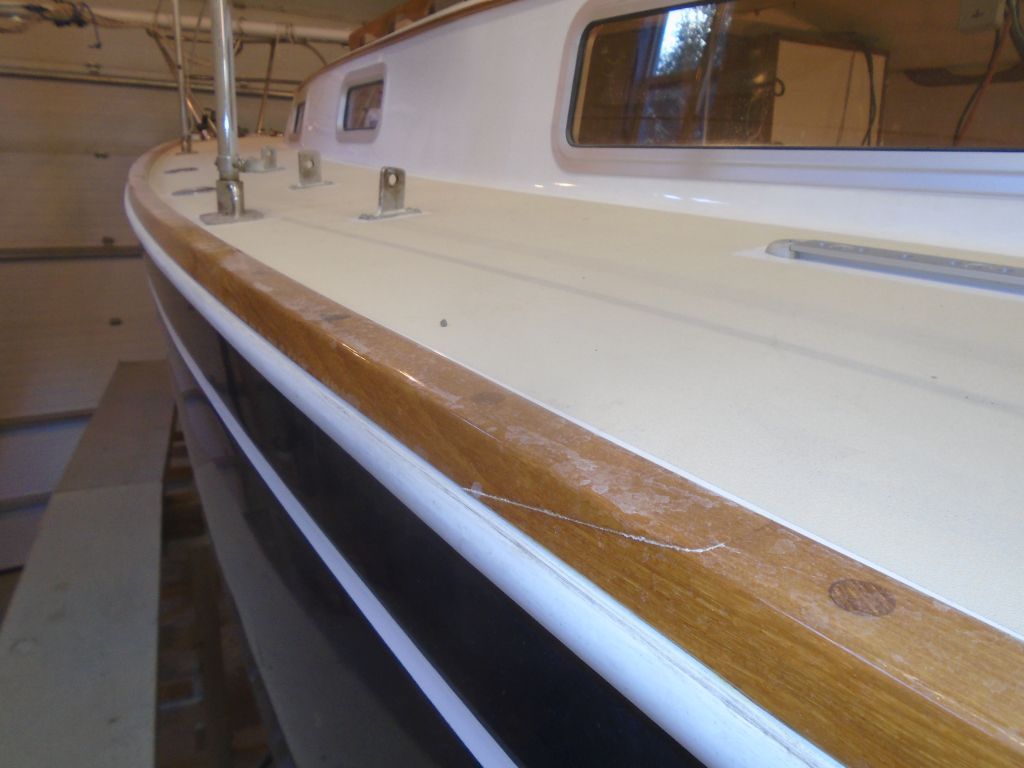
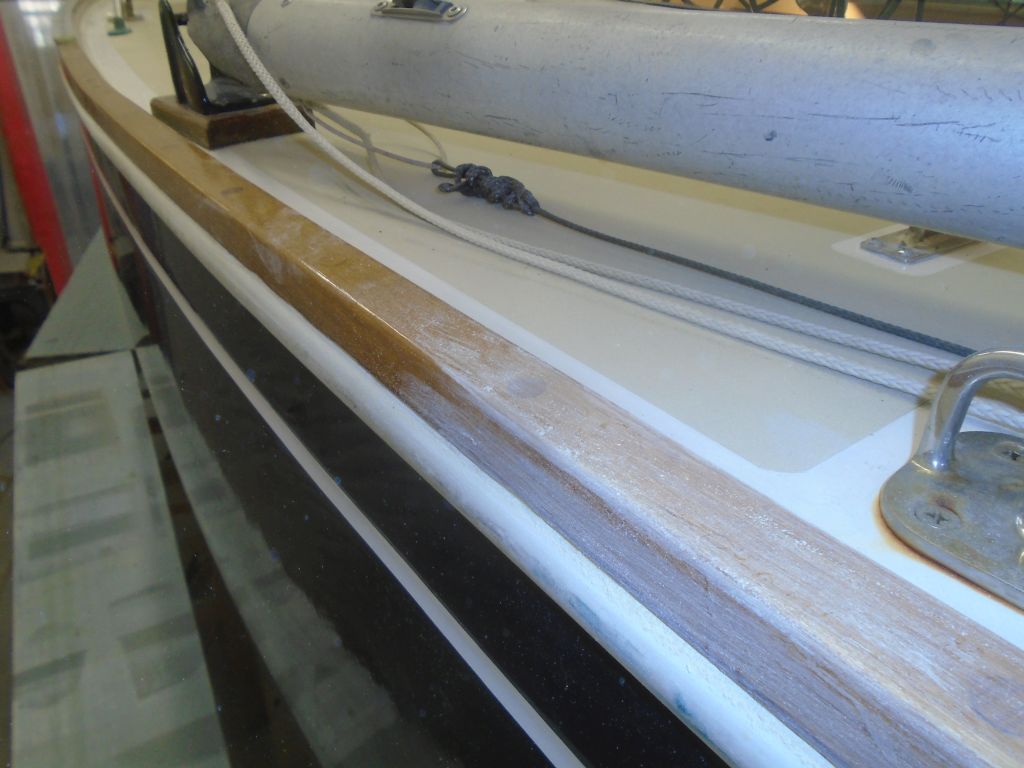
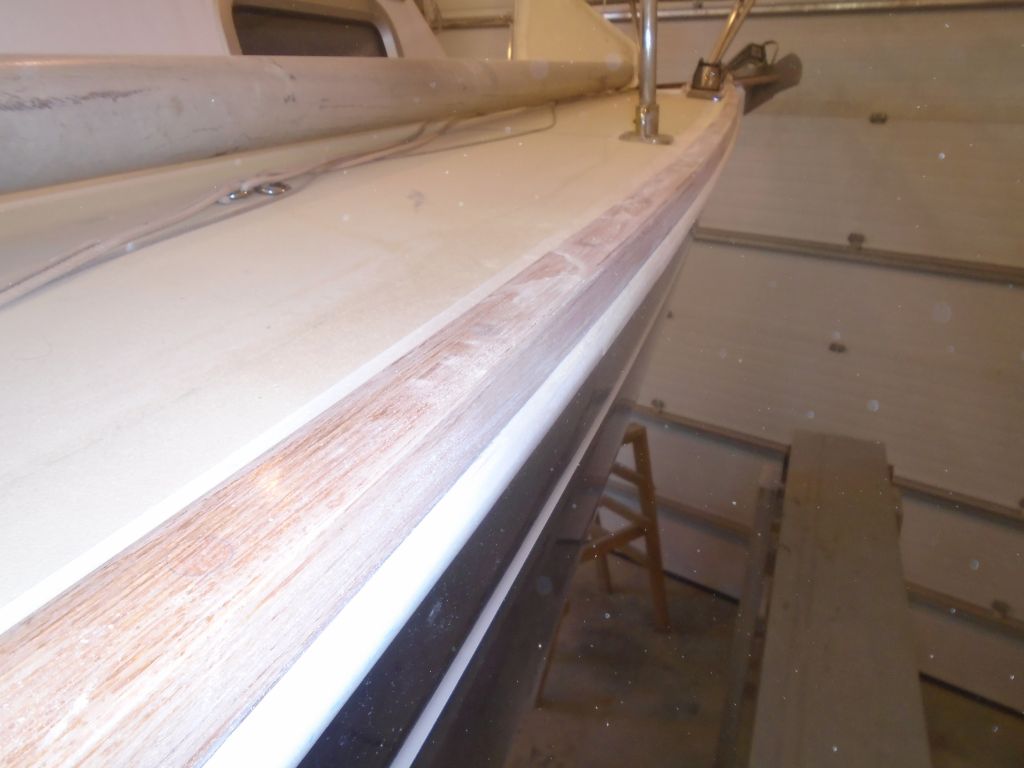
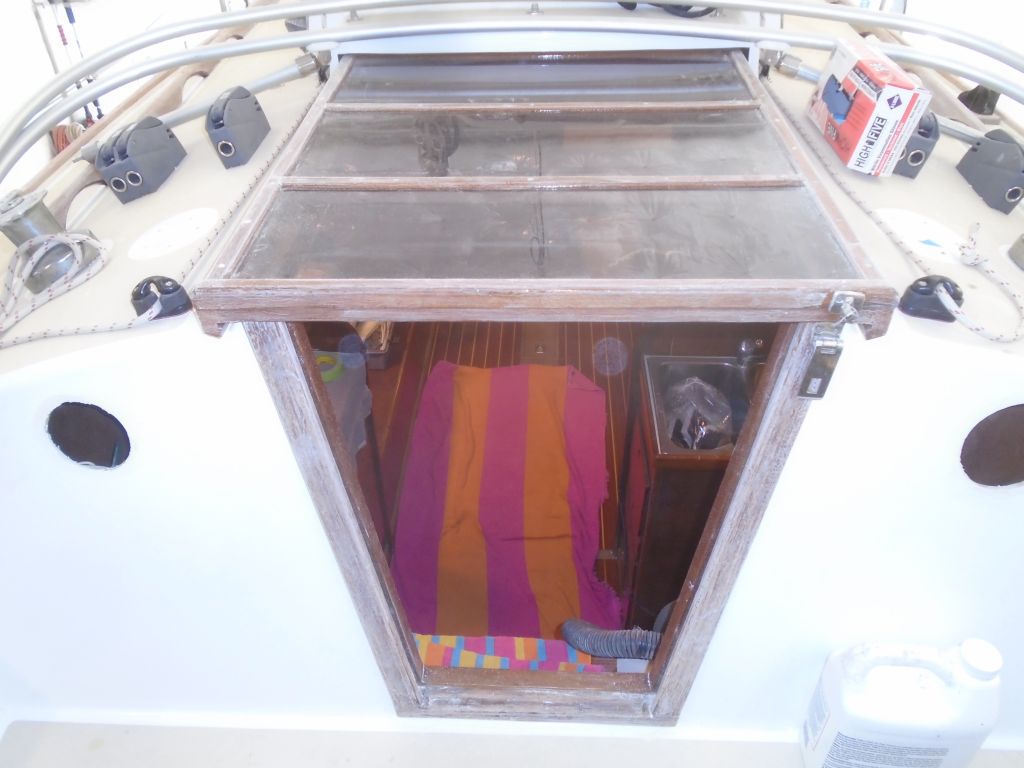
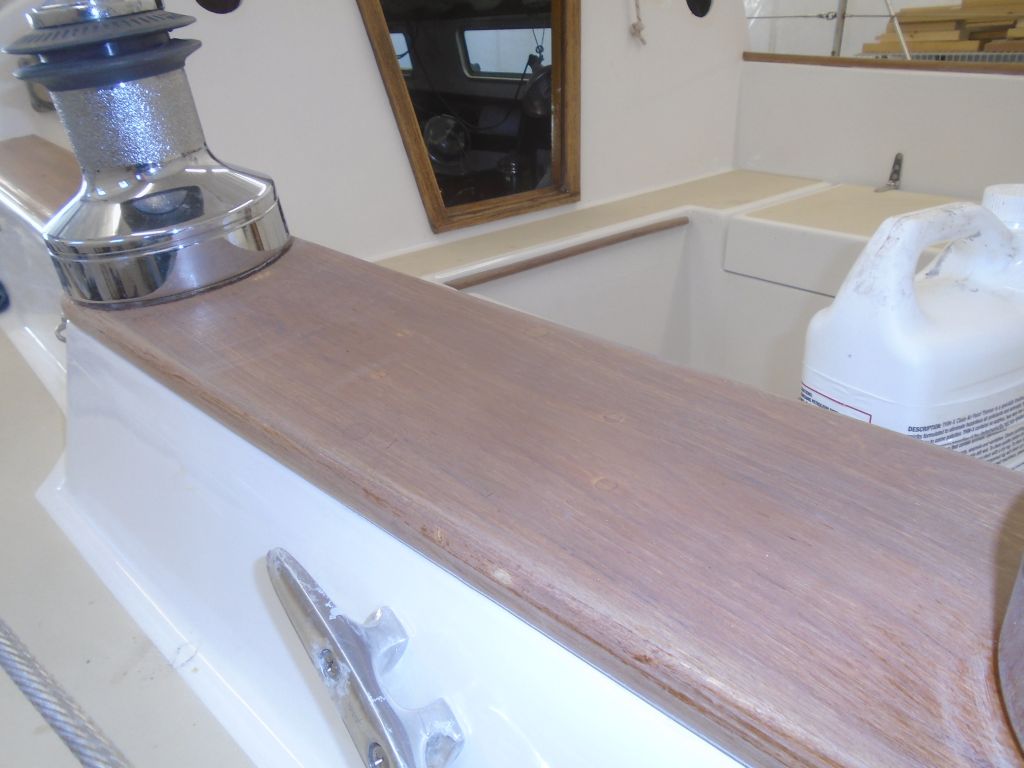
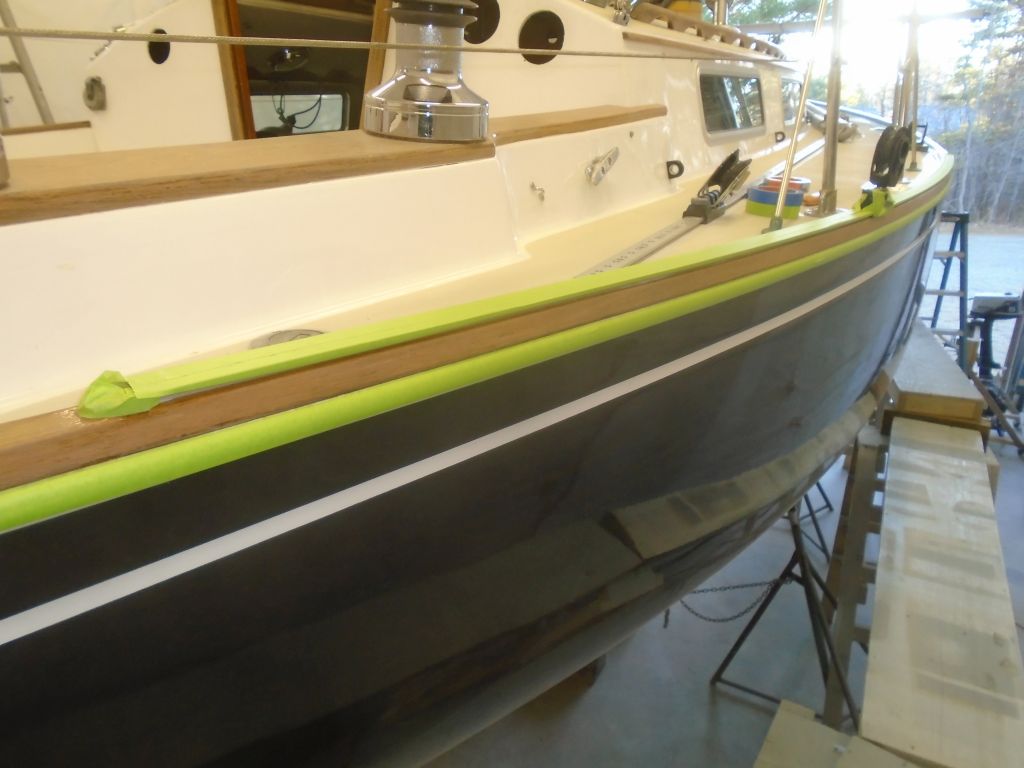
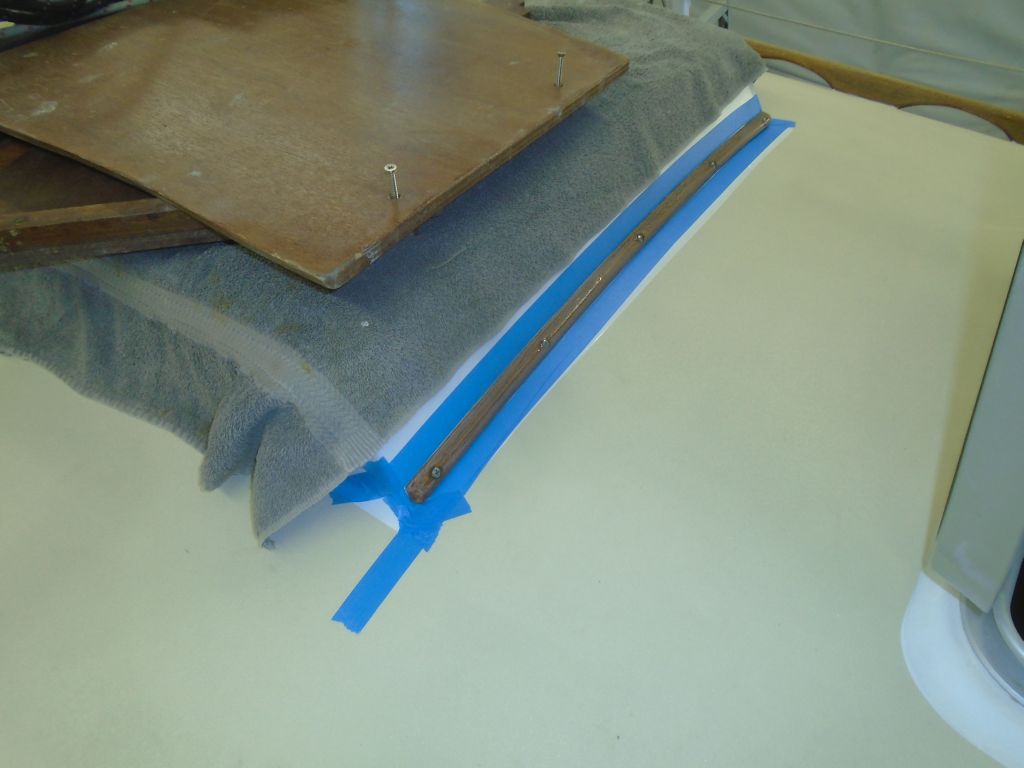
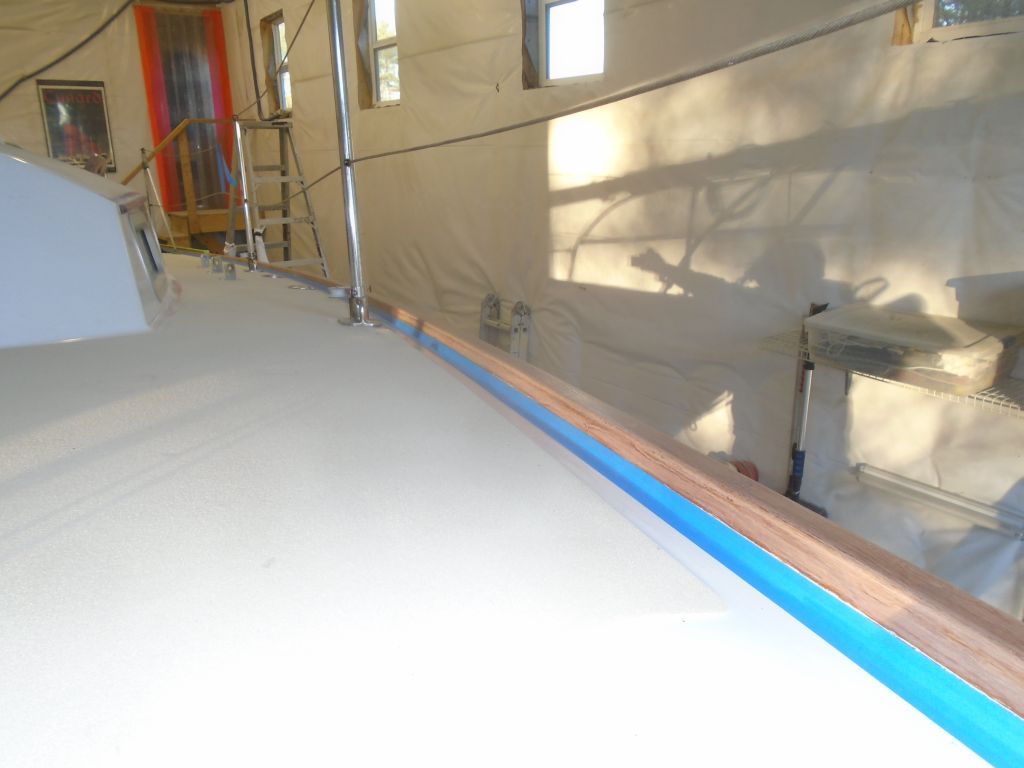
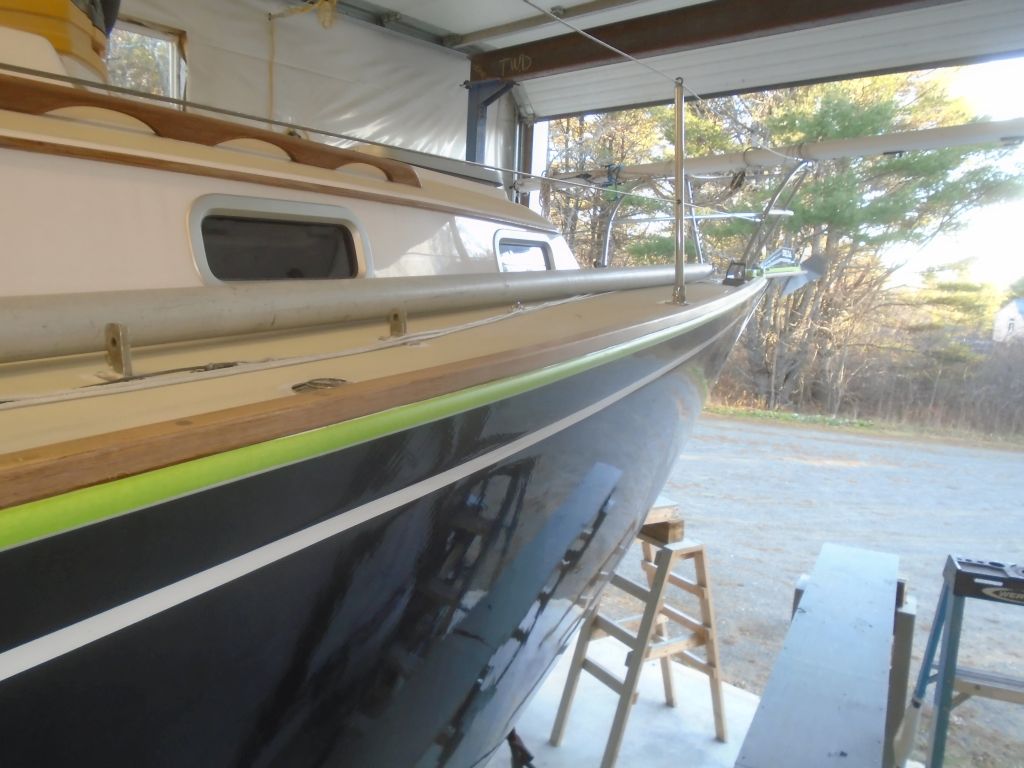
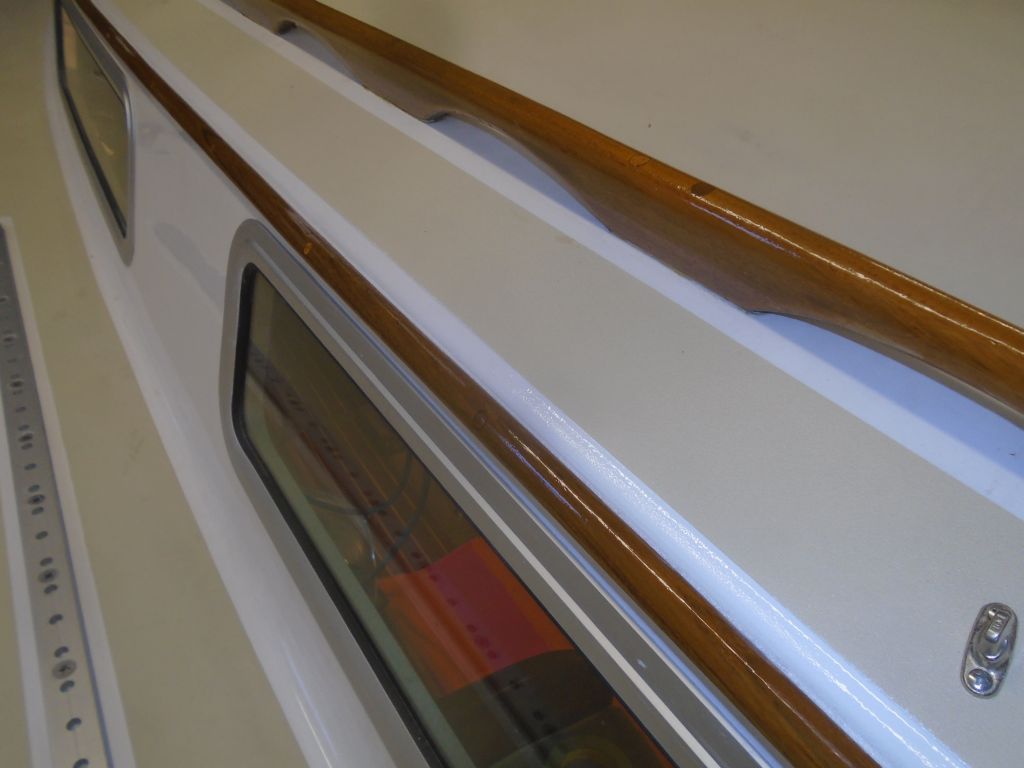
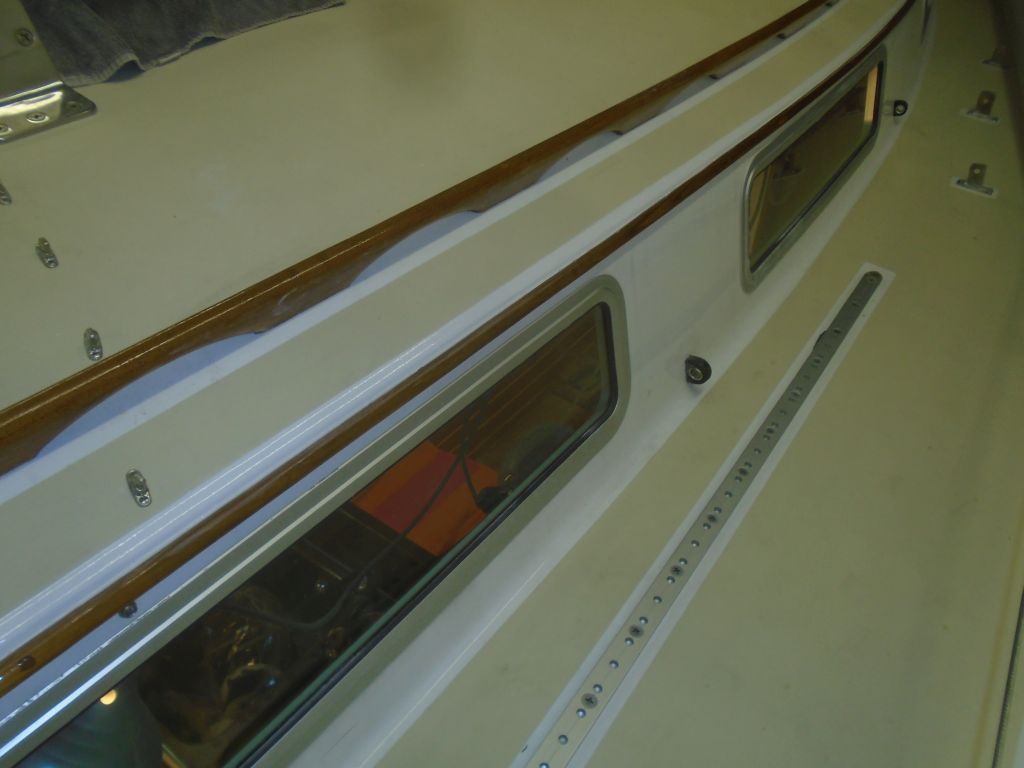
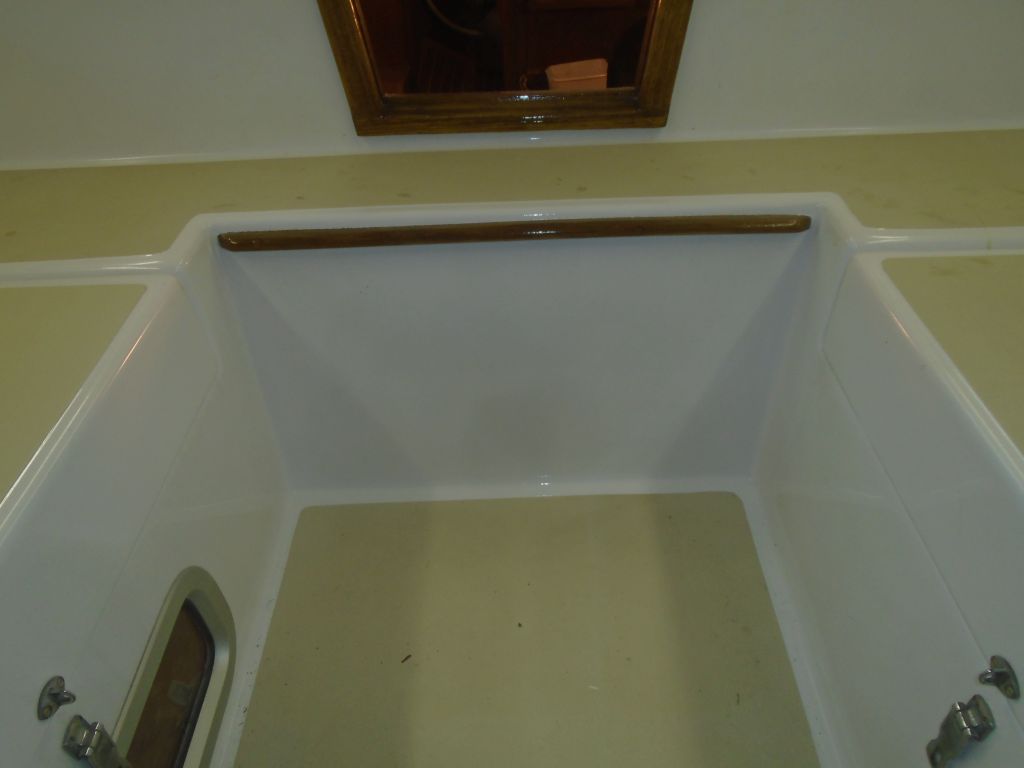
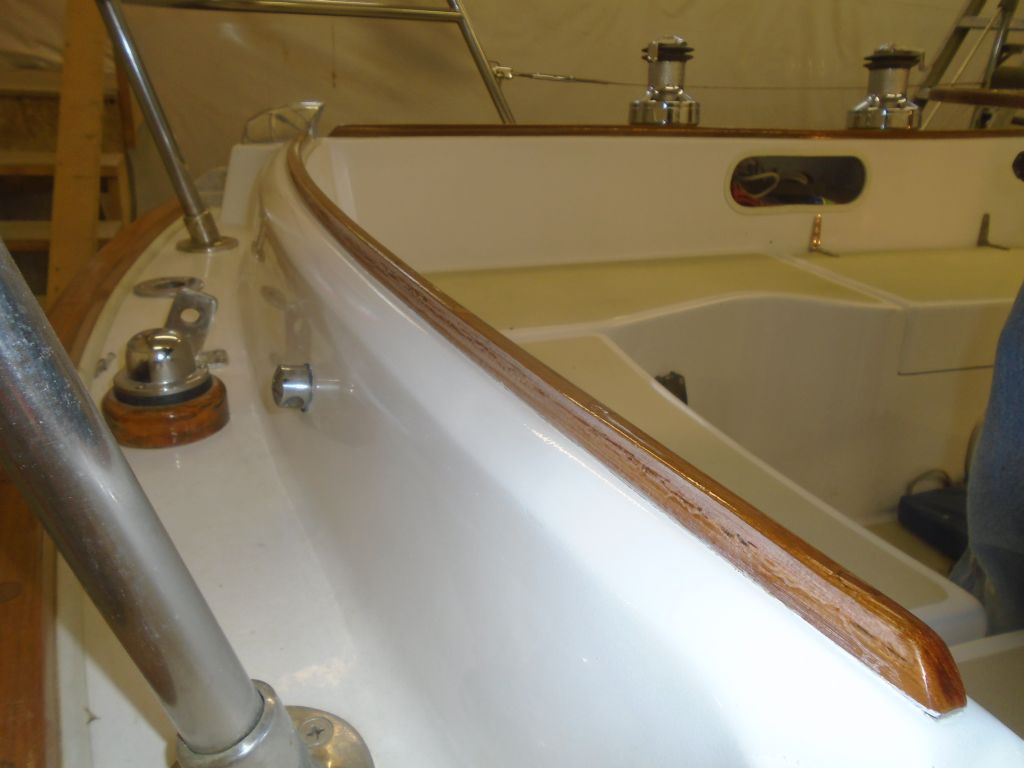
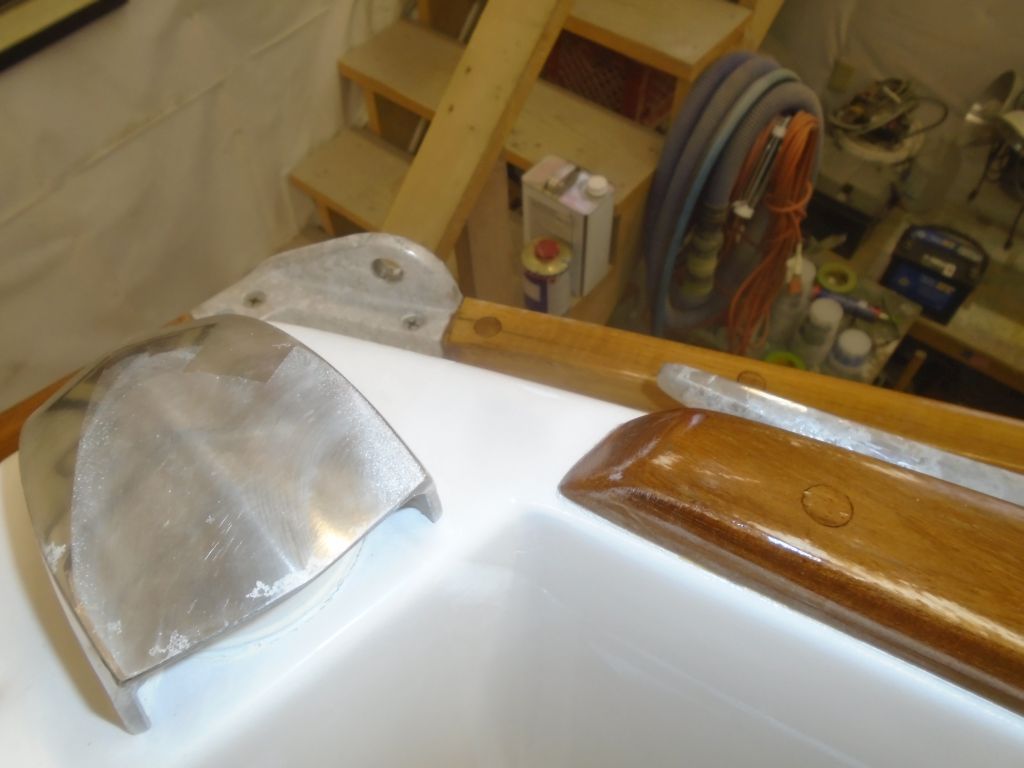
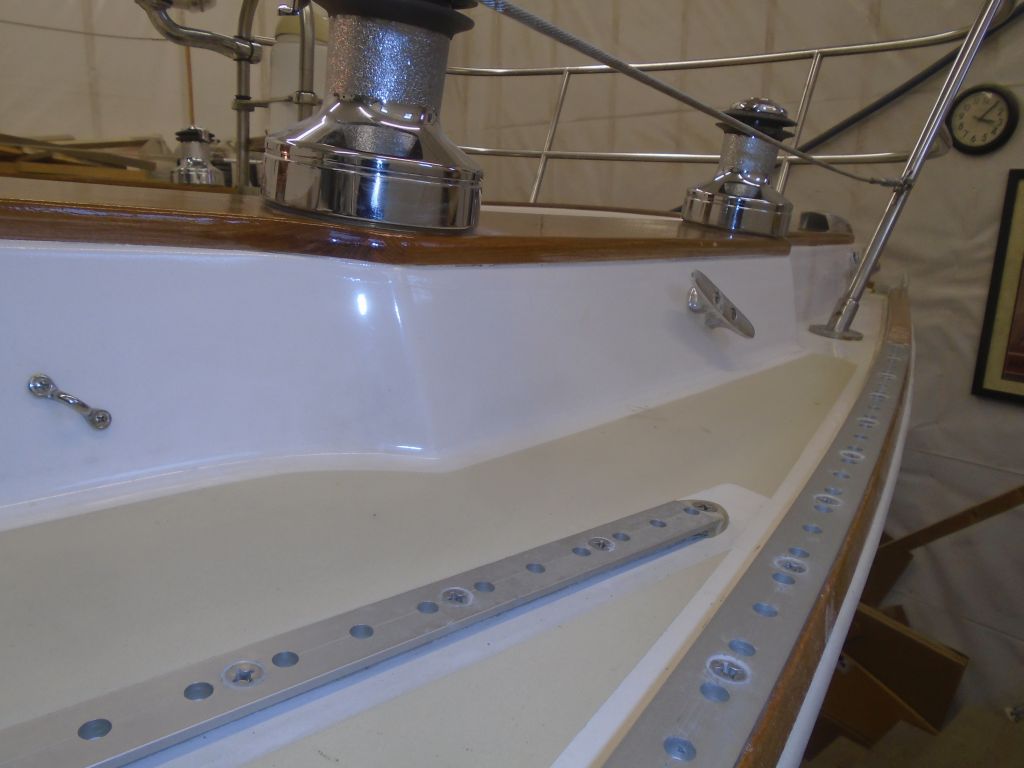
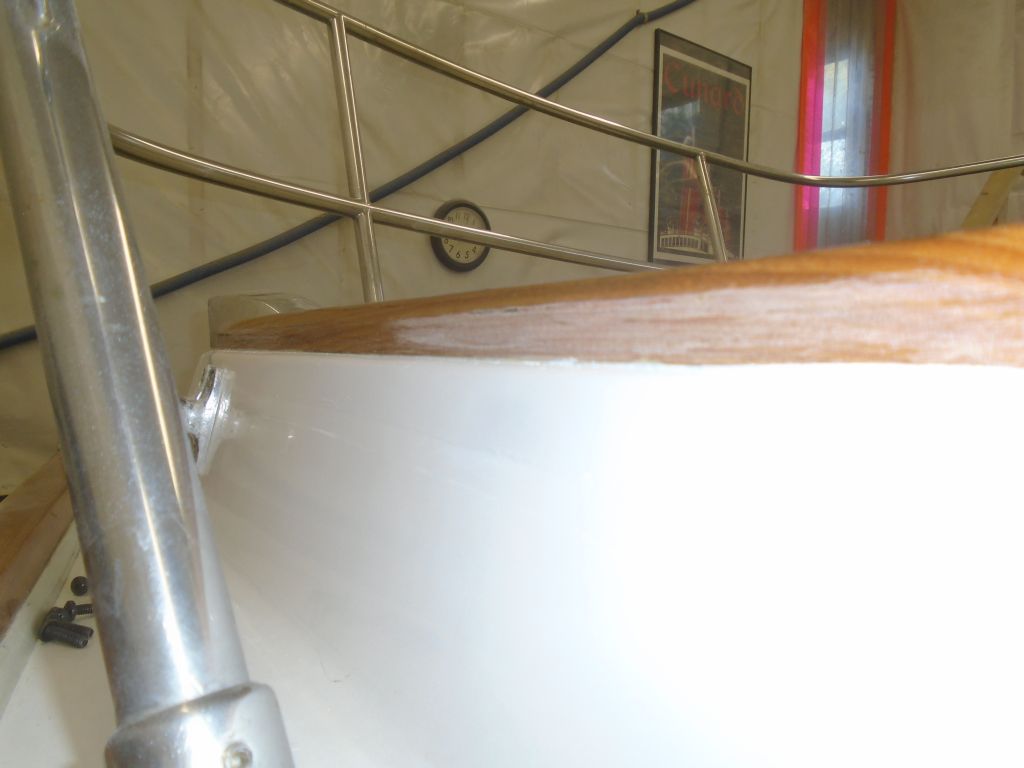
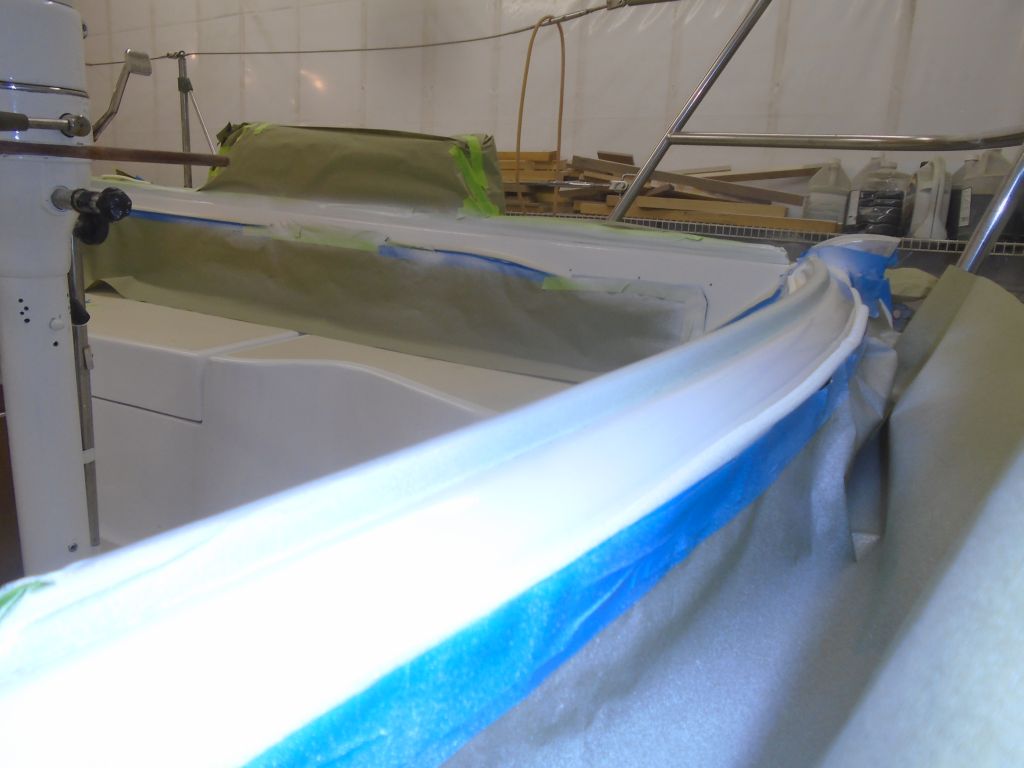
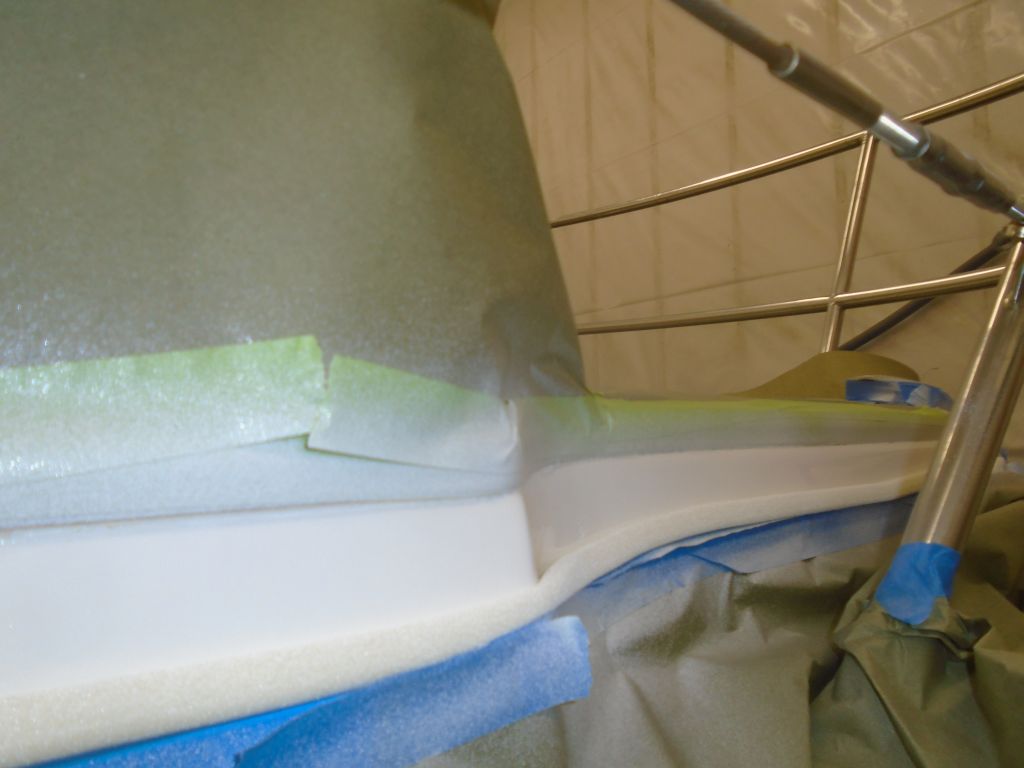
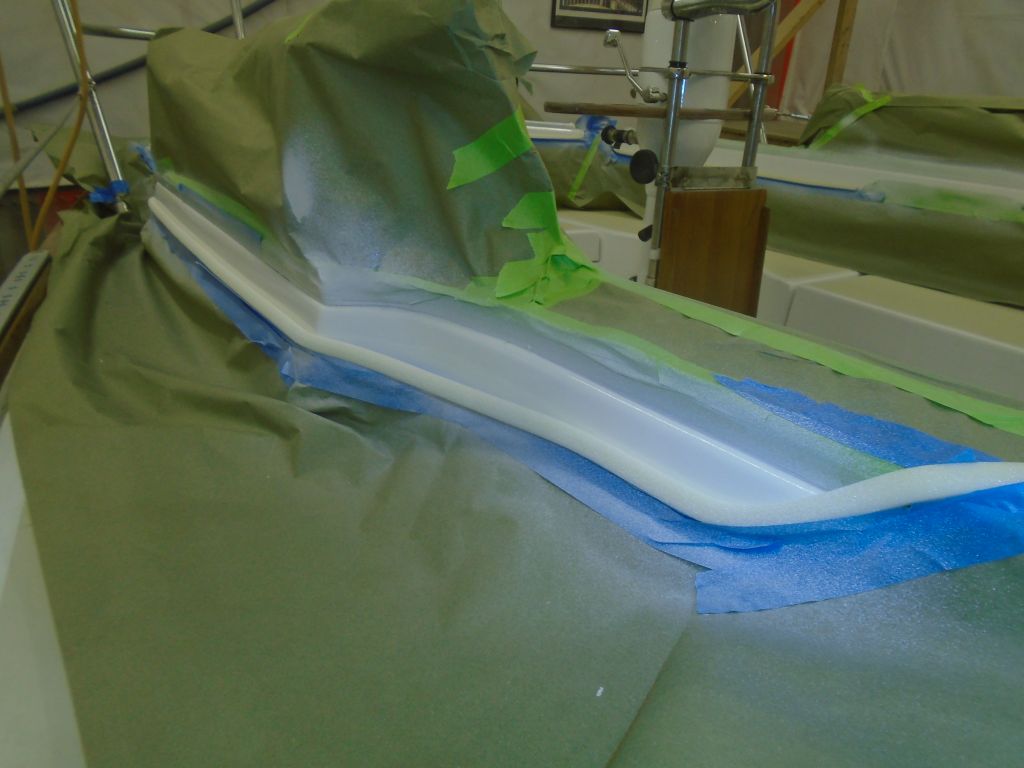
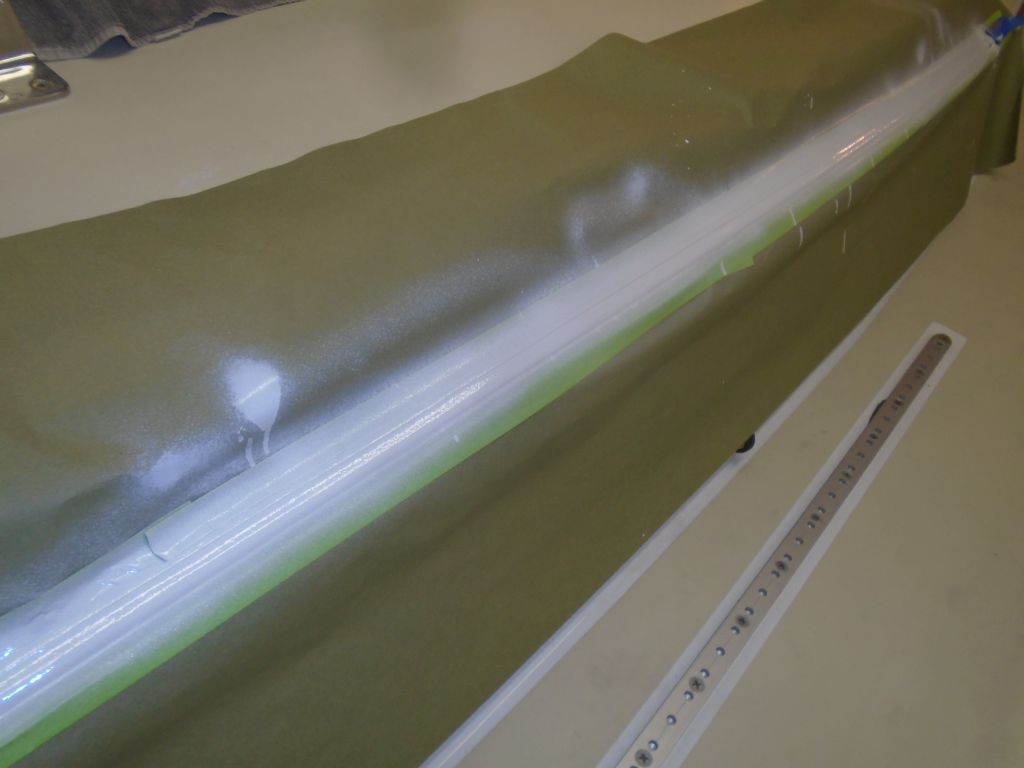
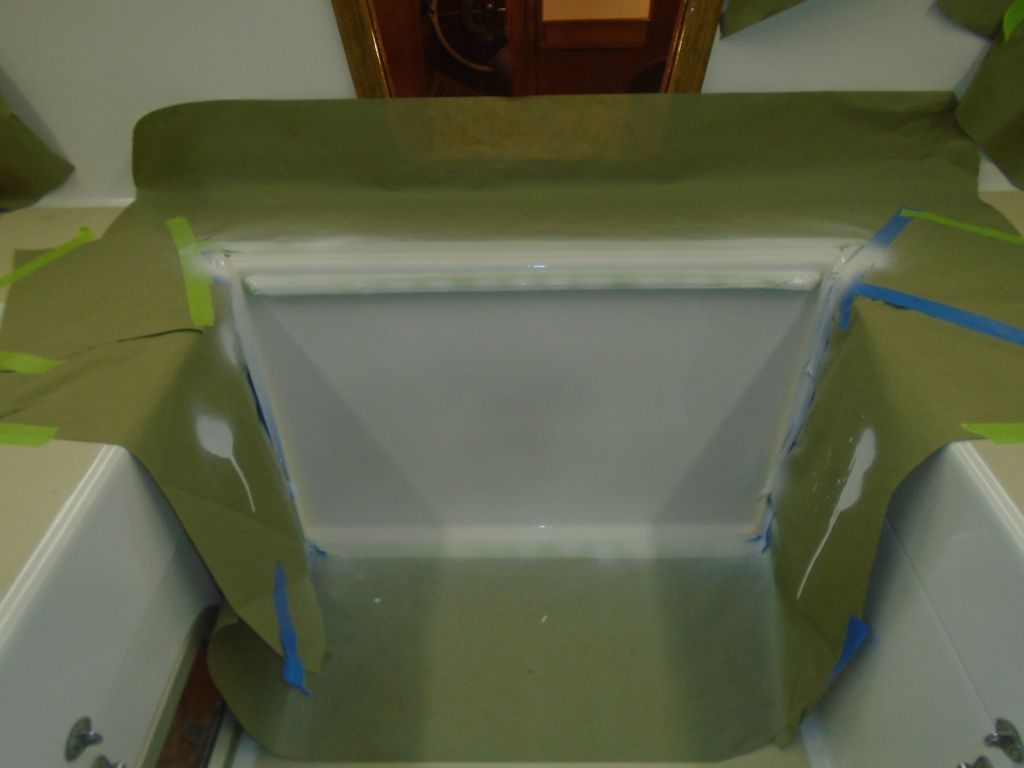
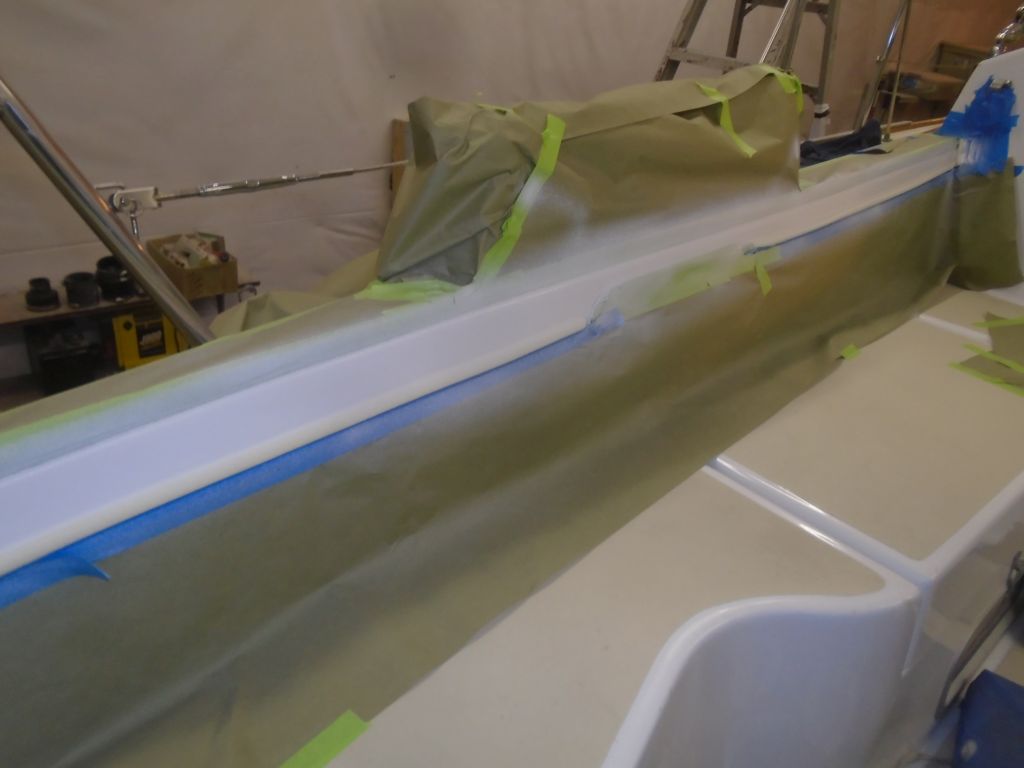
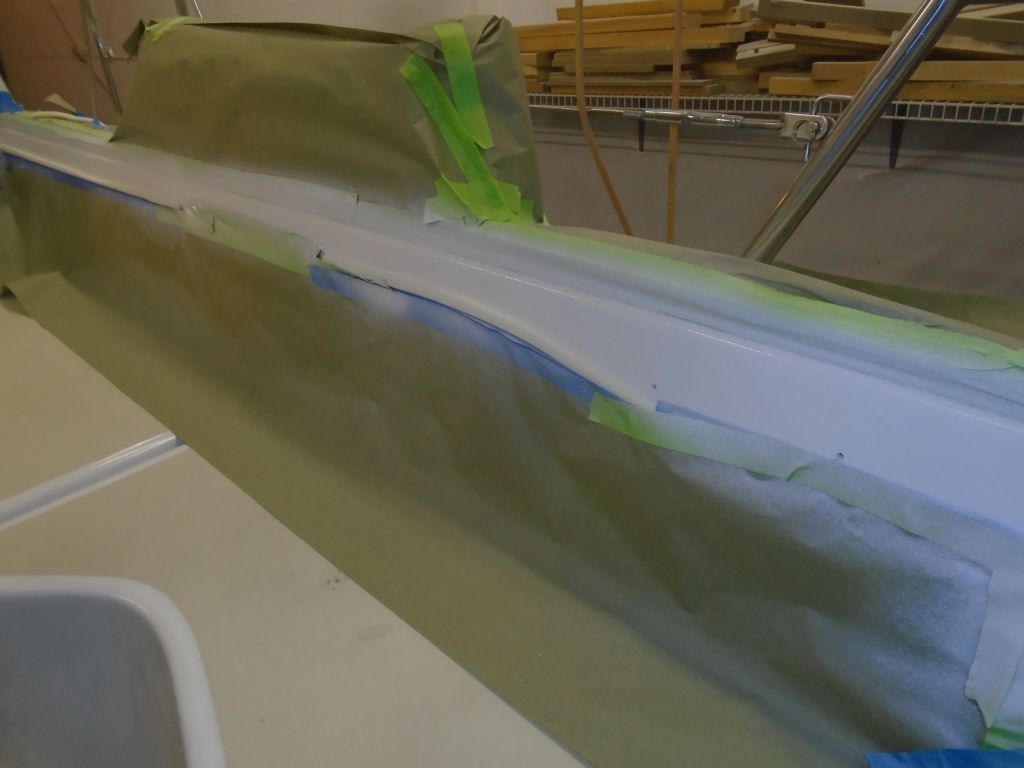
The port coaming looked good now, so I removed the masking tape.  This completed the work on deck.

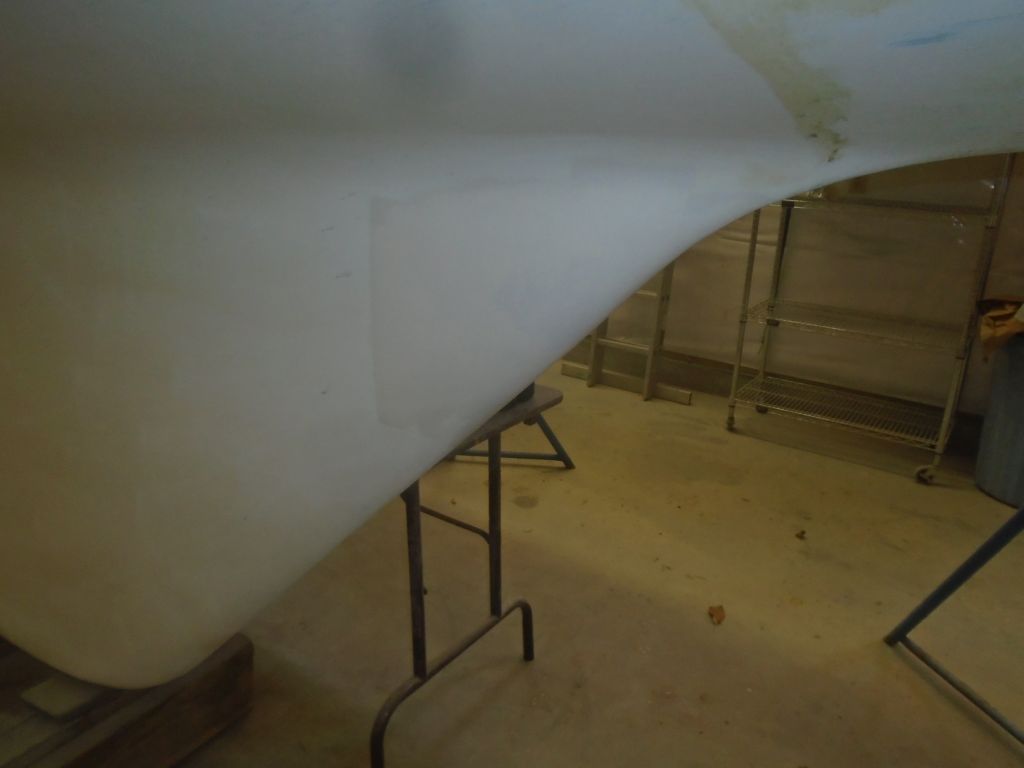
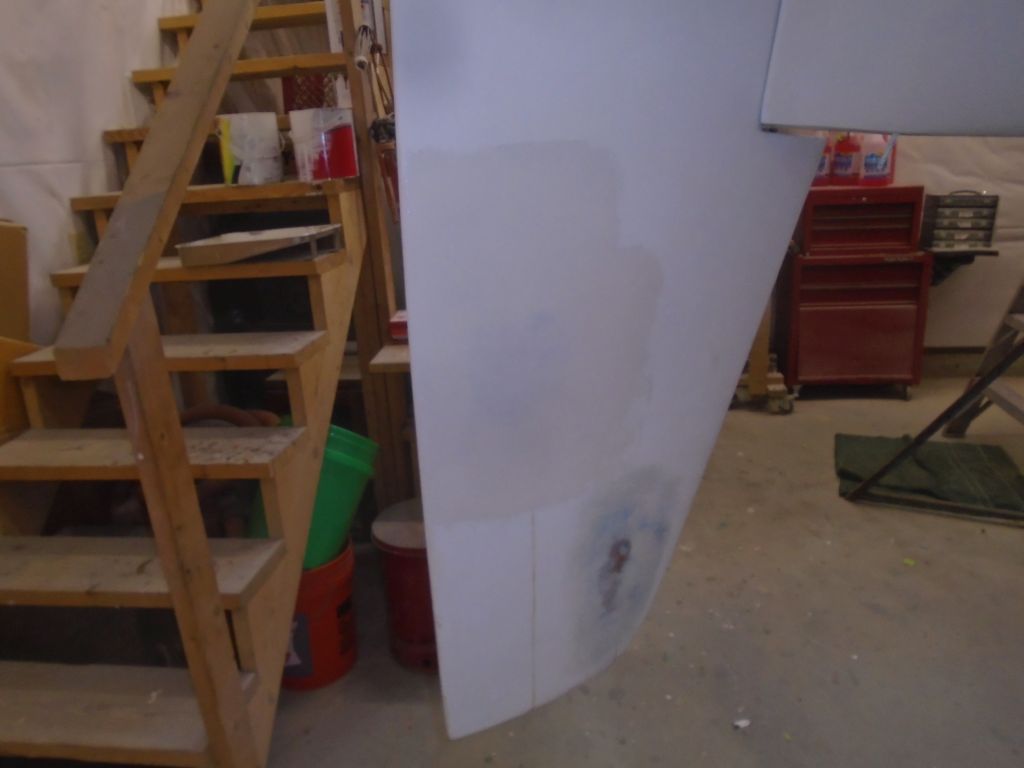
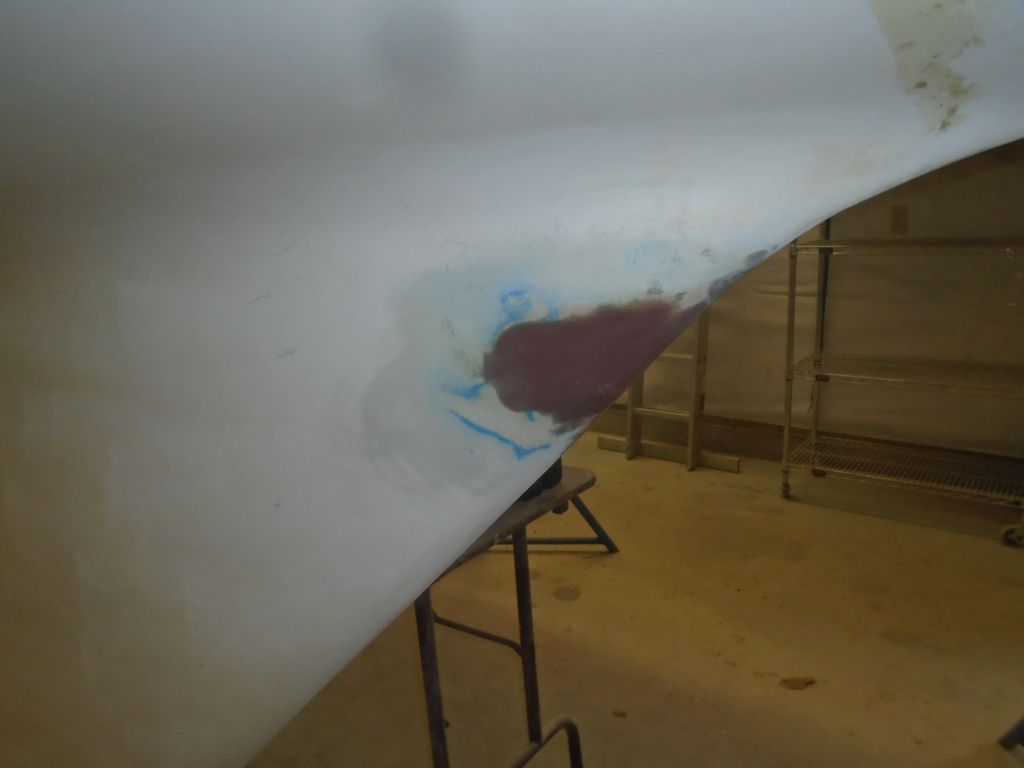
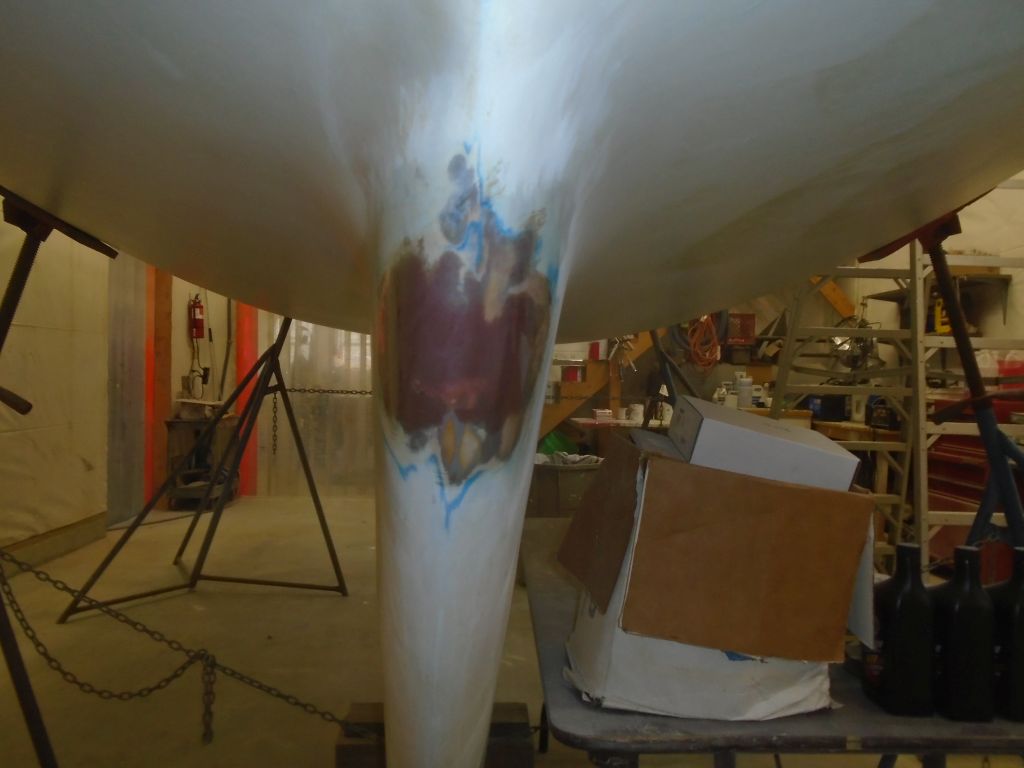
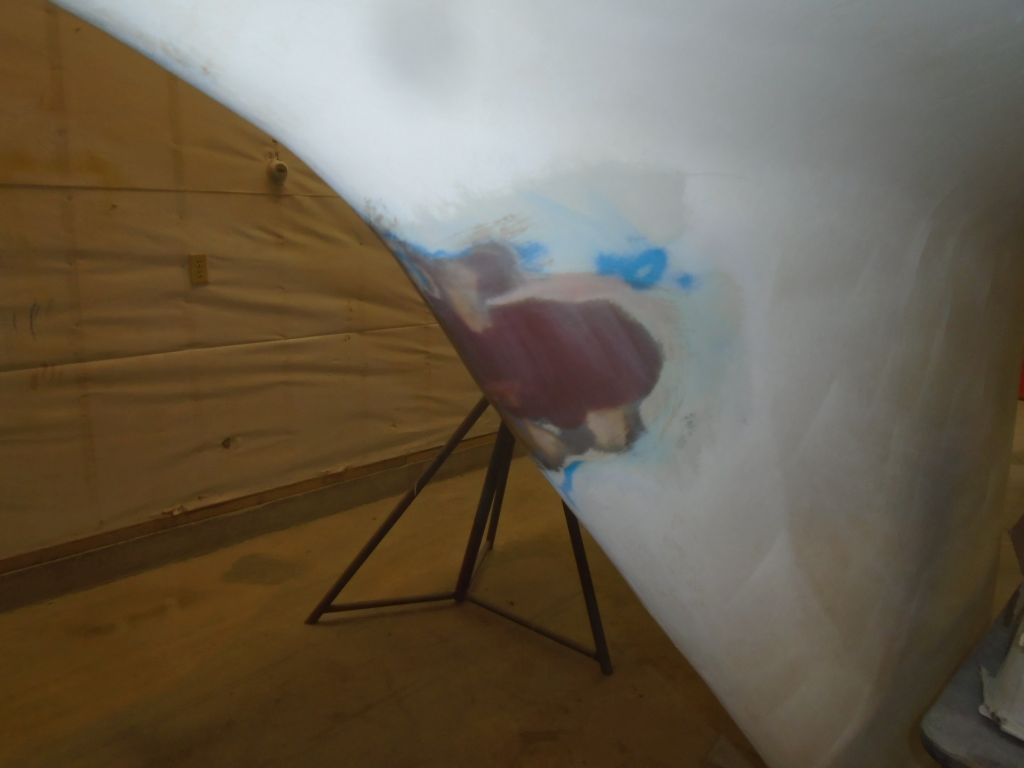
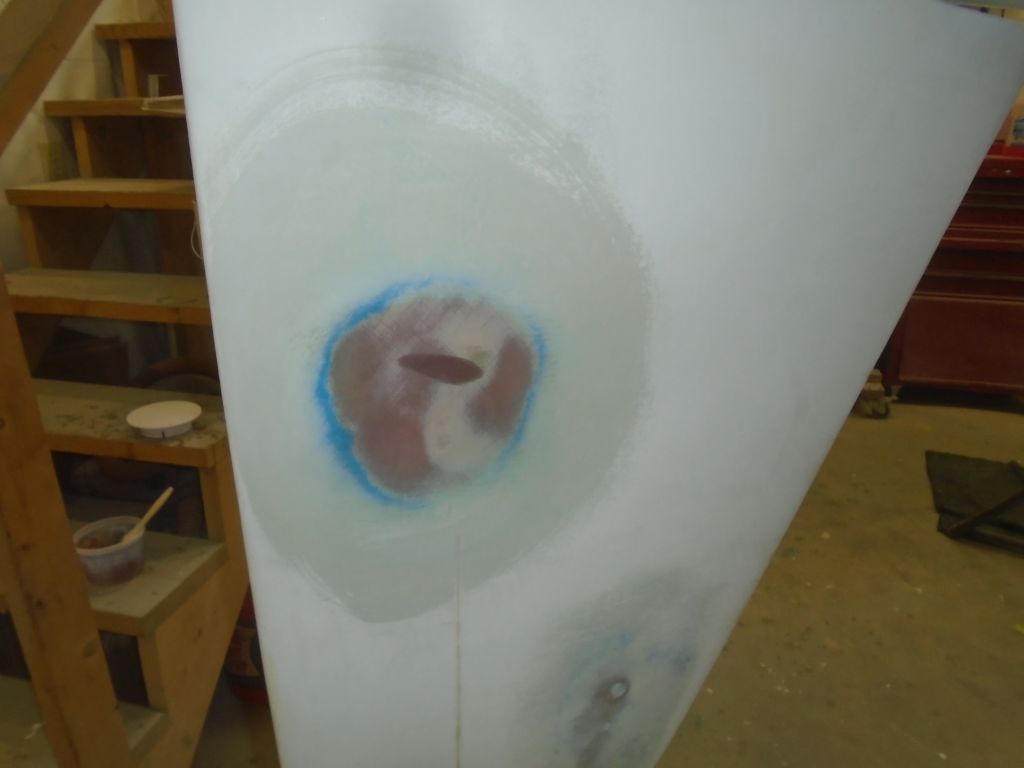
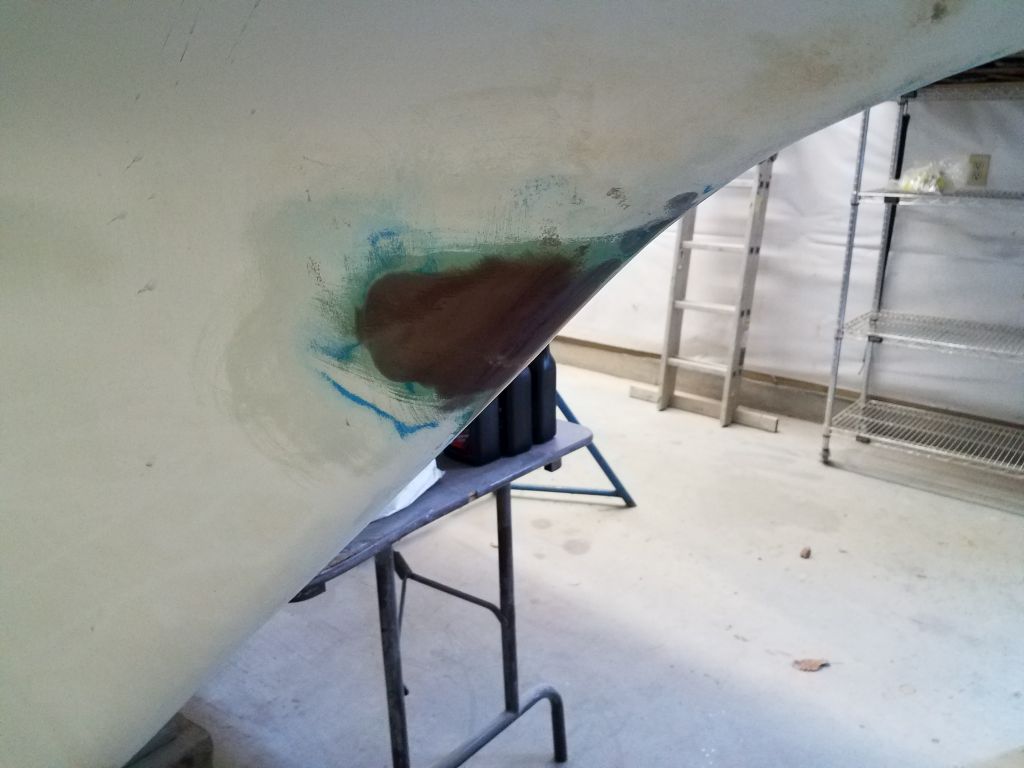
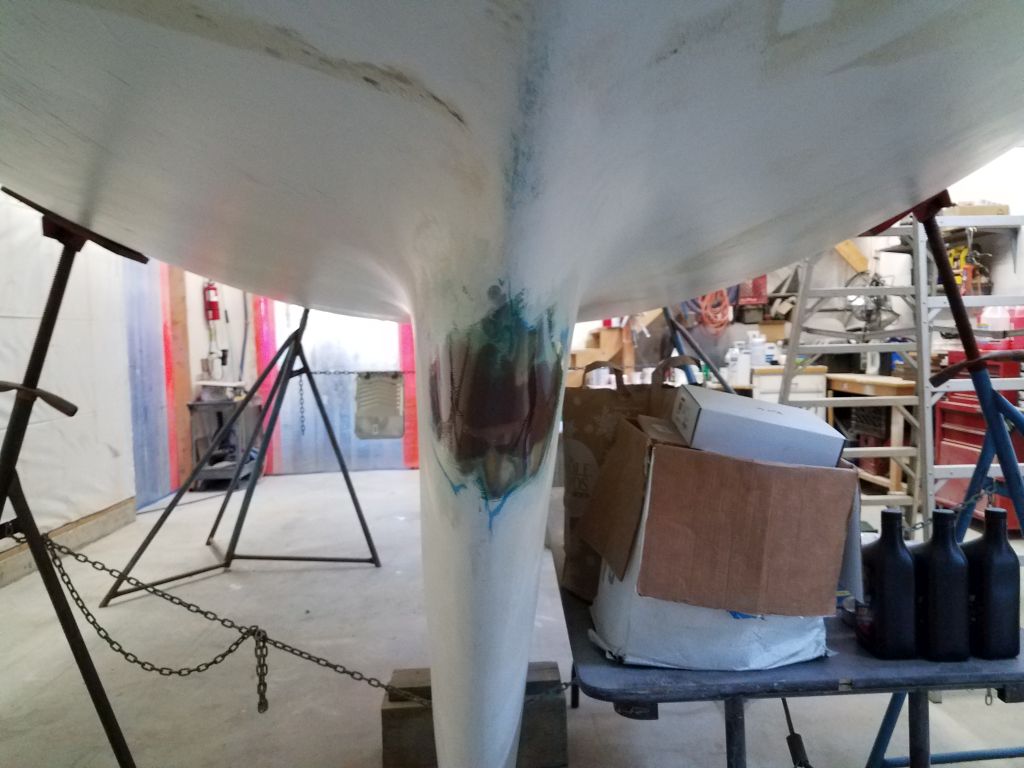
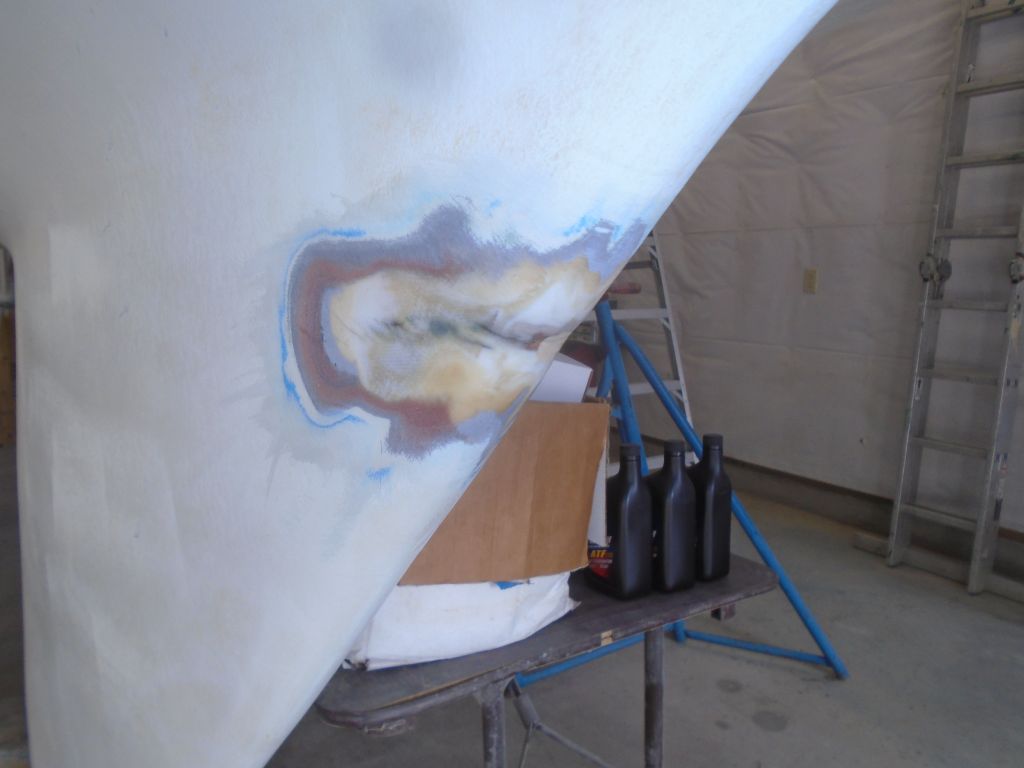
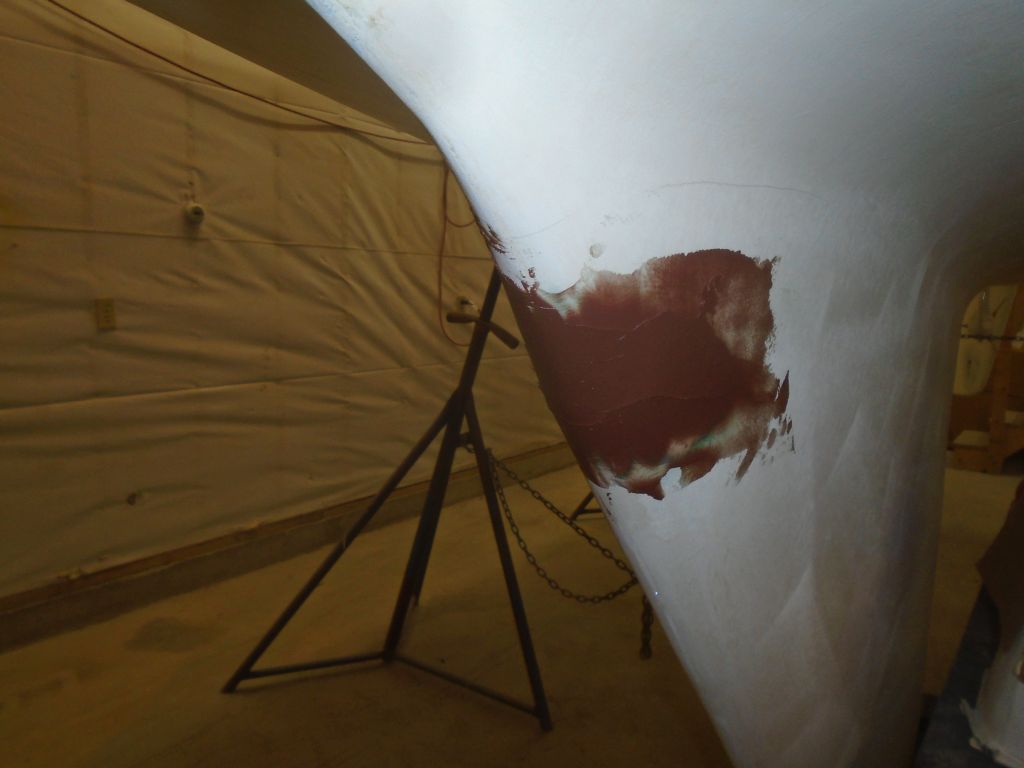
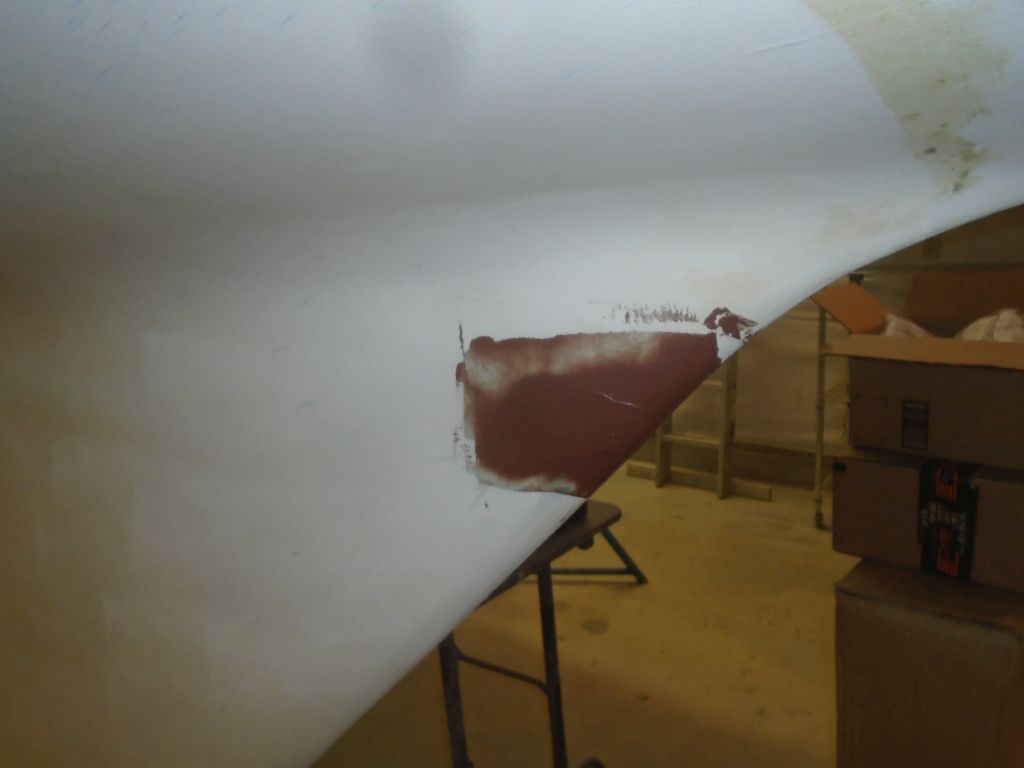
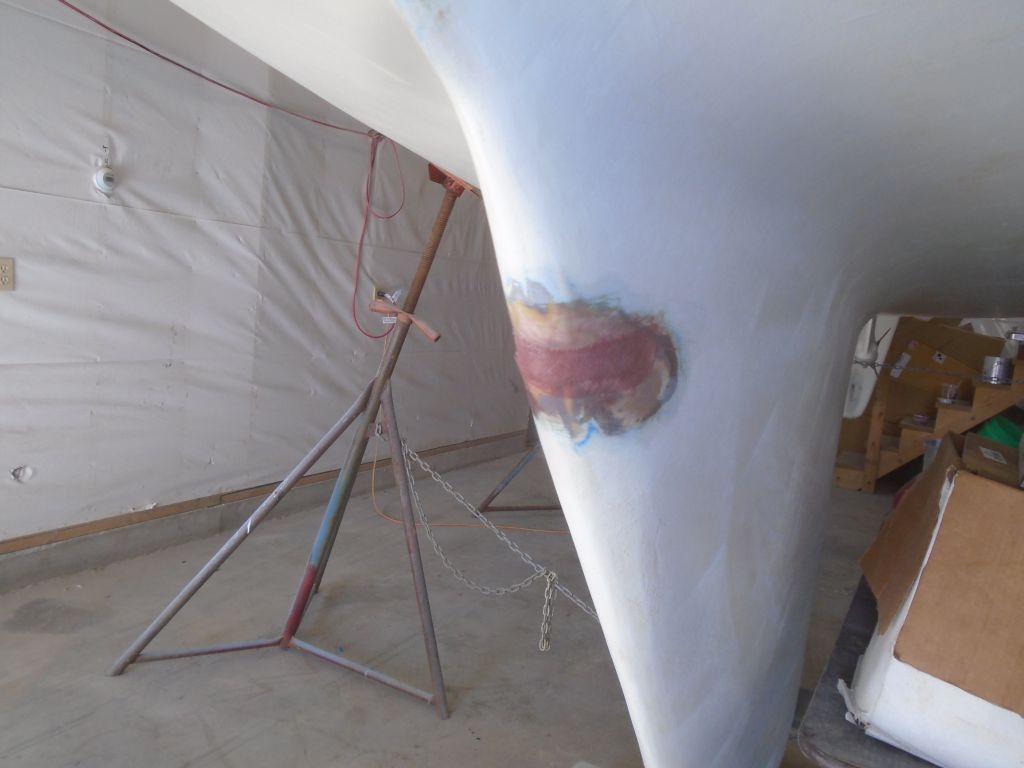
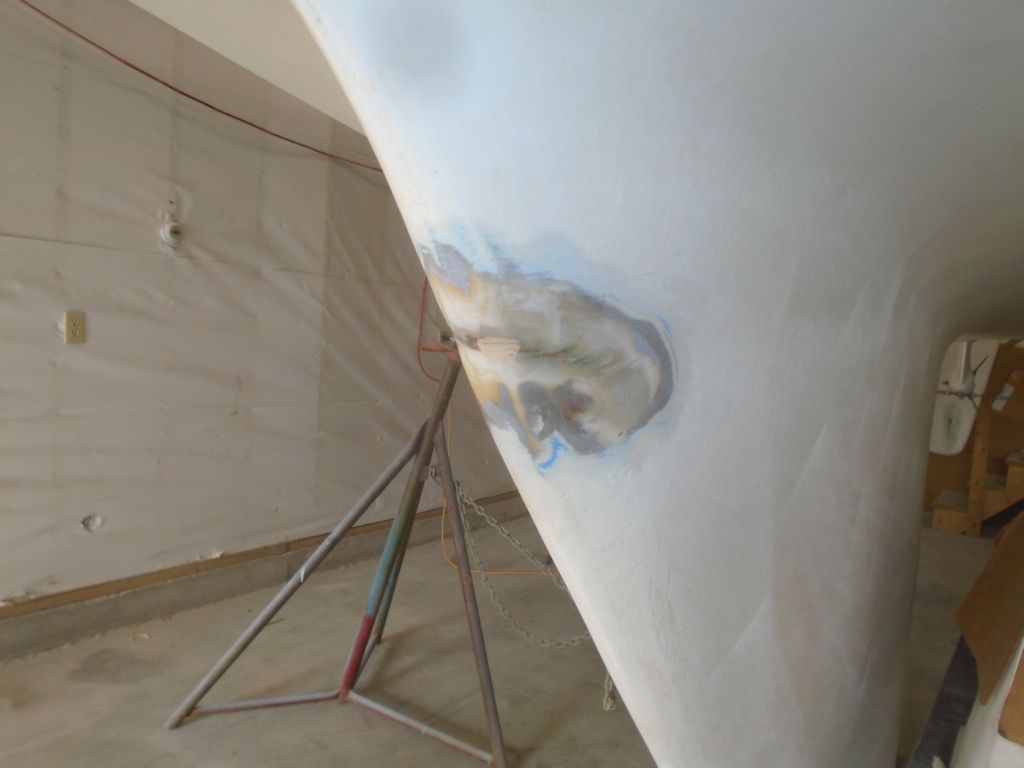
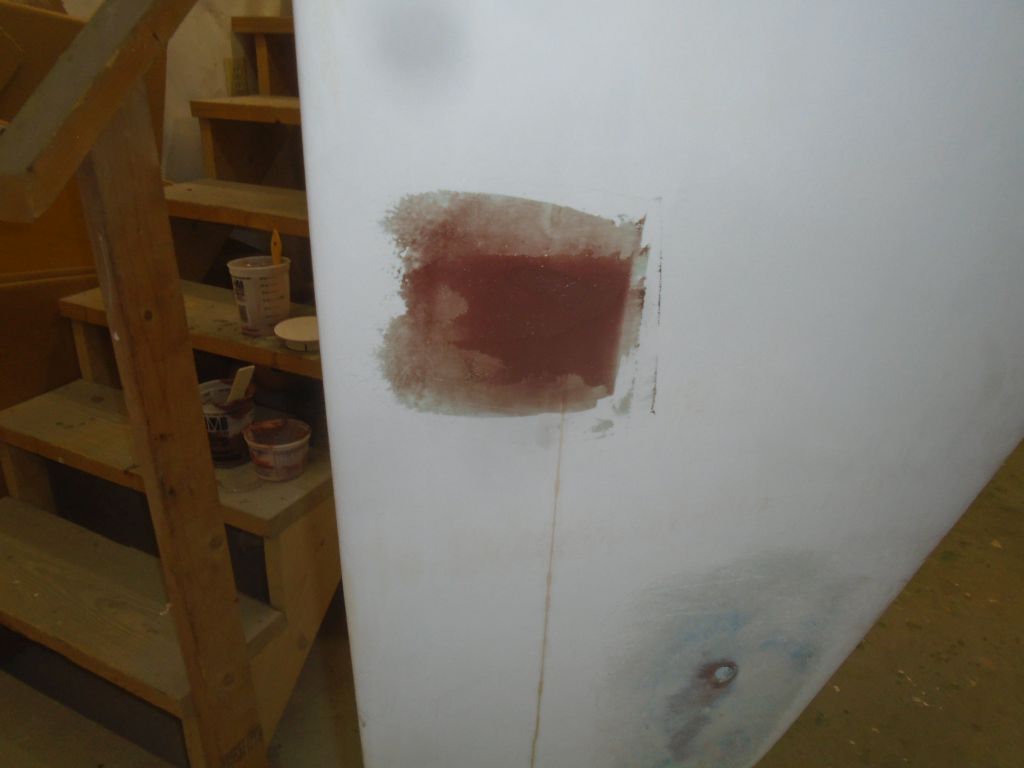
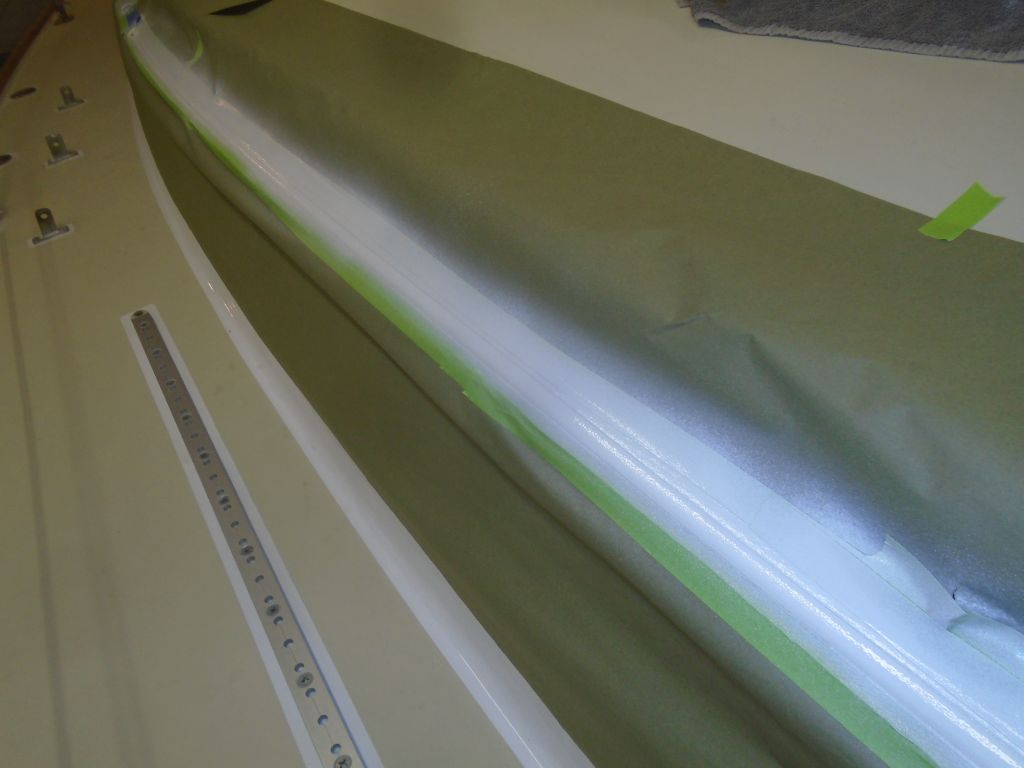
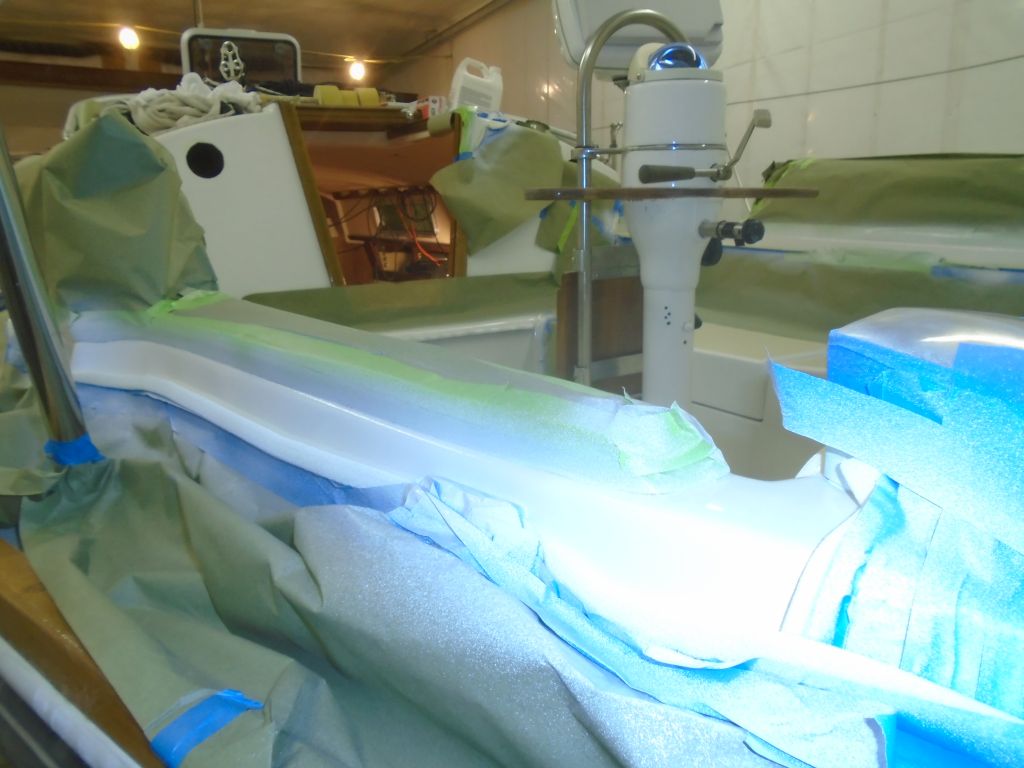
I sanded the patches on the rudder and keel as needed, smoothing them and fairing into the adjacent surfaces.

keel1-111816

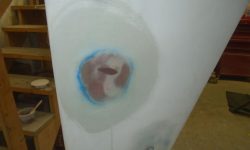
The repairs were small, and my initial coat of fairing compound took care of both areas, so after cleaning up I coated the newly faired repairs with unthickened epoxy.

epoxy1-111816

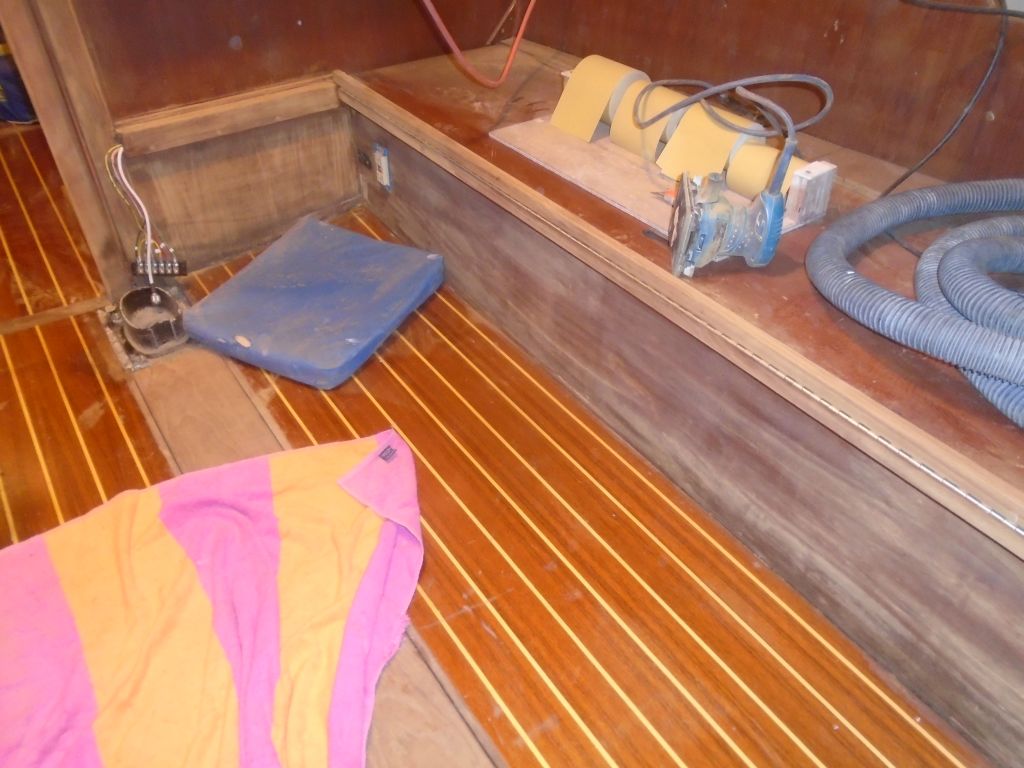
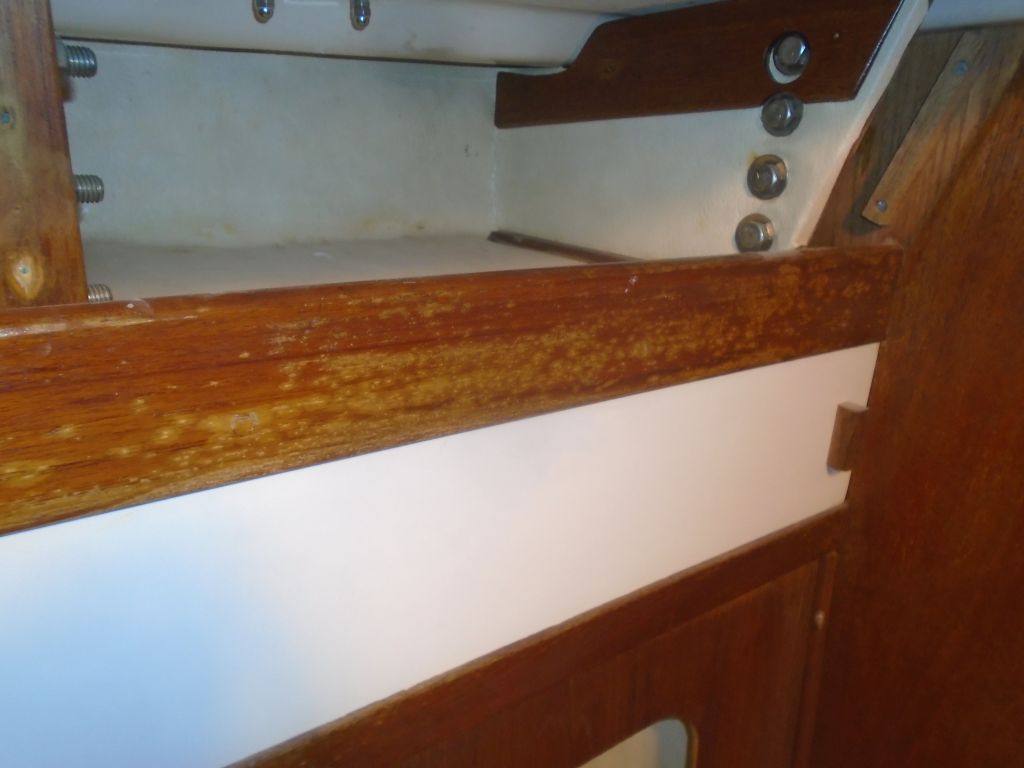
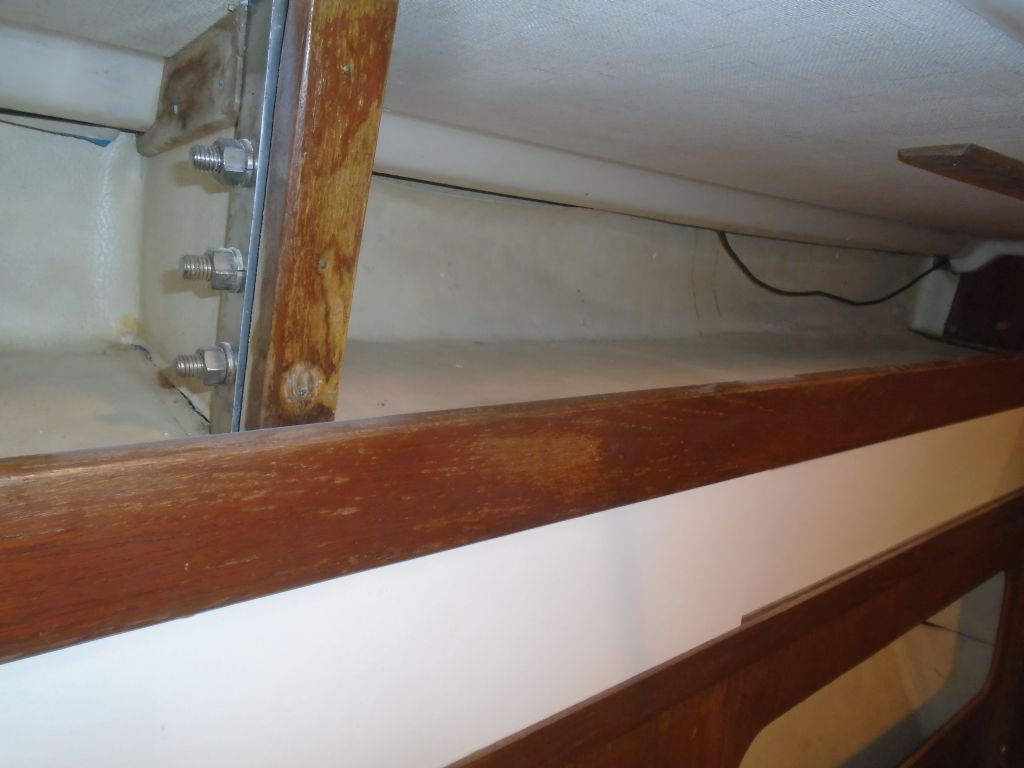
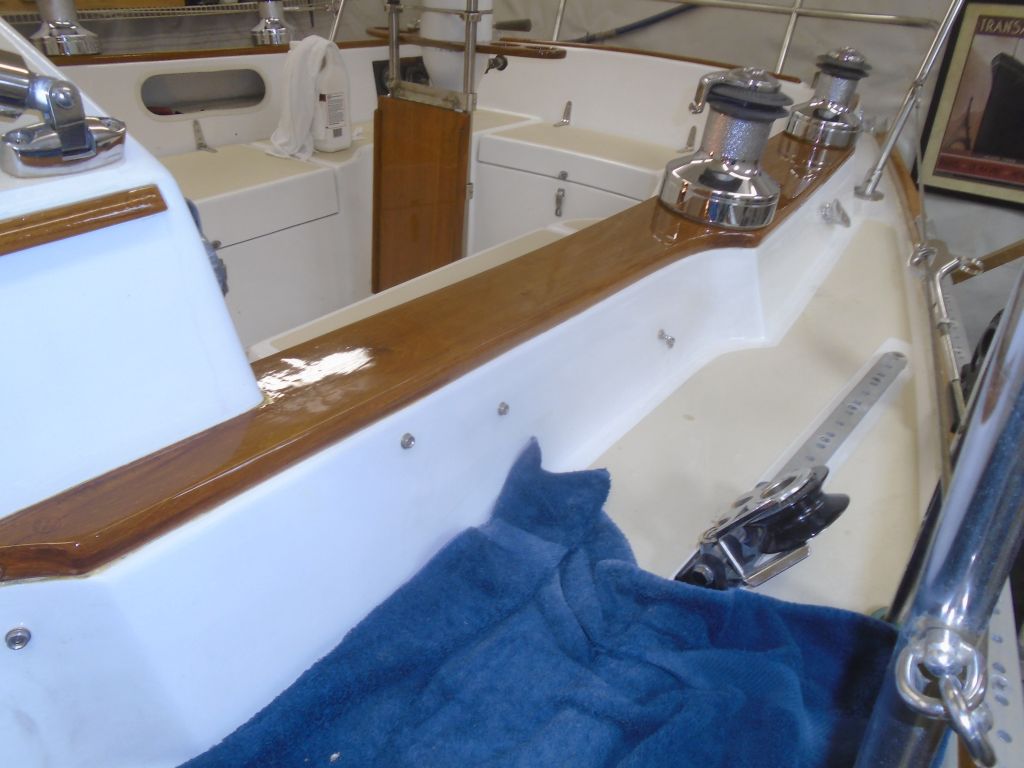
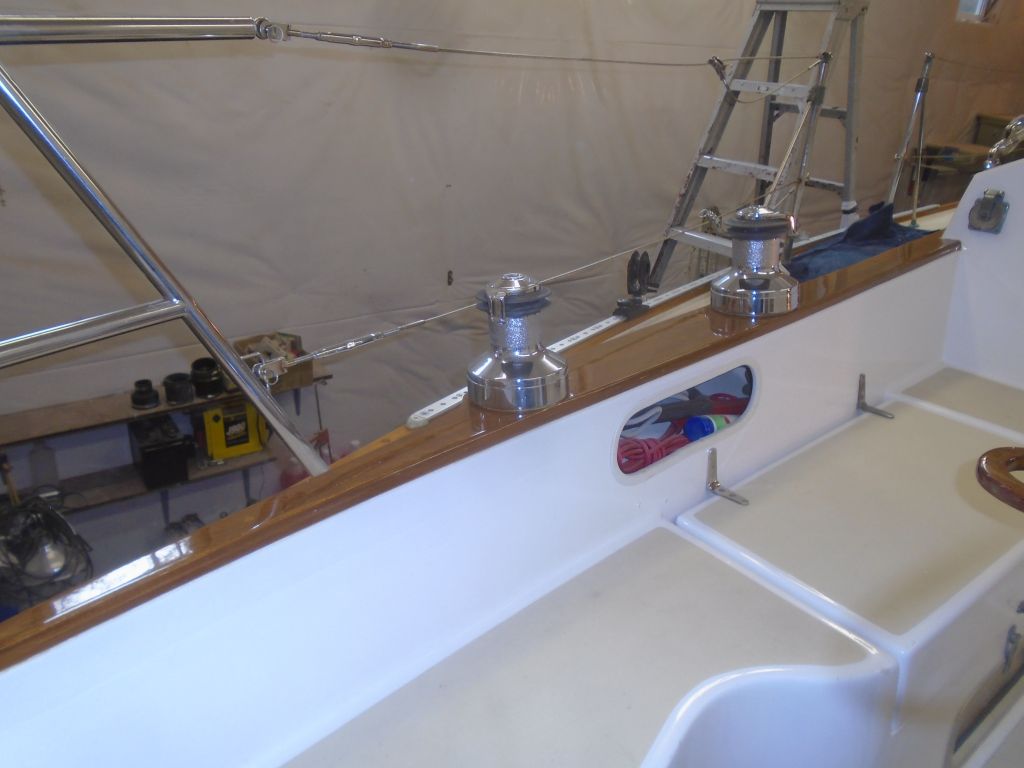
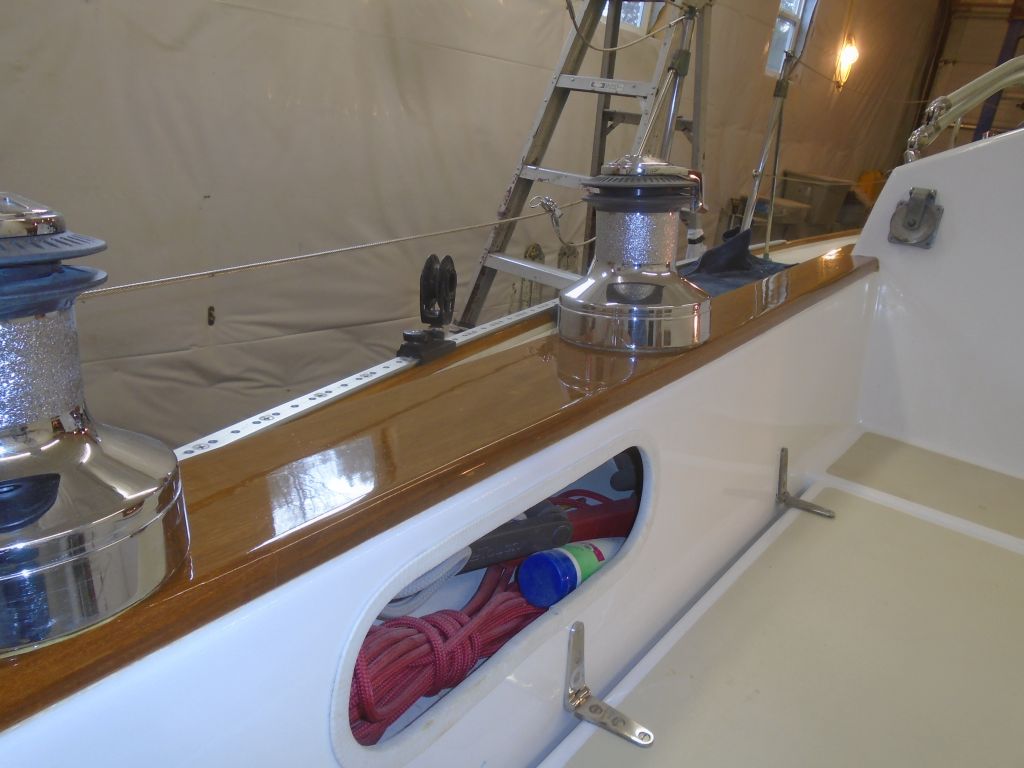
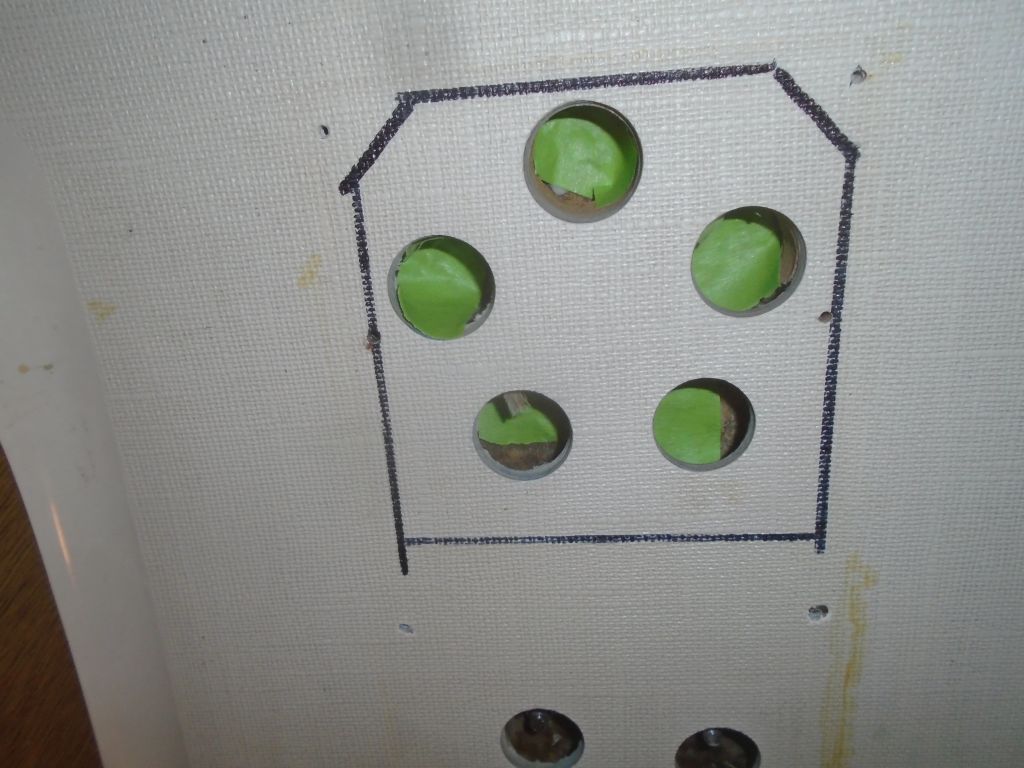
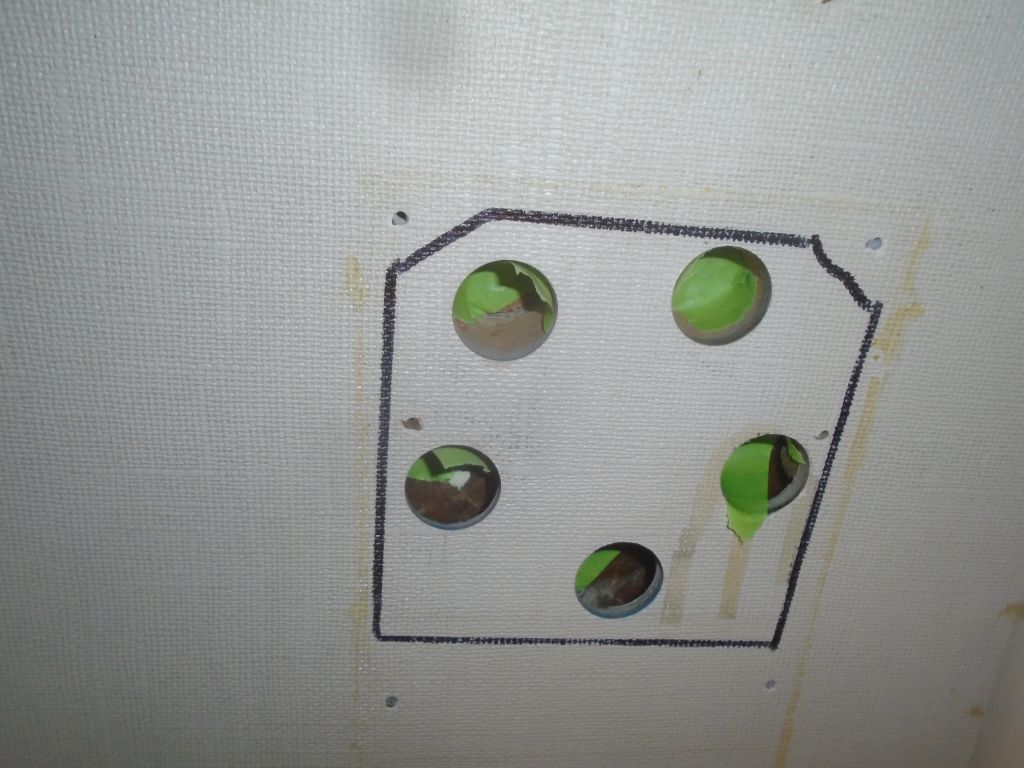
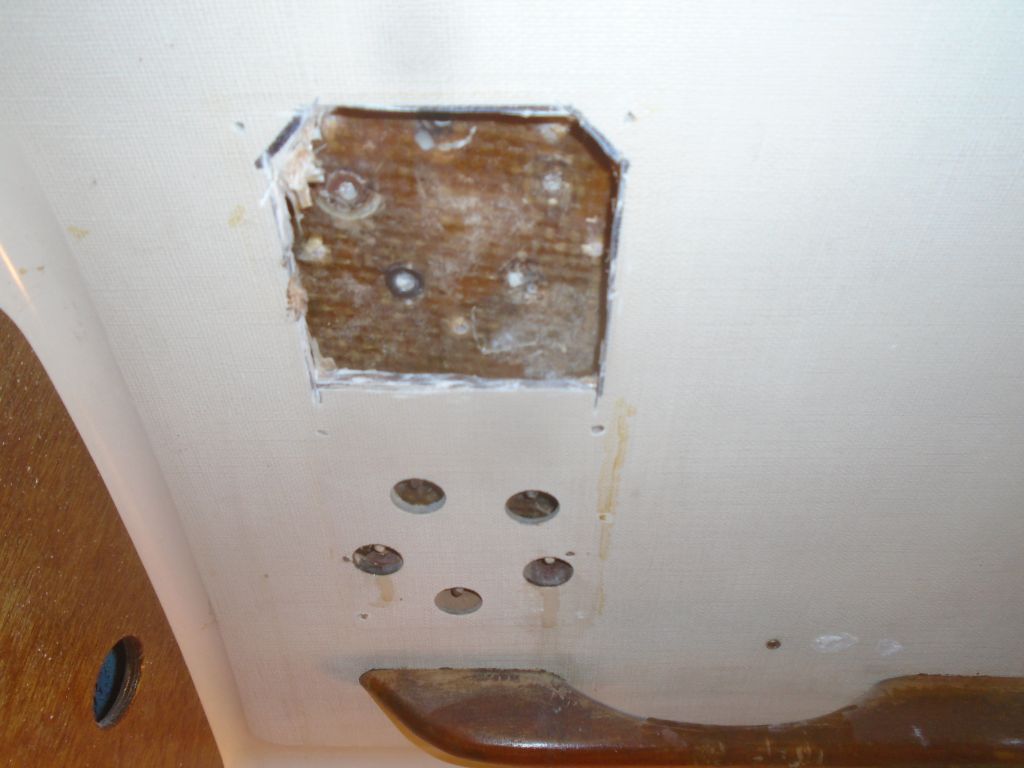
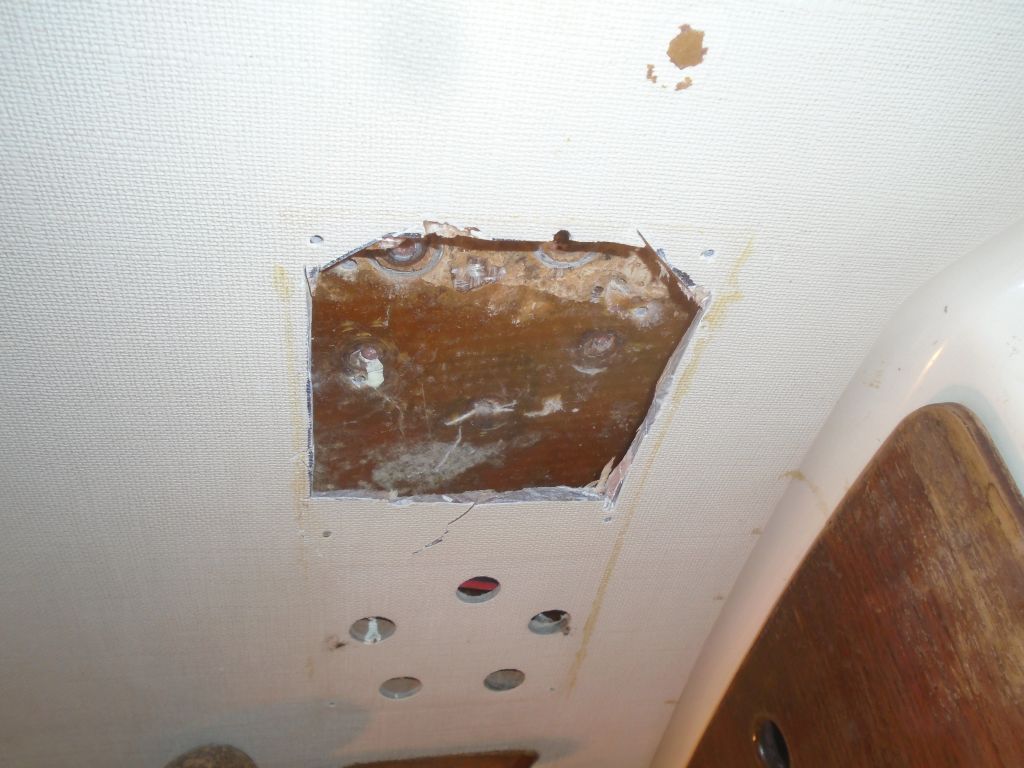
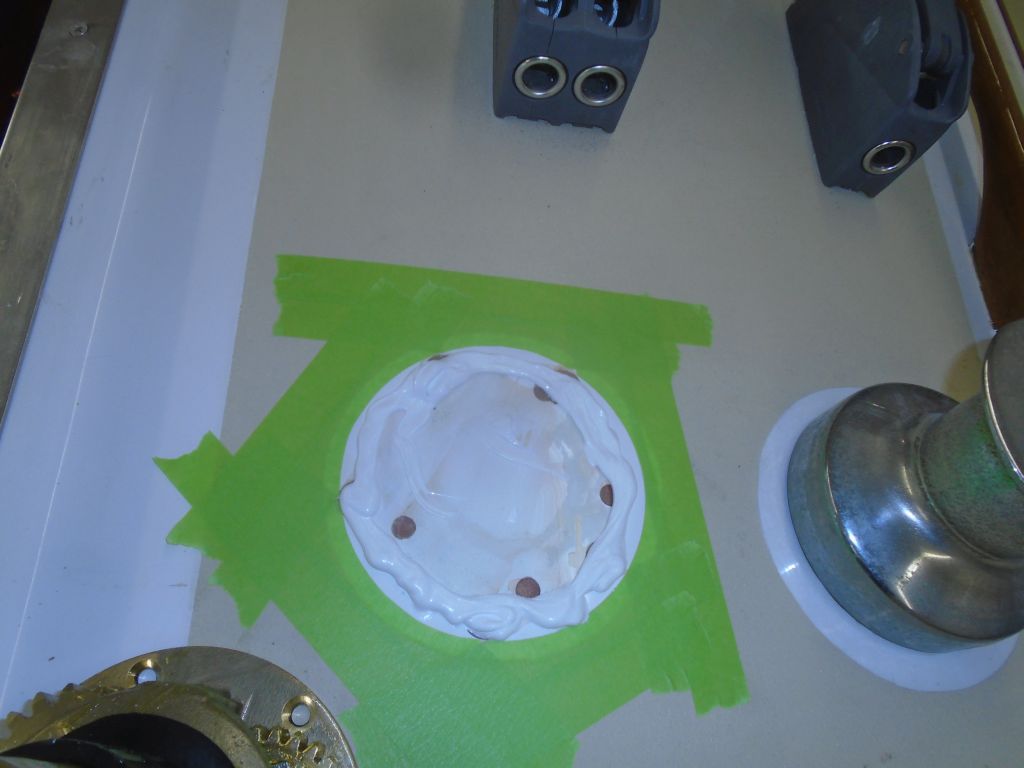
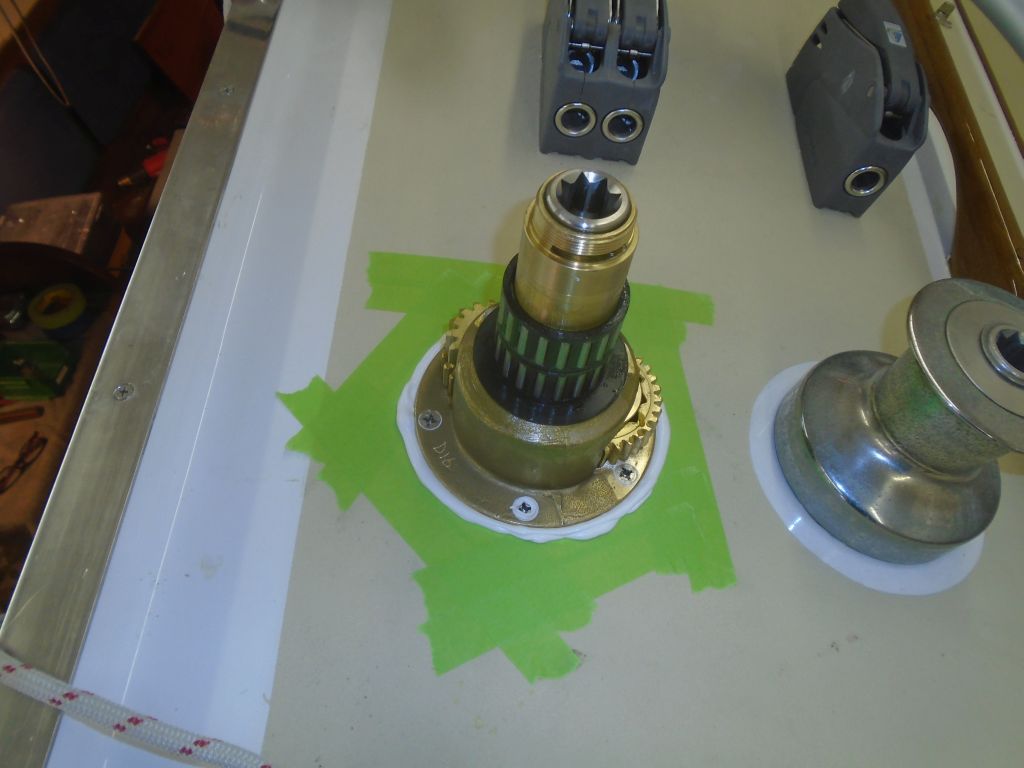
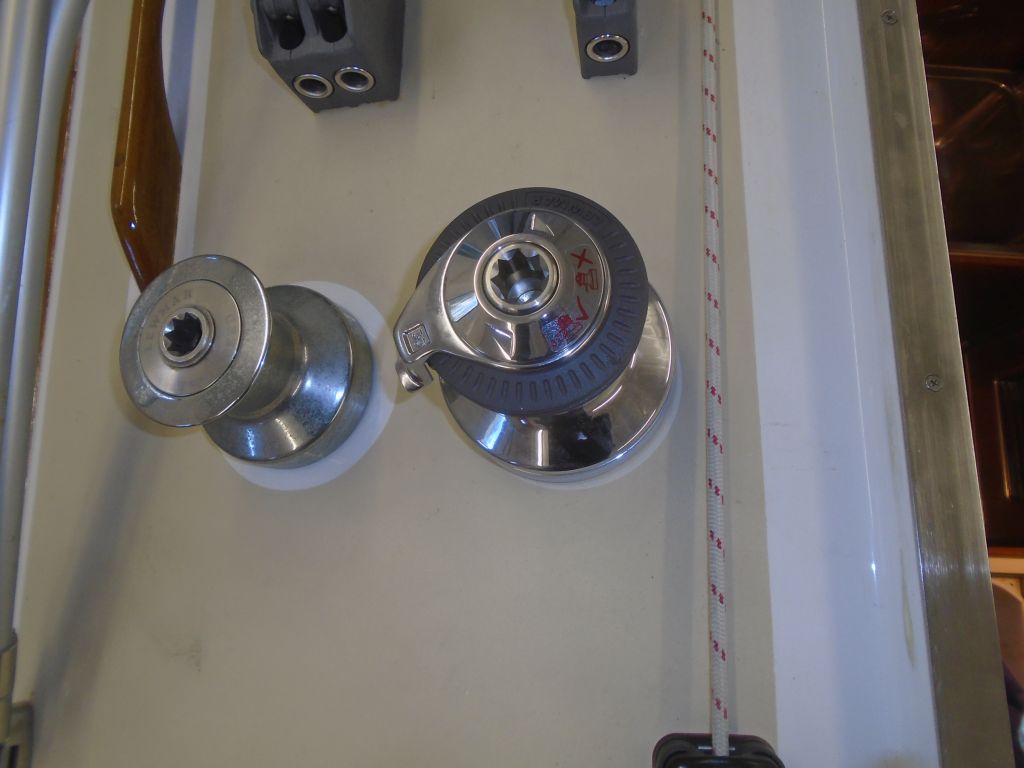
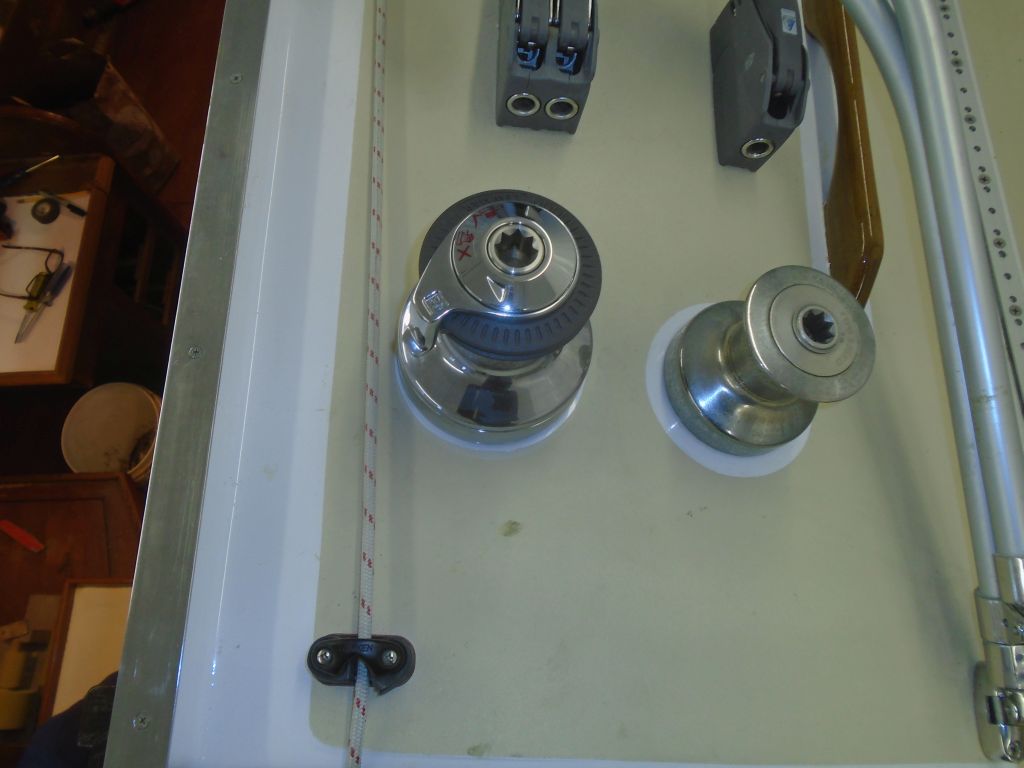
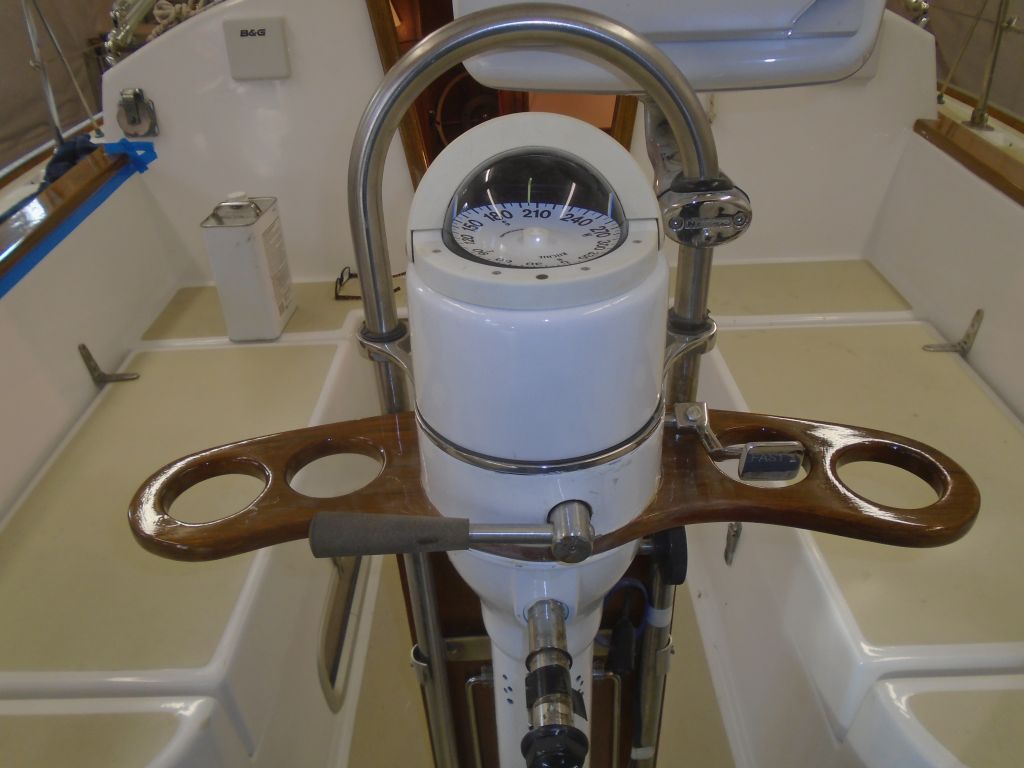
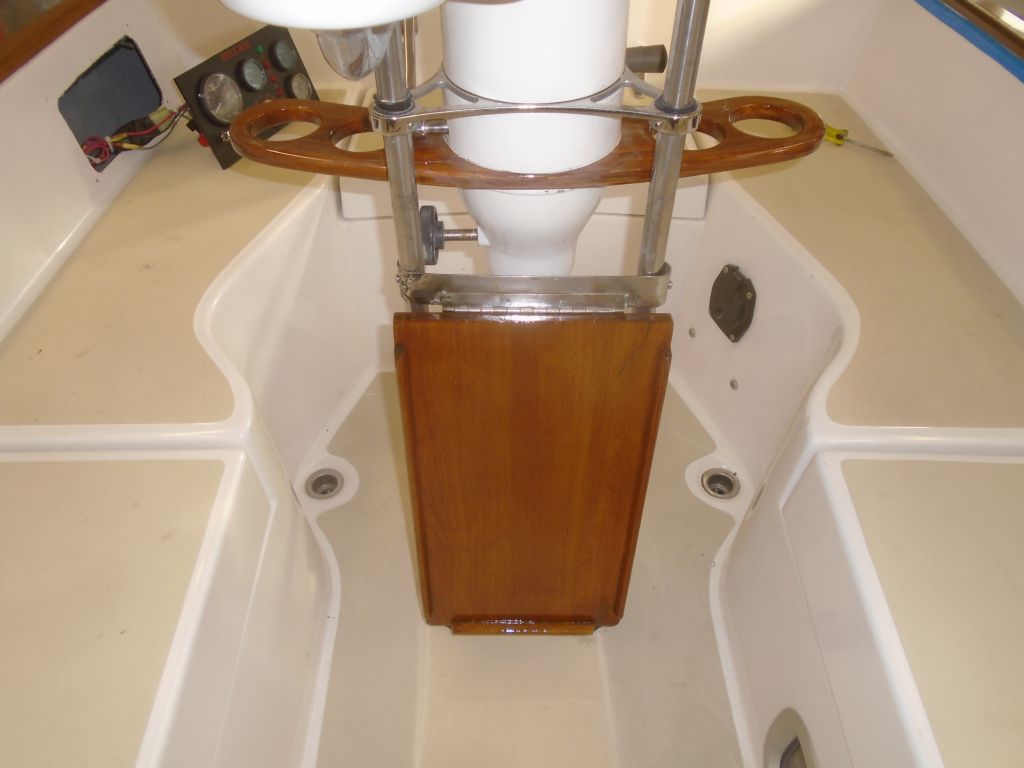
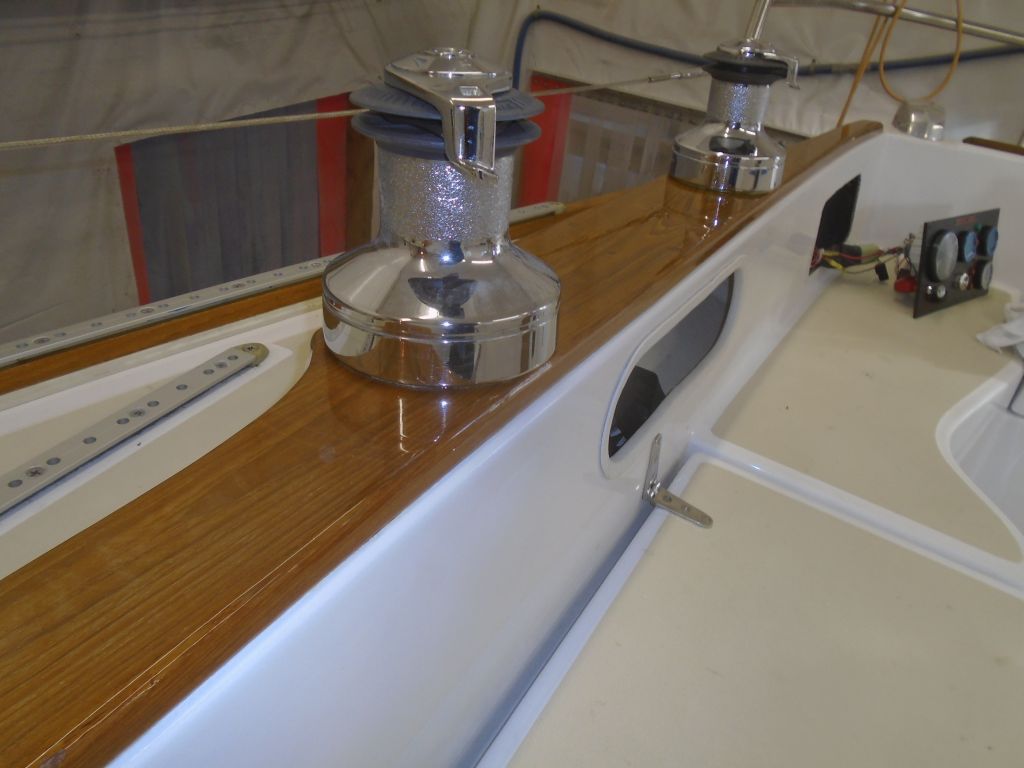
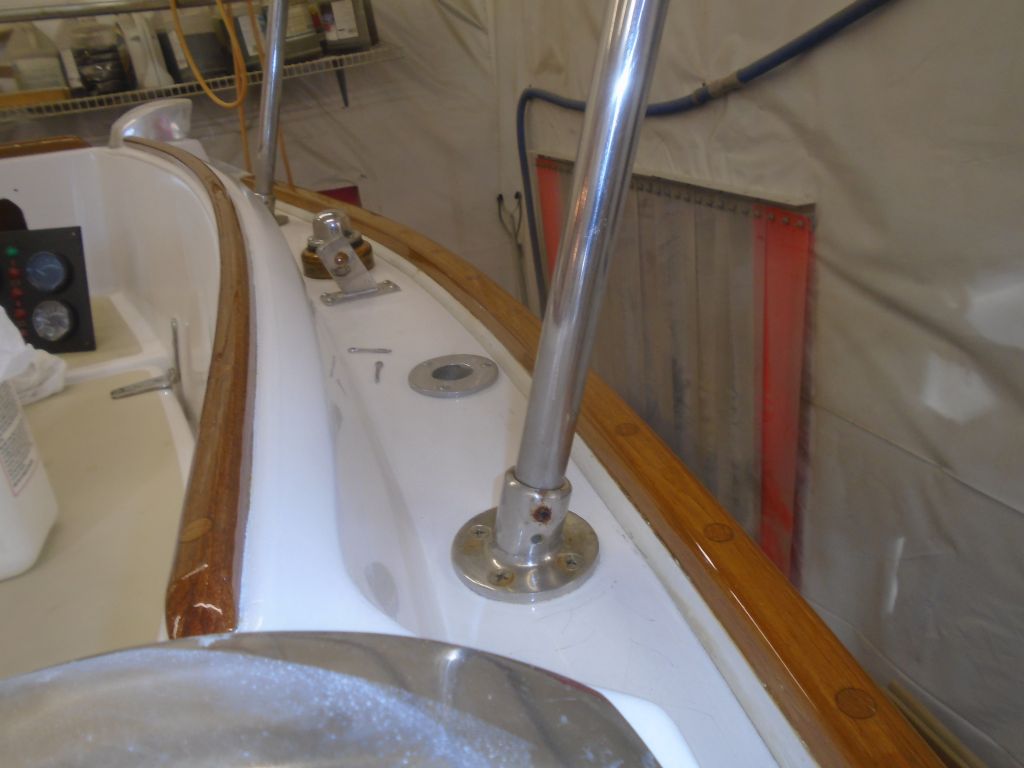
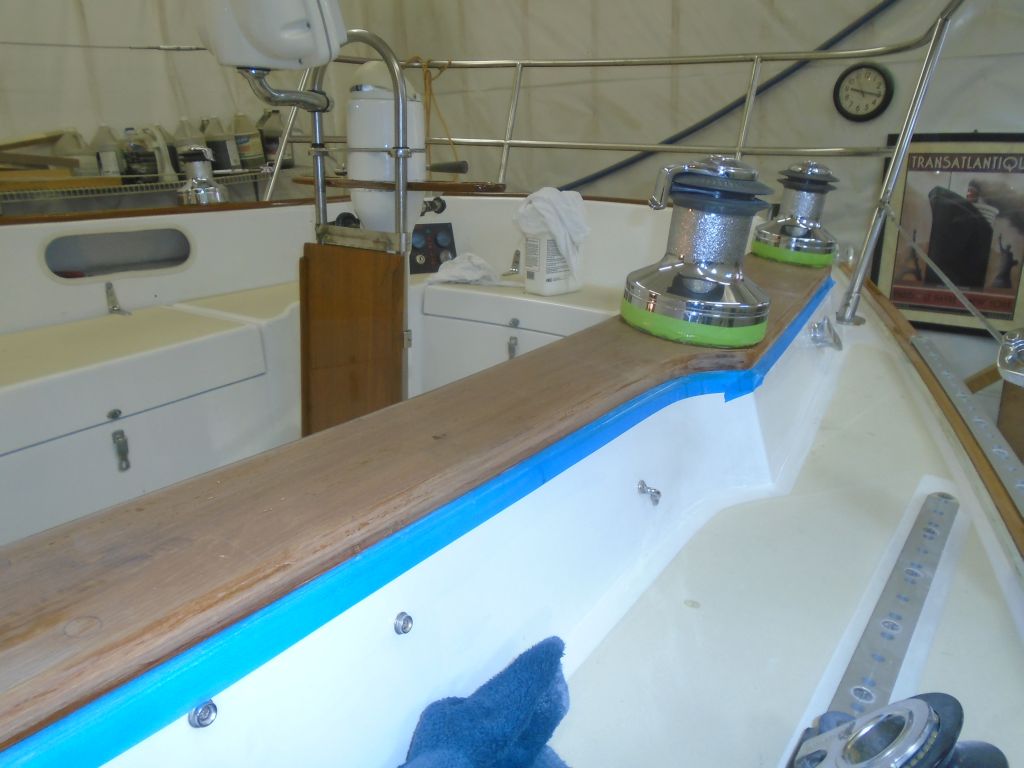
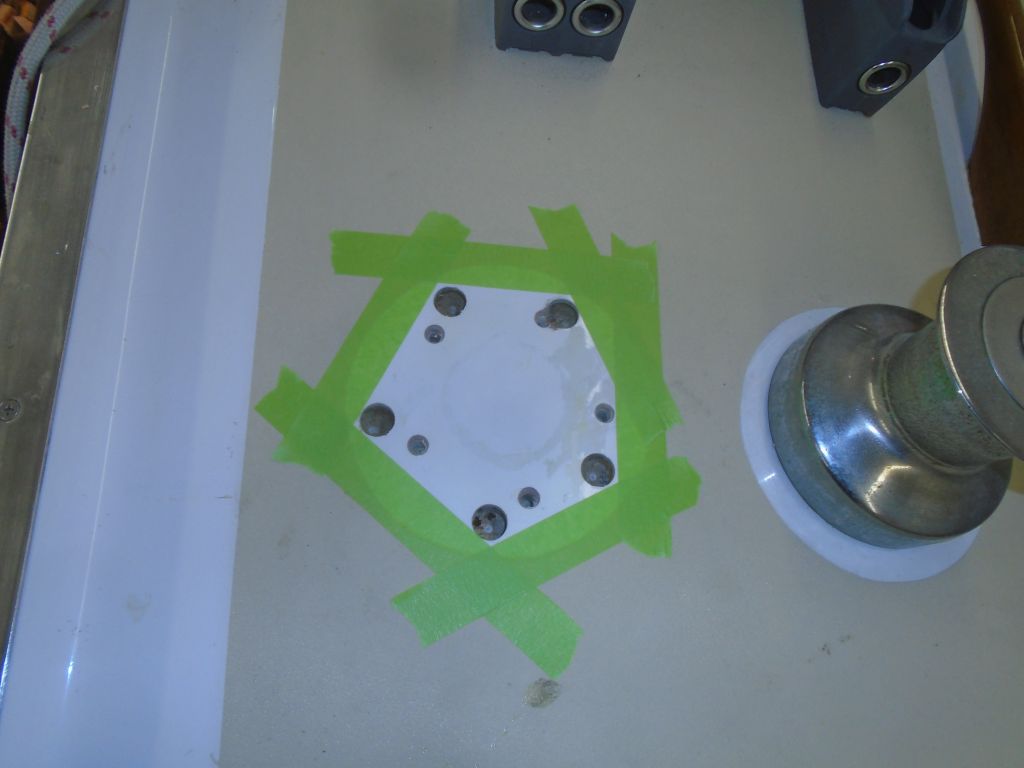
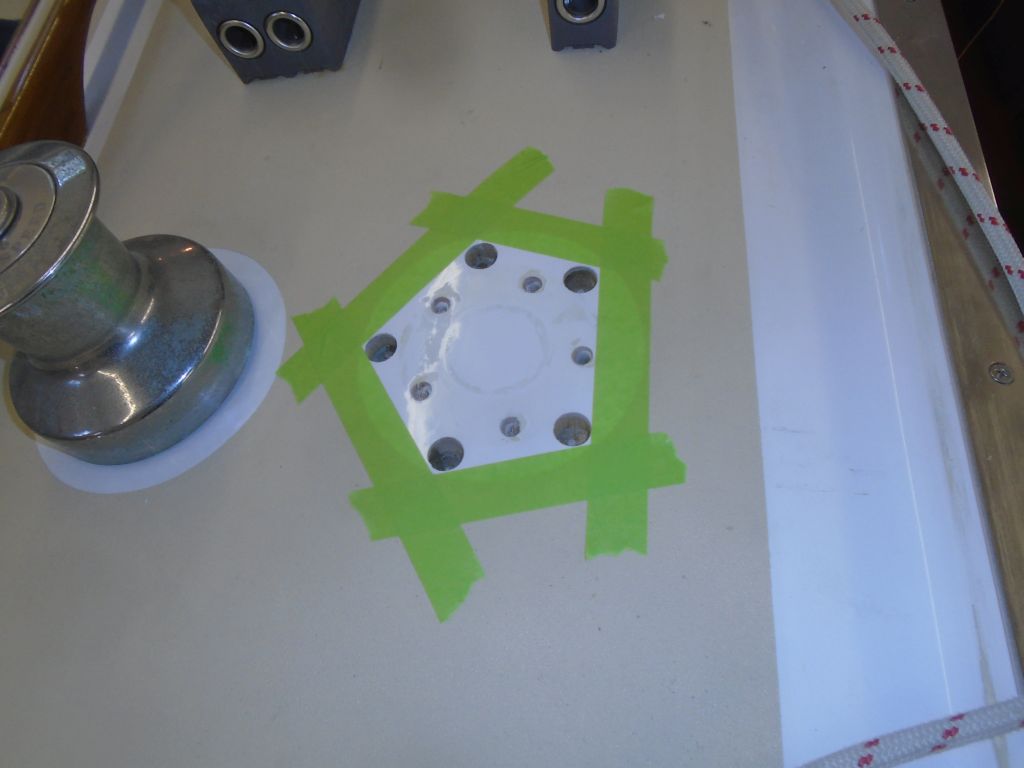
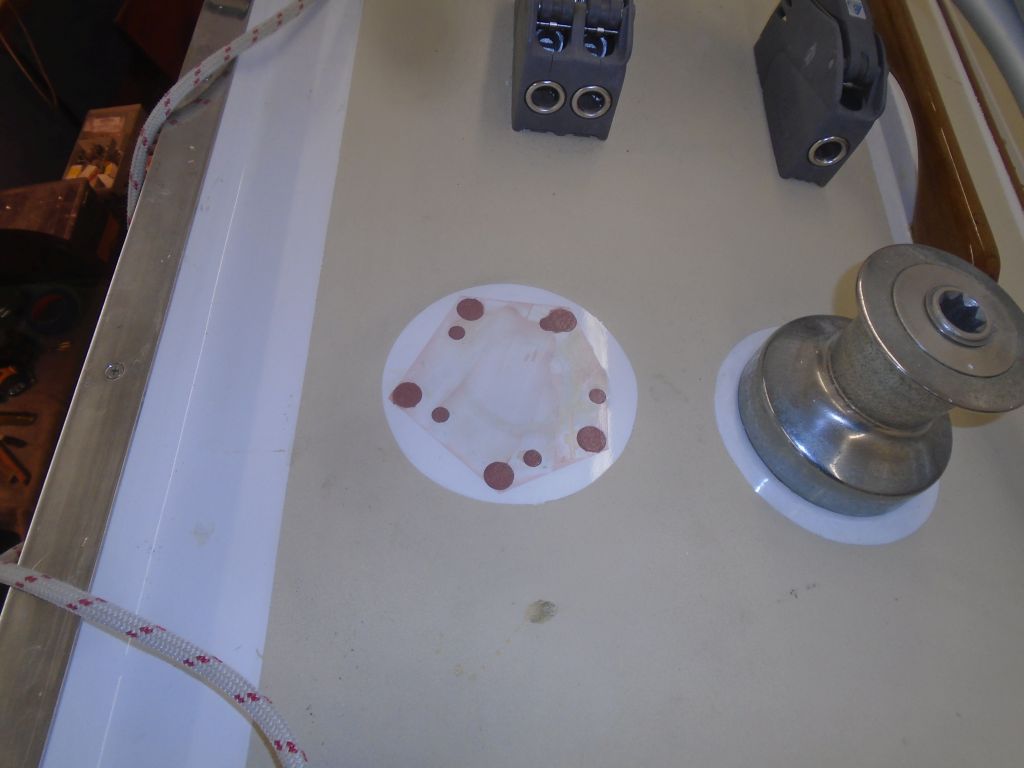
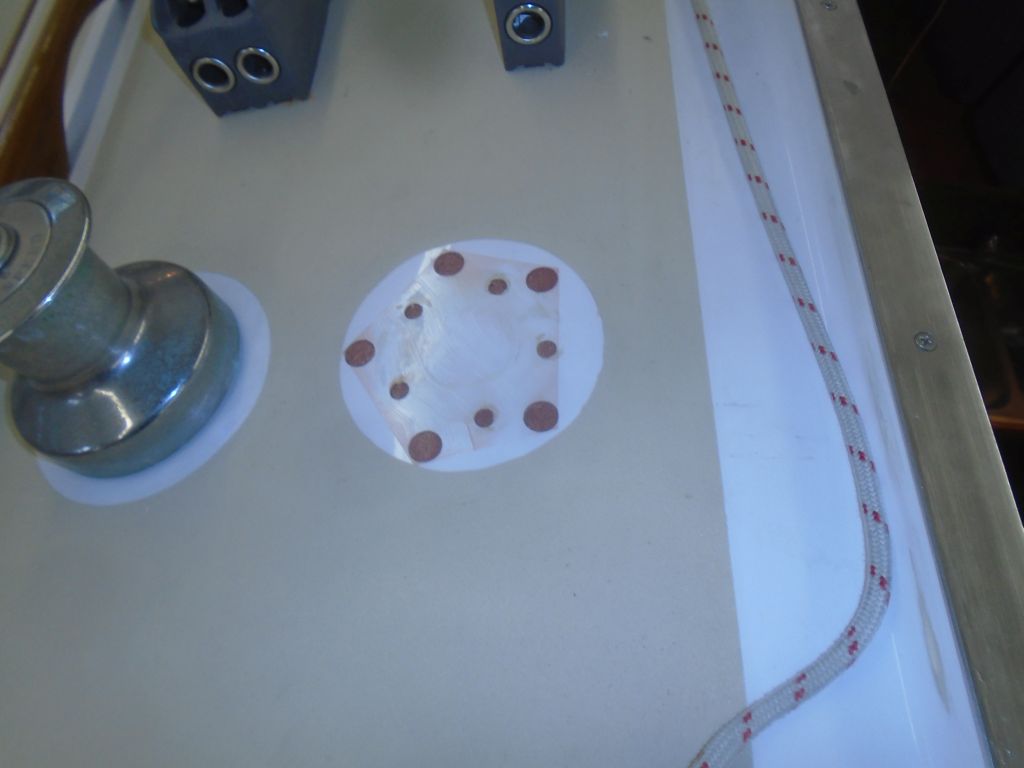
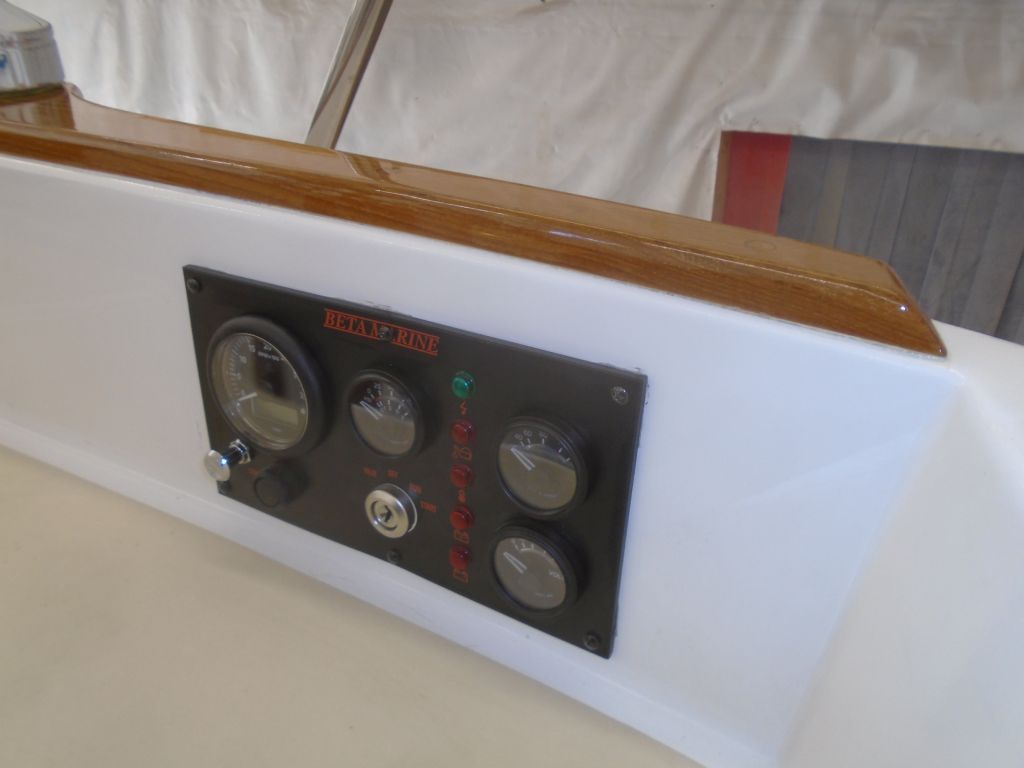
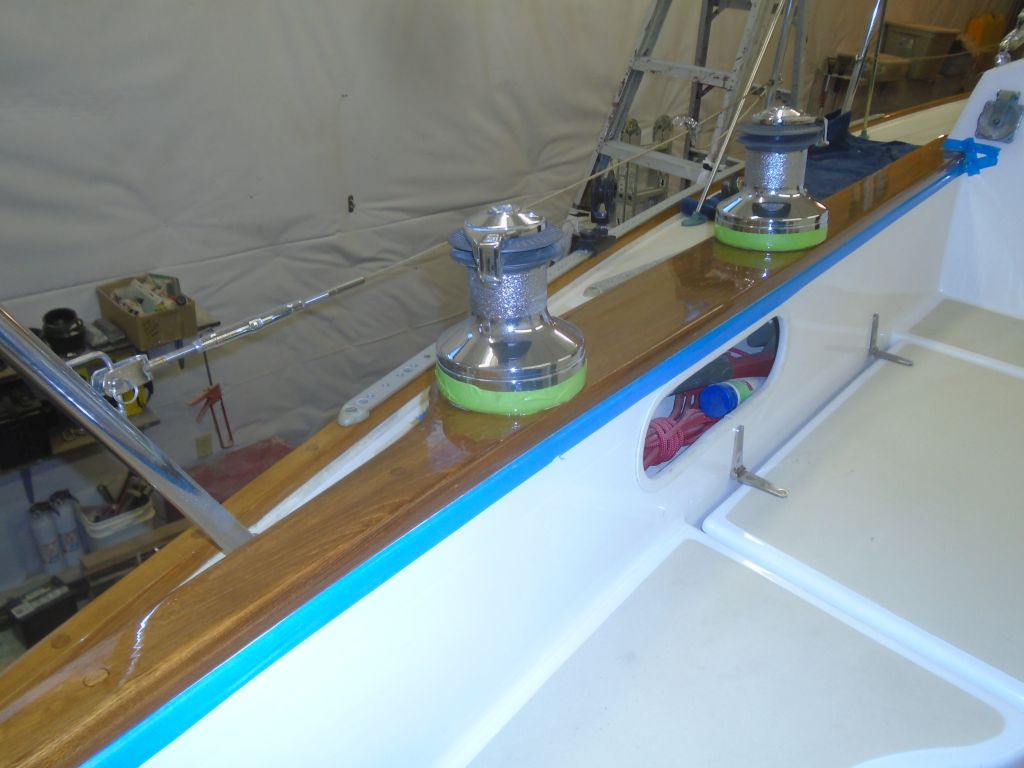
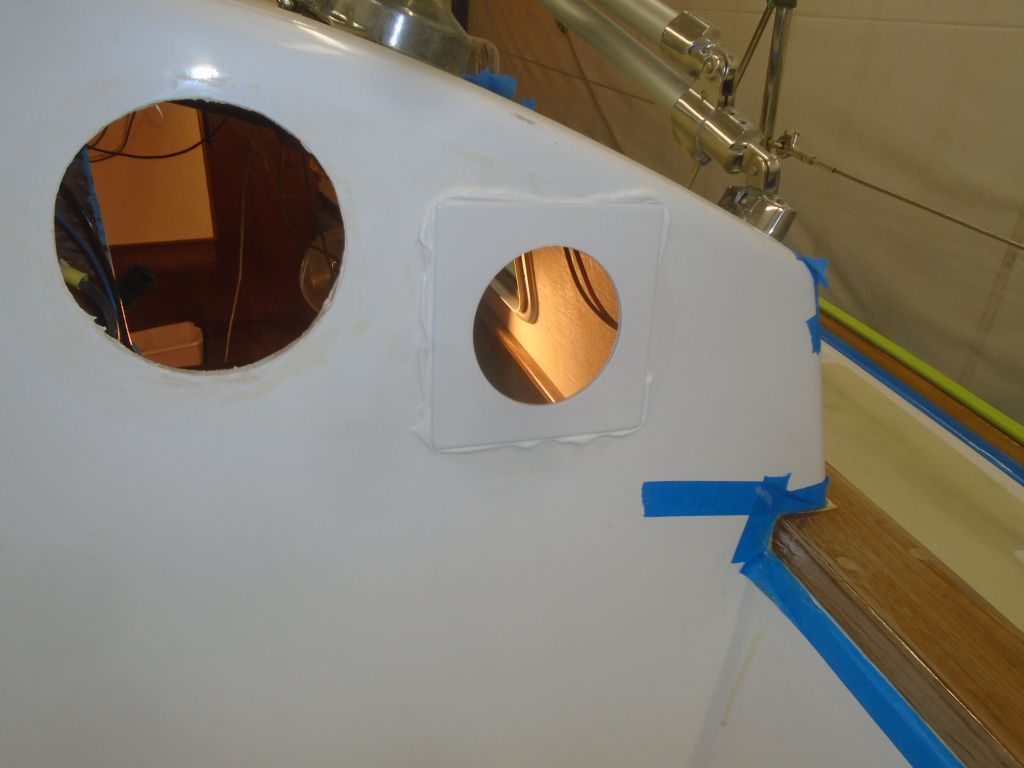
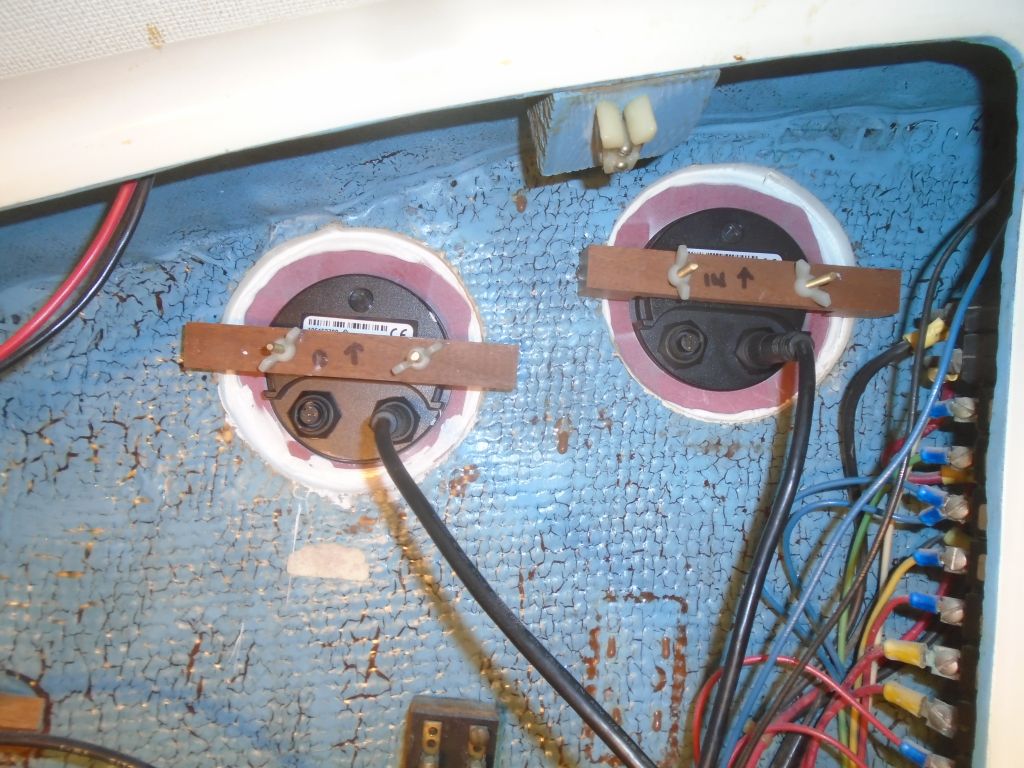
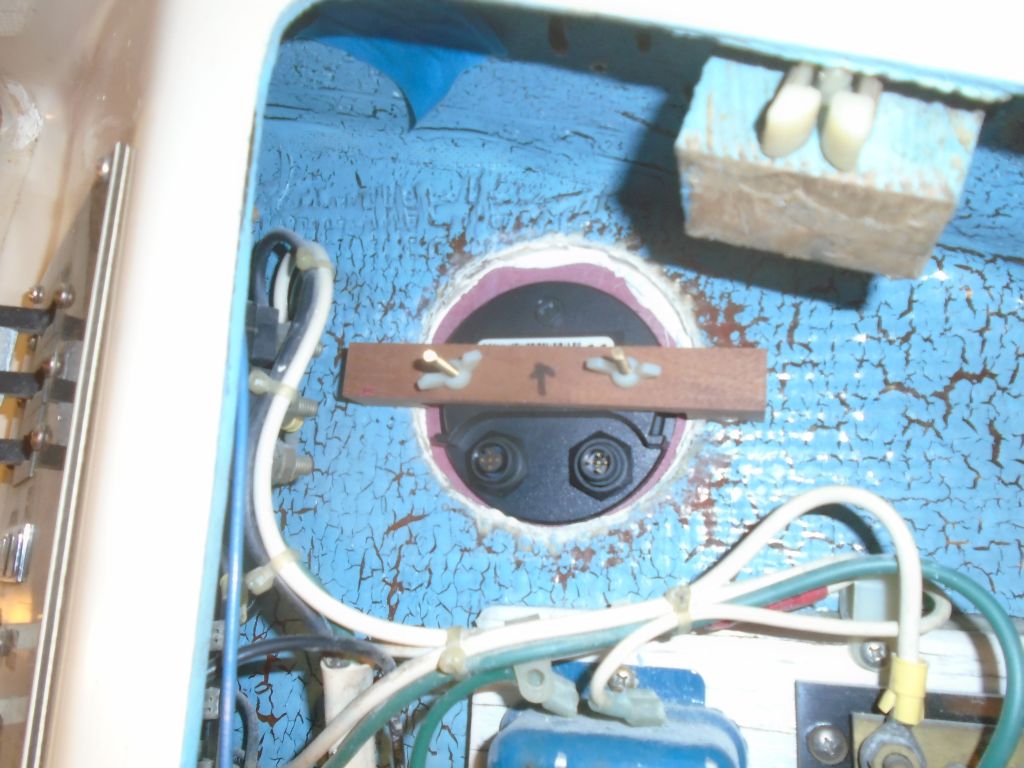
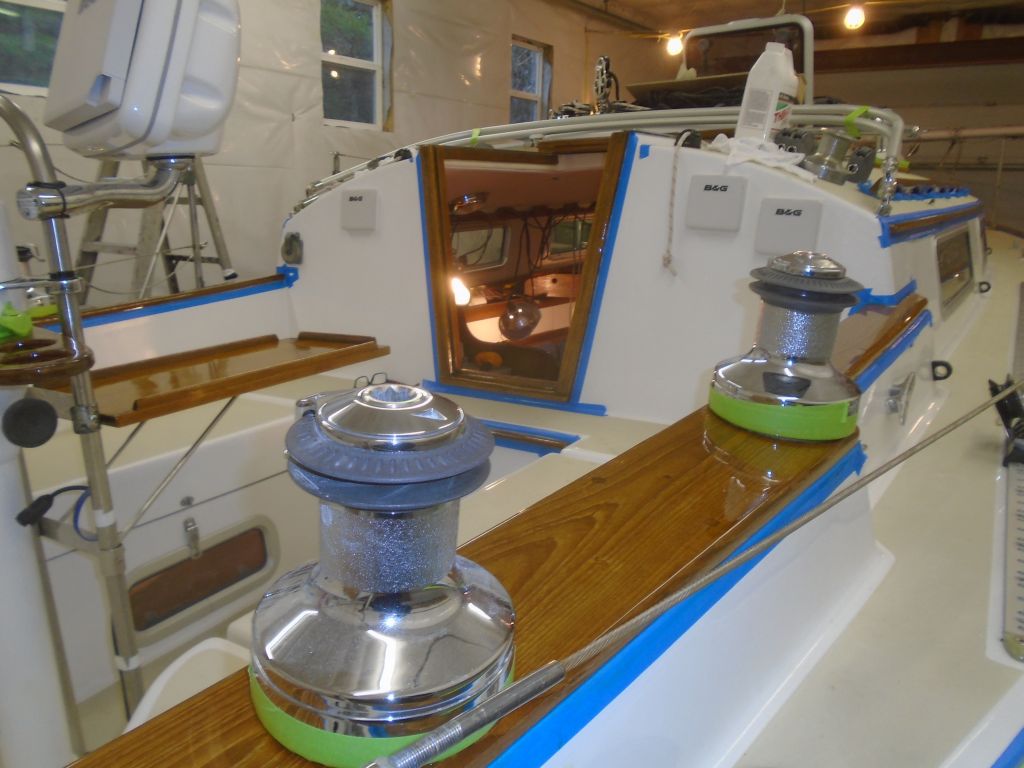
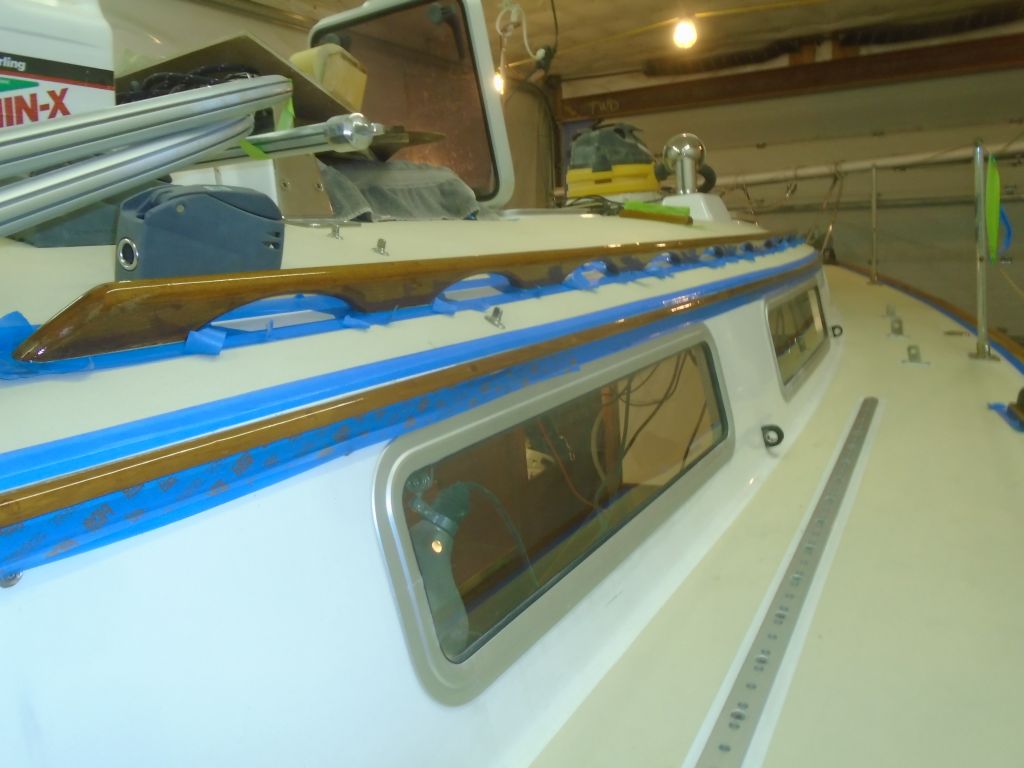
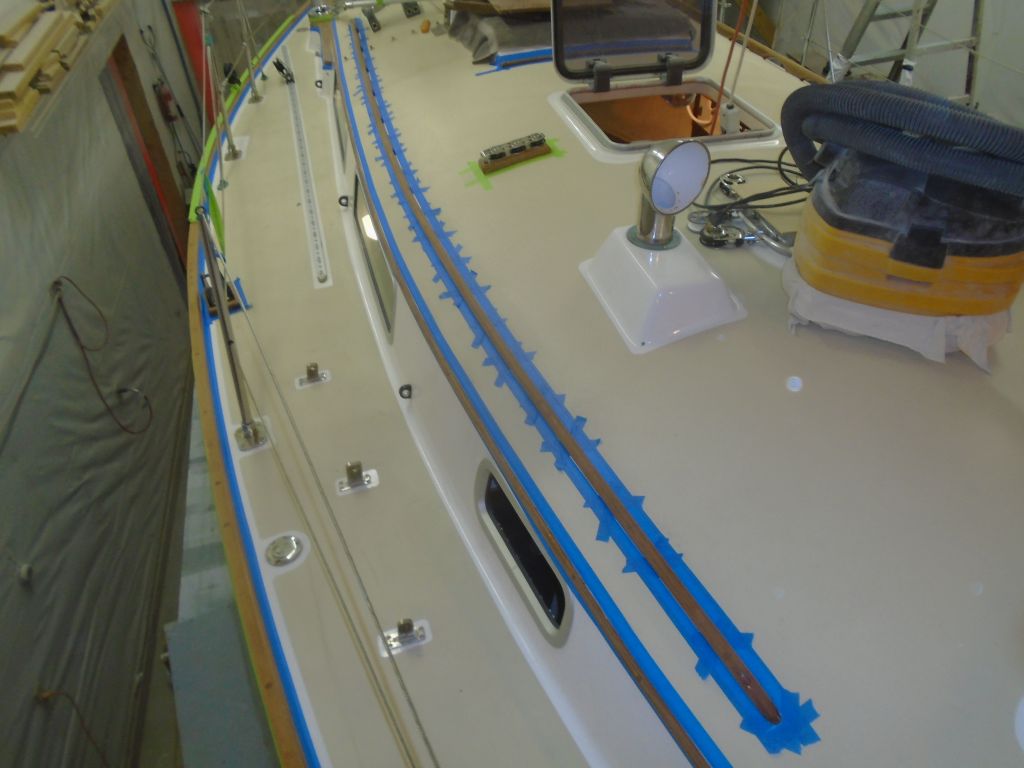
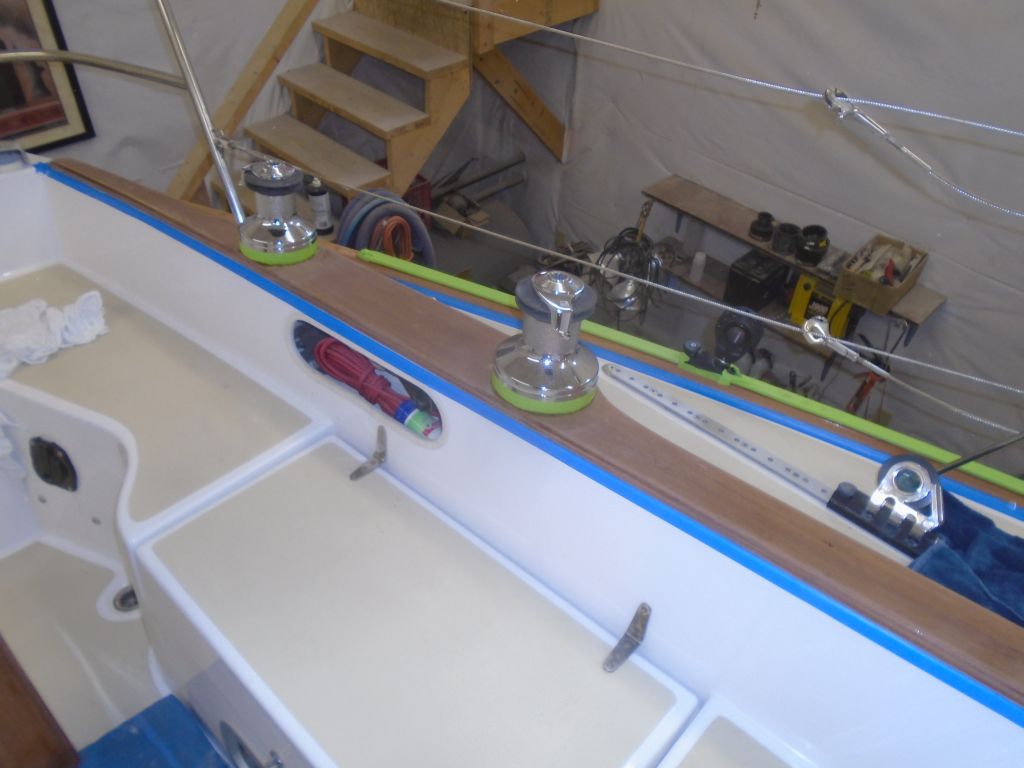
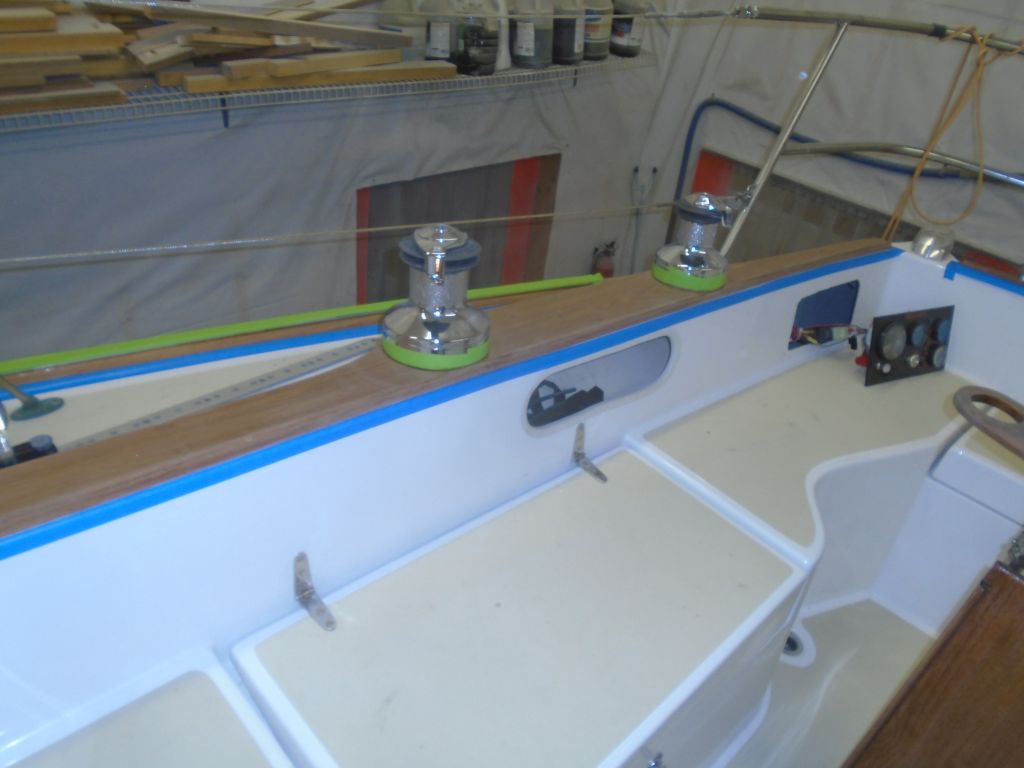
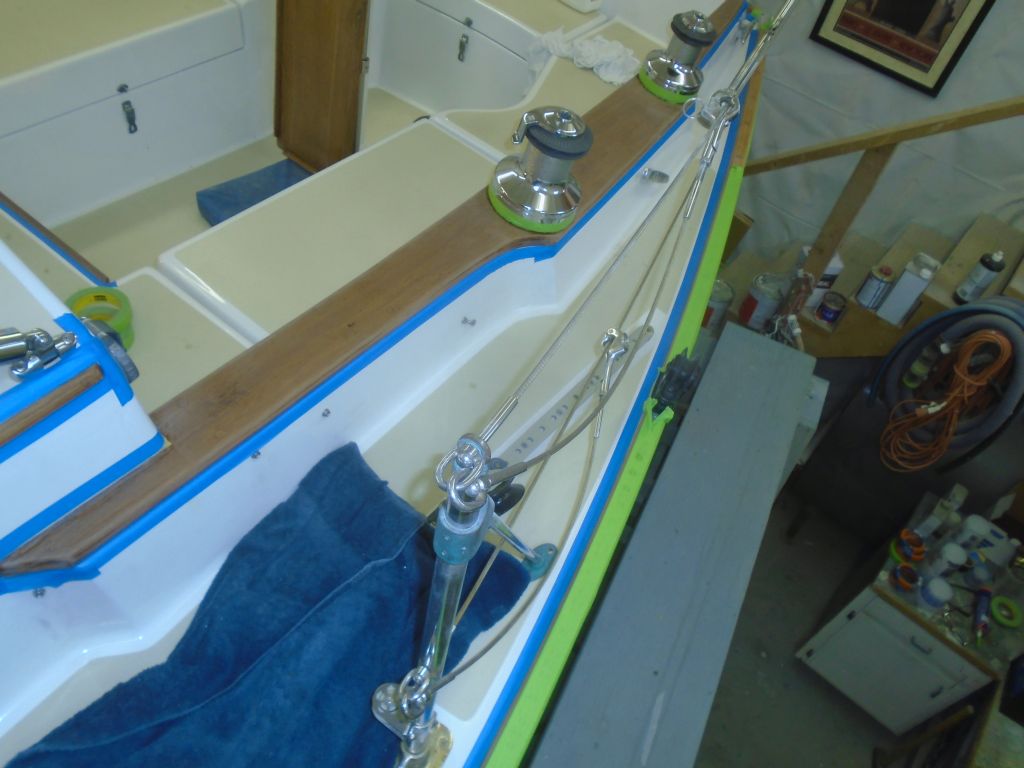
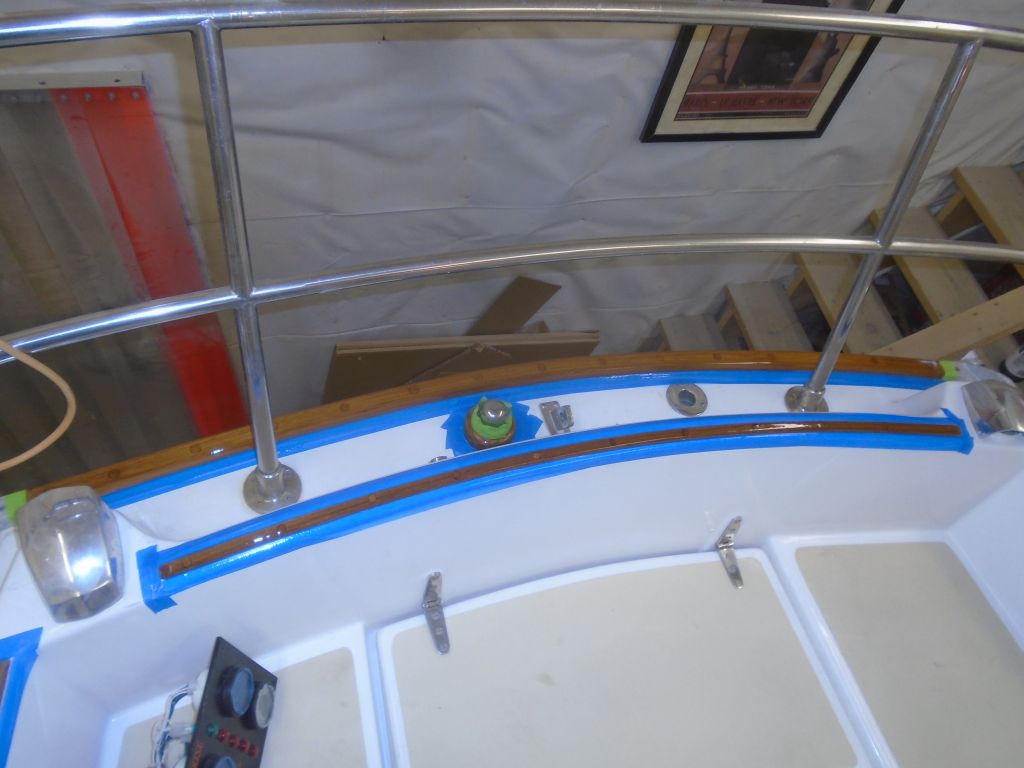
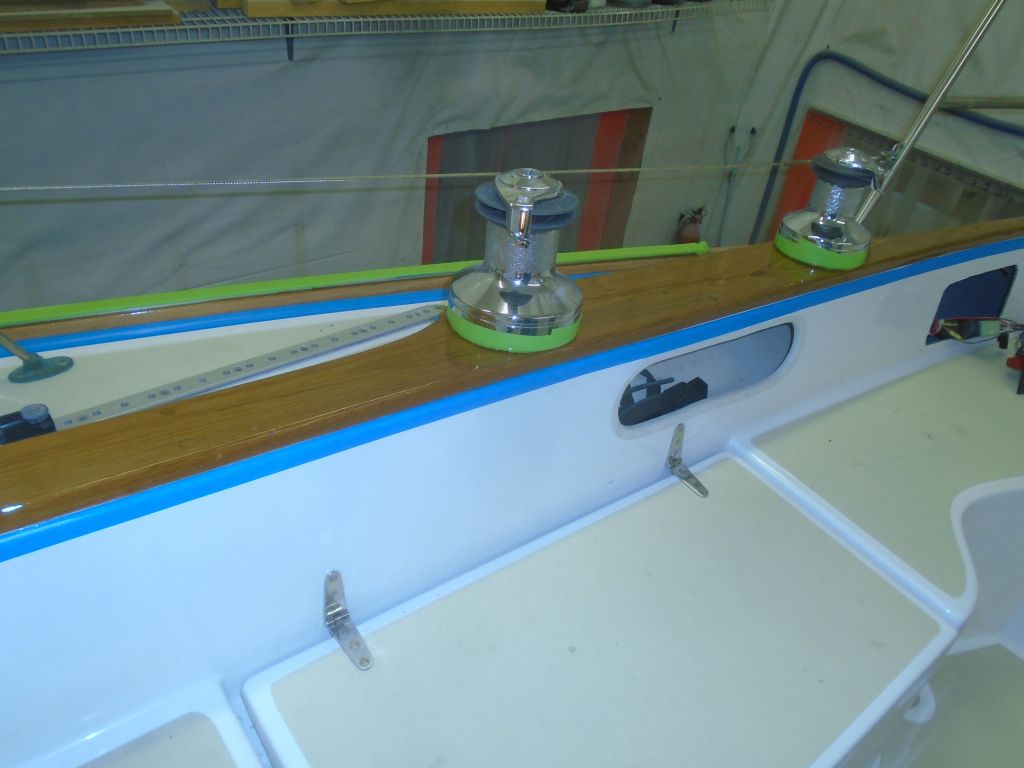
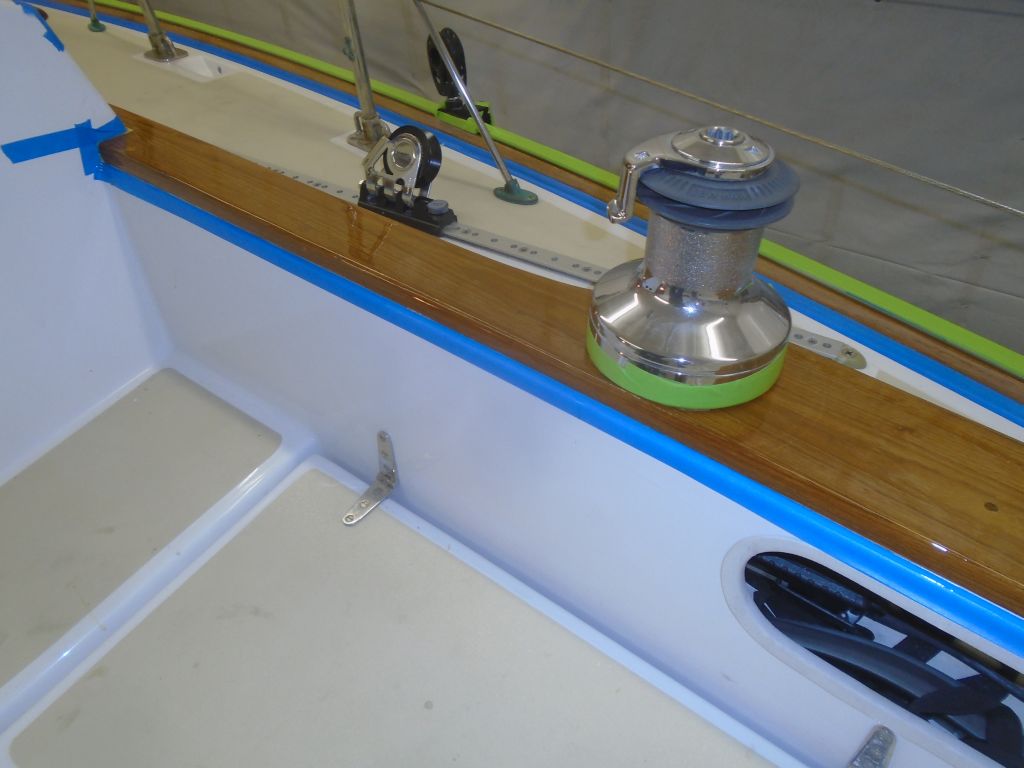
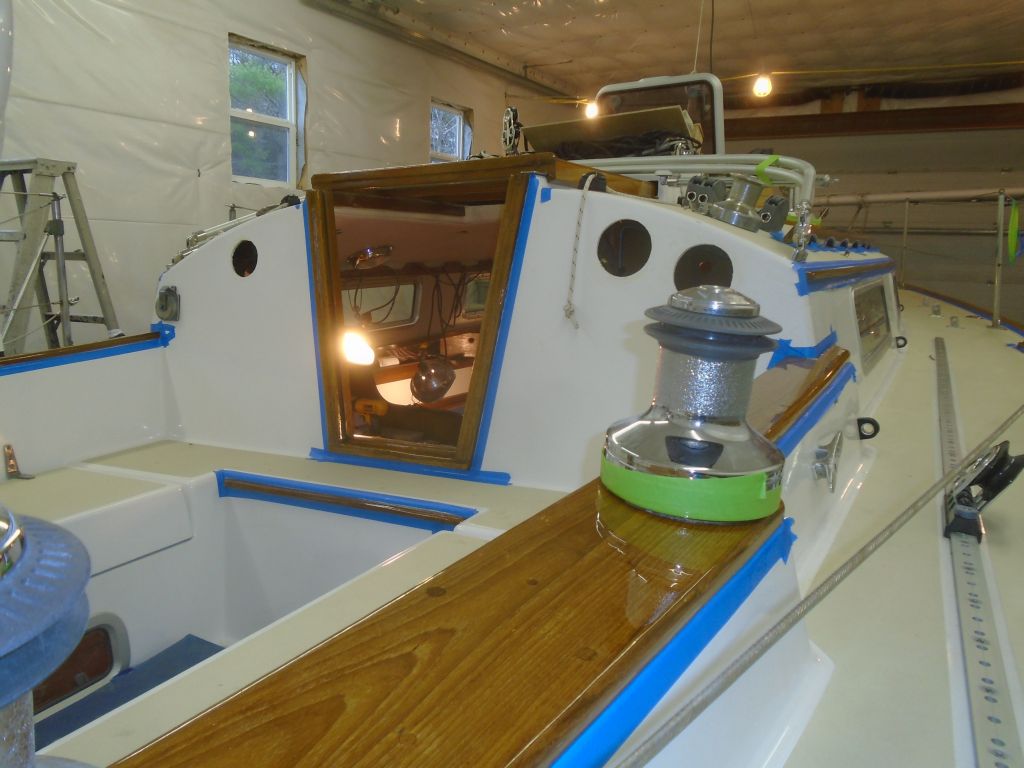
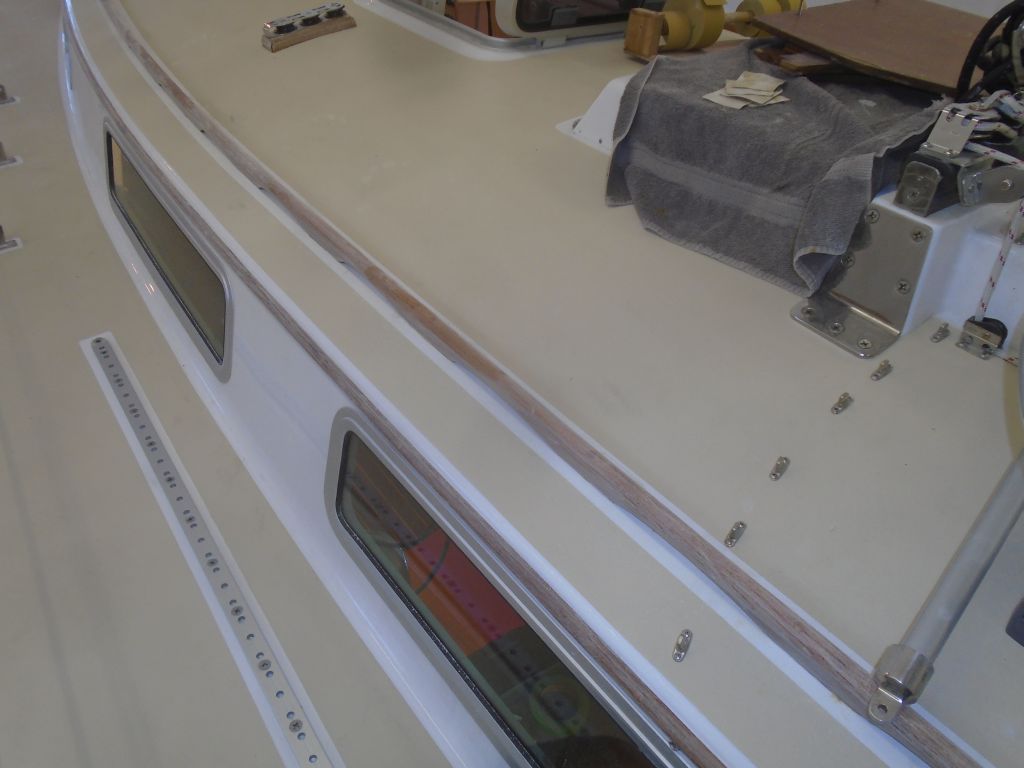
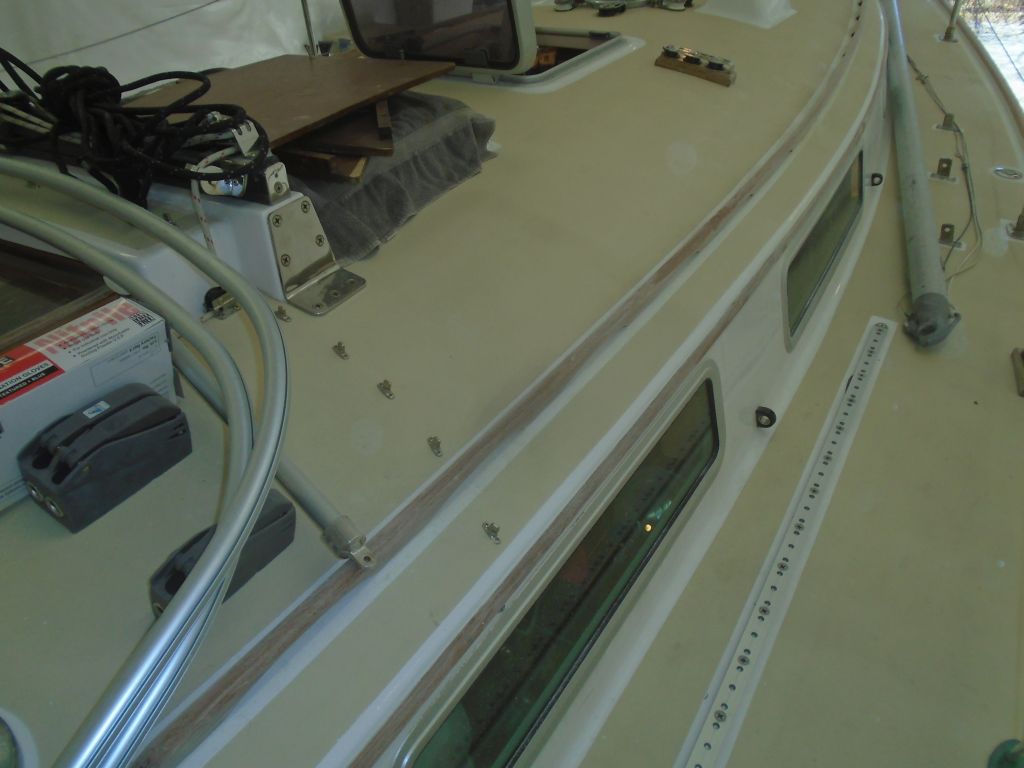
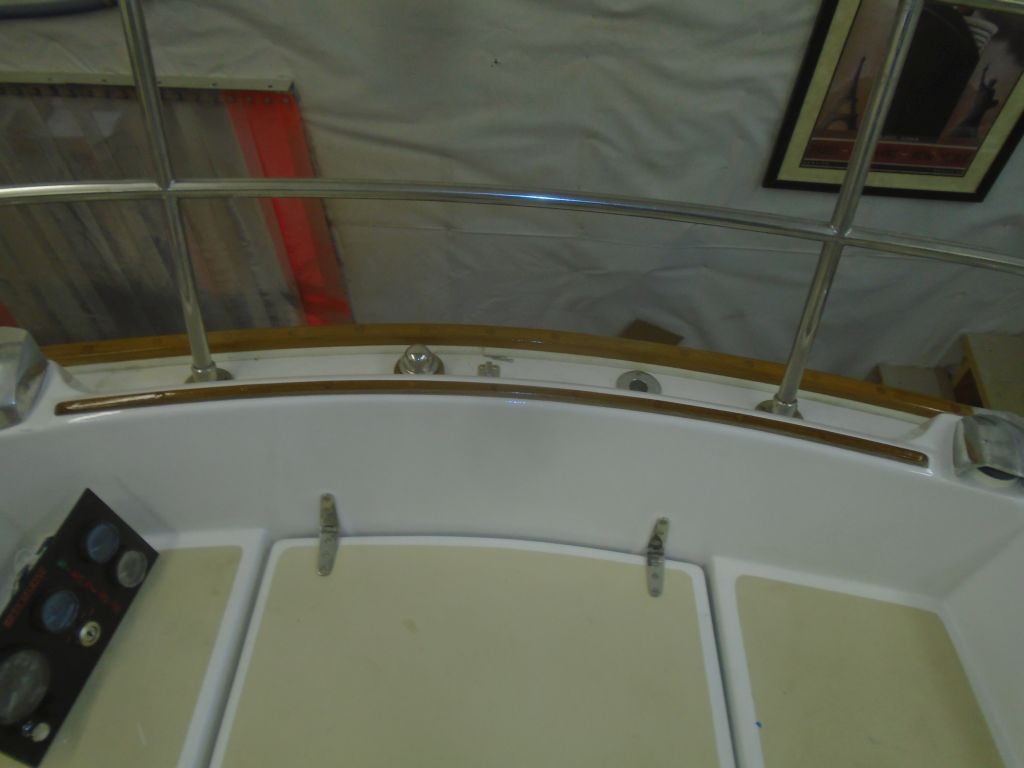
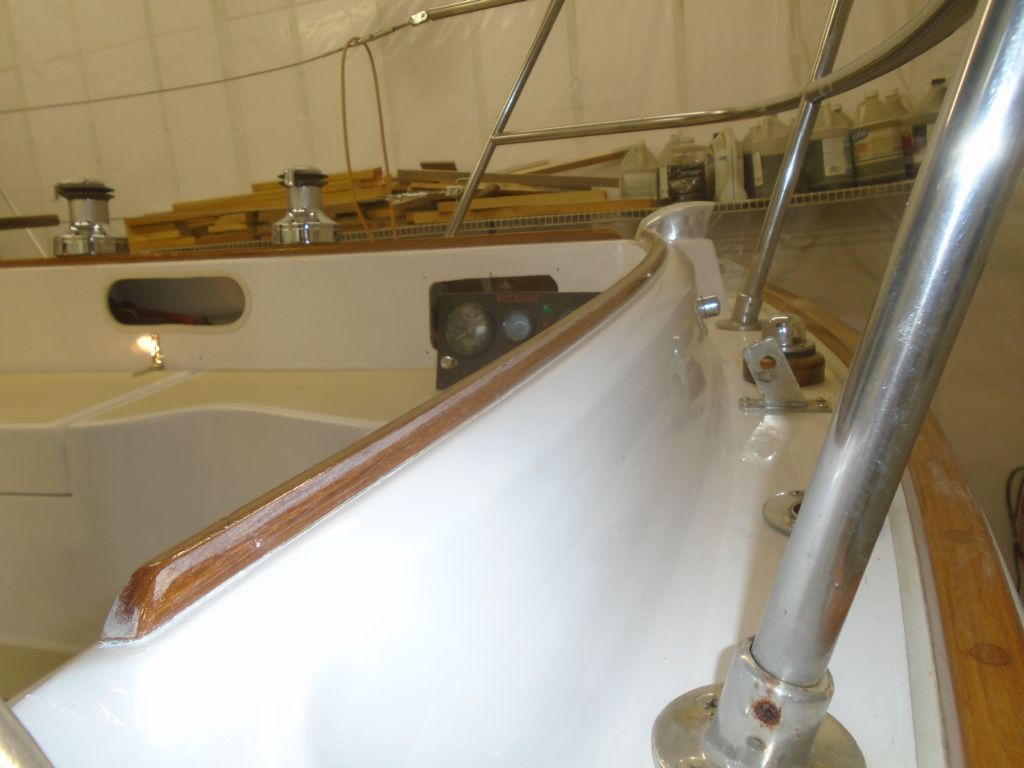
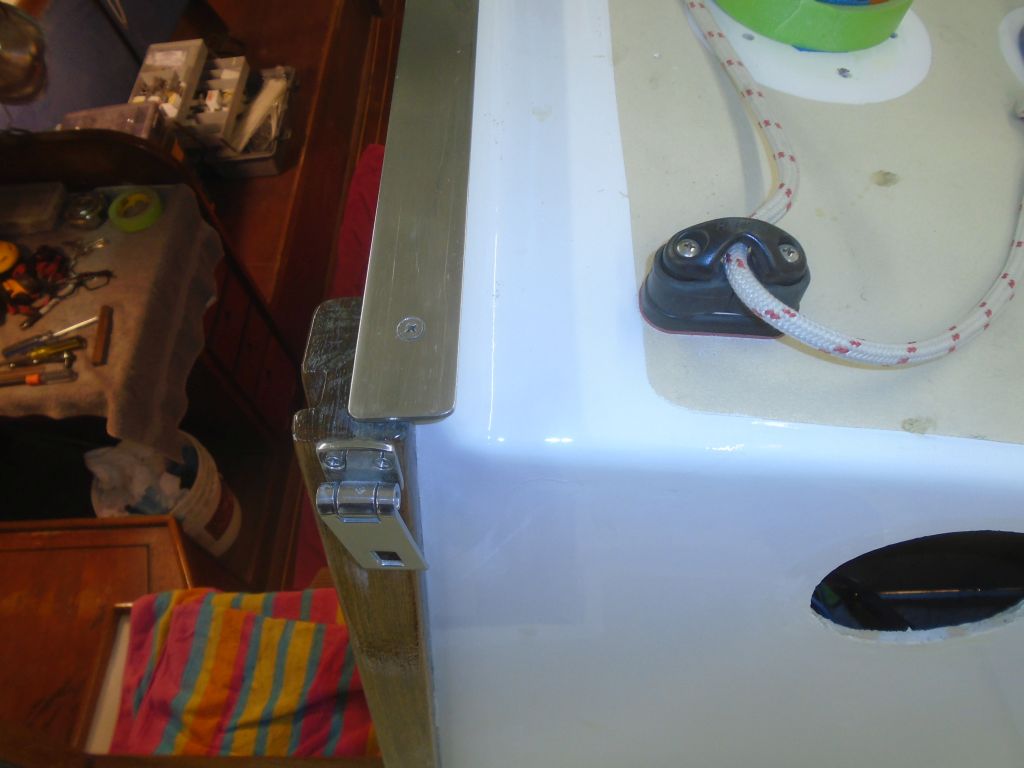
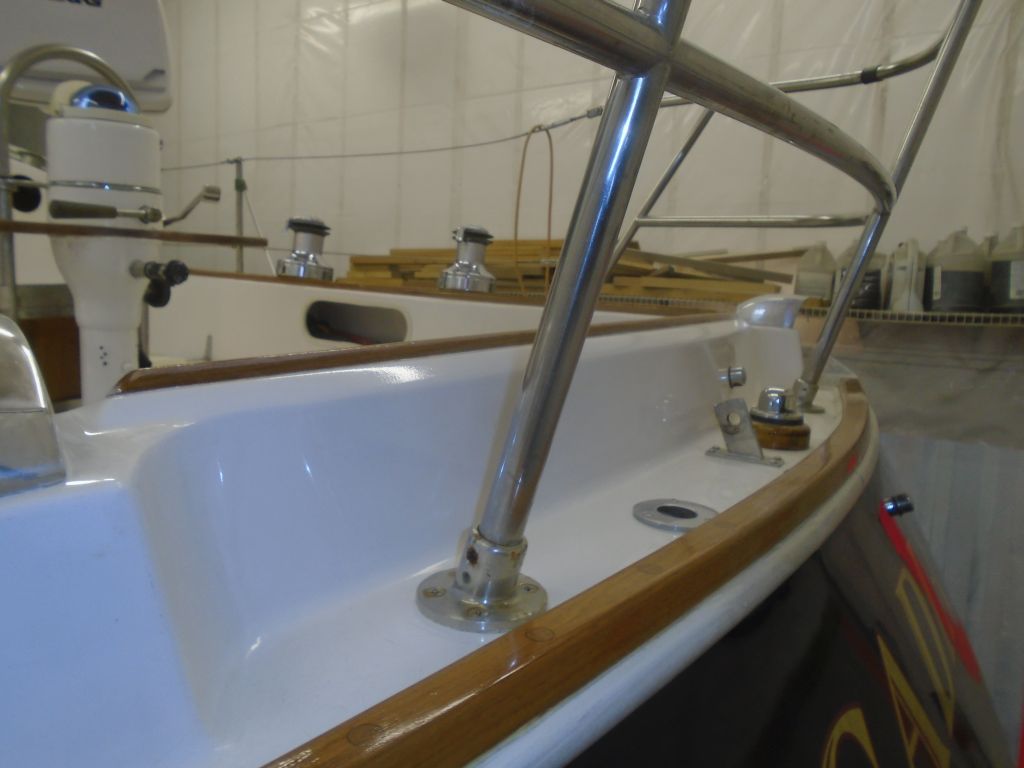
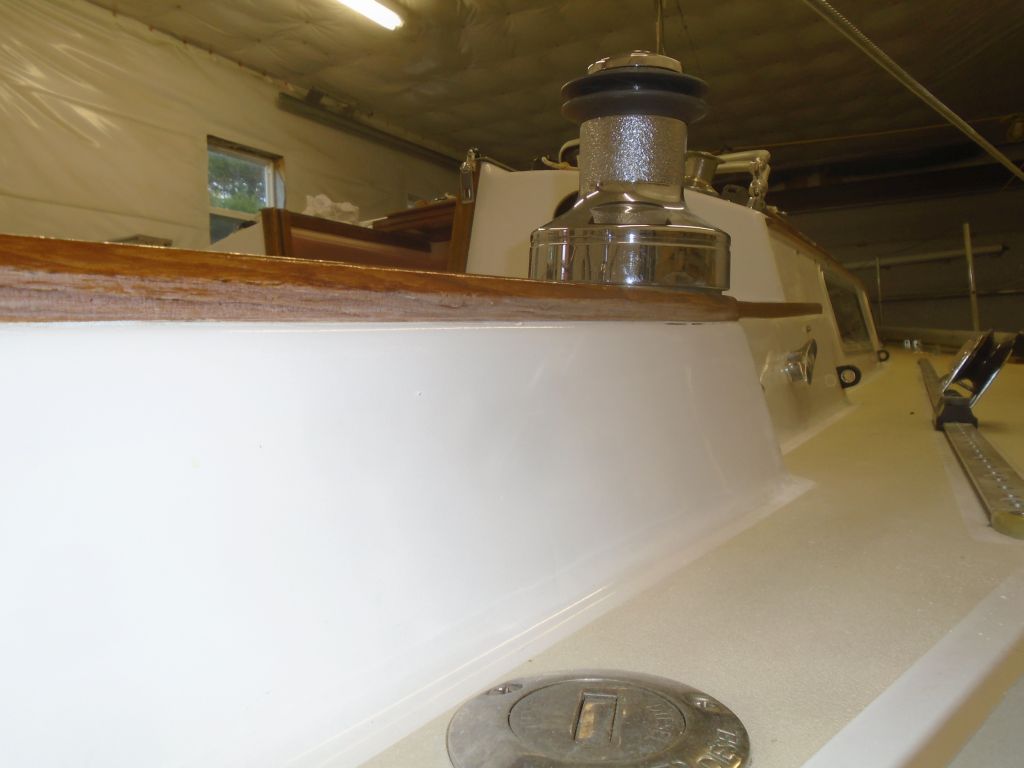
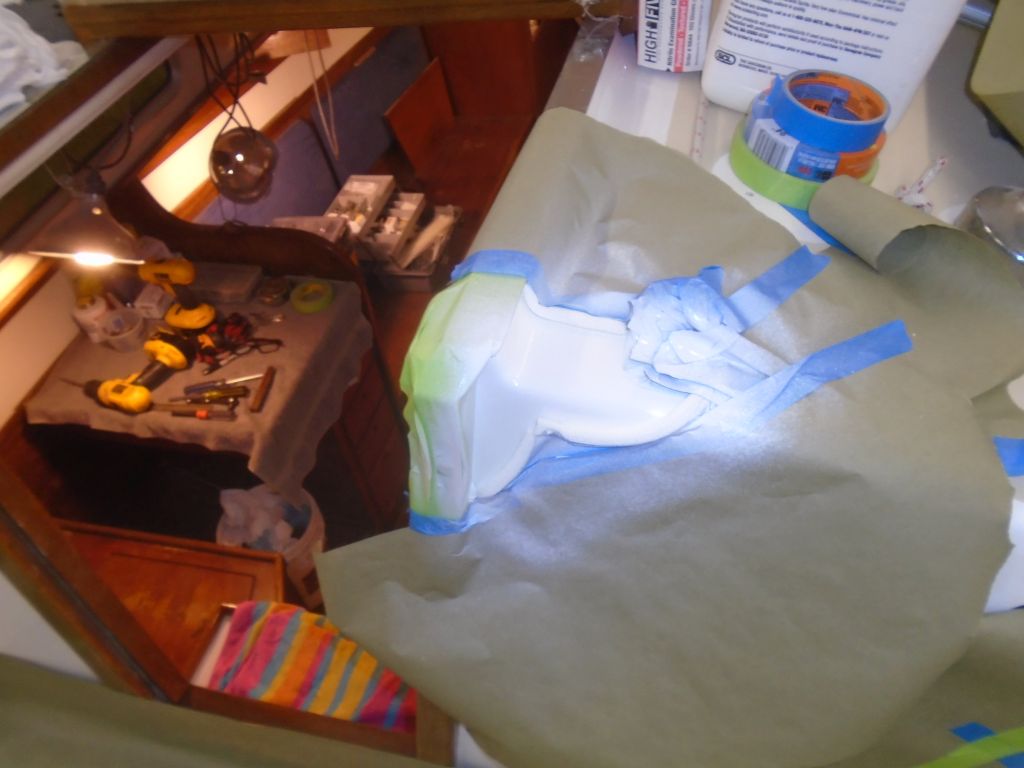
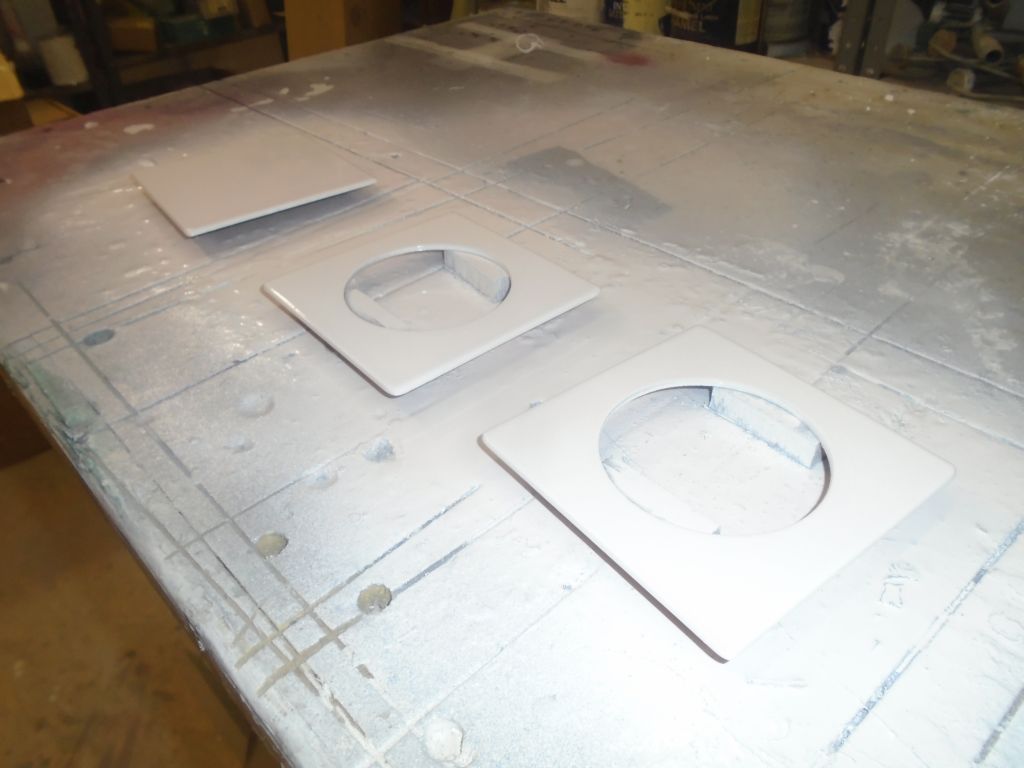
Now that the epoxy-filled bolt holes had cured overnight, I continued with the installation of the two new winches on the cabin top.  The original winches had been installed through round holes, strategically located at each bolt location, in the fiberglass cabin liner, but with a different bolt pattern and a desire to use larger washers, I preferred to open up a section of the liner completely in order to access the underside of the deck.  Plus, the bolt holes for the new winches were close to the outline of the teak cover panels that I’d removed from these areas, so opening larger square holes in the liner would allow the bolts to remain hidden.  I marked the liner inside of the outline of the cover panel, and cut out the area within to gain better access.  At the edges of each opening nearest the companionway, there was some filler/adhesive material between the liner and the deck, probably the material used to secure the liner during construction, and I had to chip some of this away to allow room for the new bolts and washers.  The tape in the first photos is left over from filling the old bolt holes the day before.

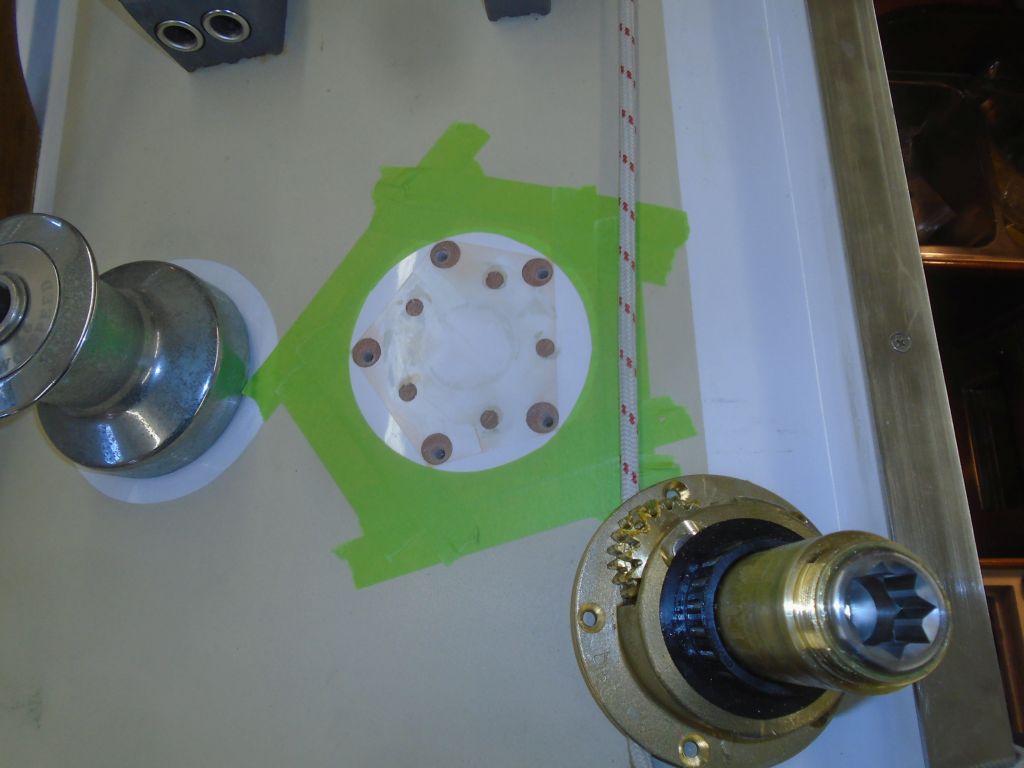
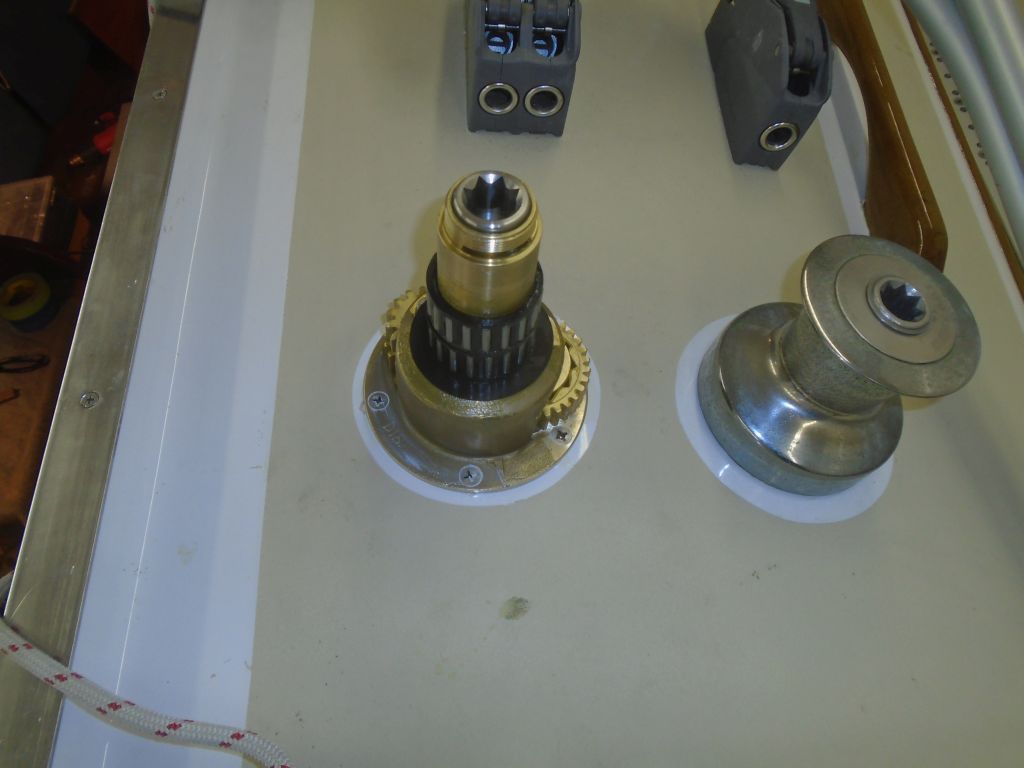
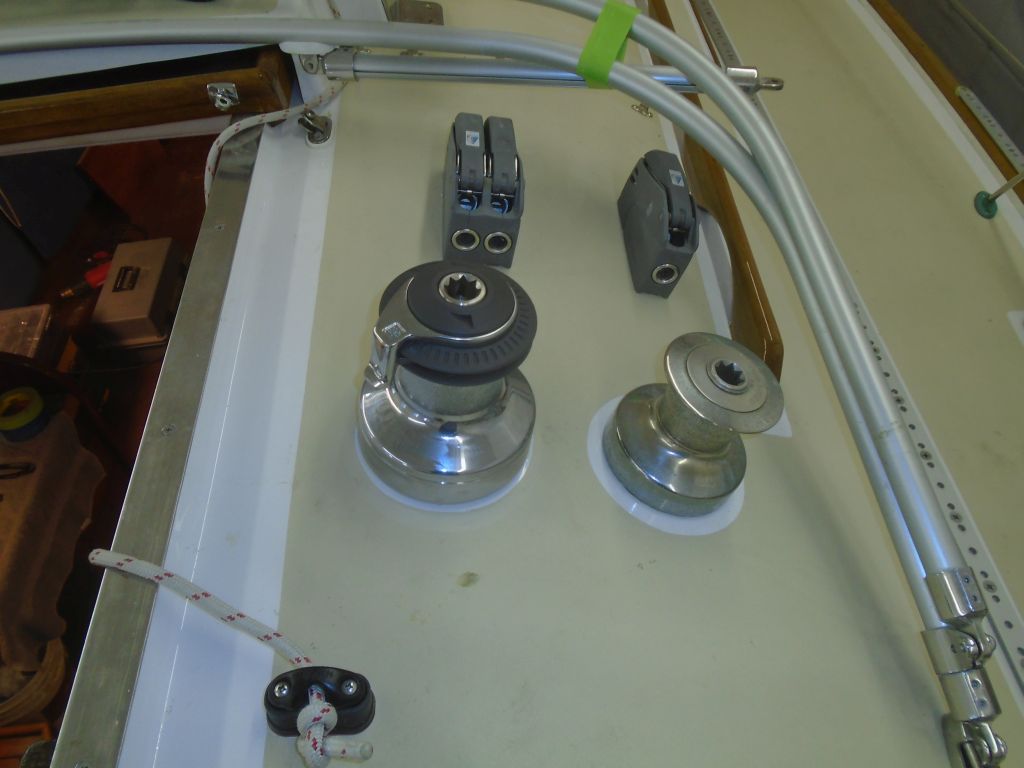
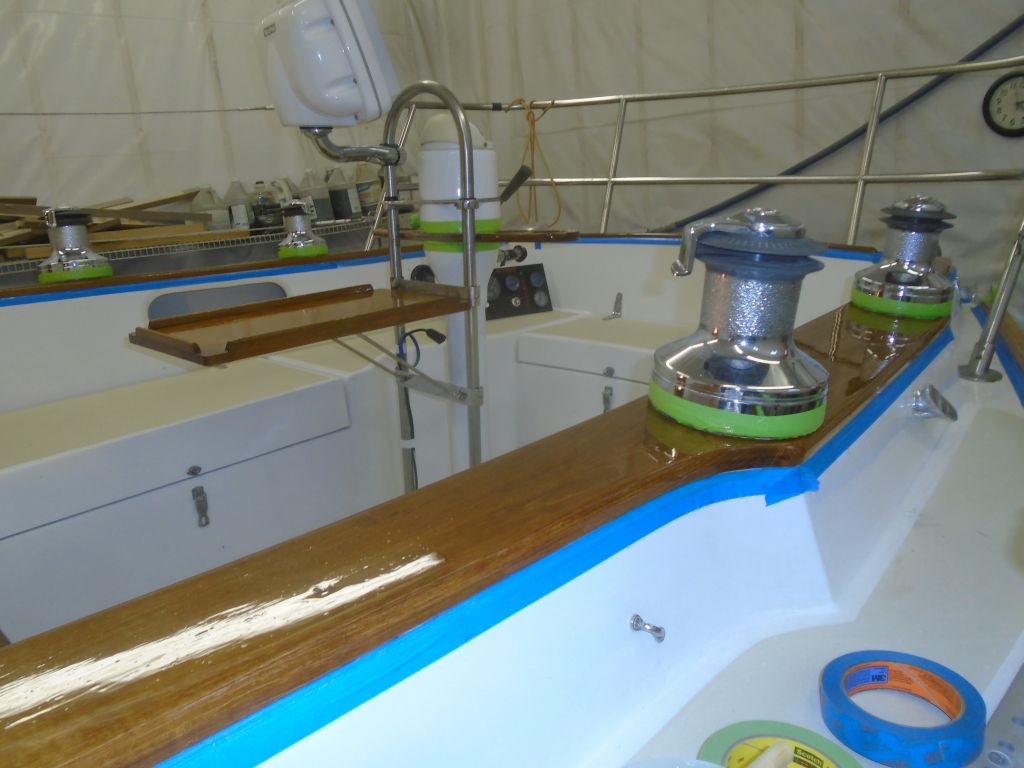
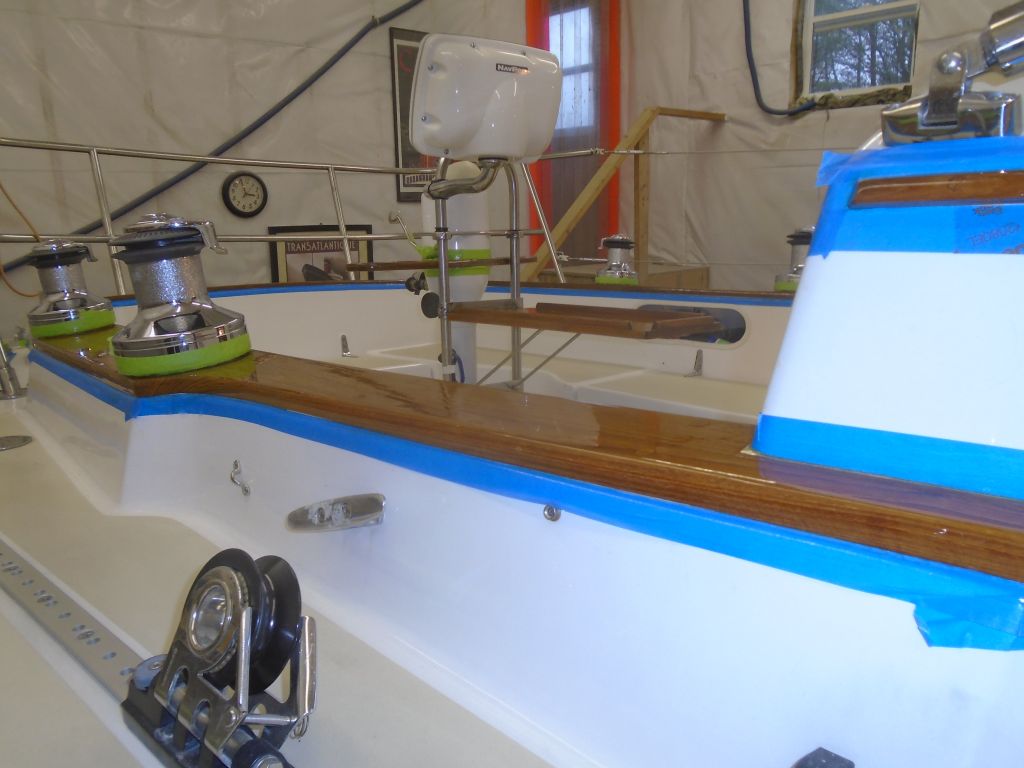
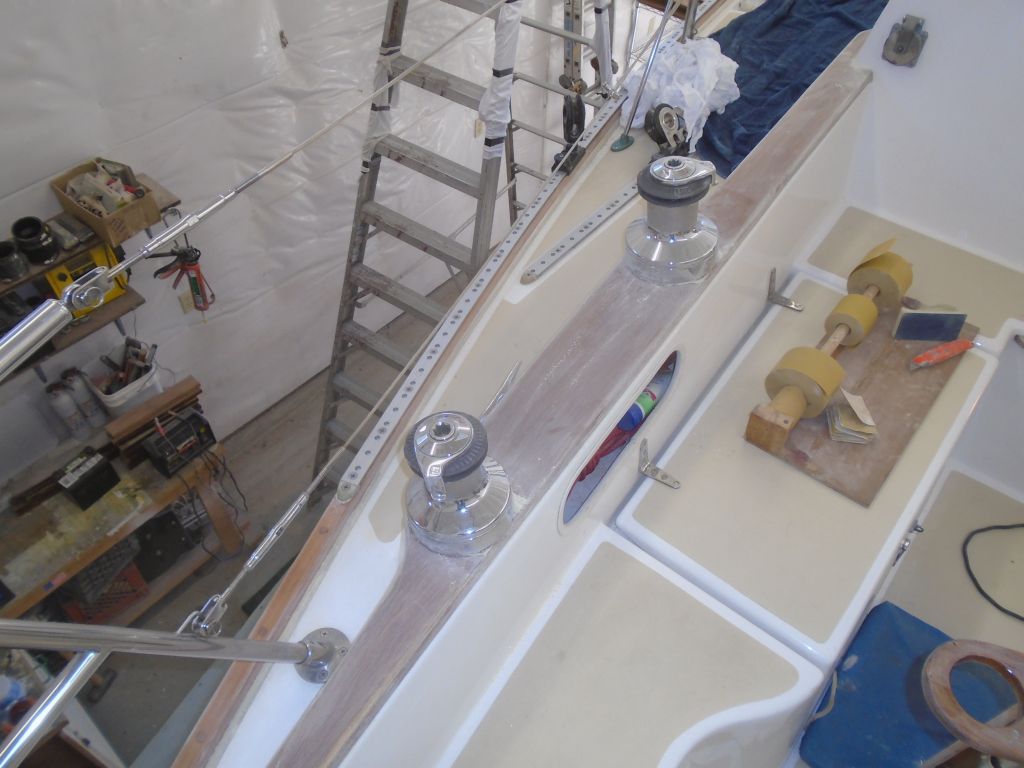
After masking around the winch bases and marking the holes, I drilled and tapped for 1/4″ machine screws, and installed the winches in a bed of sealant in the usual way, securing from beneath with fender washers and nuts.  Reassembling the winch drums, I temporarily installed the plastic screw caps on top.

winches12-111816

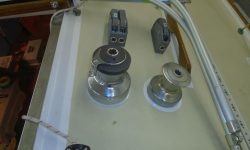
Later, in an impressively quick turnaround, the replacement (proper) stainless steel winch caps arrived from Lewmar just a day after my request, and I completed the installation by installing them.

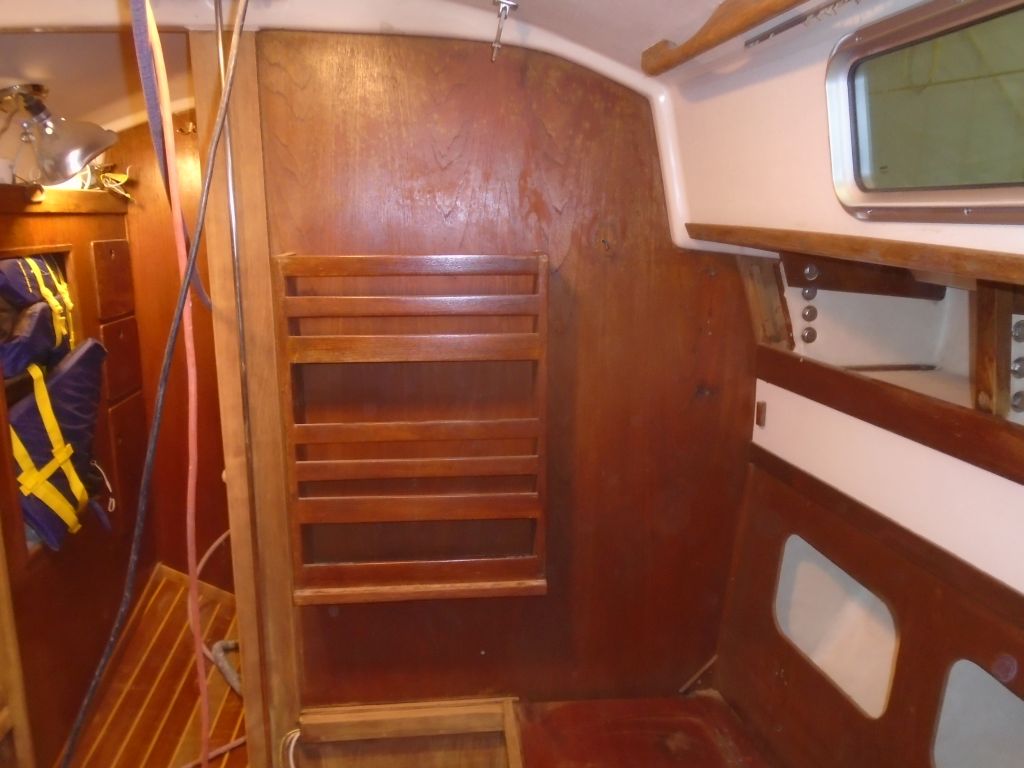
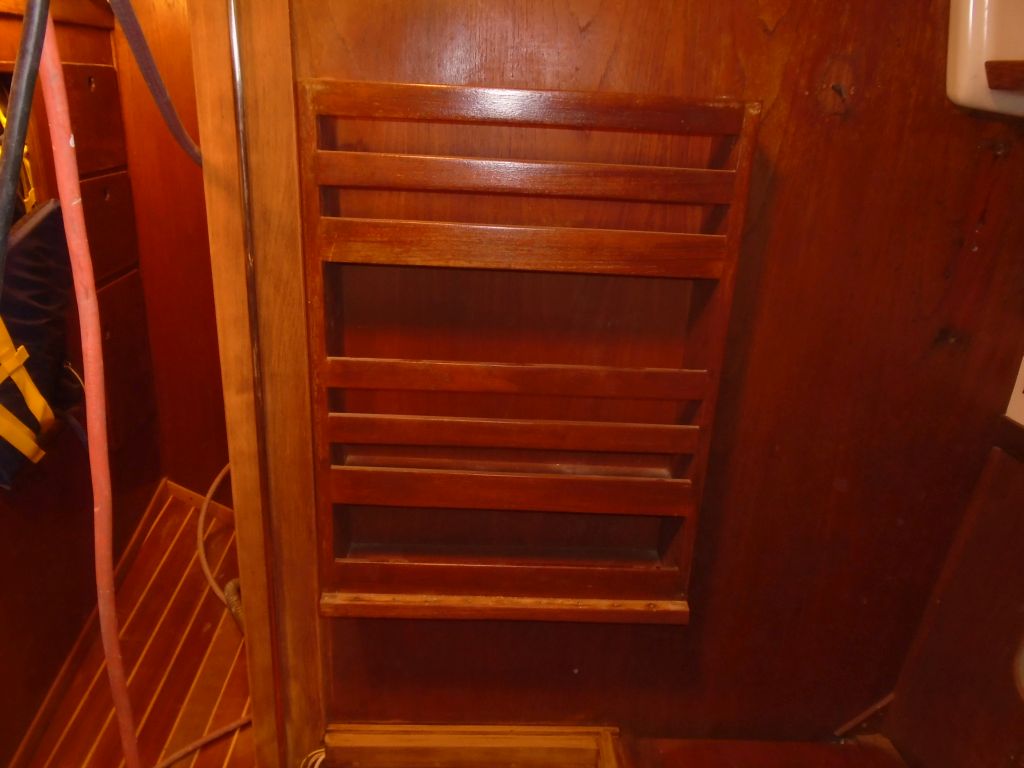
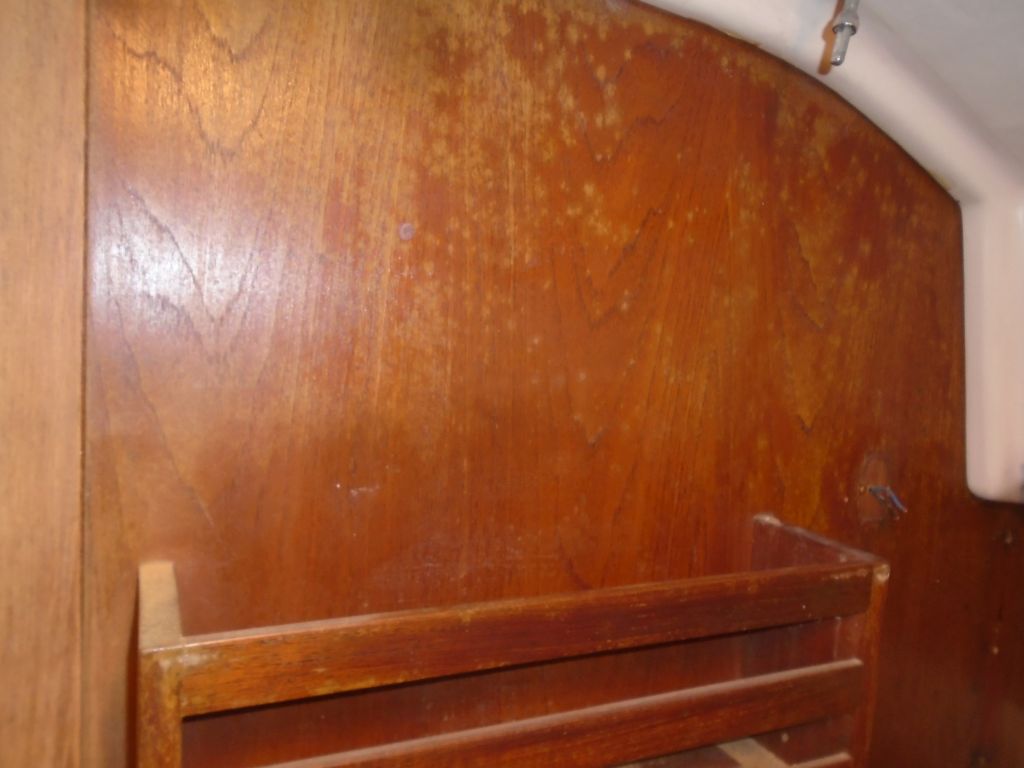
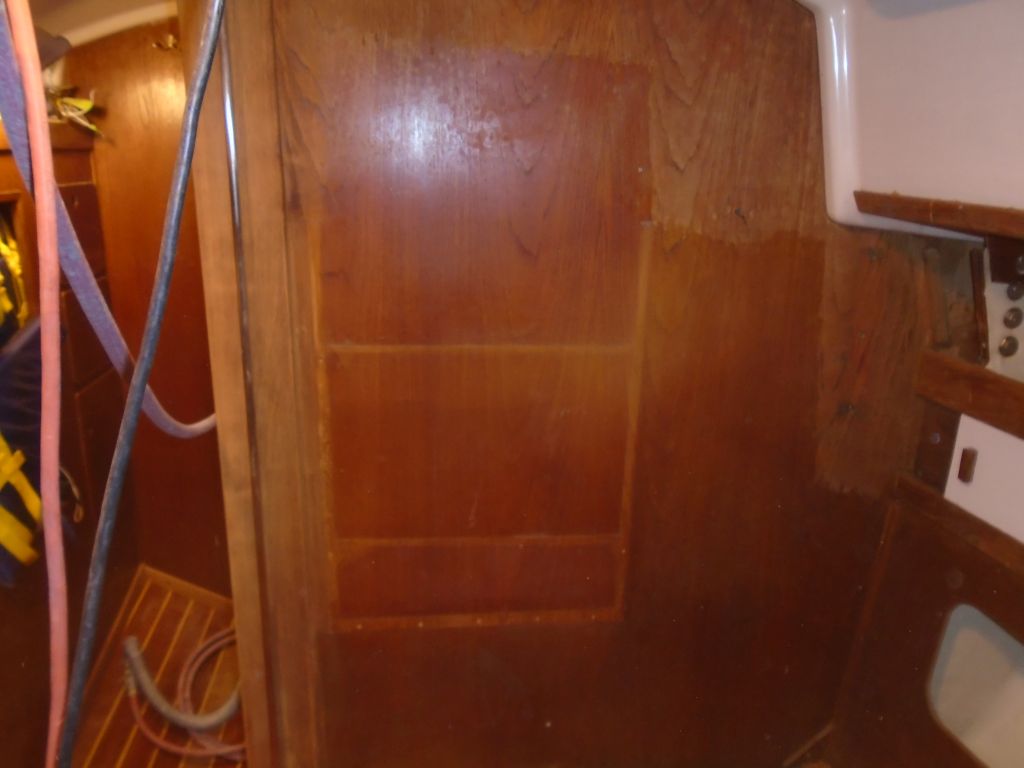
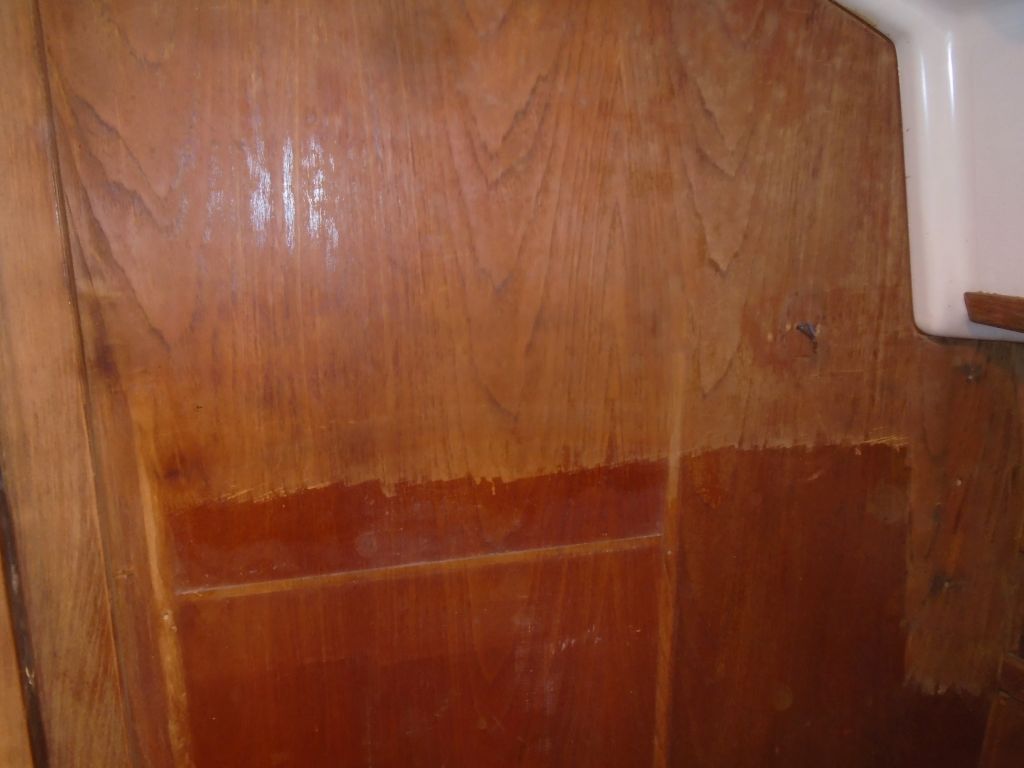
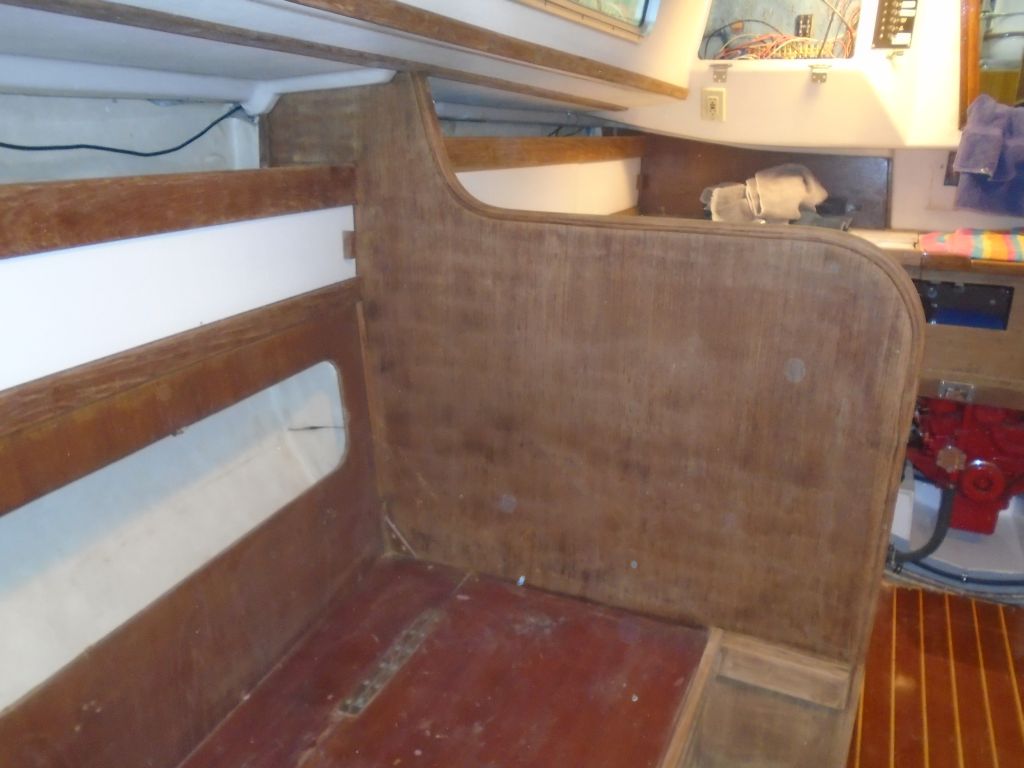
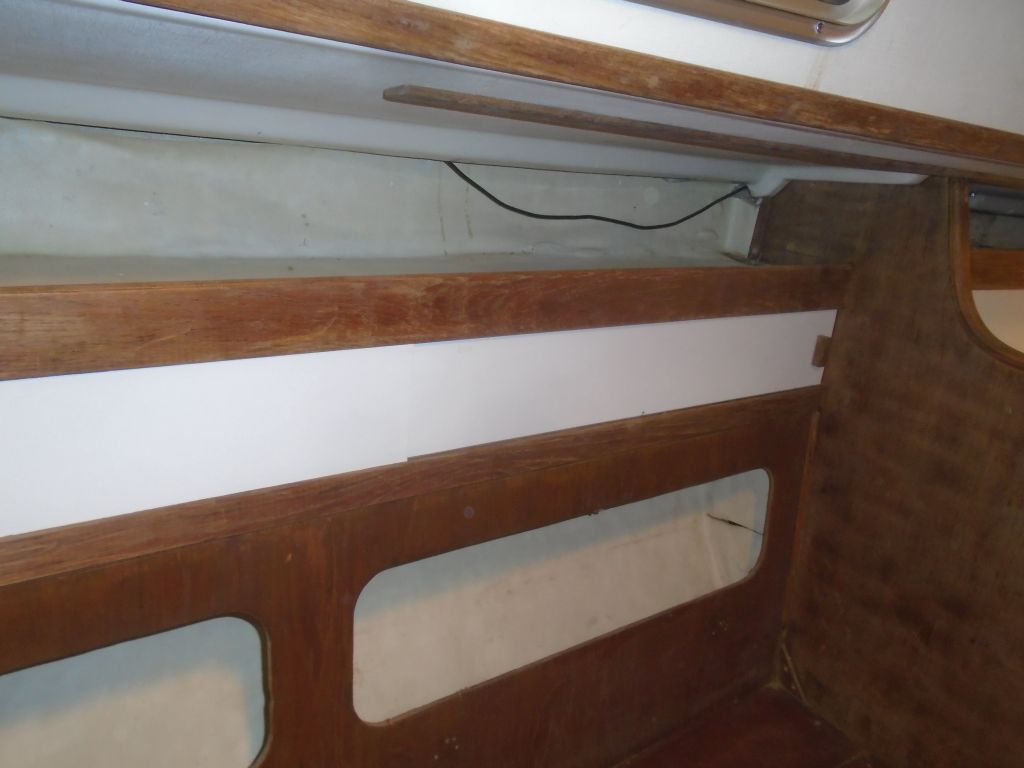
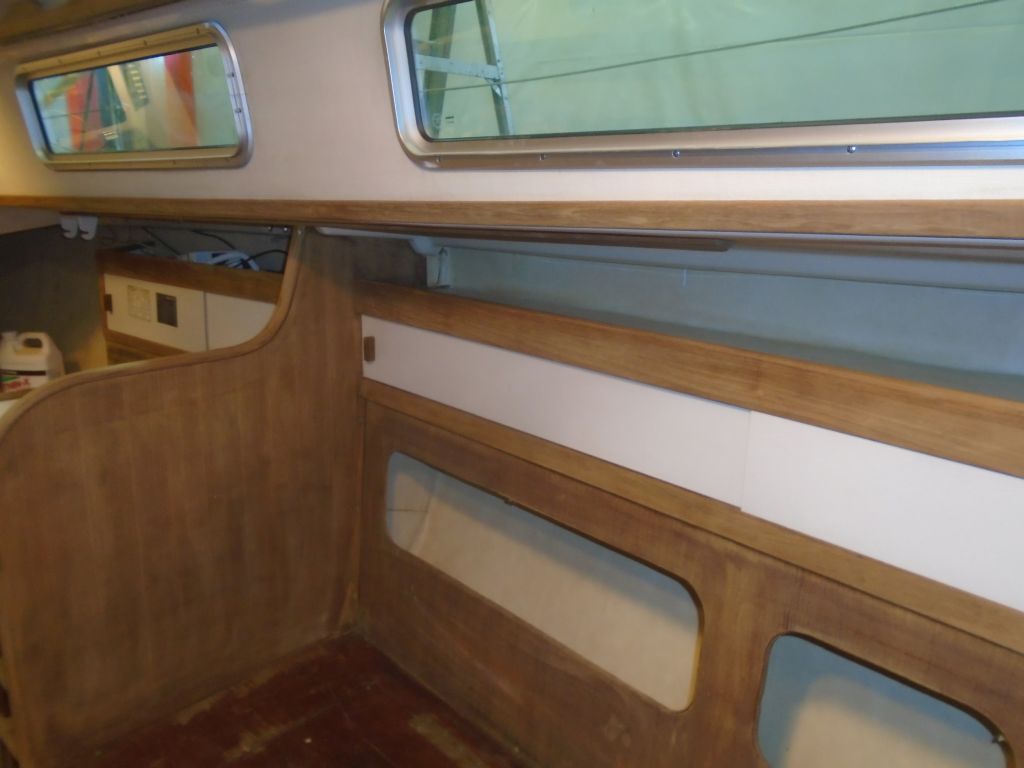
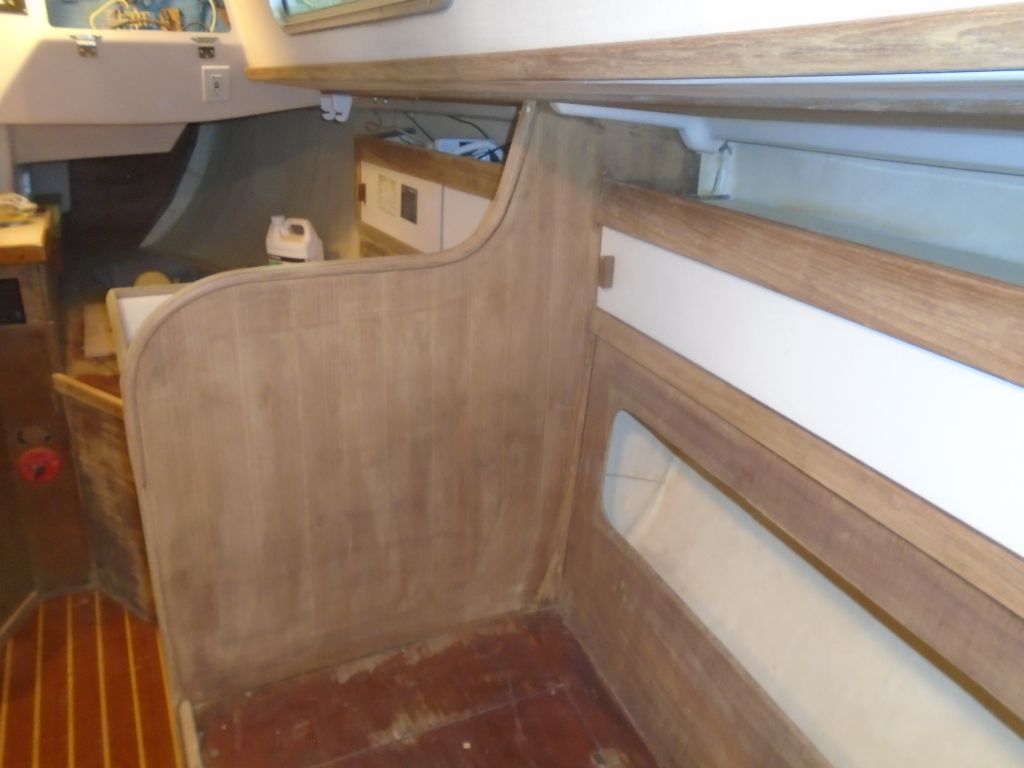
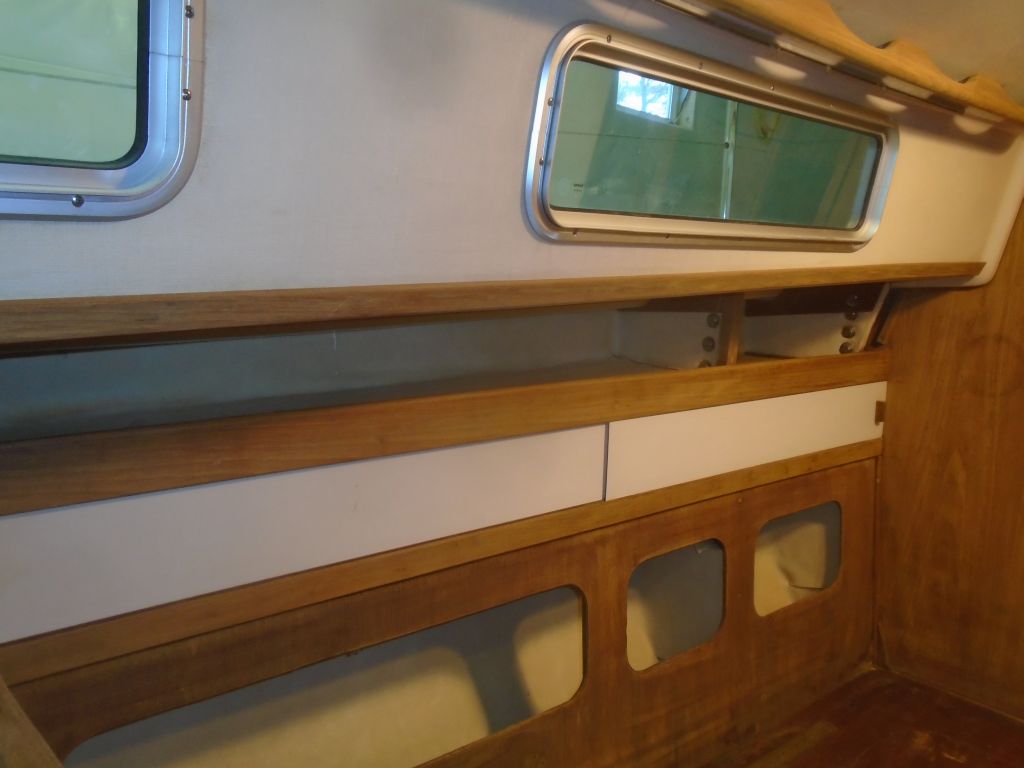
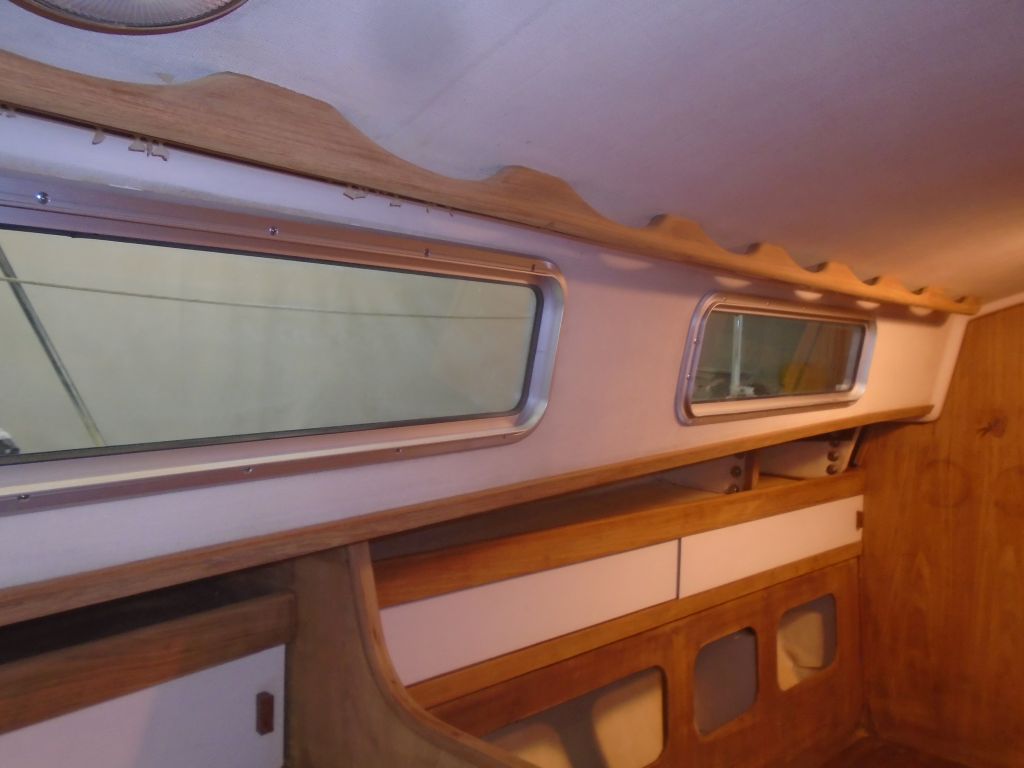
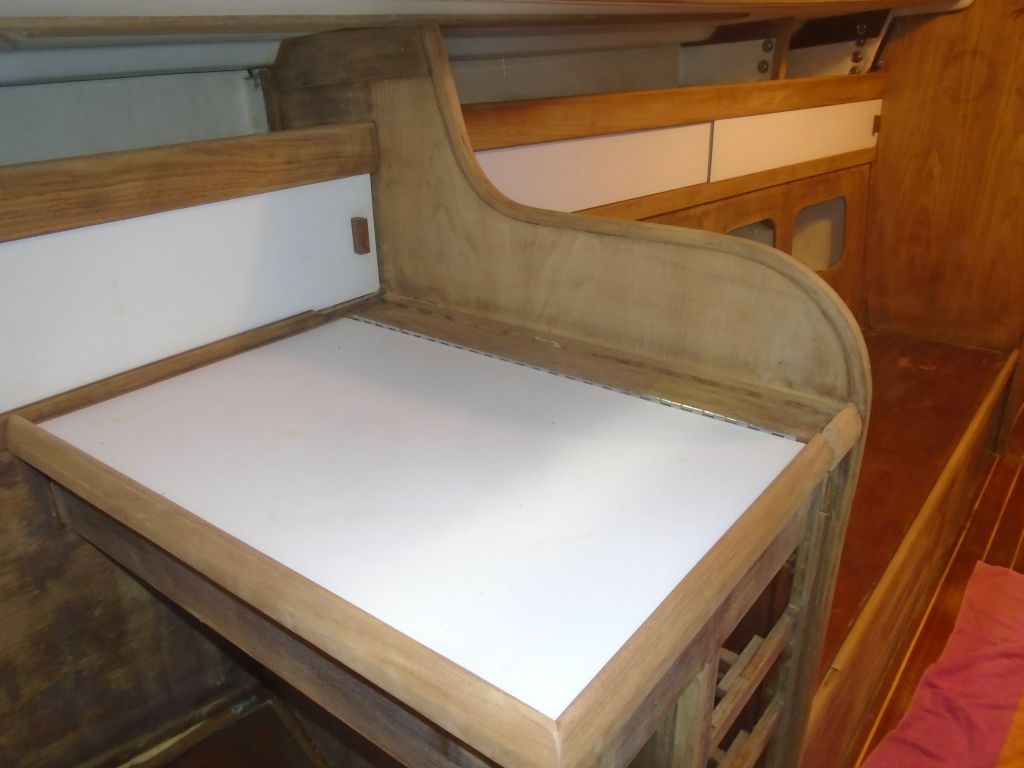
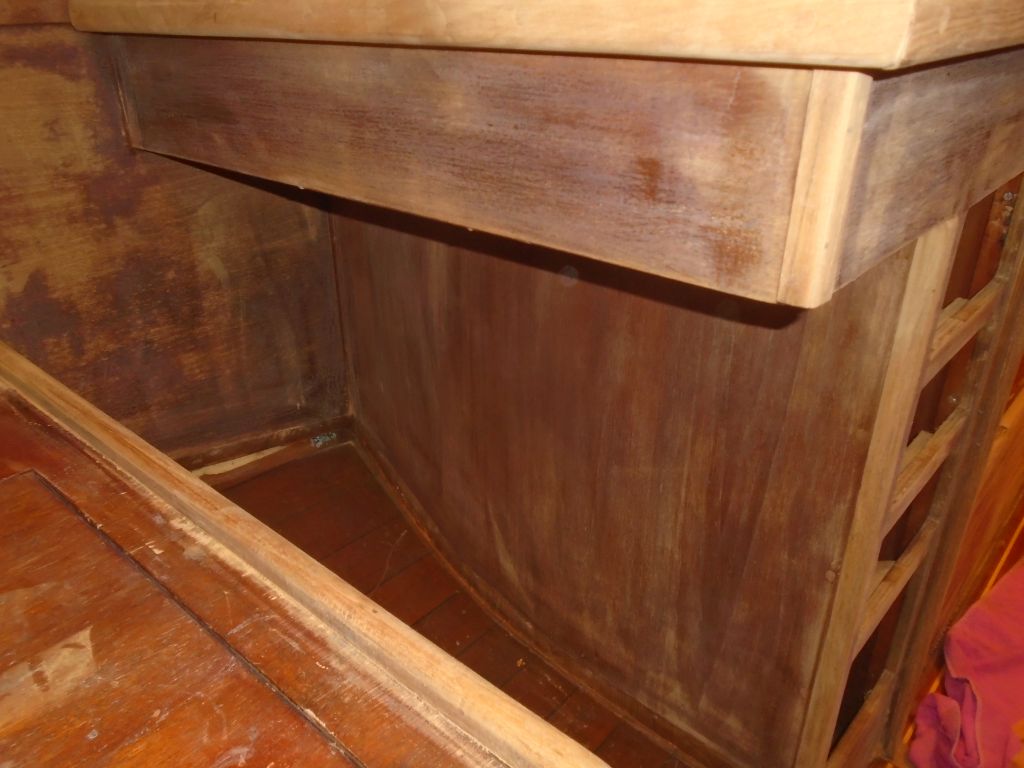
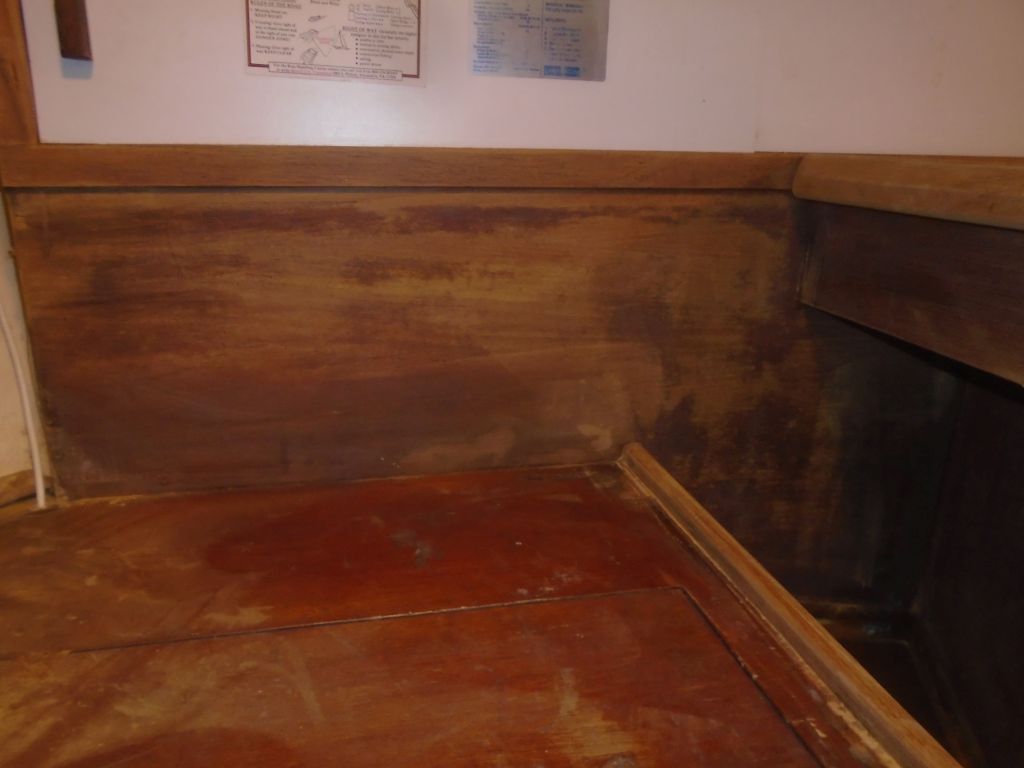
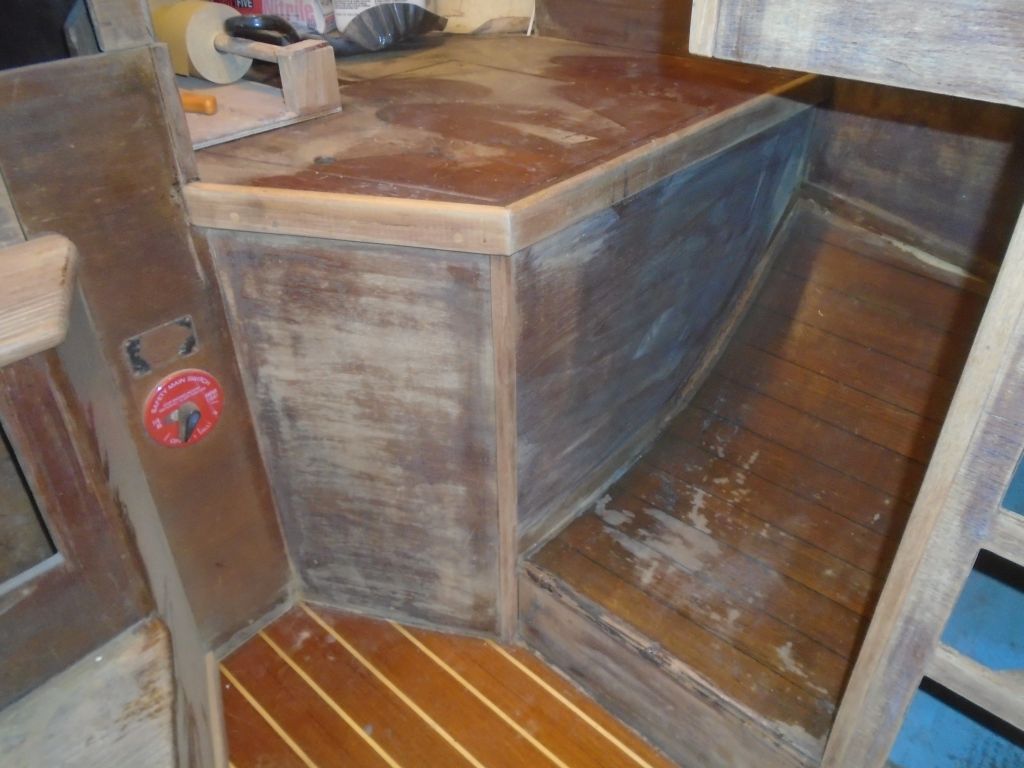
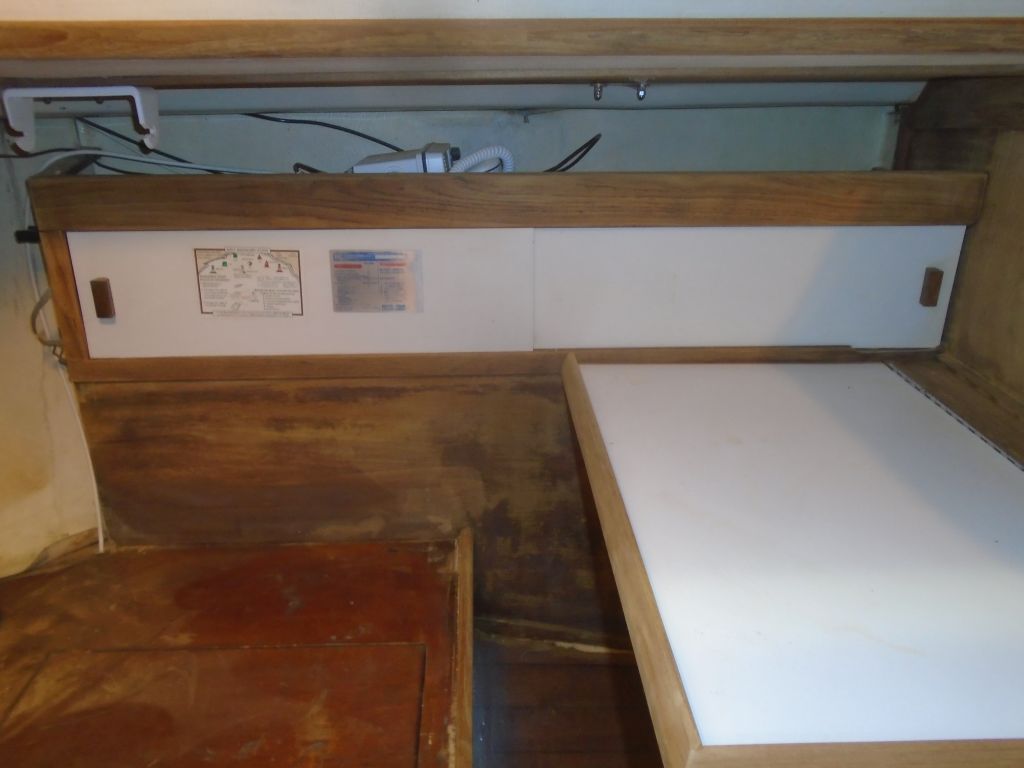
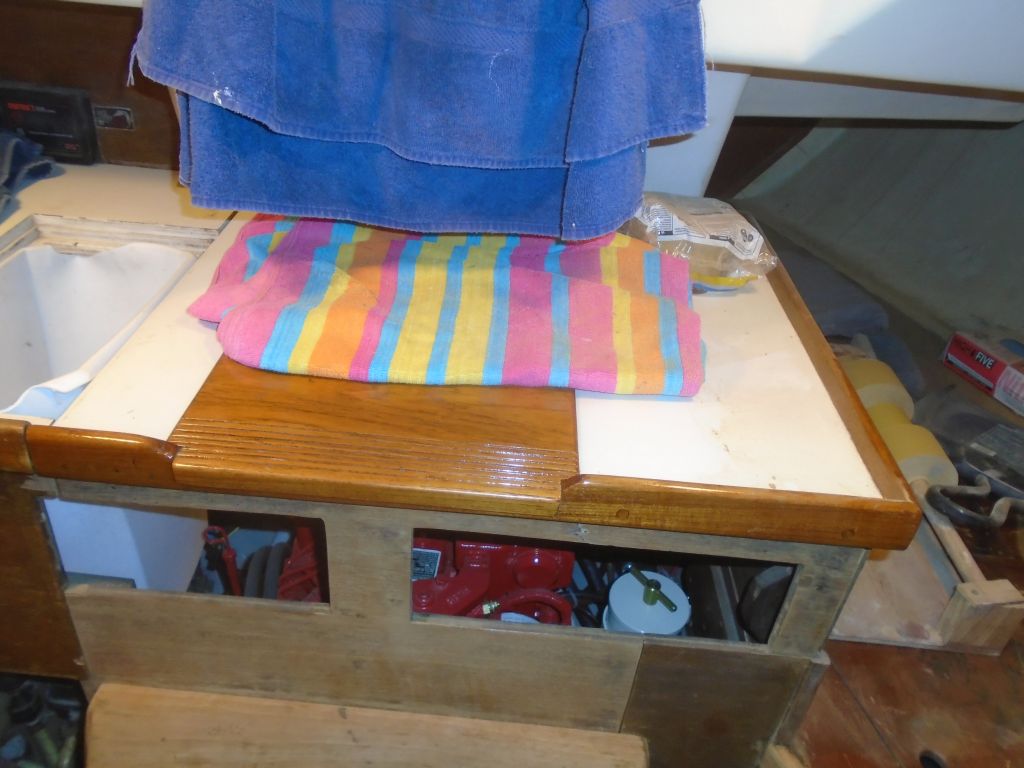
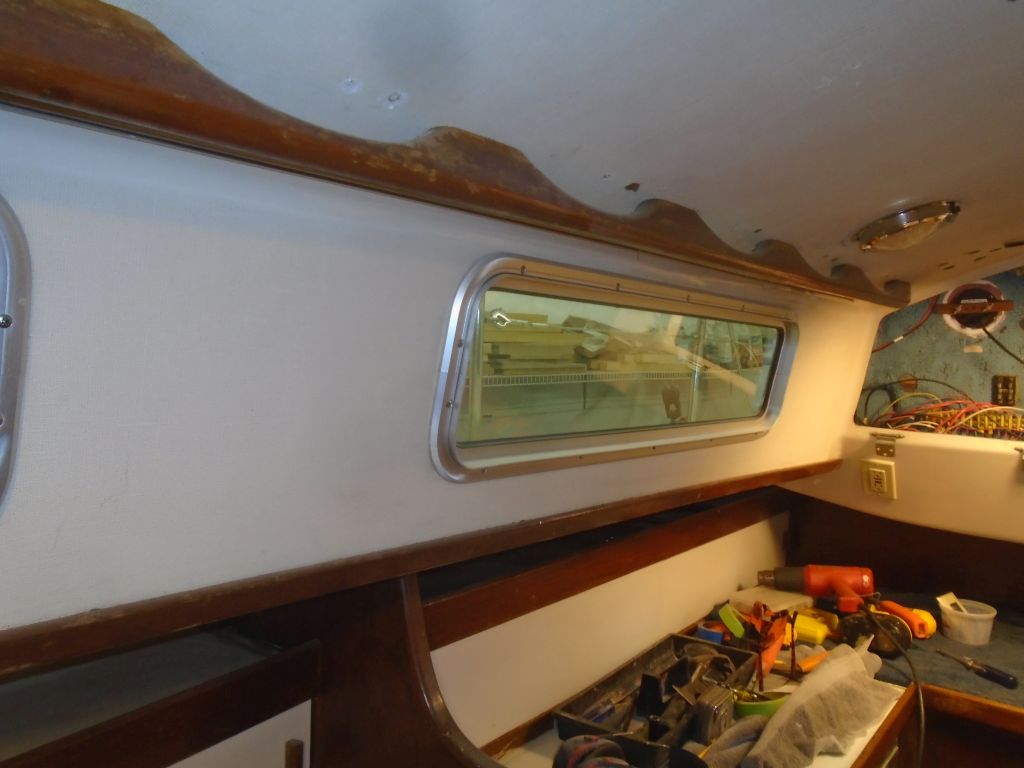
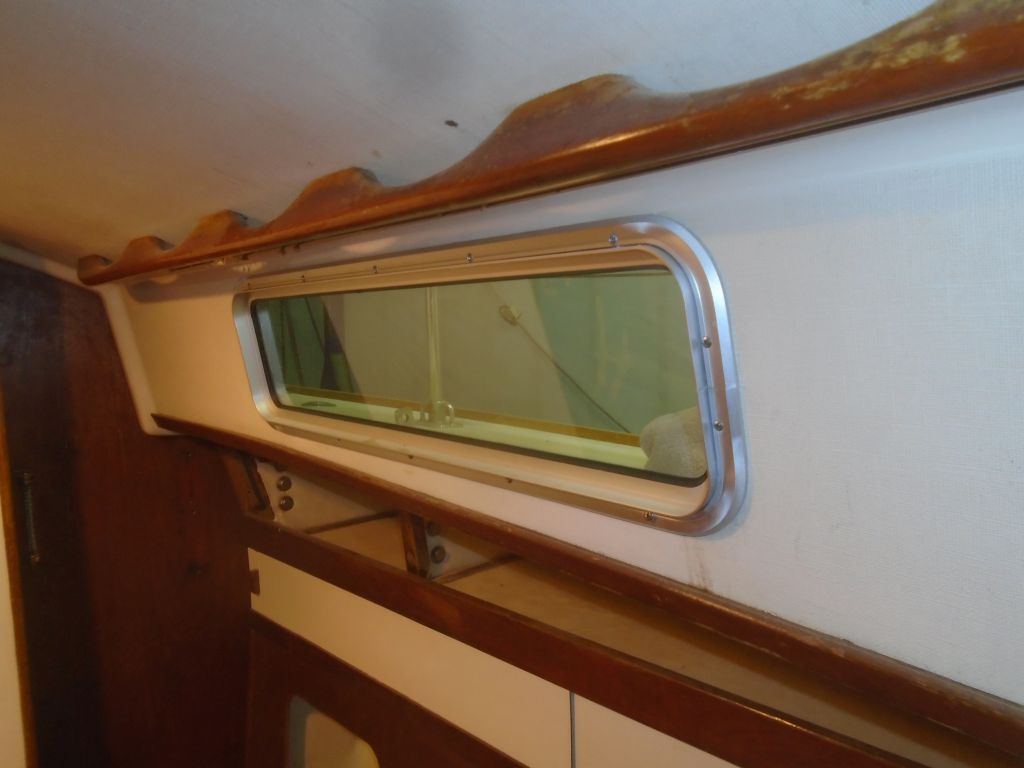
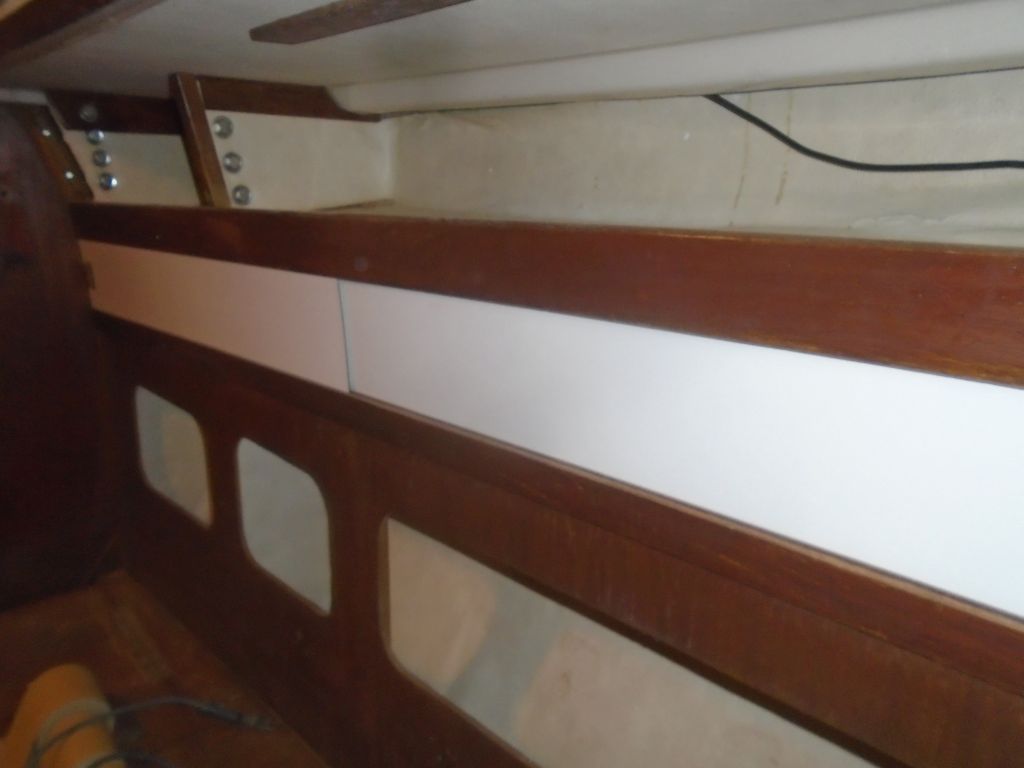
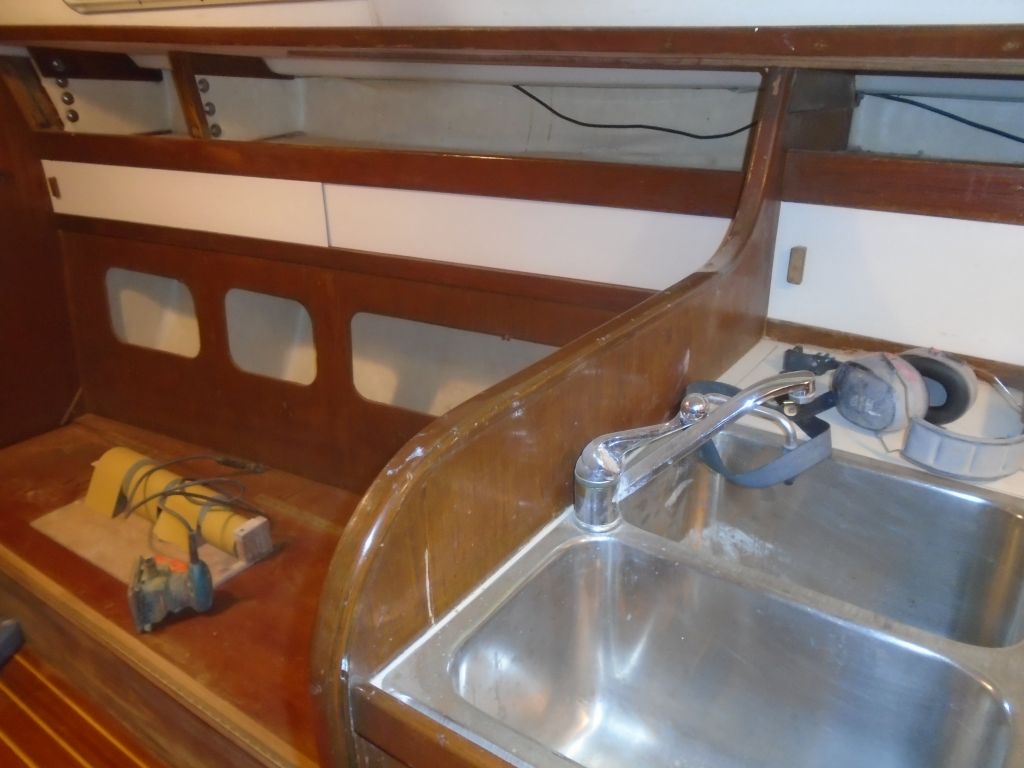
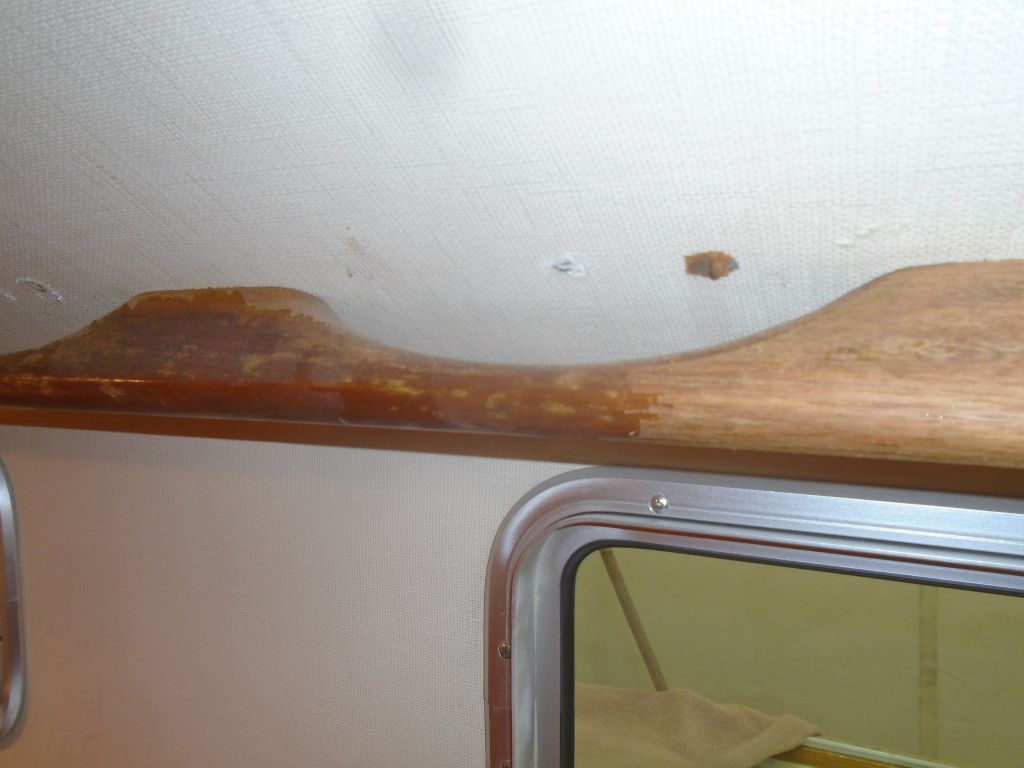
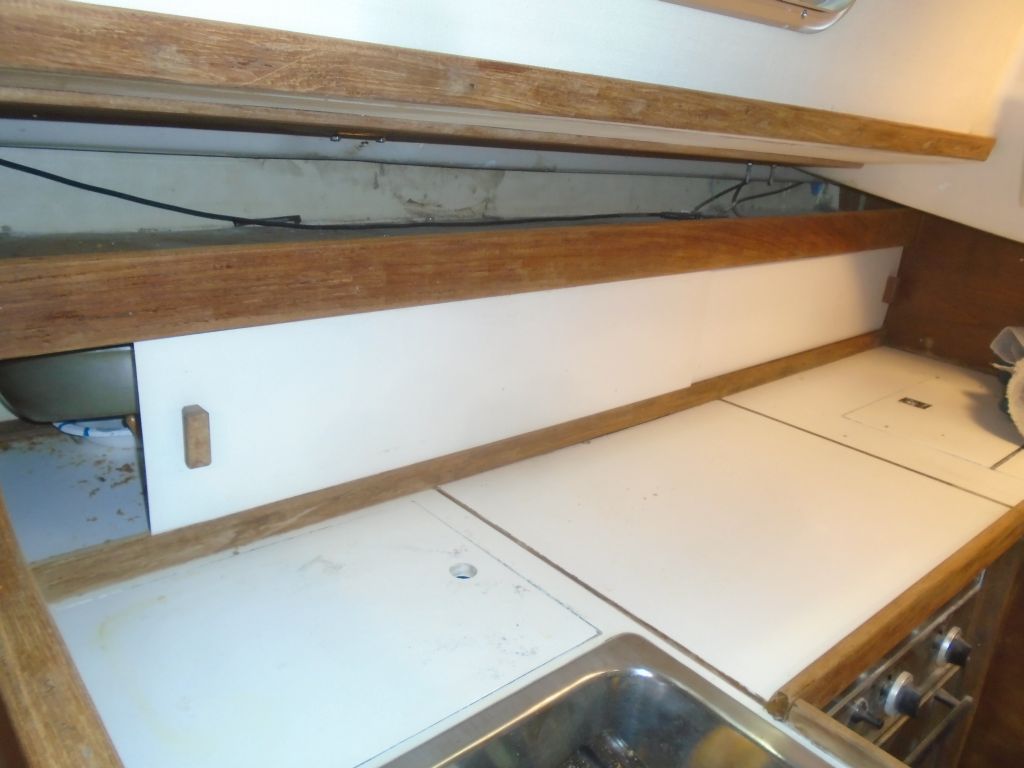
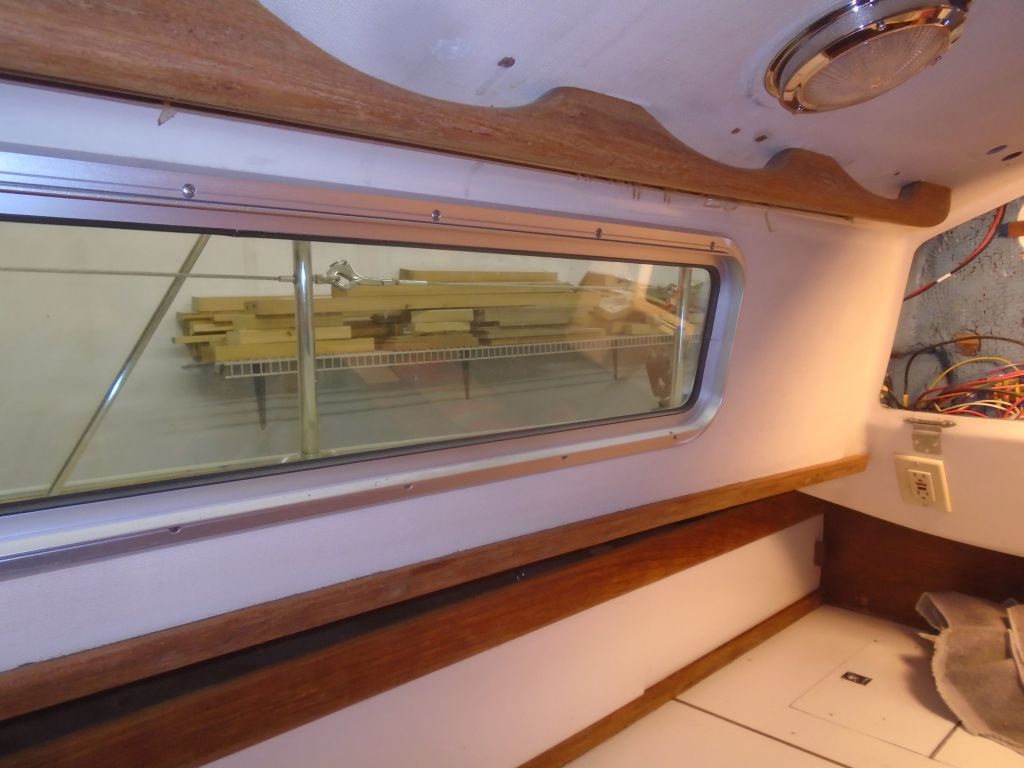
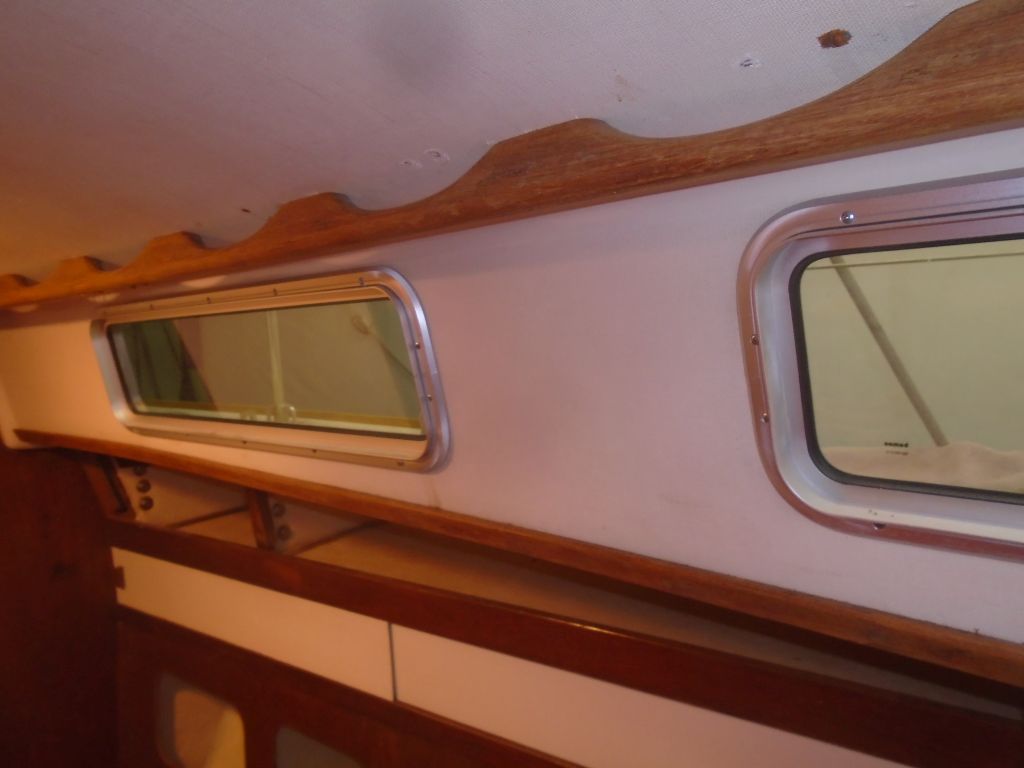
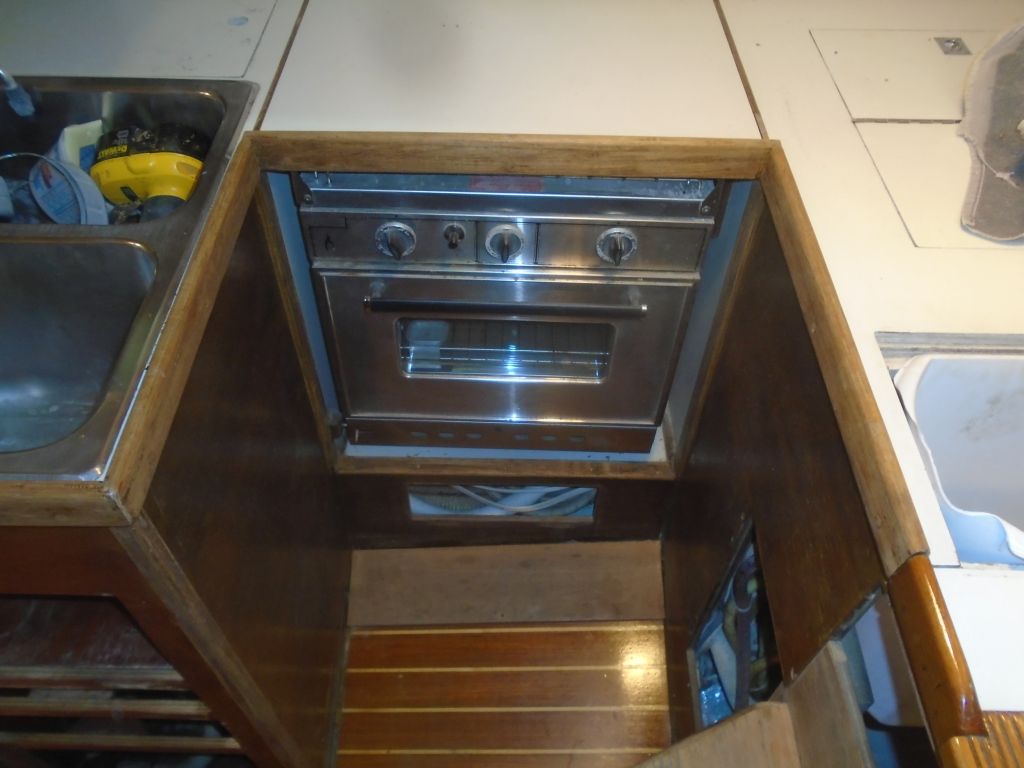
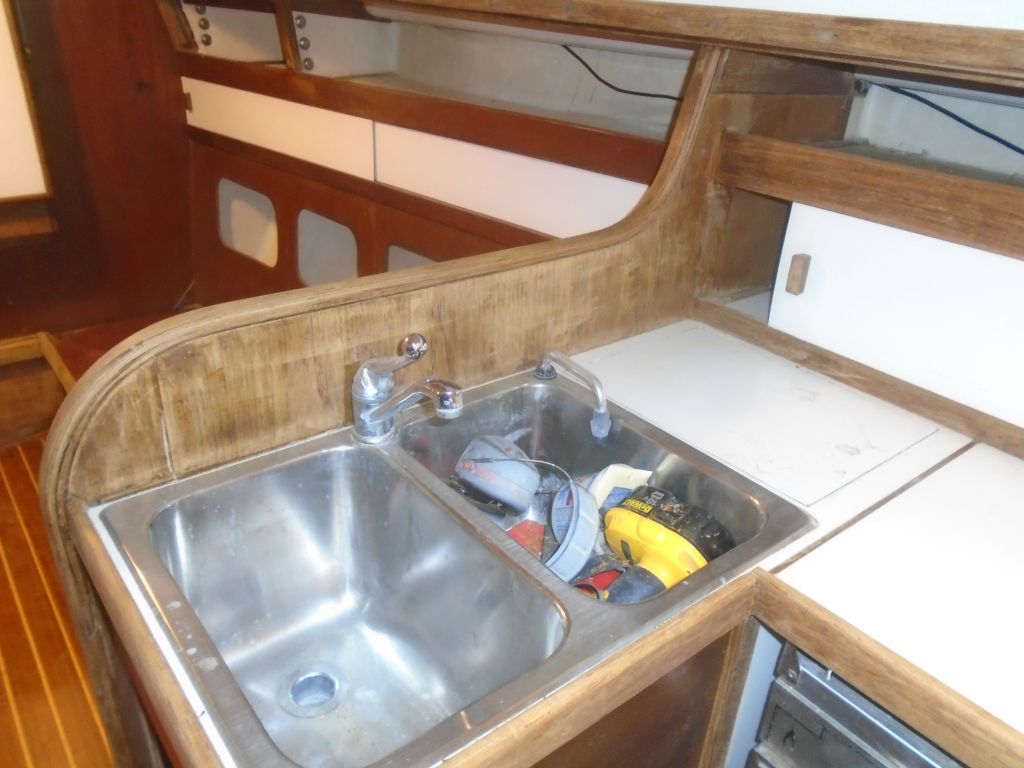
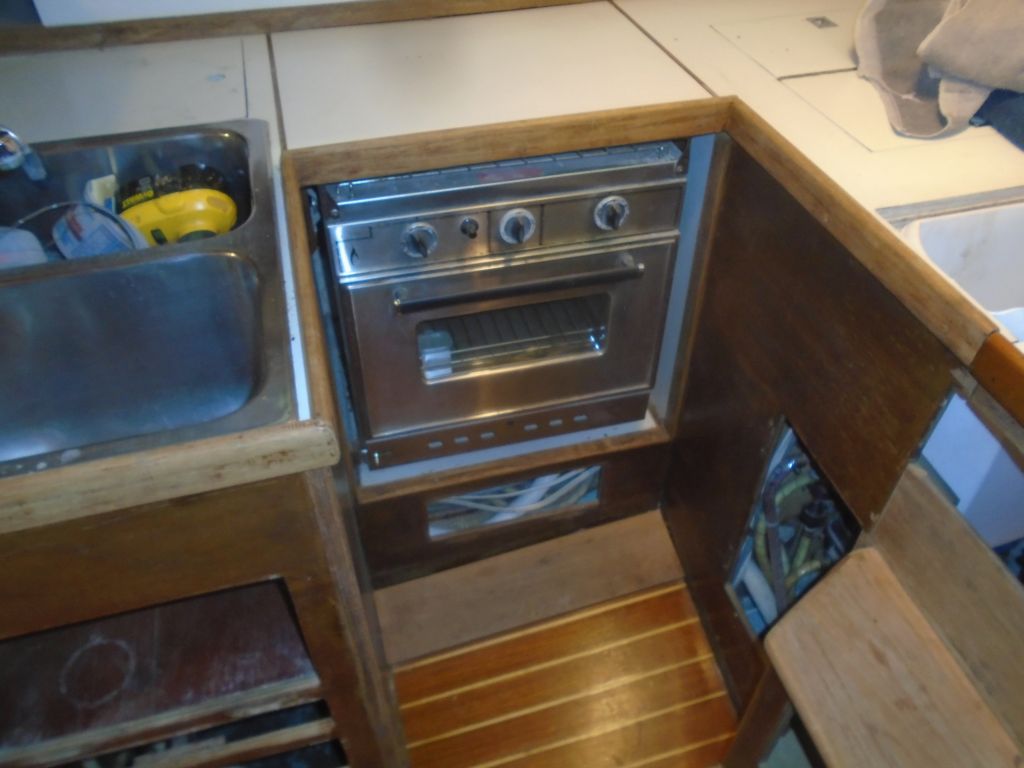
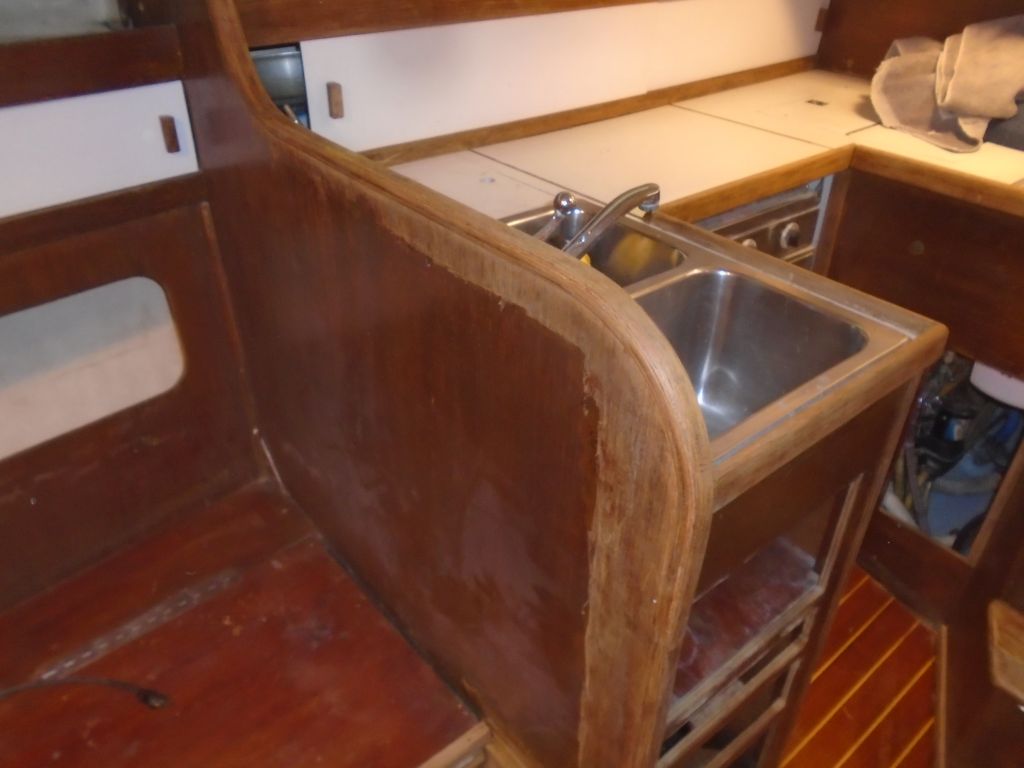
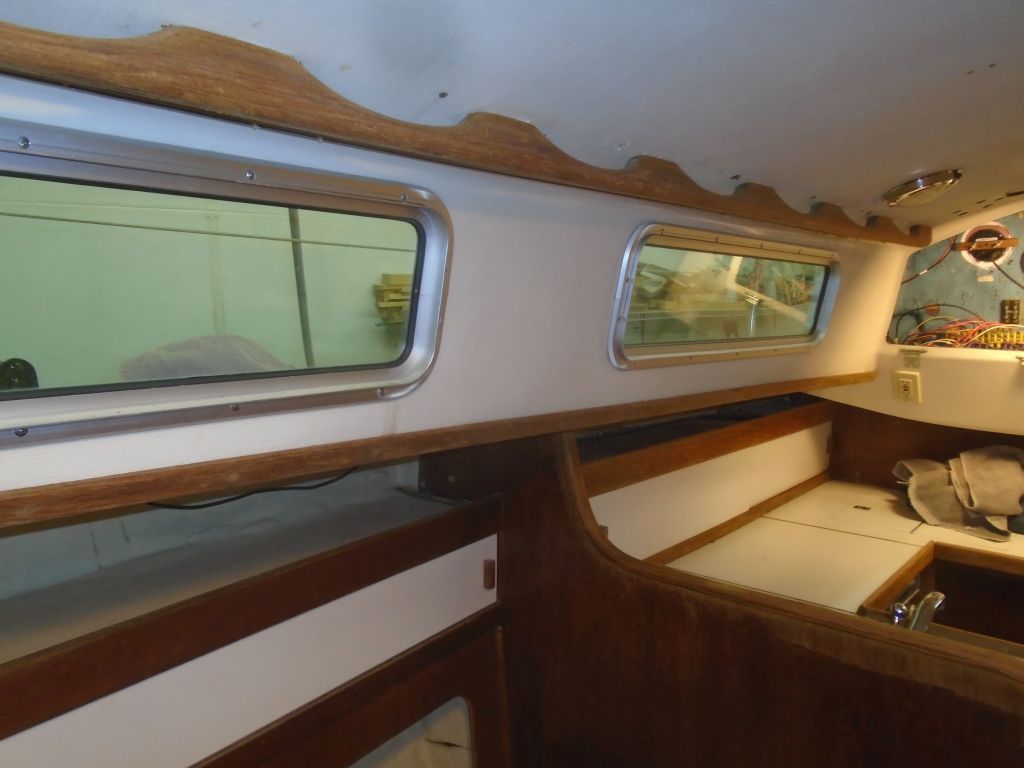
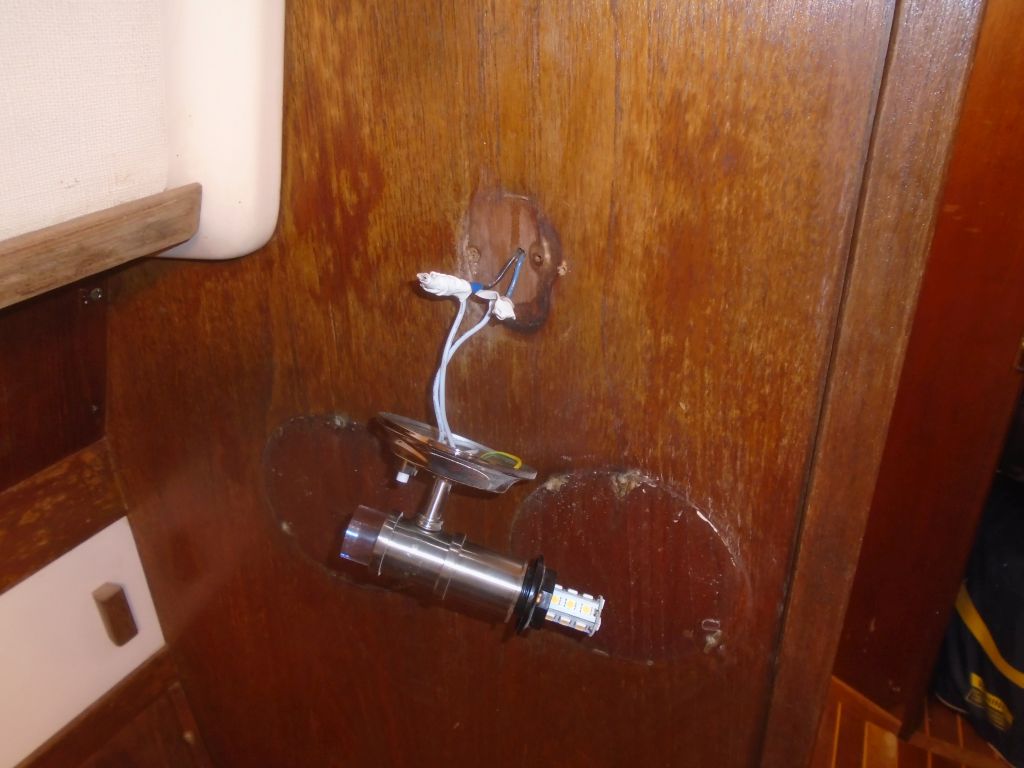
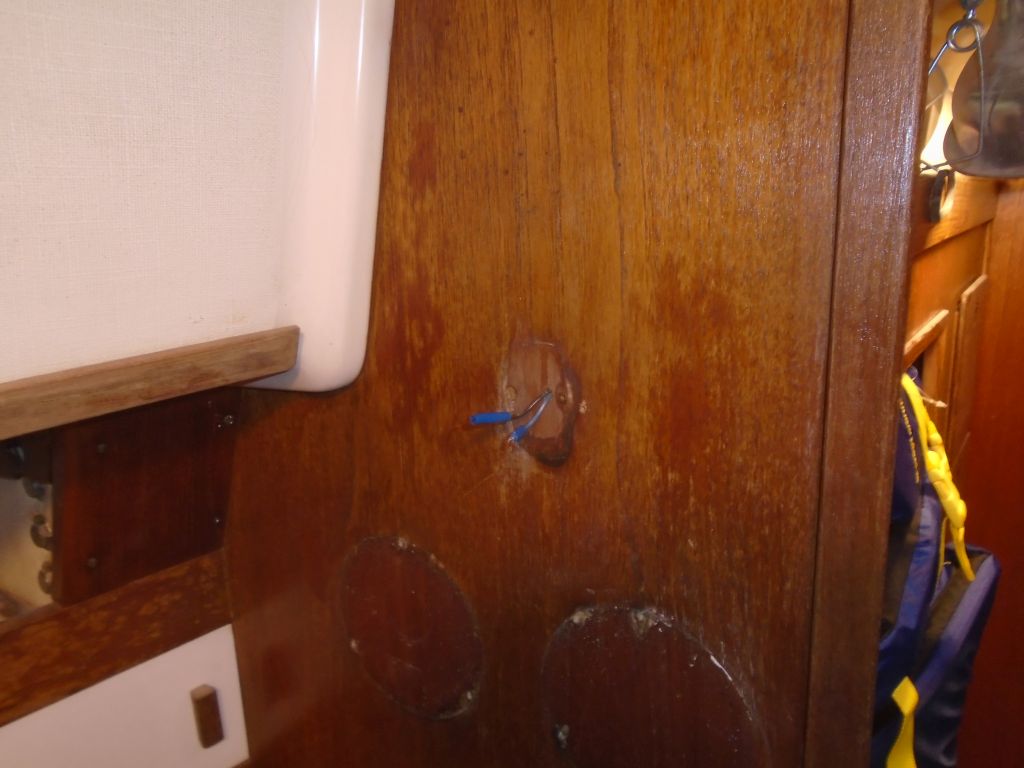
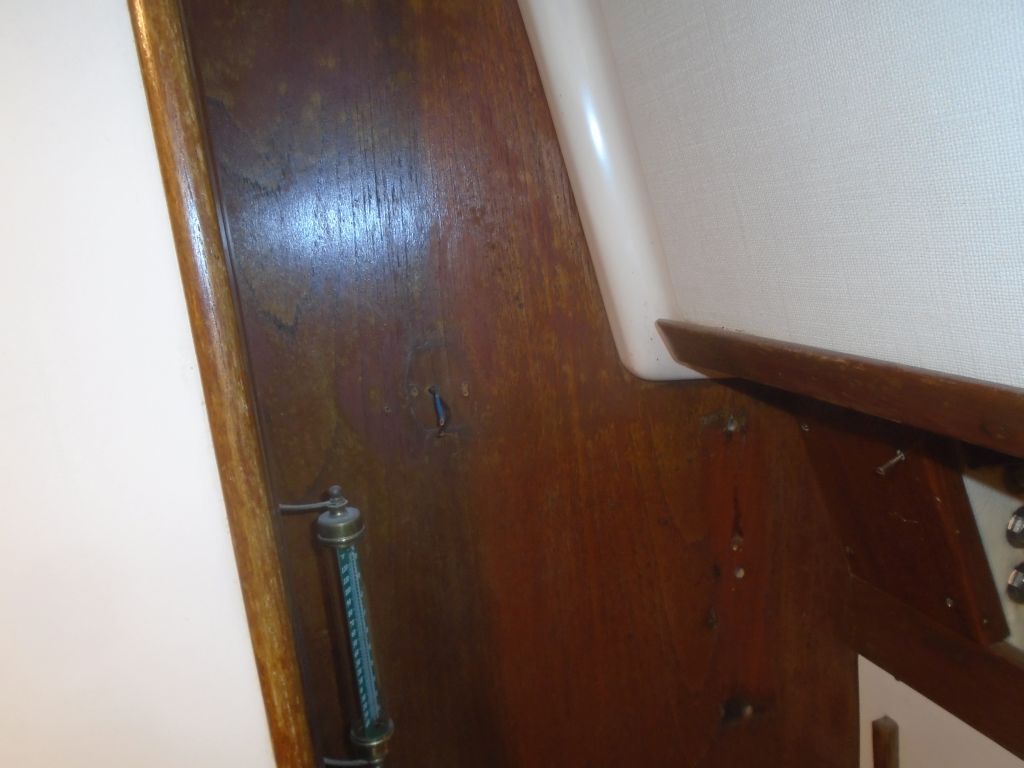
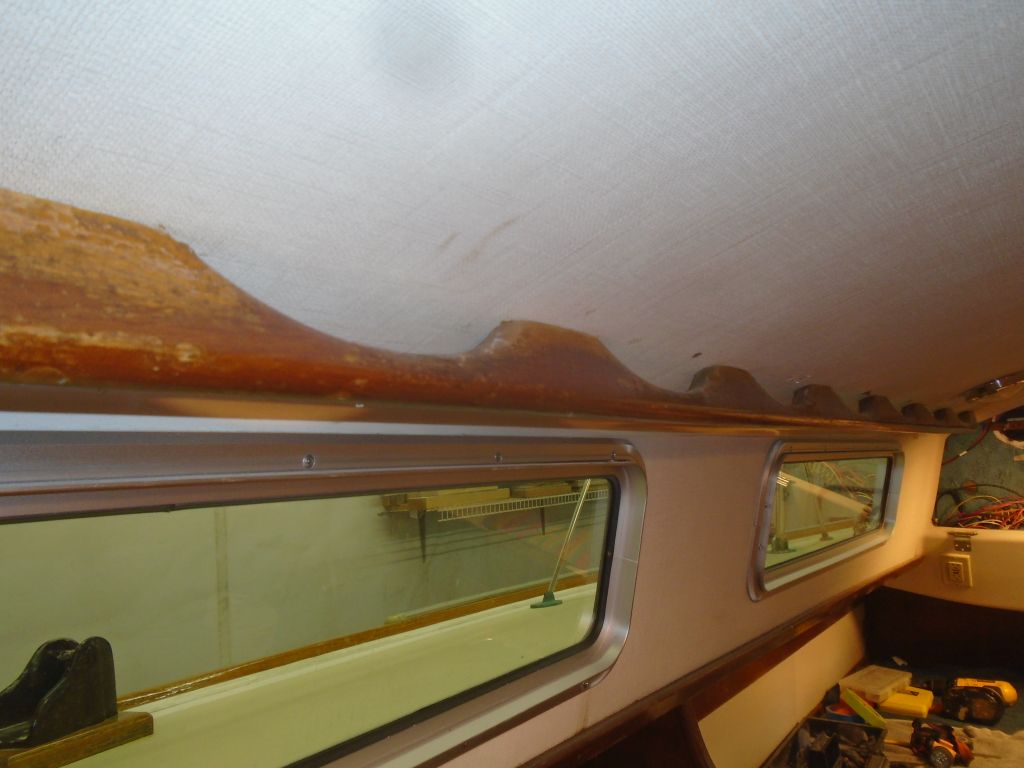
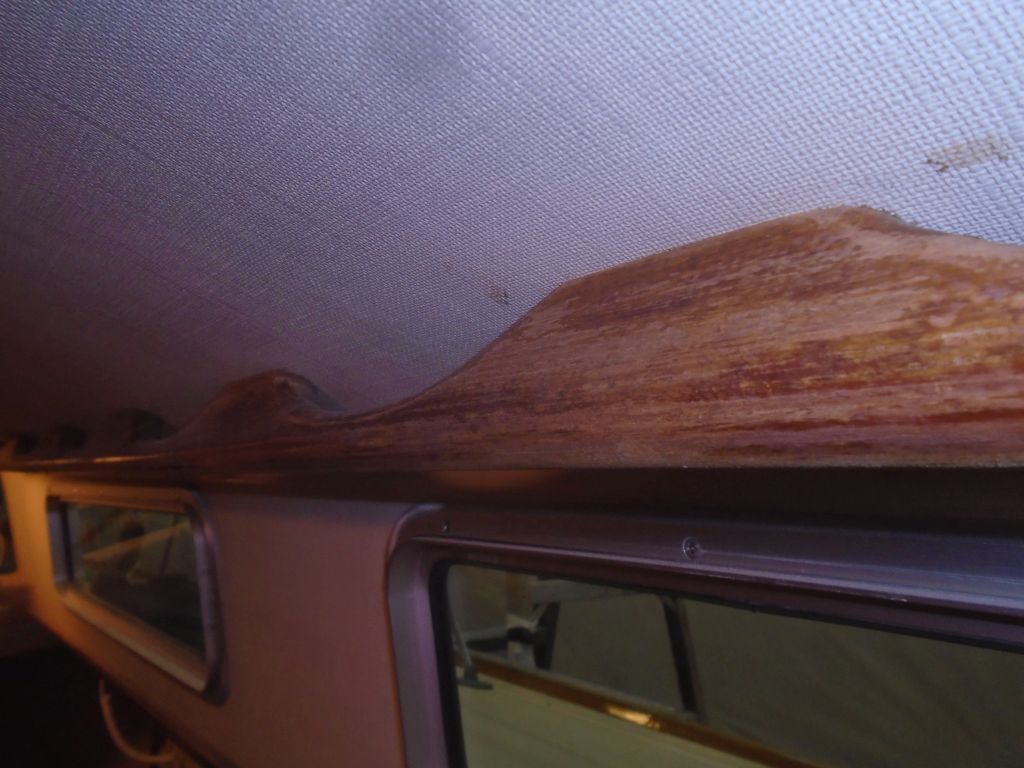
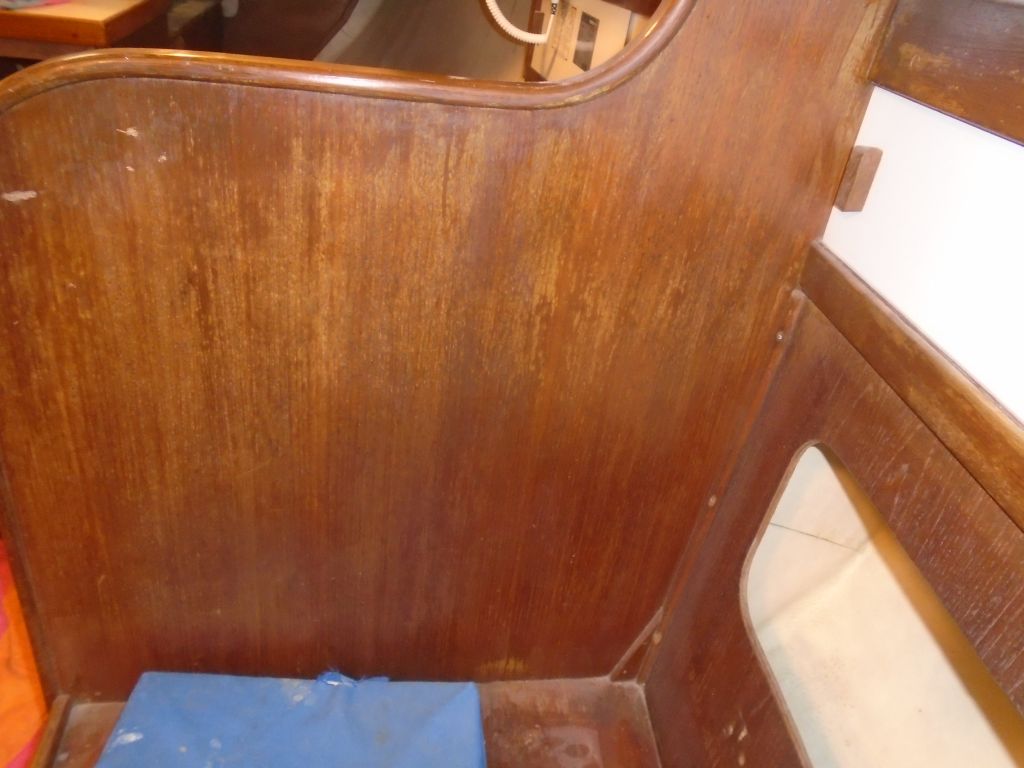
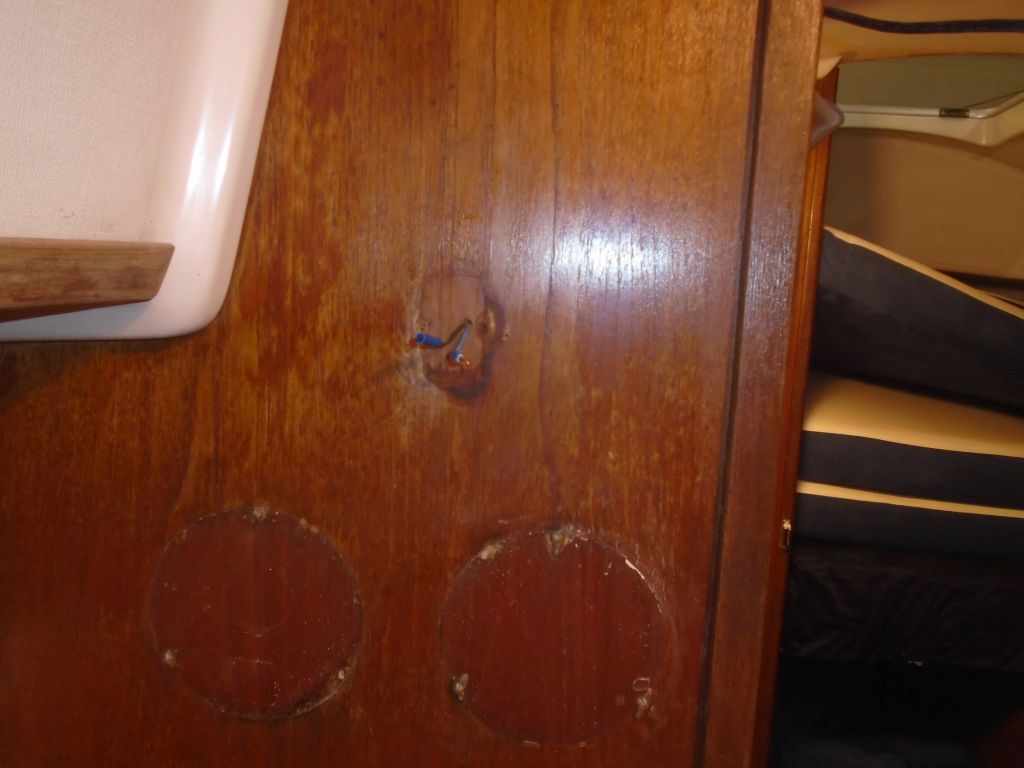
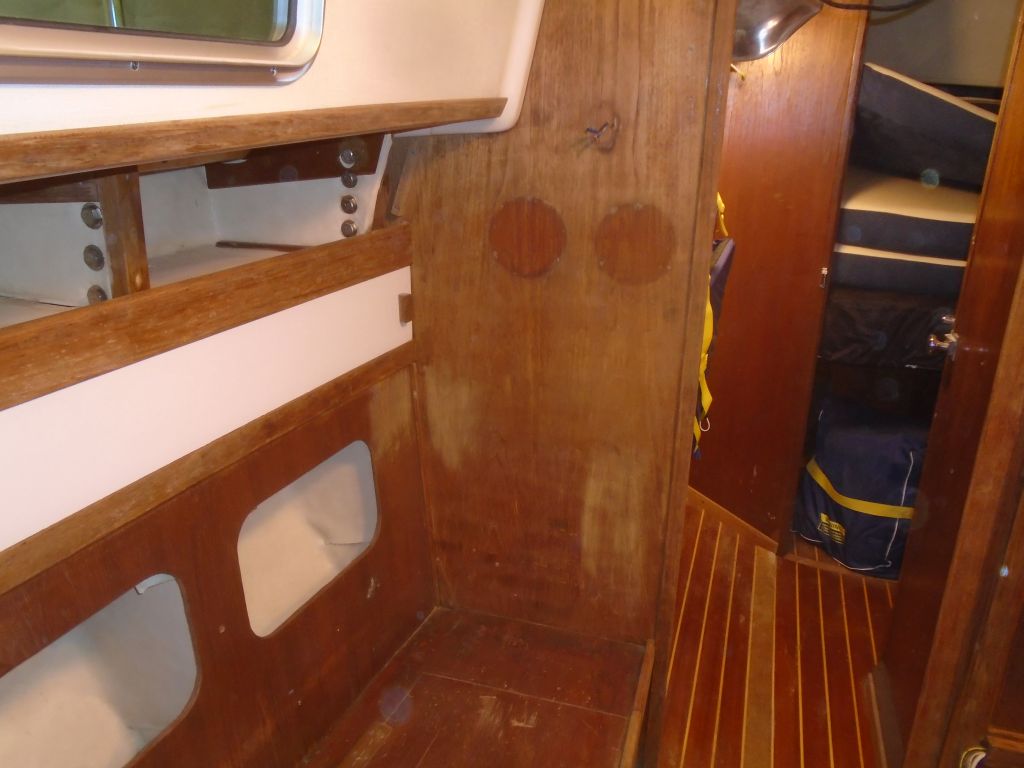
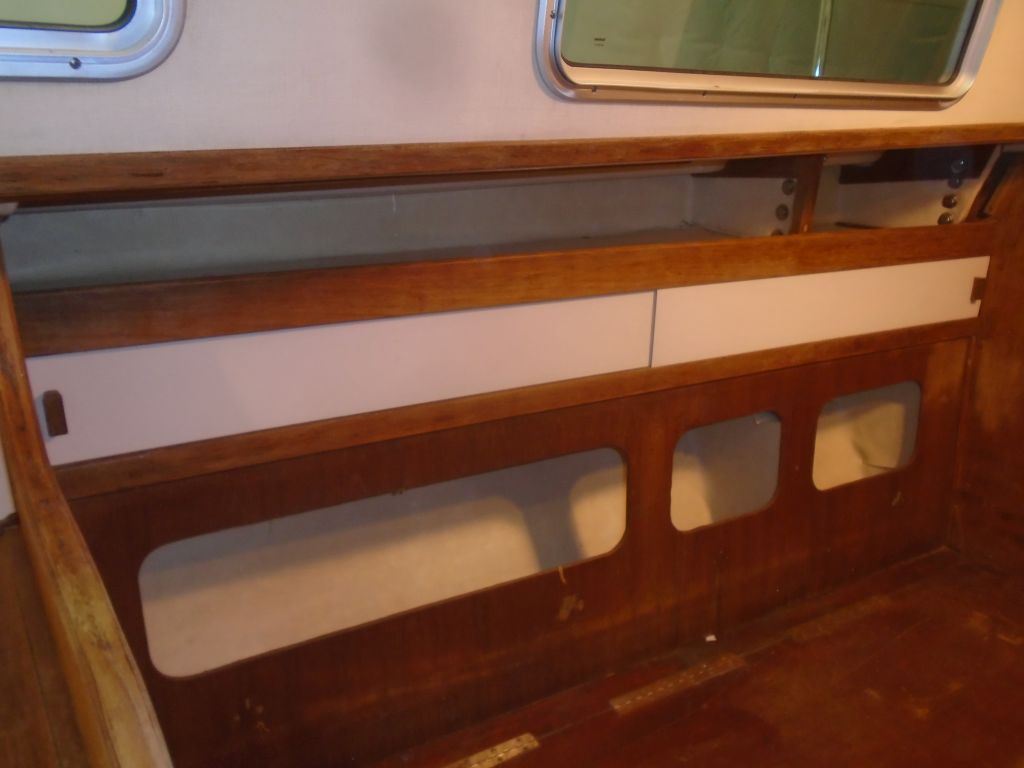
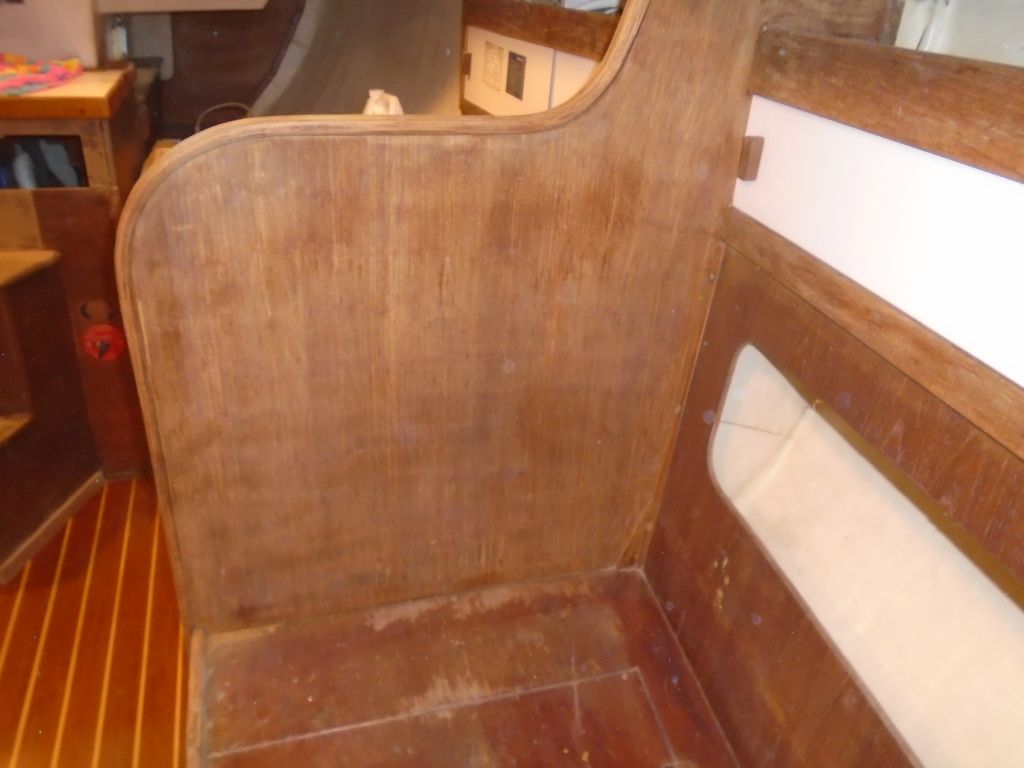
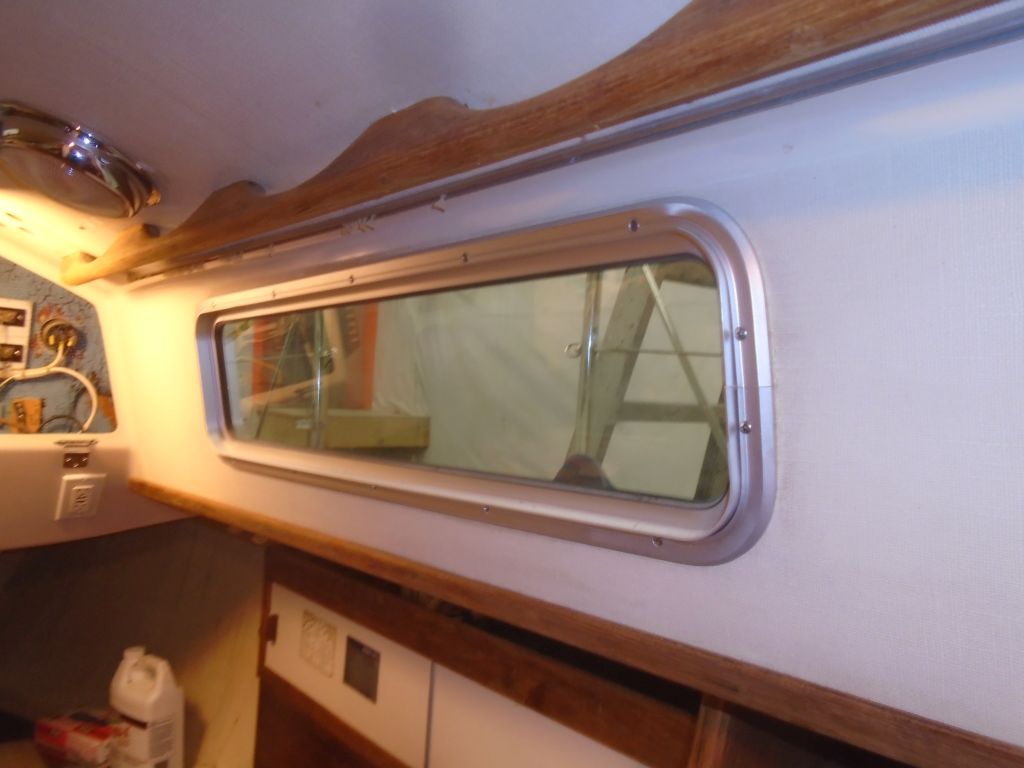
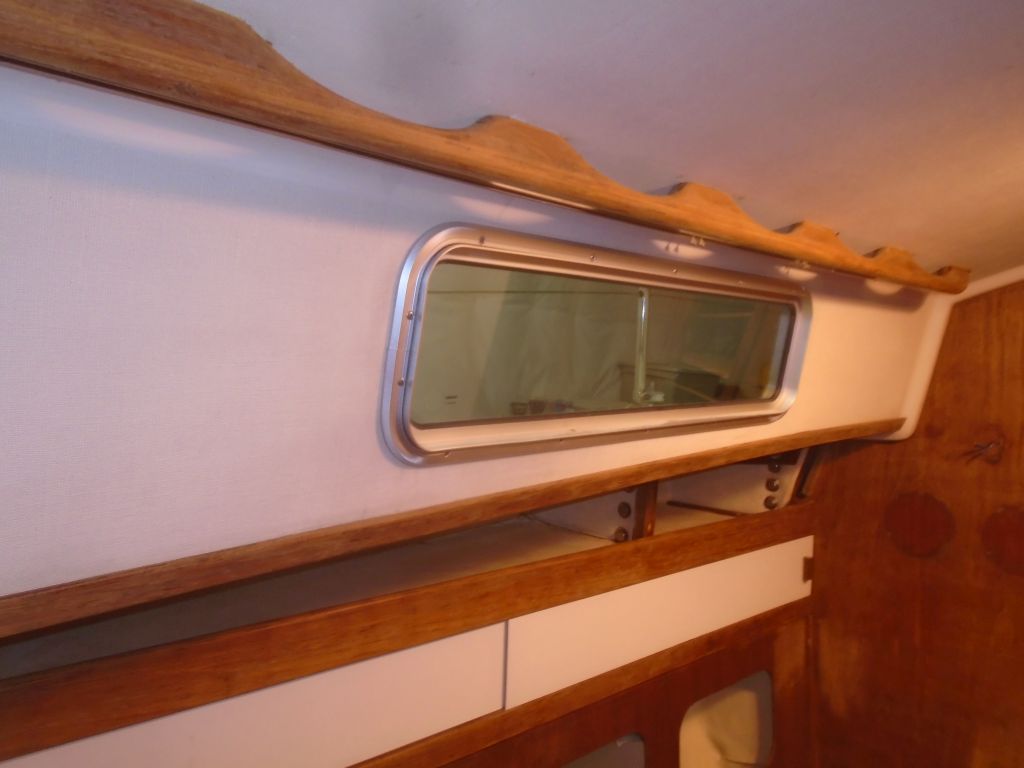
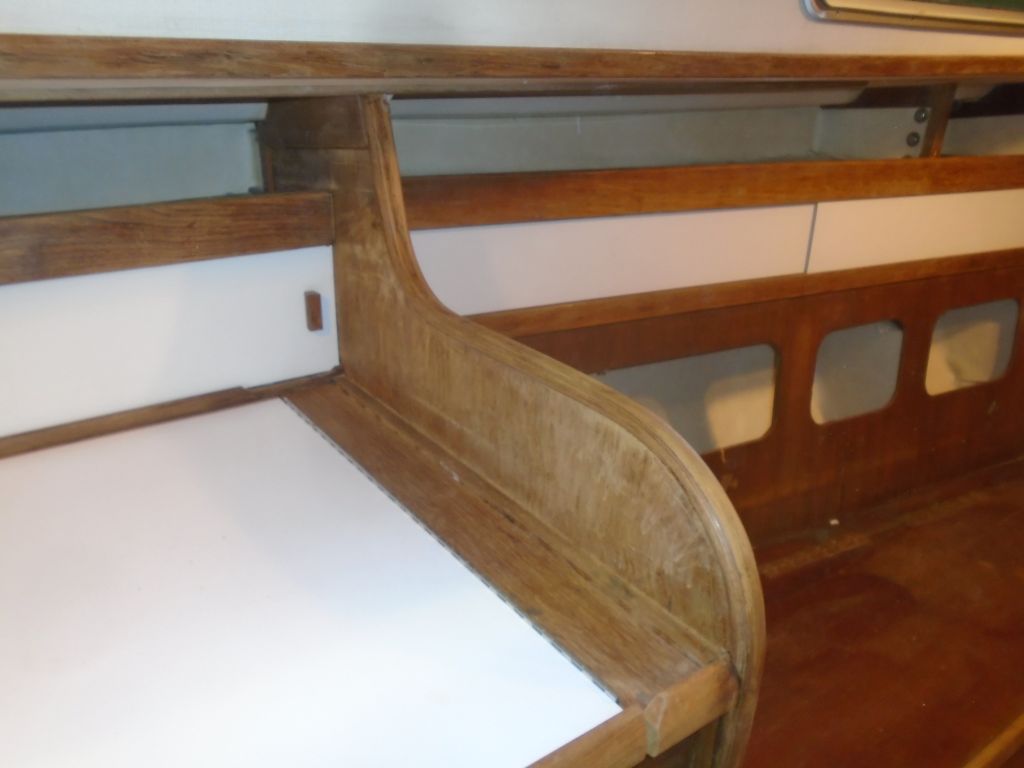
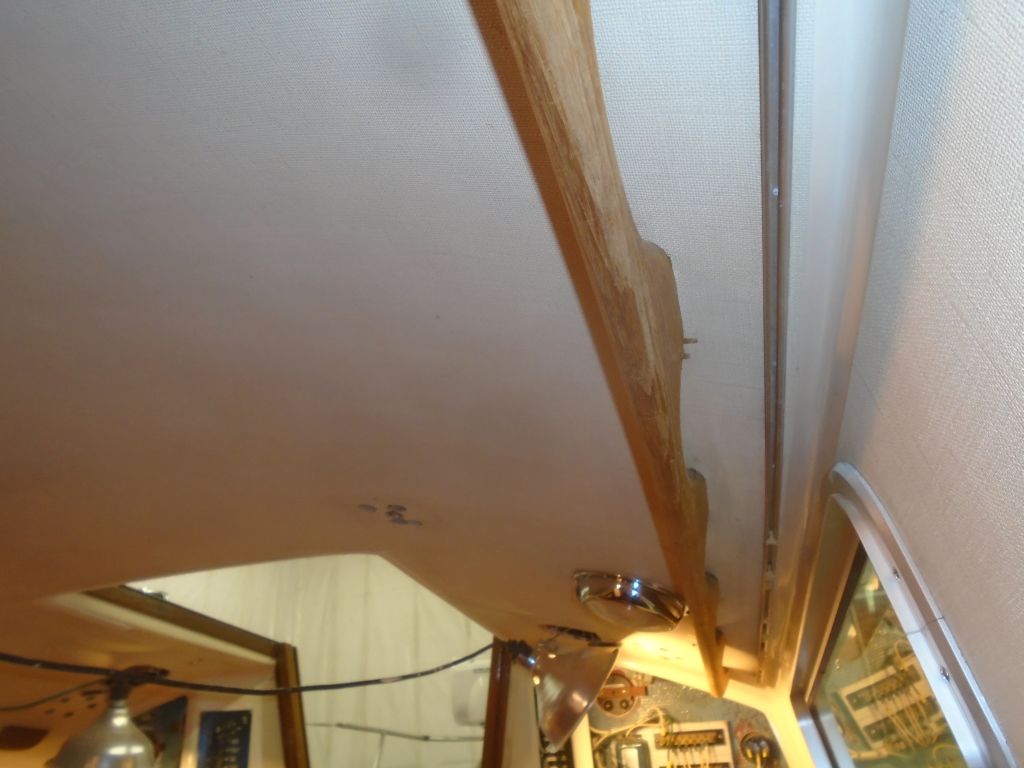
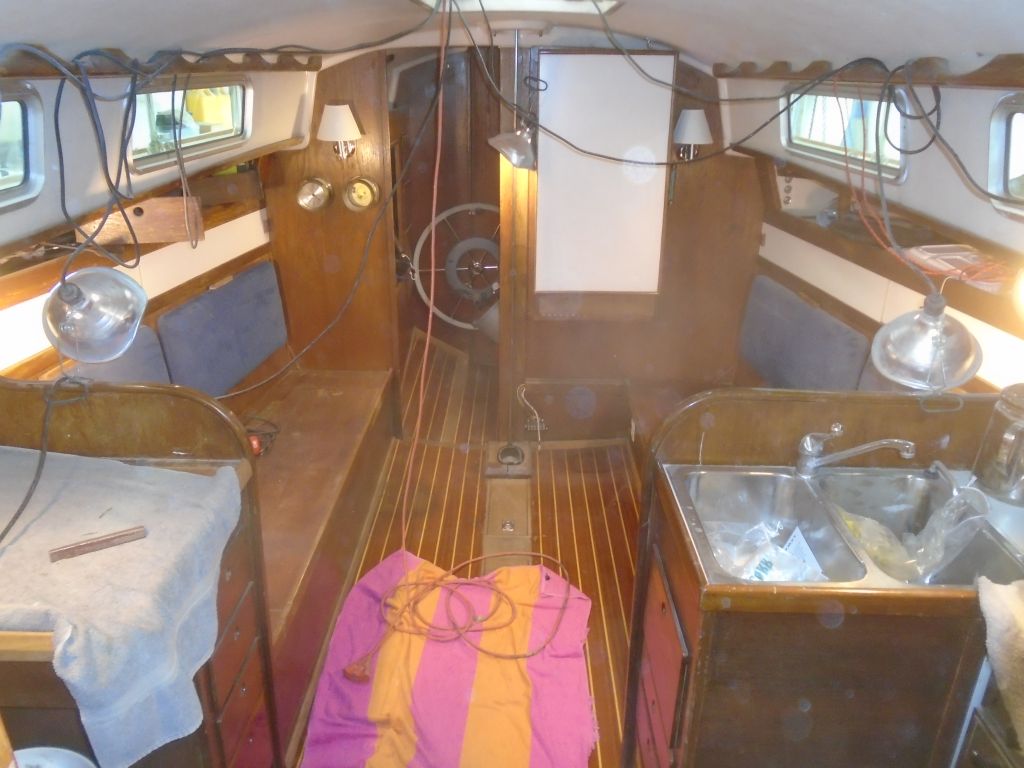
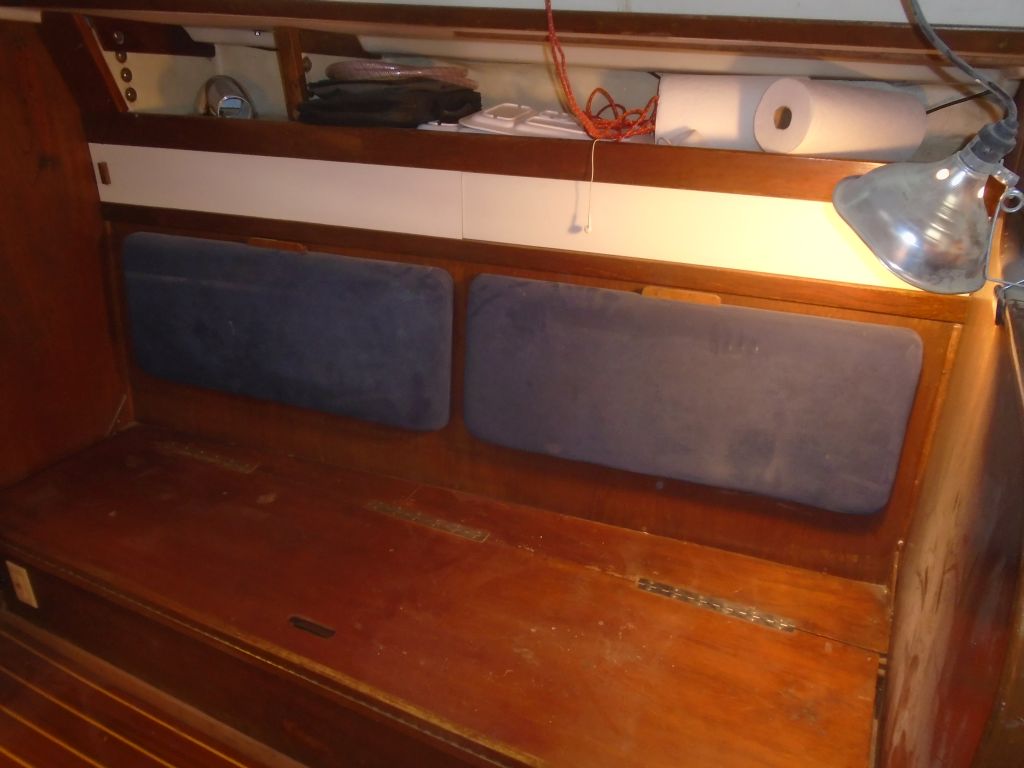
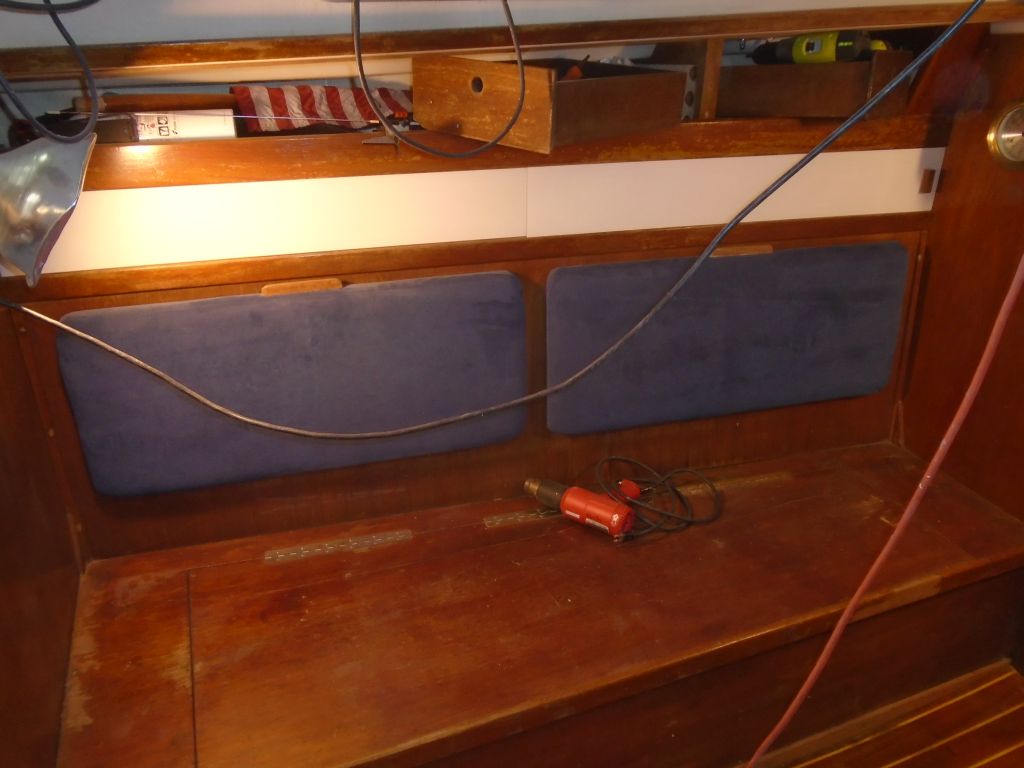
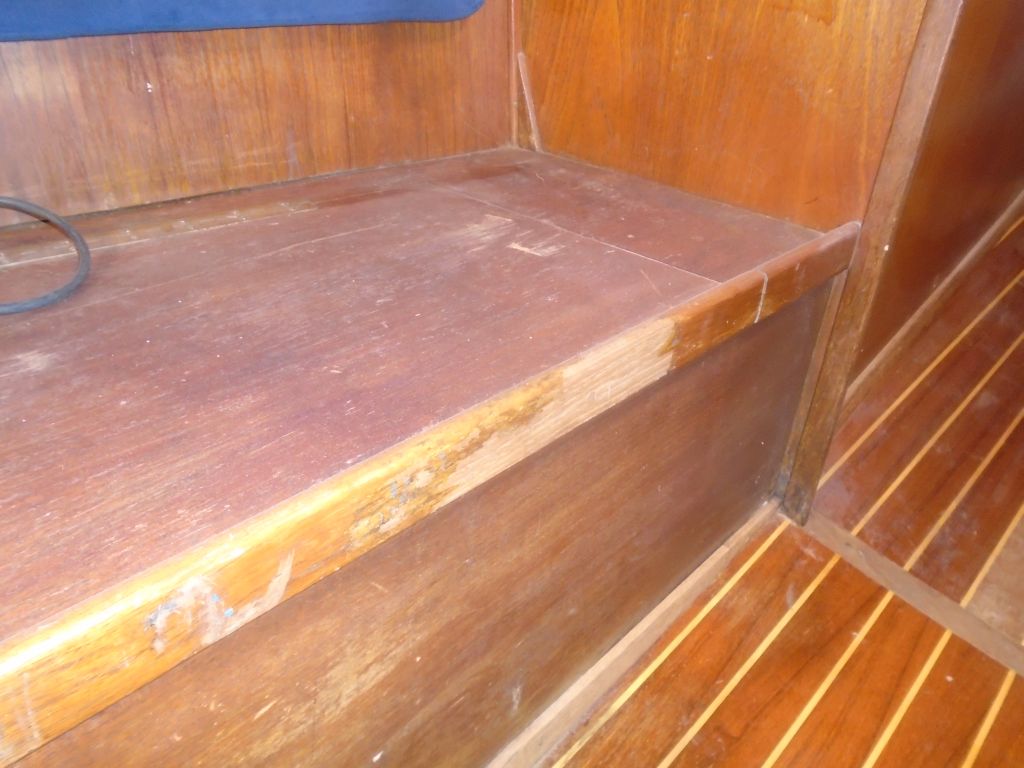
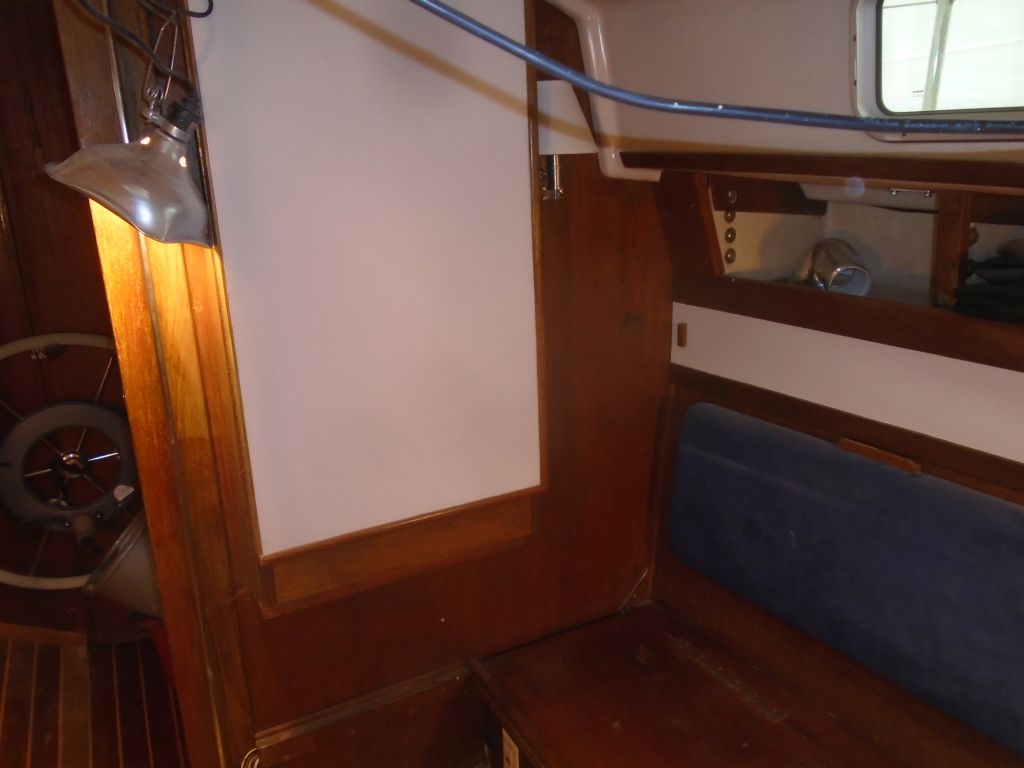
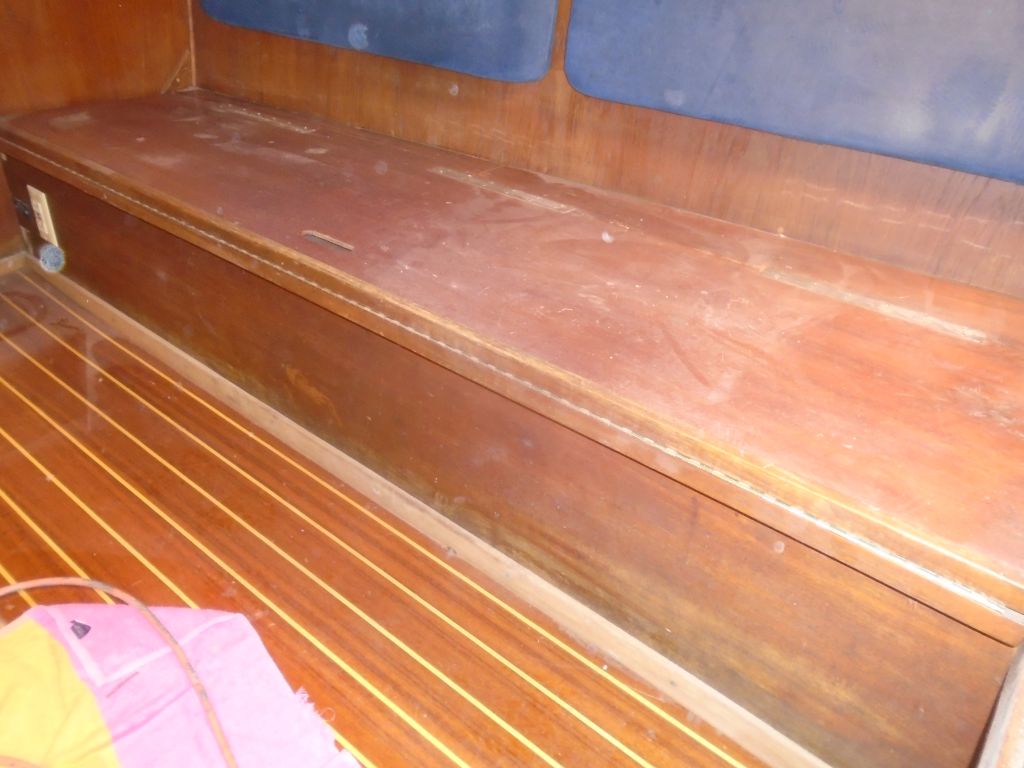
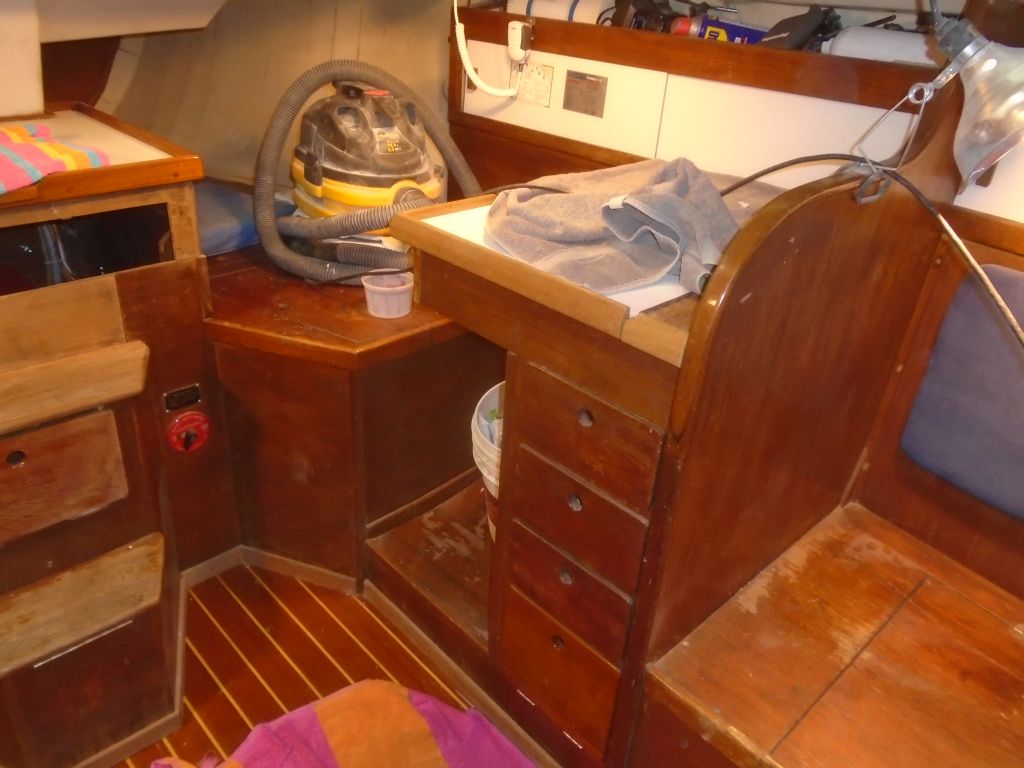
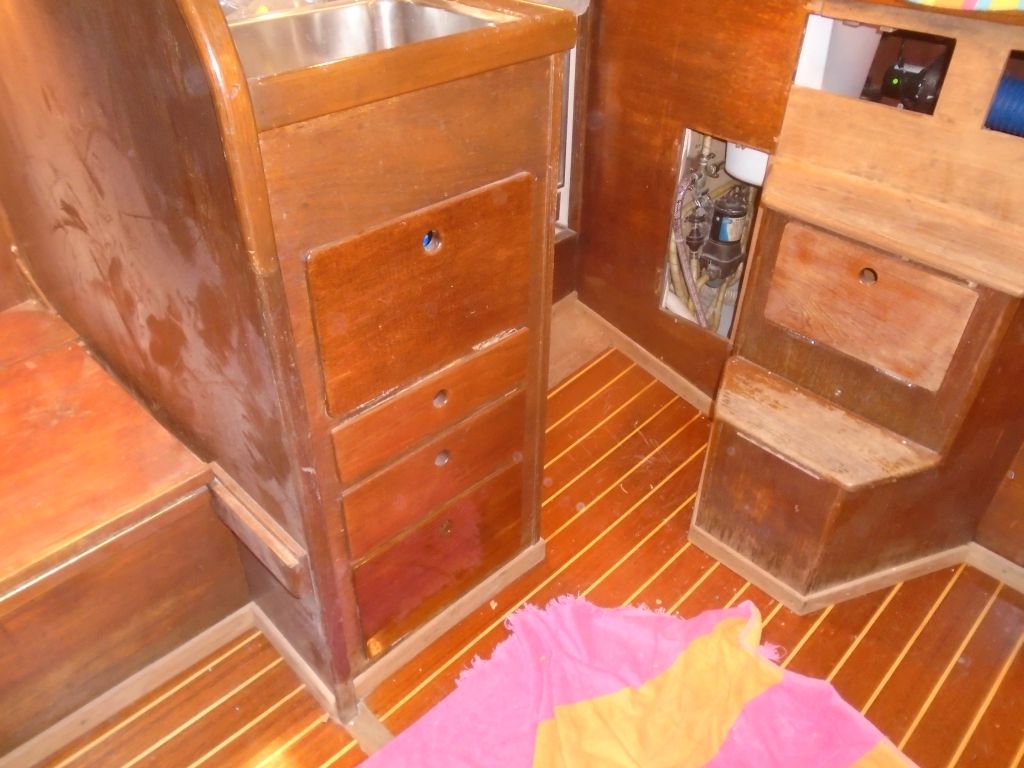
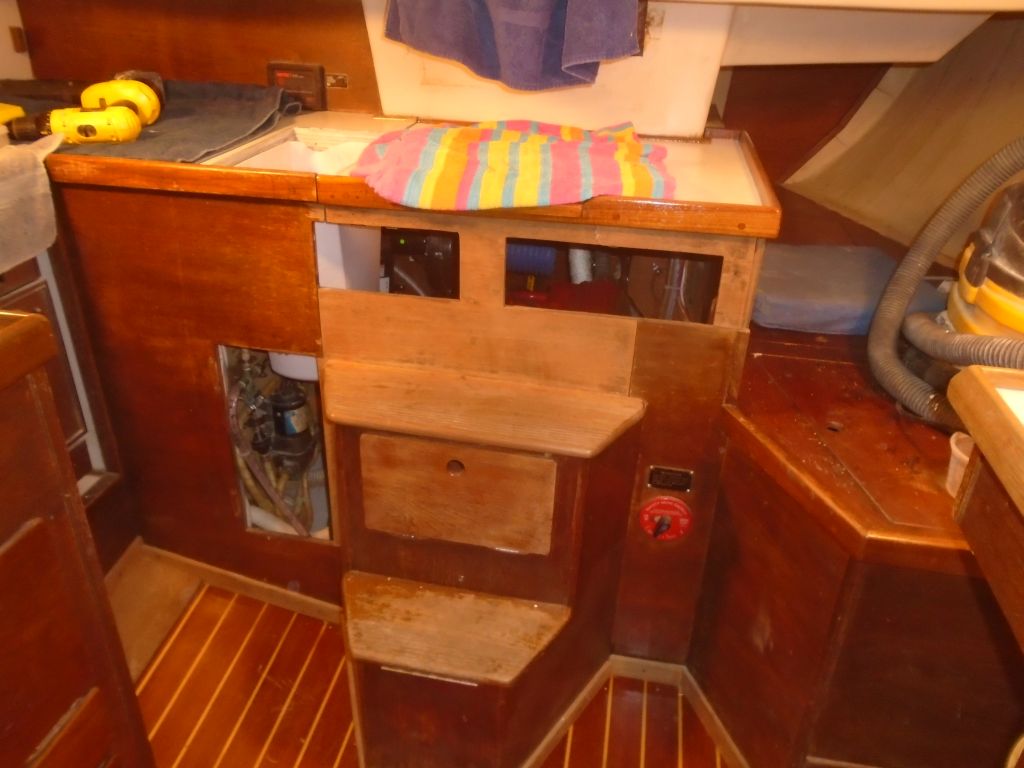
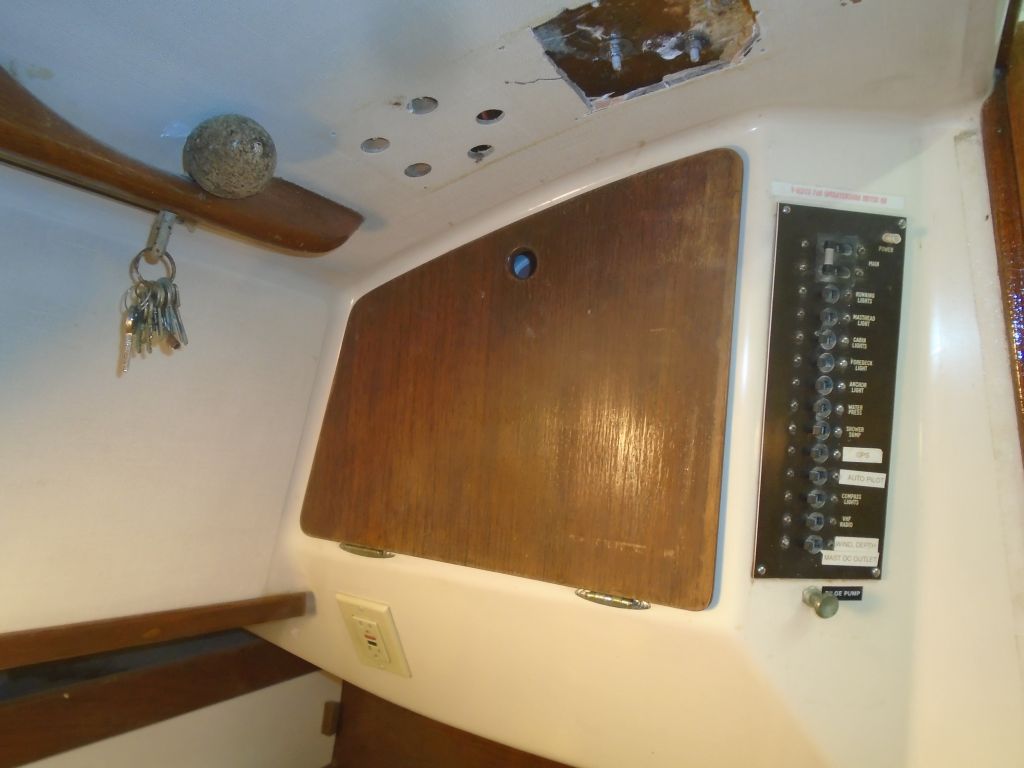
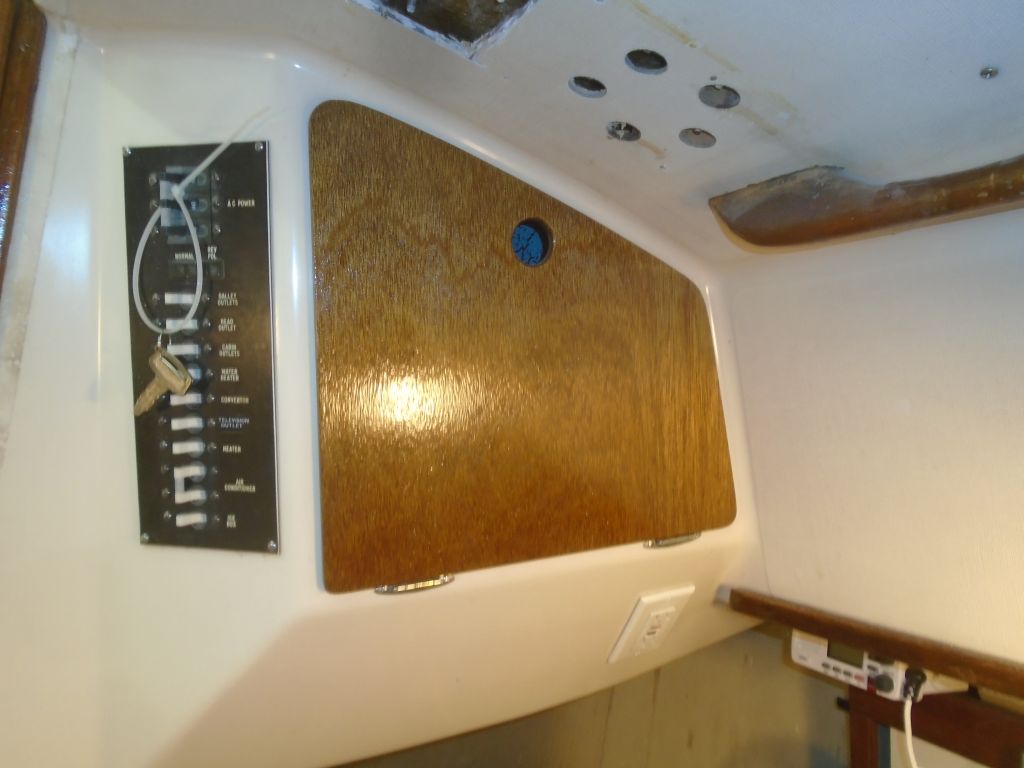
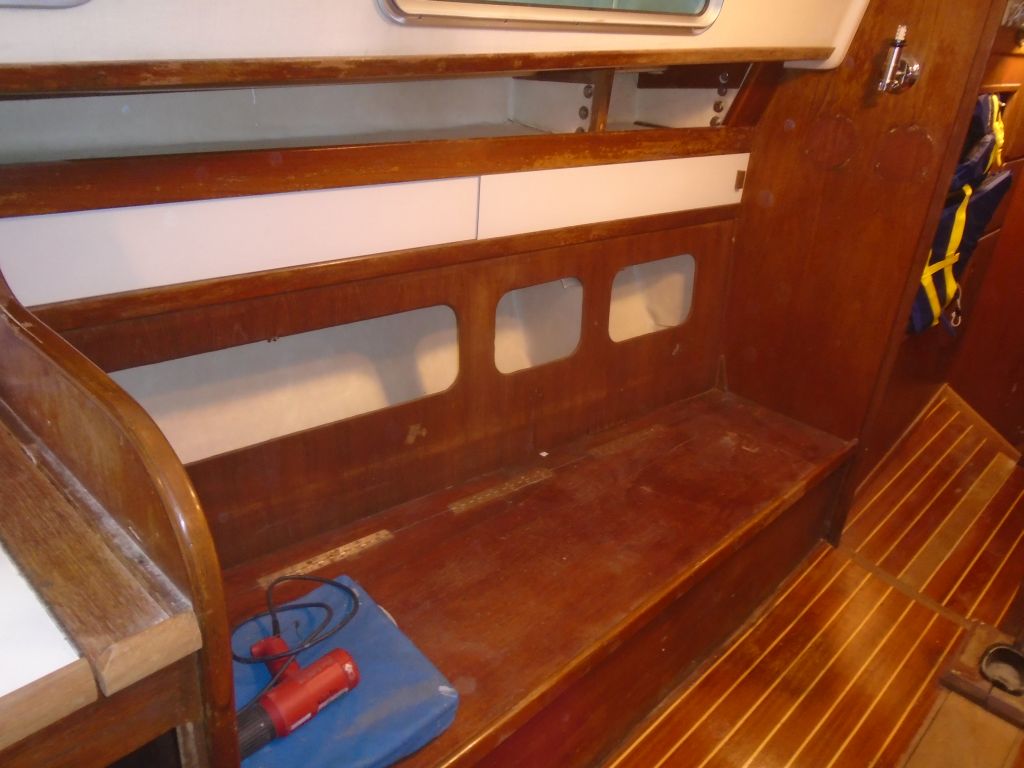
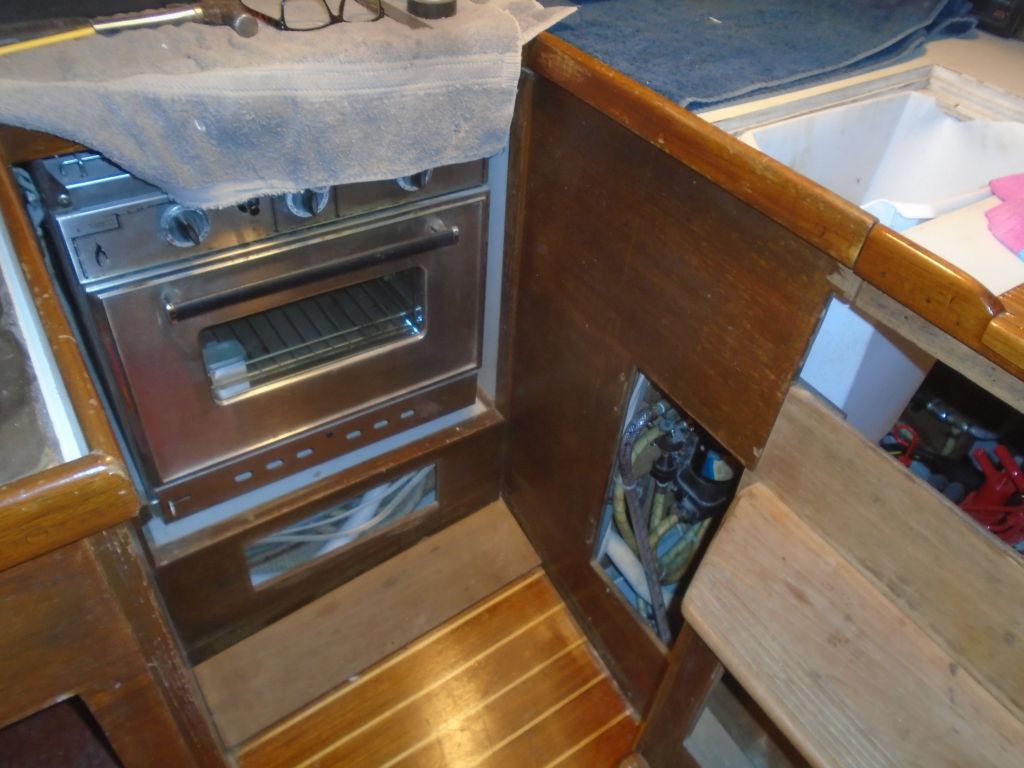
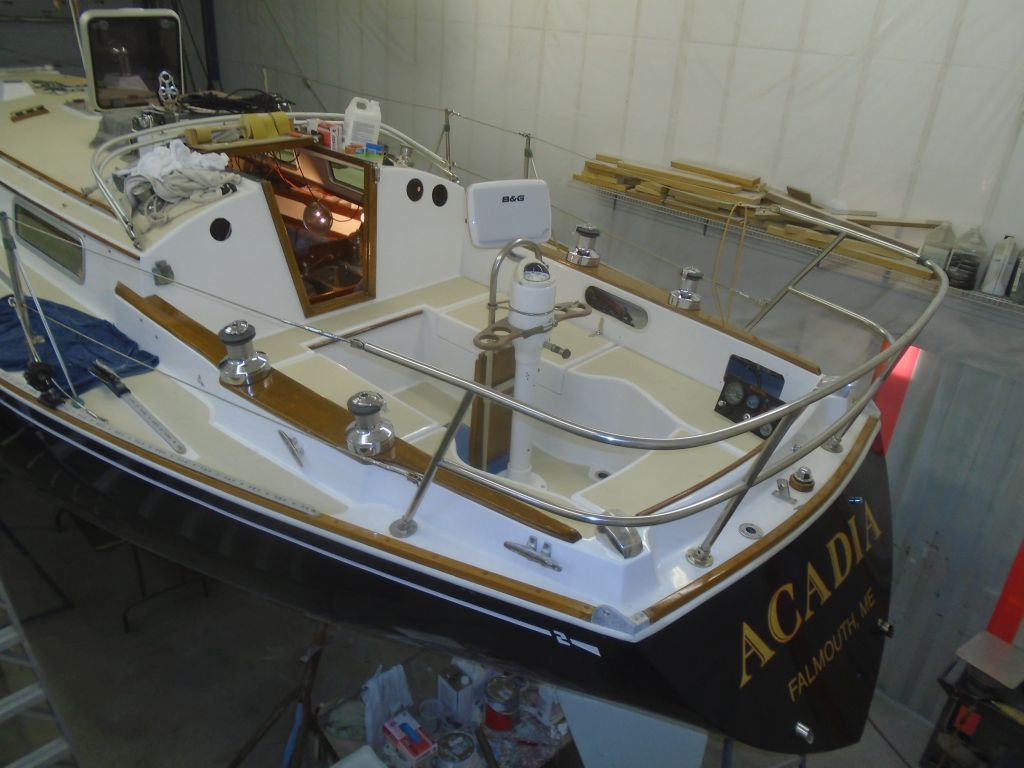
The main cabin finishes were mainly original, and the old finish was showing its age in many areas, with varnish beginning to fail and a generally tired appearance.  The owner asked me to refinish the trim and the main bulkheads with varnish, and to prepare and paint the lower settees, nav station, and galley cabinets with white paint to spruce up the appearance.

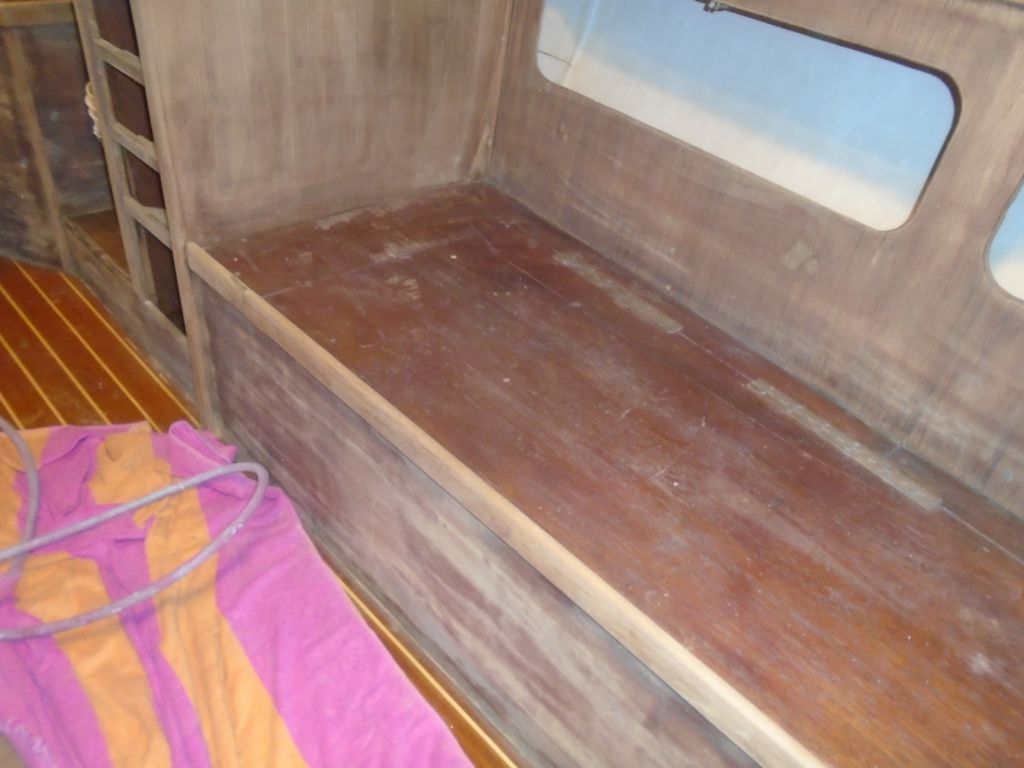
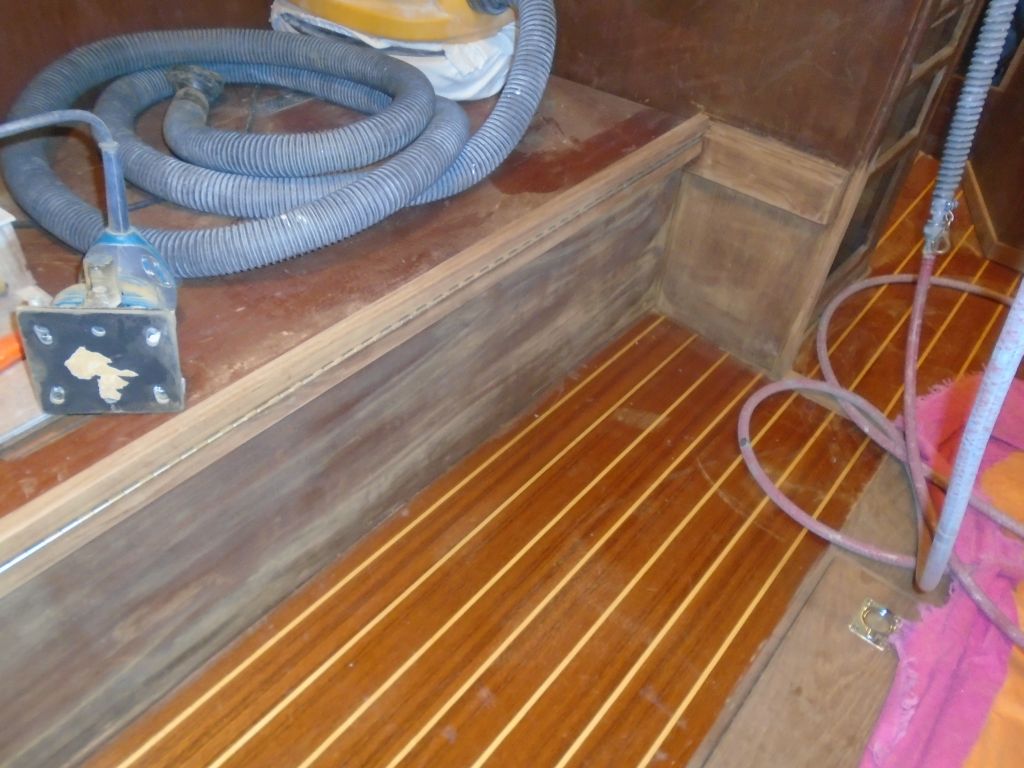
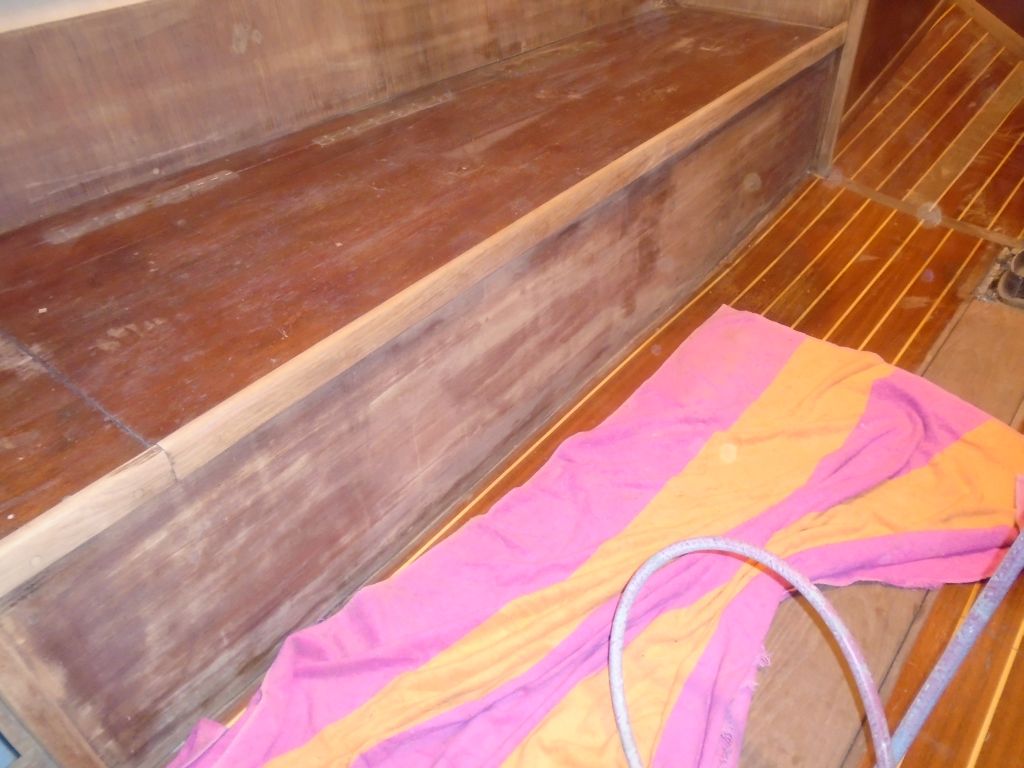
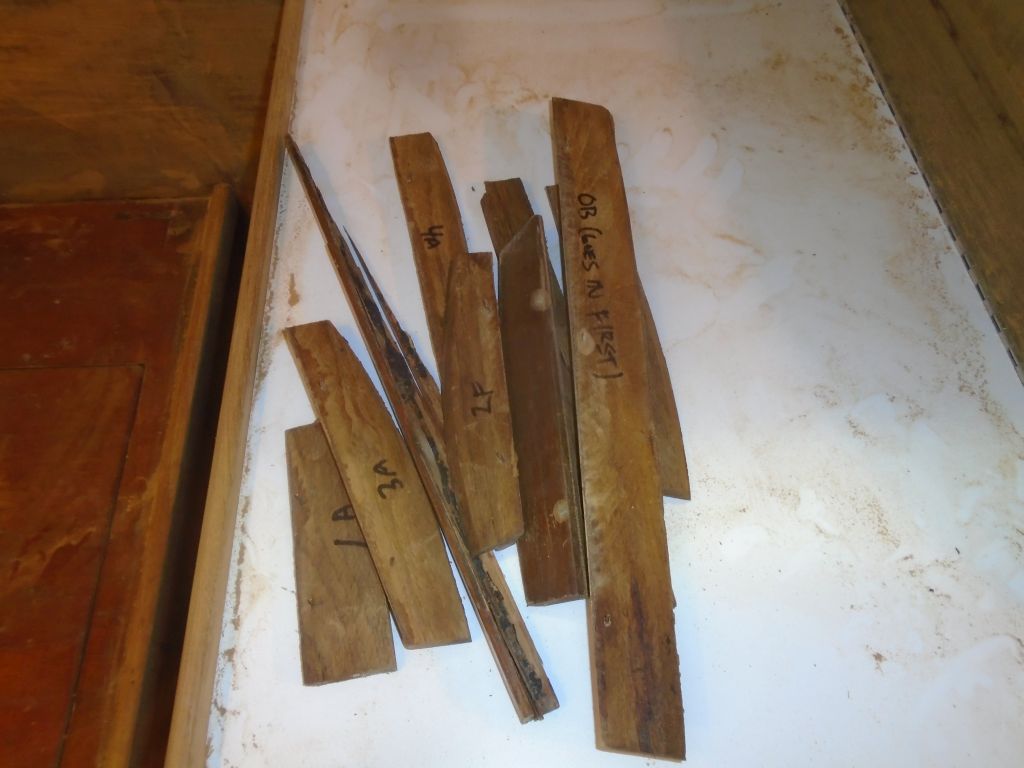
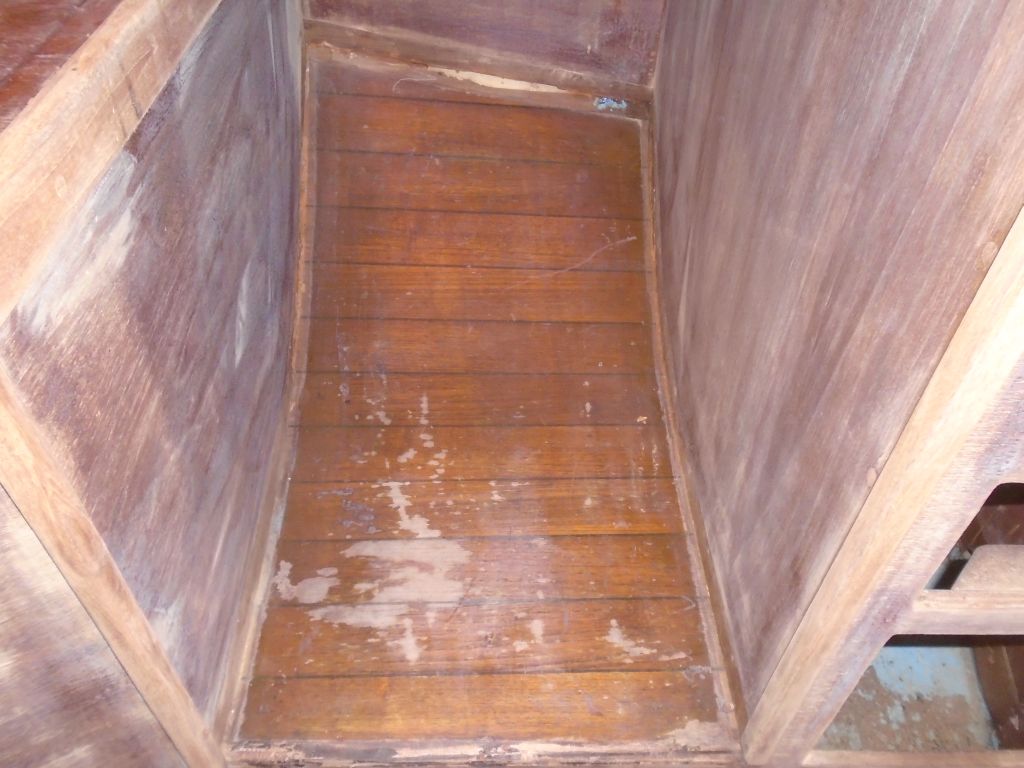
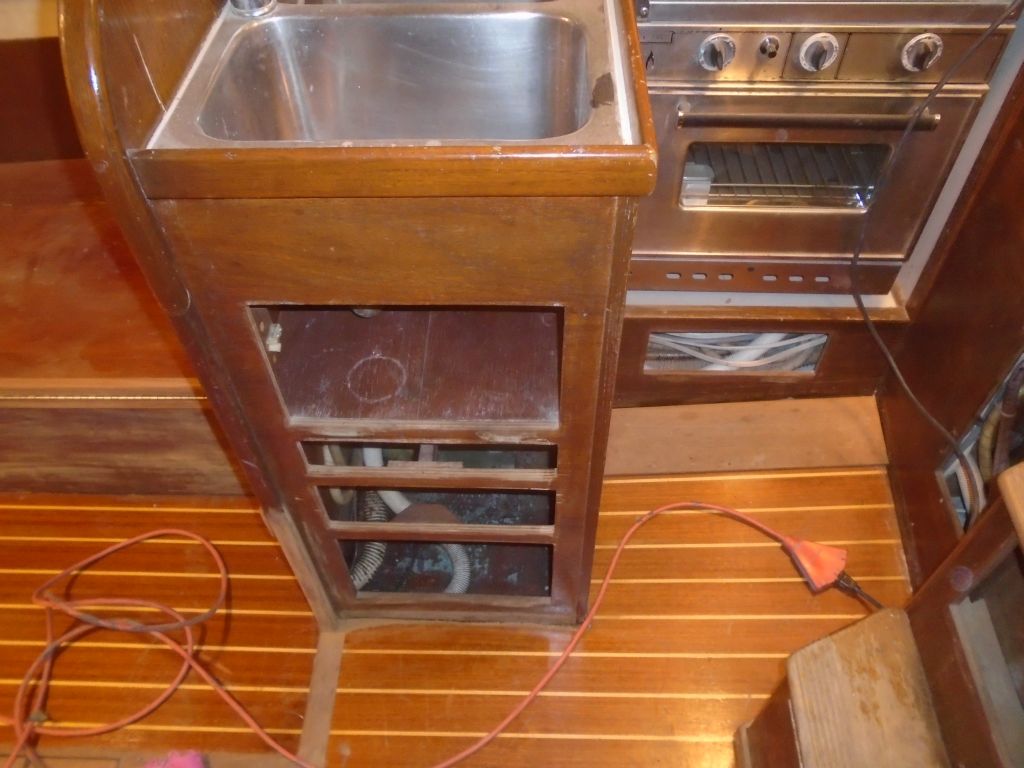
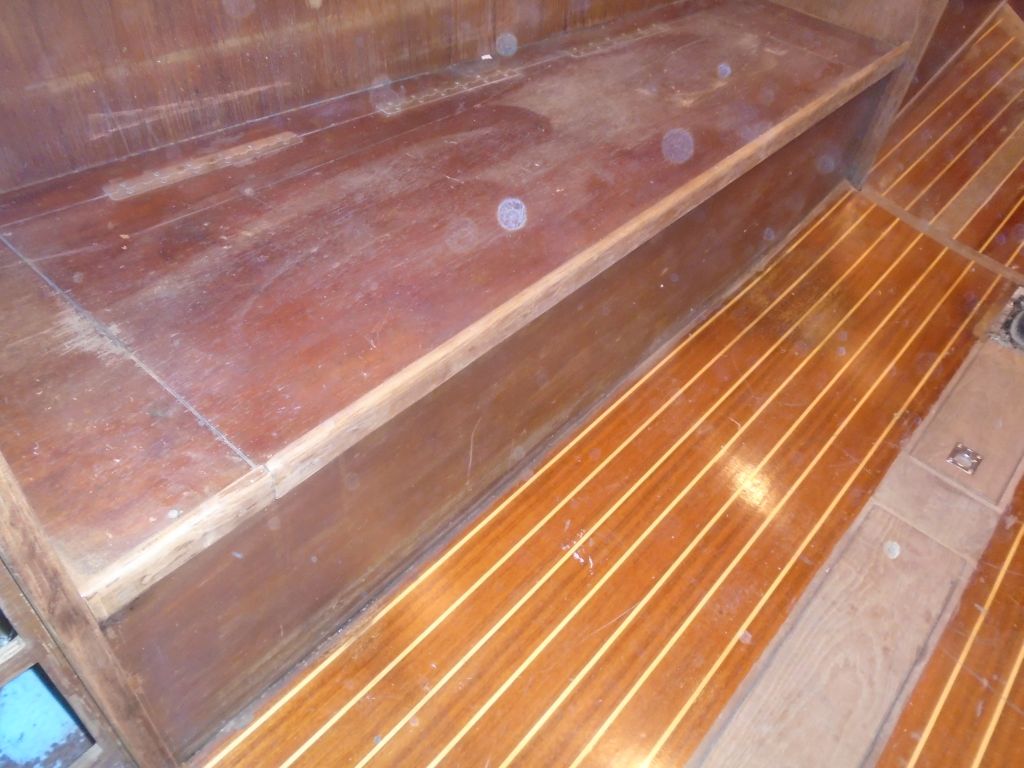
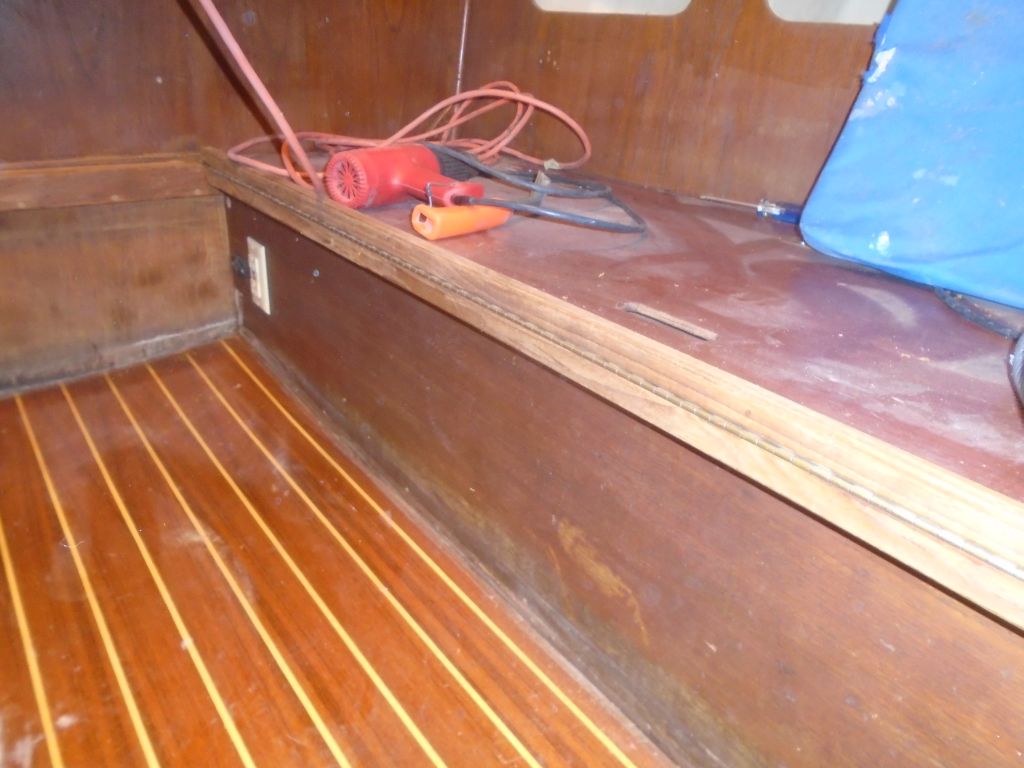
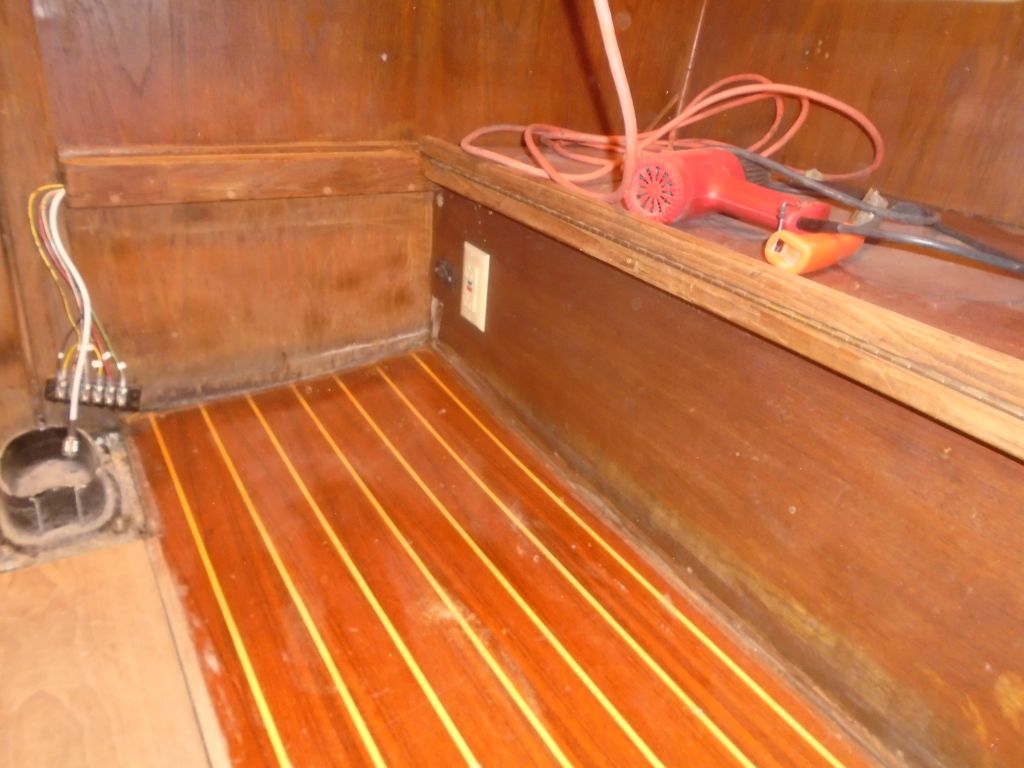
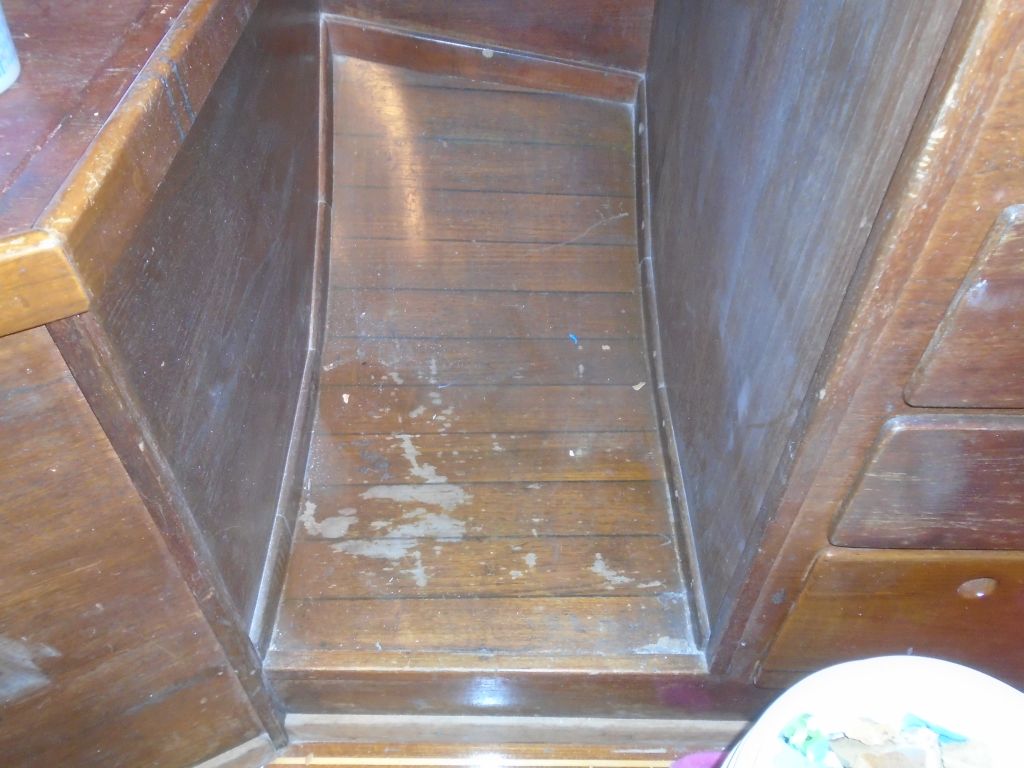
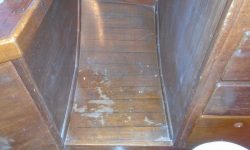
The main portion of the cabin sole had been replaced (or overlaid) with new teak and holly plywood at some point, but the small section of sole in the nav station footwell was still original.  I happened to have a piece of cabin sole plywood on hand, leftover from something else, and it would work well to finish off this final area.

originalinterior15-111816

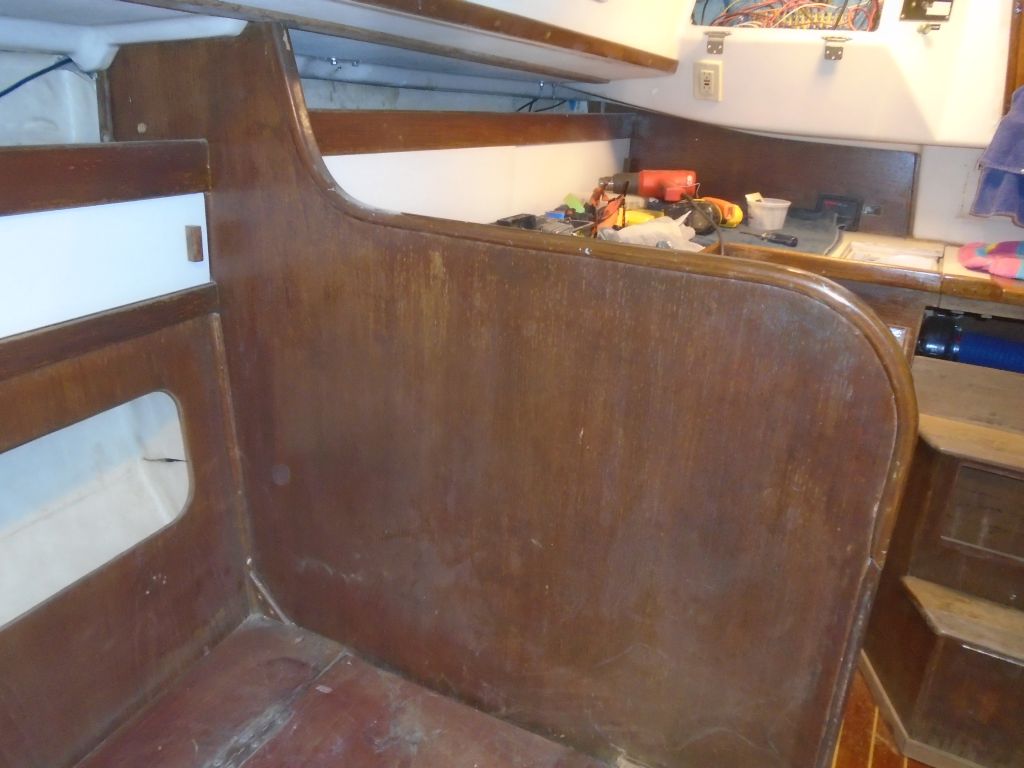
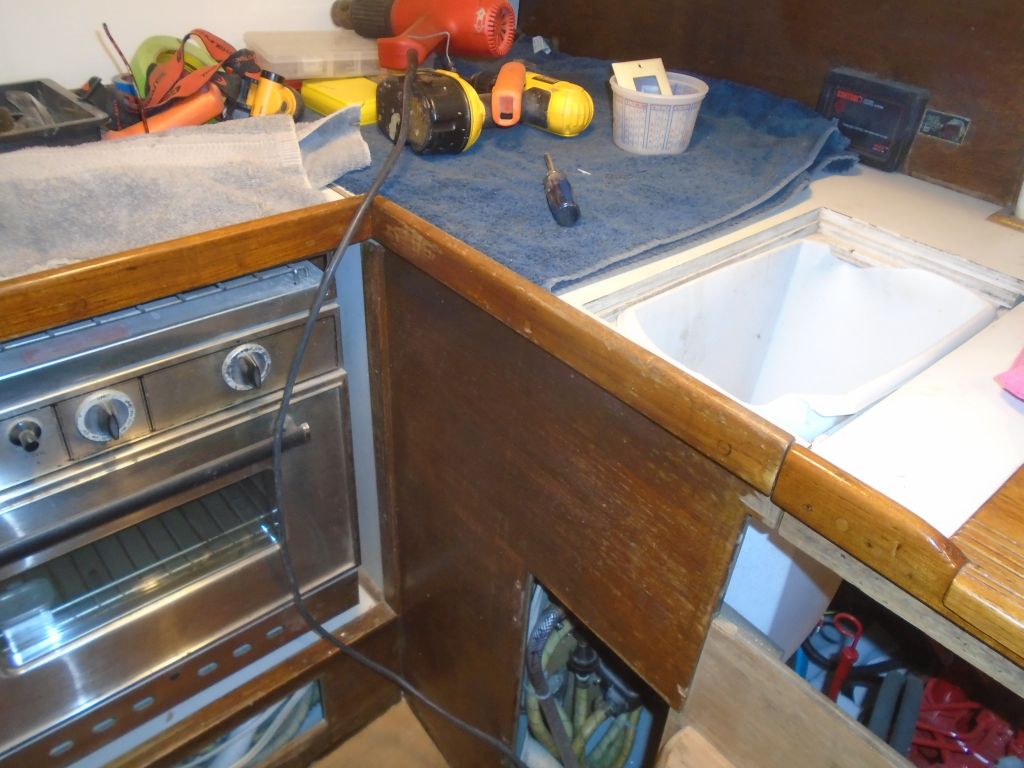
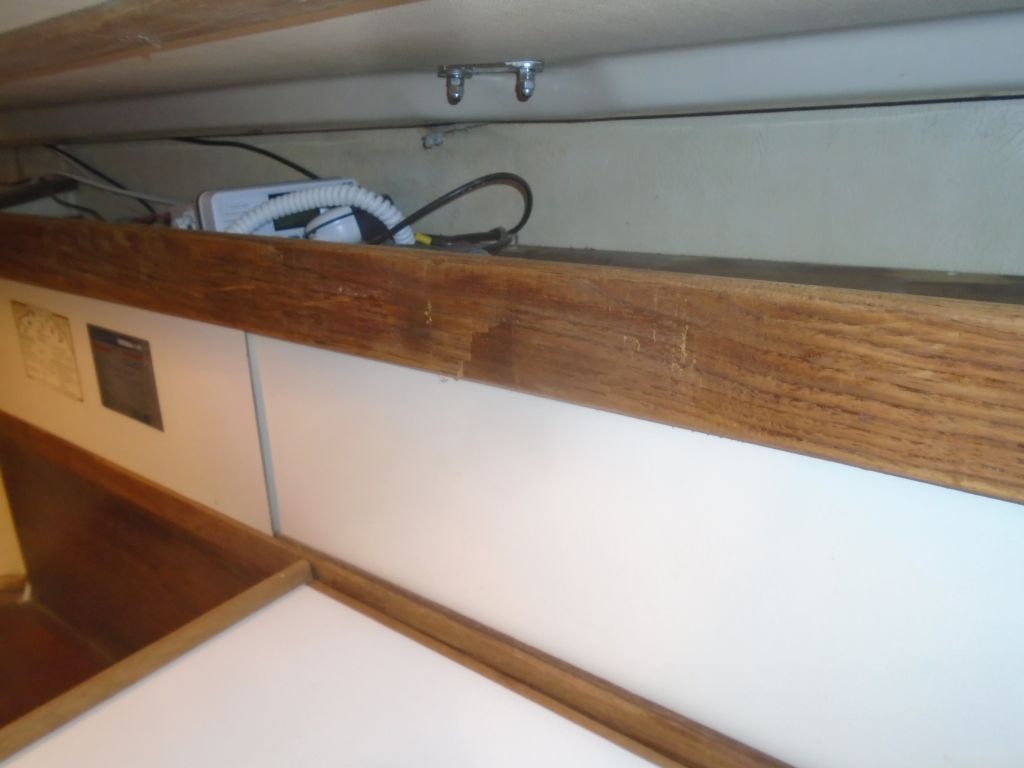
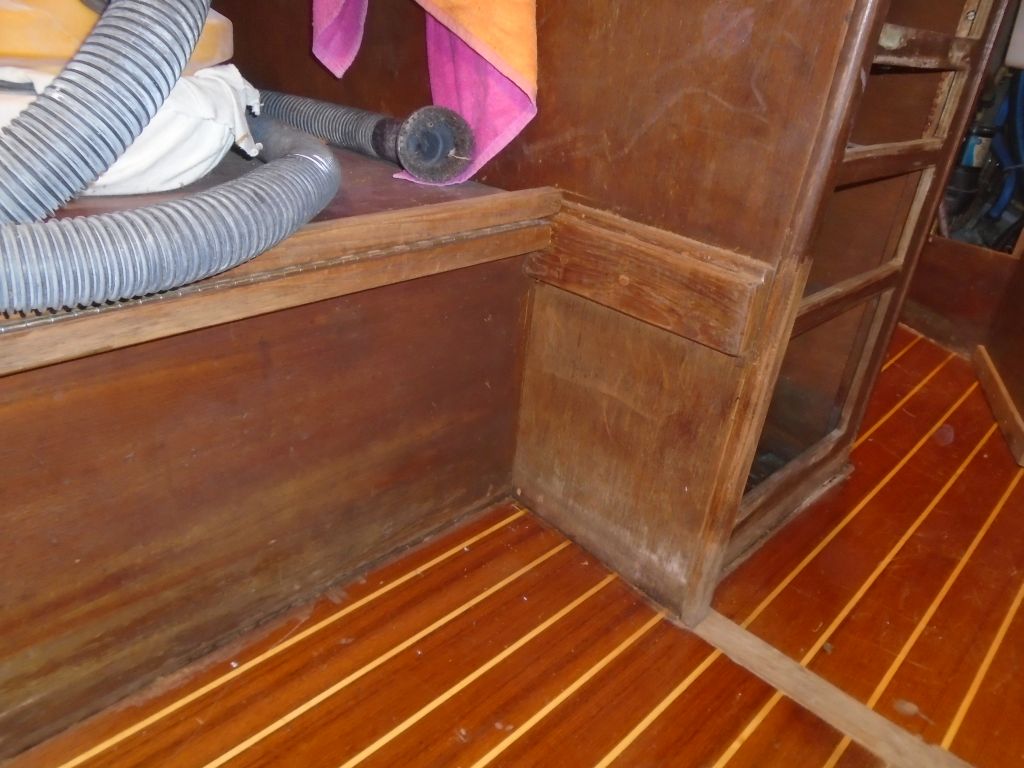
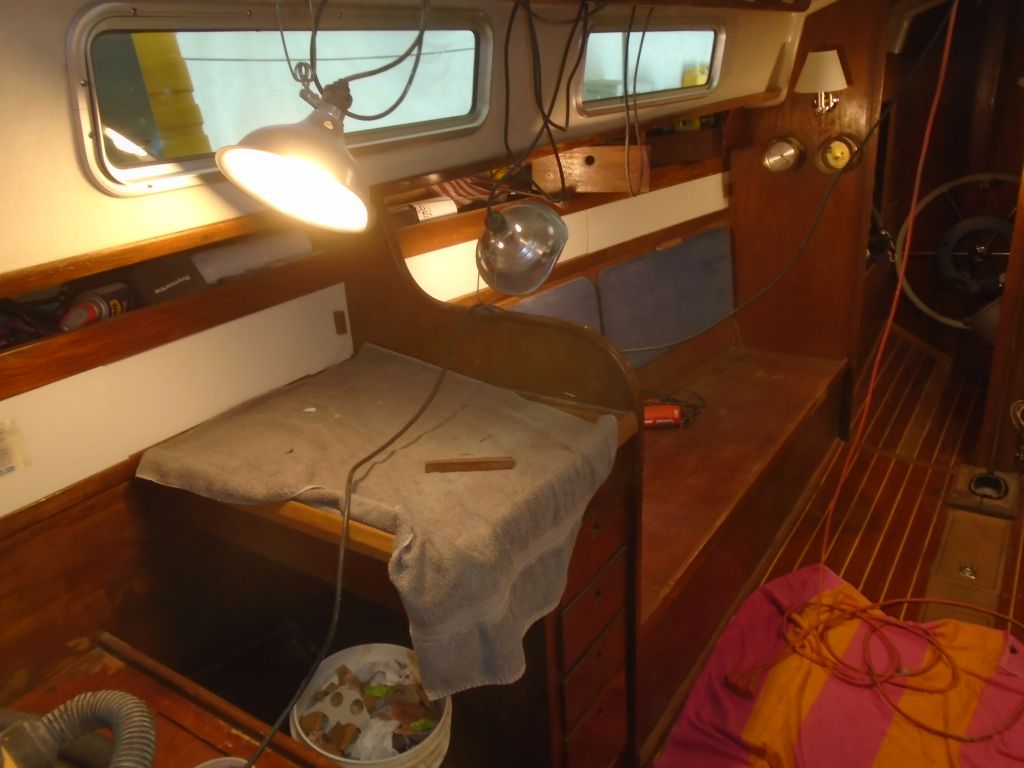
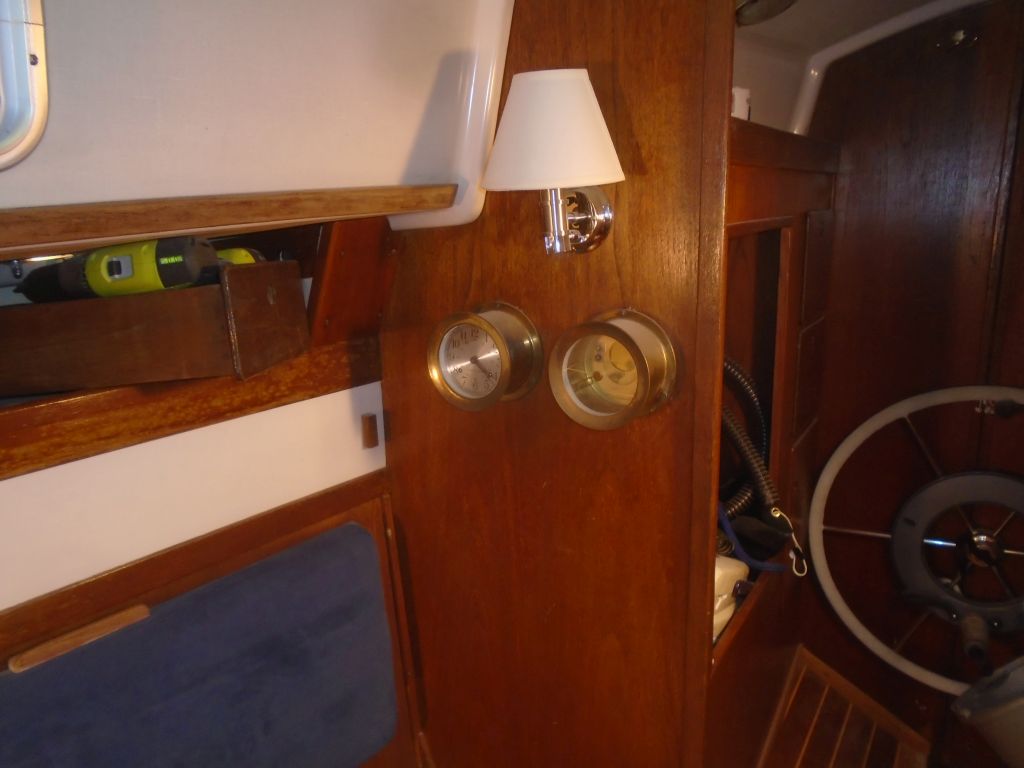
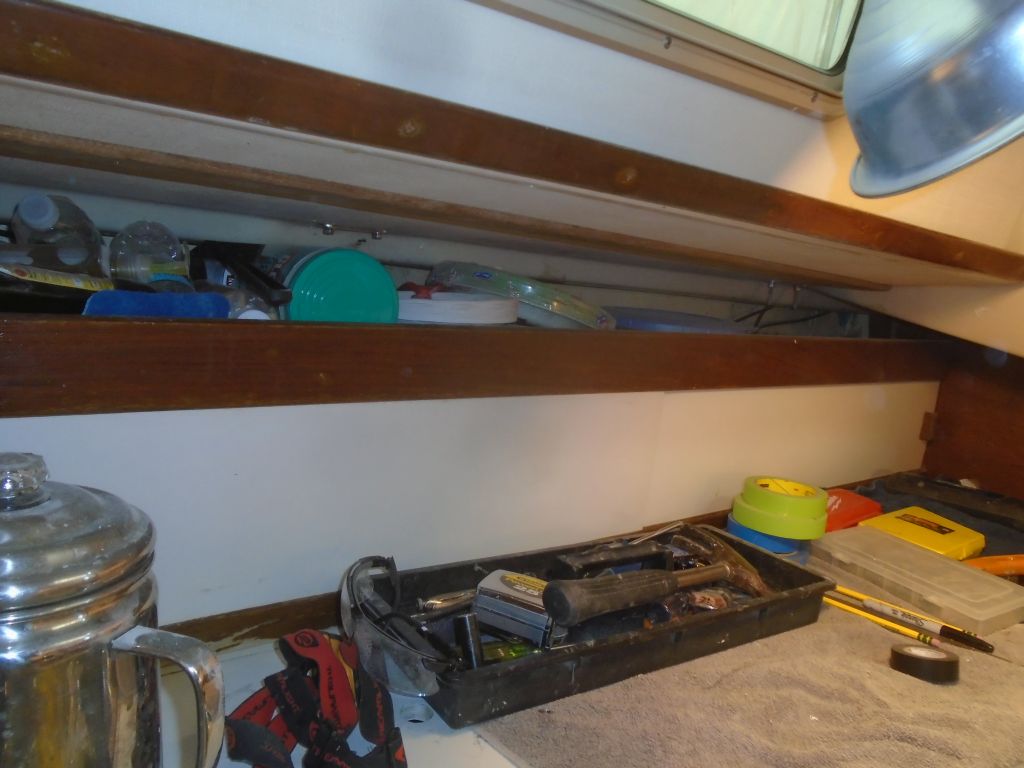
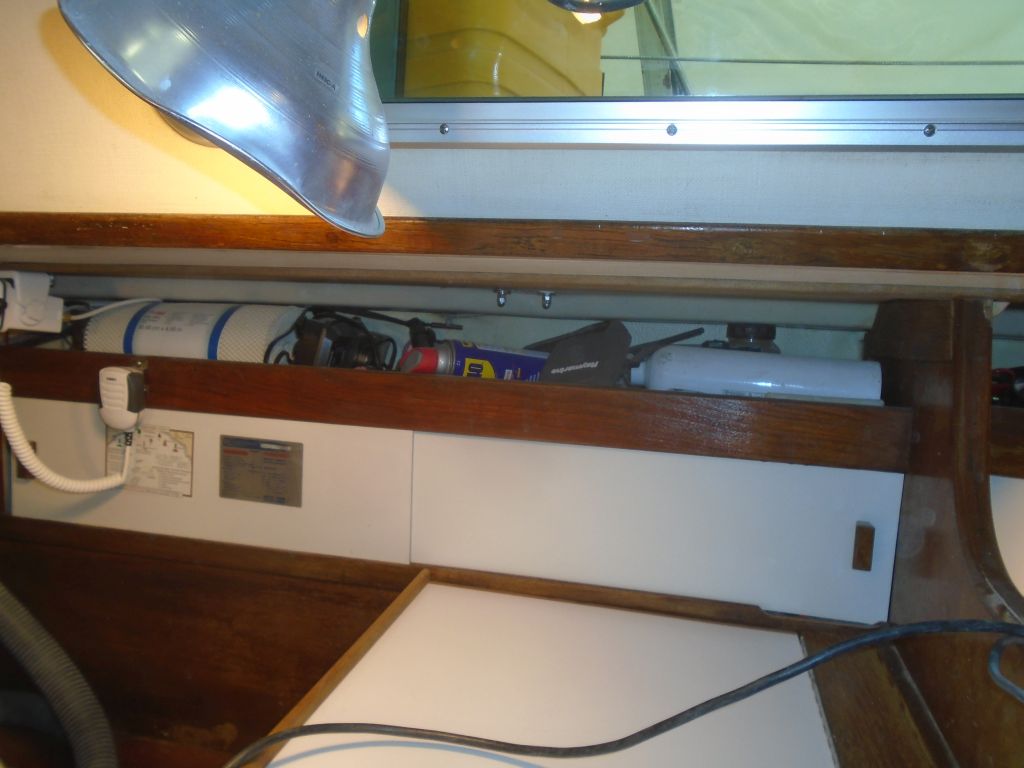
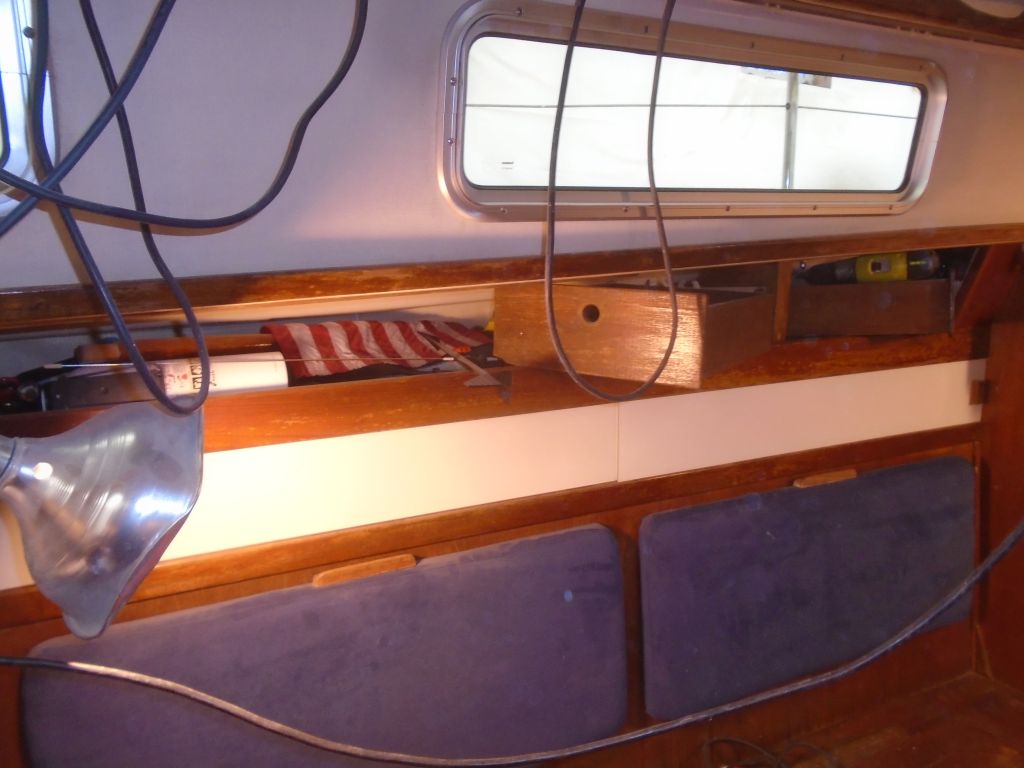
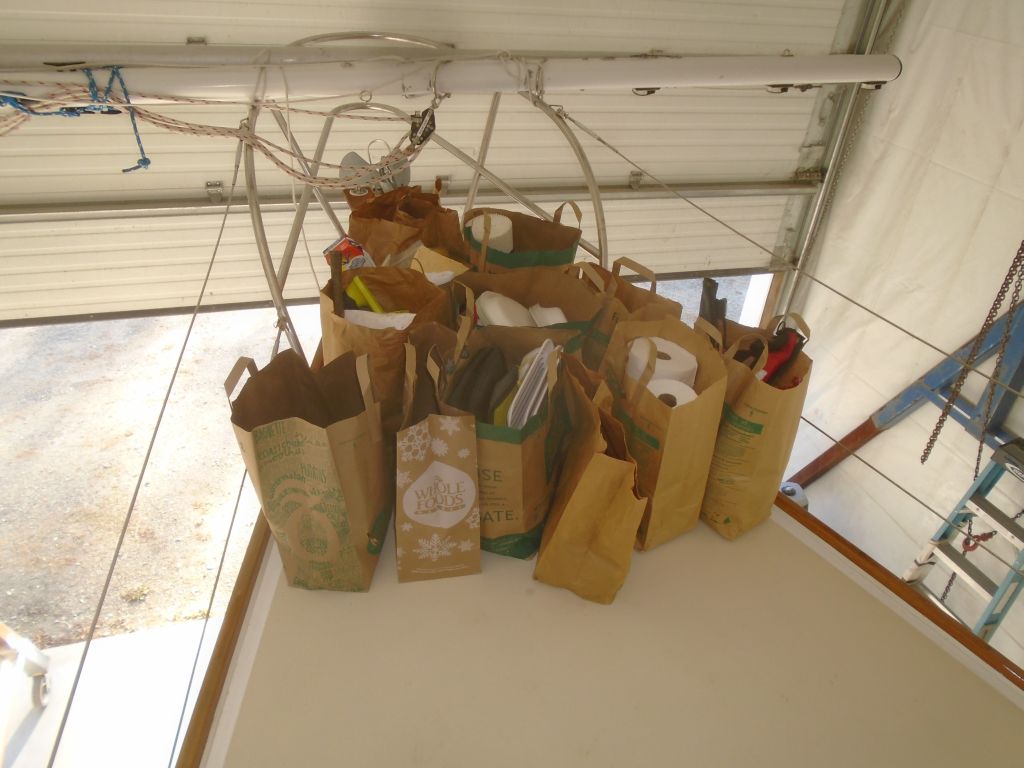
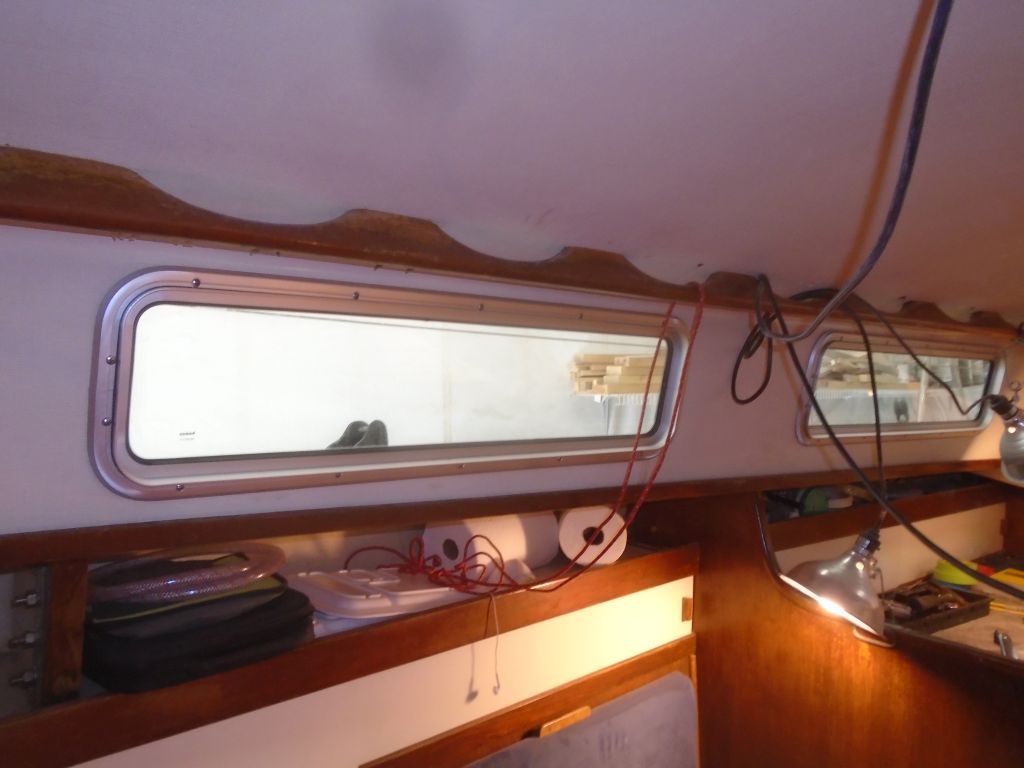
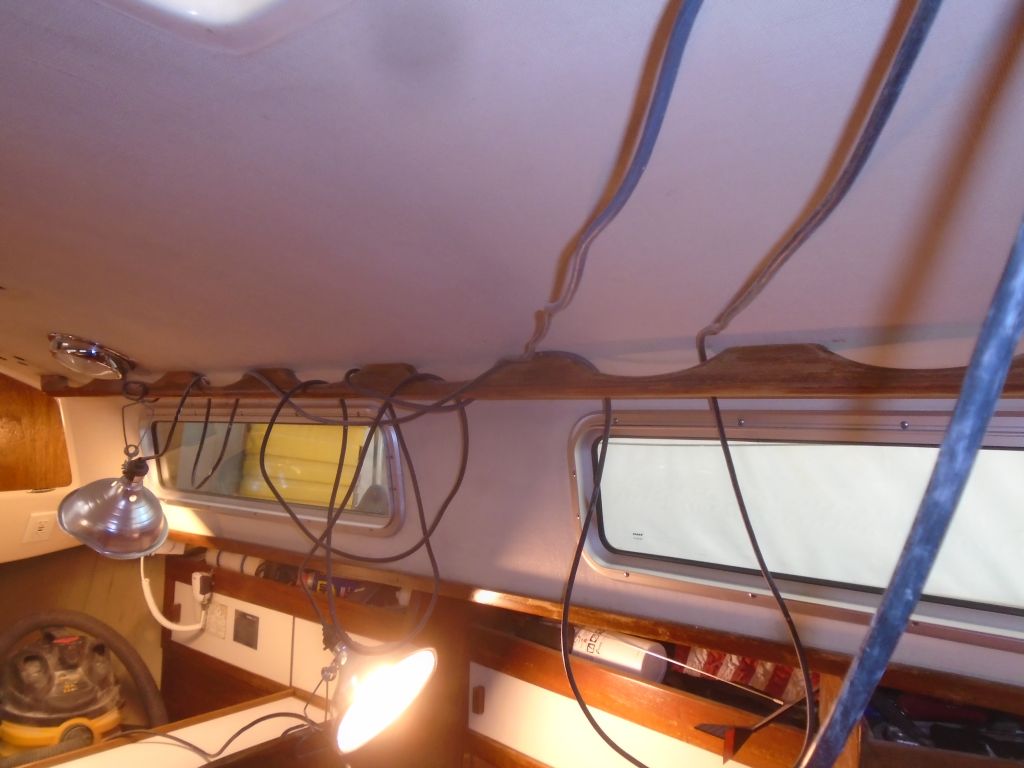
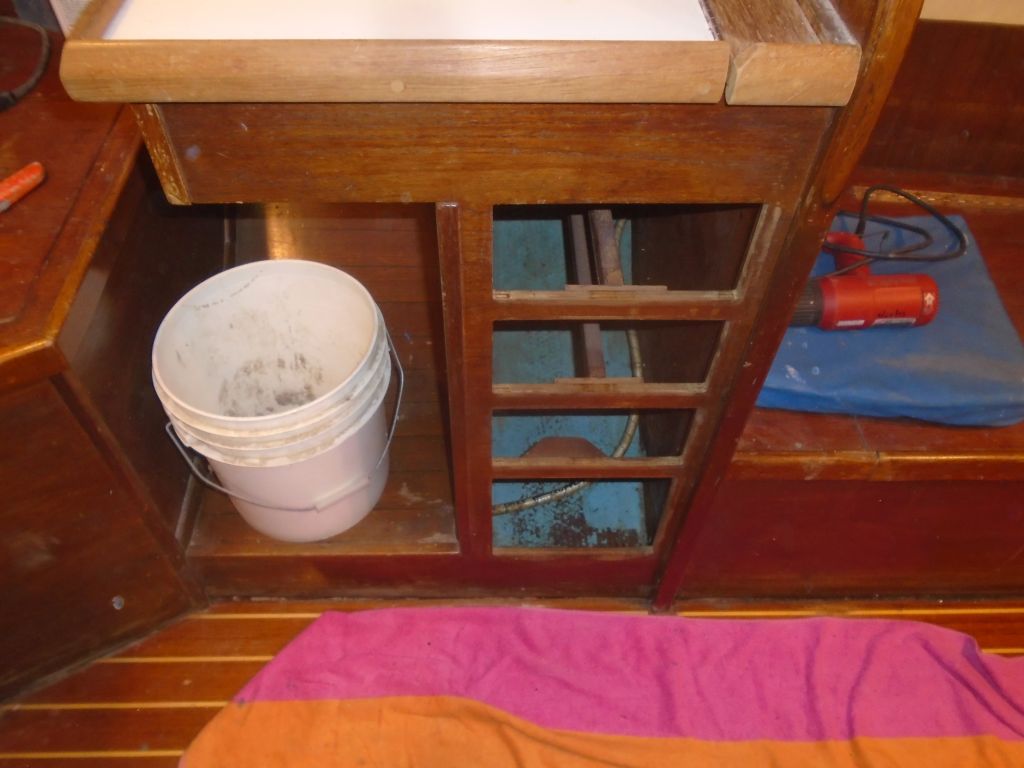
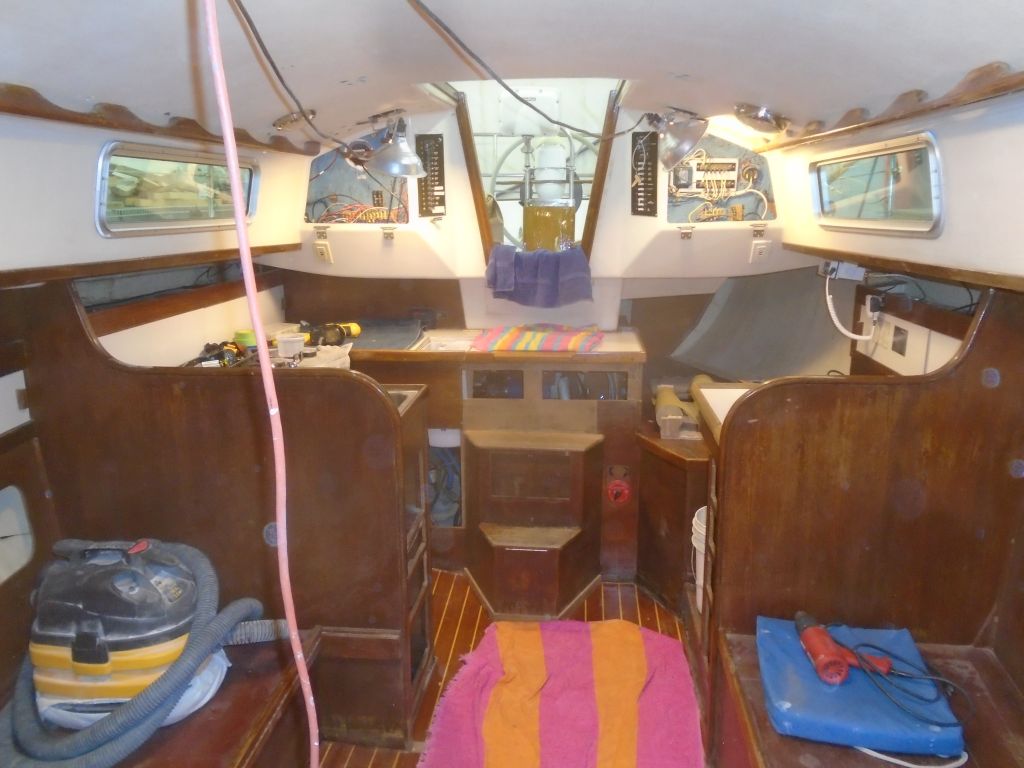
To prepare the cabin for the work ahead, I began by removing all the contents of the drawers, lockers, and overhead shelves, packing everything into a series of paper bags that I stored on the foredeck out of the way.

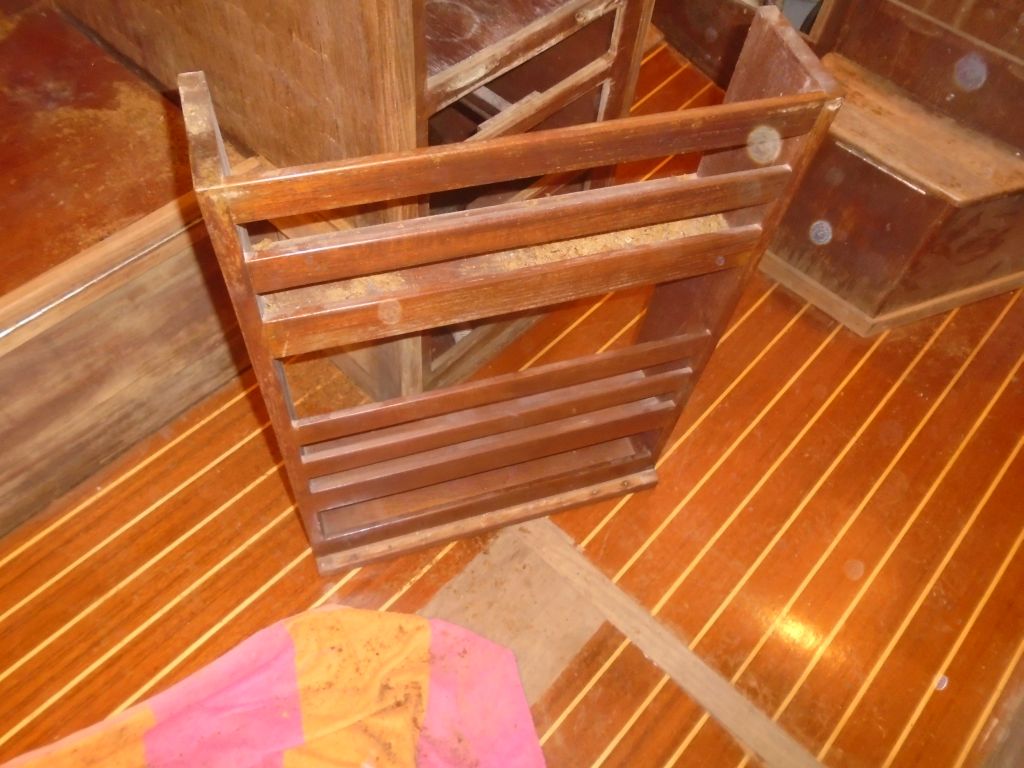
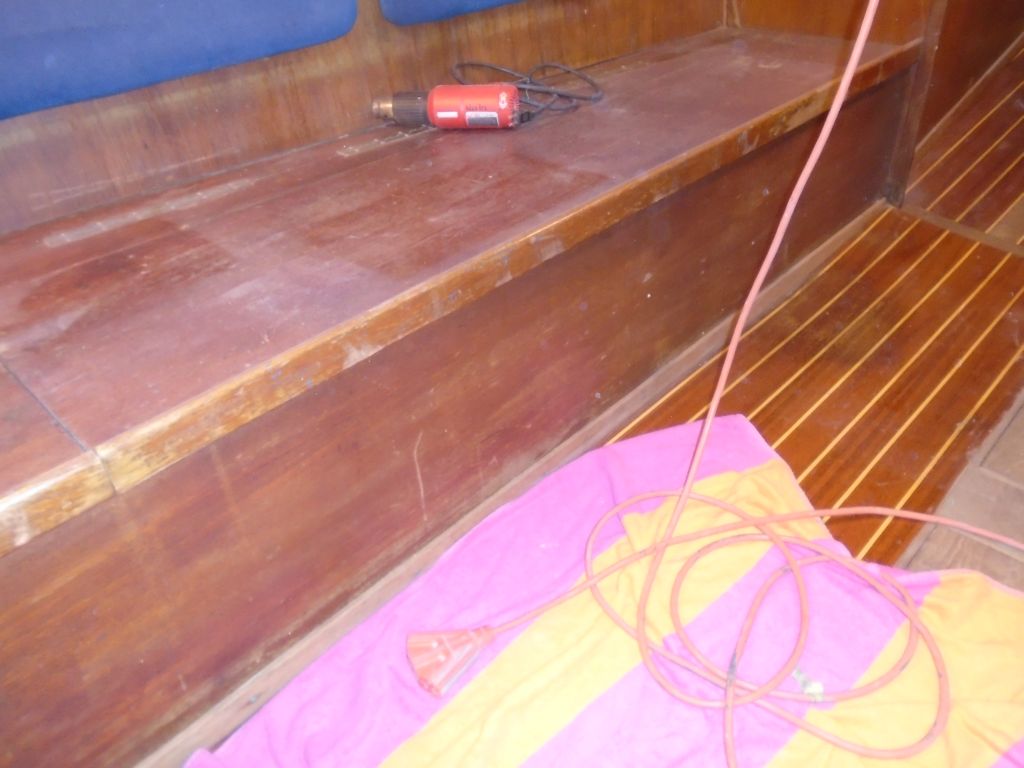
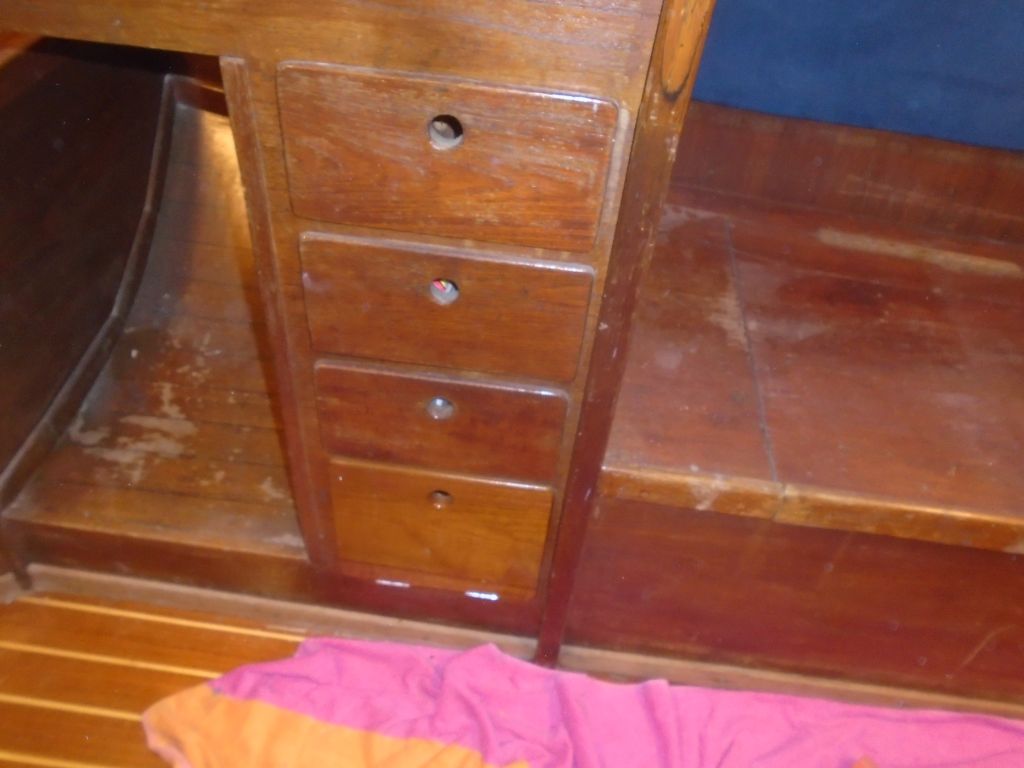
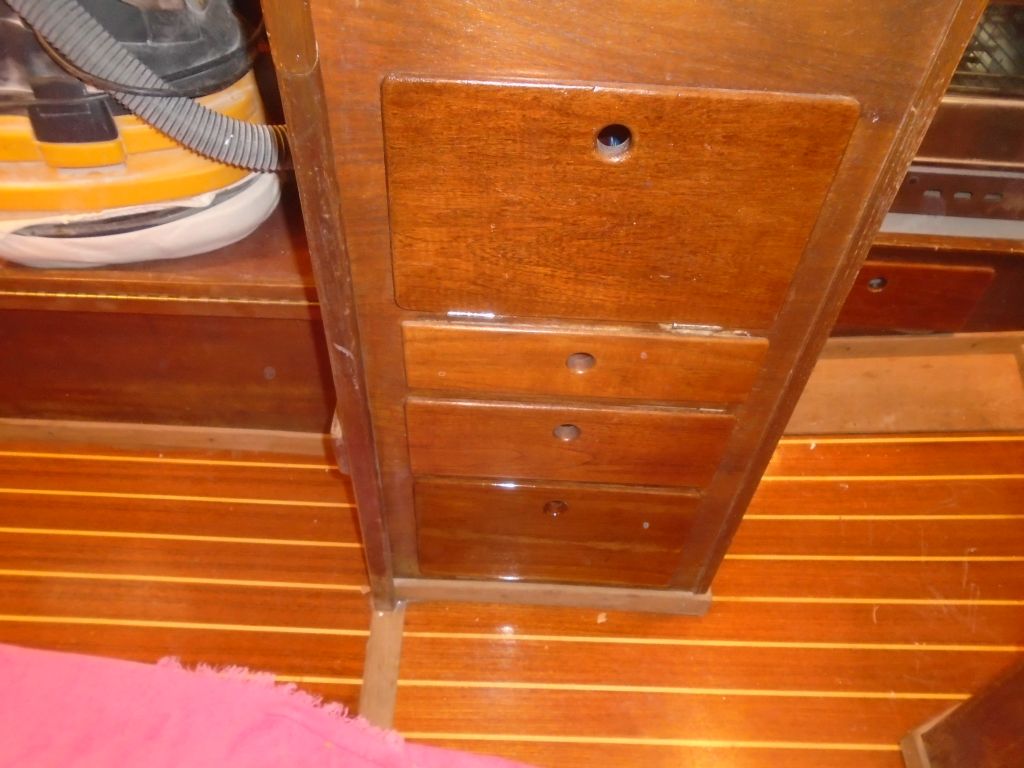
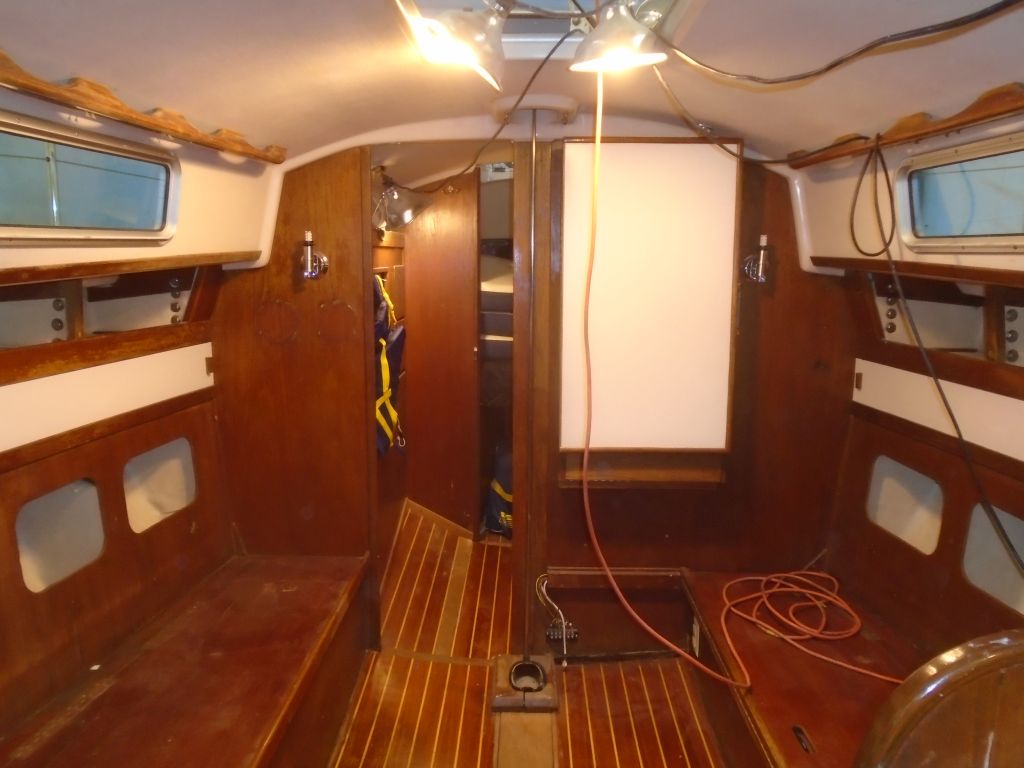
Now I went through the cabin and removed all the drawers, hinged door fronts, backrests, and the unfinished teak molding at the edge of the cabin sole, along with anything else that was removable and might impede the refinishing work.  I restrung my work lighting so the  cords were above deck and the lamps attached to places out of the way and where I wouldn’t be refinishing.   I brought all the drawers and doors, all of which would be finished bright, down to the bench for later attention.

Total time billed on this job today:  5.75 hours

0600 Weather Observation:
40°, clear.  Forecast for the day:  Sunny, high 50s

Acadia 40

< Back to Acadia

Thursday

With two good maintenance coats of varnish, I deemed the varnish work mostly complete, and went ahead and removed the masking tape from most areas.

I wasn’t happy with how the port coaming cap had turned out, so I sanded it again to prepare for another coat of varnish, which I’d do later in the day.  Meanwhile, I dismantled the staging, as I no longer needed it.

The new winches for the cabin top featured a different bolt pattern than the old ones, so I prepared the old holes for filling and marked the new holes before using a large bit to overbore the new bolt locations, removing the core so I could fill the voids with thickened epoxy.

Now that the cockpit paint and varnish work was complete, I installed the engine control panel in a bed of butyl tape, securing it with six screws.

The leading edge of the keel, where the ballast met the molded keel stub, had the usual minor crack, which the owner had opened up with a sander earlier, and now, after final preparations, I applied two layers of fiberglass over the hairline crack–a layer of 45° biax, and some lighter 90° cloth over the top.  Late in the day, I applied some fairing compound over the partially-cured fiberglass.  I also filled a small ground-out void in the rudder.

In the early afternoon, I had to take advantage of continuing unseasonably warm and pleasant weather to cover some boats outdoors in my care, but afterwards I finished up with another coat of varnish on the port coaming cap.

Total time billed on this job today:  4.75 hours

0600 Weather Observation:
40°, clear.  Forecast for the day:  sunny, 55

Acadia 39

< Back to Acadia

Wednesday

I started the day by sanding the first fresh coat of varnish, this time with 320 grit paper.  Afterwards, I vacuumed and solvent washed to prepare for another coat late in the day.

Meanwhile, I turned to the cockpit instruments.  With a third matching instrument display now on hand to replace the old round and obsolete instrument I’d removed from the port side, I drilled a 3-3/8″ hole in the blank cover plate I’d made and painted earlier, matching the two others that I’d pre-drilled.  Then, I installed the plates and instruments, using sealant on the backing plates  (the instruments had built-in gaskets) and securing the instruments from behind with wooden blocks and the instruments’ supplied screws.

New two-speed self-tailing winches arrived to replace the pair I’d removed from the cabin top earlier.  The new winches were the smallest size available with two speeds and self-tailing capacity, but of course the bolt pattern was different from that of the old winches (I expected this).  For now, I held off on further installation steps as I didn’t want to create drill spoils and dust while in the middle of a varnish project.  These winches came with a  plastic top cap and a little note from the manufacturer explaining that there’d been a temporary shortage of the normal stainless caps at the time of production, but with instructions how to request shipment of the proper caps at no cost, which I did at once.

After final preparations, I applied another coat of varnish to all the exterior brightwork.

Total time billed on this job today:  6 hours

0600 Weather Observation:
50°, rain.  Forecast for the day:  rain and clouds, 50s

Acadia 38

< Back to Acadia

Tuesday

I finished up the brightwork masking, taking care of the handrails, eyebrow trim, companionway, and cockpit.  I used mostly the low-tack masking tape for these areas.  This tape wasn’t so great to work with, but would be worth the frustration if it didn’t harm the white paint.  It didn’t stick well over nonskid, curves, and corners, so I found myself constantly pressing it back down throughout the day.

After final preparations, I moved right ahead with the first coat of varnish on all areas.

Total time billed on this job today:  4 hours

0600 Weather Observation:
Cloudy, 36°.  Forecast for the day:  clouds, rain overnight, 50.

Acadia 37

< Back to Acadia

Monday

To give me good working access to the toerails, I set up staging around the boat at deck height.

staging1-111416

The existing brightwork on deck was in good condition overall and well-maintained, but the most recent application of varnish was filled with brush marks and runs in many areas.  In some areas it was really pretty awful.

To prepare the brightwork for maintenance coats, I sanded everything with 220 grit paper–a little coarser than I’d normally use between maintenance coats–to smooth and otherwise prepare the surfaces, and remove the drips and rough texture left by the previous applicator.

After vacuuming and a solvent wash, I began to mask off the brightwork, beginning with the toerails,  Where I could, I used green masking tape, but anywhere the tape had to lie on the gloss deck paint I used blue low-tack masking tape, hoping it wouldn’t harm the finish the way masking tape had previously in the cockpit during the previous varnish application.   Mid-November and the big door wide open.

I’d continue the masking next time, as it was the end of the day I wanted to give the newly-painted cockpit areas an additional day before overmasking anyway.

Total time billed on this job today:  6.25 hours

0600 Weather Observation:
26°, clear.  Forecast for the day:  sunny, 55

Acadia 36

< Back to Acadia

Saturday

Anxious to see how the paint work turned out, and not wanting to leave the tape on the too-delicate existing paint surfaces any longer than required, I removed the masking tape, paper, and foam tape from all areas.  I was pleased with the end result in all areas–a notable improvement over the original peeled paint condition–and most of the blending was virtually unnoticeable thanks to the foam masking tape.  I thought I might work more on a few areas to better blend a couple harder paint lines than I liked, but also didn’t want to mess with the old paint any more than necessary lest I make matters worse once more.

Total time billed on this job today:  .75 hours


Acadia 35

< Back to Acadia

Friday

Over the course of a couple hours, I applied three coats of gloss white topcoat to the areas I’d prepared earlier, including the new instrument backs, using a small portable sprayer.

Total time billed on this job today:  2.5 hours

0600 Weather Report:
35°, partly cloudy.  Forecast for the day:  growing colder and windy through the day

Older posts Newer posts