(page 3 of 8)

Acadia 54

< Back to Acadia

Monday

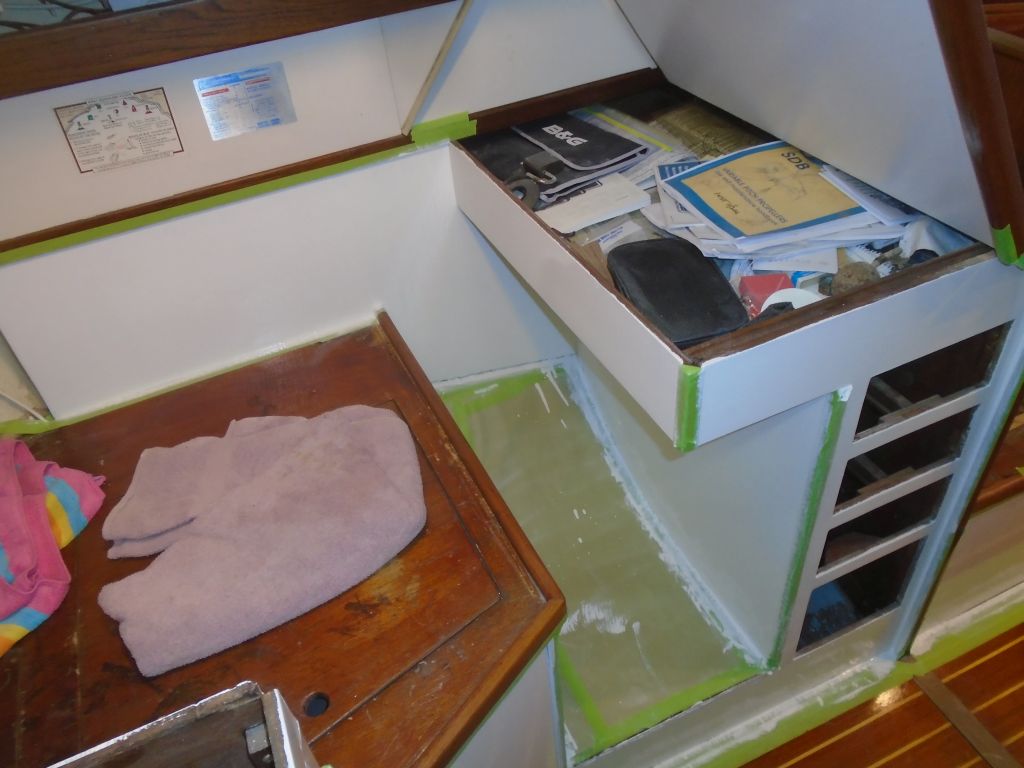
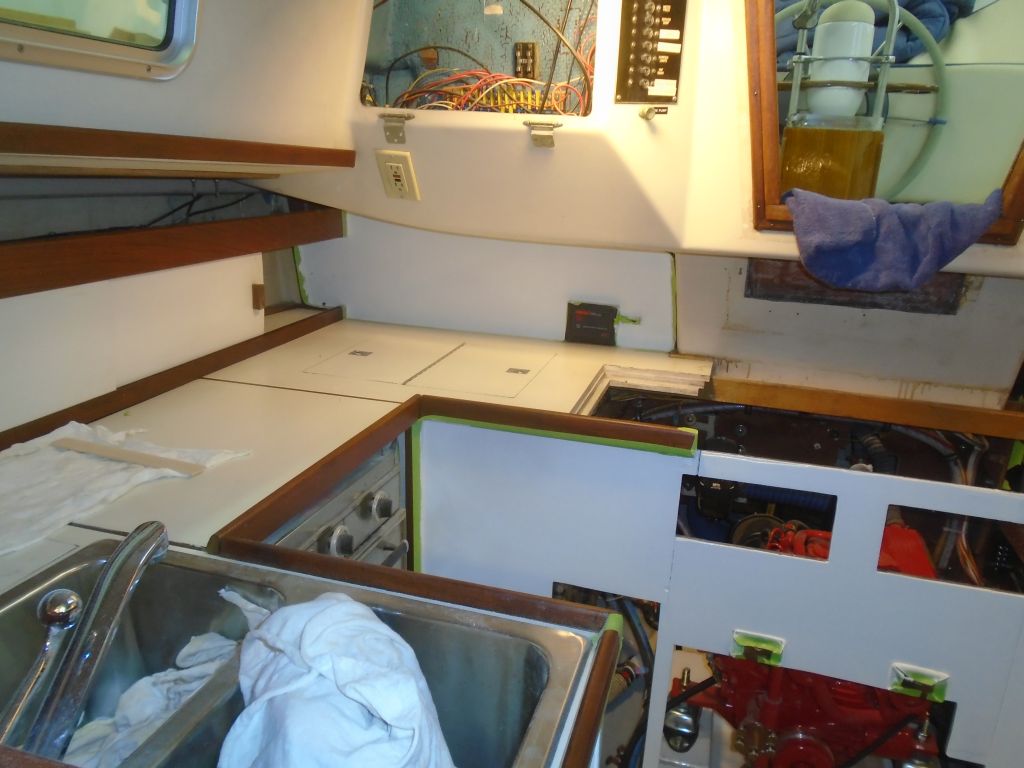
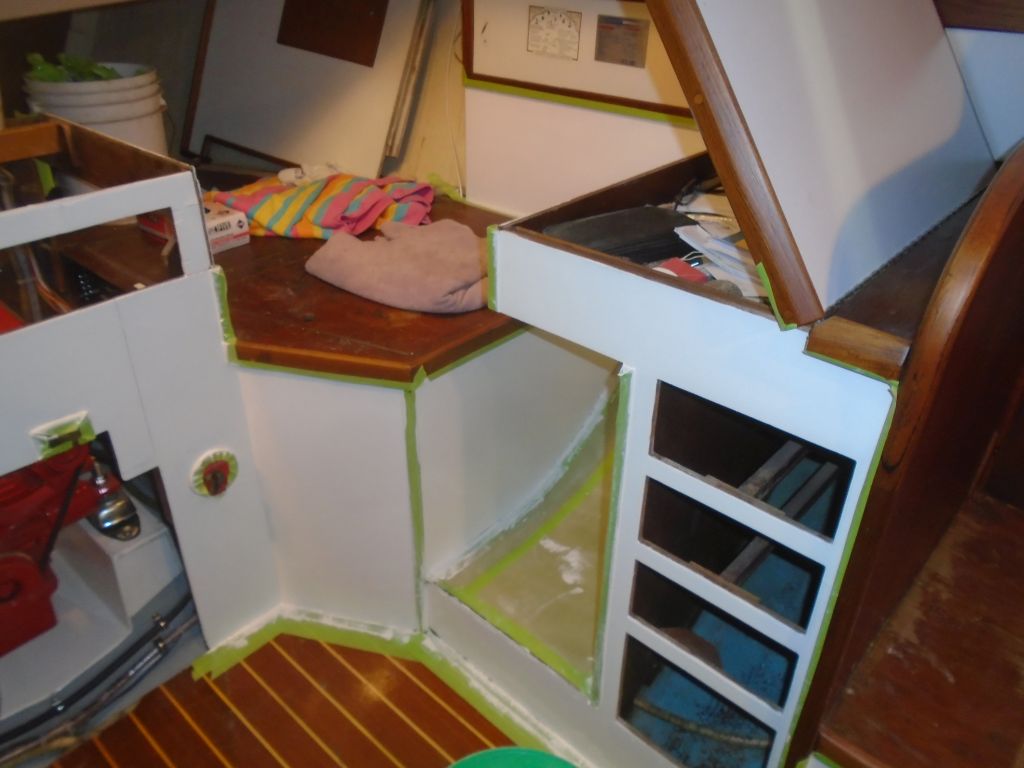
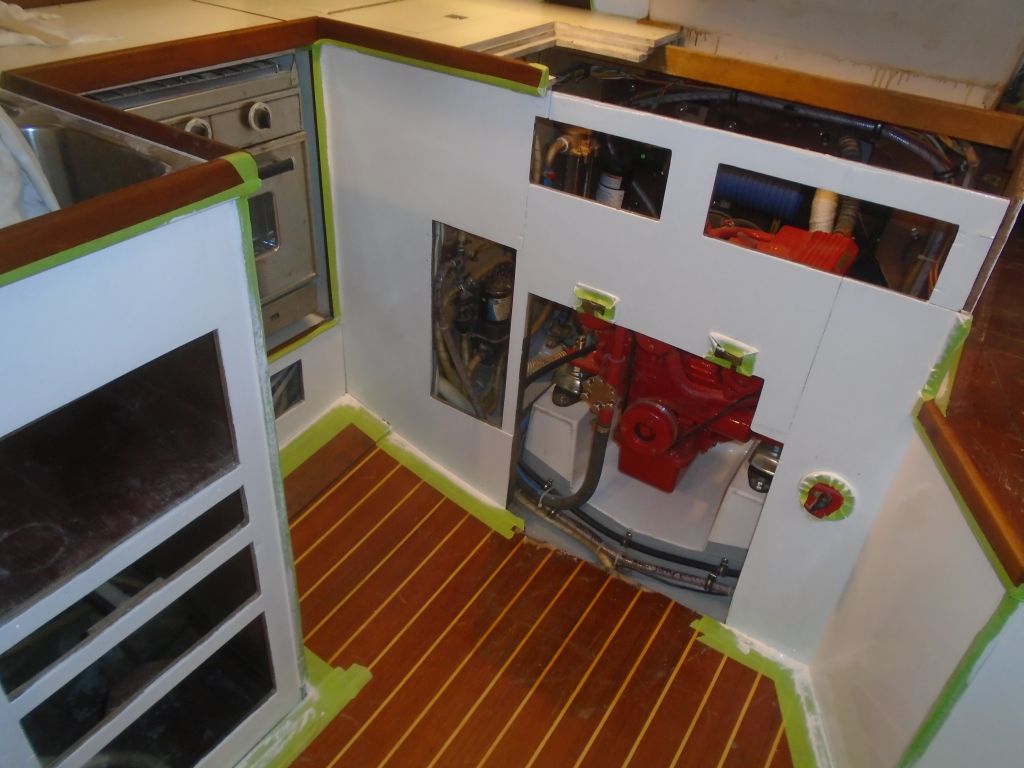
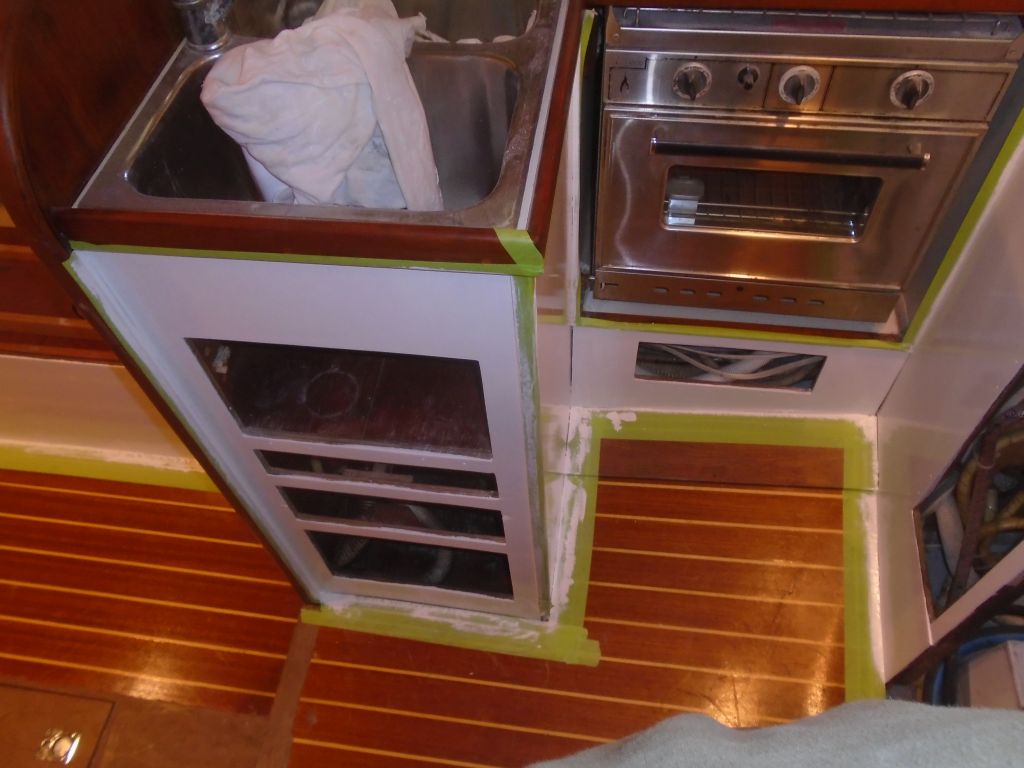
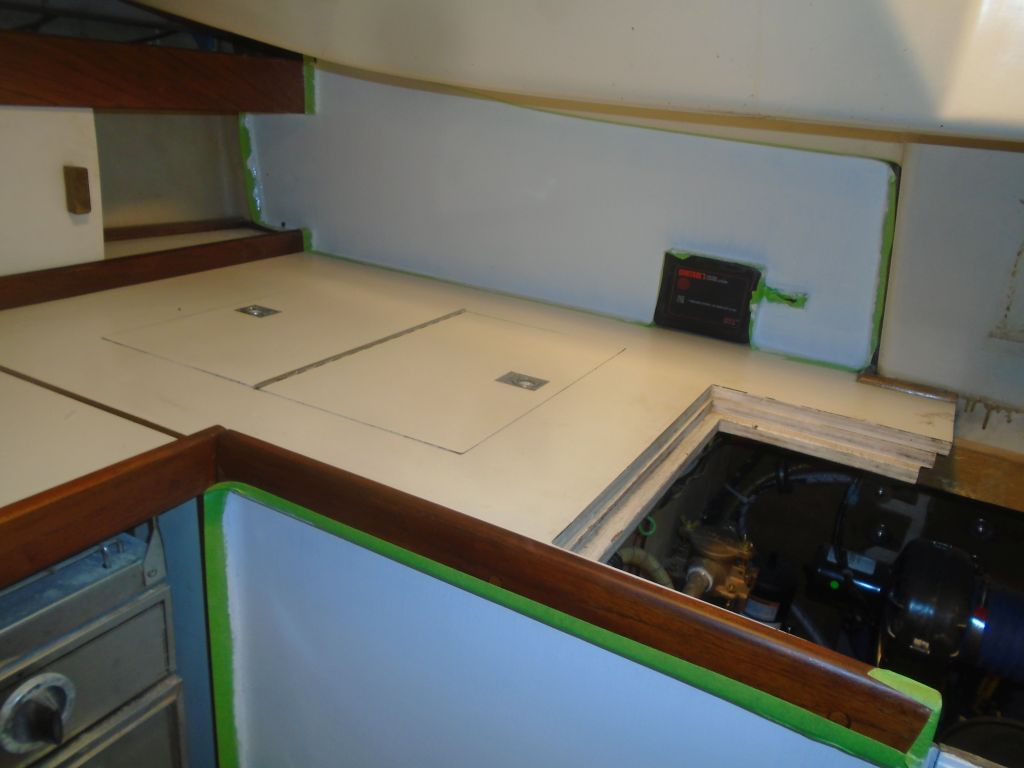
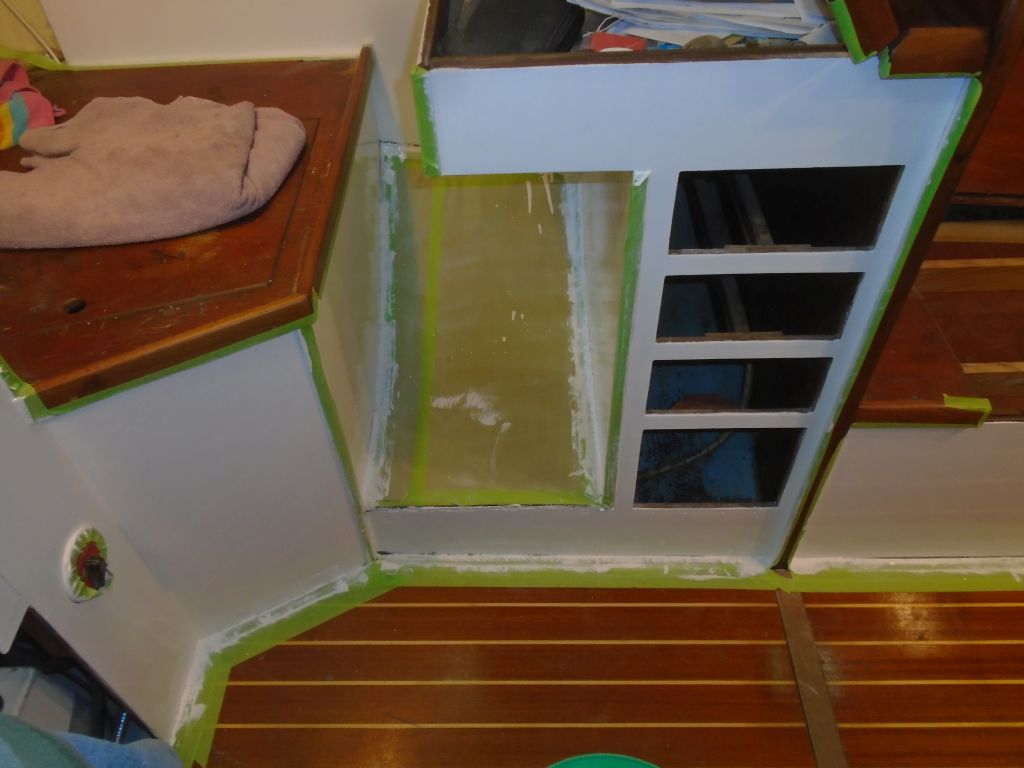
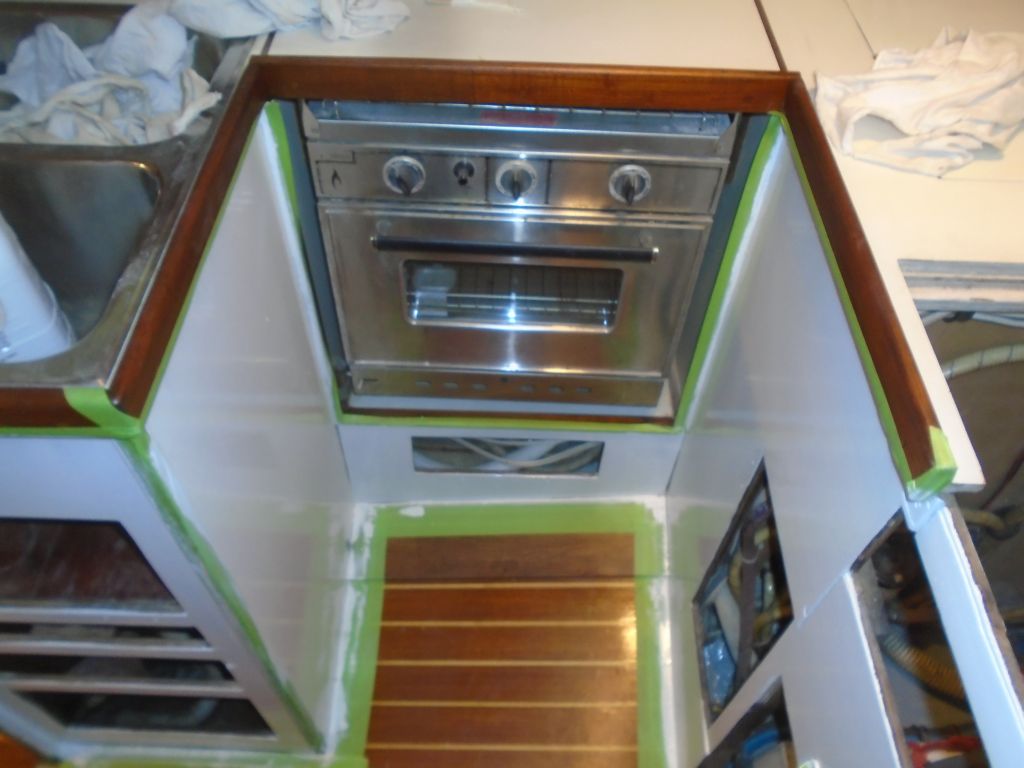
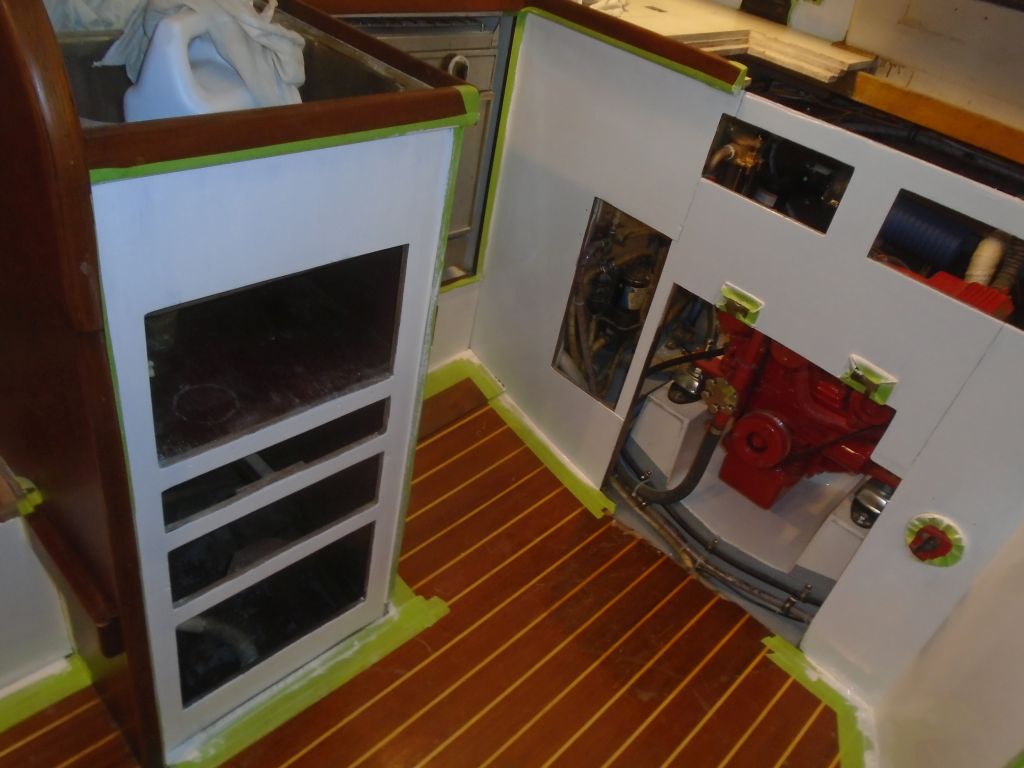
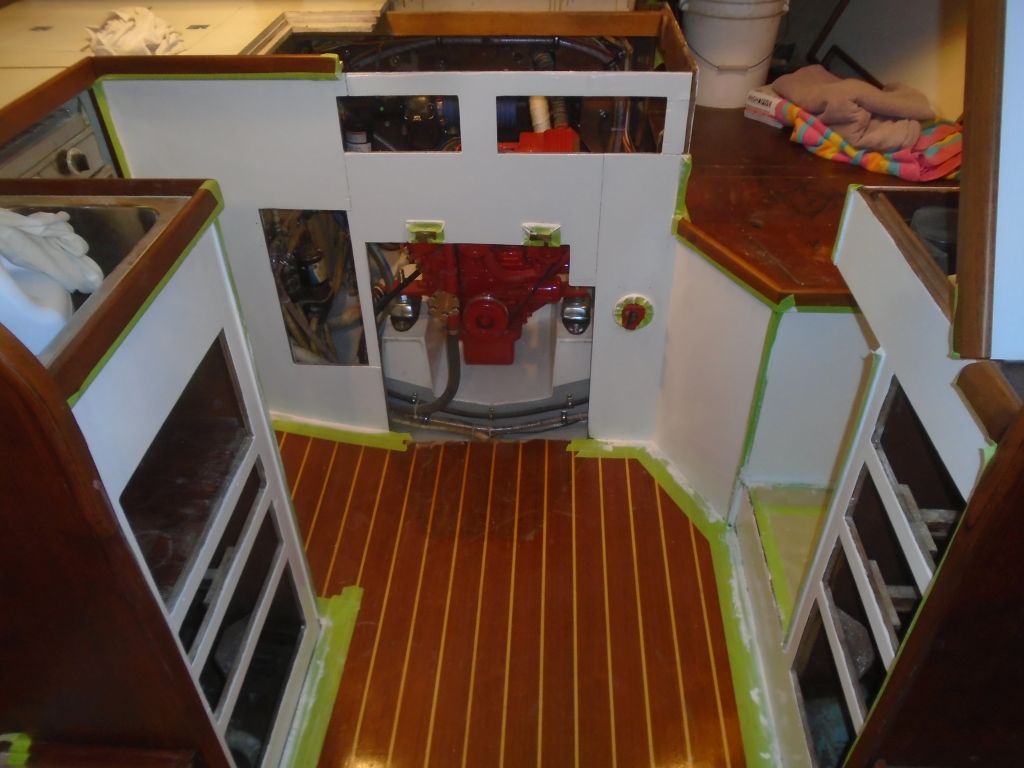
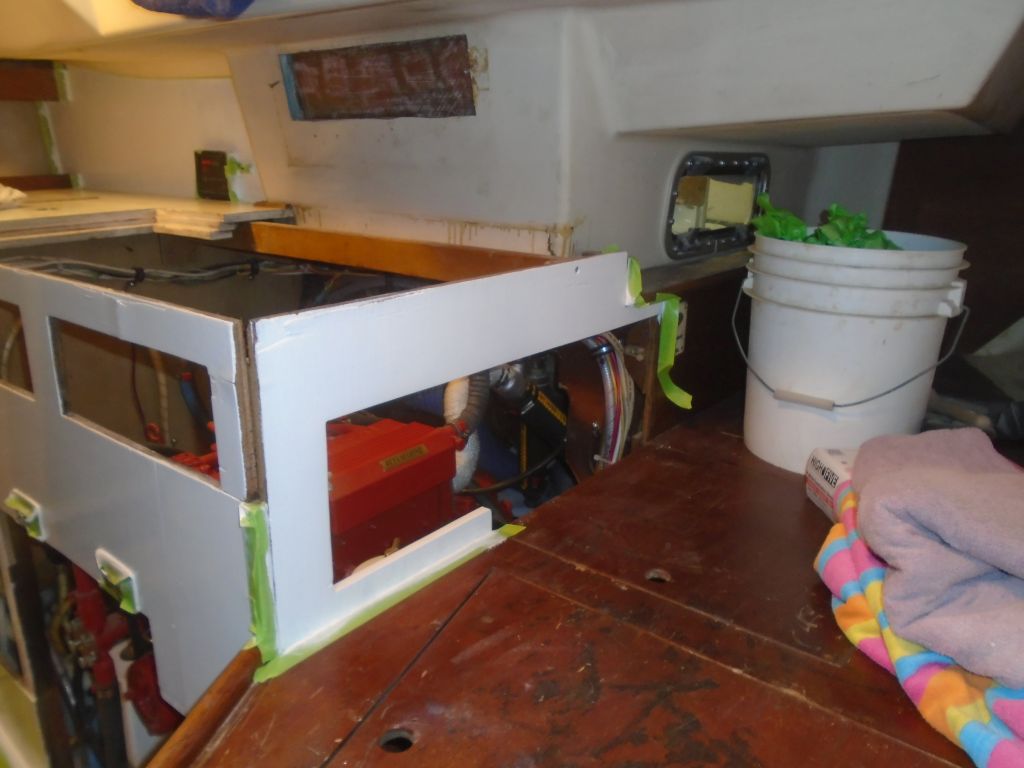
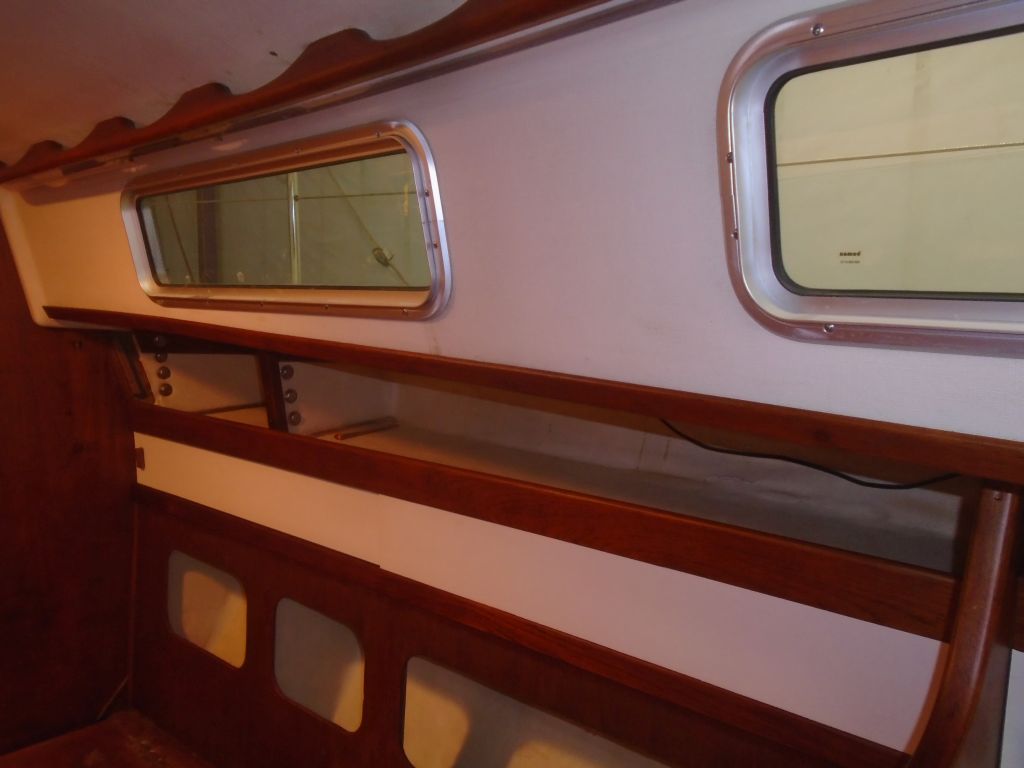
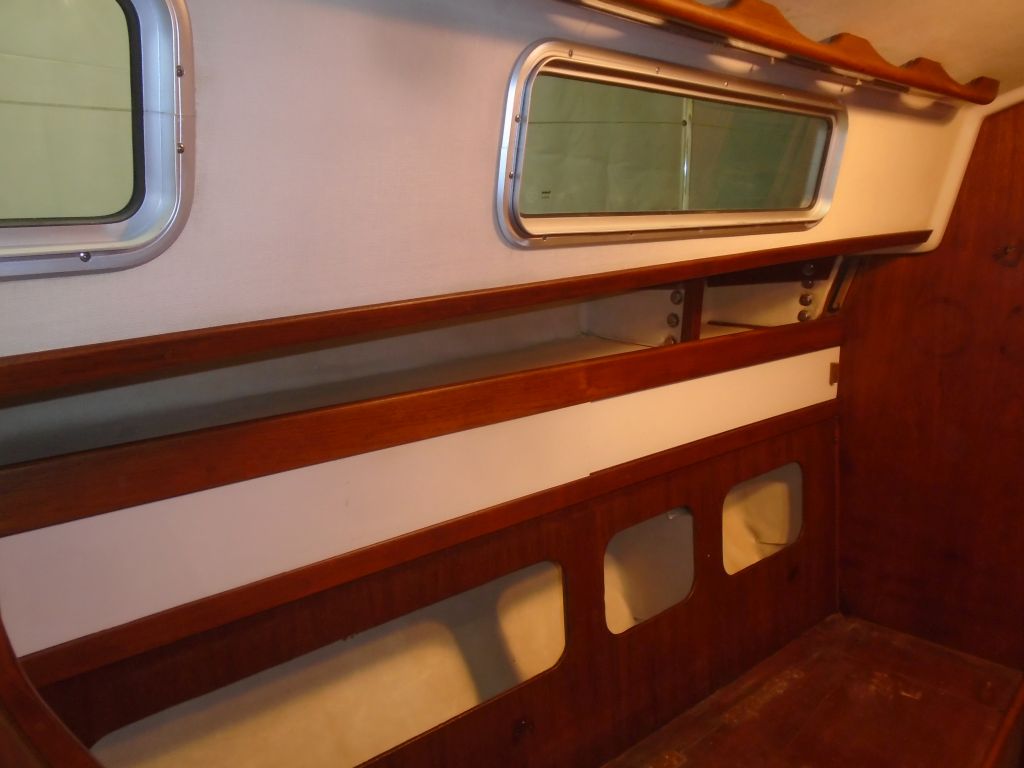
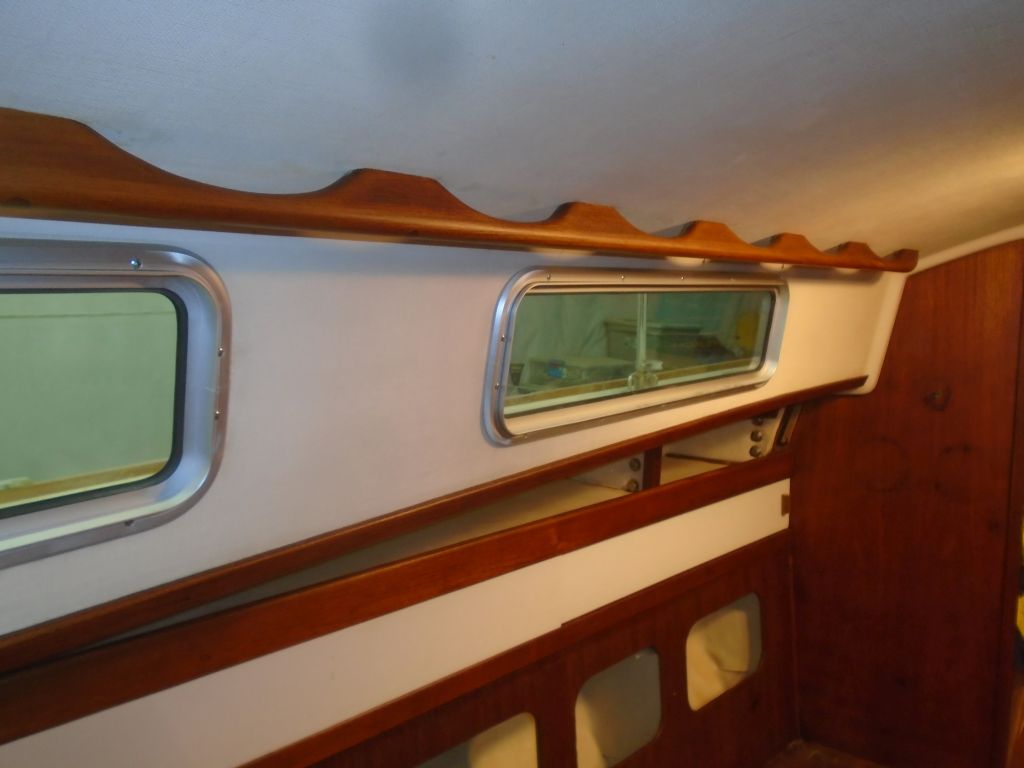
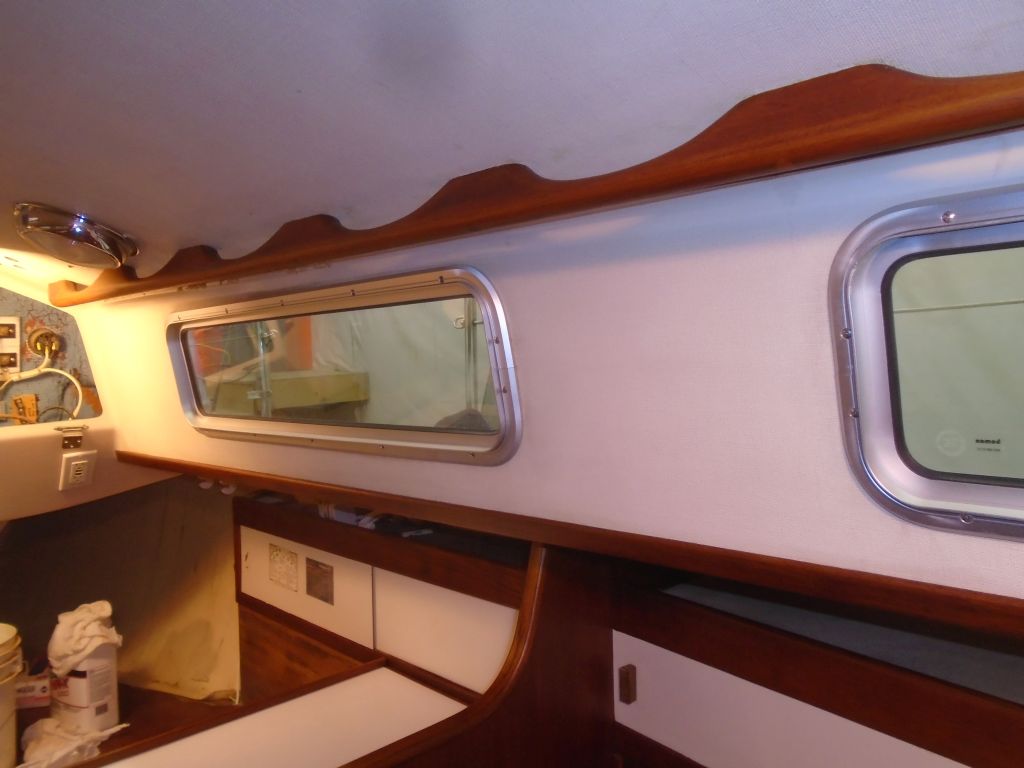
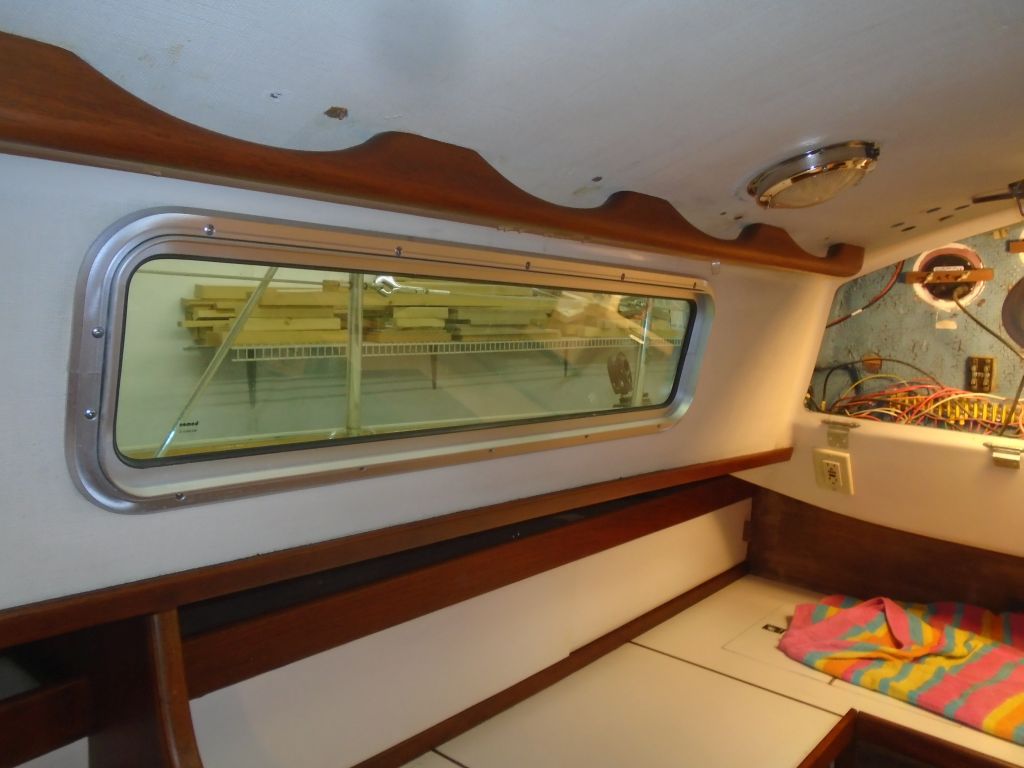
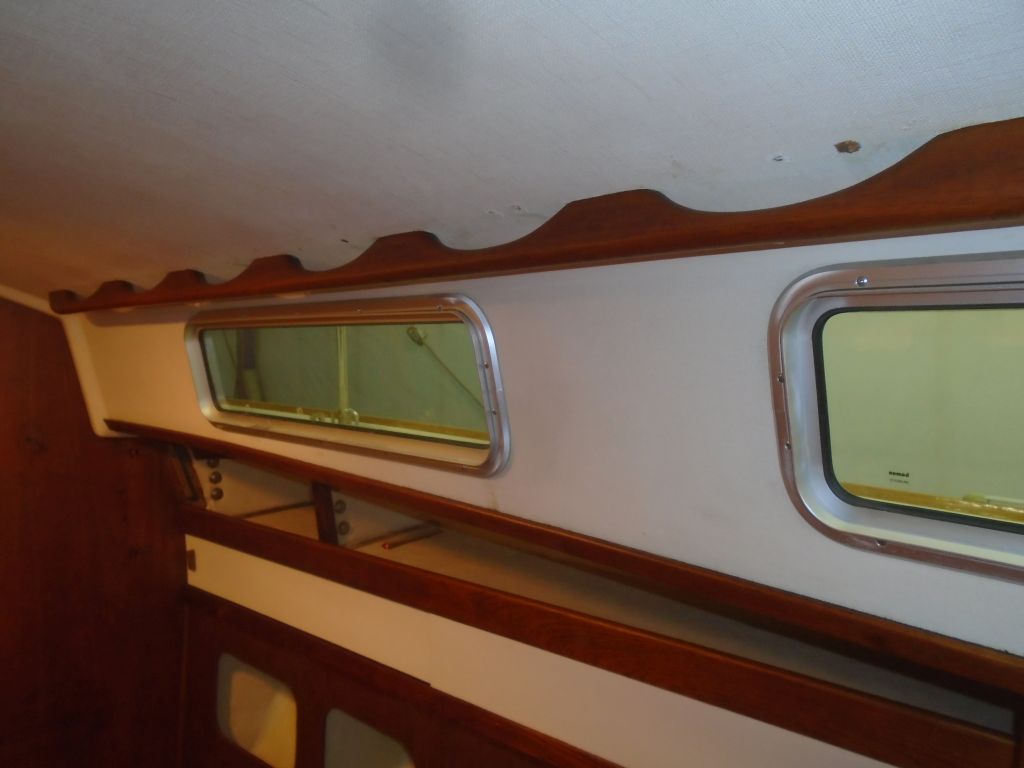
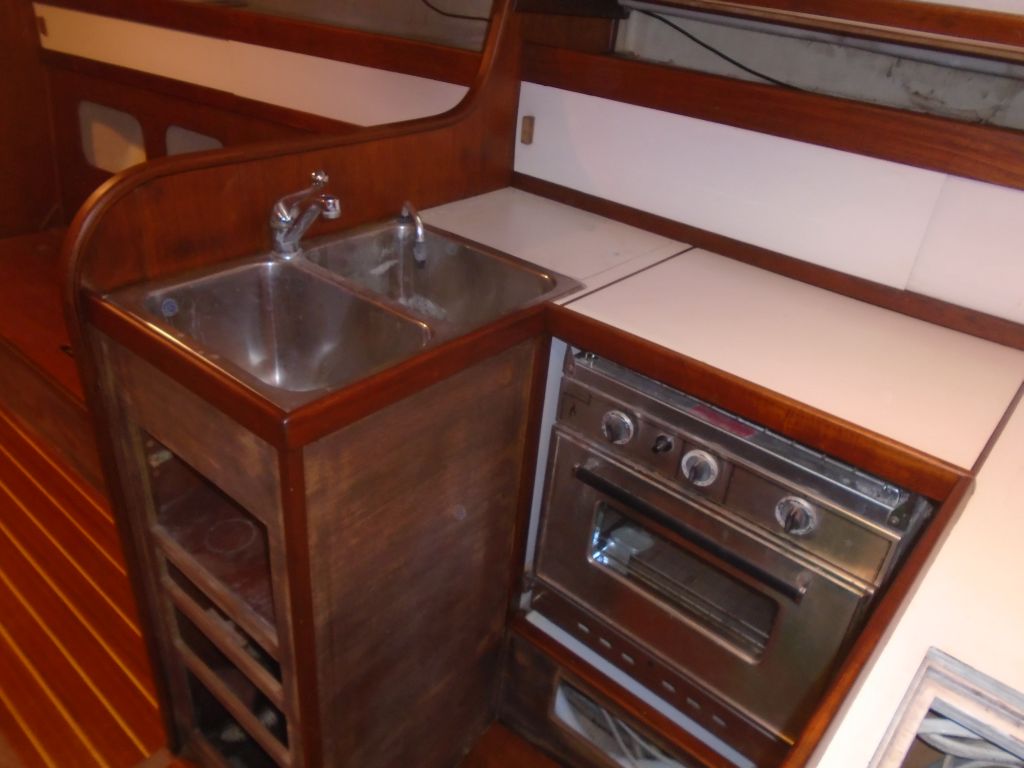
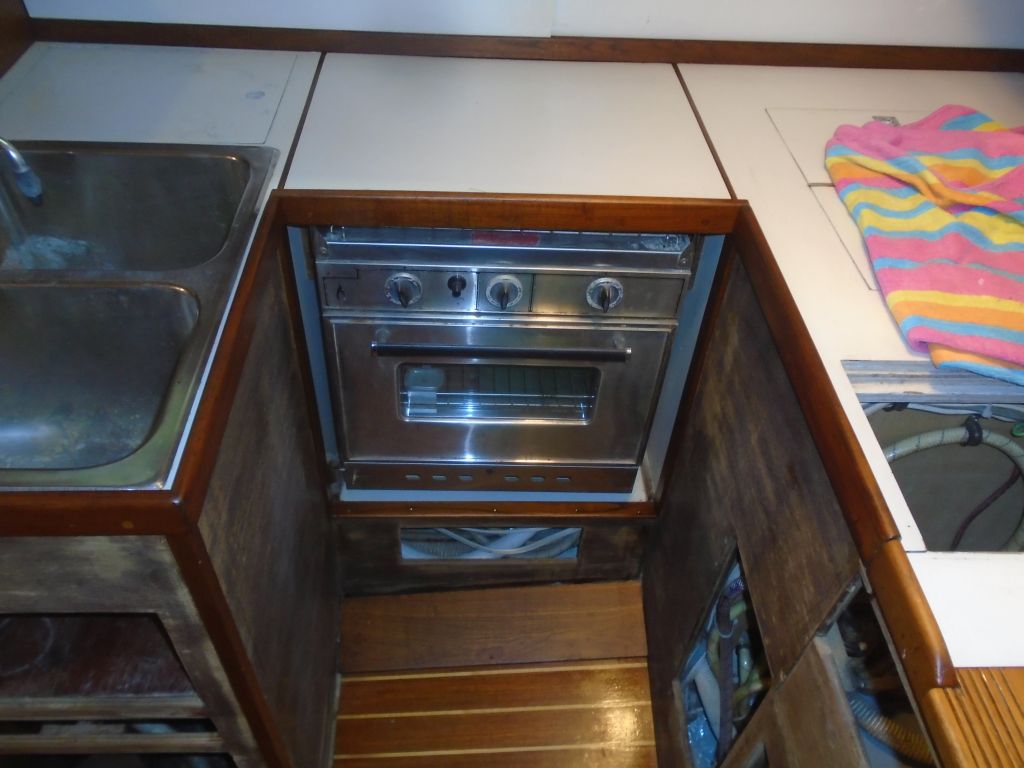
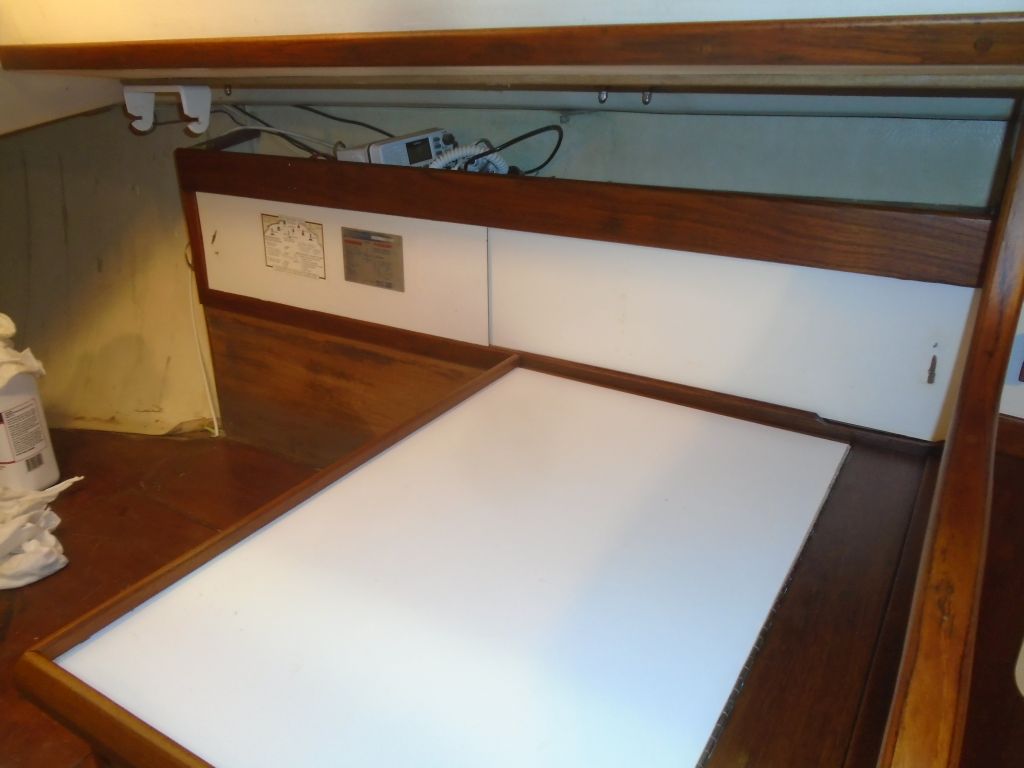
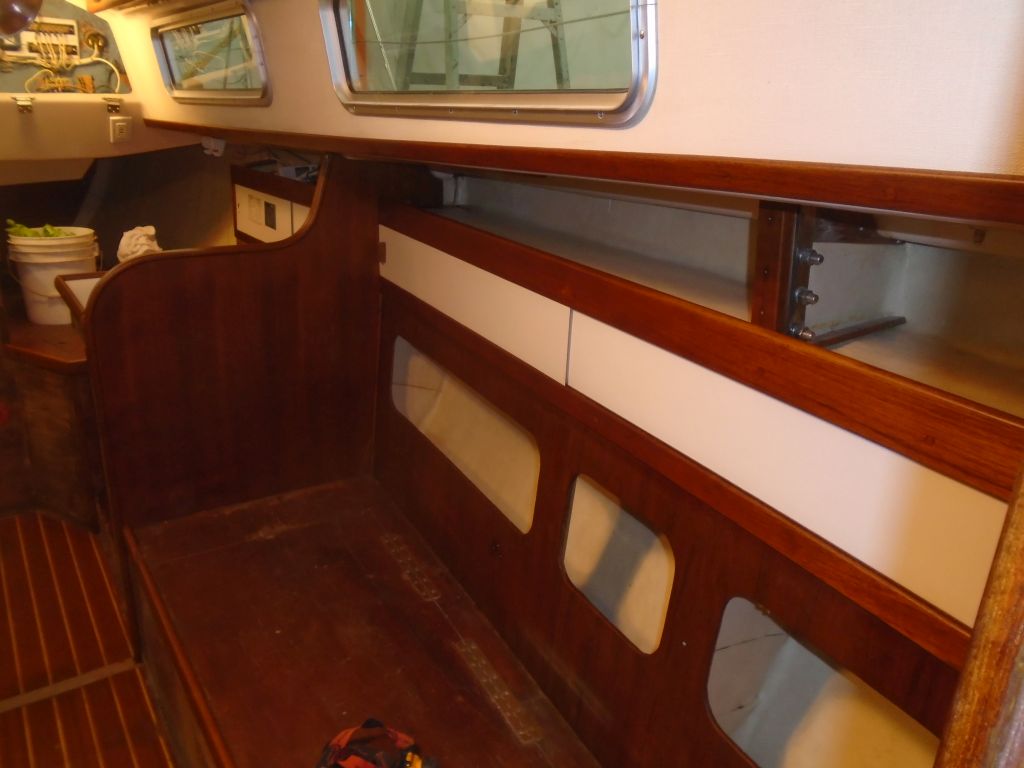
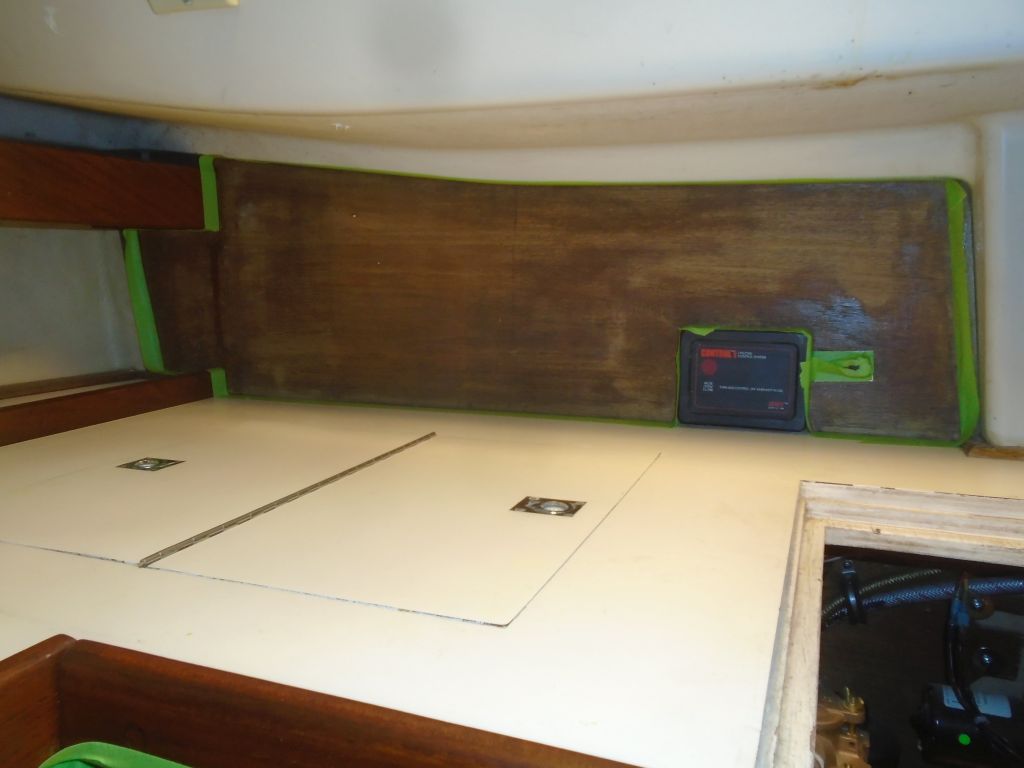
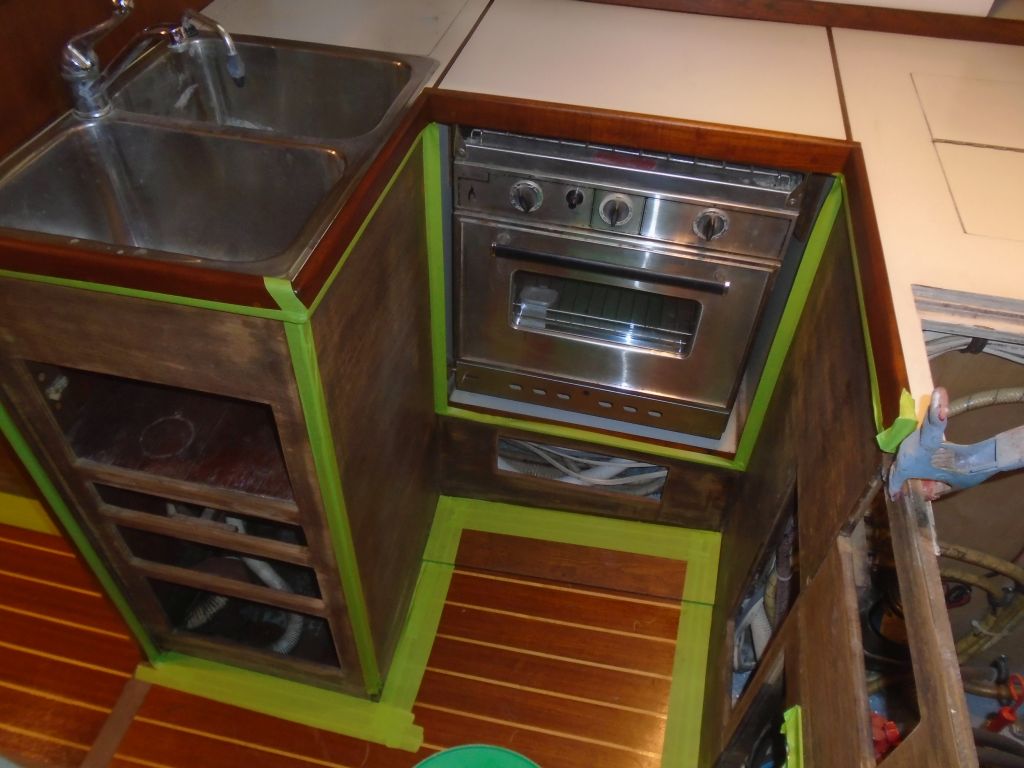
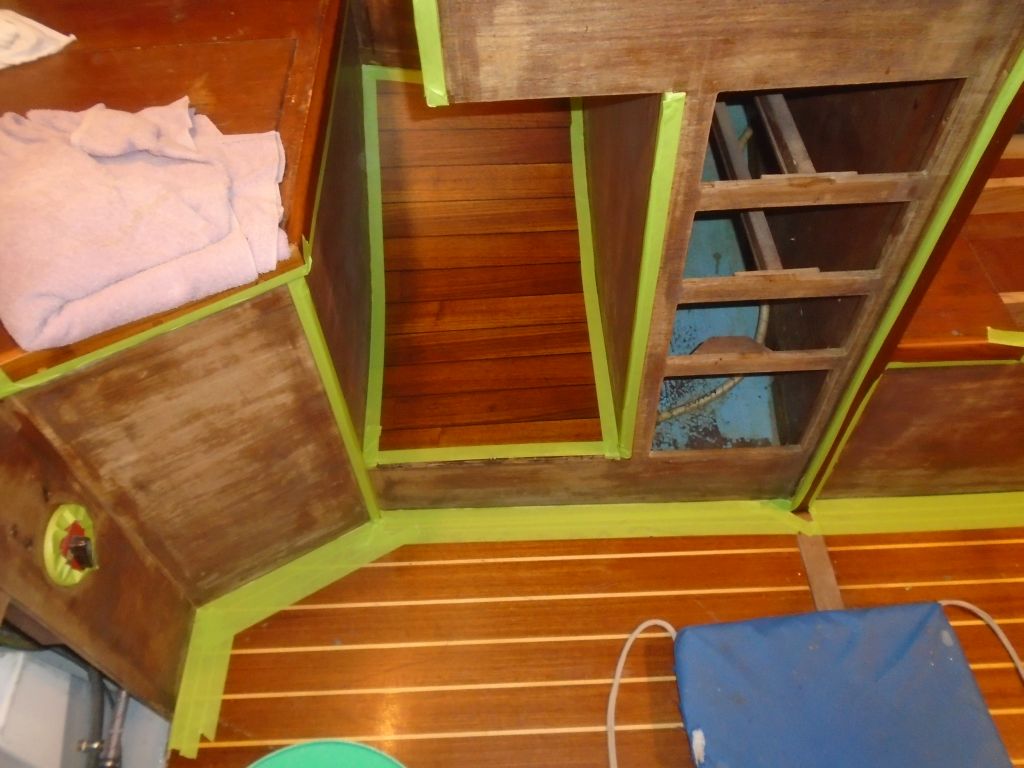
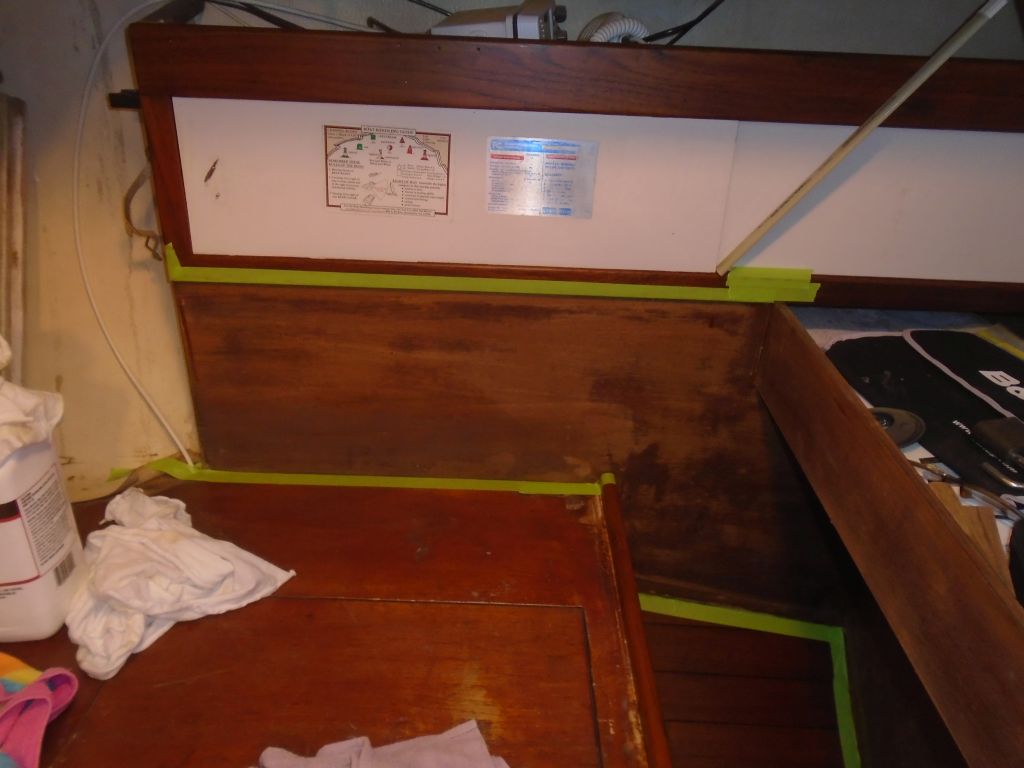
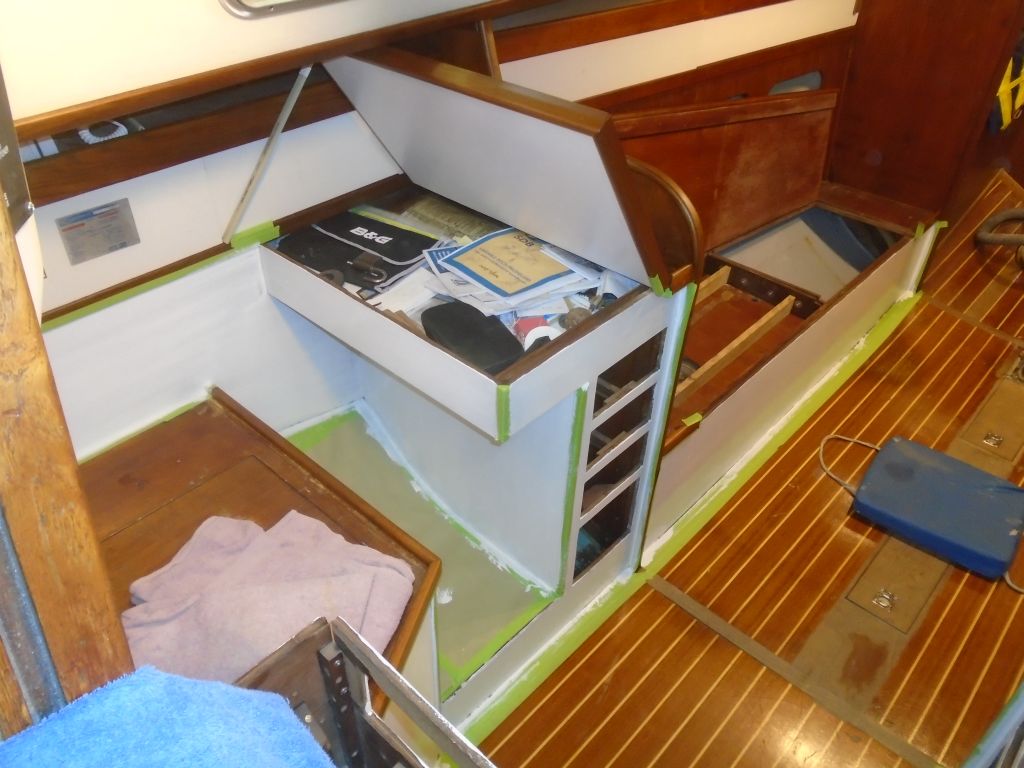
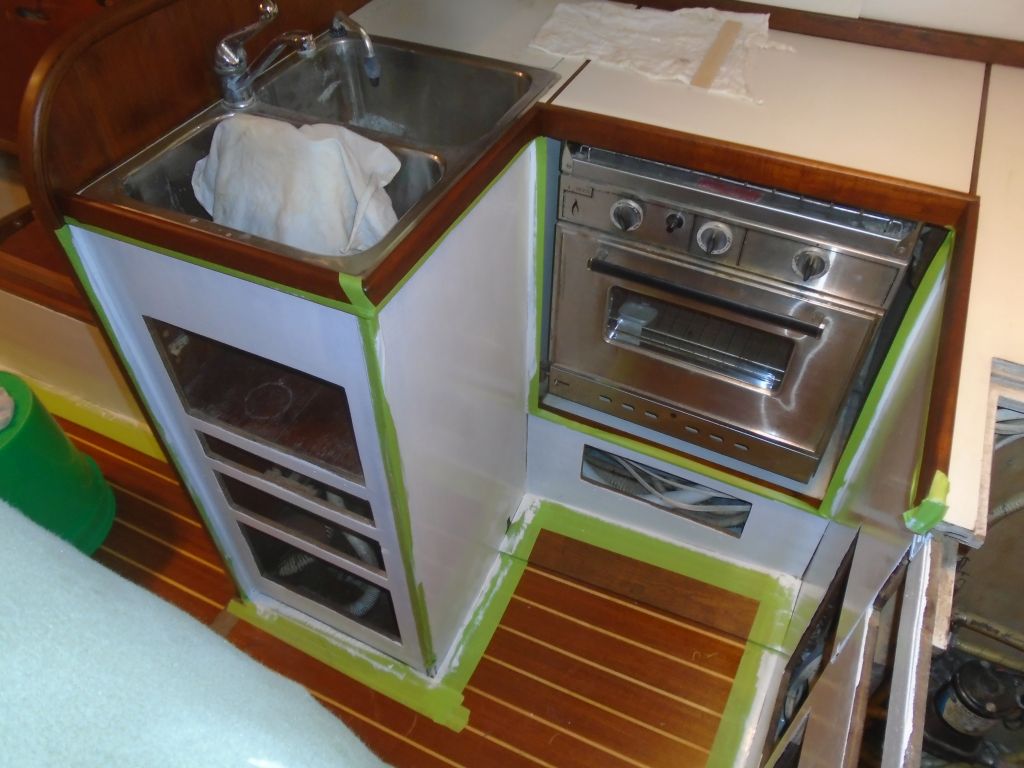
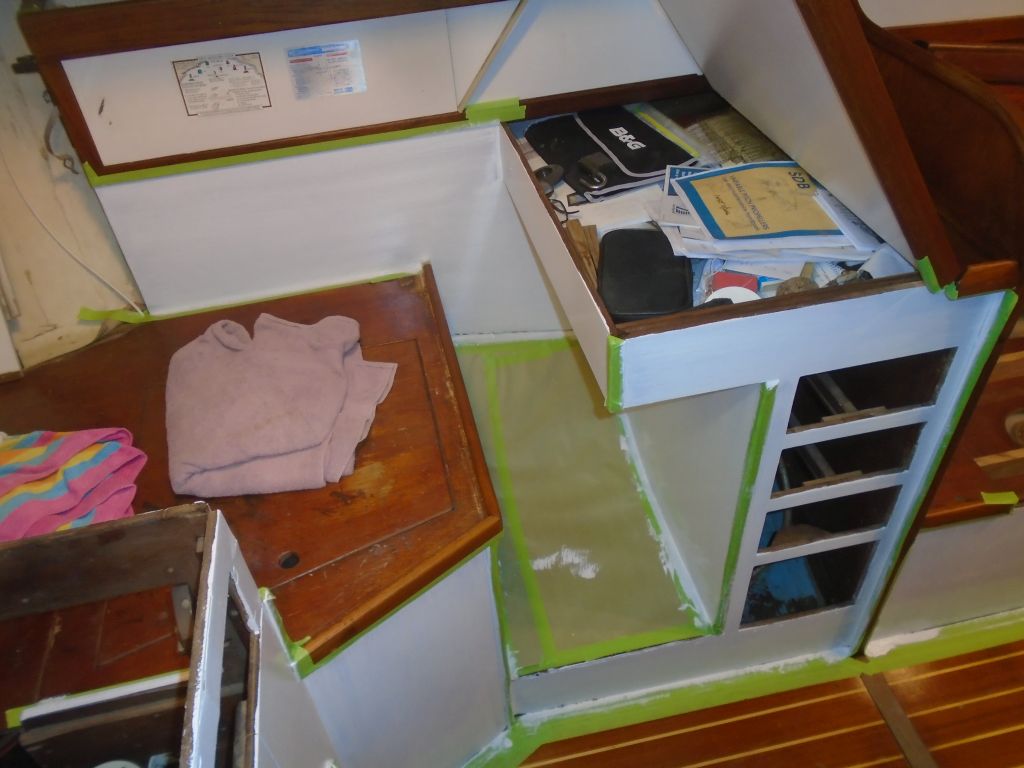
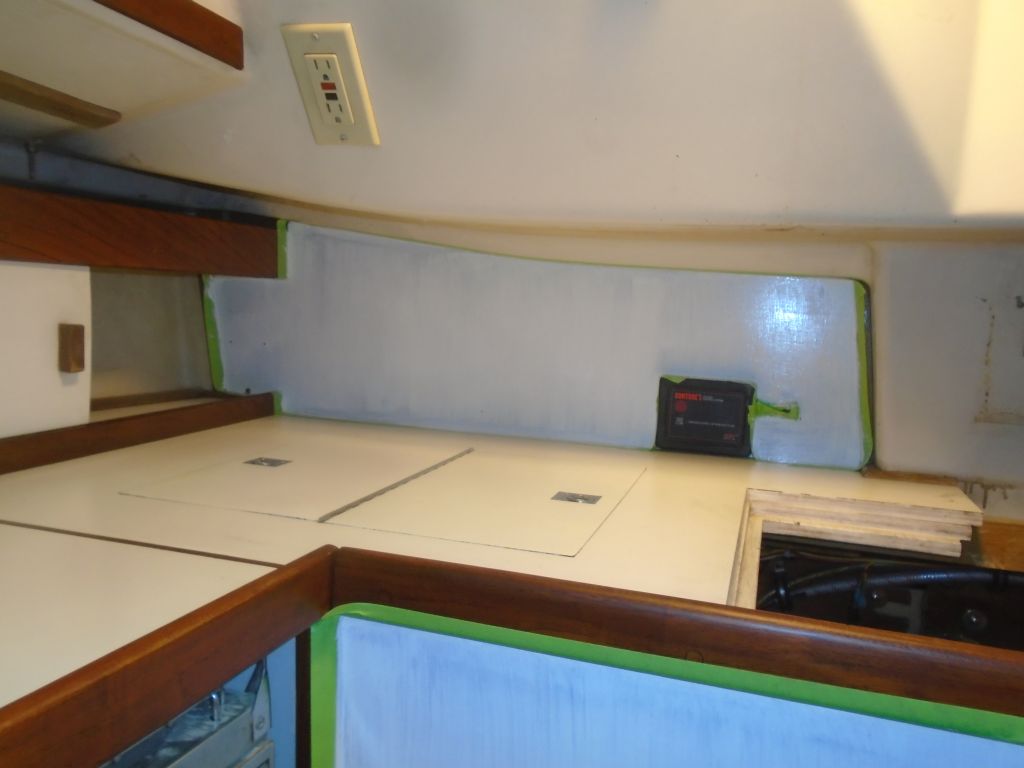
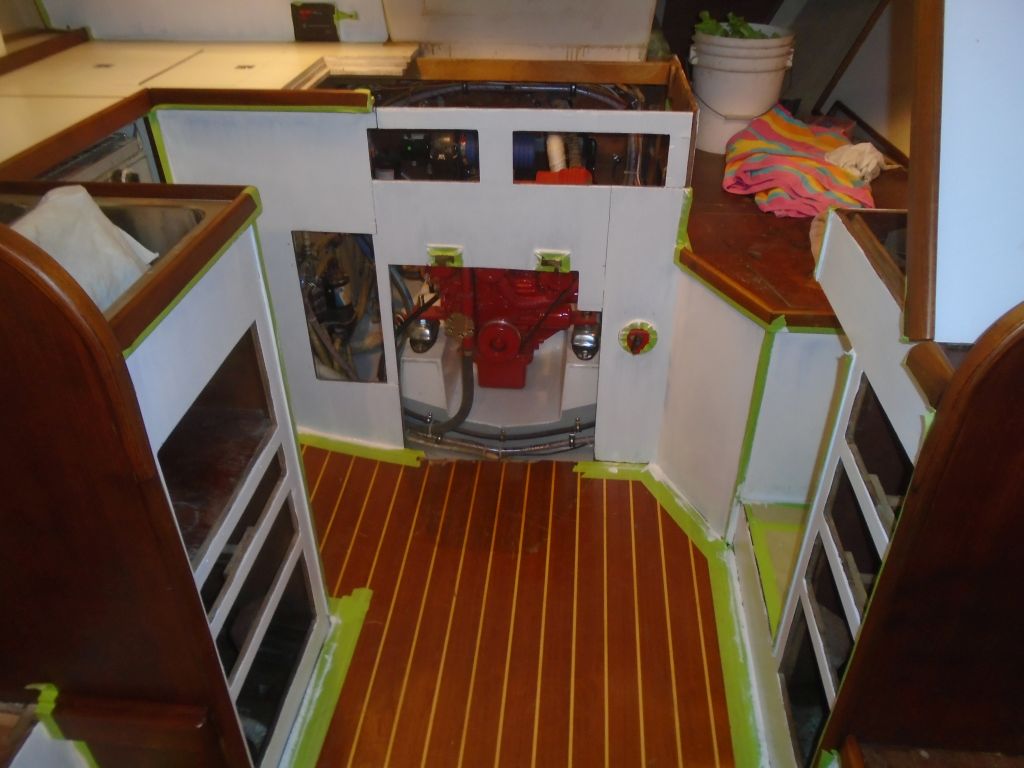
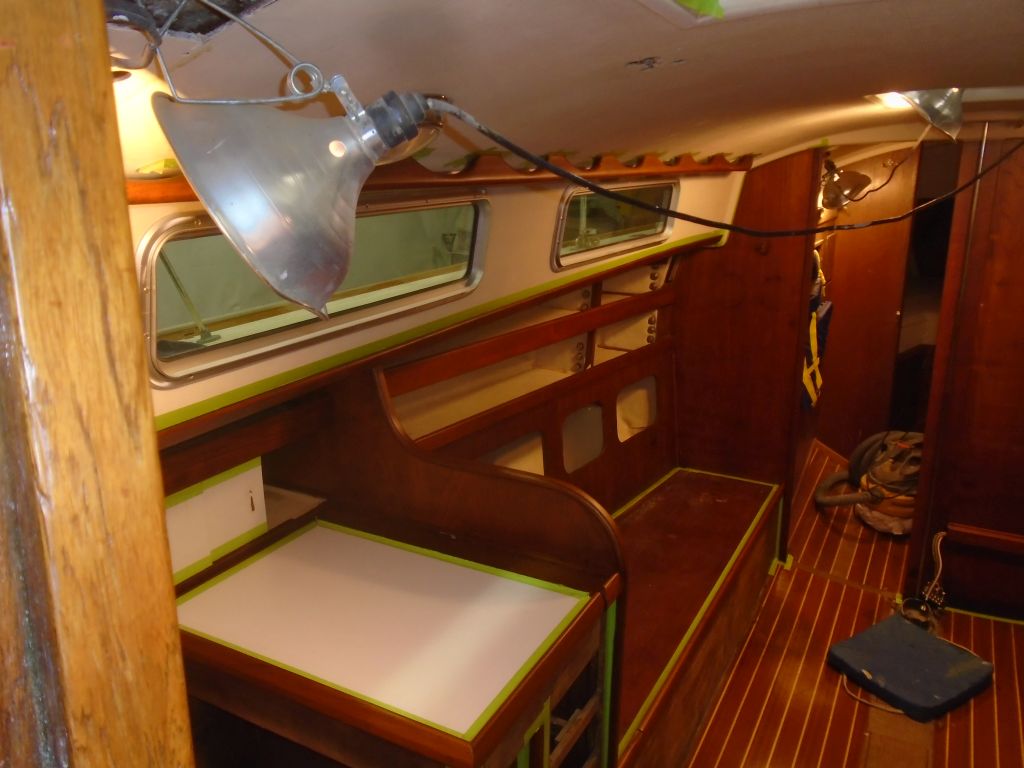
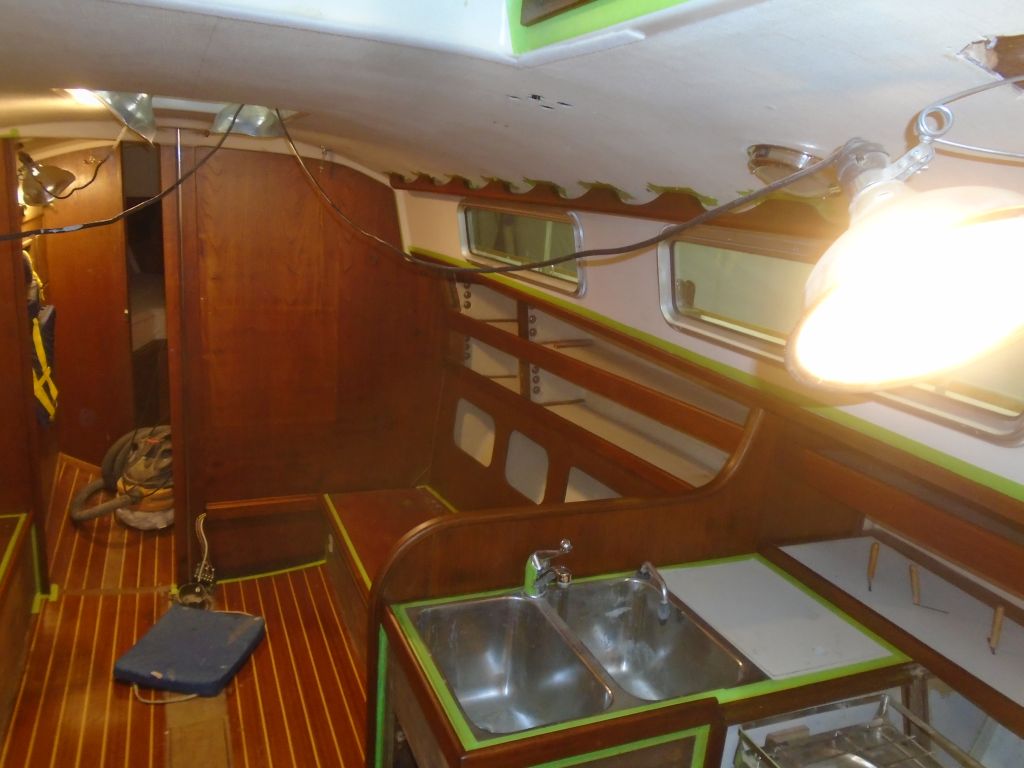
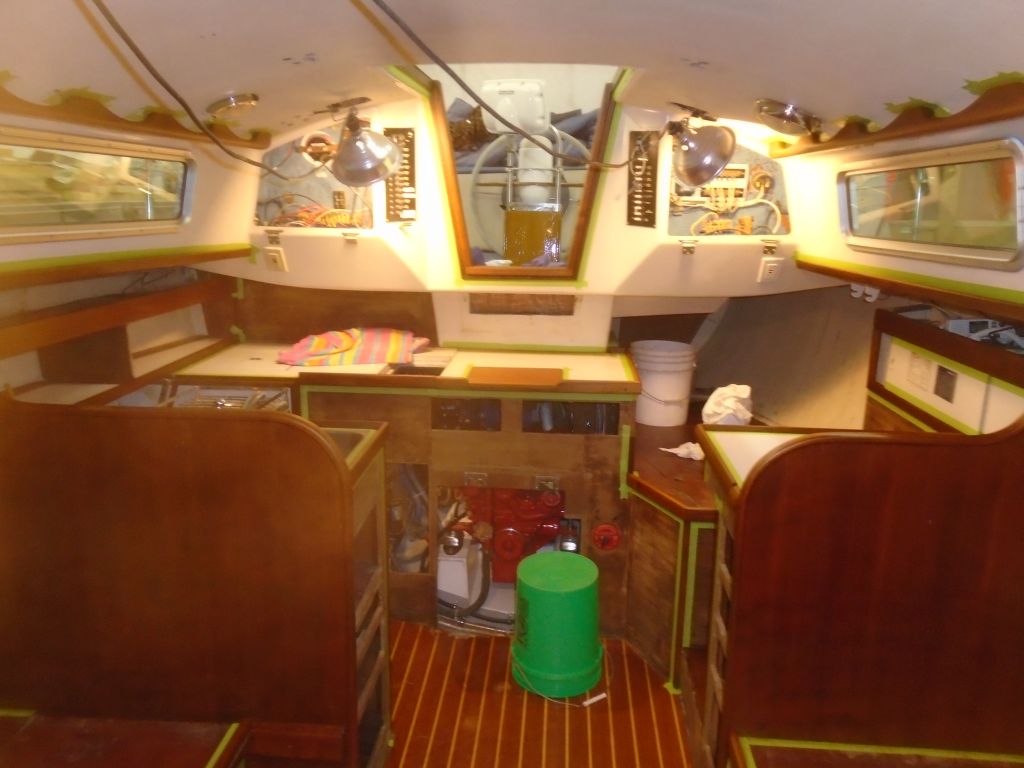
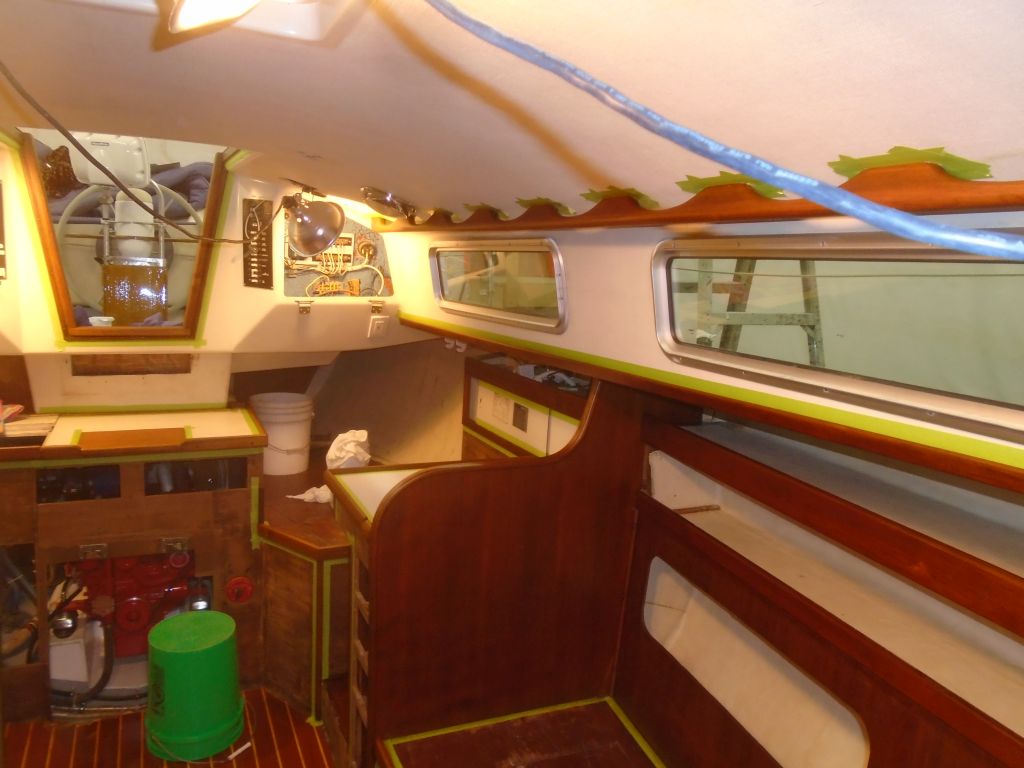
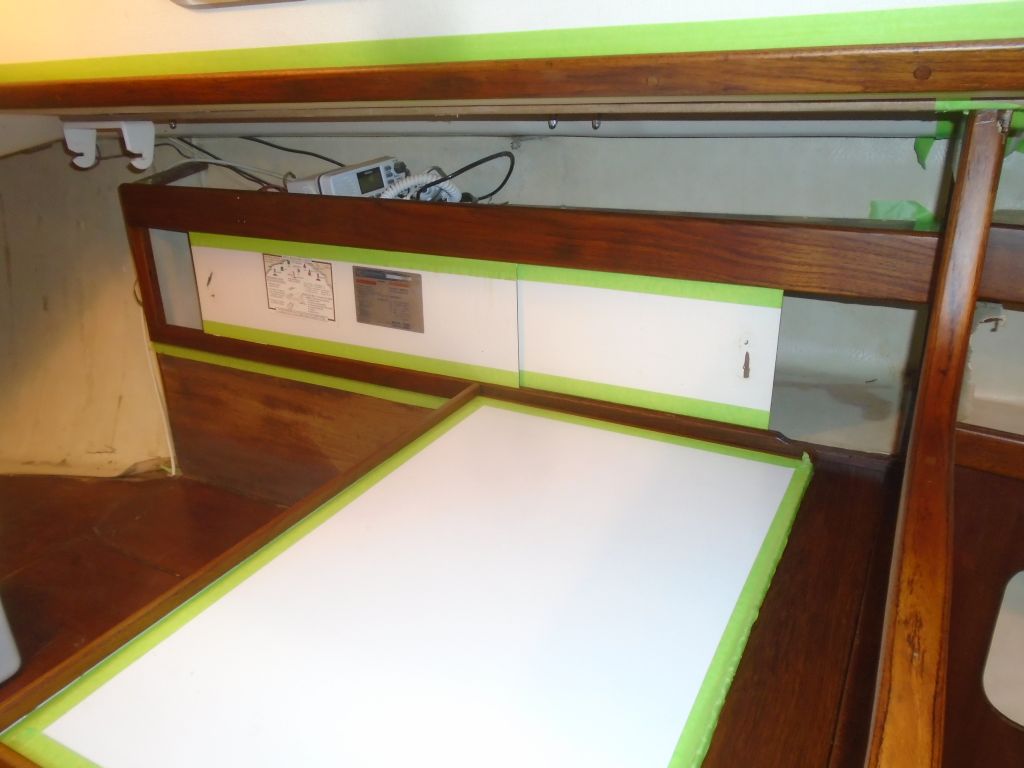
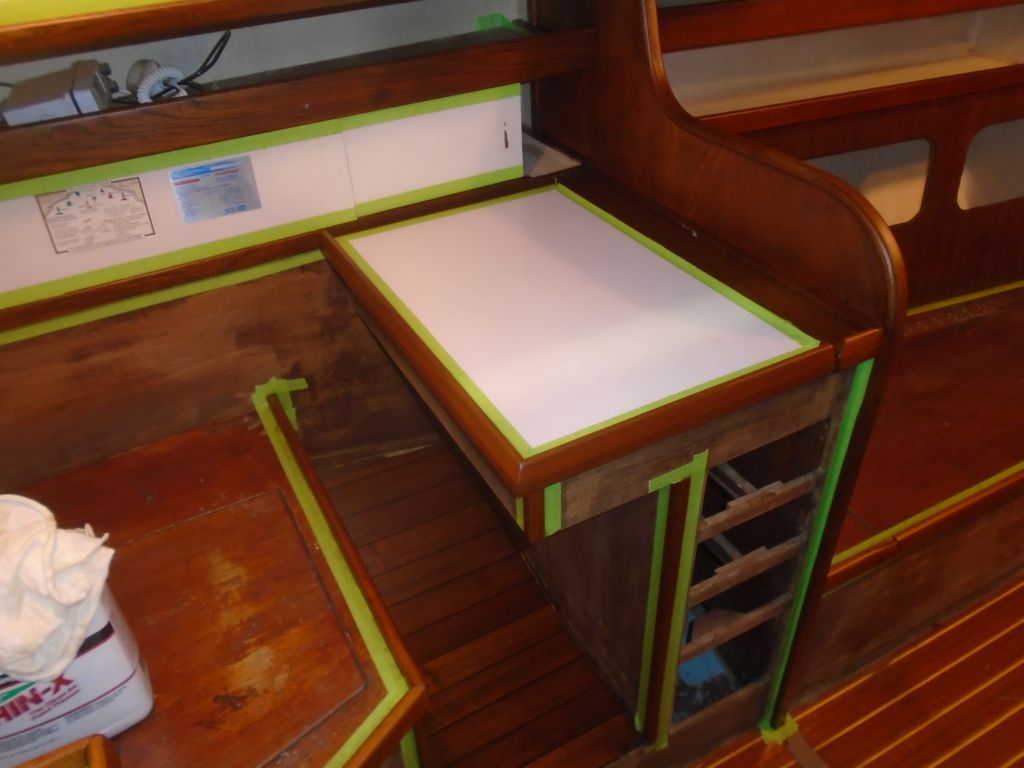
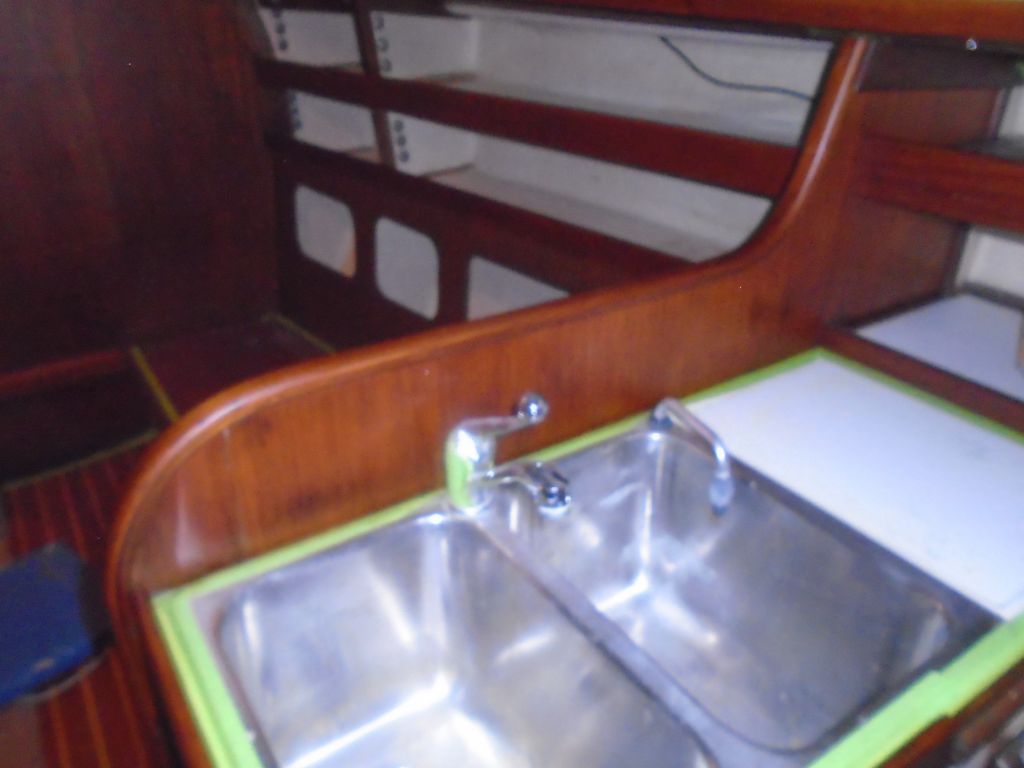
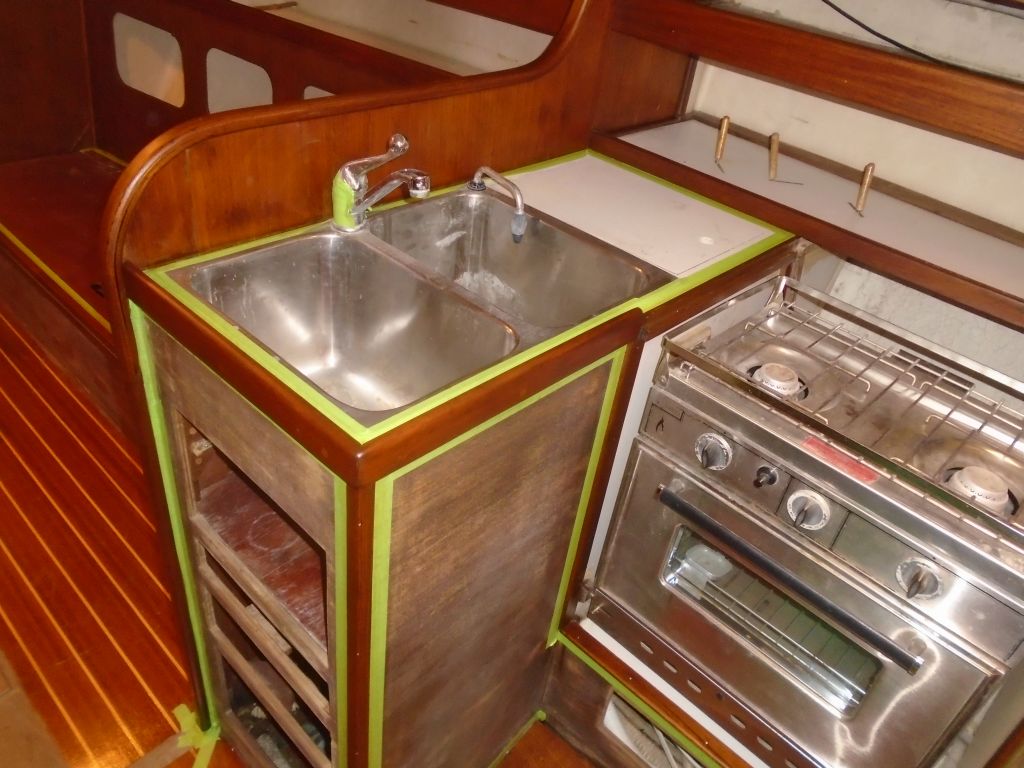
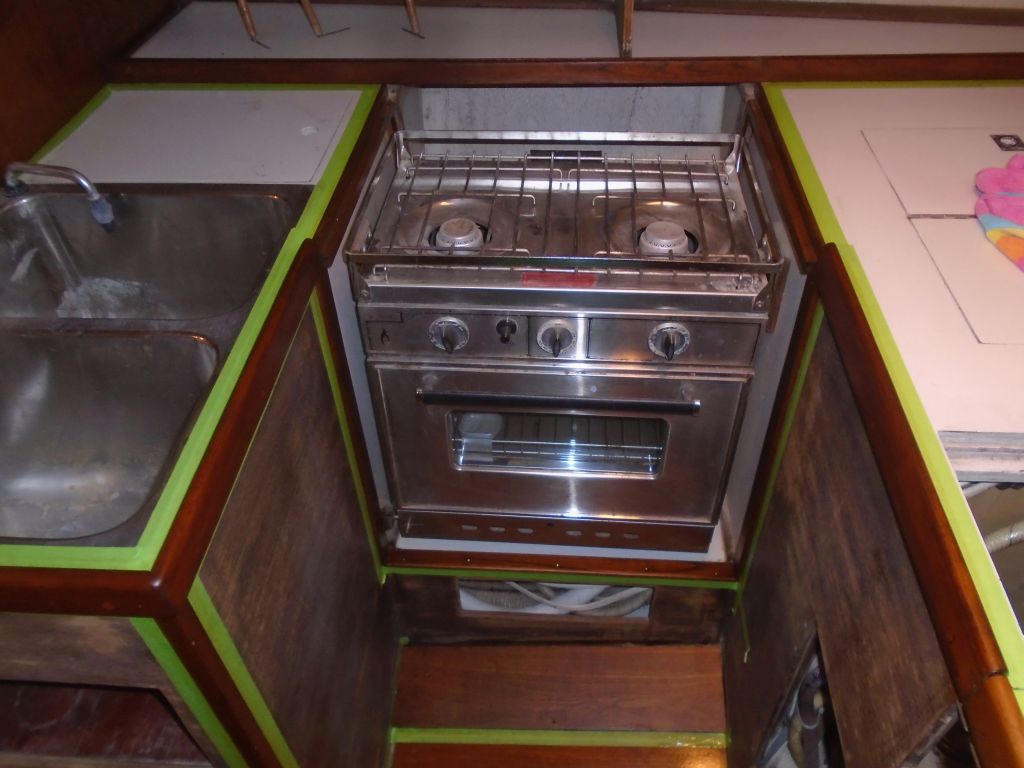
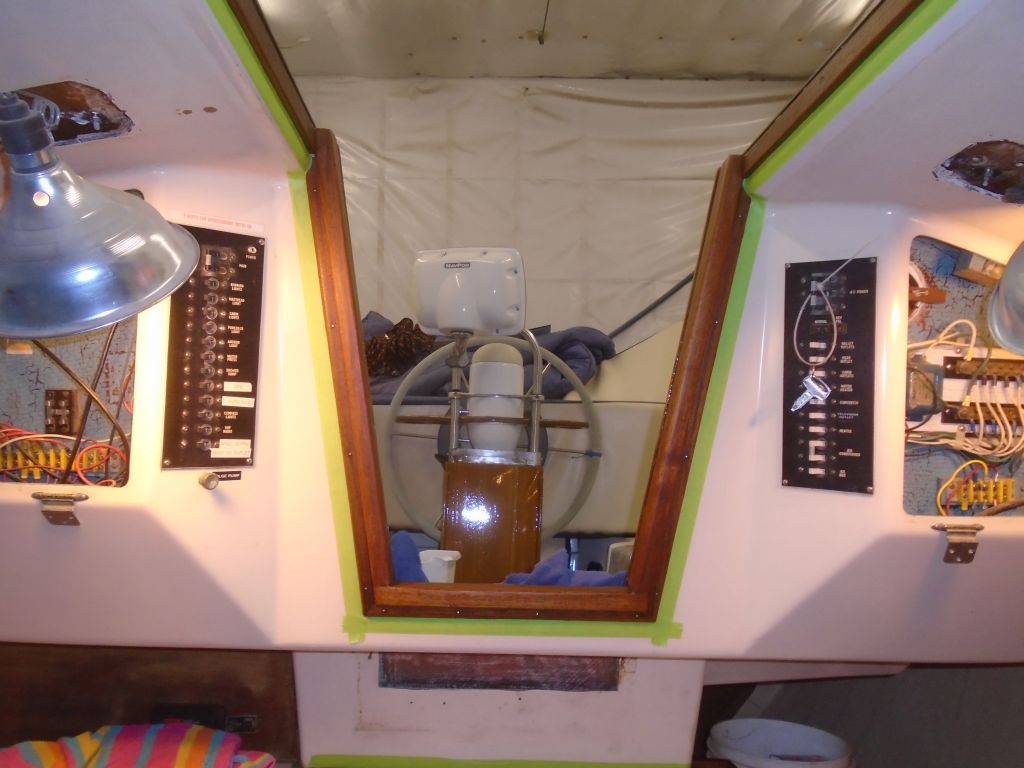
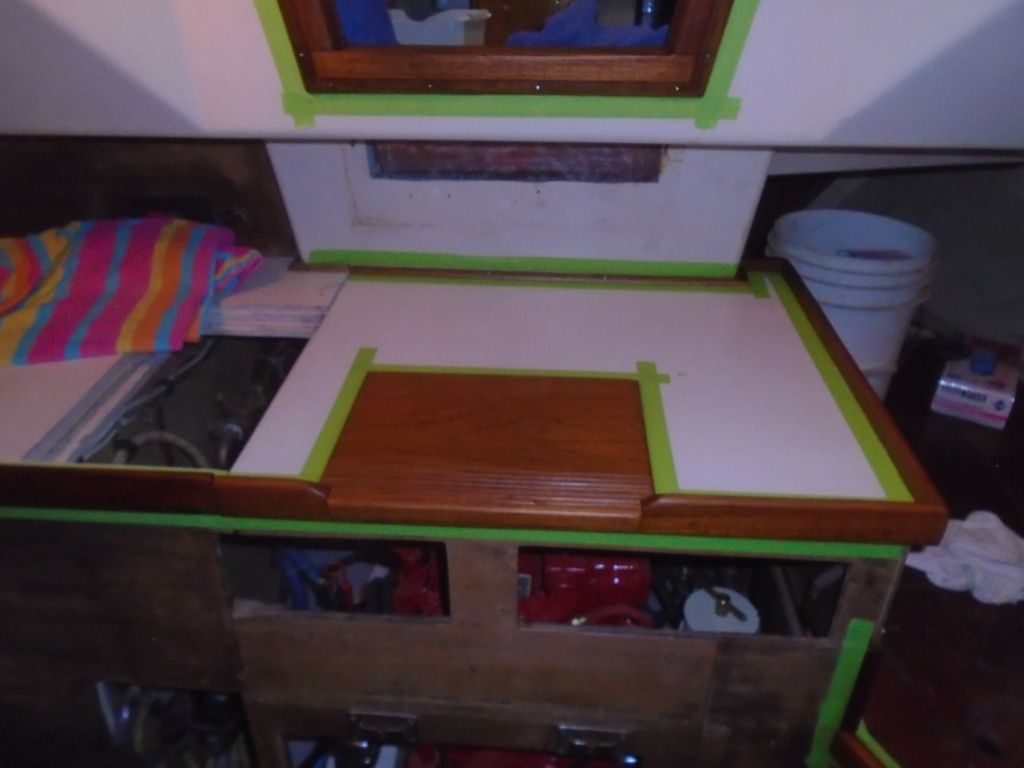
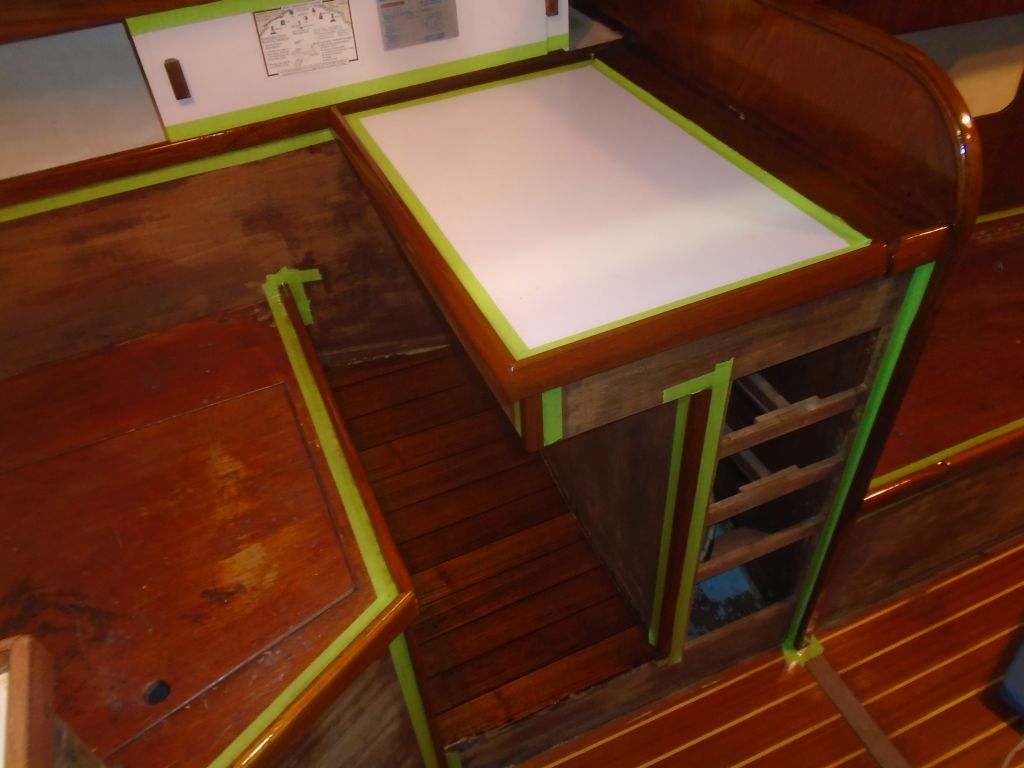
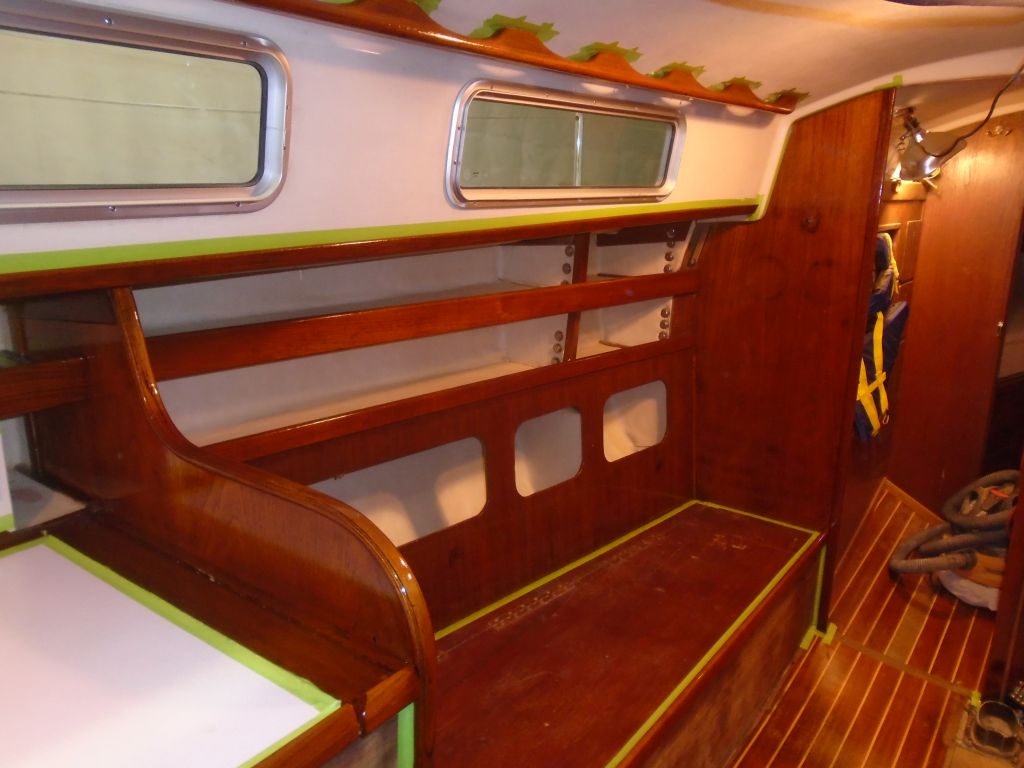
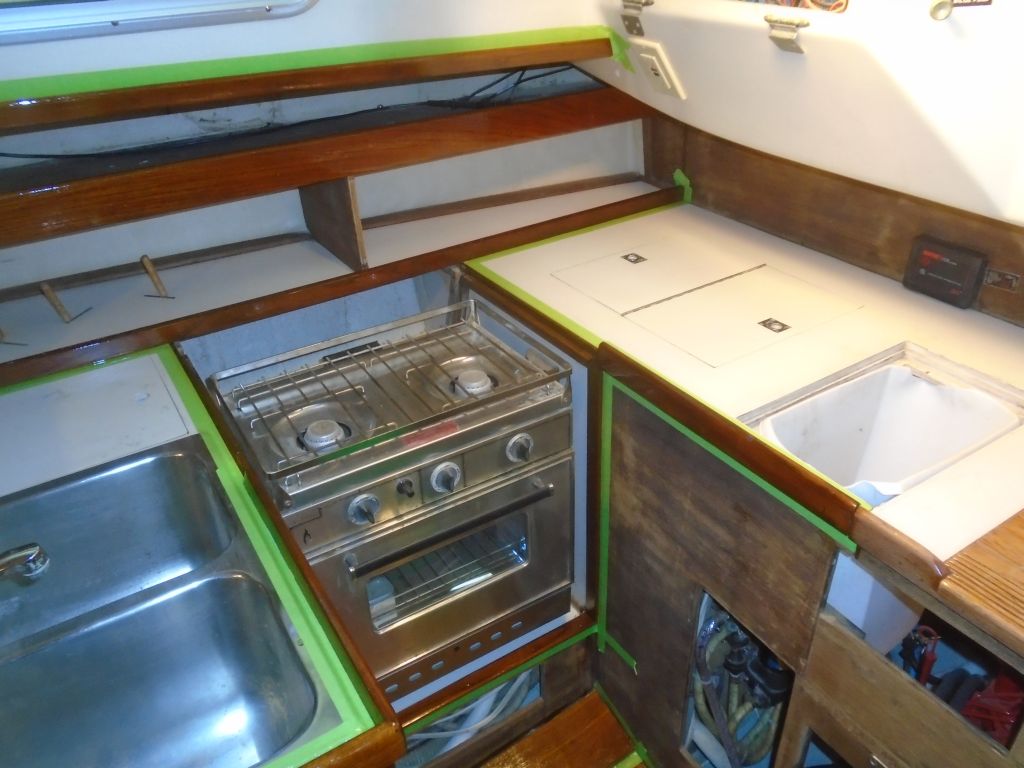
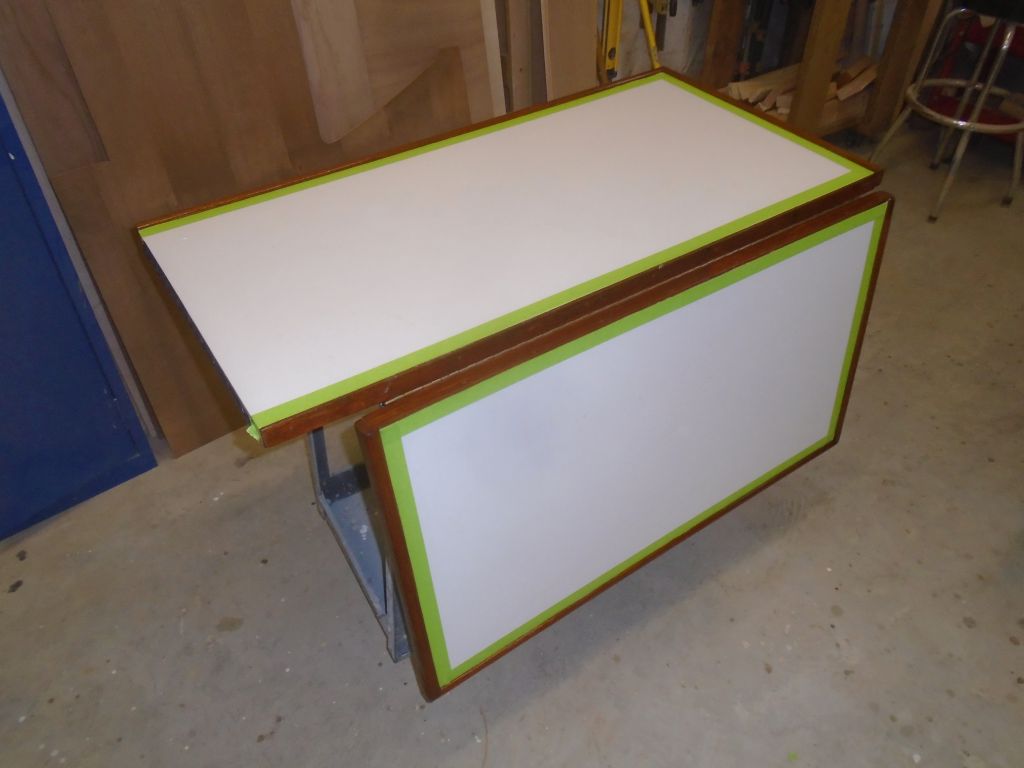
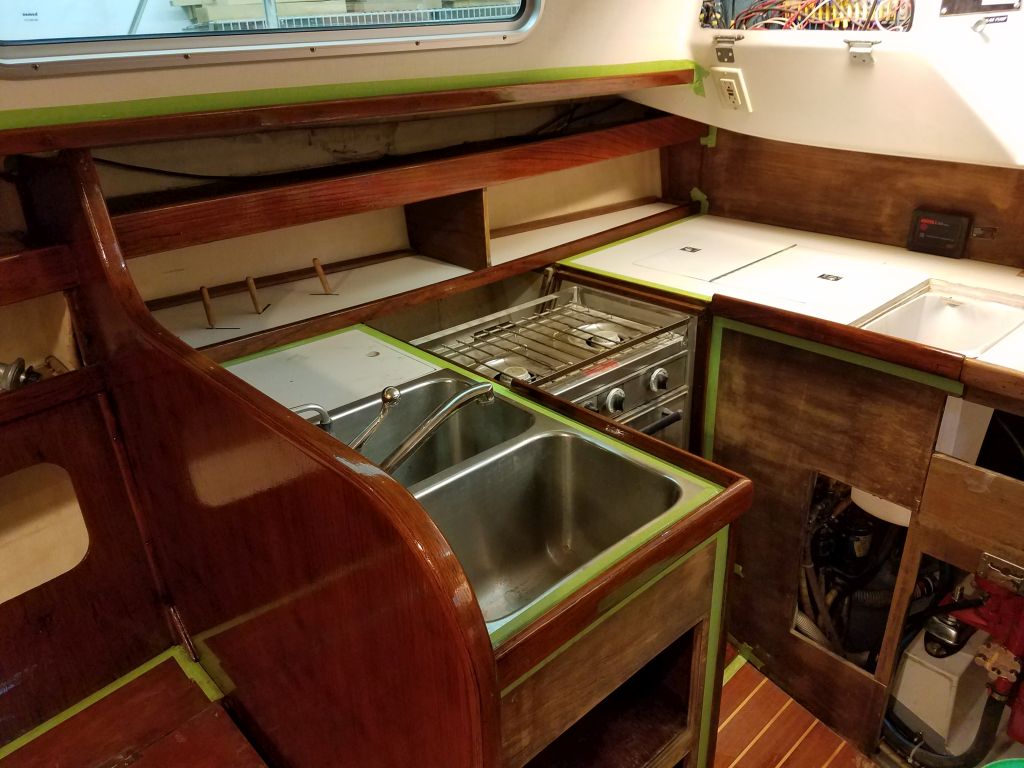
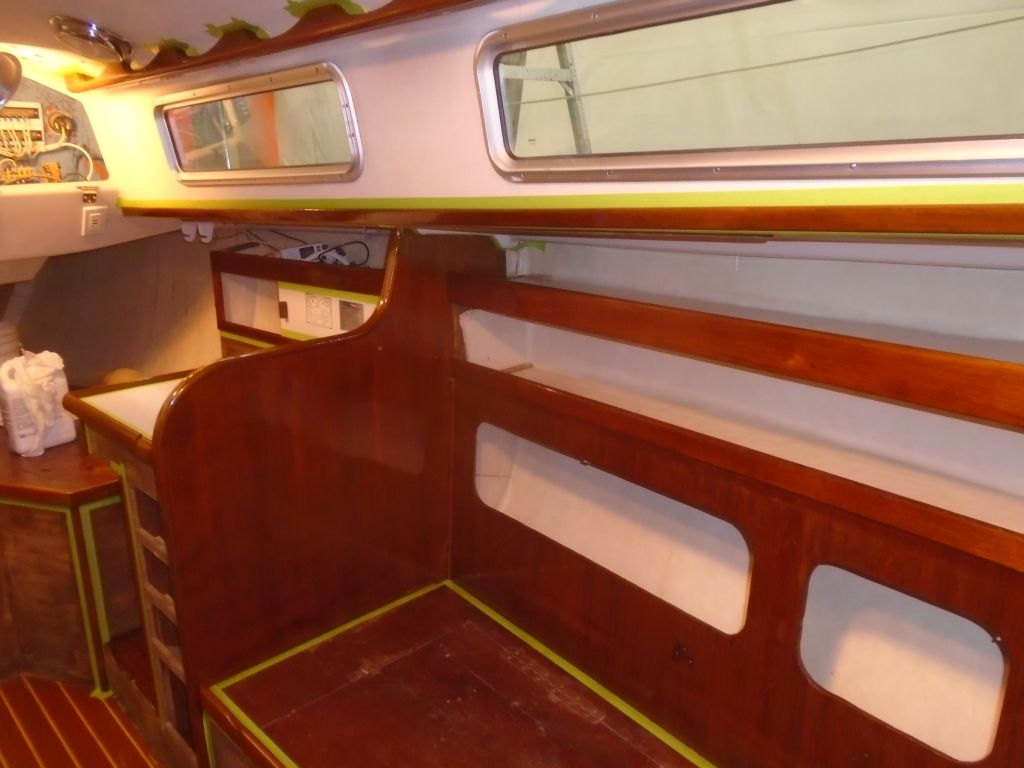
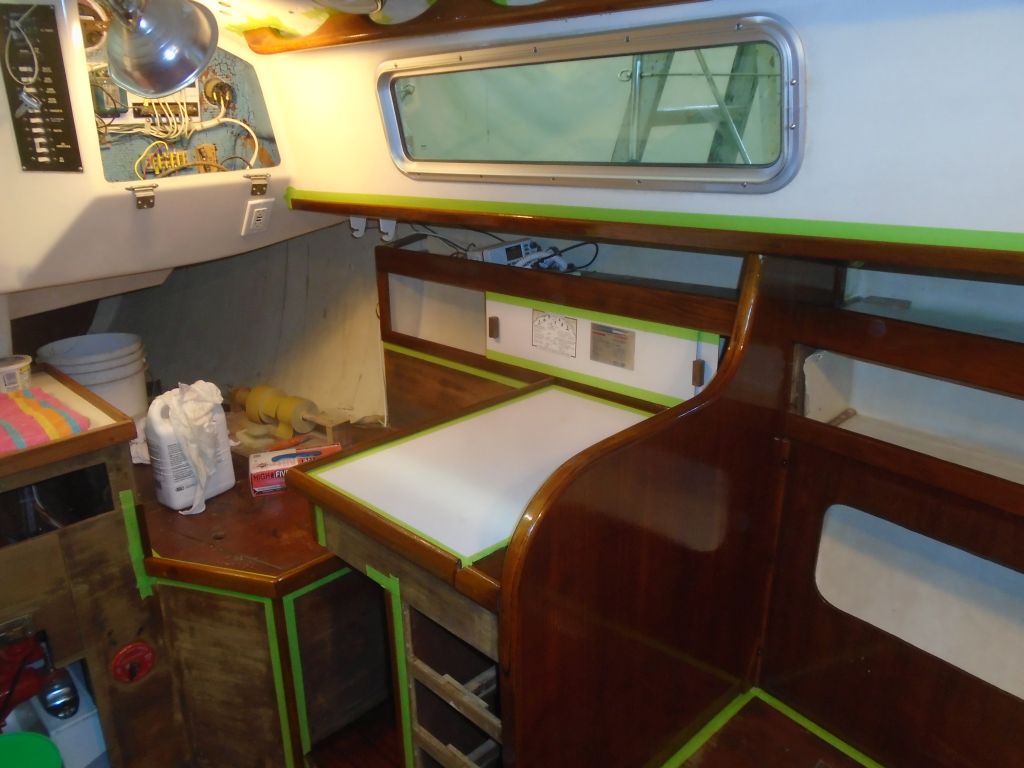
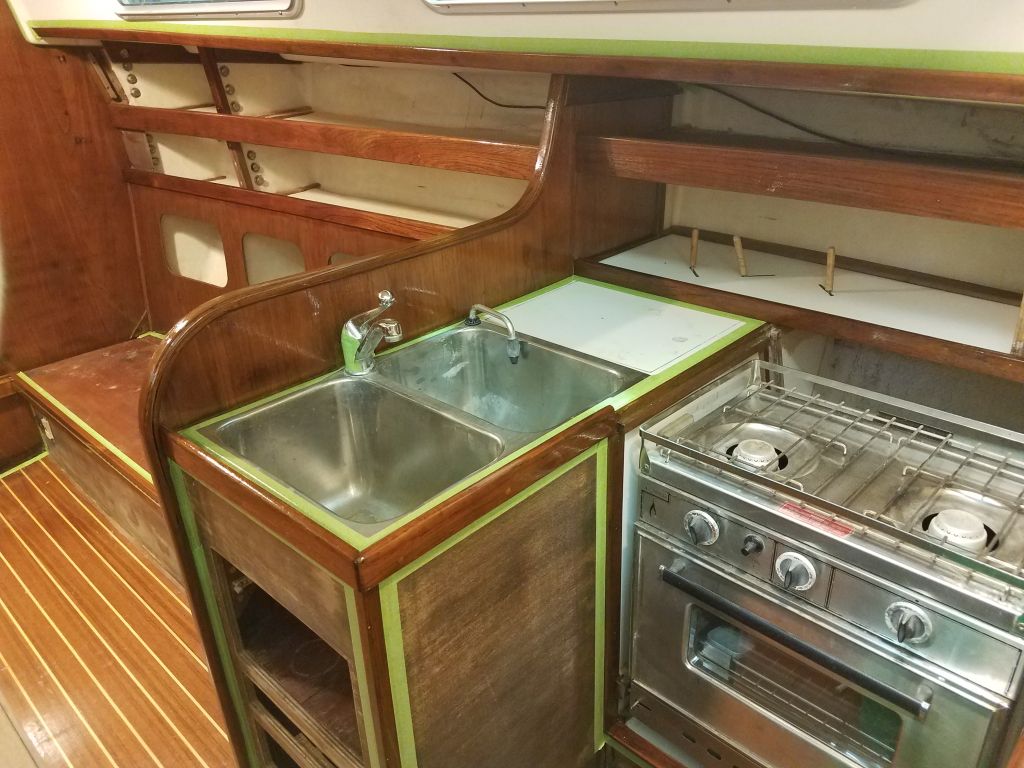
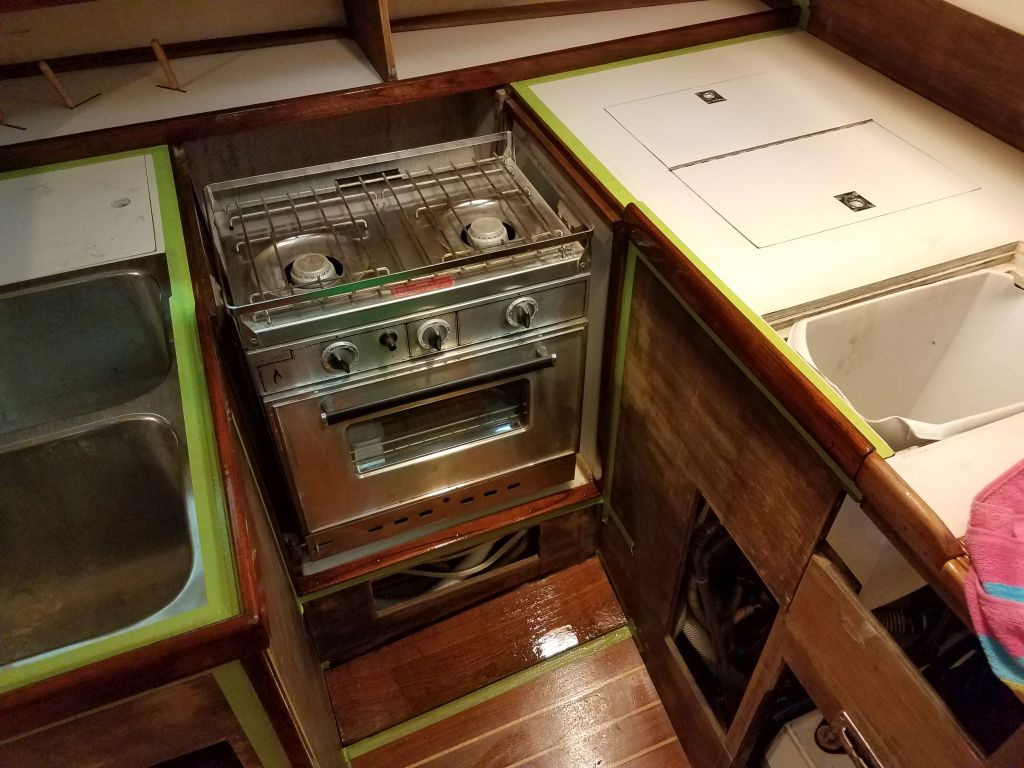
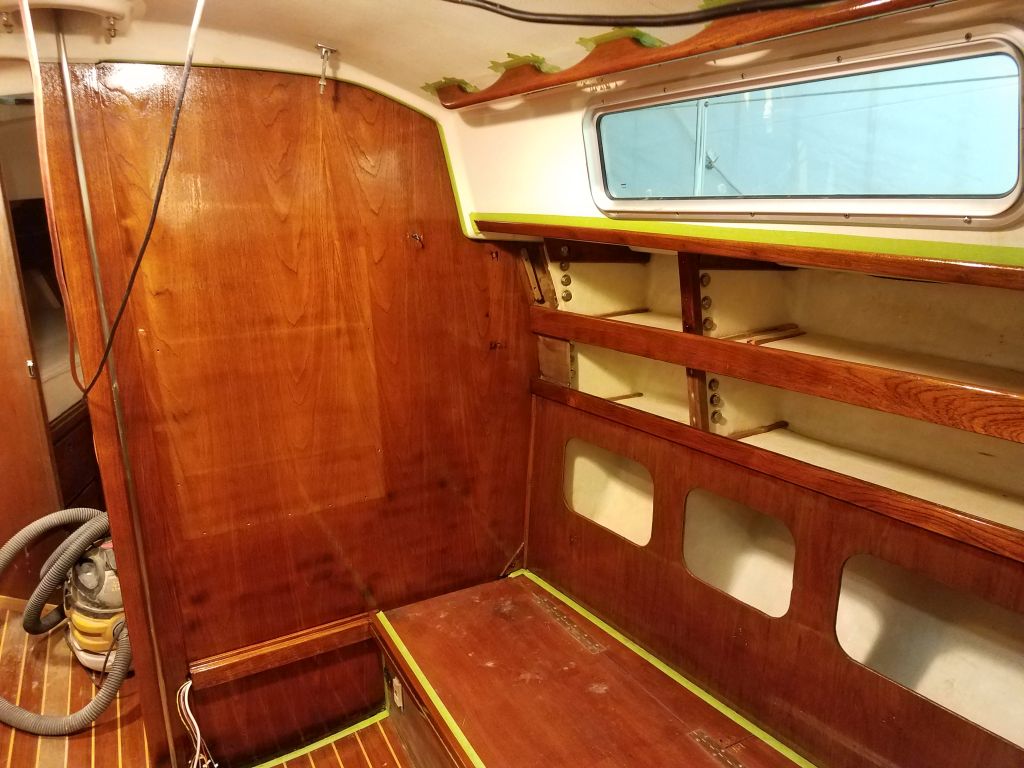
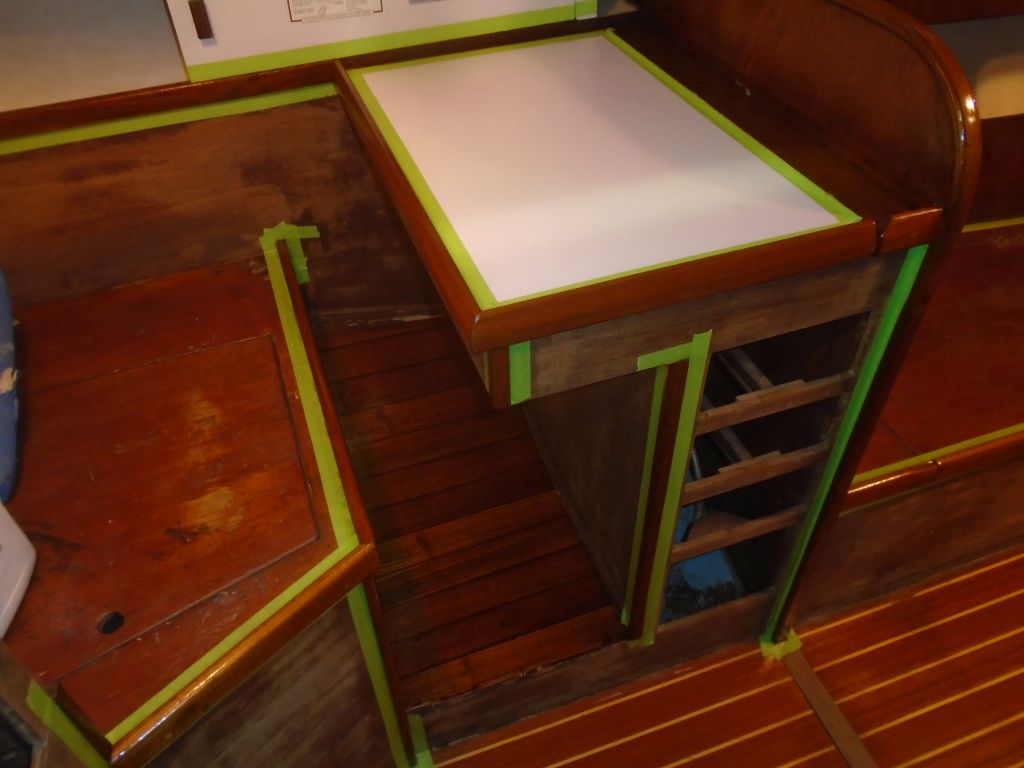
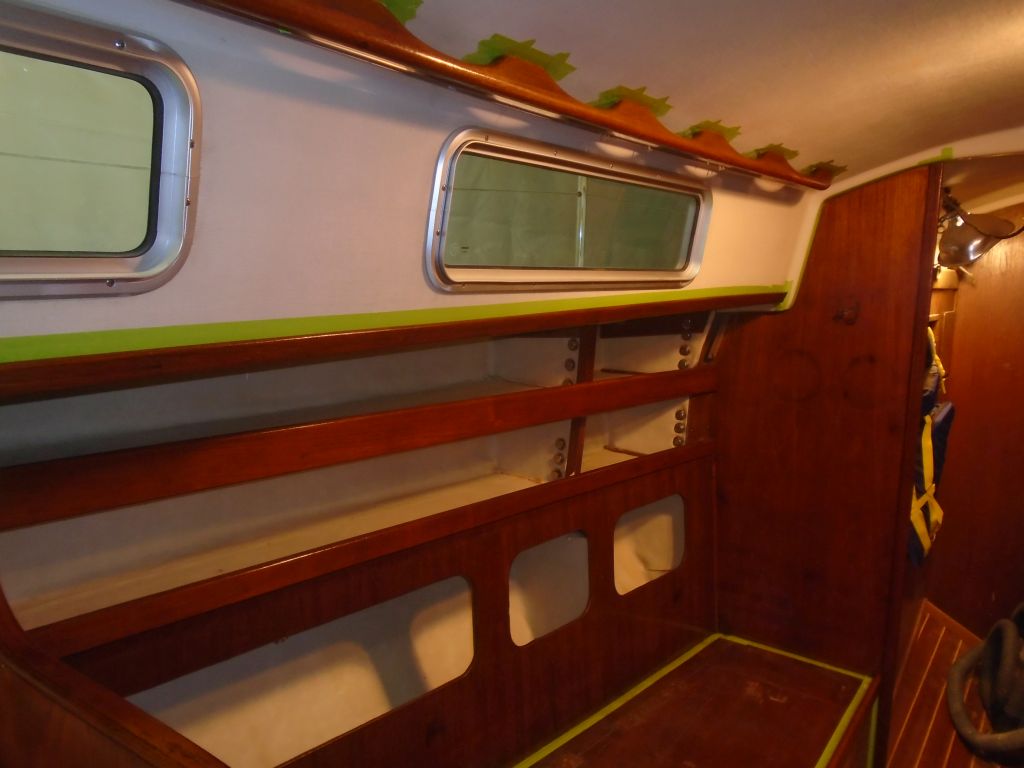
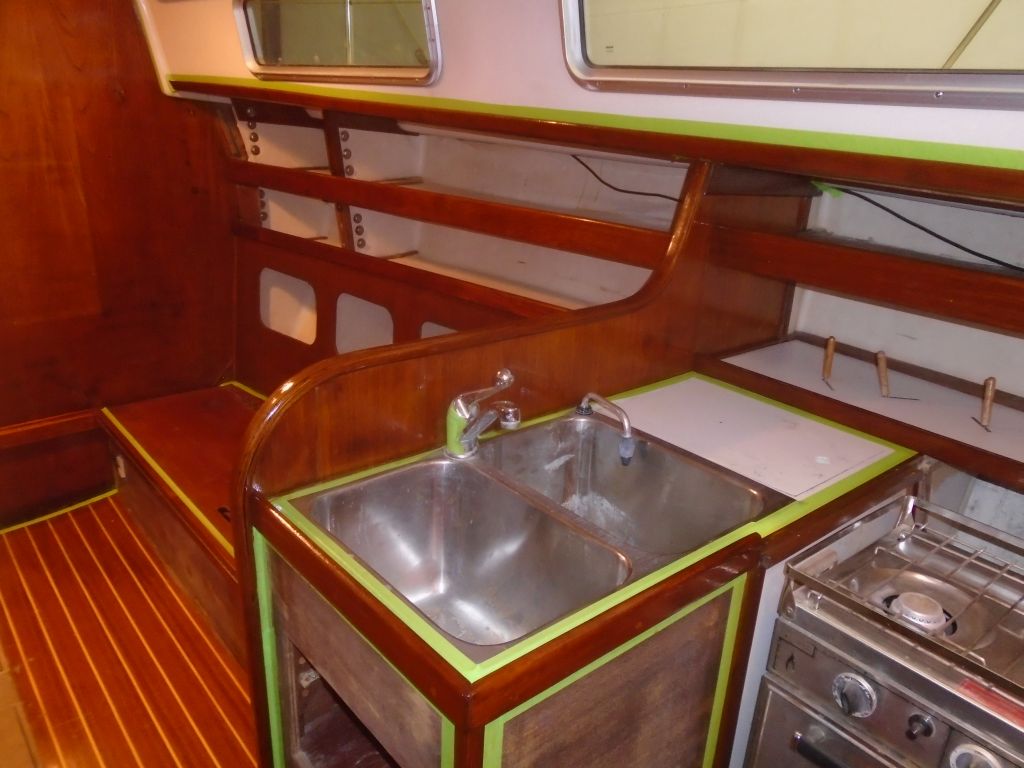
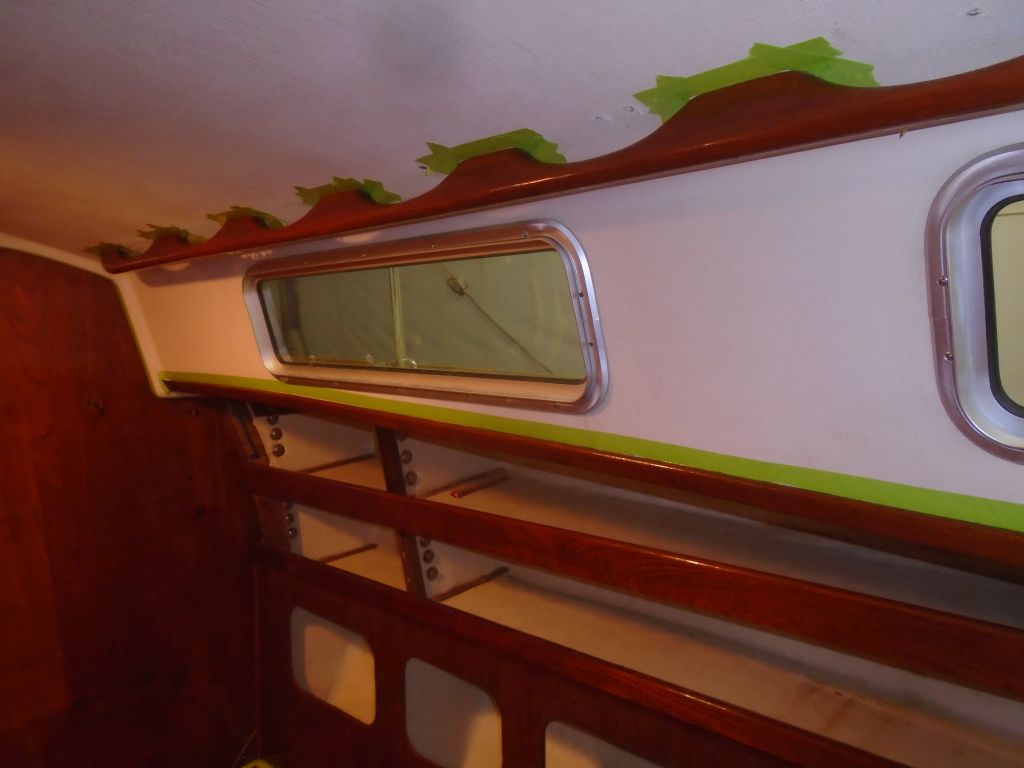
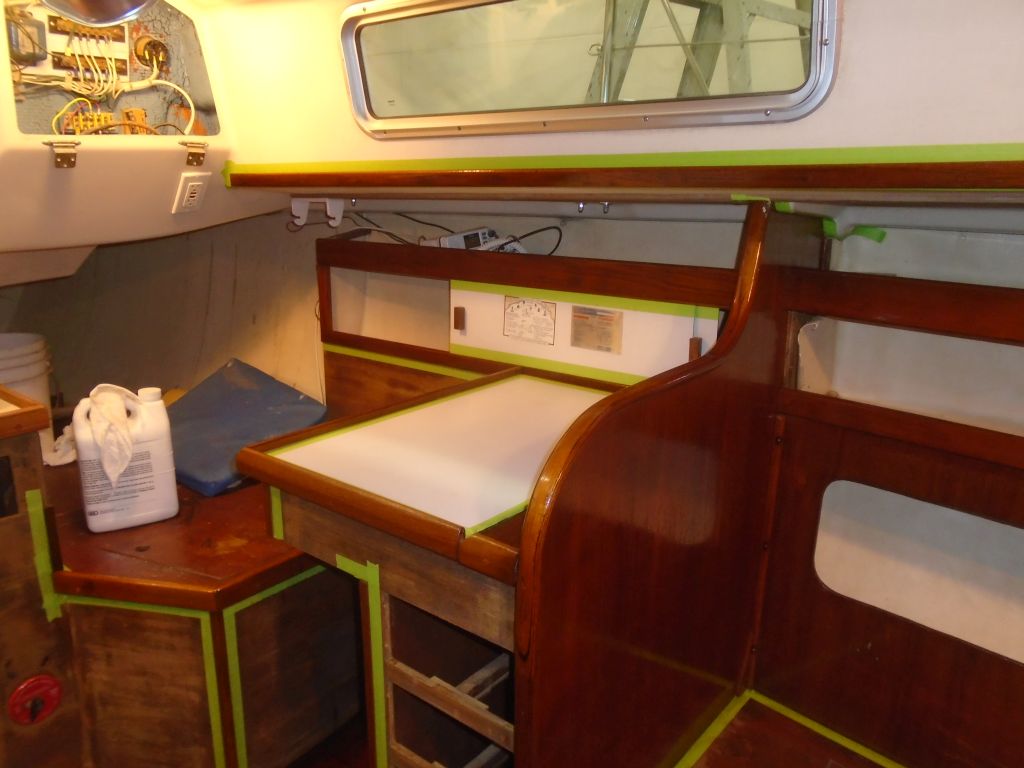
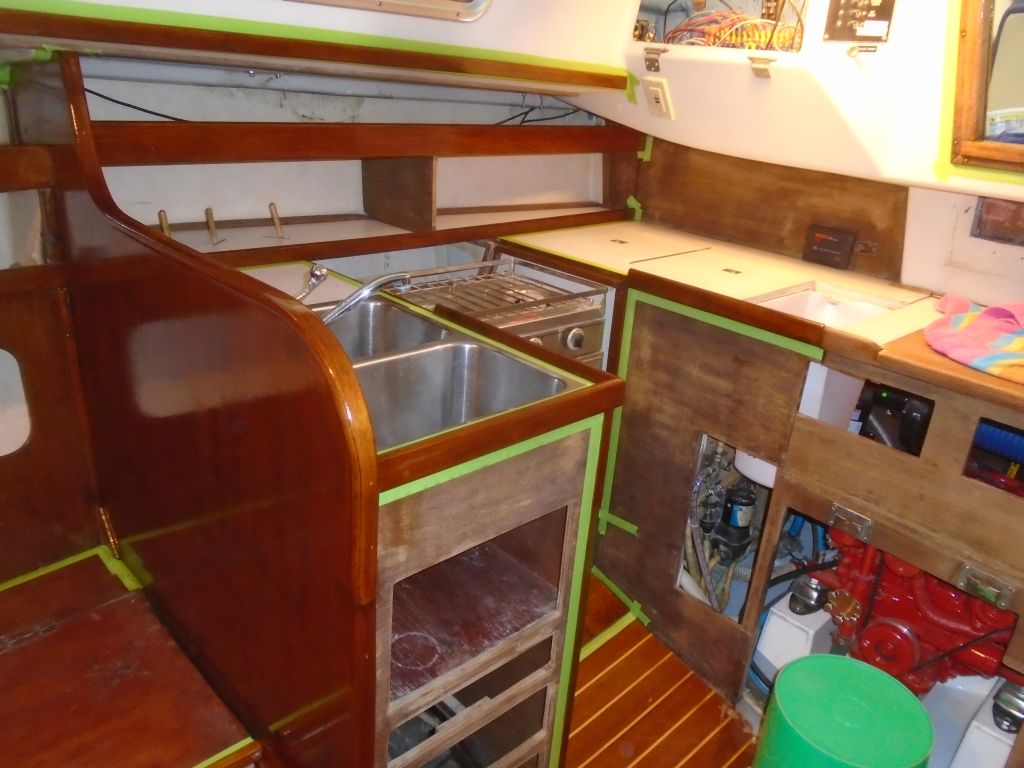
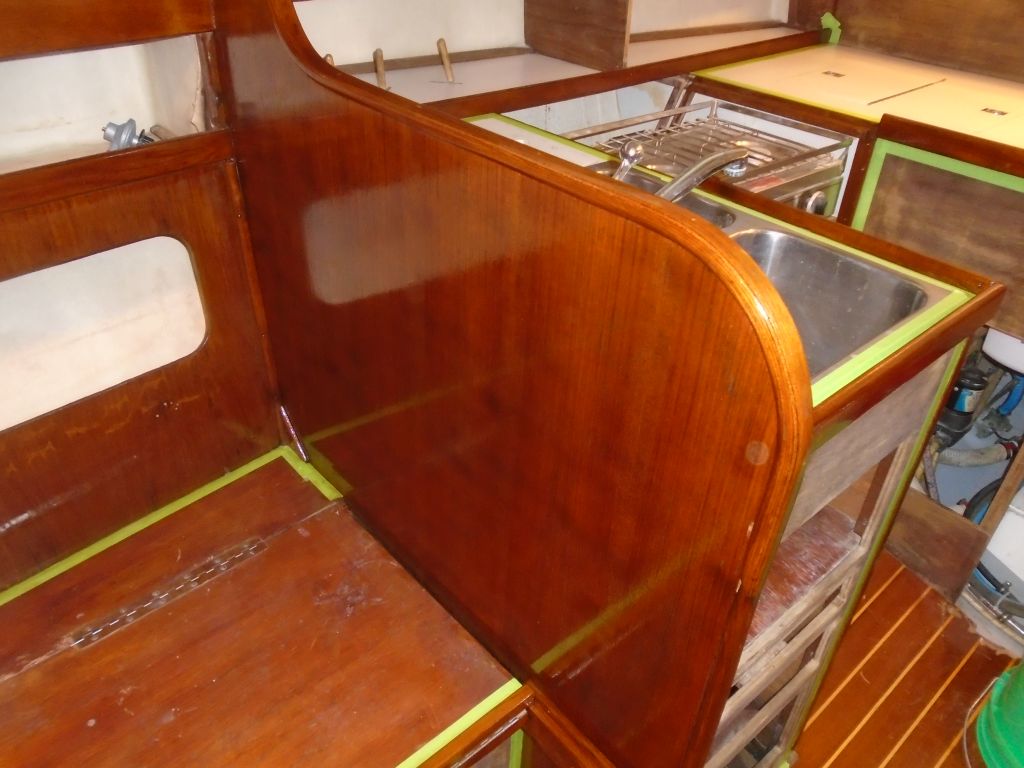
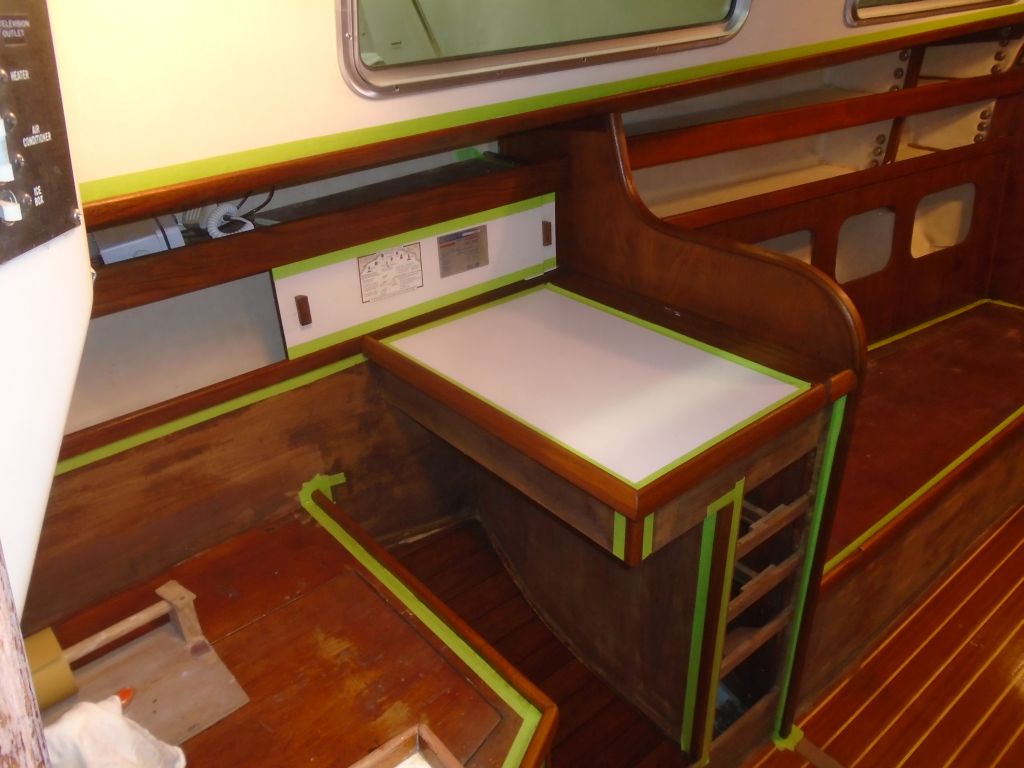
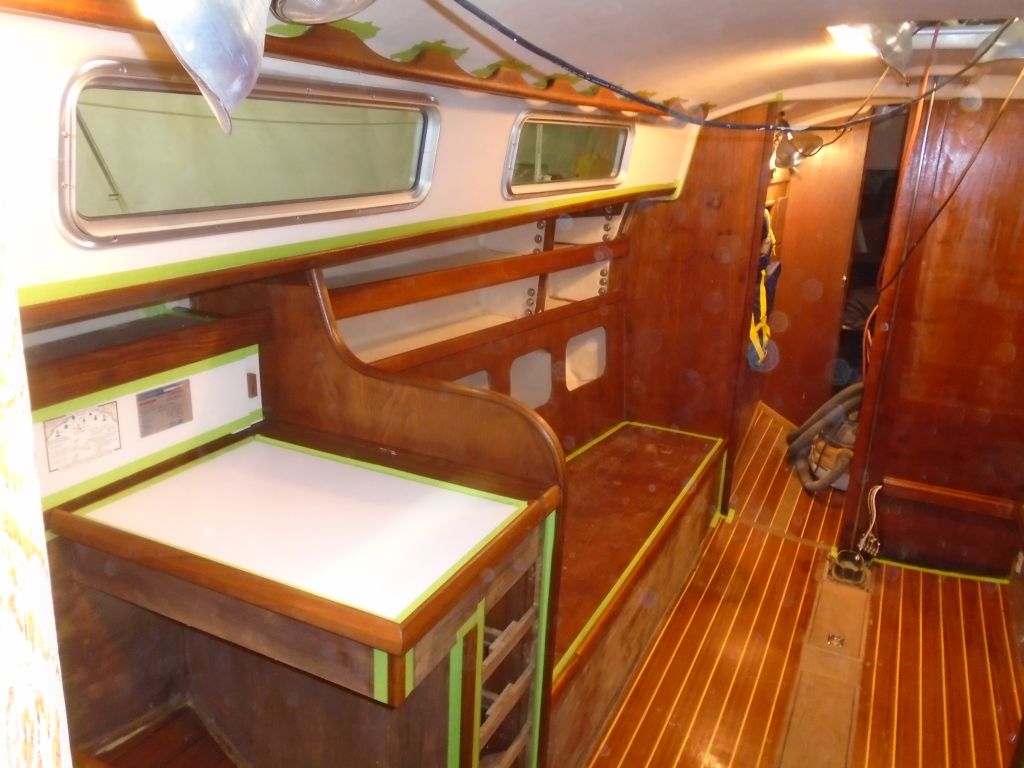
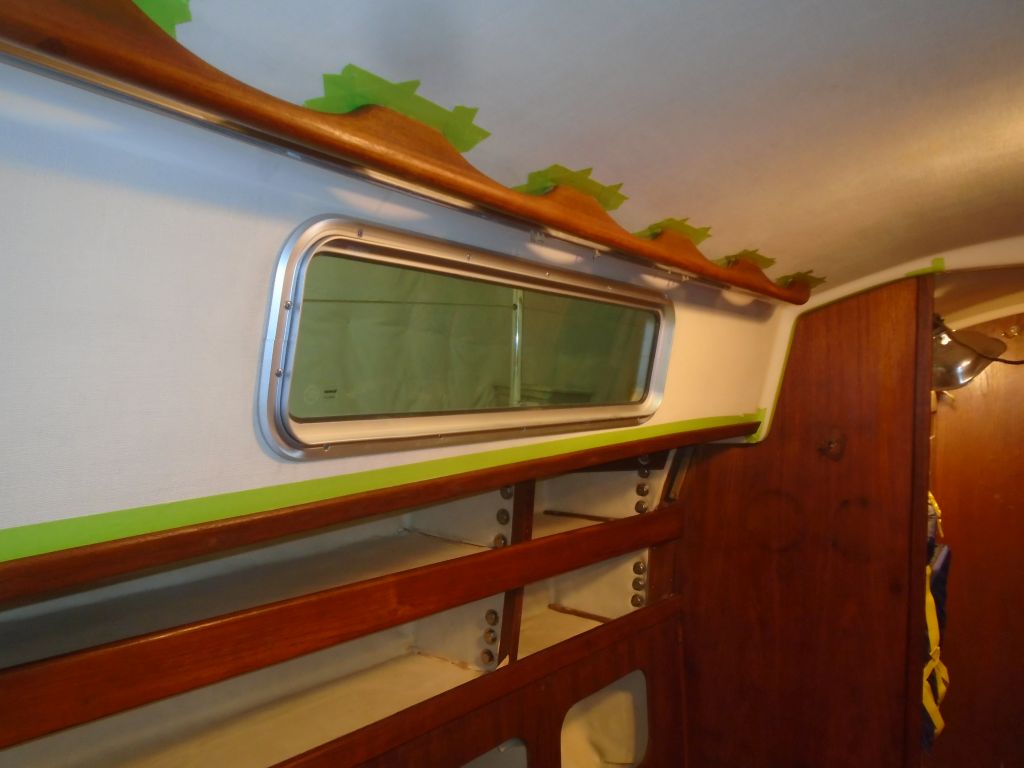
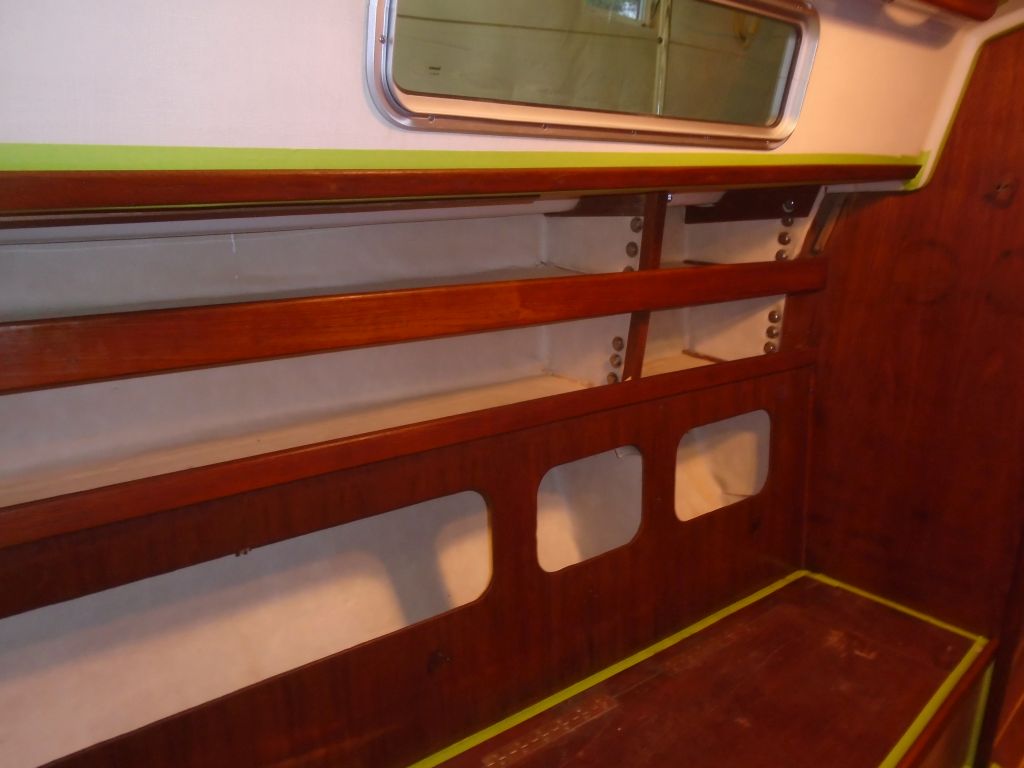
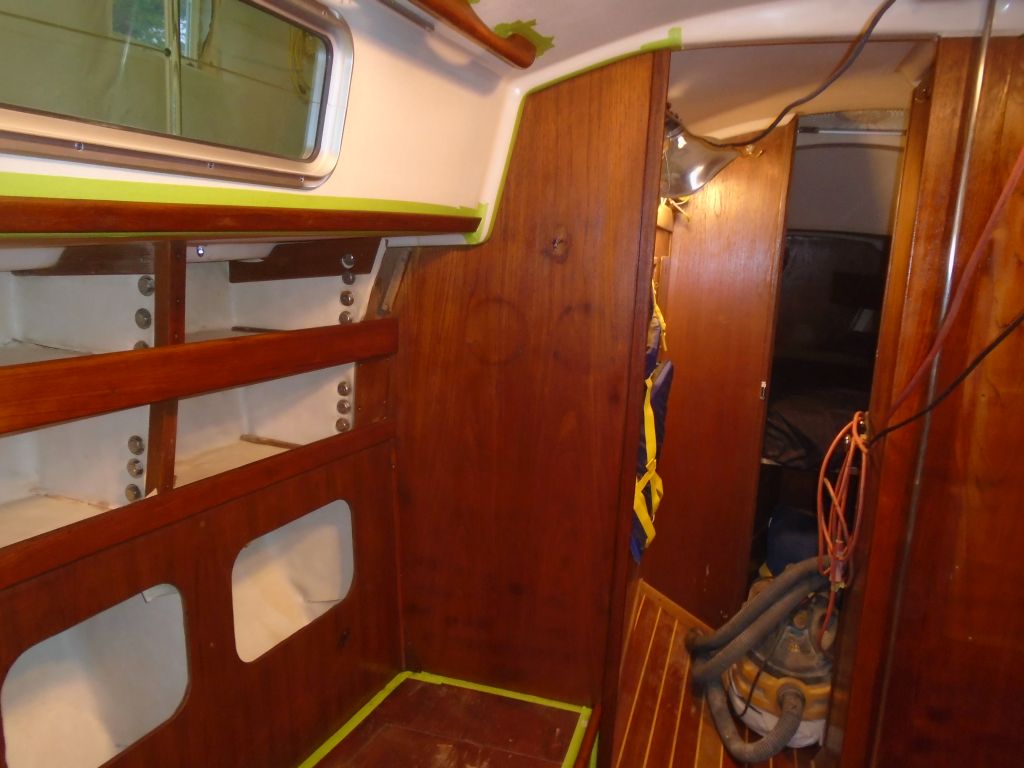
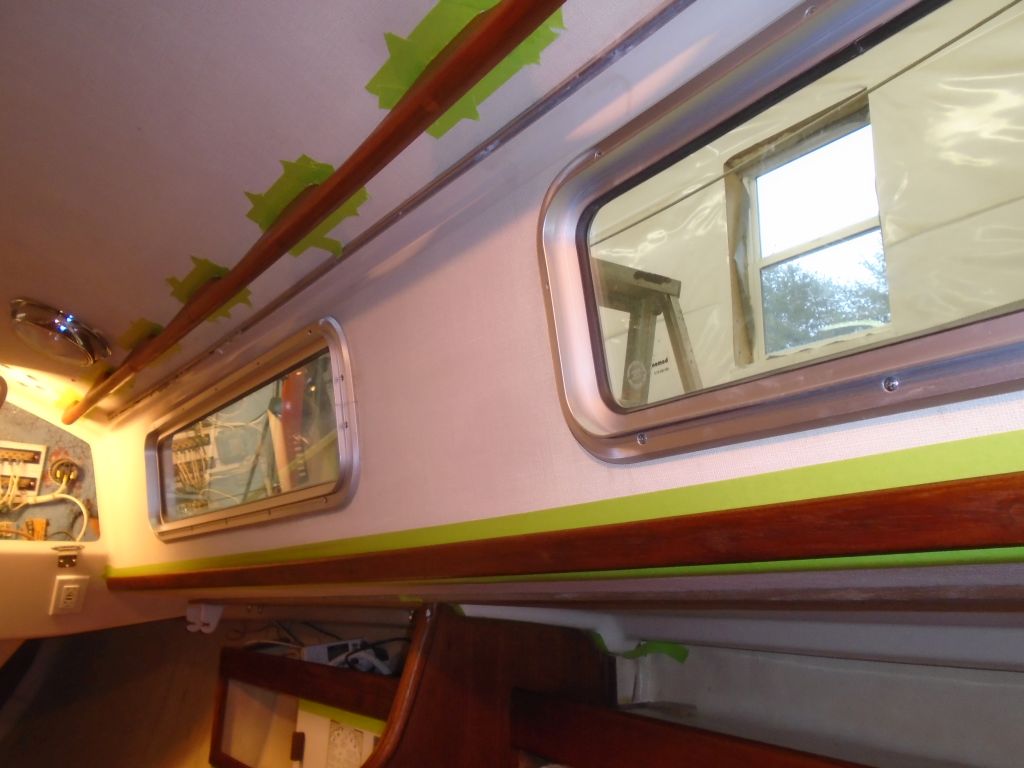
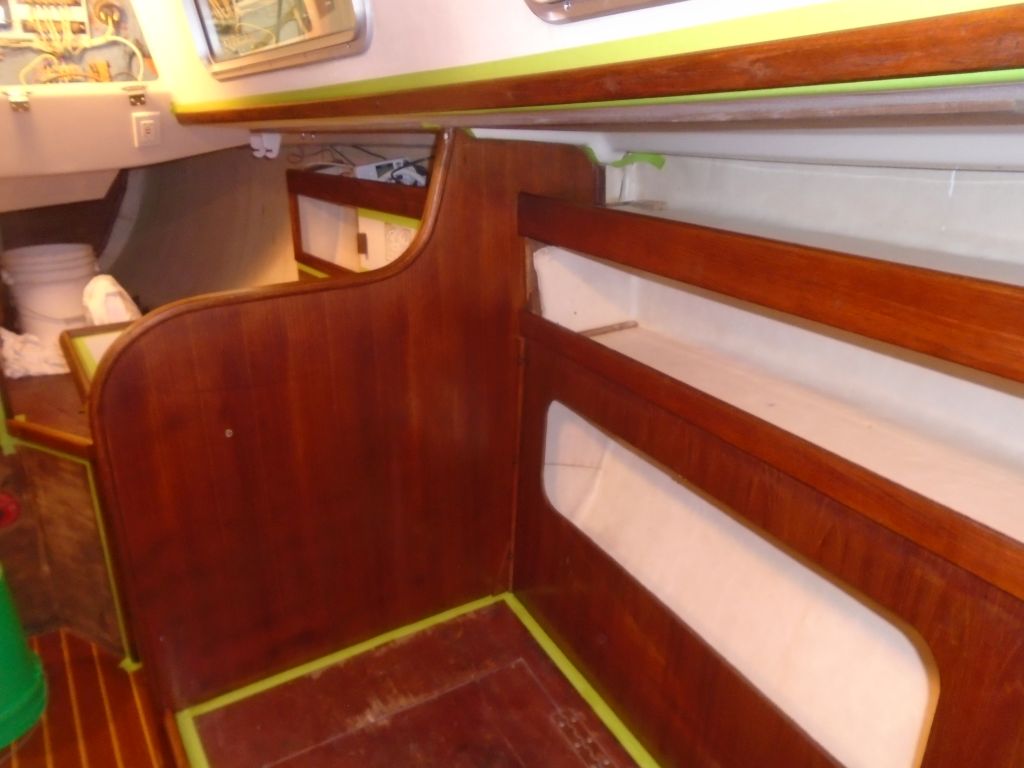
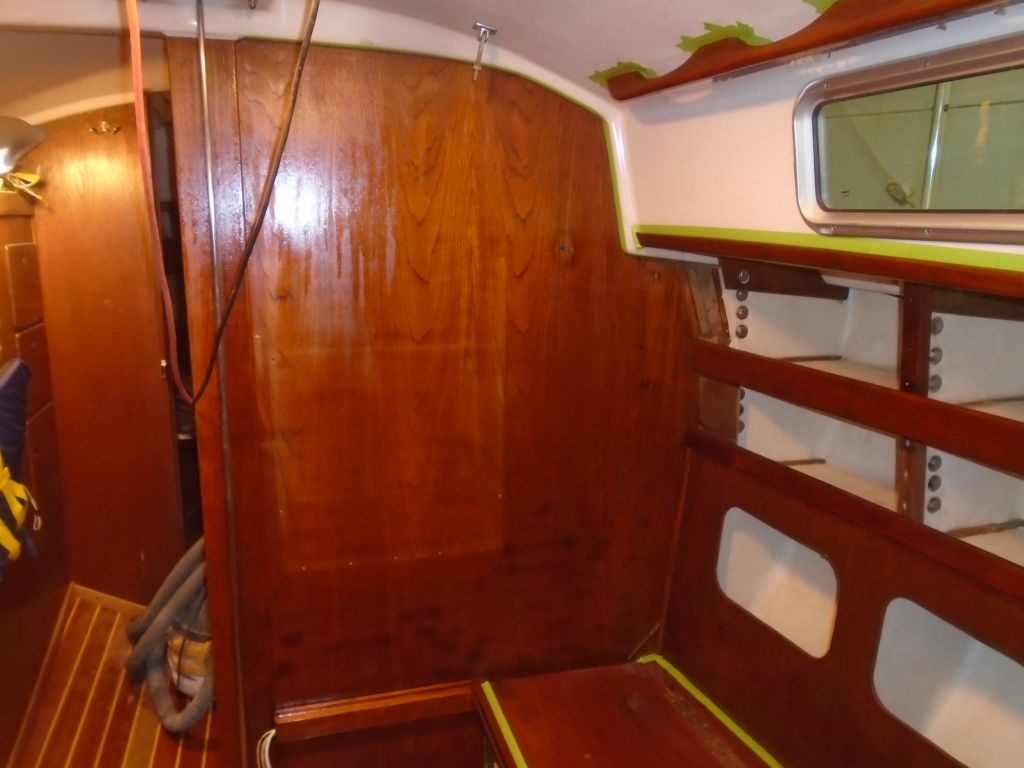
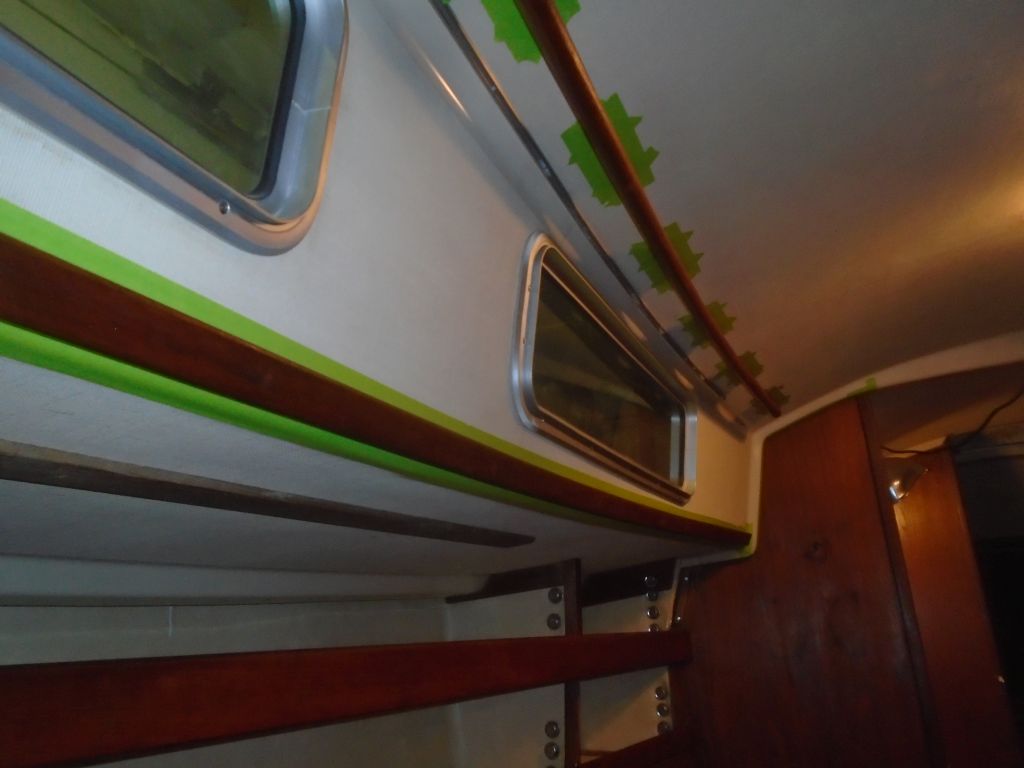
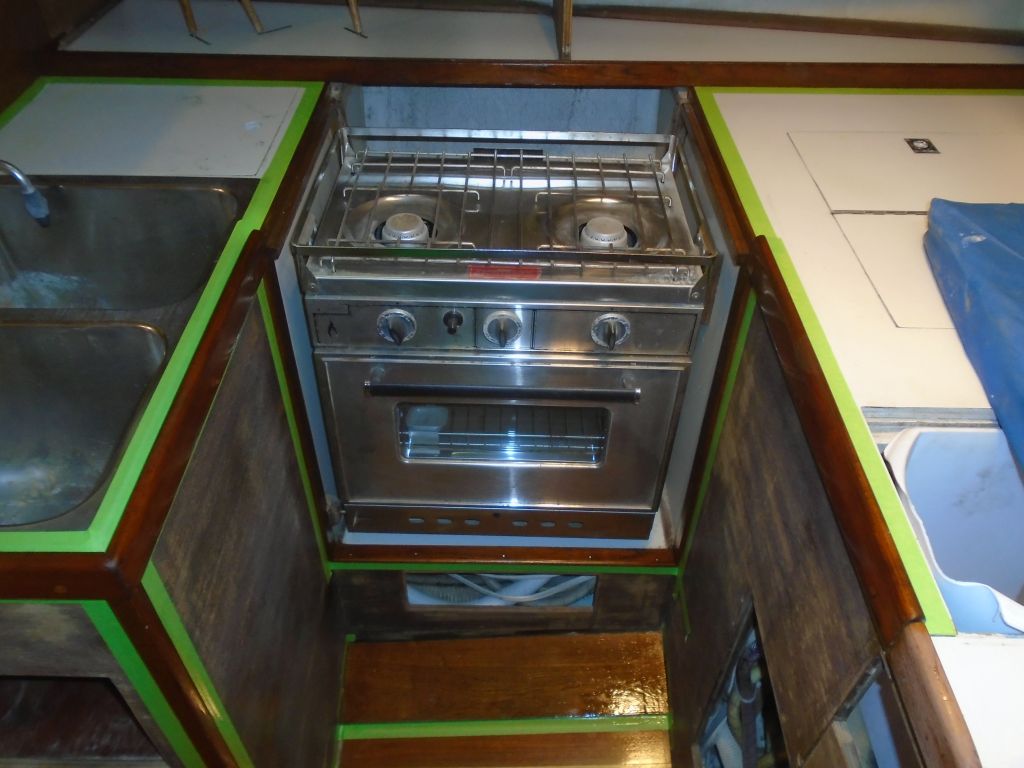
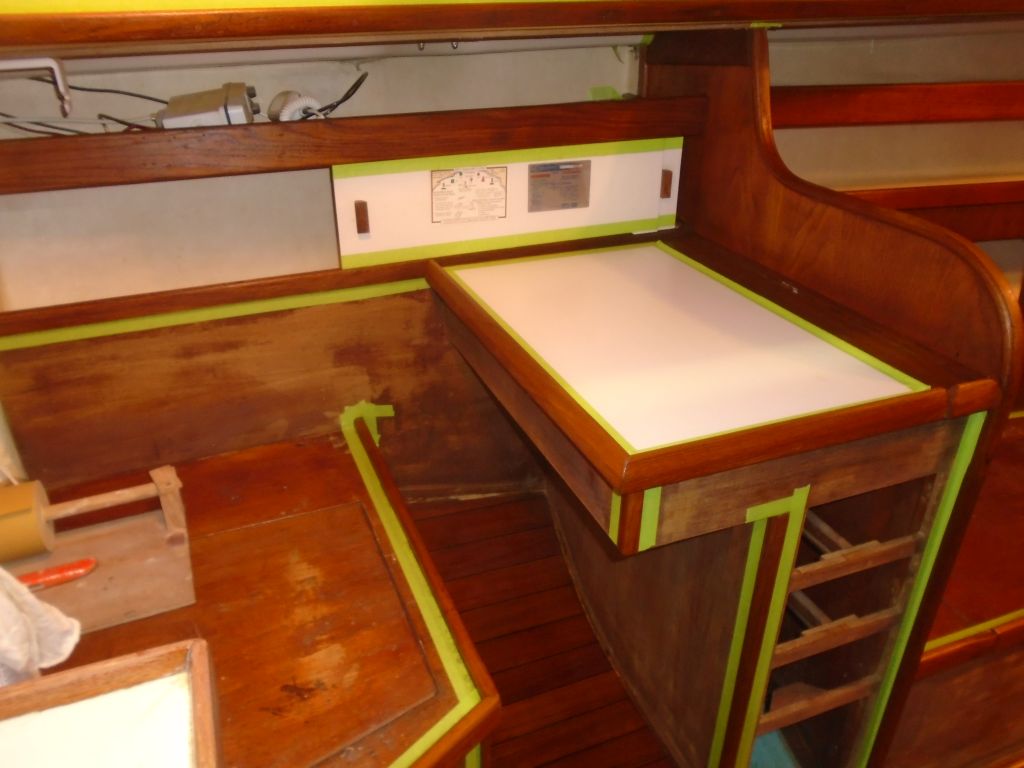
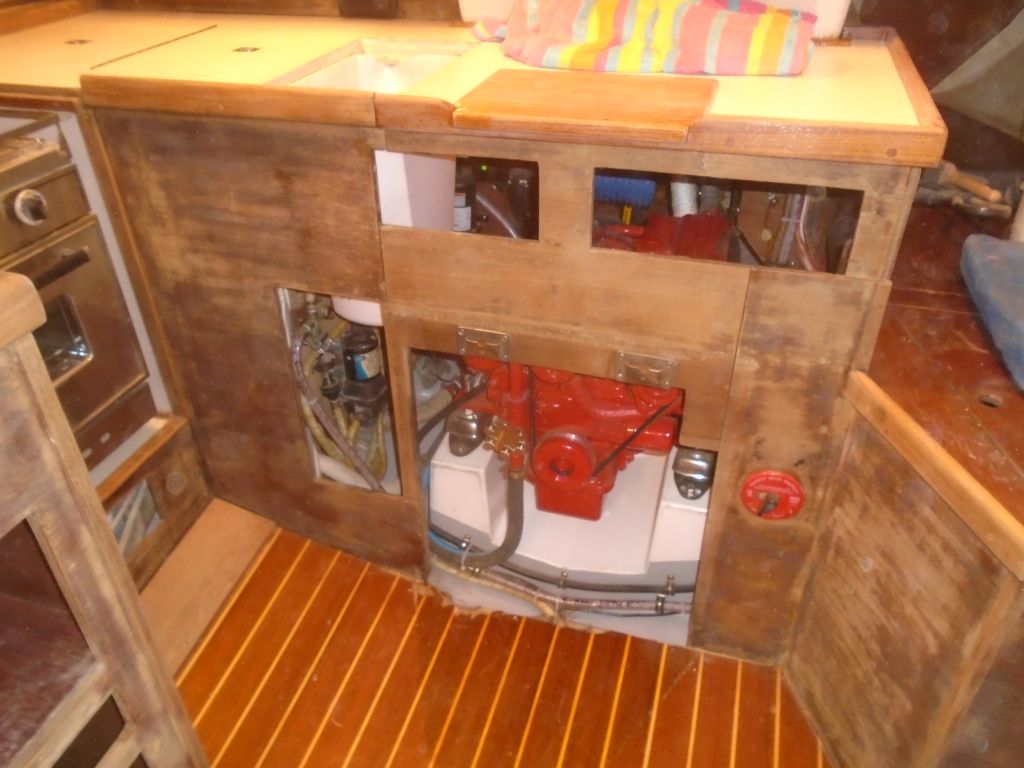
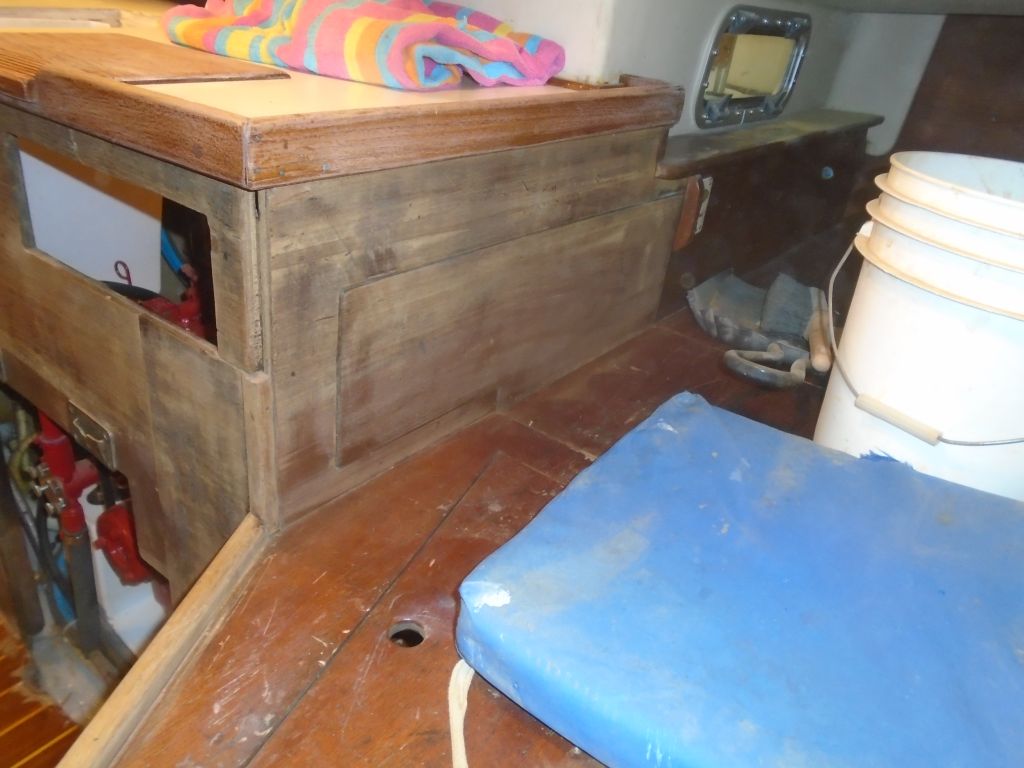
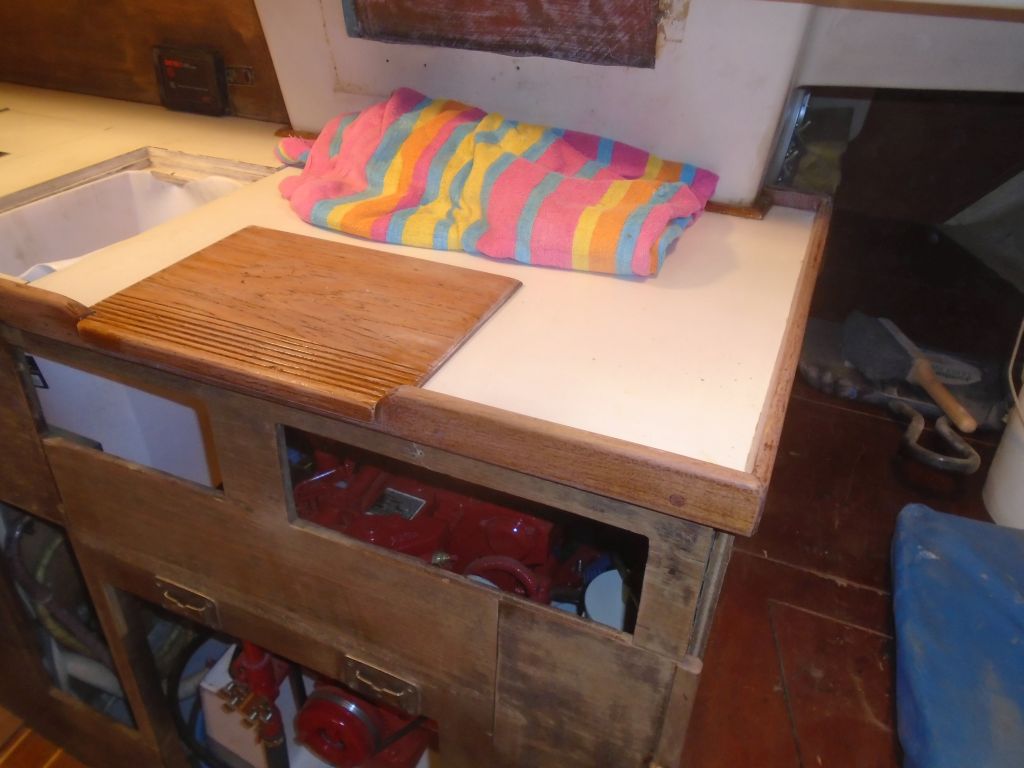
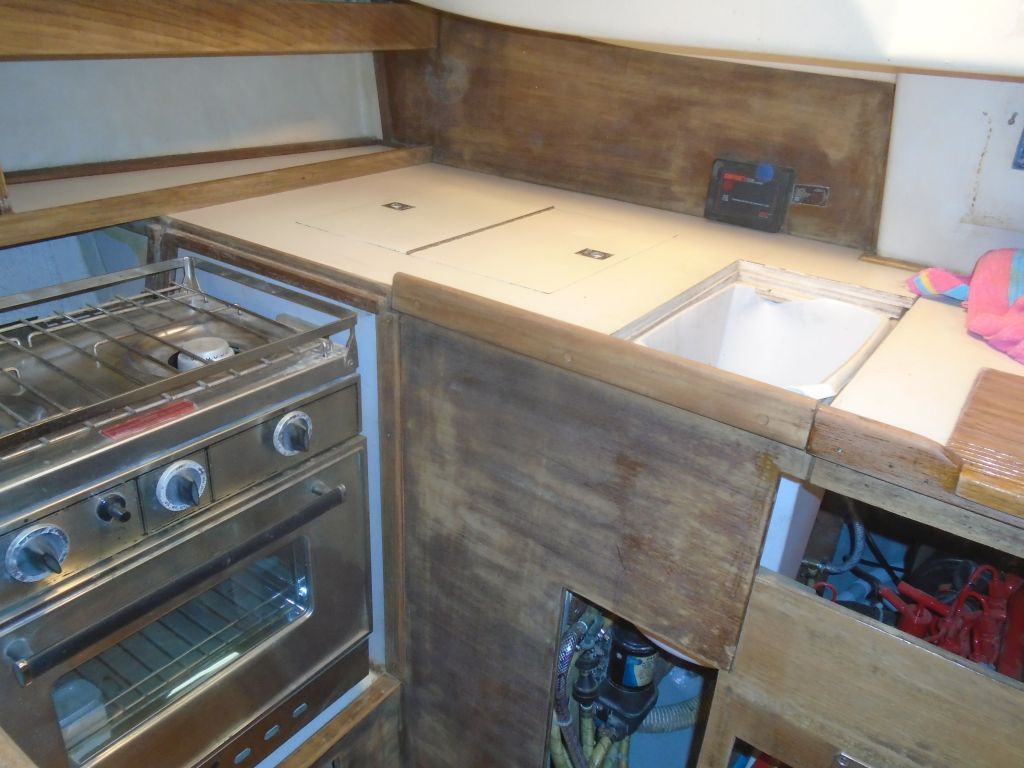
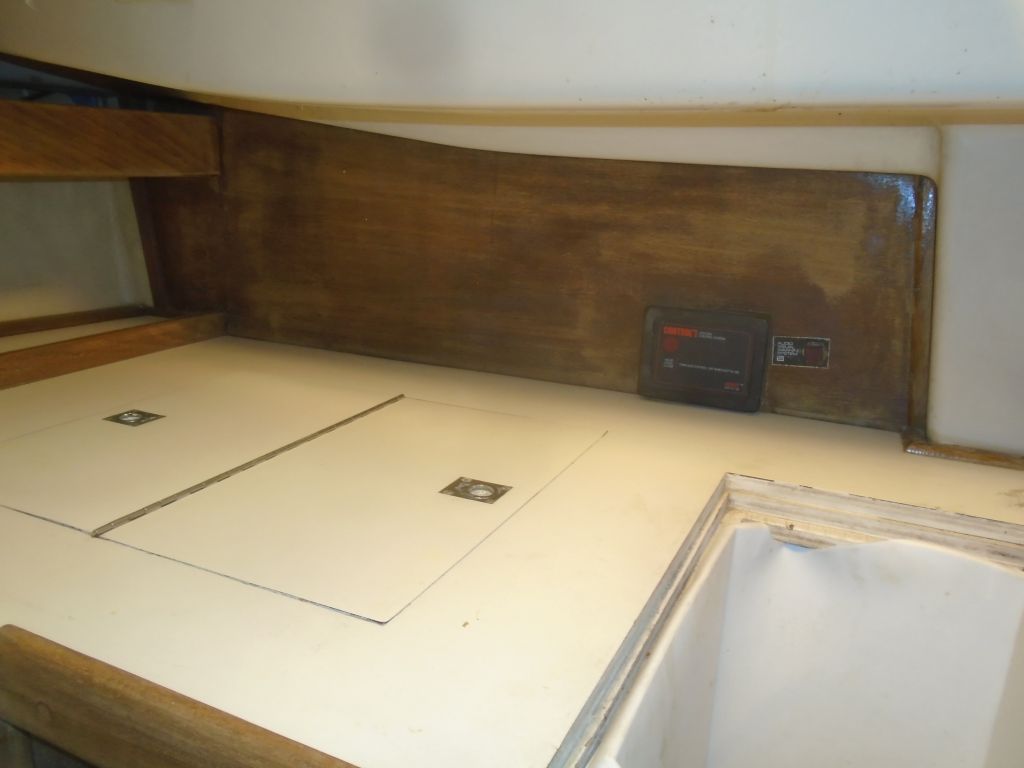
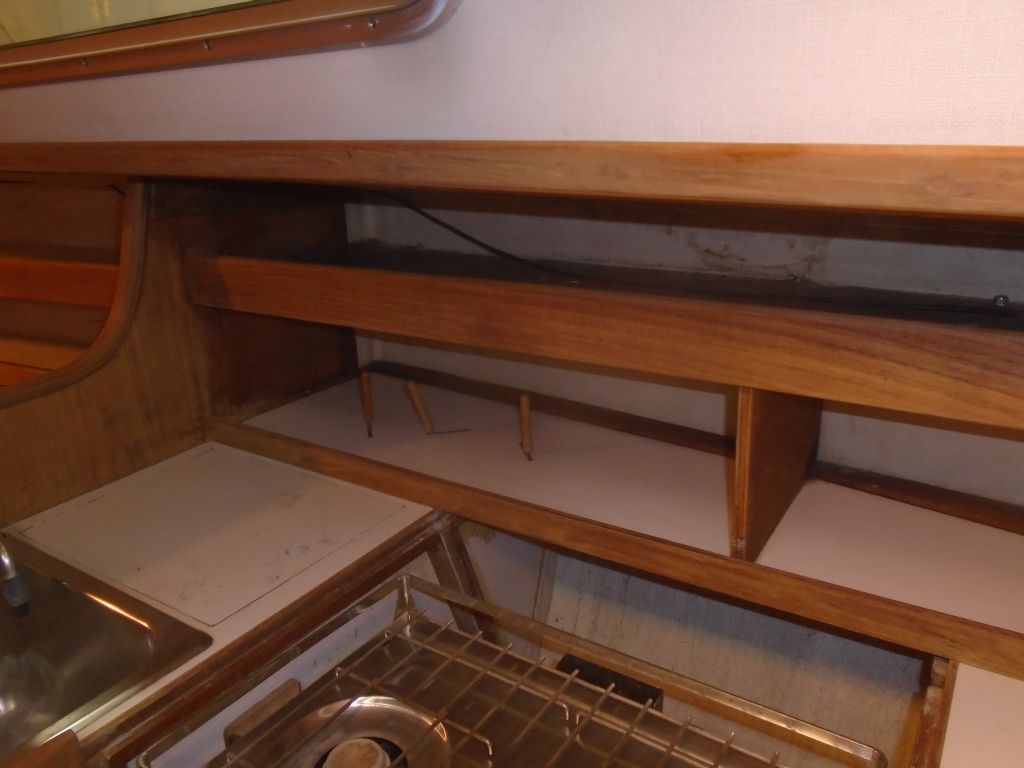
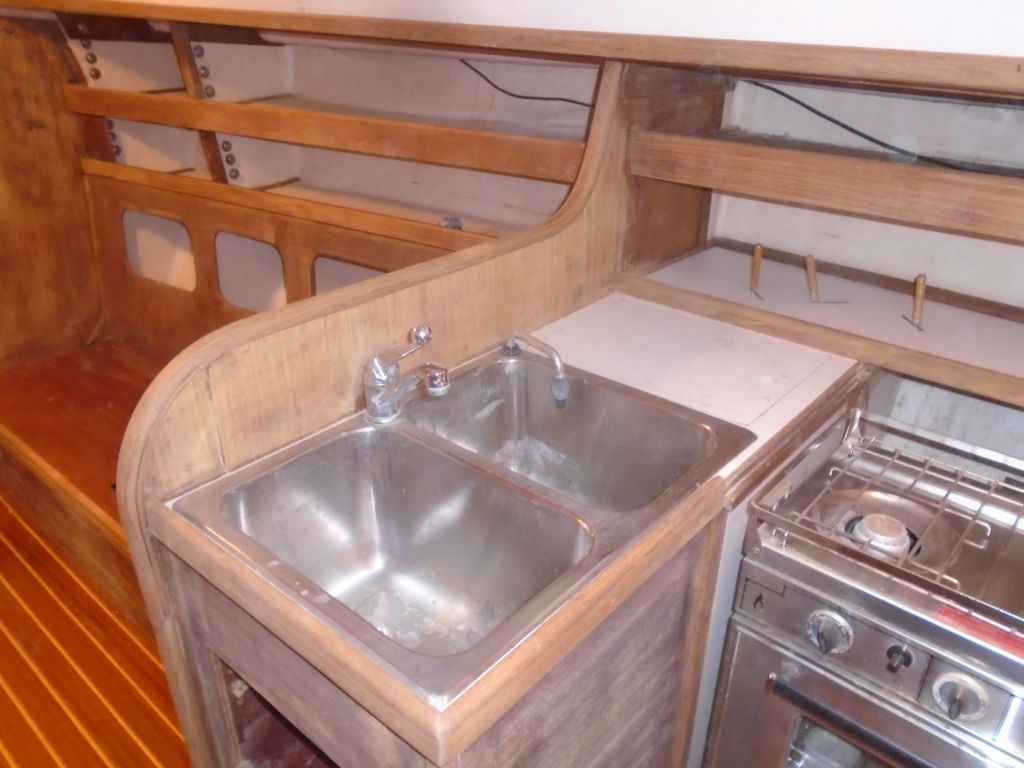
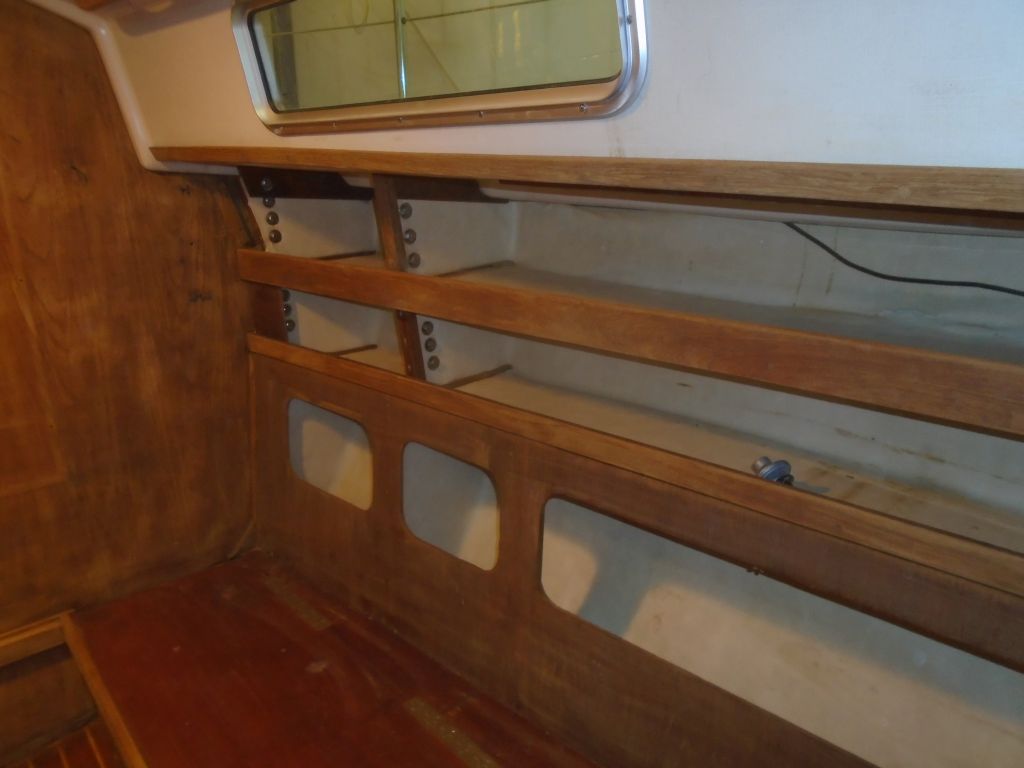
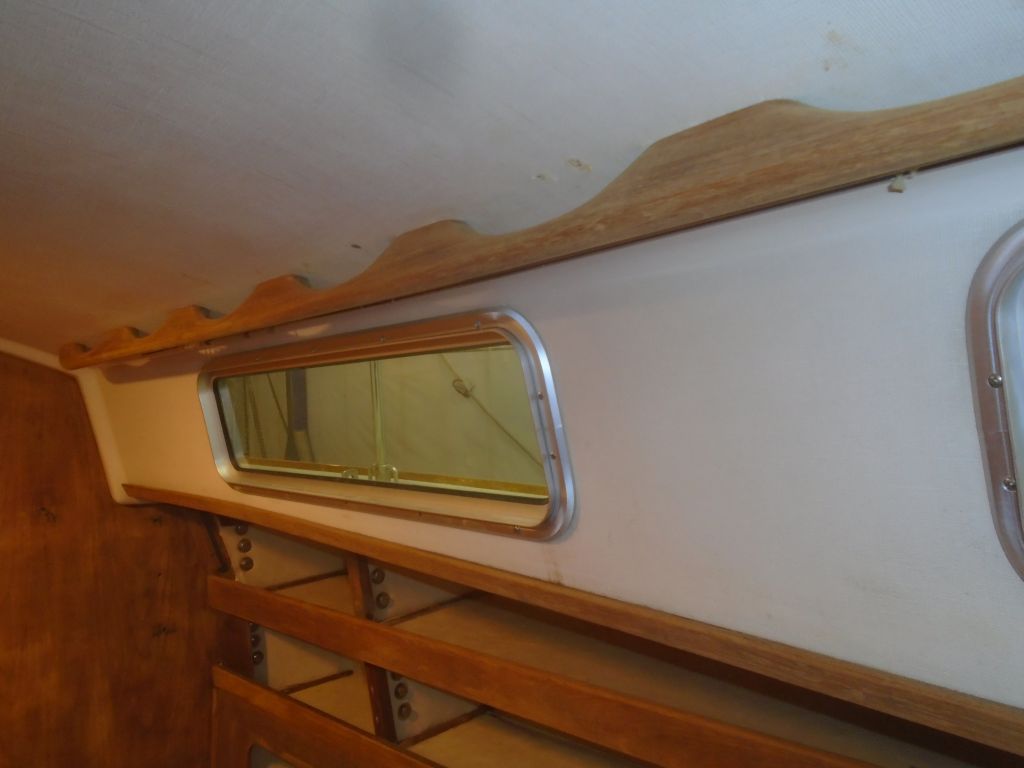
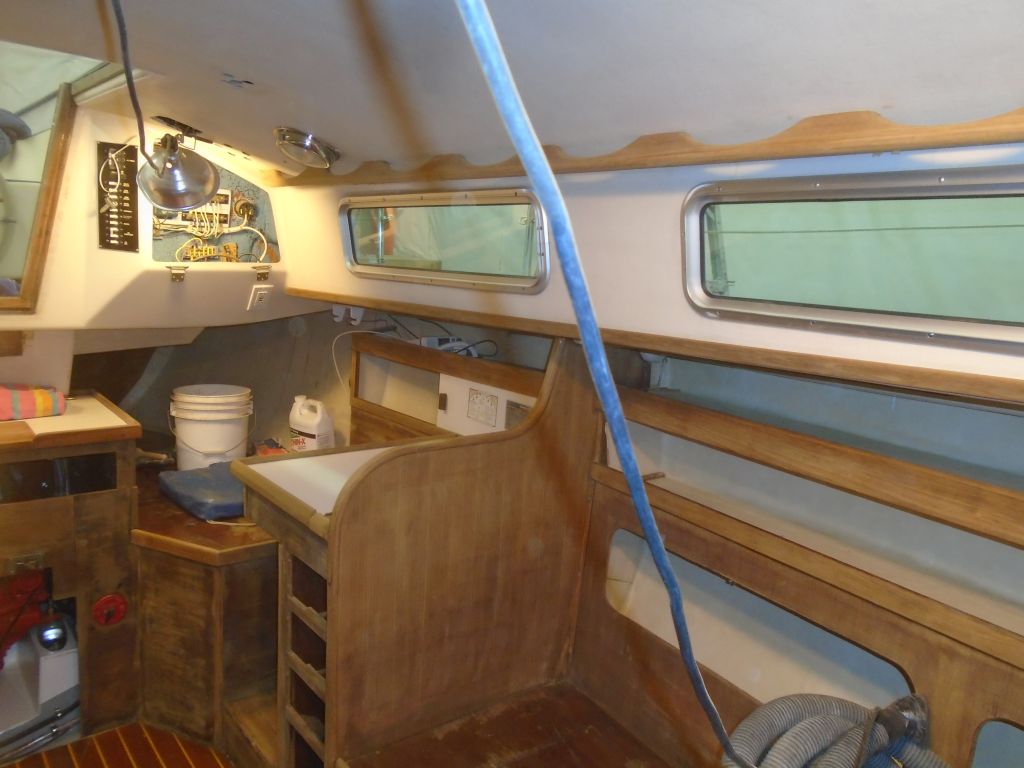
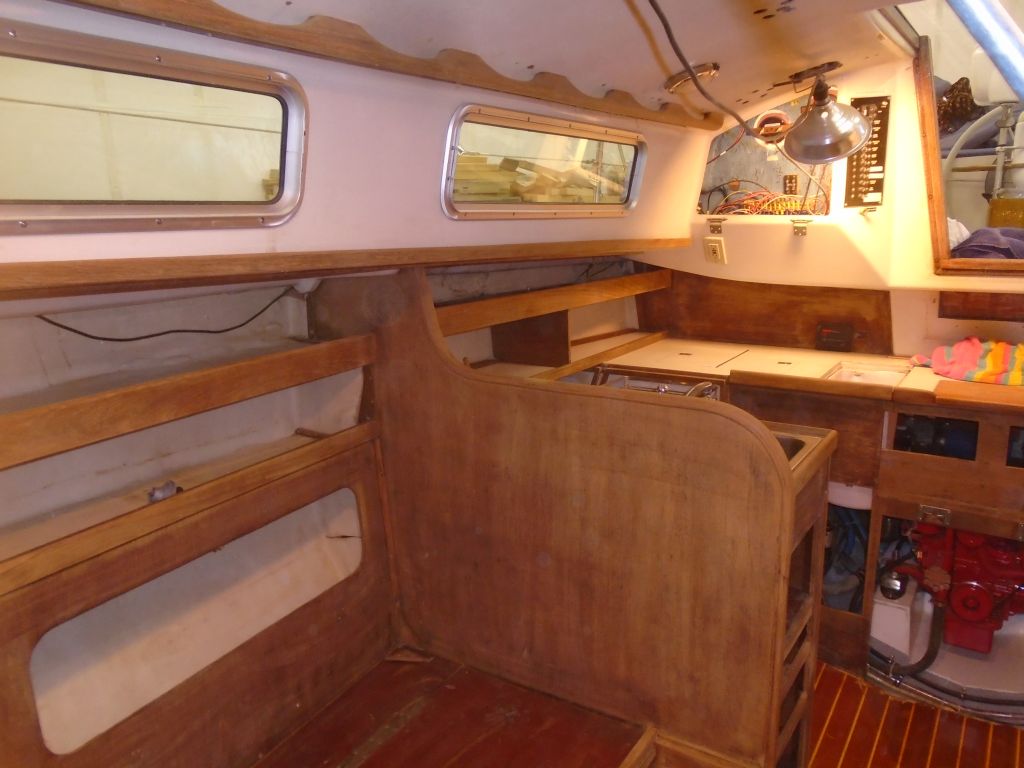
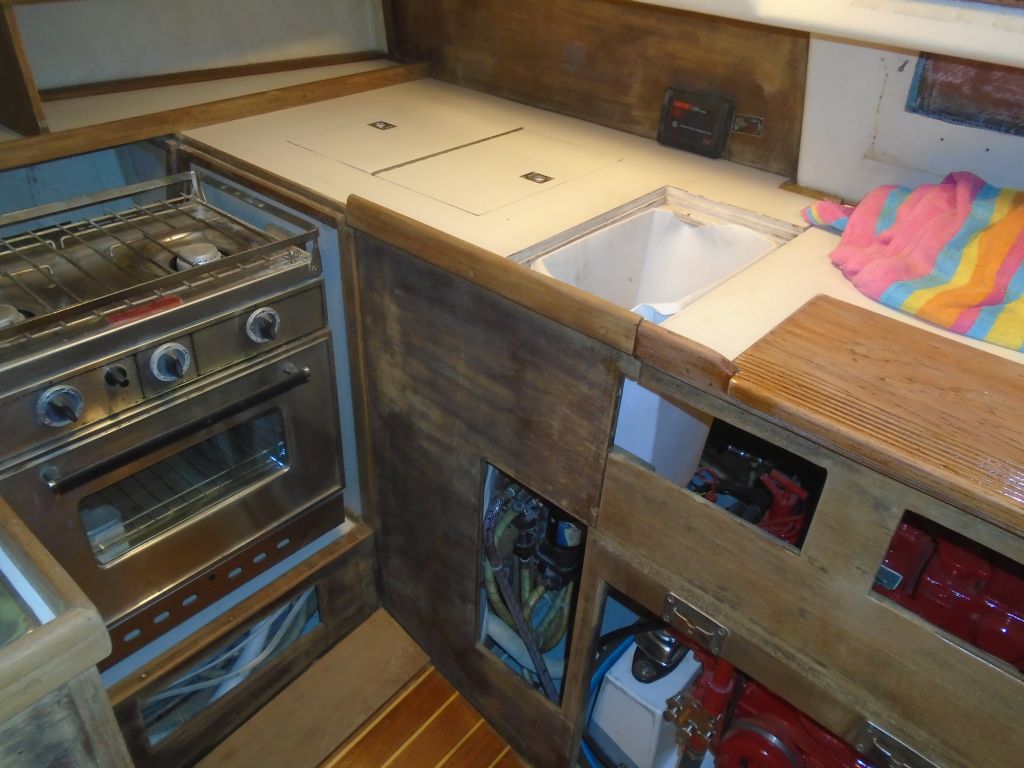
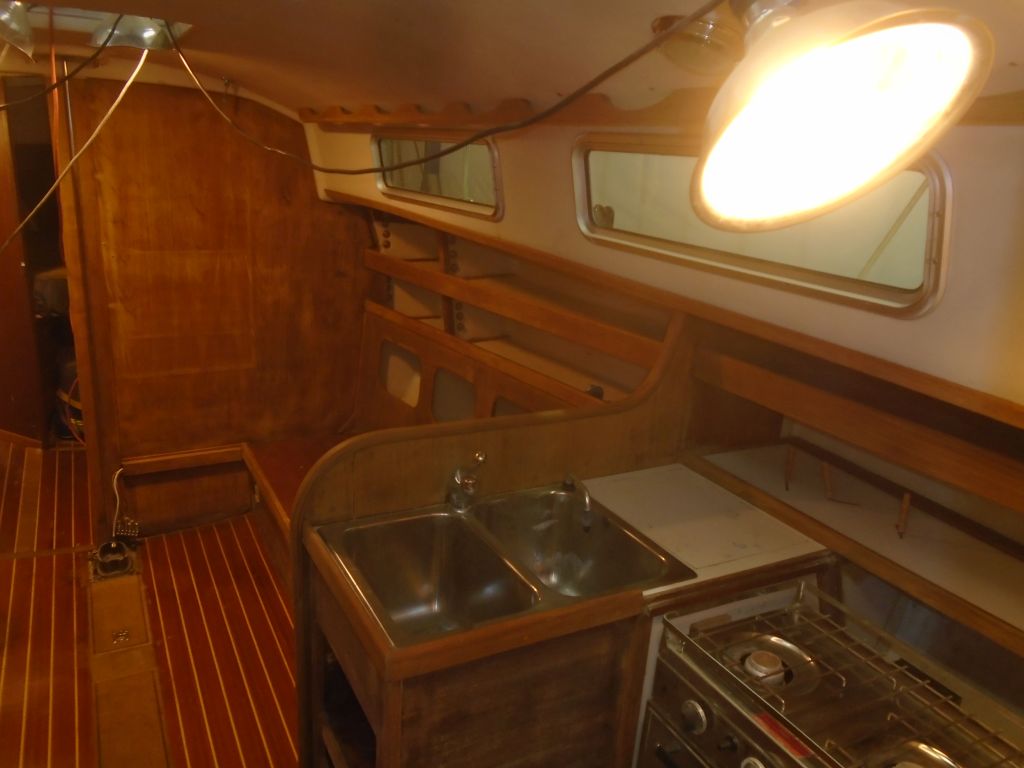
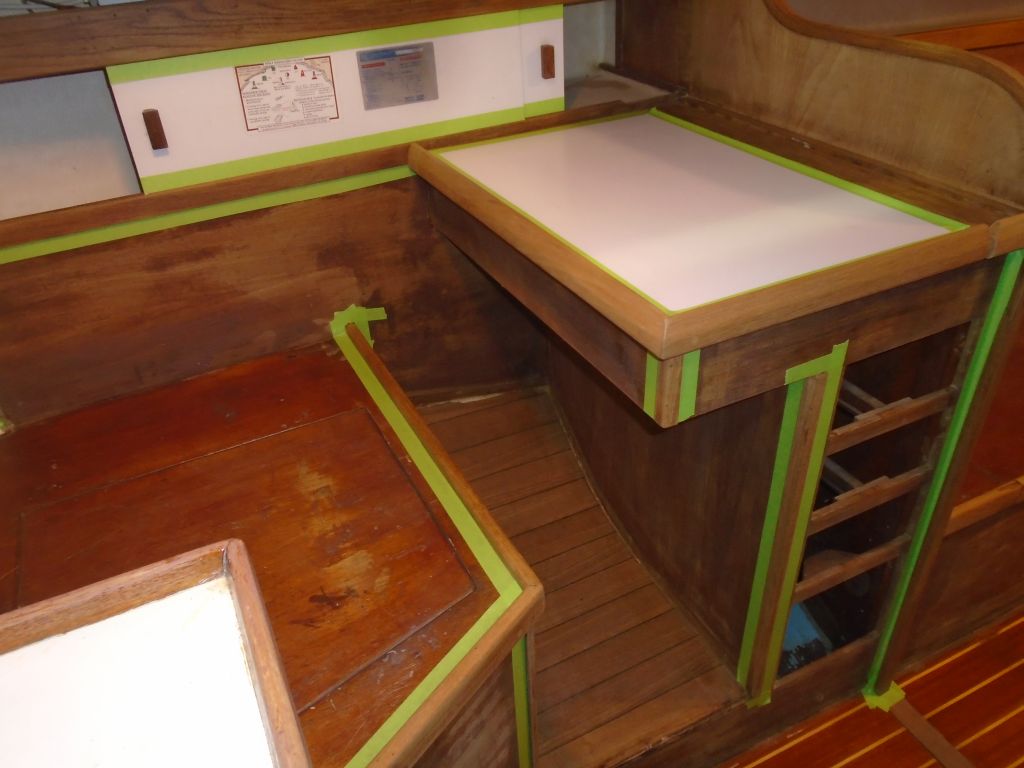
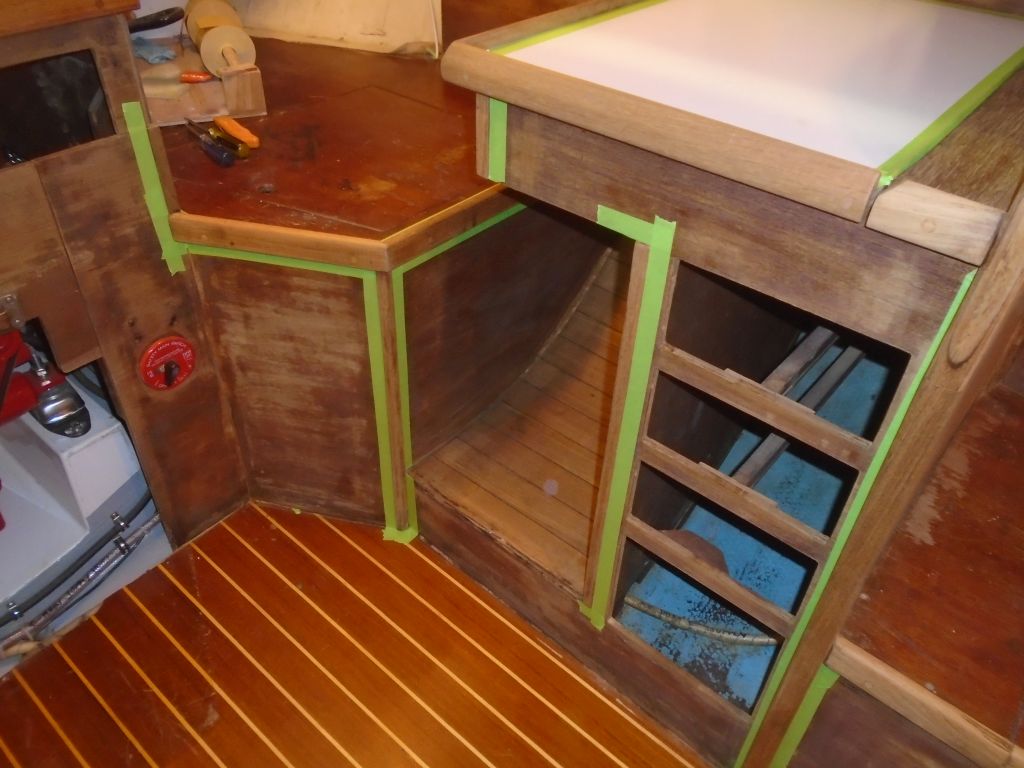
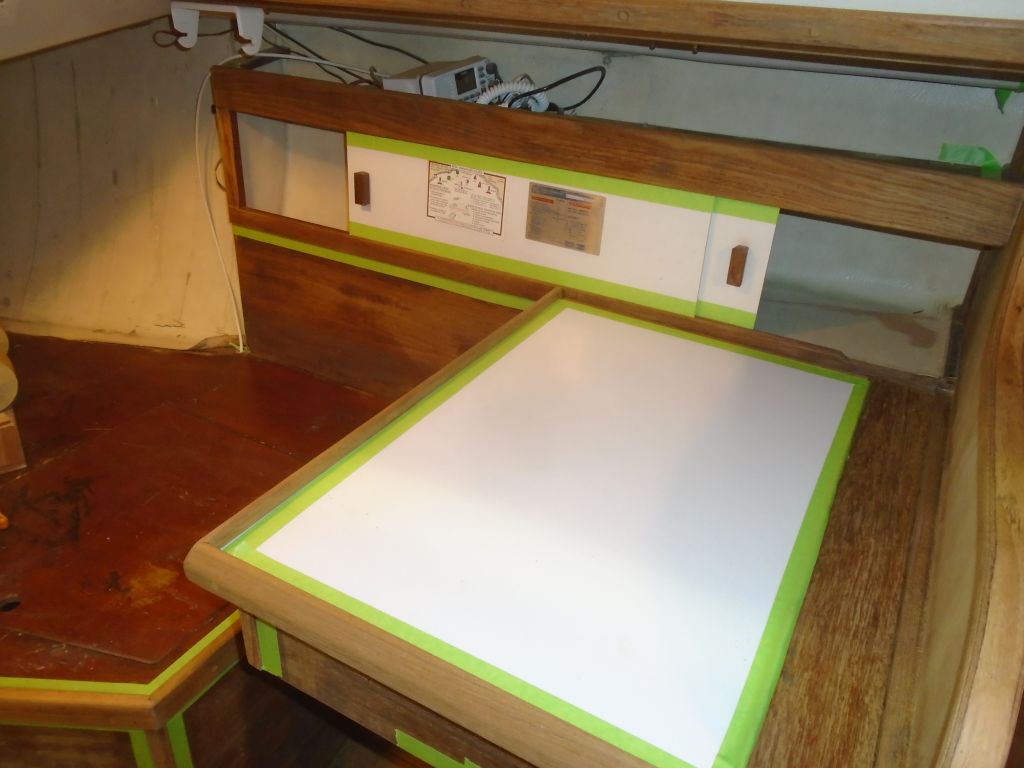
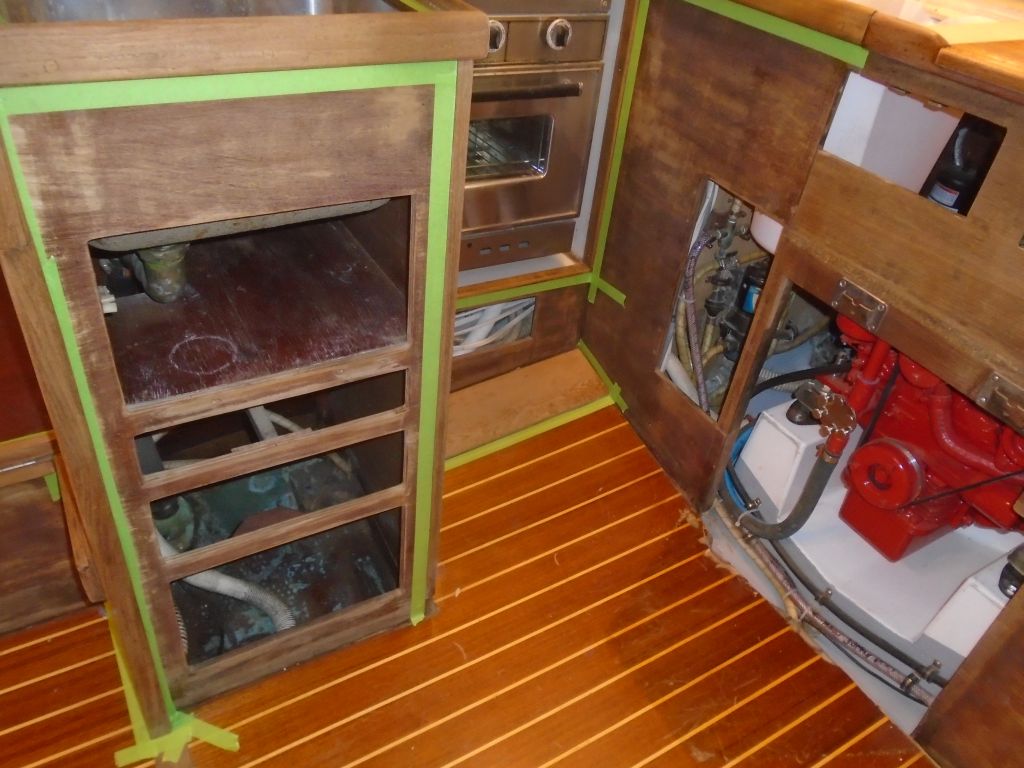
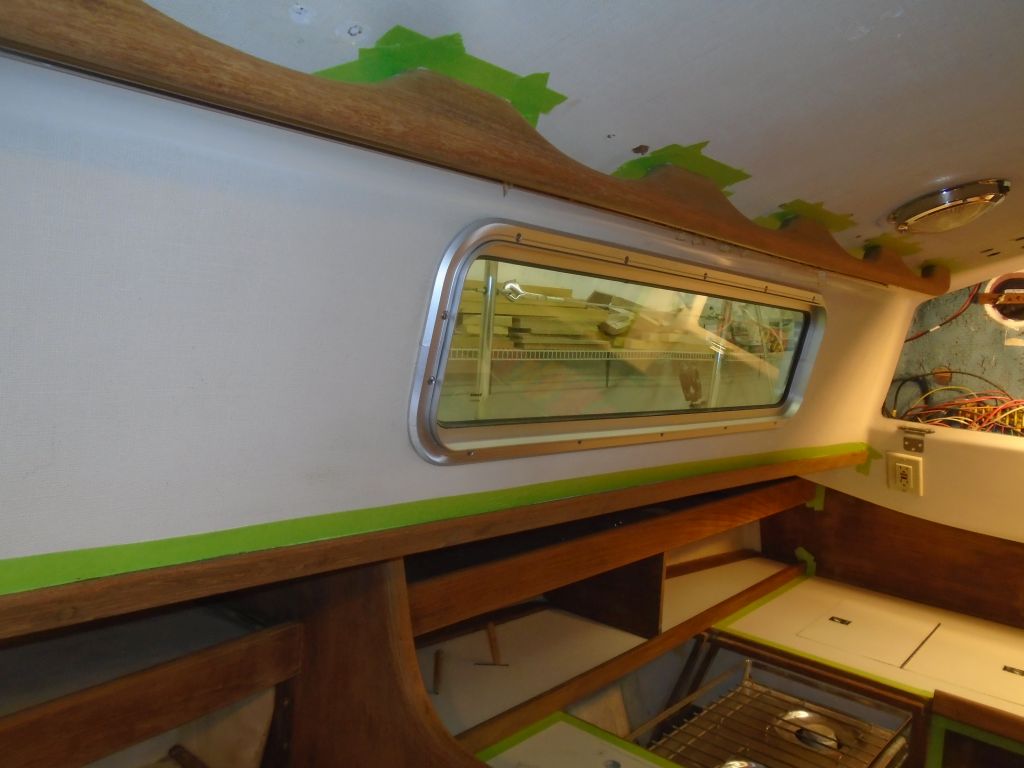
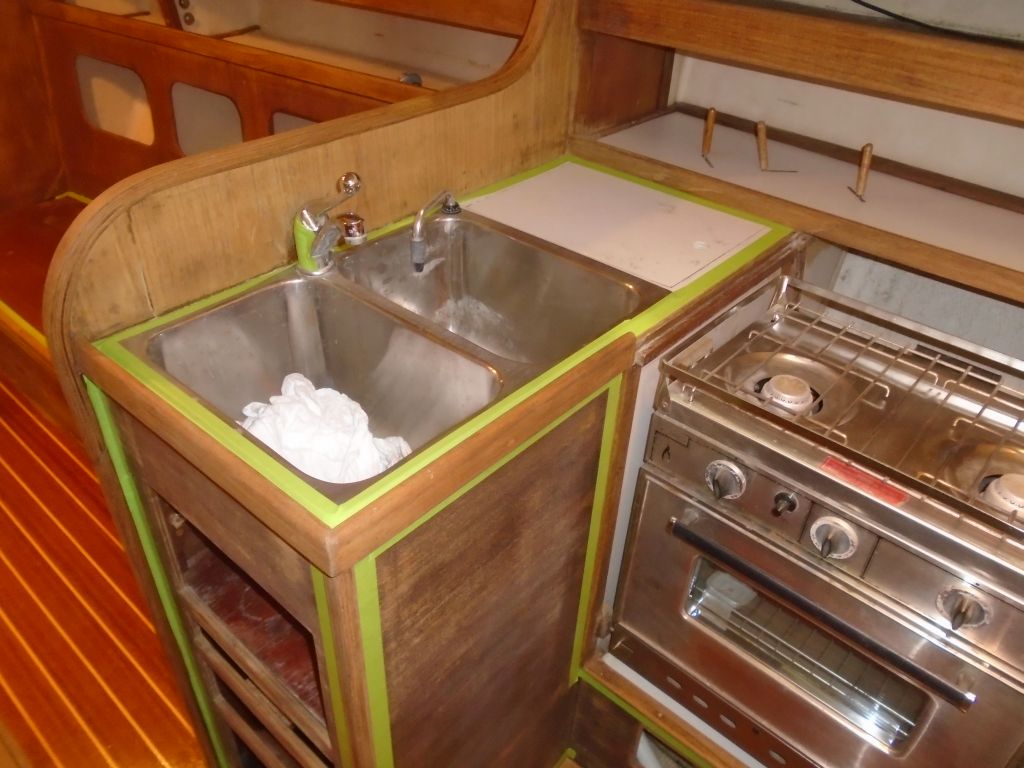
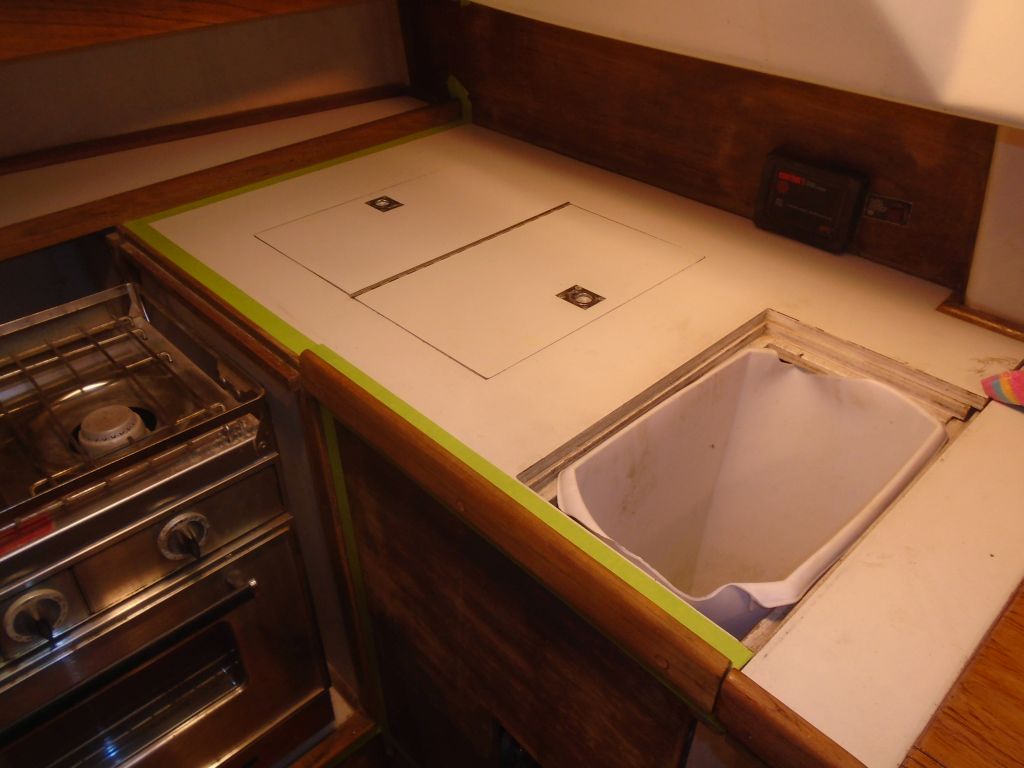
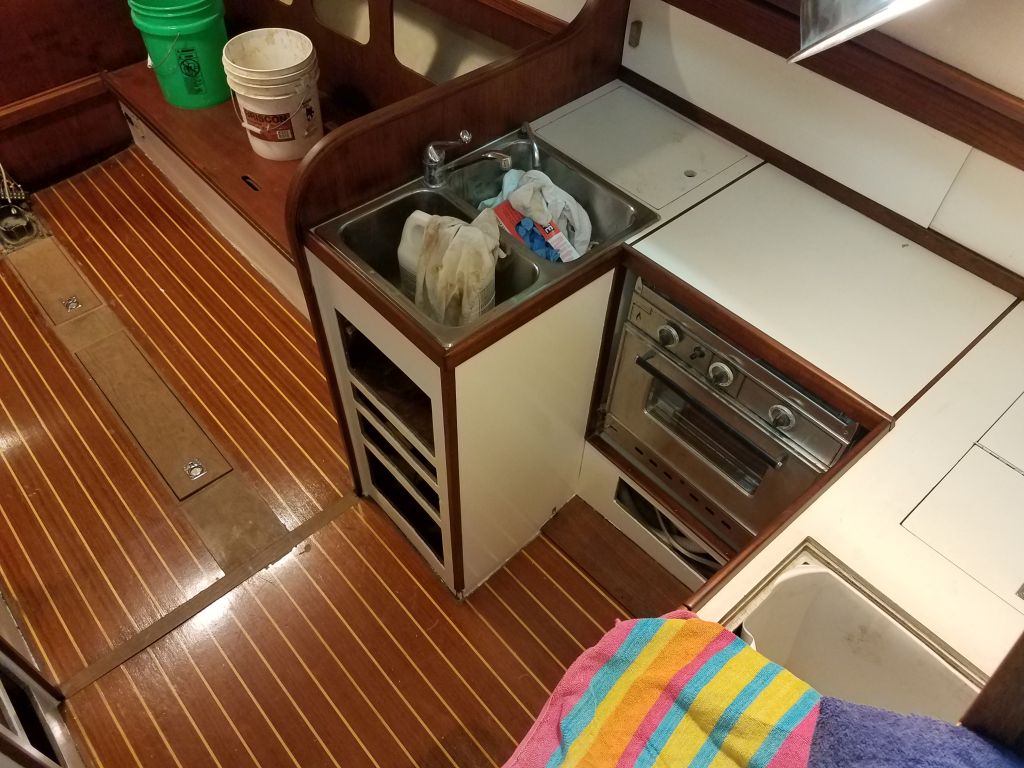
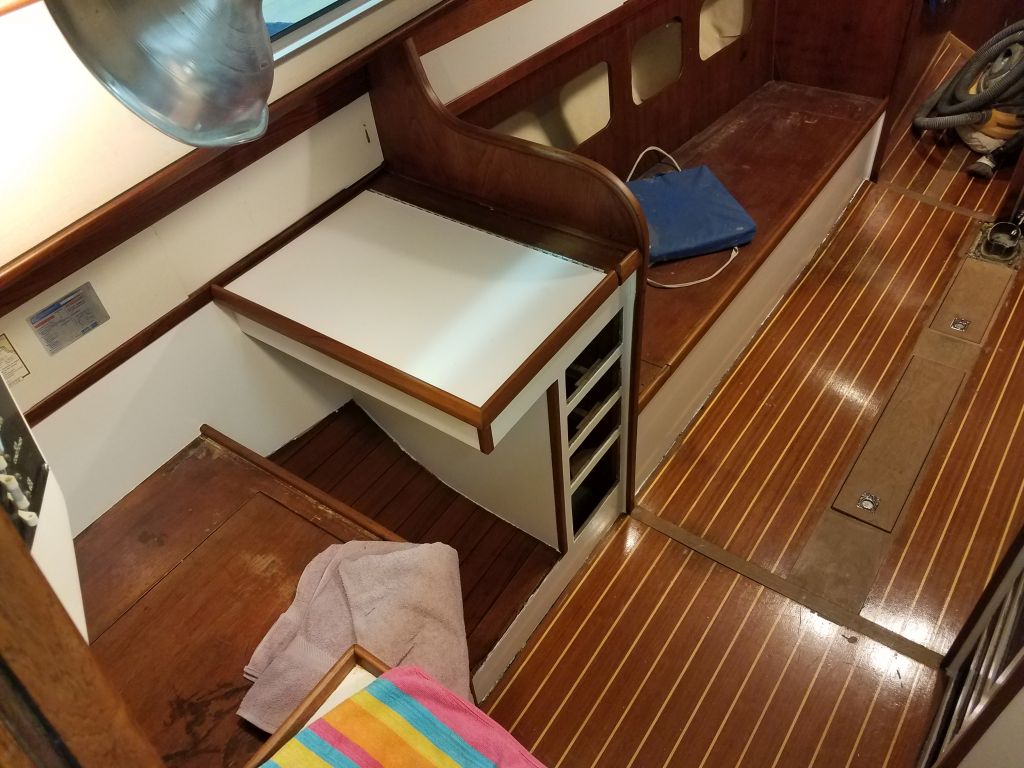
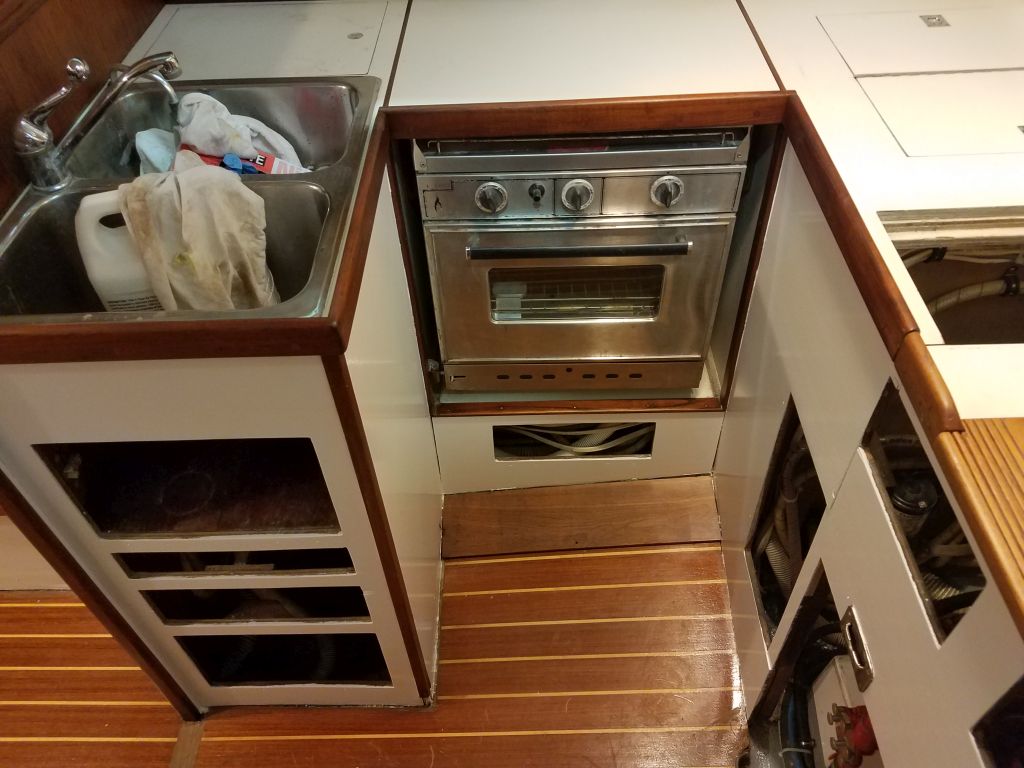
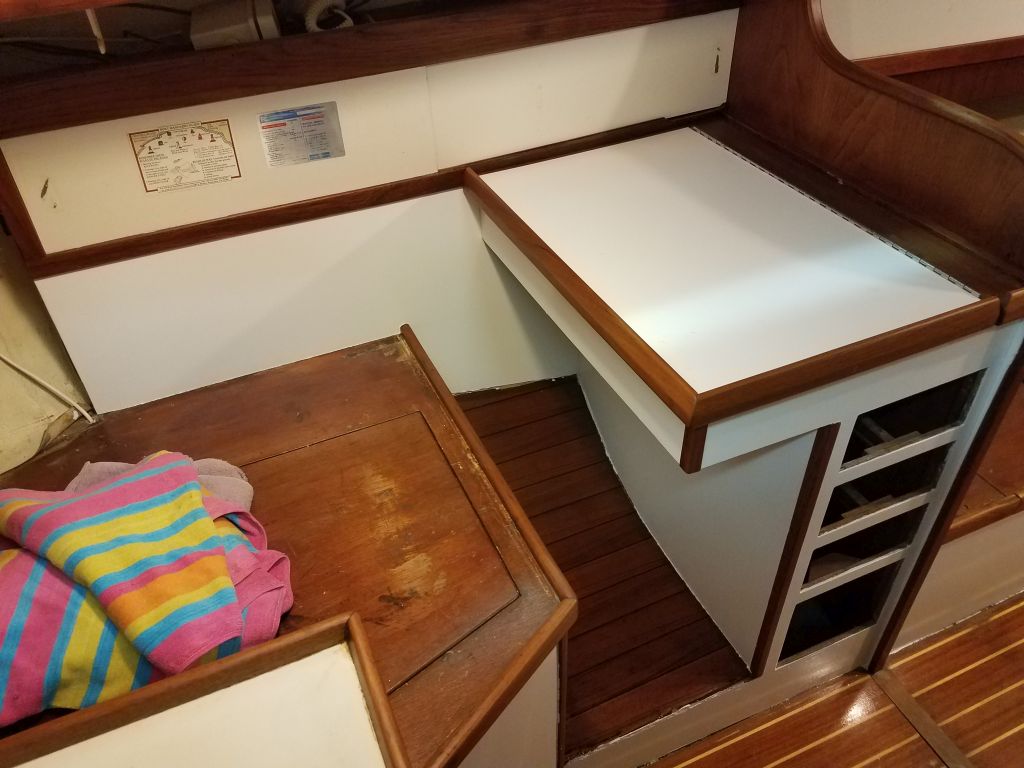
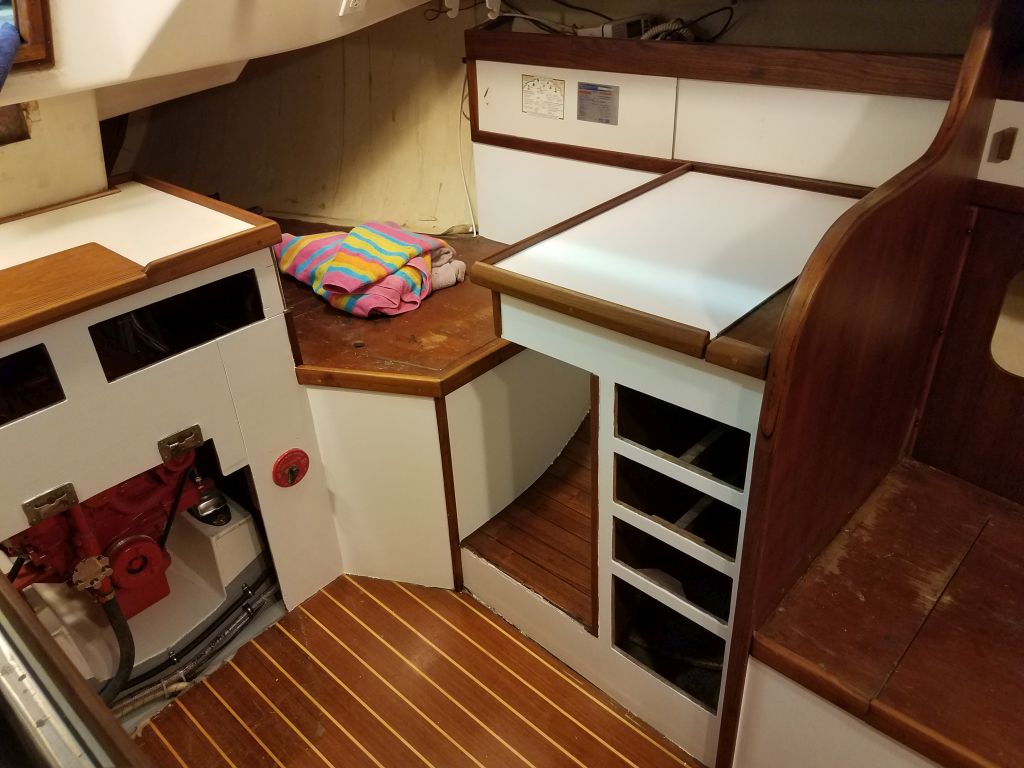
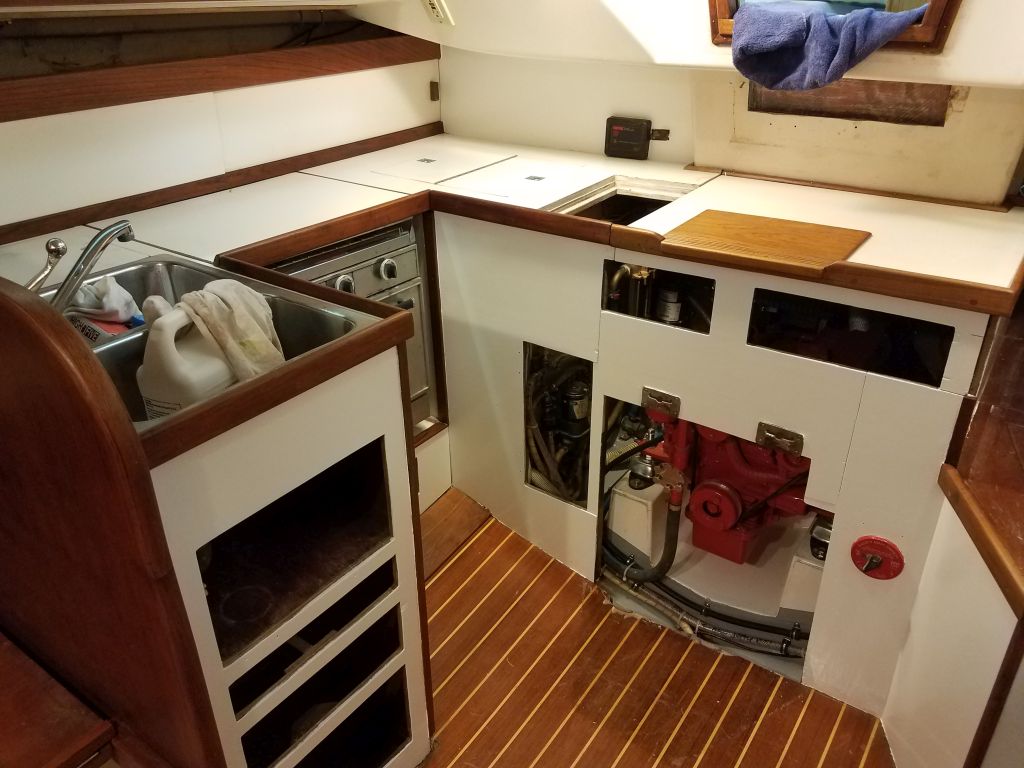
Over the weekend, I decided that a few of the painted interior panels required a third coat of paint, as I wasn’t happy with some thin/dark spots at the upper edges, where coverage hadn’t been as good as I’d hoped.  So after basic preparations, I applied a third coat of paint to the panel outboard of the nav station on the port side, the small section above the aft galley countertop, and portions of the galley and engine compartment.

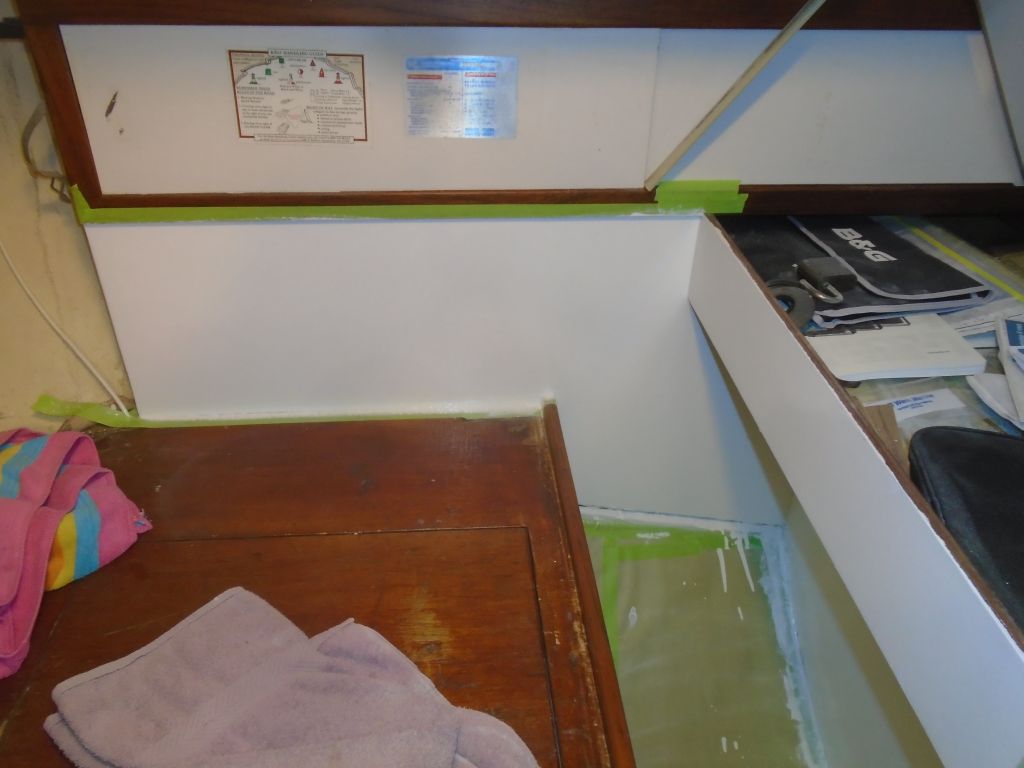
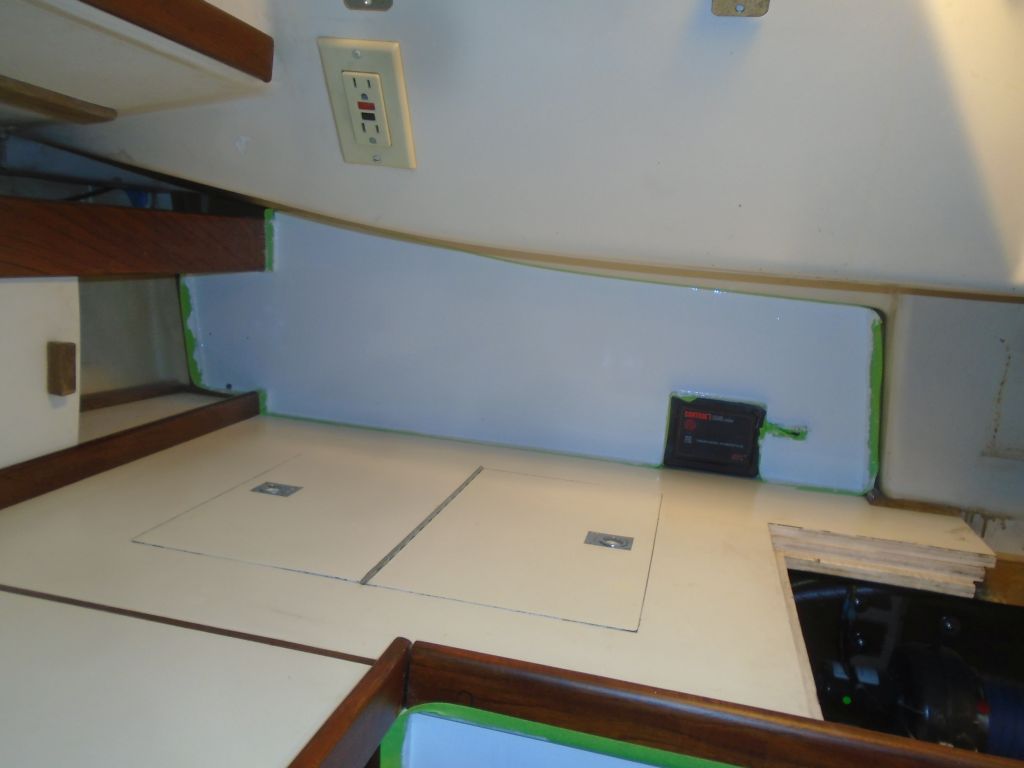
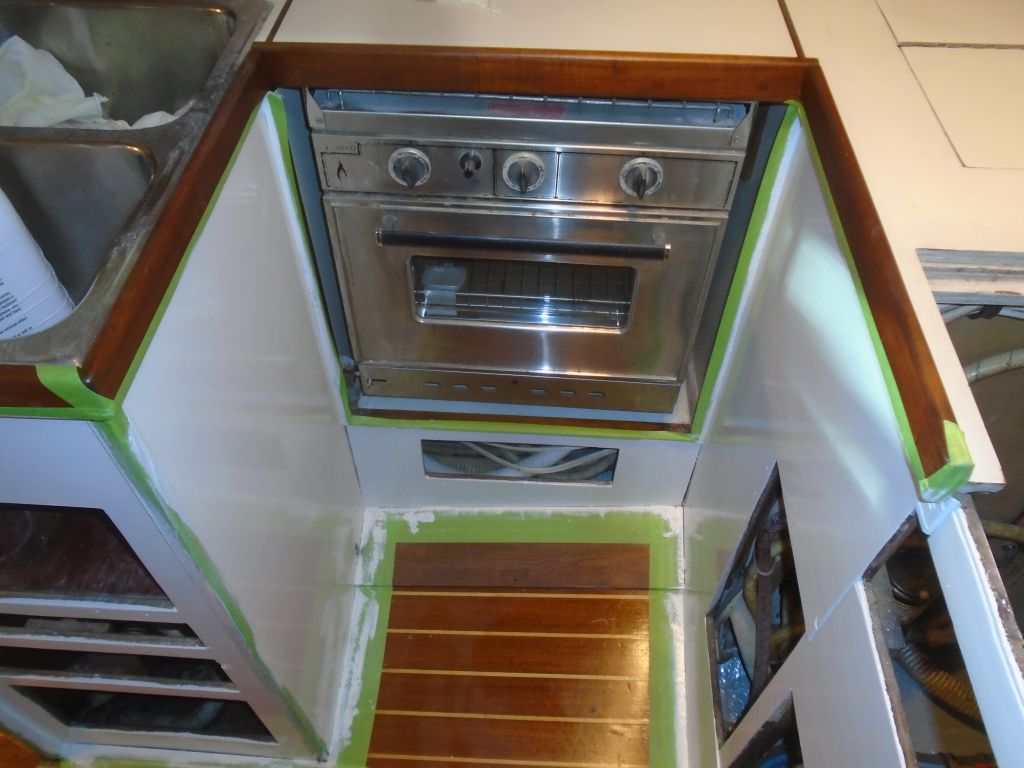
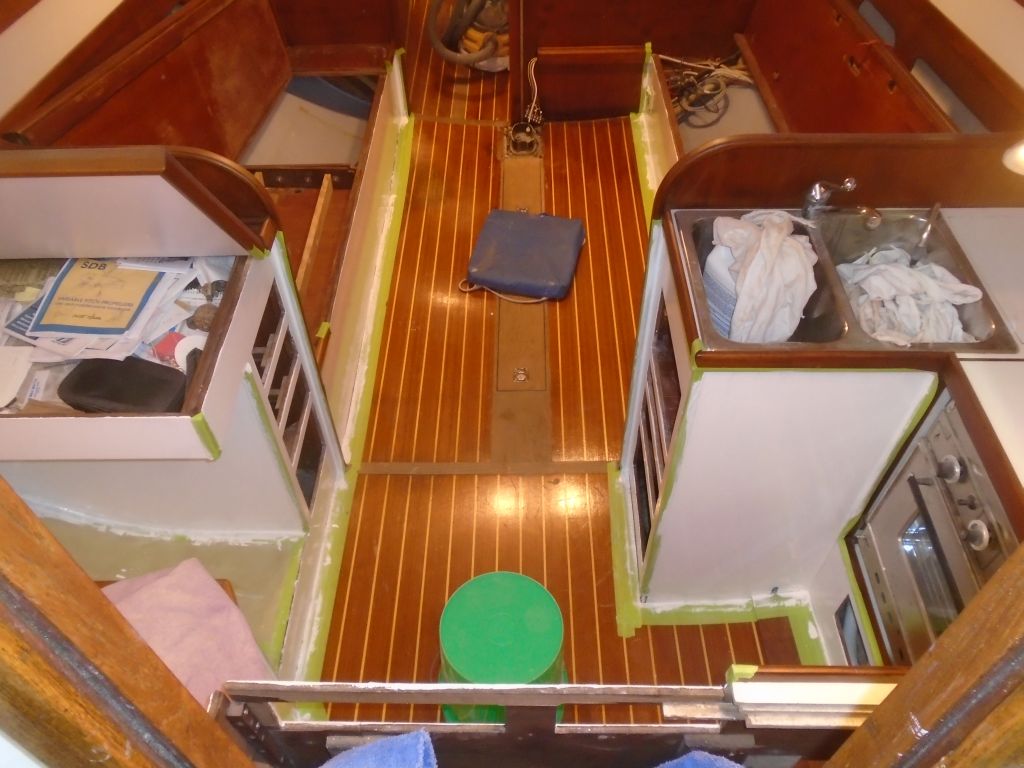
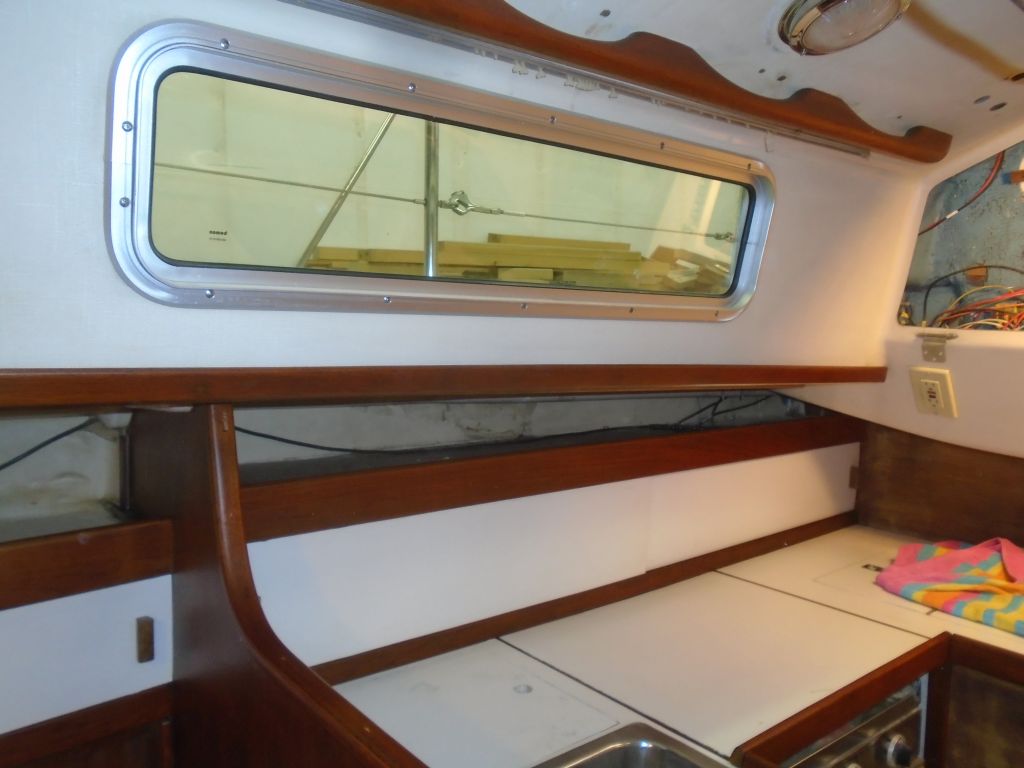
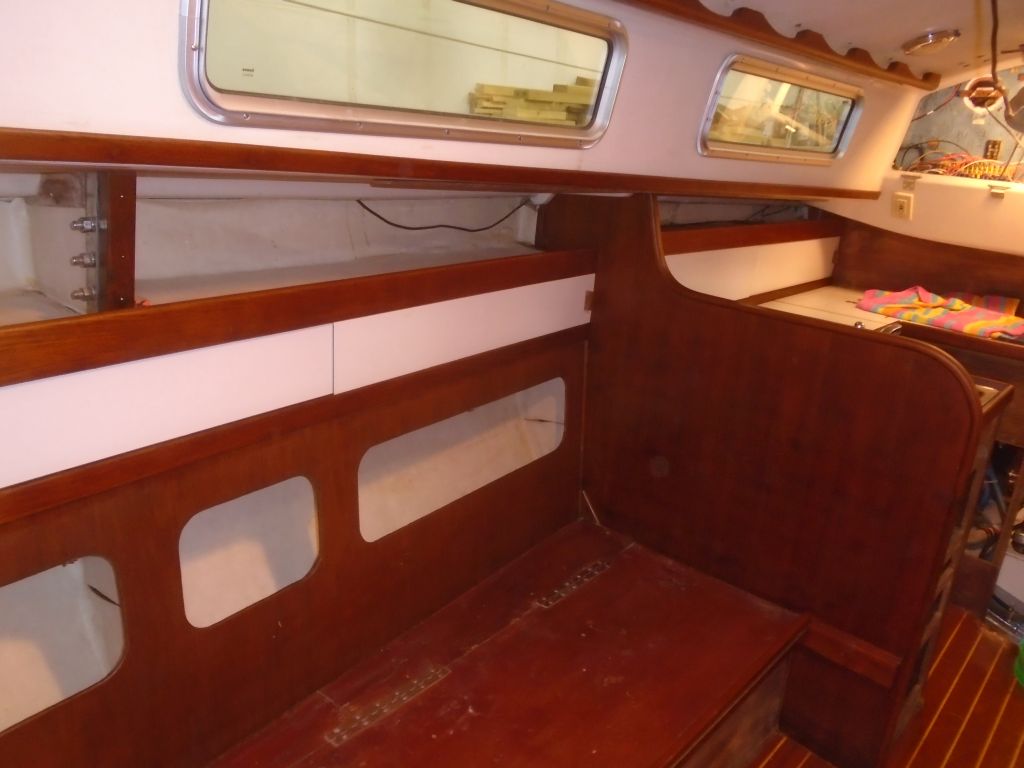
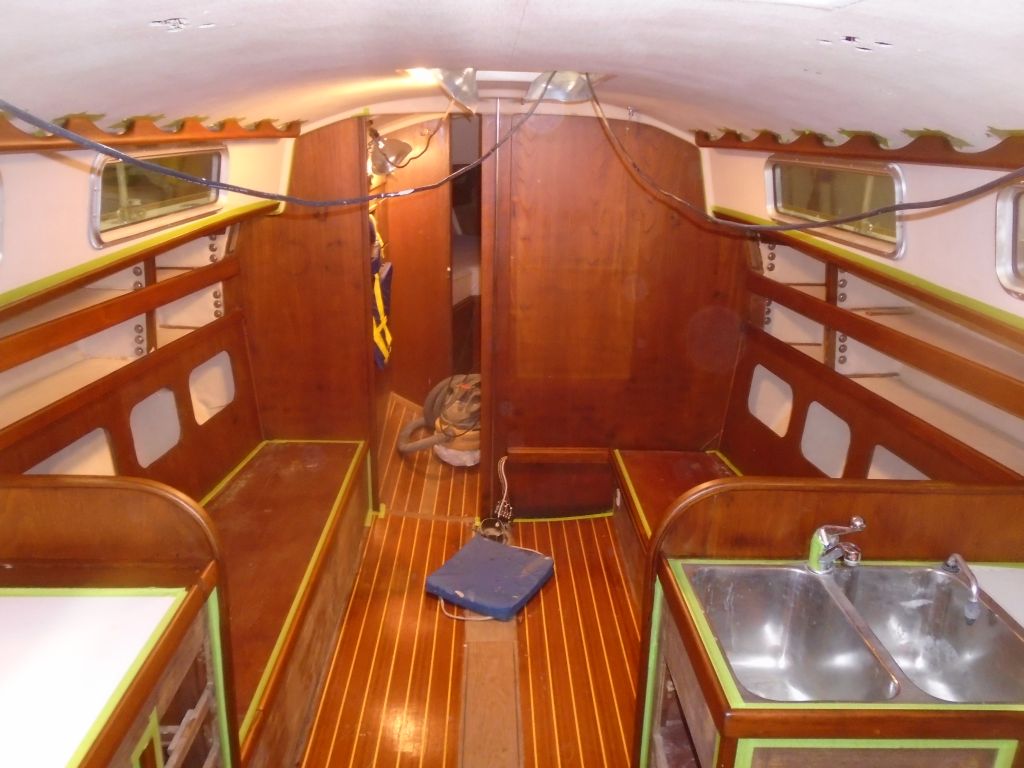
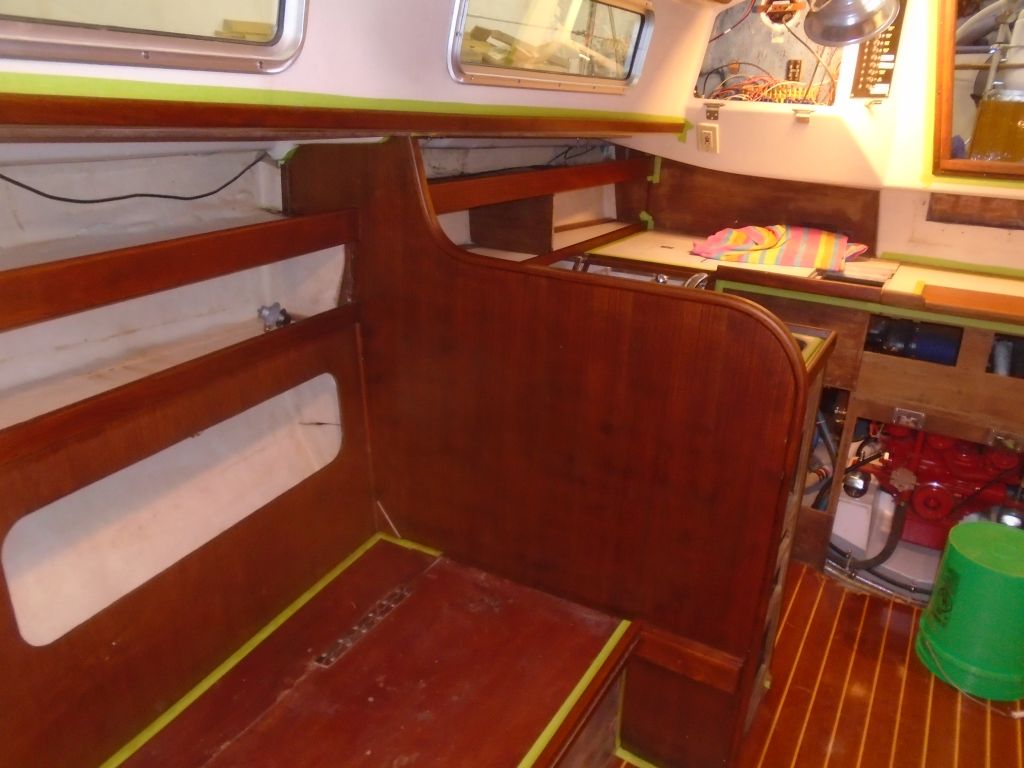
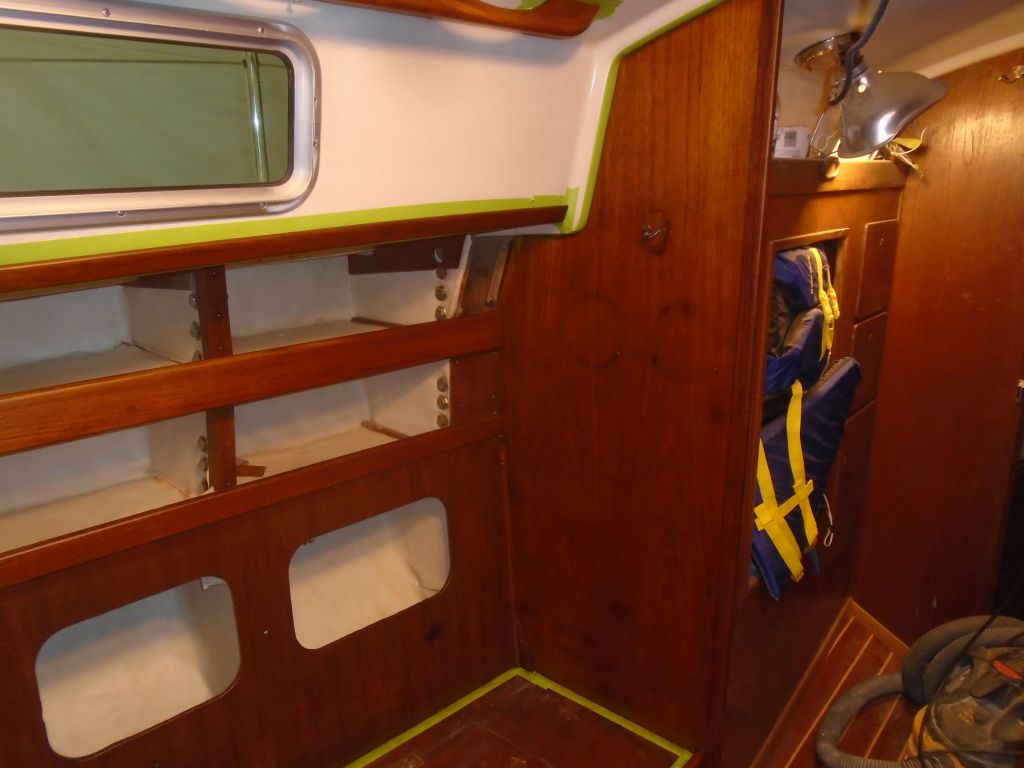
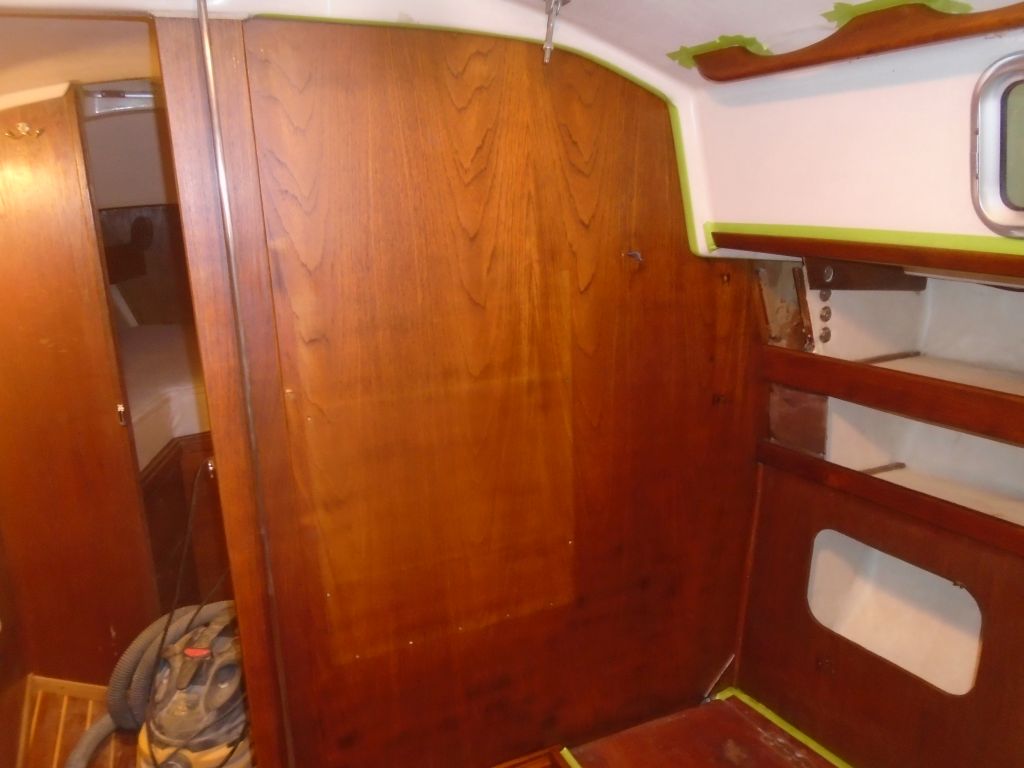
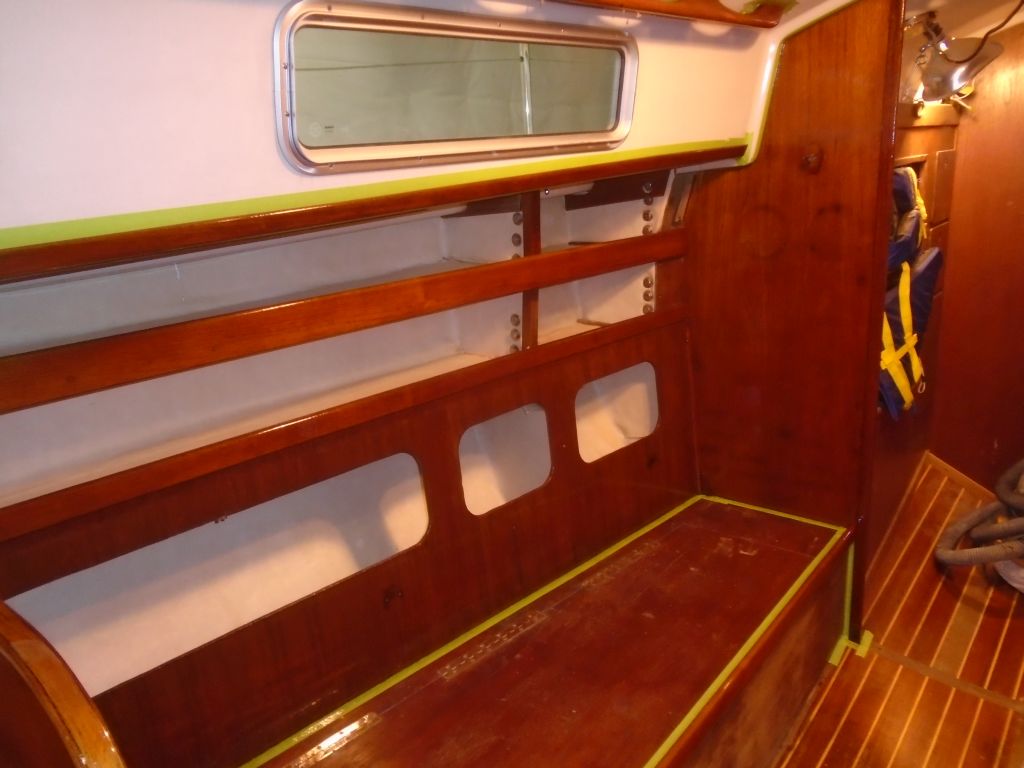
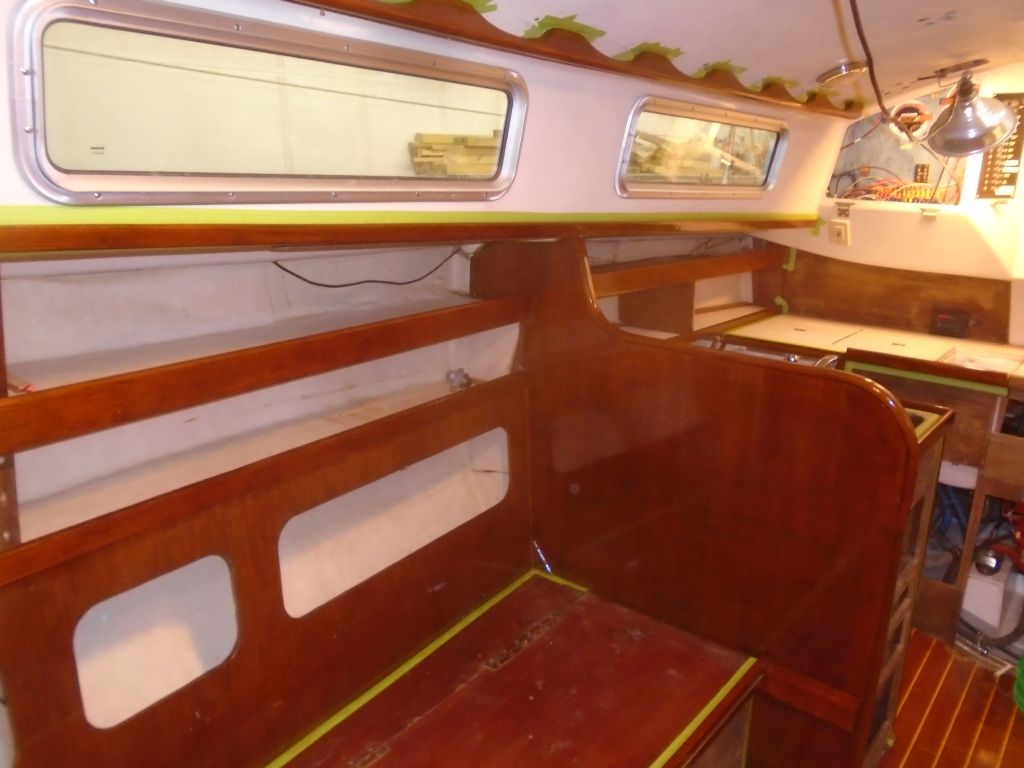
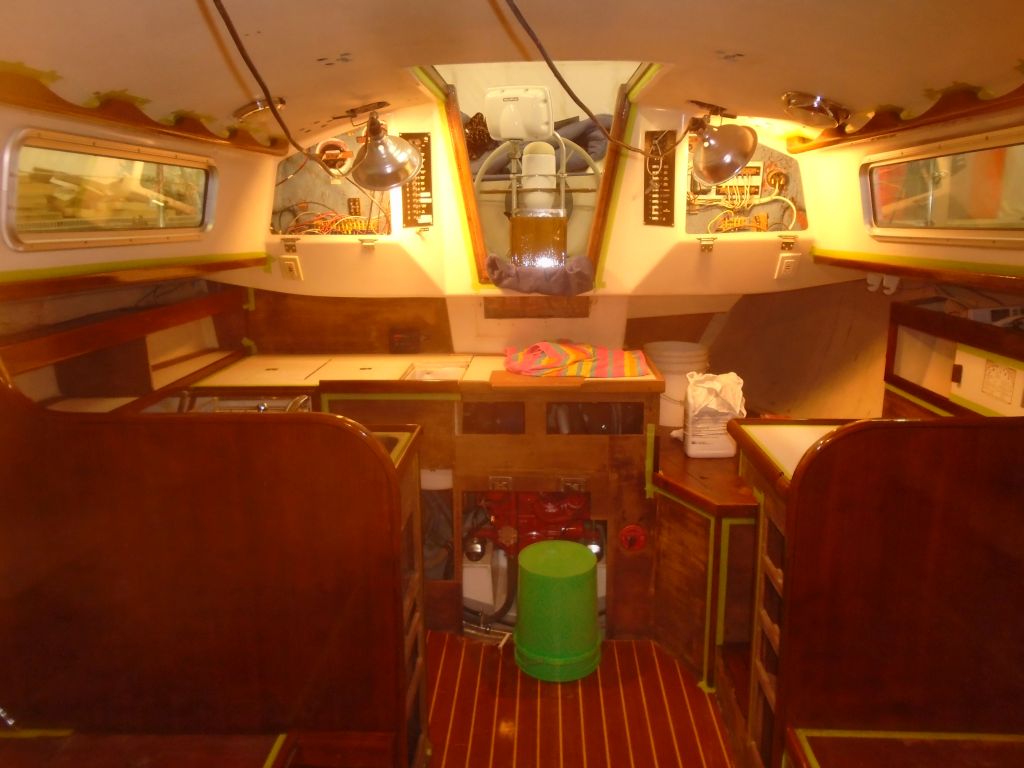
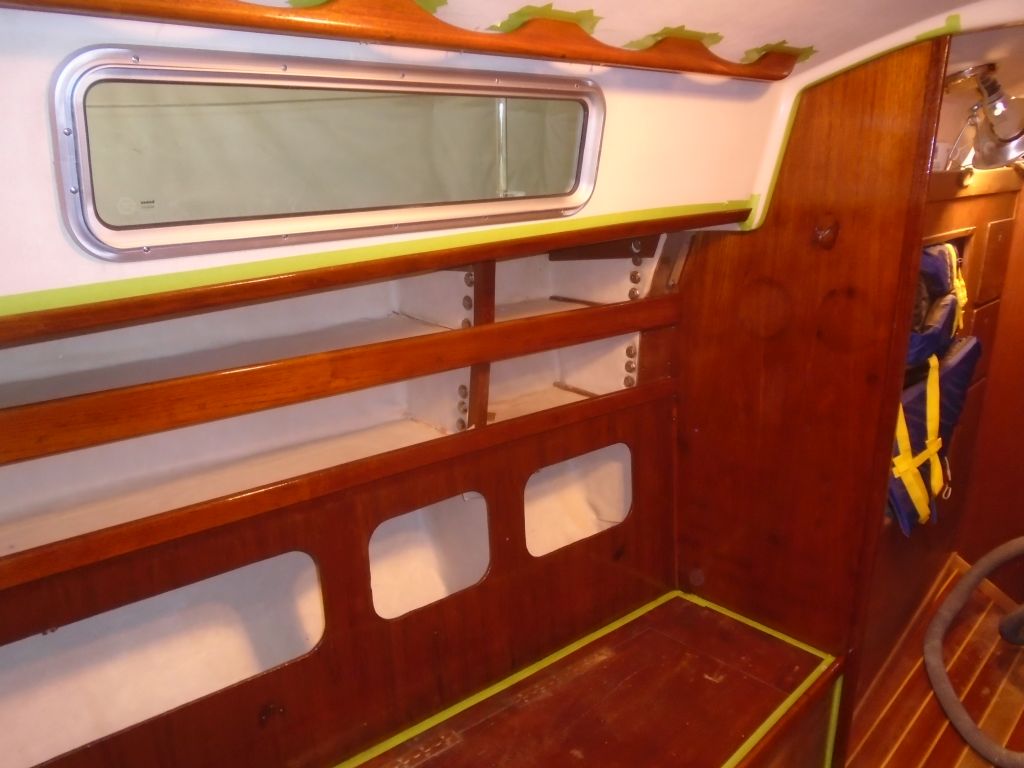
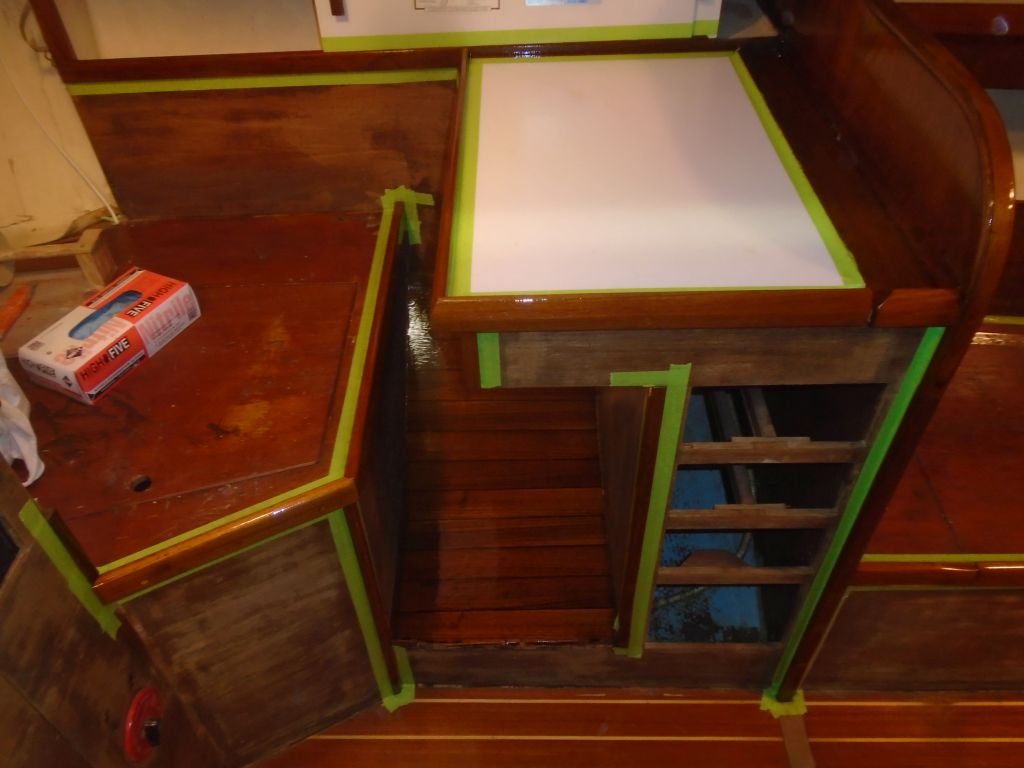
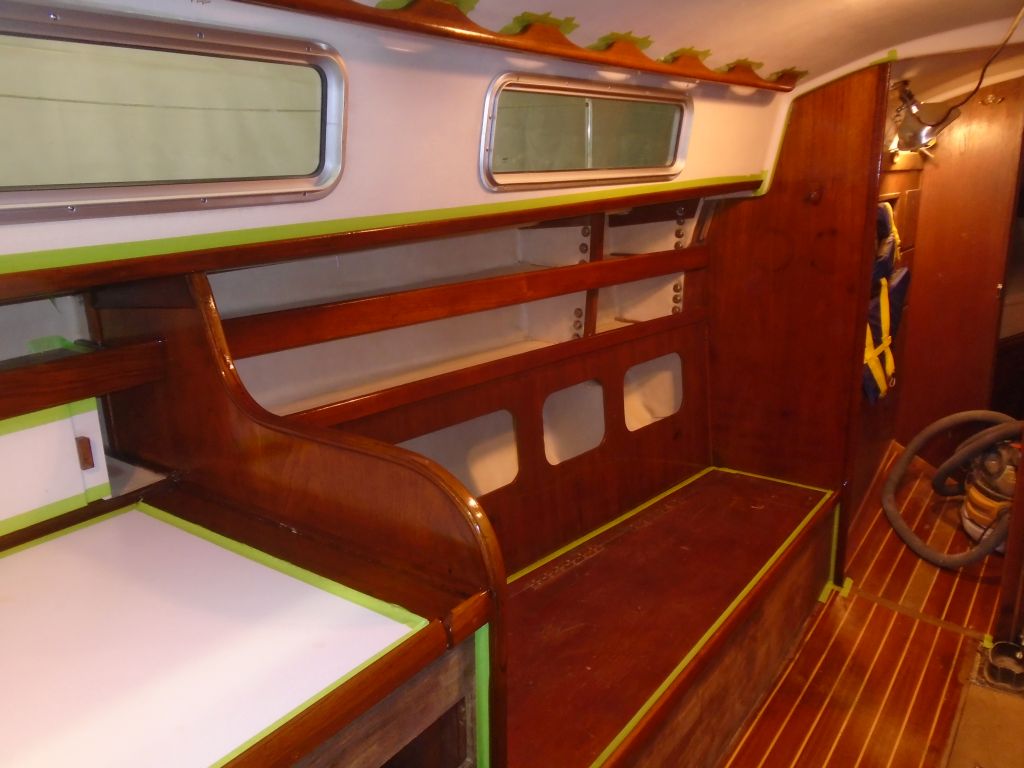
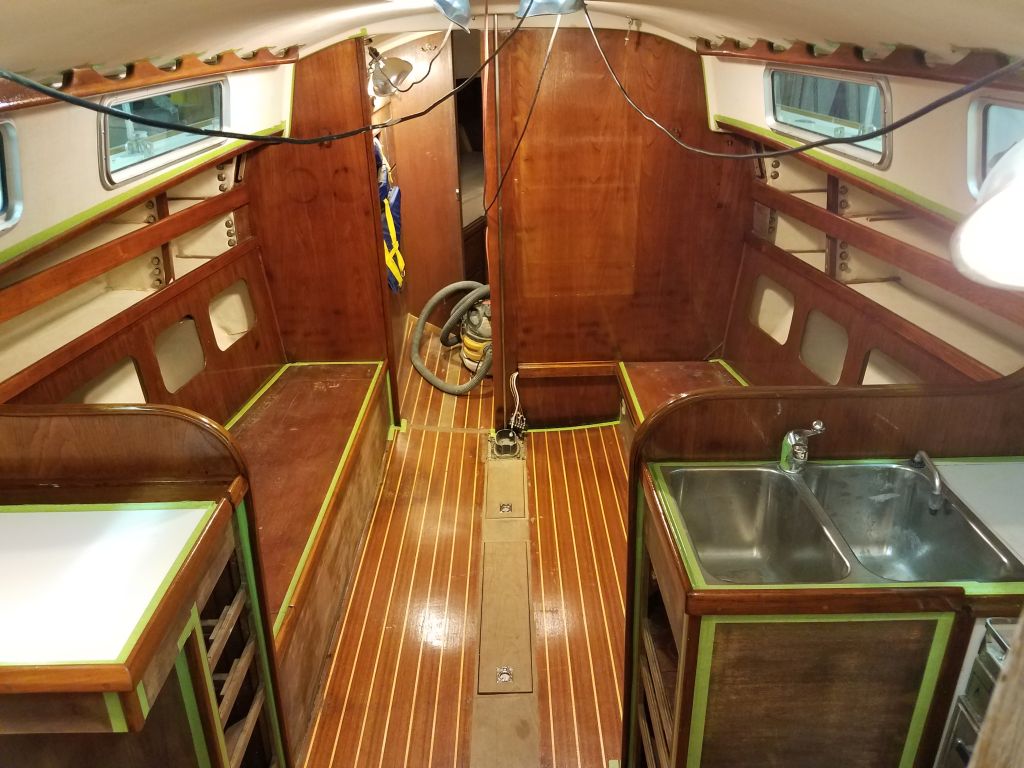
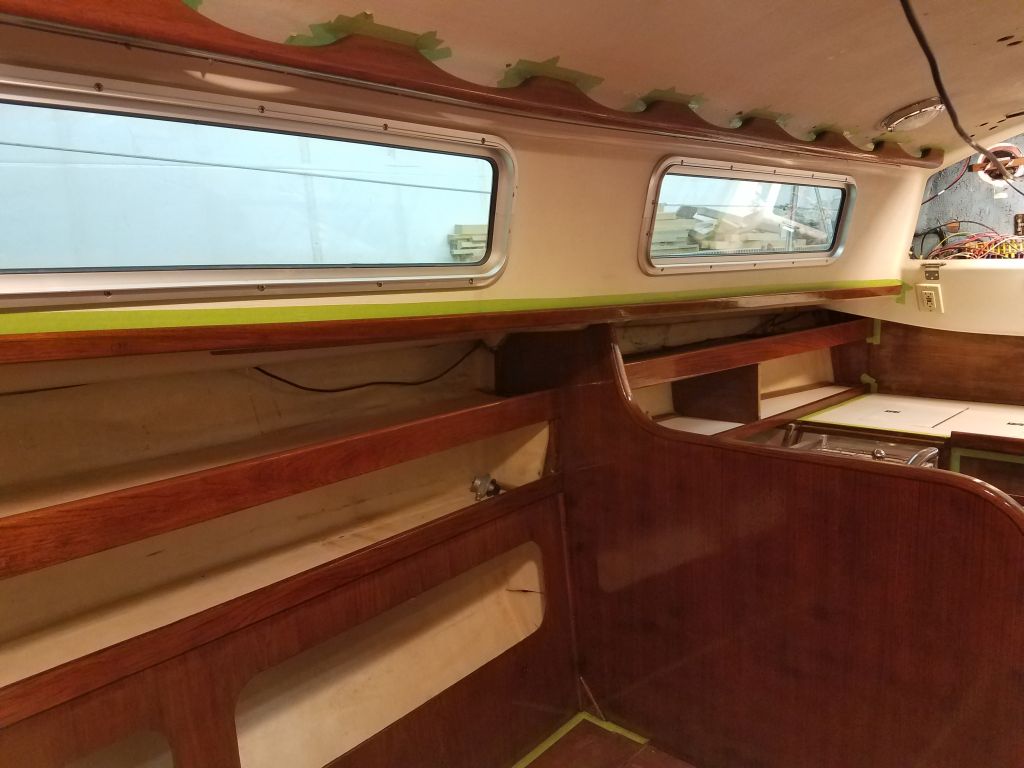
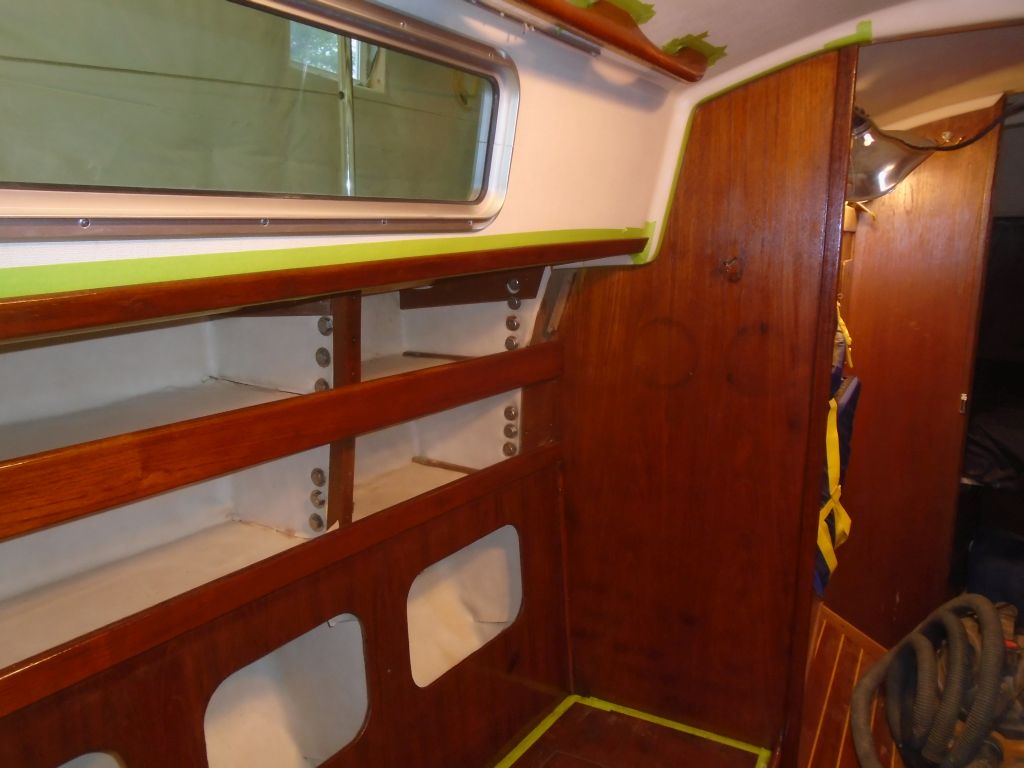
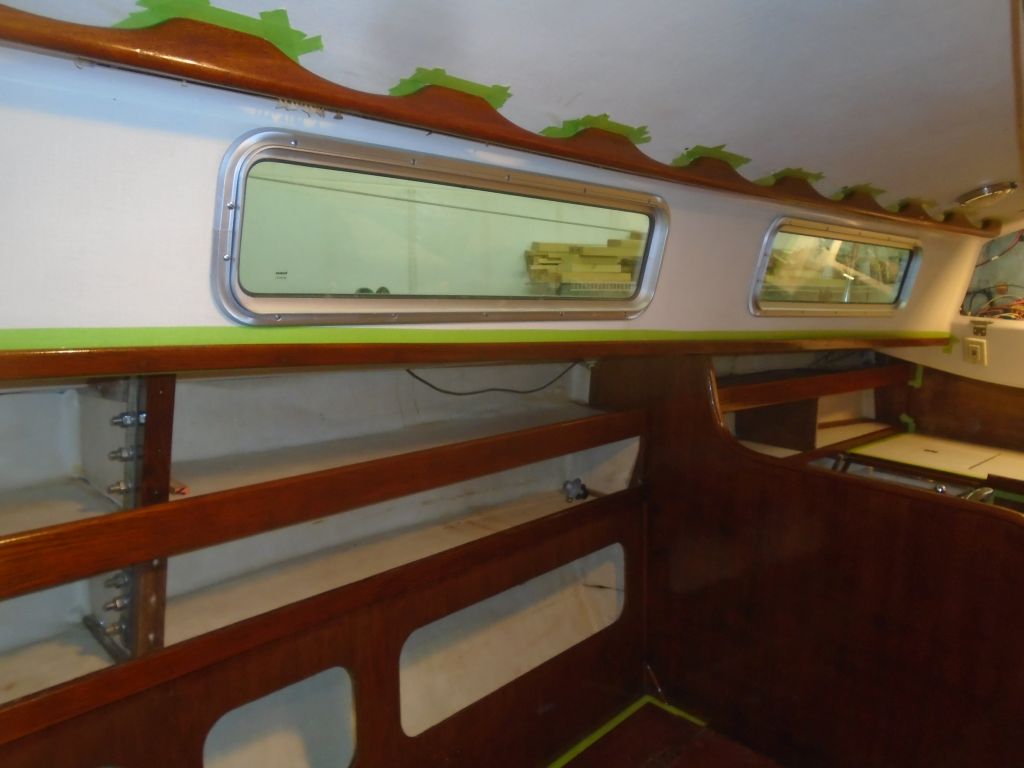
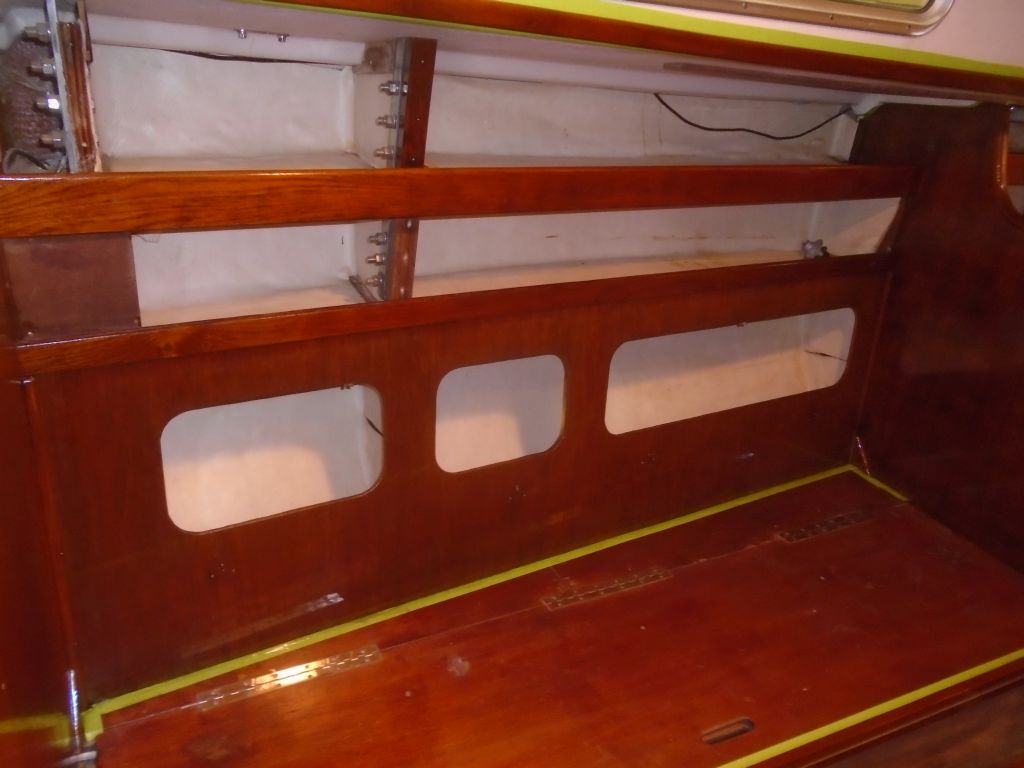
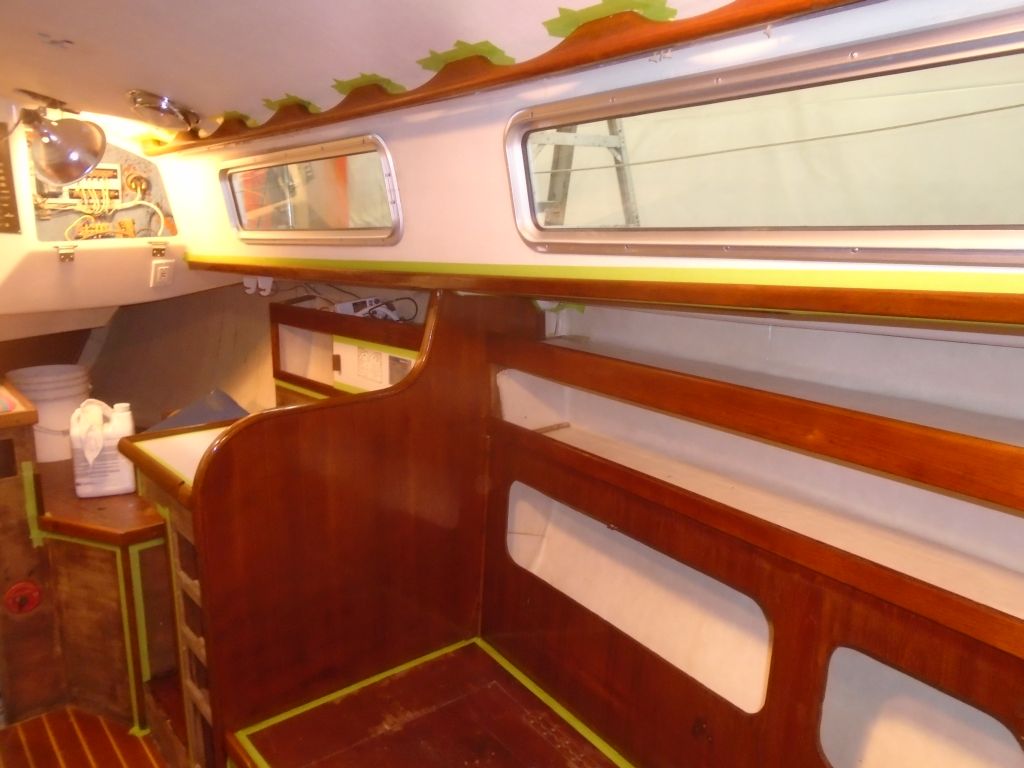
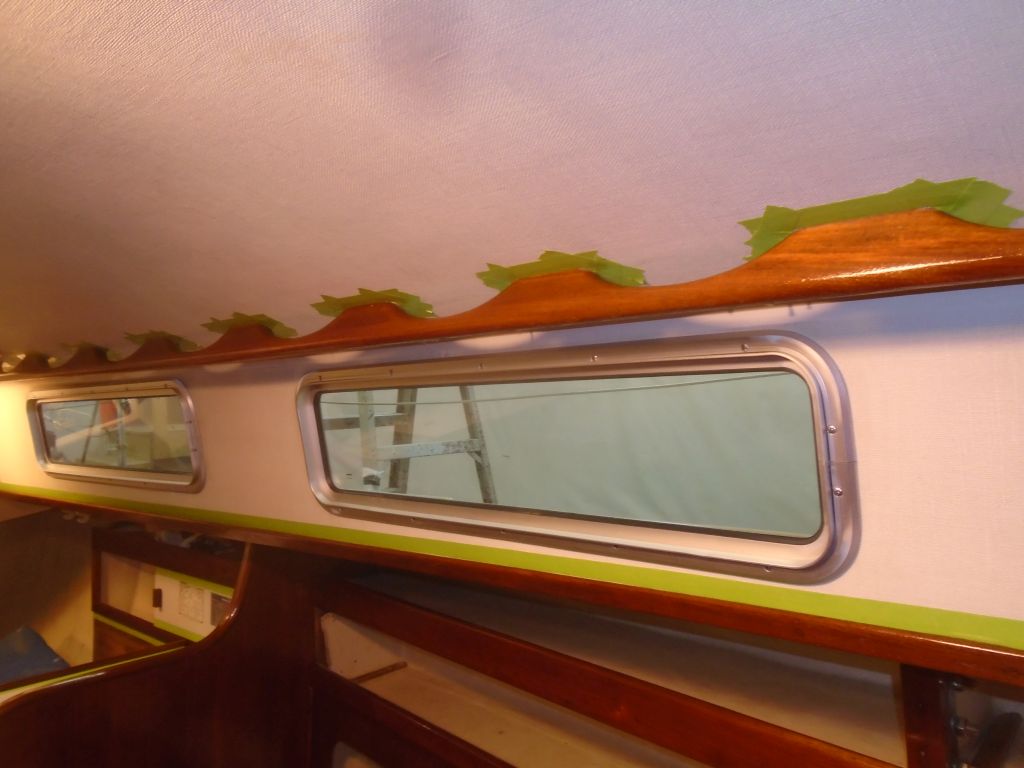
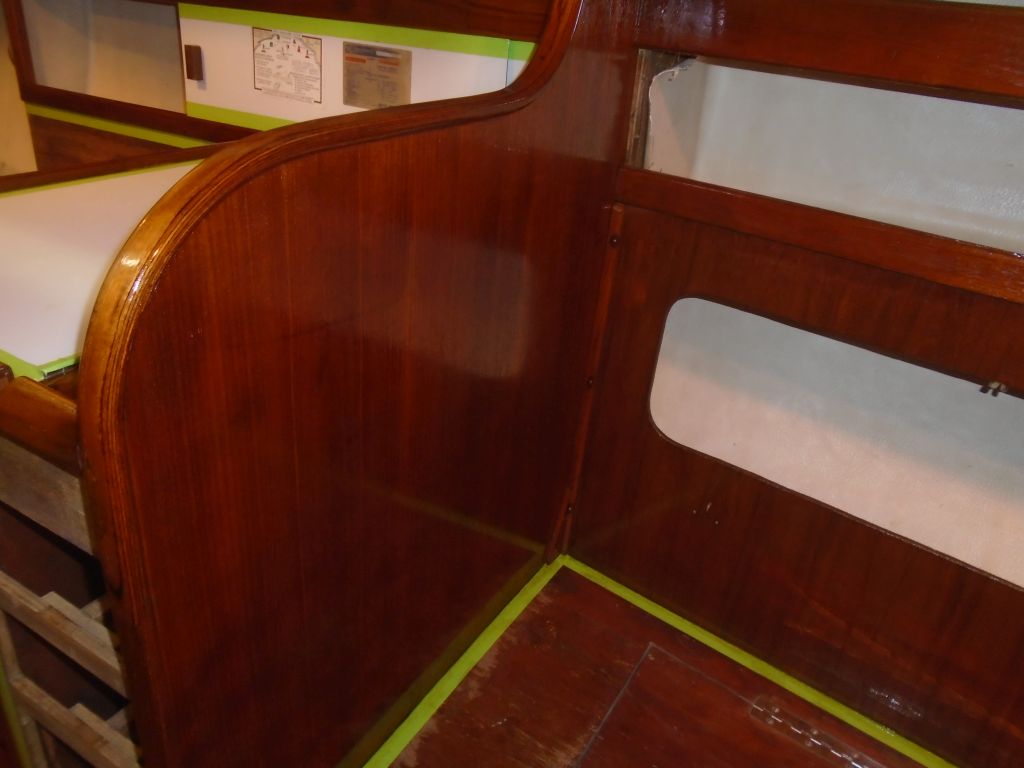
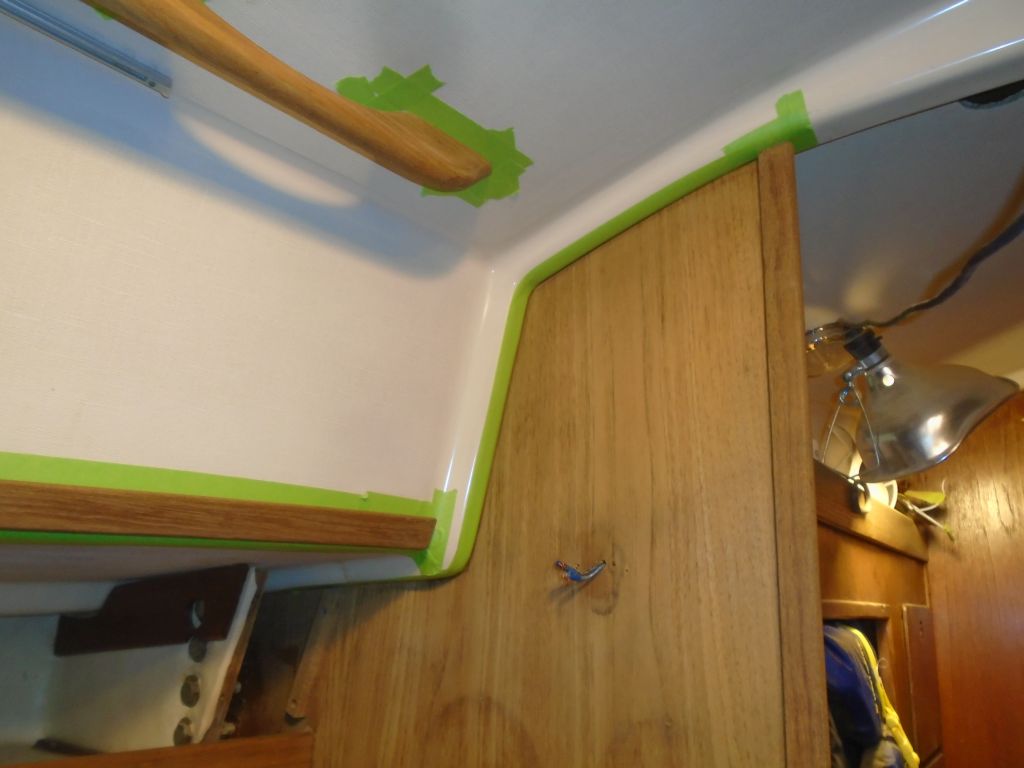
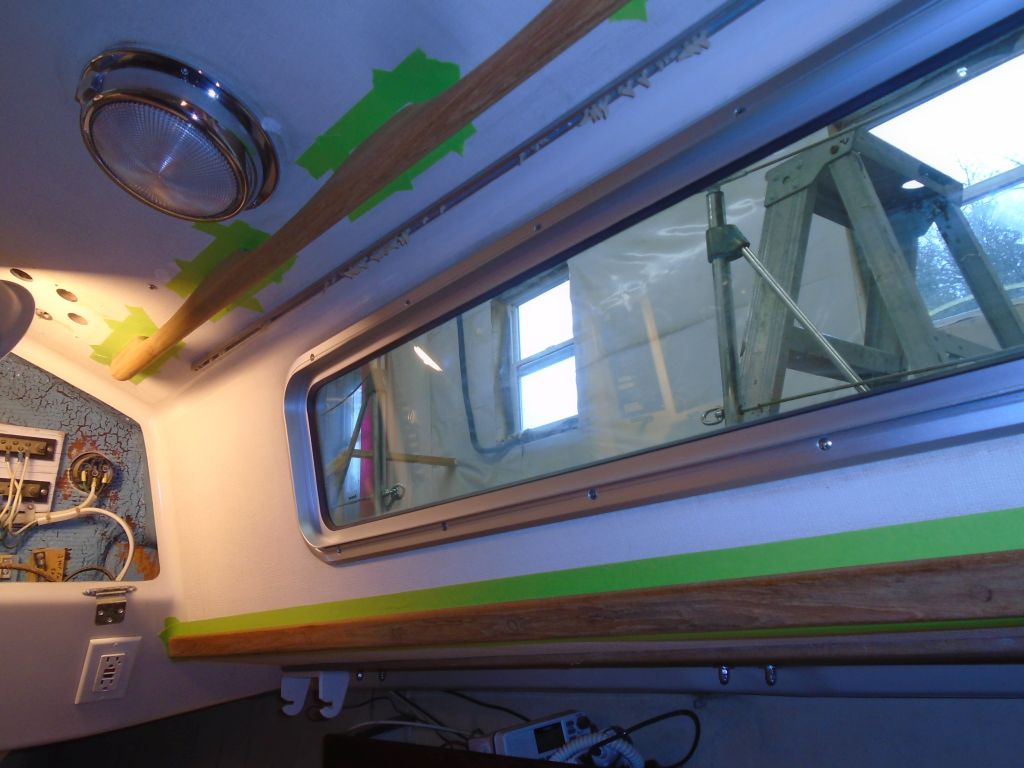
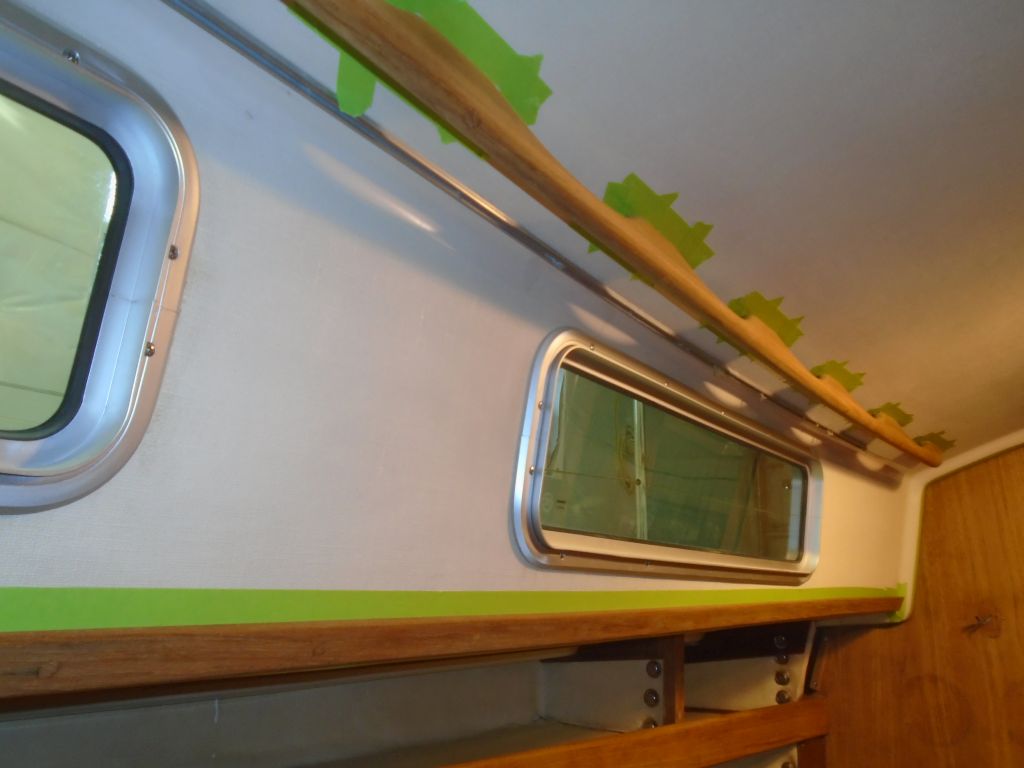
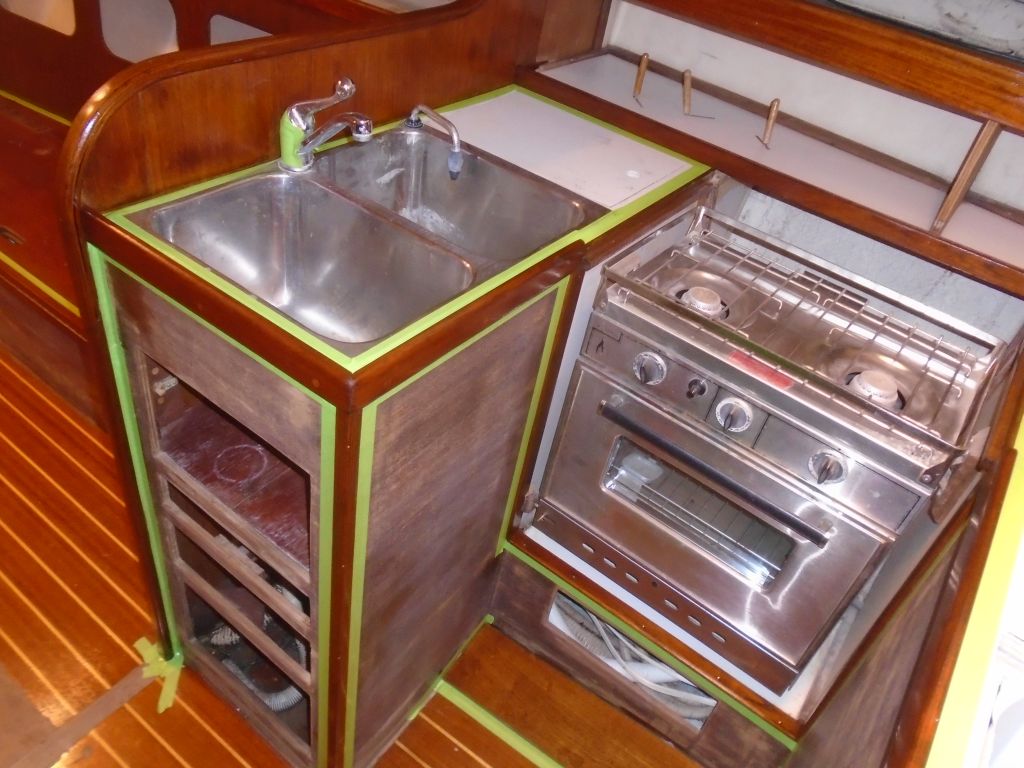
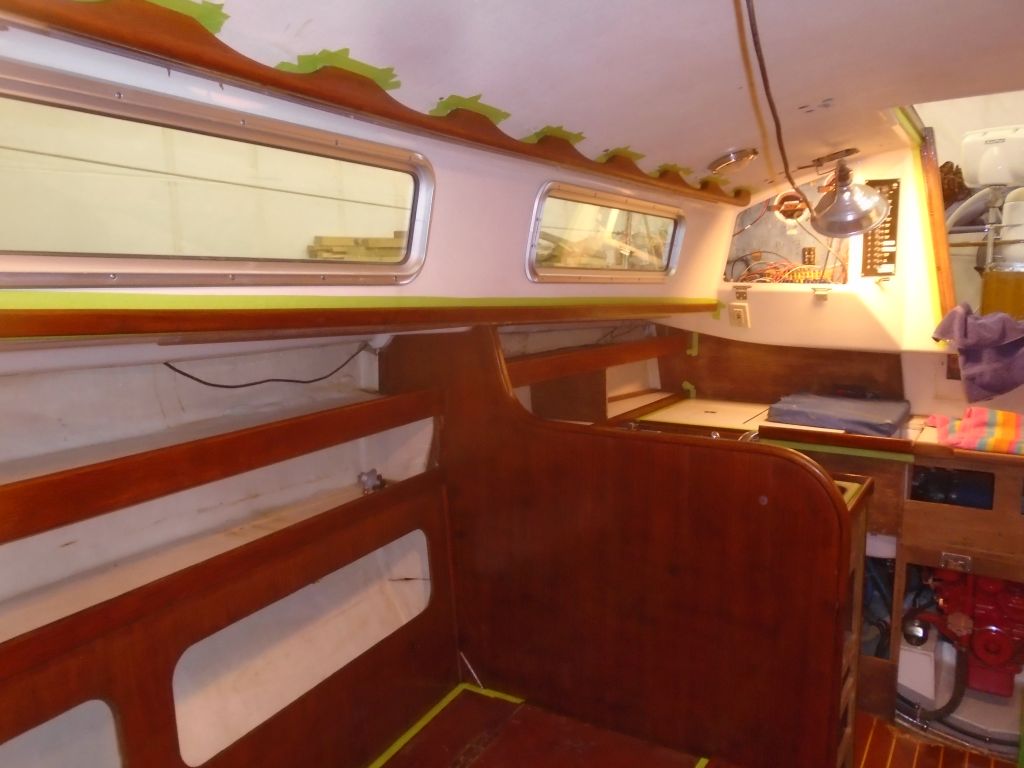
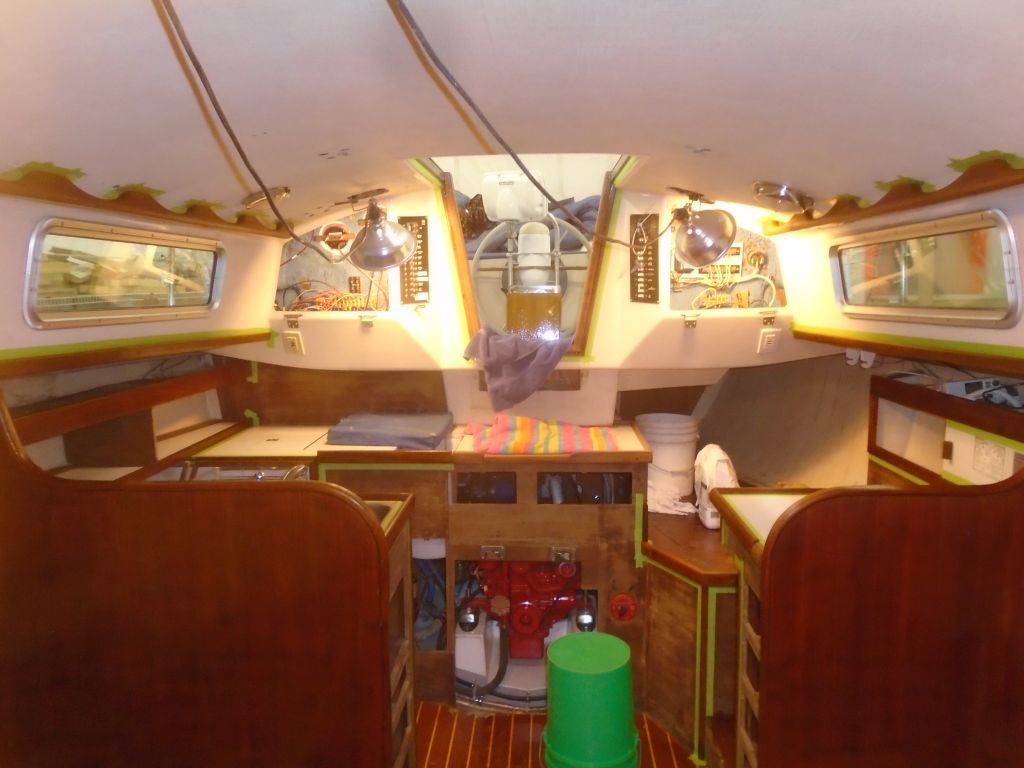
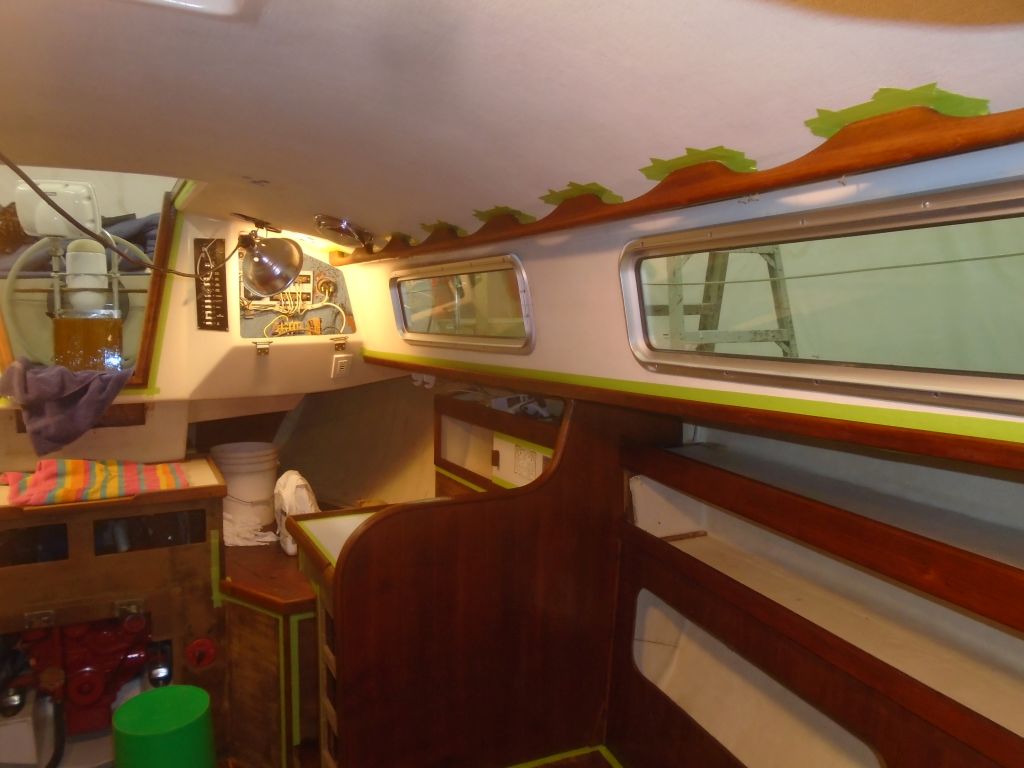
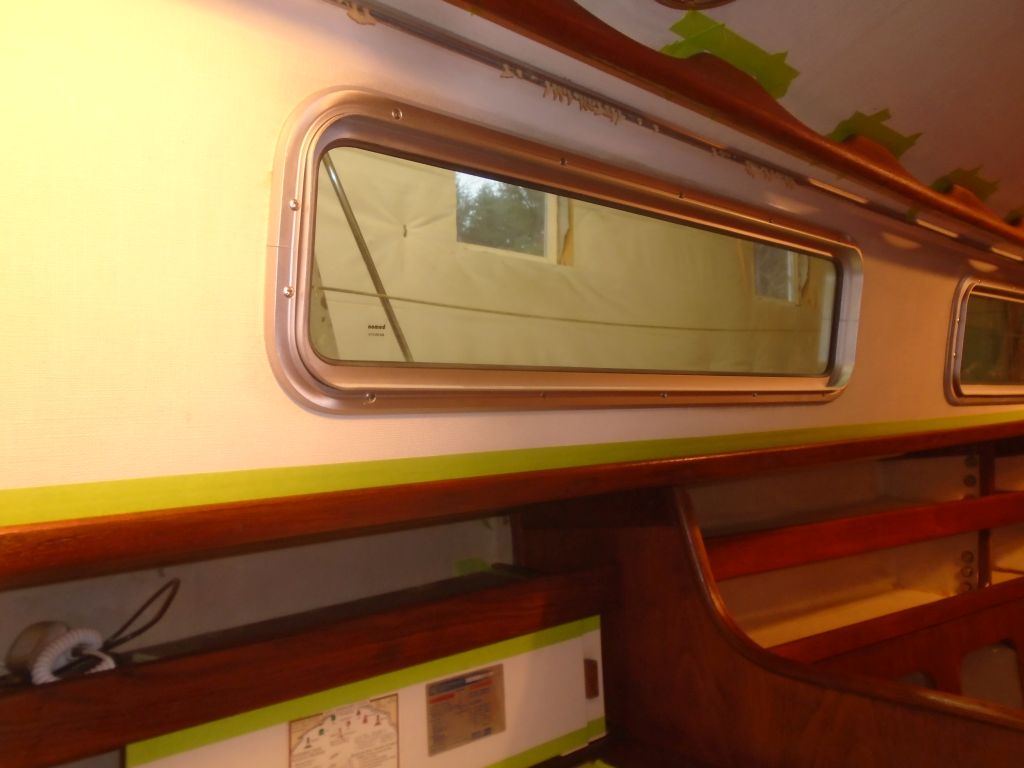
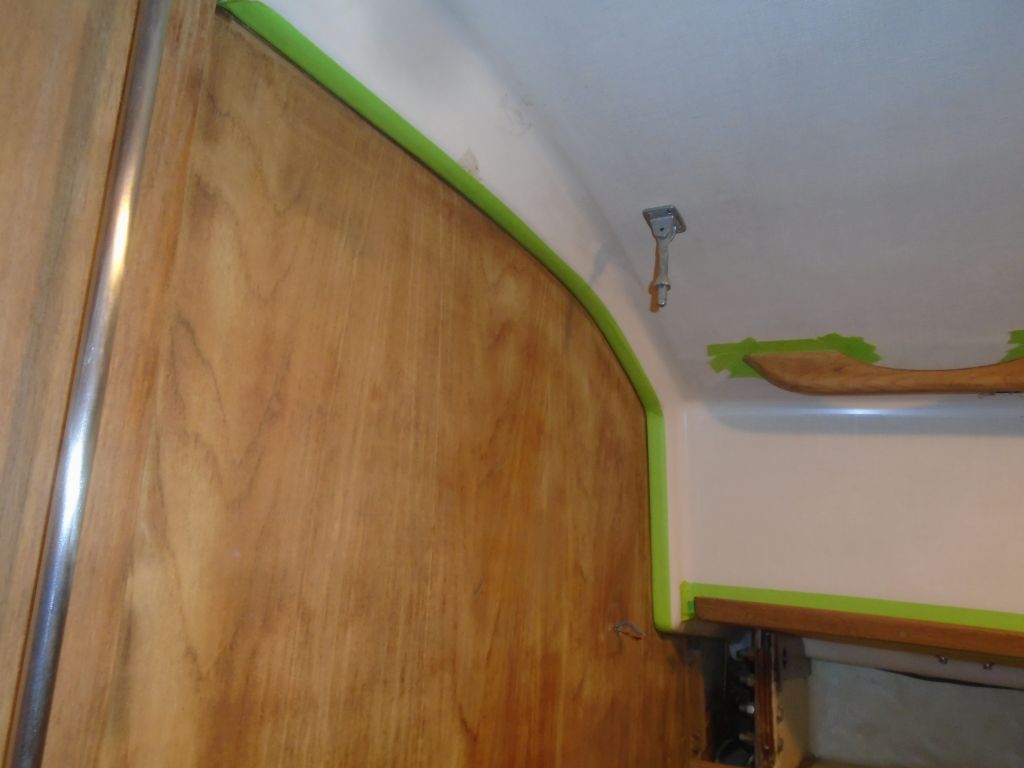
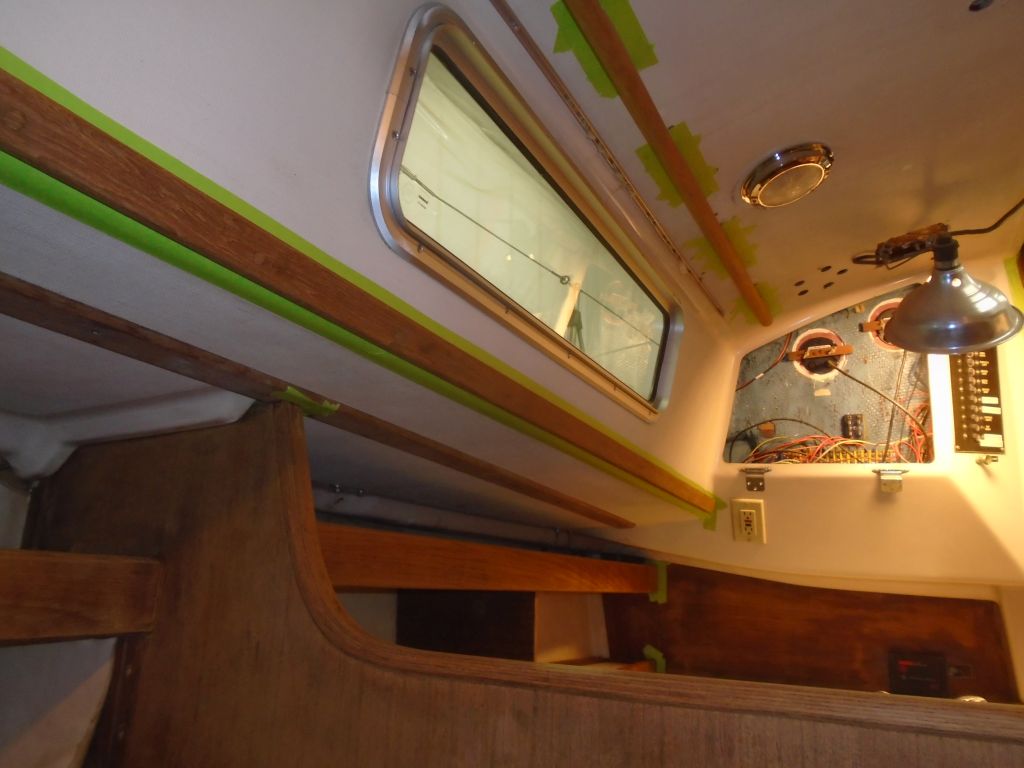
Now, with the paint work complete, I removed all the masking tape from the cabin.  Final installation of the base trim and various doors and drawers would bring the whole thing together soon.

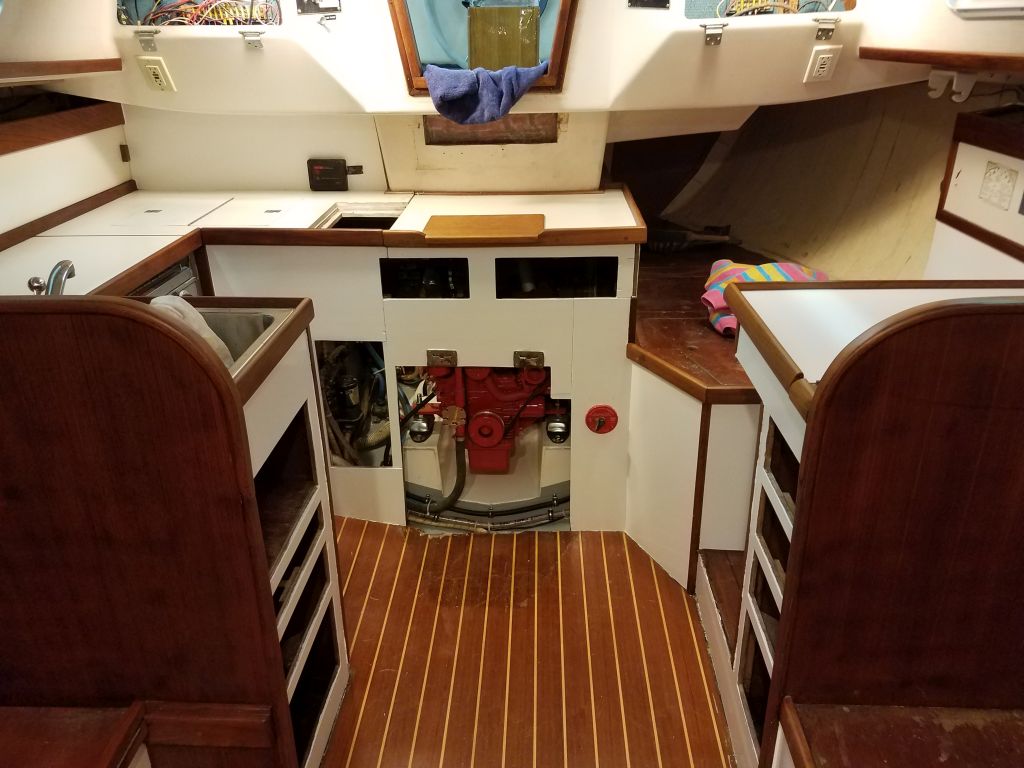
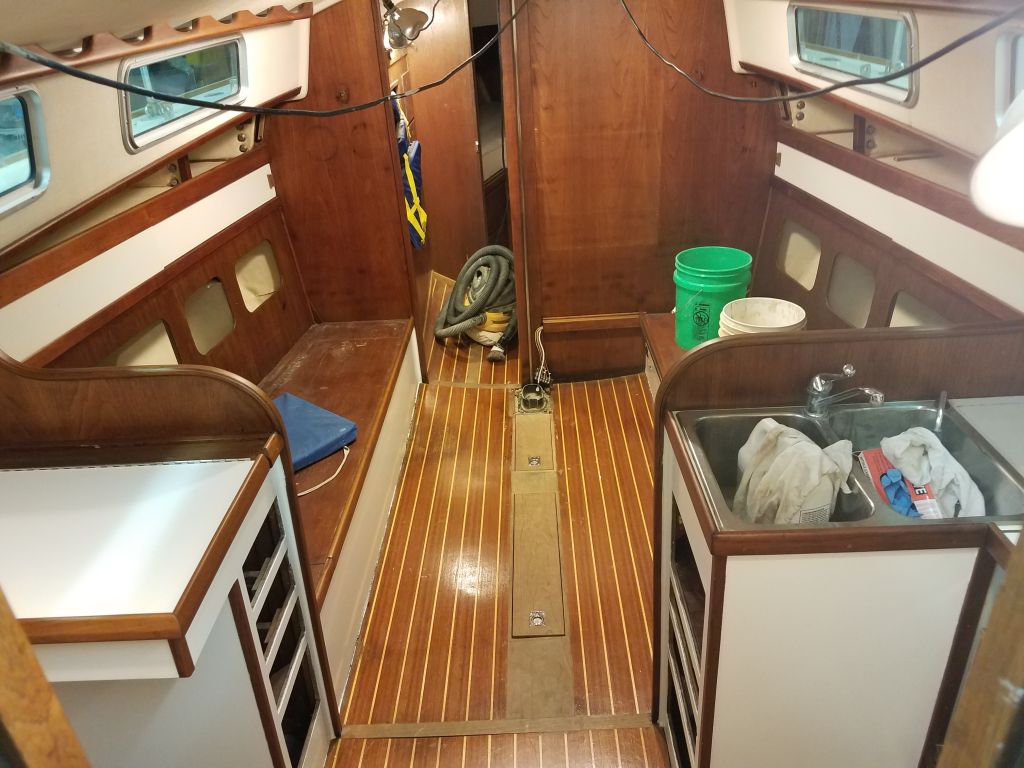
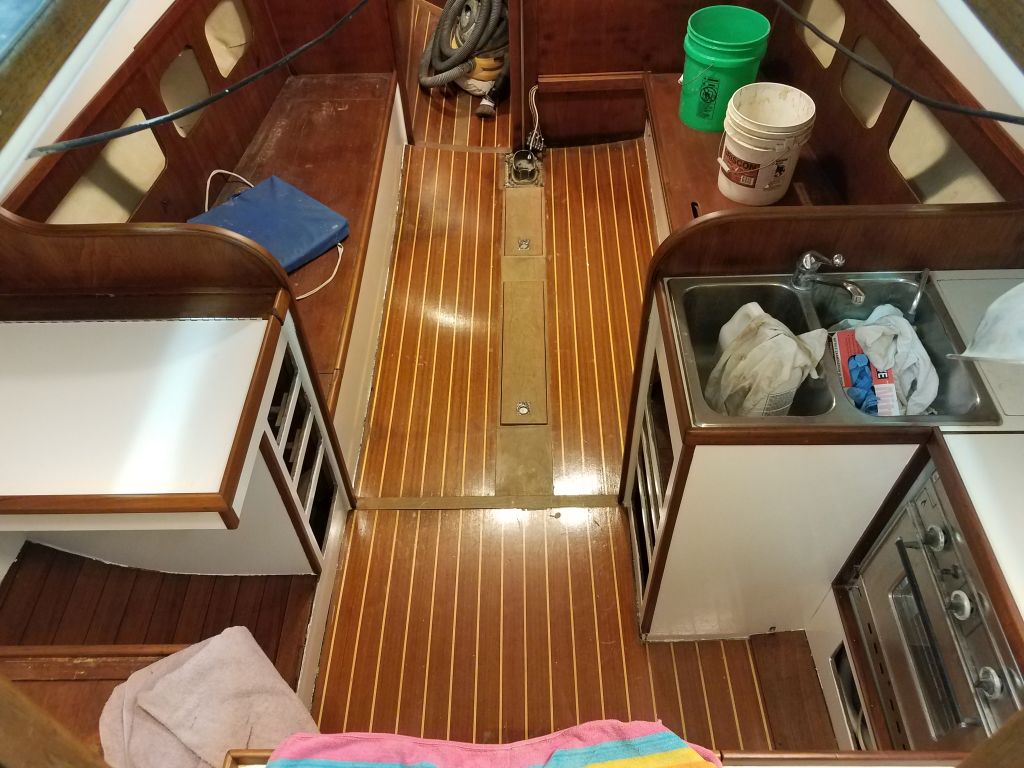
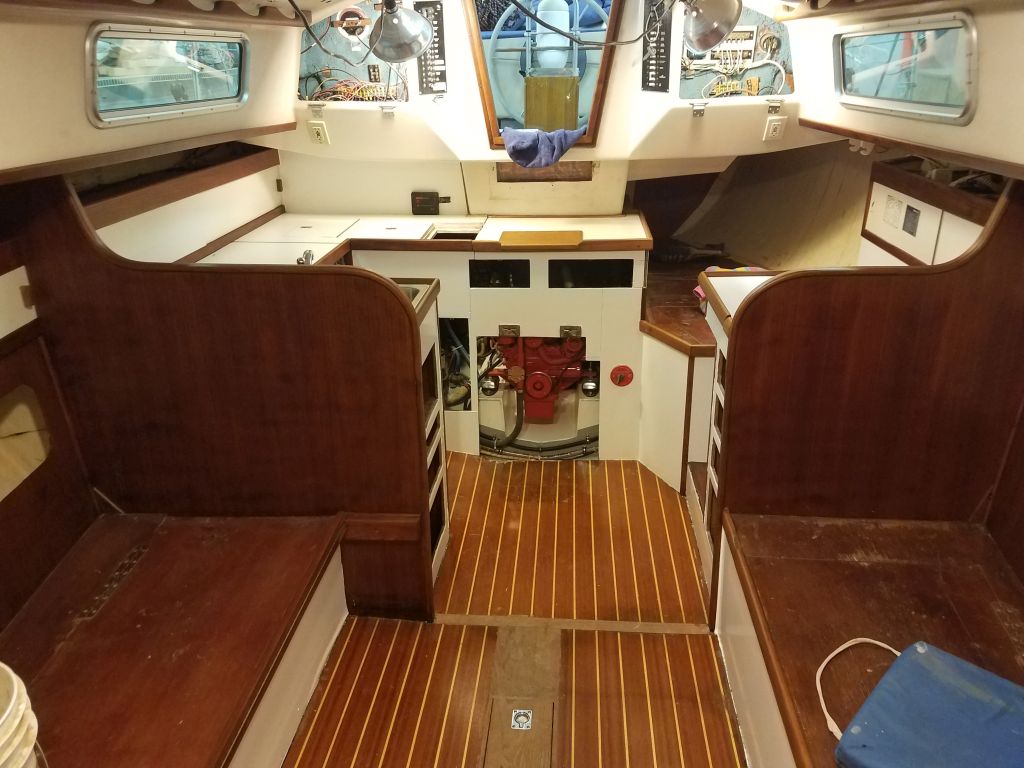
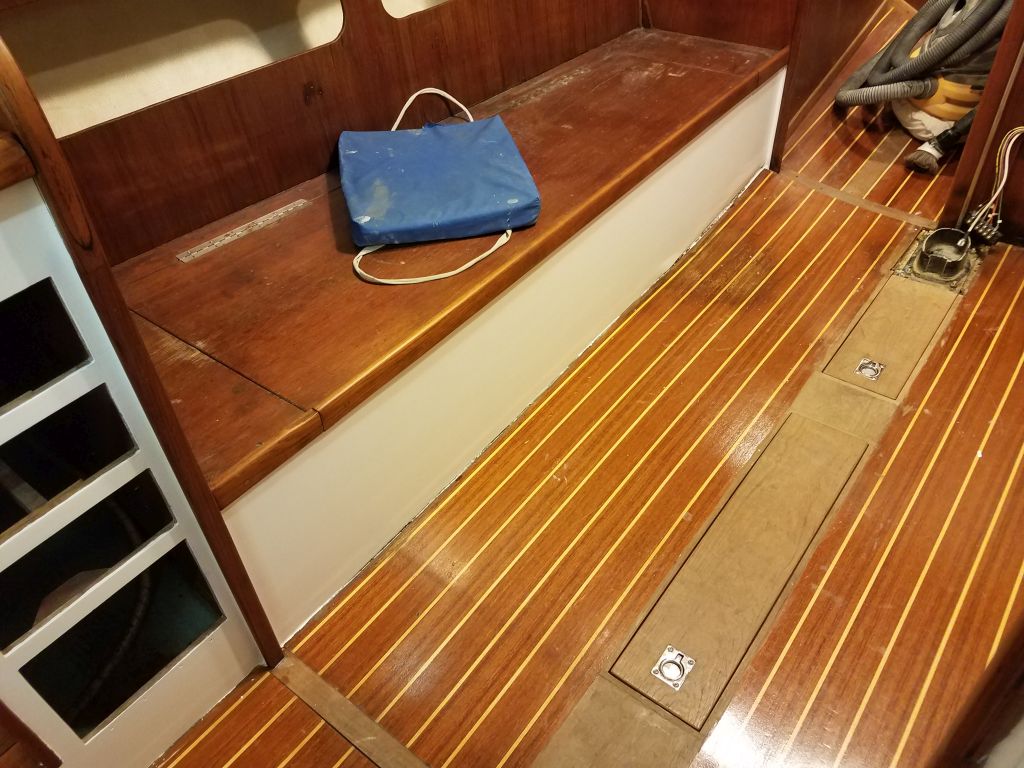
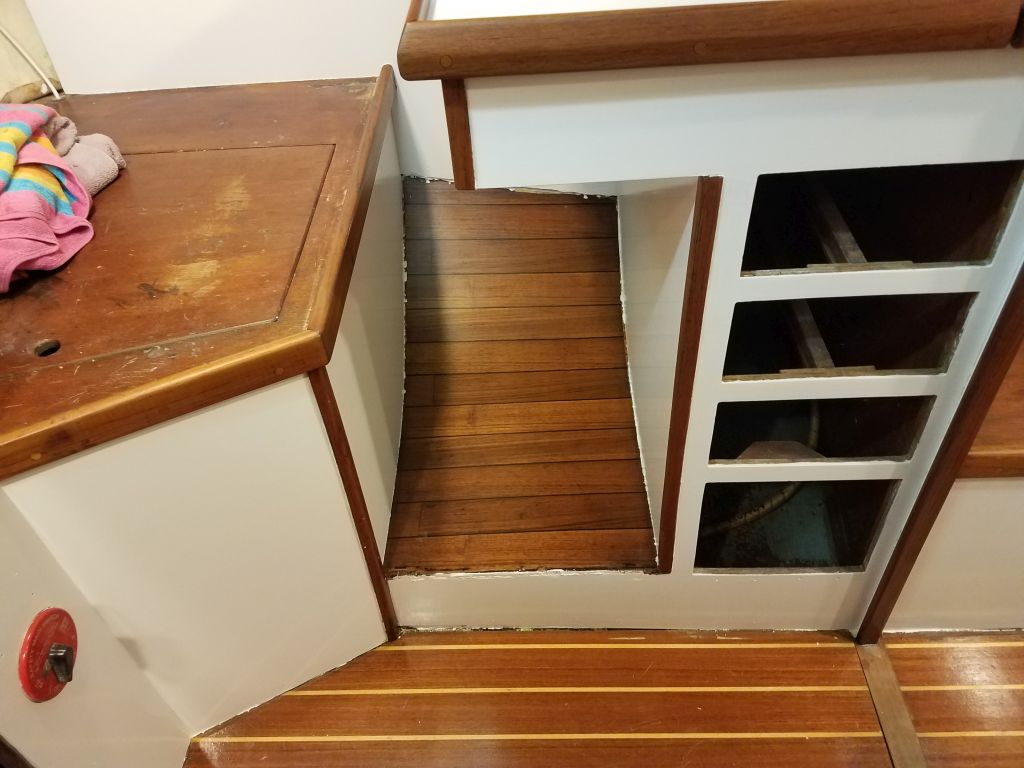
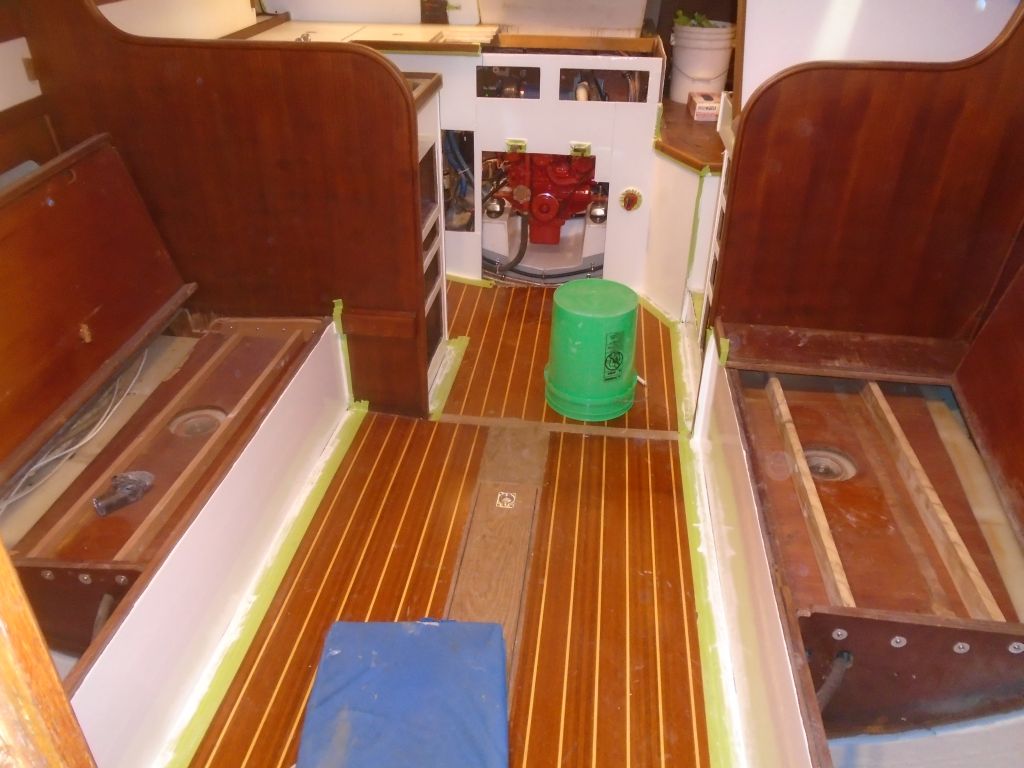
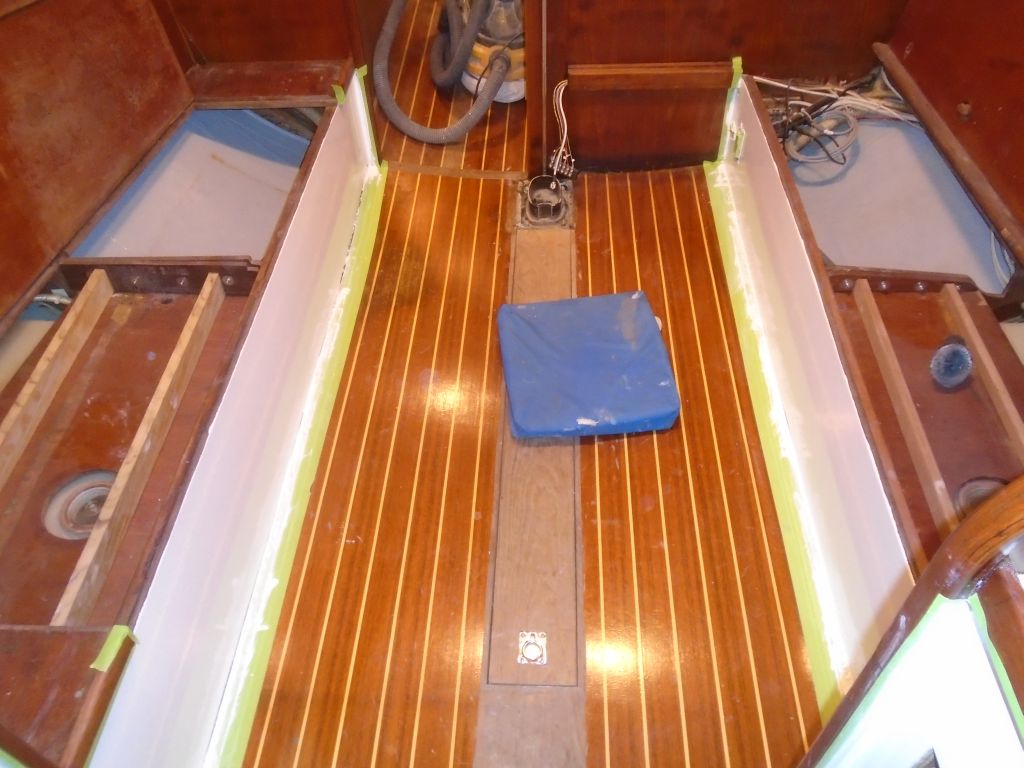
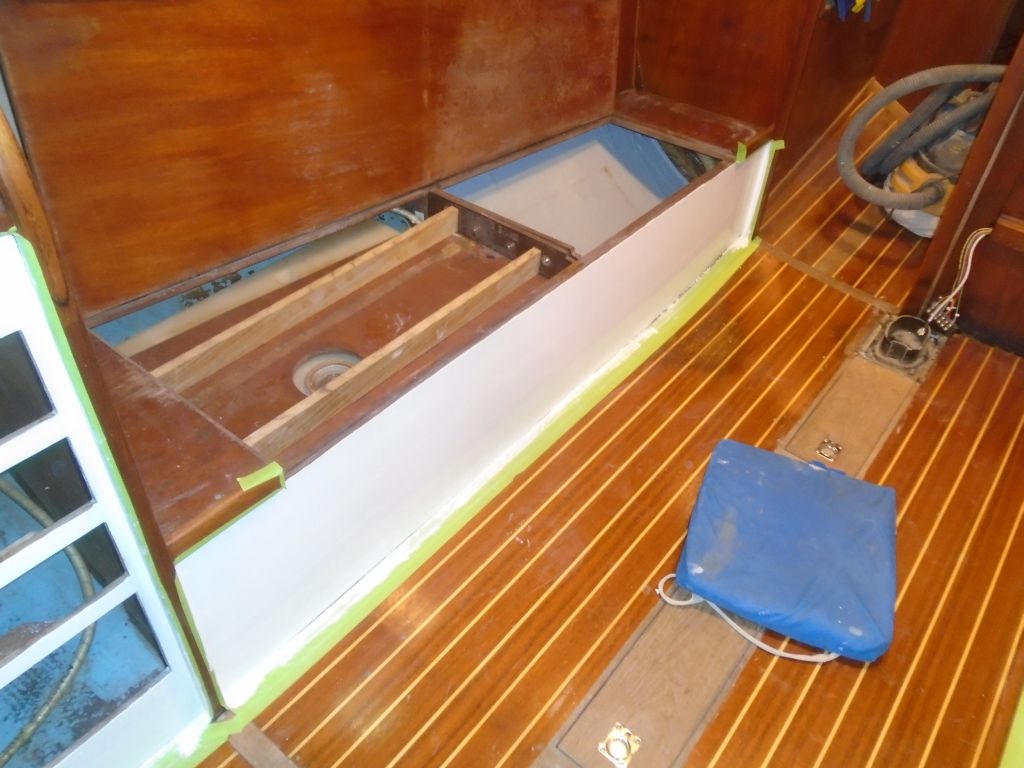
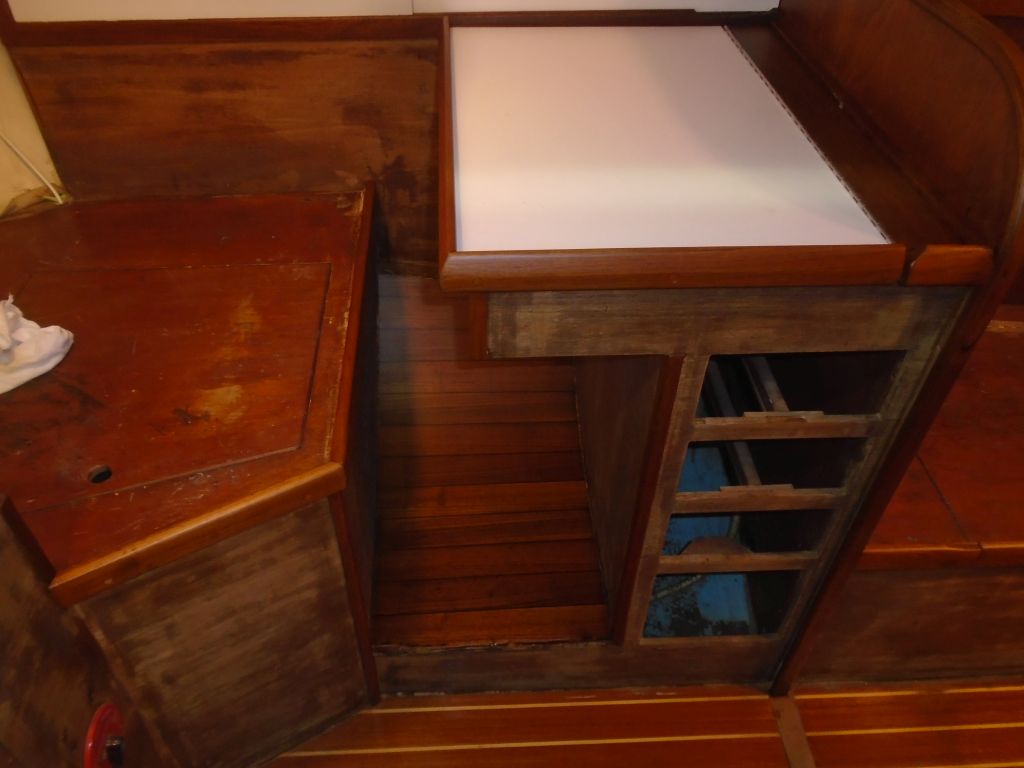
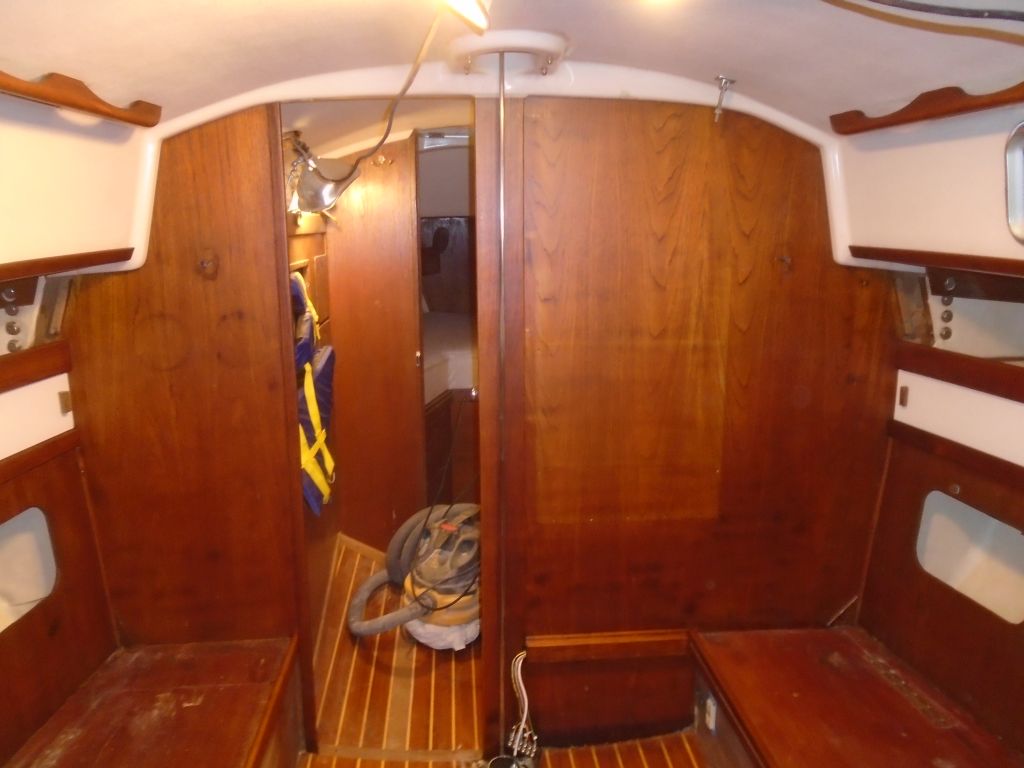
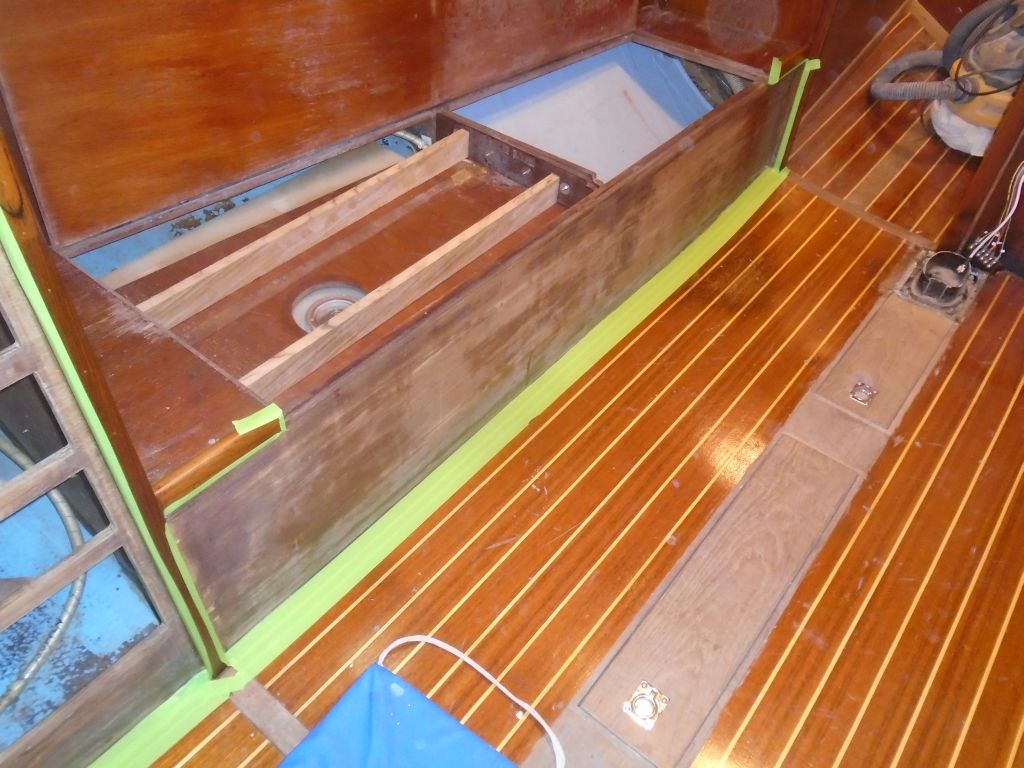
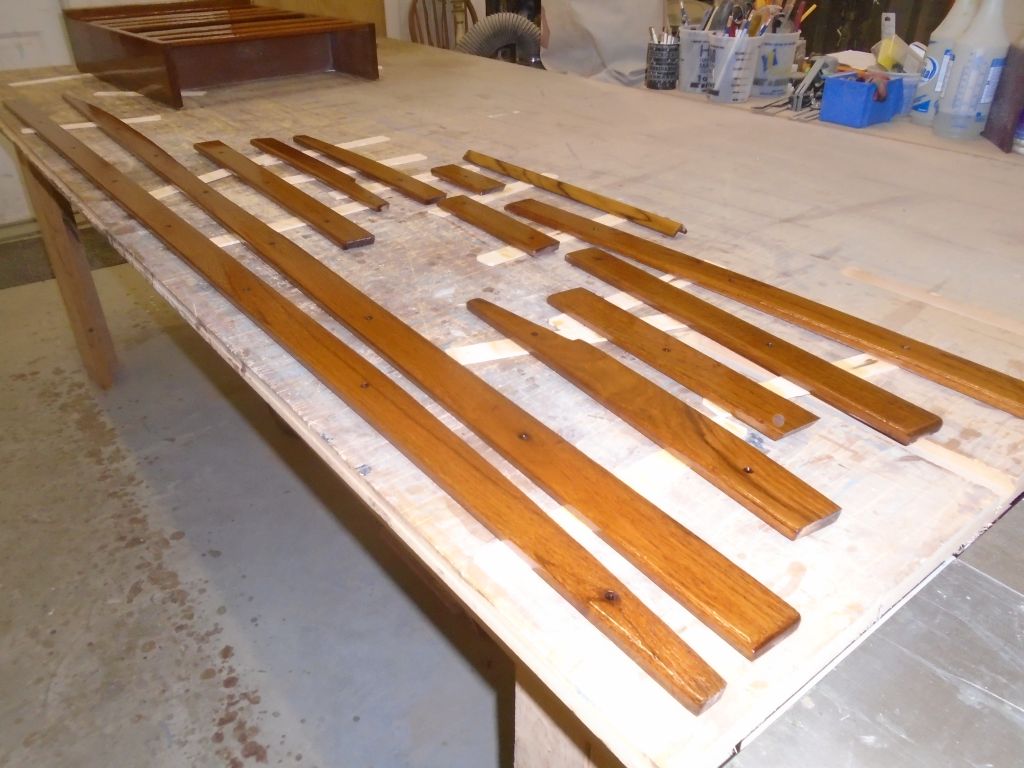
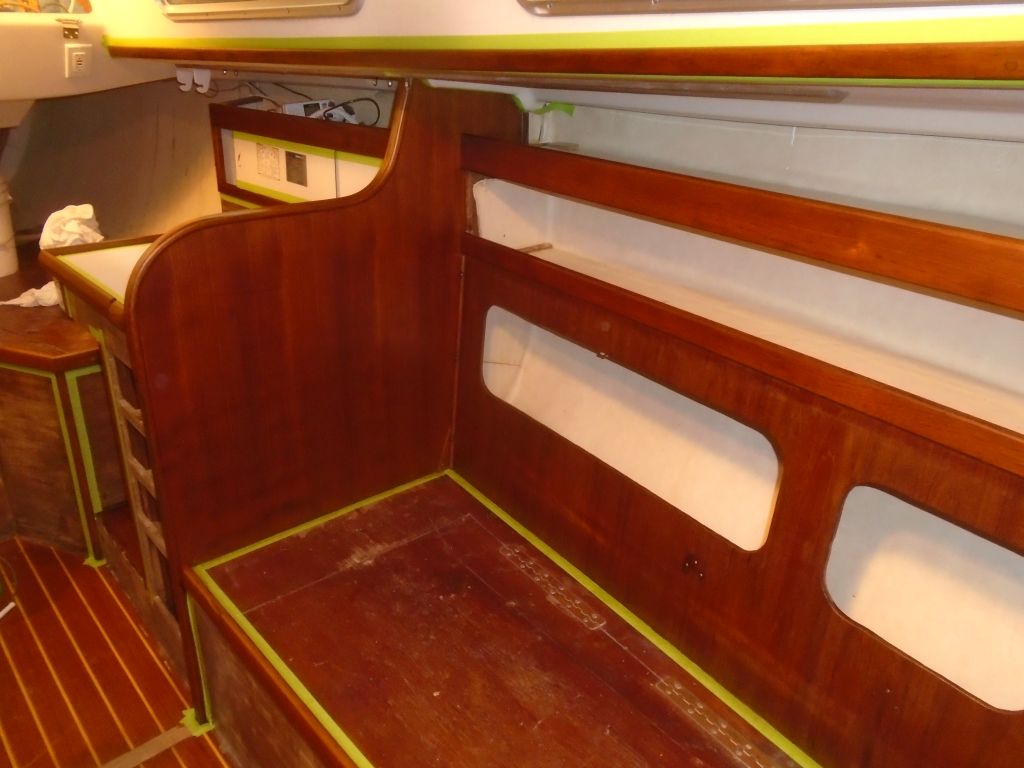
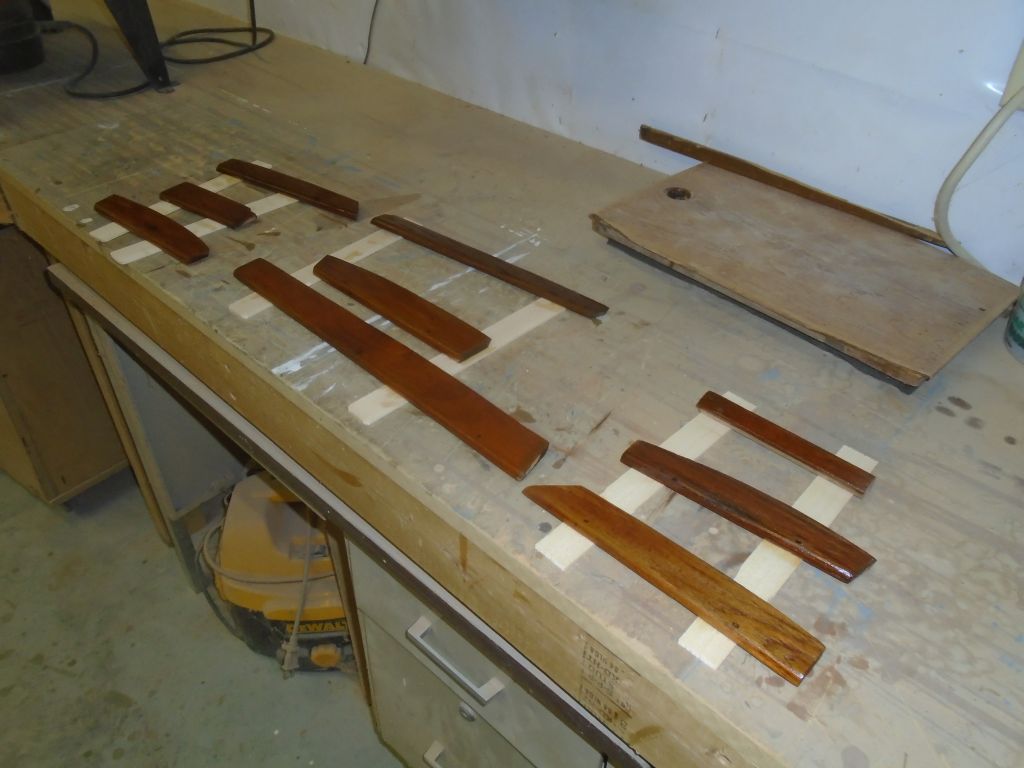
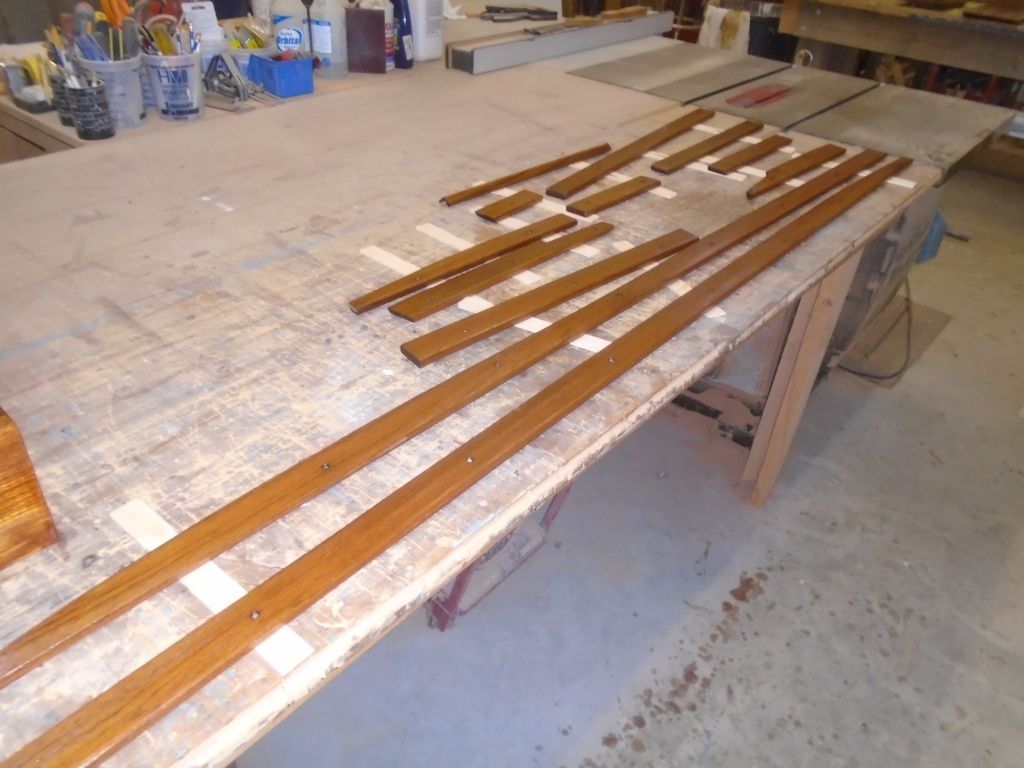
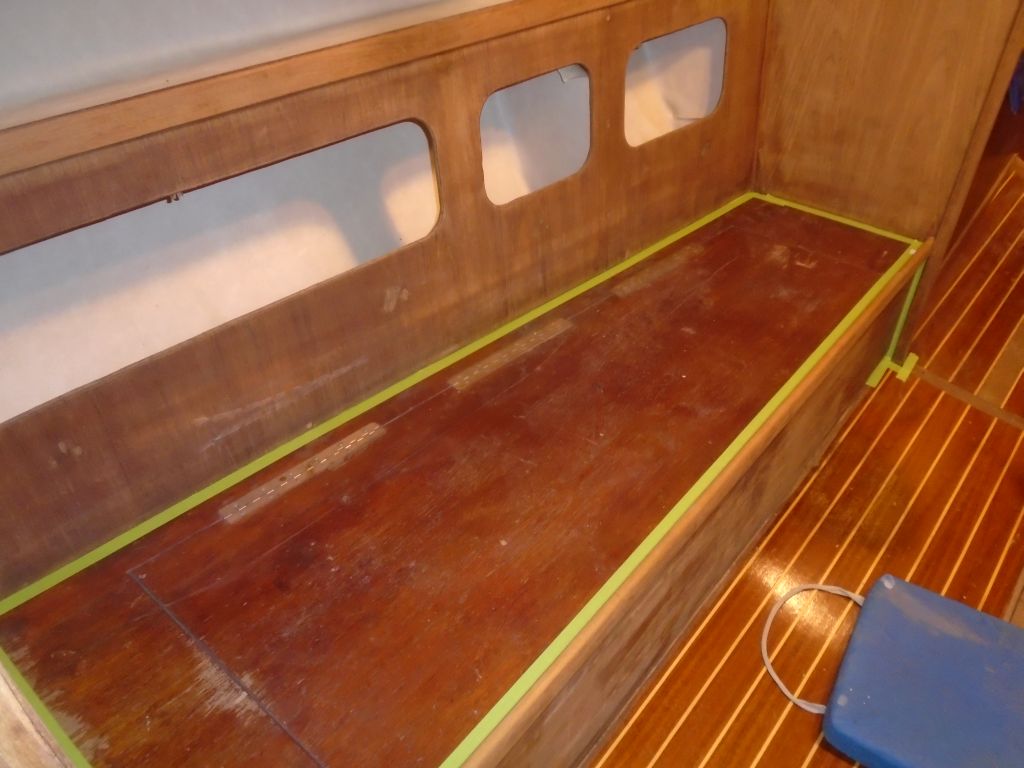
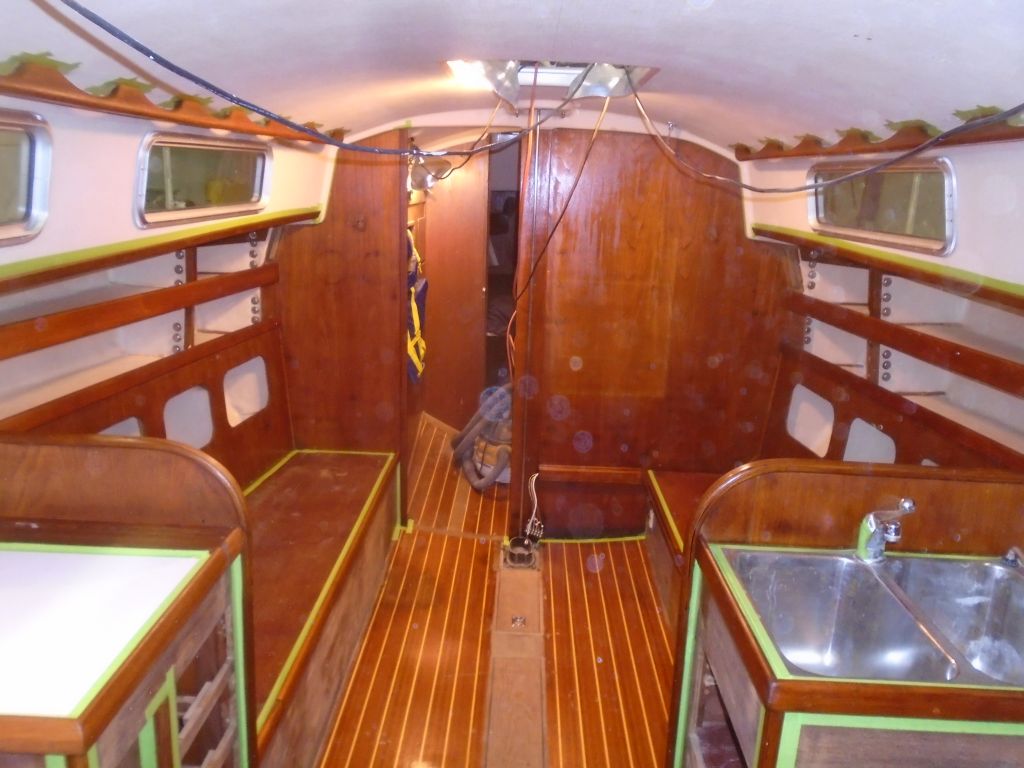
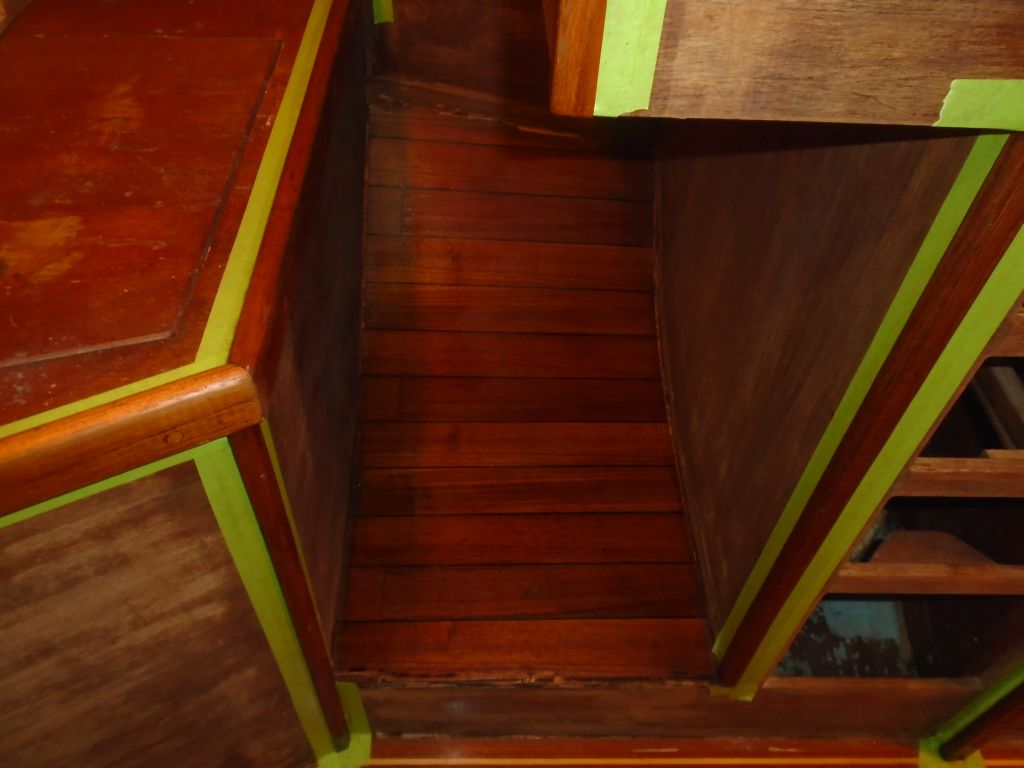
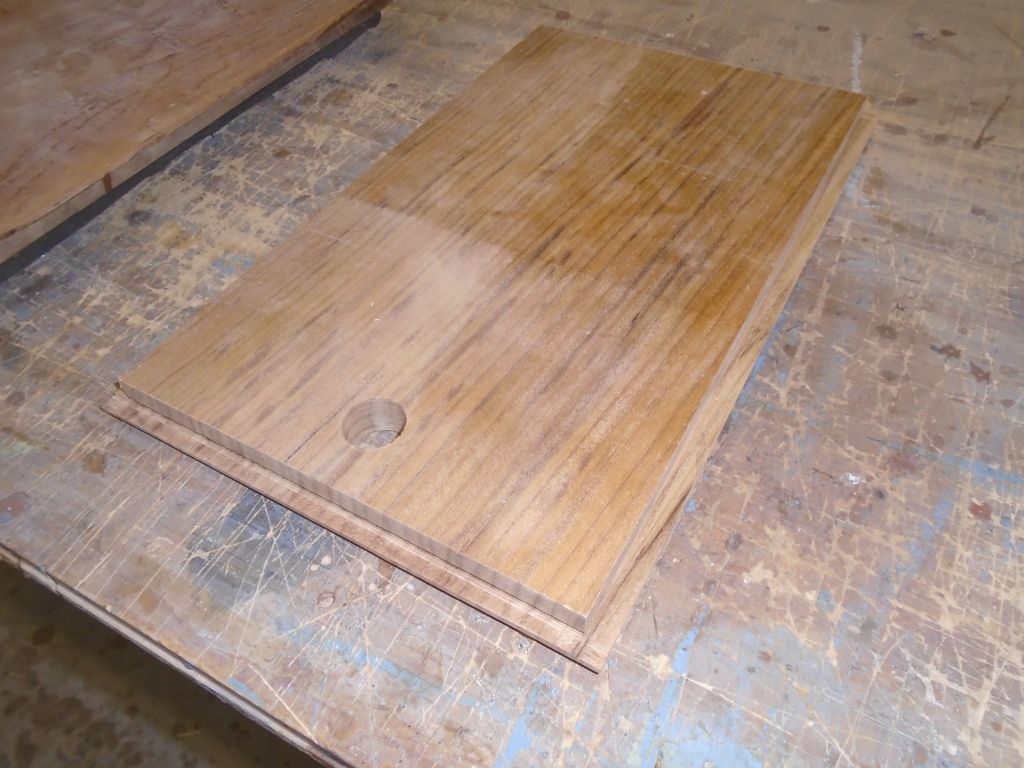
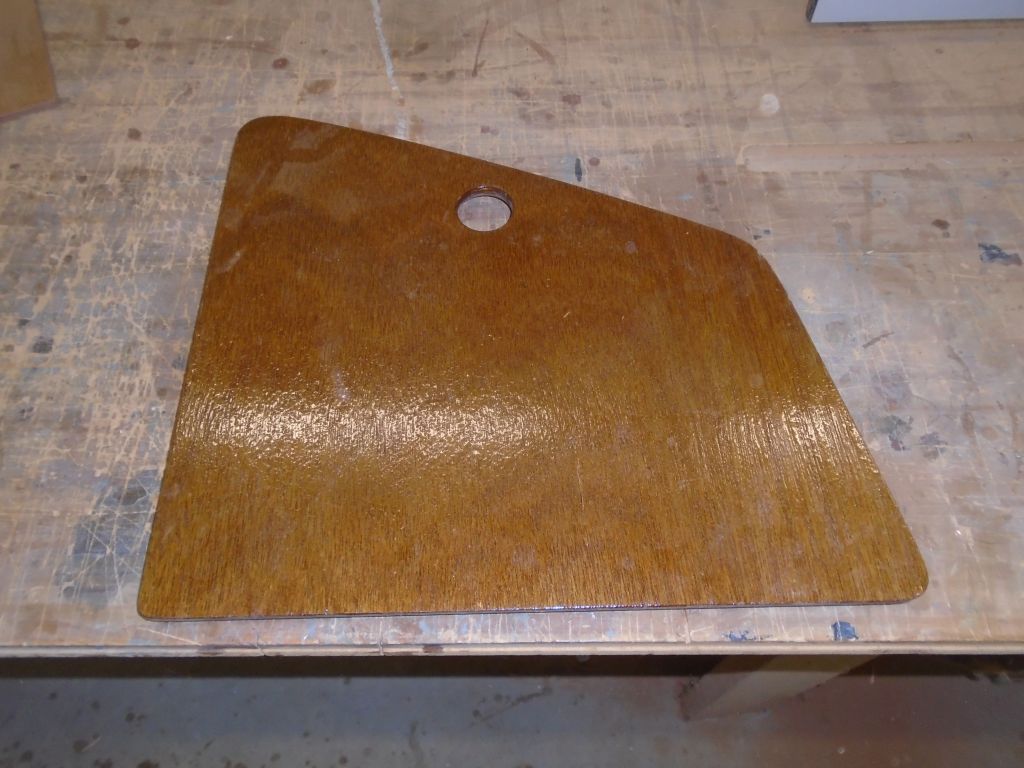
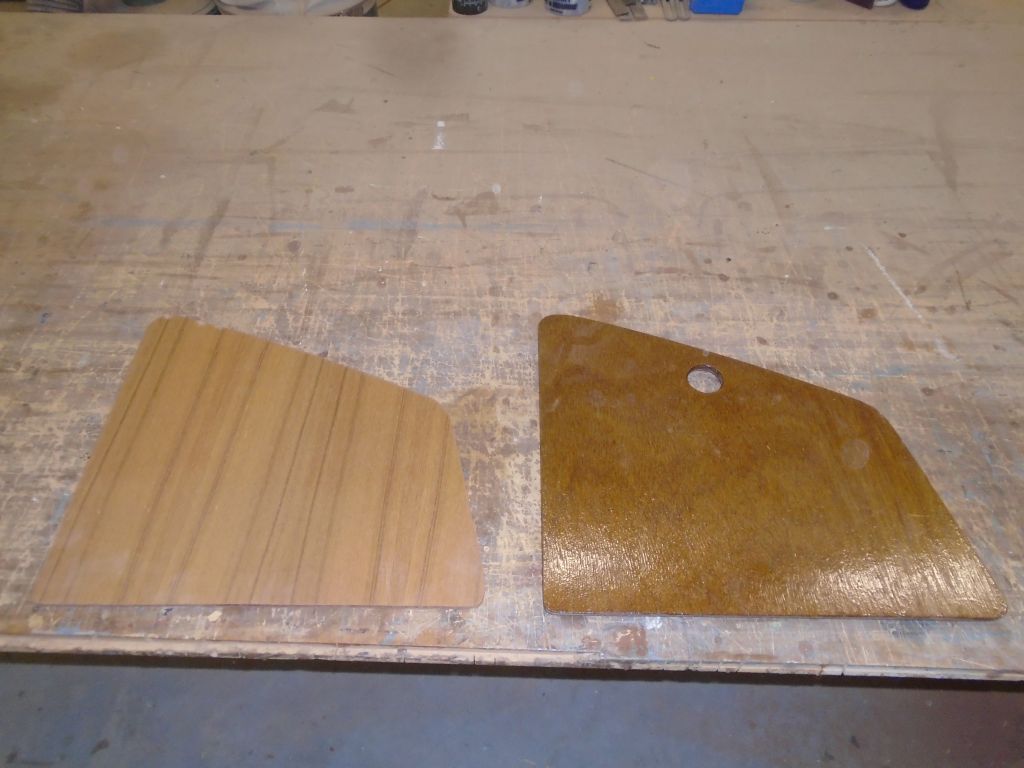
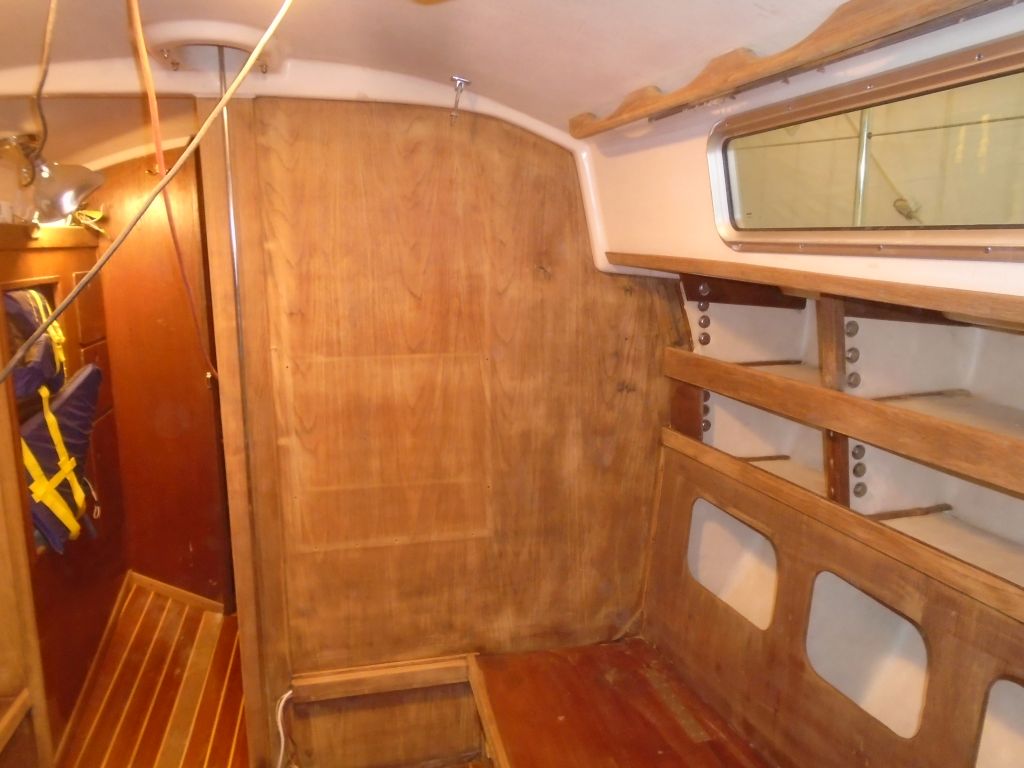
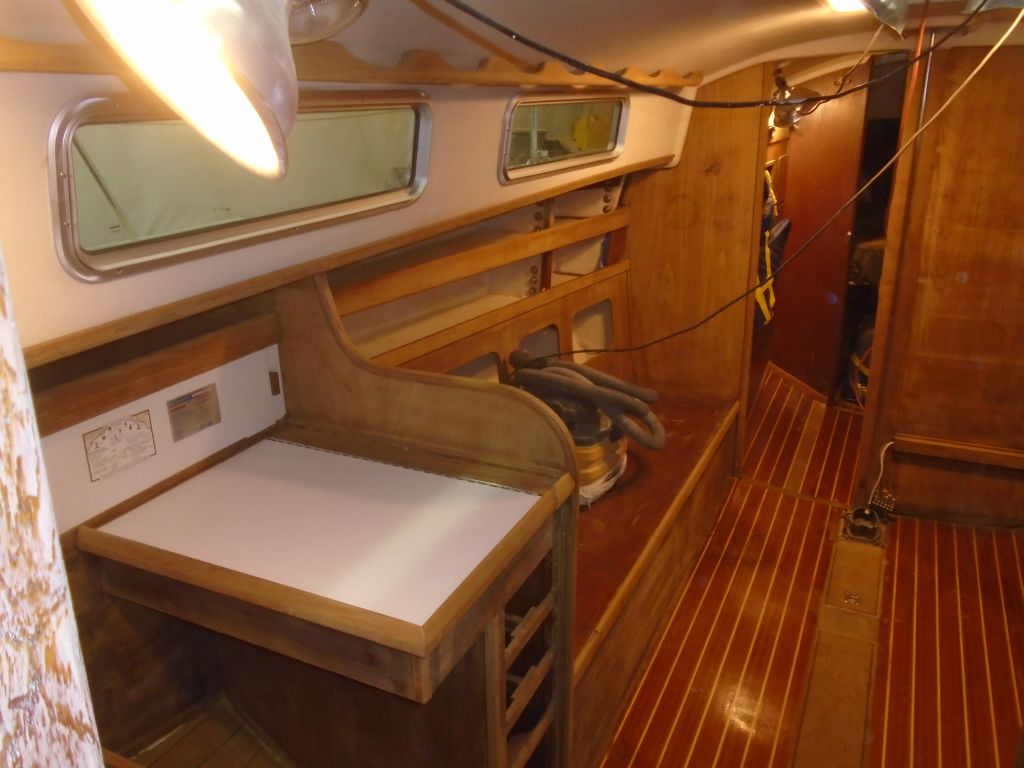
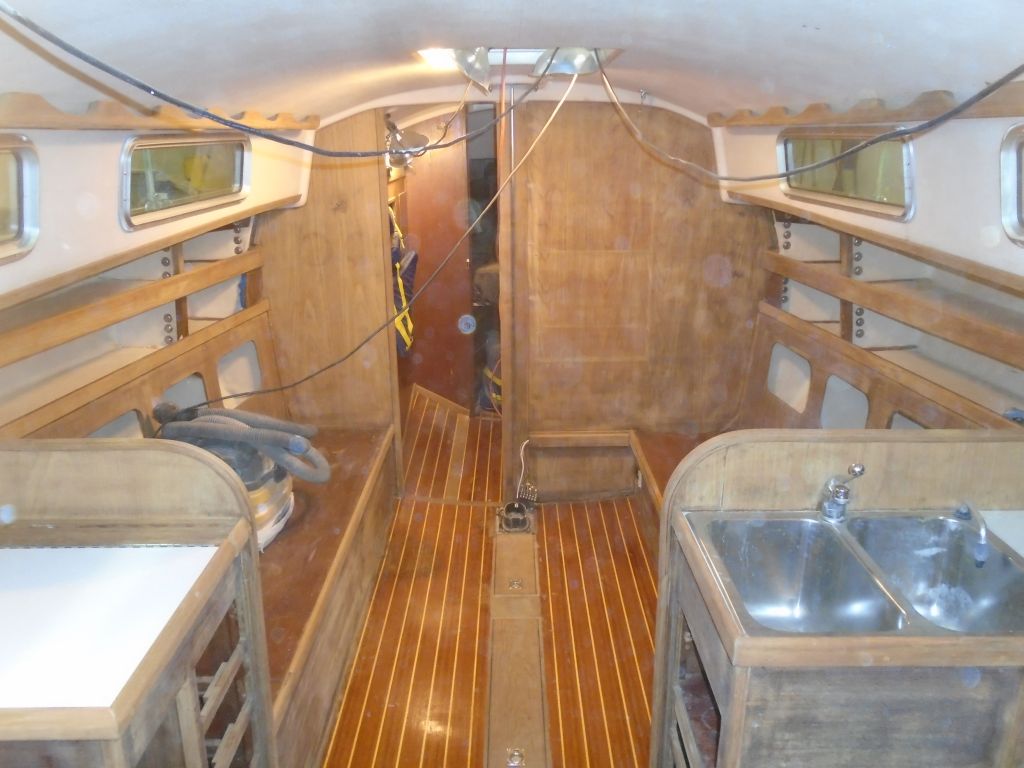
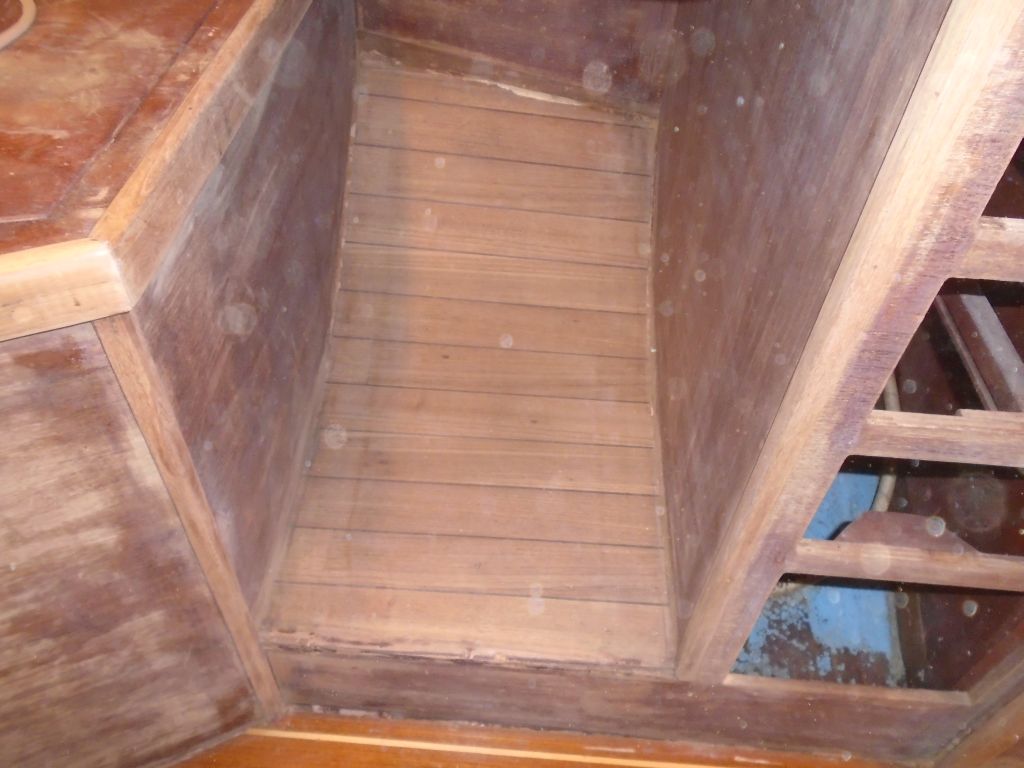
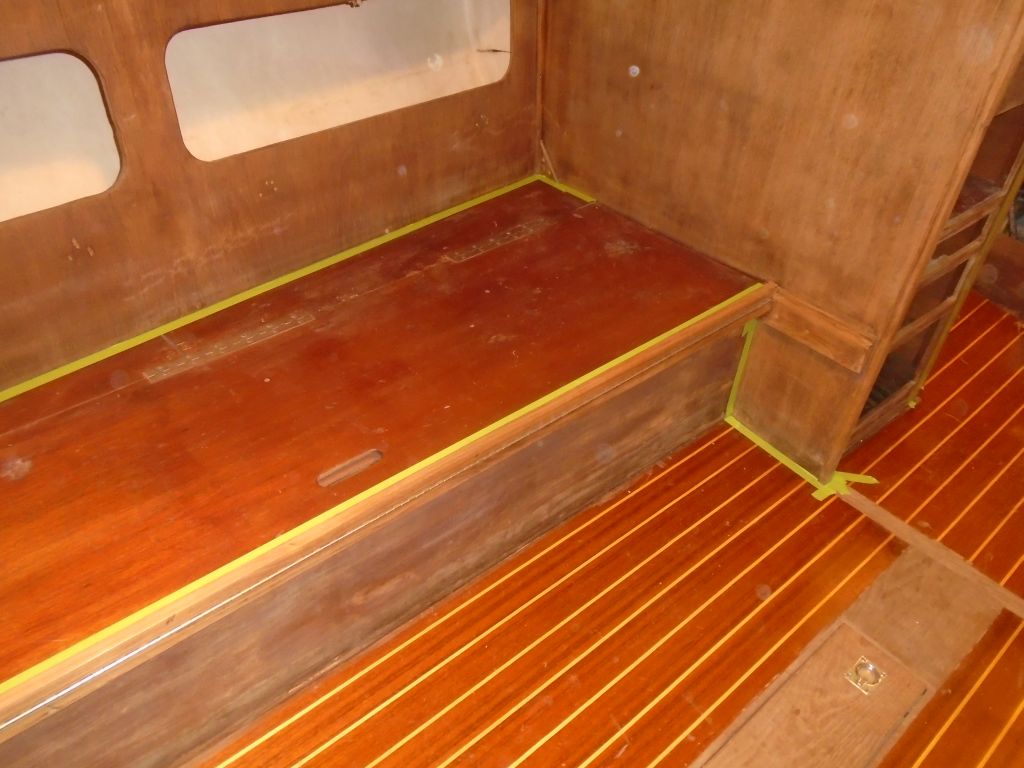
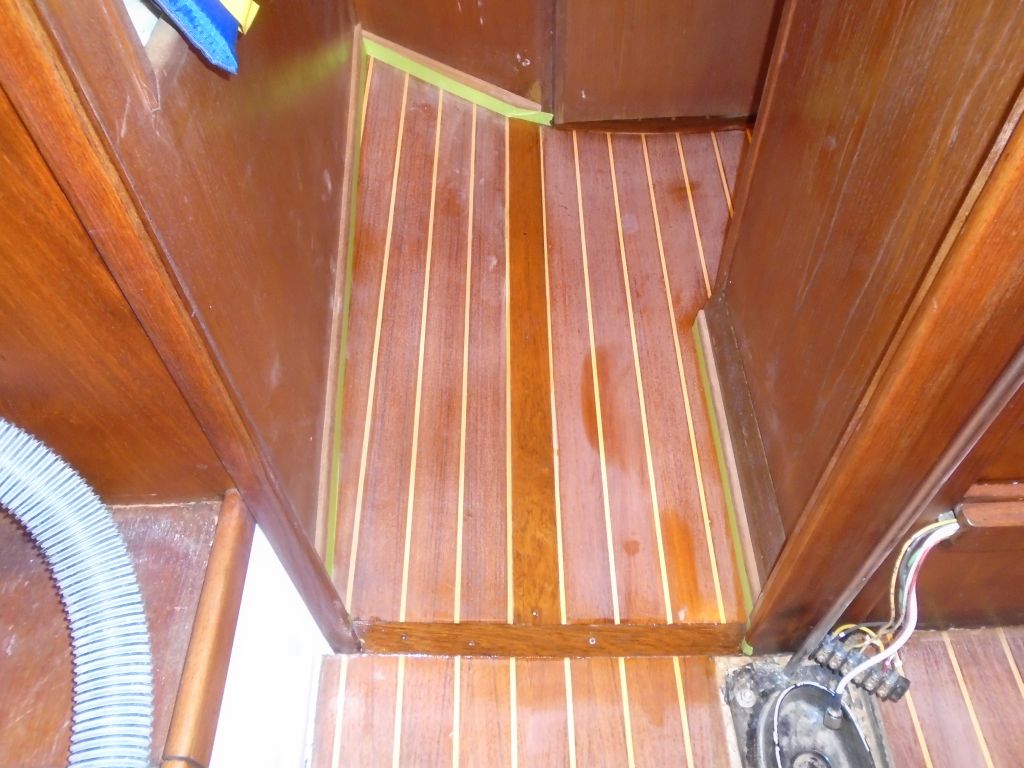
The cabin sole had looked pretty good at the beginning of the project, but as work progressed in adjacent areas, it looked more and more downtrodden, and some time earlier I’d decided that I’d fo a quick refresher coat of varnish on the whole thing to spruce it up.  The existing finish was fair, but rather rough, and there were bare teak trim thresholds and center trim and hatch pieces that had never been finished, along with a single oddball plank in the passageway.  There was some water damage on the port side, which had stained the veneer and lifted some of the old finish.

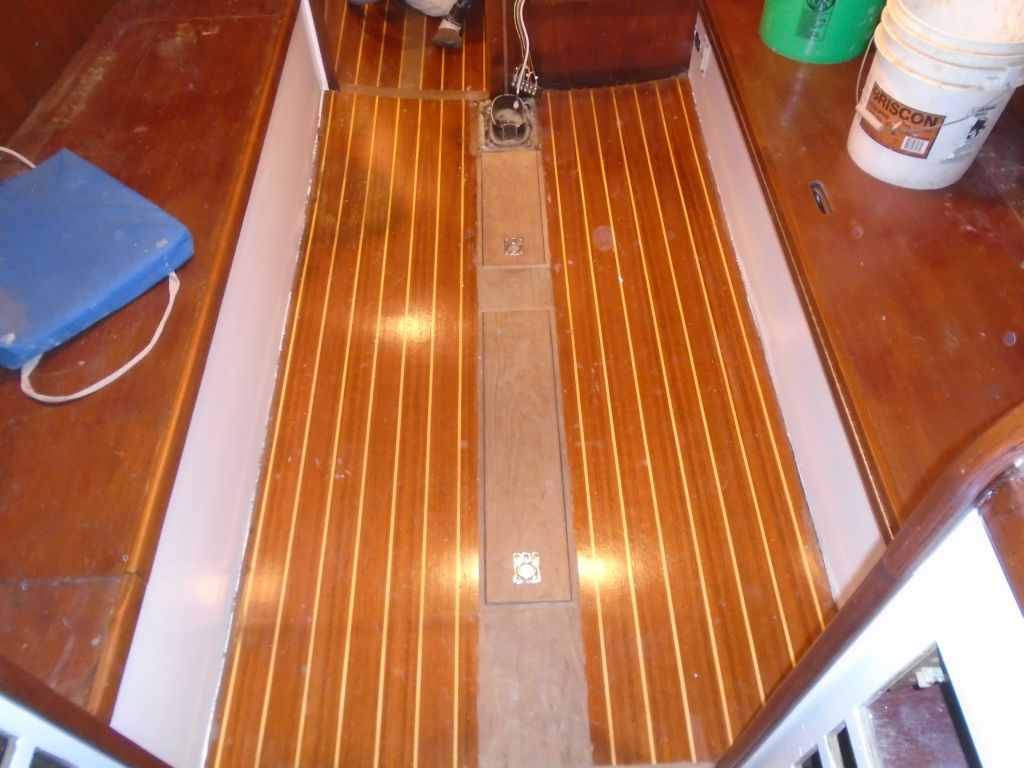
To prepare, I sanded the existing finish with 120 grit, concentrating as needed on the damaged area to port and cleaning up the bare wood as well.  Afterwards, I vacuumed and solvent-washed, and masked off some areas in the passageway to prepare for new varnish.

sole5-121216

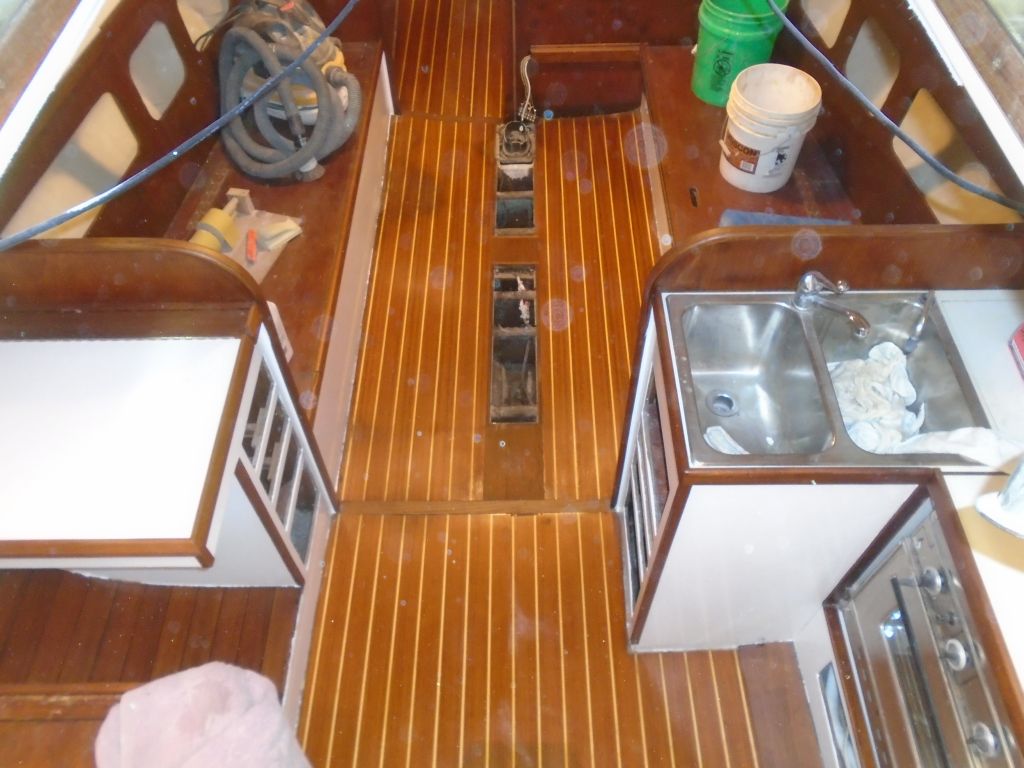
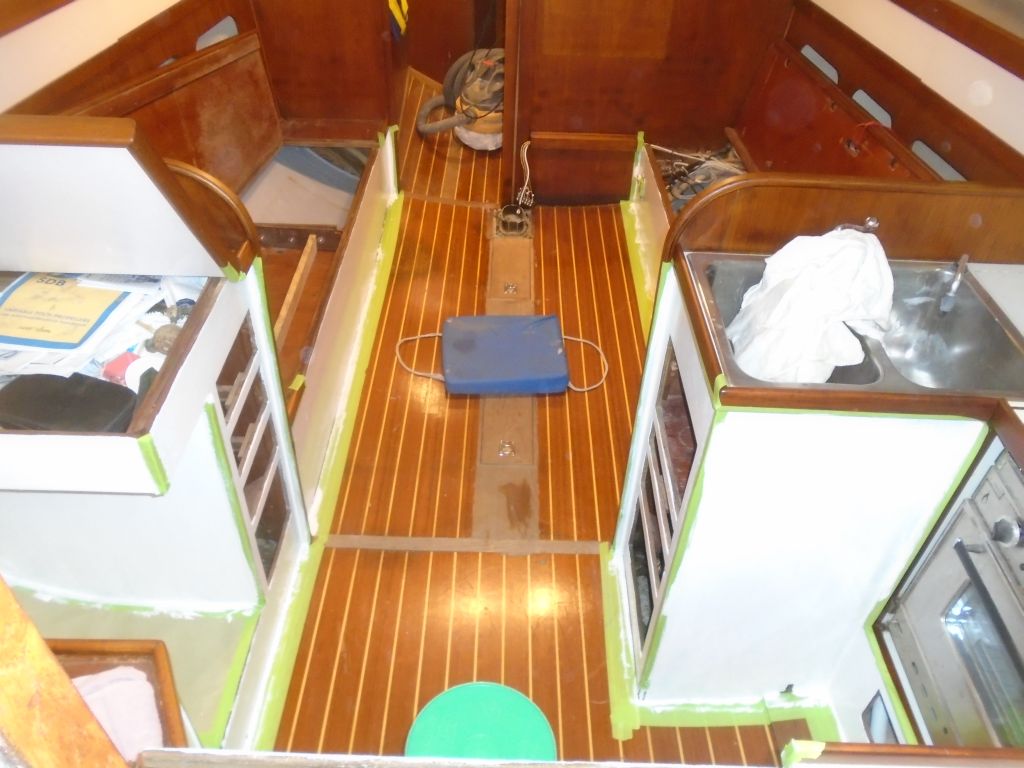
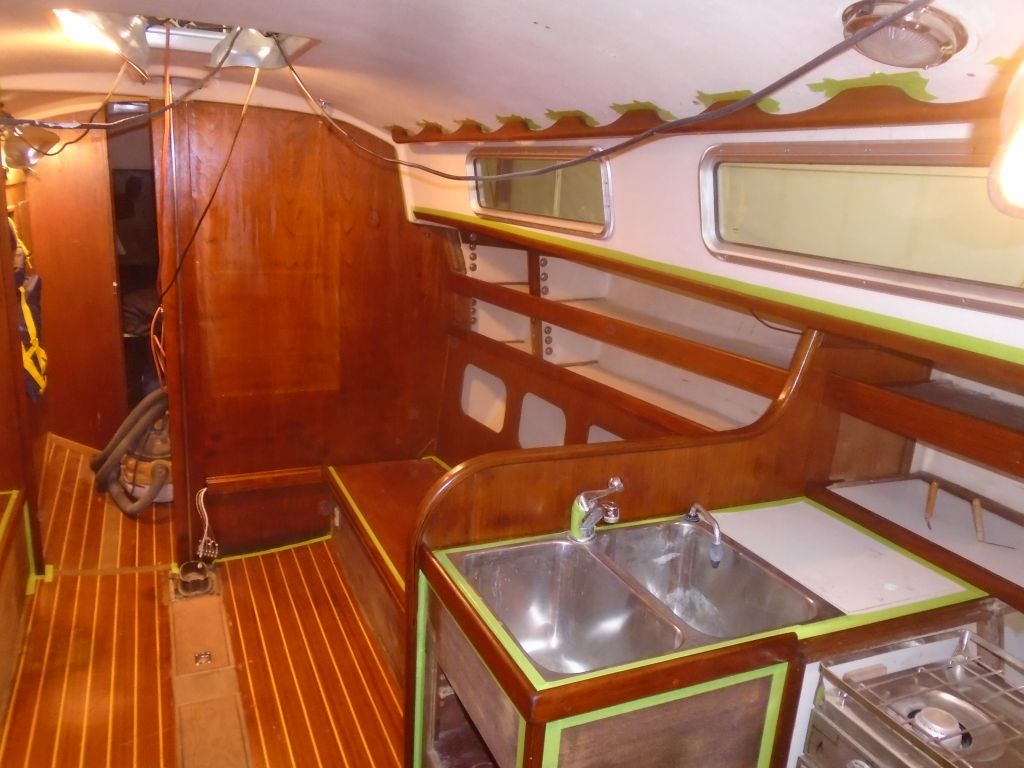
Preparations complete, I applied a thin sealer coat of varnish to the bare wood sections only.

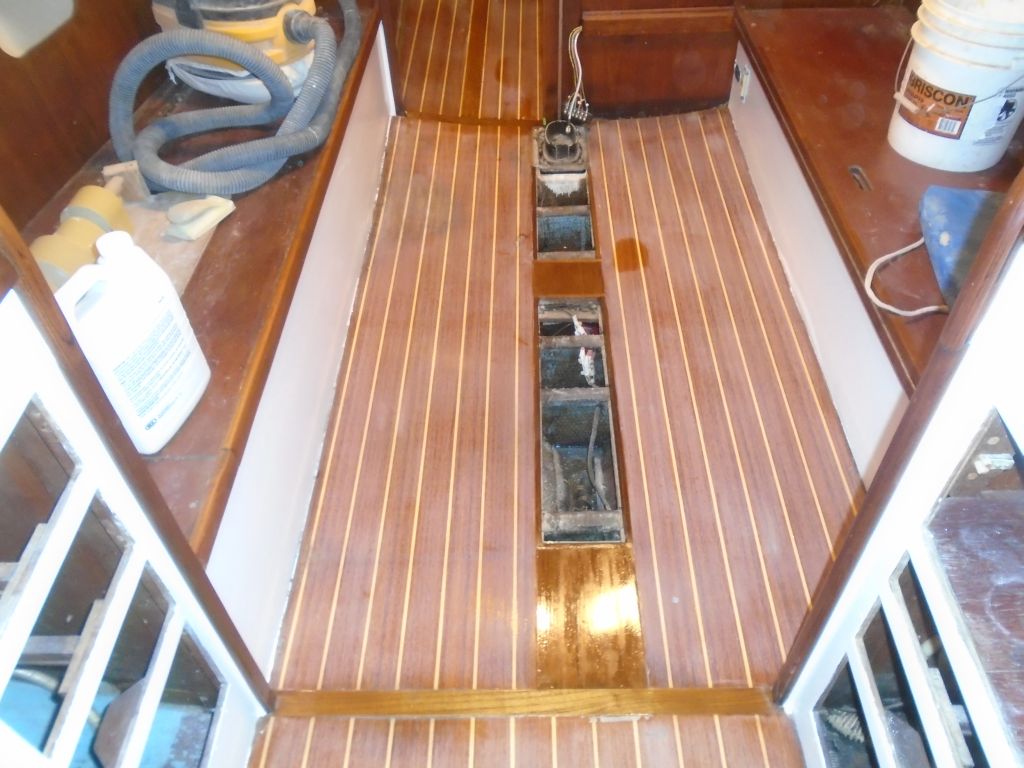
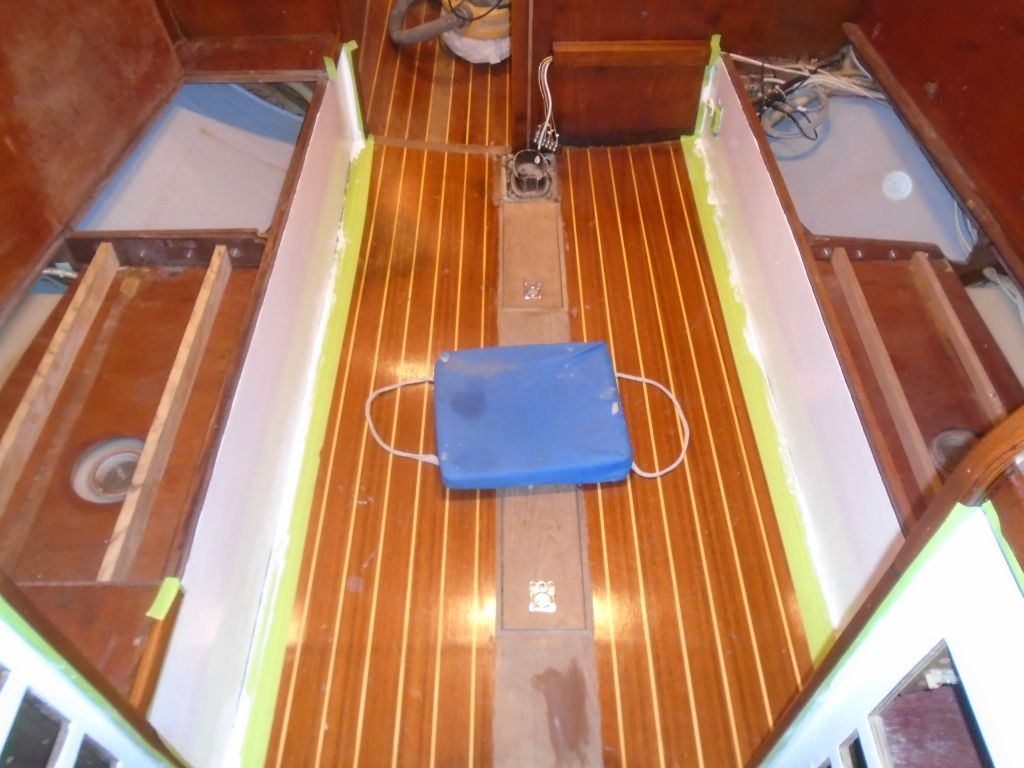
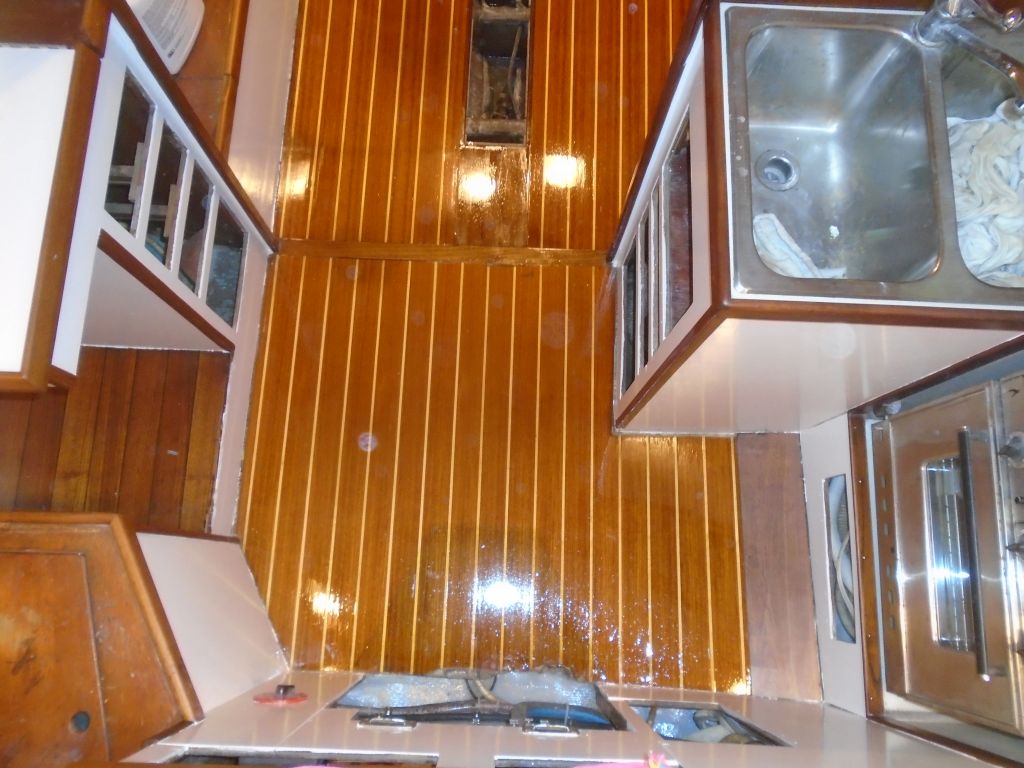
The thin sealer coat cured enough during the day so that I could go back later and apply a fresh coat of varnish over the entire sole, including the bare areas and center hatches once more.

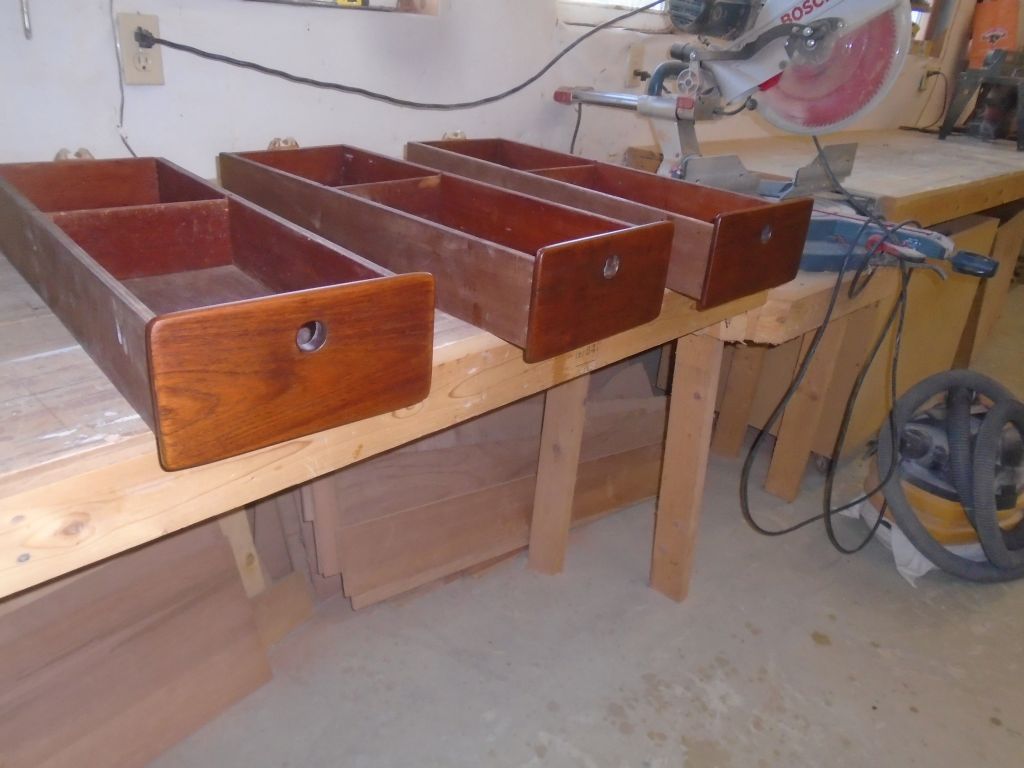
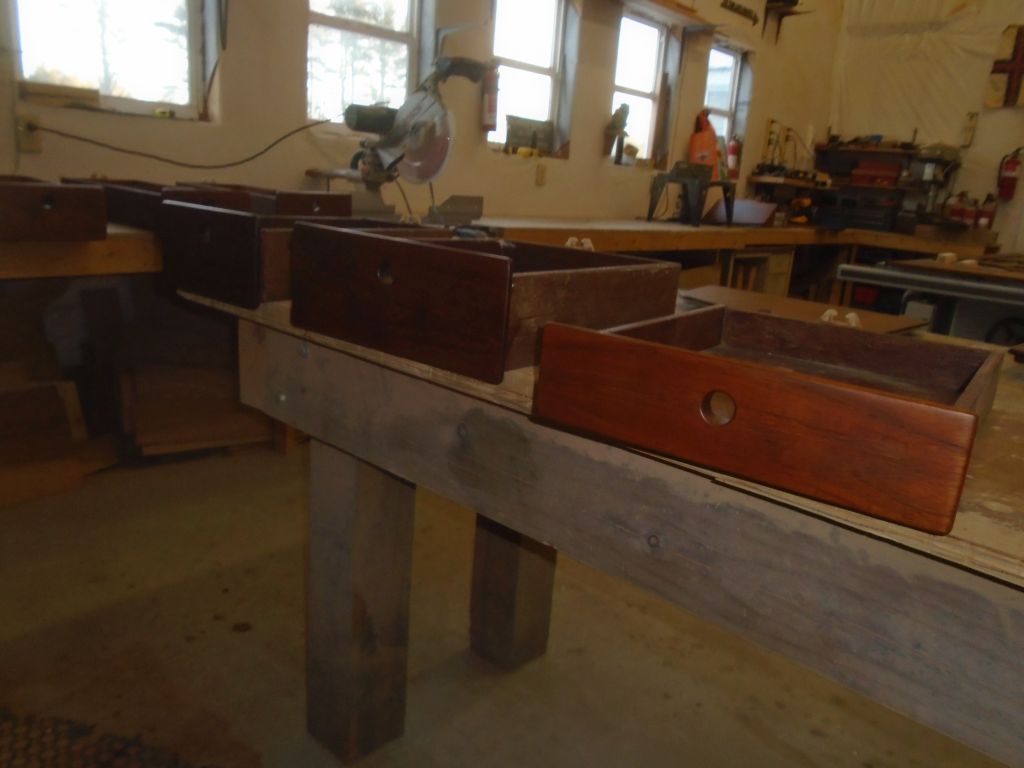
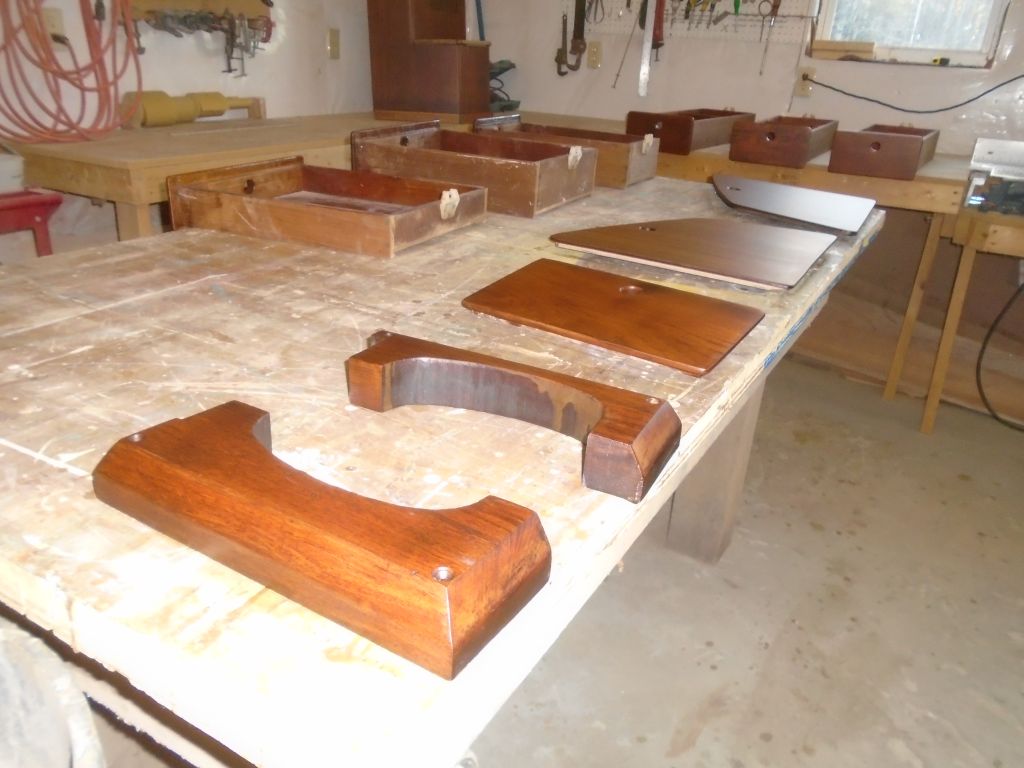
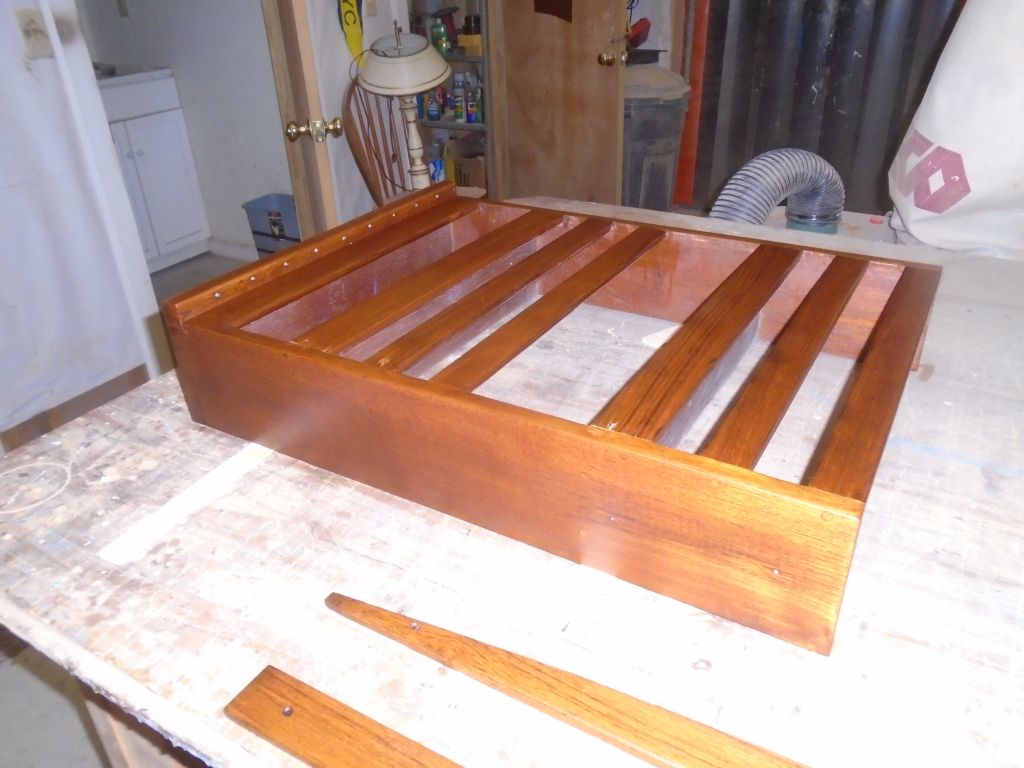
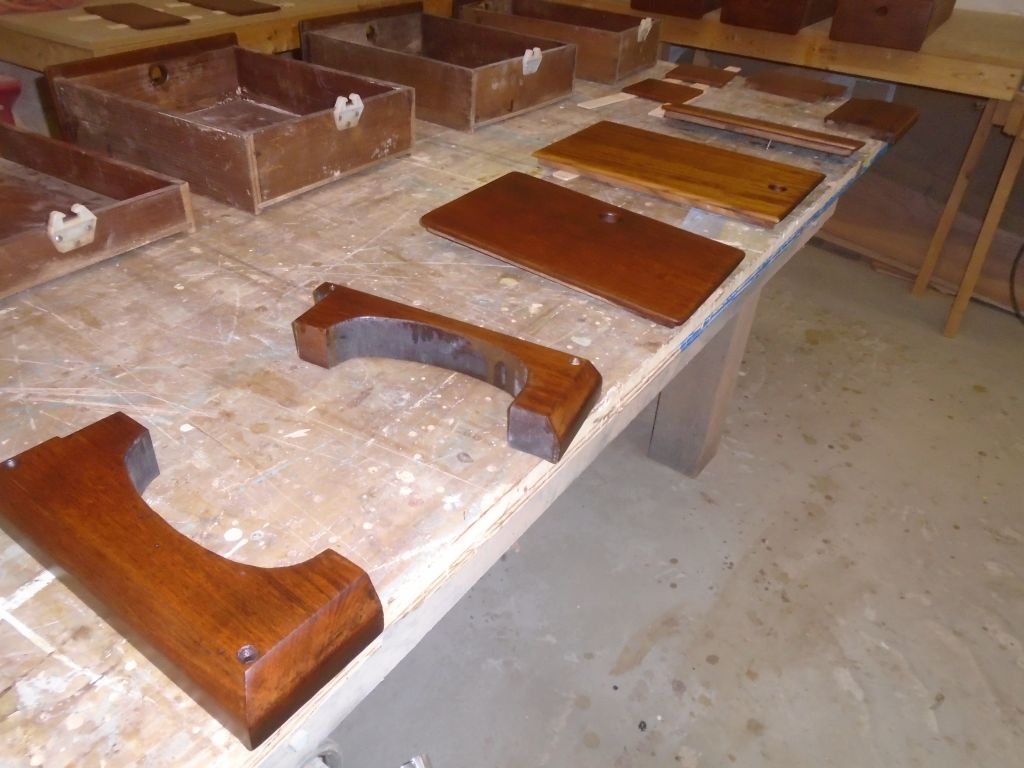
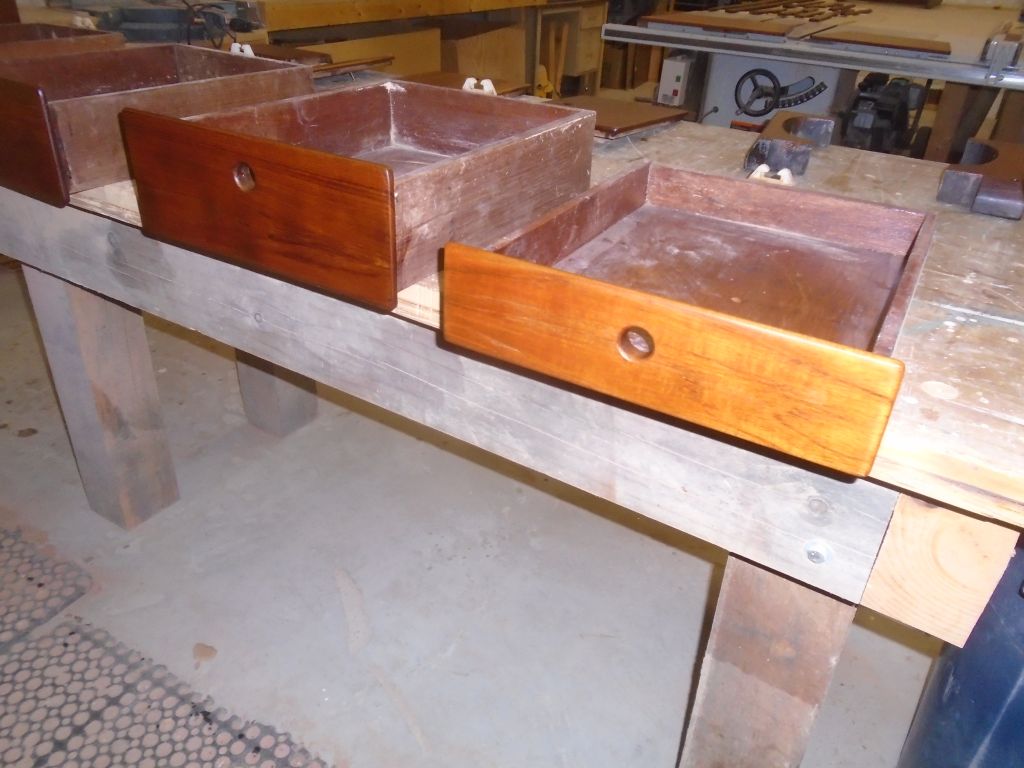
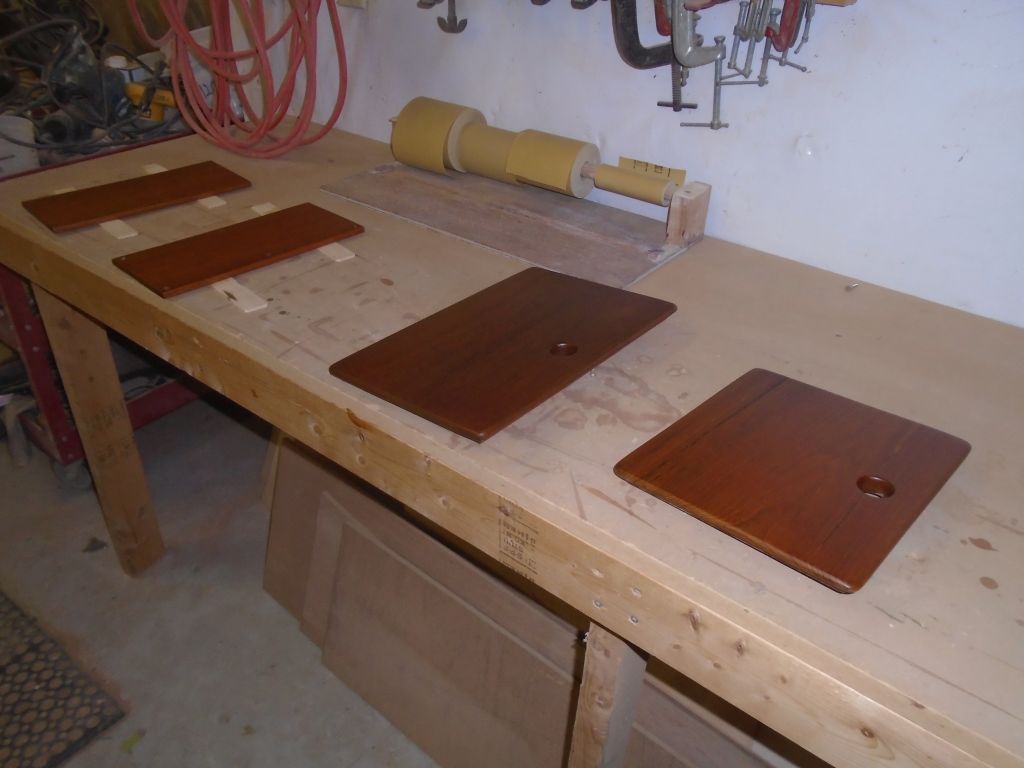
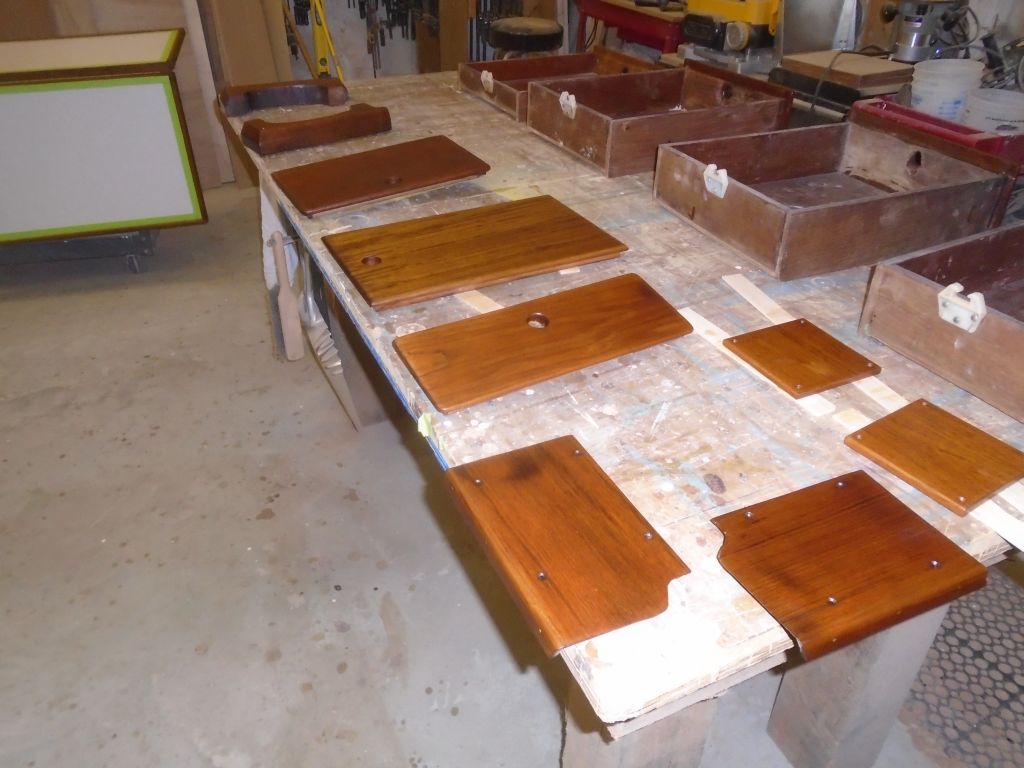
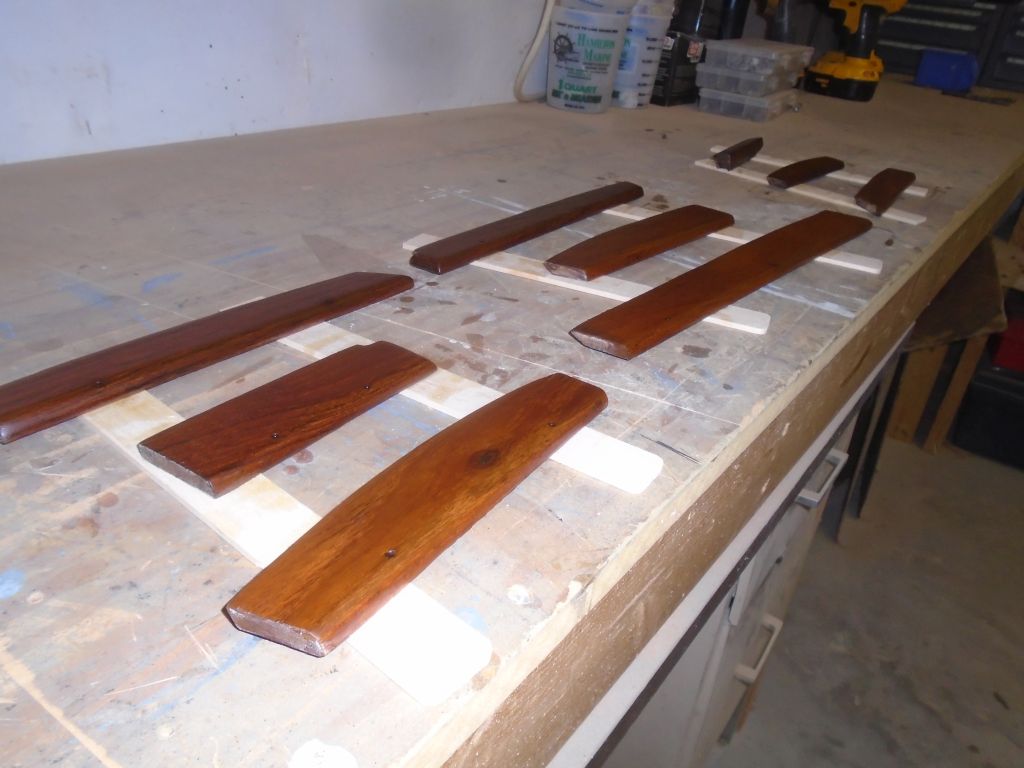
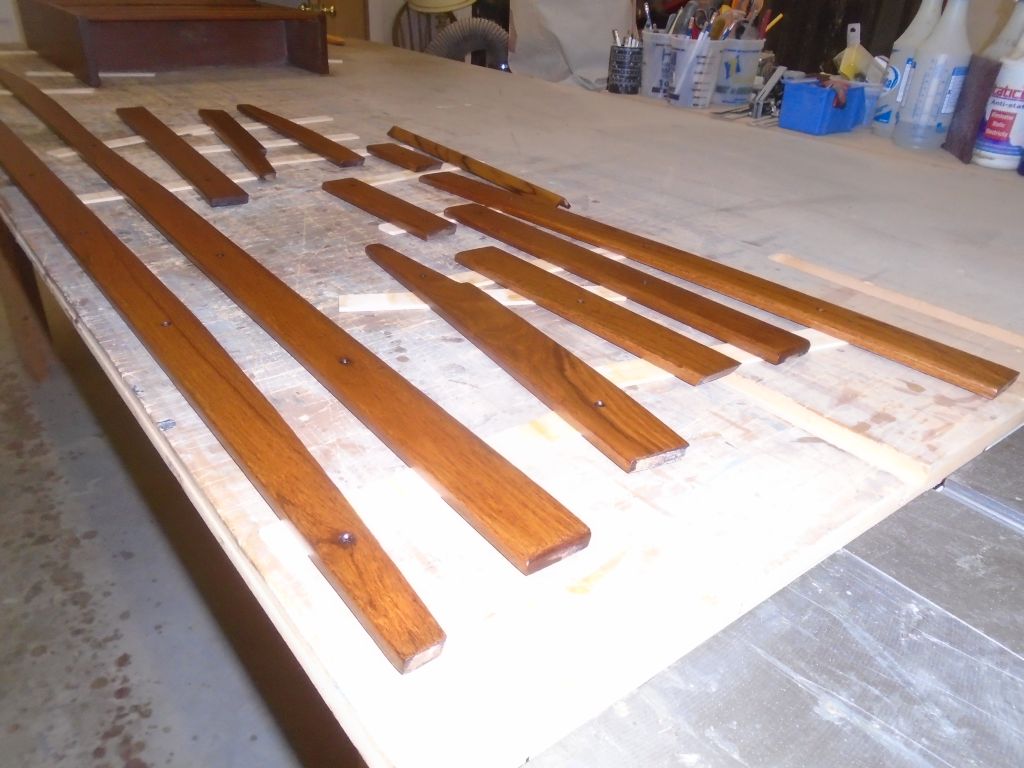
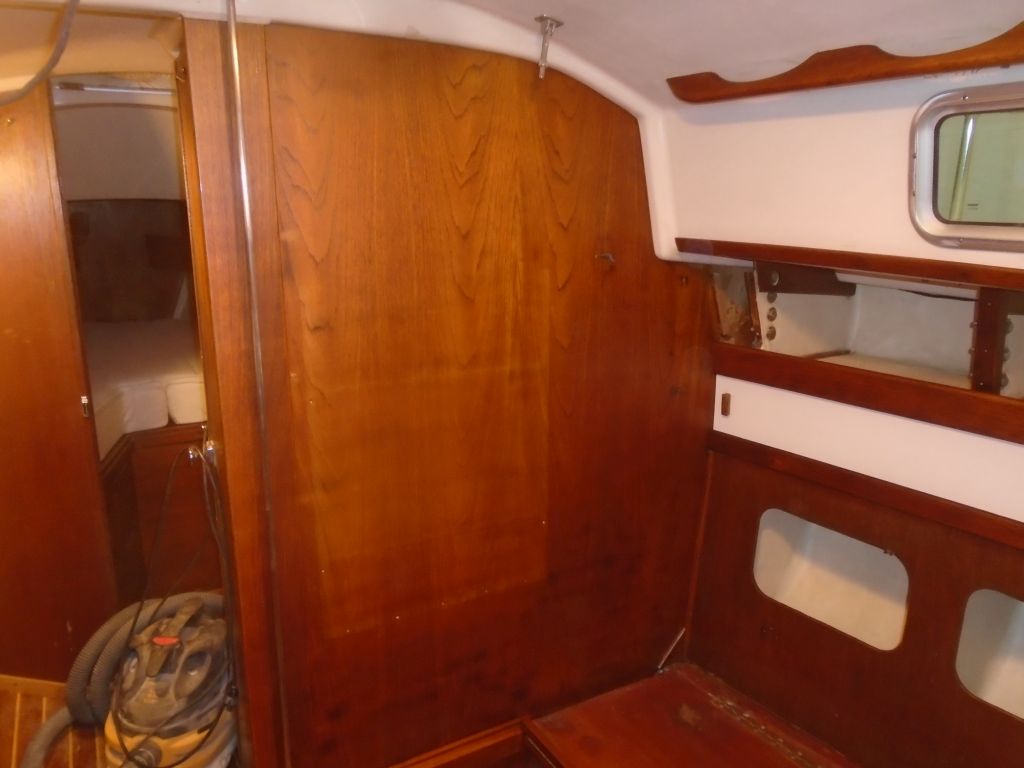
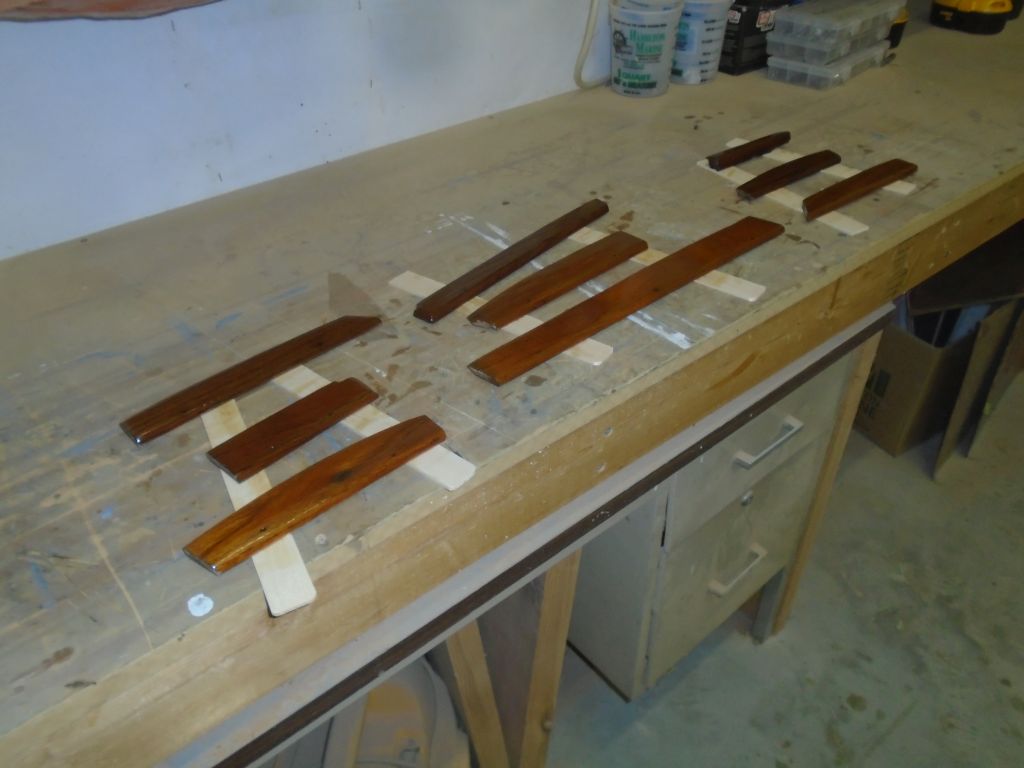
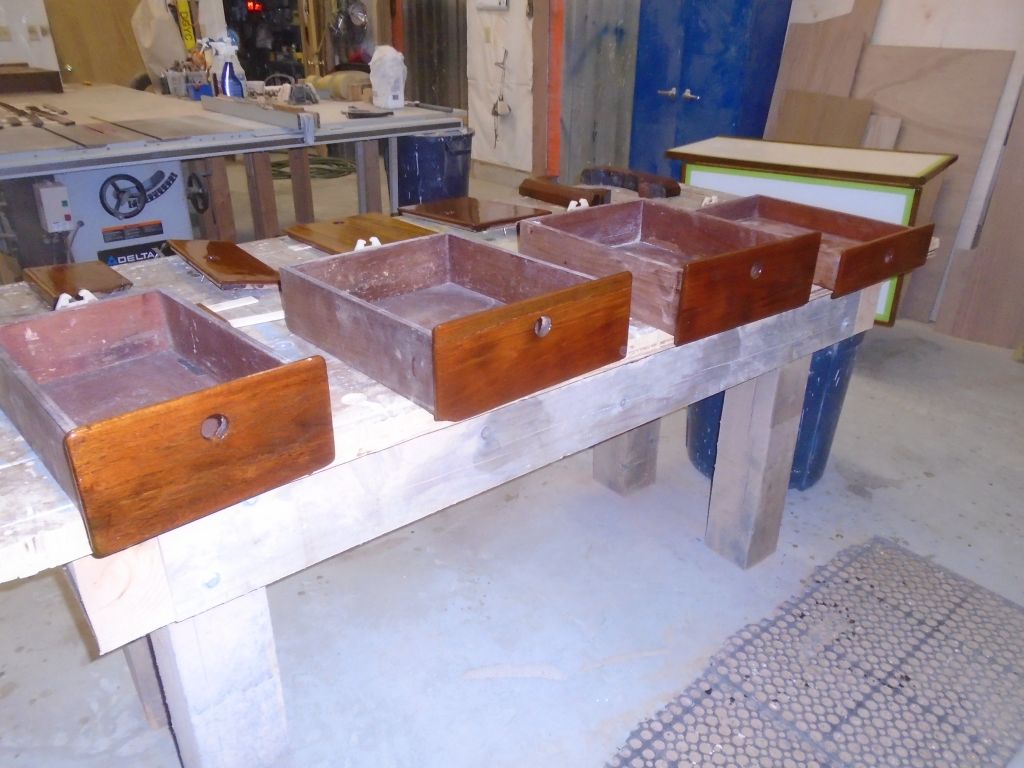
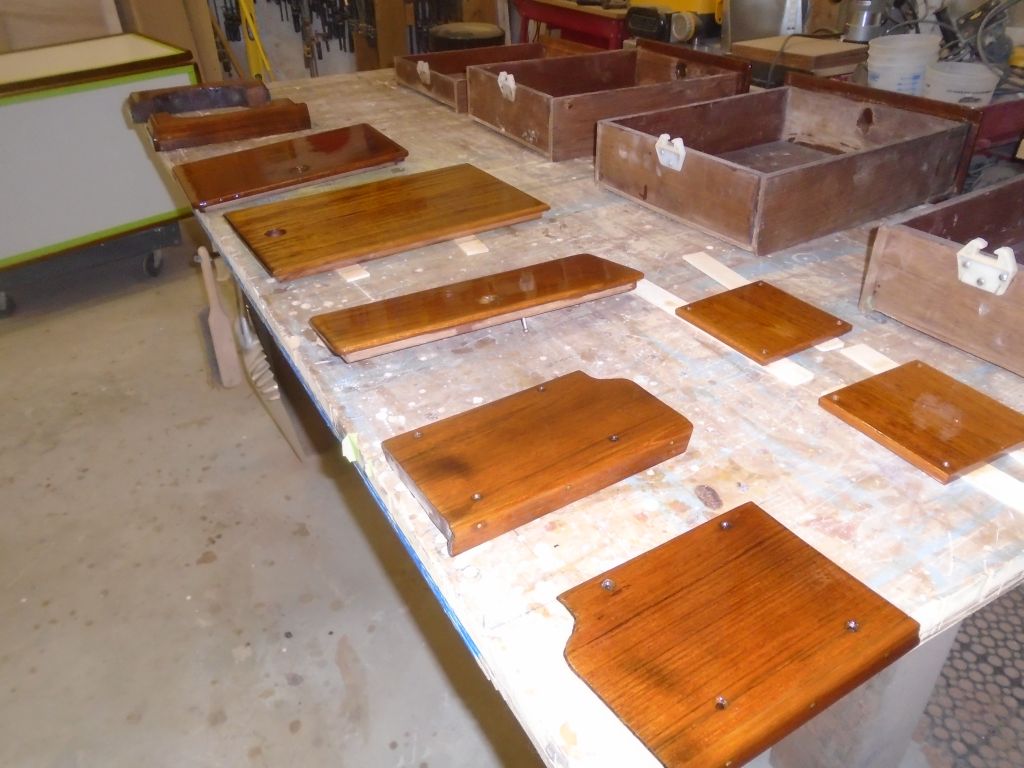
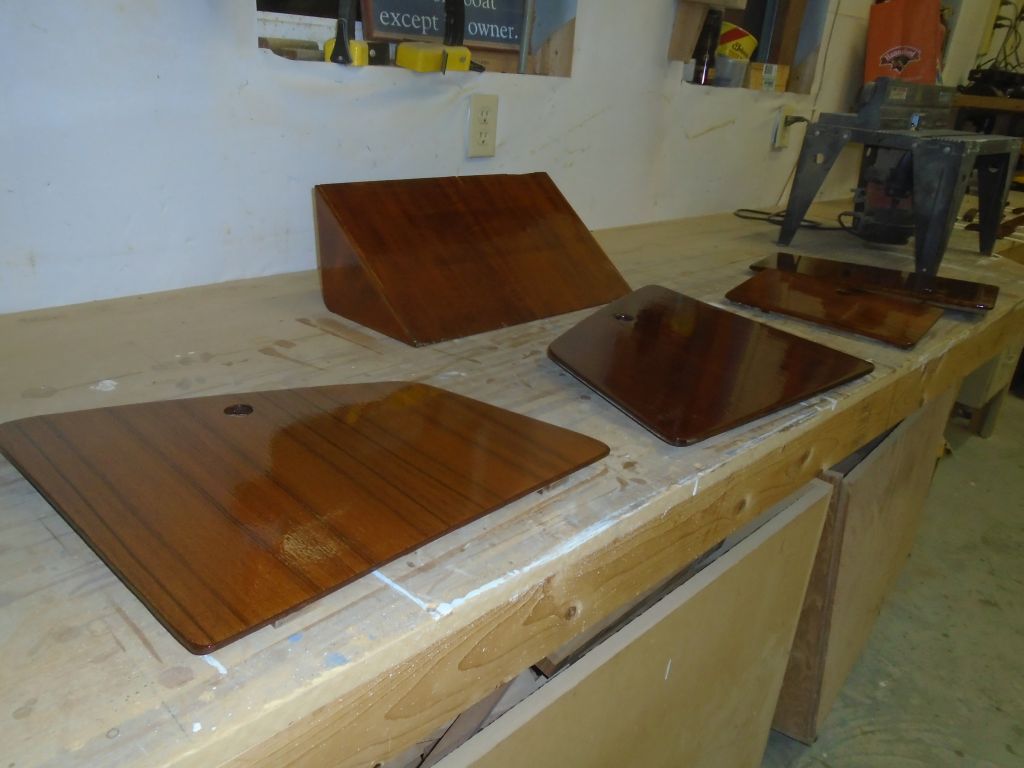
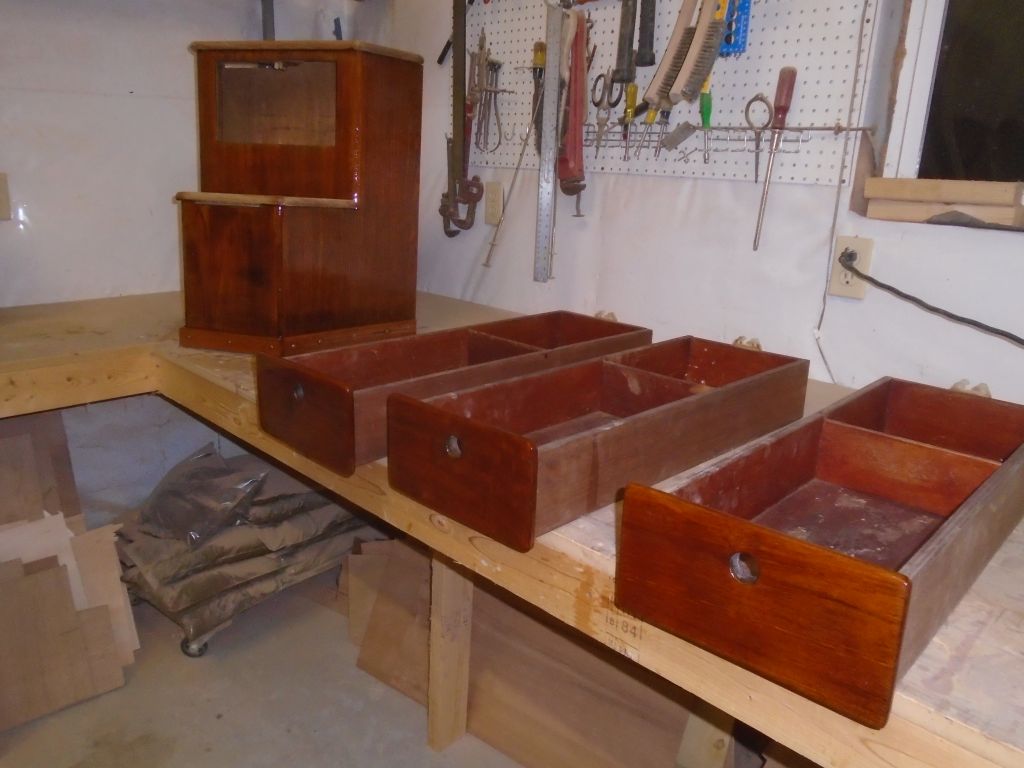
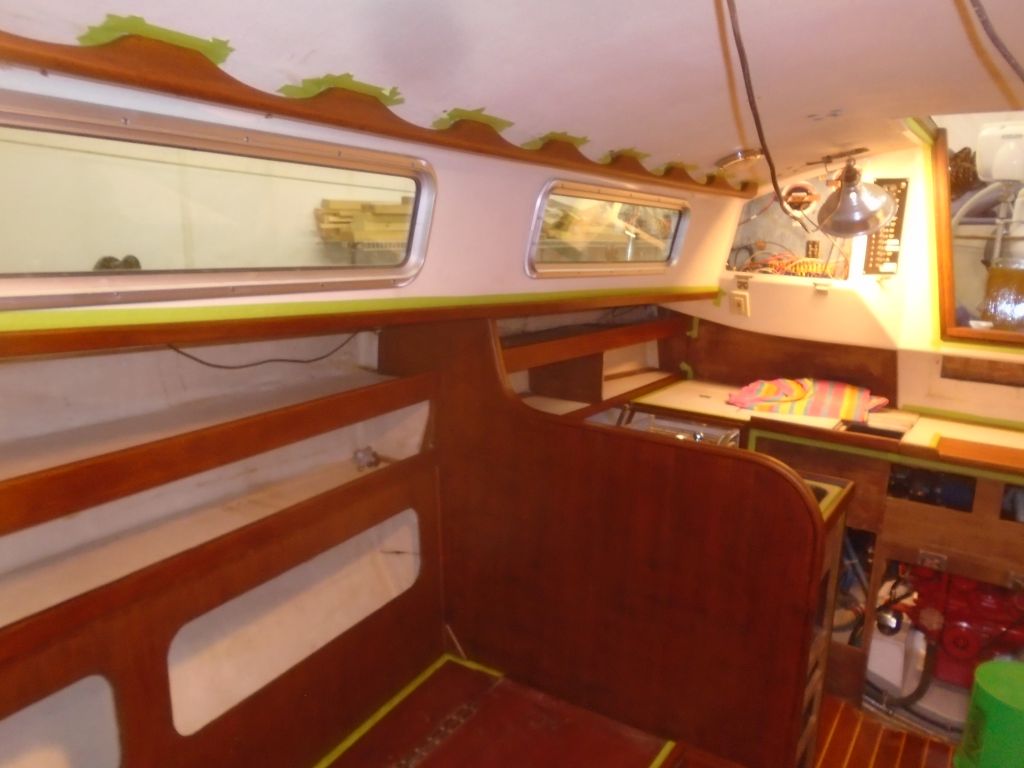
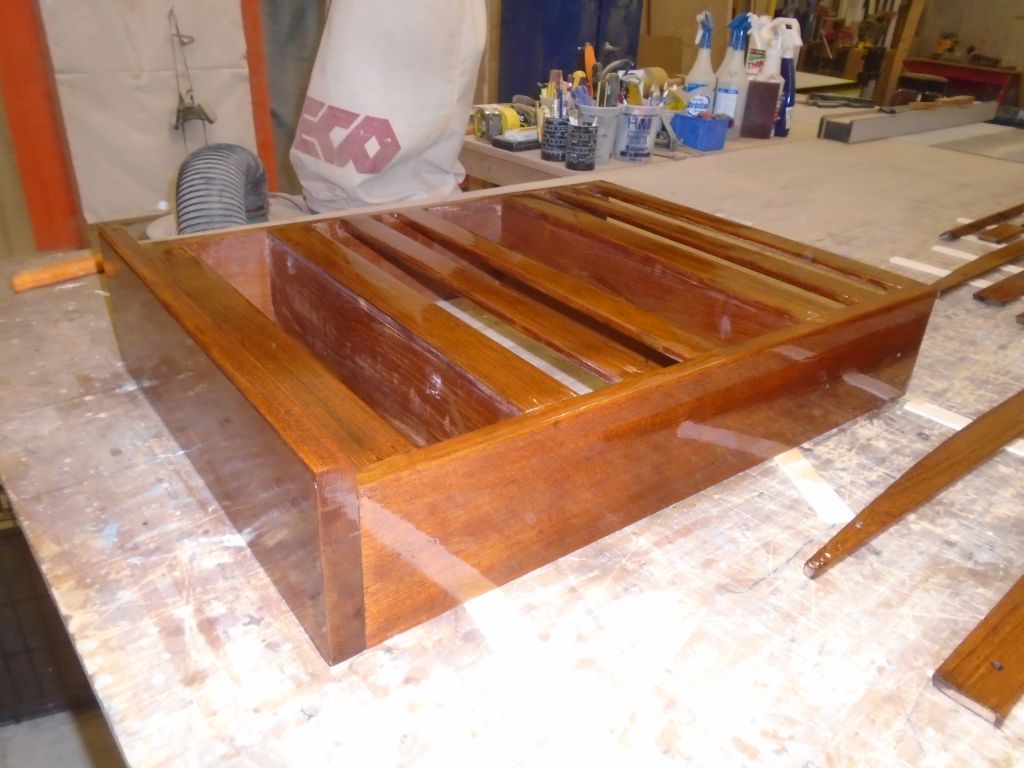
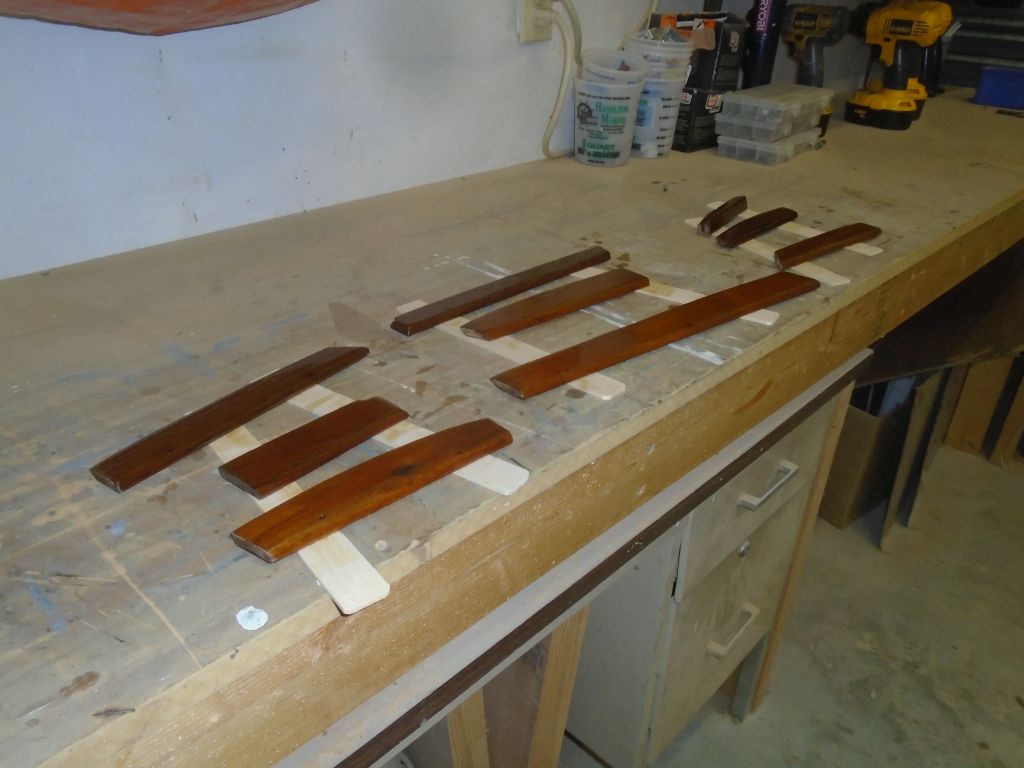
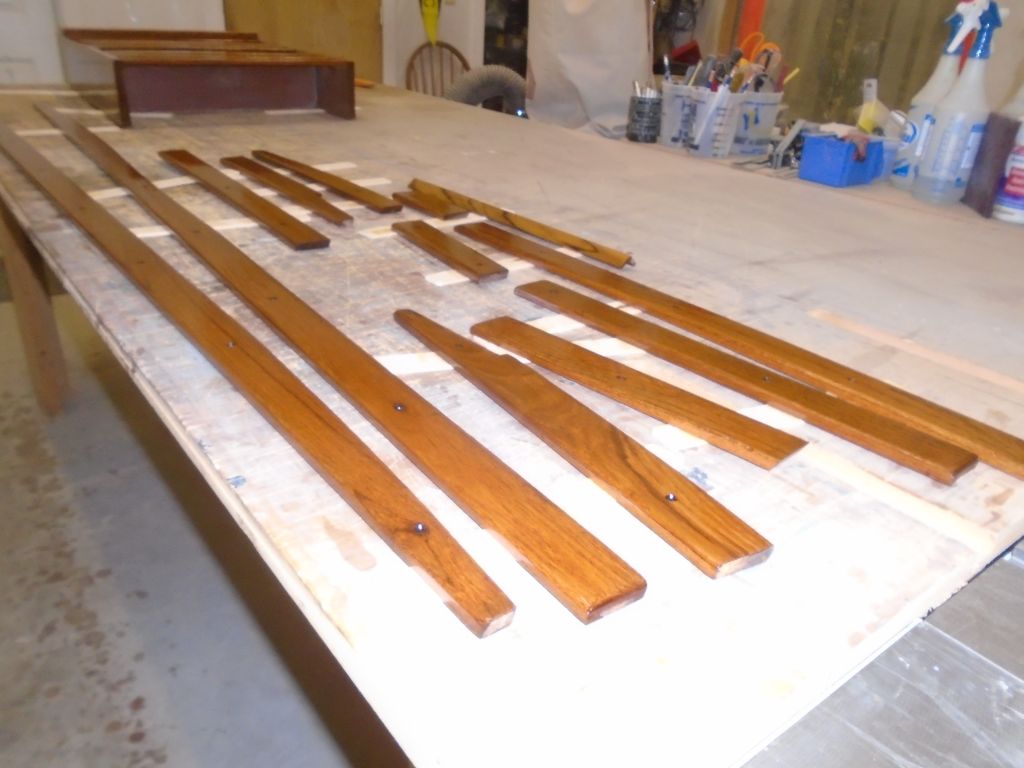
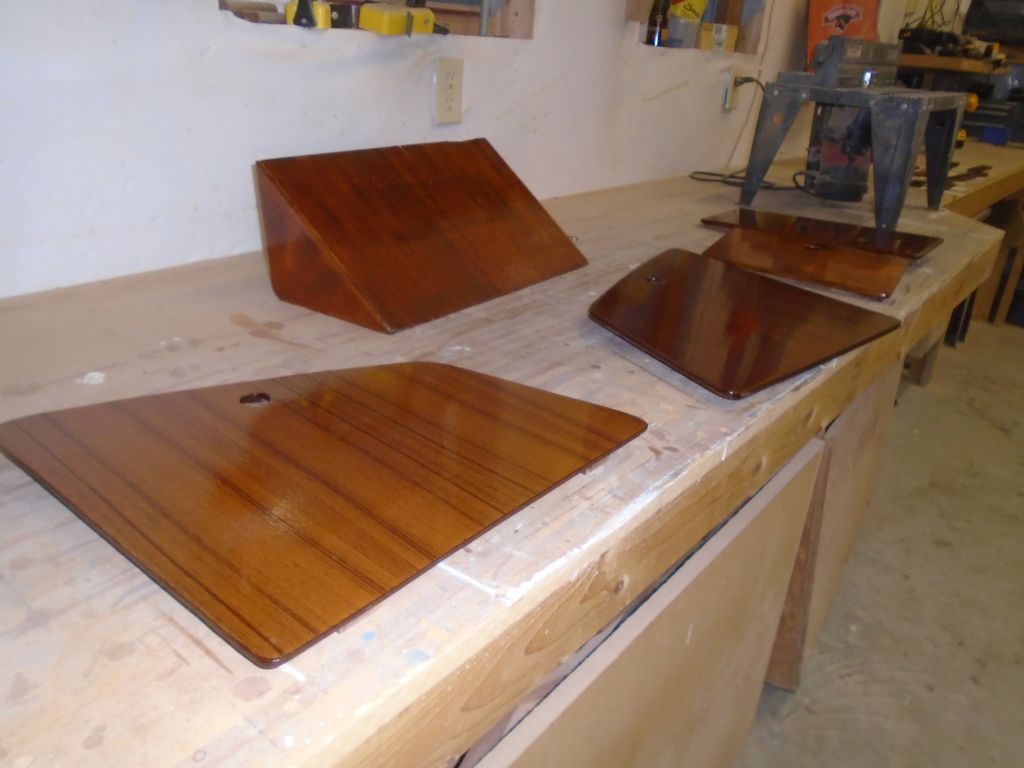
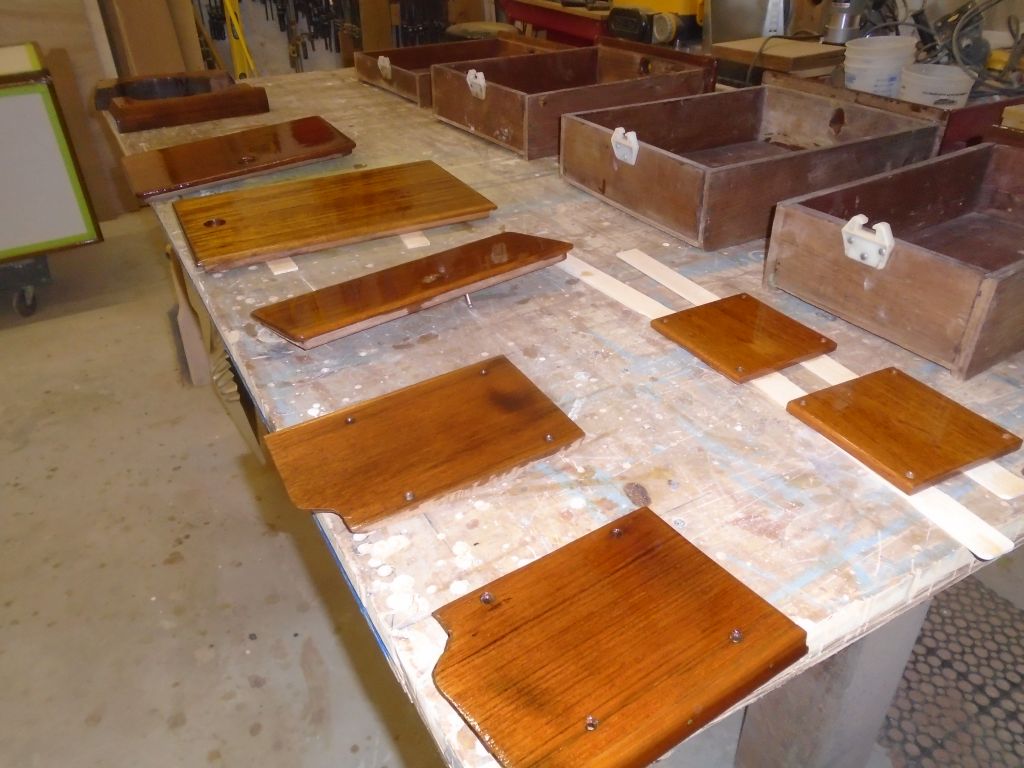
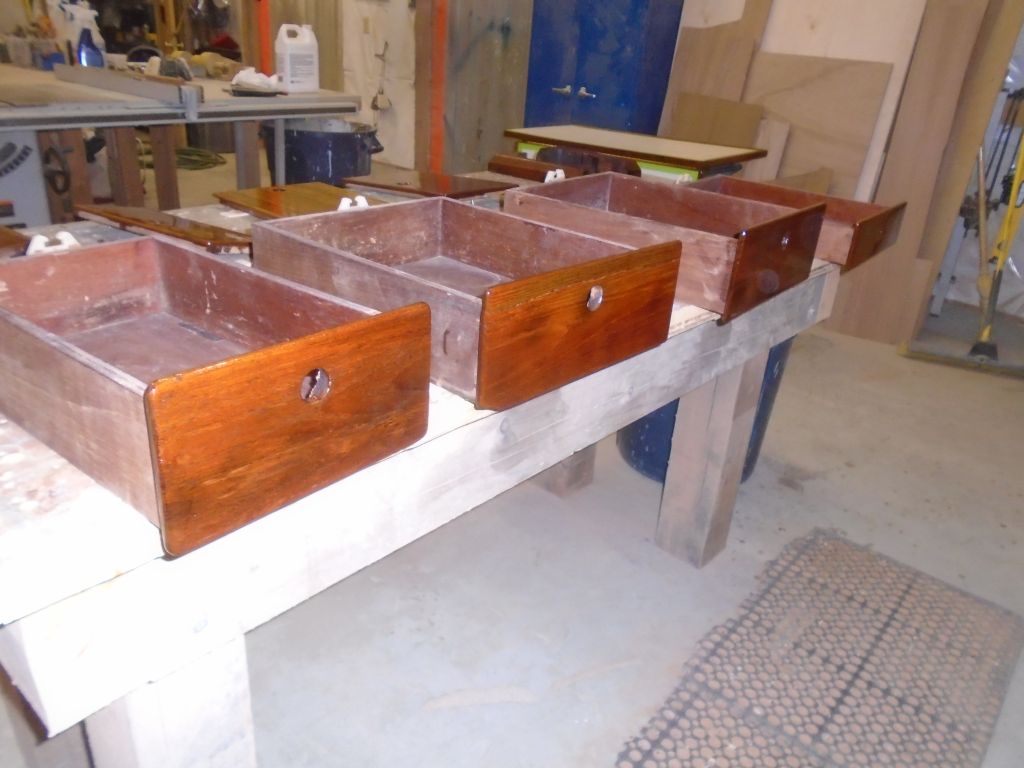
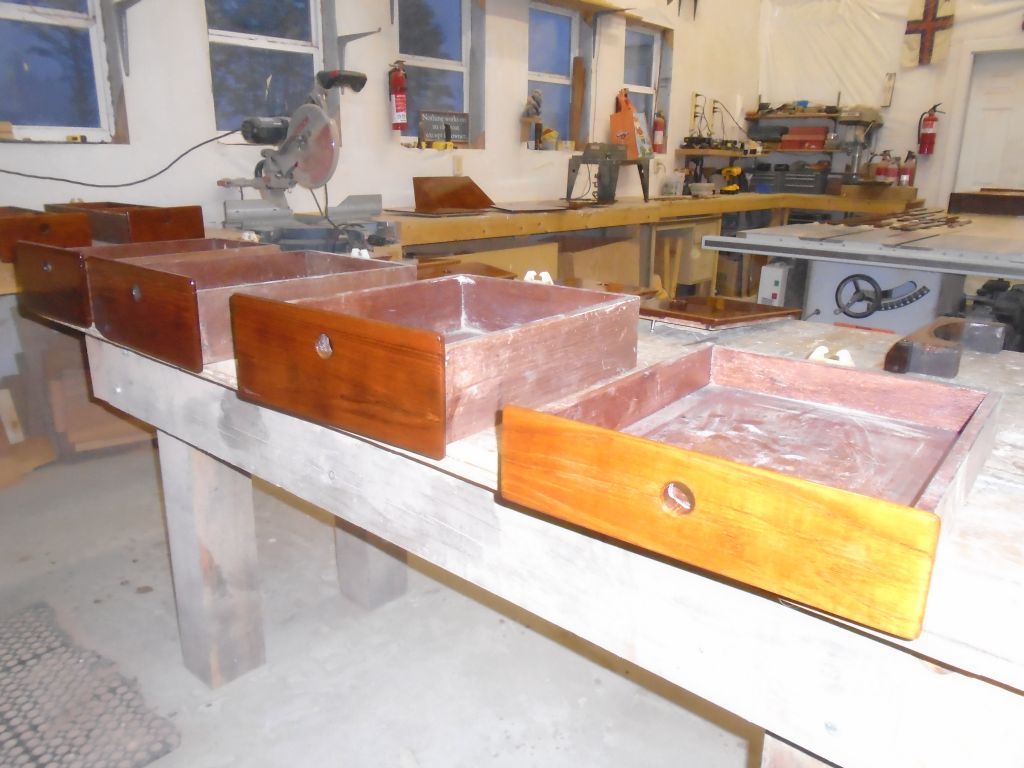
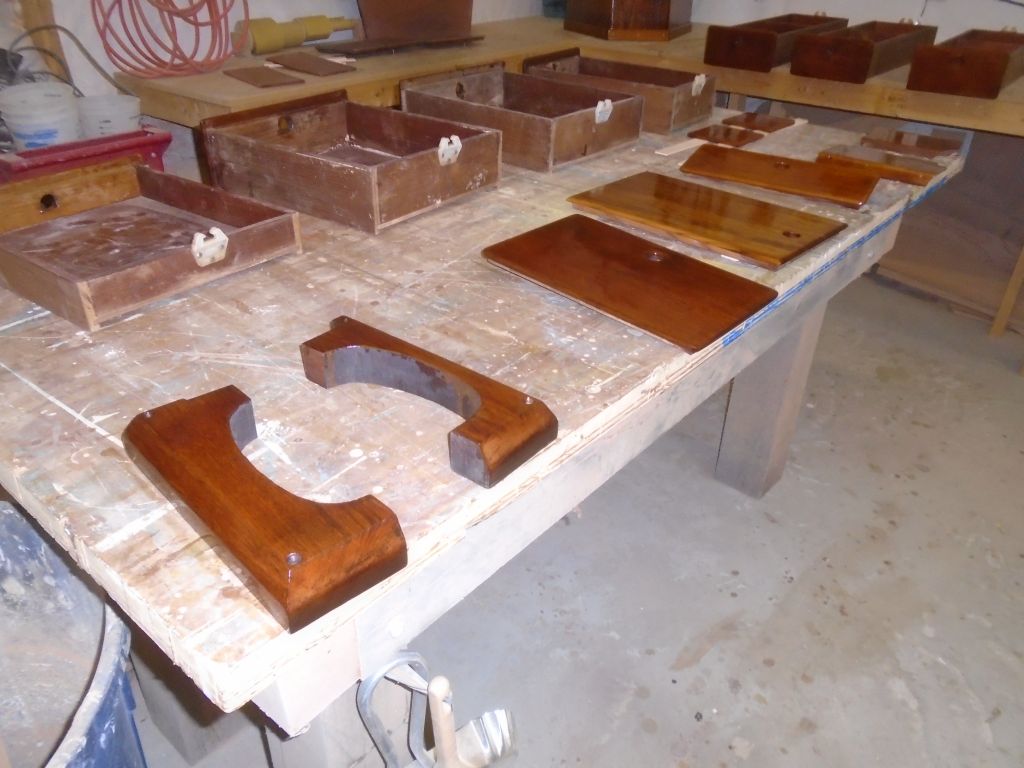
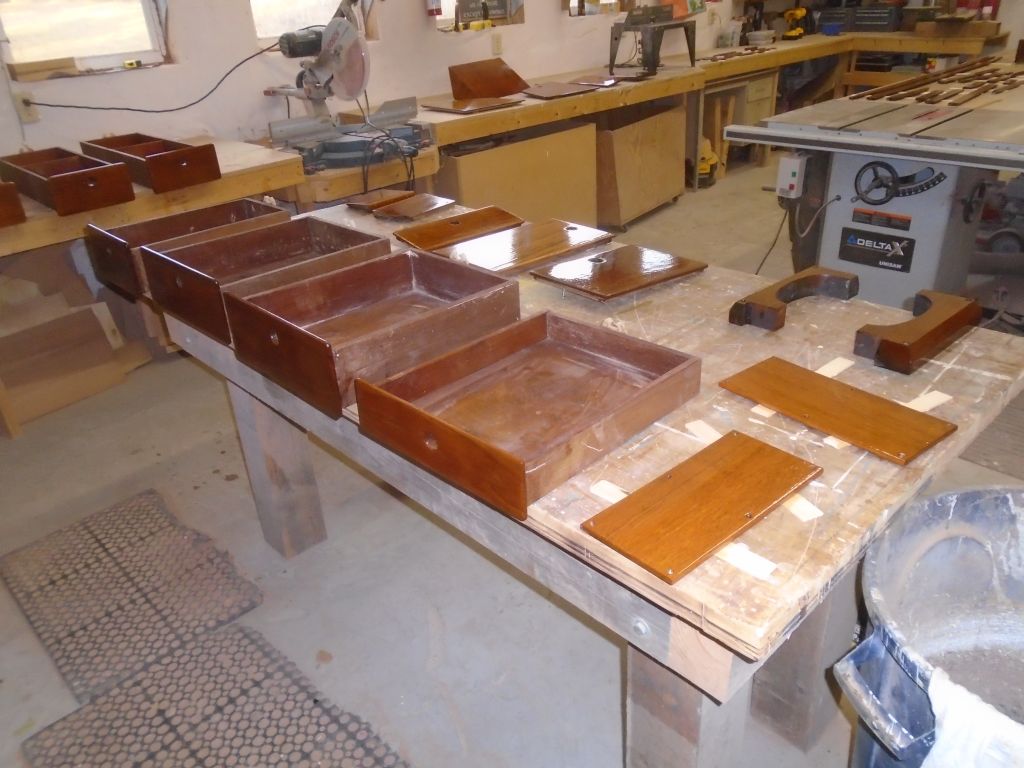
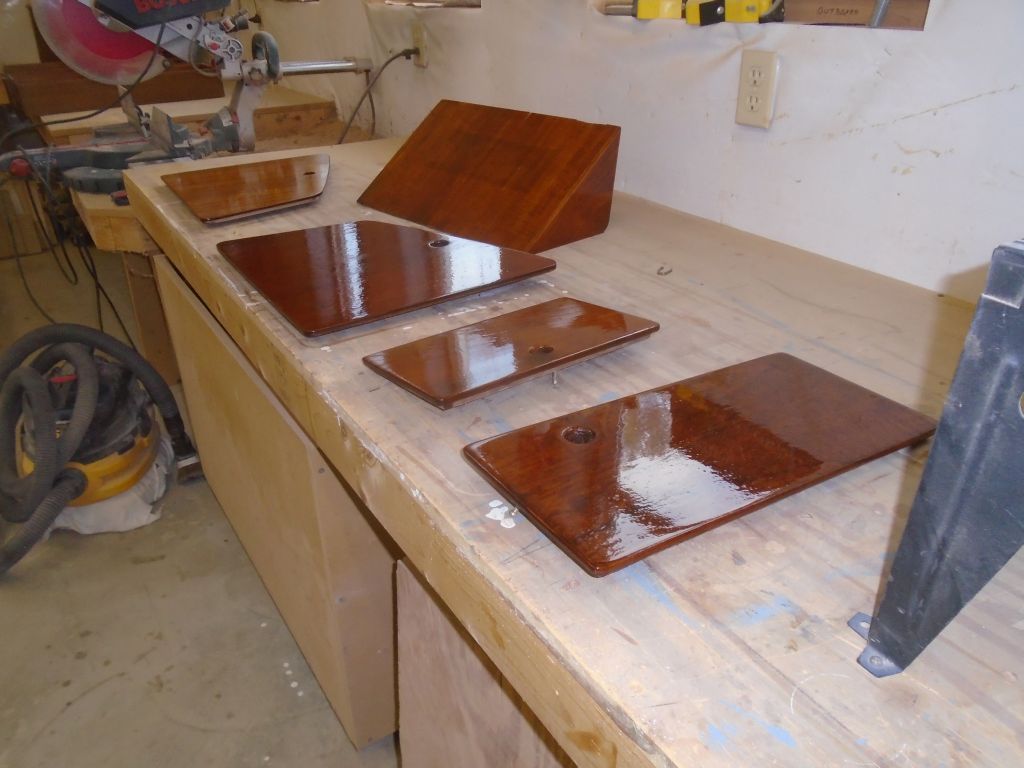
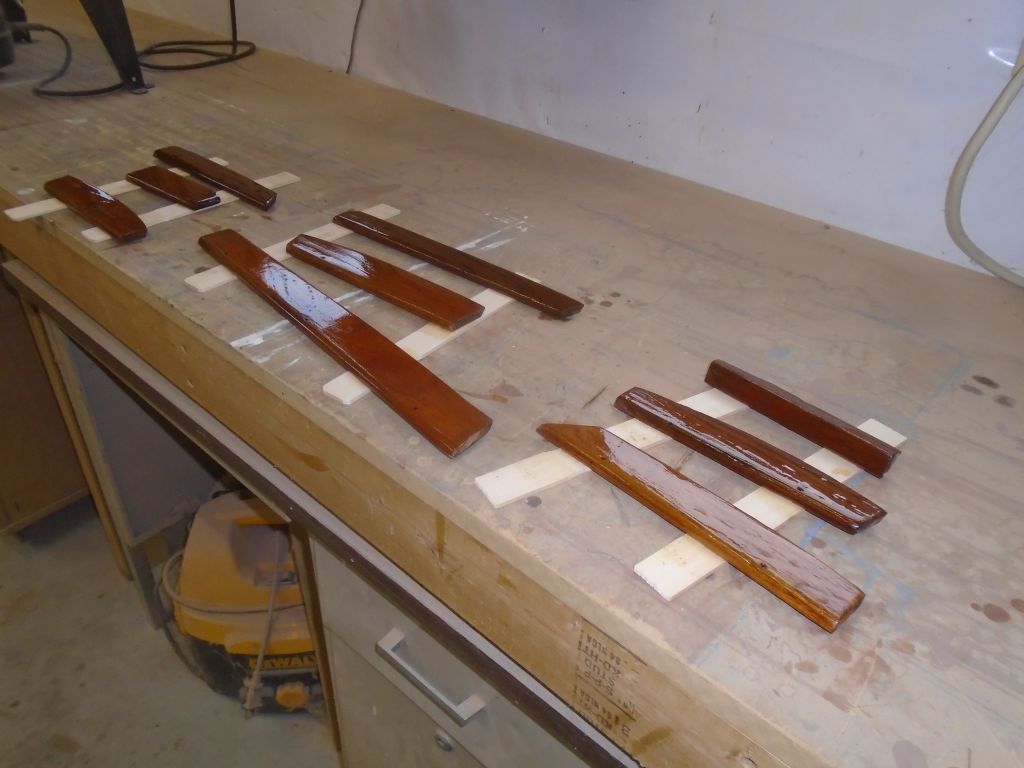
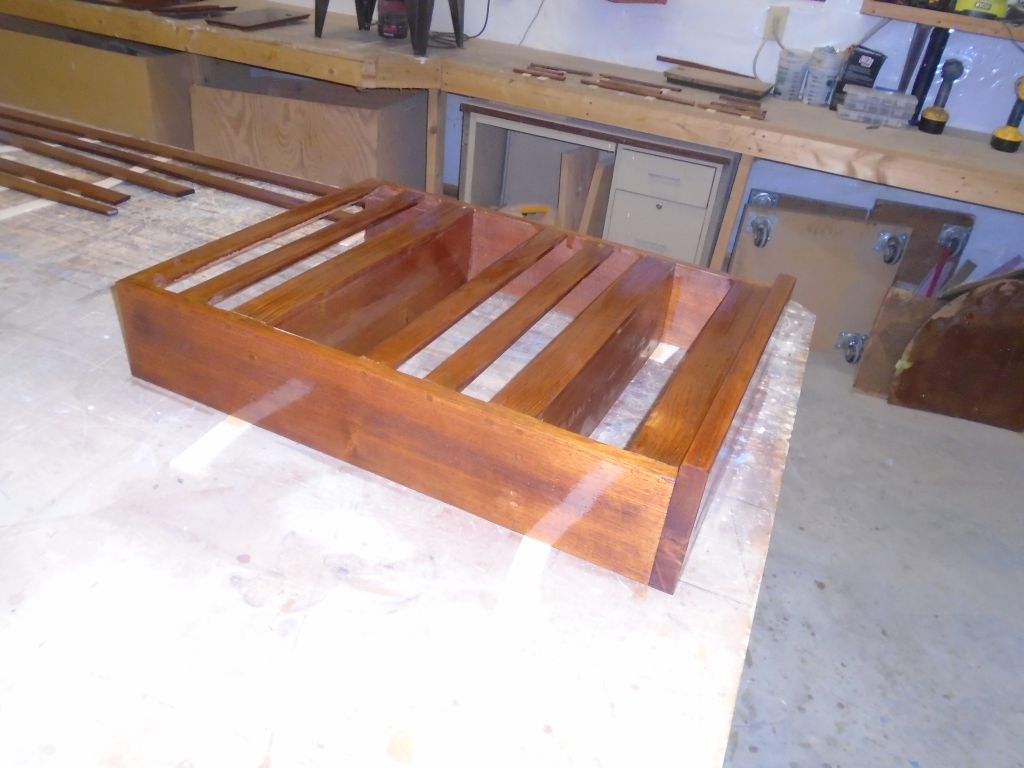
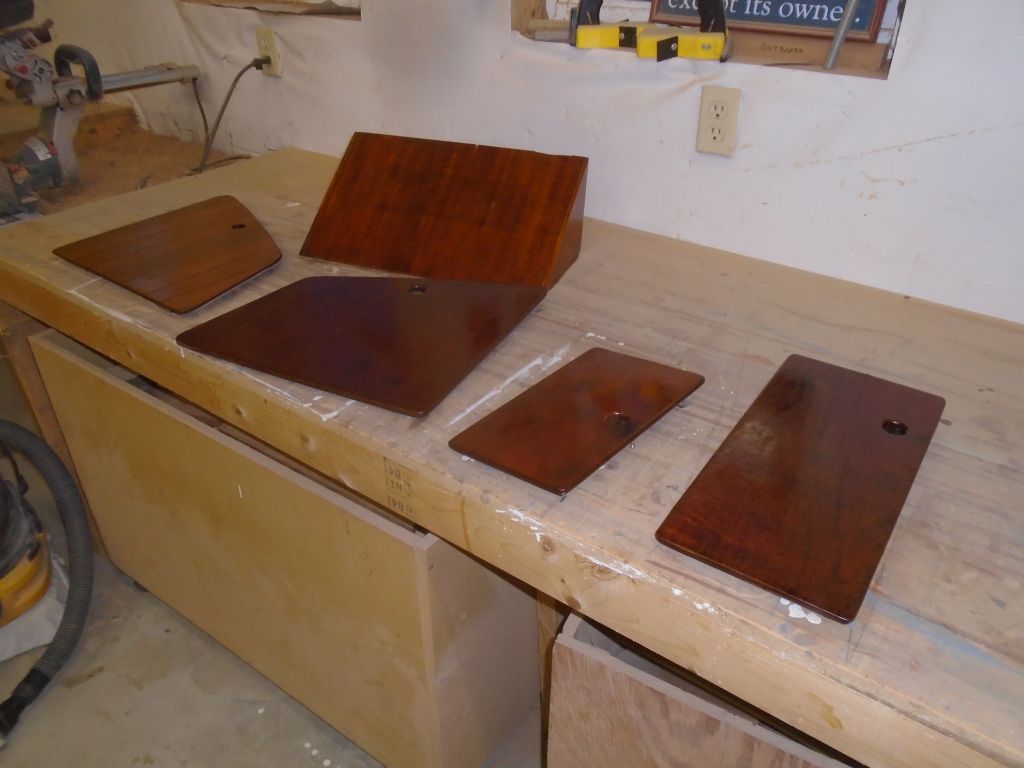
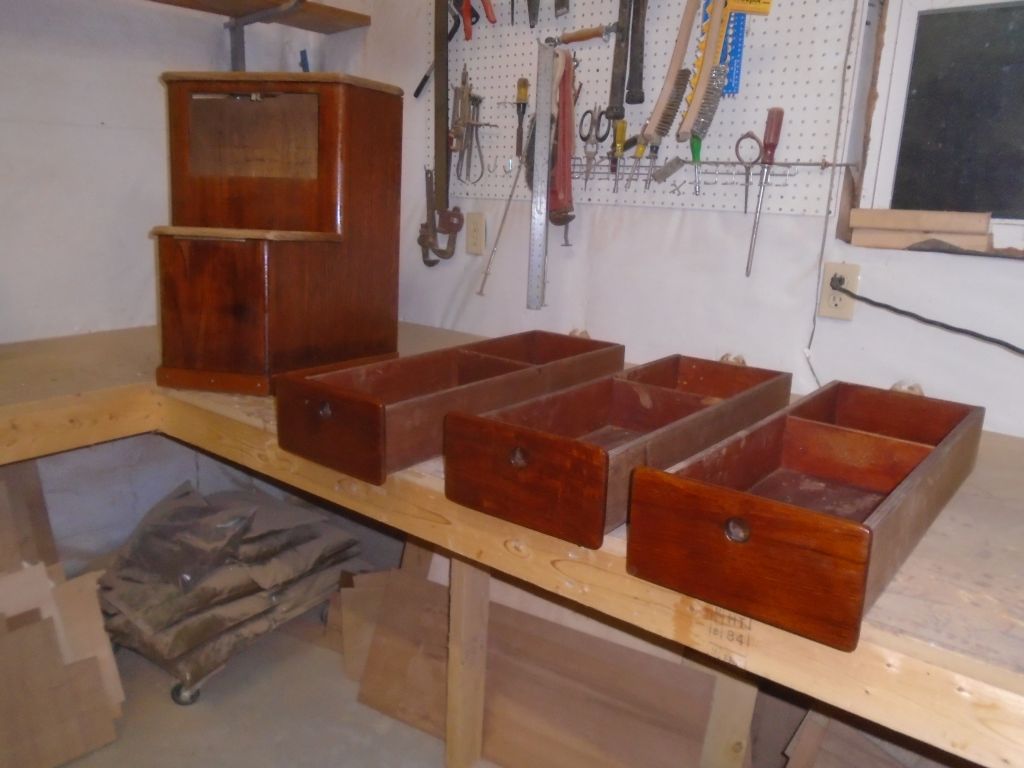
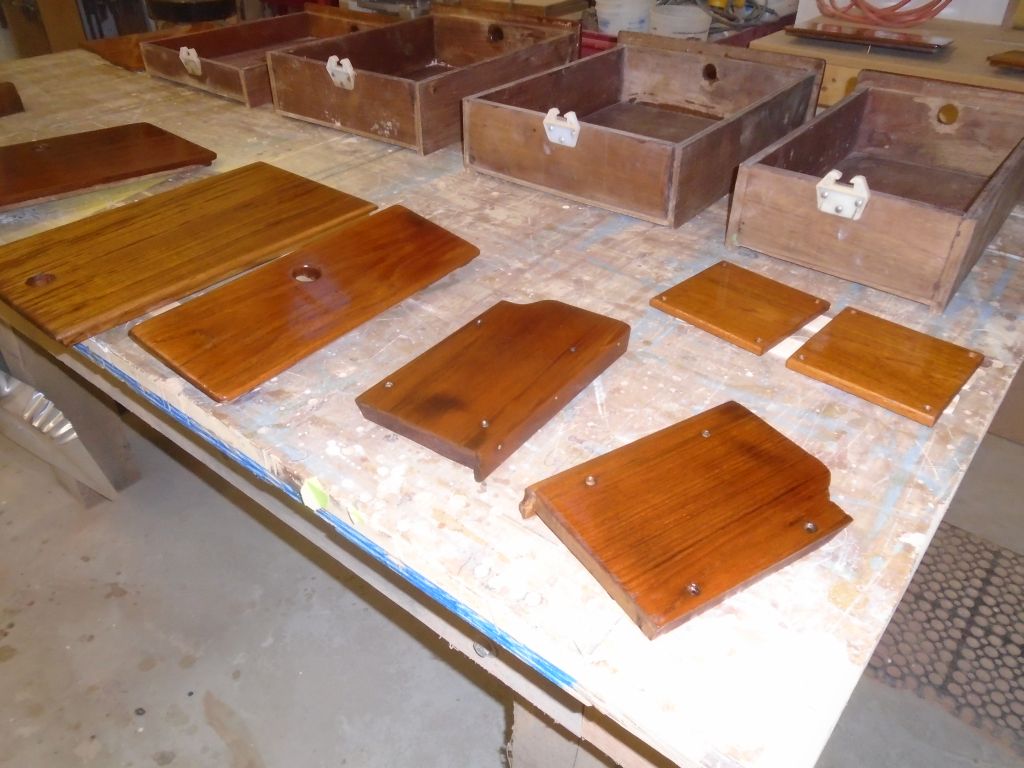
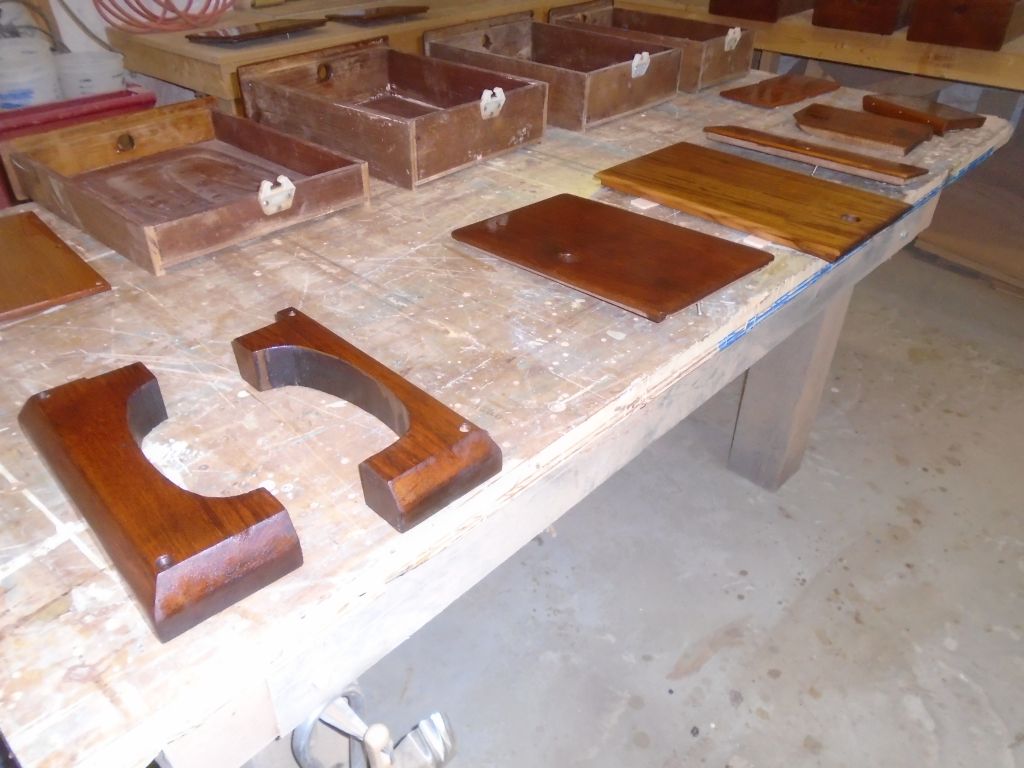
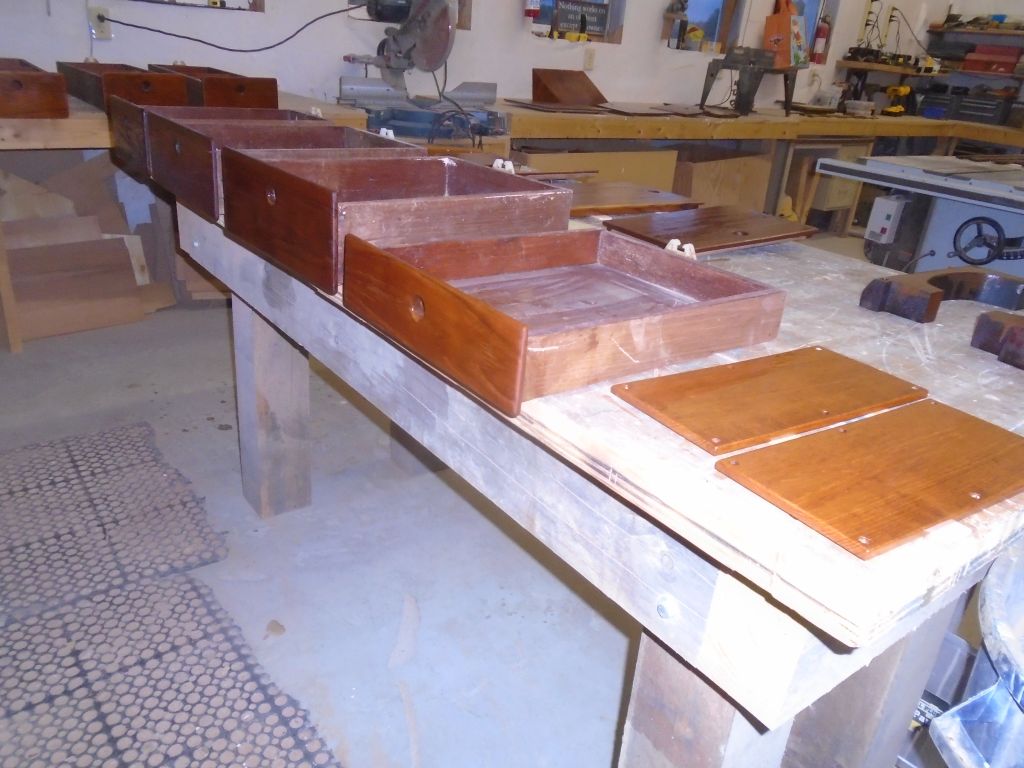
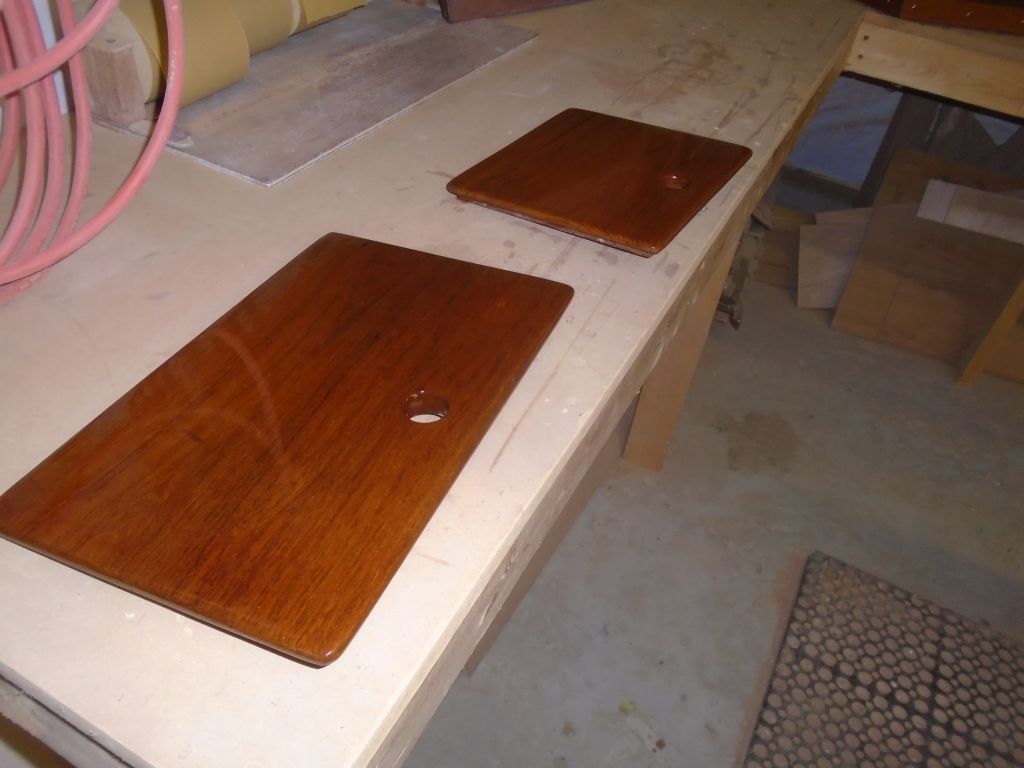
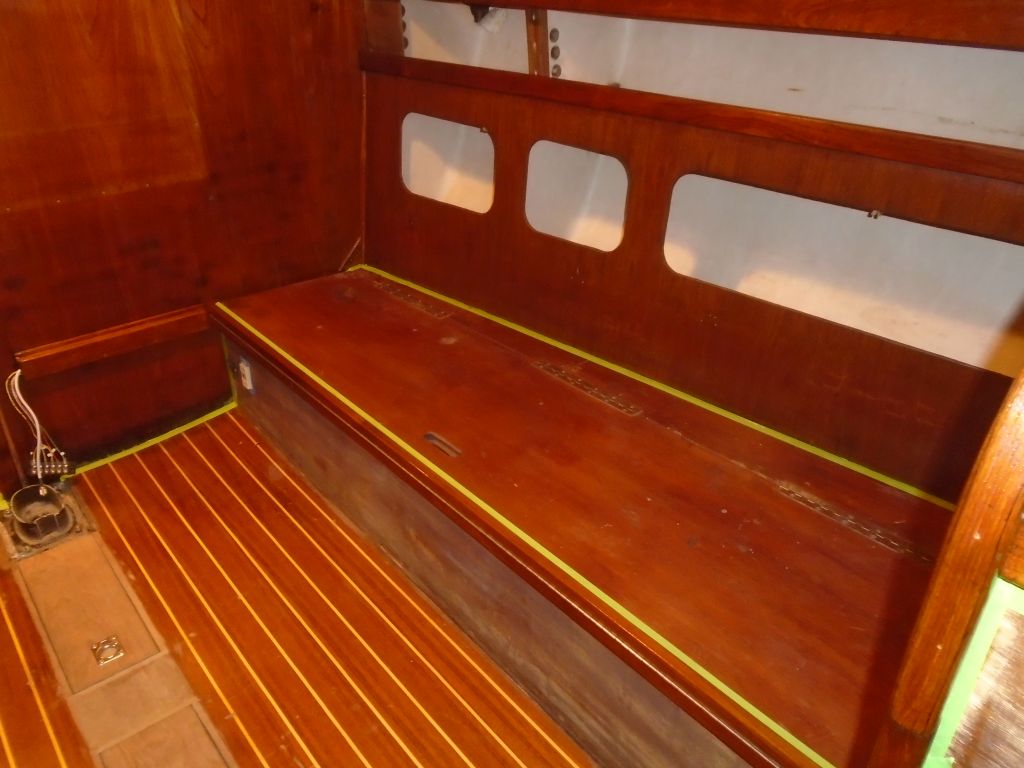
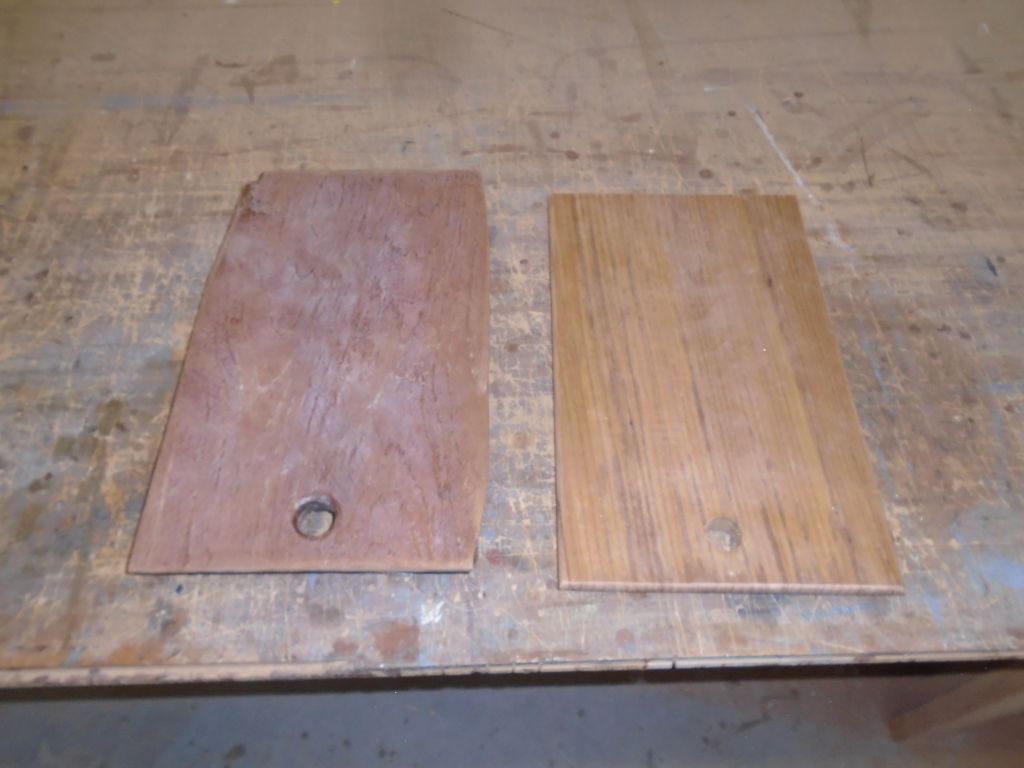
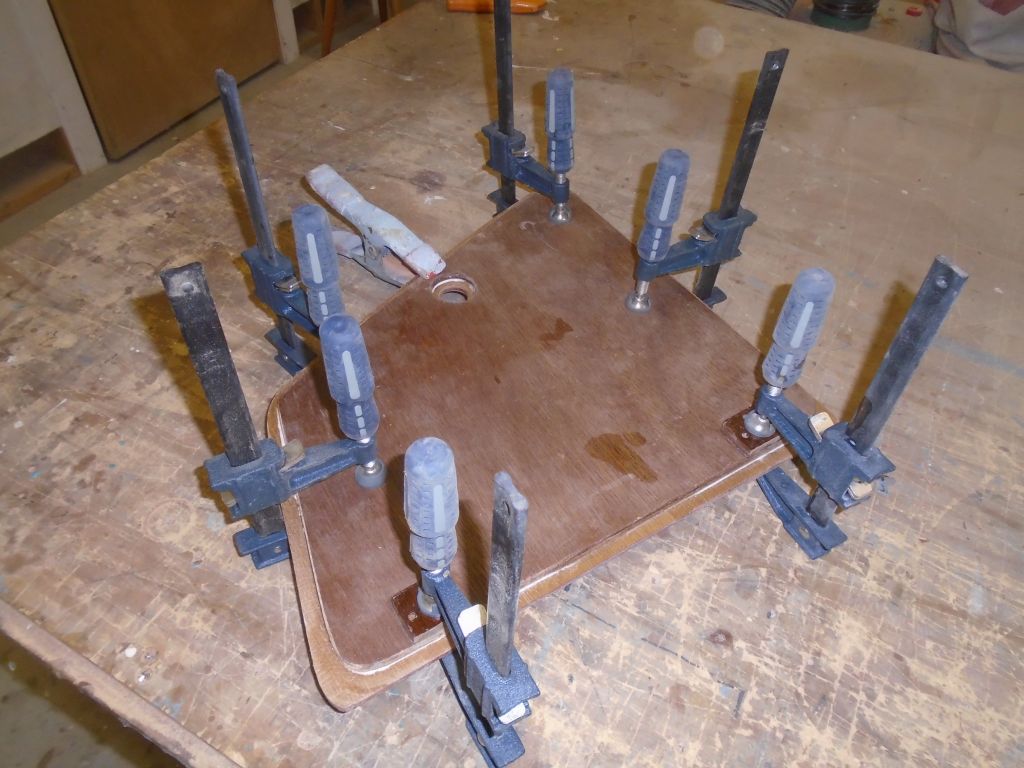
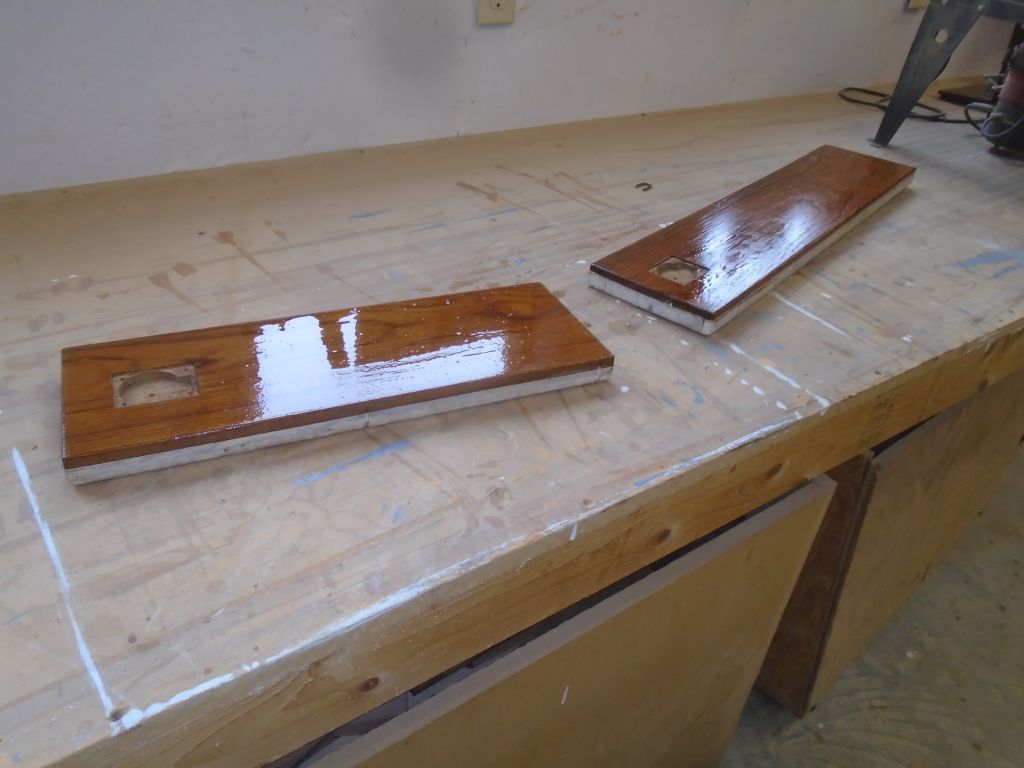
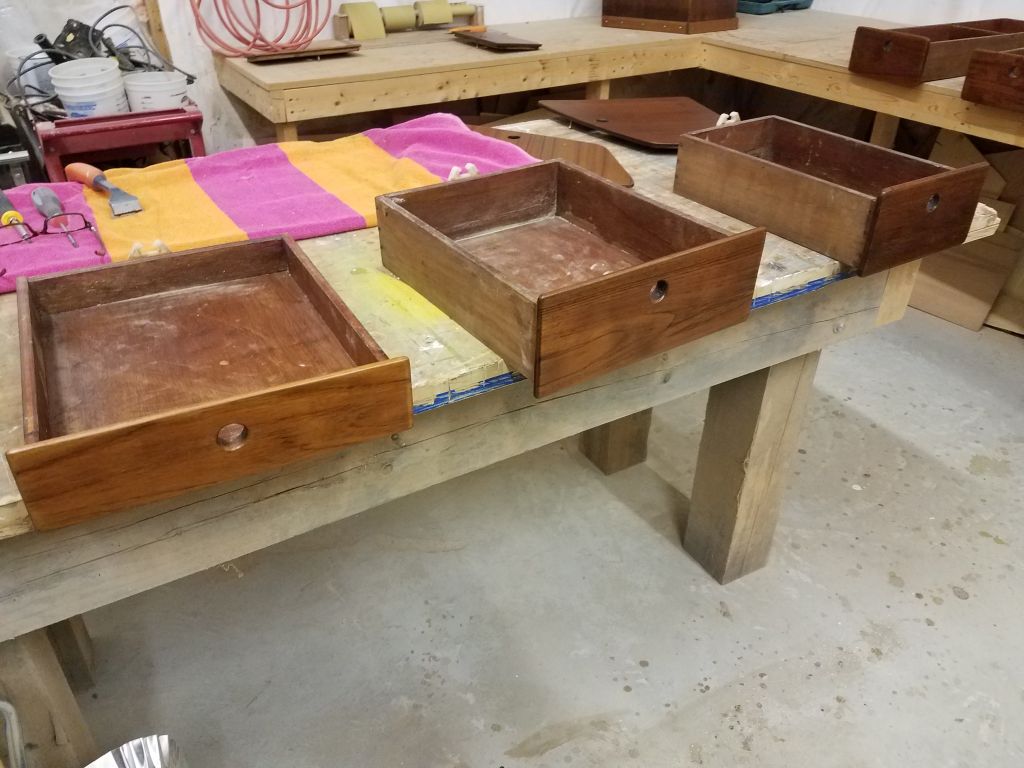
A couple of drawer fronts had been uncooperative in properly accepting my second coat of satin varnish earlier, so I sanded these and applied another coat, and also a final coat to the main side of the bookshelf; I’d varnished the inside of this unit over the weekend.

Total time billed on this job today:  5.25 hours

0600 Weather Observation:
20°, snow (2-3″ so far).  Forecast for the day:  snow (6″ total ), ending mid-day

Acadia 53

< Back to Acadia

Friday

After a light sanding with 320 grit–mainly to scuff the surface–and the  usual cleanup process, I applied a second coat of white semi-gloss enamel to the interior surfaces so treated.

Most of the small parts and trim looked good after my coat of satin varnish, but there were a few pieces with a holiday–it happens–or drips from the finger holes, so for these several pieces I lightly sanded and applied a new coat of satin varnish.

Total time billed on this job today:  3 hours

0600 Weather Observation:
27°, partly clear with a snow shower.  Forecast for the day:  partly sunny, 30.

Acadia 52

< Back to Acadia

Thursday

My next step in the cabin was to sand the new primer with 220 grit paper, which I did by hand, smoothing the surface to provide a good base for the finish coats.

After cleaning up the sanding dust and solvent-washing, I applied the first coat of semi-gloss white enamel to all surfaces.

After thoroughly sanding all the doors and other small parts, and final preparations, I applied a coat of the final finish–rubbed effect satin varnish.  This time around, I included a few extra pieces, including some doors that had been in good condition and only required the fresh satin coat, and the insides of the two swashboards for the companionway, which were also in good condition but had been finished with gloss previously.

Total time billed on this job today:  3.5 hours

0600 Weather Observation:
30°, cloudy.  Forecast for the day:  clouds, maybe a snow shower, growing colder with a front in the afternoon.

Acadia 51

< Back to Acadia

Wednesday

Now that the interior varnish work was complete, I went ahead and unmasked all the trim and bulkheads as needed.

The new varnish had had sufficient cure time so I could move right ahead with masking off the lower settee bulkheads and after cabinets in the galley and nav station to prepare them for primer and paint.

After final preparations, I applied a coat of primer to all areas.

Later, I sanded, cleaned, and varnished (coat #4) the doors and other small parts down in the shop.  I planned this to be the final gloss base coat on these parts before switching to the rubbed-effect satin varnish for the final coat.

Total time billed on this job today:  6.5 hours

0600 Weather Observation:
25°,cloudy.  Forecast for the day:  short period of snow, then clouds, 38°


Acadia 50

< Back to Acadia

Monday

After a careful sanding and cleanup in the cabin, I applied a coat of rubbed-effect satin varnish to the interior trim and bulkheads, what I hoped would be the final coat required, though I’d assess it later once the varnish had fully cured.  This time around, I applied the satin varnish to the inner companionway trim and the engine hatch/countertop trim, which had been in good shape to begin with and only required a light sanding before the final coat of satin varnish.

Afterwards, I sanded and cleaned all the small parts and trim, and applied the third coat of gloss base varnish to these pieces.

Total time billed on this job today:  7 hours

0600 Weather Observation:
20°. cloudy.  Forecast for the day:  clouds, light snow, 1-3″ expected.


Acadia 49

< Back to Acadia

Friday

Once more, I lightly sanded the varnish work in the cabin, then cleaned up and applied the fourth base coat of gloss varnish.  I hoped this would be the last base coat before switching to the final coat or two of rubbed-effect satin varnish.

Down in the shop, I continued work on the small parts, sanding them lightly, cleaning, and applying the second base coat of gloss varnish.

Total time billed on this job today:  6 hours

0600 Weather Report:
30°, clear.  Forecast for the day:  mostly sunny, 40s

Acadia 48

< Back to Acadia

Thursday

Following my usual pattern, I worked in the cabin to sand, clean, and varnish (base coat 3) the trim and bulkheads.

Afterwards, I finished cleaning up the shop and all the small parts, laying them out on various benches for access, and then applied a sealer coat of varnish to all pieces.

Total time billed on this job today:  6 hours

0600 Weather Observation:
40°, heavy rain.  Forecast for the day:  rain ending, partial clearing, around 50

Acadia 47

< Back to Acadia

Wednesday

I took a moment to test-fit the new hatches I’d built for the trash receptacle and port aft bulkhead to ensure they worked as I’d hoped before continuing work on the new pieces.

In the cabin, I lightly sanded the first coat of varnish with 320 grit, then vacuumed, solvent-washed, and tacked off the wood to prepare for the second coat of varnish on all surfaces, which I did immediately.

Later, I tackled the pile of newly-stripped loose parts in the shop, sanding everything clean and smooth to prepare for varnish.  Afterwards, I cleaned up the shop, but with dust in the air I decided to hold off on final cleaning and varnish sealer coat till next time.

Total time billed on this job today:  6.5 hours

0600 Weather Observation:
37°, cloudy.  Forecast for the day:  sunny breaks, then clouding over and rain overnight

Acadia 46

< Back to Acadia

Tuesday

I quickly finished up the masking on the port side, and made other final preparations for beginning the varnish in the cabin.

Afterwards, I applied a sealer coat of thinned varnish to all the trim and  other bare wood.  This brought out the wood’s color nicely and gave a hint how the cabin would look when complete.

During the rest of the day, I focused on the myriad small pieces trying to tie me to the ground (I paraphrase; bonus points if you can see what I did there), including various doors and drawers as well as the cabin table and companionway steps.  Most of this trim would require stripping and sanding, though there were two doors that had been refinished earlier and would only require a light sanding and revarnishing.

There were a few things requiring additional attention first.  The flat hatch that fit over the trash container in the galley countertop was damaged along its edges, where the thin overlay had broken away over the years, and rather than attempt to repair the original hatch, I chose to make a new one from some leftover teak on hand.  I milled the new piece, matching the original dimensions and rabbet details, and set the new hatch aside for sanding.

The edge trim from the nav station cabin sole had broken when I removed it, so I milled a replacement piece–left overlong for now–from some new  teak.

One of the two large hatches covering the electrical access openings at the aft end of the cabin liner had been replaced sometime in the past with a piece of structural plywood, which worked fine and looked OK for what it was, but the grain and overall appearance left something to be desired and didn’t match the original on the opposite side (though frankly that was nothing special either, though it would look better once refinished).  So from a section of 1/4″ teak plywood that I had on hand, I cut out a new hatch, using the old one as a template.  To make it easier to fit the new hatch, and create the overlay detail, I trimmed the rabbeted part of the original hatch away, then glued the remaining section to the back of my new teak.  This would require only minor modification to the hinge risers now before the panel should fit easily into place.

Now I used heat gun and scraper to strip the old finish off the rest of the doors, hatches, small trim bits, table, companionway steps, and drawer fronts as required.  The old finishes were all over the place, from minimal to thick and drippy, and everything in between.  This took up the rest of the afternoon.  Next:  sanding.

Total time billed on this job today:  7.5 hours

0600 Weather Observation:
26°, cloudy.  Forecast for the day:  showers, then rain, 40

Acadia 45

< Back to Acadia

Monday

During the morning, I sanded the teak trim and bulkheads on the starboard side, much as I’d done on the other side earlier.  Where the panels were to be primed and painted, I focused on sanding the existing coating smooth and abrading the whole surface evenly to prepare for the primer.  I learned that the white Formica sliding panels hiding the storage areas abbove the settees and galley were easily removavable, so I did so to make sanding and finishing easier.

I discovered that the section of teak cabin sole plywood that I had on hand, and which I’d planned to use for the nav station sole replacement, wasn’t wide enough to use for the space after all, at least not with the planks running the “right” direction, i.e. fore and aft like the rest of the boat:  it came up a couple inches short.  It wasn’t worth purchasing a whole new sheet for such a small area, so instead, I stripped the original sole and sanded it clean for refinishing; it was still in good condition and would look good when refinished.

sand1-112816

After thoroughly cleaning the interior and all surfaces with vacuum and solvent wash, I began masking around the trim to prepare it for varnish.  With more bright surfaces than painted, and the way things were configured, it made sense to me to do the brightwork first, then the paint.  I worked at masking for the remainder of the day, completing the starboard side and parts of the port side before running out of time.

Total time billed on this job today:  7 hours

0600 Weather Observation:
24°, clear.  Forecast for the day:  sunny, 42

Older posts Newer posts