Tuesday
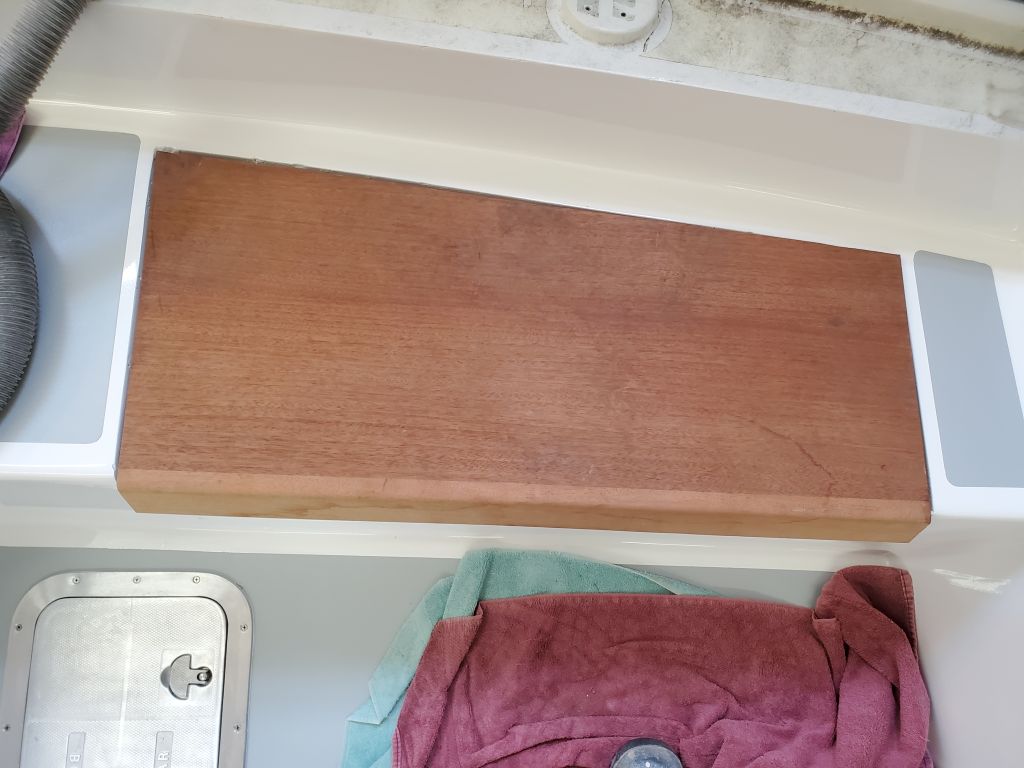
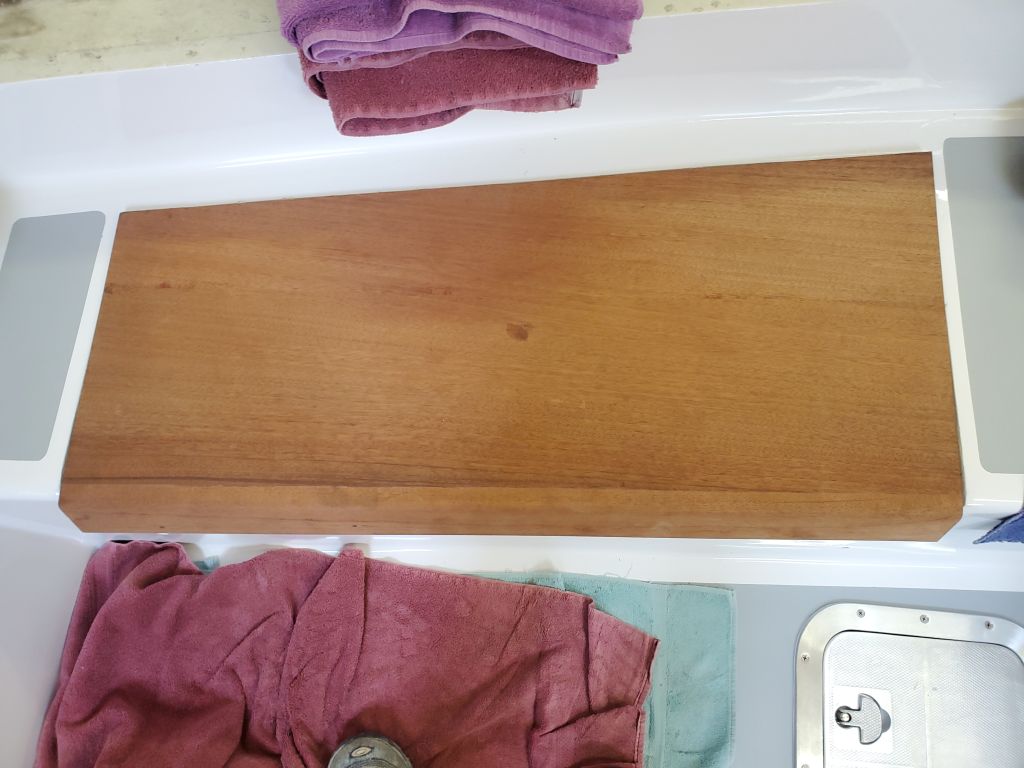
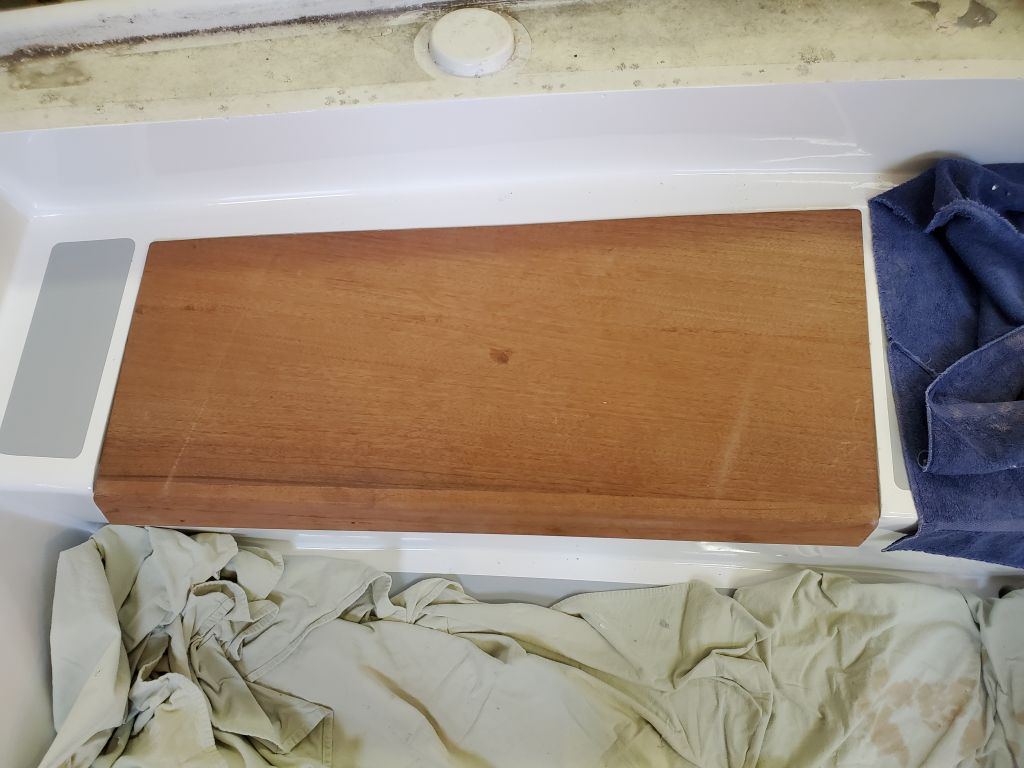
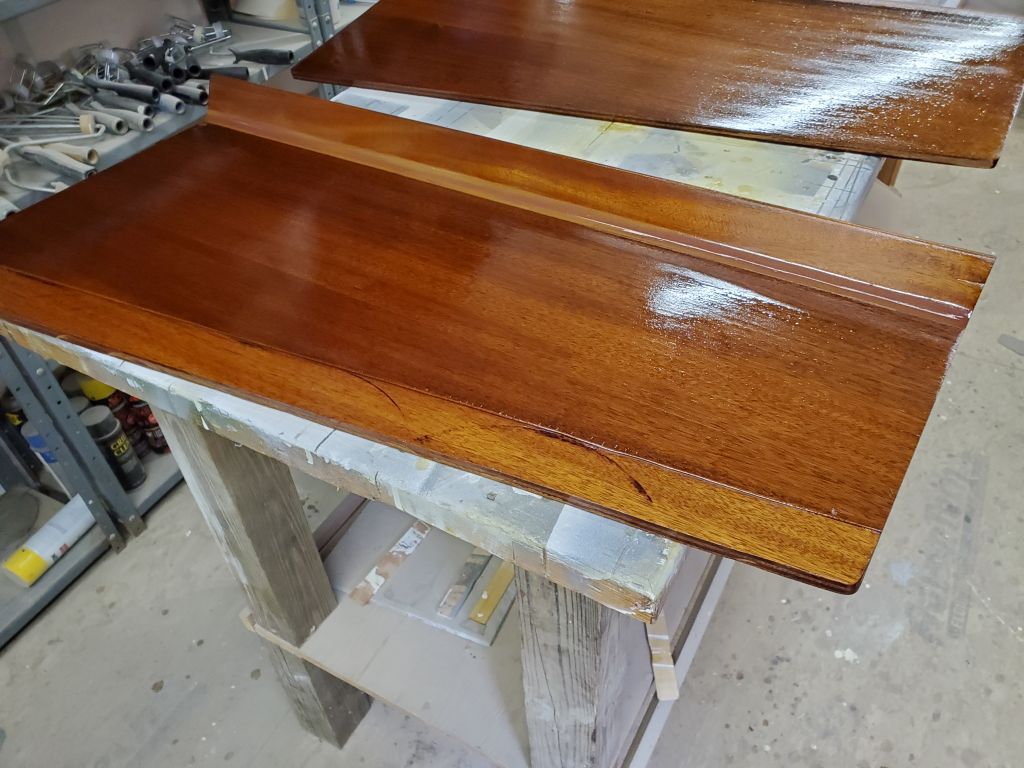
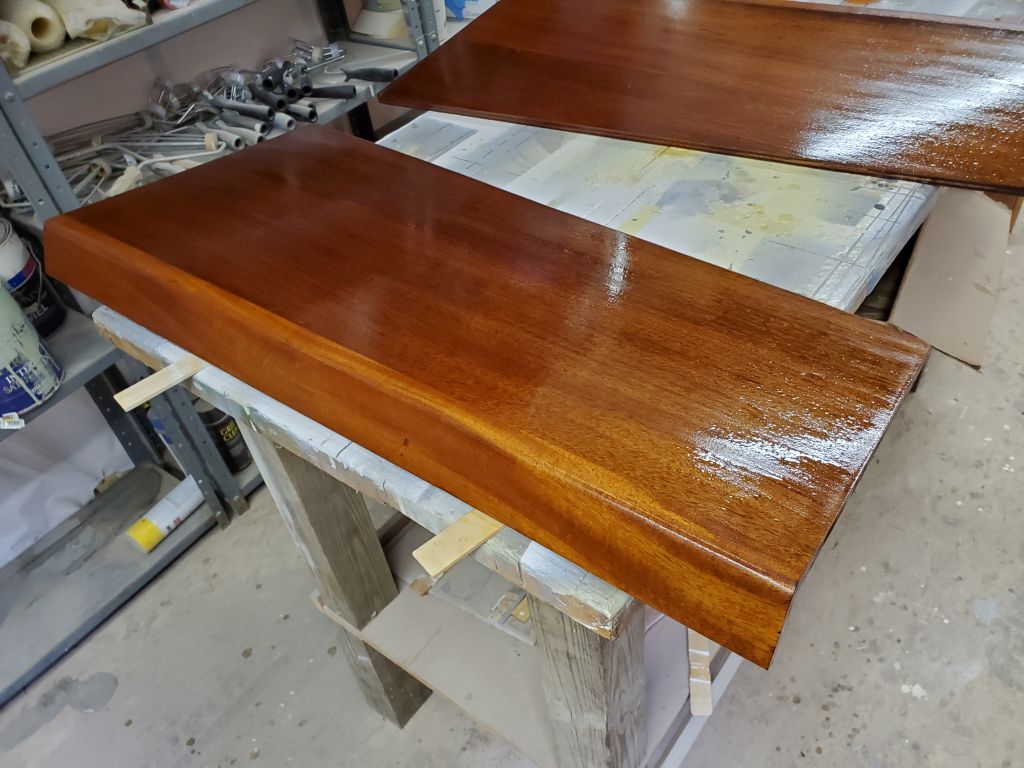
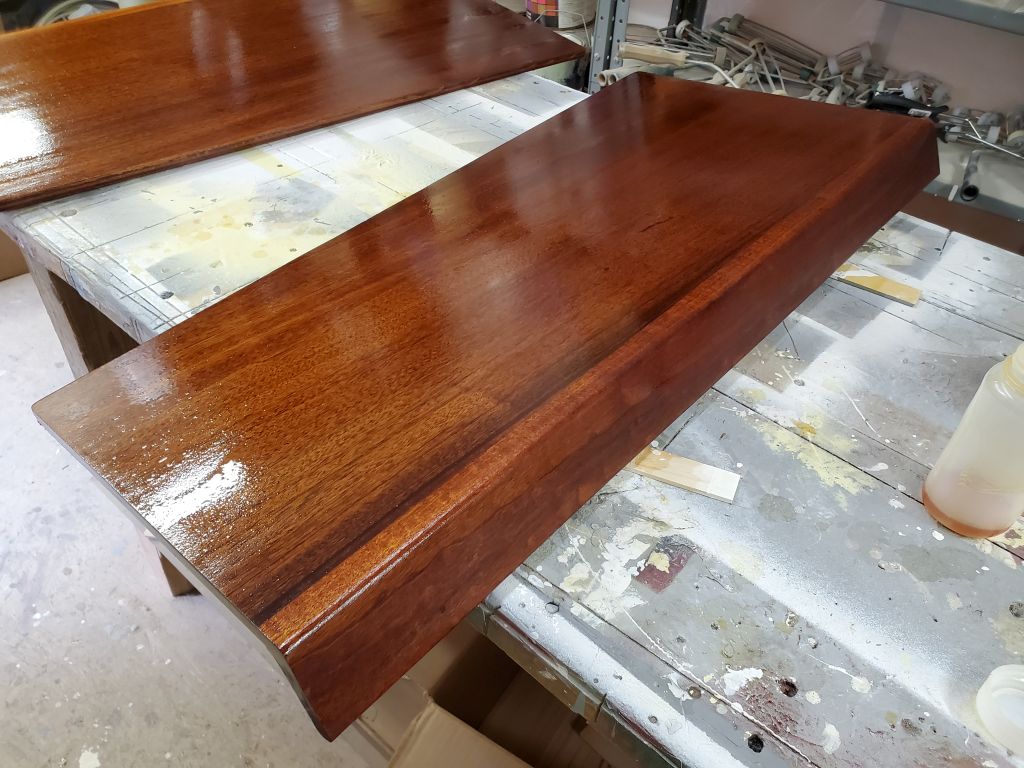
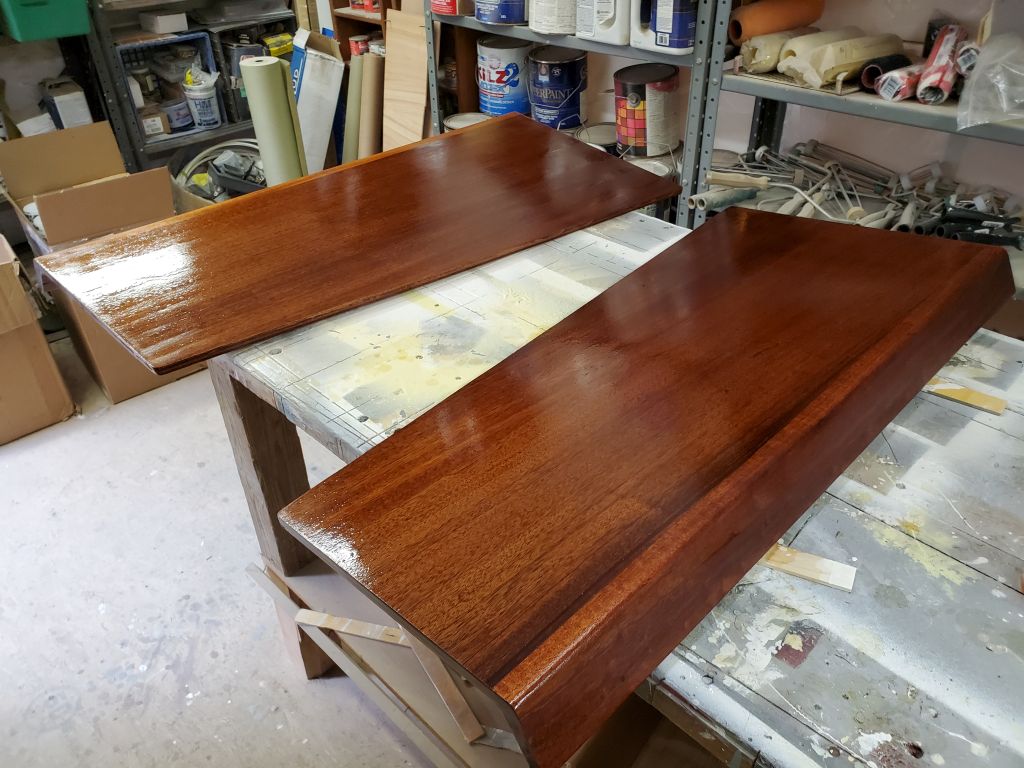
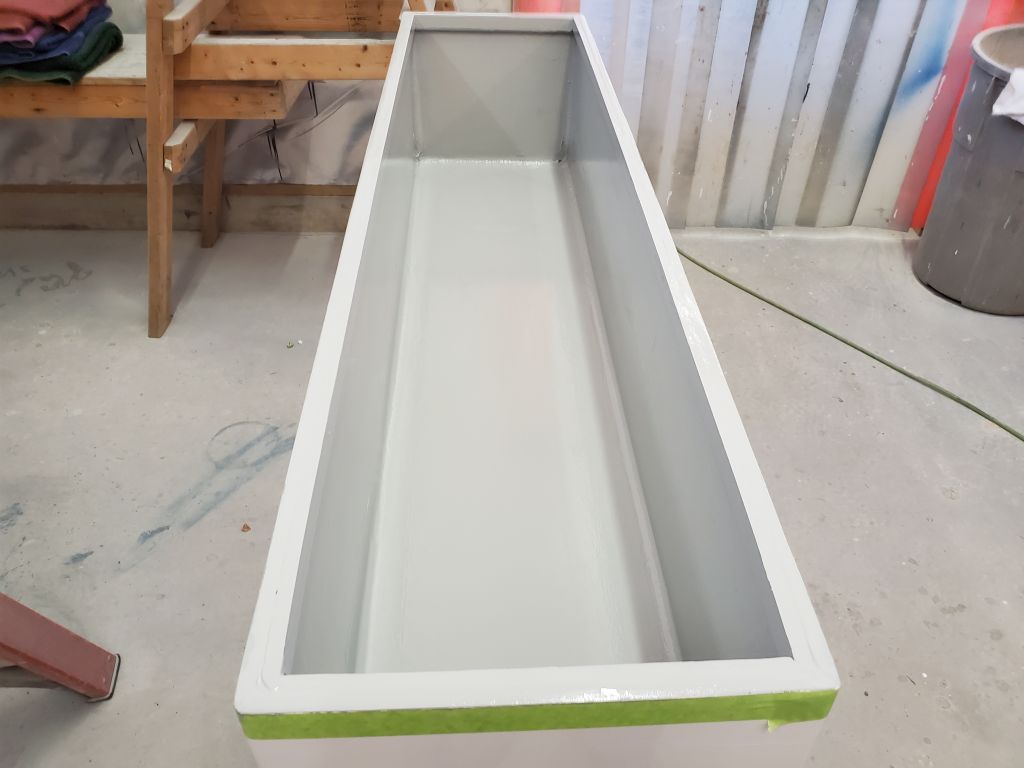
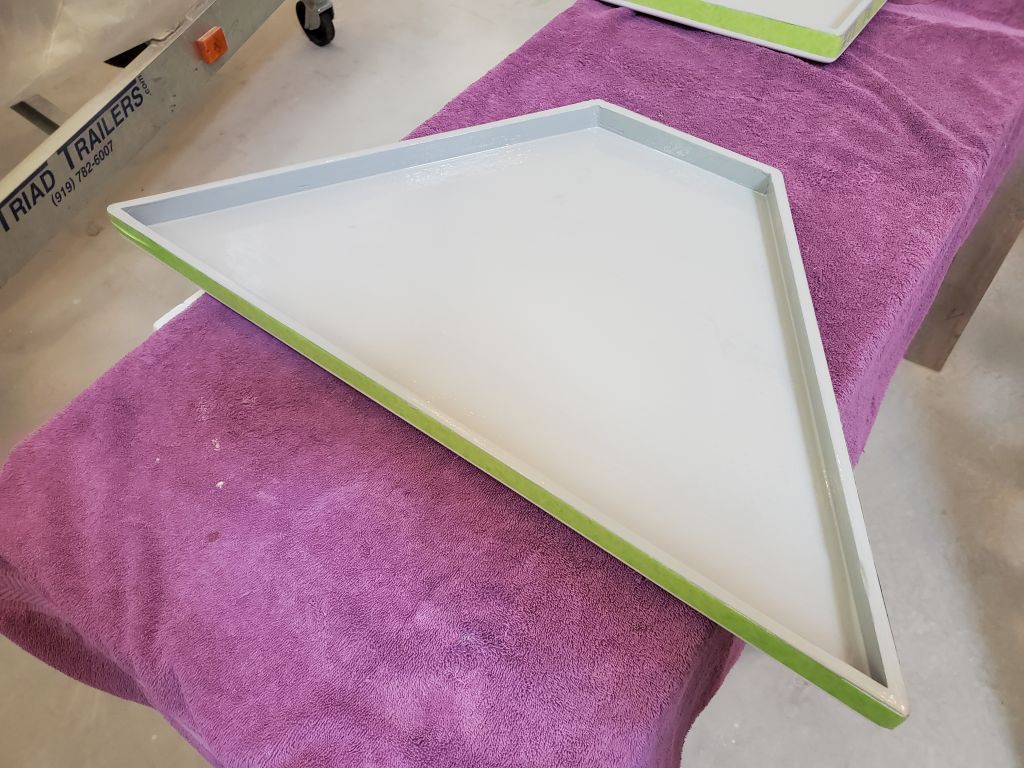
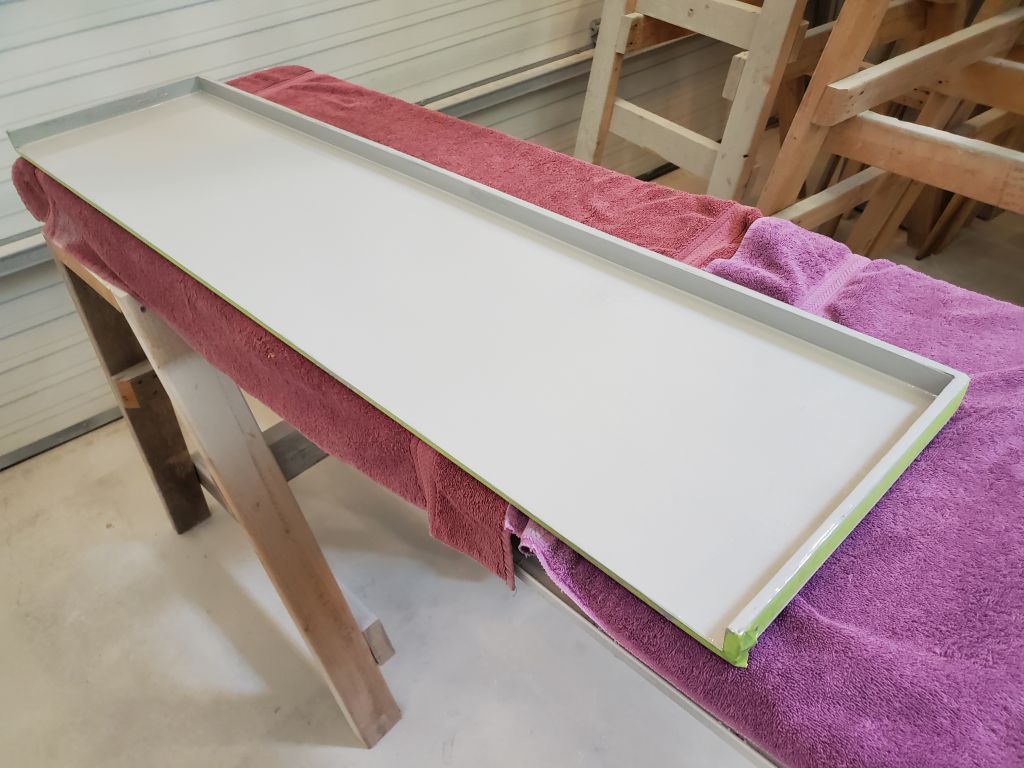
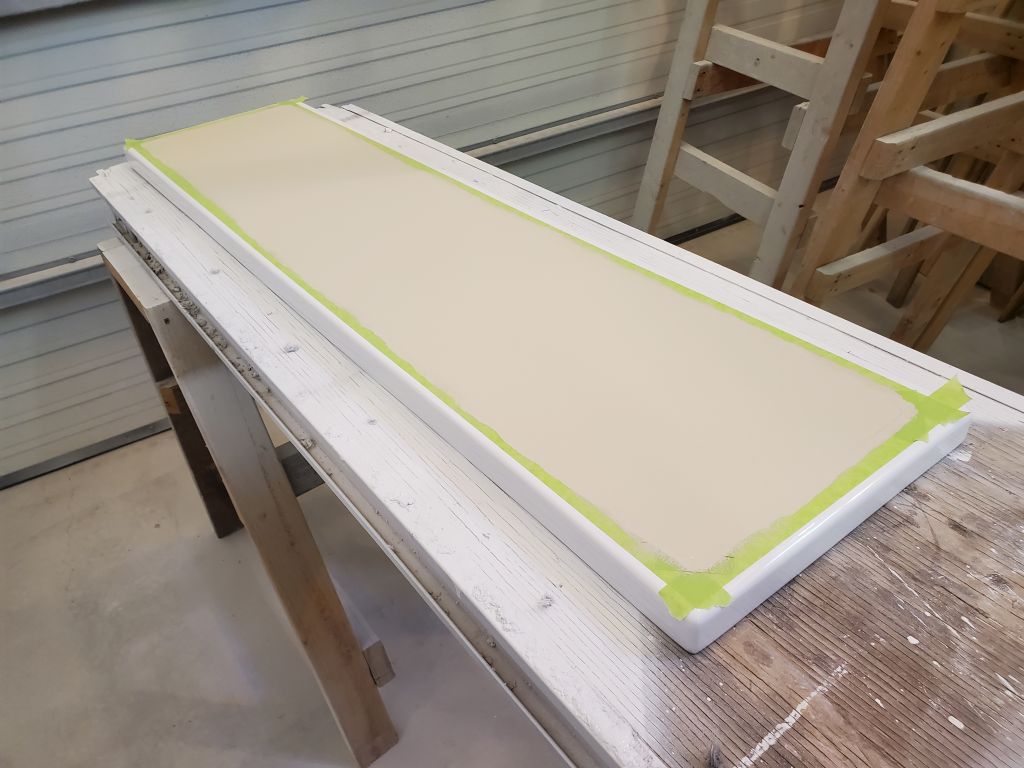
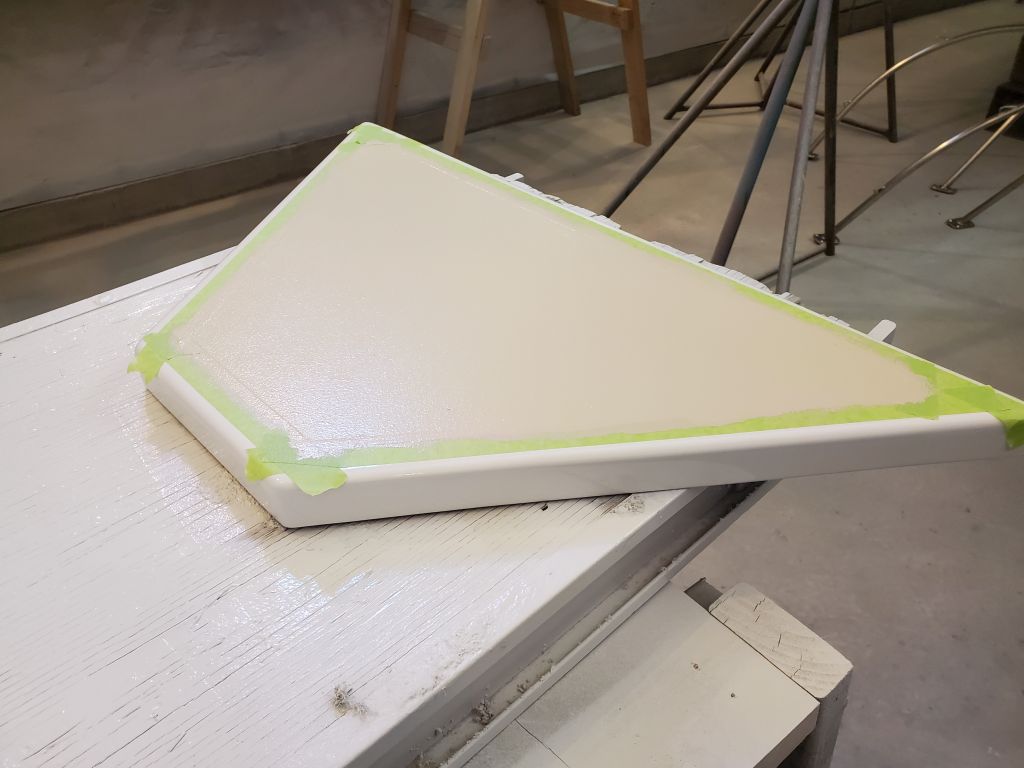
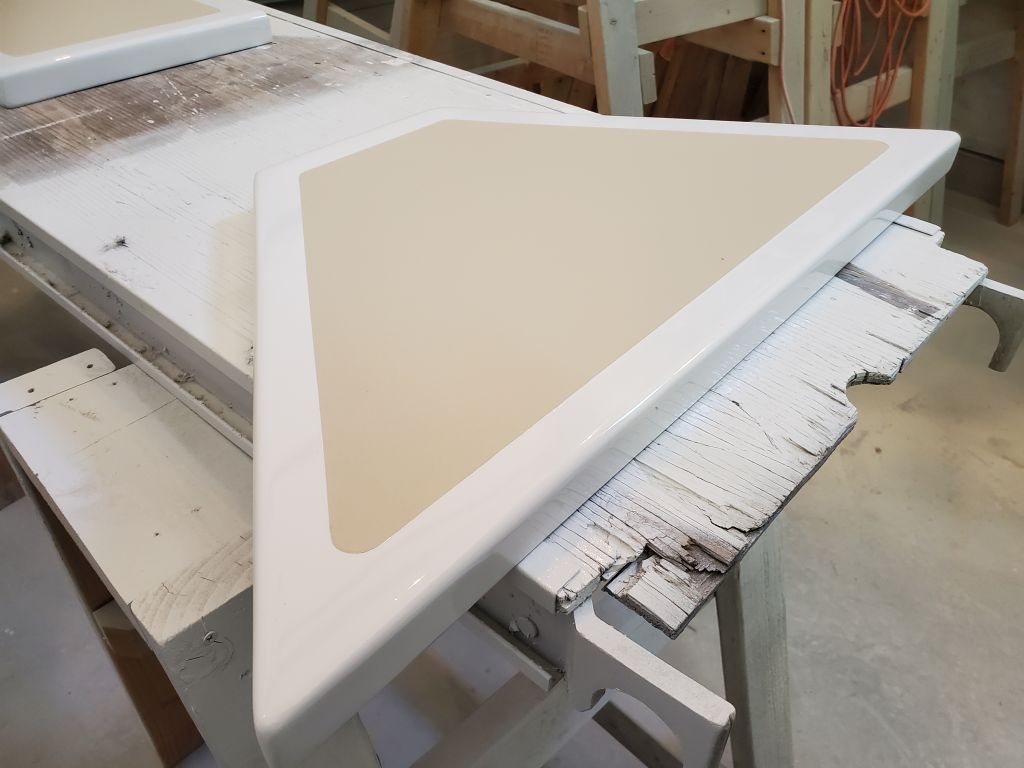
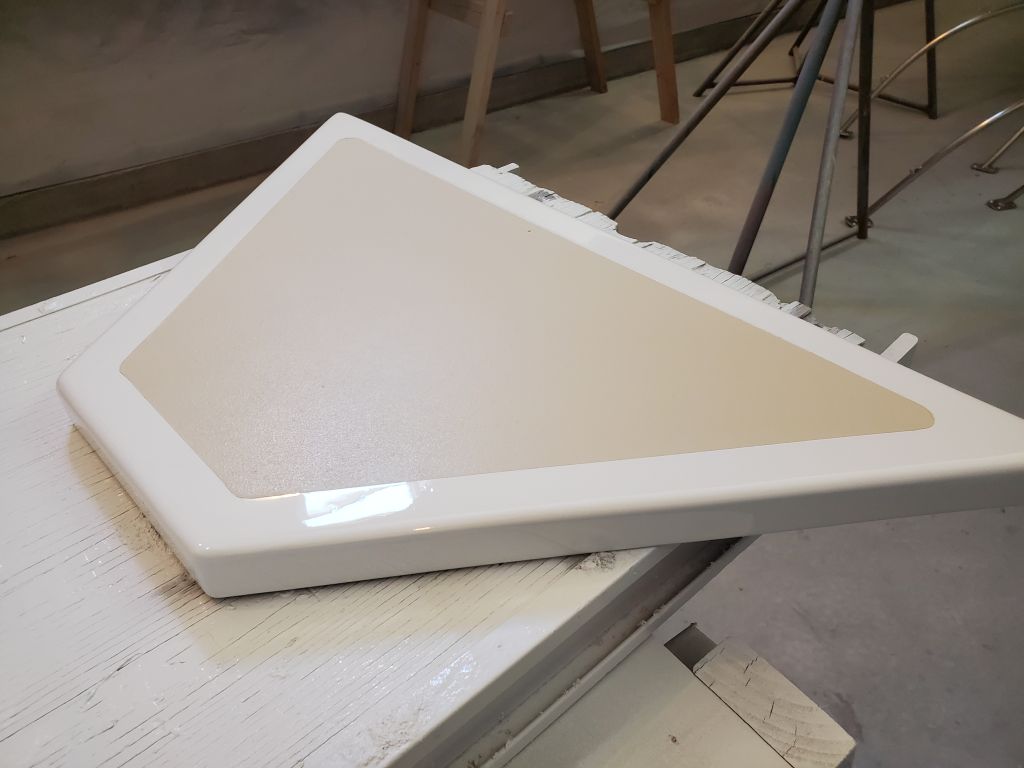
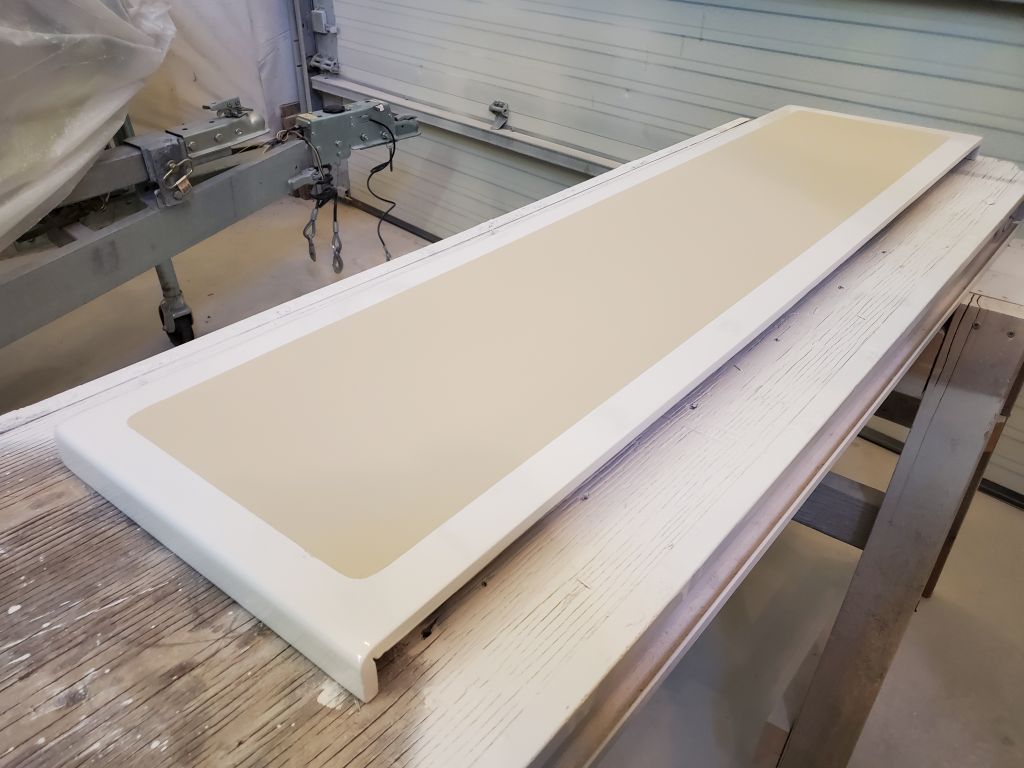
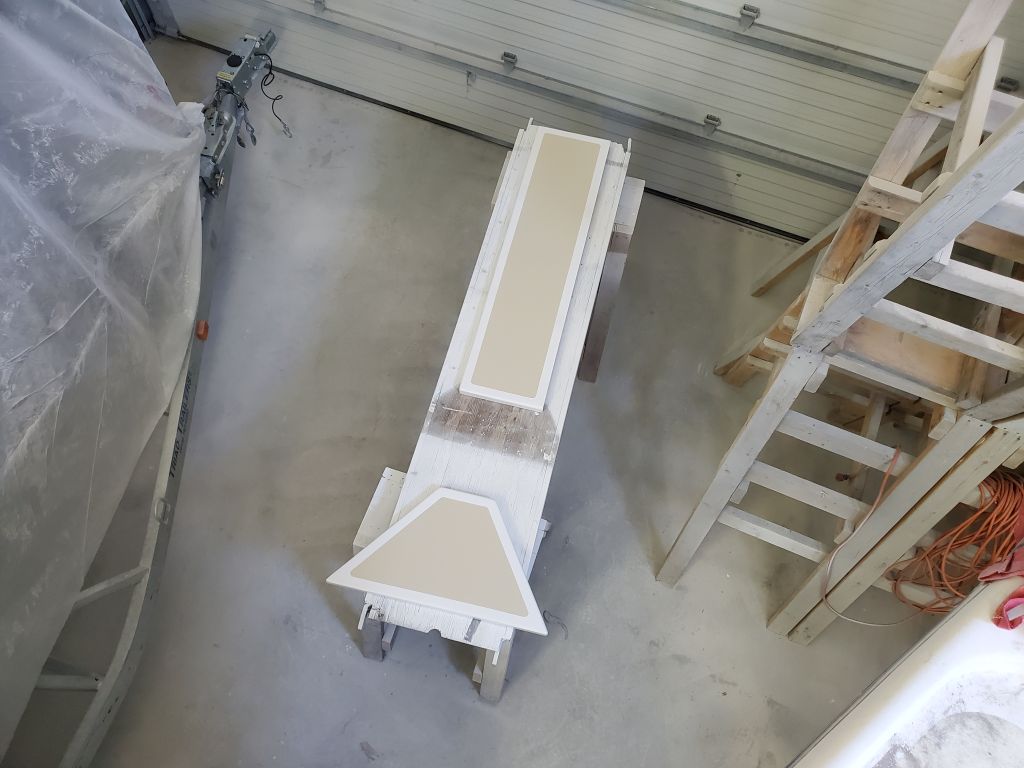
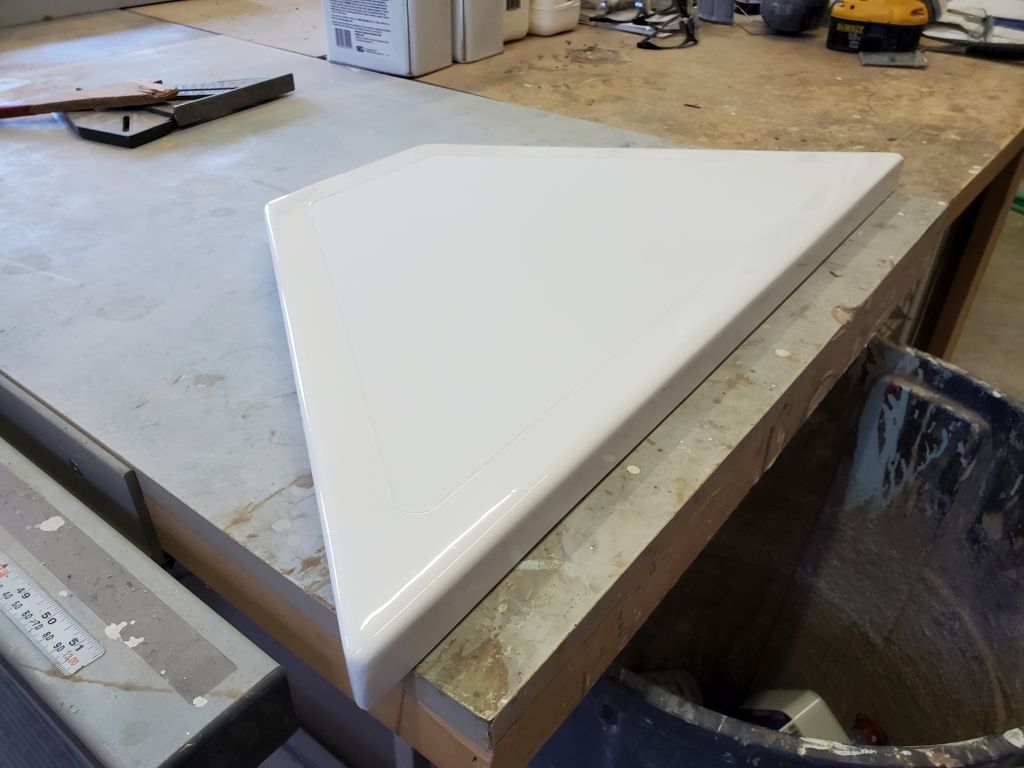
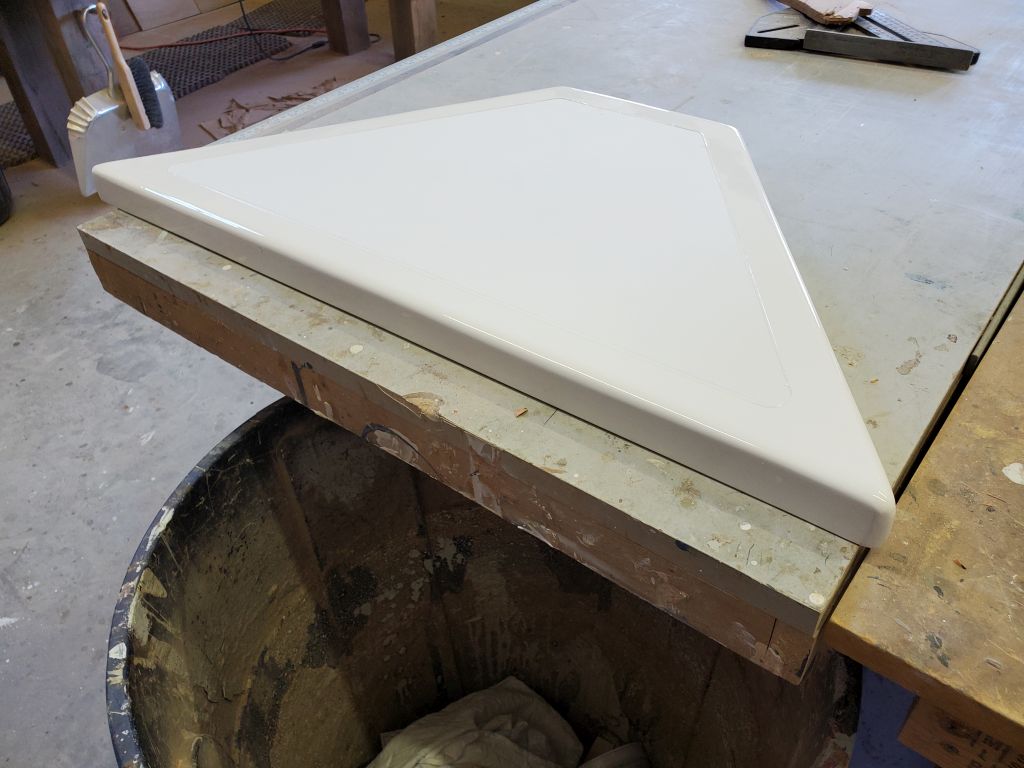
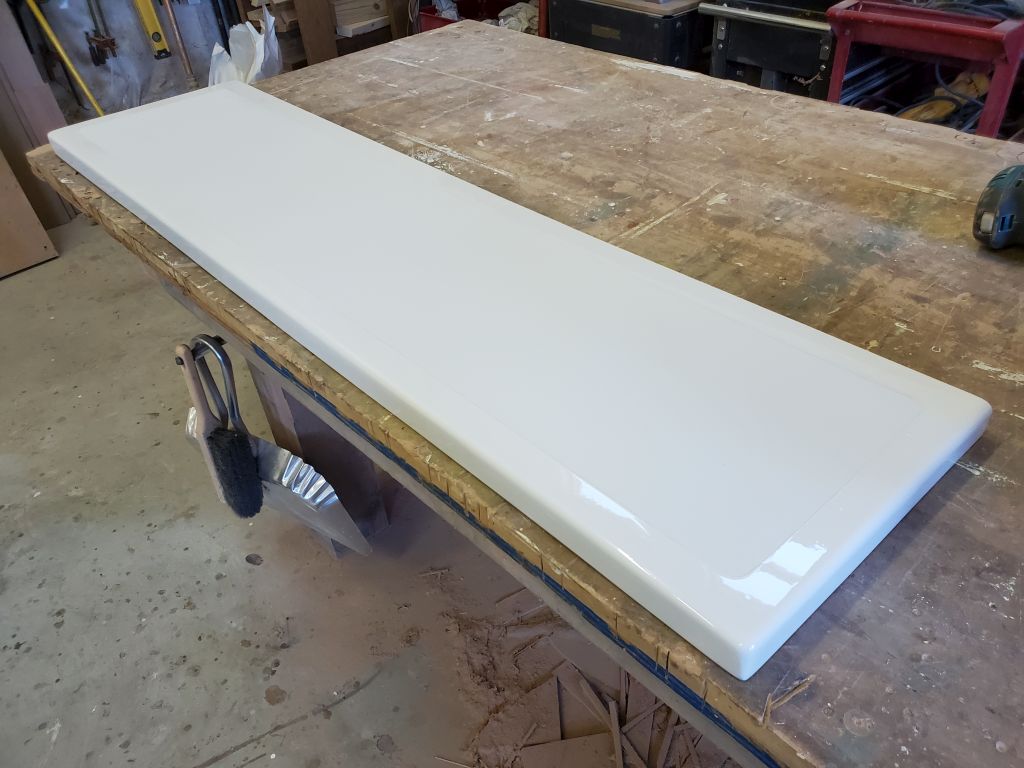
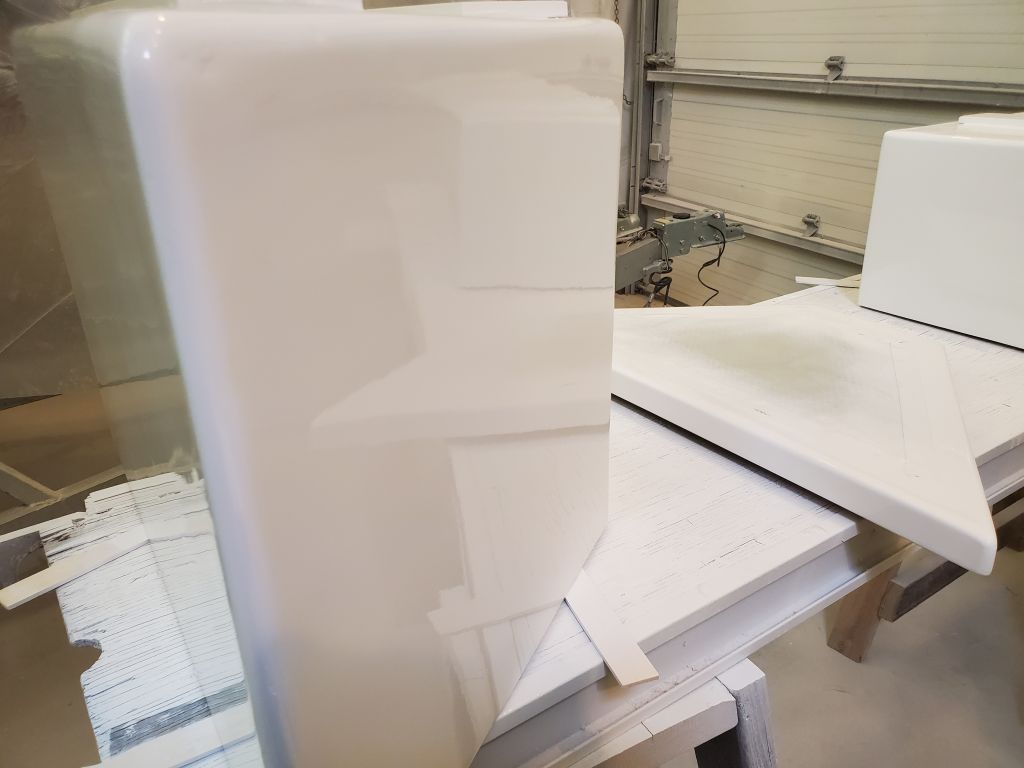
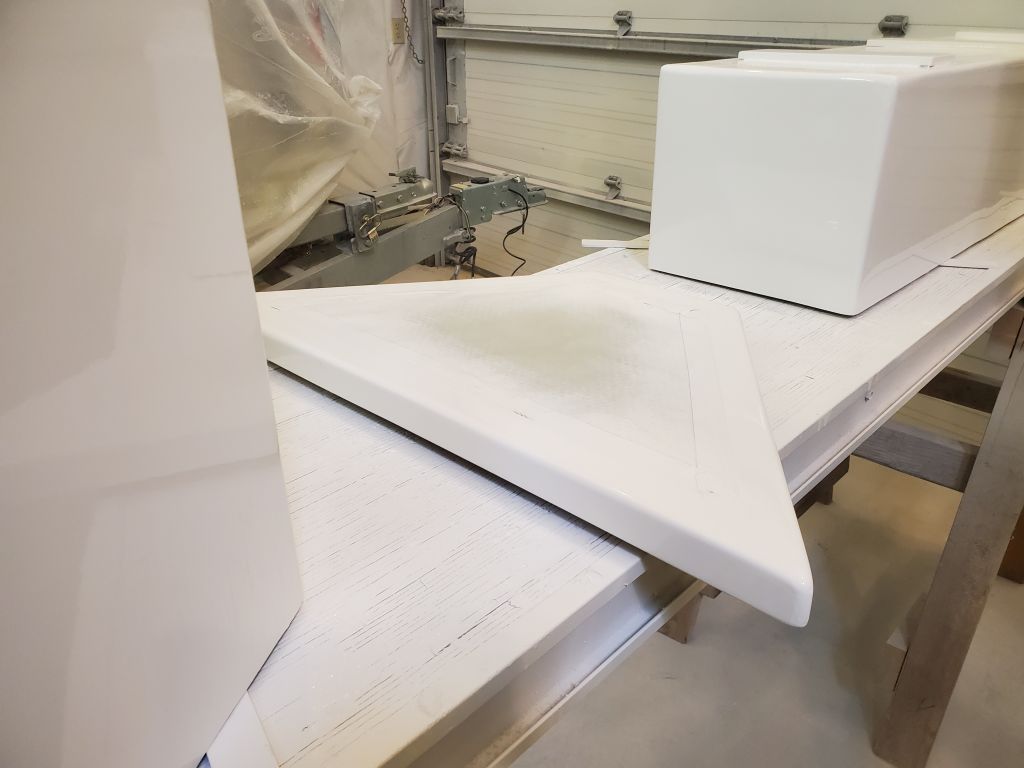
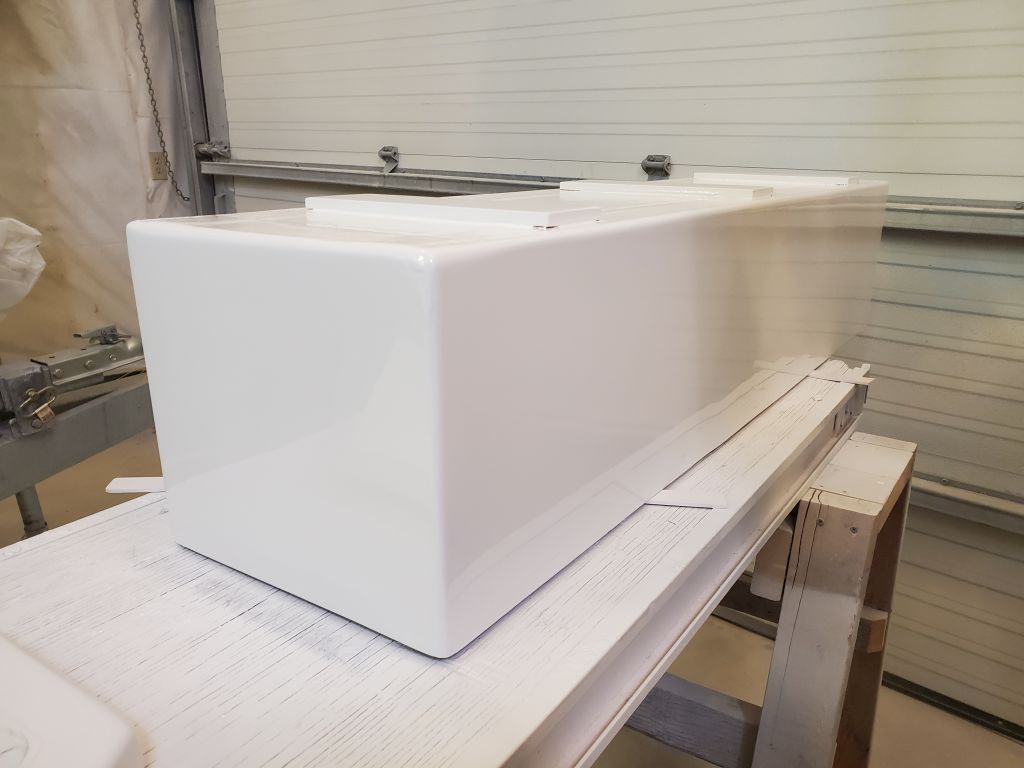
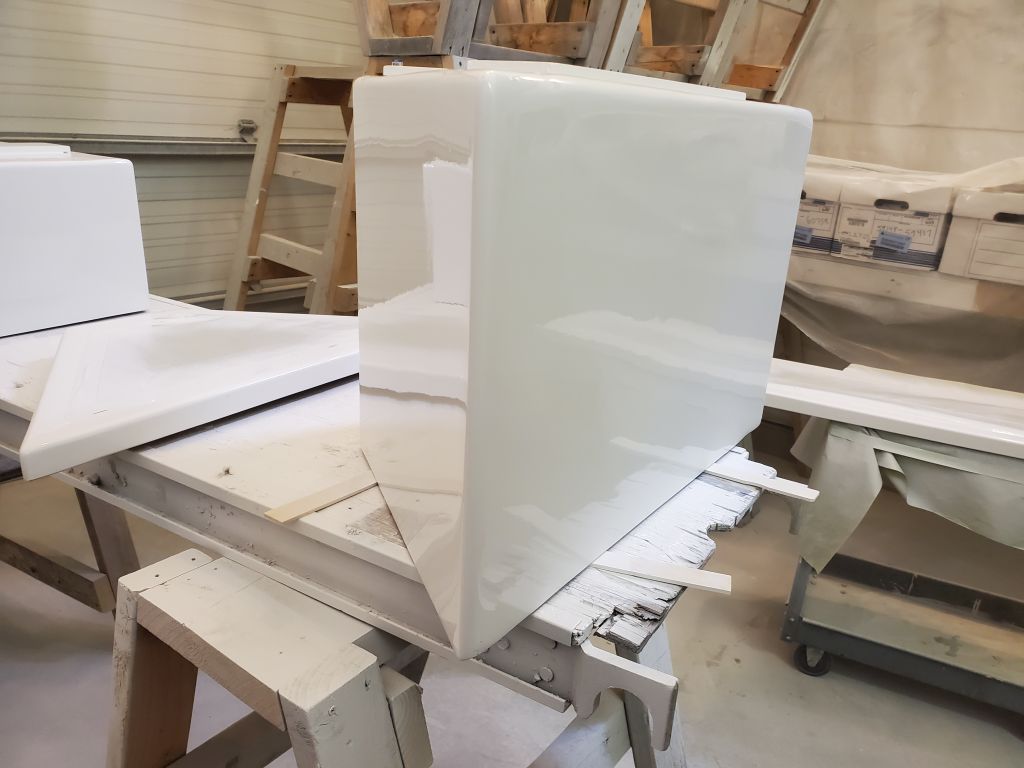
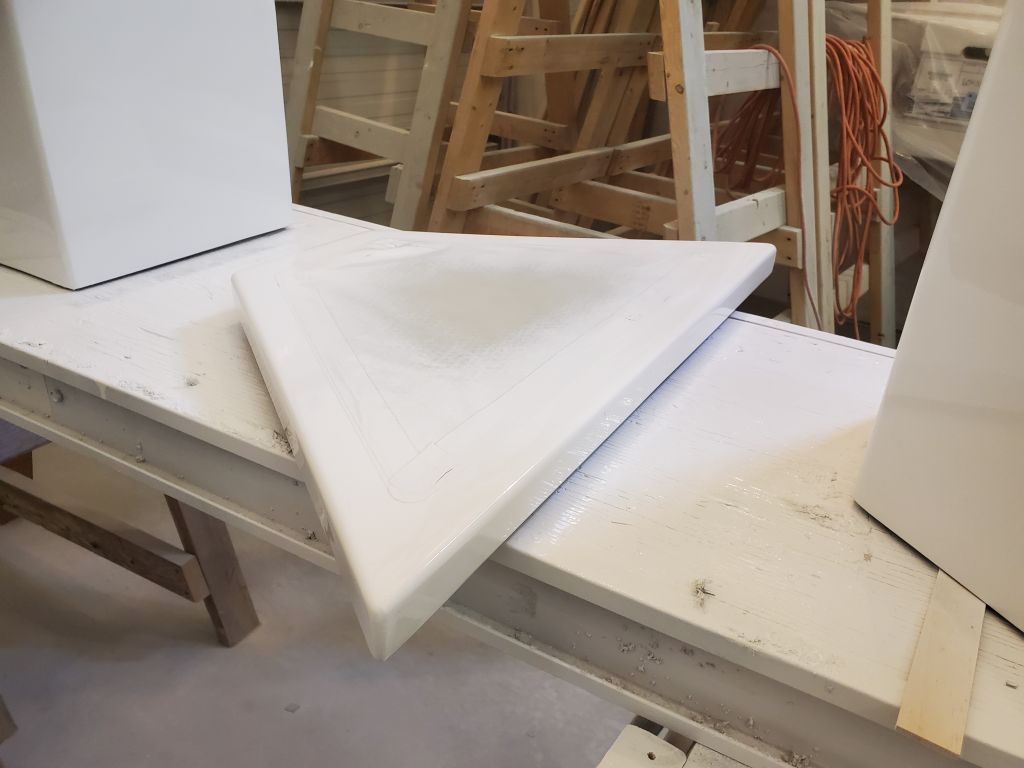
First order of business: Sand and varnish the cockpit locker lids (coat 2, both sides).
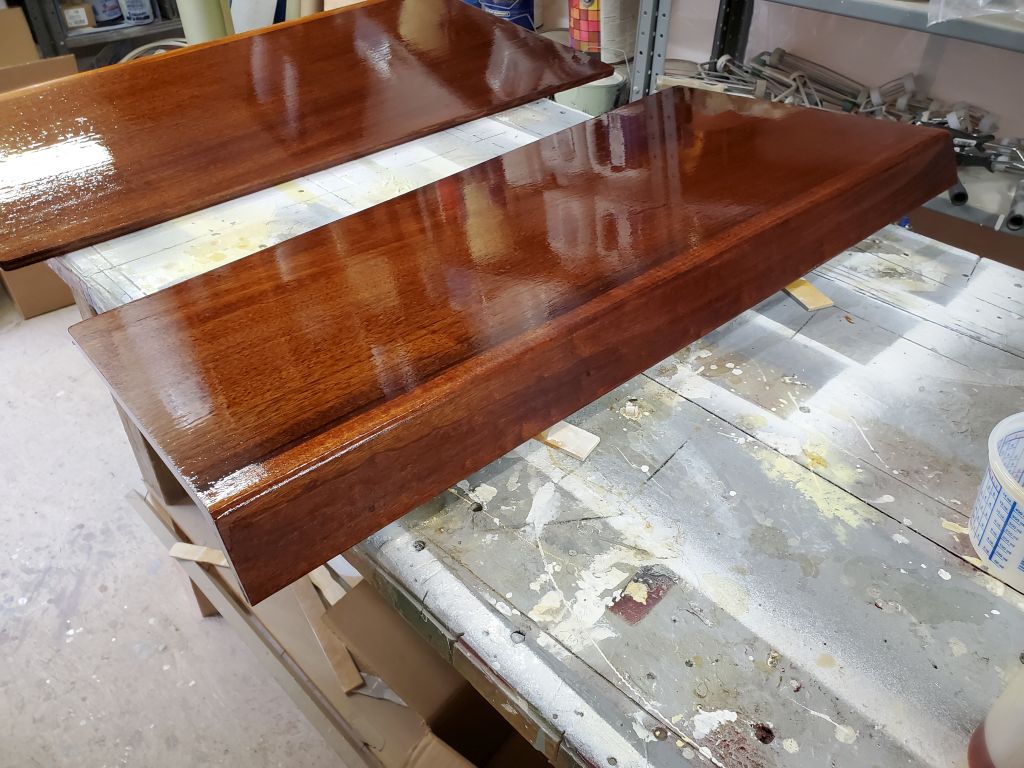
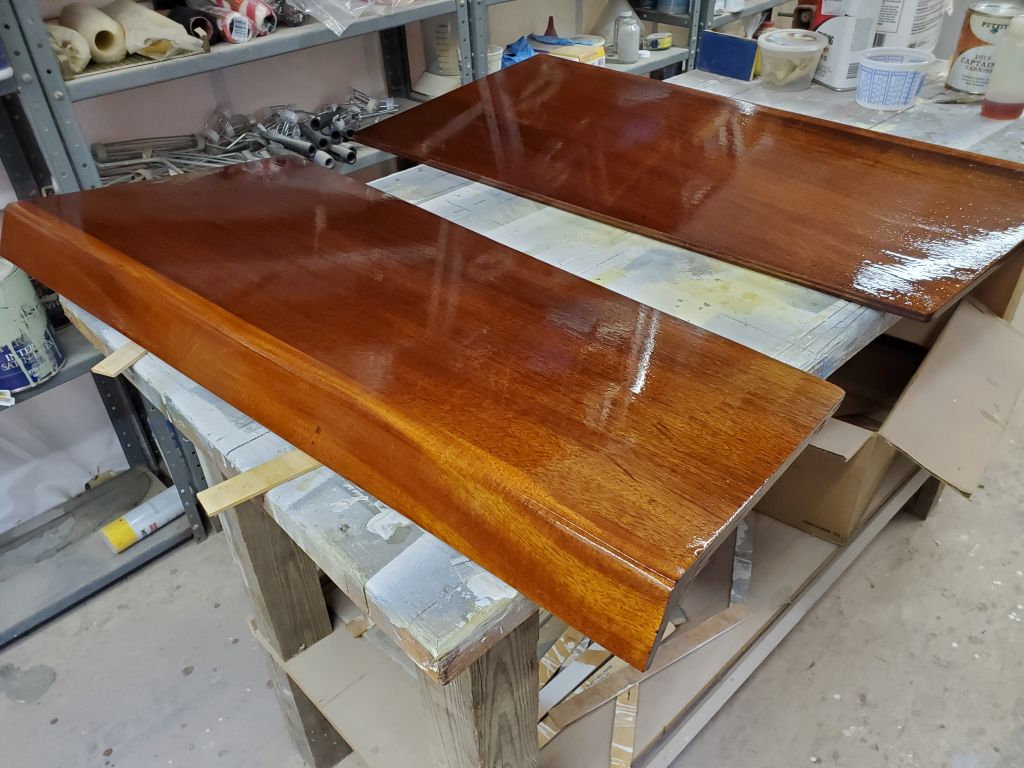
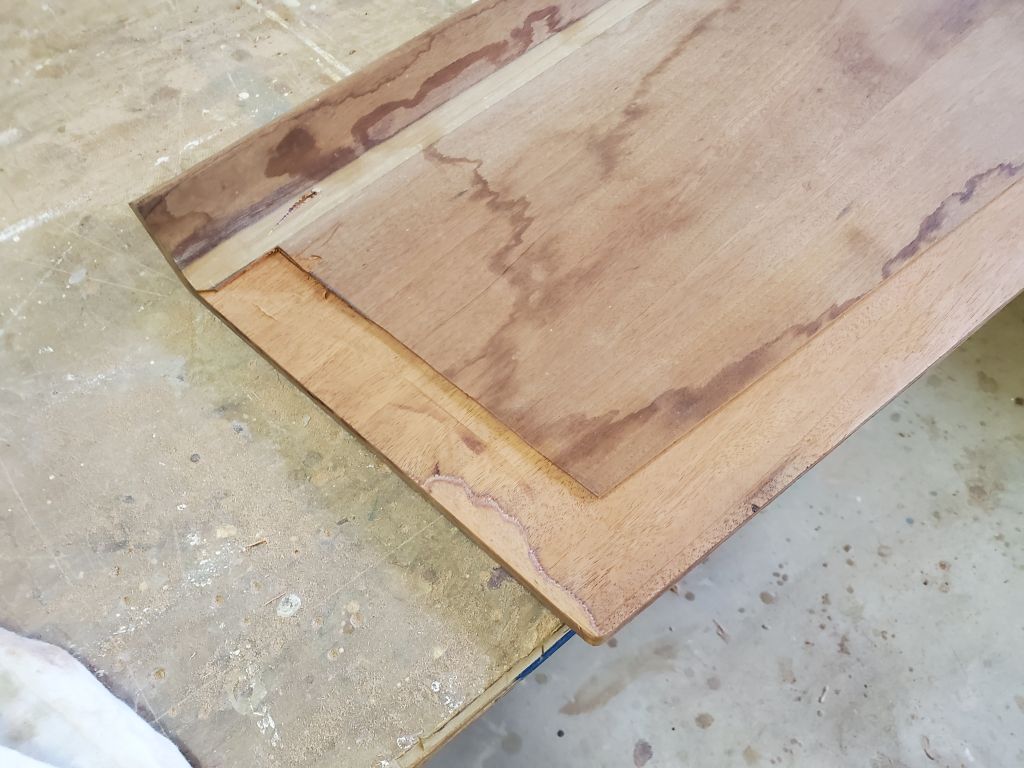
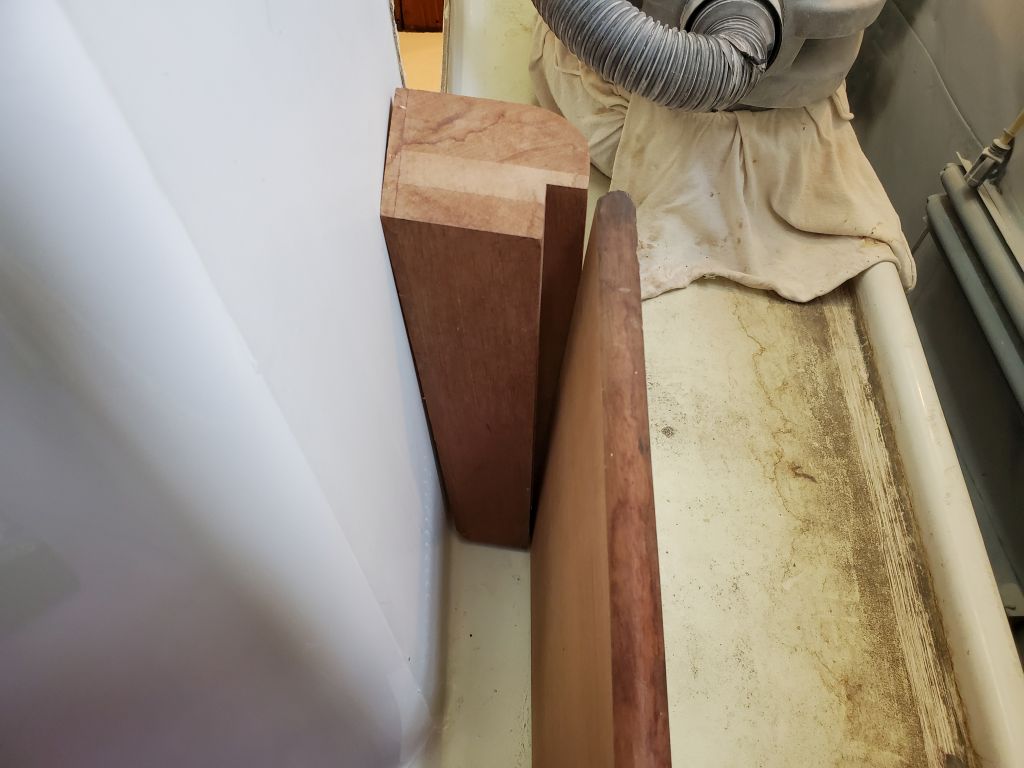
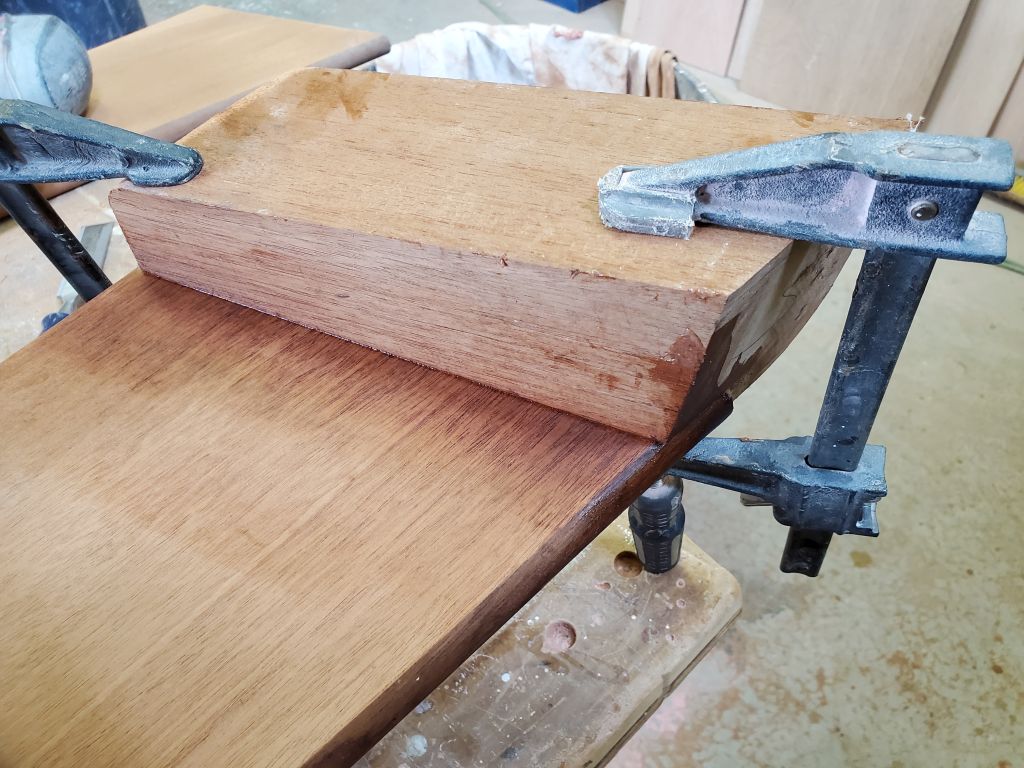
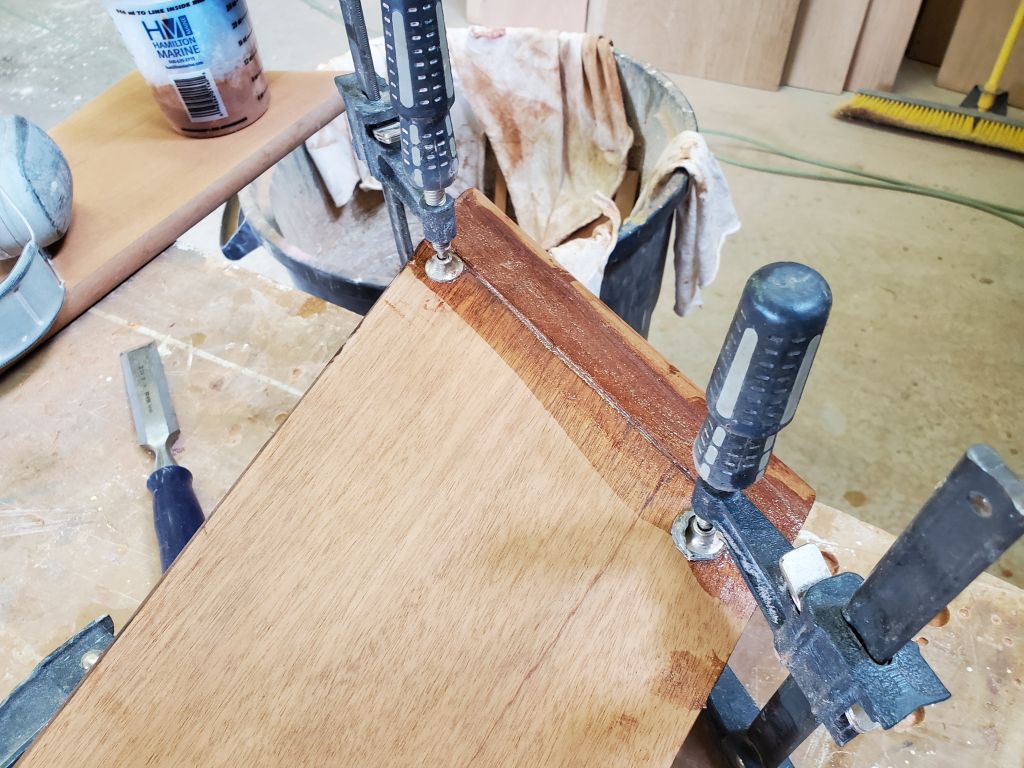
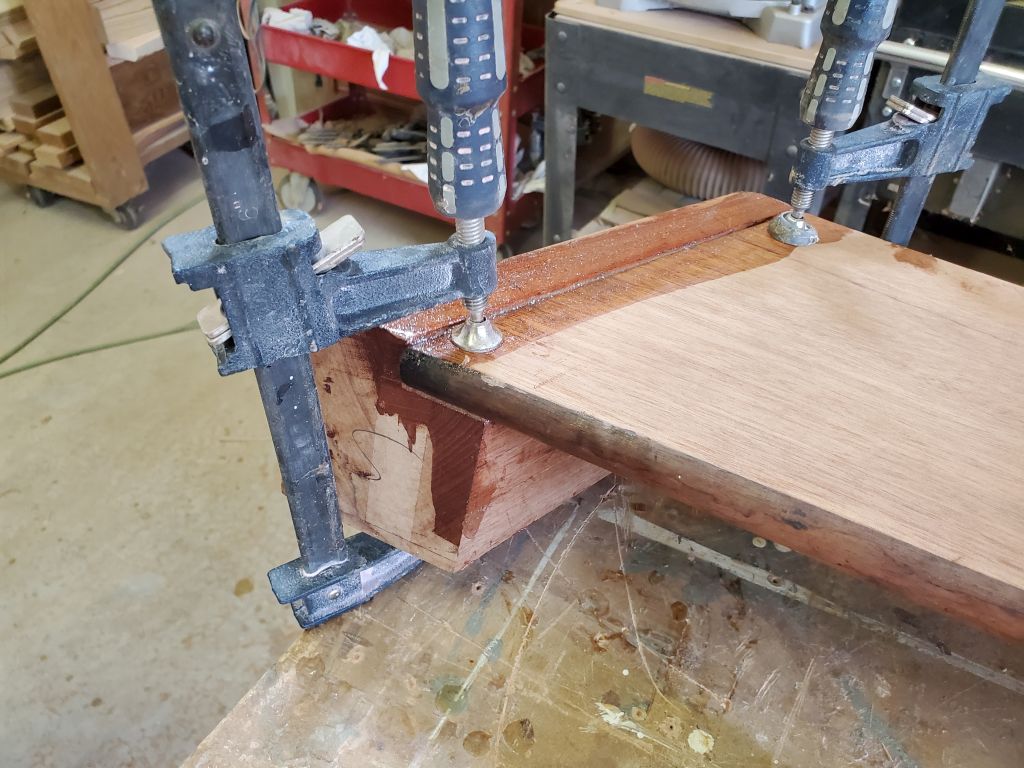
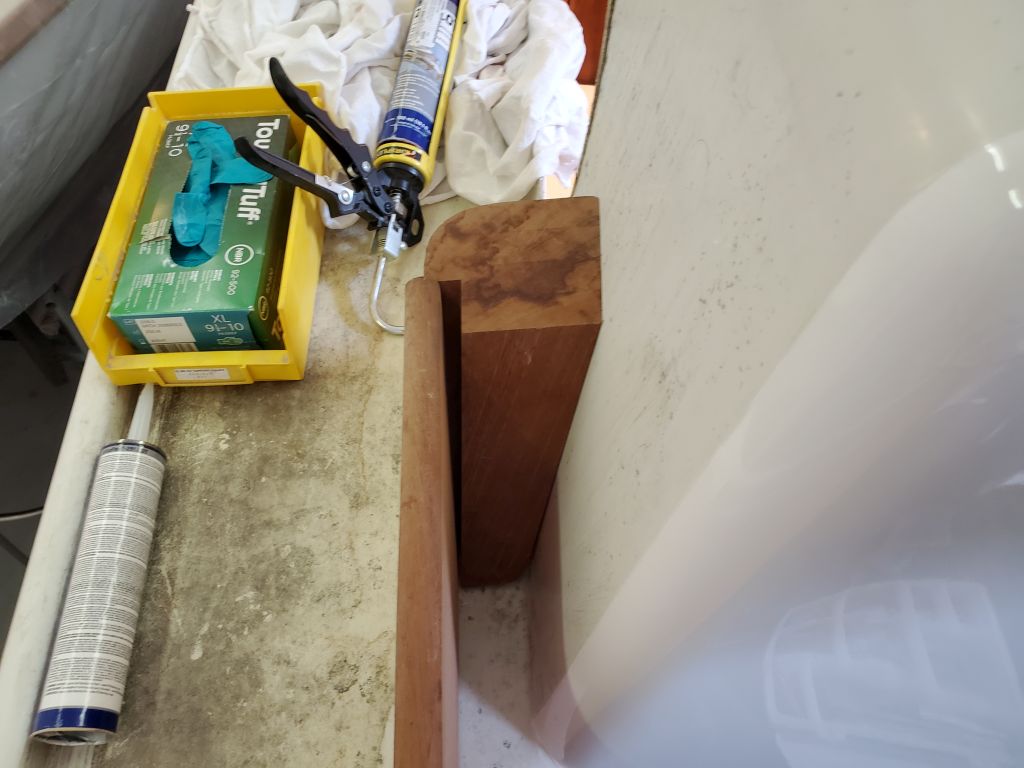
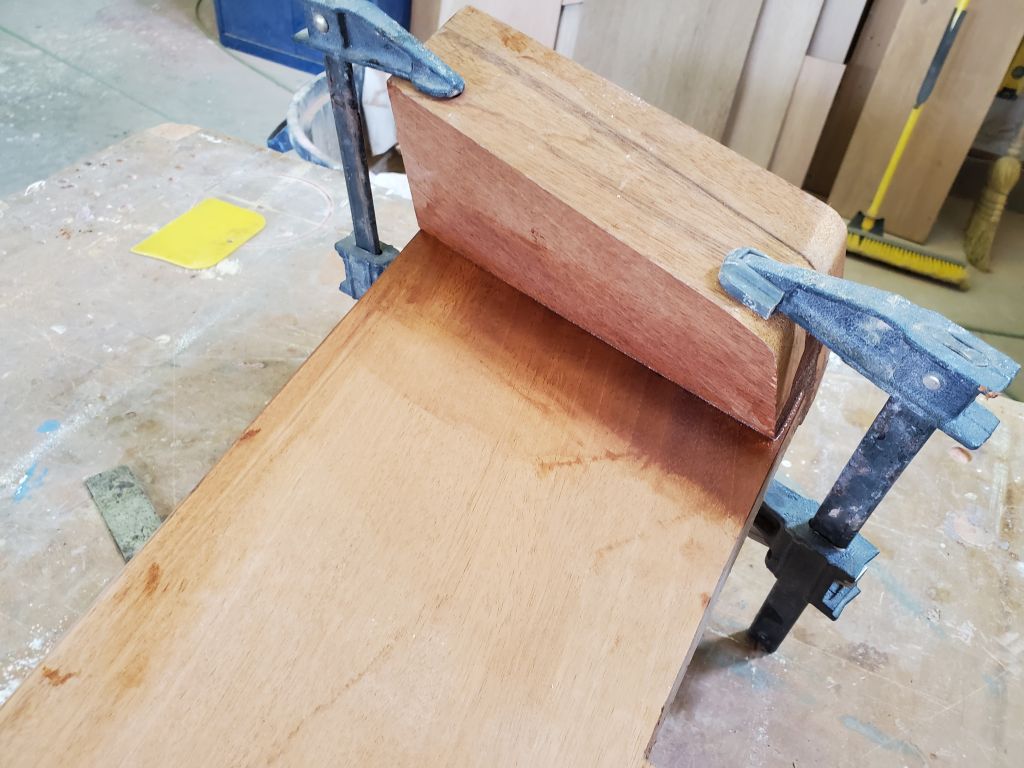
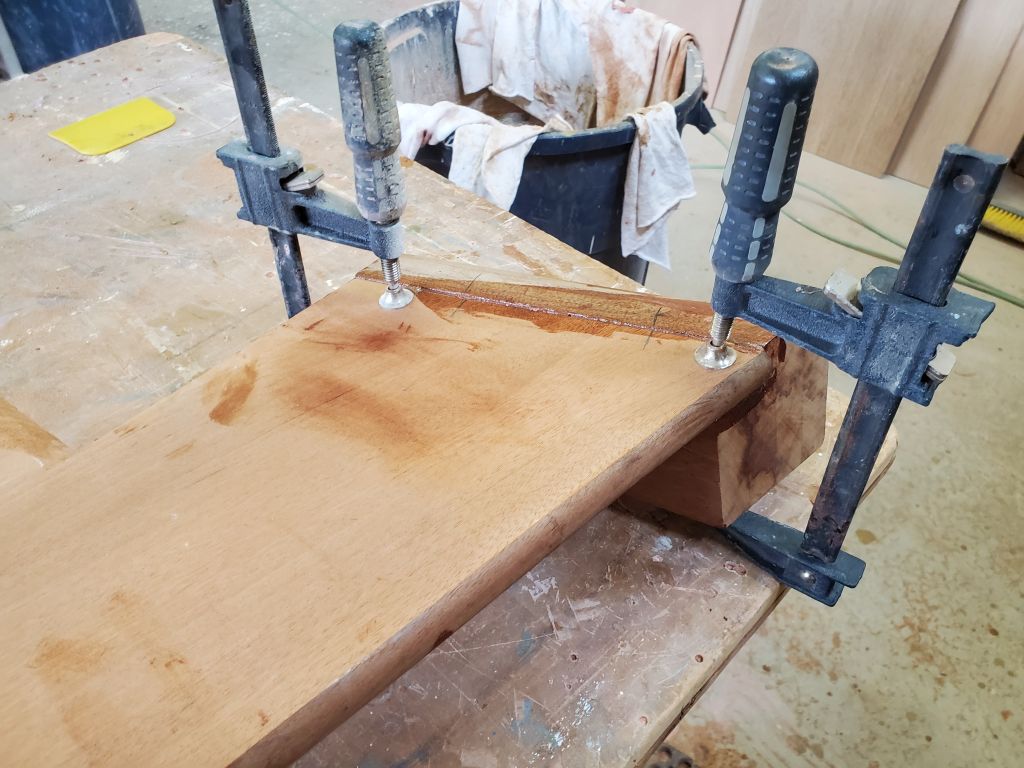
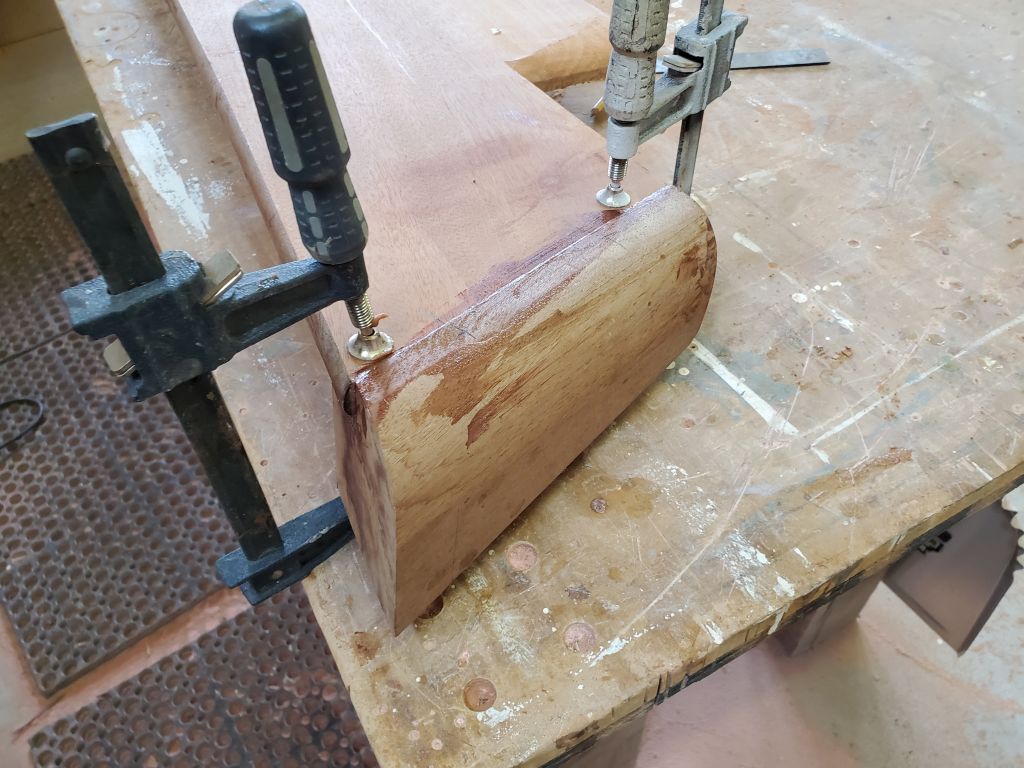
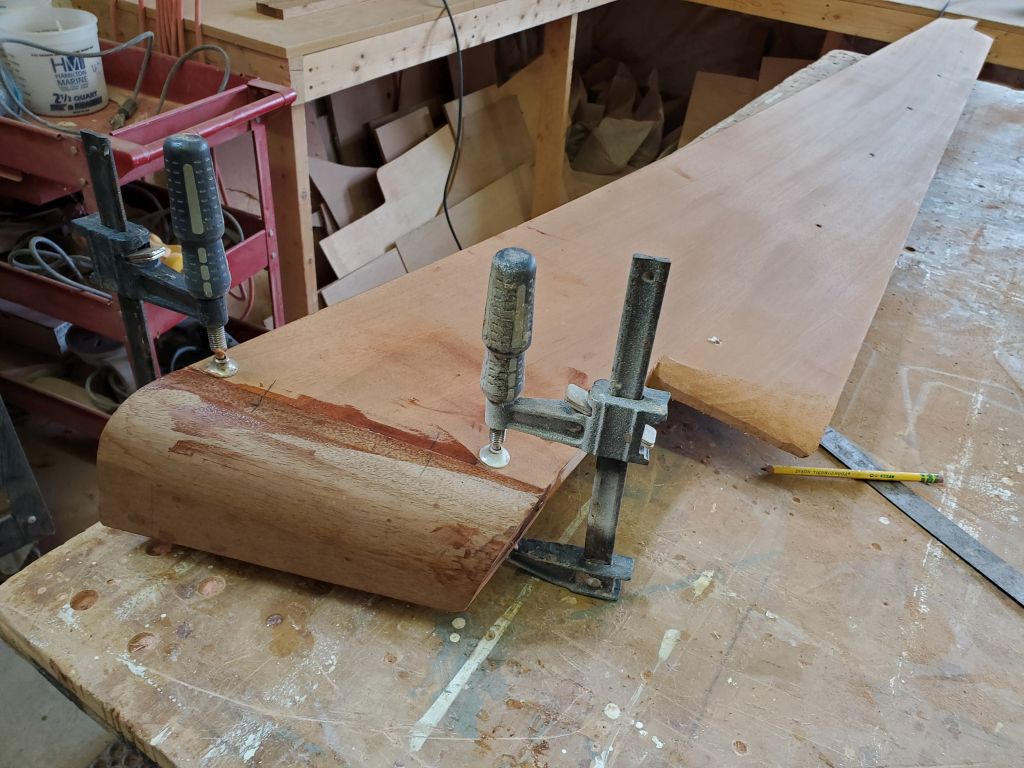
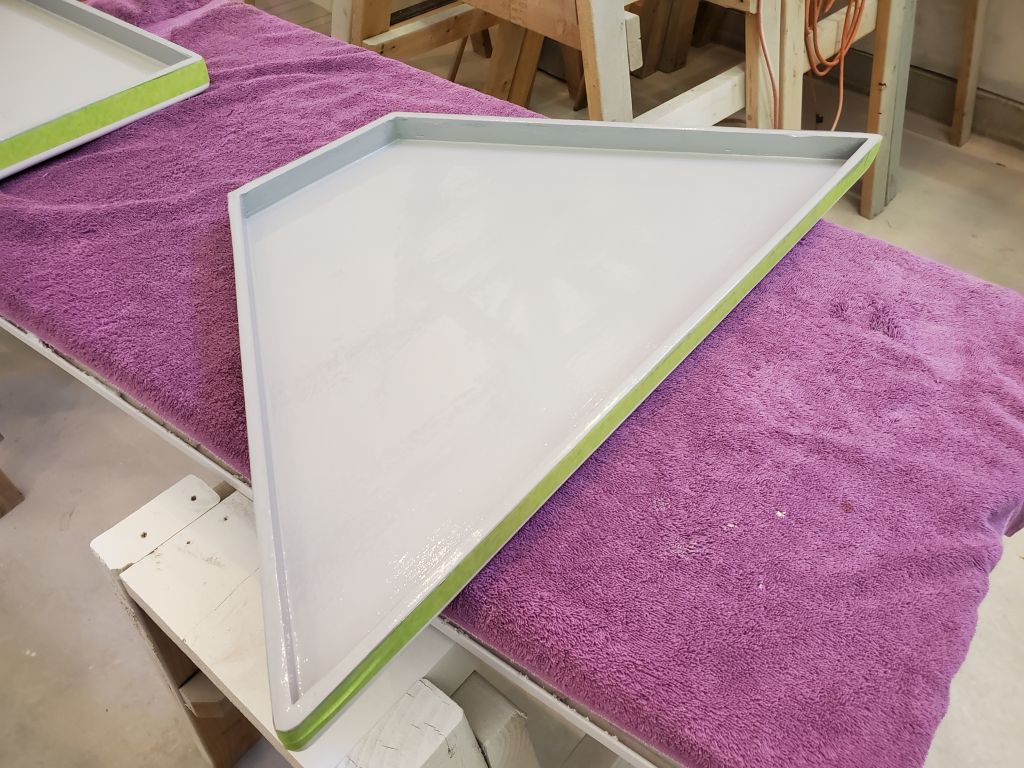
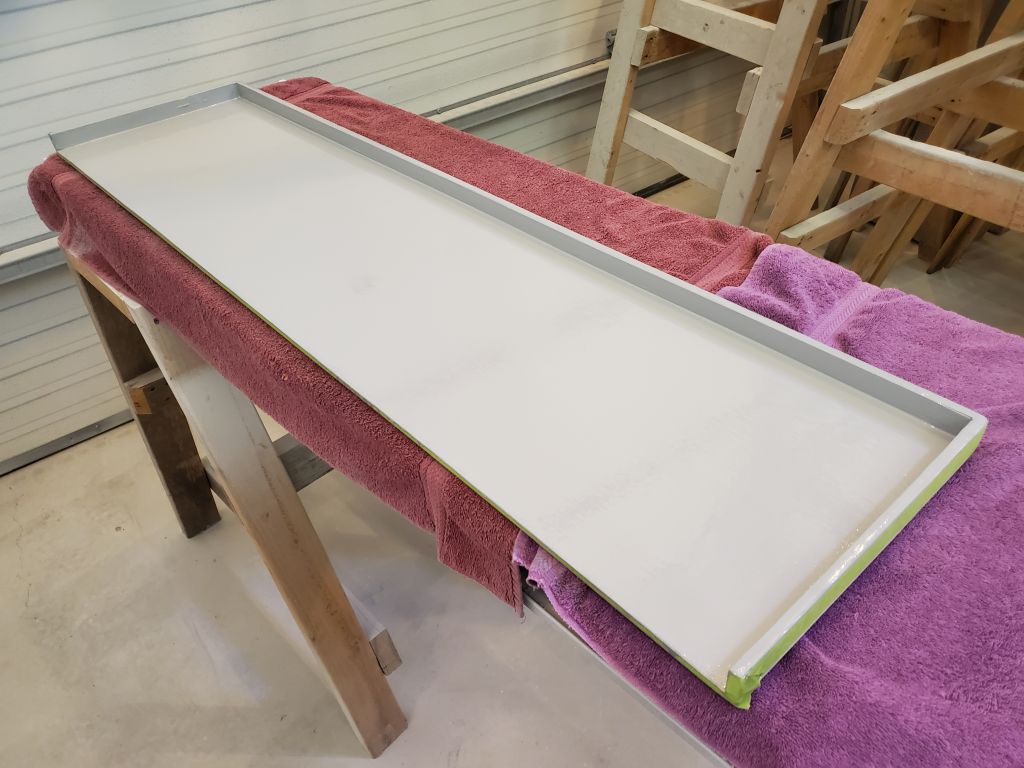
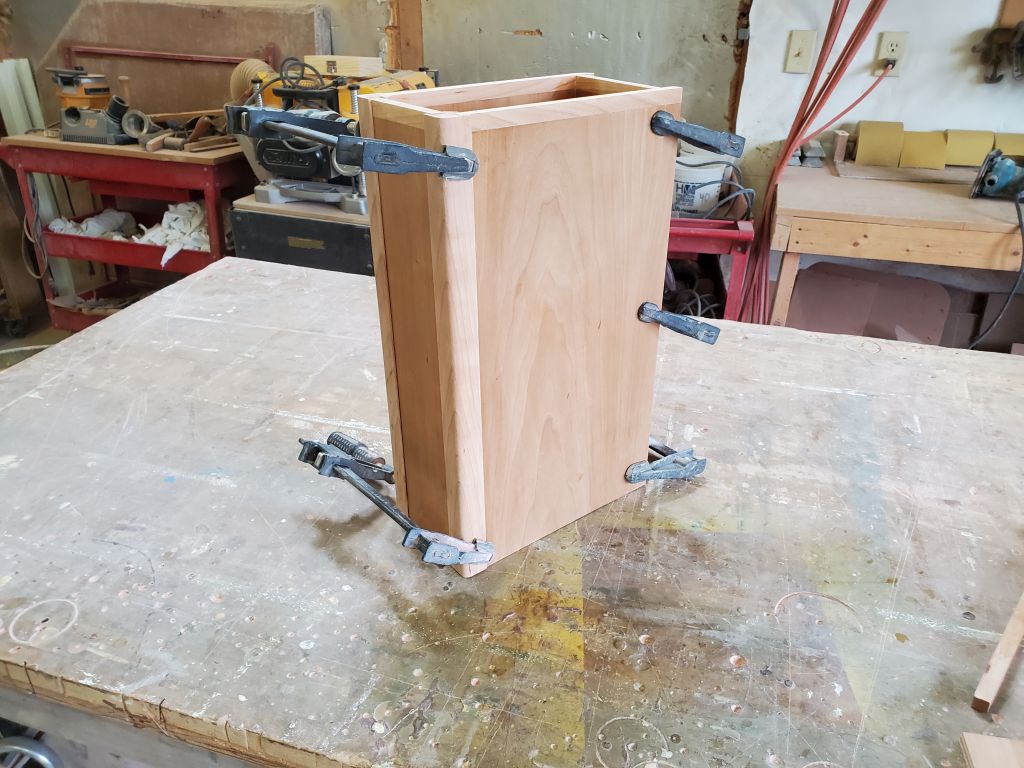
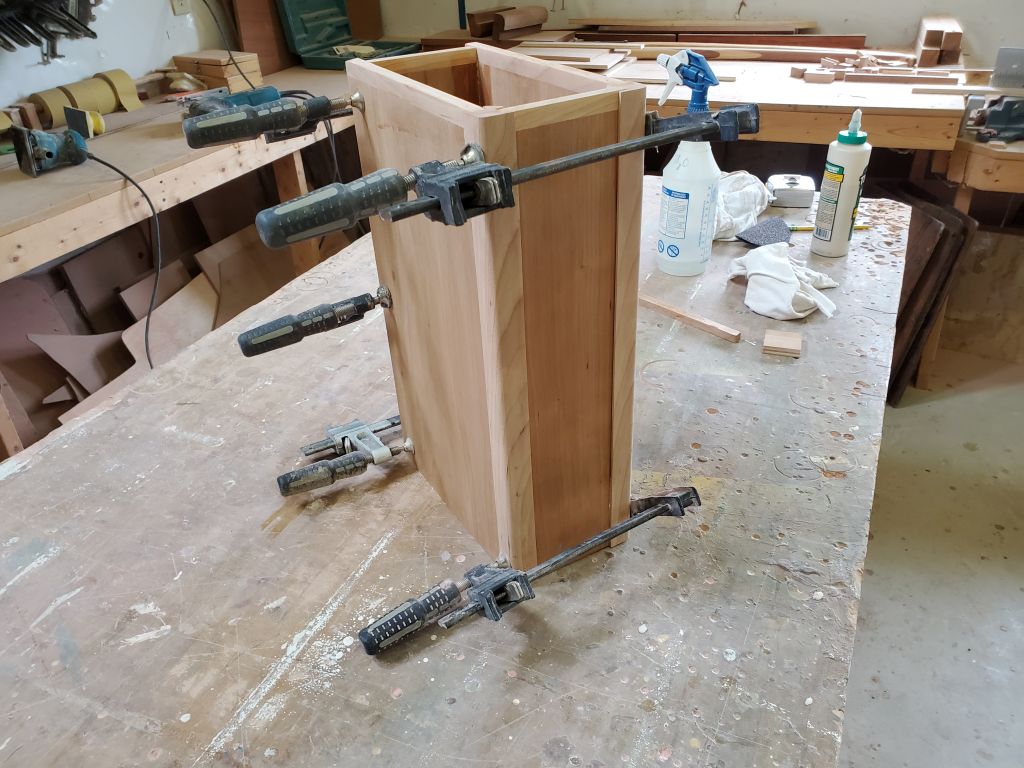
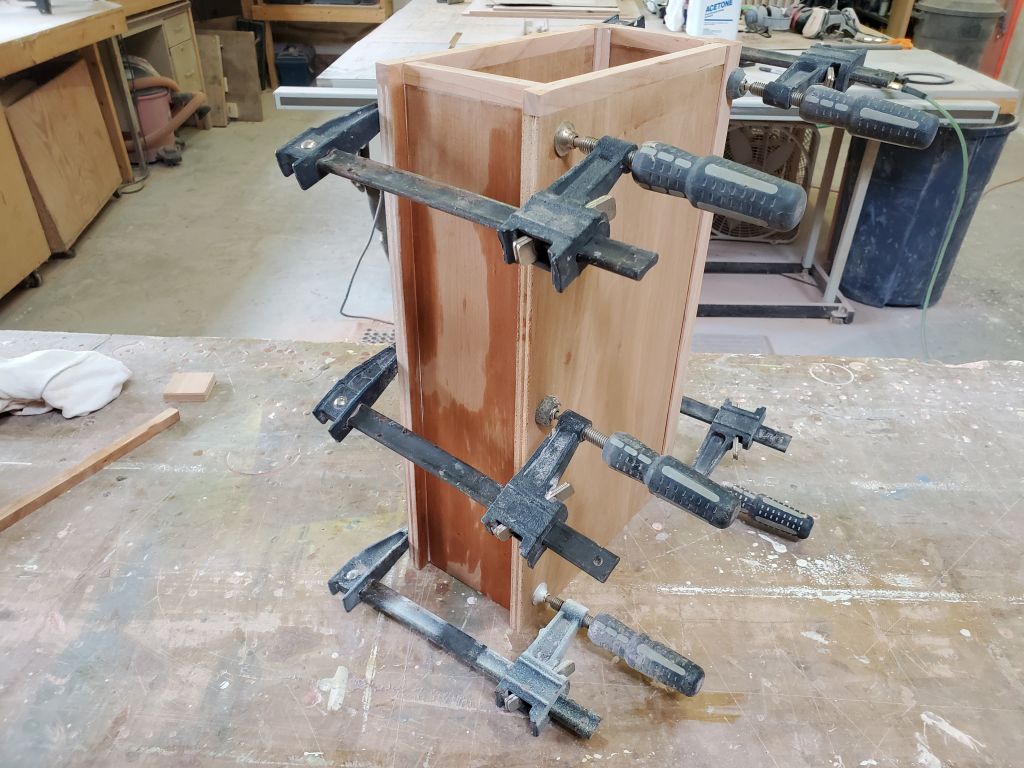
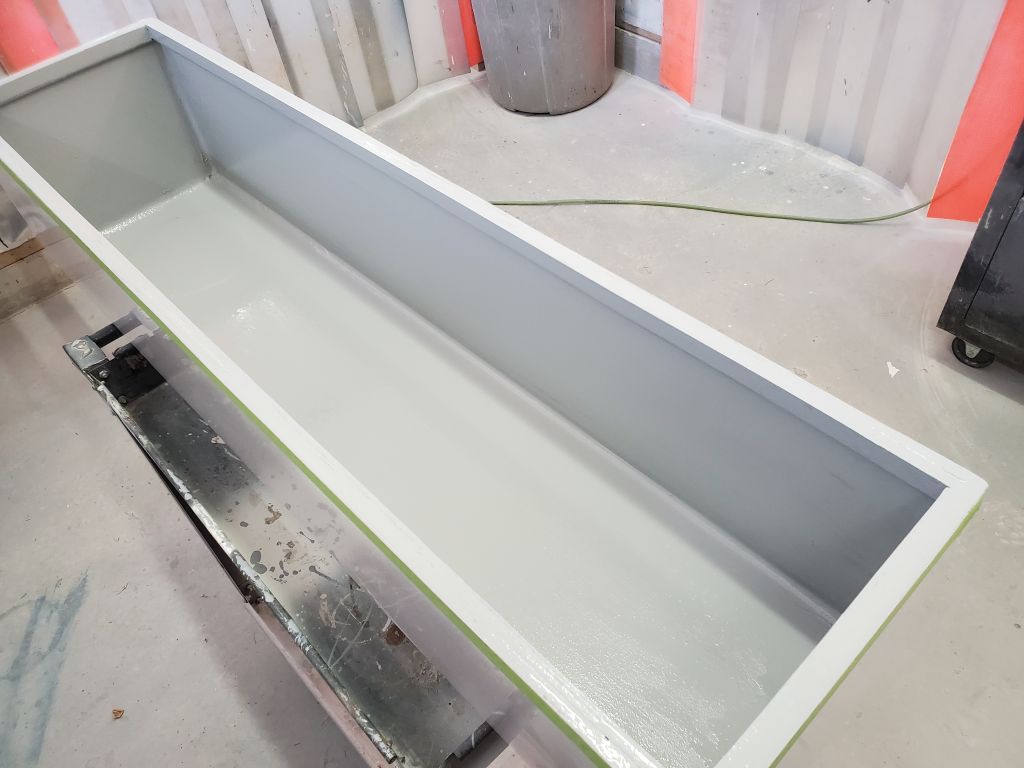
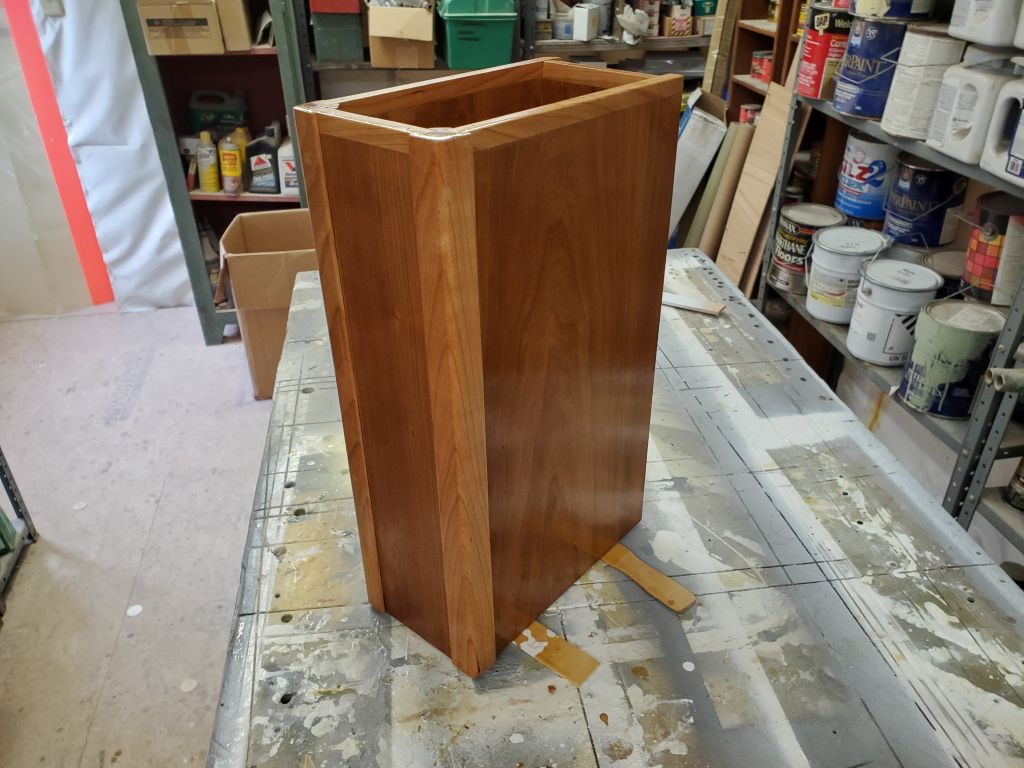
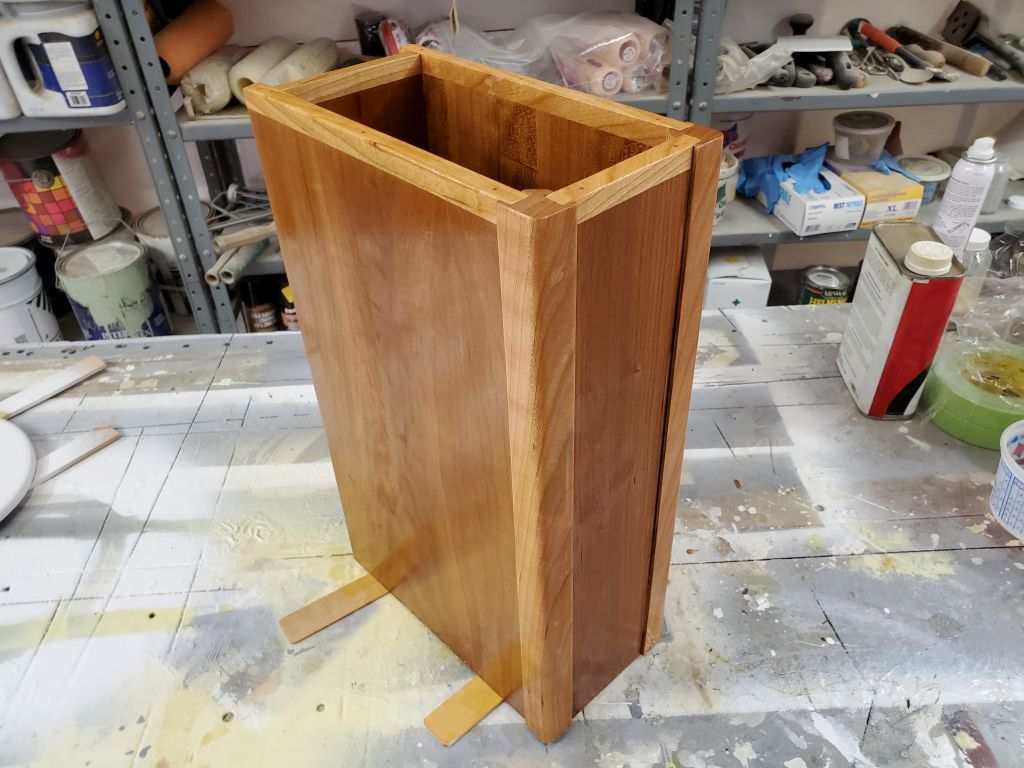
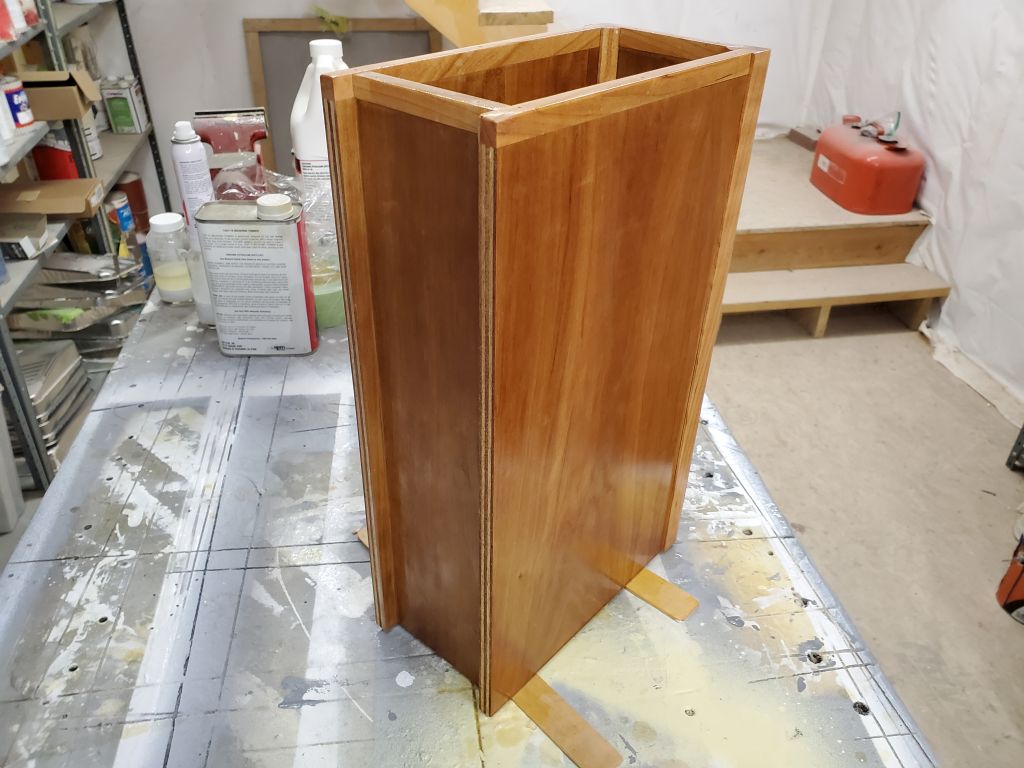
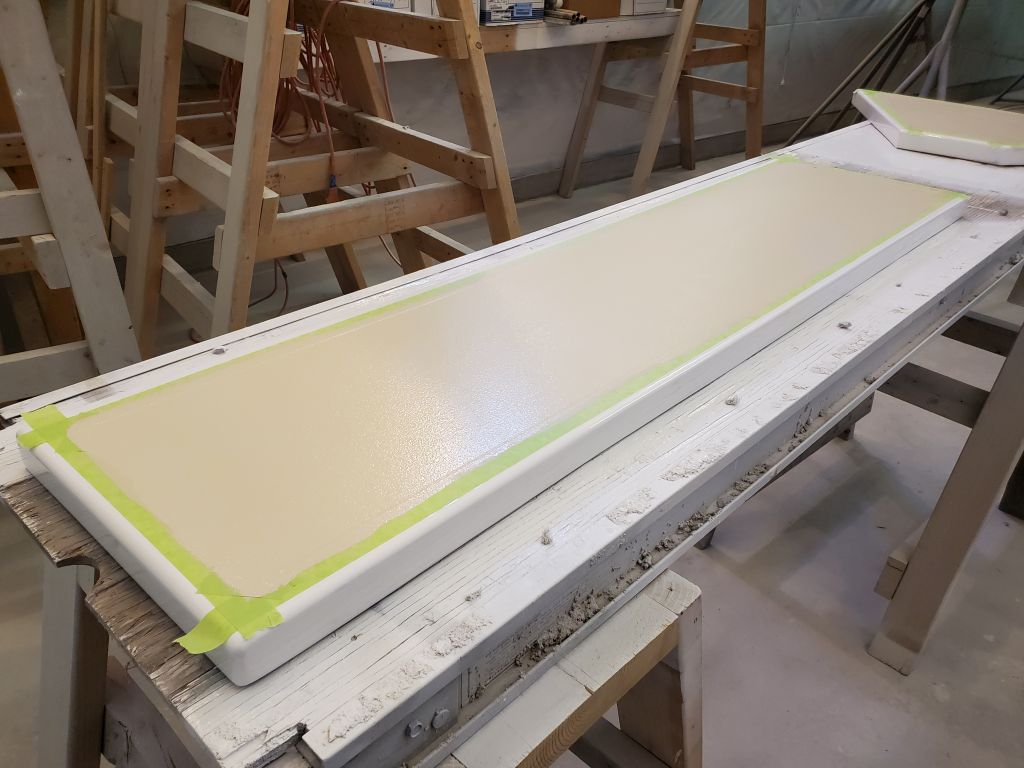
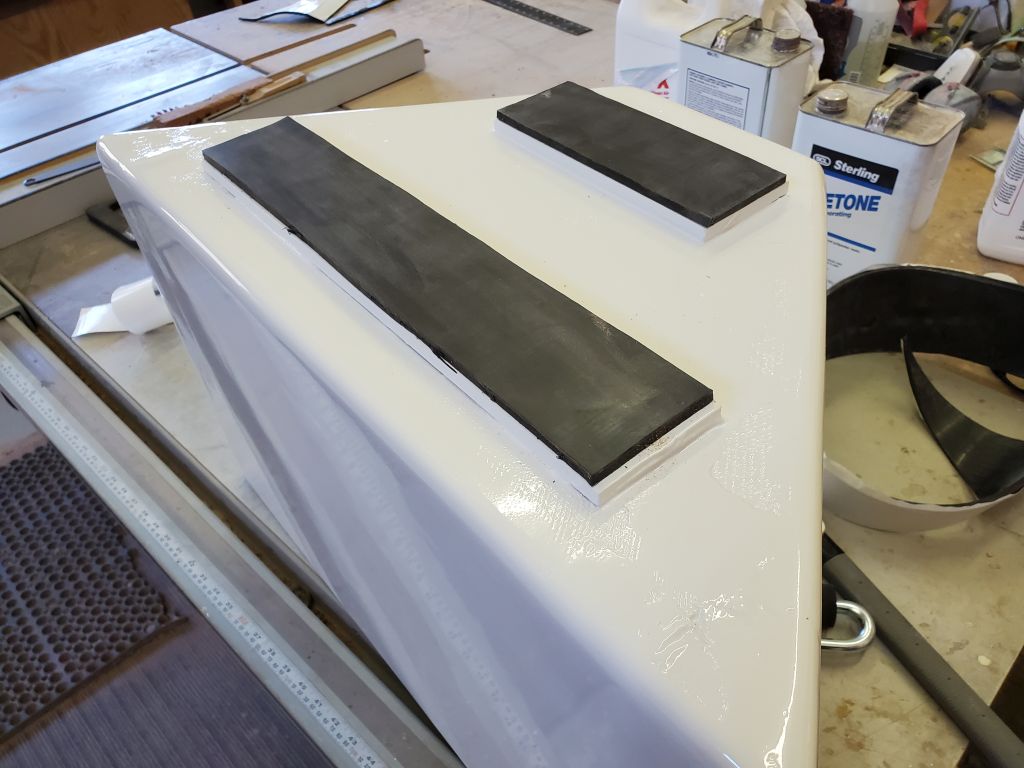
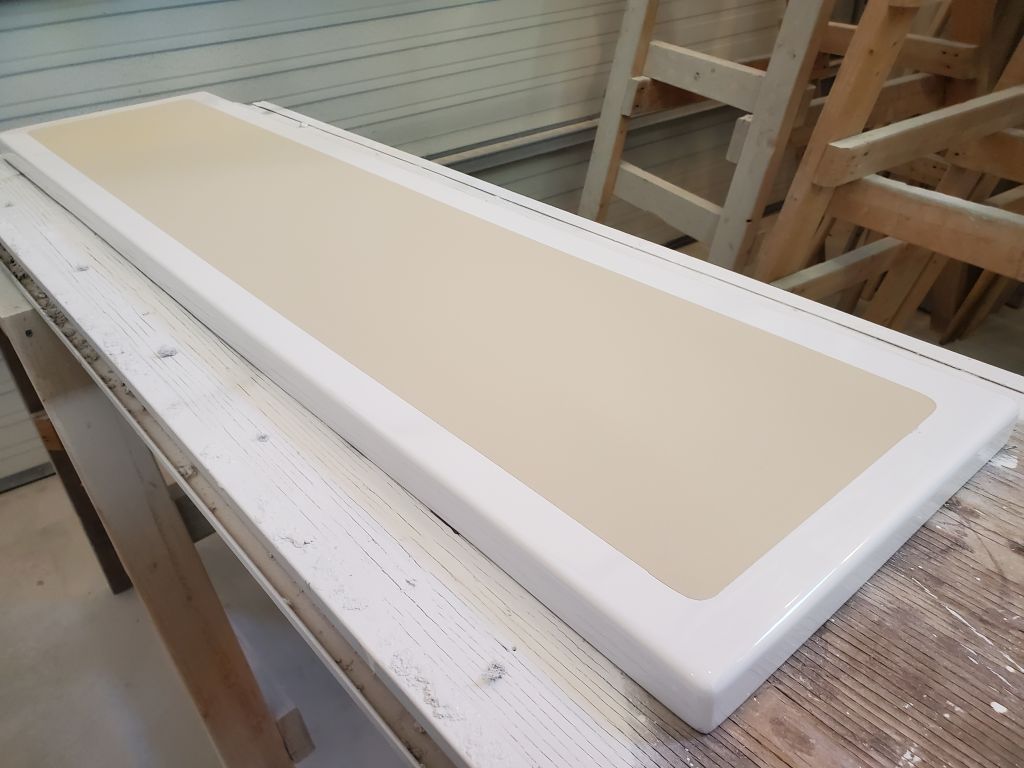
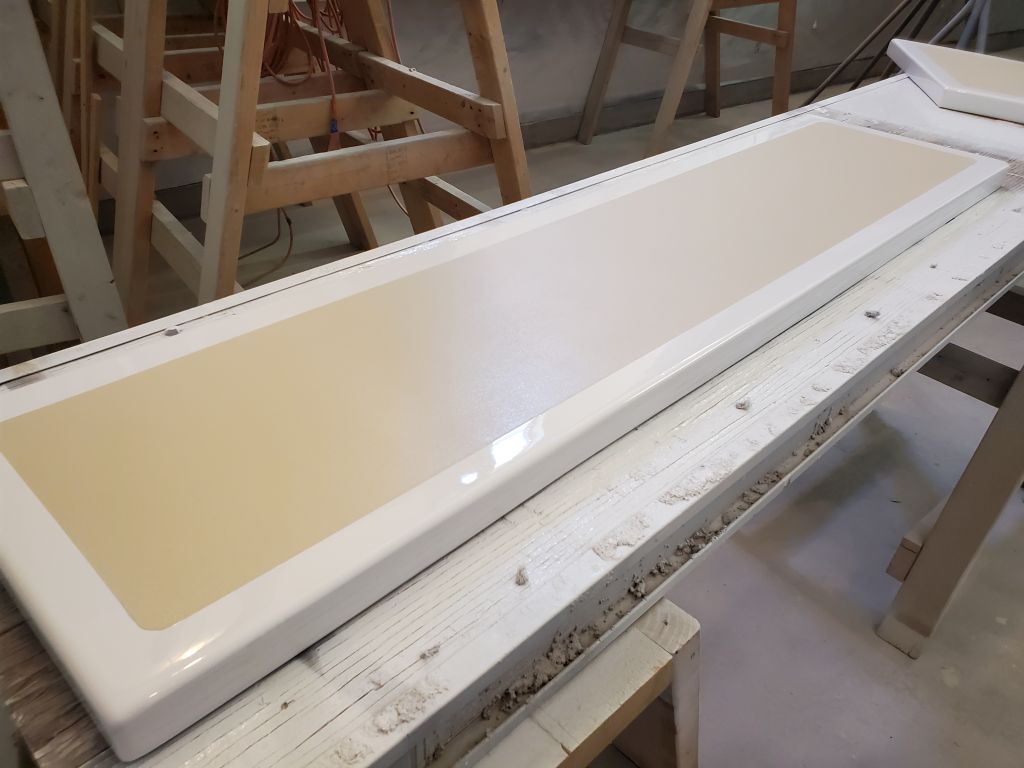
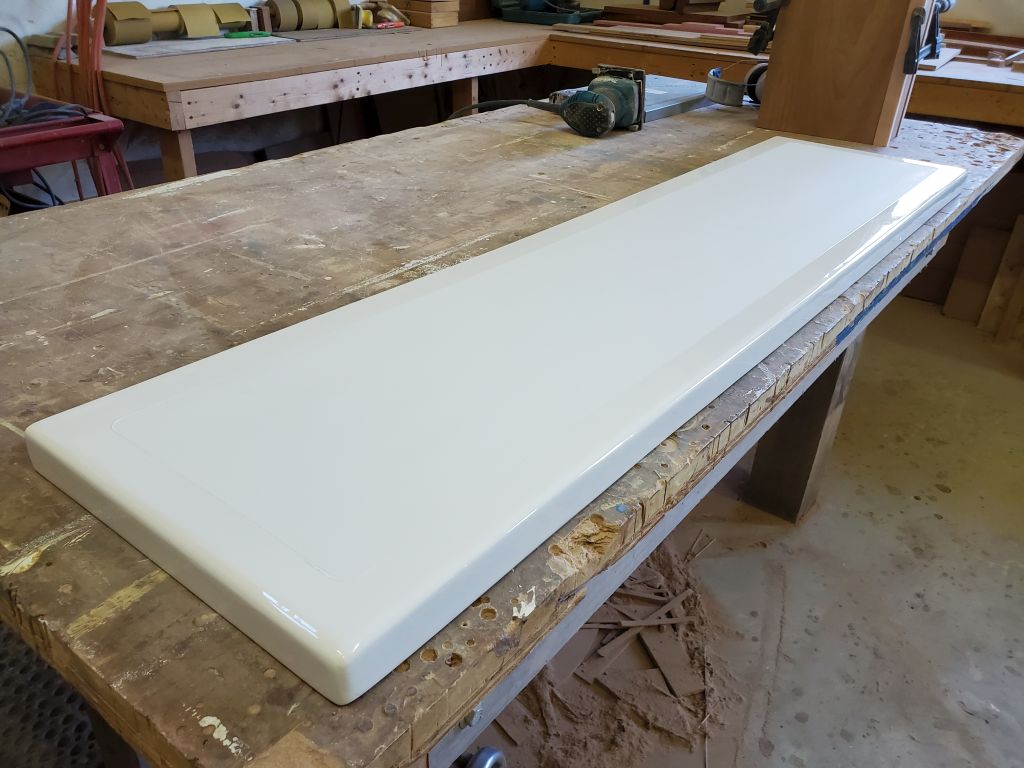
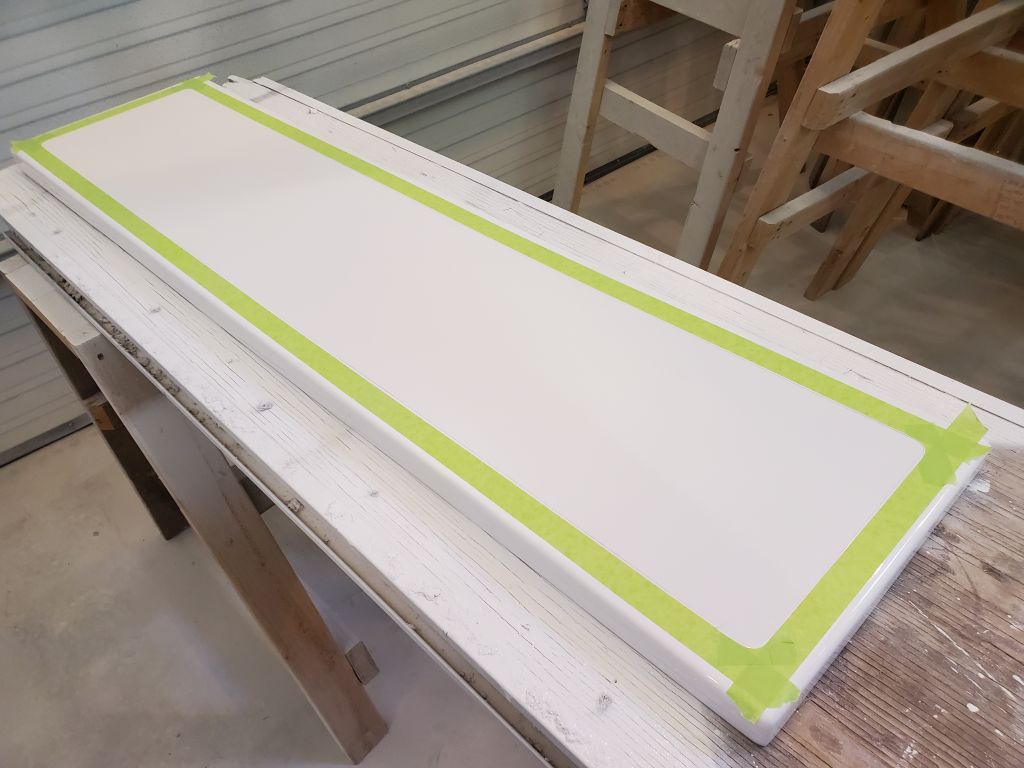
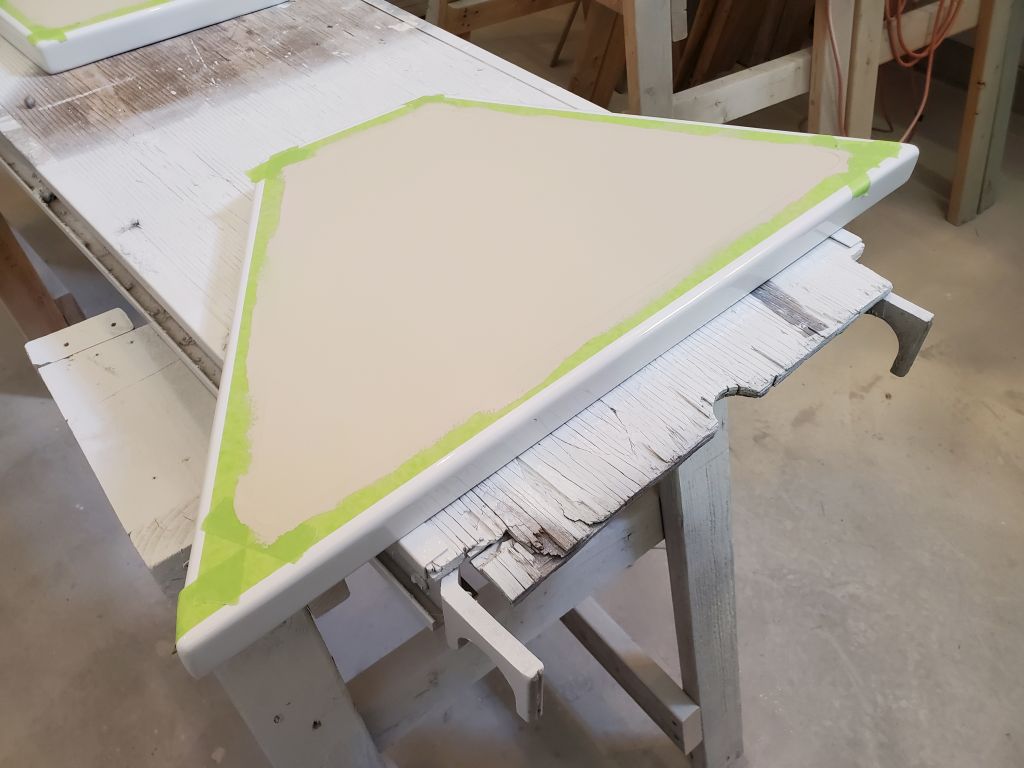
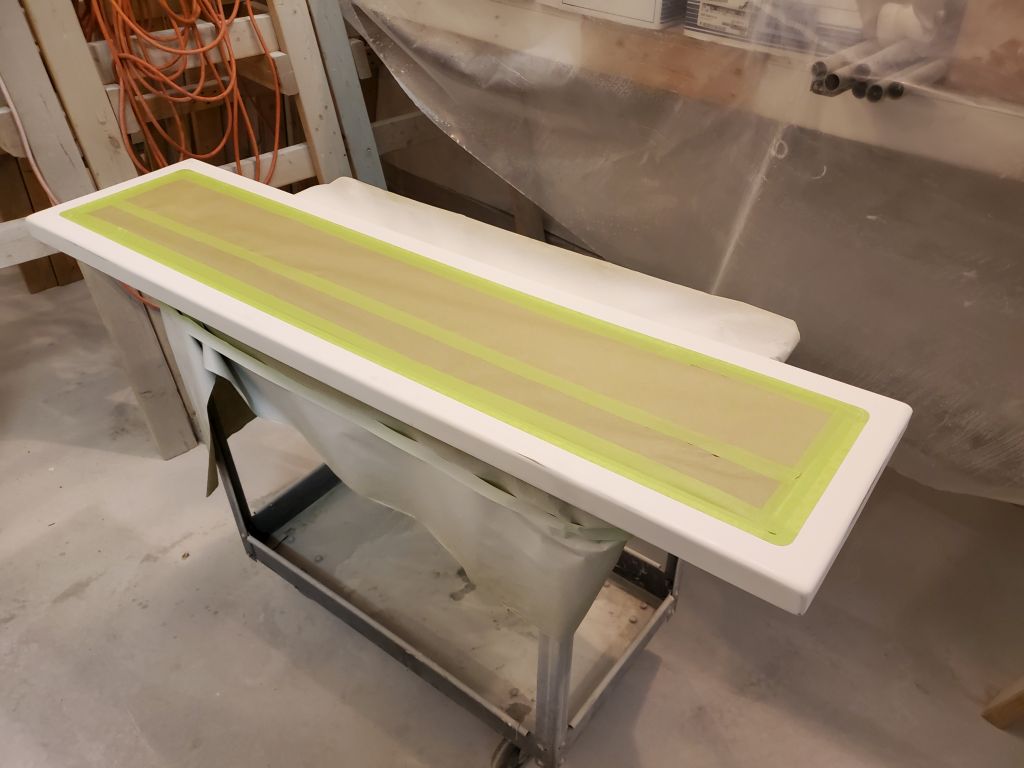
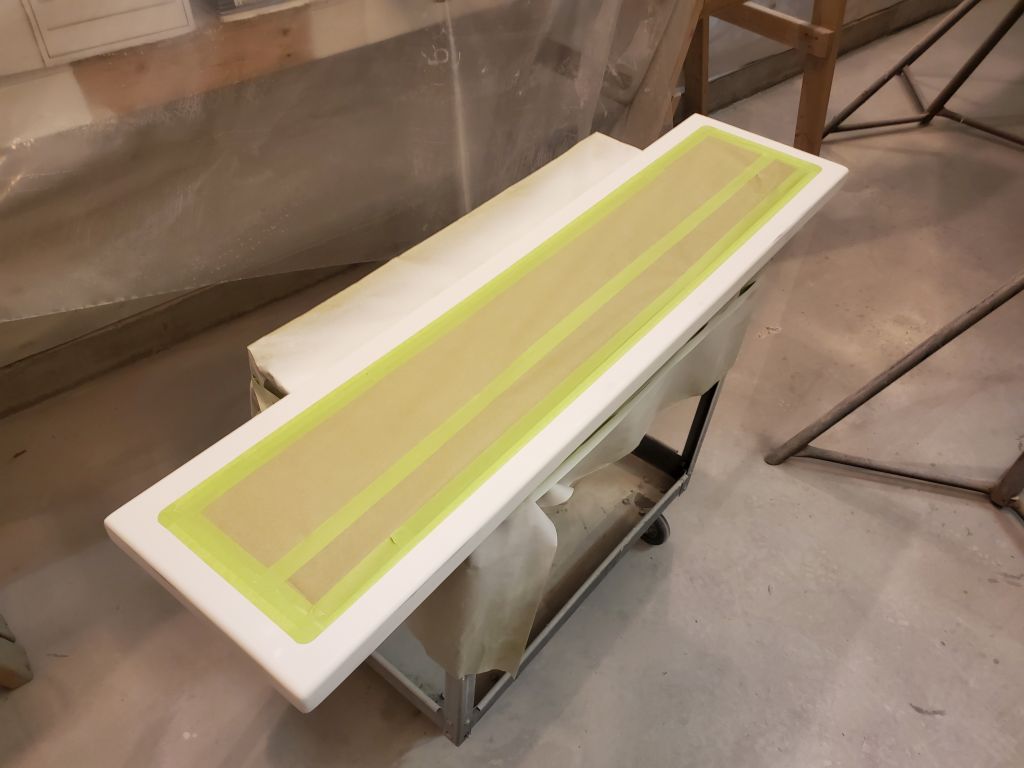
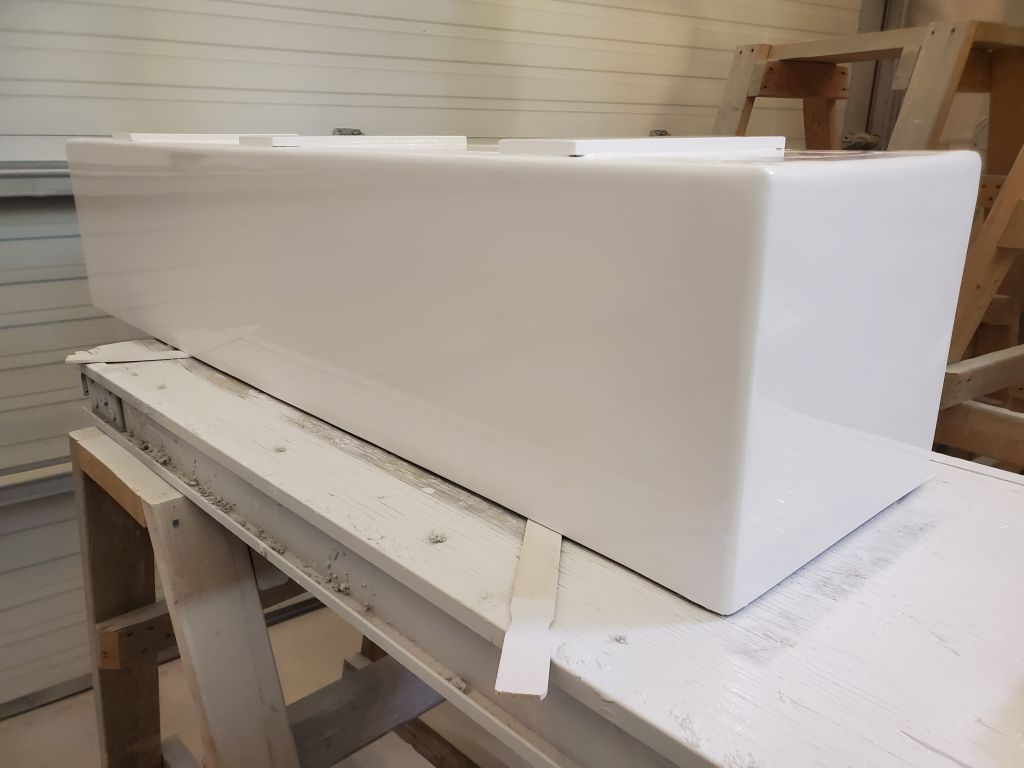
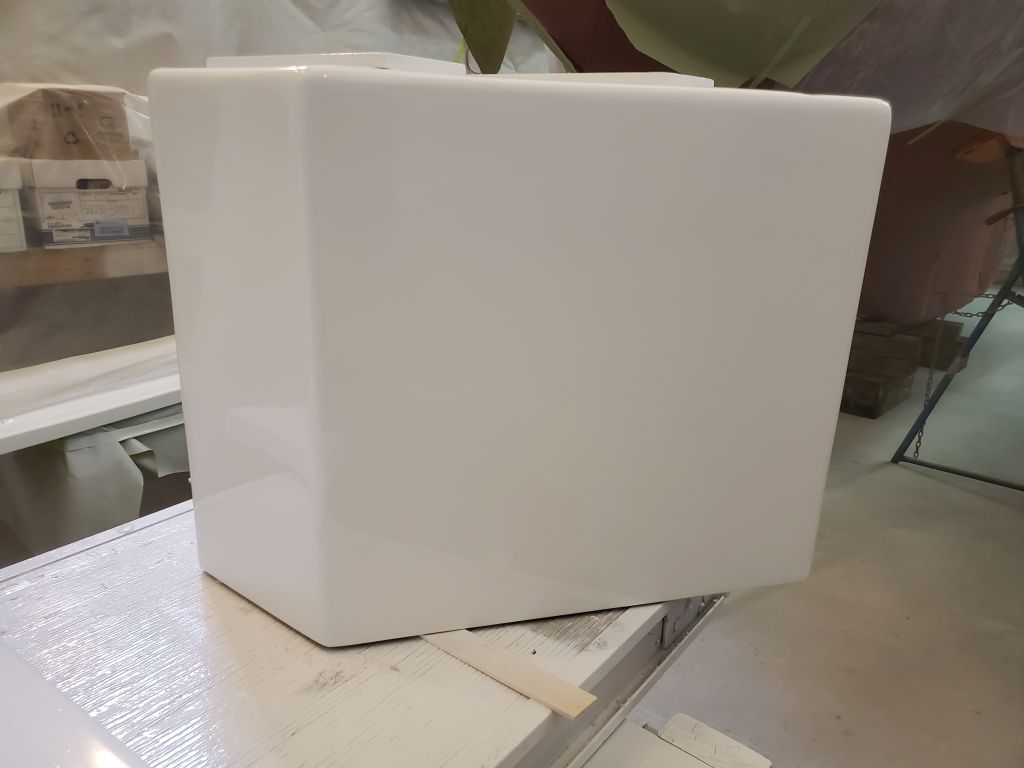
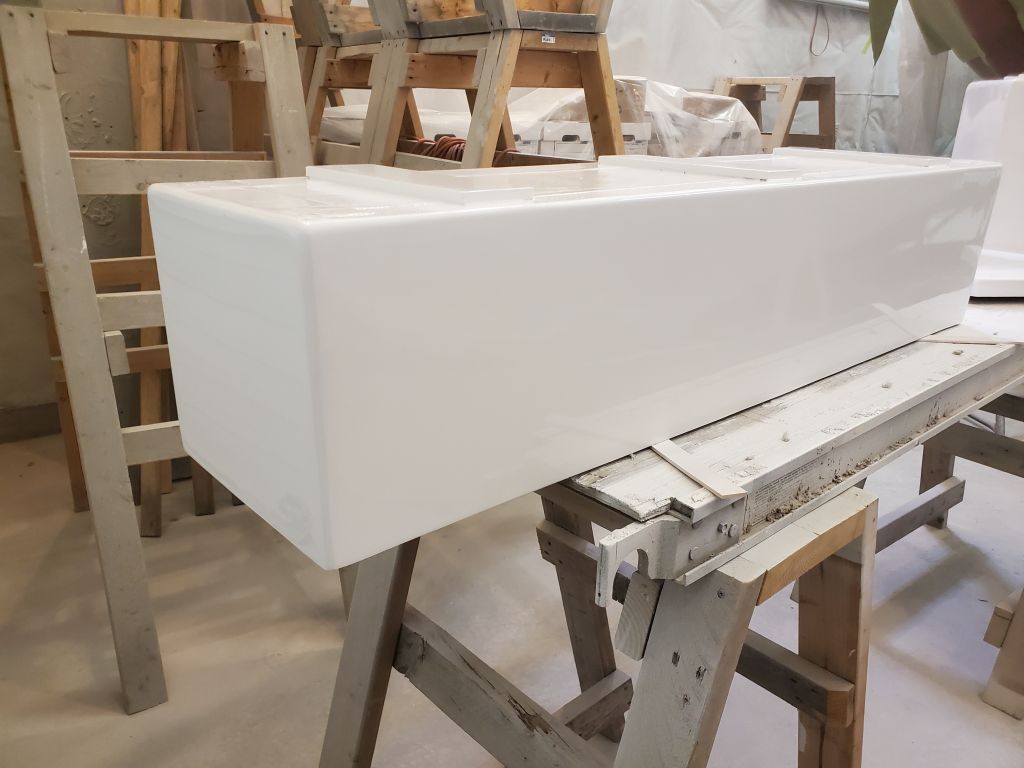
Next, I turned to the coamings, which had had sufficient clamp time after gluing the return blocks. Now, I sanded smooth these joints as needed, then sanded the entire coamings through a few grits to clean up the wood and prepare them for varnish.
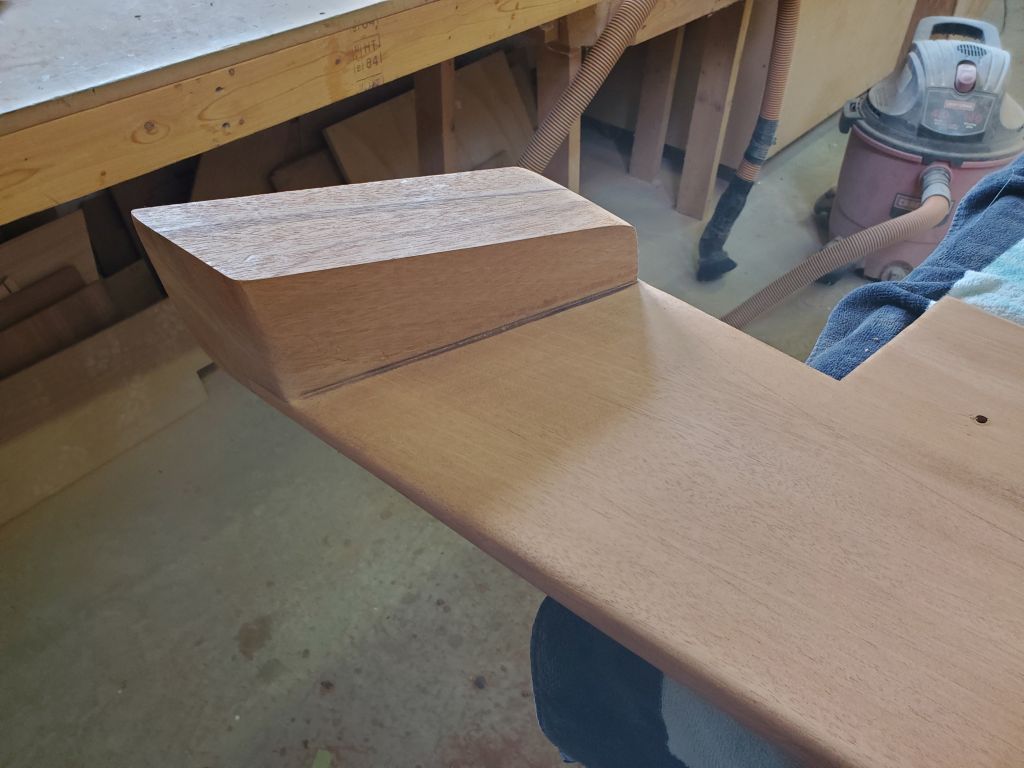

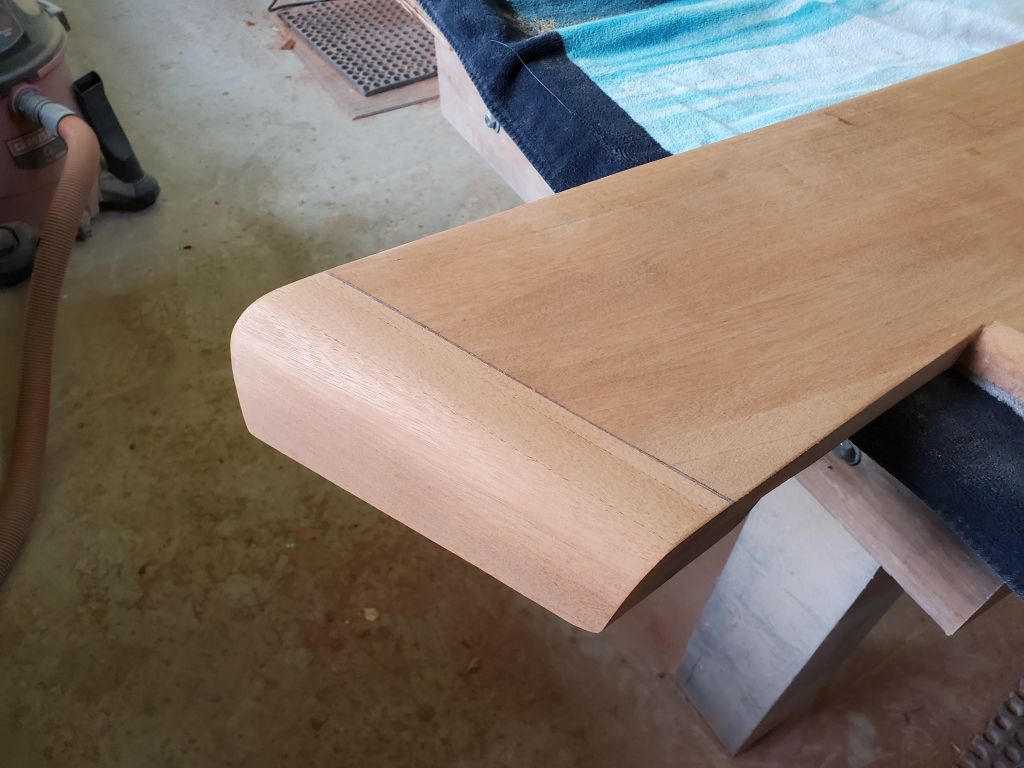
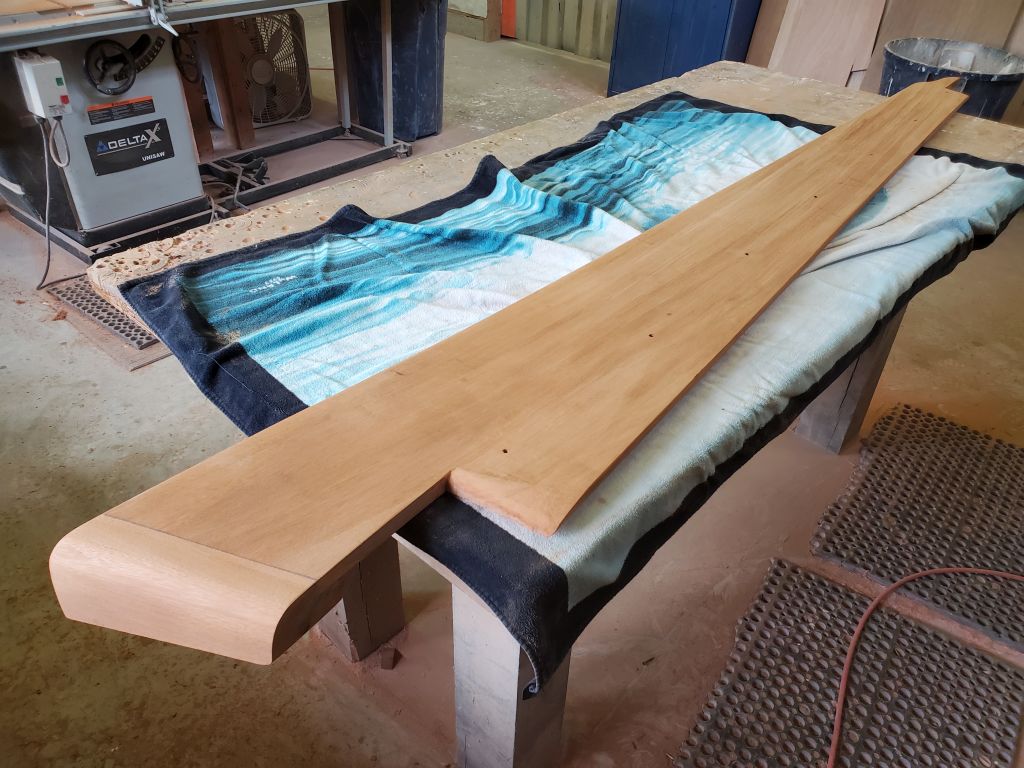

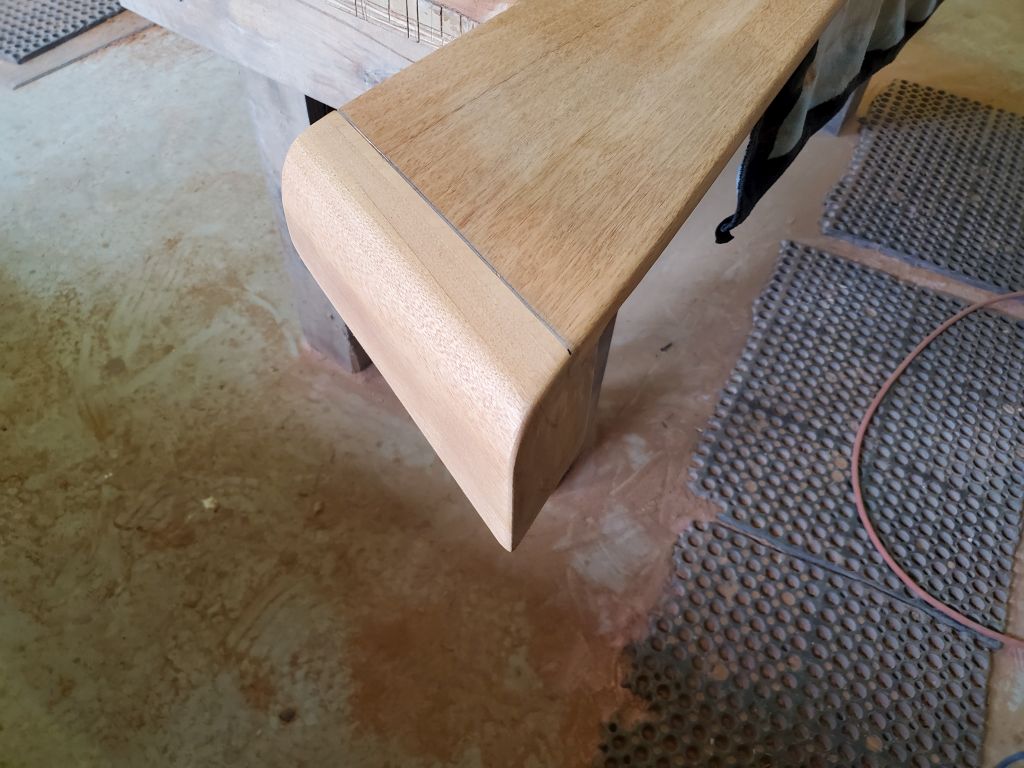

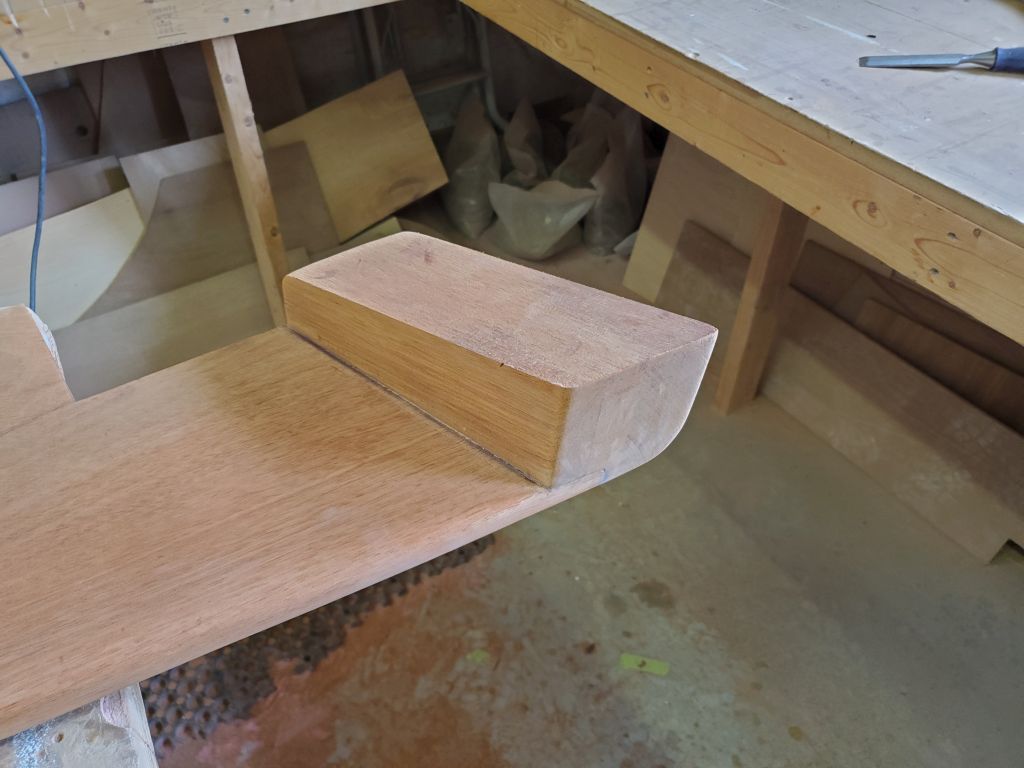
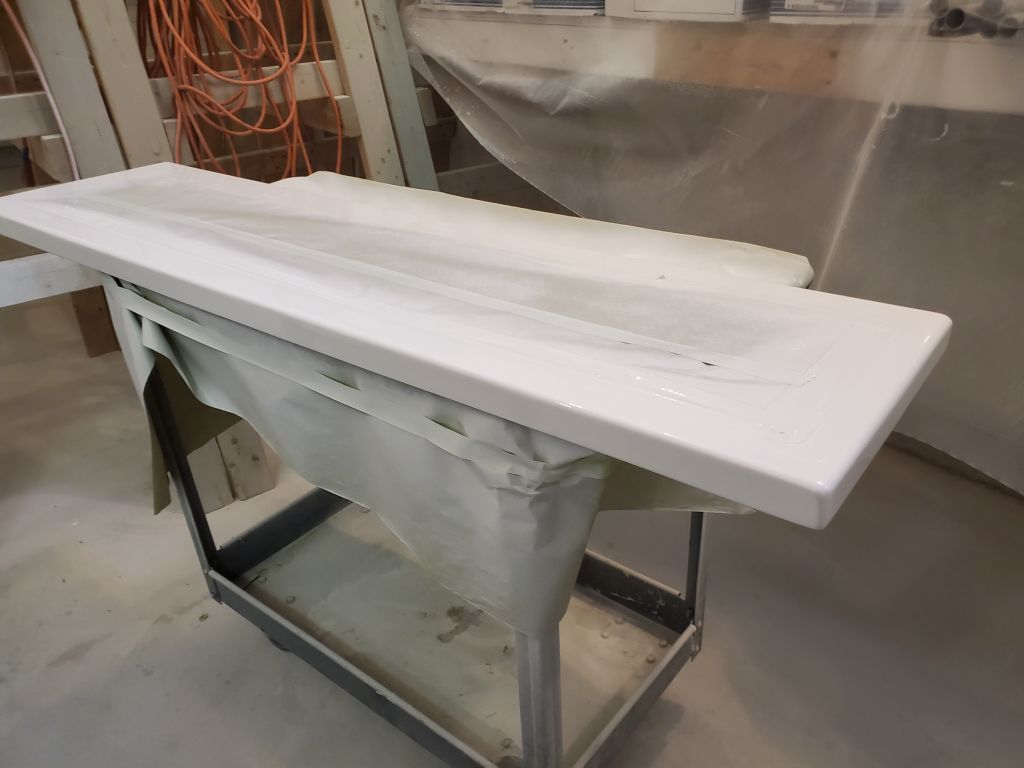
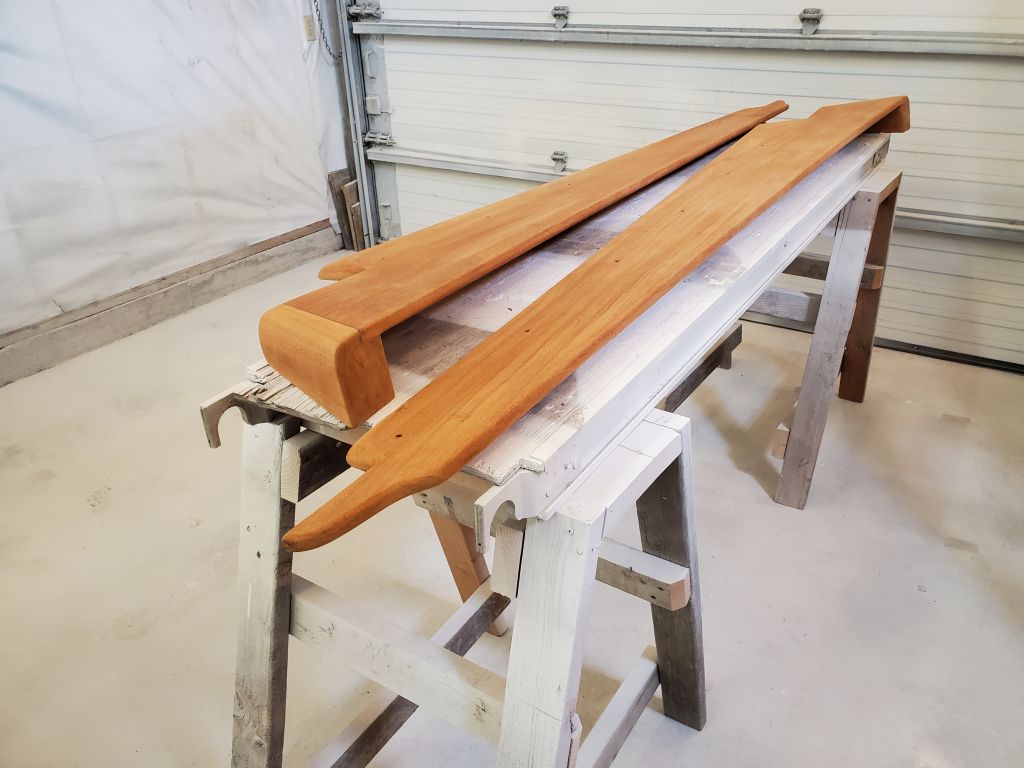
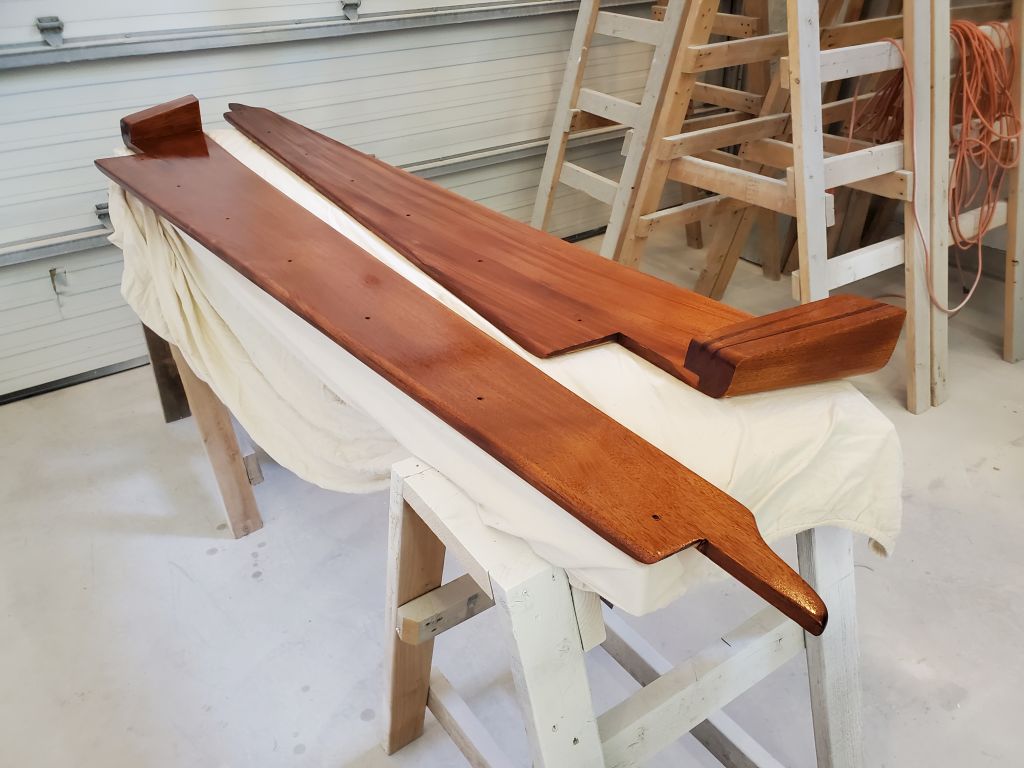
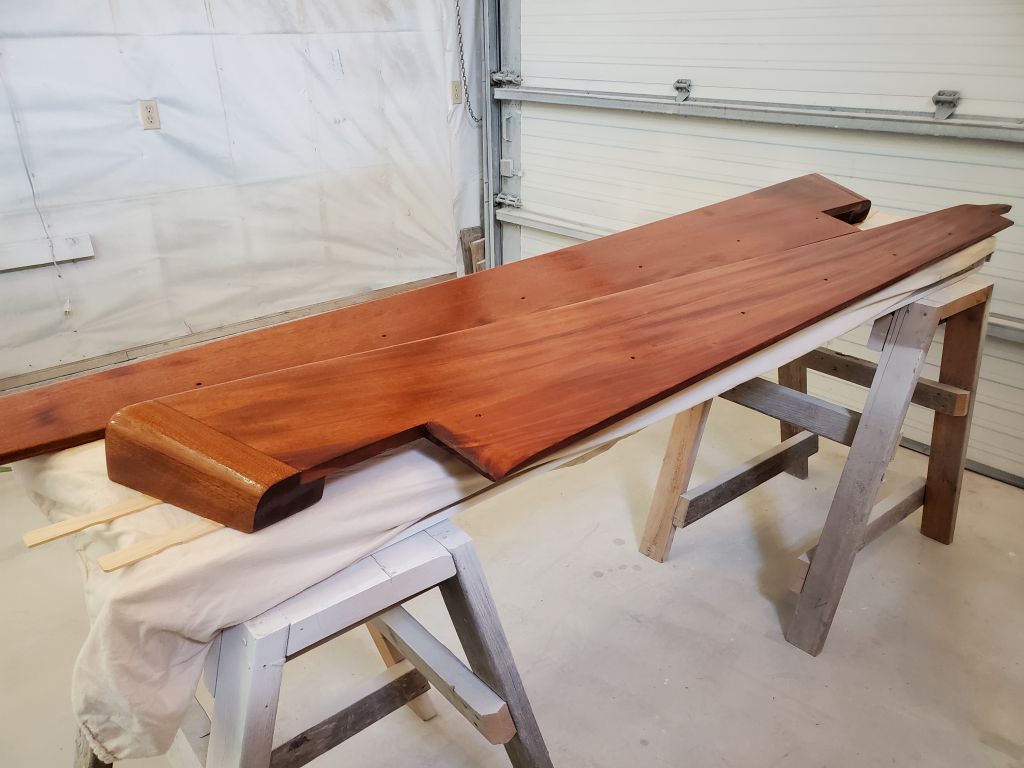
Afterwards, I set the coamings up on a table where I could do the varnish work over the coming days, and applied a sealer coat of varnish to both sides. I planned and hoped to do as many coats as possible to both sides at once, which would cut down on the elapsed time frame, but at some point I’d no longer be able to flip the coamings and have them rest even on the small corner of the varnished side; but for the first few build coats at least, I didn’t see this as a problem.


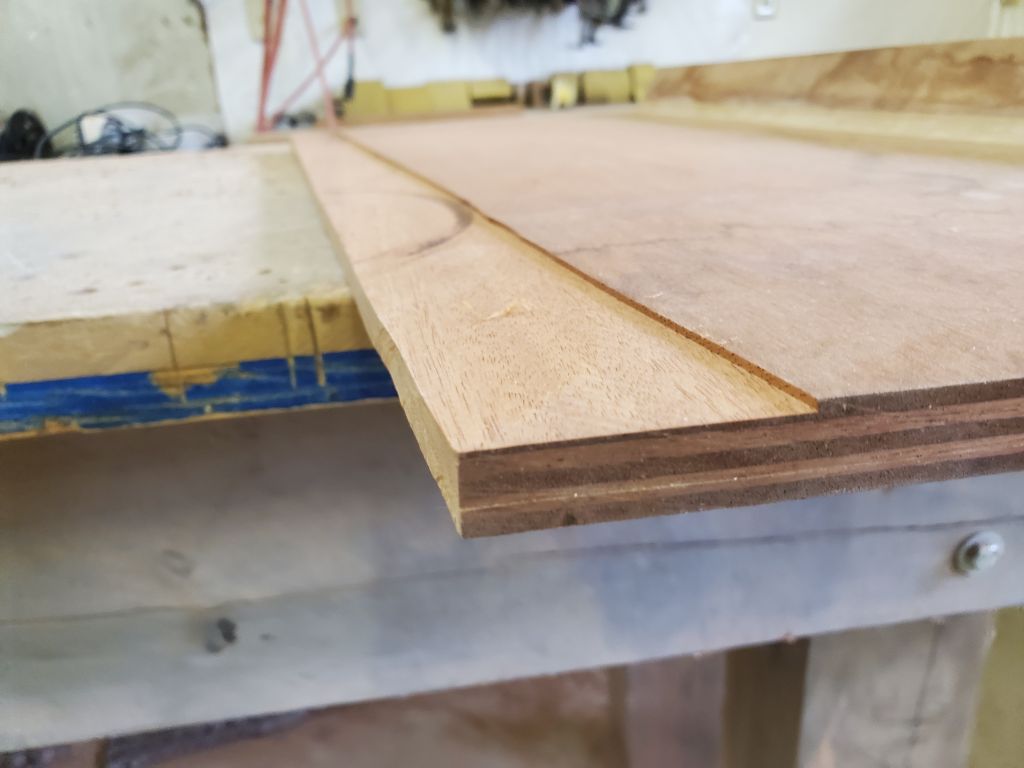
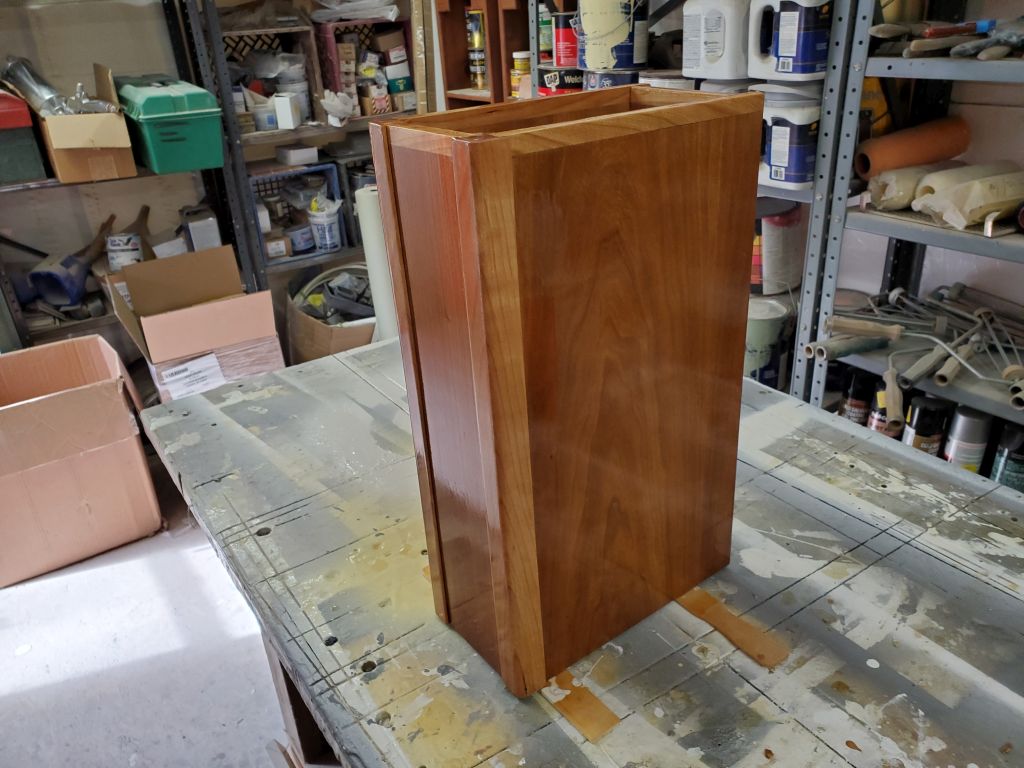
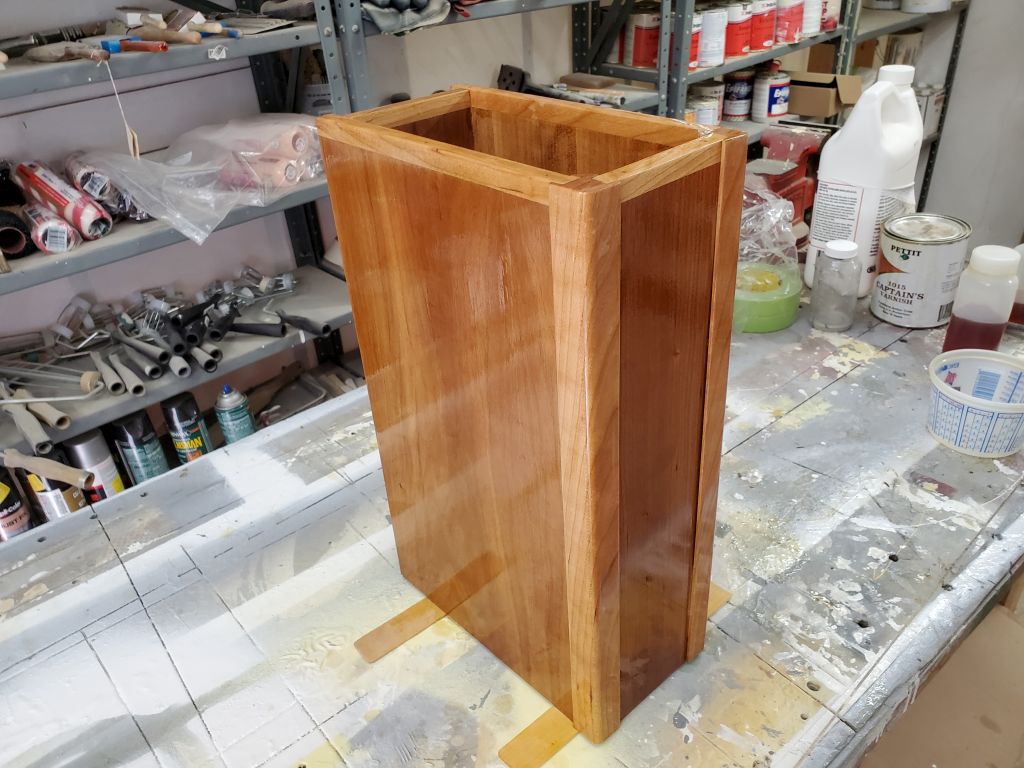
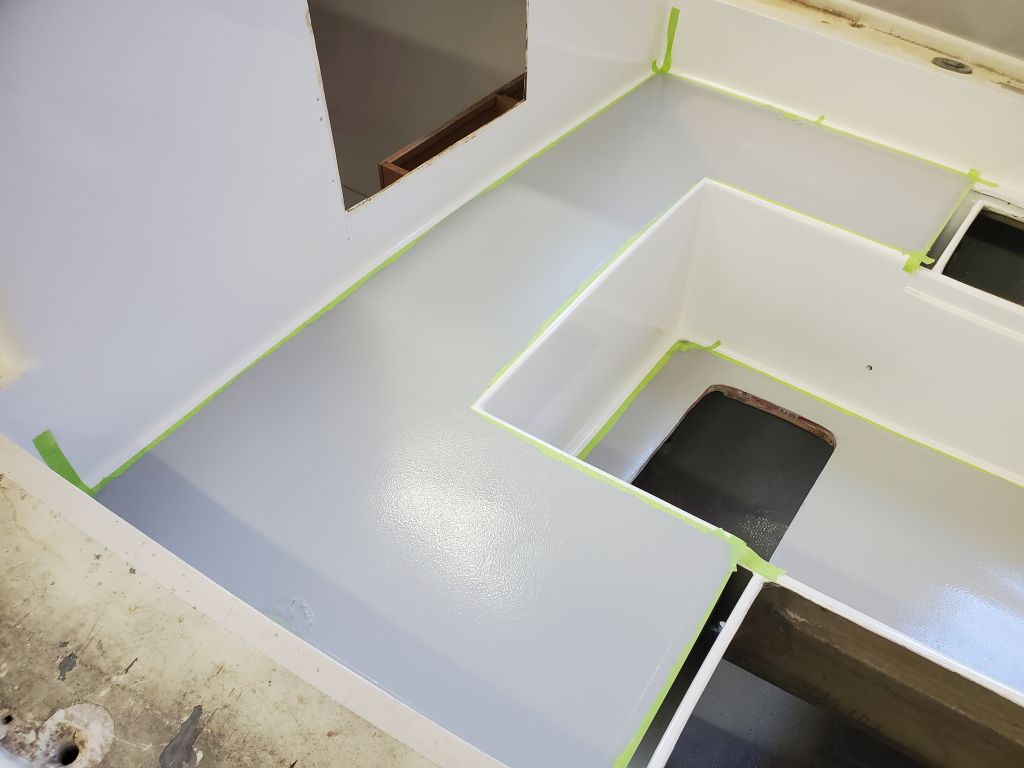
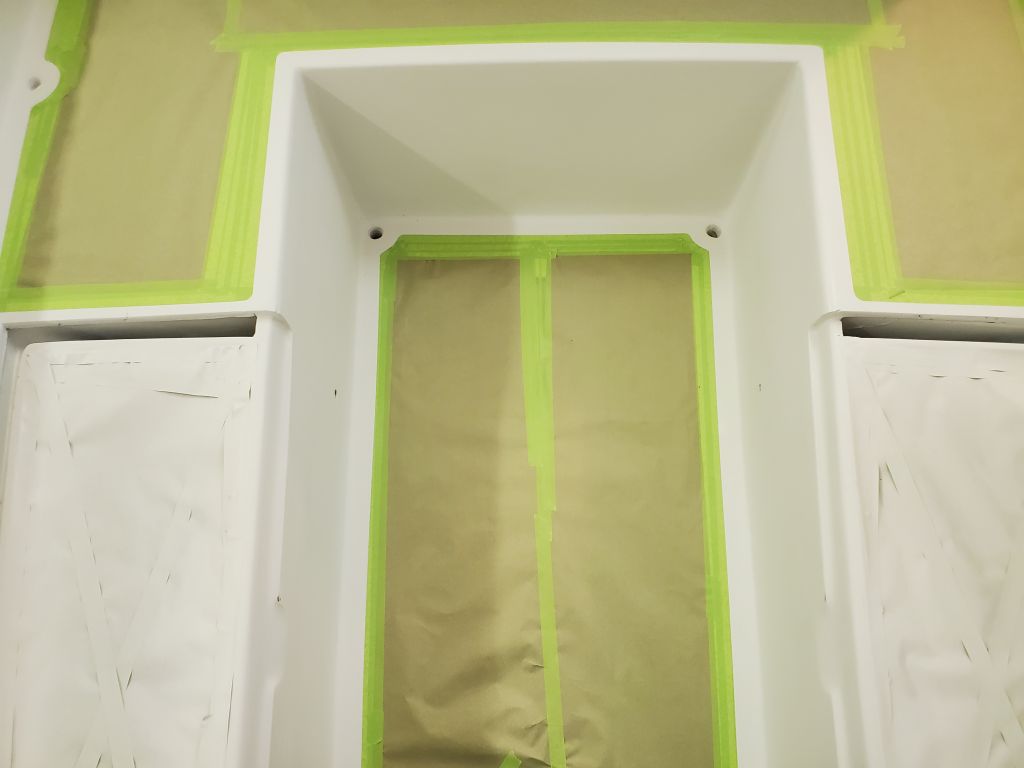
Also prefabricated by previous persons unknown, a new set of companionway trim came along with the boat, all milled to shape and with at least a few coats of varnish already applied. The trim looked good, but until I started to fit it I had no idea whether it would work as is, or require modifications.
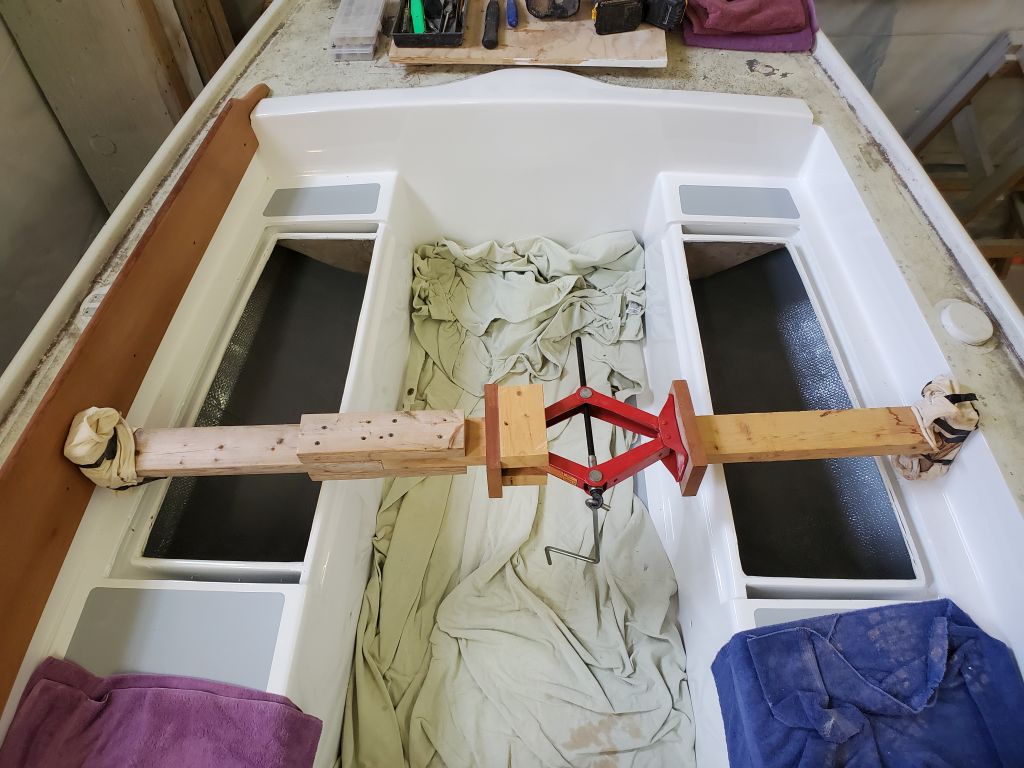
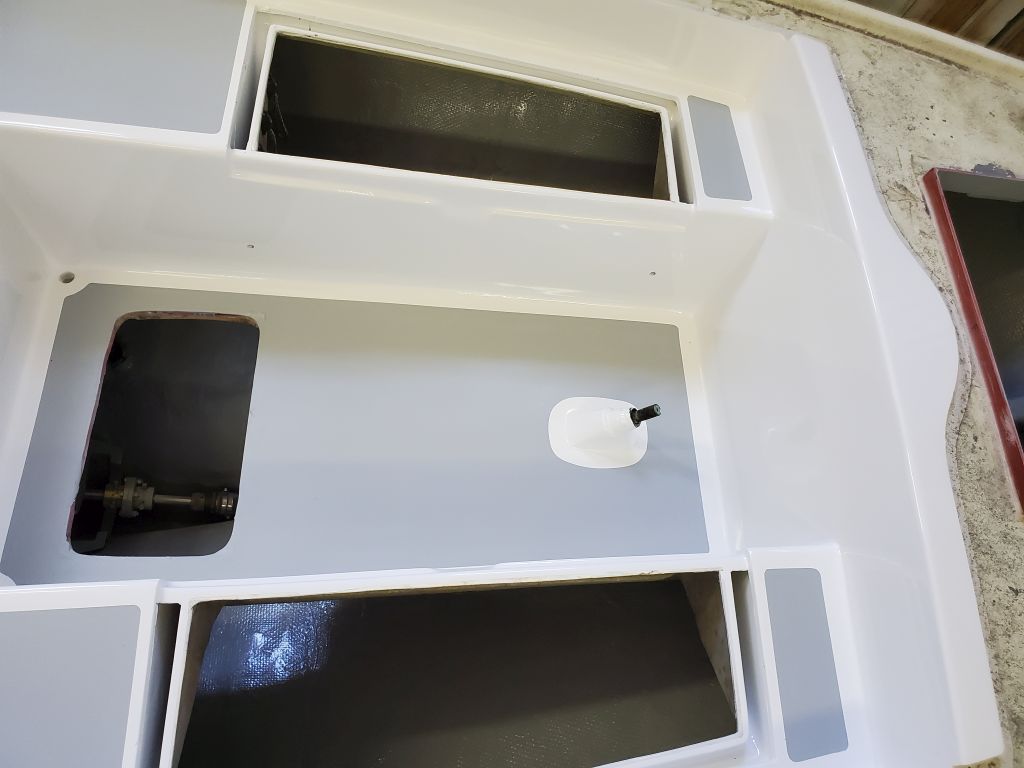
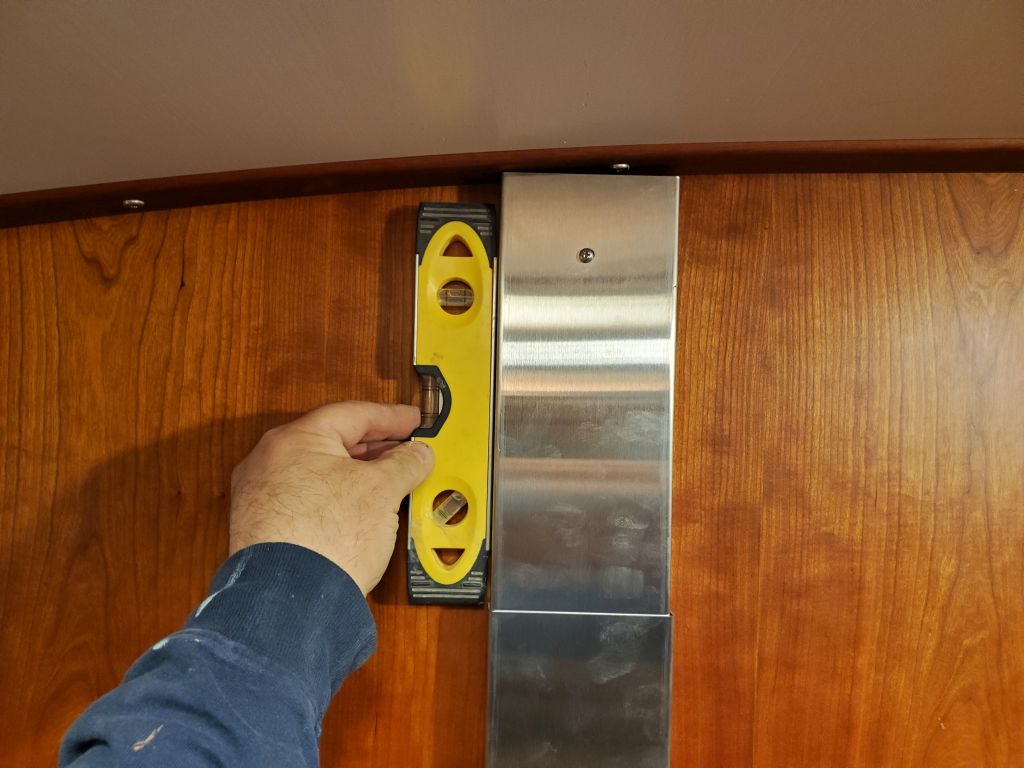
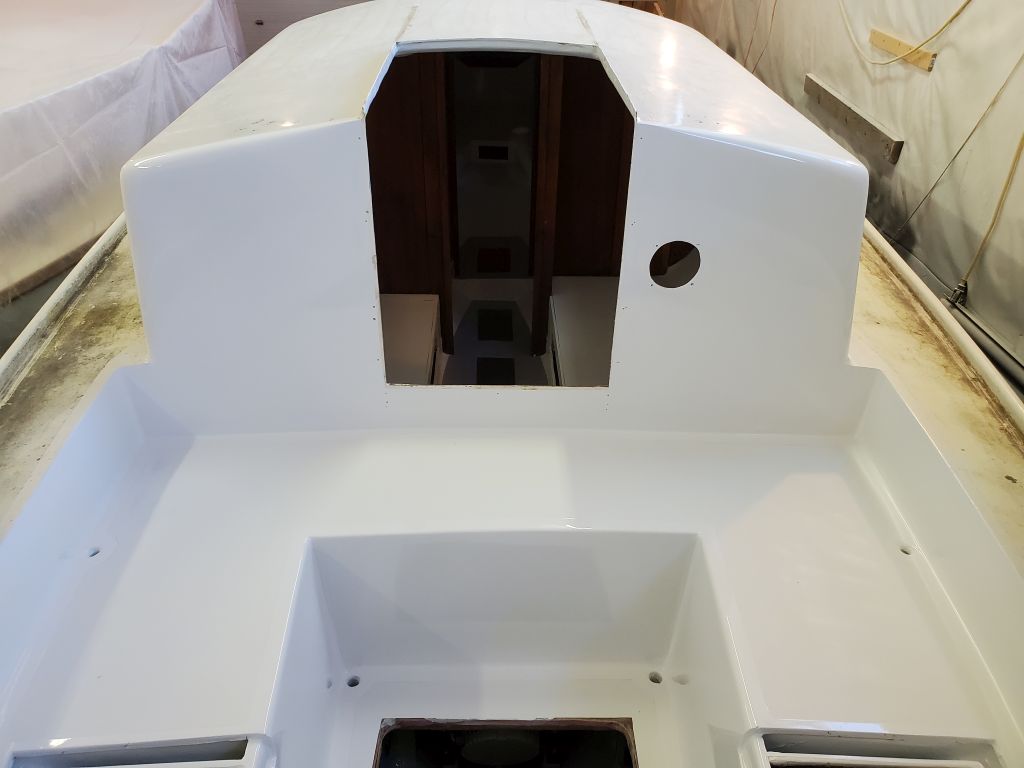
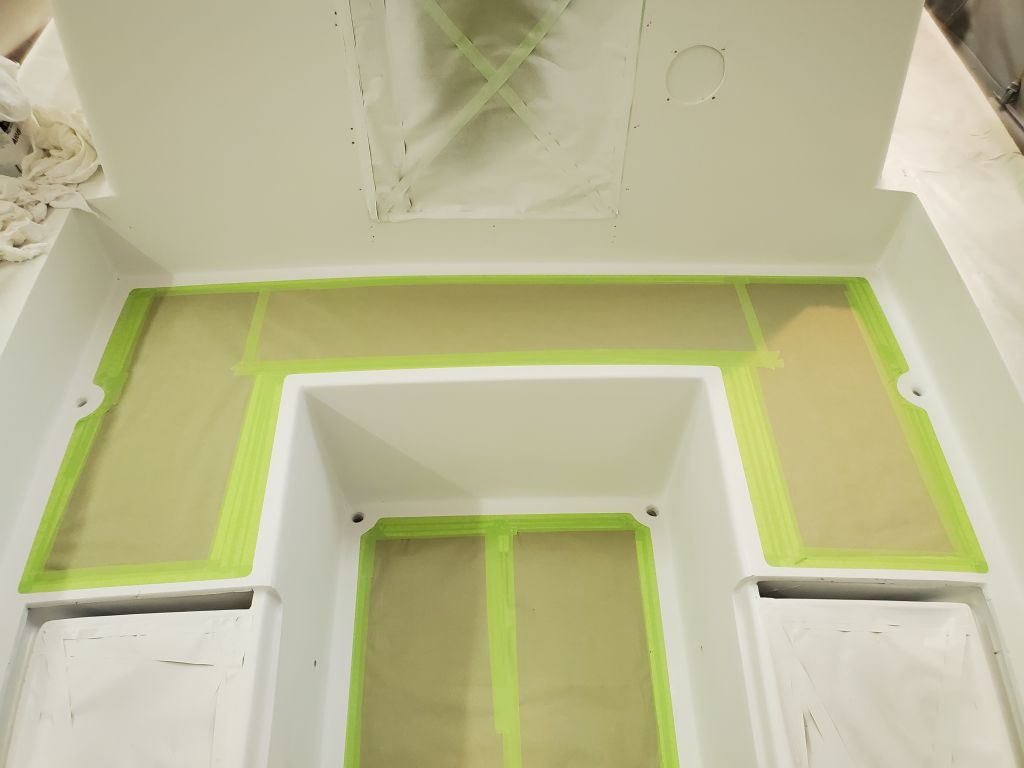
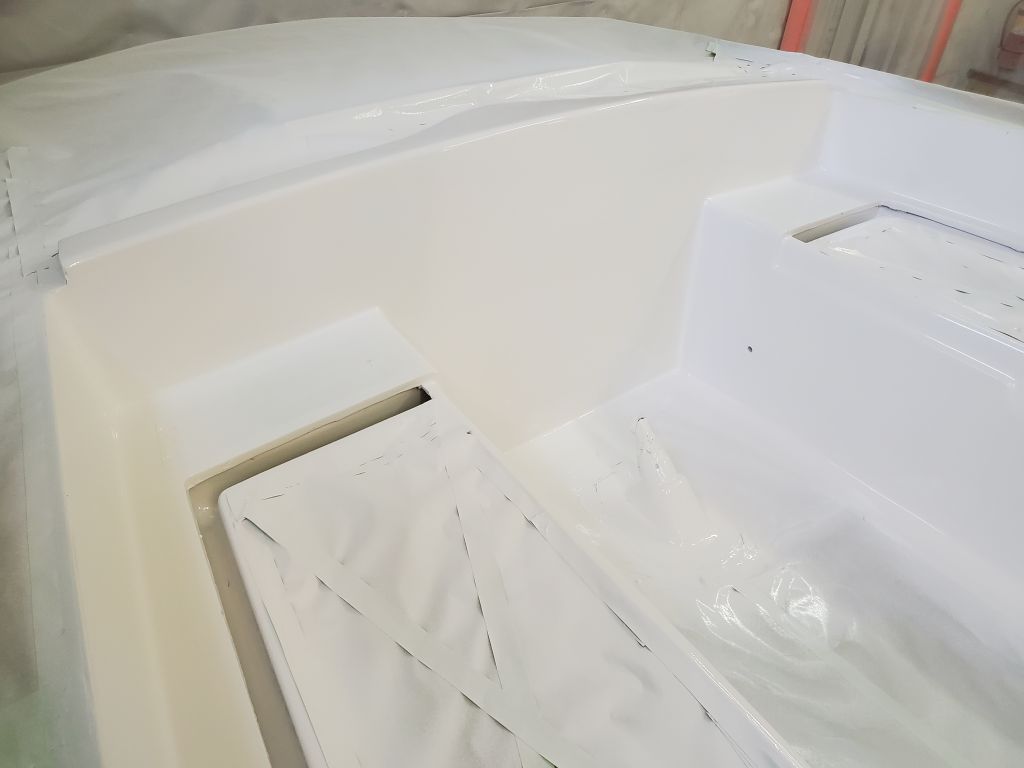
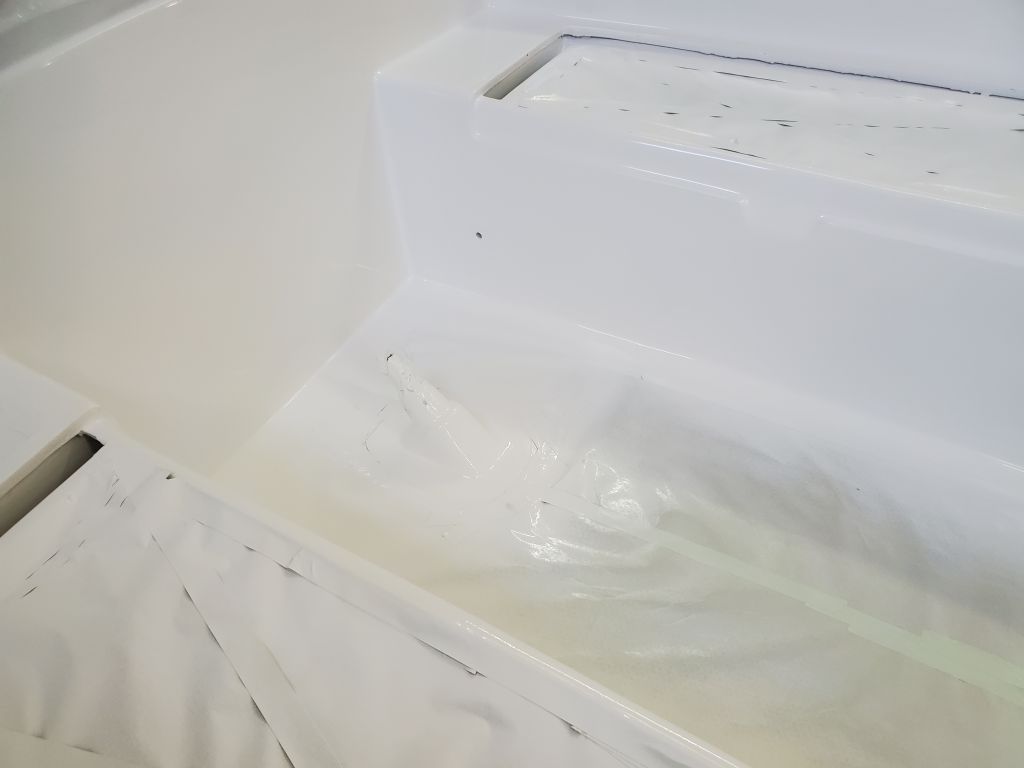
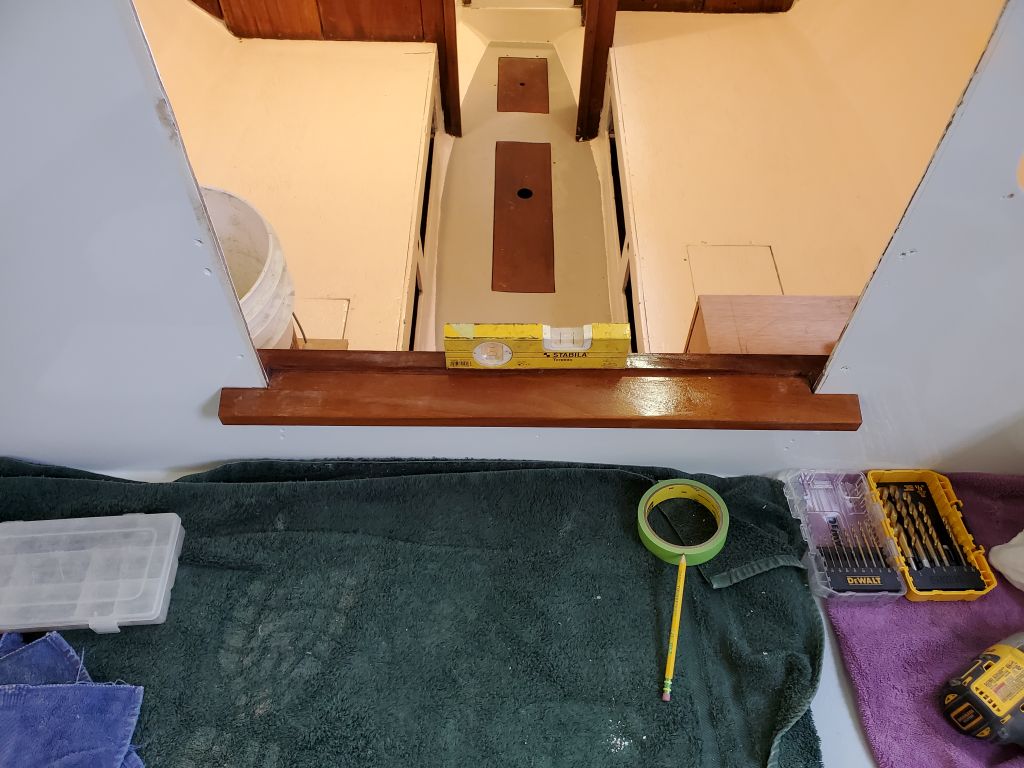
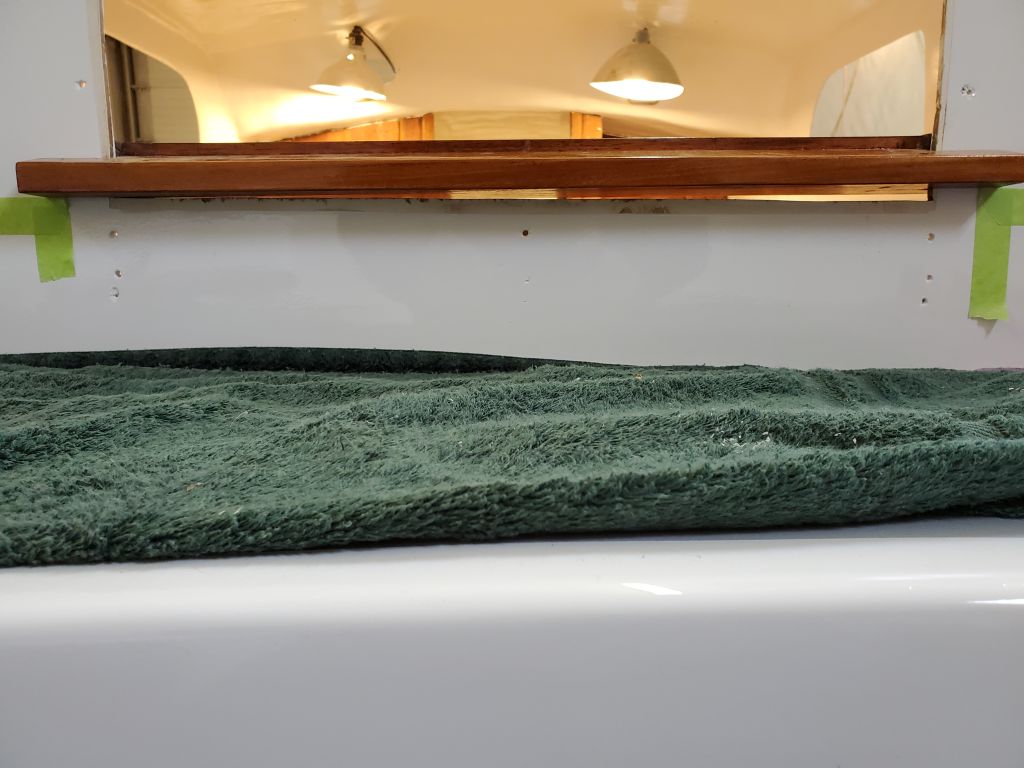
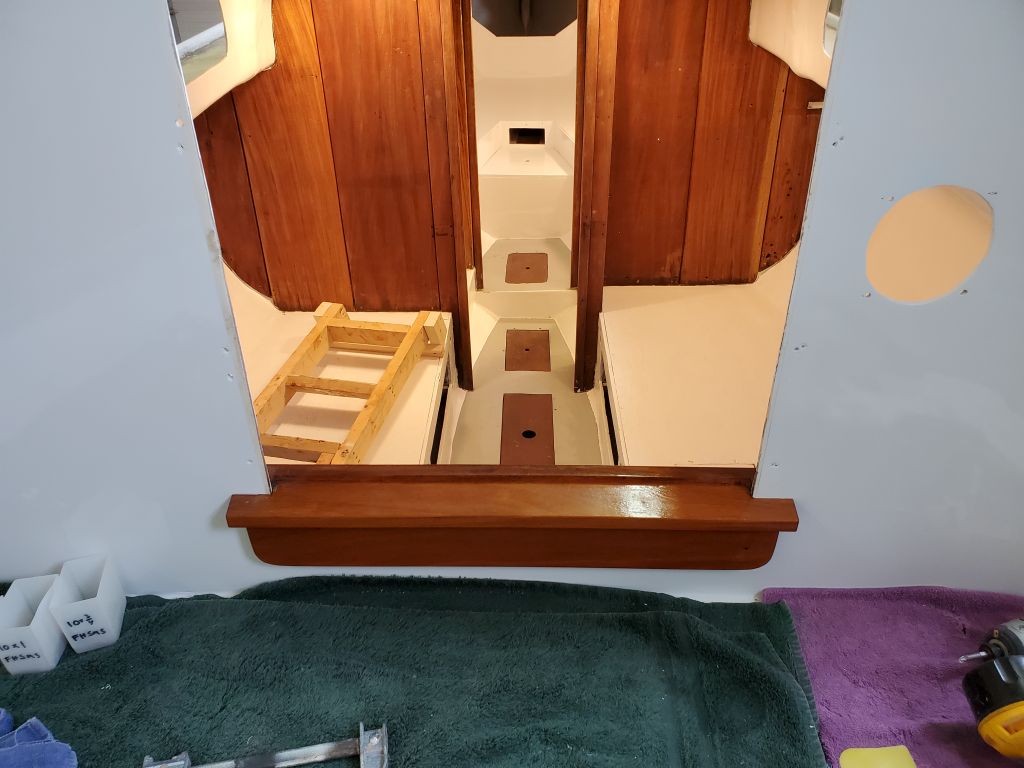
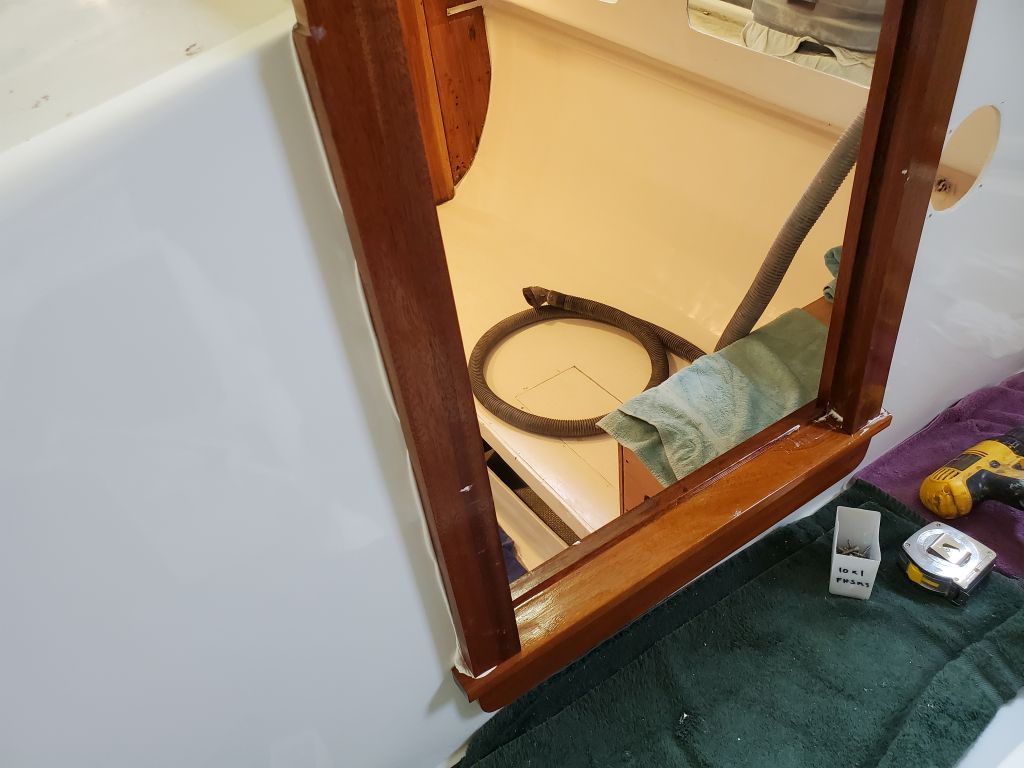
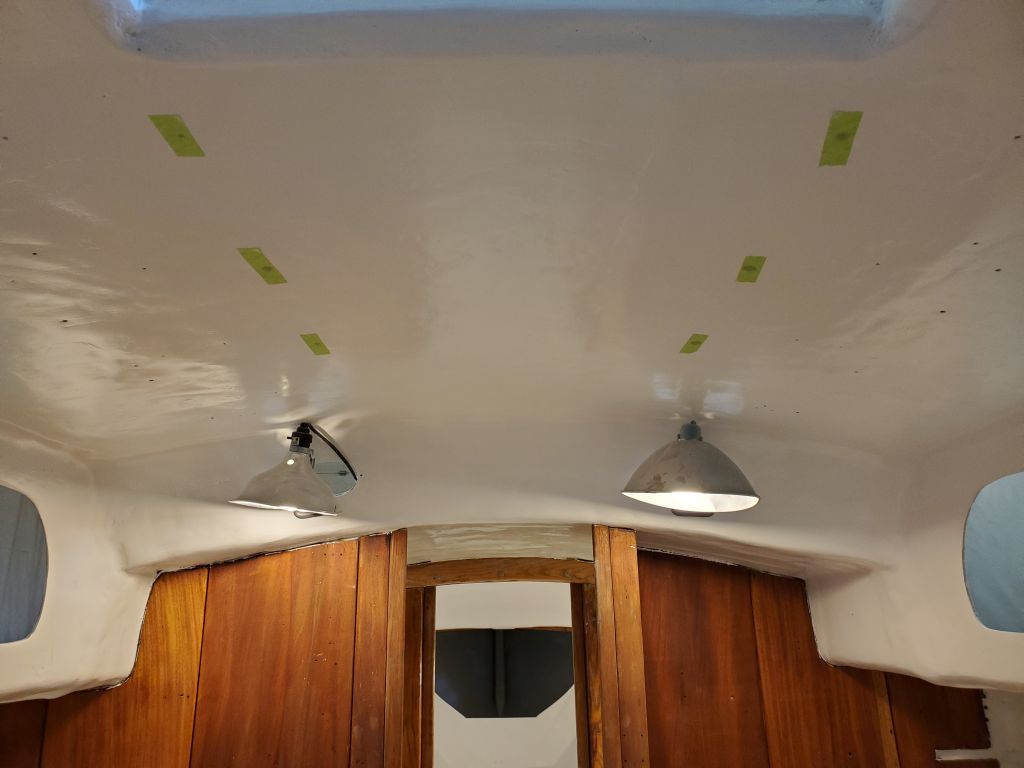
Fortunately, all the pieces fit well when I test-fit things, so I got to work on installation, beginning with the sill. I originally set the sill up level, which left a gap beneath on the starboard side since the cutout in the fiberglass apparently wasn’t level. This didn’t pose any problem given how the various trim pieces interacted and were installed, but I soon found that if I kept the sill level, the apron trim beneath ended up looking odd, since the reveal between the bridgedeck and the bottom of the trim was uneven when the sill was level. When I pushed the sill back down to the edge of the cutout in the fiberglass, the apron trim had a consistent reveal beneath. Ultimately, I decided that the appearance mattered much more than being truly “level”, and the trim had to look right to the eye. So I pressed on with final installation with the sill resting against the edge of the opening.
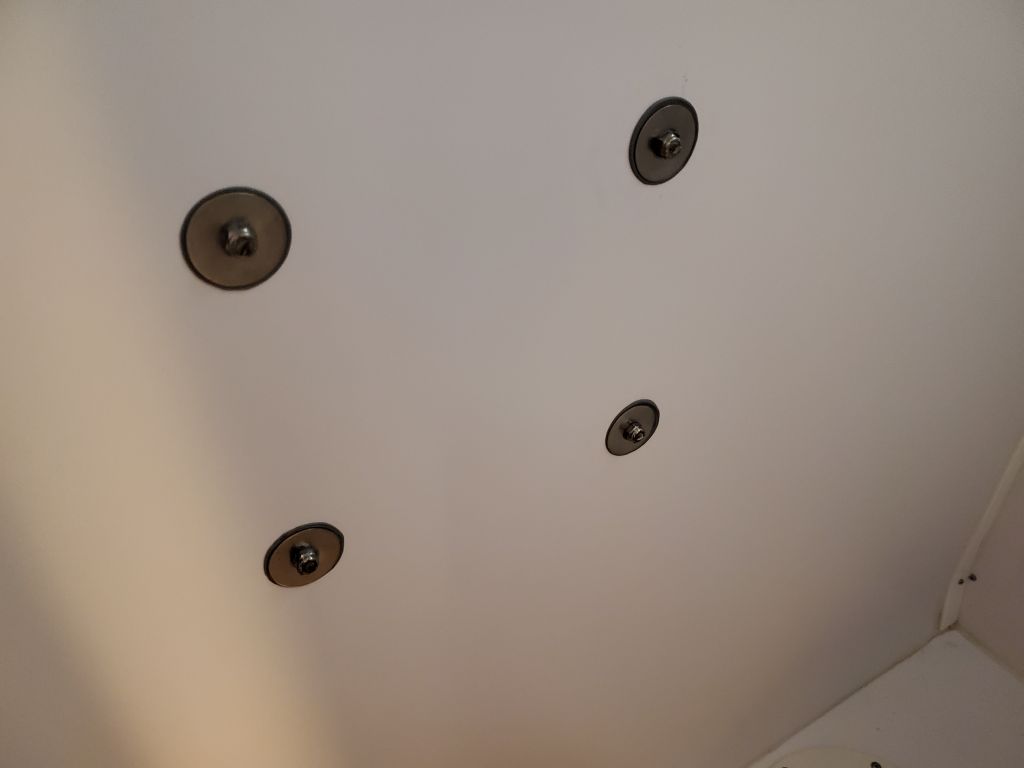
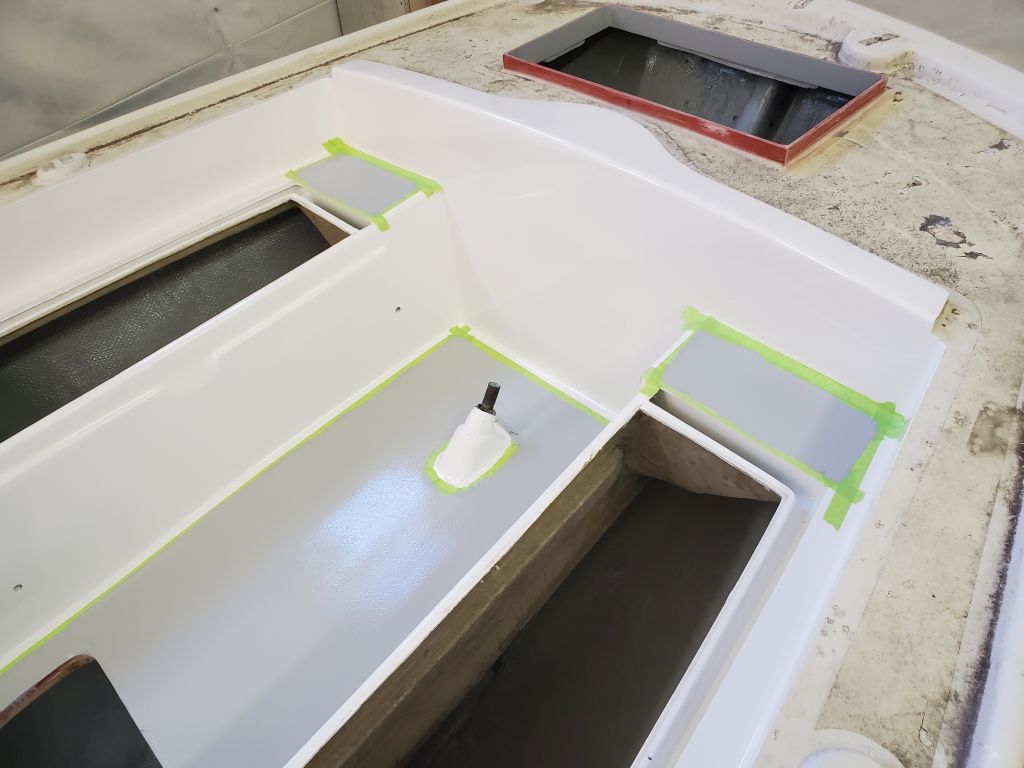
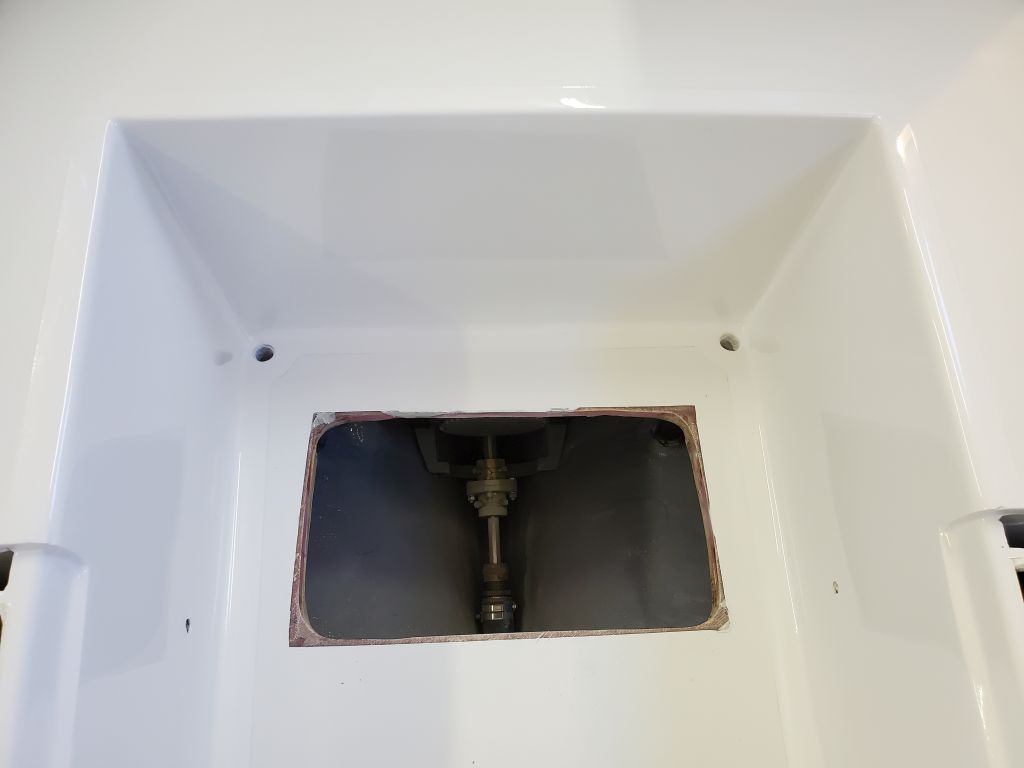
I installed the apron with screws through the back, from inside the boat, and sealant, then installed the sill over the top with more sealant.


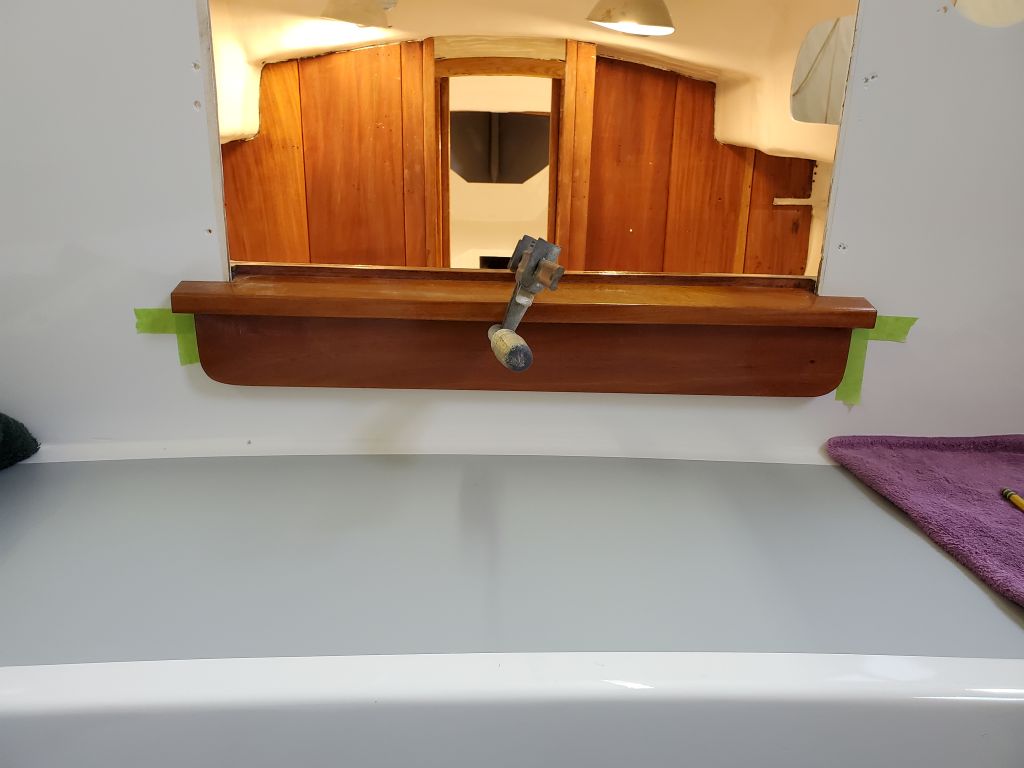
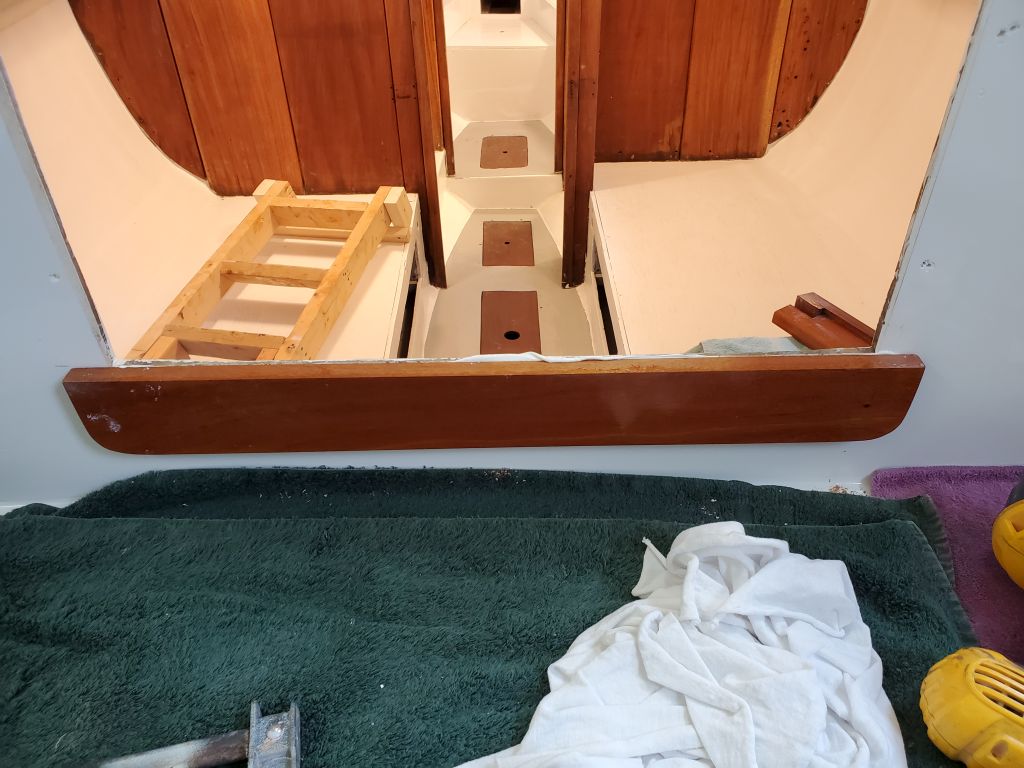
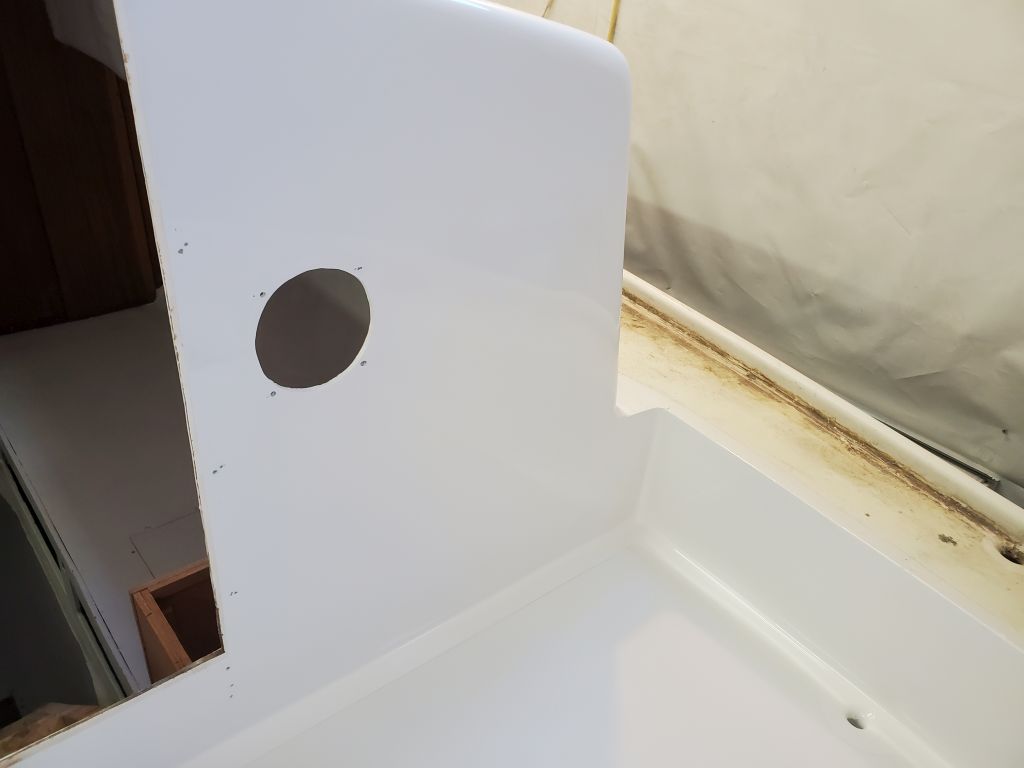
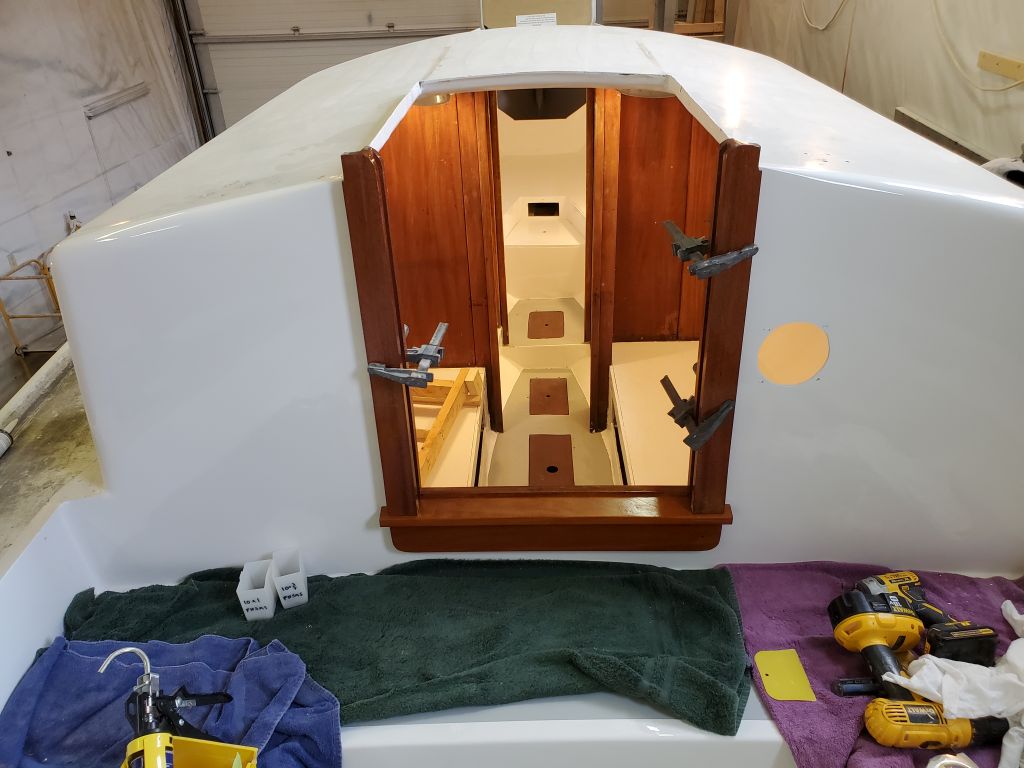
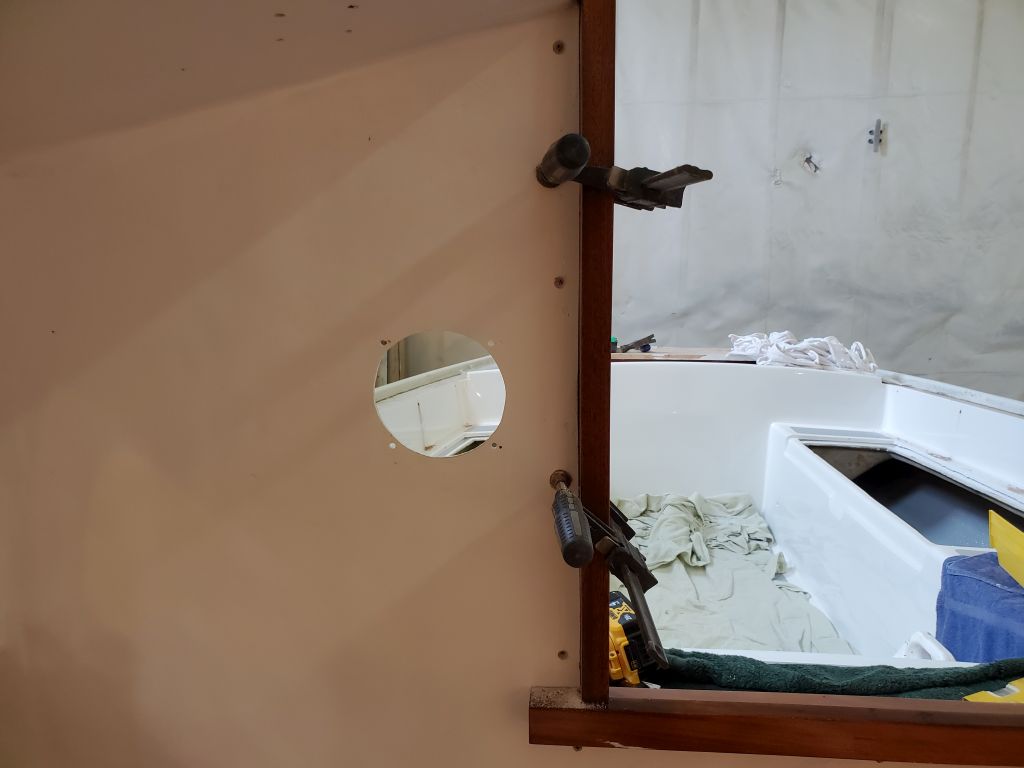
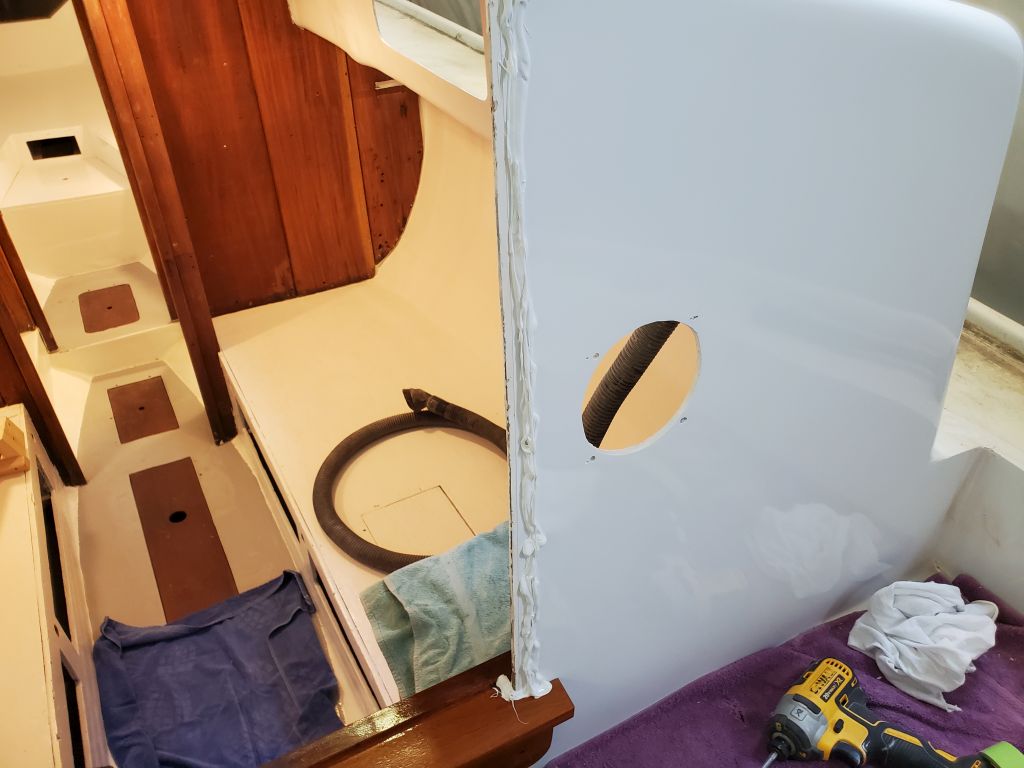
Next, I installed the two side pieces of trim, which incorporated the external face trim and the slots for the swashboards. These fit well and without issue. As with the apron, I installed these trims with screws from inside the boat and sealant, leaving the clean outward appearance free of fasteners. Additional trim on the inside of the boat would later cover the exposed screw heads there and finish off the interior appearance.


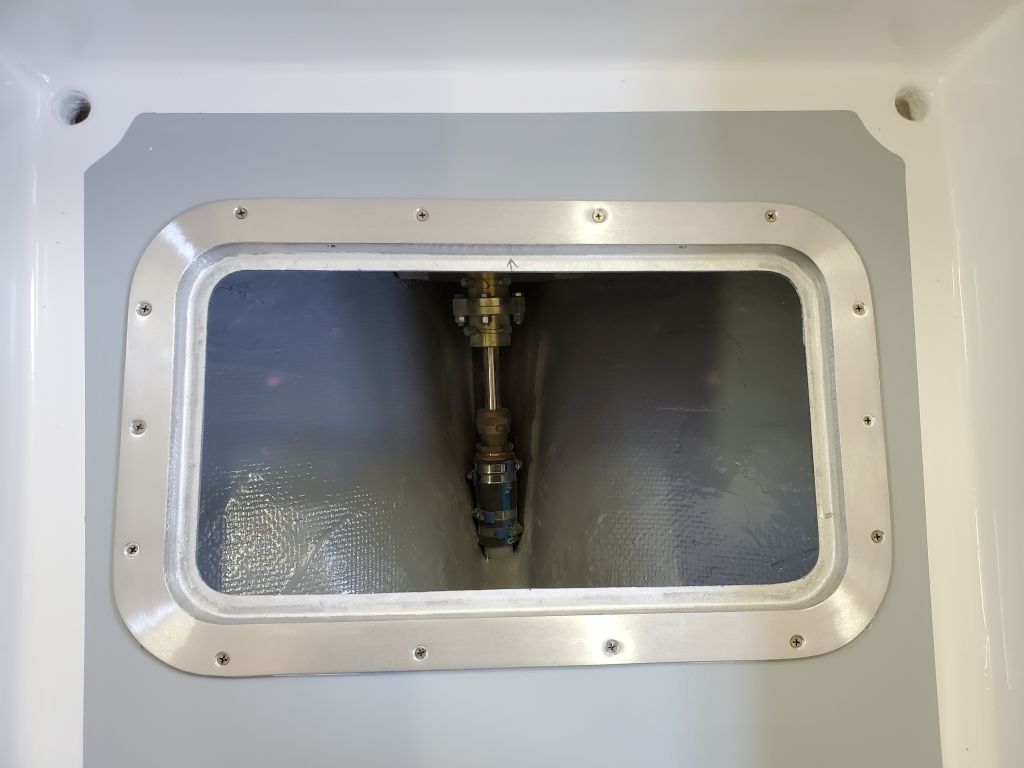
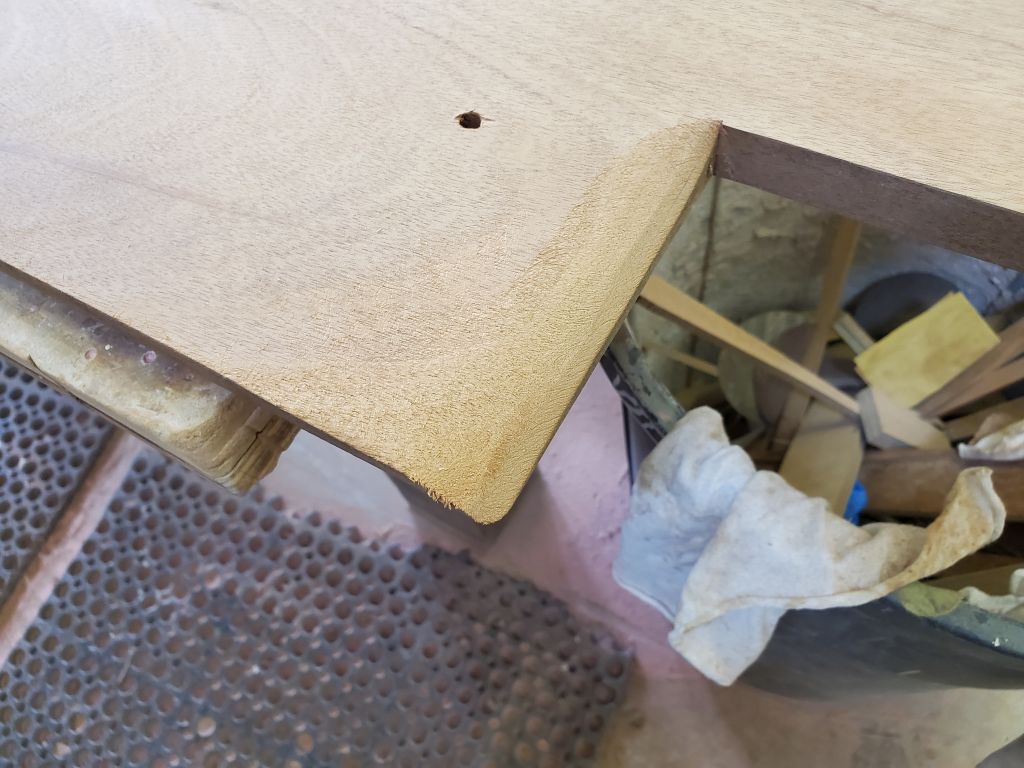
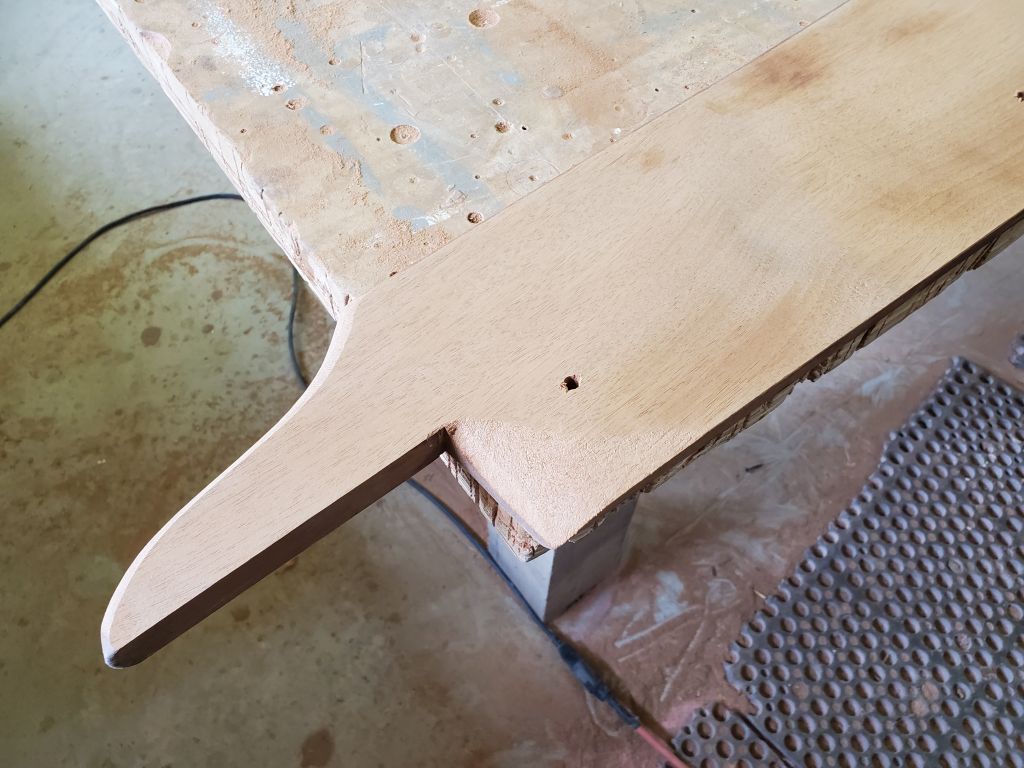
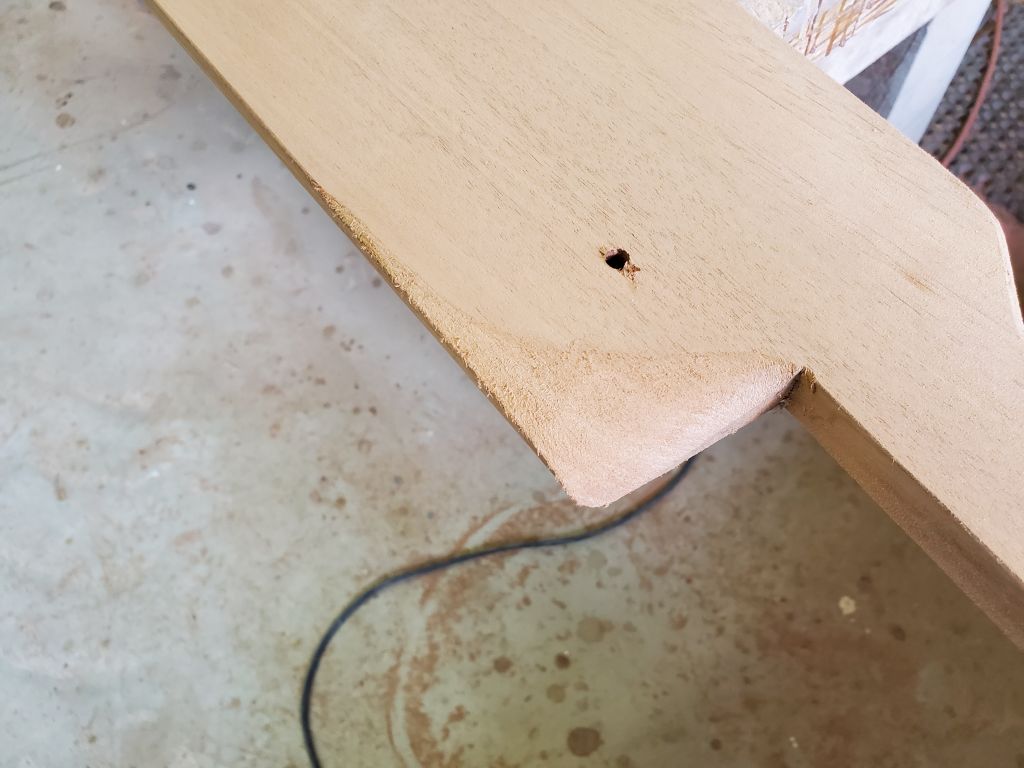
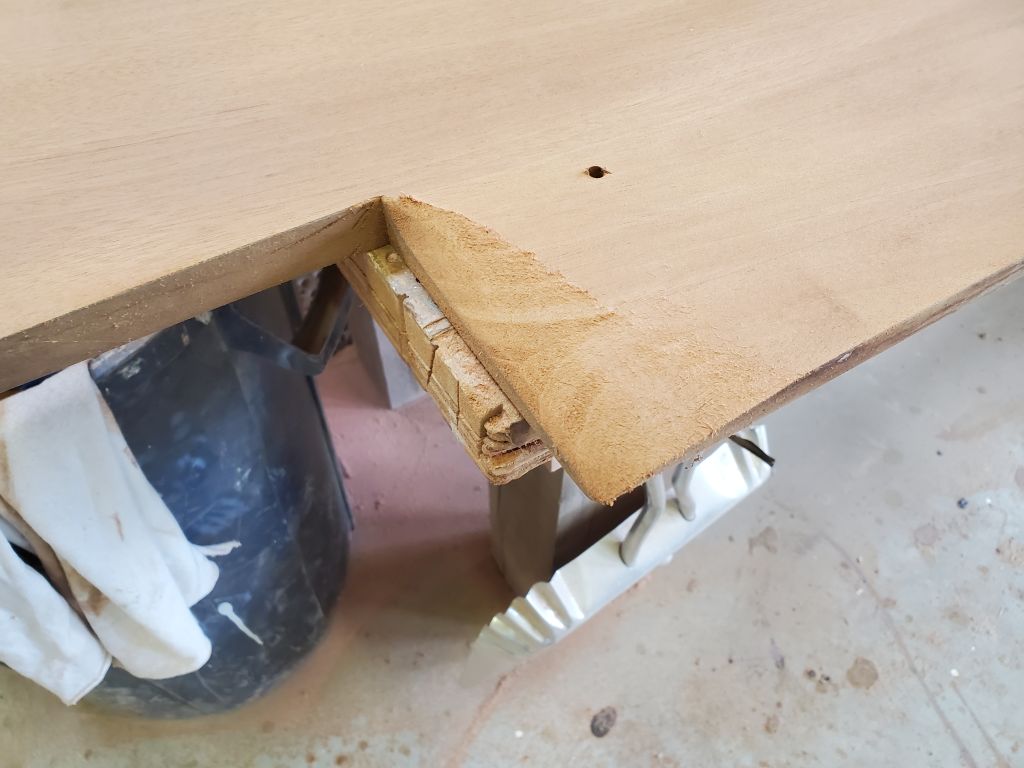
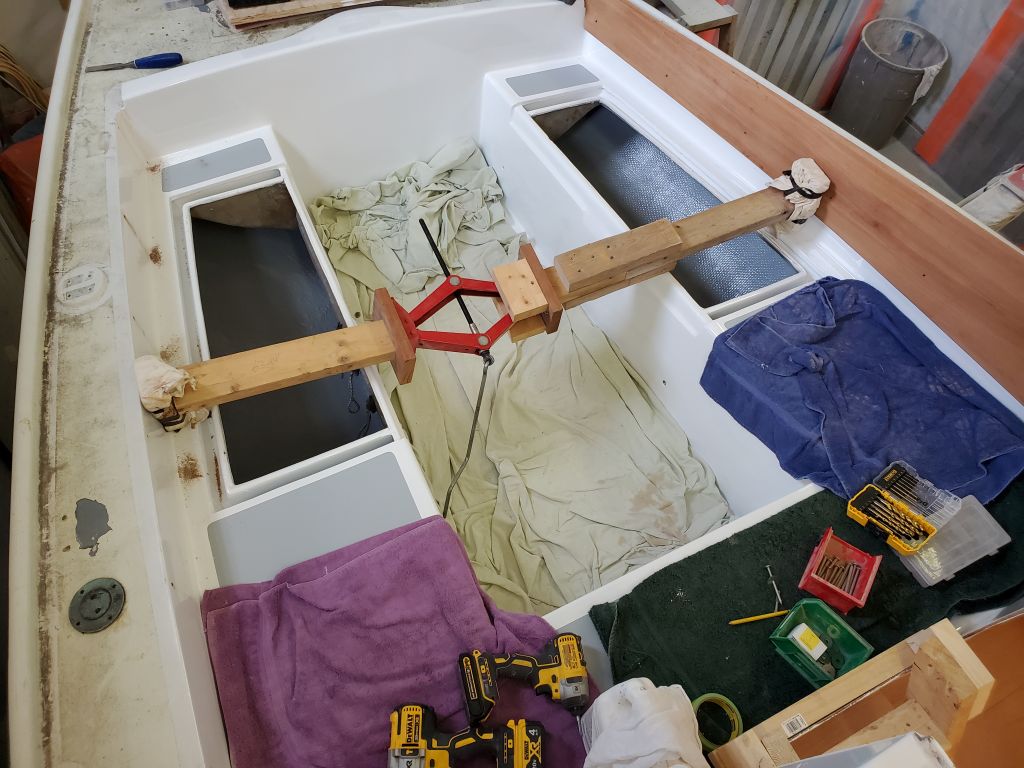
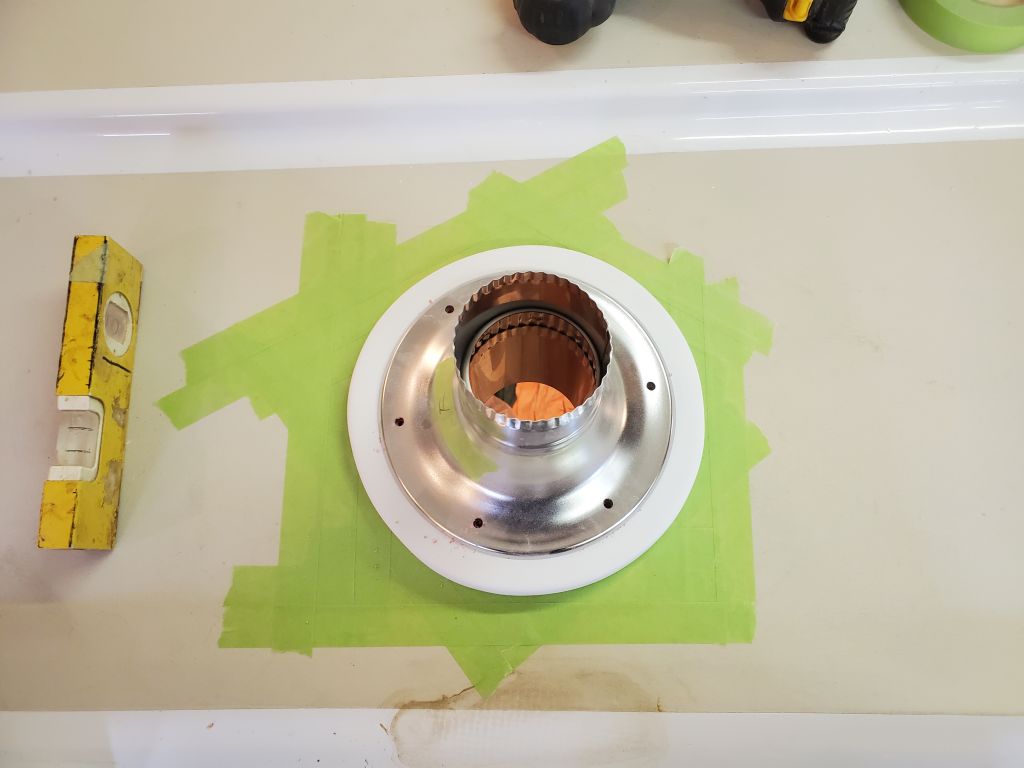
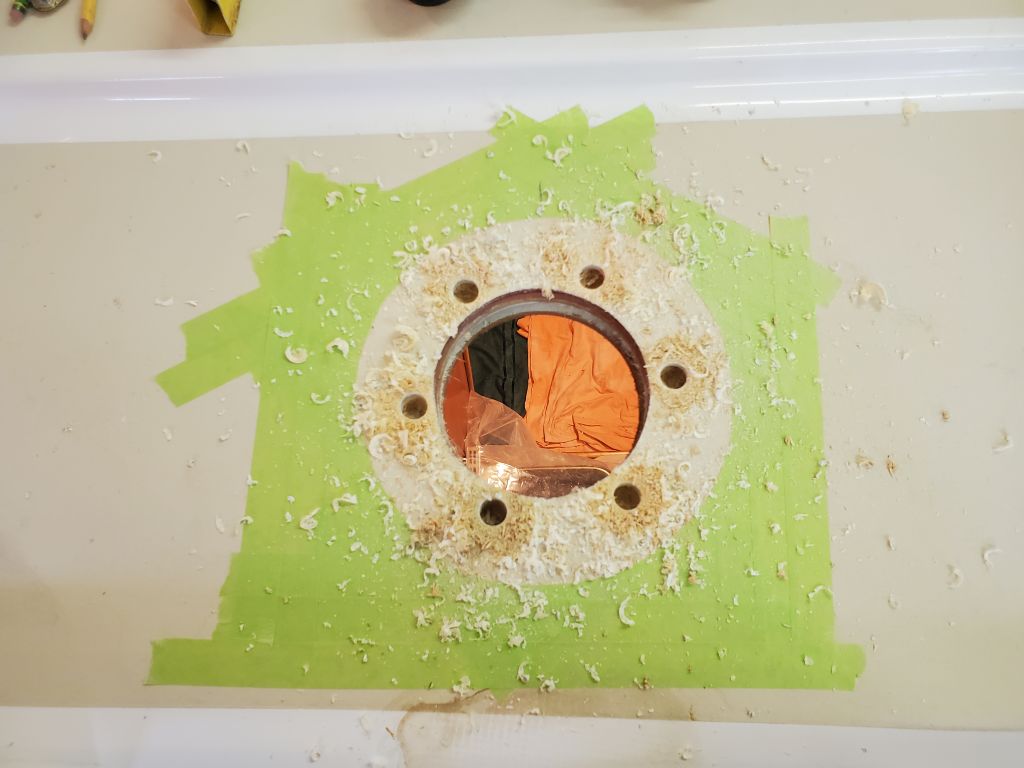
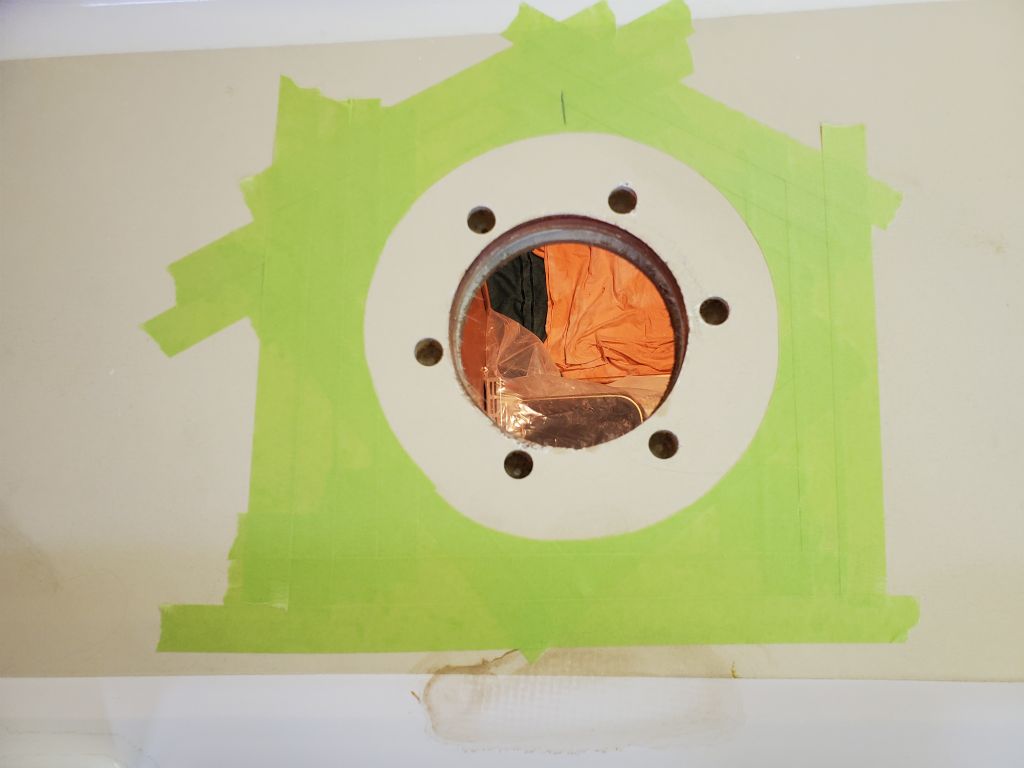
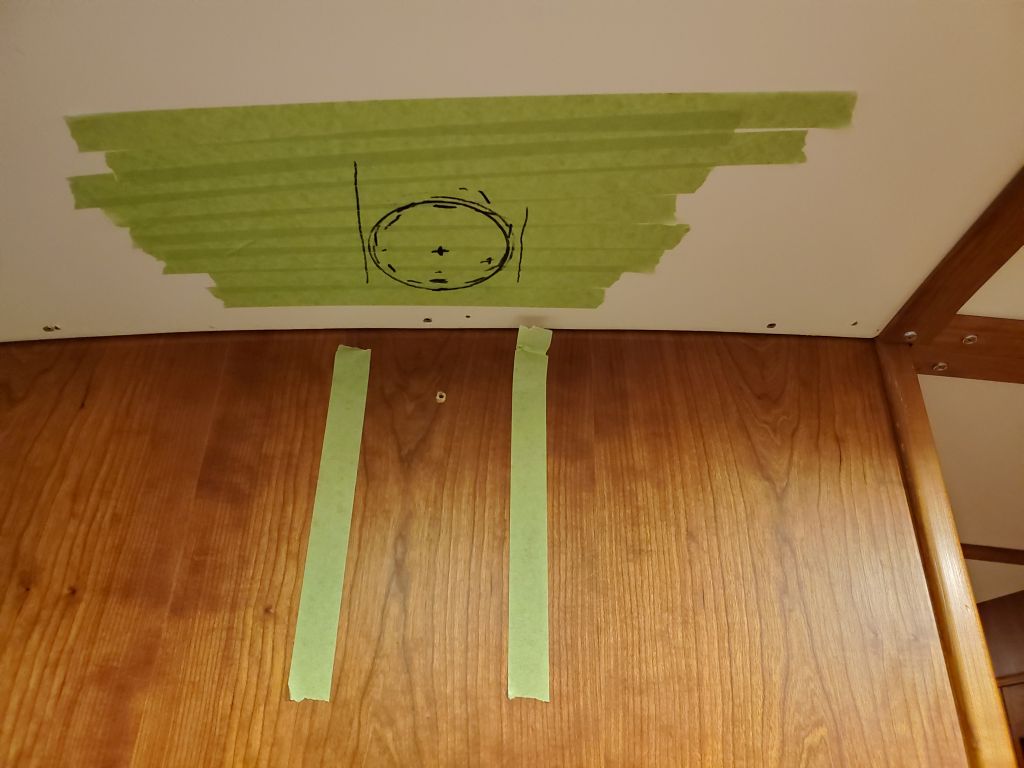
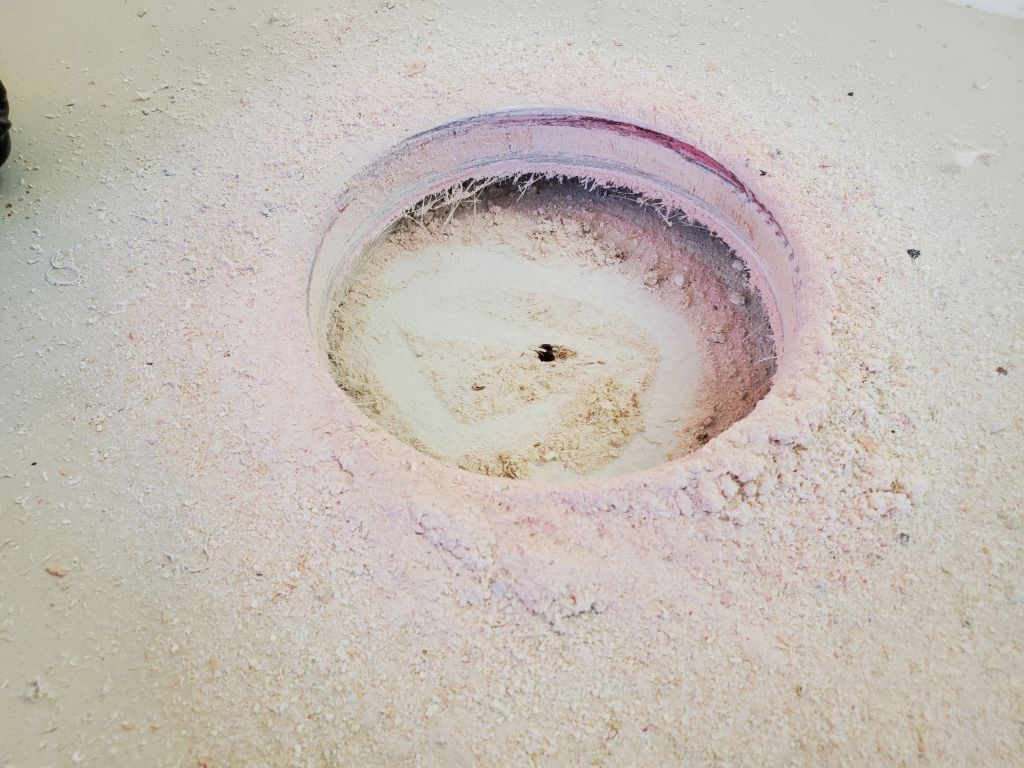
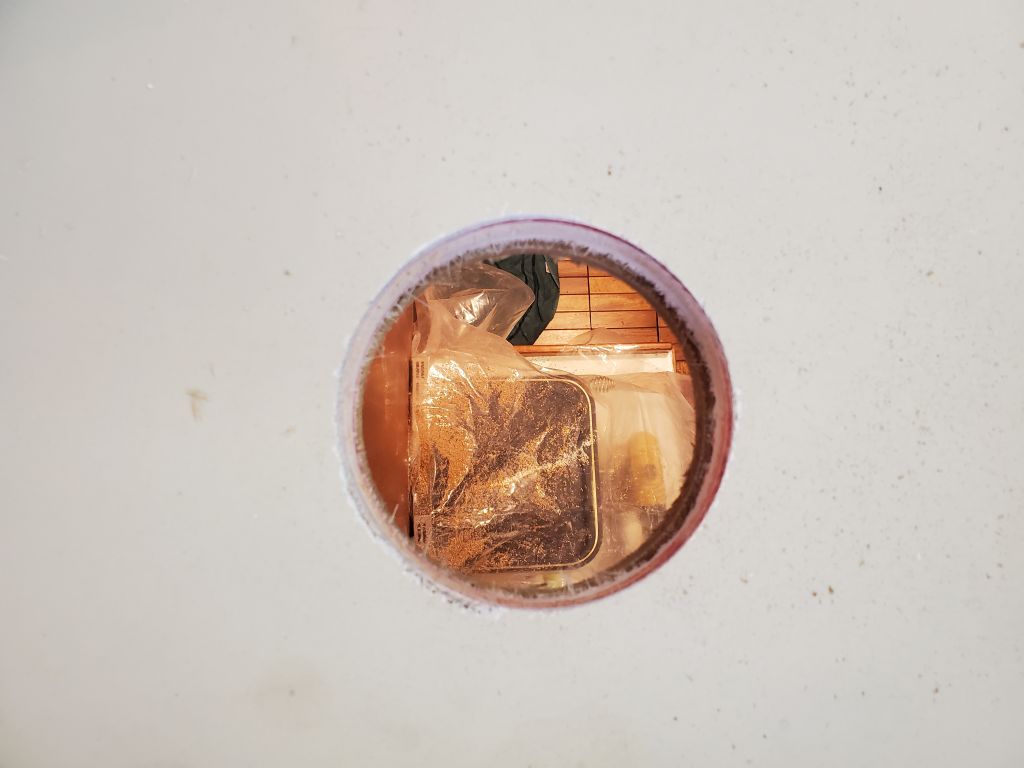
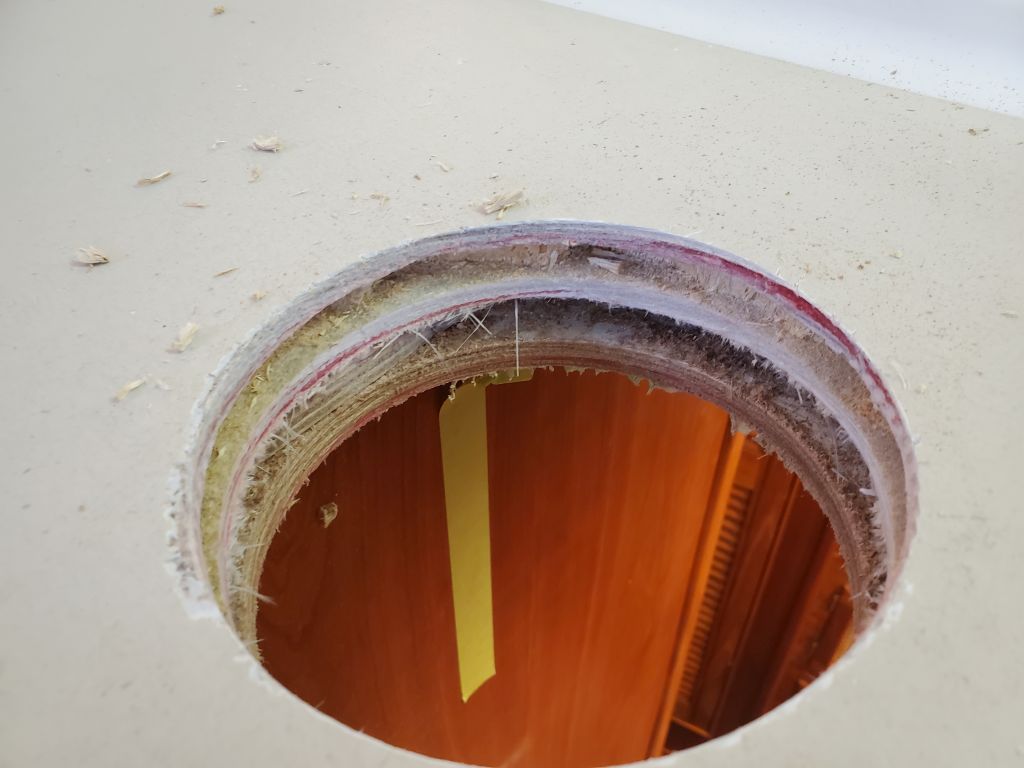
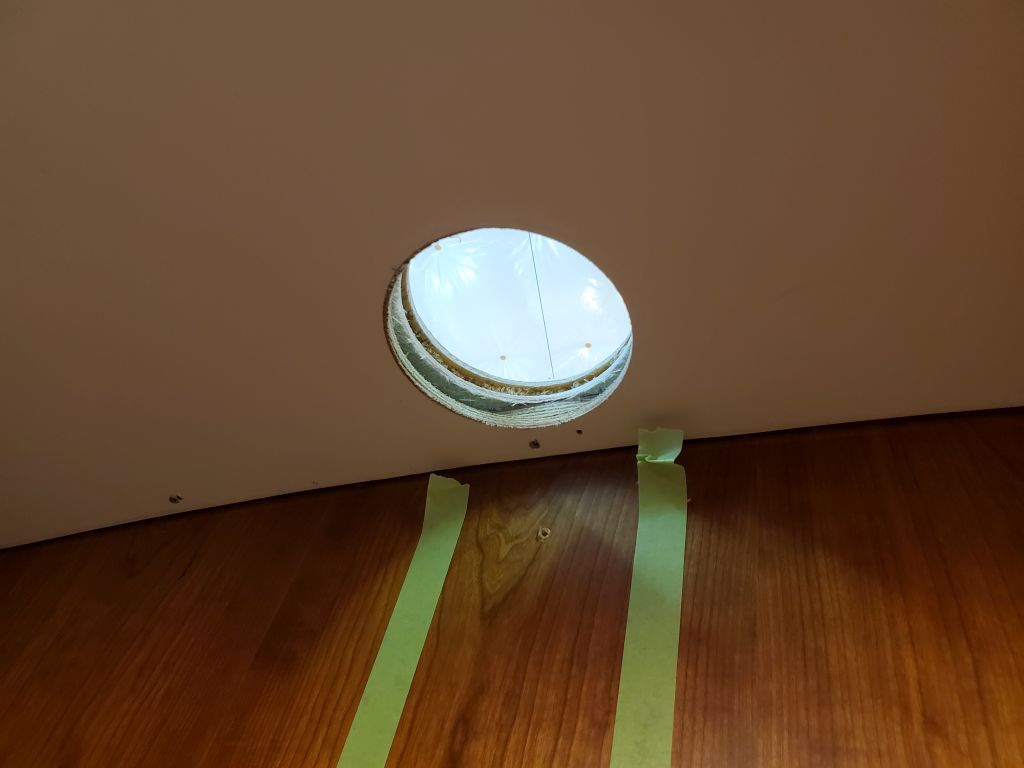
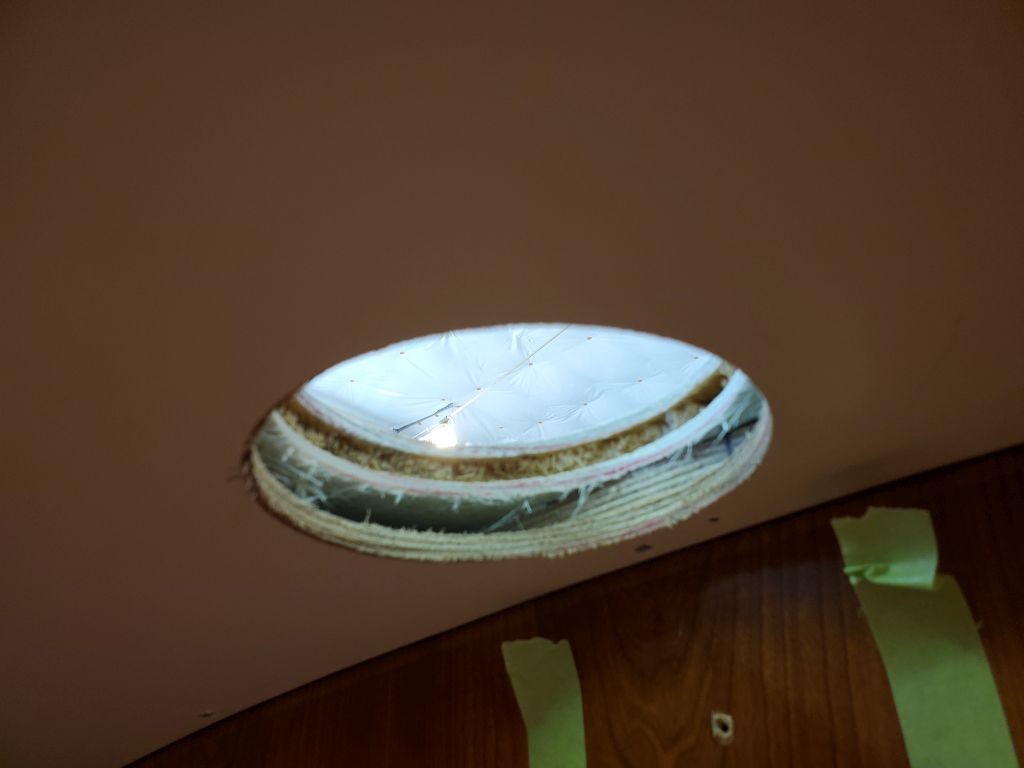
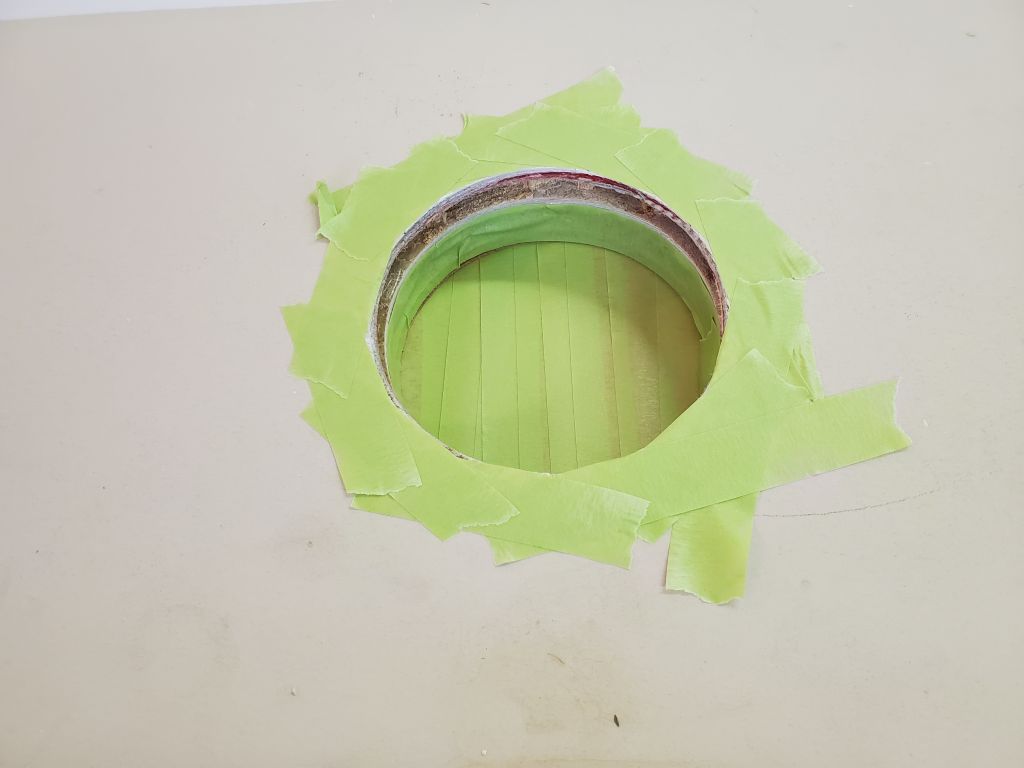
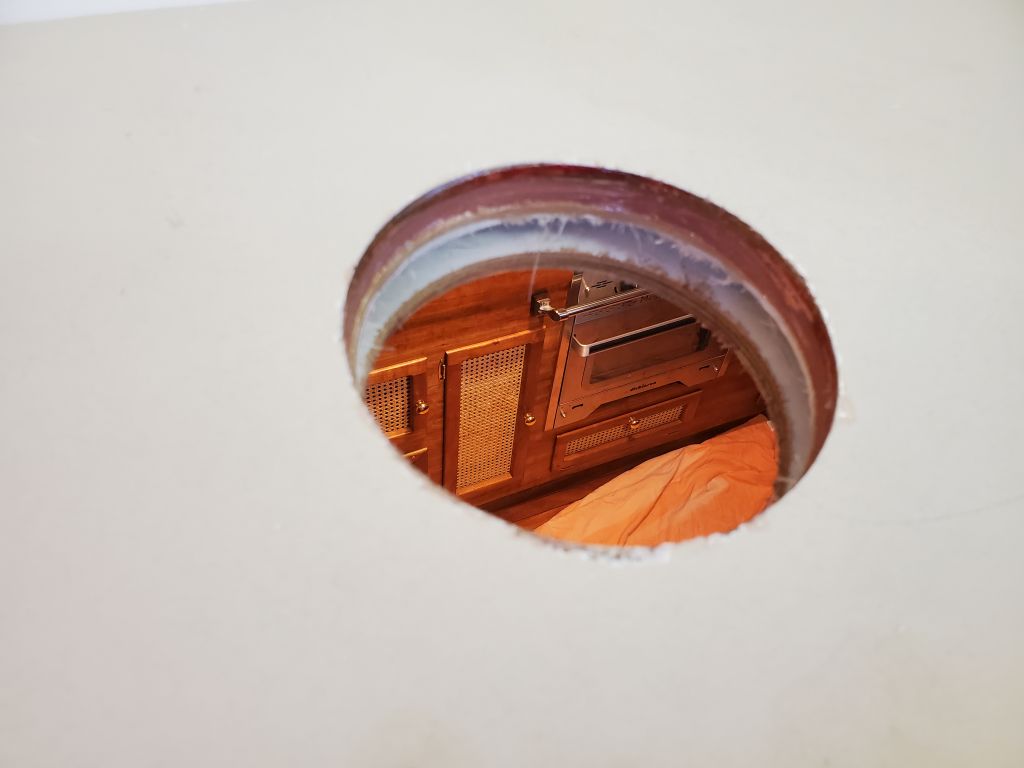
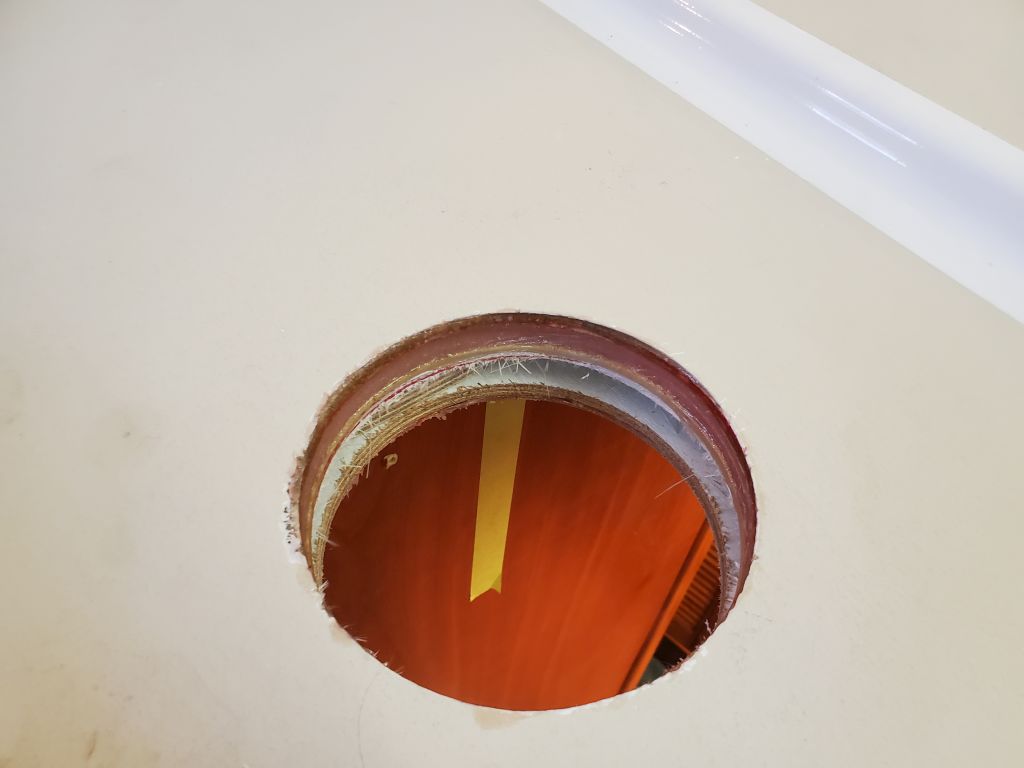
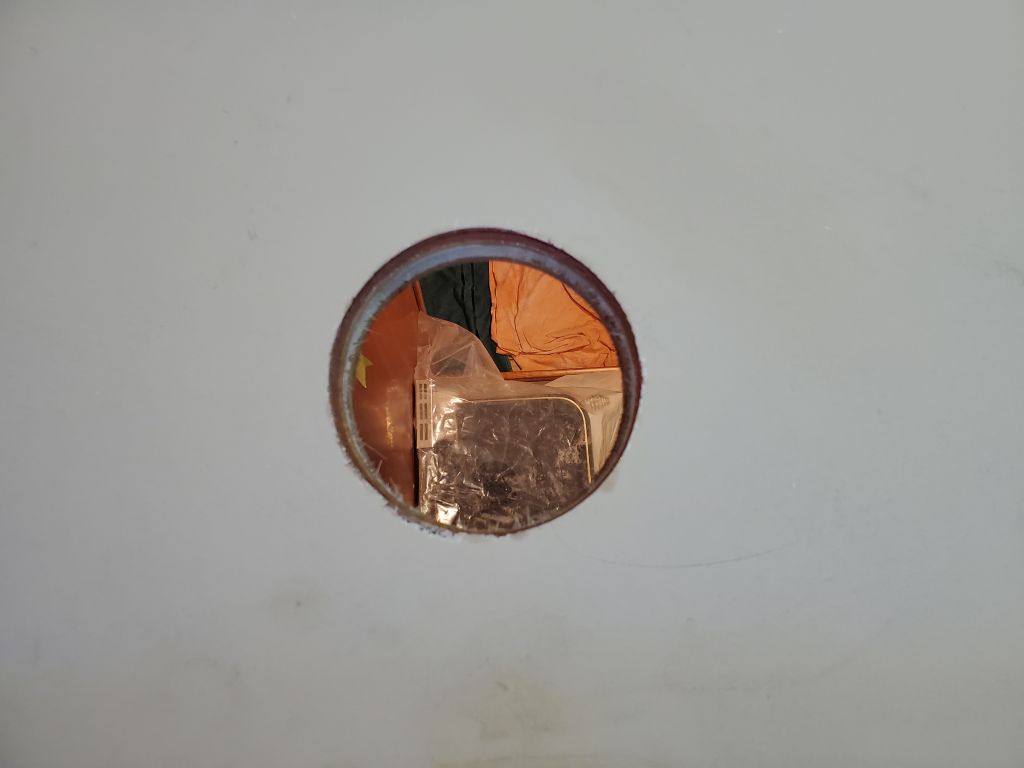
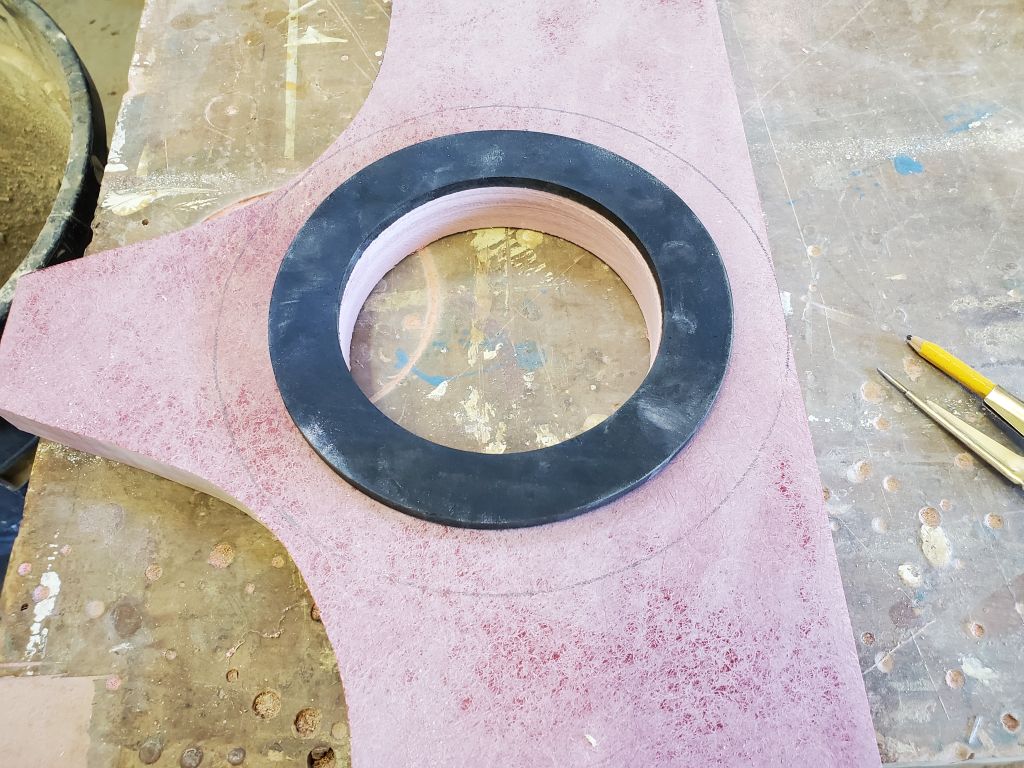
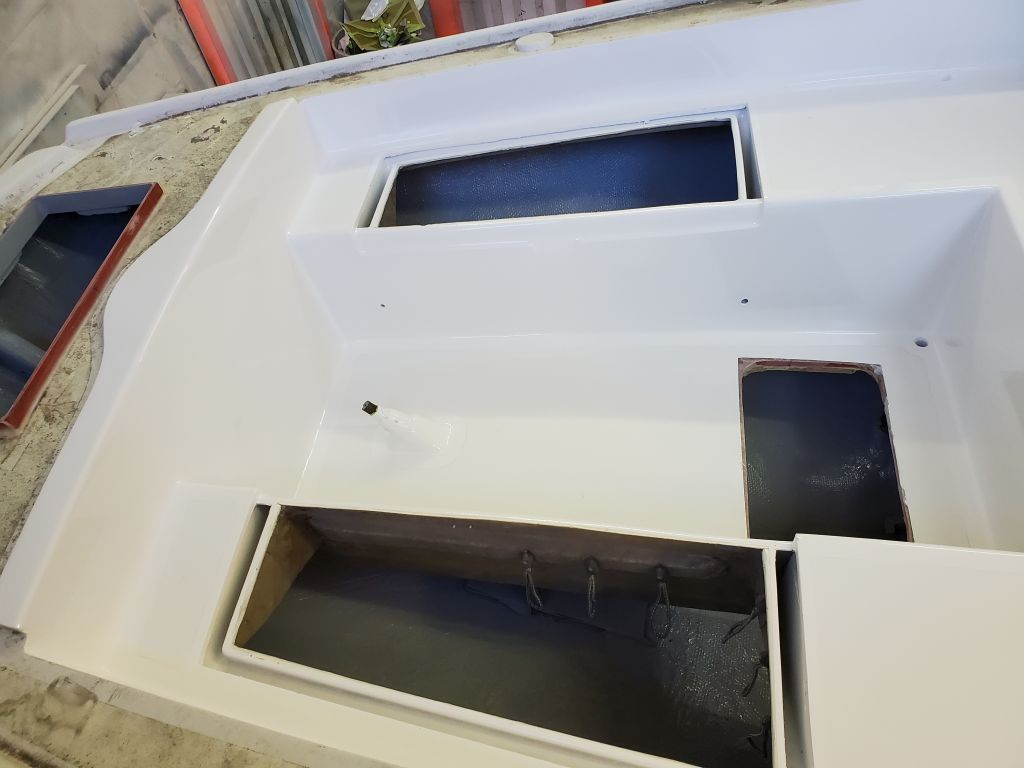
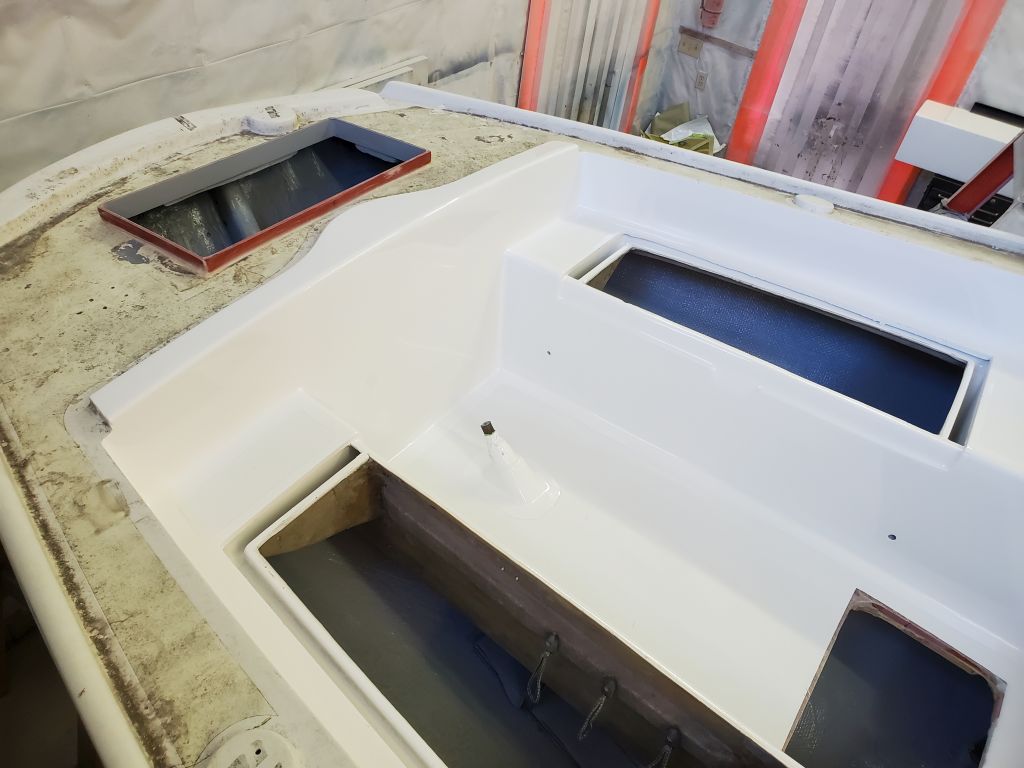
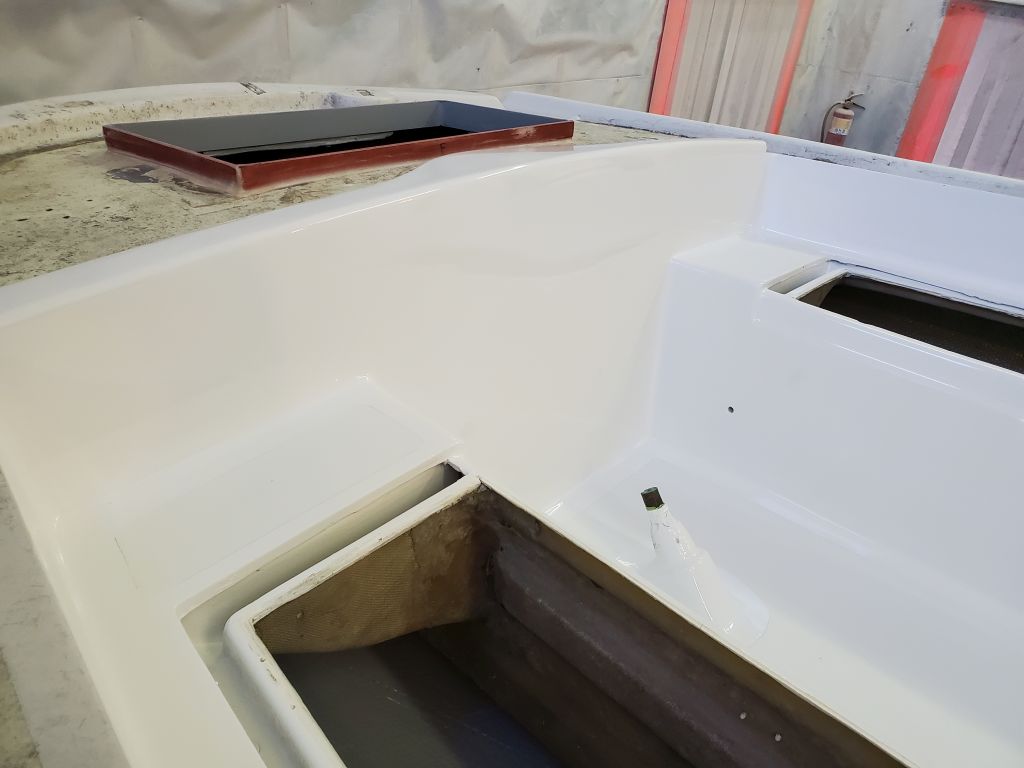
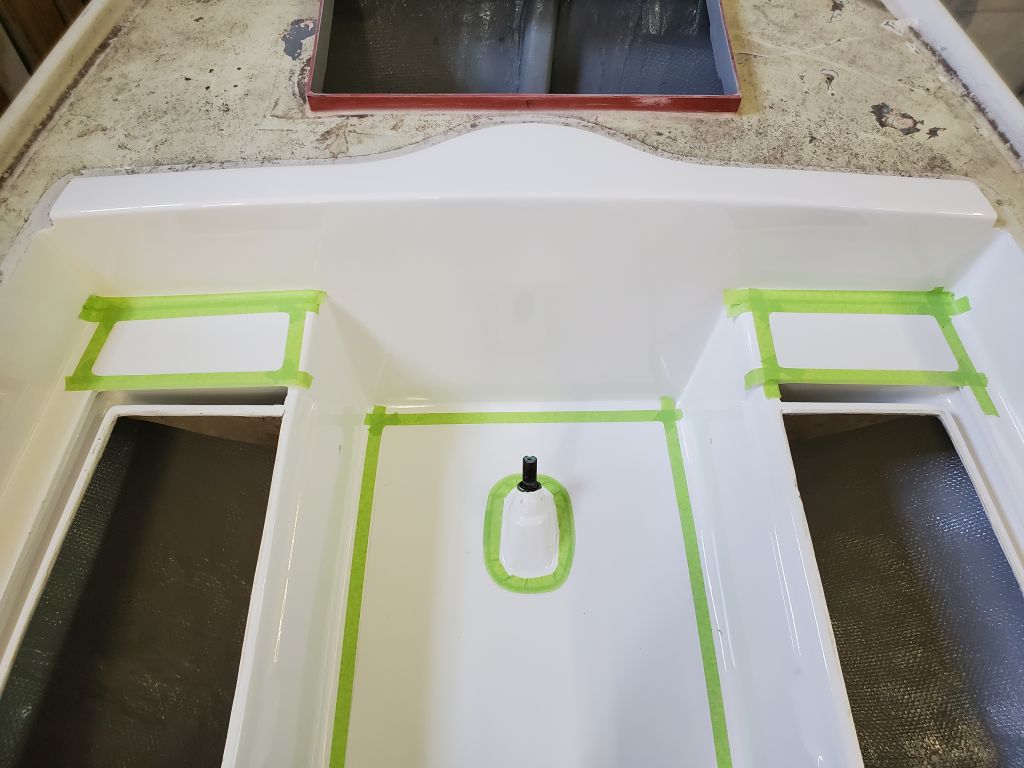
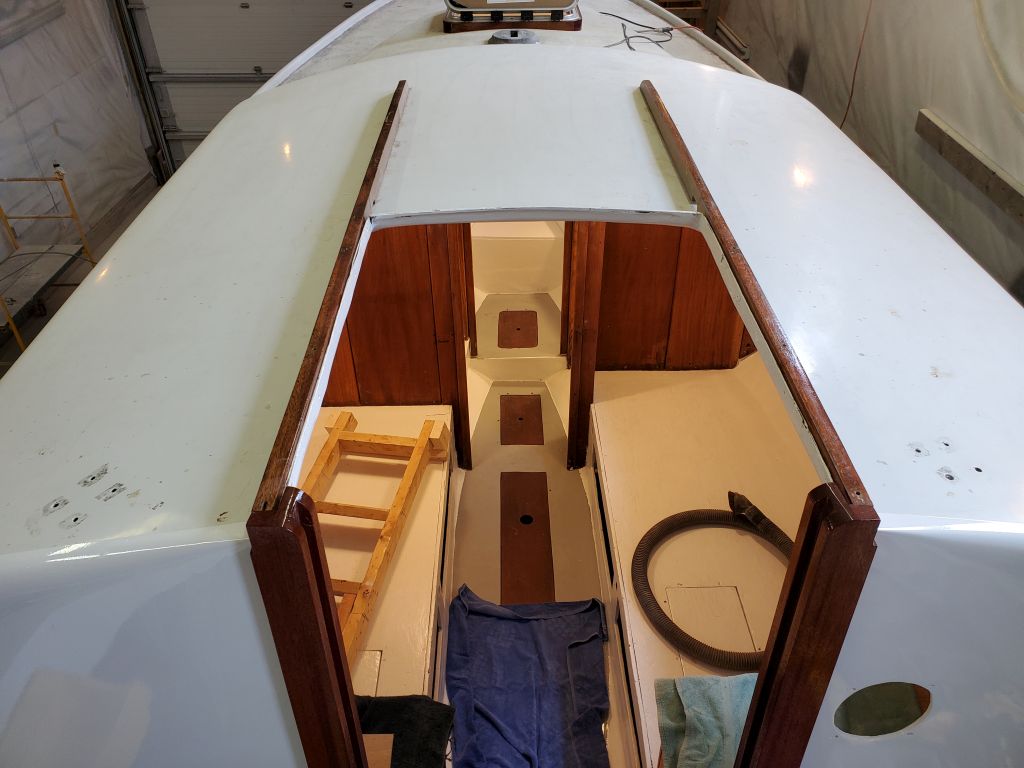
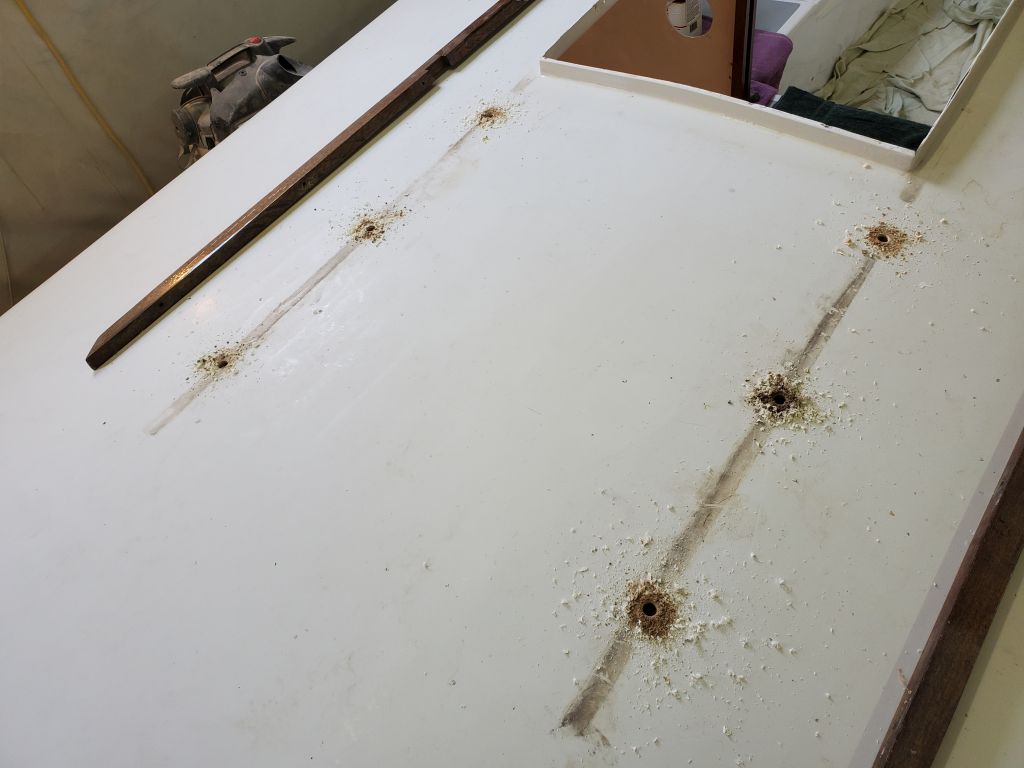
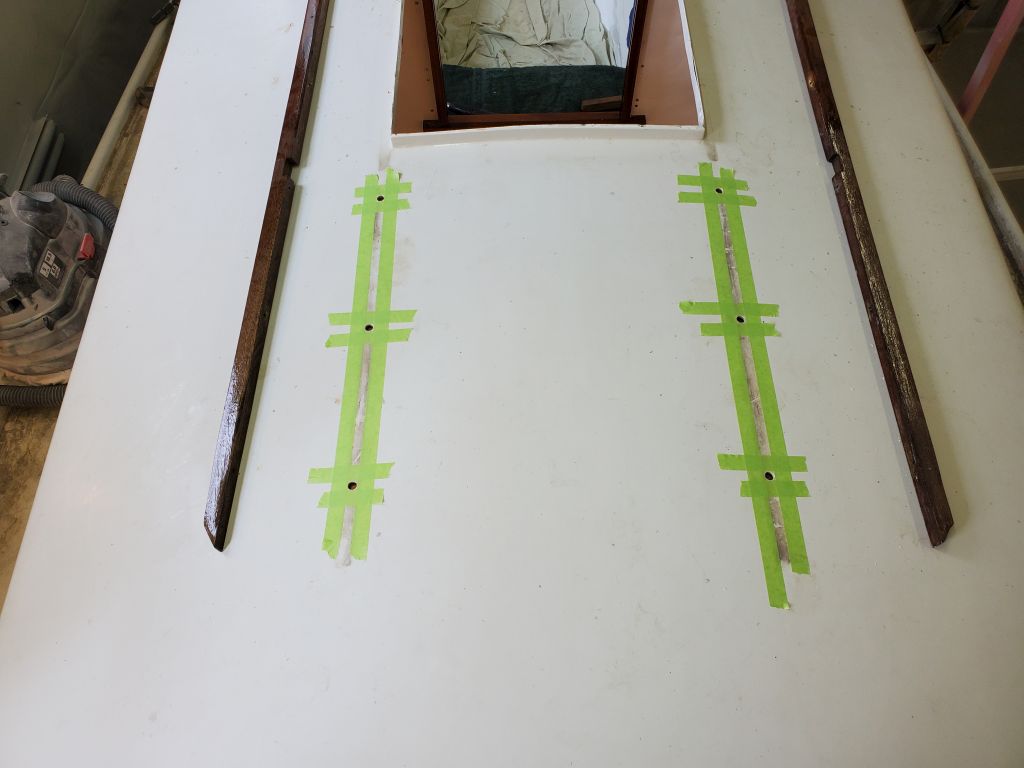
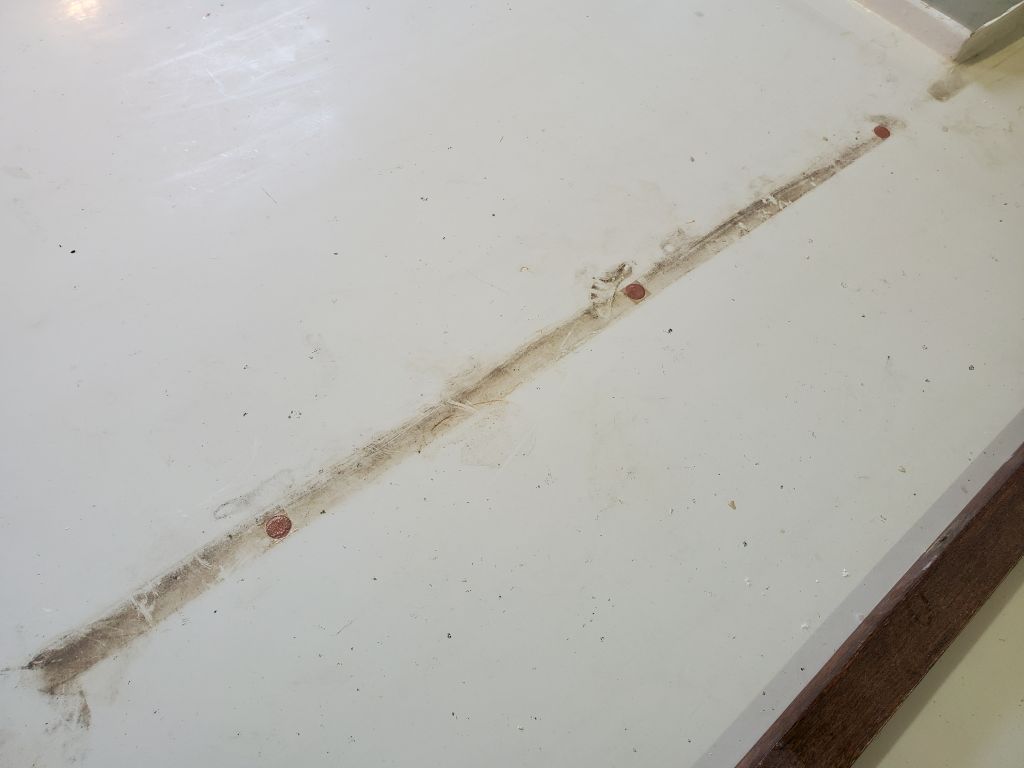
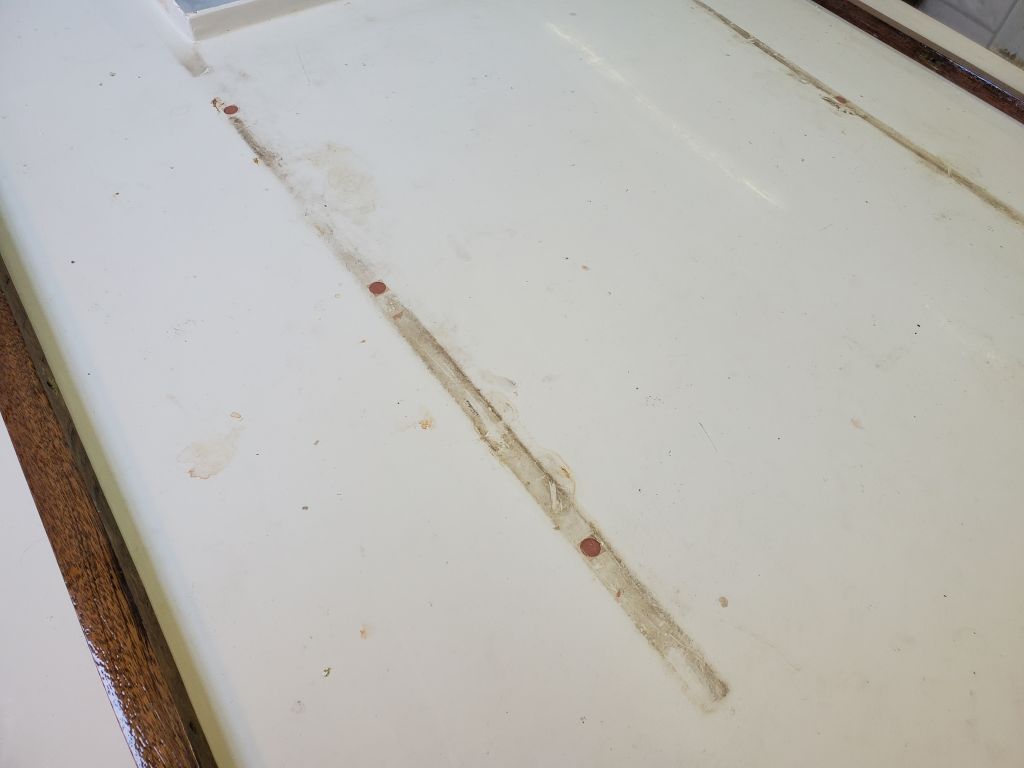
To finish off the exterior companionway trim, I laid out the long wooden rails that would ultimately support and guide the sliding hatch. Using the old holes as a guide from inside the cabin, I drilled pilot holes through the deck (the deck sides of these holes had been filled during the exterior paintwork that occurred under previous ownership), then, with a 1/2″ bit, drilled out the top skin and core at the fastener locations so that I could mask off and fill these openings with a thickened epoxy mixture in the usual way to protect the core around the fasteners. The core I removed from these six holes was generally sound and dry with no immediate issues noted. I left the epoxy-filled holes to cure overnight so I could continue the rails’ installation next time.
Total time billed on this job today: 6.5 hours
0600 Weather Observation: Cloudy, rain showers, 40°. Forecast for the day: Cloudy, rain showers possible, 51°