Thursday
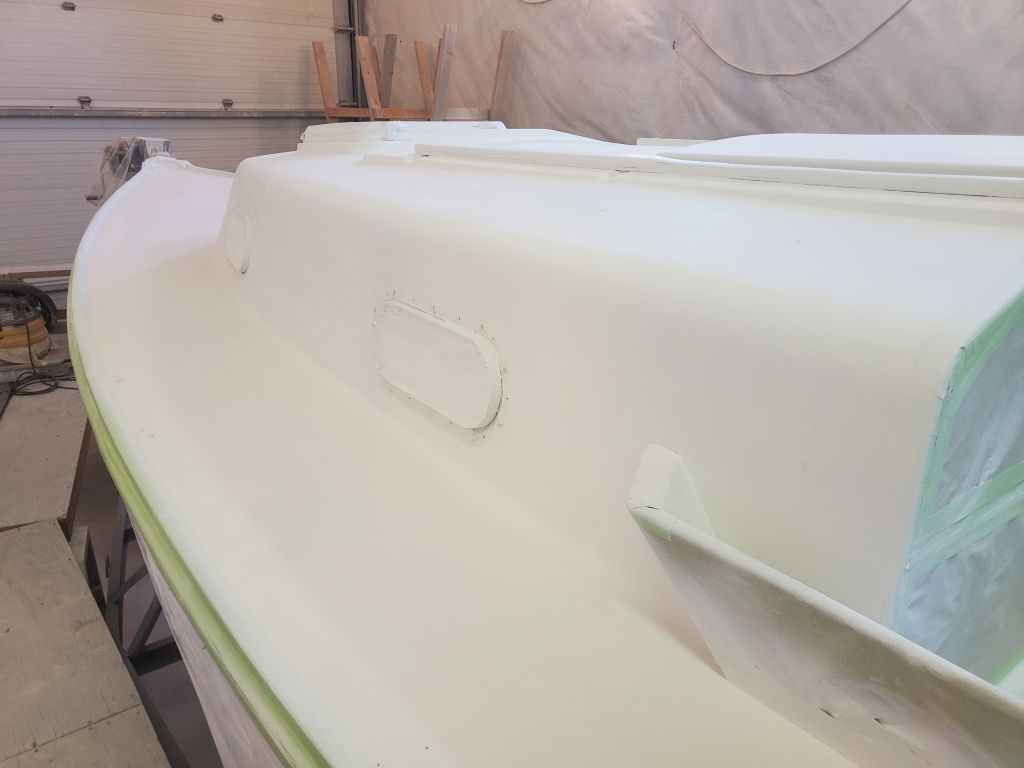
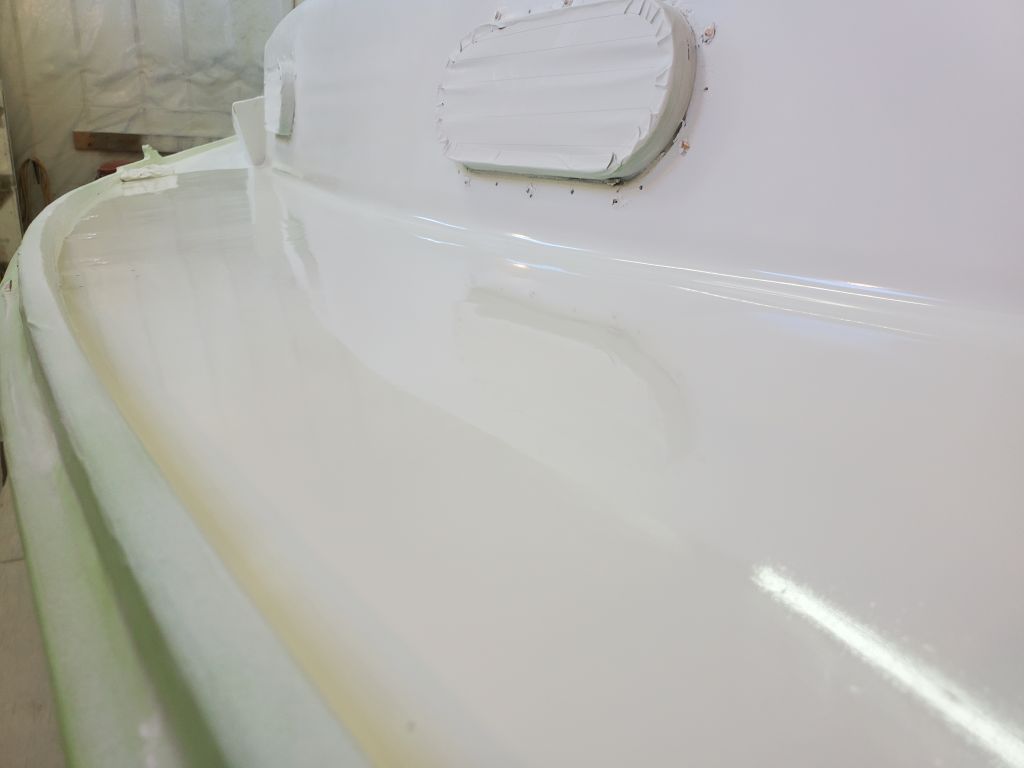
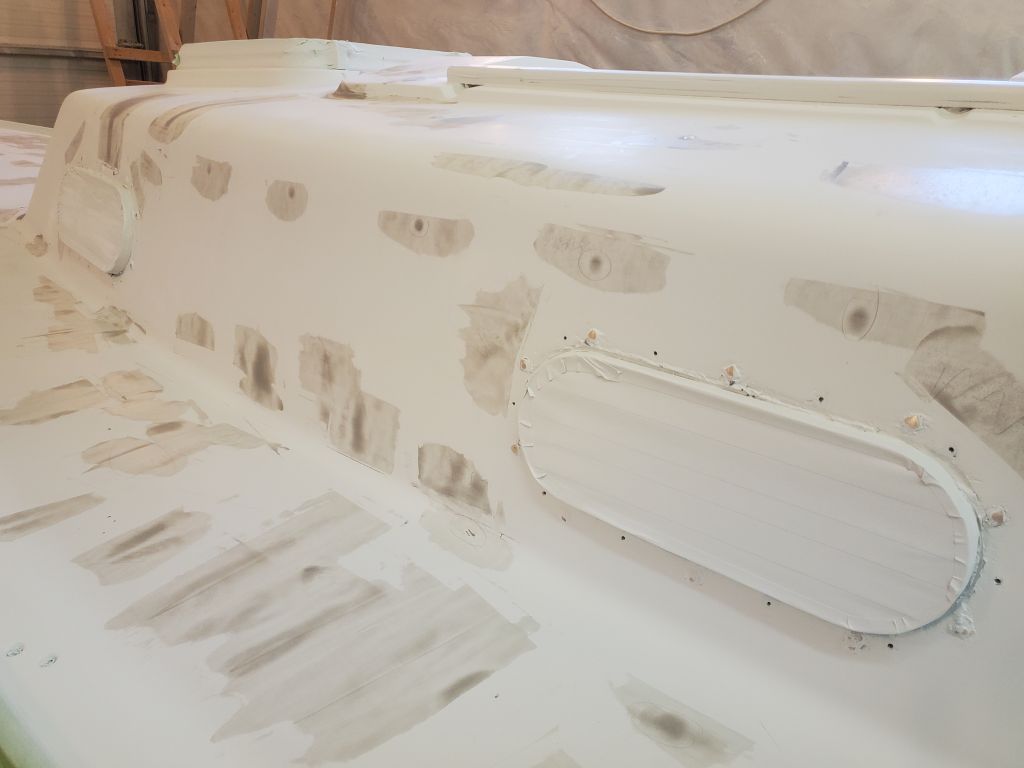
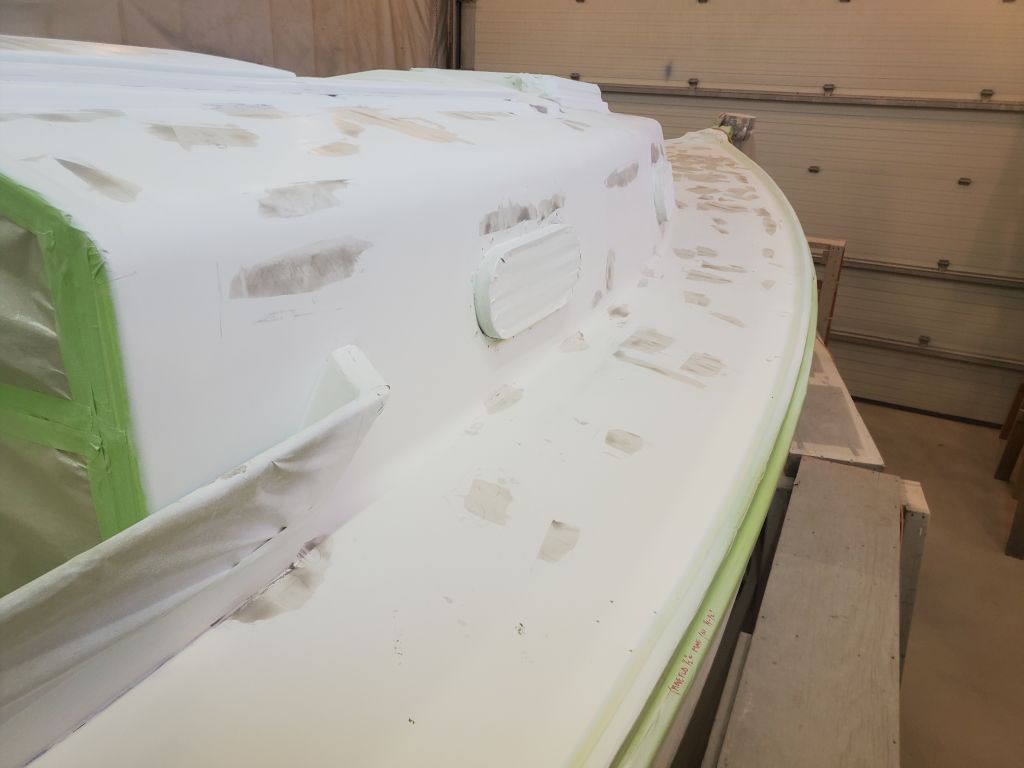
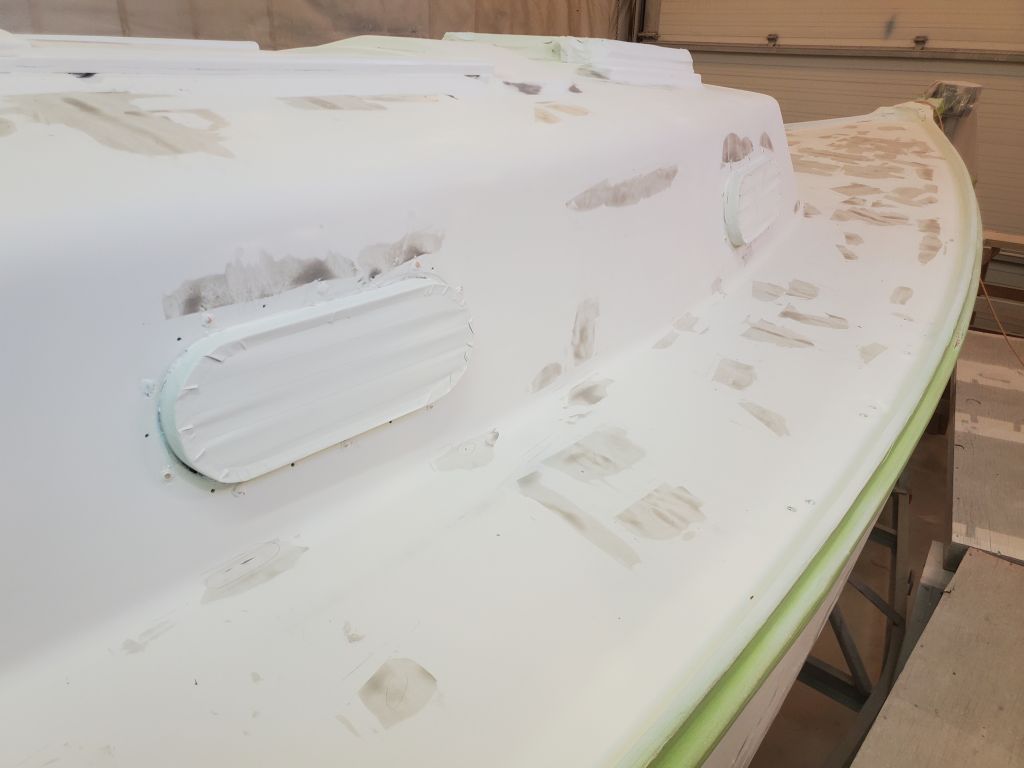
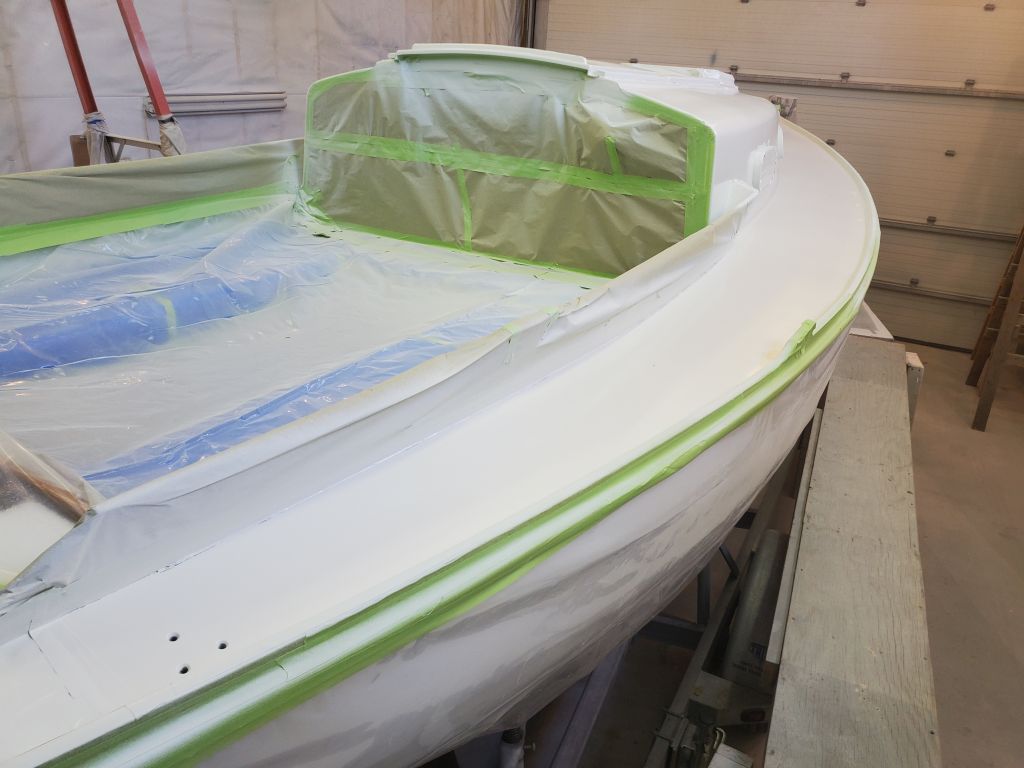
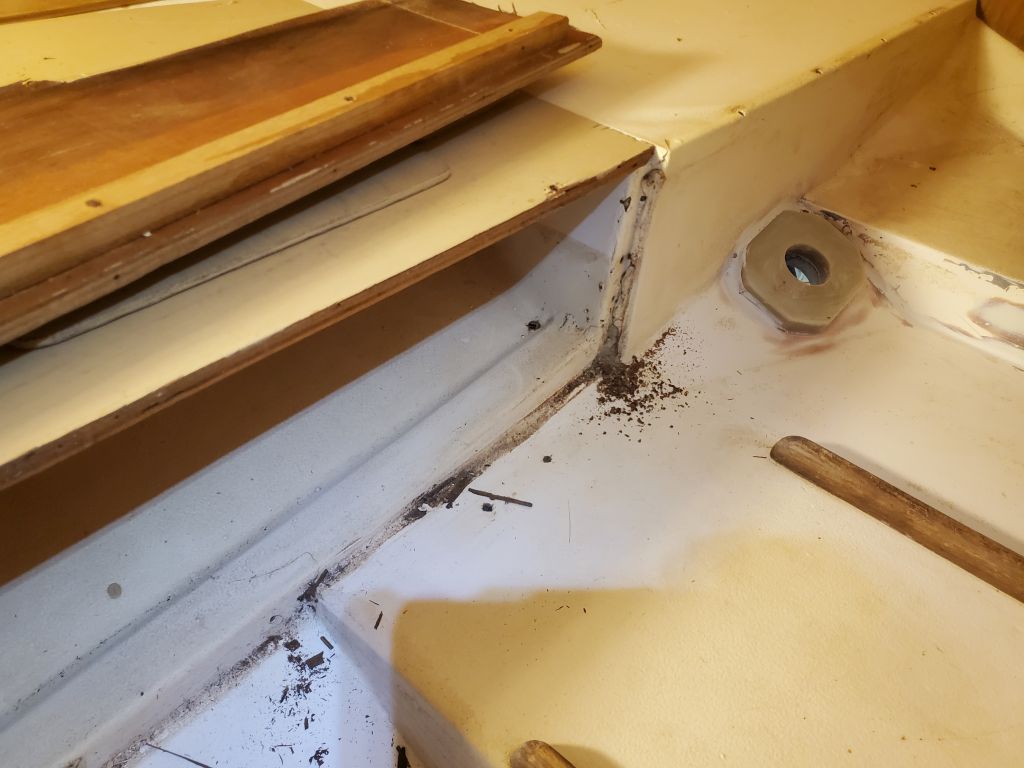
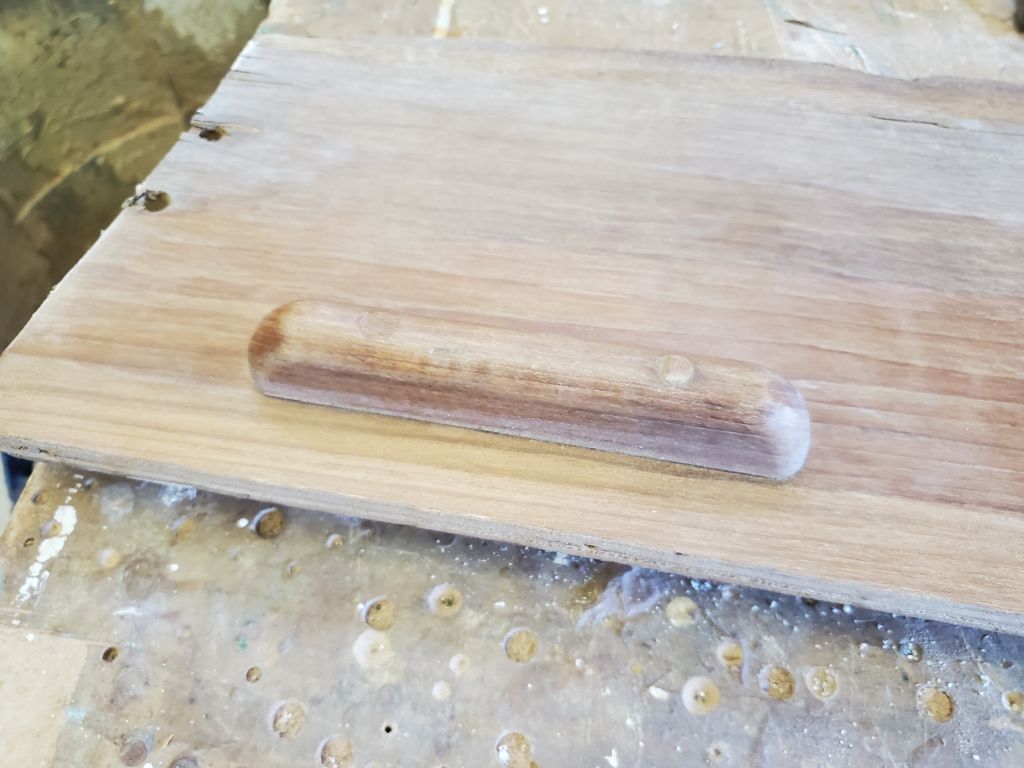
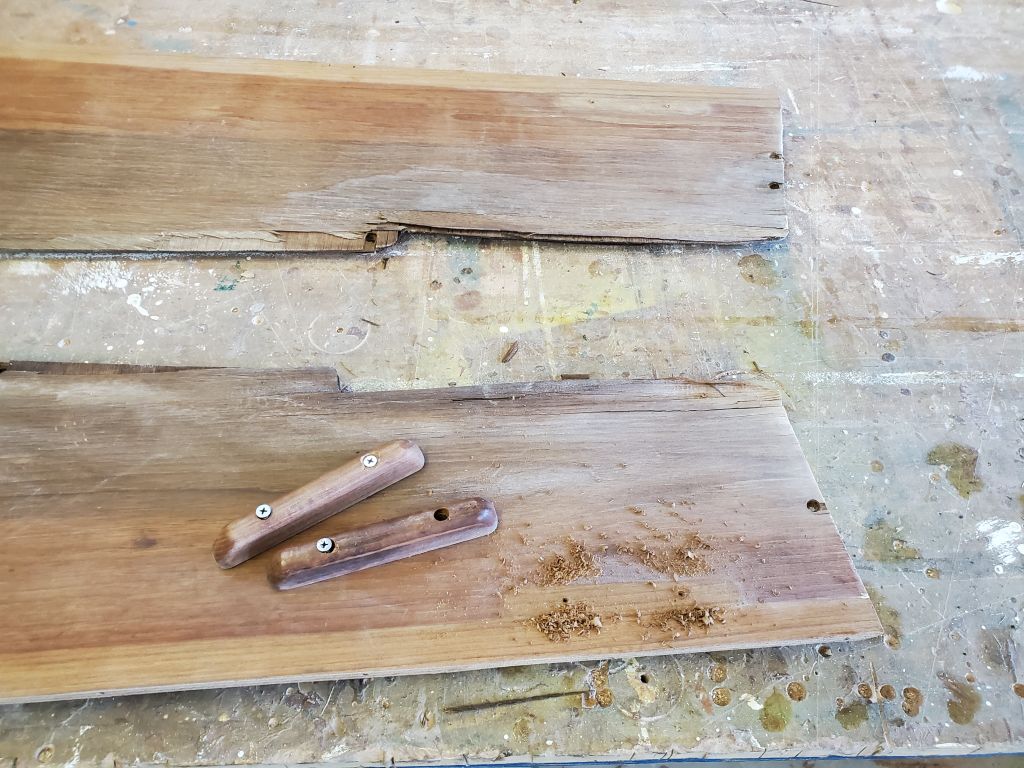
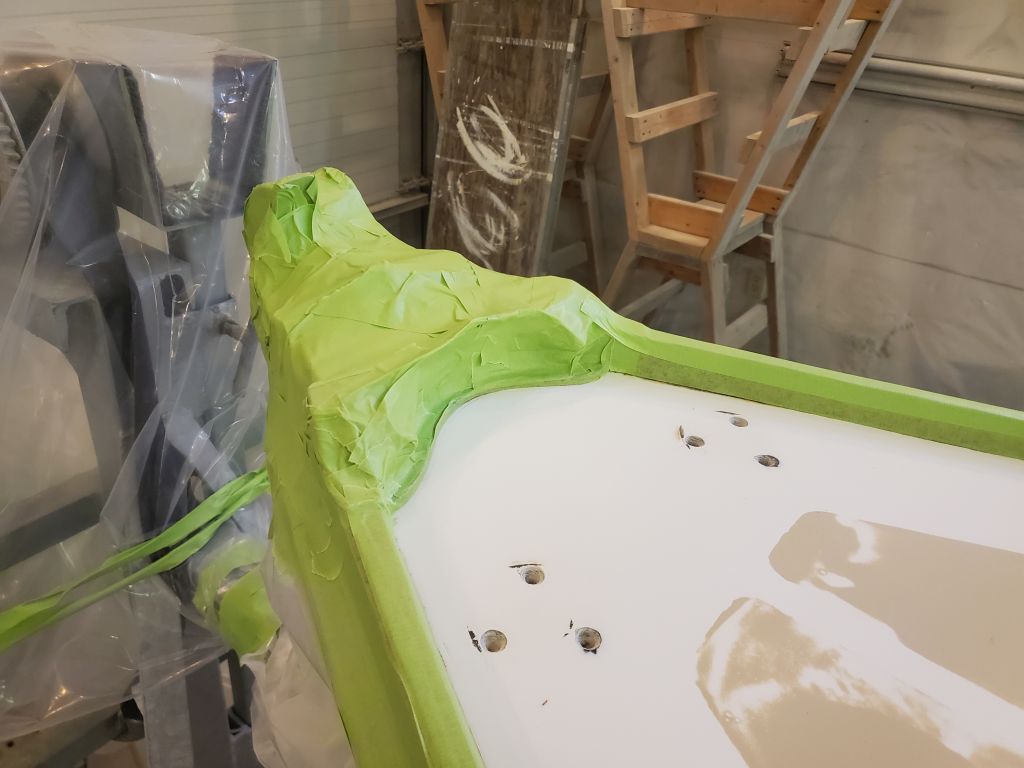
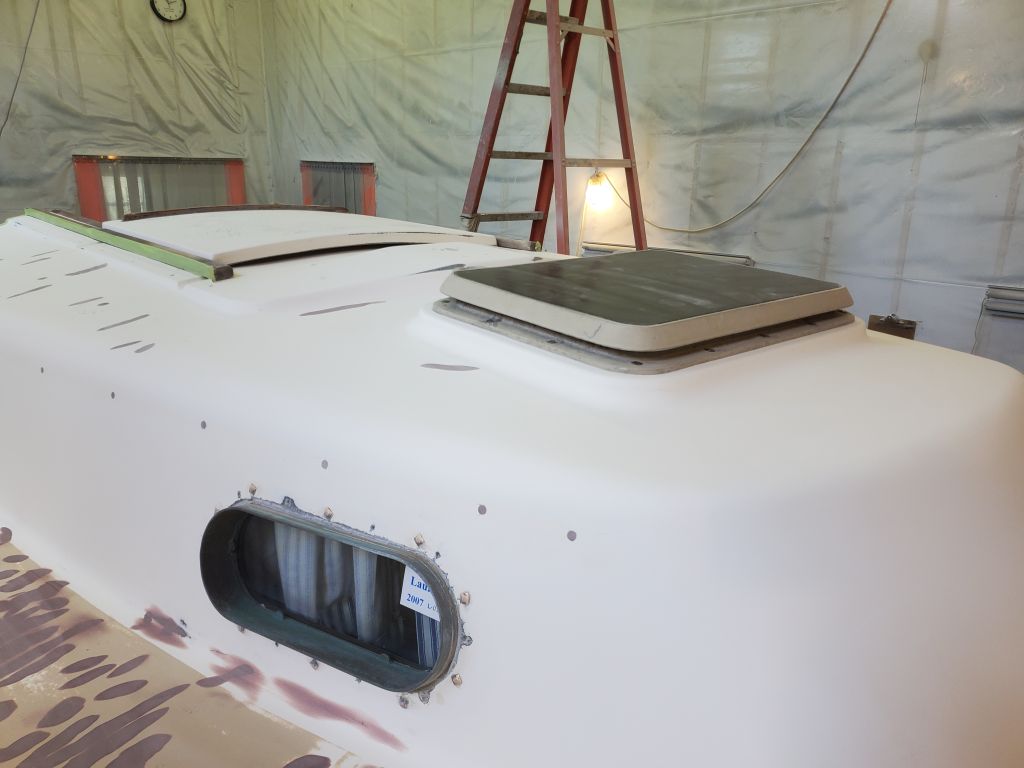
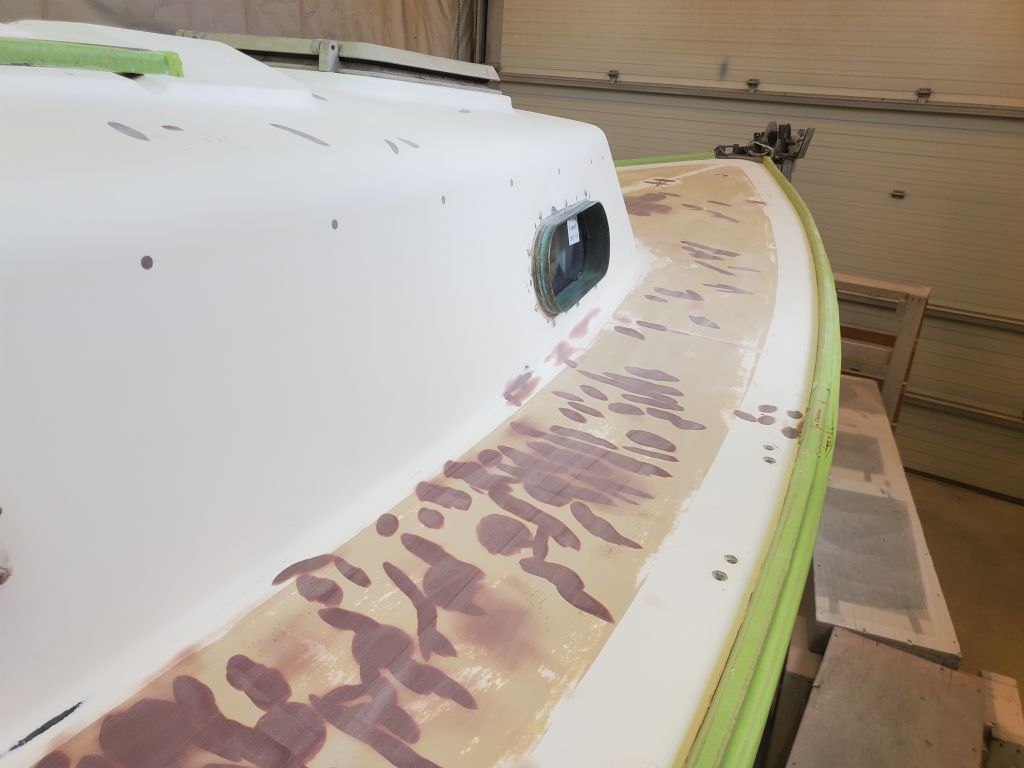
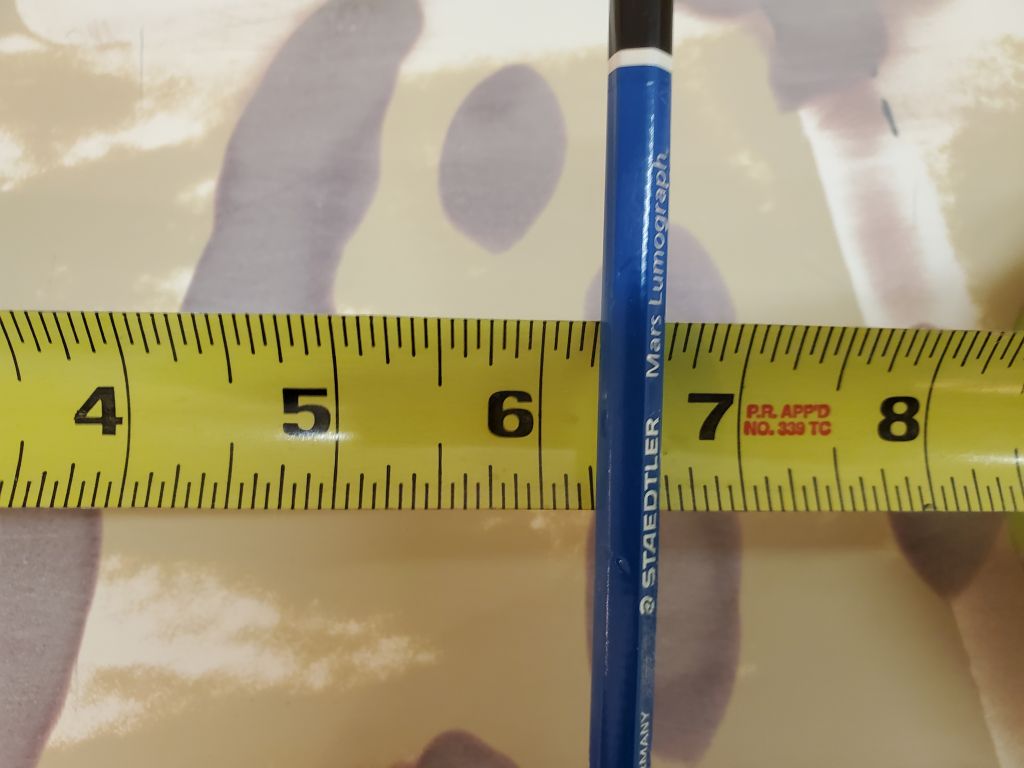
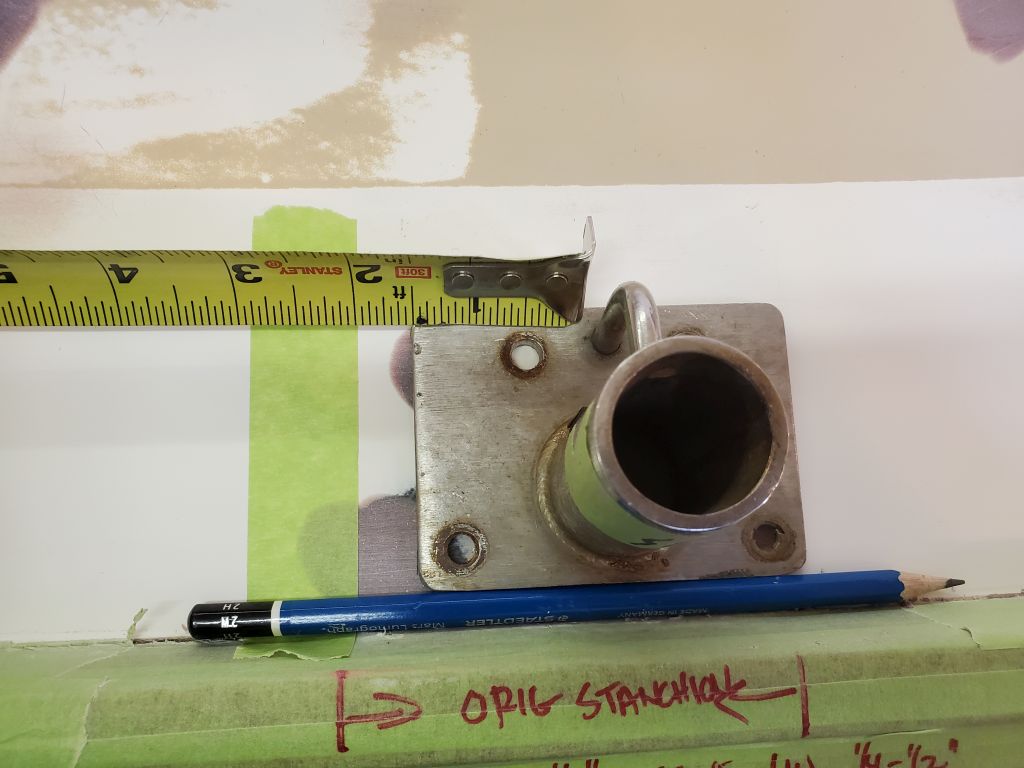
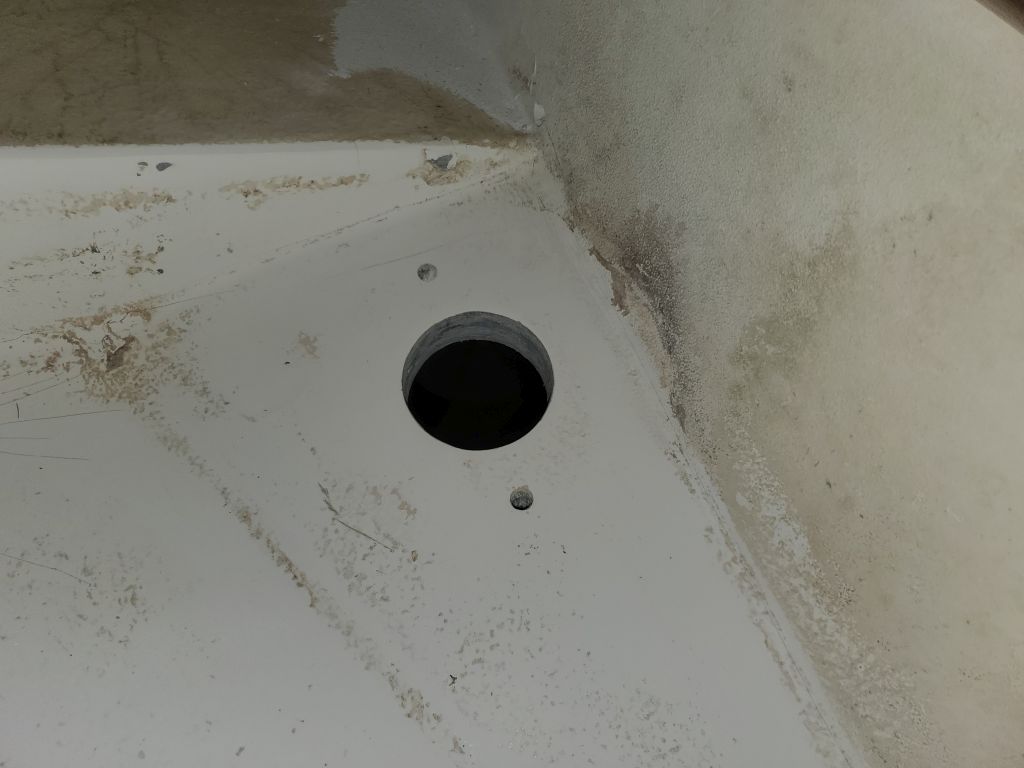
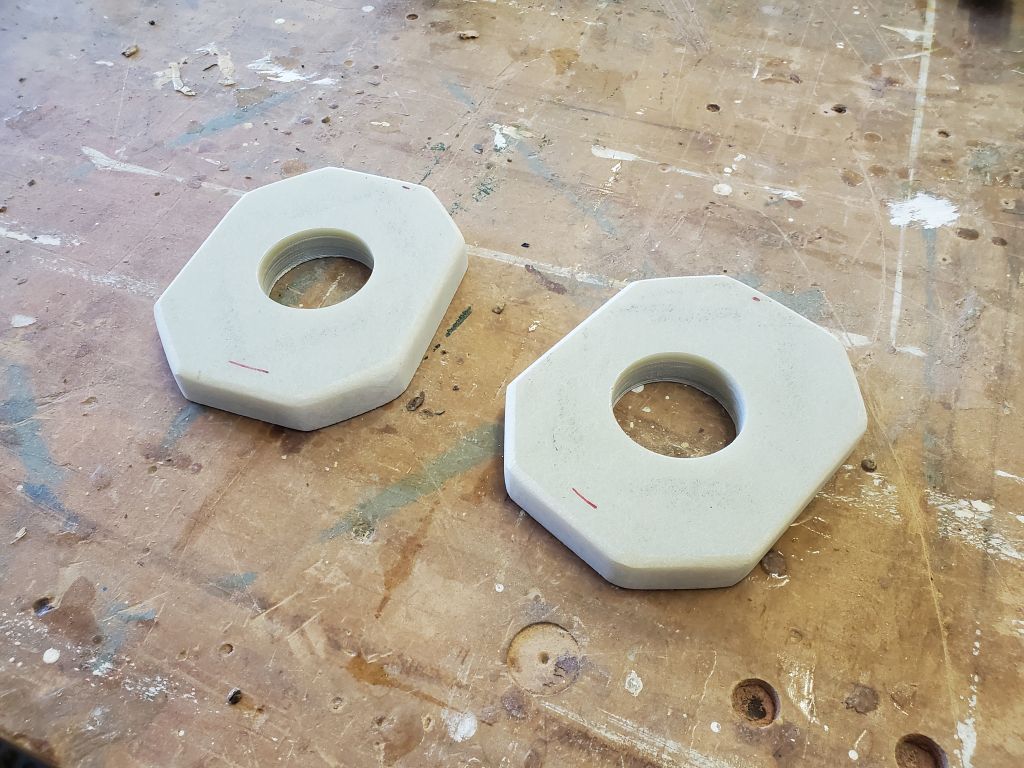
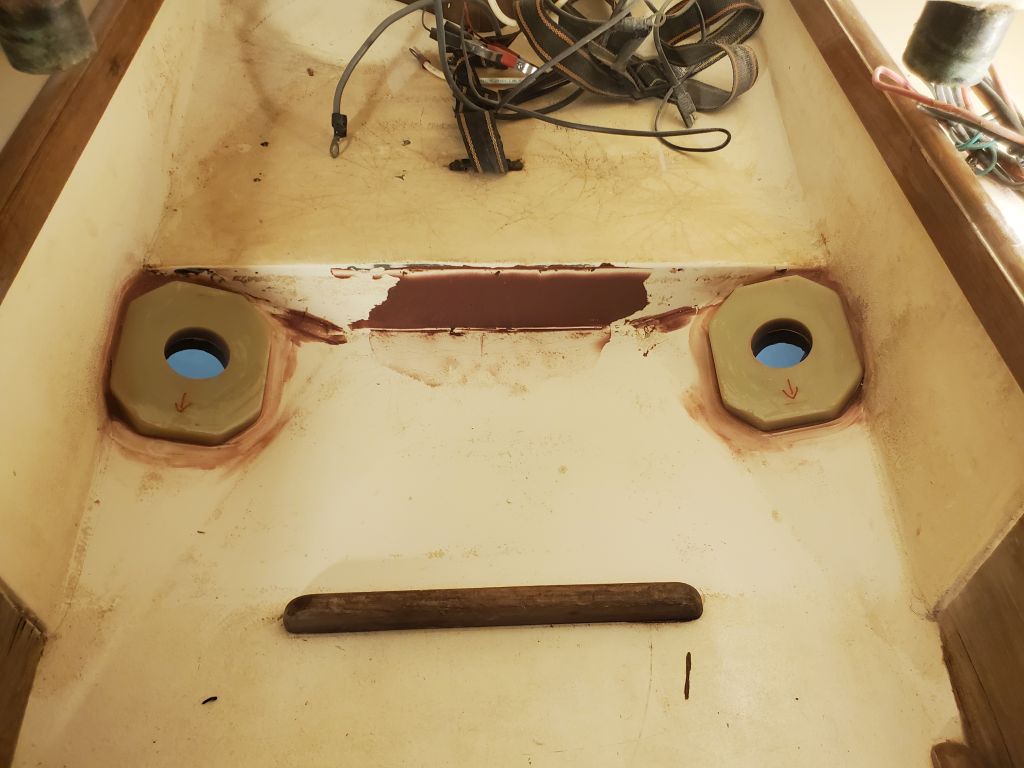
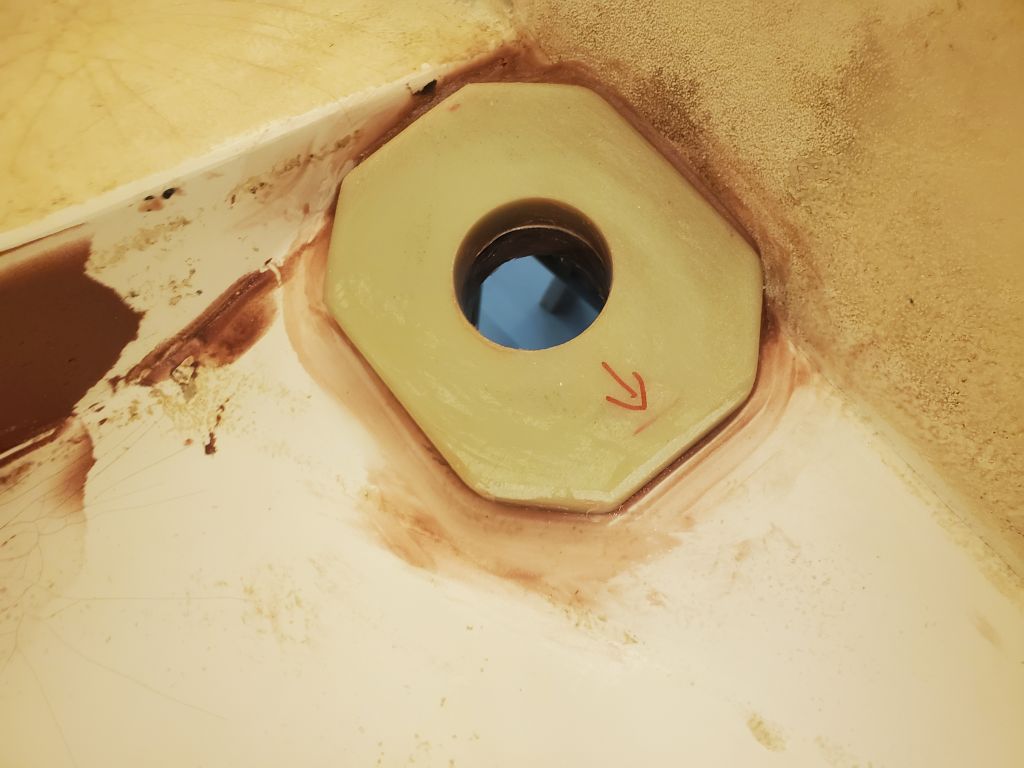
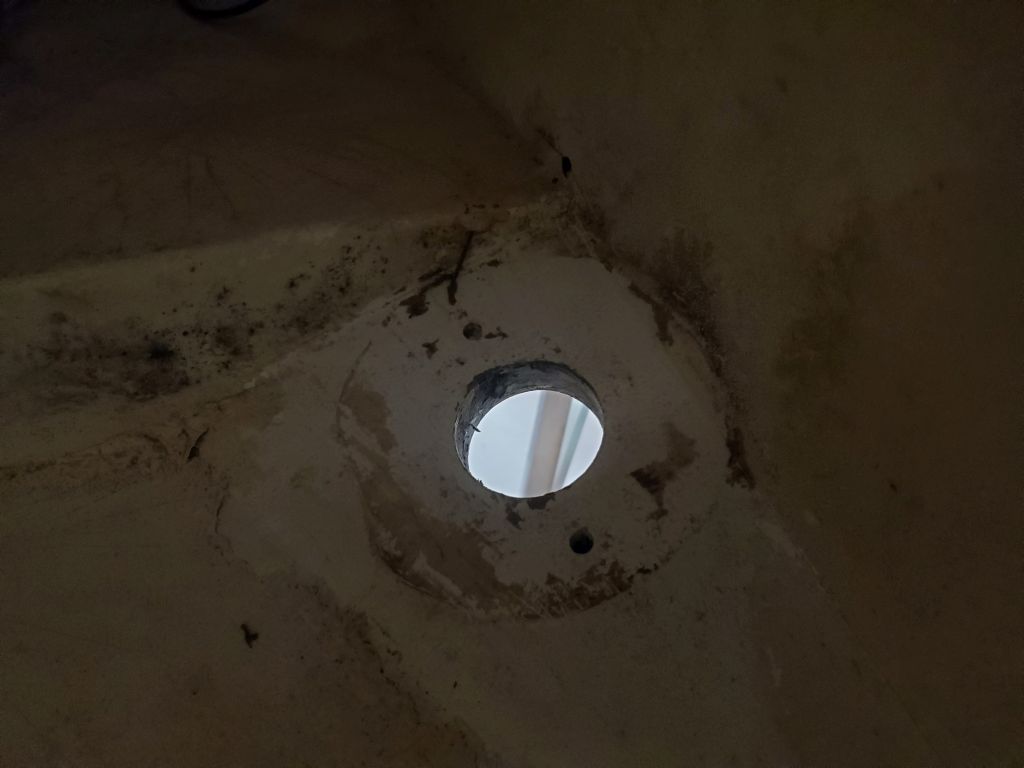
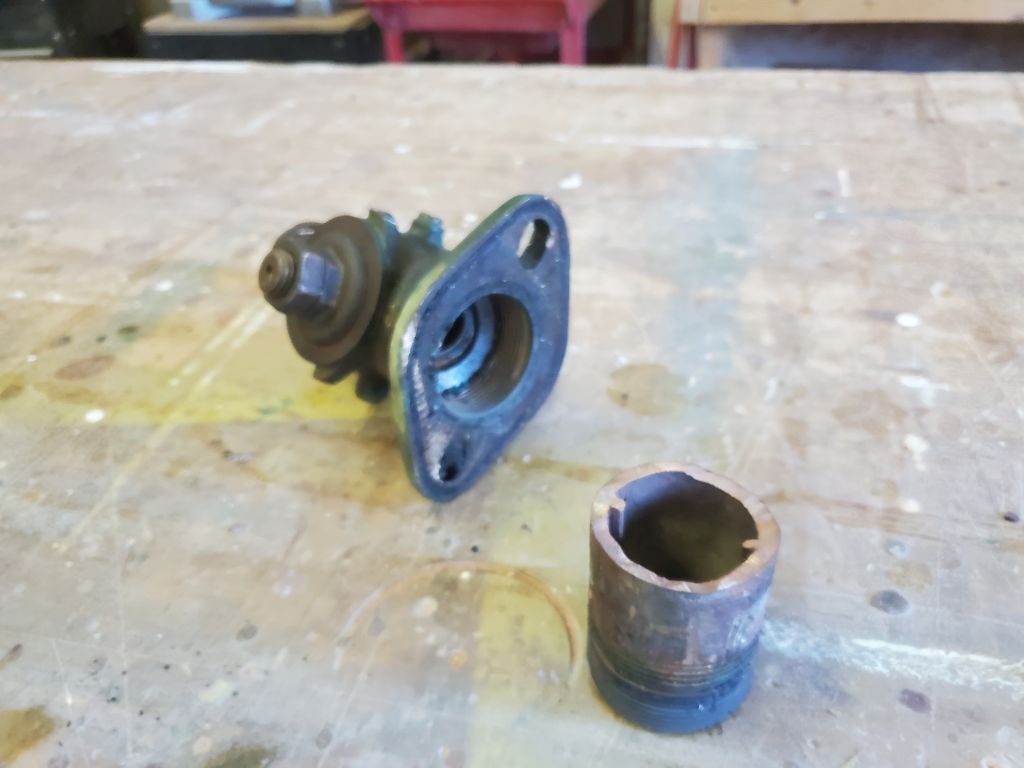
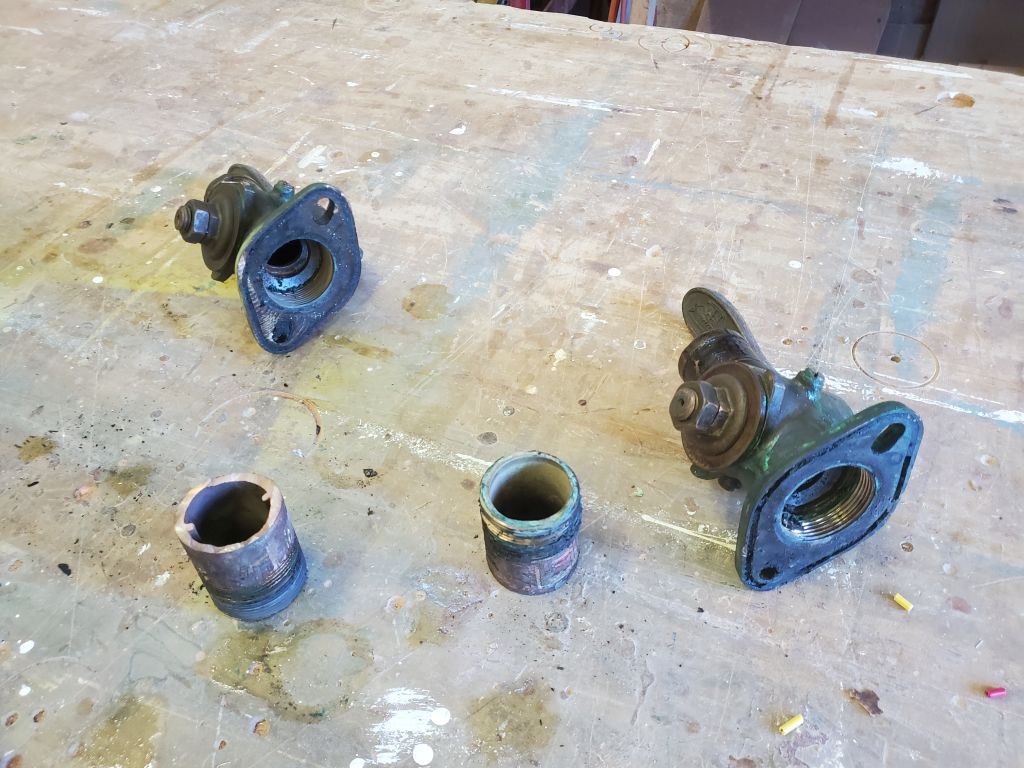
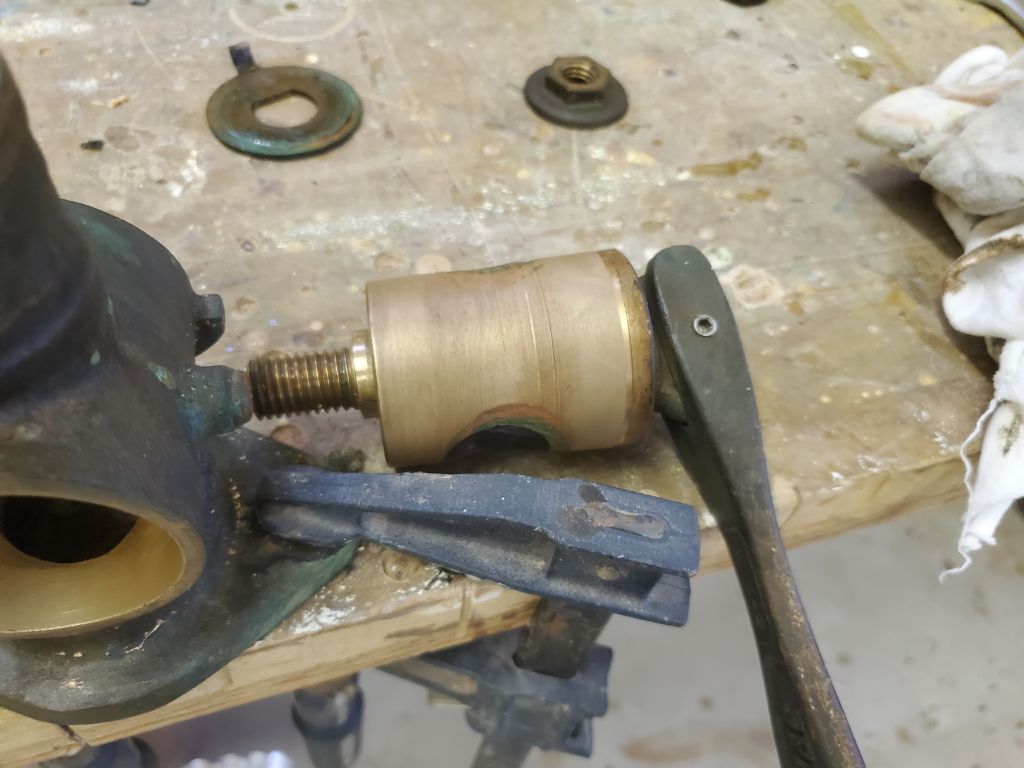
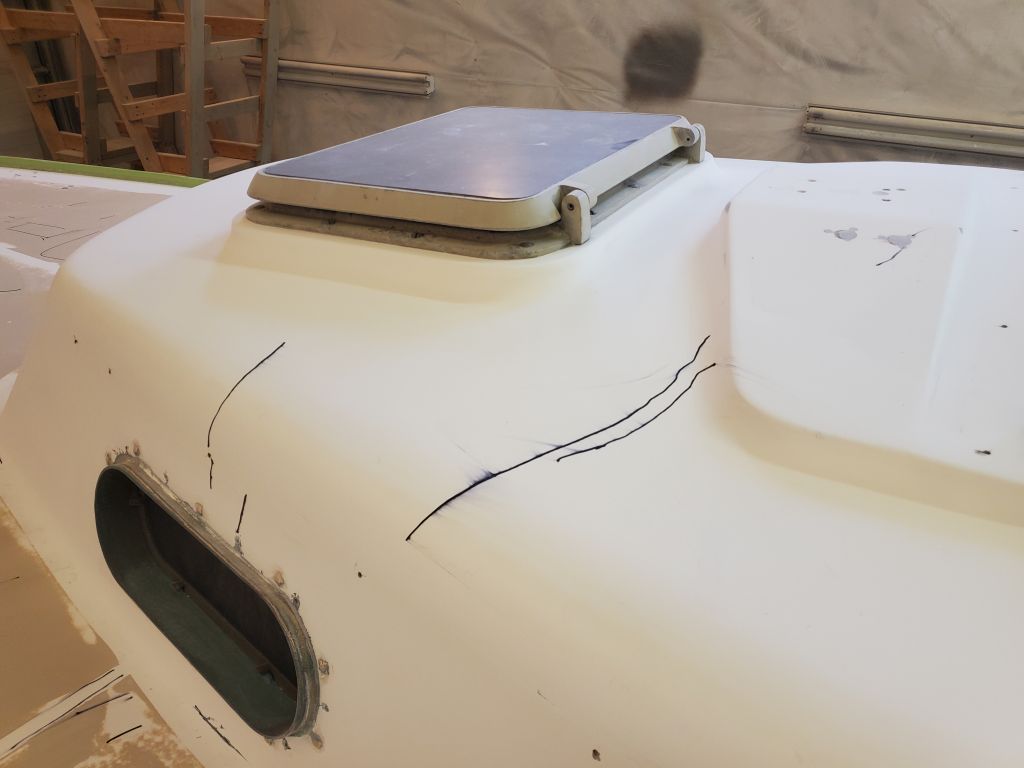
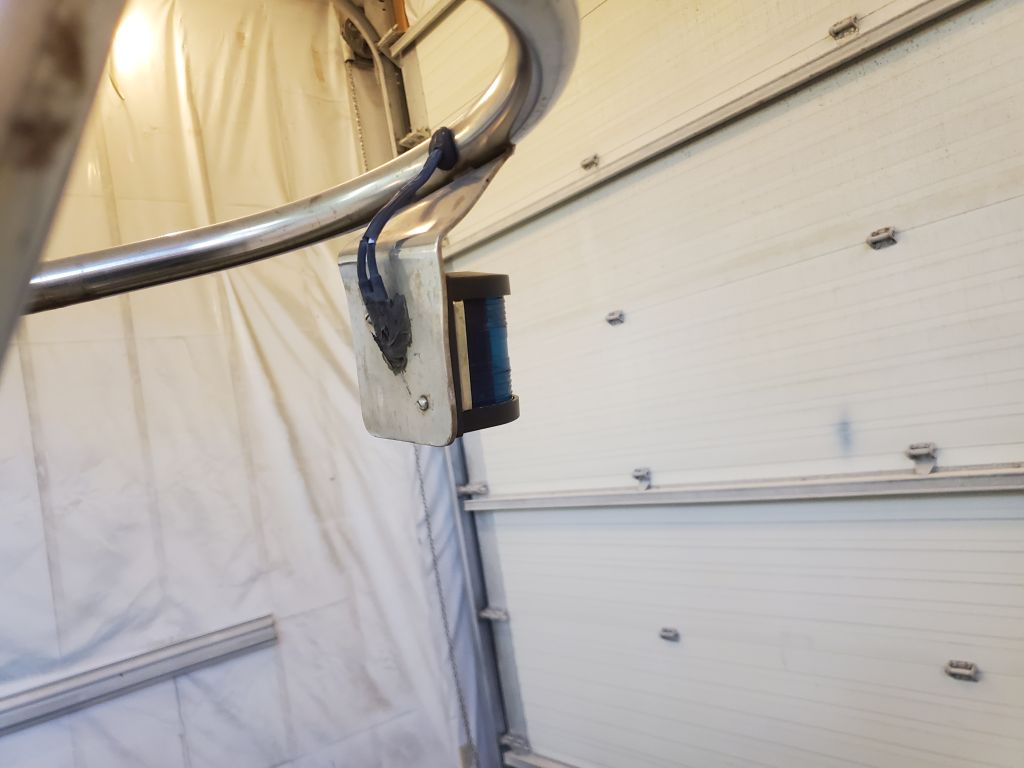
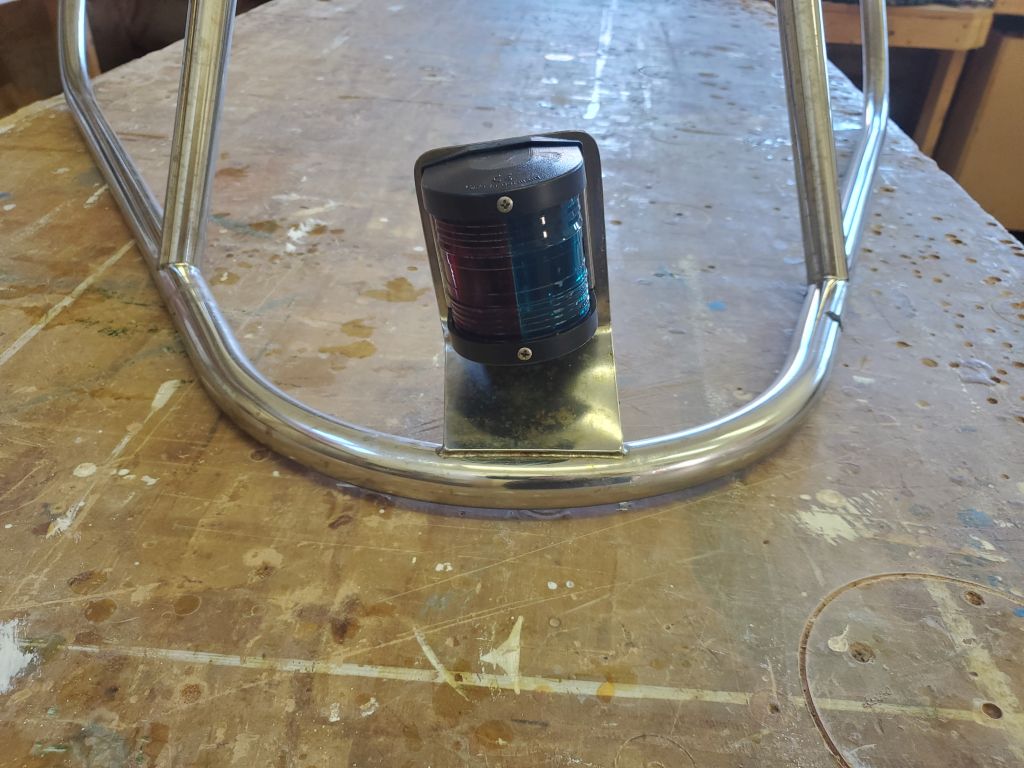
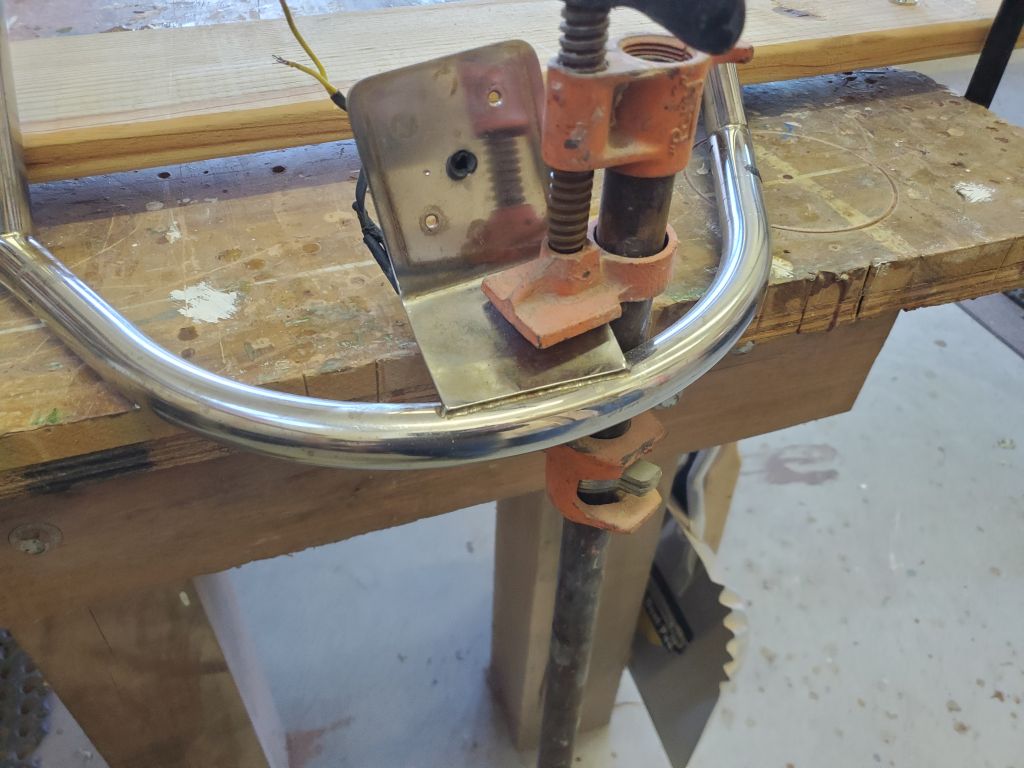
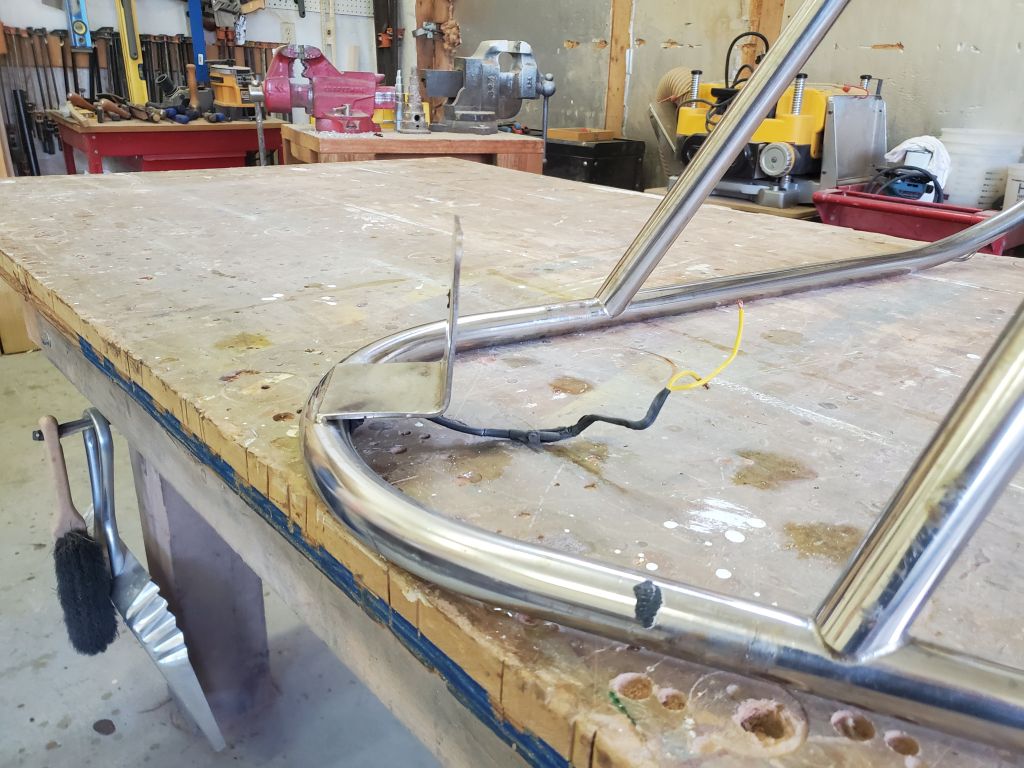
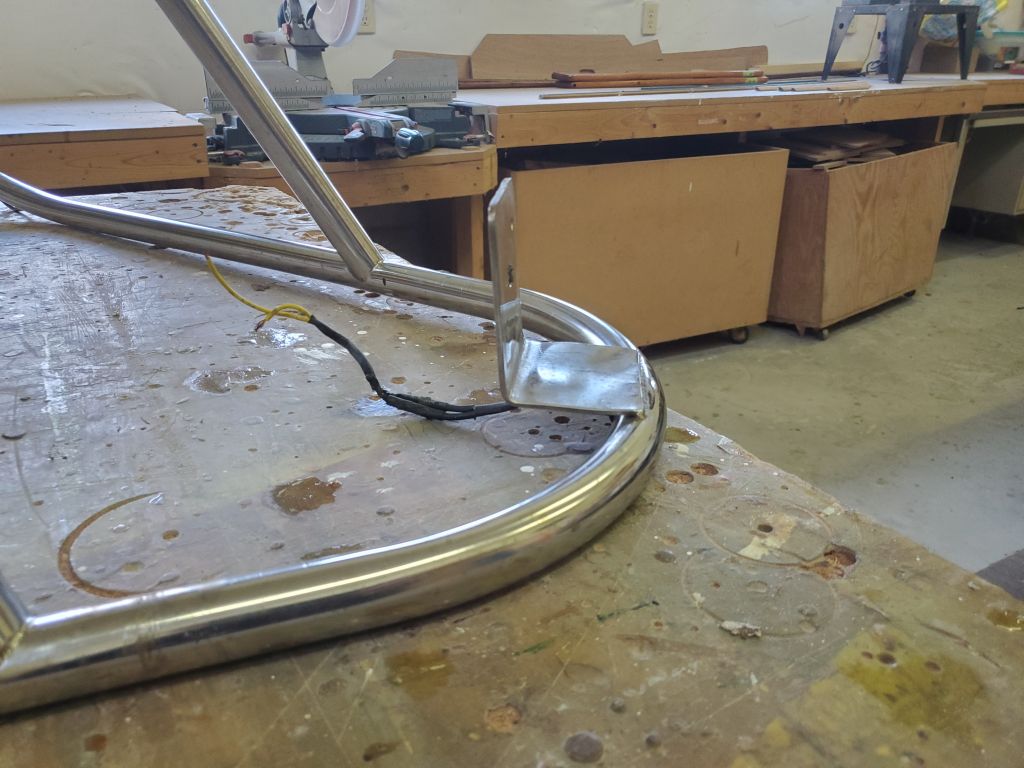
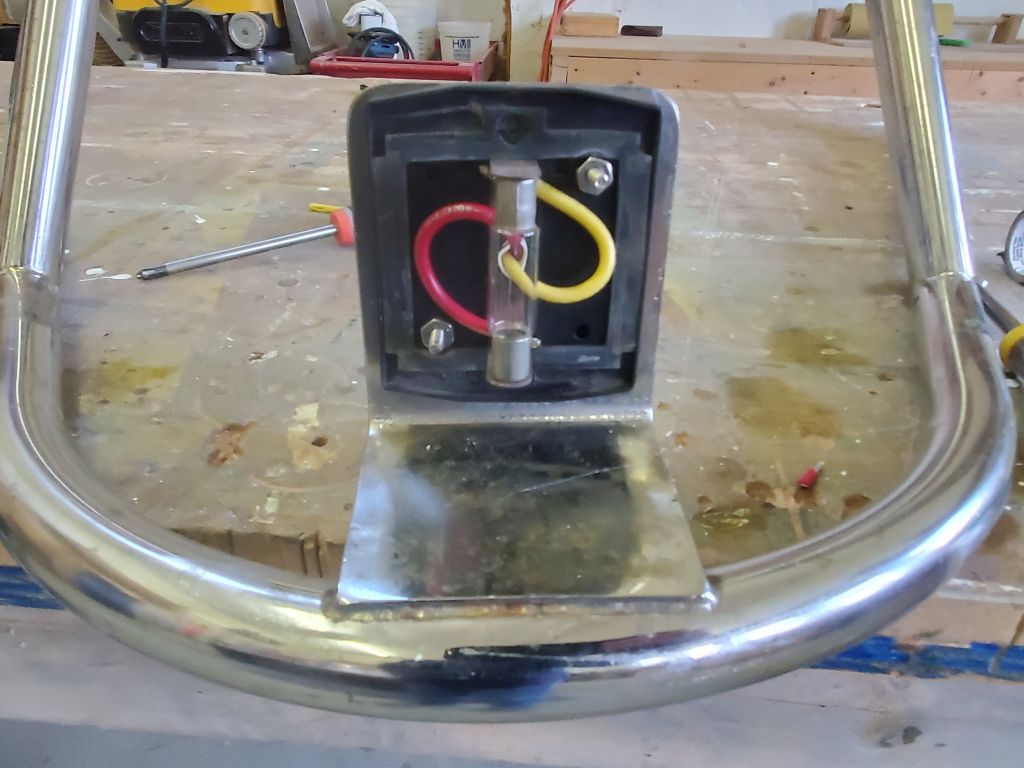
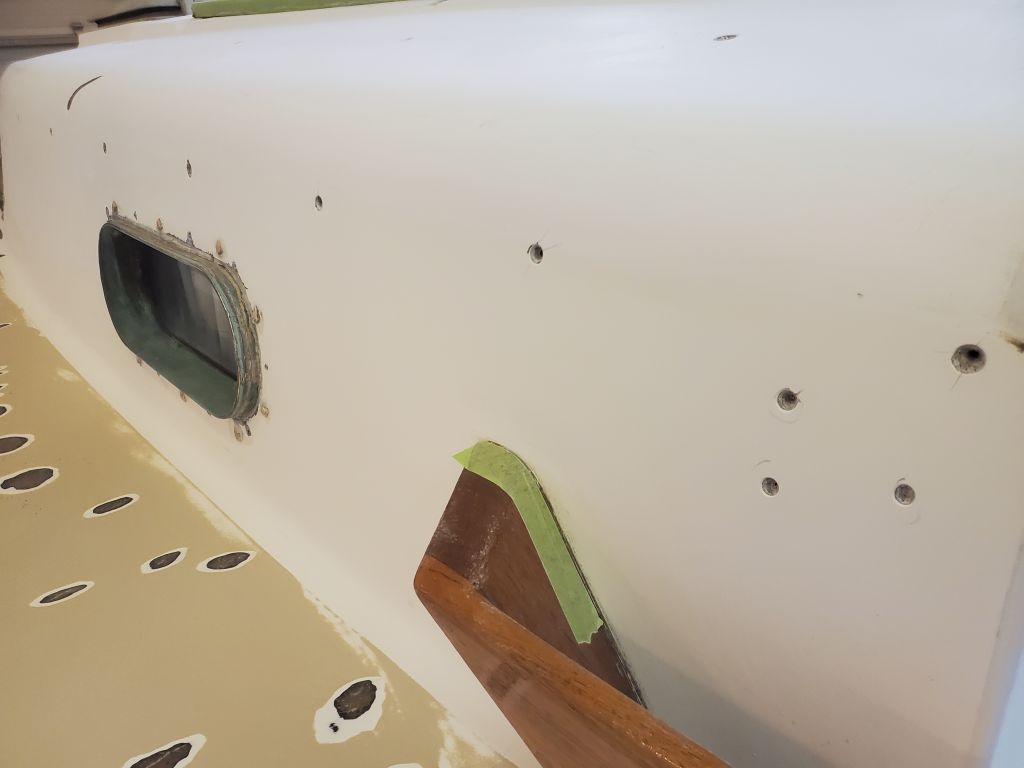
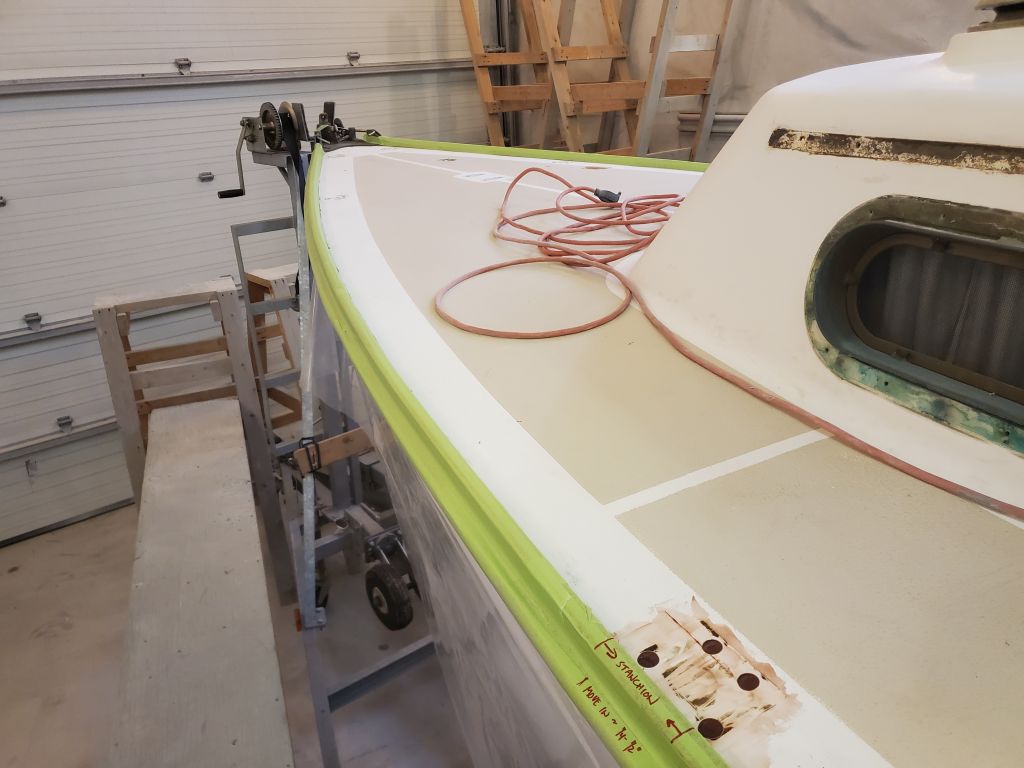
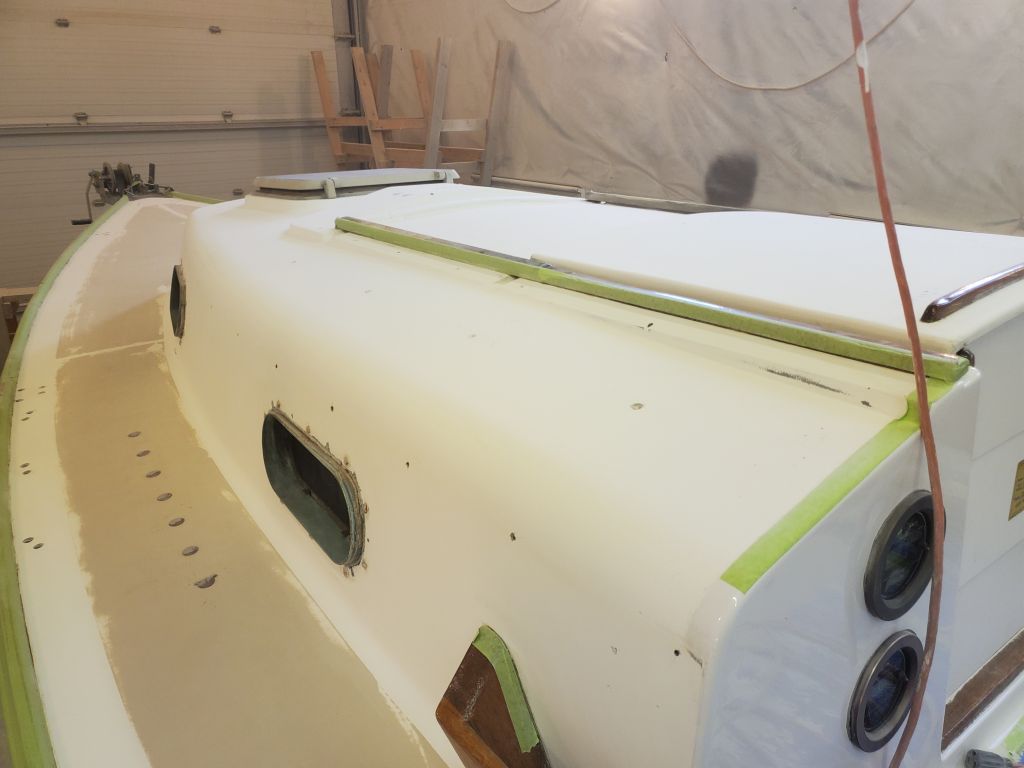
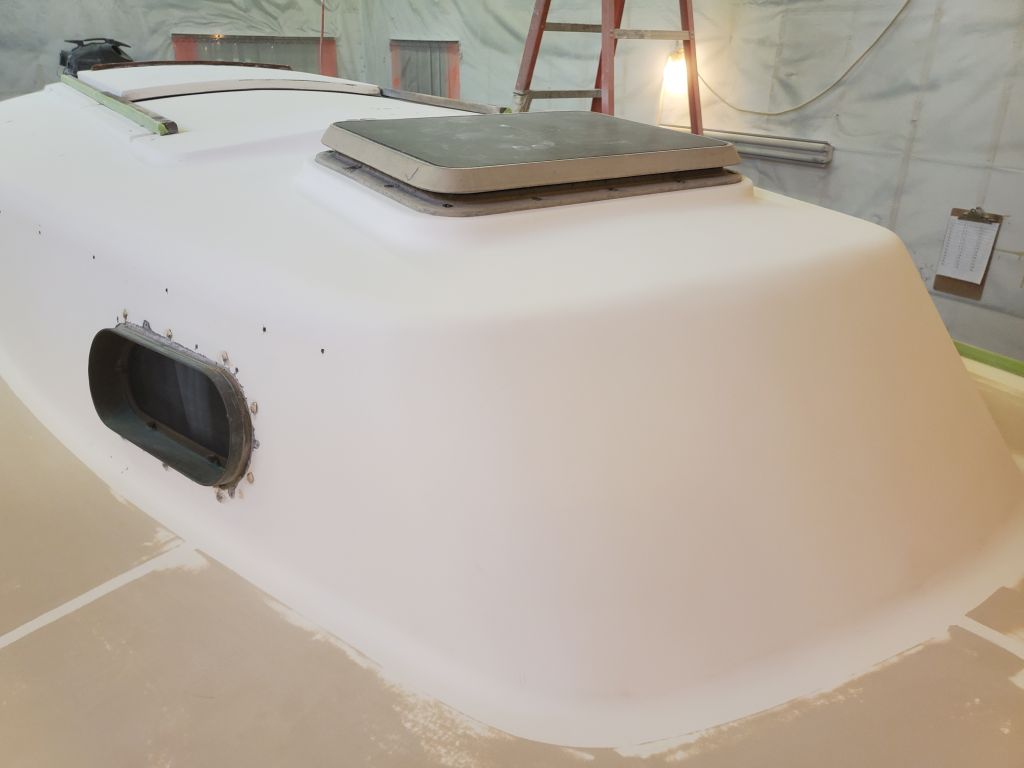
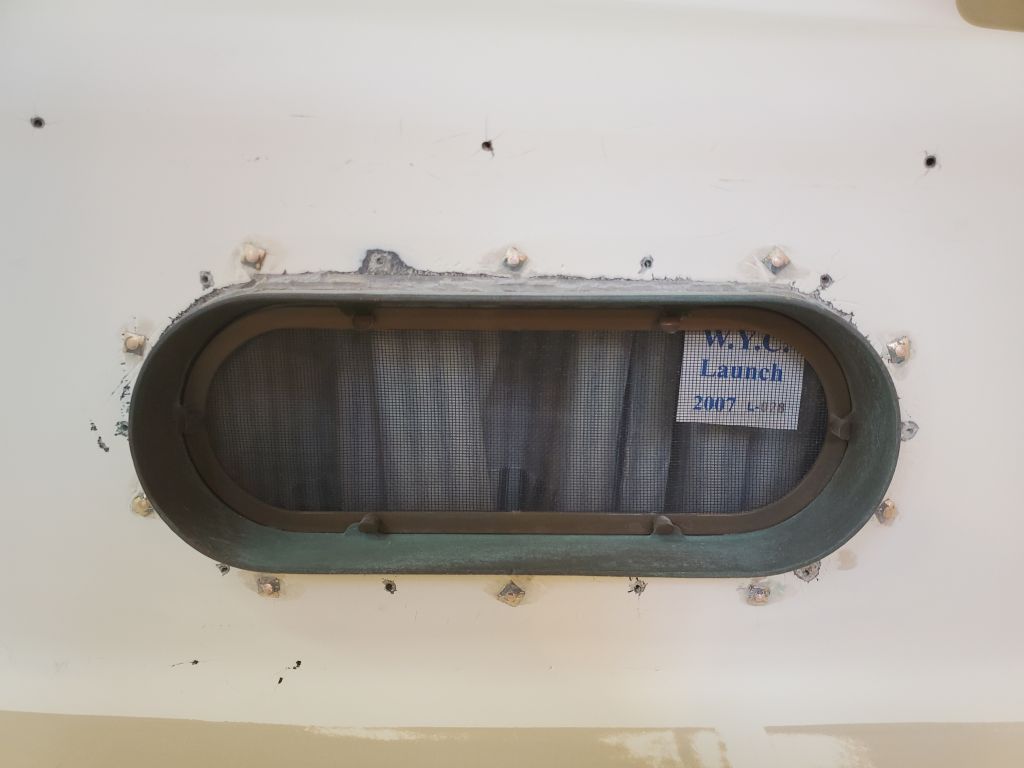
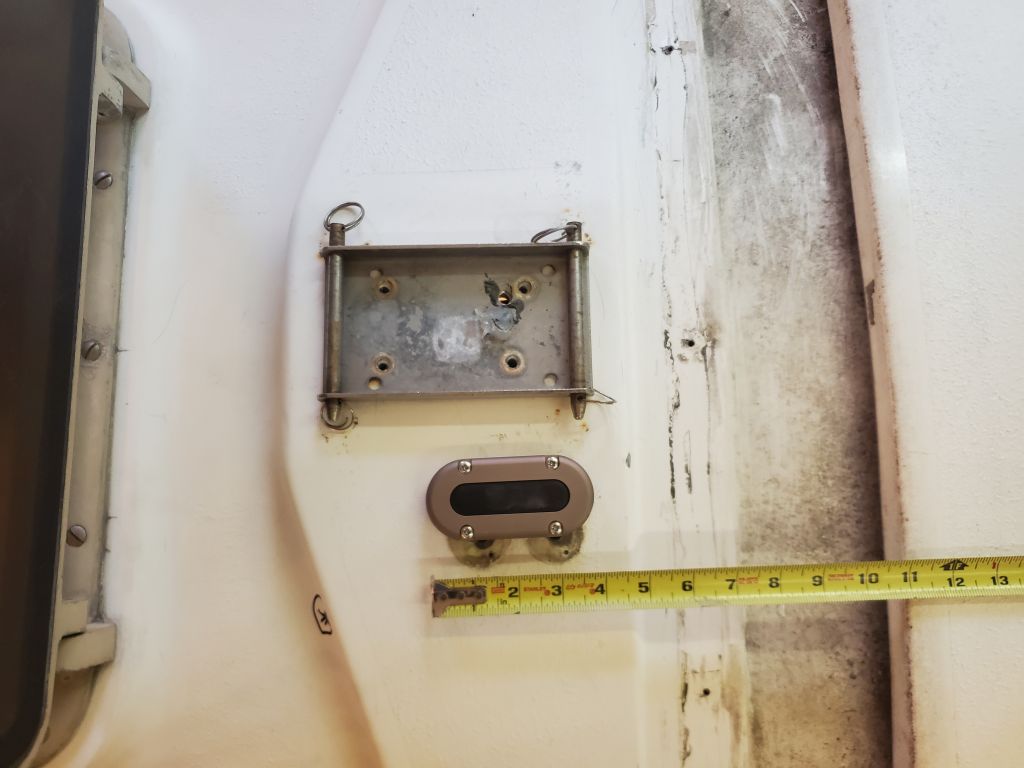
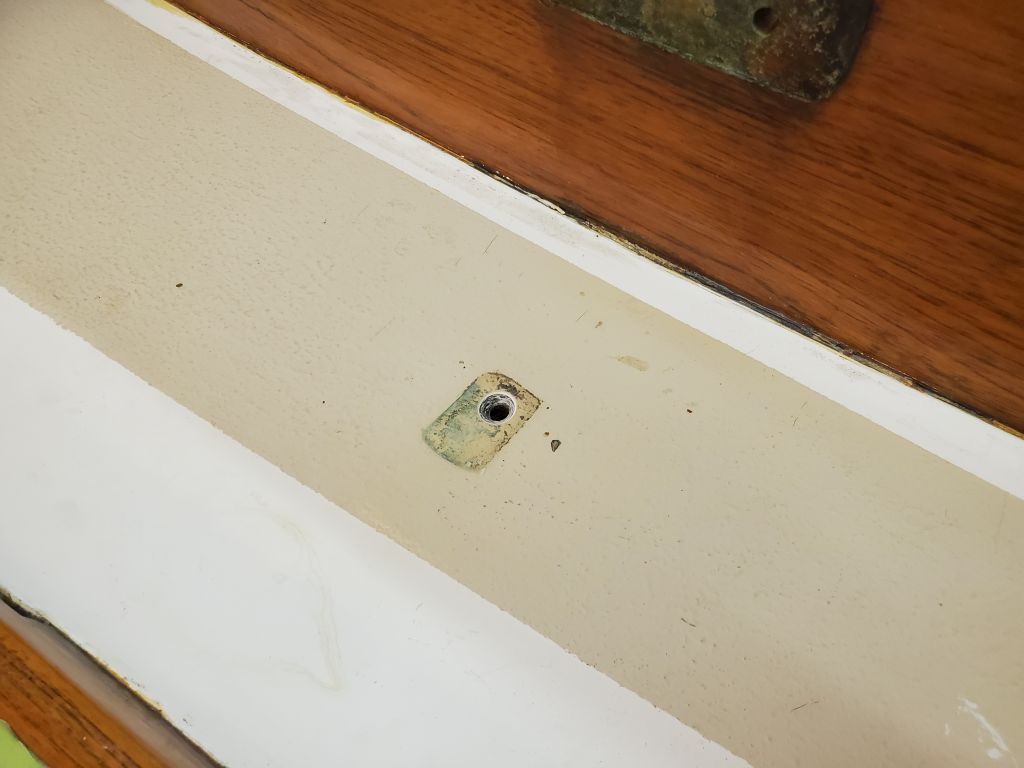
Among the options under consideration for leading some of the mast and other wiring through the deck was an elongated version of the round deck seals I’d used in the past. I ordered one to get a sense of its size and possible suitability. It was a bit smaller than I expected, which was probably a good thing since too much bulk might have been an issue, but otherwise appeared to offer the right amount of space through the rubber gasket for the leads we anticipated: A pair of wires for a new solar panel, and the mast wiring harness. The owner requested a through-deck connector for the VHF antenna leading to the mast, which I didn’t have on hand but would factor into the equation at some point.
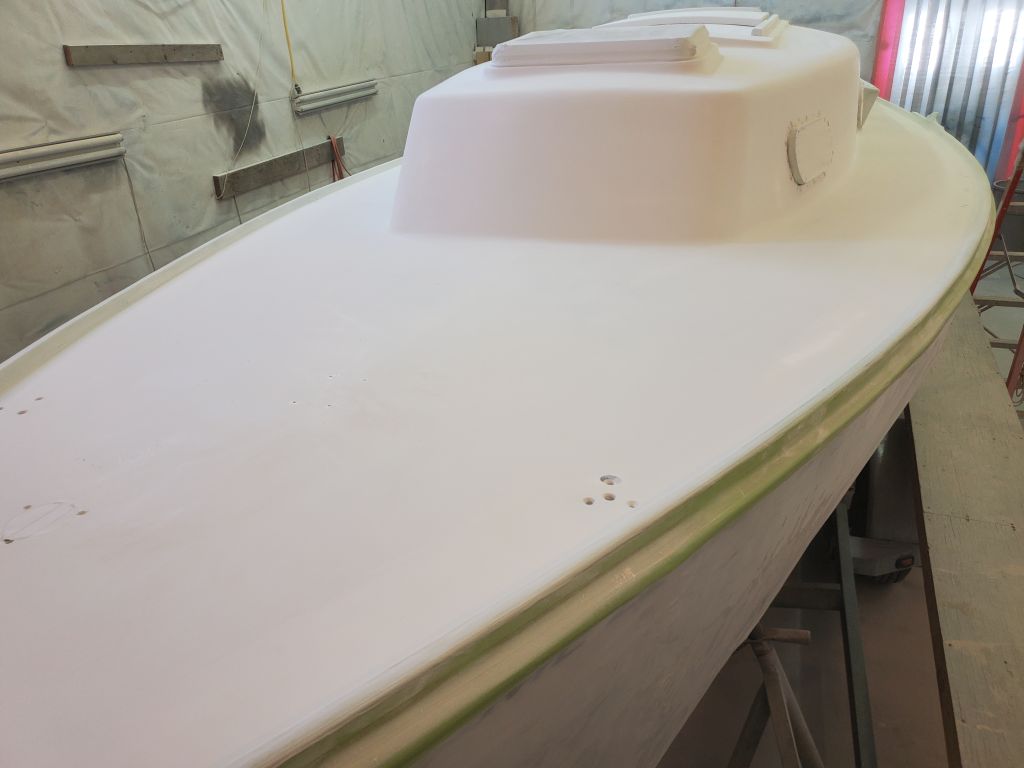
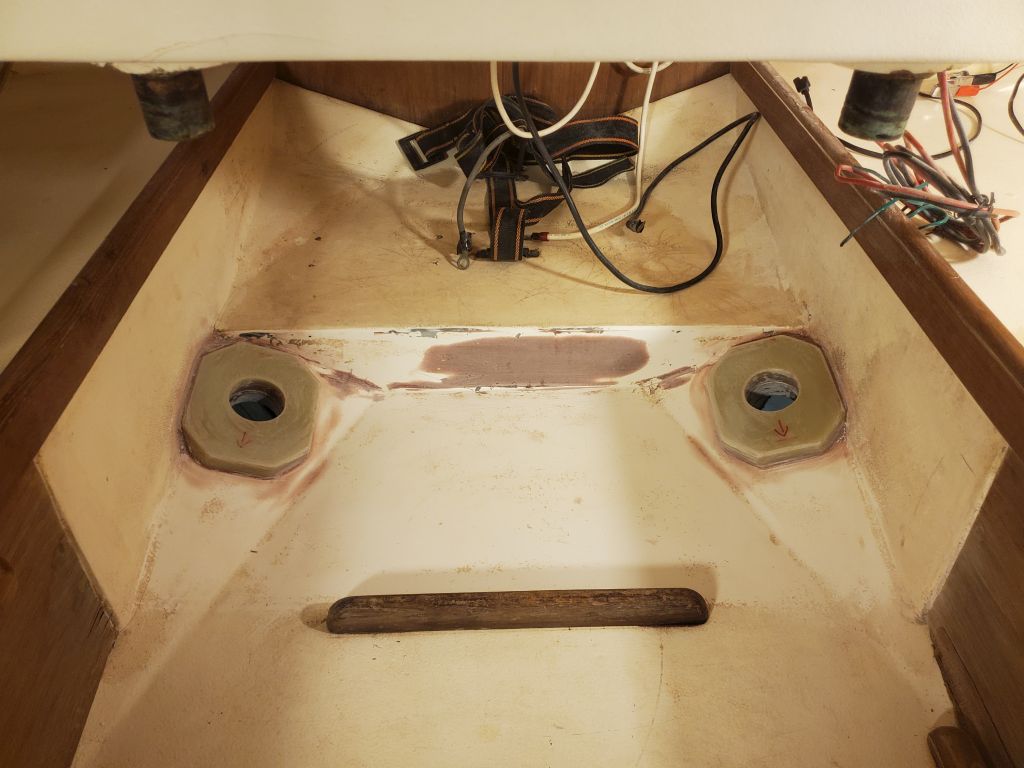
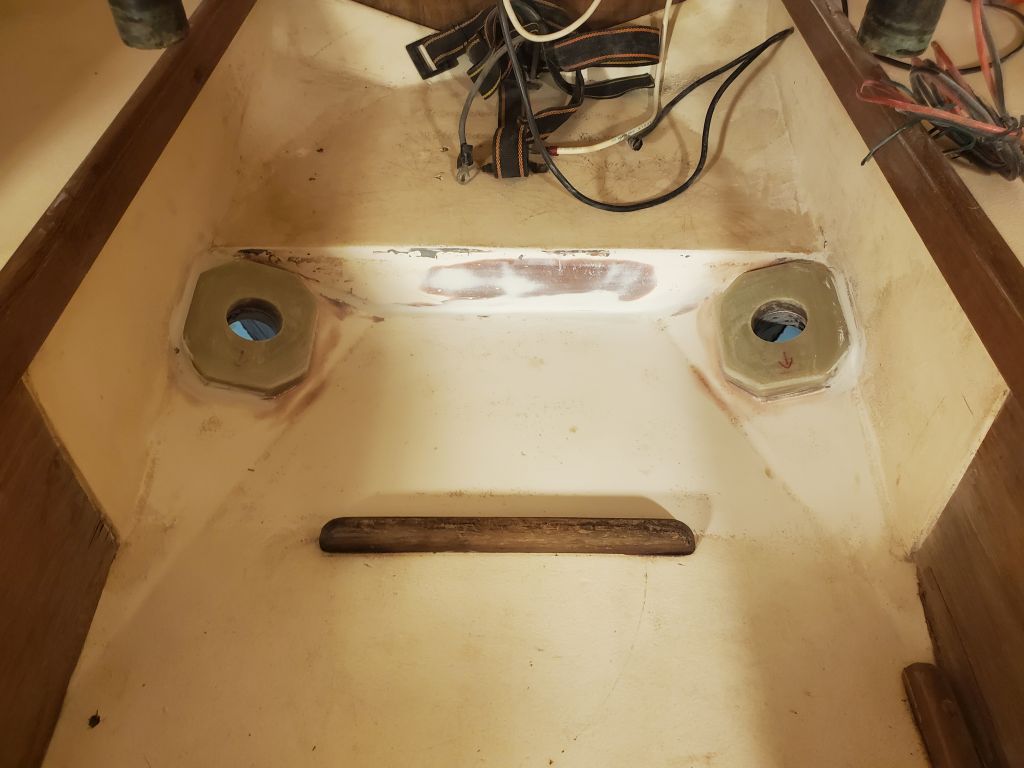
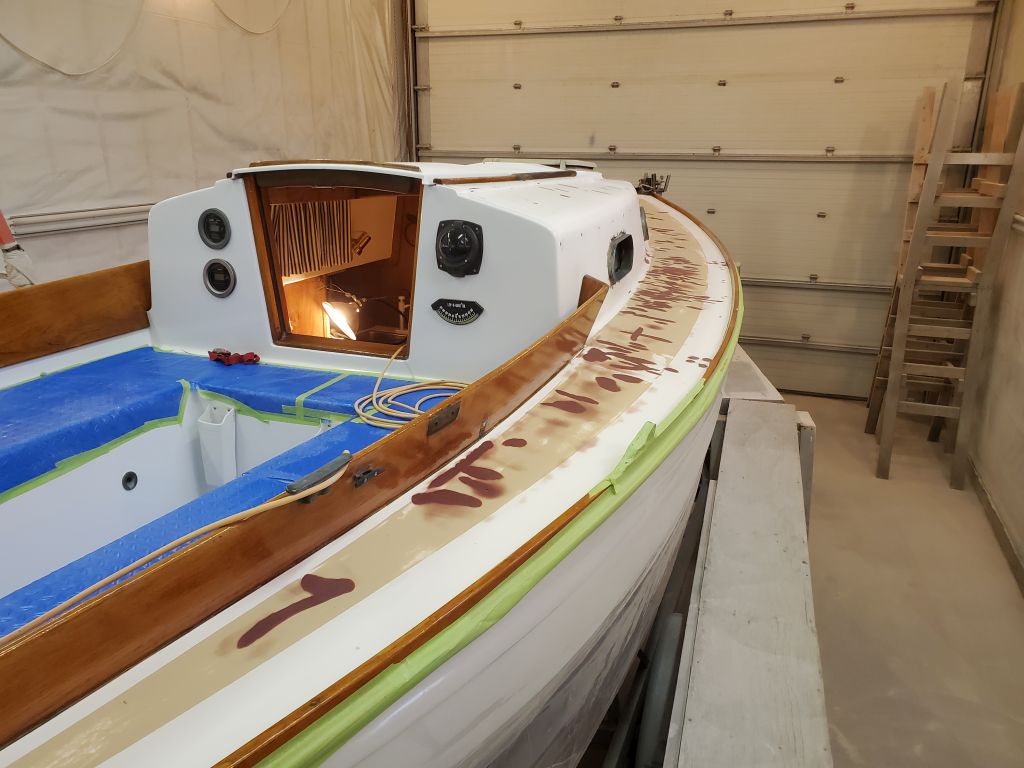
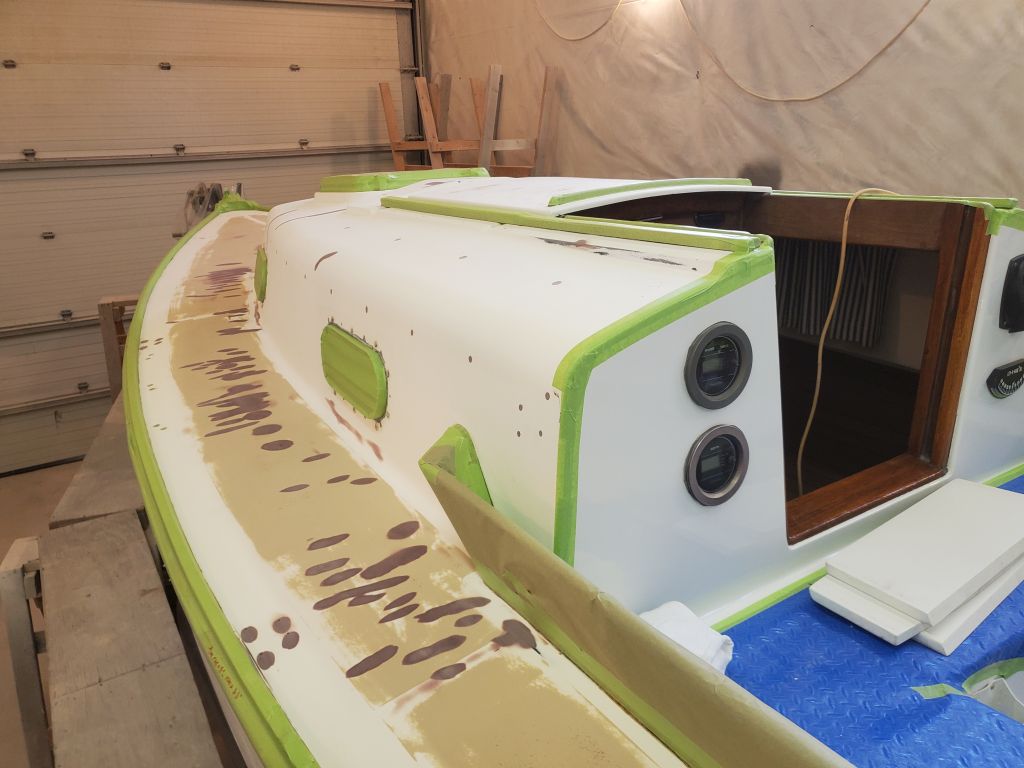
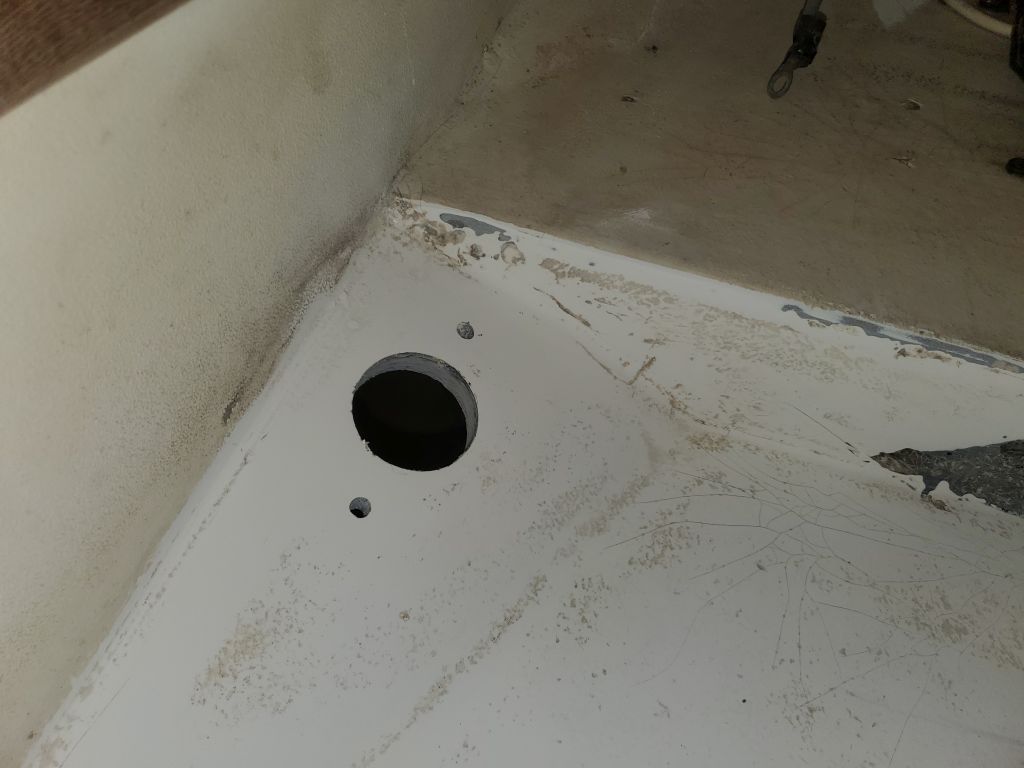
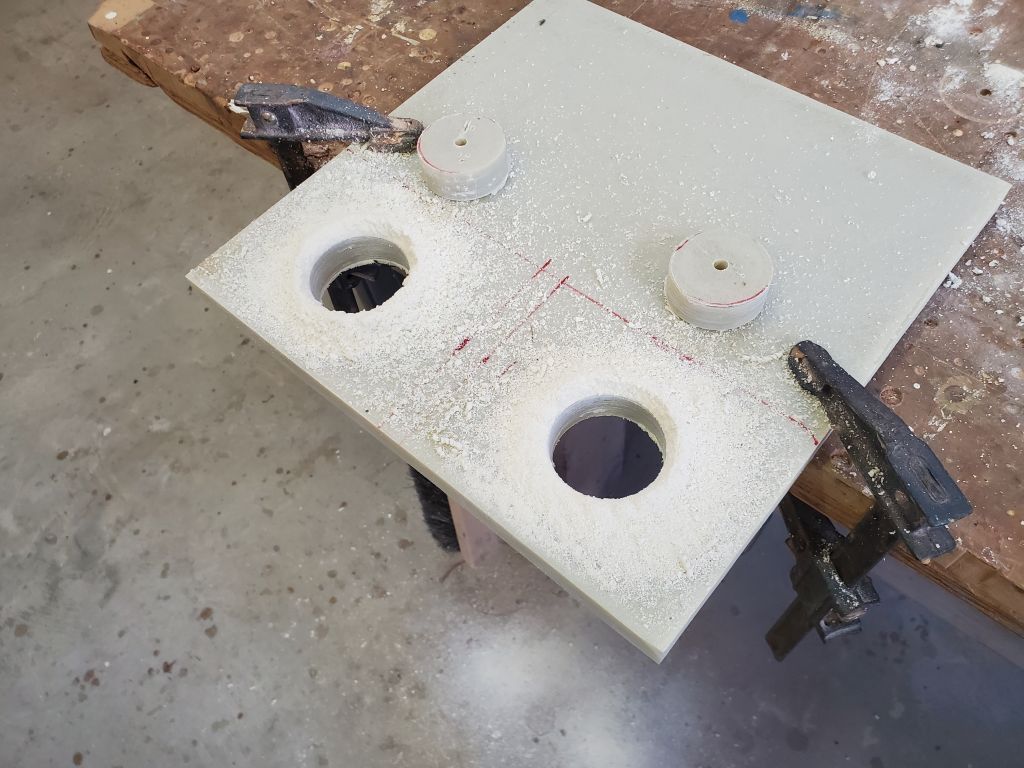
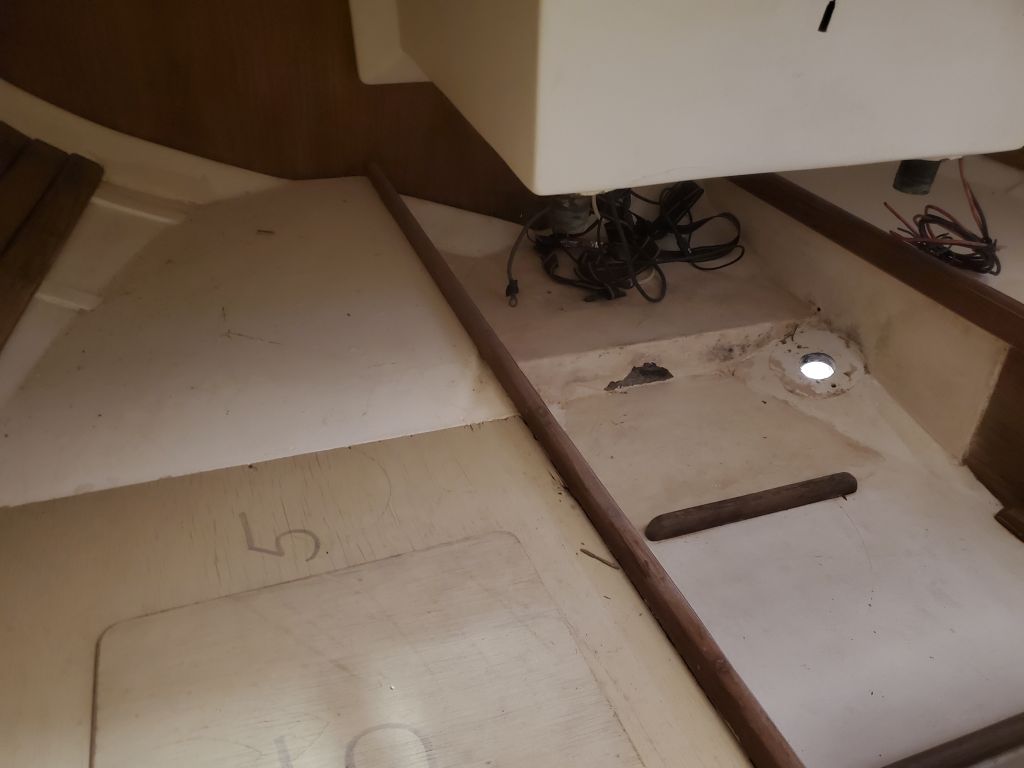
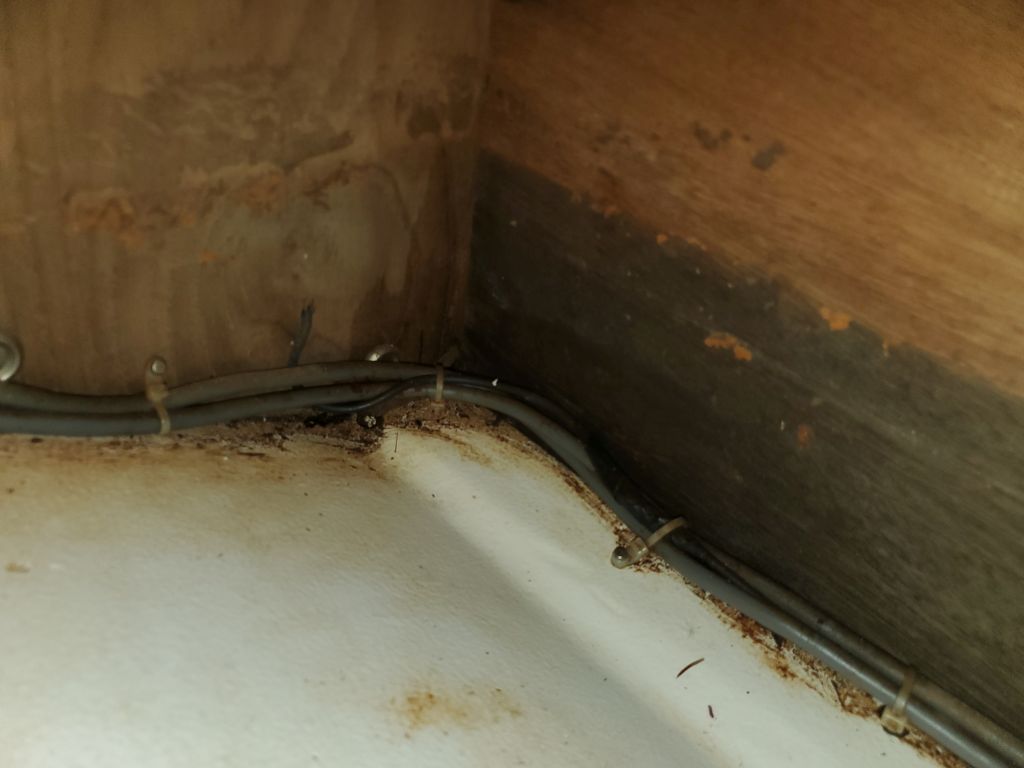
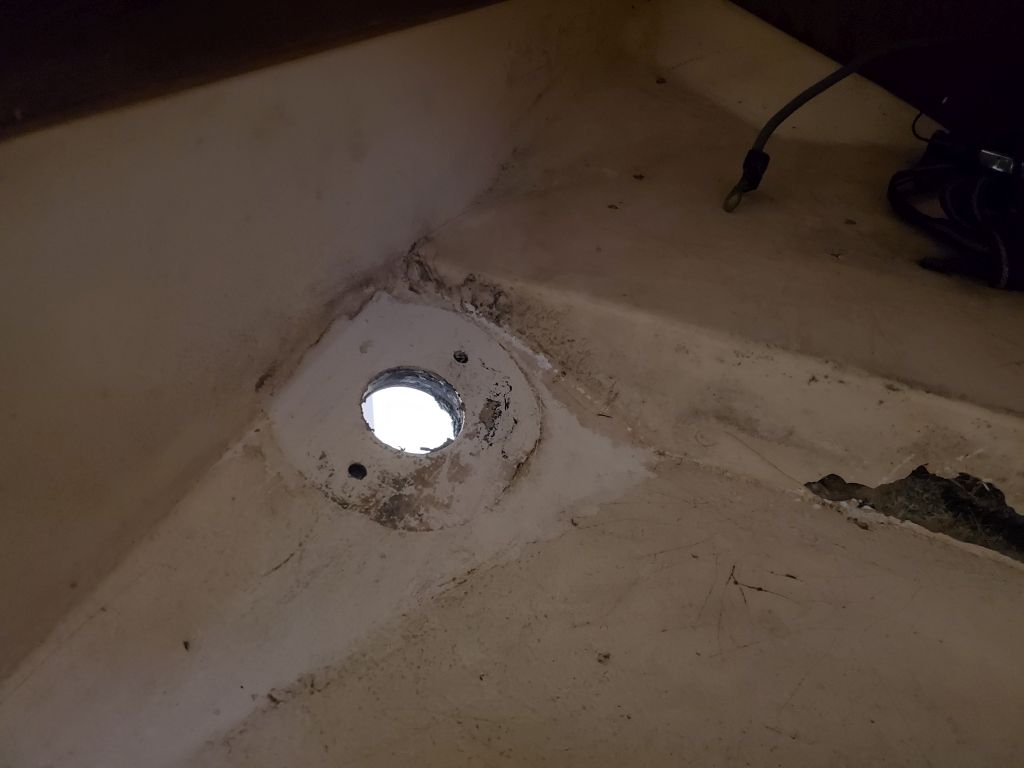
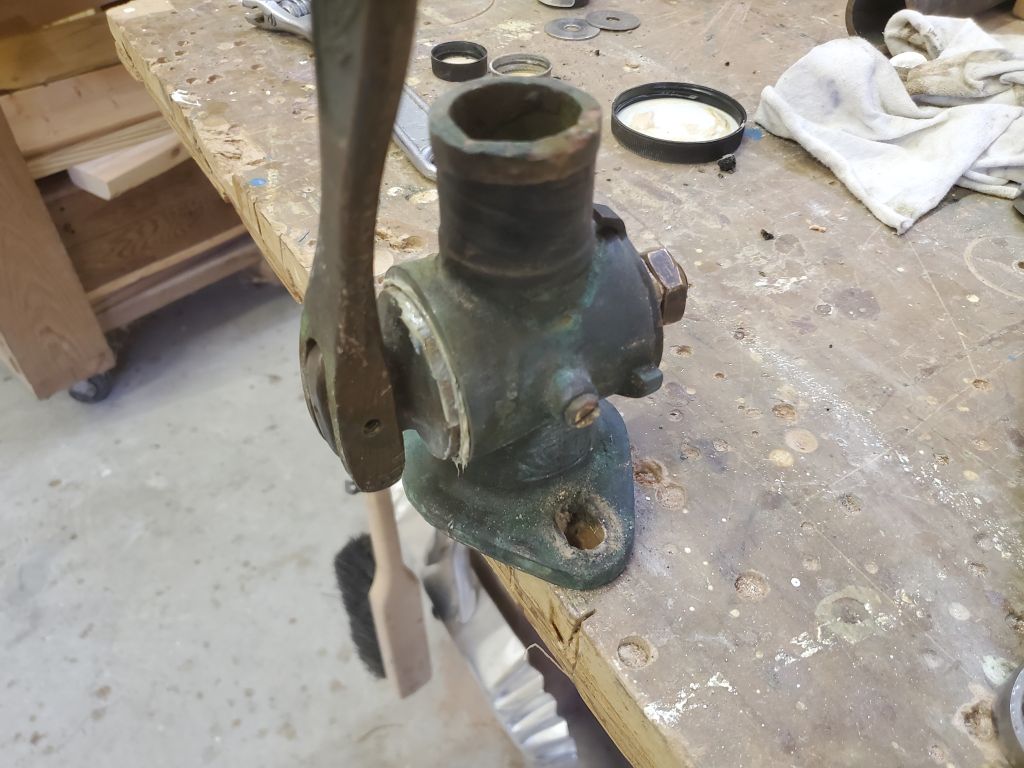
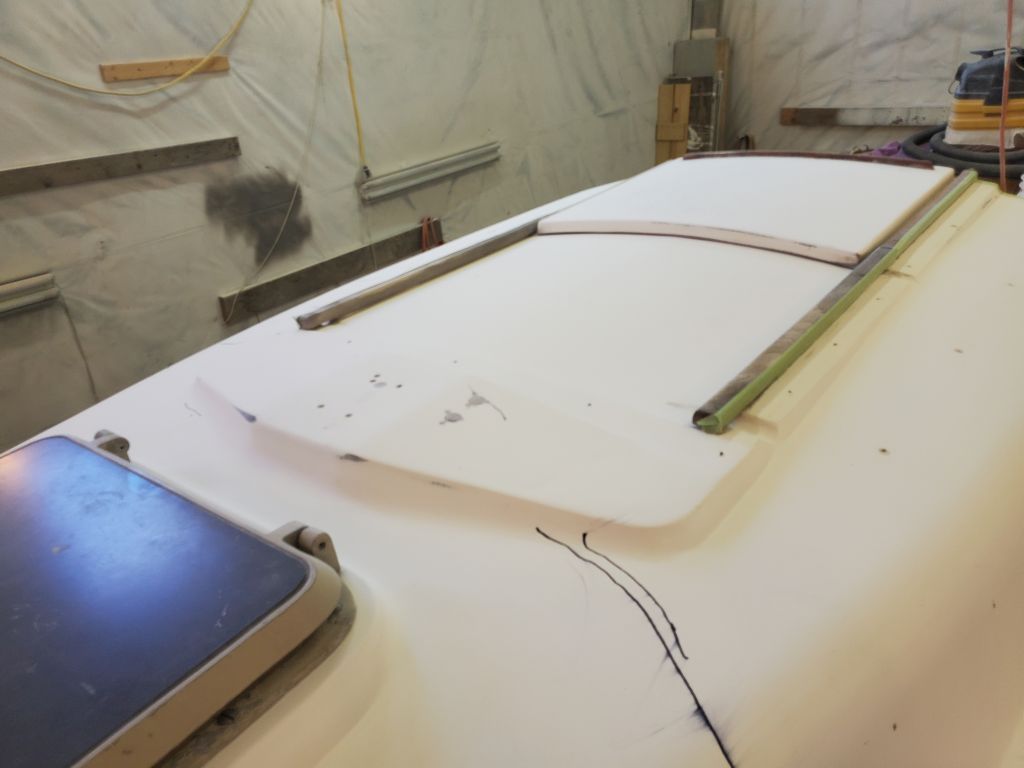
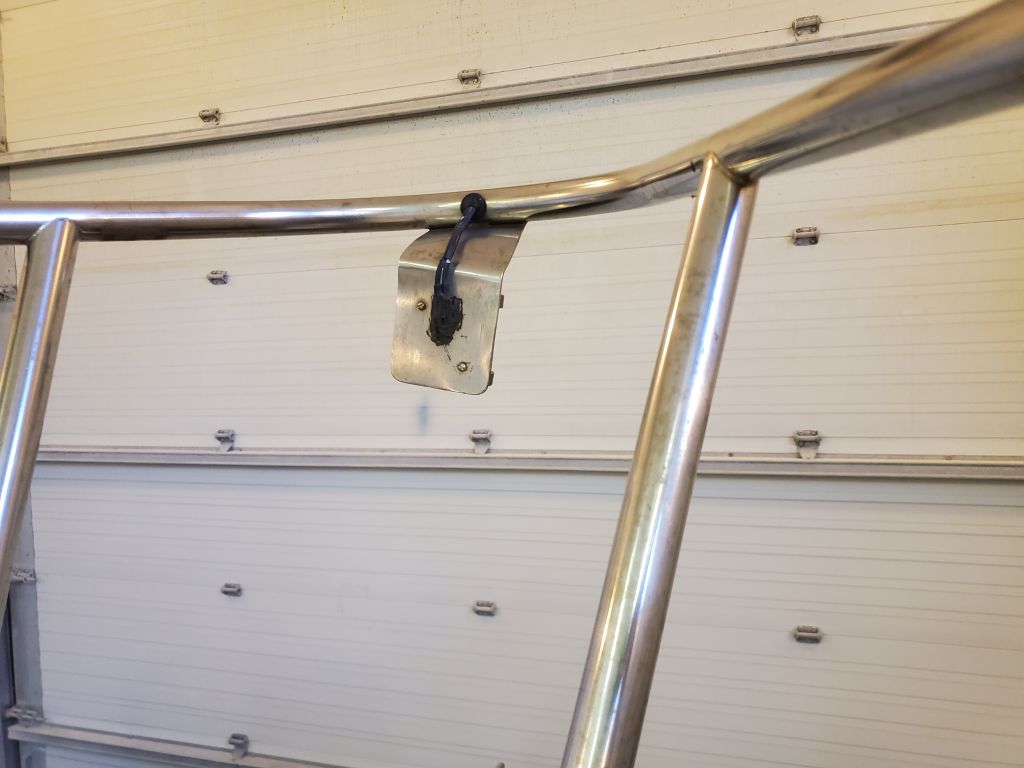
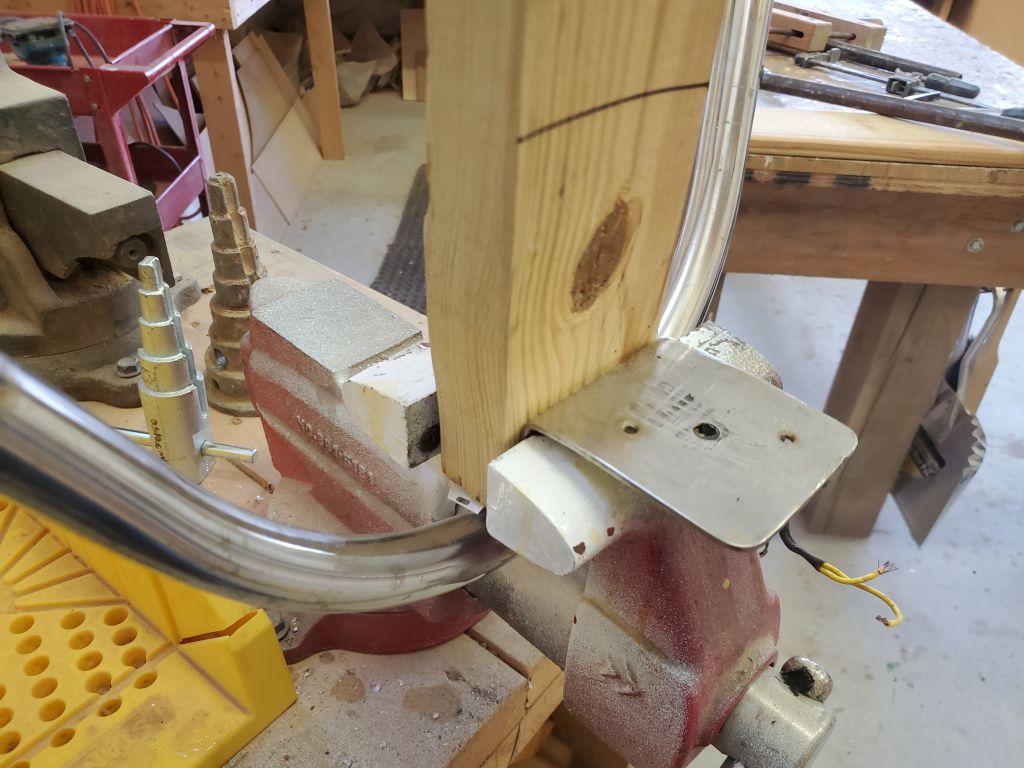
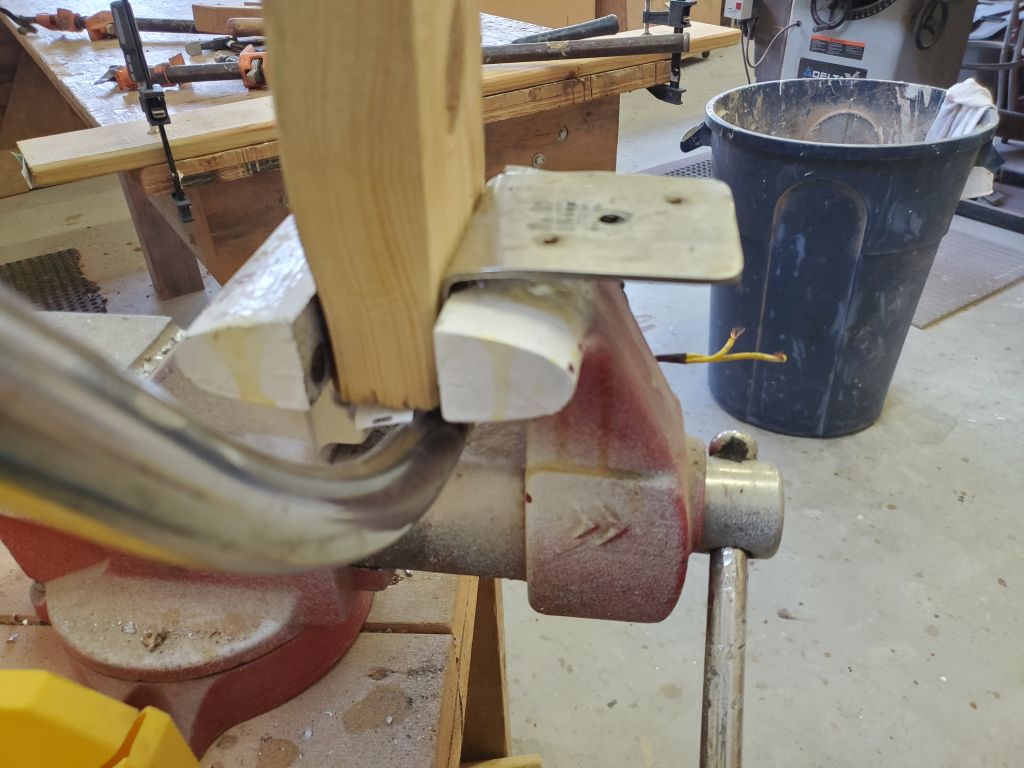
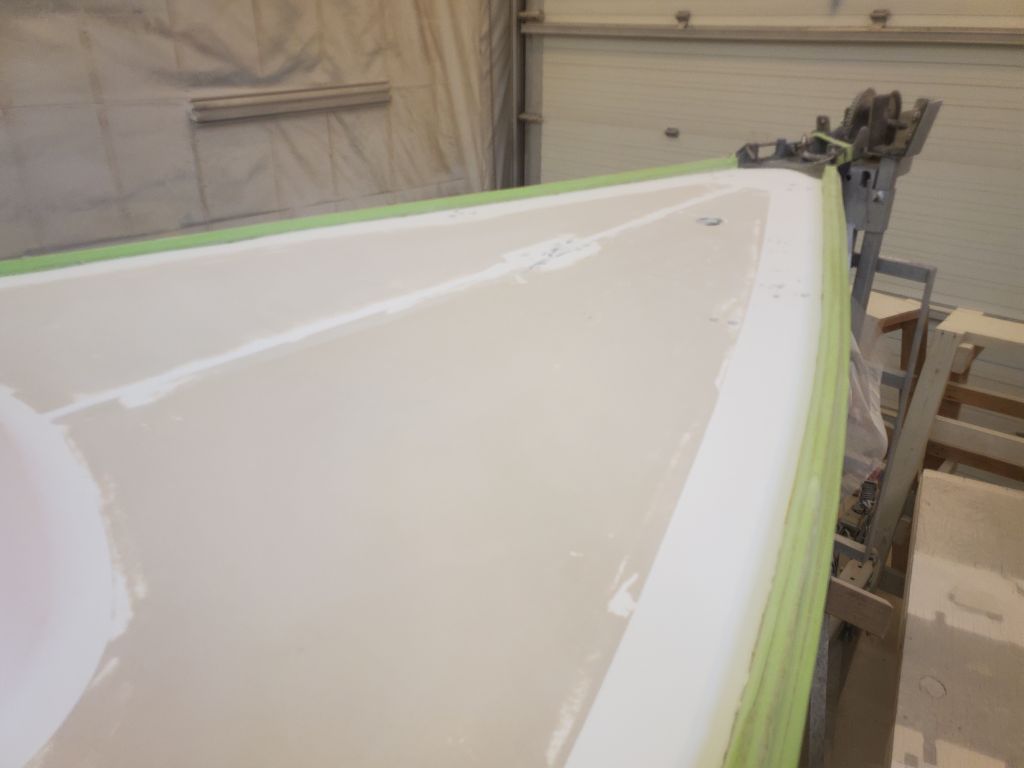
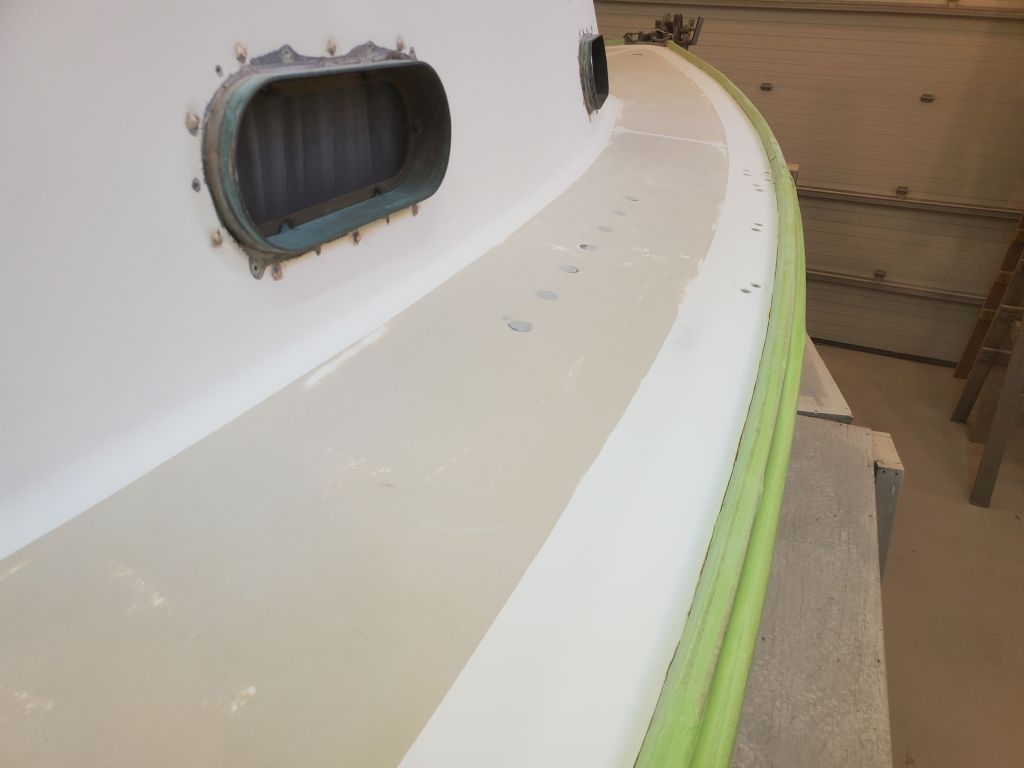
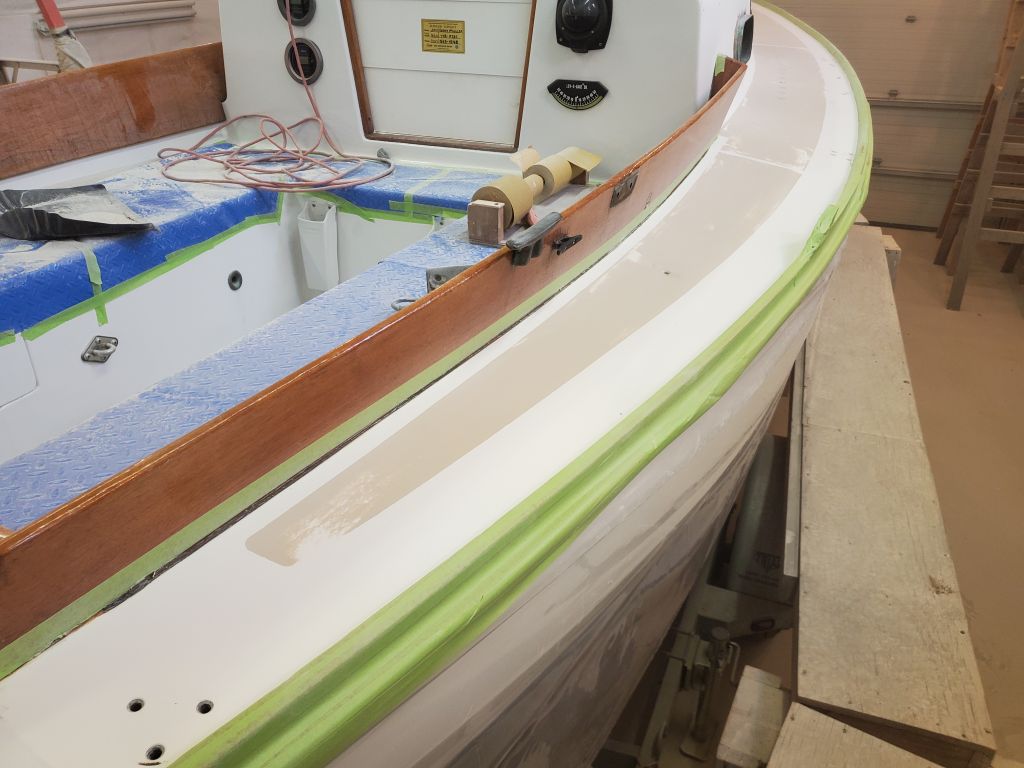
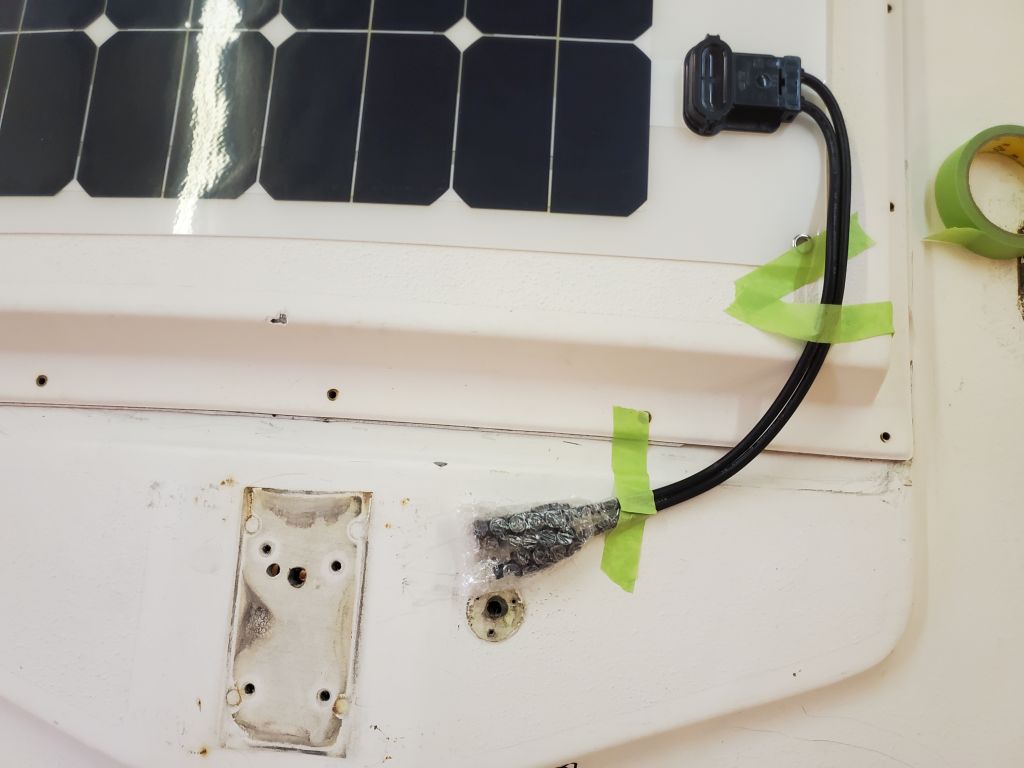
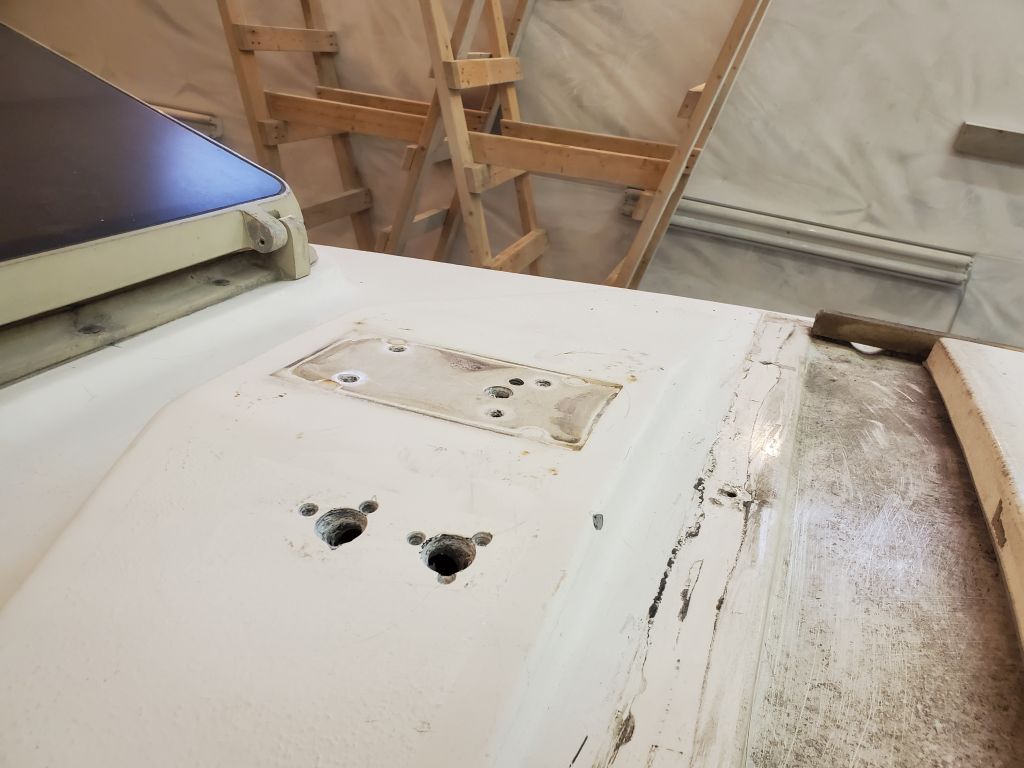
The position of the gland as I mocked it up was fairly well preordained by various construction factors, including the change in elevation of the mast step molding (the mast step was on a flat section, but the deck angled off to each side right where I placed the gland), and, in the fore and aft orientation, by the location of a pair of built-in mast step stiffeners below deck.
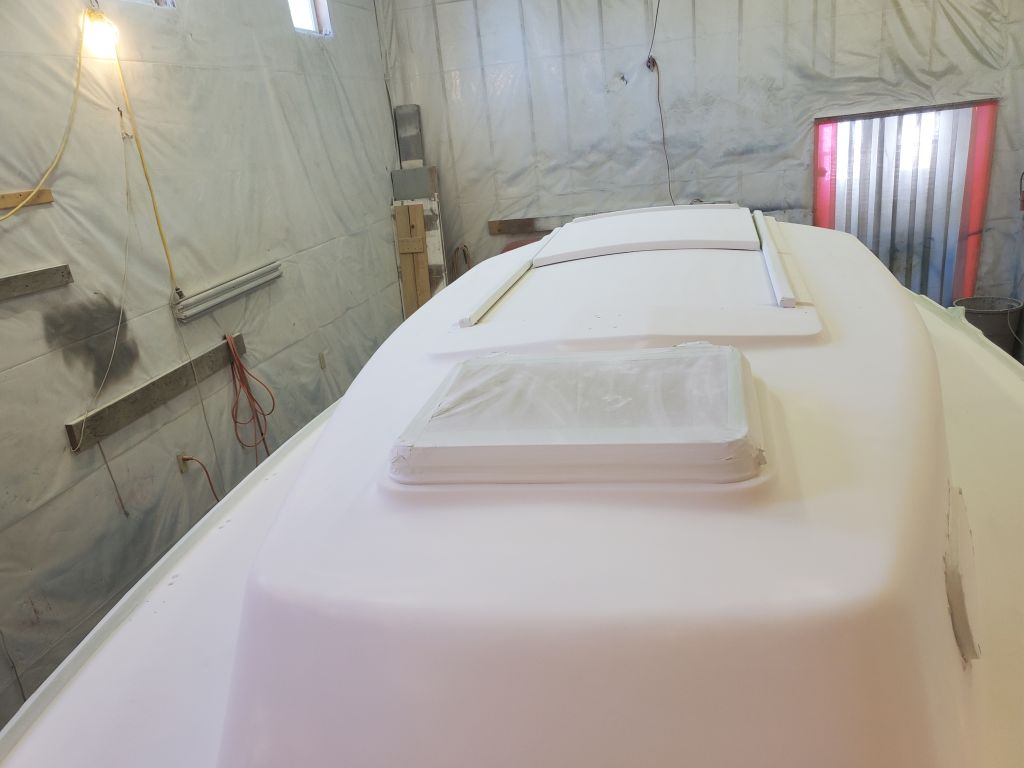
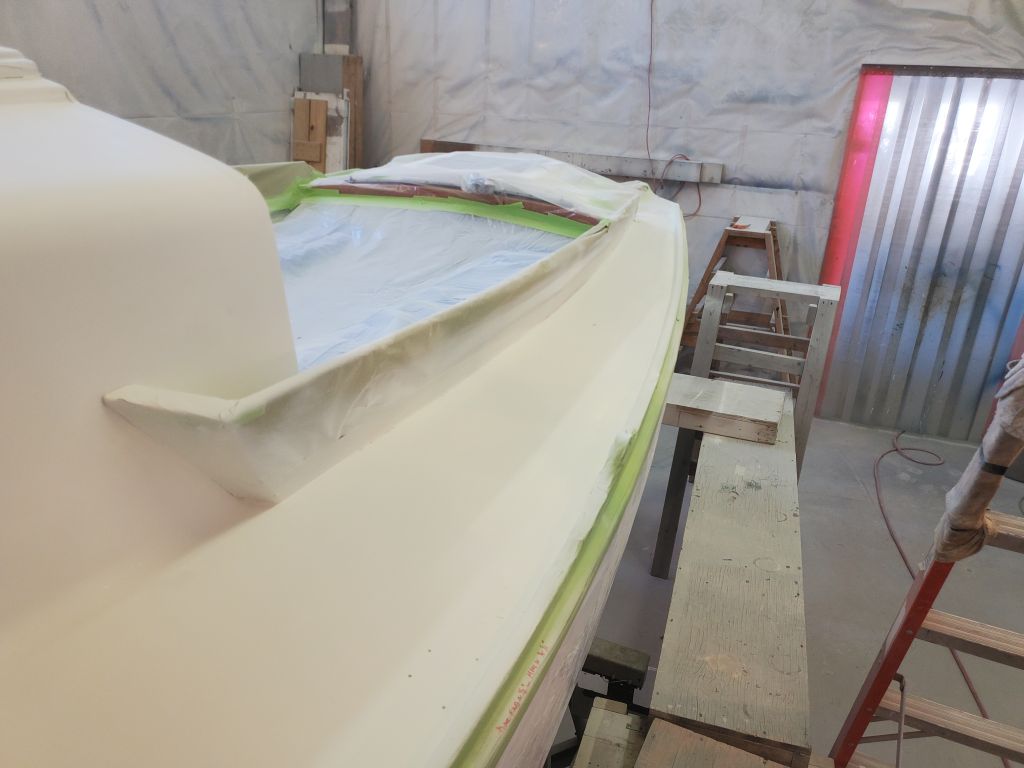
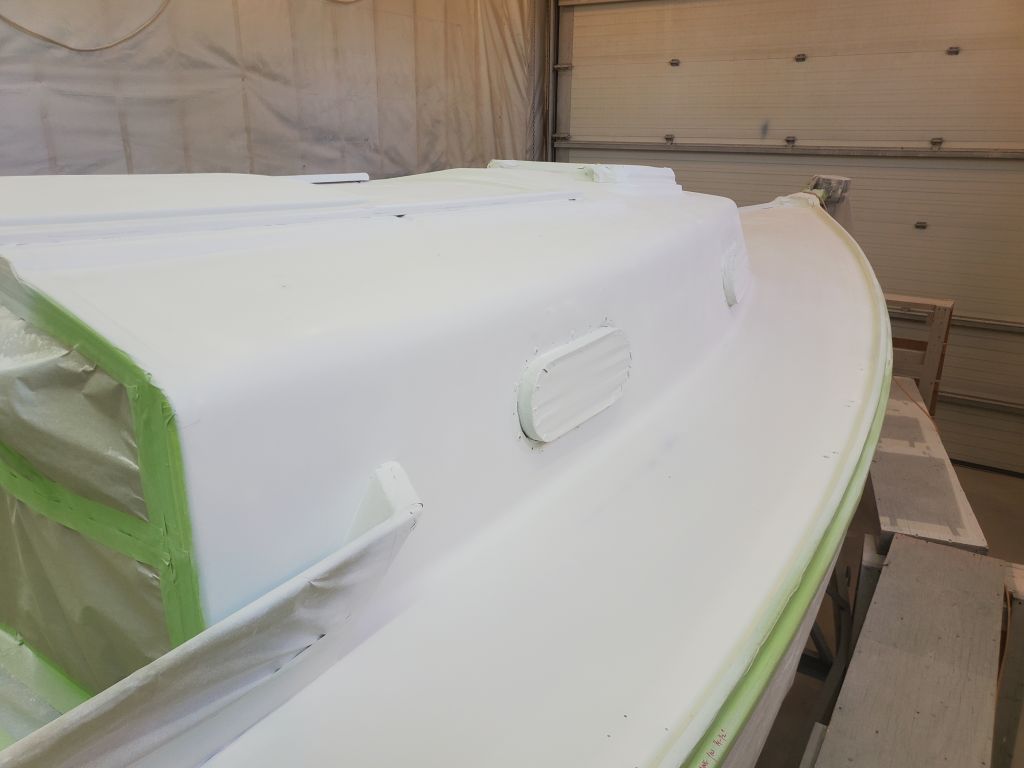
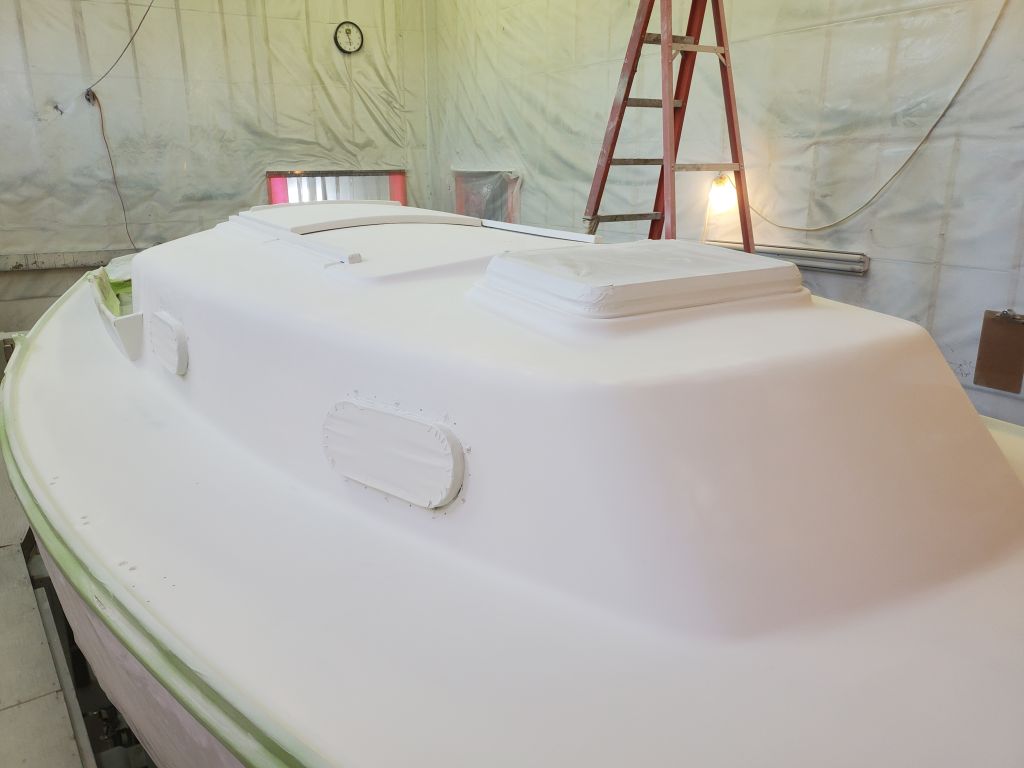
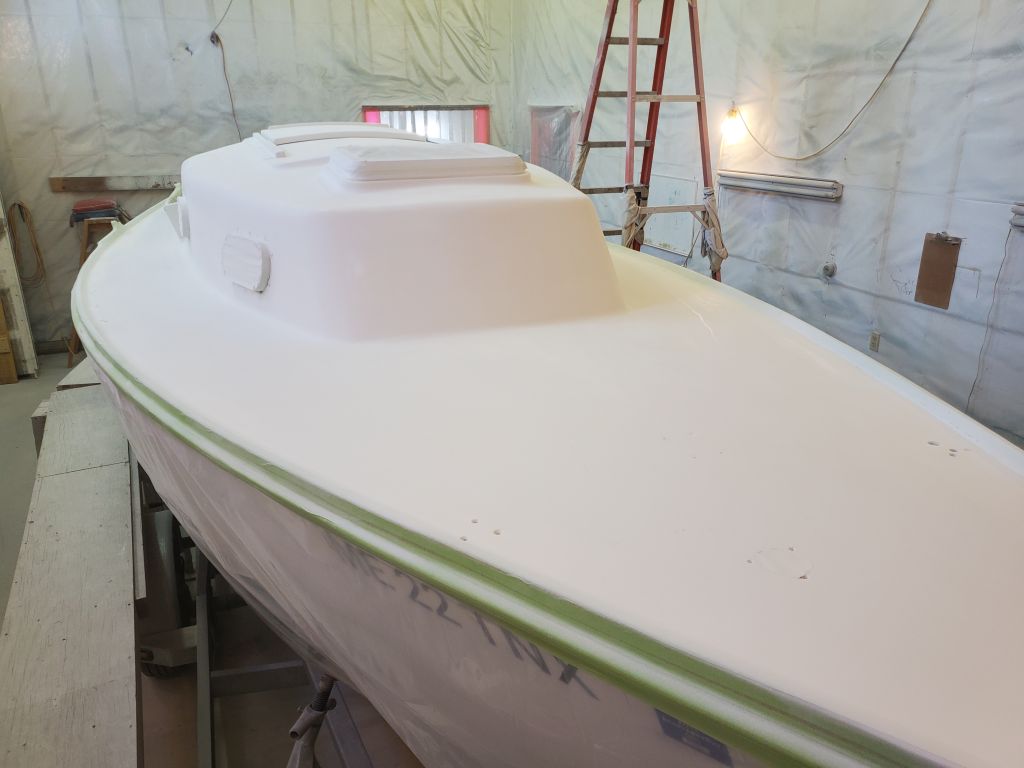
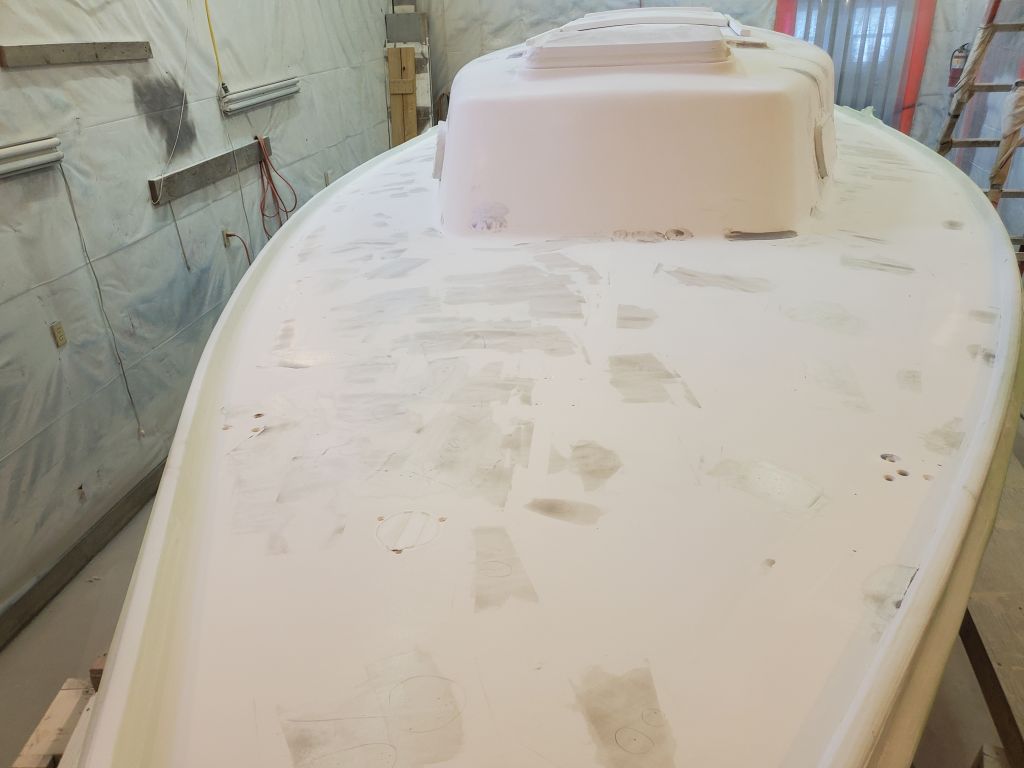
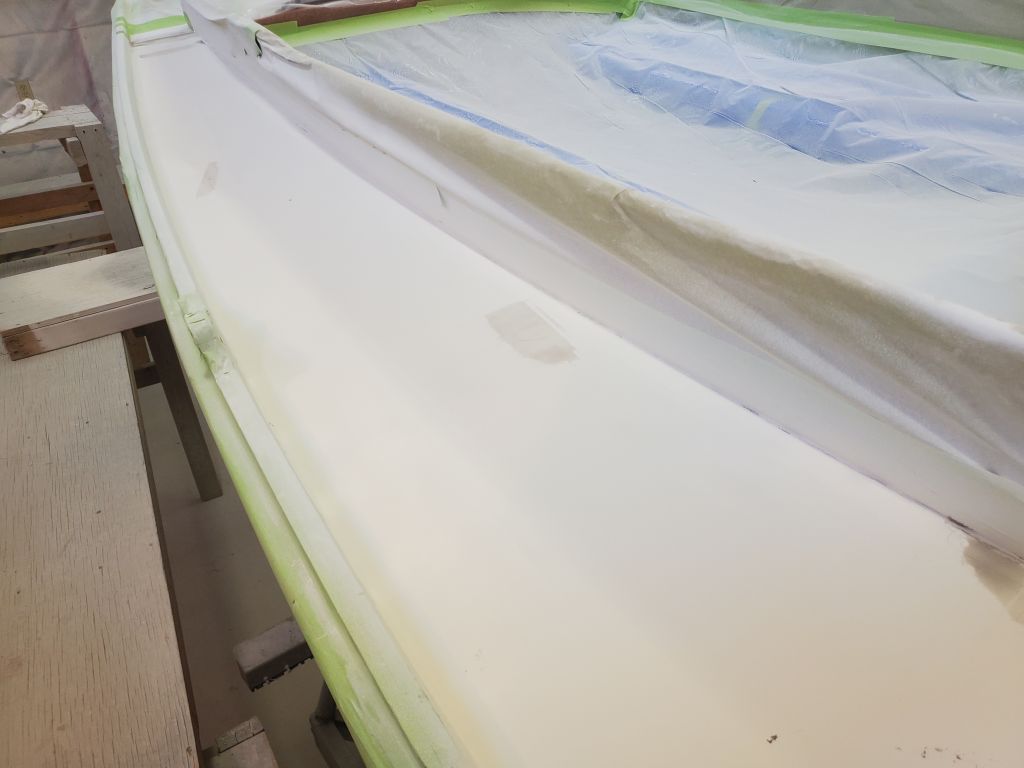
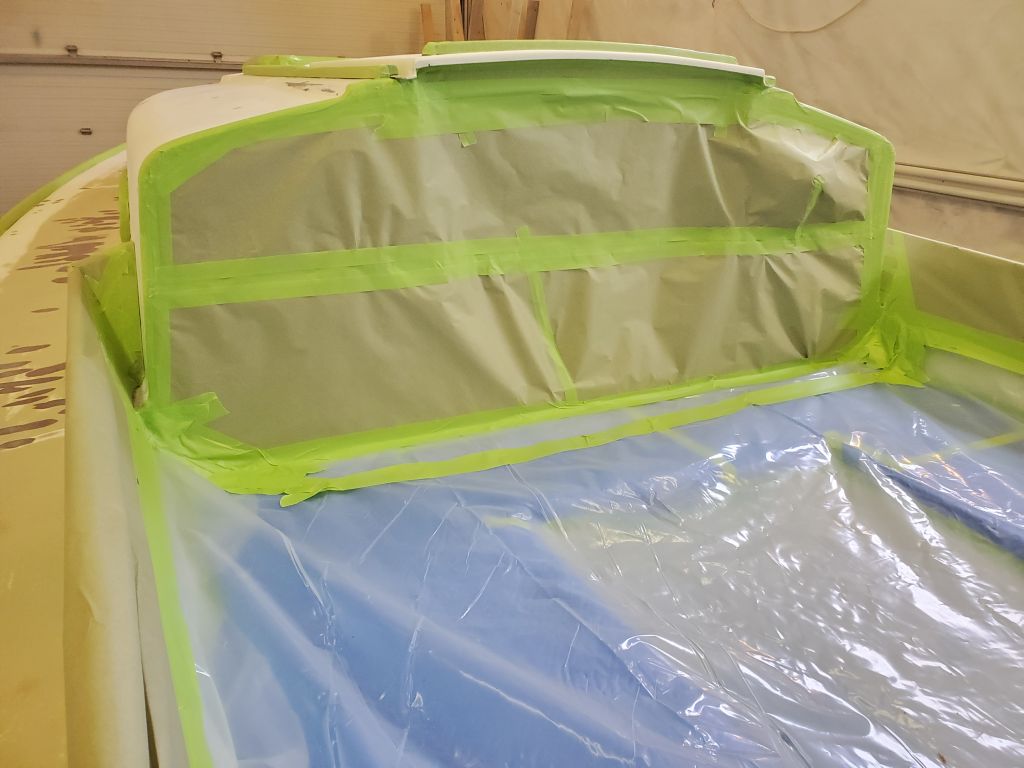
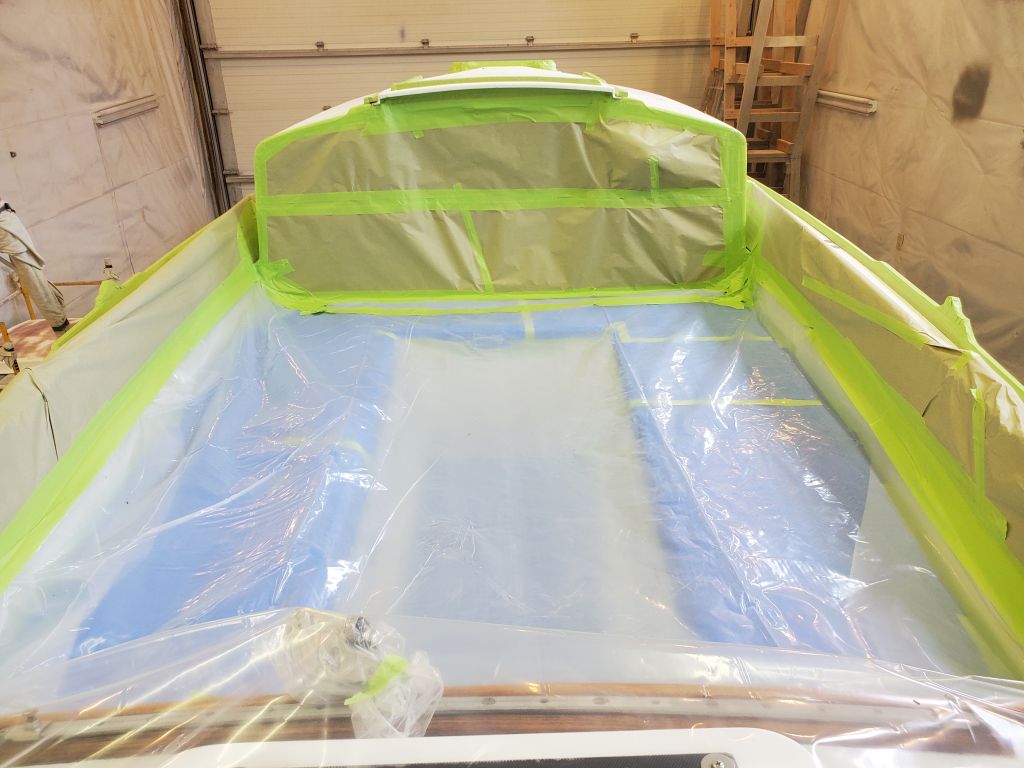
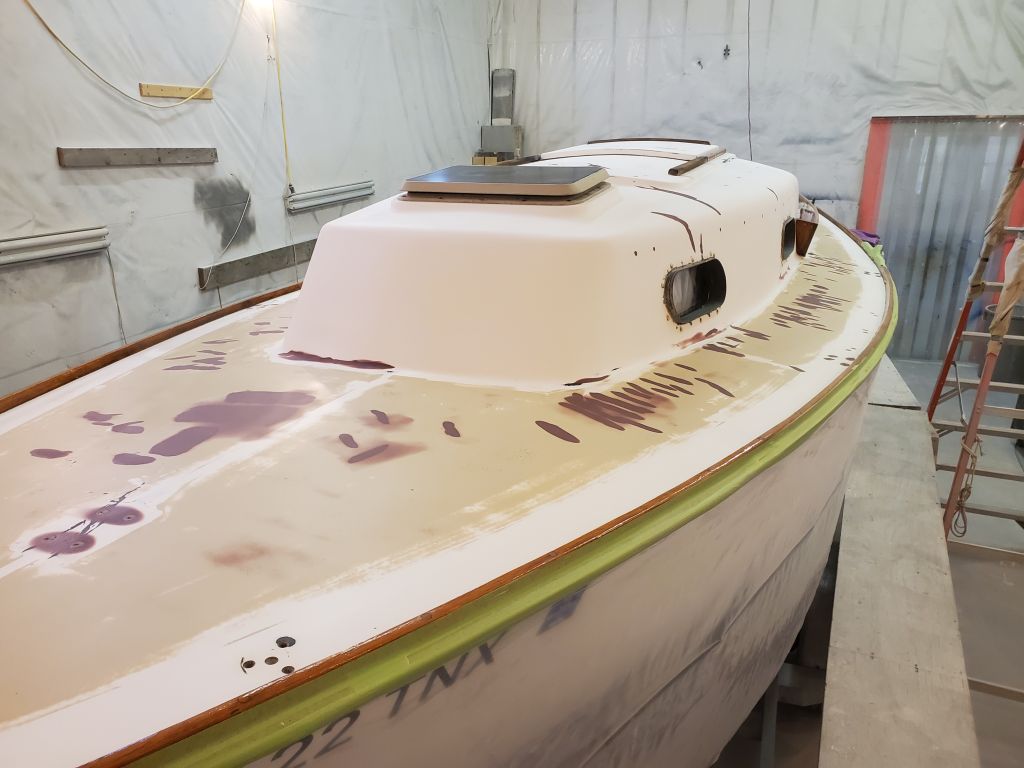
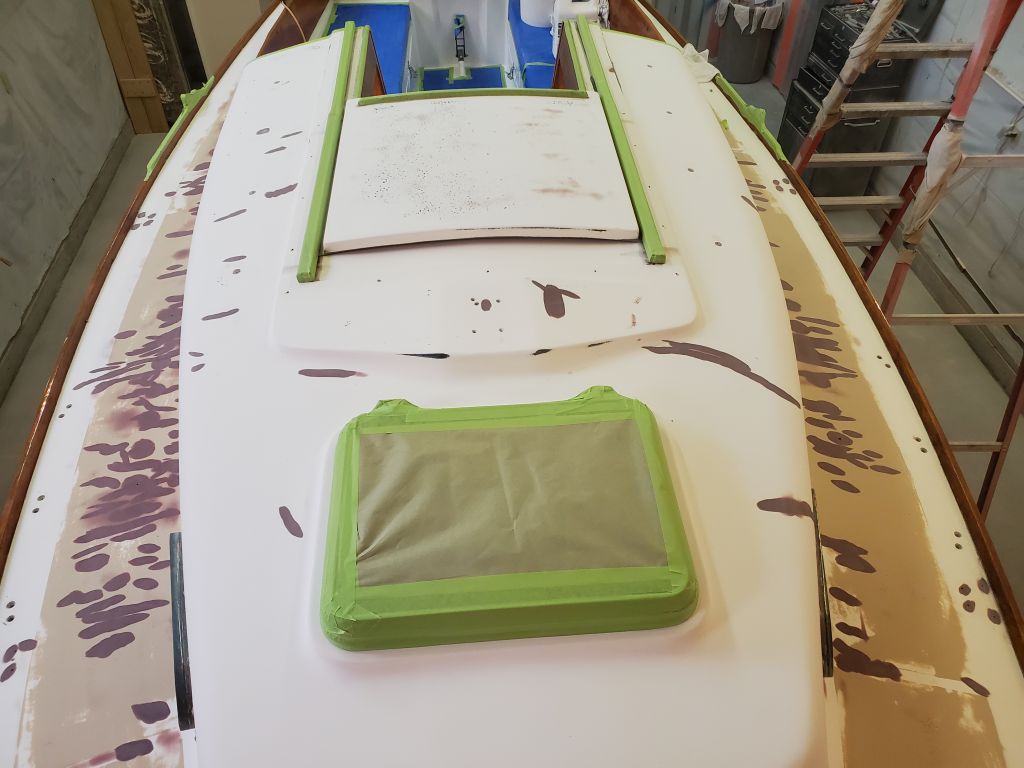
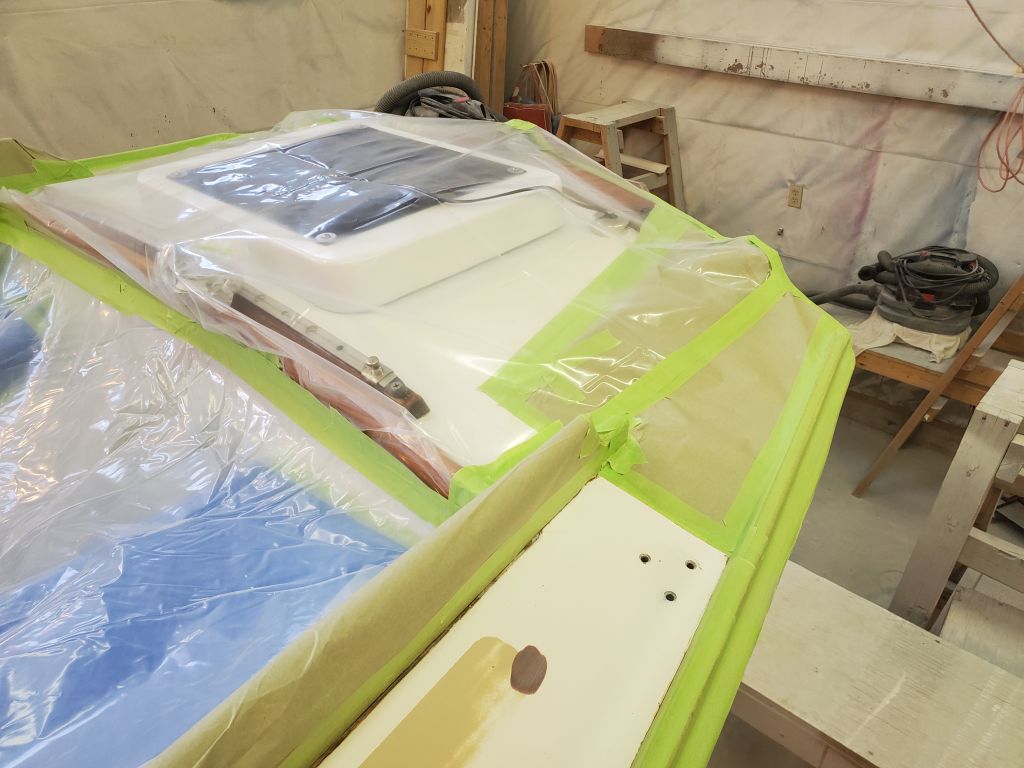
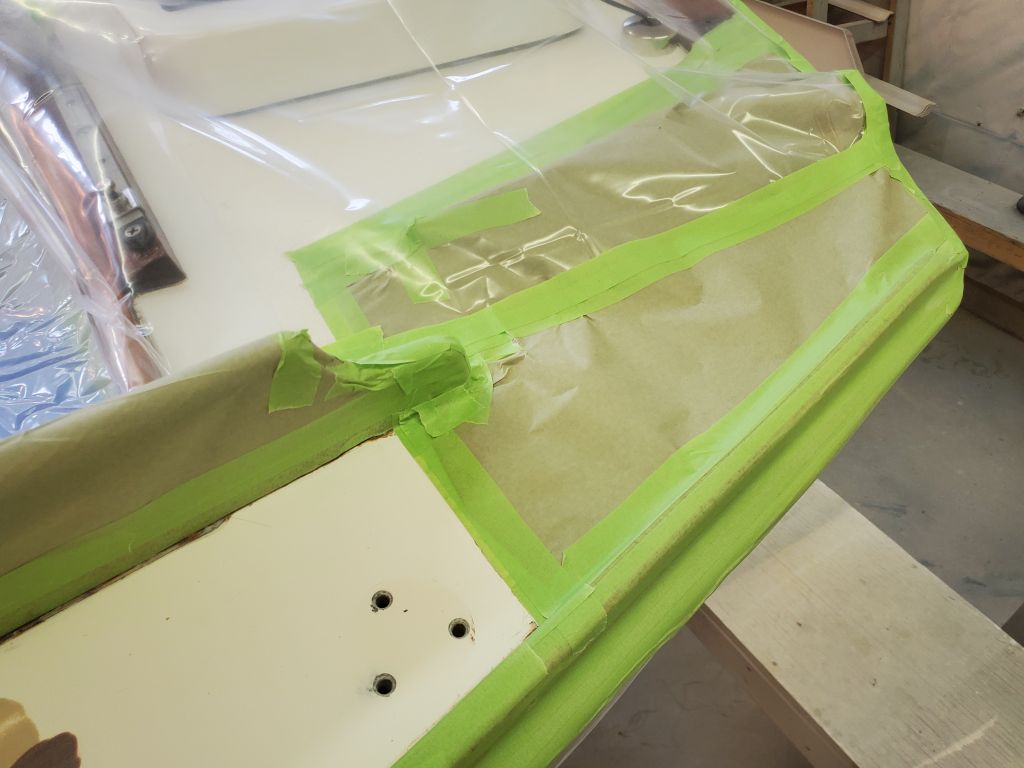
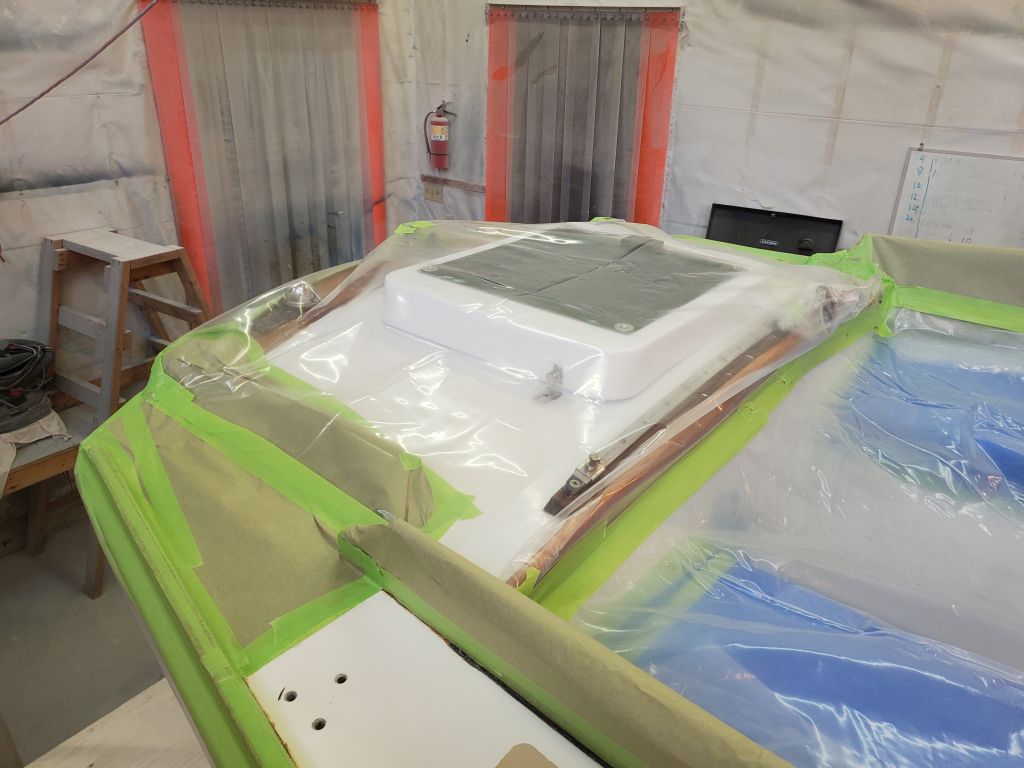
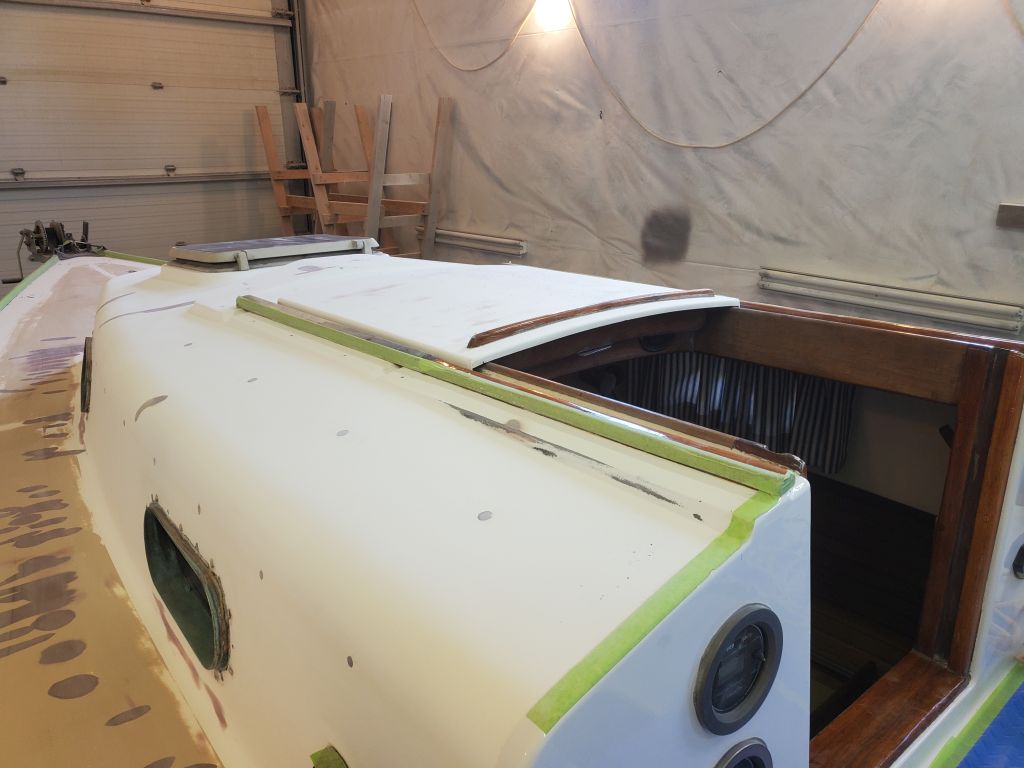
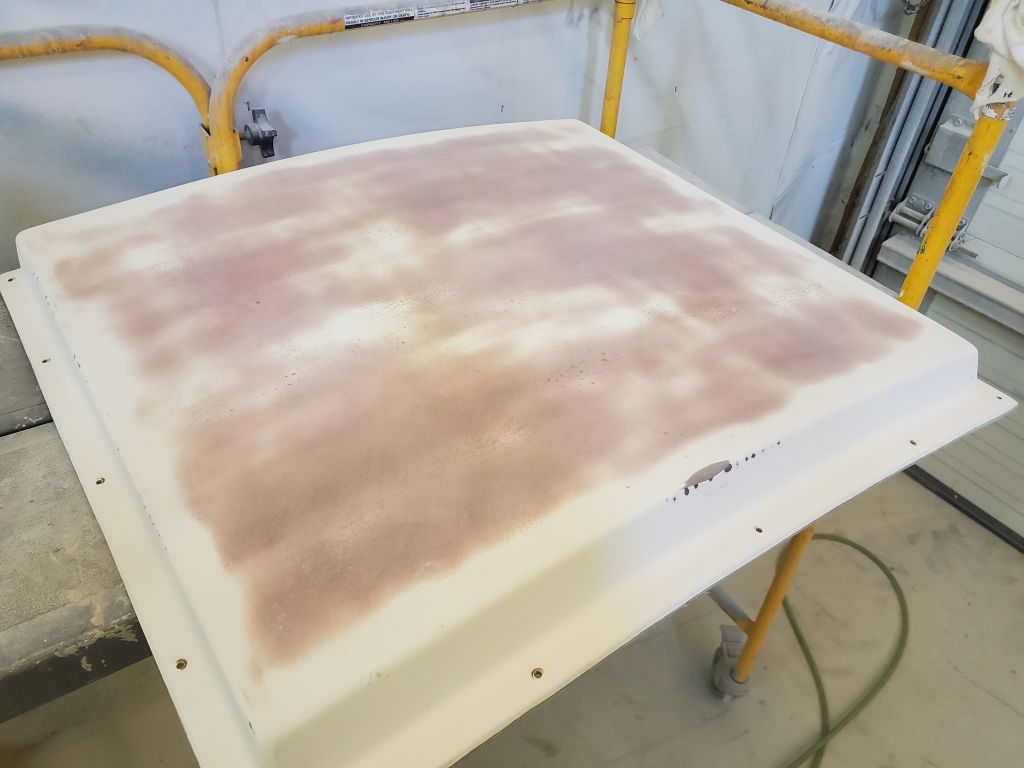
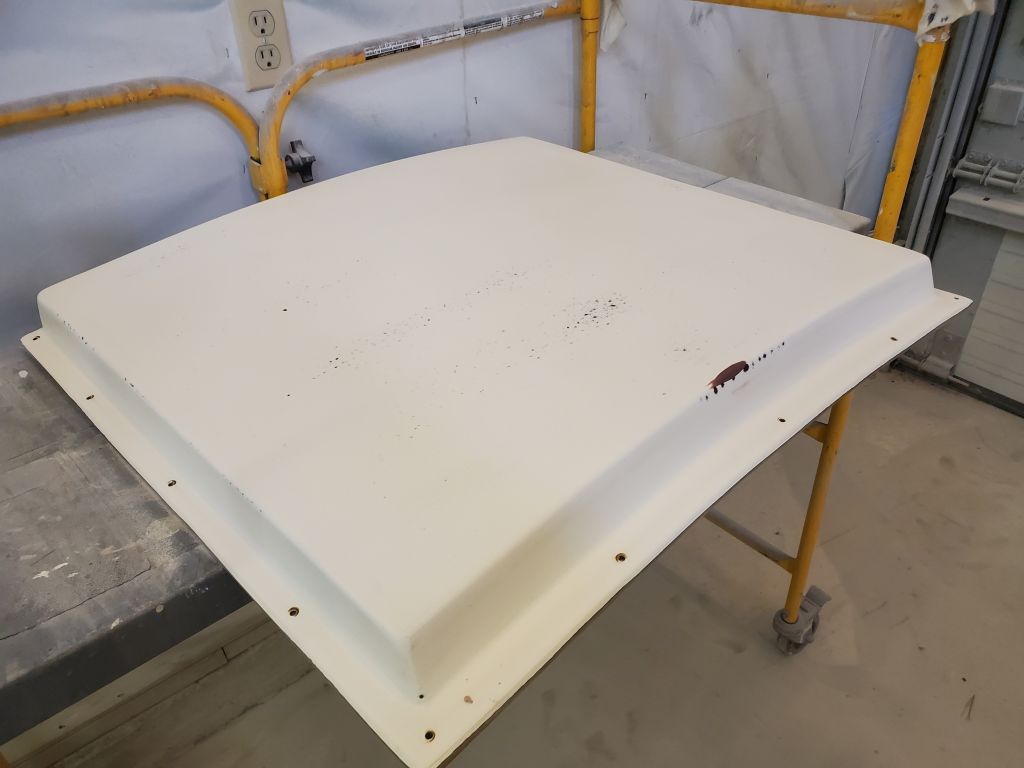
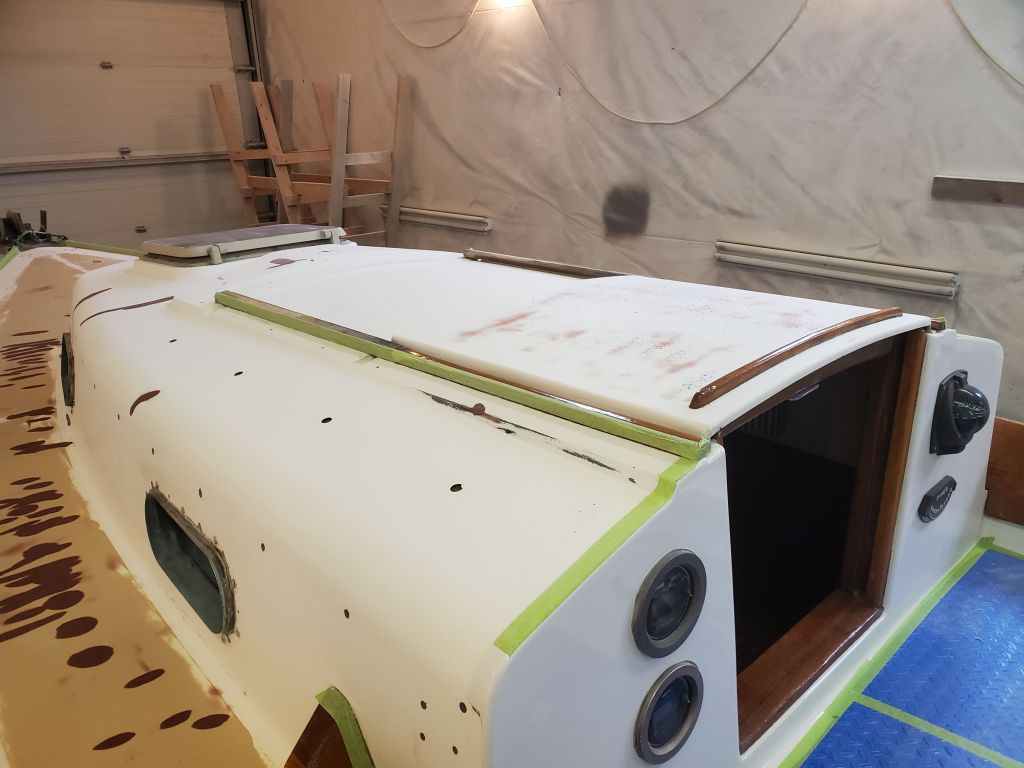
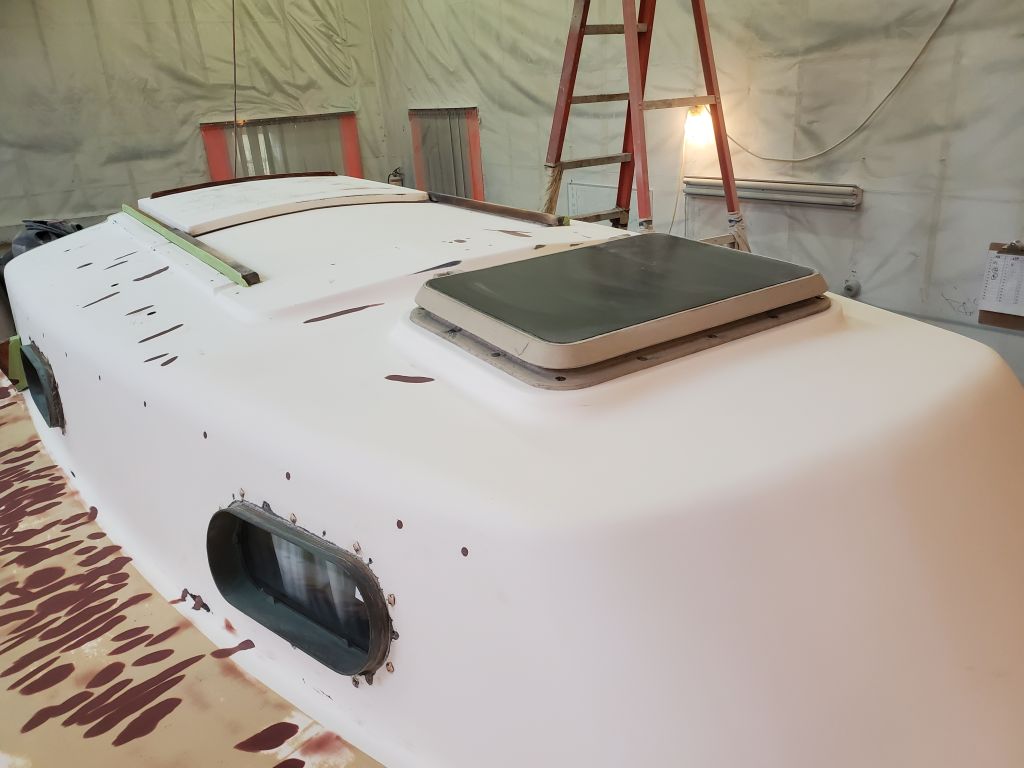
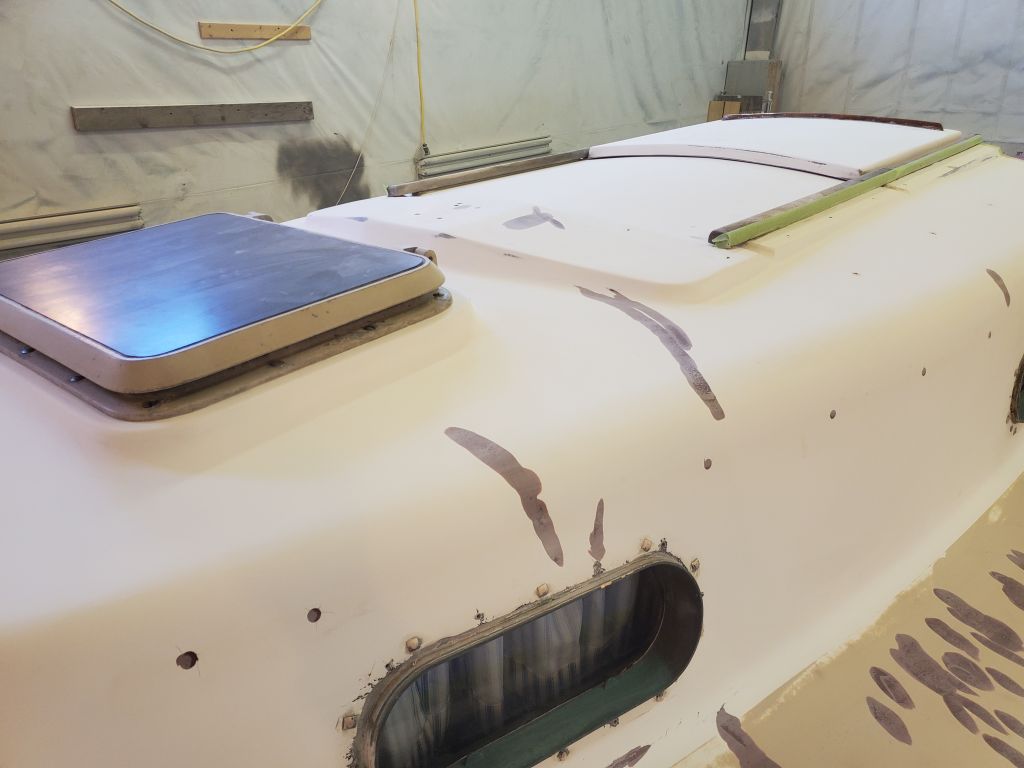
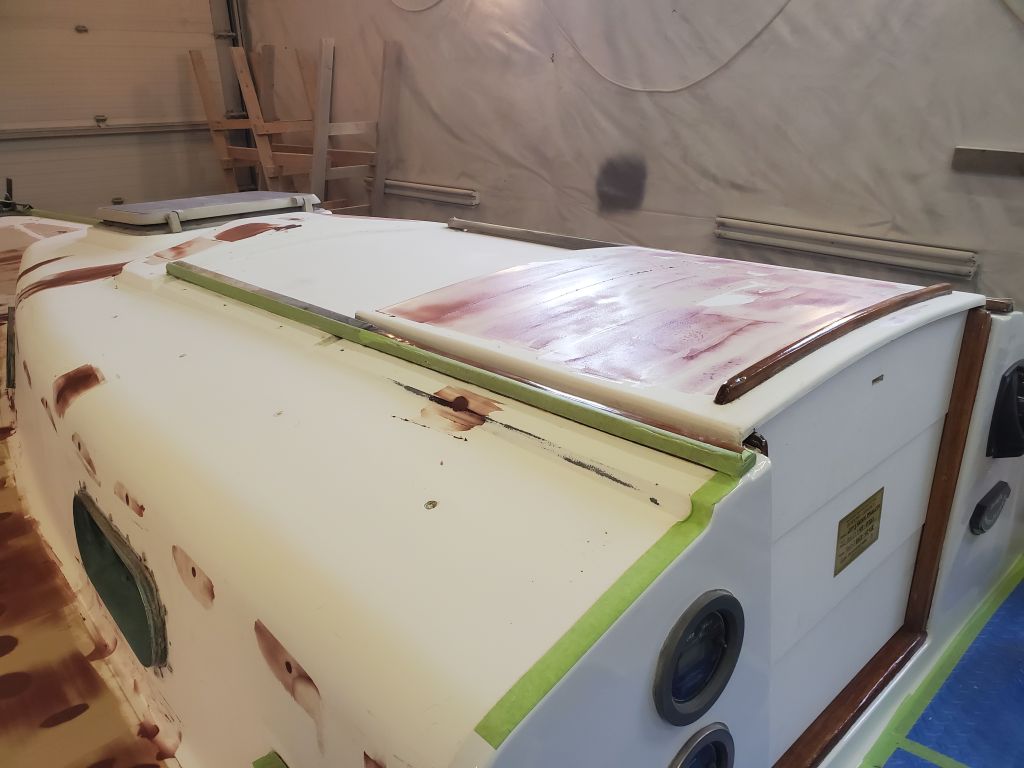
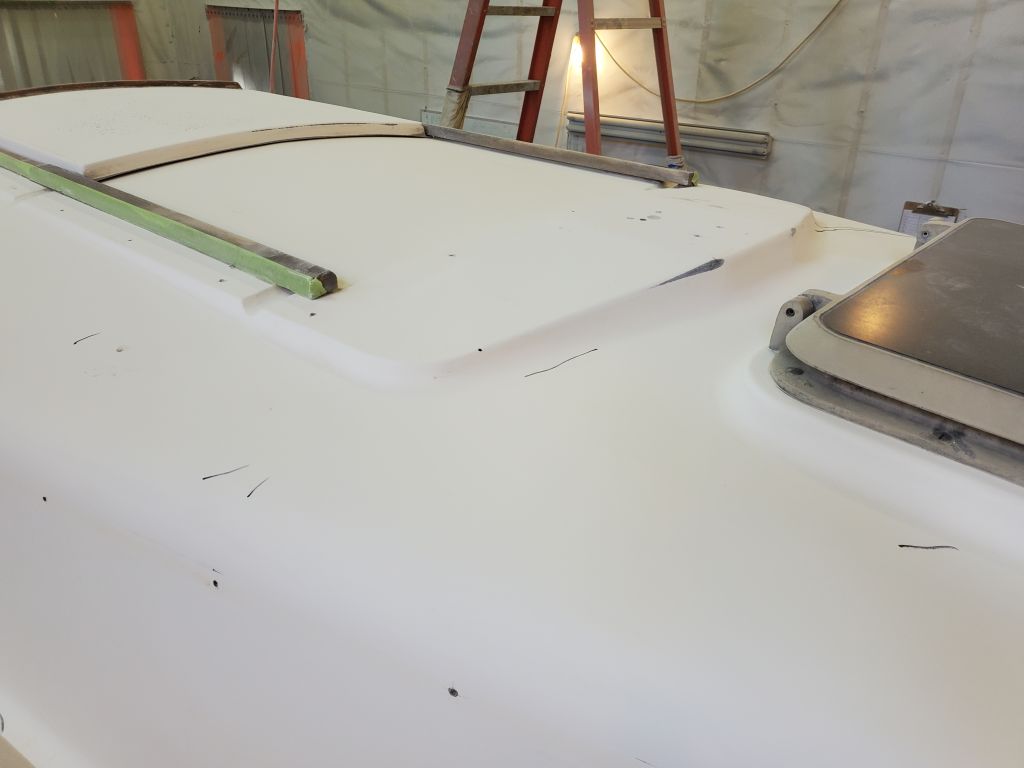
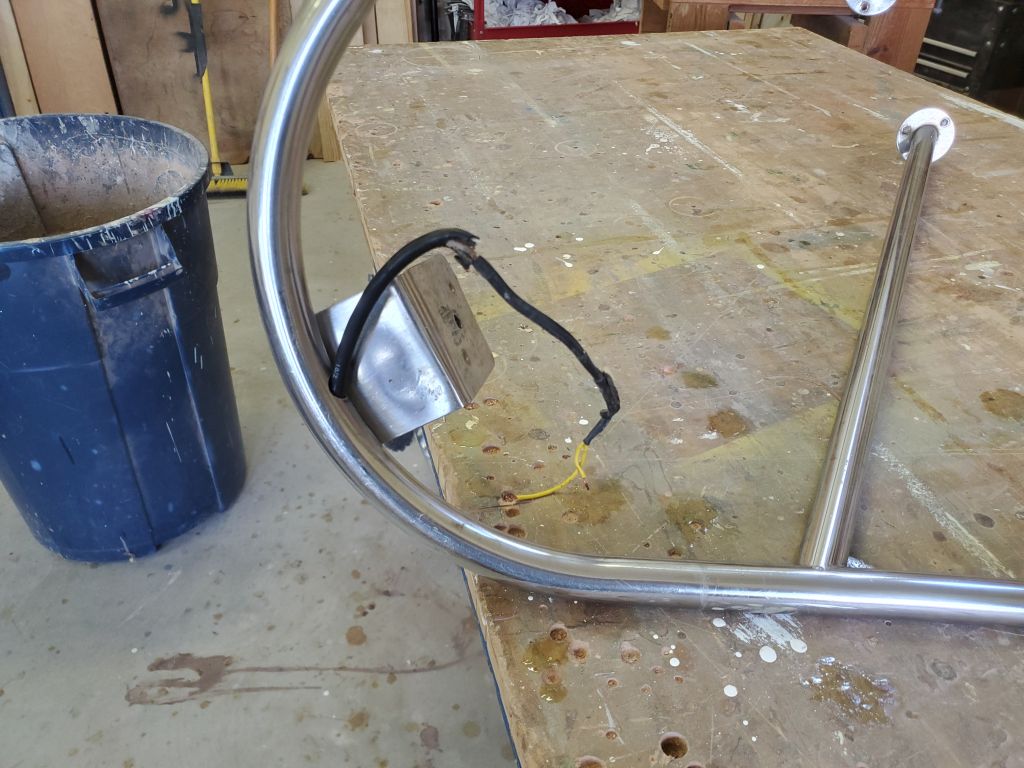
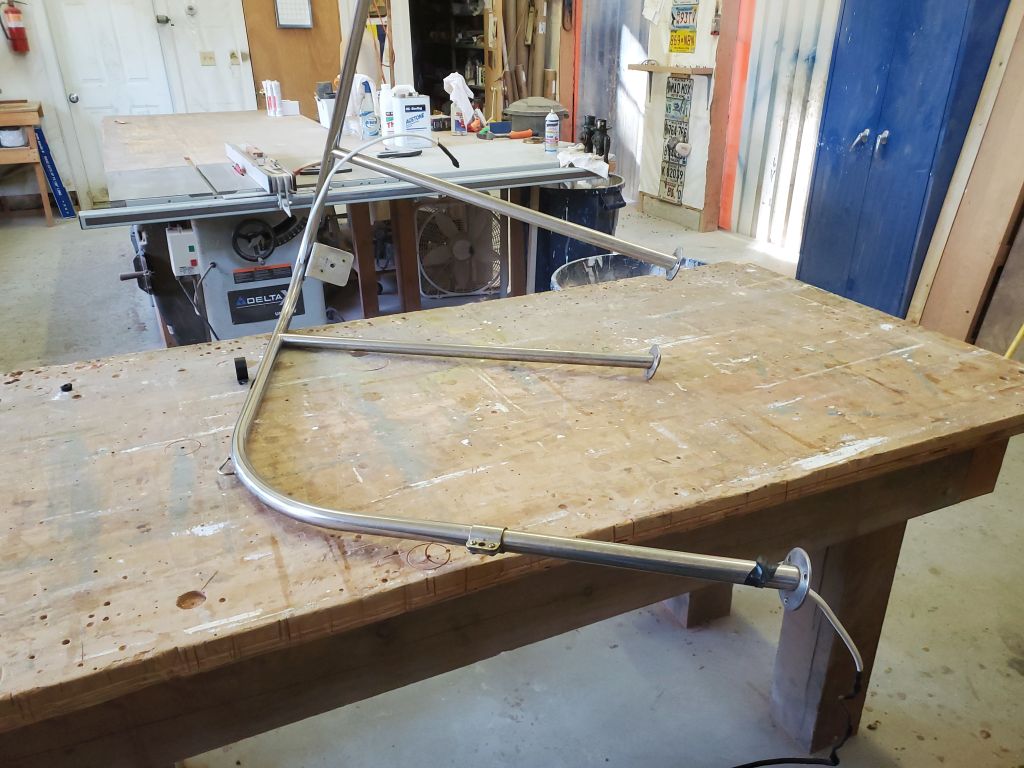
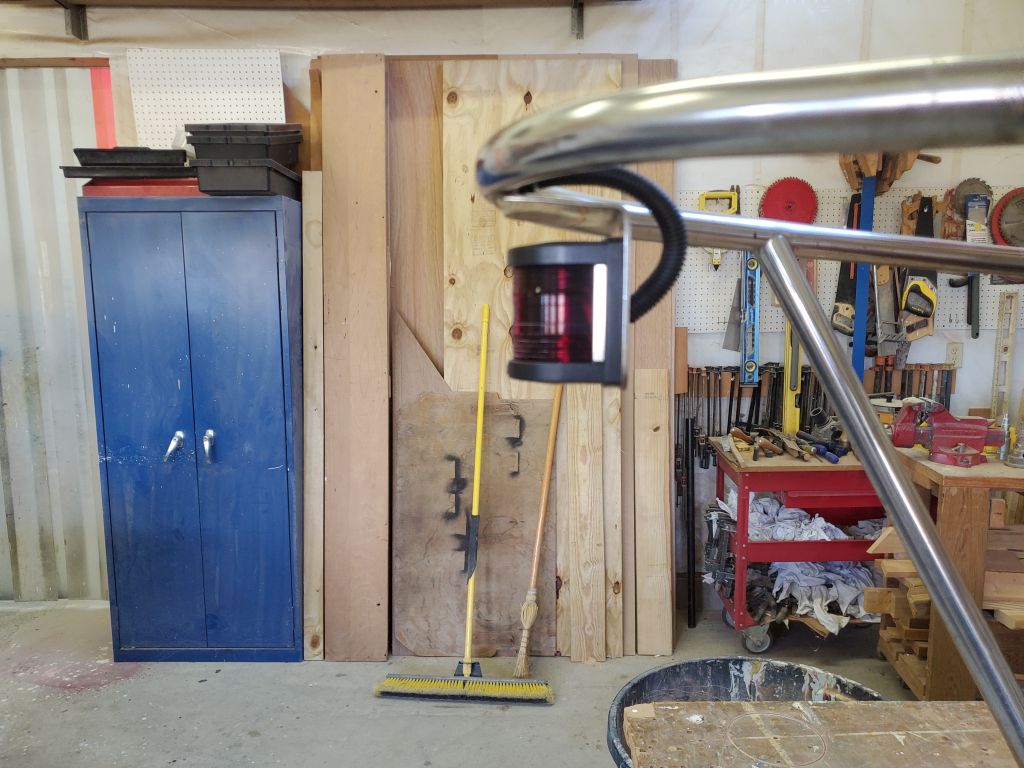
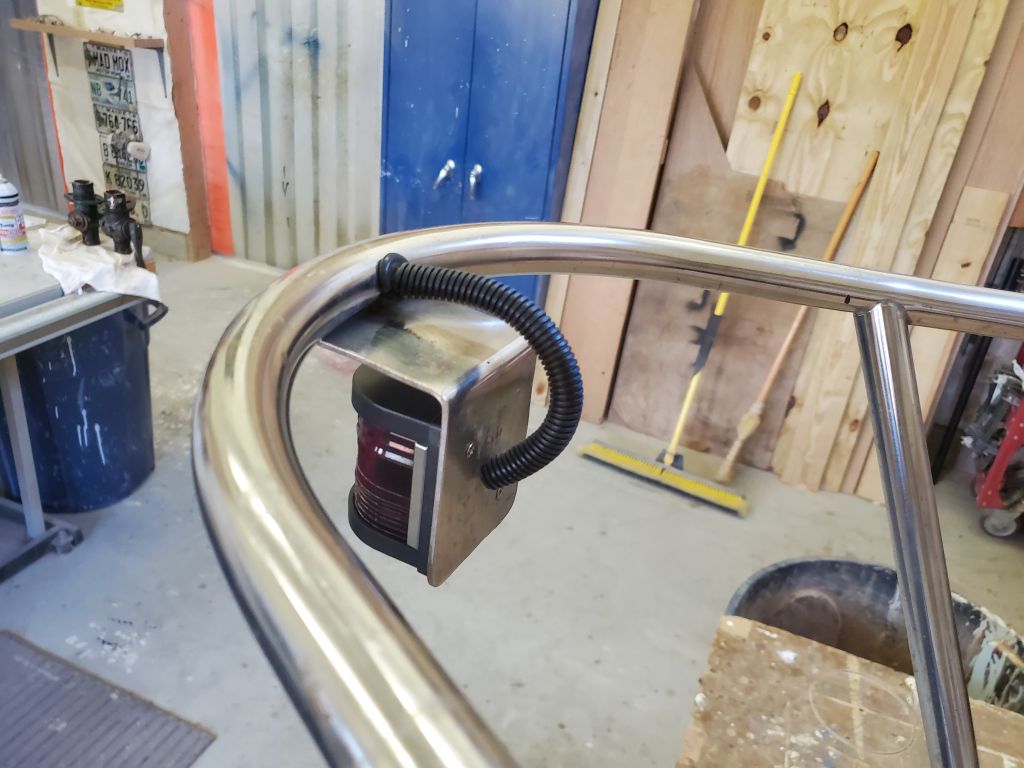
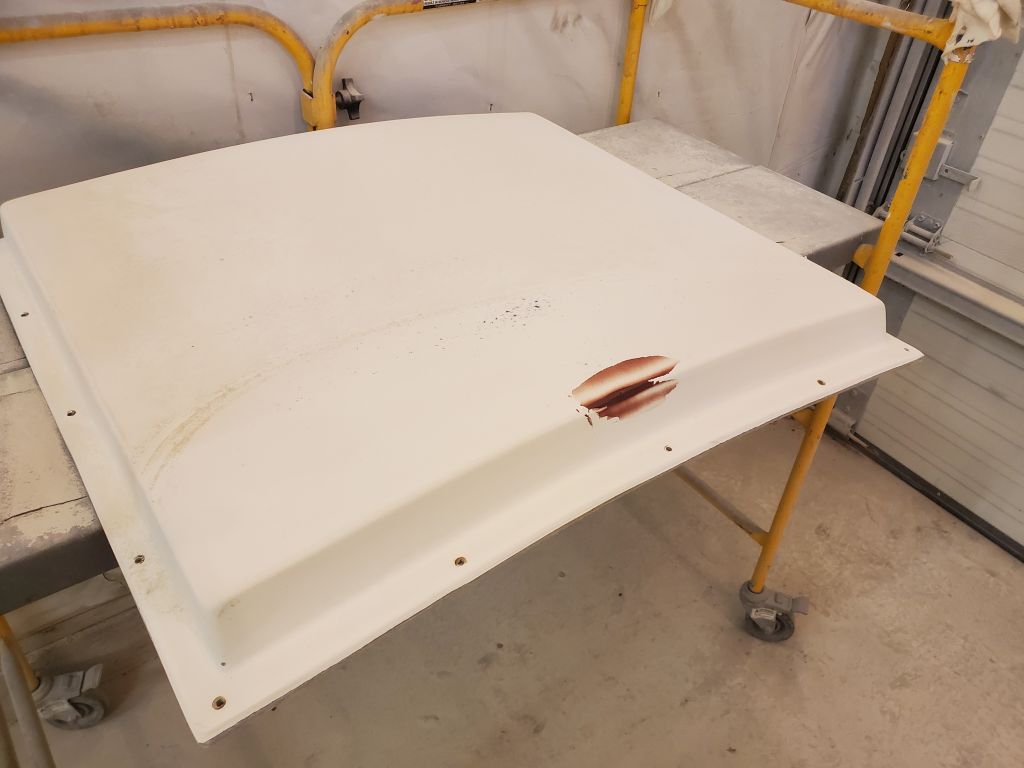
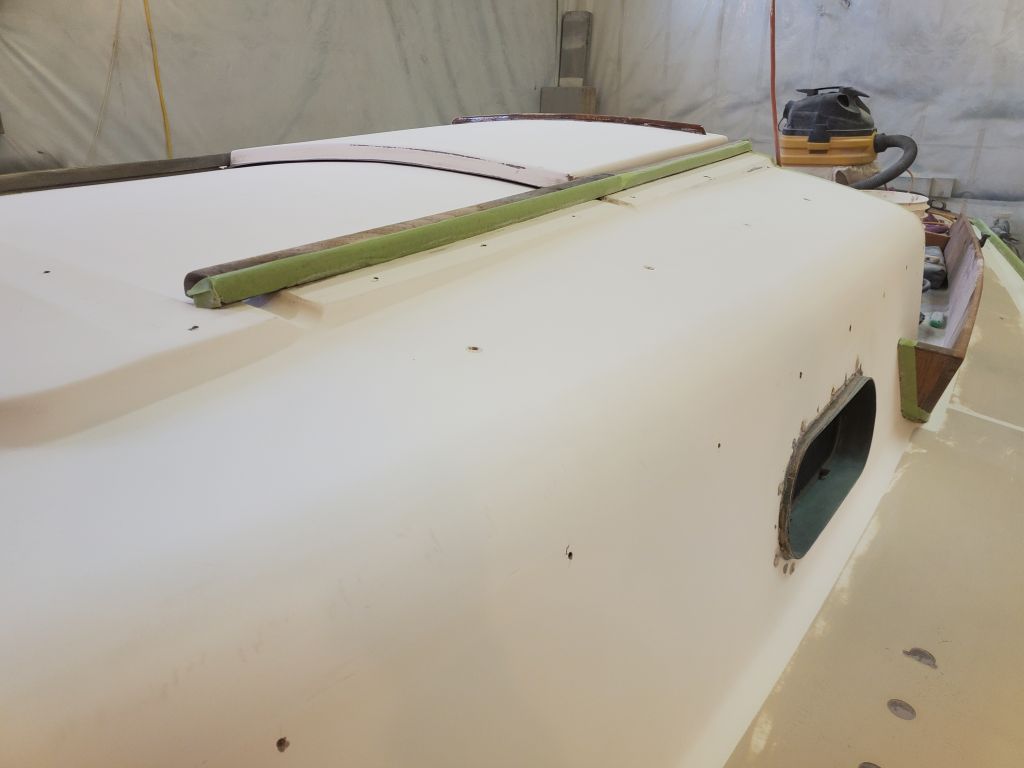
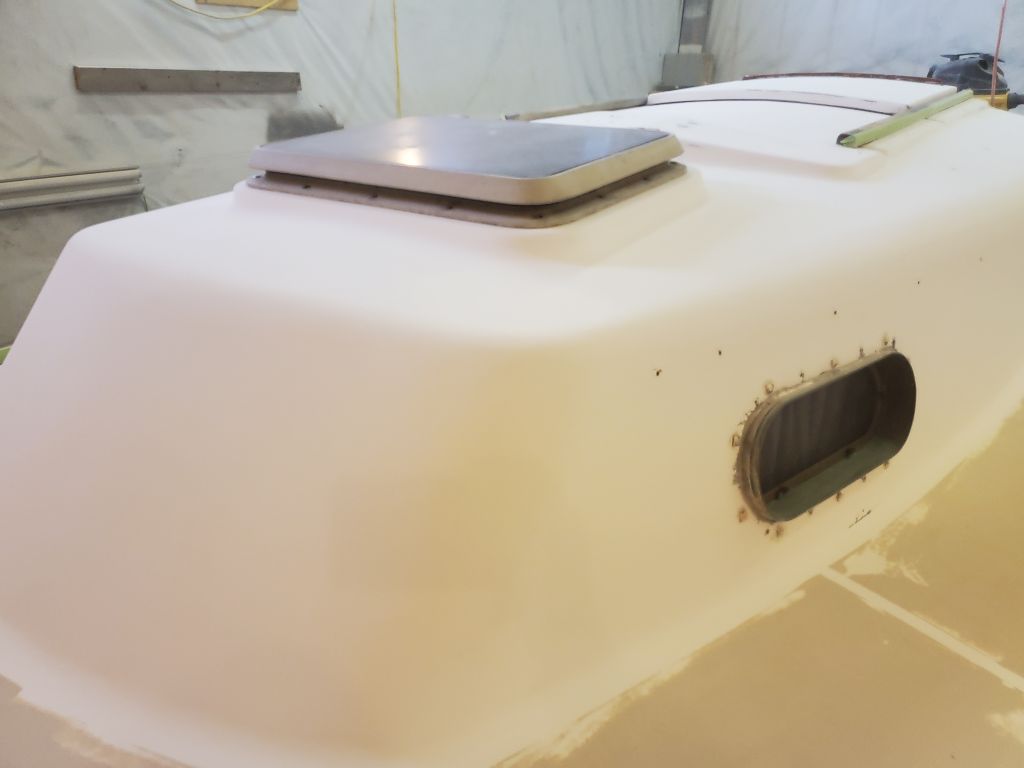
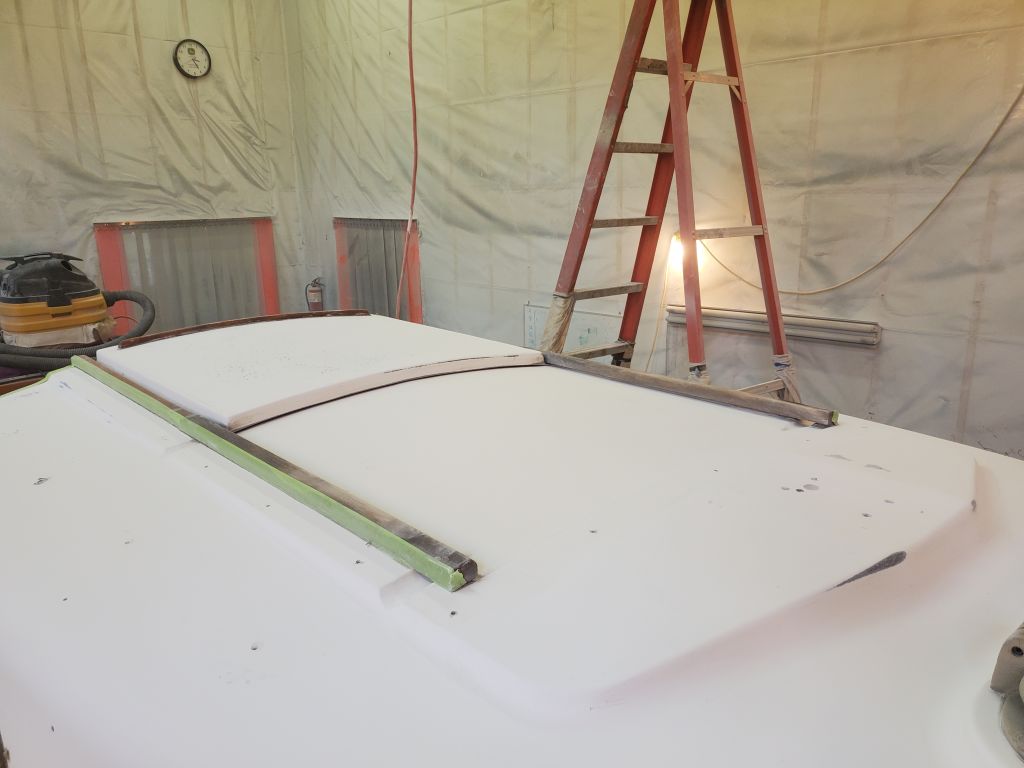
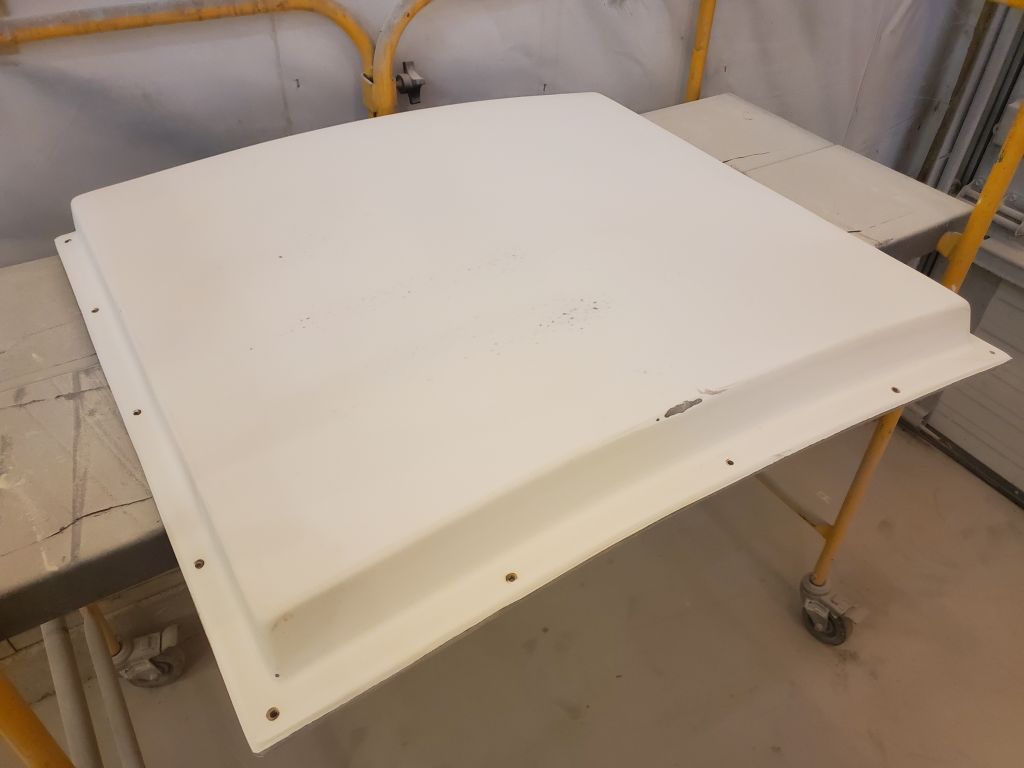
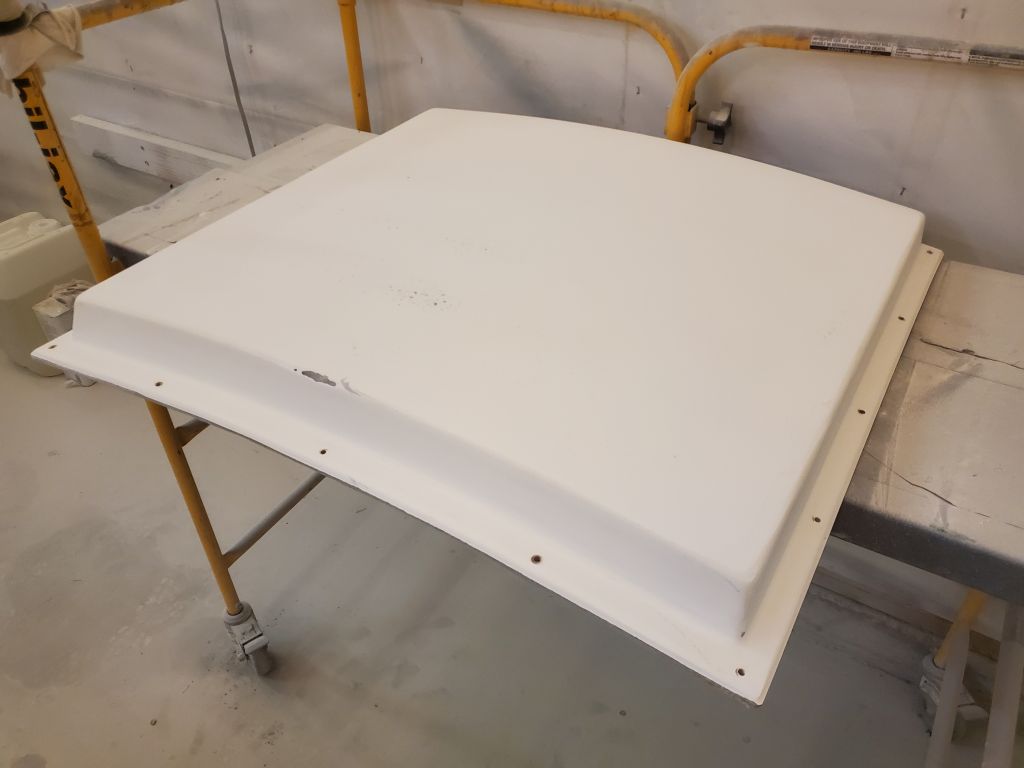
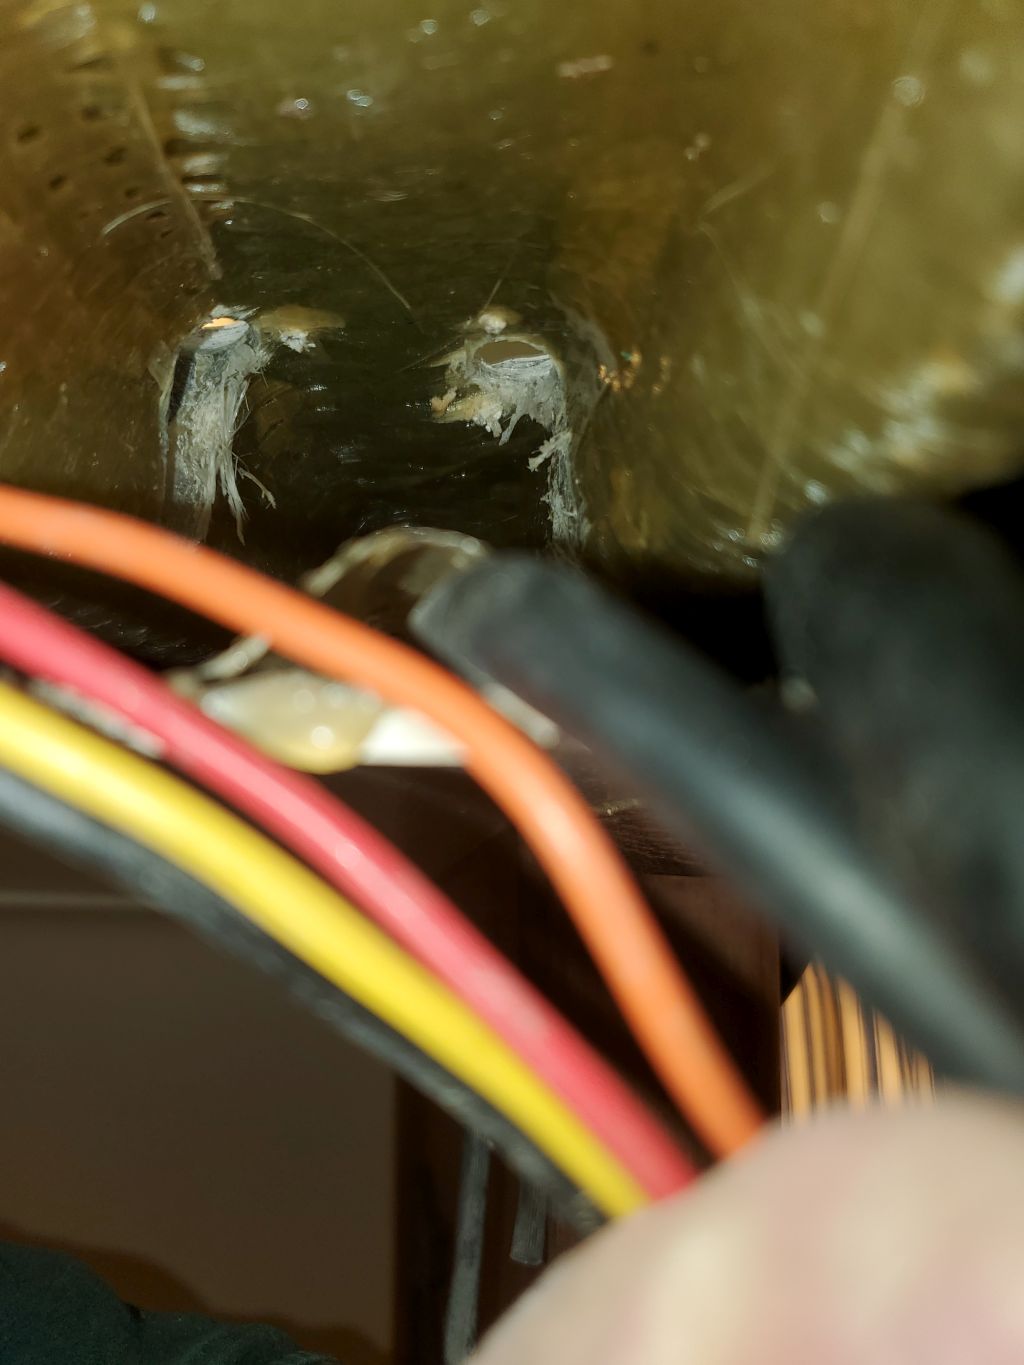
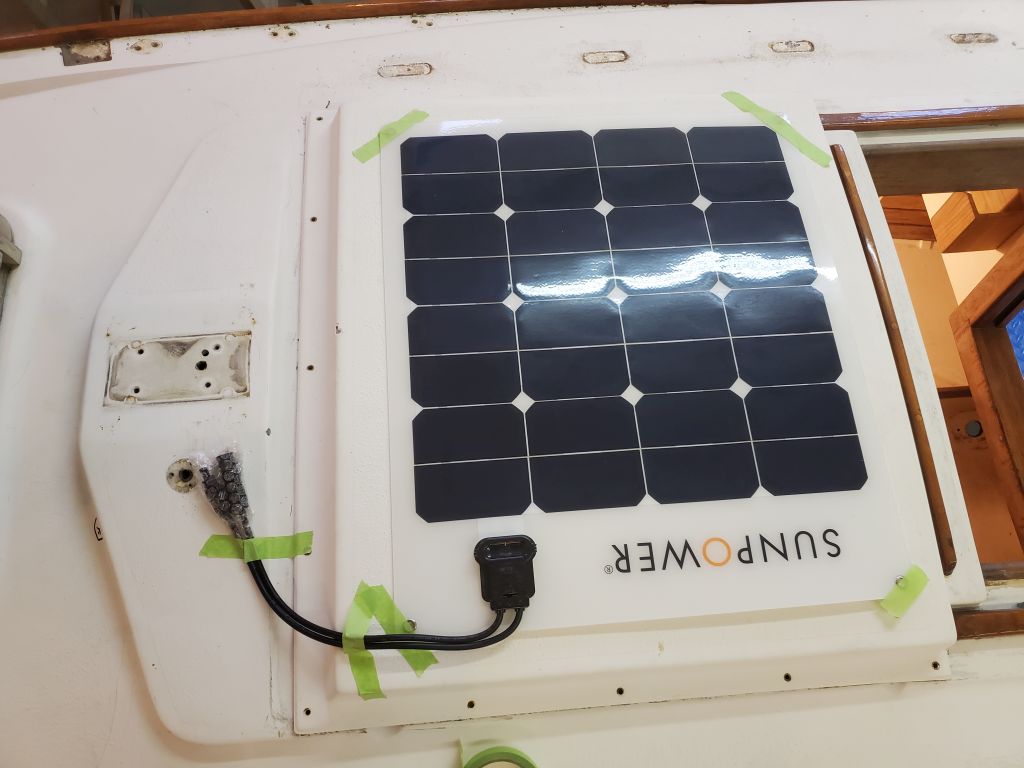
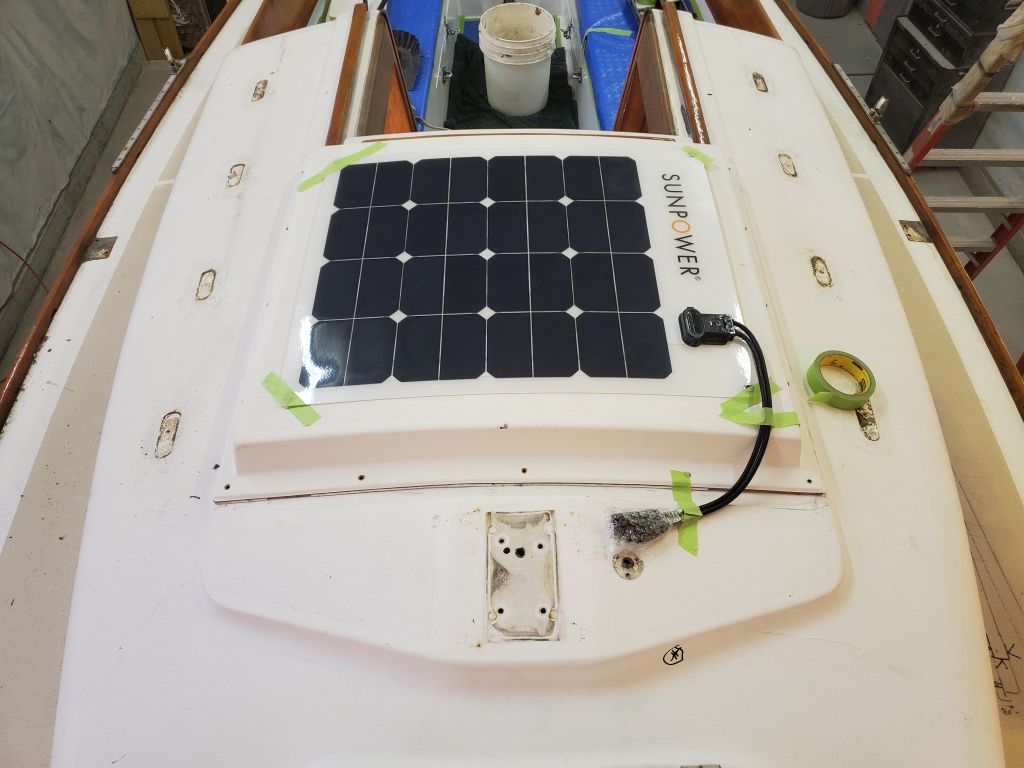
The solar panel the owner selected for mounting on the sea hood above the companionway featured a built-in wire harness with a pair of short leads, which would ultimately be connected to coordinating leads led through the deck from below. This whole arrangement seemed to work well naturally with the ordained position of the deck seal, whether we ultimately went with the one shown above, or some other type. I held the solar panel position just a bit aft on the sea hood since the owner reported that during the mast lowering process (with the hinged mast step), the mast could contact the leading edge of the sea hood, so keeping the panel aft a bit would help protect it from damage. The wire leads off to the port side would be out of the way and could be routed and secured roughly as shown.
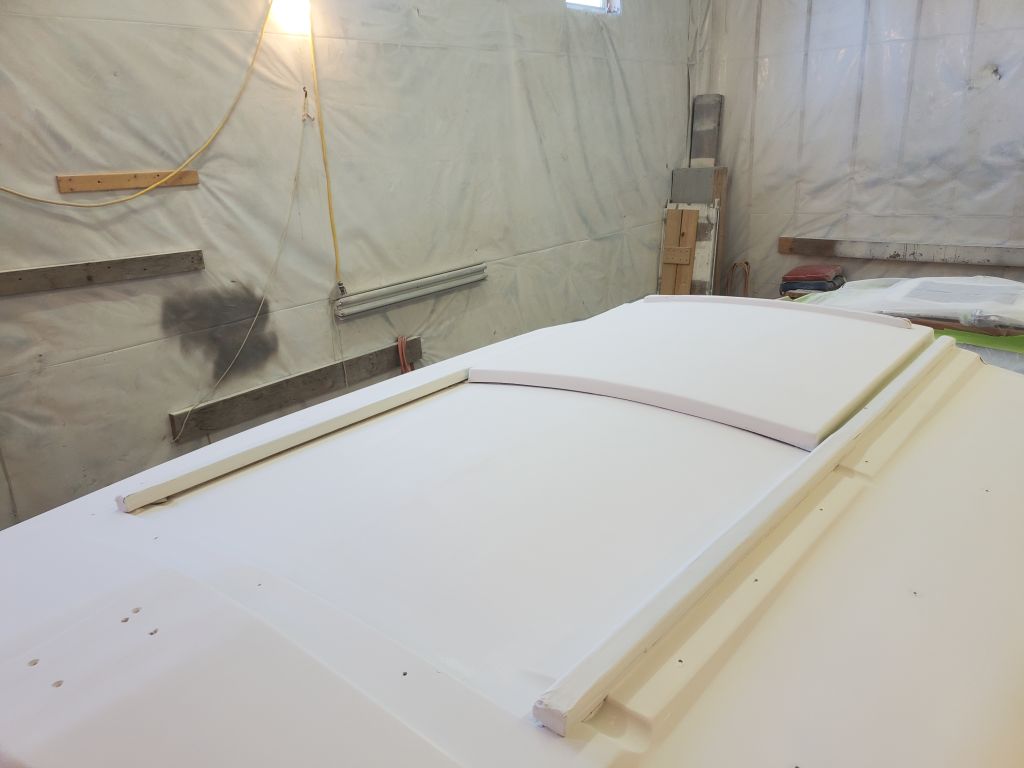
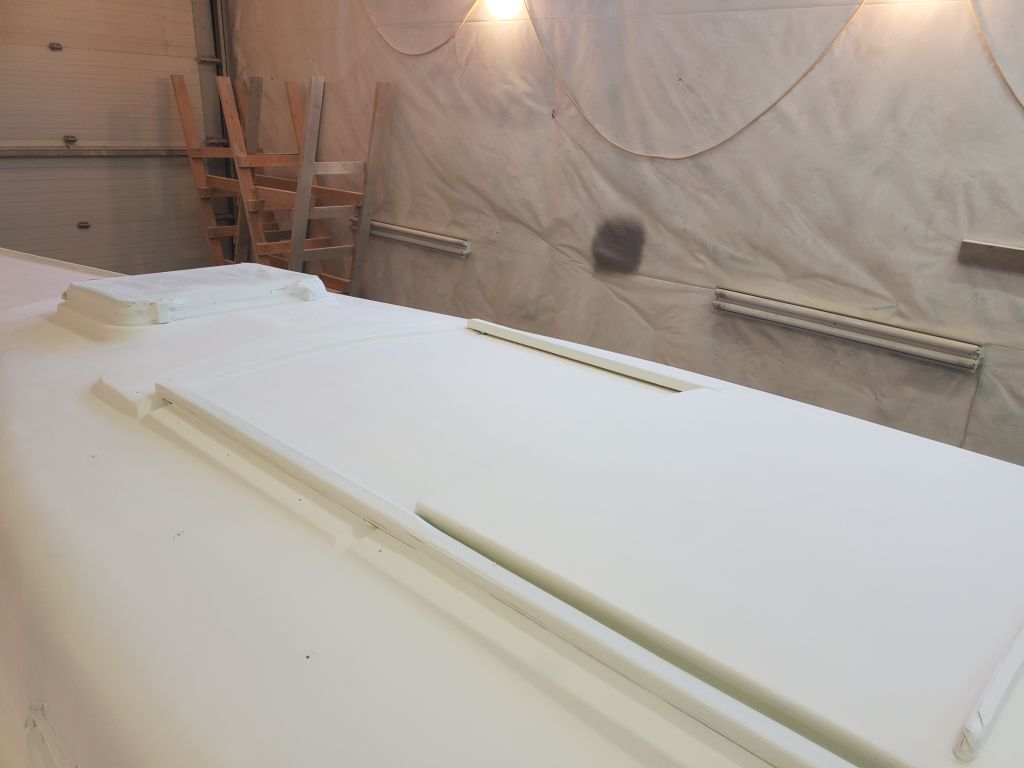
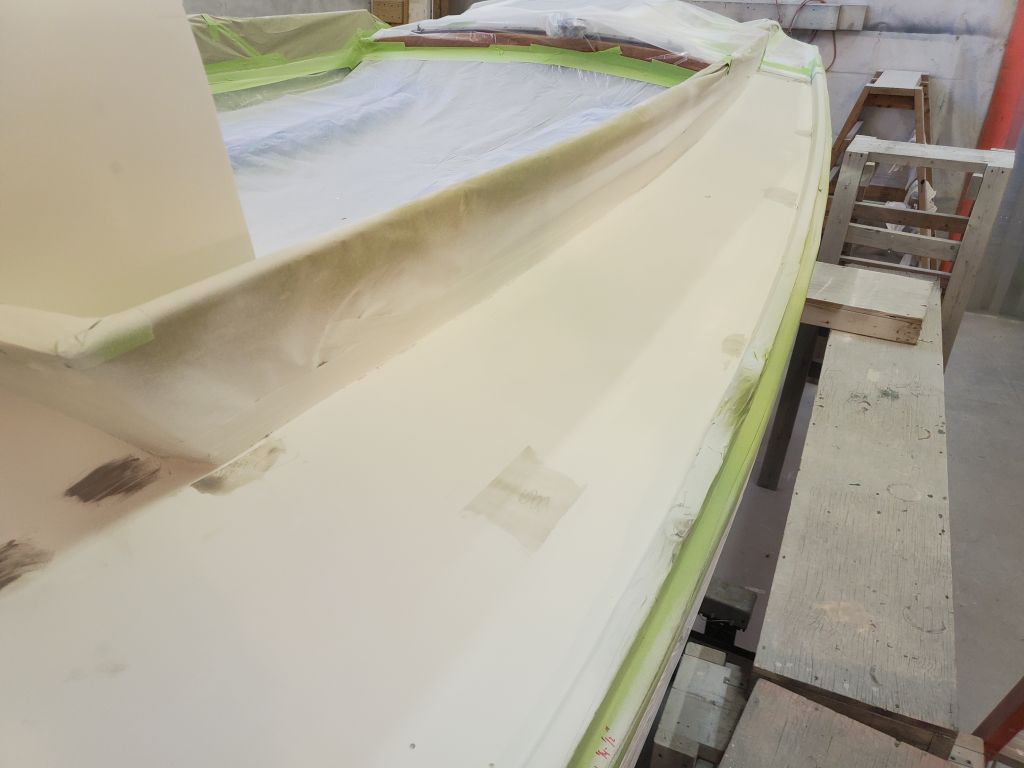
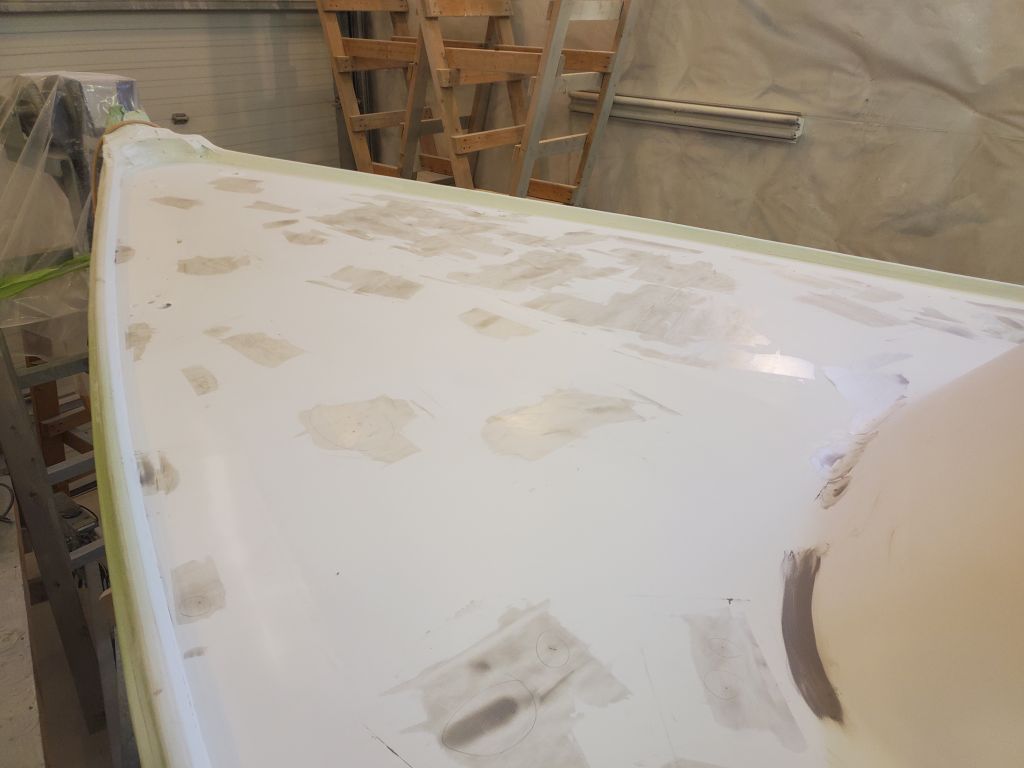
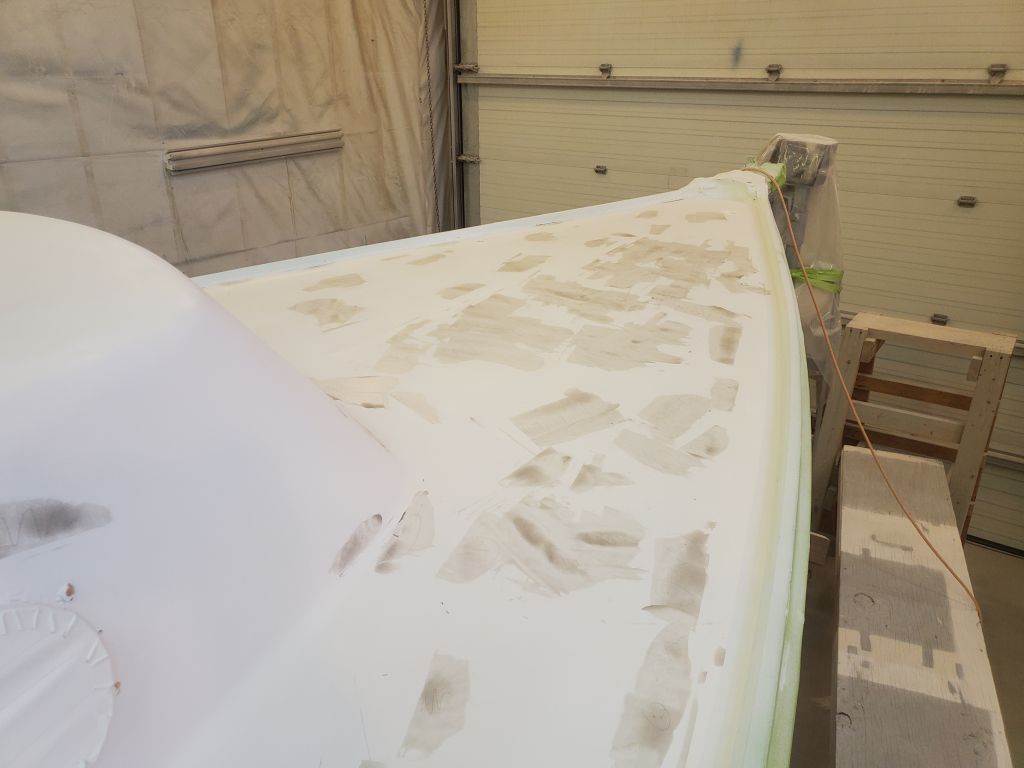
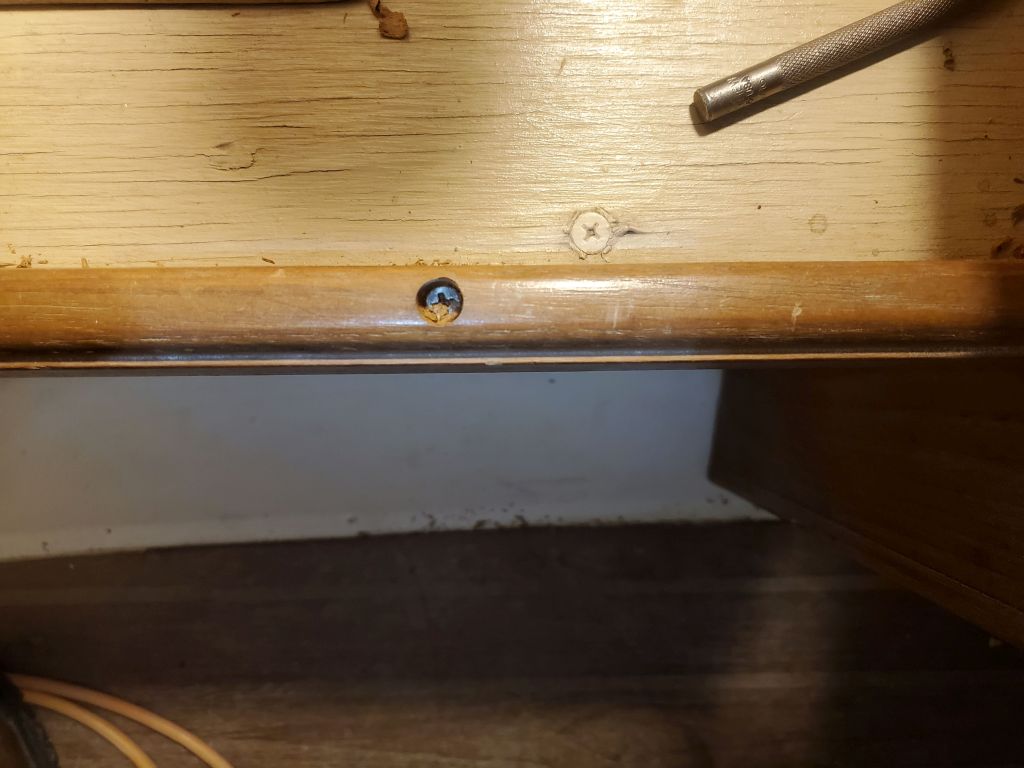
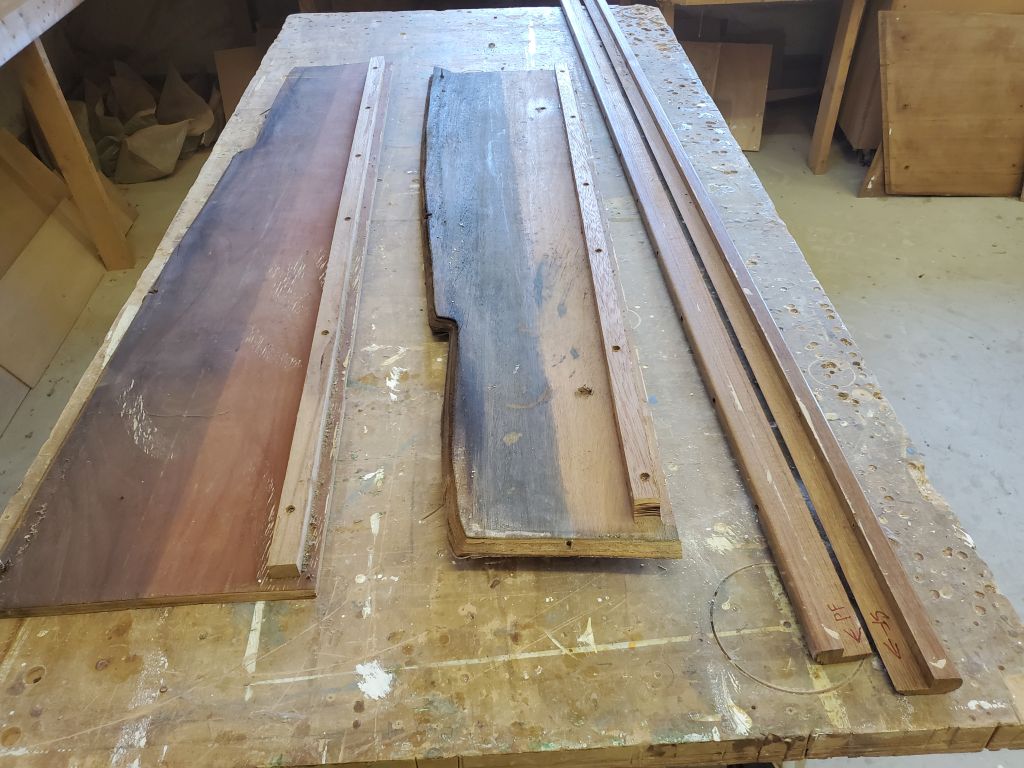
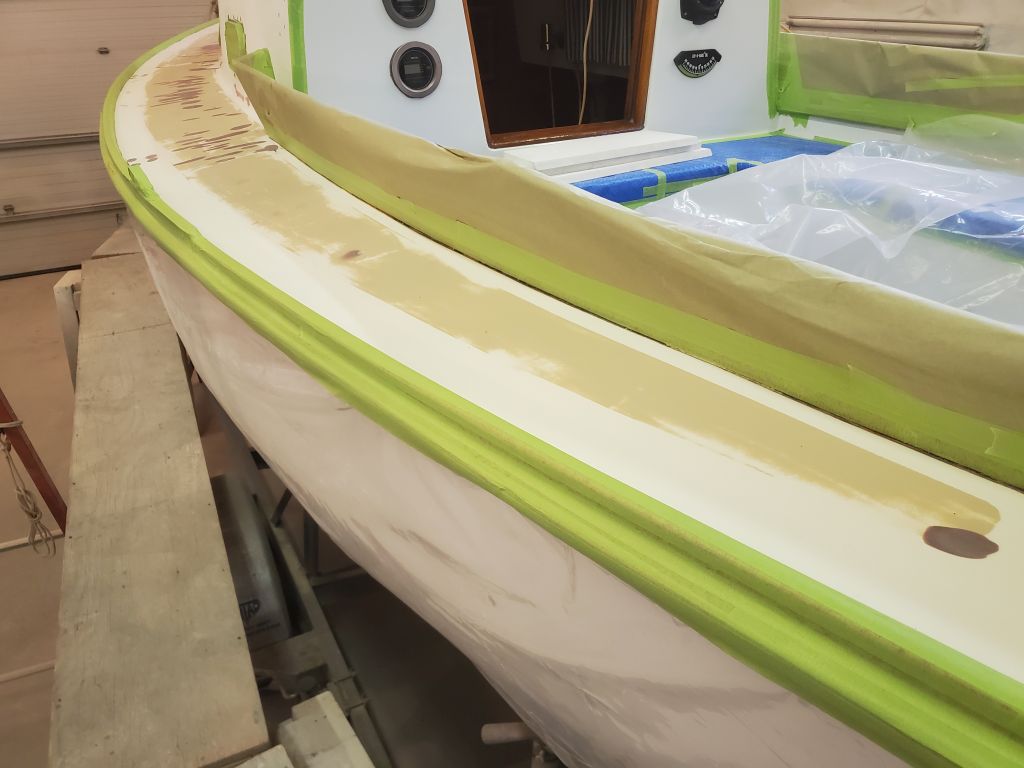
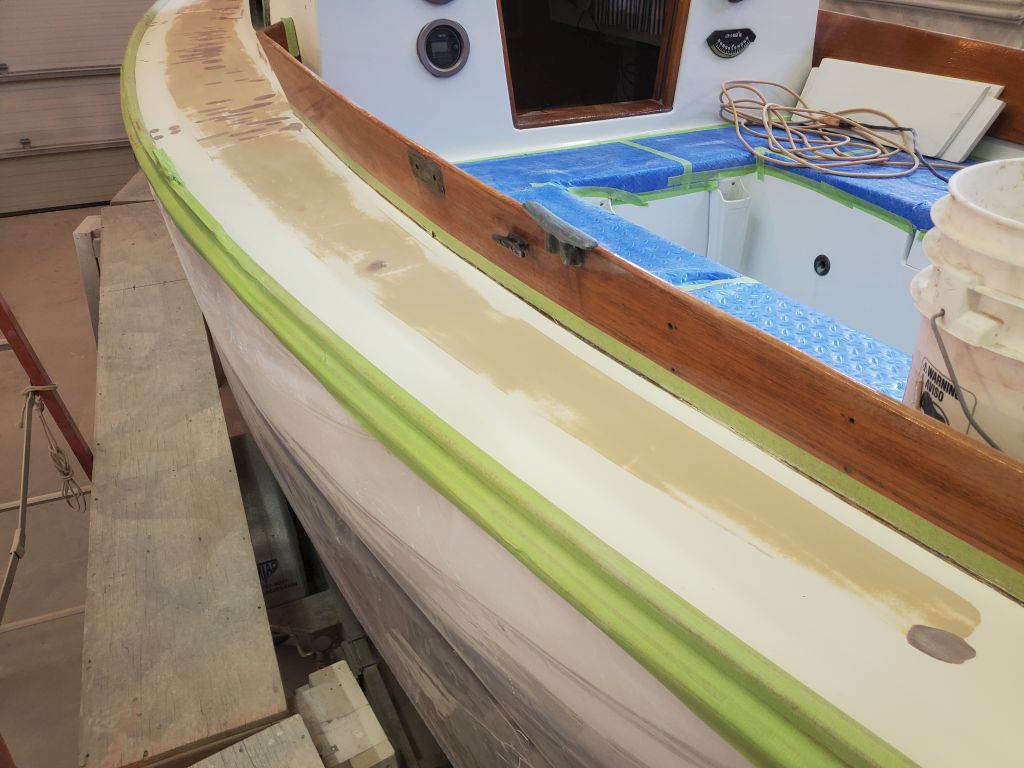
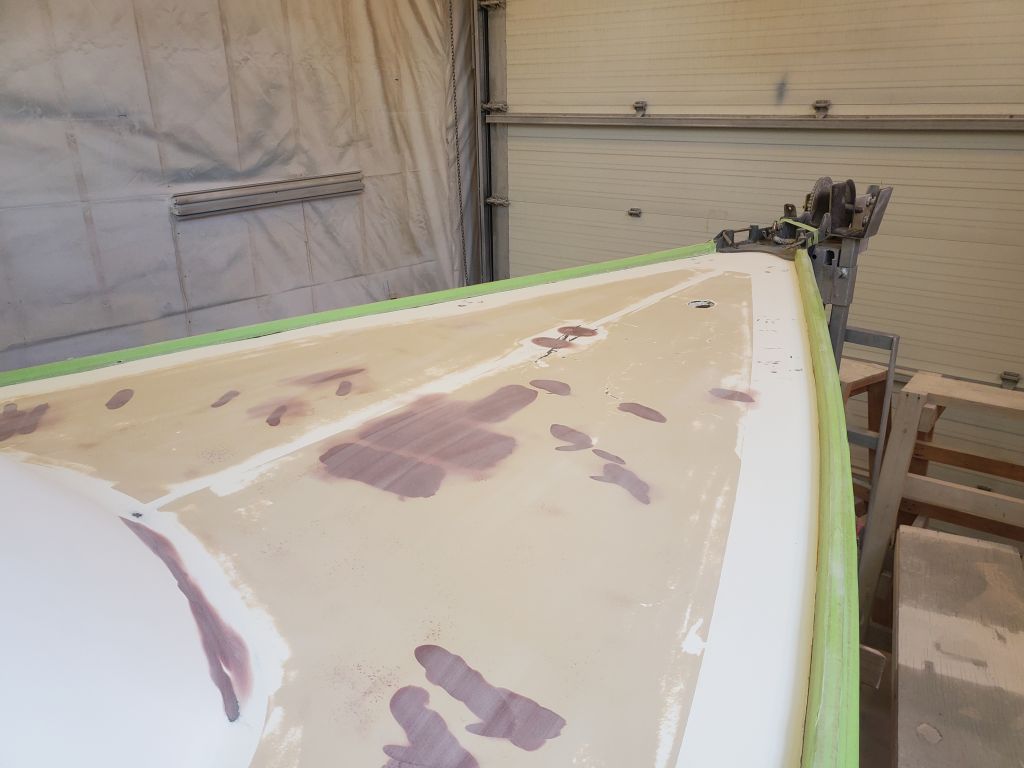
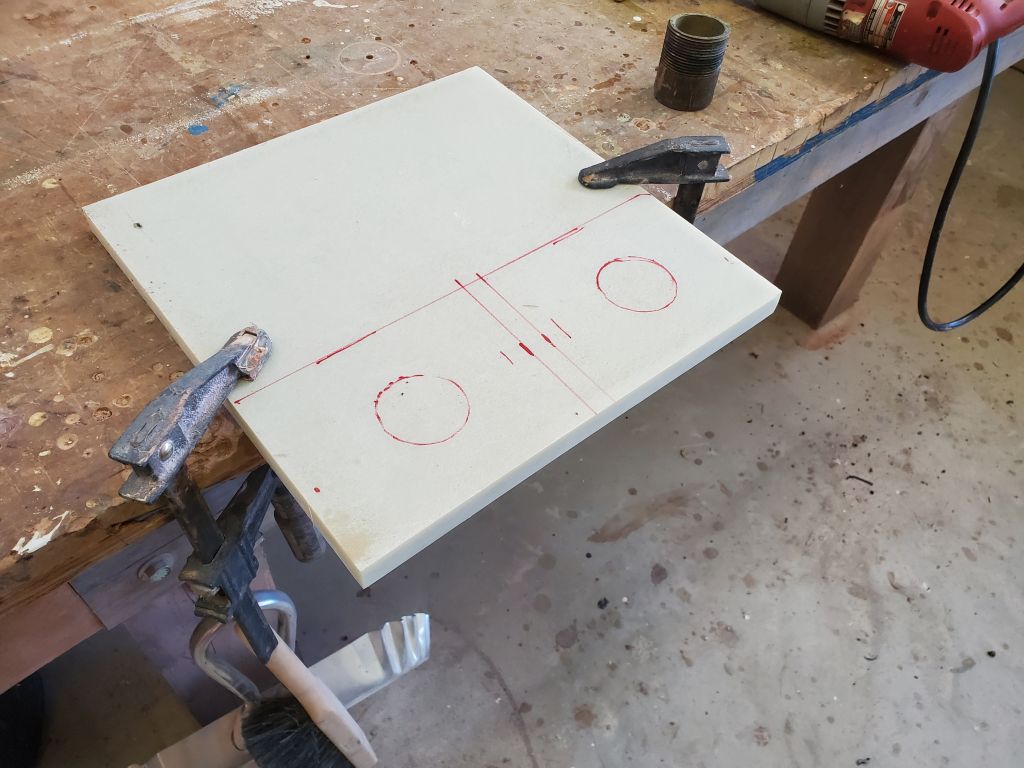
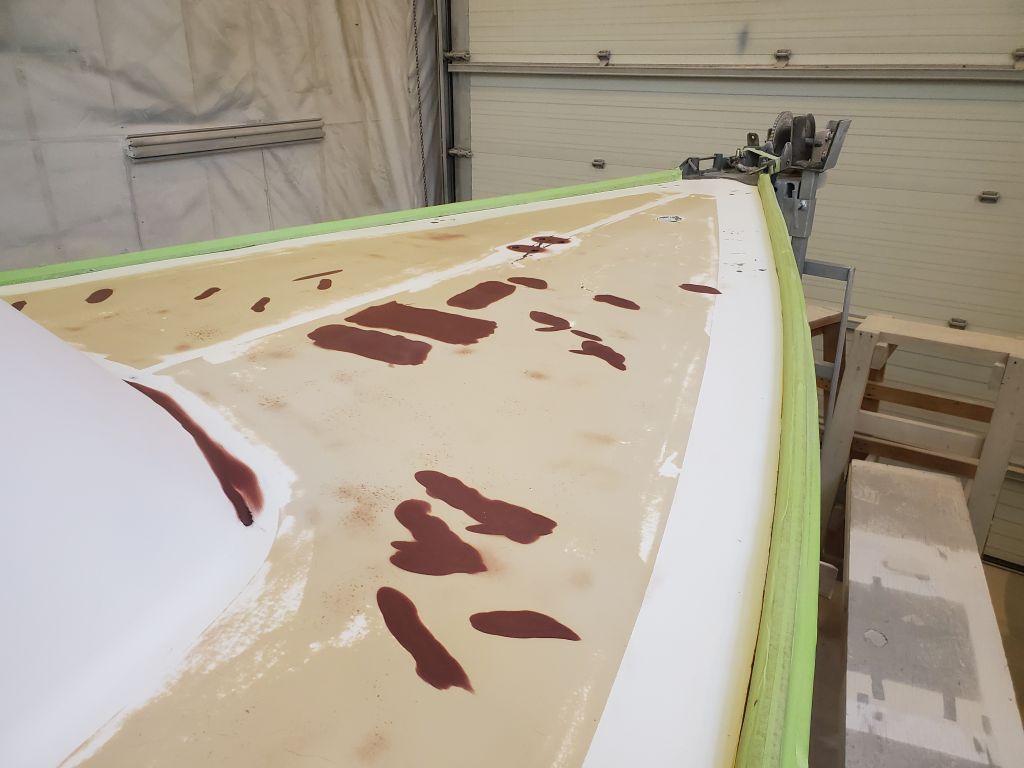
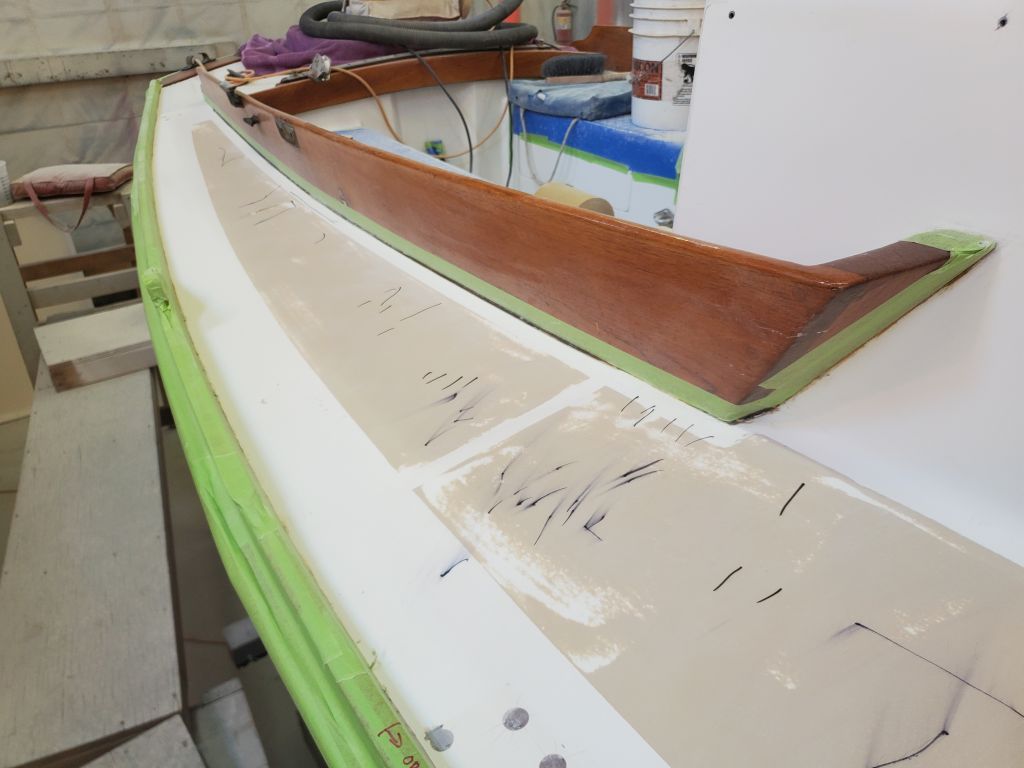
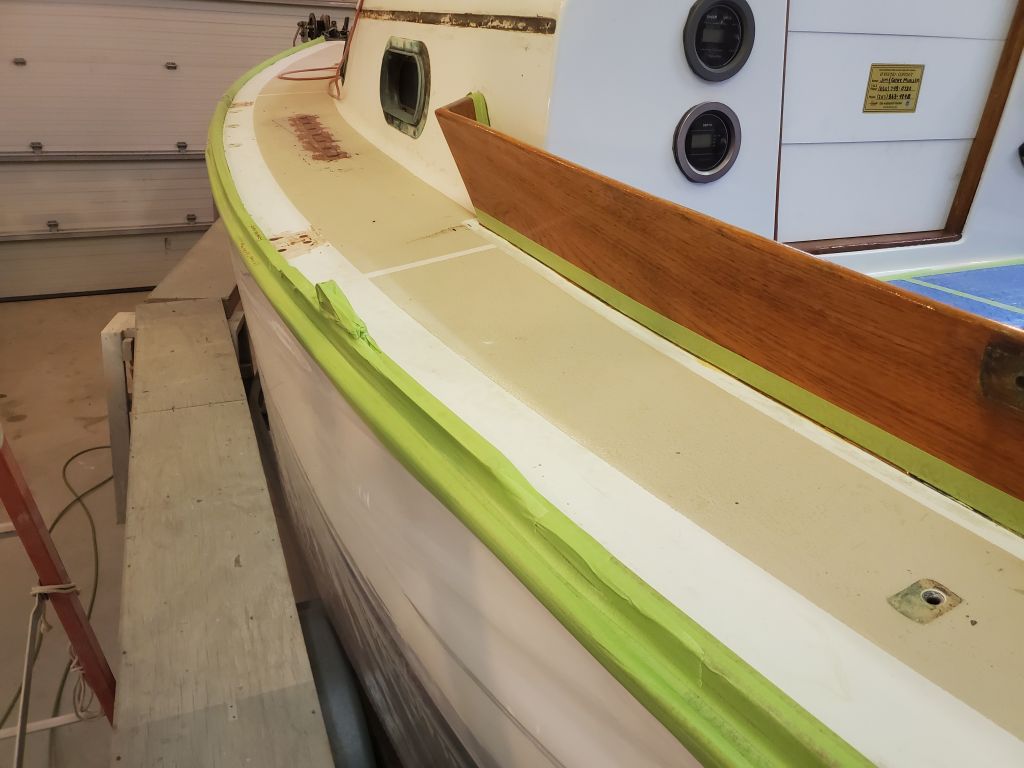
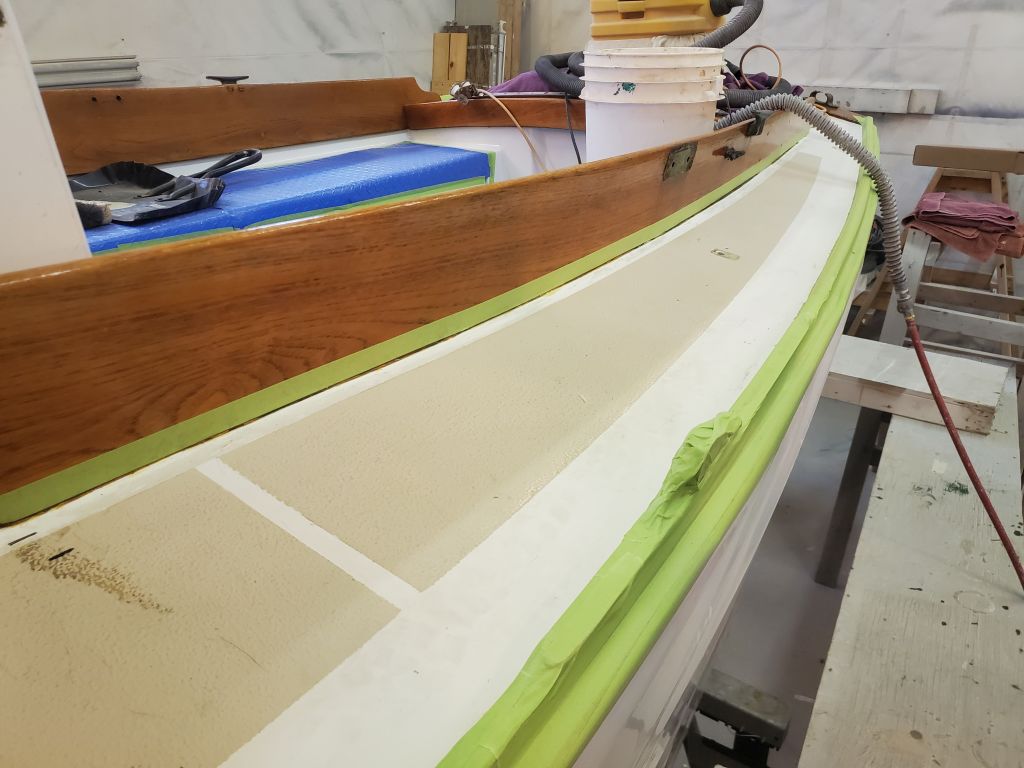
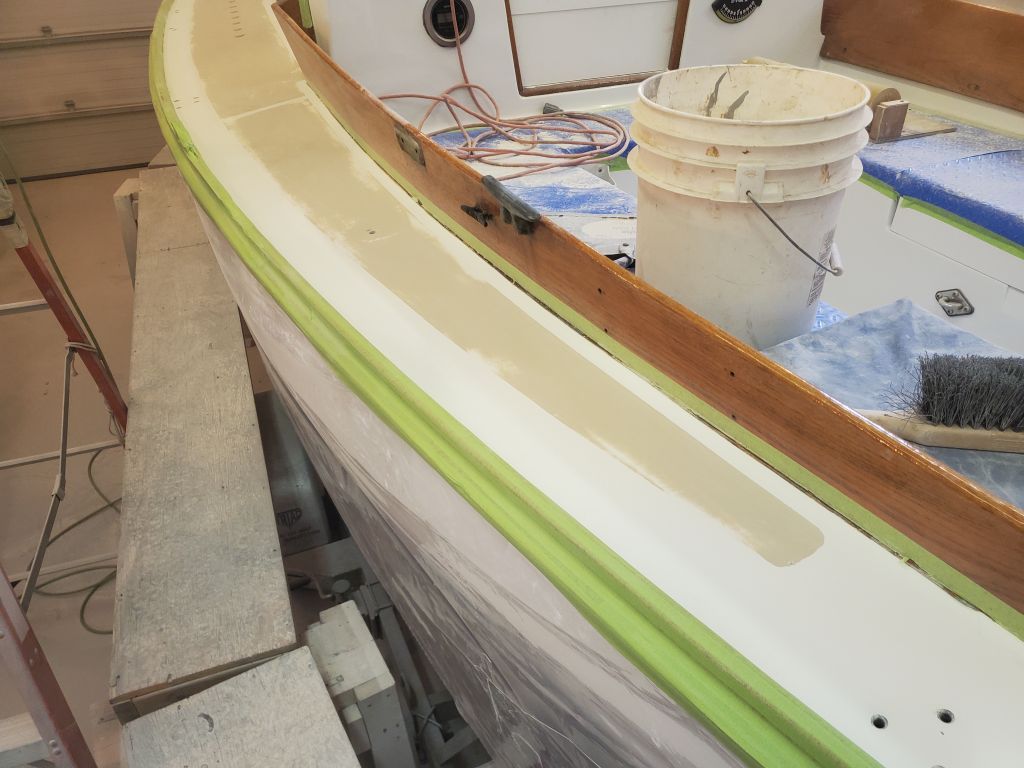
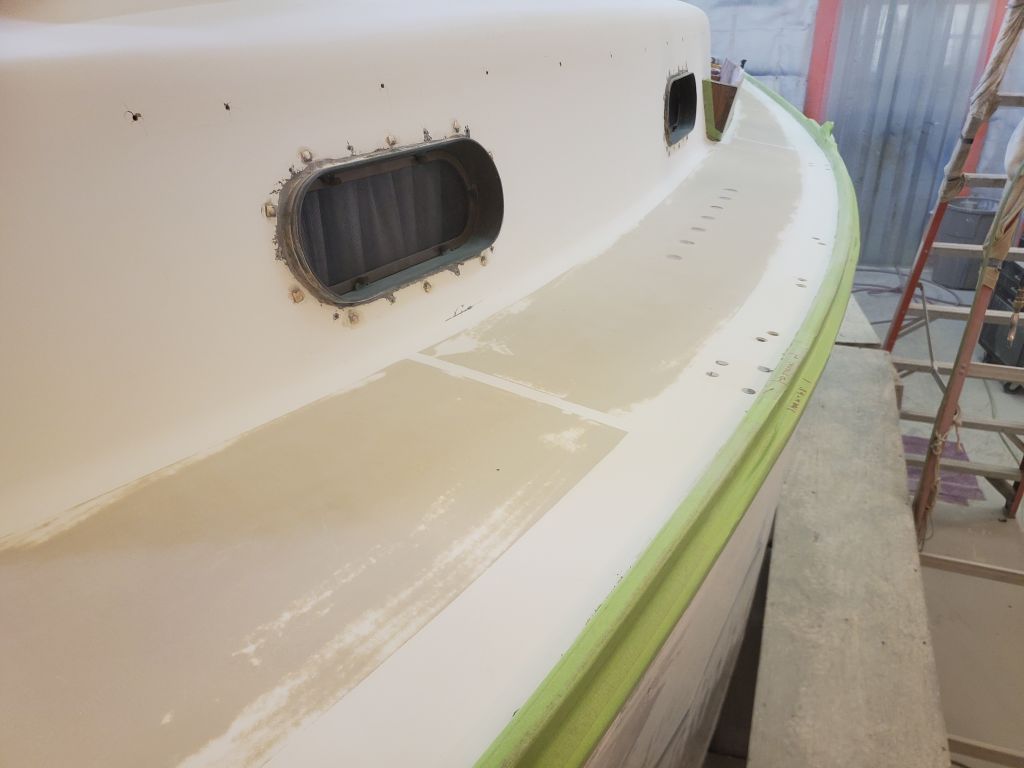
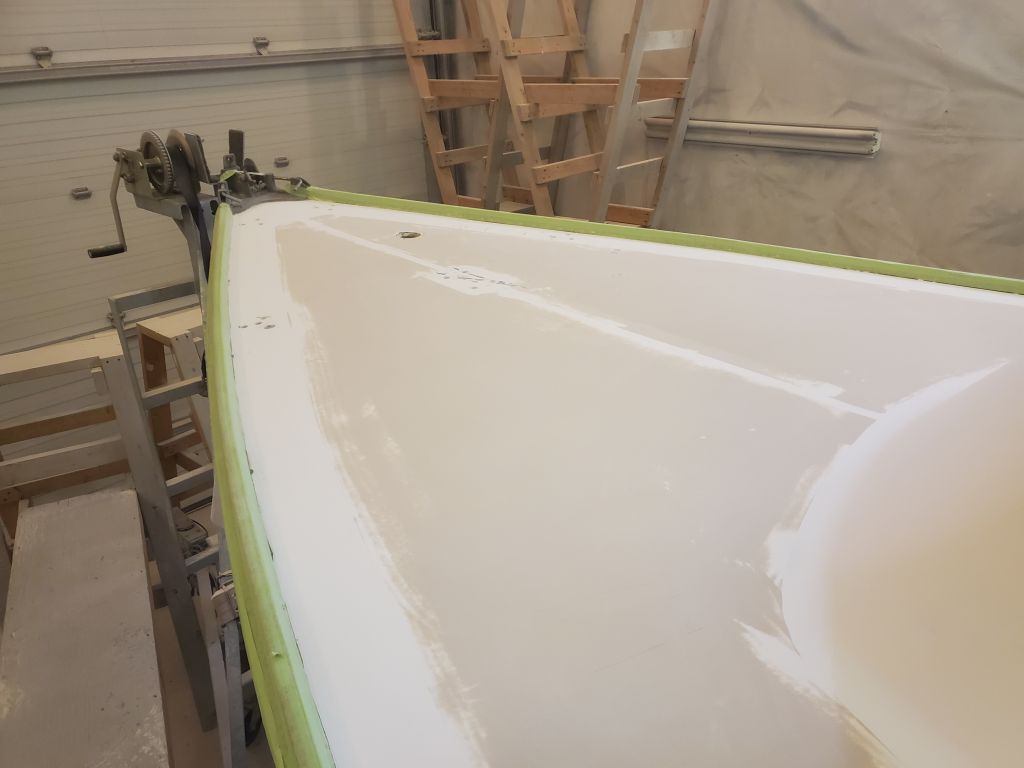
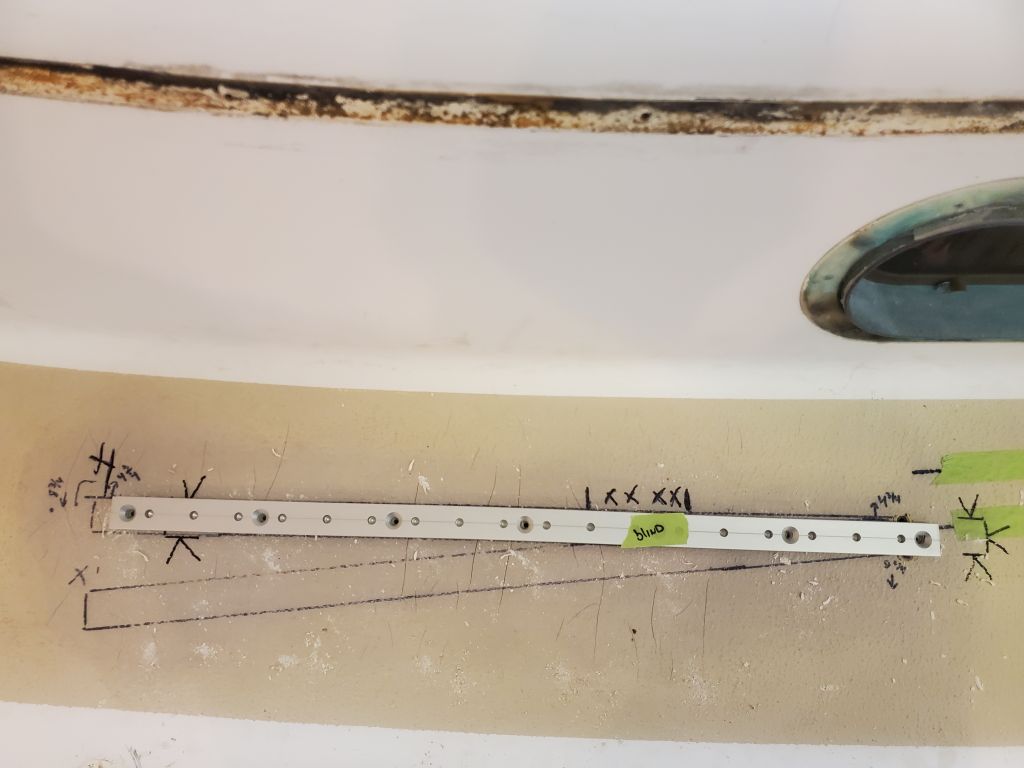
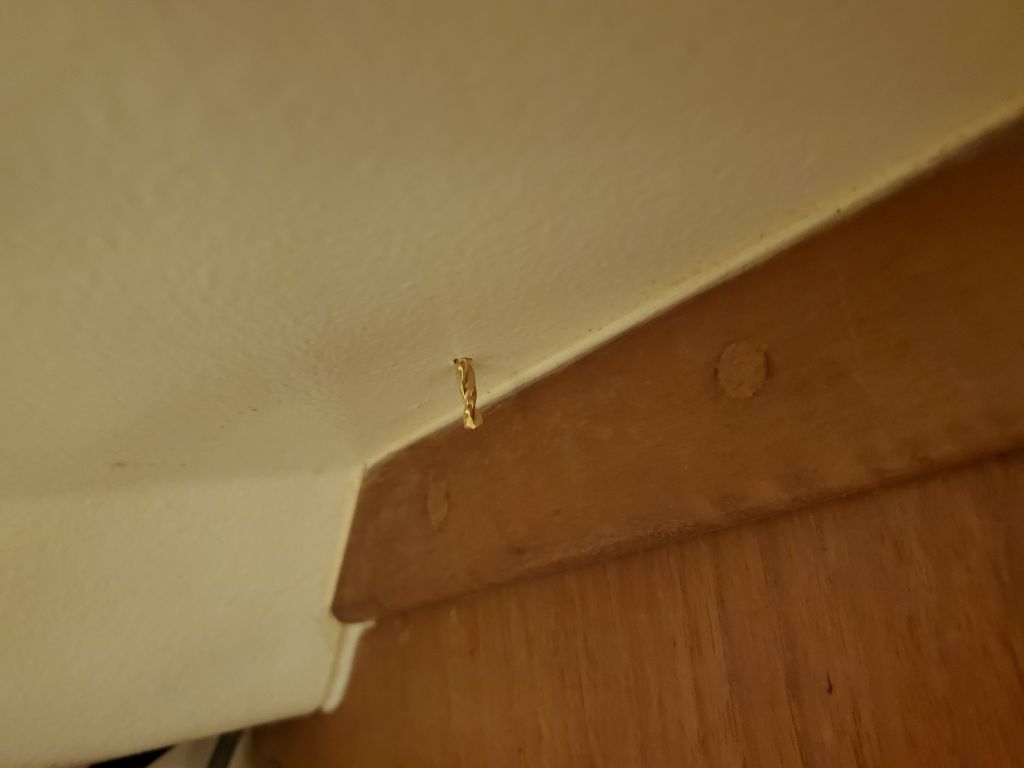
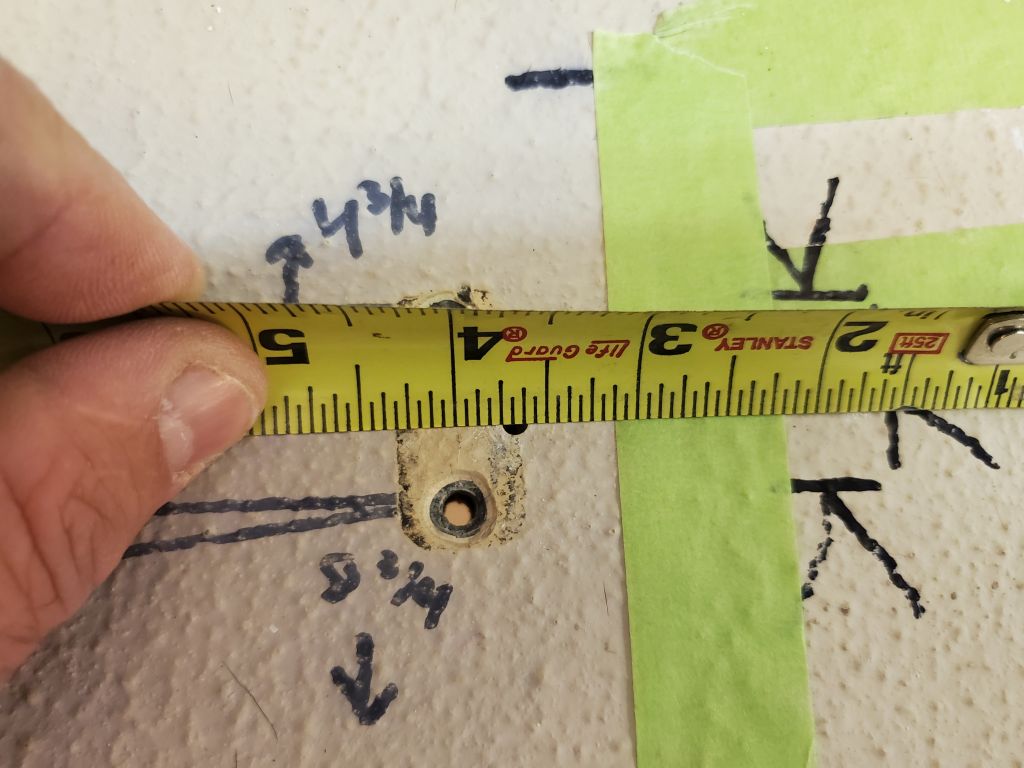
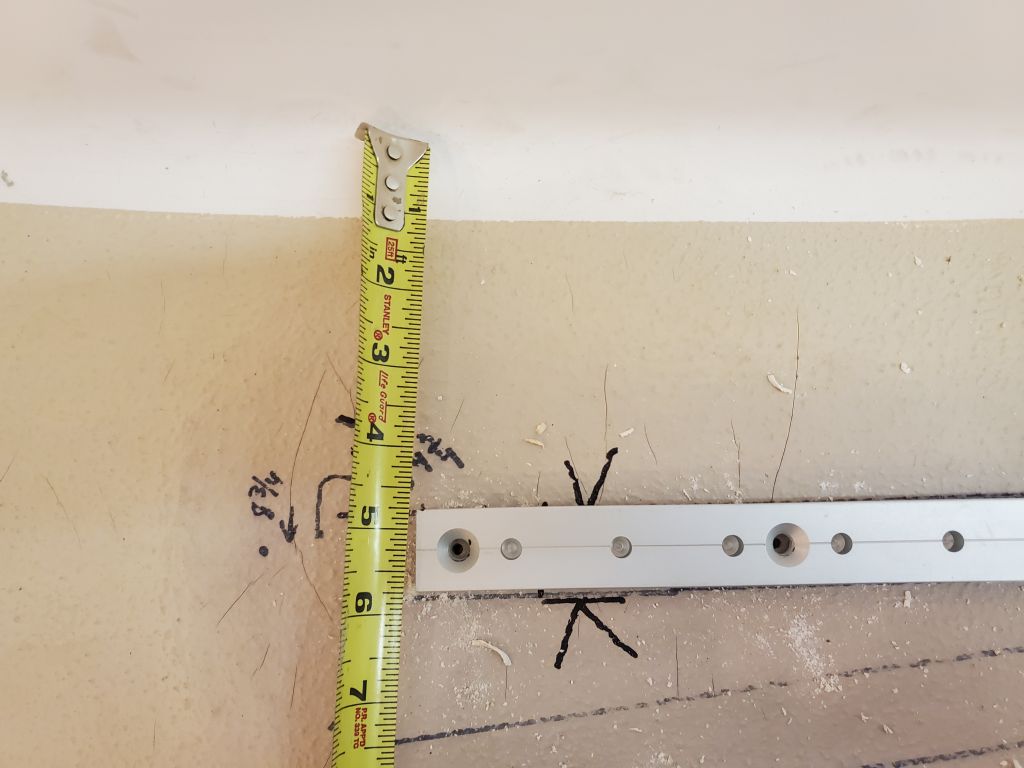
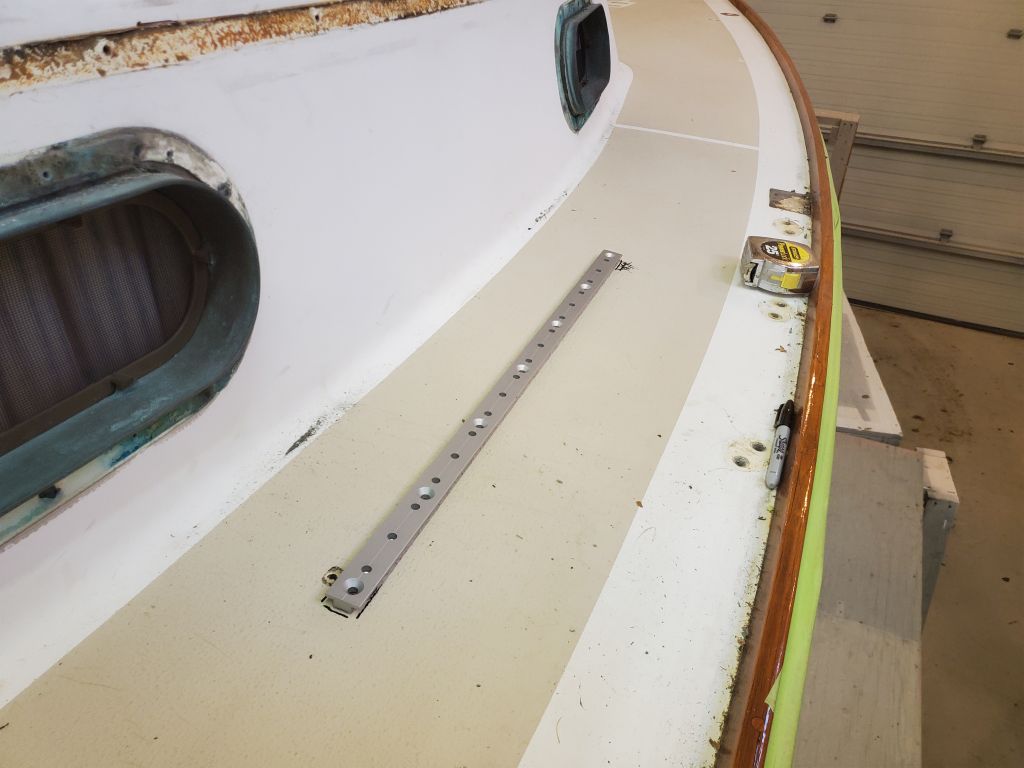
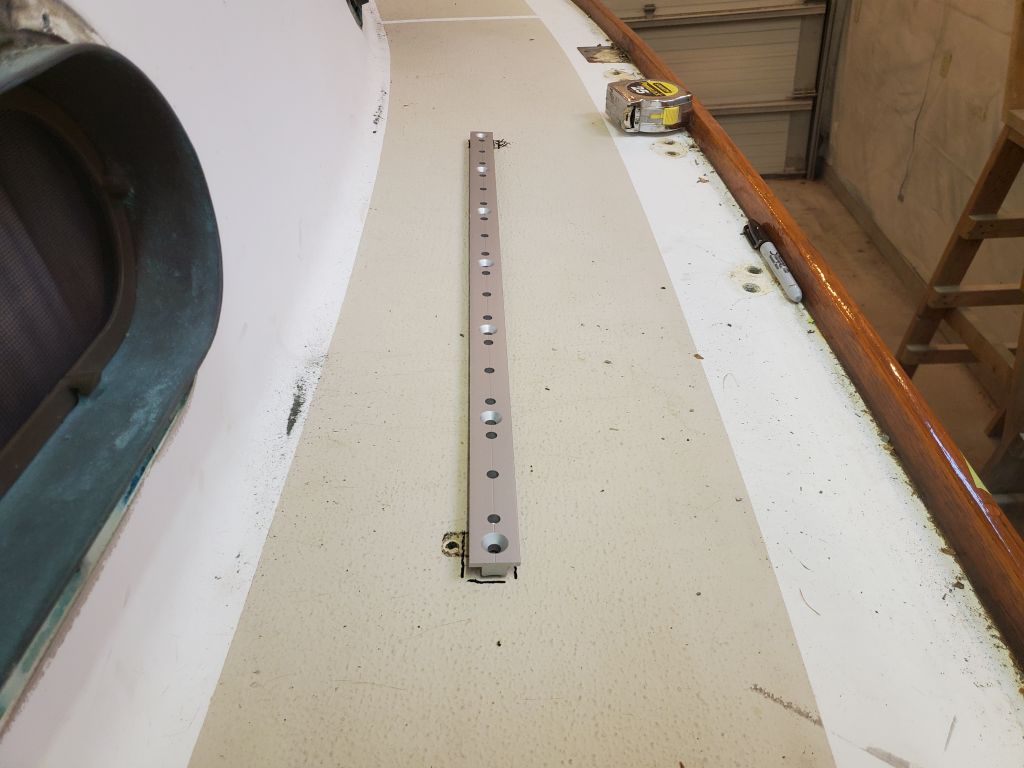
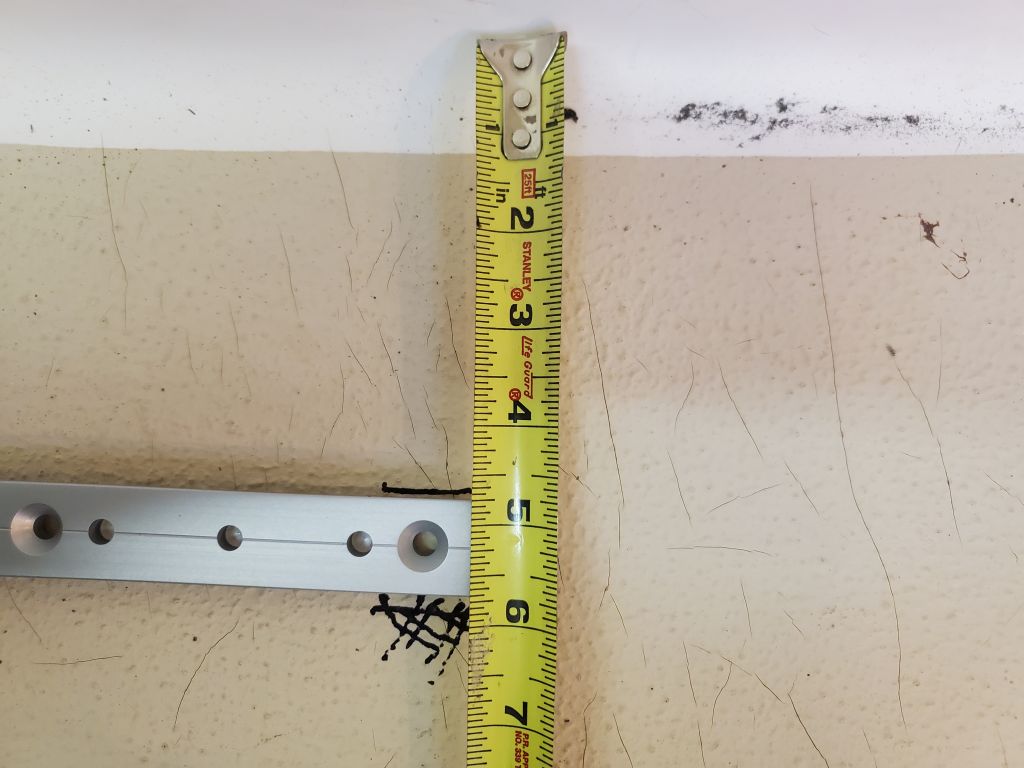
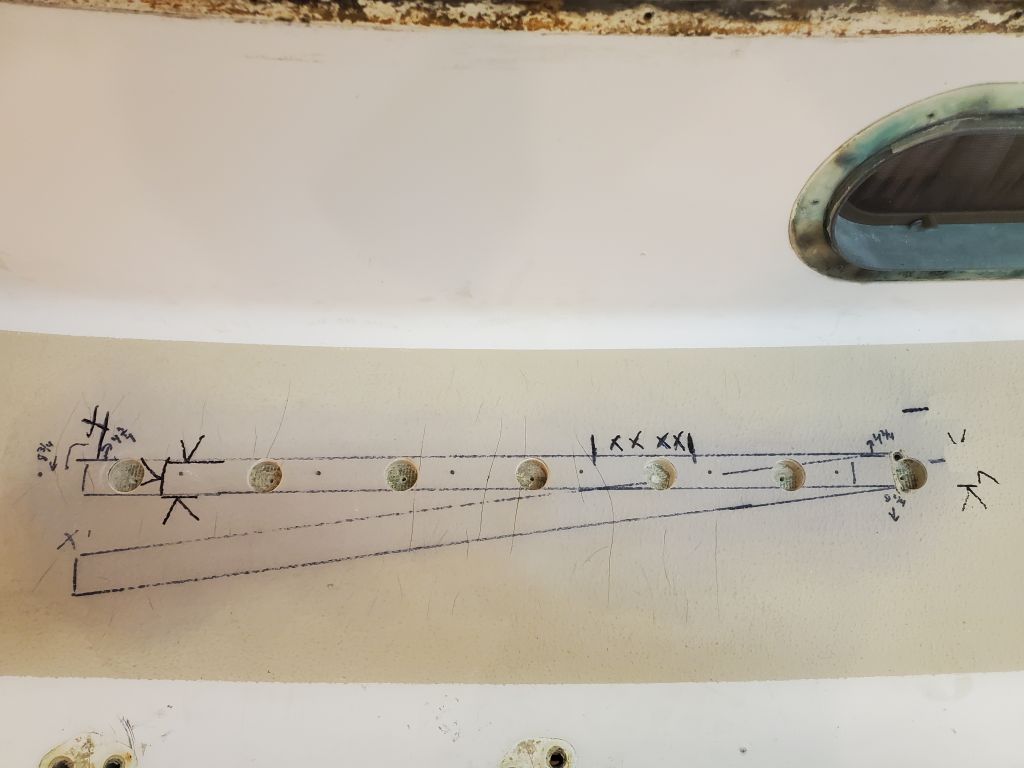
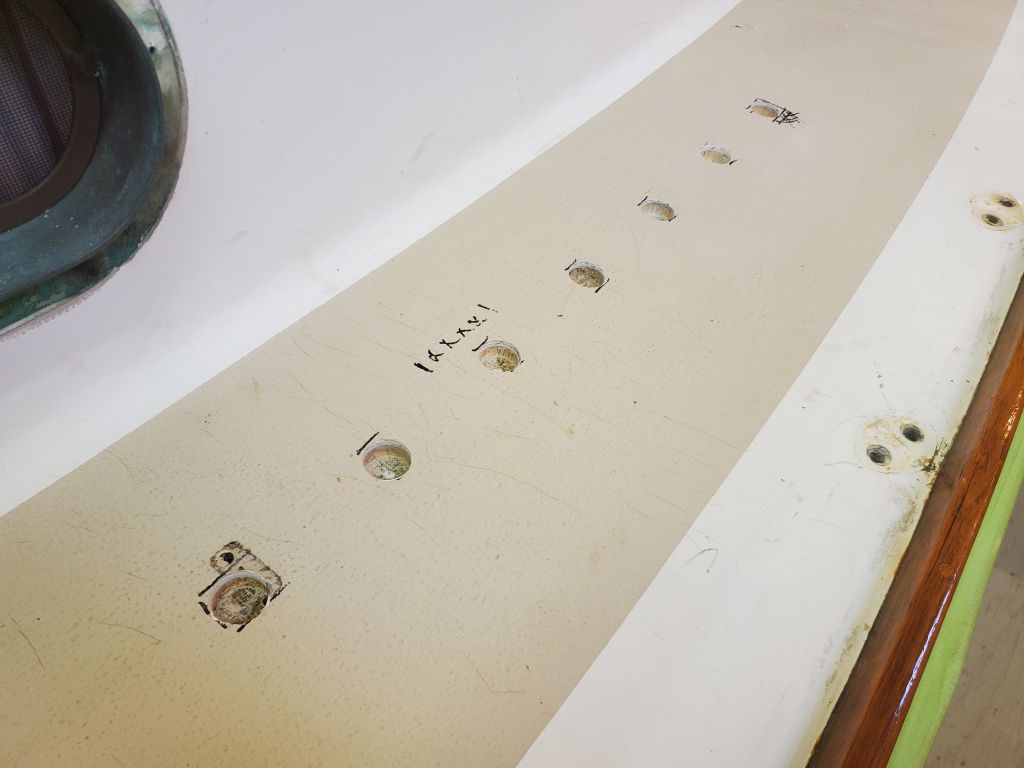
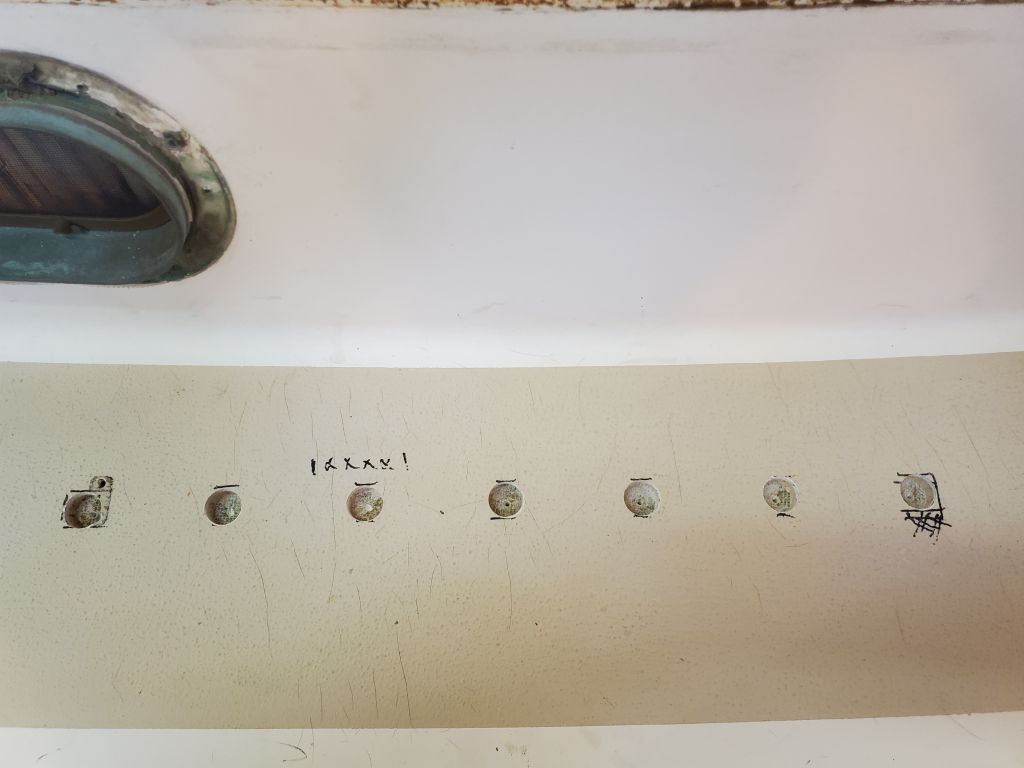
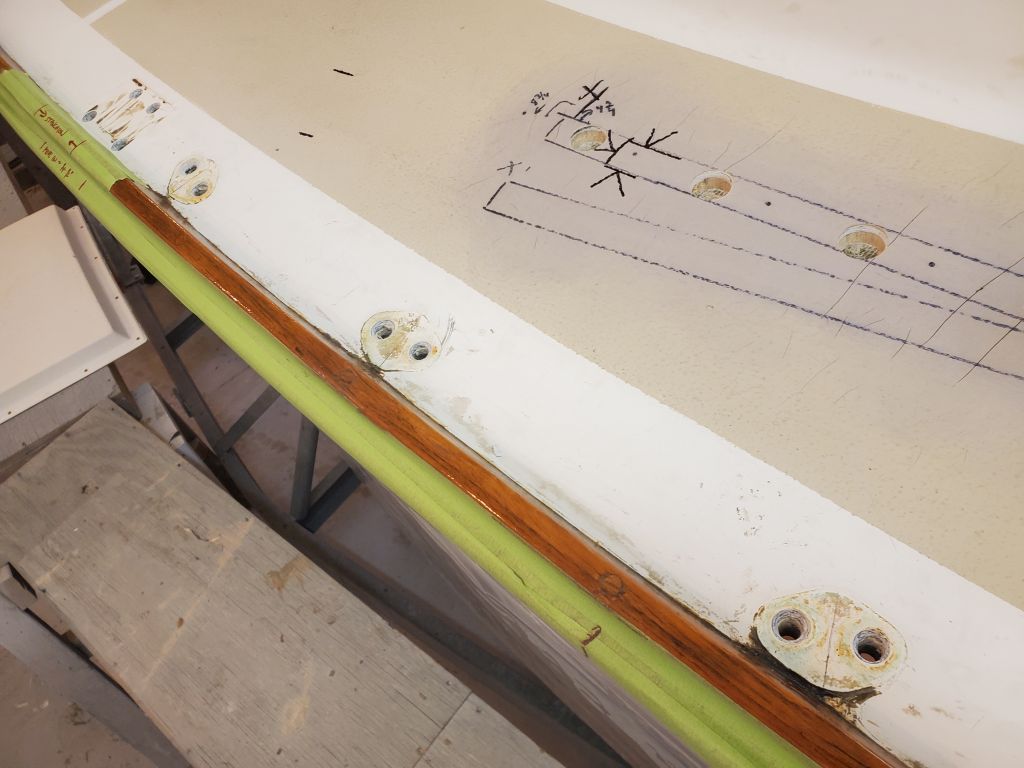
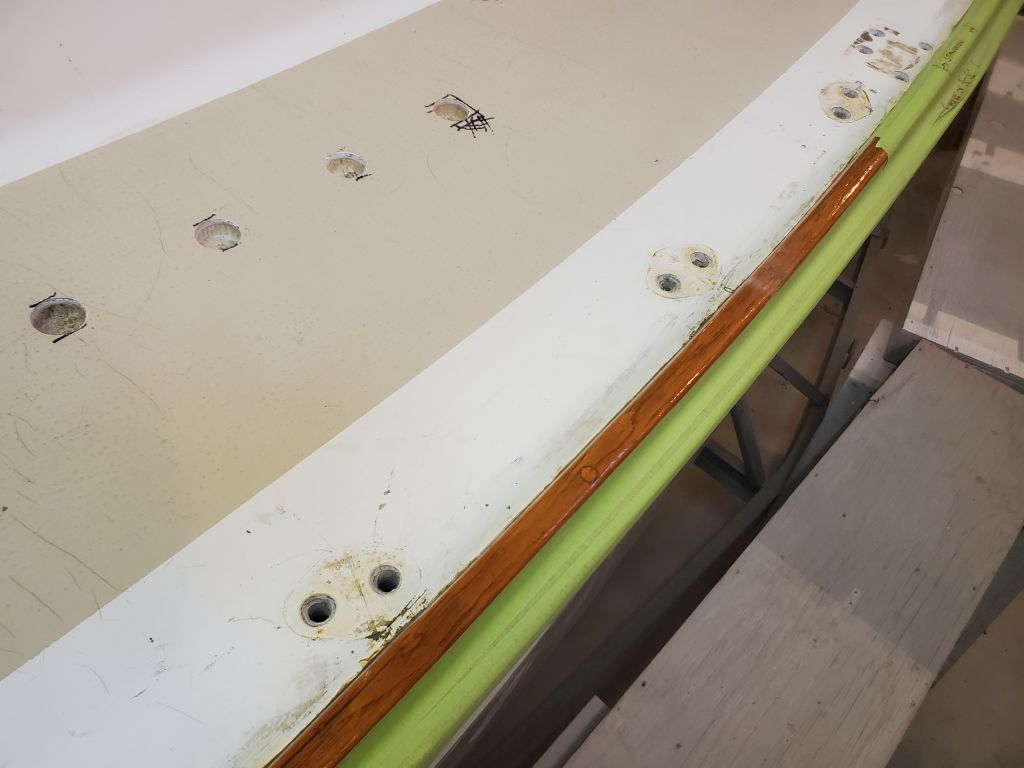
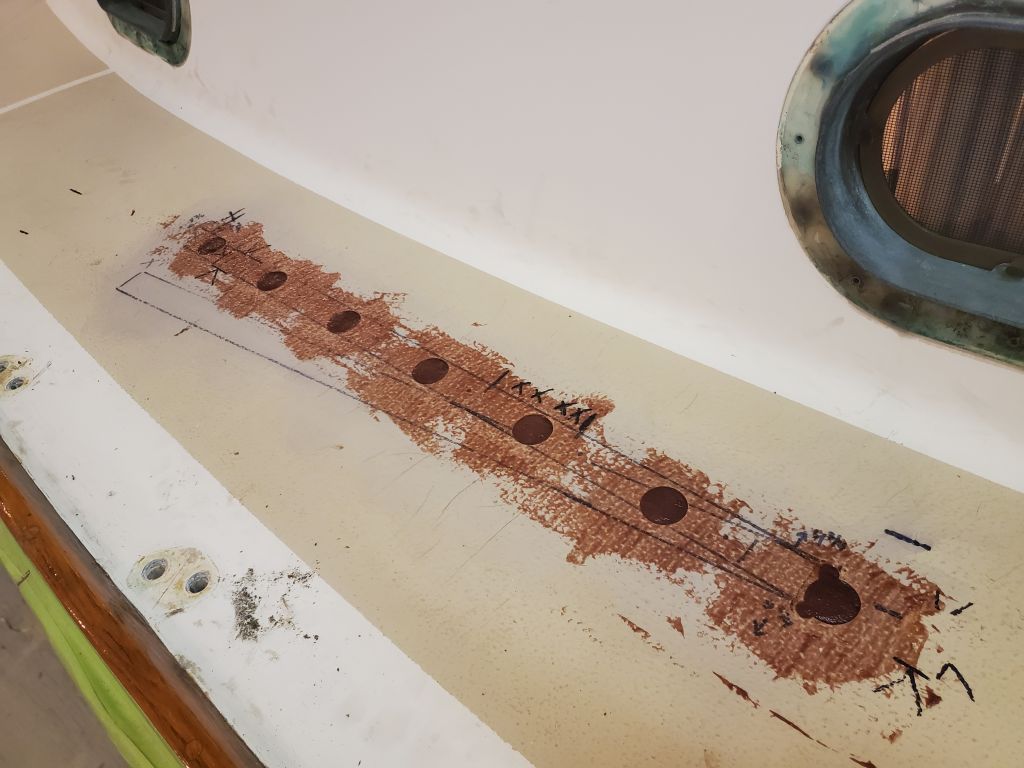
Moving on, I worked through various chores around the deck related to the deck surface prep and sanding coming up in the immediate future, beginning with the final layout of the new jib tracks. Starting to port, where I’d been mocking this up for a while, I double-checked the measurements above and below decks, satisfying myself that there were no obstructions other than the known one at the galley bulkhead (and the third forward bolt in the track), then drilled pilot holes at each fastener location, starting with a self-centering bit to mark the holes accurately, then switching to a regular bit and passing all the way through the deck with smallish pilot holes. I started with the forwardmost hole to confirm that I’d held the whole track assembly far enough aft to miss the main bulkhead.
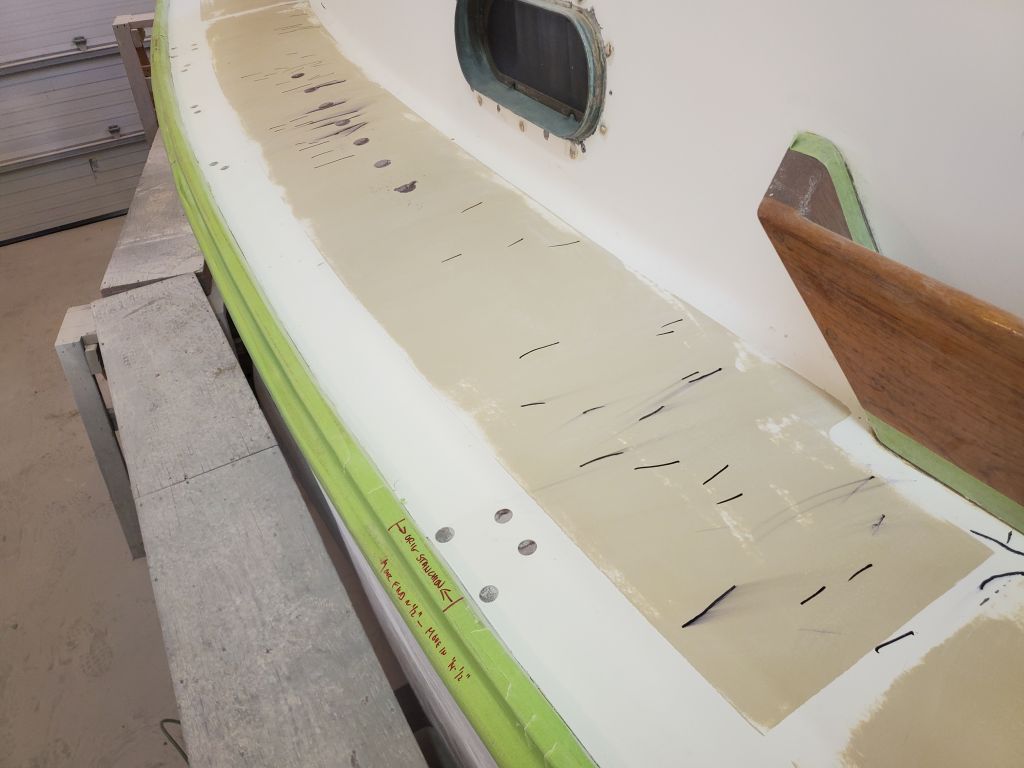
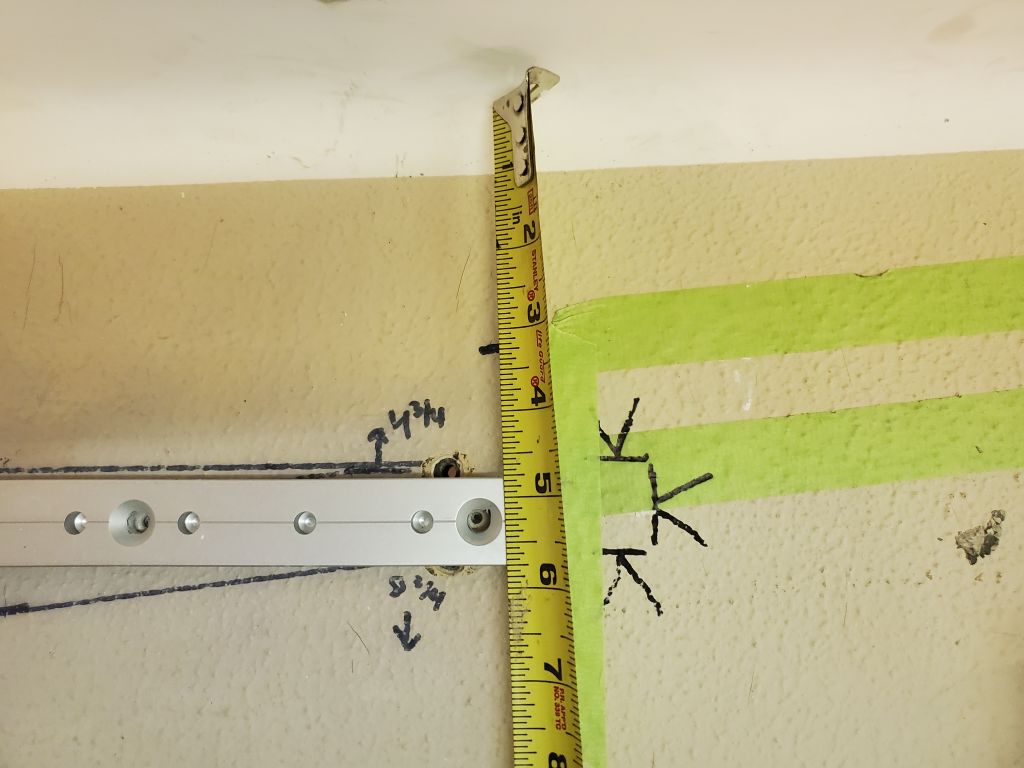
Moving to the starboard side, I repeated the process, first laying the track out according to the measurements I’d taken from the port side, then confirming the position above and below, and finally marking and drilling the pilot holes at the fastener locations.
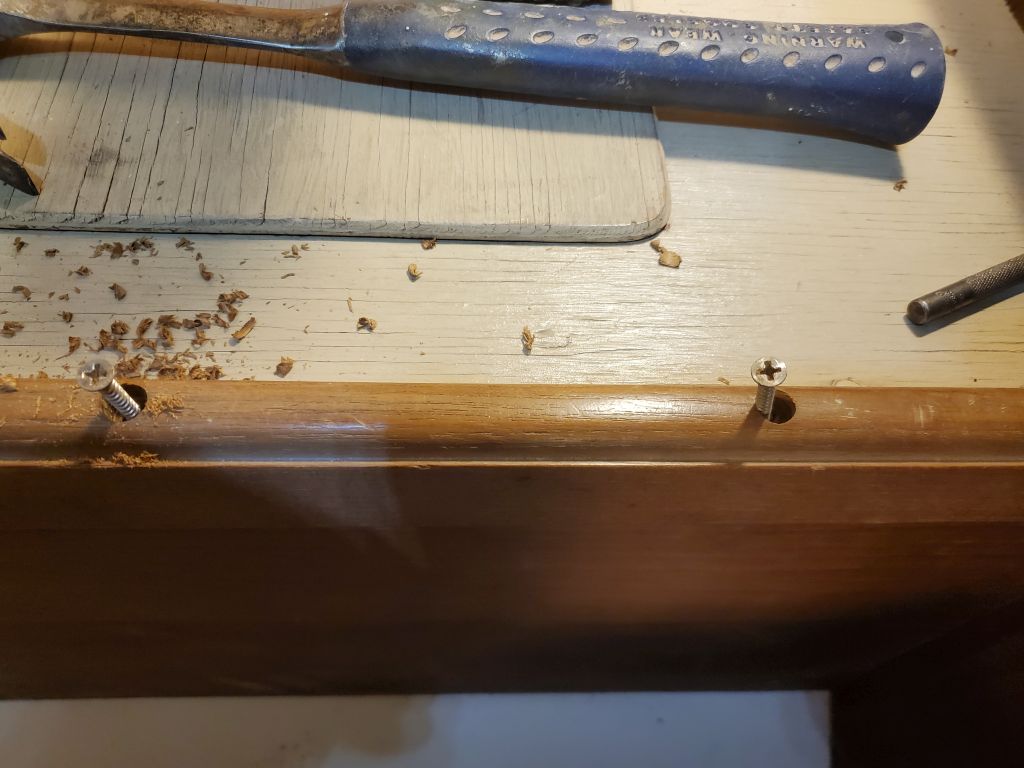
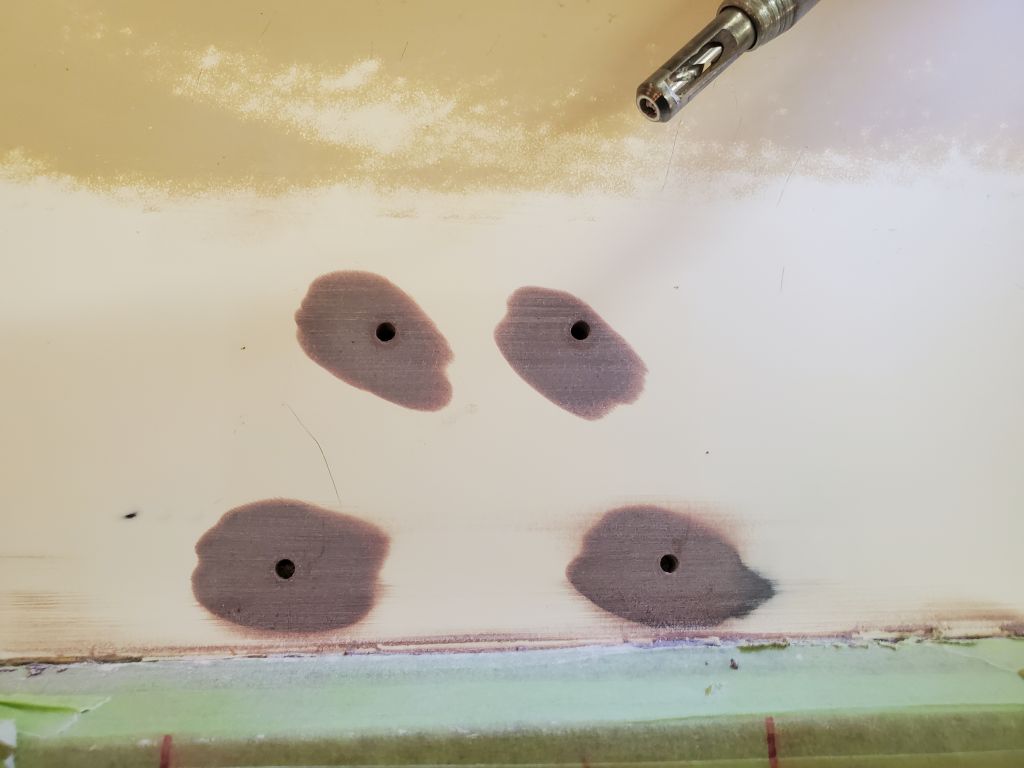
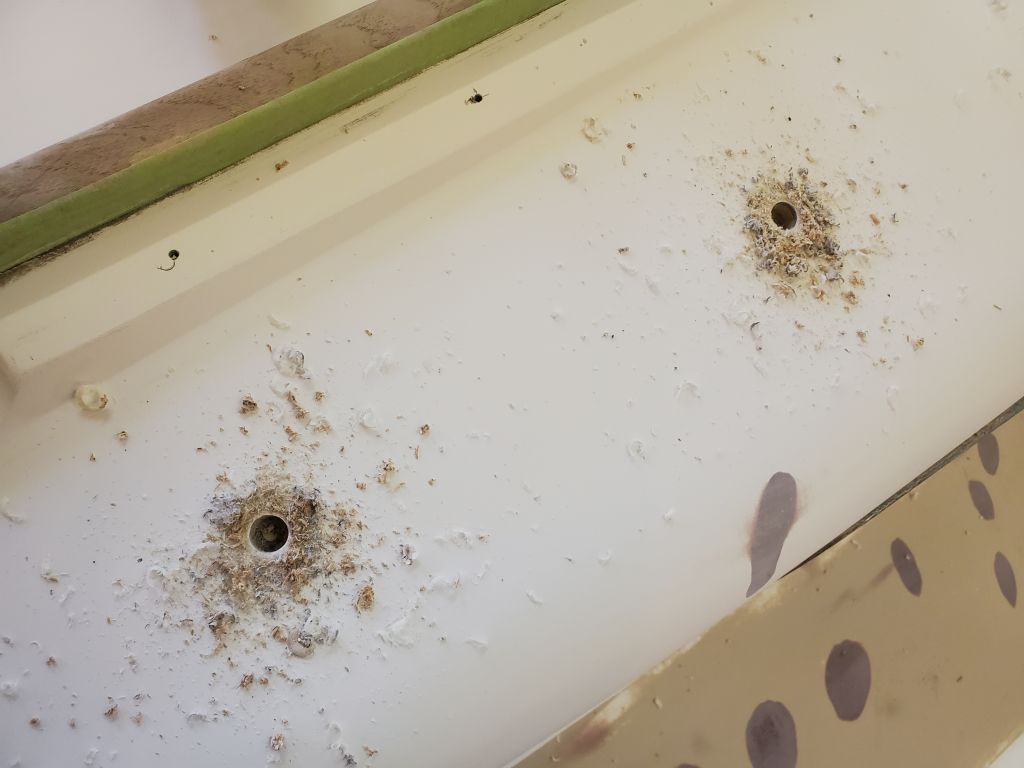
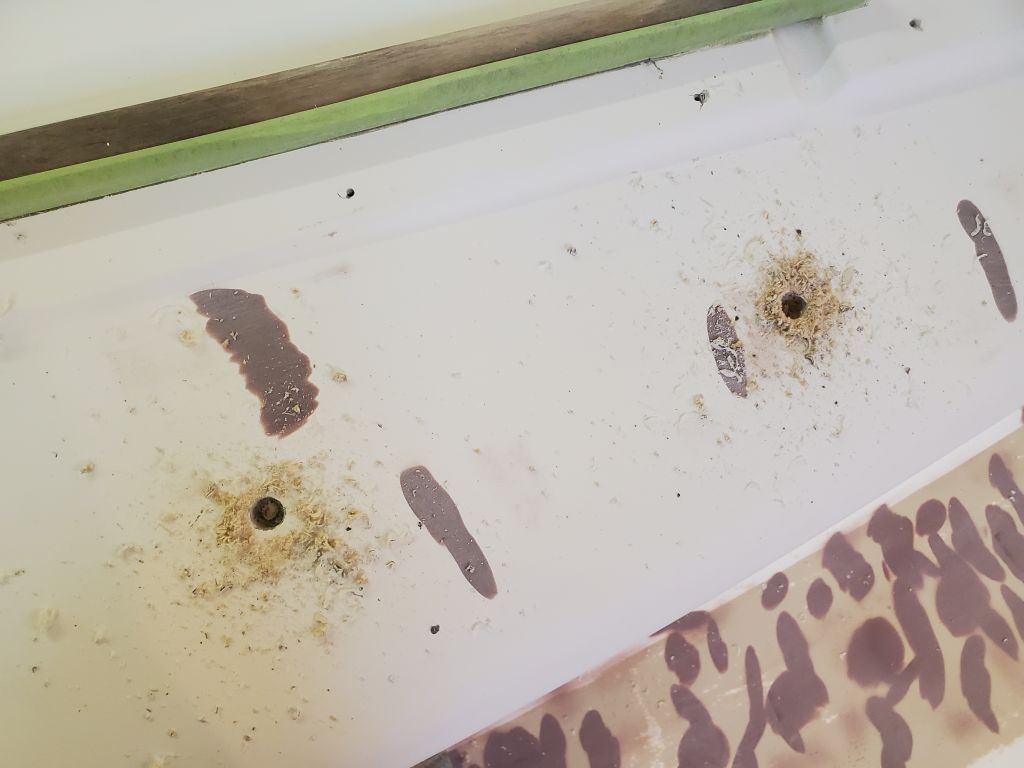
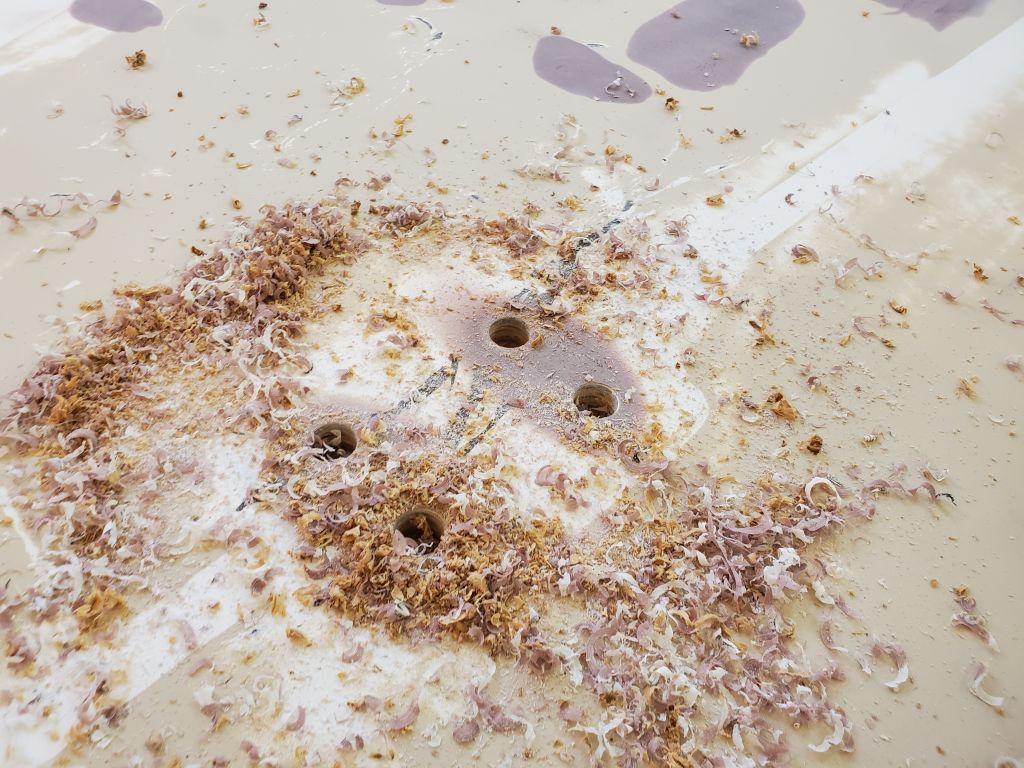
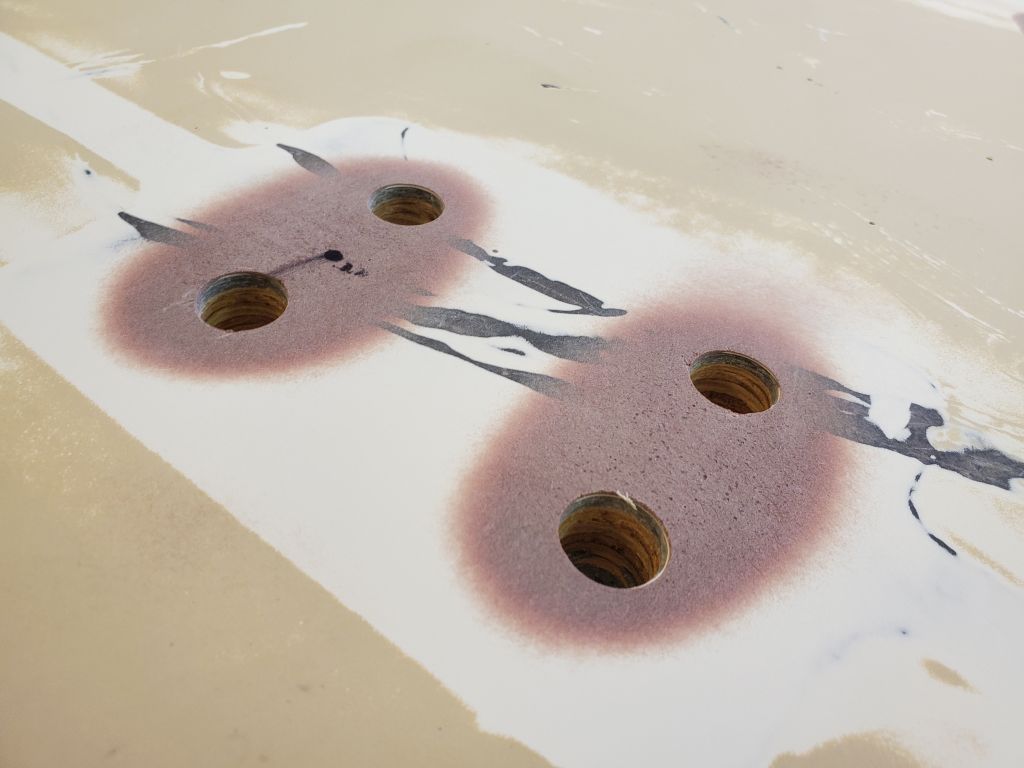
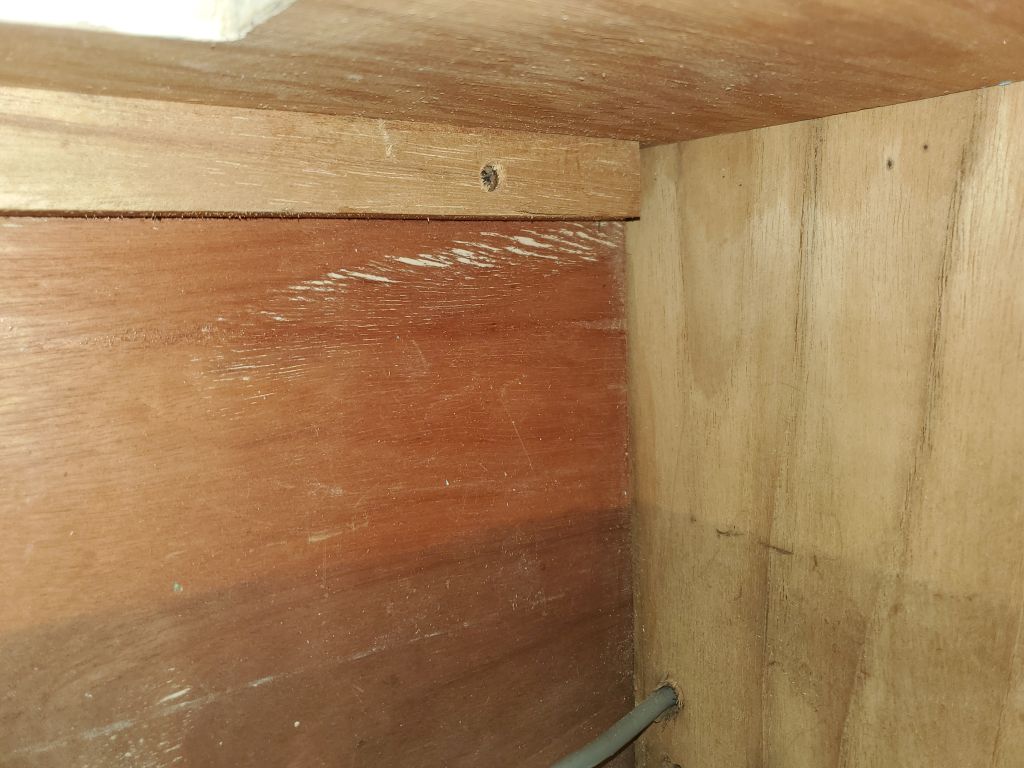
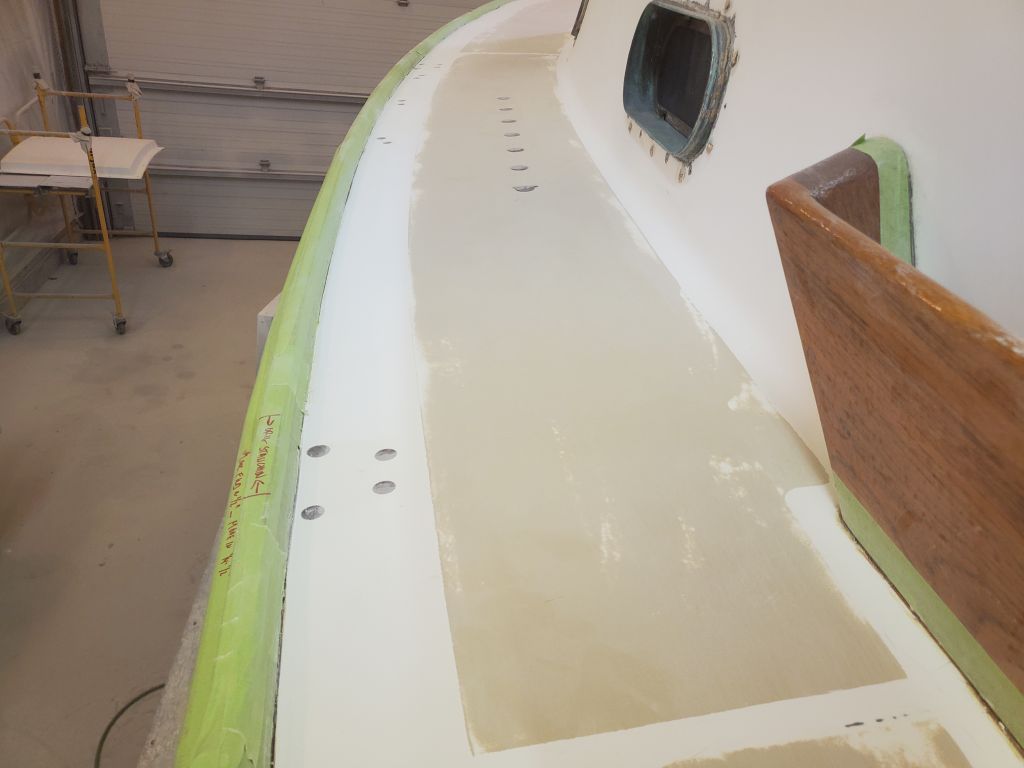
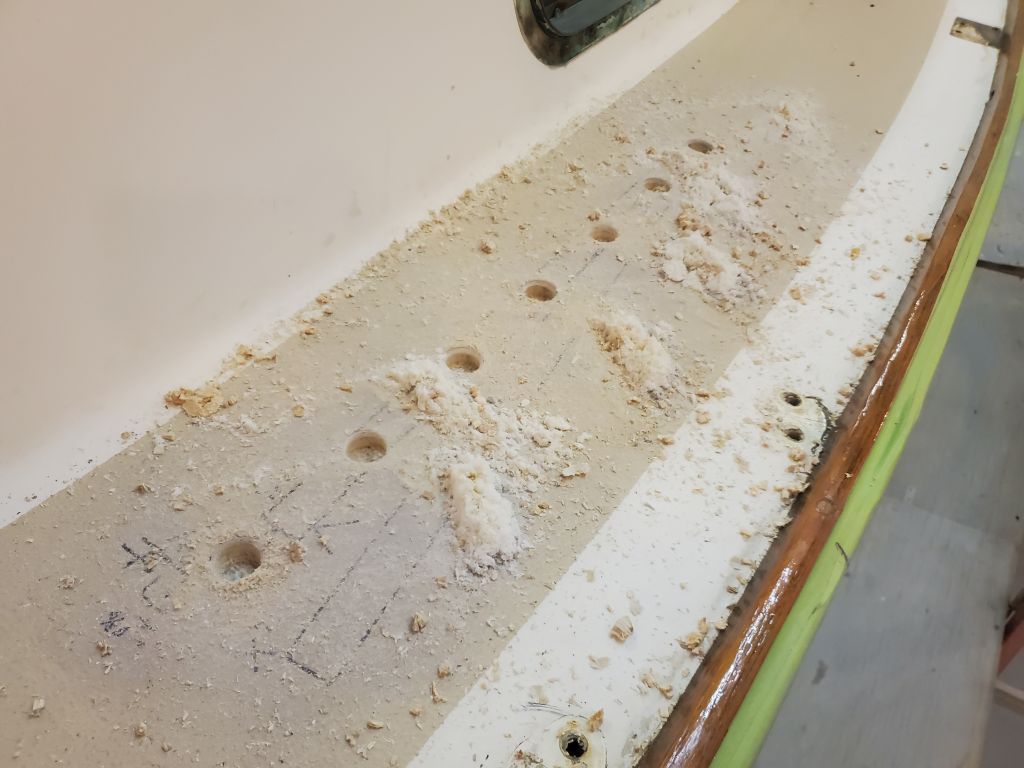
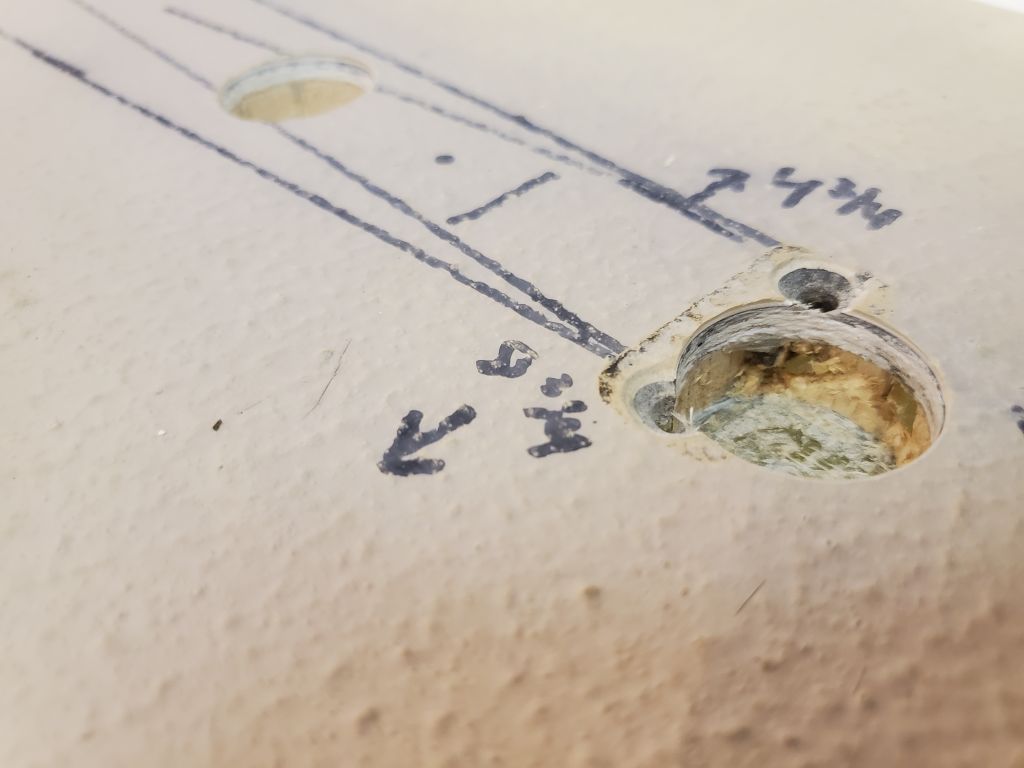
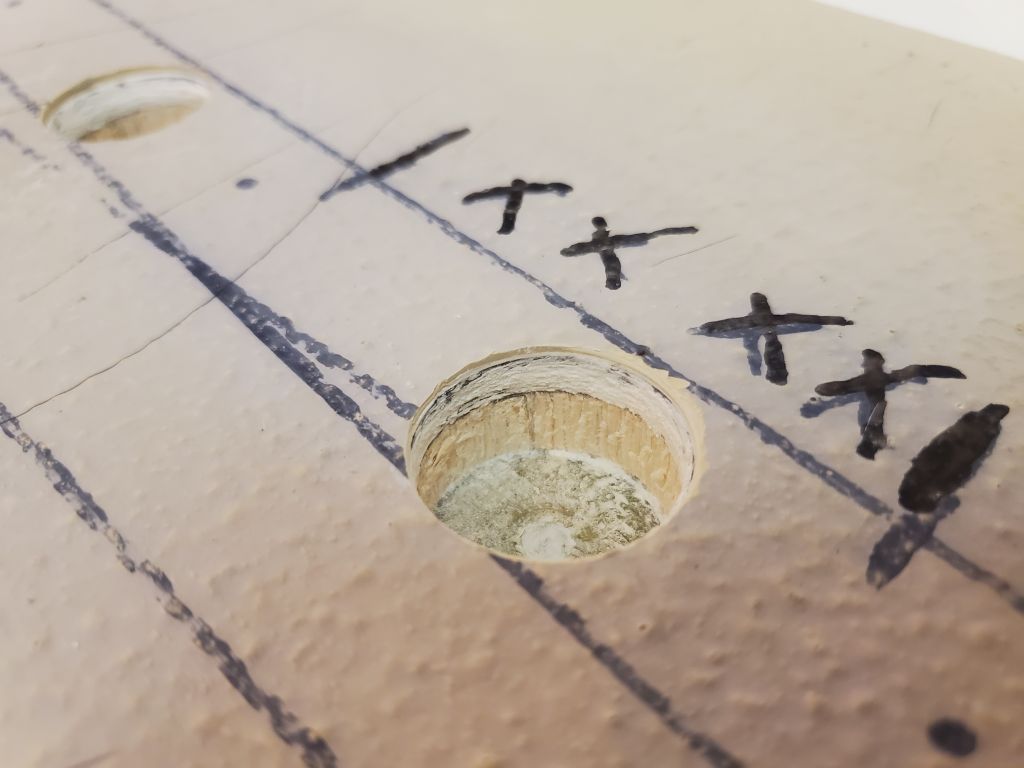
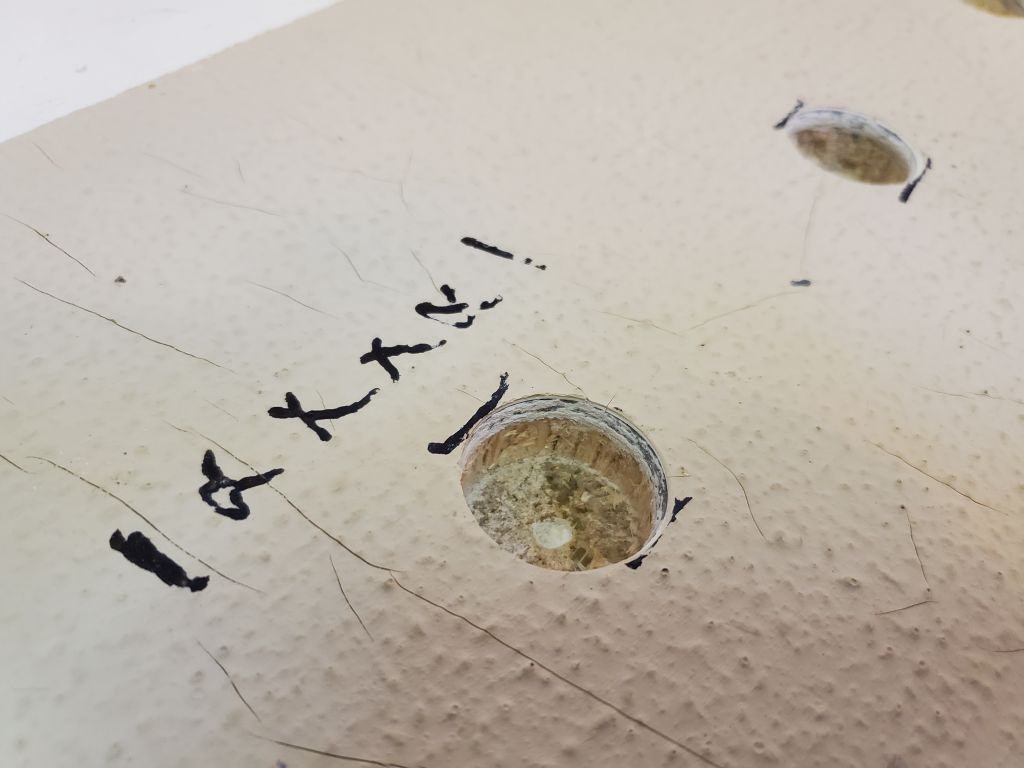
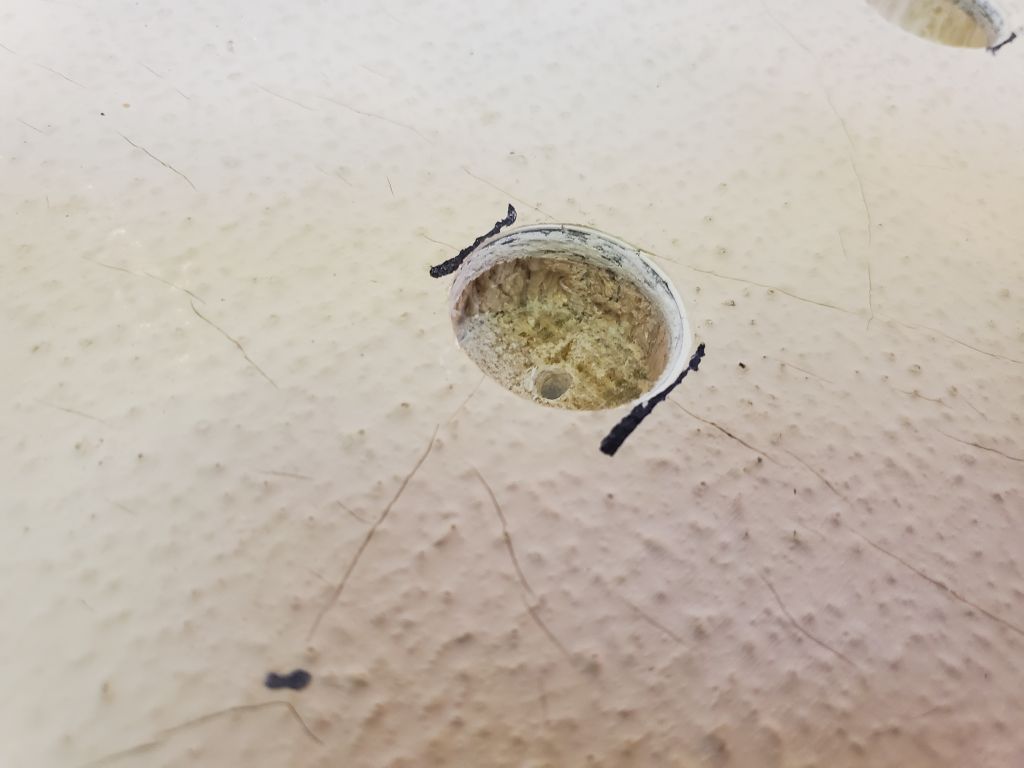
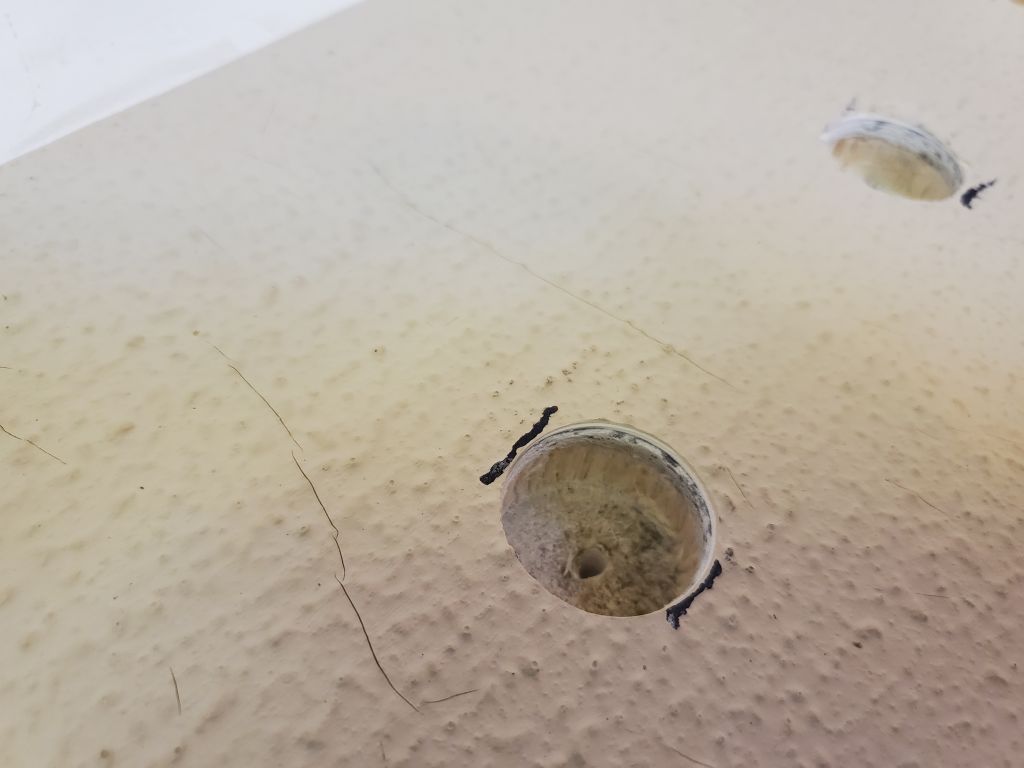
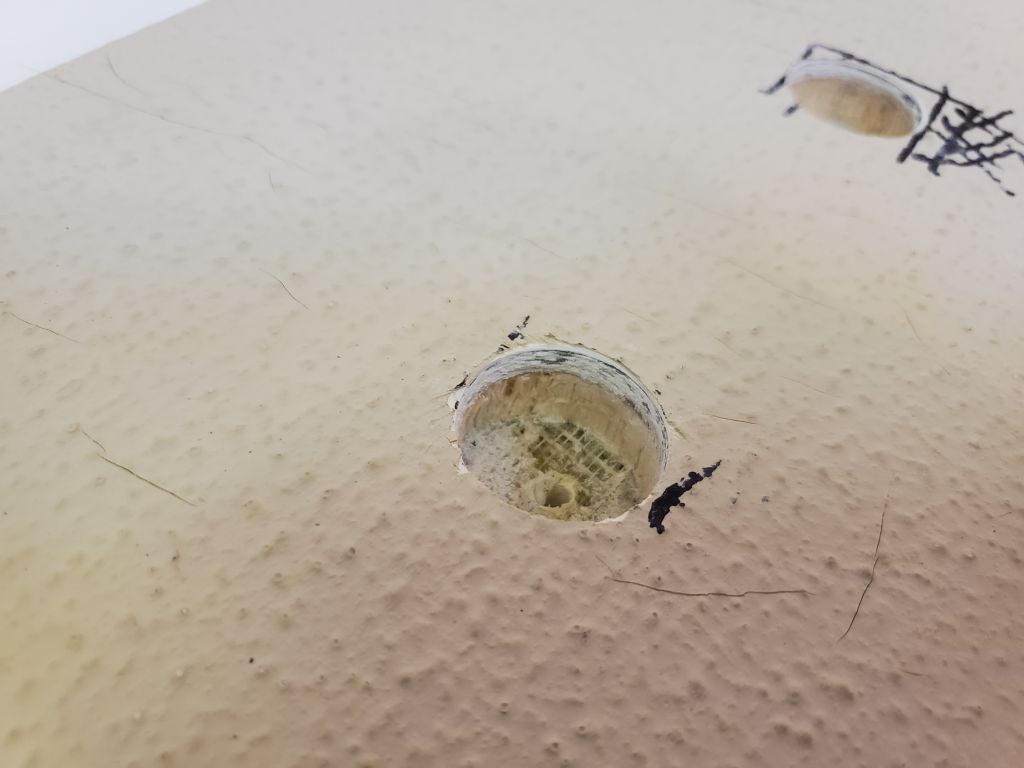
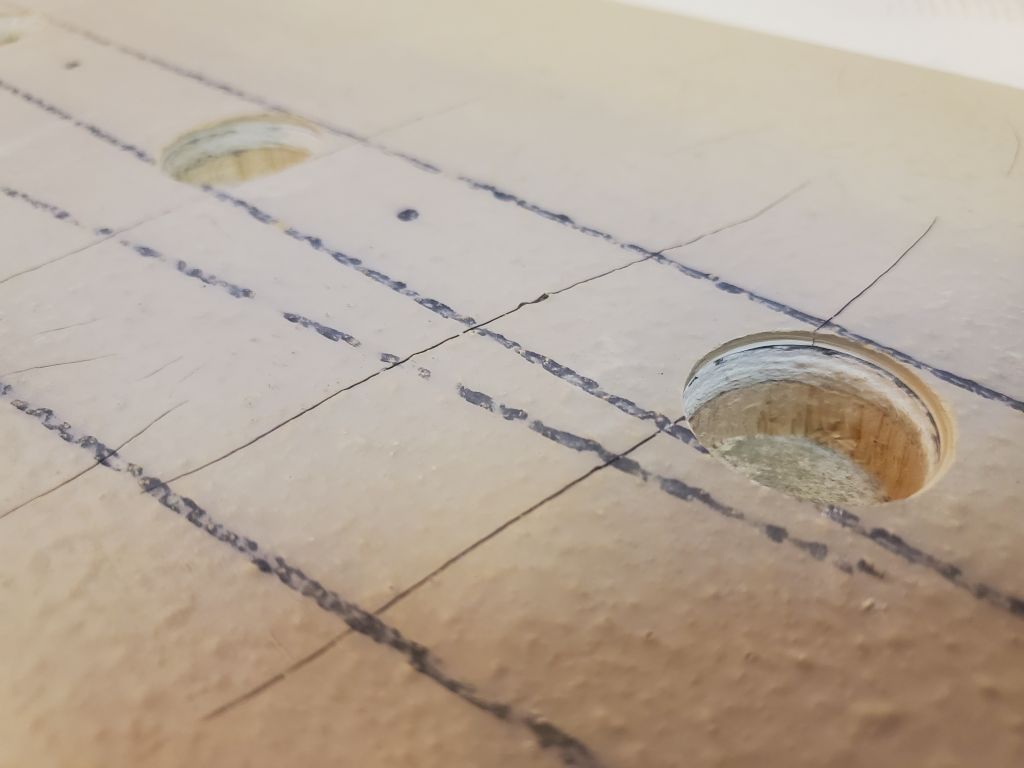
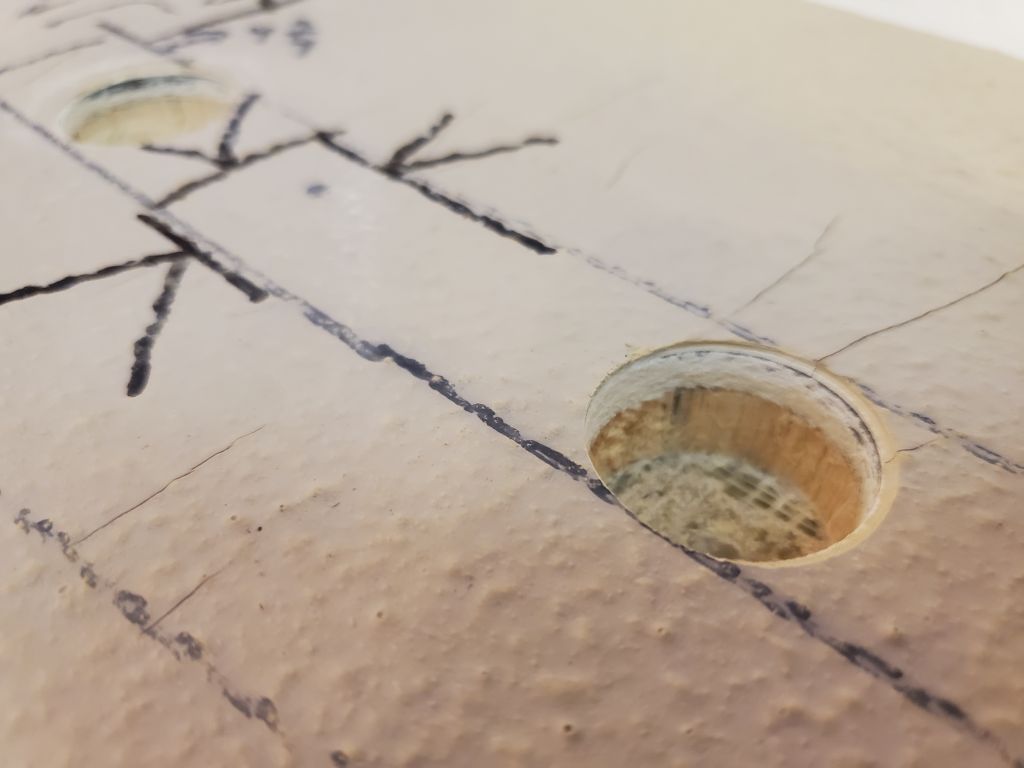
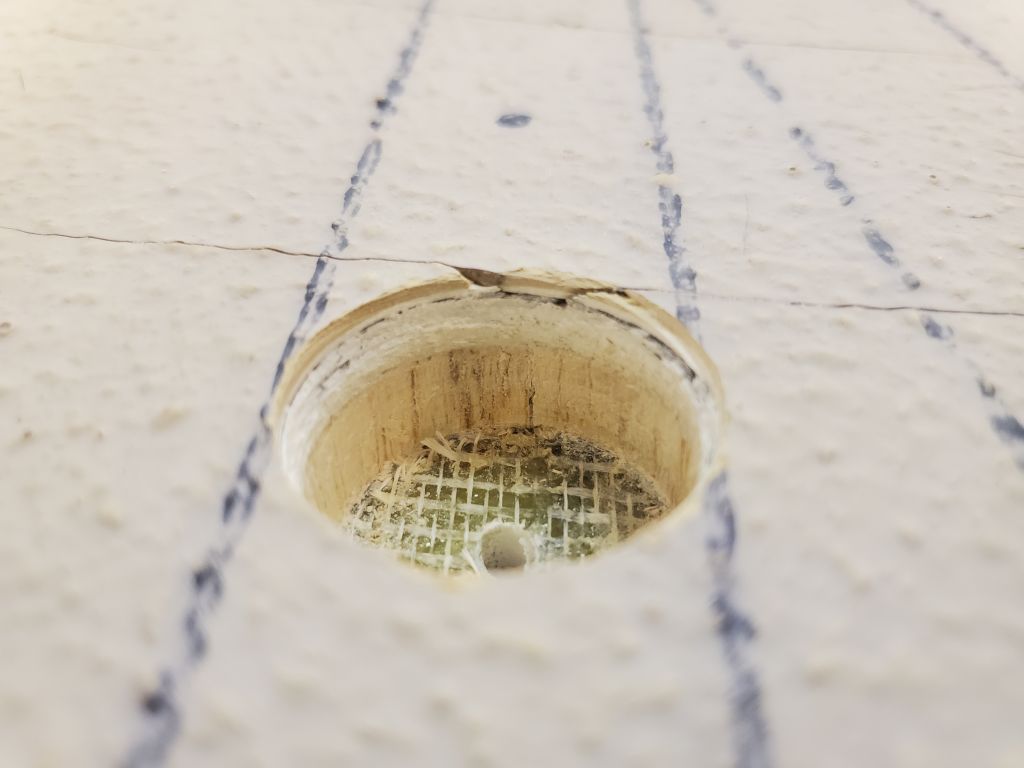
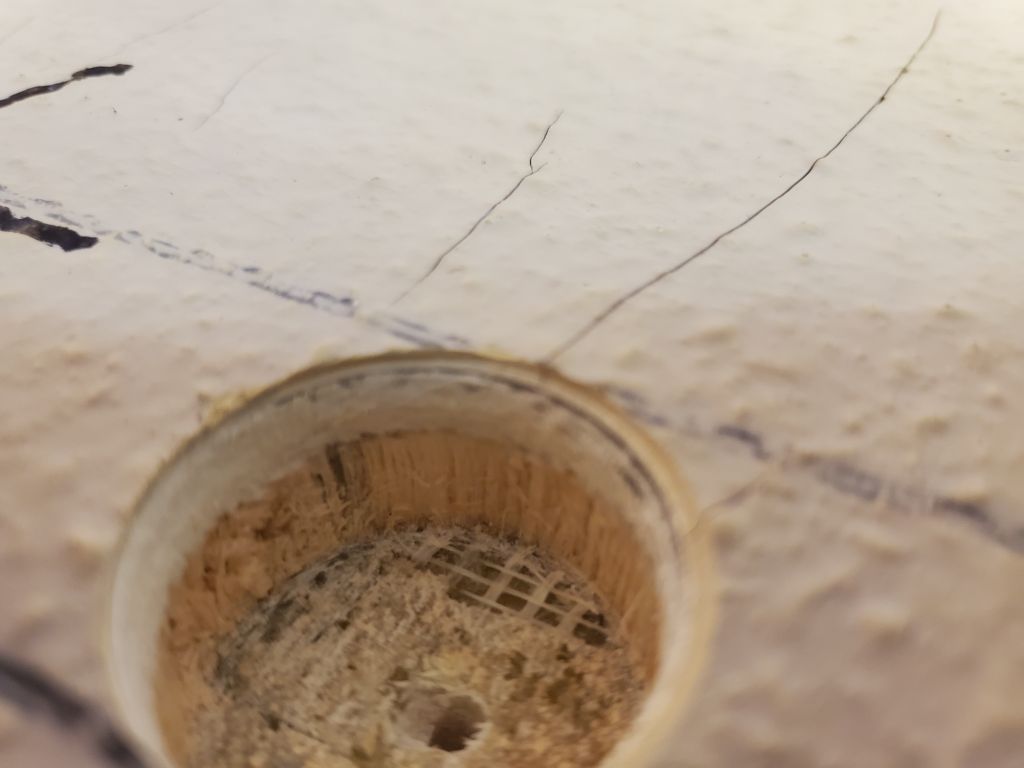
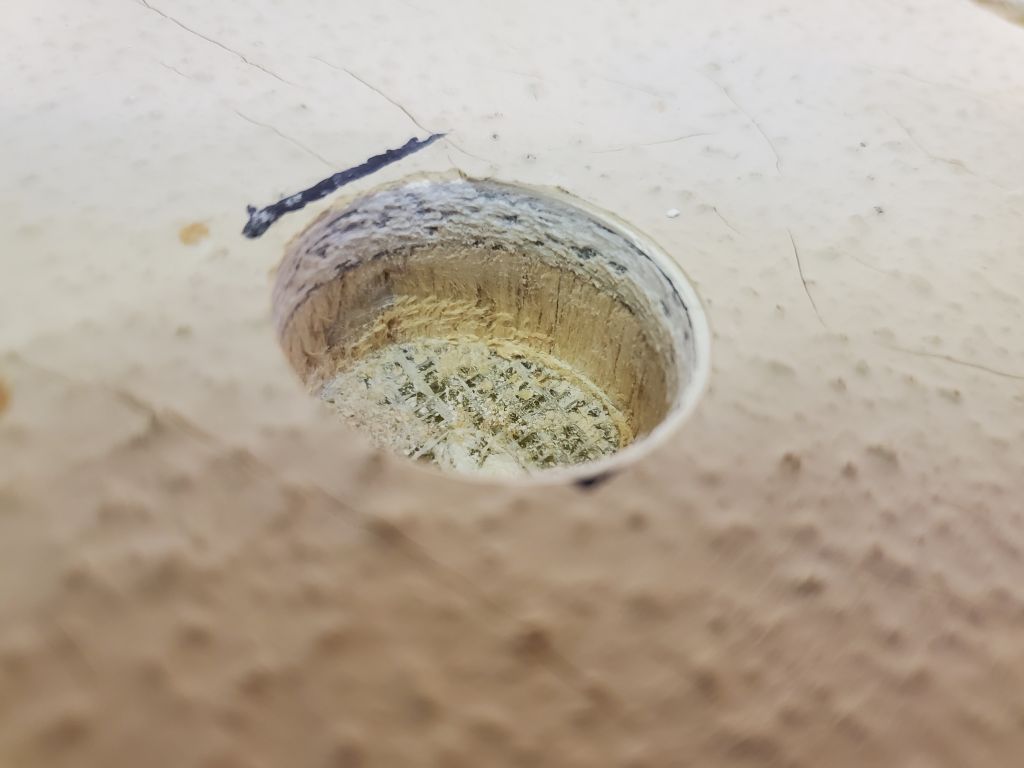
I used a 1″ Forstner bit to ream out the deck core at each fastener location. This also gave good insight into the deck condition, which was excellent at all such locations, with the core dry and clean and fully bonded all around.
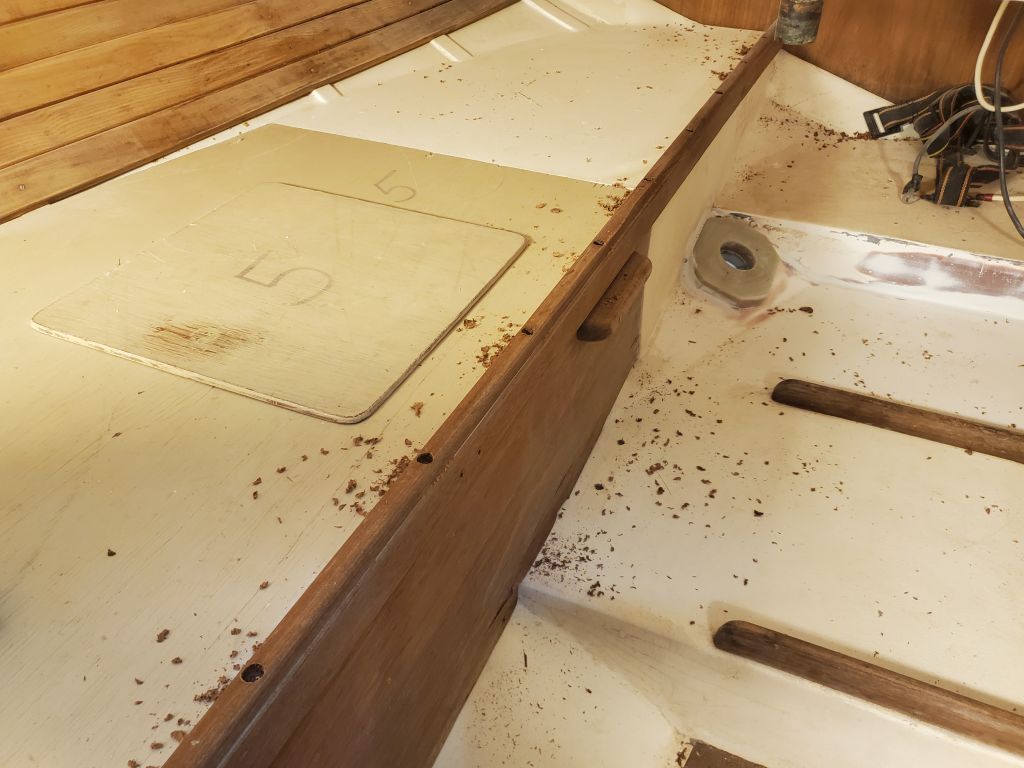
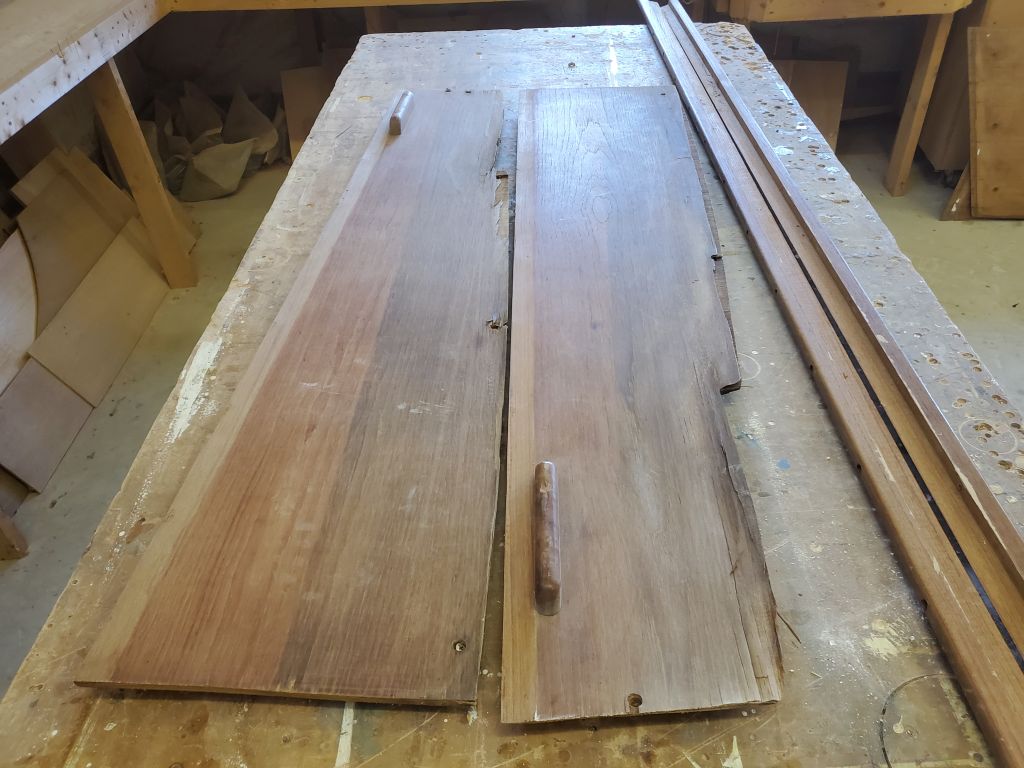
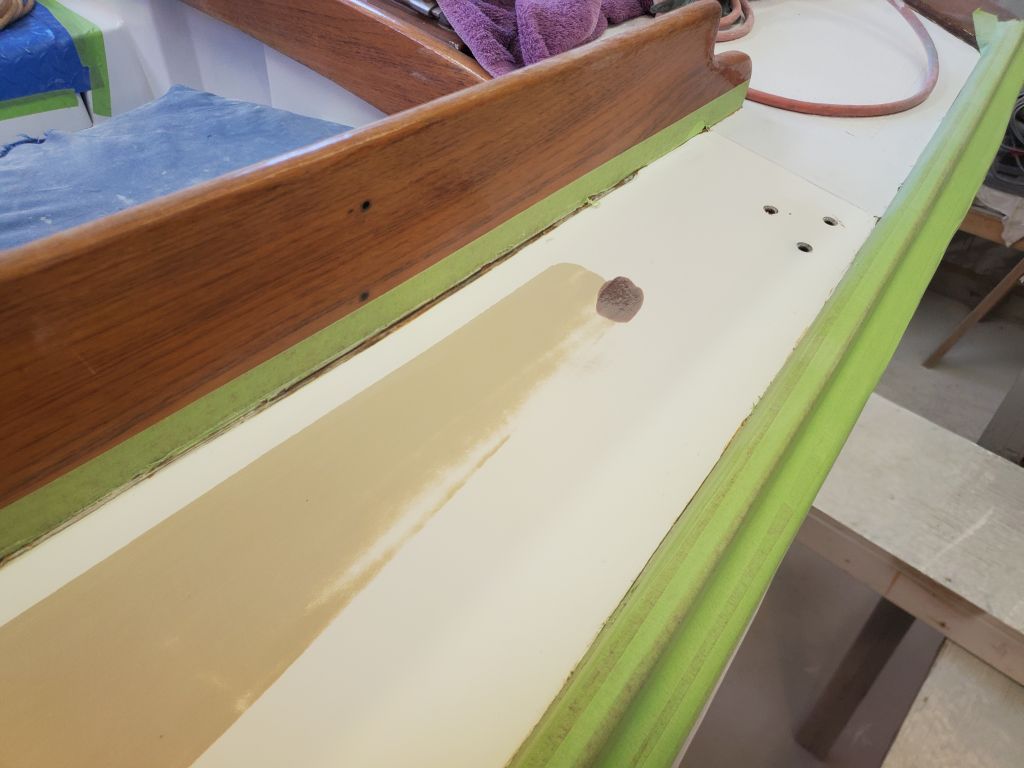
Port side:
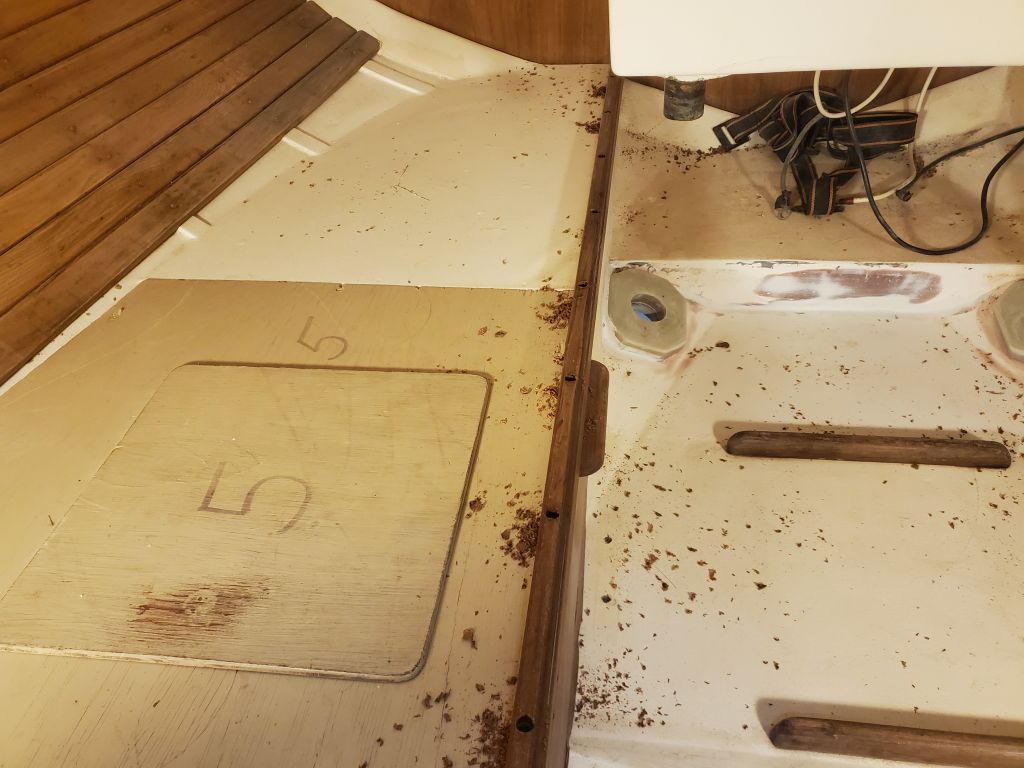
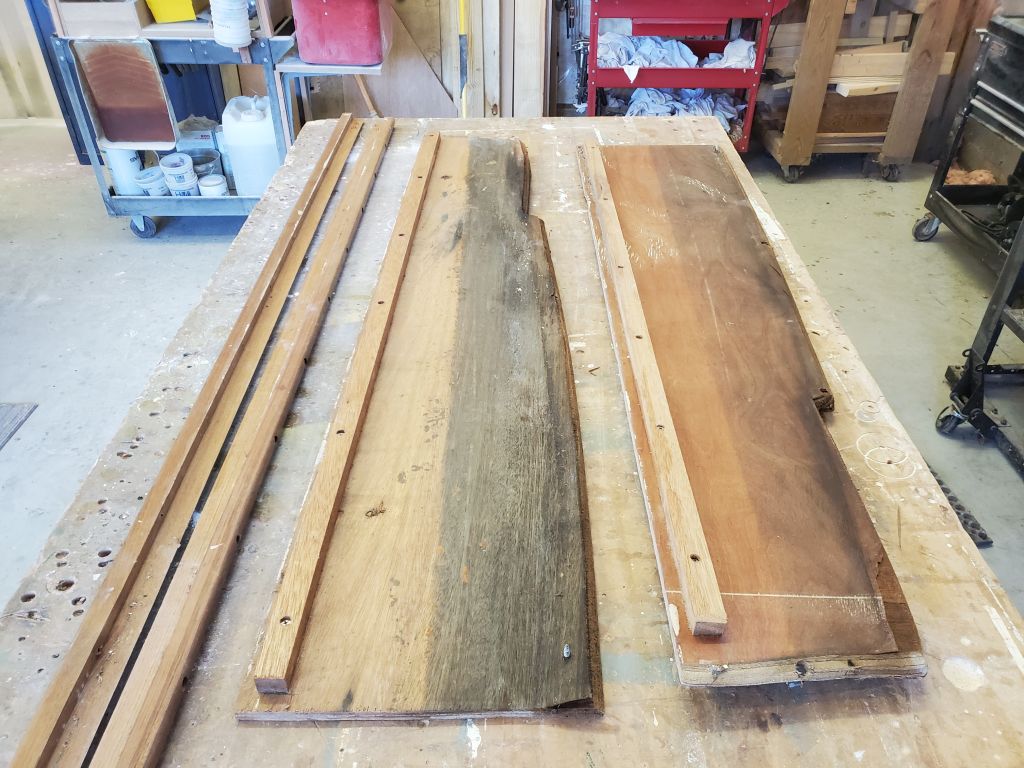
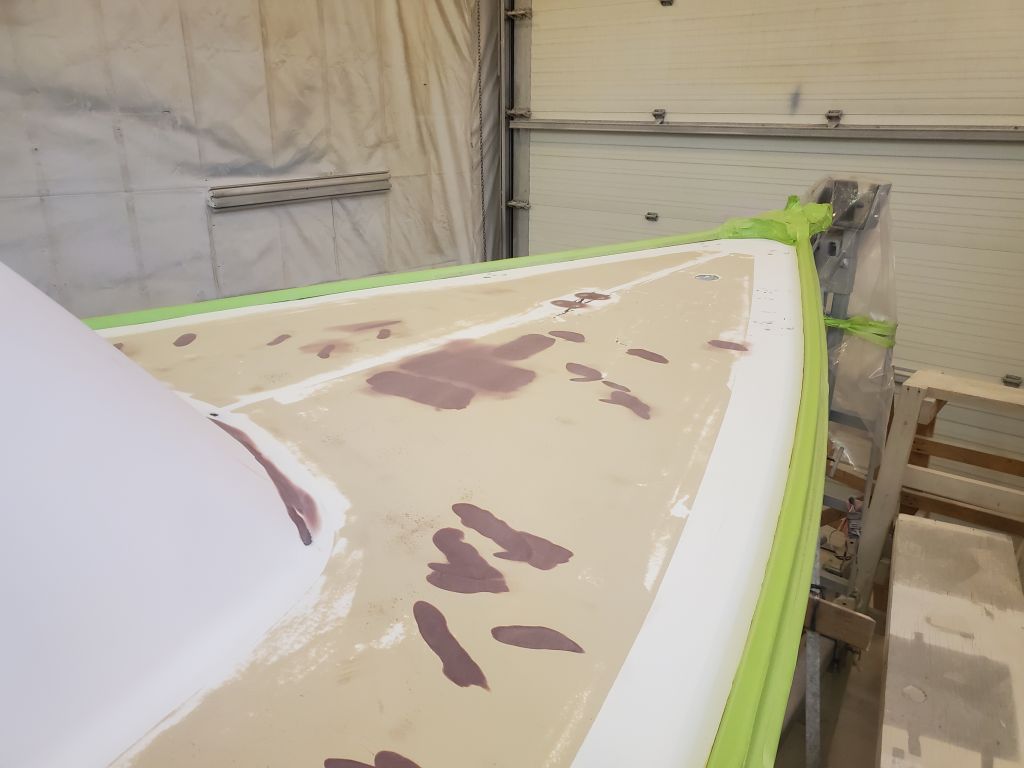
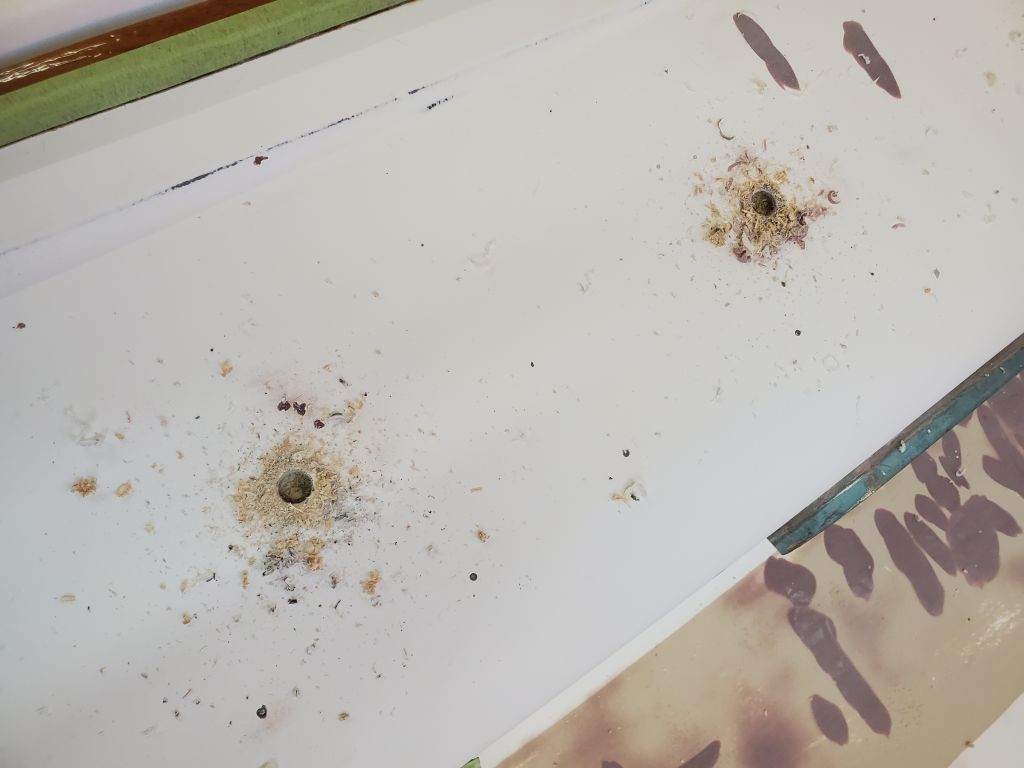
Starboard side:
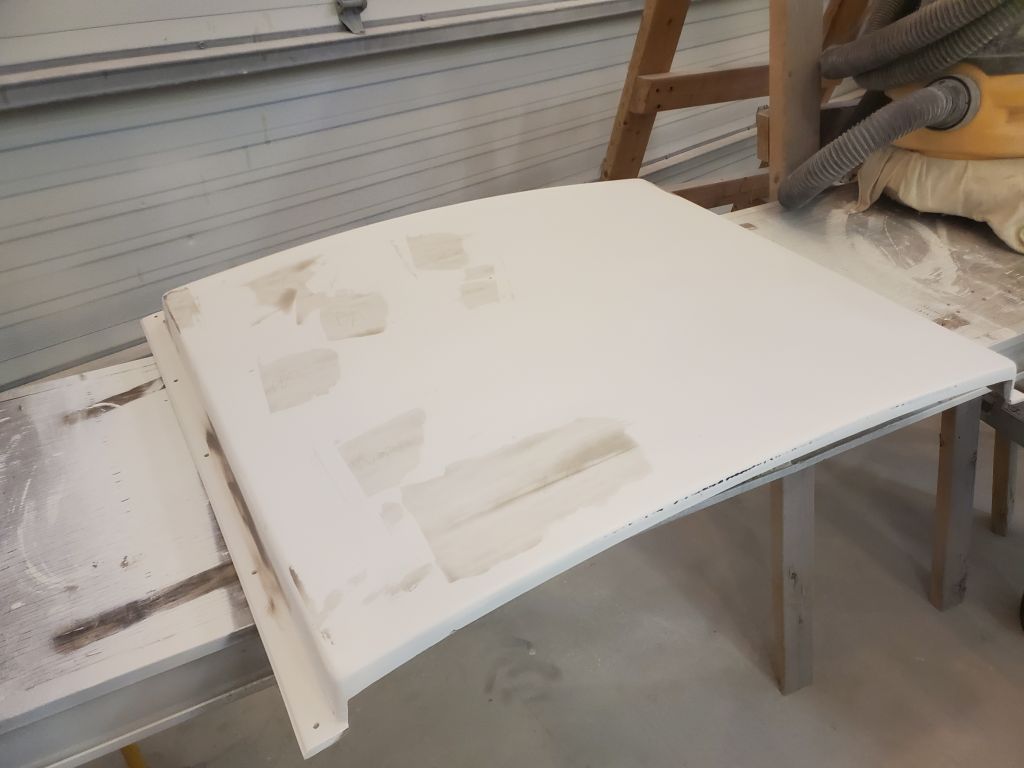
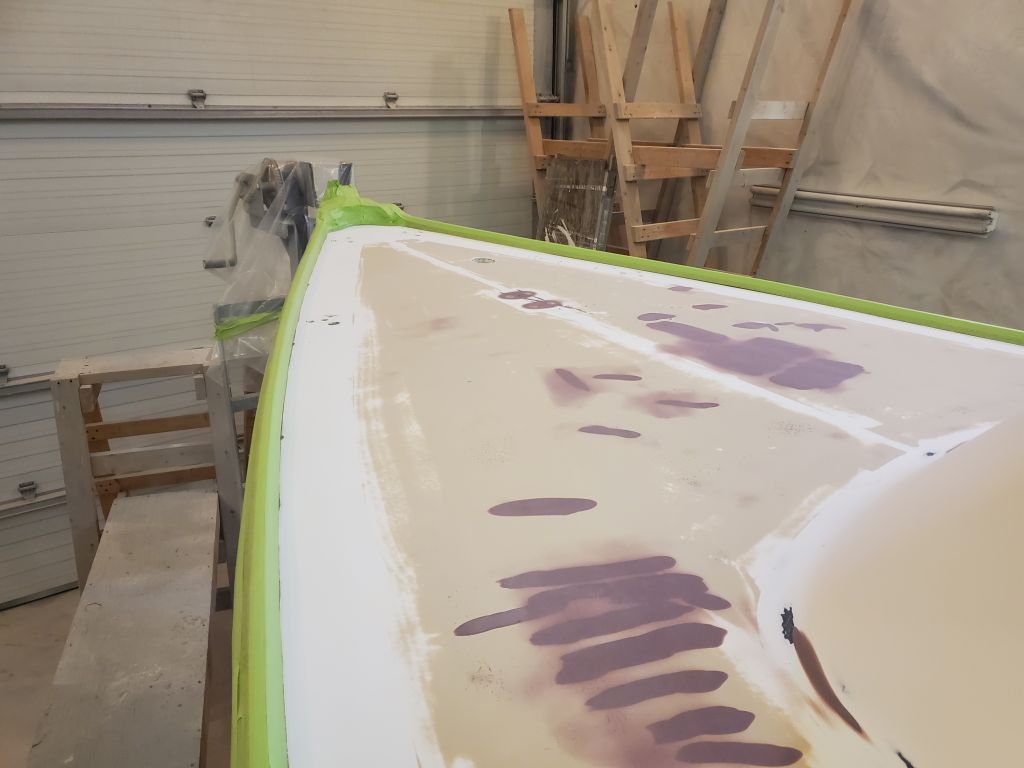
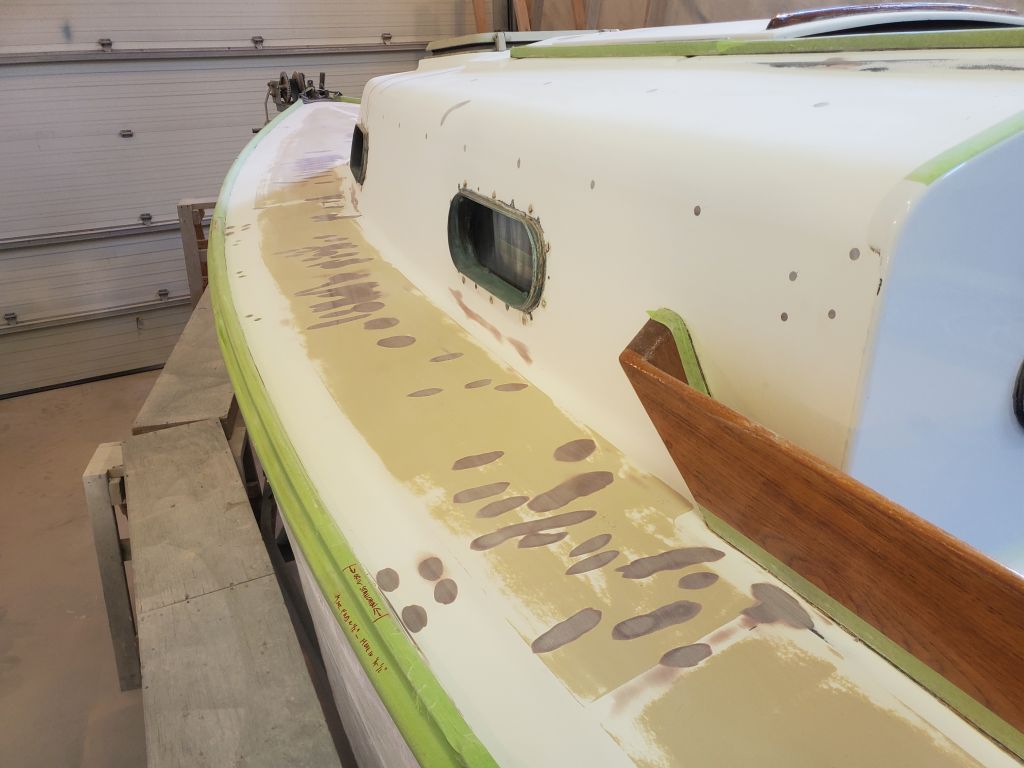
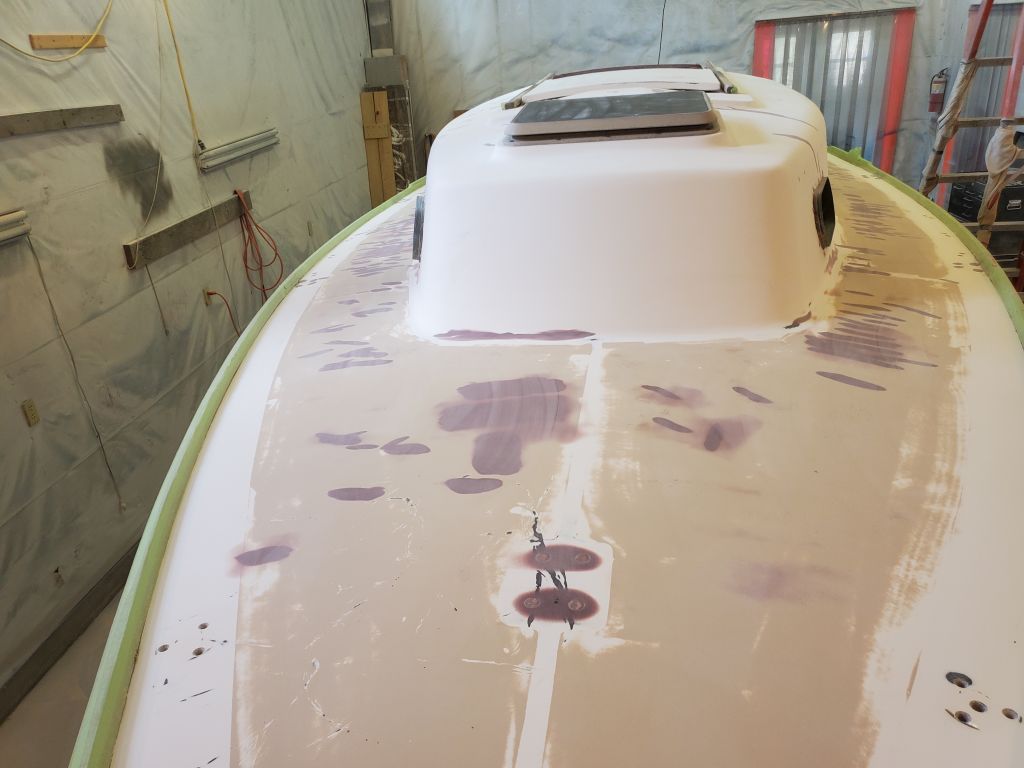
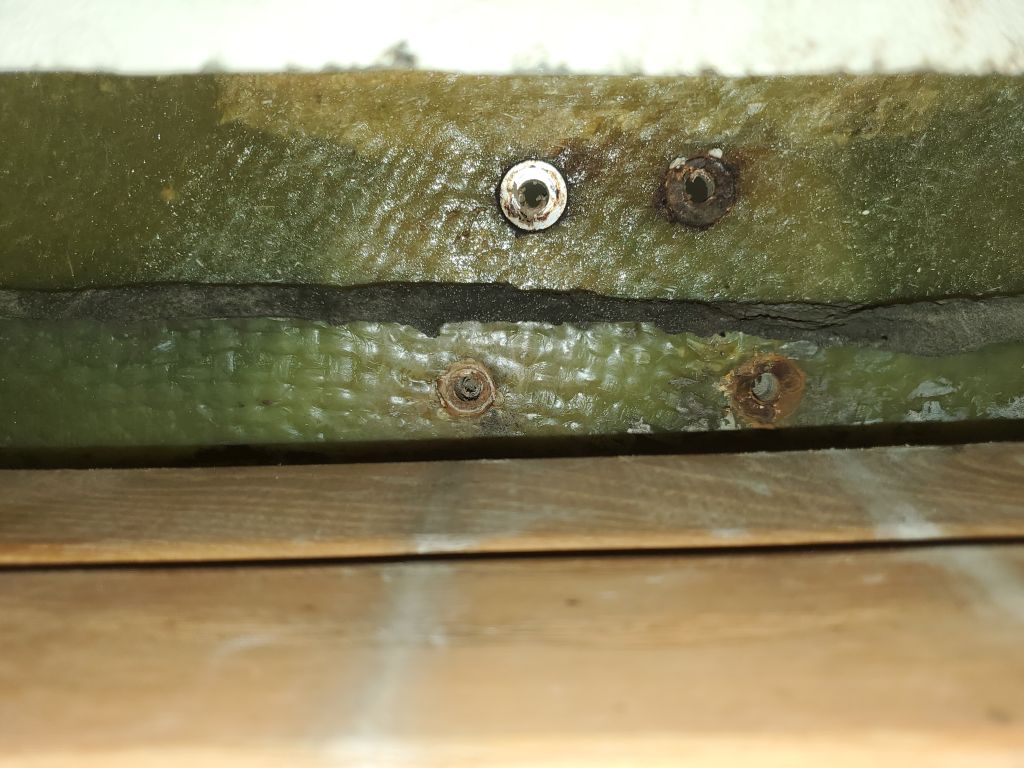
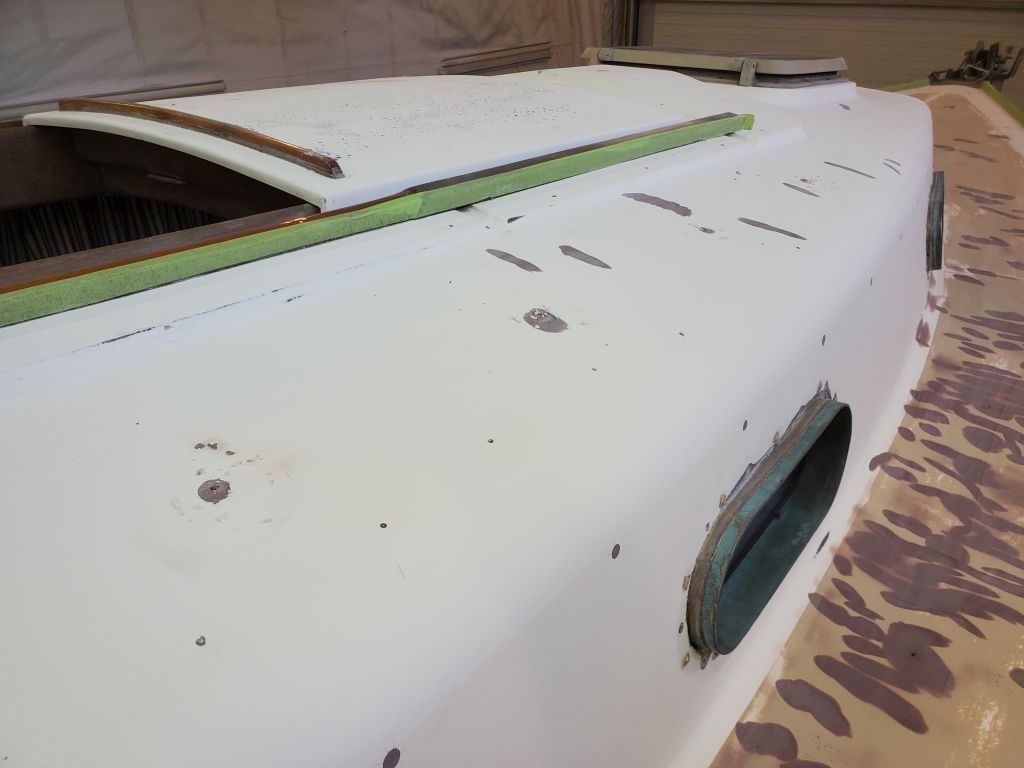
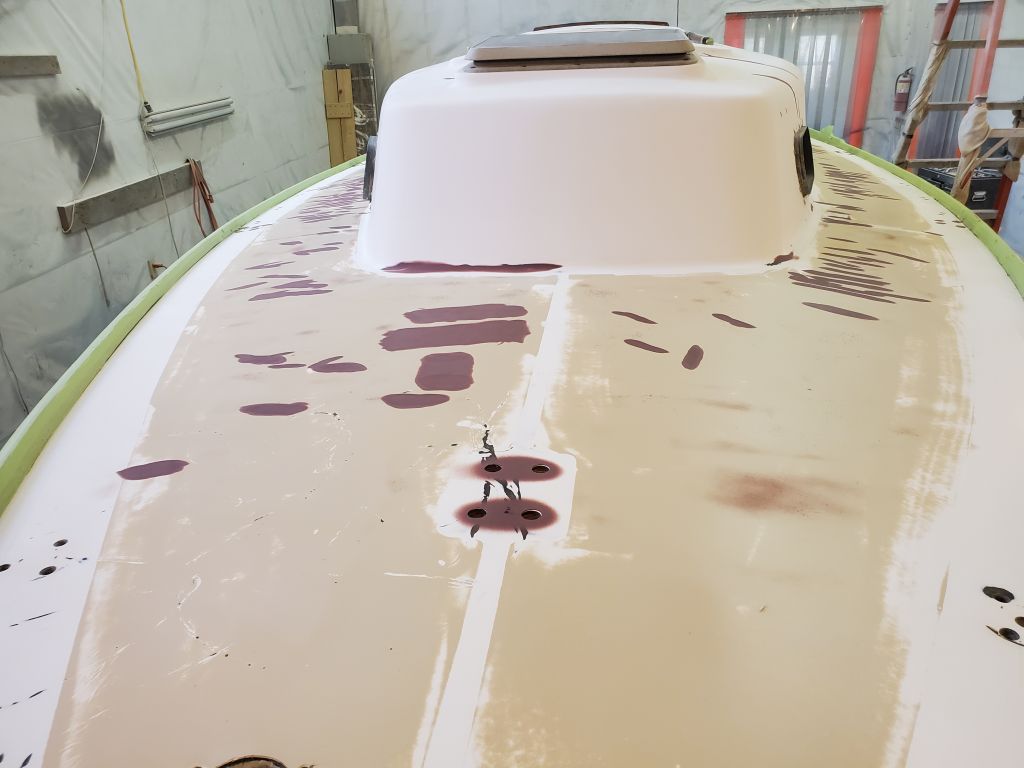
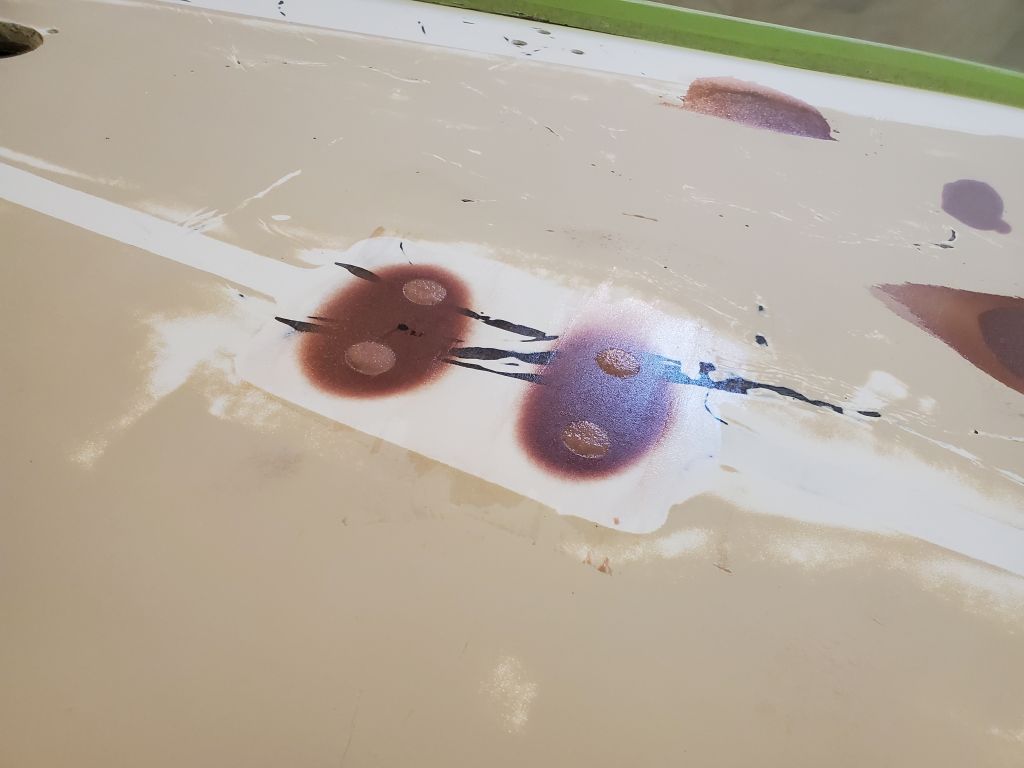
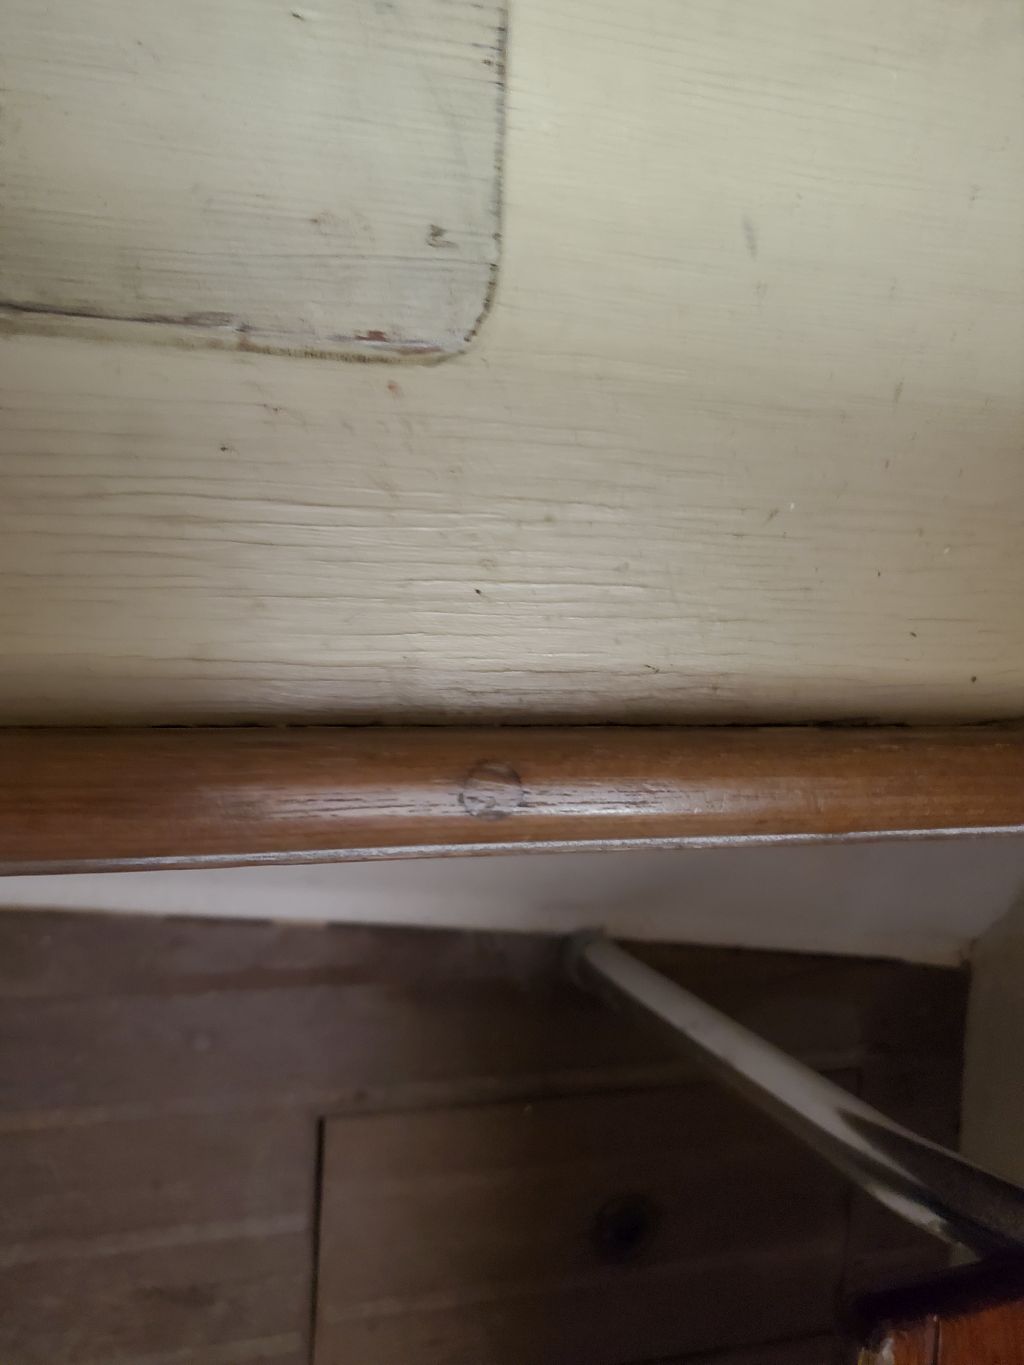
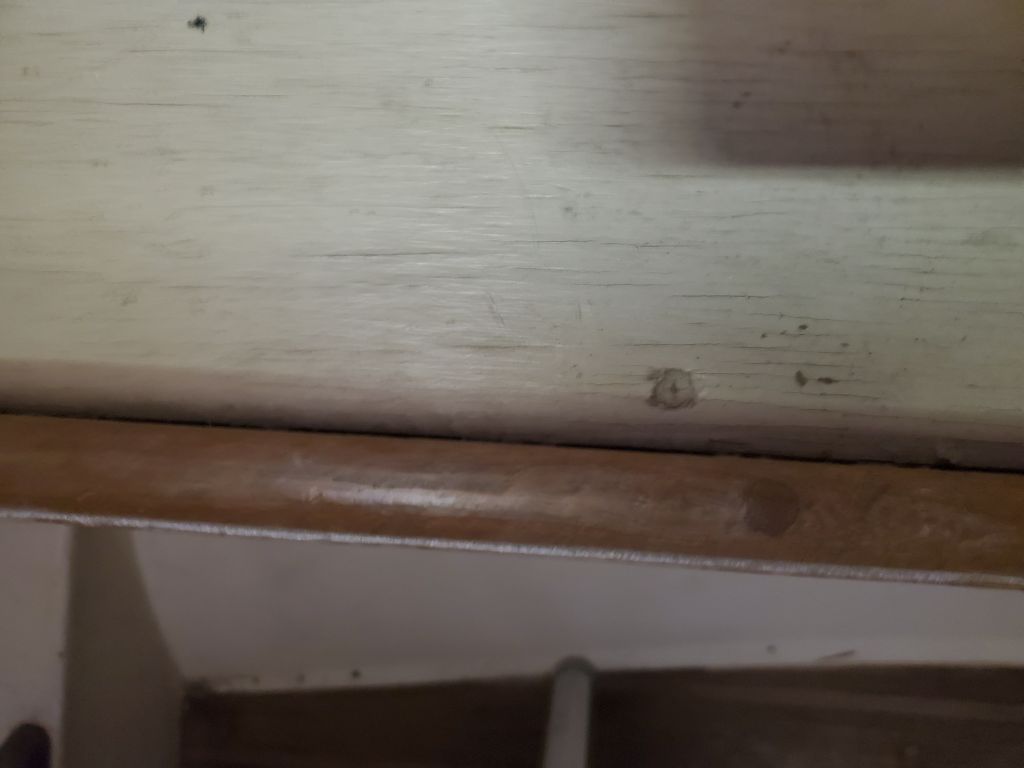
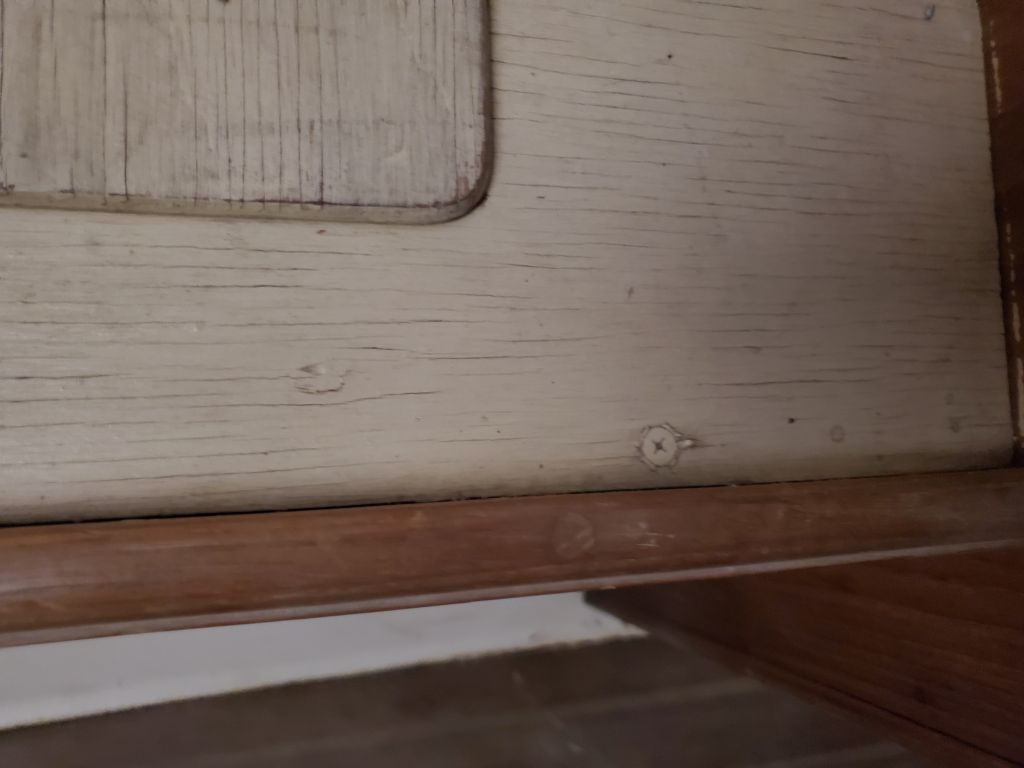
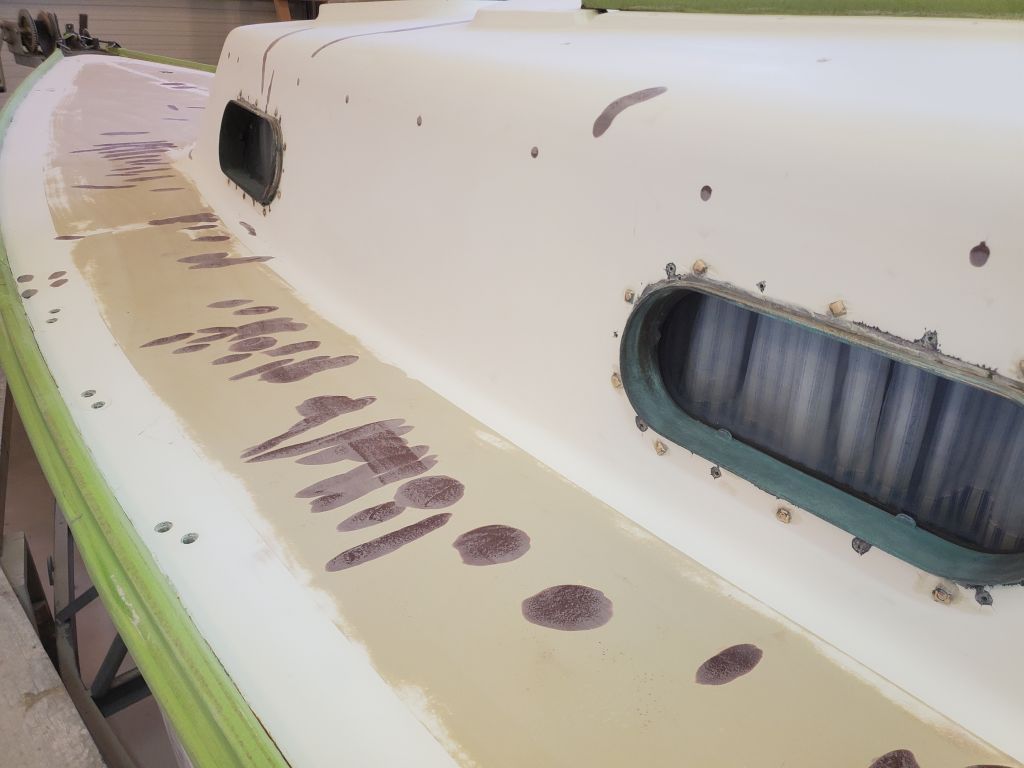
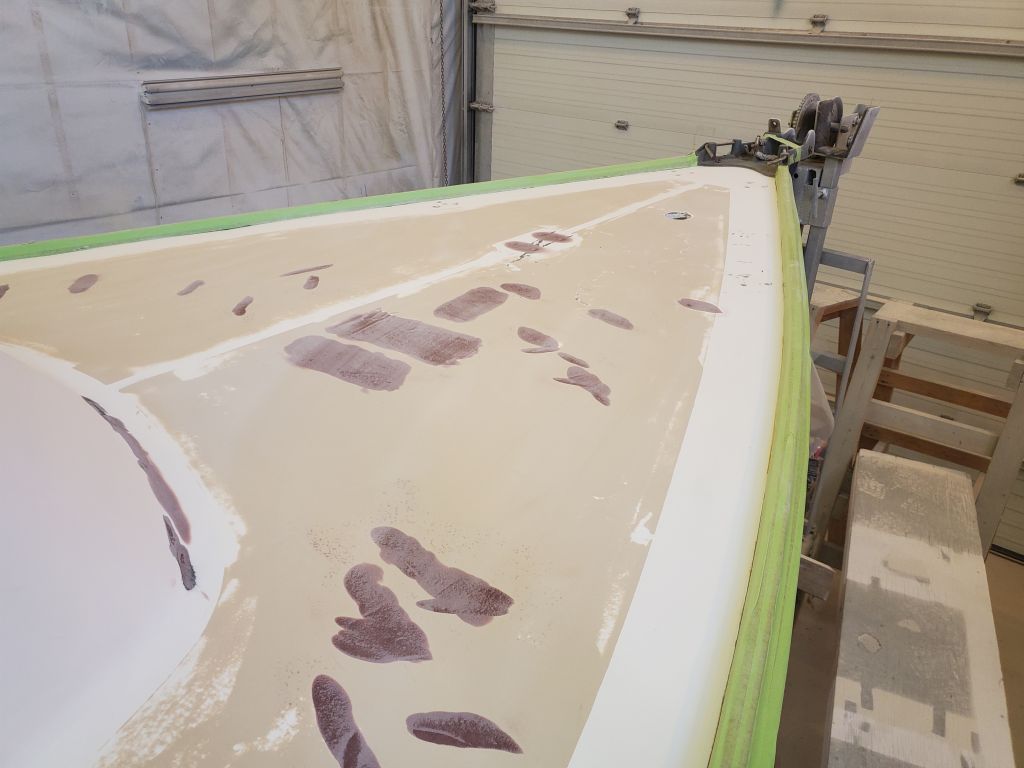
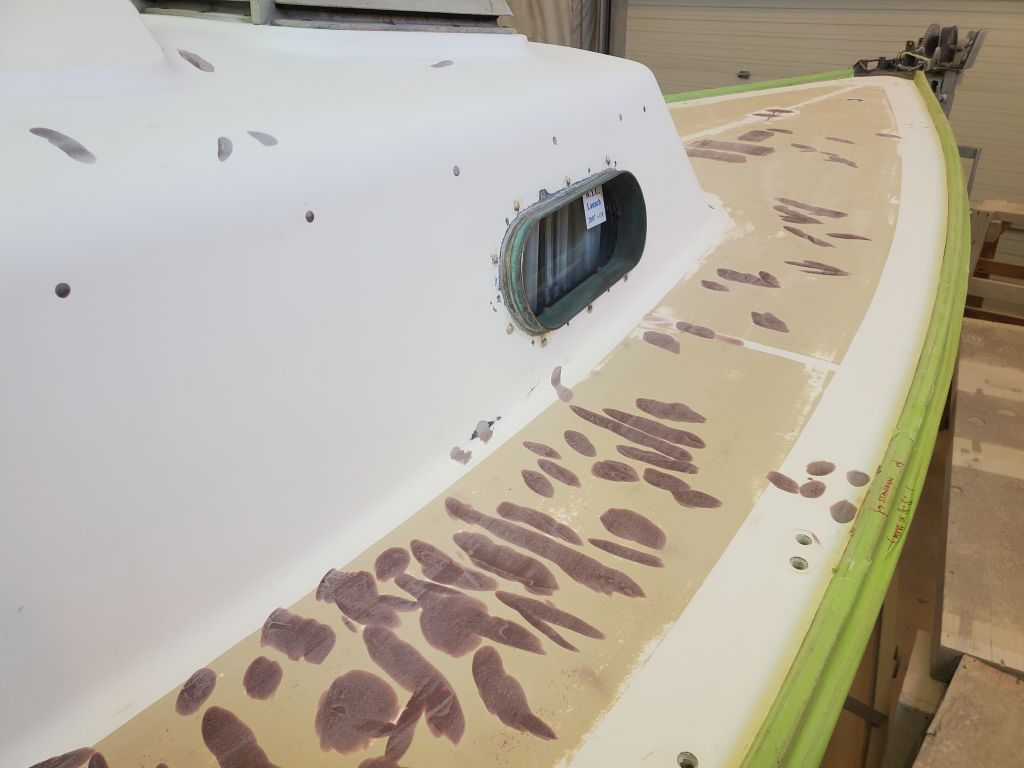
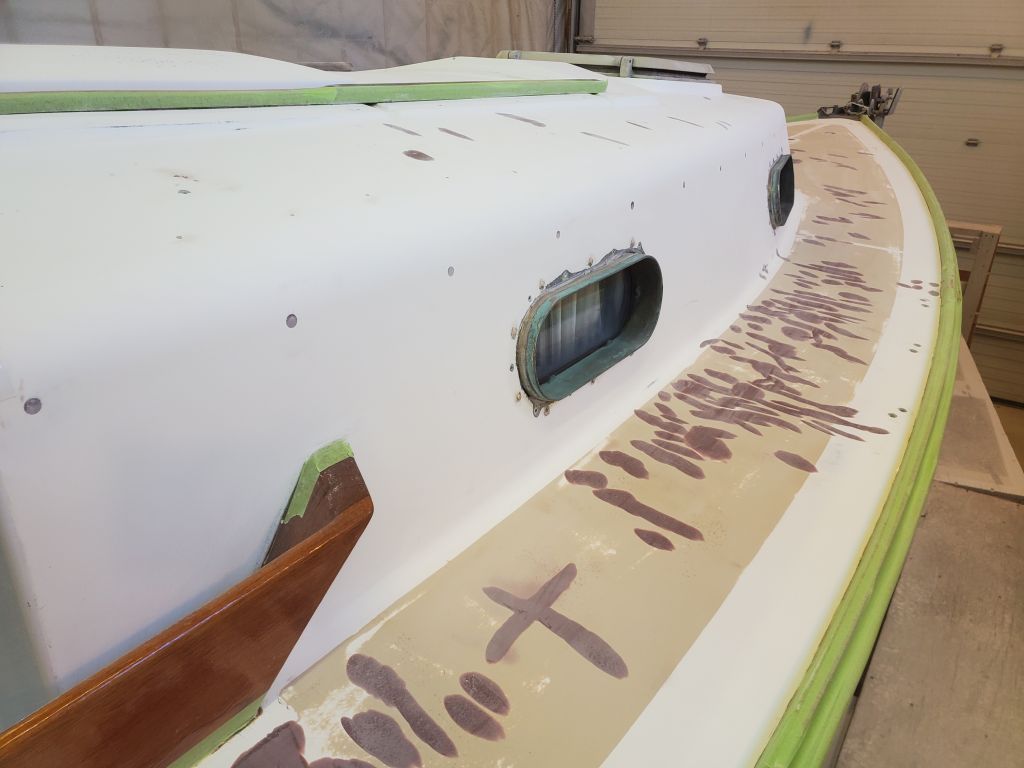
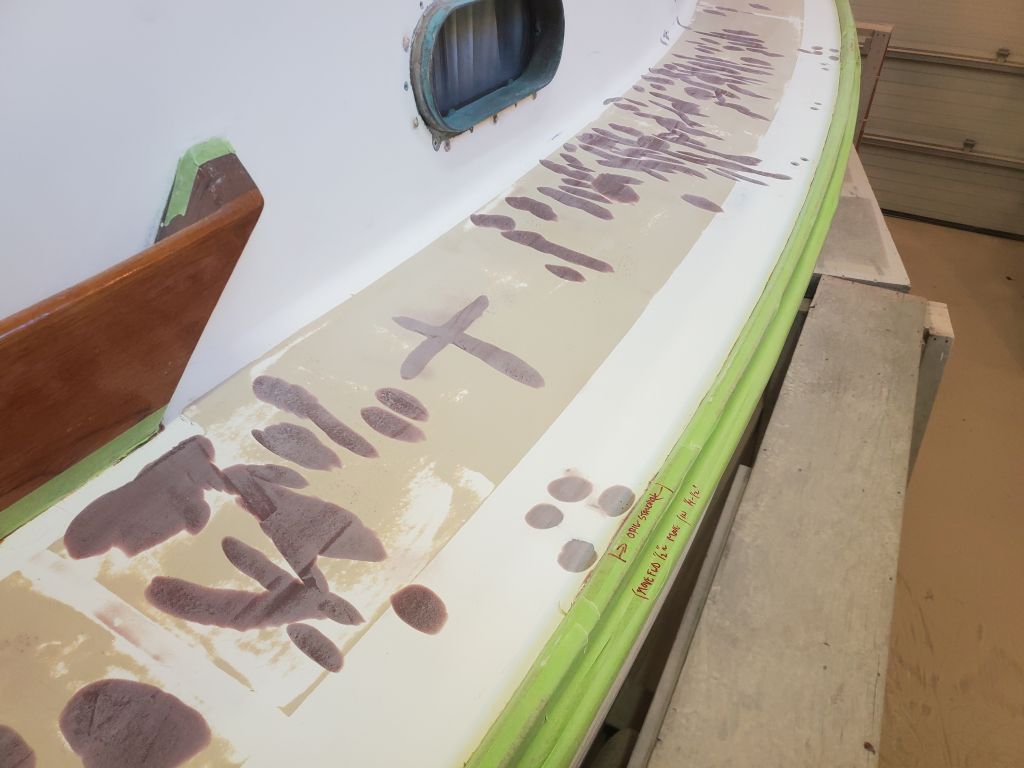
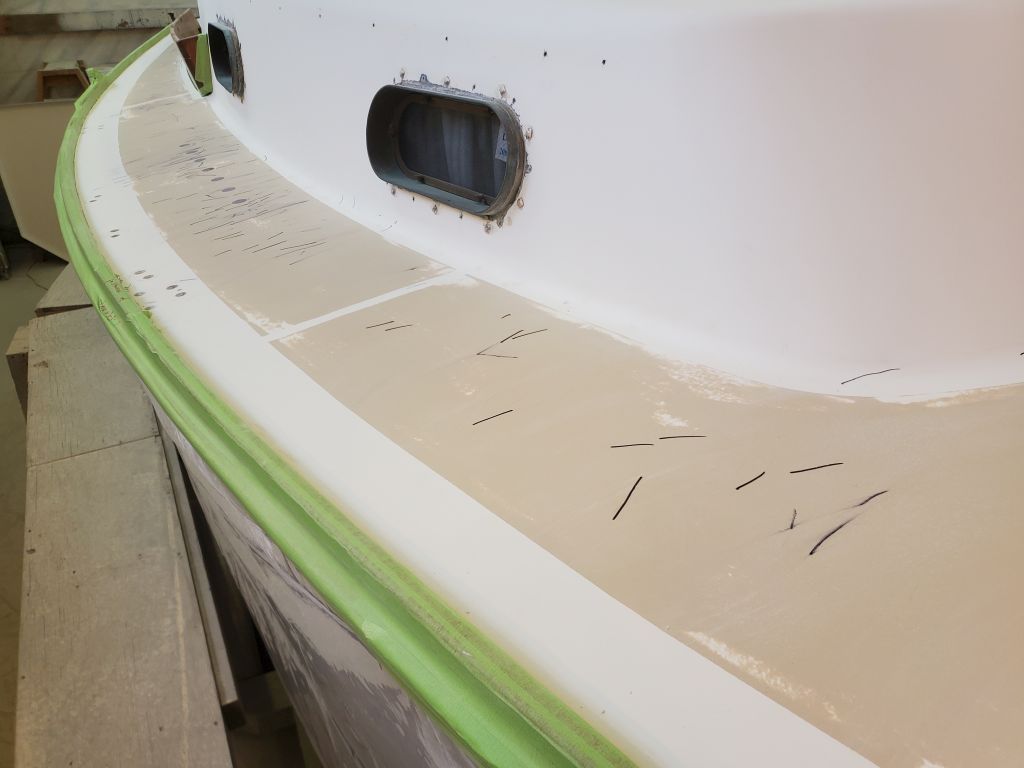
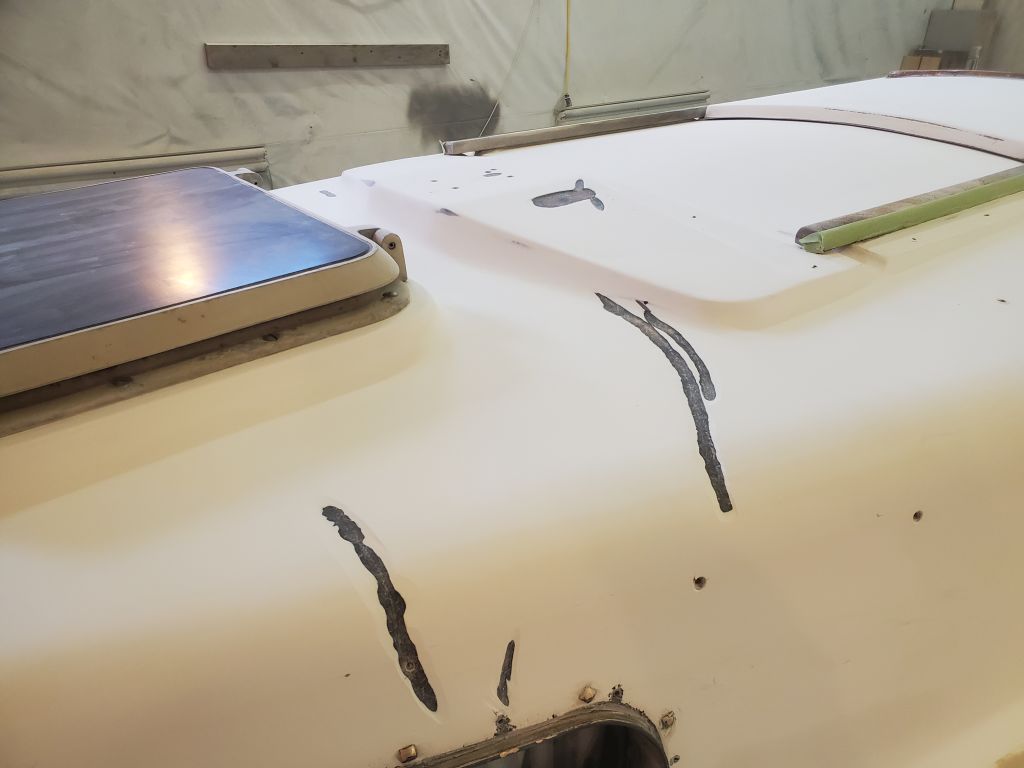
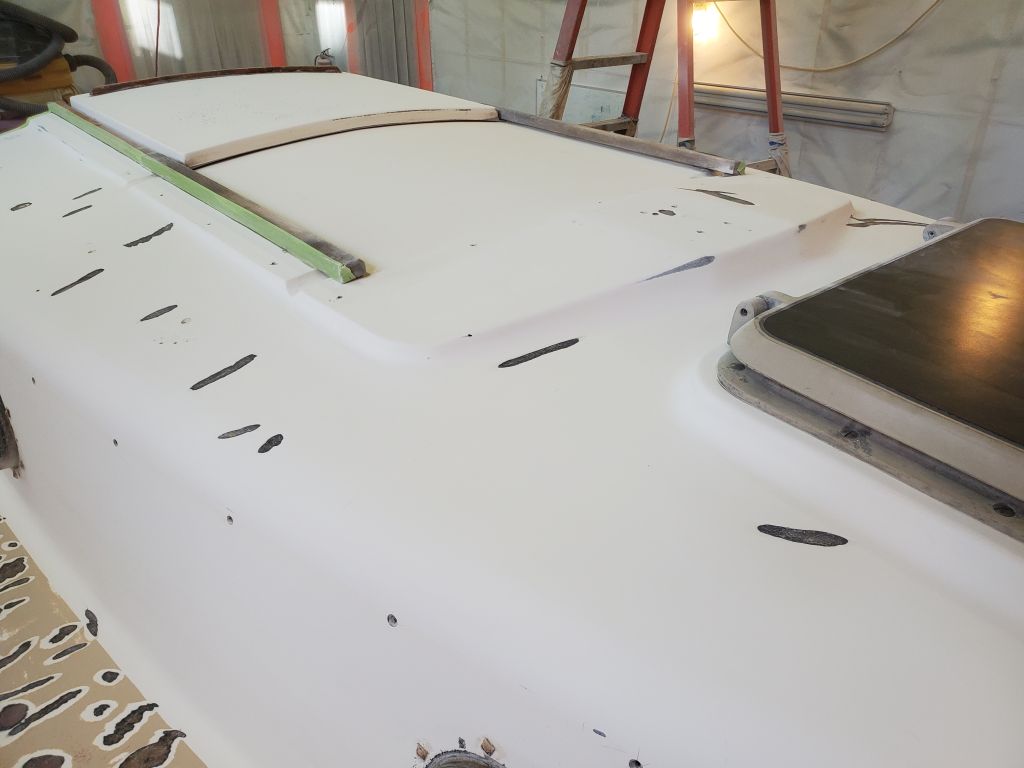
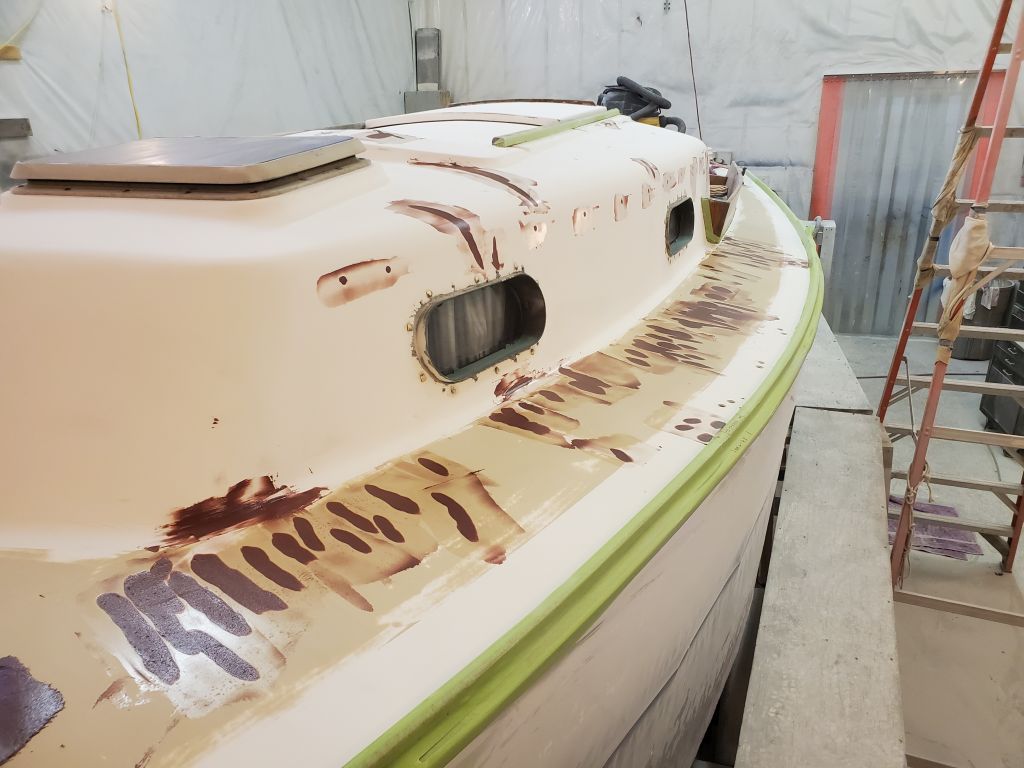
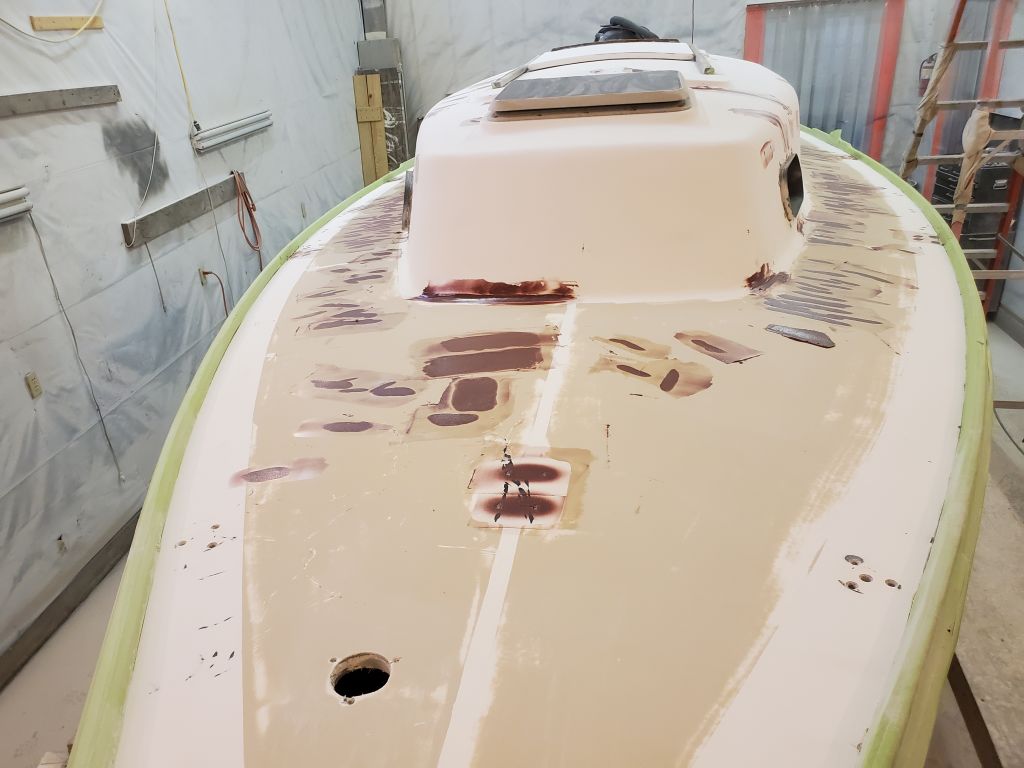
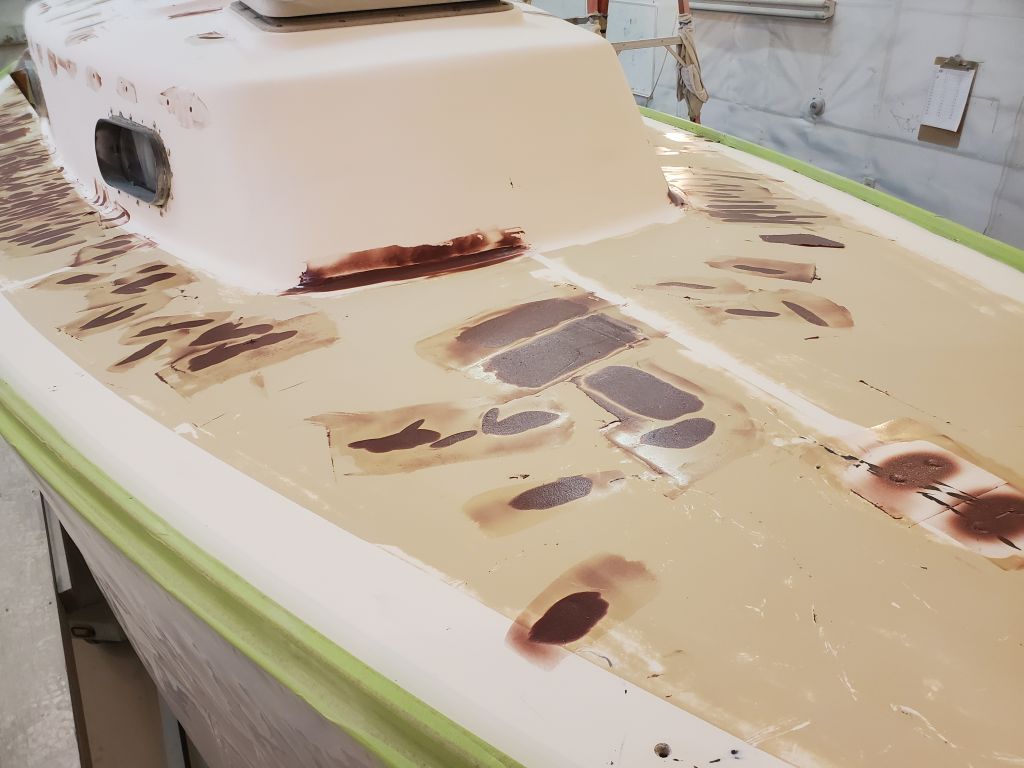
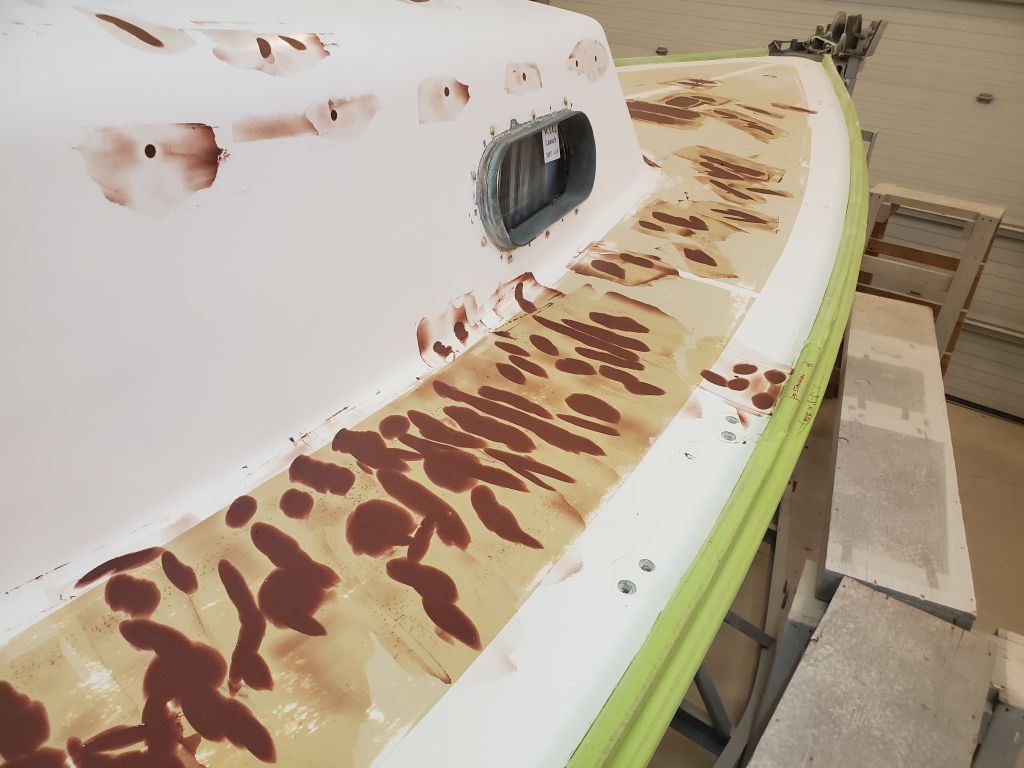
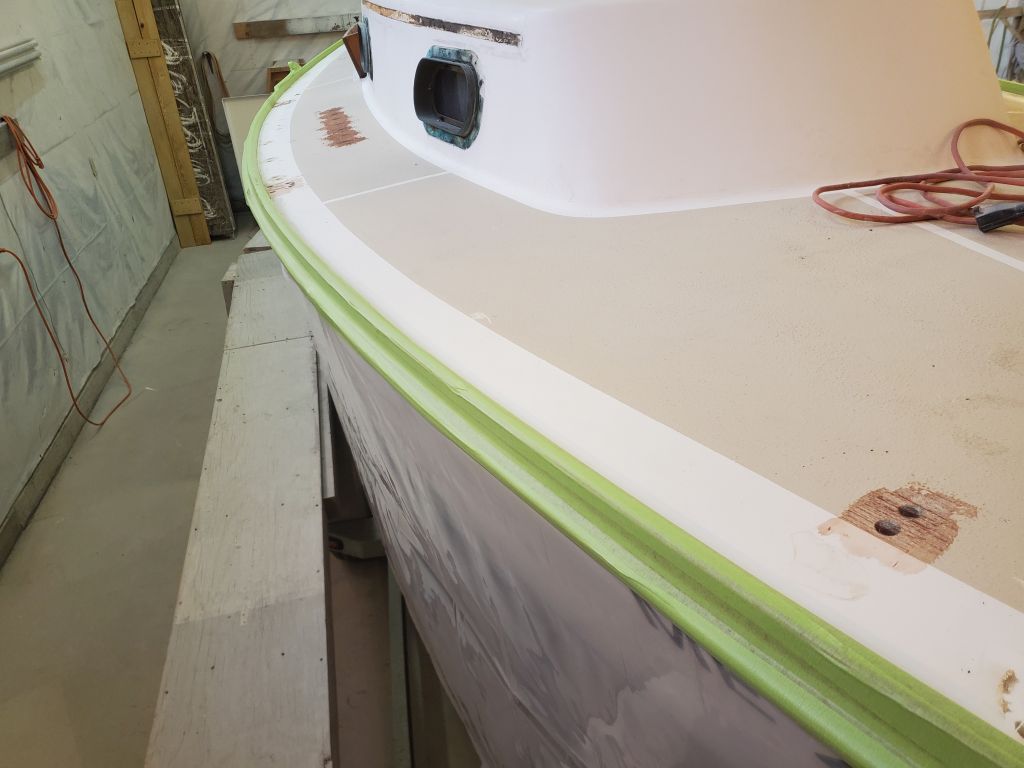
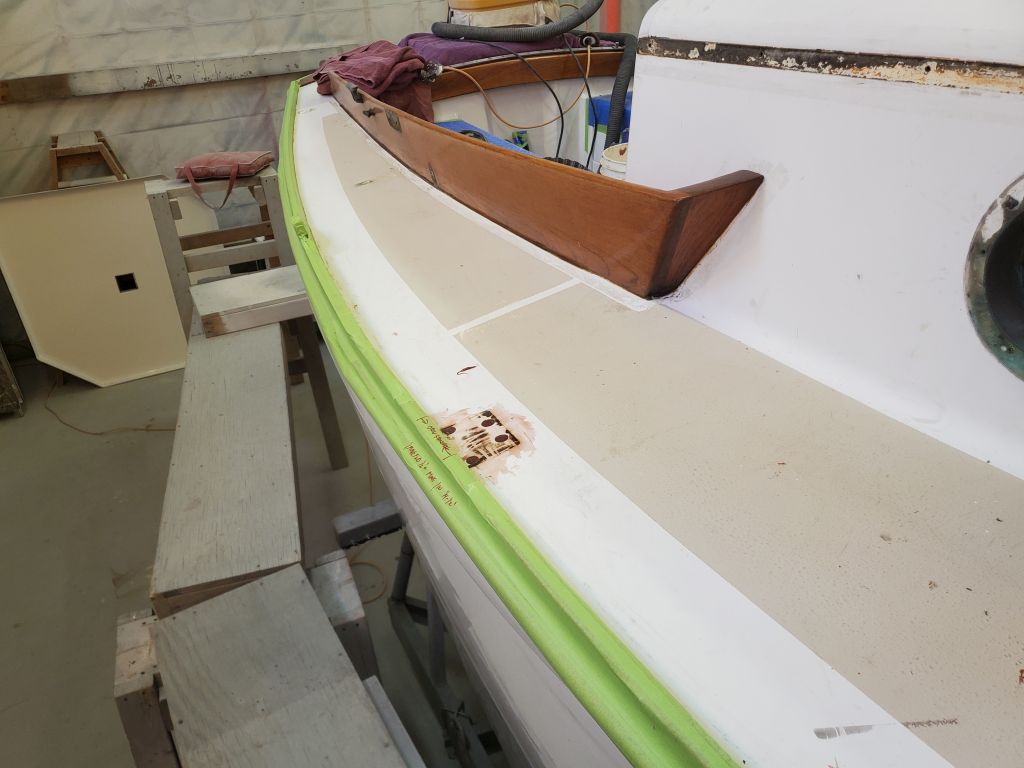
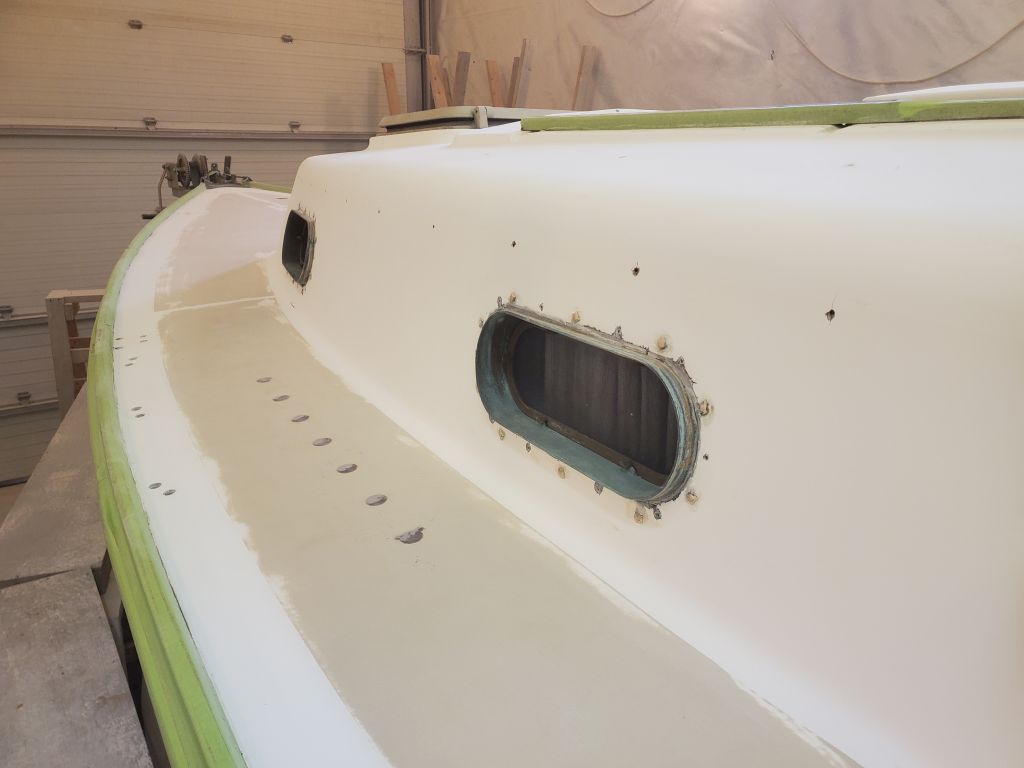
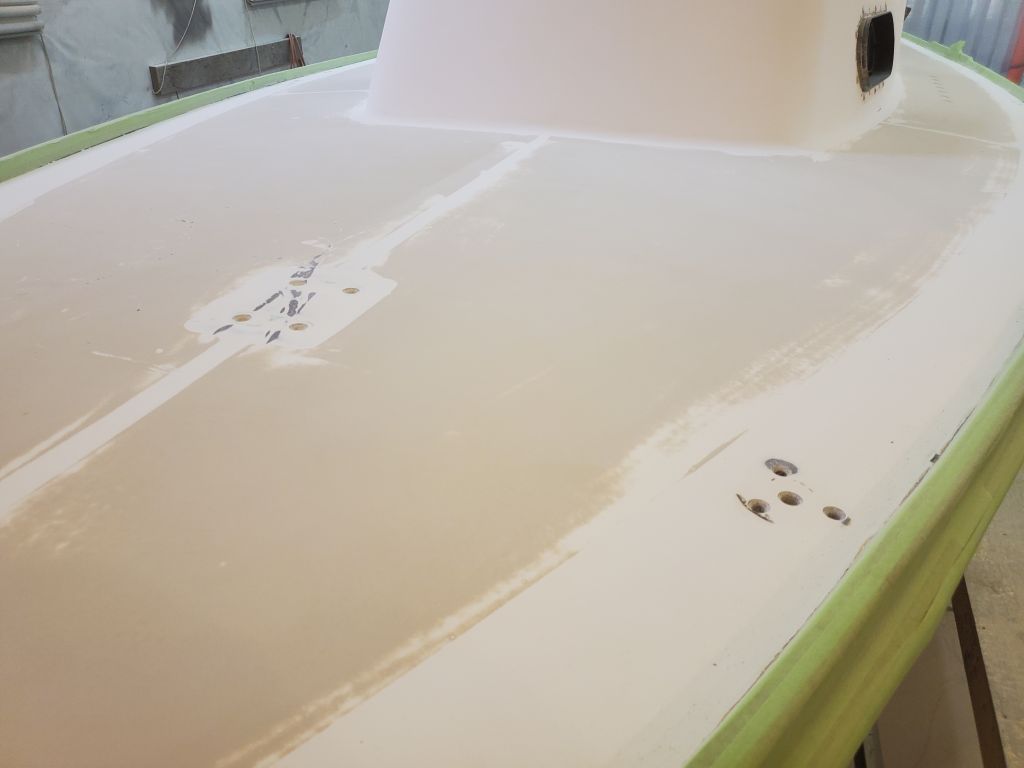
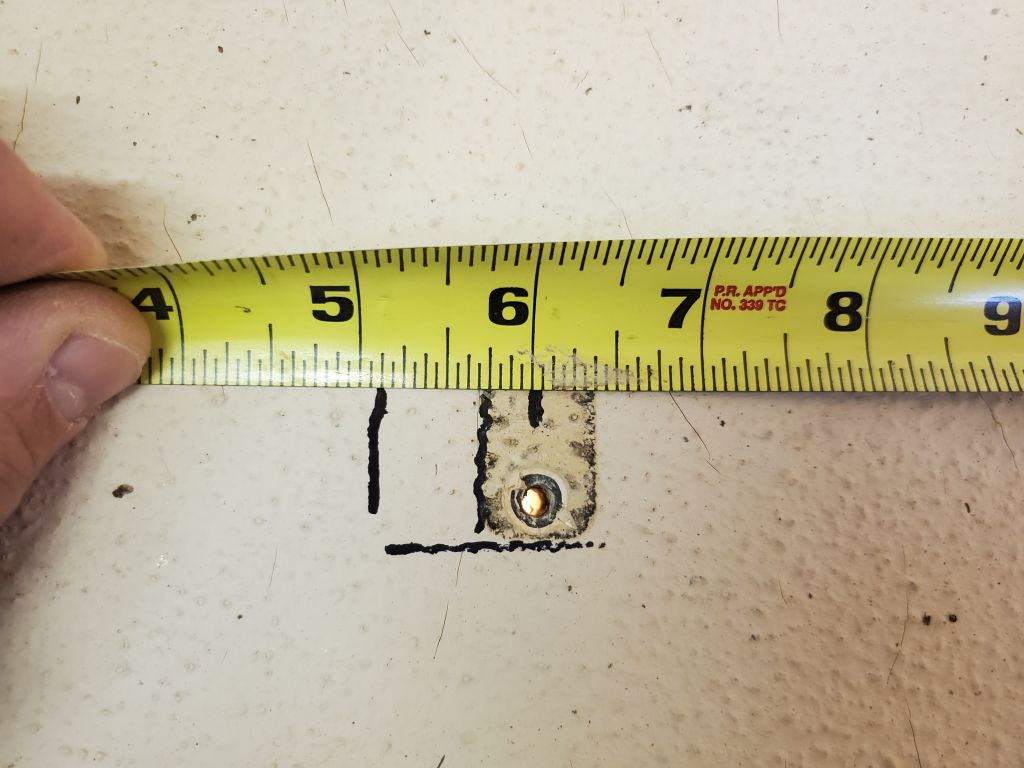
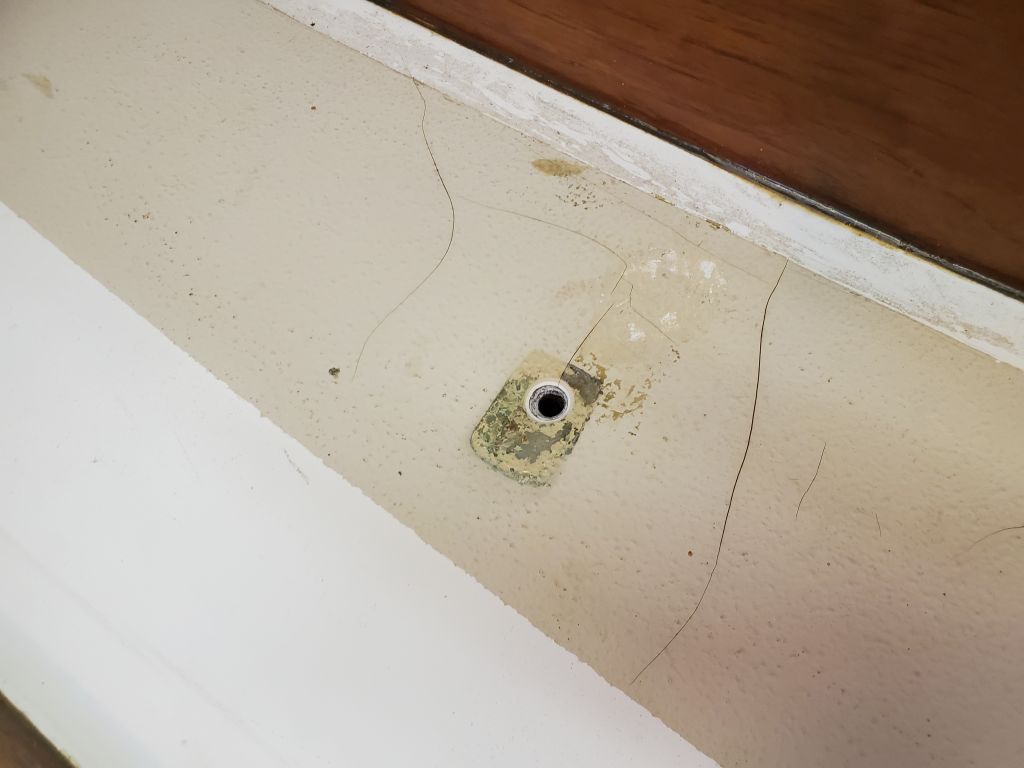
Several of the minor deck cracks running hither and yon around the decks passed through some of these new holes, giving sound insight into the nature of the cracks without conjecture. The cracks passed only through the heavy layers of gelcoat, ending at the top of the laminate below. Gelcoat is simply pigmented, unreinforced resin, and as such, if applied too heavily, tends to crack over time and with normal sailing stresses. During the upcoming surface prep, I’d work to grind out and stabilize these cosmetic nuisances, but in this instance they were not indicative of any underlying issues and are quite simply the nature of things.
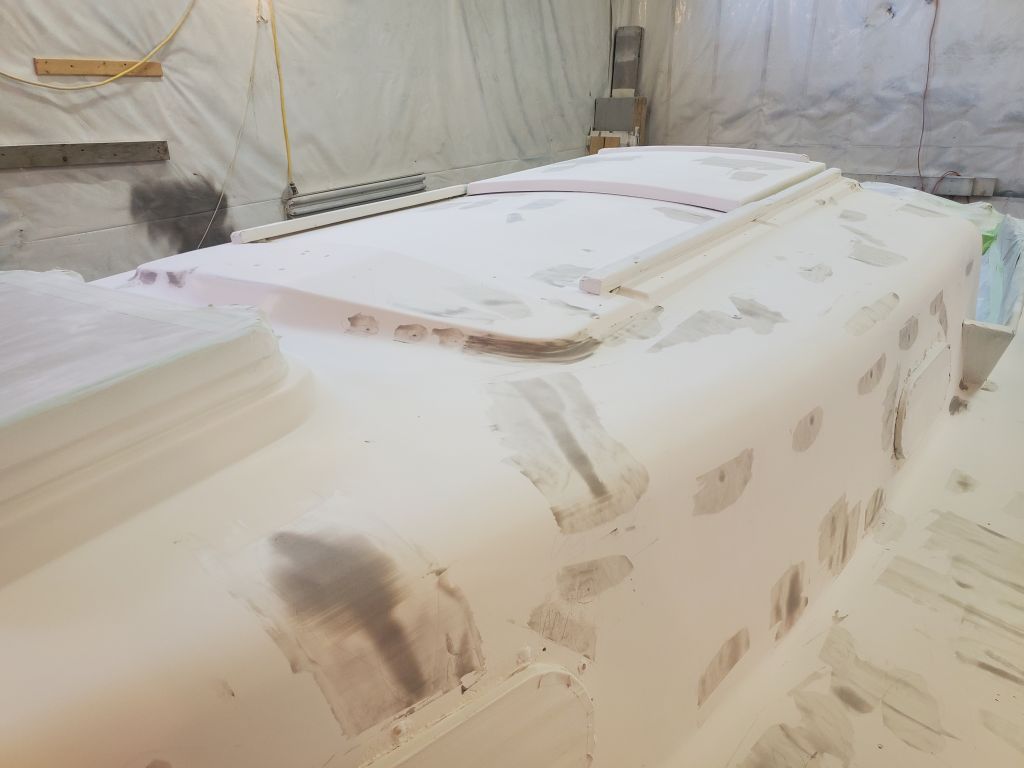
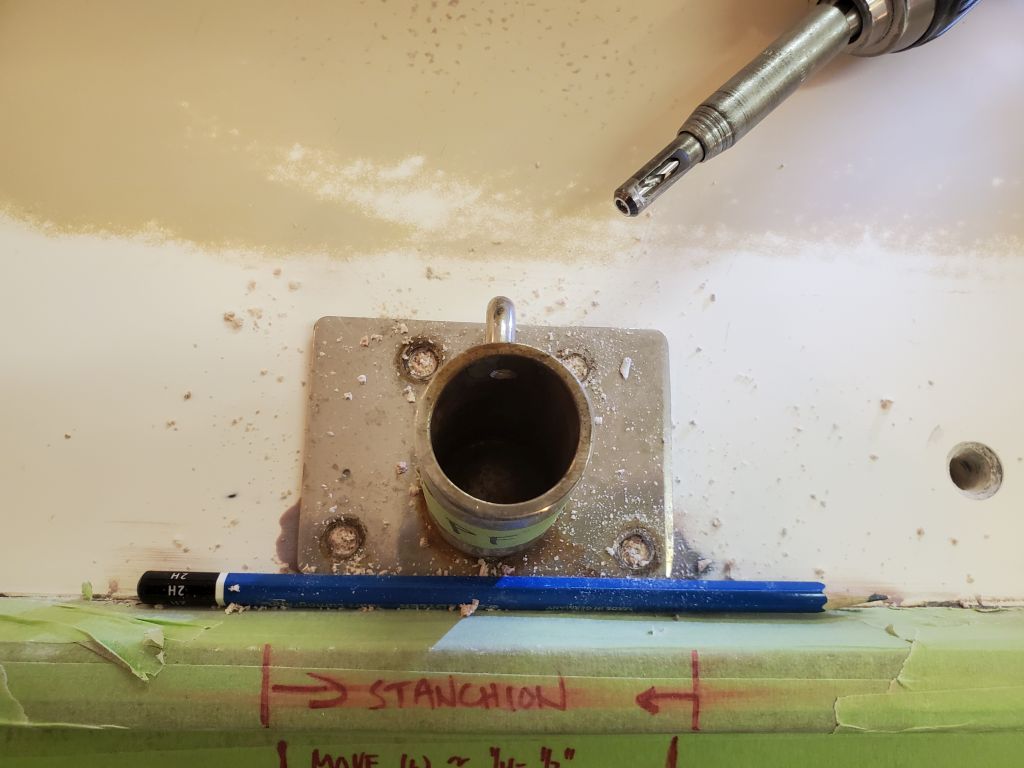
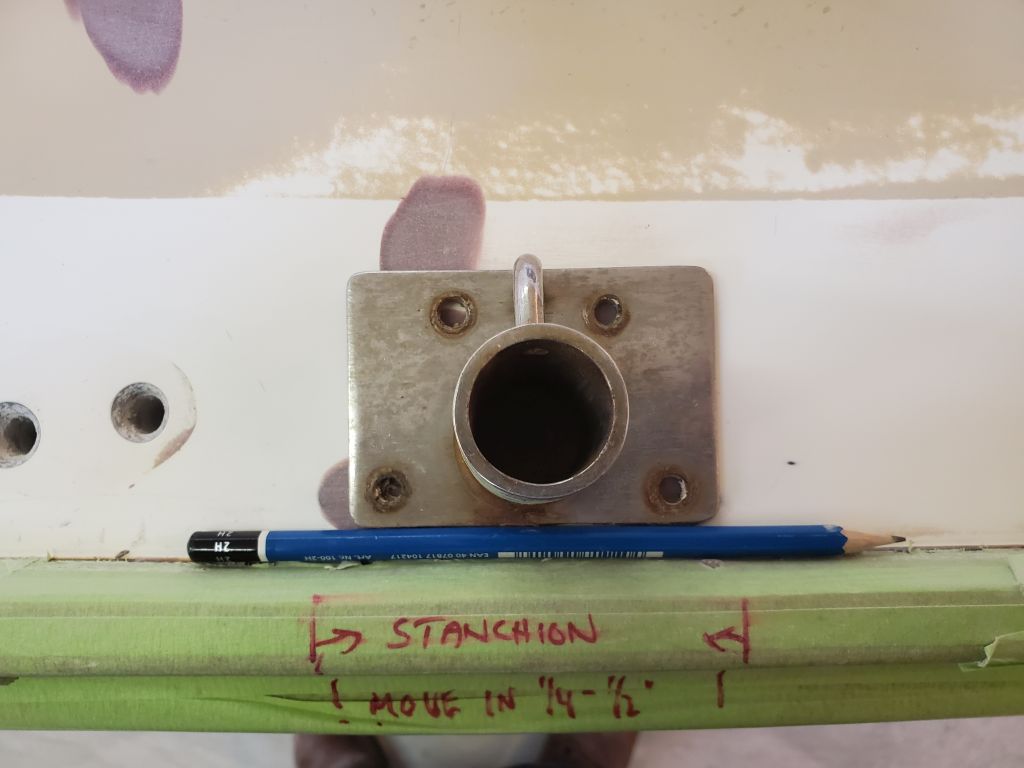
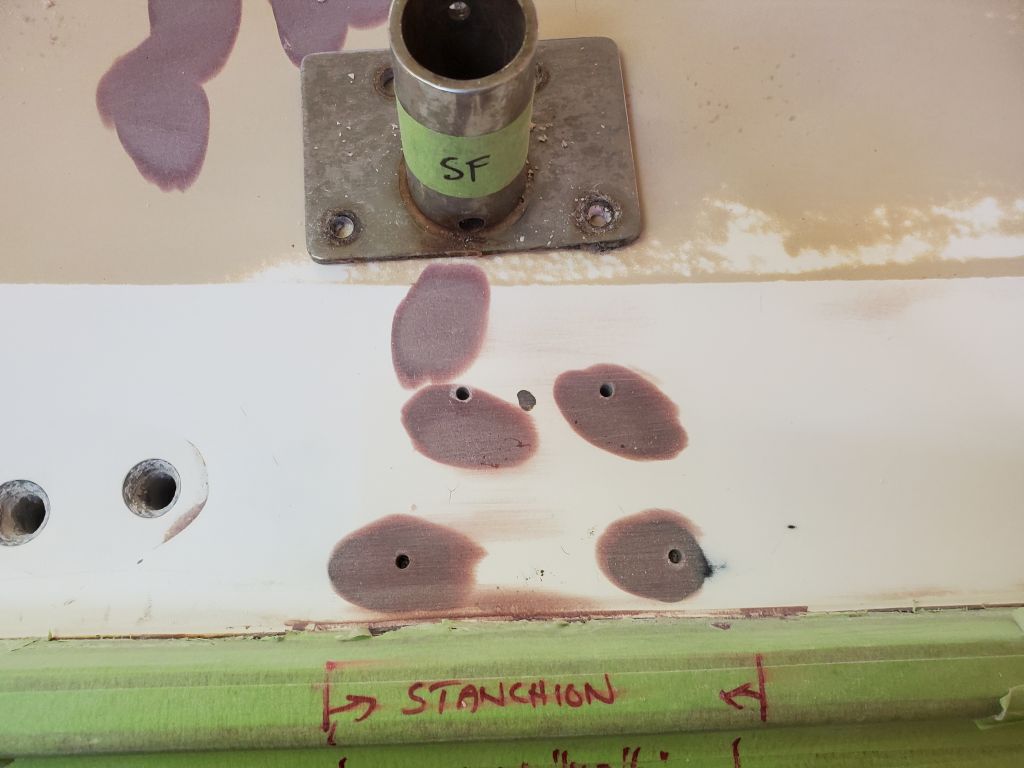
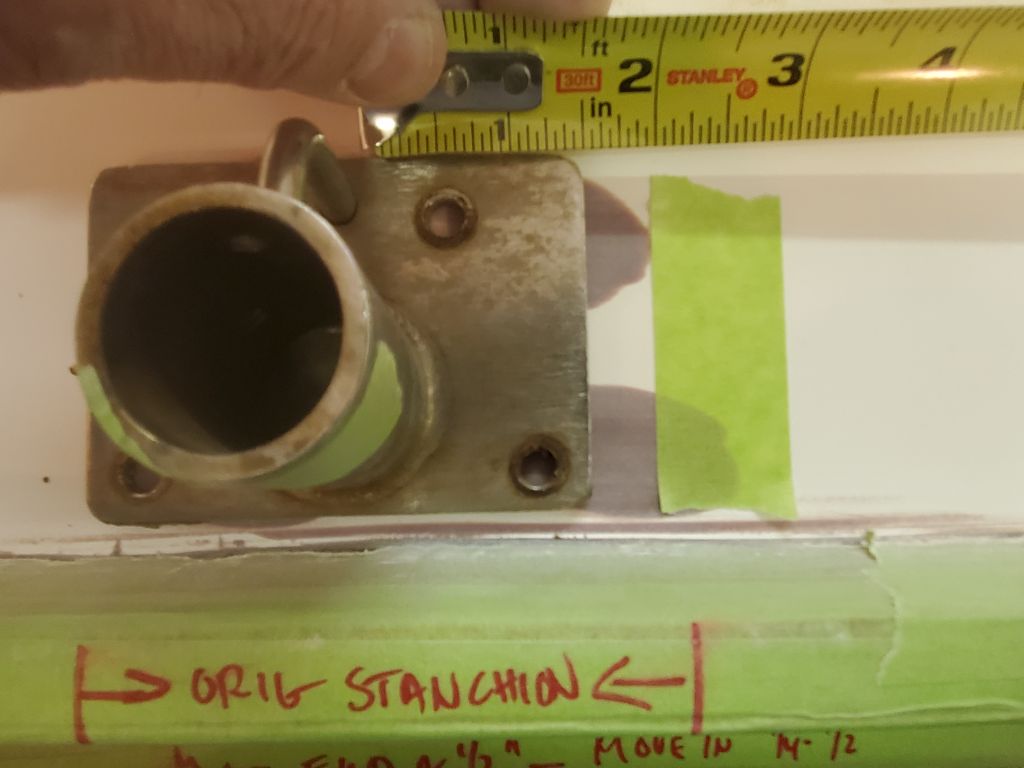
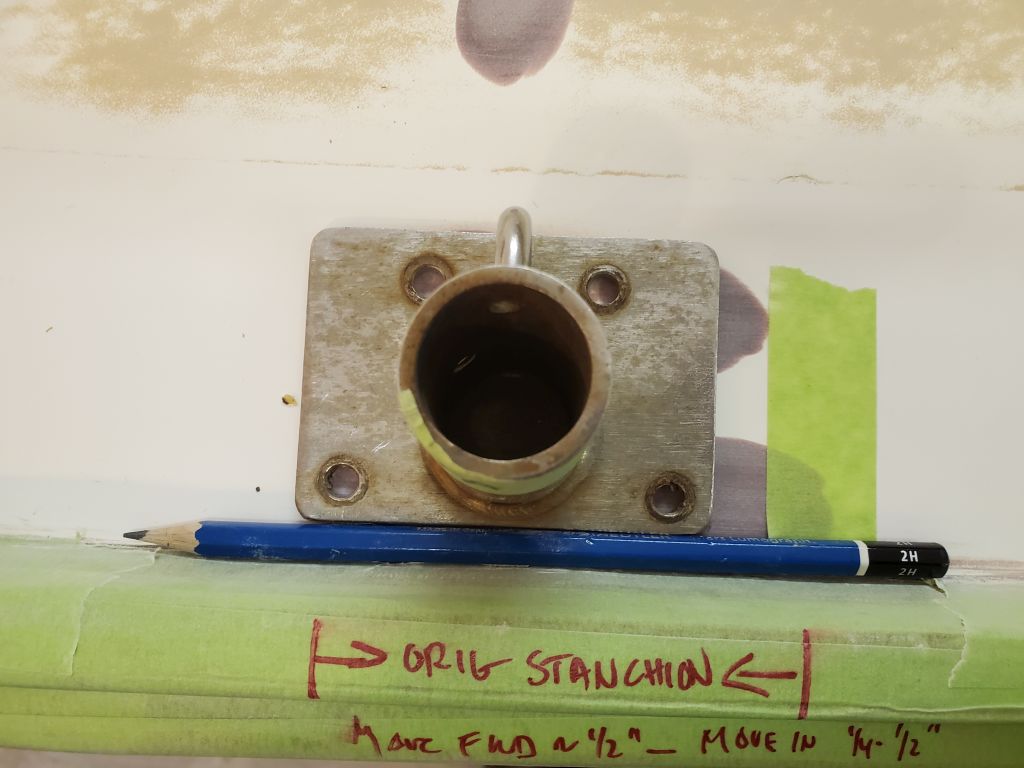
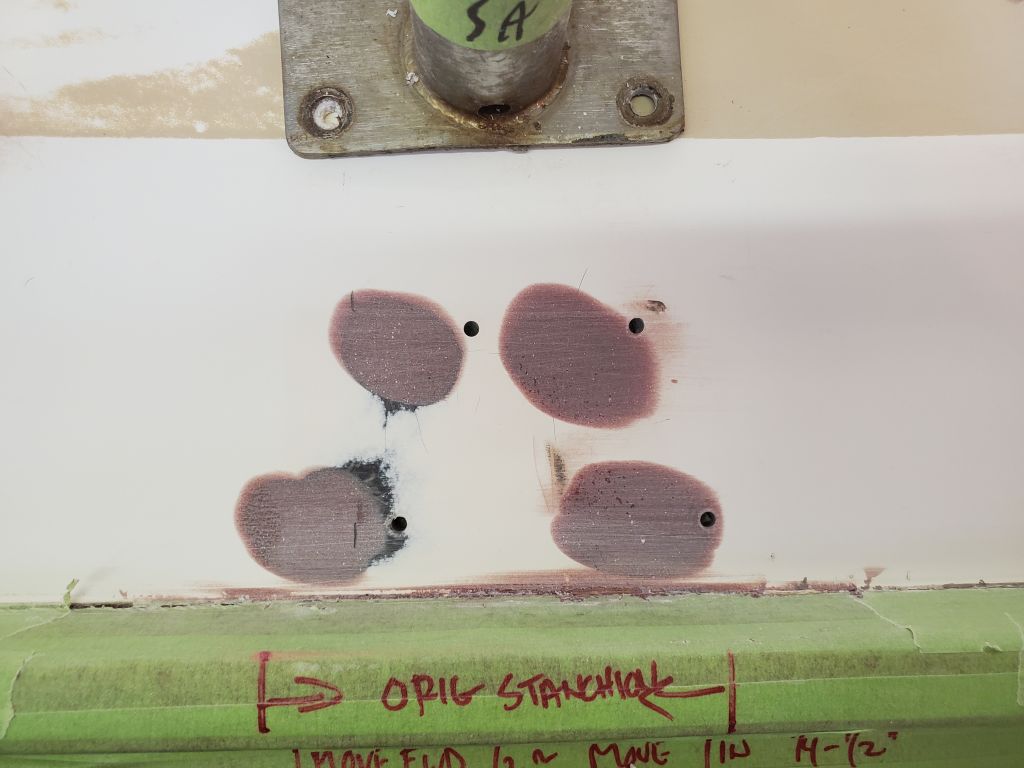
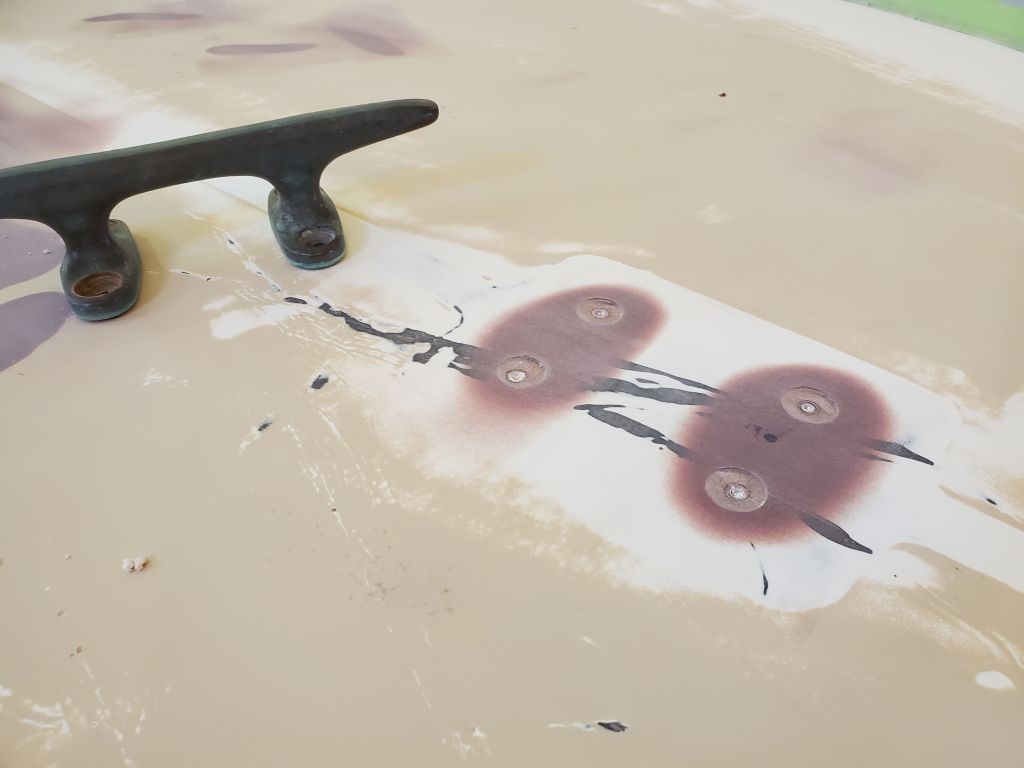
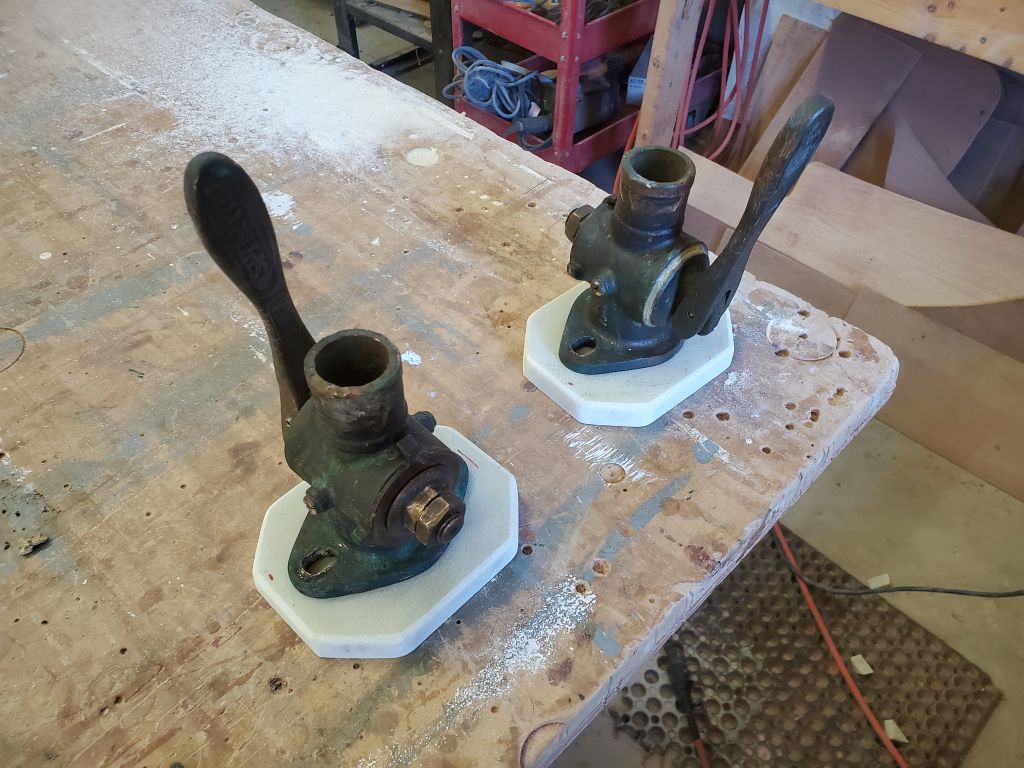
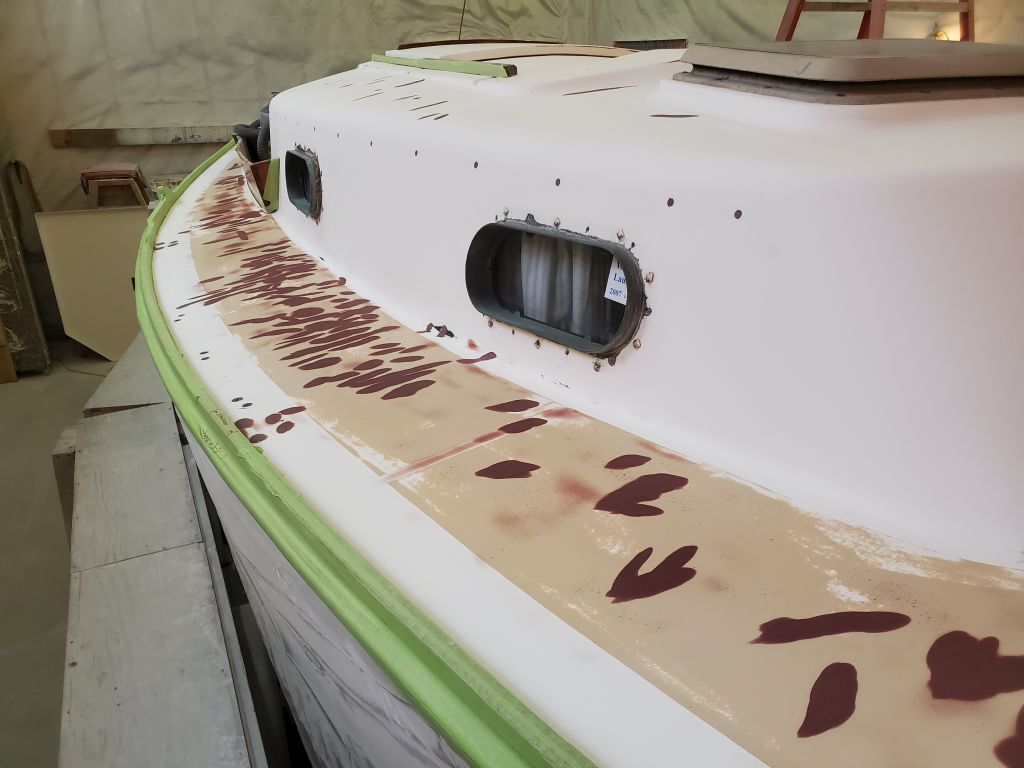
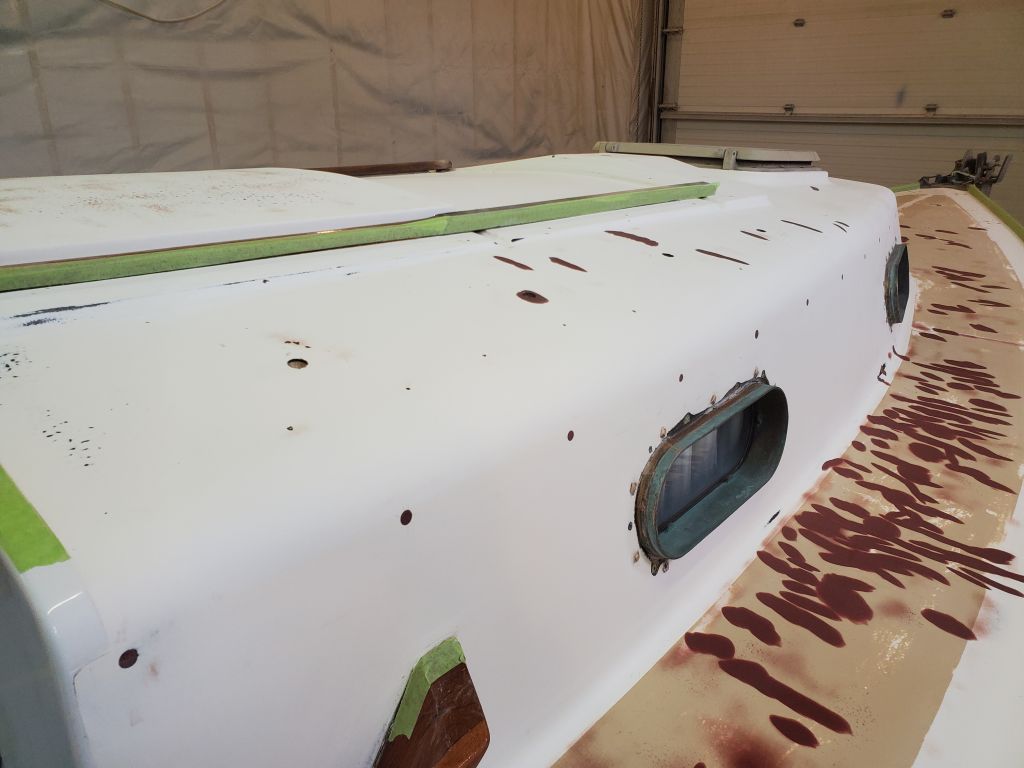
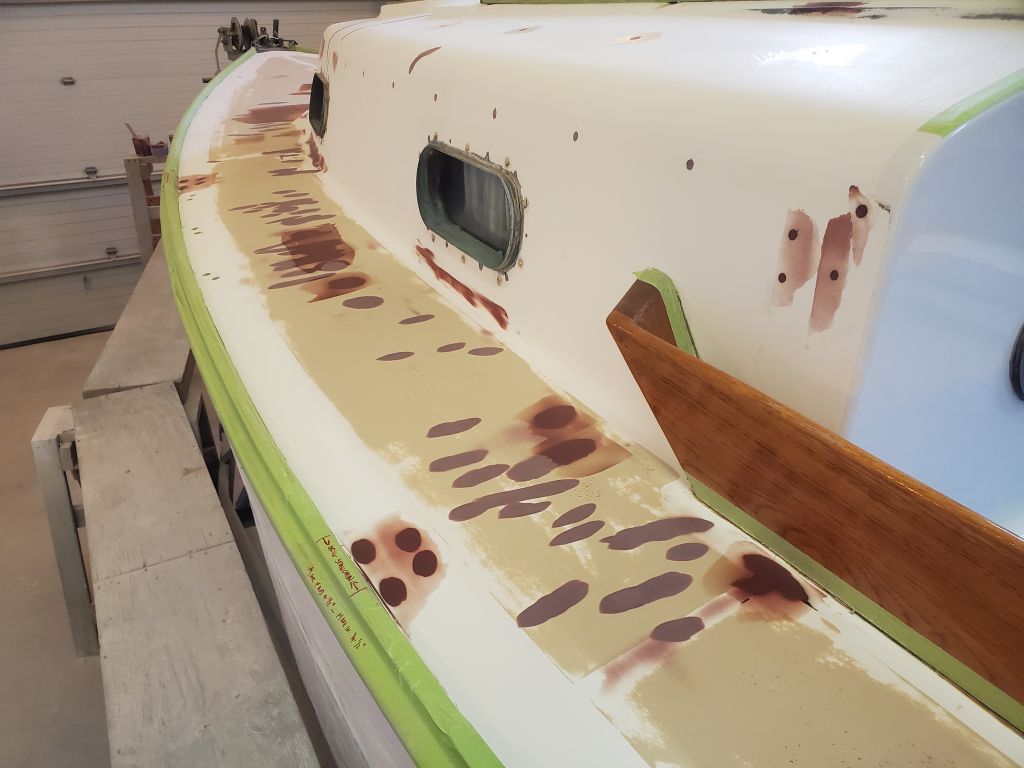
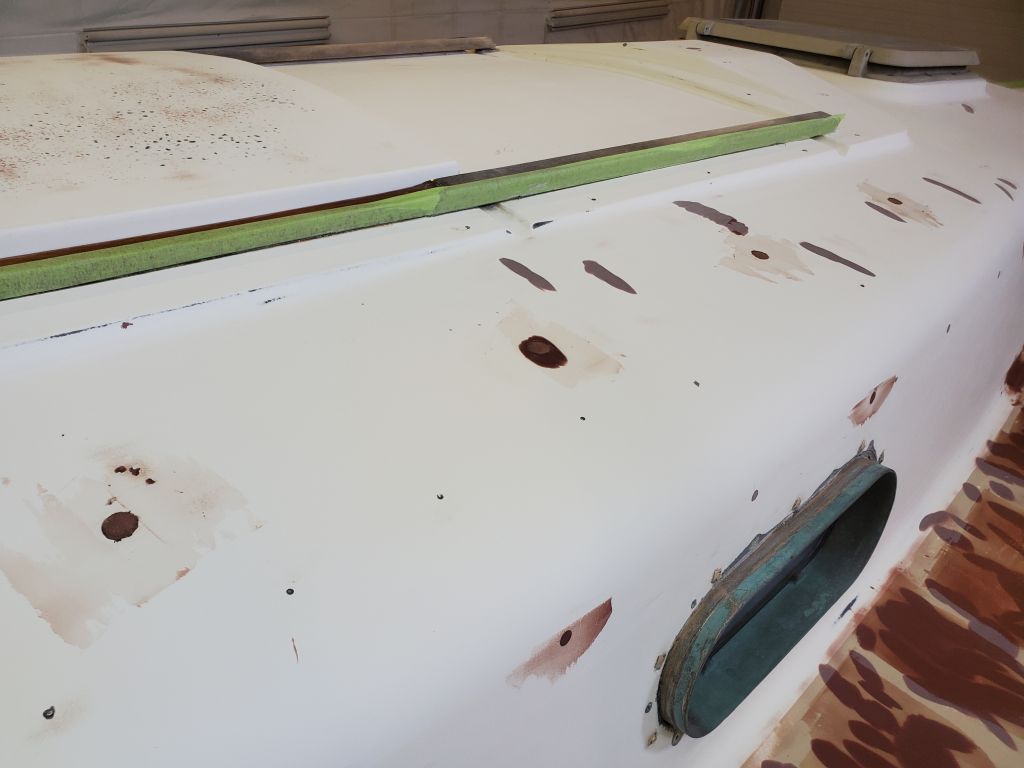
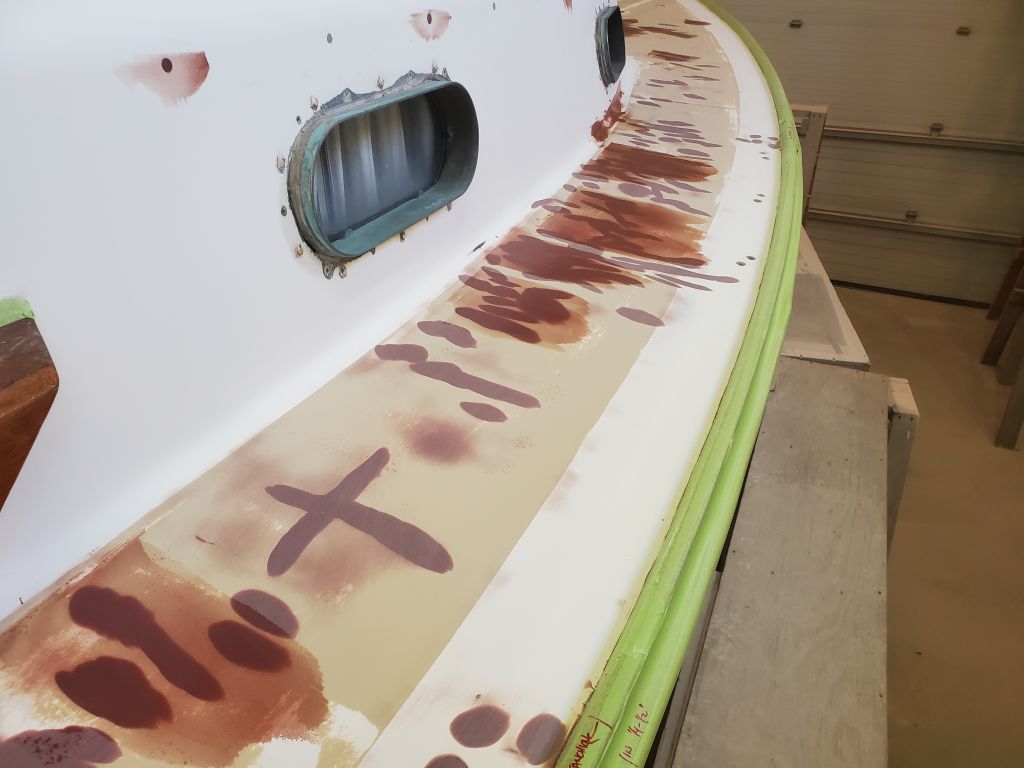
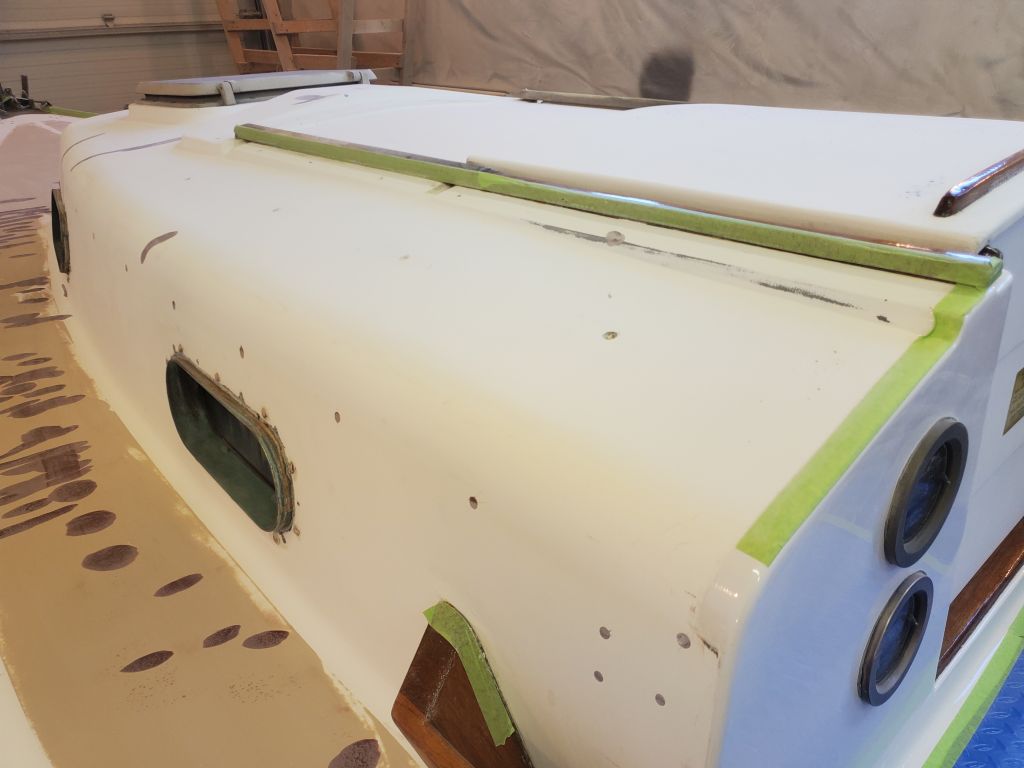
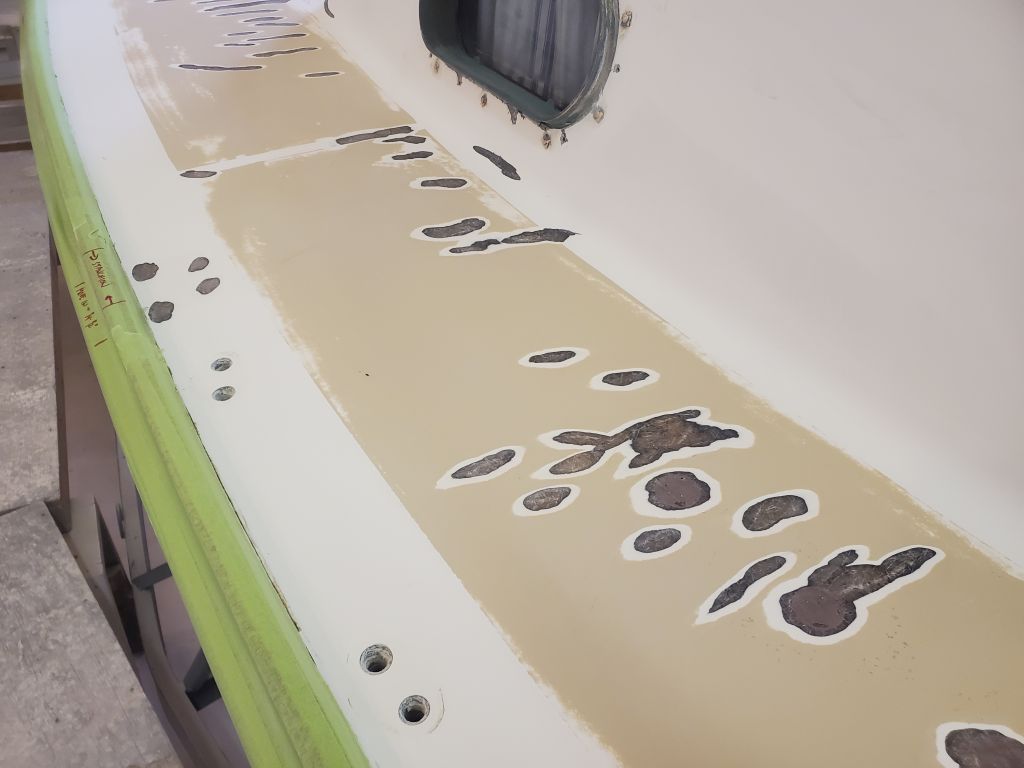
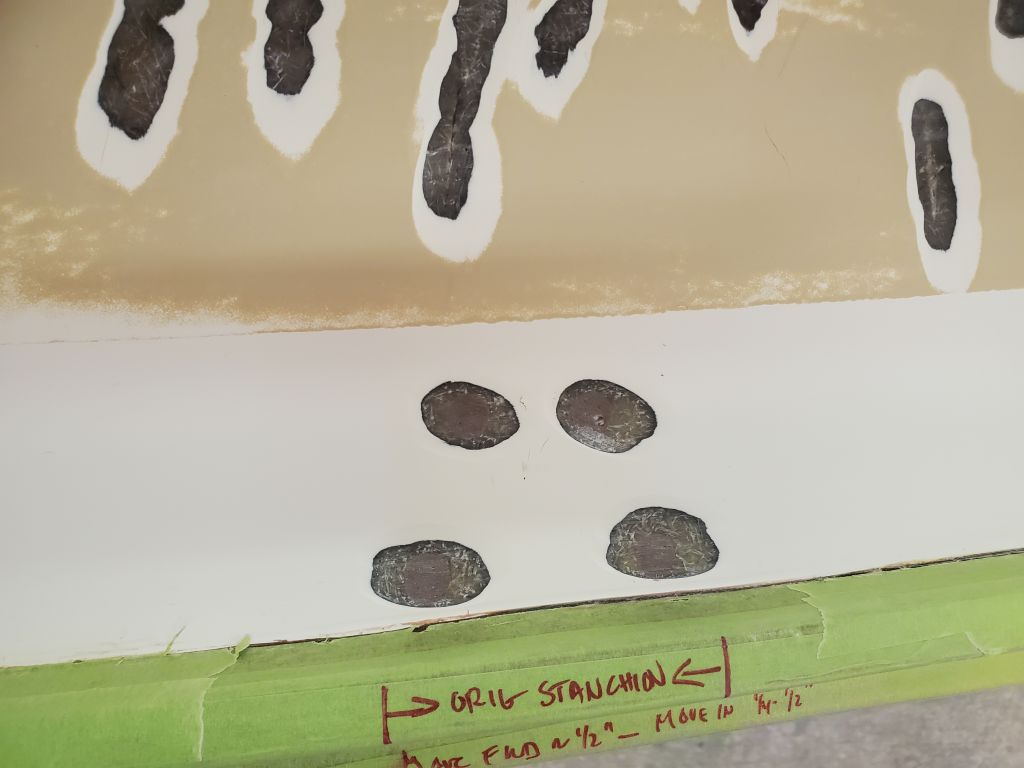
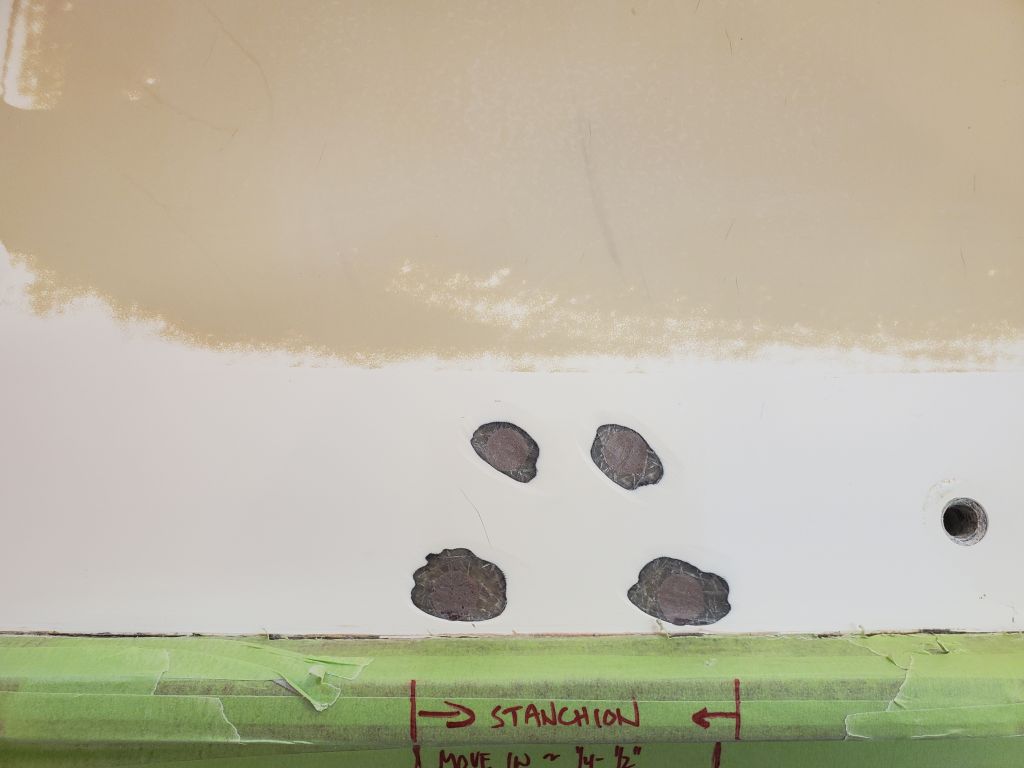
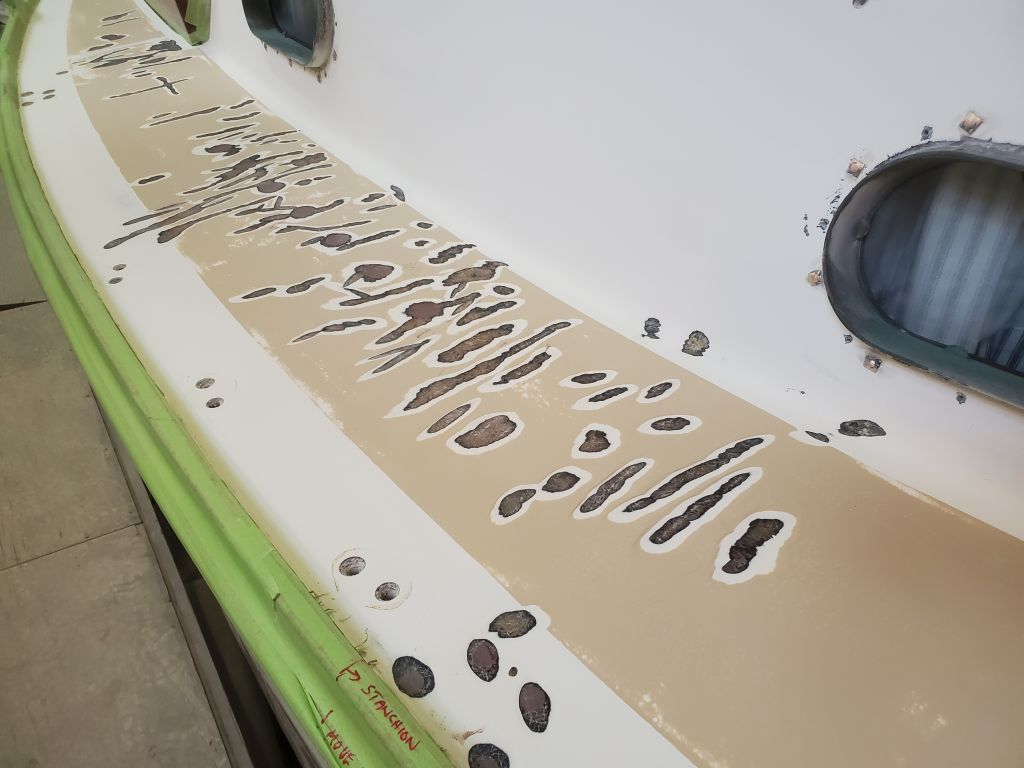
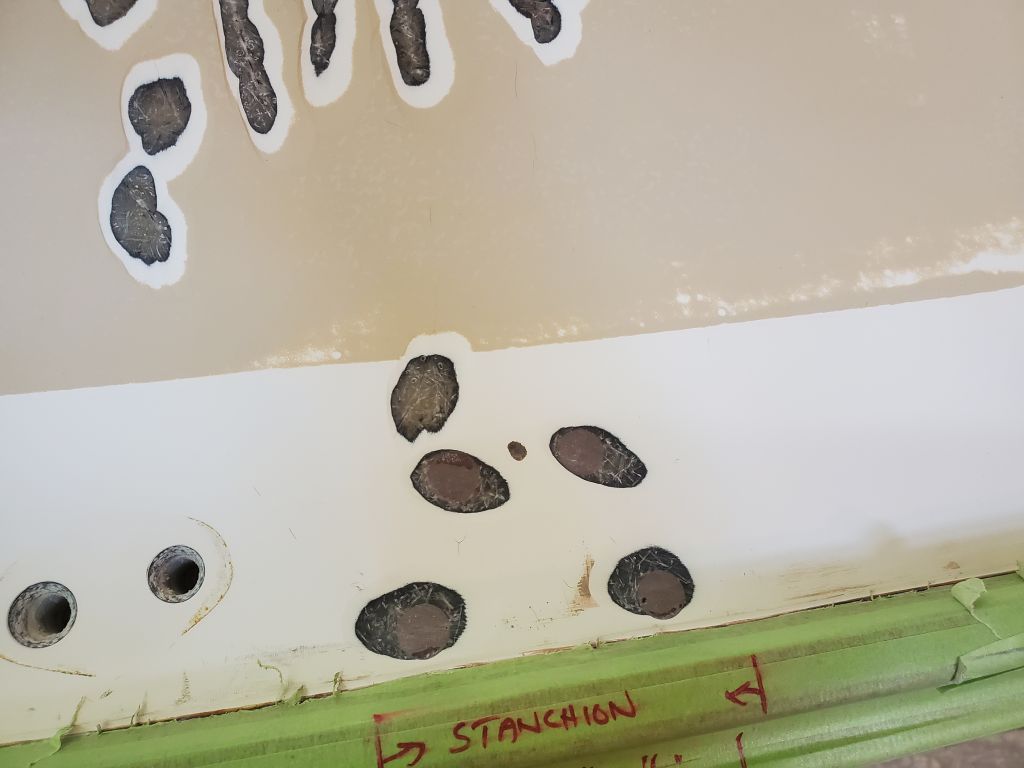
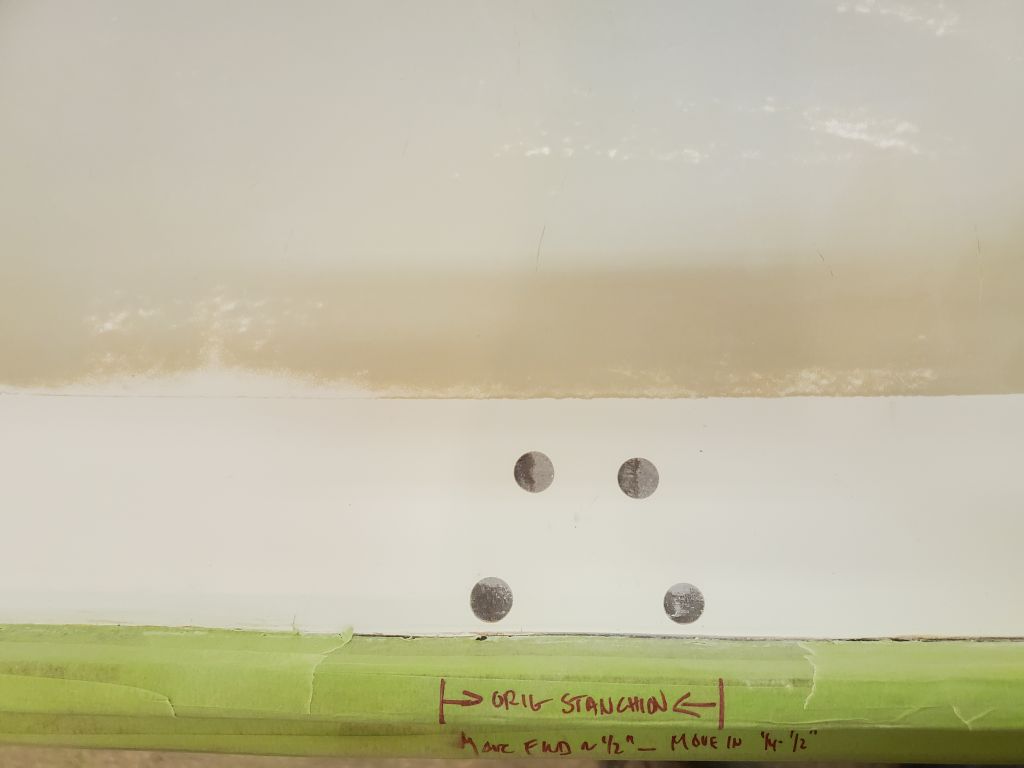
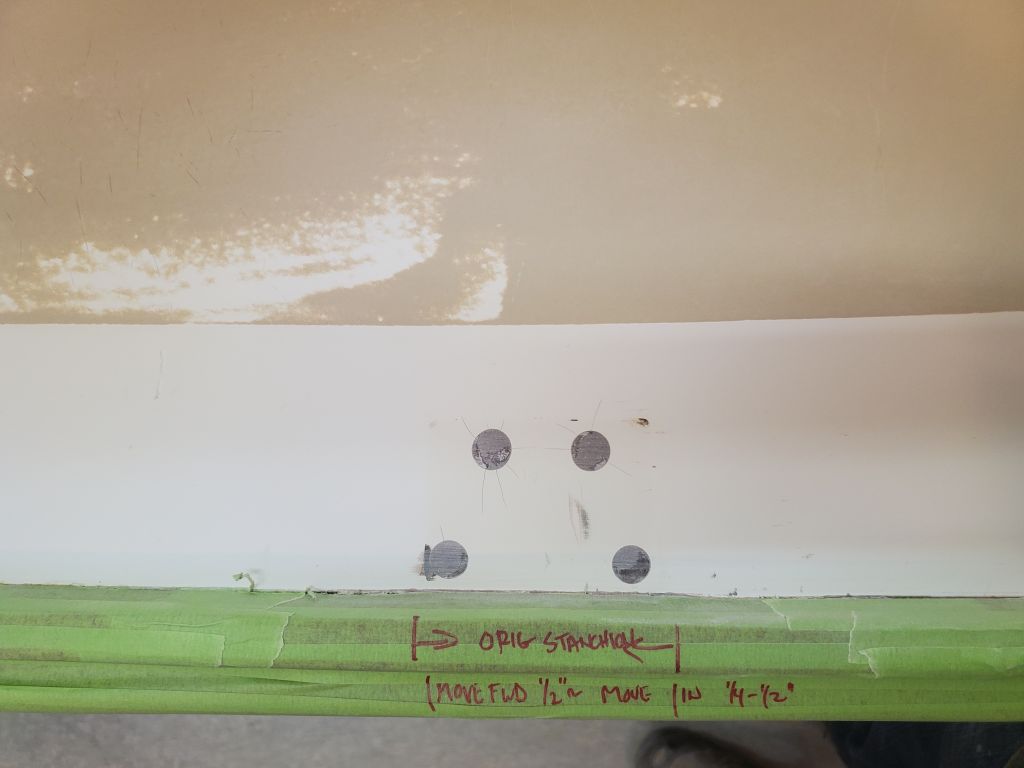
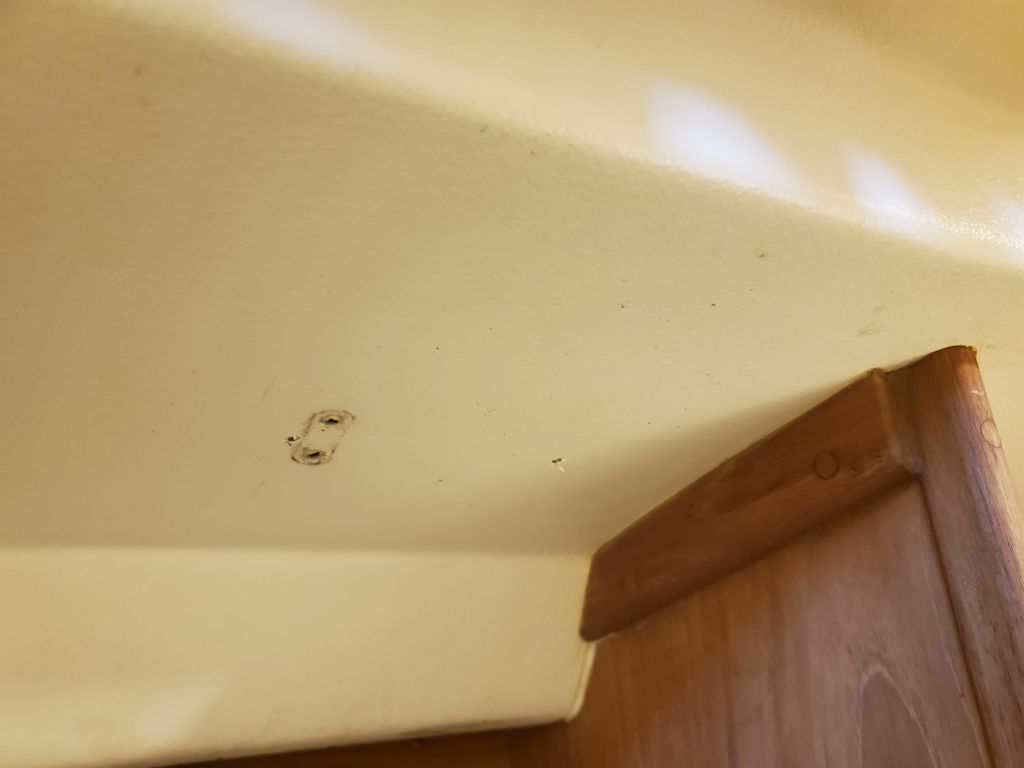
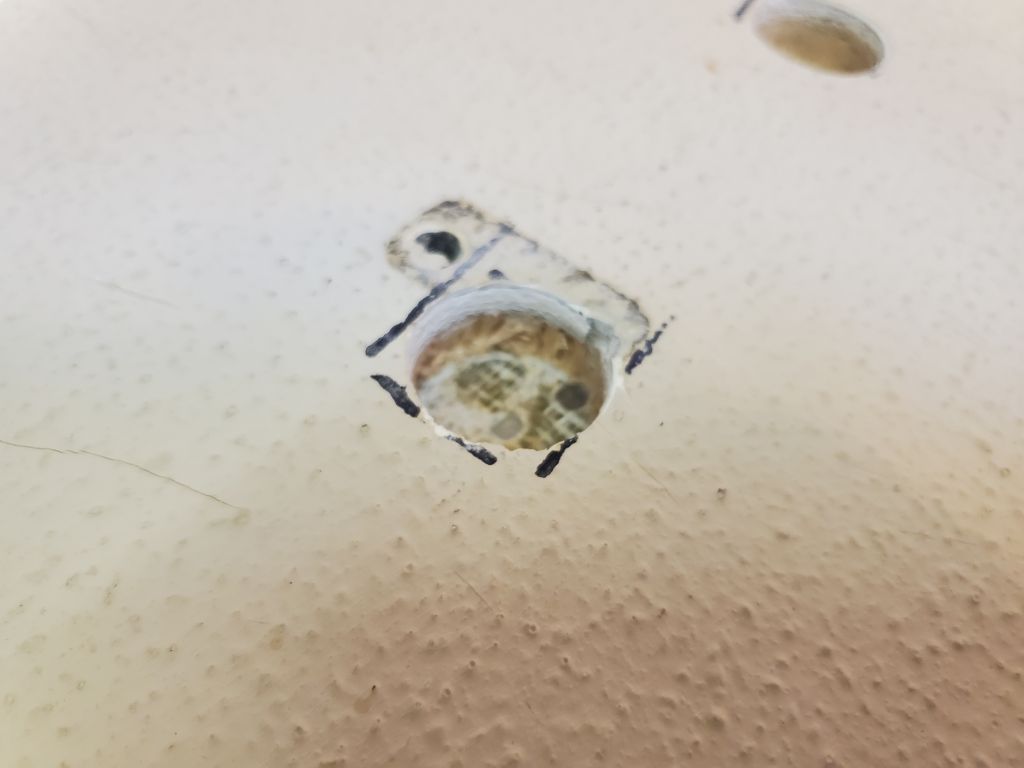
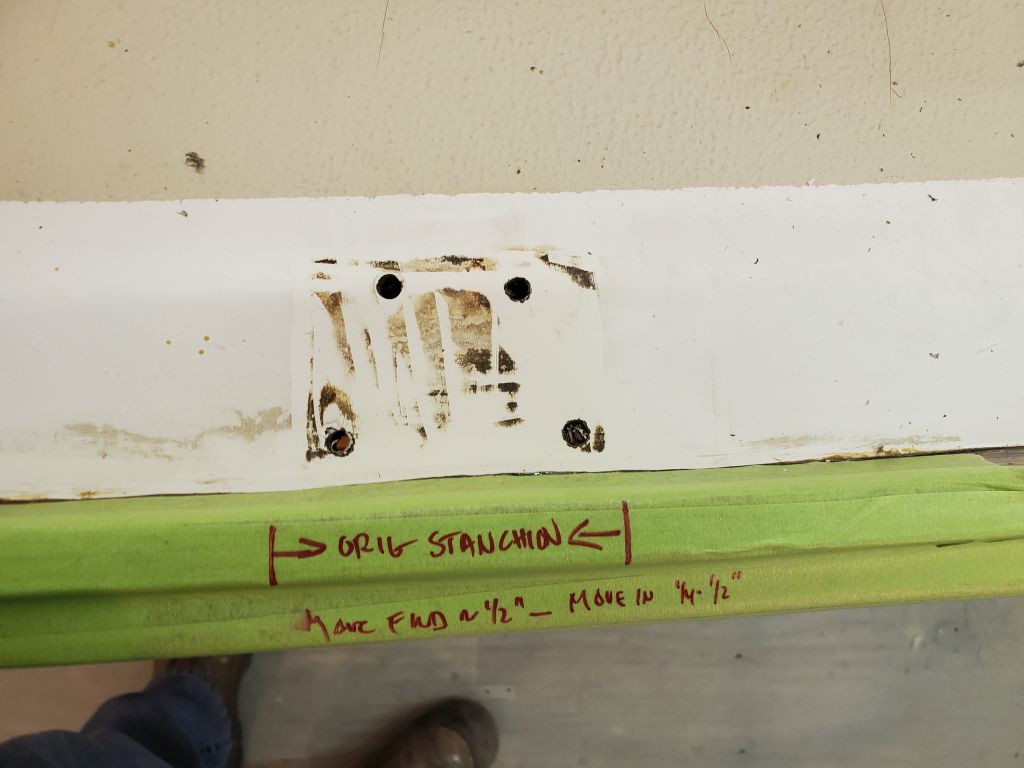
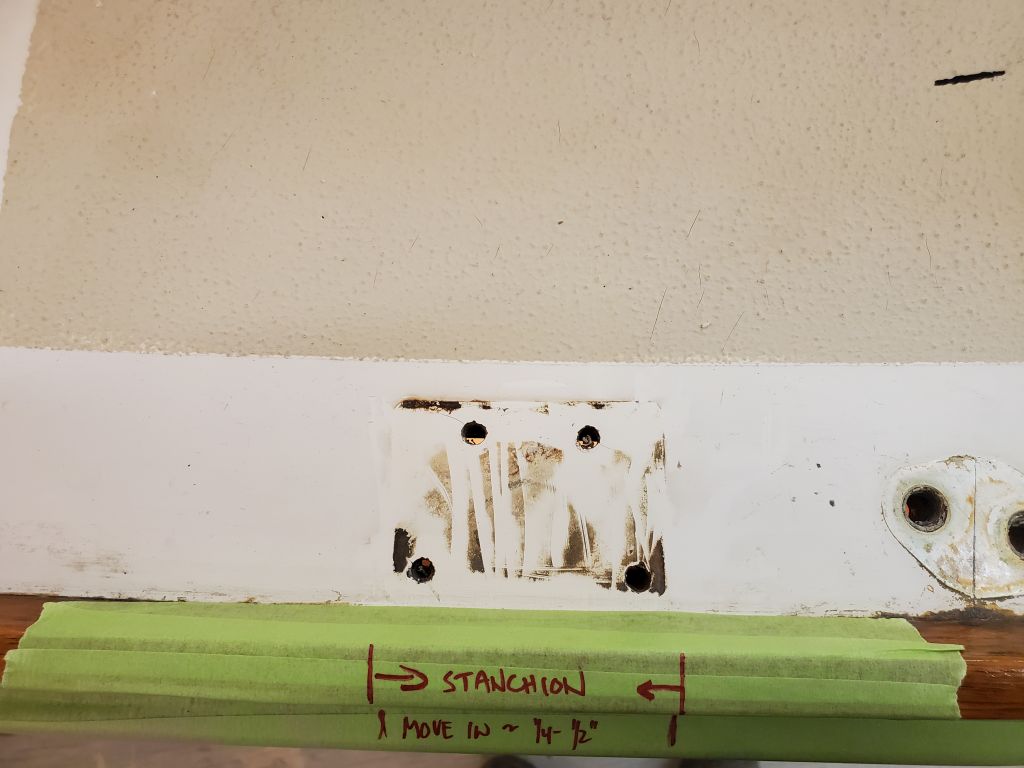
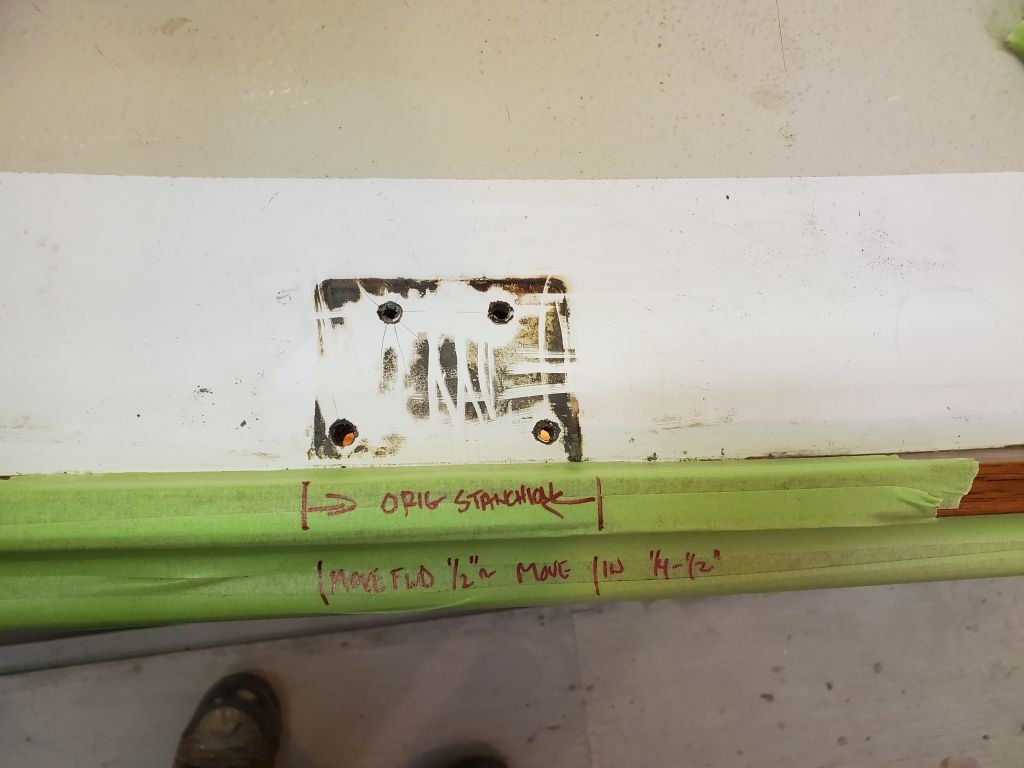
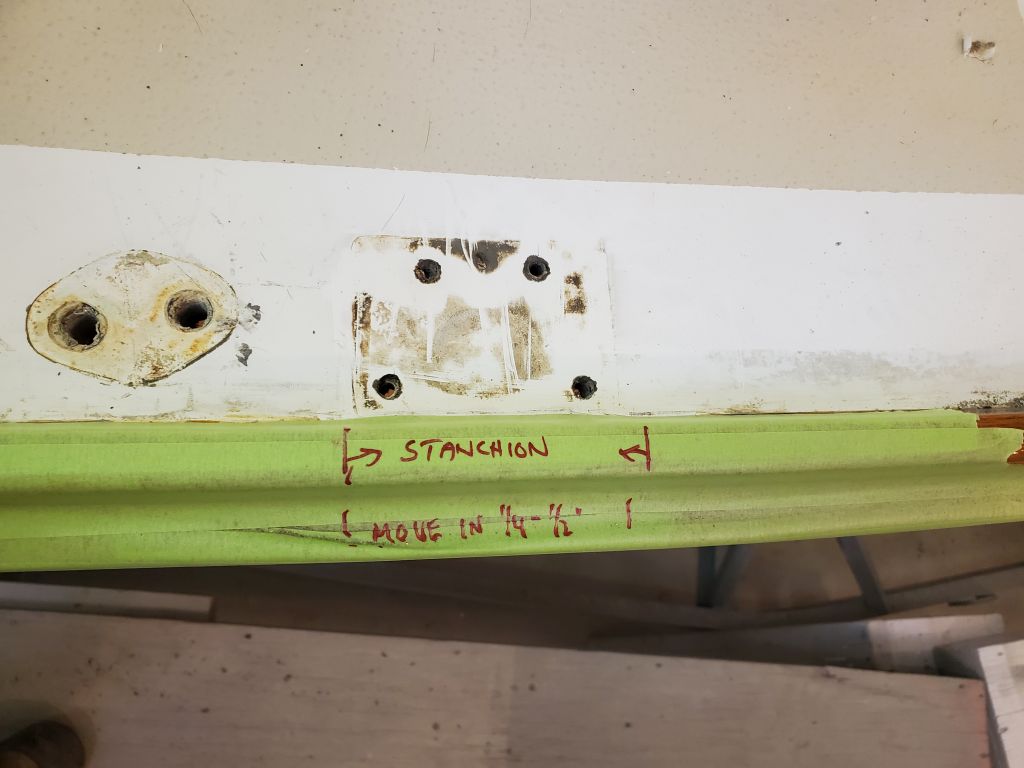
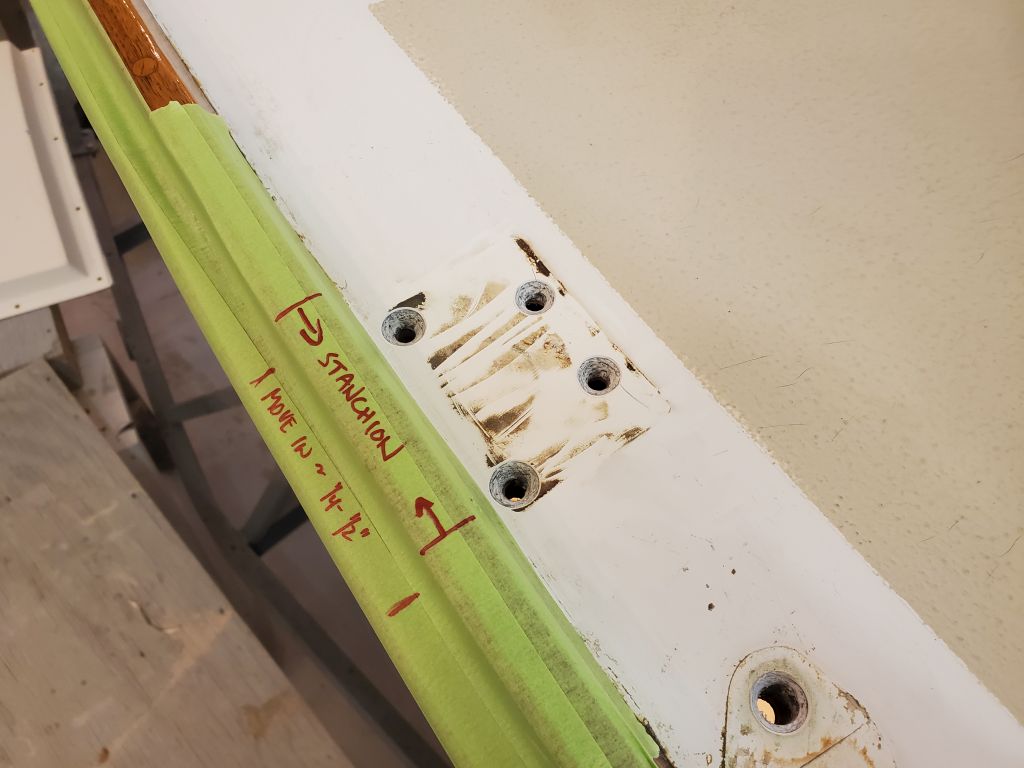
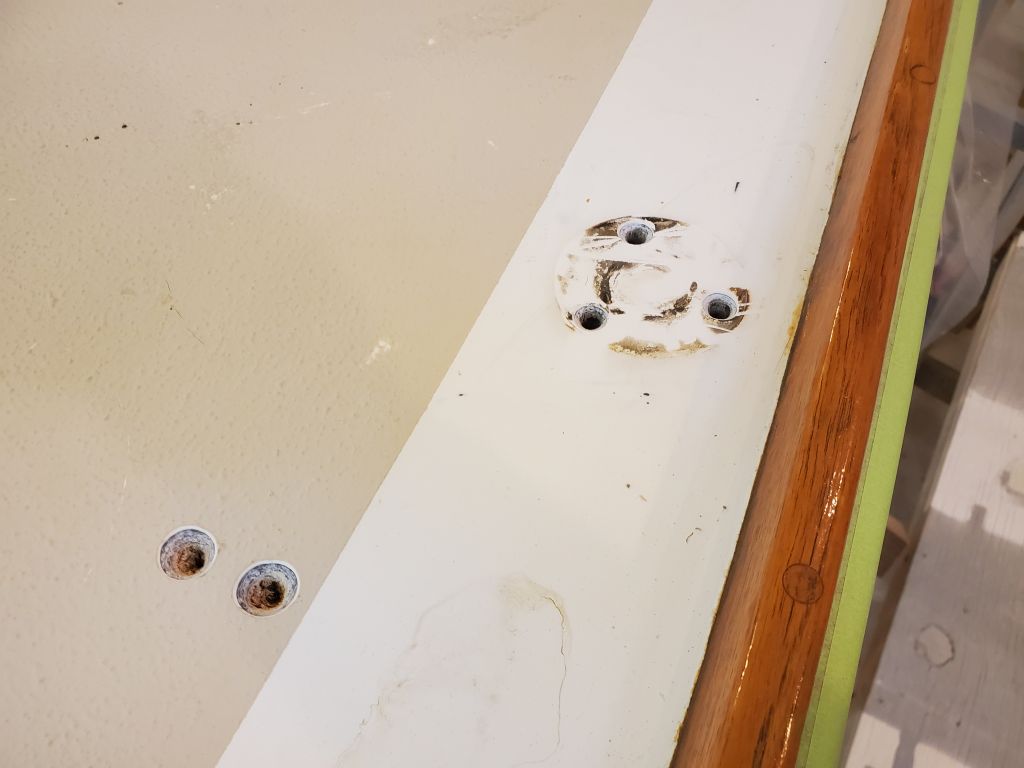
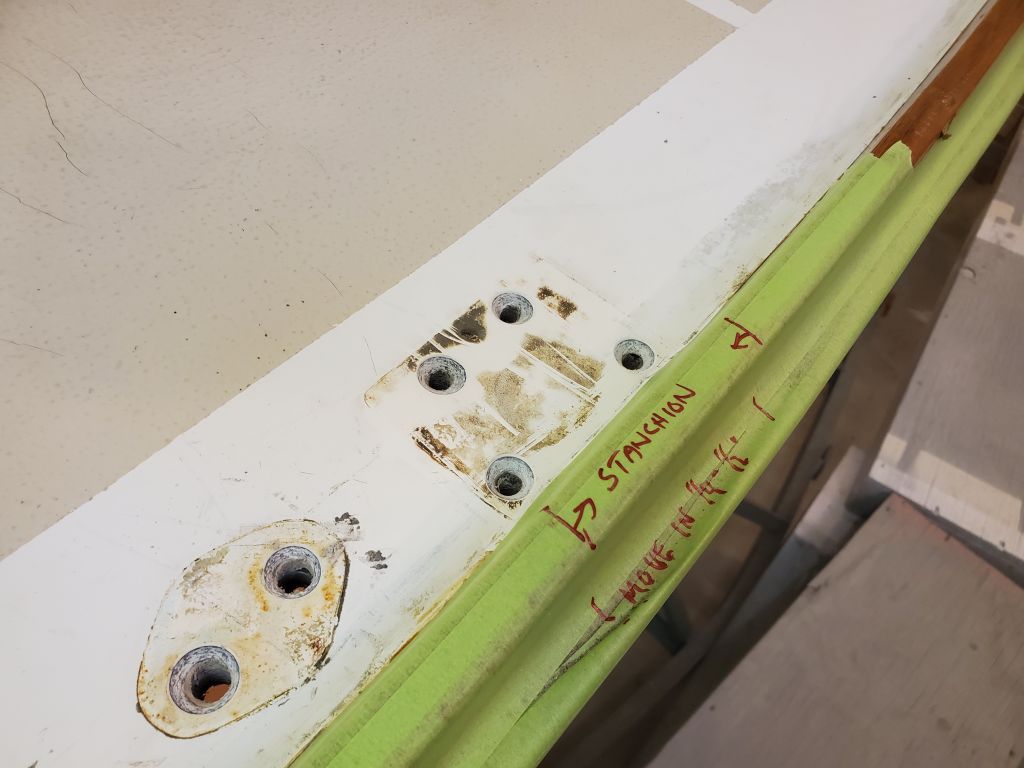
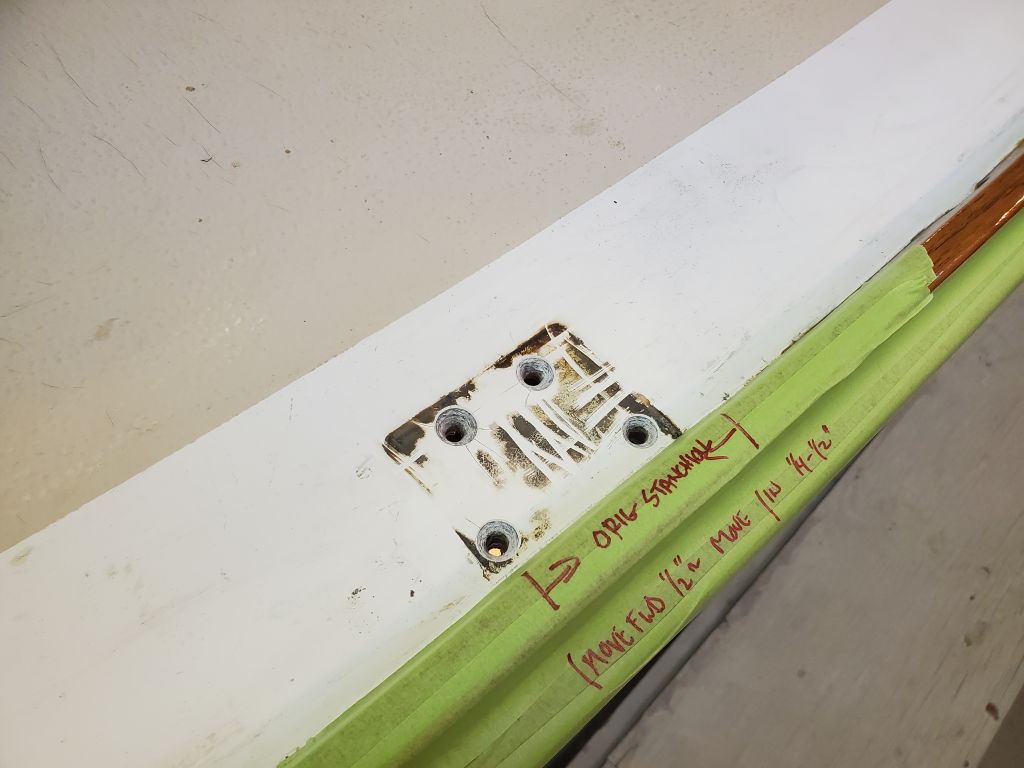
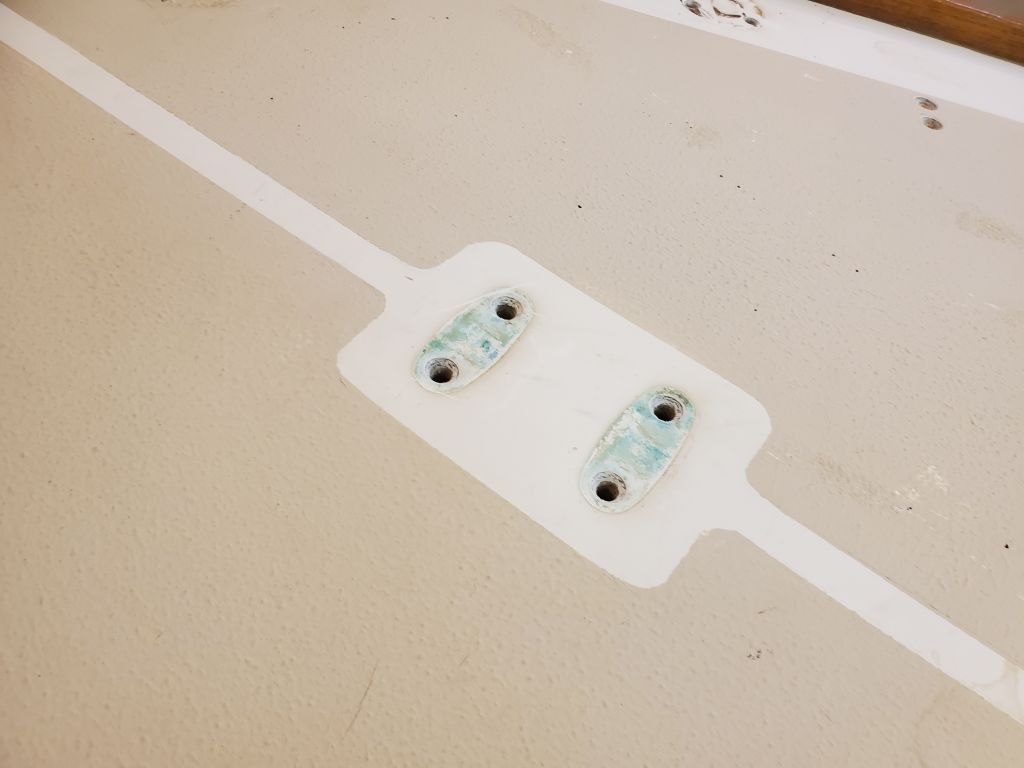
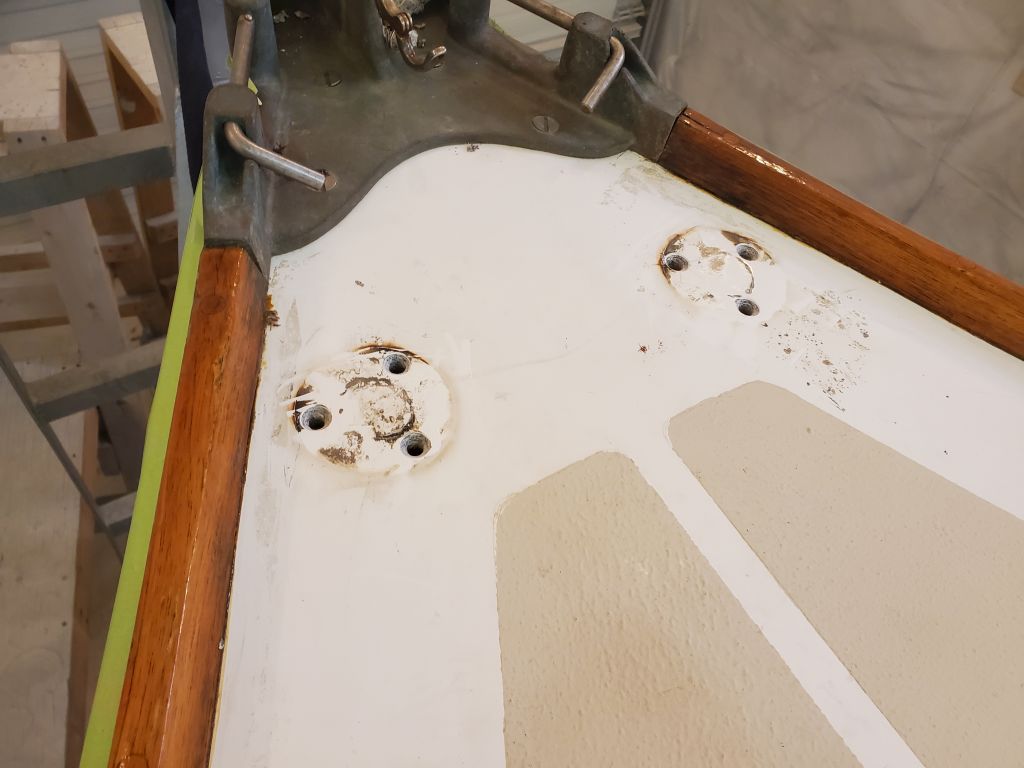
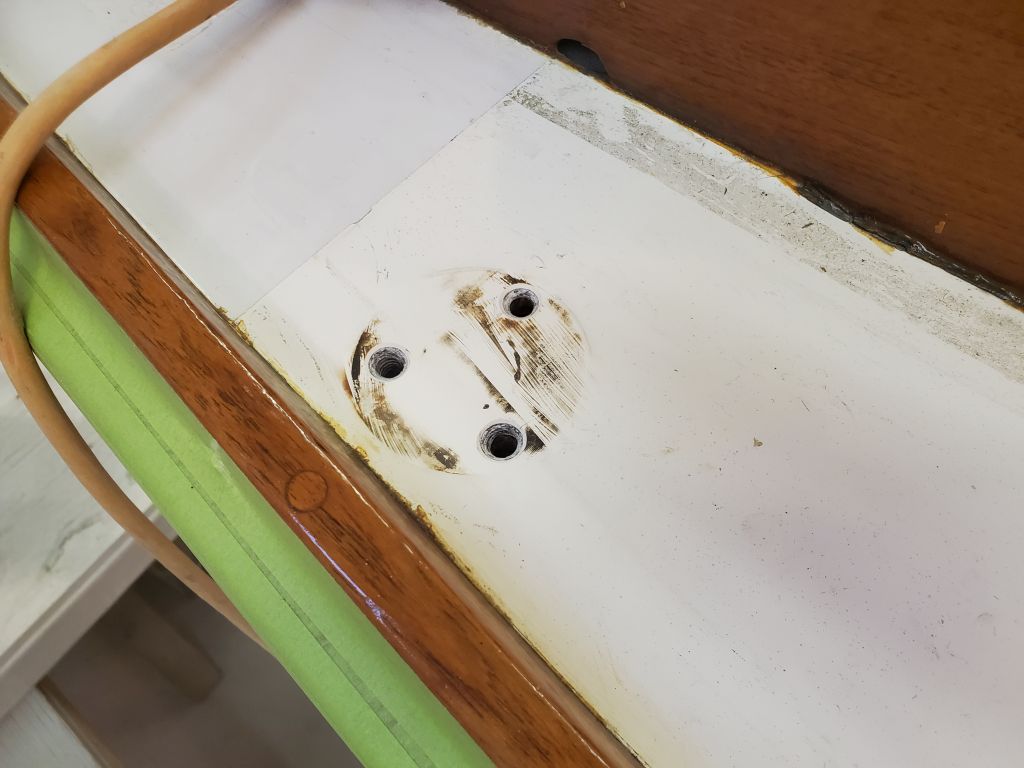
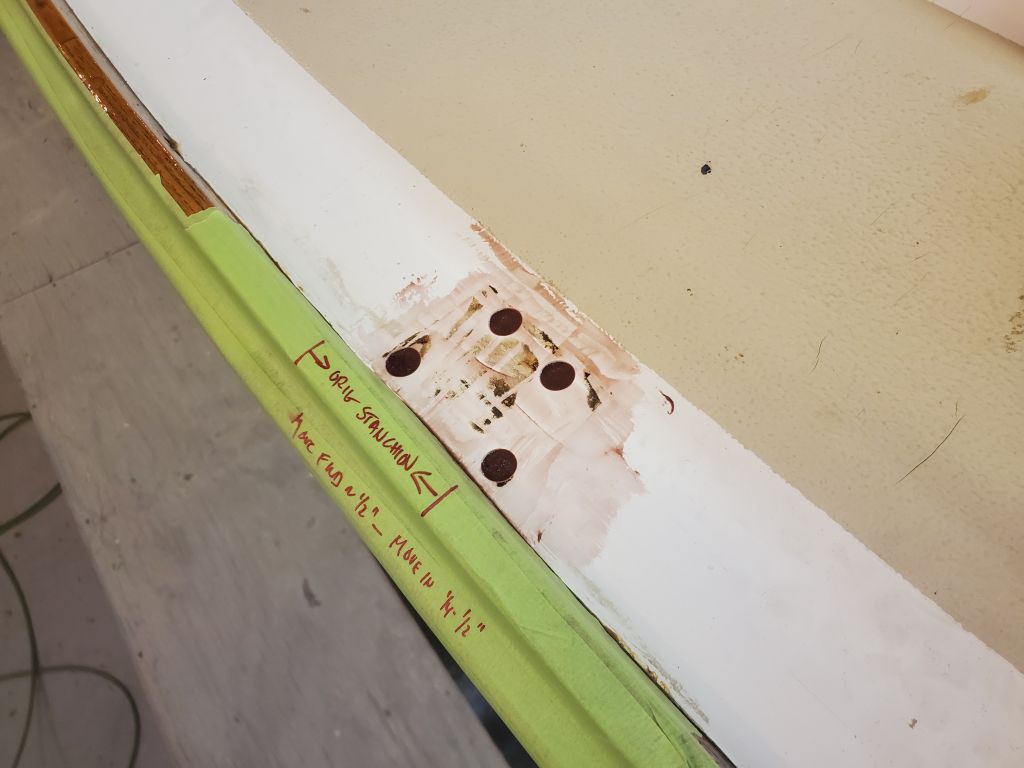
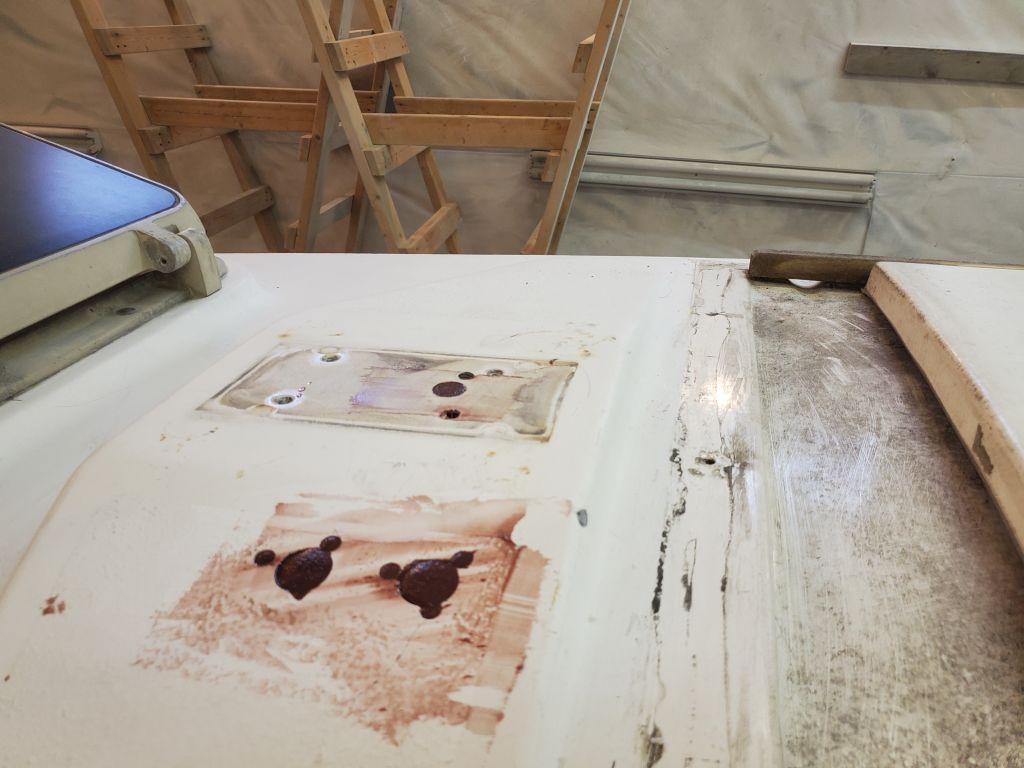
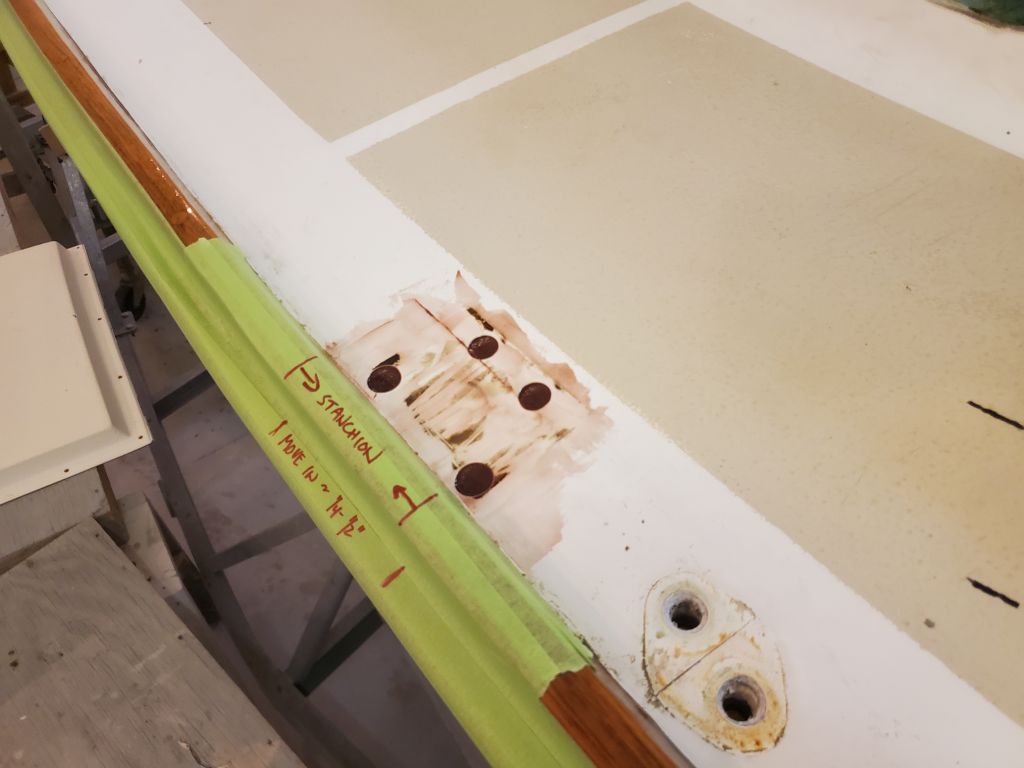
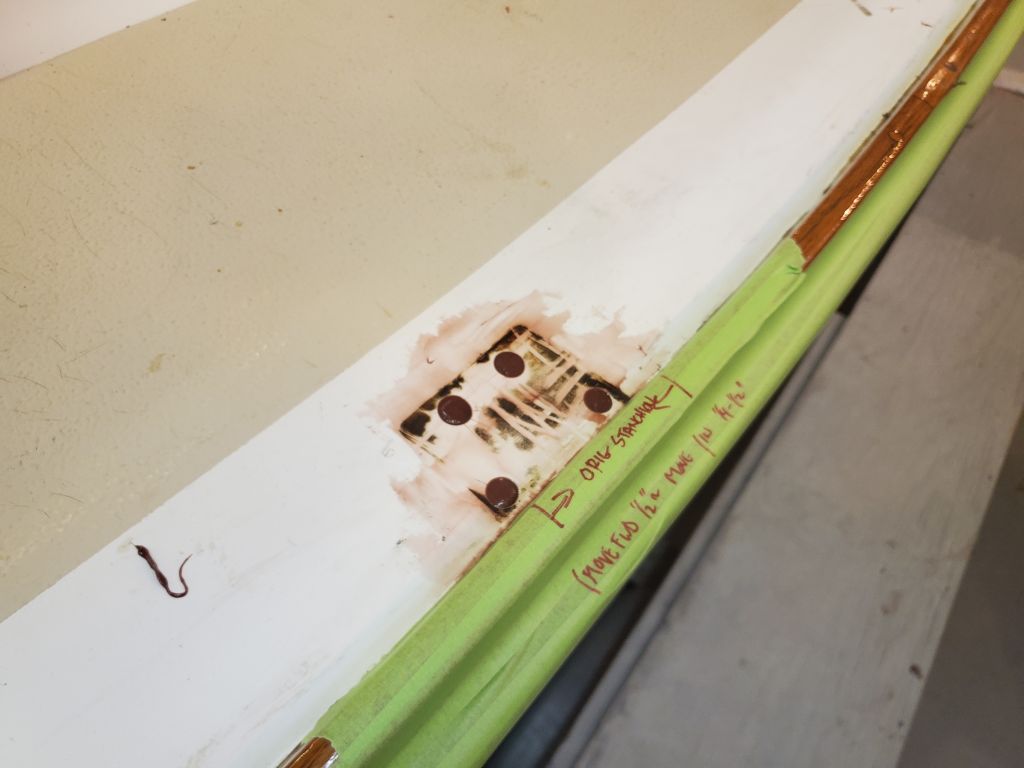
Continuing with some of the hole preparations, I scraped away most of the old sealant and other residue and marked the existing locations of the four stanchion bases, for ongoing reference and to help with repositioning a little later.
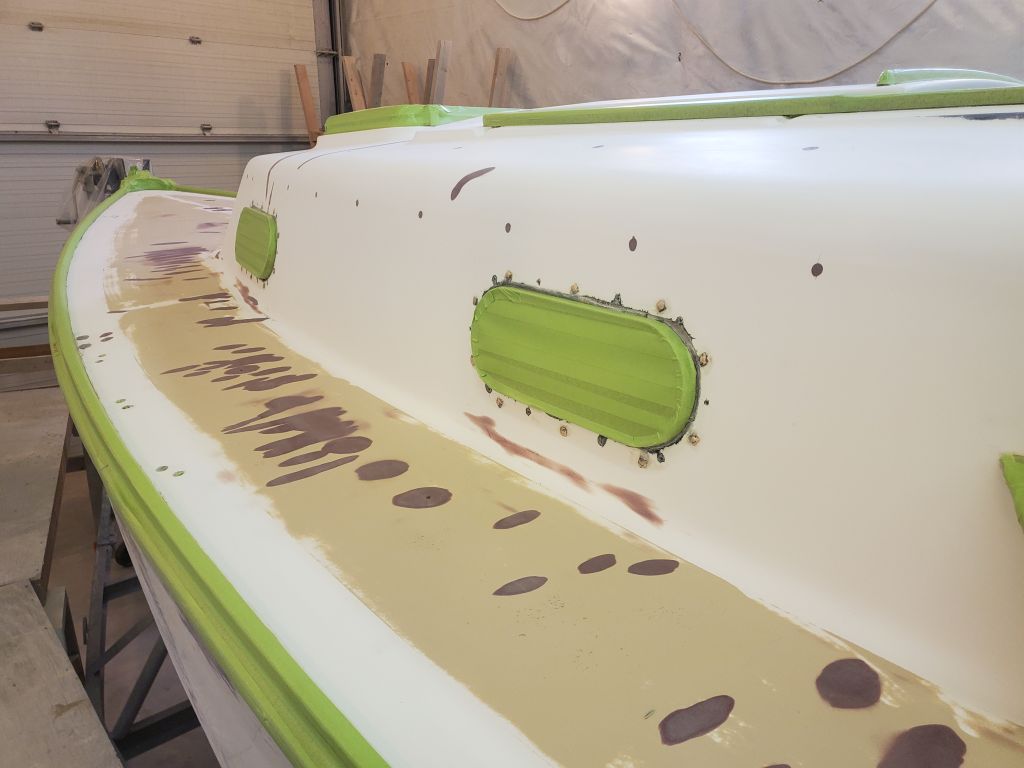
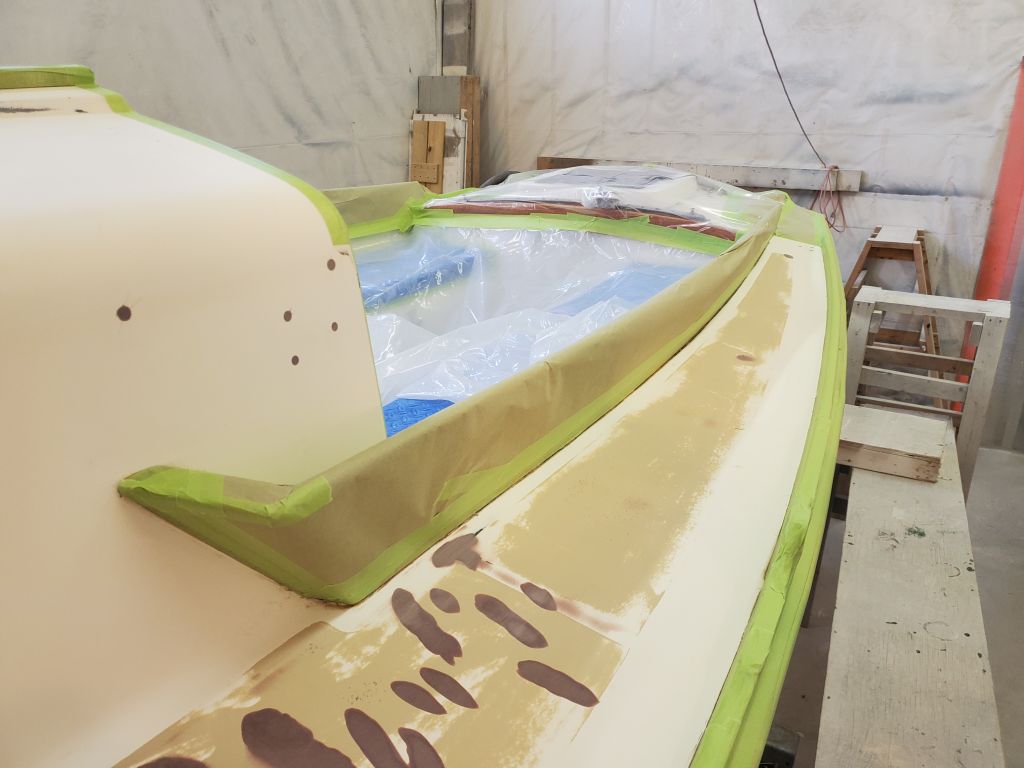
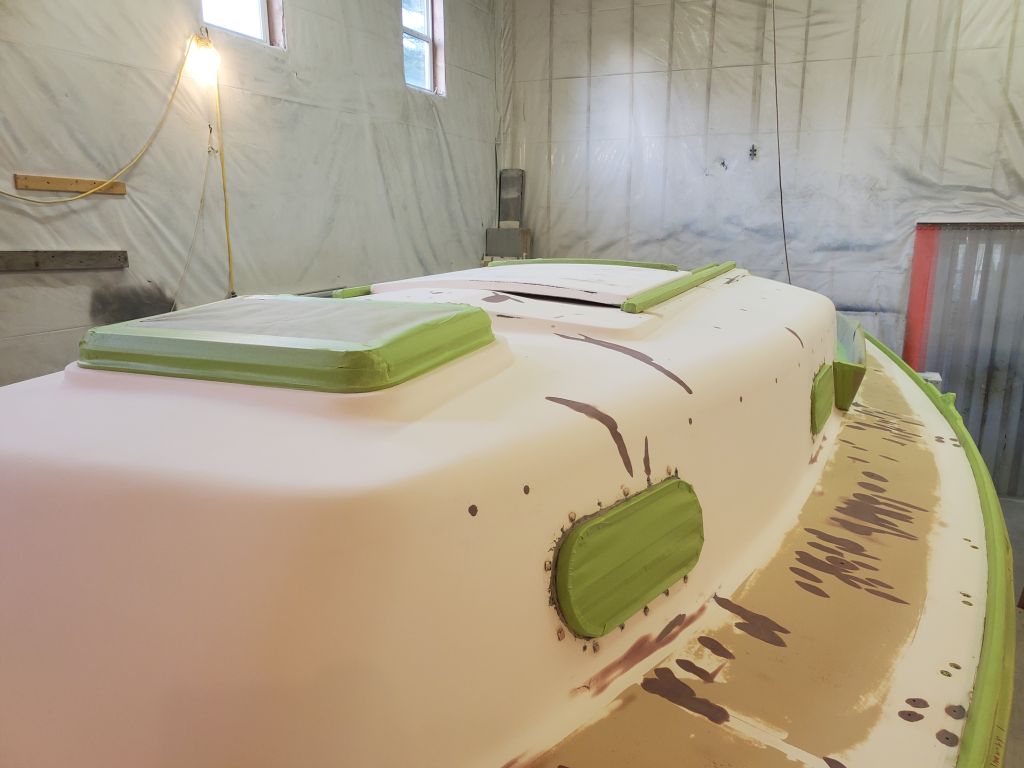
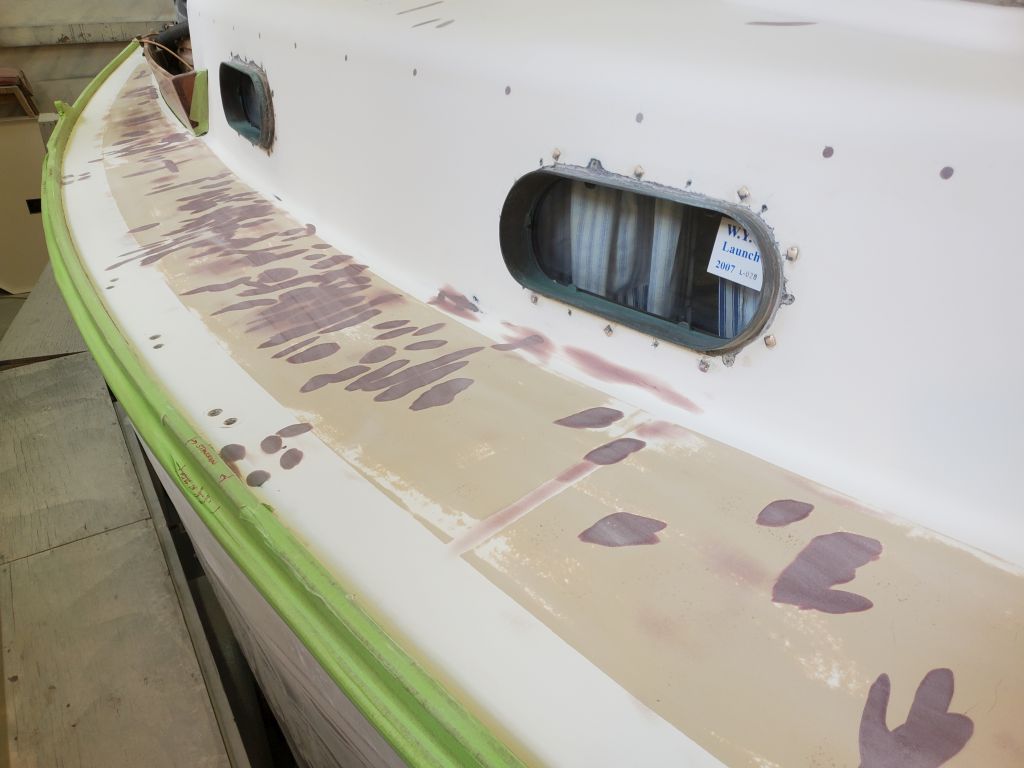
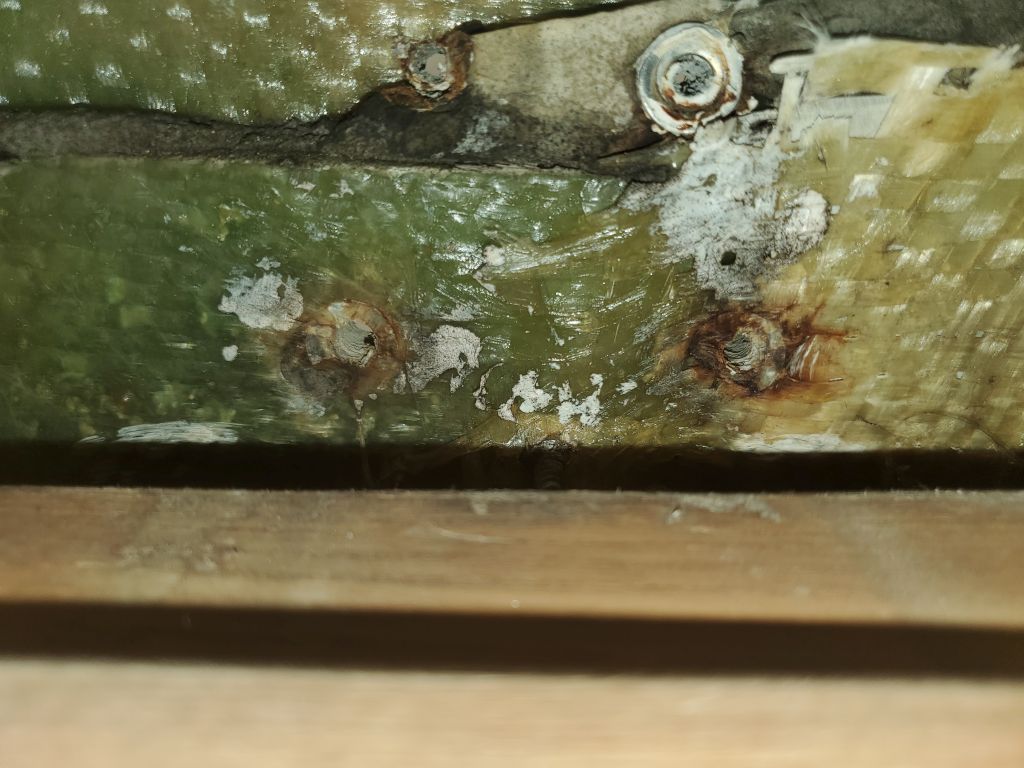
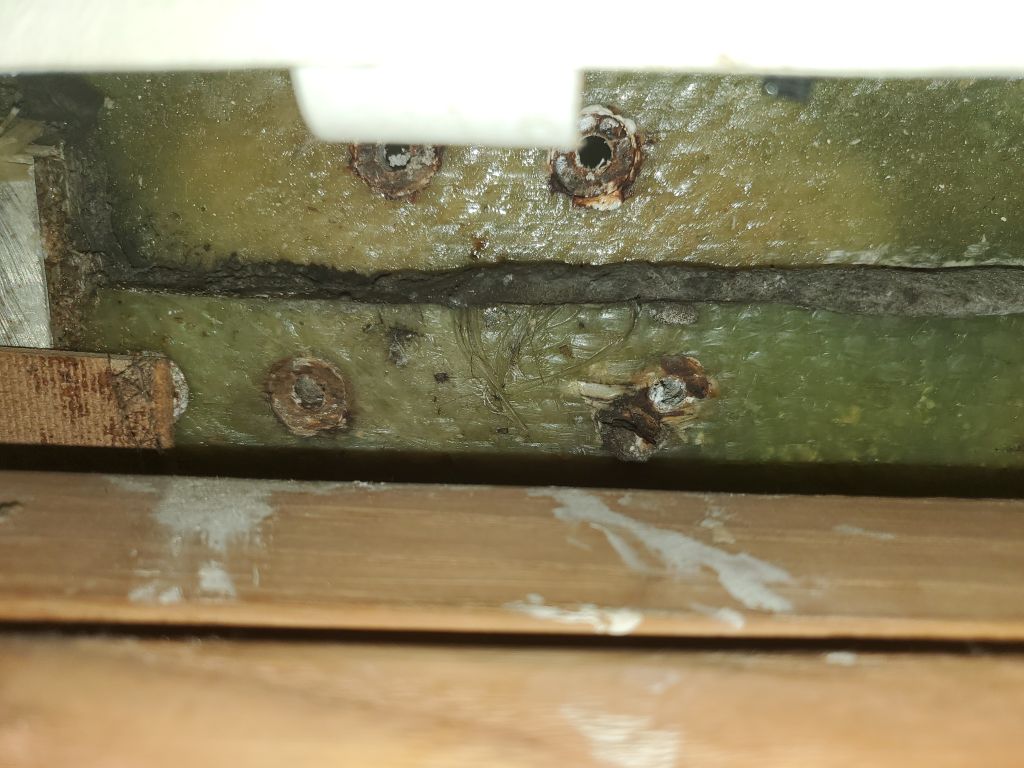
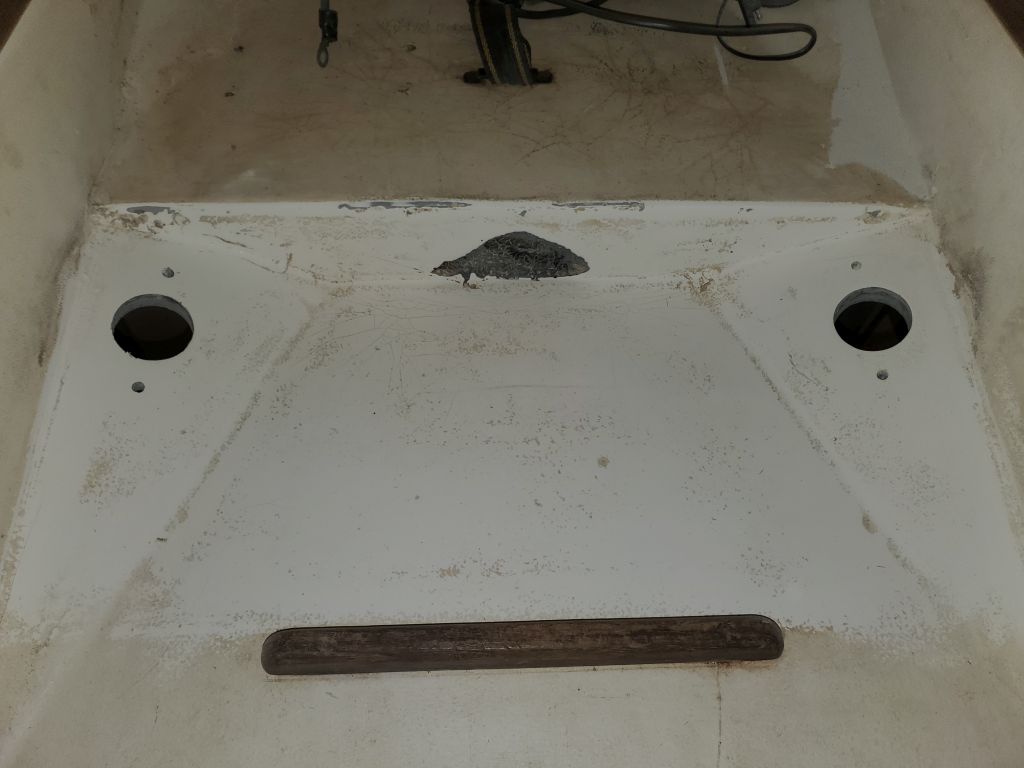
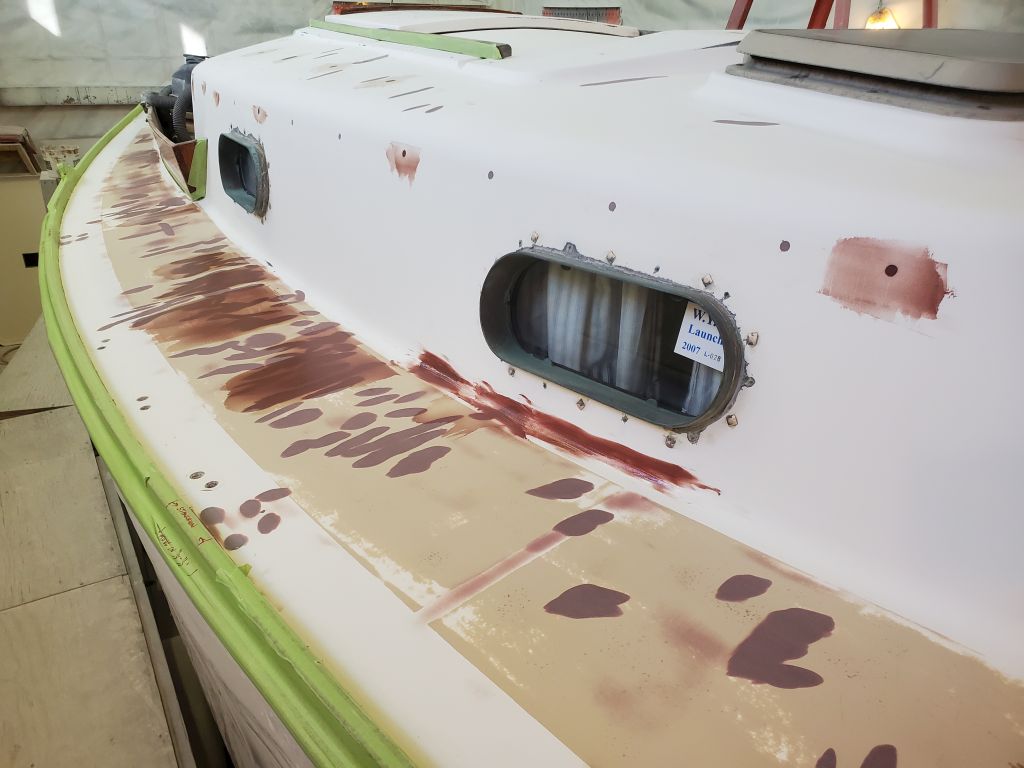
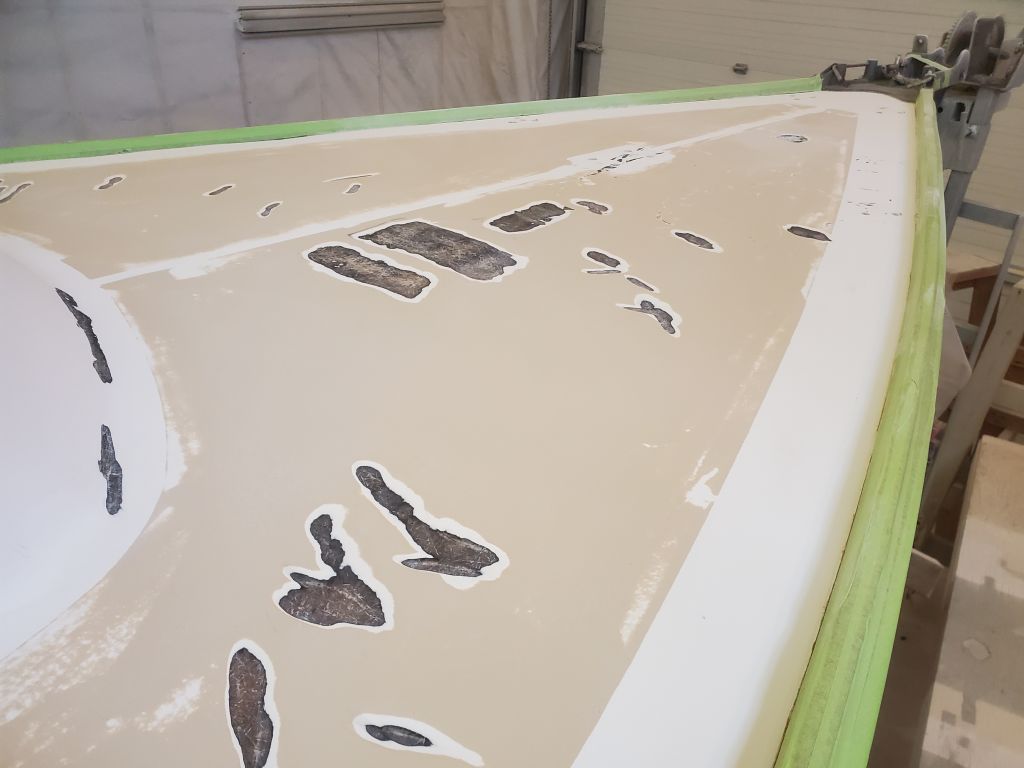
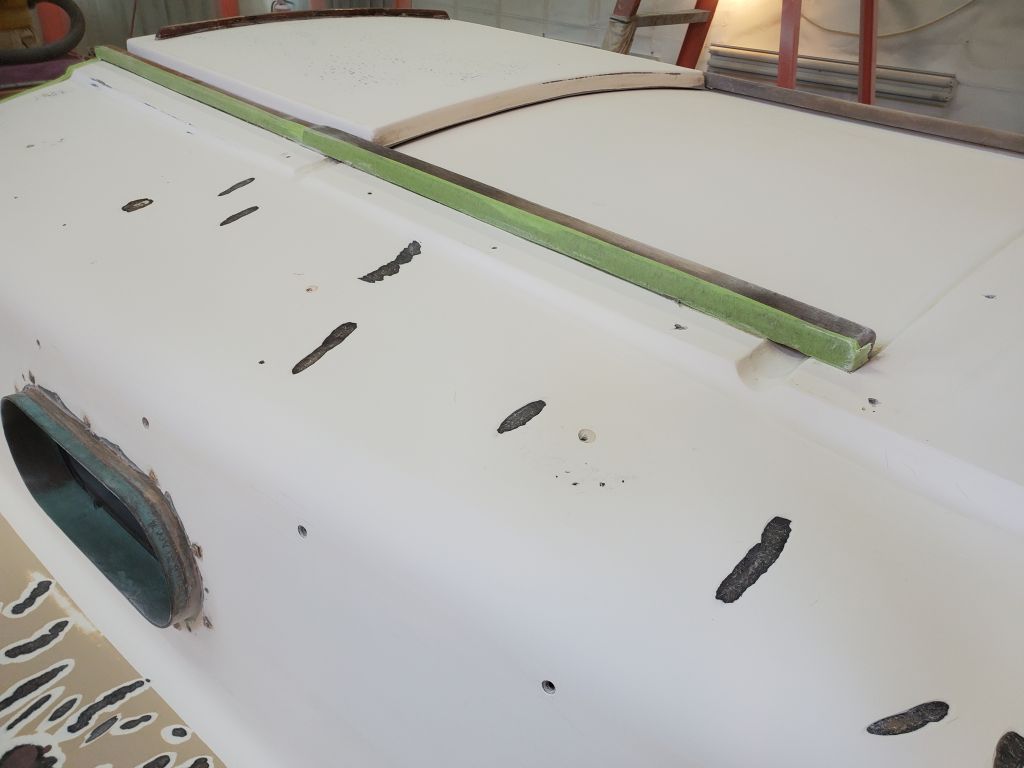
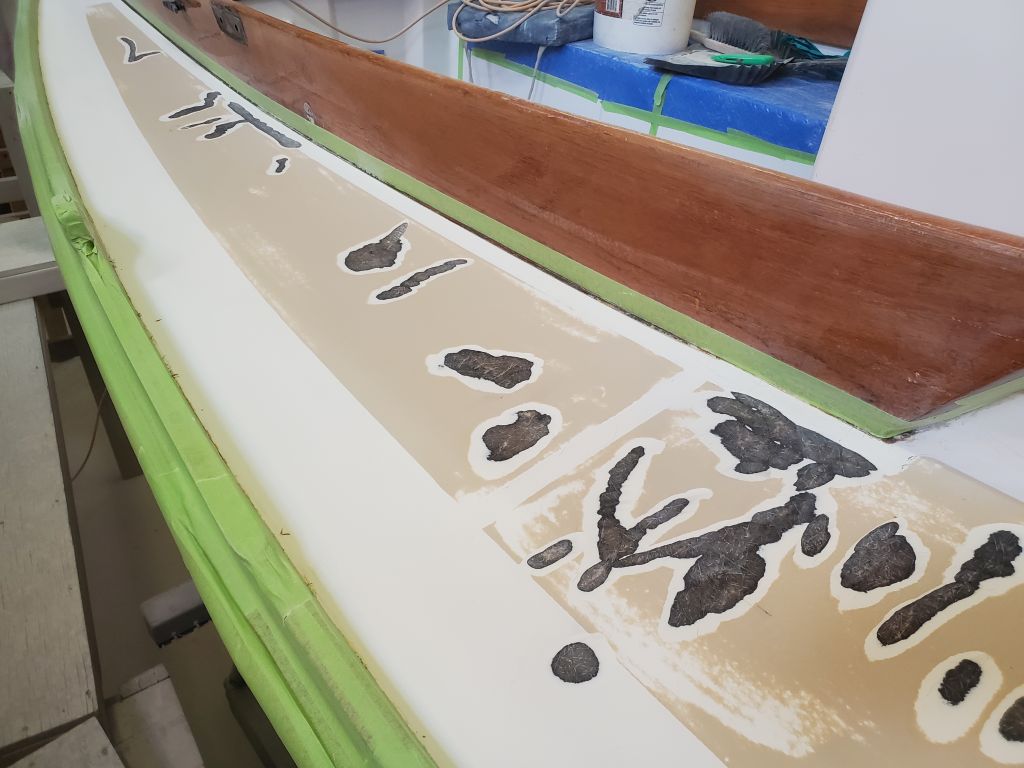
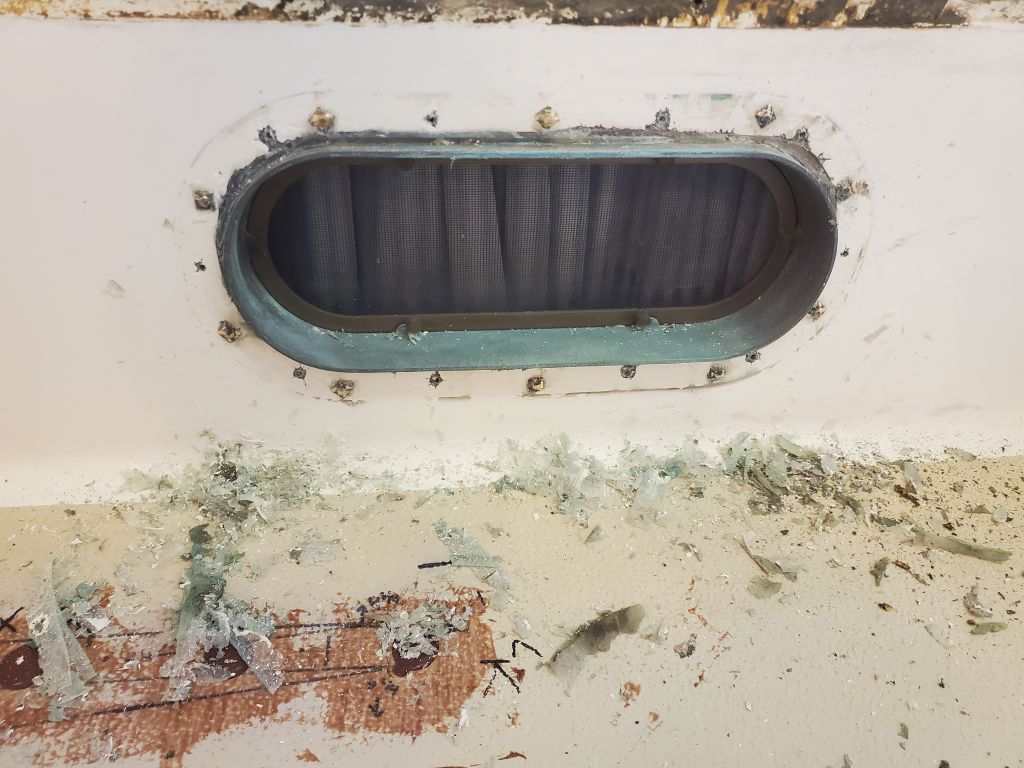
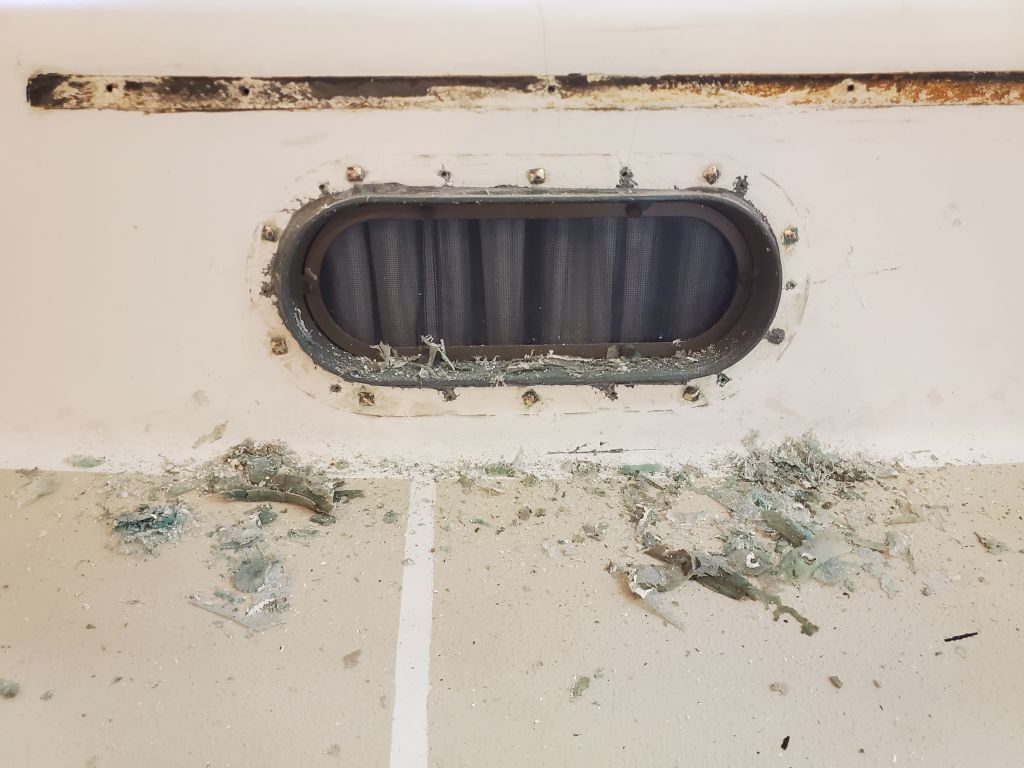
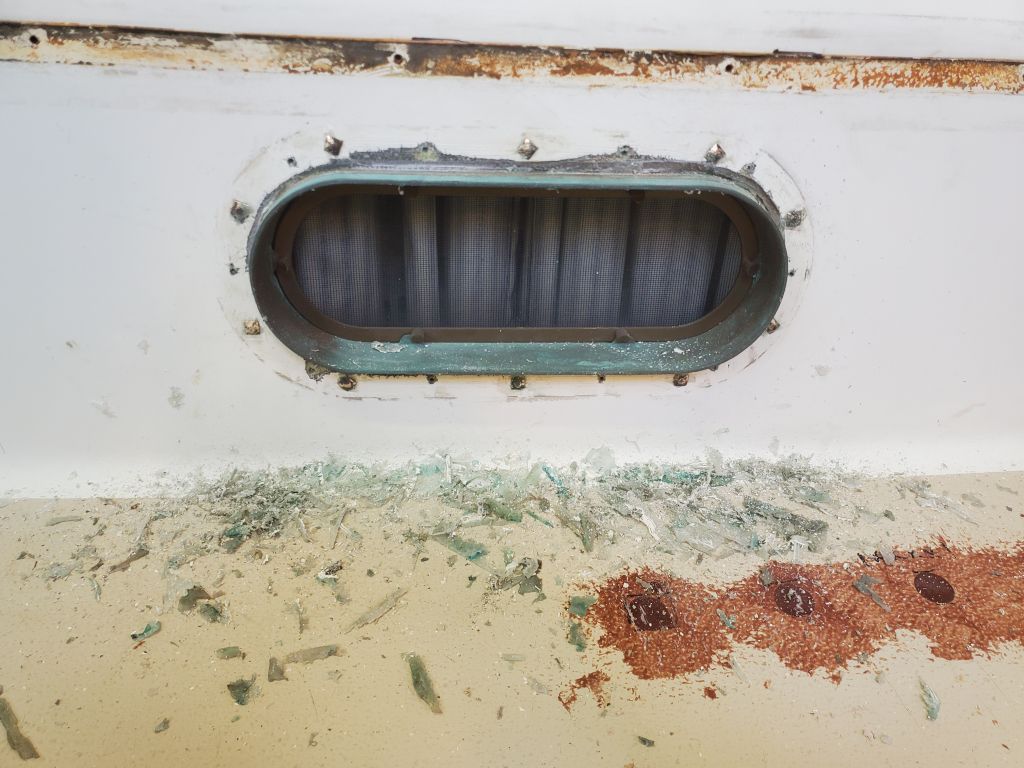
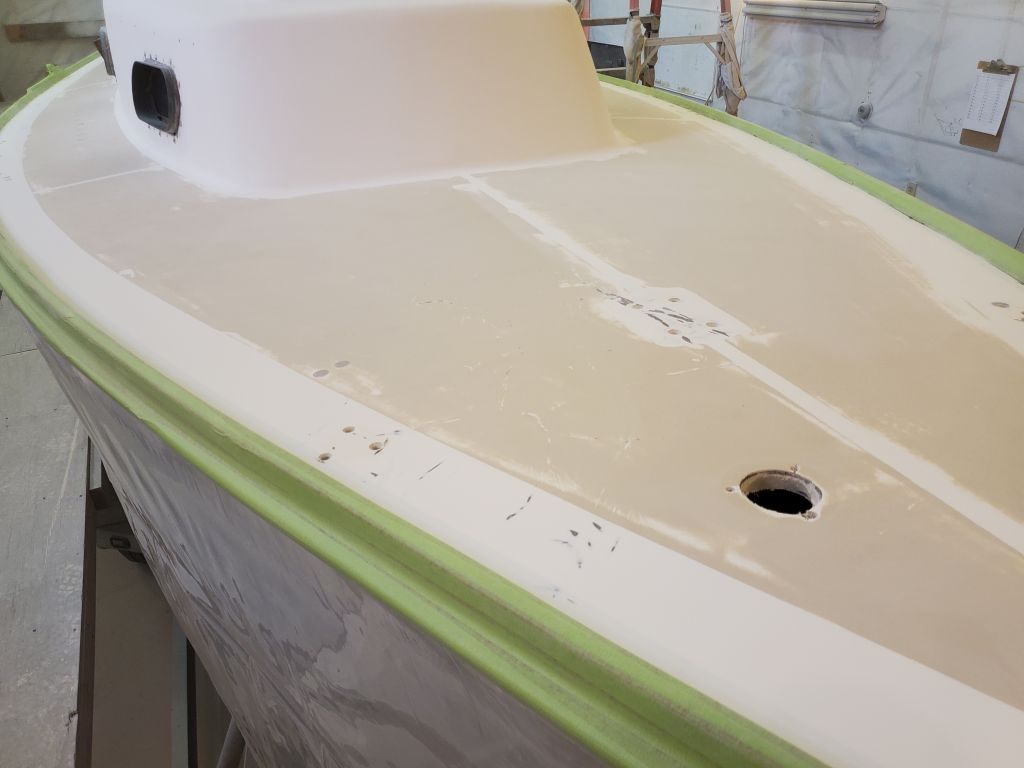
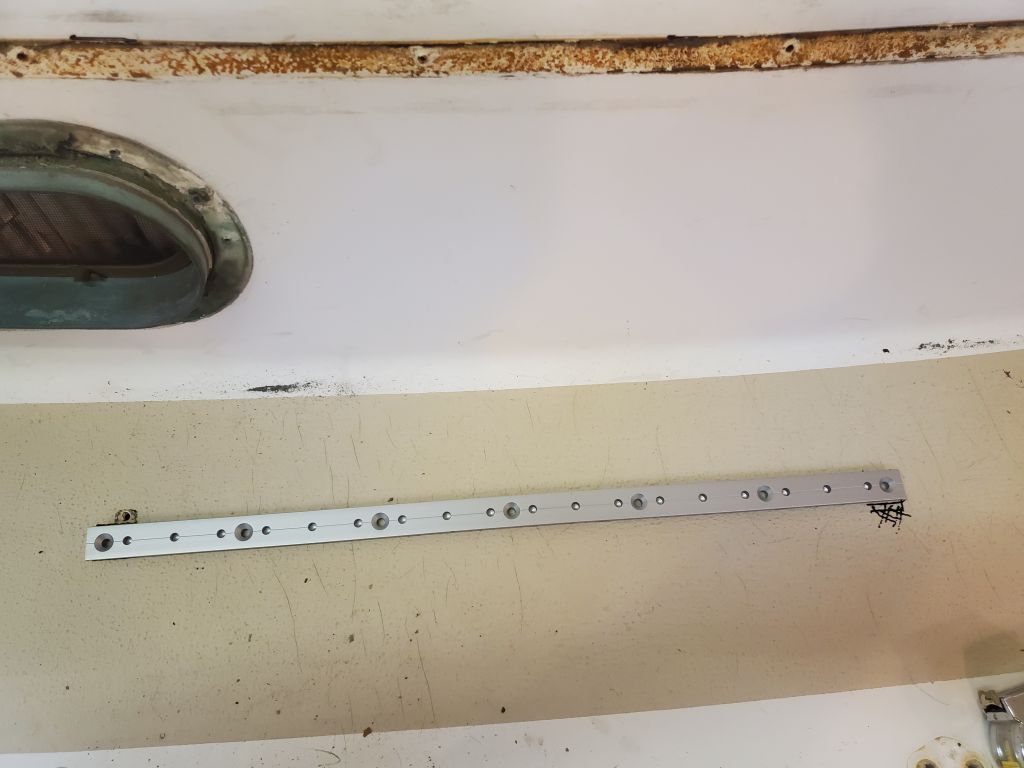
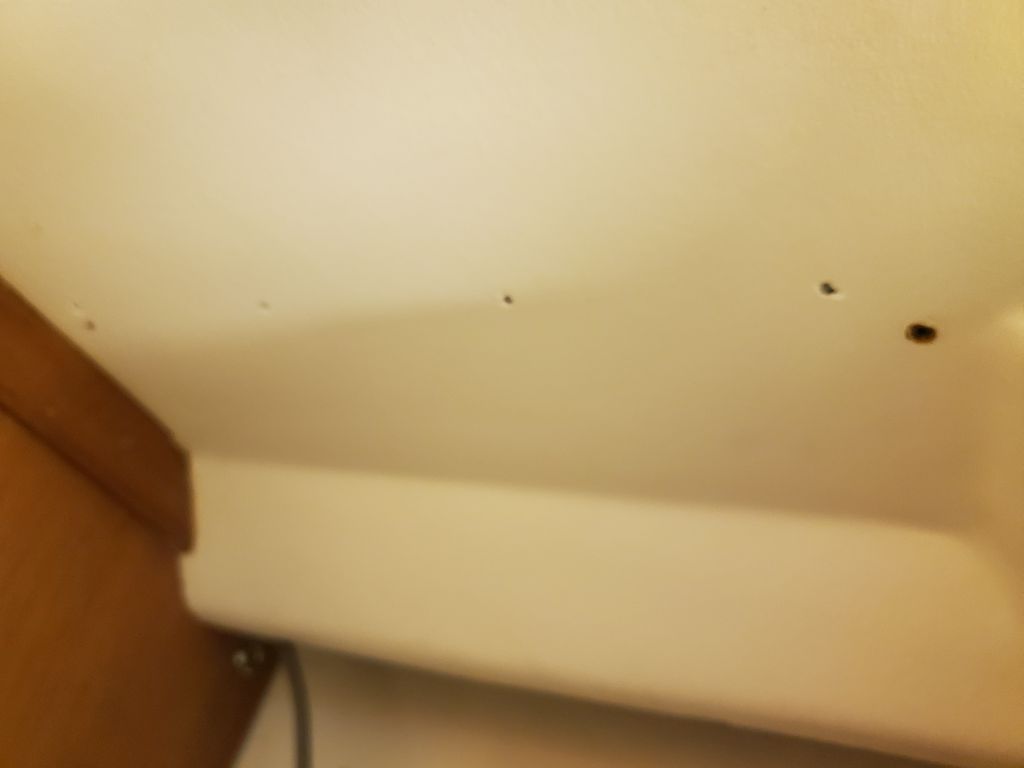
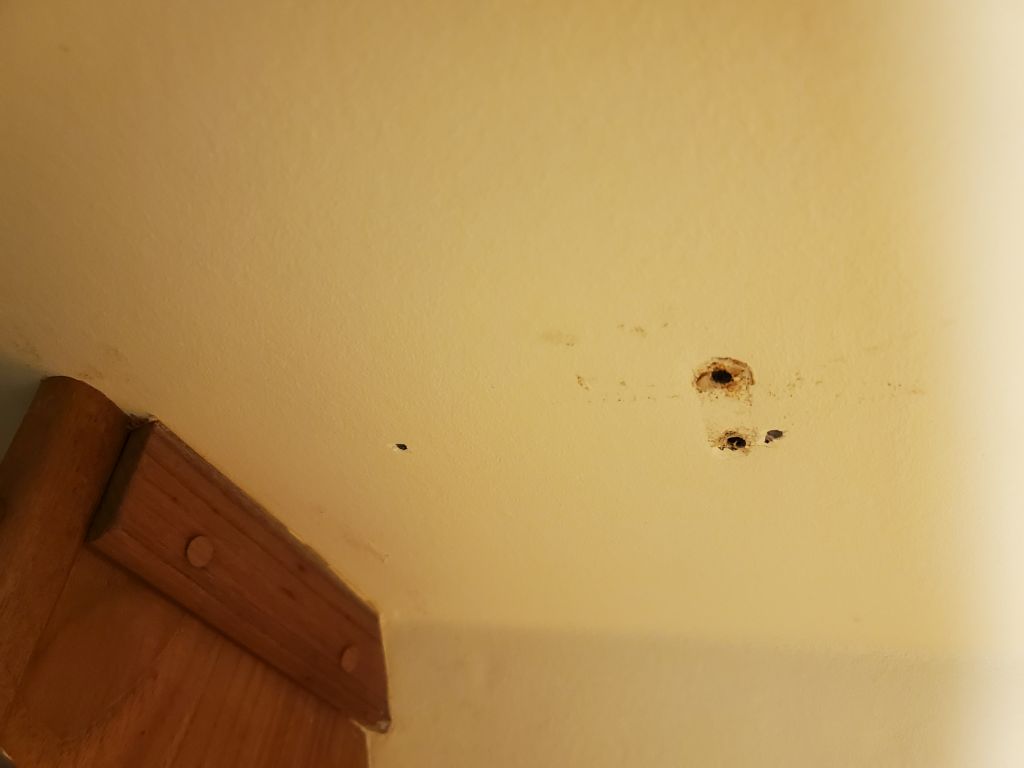
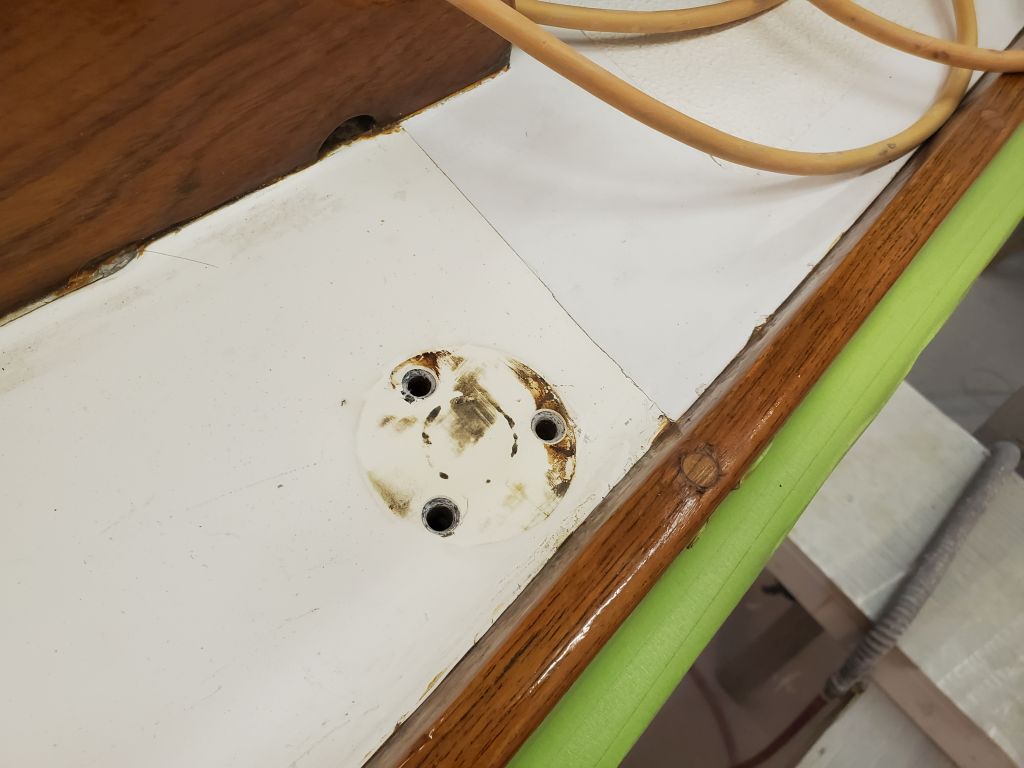
Next, I reamed out these fastener holes to enlarge them and provide a decent bonding area for filling and patching, since all four stanchion bases would be relocated slightly inboard, and the after two slightly forward as well, during this refit. Similarly, I reamed out any other fastener holes that would be abandoned or relocated, including the old mast wiring holes and those left from a small fairlead on the foredeck that the owner reported was no longer used. The stanchion bases and mast wiring holes were all in solid fiberglass portions of the deck; the core beneath the two small fairlead holes in the cored foredeck was observed to be in good condition without need for further attention.
Similarly, I cleaned out the remaining fastener holes about the deck, including the pulpit bases, chainplates, winch bases, and cleat locations, just to remove old sealant for the work ahead; I planned to reuse these holes, so they would not be filled.
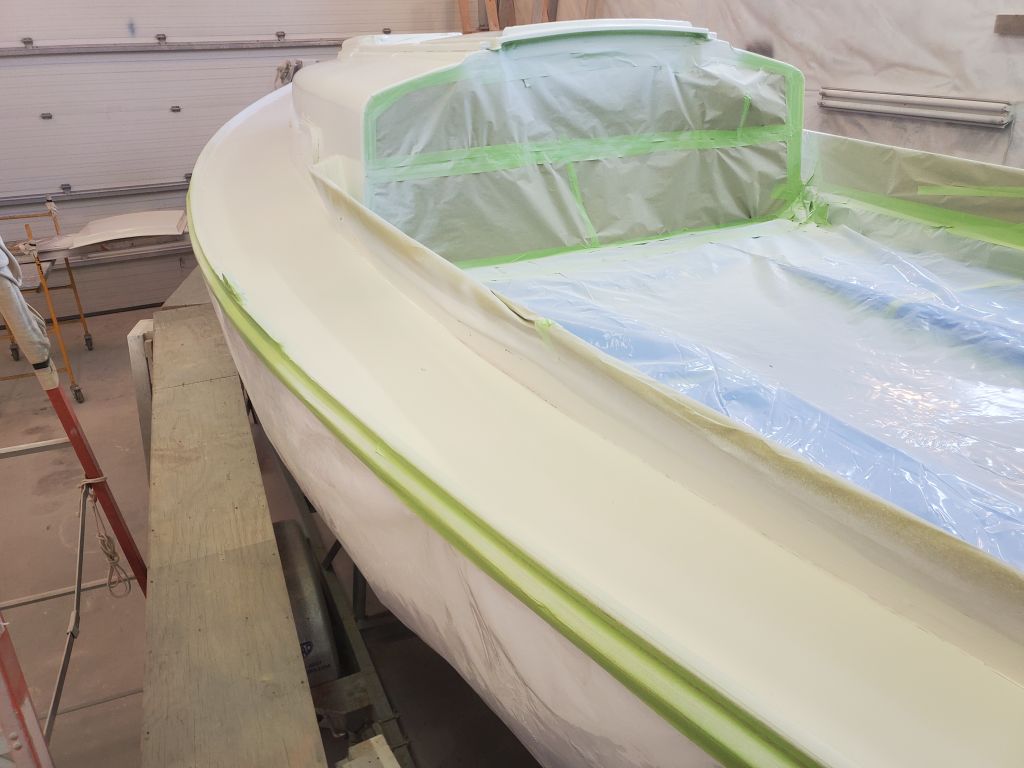
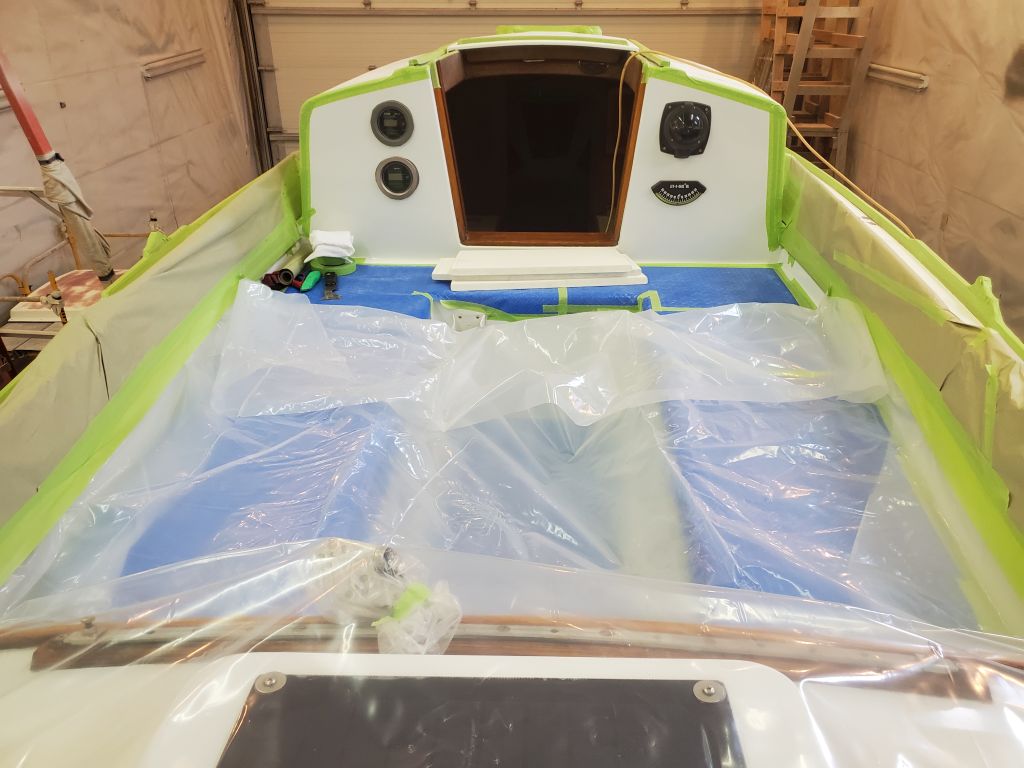
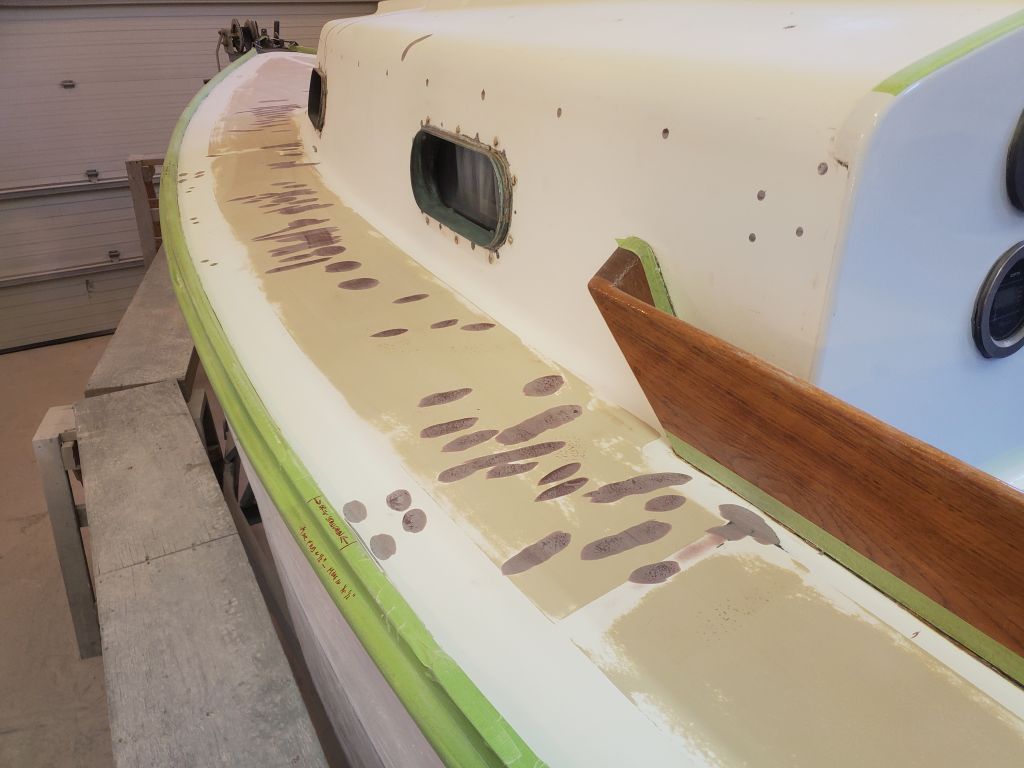
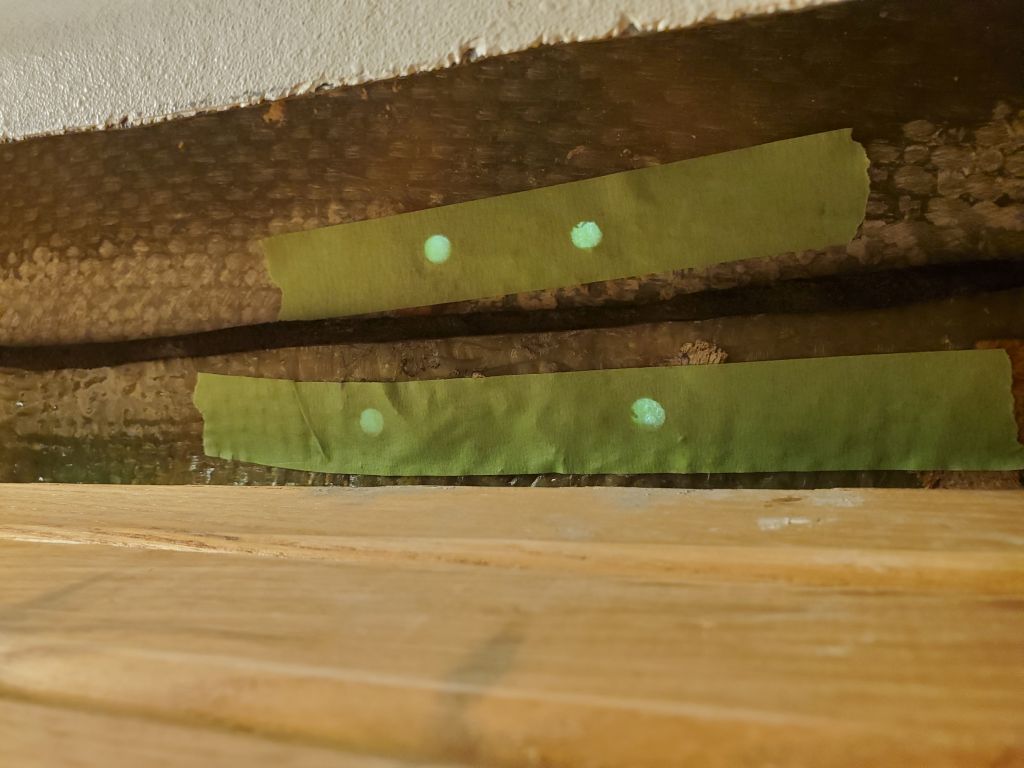
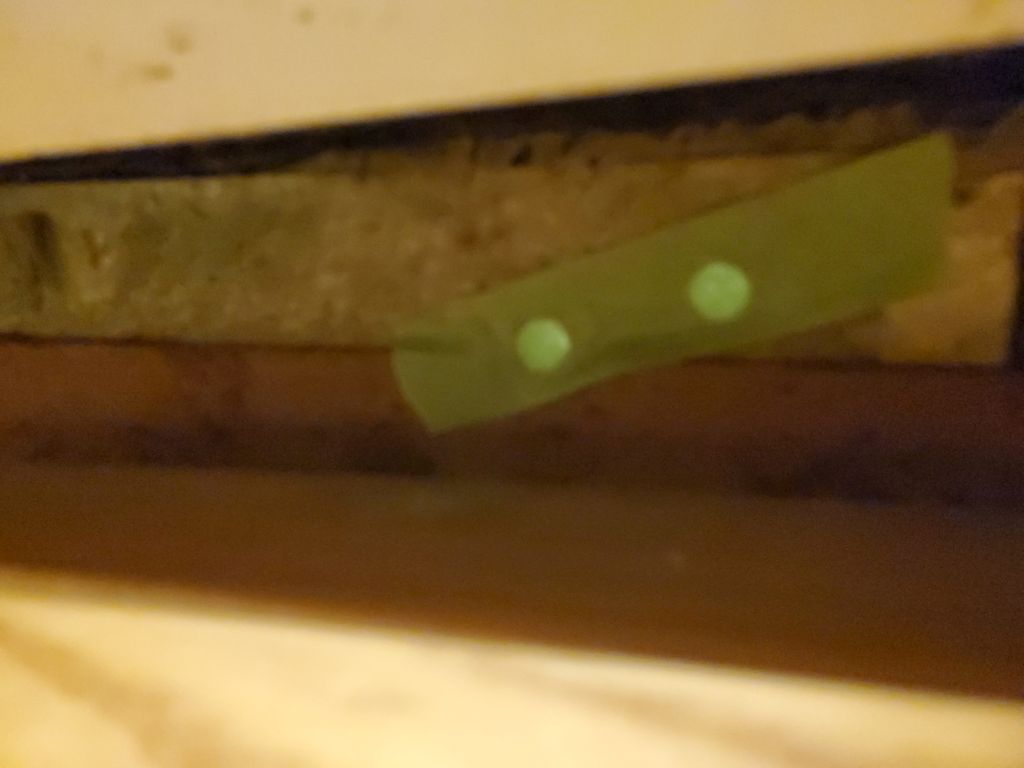
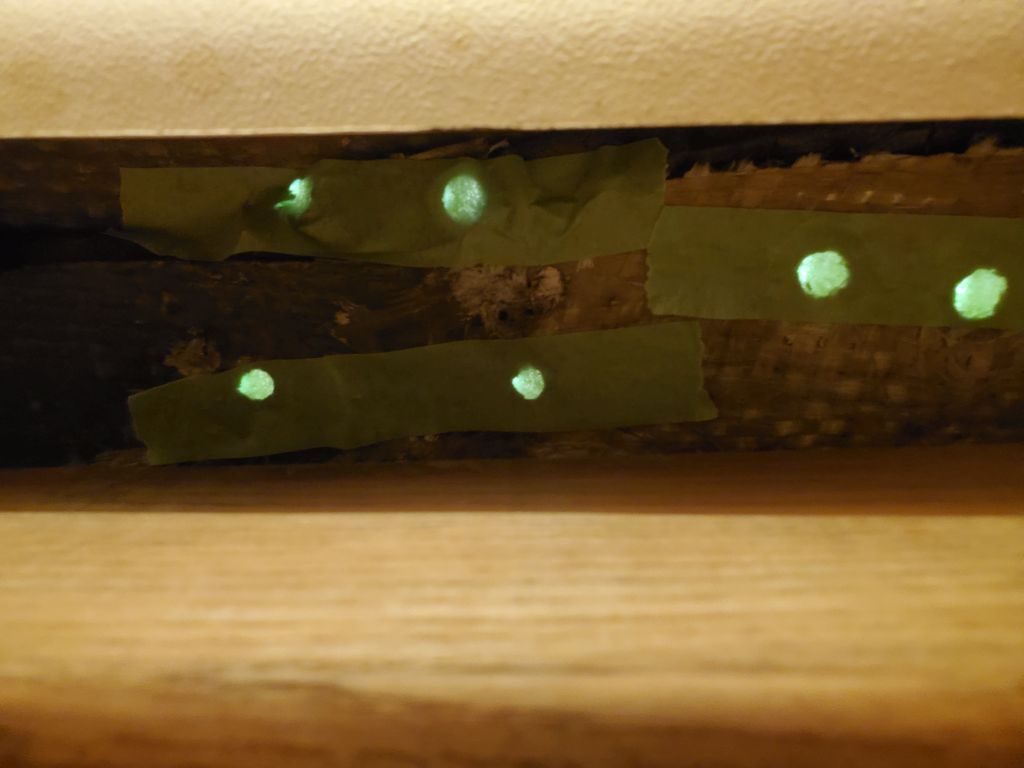
I masked over most of these holes from belowdecks to keep epoxy fill (where applicable) from ending up where it shouldn’t.
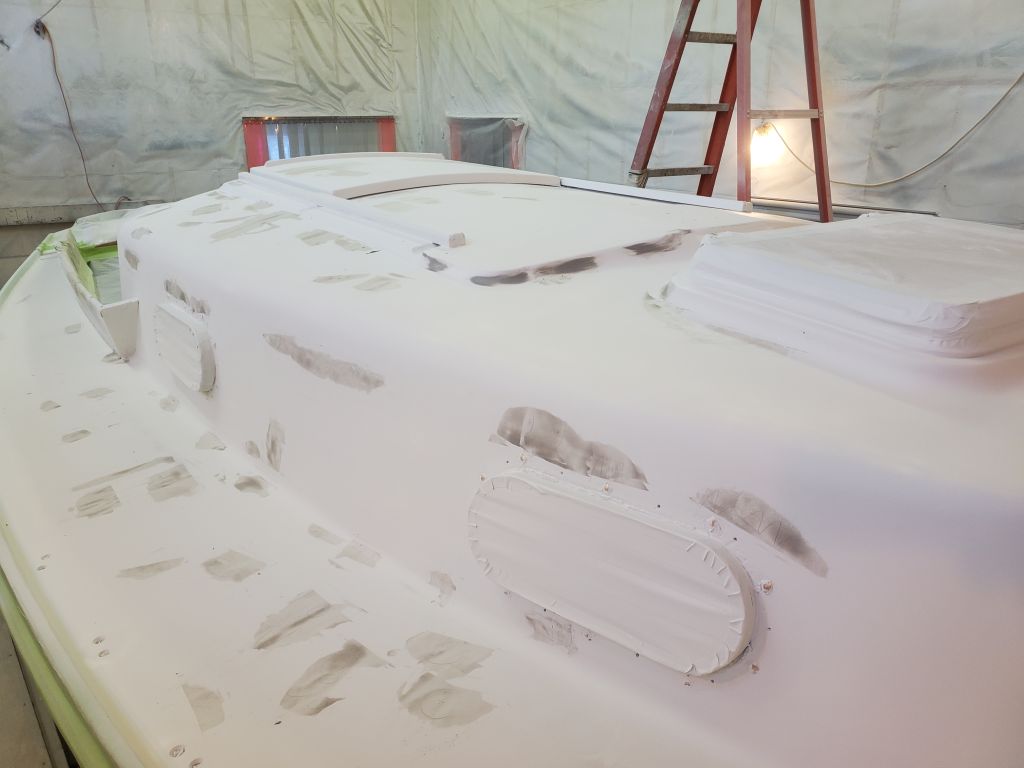
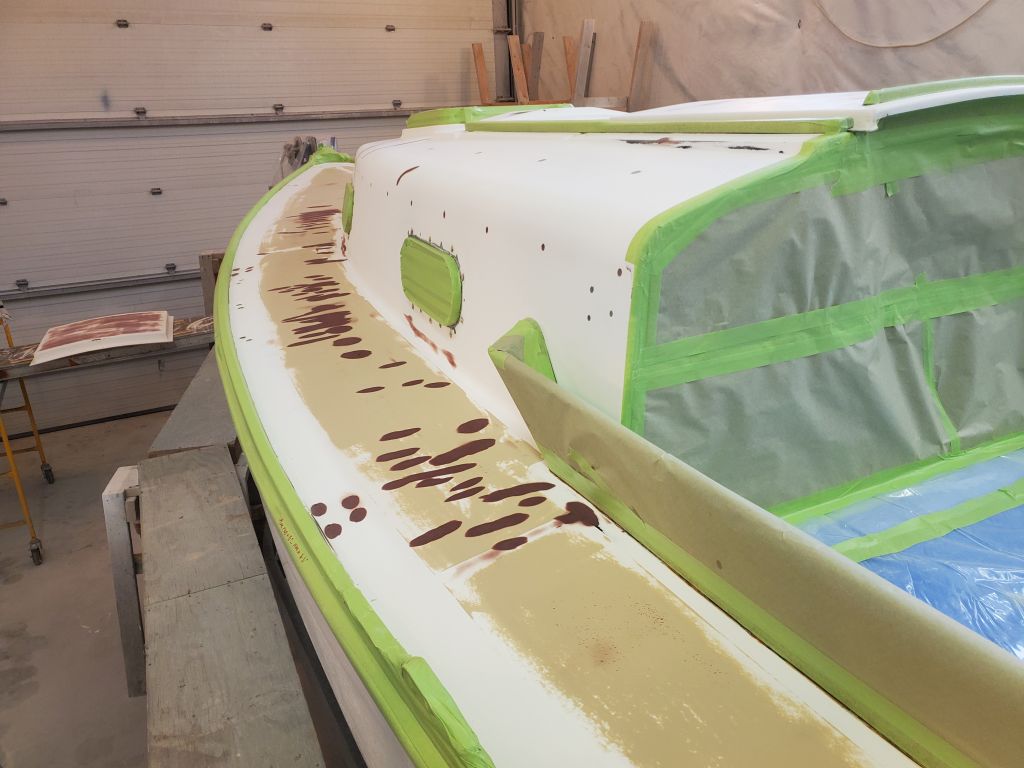
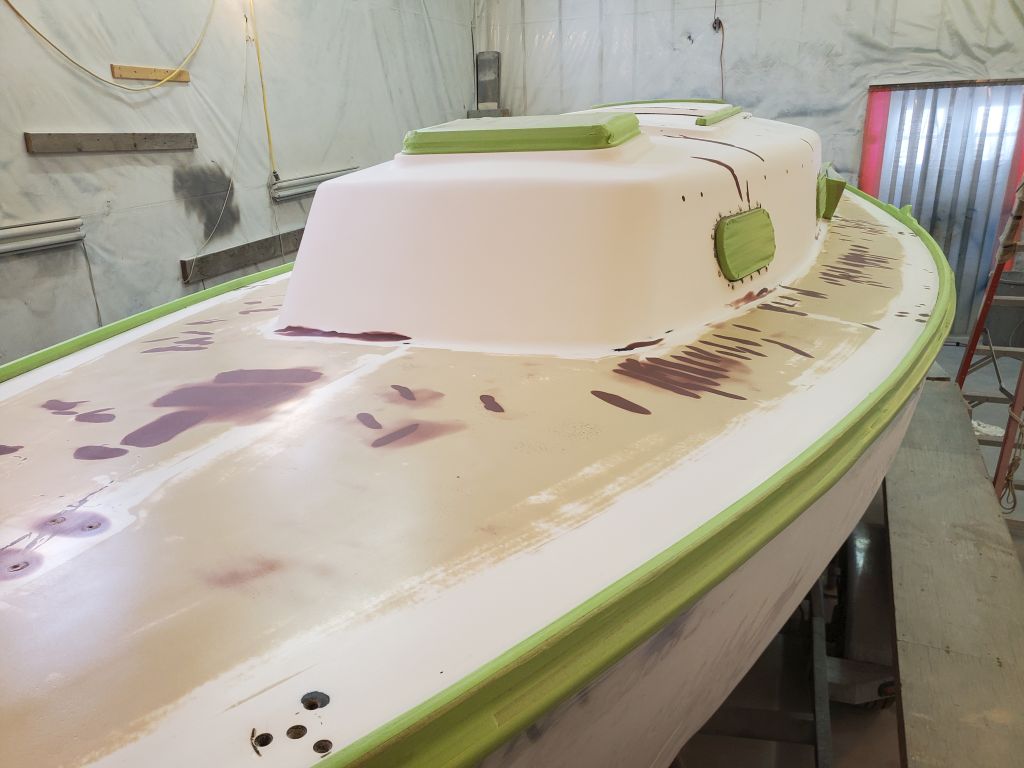
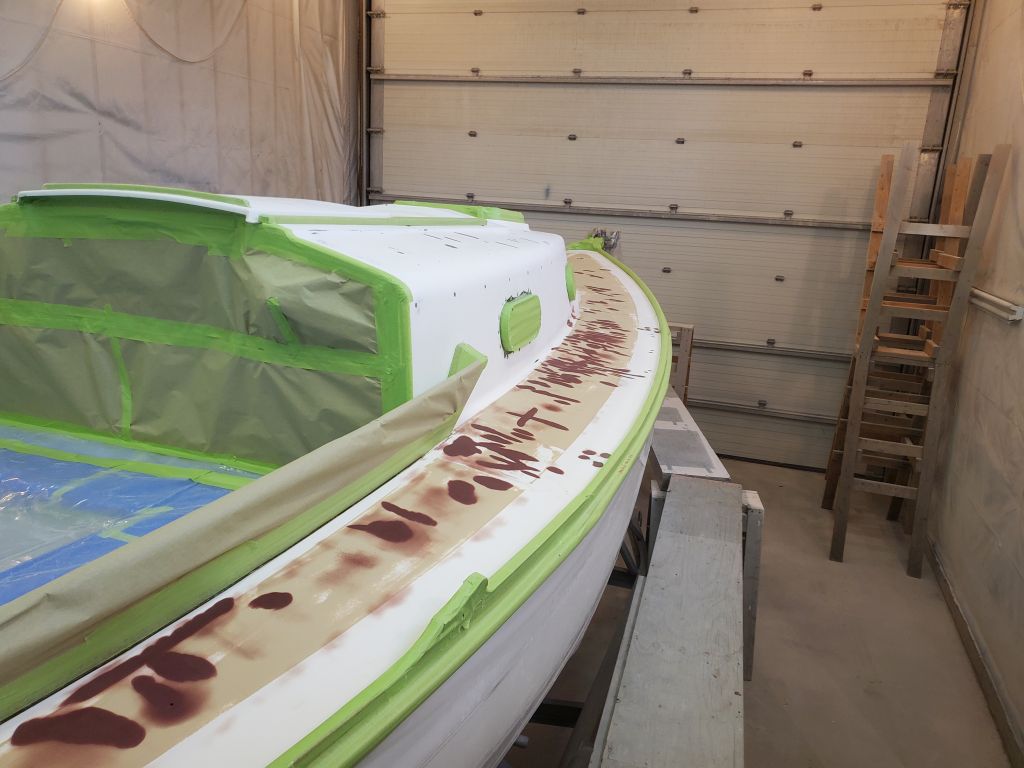
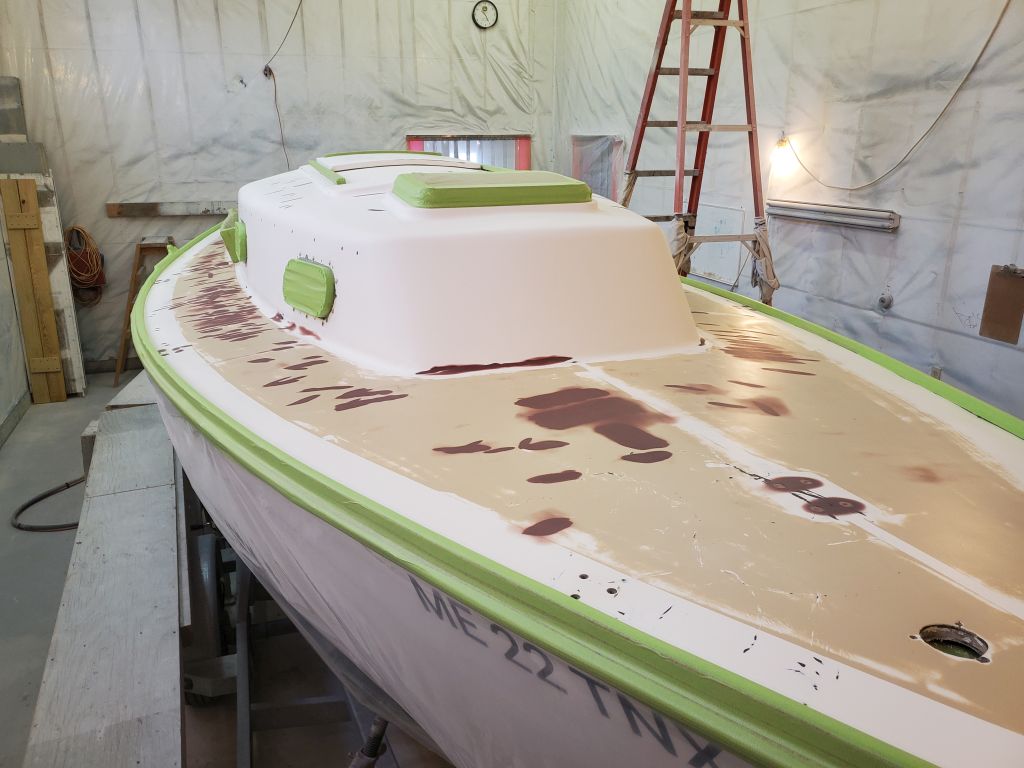
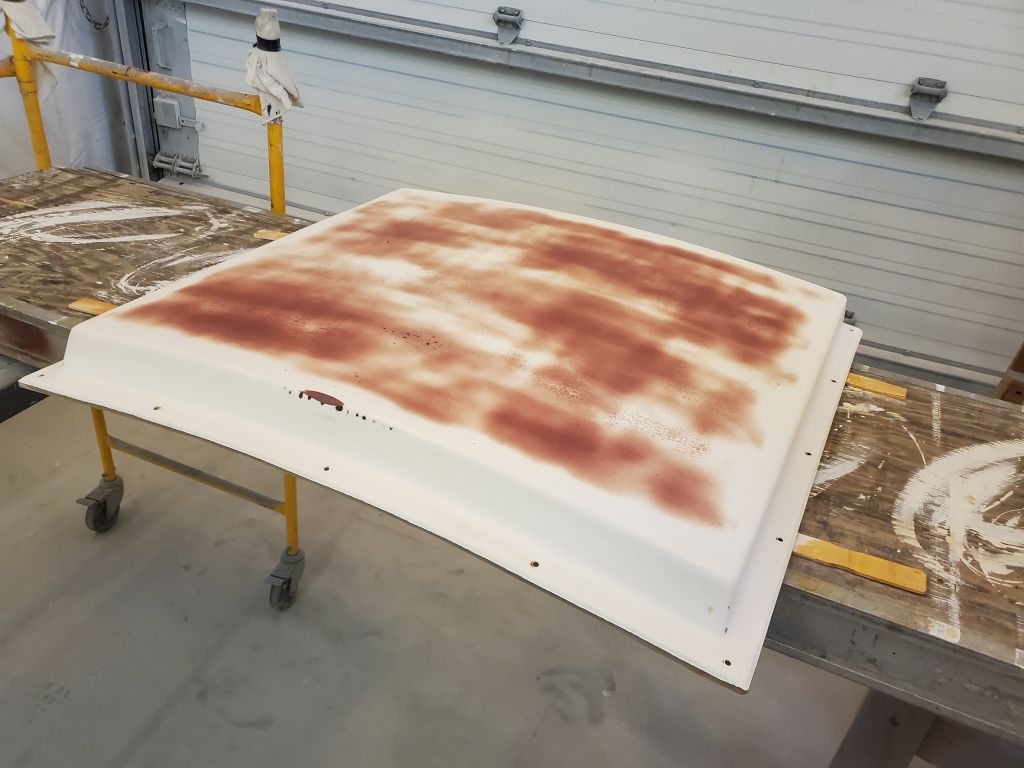
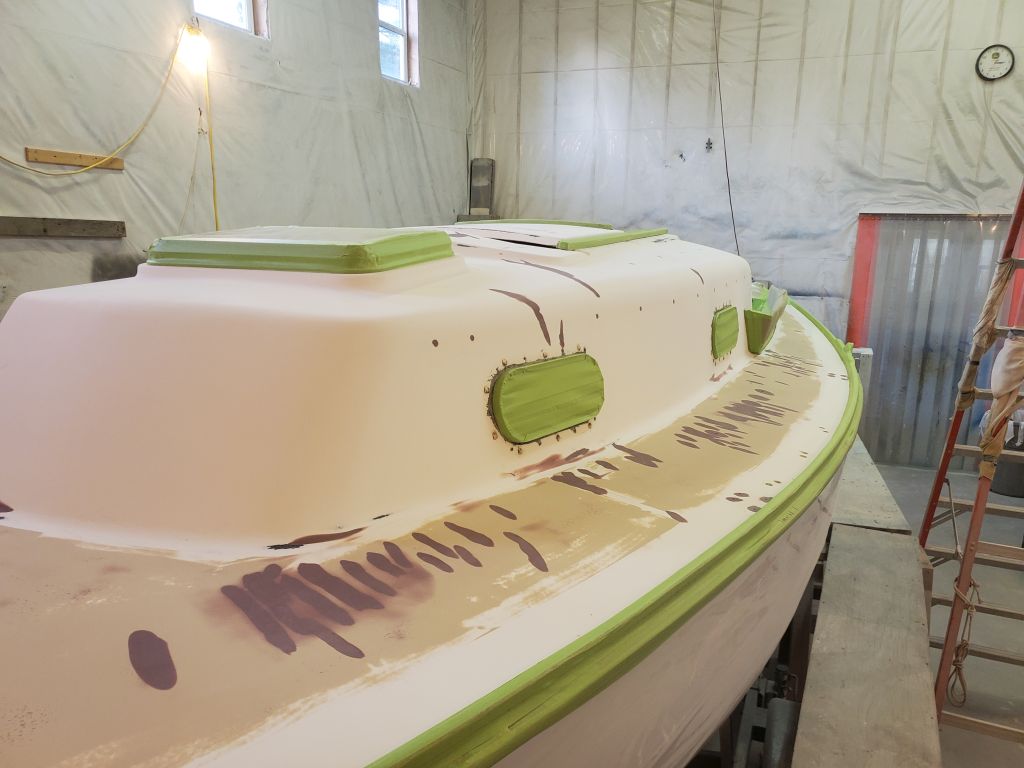
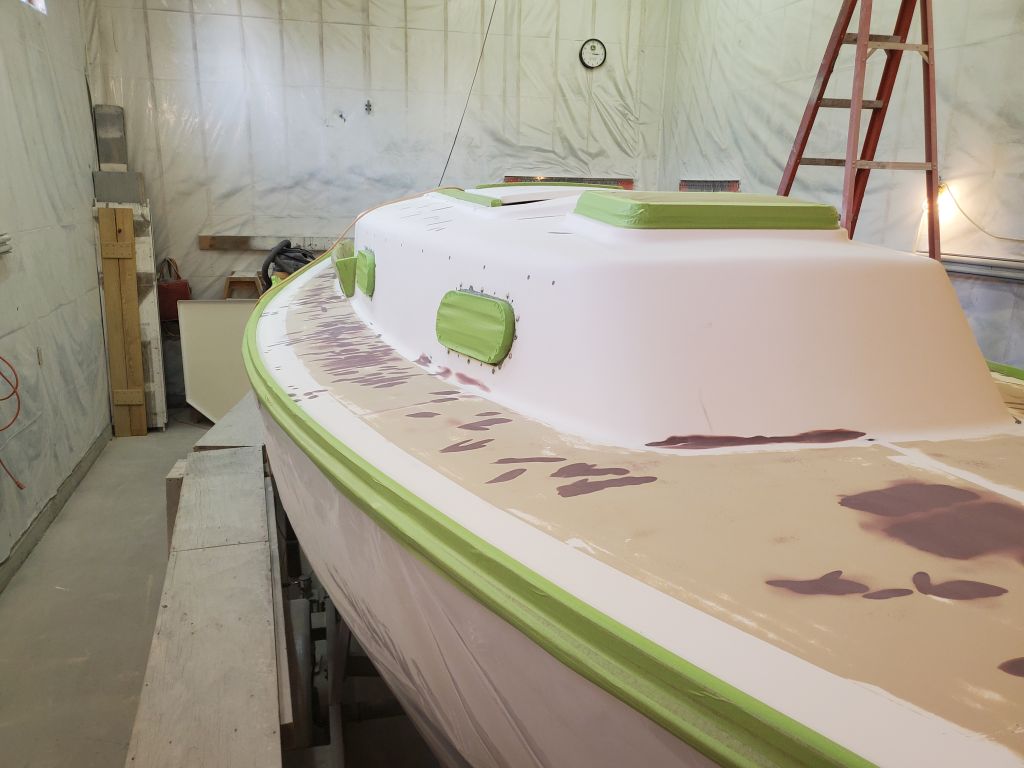
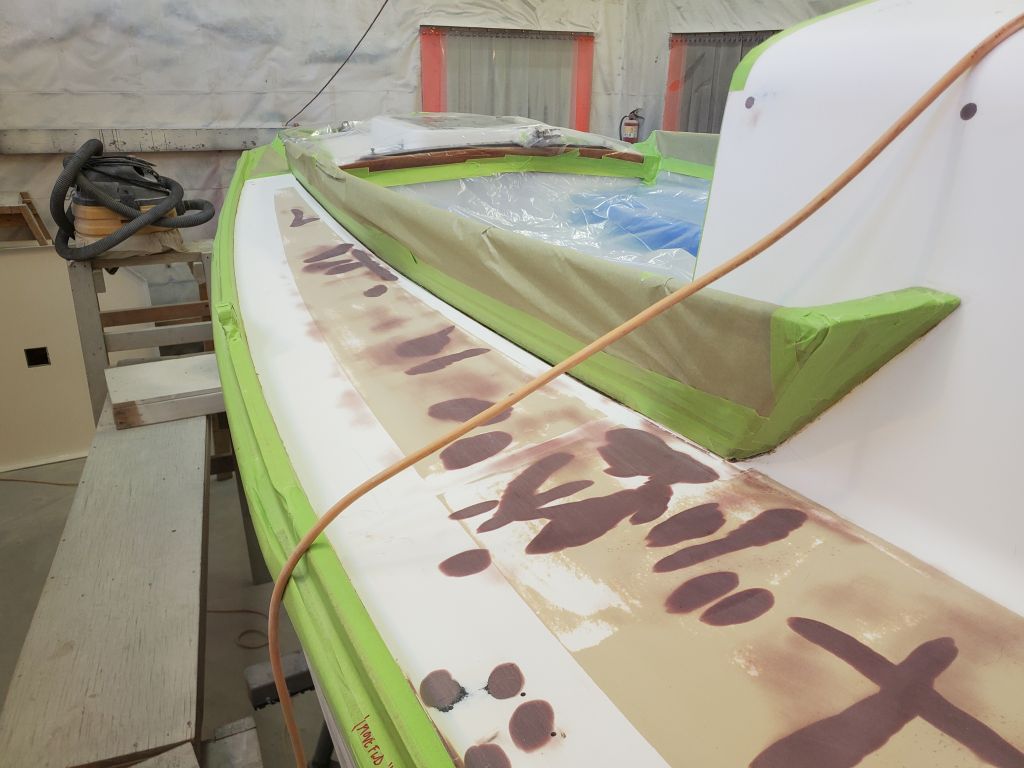
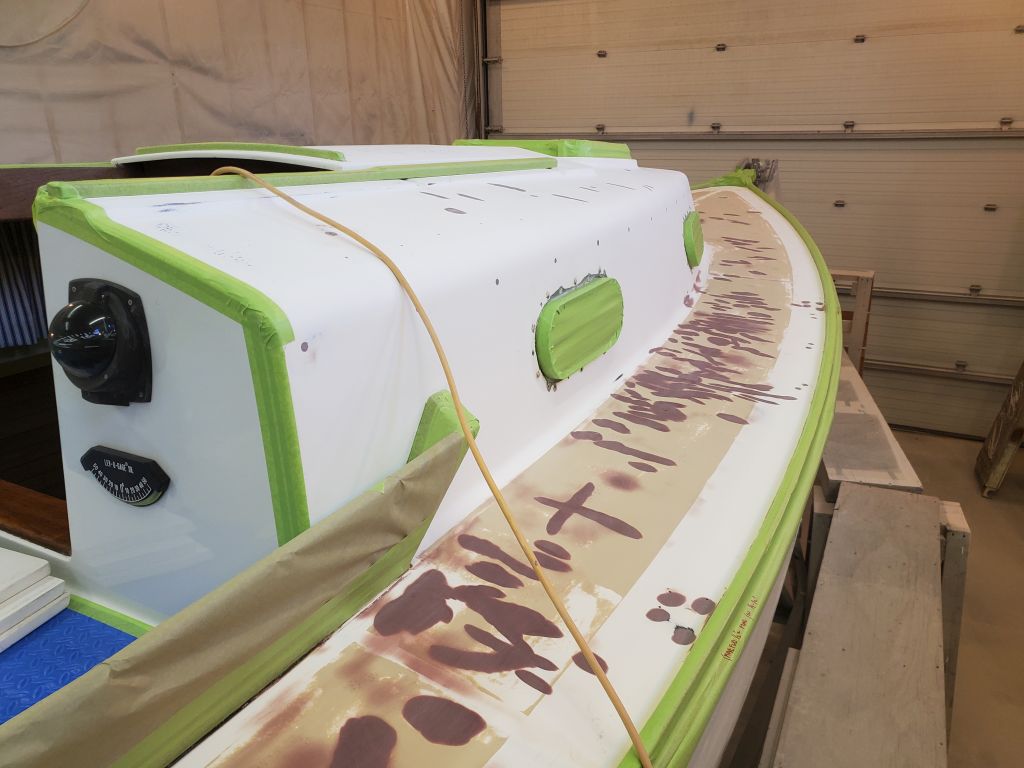
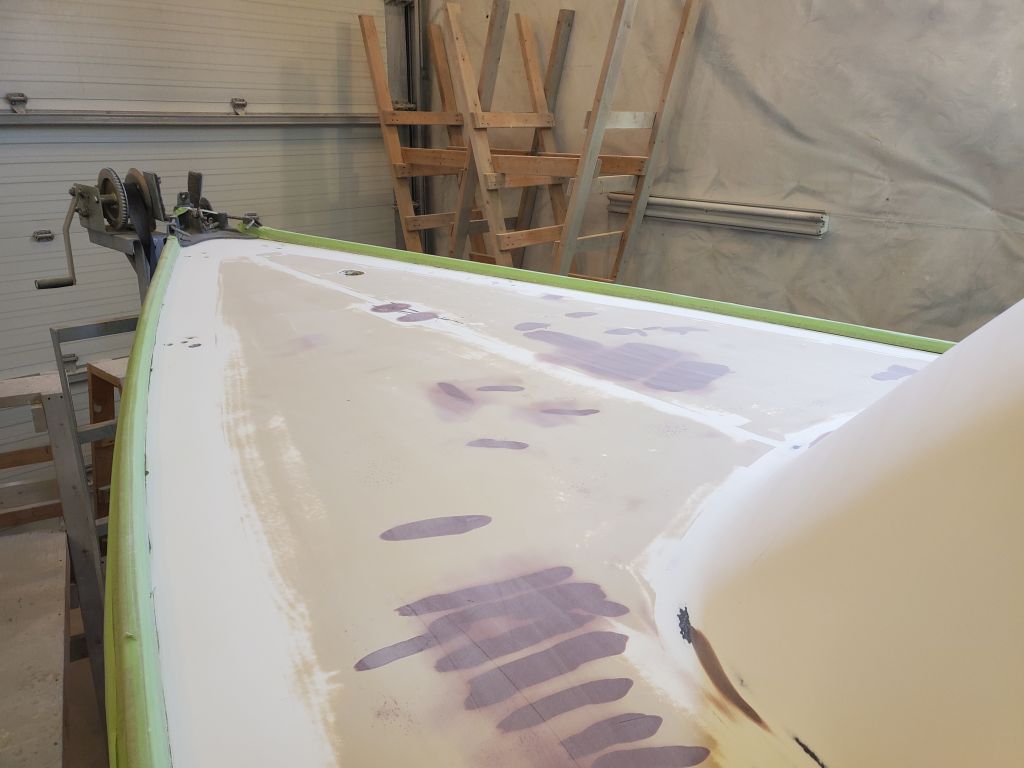
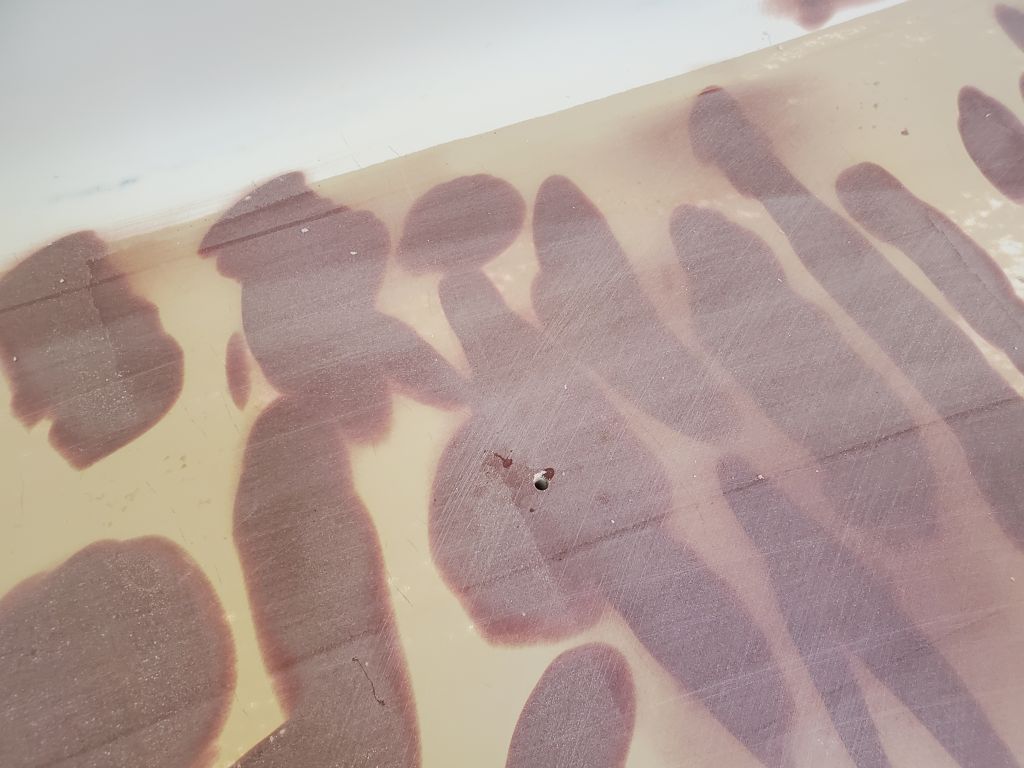
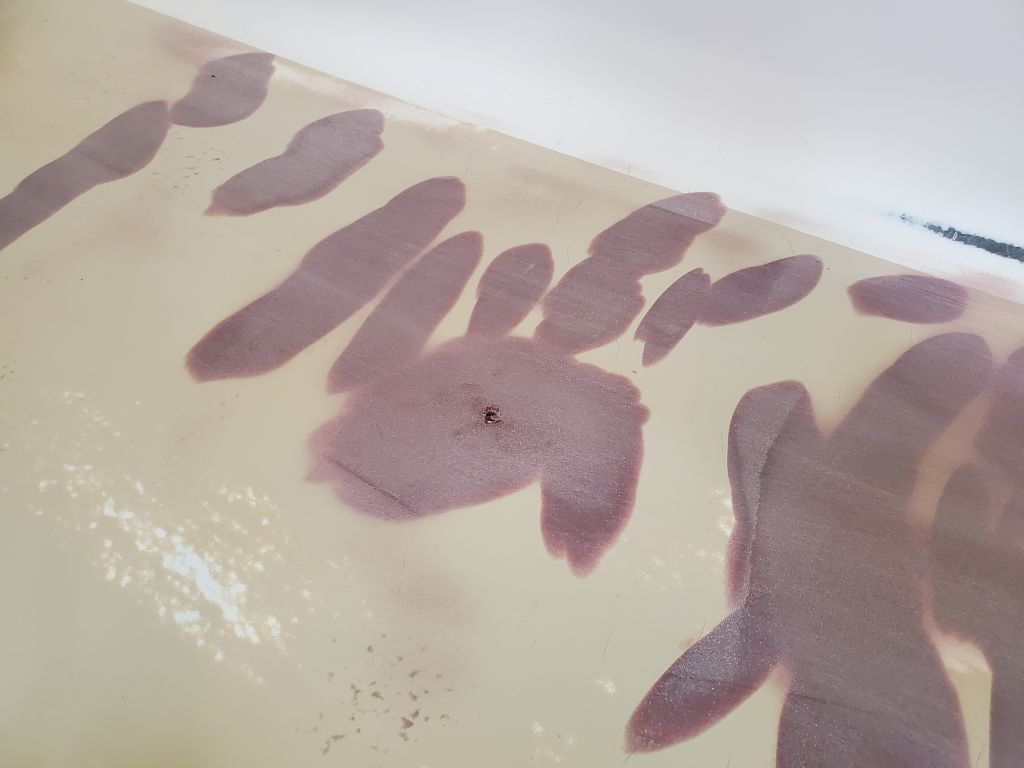
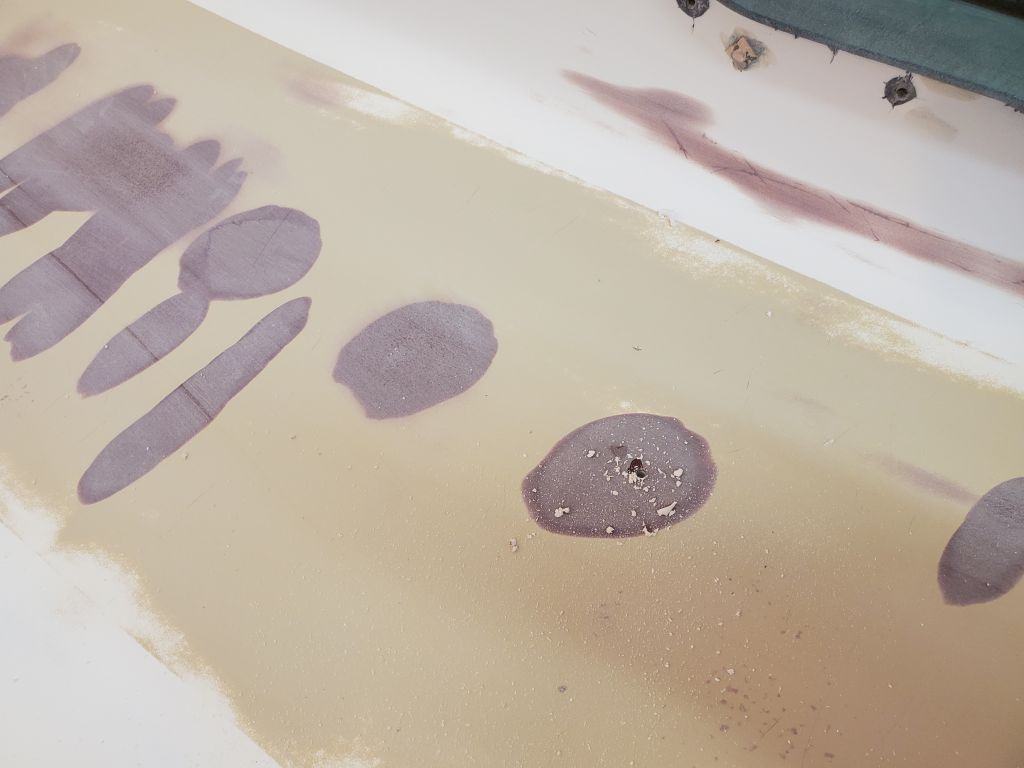
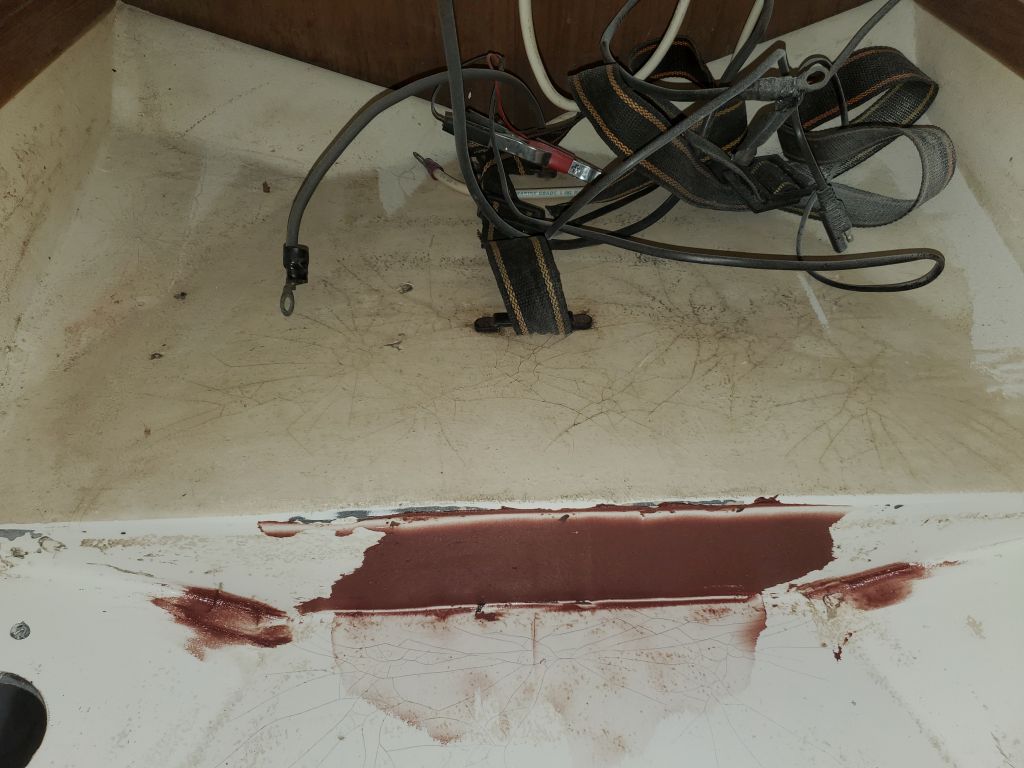
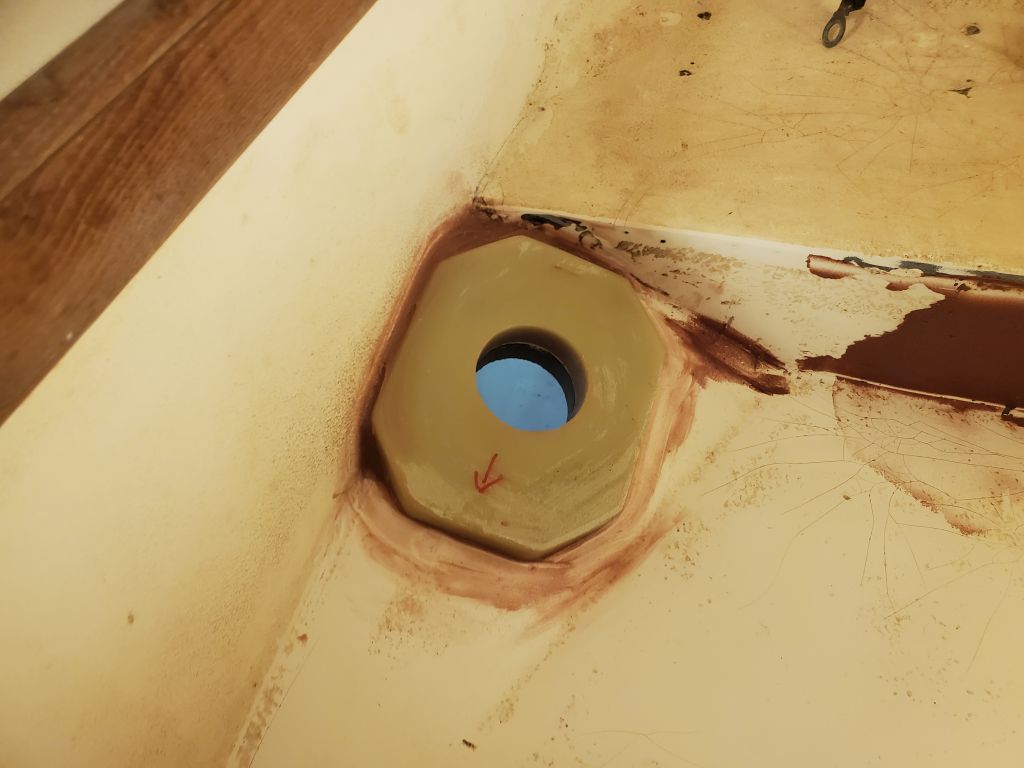
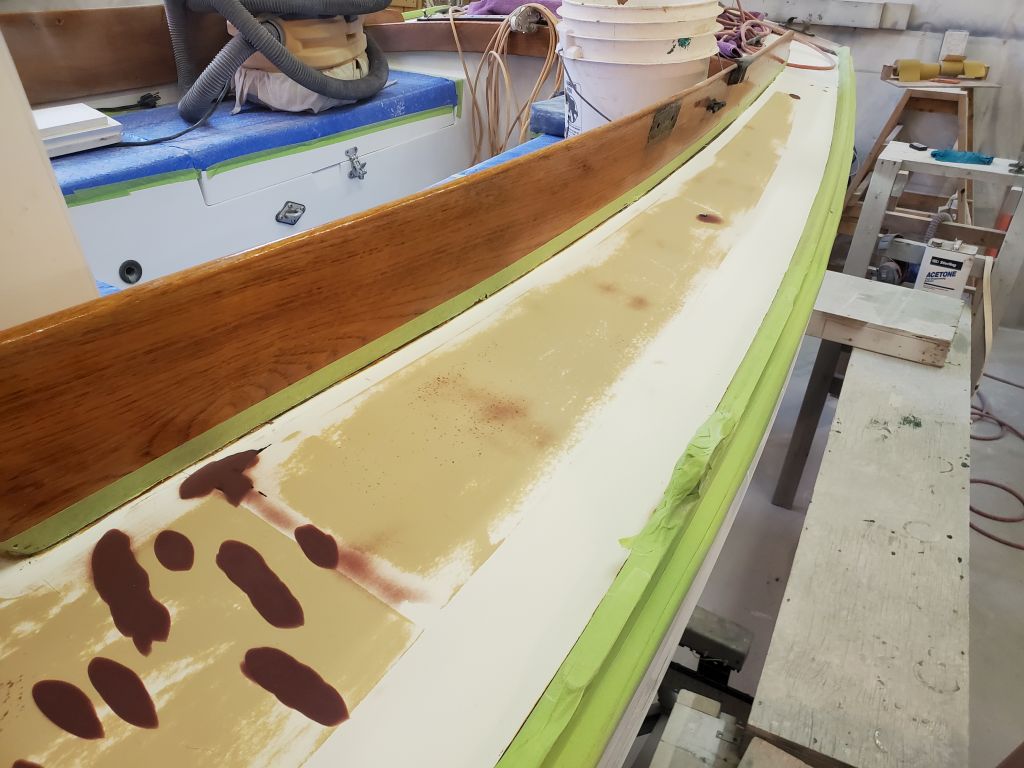
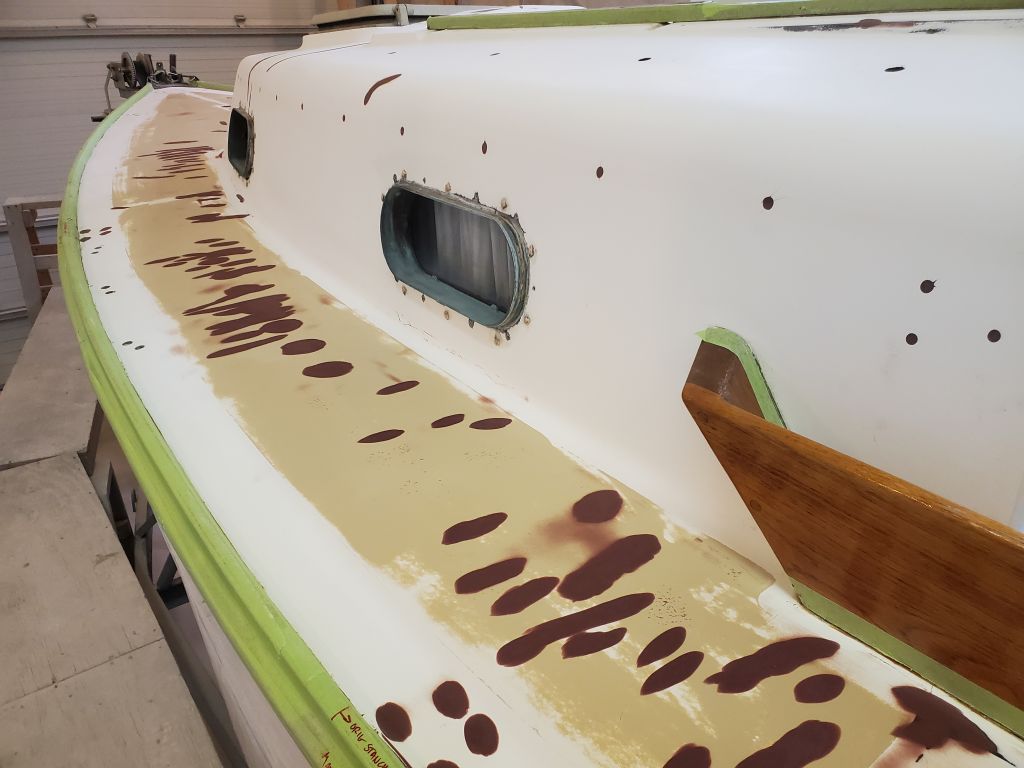
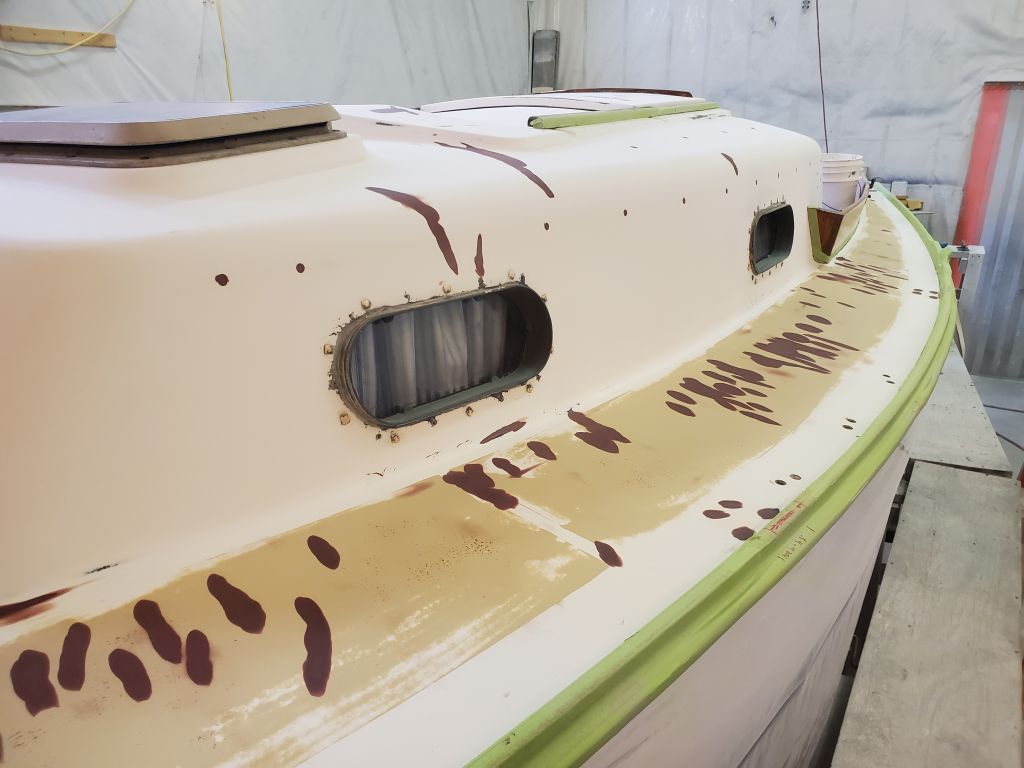
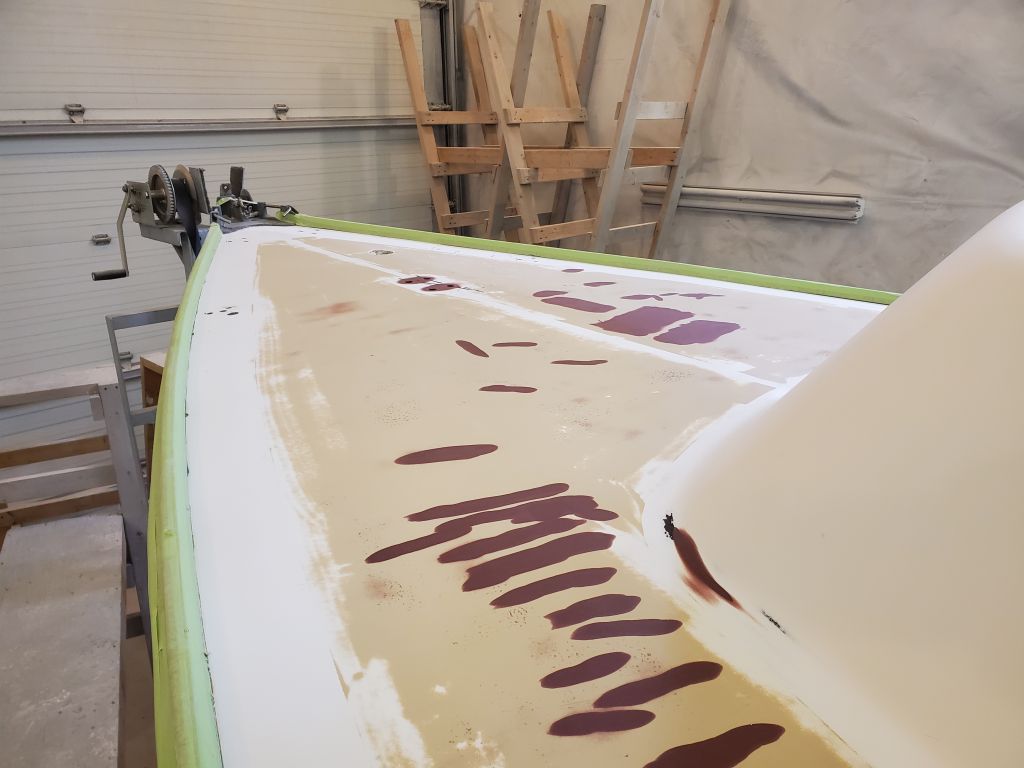
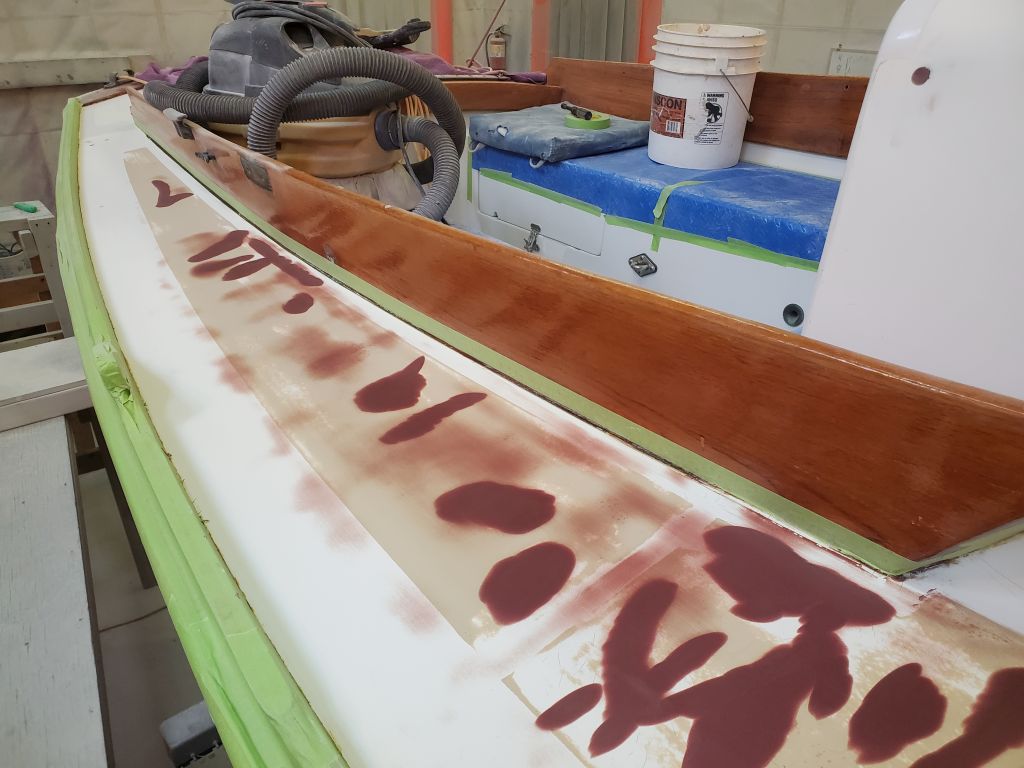
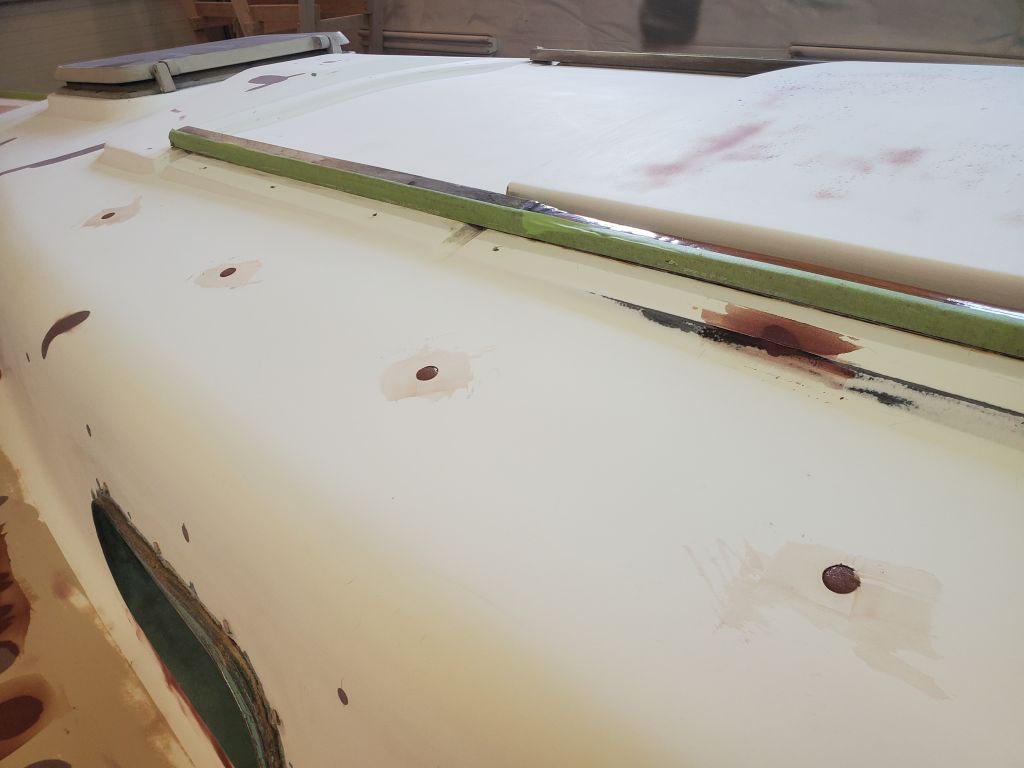
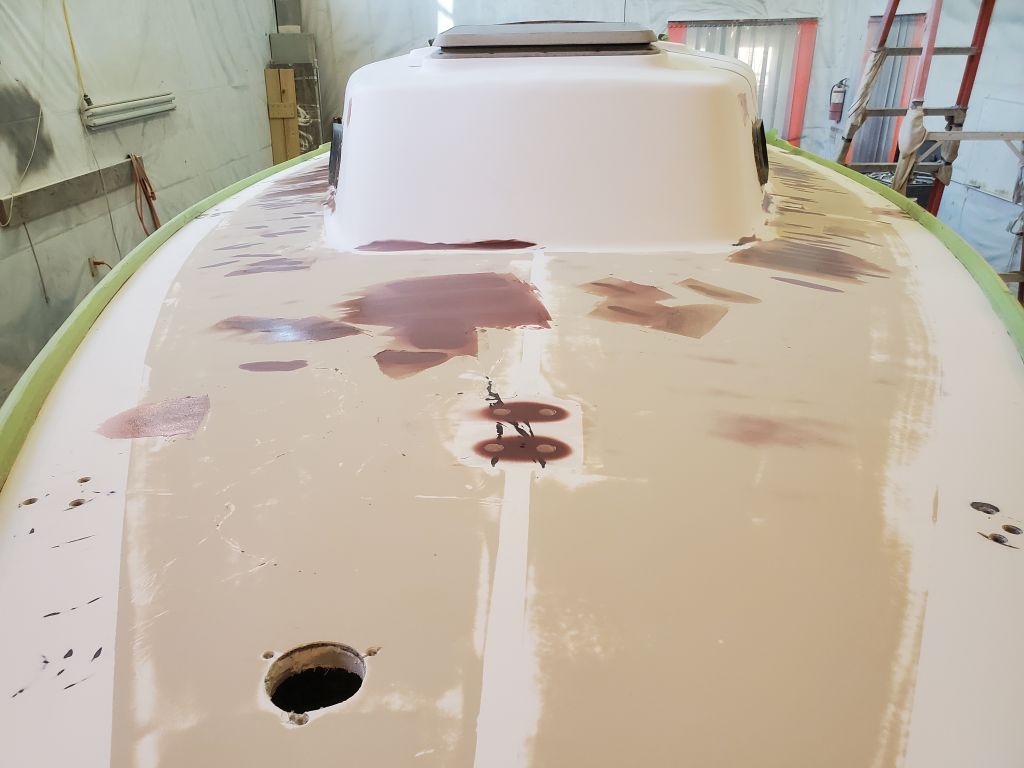
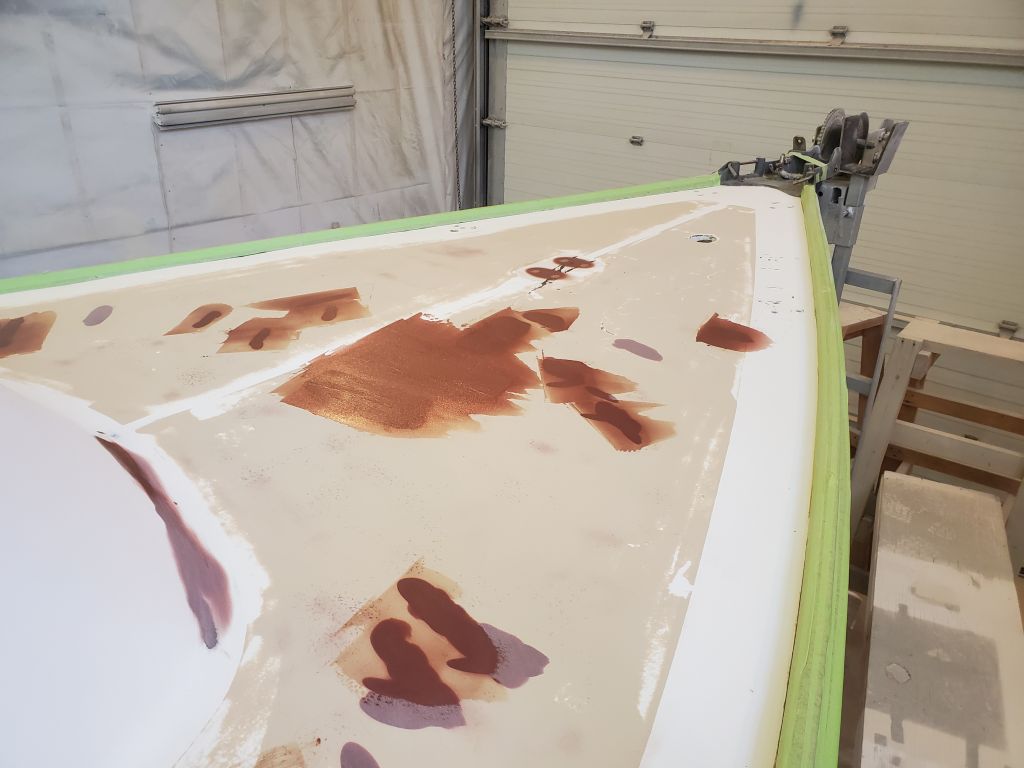
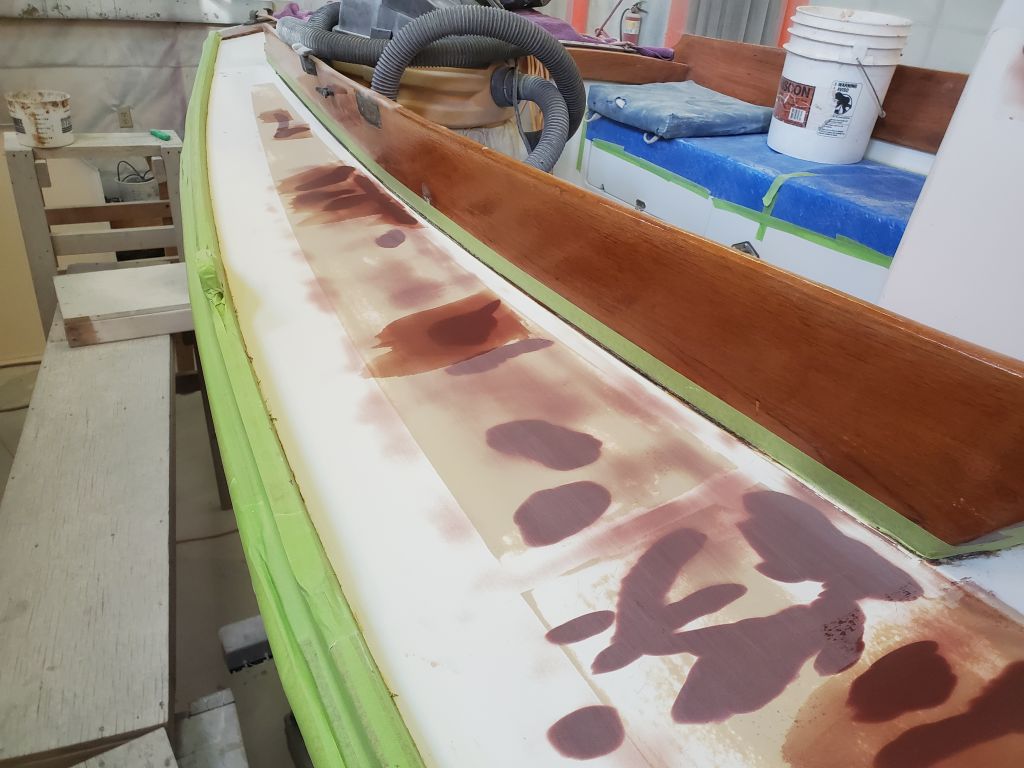
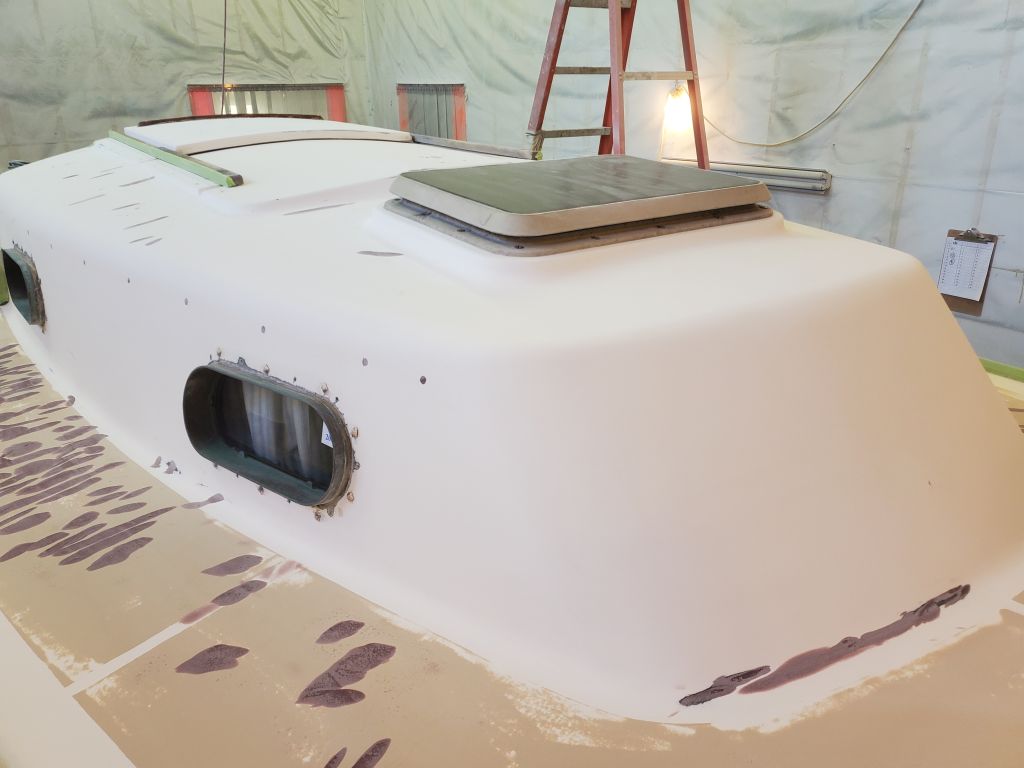
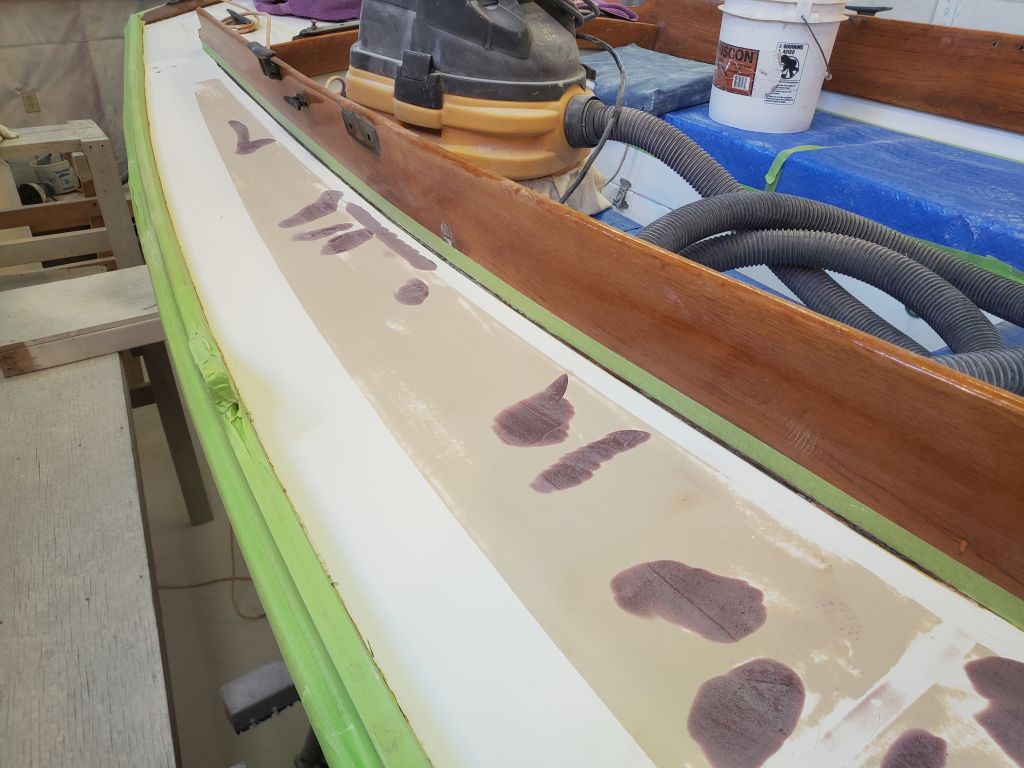
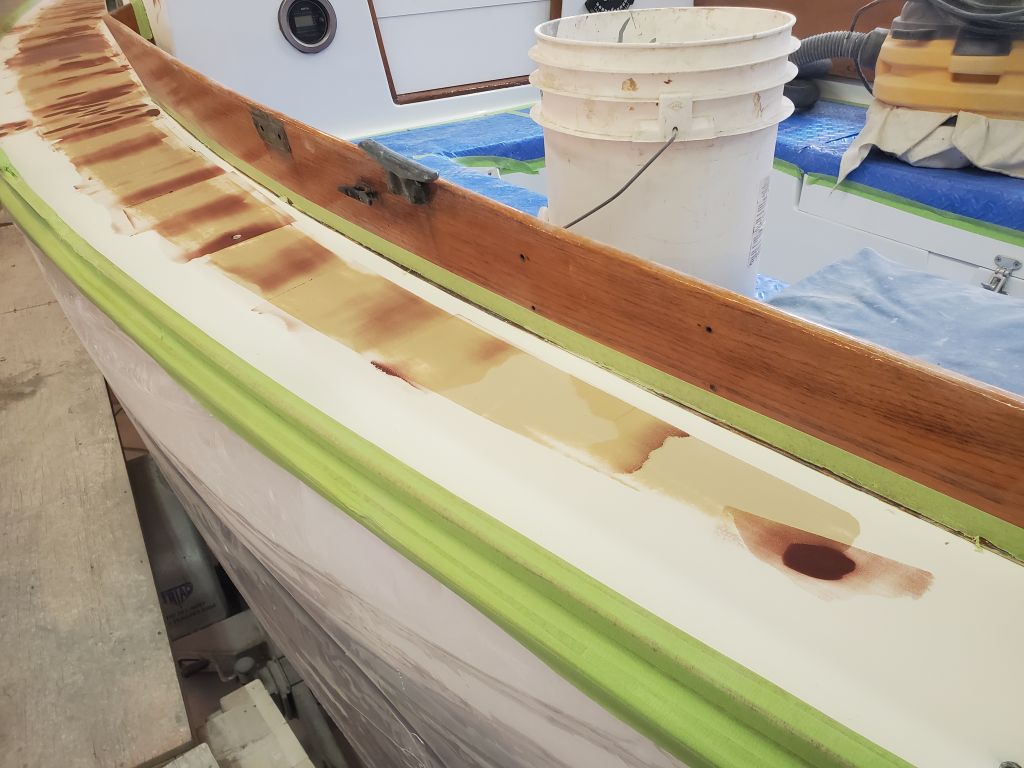
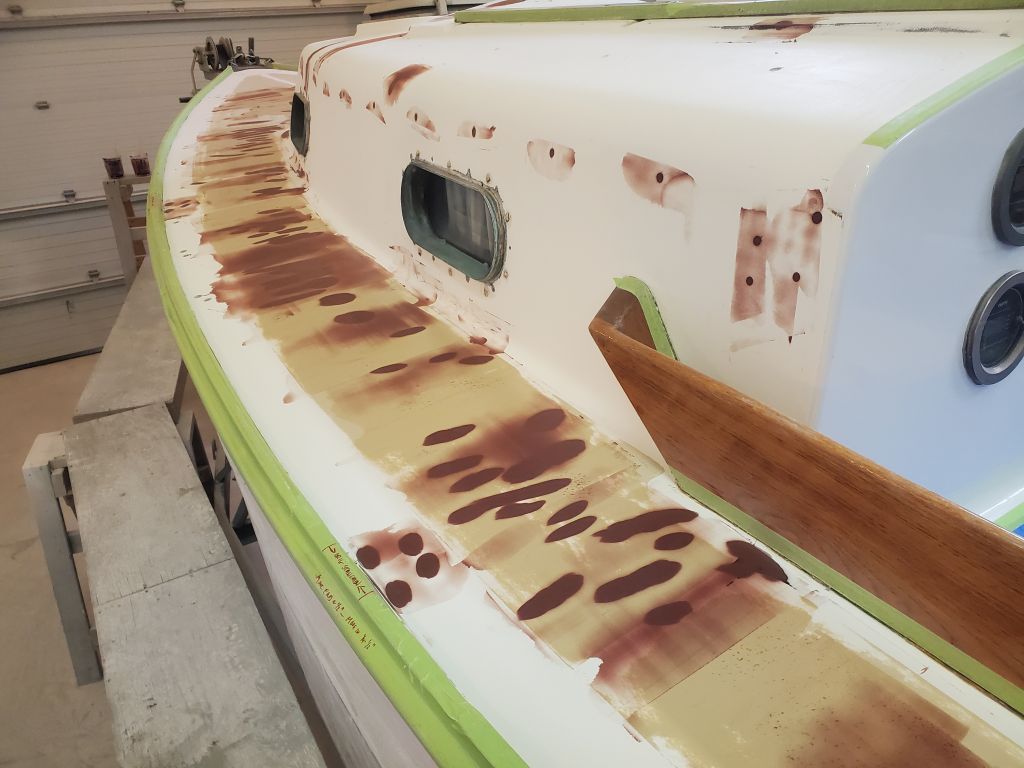
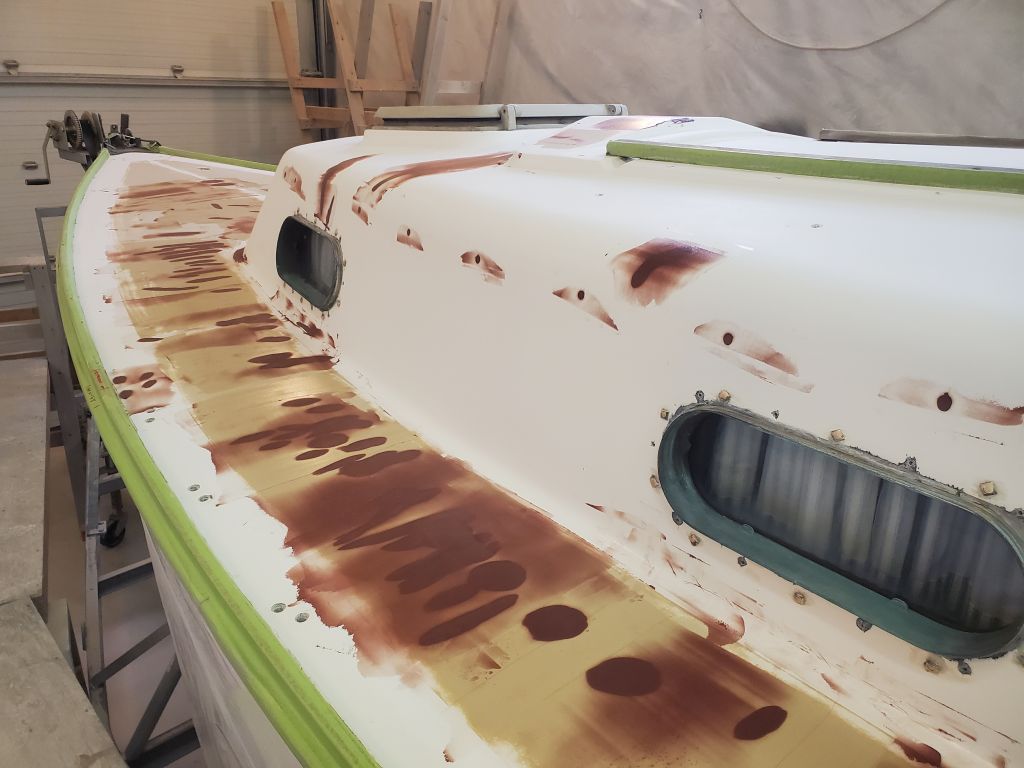
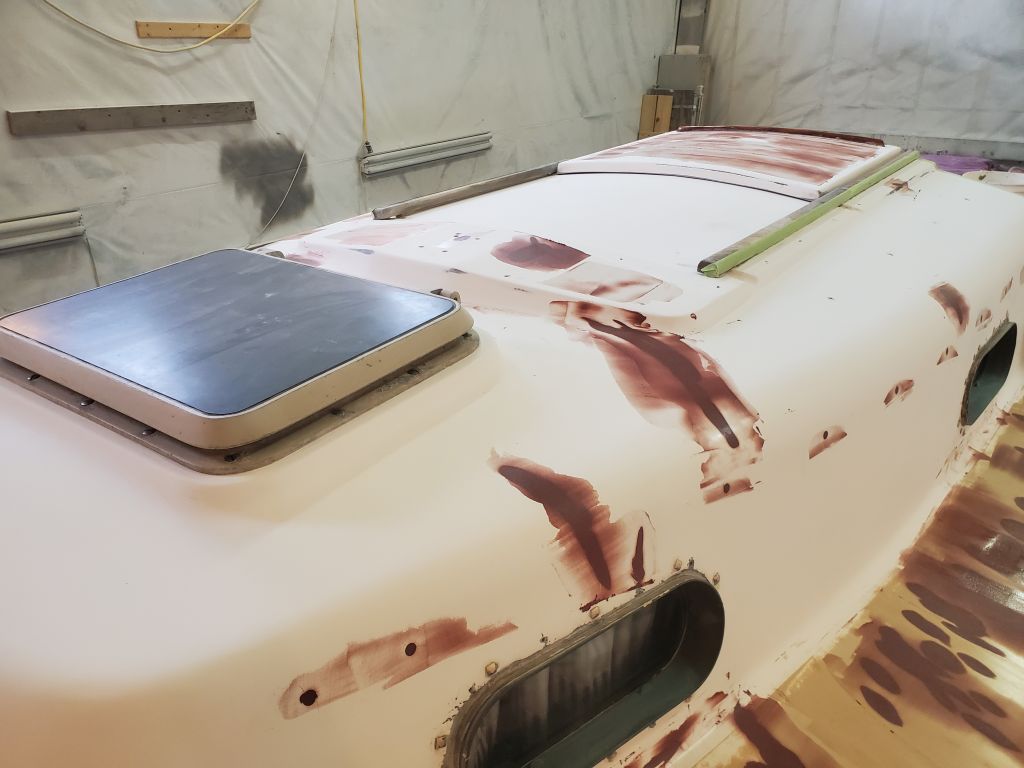
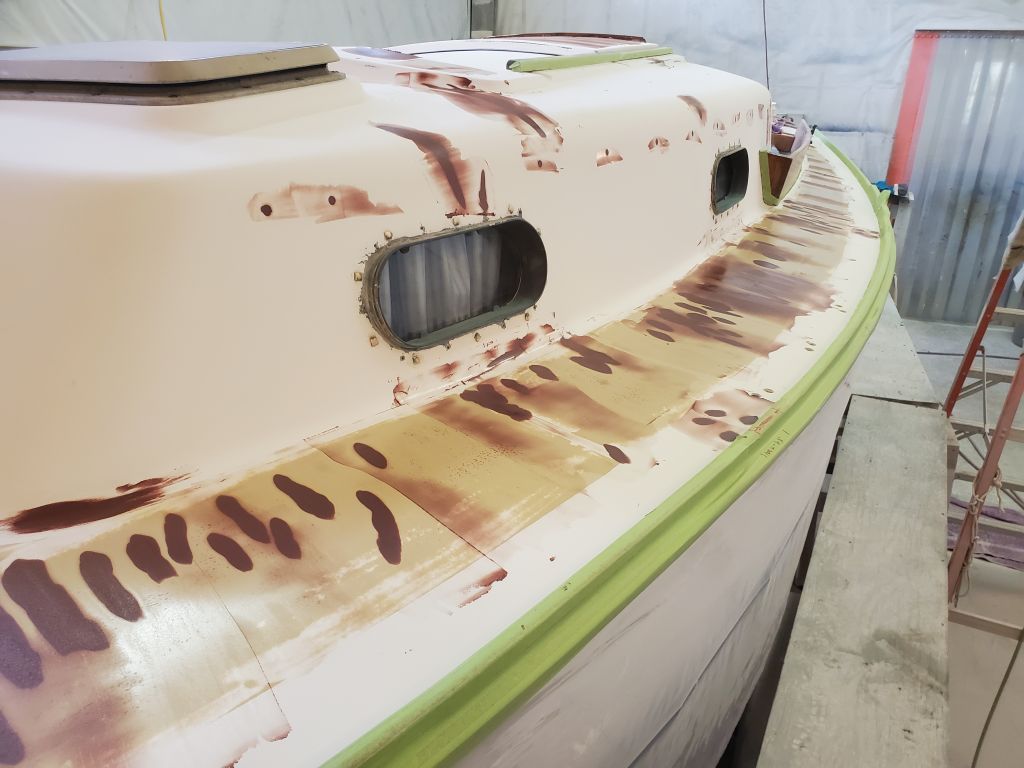
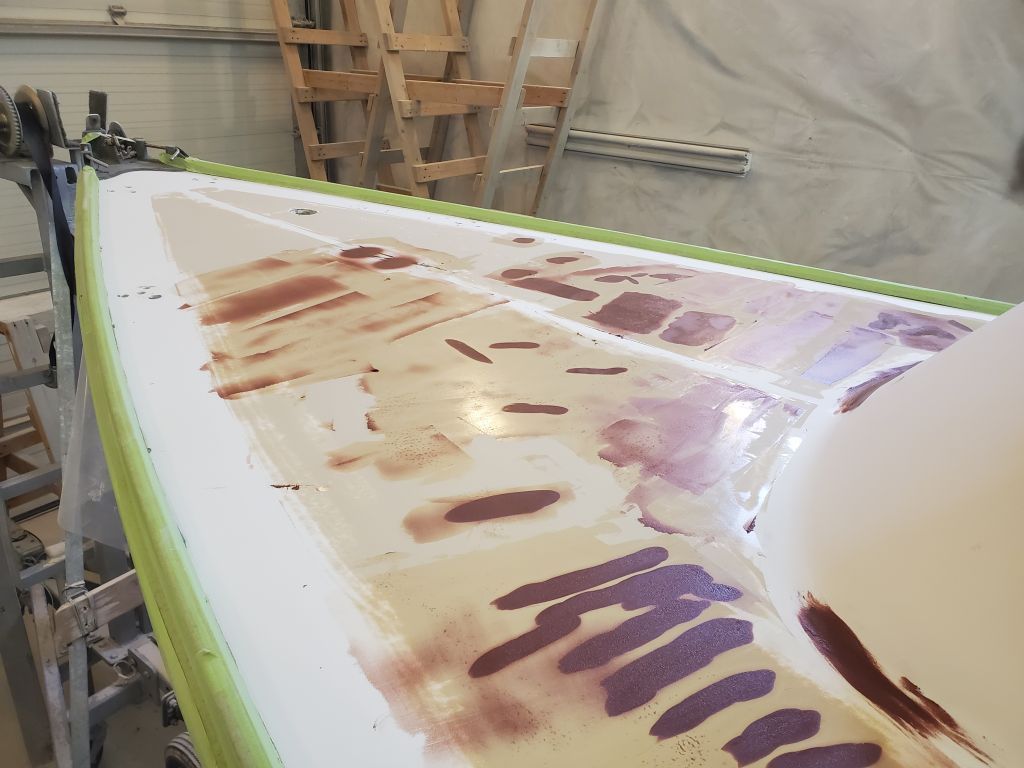
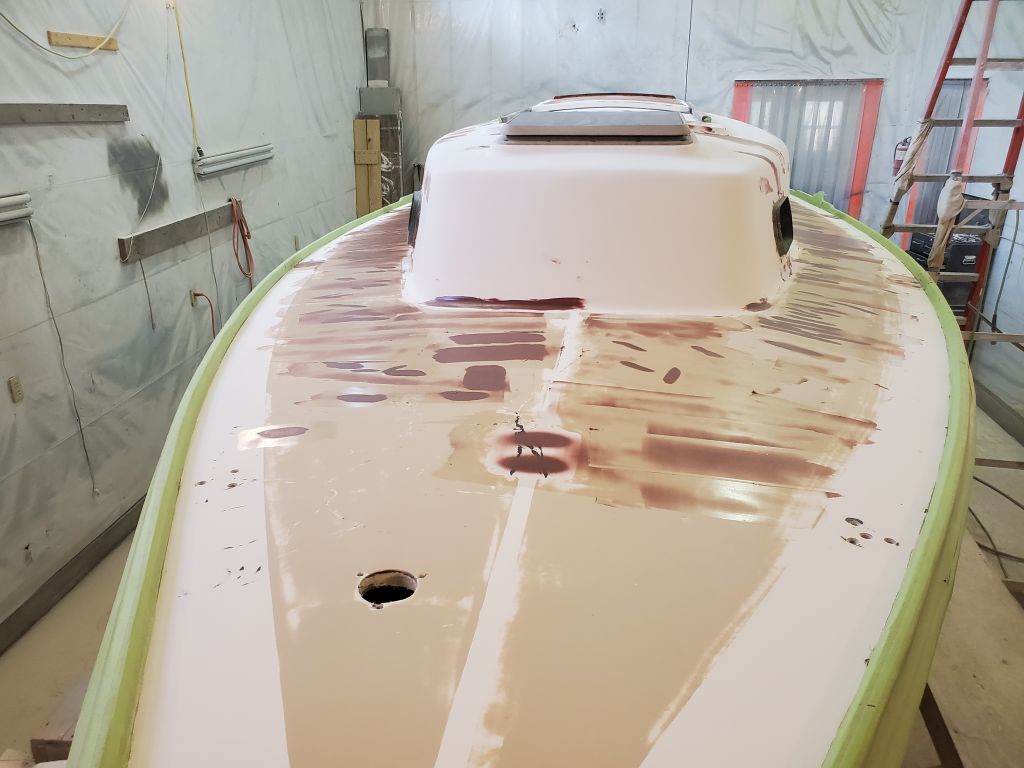
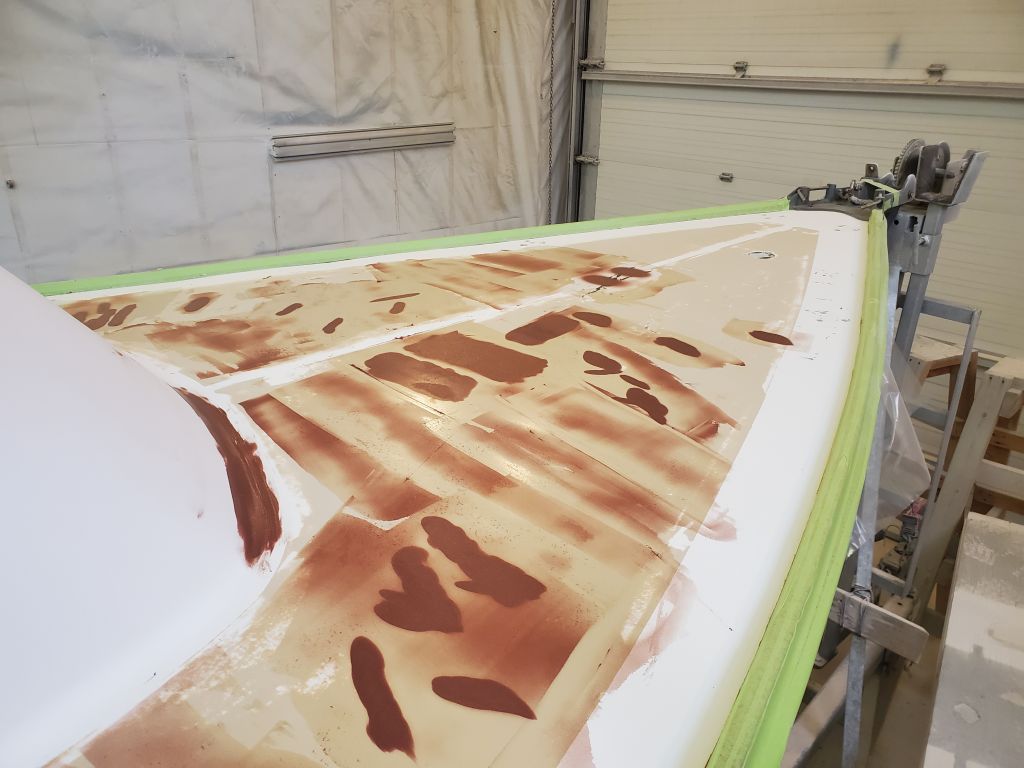
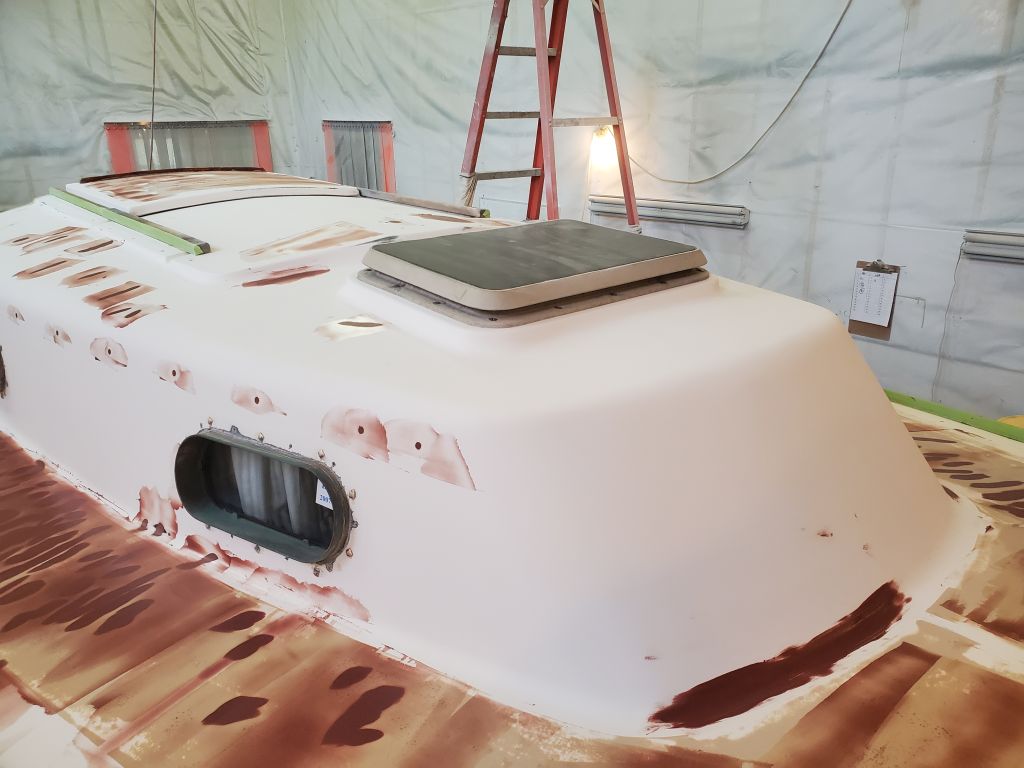
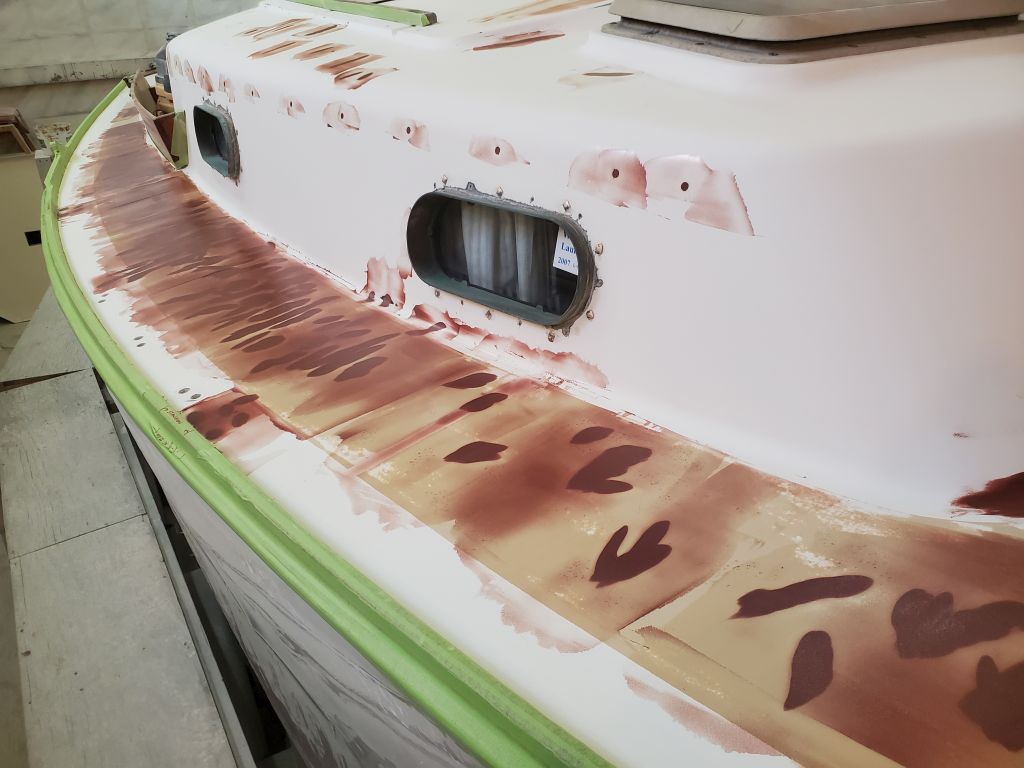
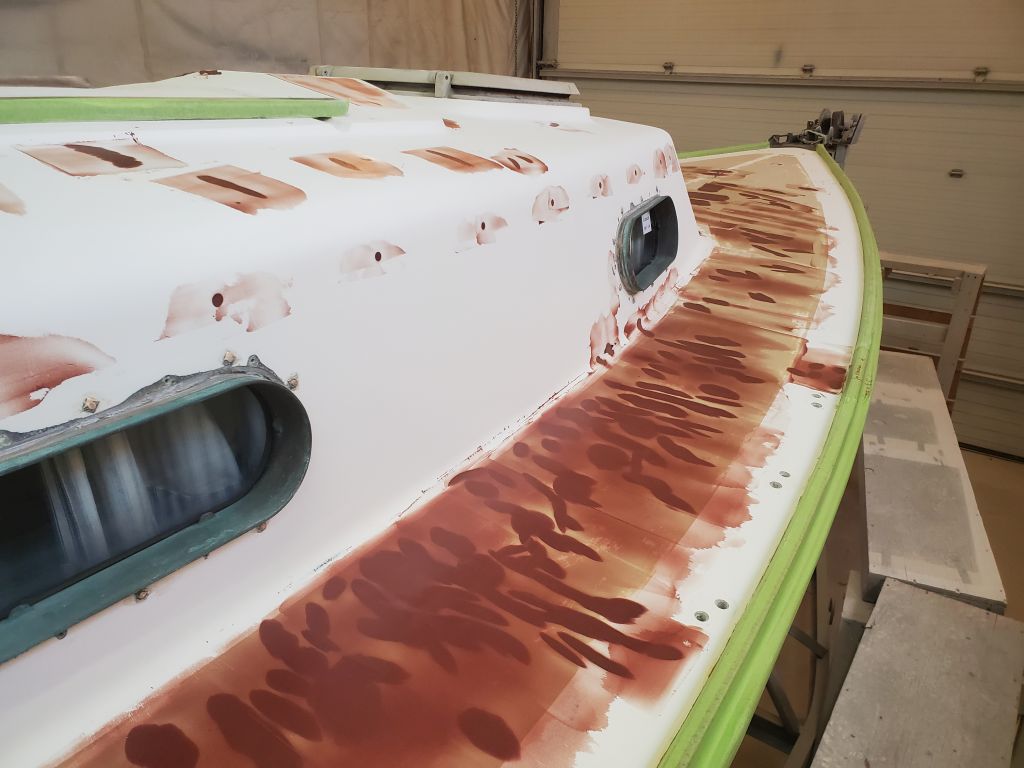
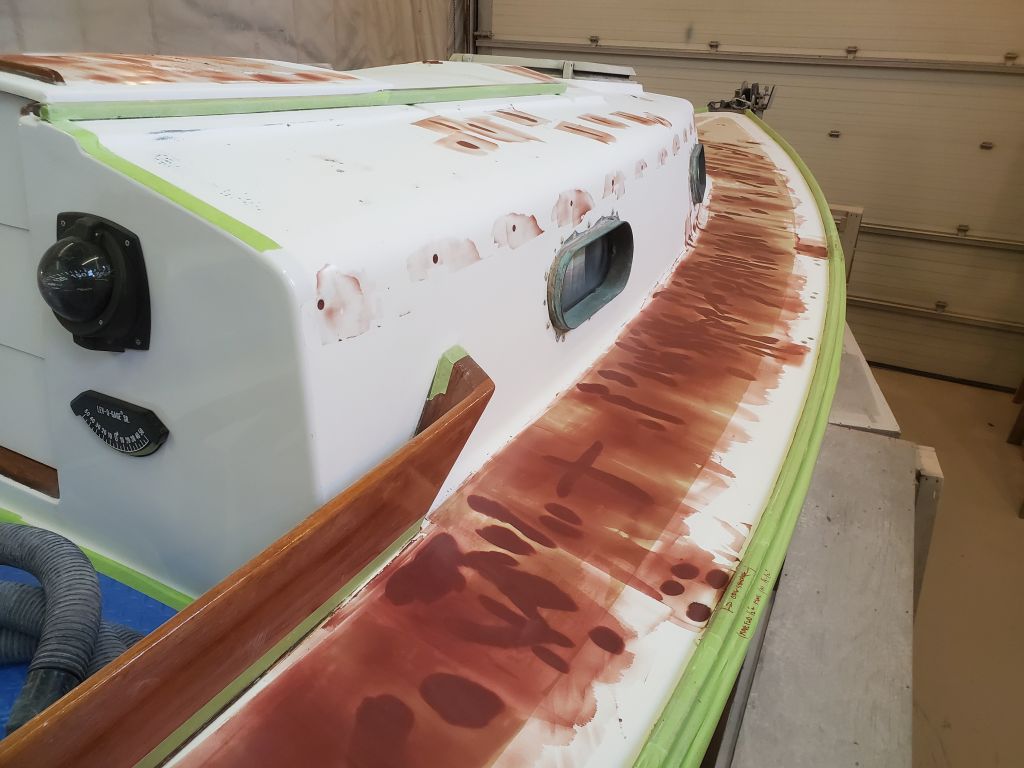
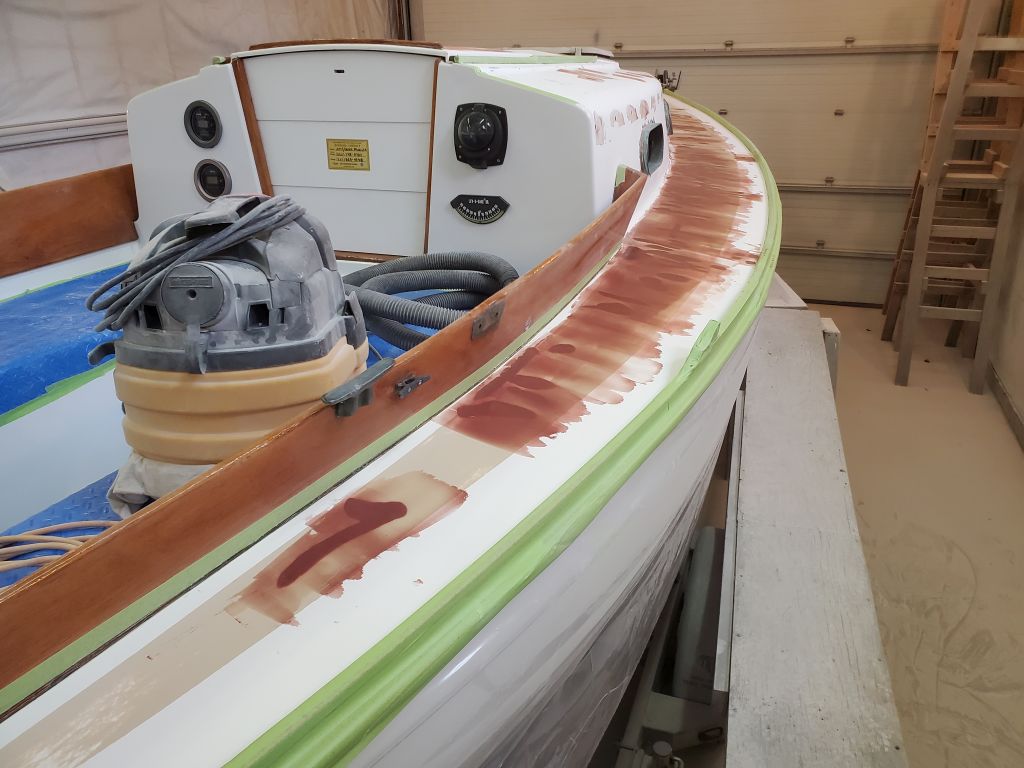
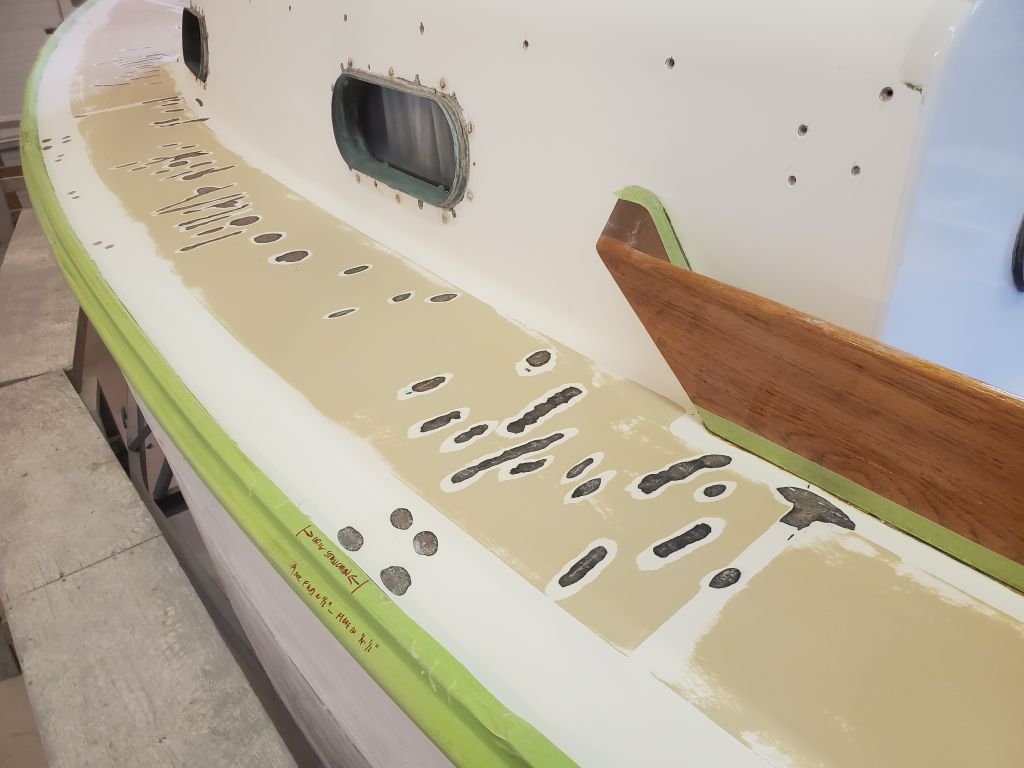
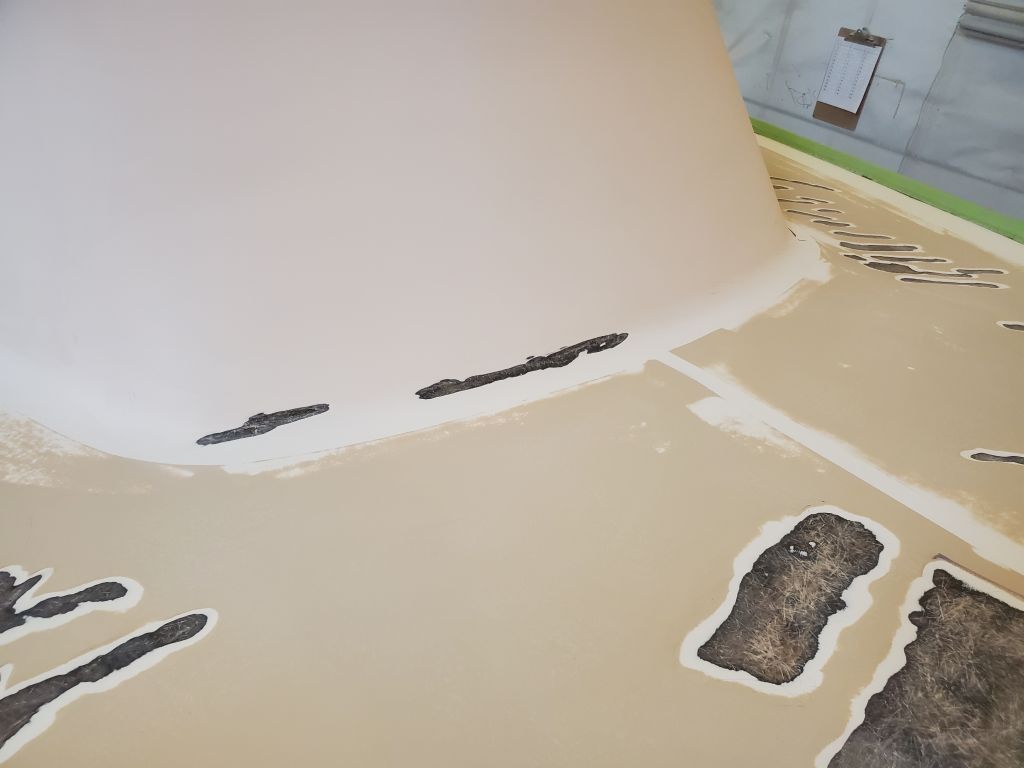
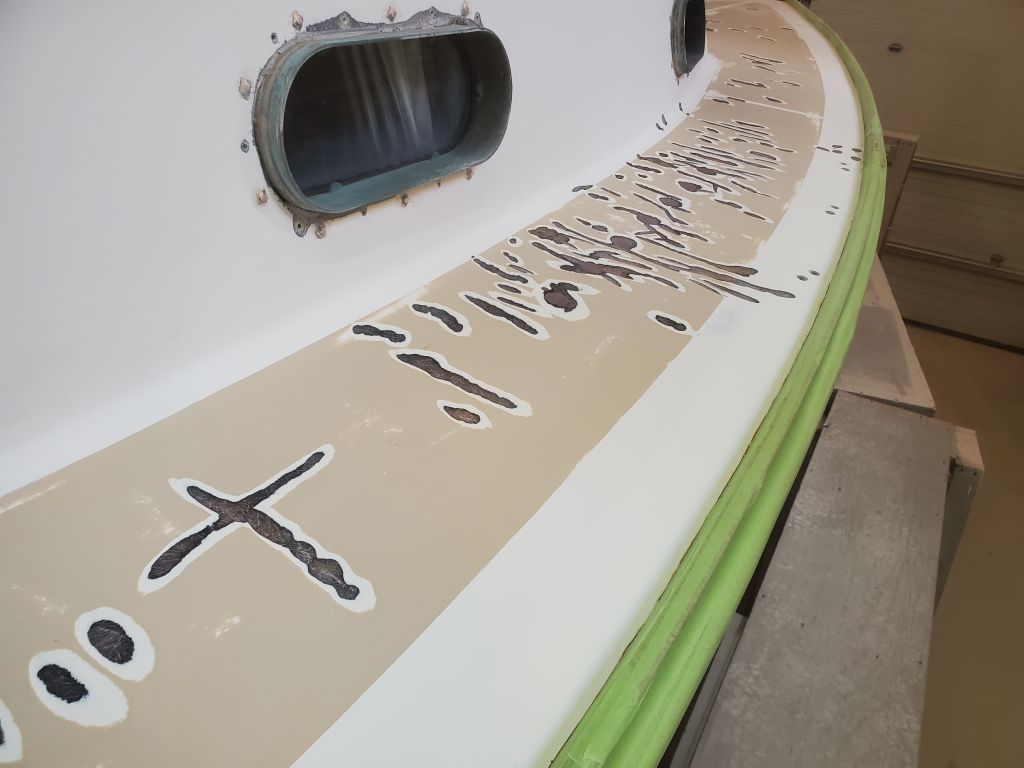
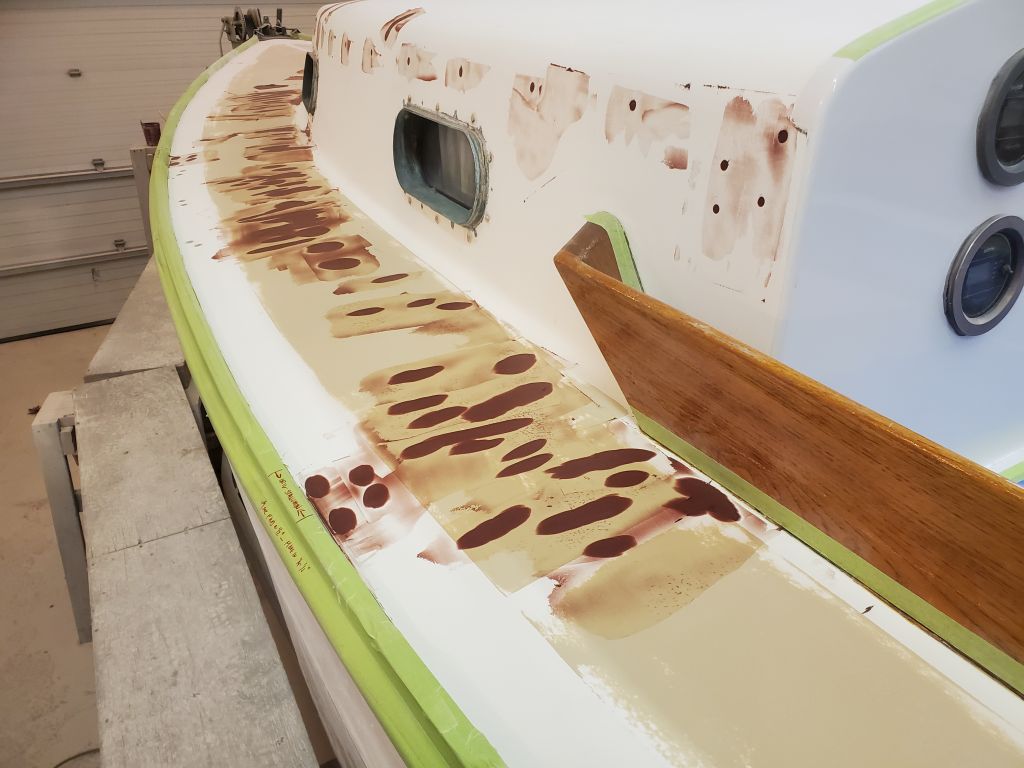
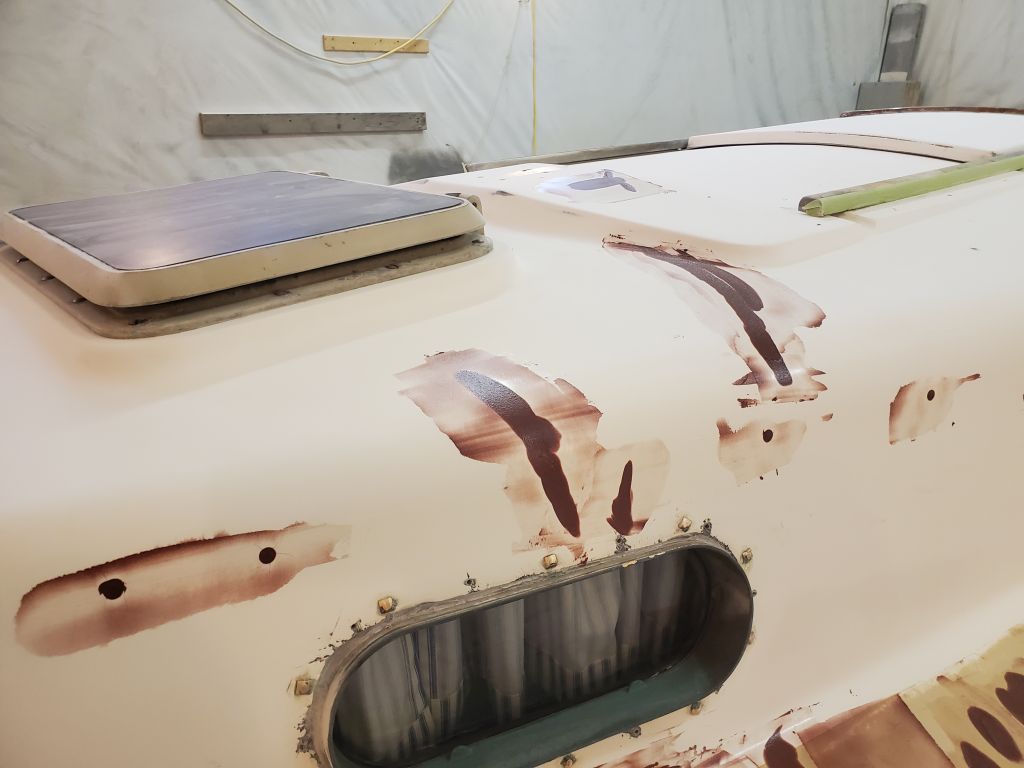
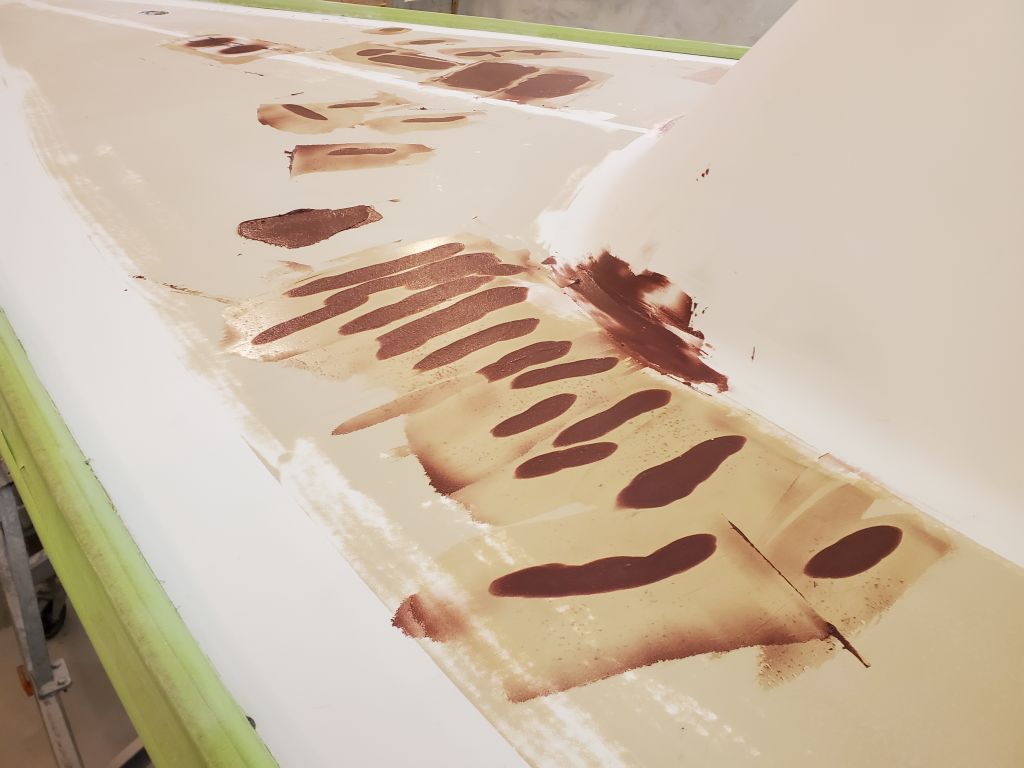
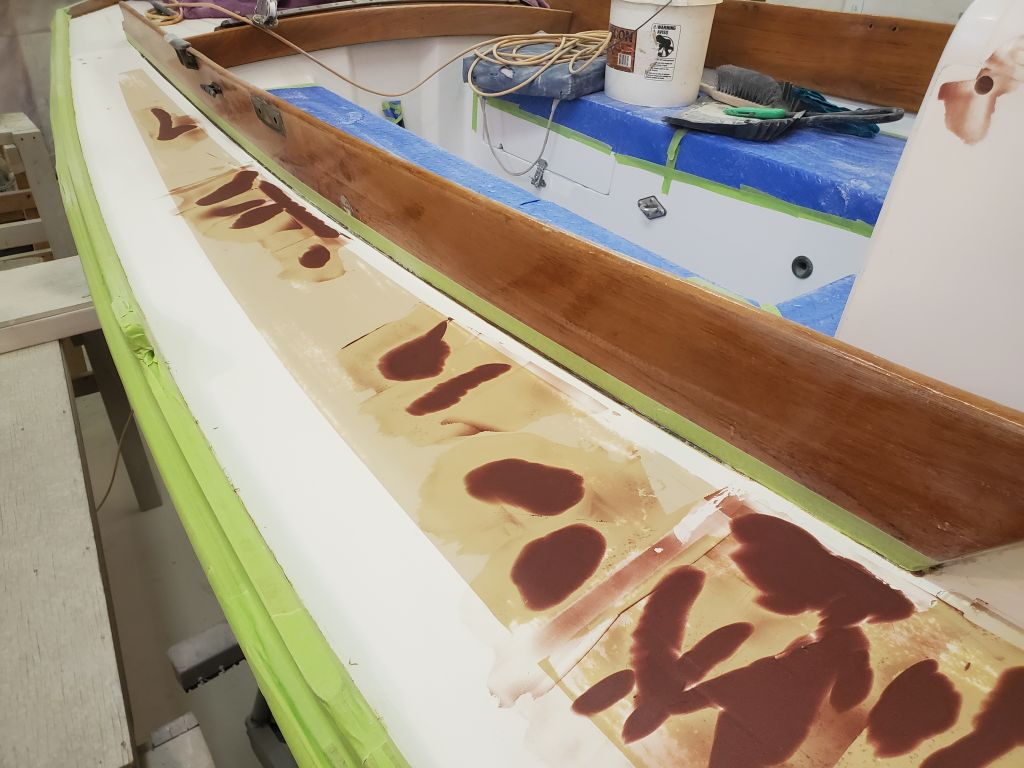
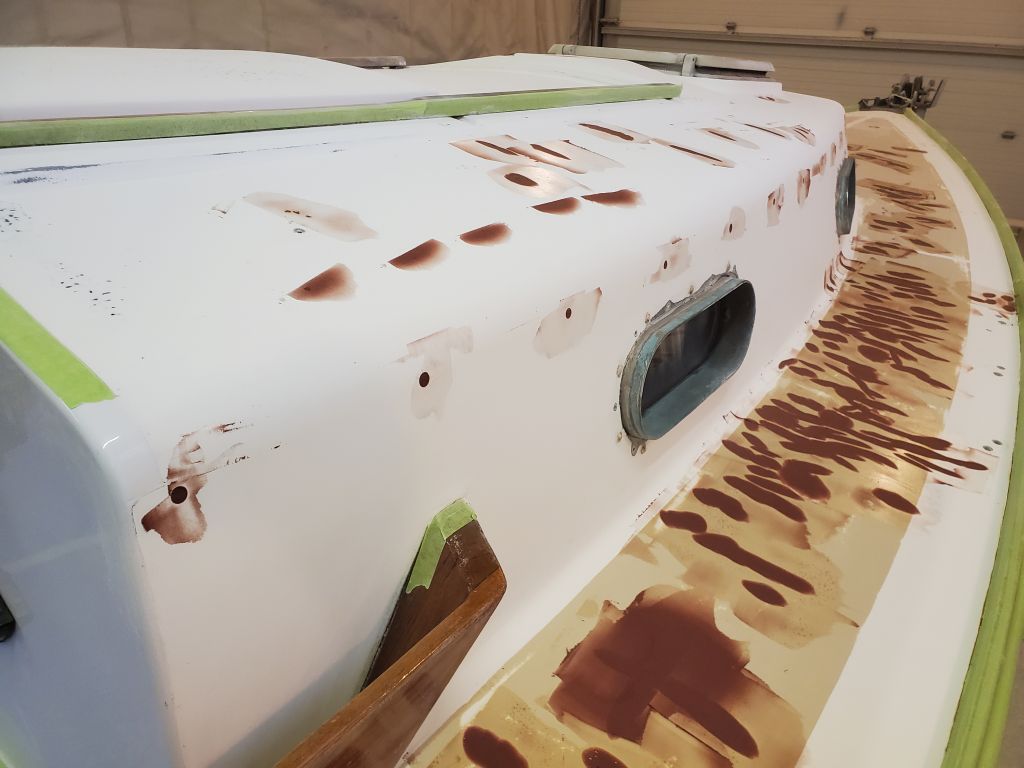
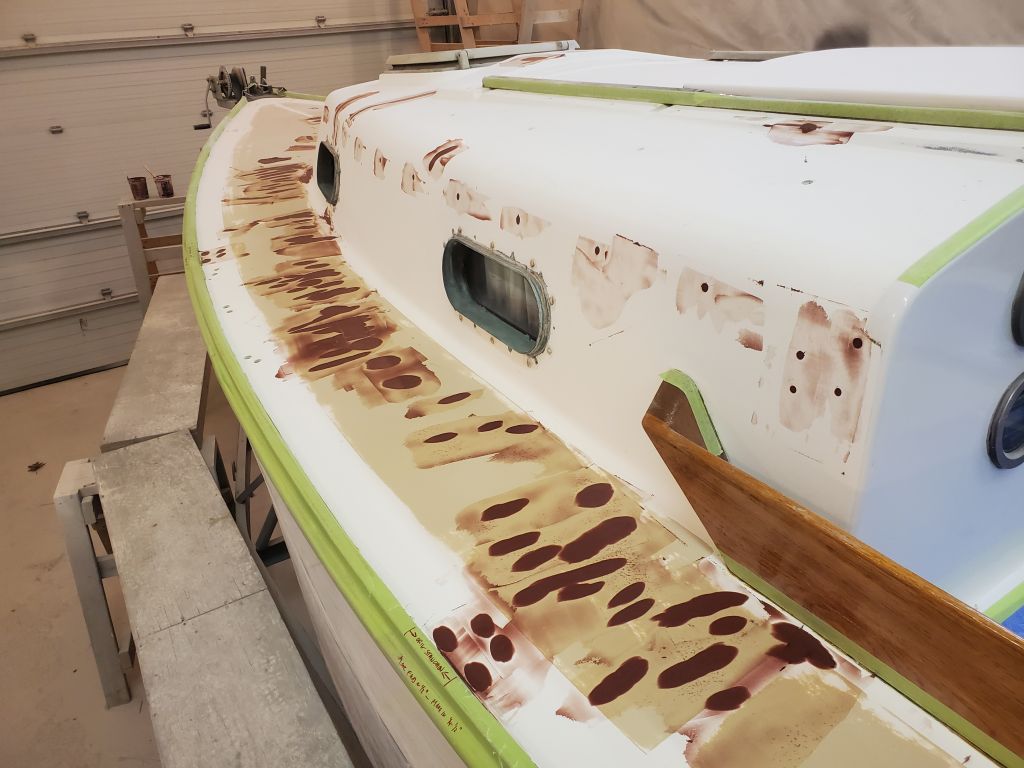
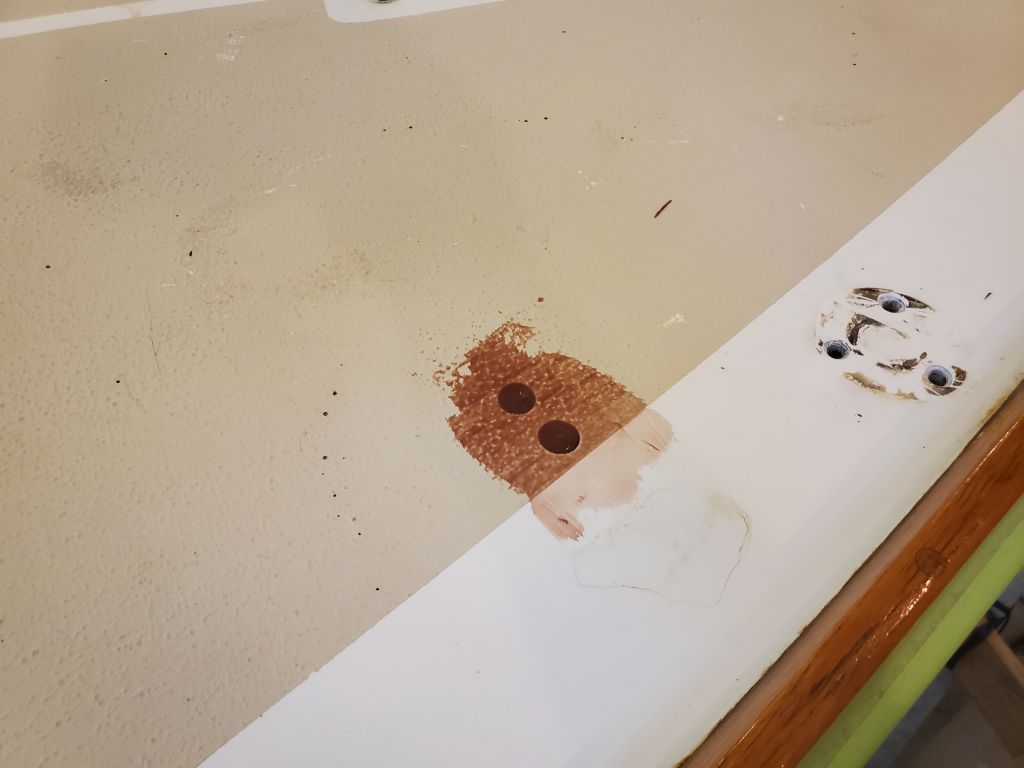
After final preparations and pre-treating all the holes and exposed core with unthickened epoxy, I filled the prepared holes with an epoxy mixture made with high-density filler, giving me a head start on the deck repairs and patching before I dug into the sanding and surface prep next time. My epoxy is red in color because the hardener reacts with the weld material of the splice in the storage container of the gear pump I use, and the coloring is exacerbated when the hardener has sat for some period time without use. It has no effect on performance, and I actually like this trait since it makes it easy to know the two parts are well-mixed.
Total time billed on this job today: 4 hours
0600 Weather Observation: 44°, cloudy. Forecast for the day: Rain, 58°