Thursday
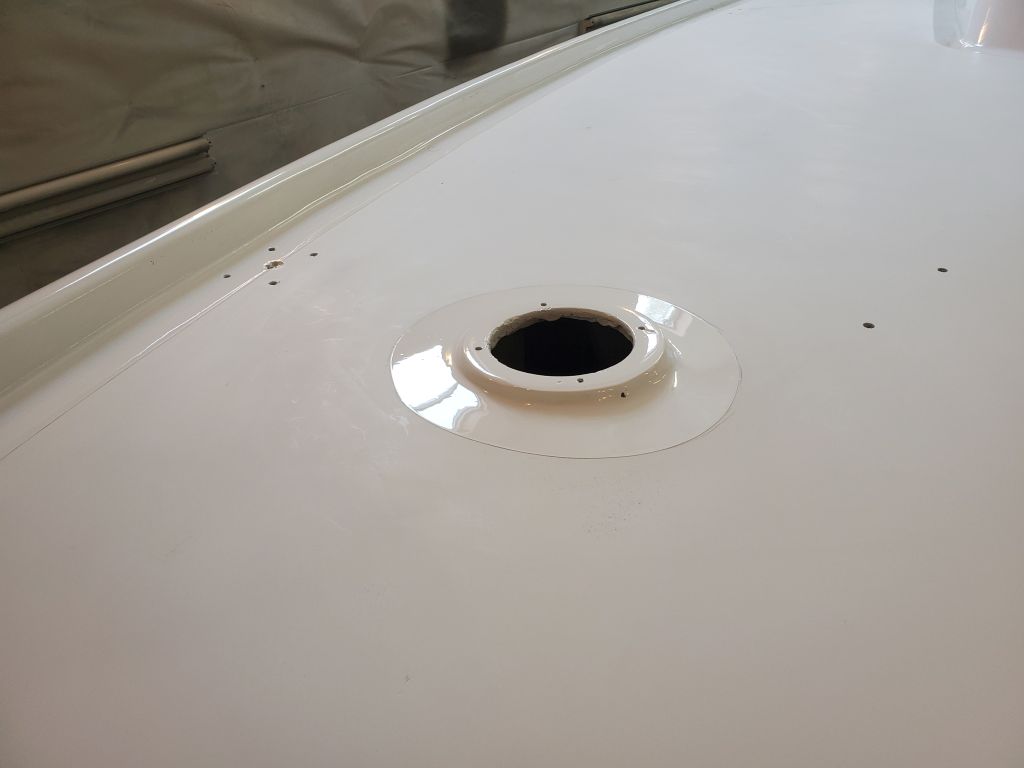
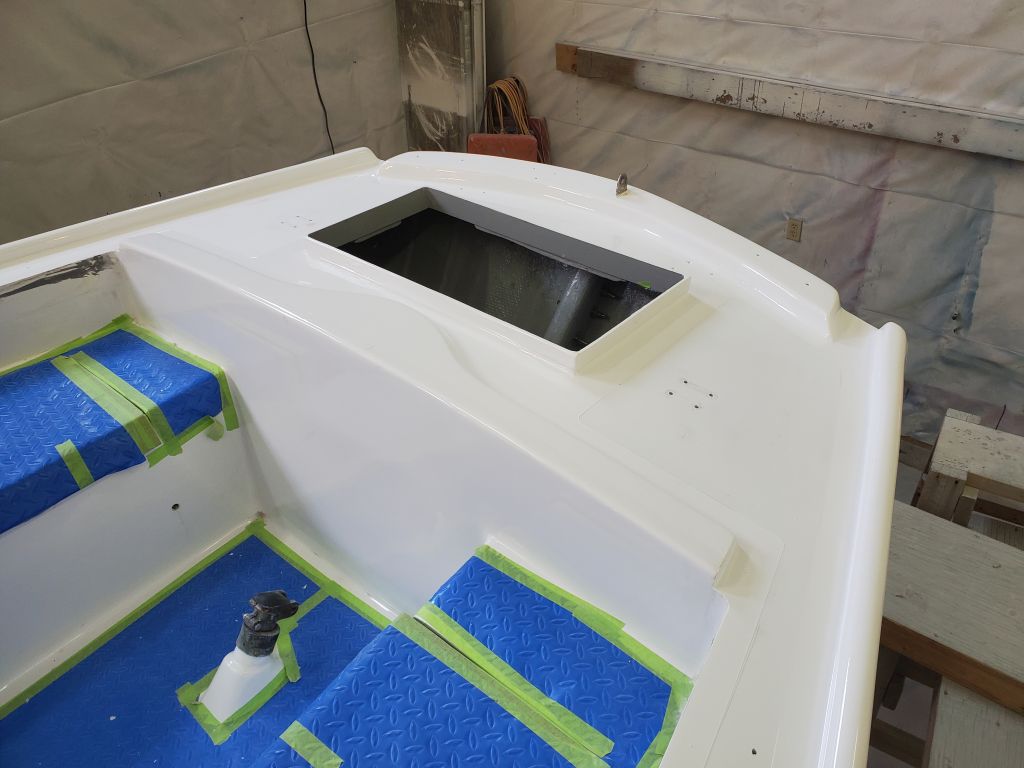
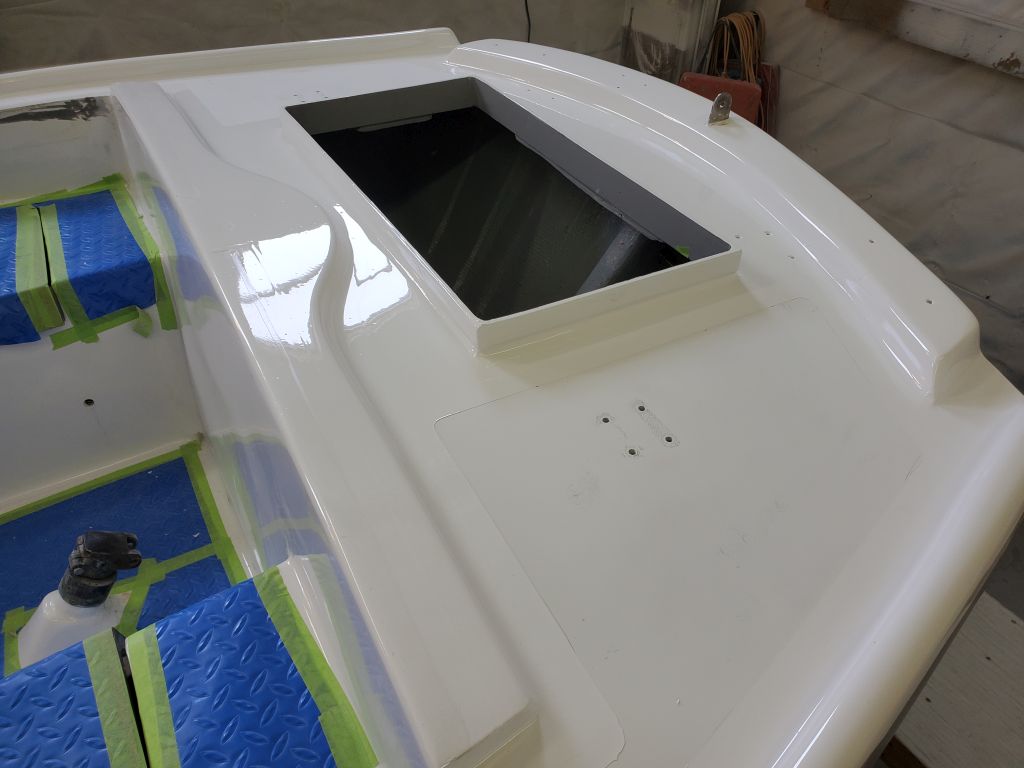
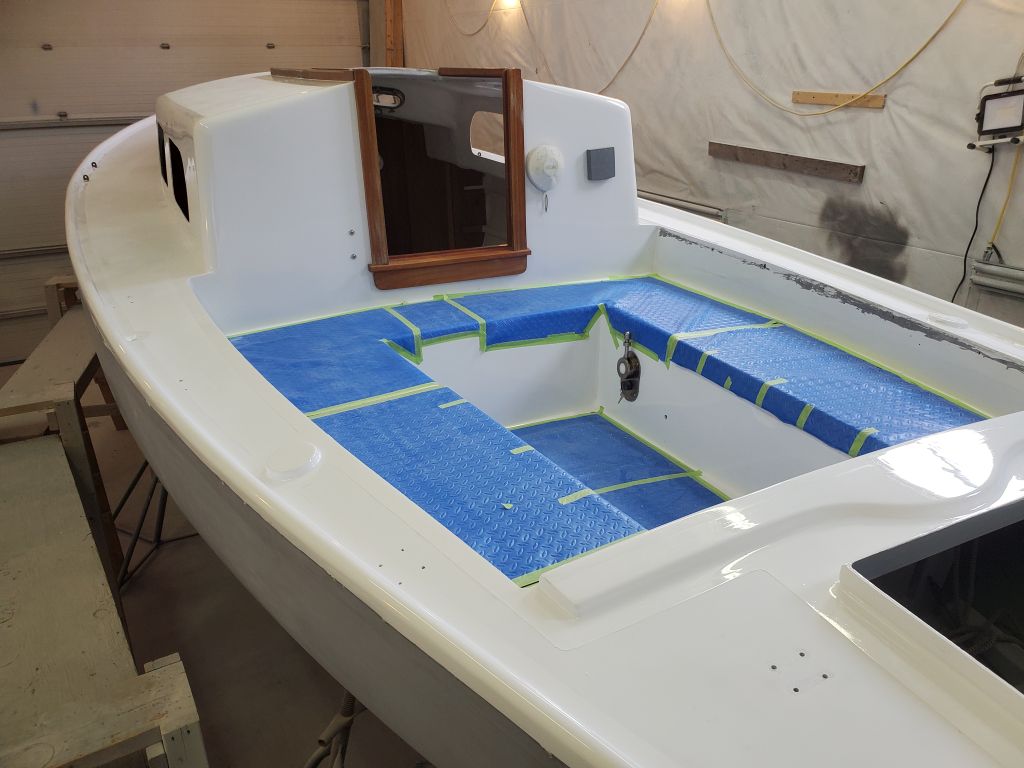
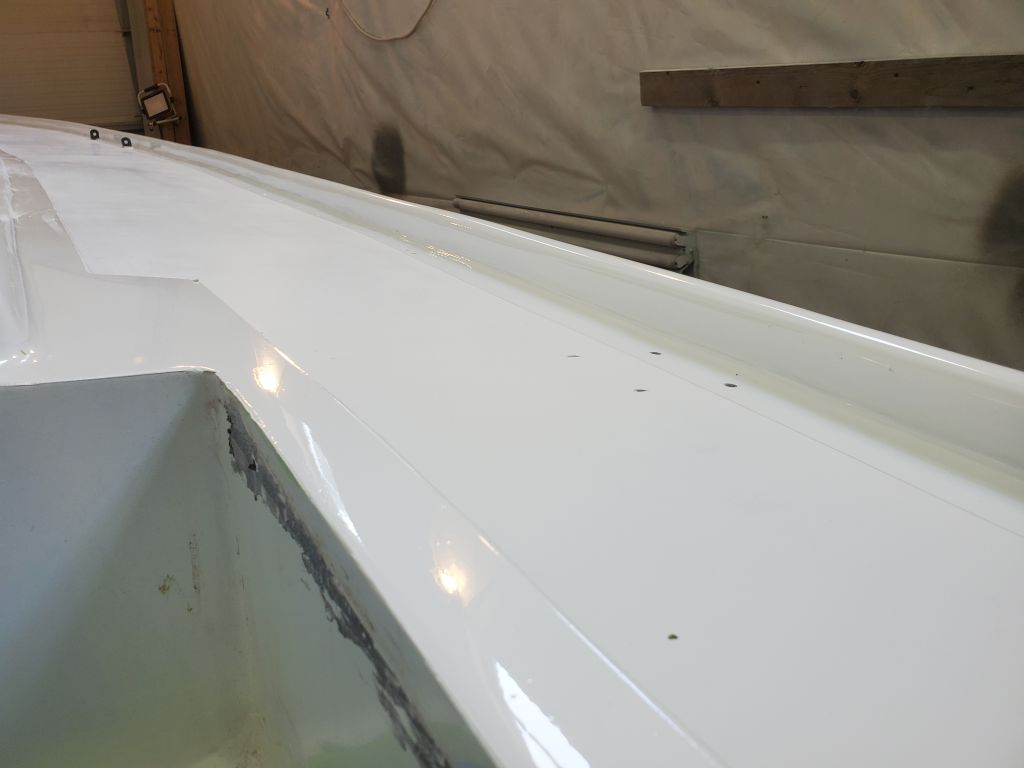
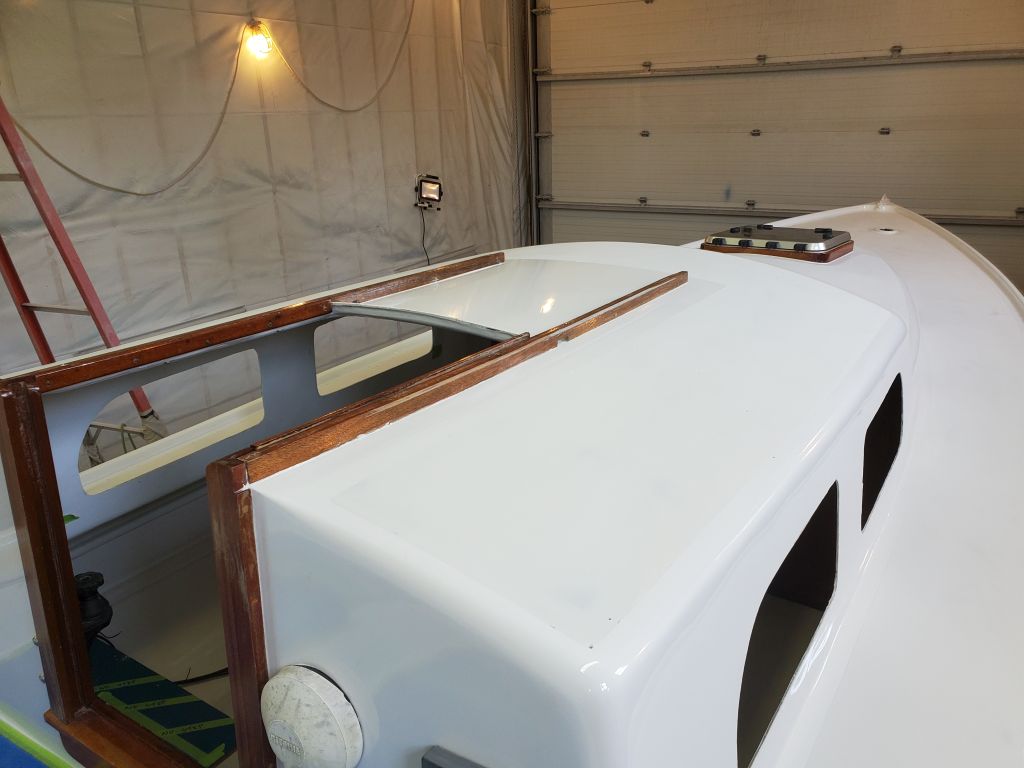
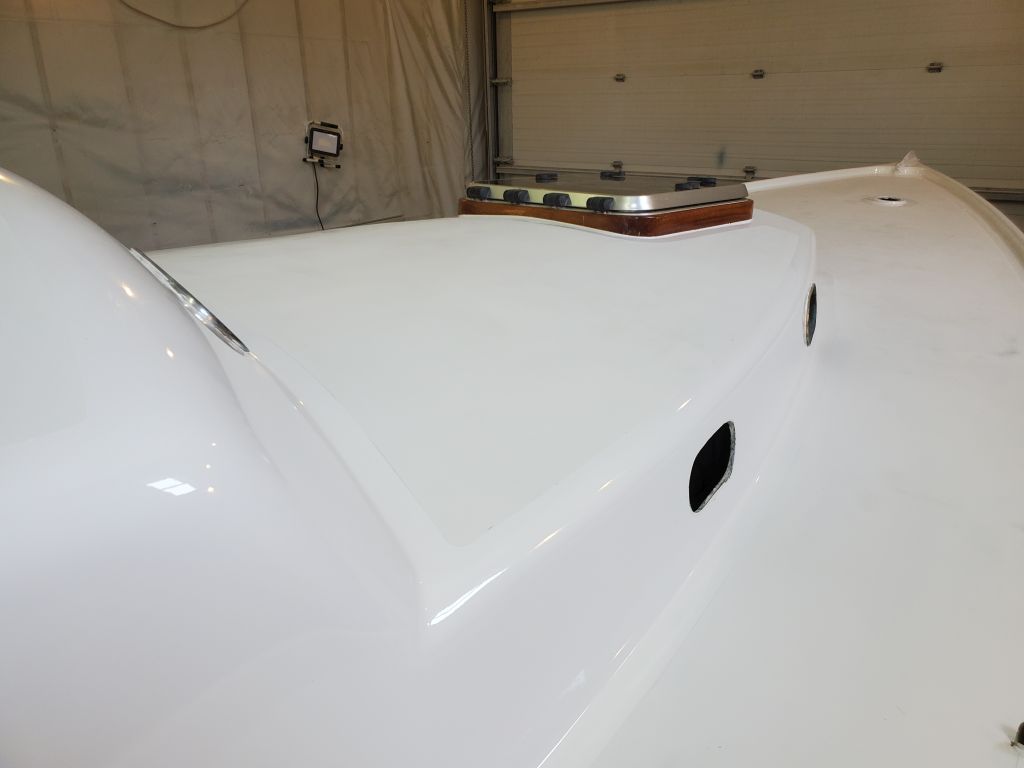
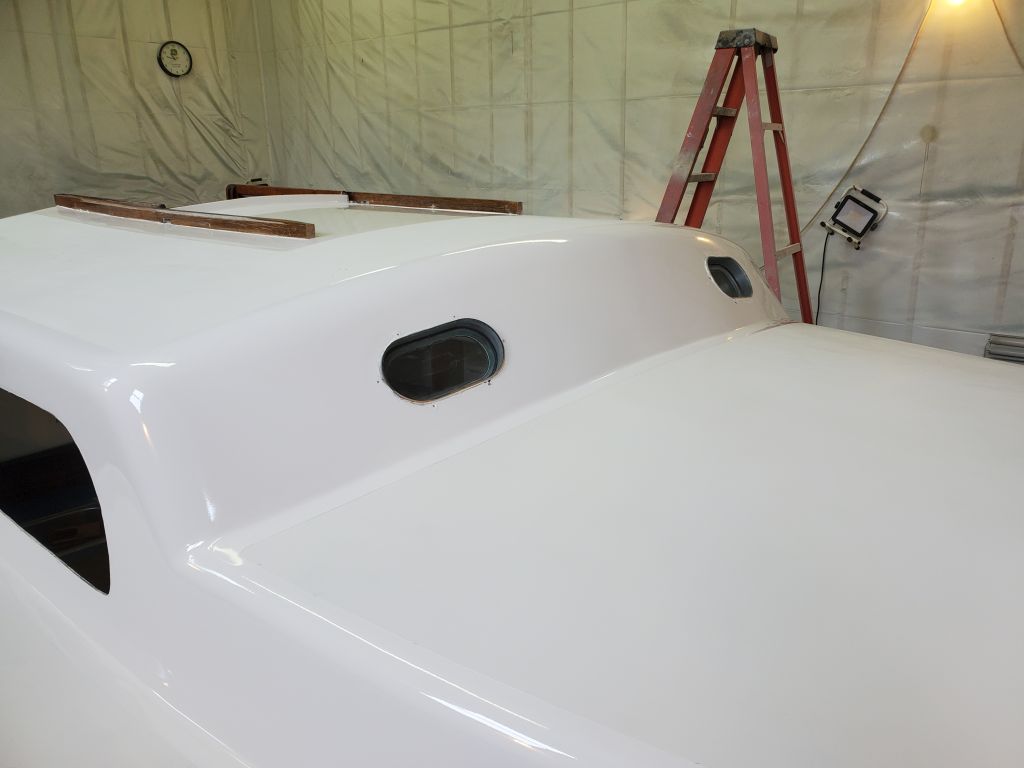
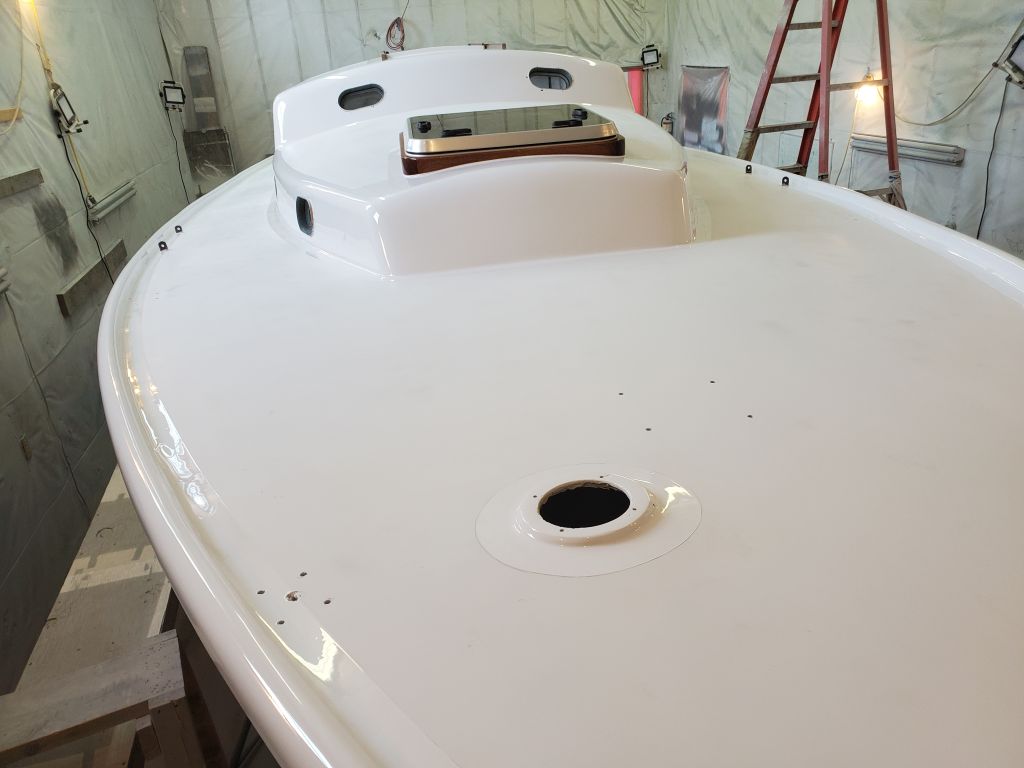
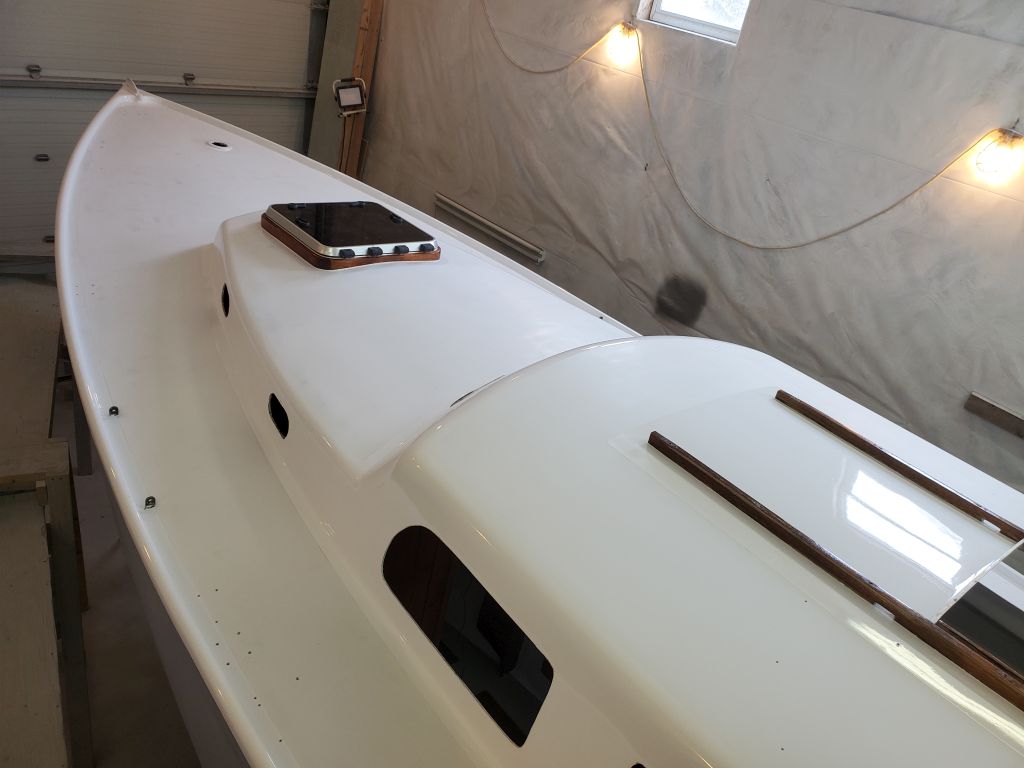
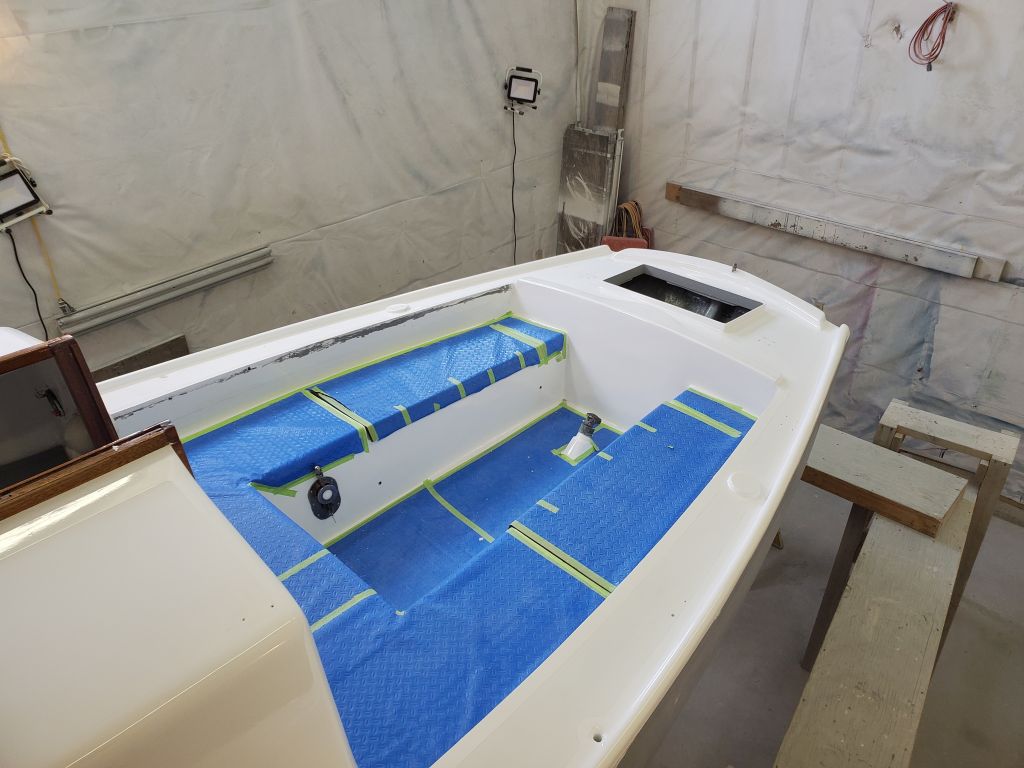
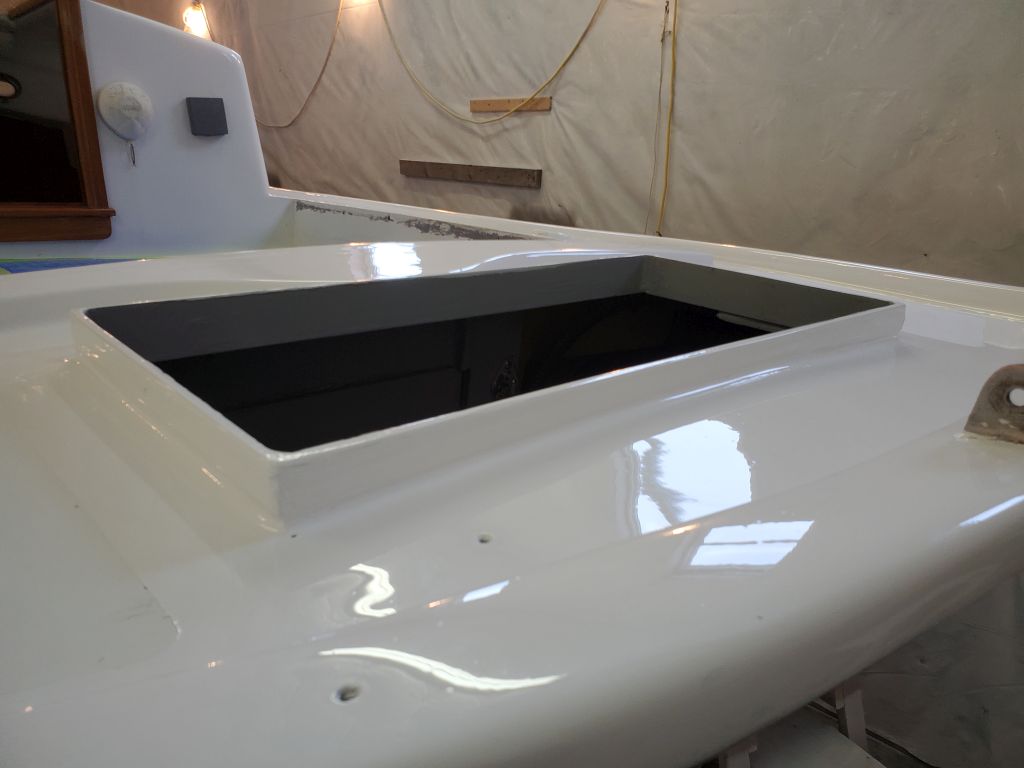
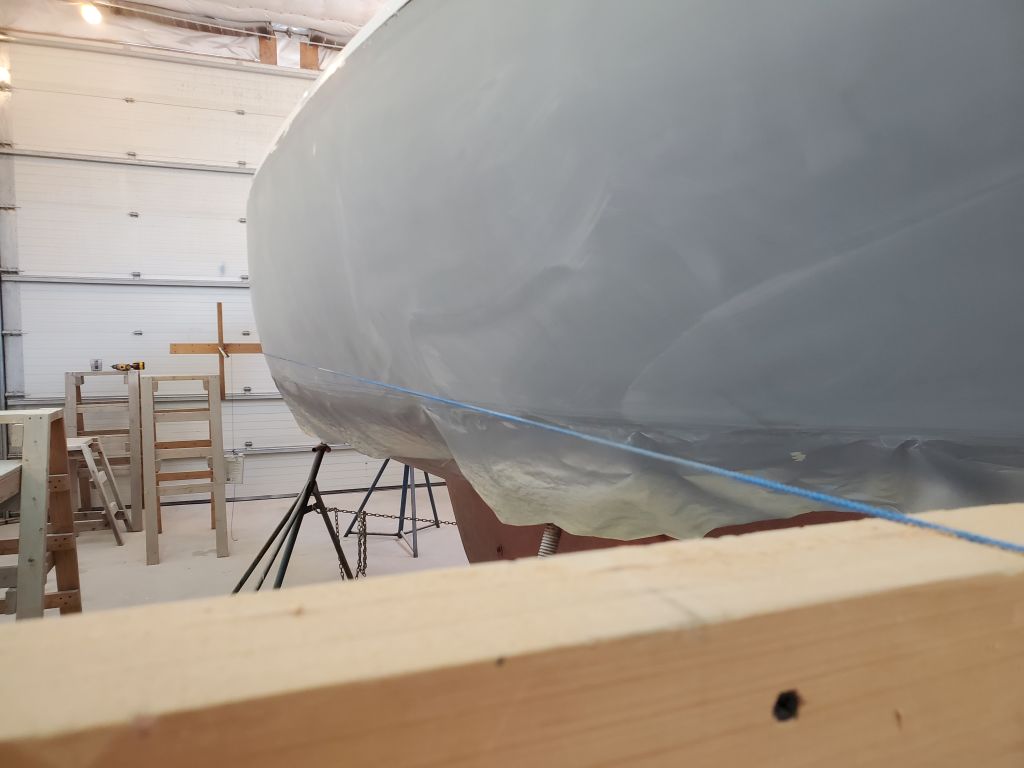
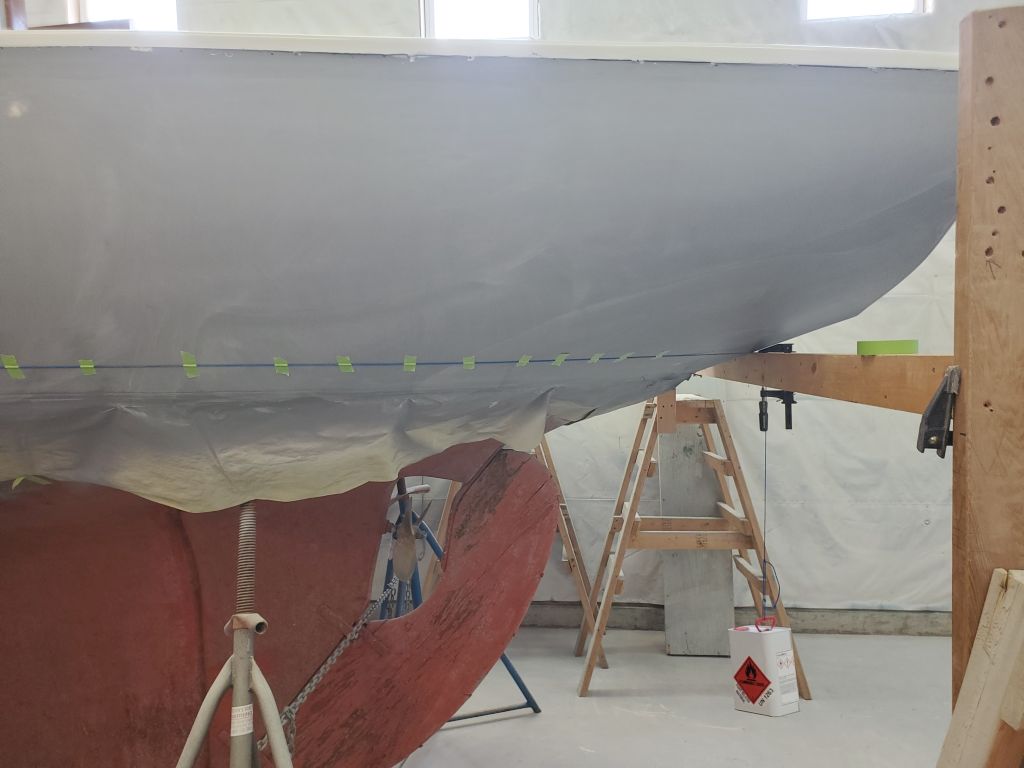
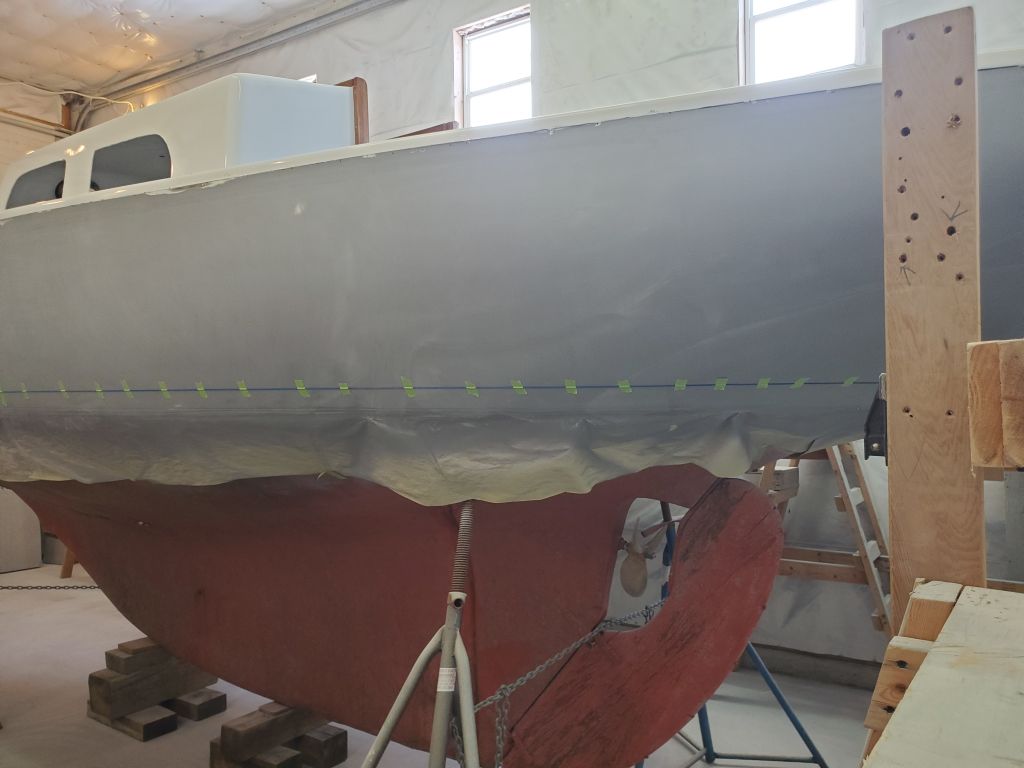
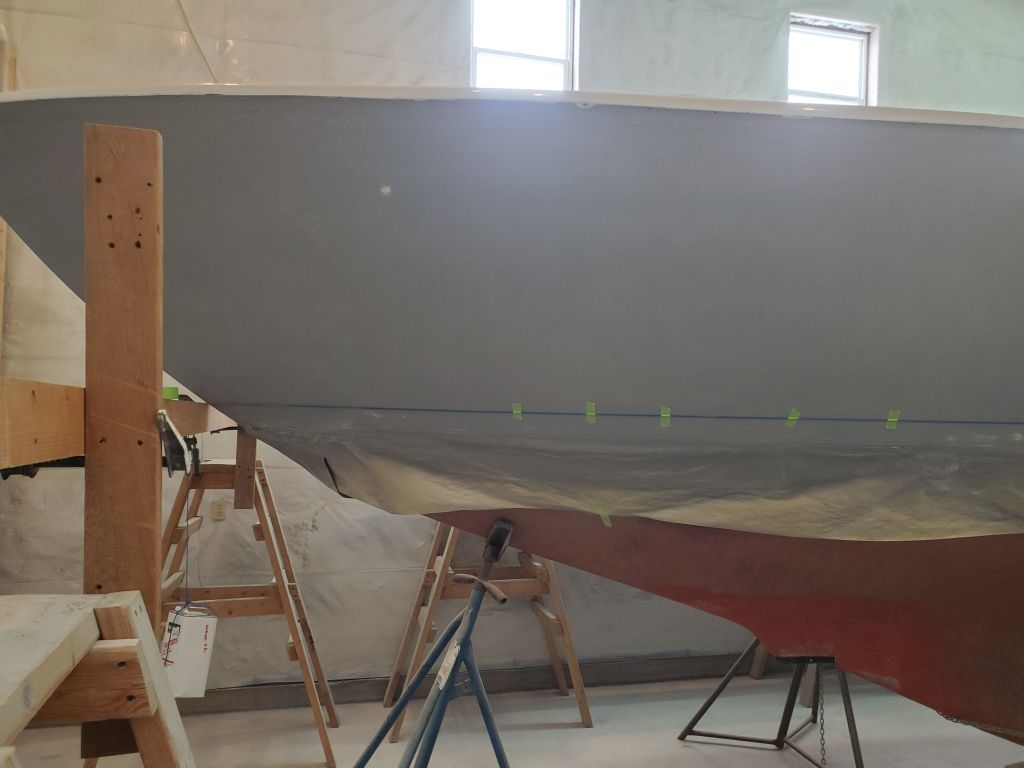
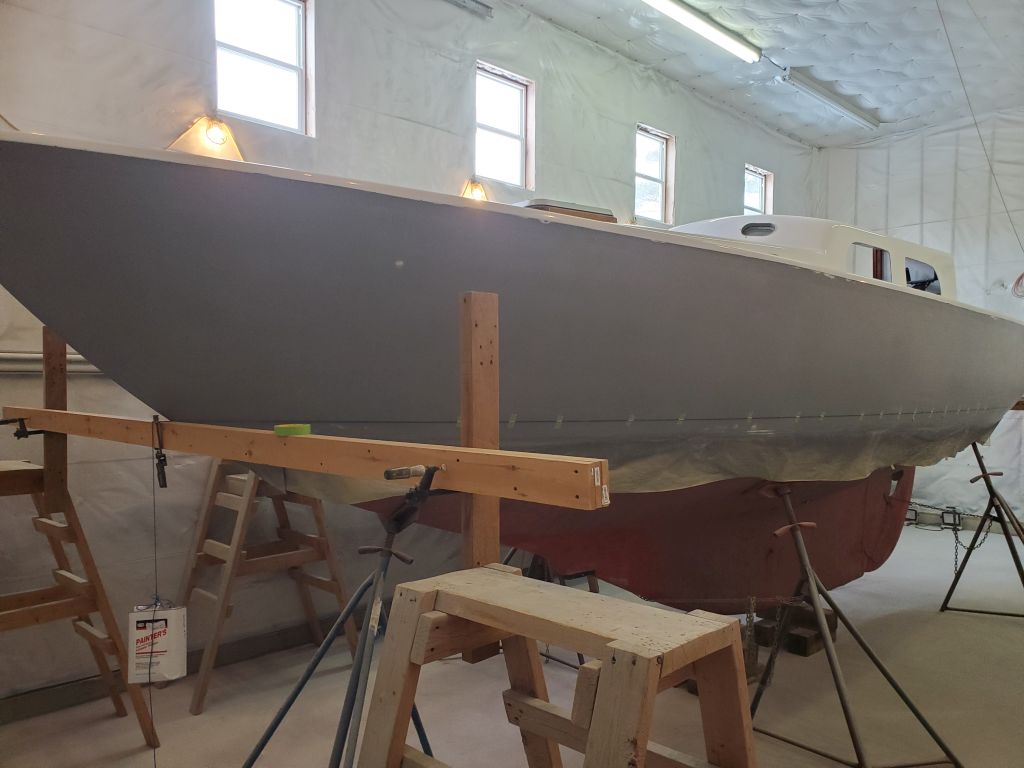
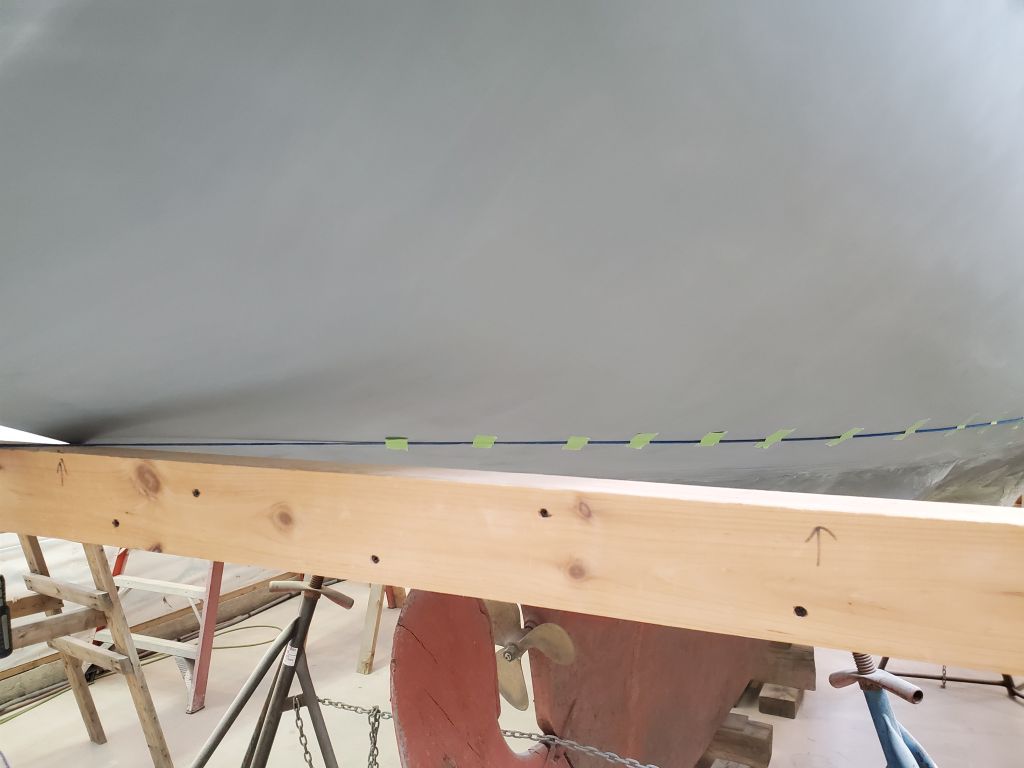
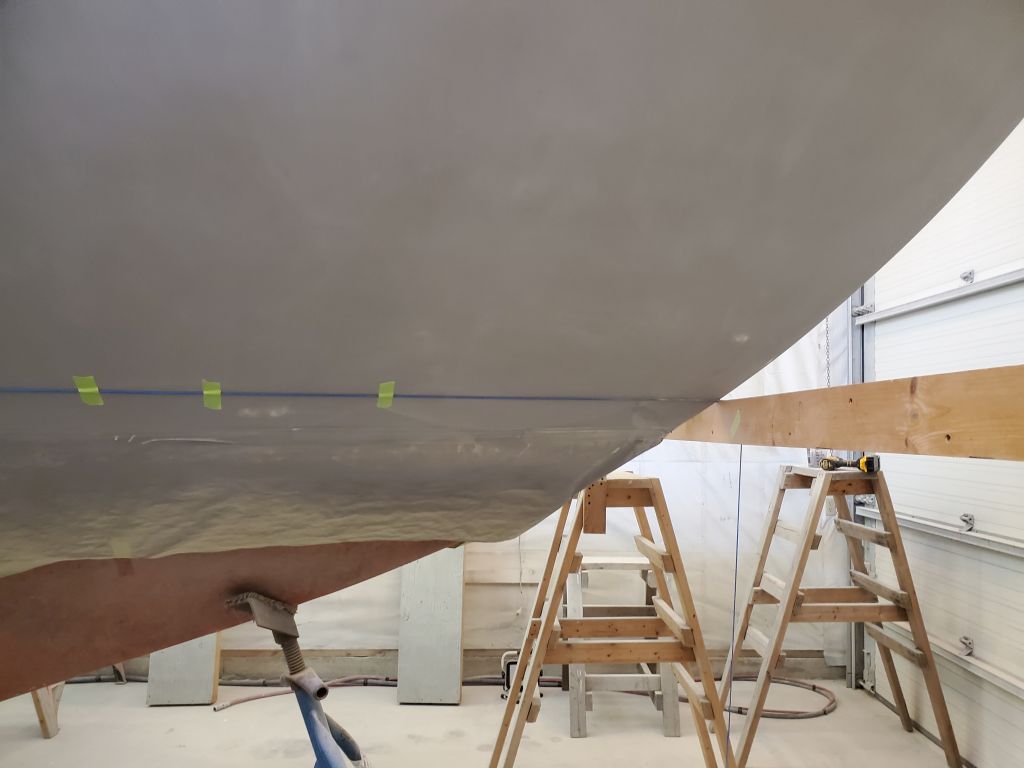
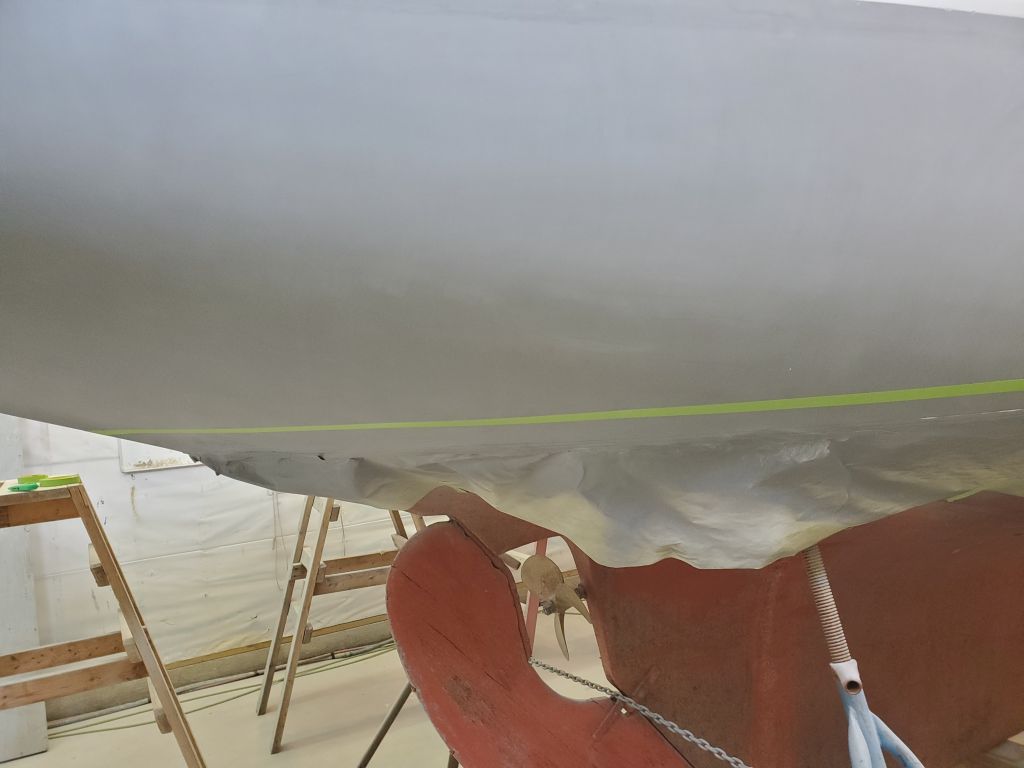
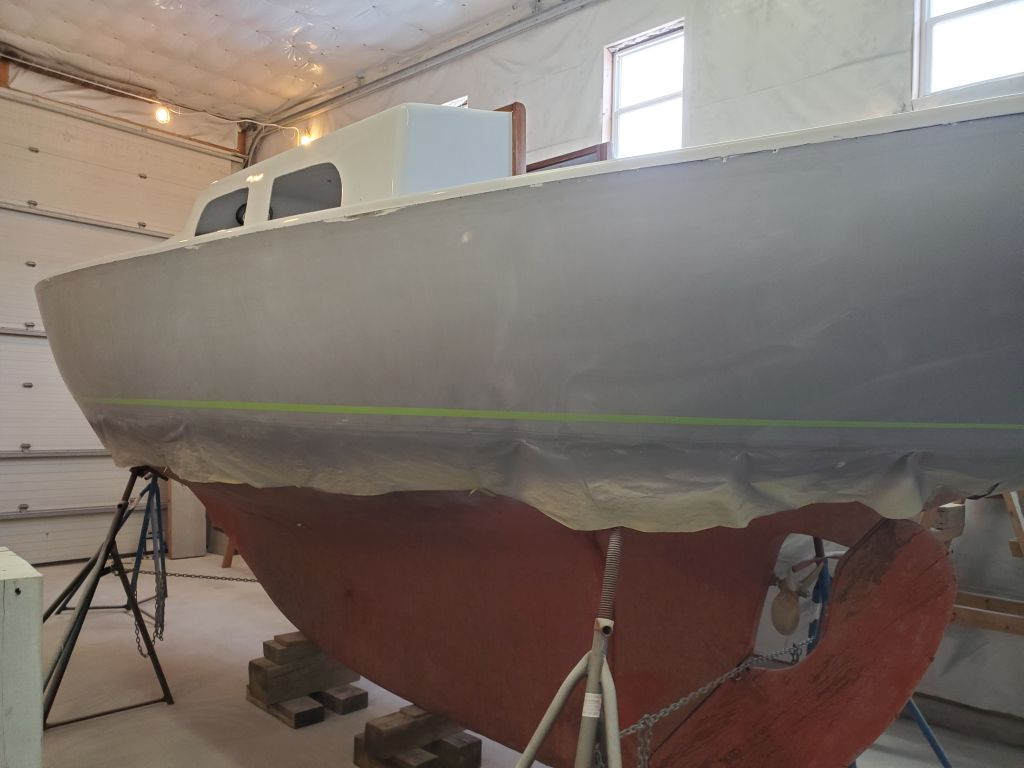
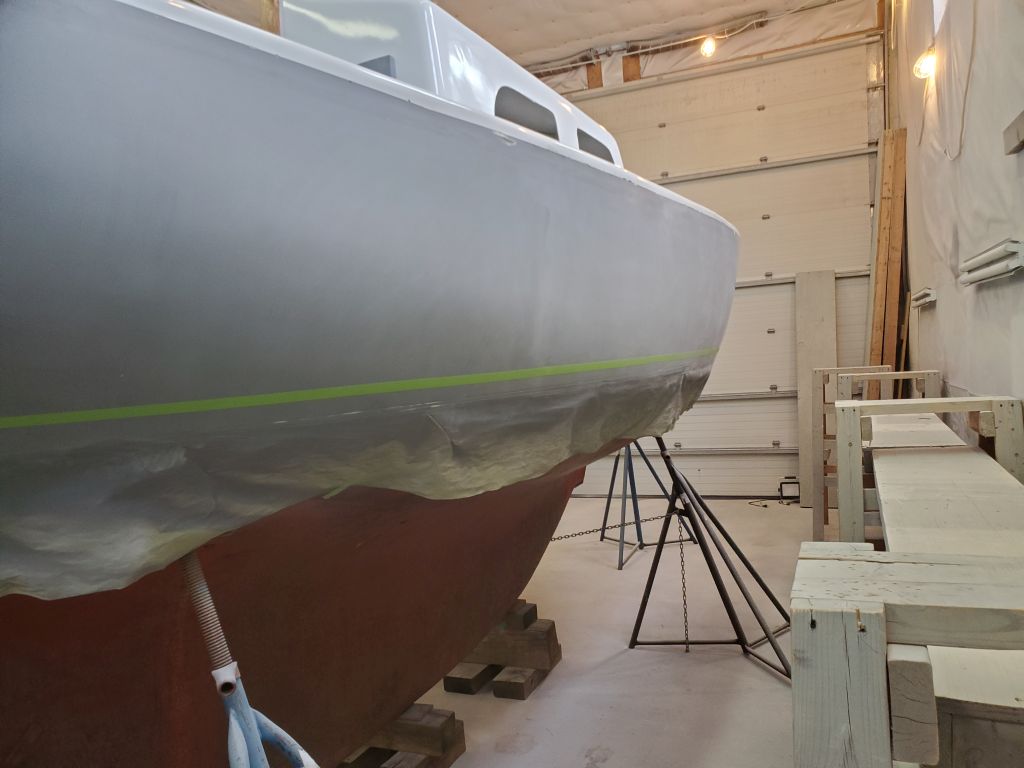
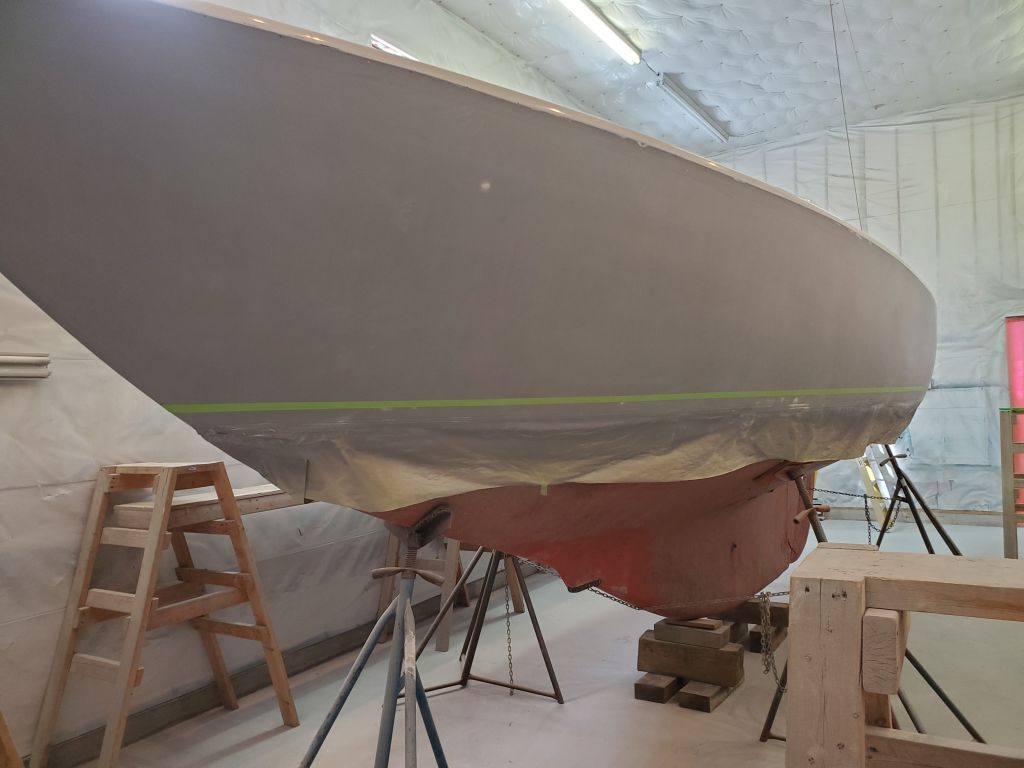
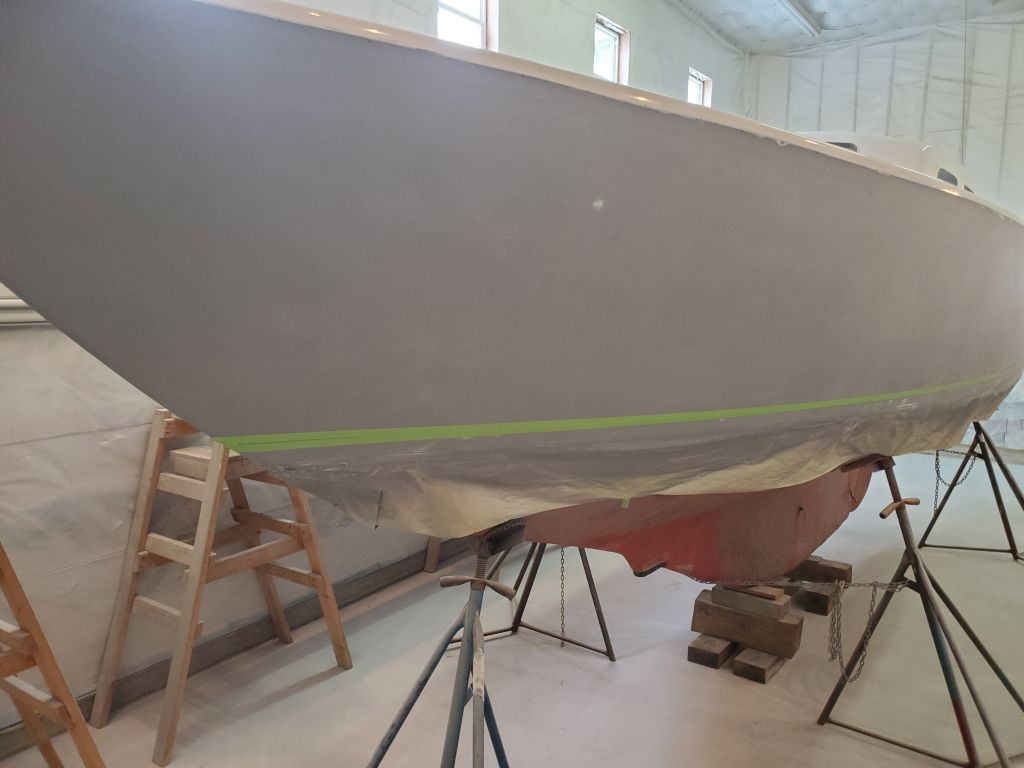
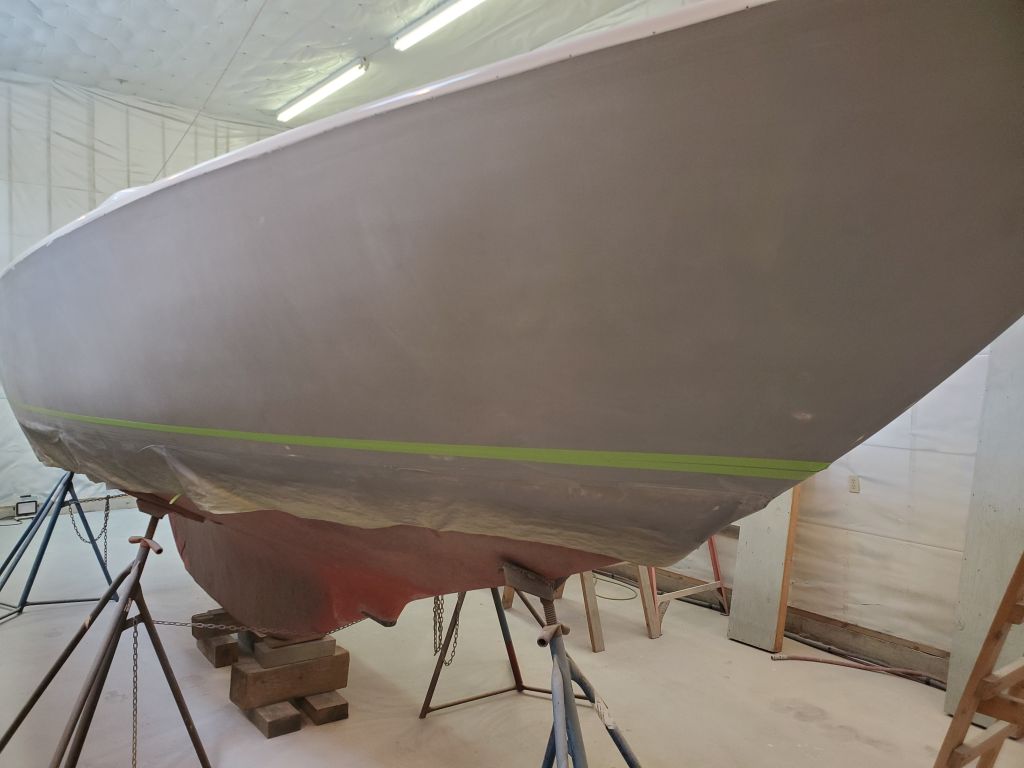
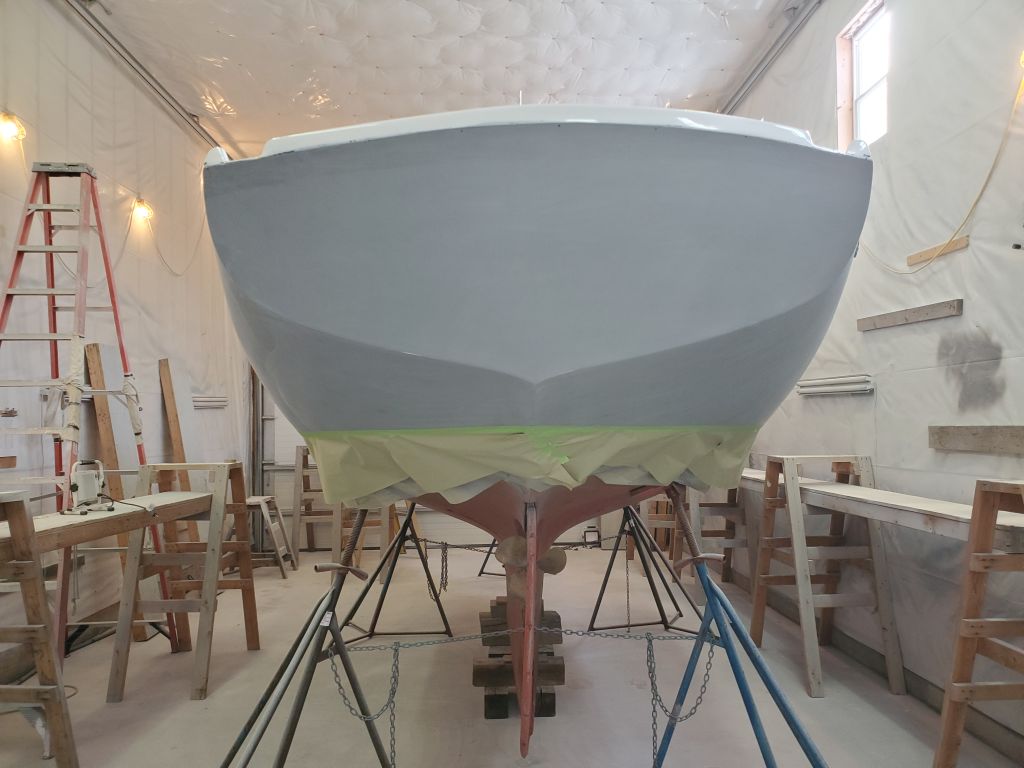
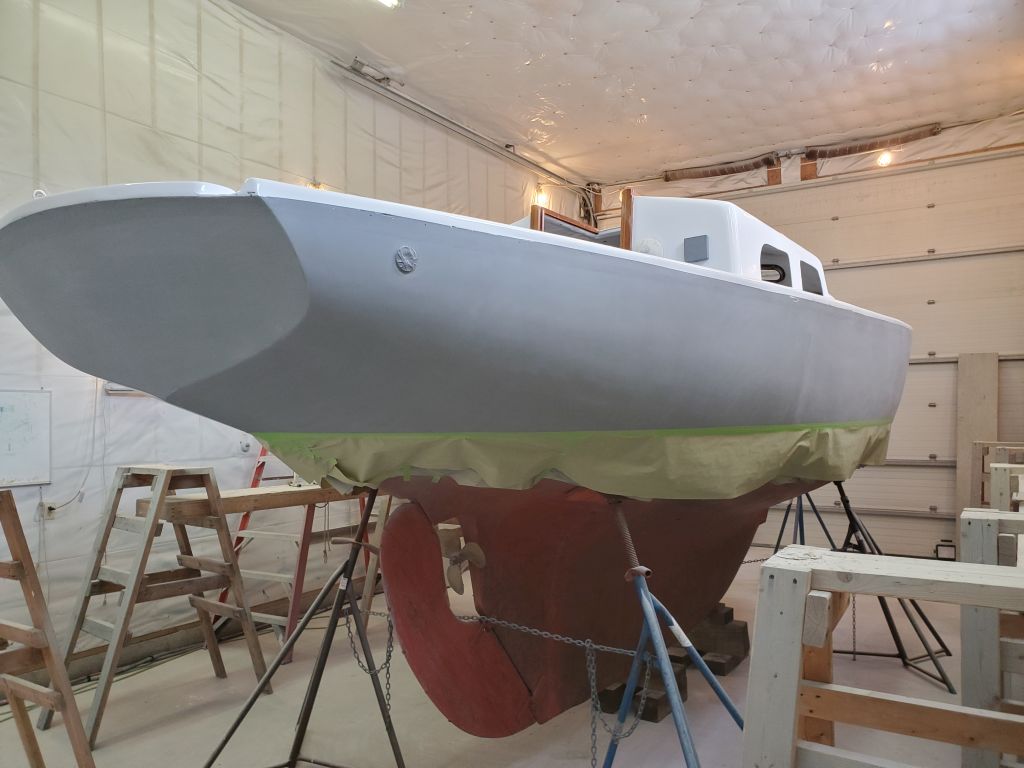
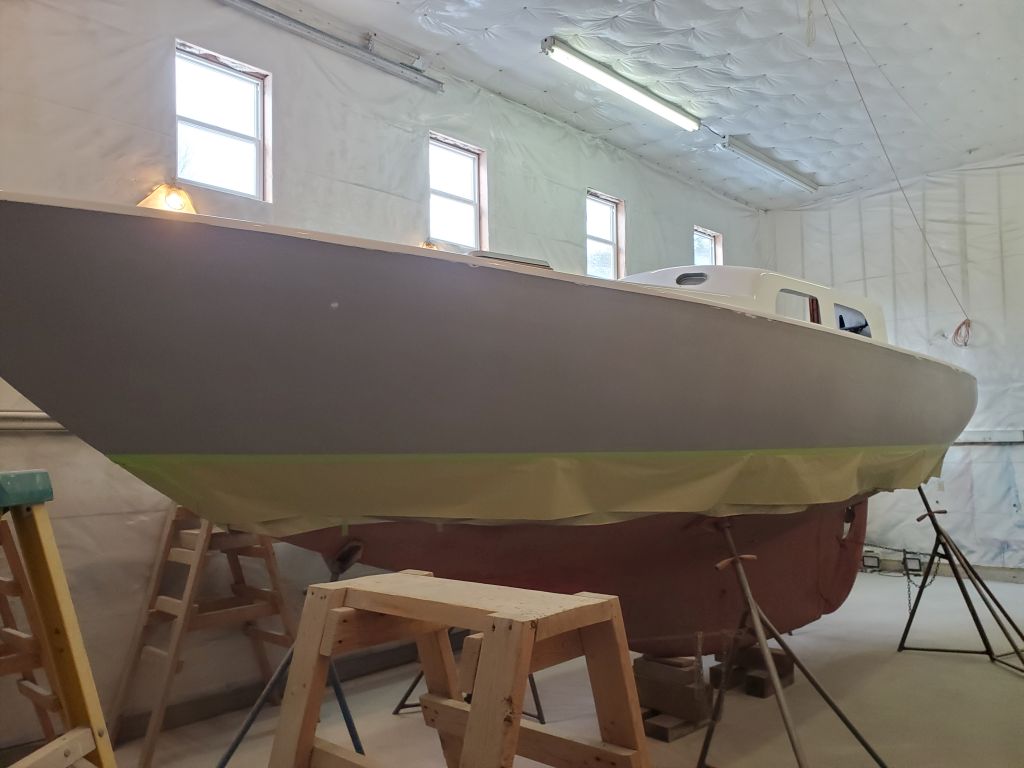
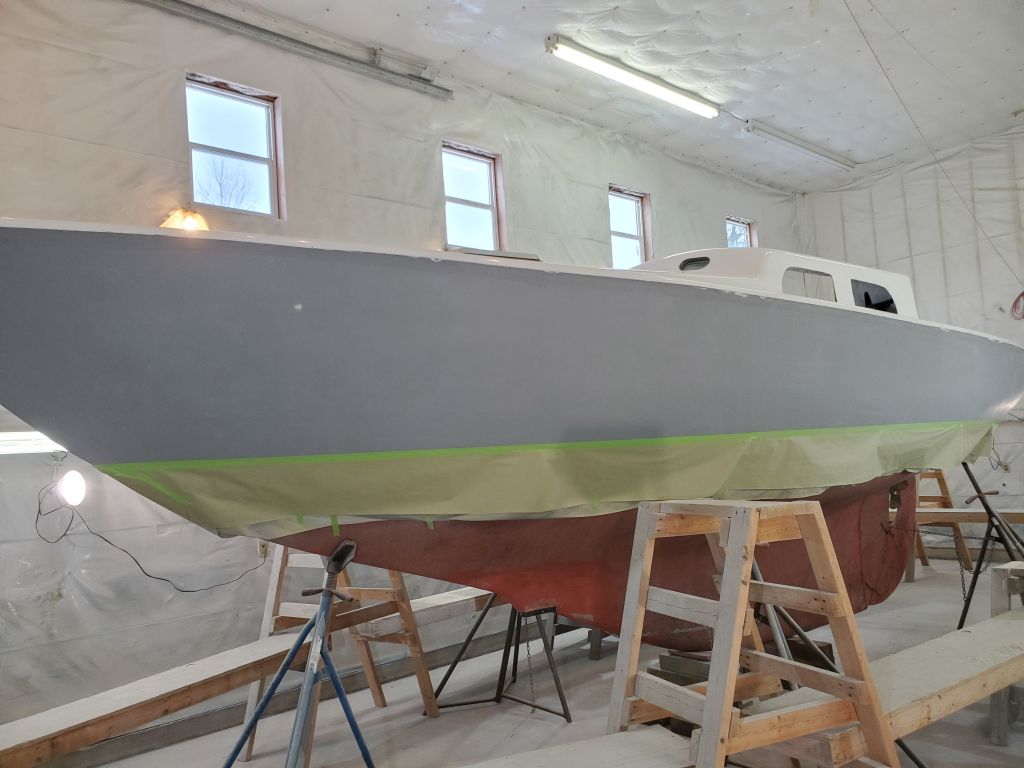
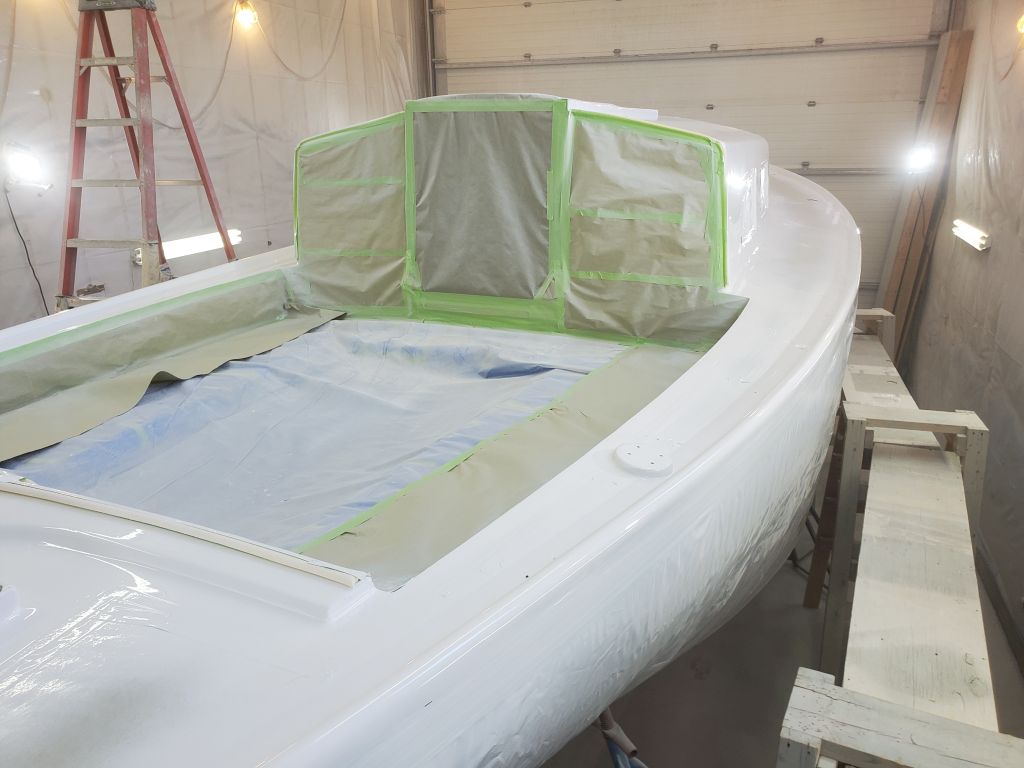
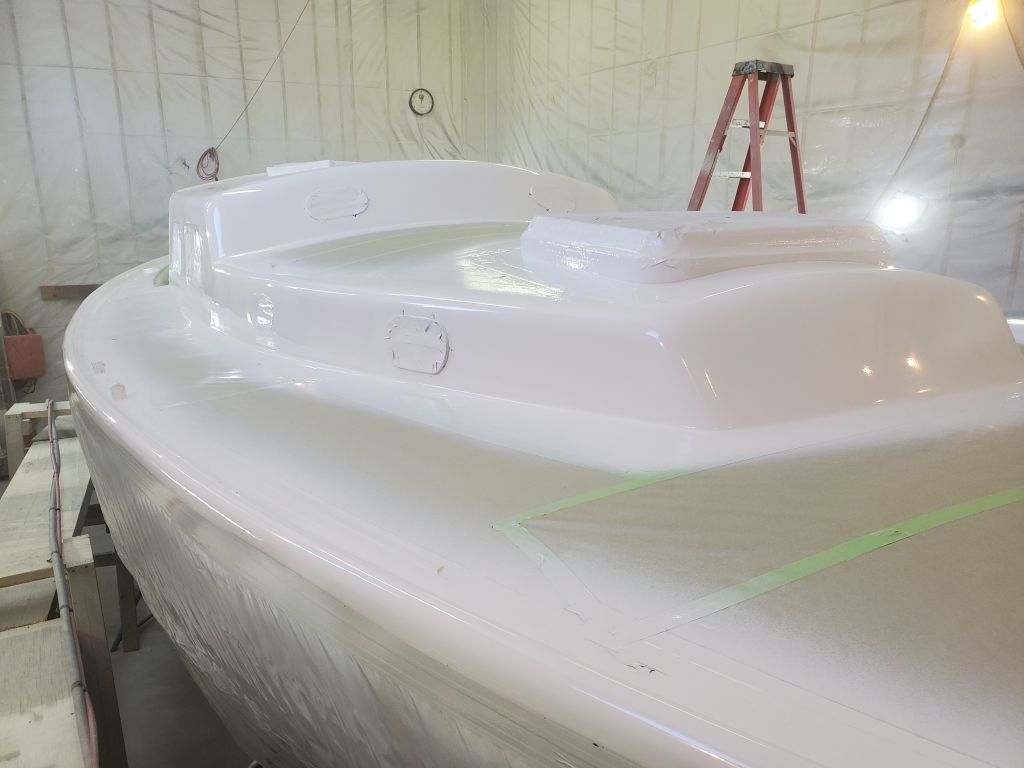
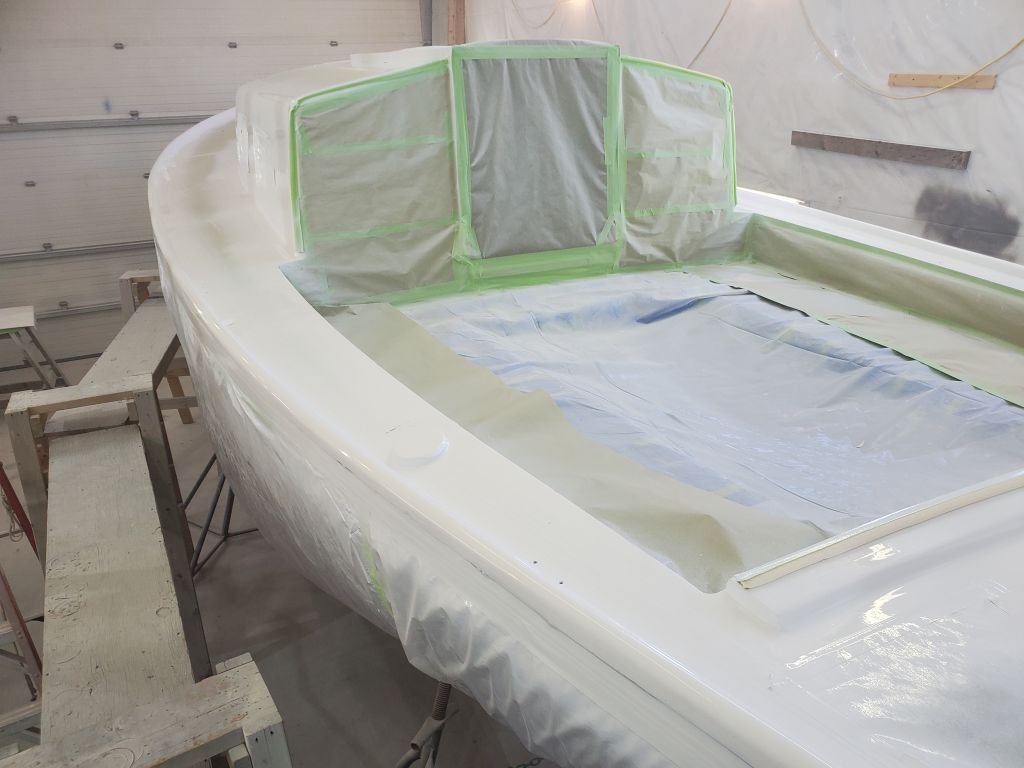
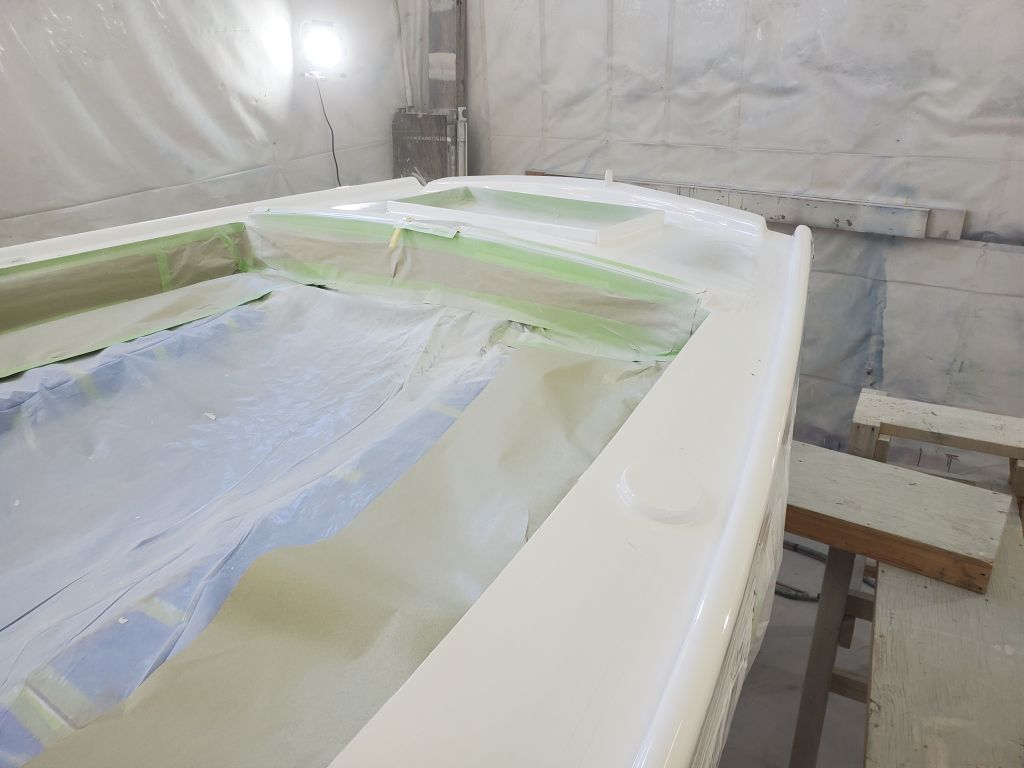
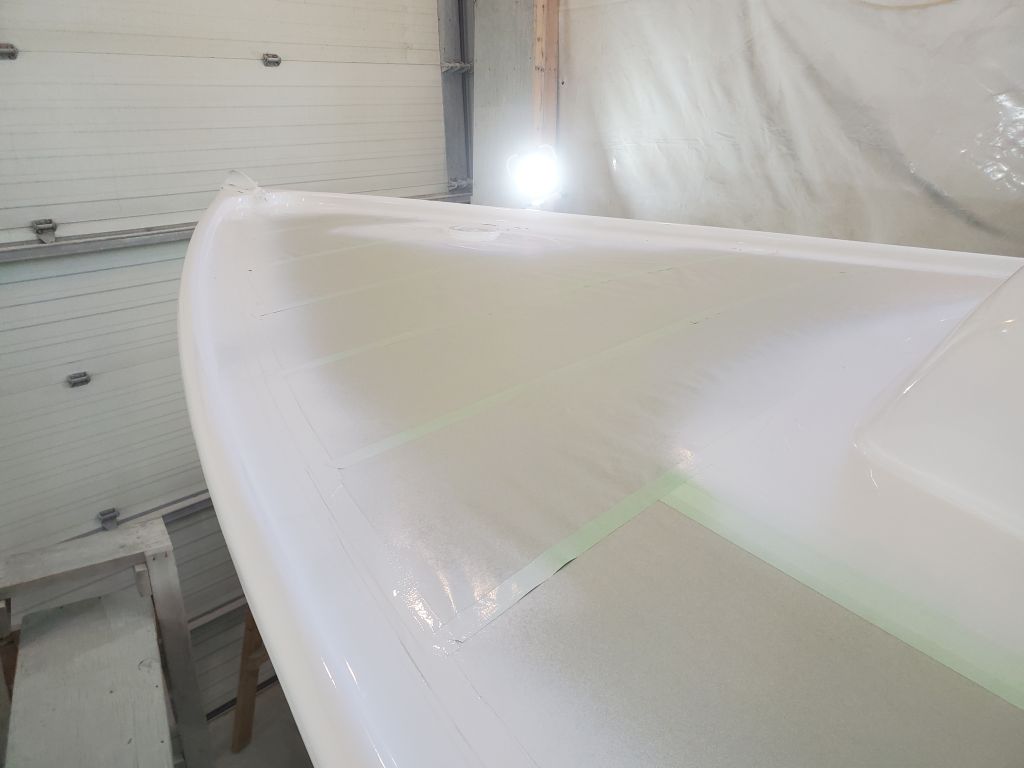
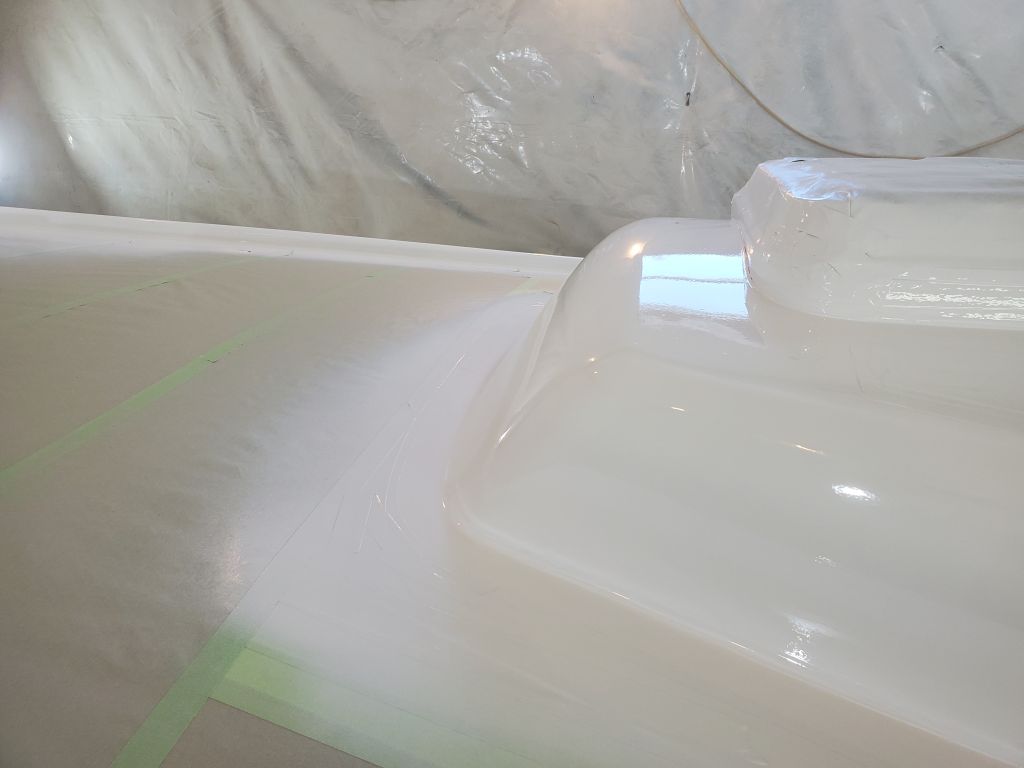
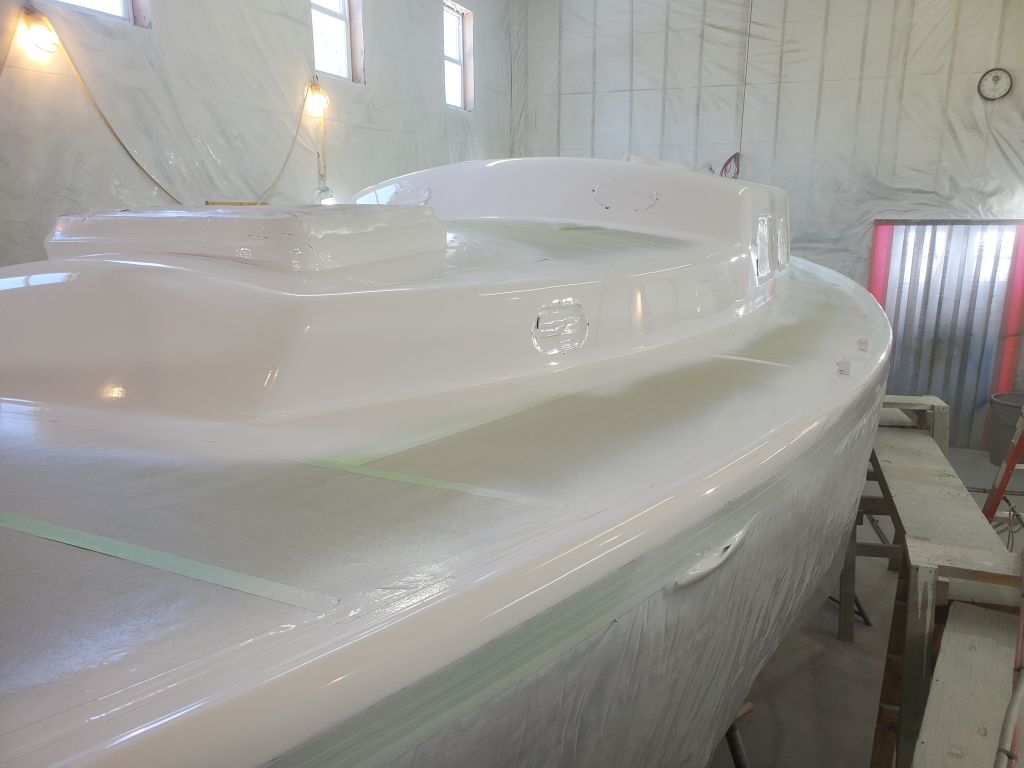
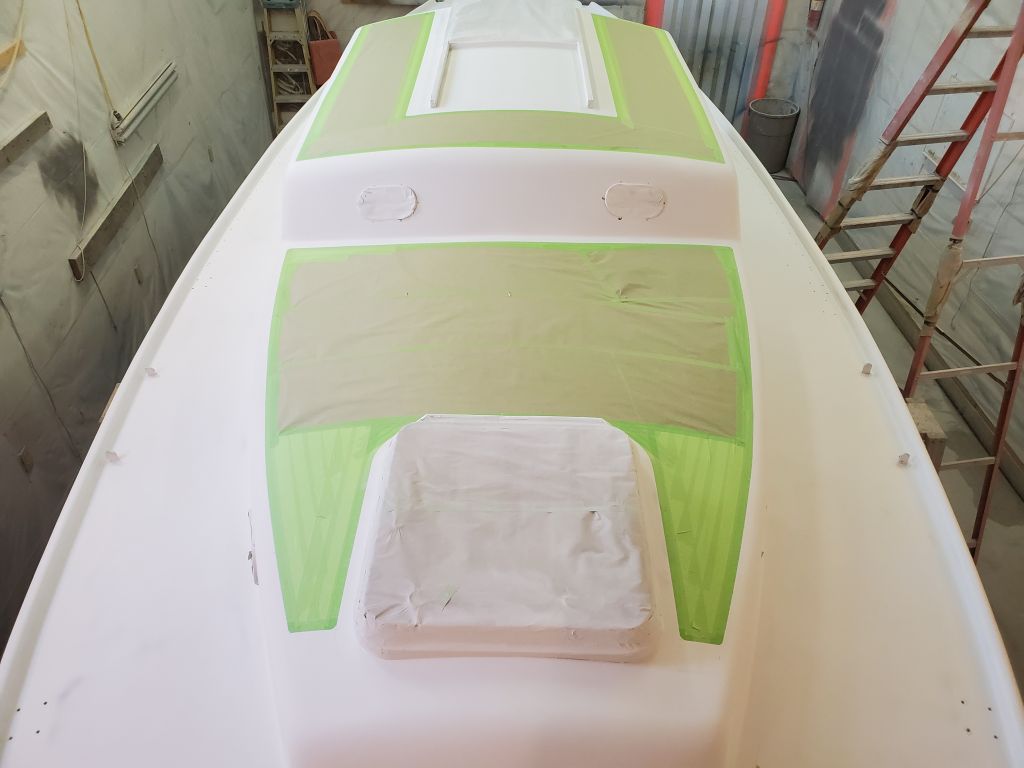
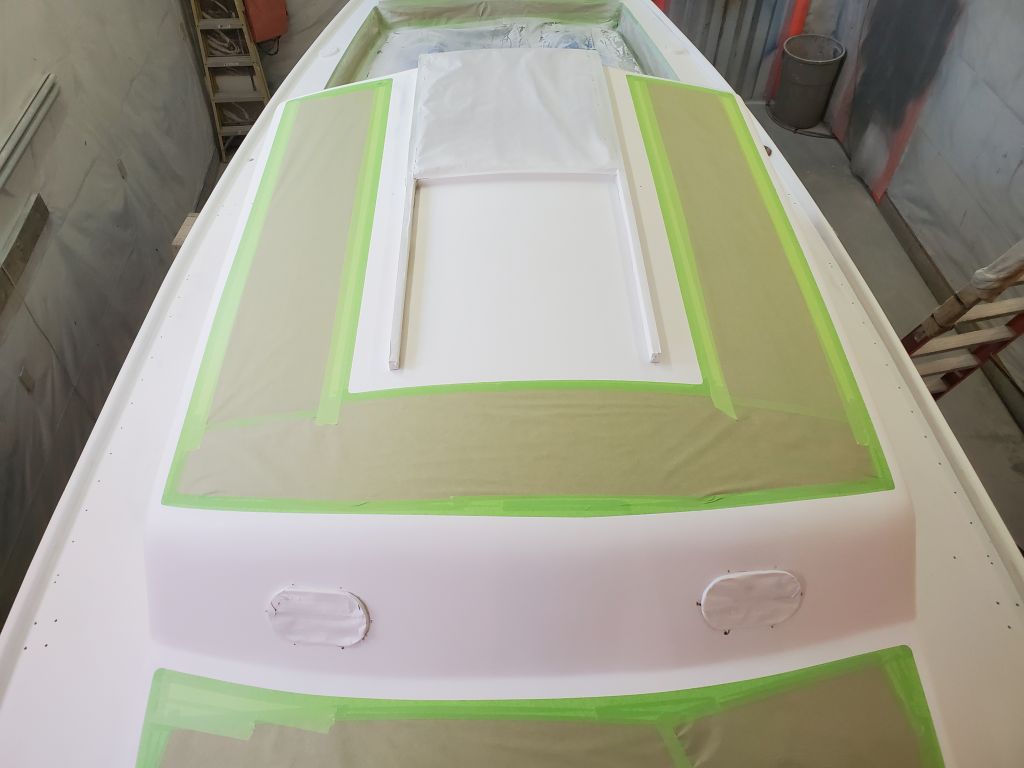
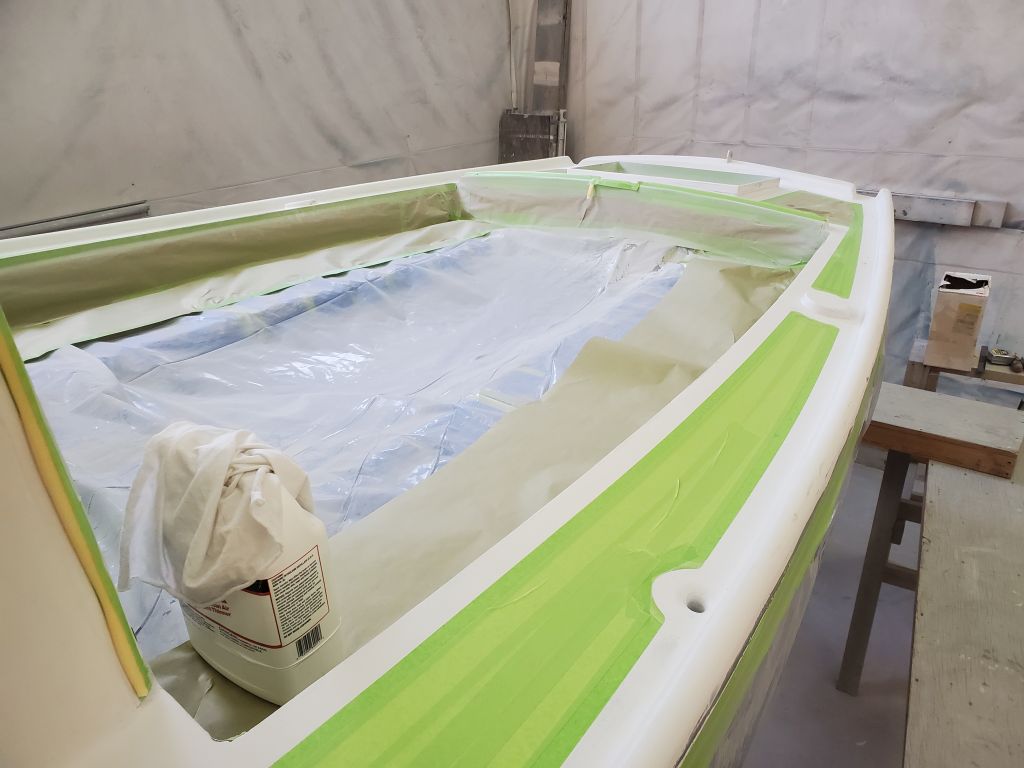
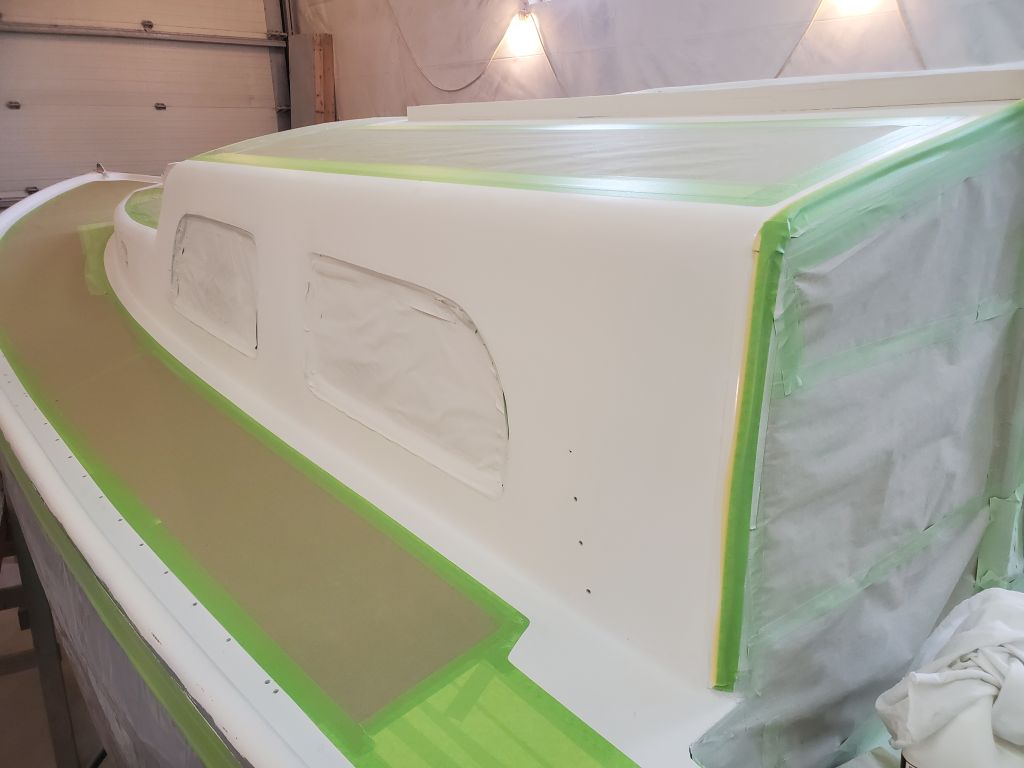
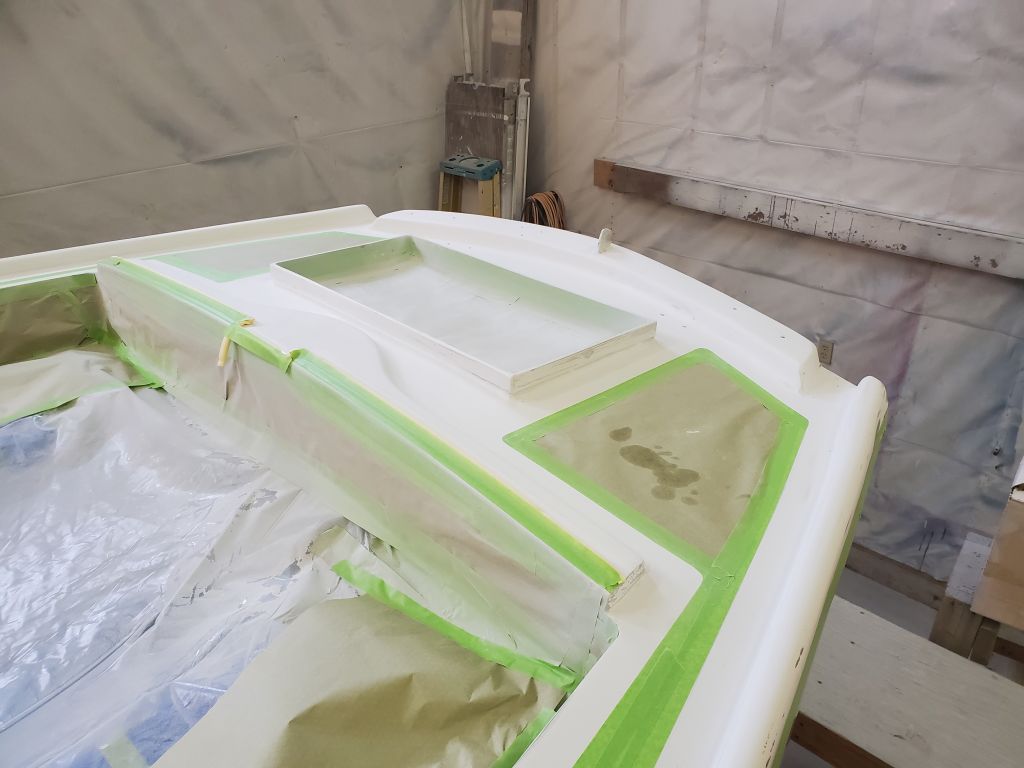
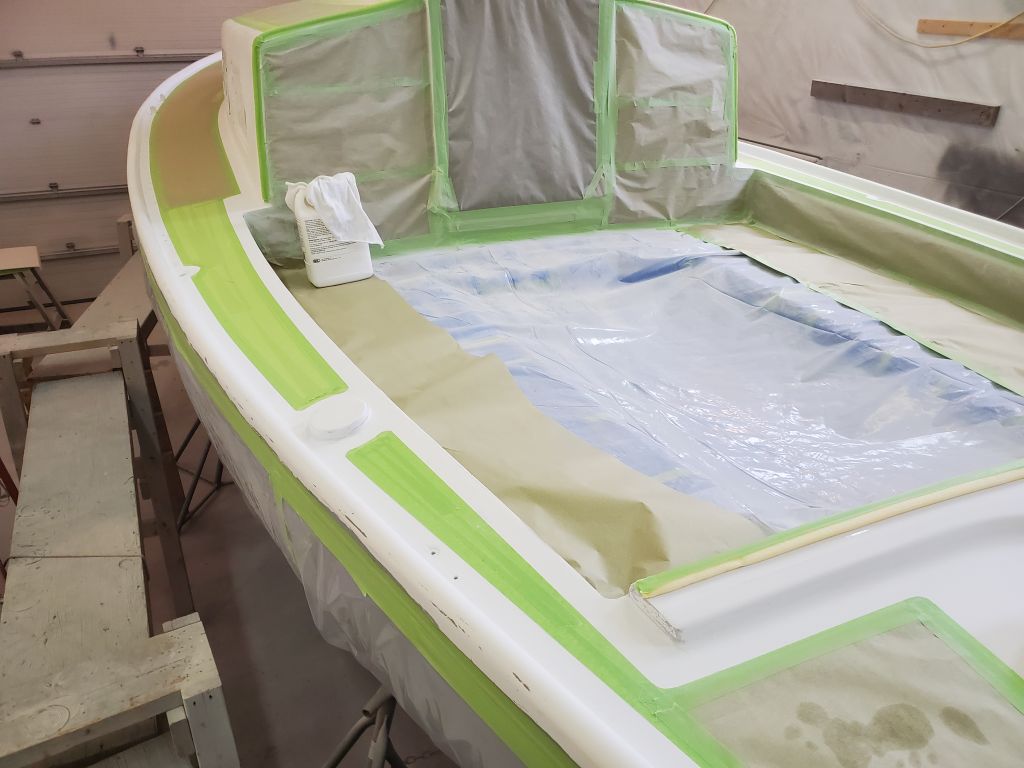
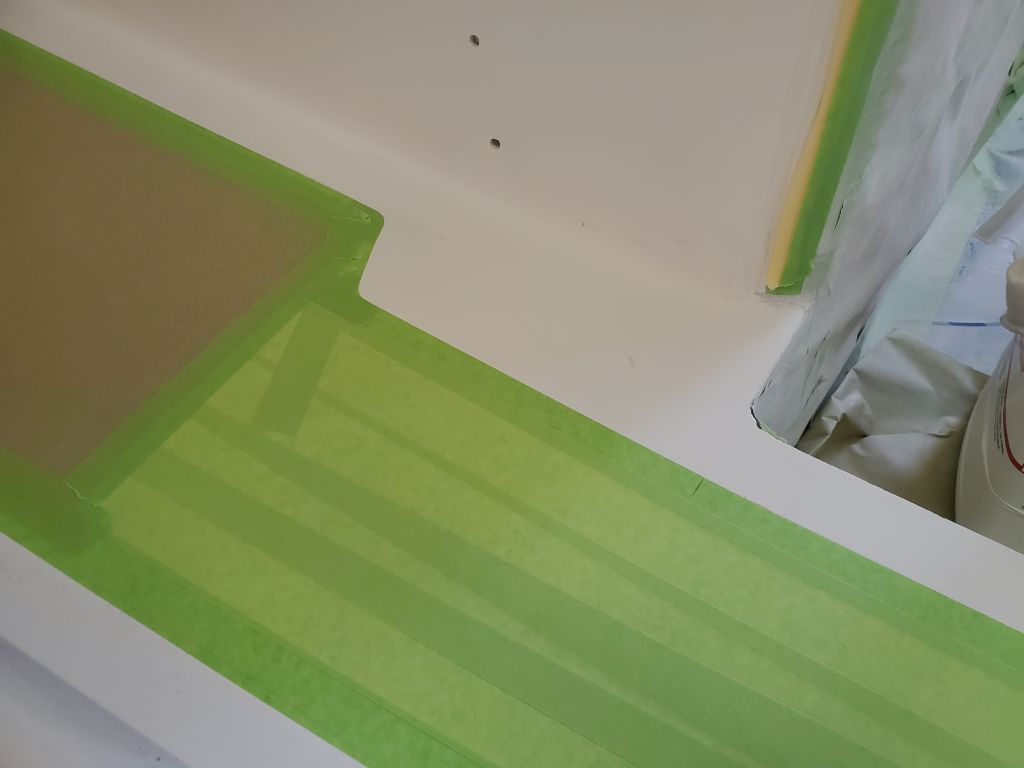
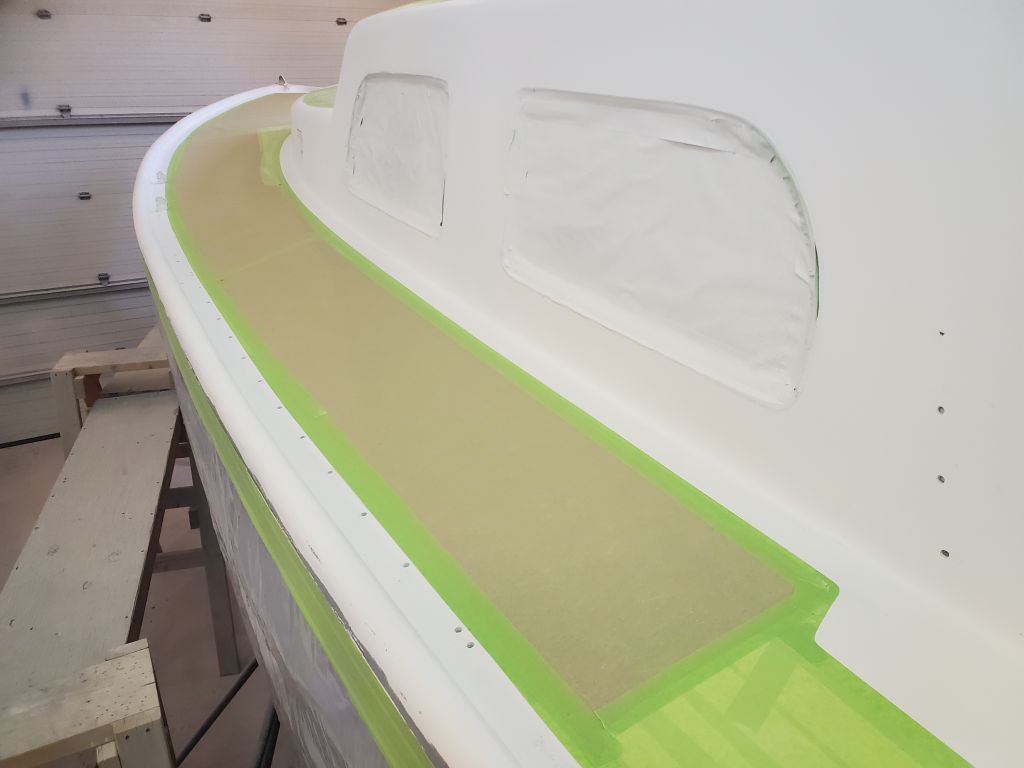
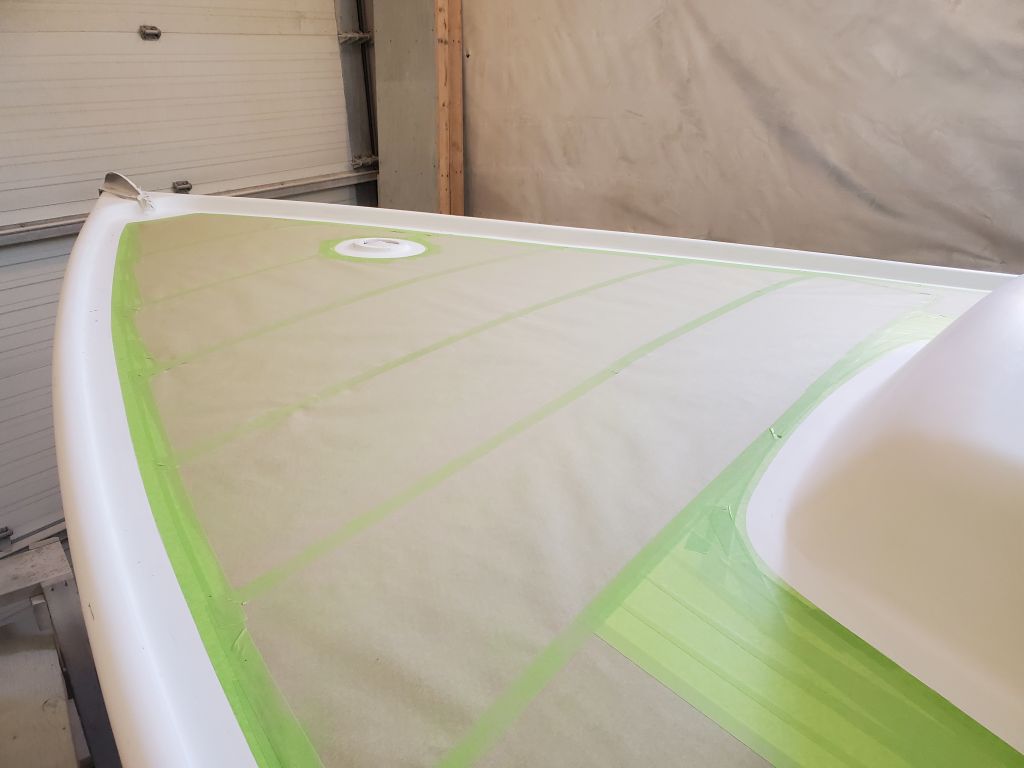
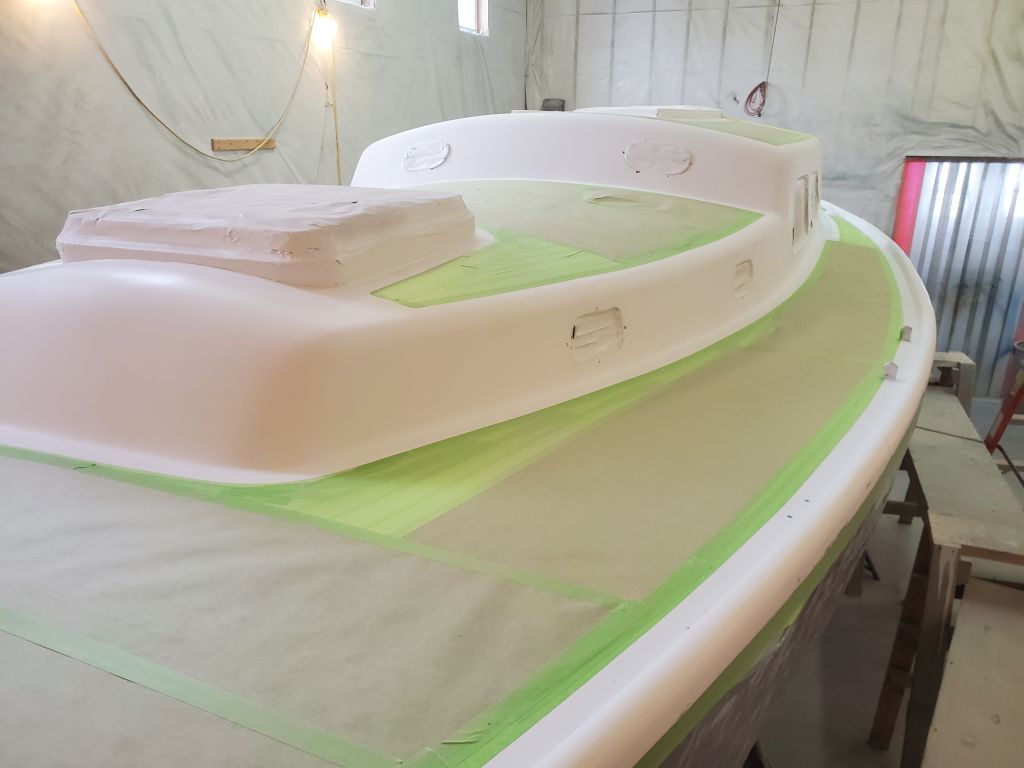
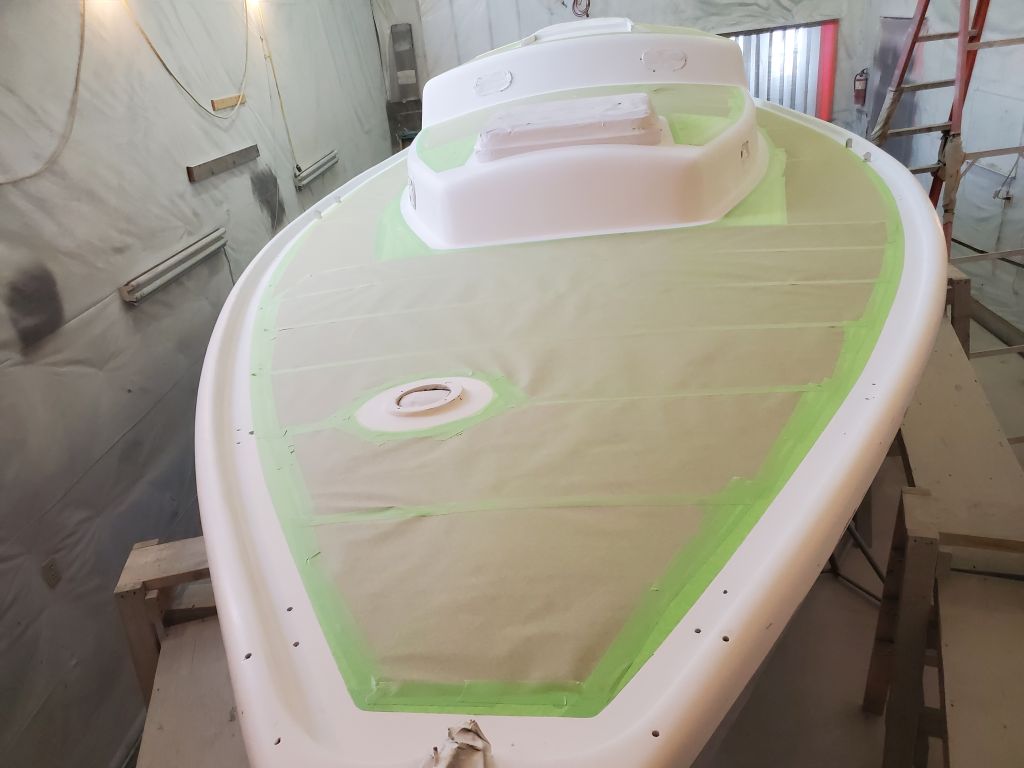
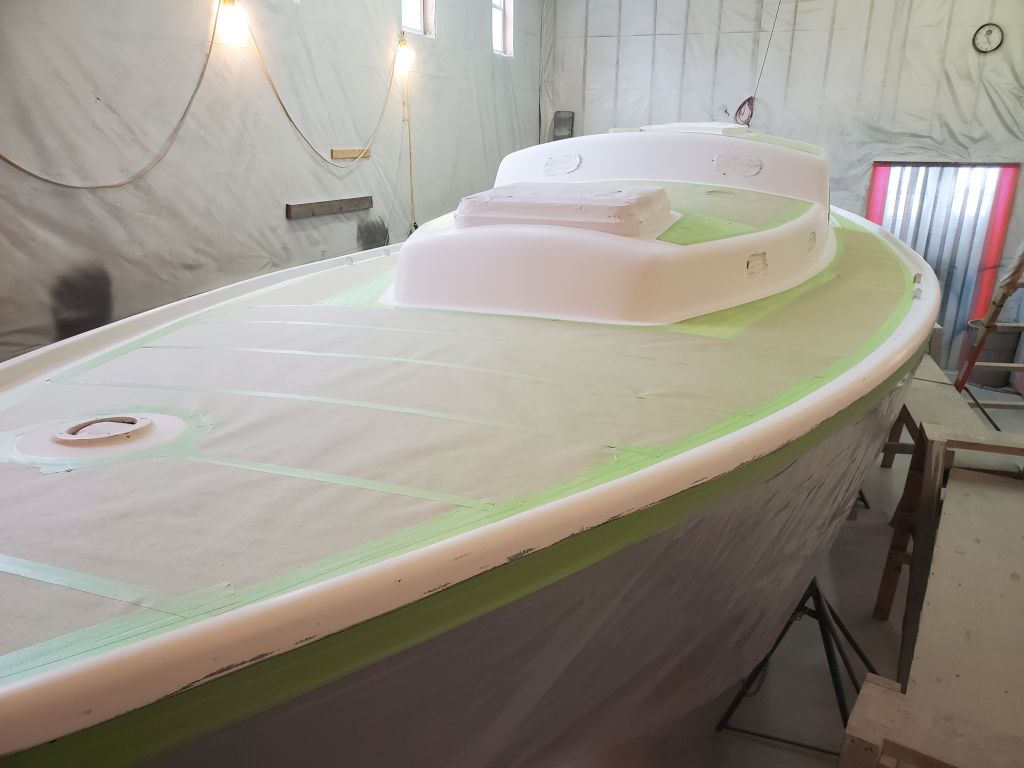
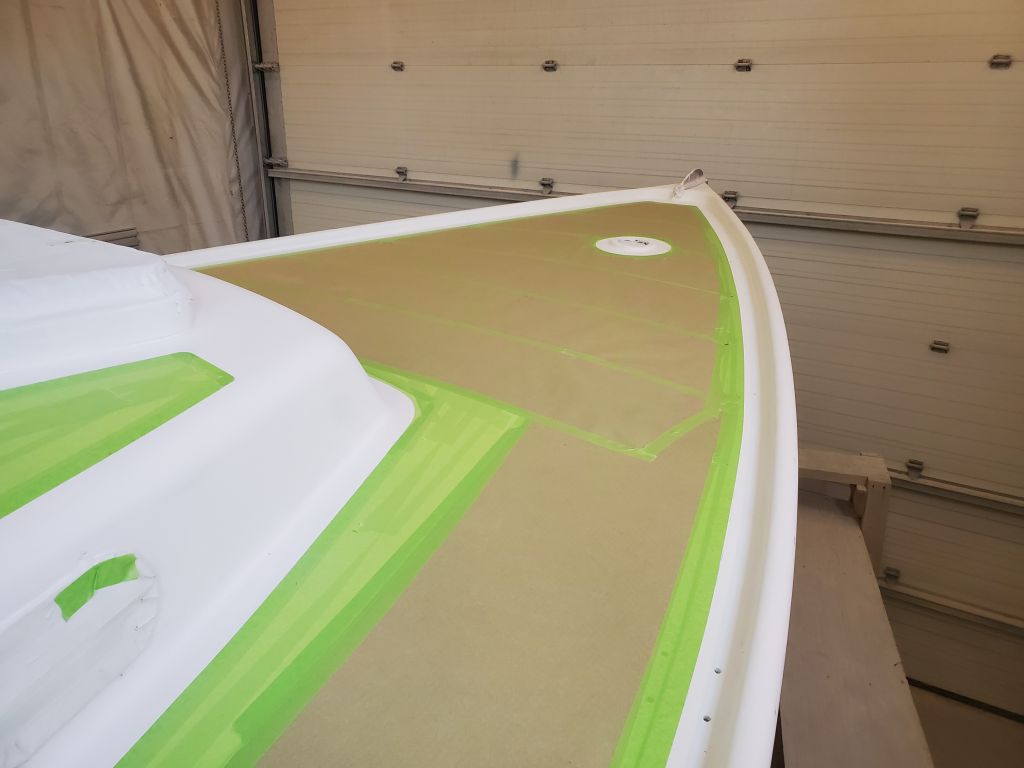
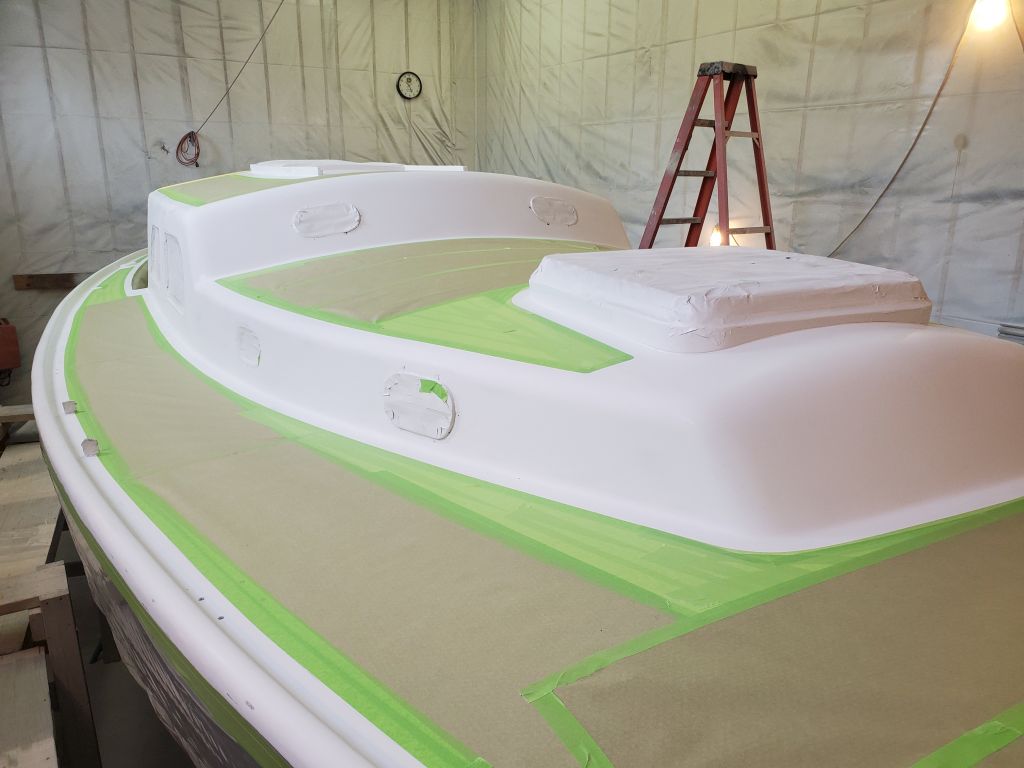
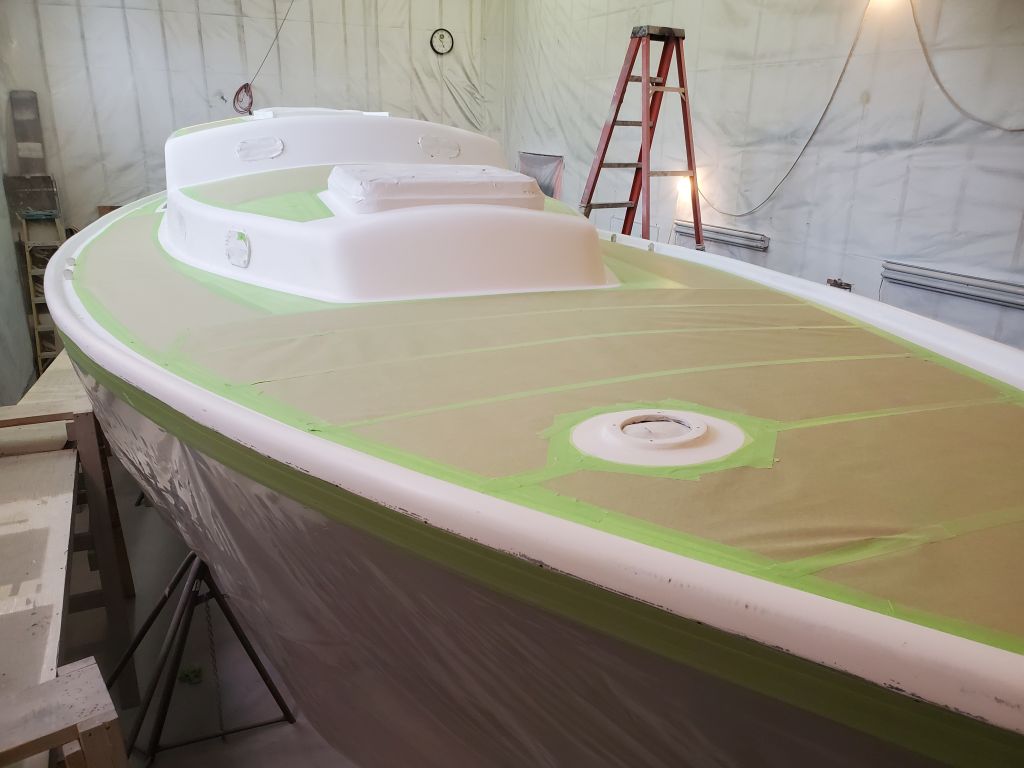
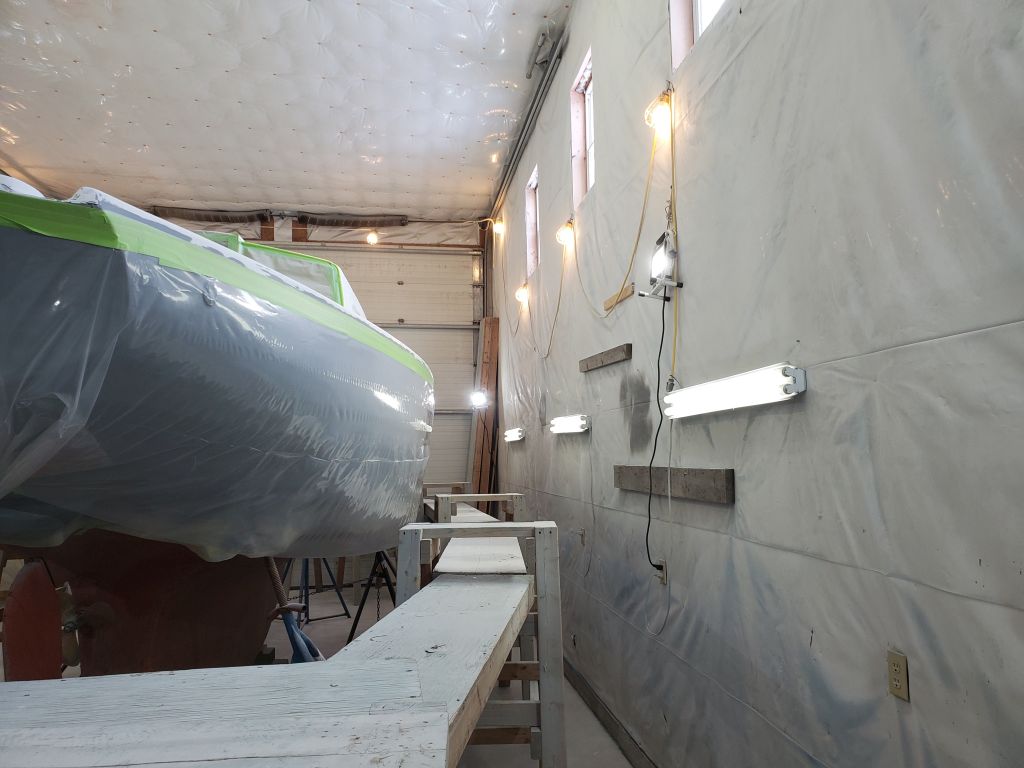
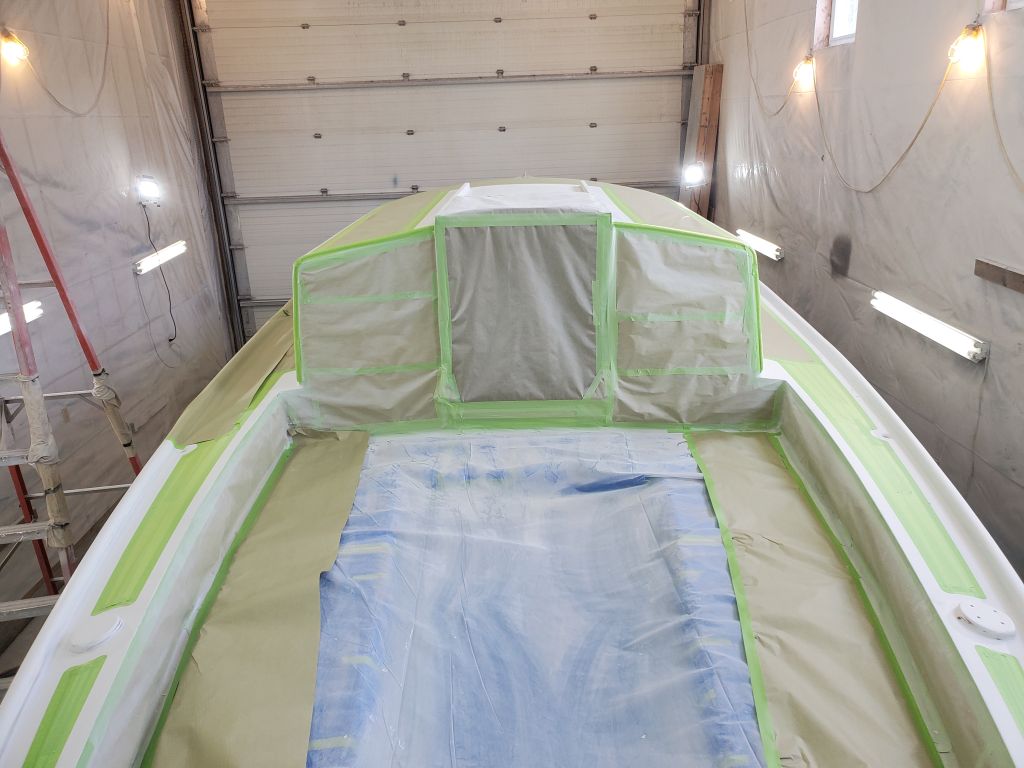
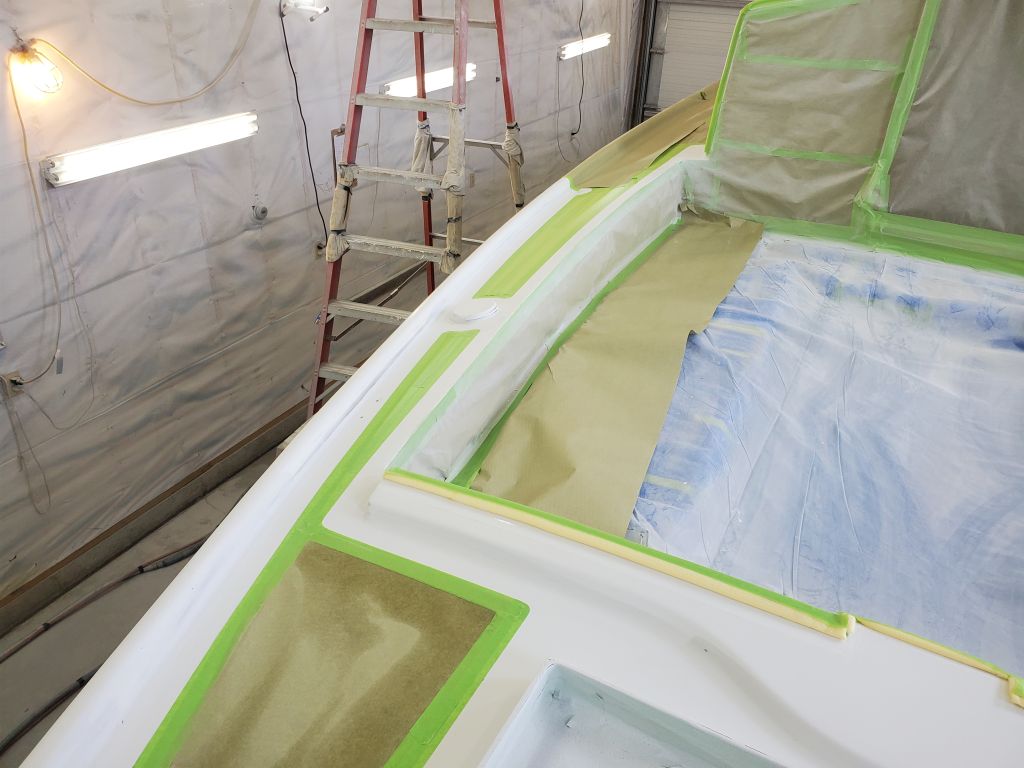
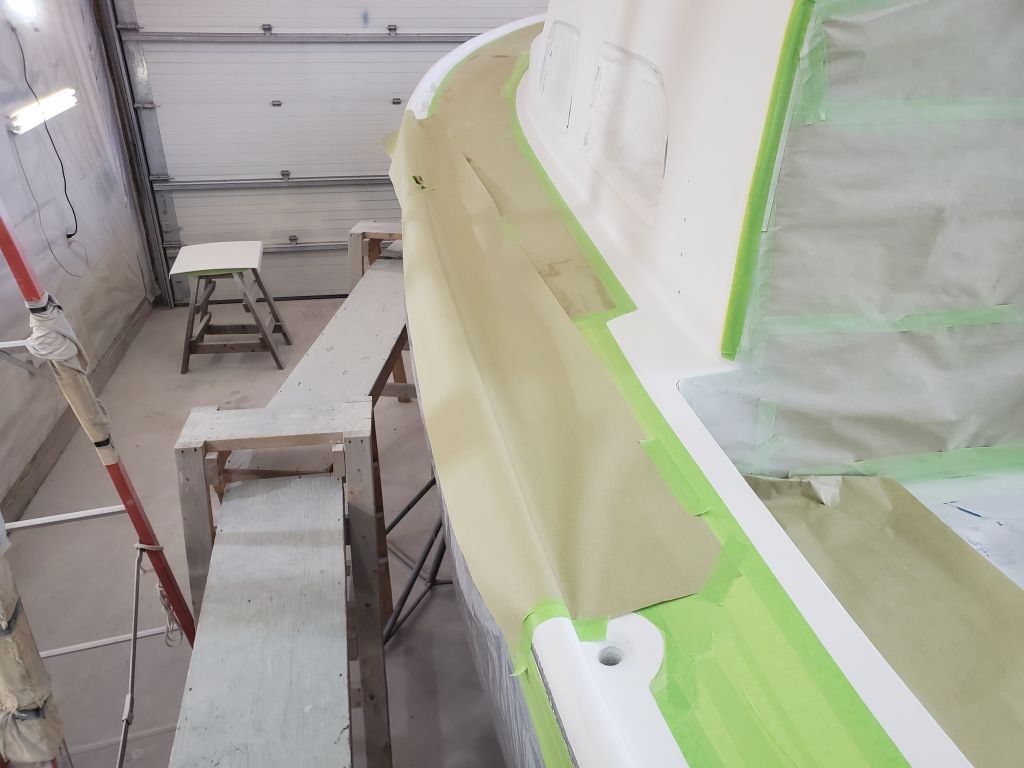
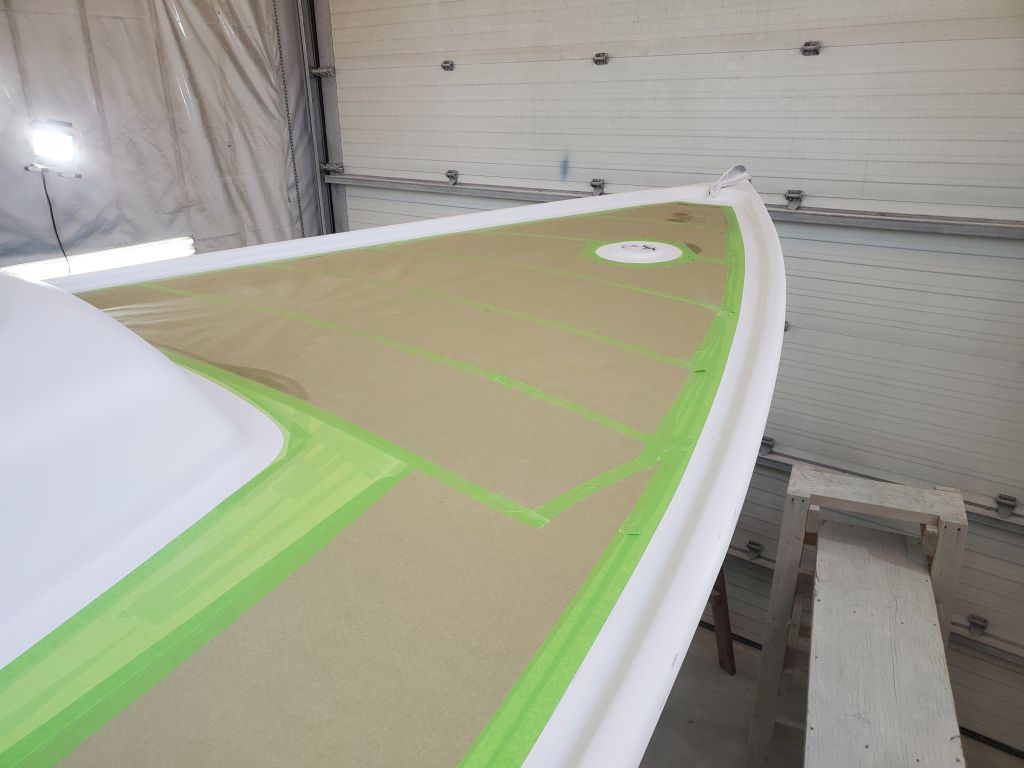
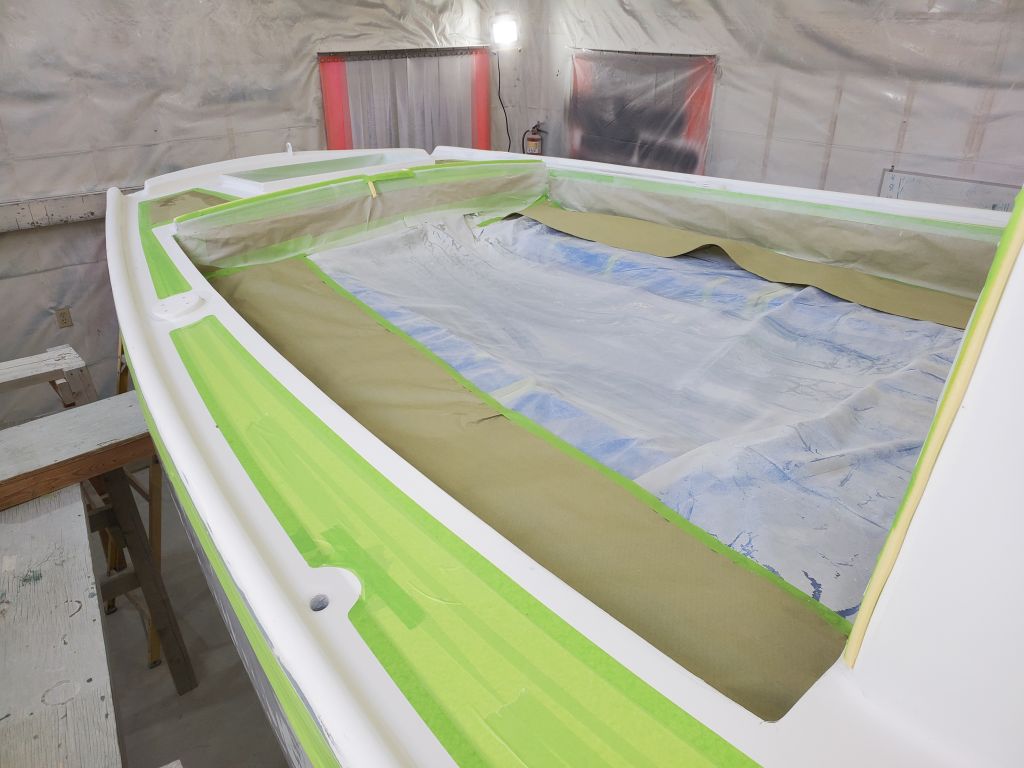
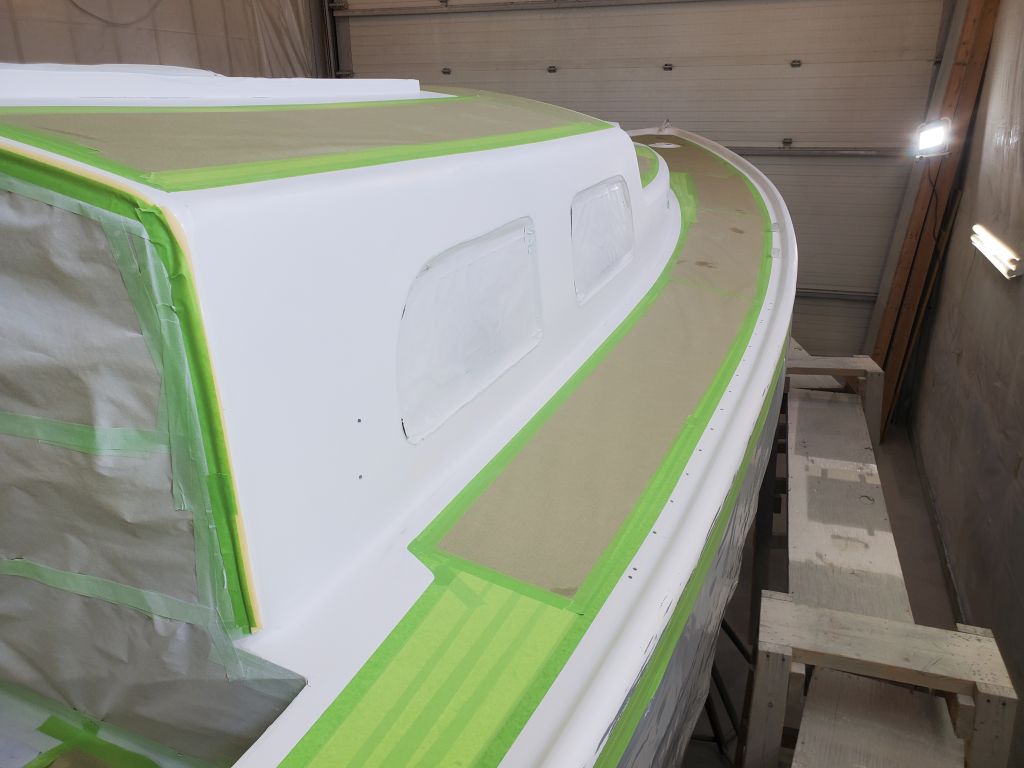
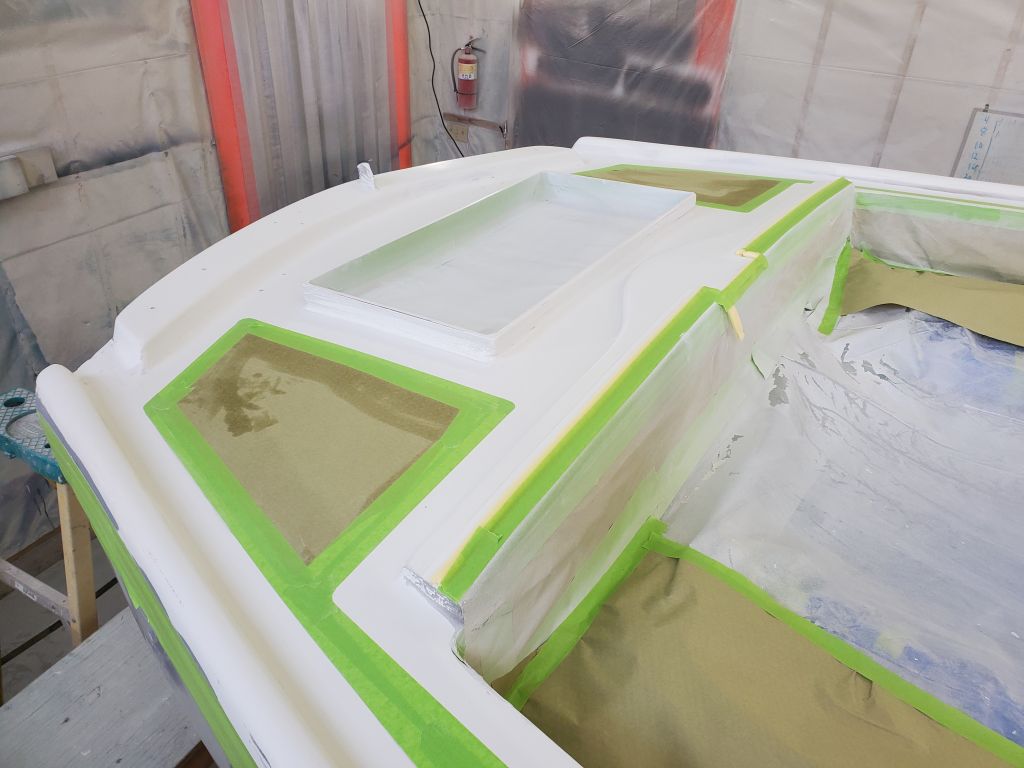
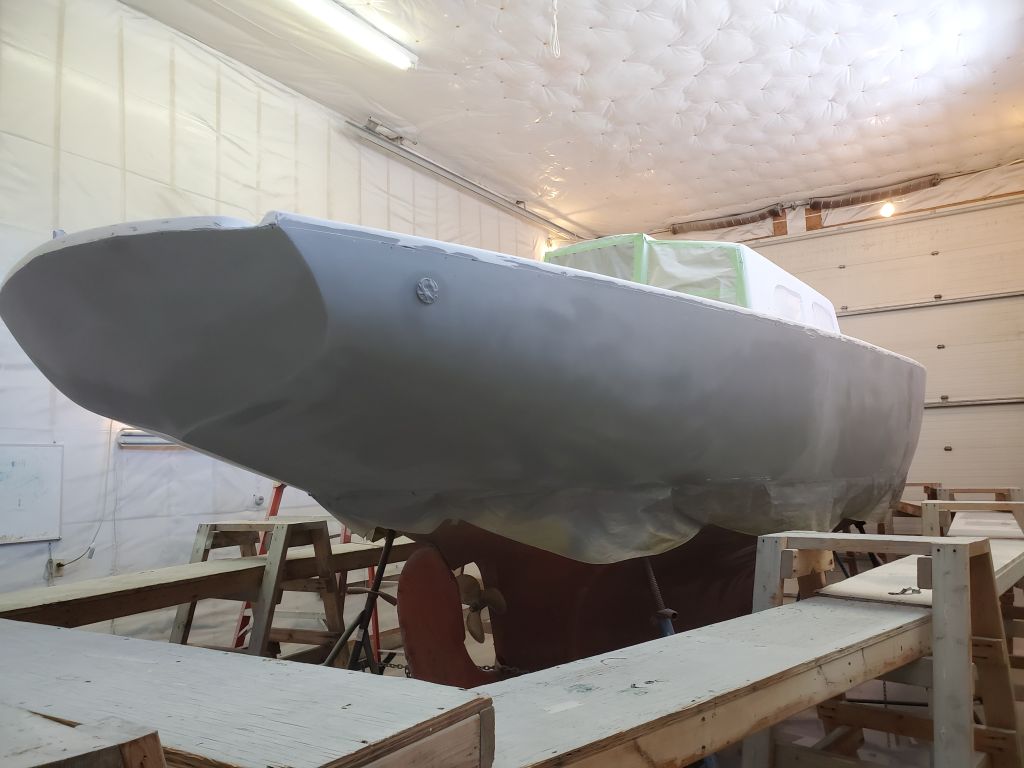
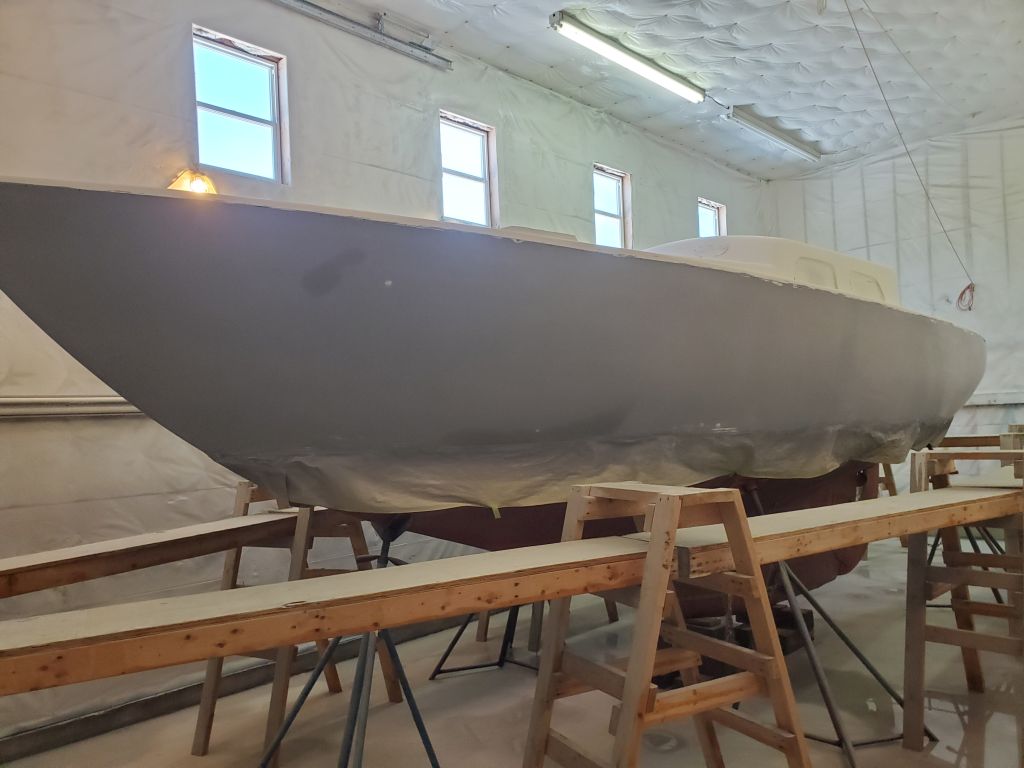
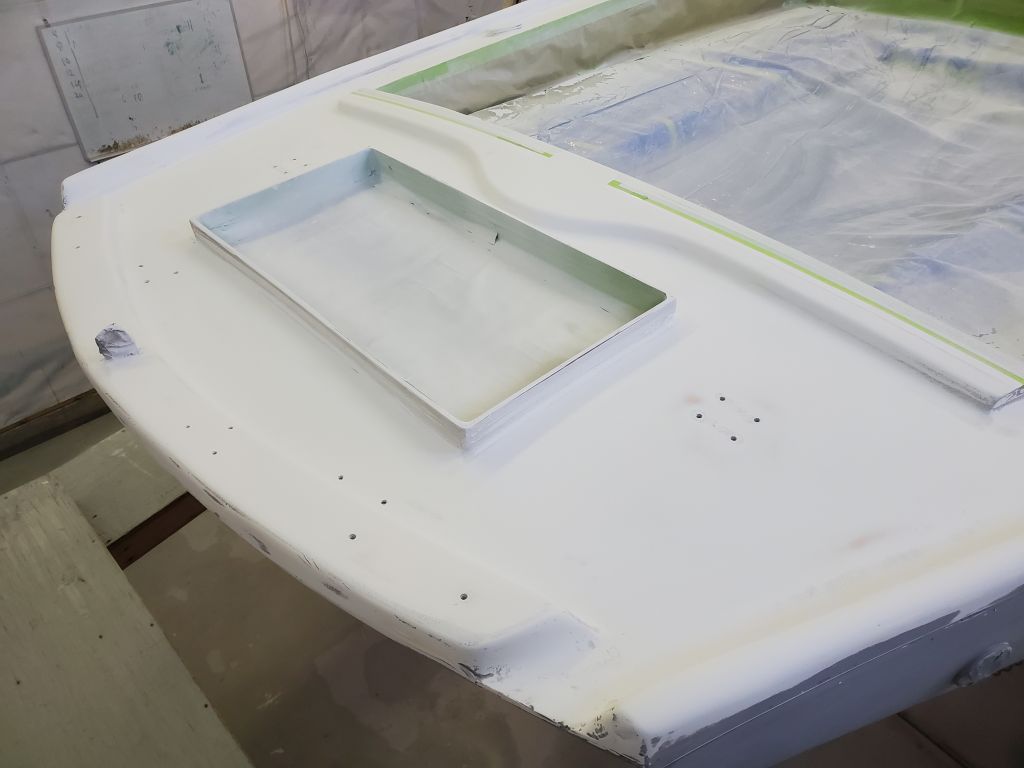
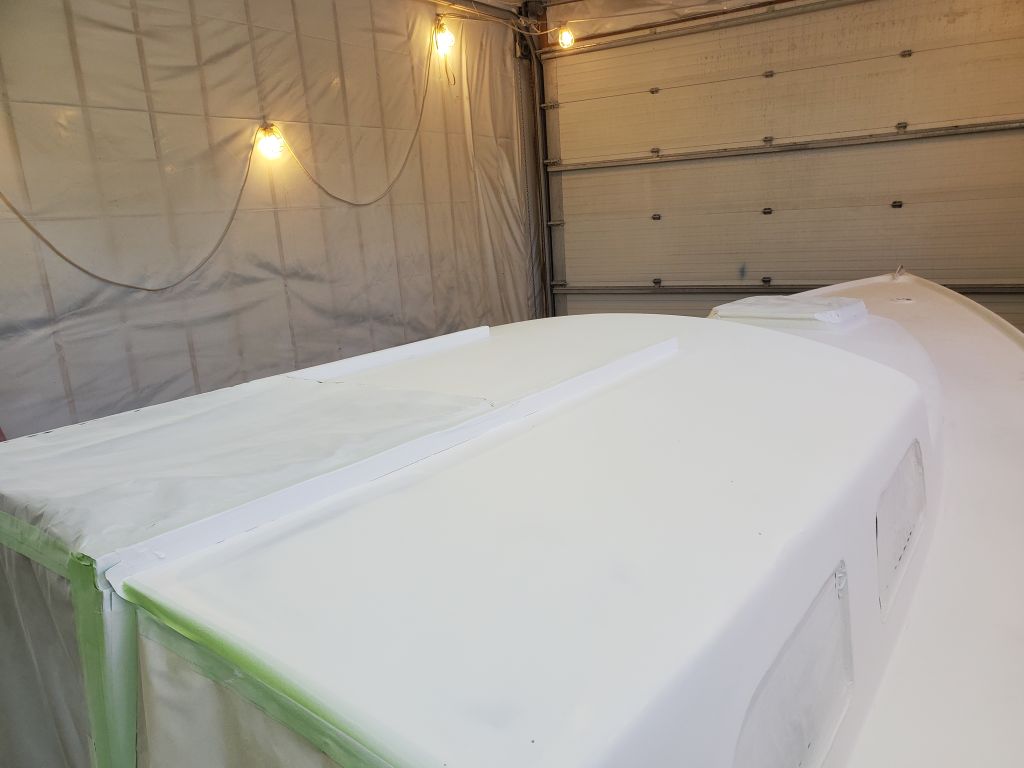
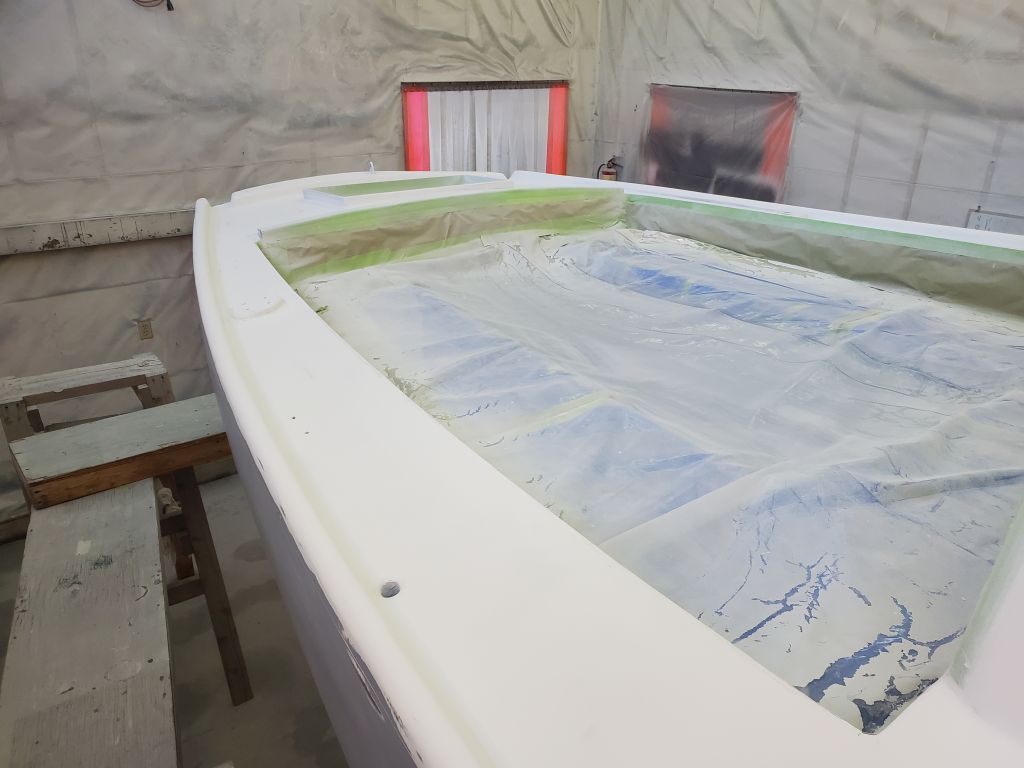
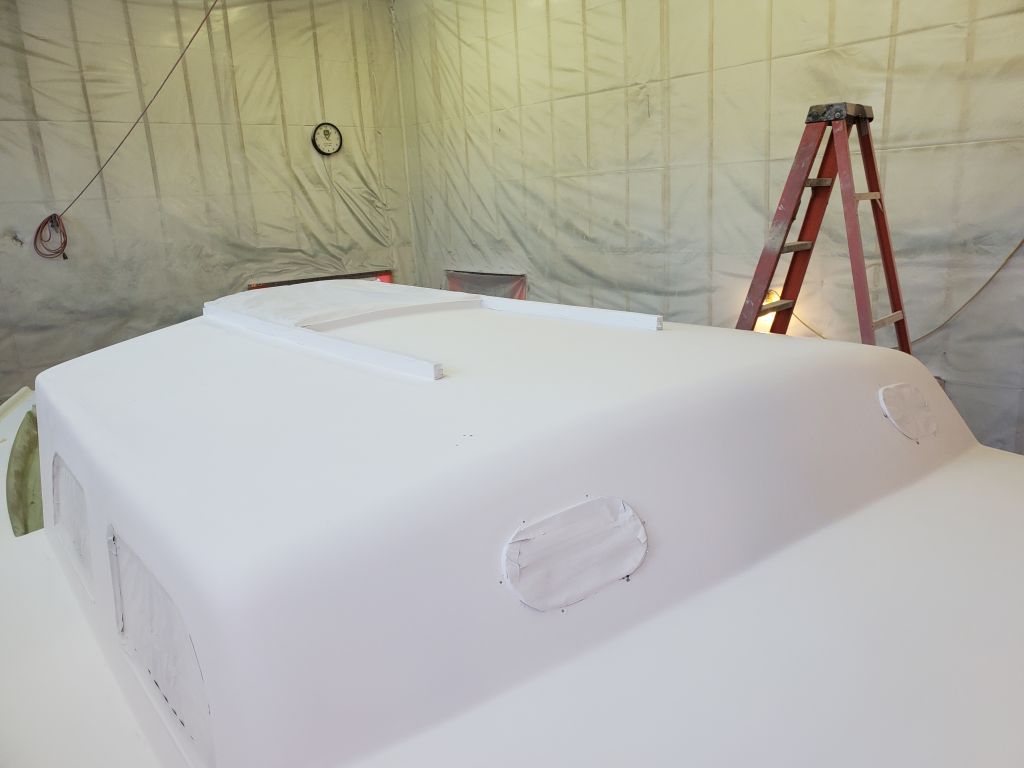
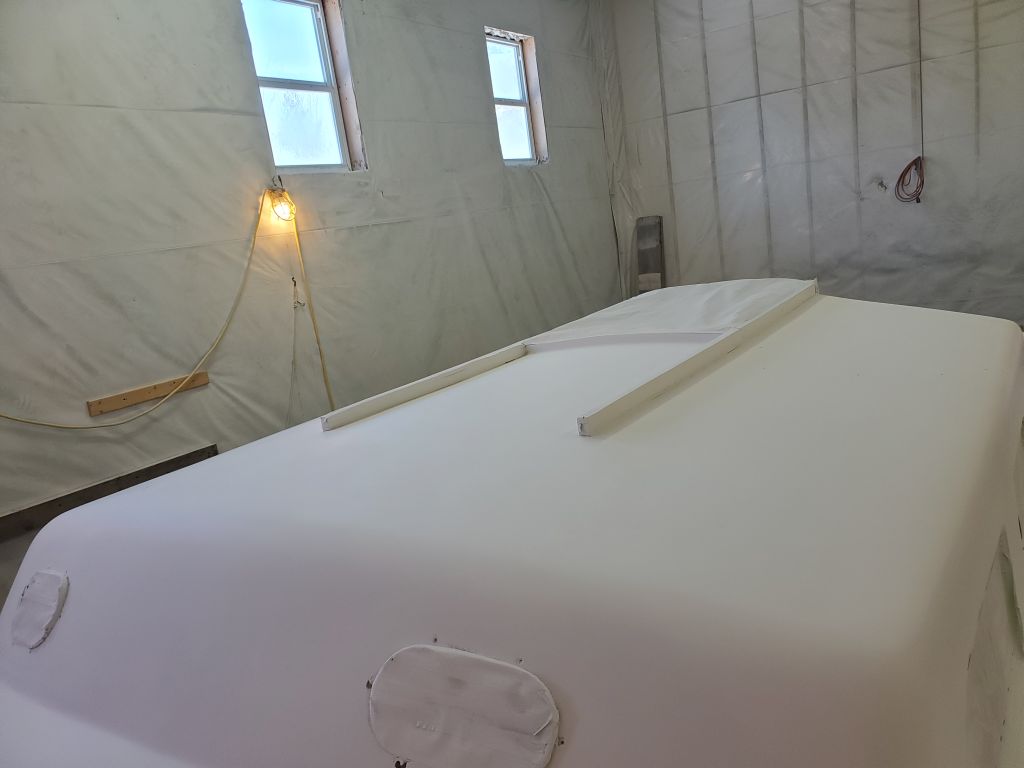
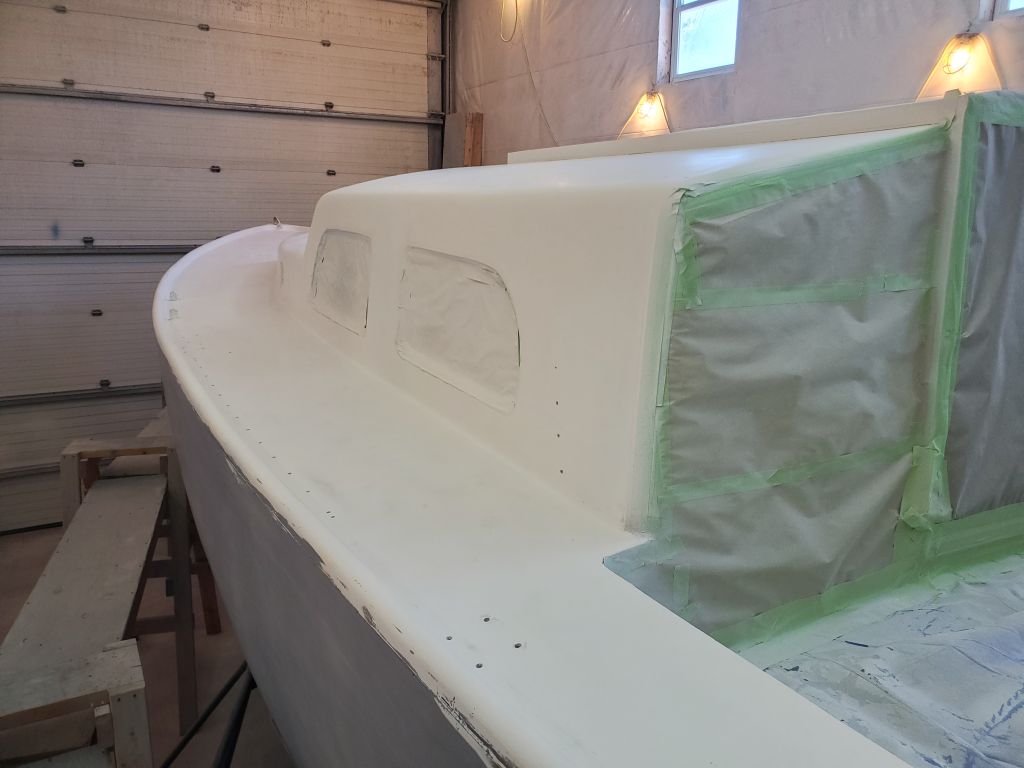
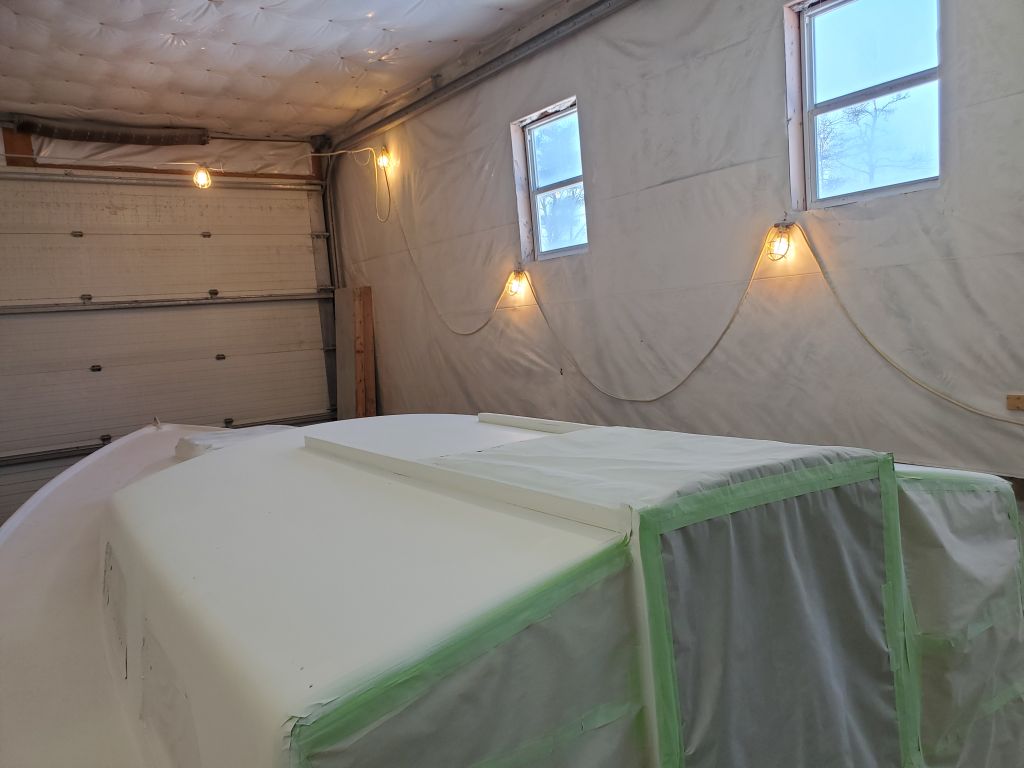
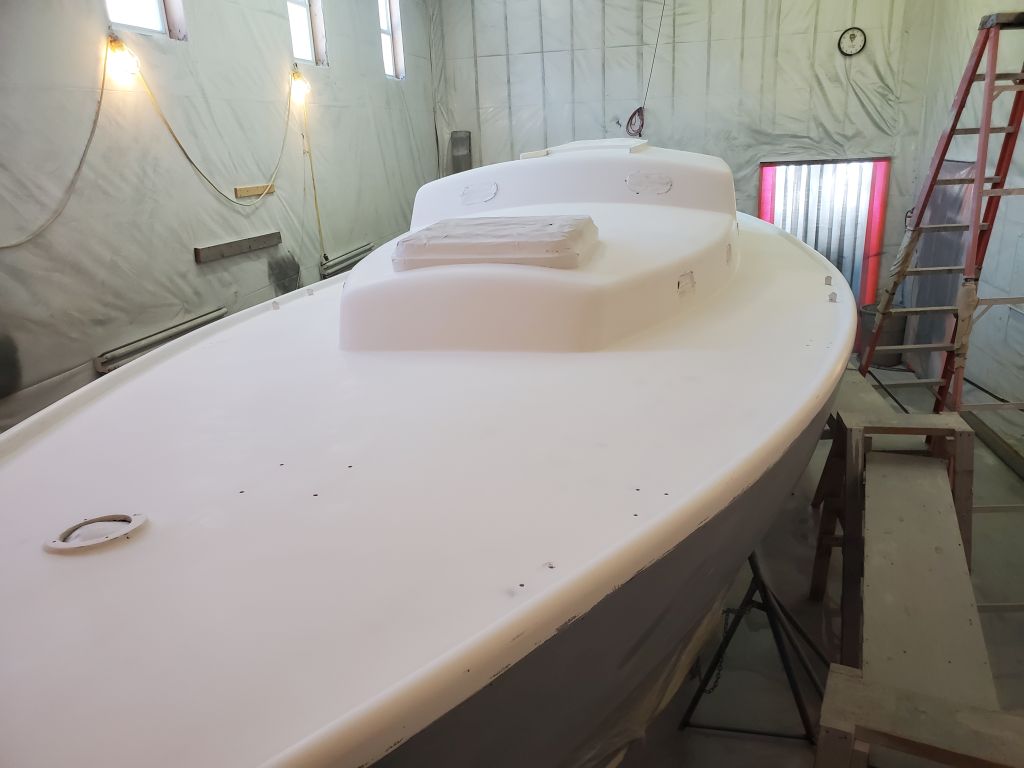
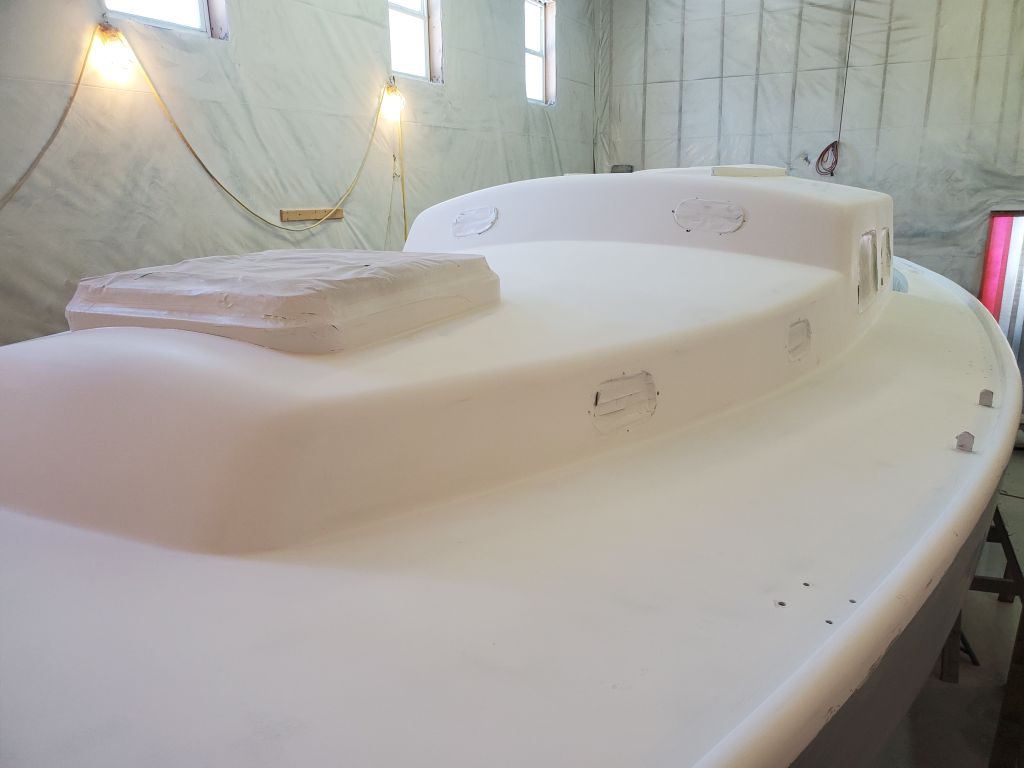
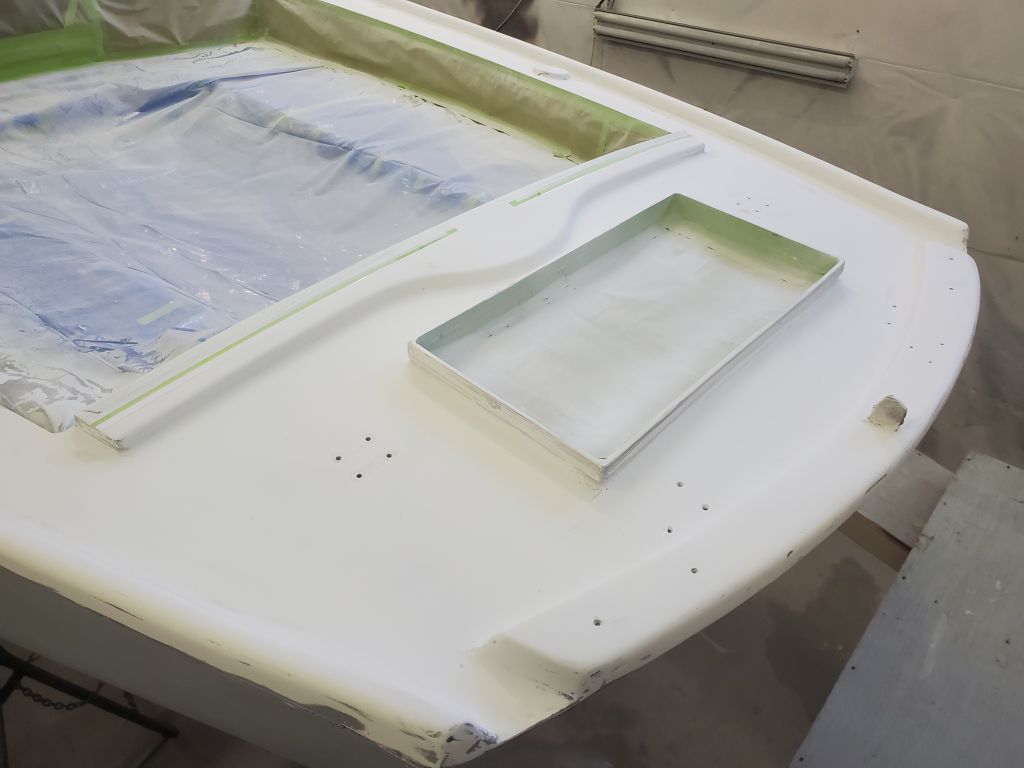
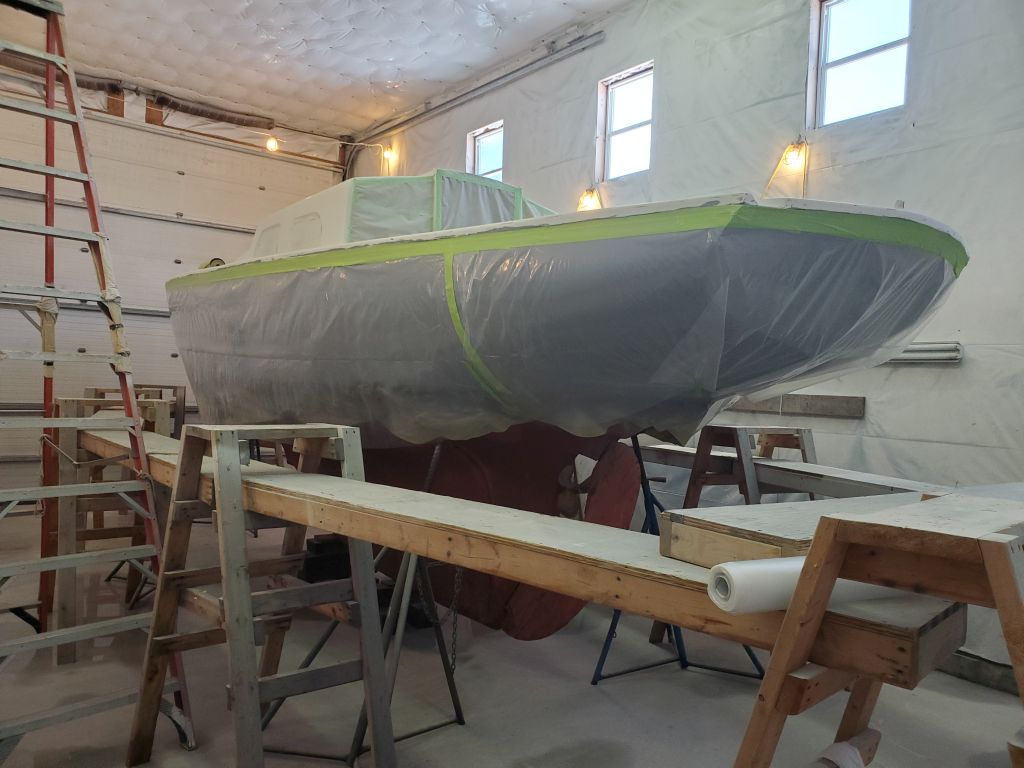
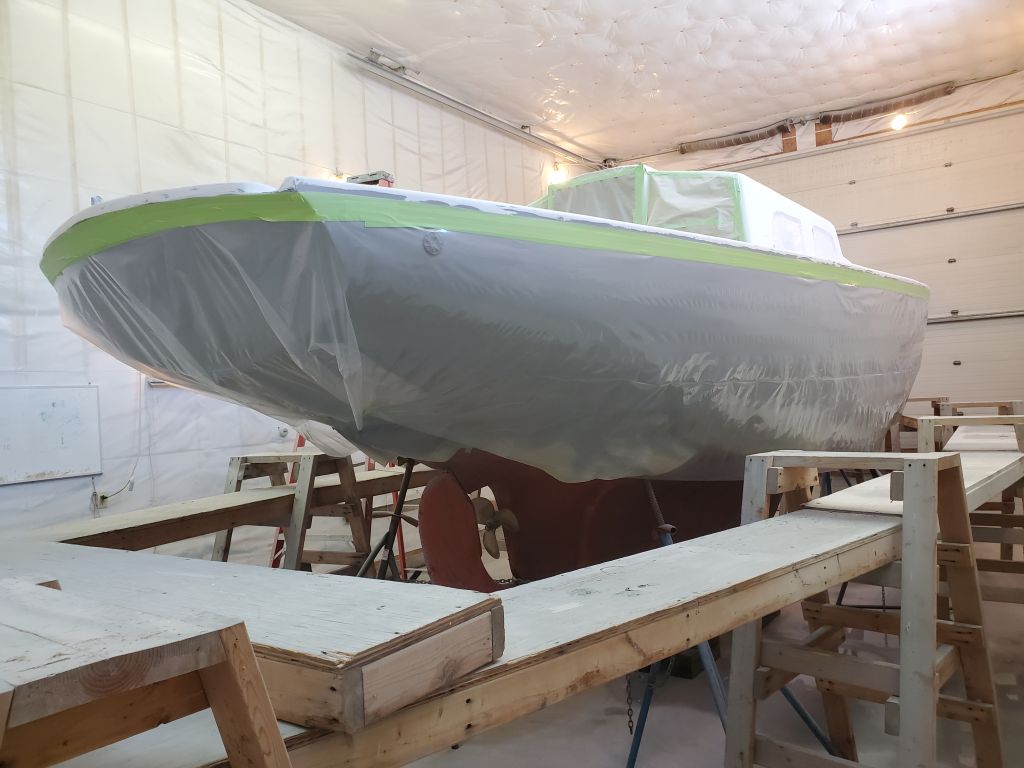
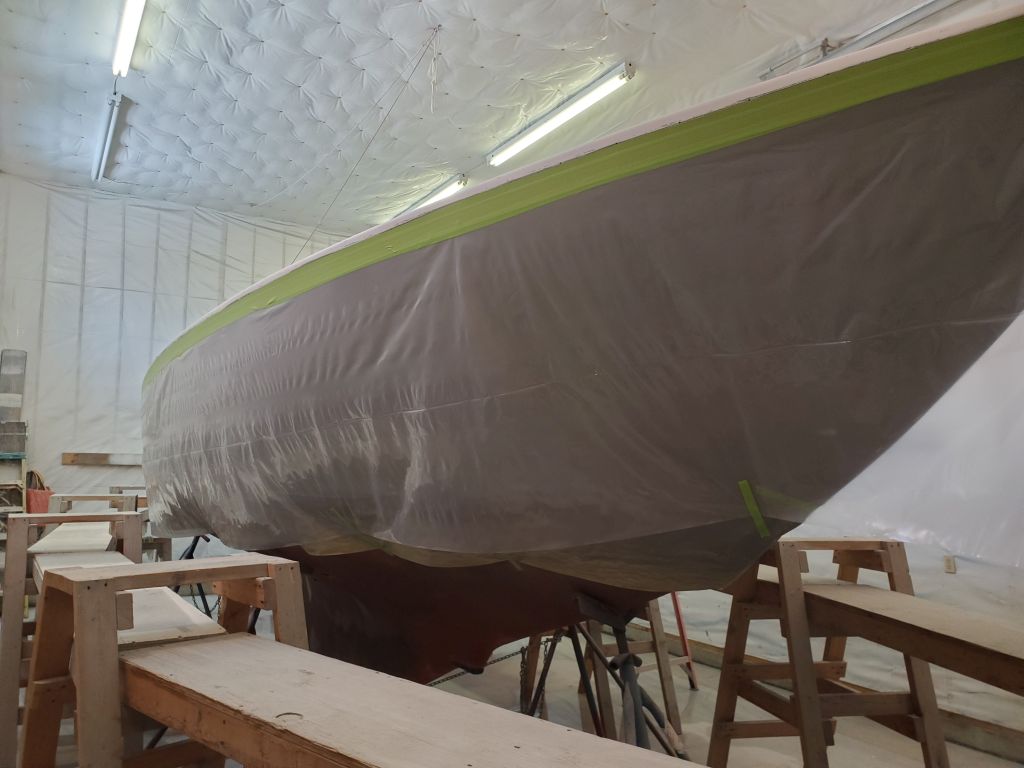
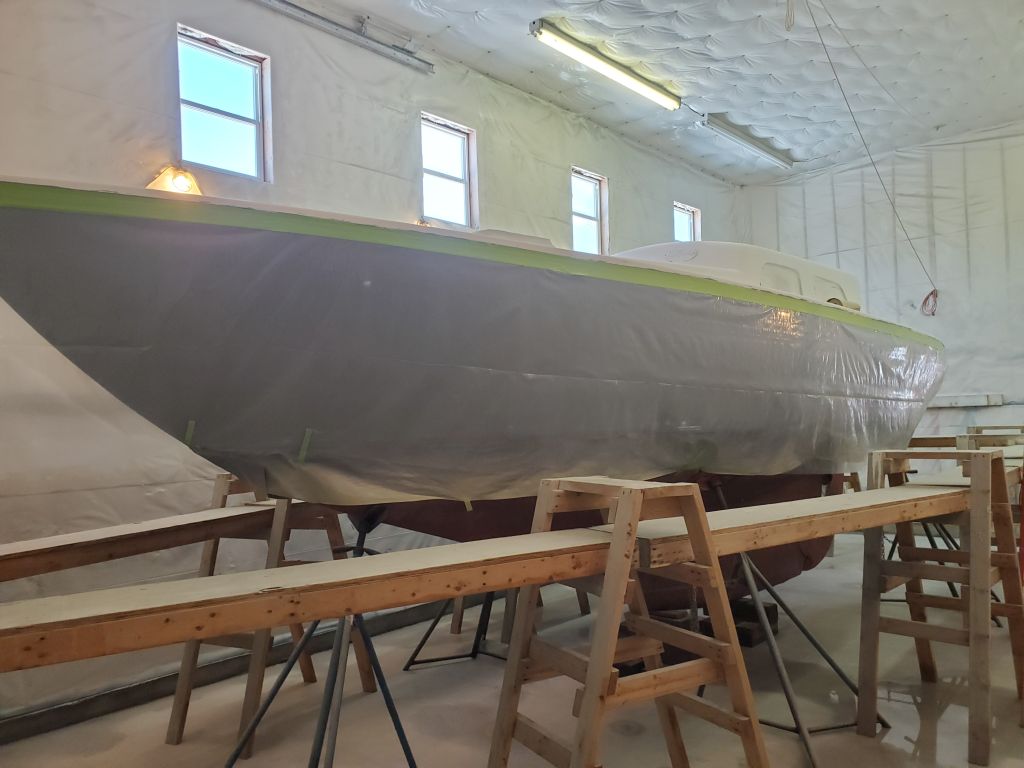
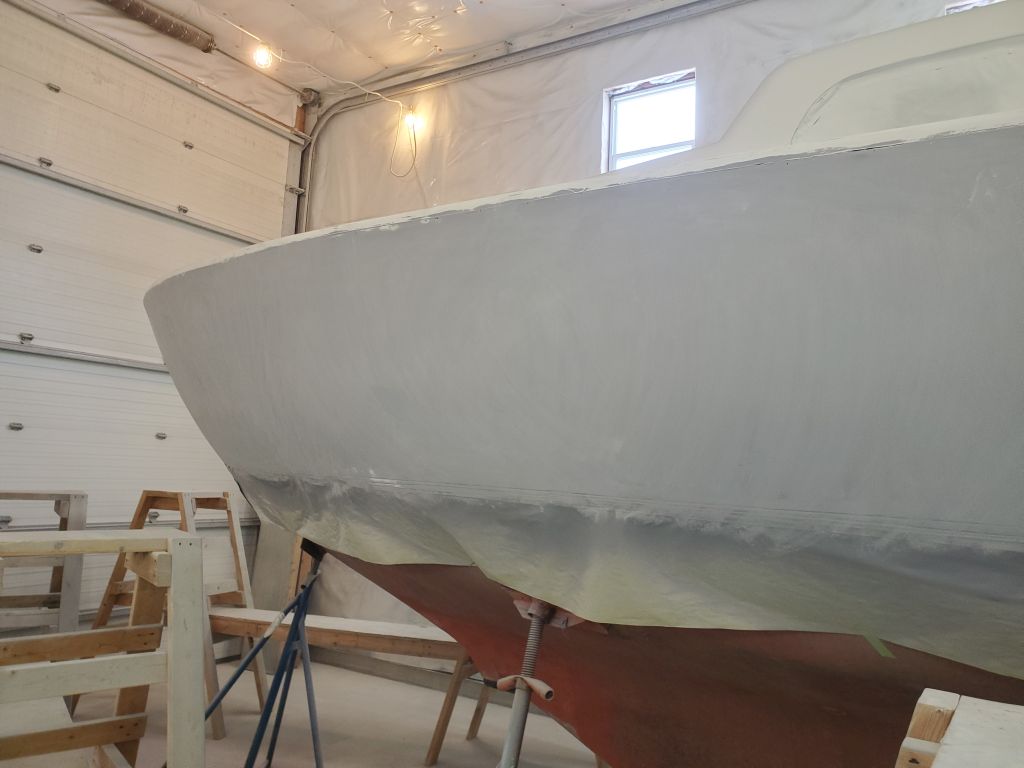
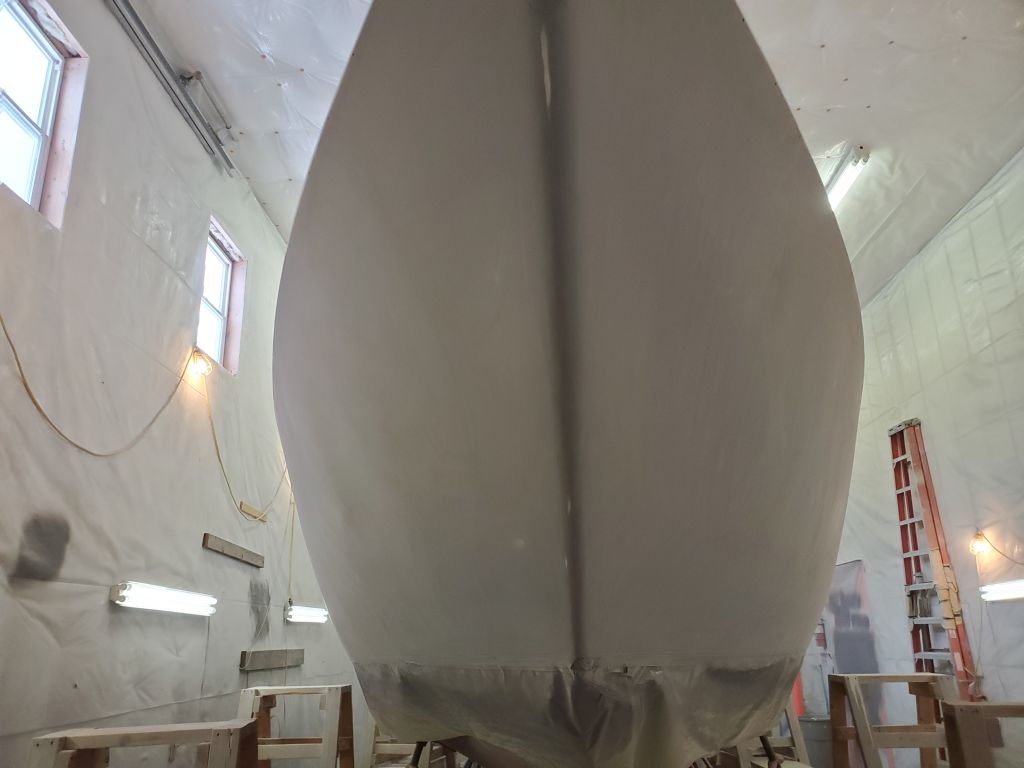
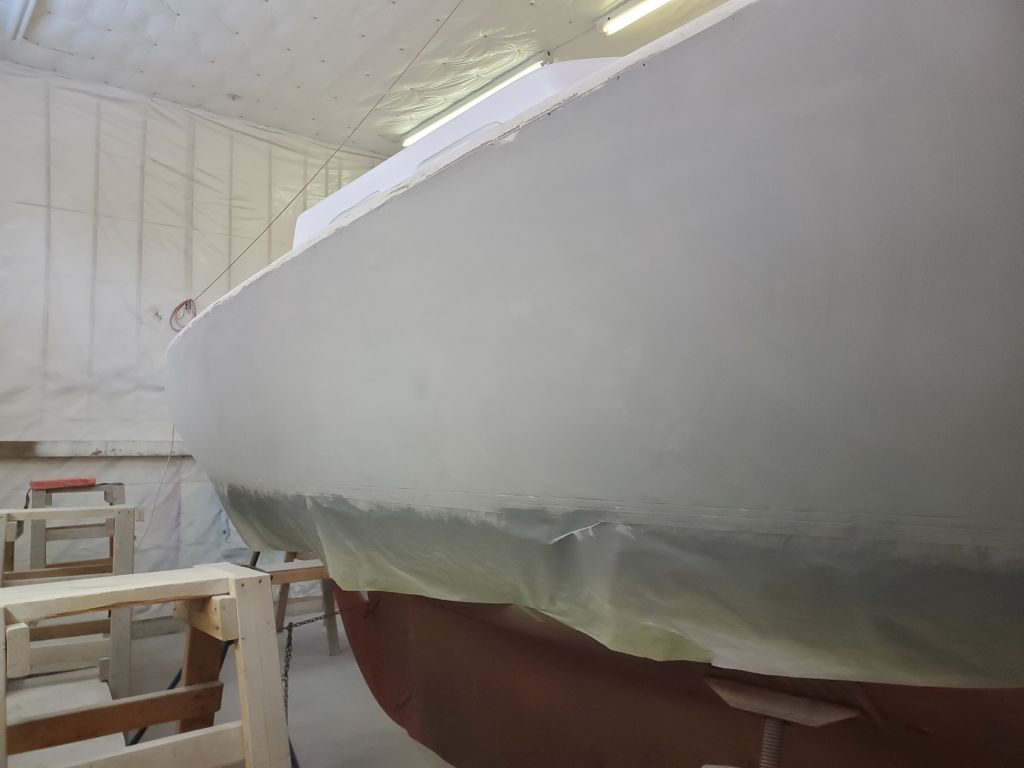
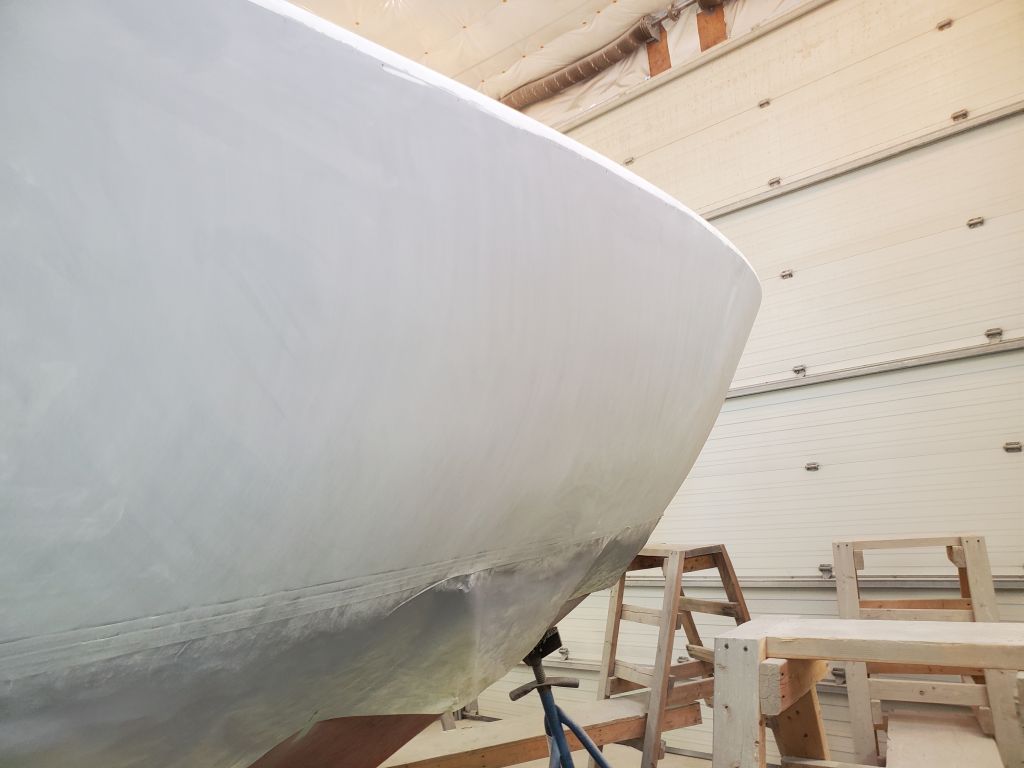
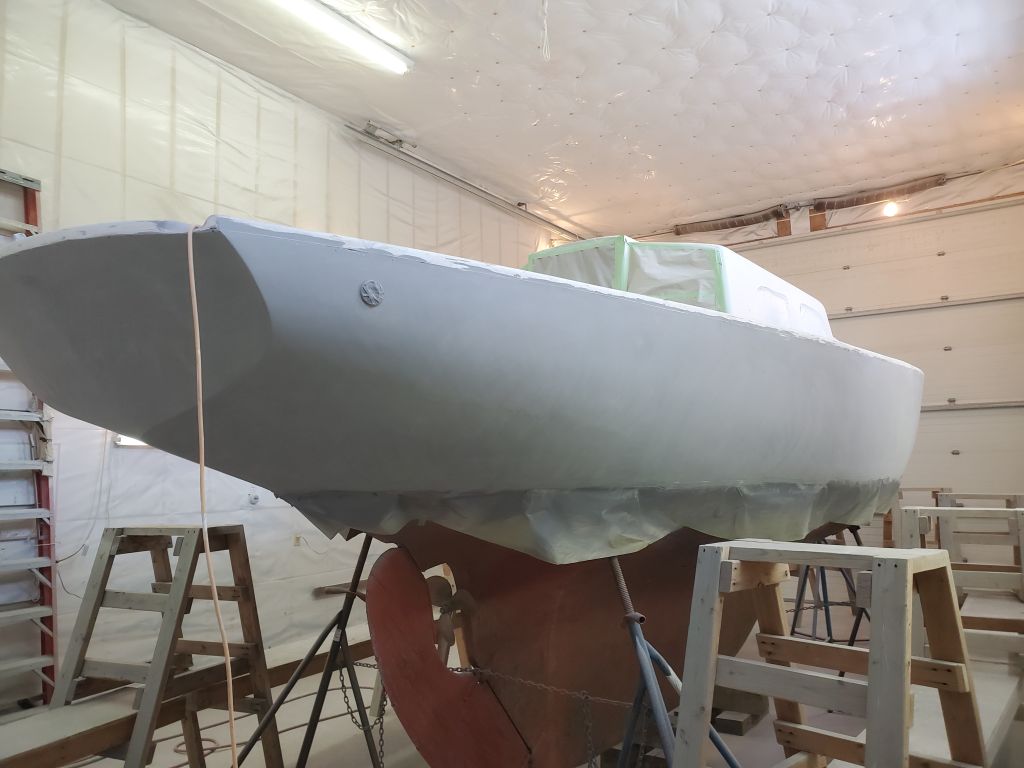
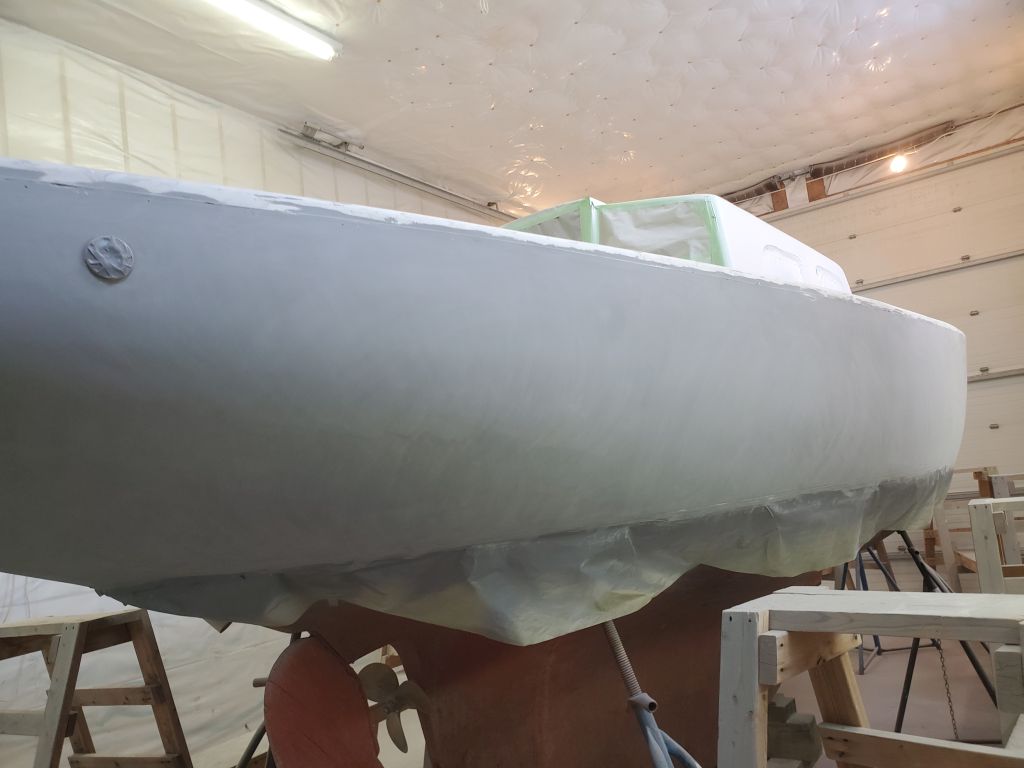
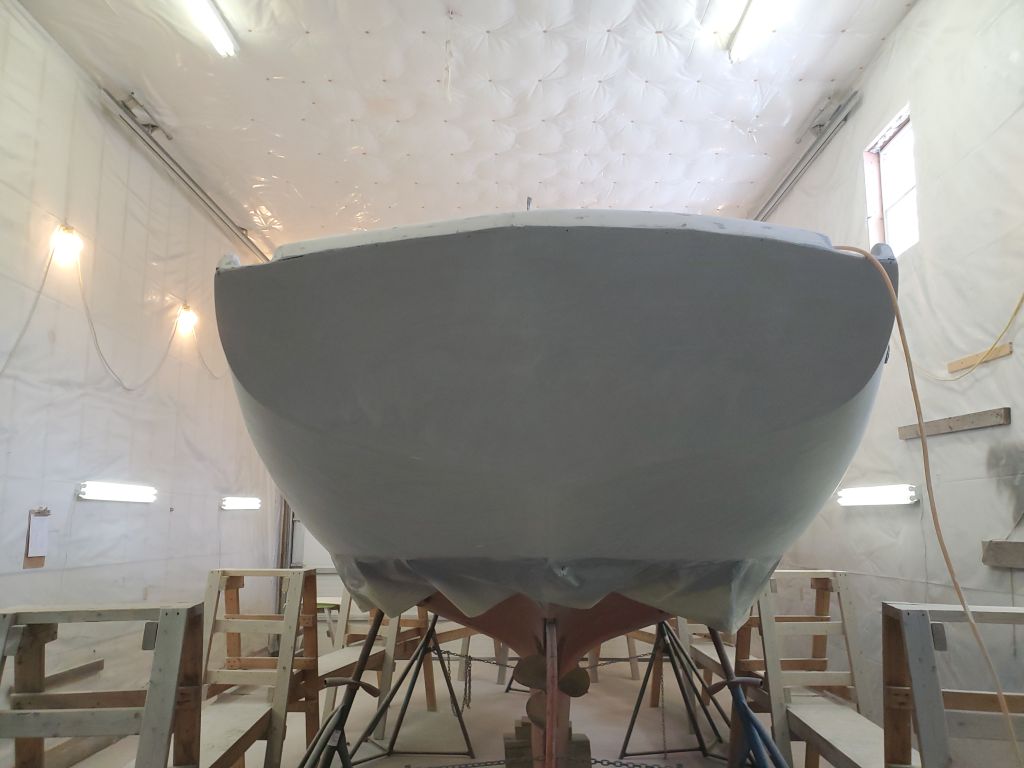
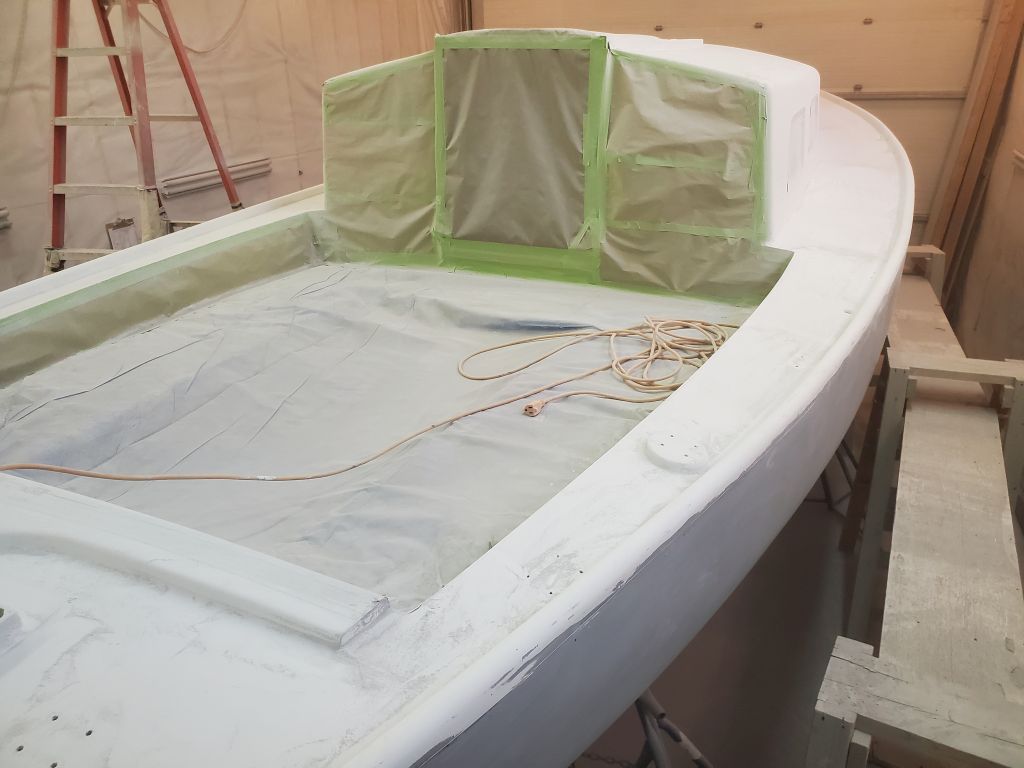
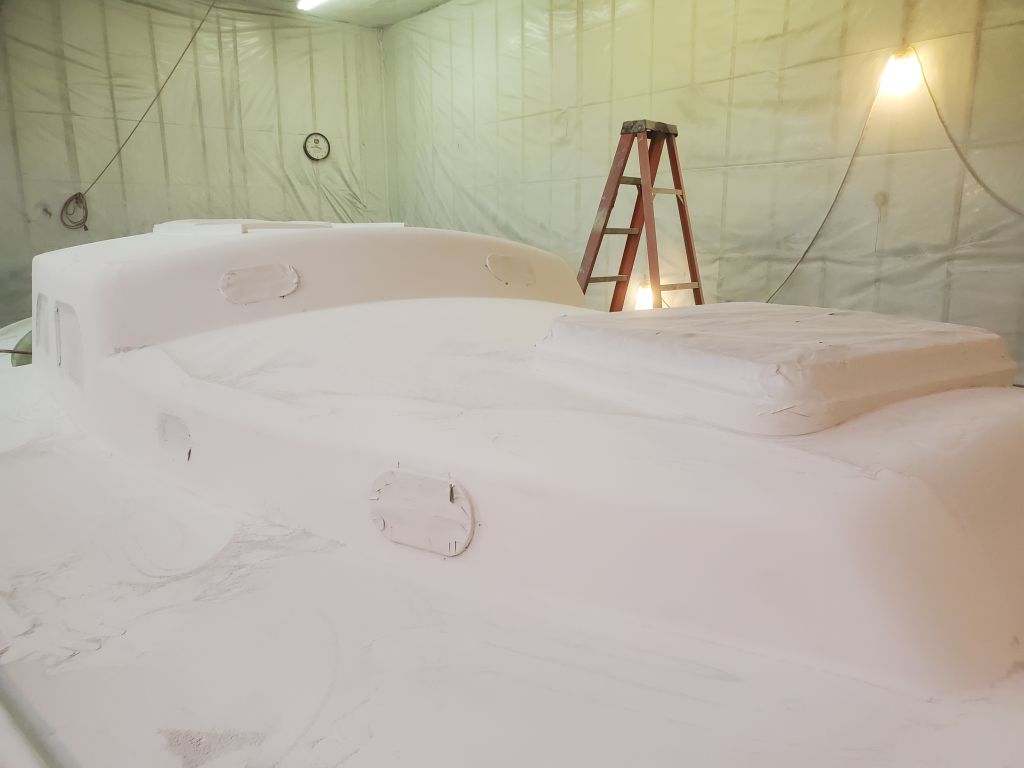
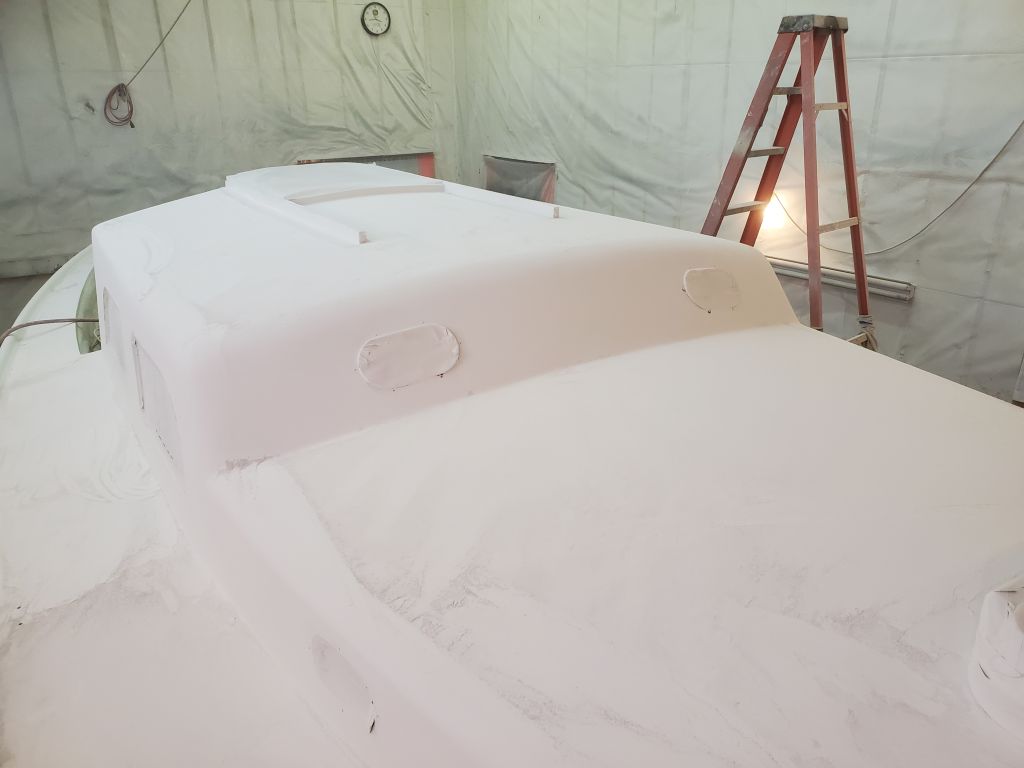
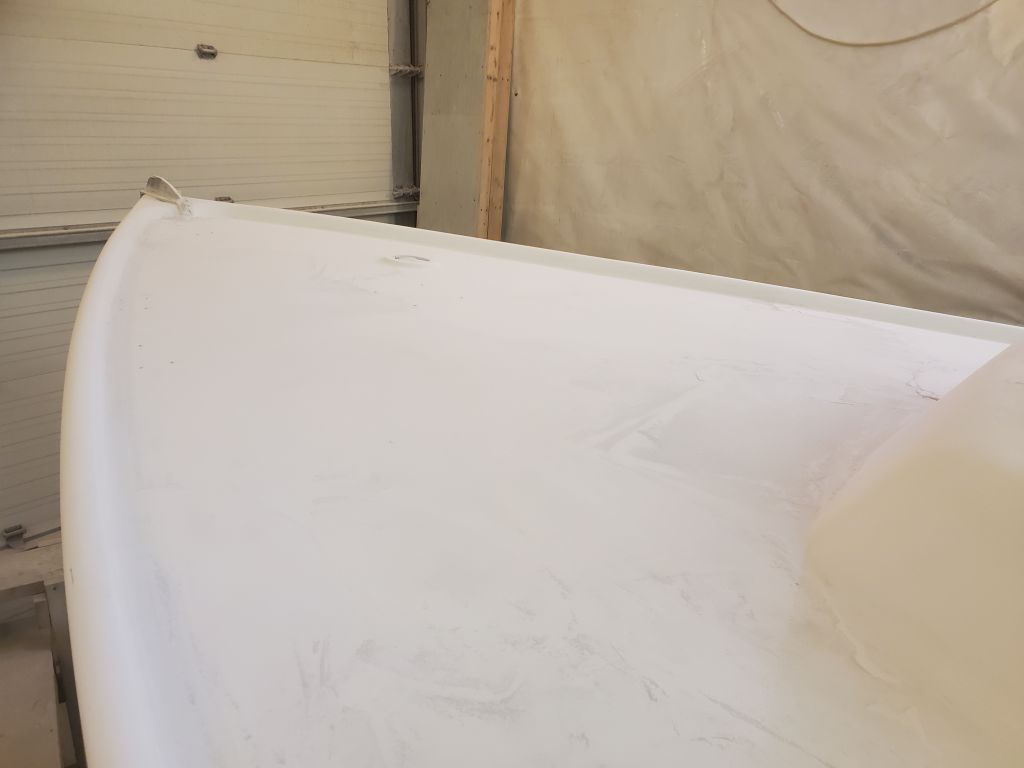
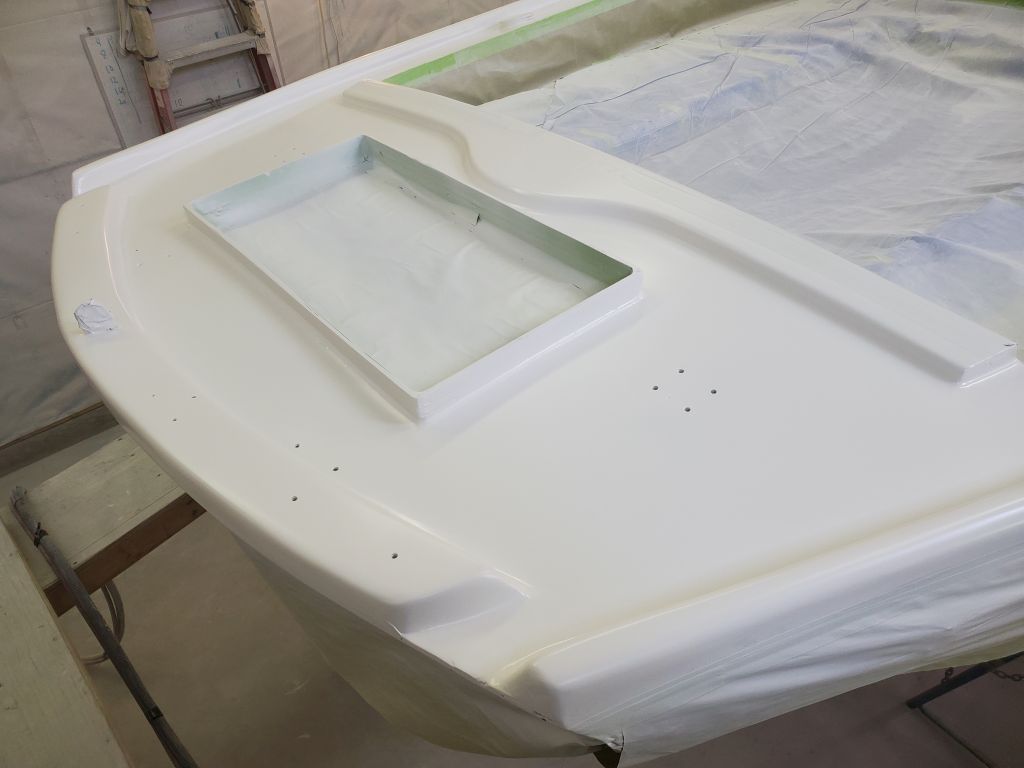
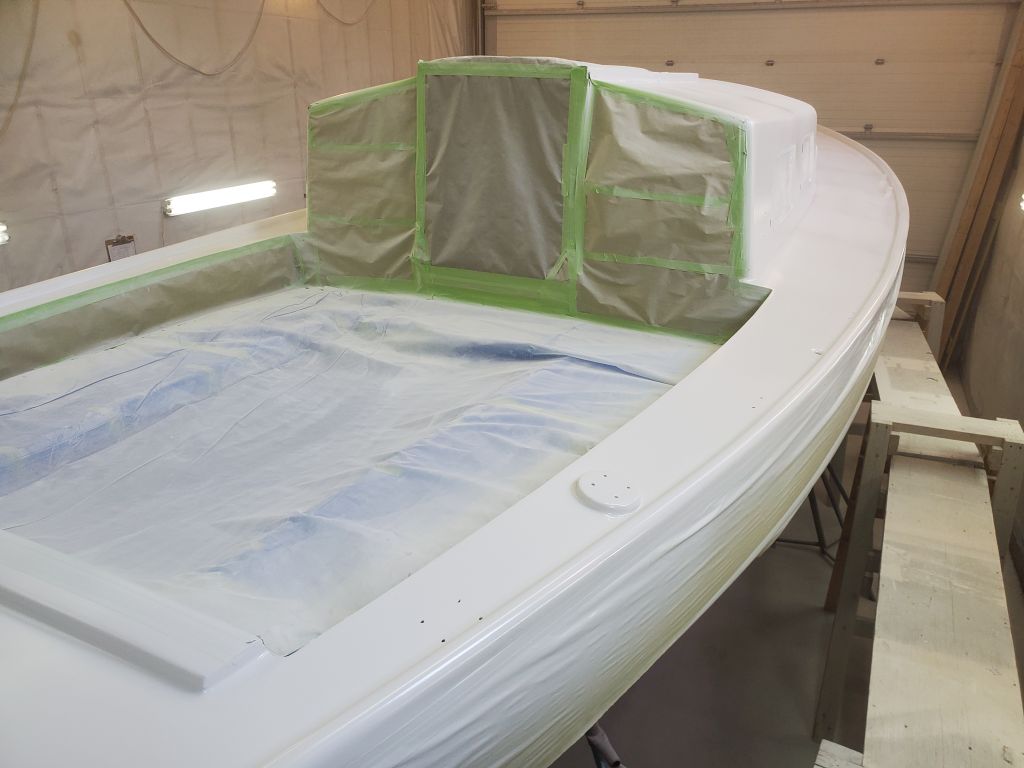
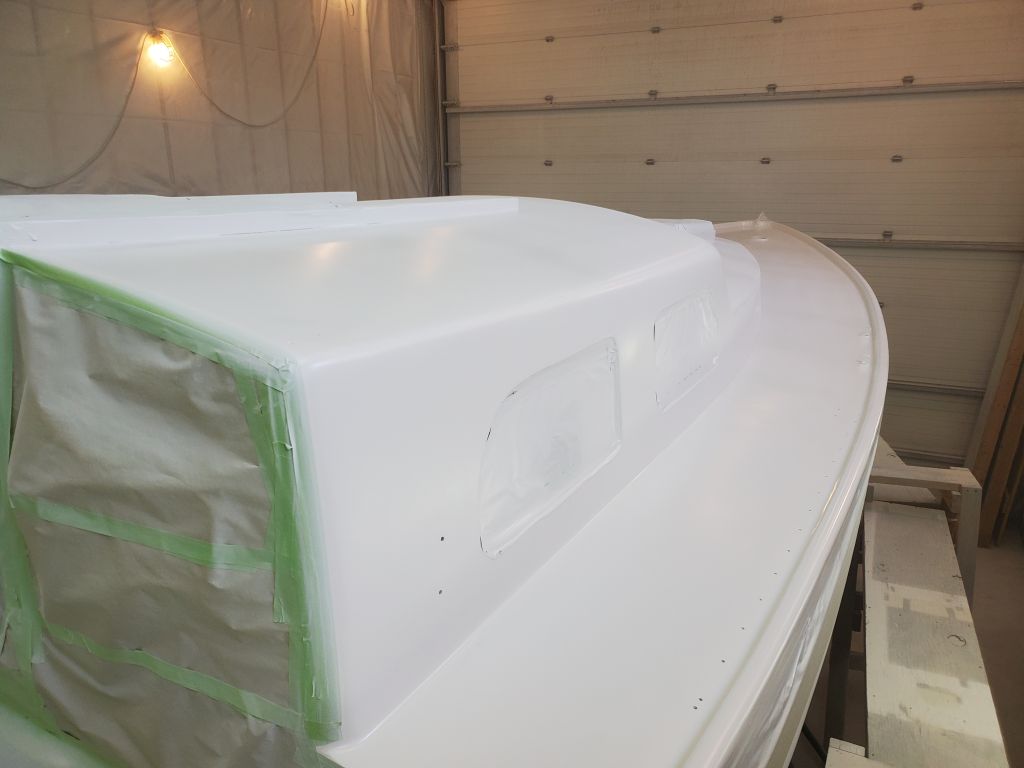
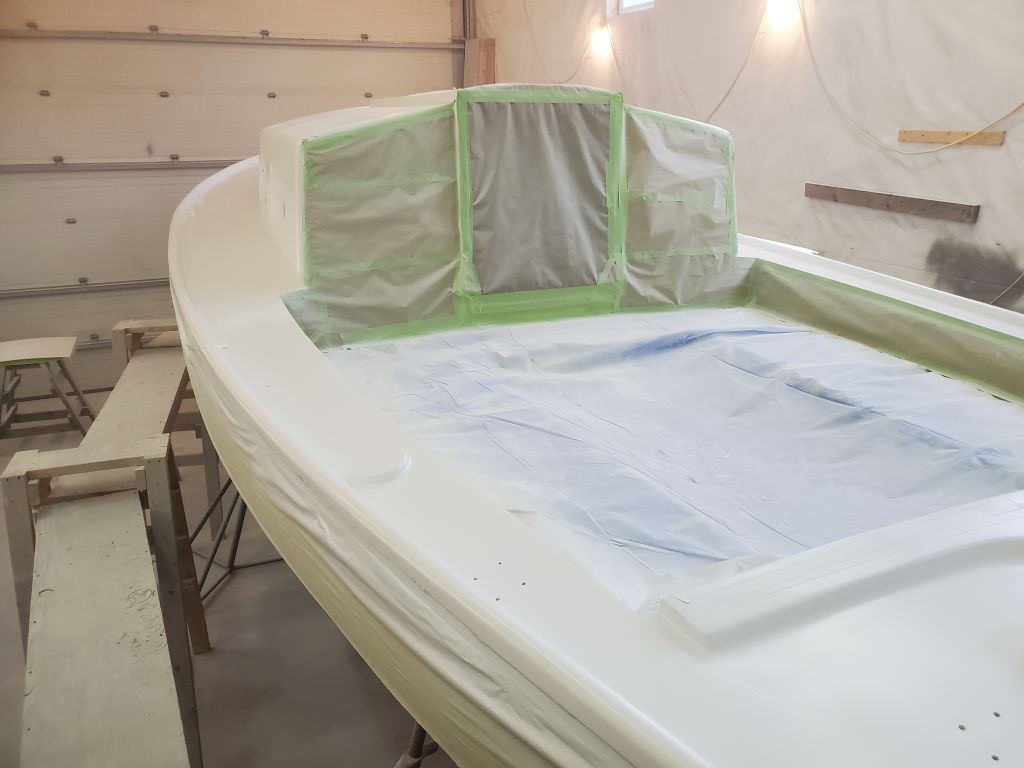
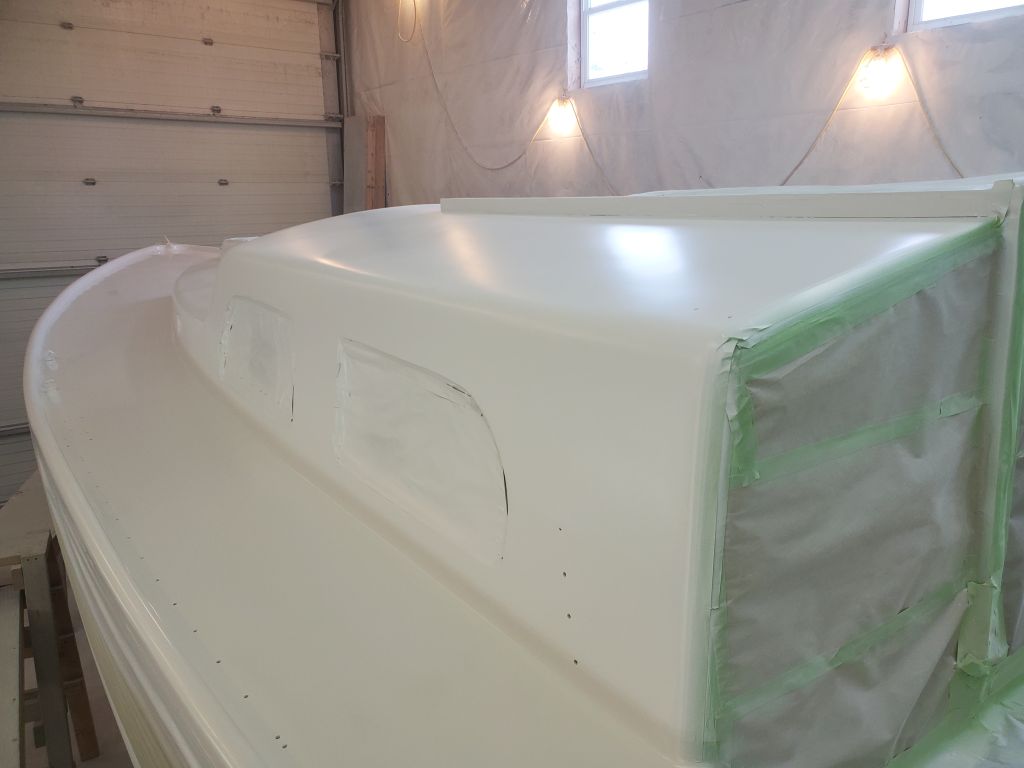
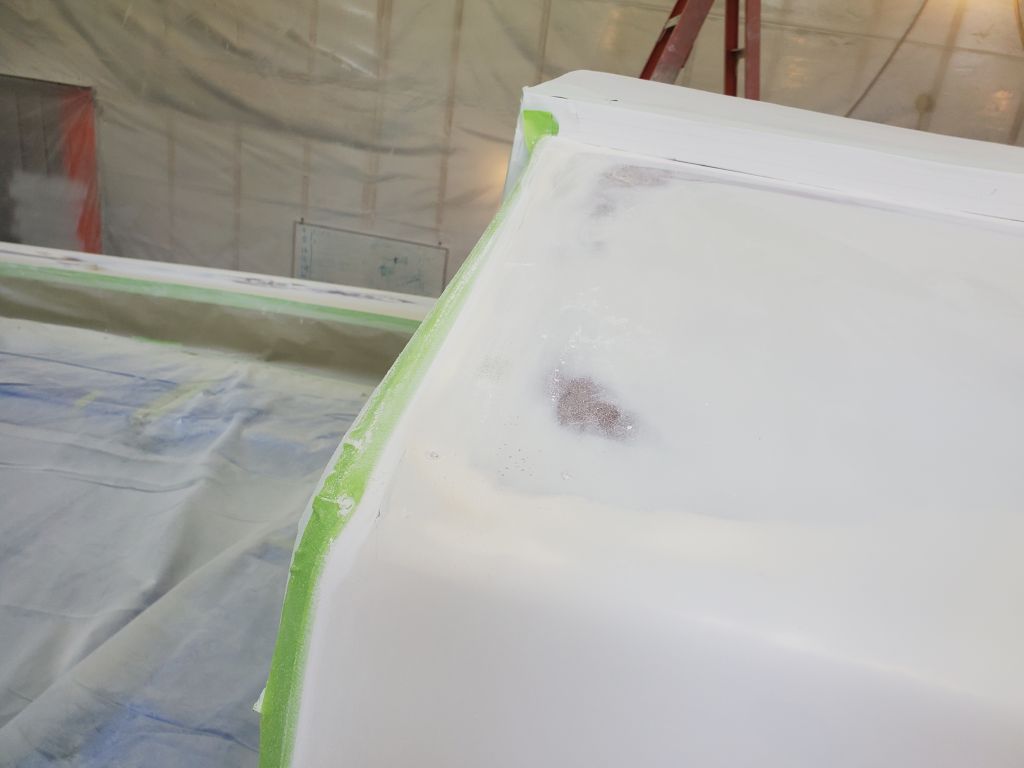
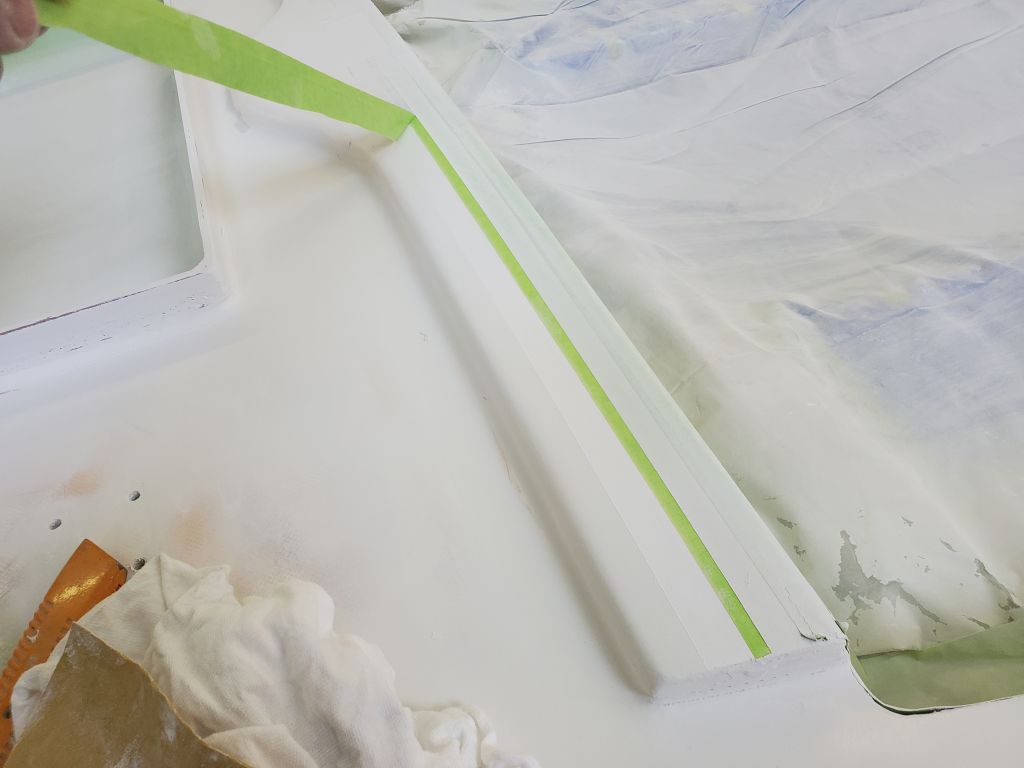
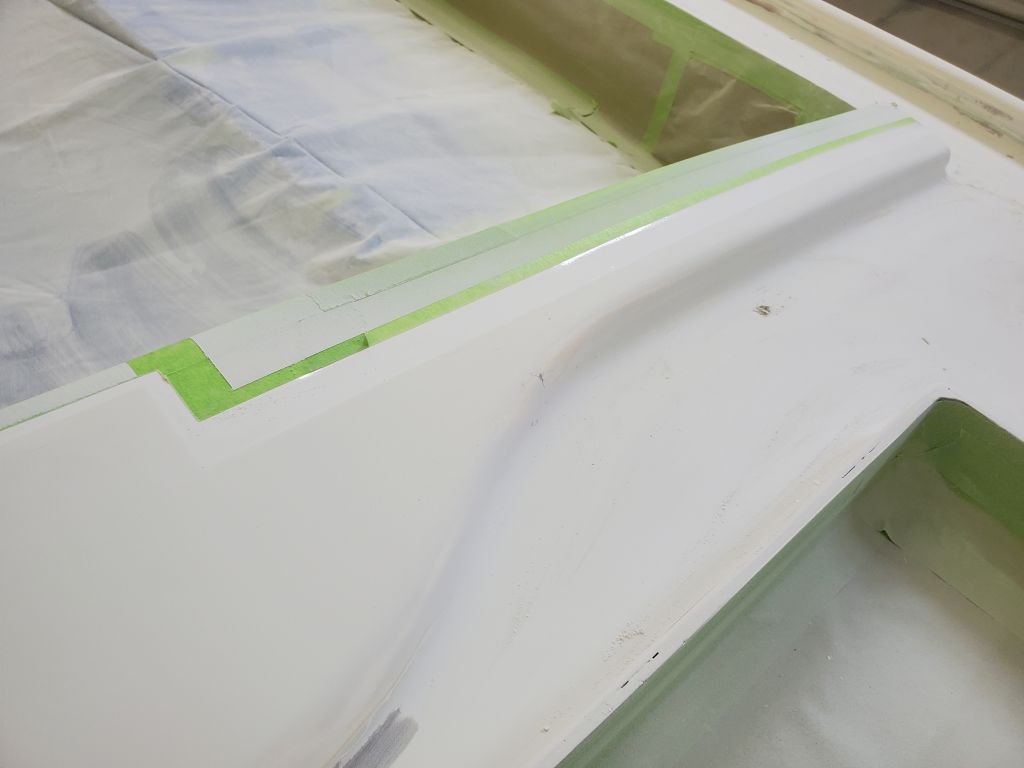
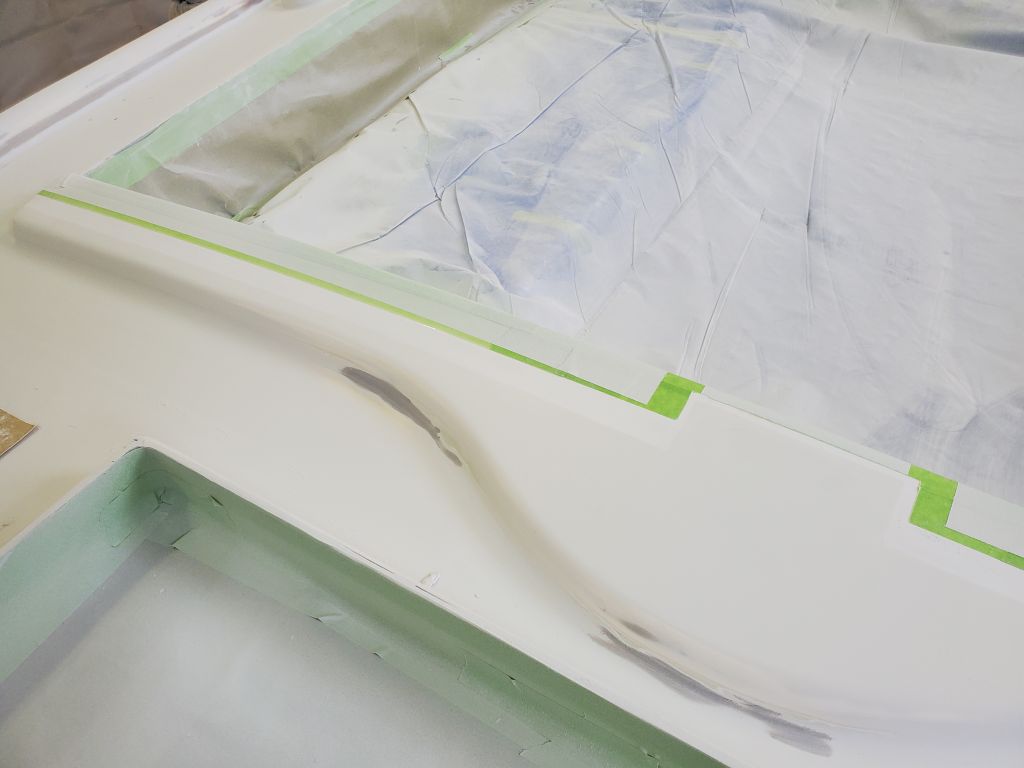
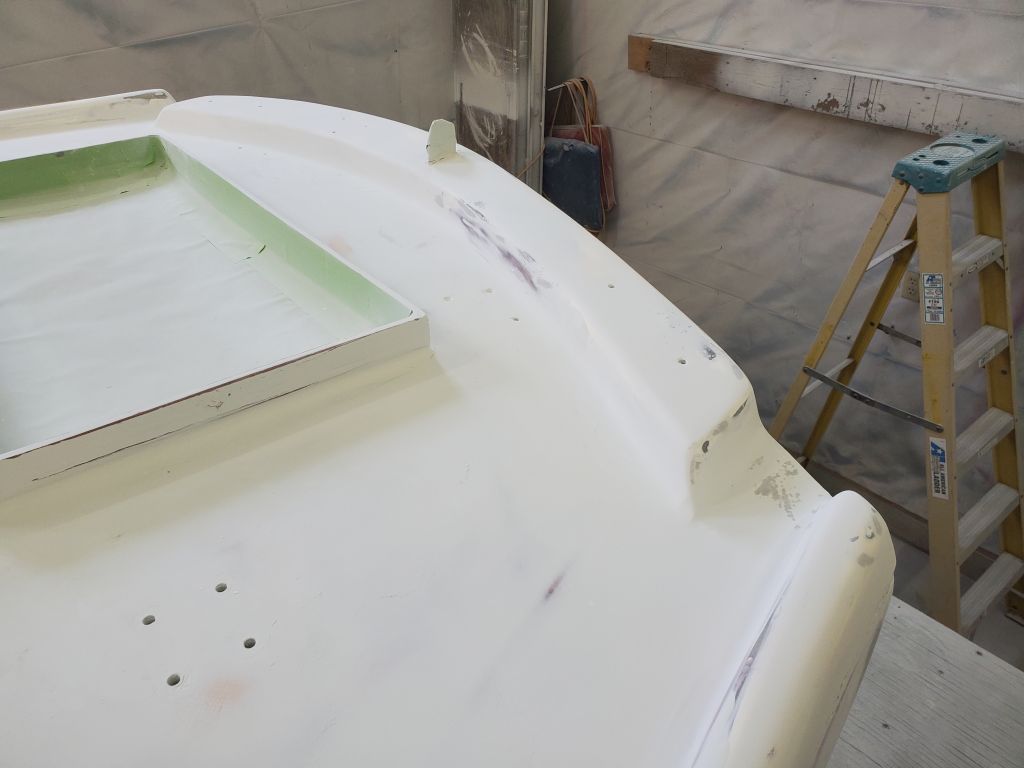
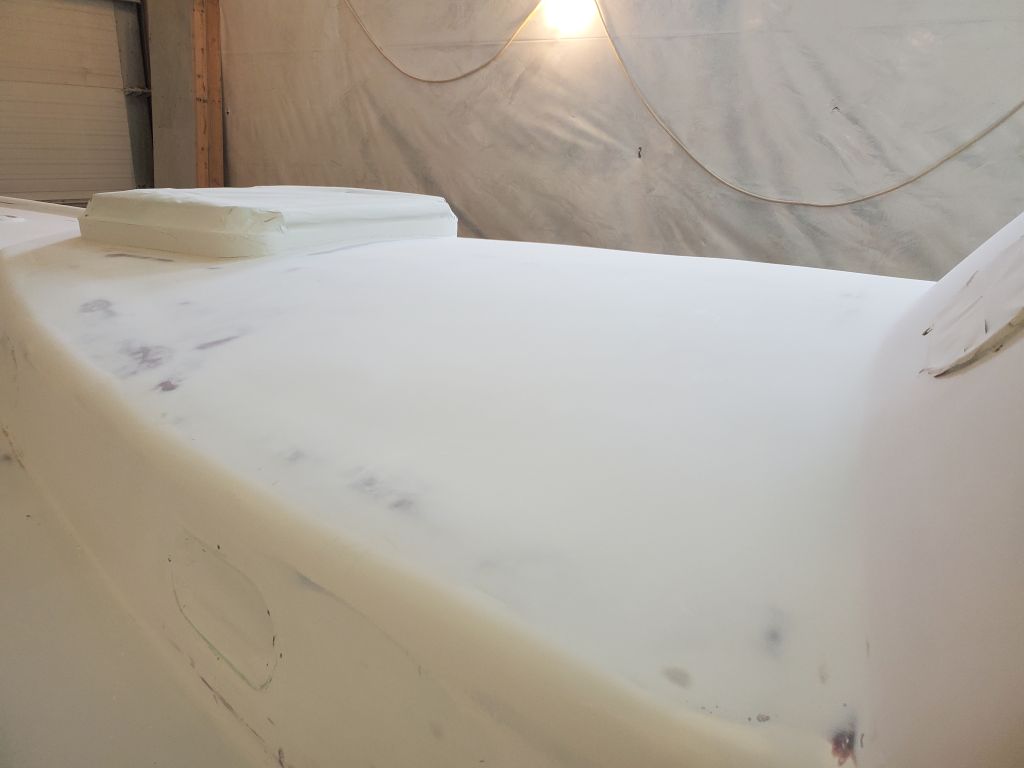
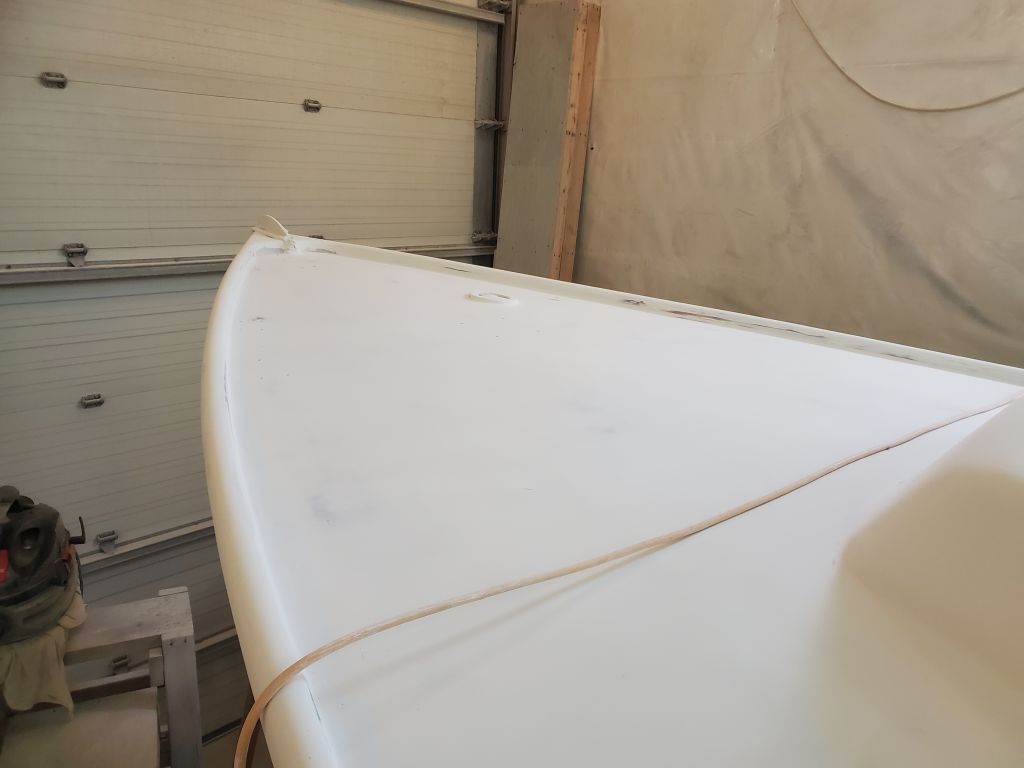
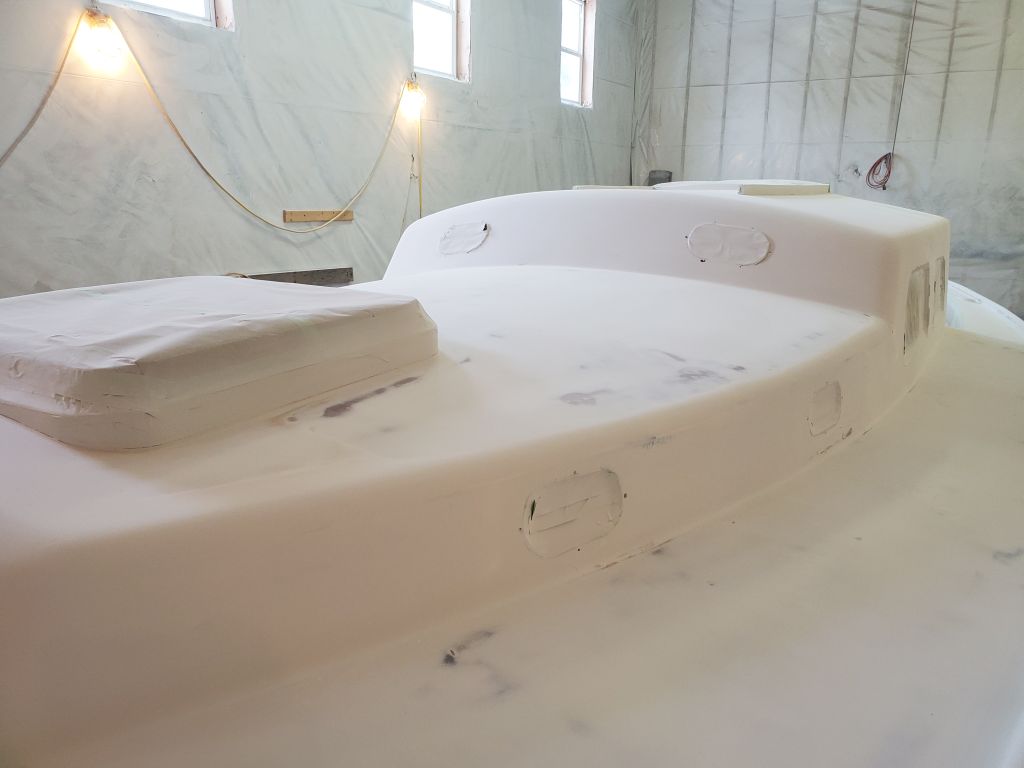
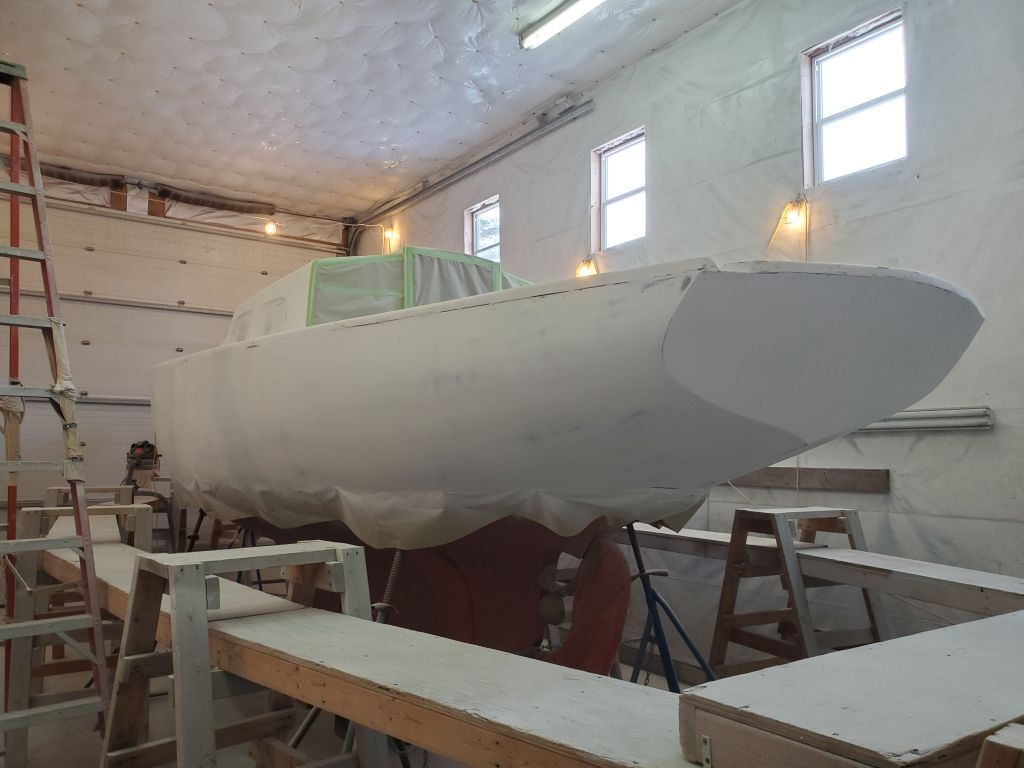
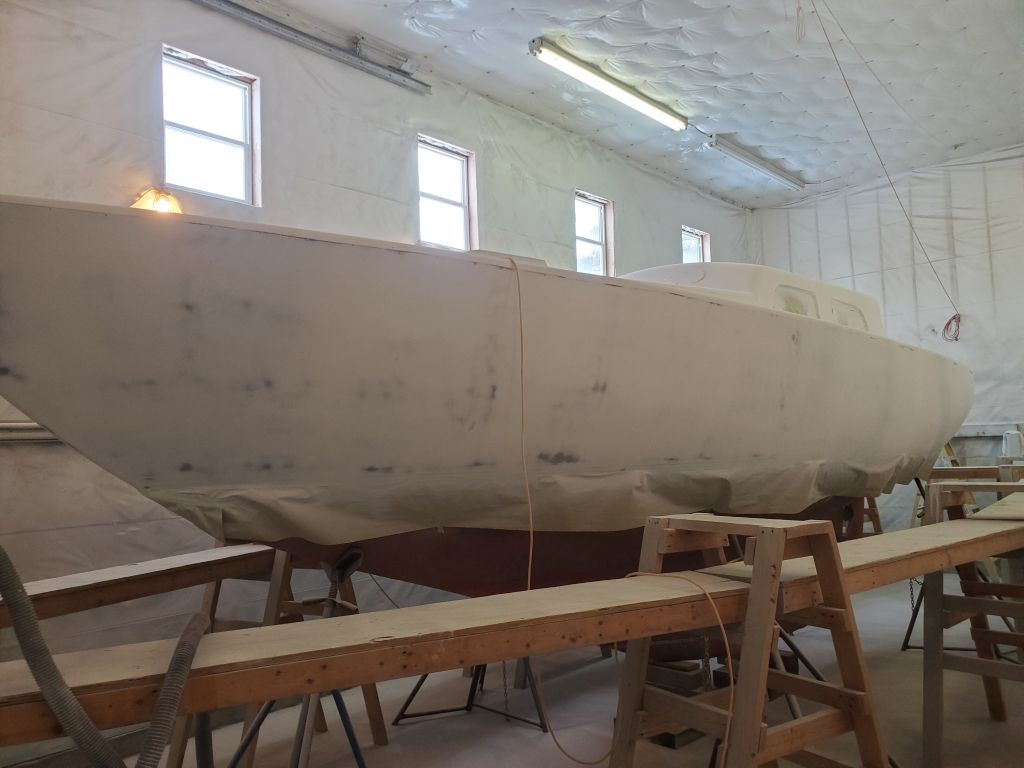
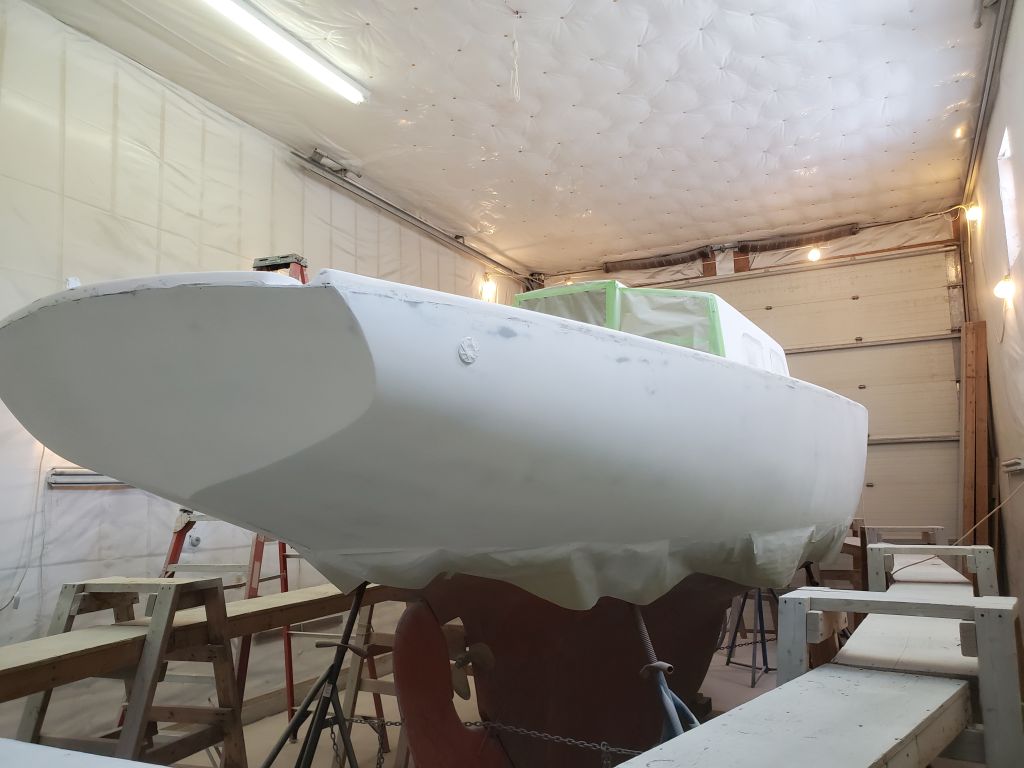
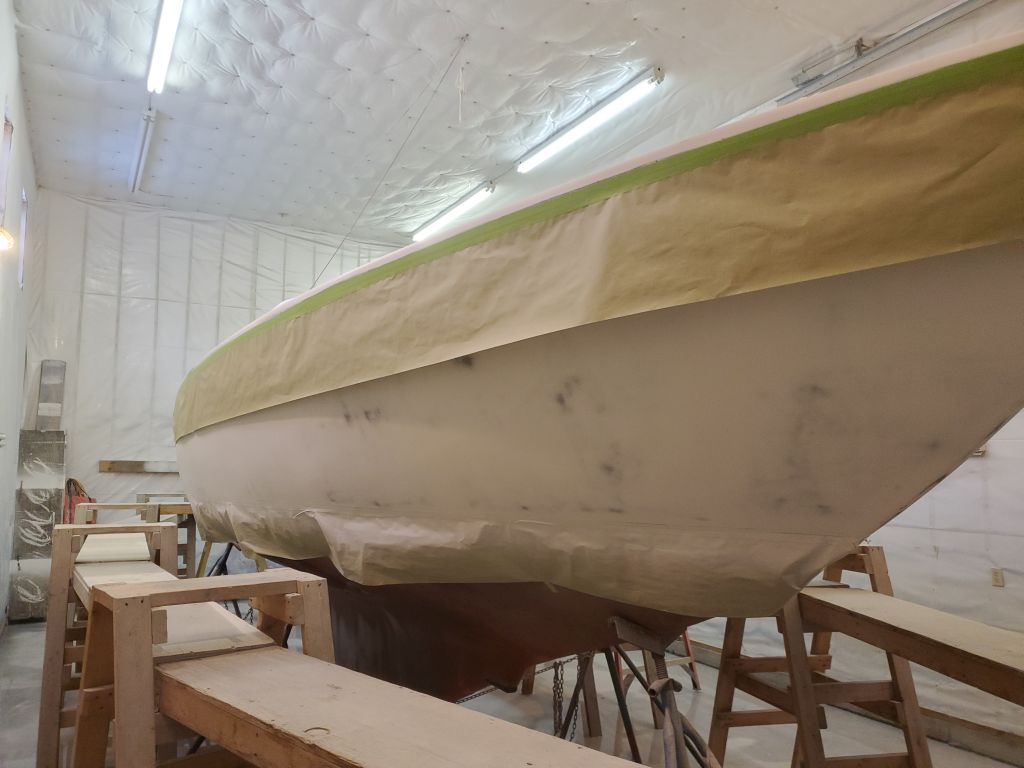
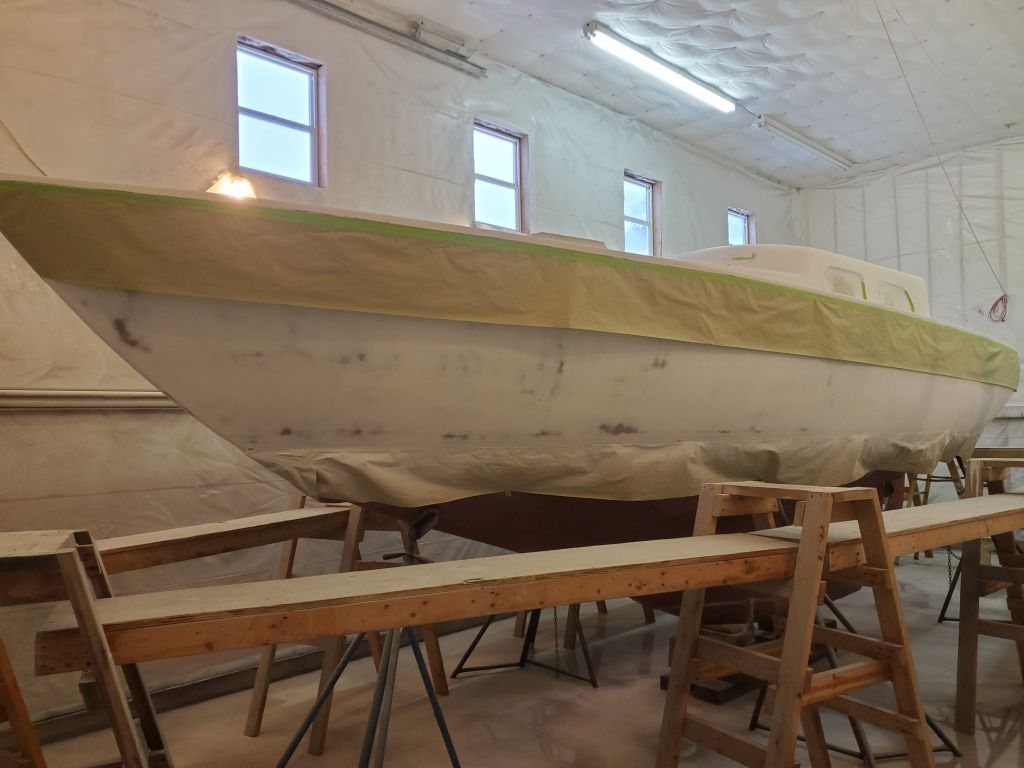
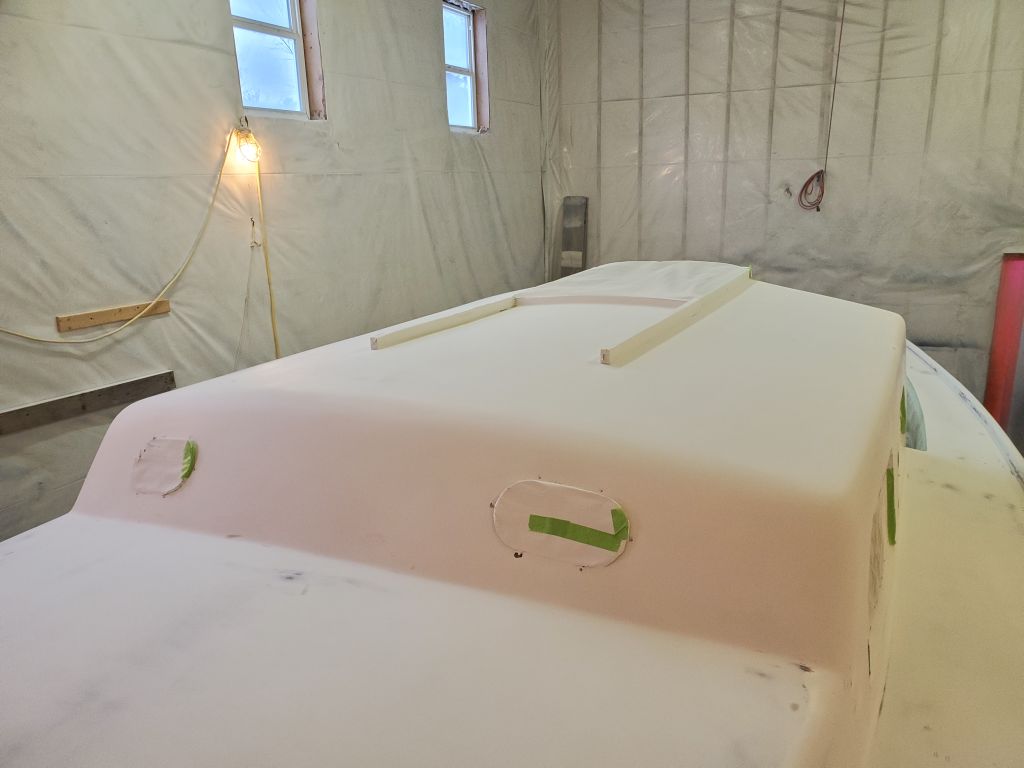
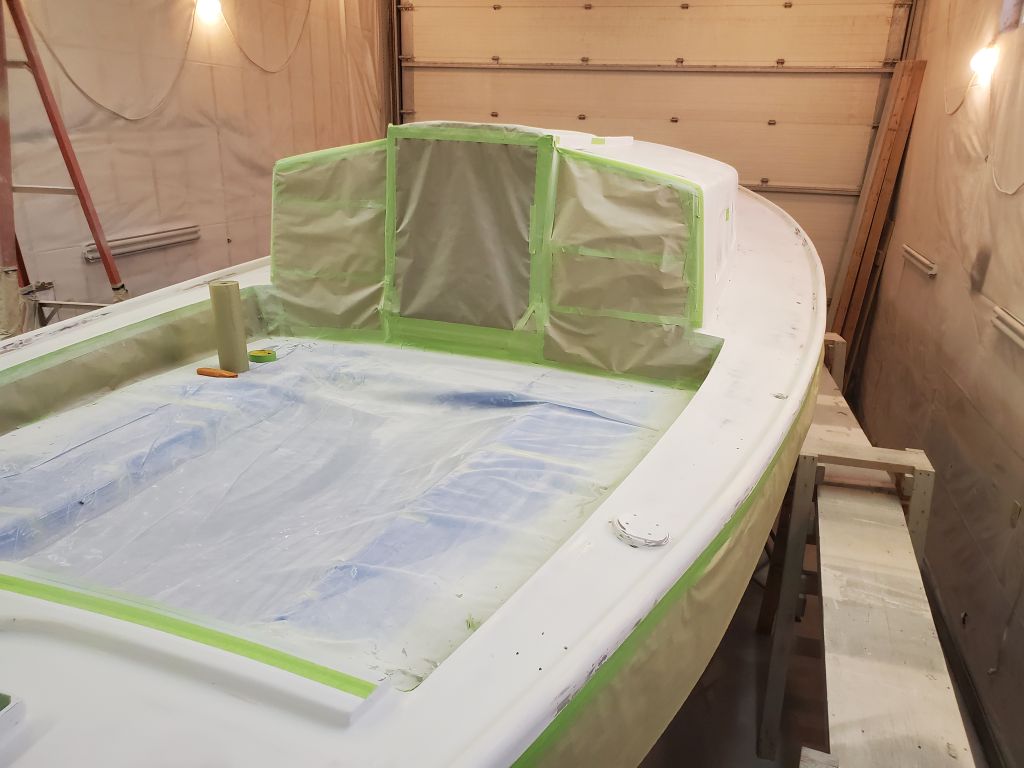
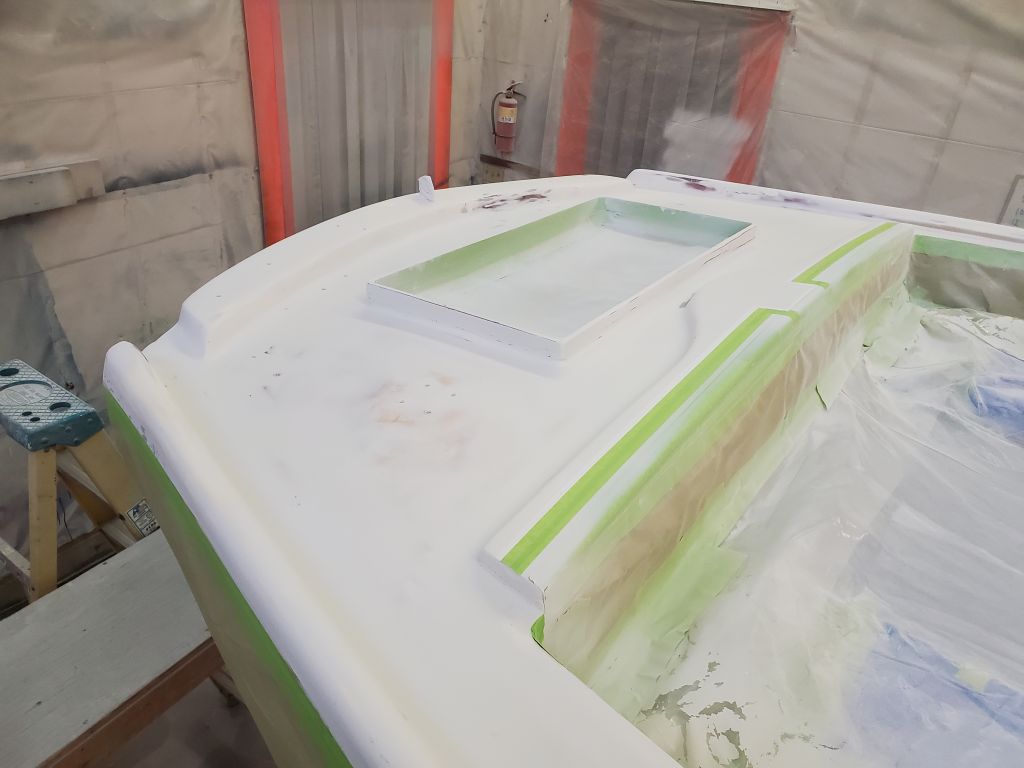
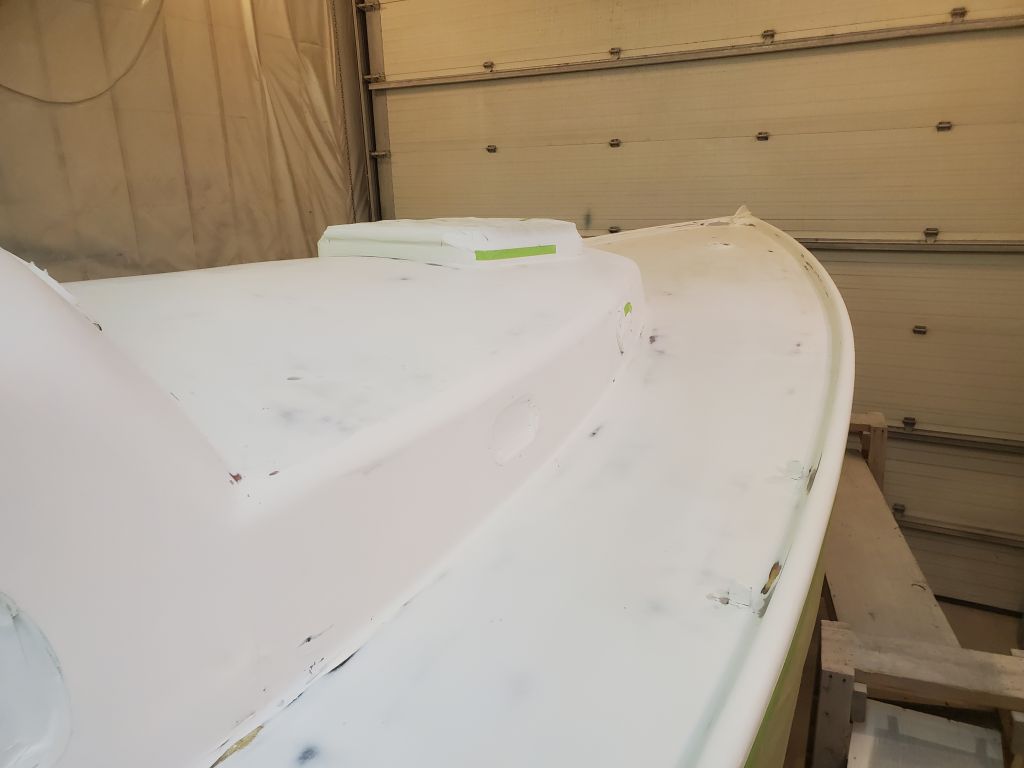
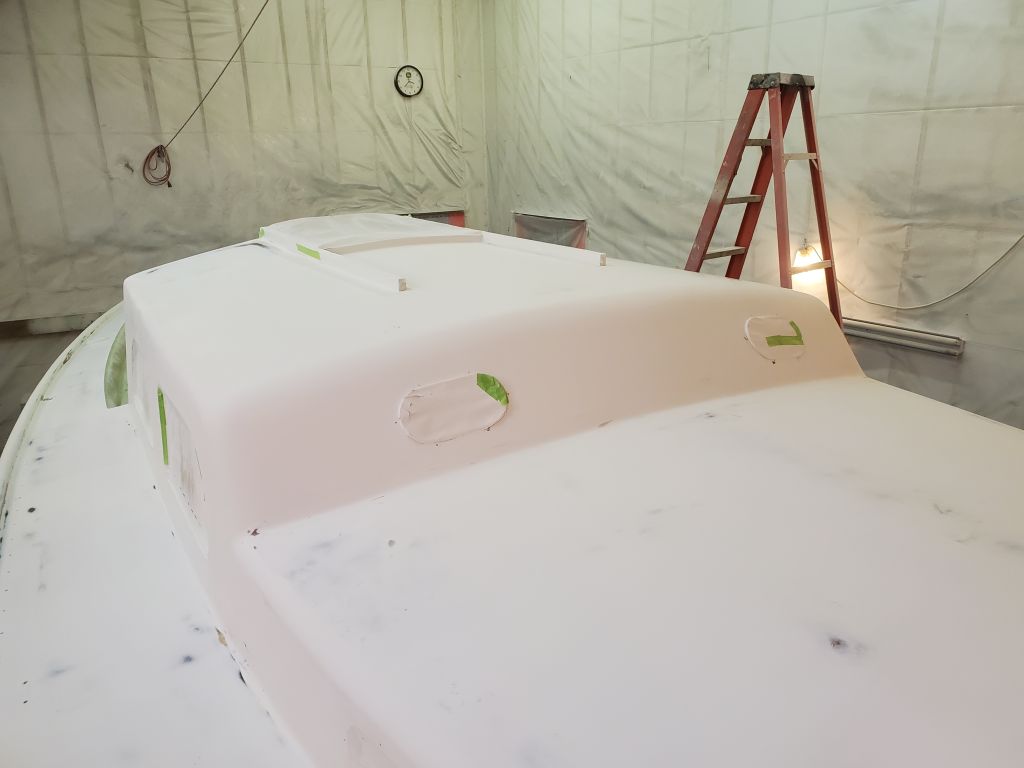
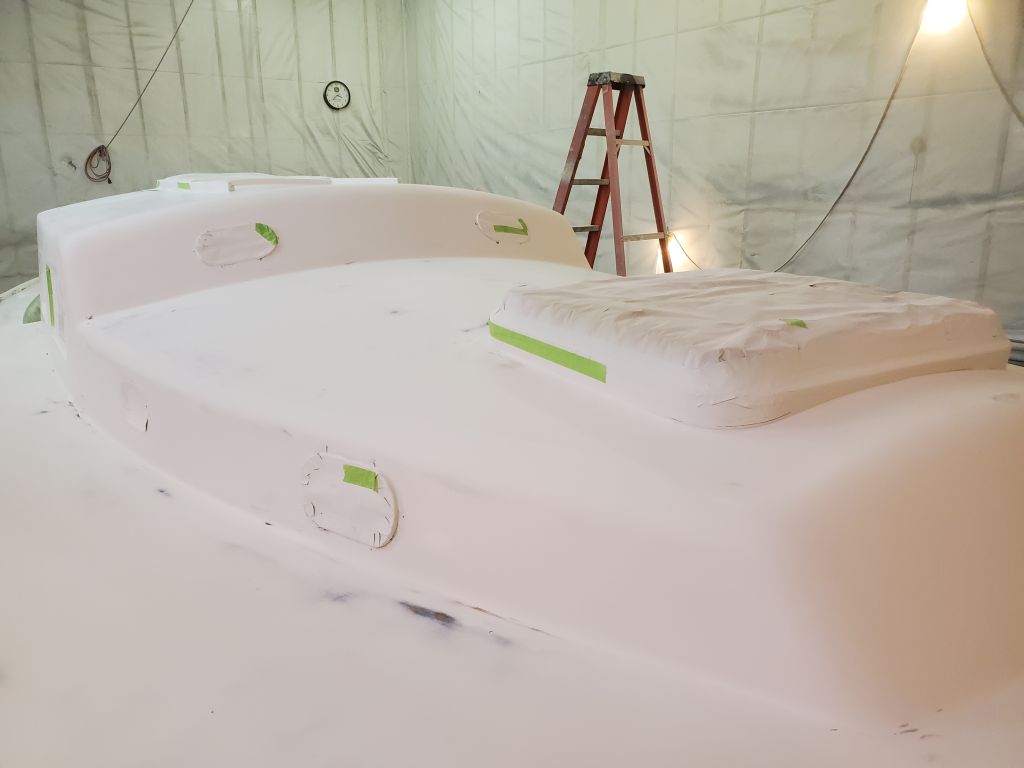
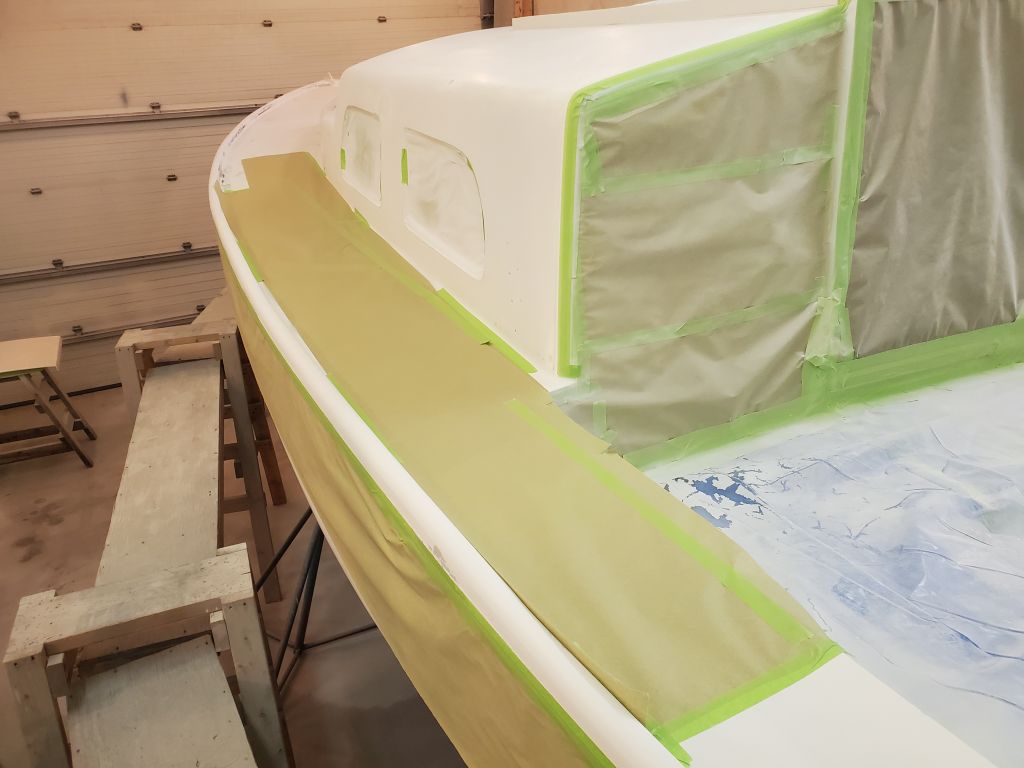
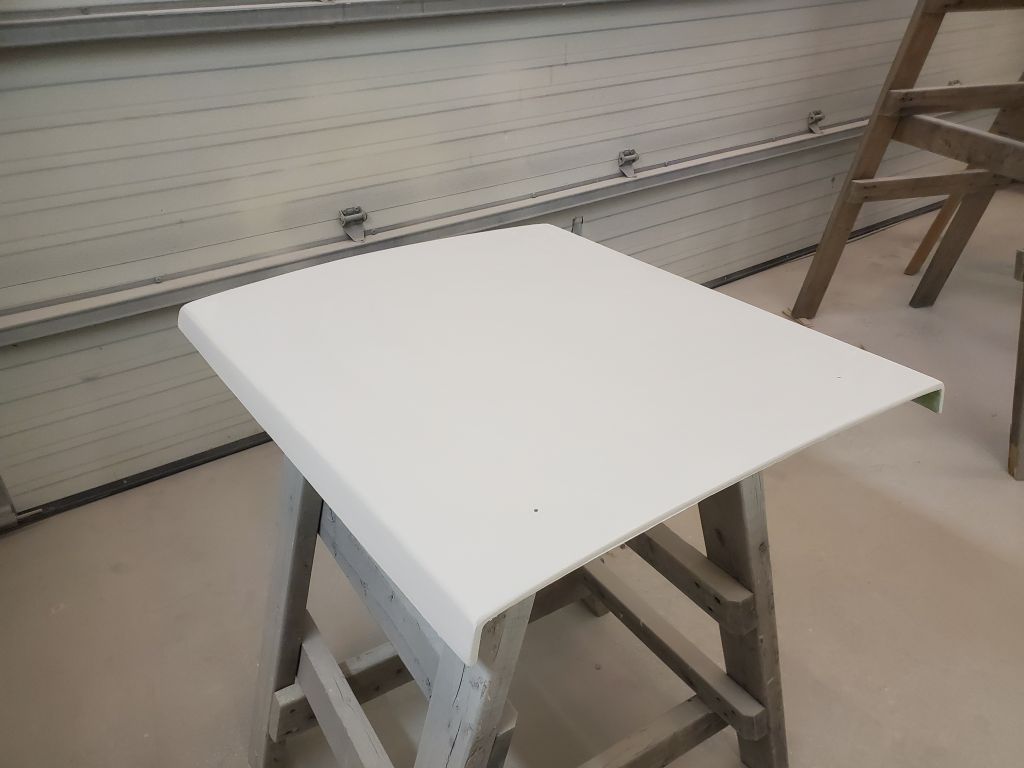
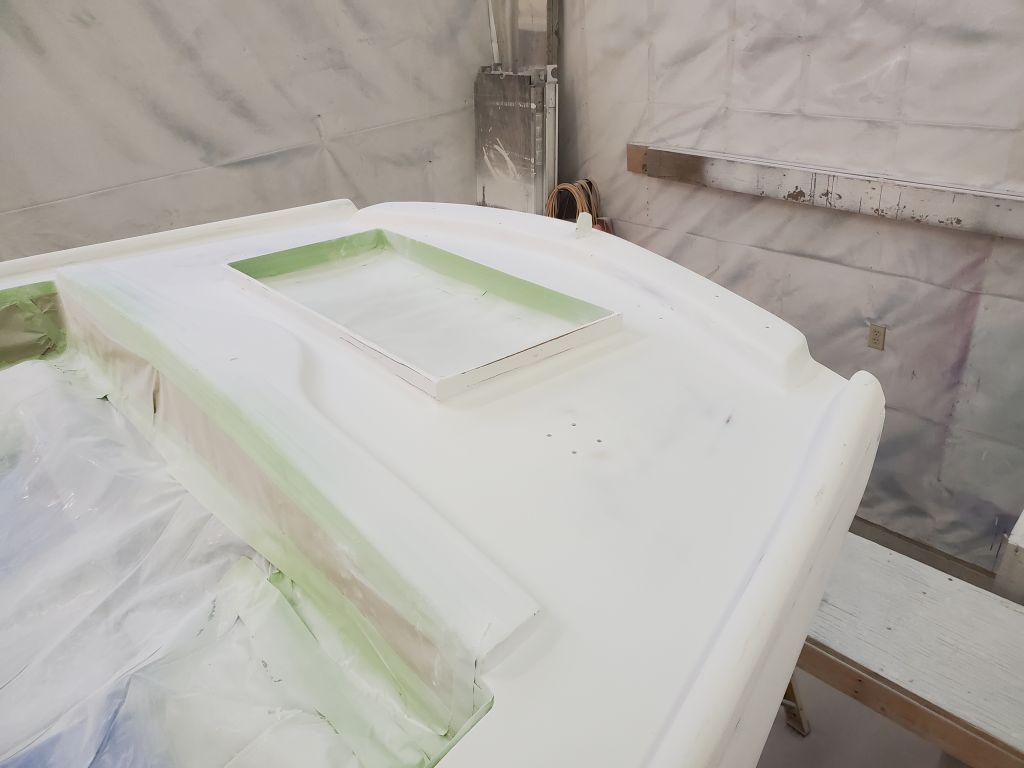
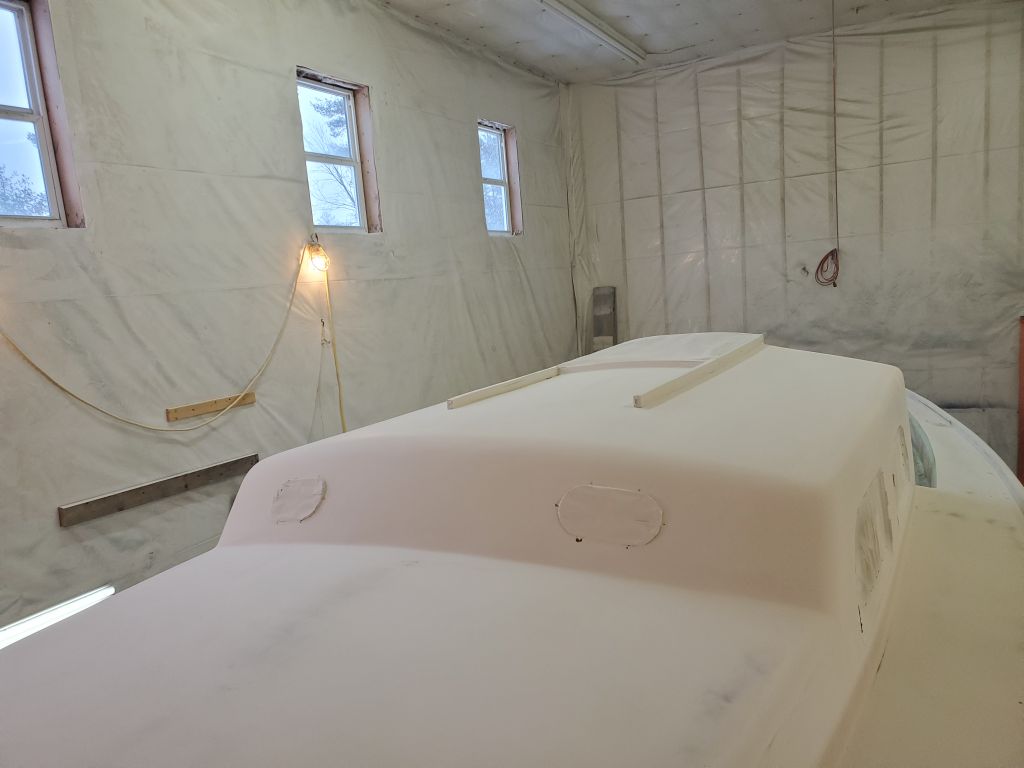
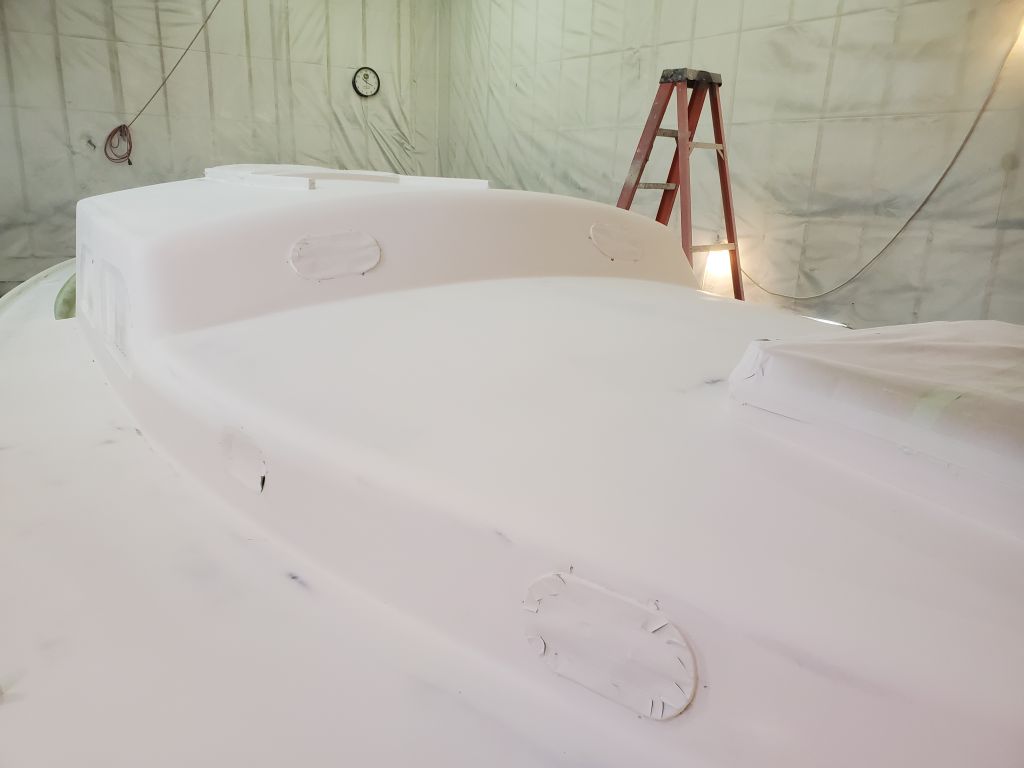
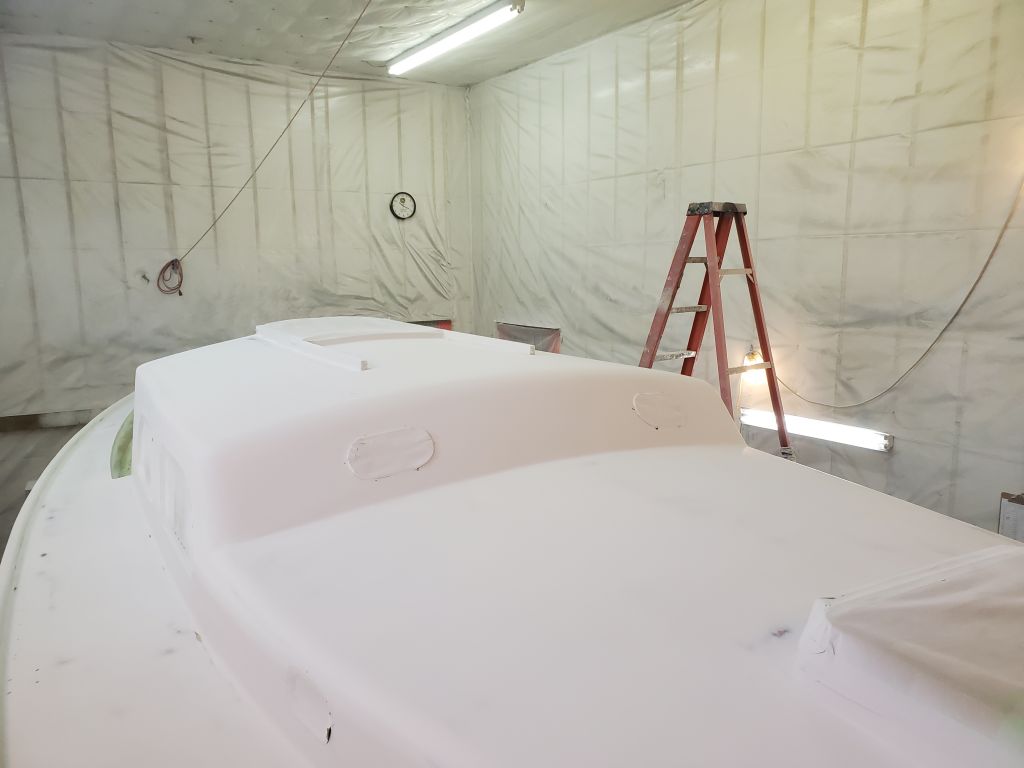
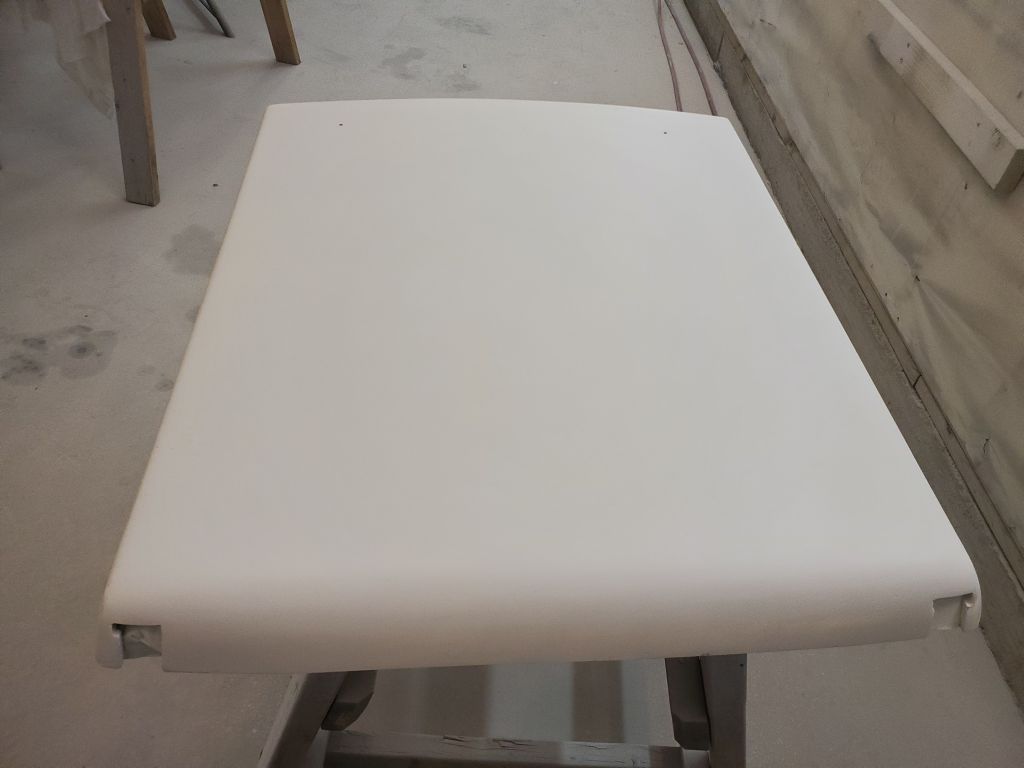
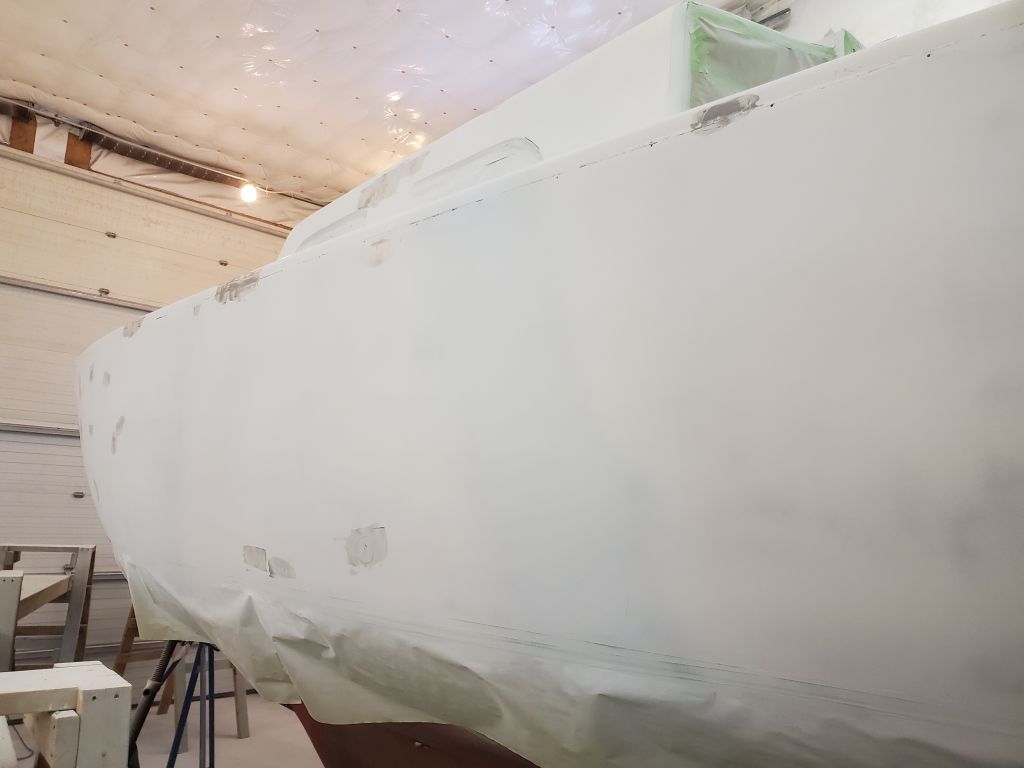
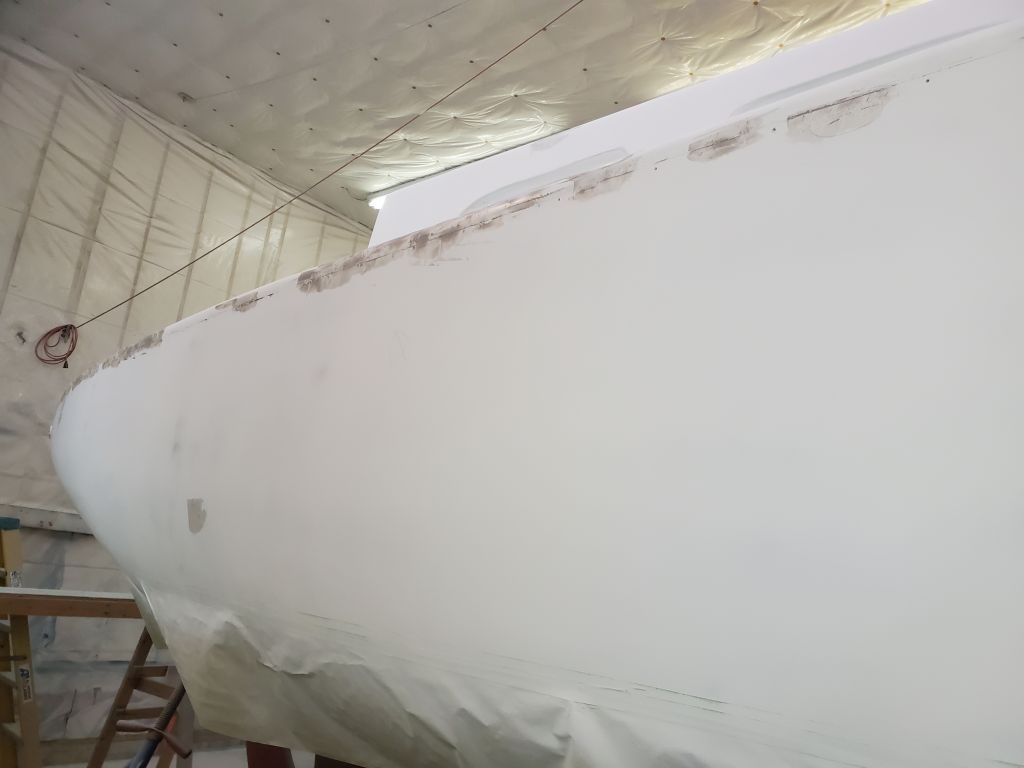
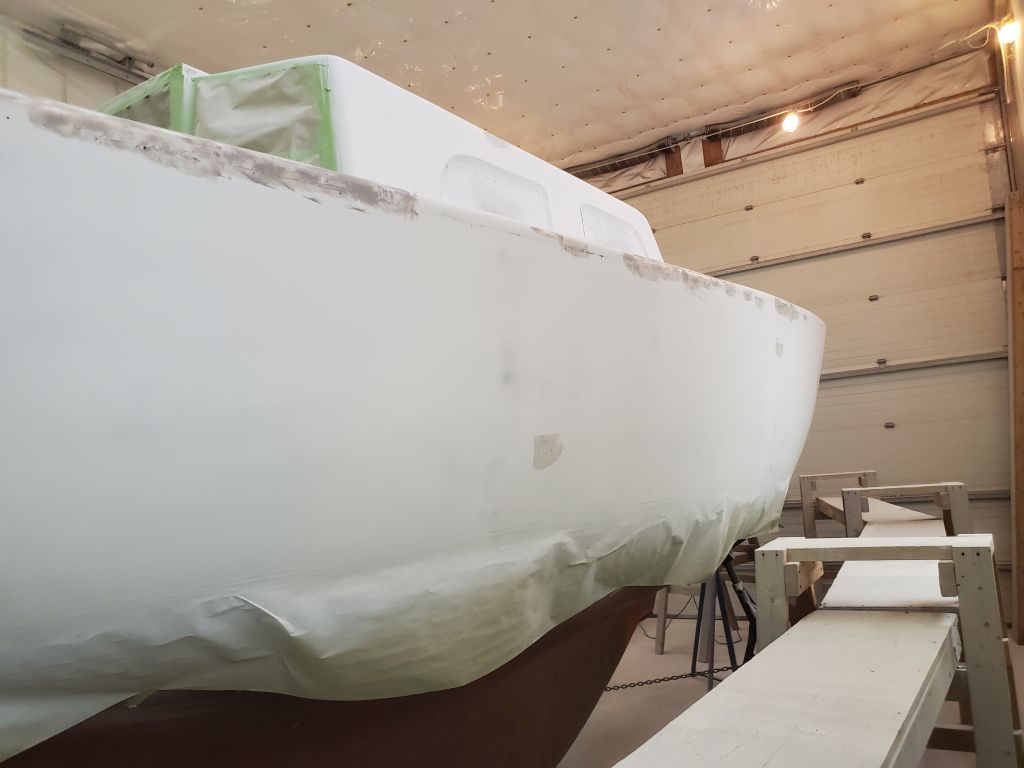
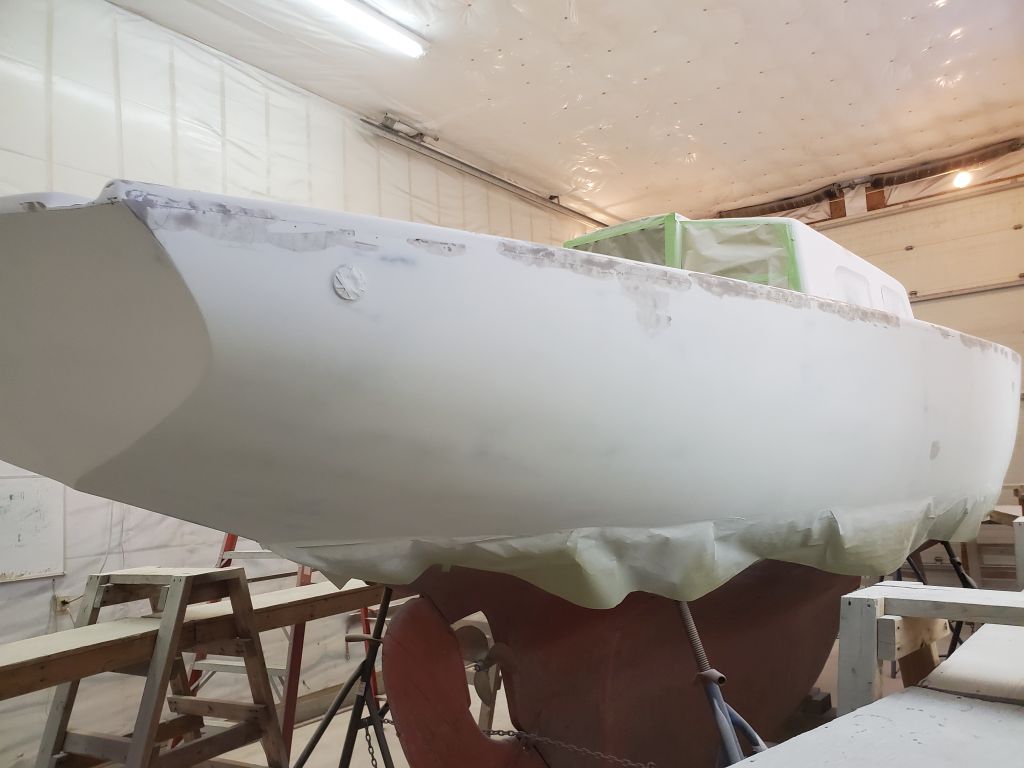
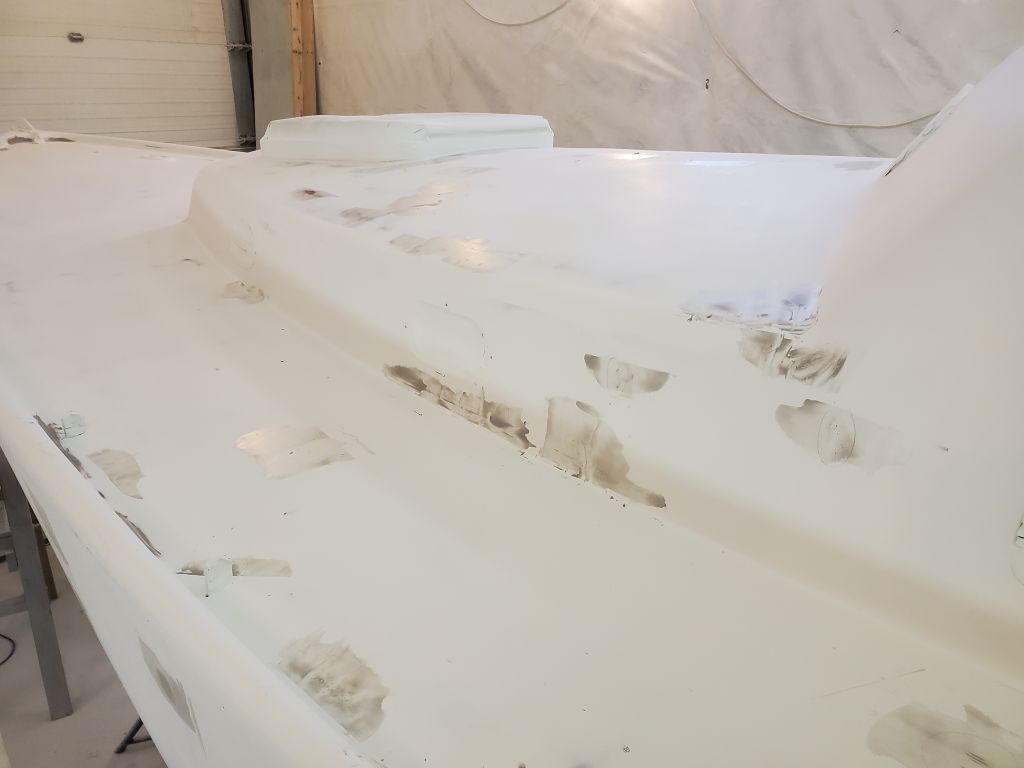
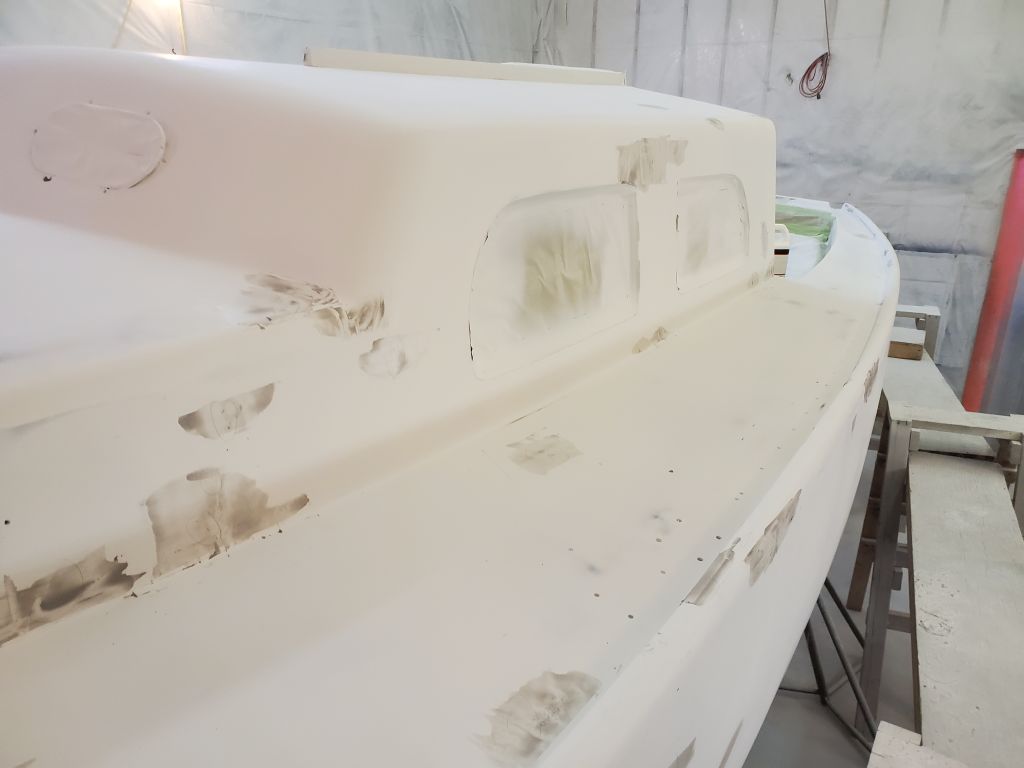
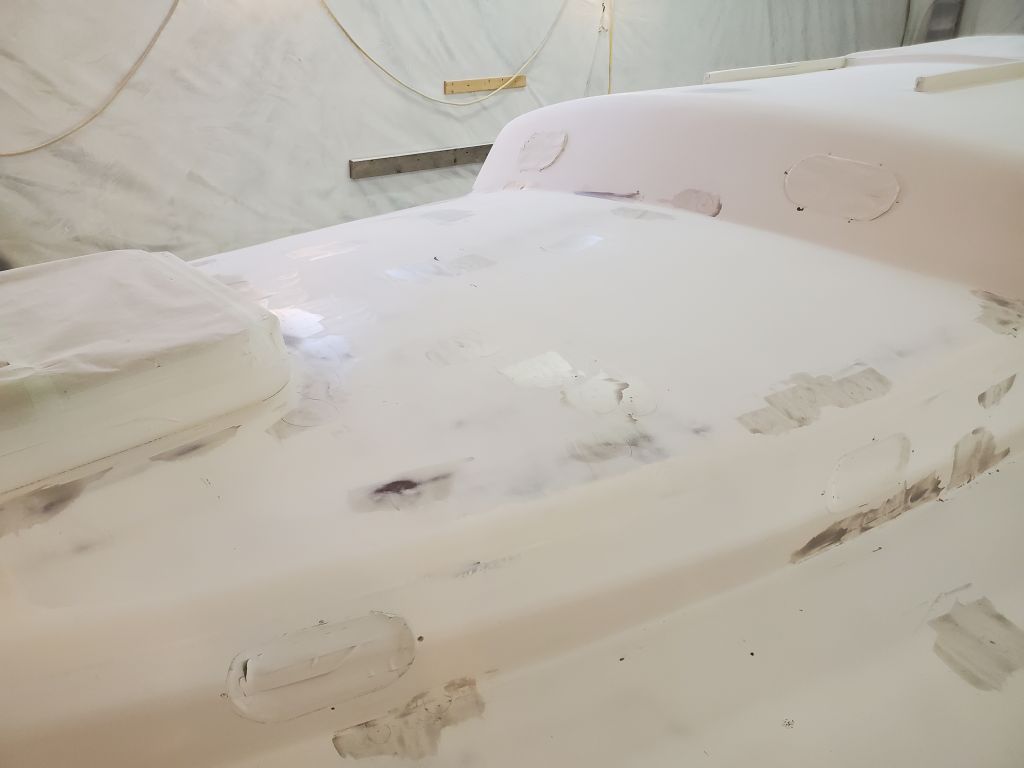
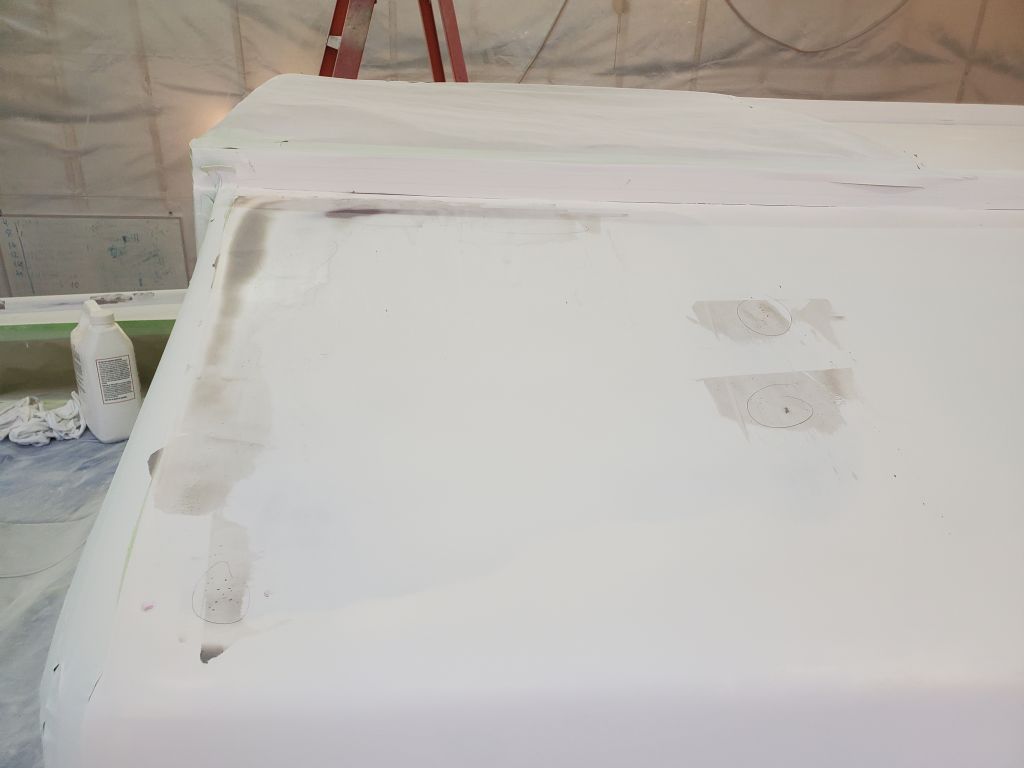
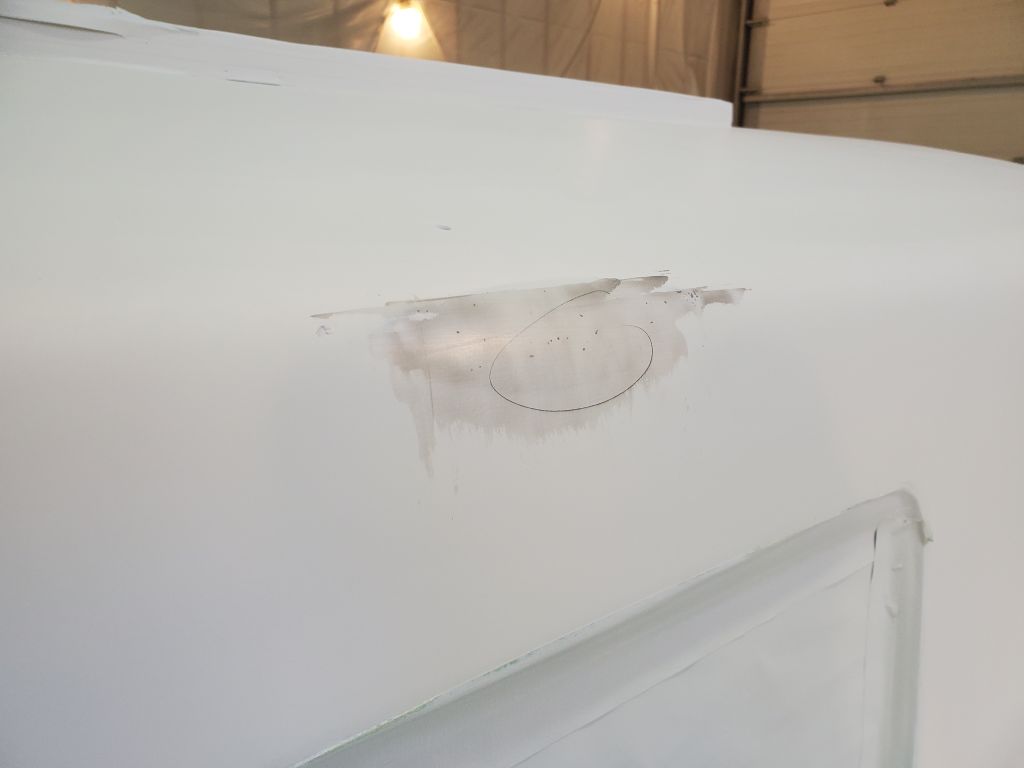
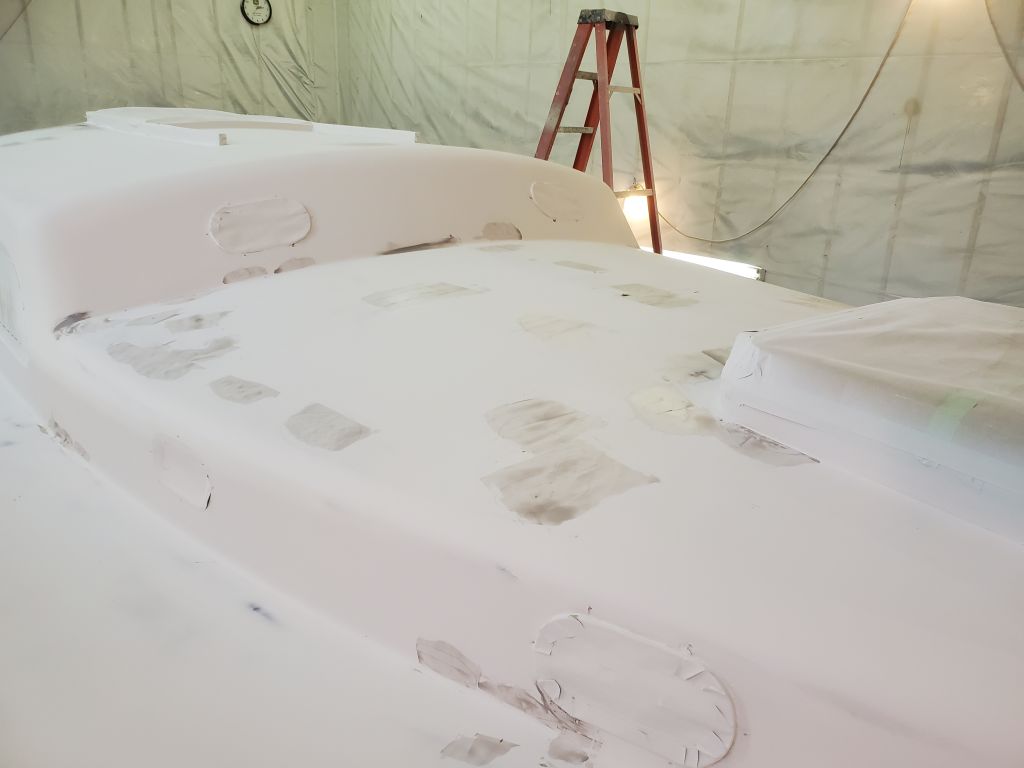
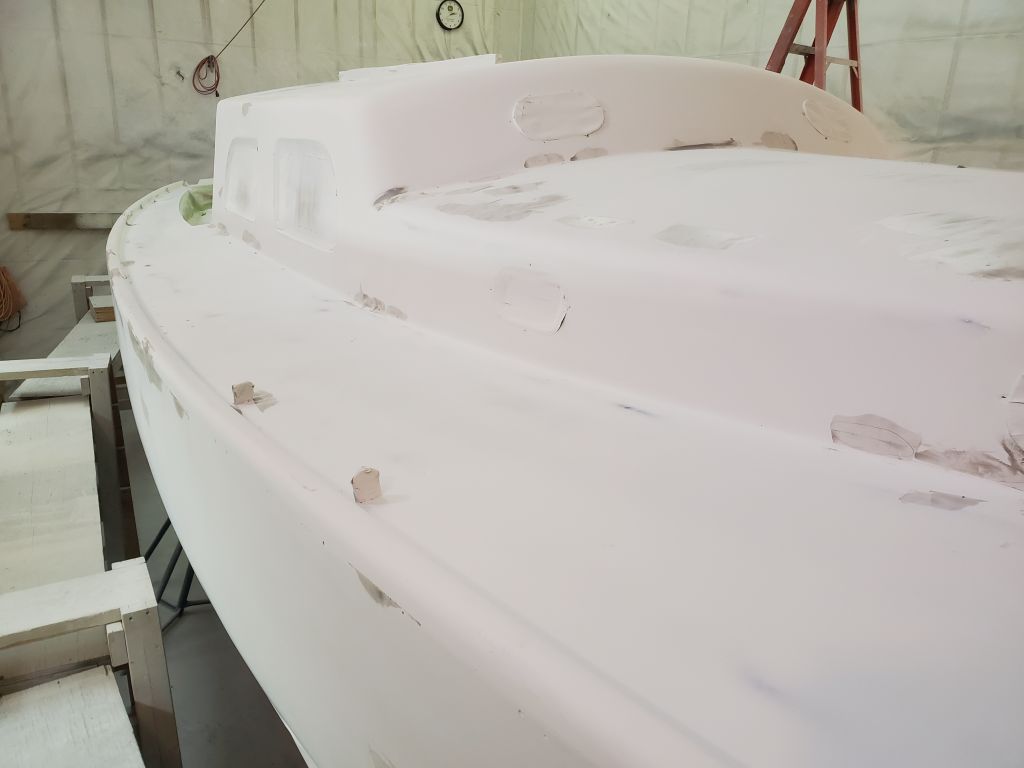
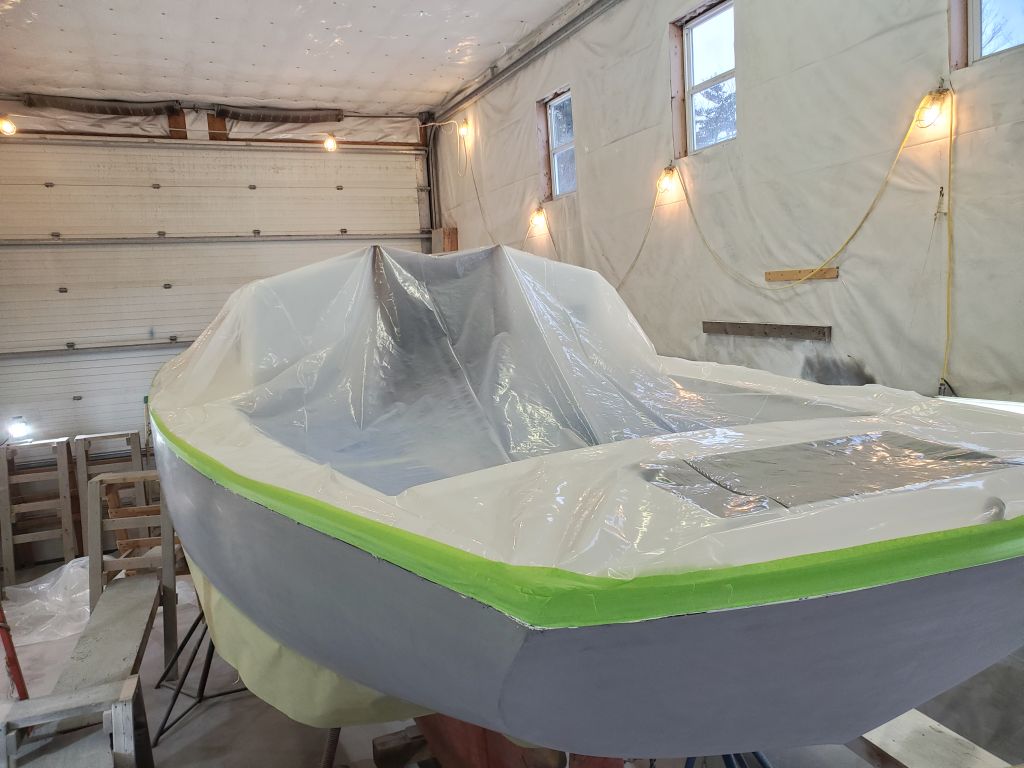
With over 40 hours’ cure time on the white deck paint, it was now well into the “safe” zone for overtaping, so to begin I masked off the toerails just above the hull/deck joint, following the line to which I’d brought the white deck paint earlier. With one row of tape in place, I followed with a second, then spread plastic sheeting over the entire deck and, after cutting off the excess, masked it thoroughly in place all around, with plenty of extra tape to ensure there were no voids or seams or missed areas.

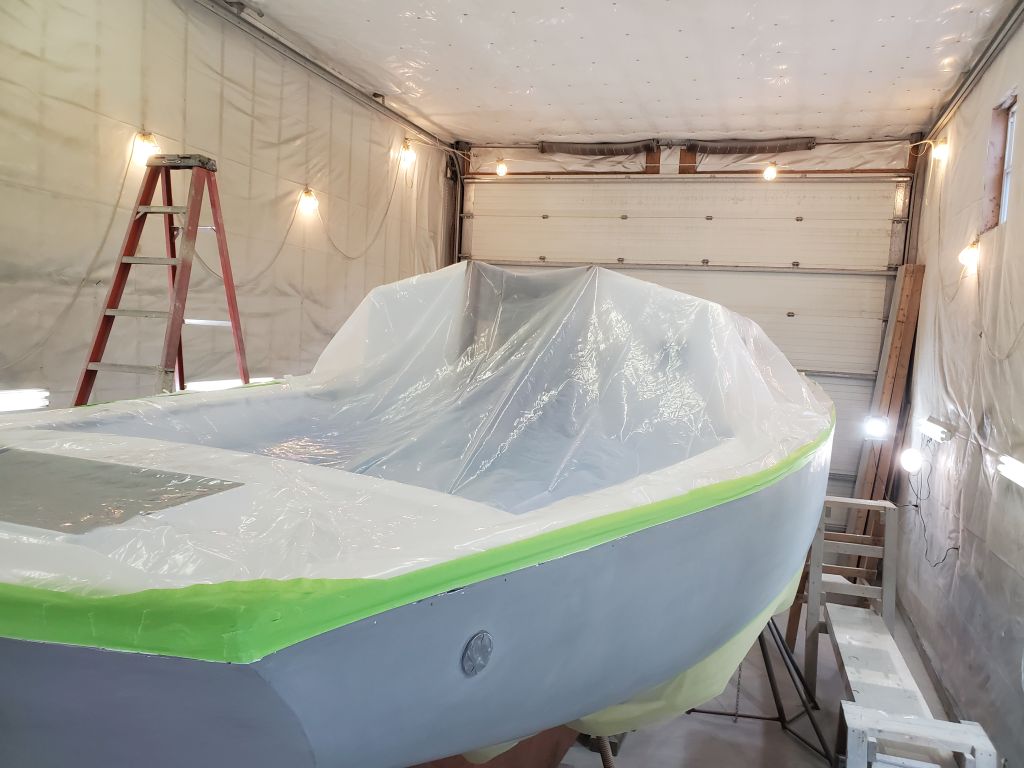
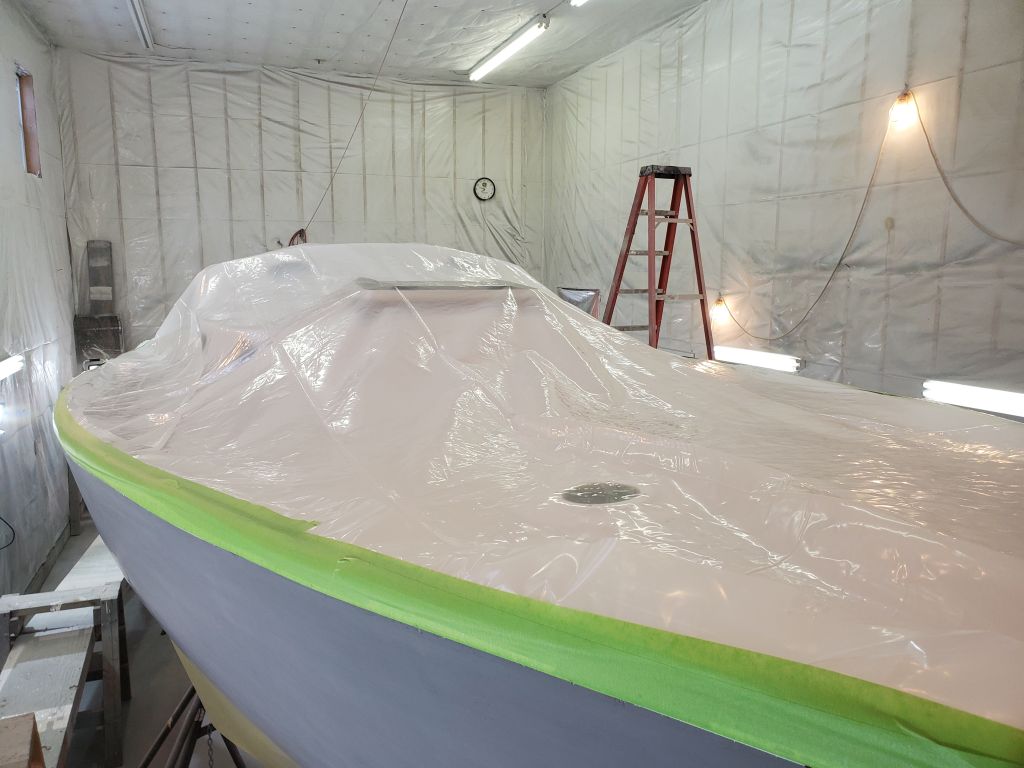
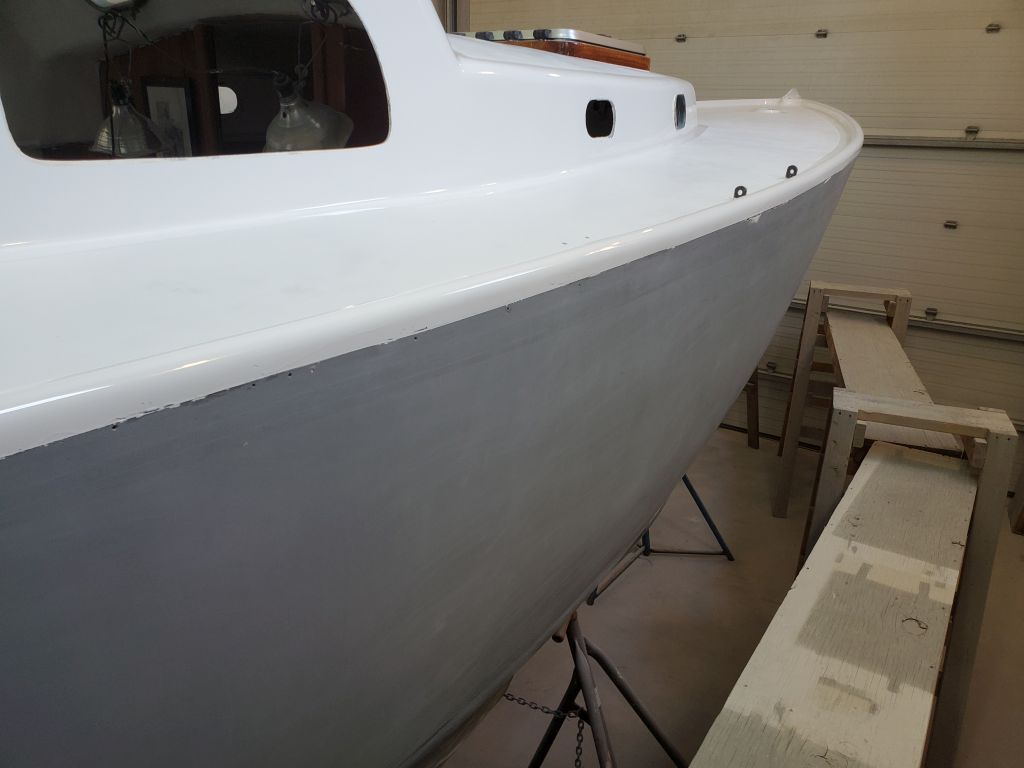
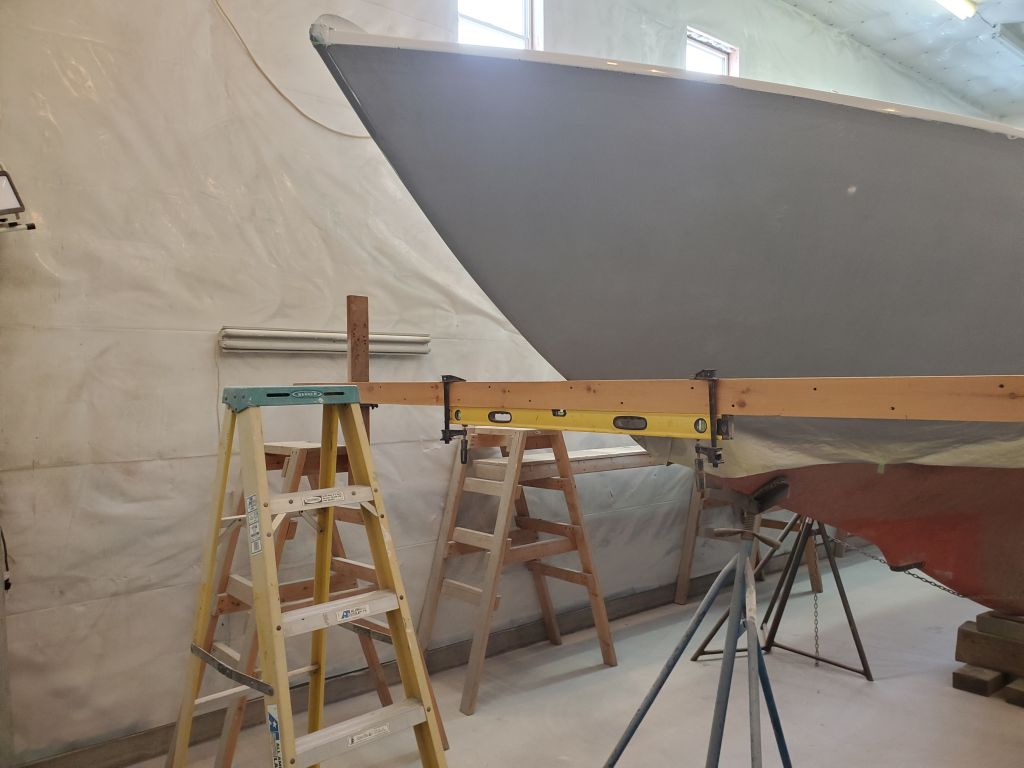
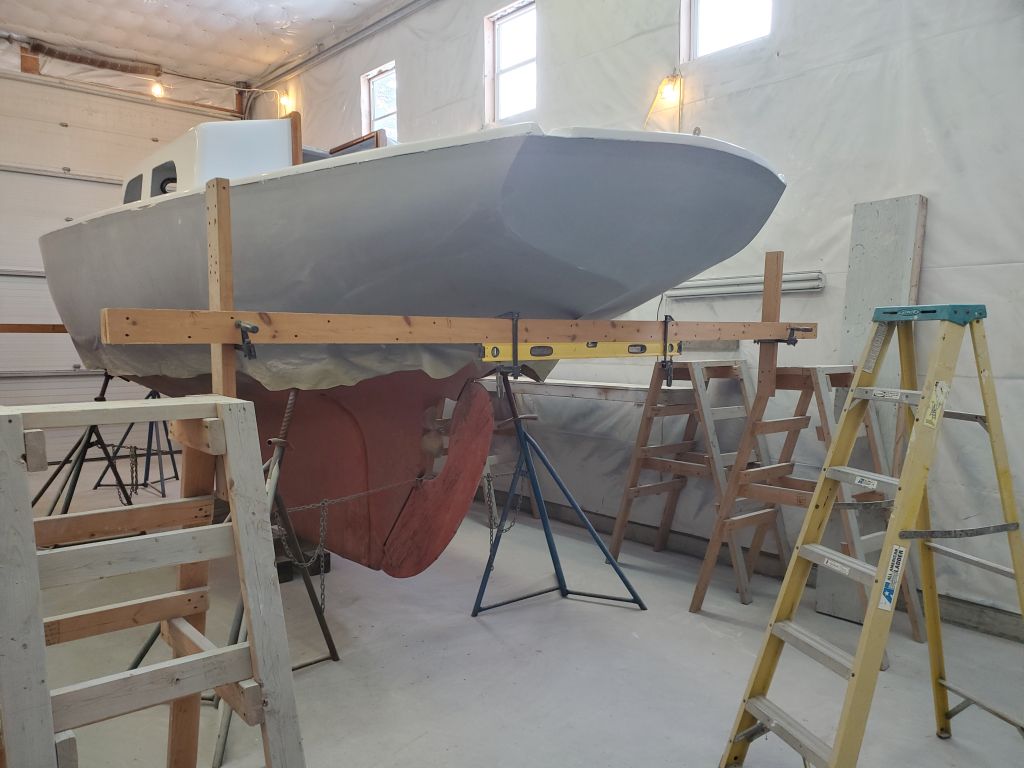
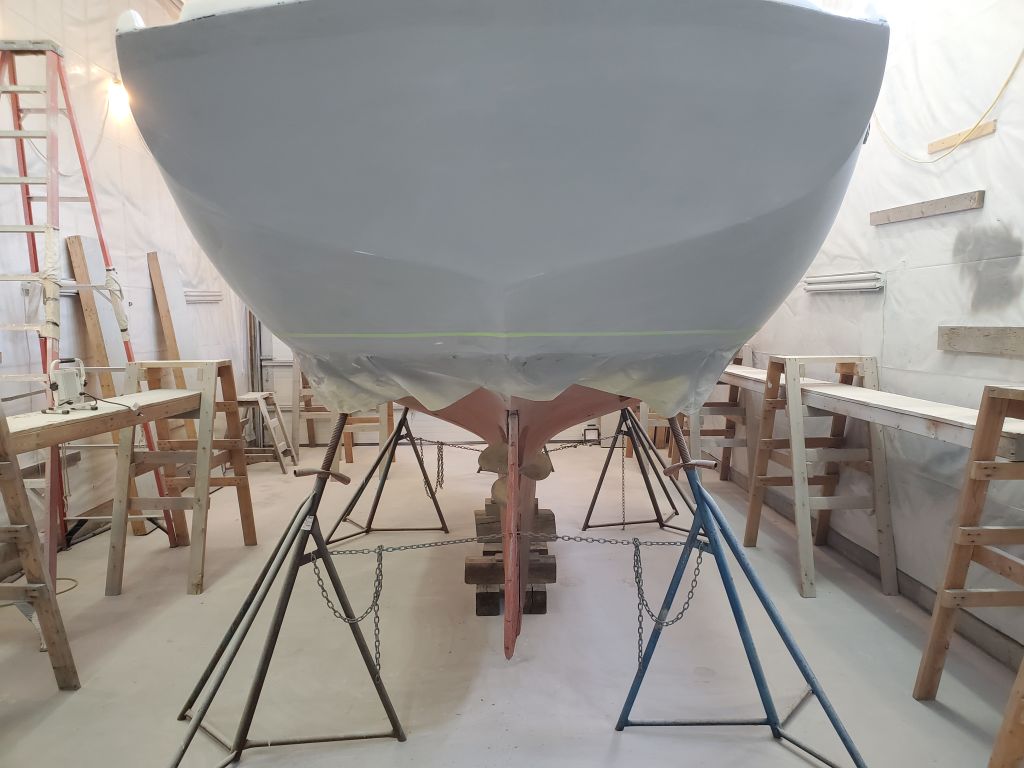
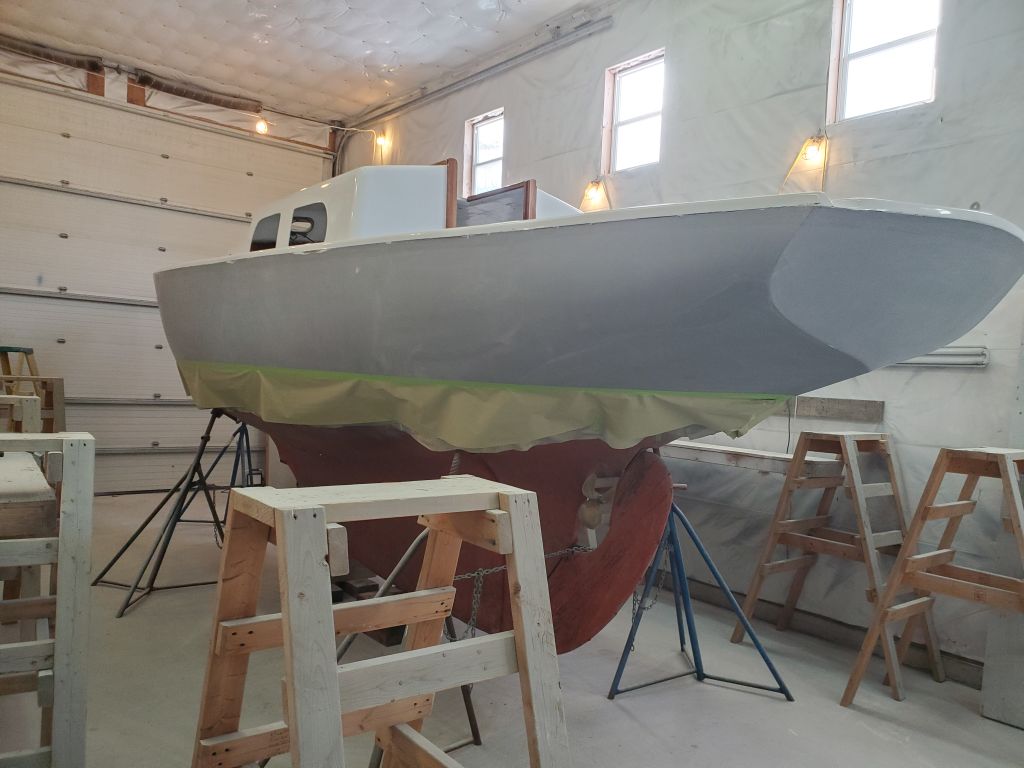
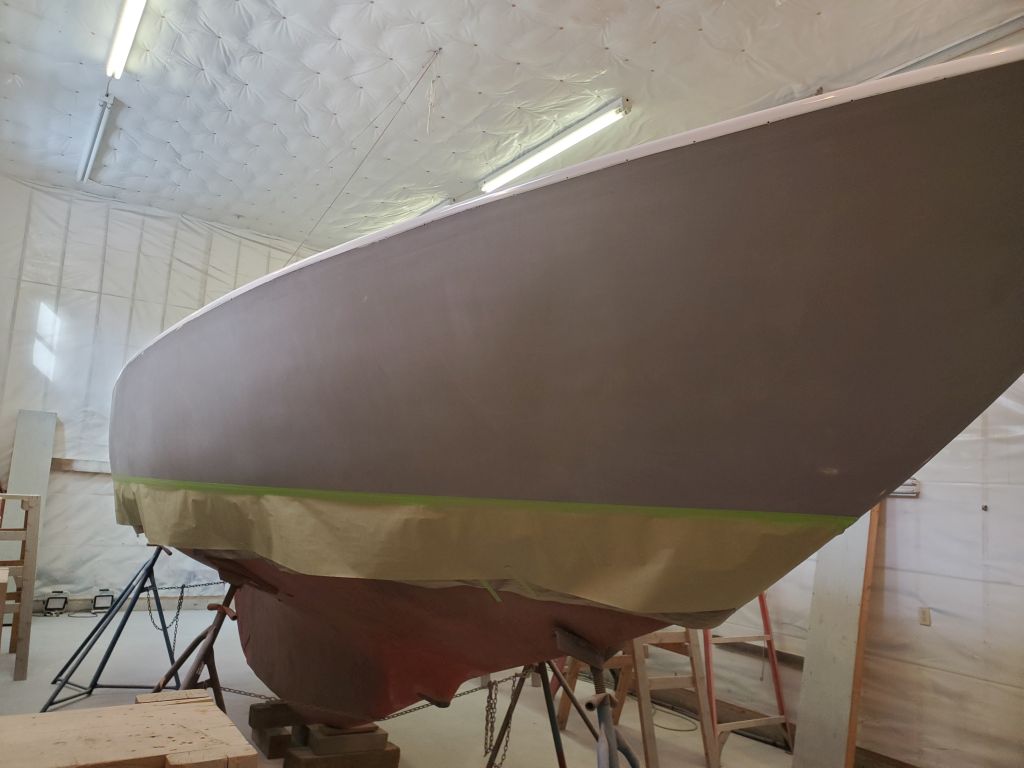
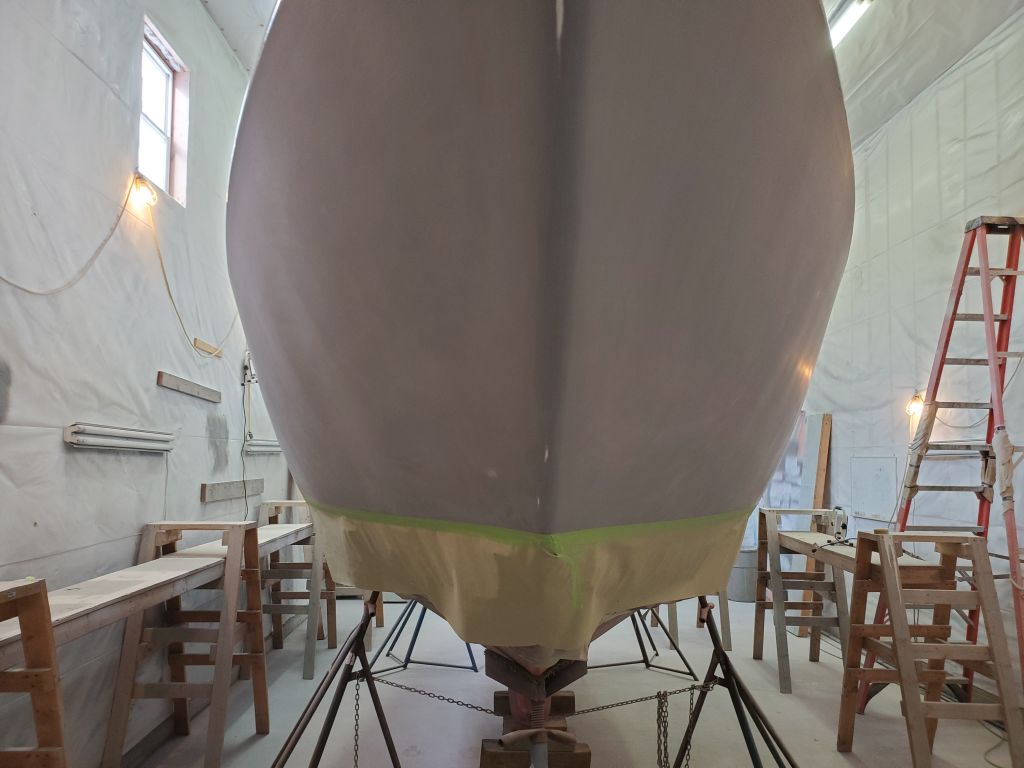
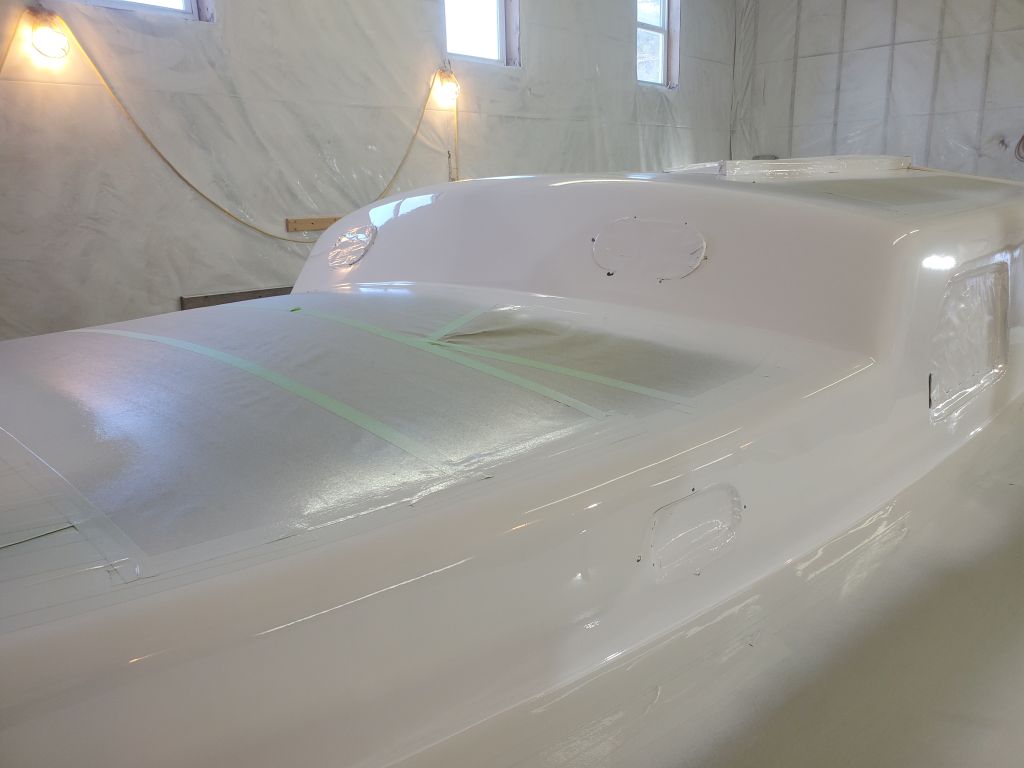
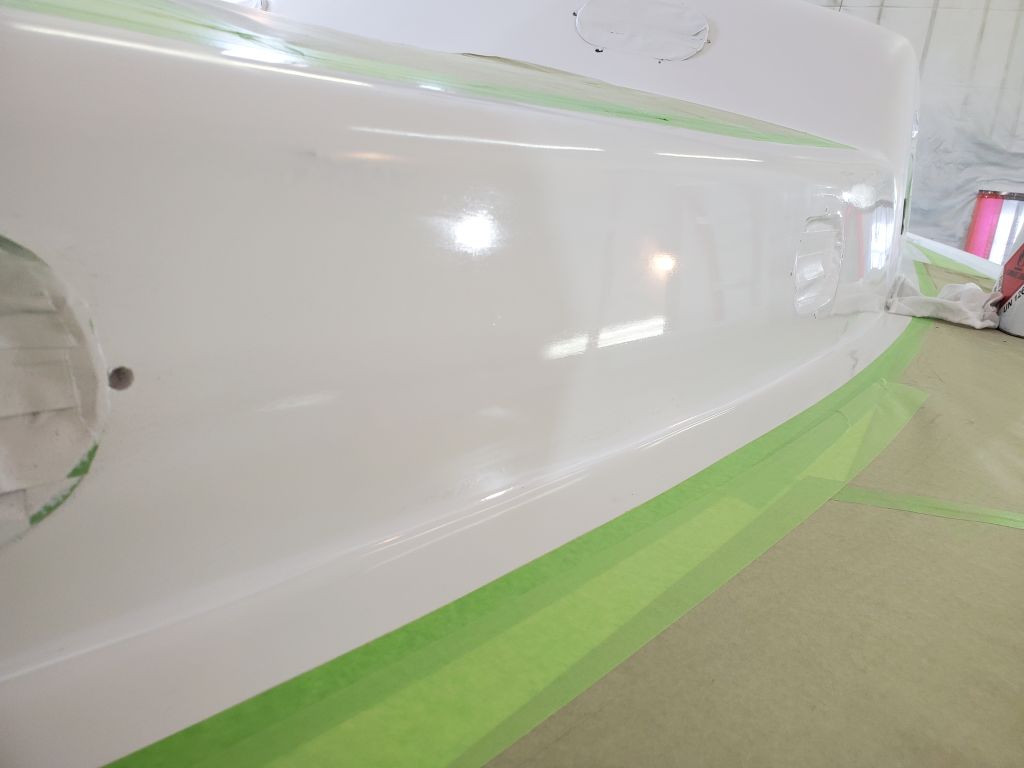
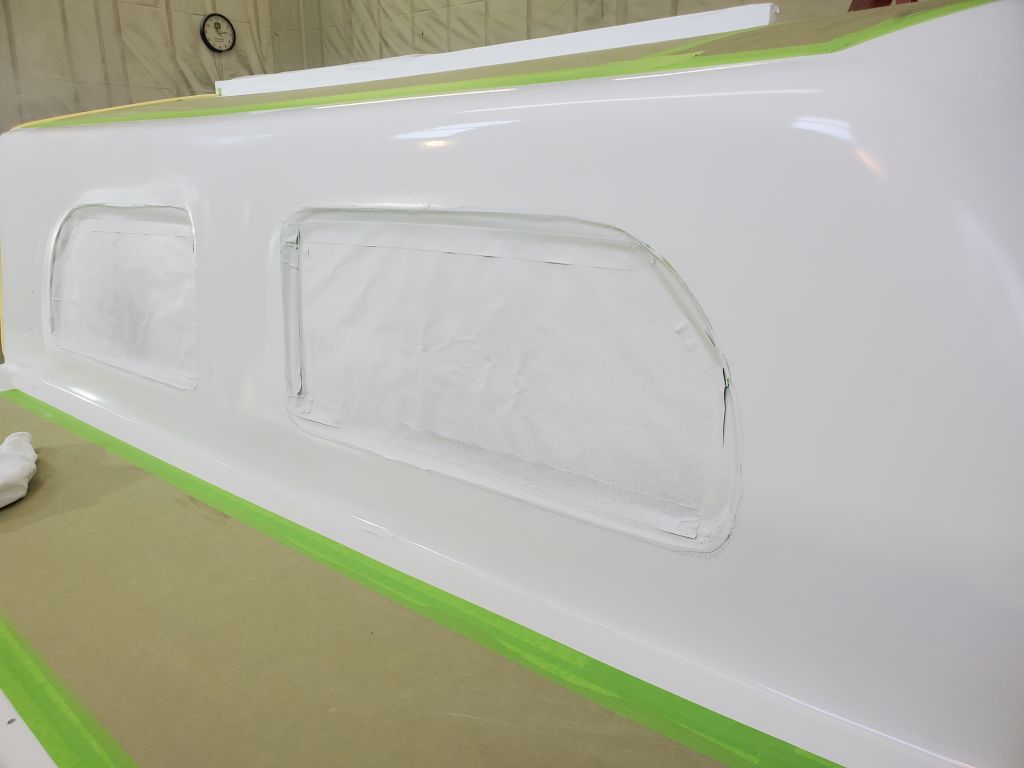
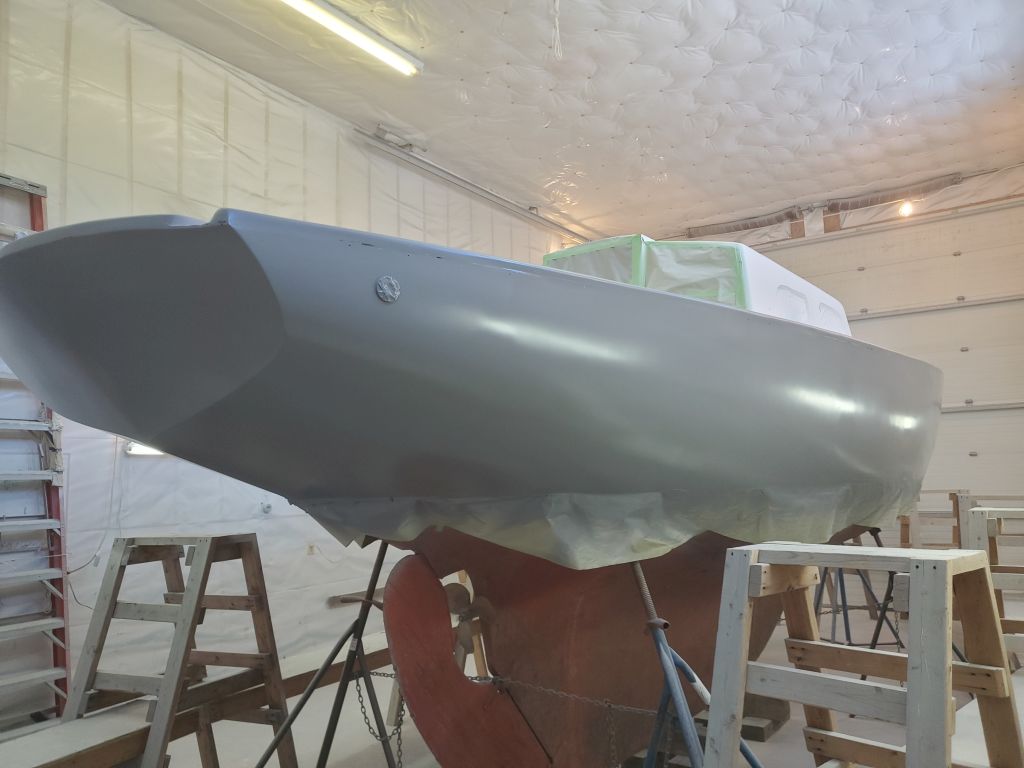
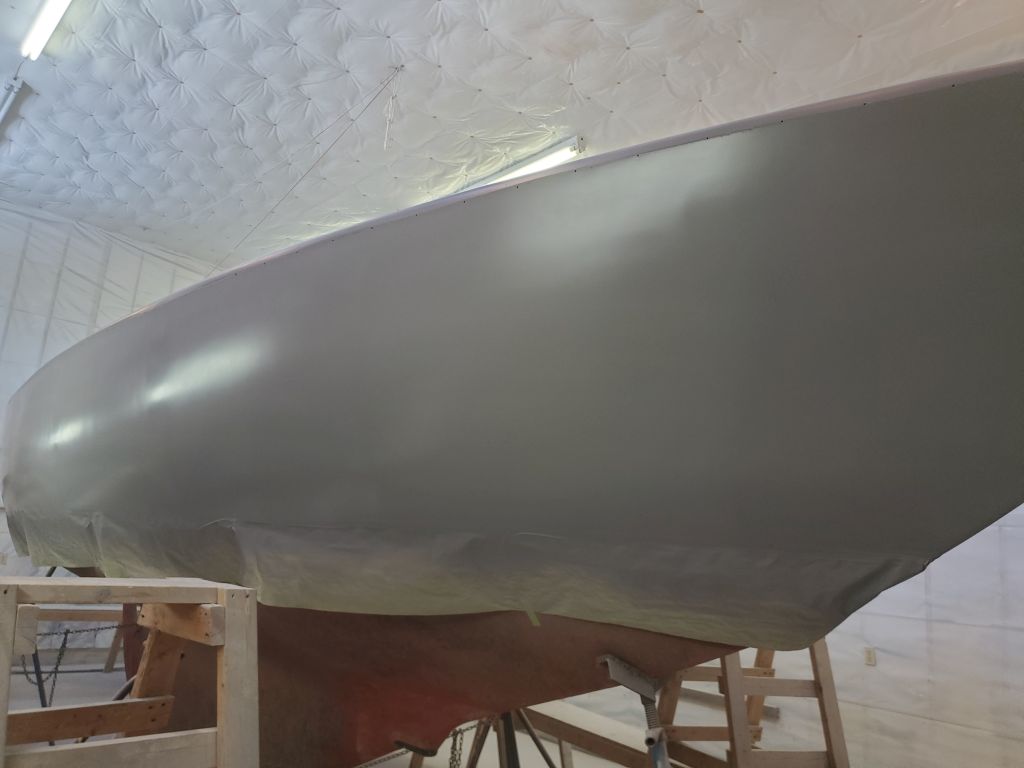
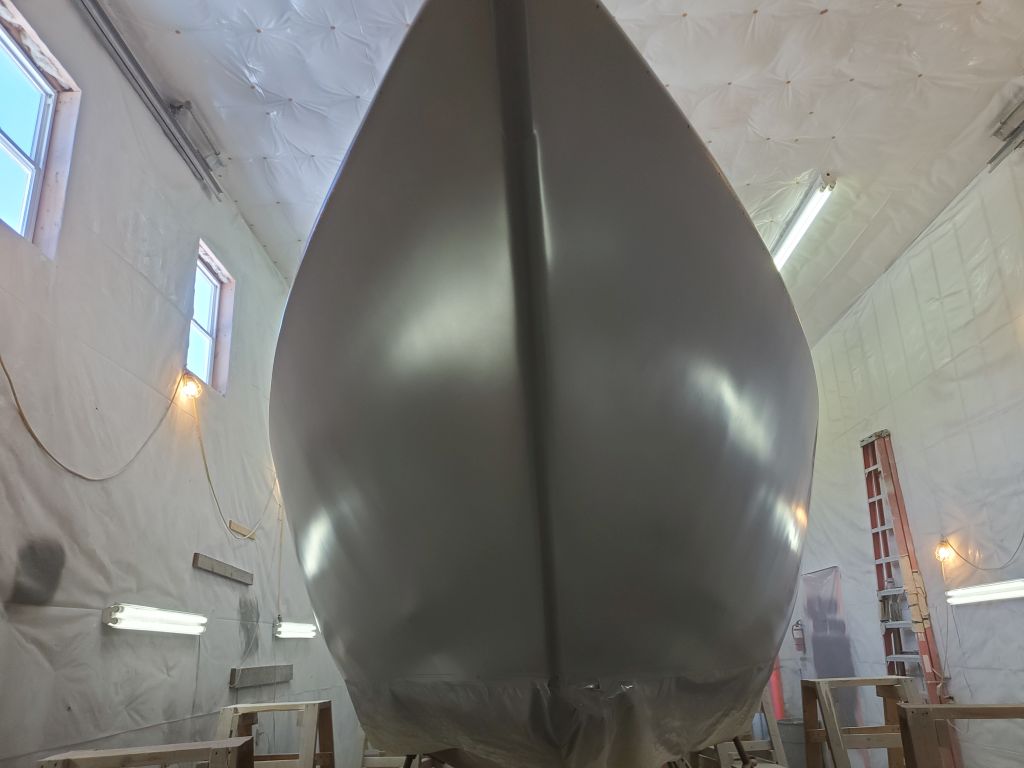
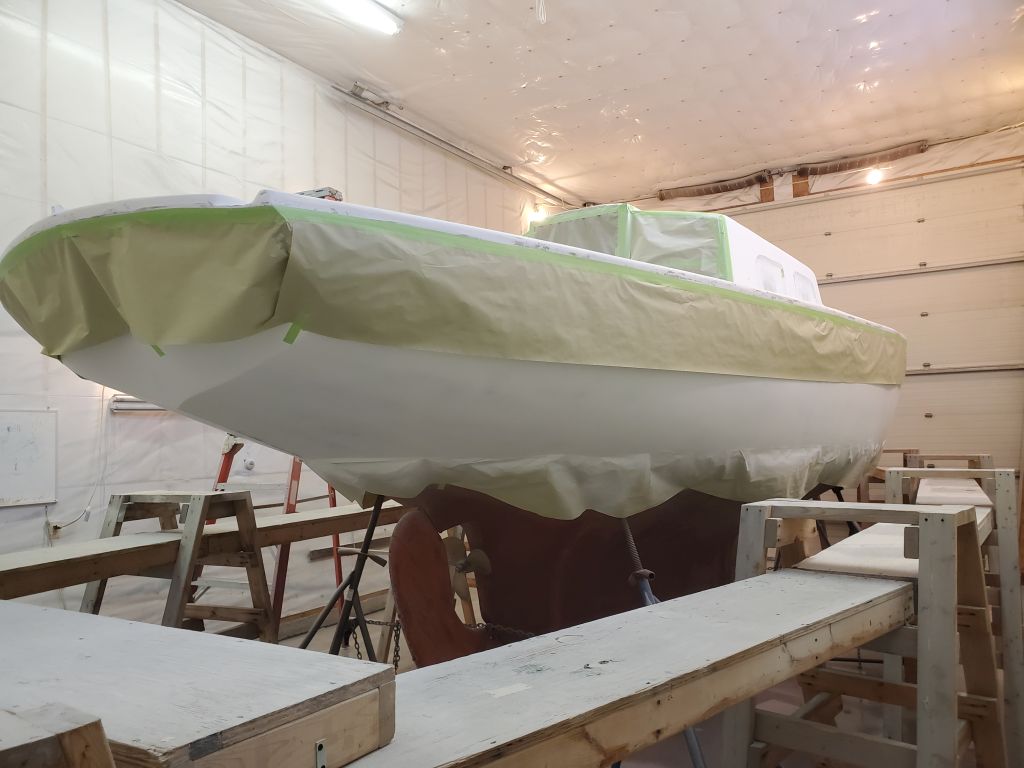
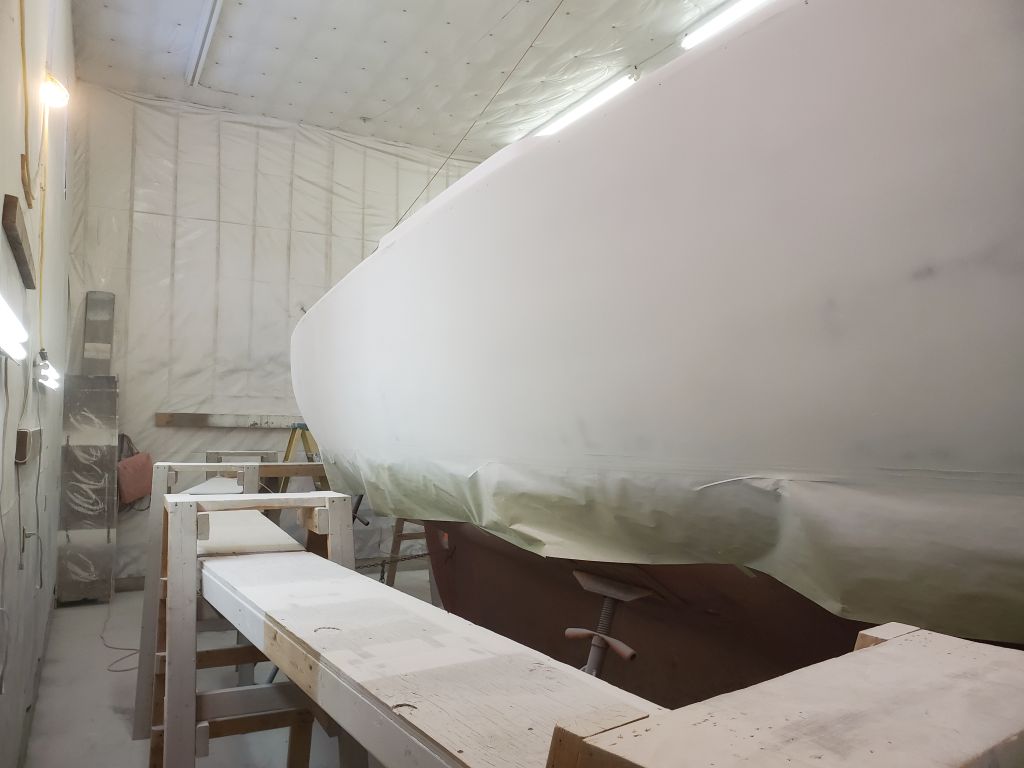
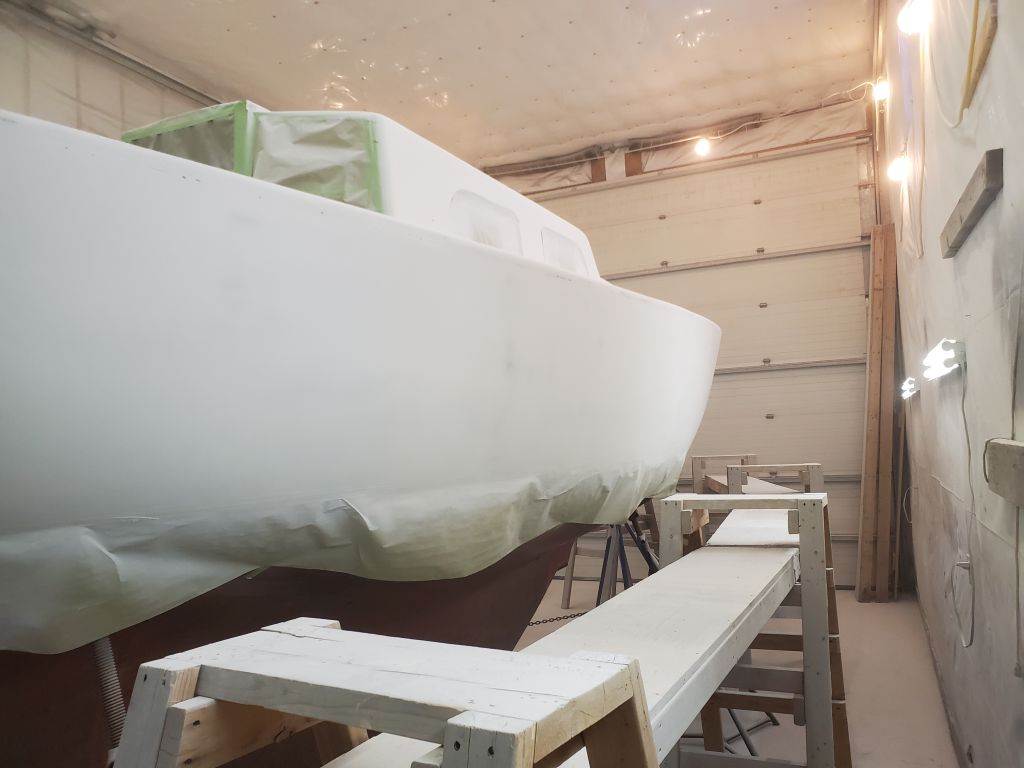
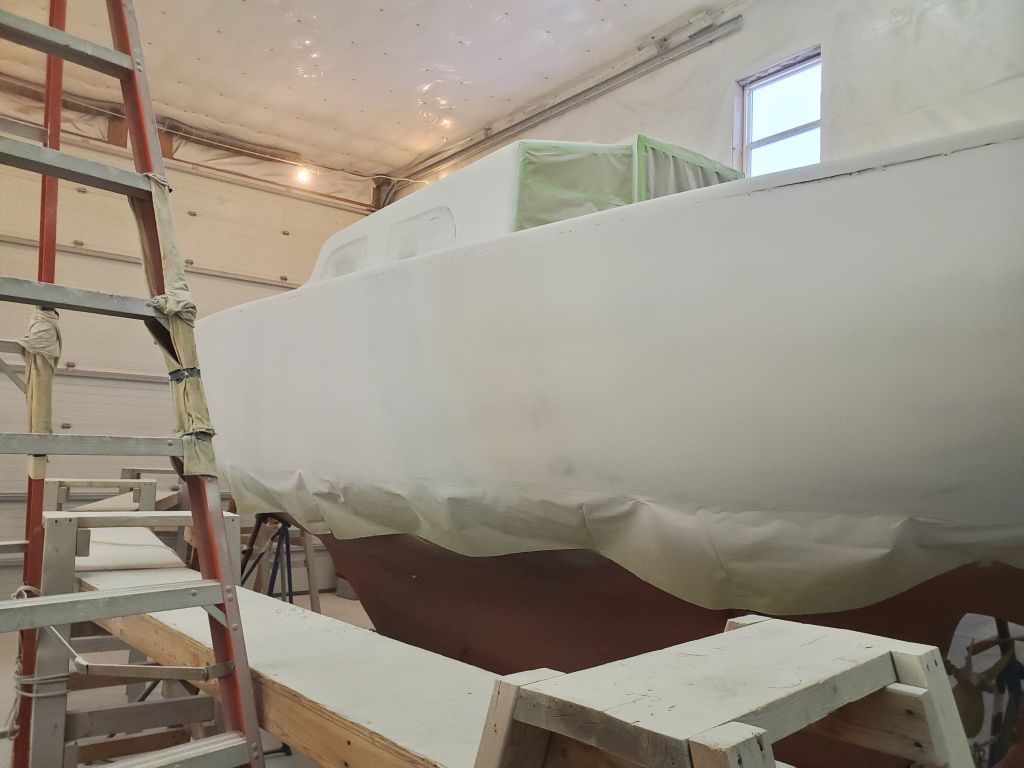
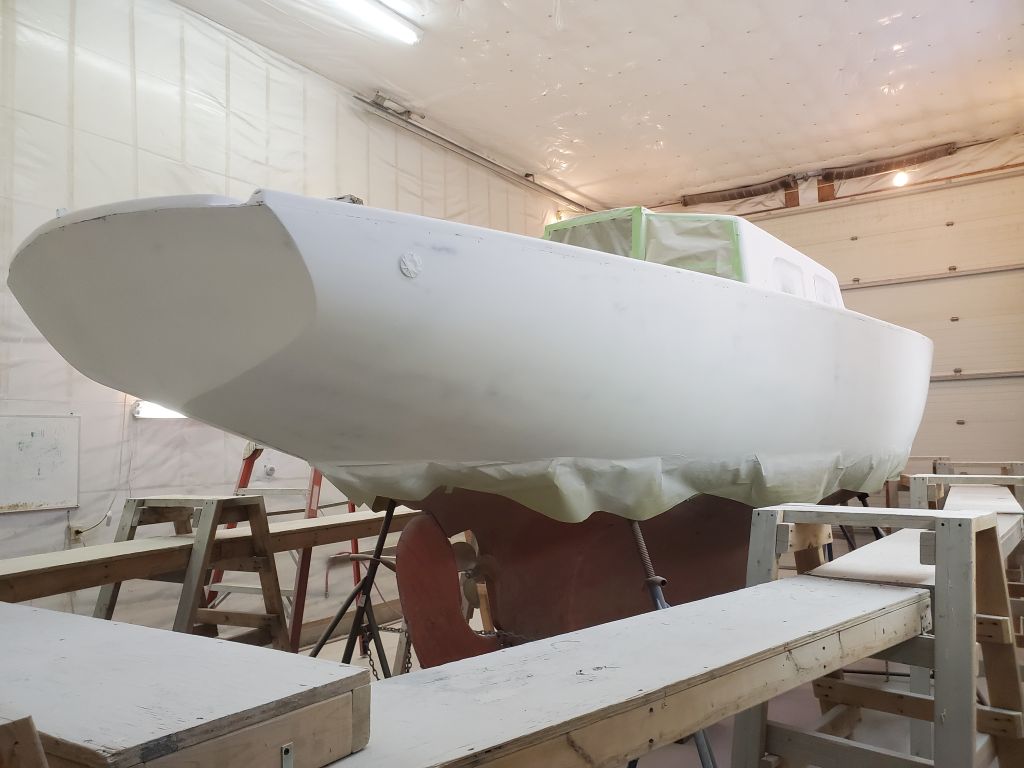
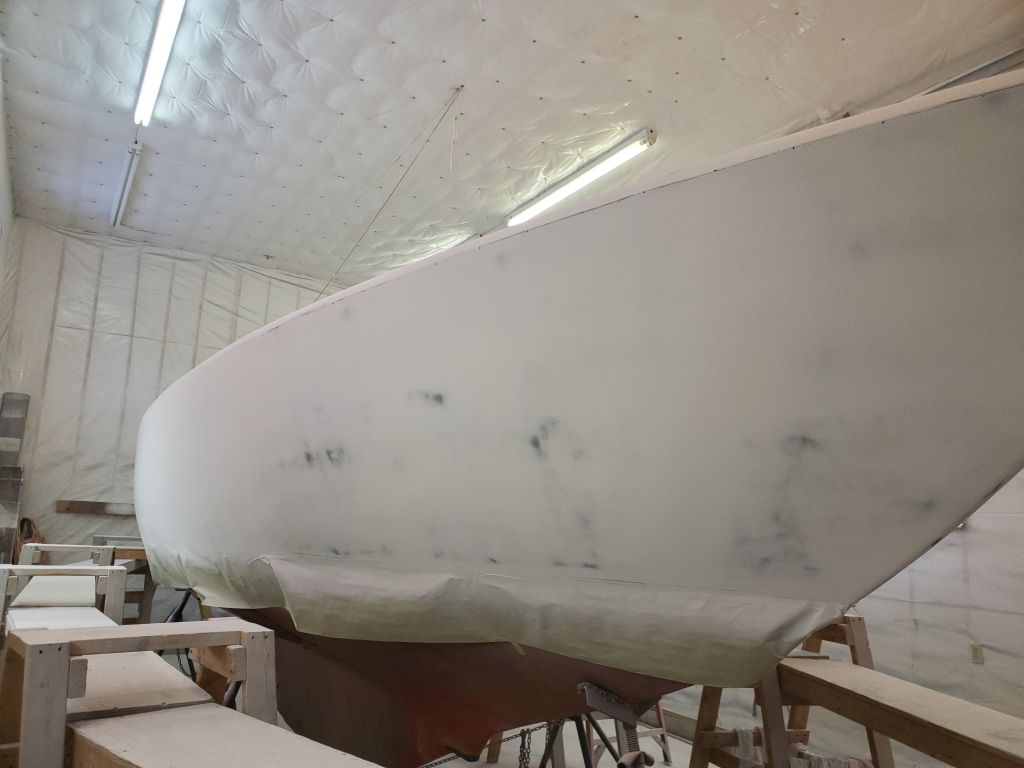
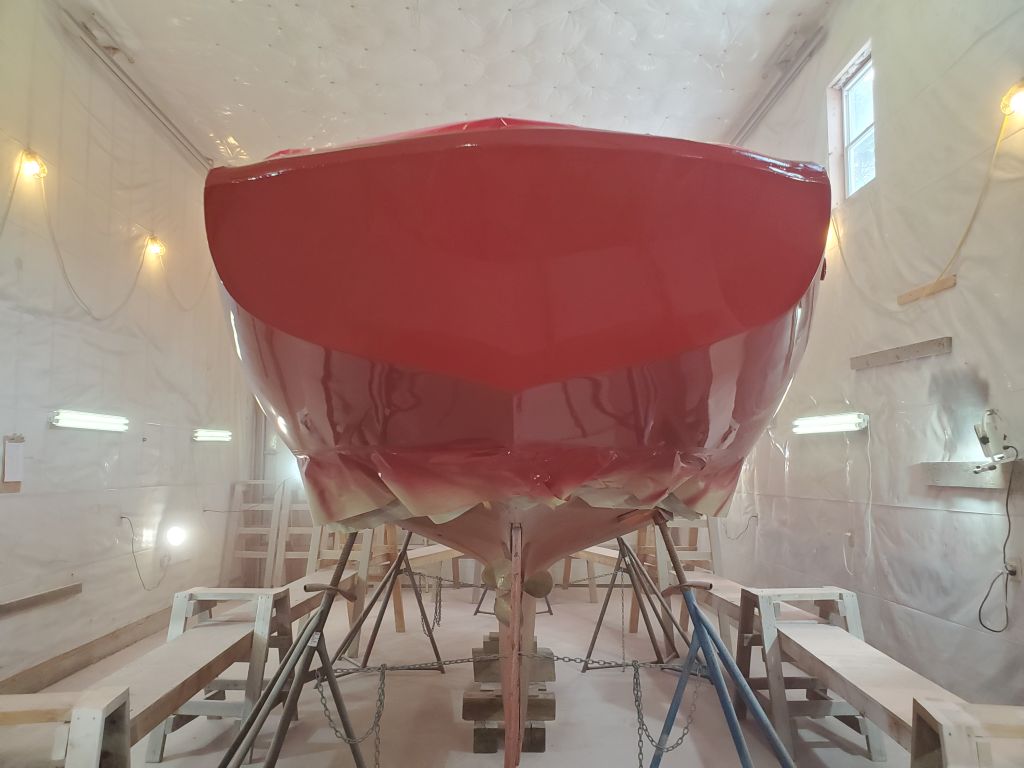
Next, I tacked off the hull, then mixed up the paint needed for the job and applied three coats of “wine red” gloss topcoat, as called by this paint system (versus the better-known name “claret” by the other paint system) to the hull over the next few hours’ elapsed time: a stunning transformation. Note that the paint appears lighter (i.e. more red/less maroon) before it’s fully cured, and with the harsh shop lighting in place.
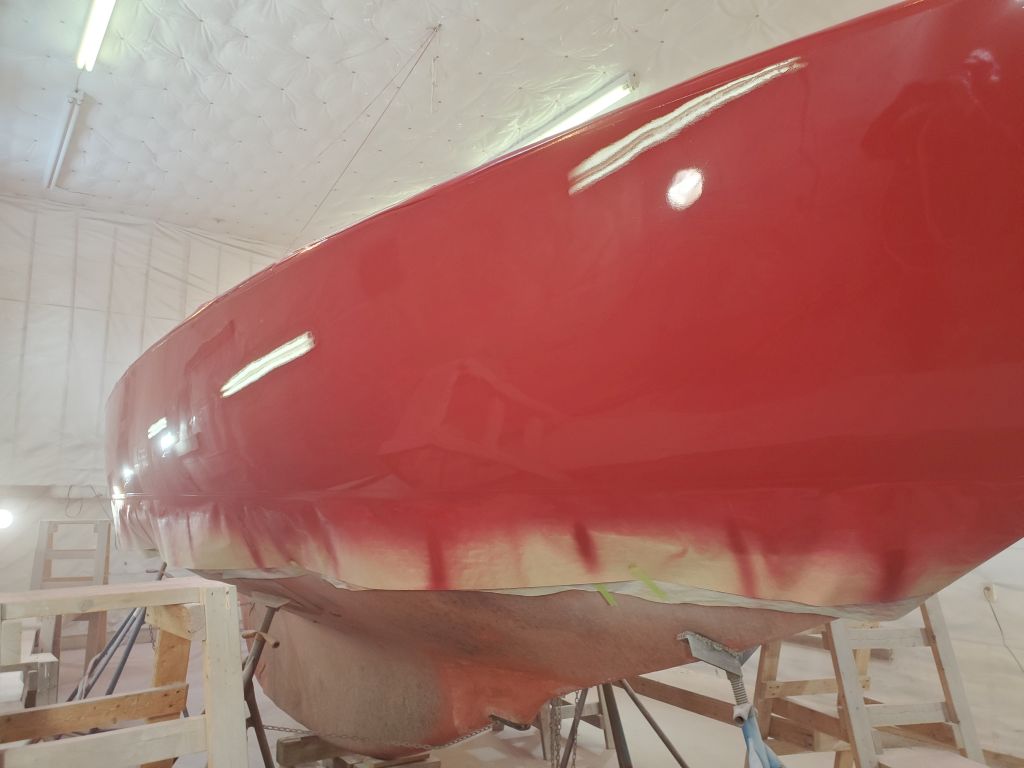
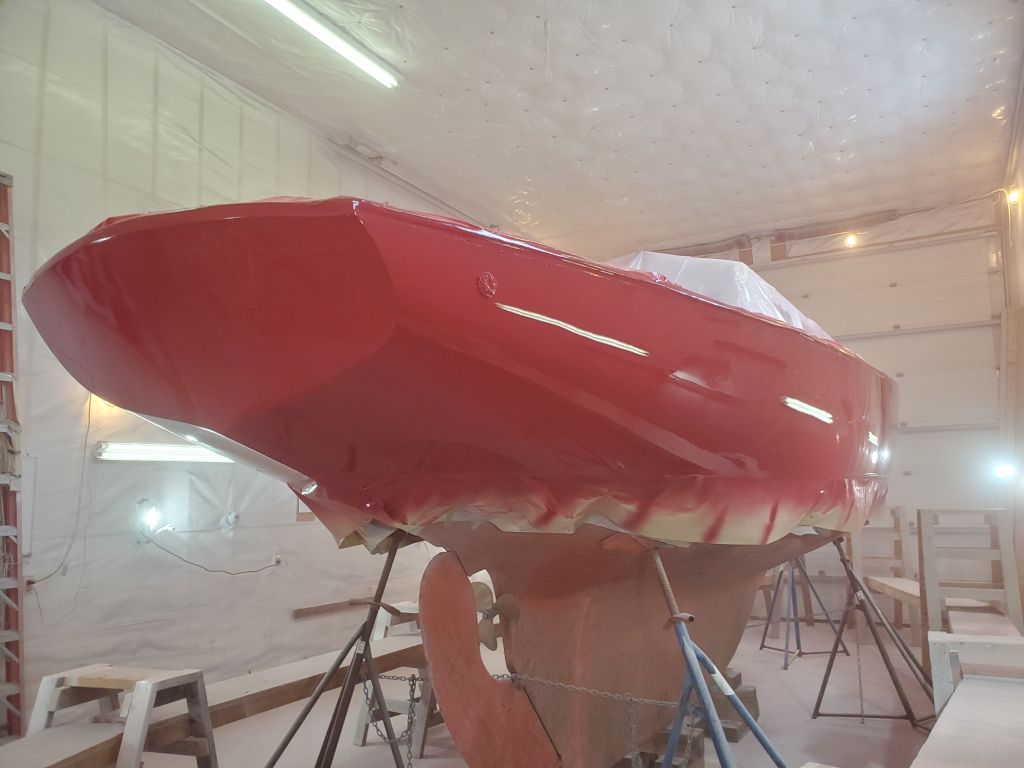
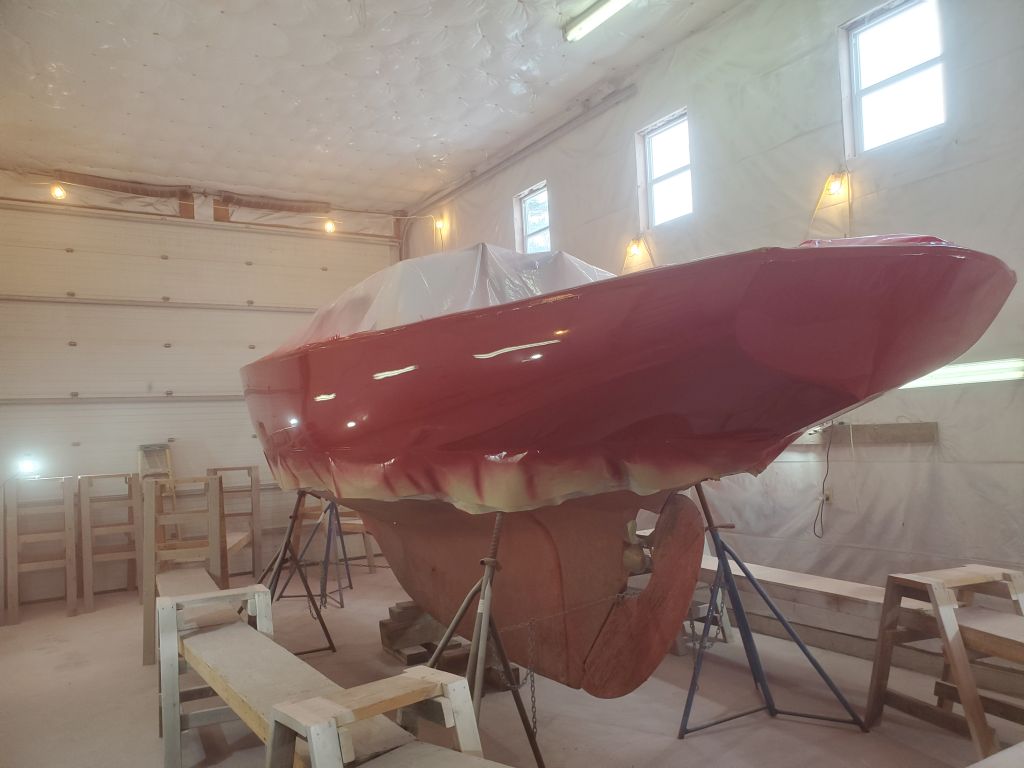
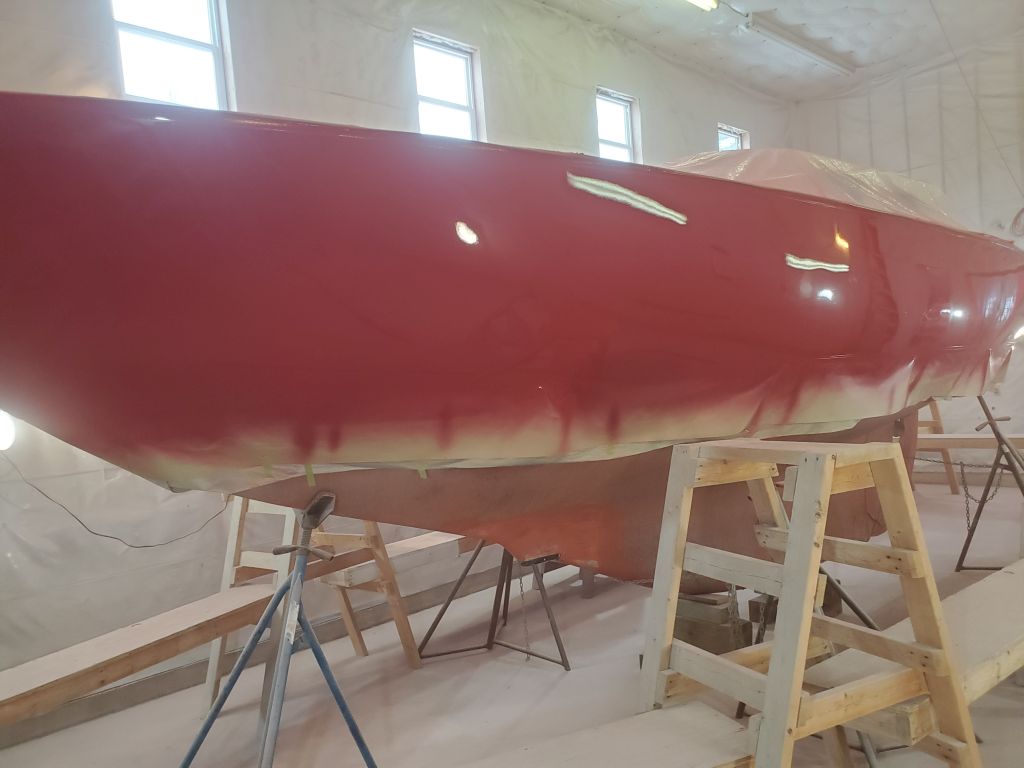
This video shows the first coat, which by design is a light coat to help the second and third coats stick, but nevertheless it provides quite a contrast with the gray primer as it is applied.
Total time billed on this job today: 4.25 hours
0600 Weather Observation: 44°, partly cloudy. Forecast for the day: Cloudy, windy, rain overnight, 53°