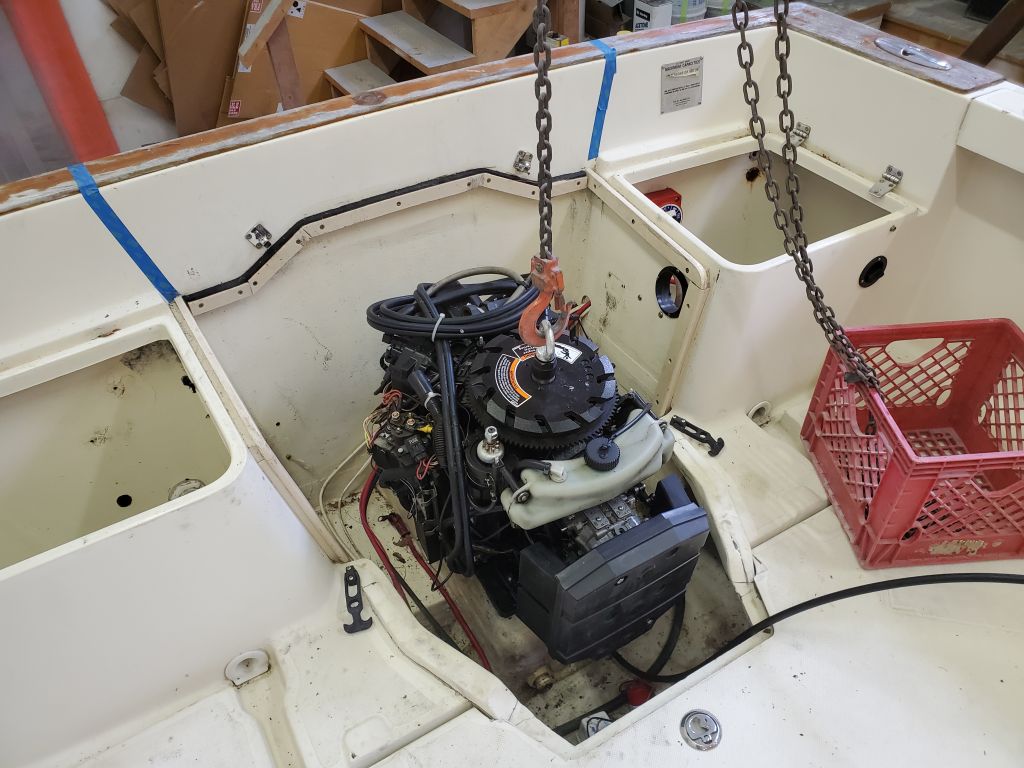
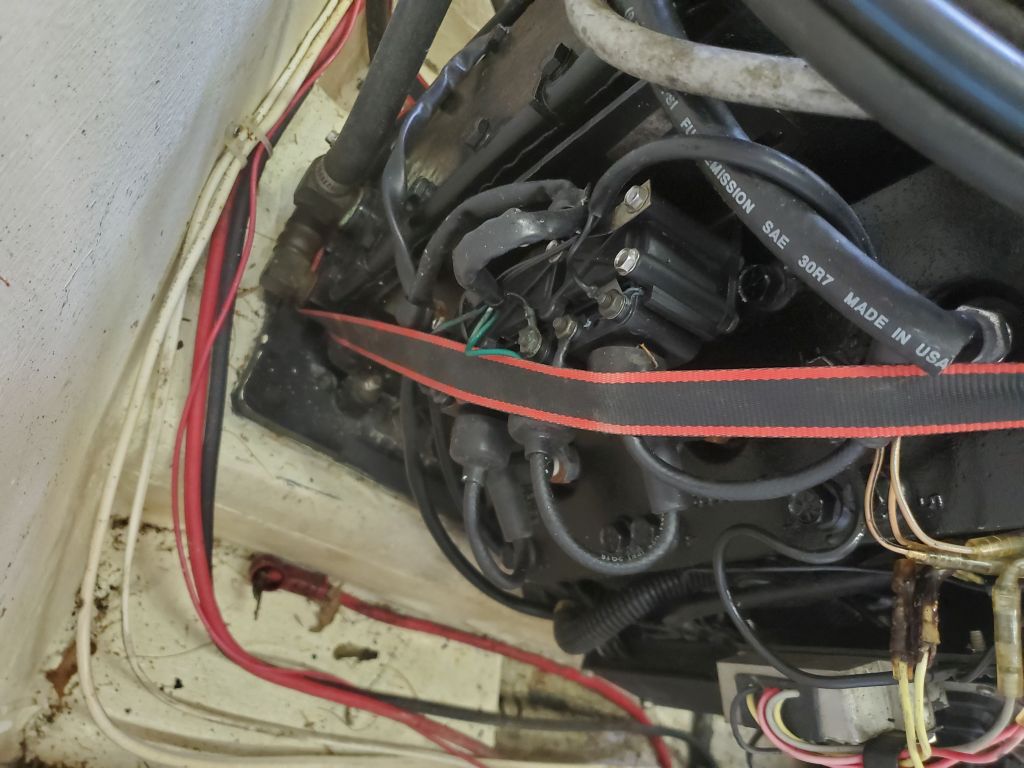
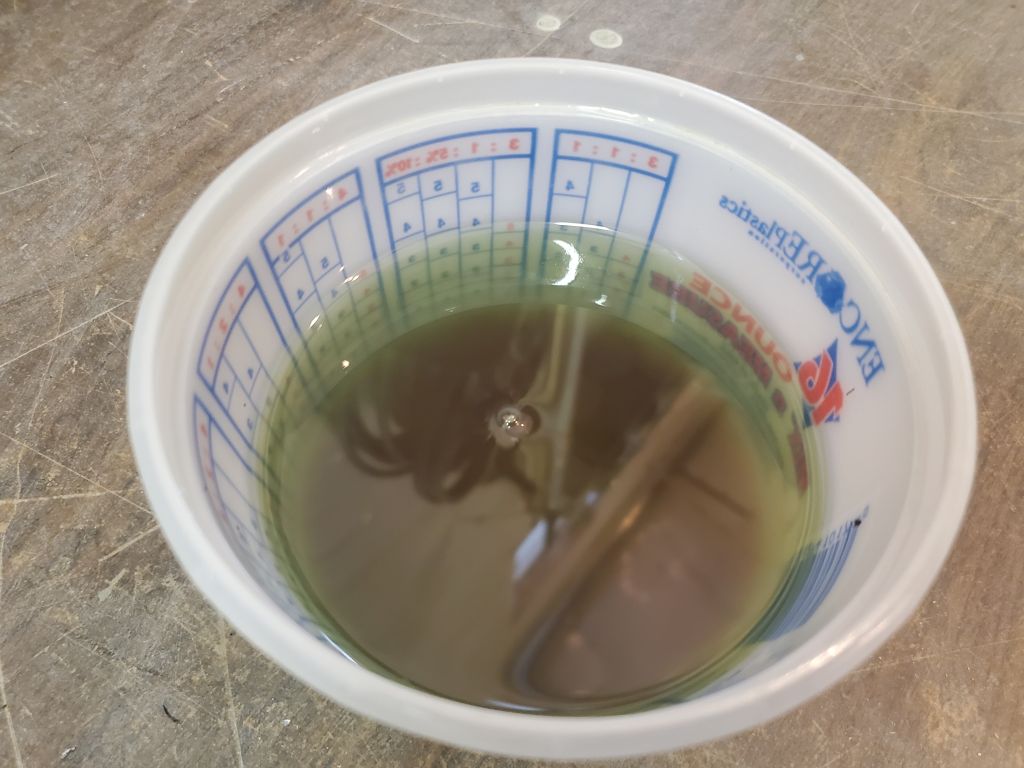
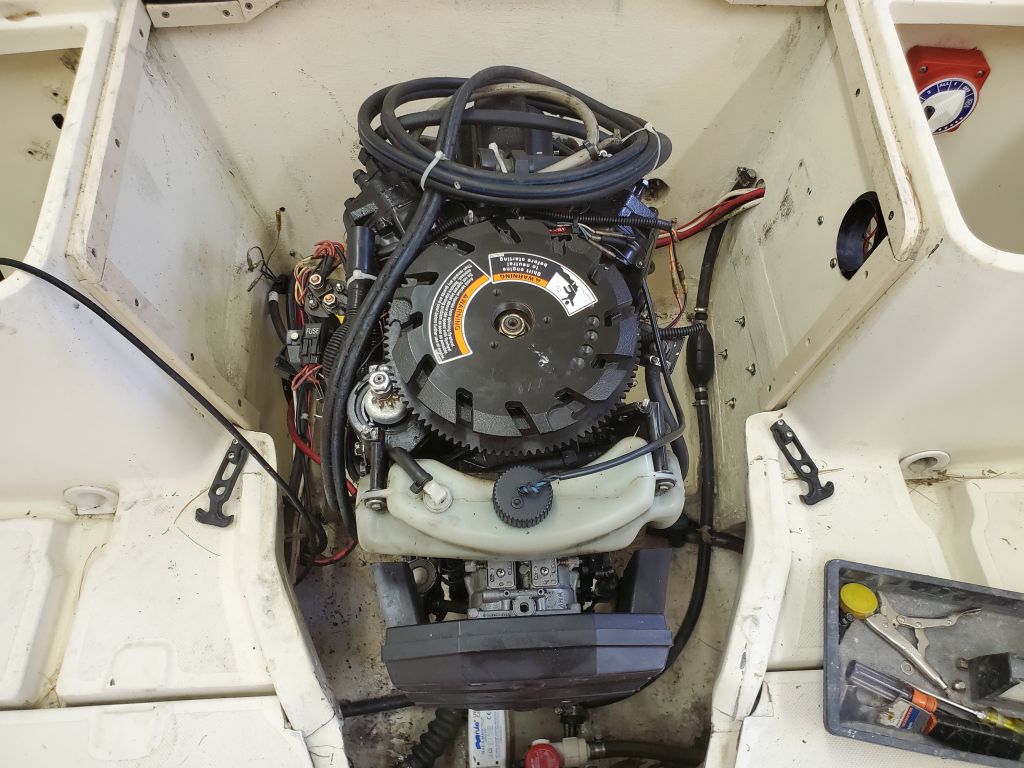
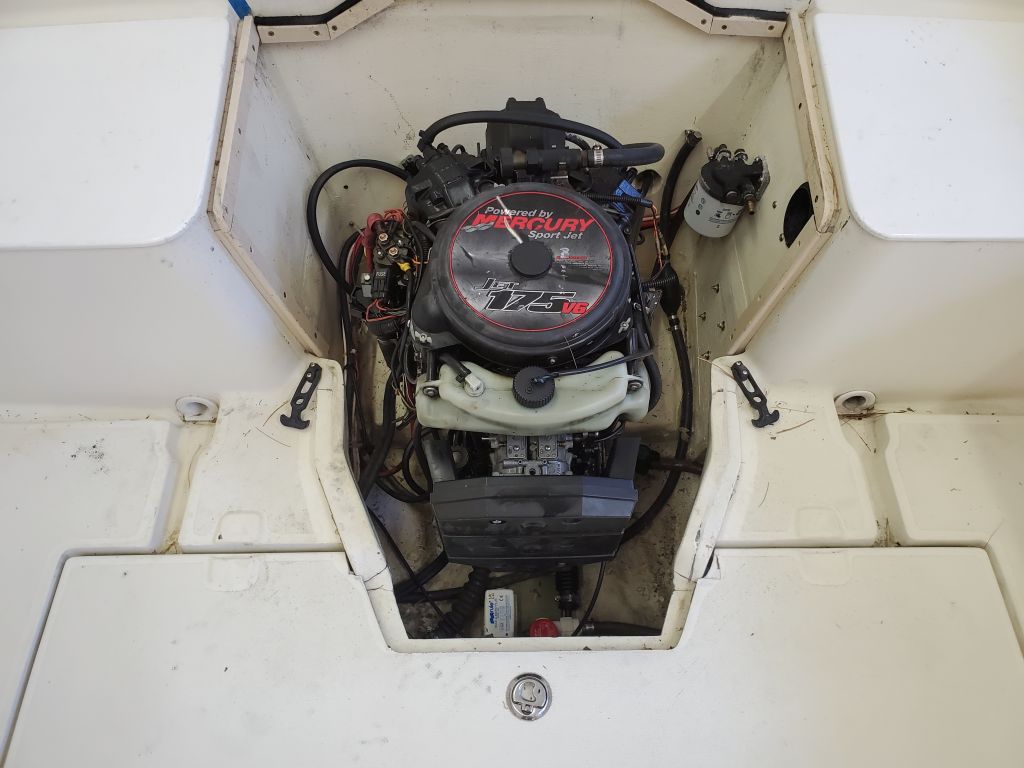
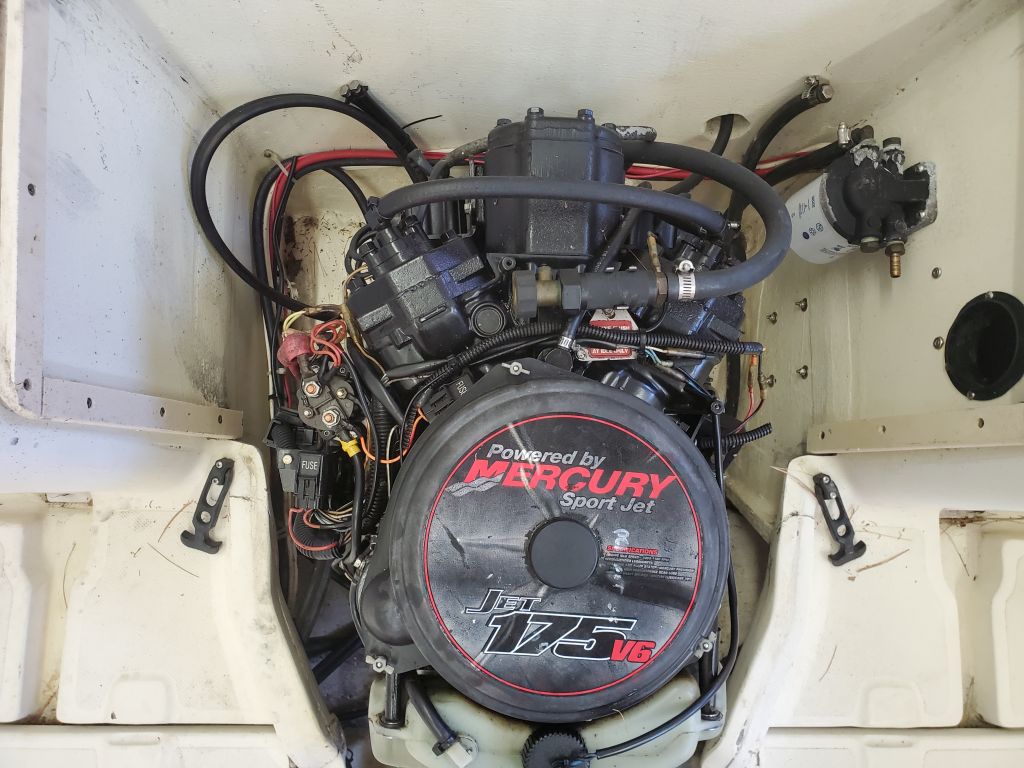
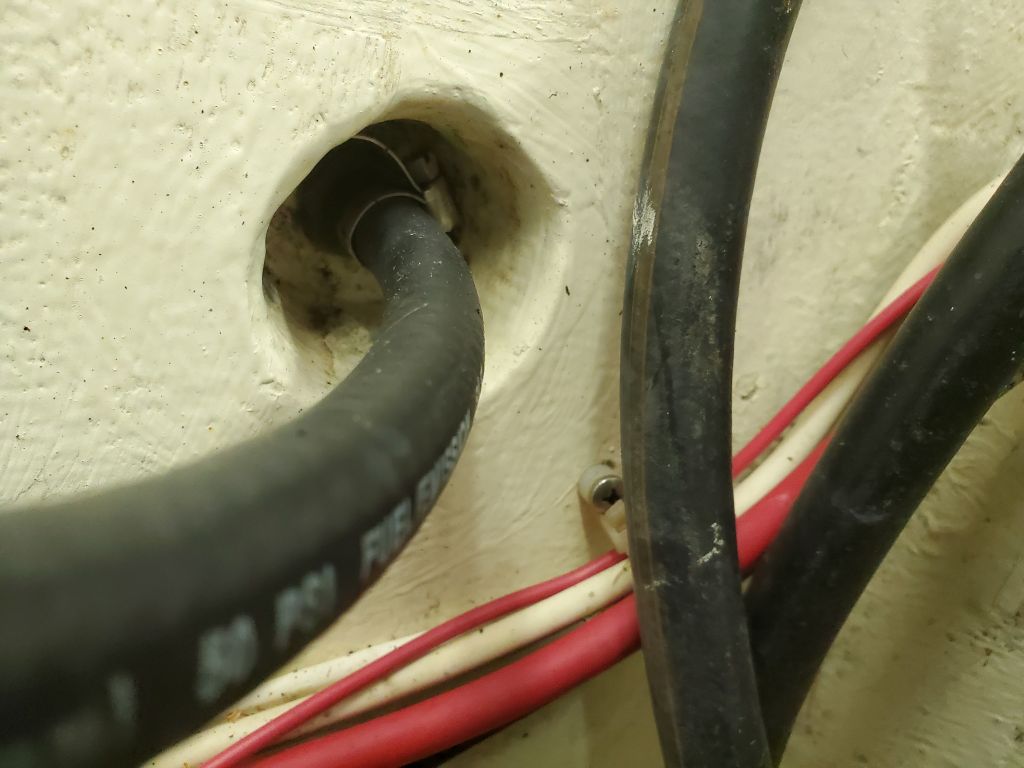
I began the engine removal by disconnecting anything attached to it and removing any ancillary equipment in the engine compartment that I could. I began with the fuel line and filter, which I disconnected and removed and drained into a container; the fuel from the filter was dirty.
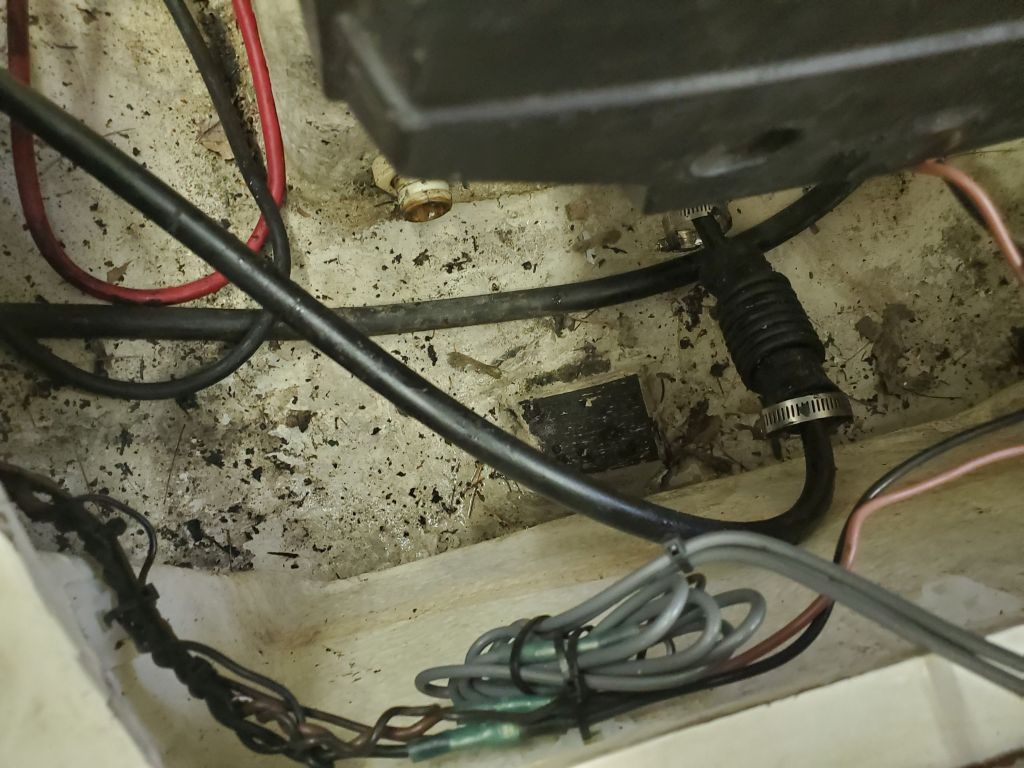
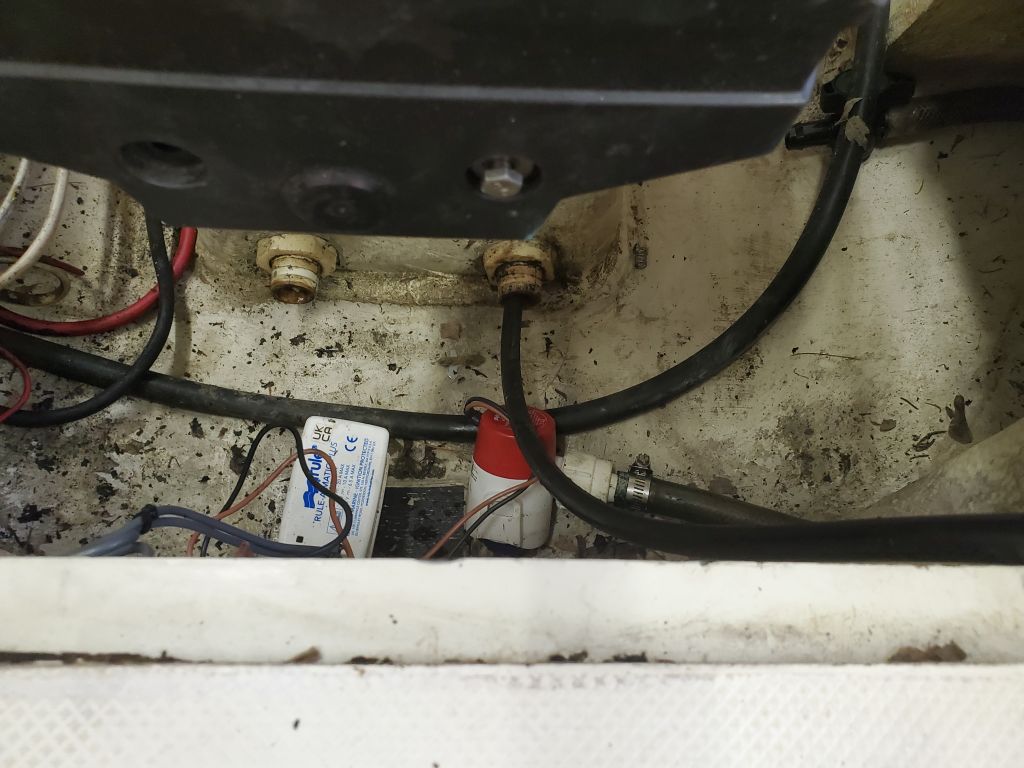
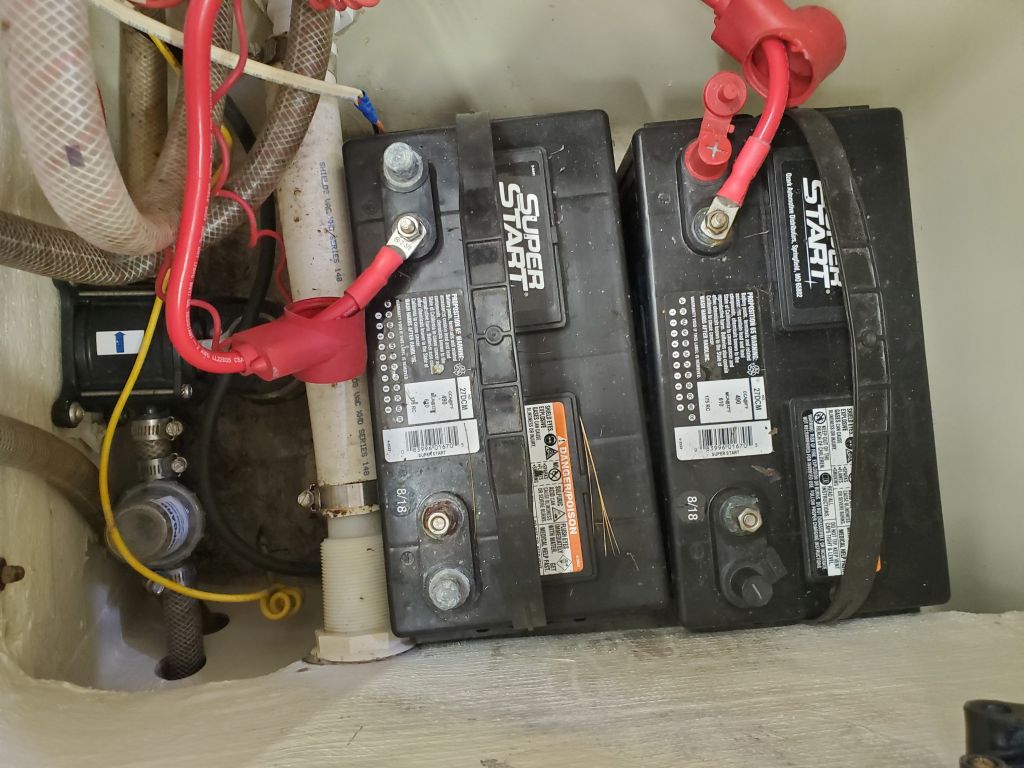
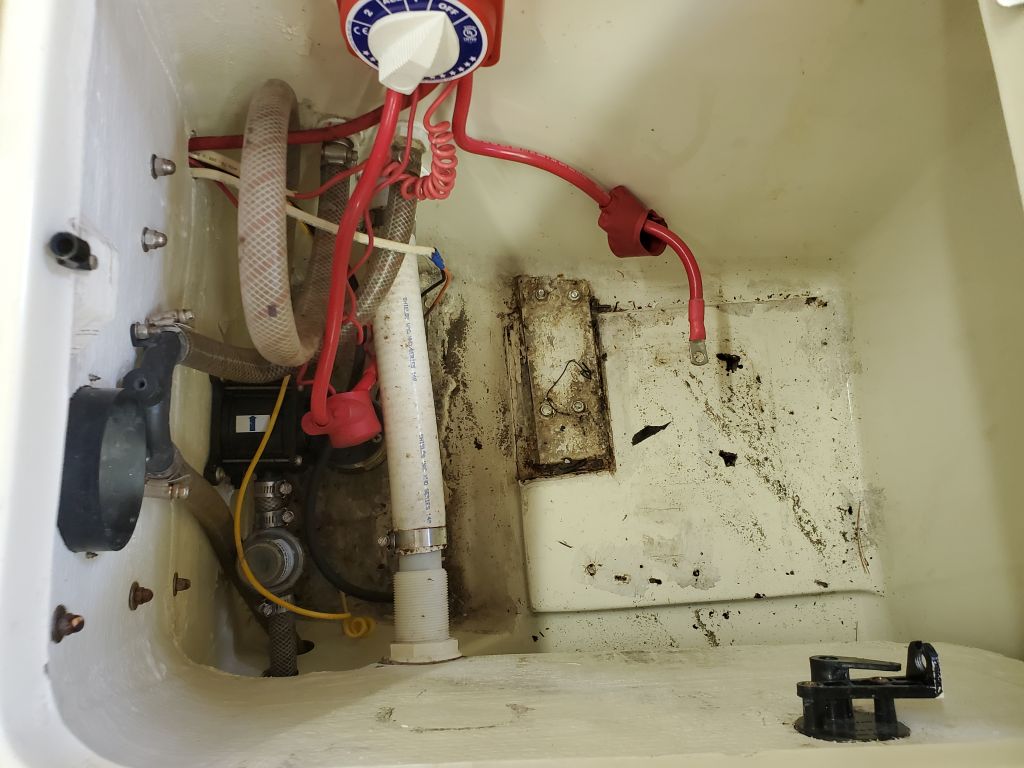
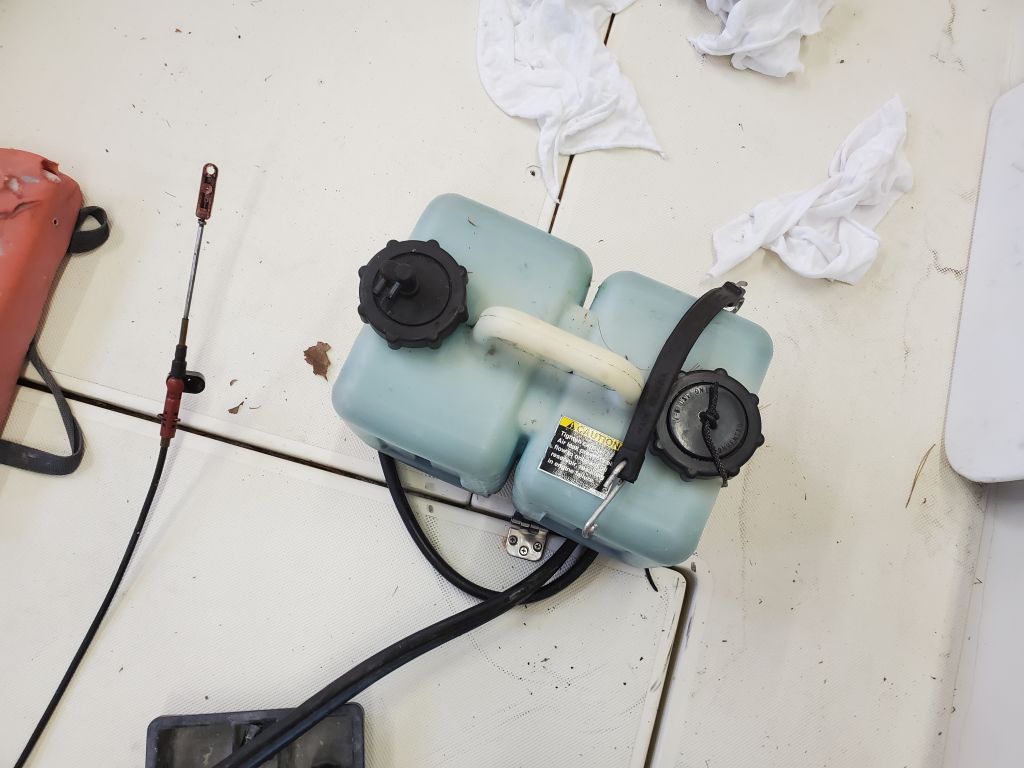
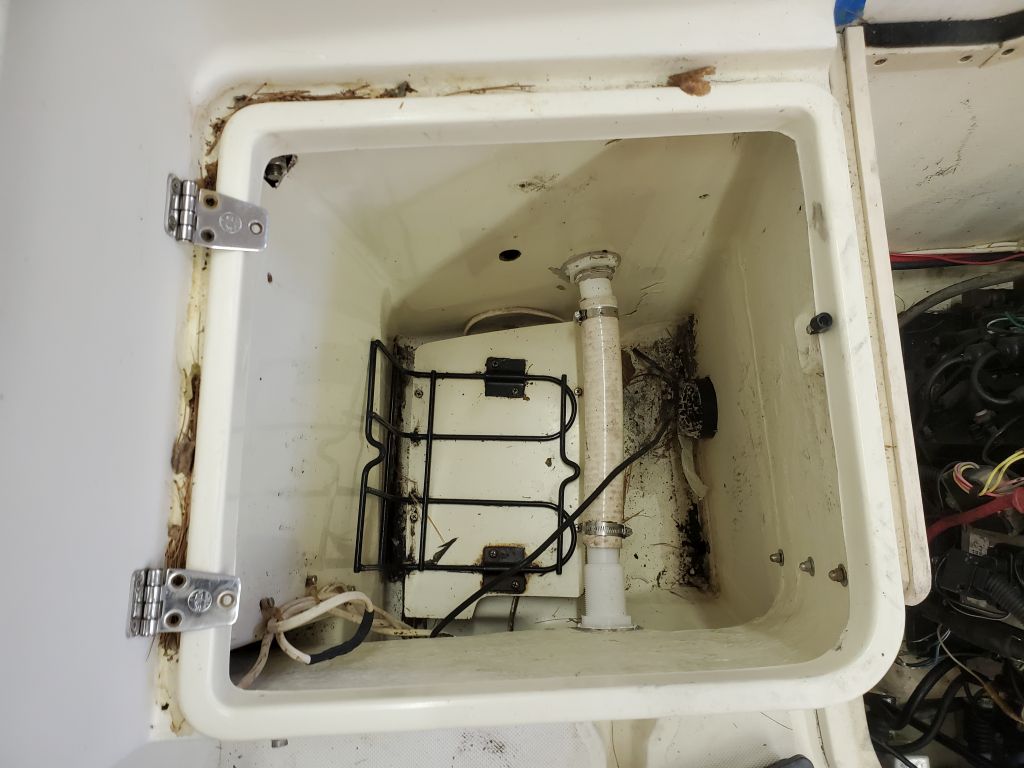
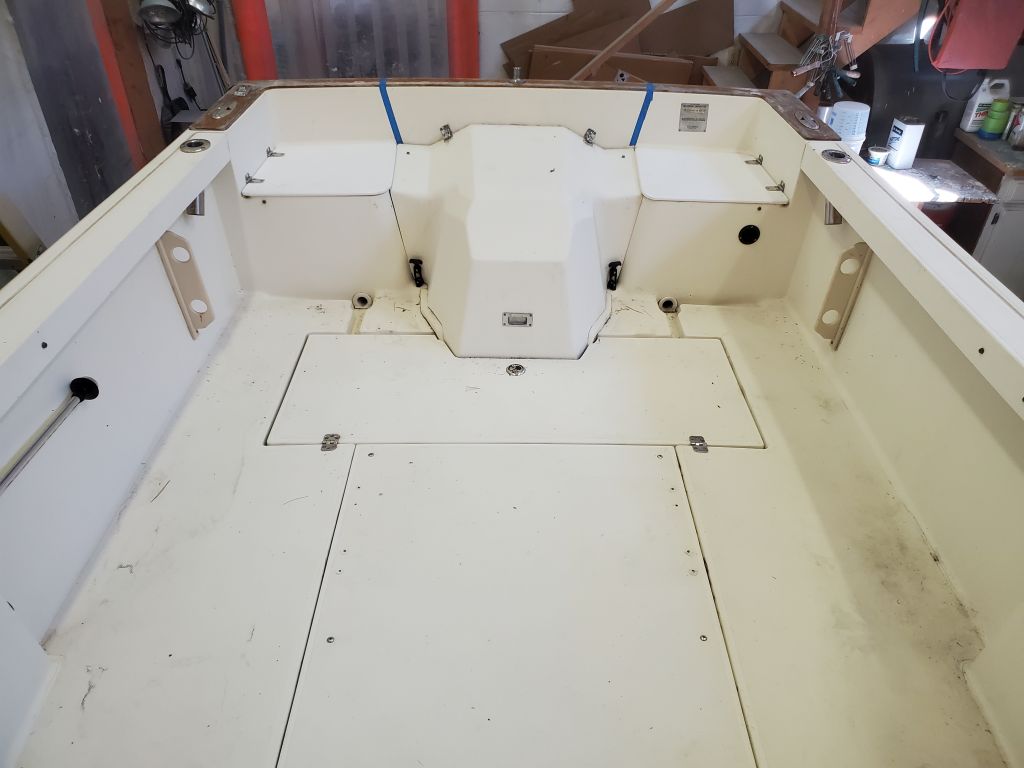
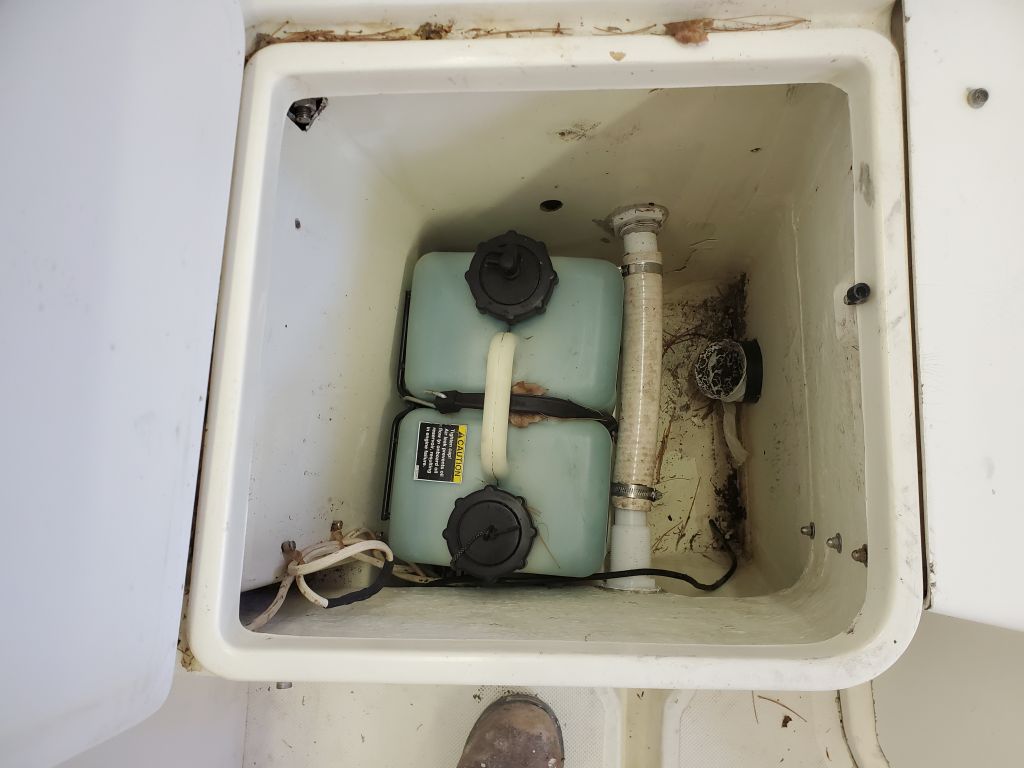
I also removed the batteries from the port aft compartment, and the oil injection tank from the starboard compartment; the oil lines to the engine had already been disconnected from this tank, and I coiled them up on top of the engine, to which they were still connected. I removed the throttle control cable from the engine and secured it out of the way for now, and cut off a water hose that led to the fitting through the transom (presumably a water pump visual indicator); I had no idea how anyone had ever secured that hose clamp deep within the recess in the transom, but for now at least the hose was out of the way and not connecting the engine to the boat.
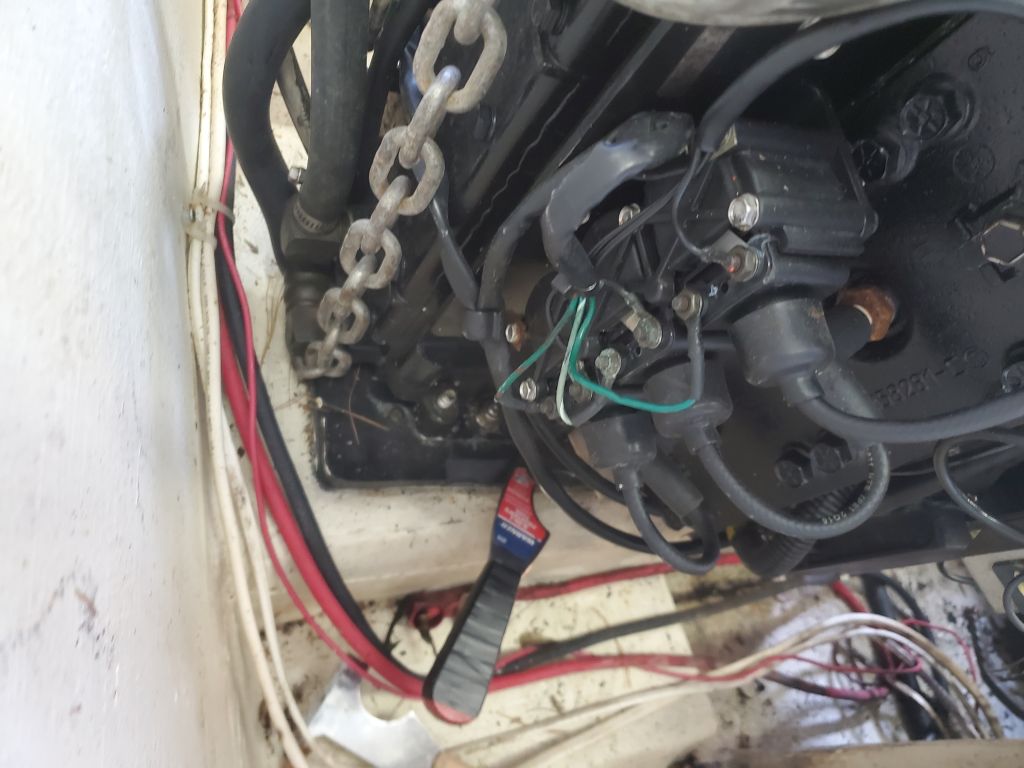
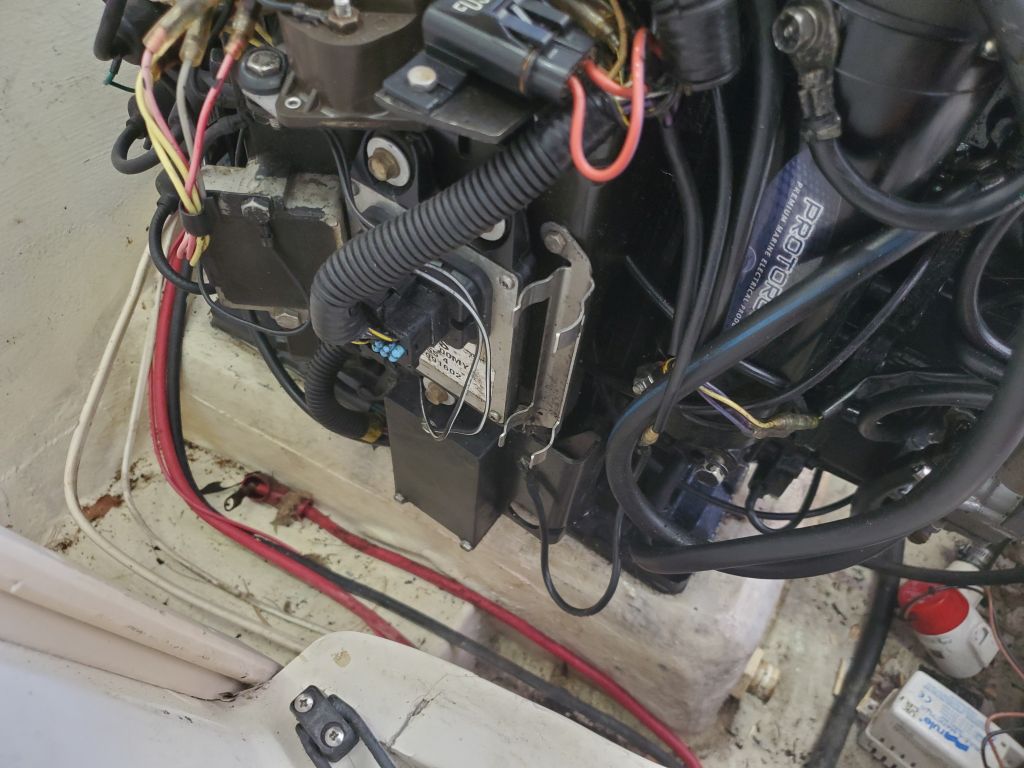
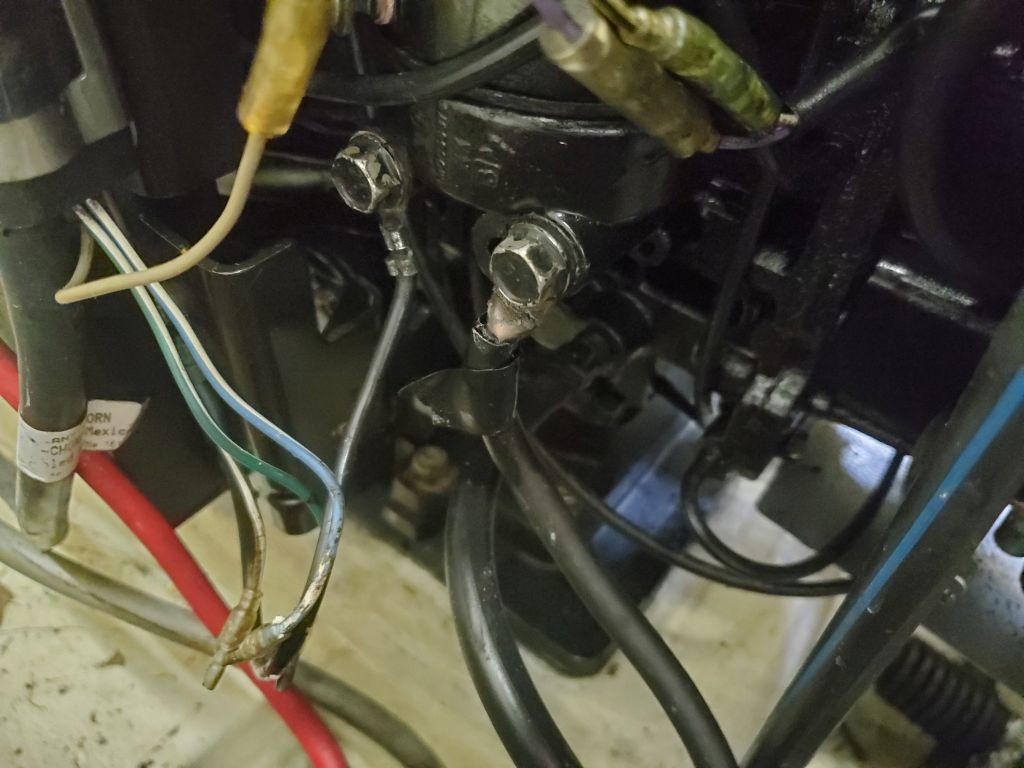
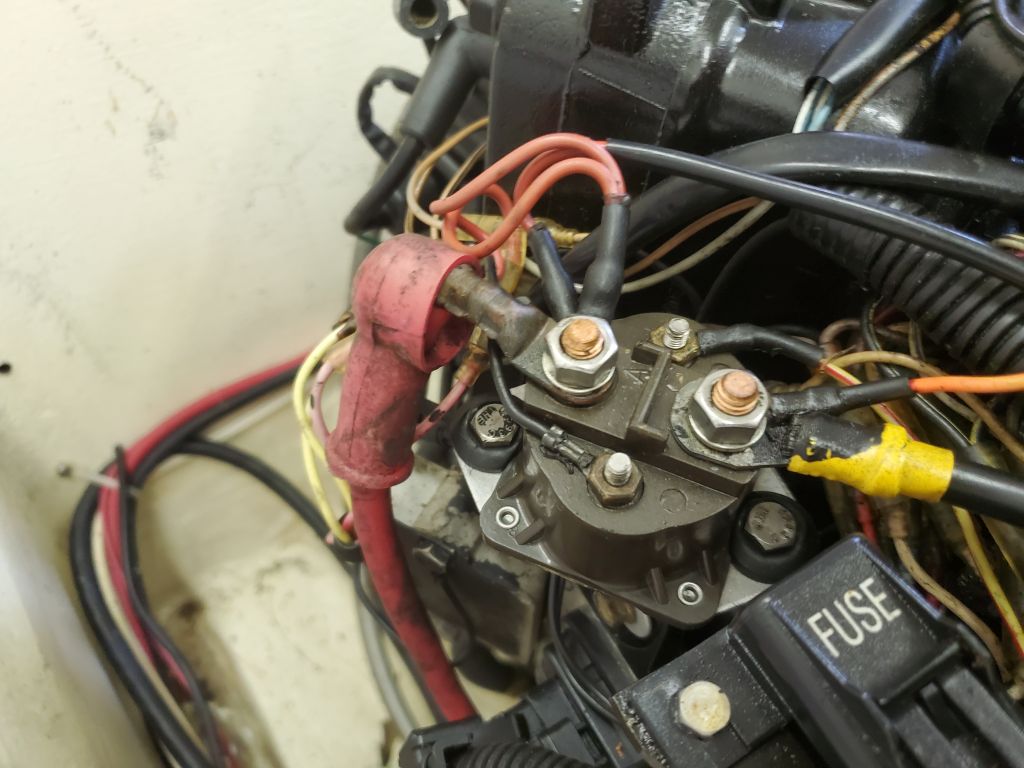
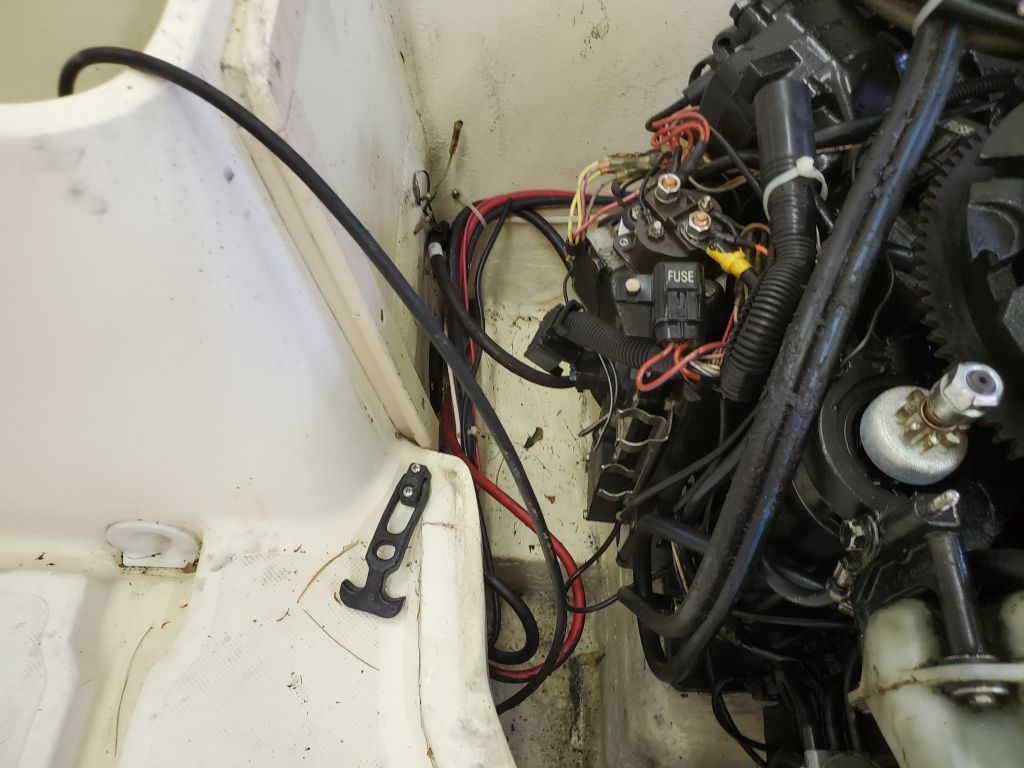
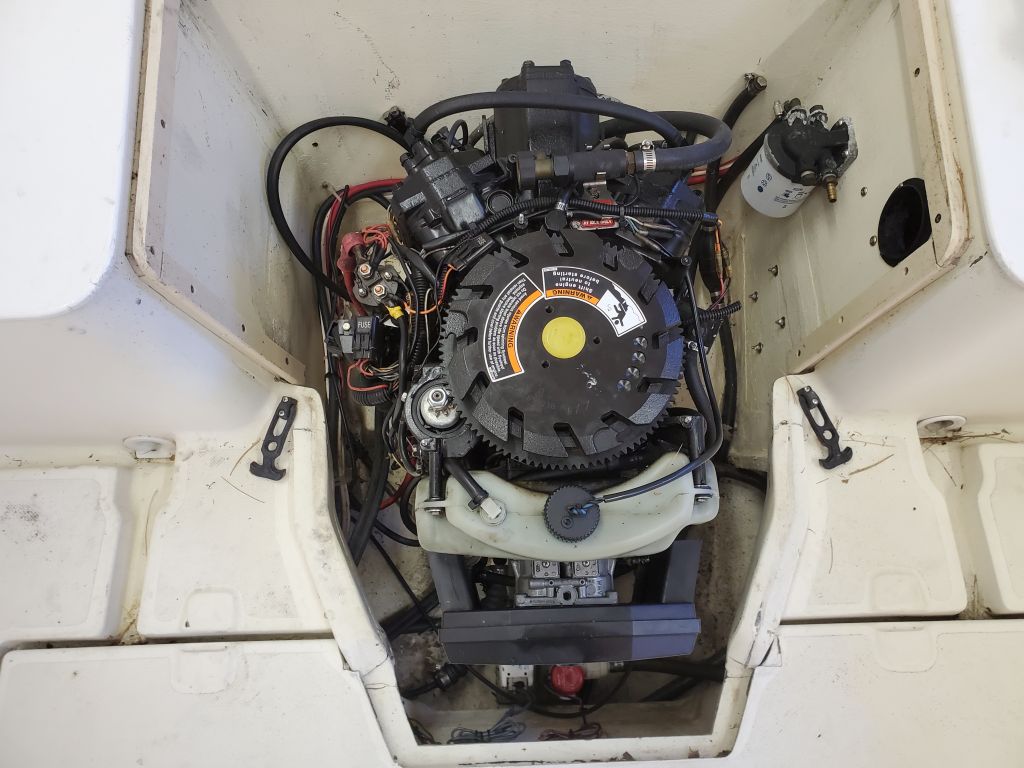
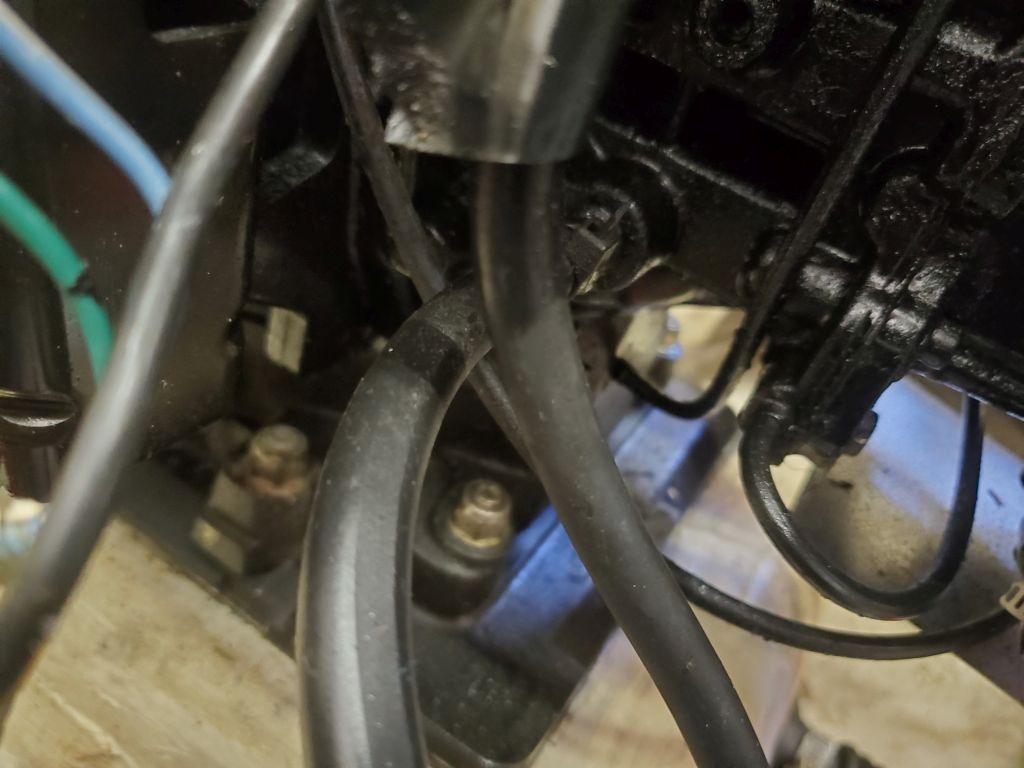
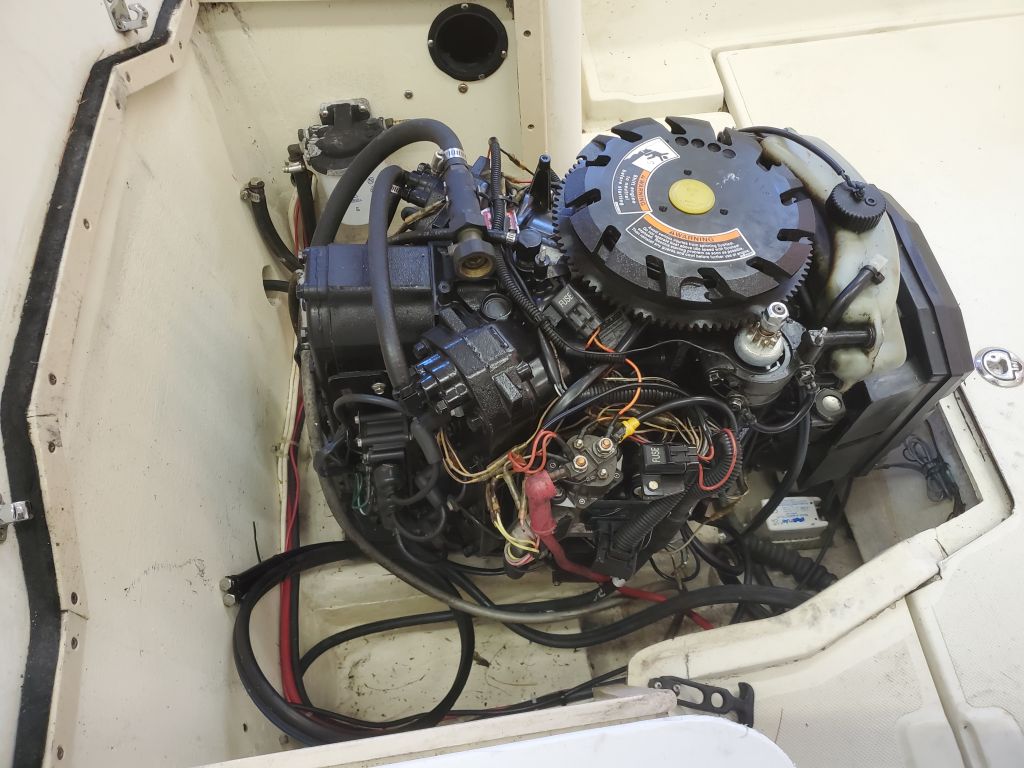
Next, I disonnected the battery cables and engine wiring harness from the starboard side of the engine, pretty much the last things that I needed to remove before I could start unbolting the engine.
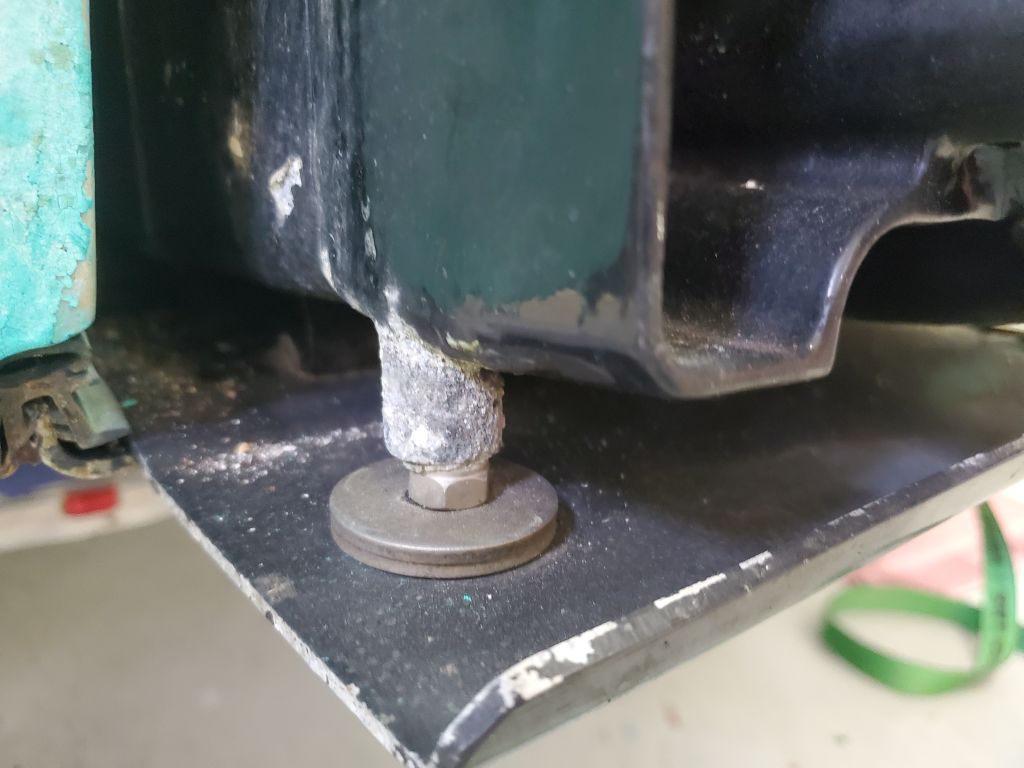
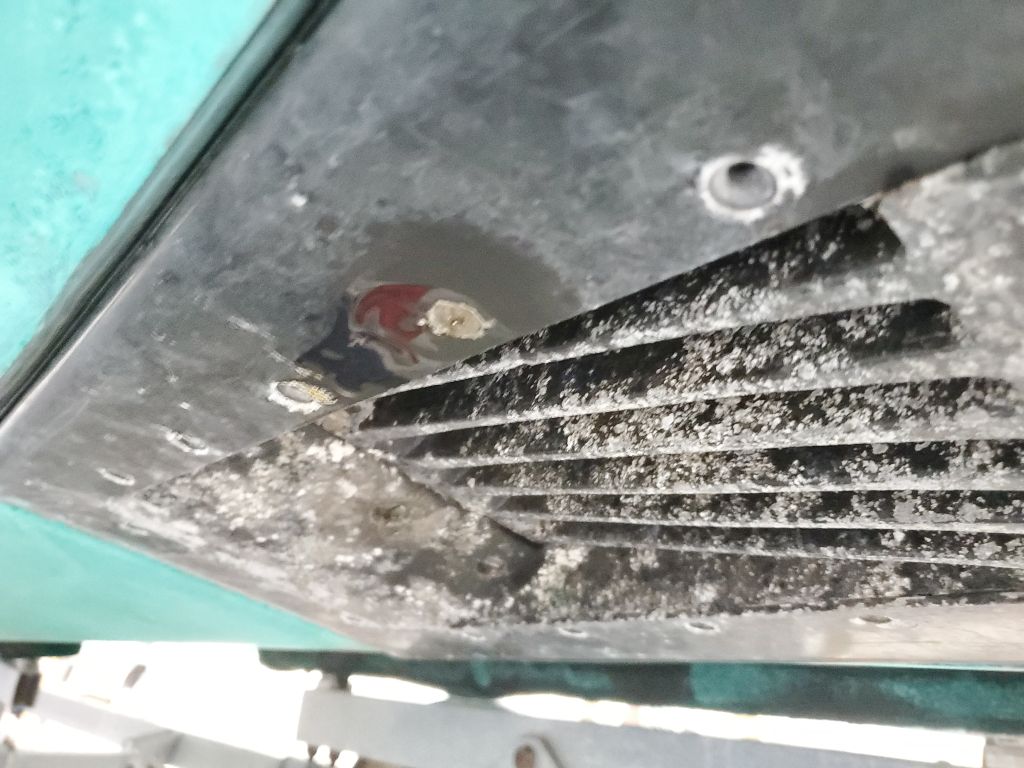
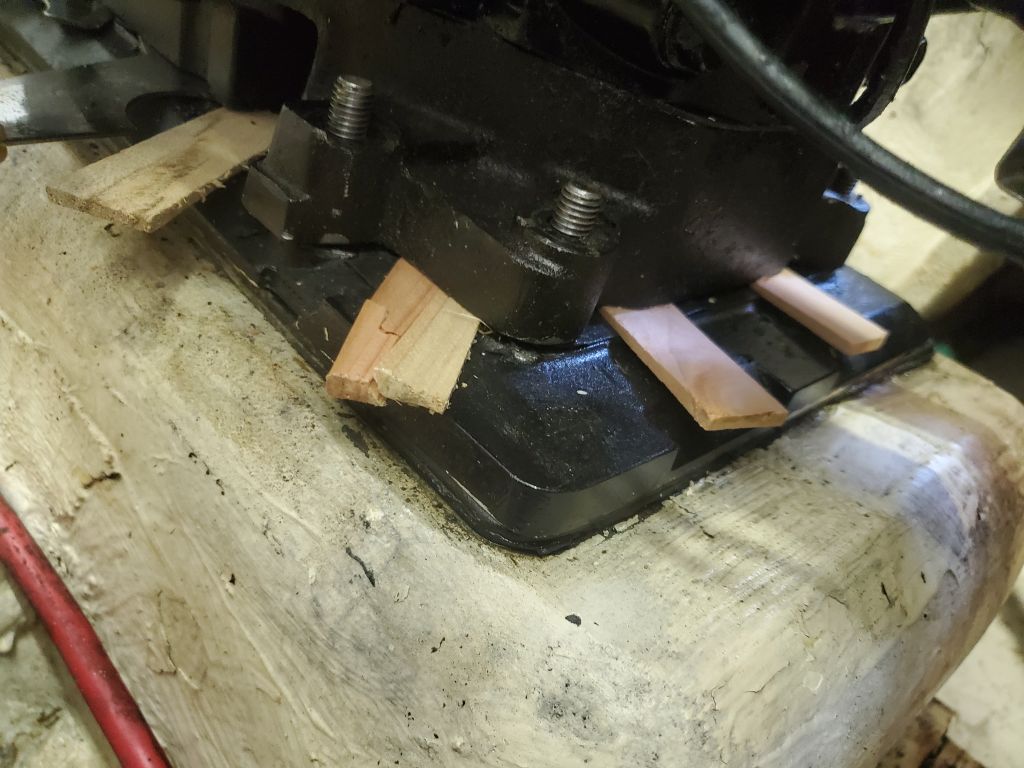
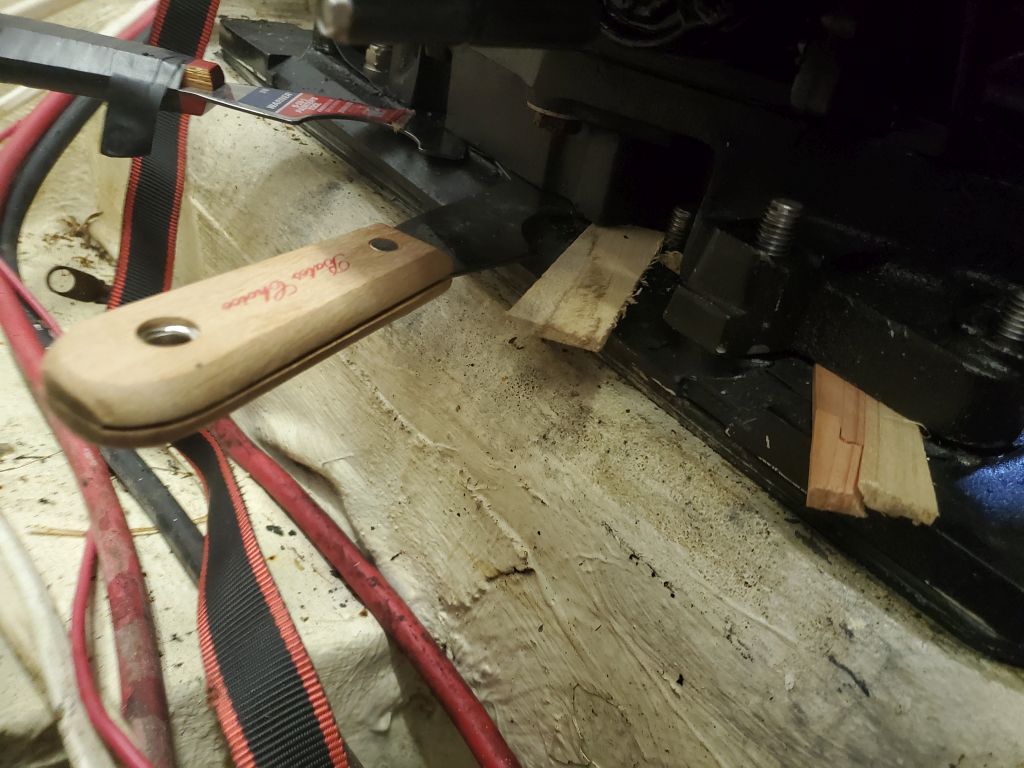
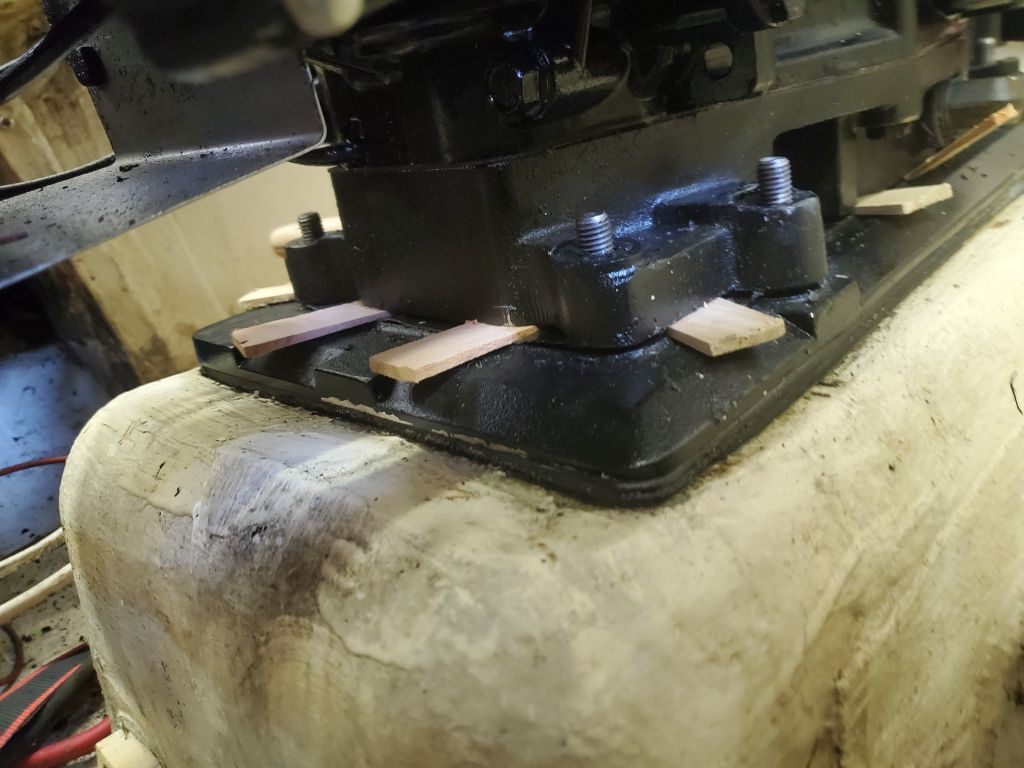
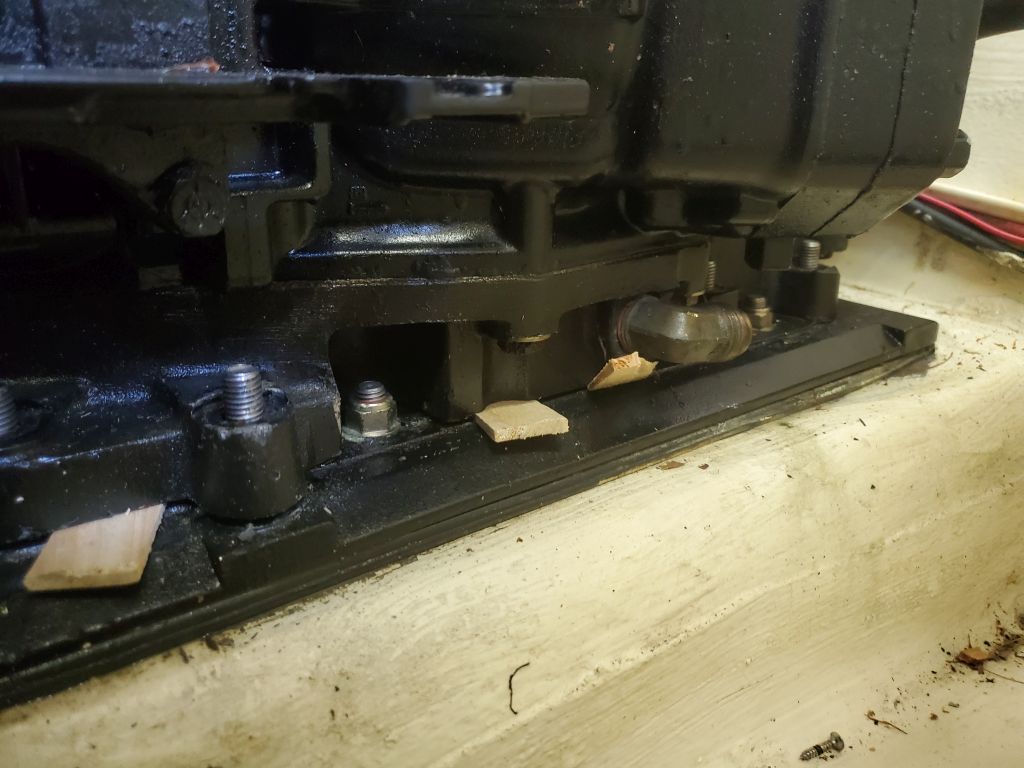
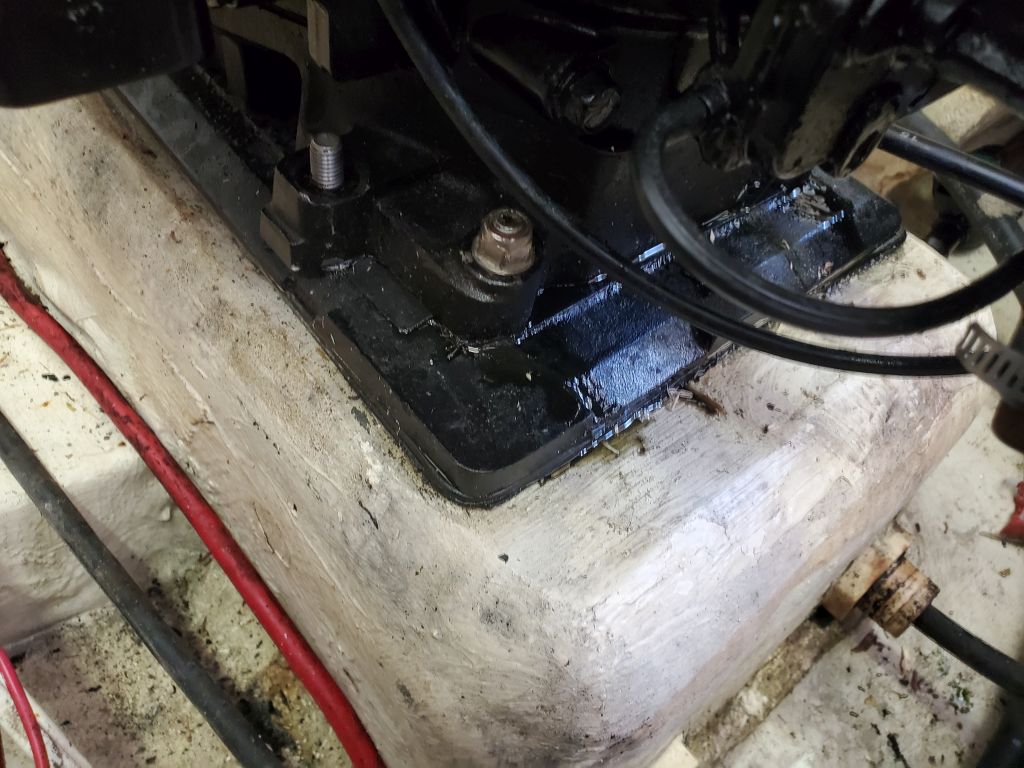
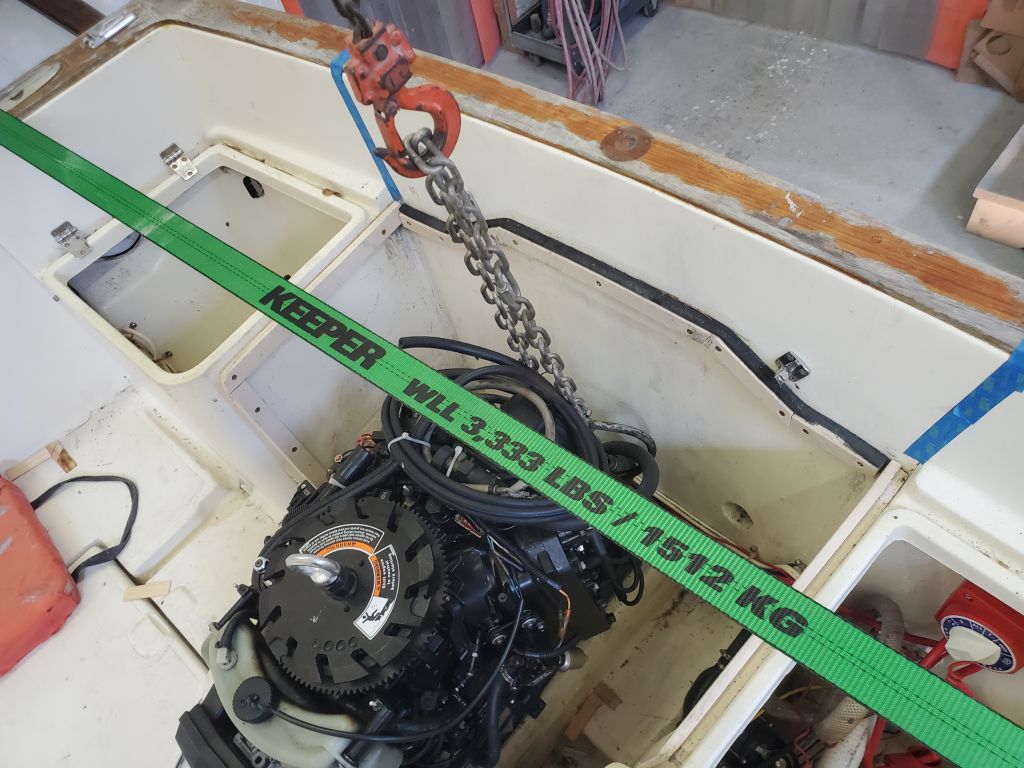
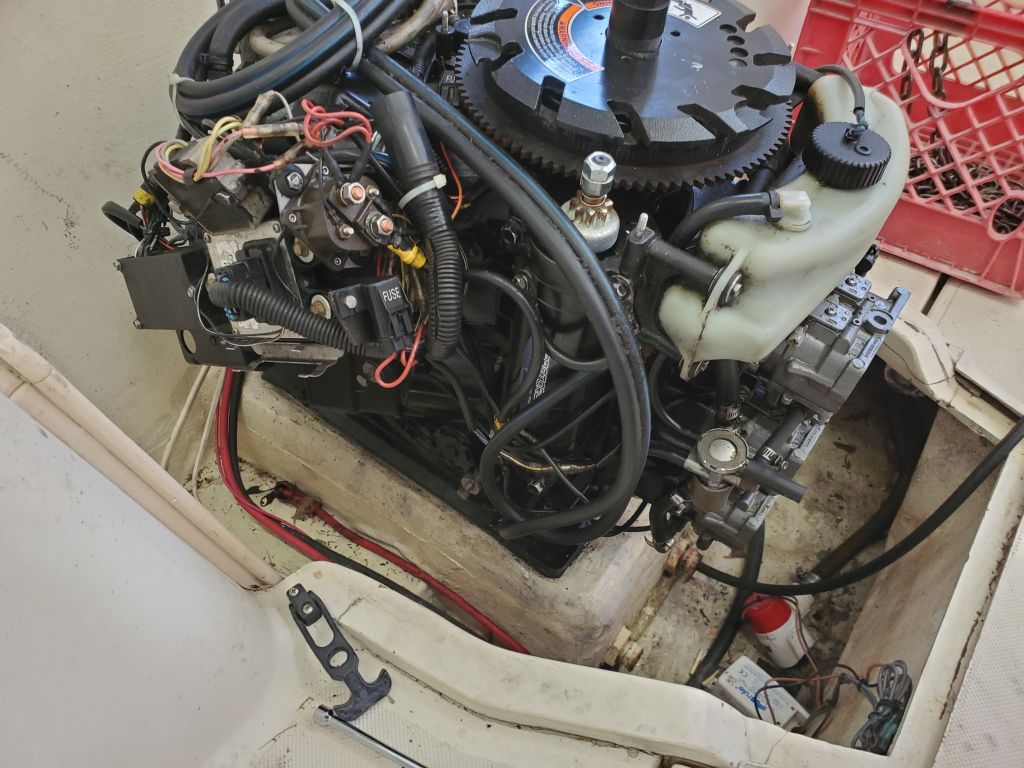
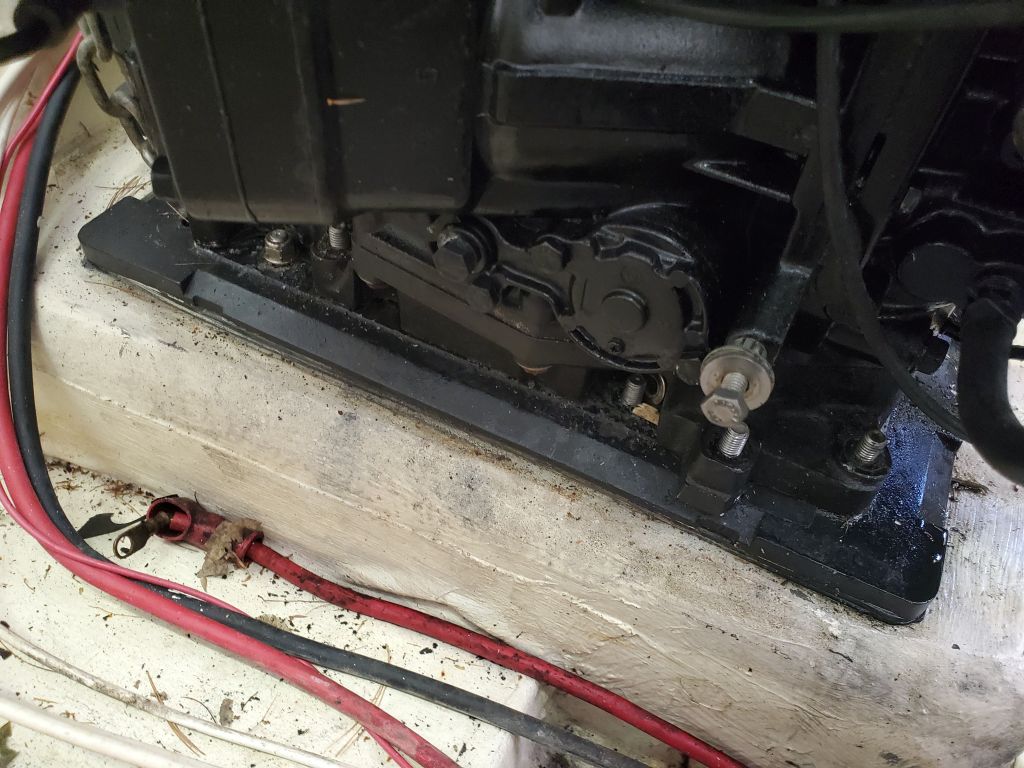
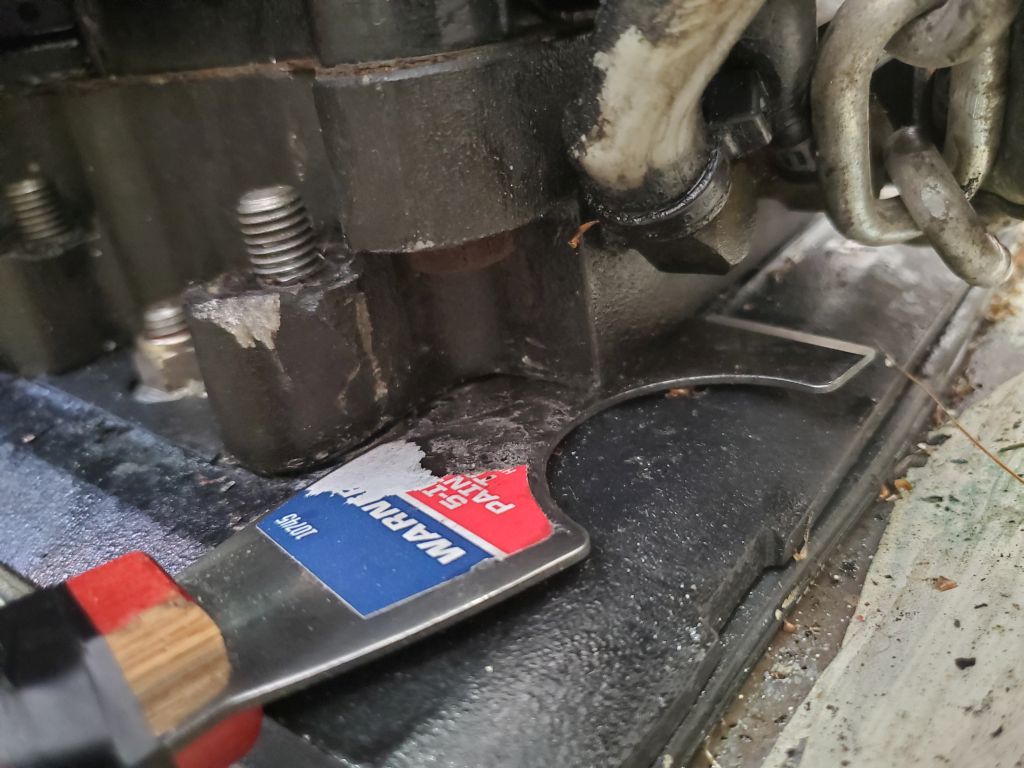
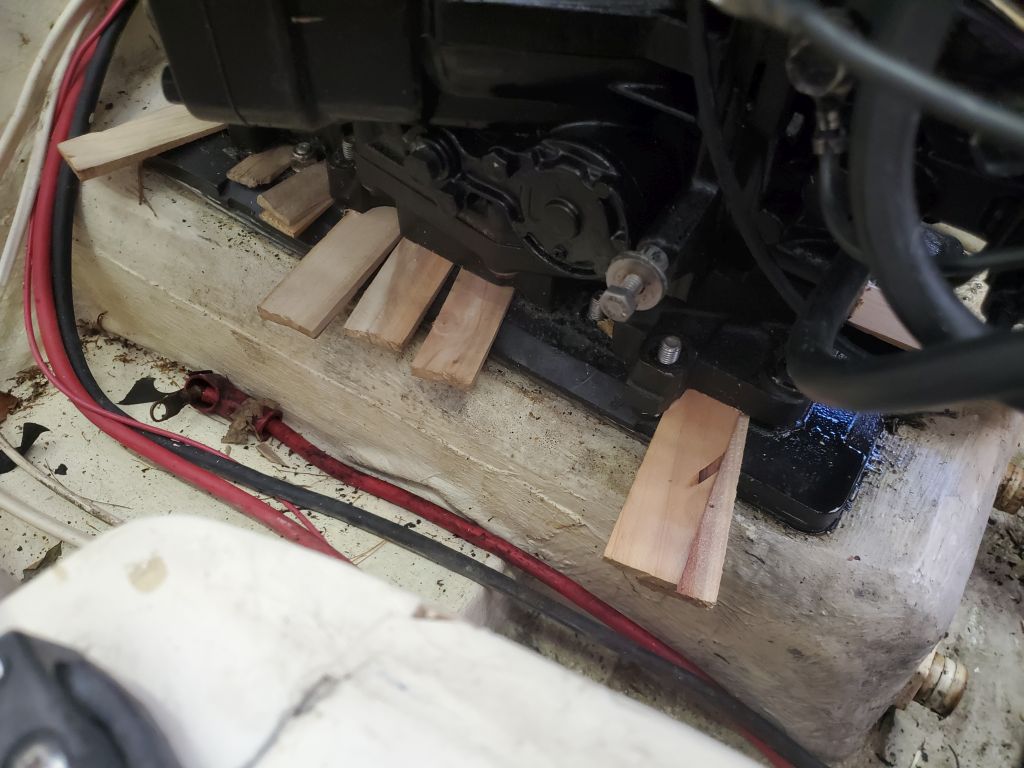
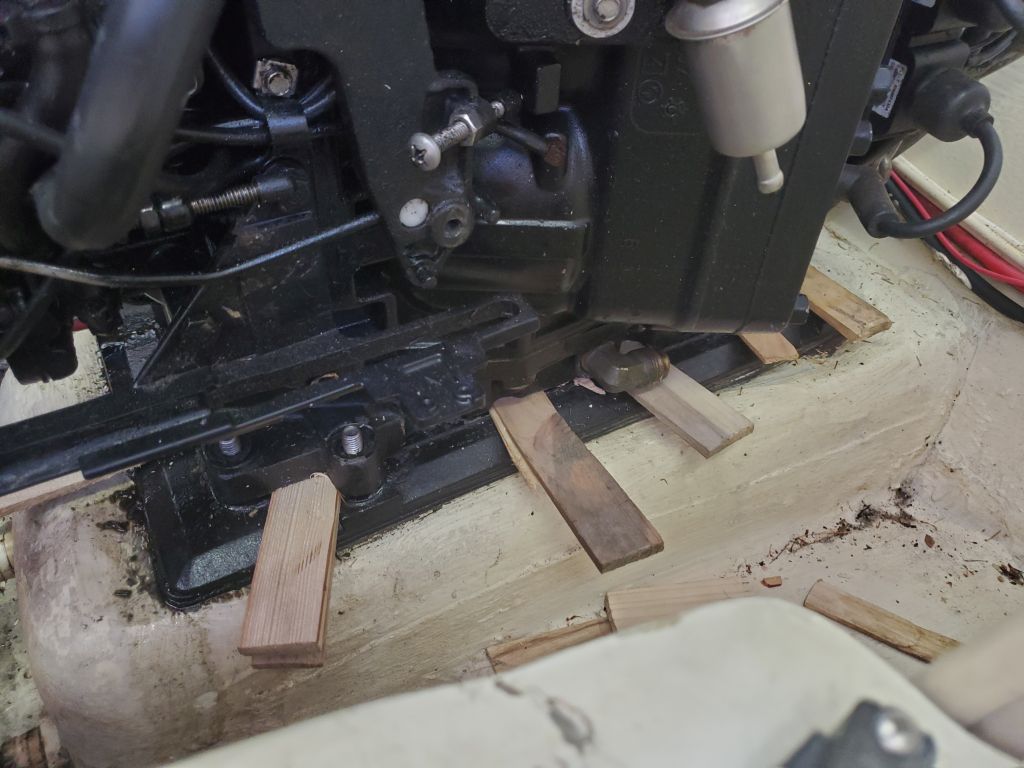
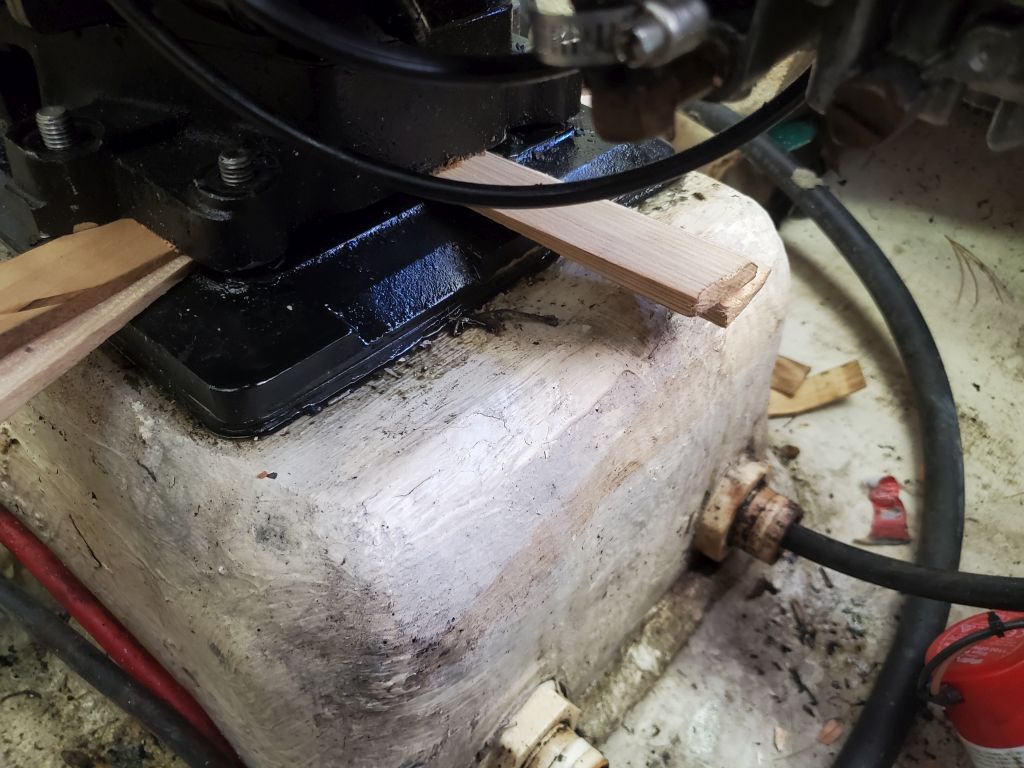
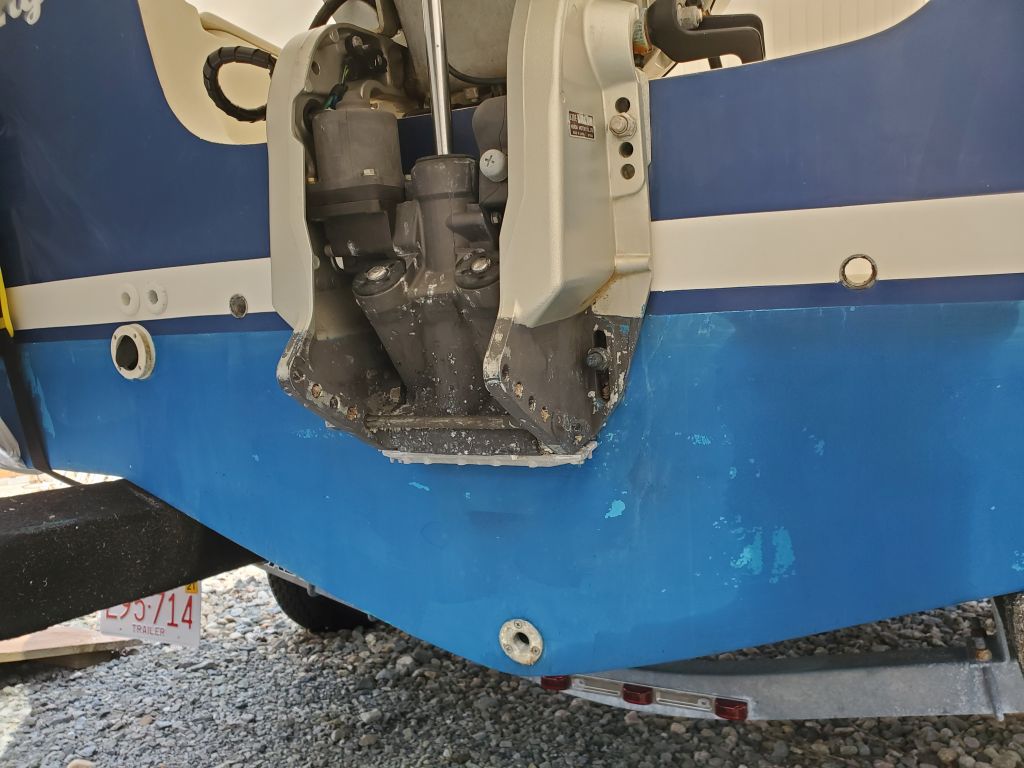
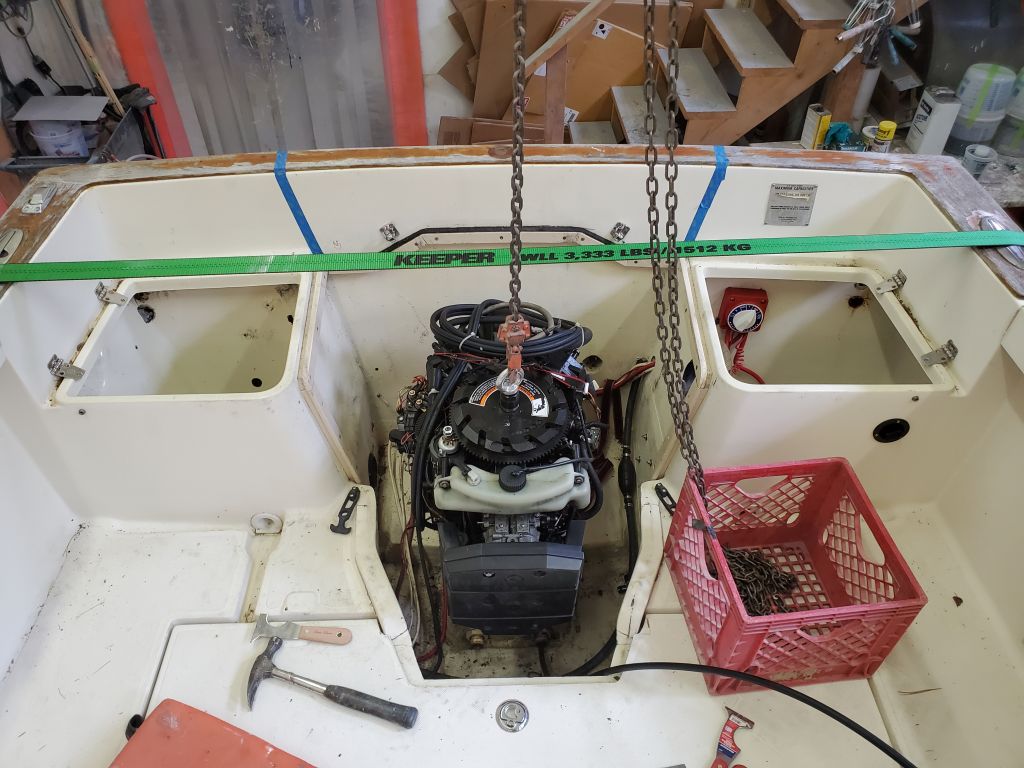
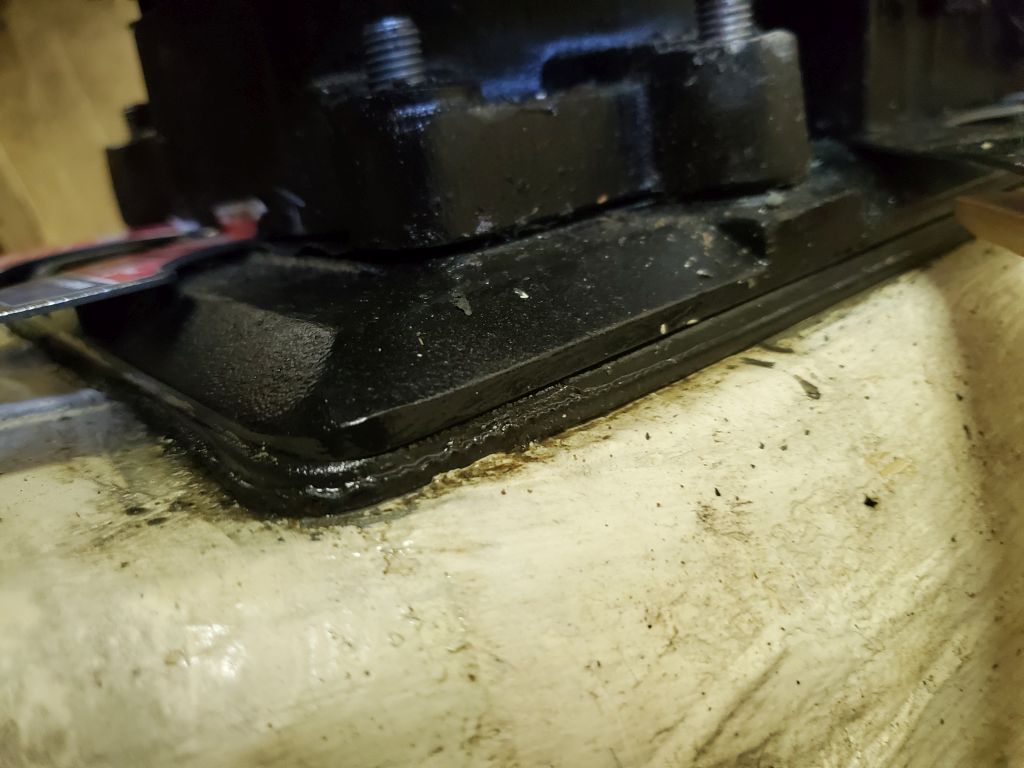
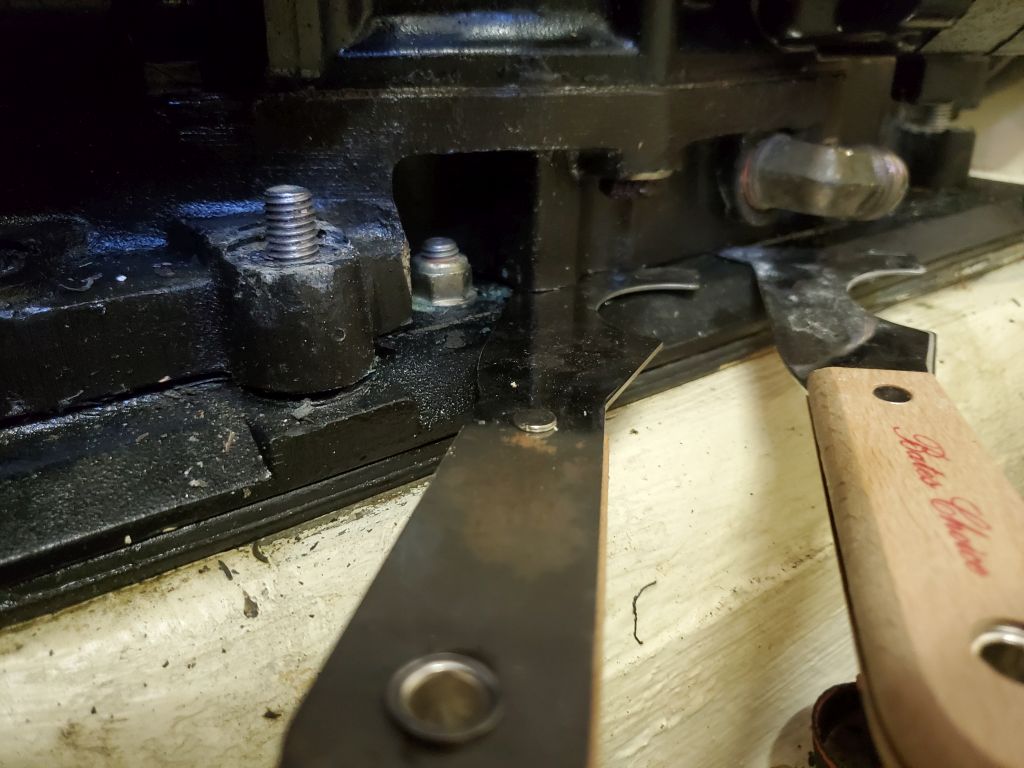
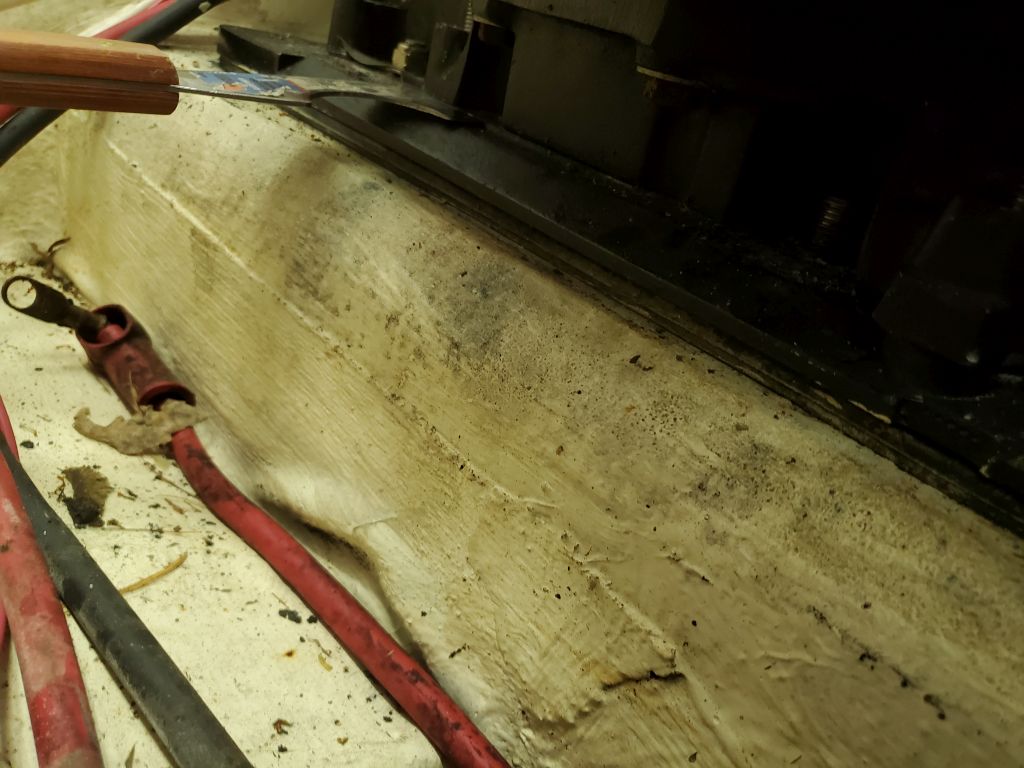
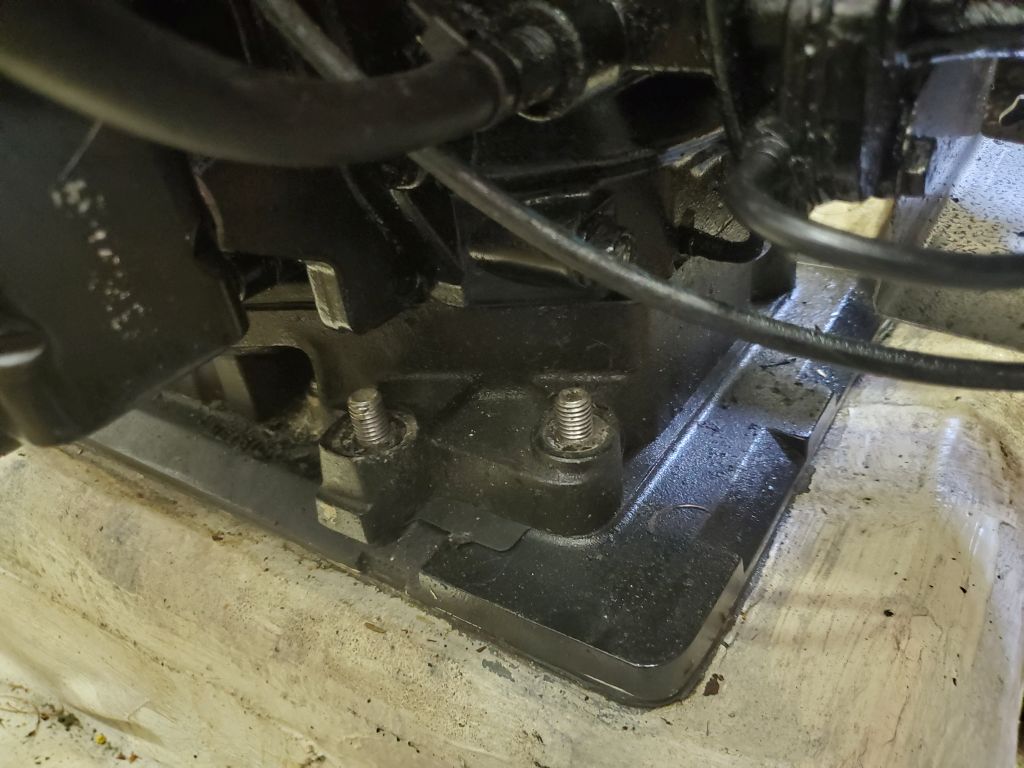
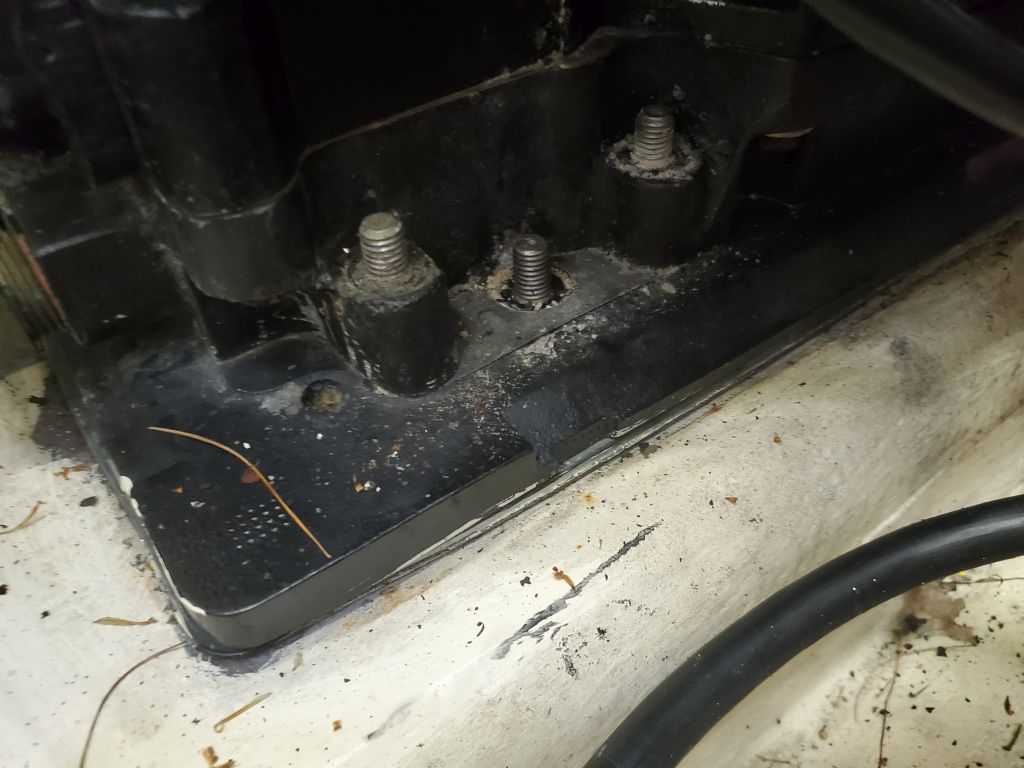
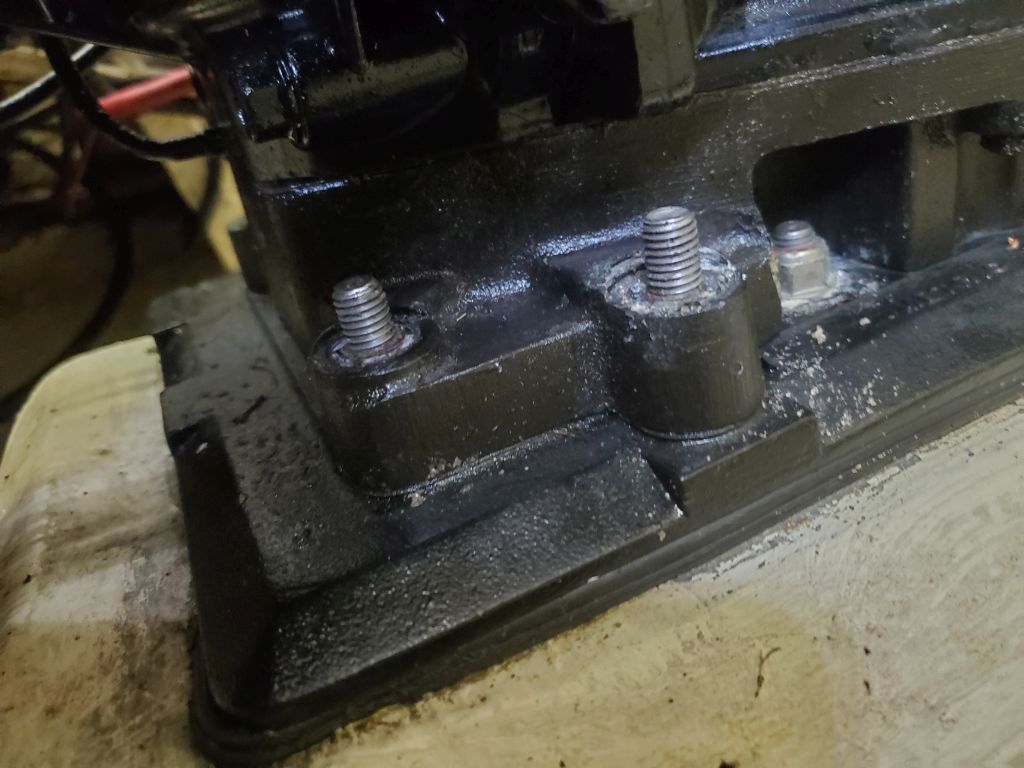
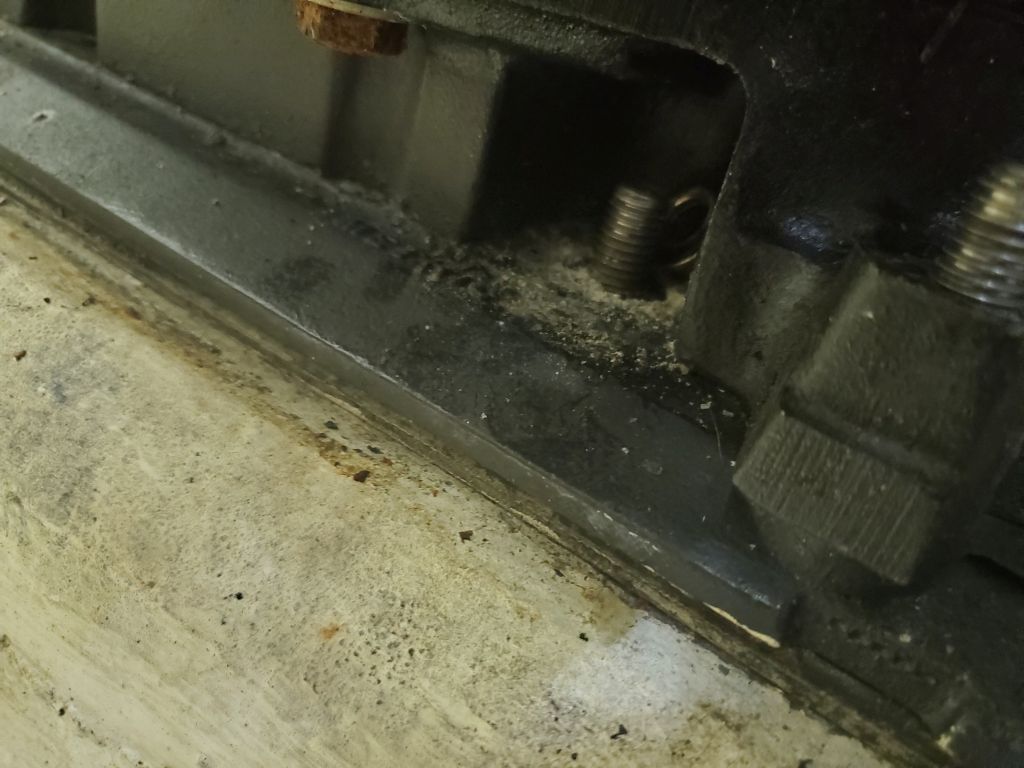
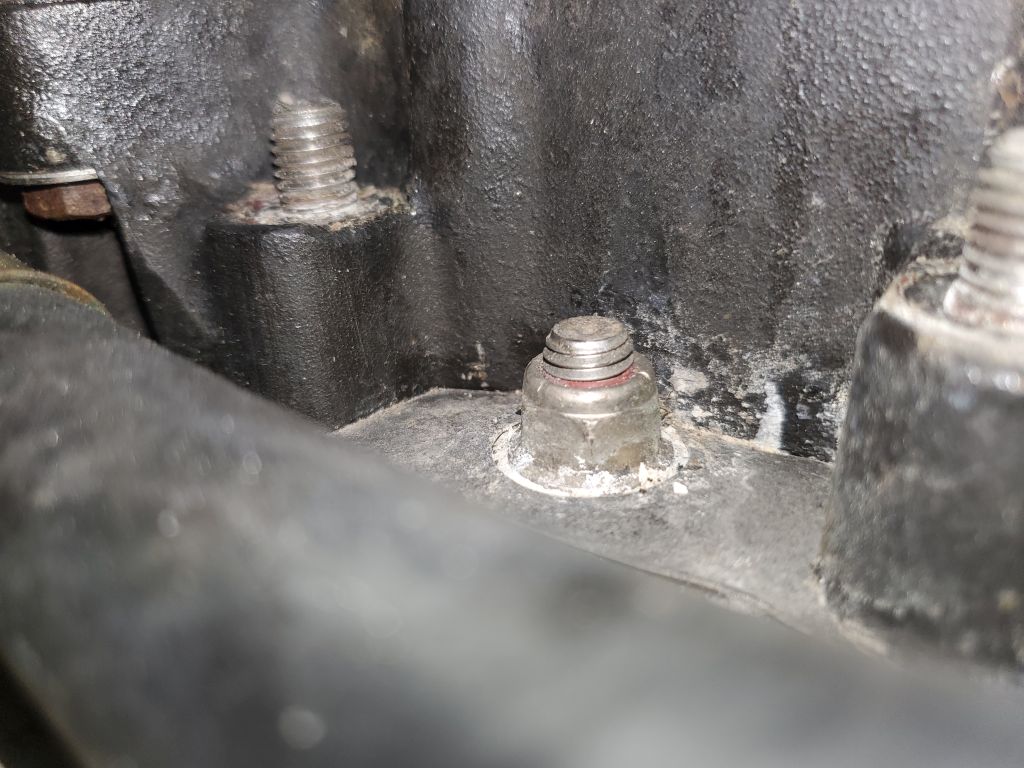
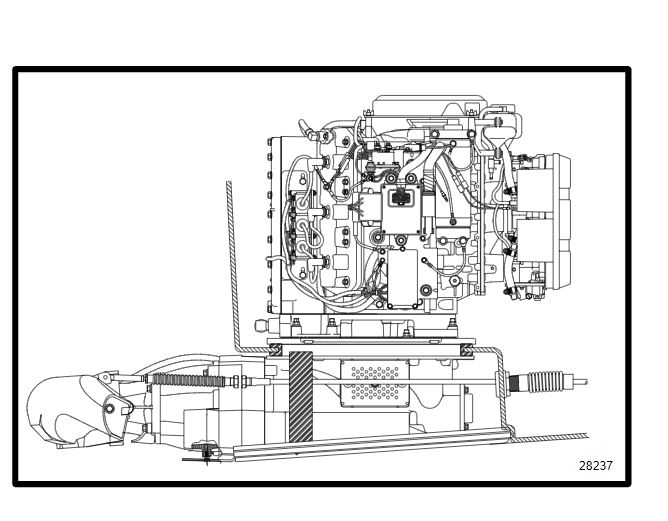
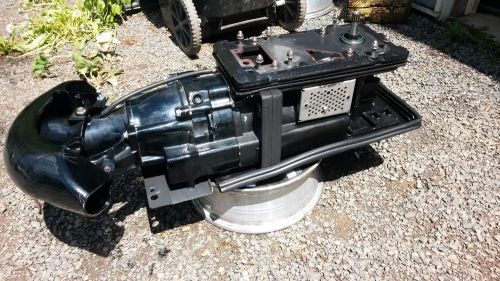
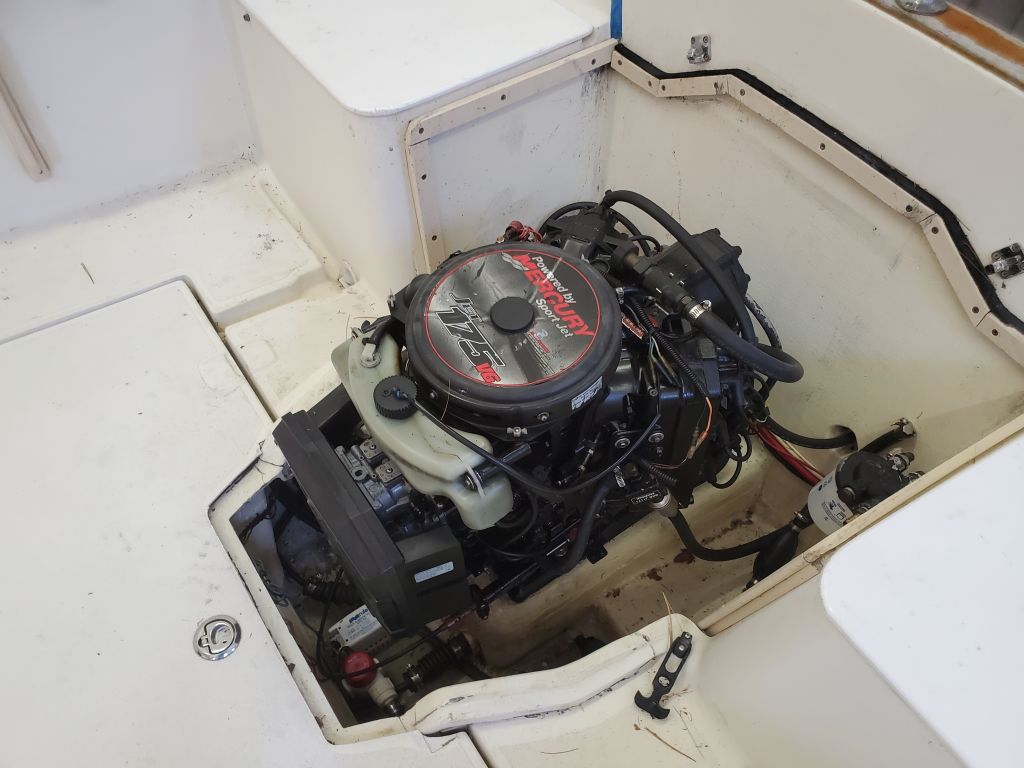
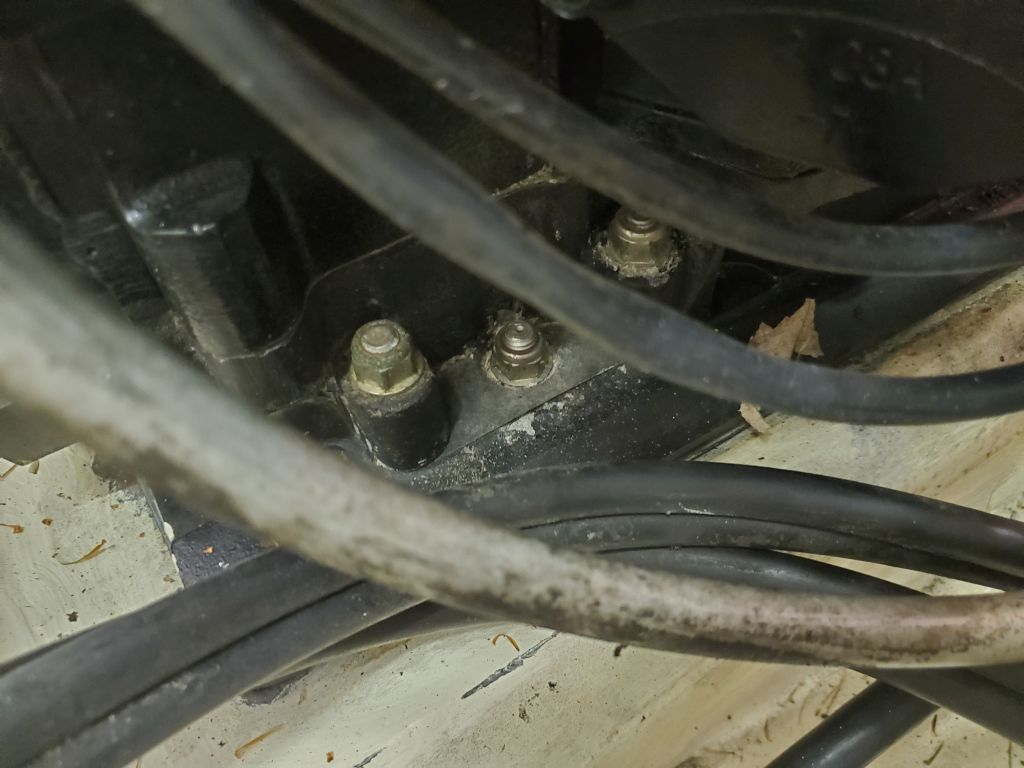
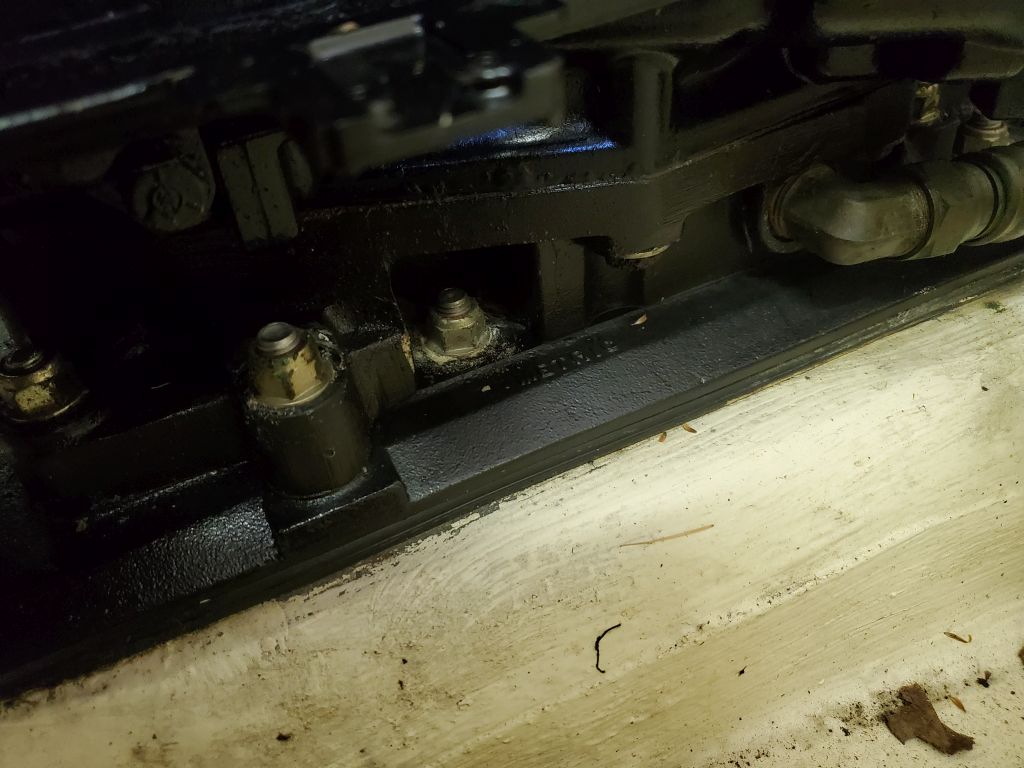
Now removed the eight nuts required to release the engine from the adapter plate above the jet drive. I started removing some adjacent nuts that seemed to be required, but determined these were part of the drive and adapter plate and weren’t holding the engine in place, so I actually replaced one nut I’d removed to ensure the drive wouldn’t move when the engine was lifted off.
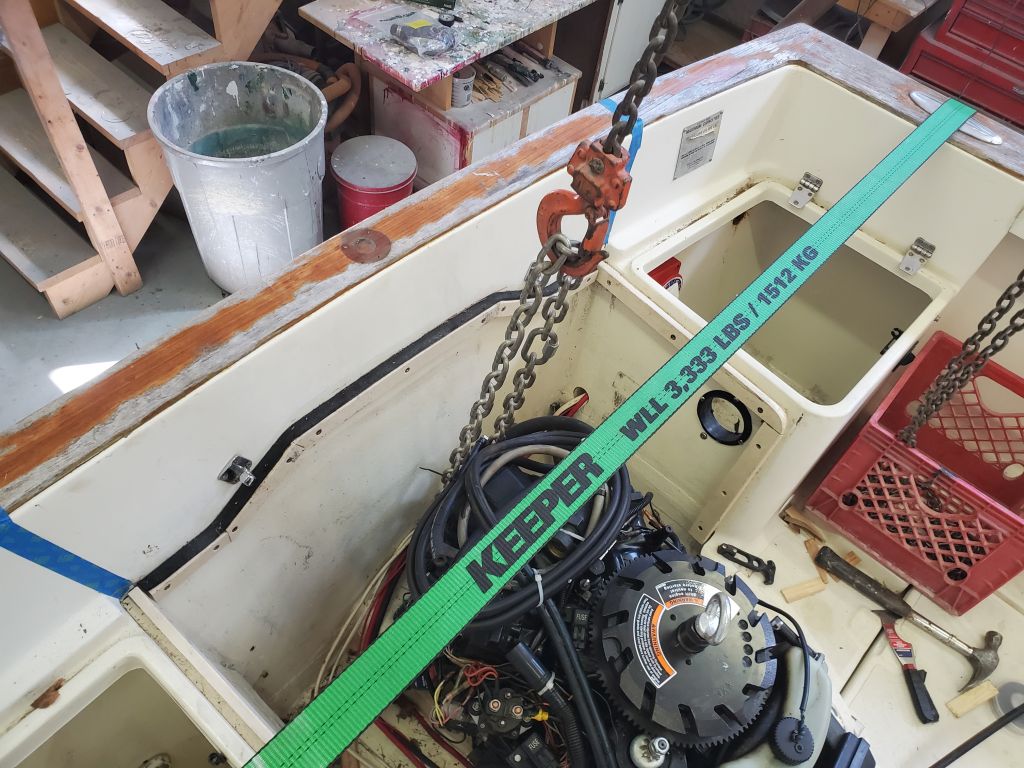
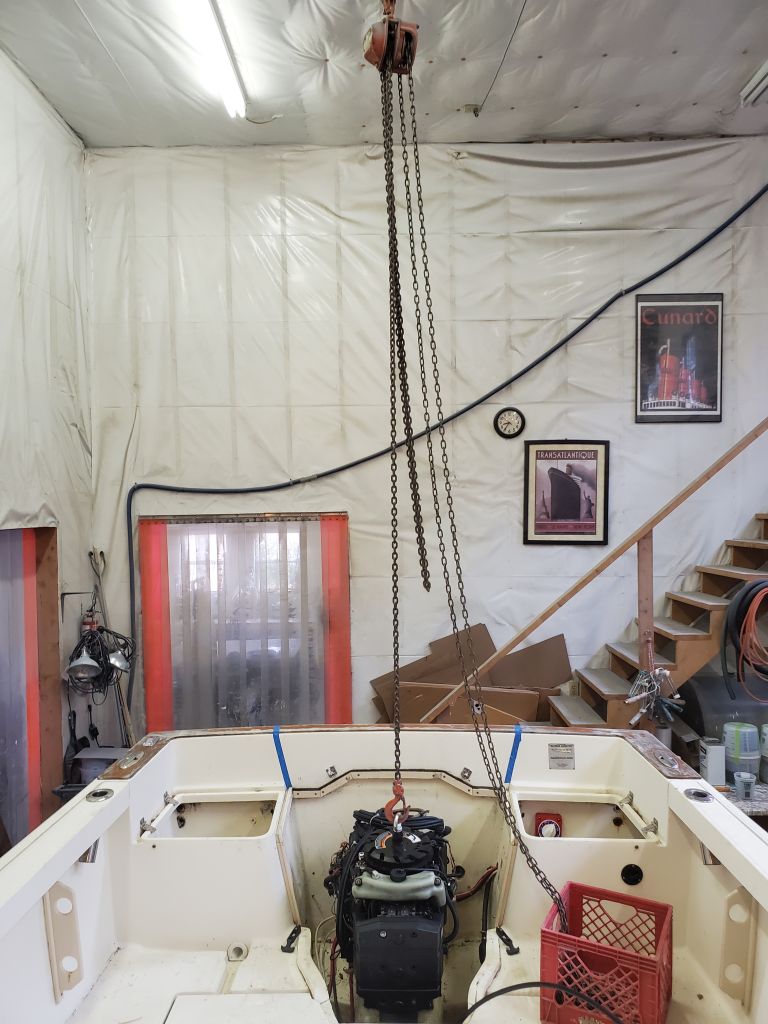
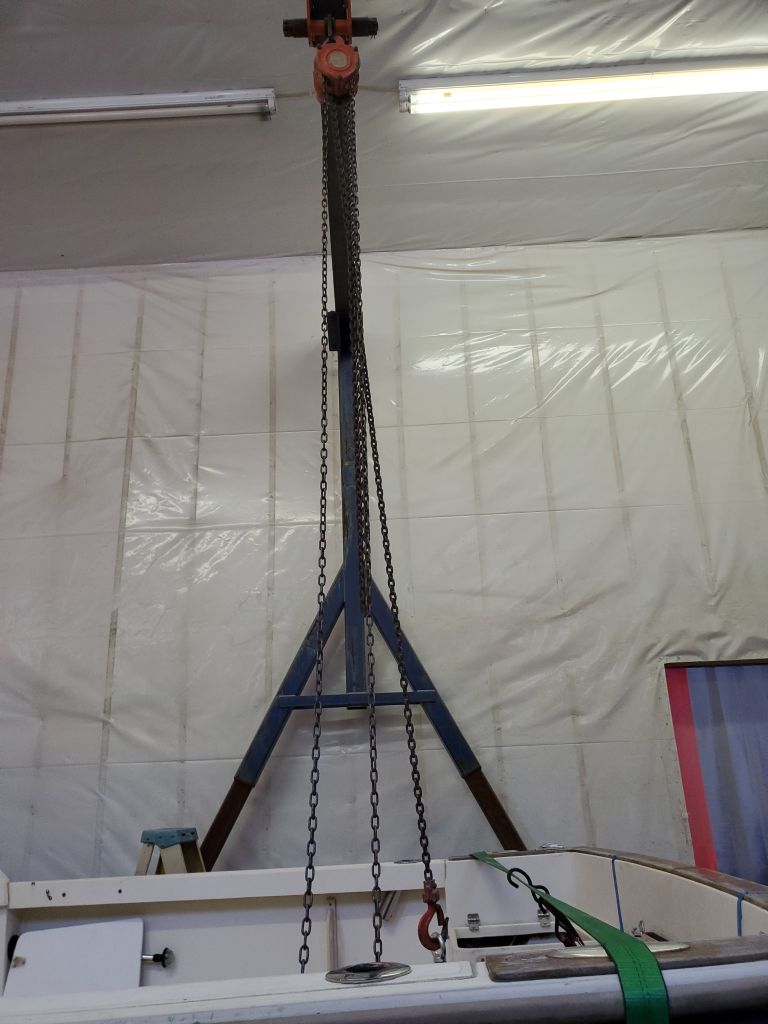
The engine was ready to be lifted, but before I could do so I had to await delivery of a special eye bolt that threaded into the top of the flywheel, designed for lifting in the right place, which the owner was shipping to me.
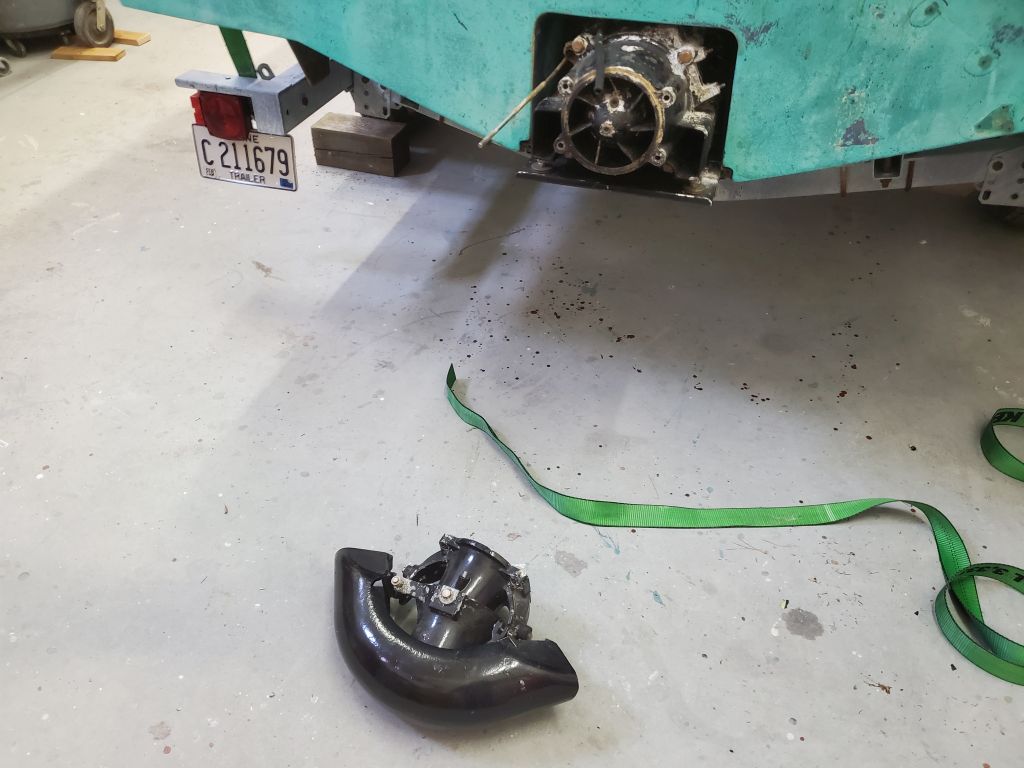
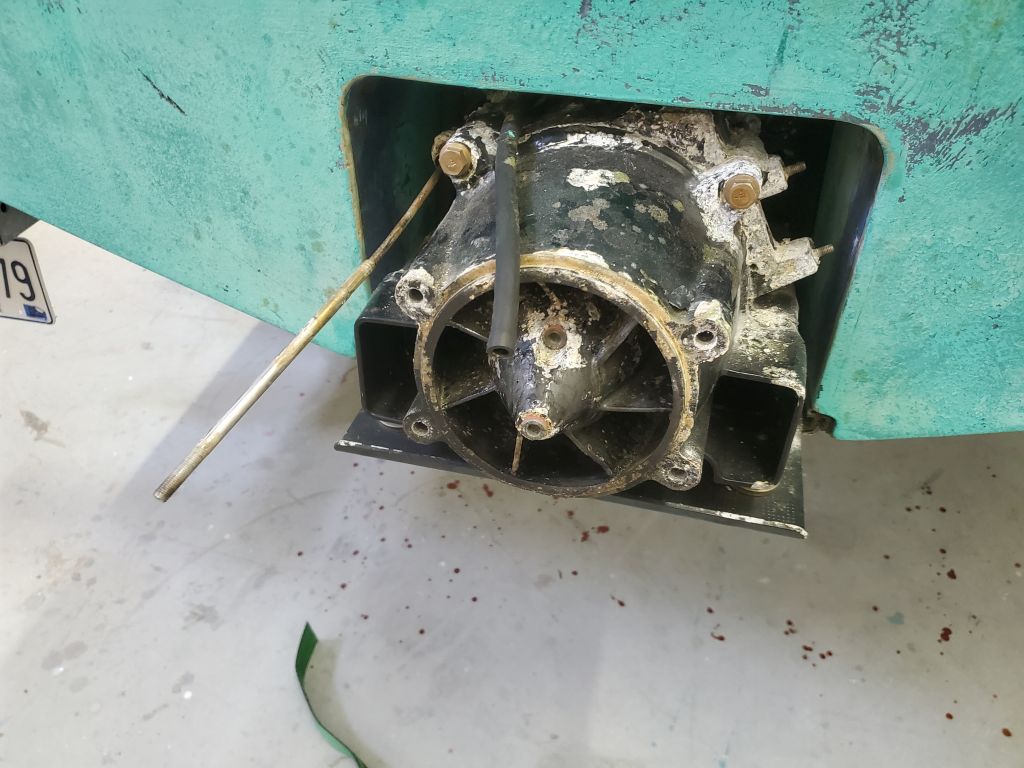
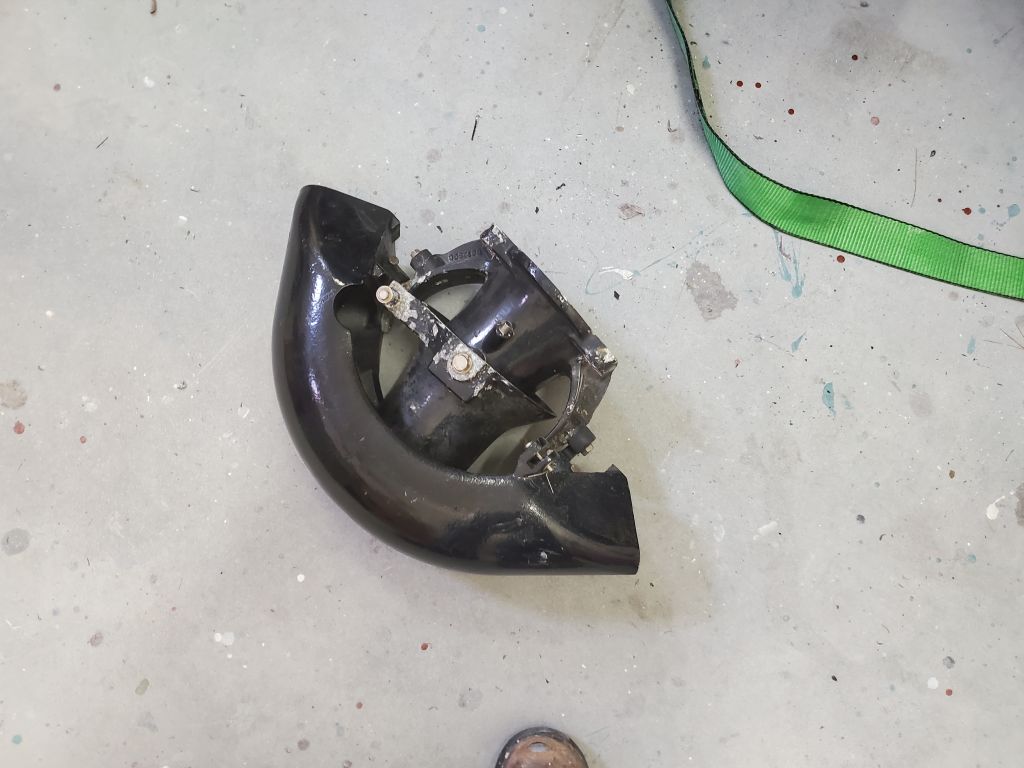
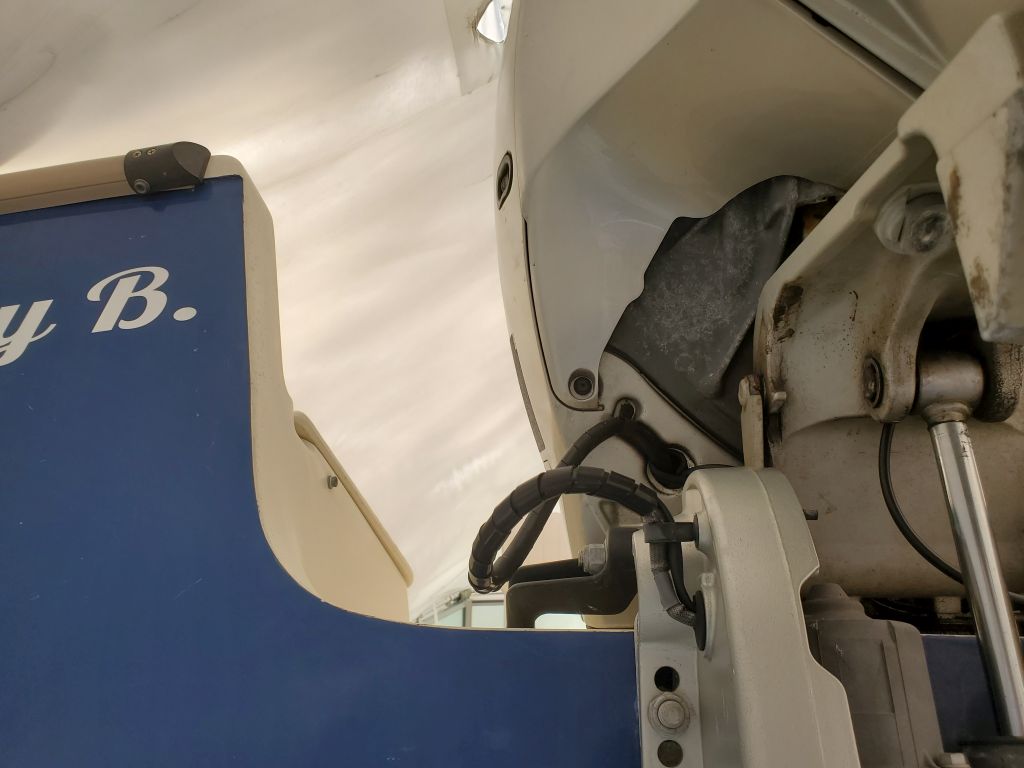
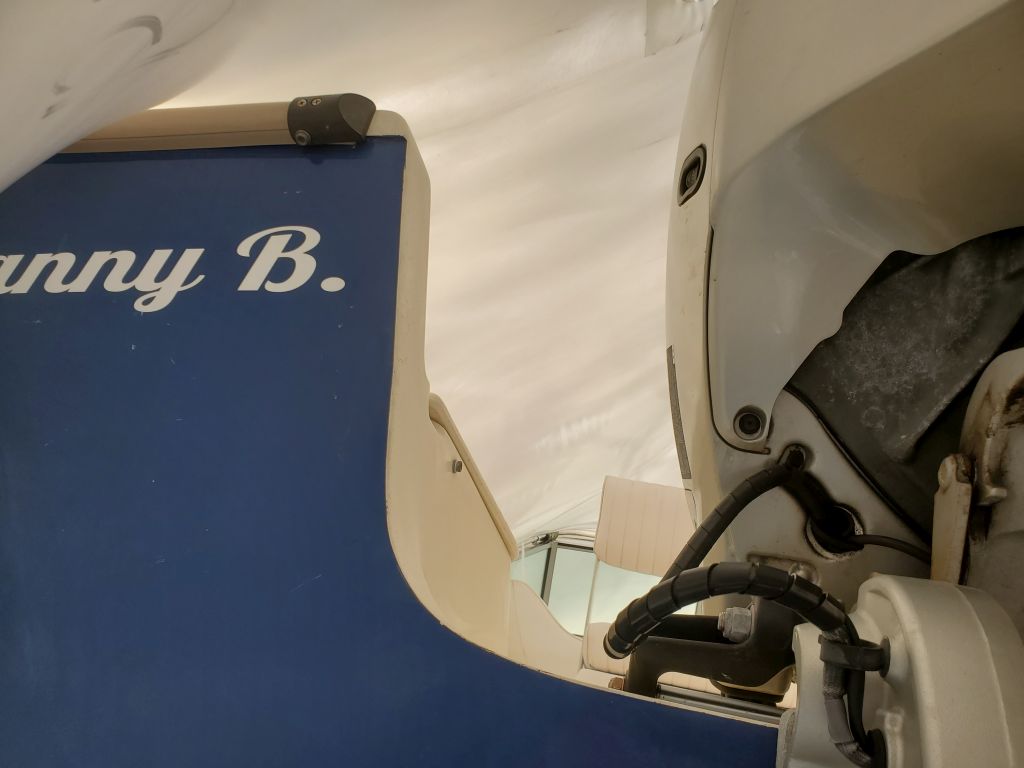
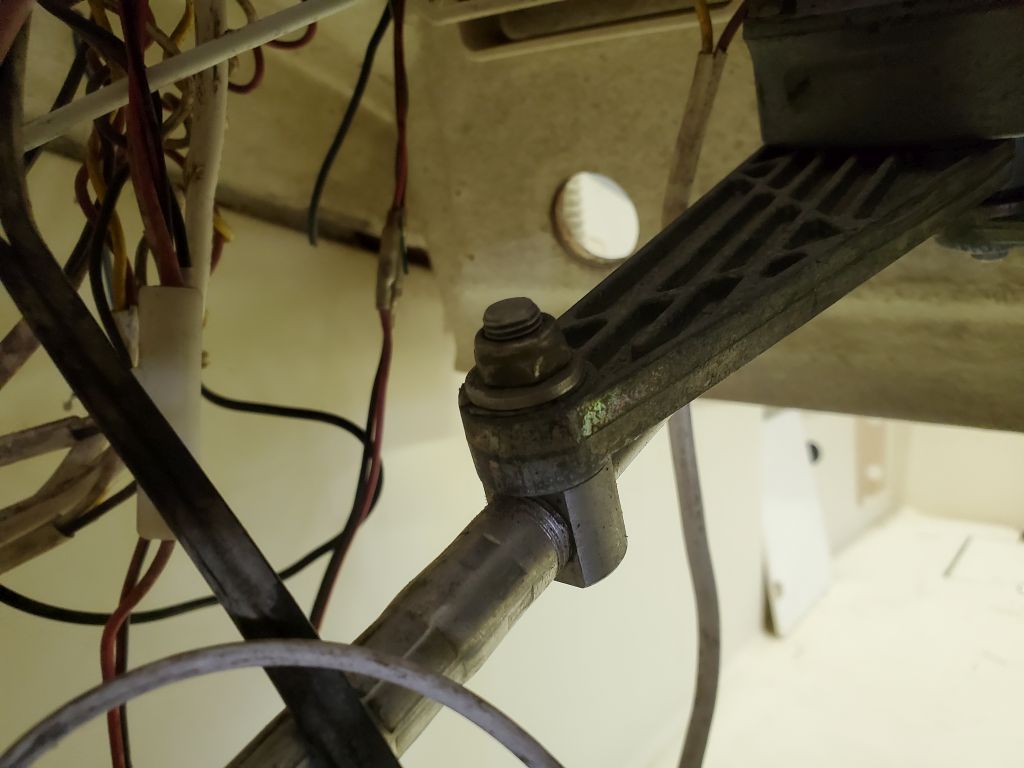
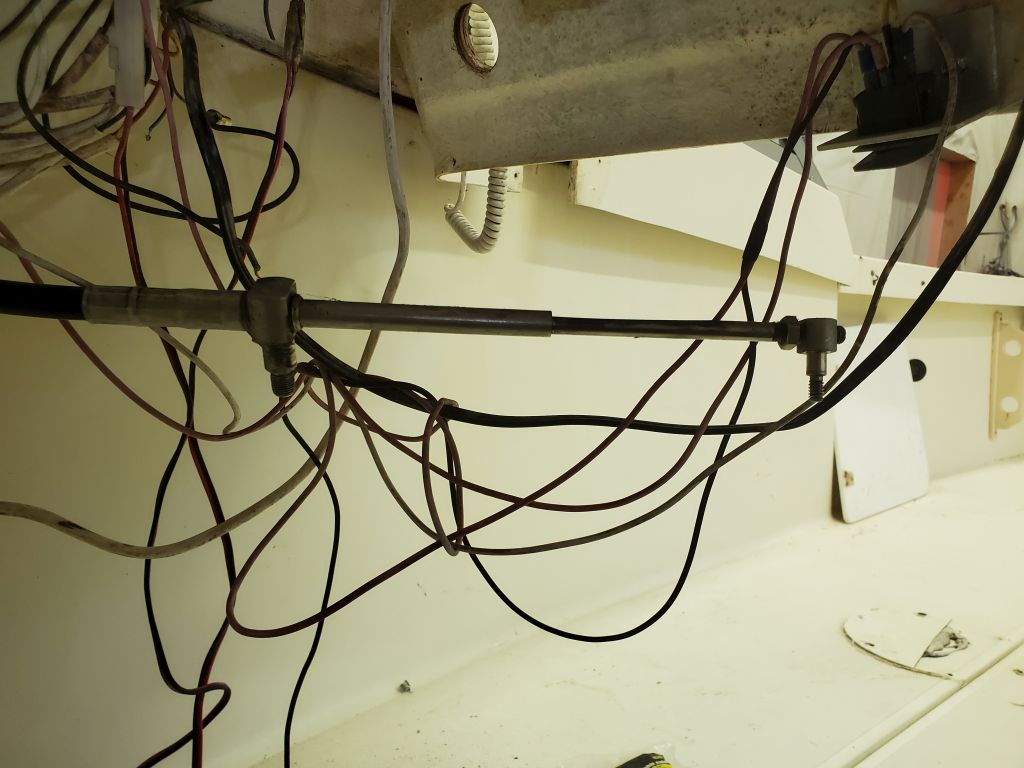
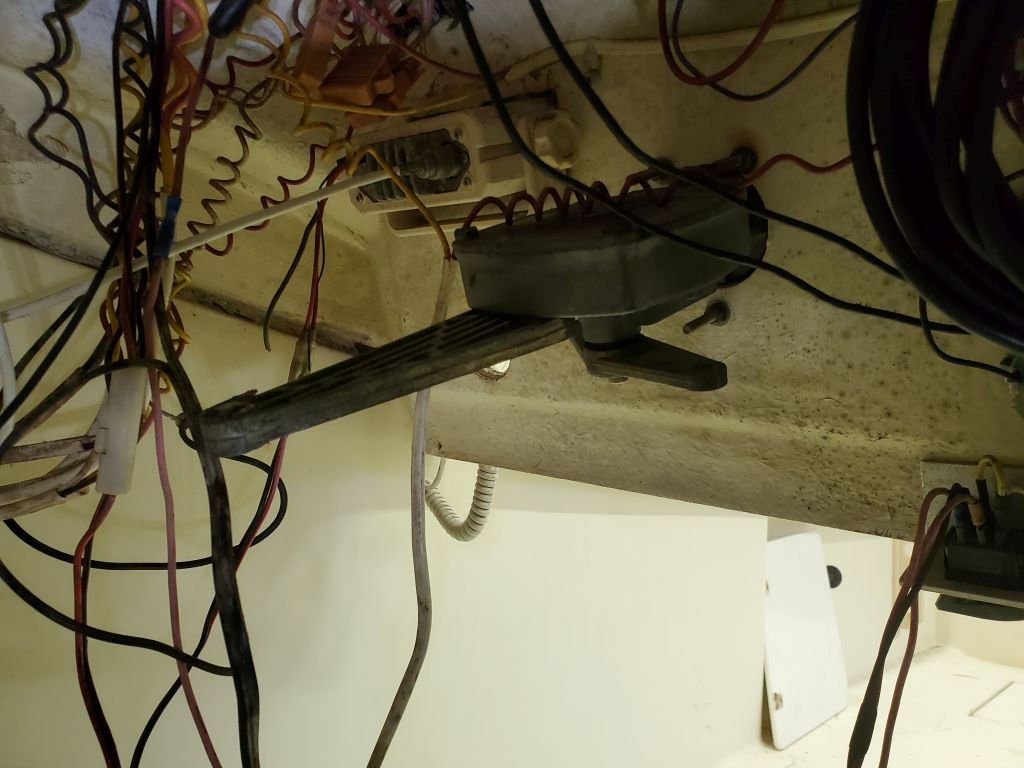
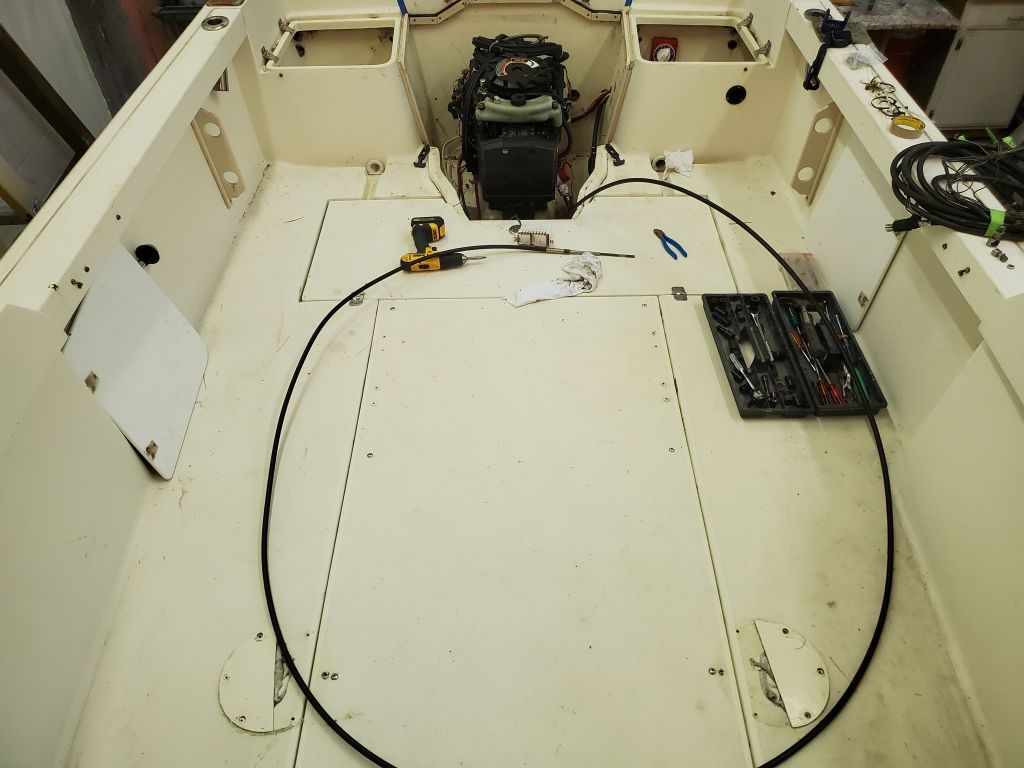
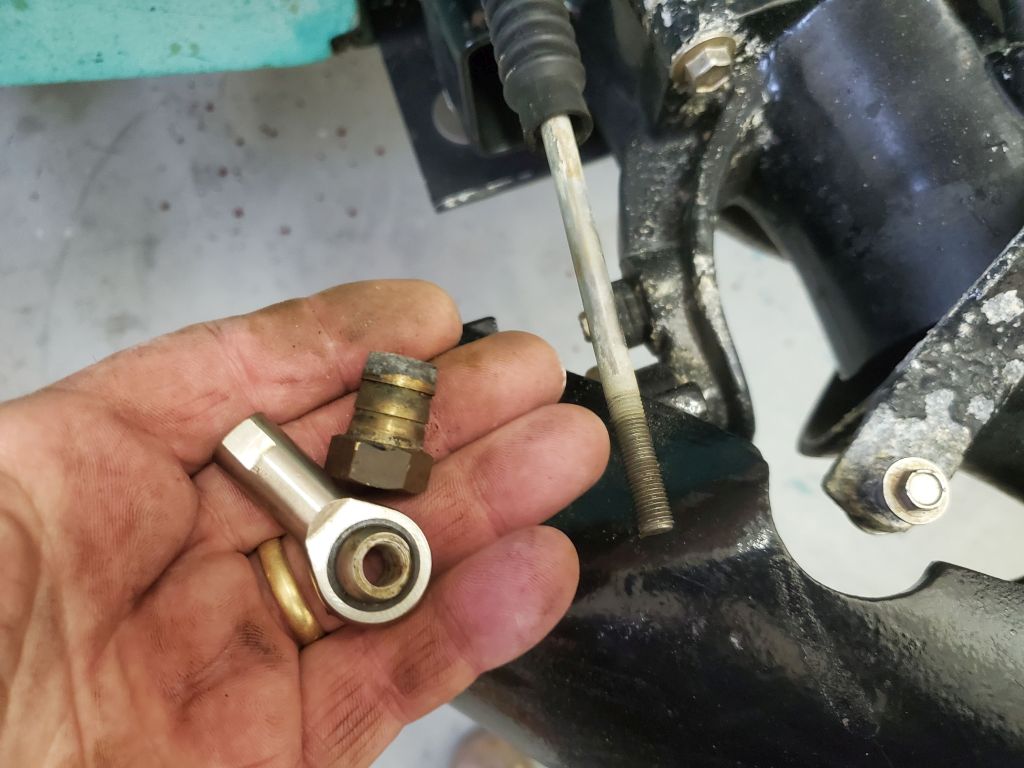
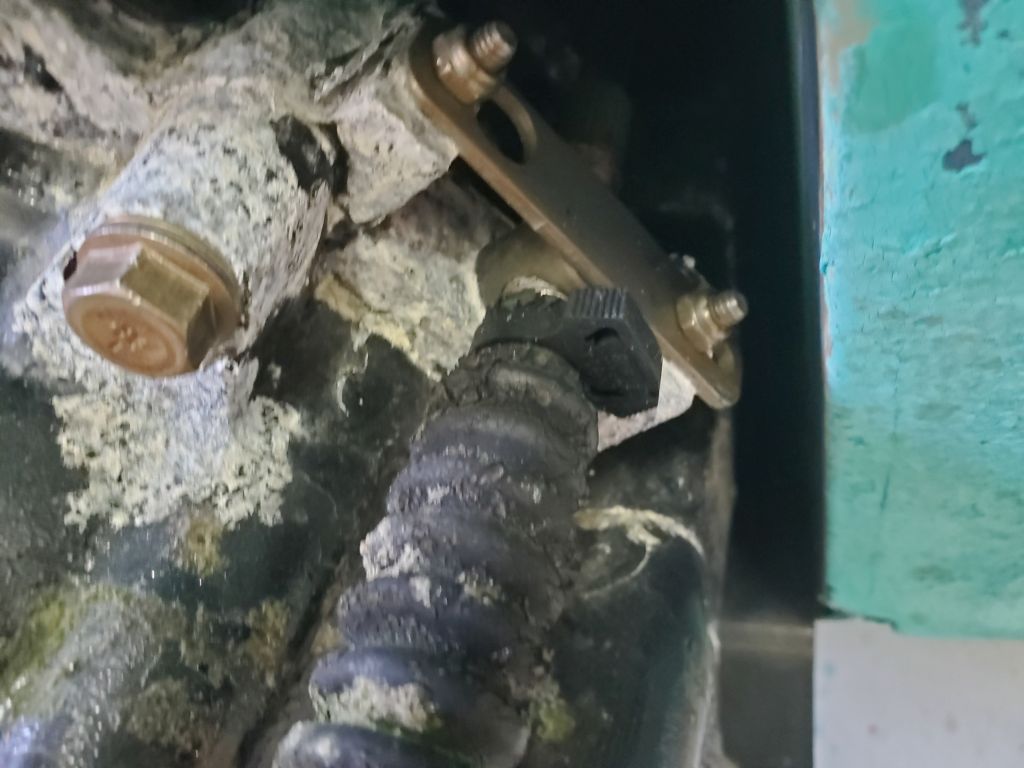
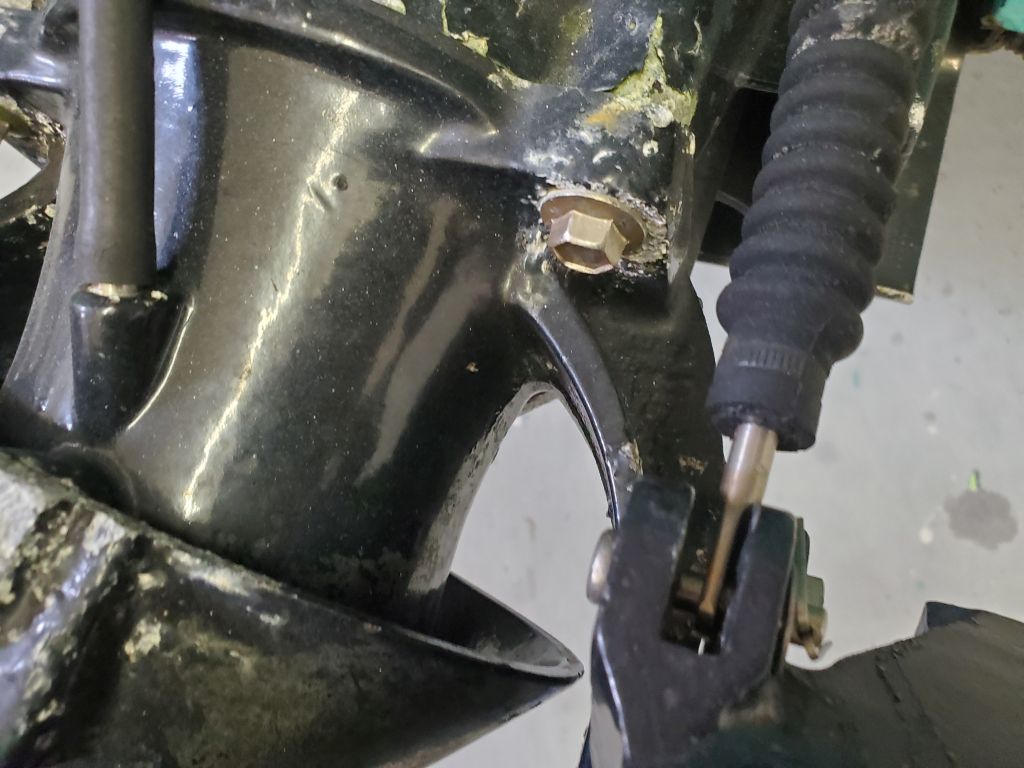
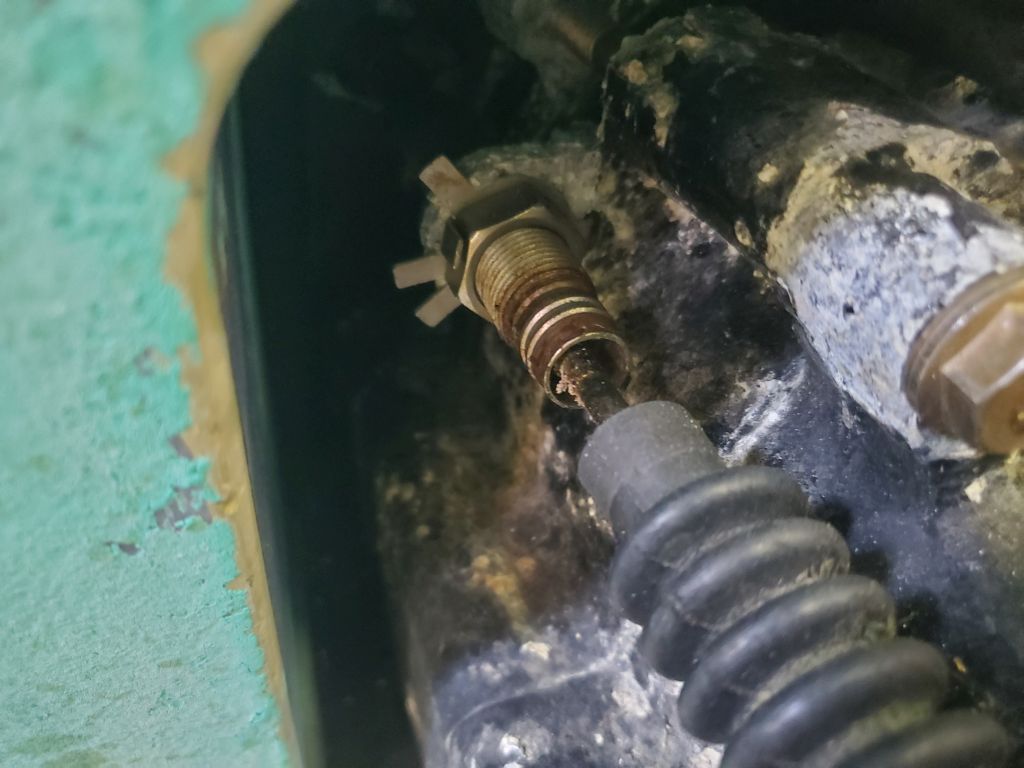
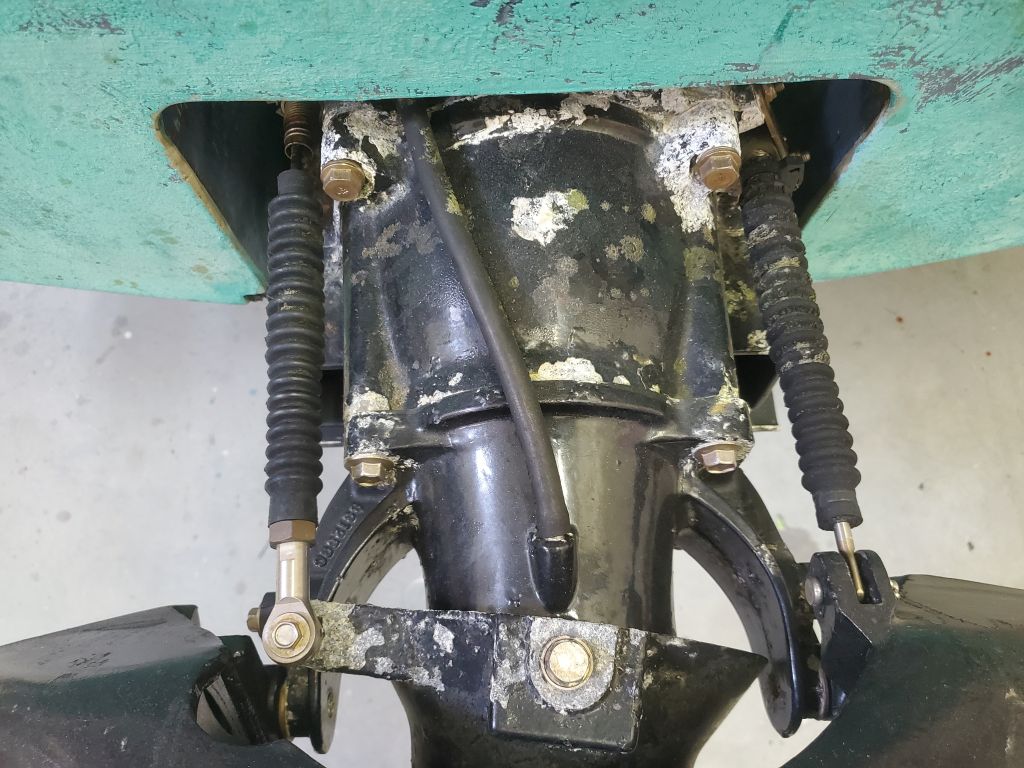
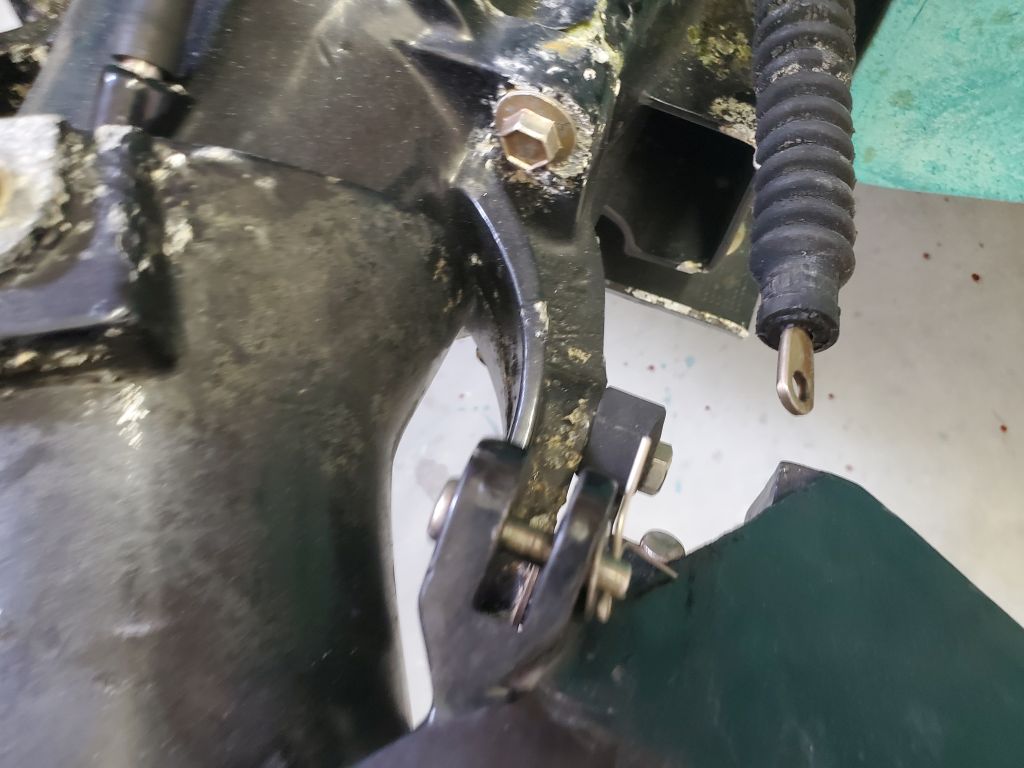
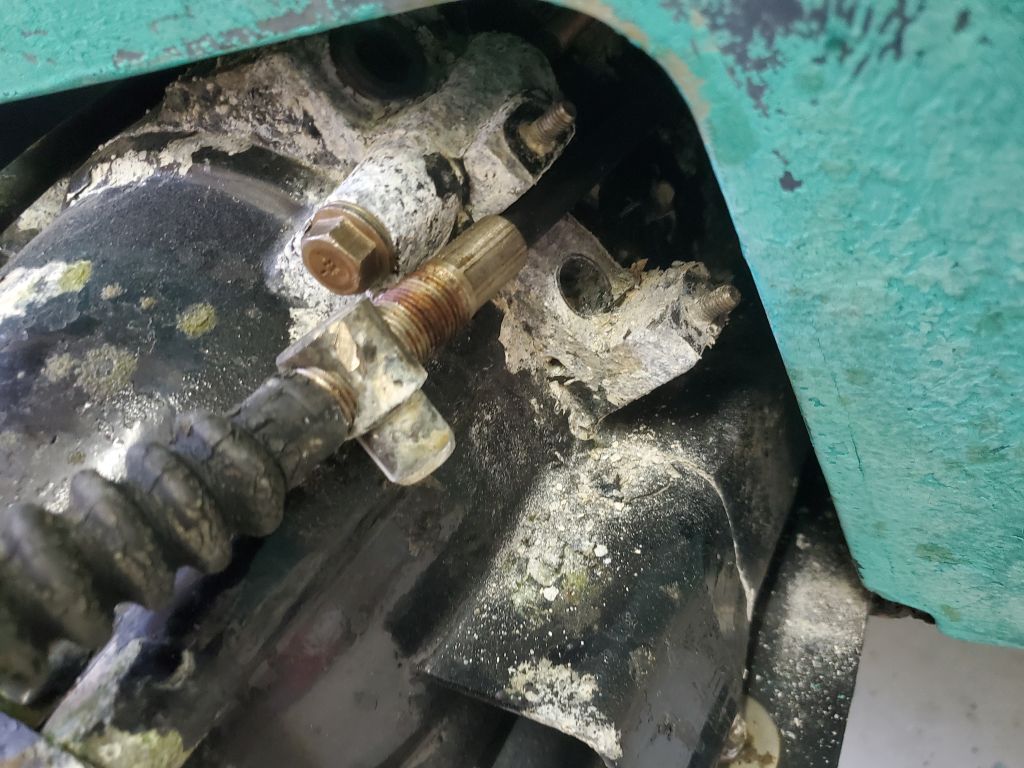
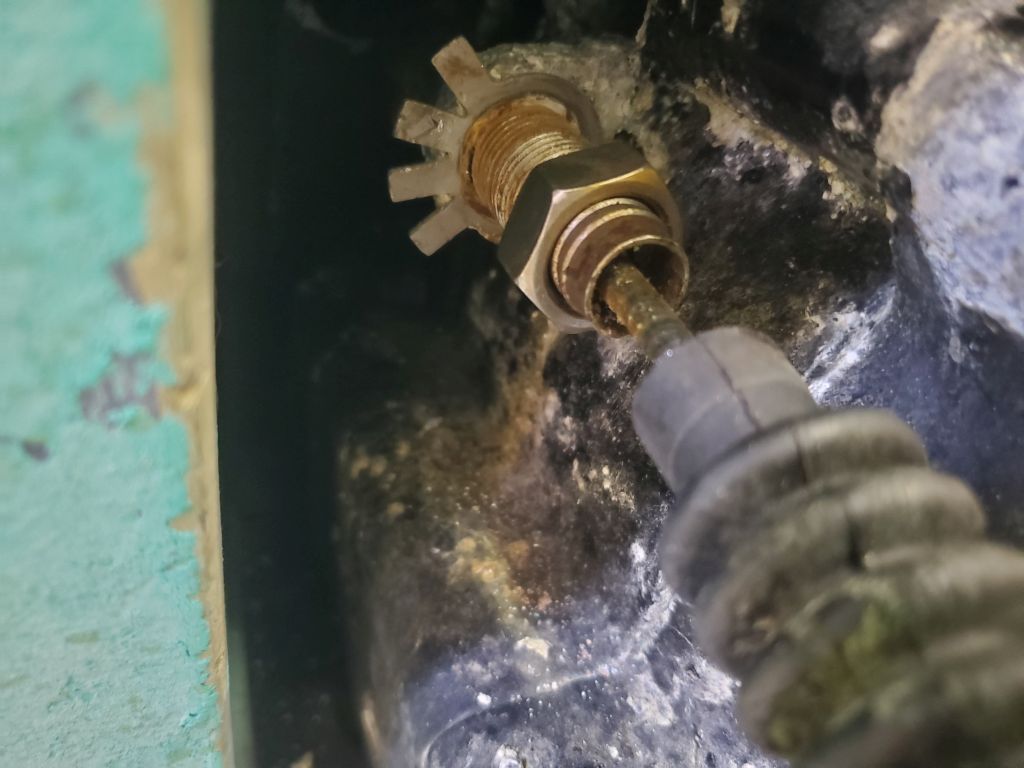
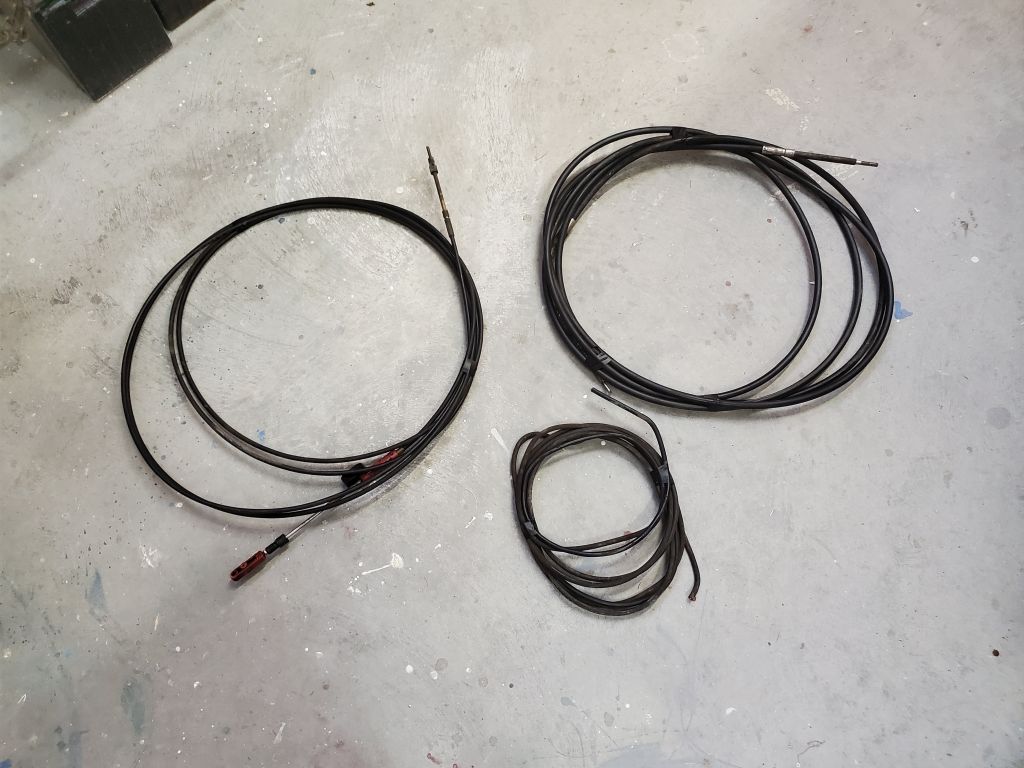
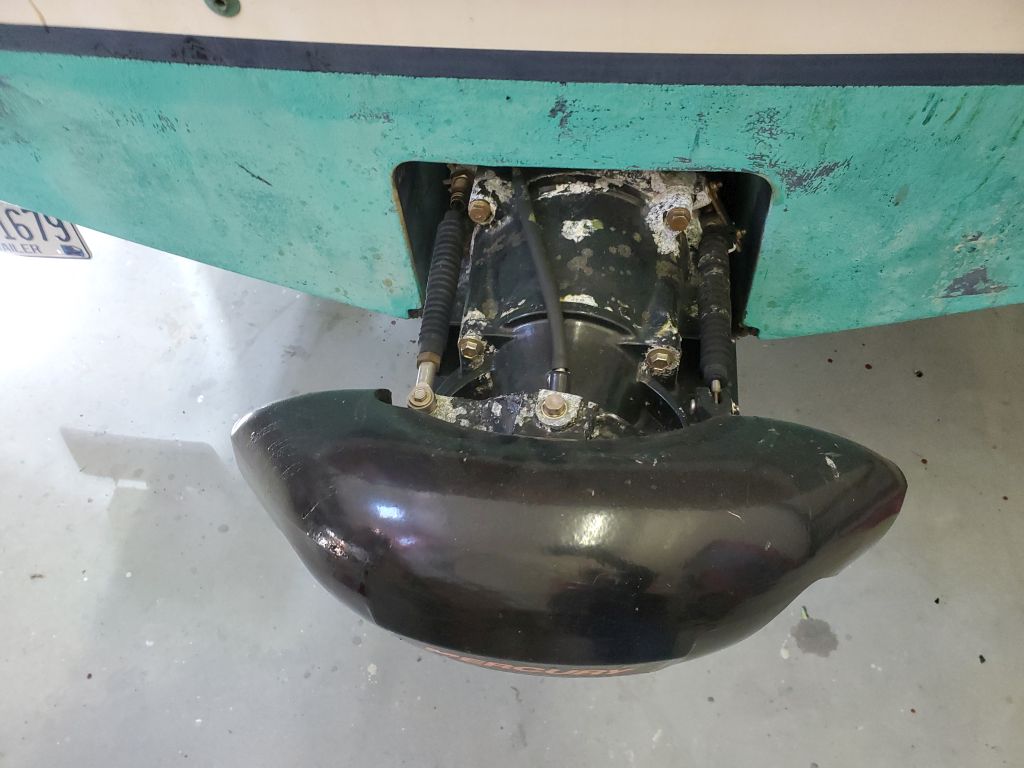
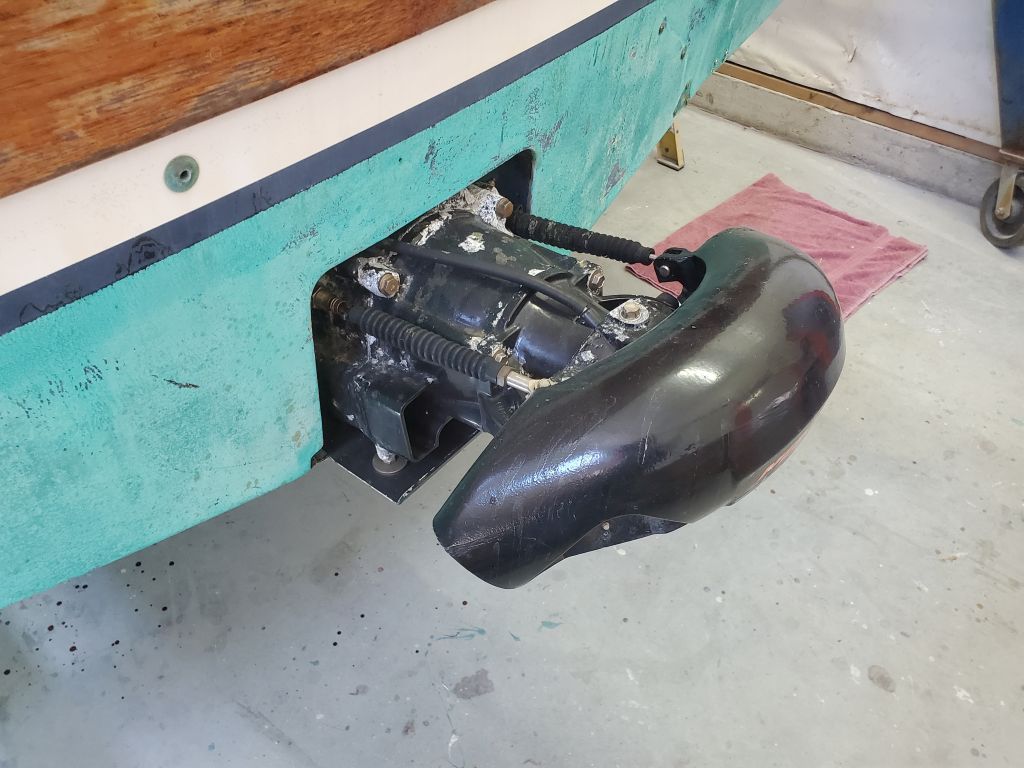
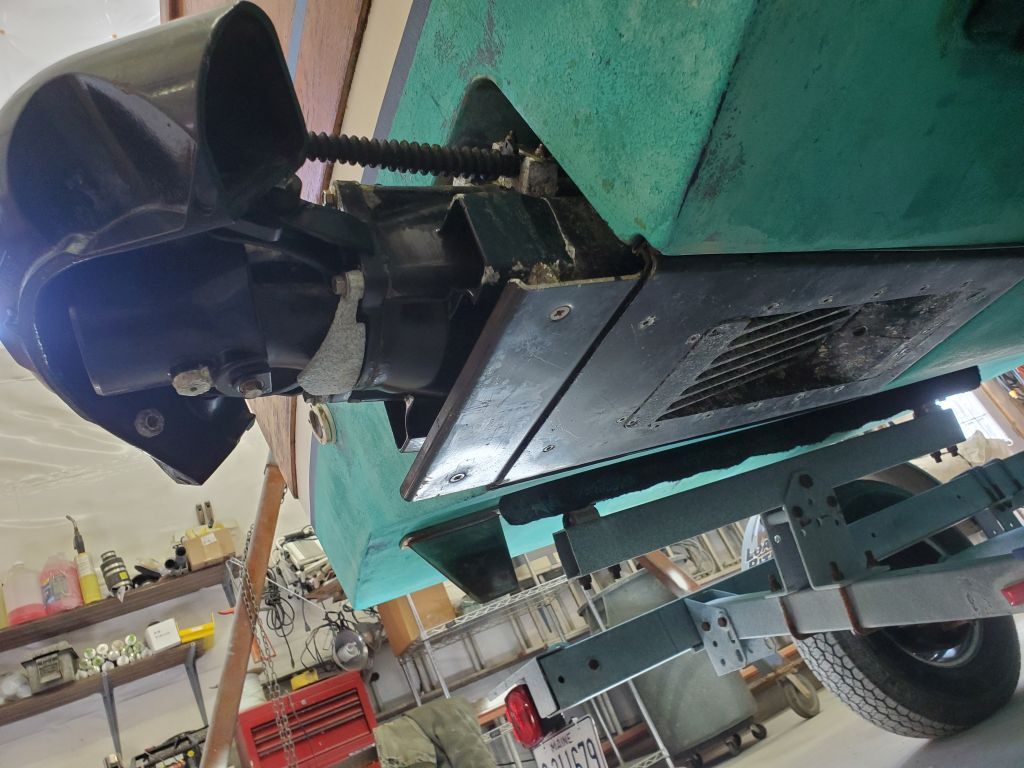
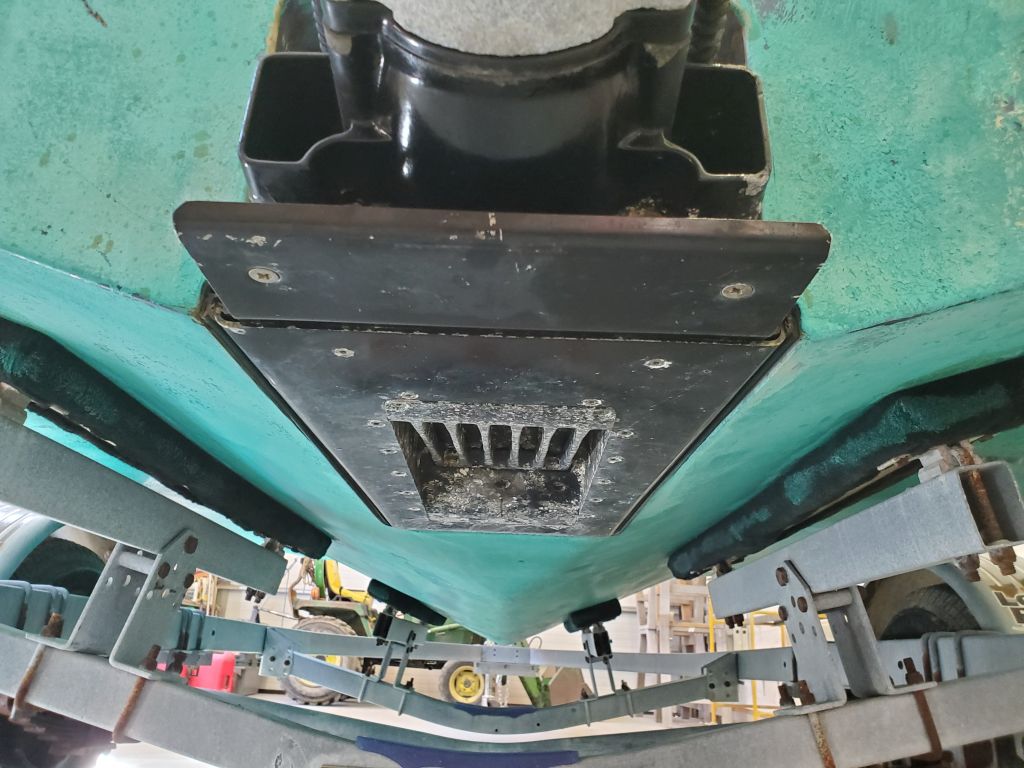
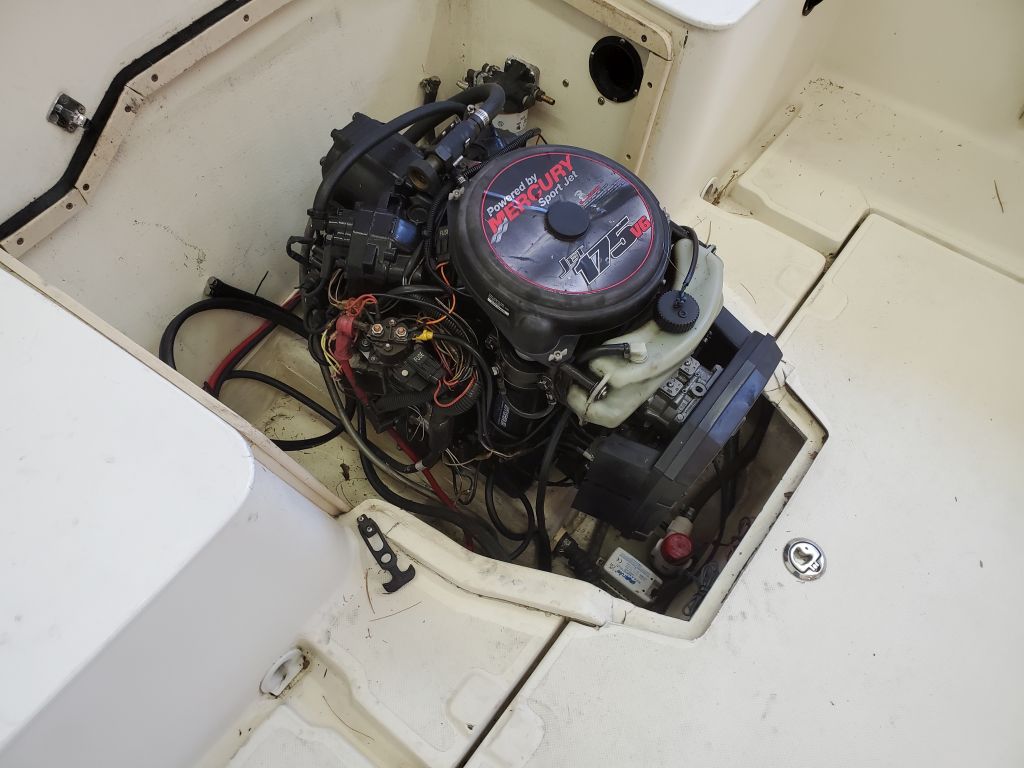
Since that was all I could do to remove the engine itself for now, I turned my attention to removing whatever else I could, such as disconnecting the steering cable and shift cable from the exterior of the jet drive. I could reach the fixings of these cables from outside the boat and removed the pins and clamps as needed. The shift cable clamp was semi-frozen into the aluminum casting of the drive, but gentle pressure with a small prybar released it without difficulty.
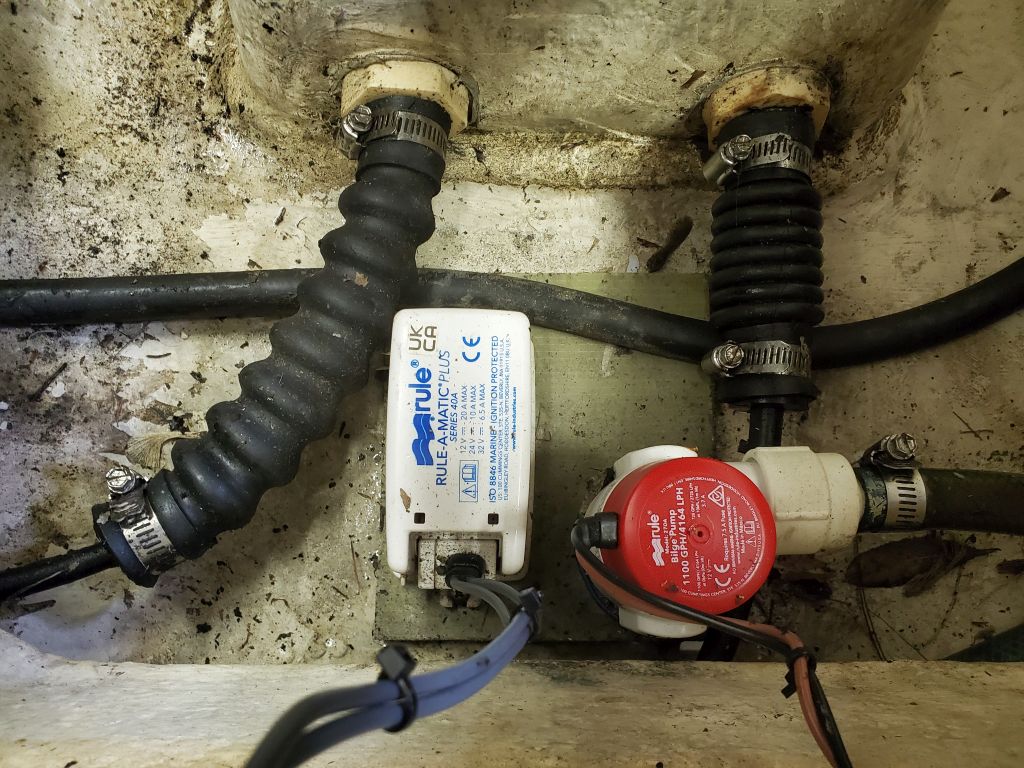
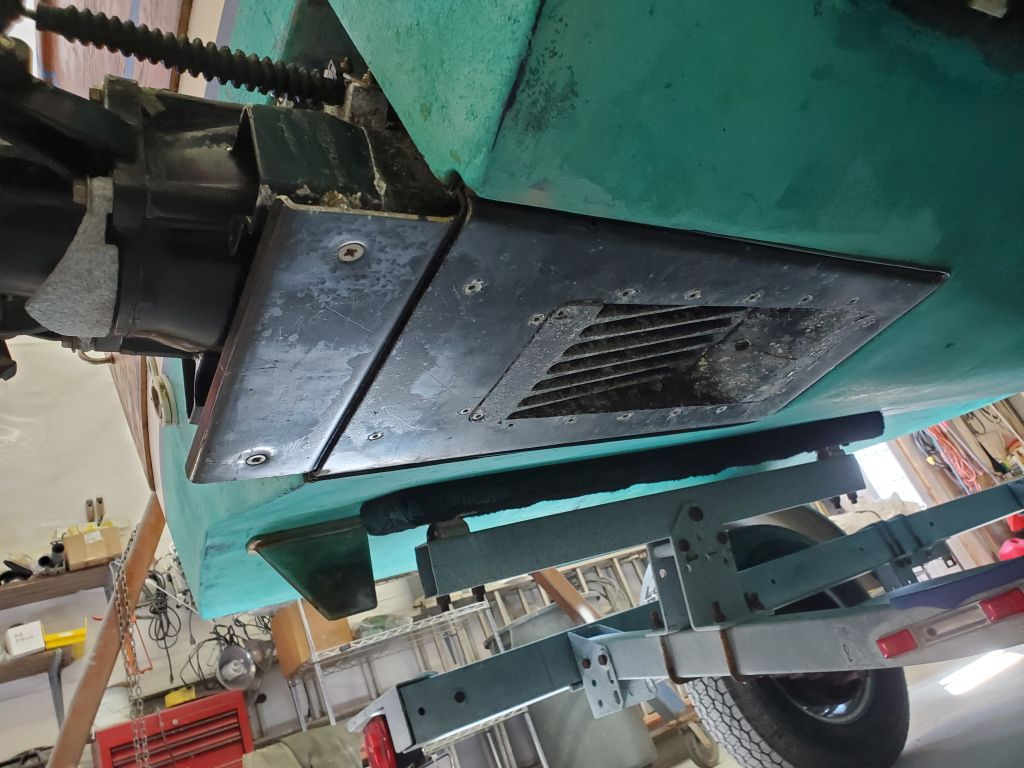
These cables passed into the boat through plastic fittings and bellows at the forward end of the fiberglass drive housing; I unclamped the bellows to release them pending final removal of the cables.
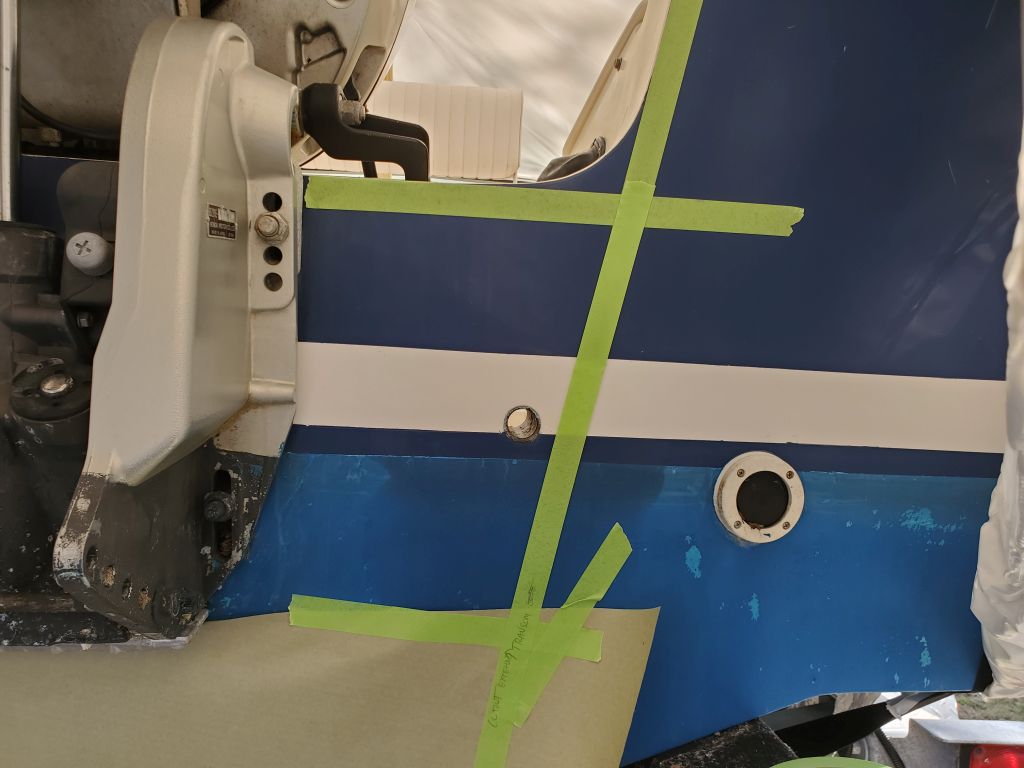
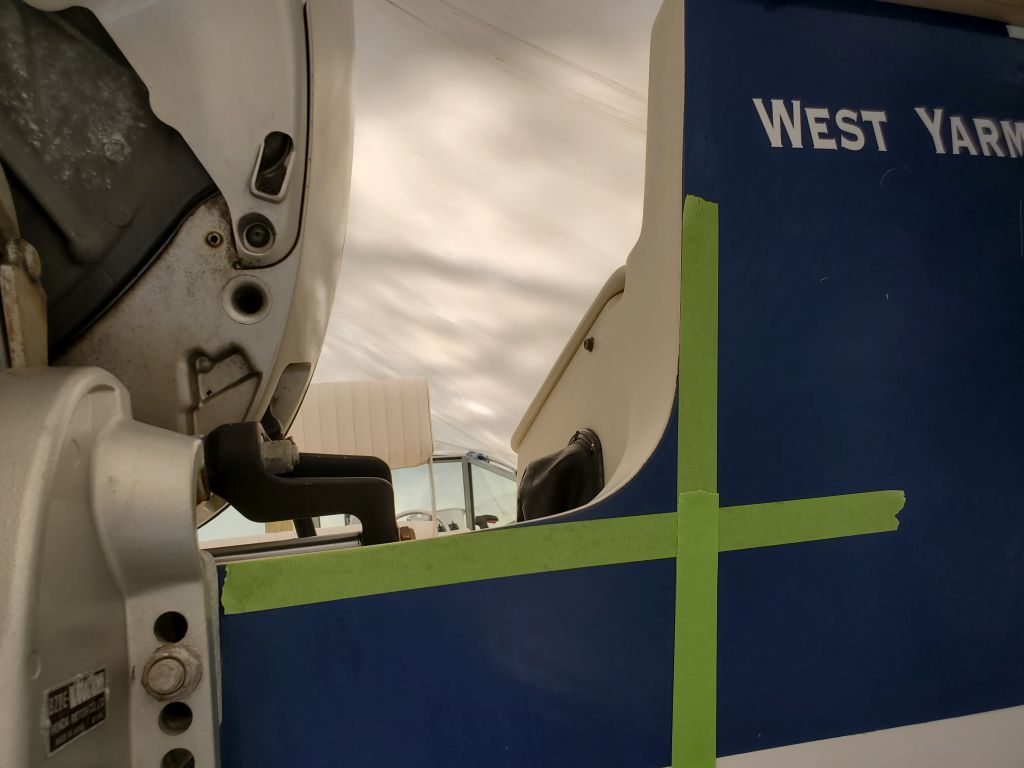
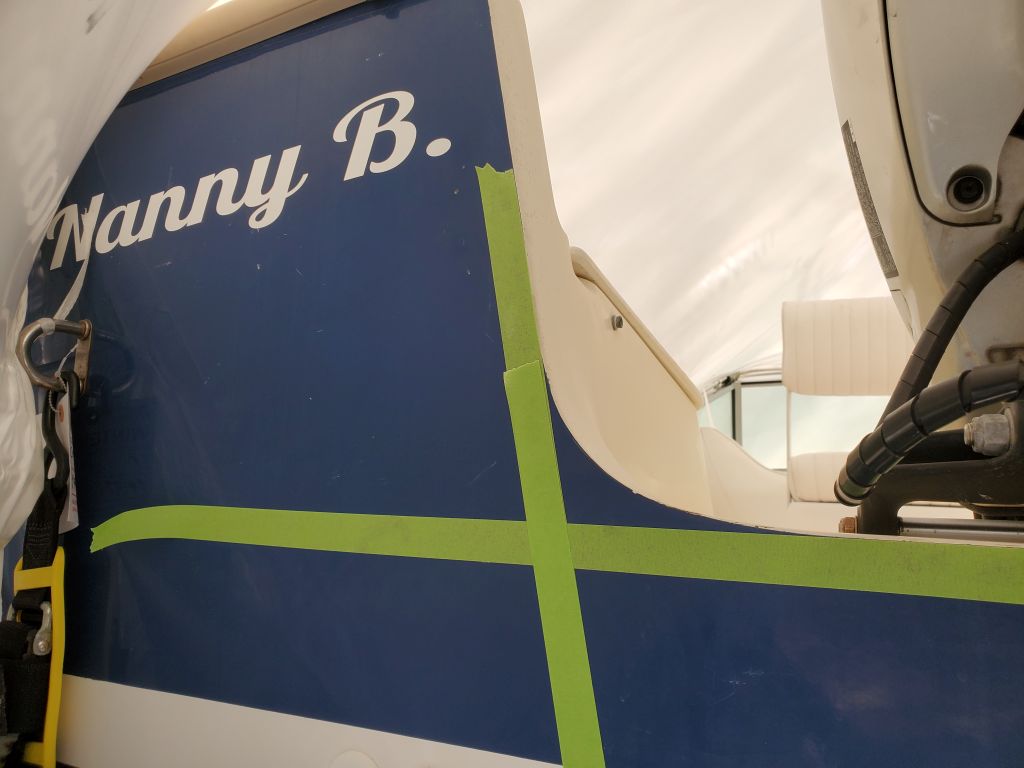
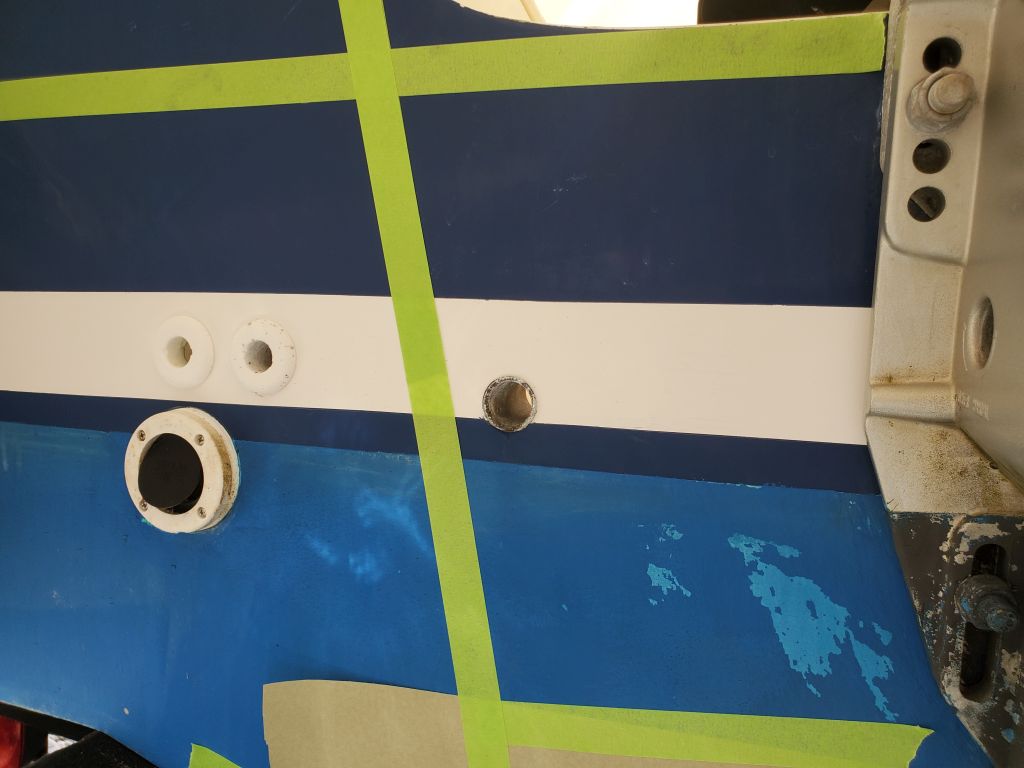
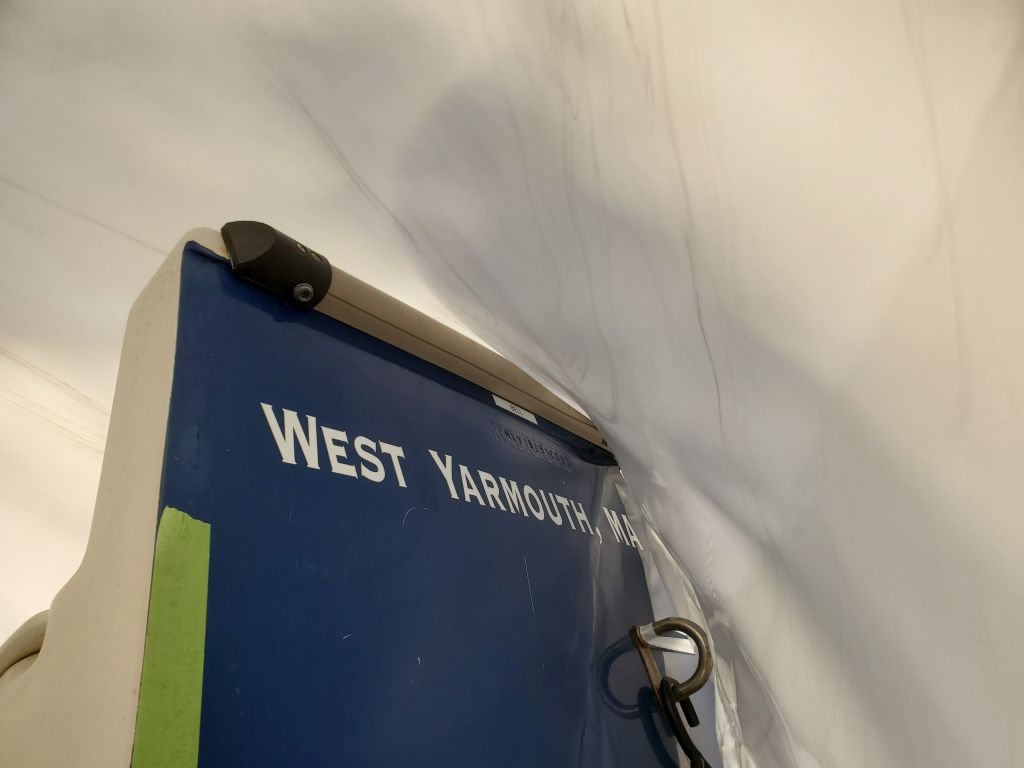
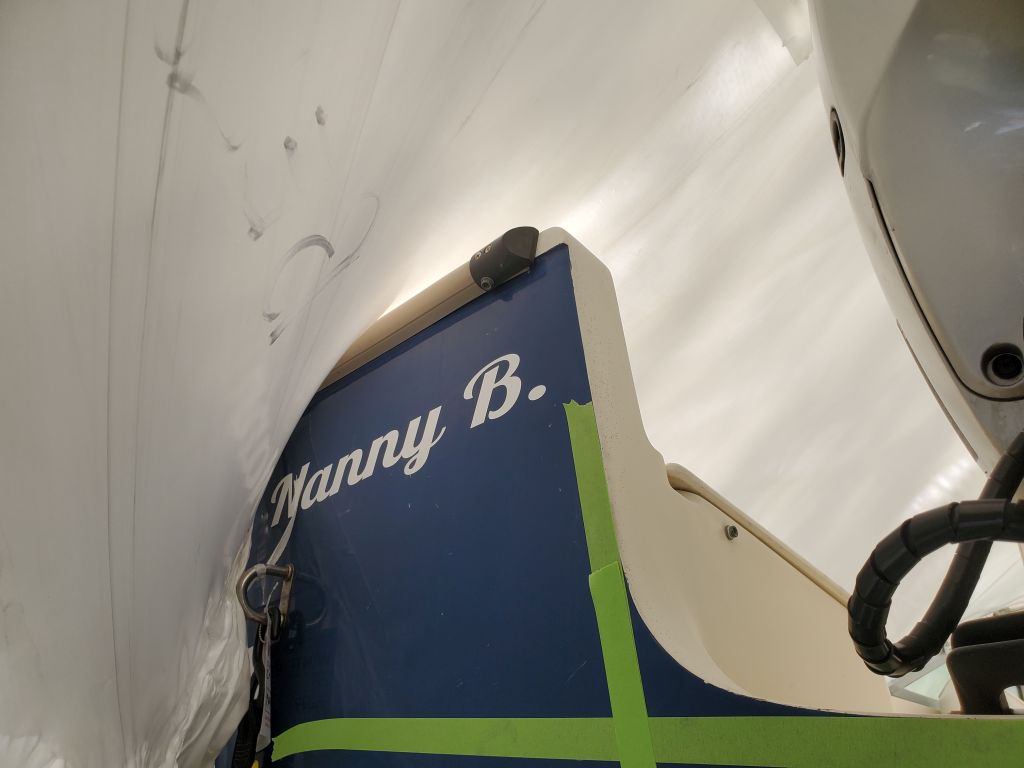
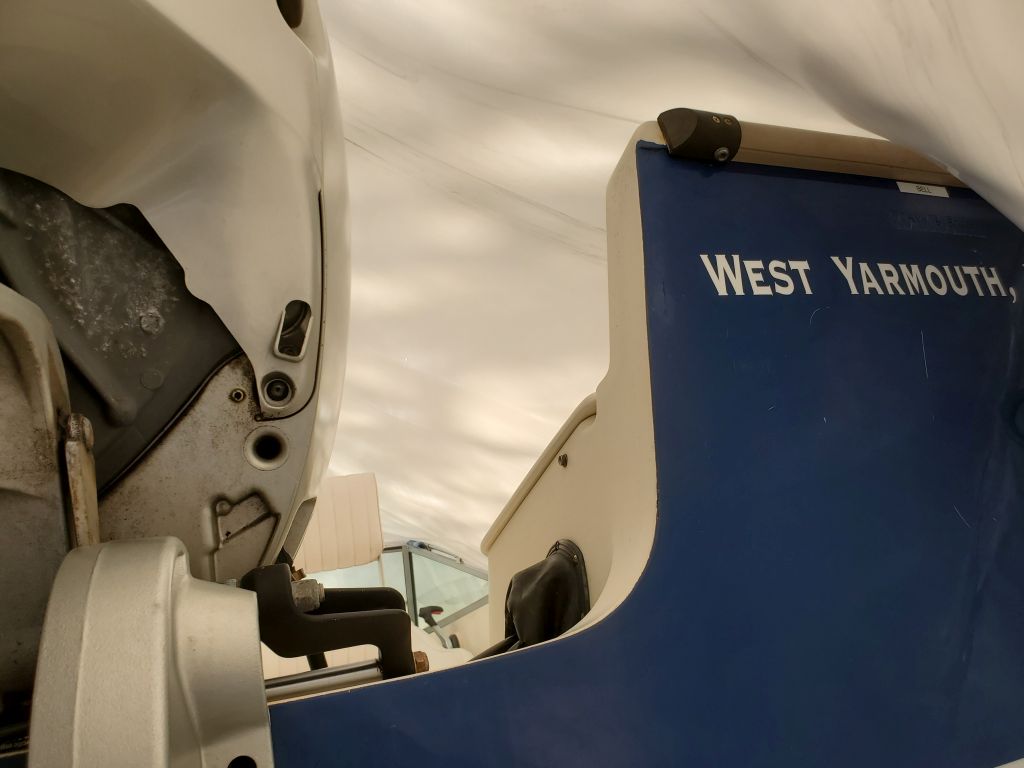
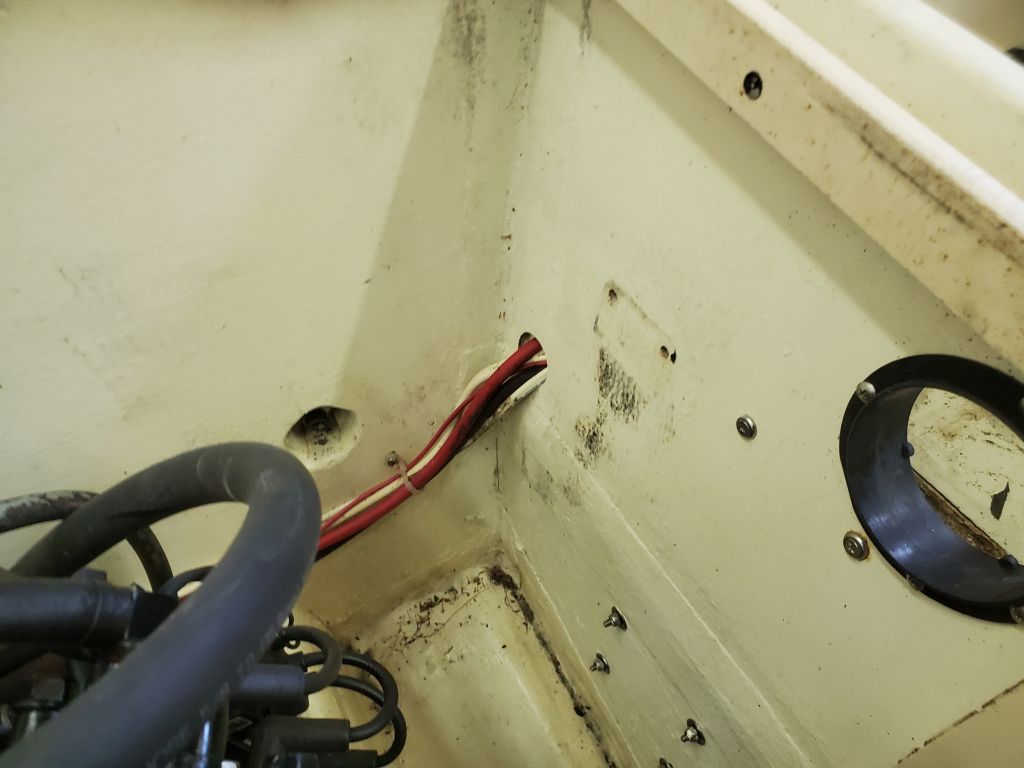
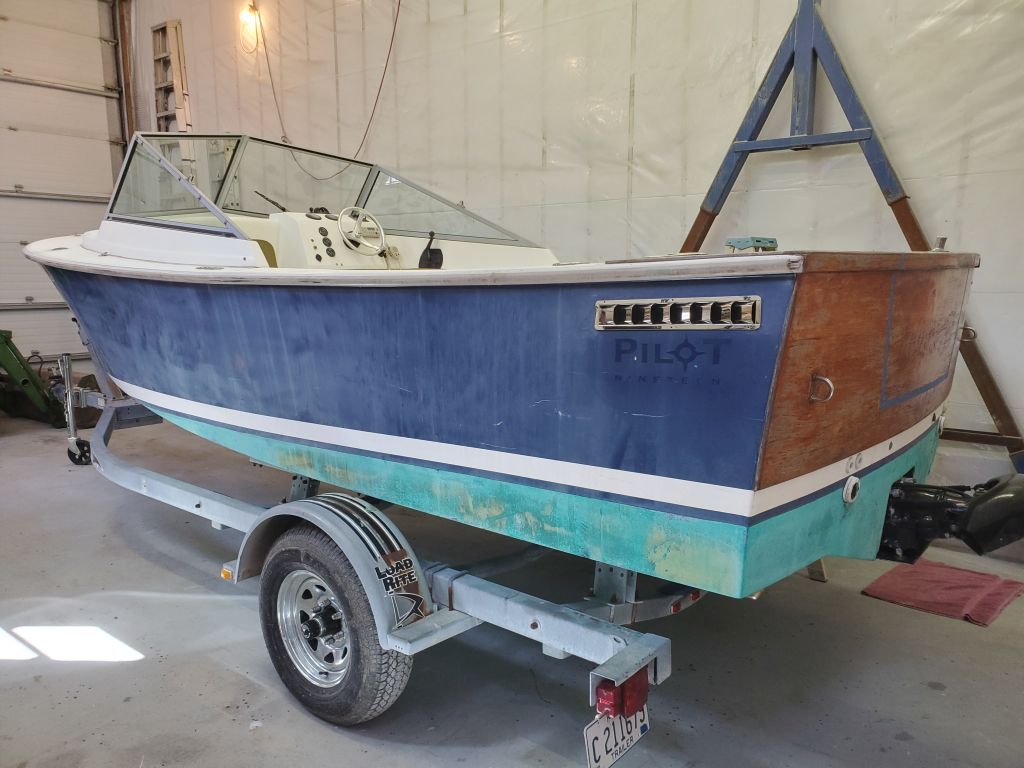
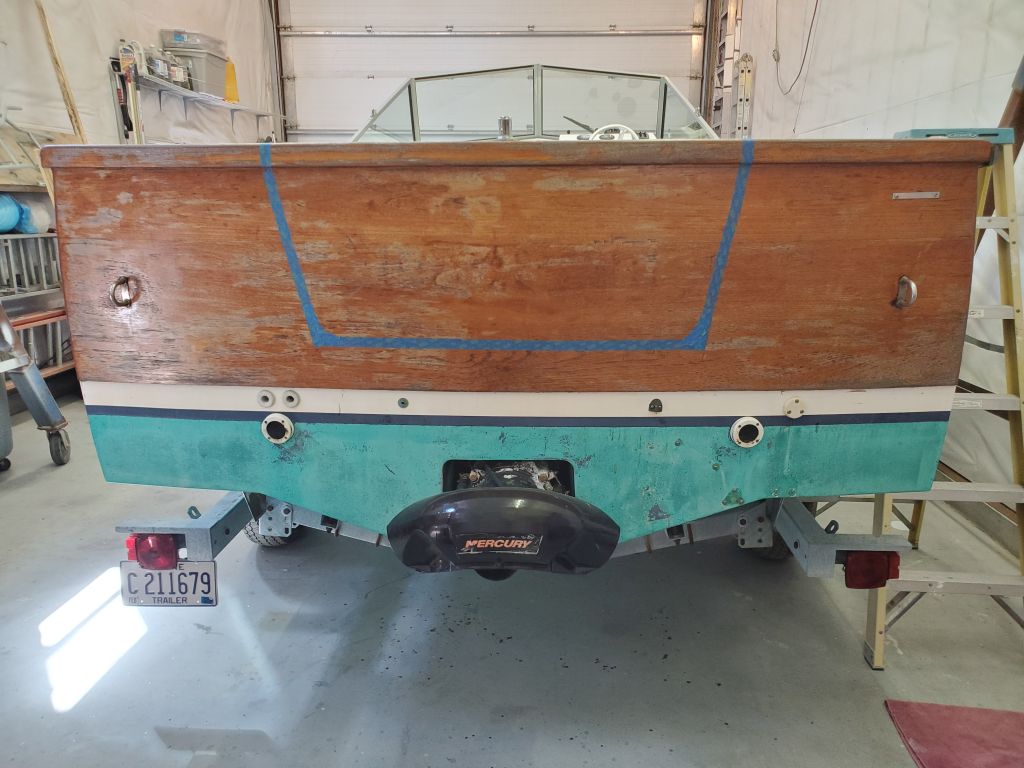
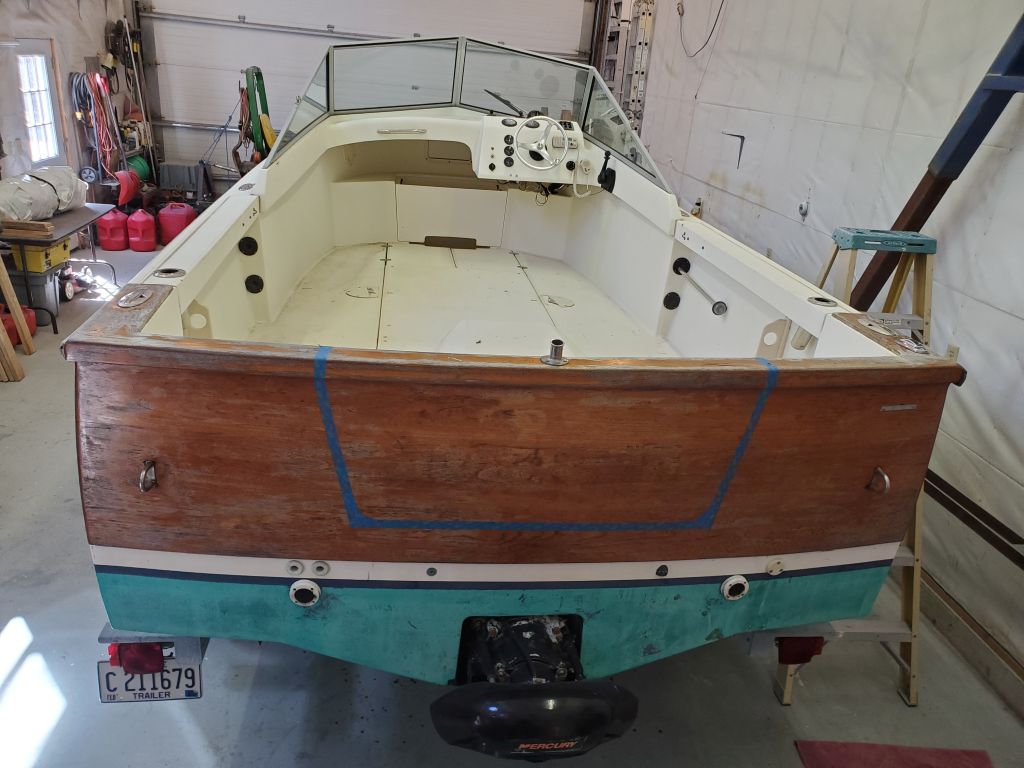
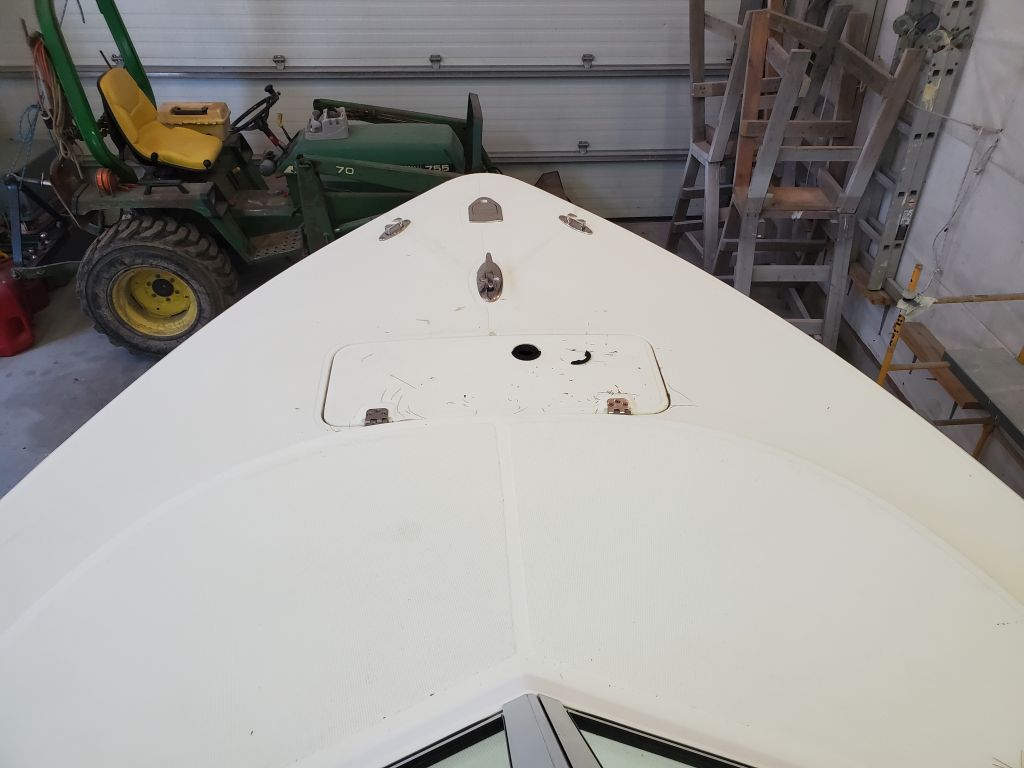
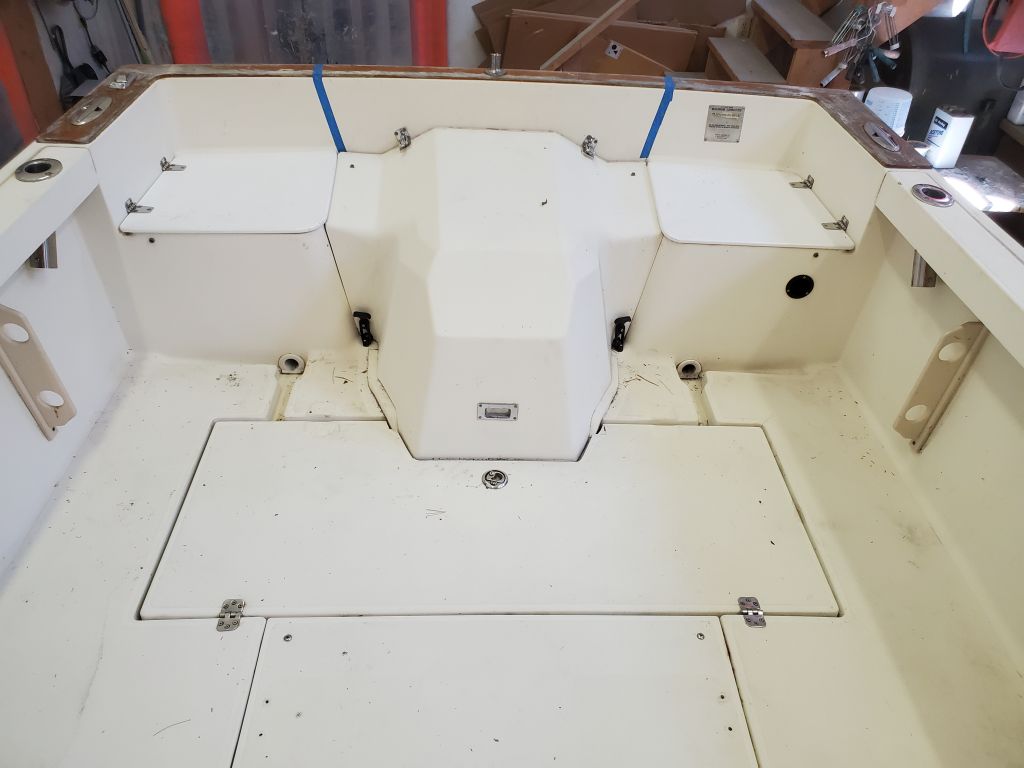
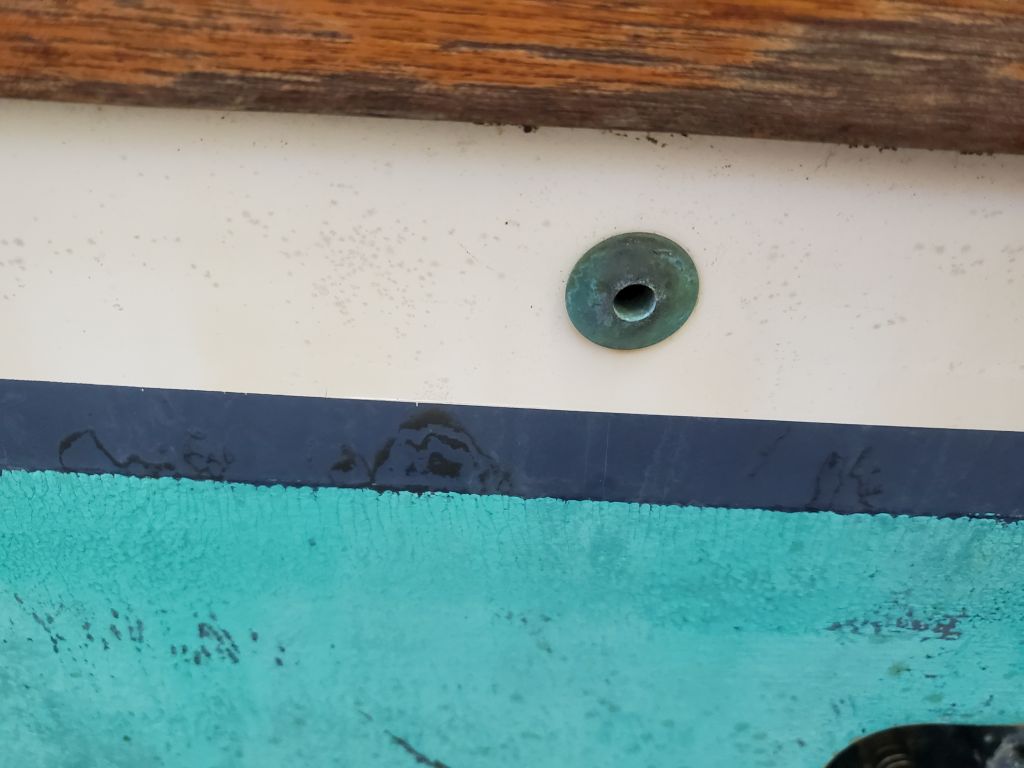
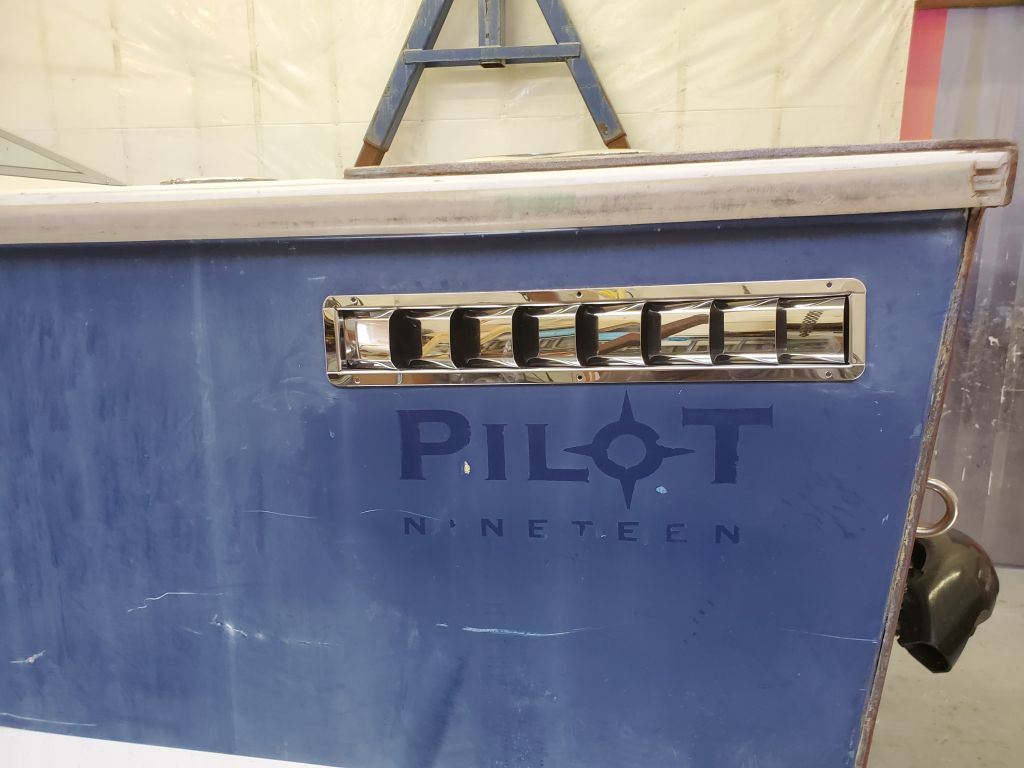
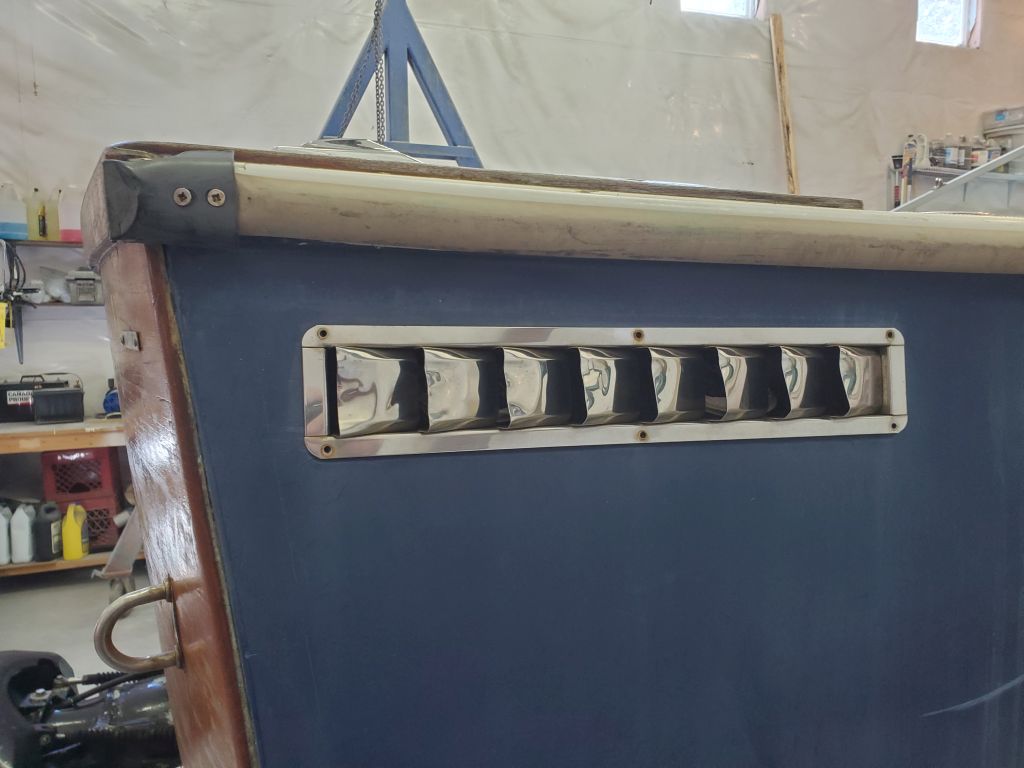
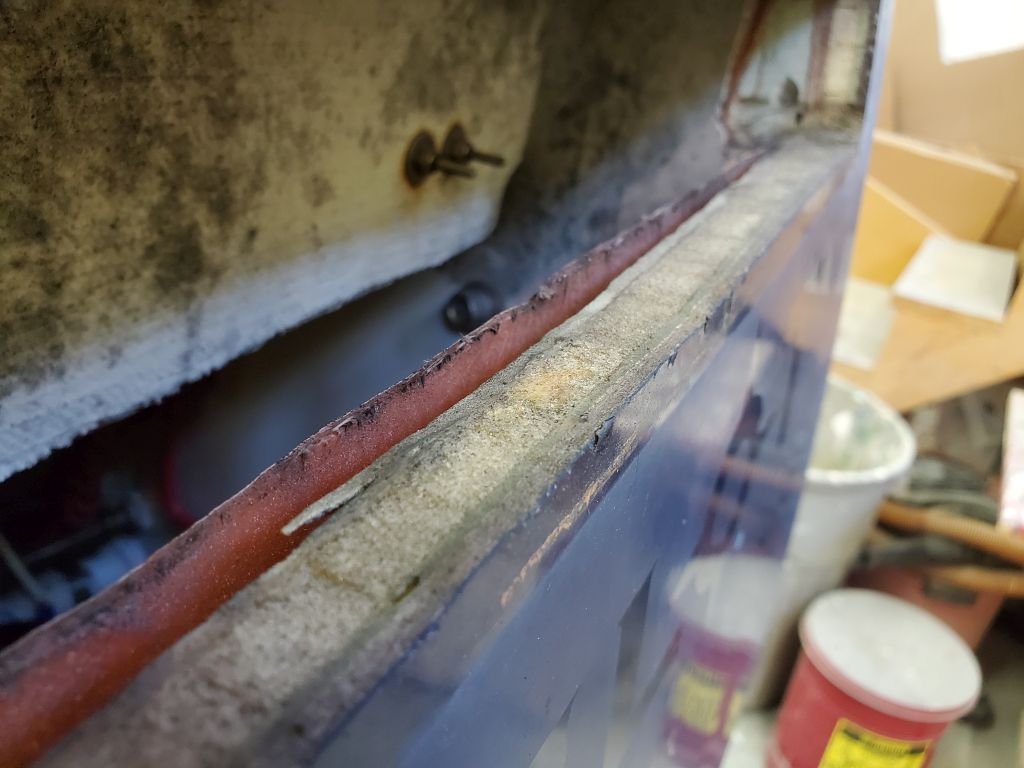
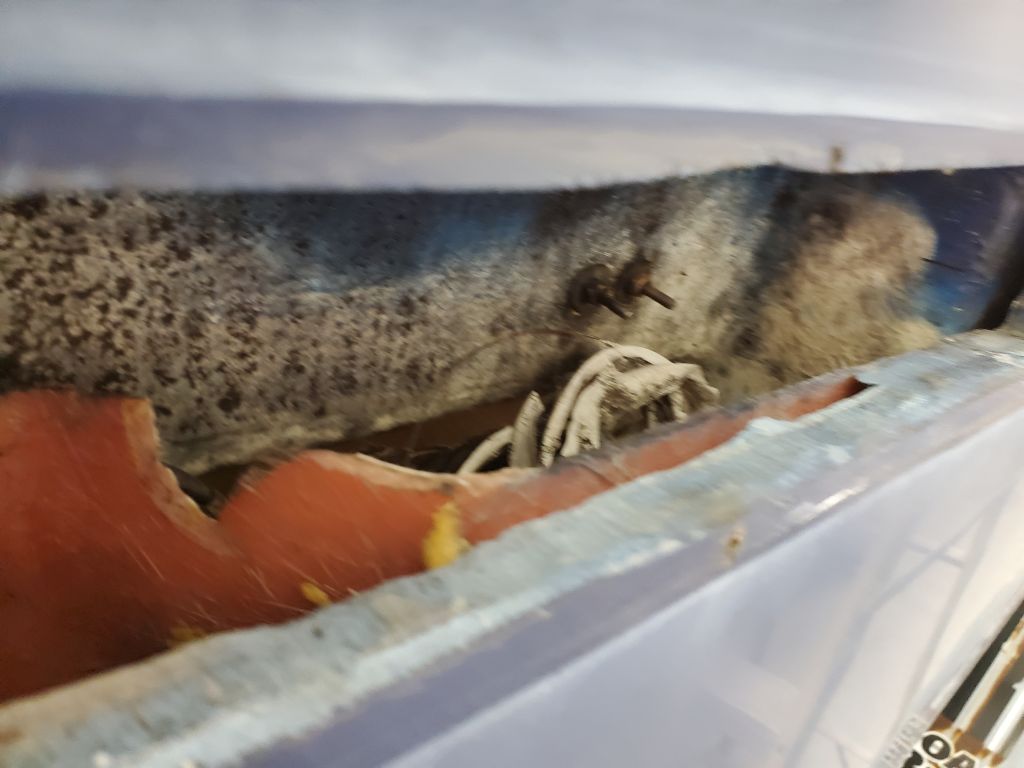
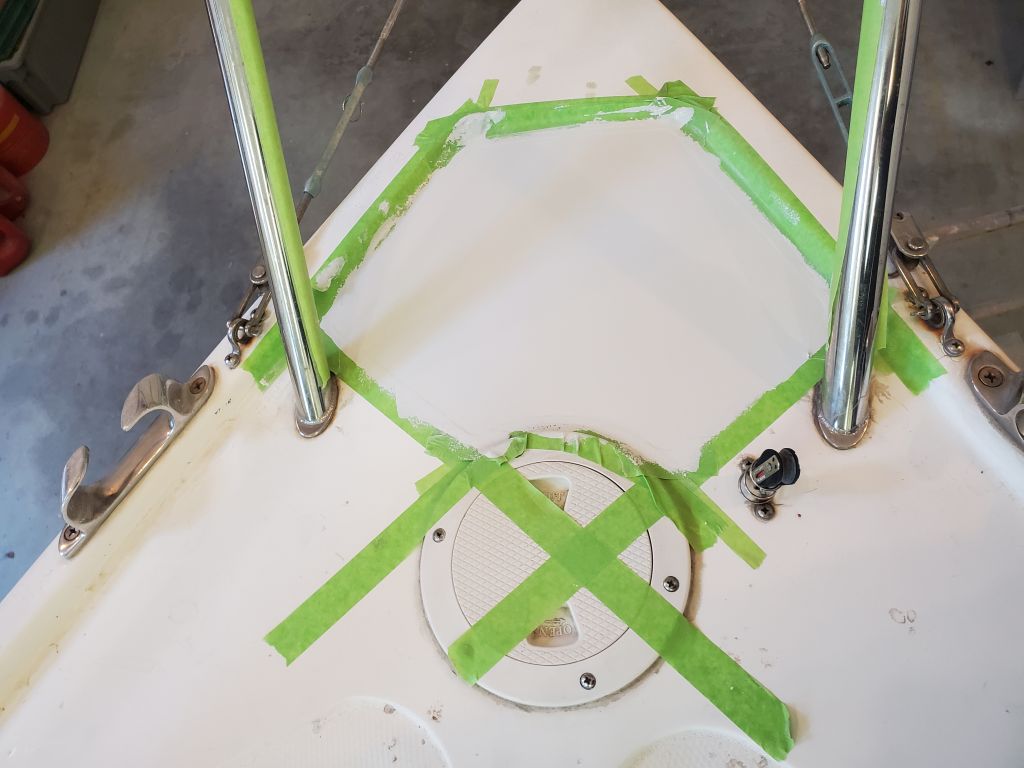
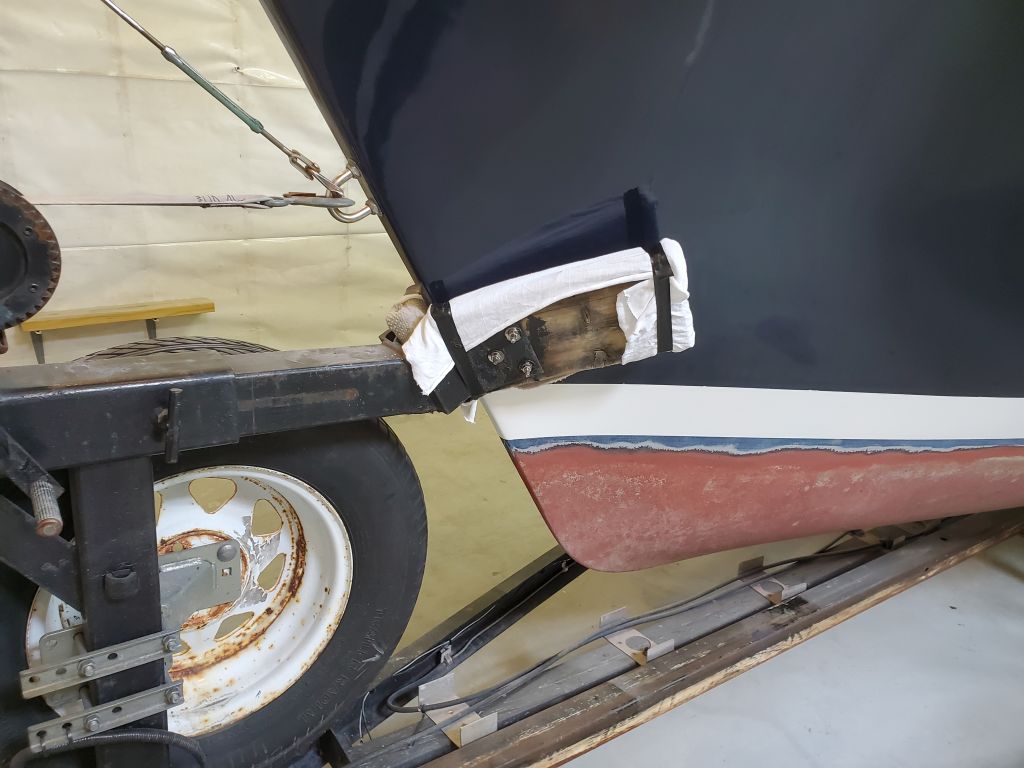
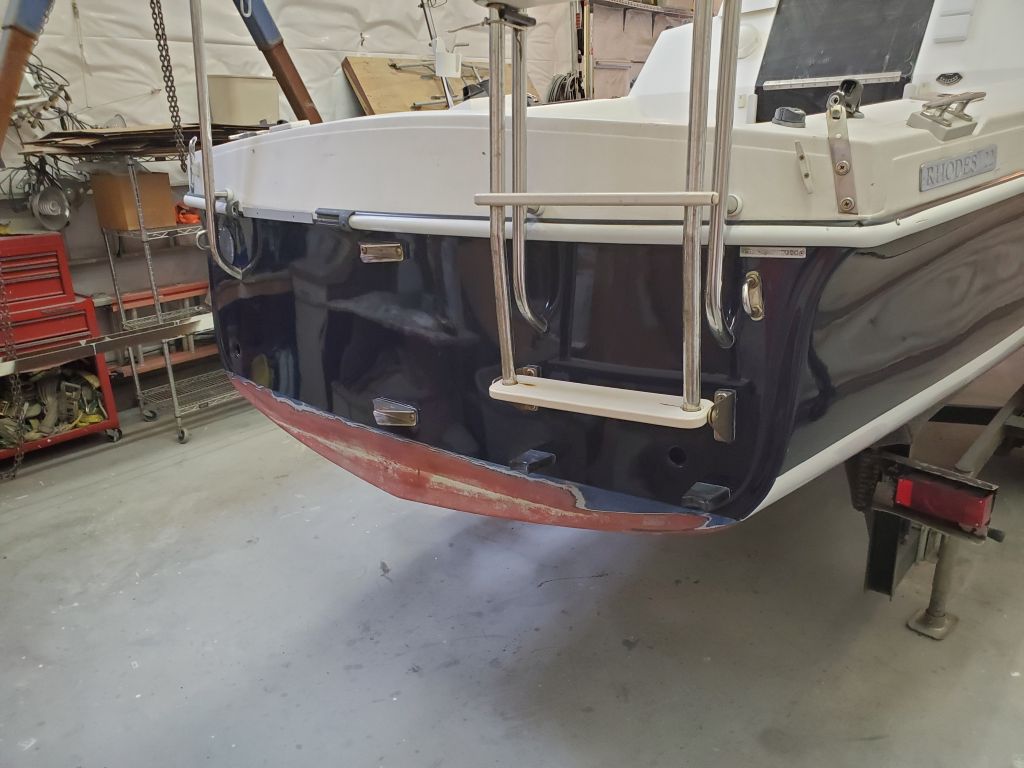
The wooden overlay on the transom was eventually to be removed as part of this project, and to prepare I removed the builder’s plate (attached only with screws) and the two D-rings from the transom corners. I also removed any other bits of hardware from the transom, such as the scupper covers and some abandoned wiring clamps, along with several screws in the bottom that were inserted in old screw holes leftover from running transducer and speedo cables to their long-gone housings (these holes would have to be patched). I removed the starboard end cap from the rubrail, which was ill-fitted and semi-in the way for future work in the area (there was no cap on the port corner).
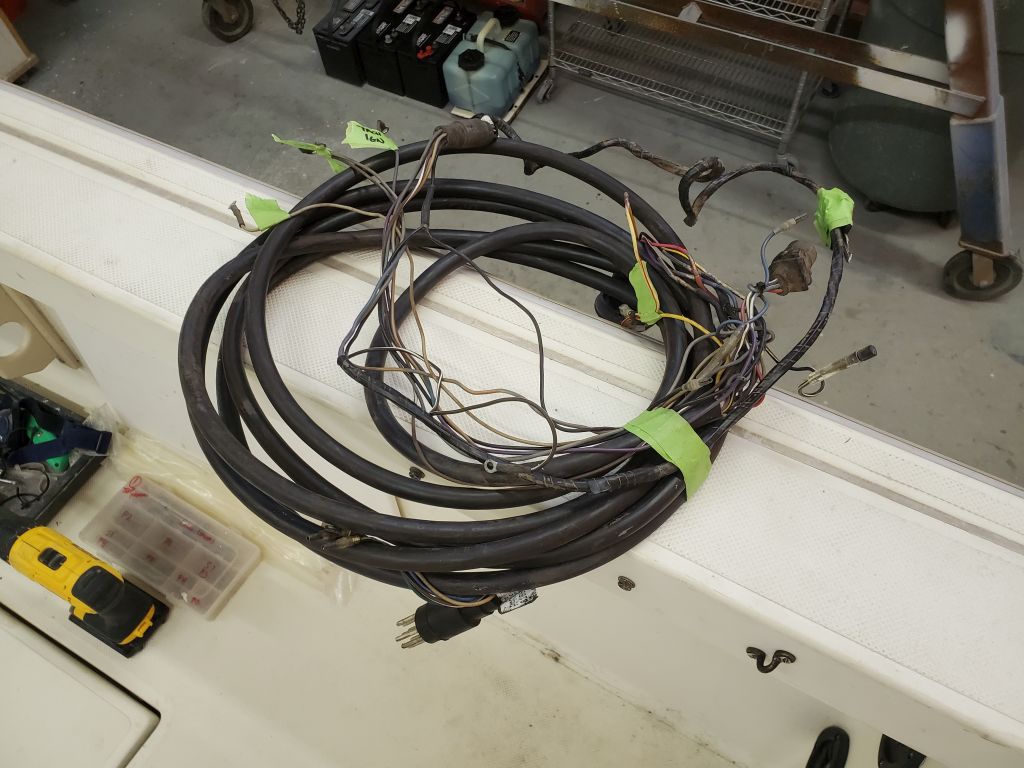
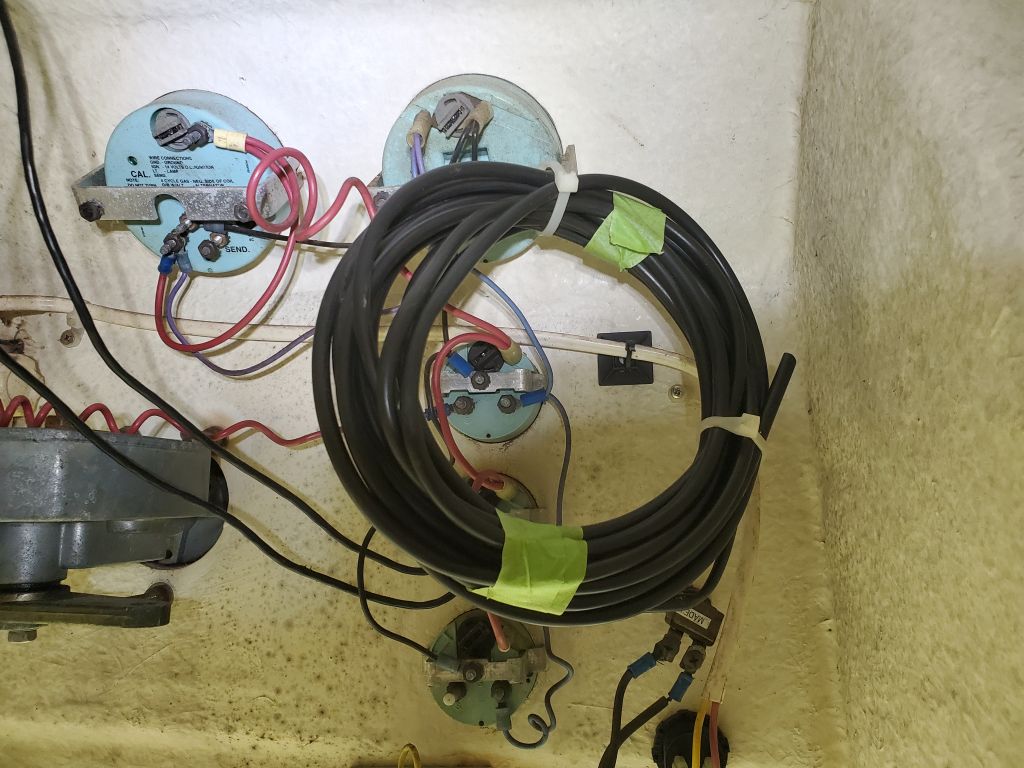
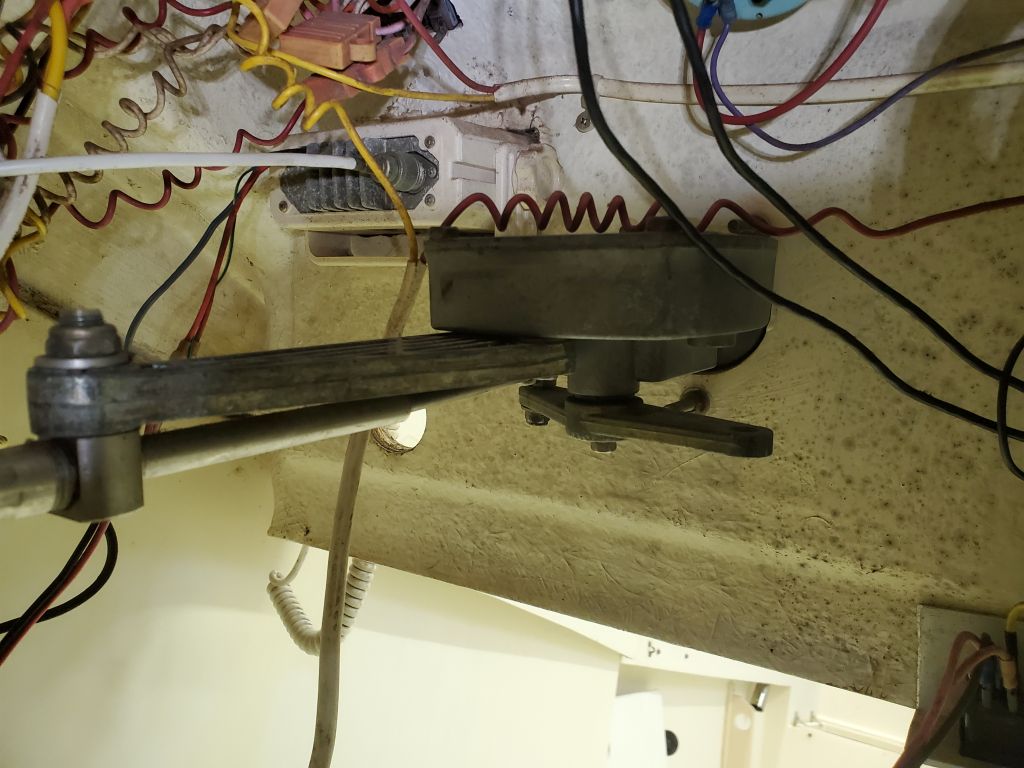
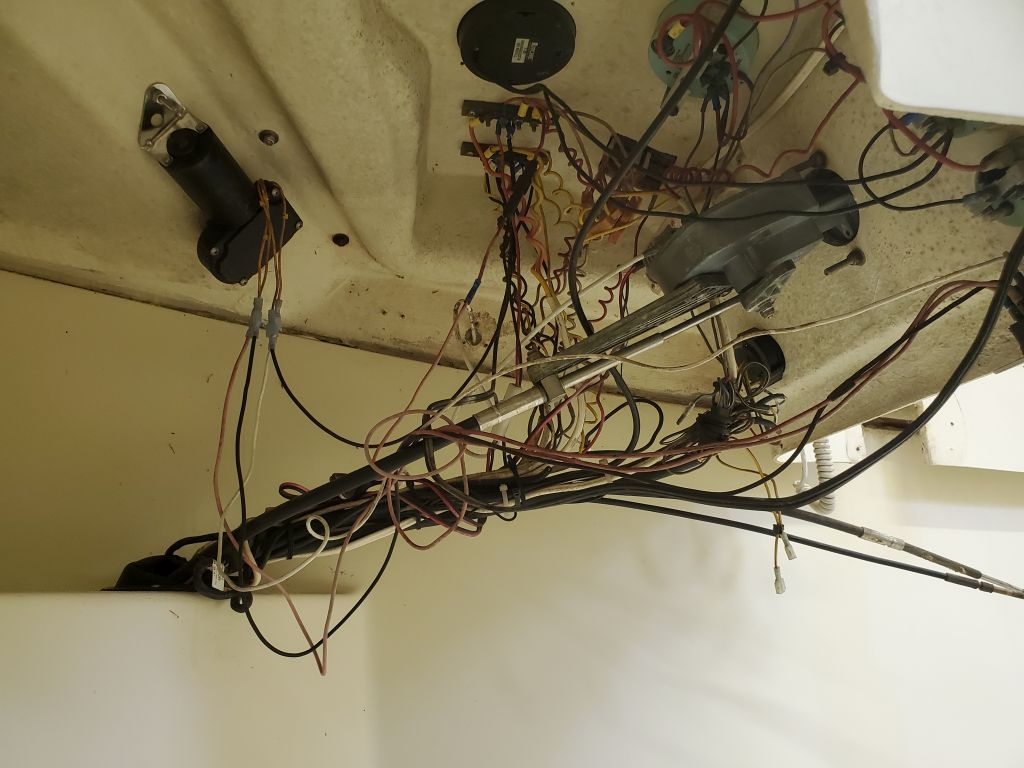
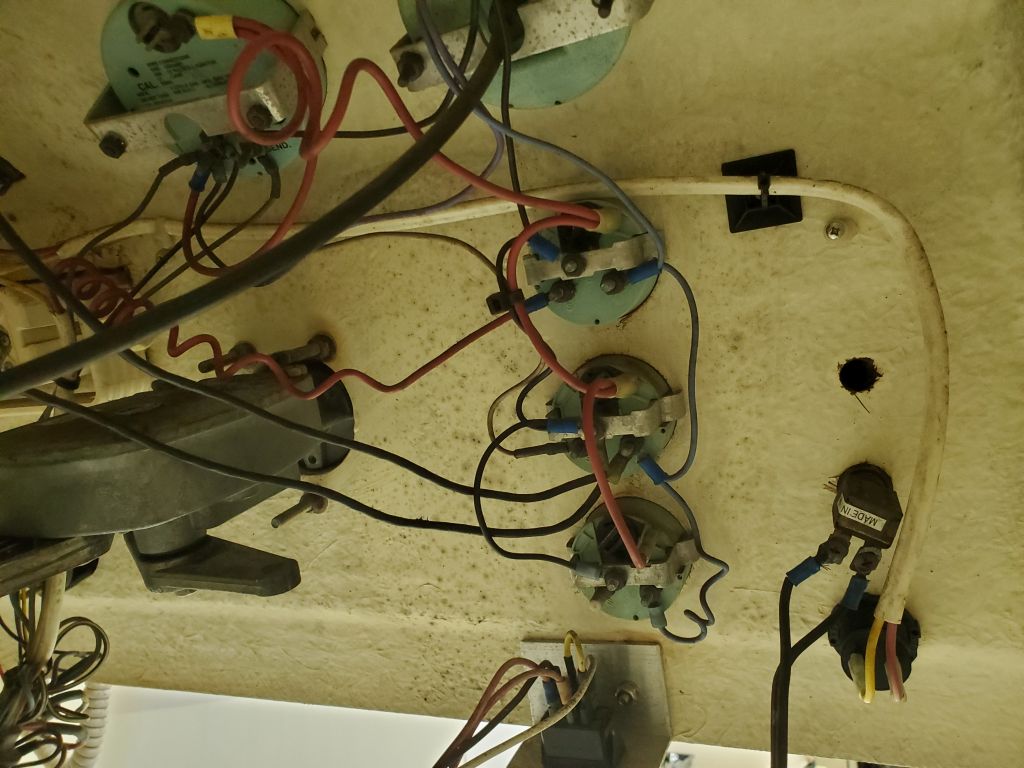
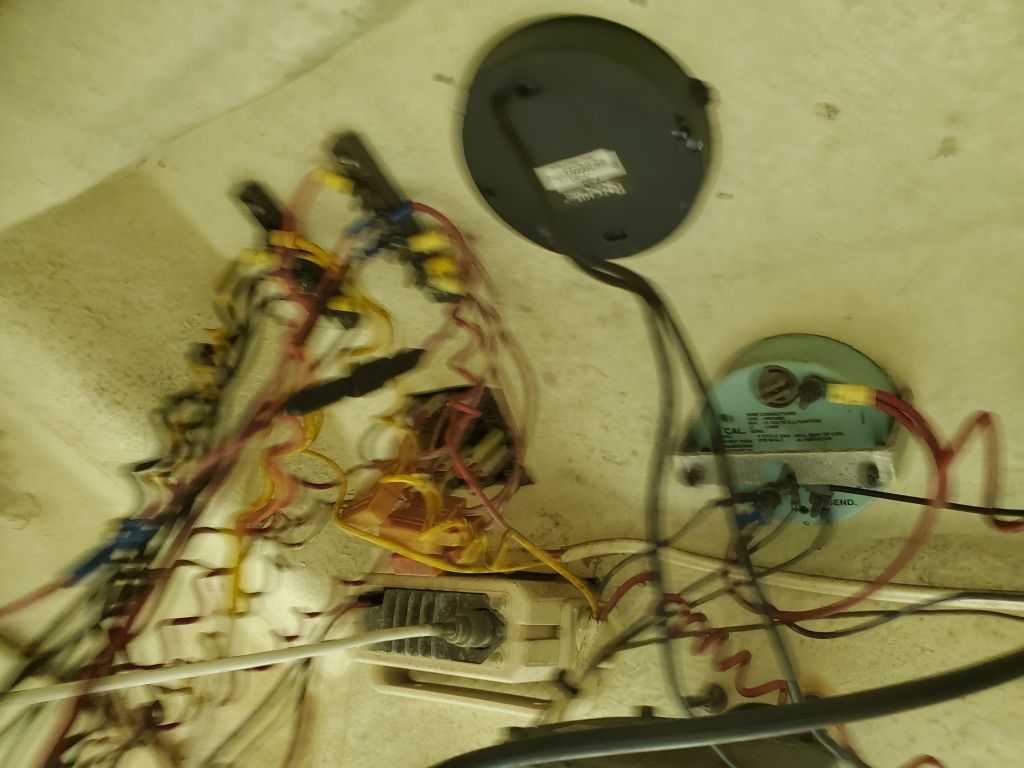
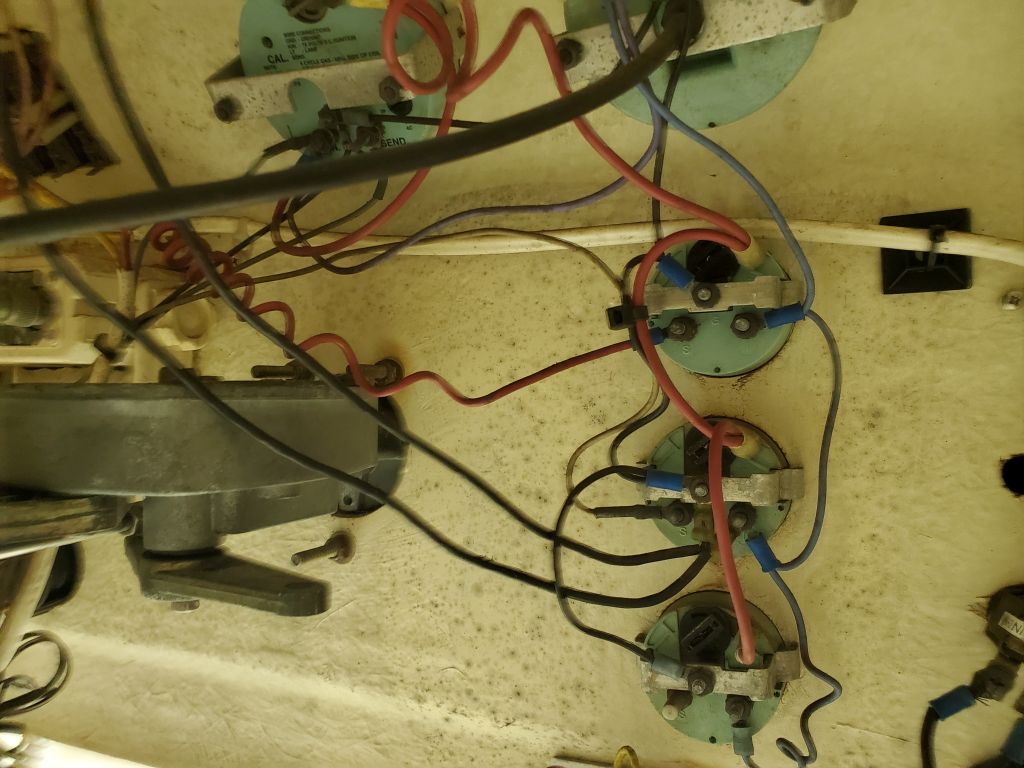
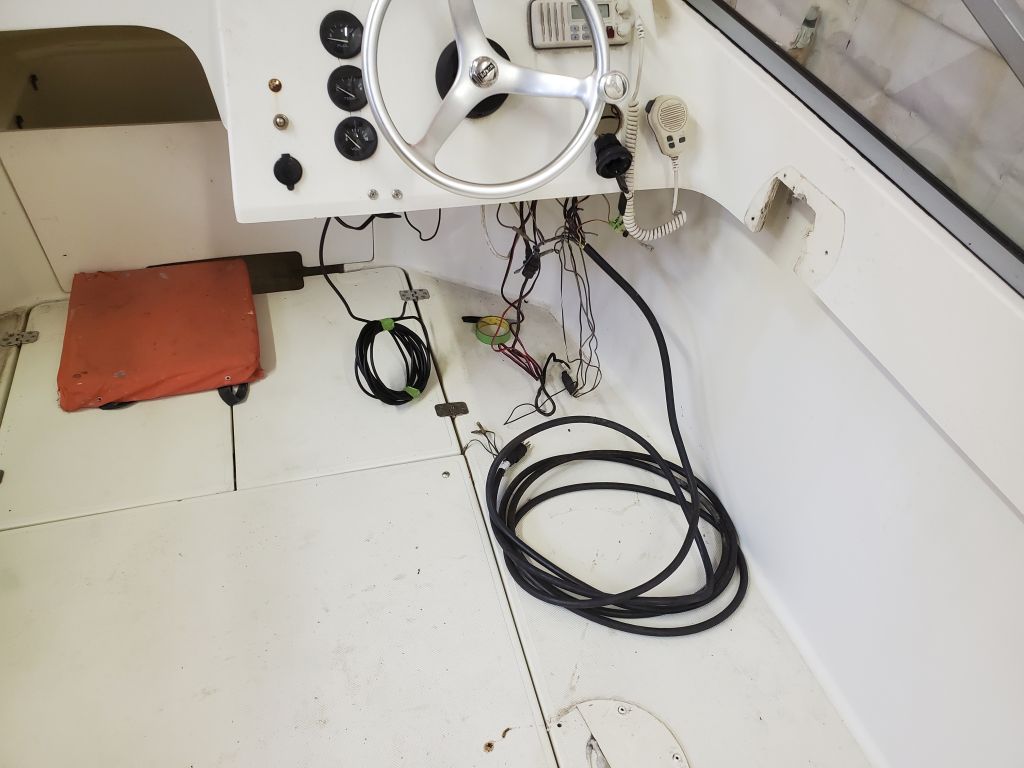
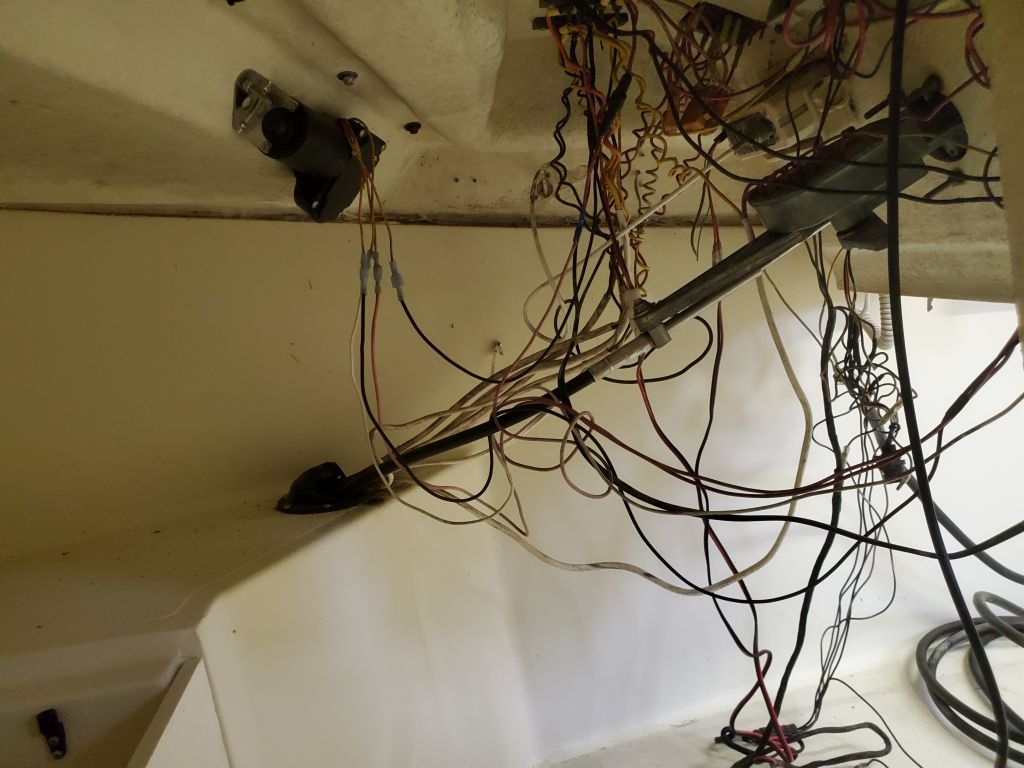
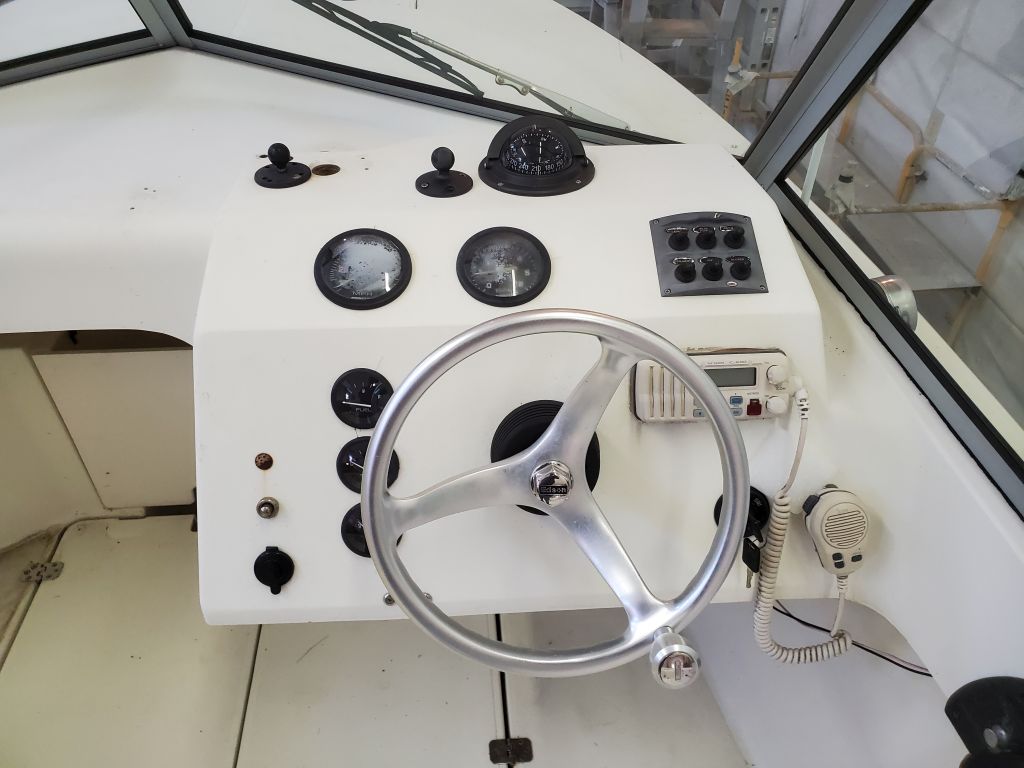
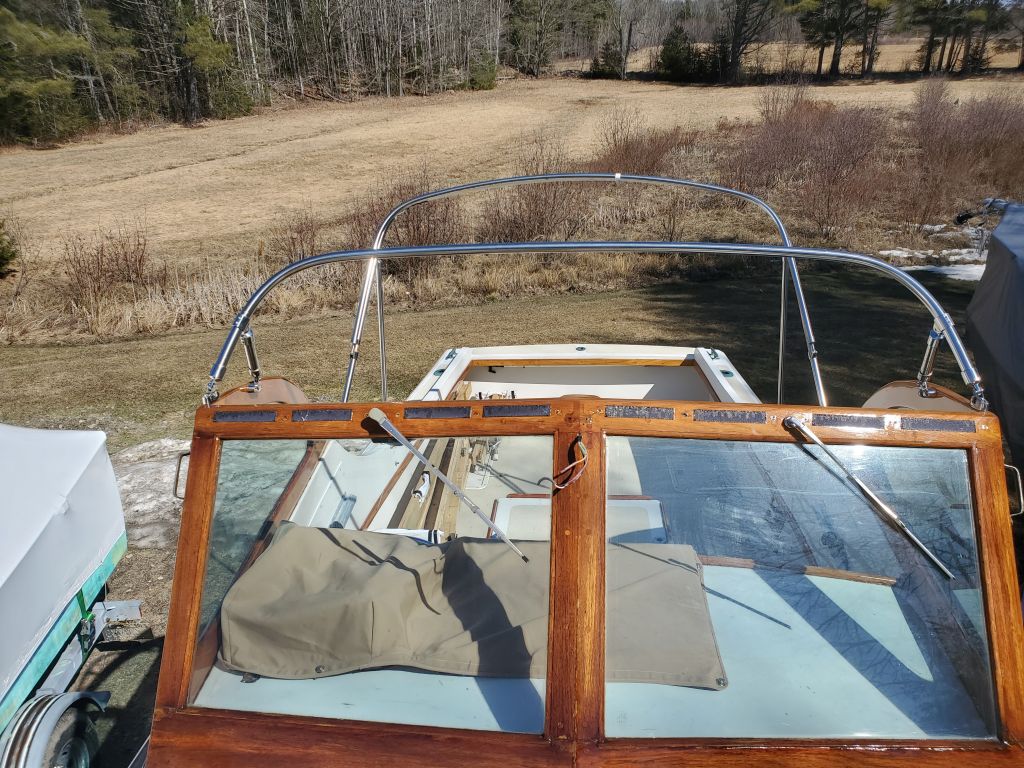
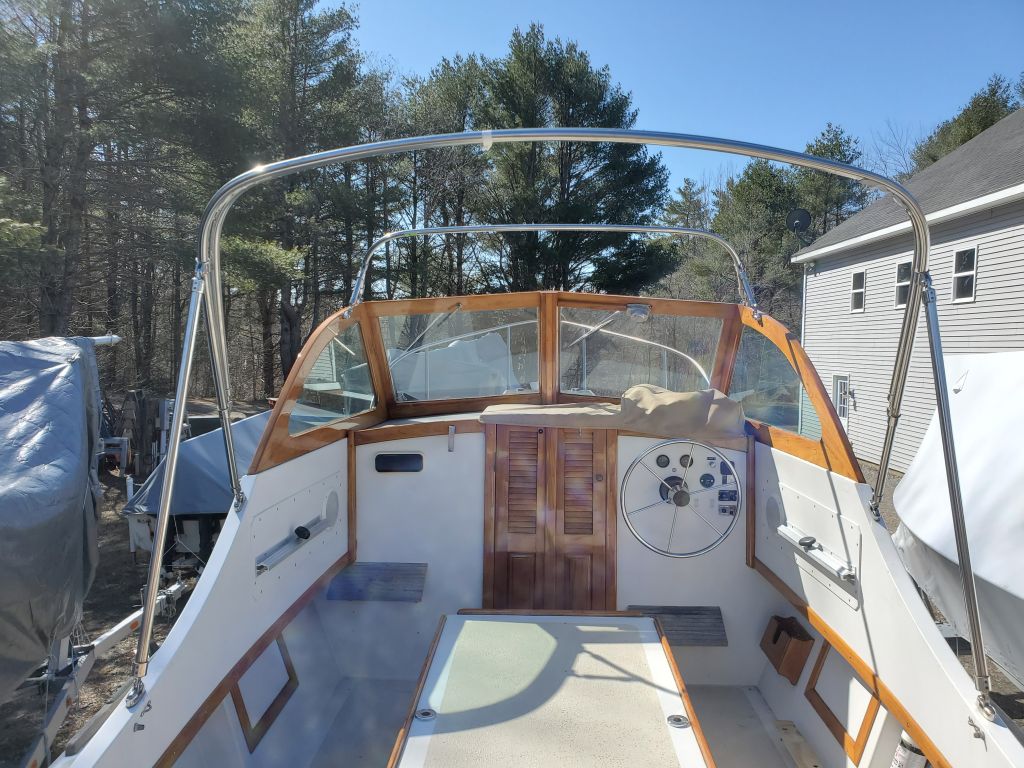
At the helm, the existing wiring was a semi-rat’s nest, but much of it would be disappearing along with the engine wiring harness.
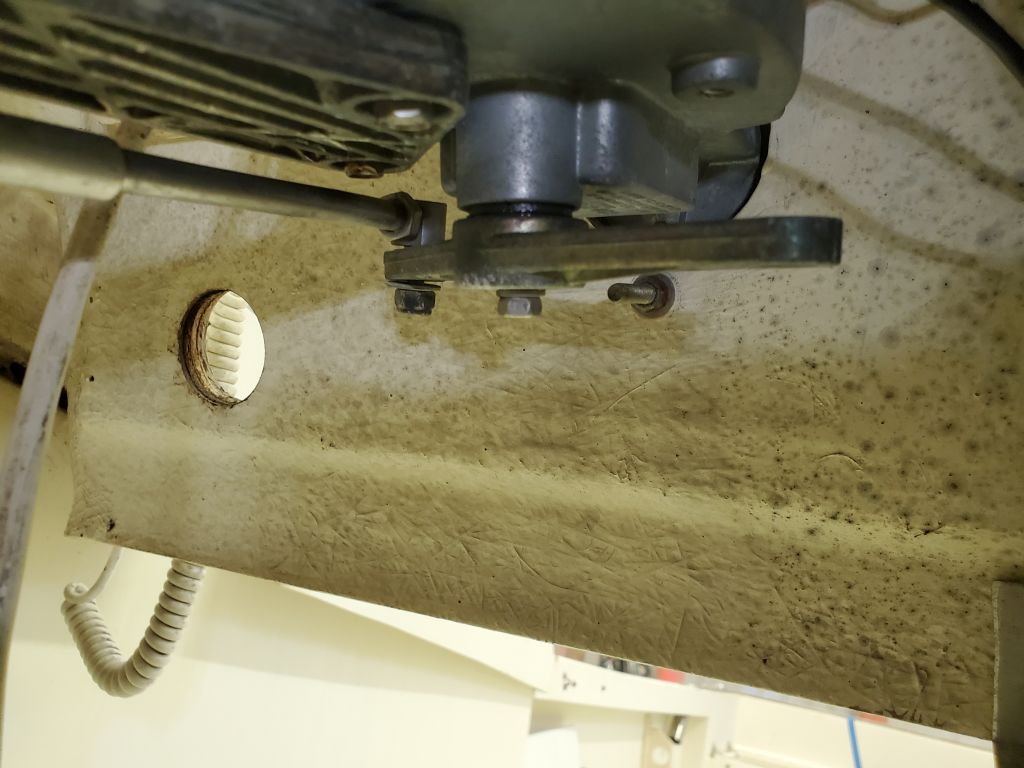
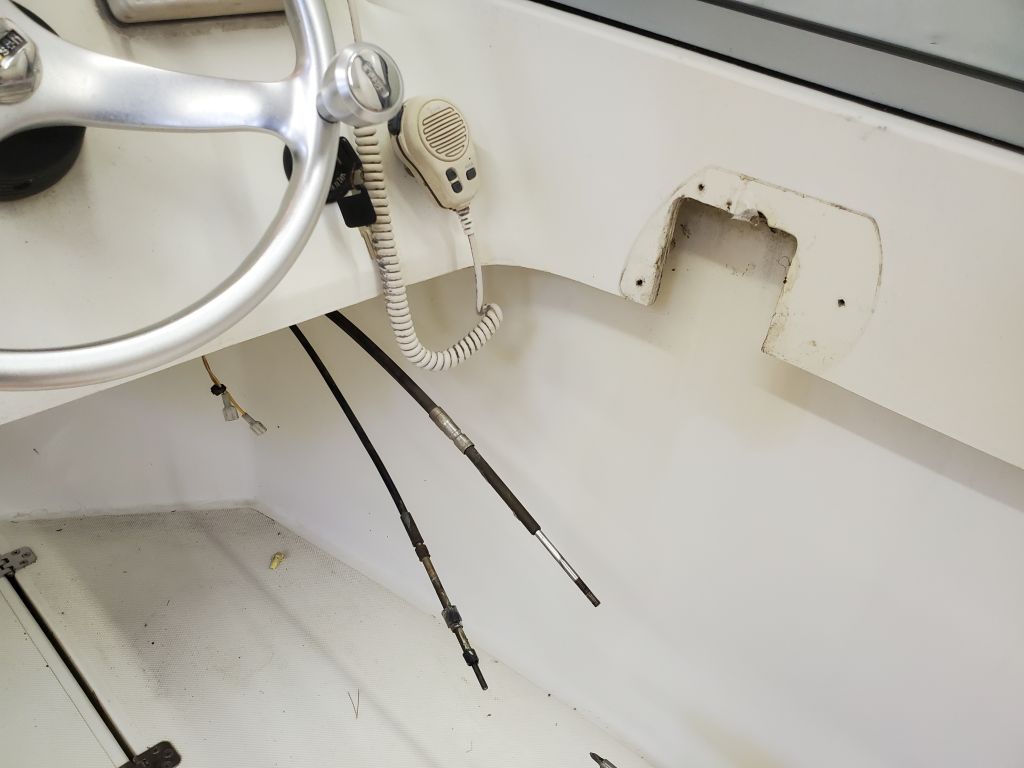
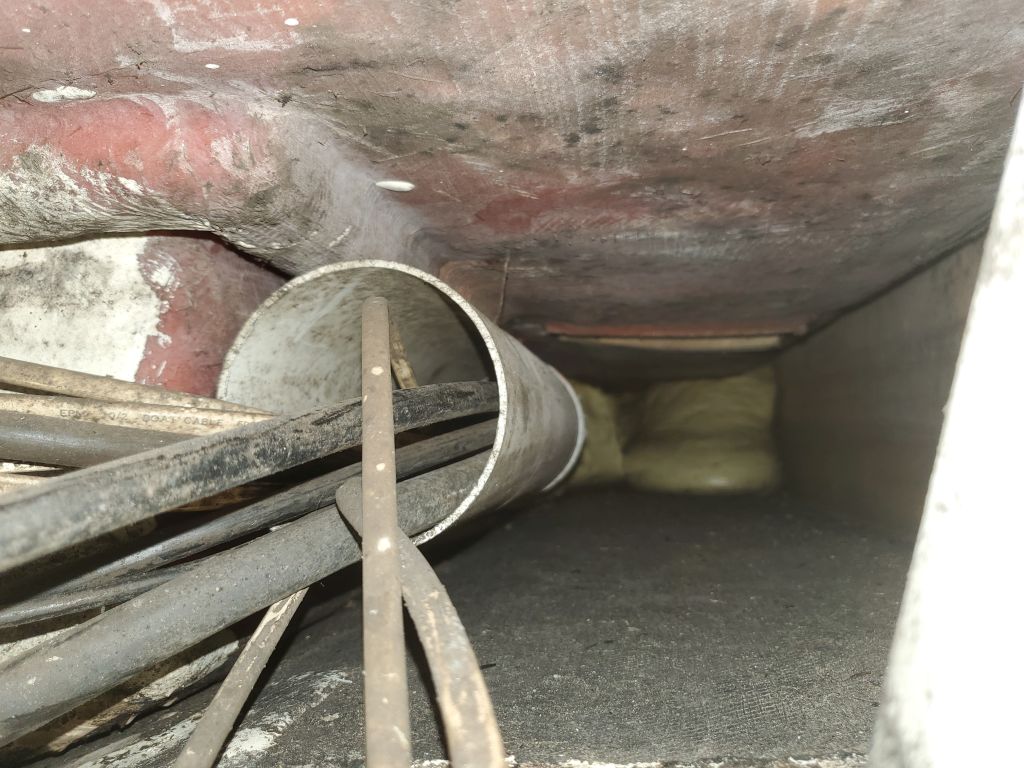
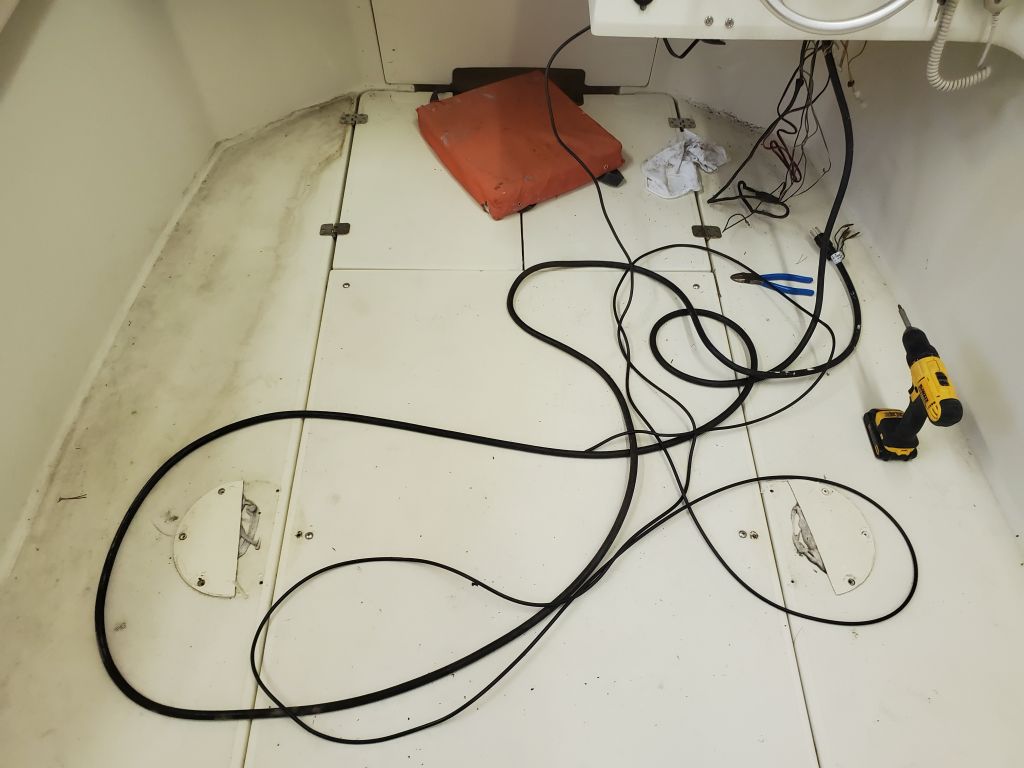
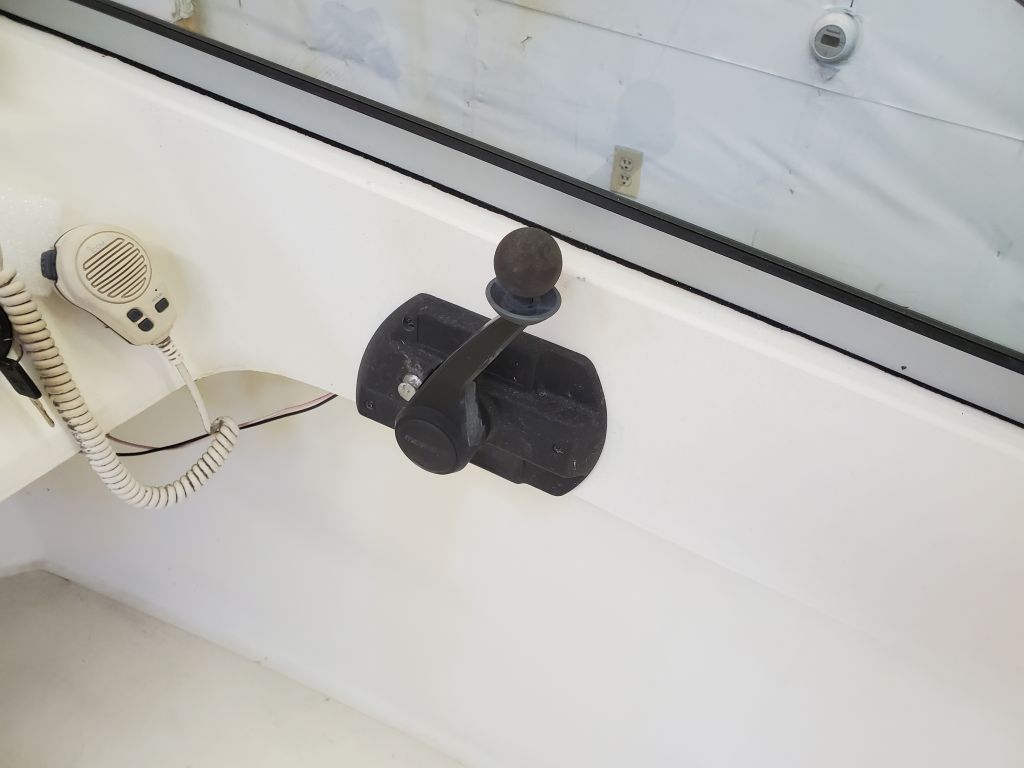
Without much difficulty, I was able to remove the side-mounted control lever, and disconnect the shift and throttle cables, which I then pulled back out through the wiring conduit beneath the deck without issue; I pulled the shift cable out through the jet drive housing at the transom.
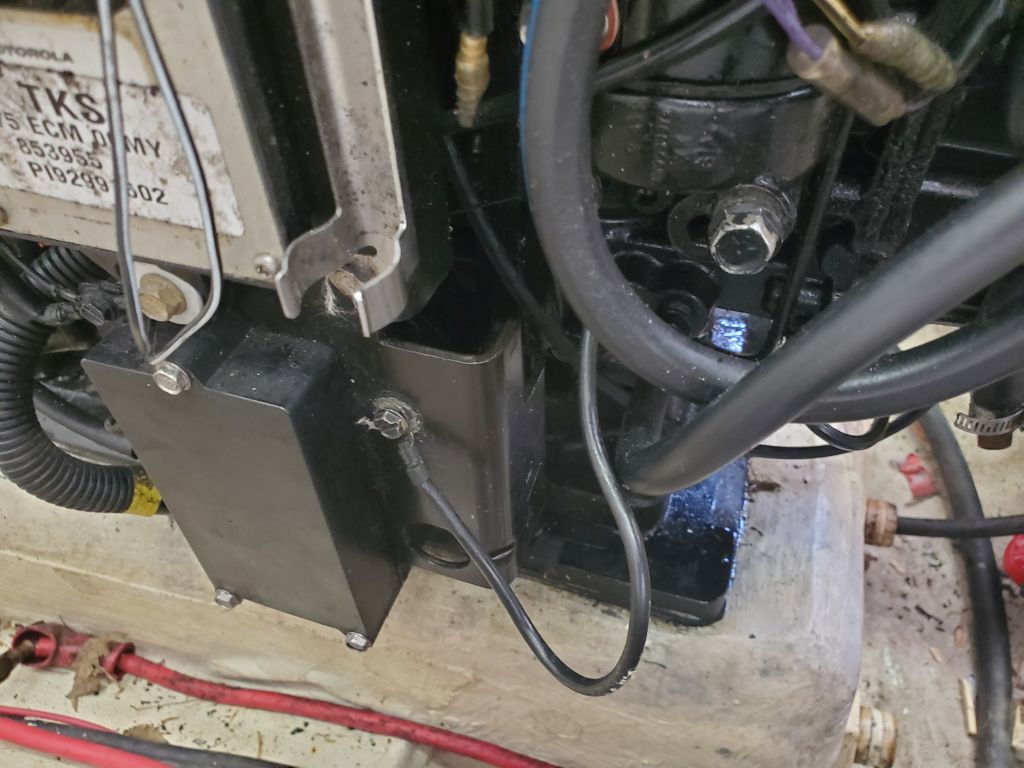
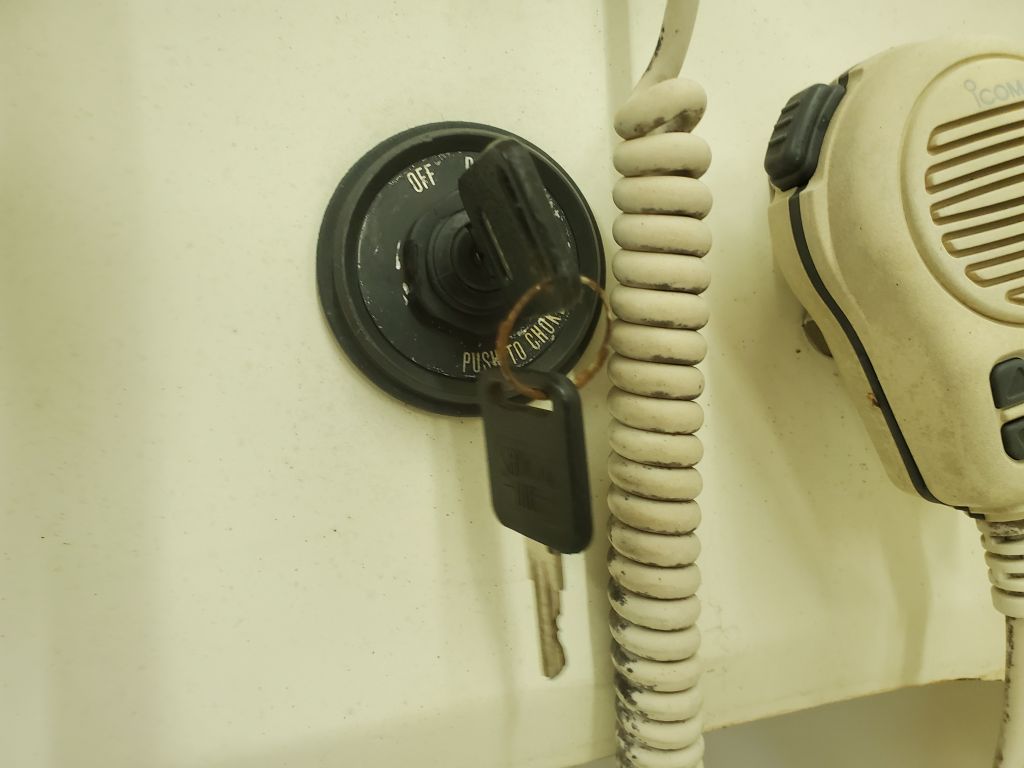
Next I removed various line clamps and wire ties from the engine room to release the engine wiring harness, which I pulled through from the forward end since it was still connected to the helm console there, which wires needed individual disconnection. This is where I left things at the end of the day, with the harness ready to be disconnected at the helm end, along with the ignition switch. All that remained to remove from the helm was the steering cable, which would be for next time.