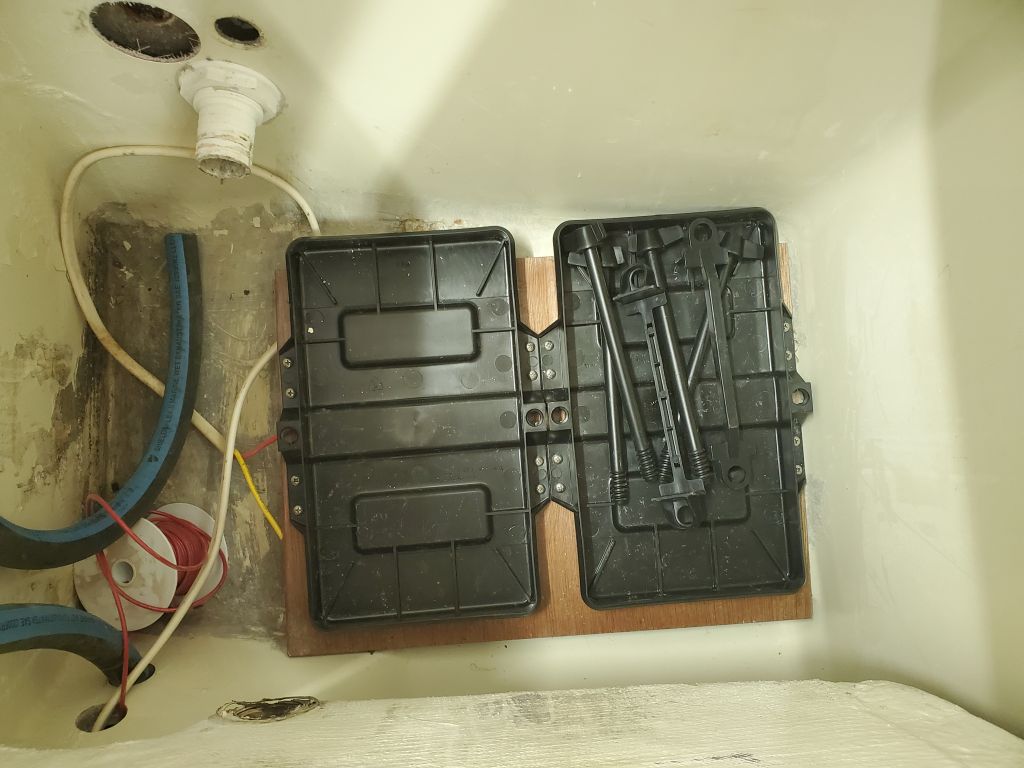
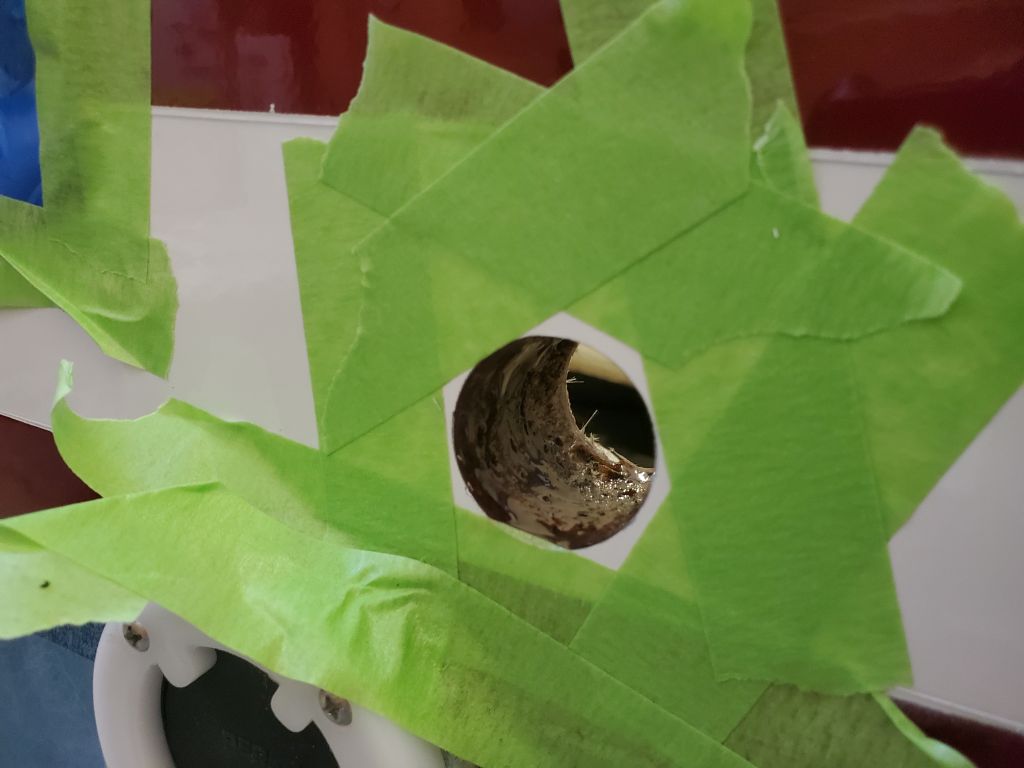
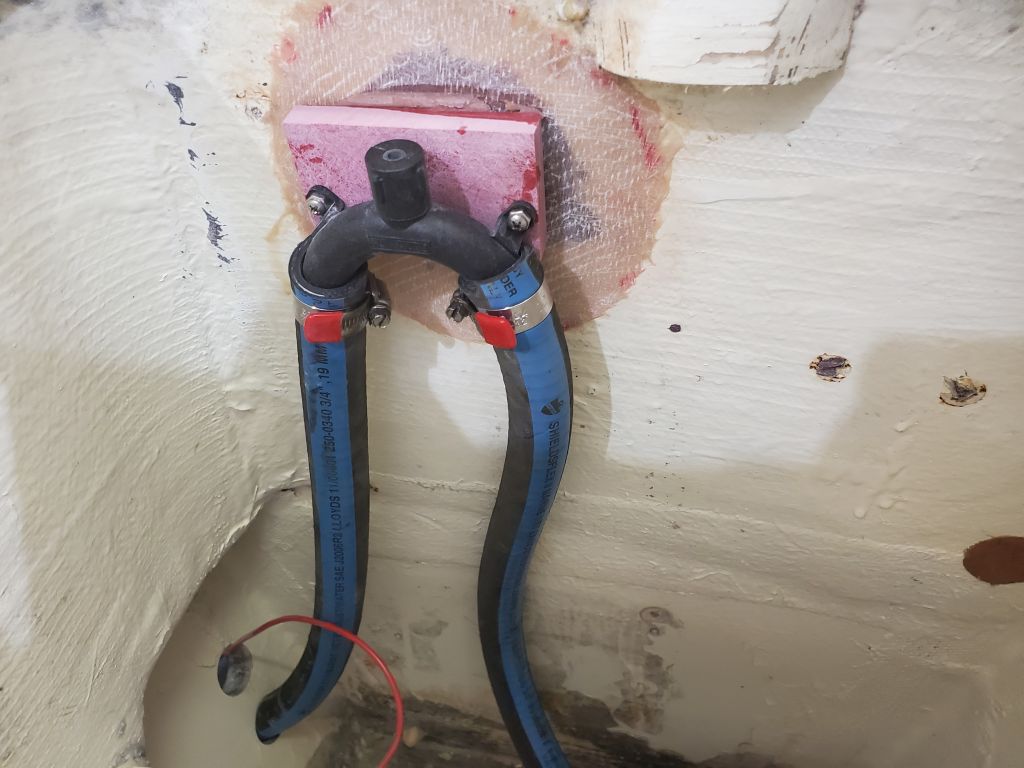
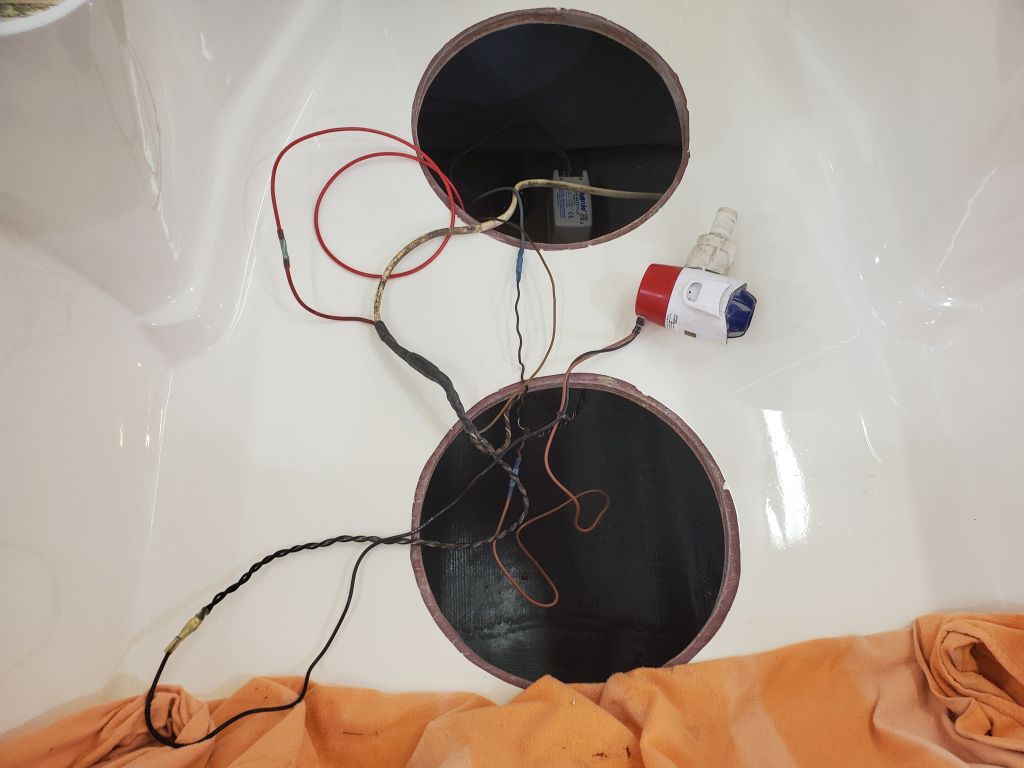
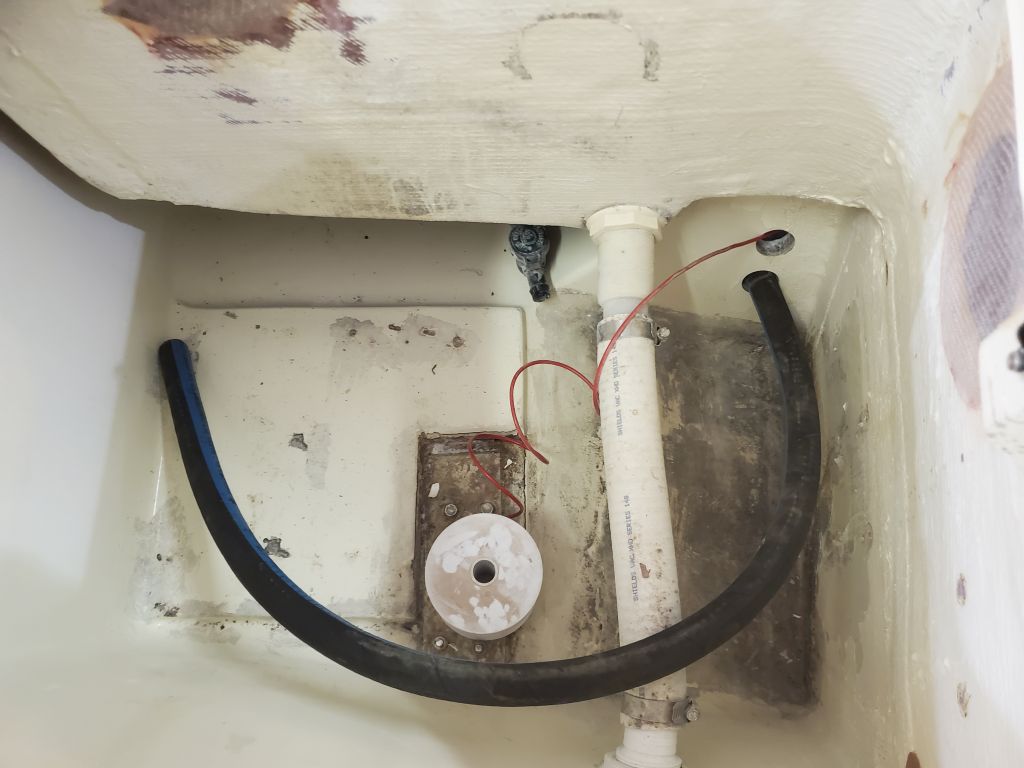
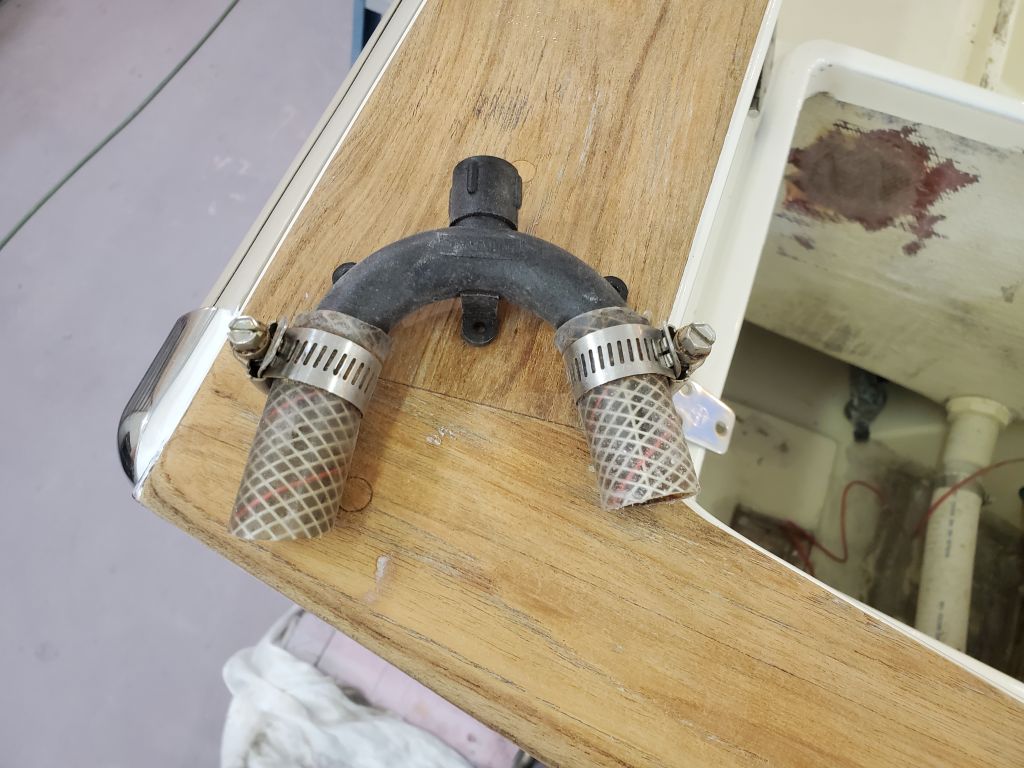
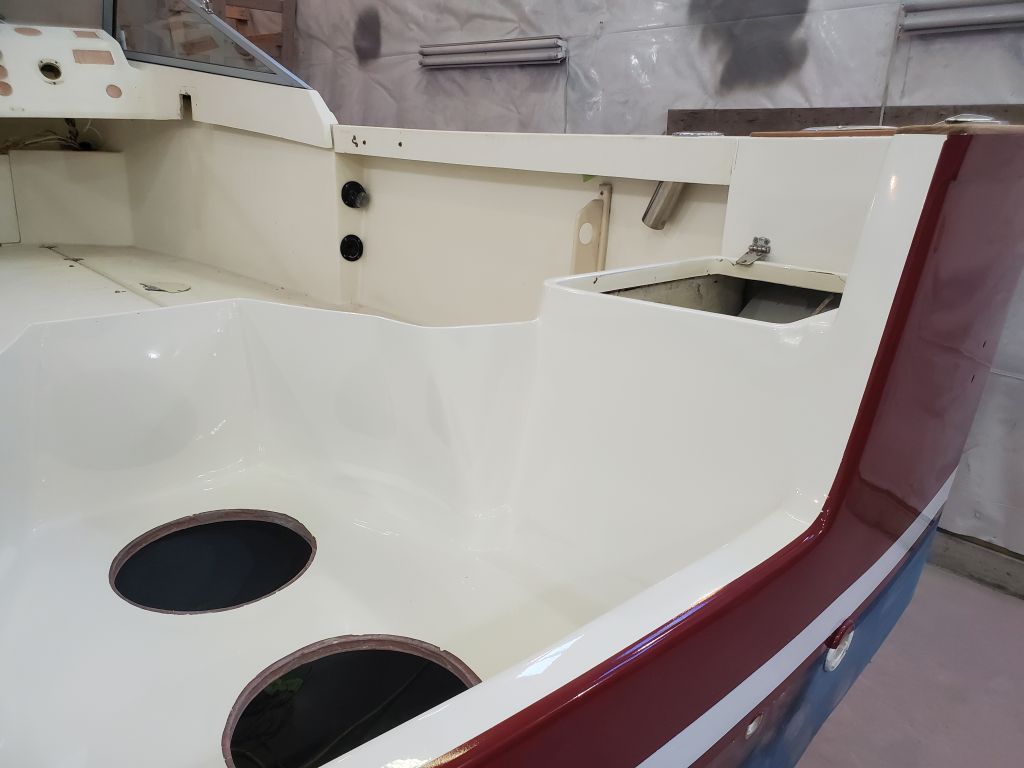
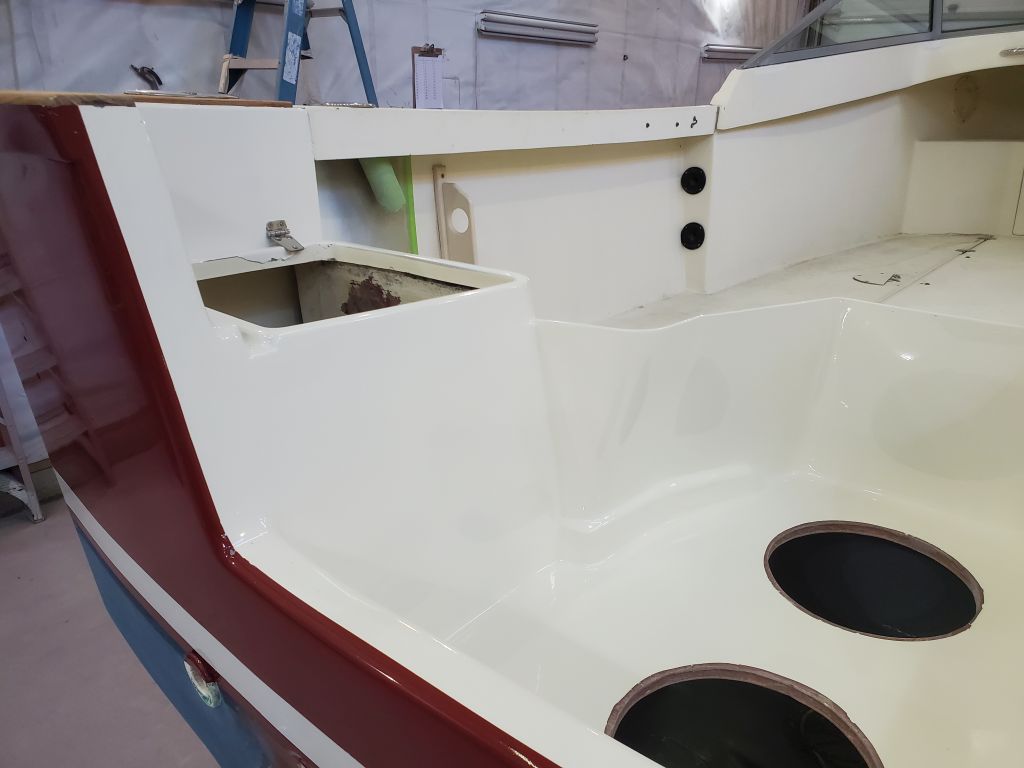
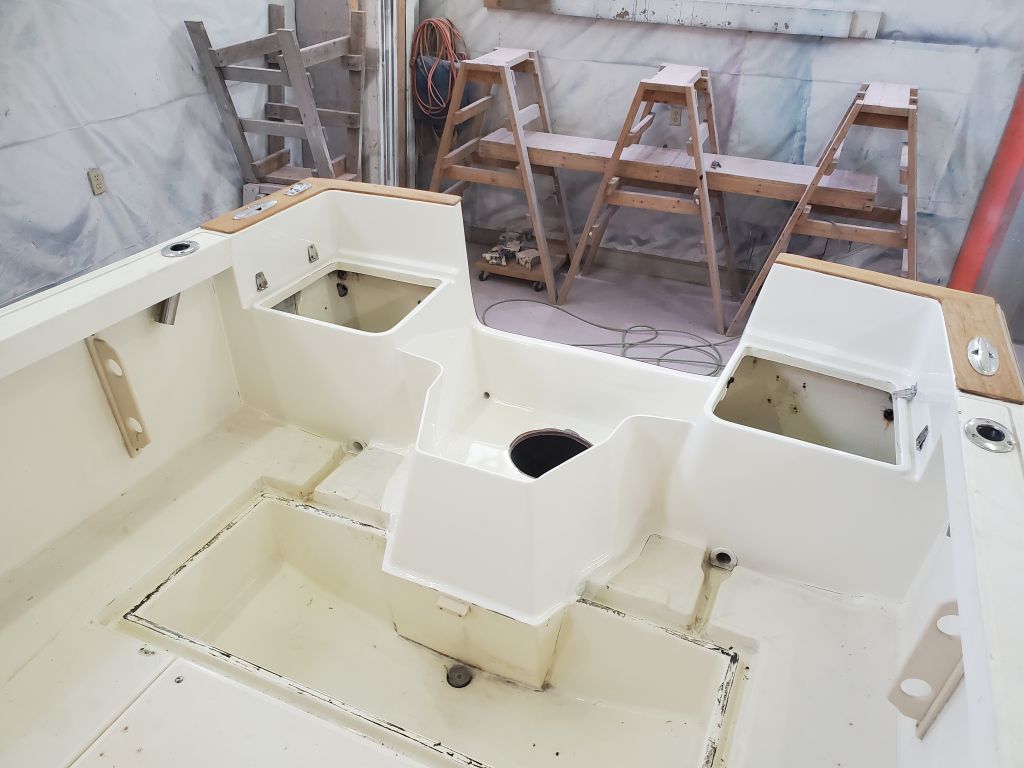
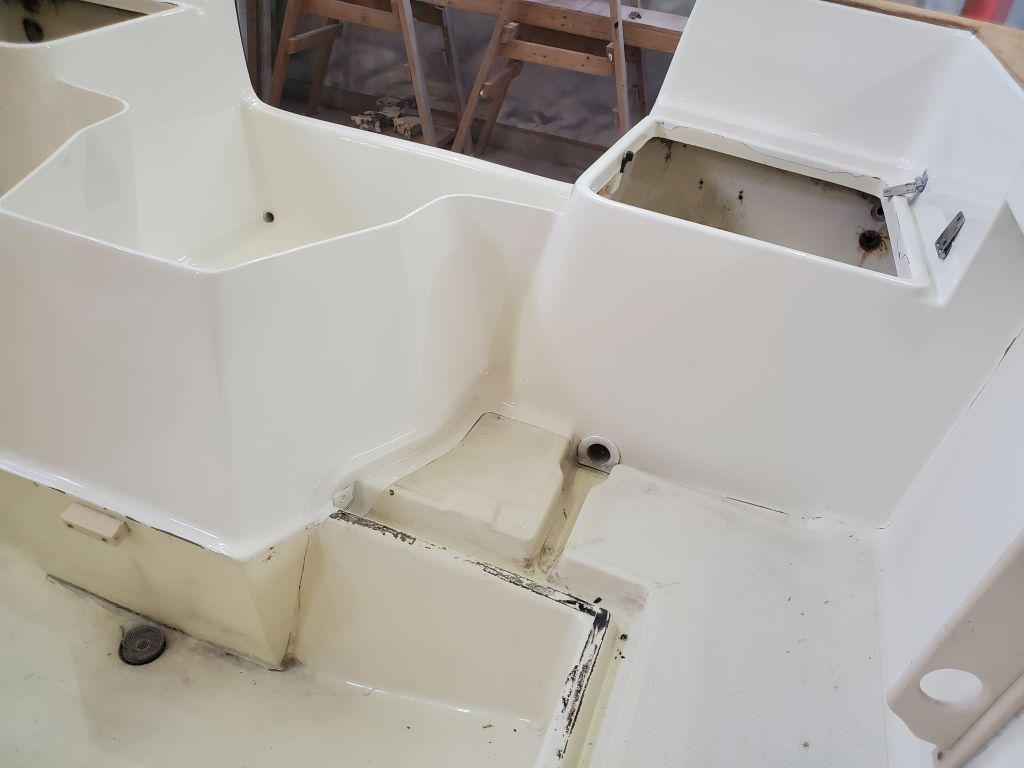
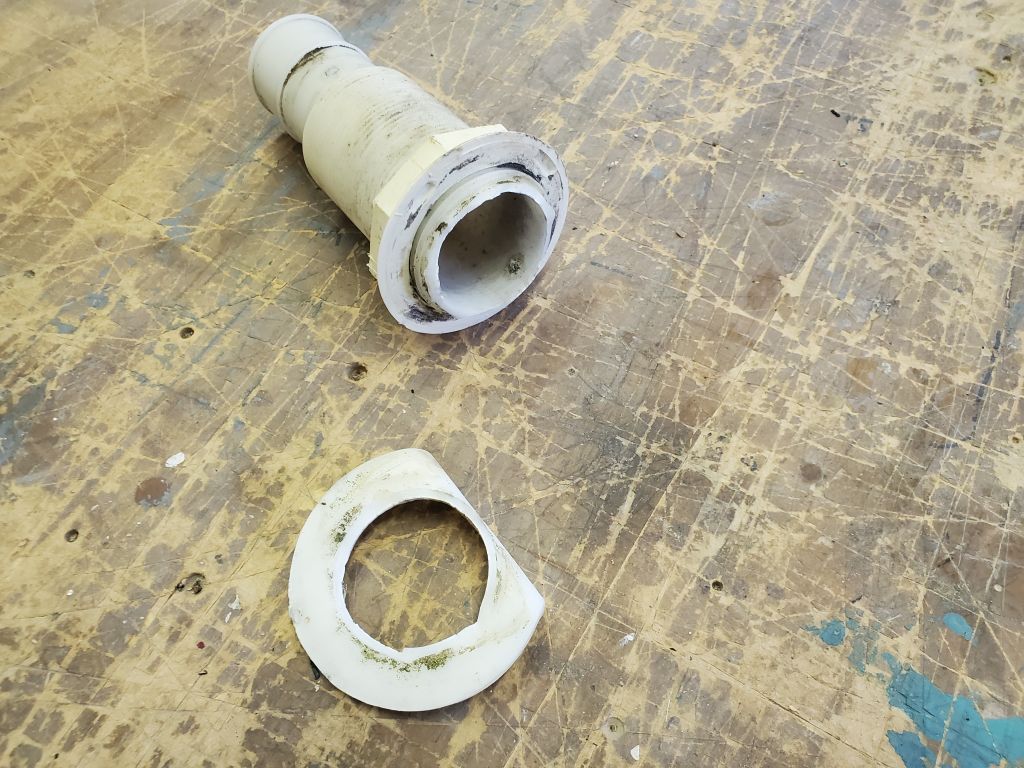
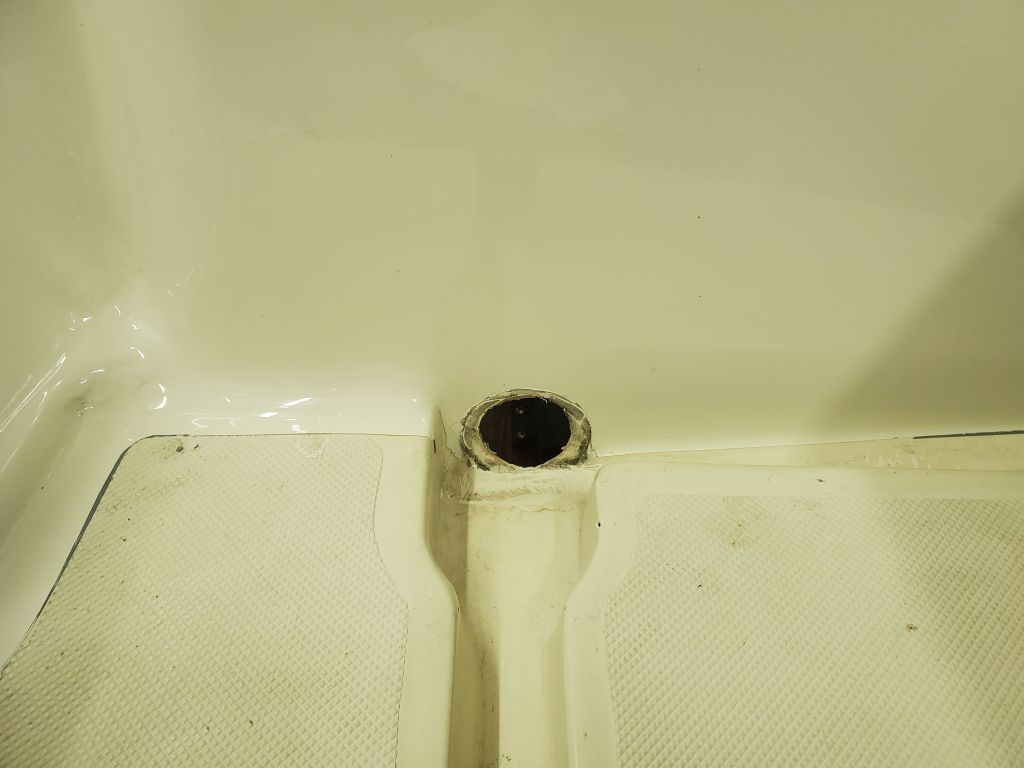
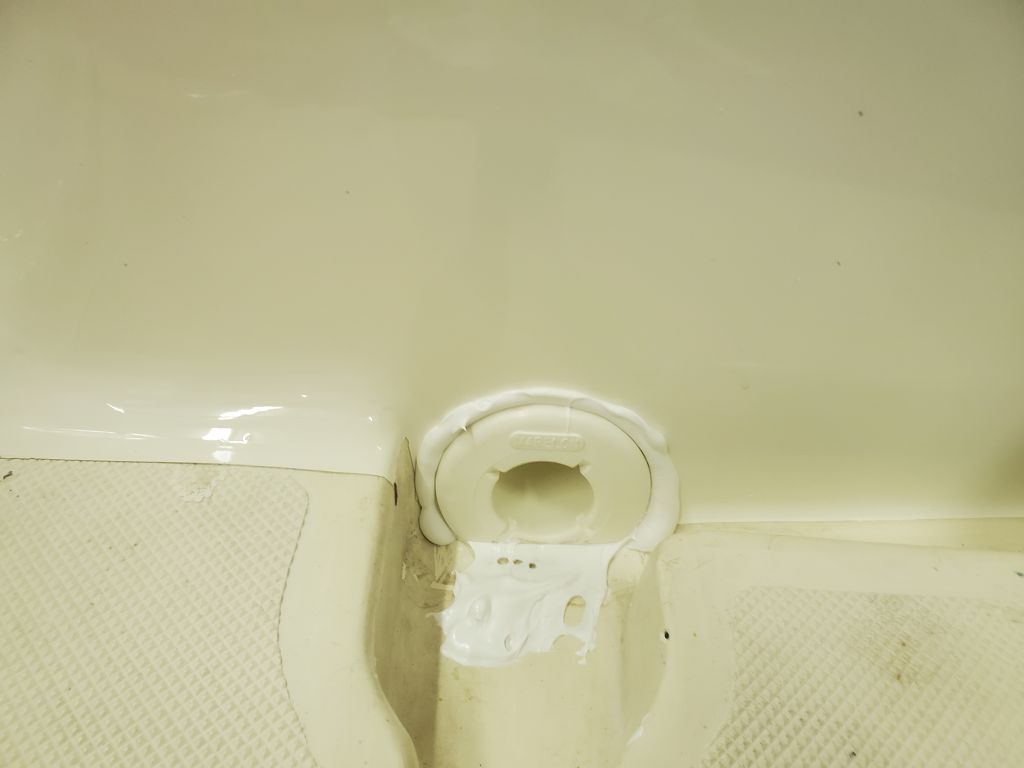
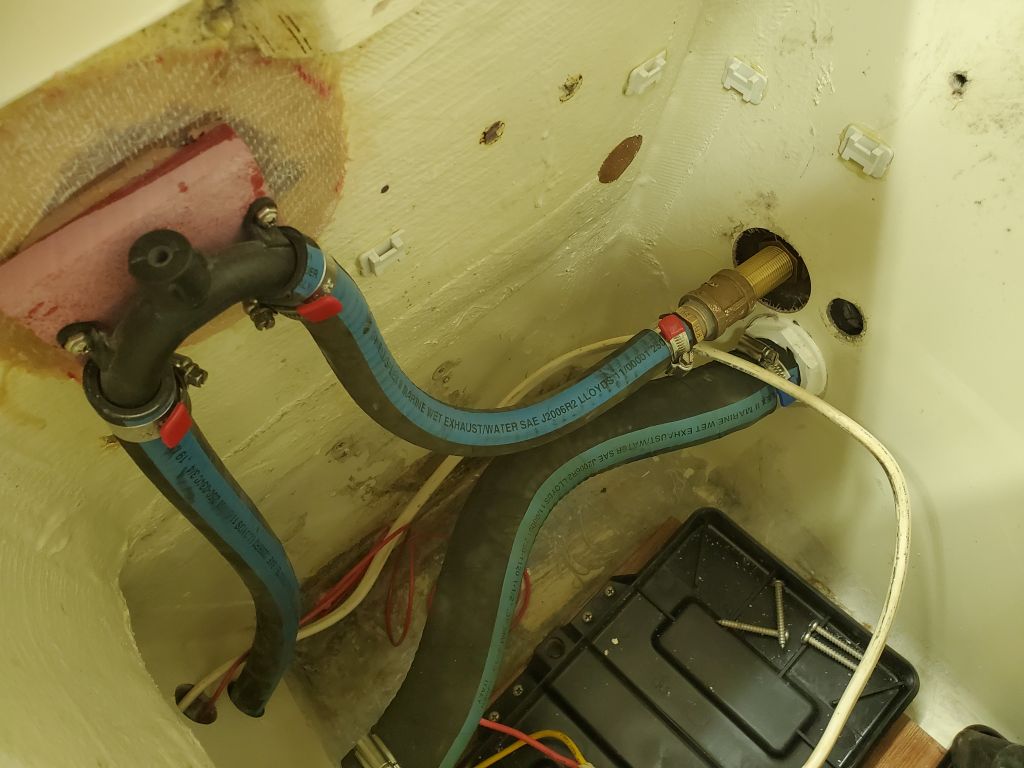
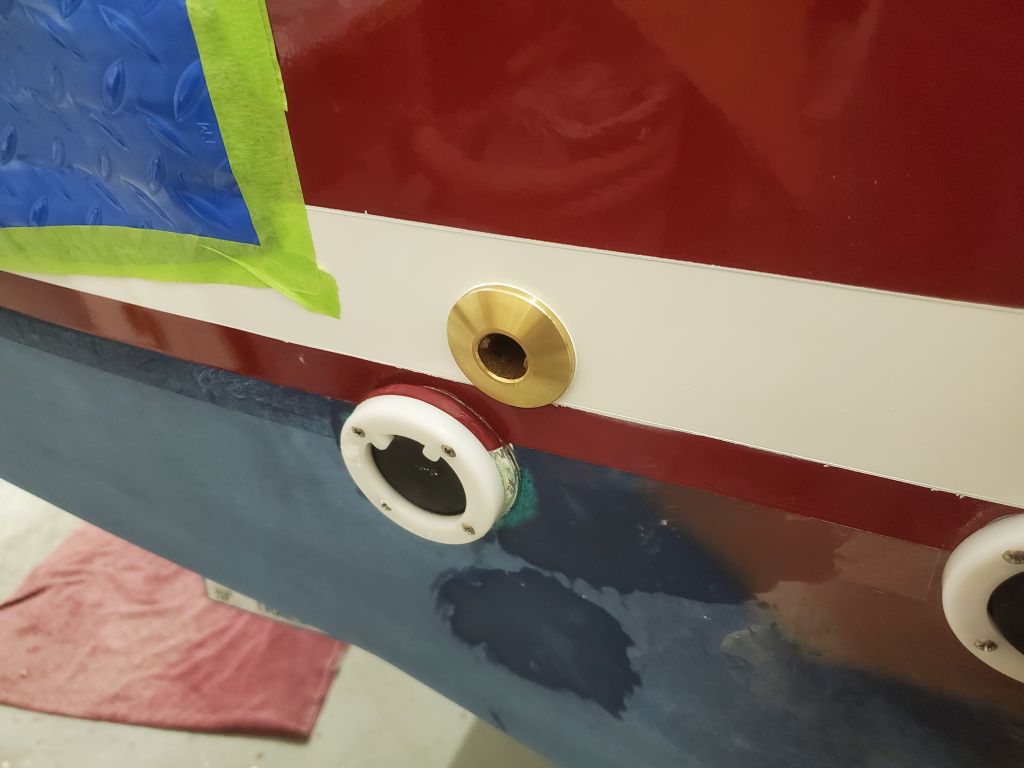
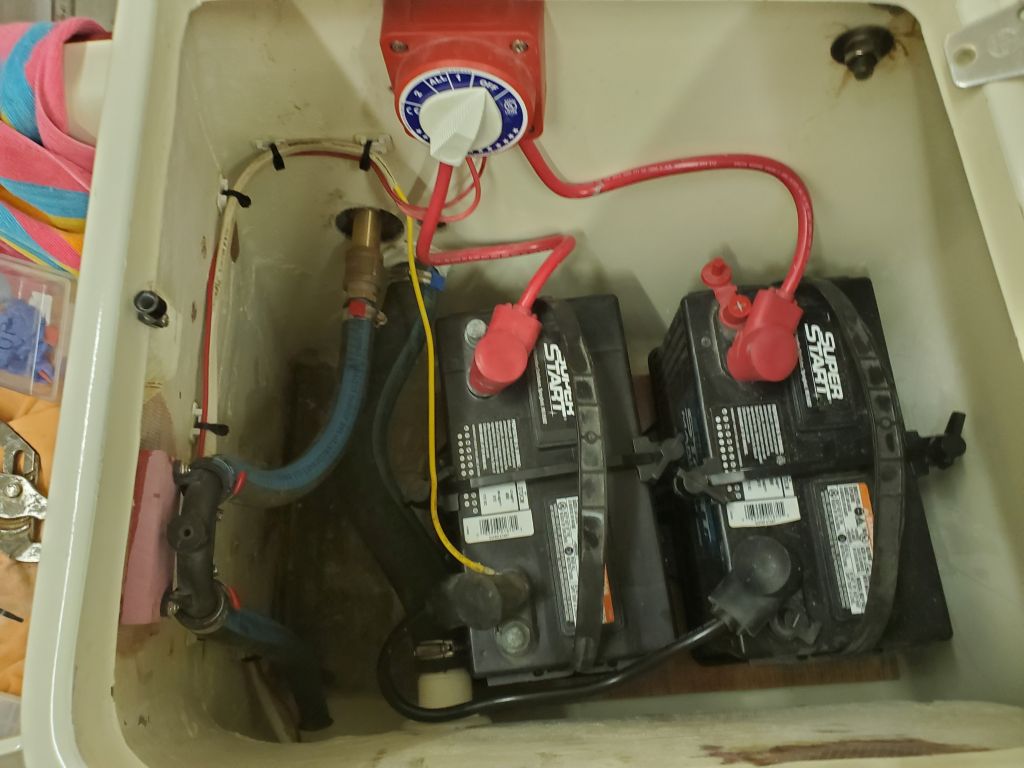
Earlier, I removed the port scupper hose, which led directly across the battery location and would interfere with the new battery trays. Of course in the process of removing the hose the fitting on the cockpit end broke, so I ordered a replacement Marelon fitting, which was now on hand. I modified the mushroom head as needed to fit flush against the molded channel where it was to be placed, then installed the fitting with sealant. Afterwards, I installed a new drain hose, intentionally leaving an oxbow bend in the hose to help clear the stud in the battery tray system.
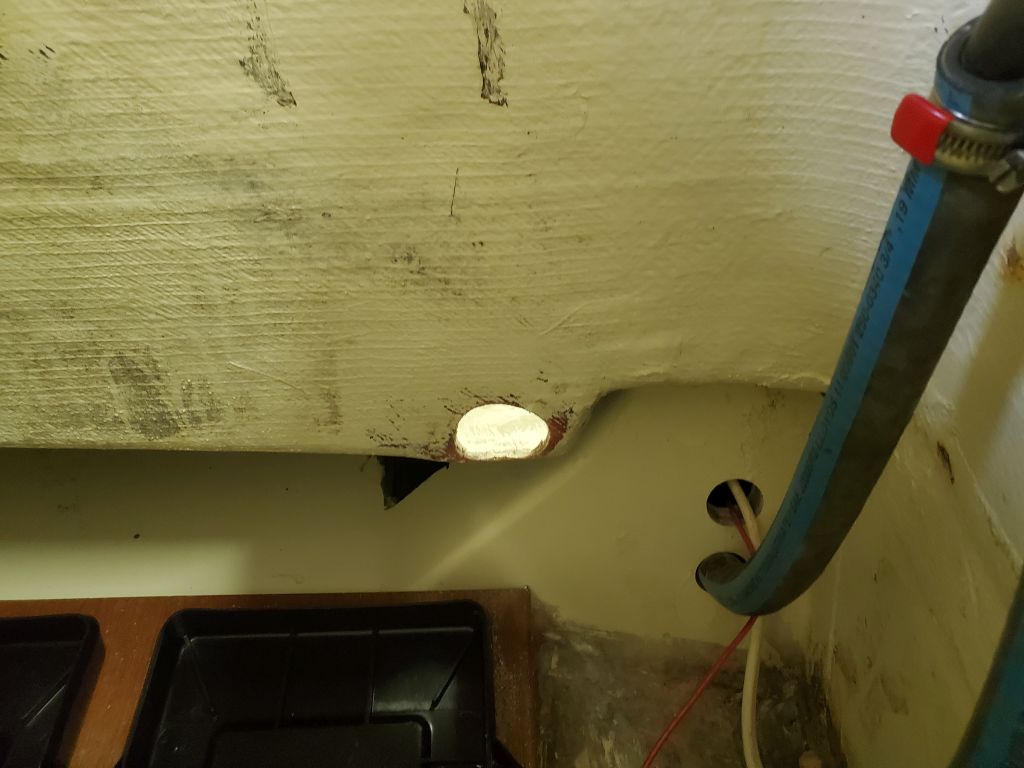


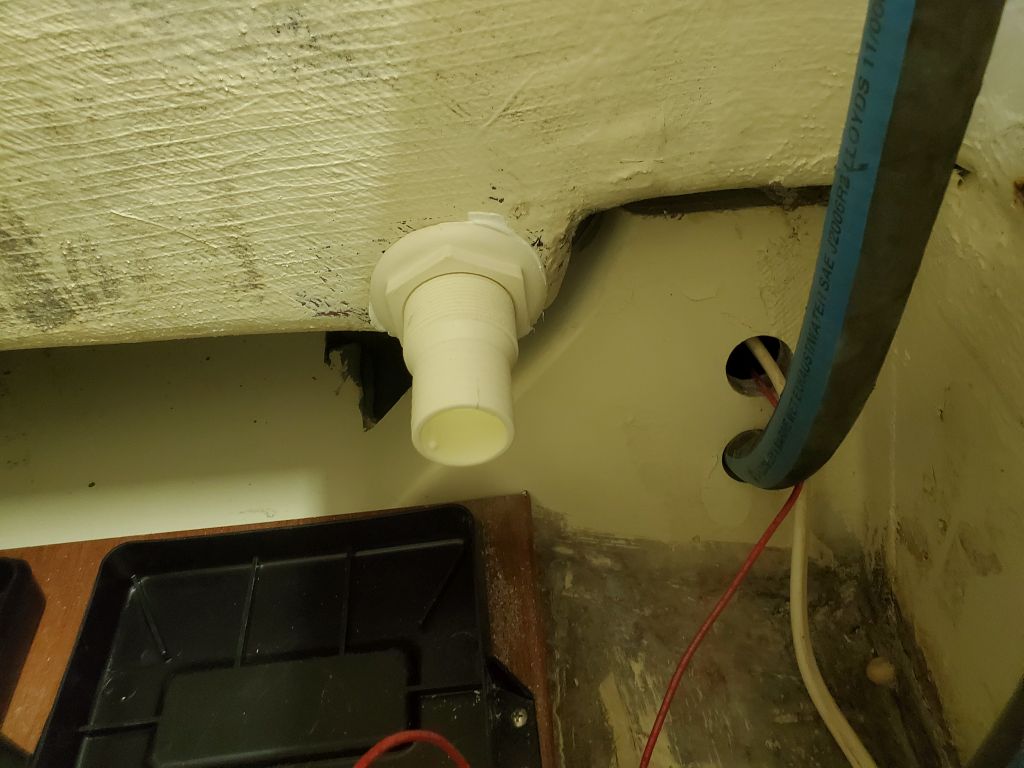
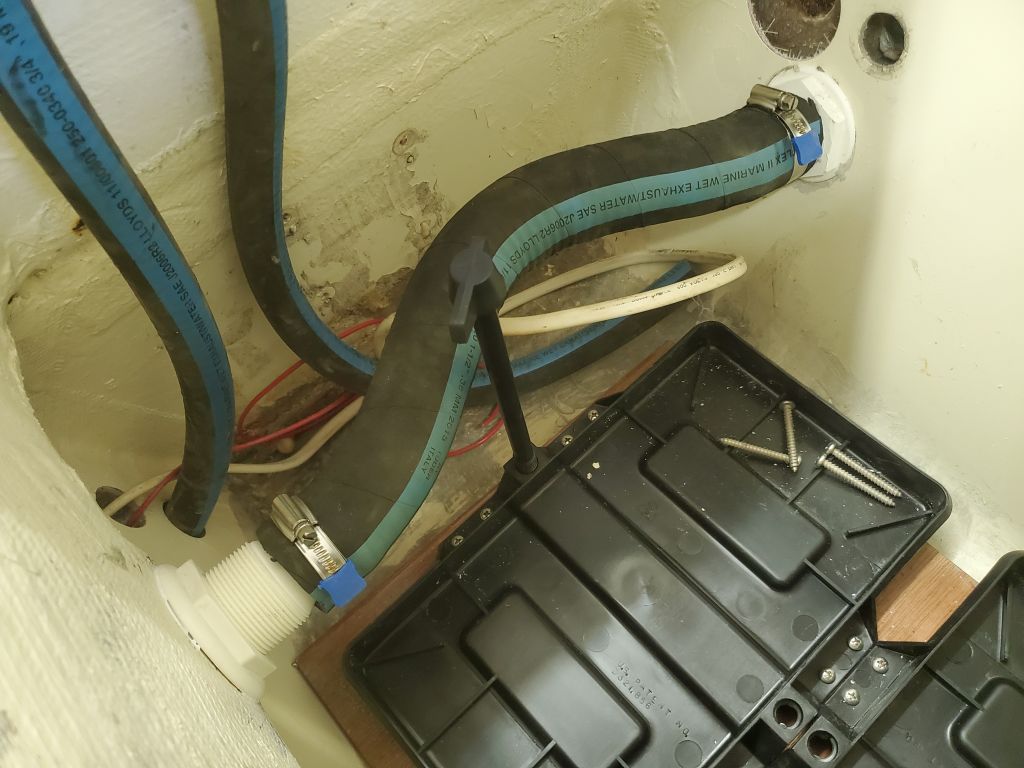
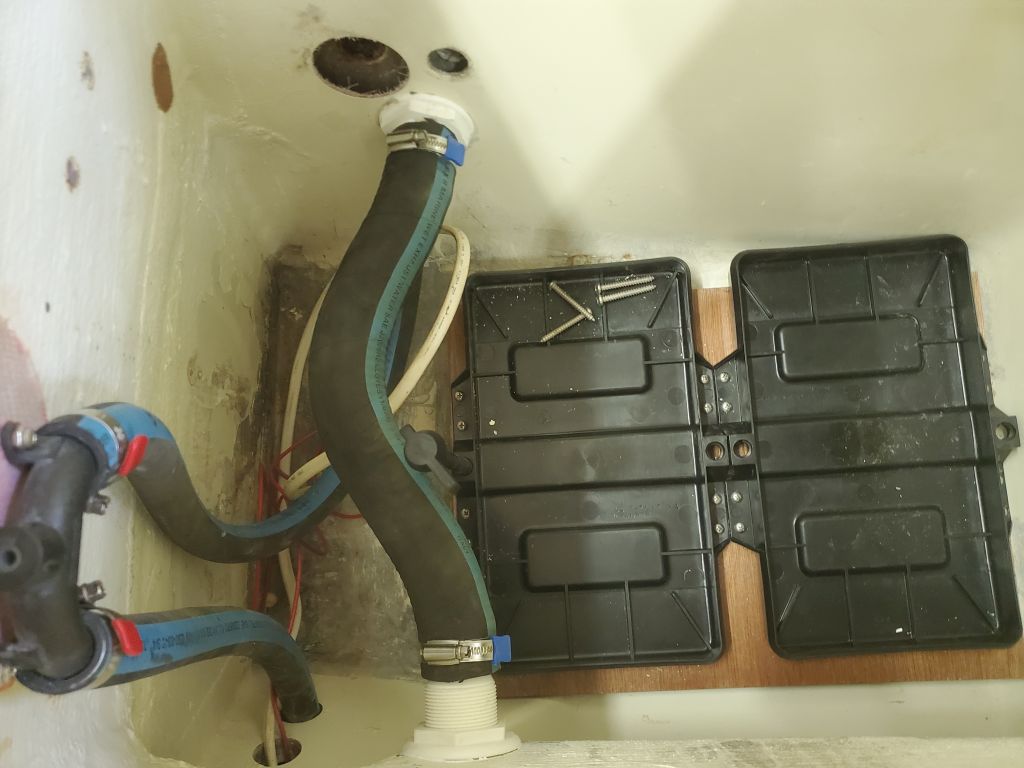
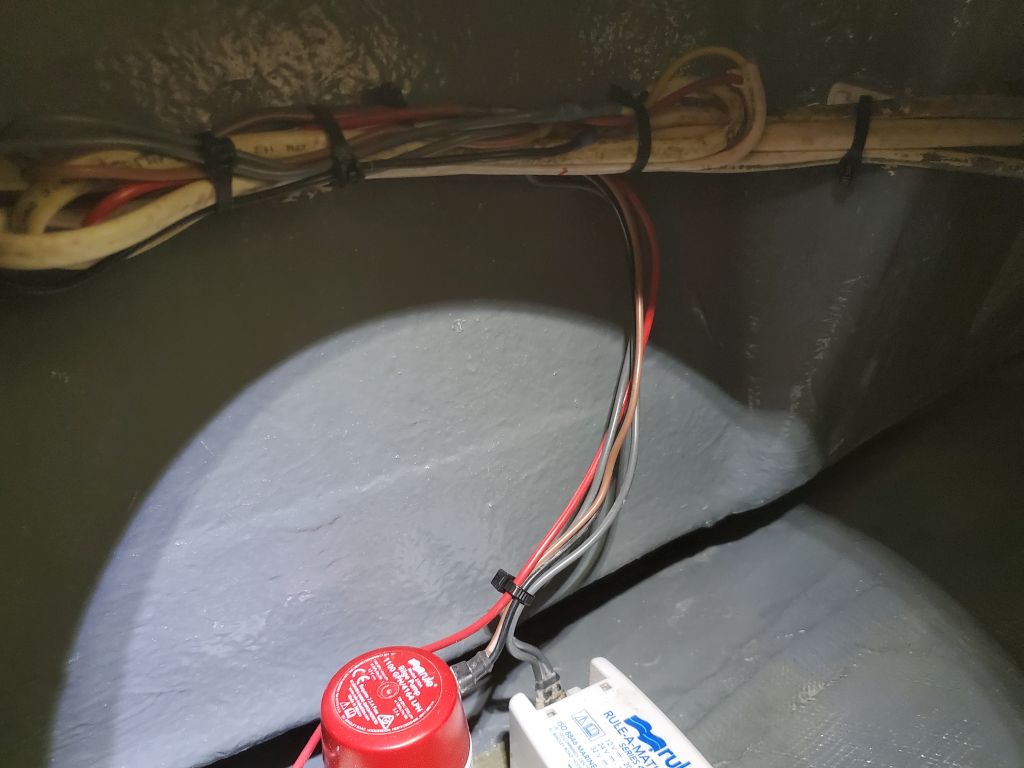
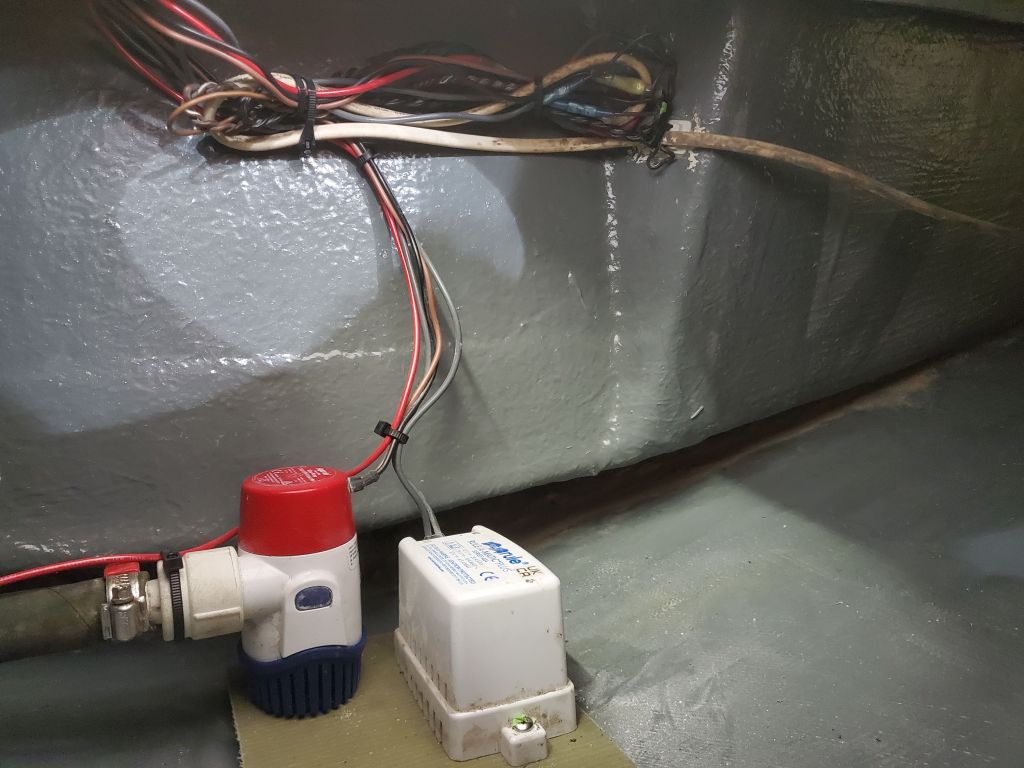
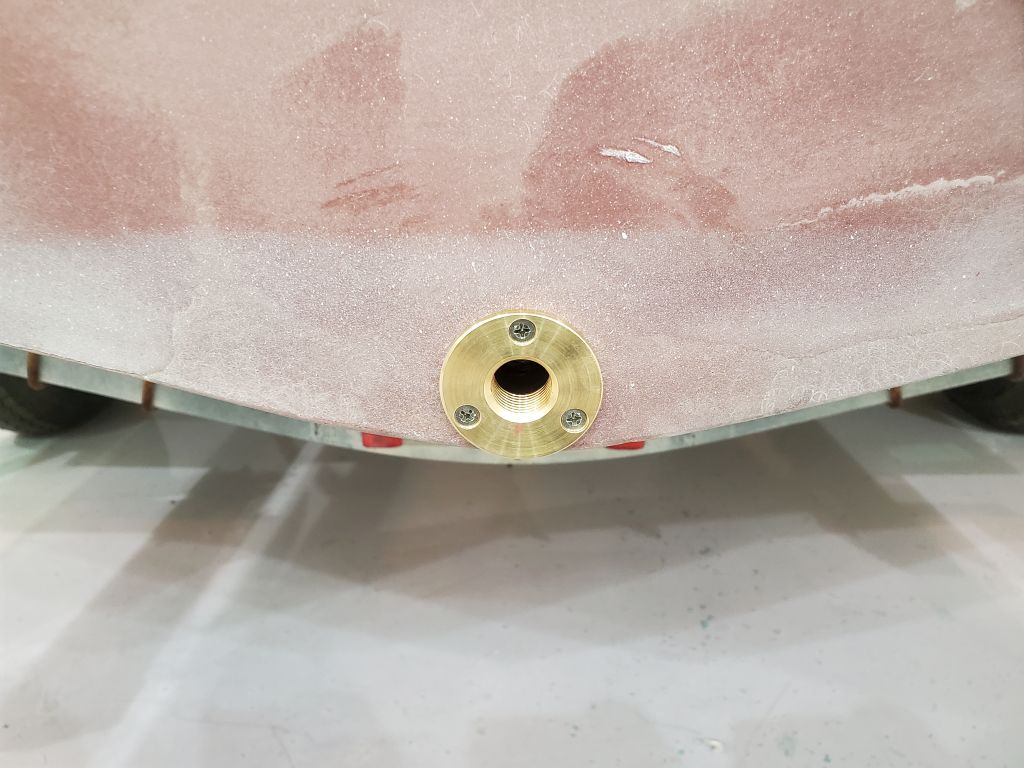
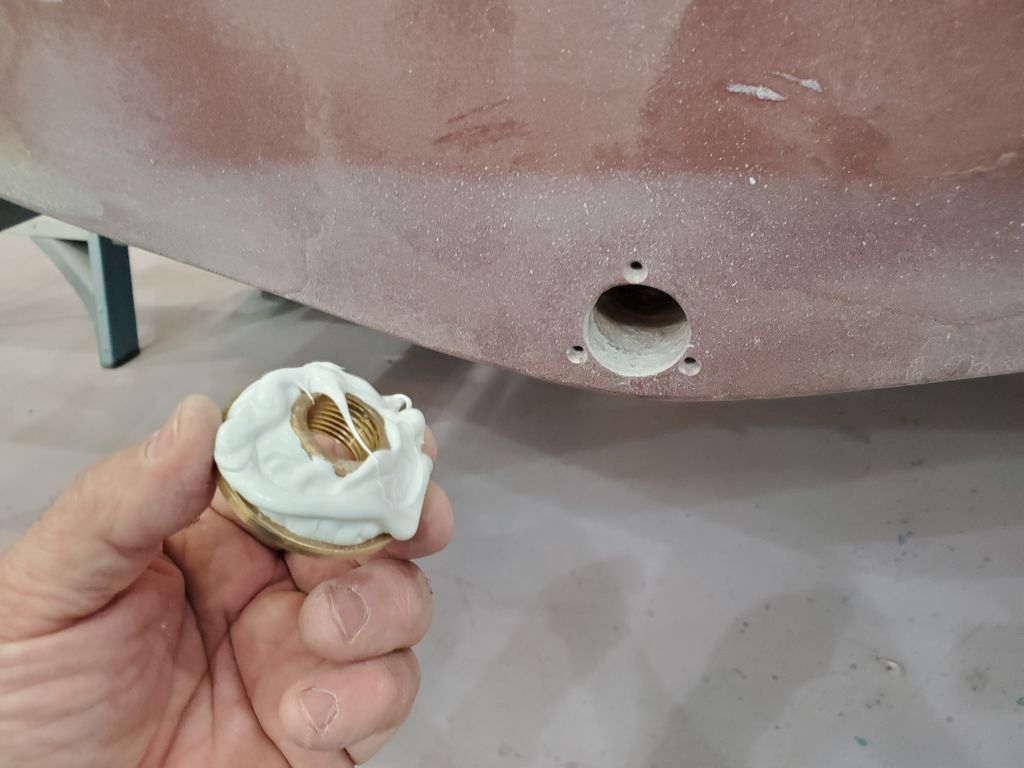
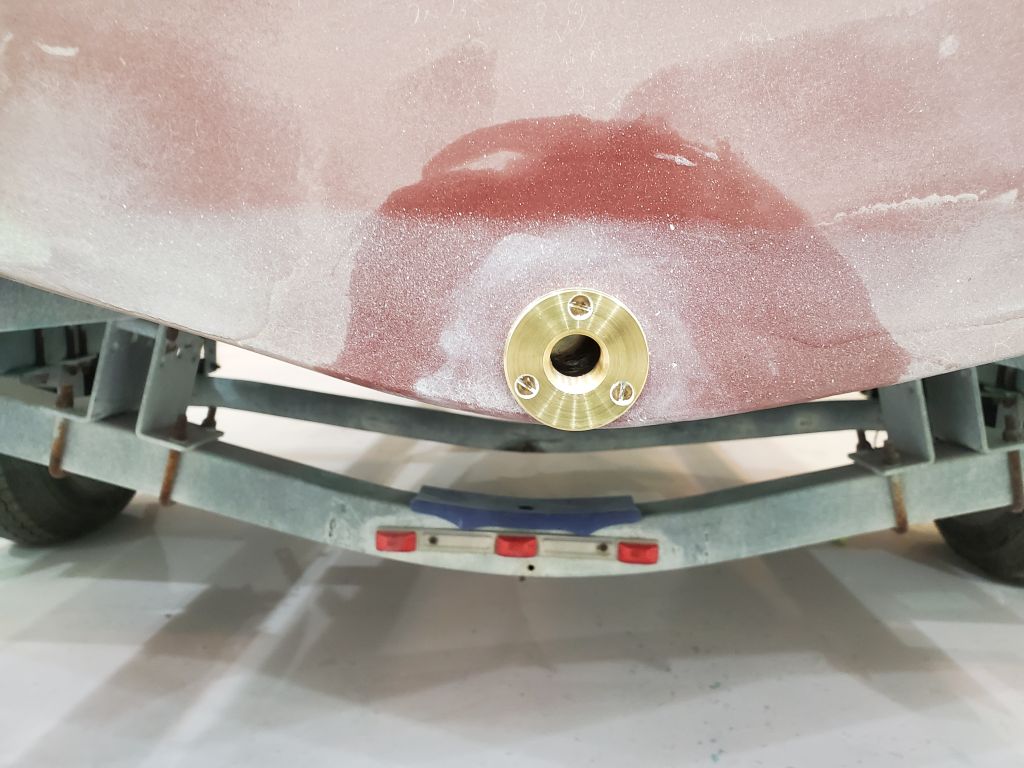
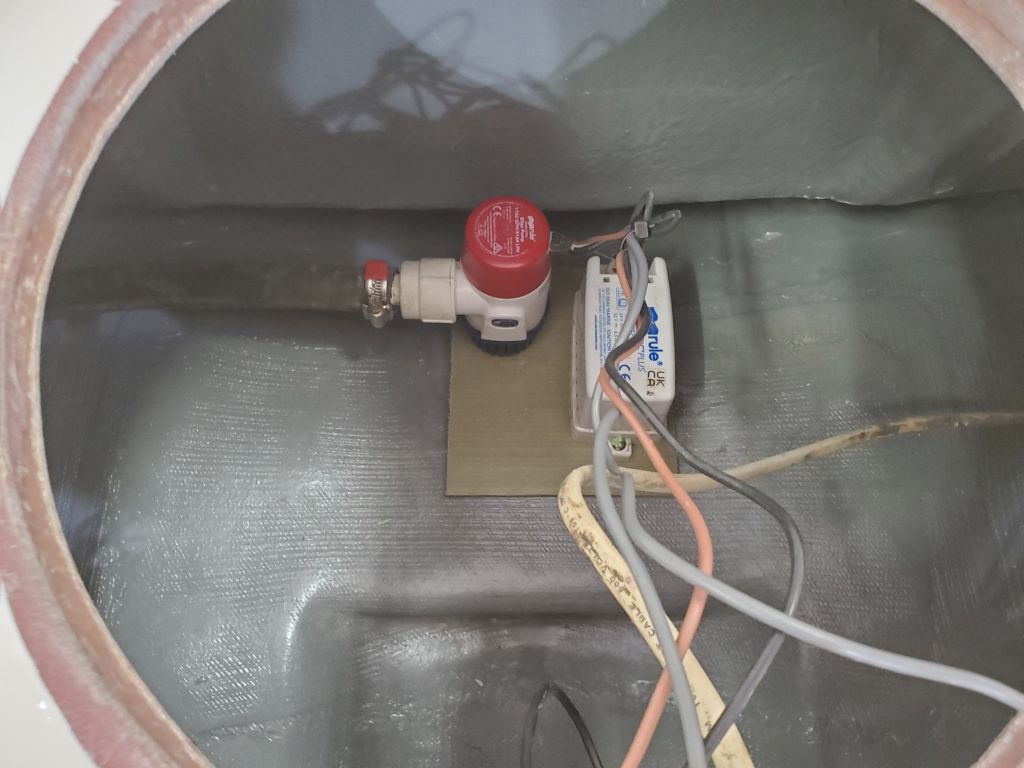
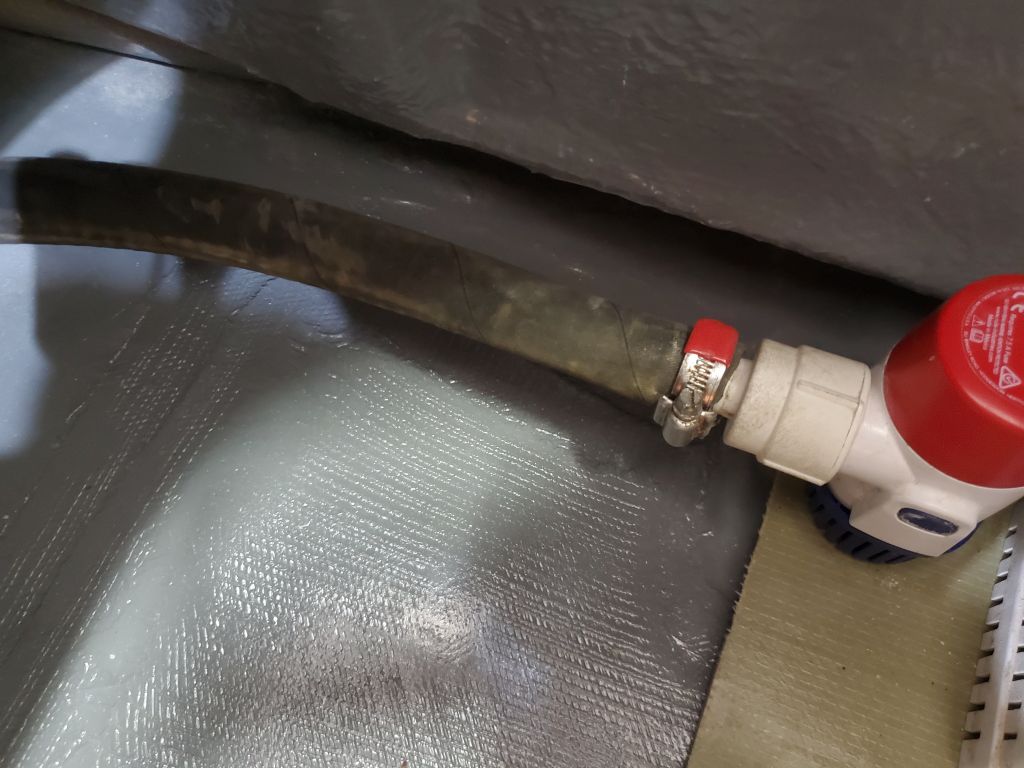
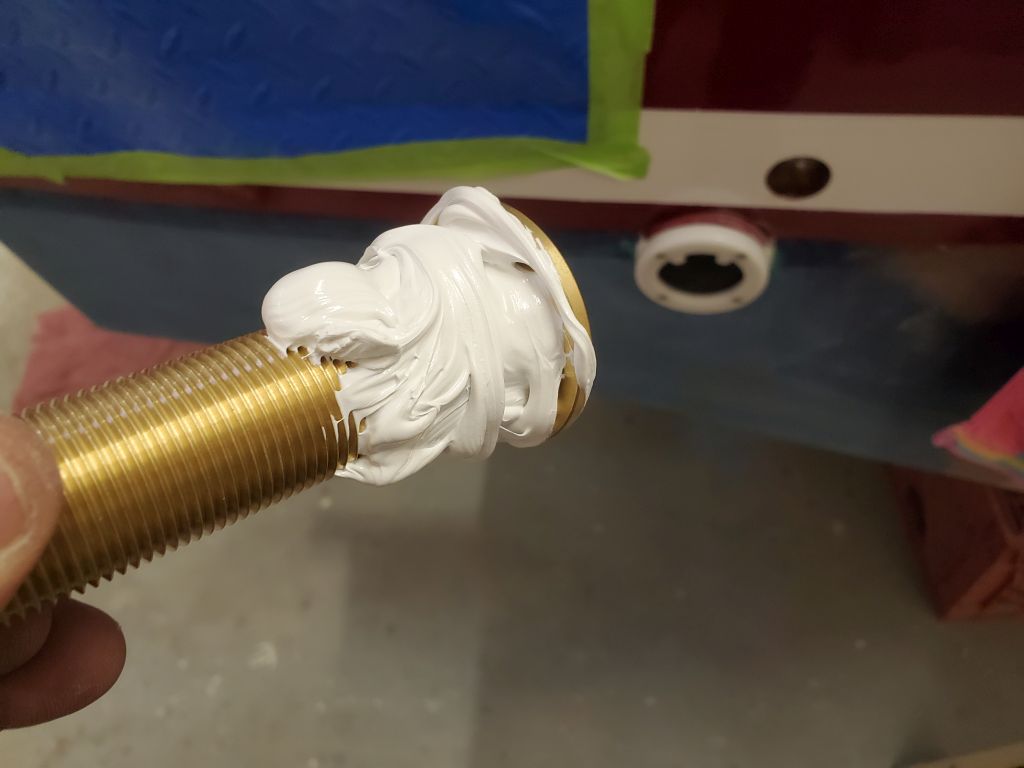
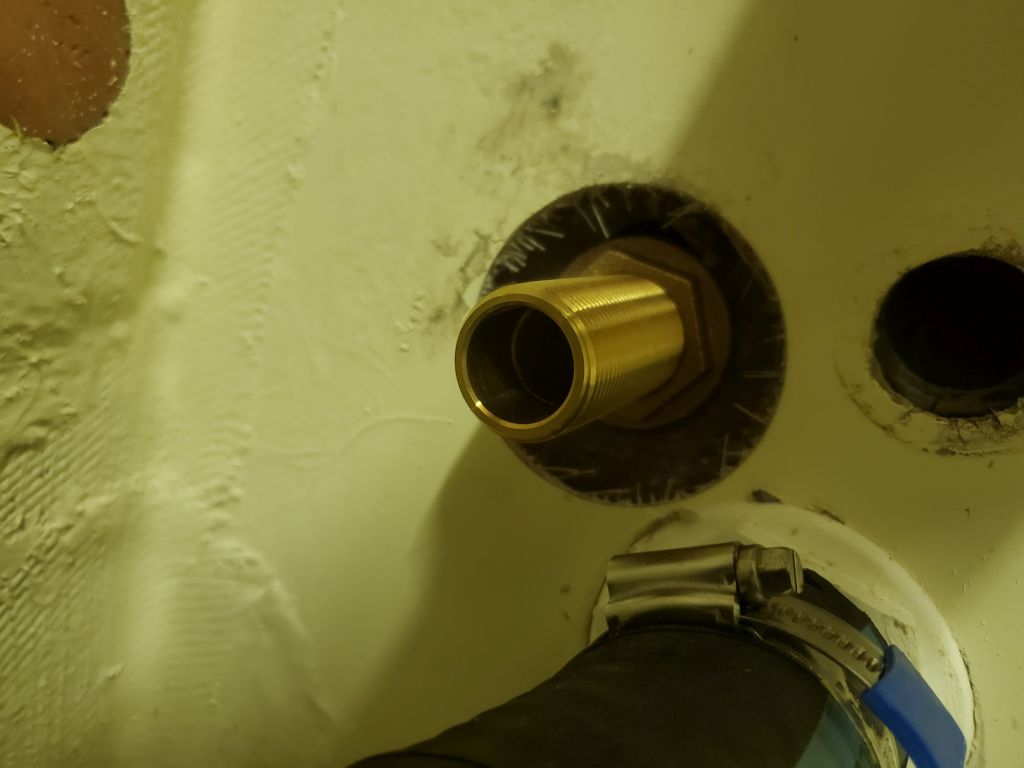
With a new long bronze through hull fitting on hand now for the bilge outlet, I finished up that installation, installing the mushroom fitting with sealant and its fixing nut, then threading on a collar and pipe-hose connector to make up the final connection for the bilge pump.

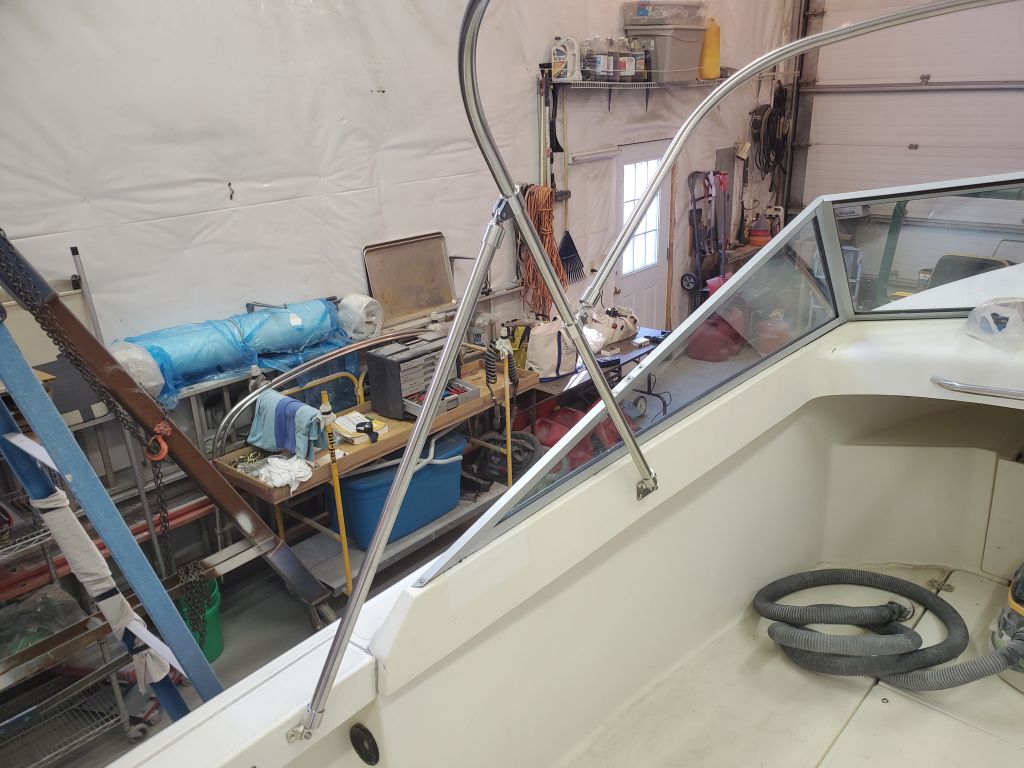
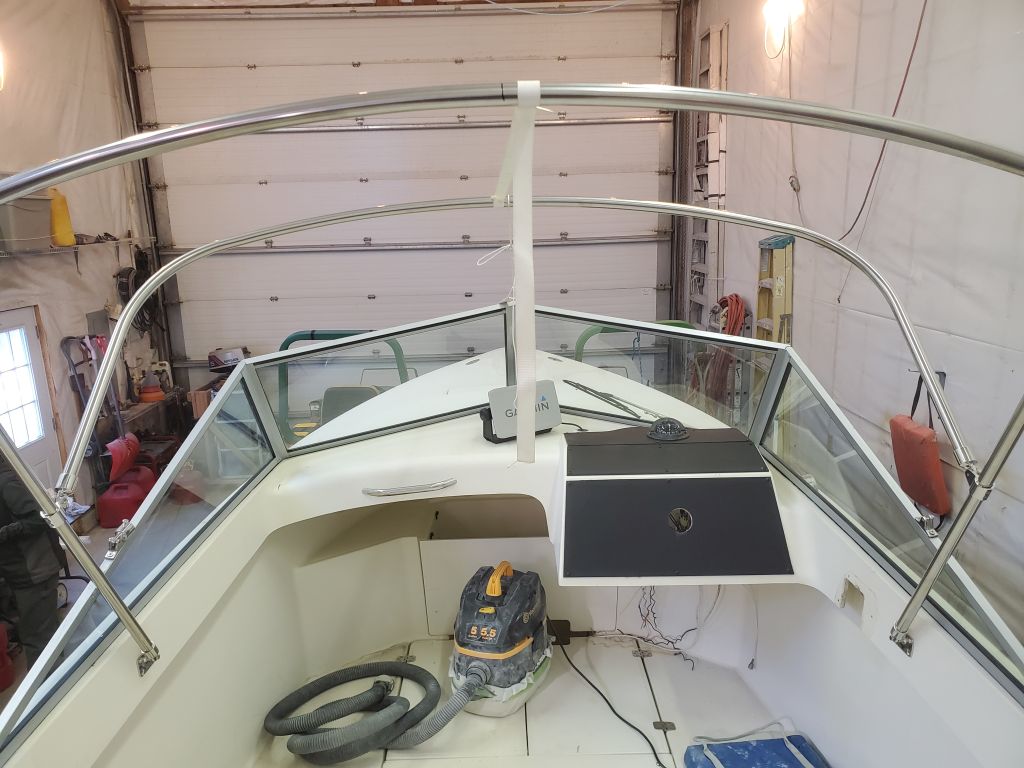
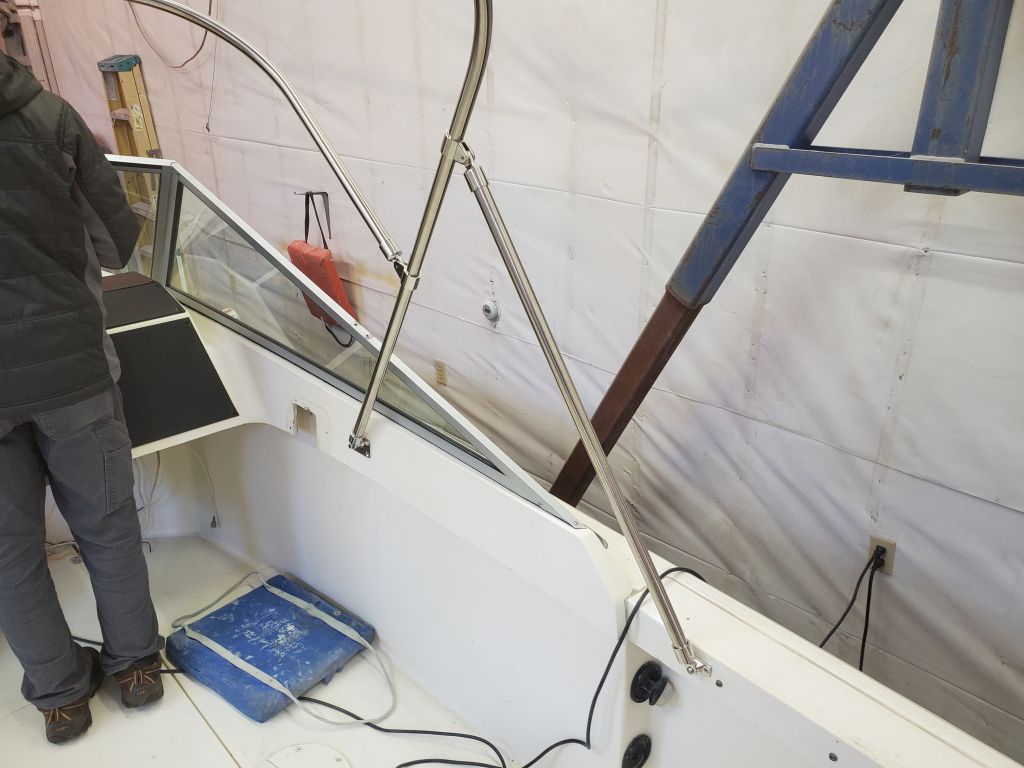
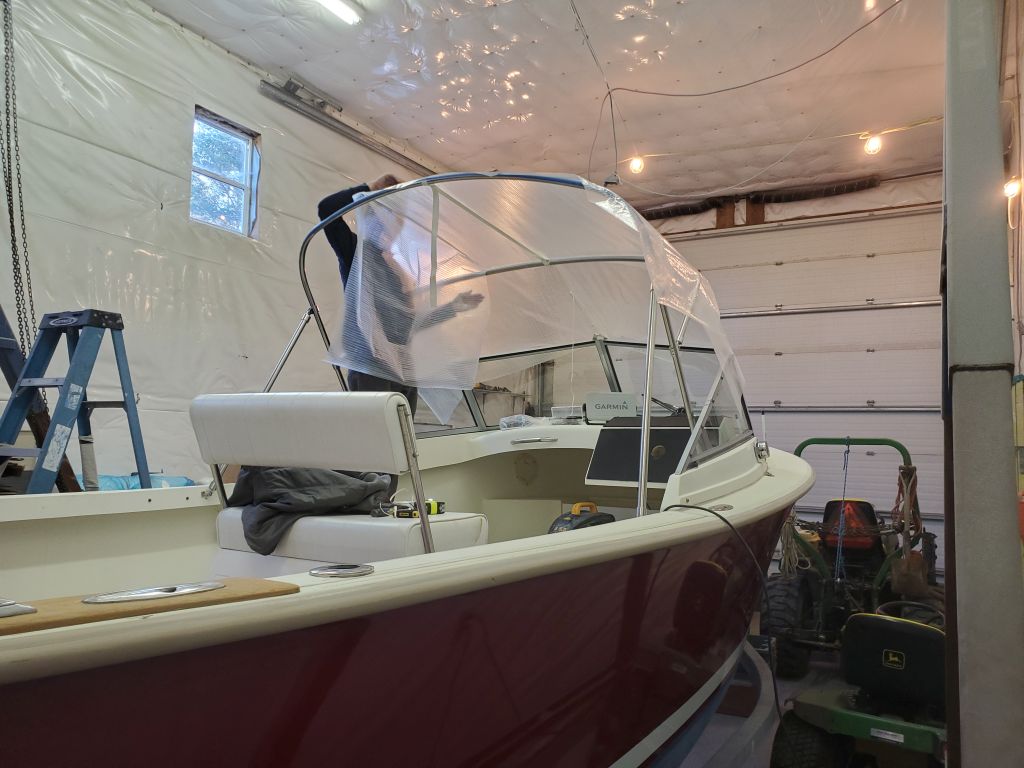
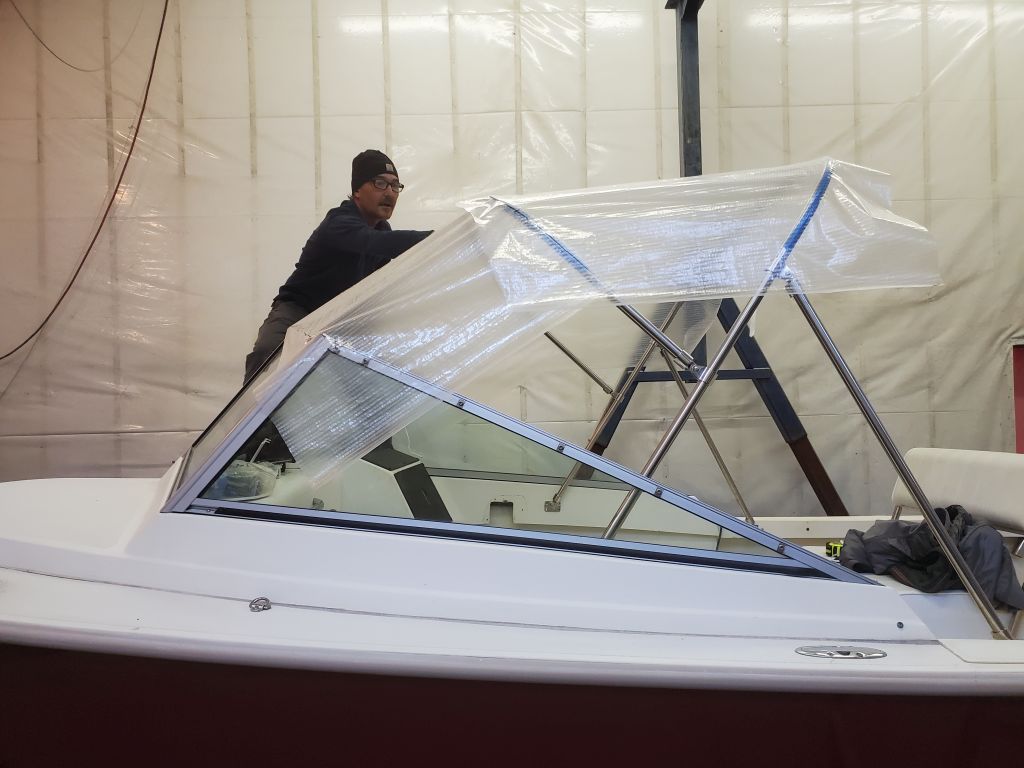
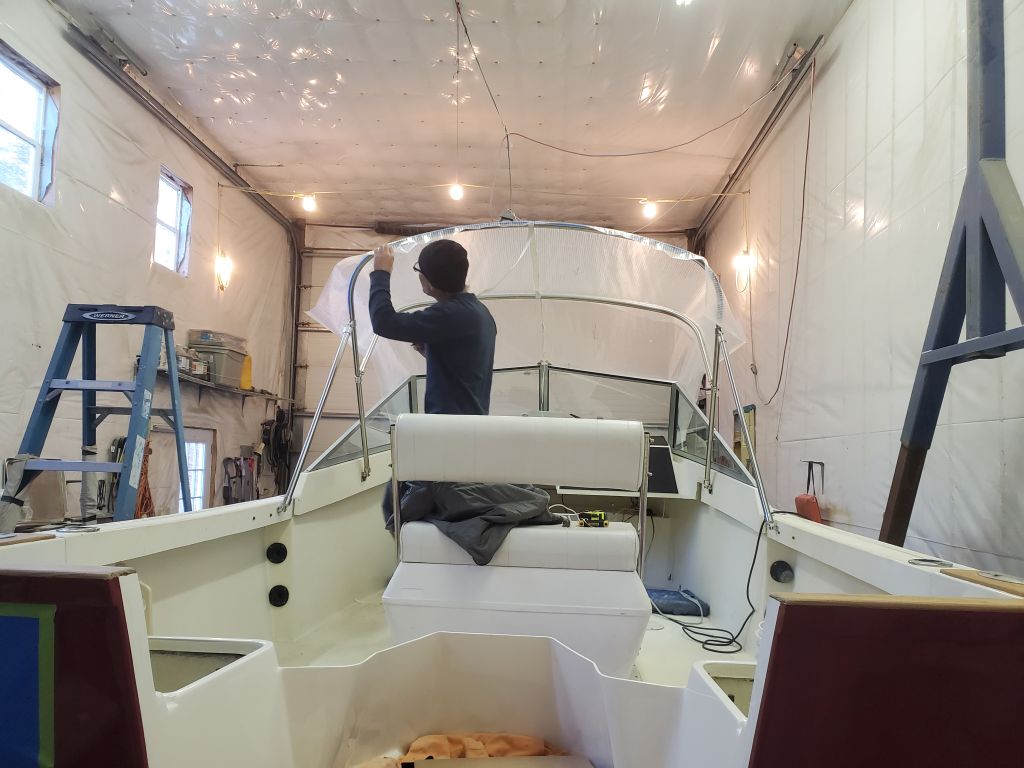
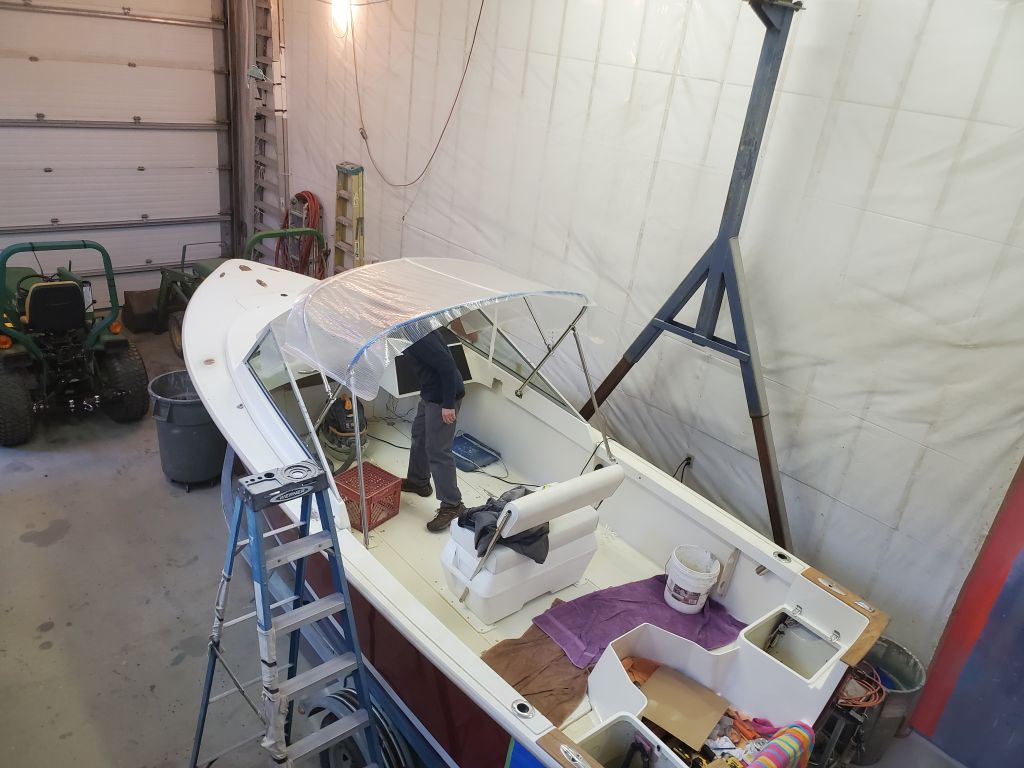
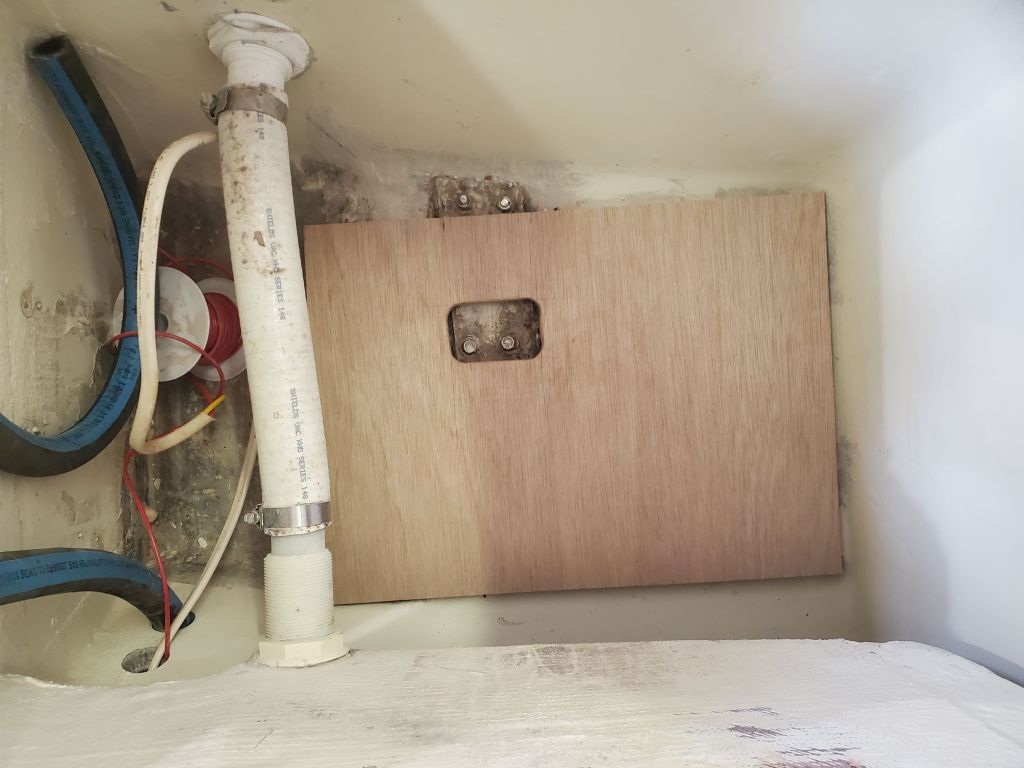
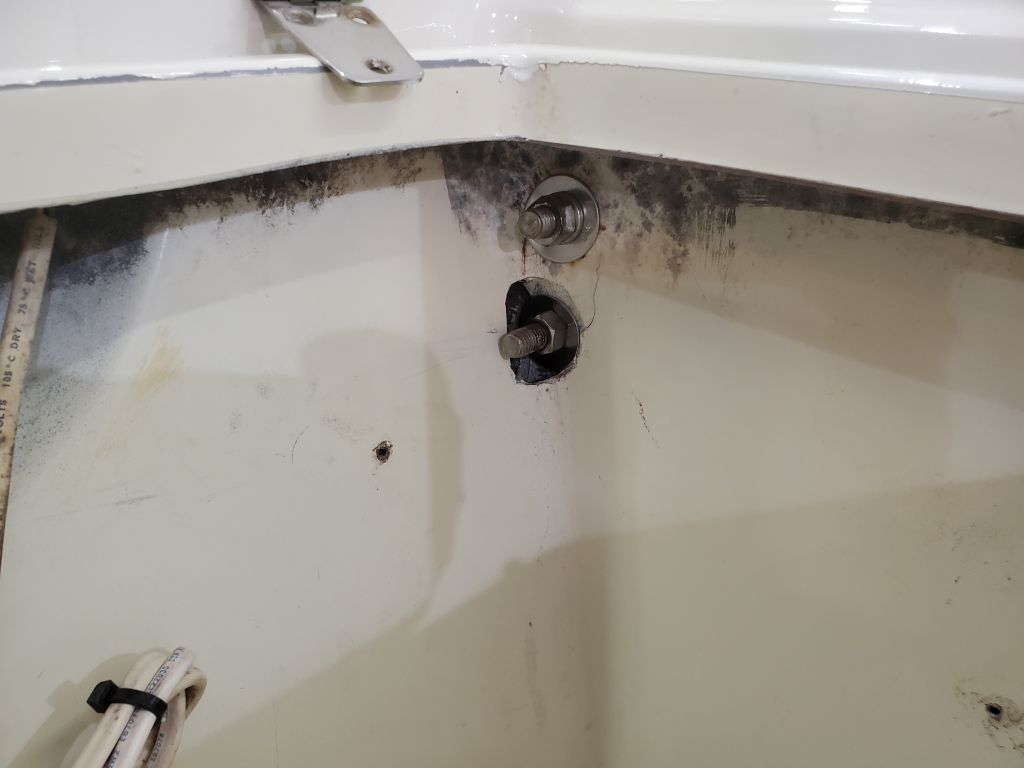
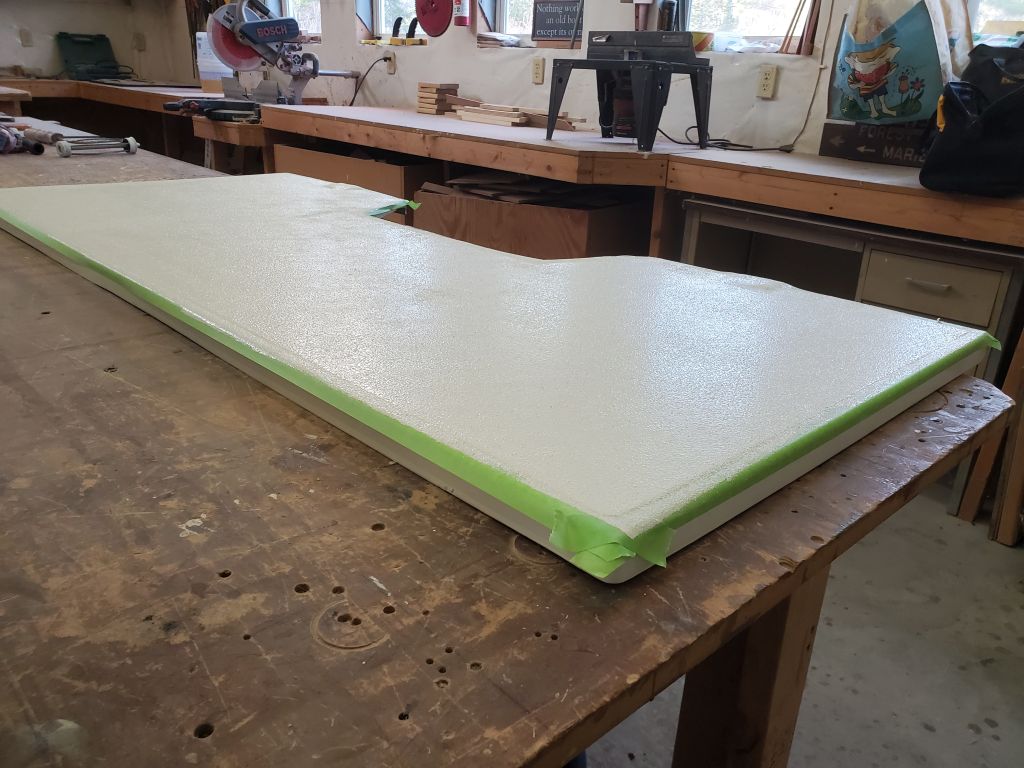
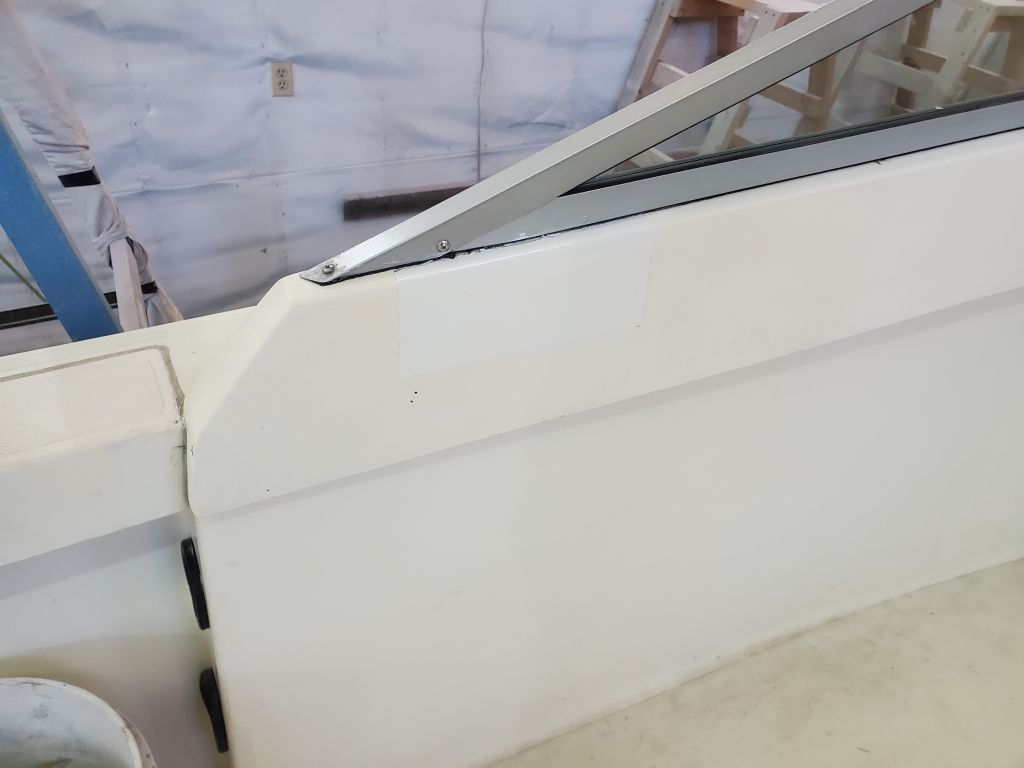
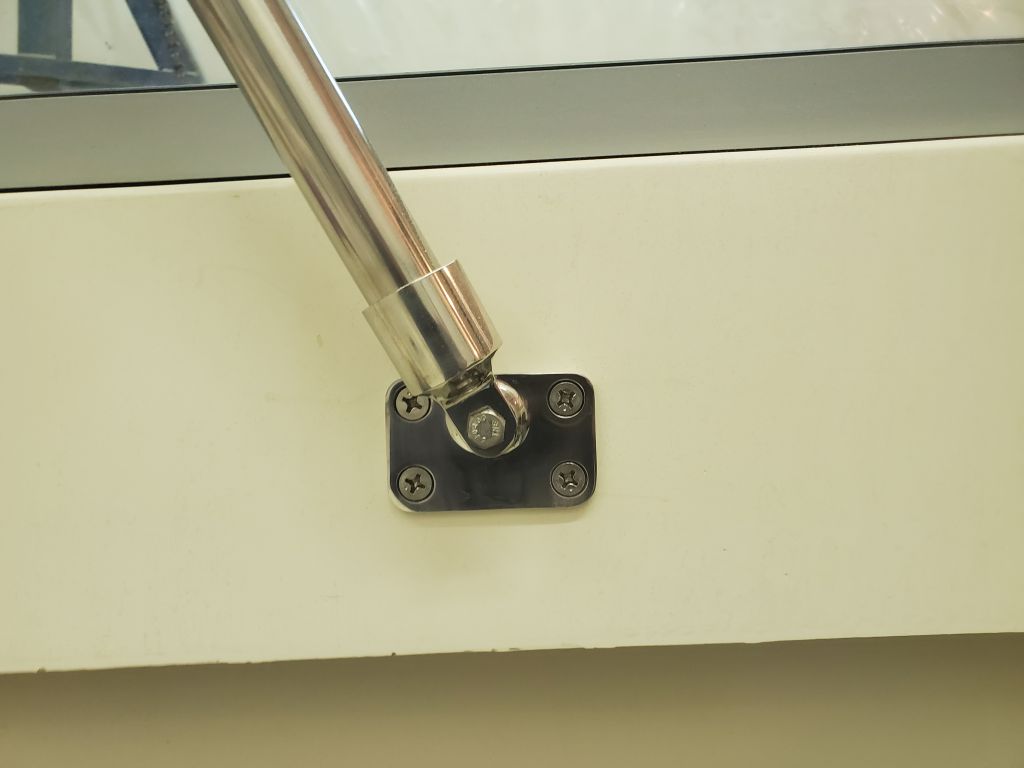
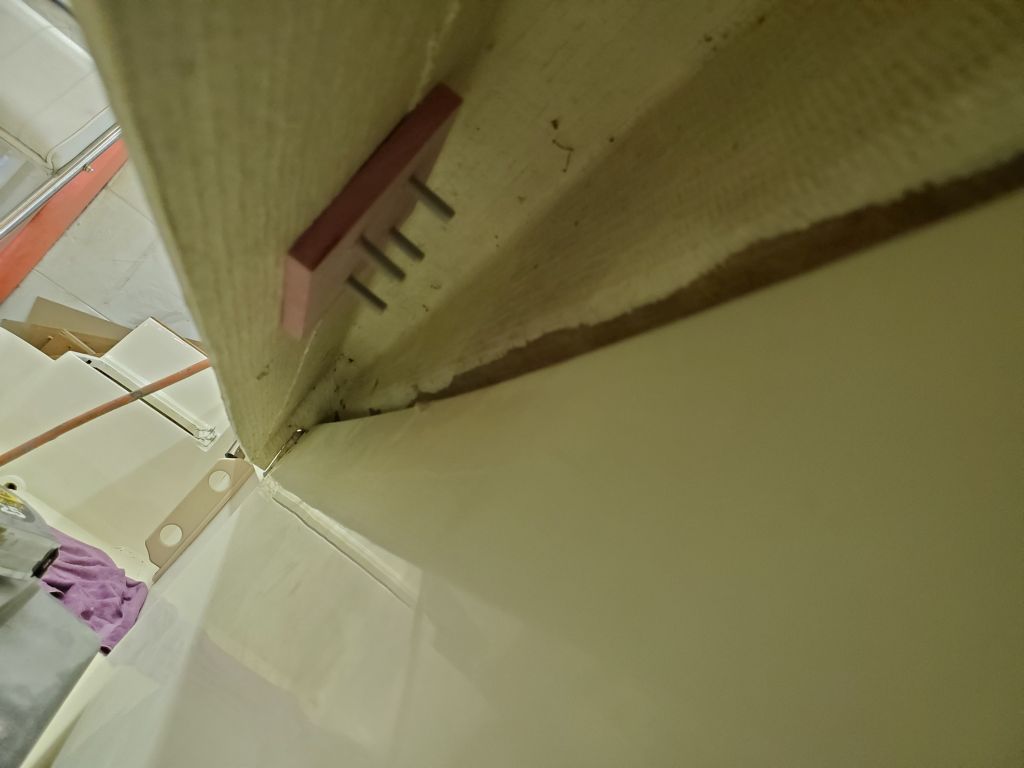
From prefab stock, I made 1/2″ thick backing plates for the new bimini top framework, then replaced the pair of temporary screws on each side with four proper machine screws, threaded through the deck molding and backing plates. I thought the extra reinforcement was necessary given the generally flimsy nature of the coaming molding. Later, I’d perhaps add washers and nuts to the back side, though these weren’t really necessary here.


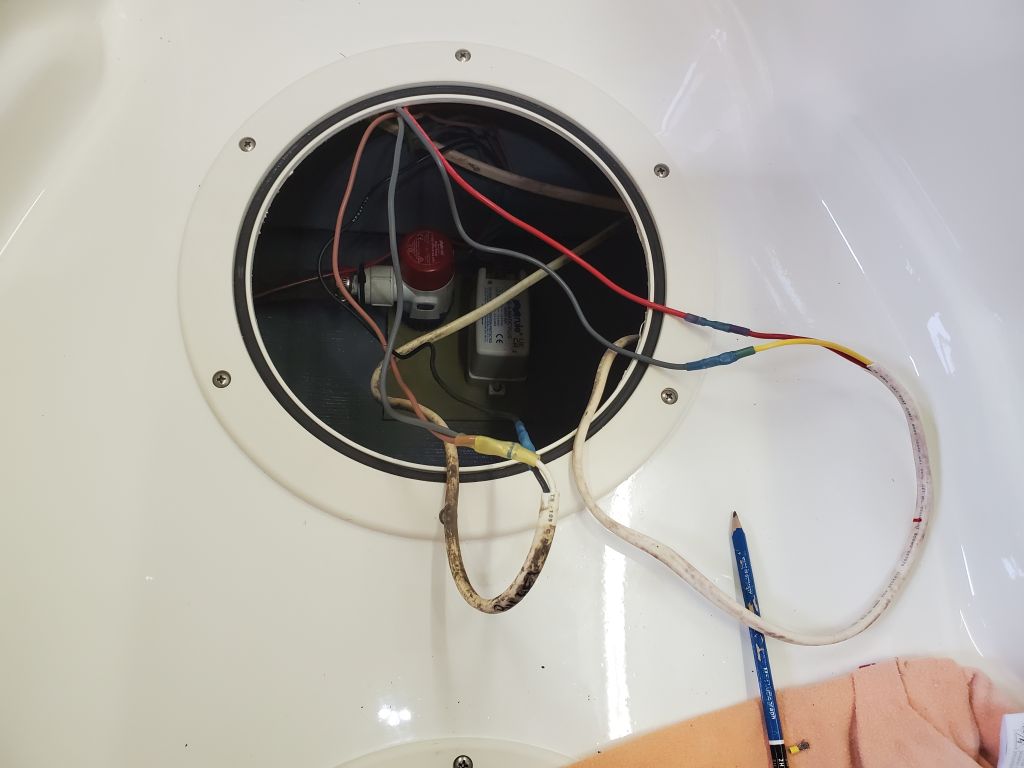
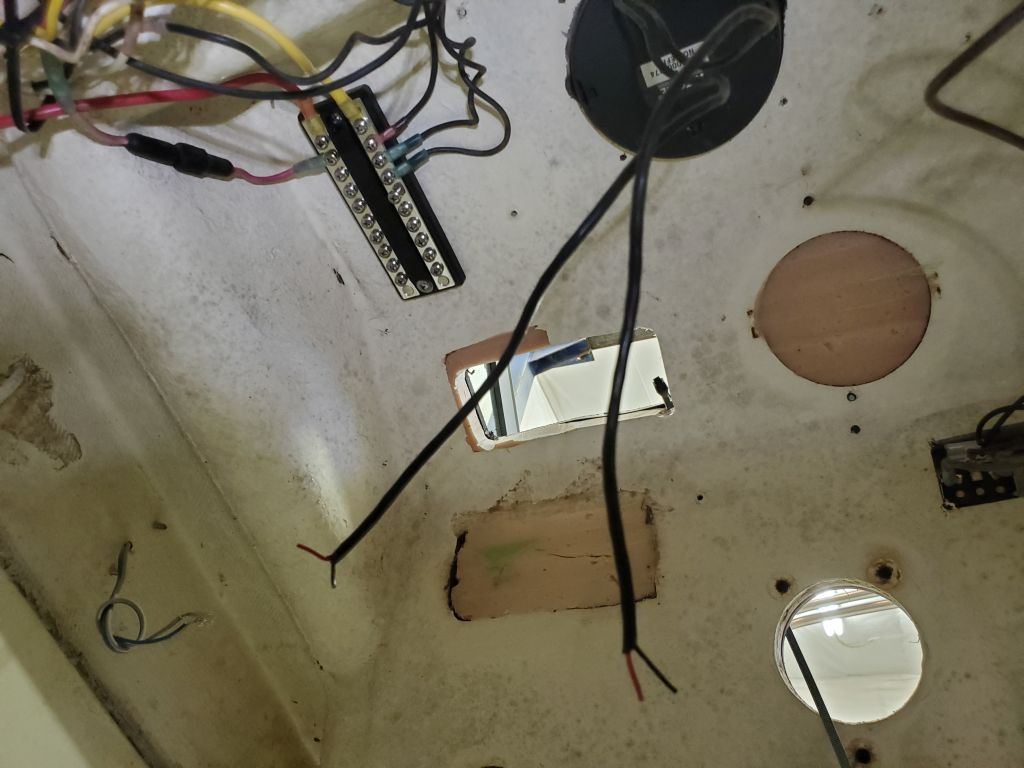
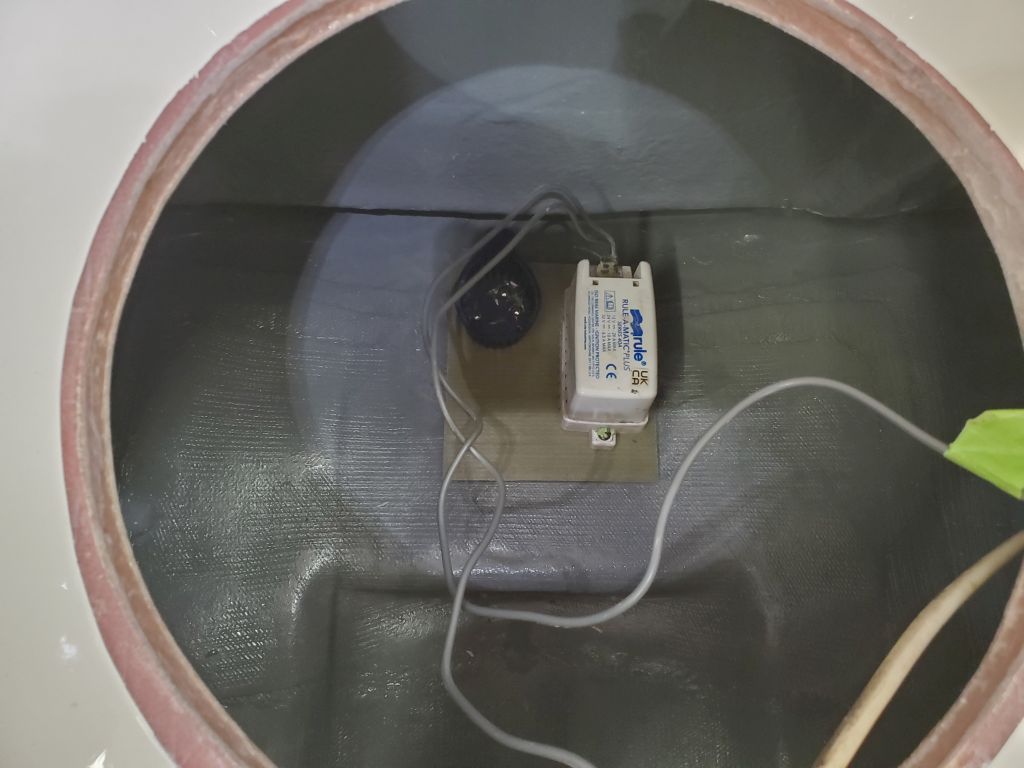
With the scupper and bilge hoses now complete, I could finish up the battery switch installation and related wiring to the batteries.
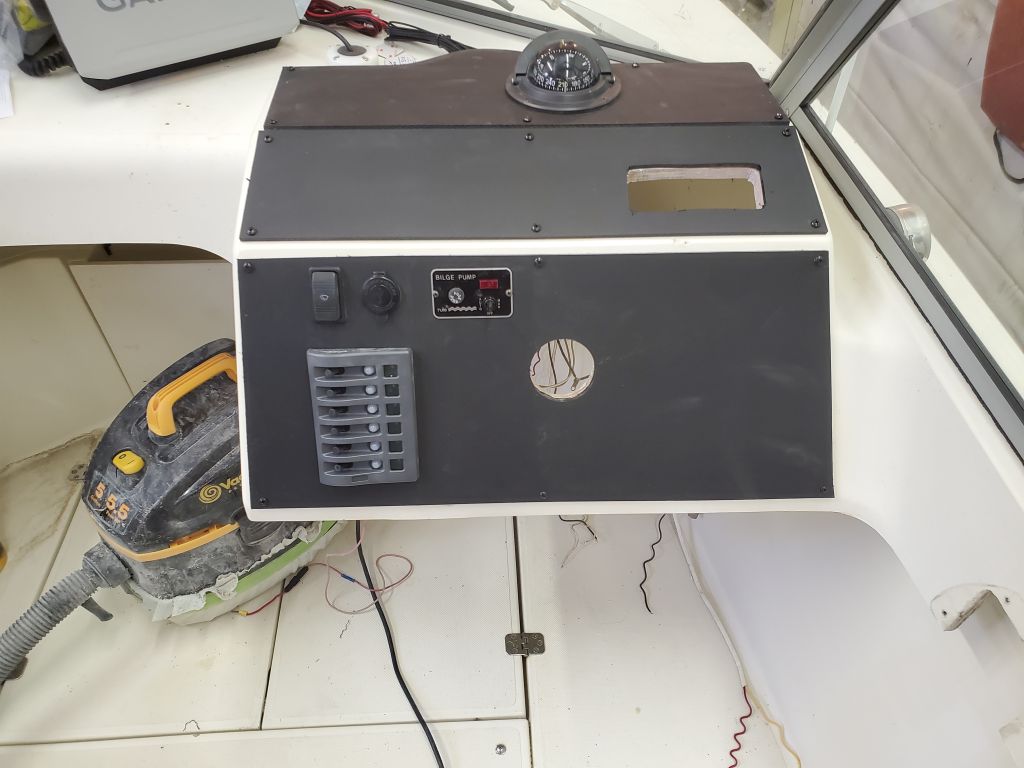
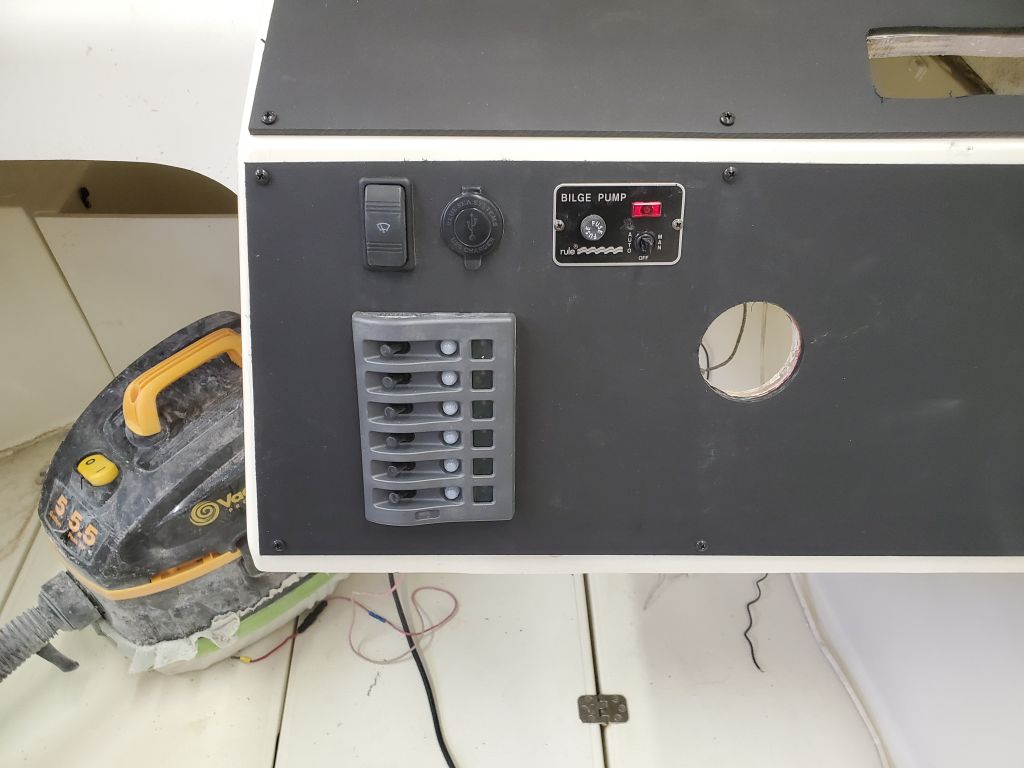
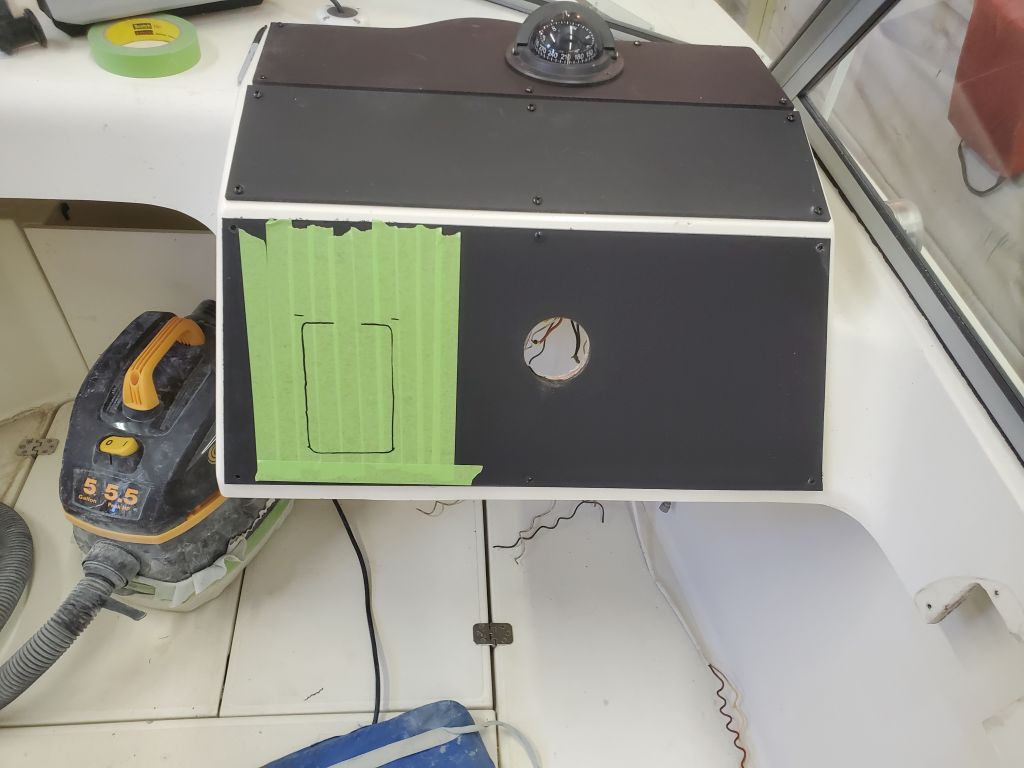
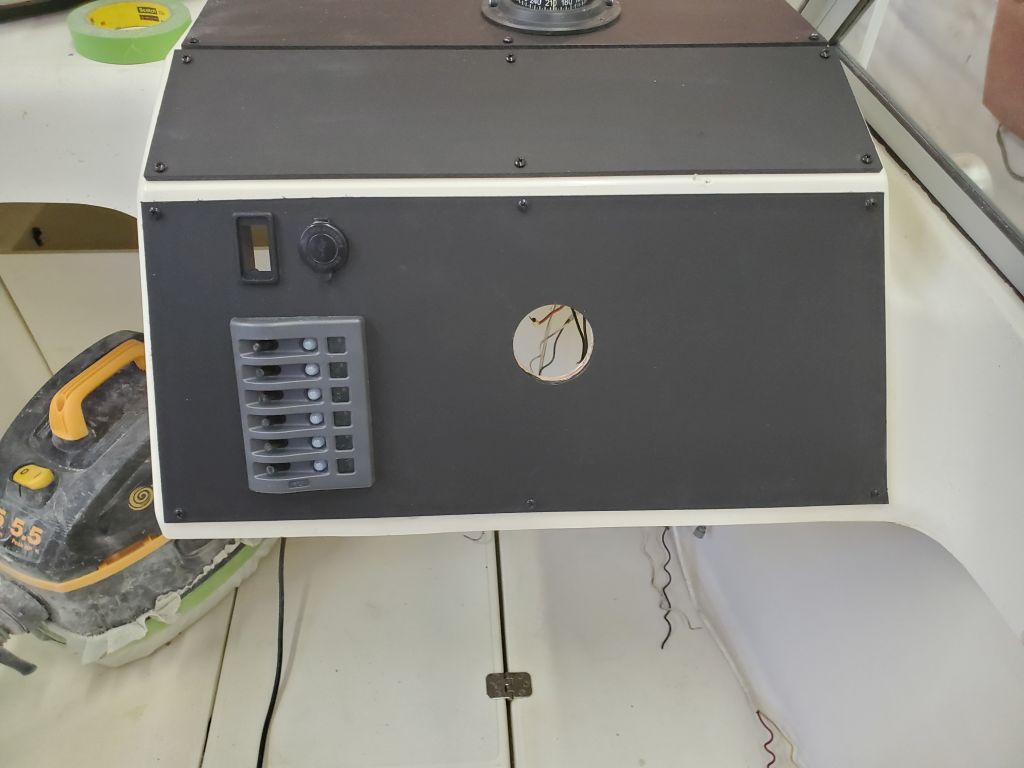
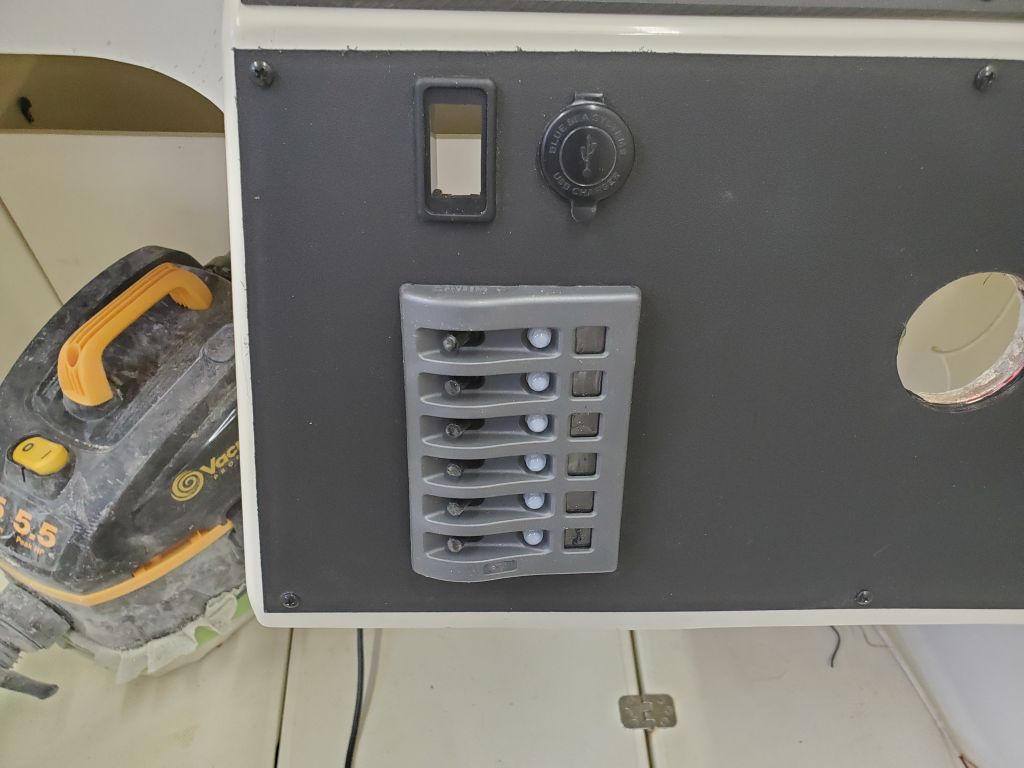
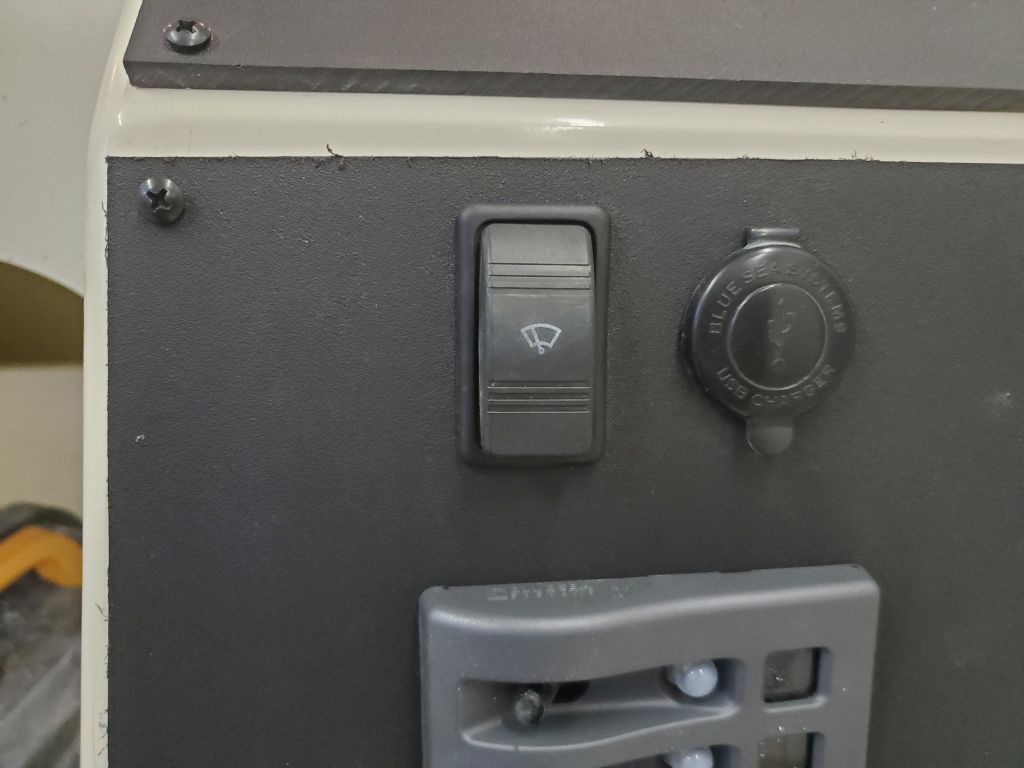
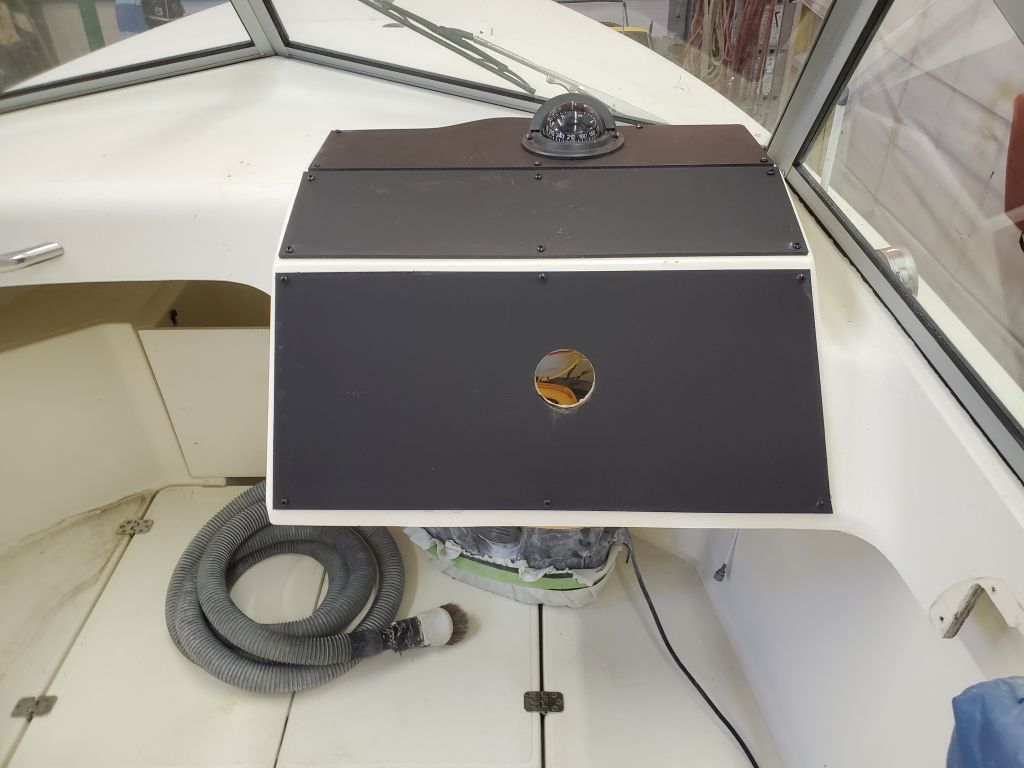
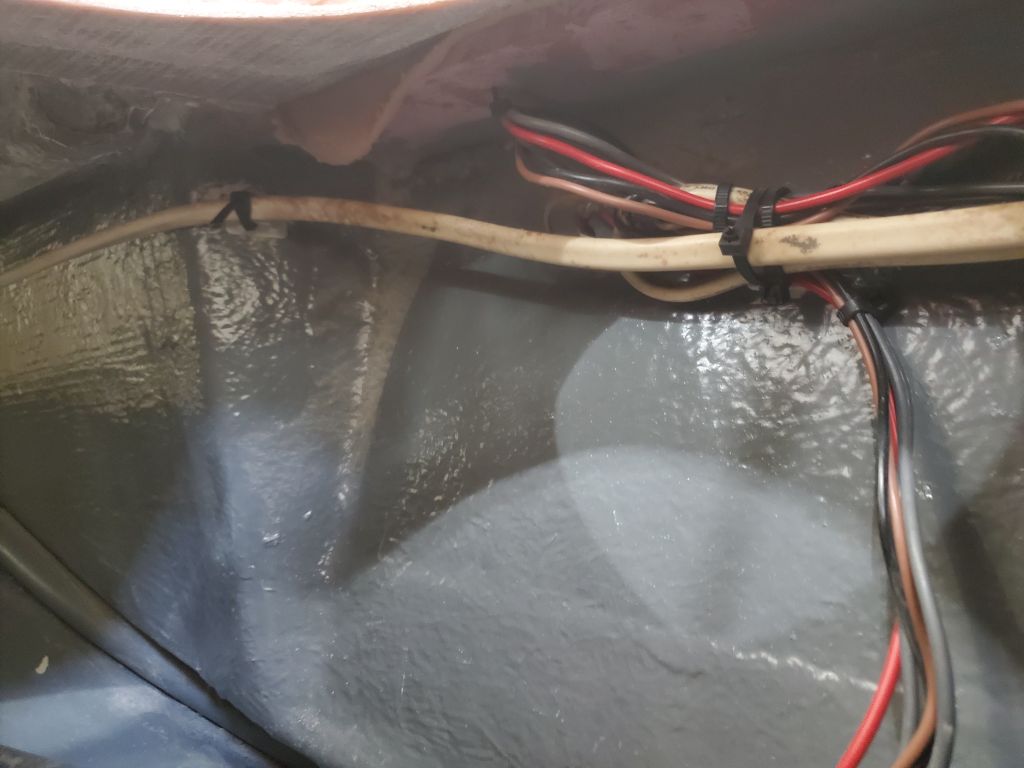
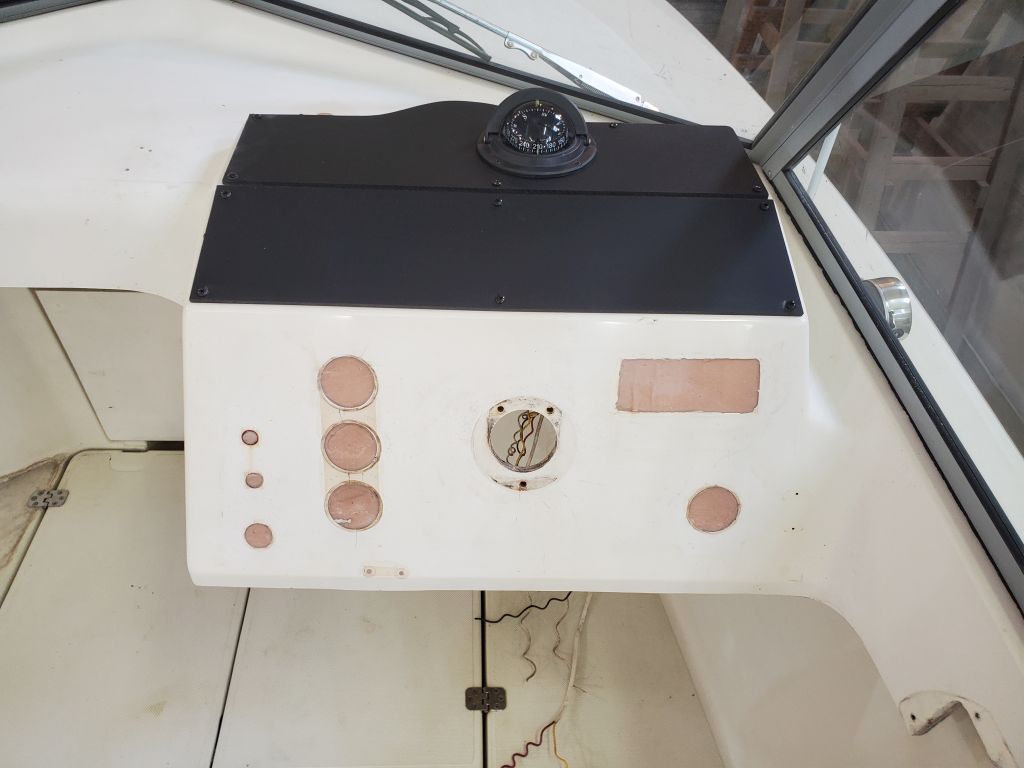
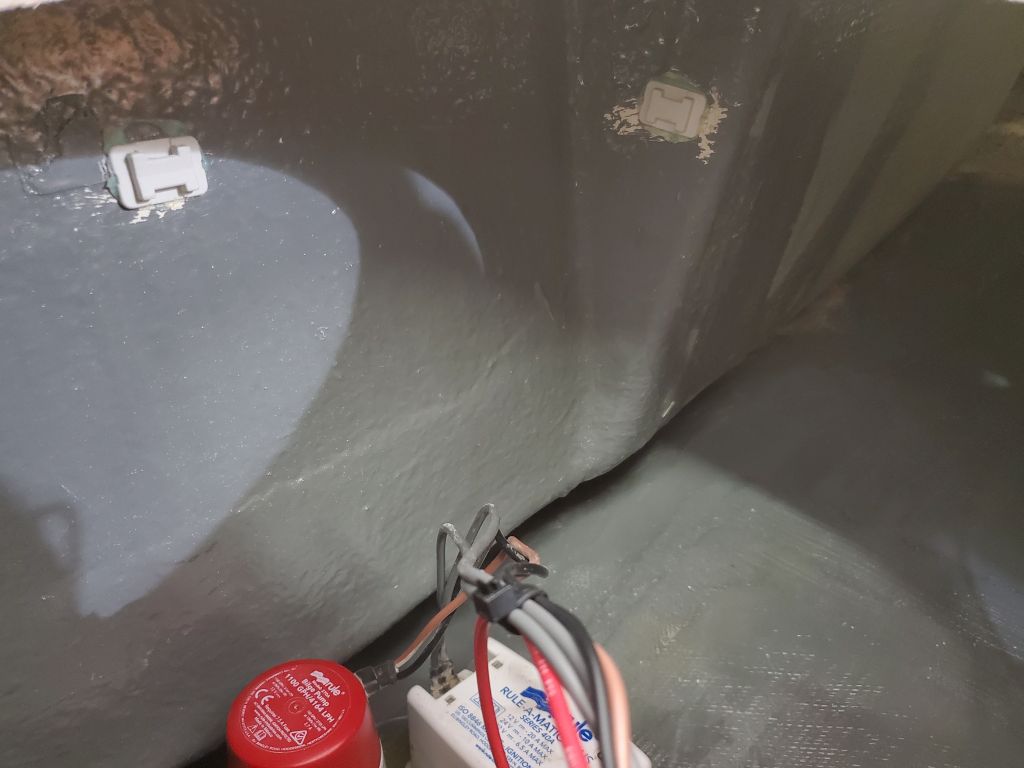
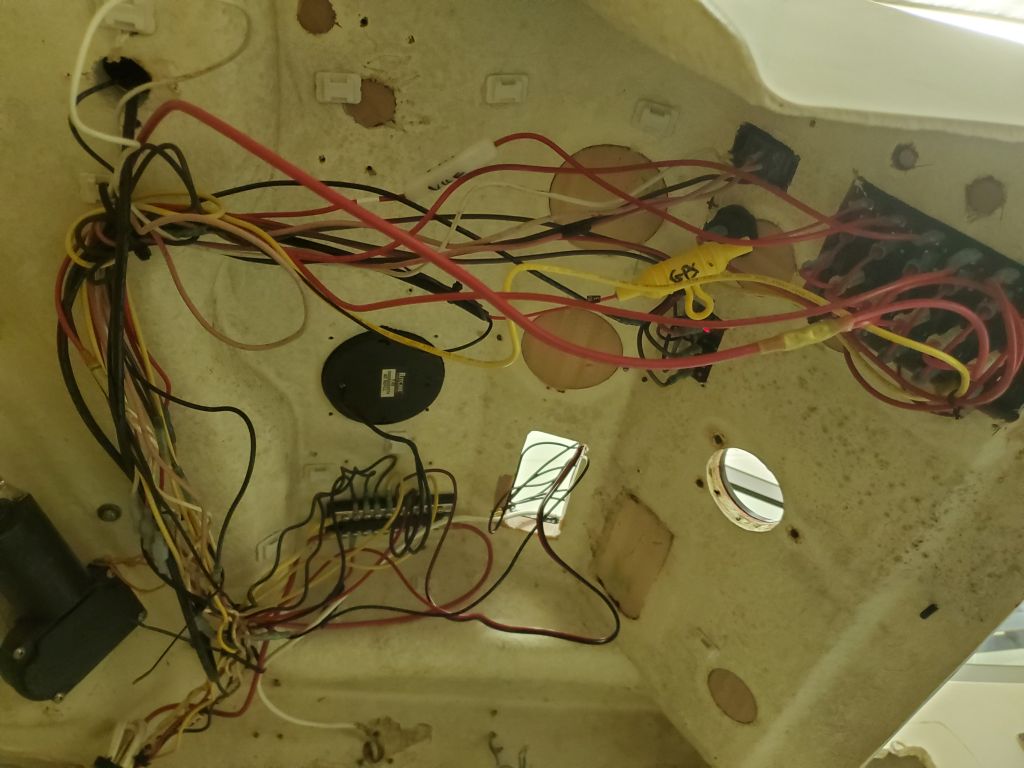
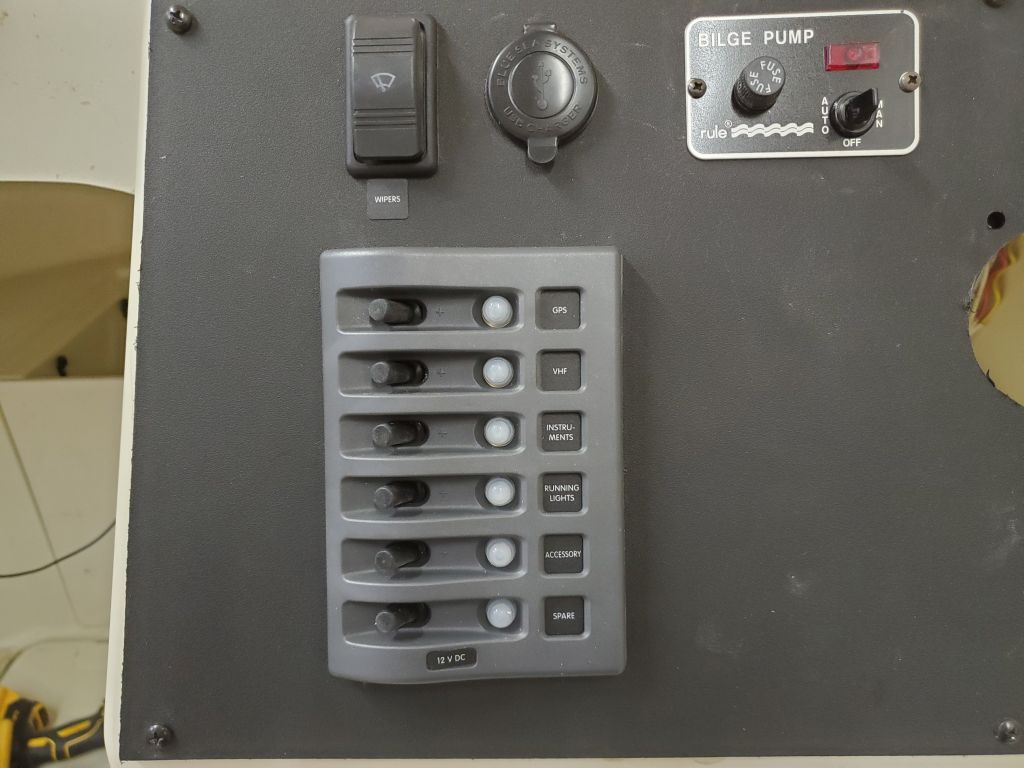
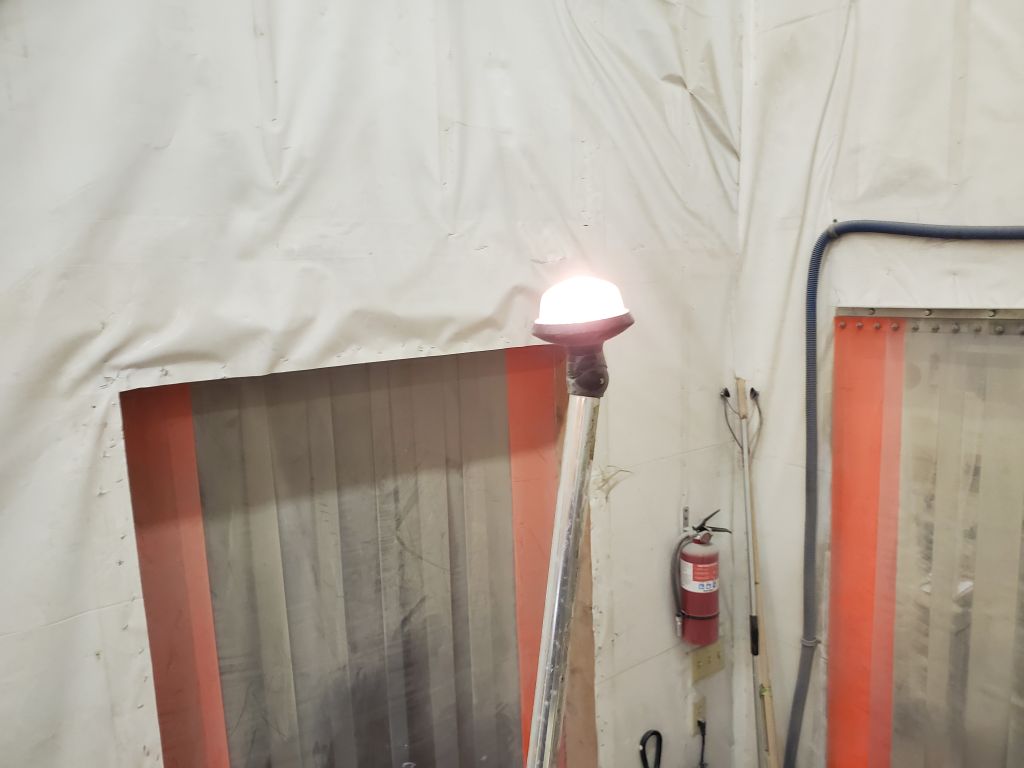
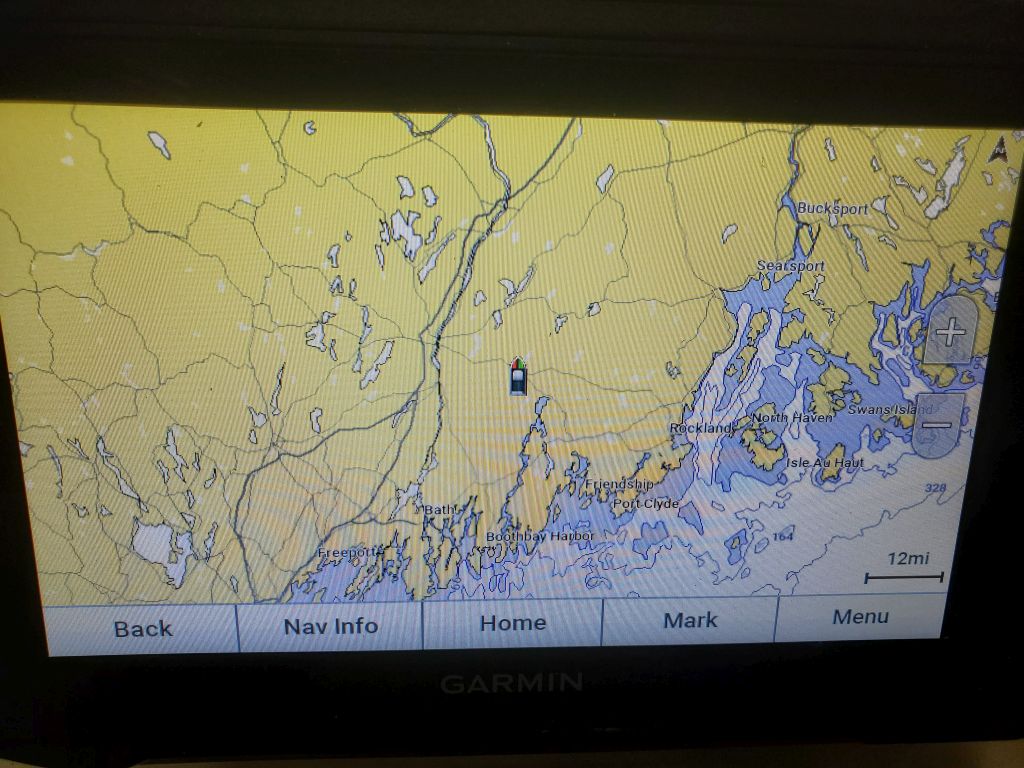
I spent most of the rest of the day making up the final connections beneath the console as needed. For the moment, I still had only temporary means of securing and organizing the wires, but late in the day, with the arrival of my new adhesive, I was able to install new wire mounts throughout, which I’d use later to clean up the wiring runs and finalize the installation. With the batteries now connected, I could test all the final wiring connections and functionality of the installed components. I still awaited the brackets for the VHF, so I’d not yet fully installed it.


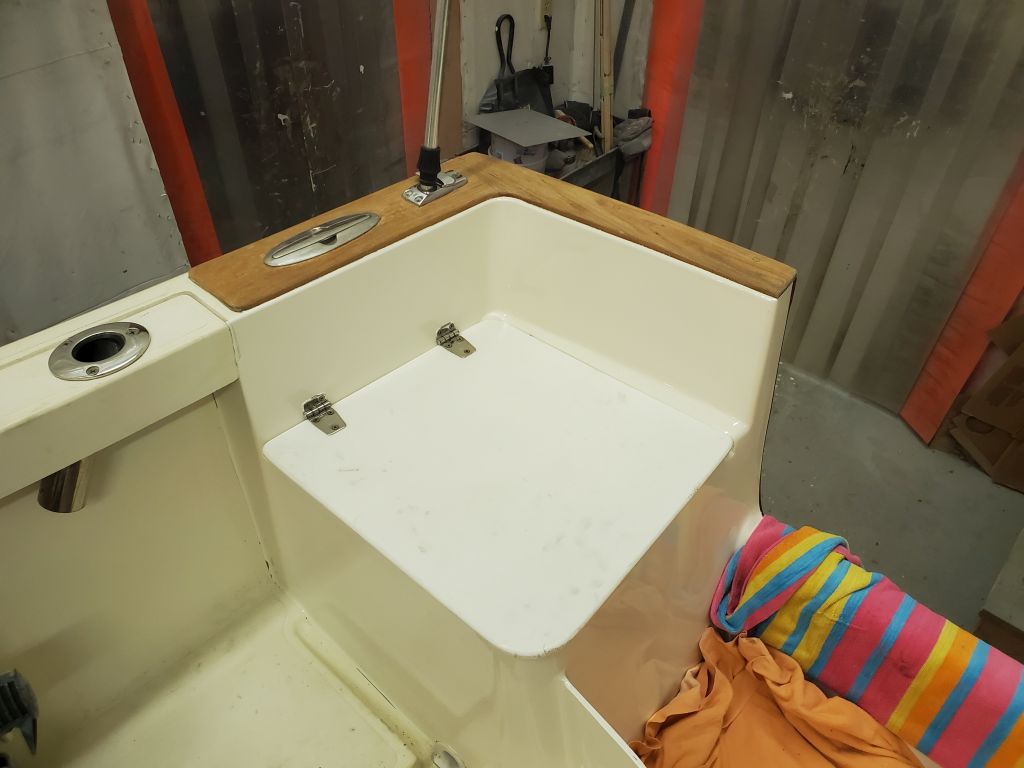
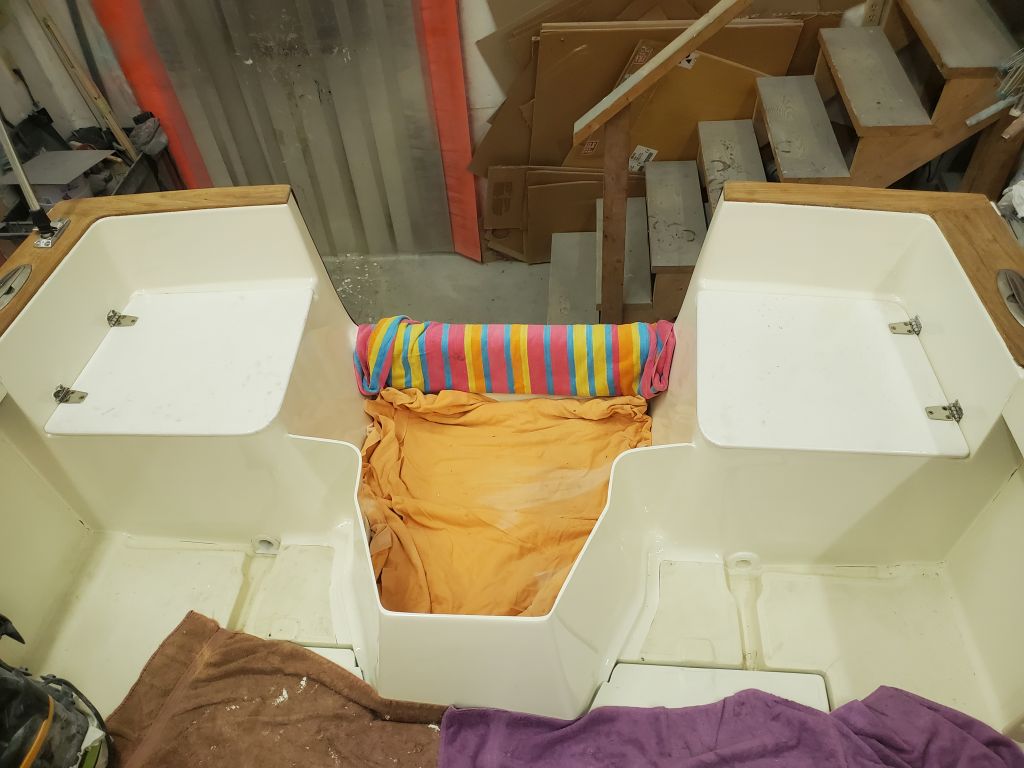
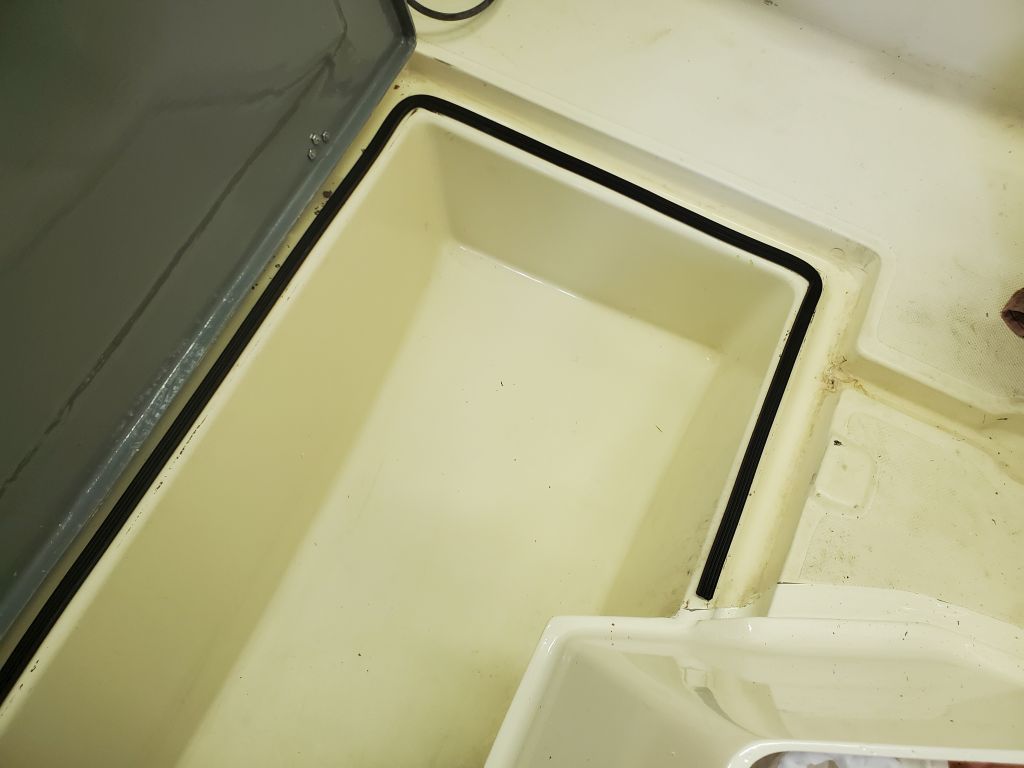
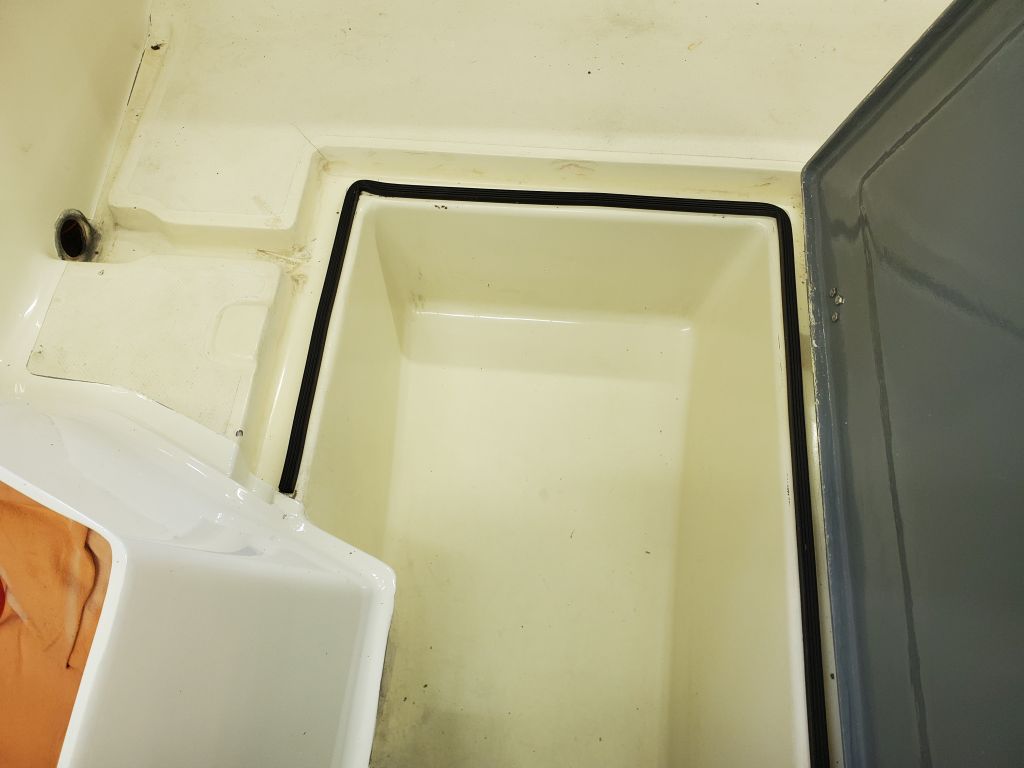
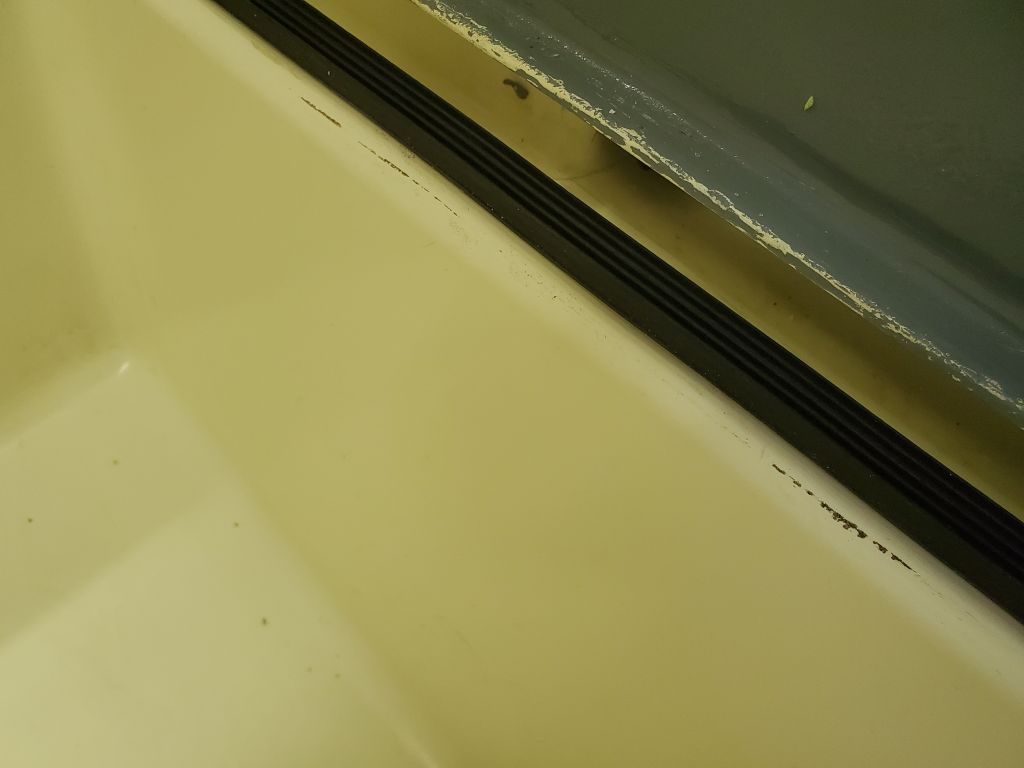
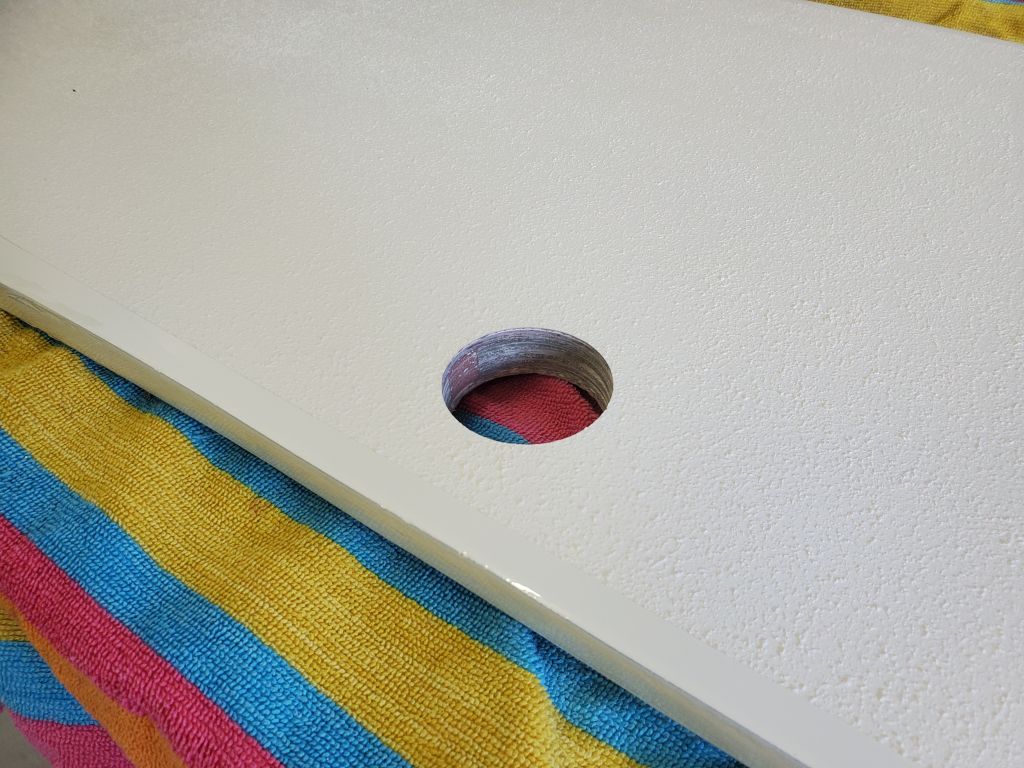
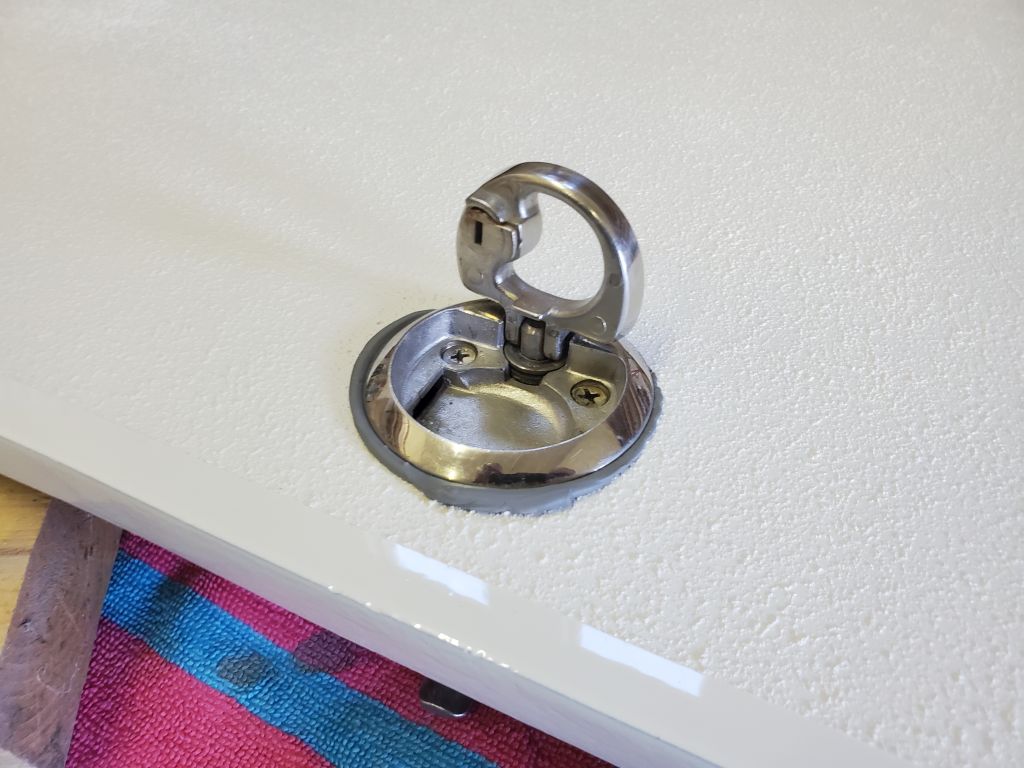
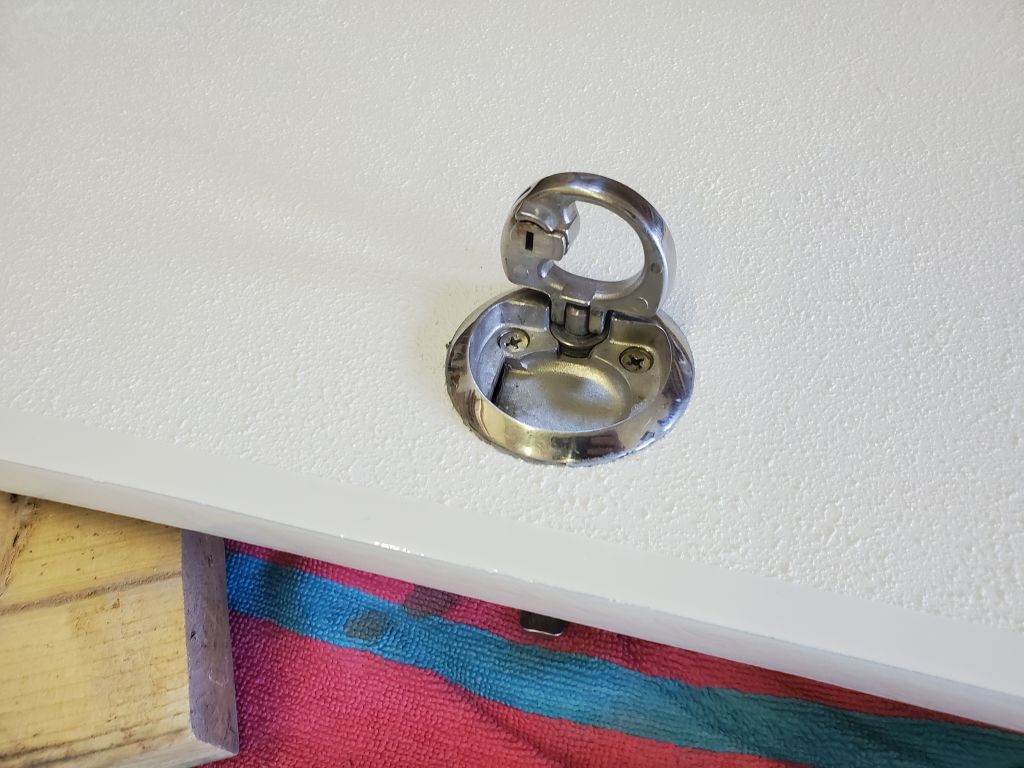
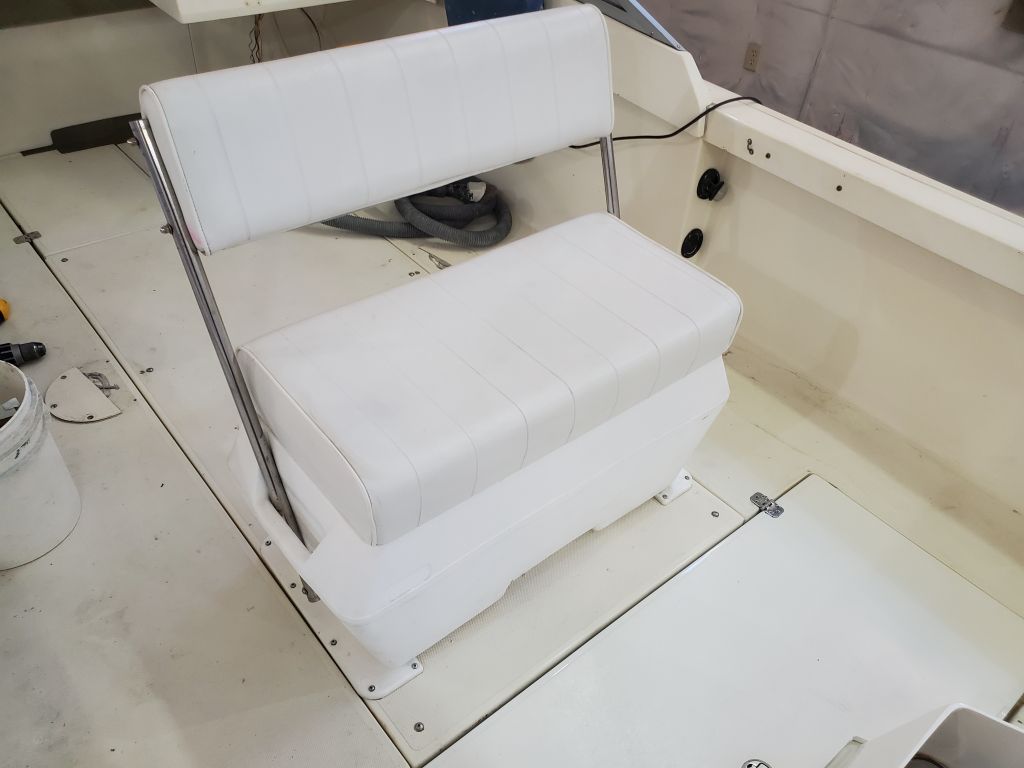
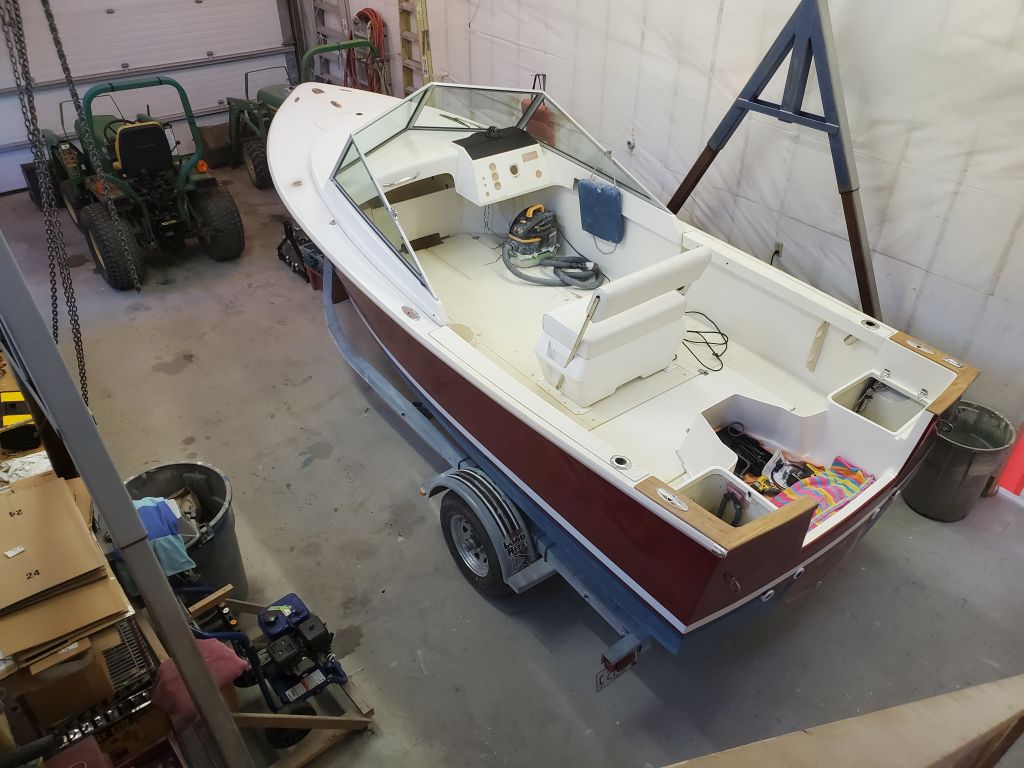
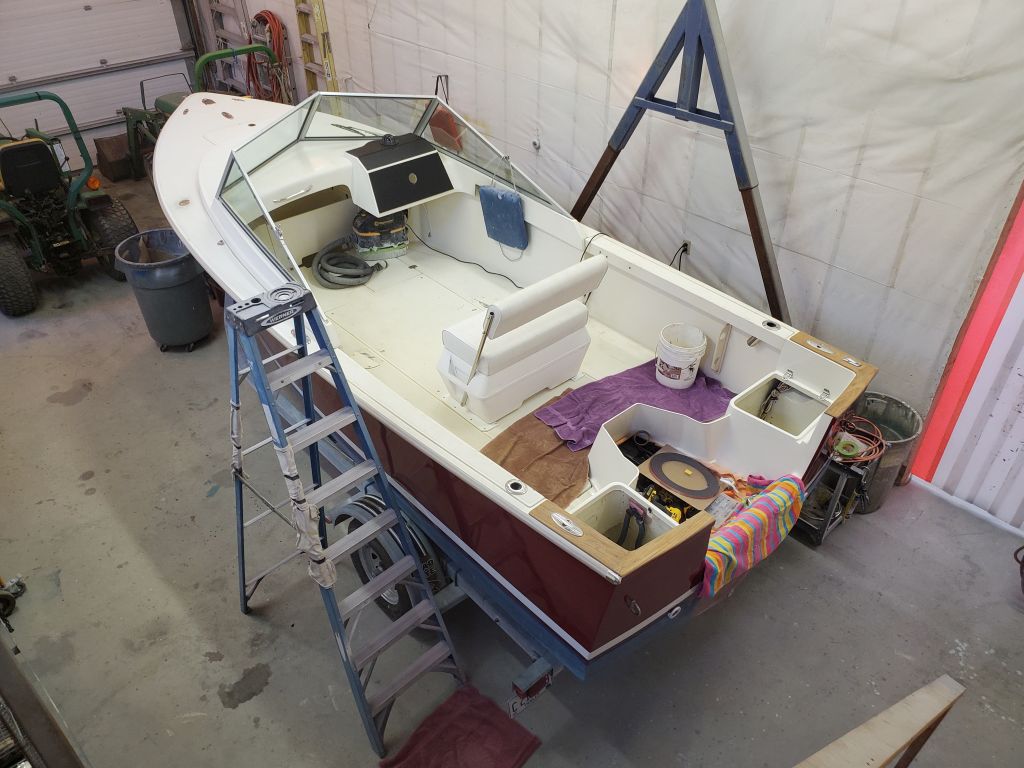
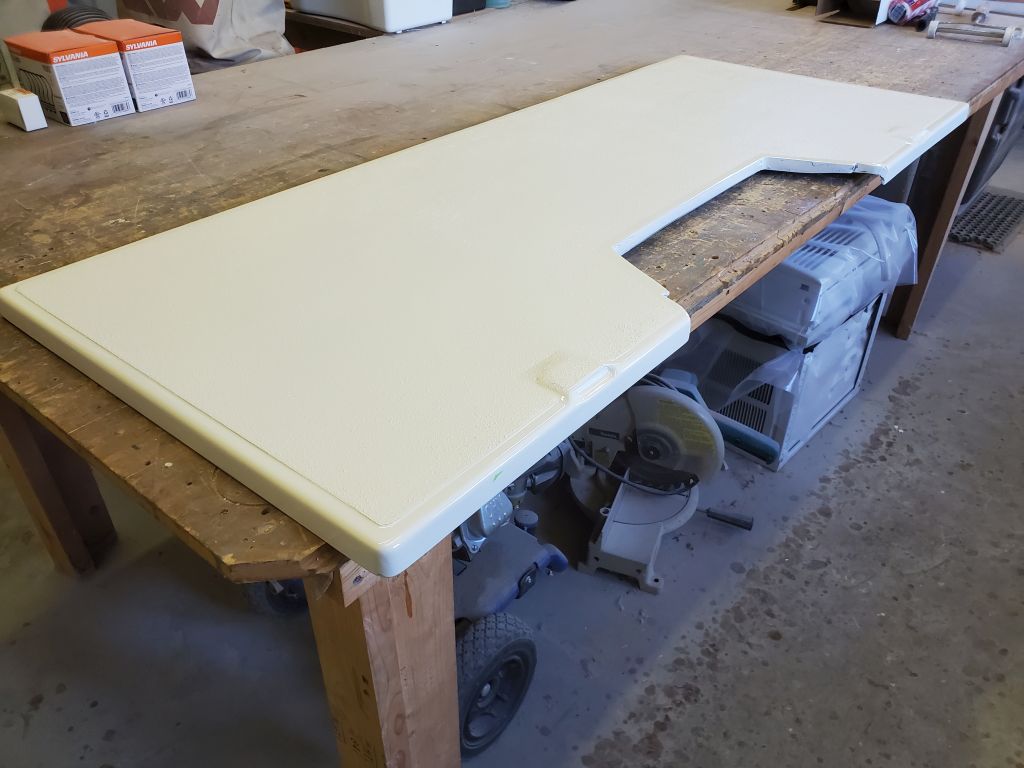
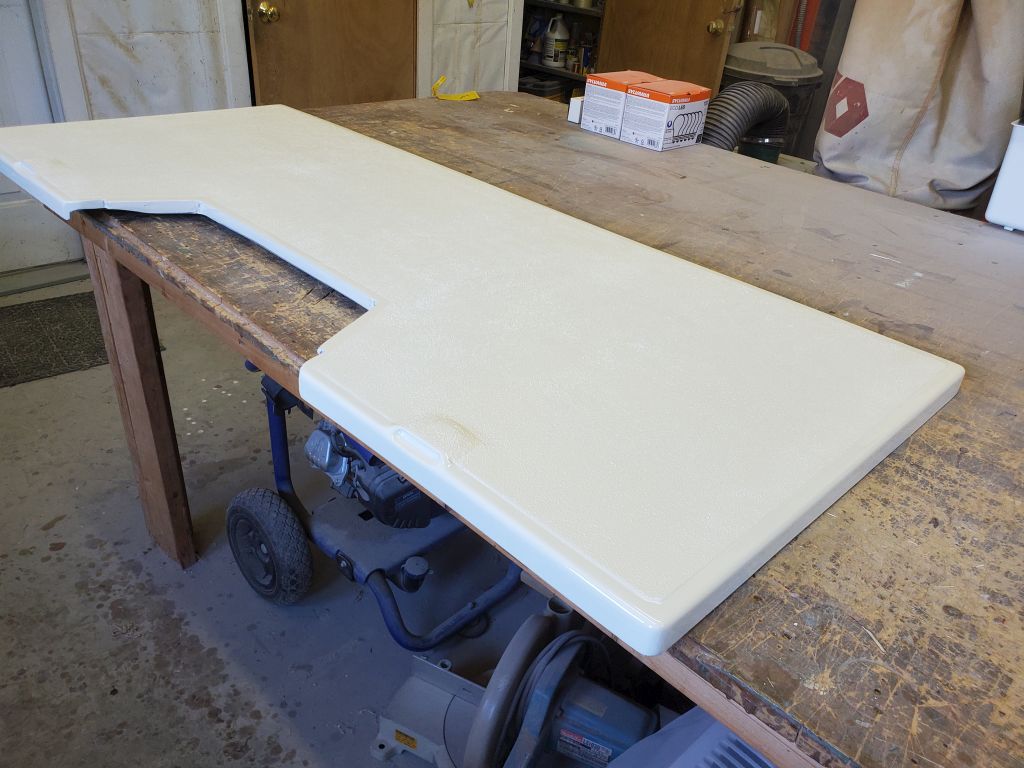
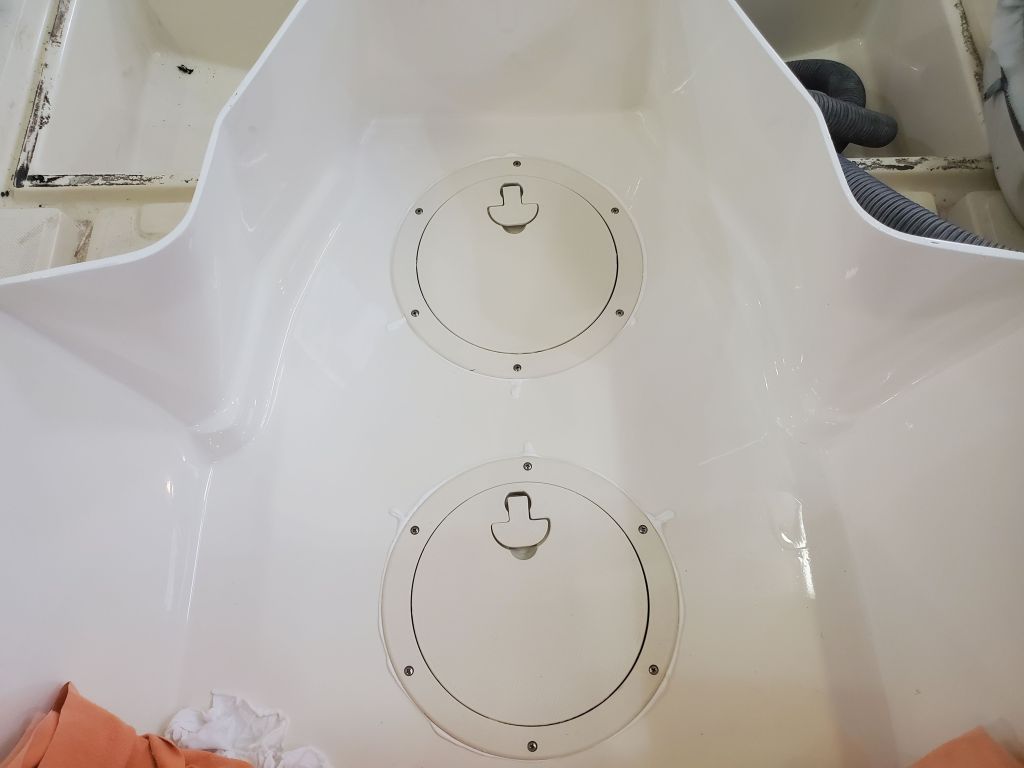
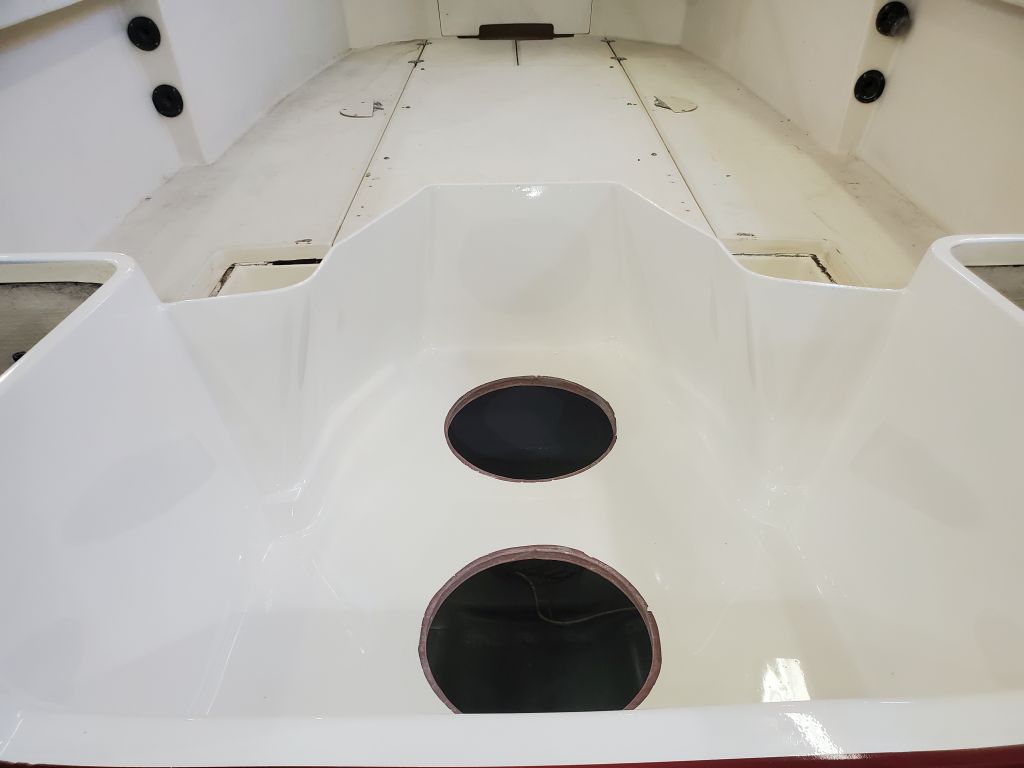
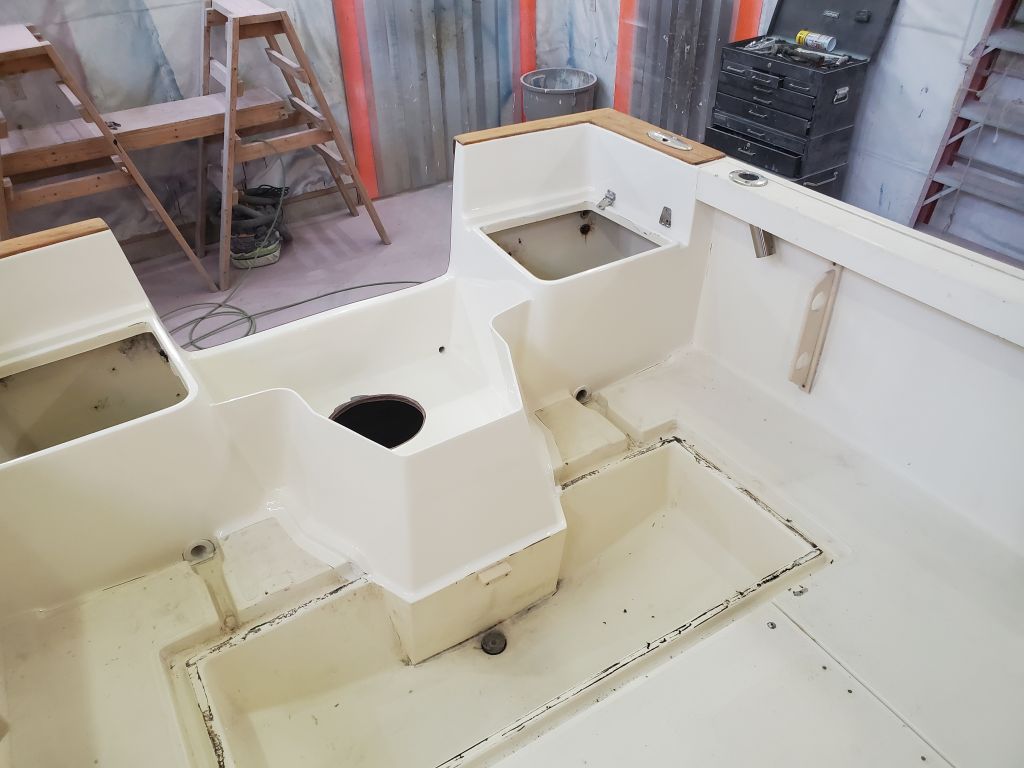
Finally, with the work done in the aft compartments, I went ahead and reinstalled the locker lids/seats.