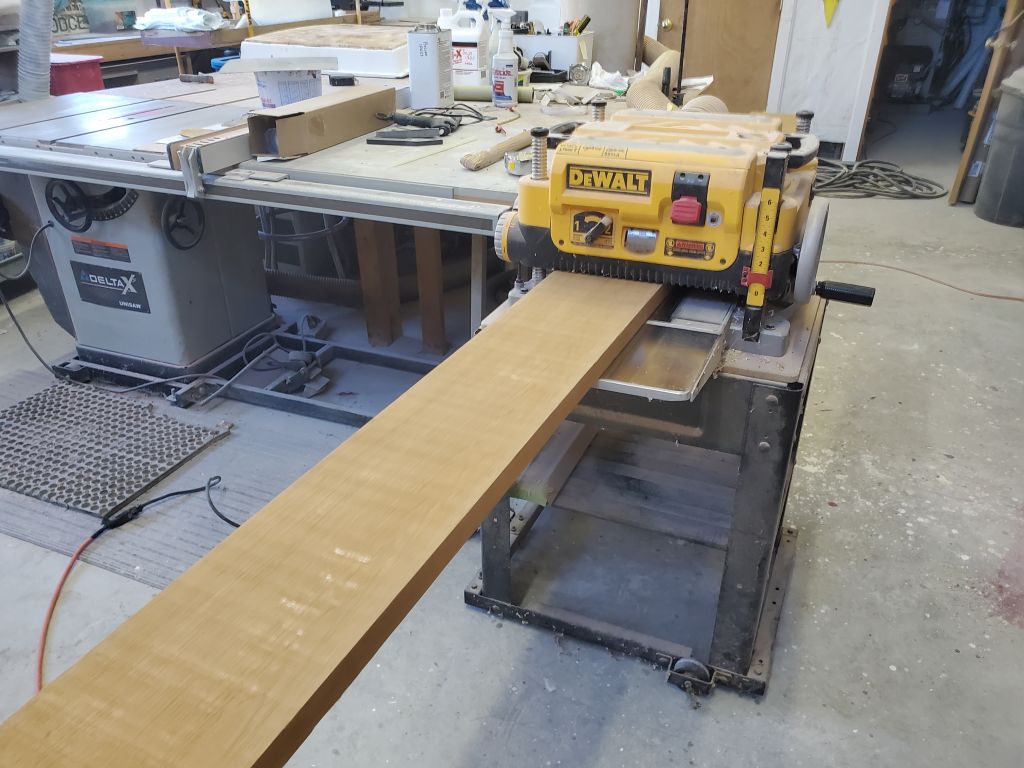
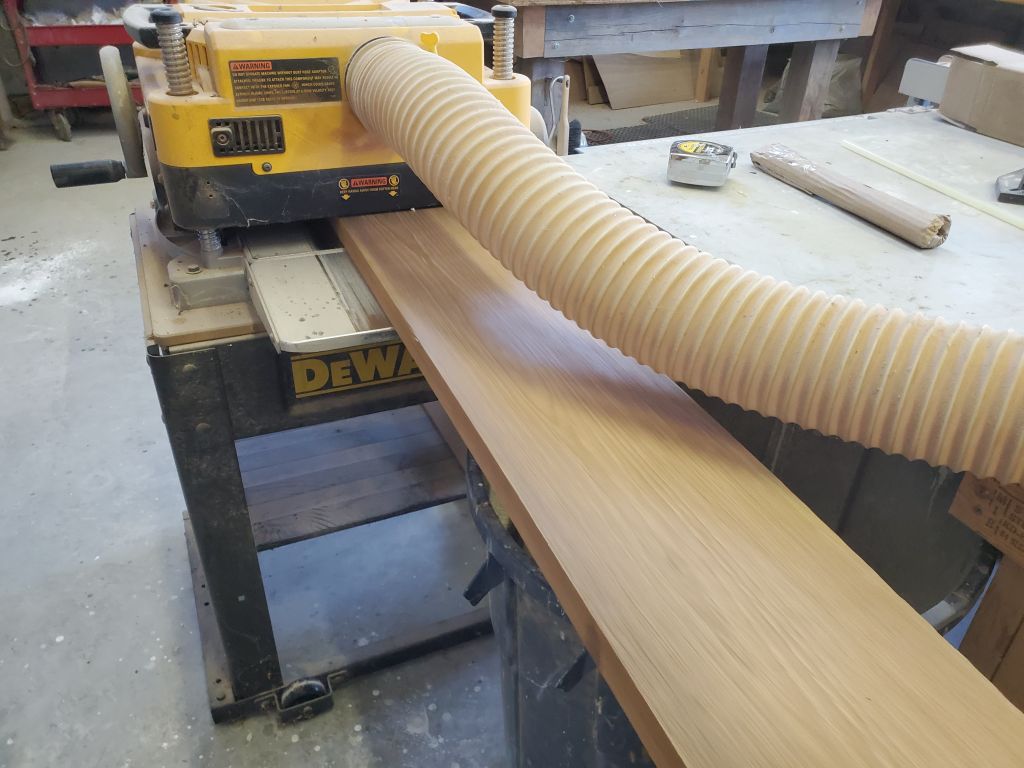
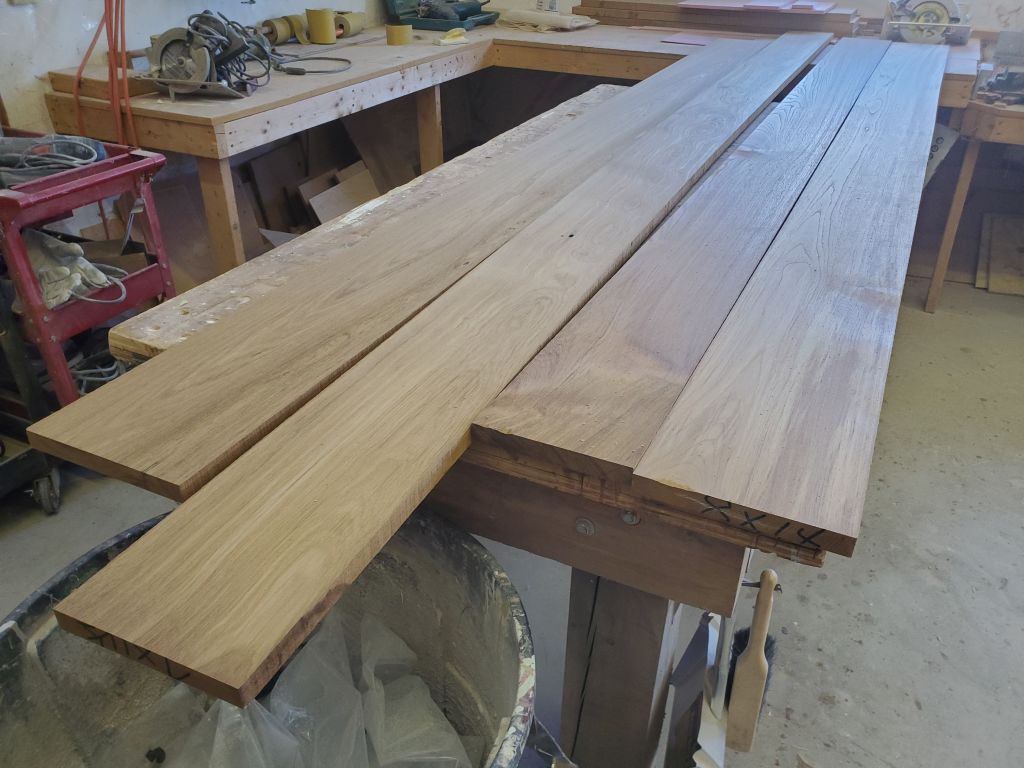
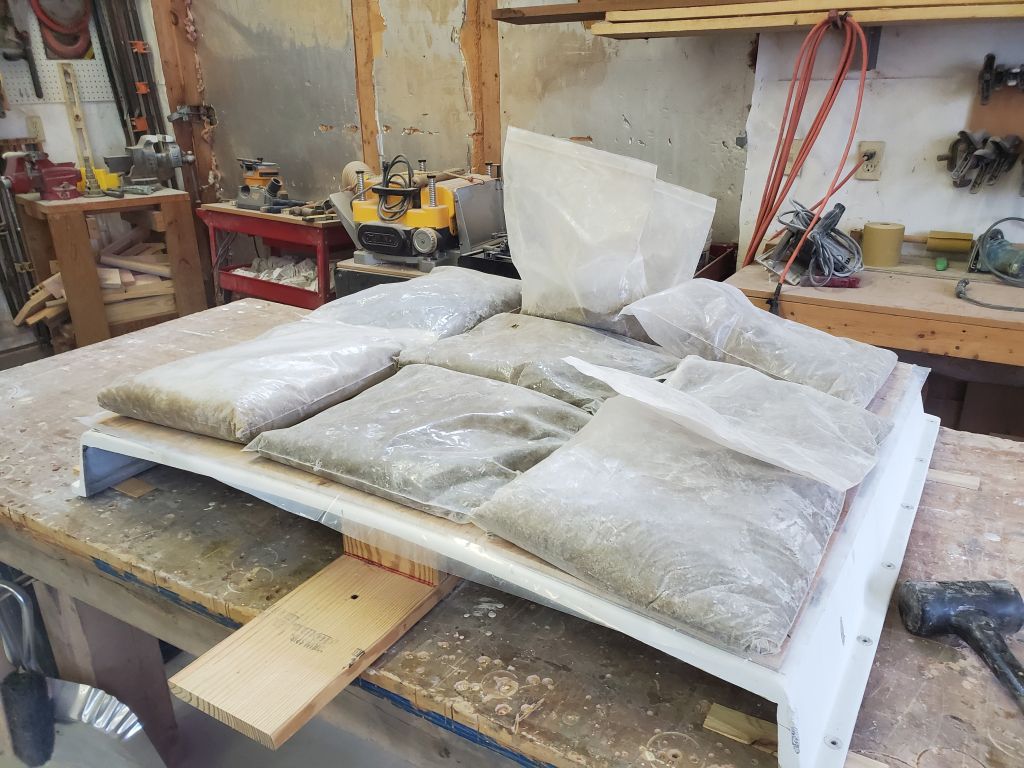
Over the weekend, with some time on hand, I decided to tackle the teak boards for the eventual cockpit coamings. I ordered these a while back, and they needed to be planed smooth and to the appropriate thickness. I had not been looking forward to this as the boards varied quite a bit in thickness, and I knew it would take time with my little planer to get then properly planed.
As it happened, the job went smoothly. I was prepared to change to new blades partway through, as the existing blades (carbide) had been on the machine for a while, and I didn’t know how much more life they had, especially with teak. But they did the whole job, and the planer only stopped once from overload (this tends to happen routinely with difficult woods like teak). I always take tiny bites with each pass, and after about an hour the job was done. I stopped at 15/16″ thickness because all four boards were smooth on both sides, and I thought the extra heft would look good on the boat. Happy to have this dragon slayed, I set the planks aside for now.
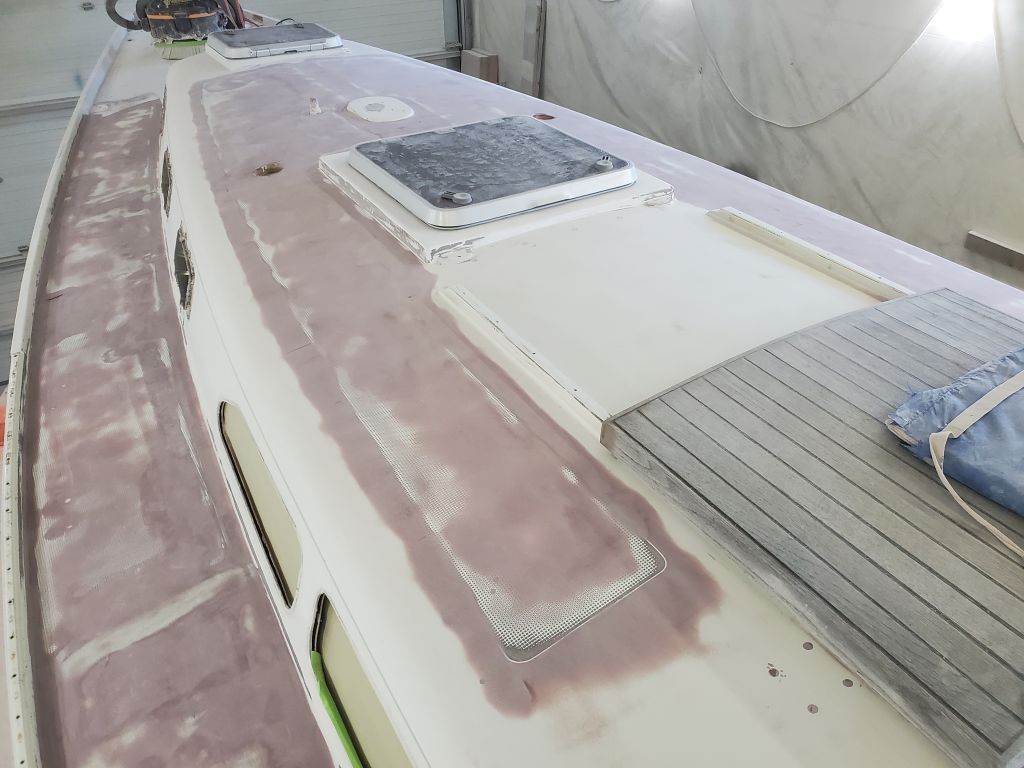
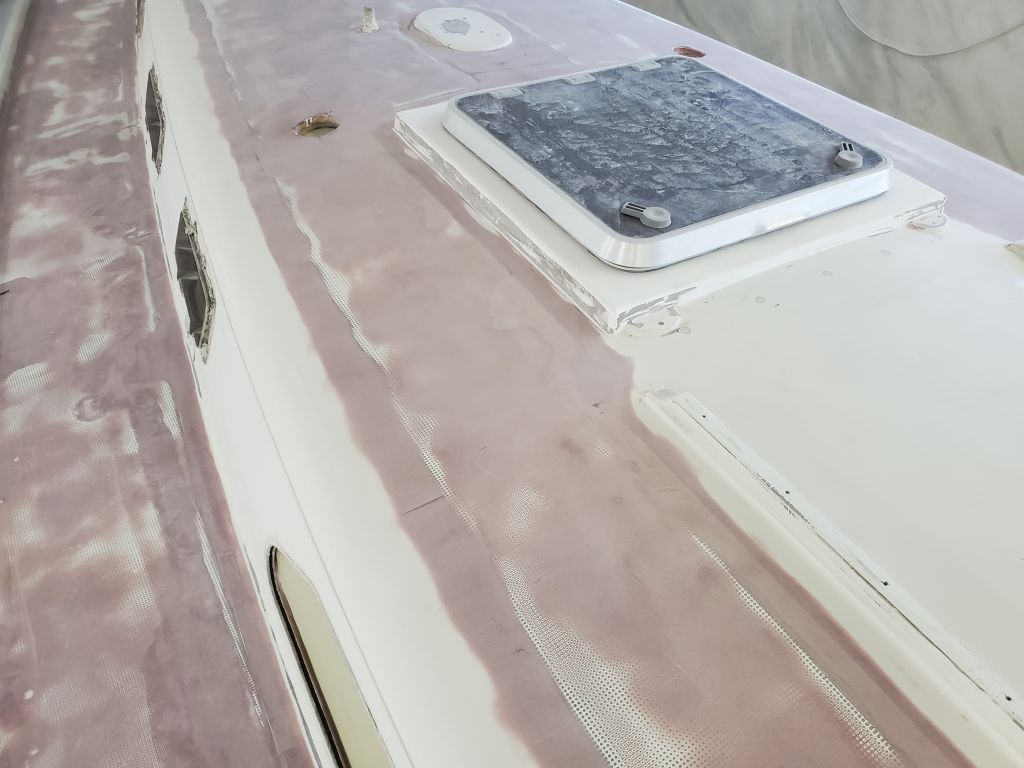
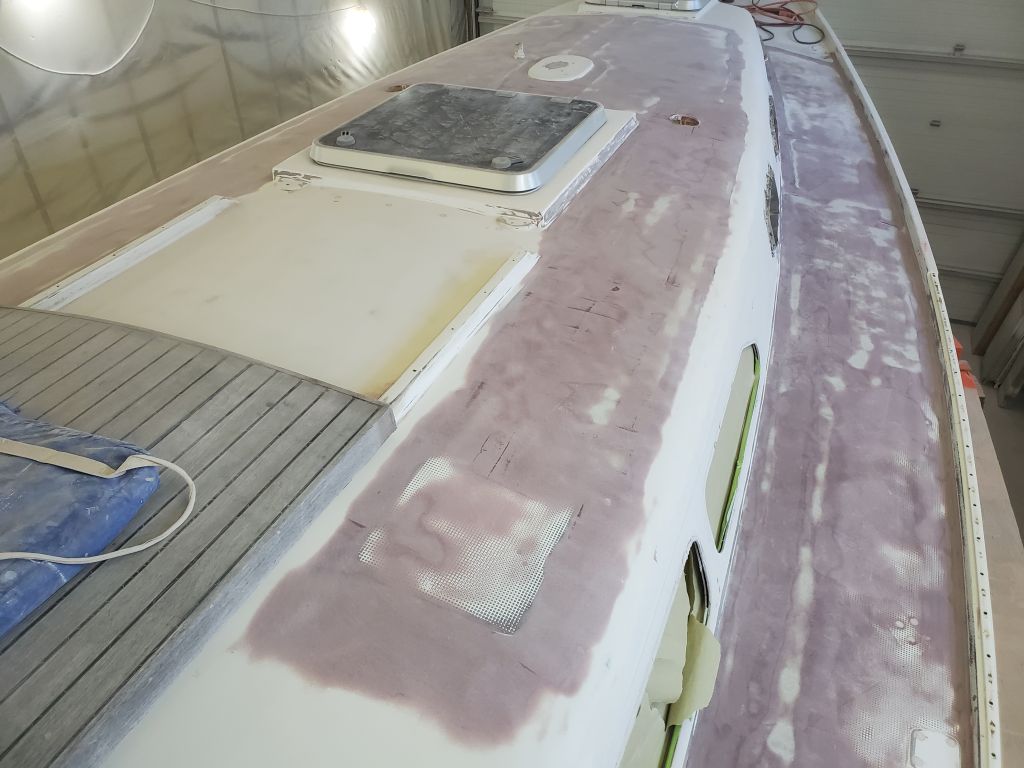
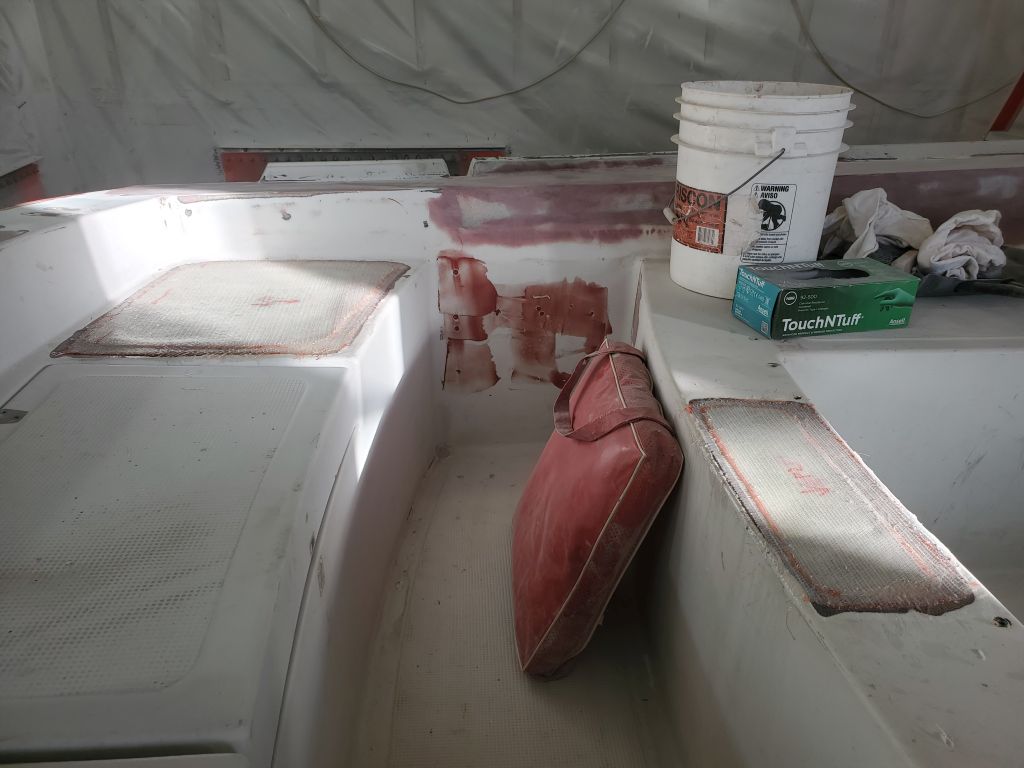
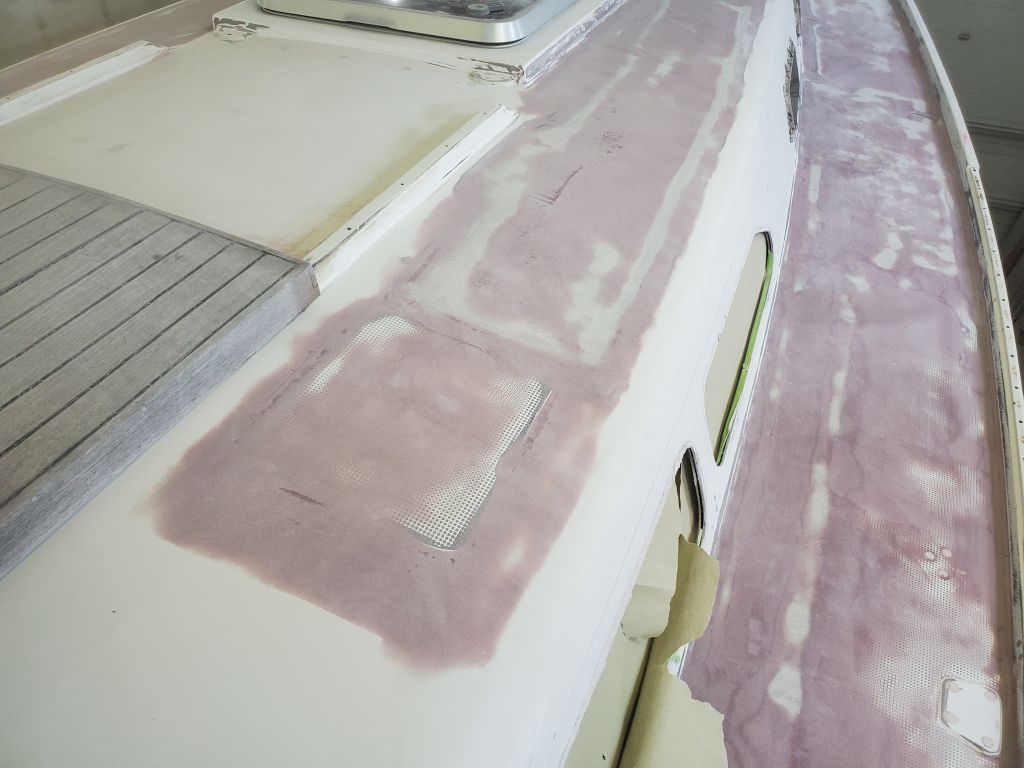
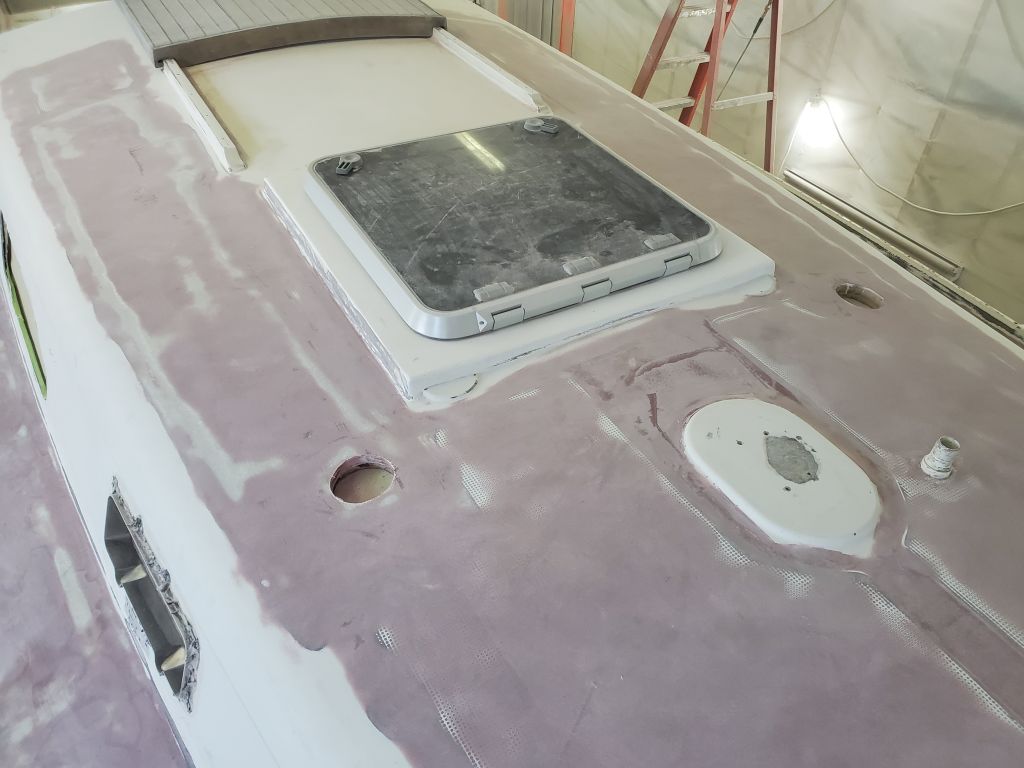
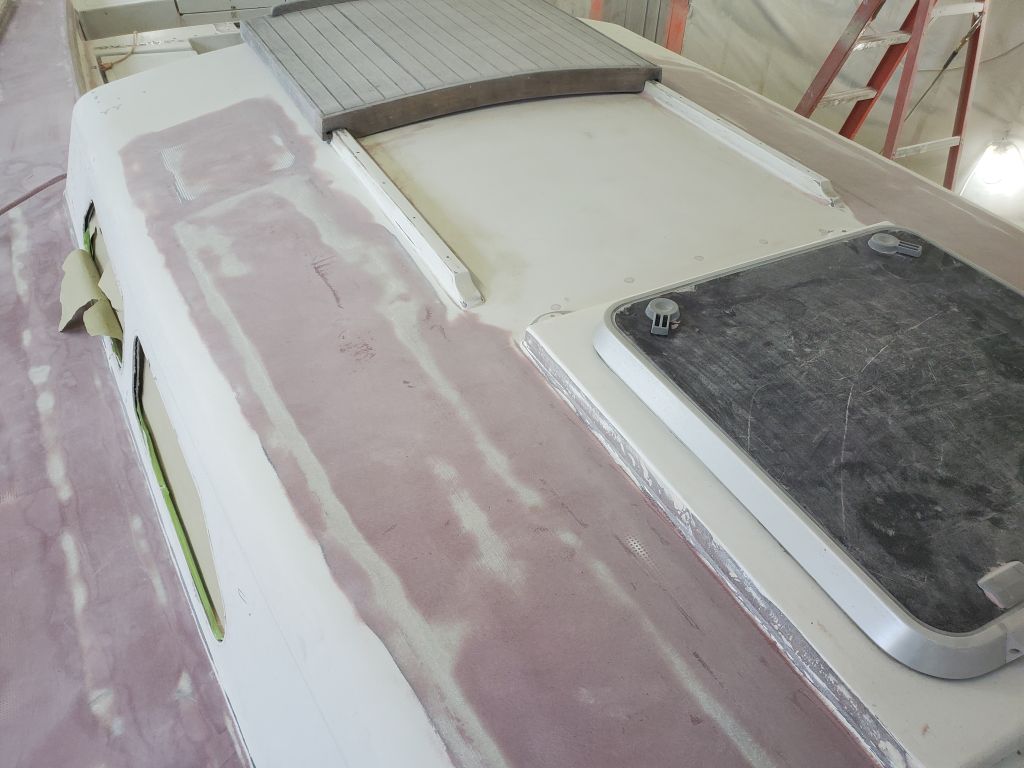
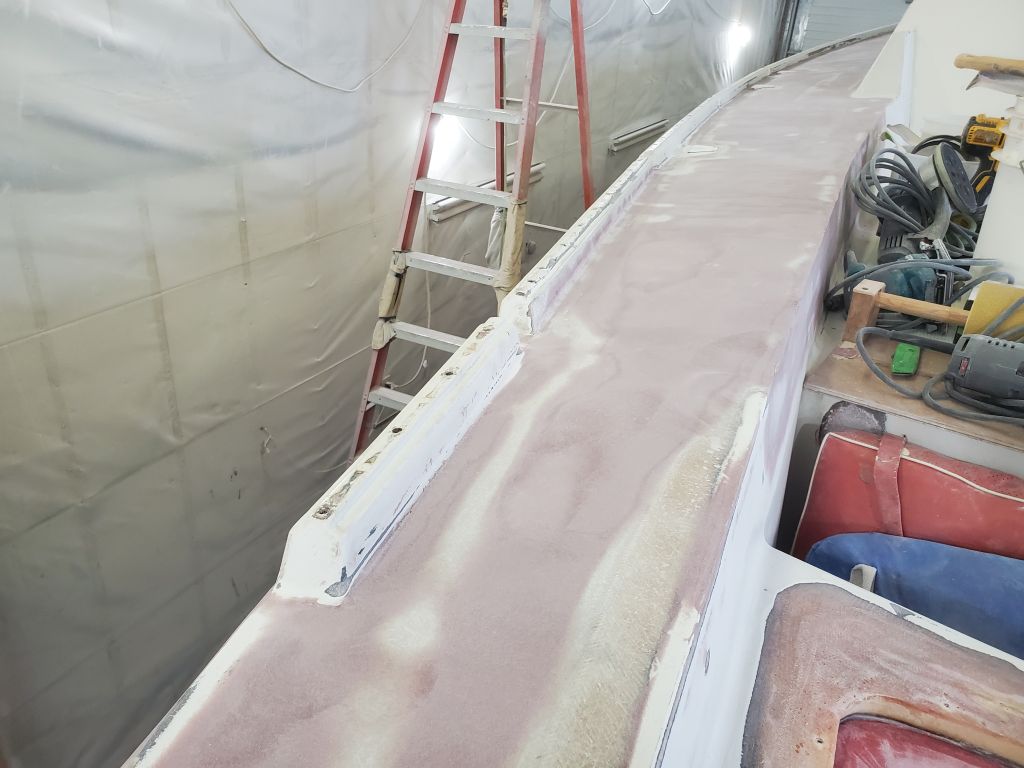
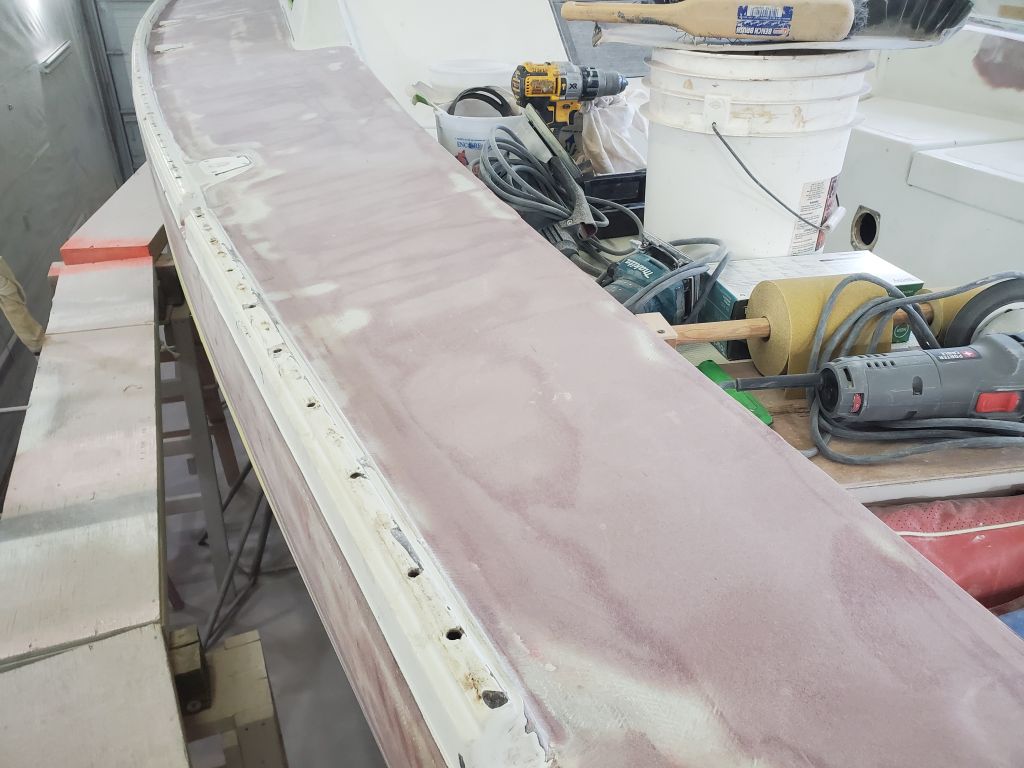
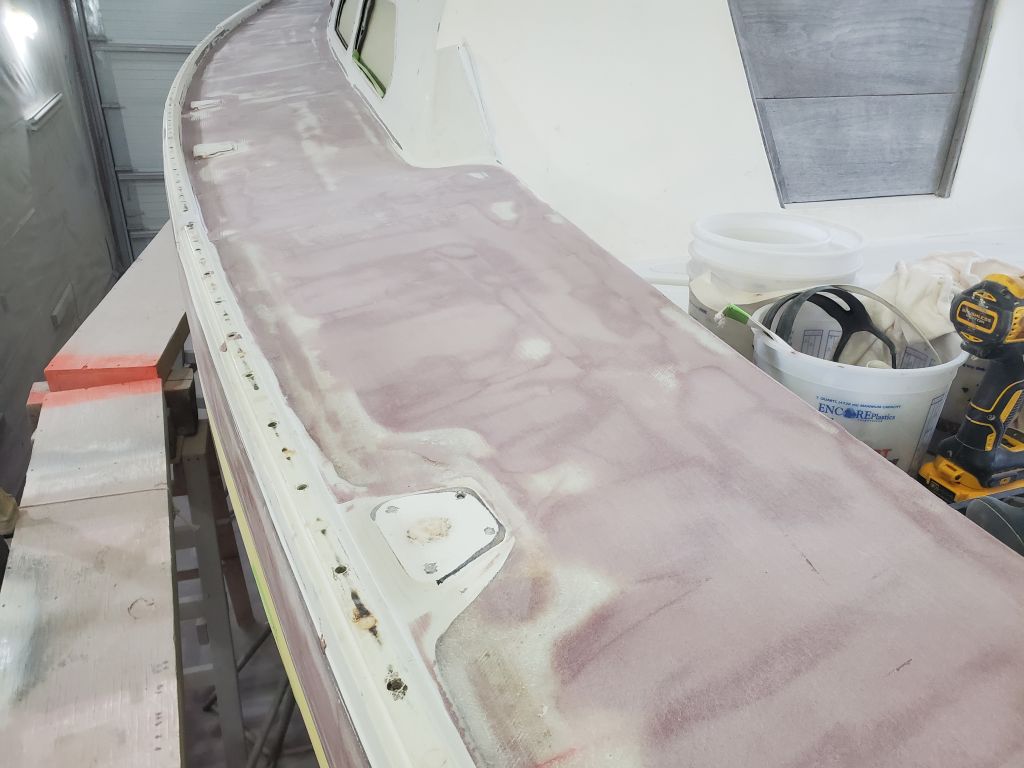
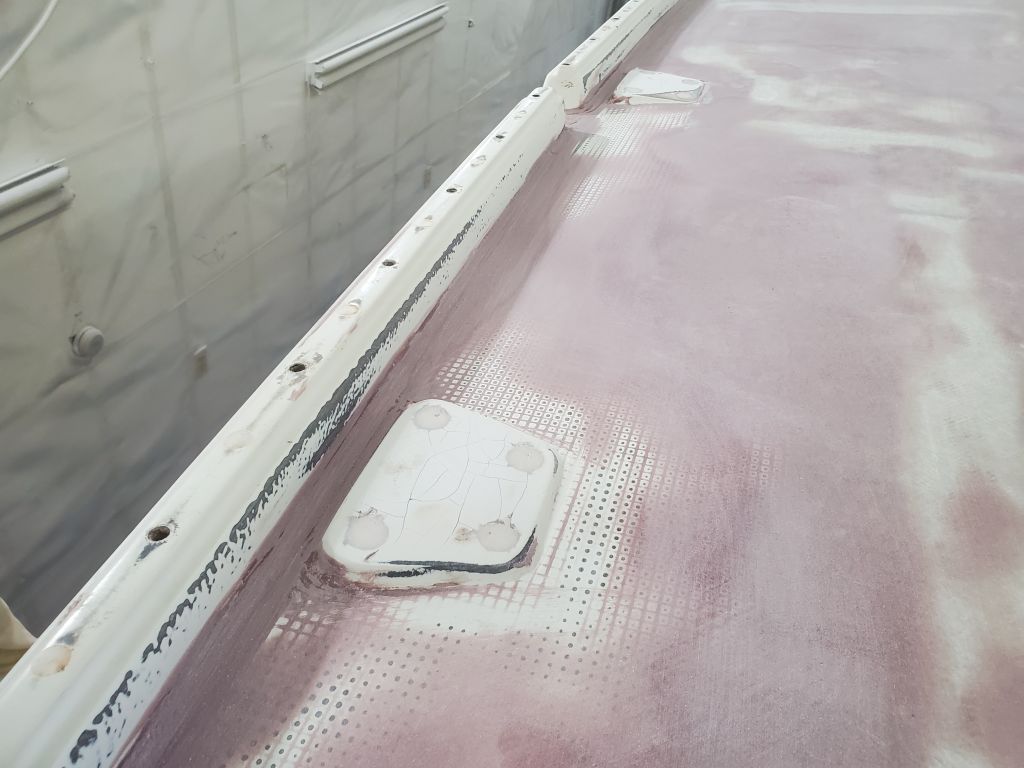
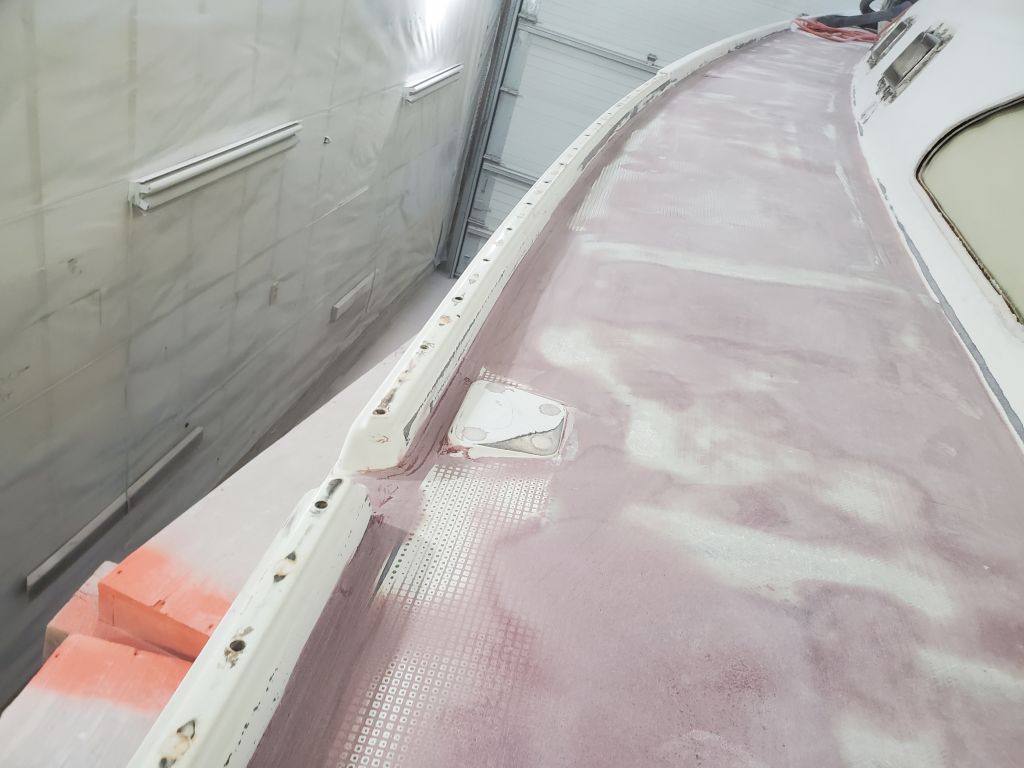
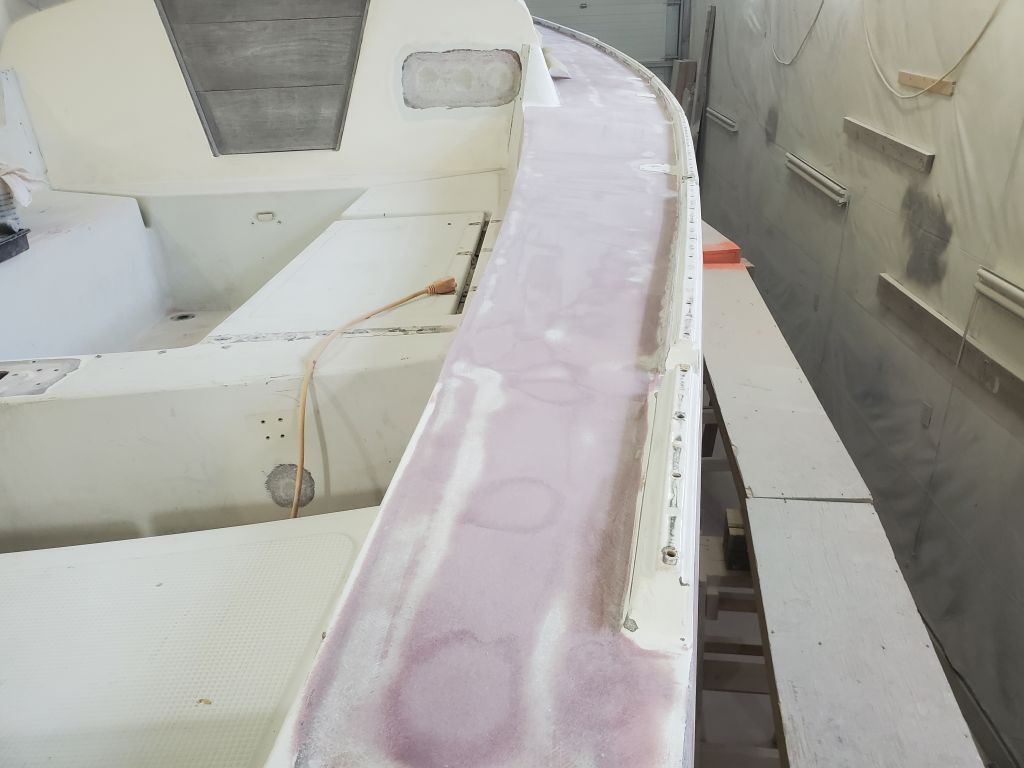
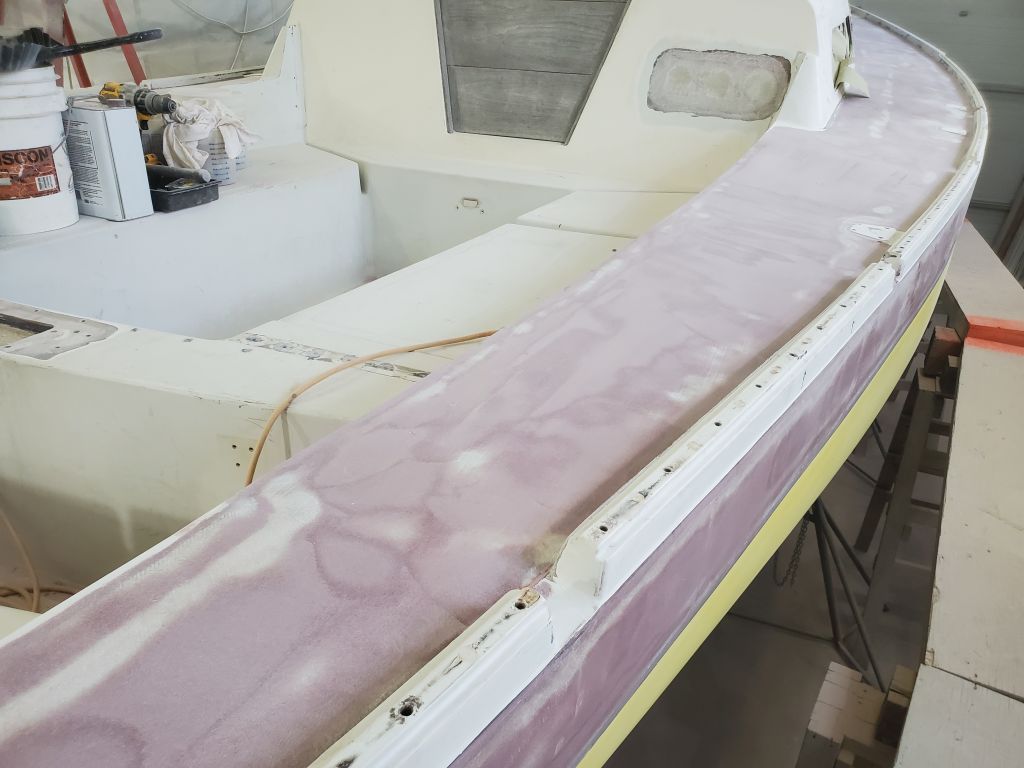
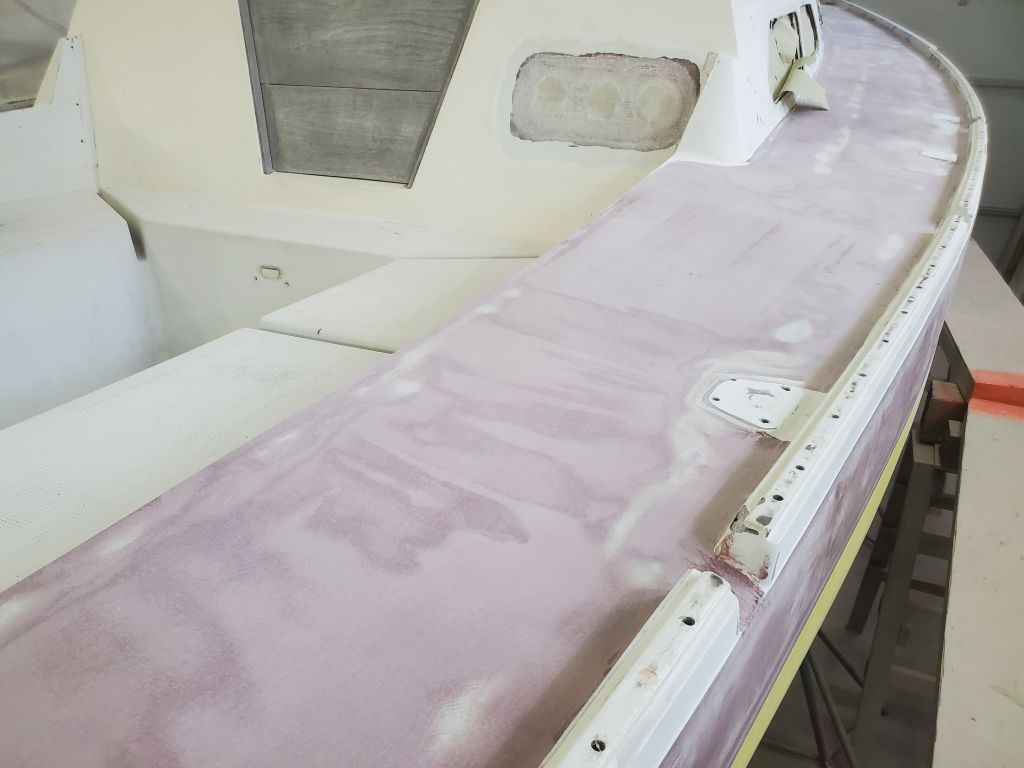
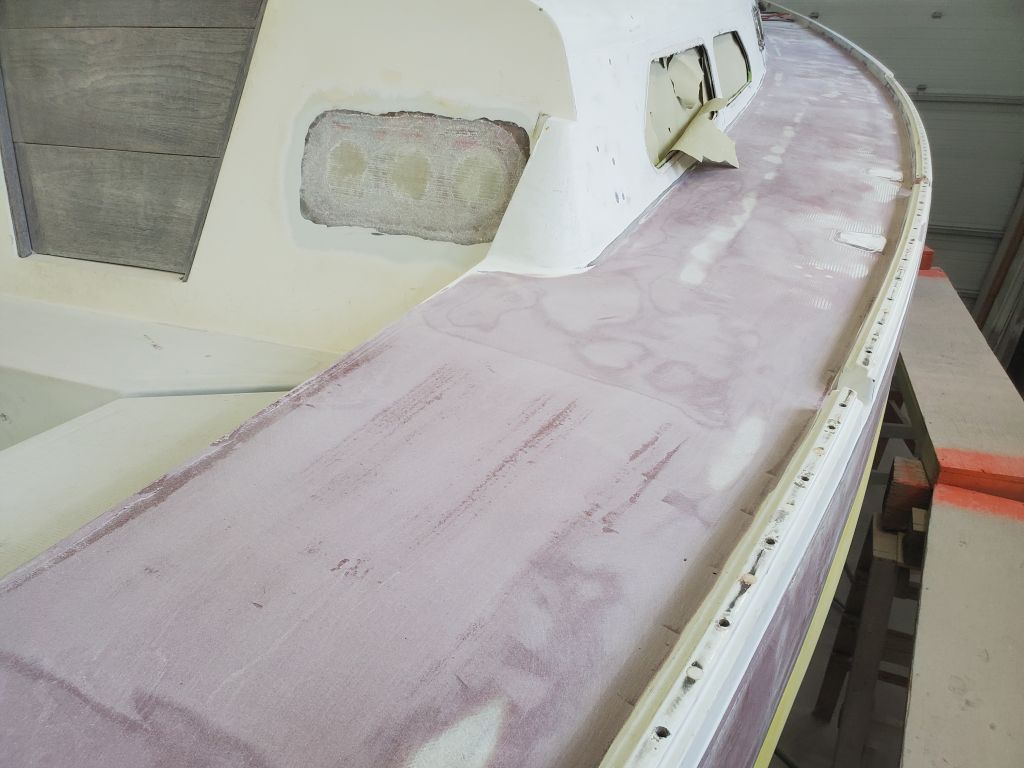
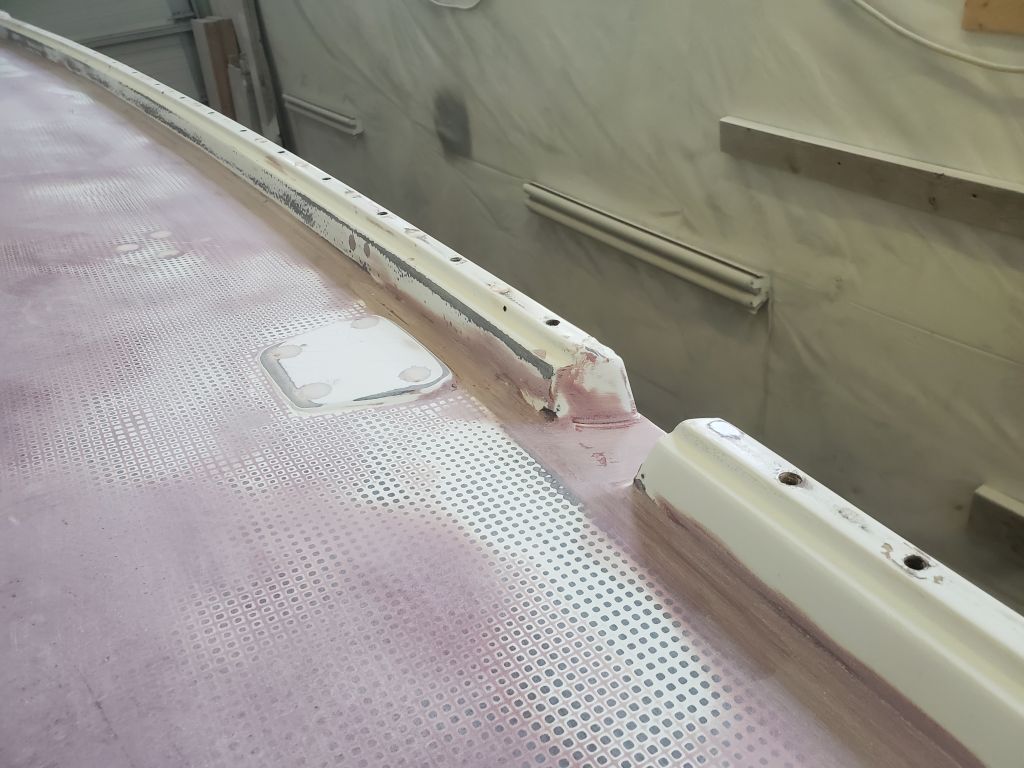
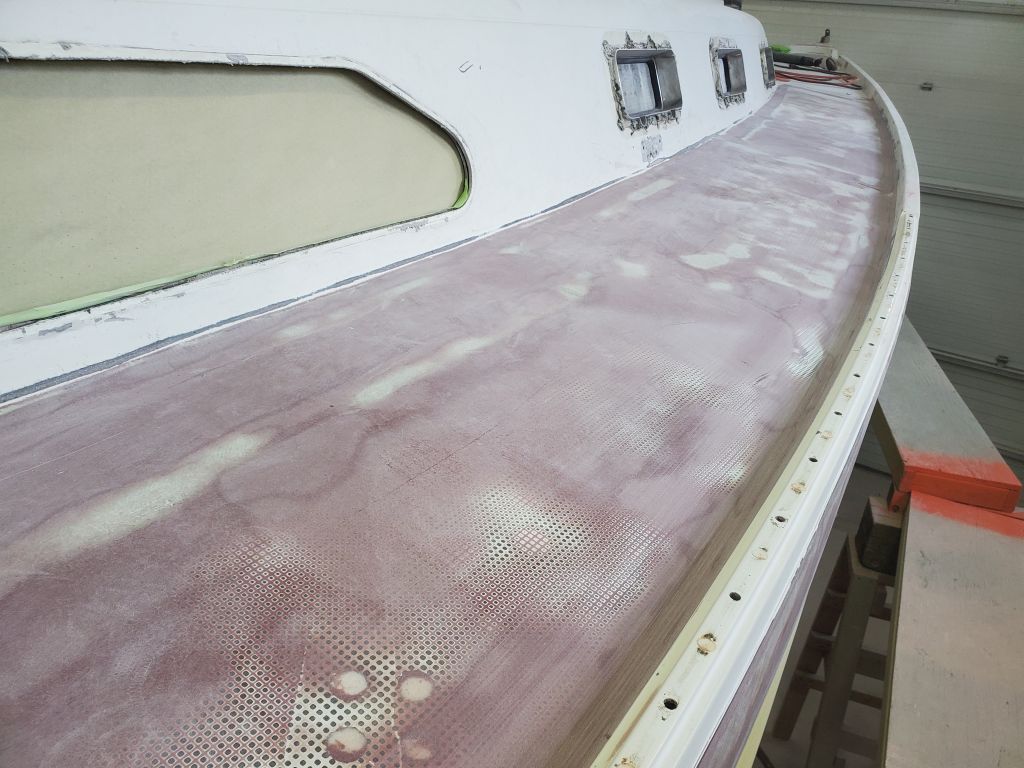
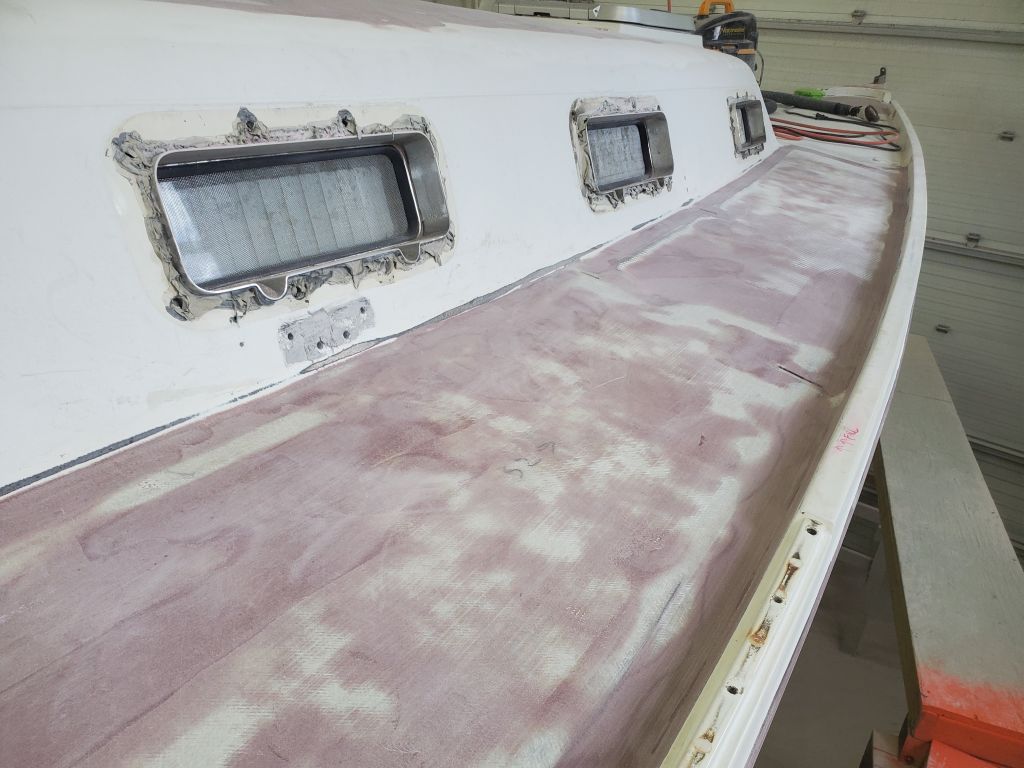
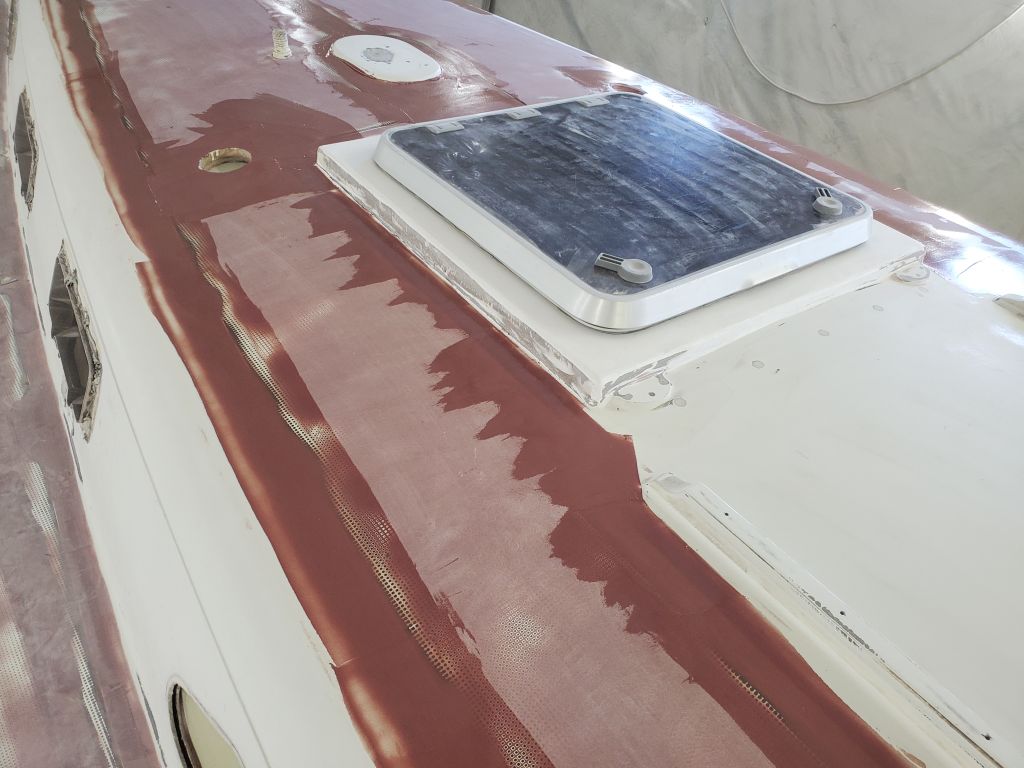
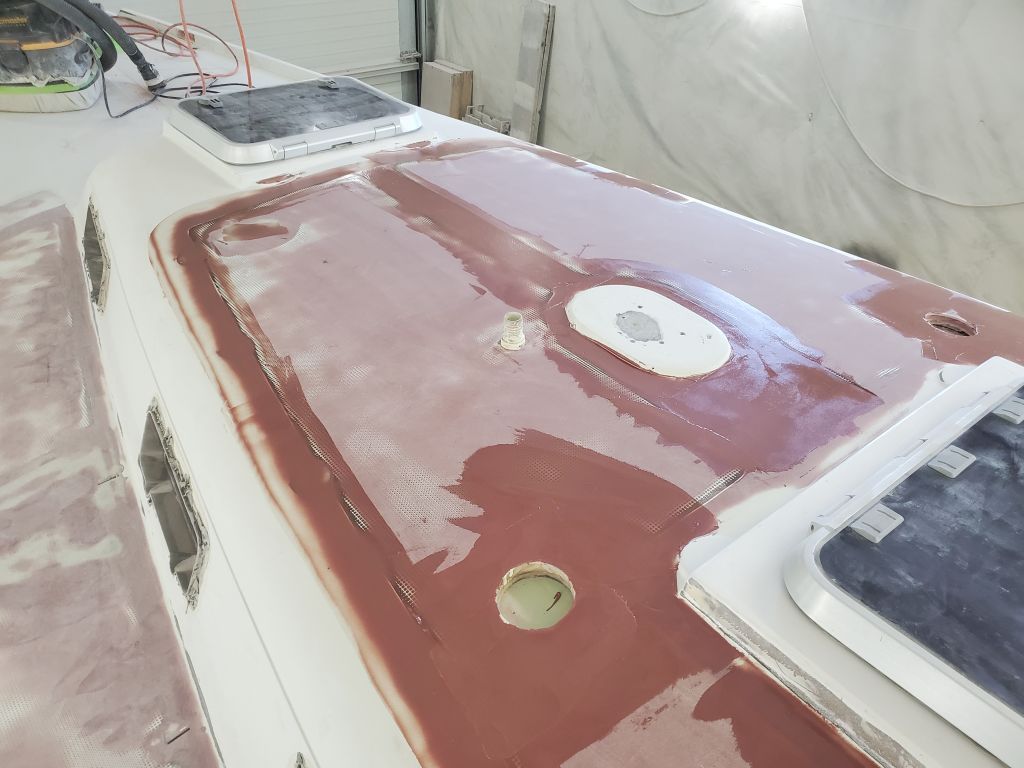
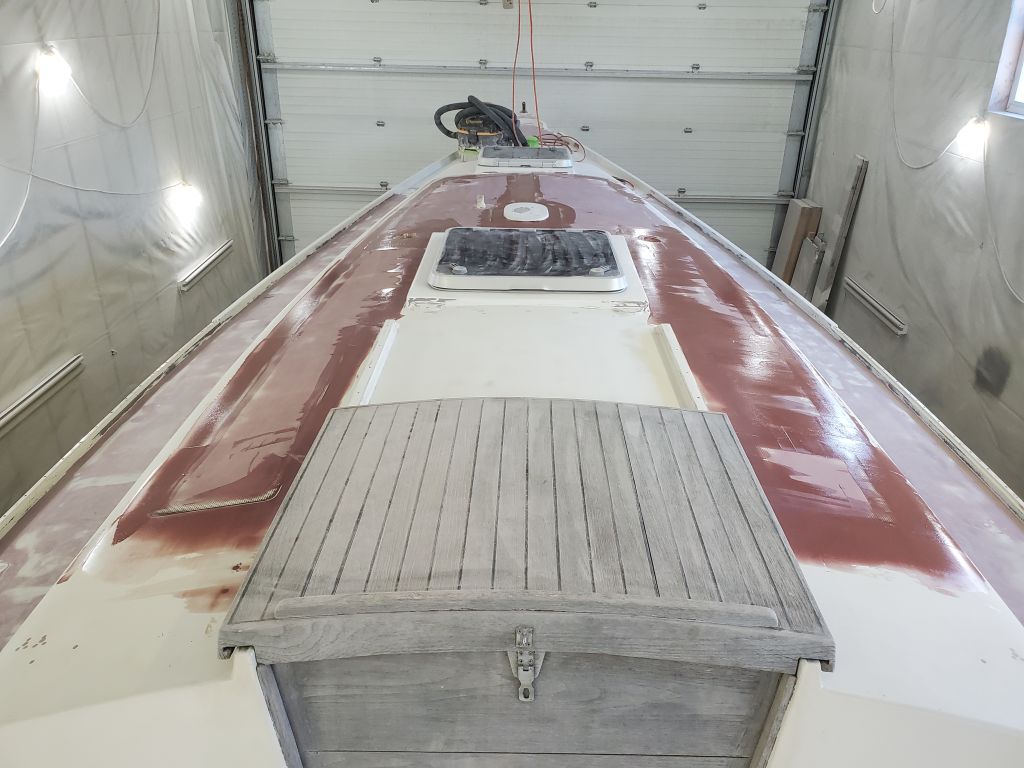
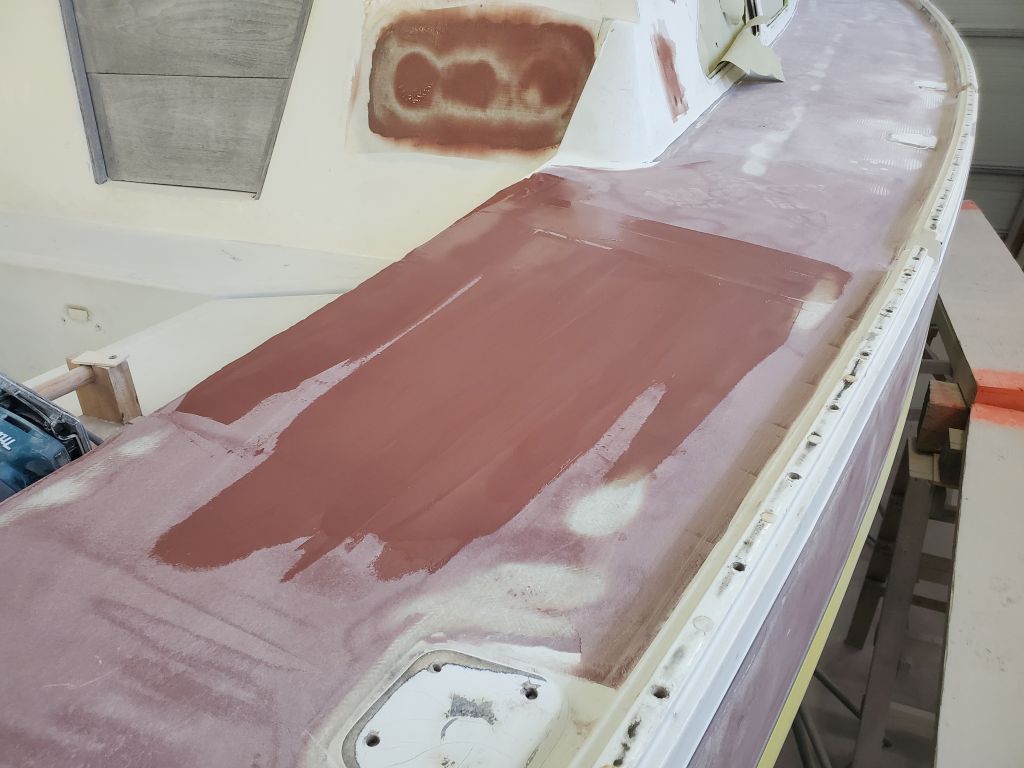
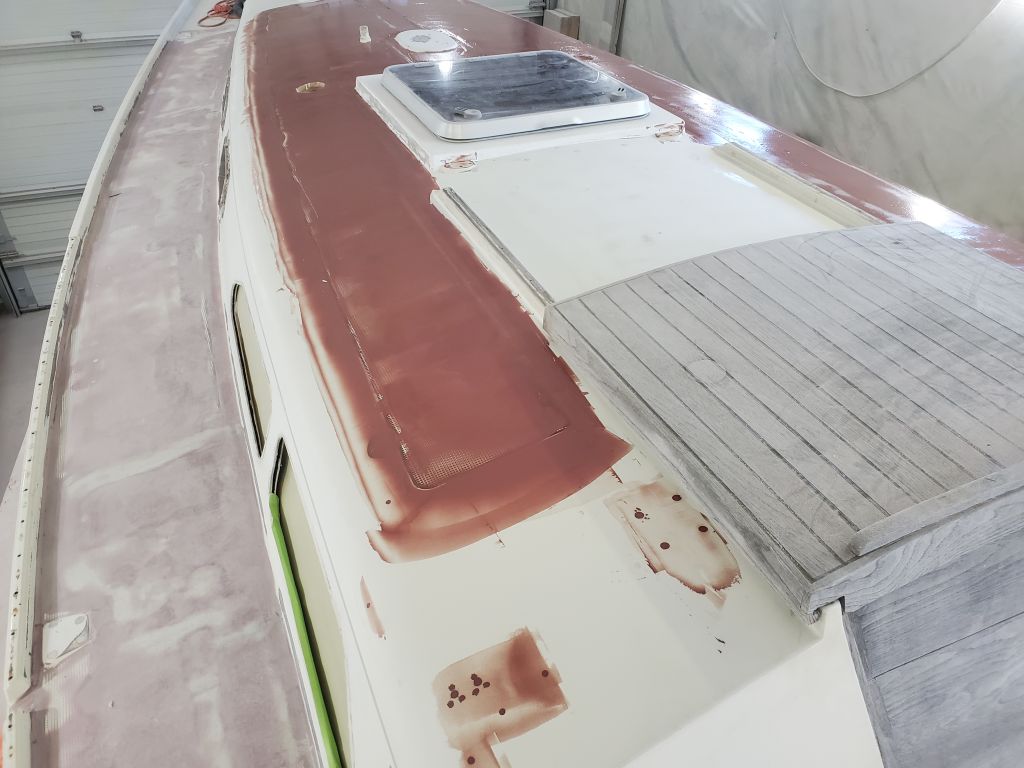
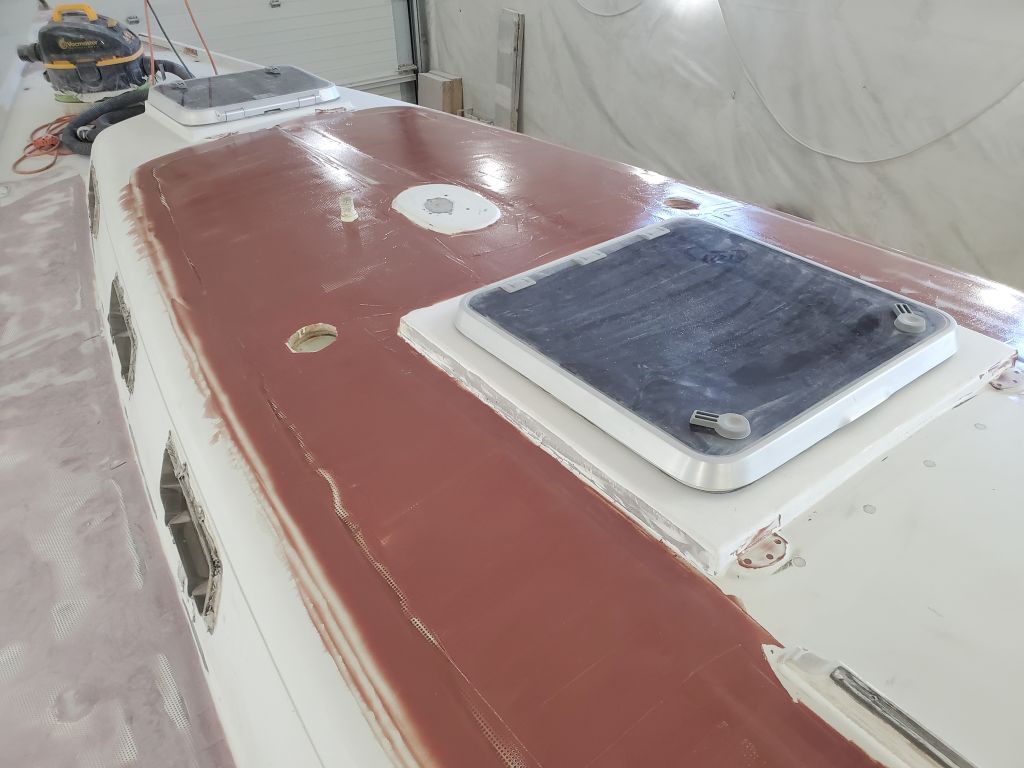
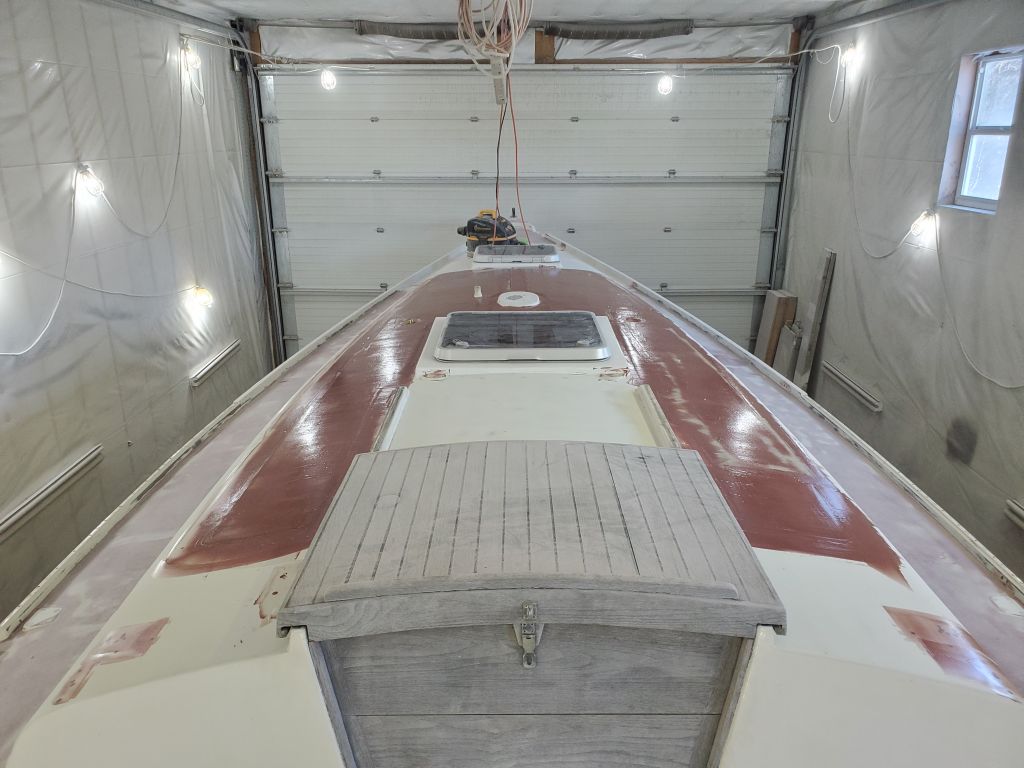
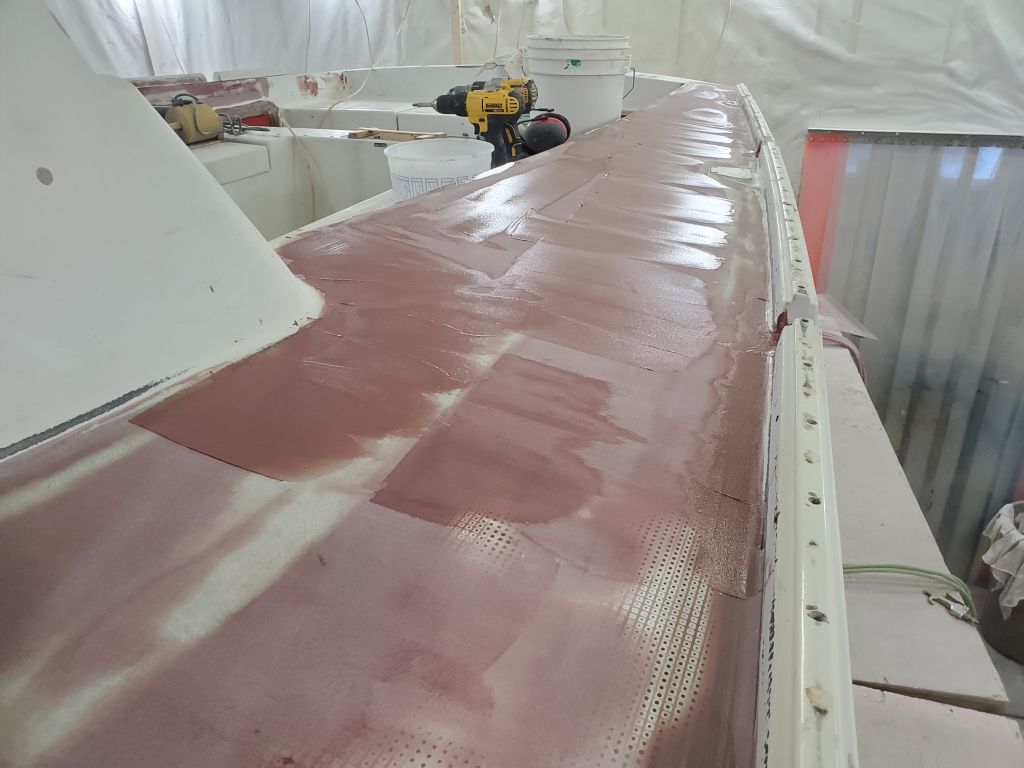
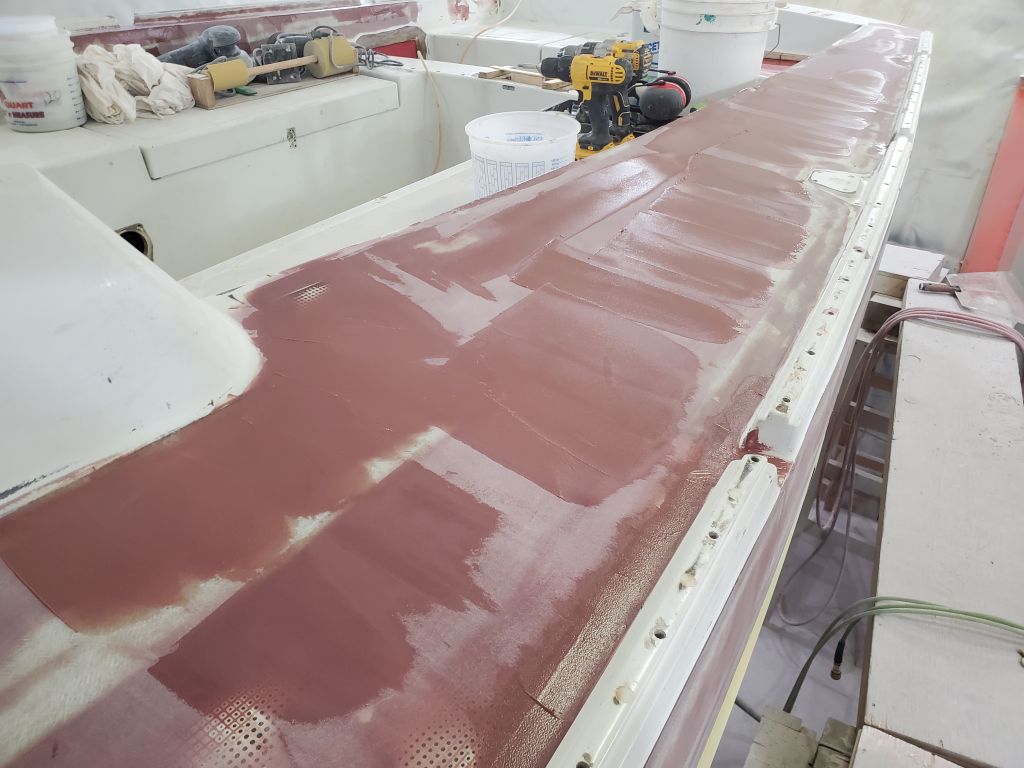
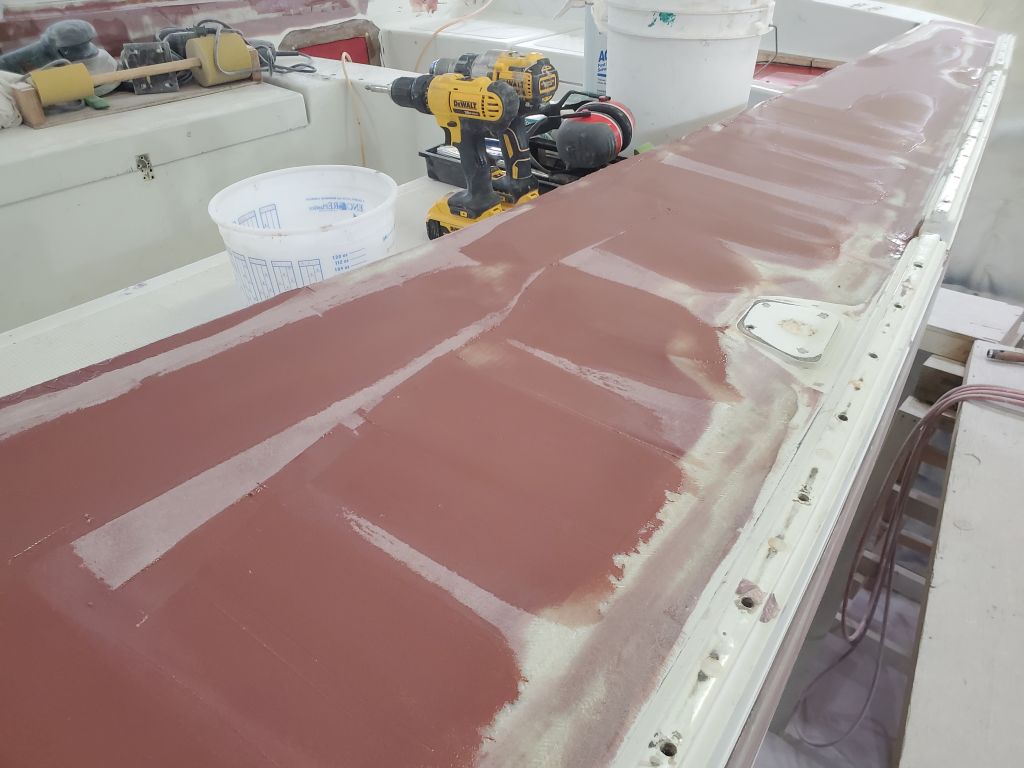
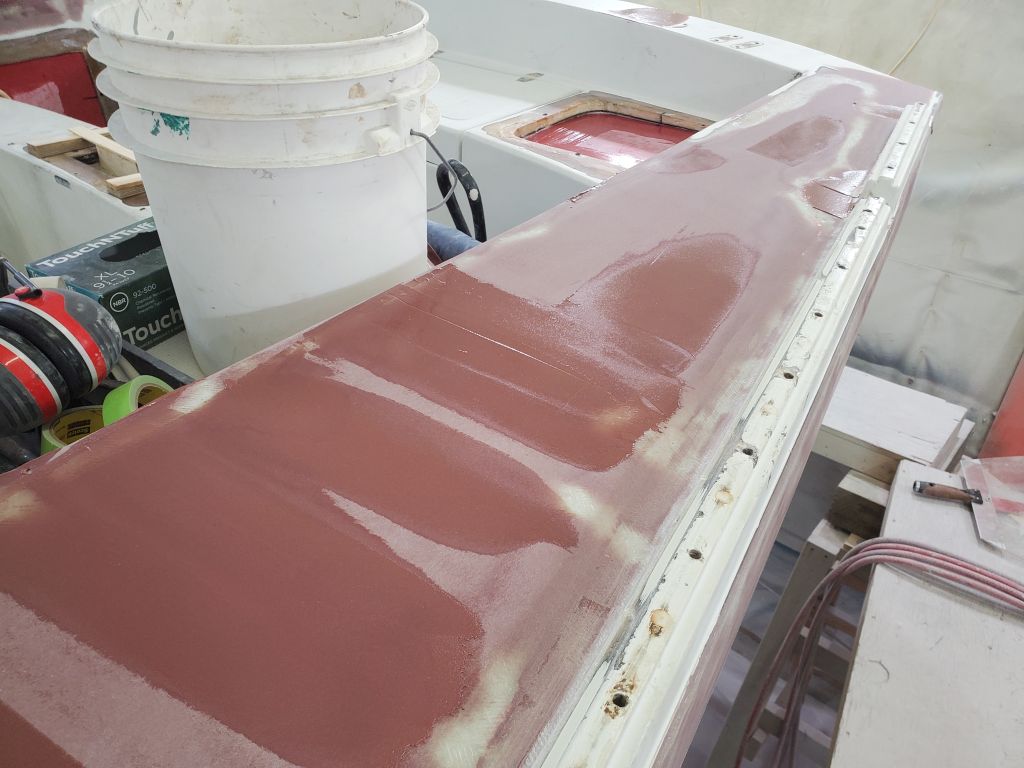
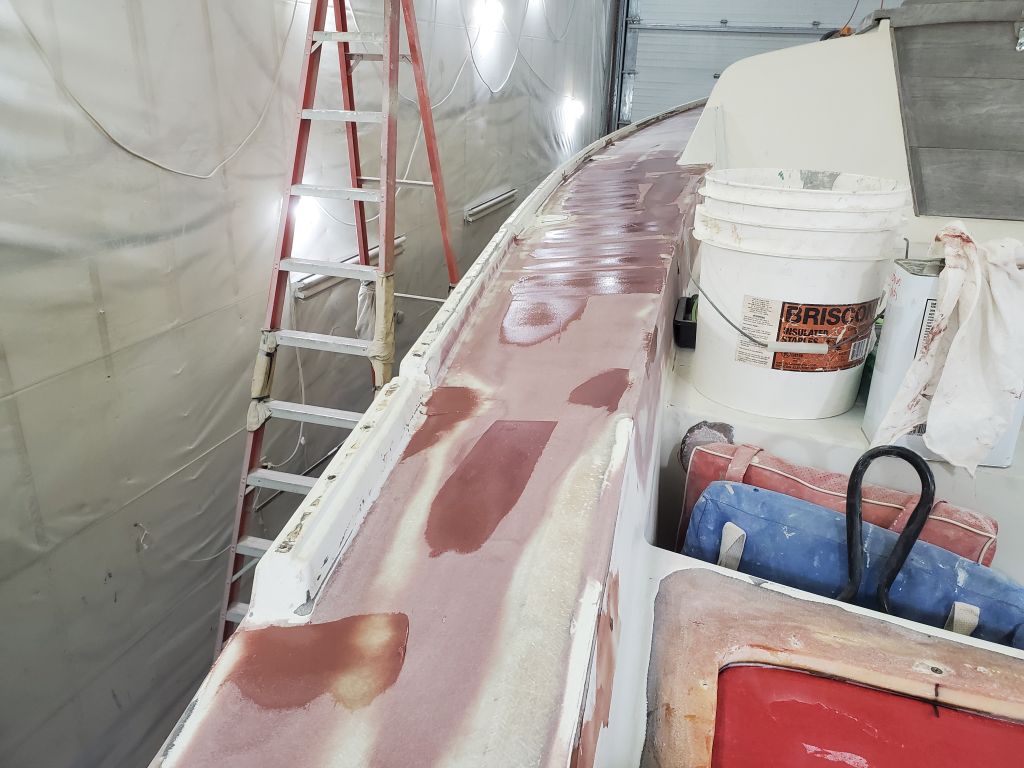
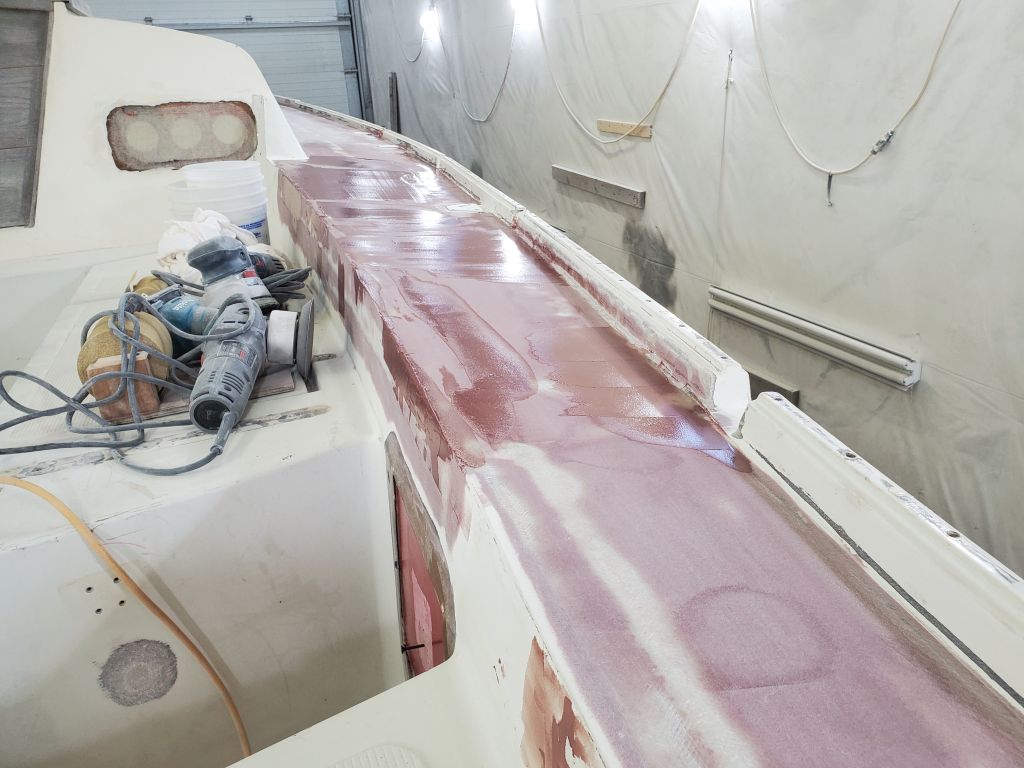
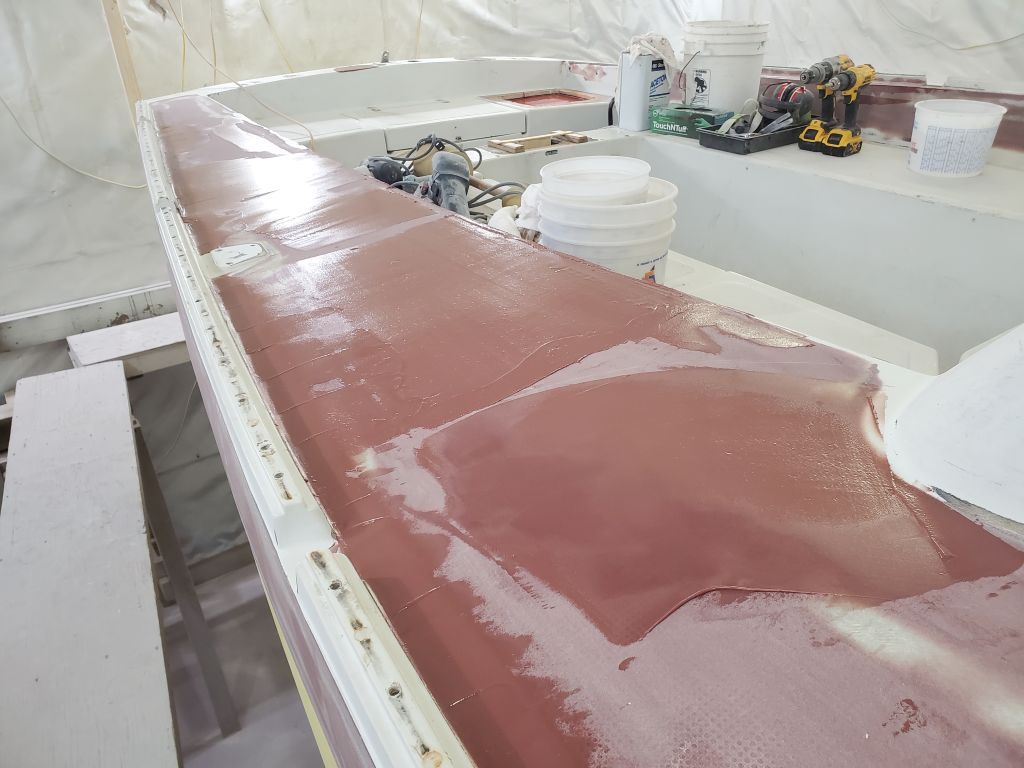
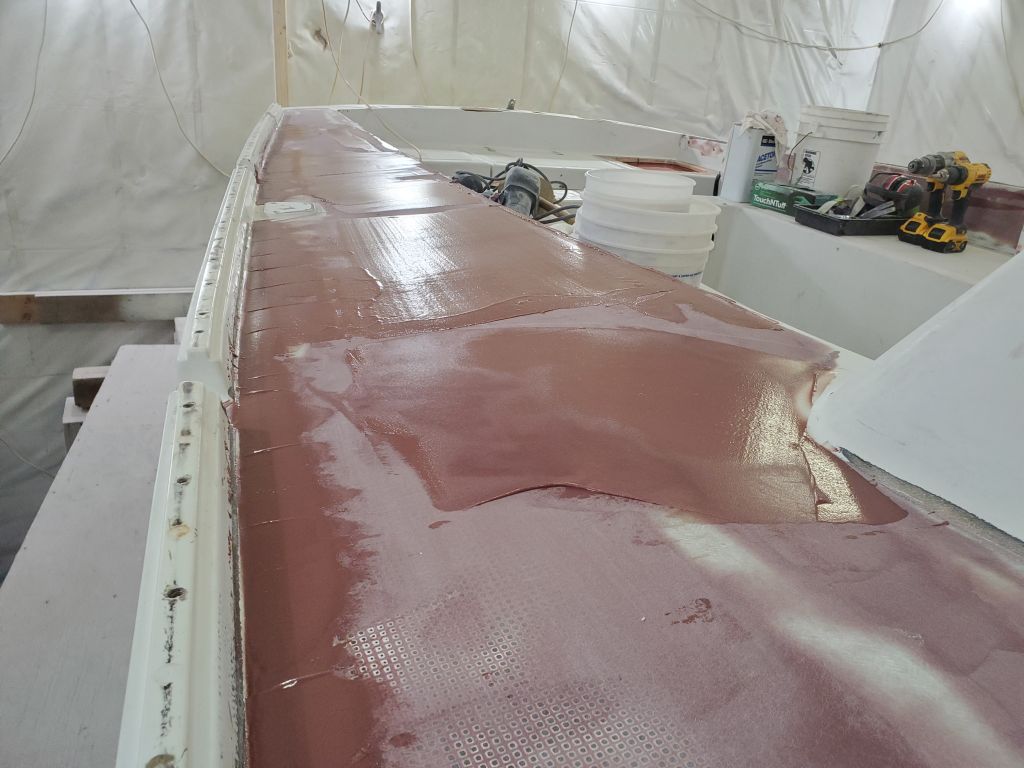
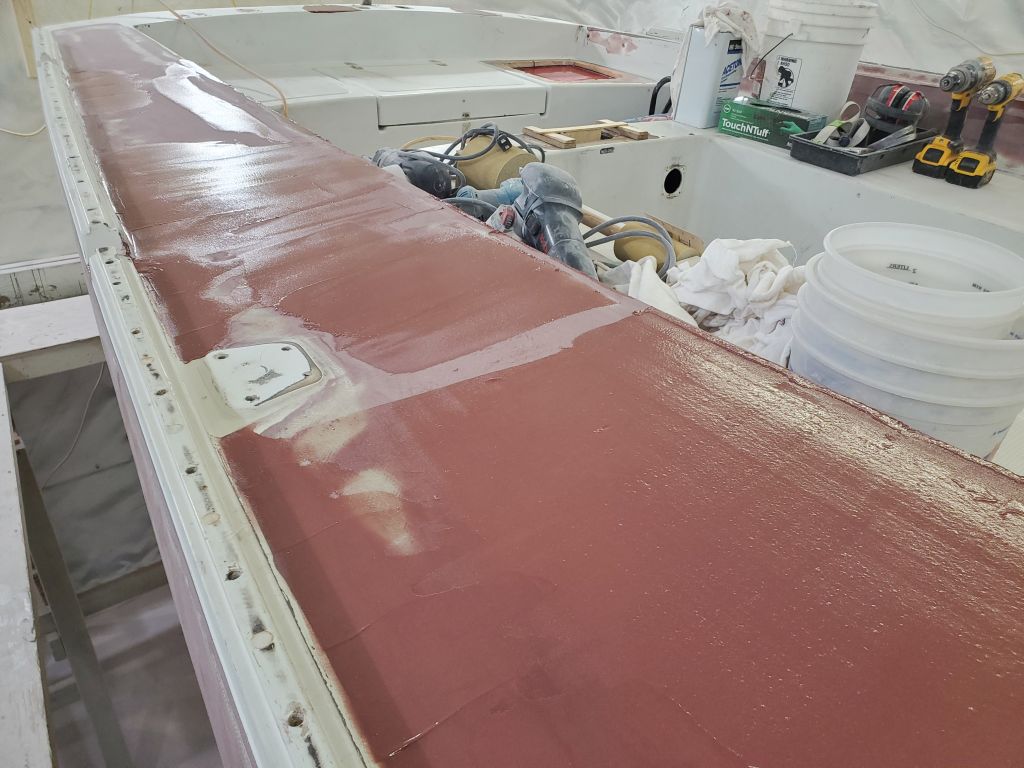
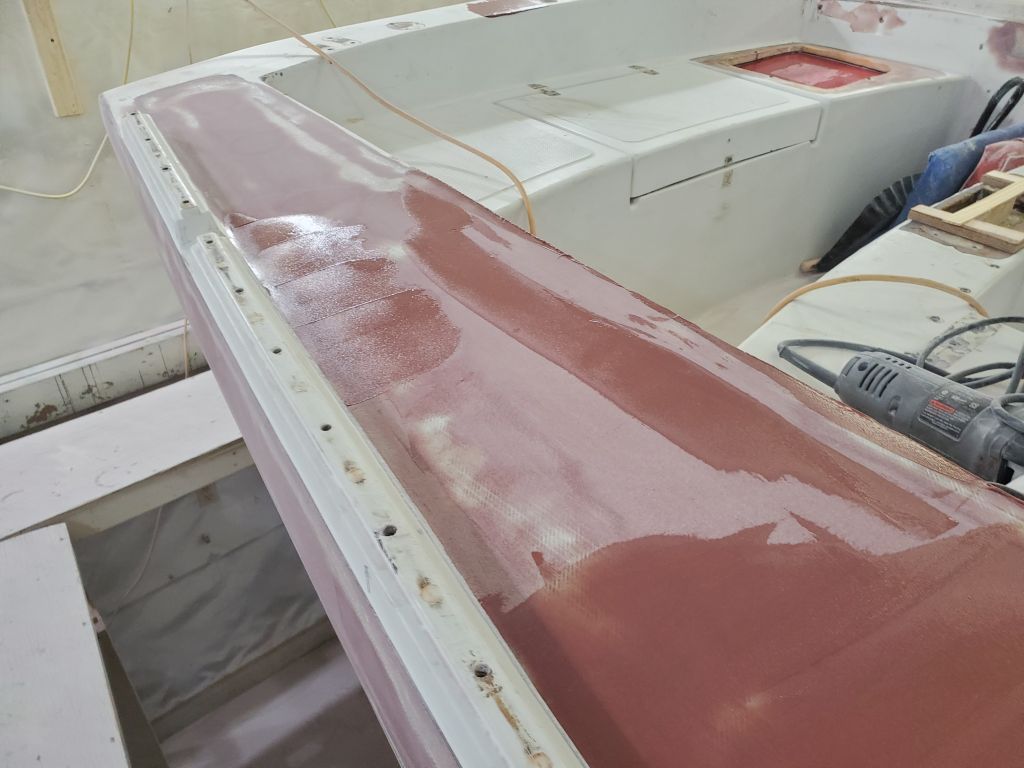
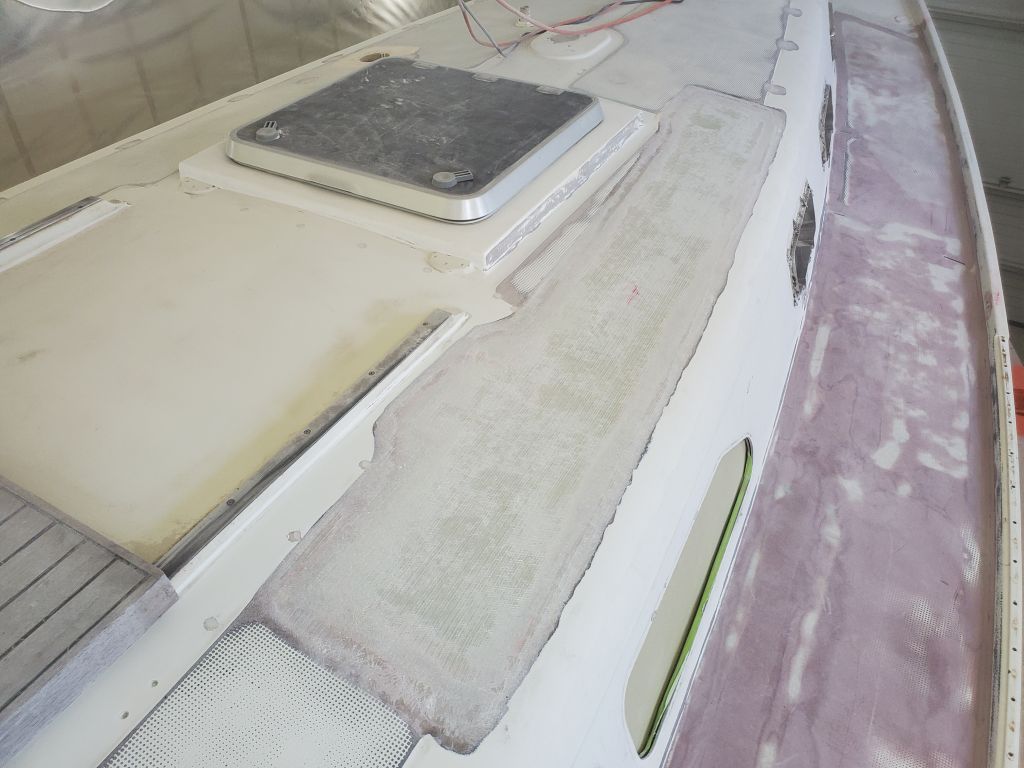
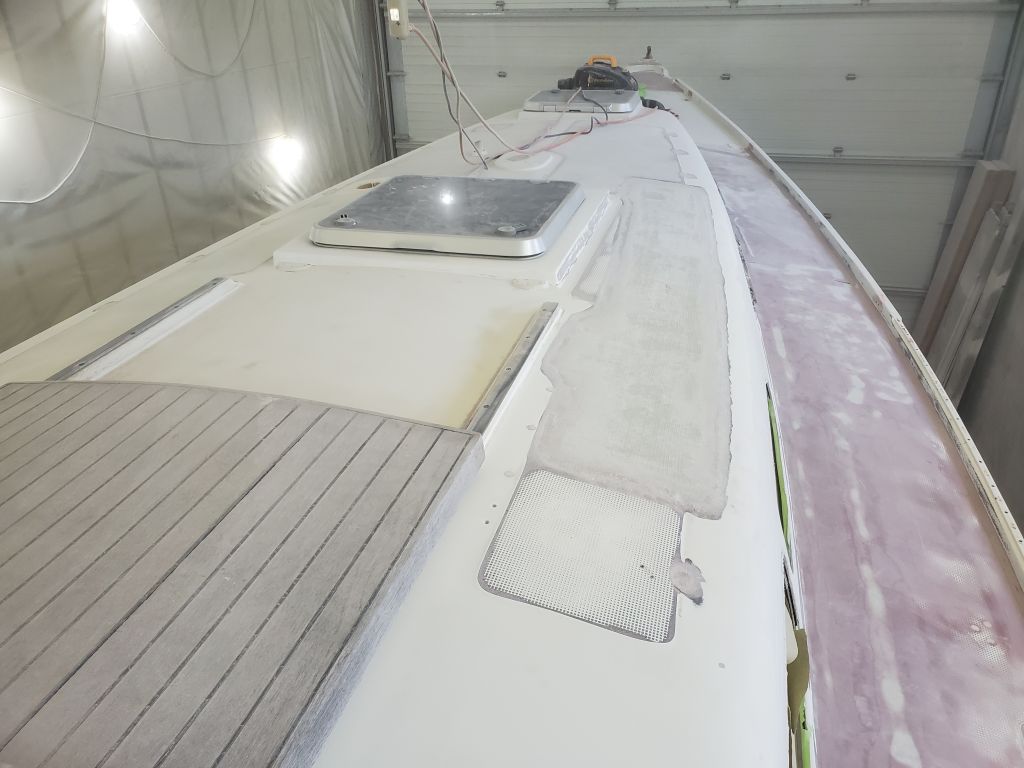
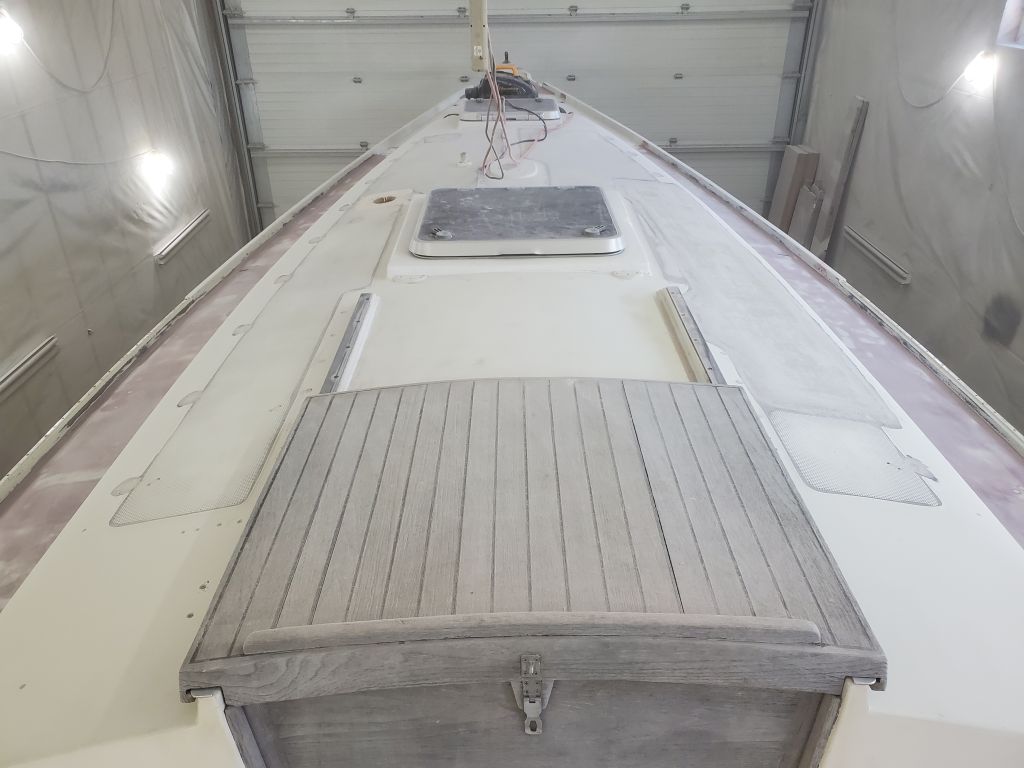
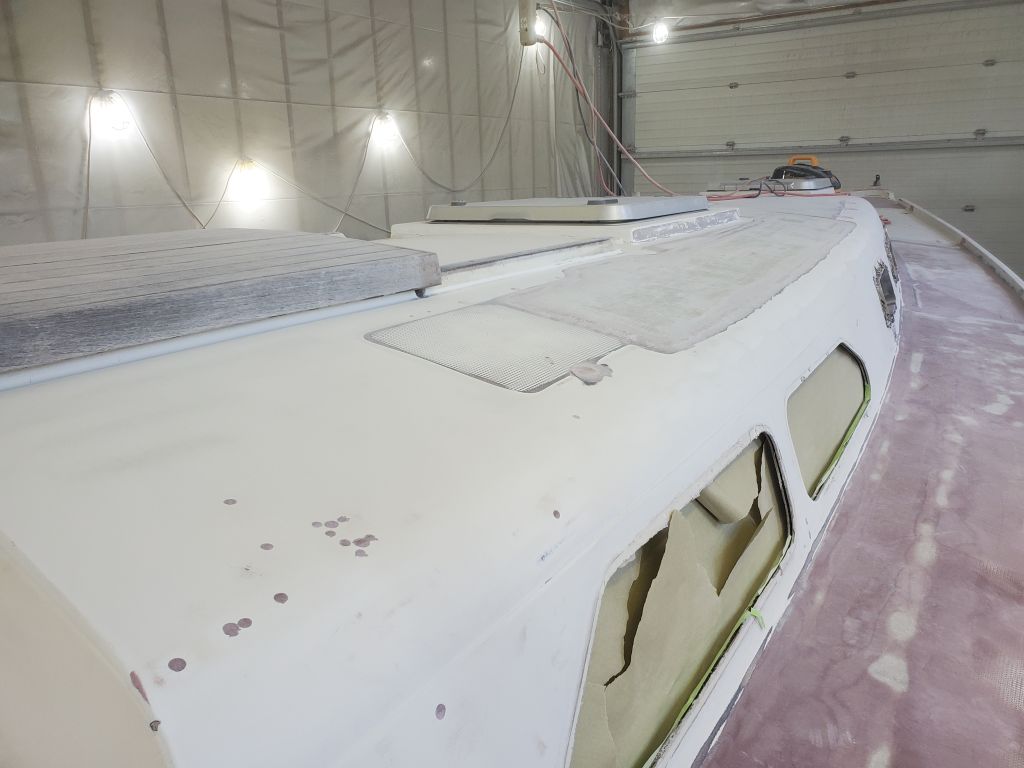
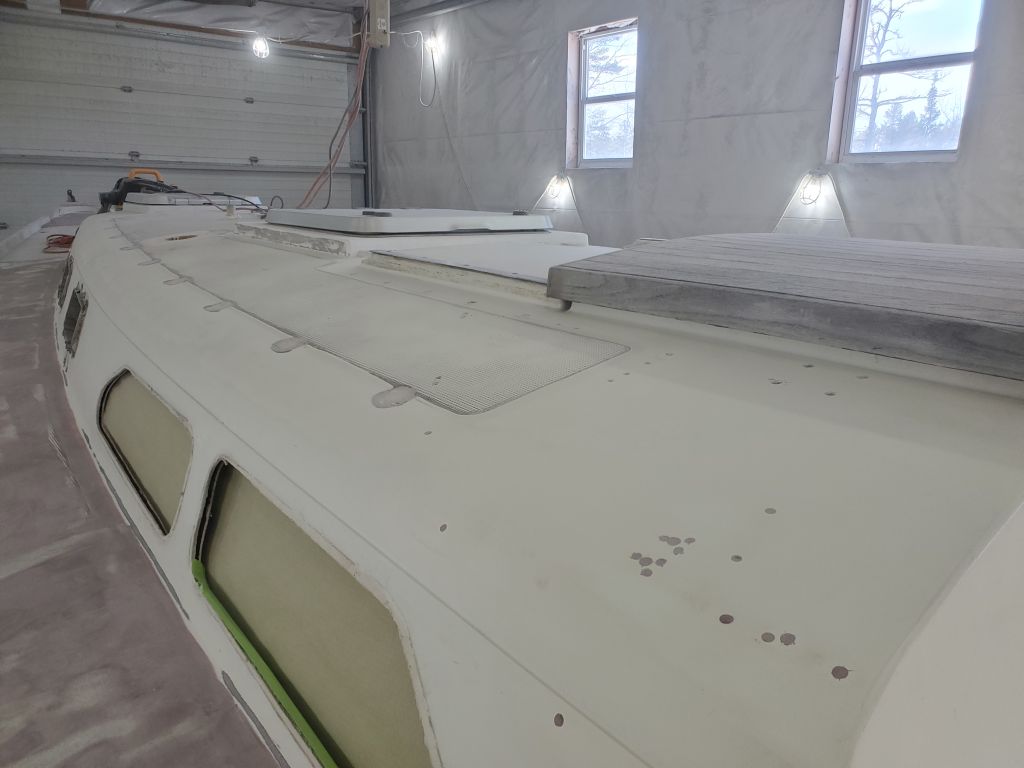
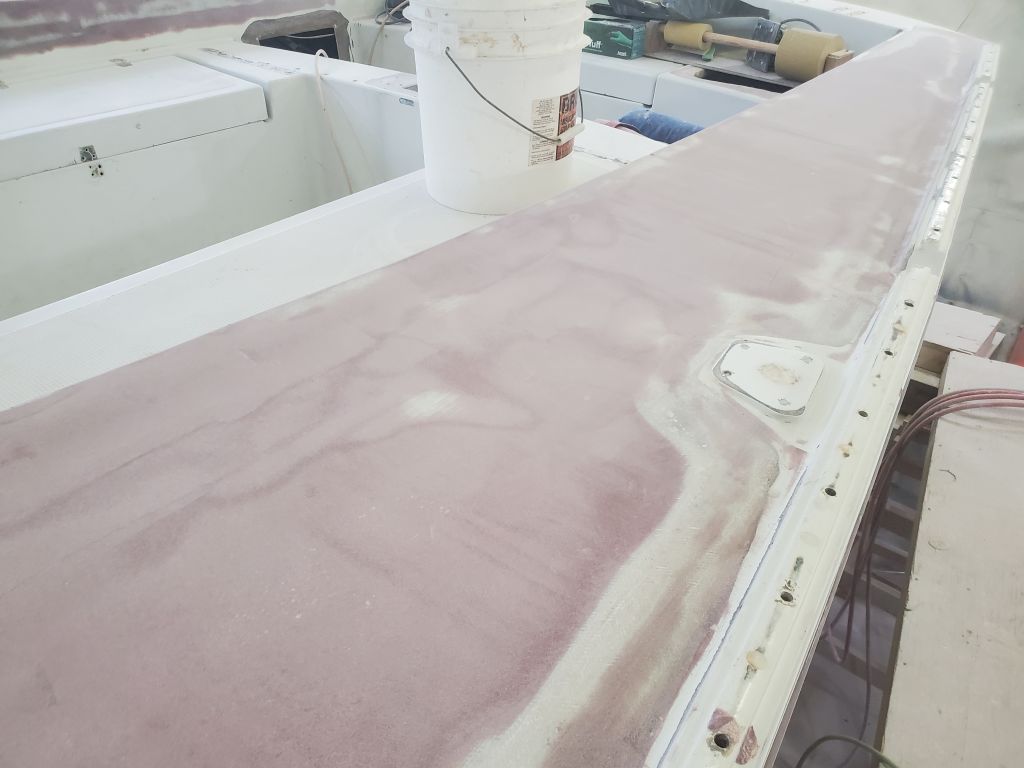
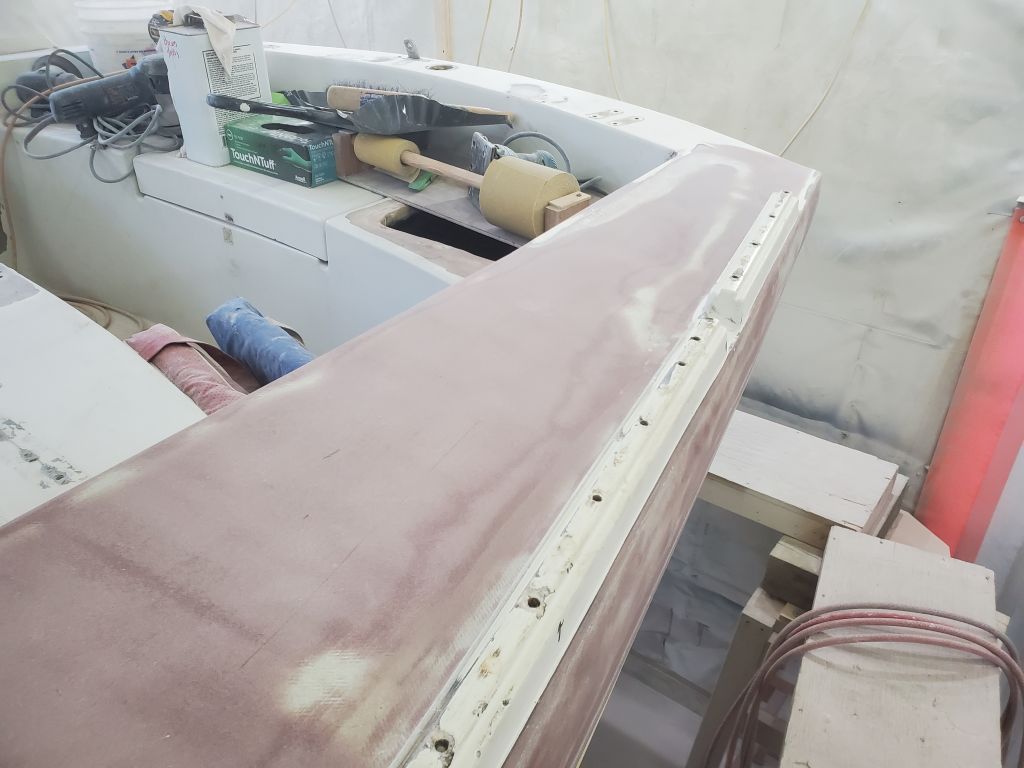
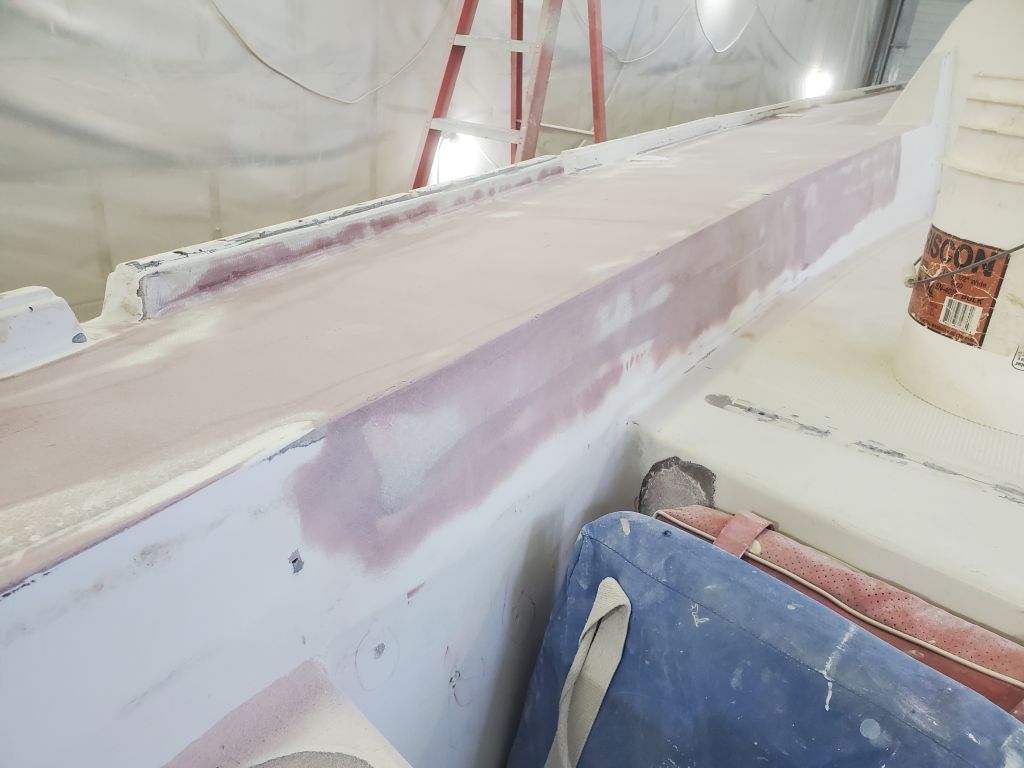
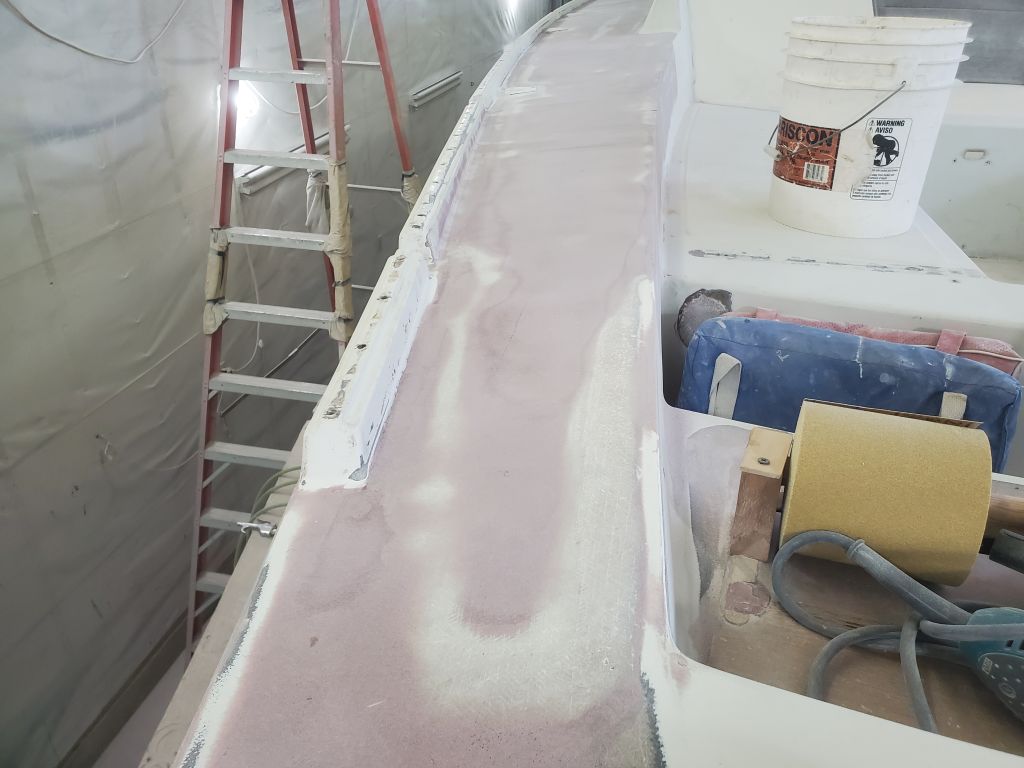
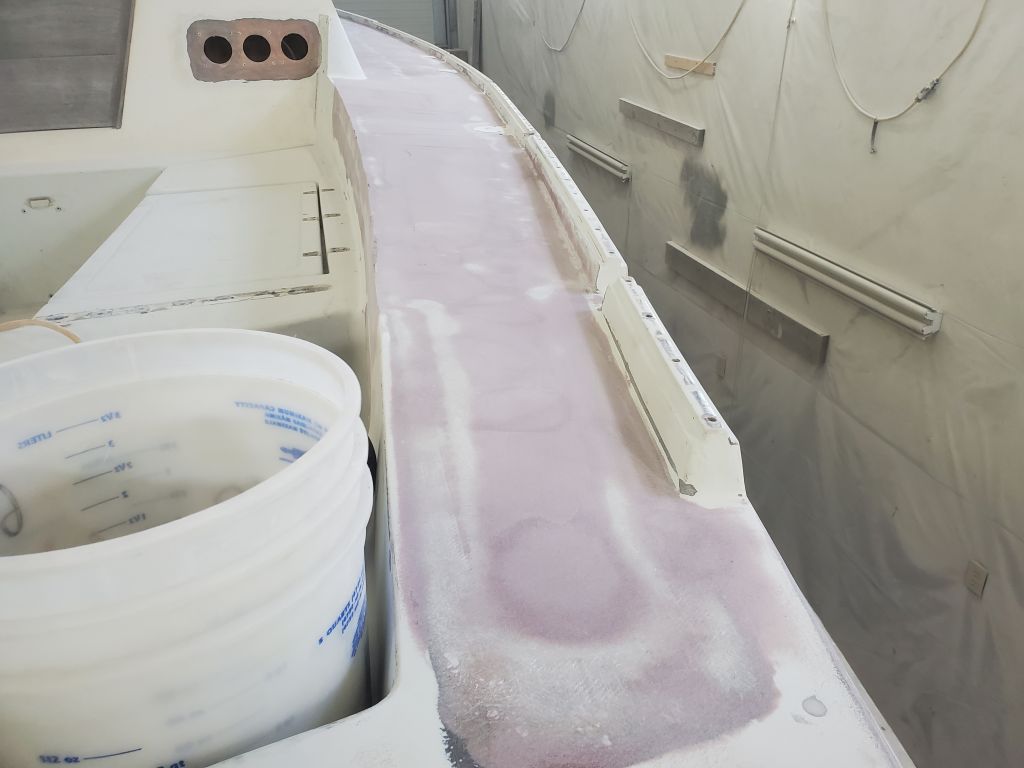
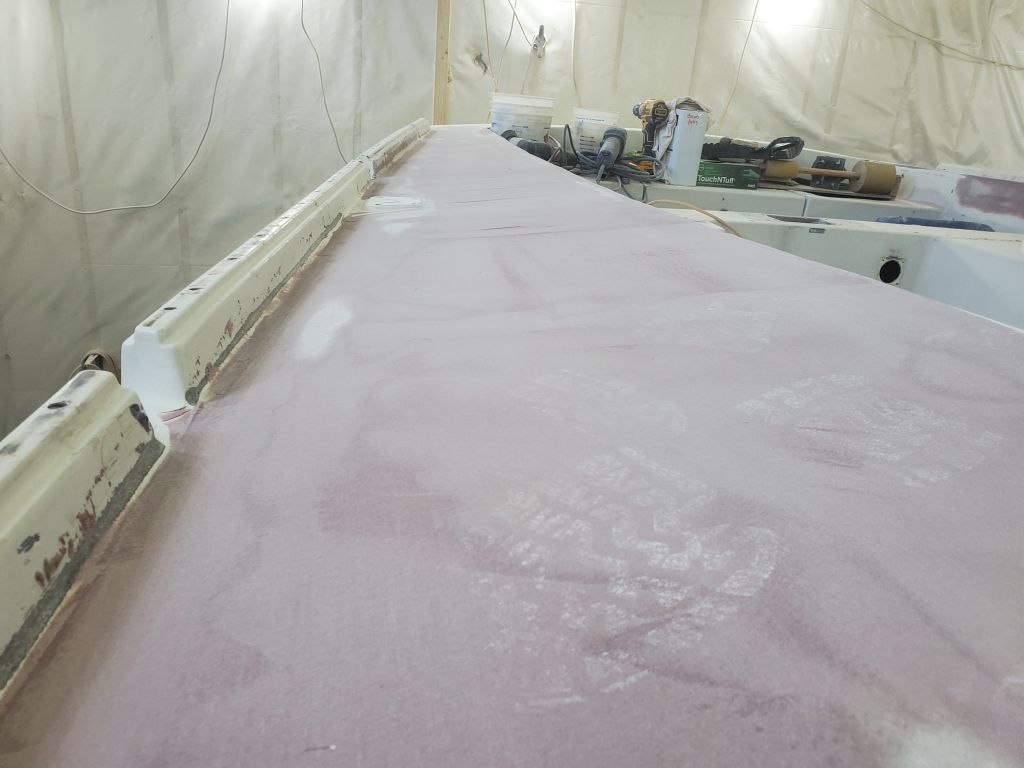
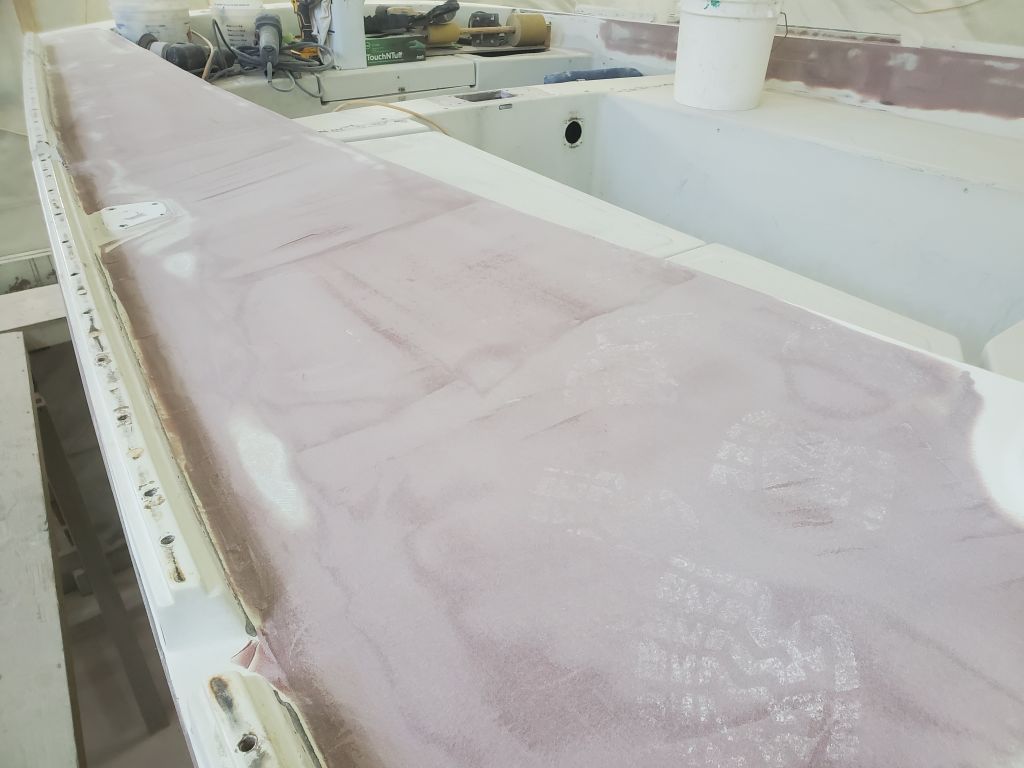
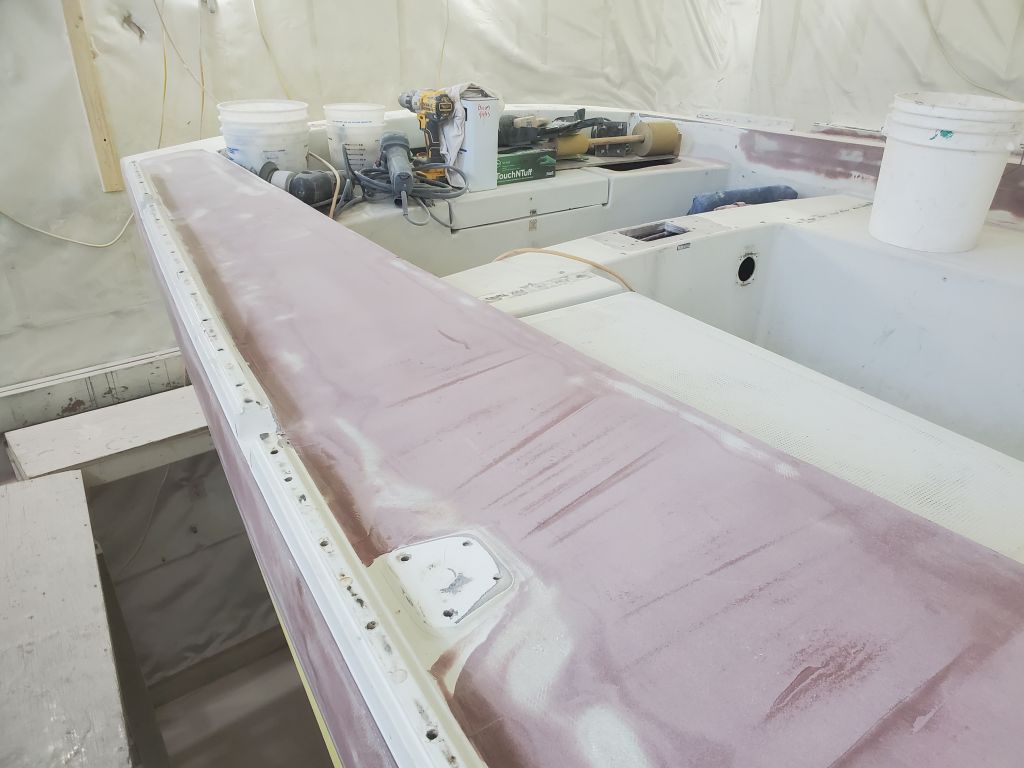
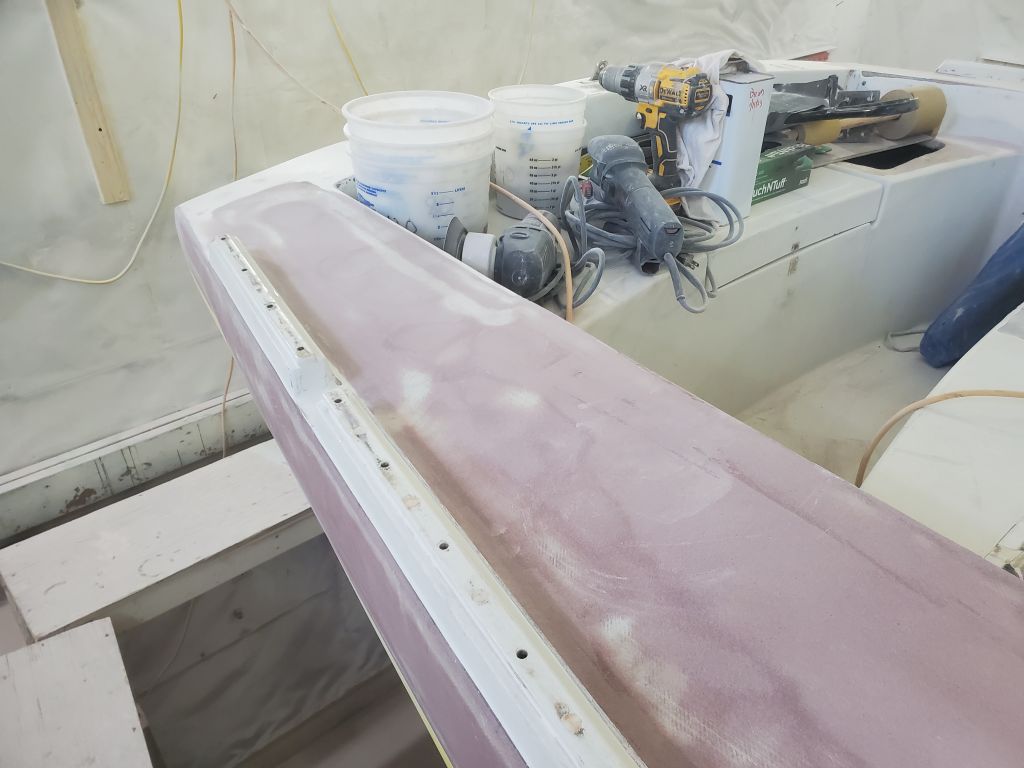
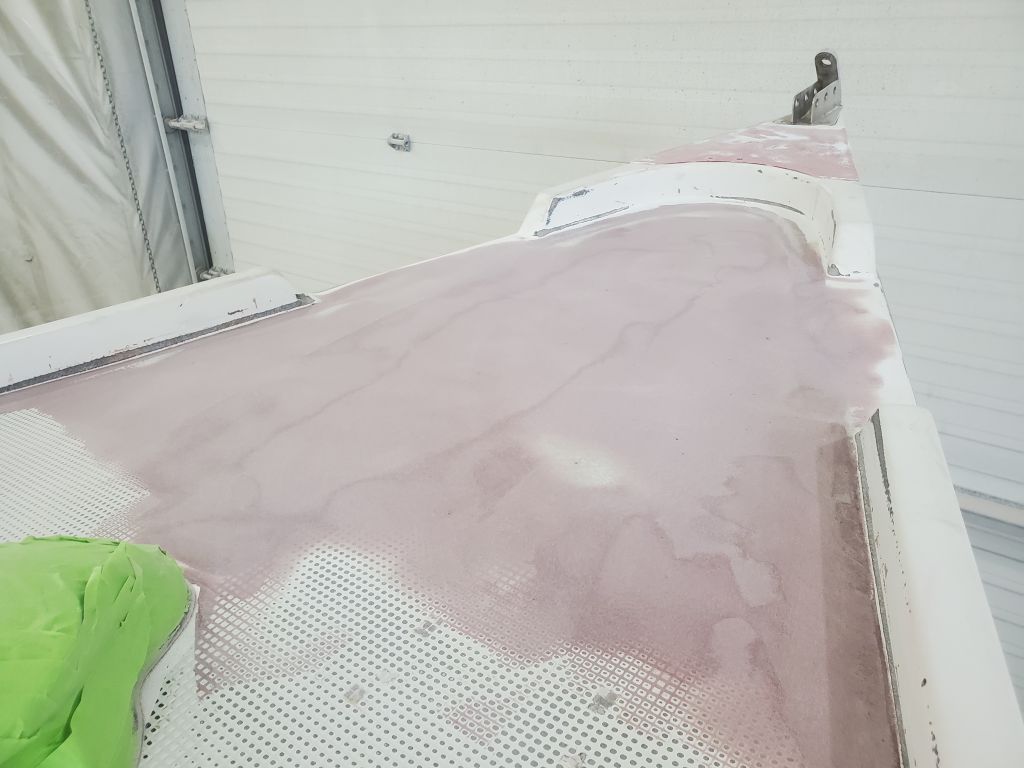
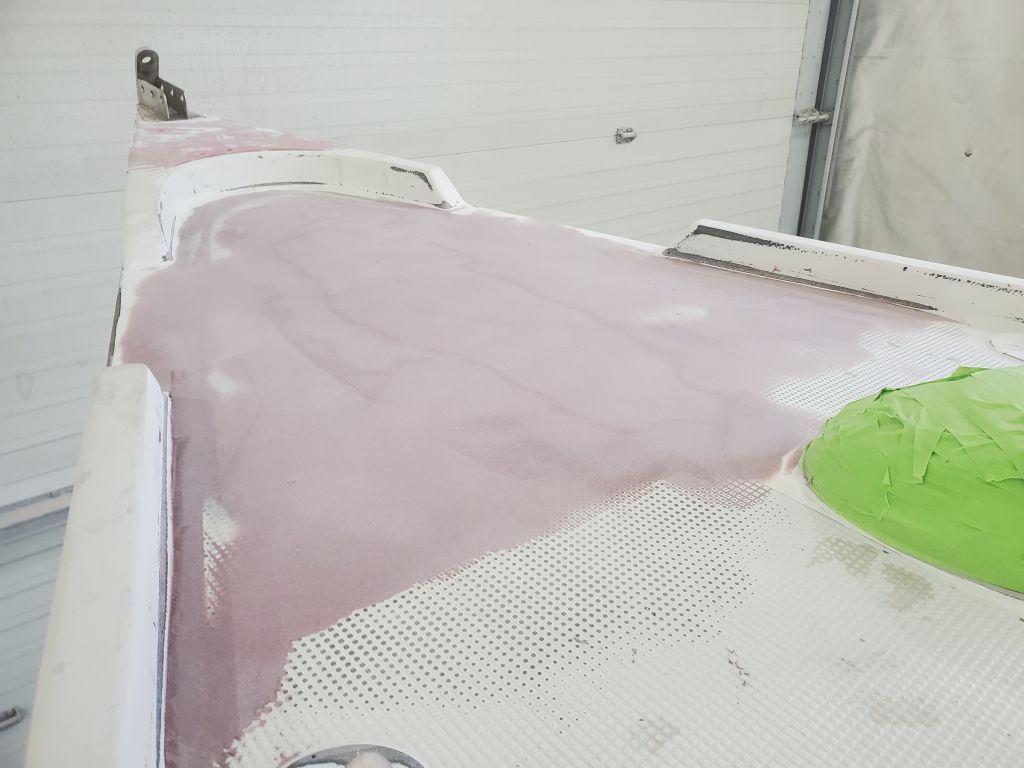
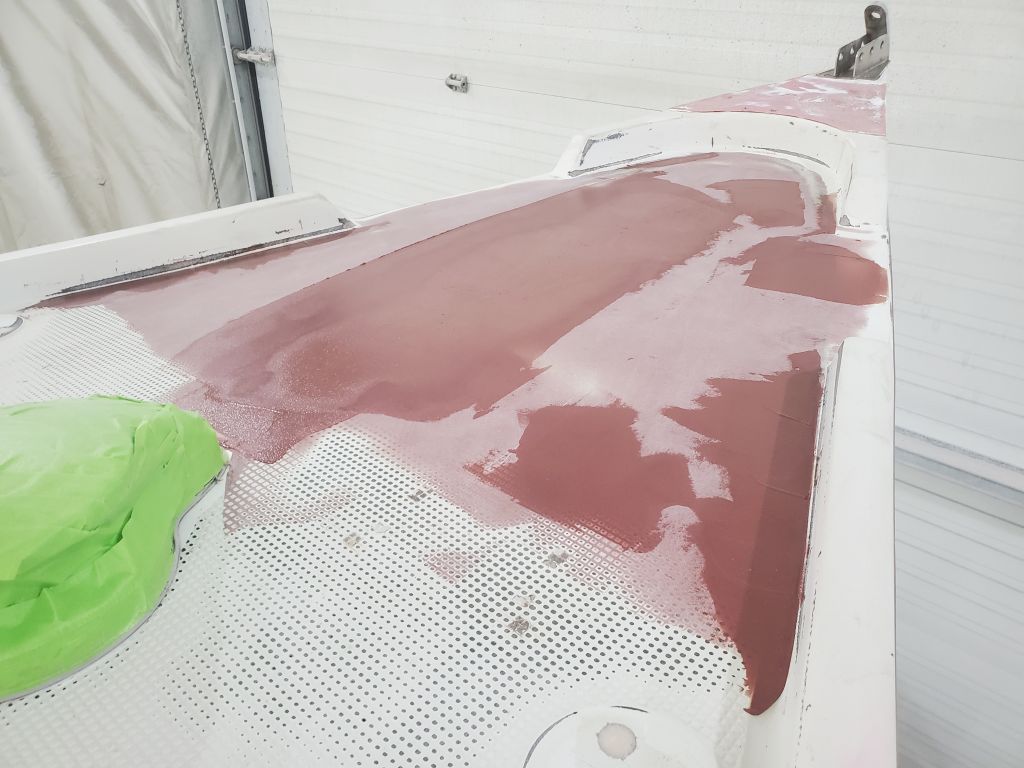
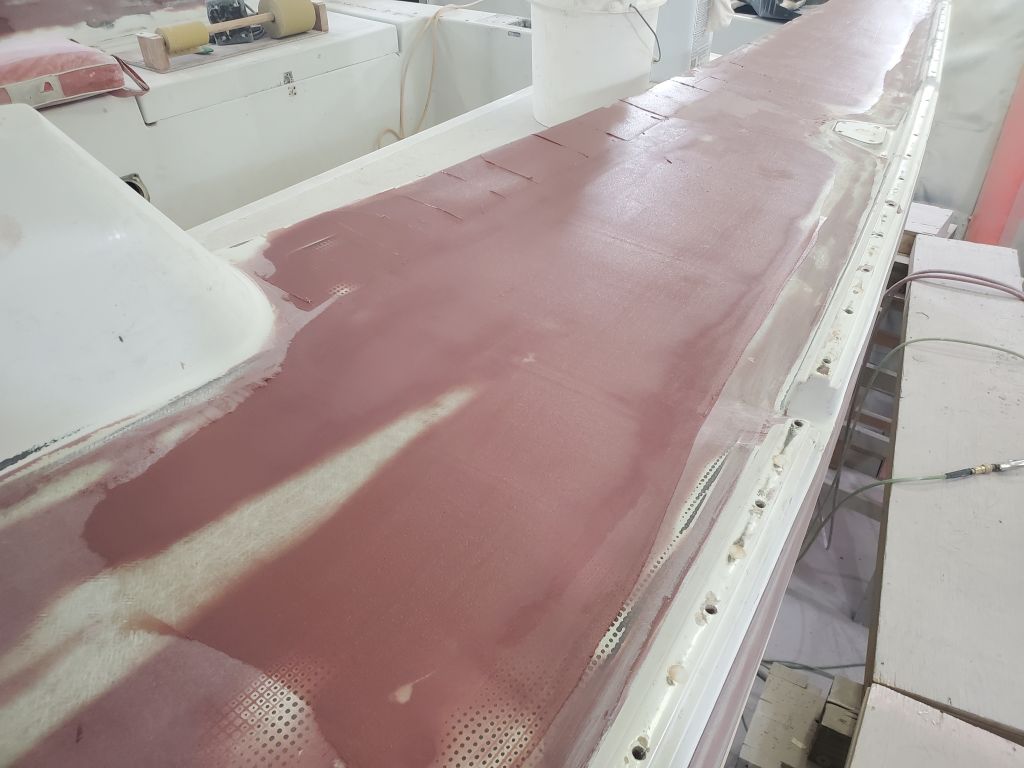
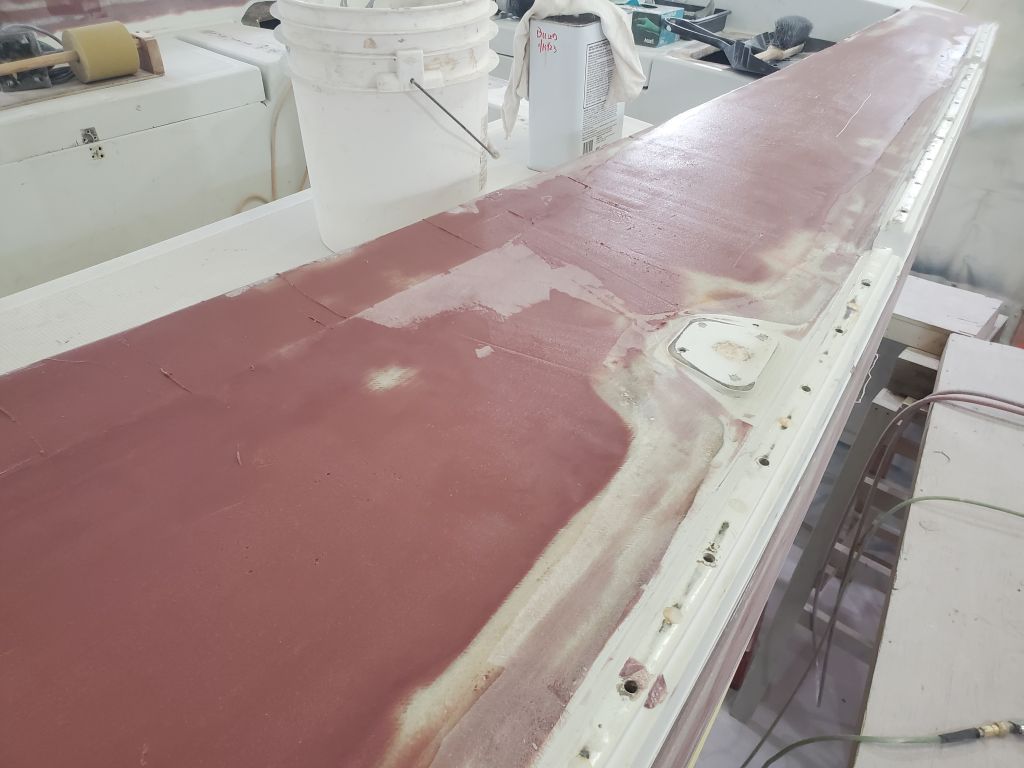
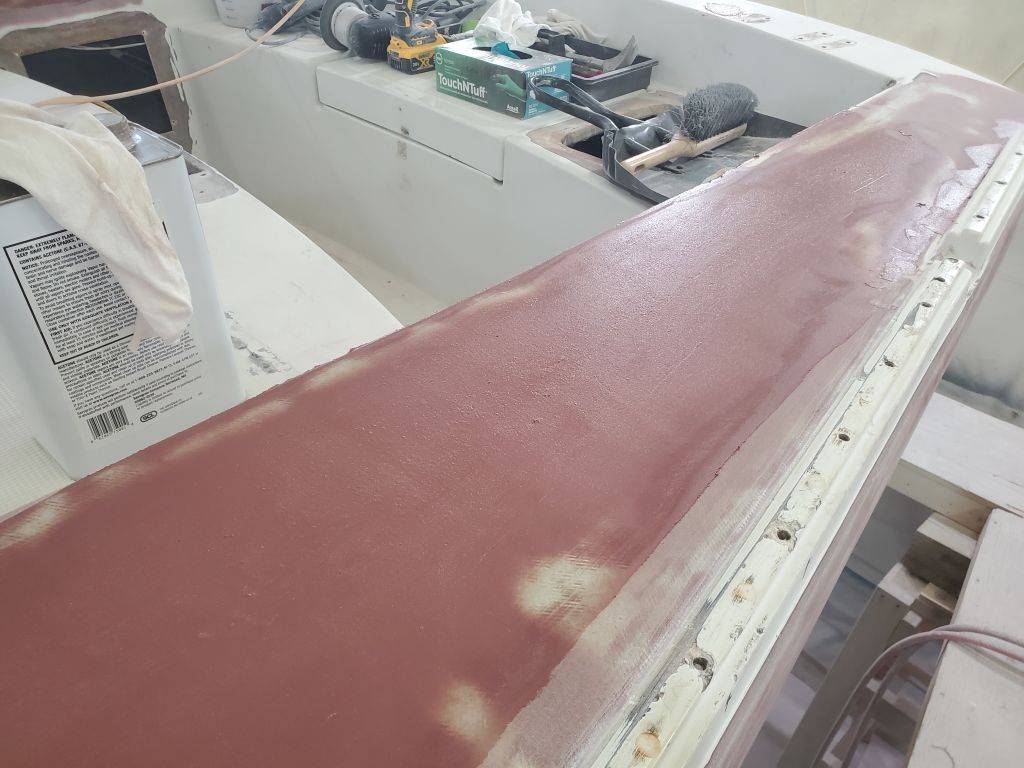
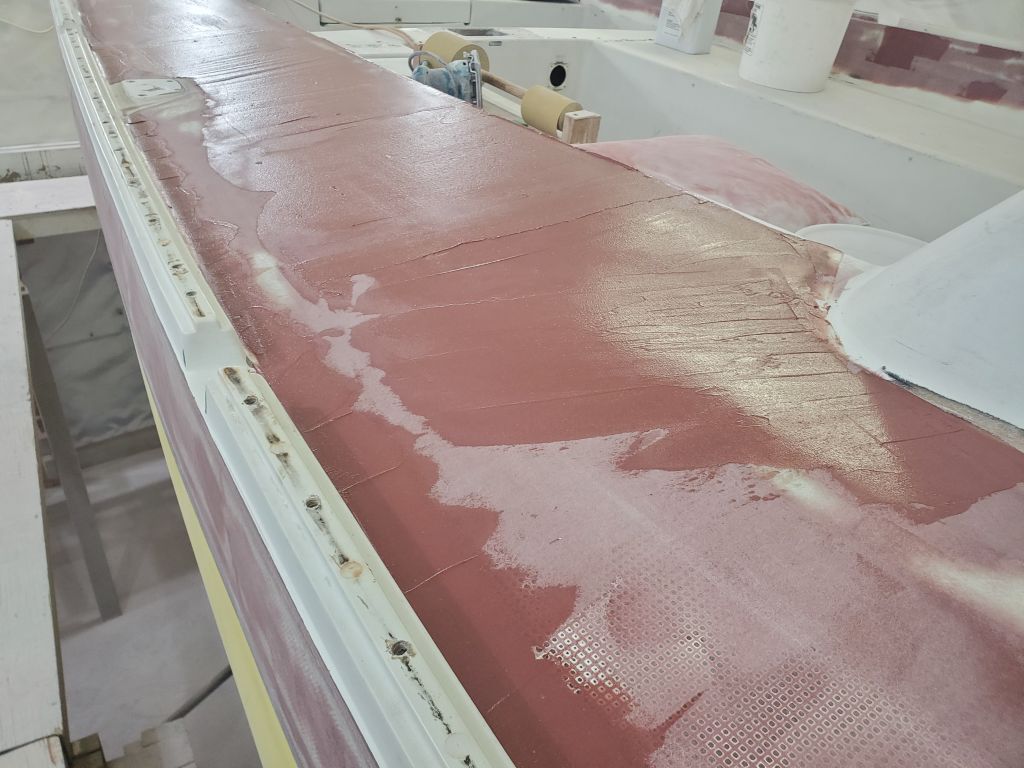
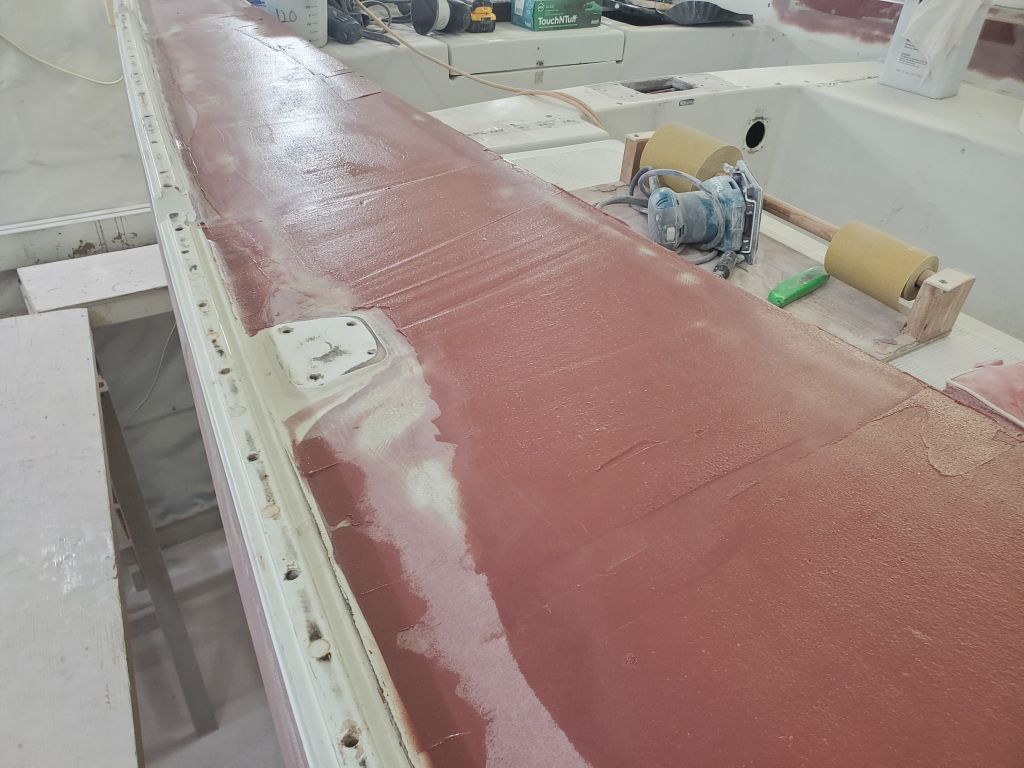
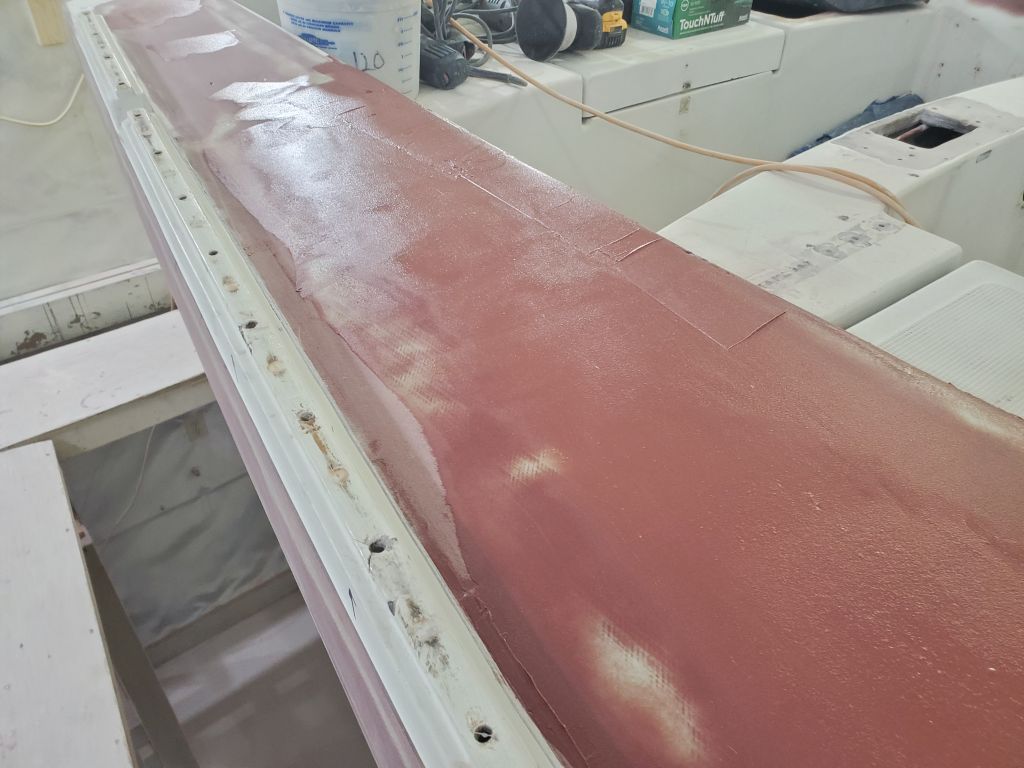
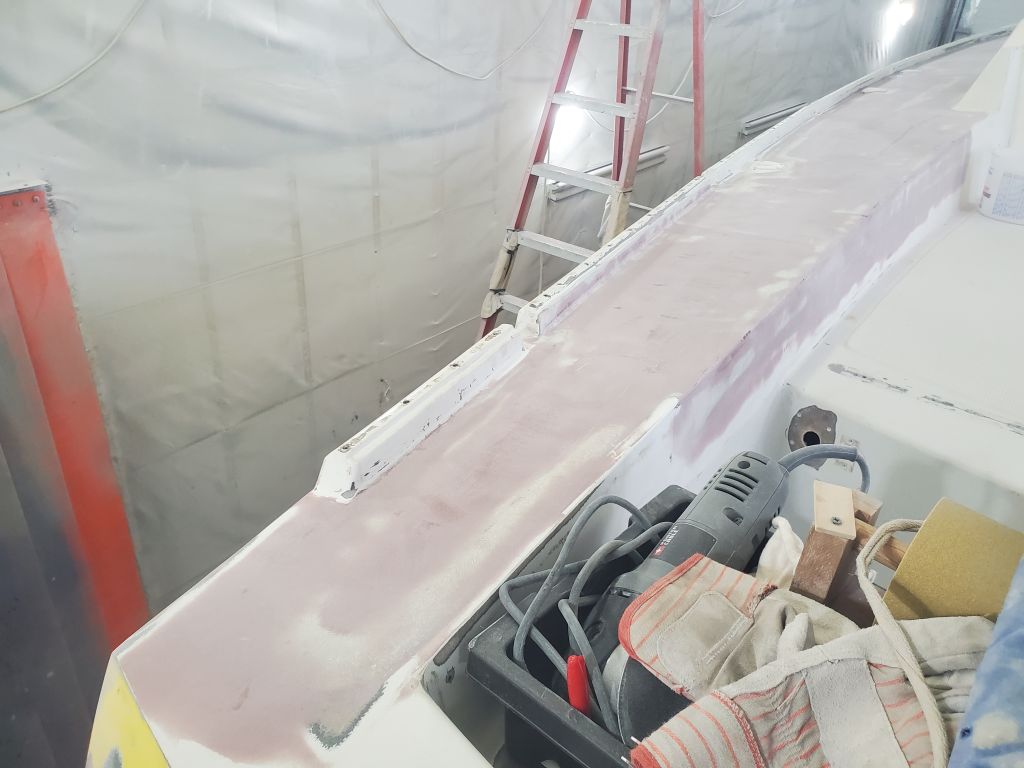
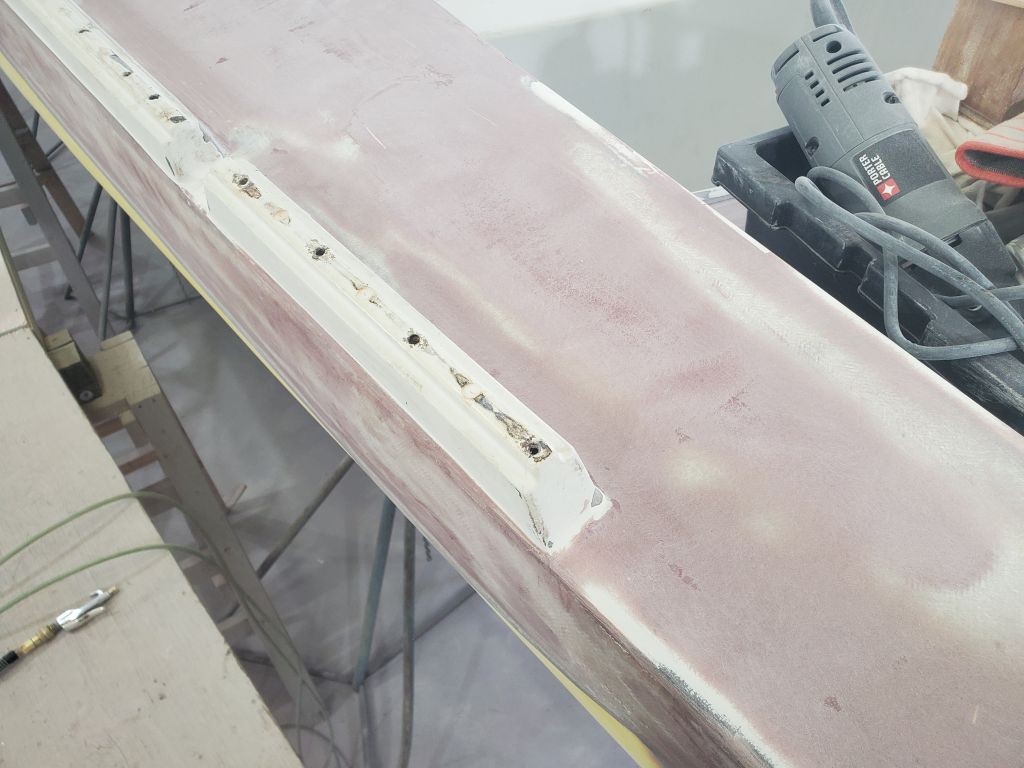
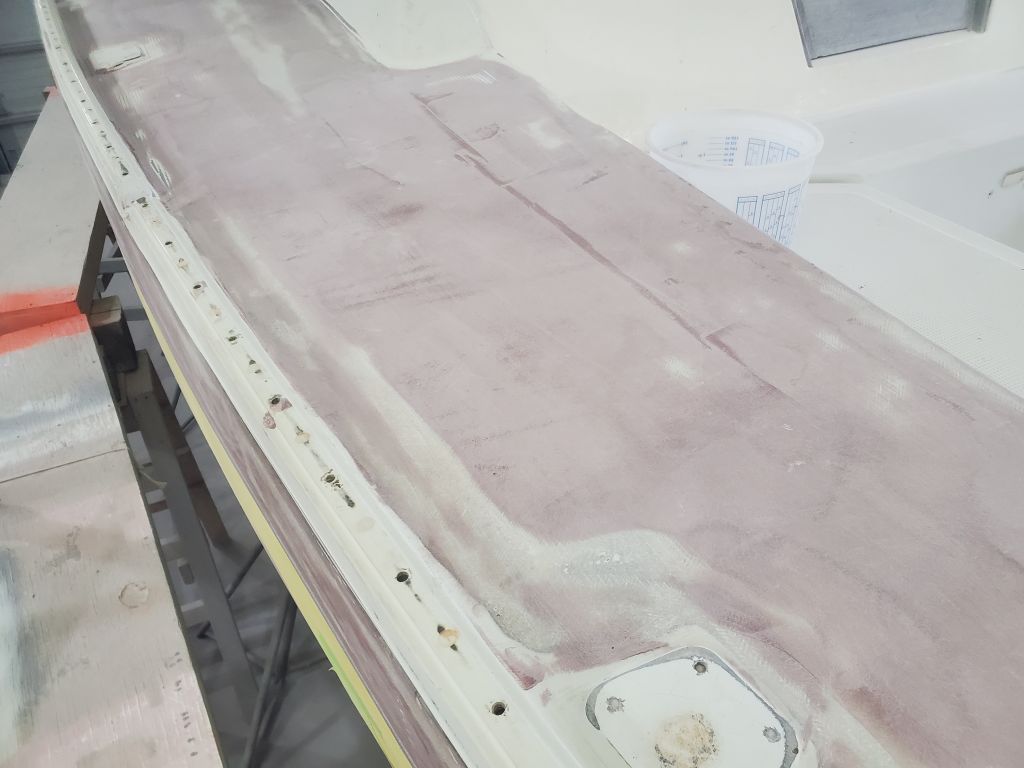
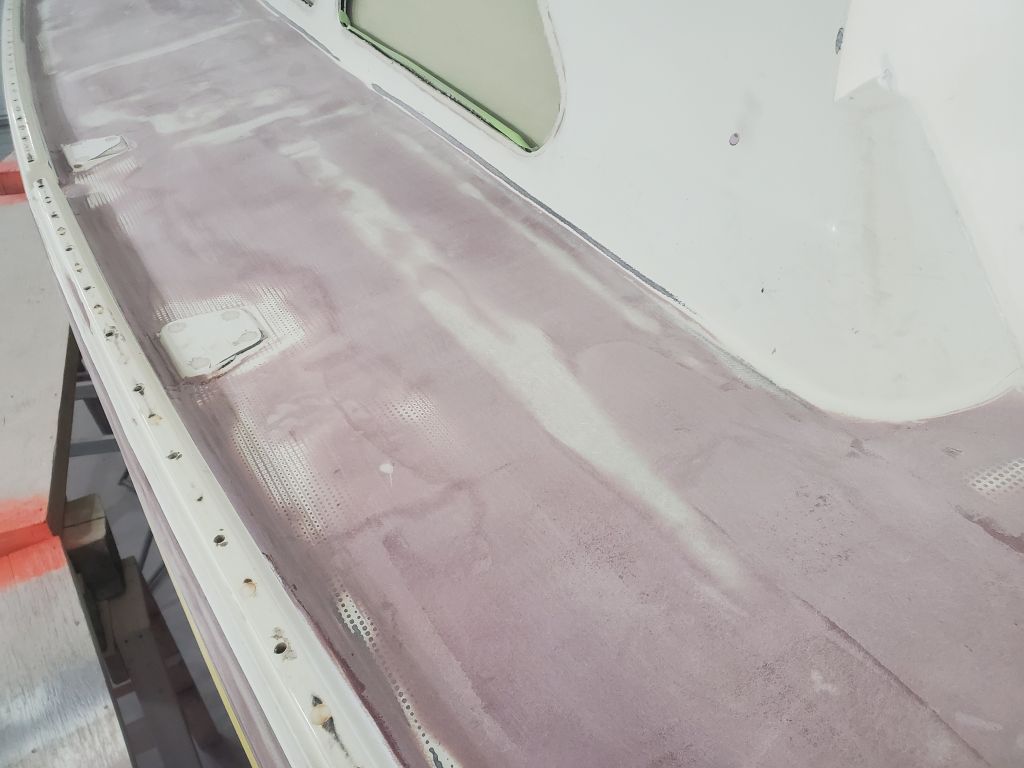
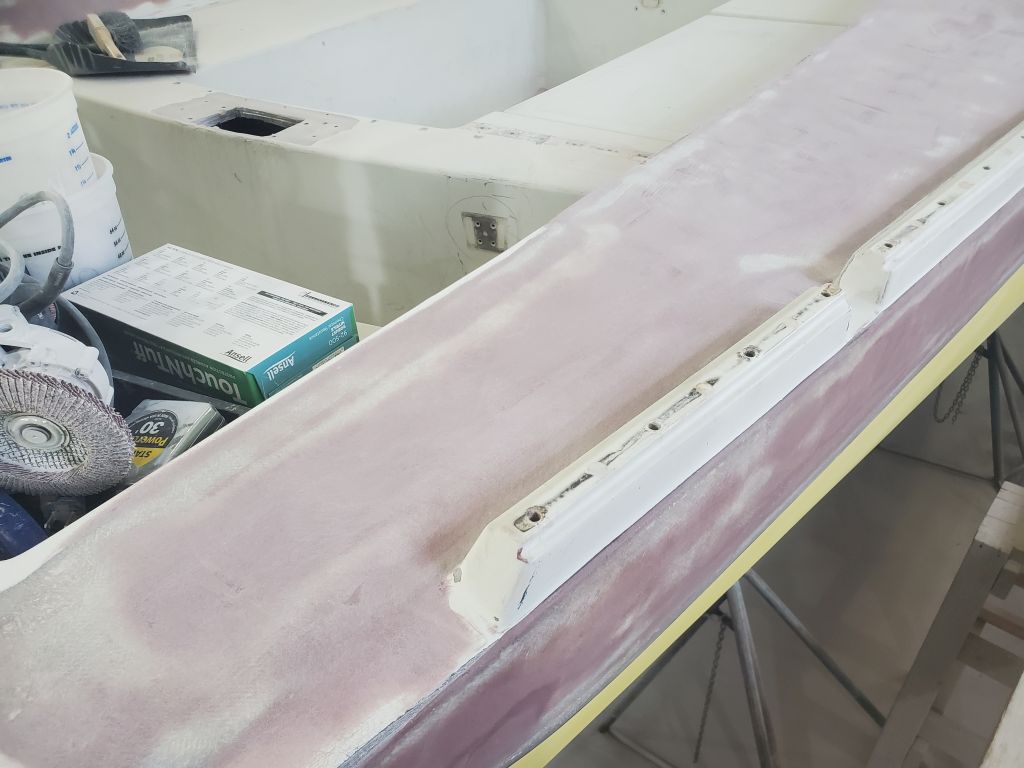
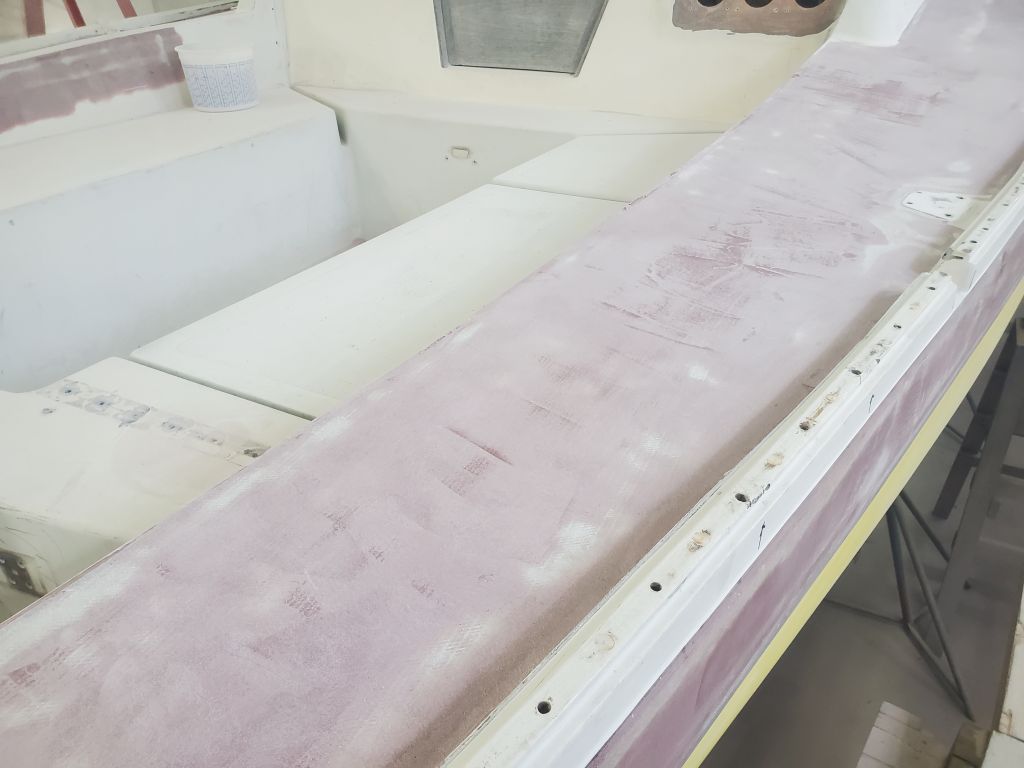
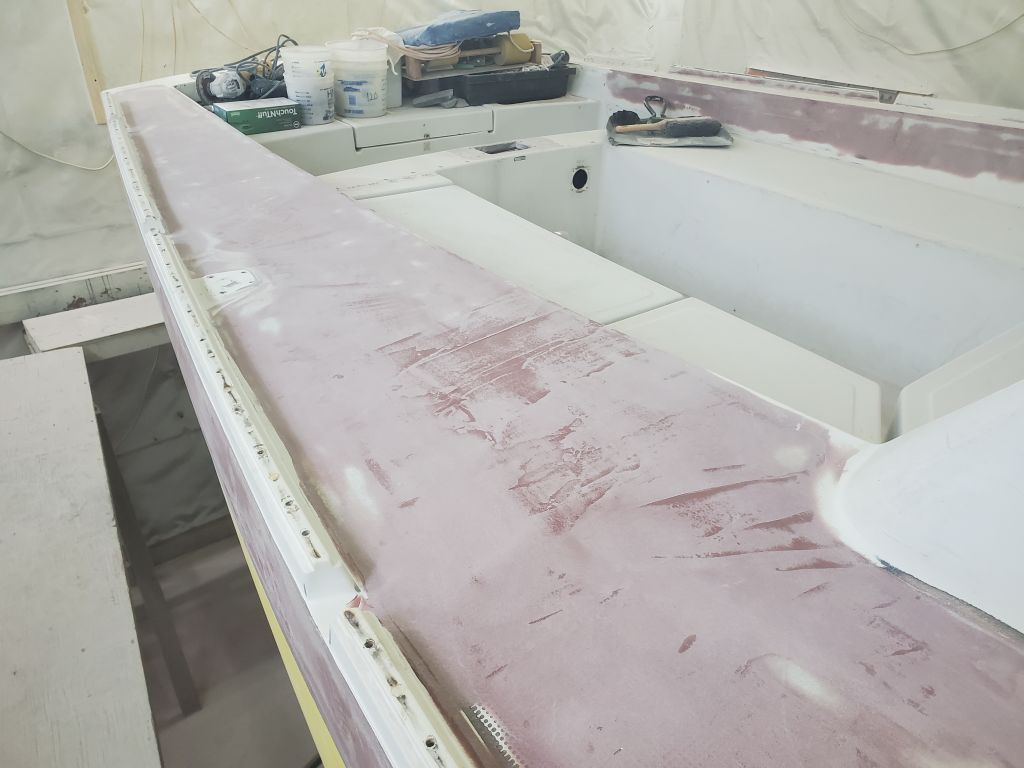
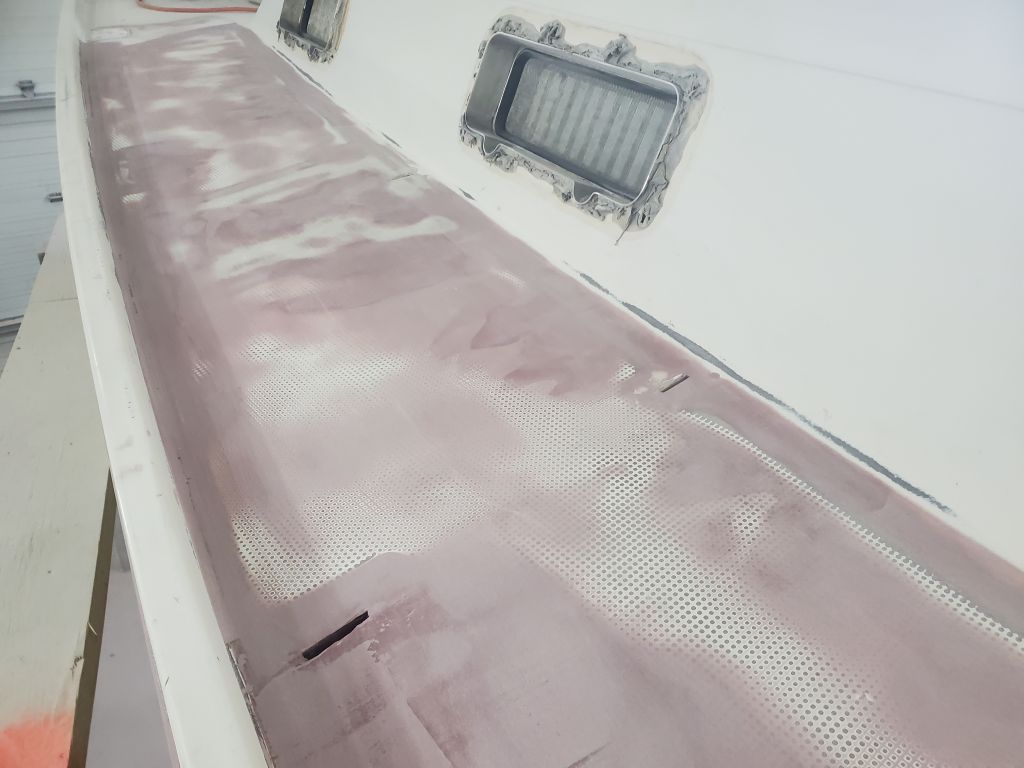
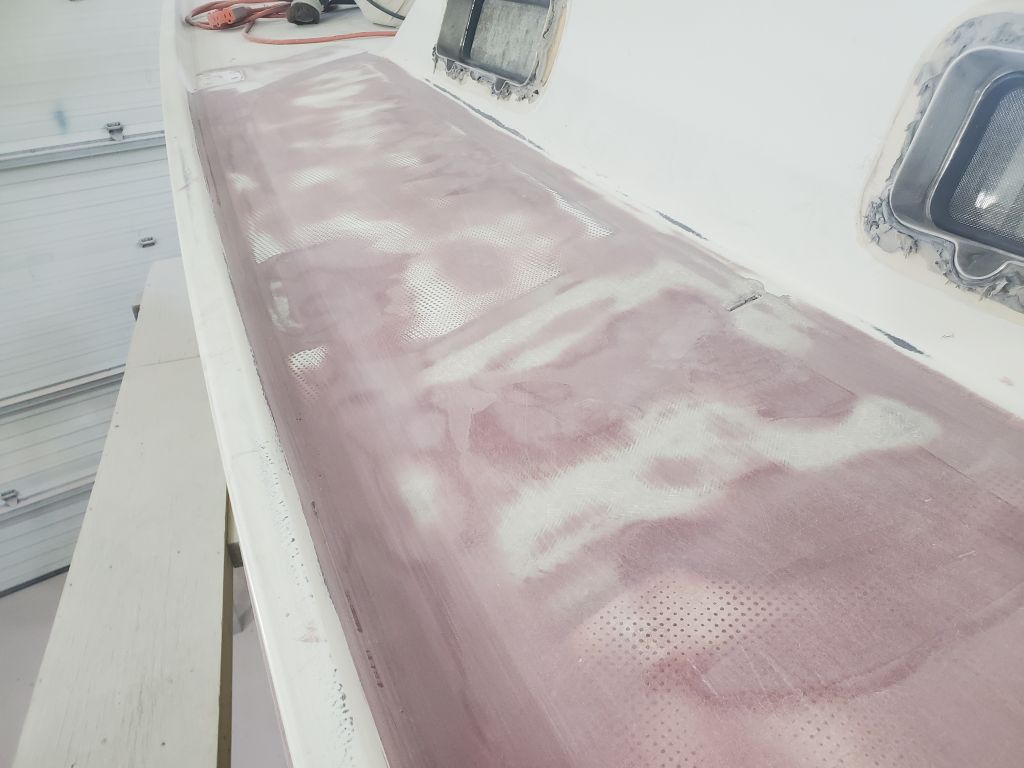
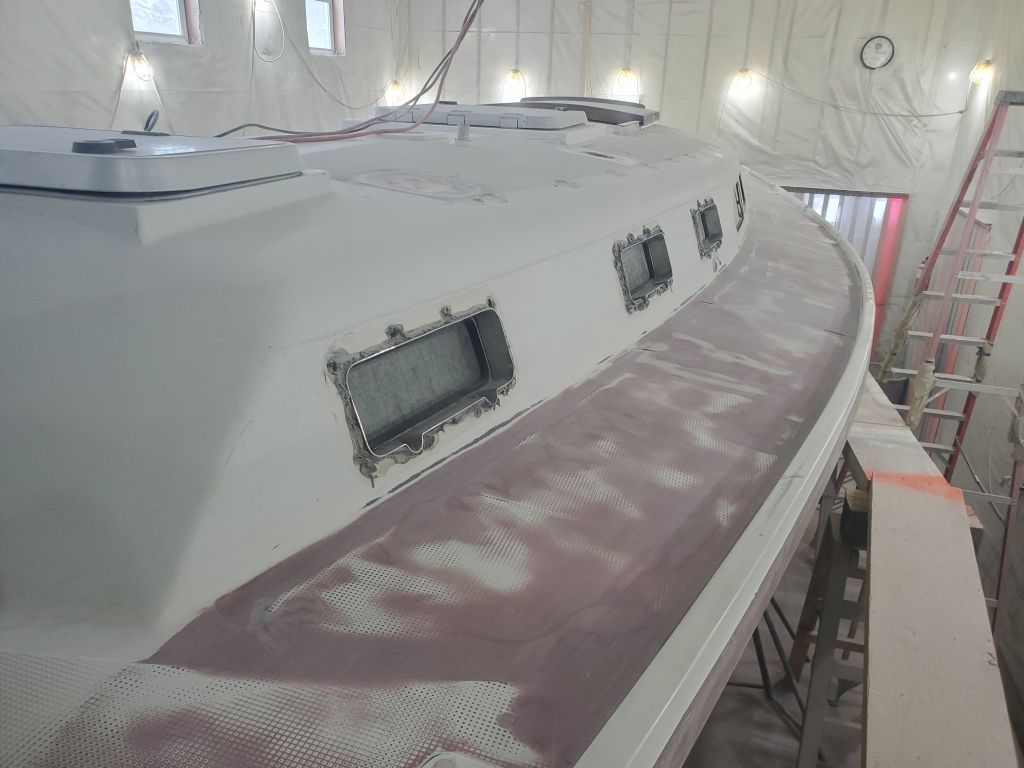
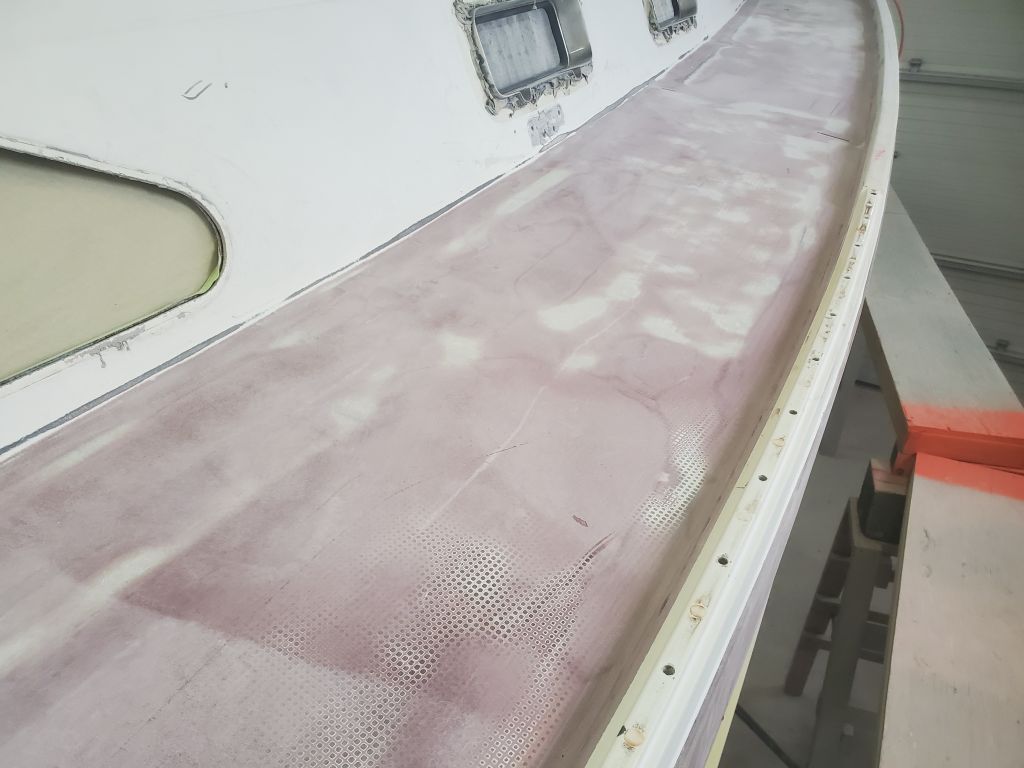
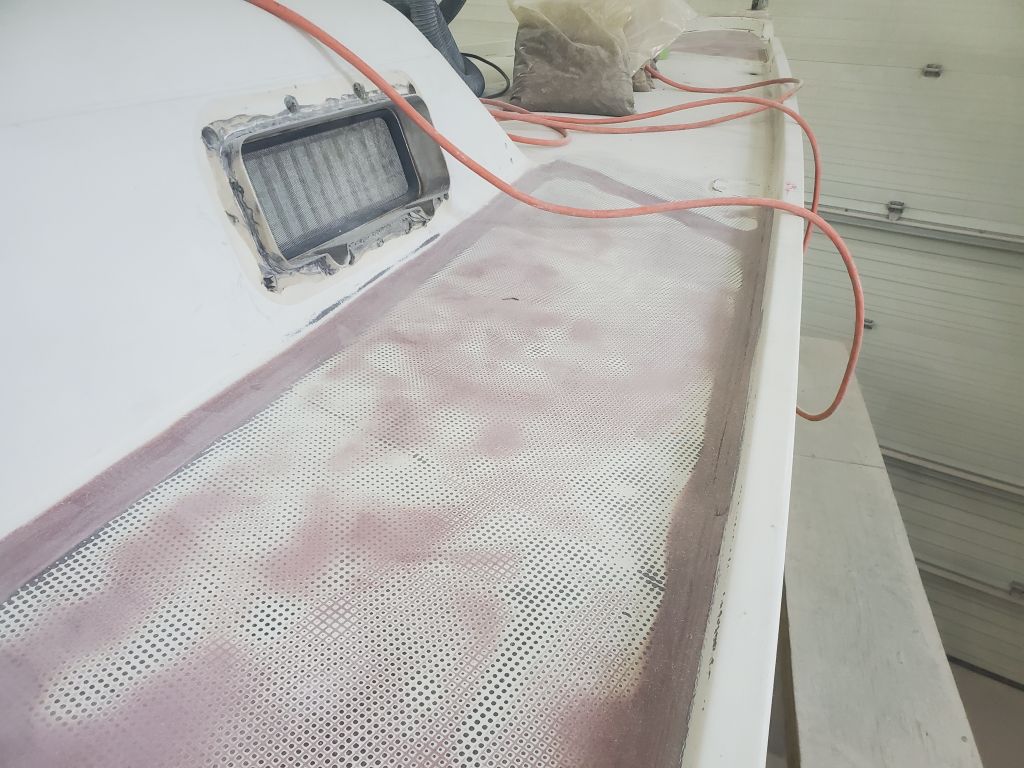
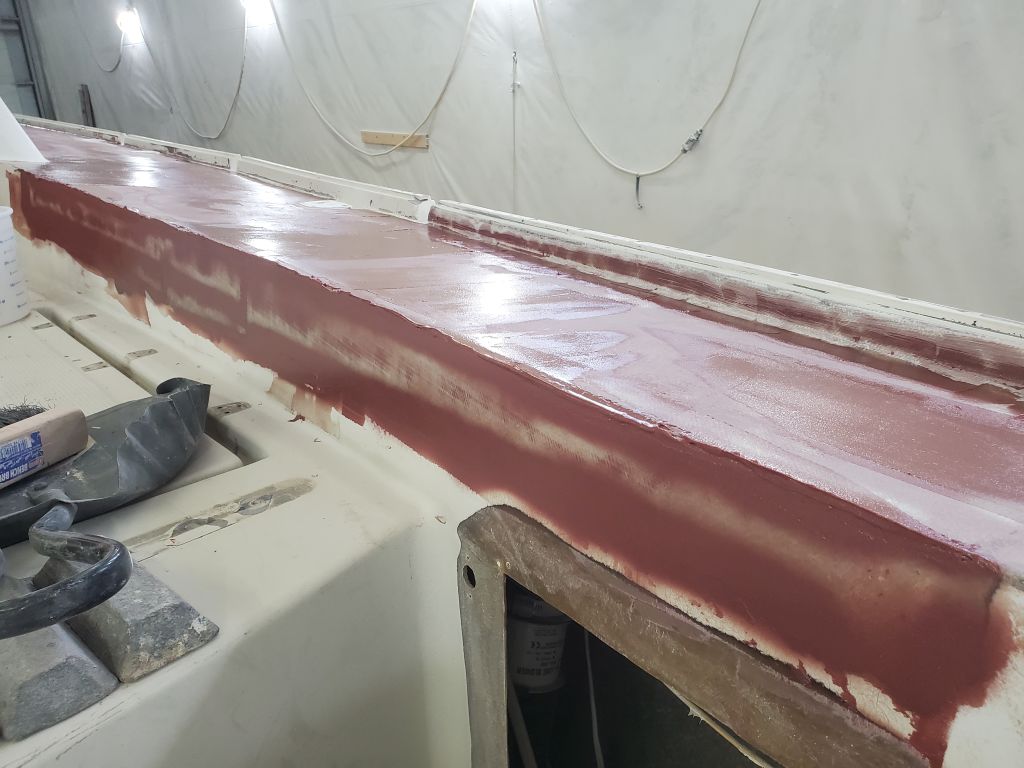
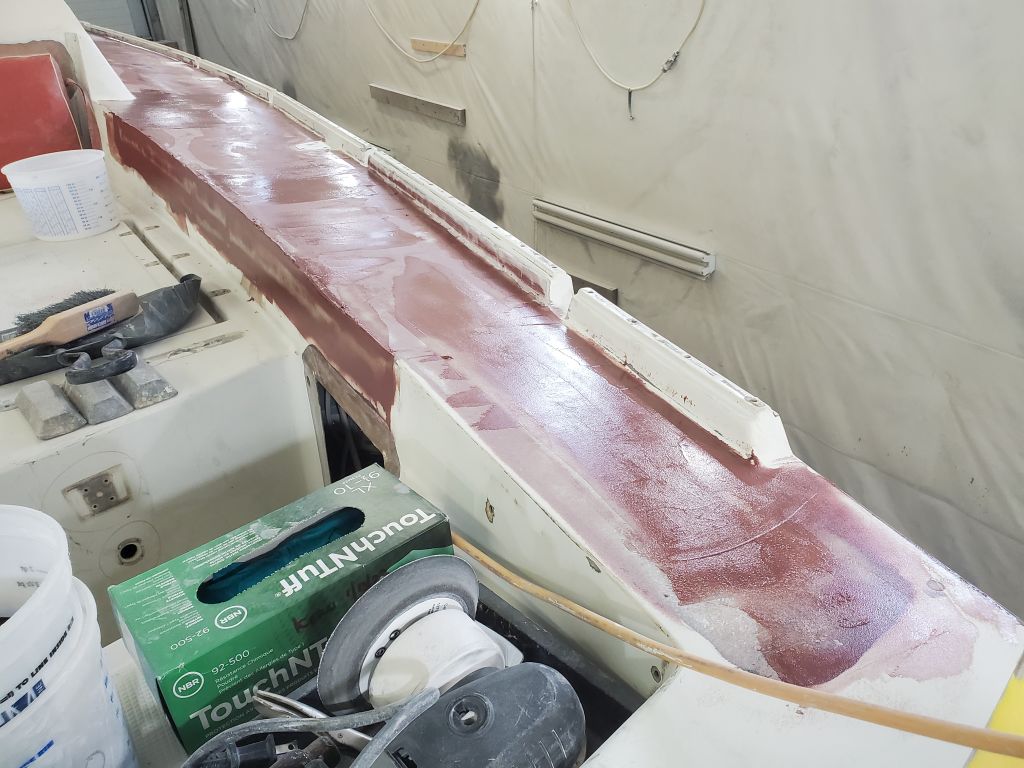
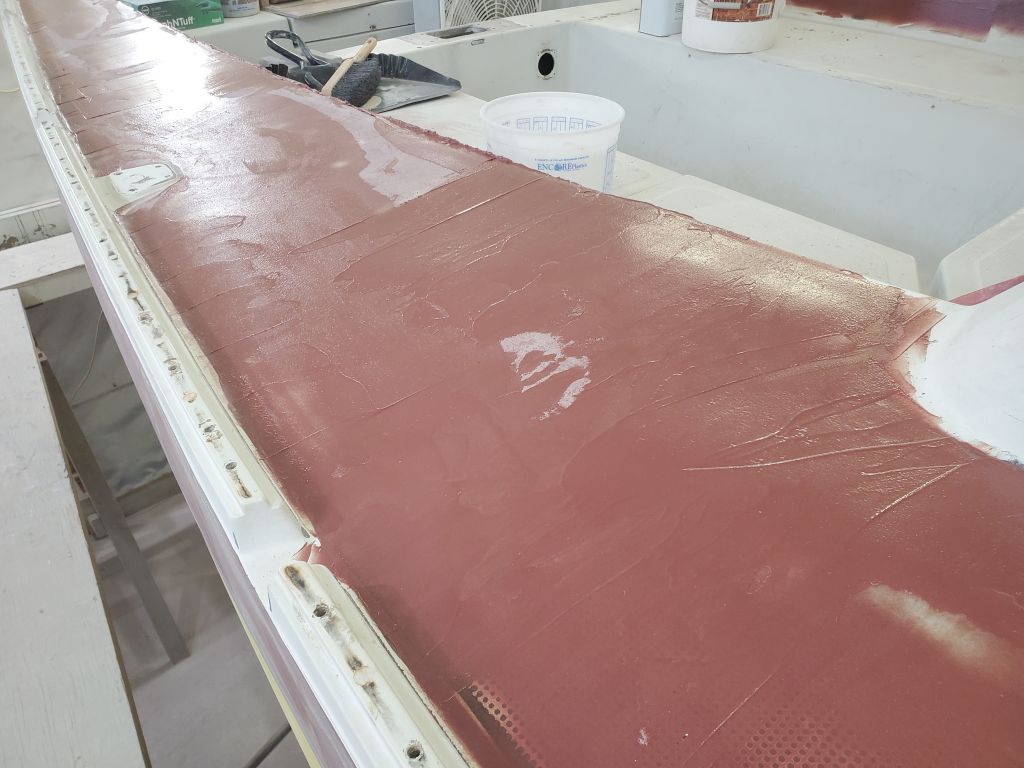
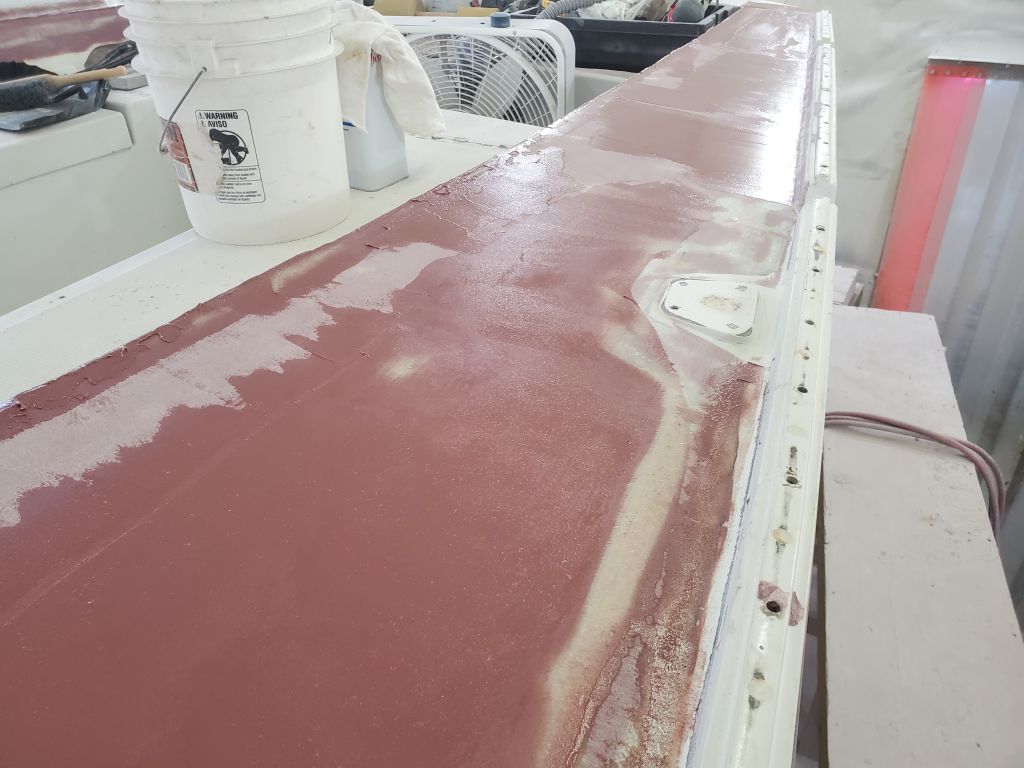
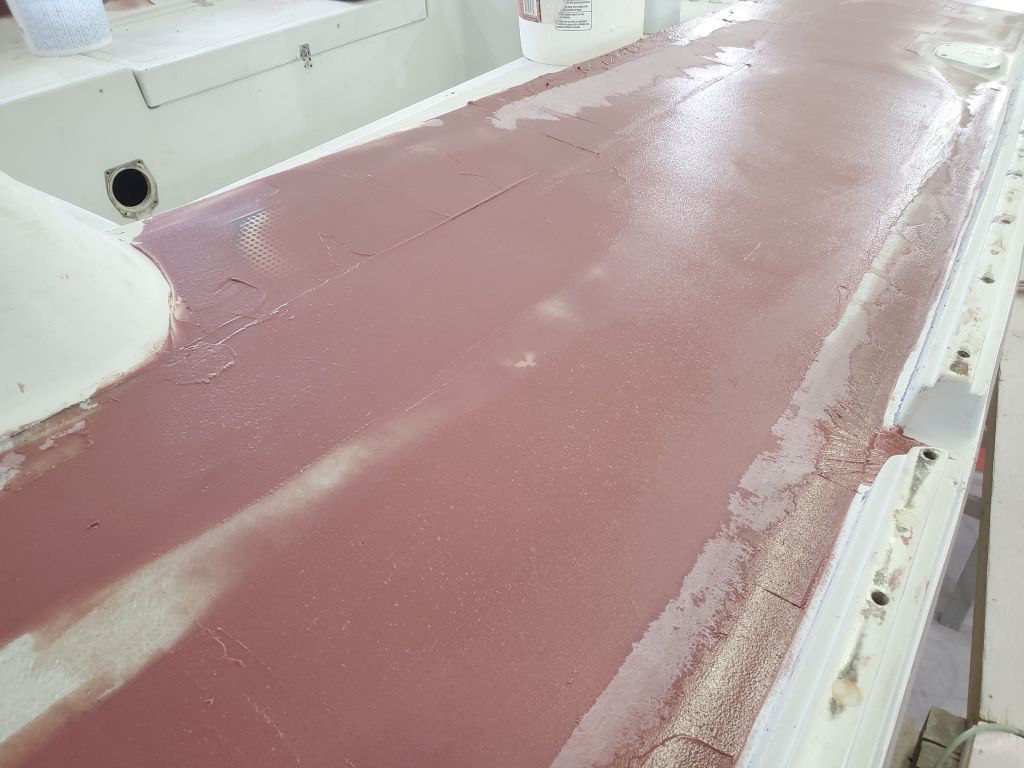
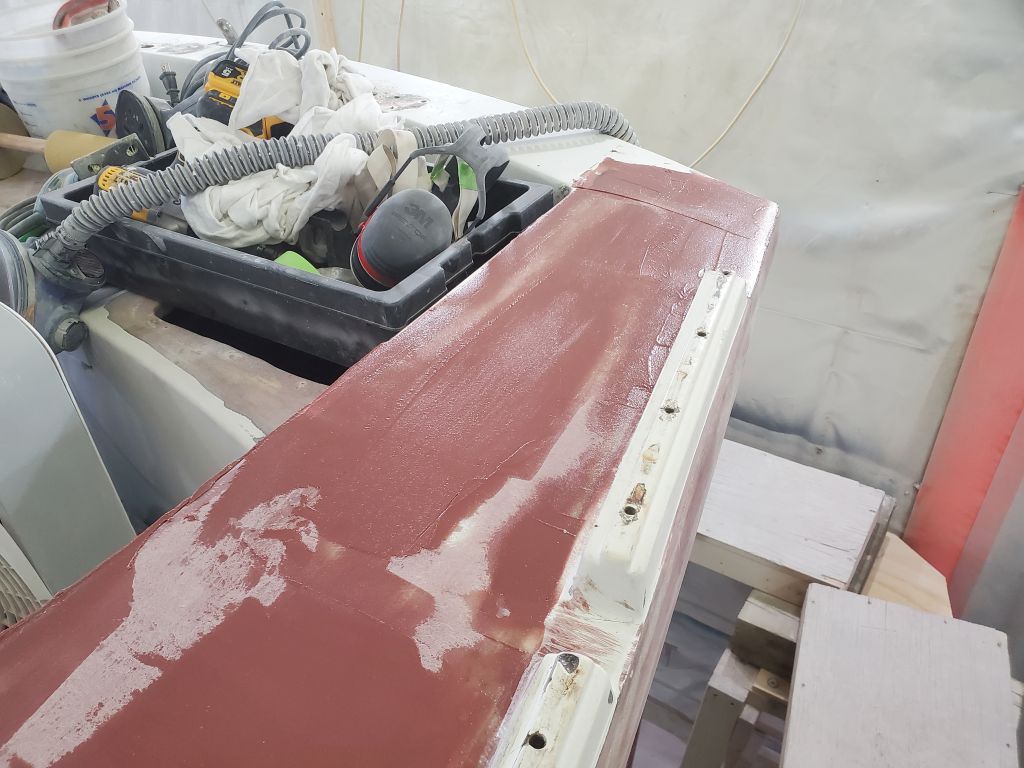
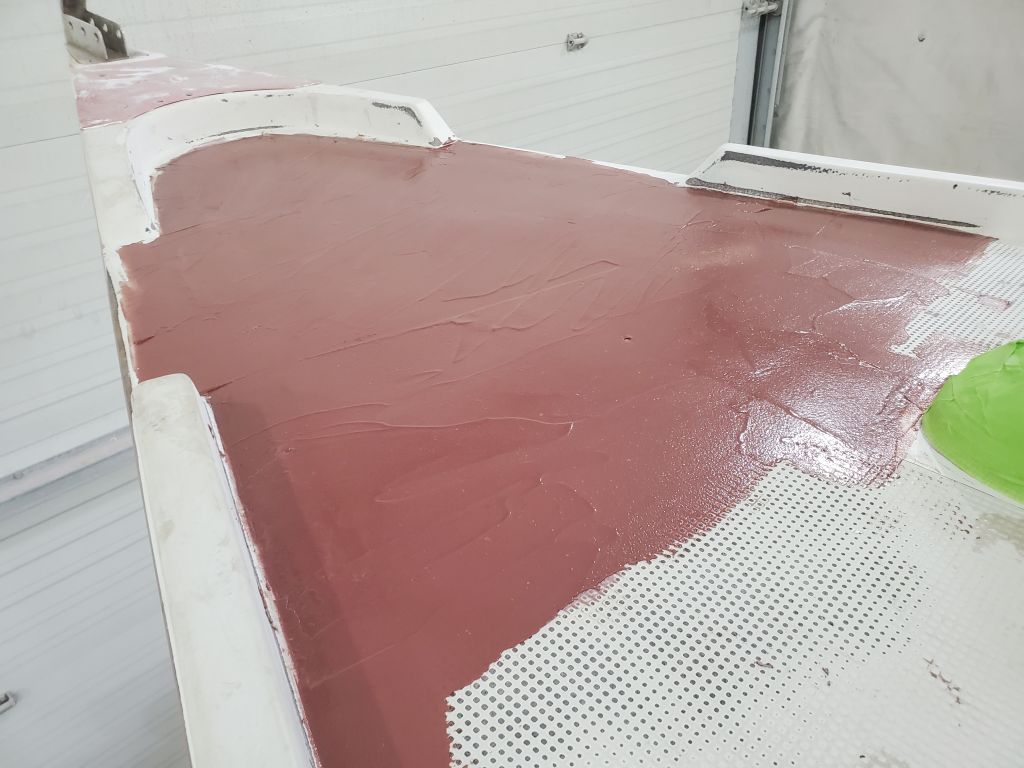
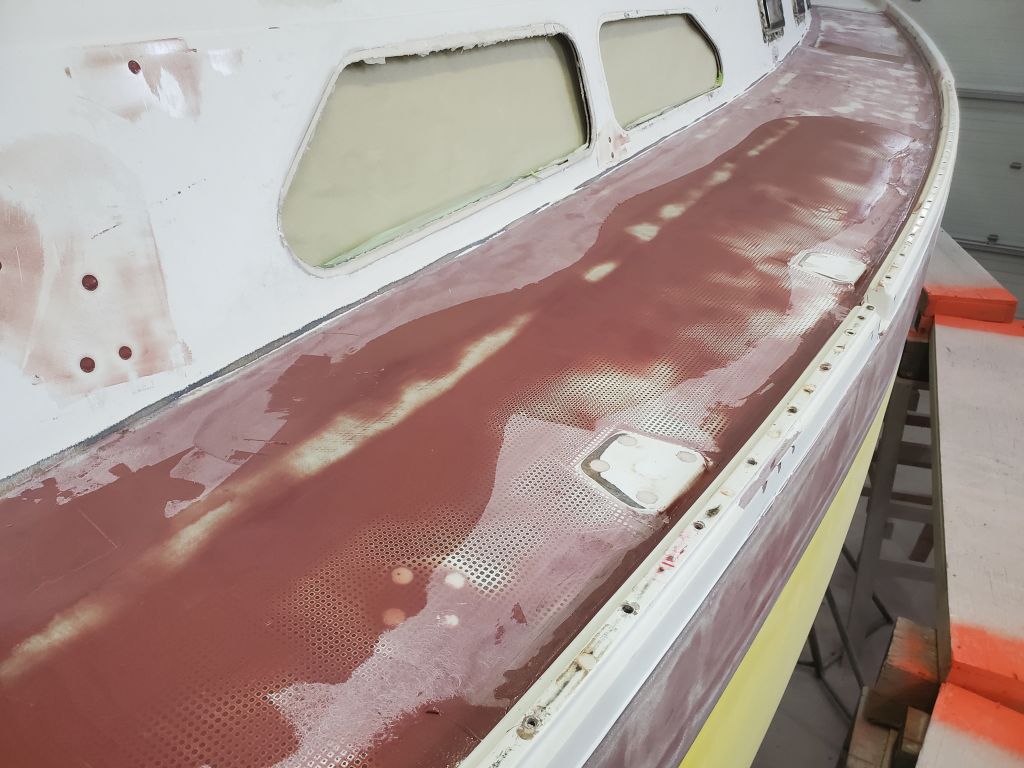
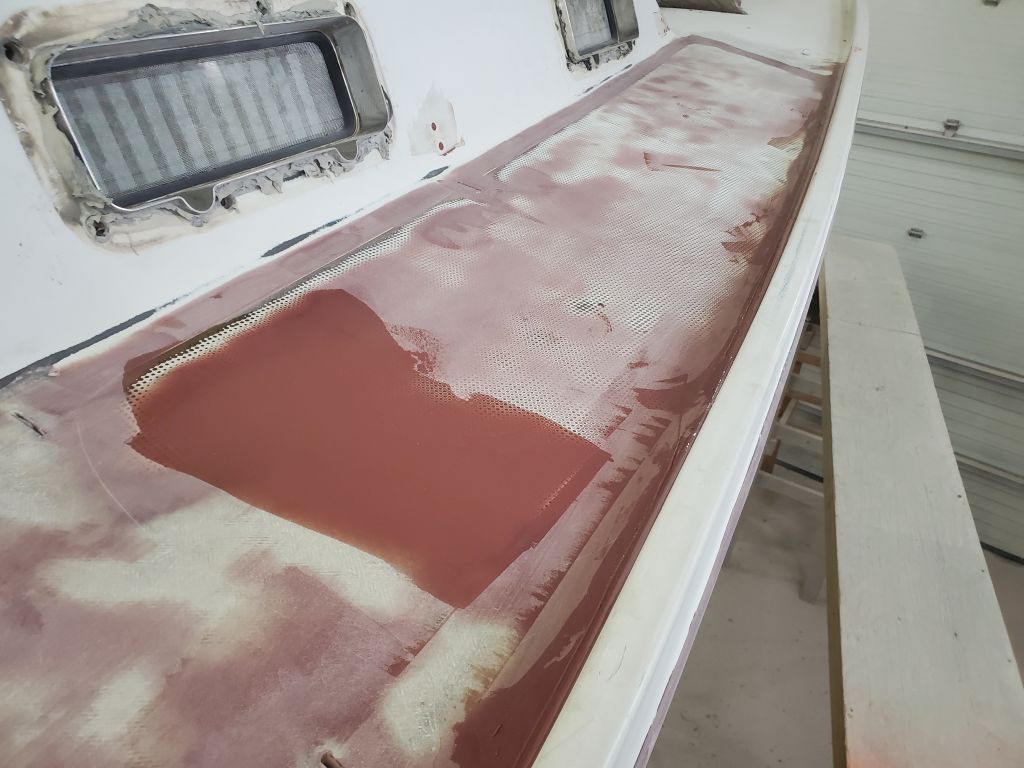
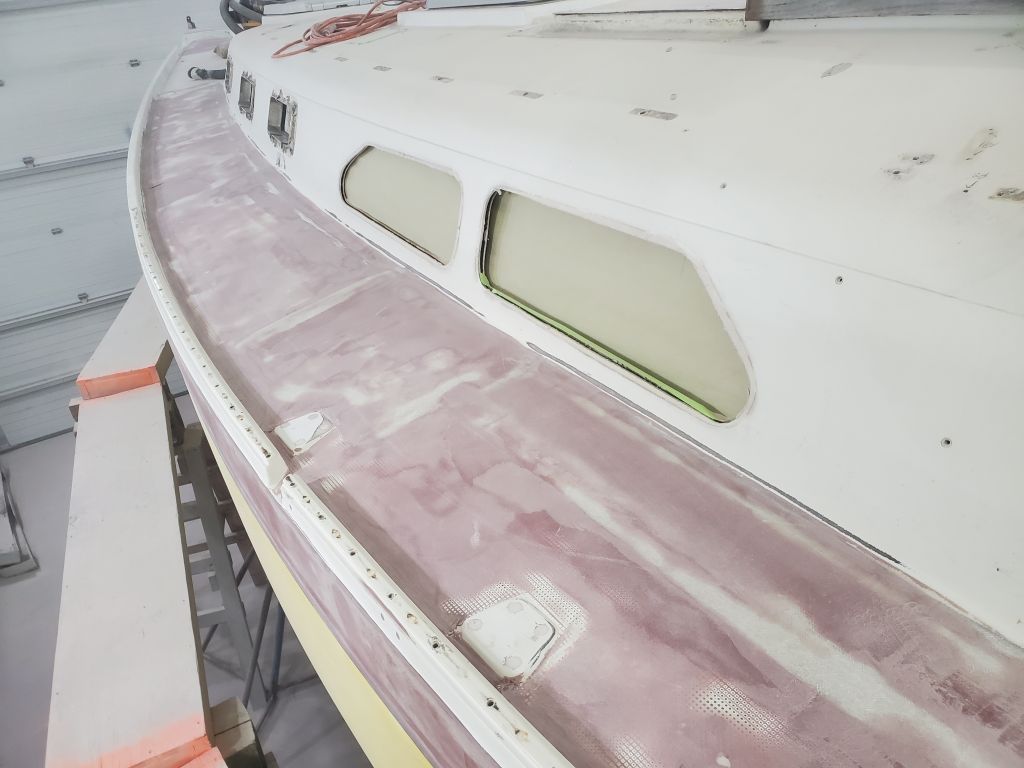
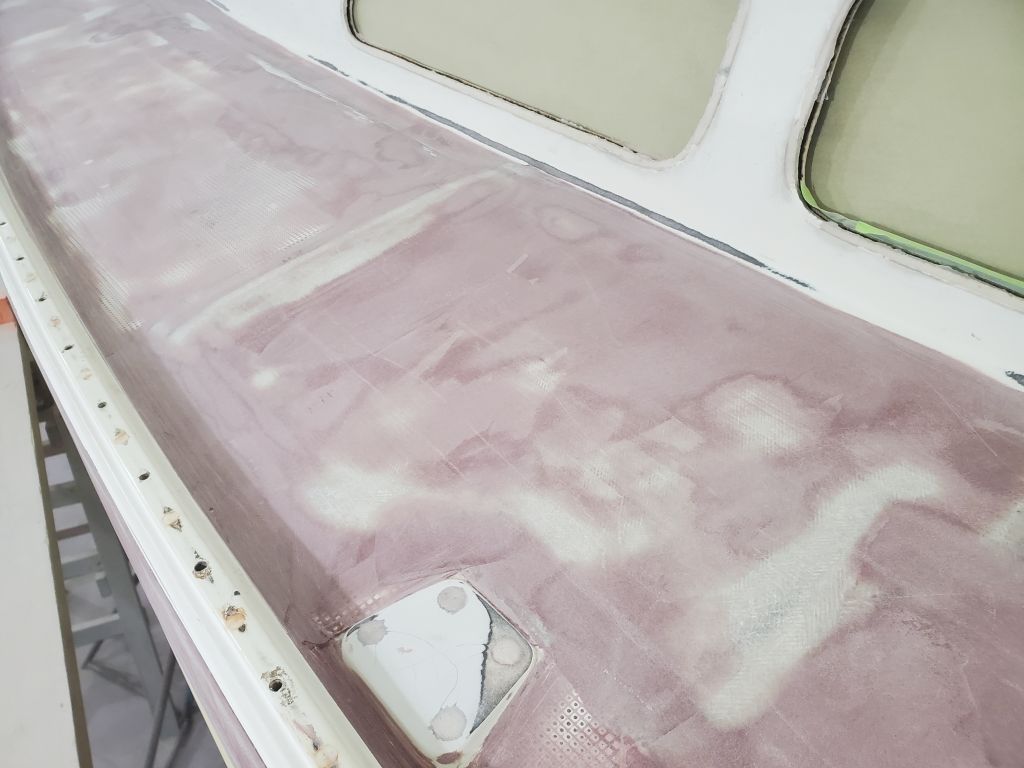
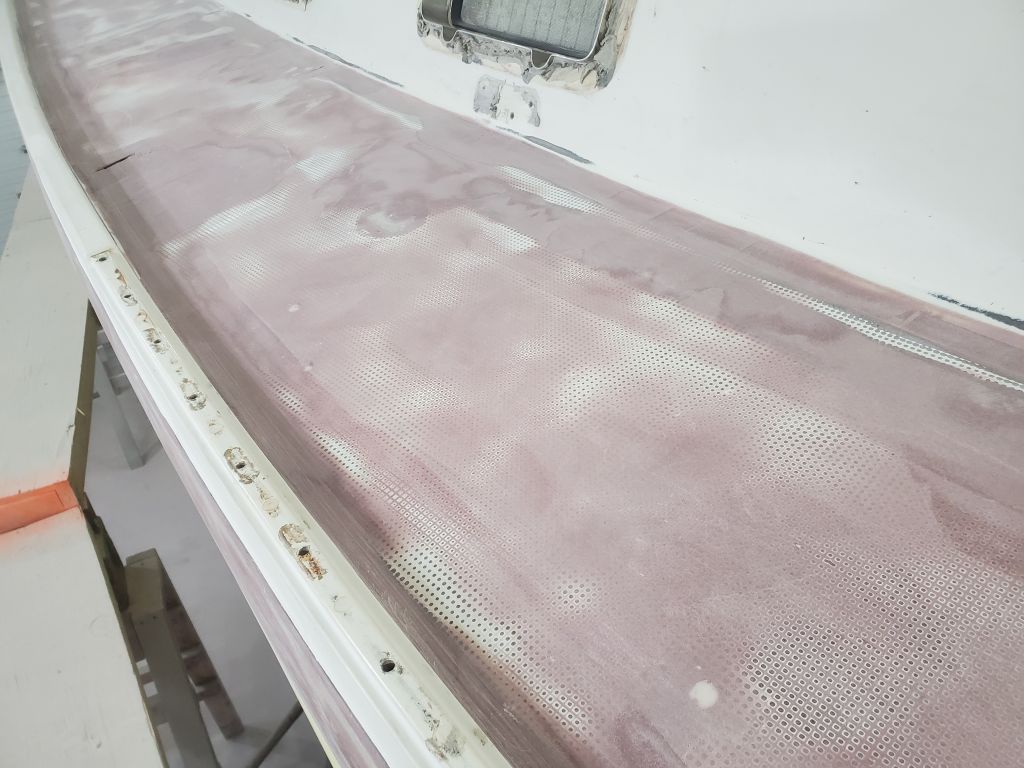
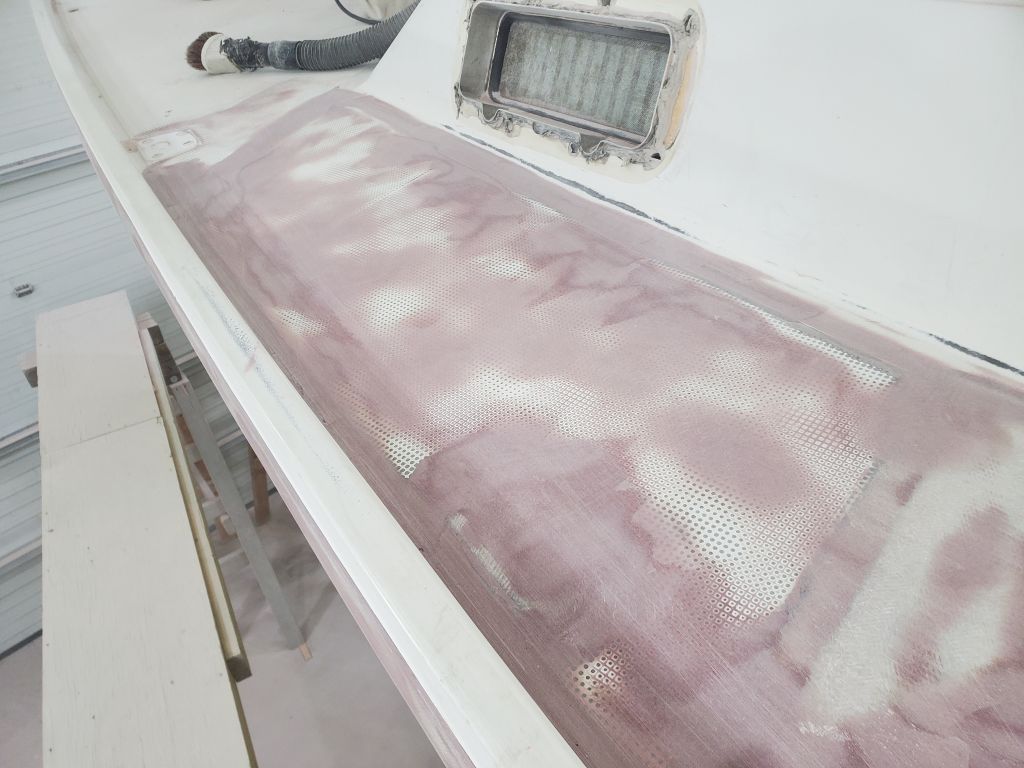
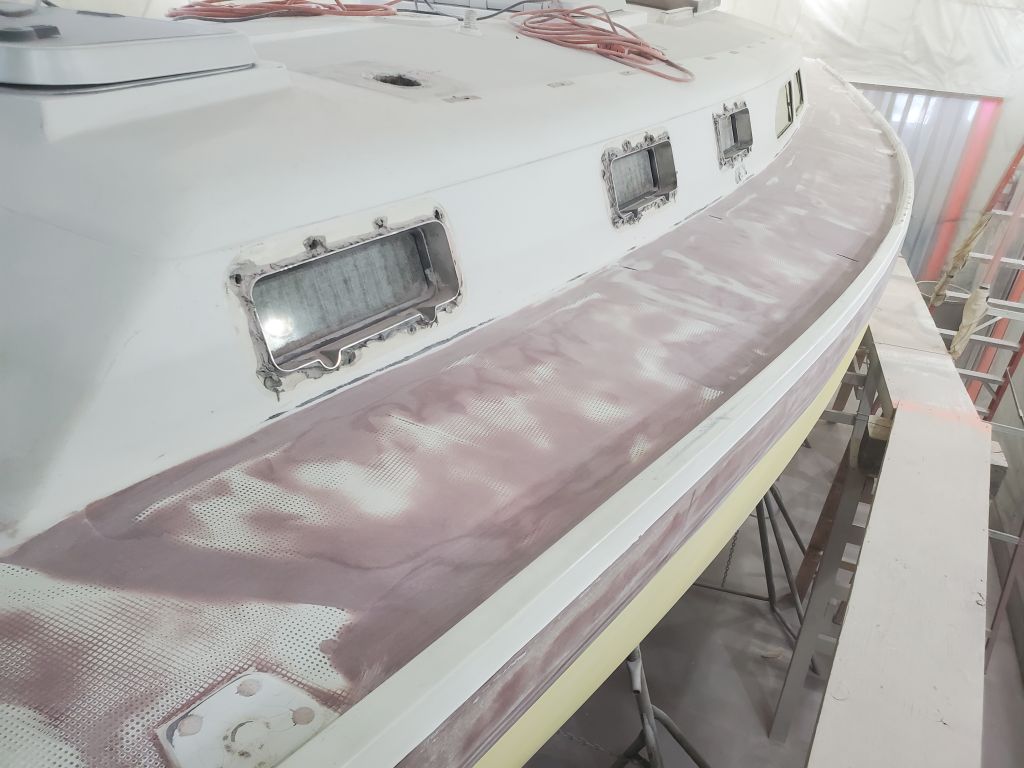
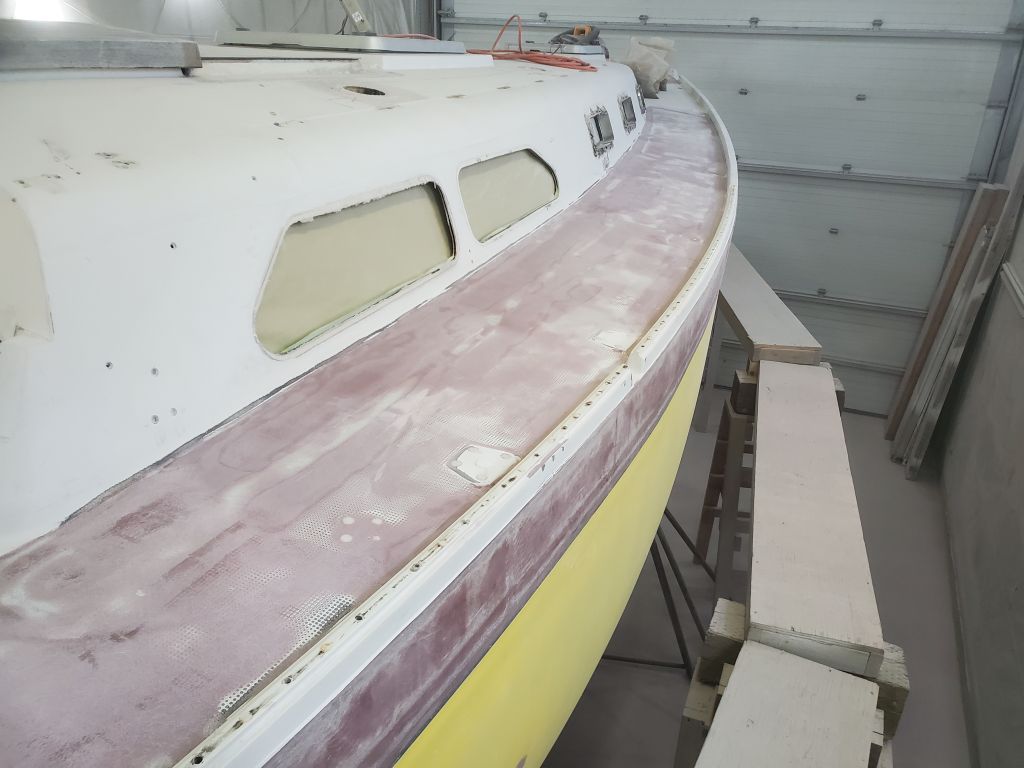
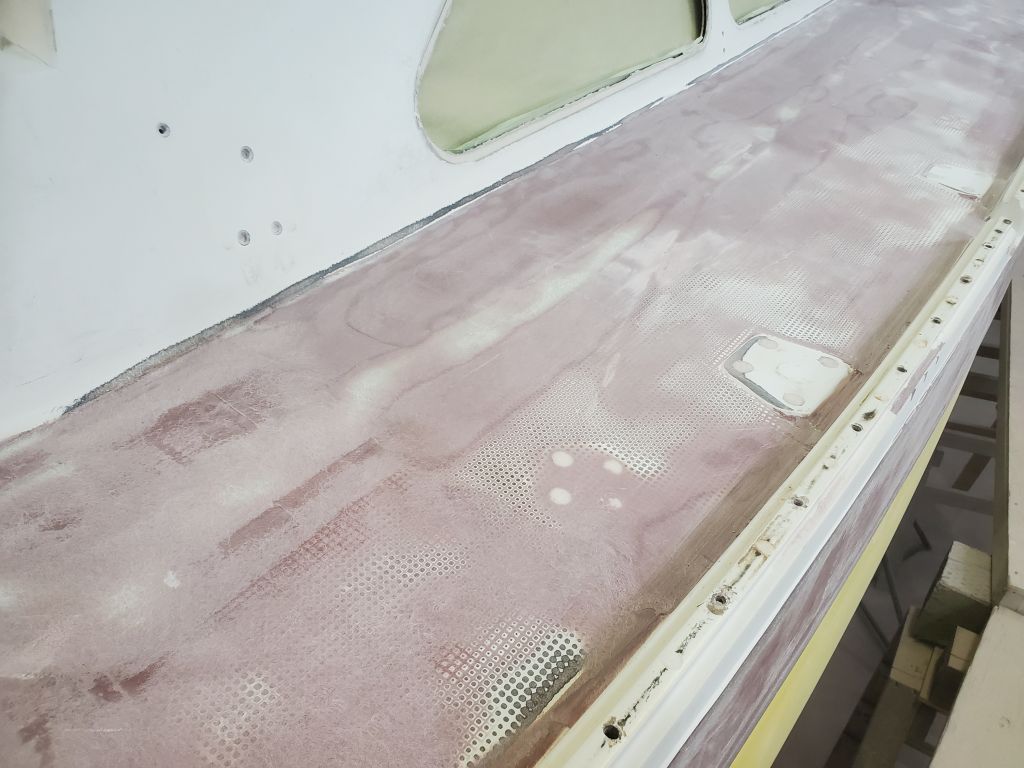
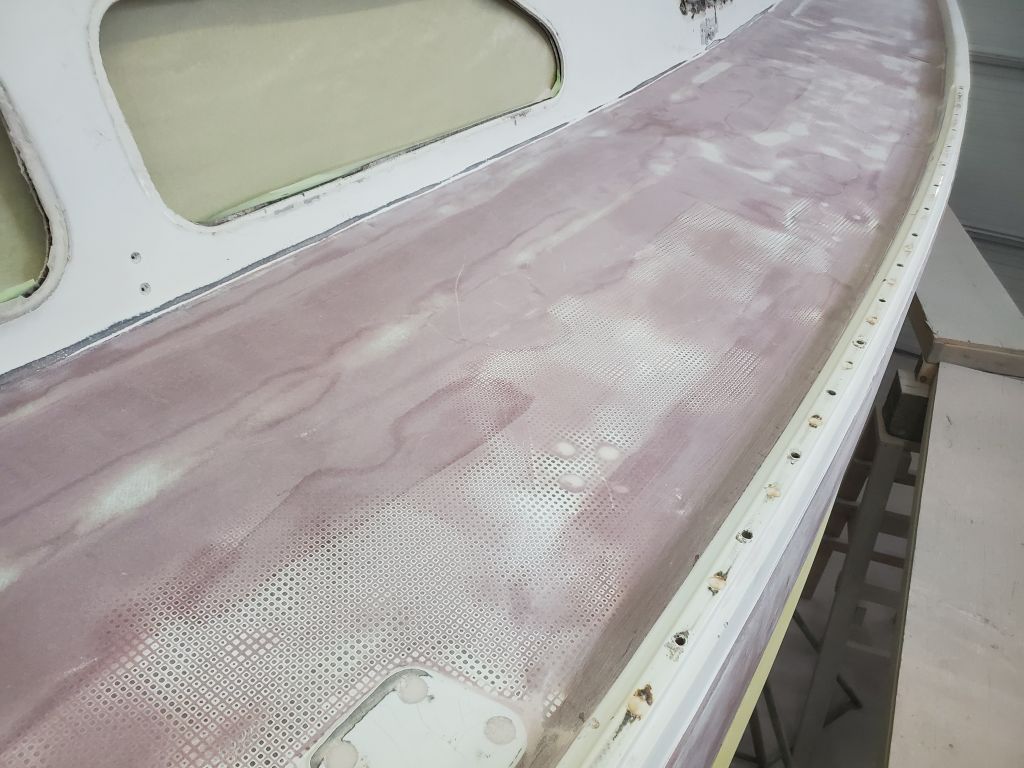
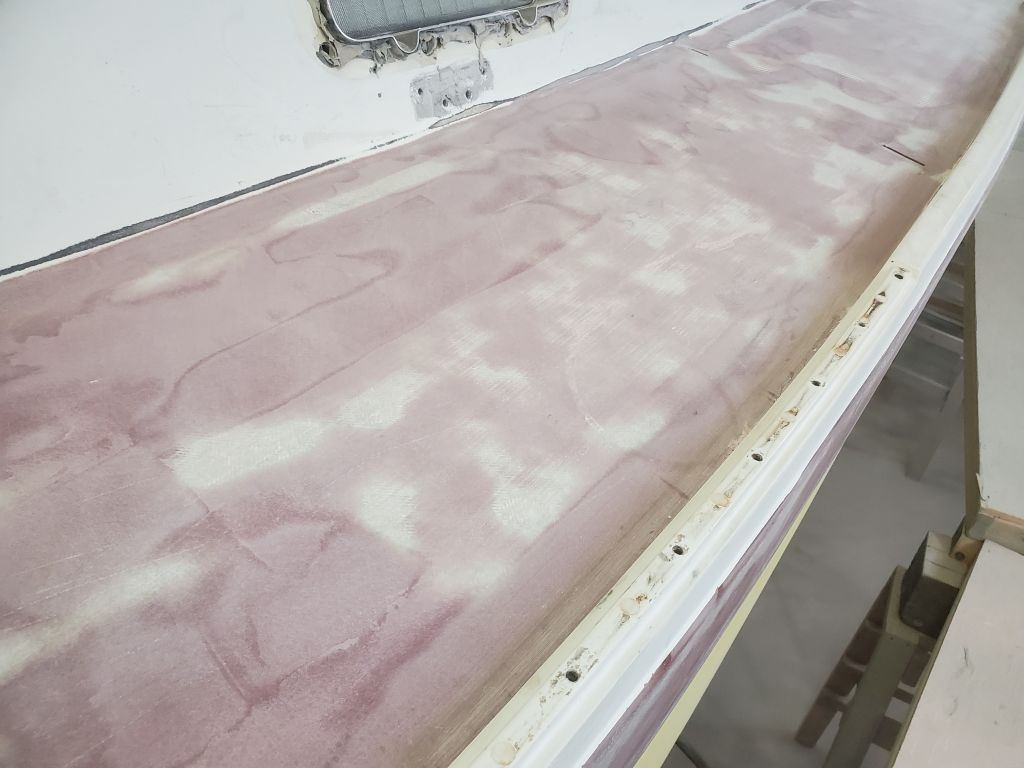
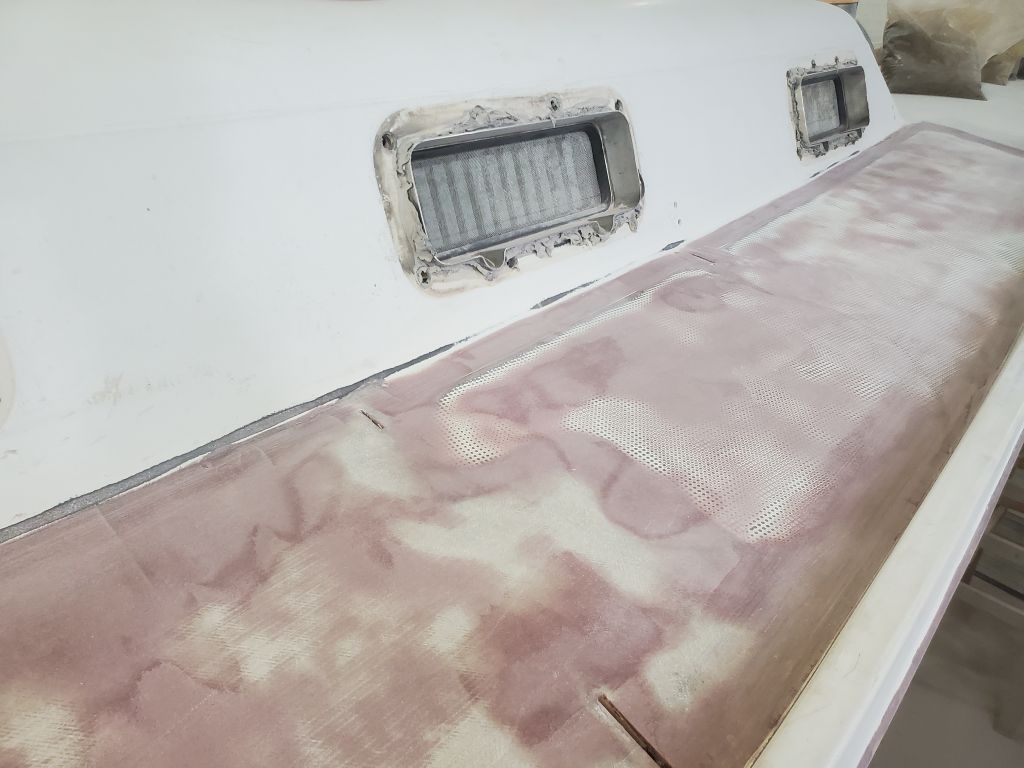
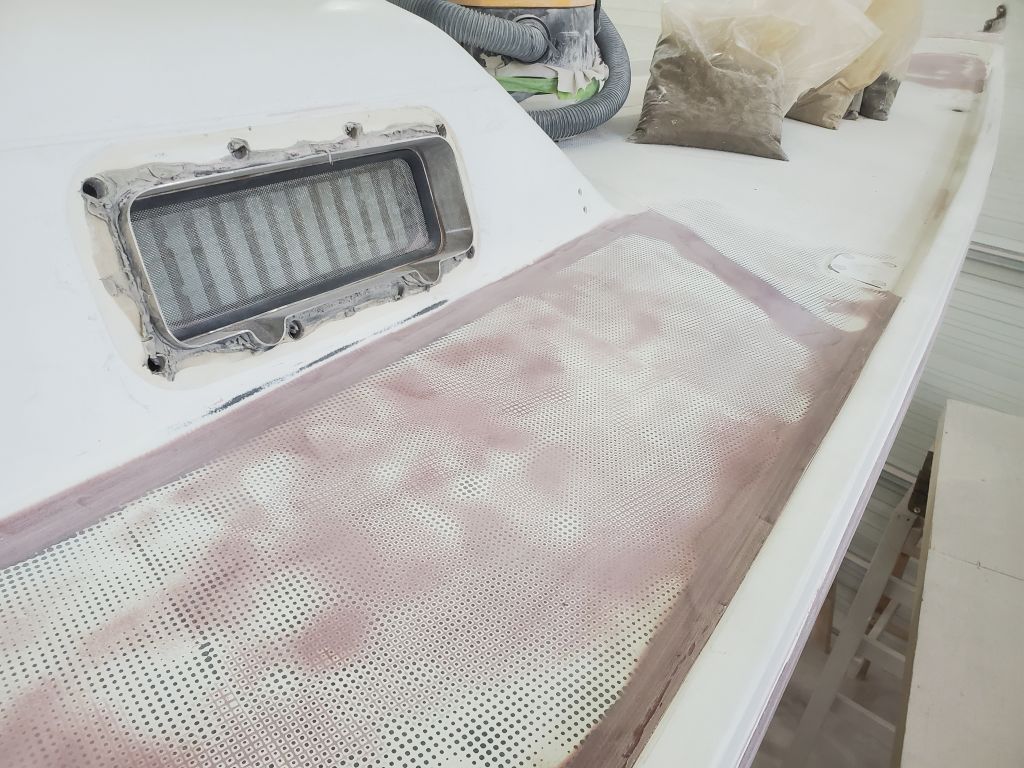
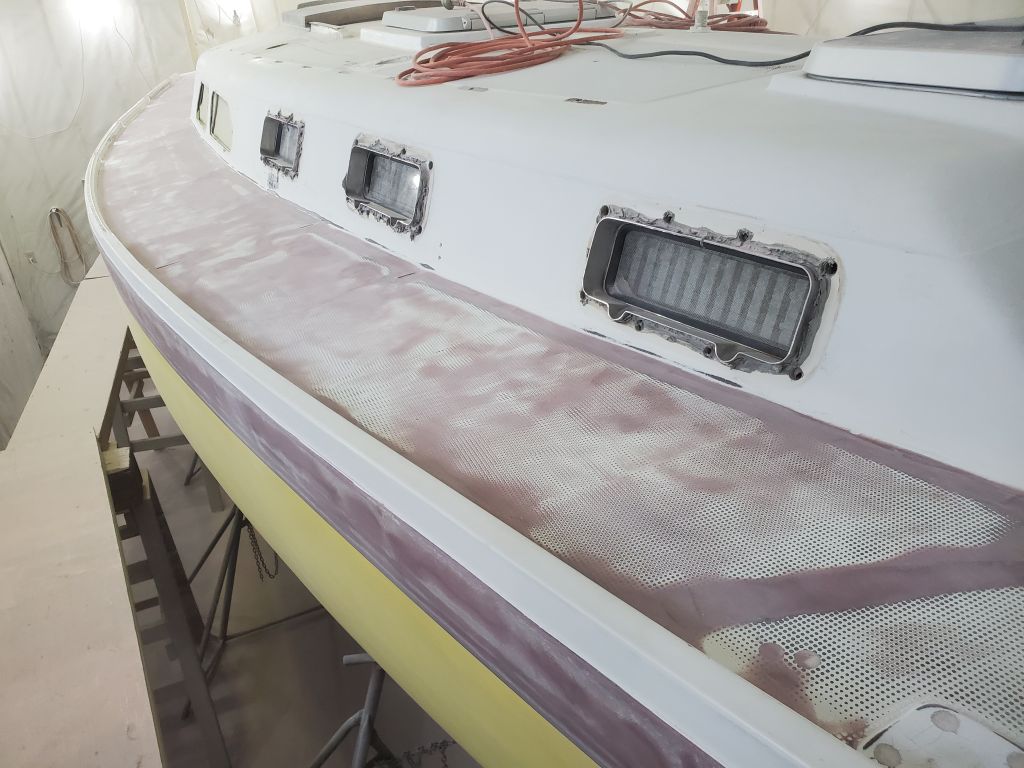
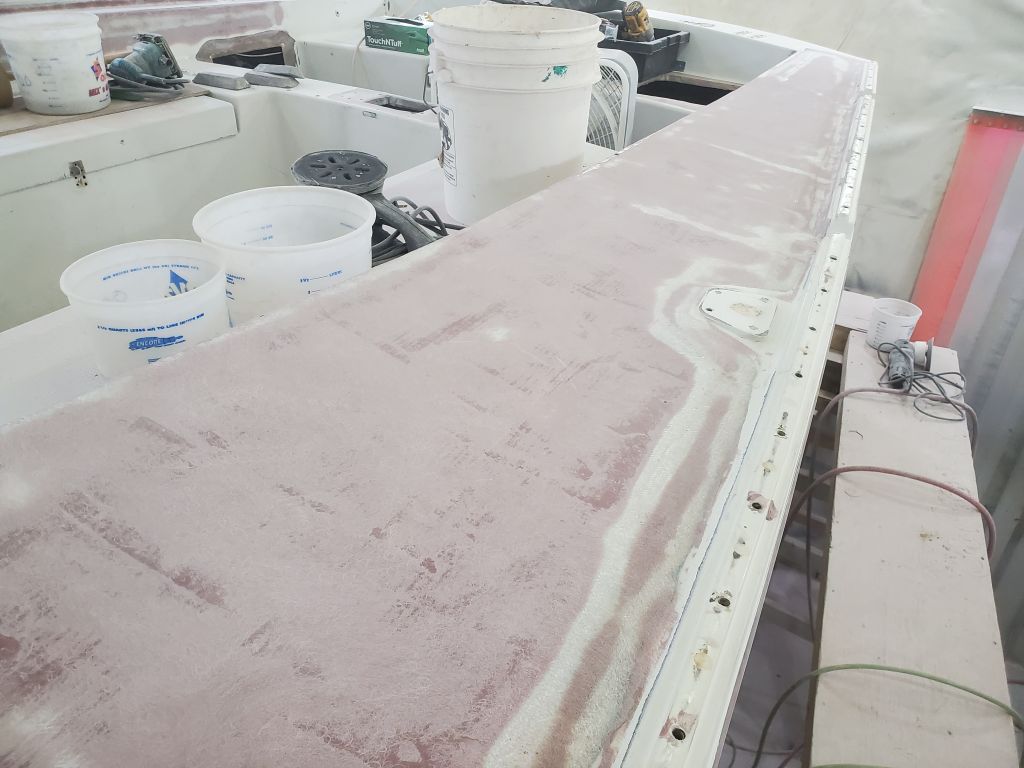
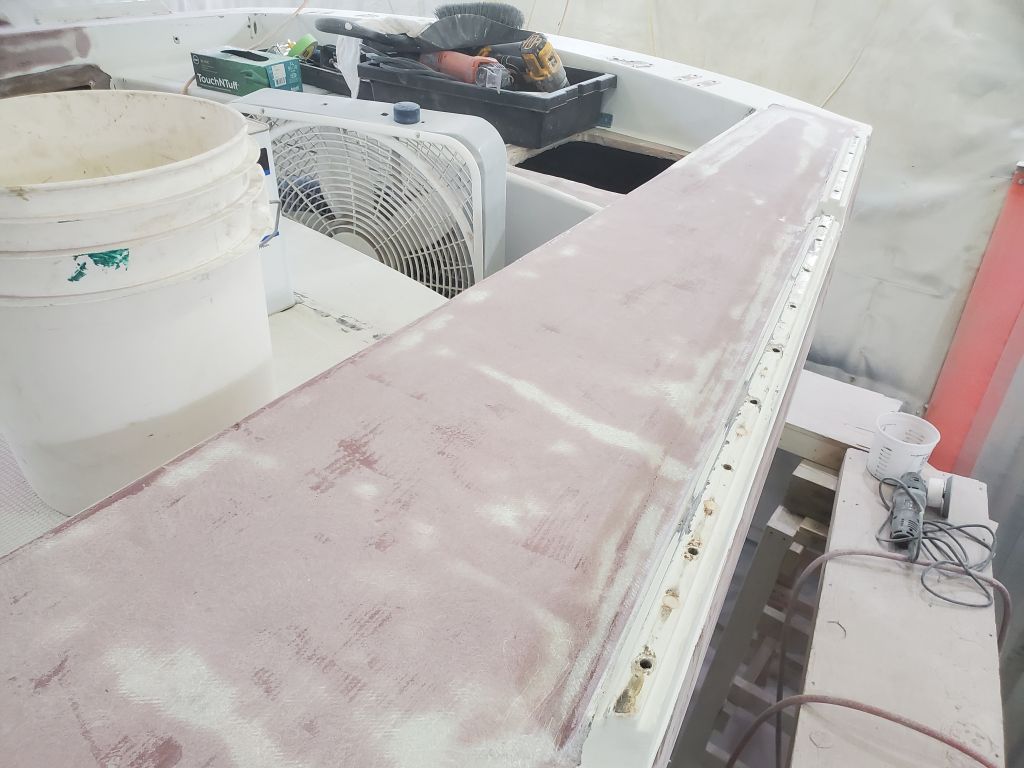
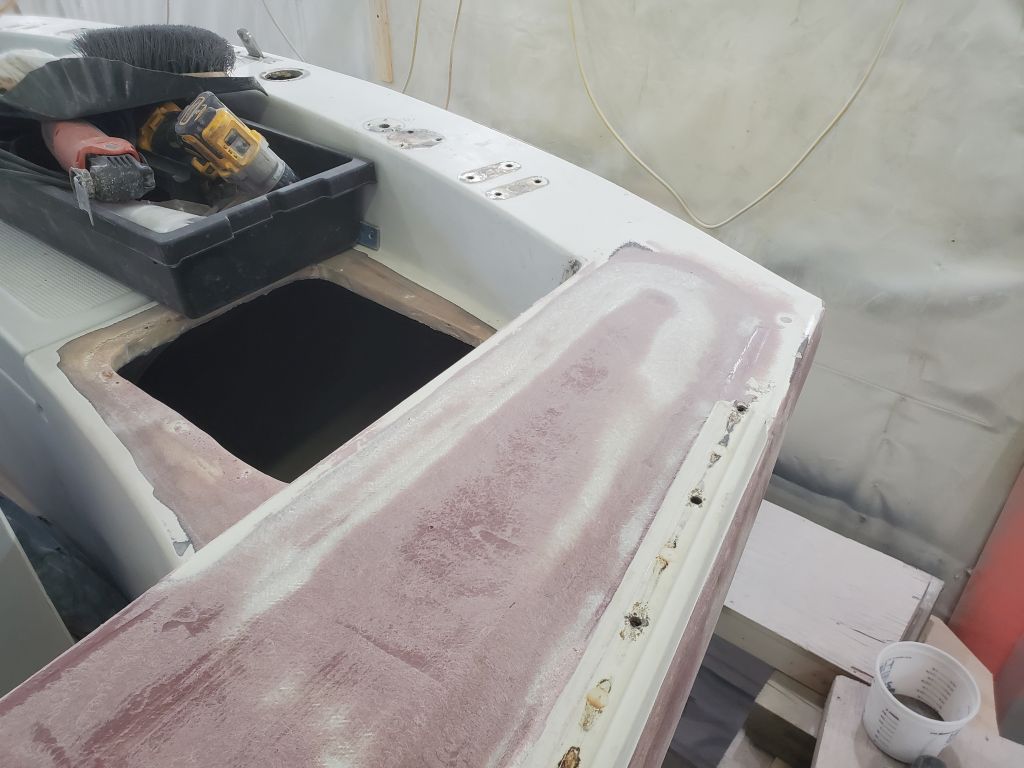
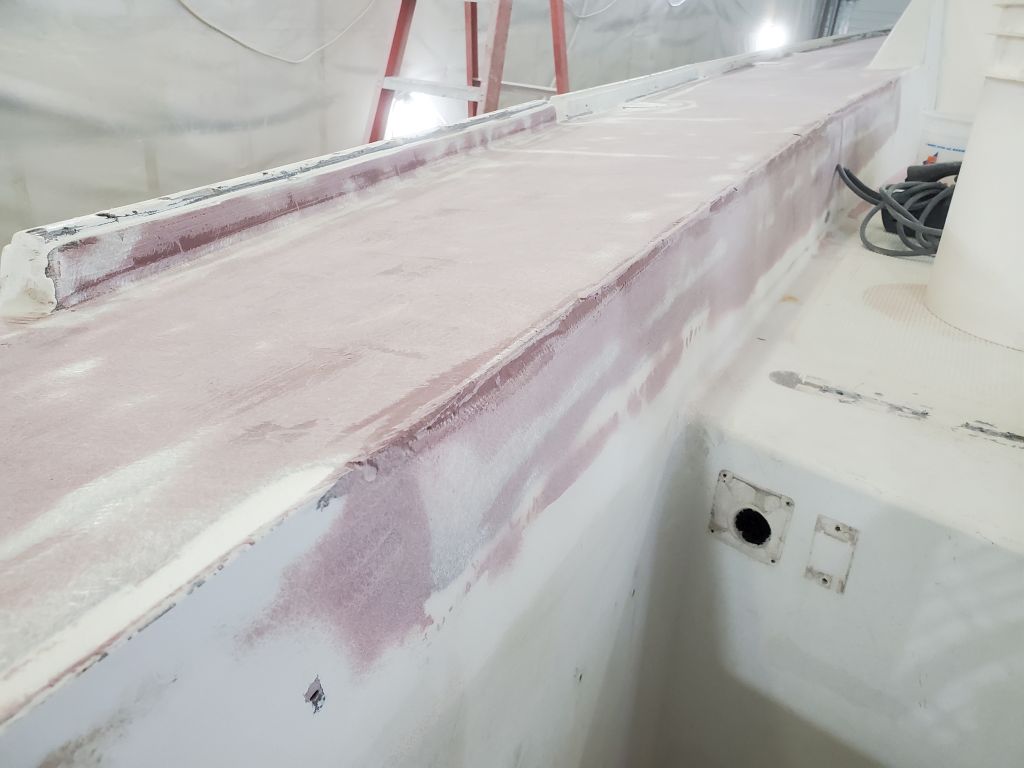
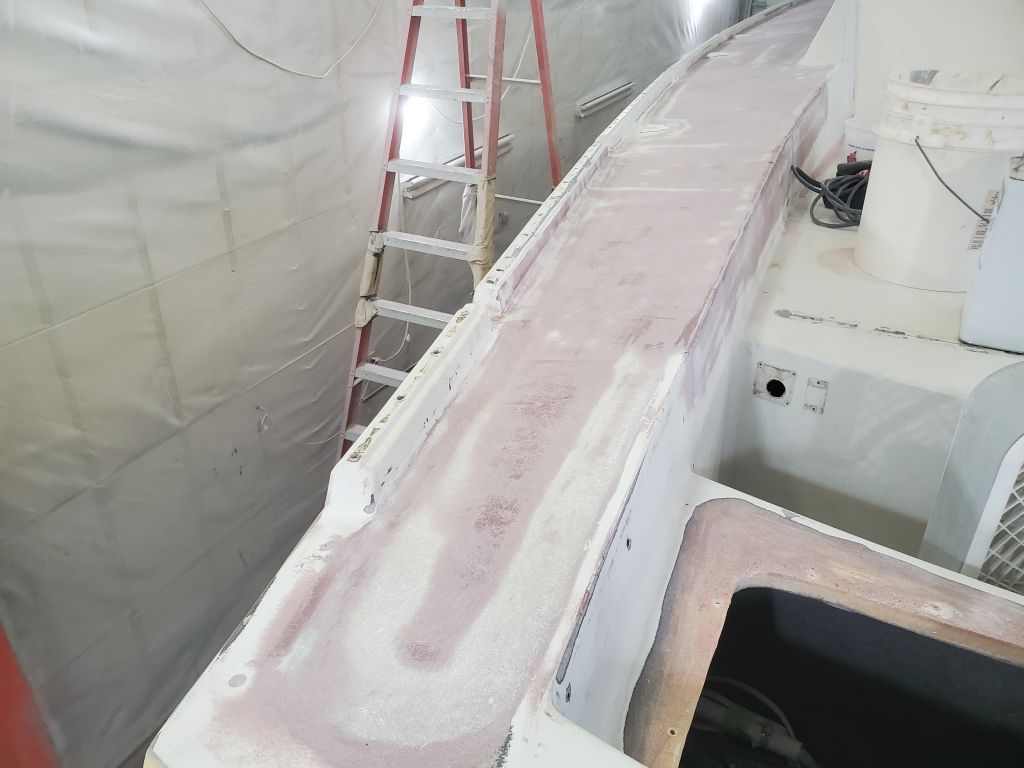
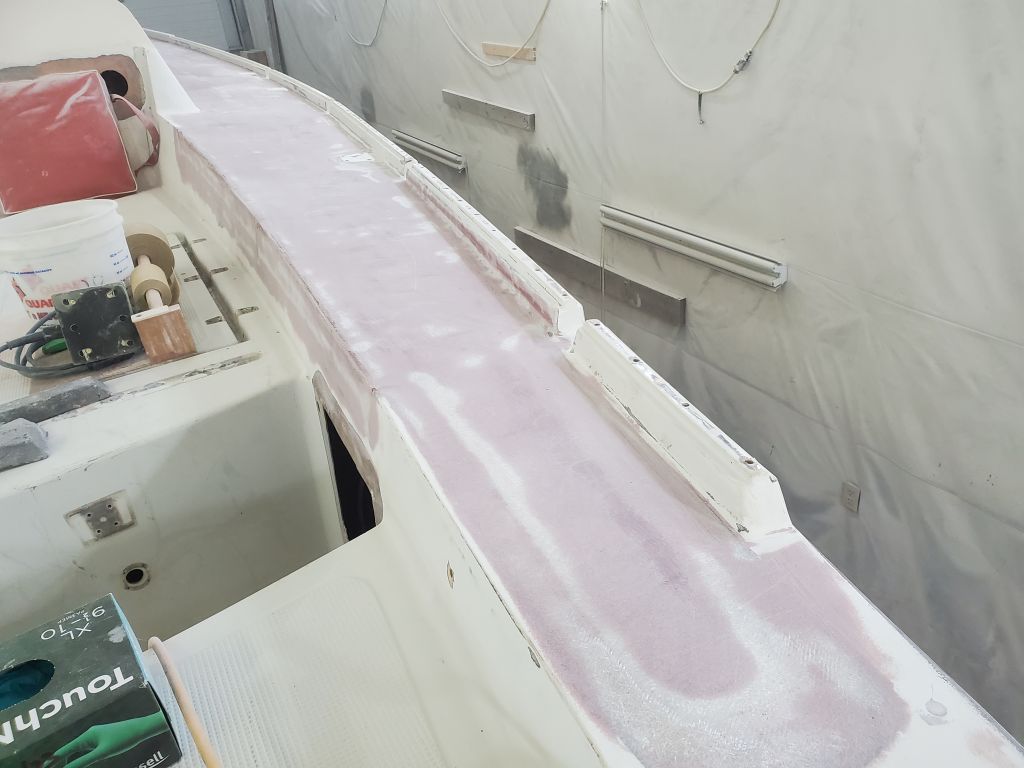
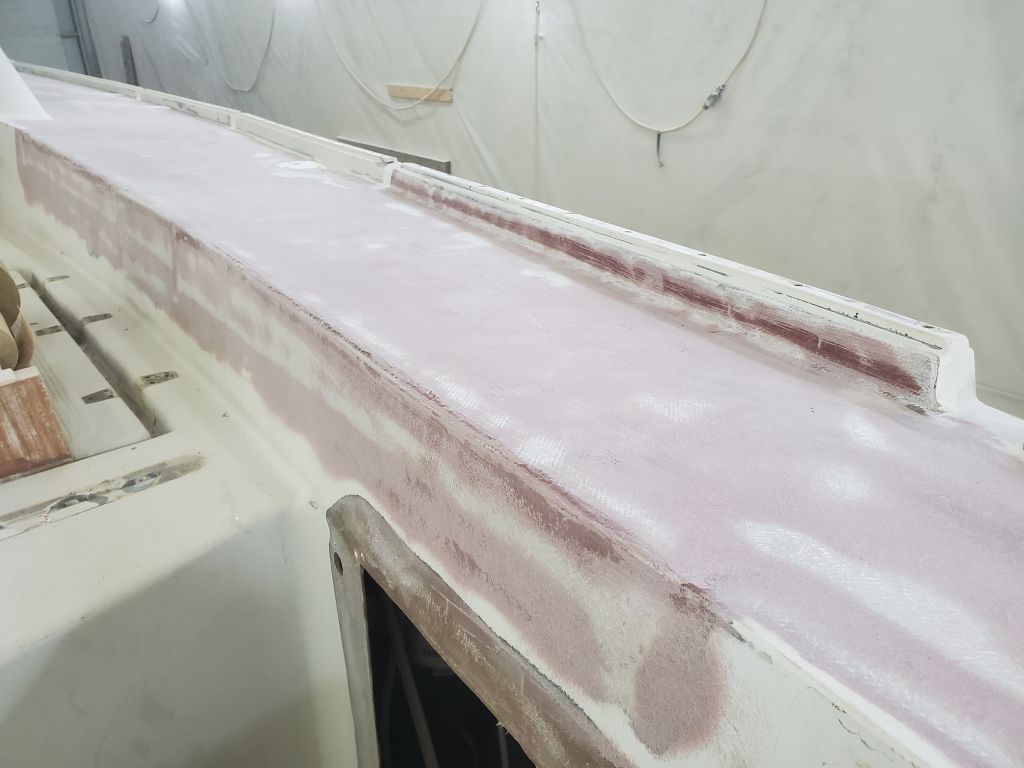
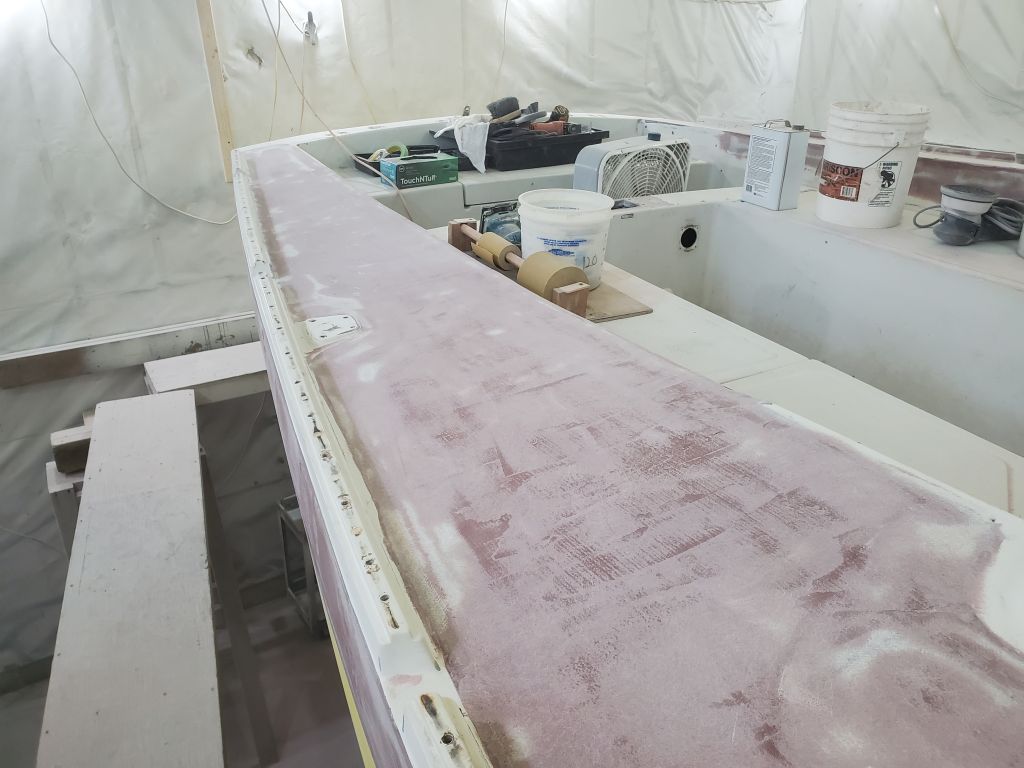
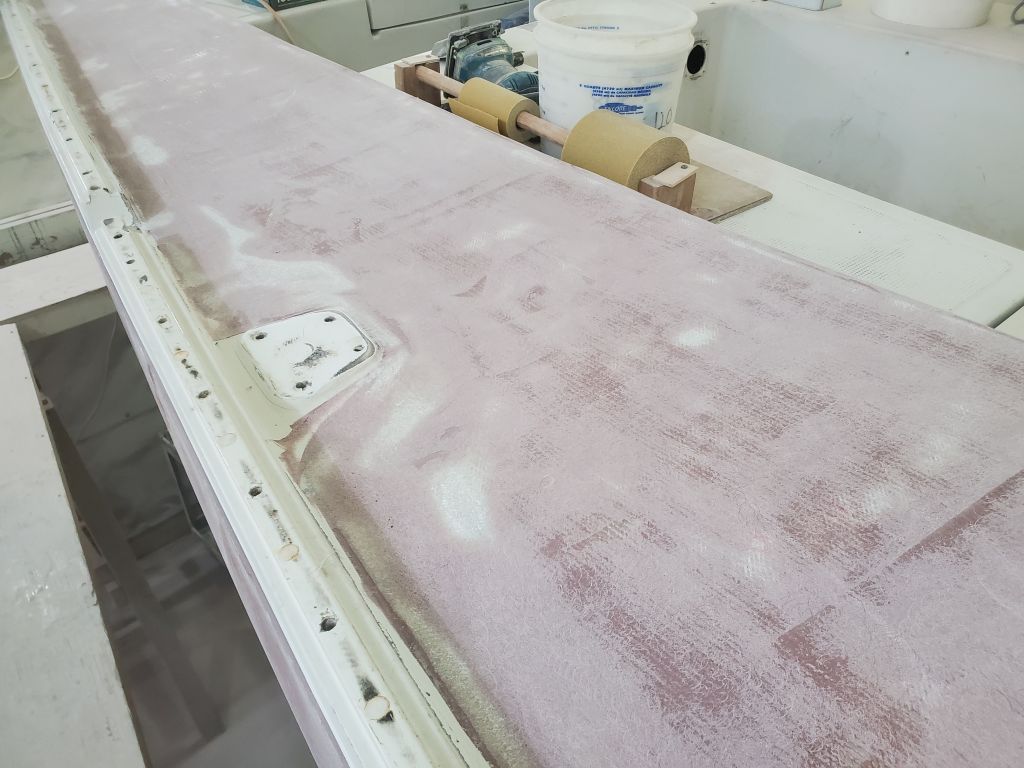
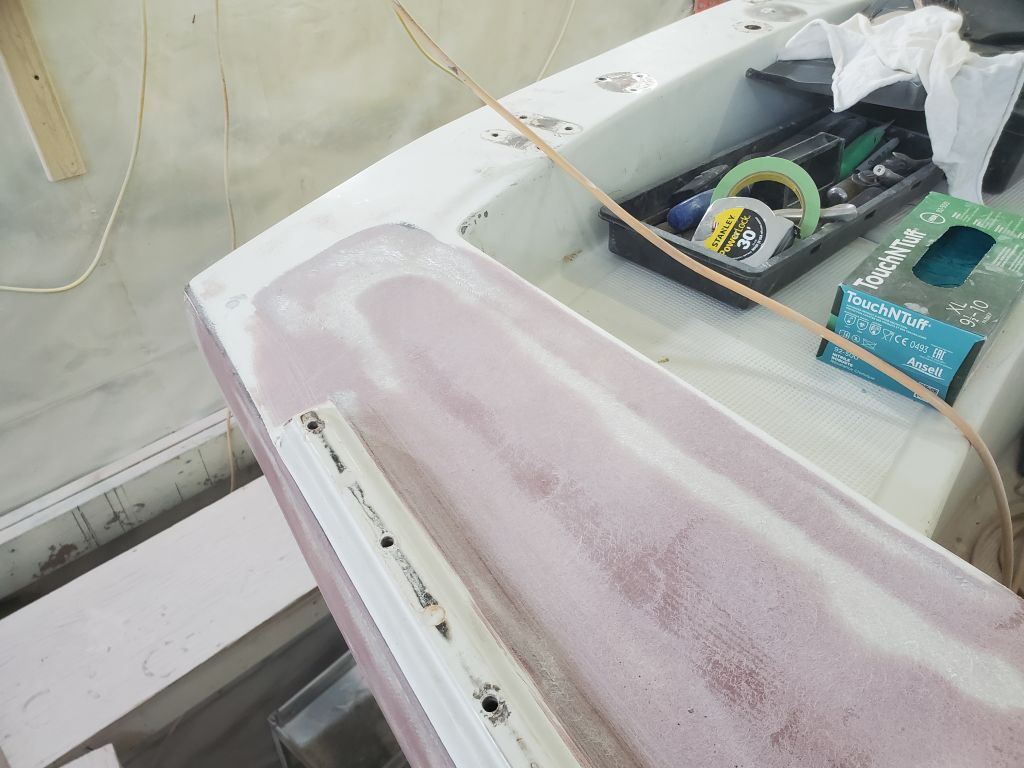
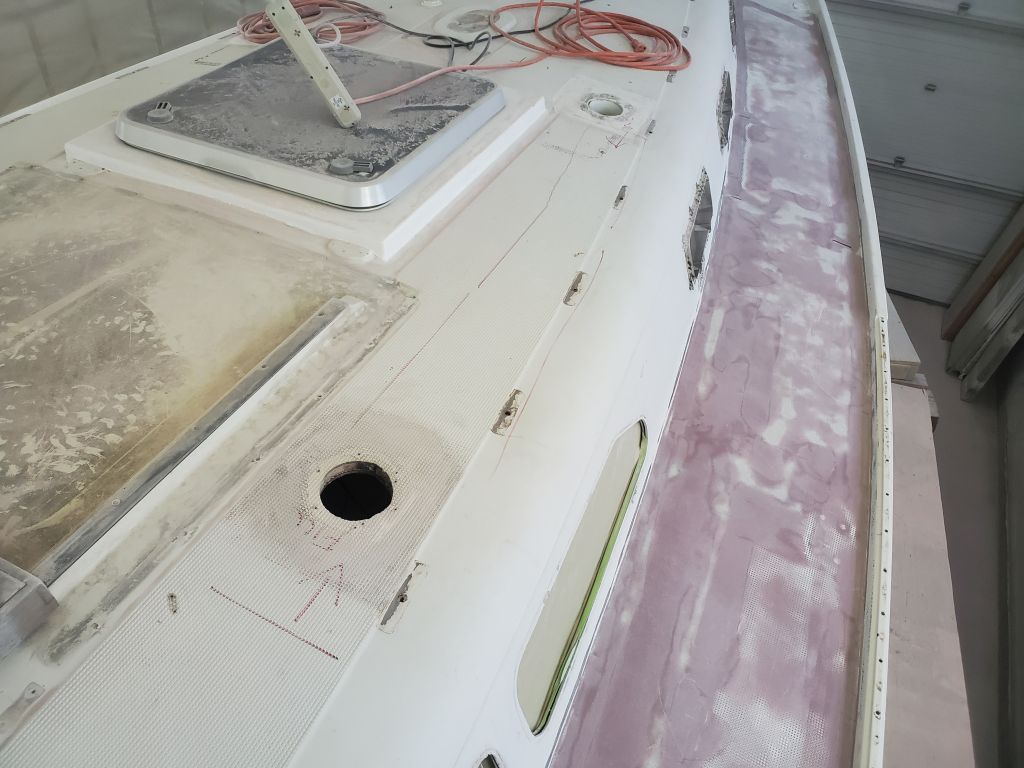
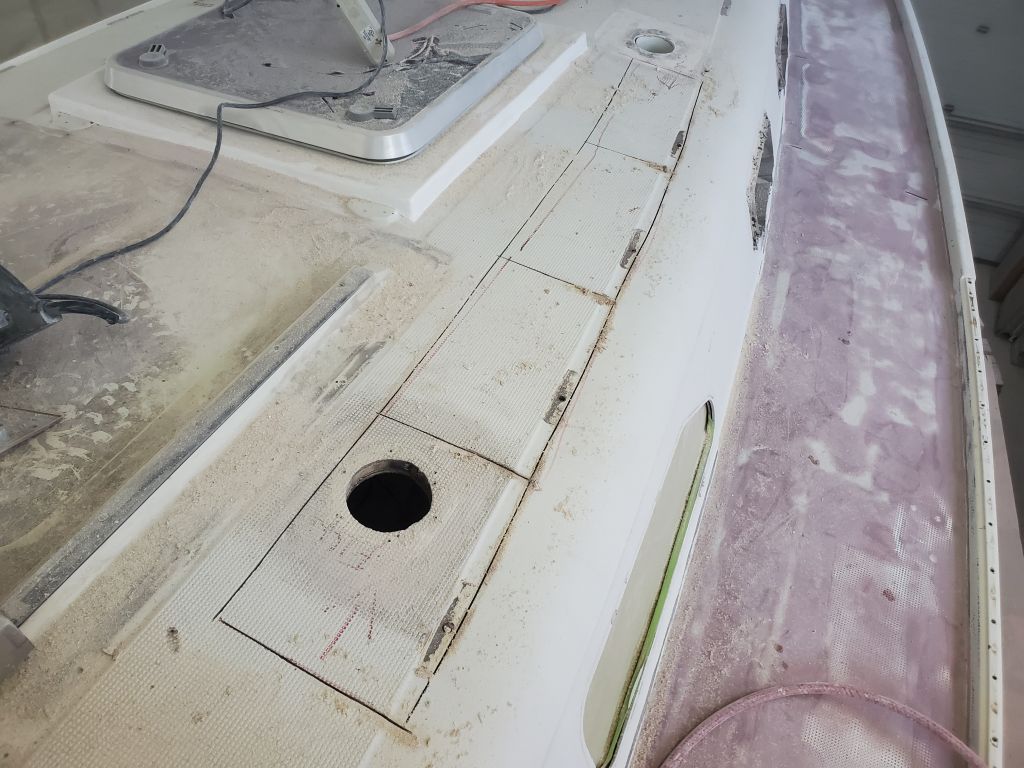
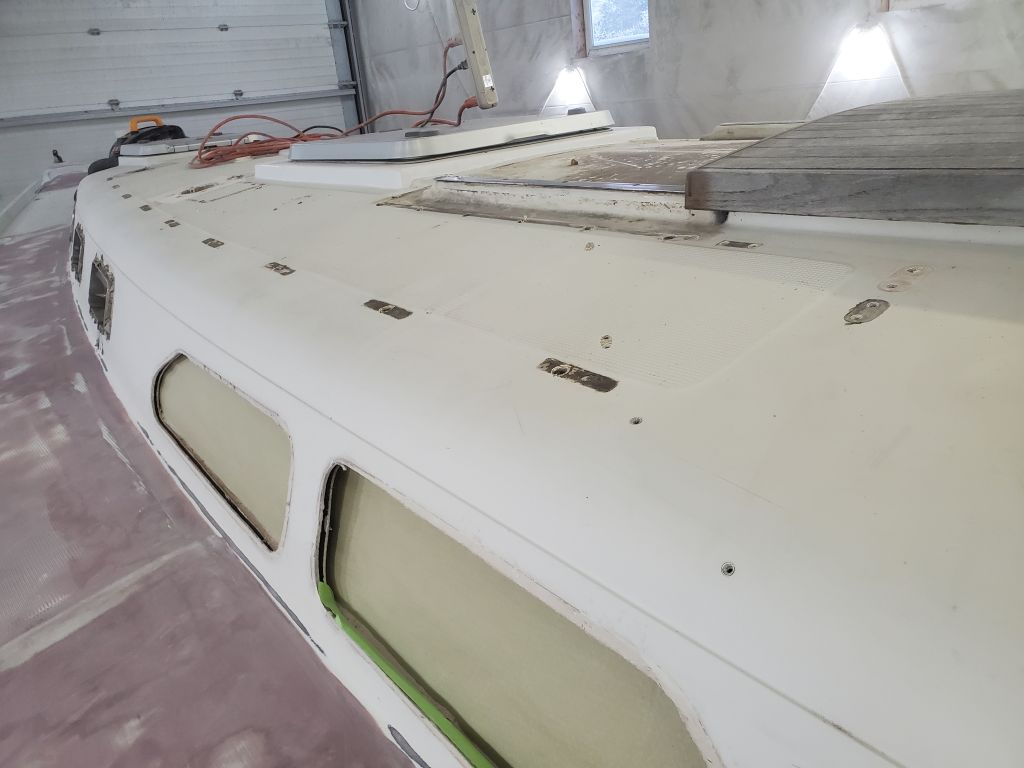
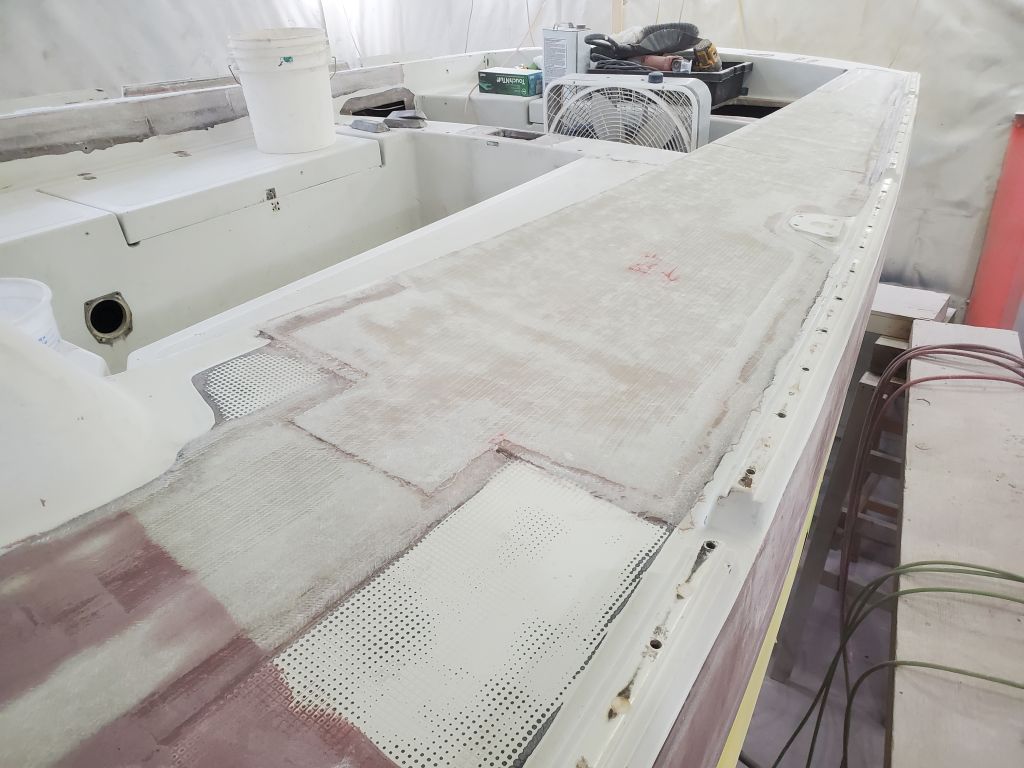
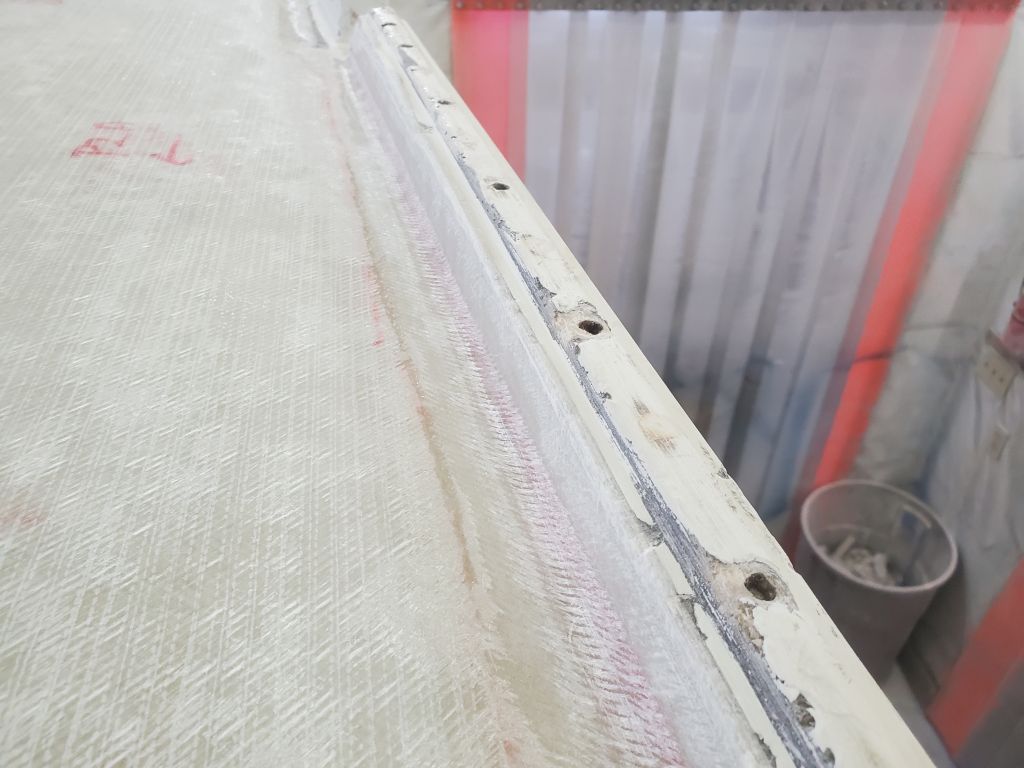
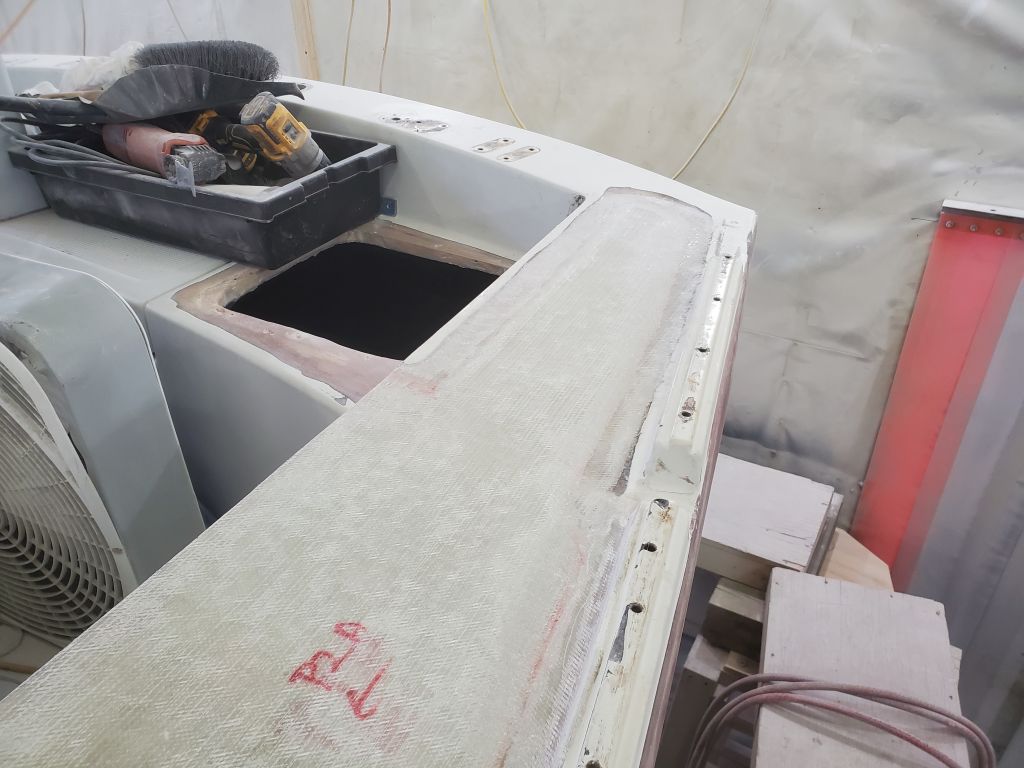
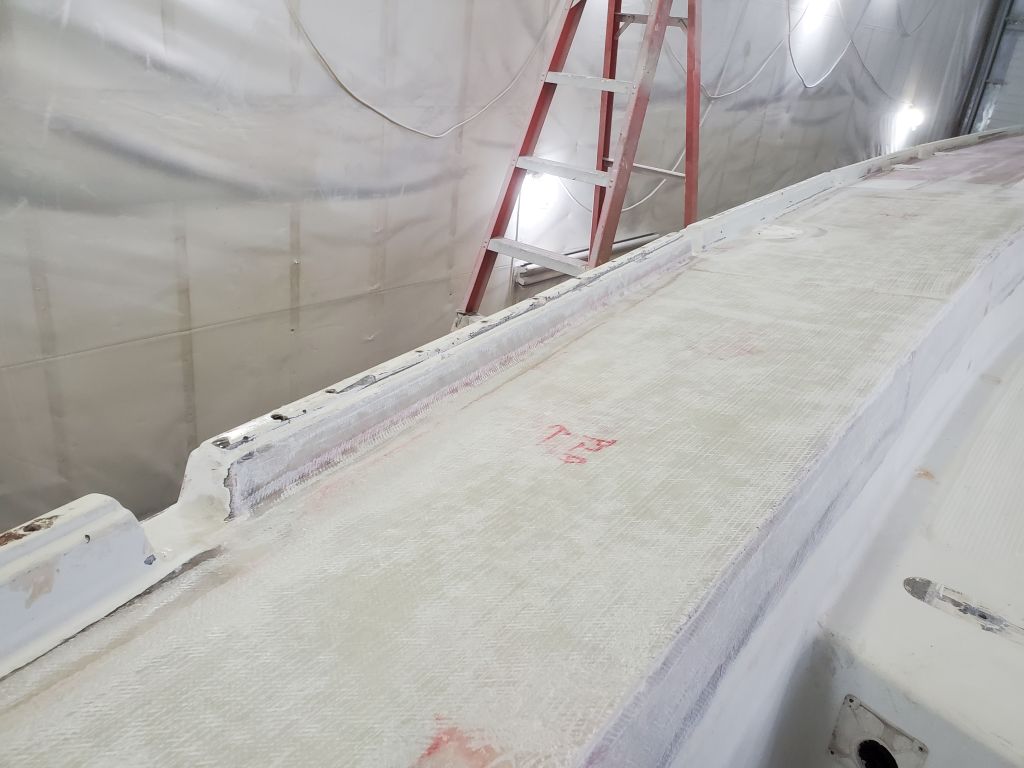
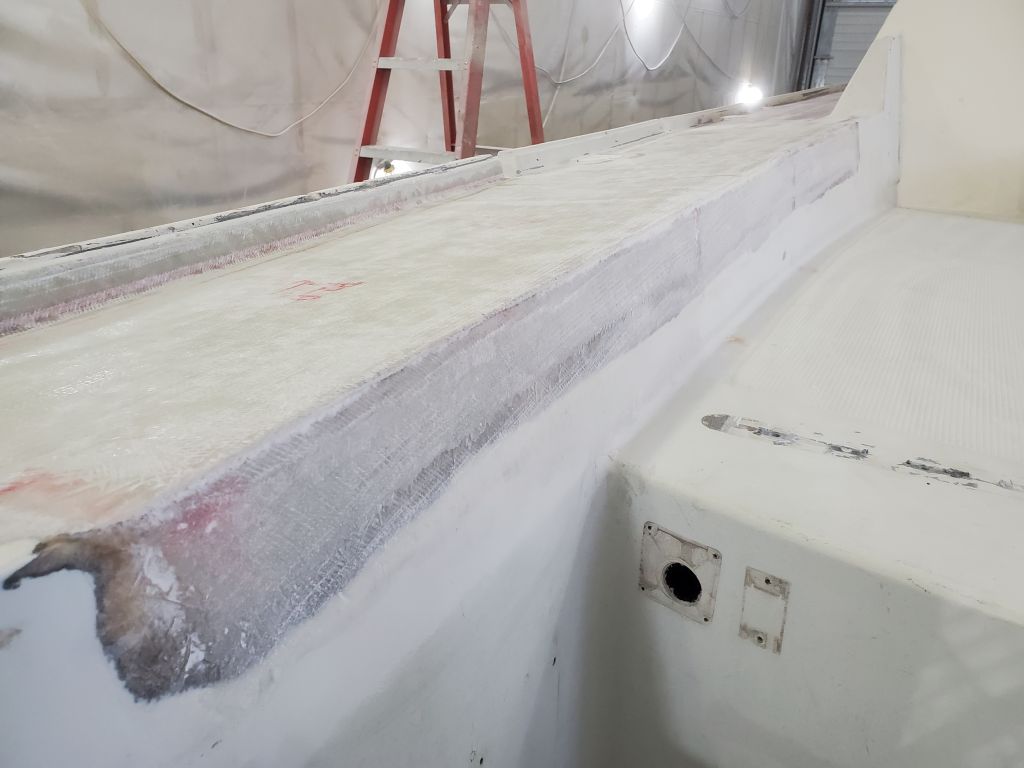
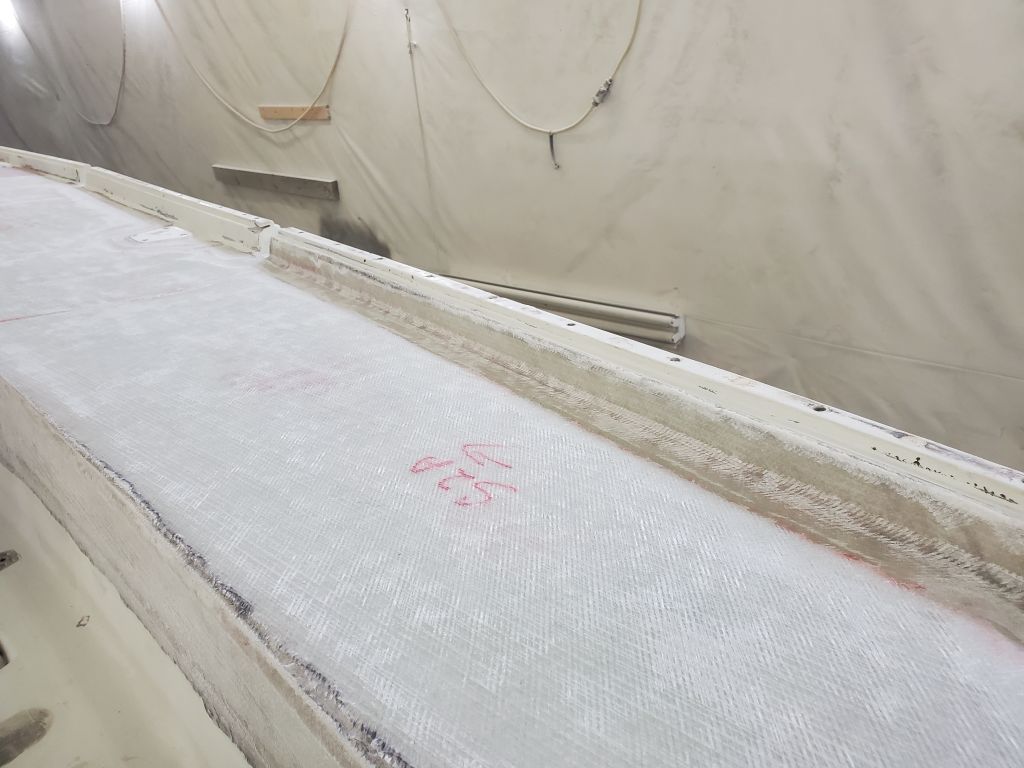
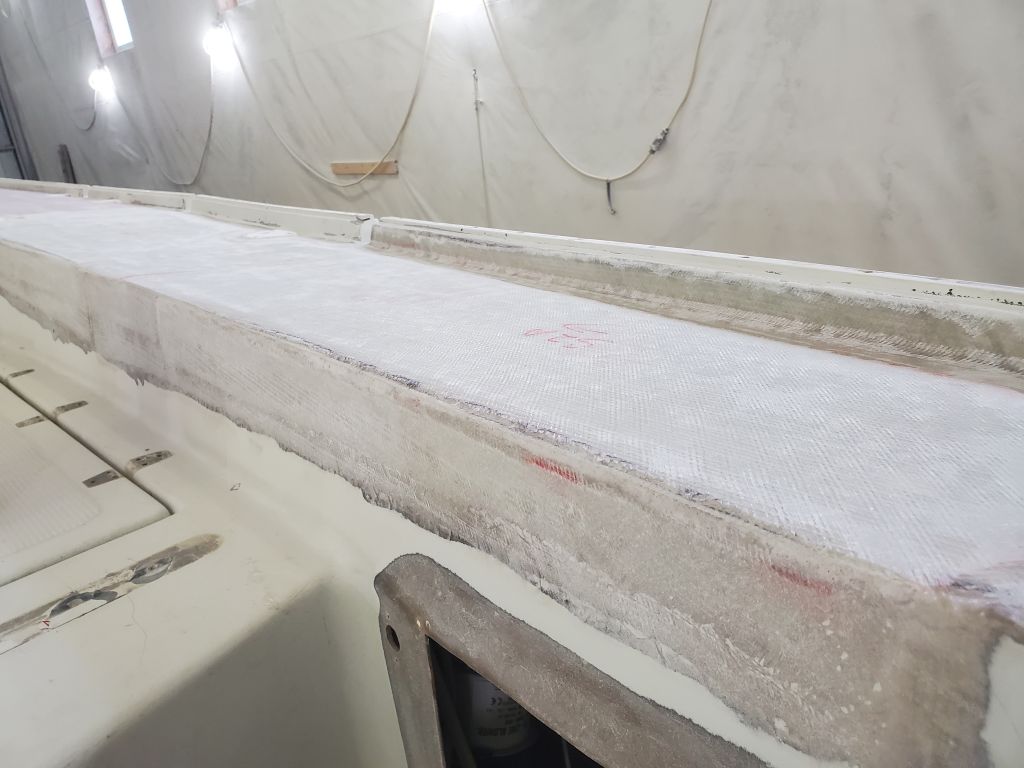
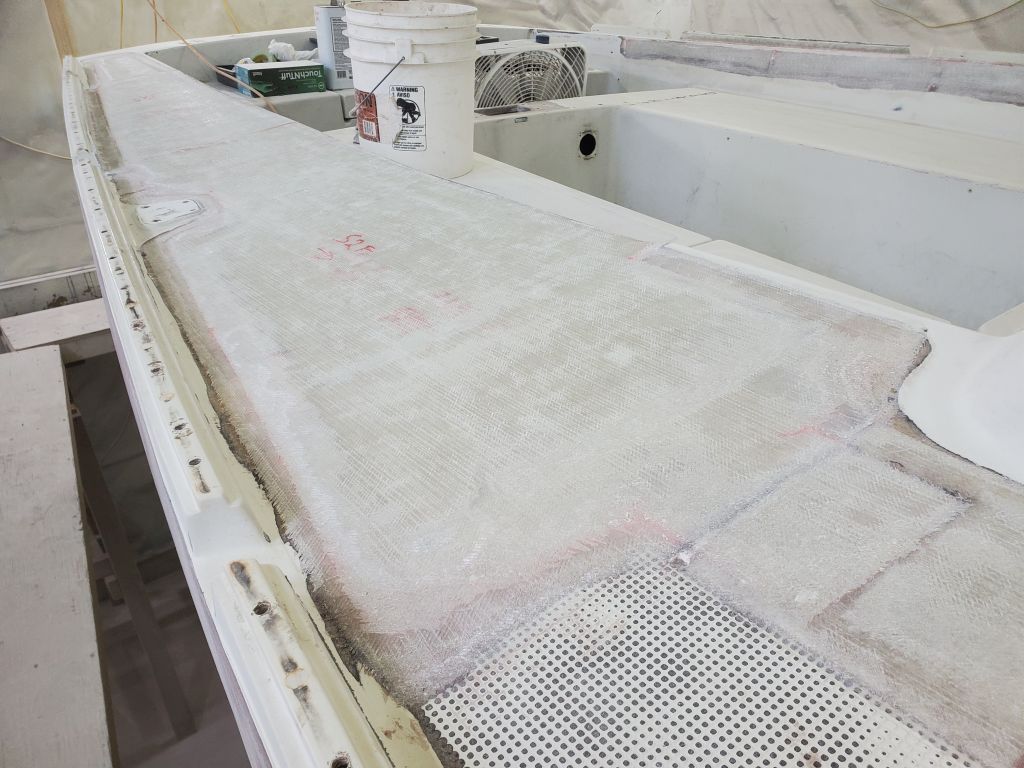
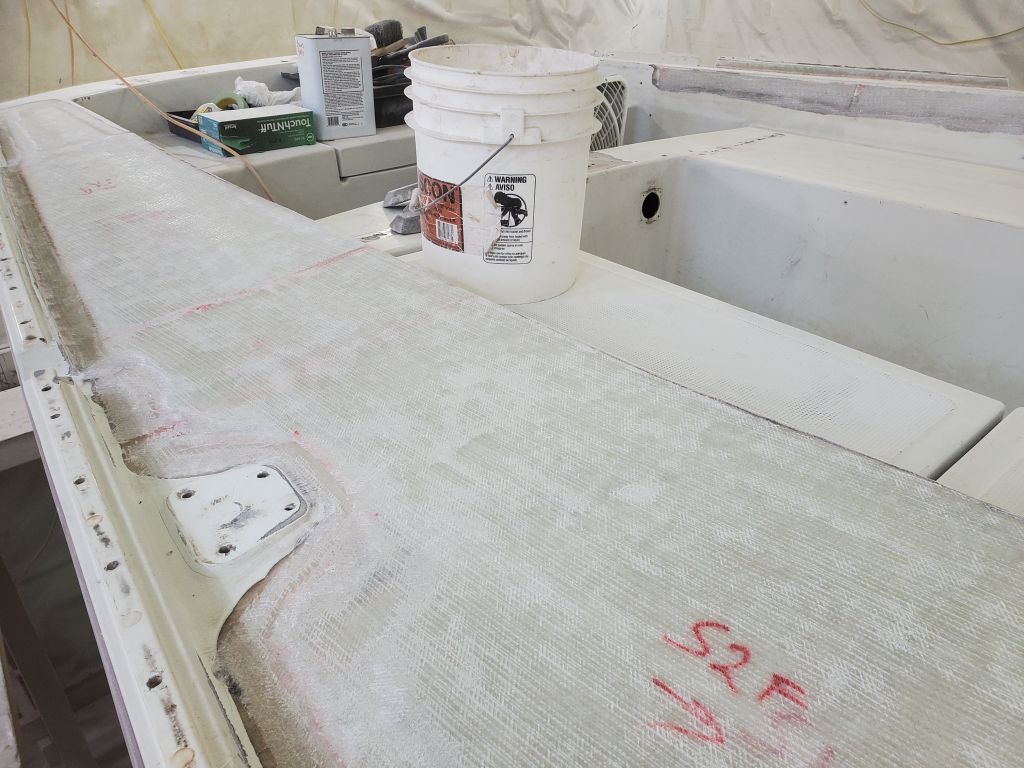
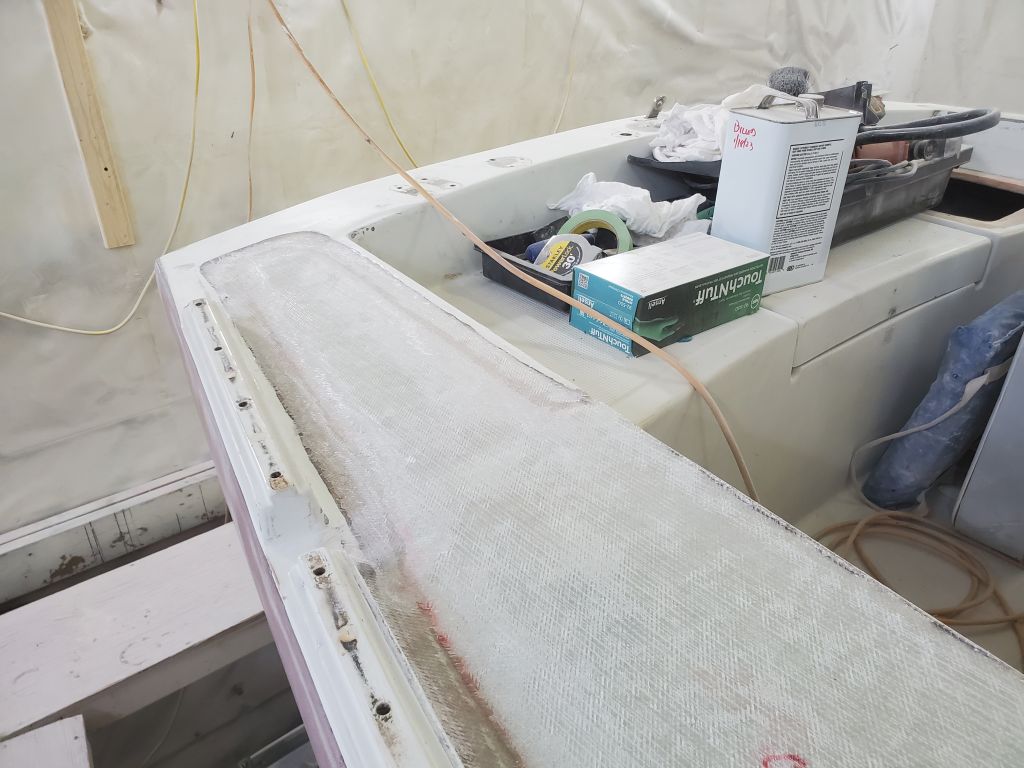
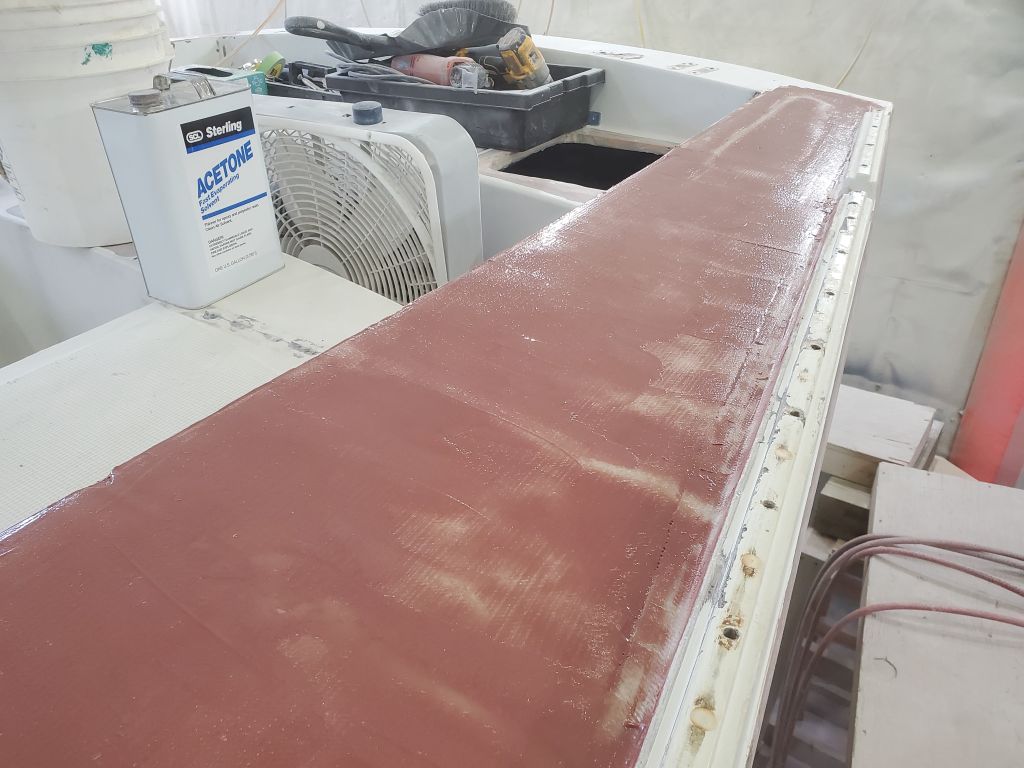
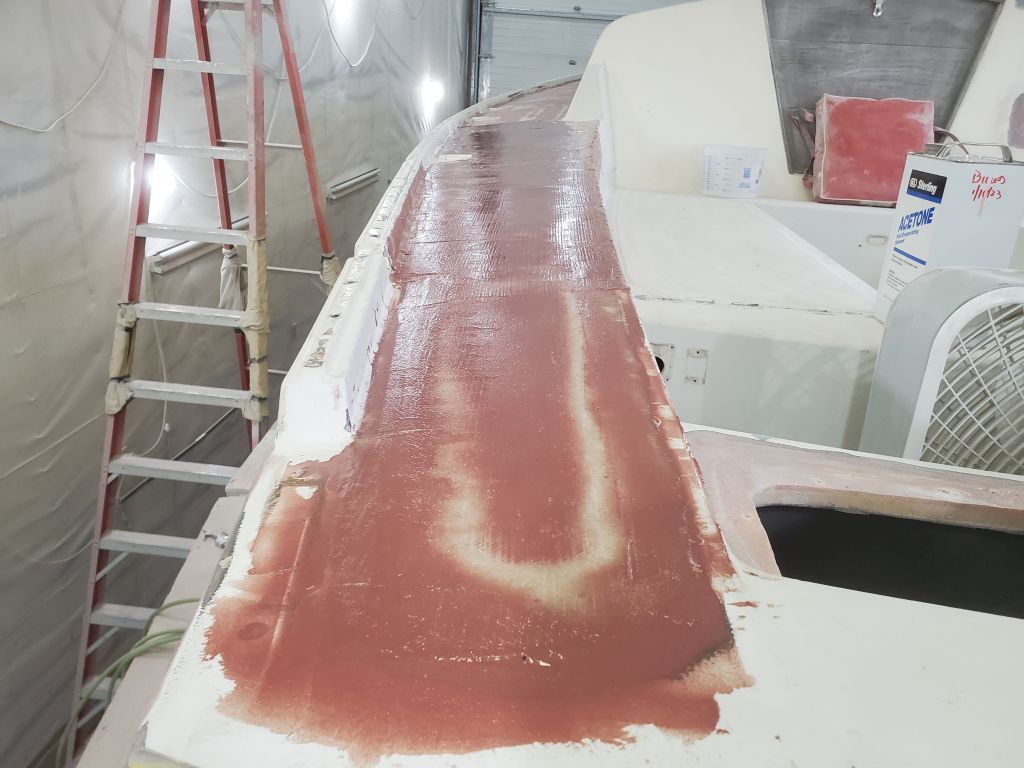
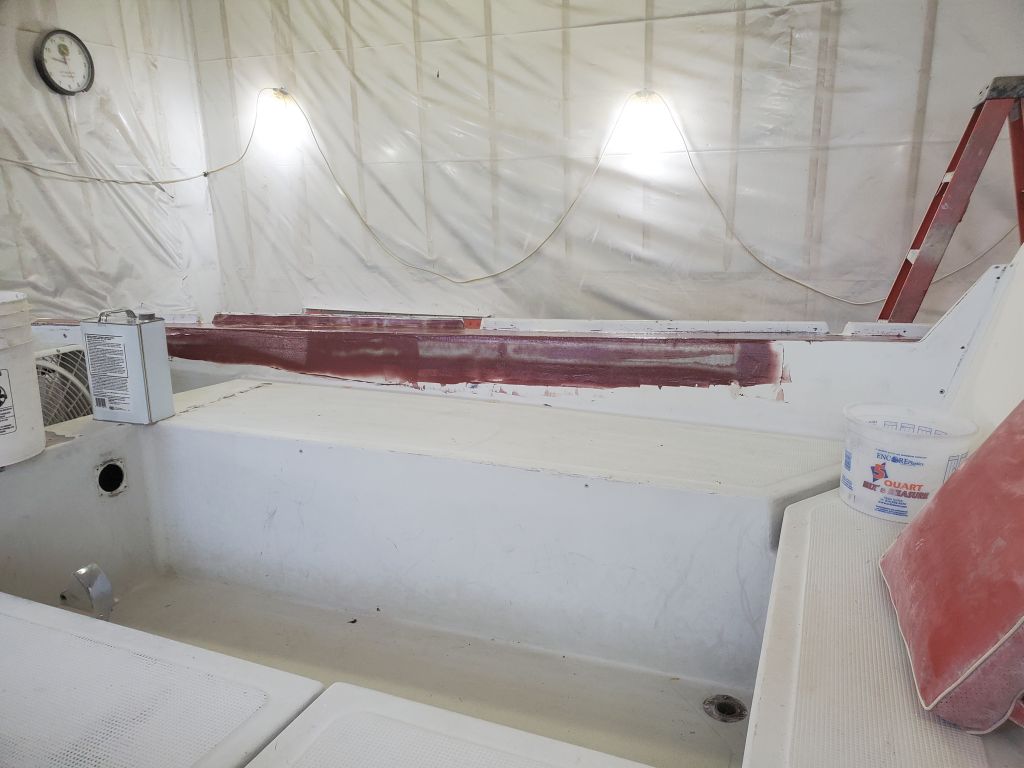
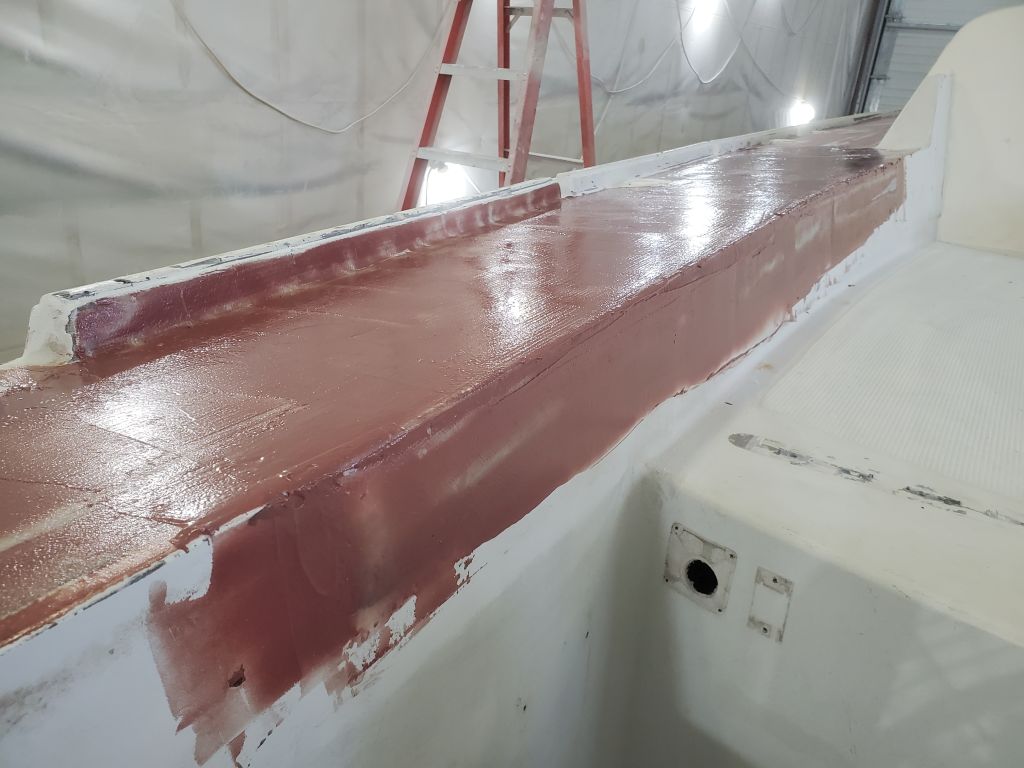
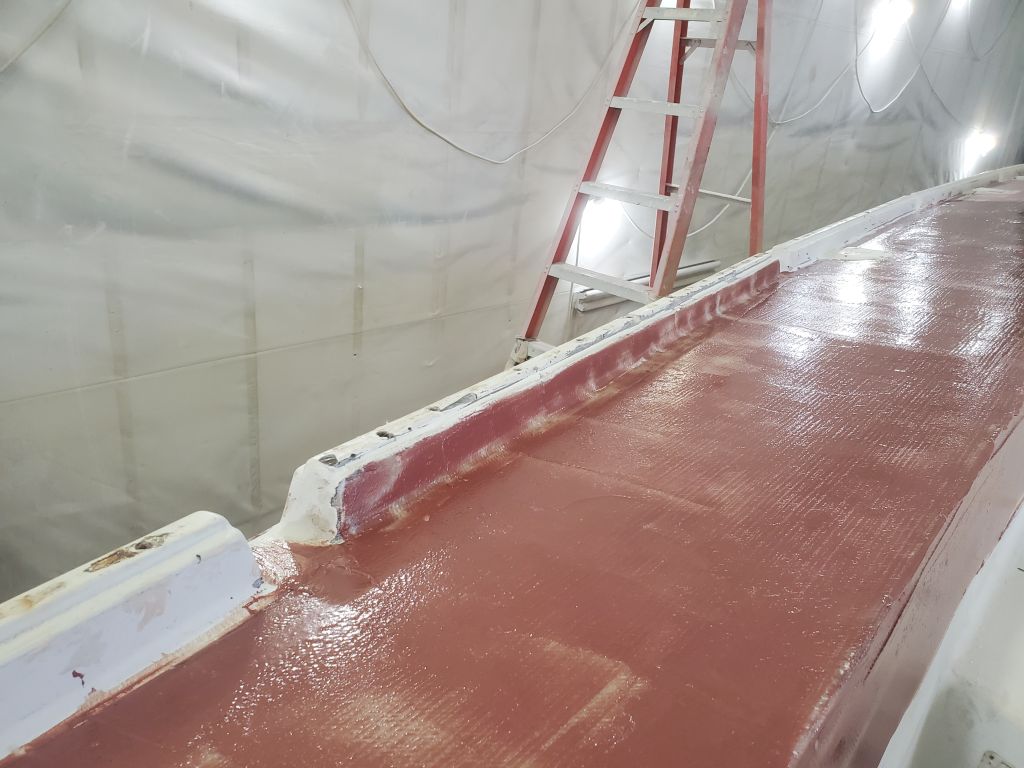
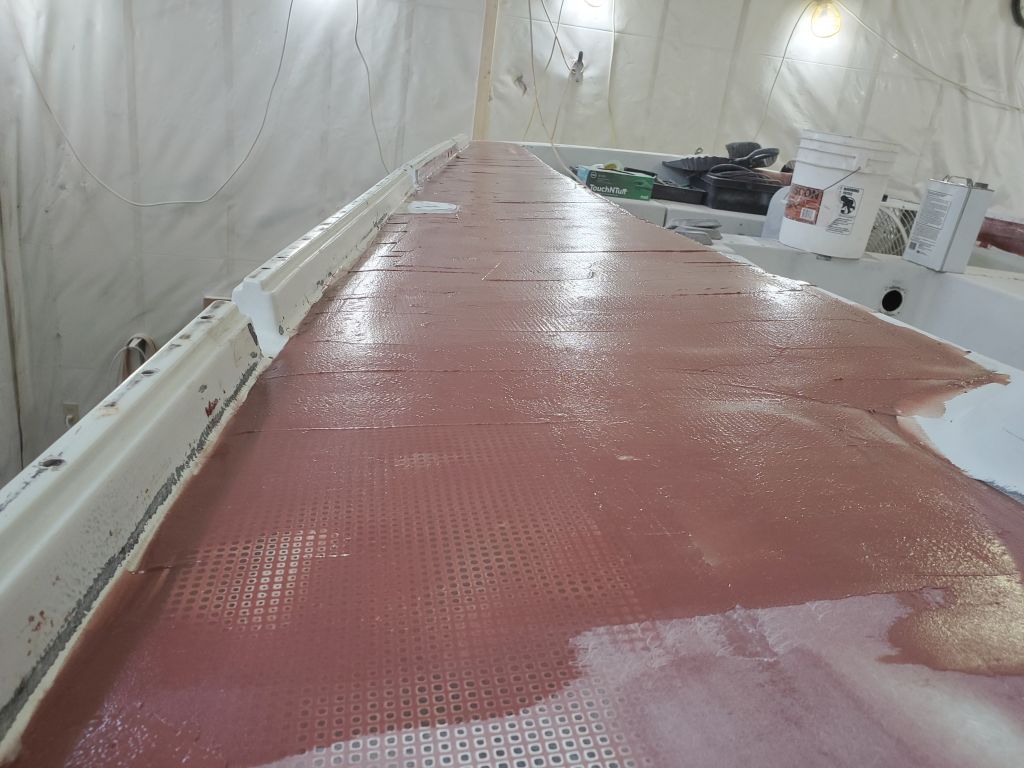
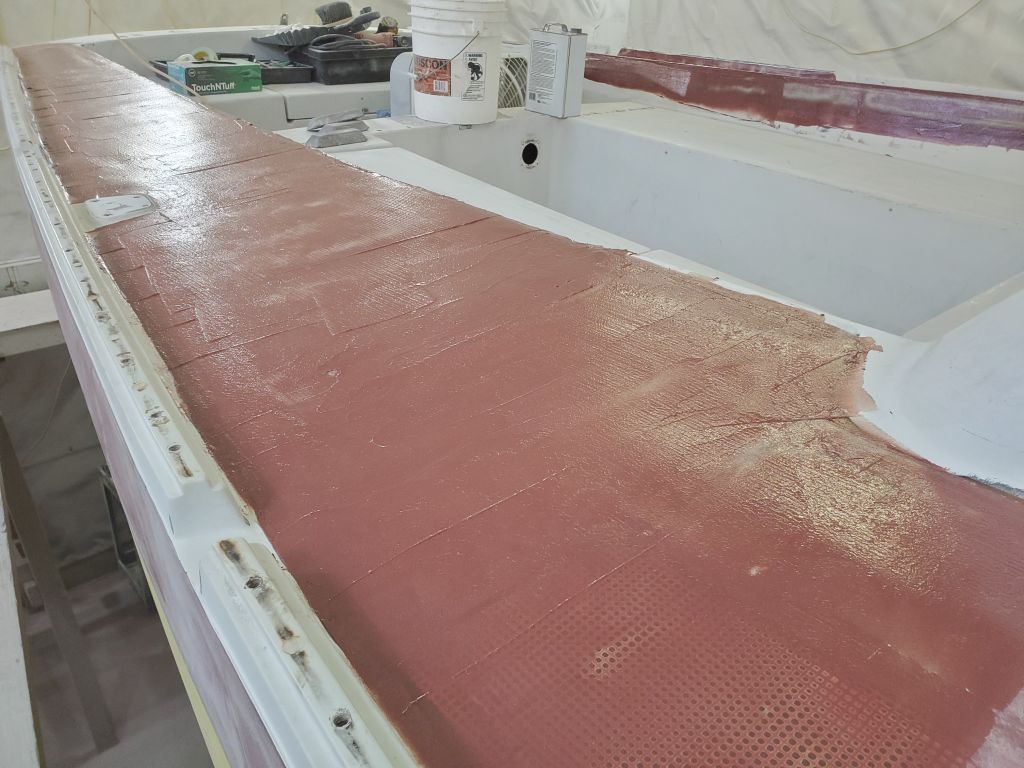
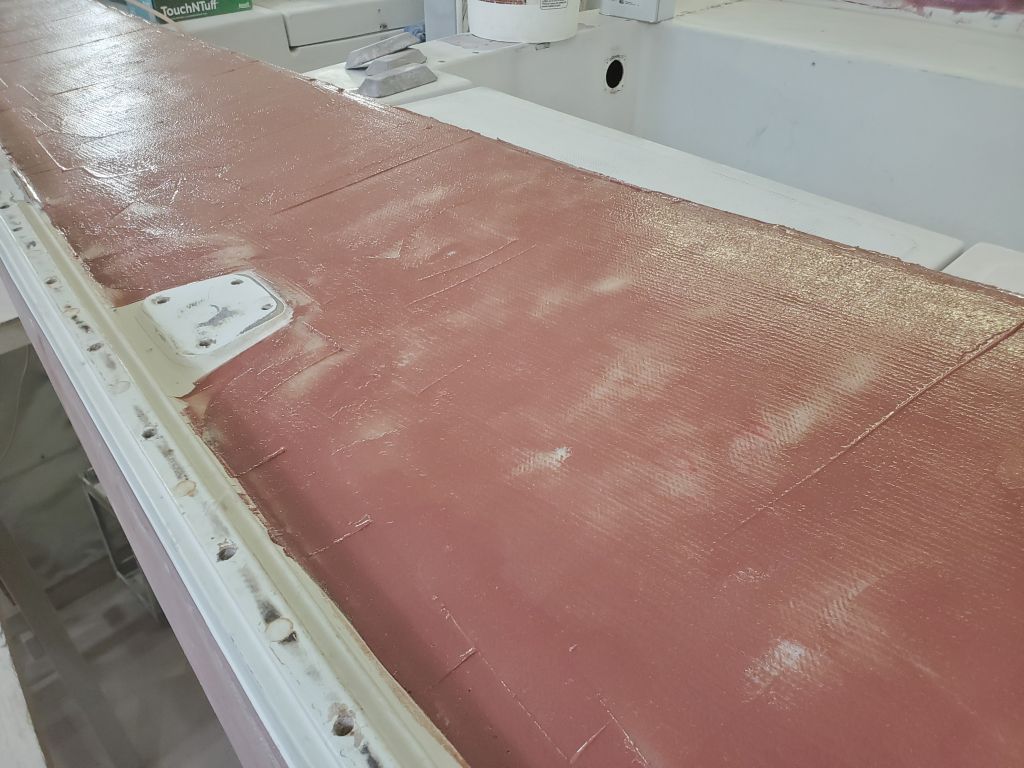
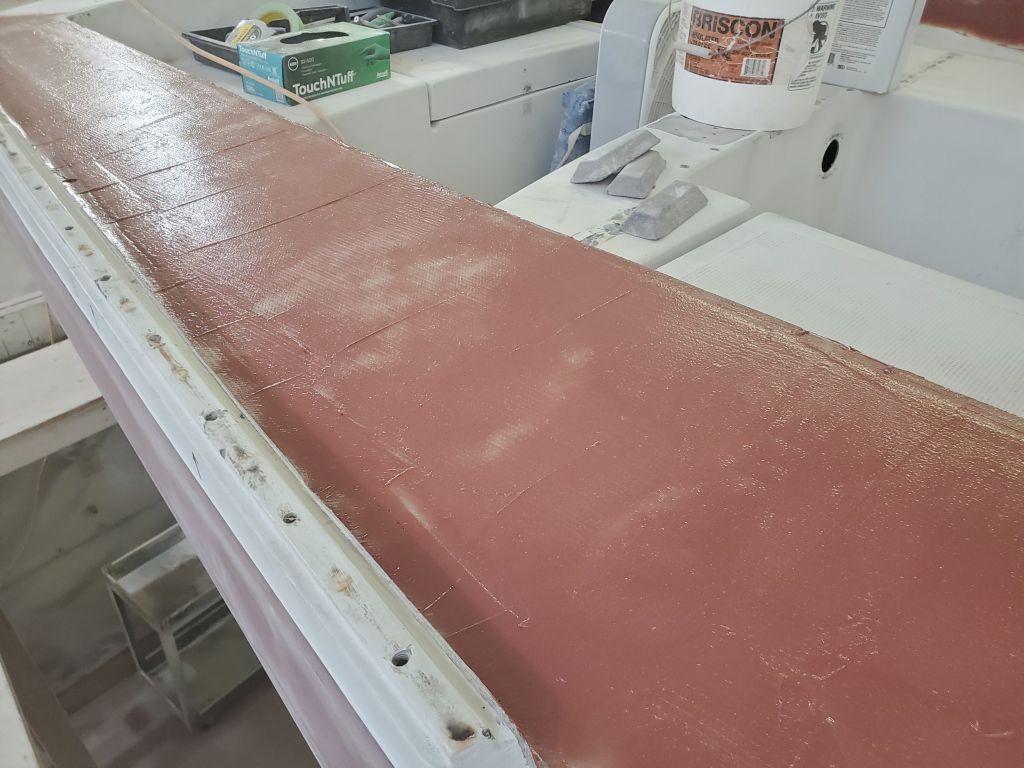
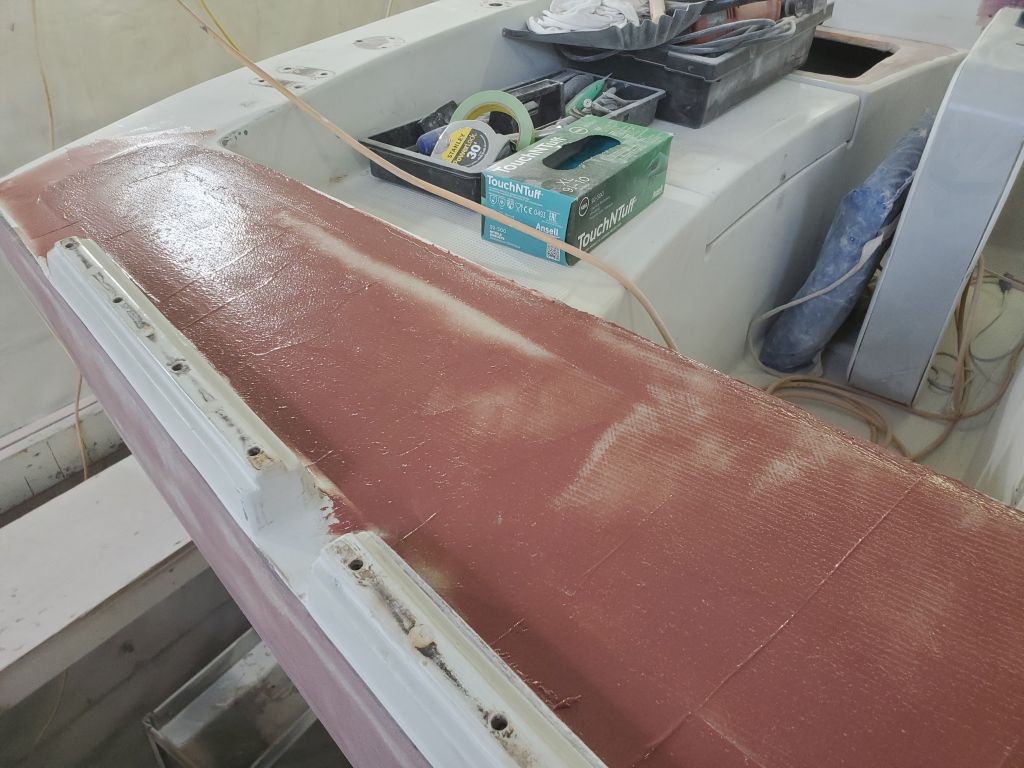
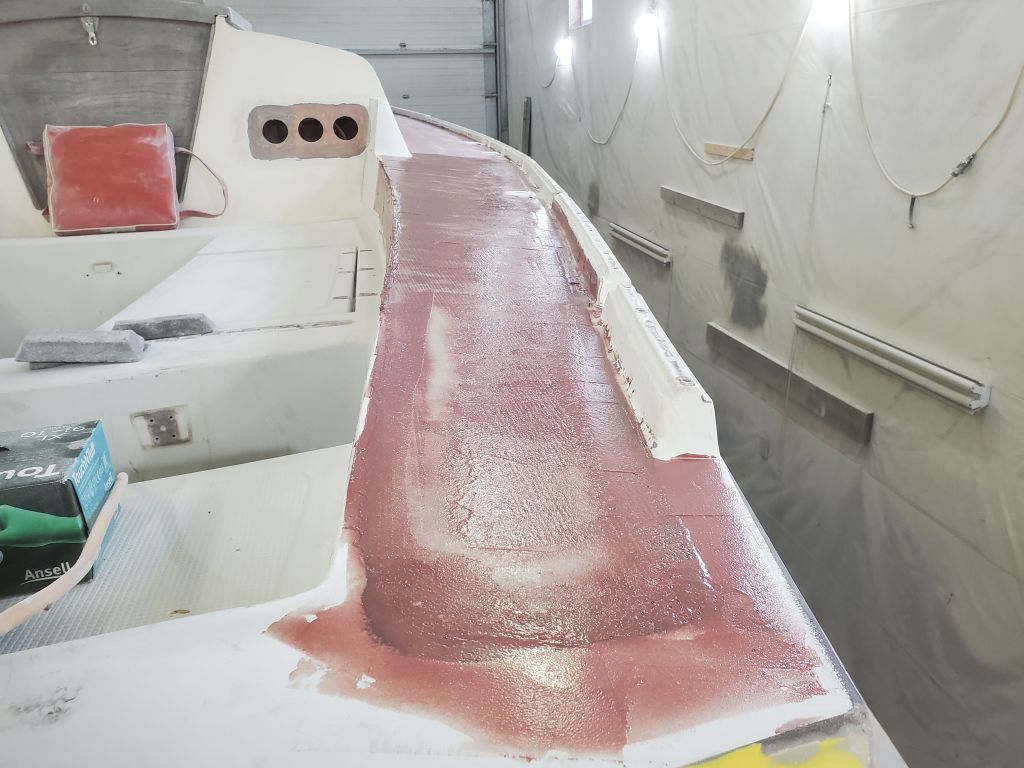
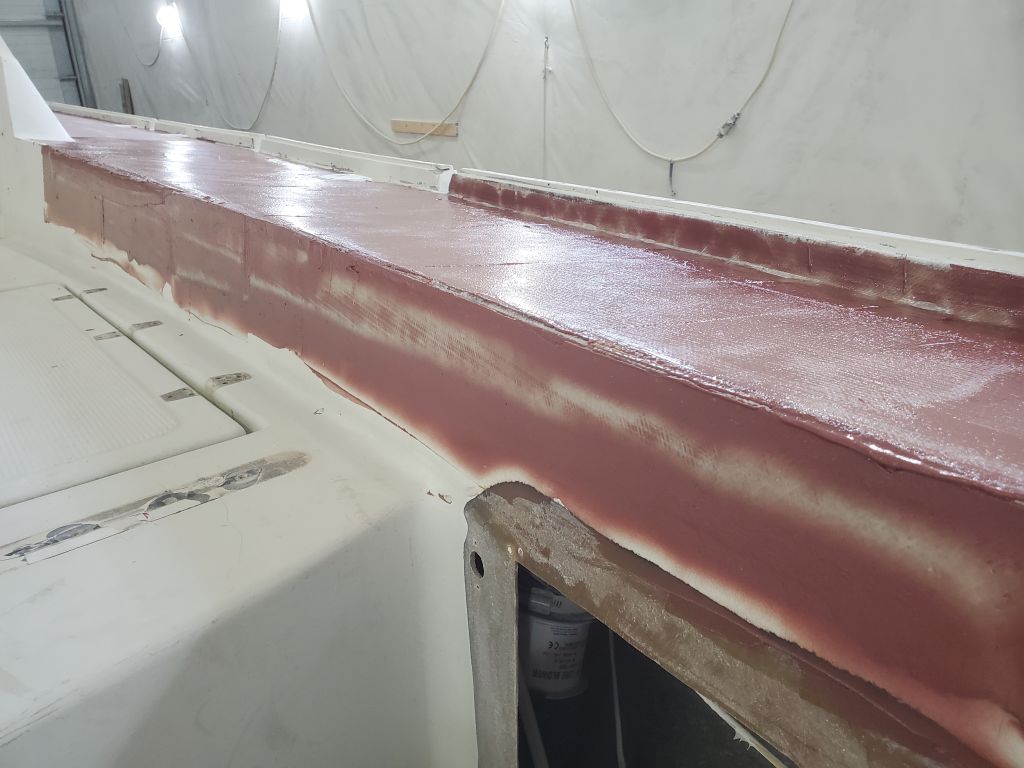
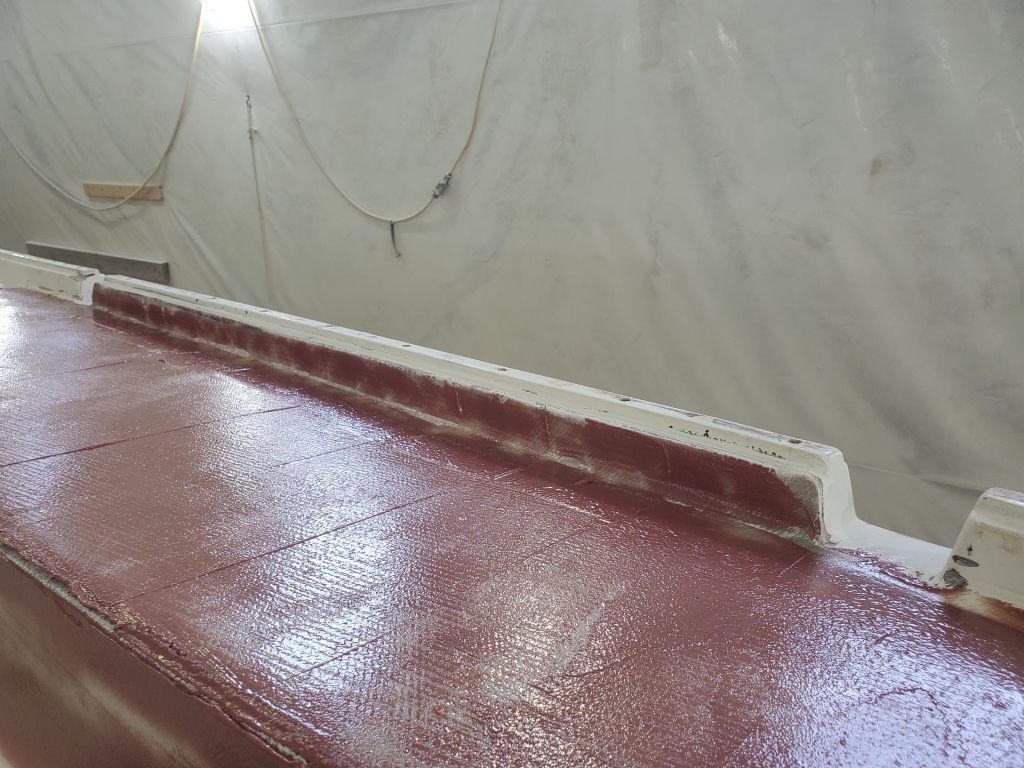
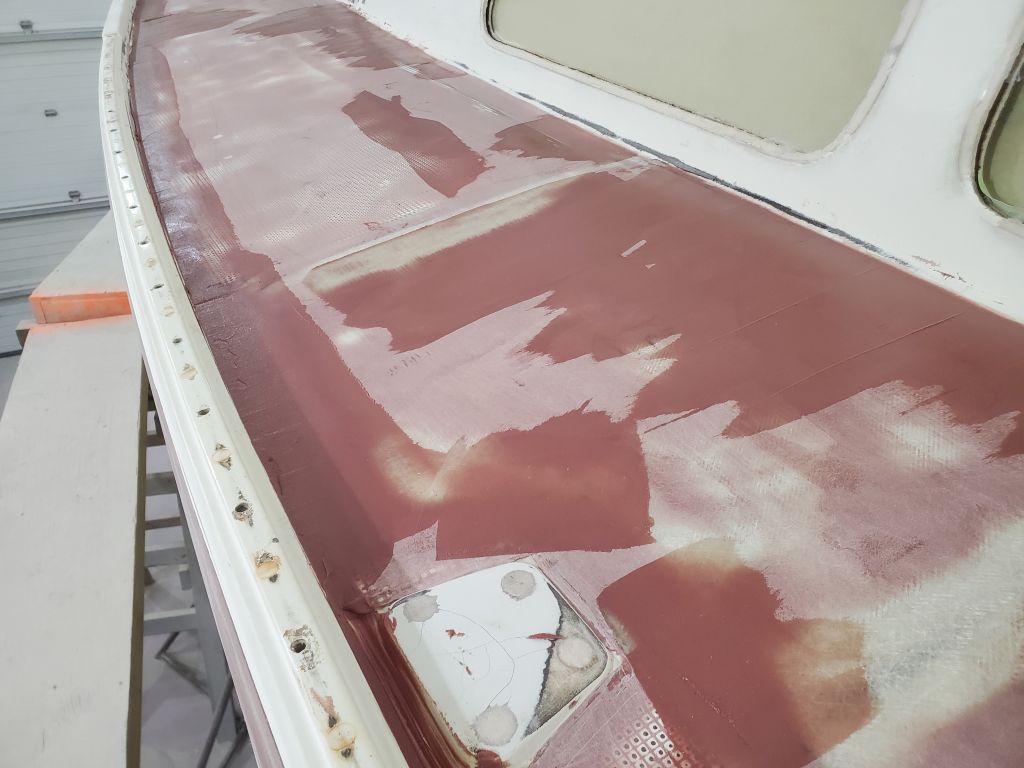
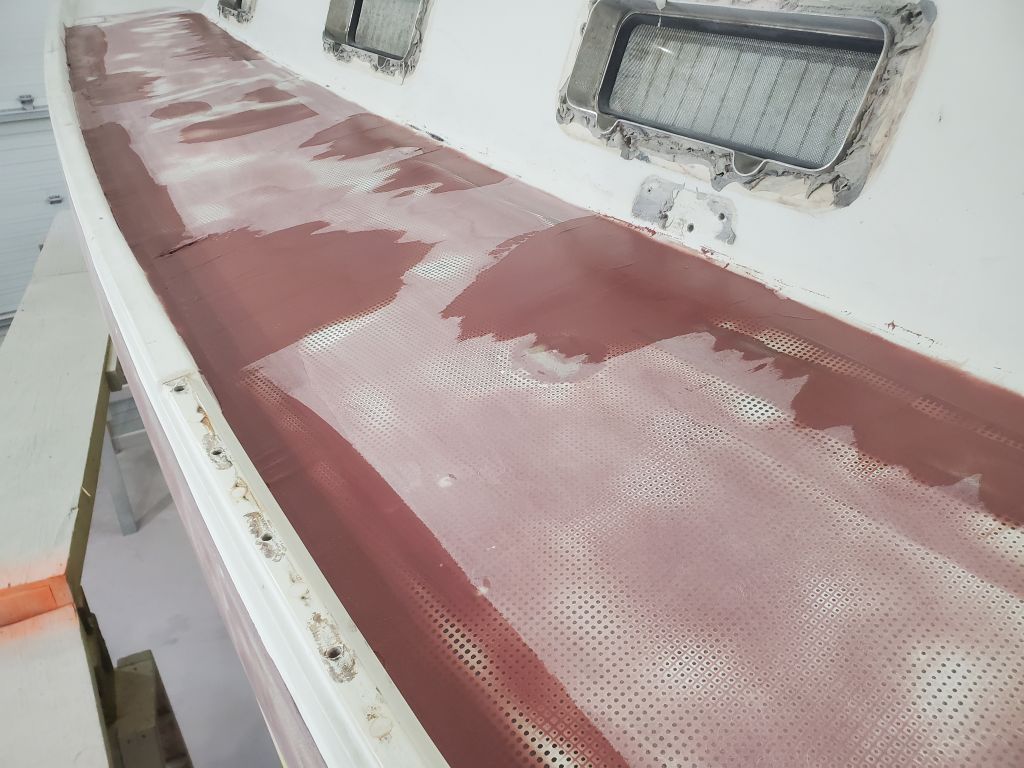
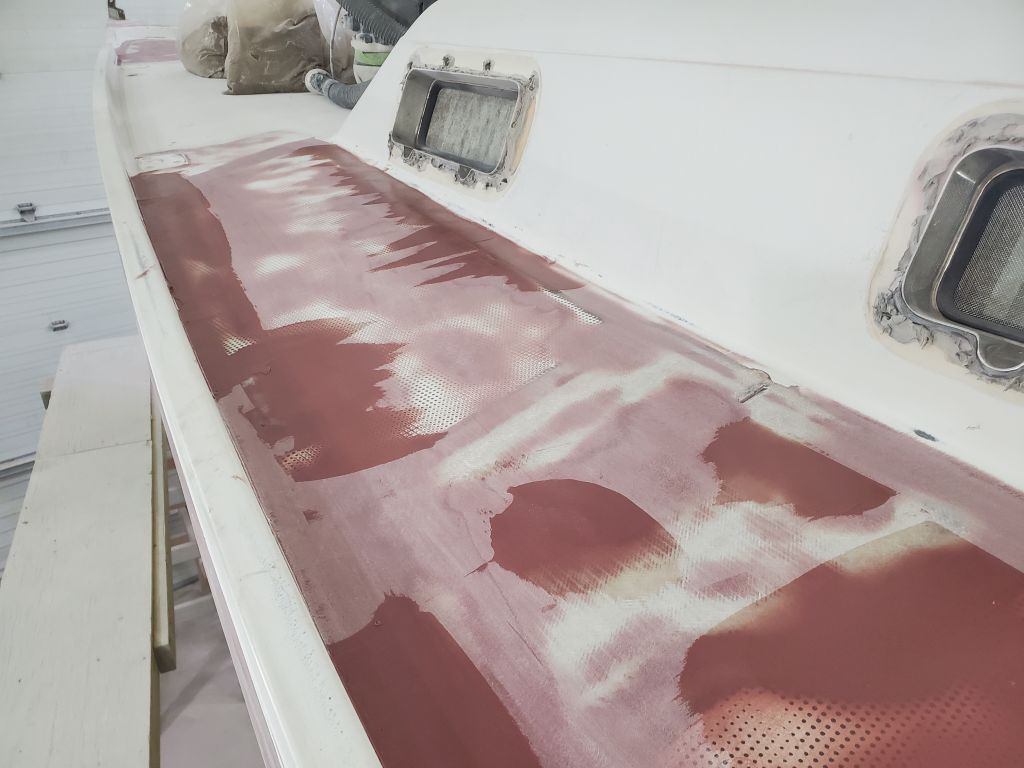
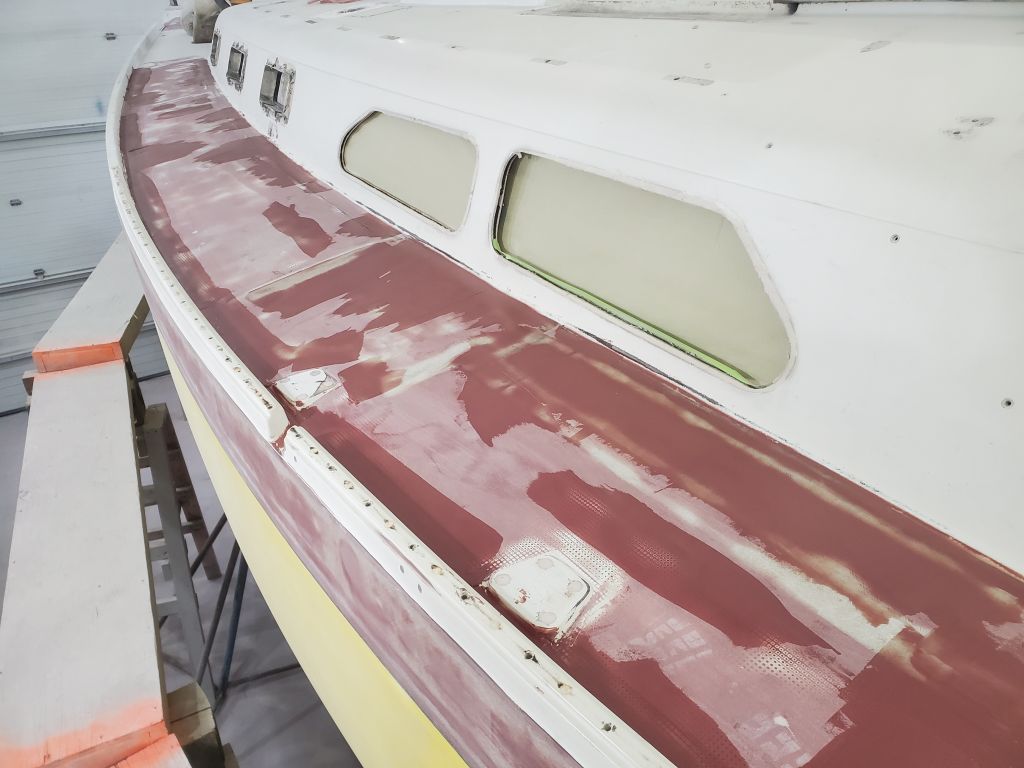
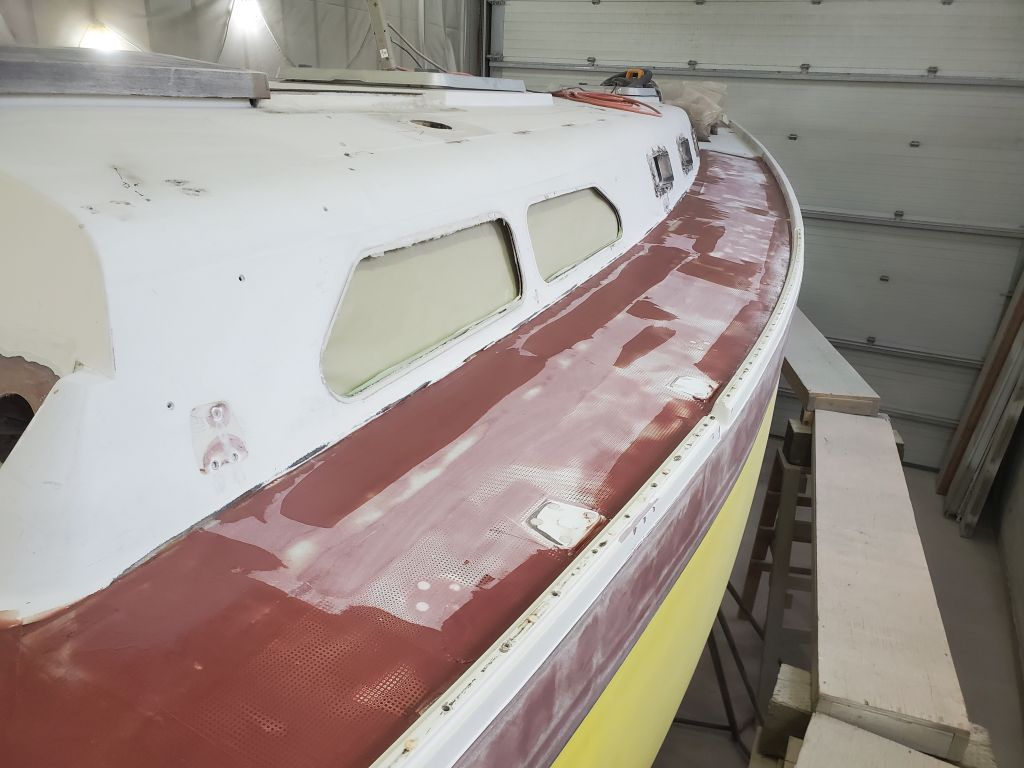
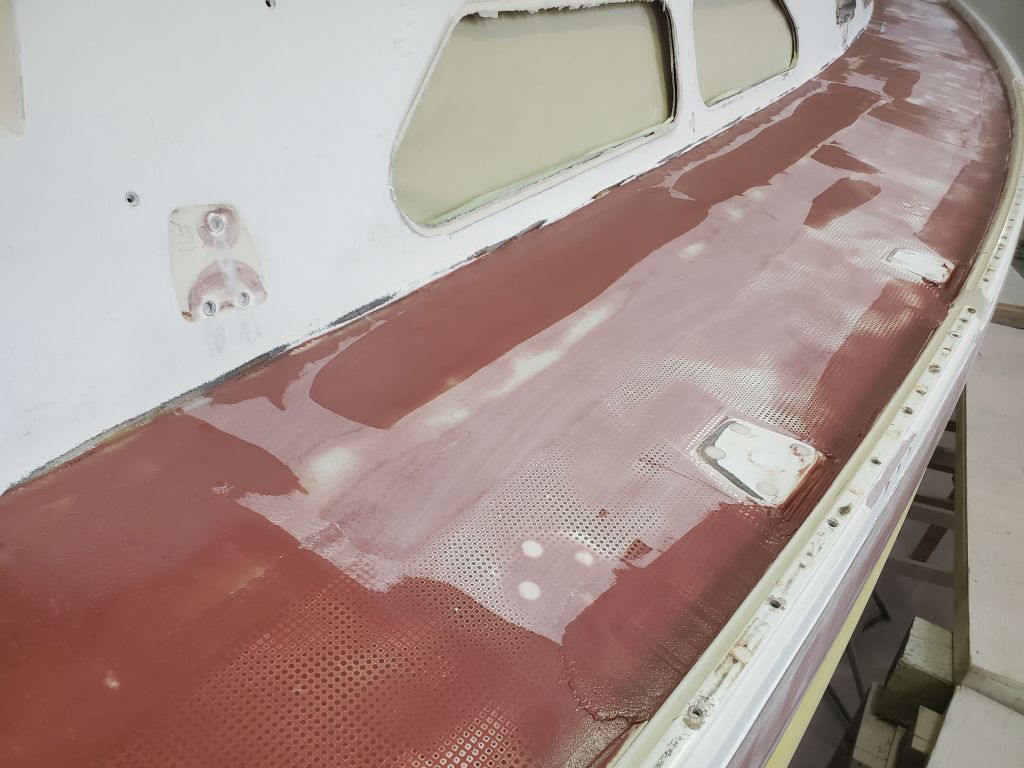
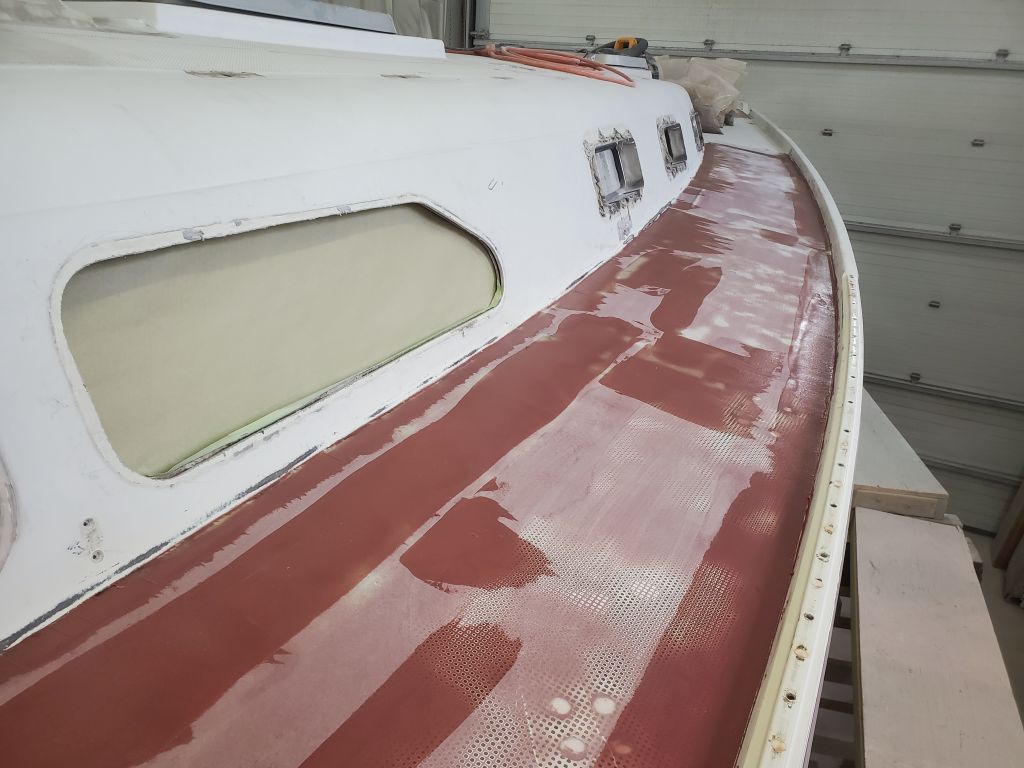
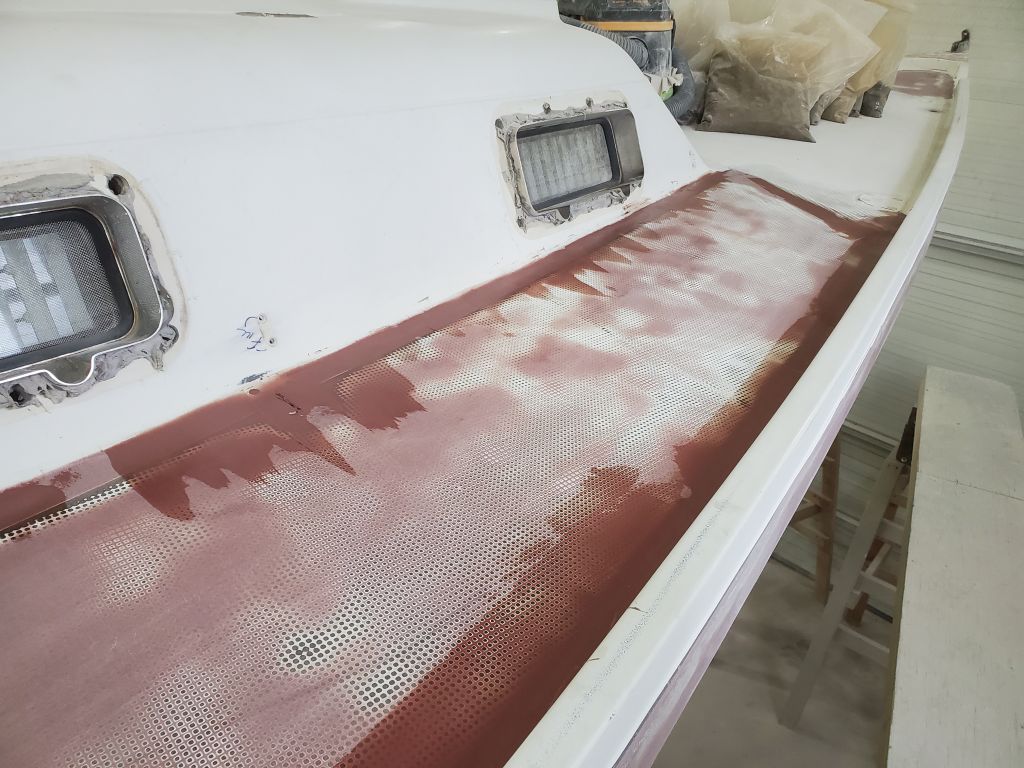
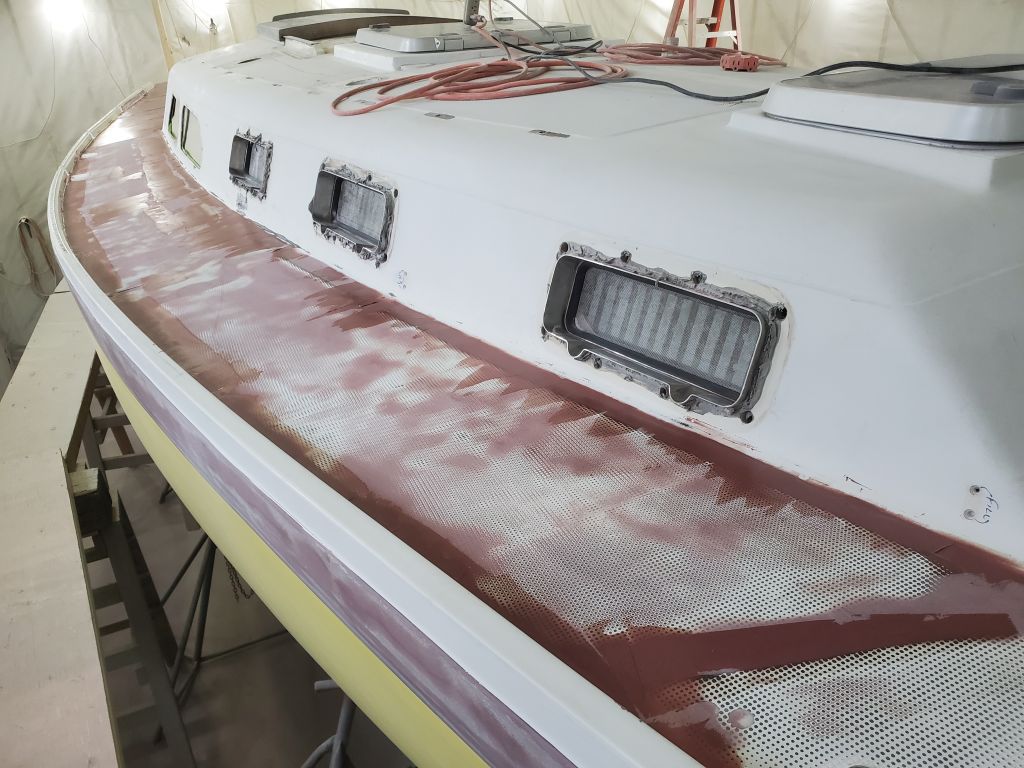
My first order of business for the work week was another round of sanding on the main sidedecks and outboard of the cockpit. The forward portions of the decks were nearing final shape, so my sanding was with finish tools and by hand. Some work still remained, which I’d take care of in the near future.
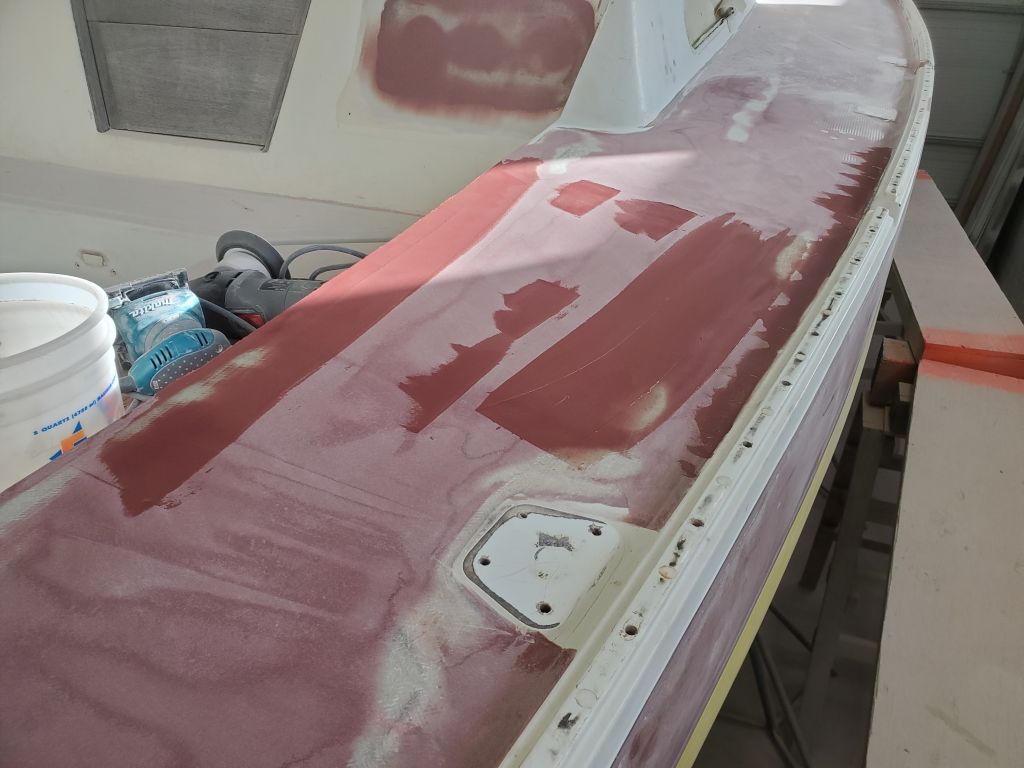
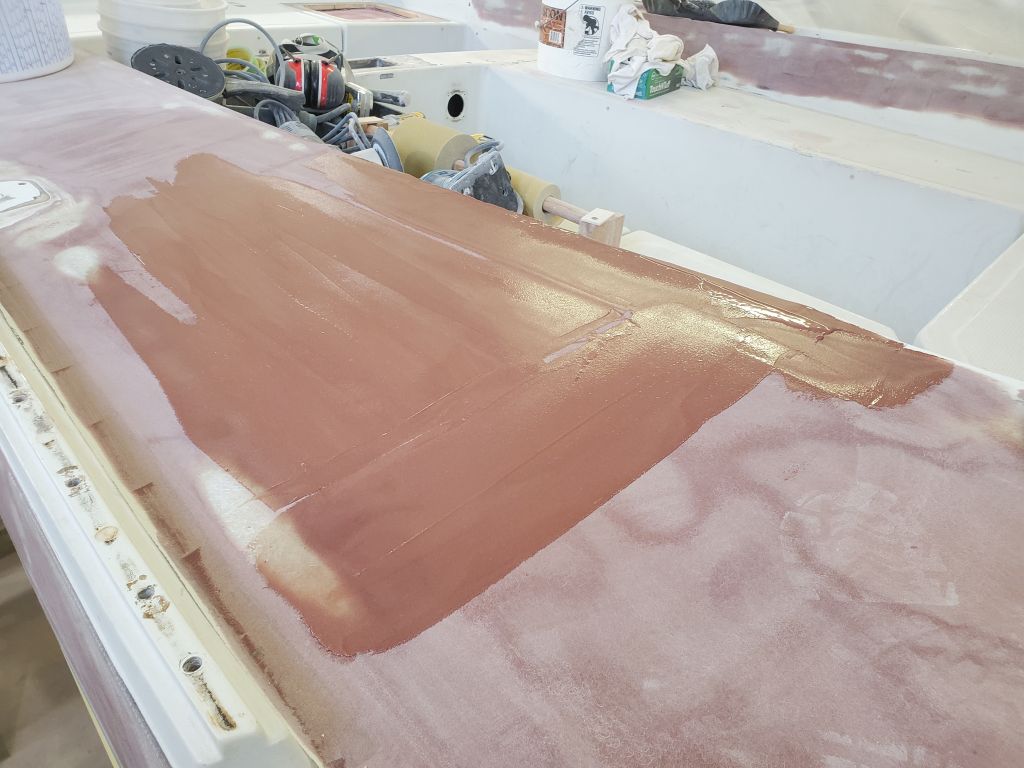
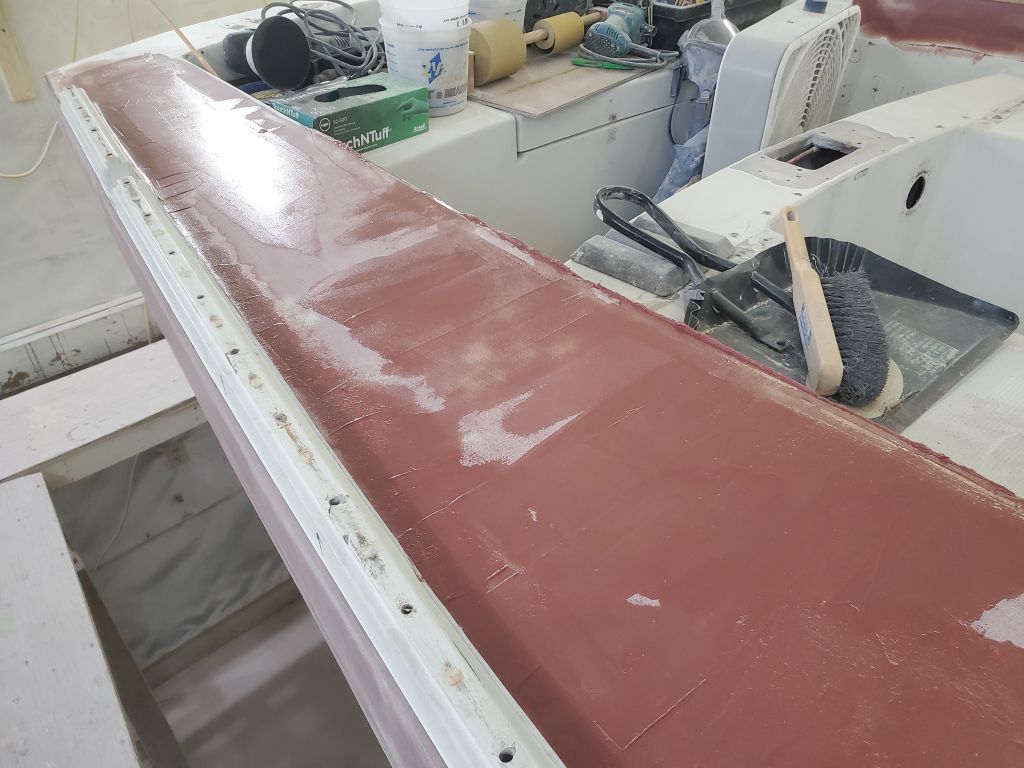
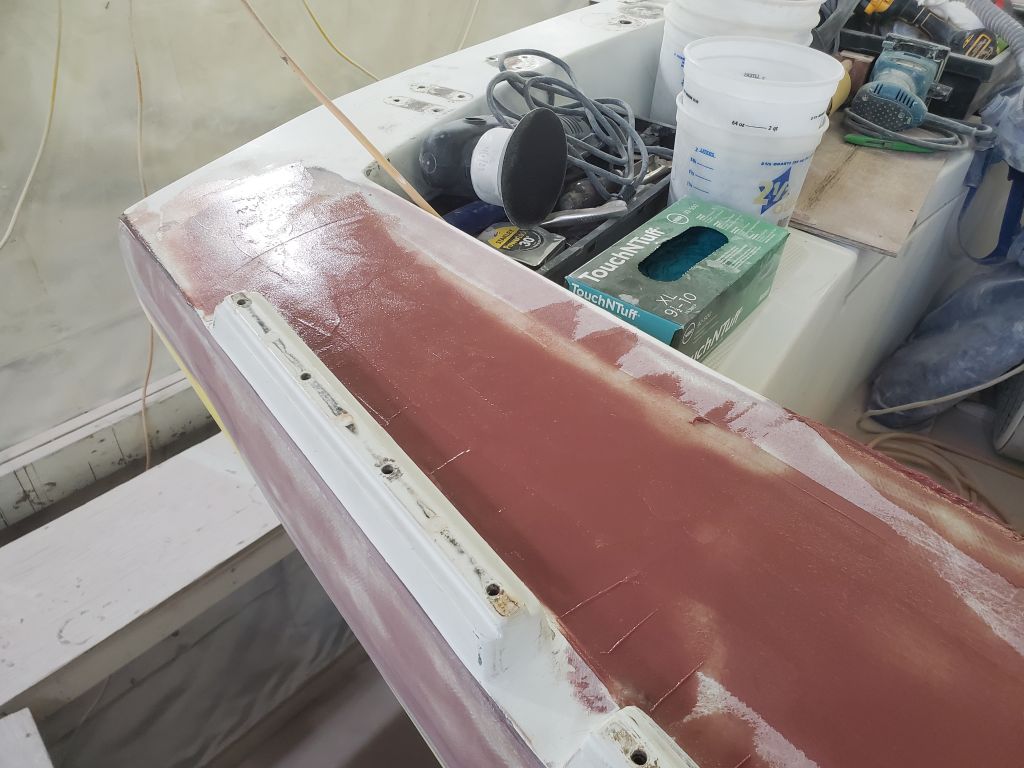
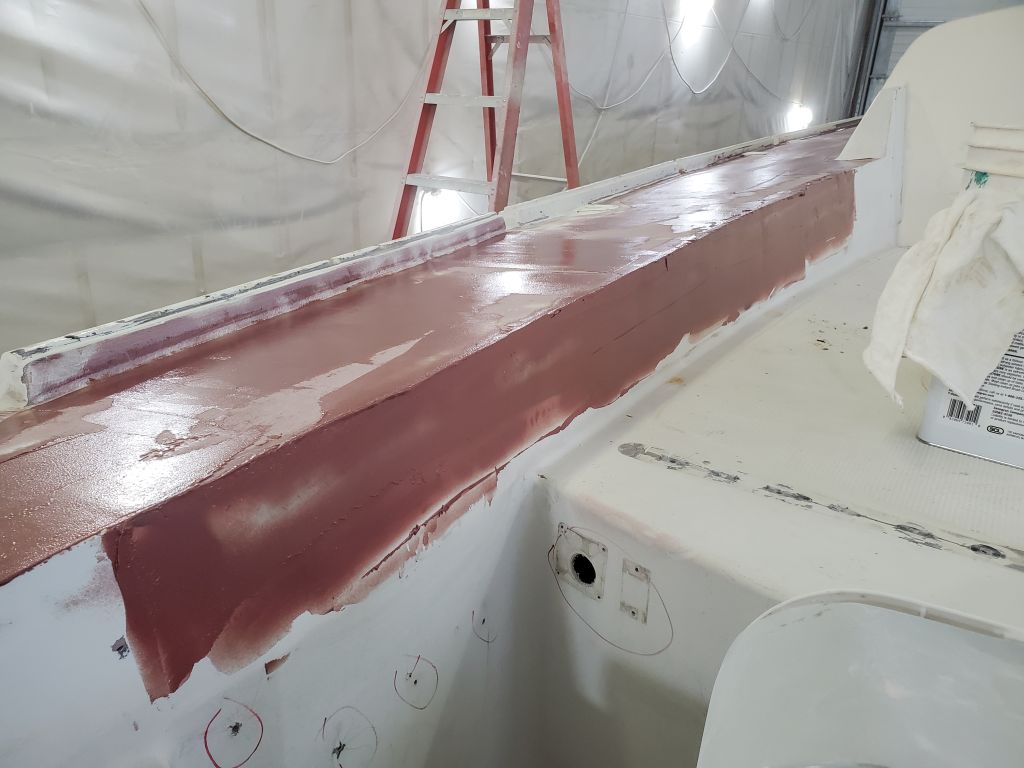
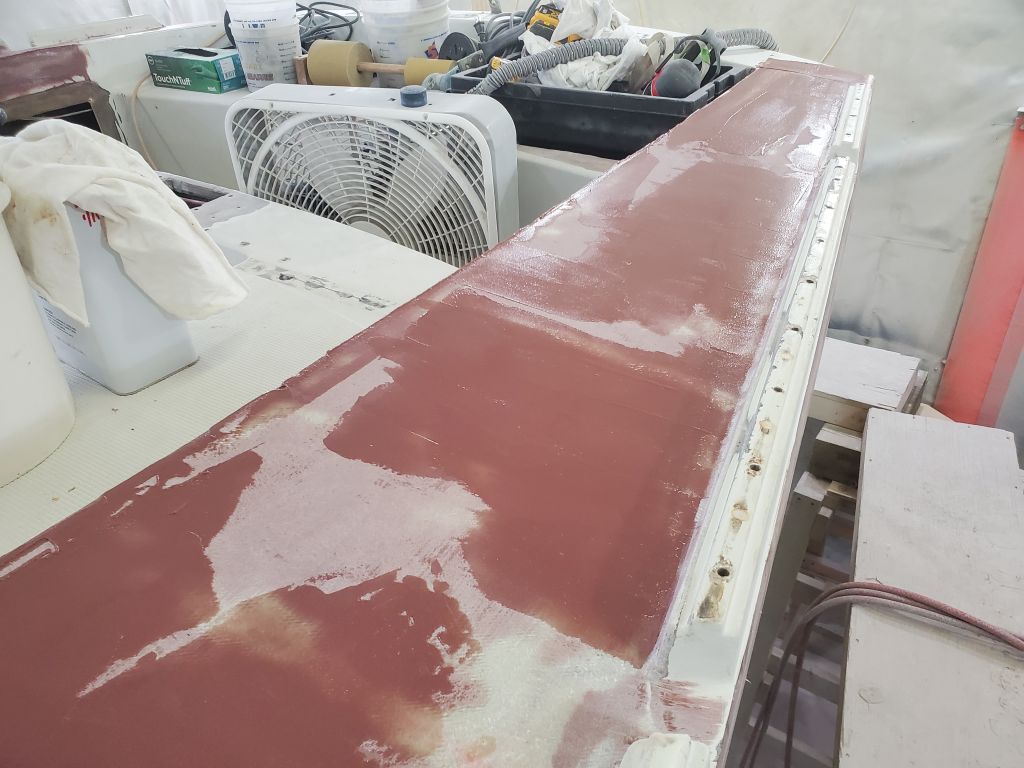
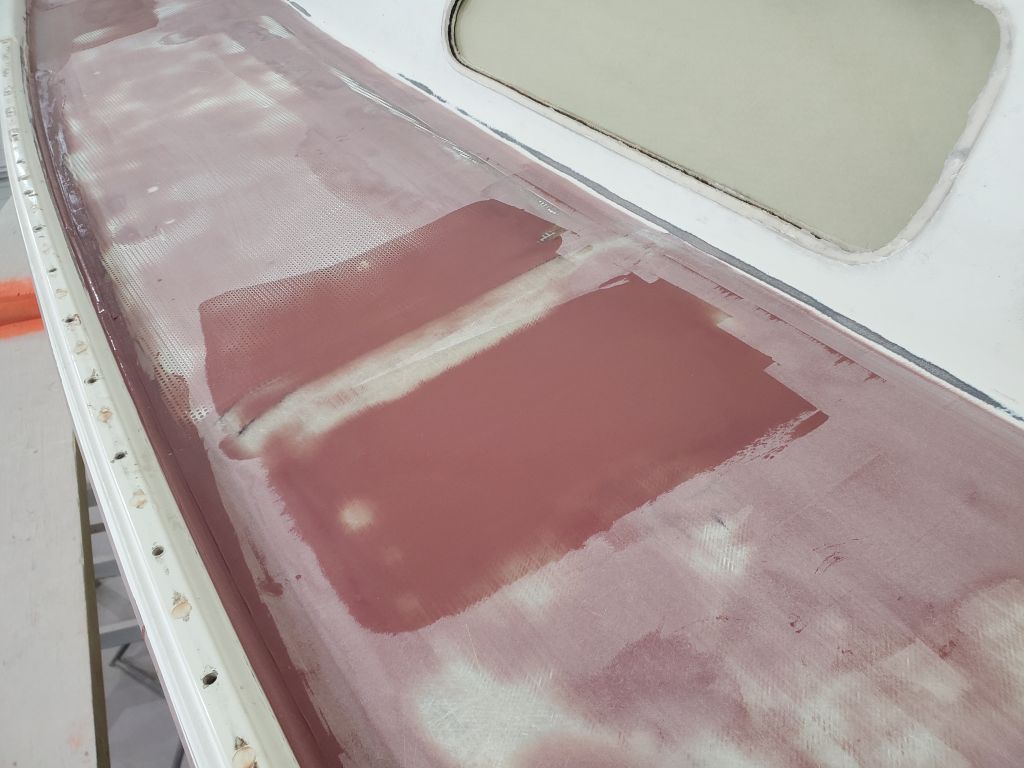
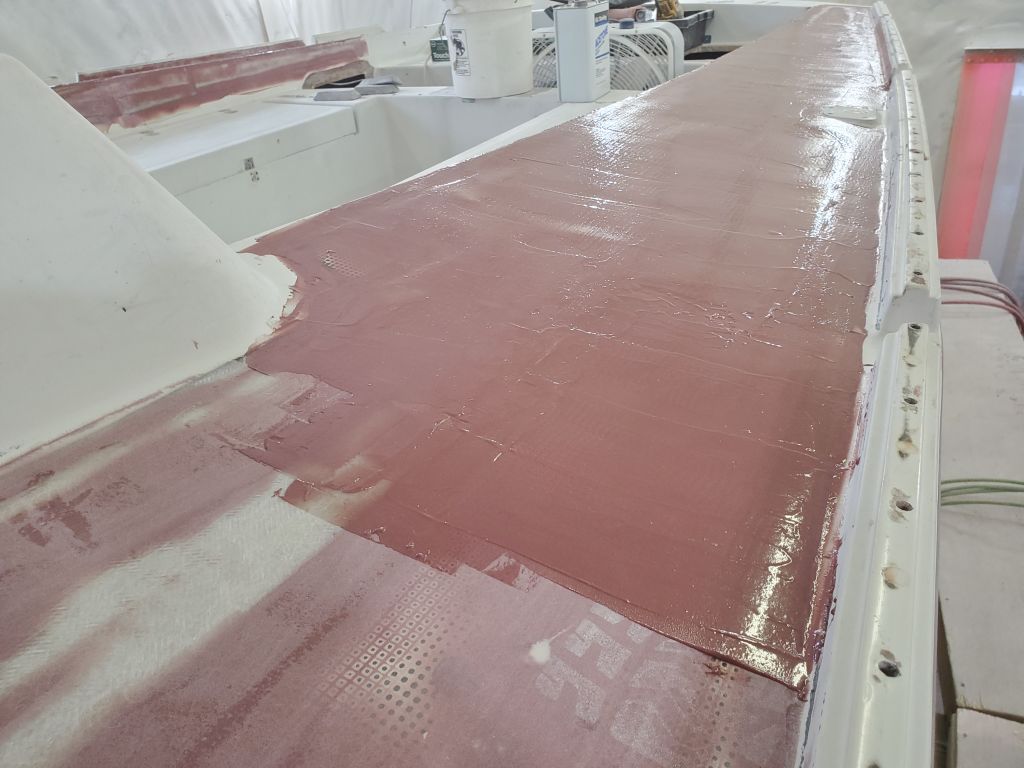
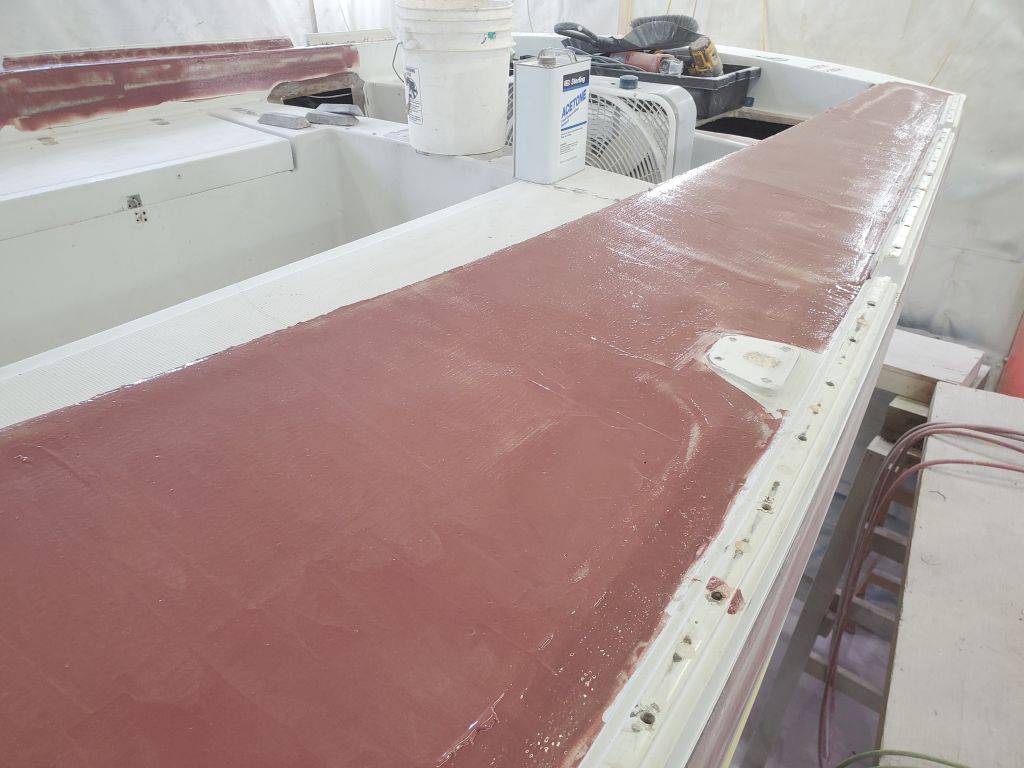
Outboard of the cockpit, this was just the first round of fairing filler, and sanding was still fairly aggressive as I smoothed the epoxy and identified the remaining low spots and other areas requiring more work. But the overall contours were good and as expected.
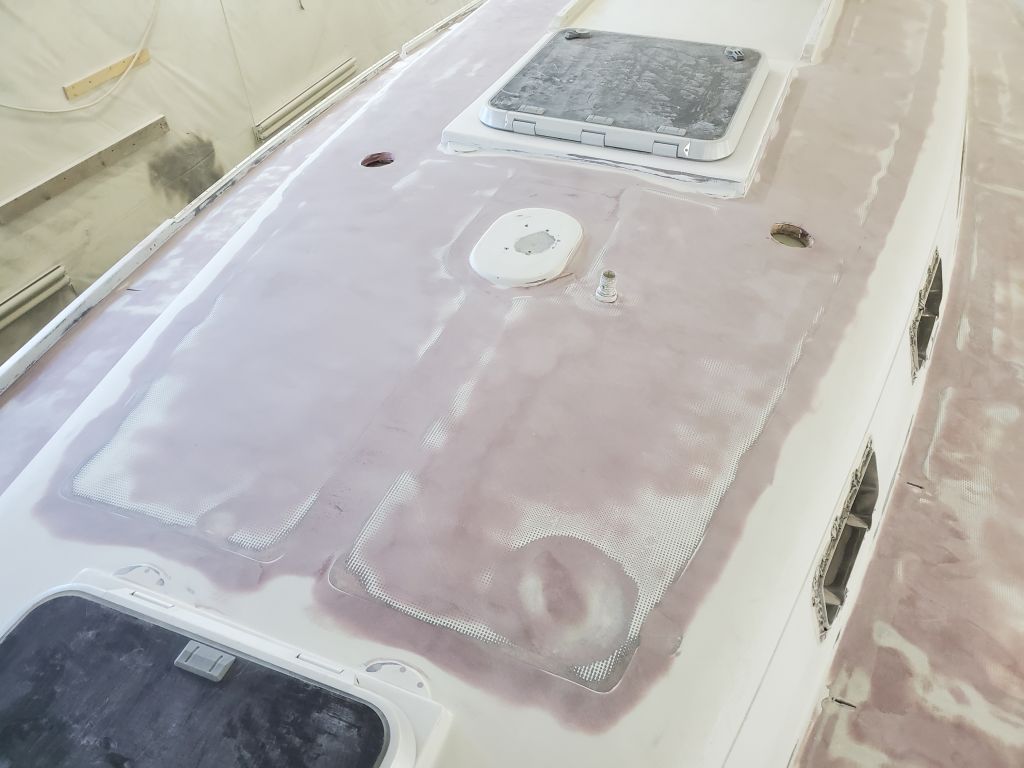
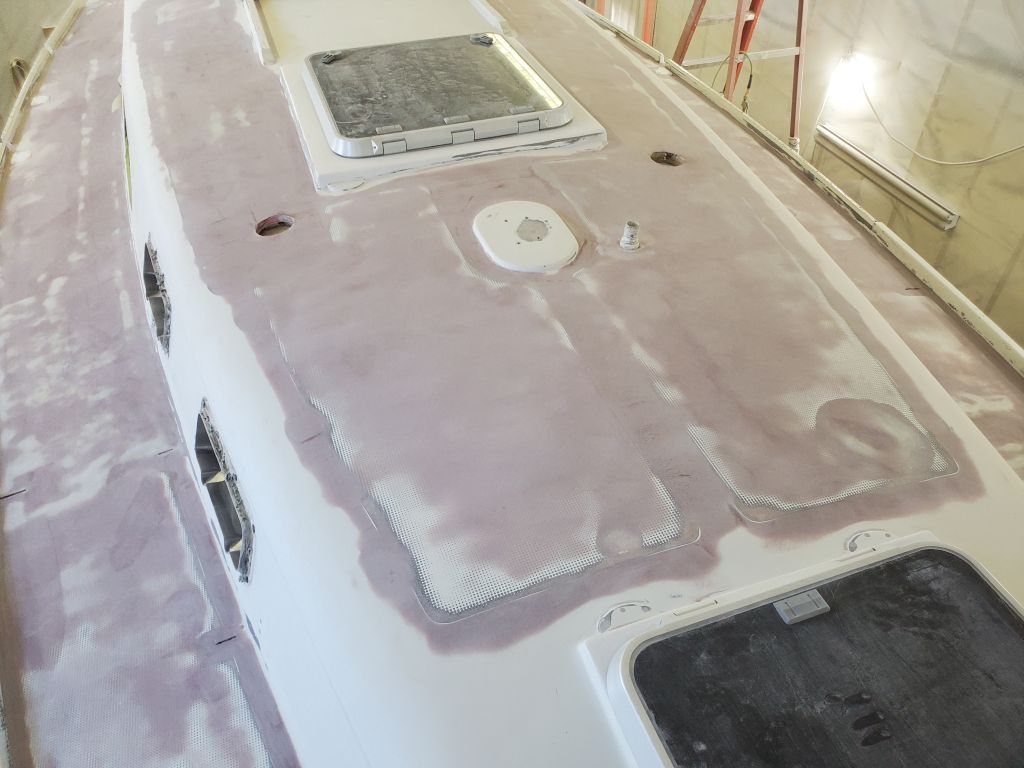
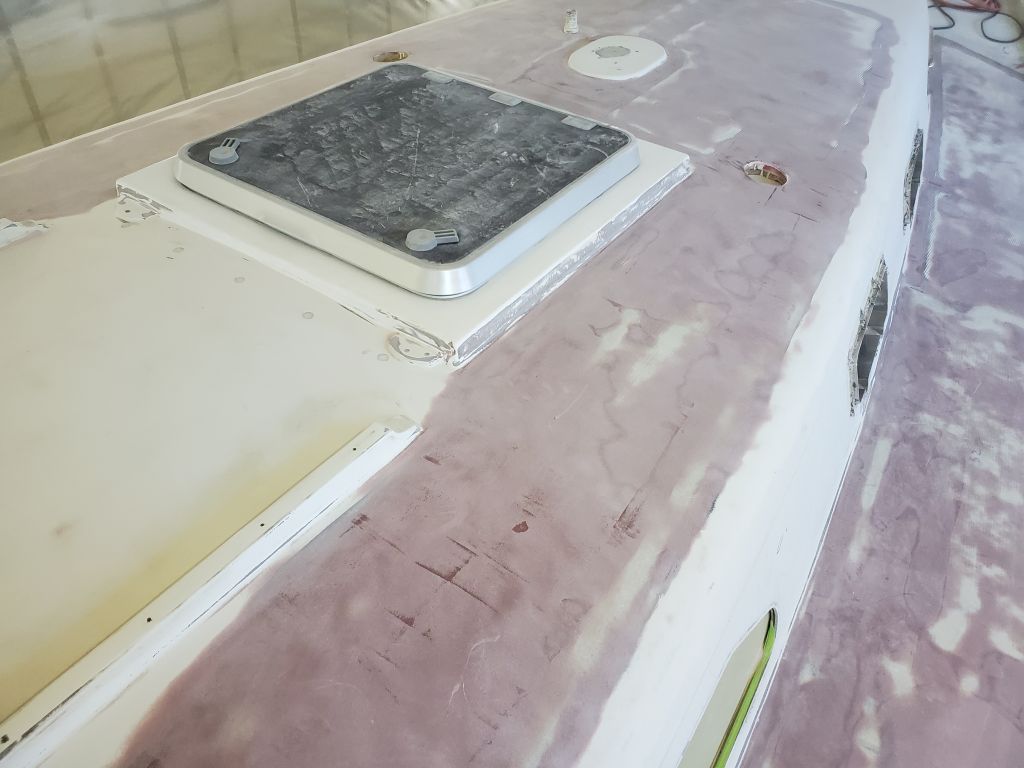
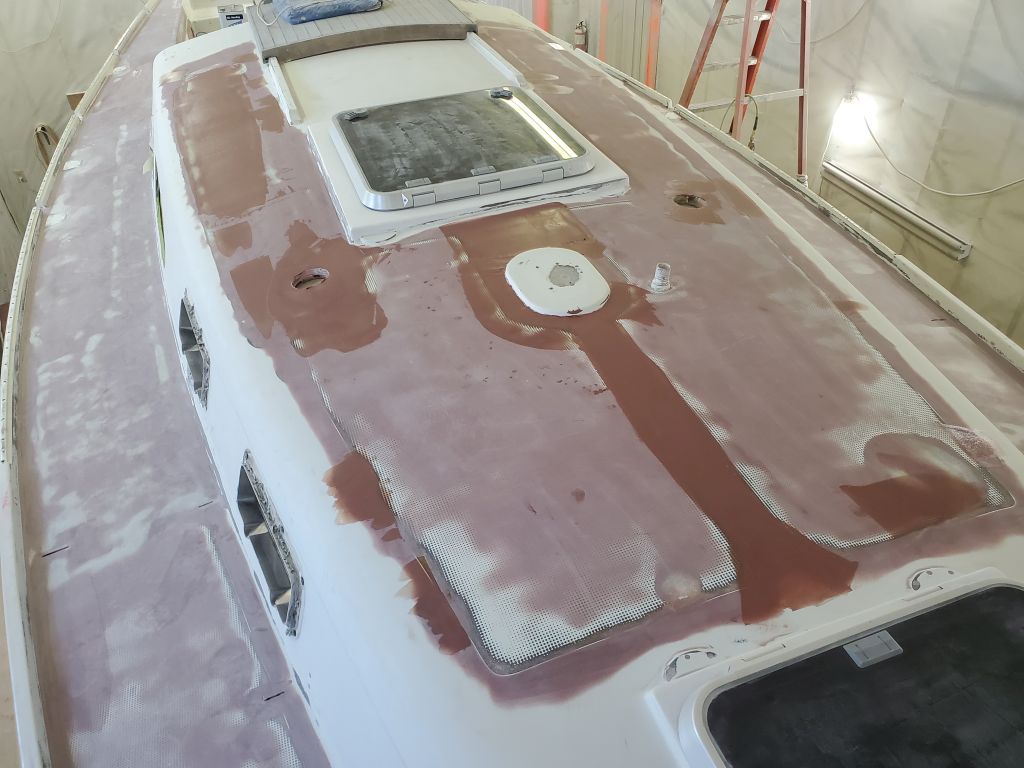
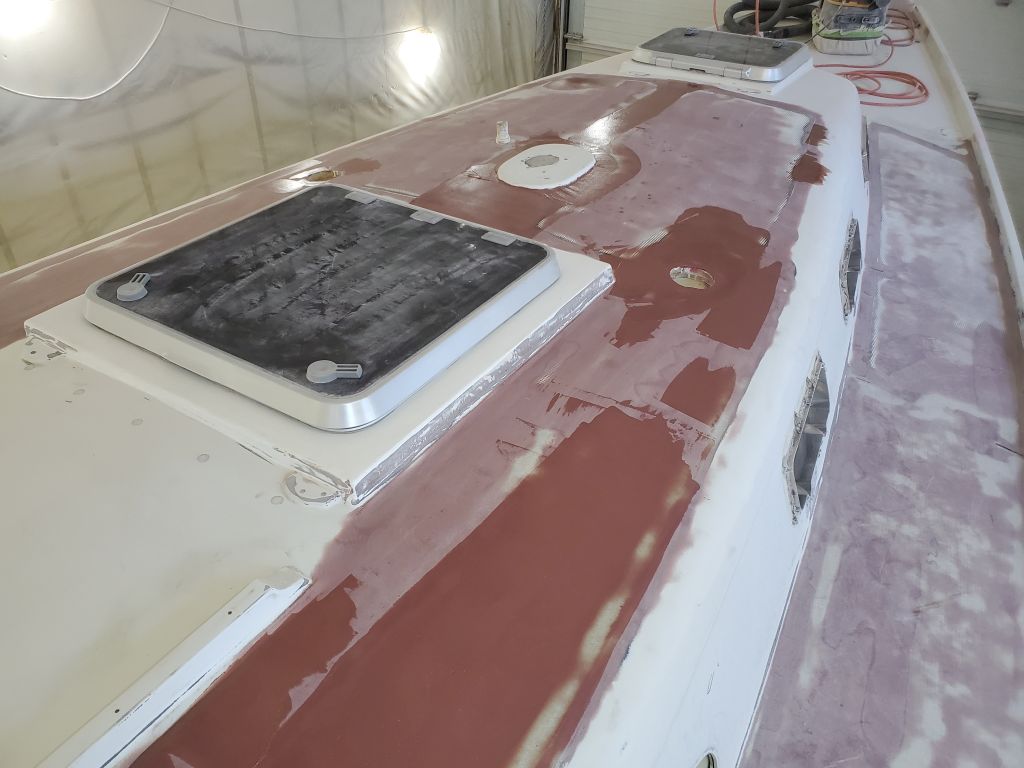
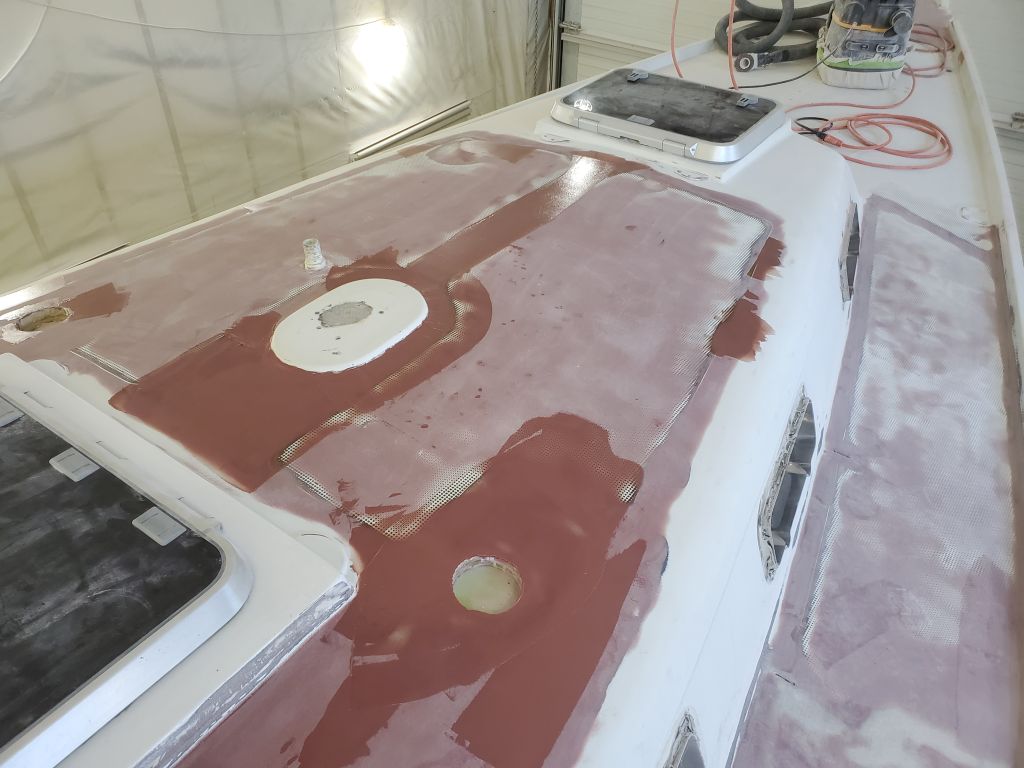
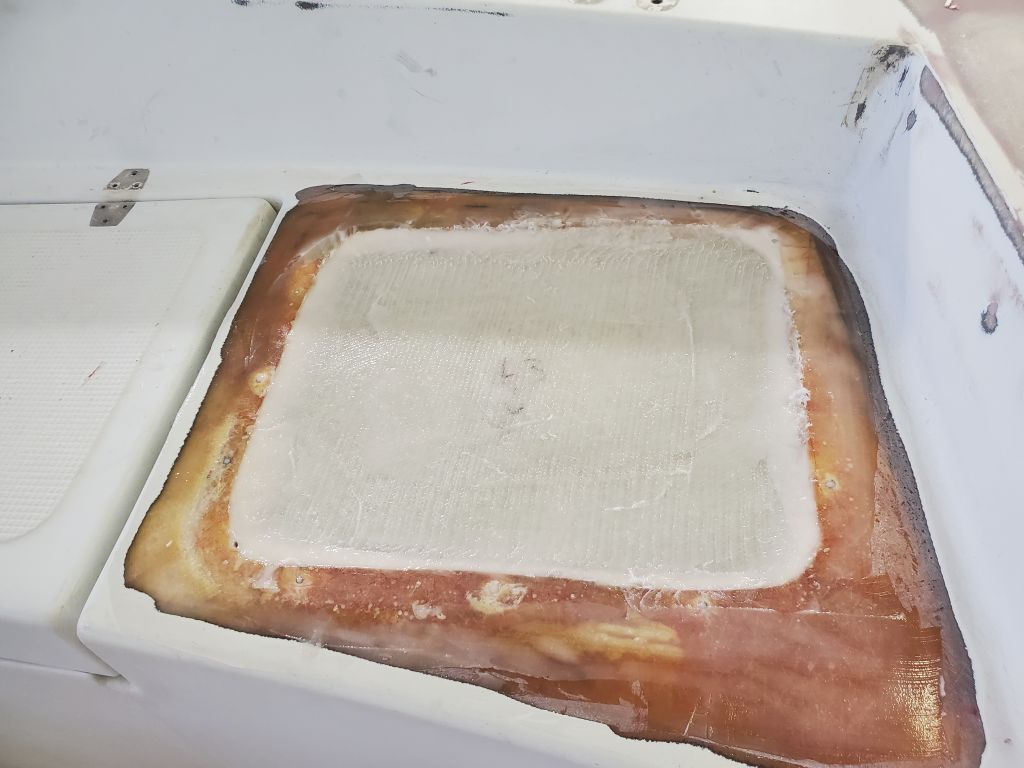
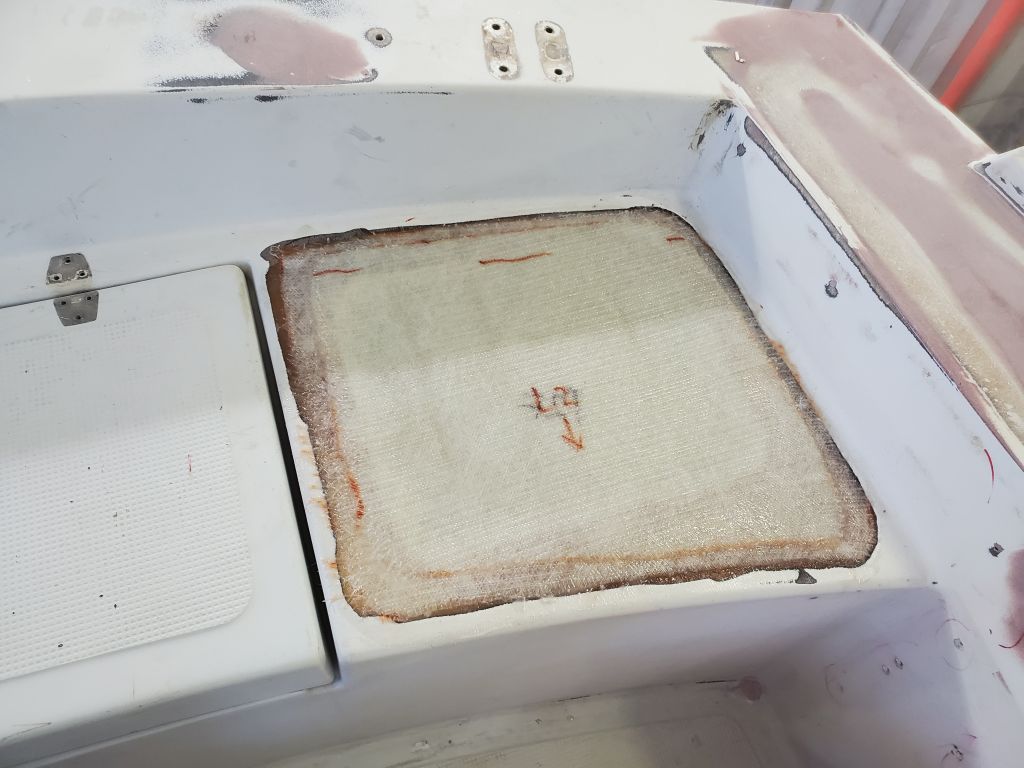
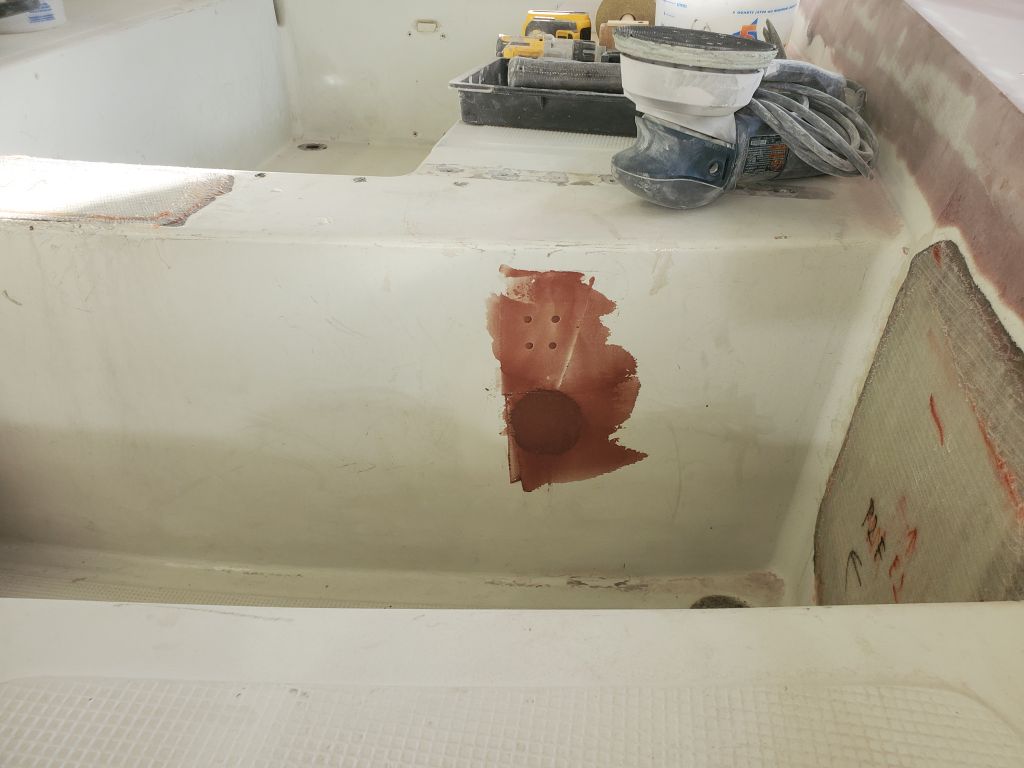
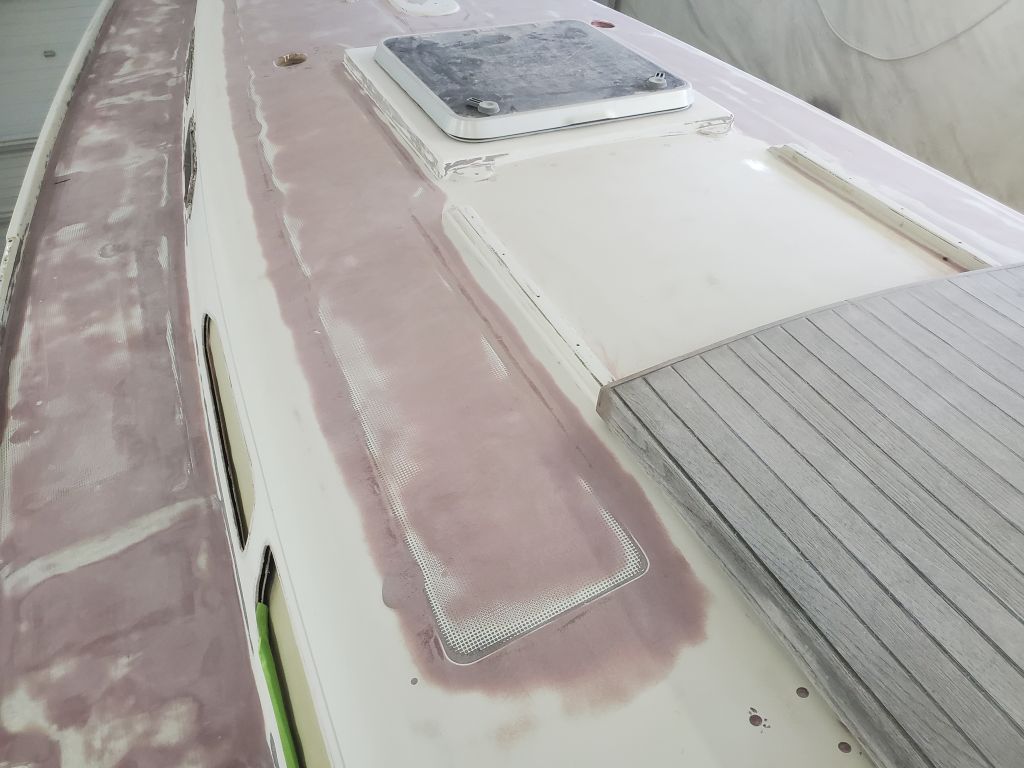
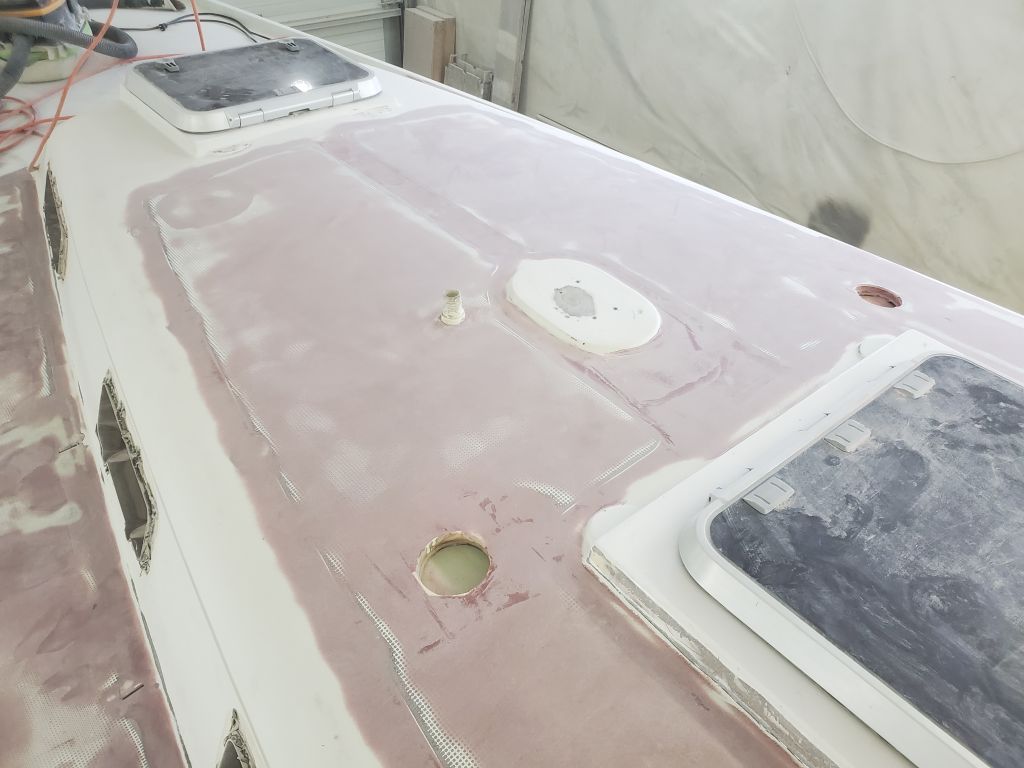
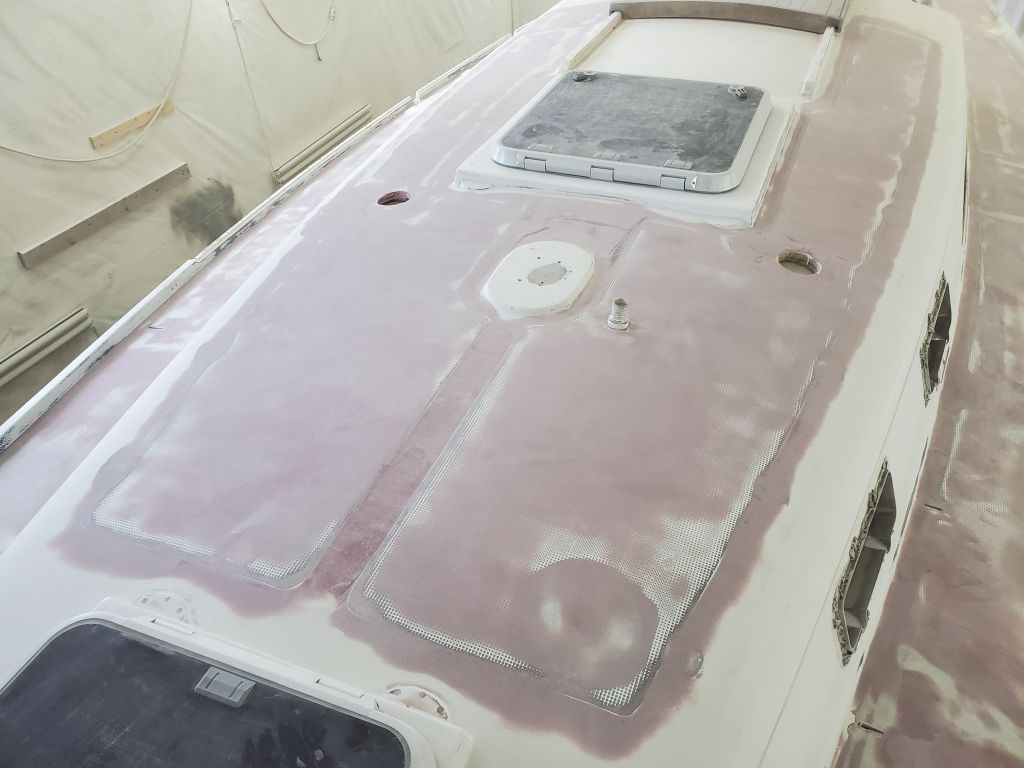
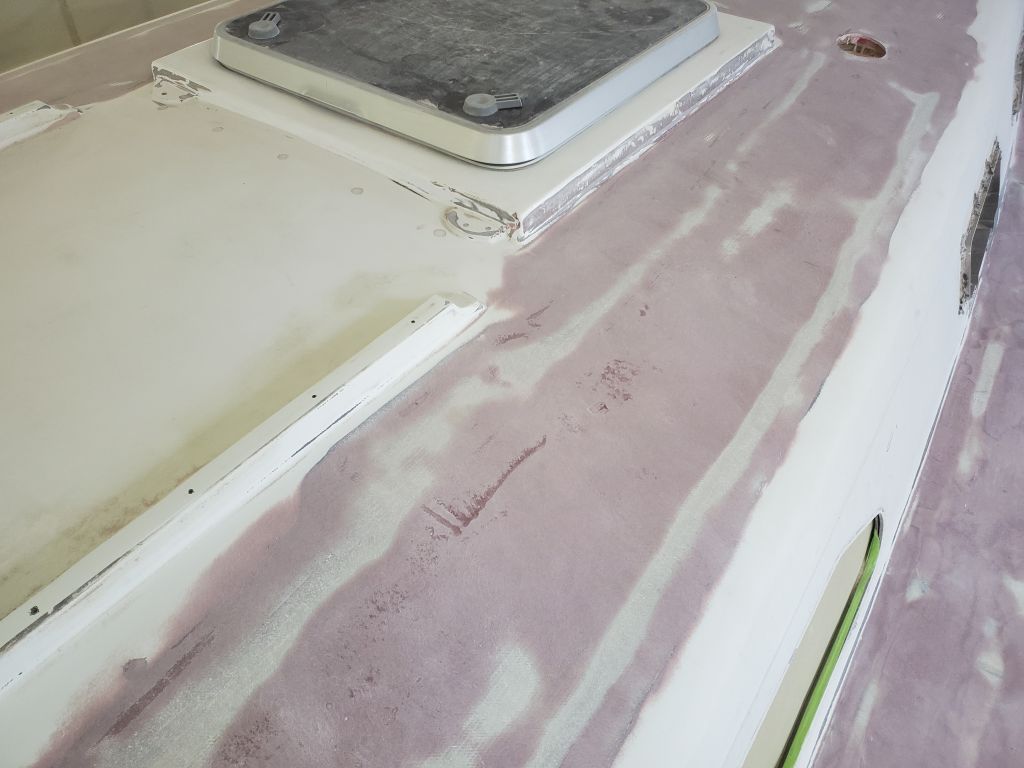
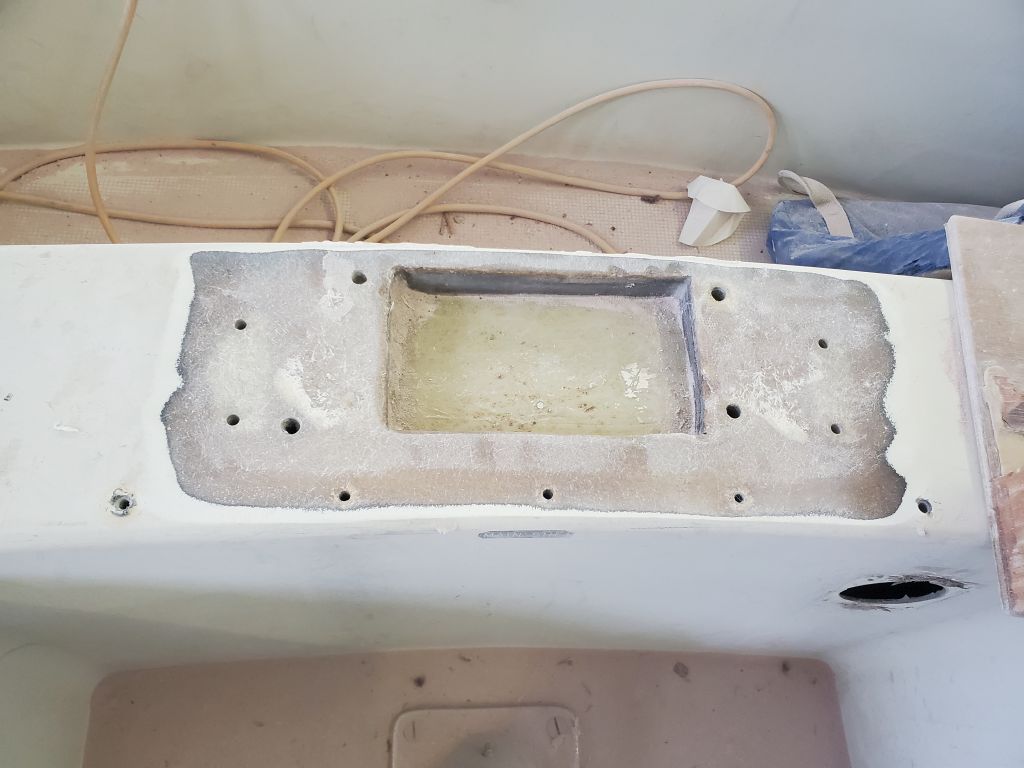
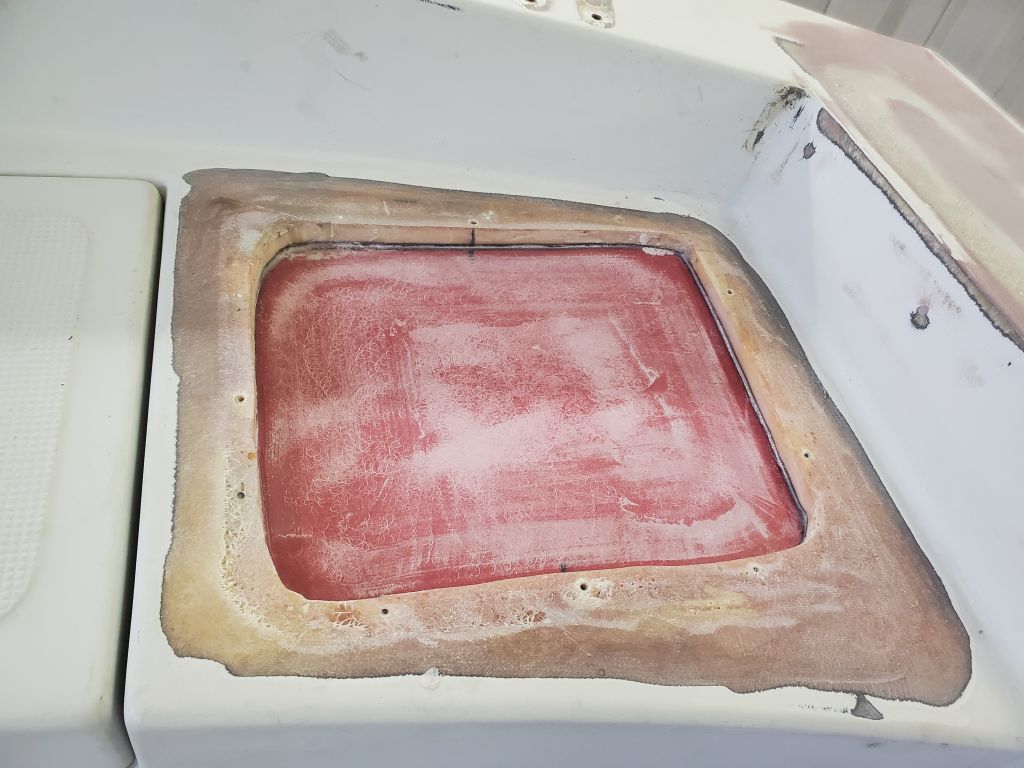
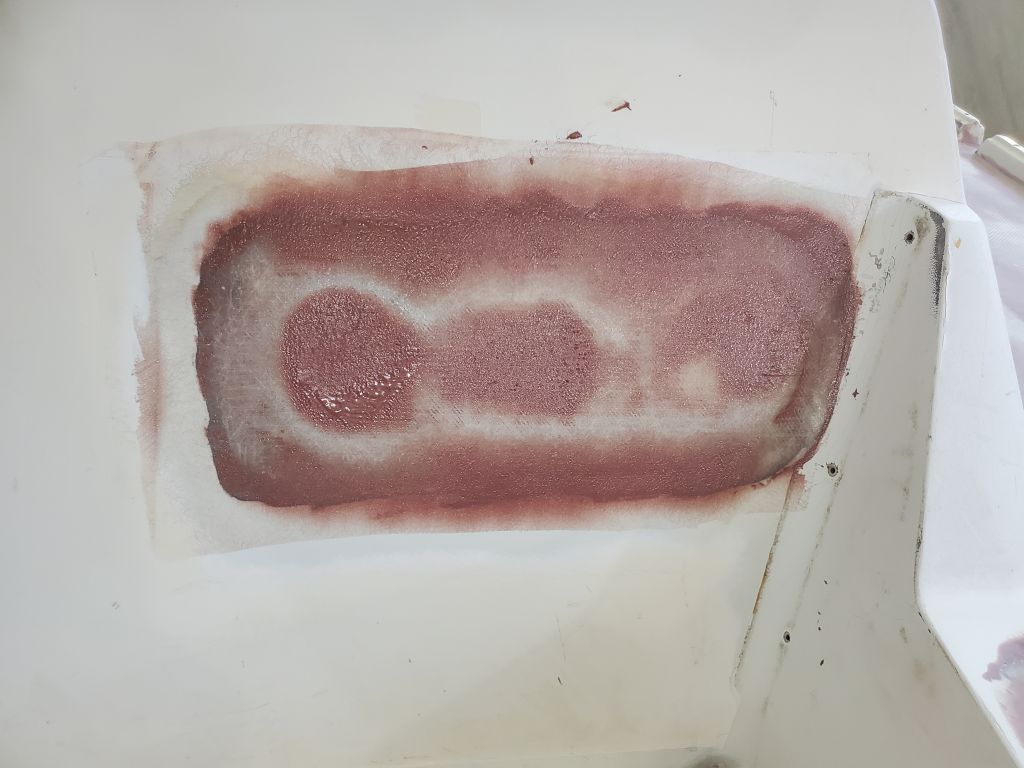
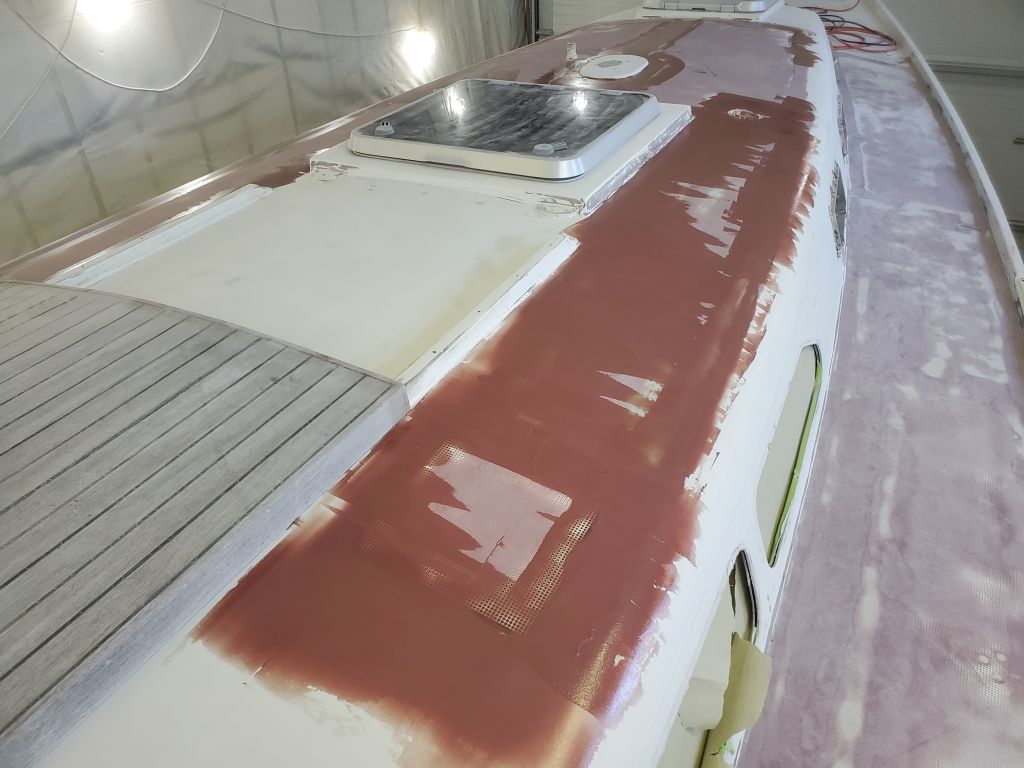
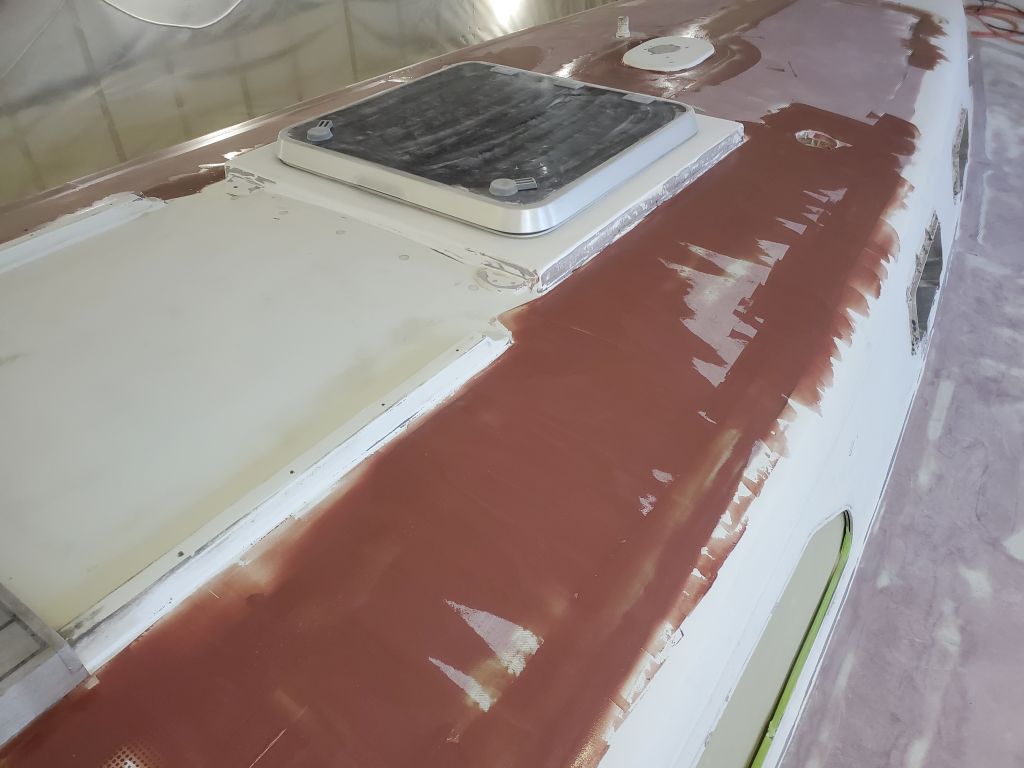
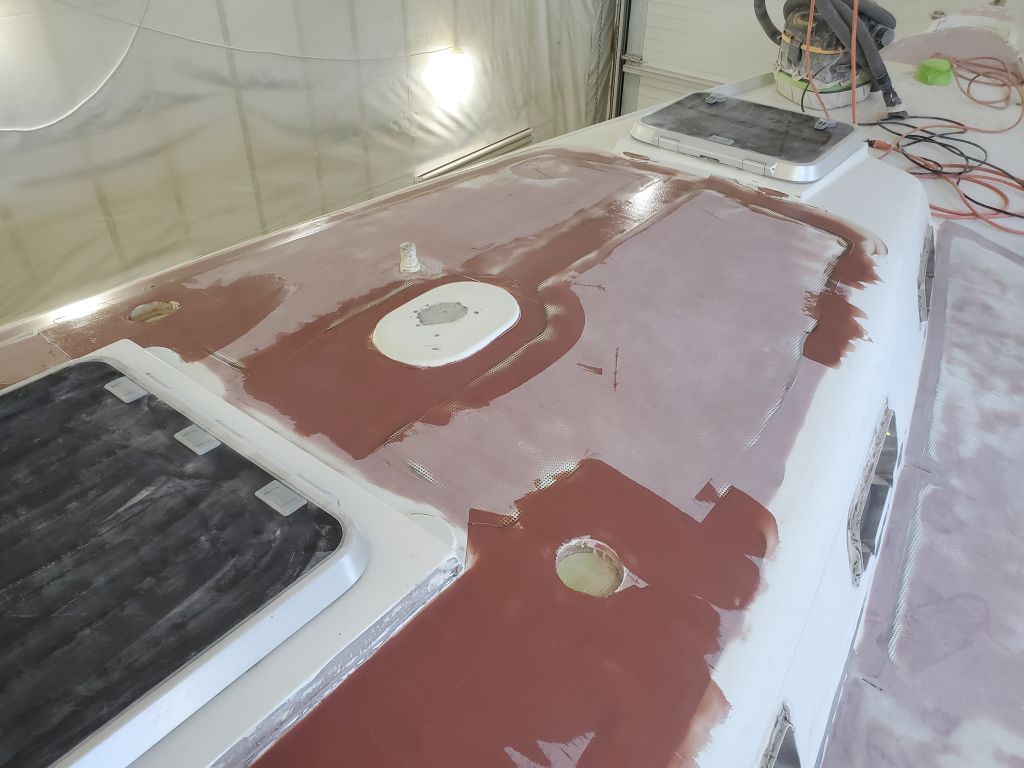
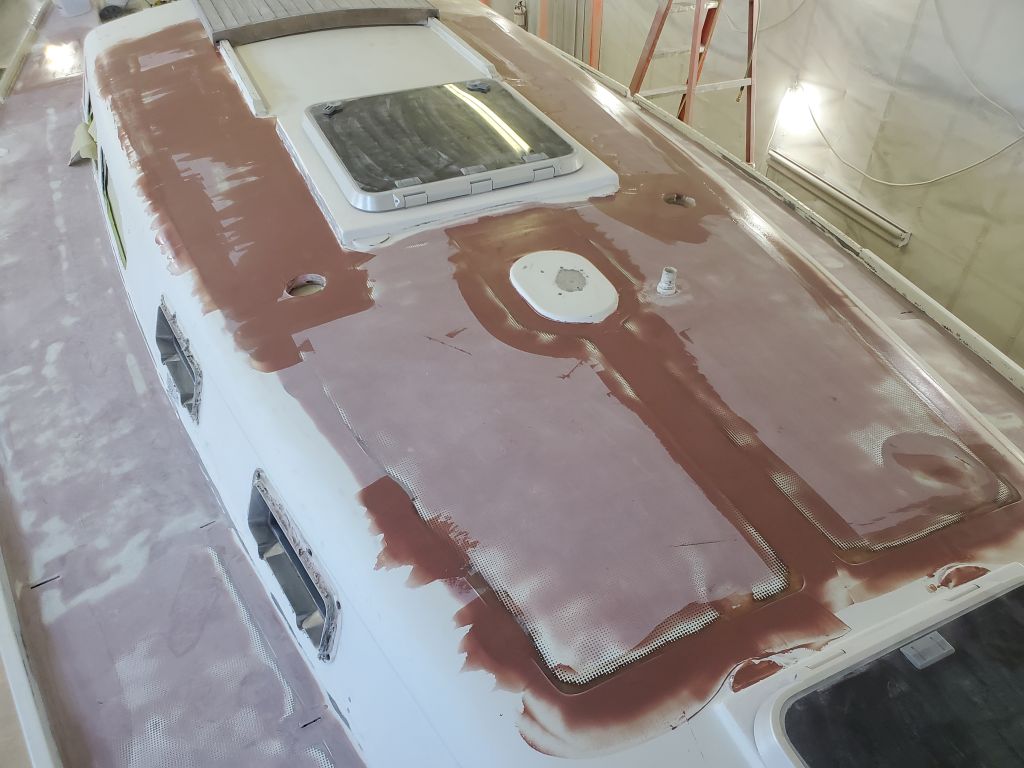
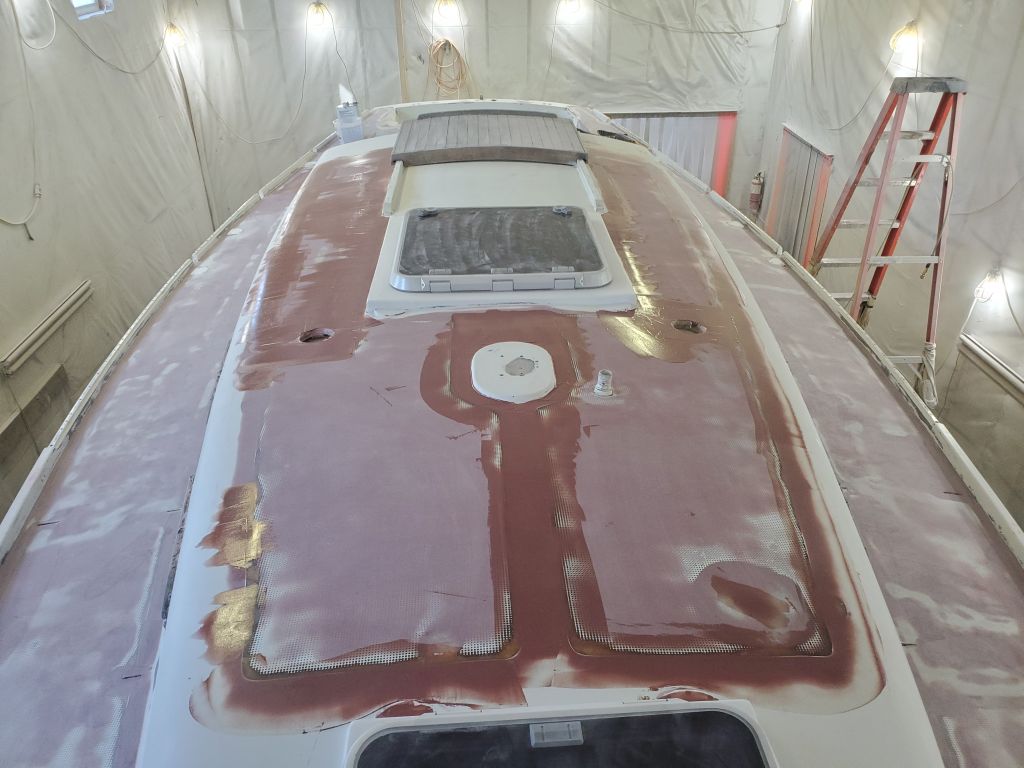
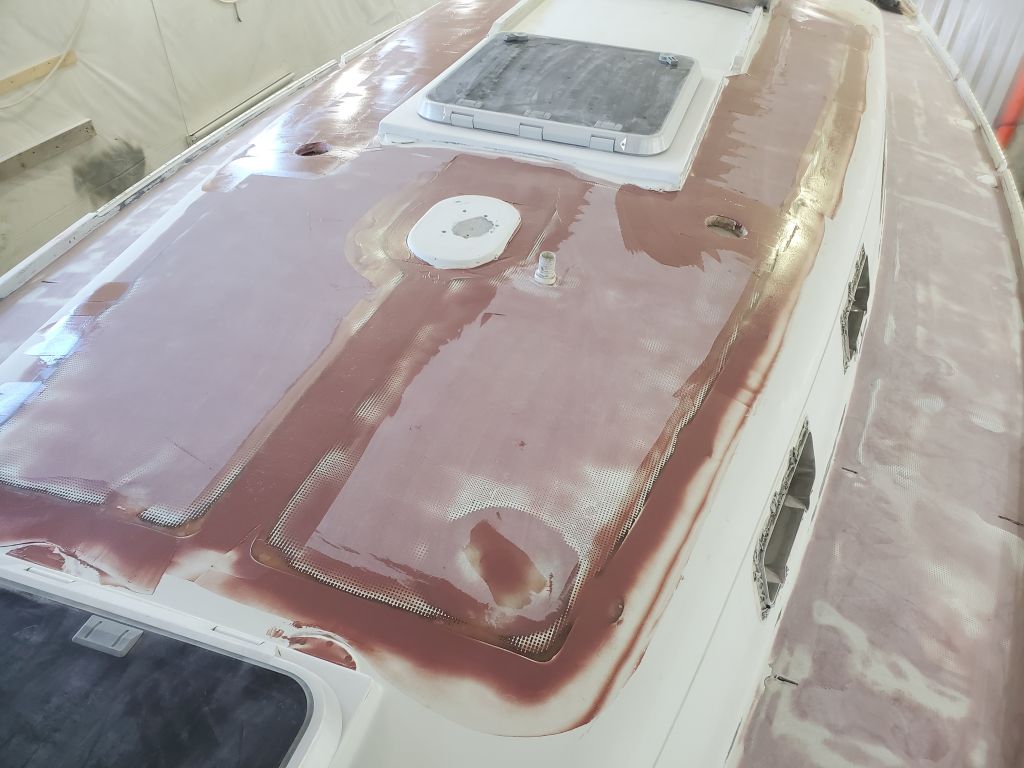
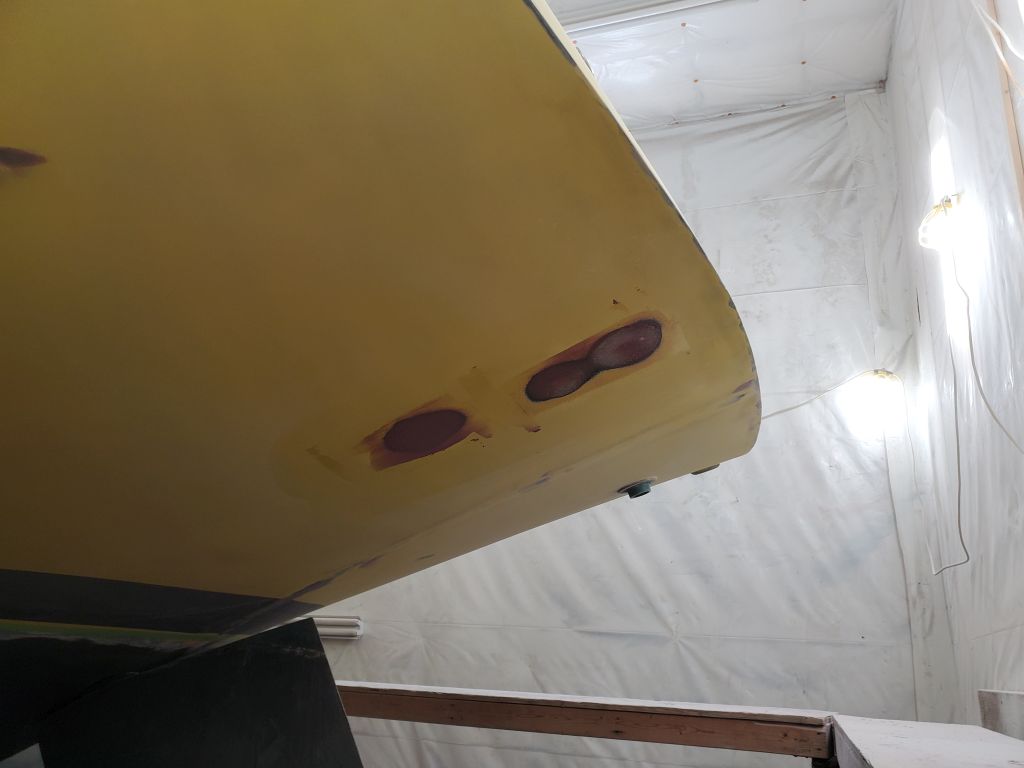
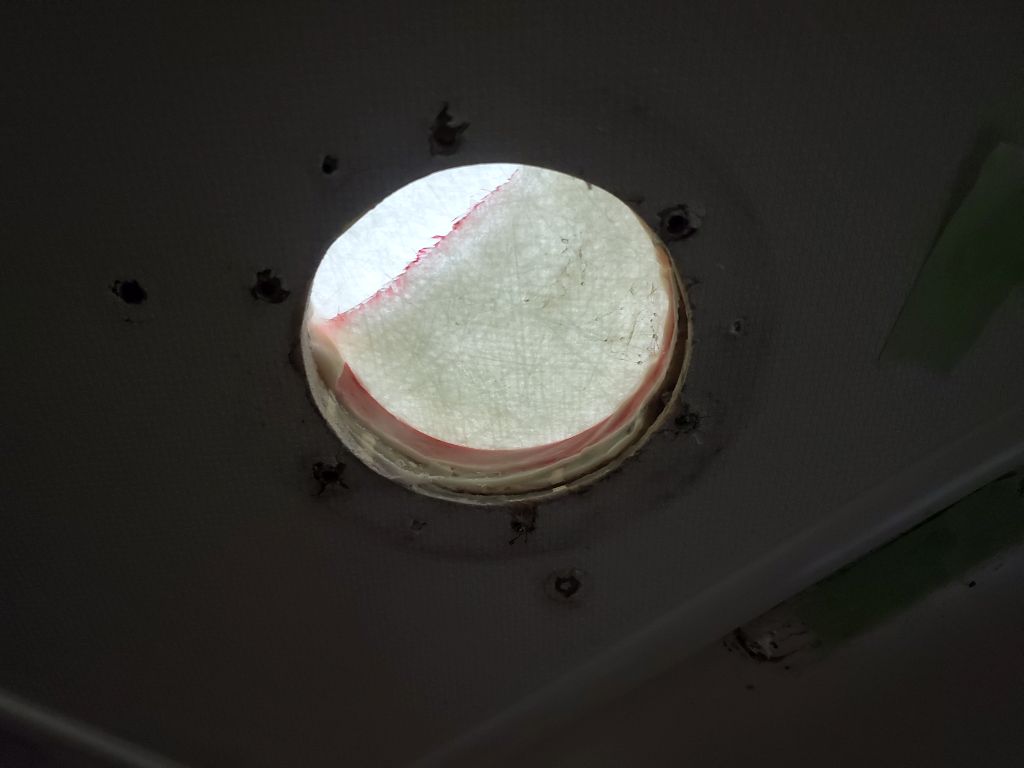
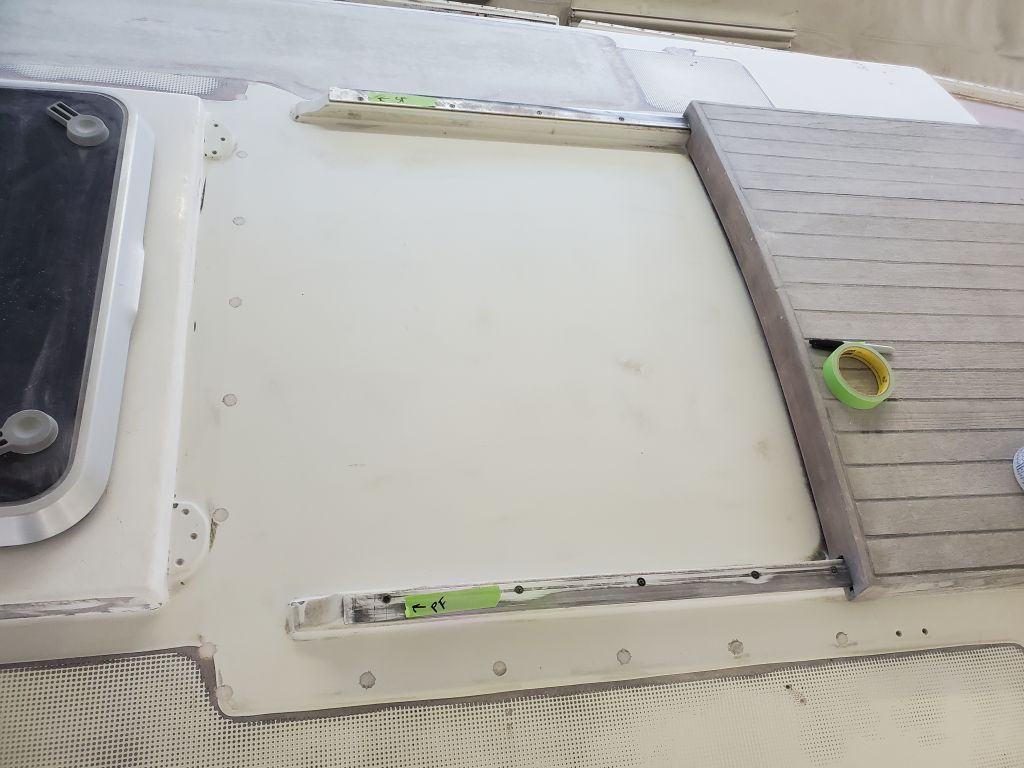
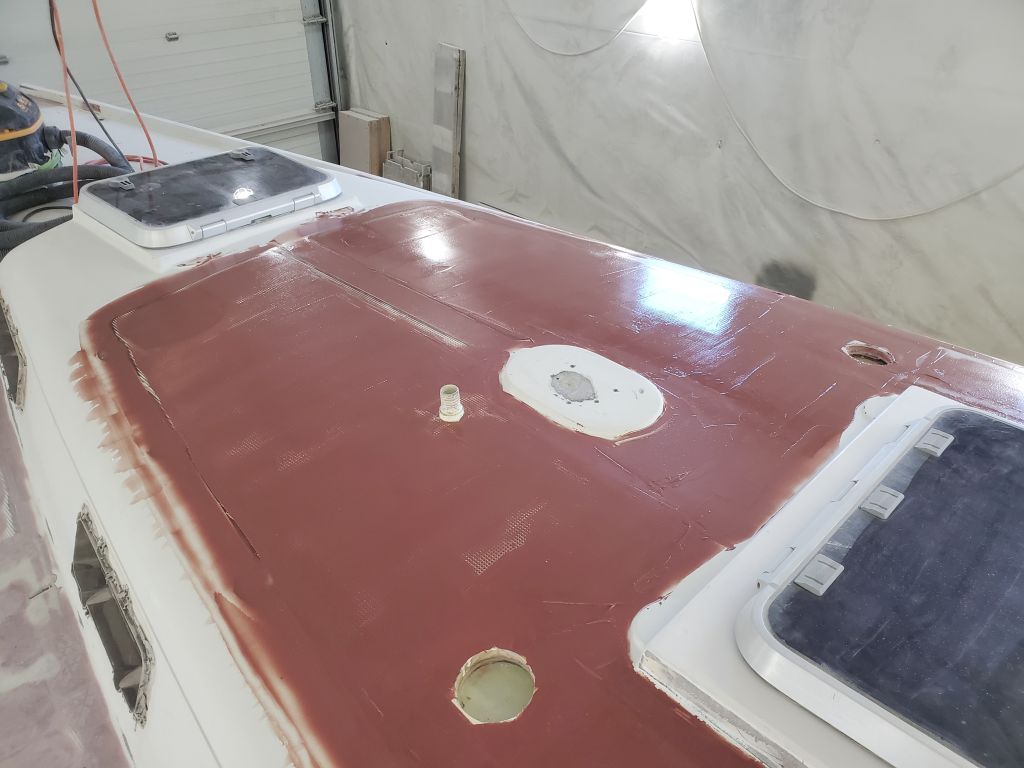
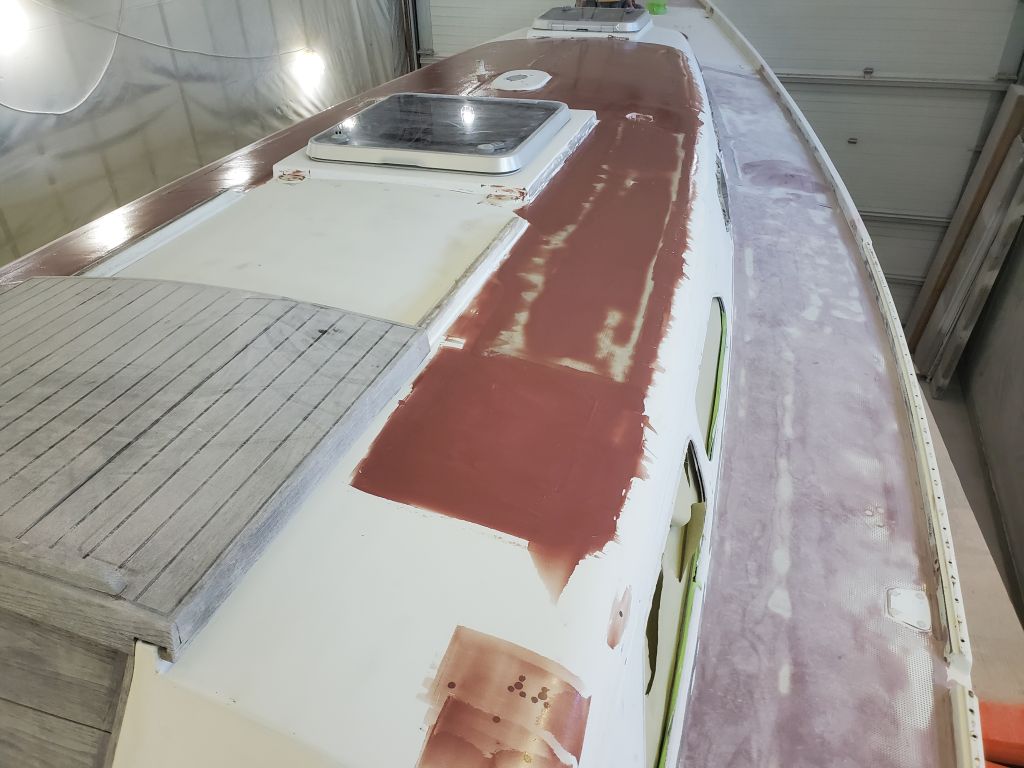
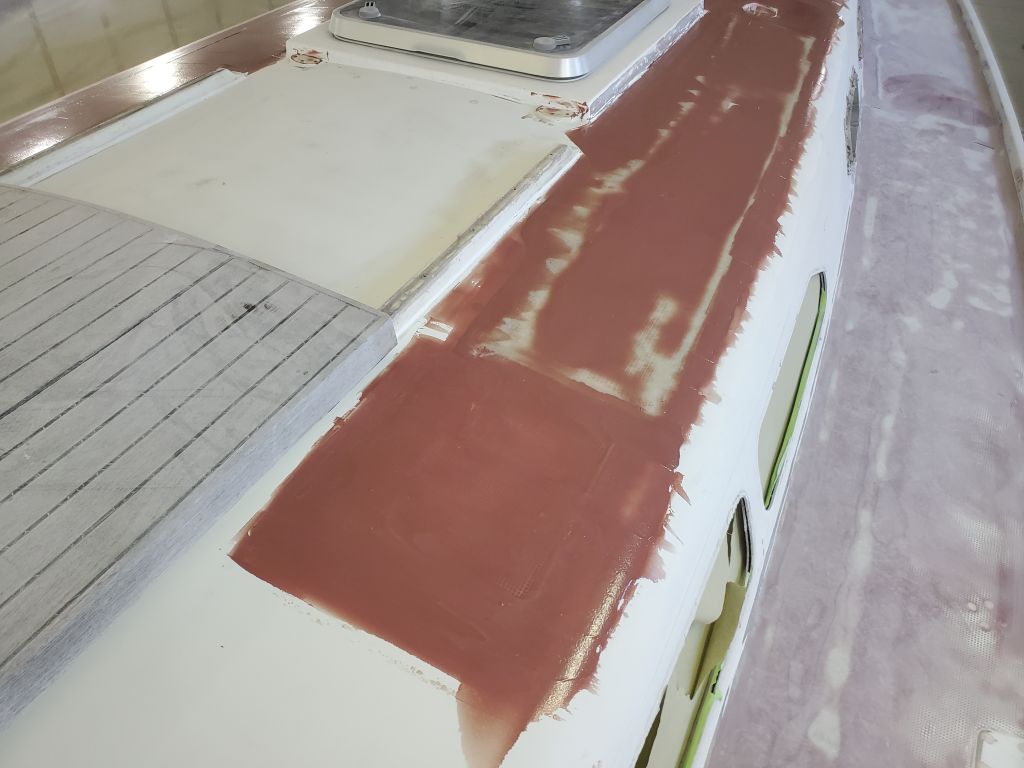
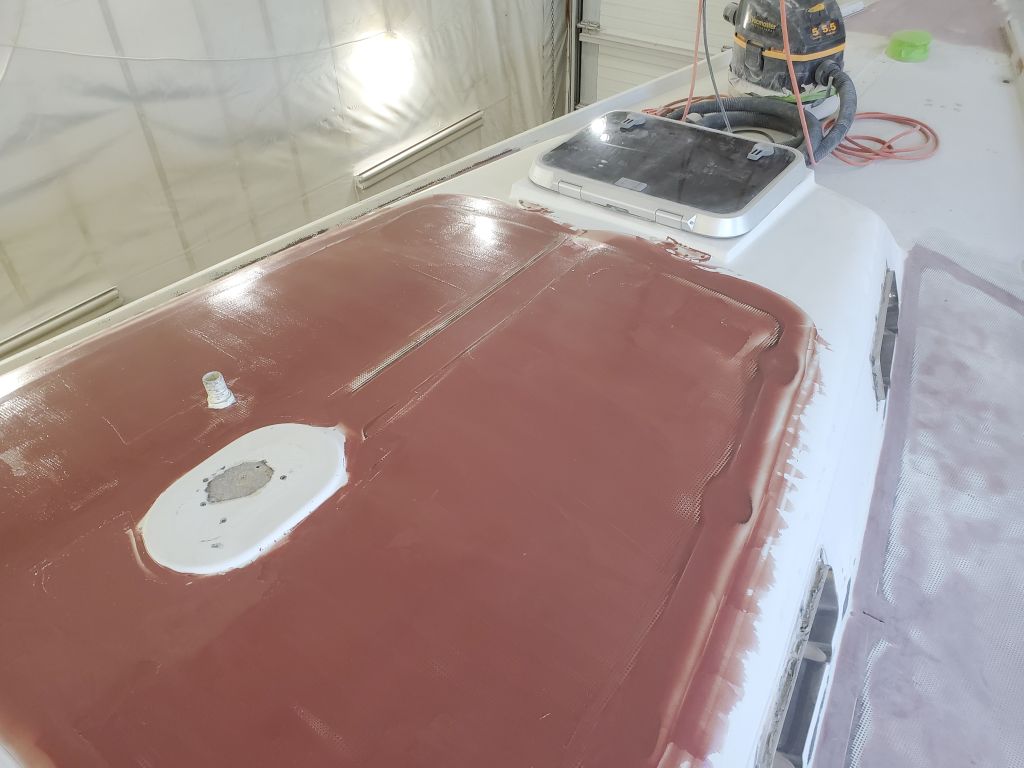
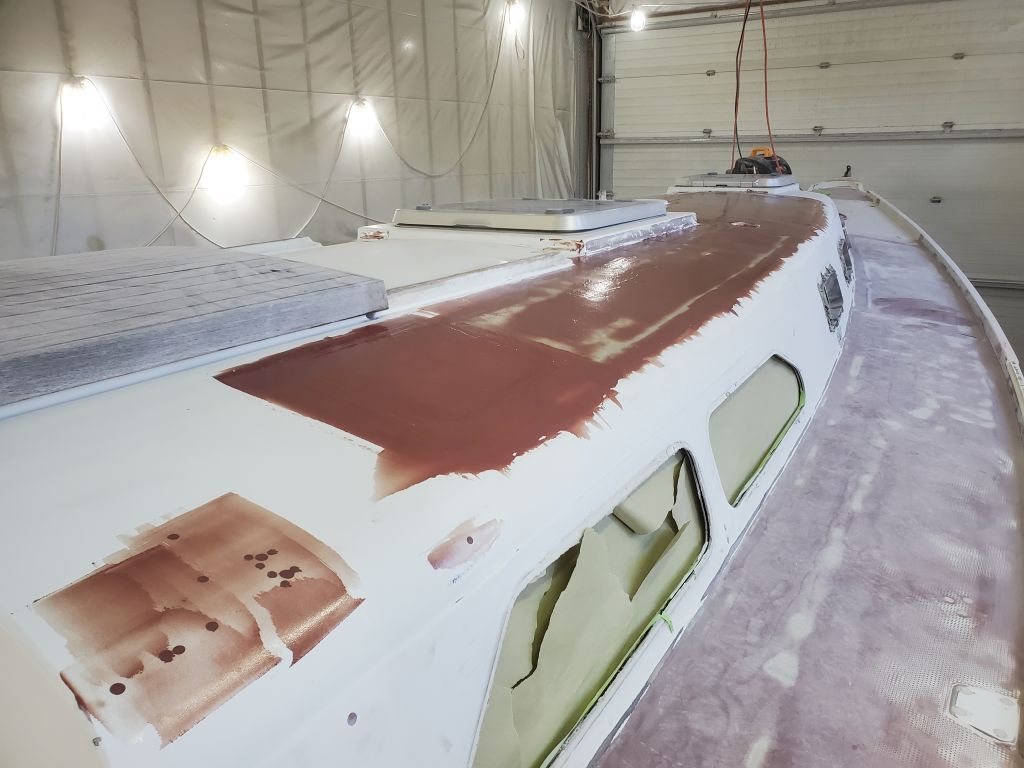
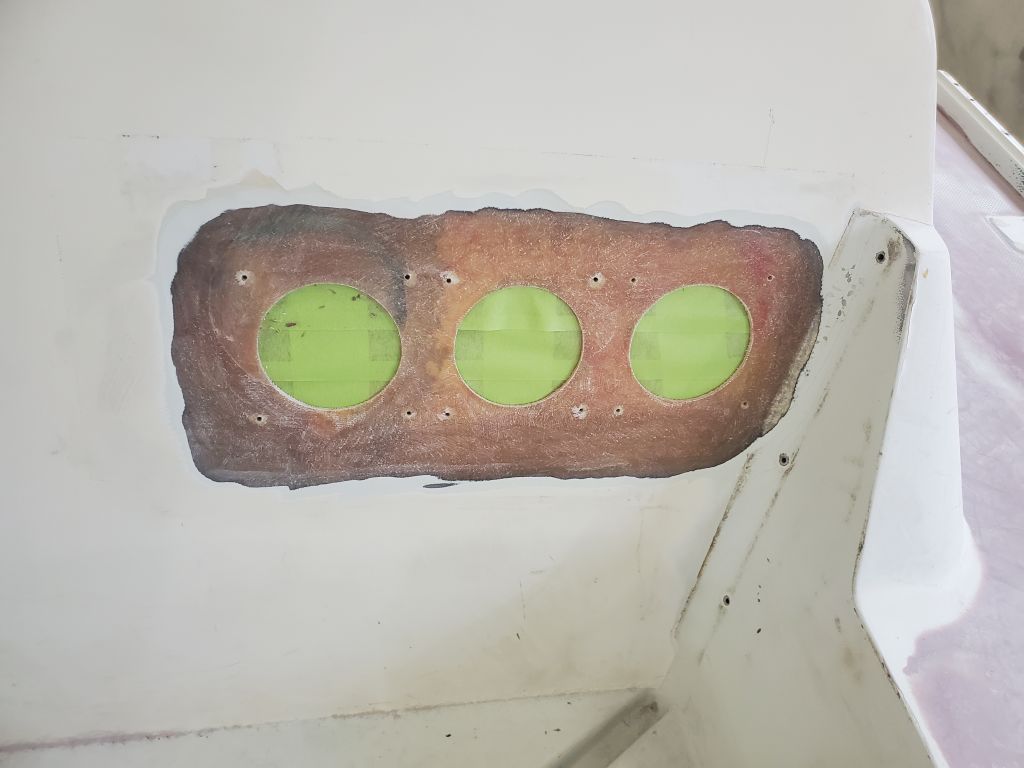
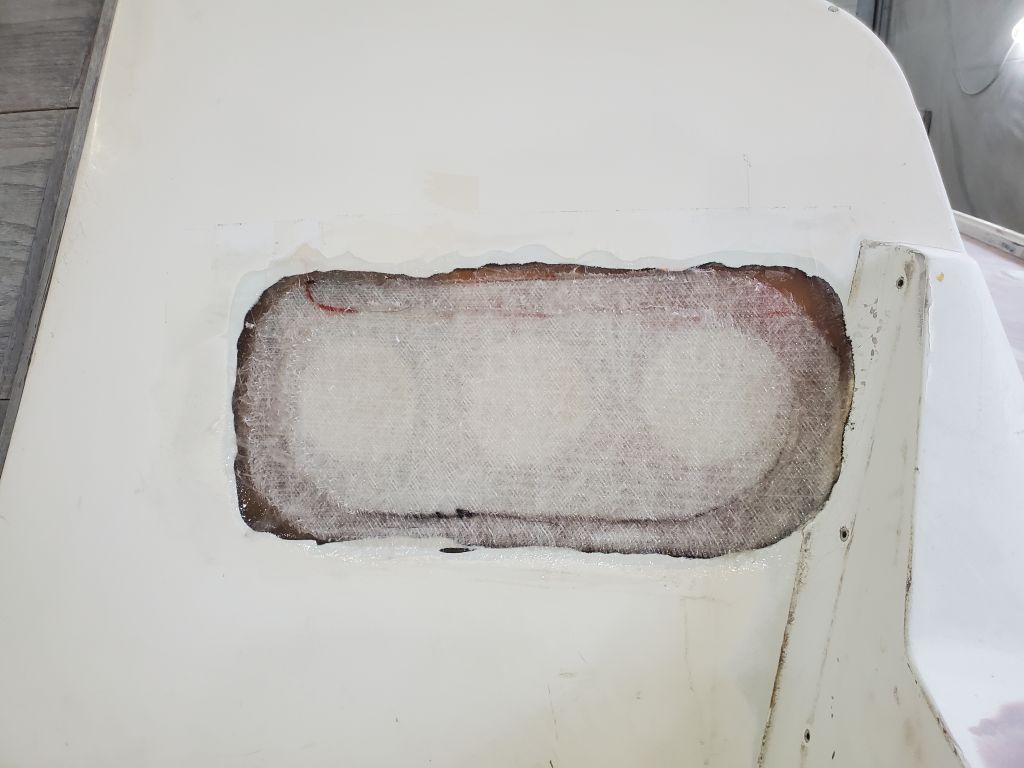
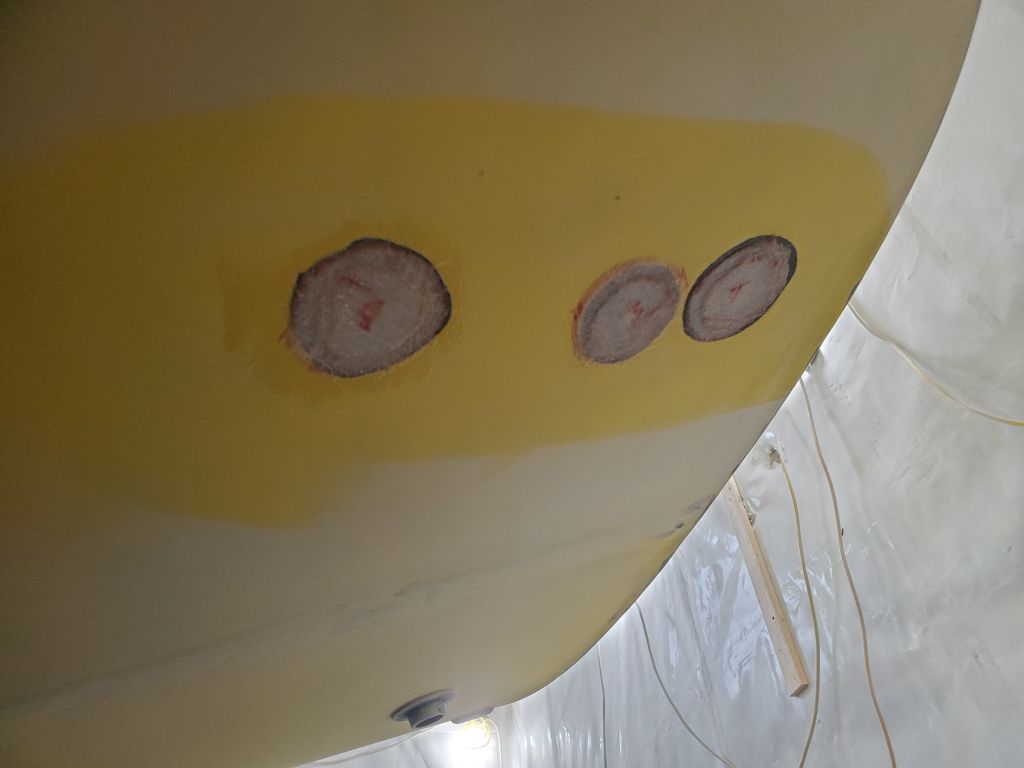
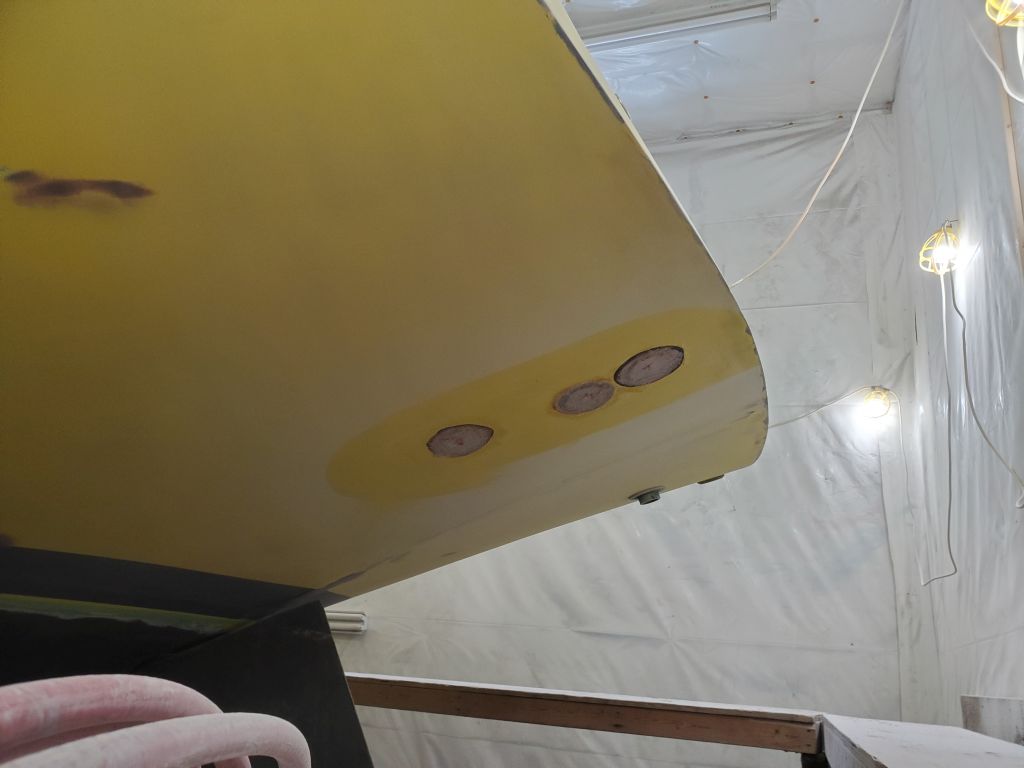
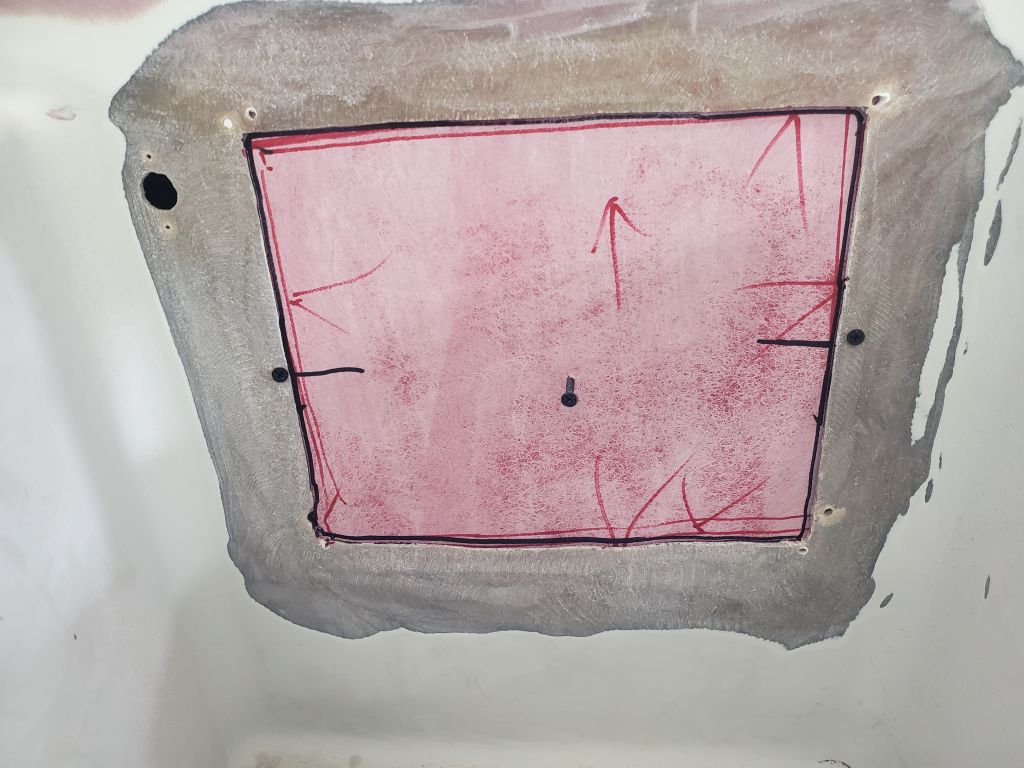
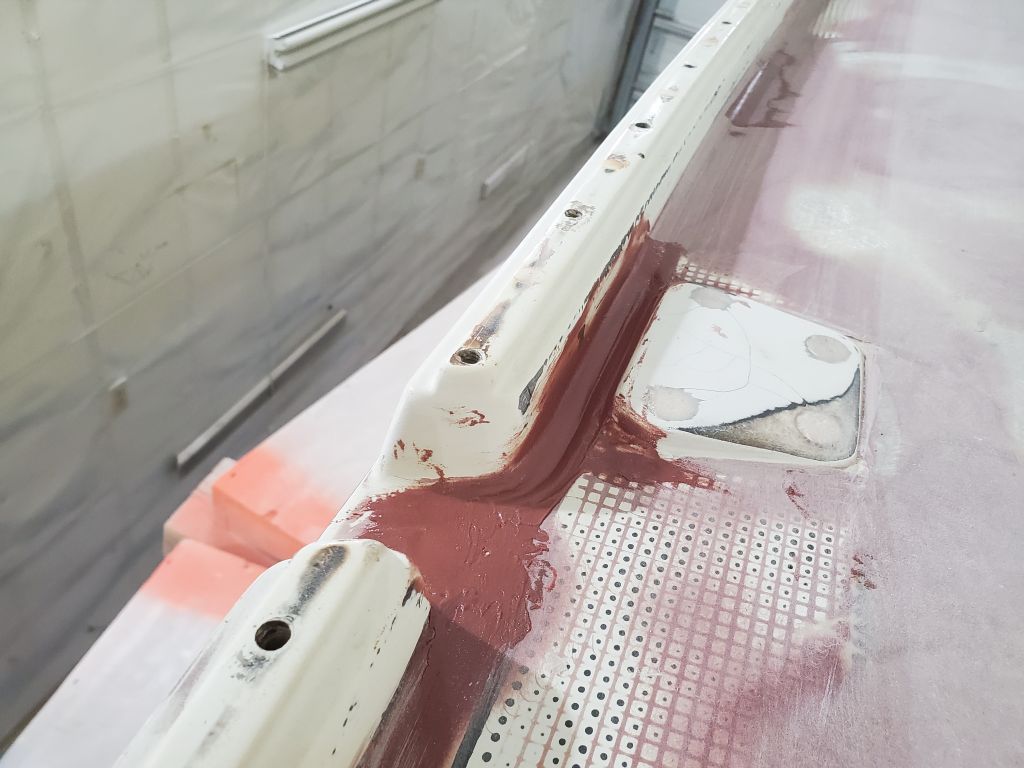
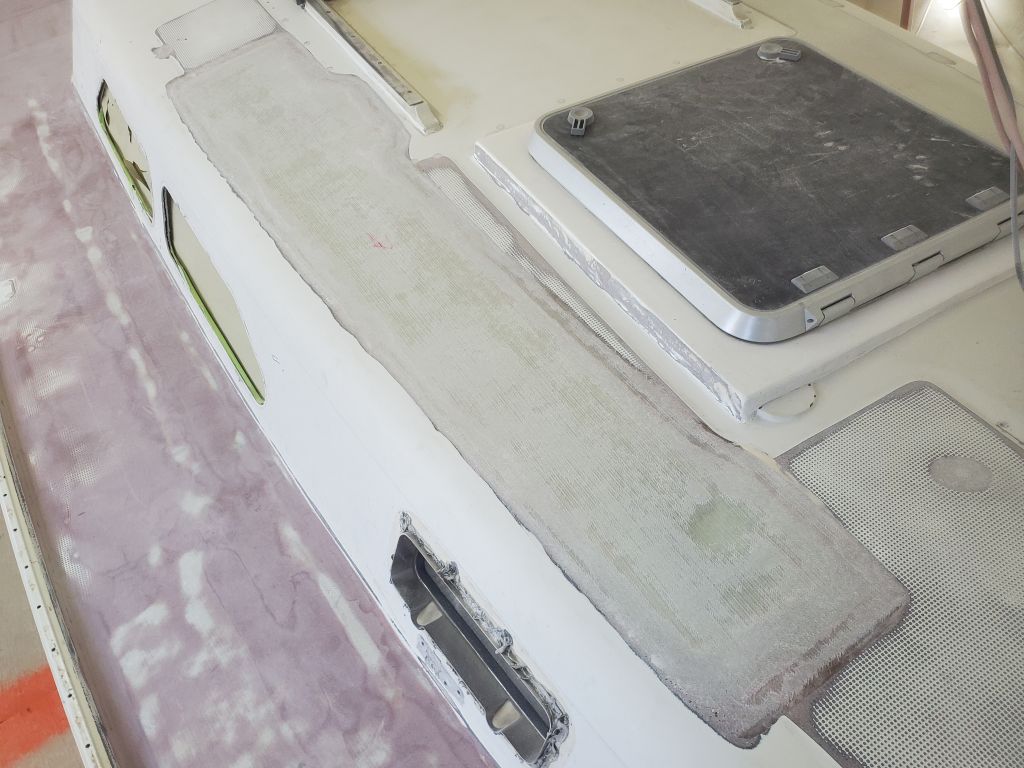
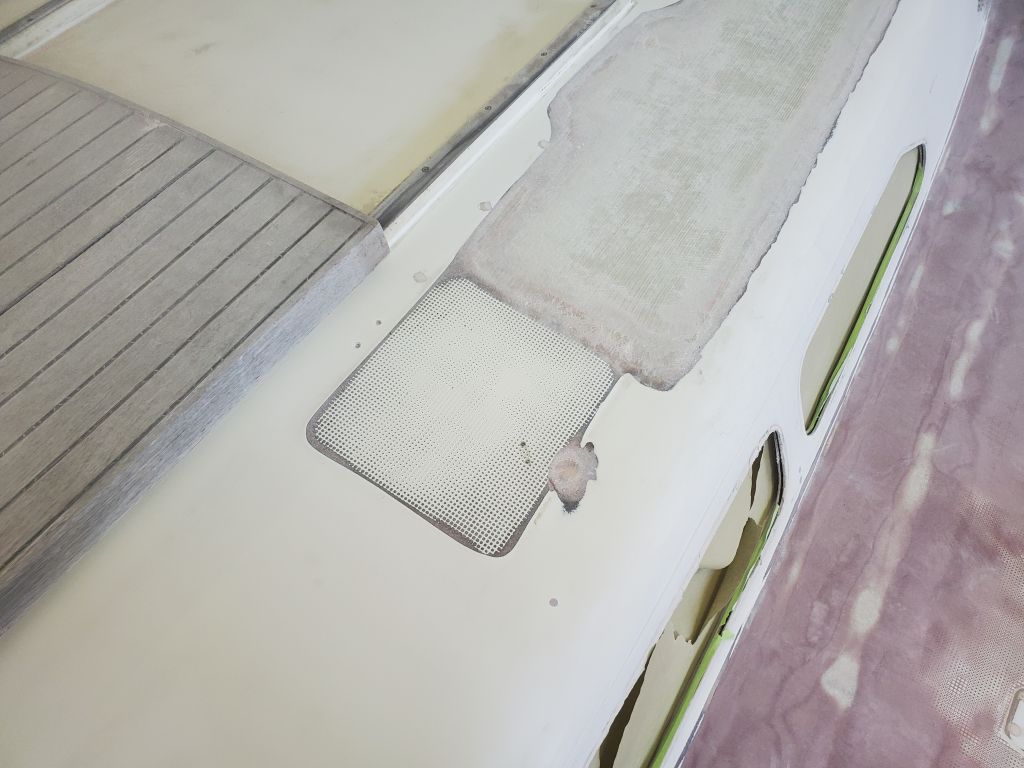
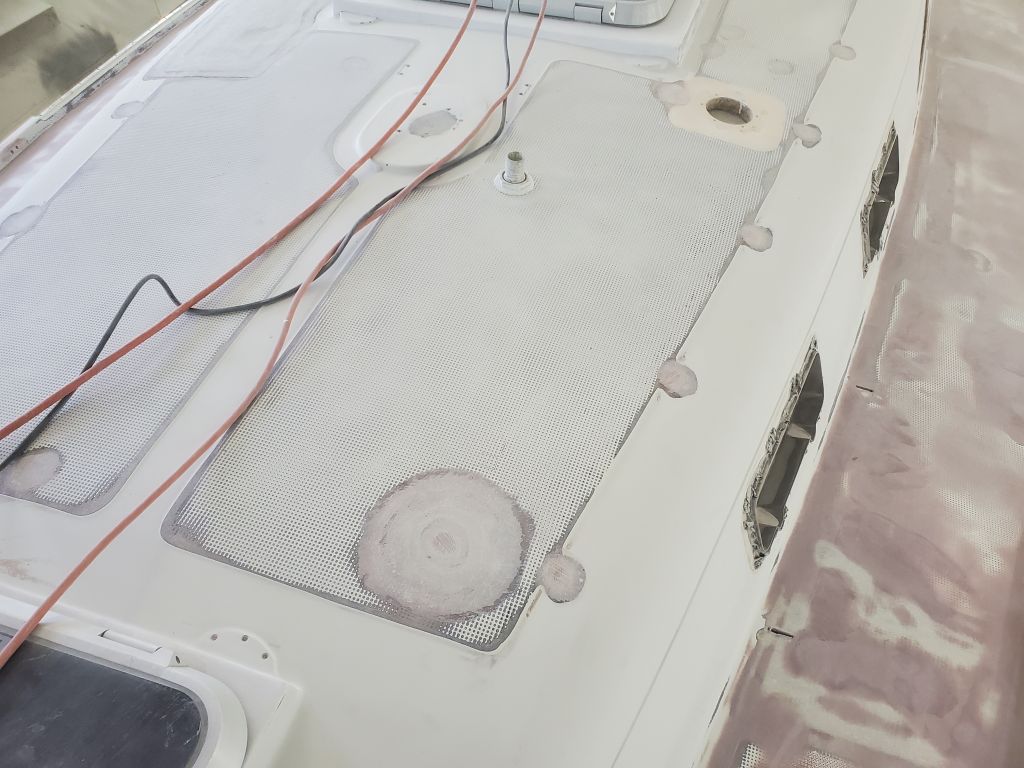
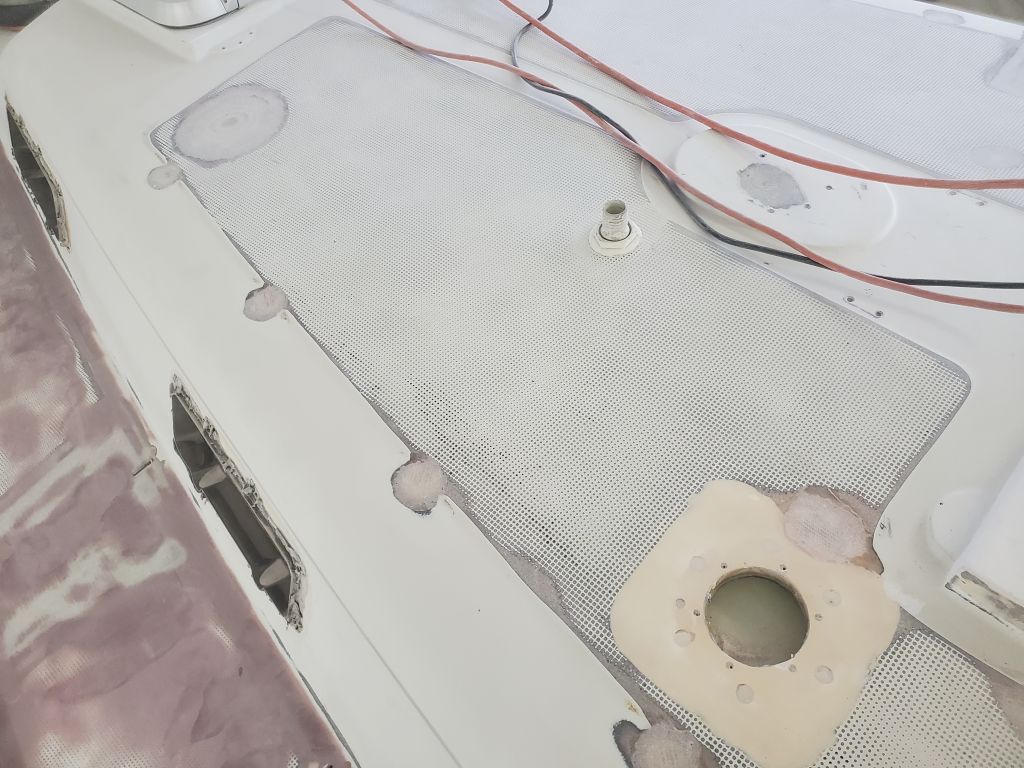
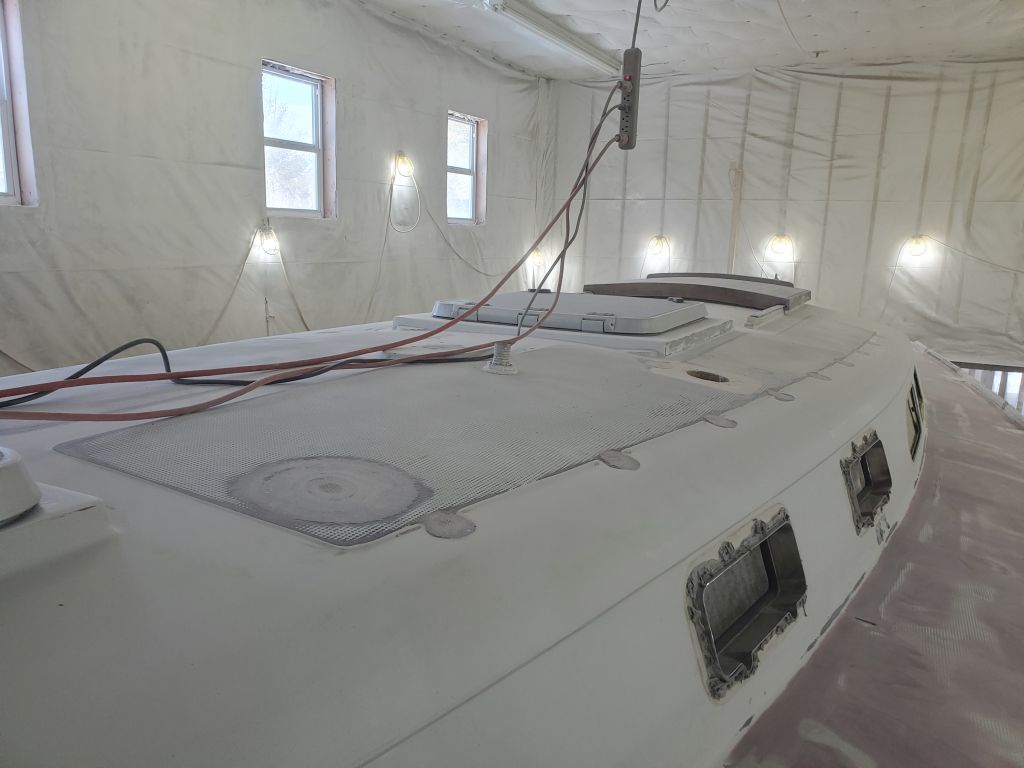
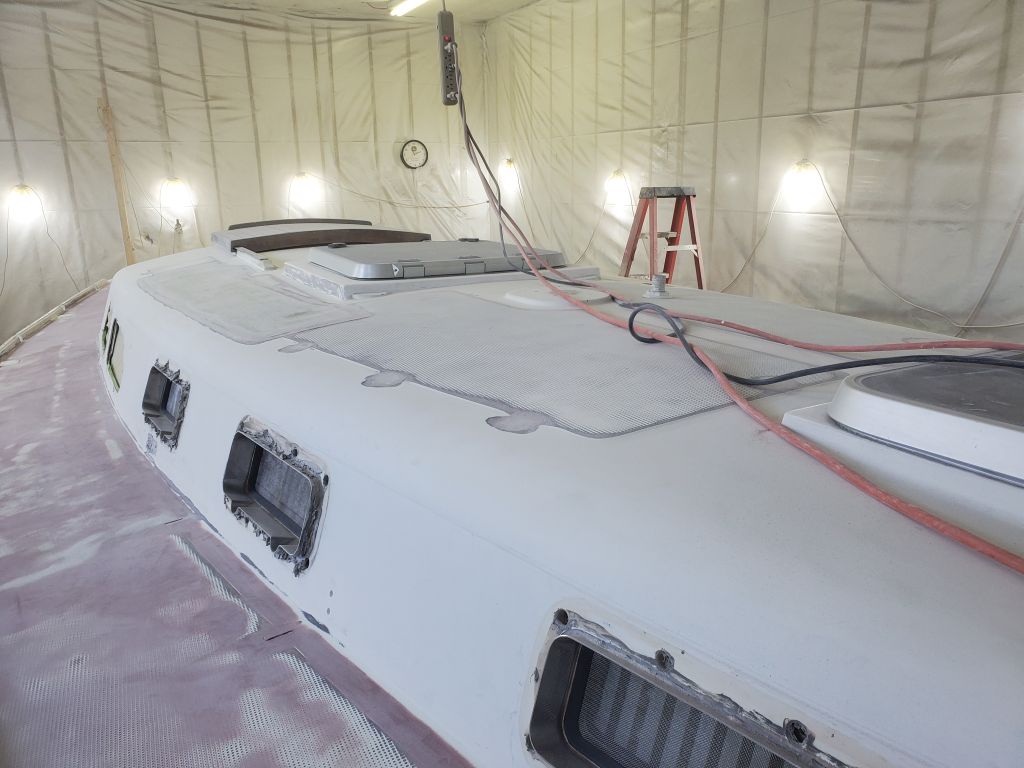
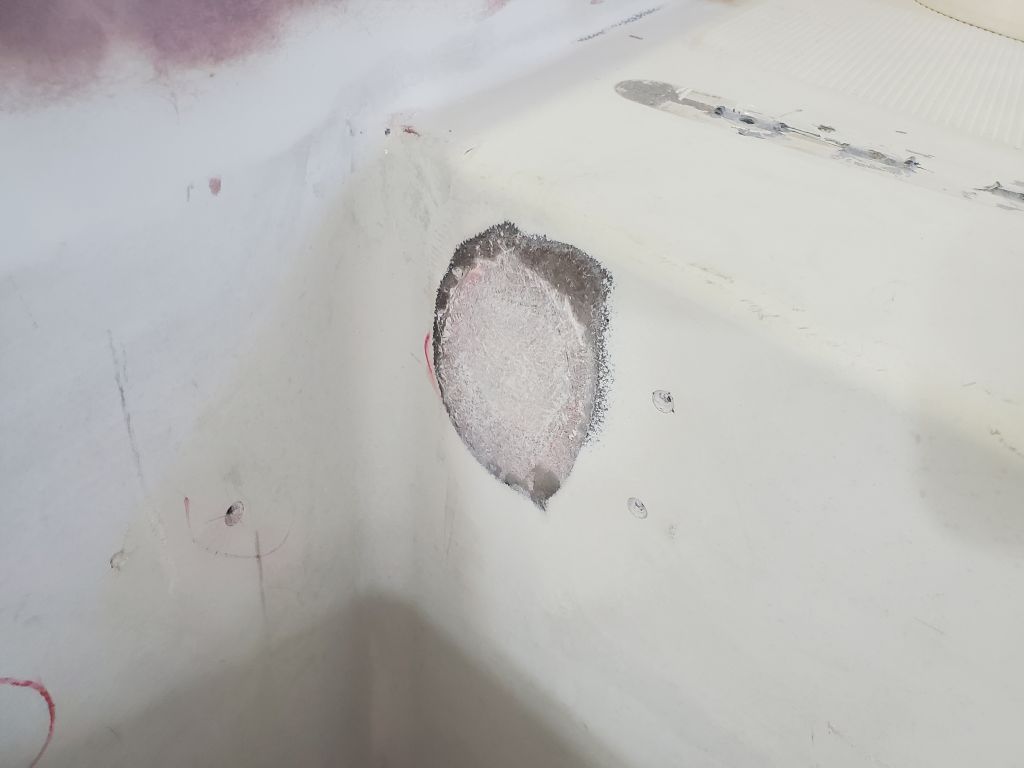
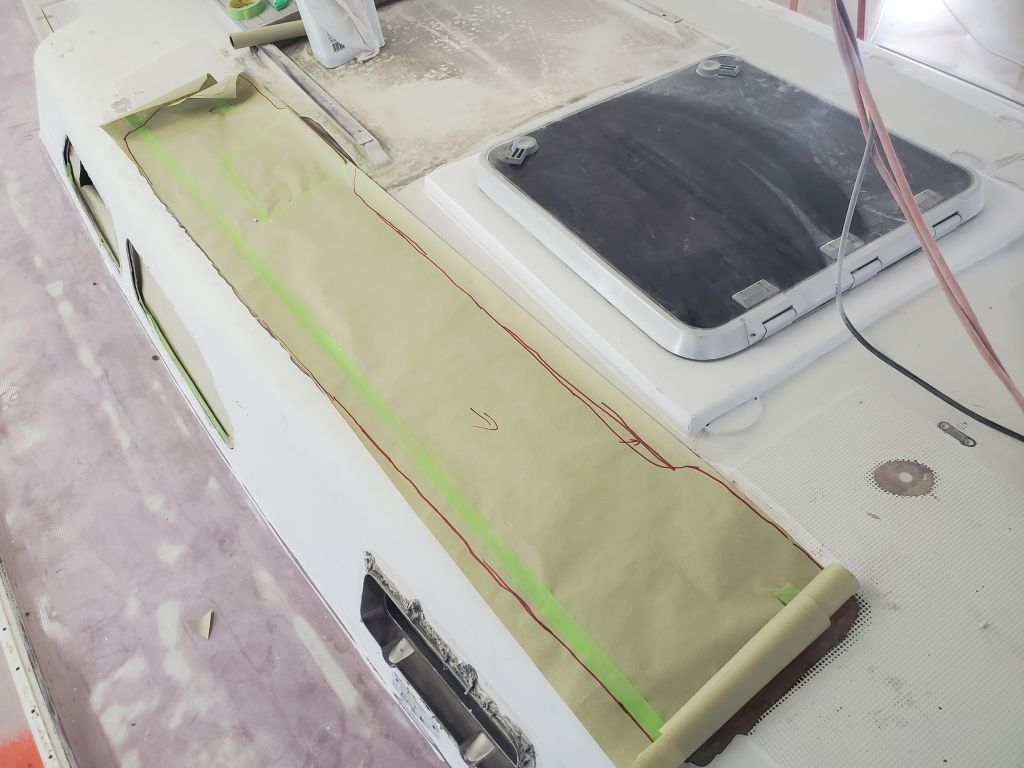
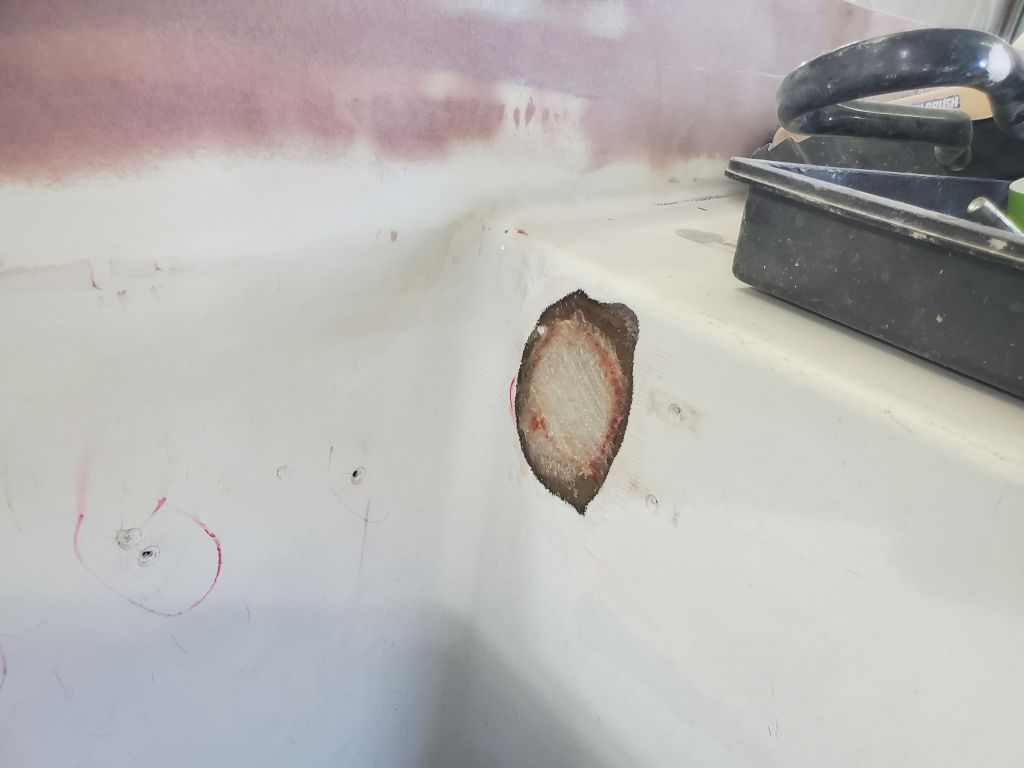
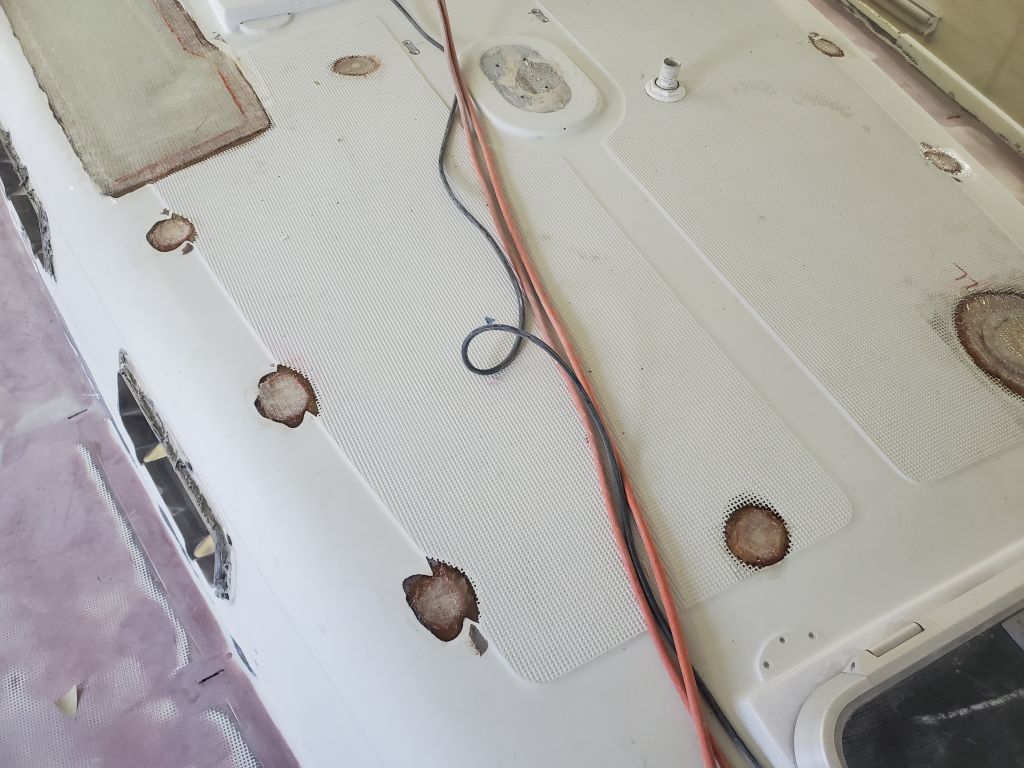
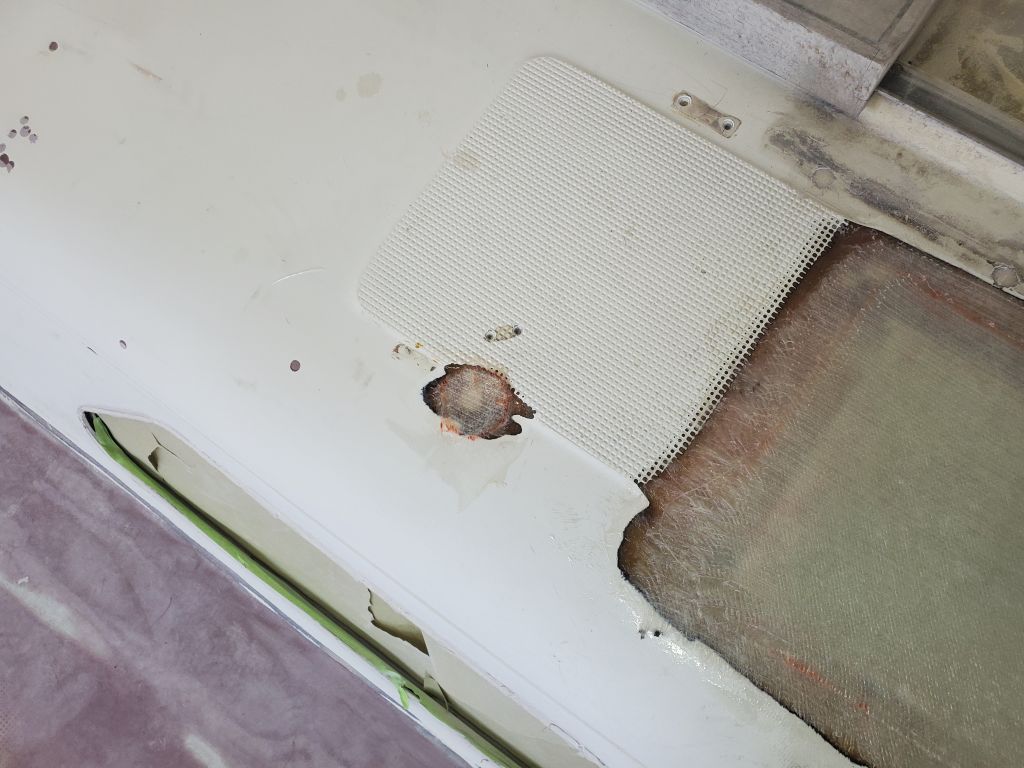
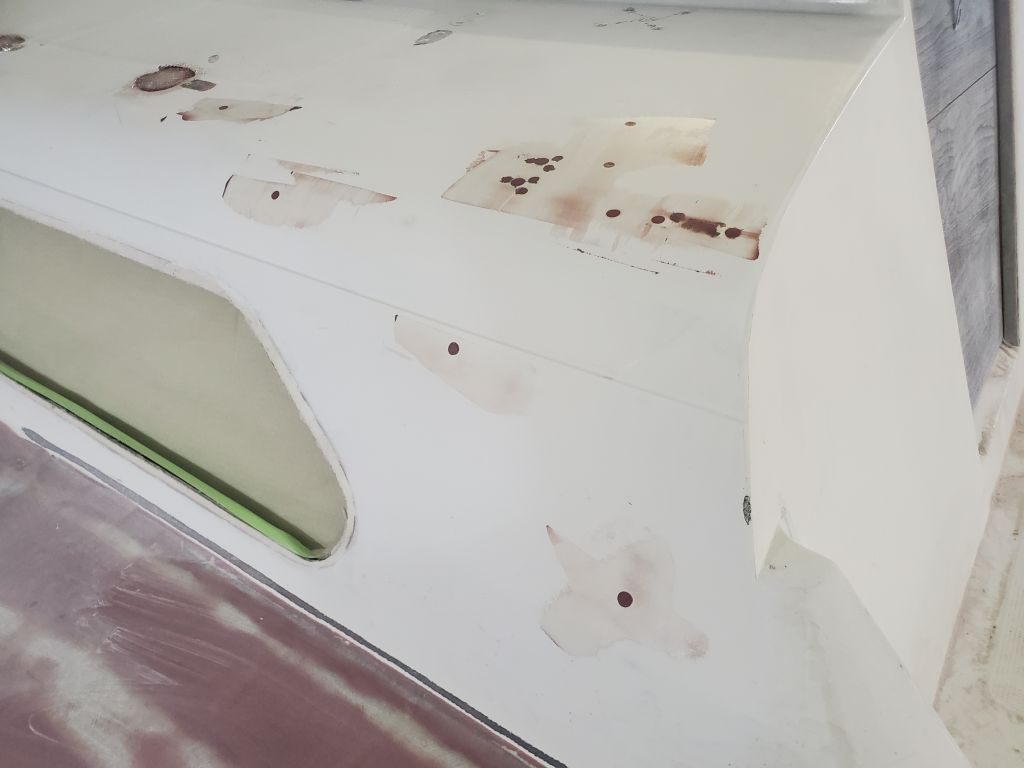
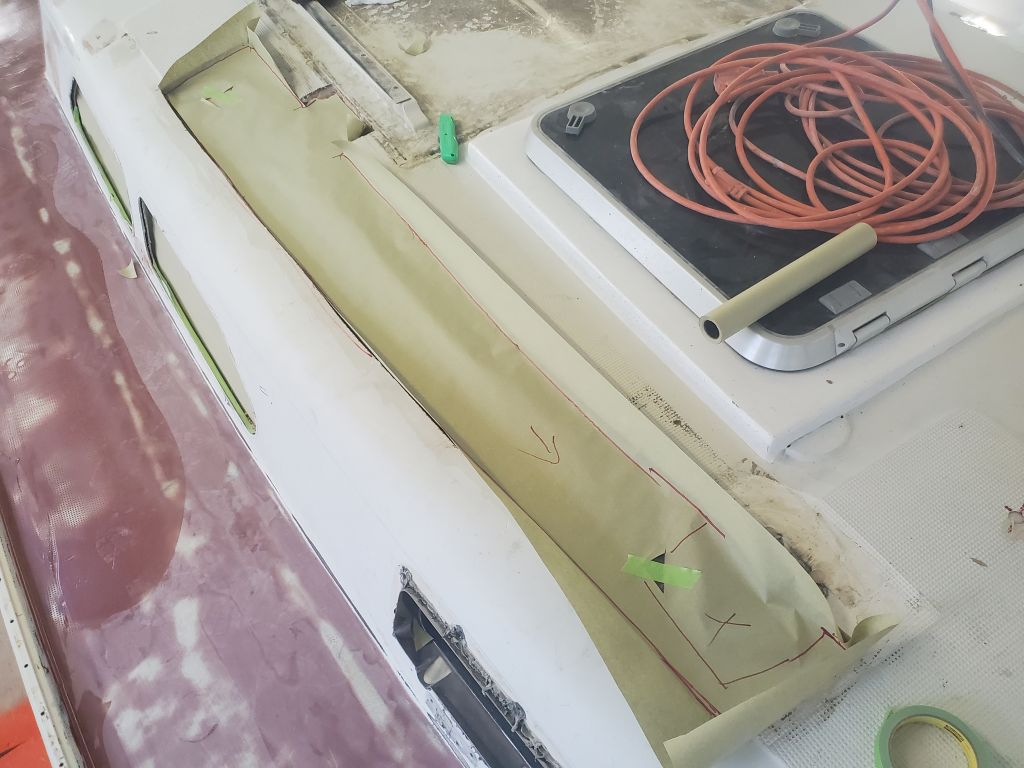
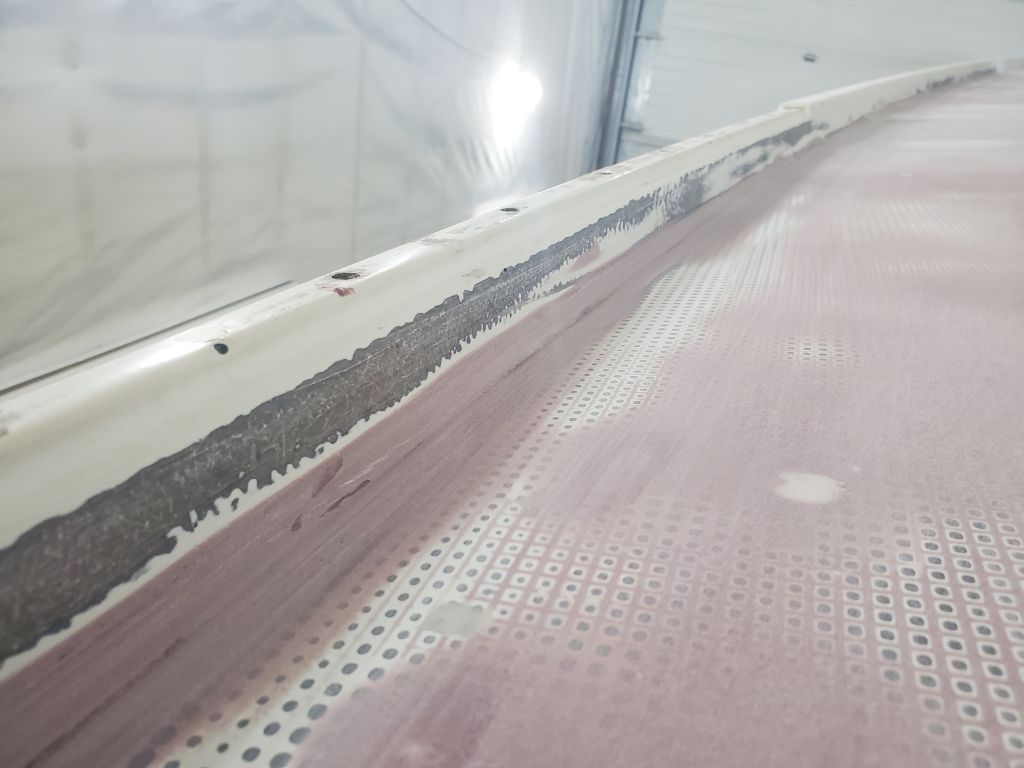
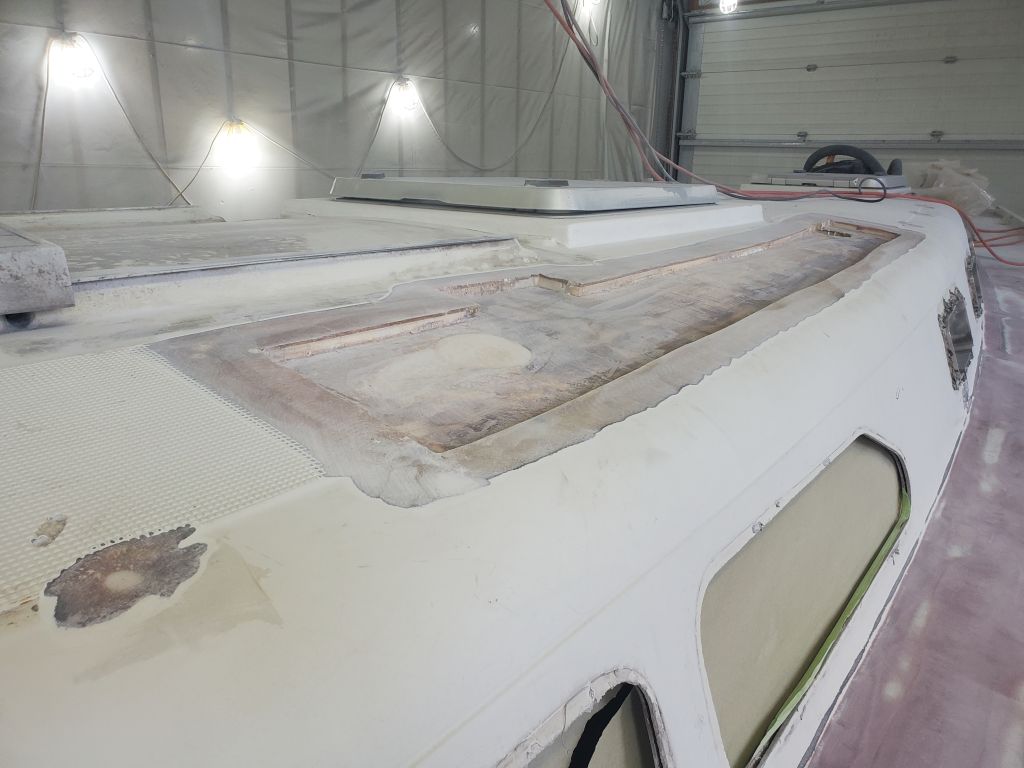
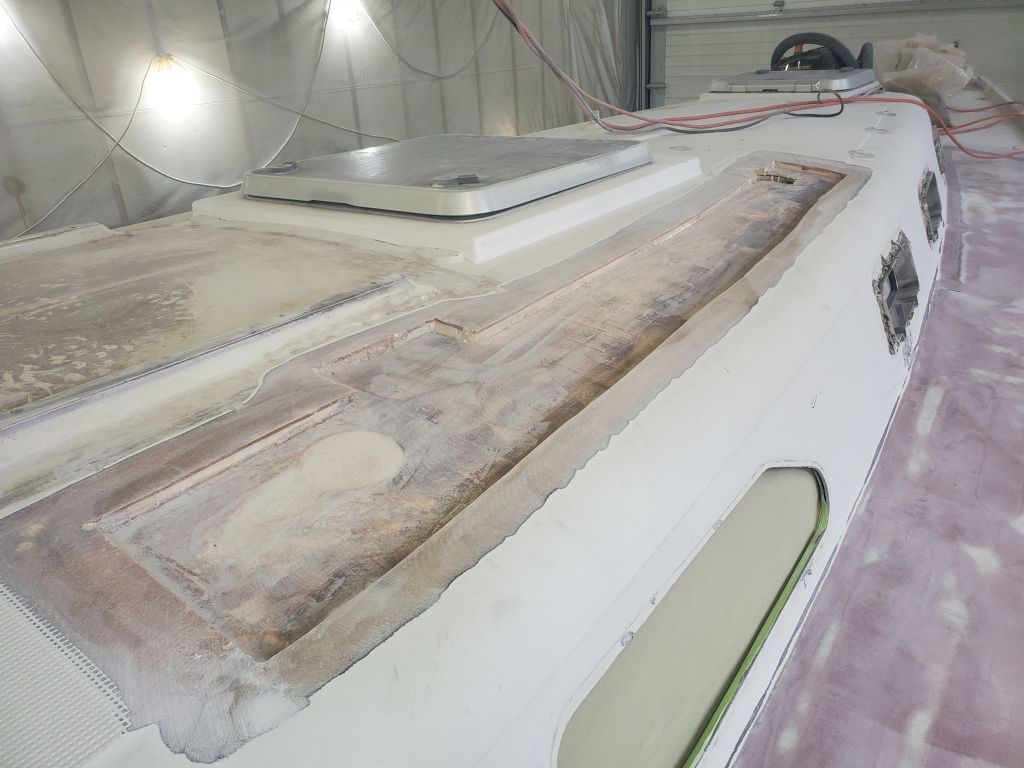
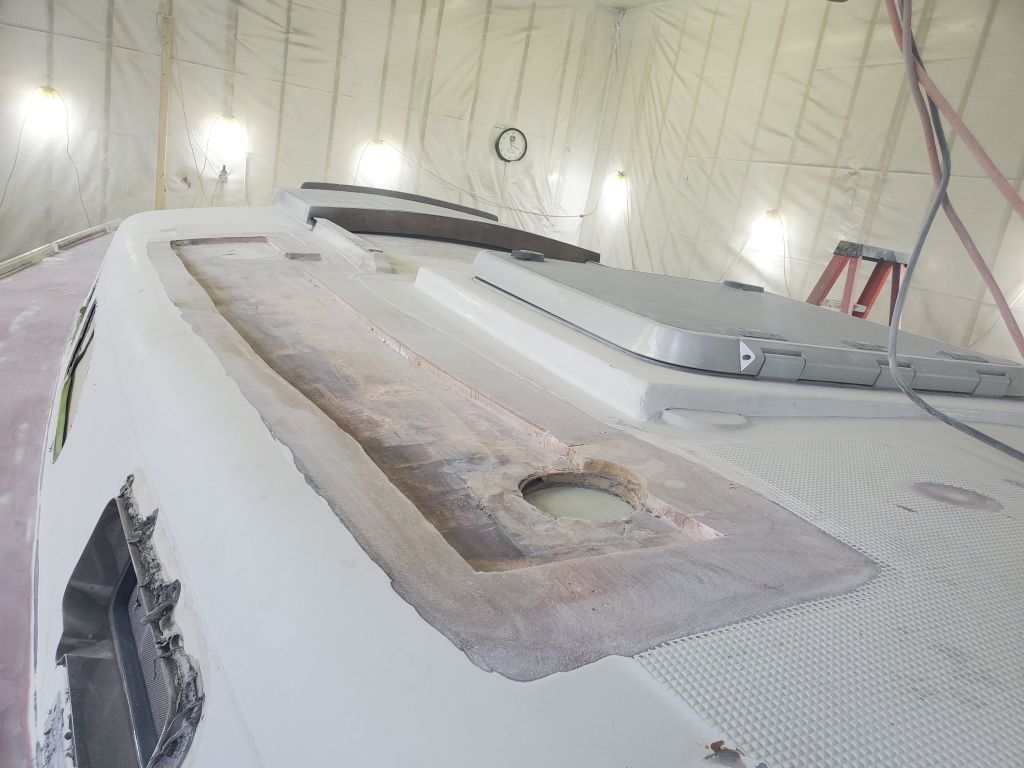
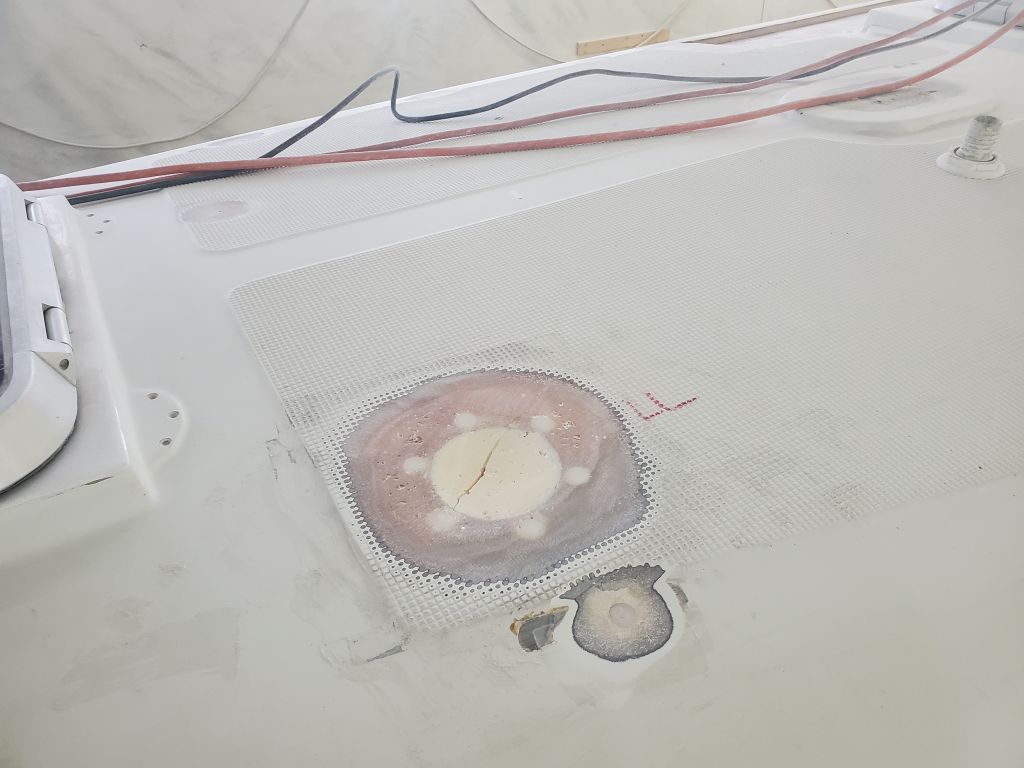
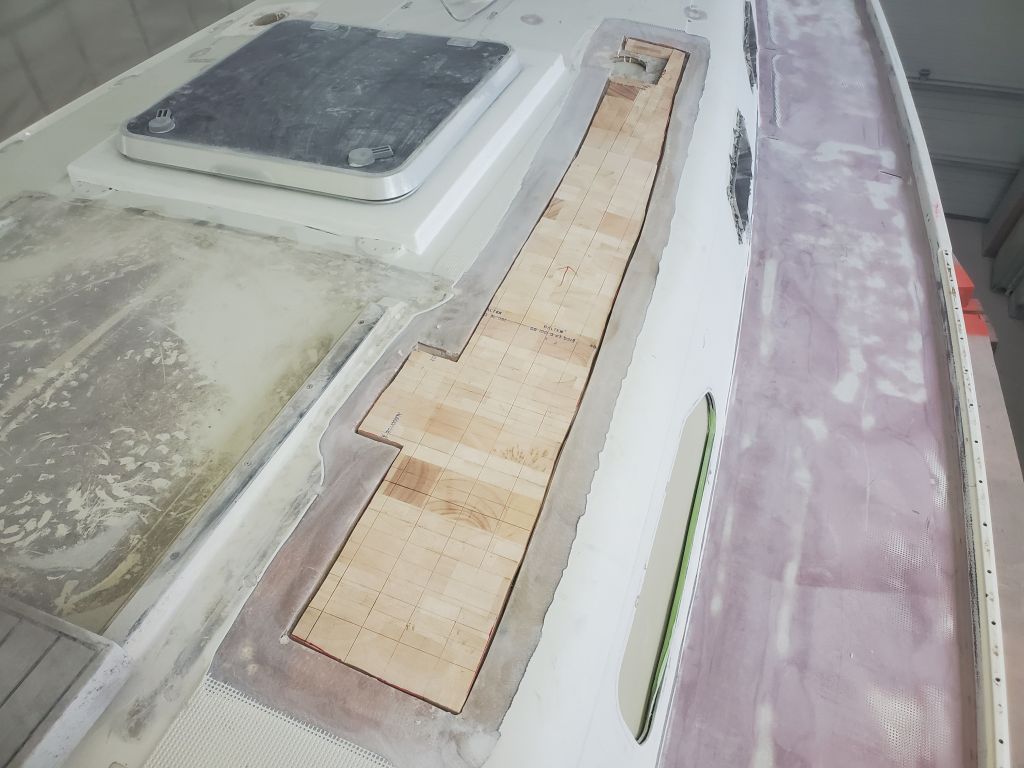
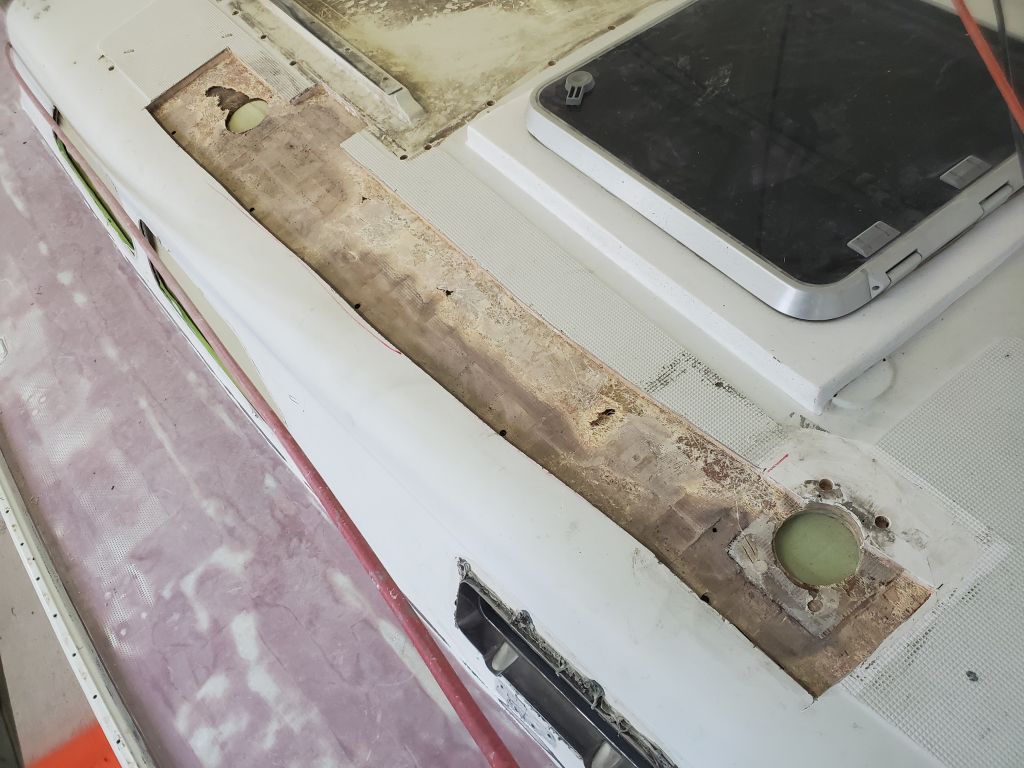
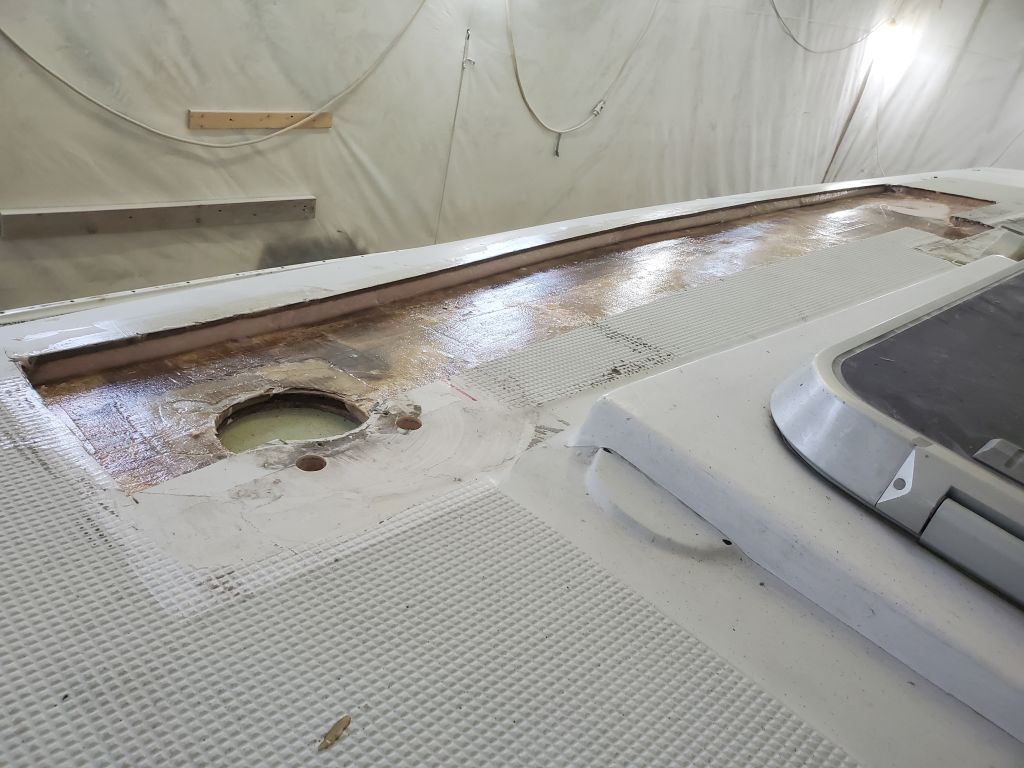
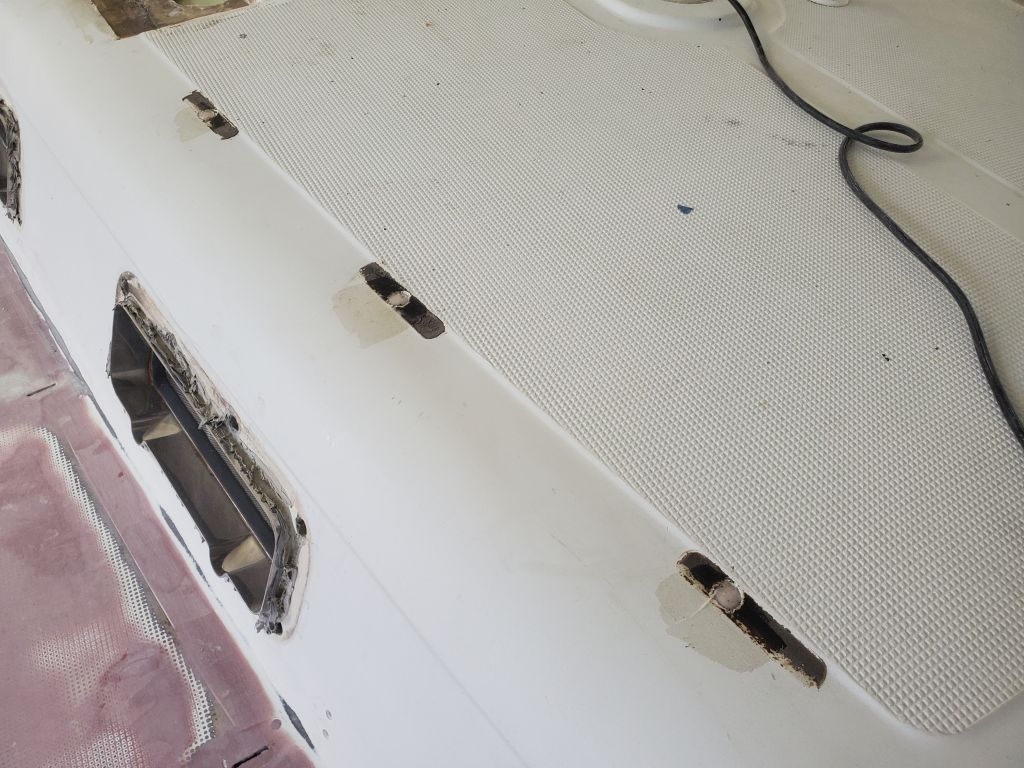
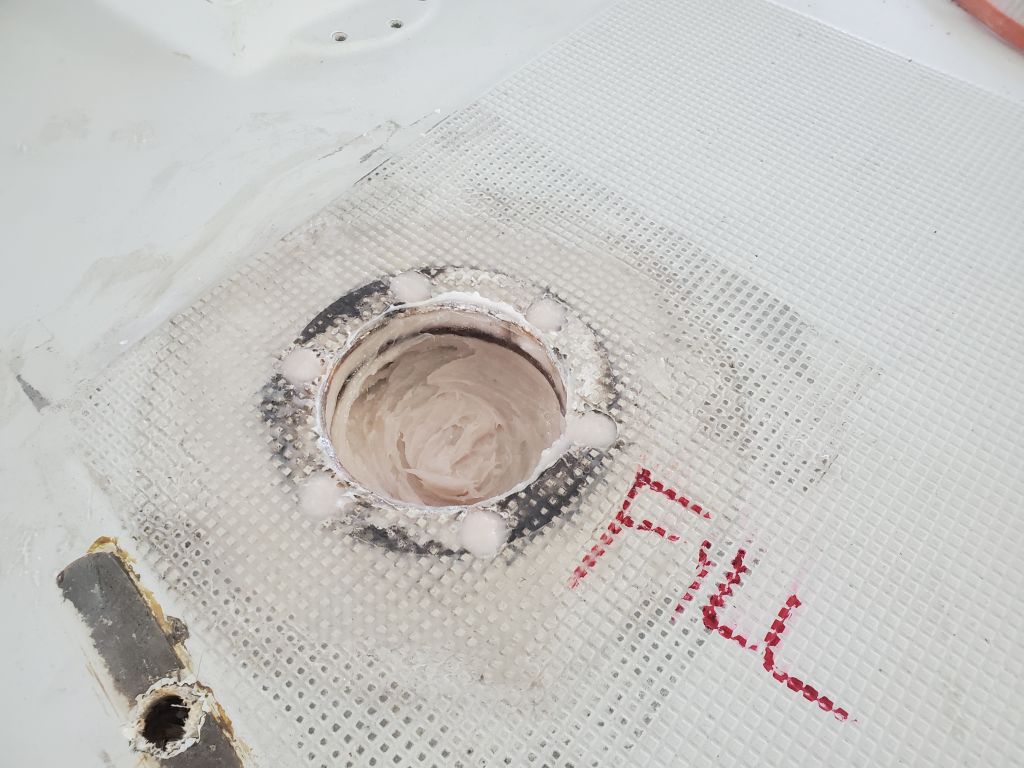
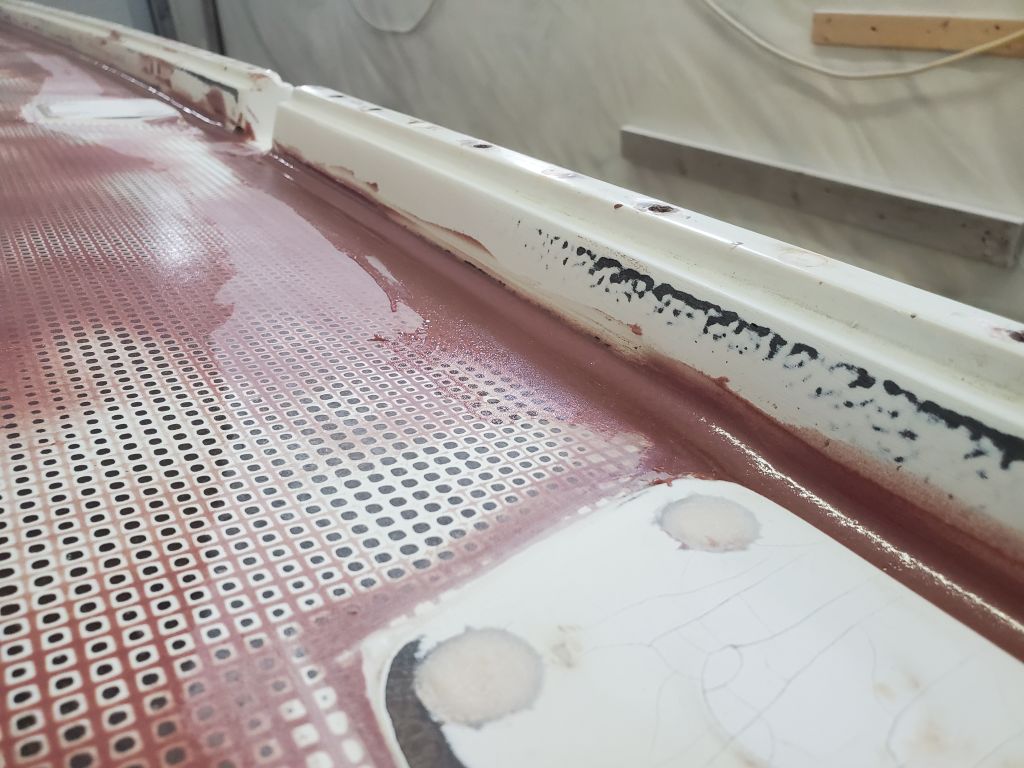
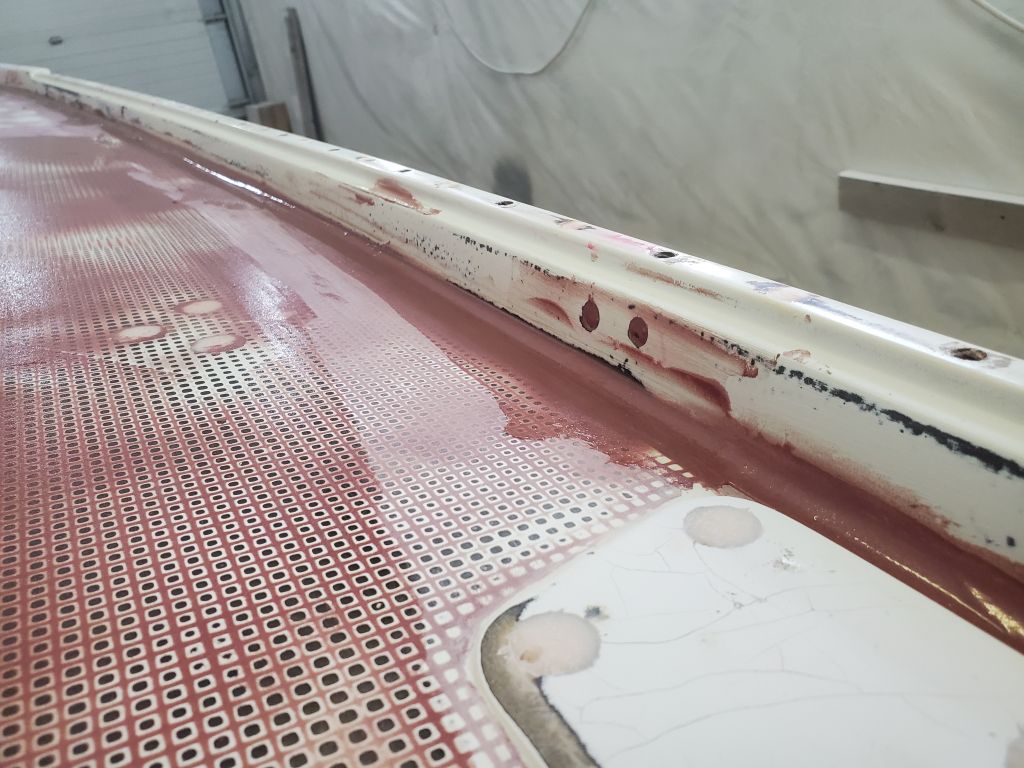
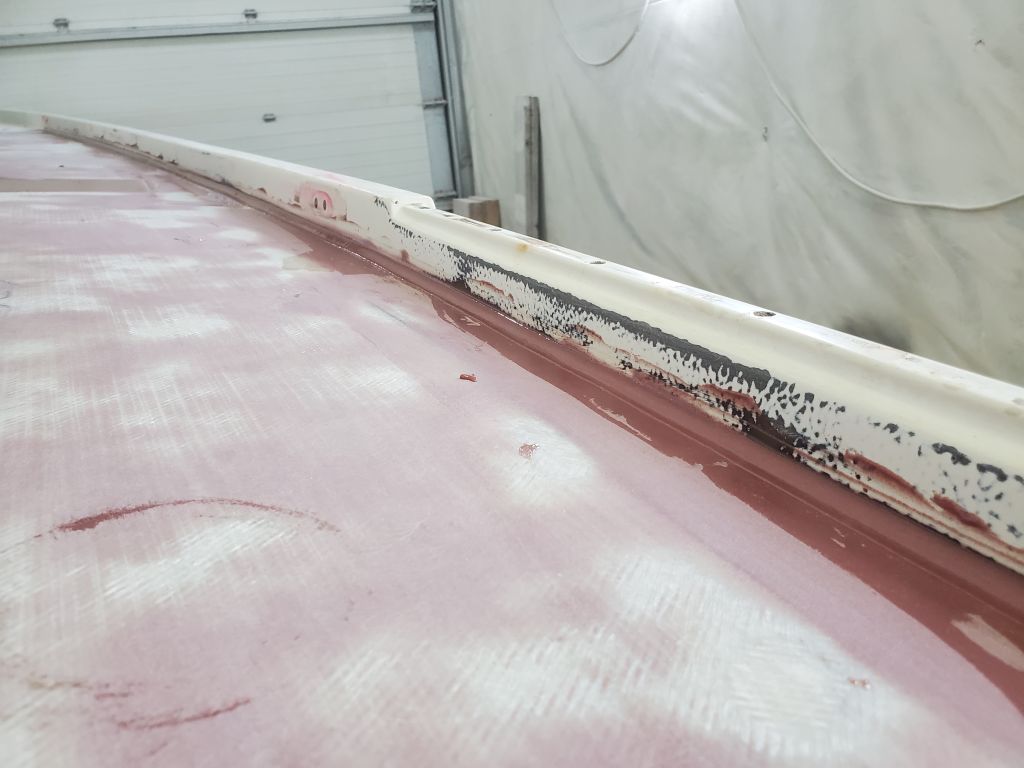
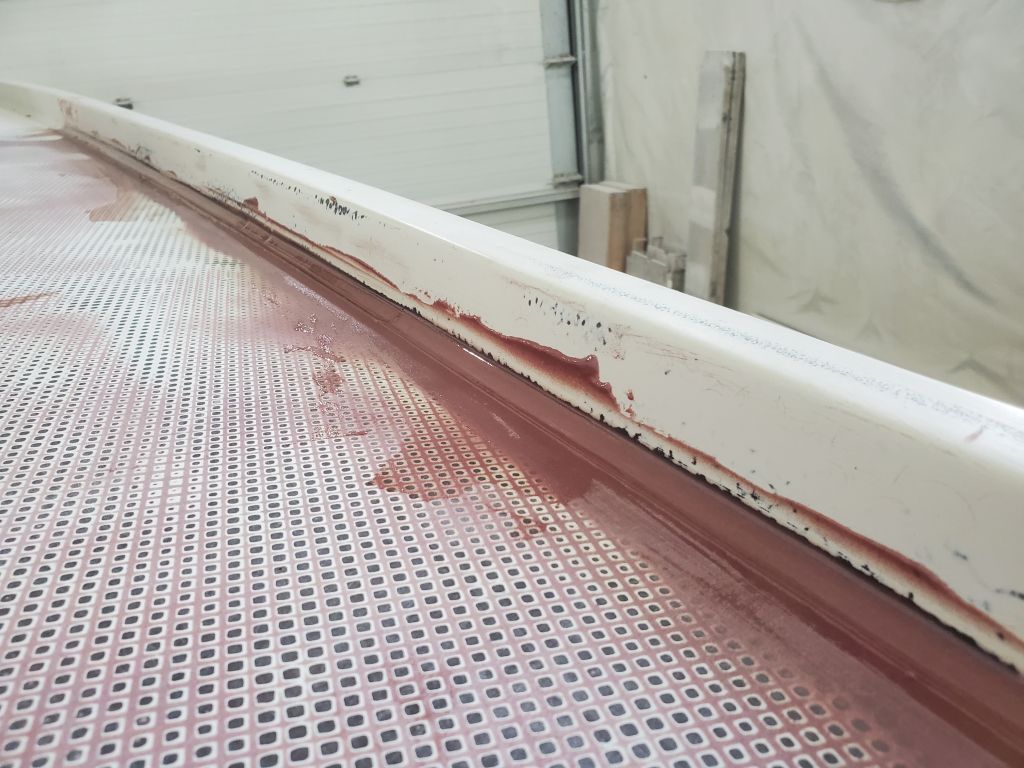
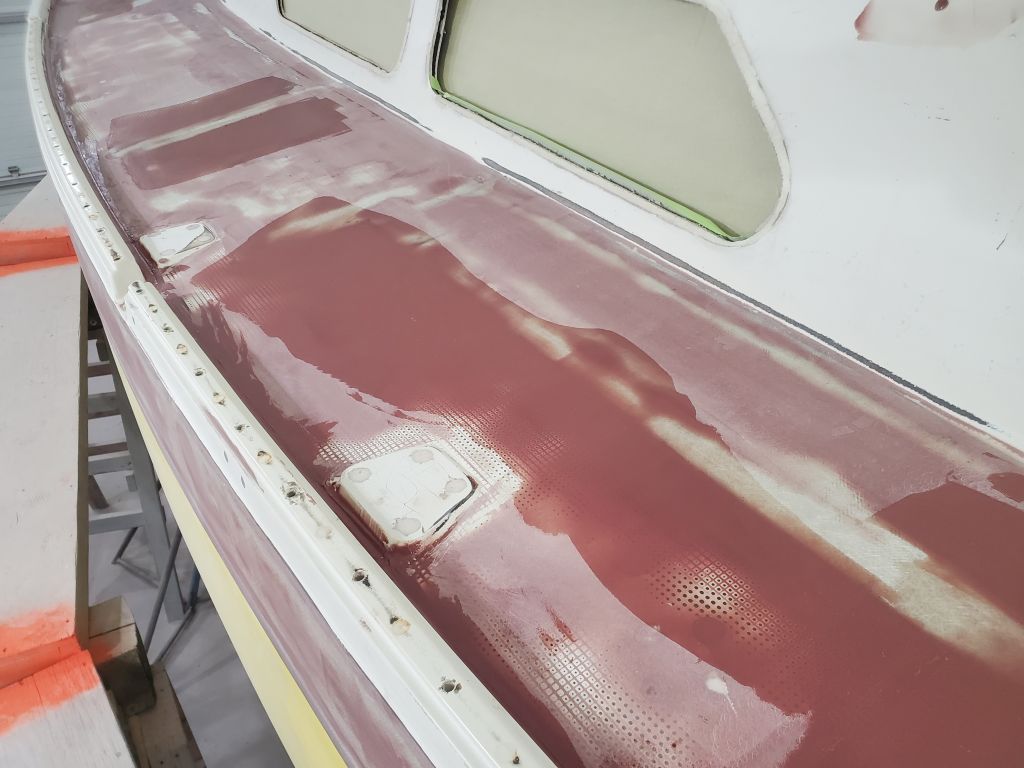
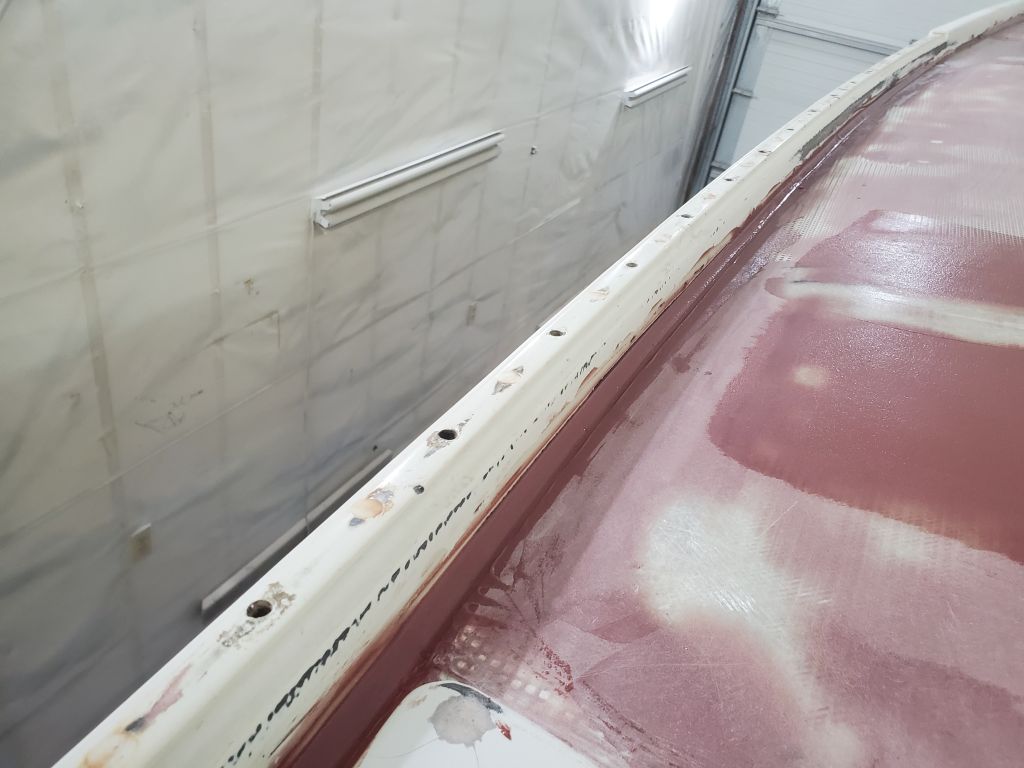
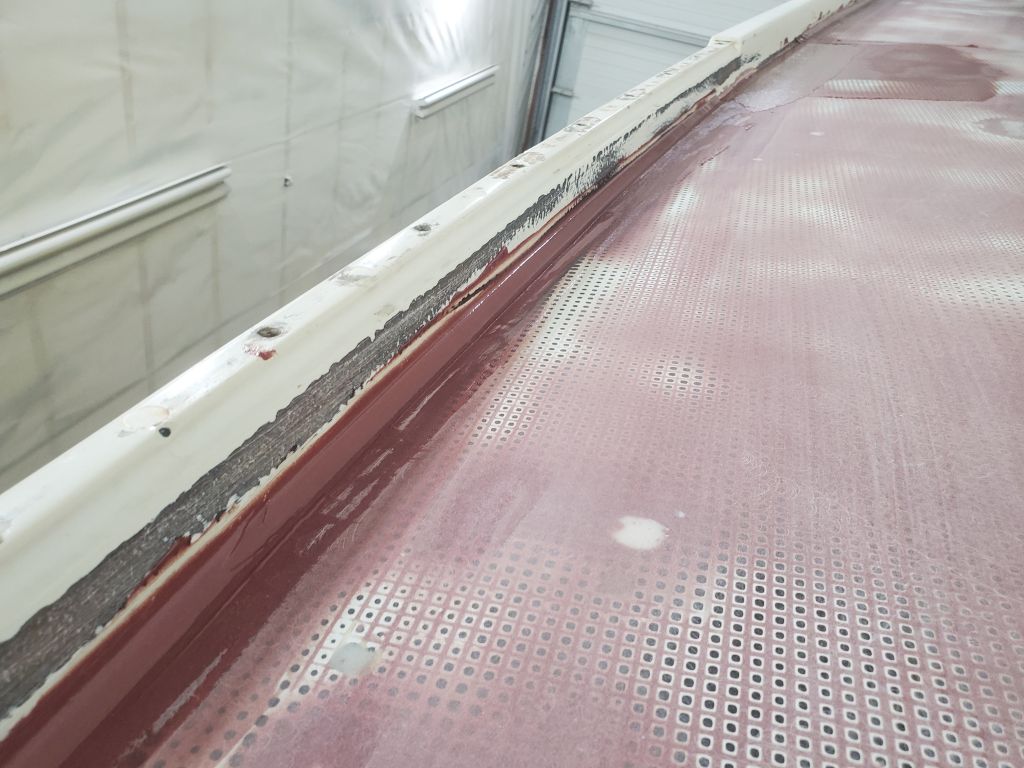
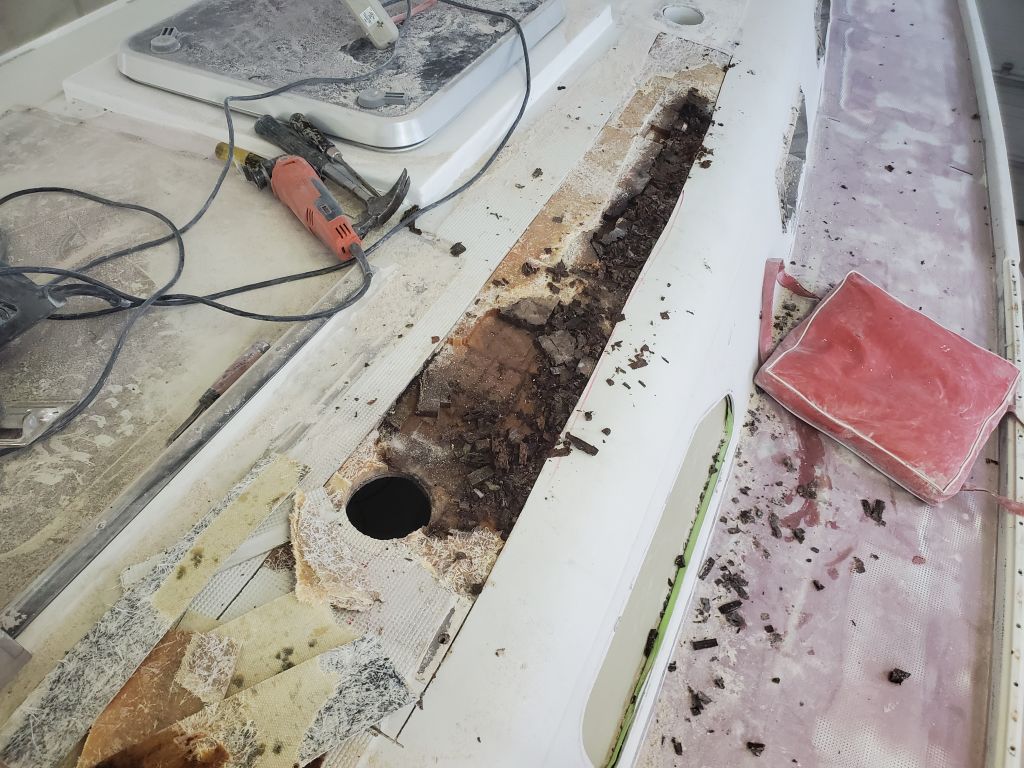
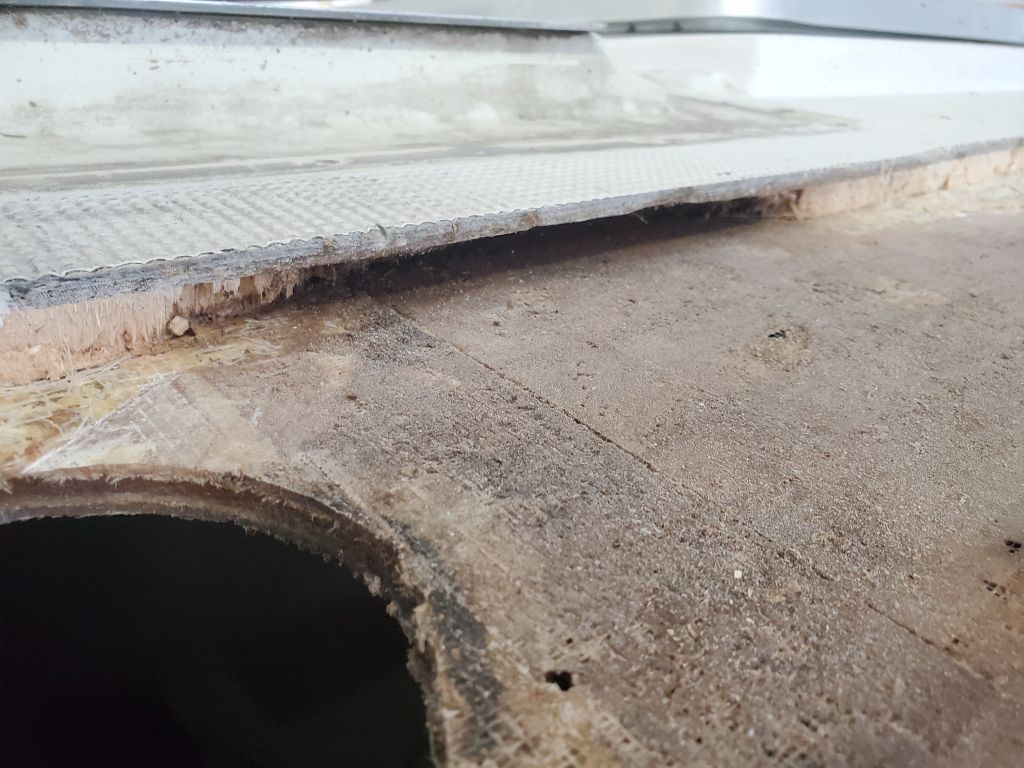
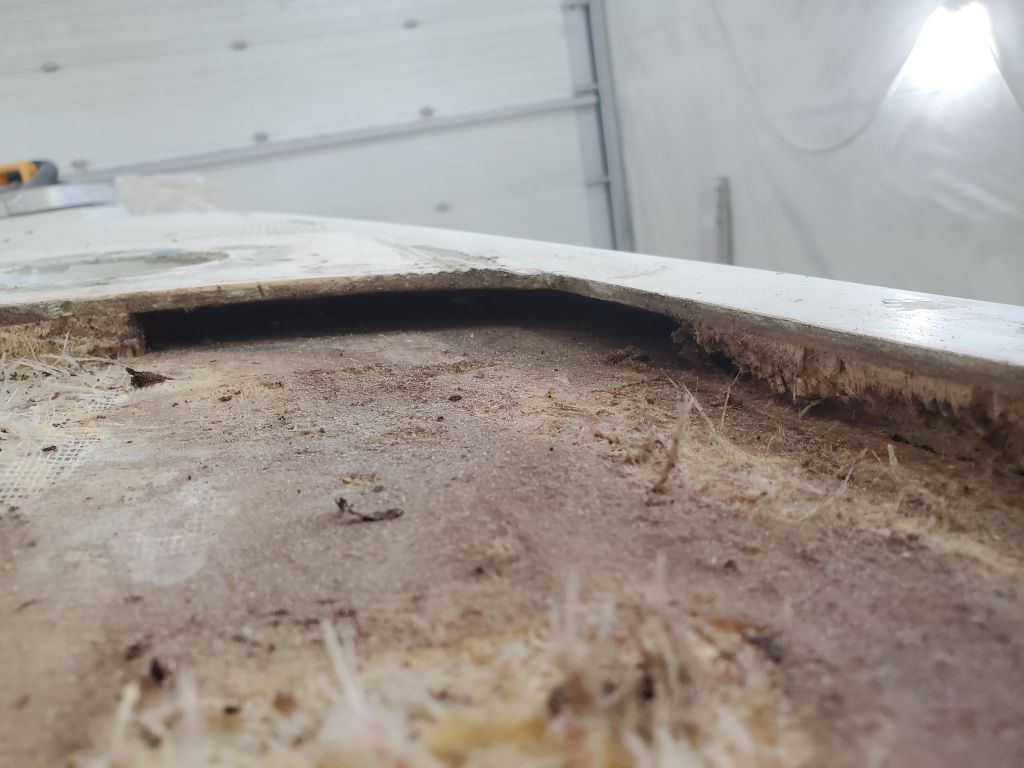
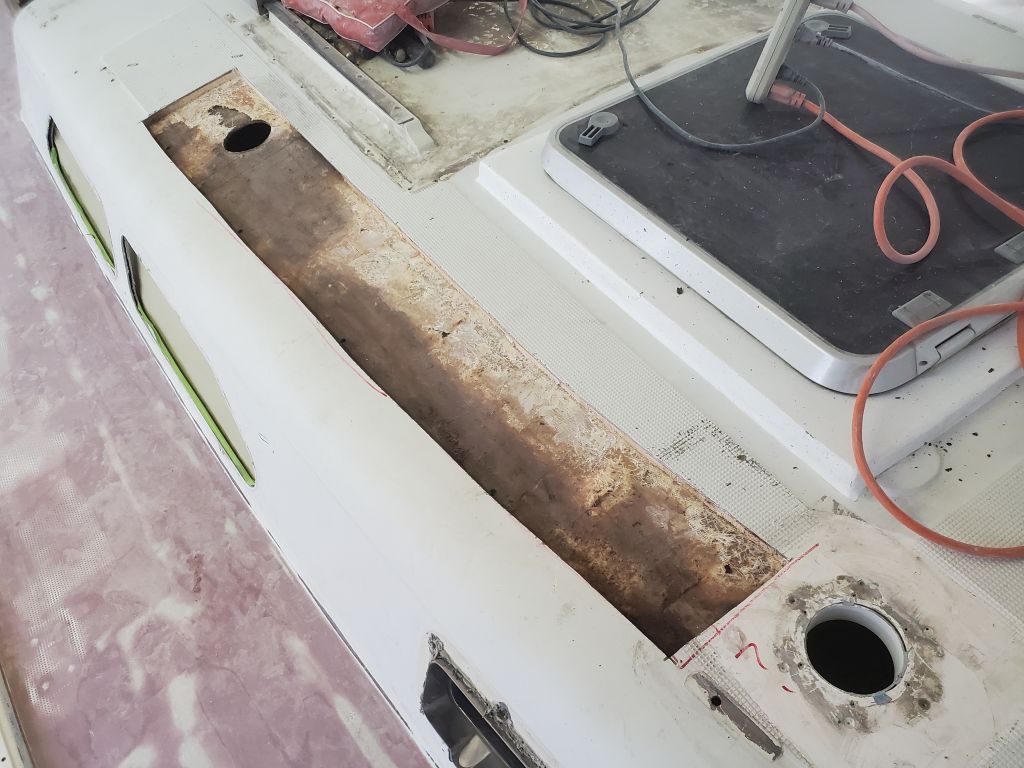
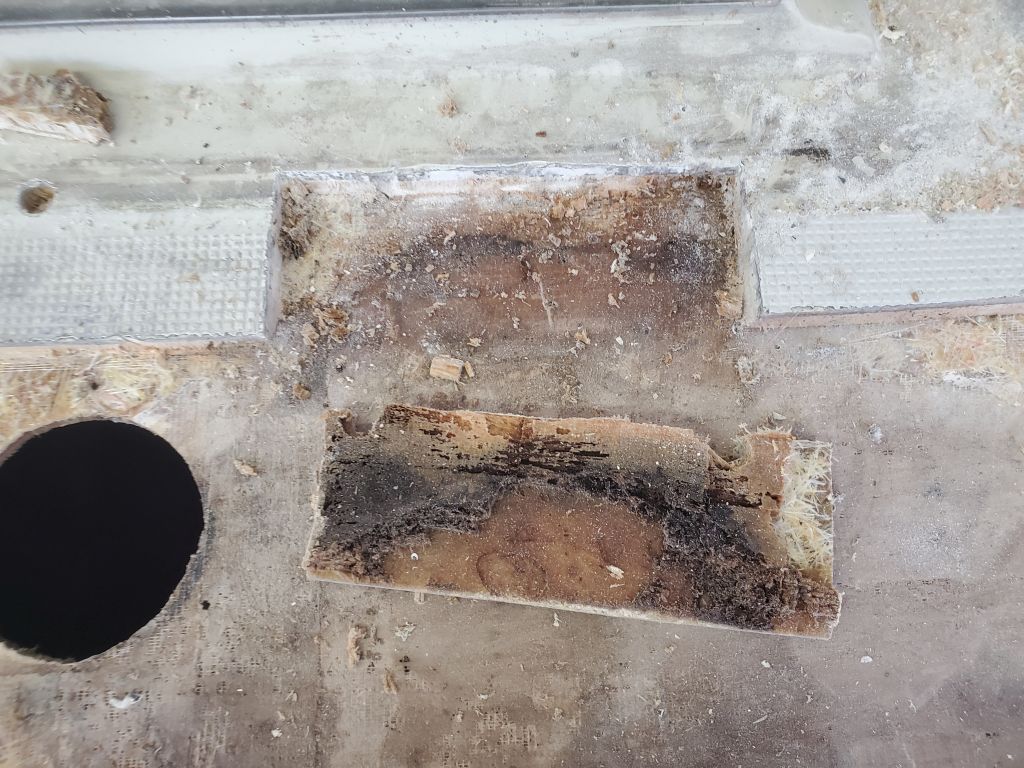
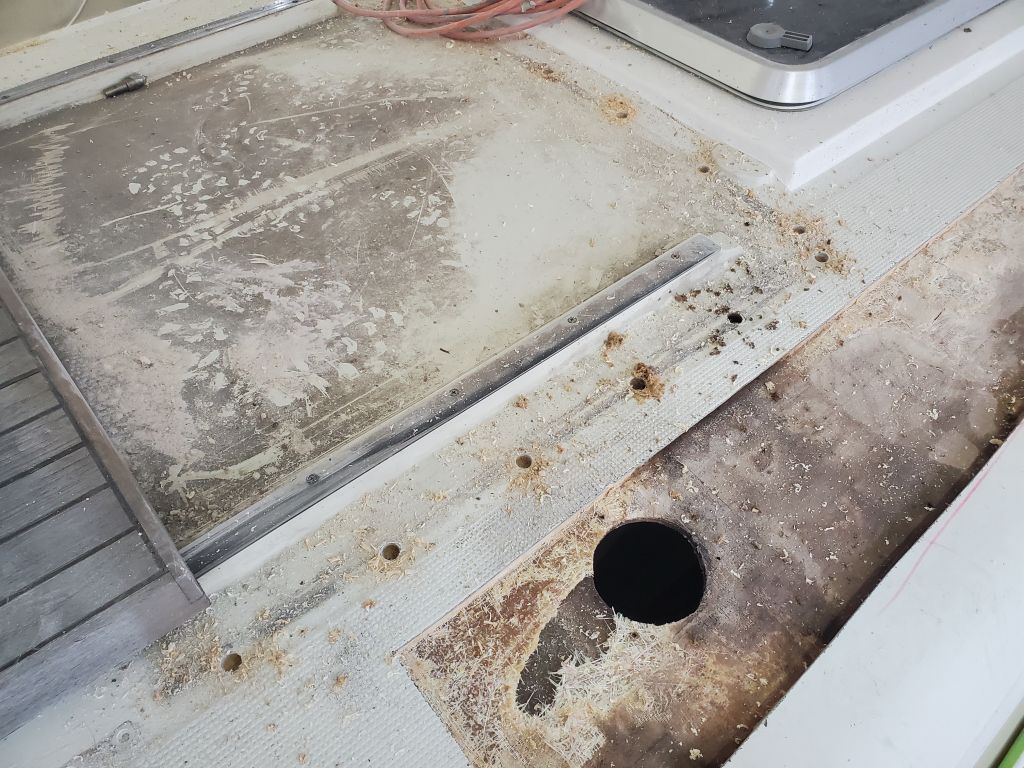
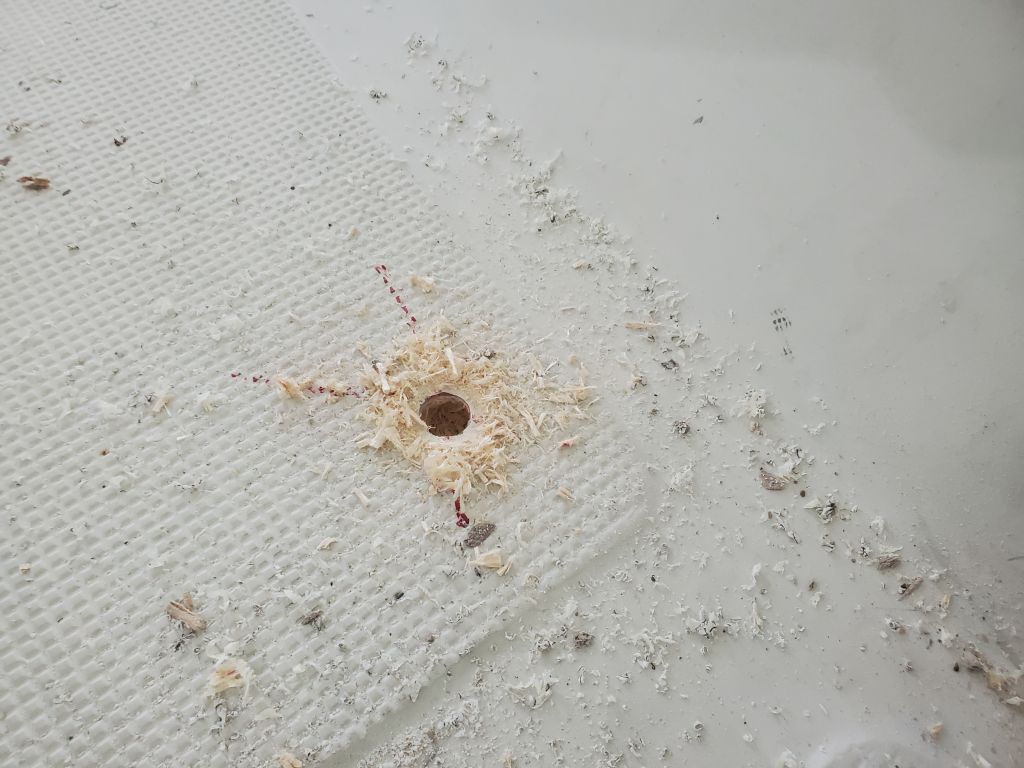
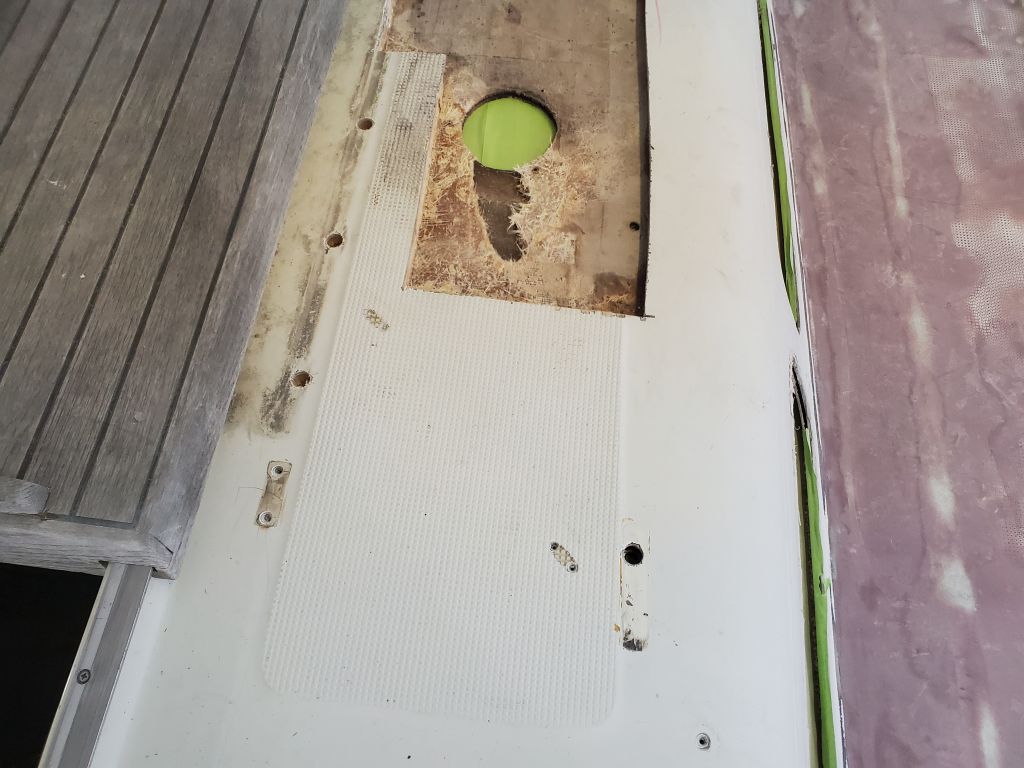
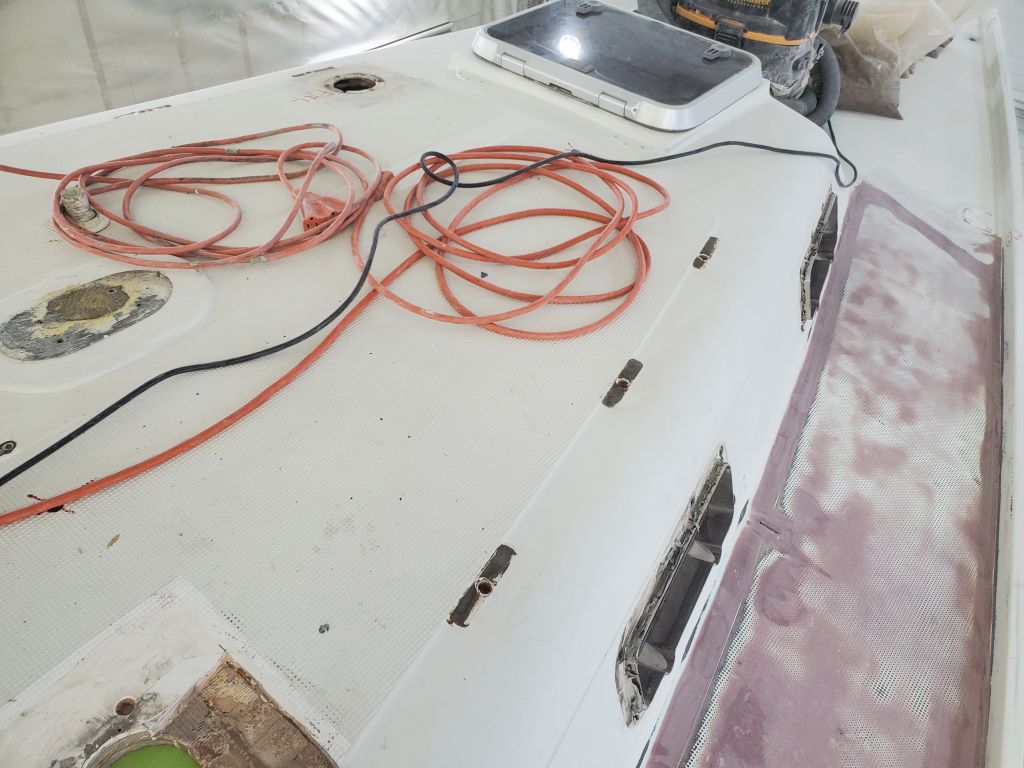
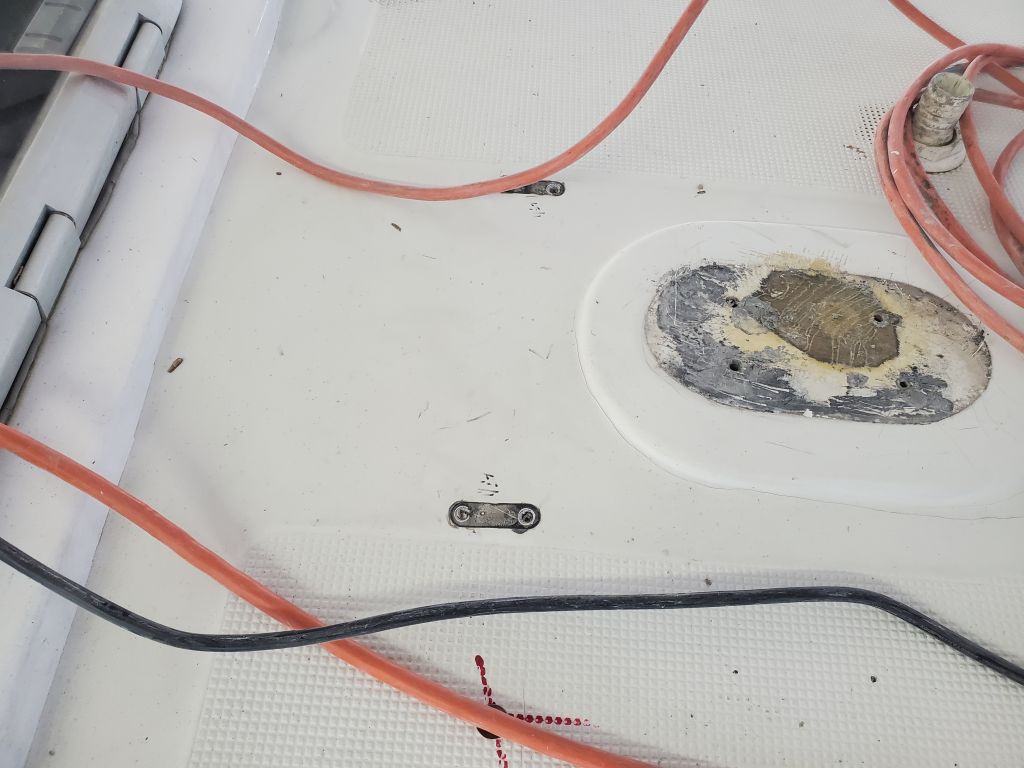
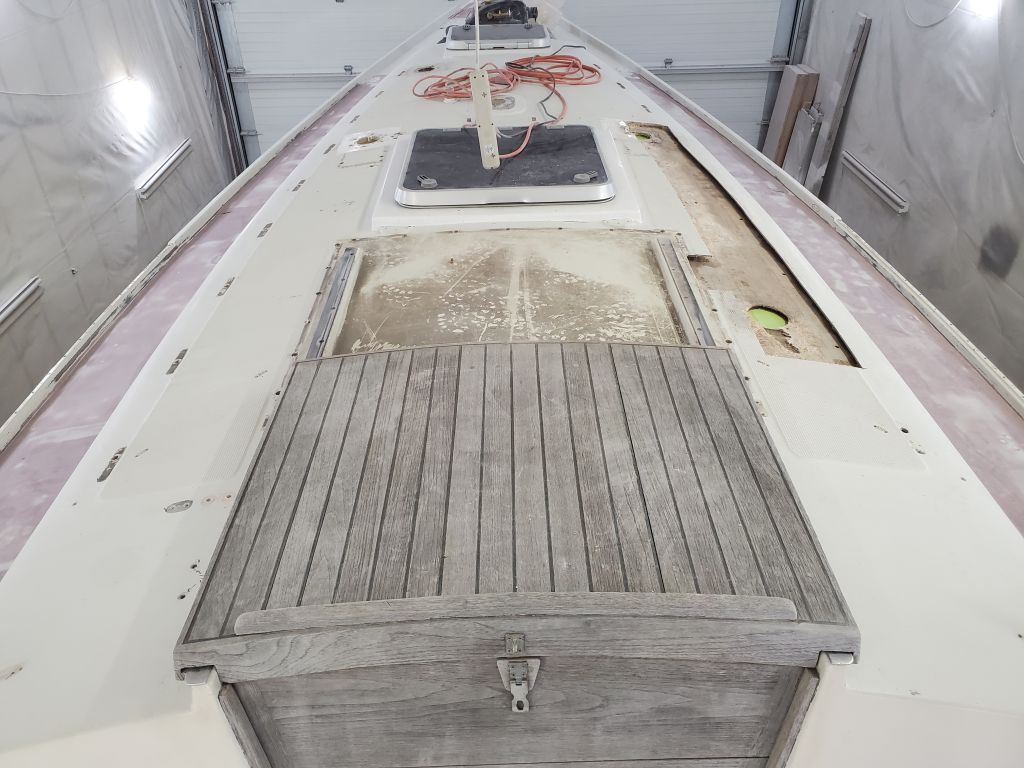
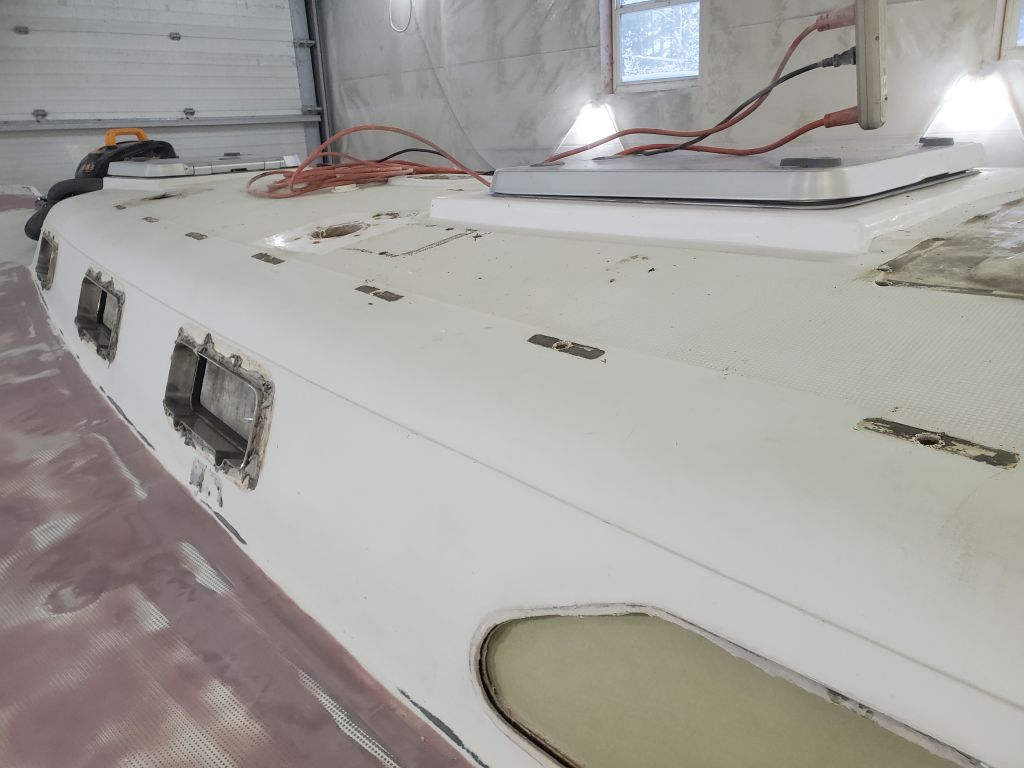
With progress on the main decks well underway and a predictable pattern of work ahead, I turned to the coachroof now to address the various work and repairs needed there, starting with the large area to starboard where I’d identified wet core earlier. With a saw, I removed the top skin from the area, and pried out the core beneath. Much of the area still had core in good condition, and well-stuck, but the pattern of wetness was unpredictable and random enough that the general shape of my opening was what was required. Most of the damage came from the handrail fastener holes, but some came from one or two of the sea hood screw holes further up, and it looked like I’d have to open a bit more of the deck there. Same thing with around the cowl vent at the forward end. I dug out most of the core from beneath the outboard deck flange (the core was mainly sound at the other edges other than where I needed to expand the opening a bit).
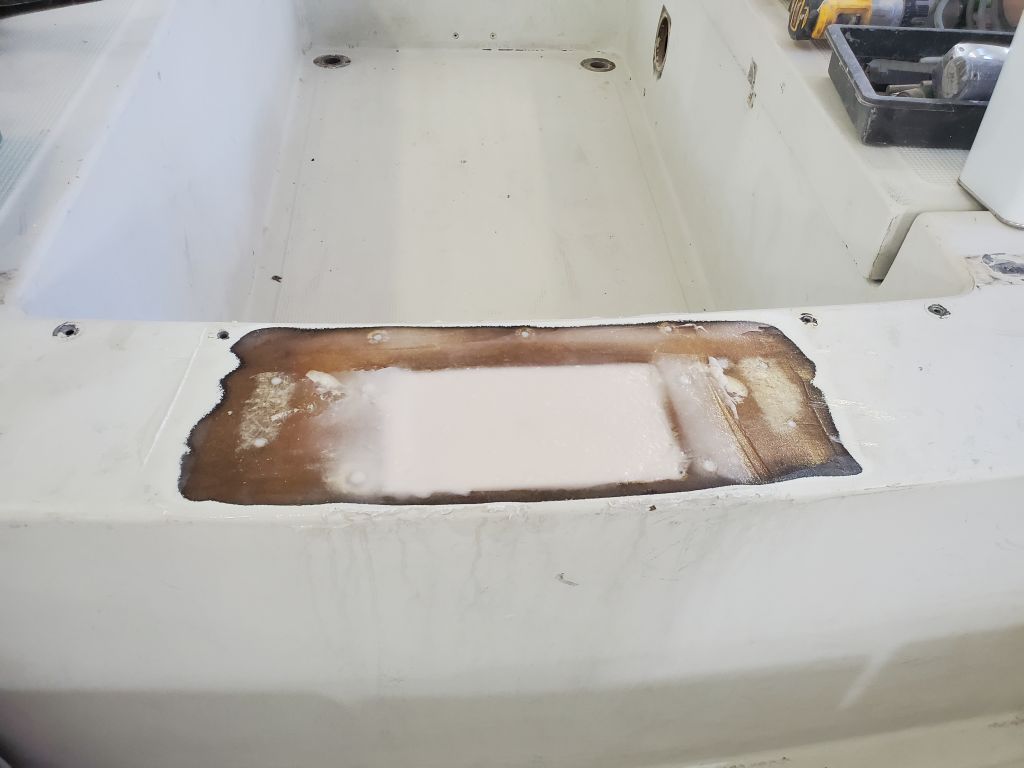
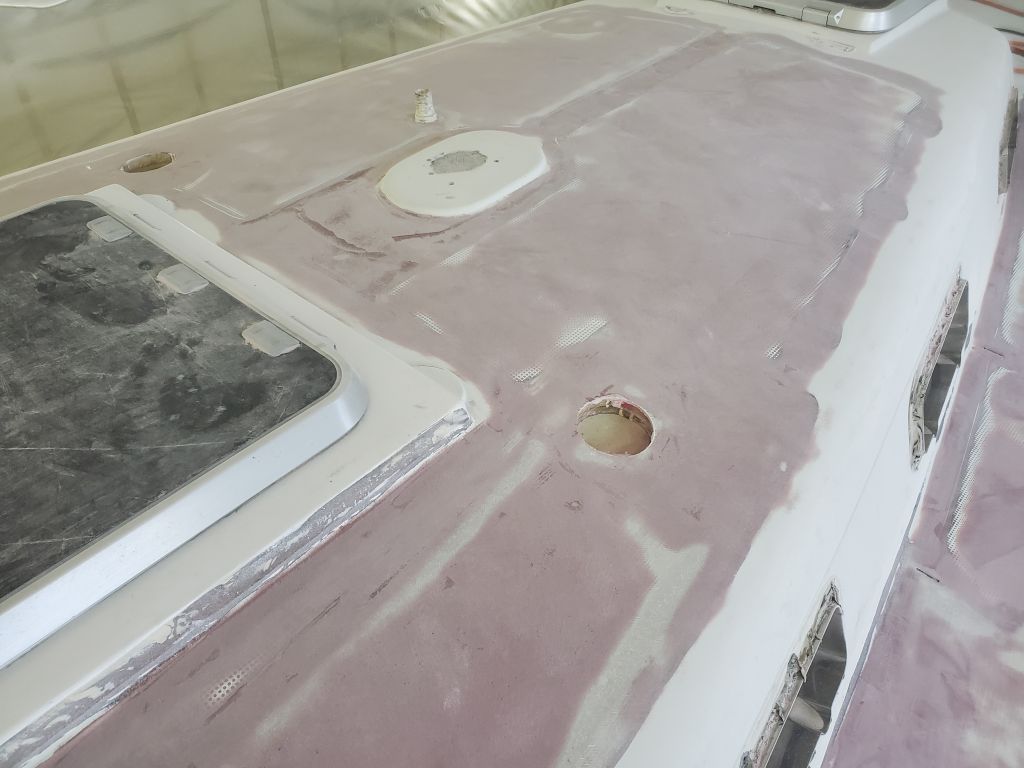
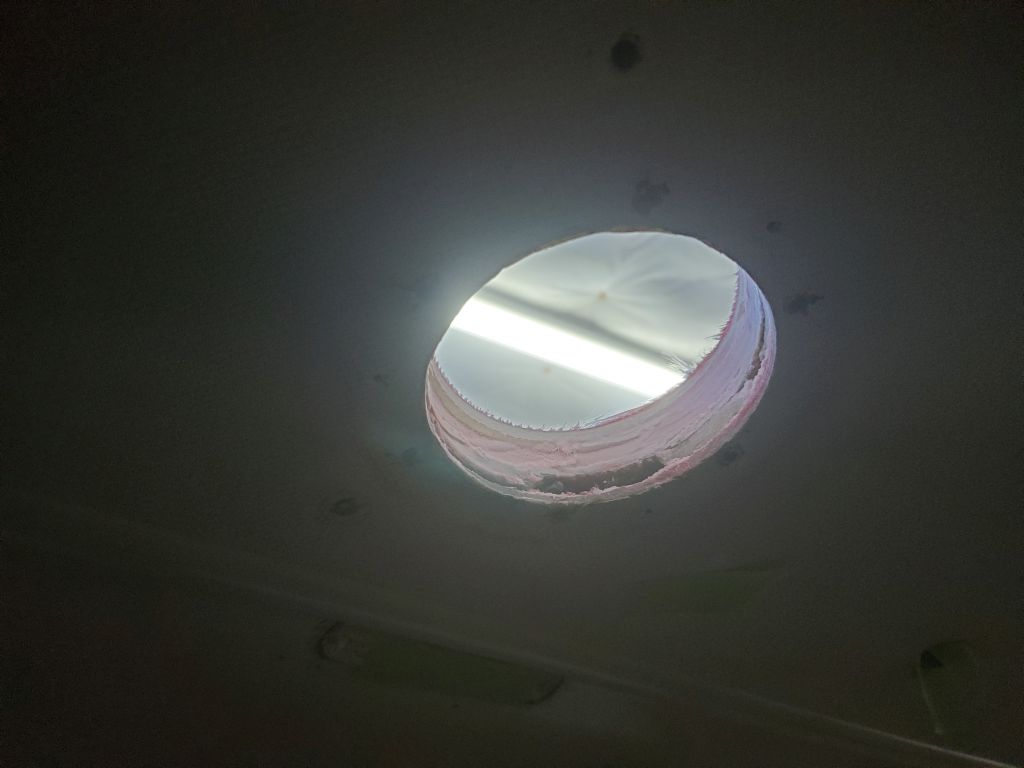
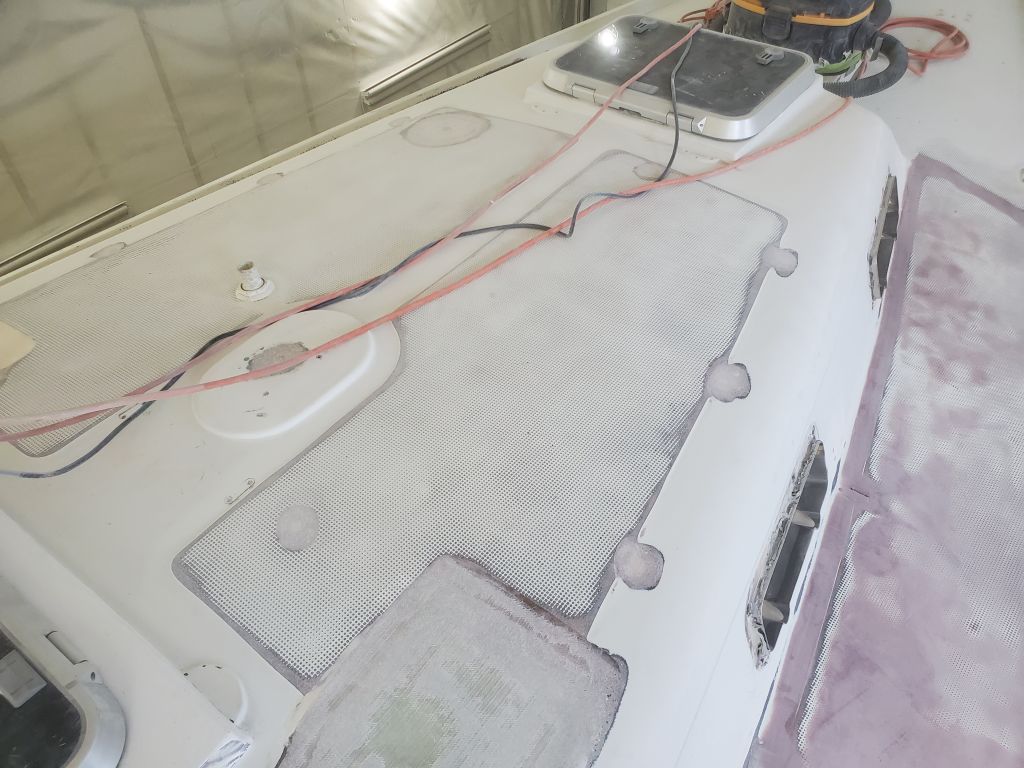
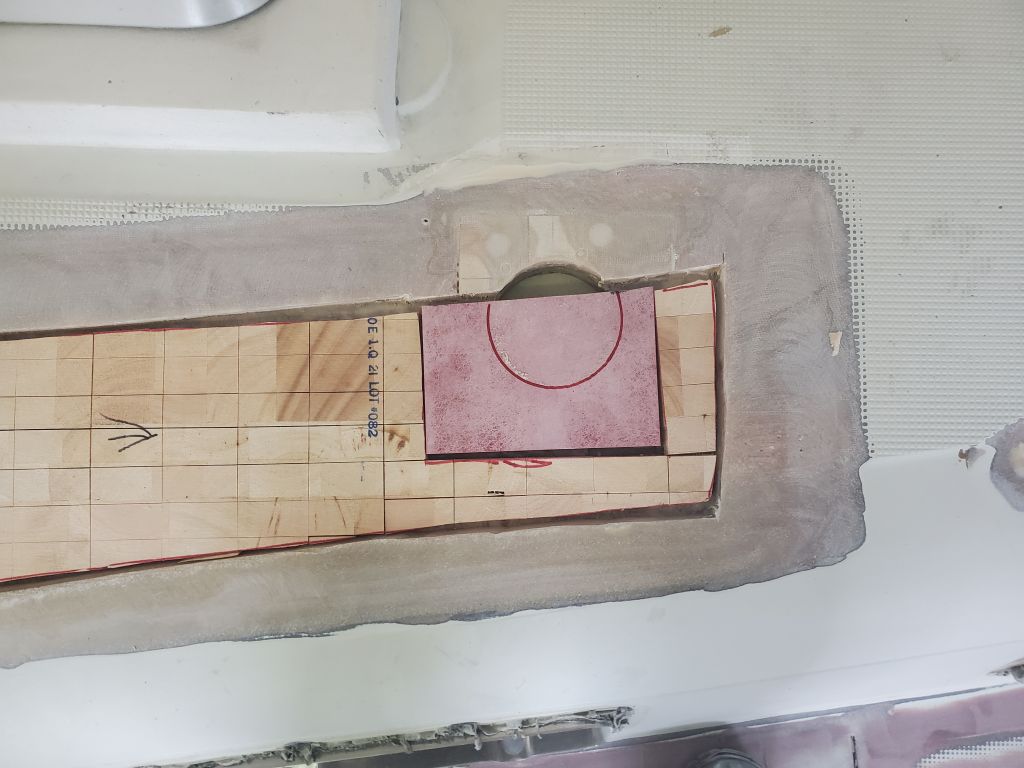
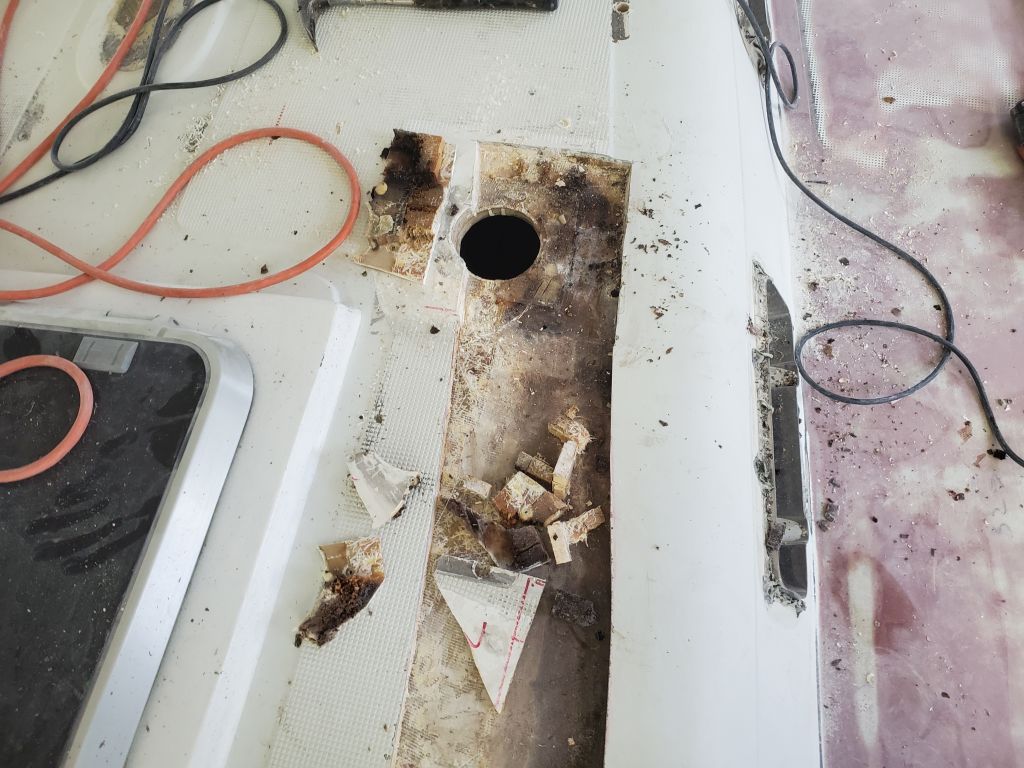
After a break, I made some additional cuts to open up the deck to the leaking sea hood holes, and in way of the cowl vent opening at the forward end. I found clean core at the edges of these openings, so had no need to dig further.
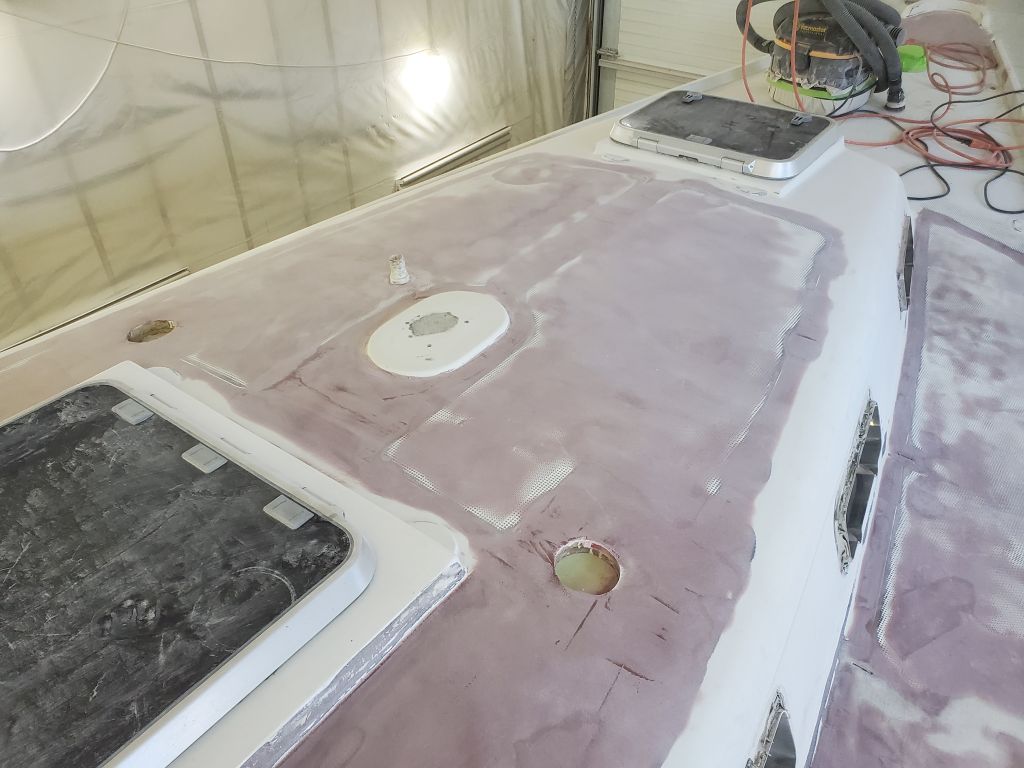
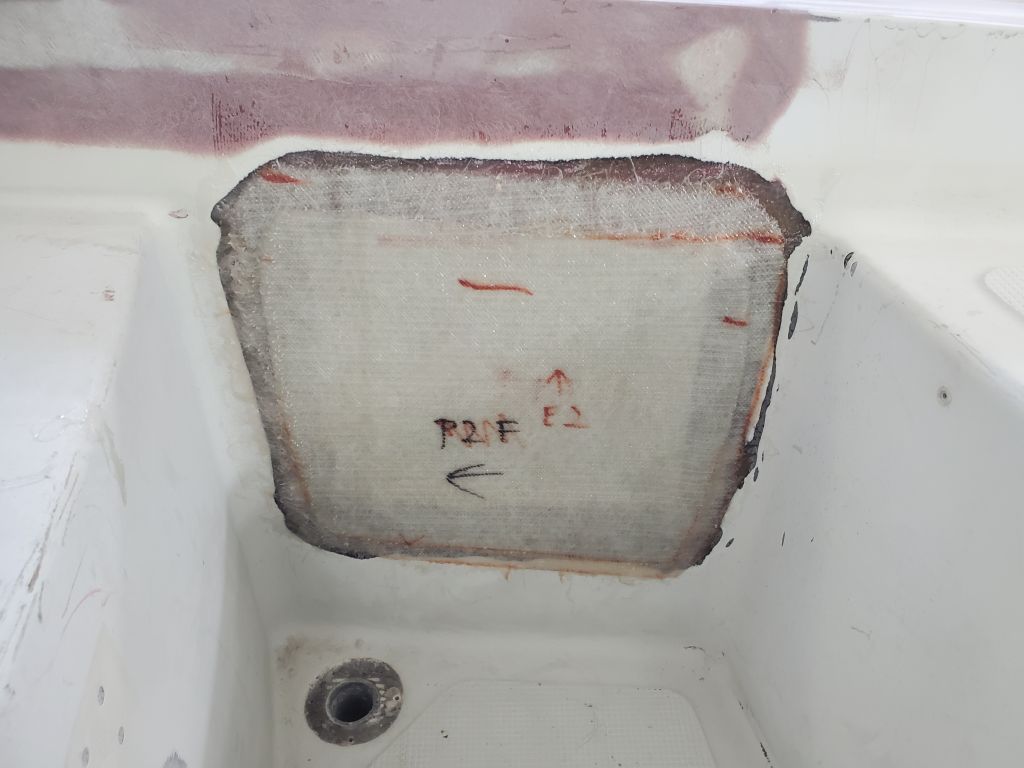
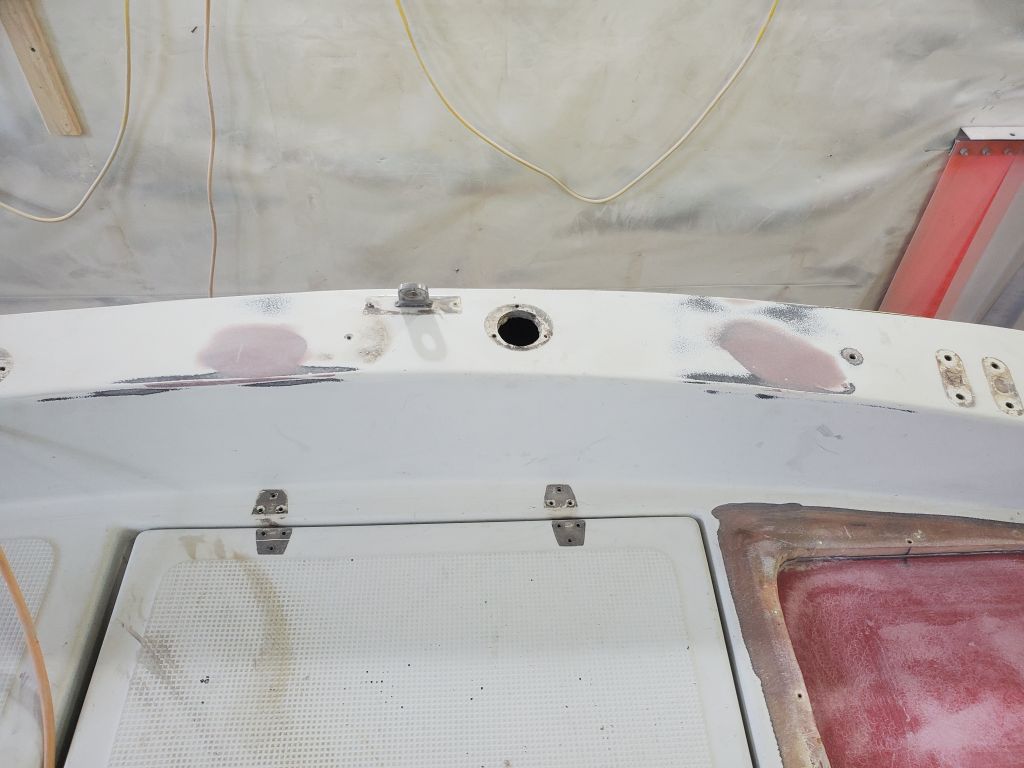
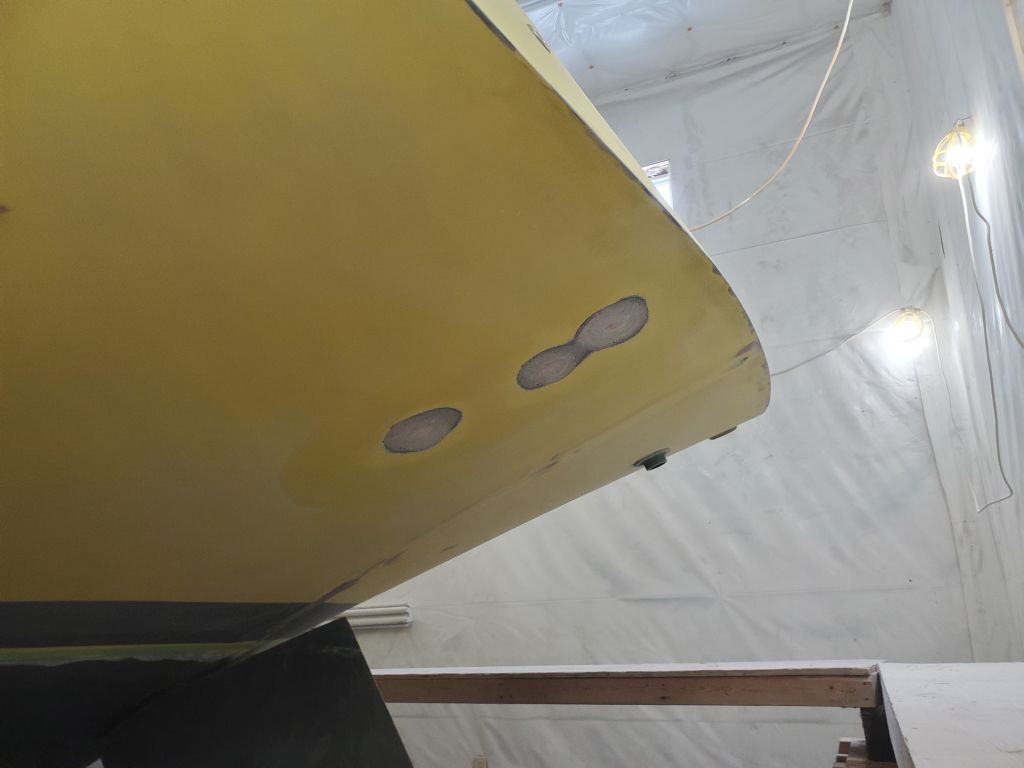
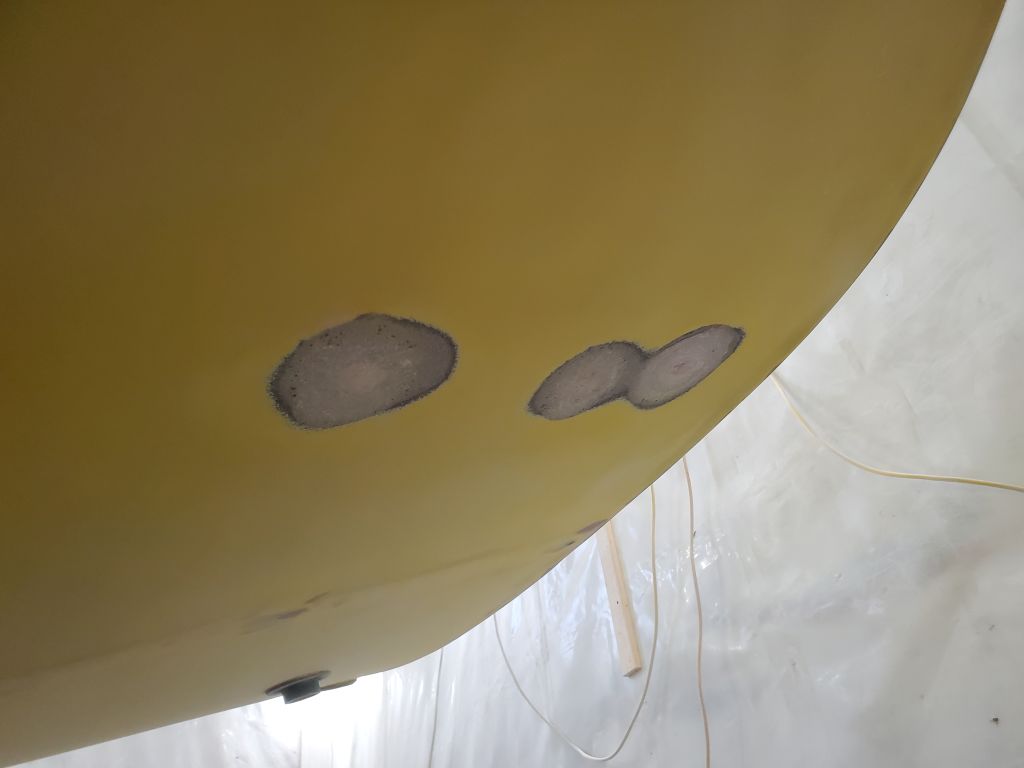
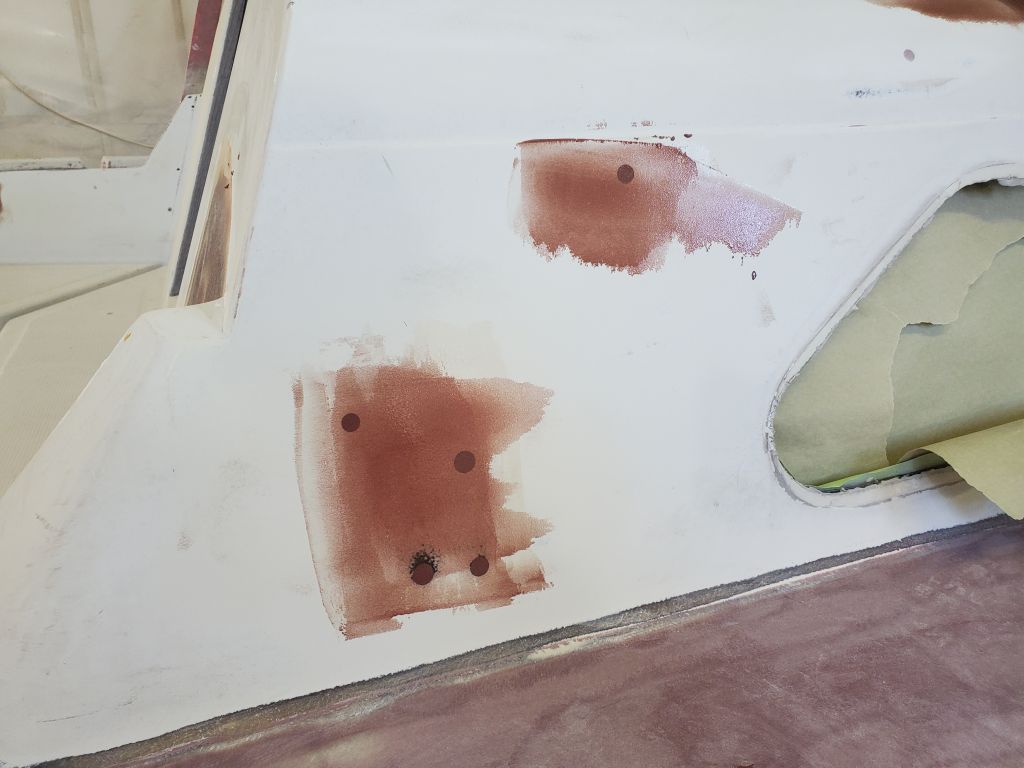
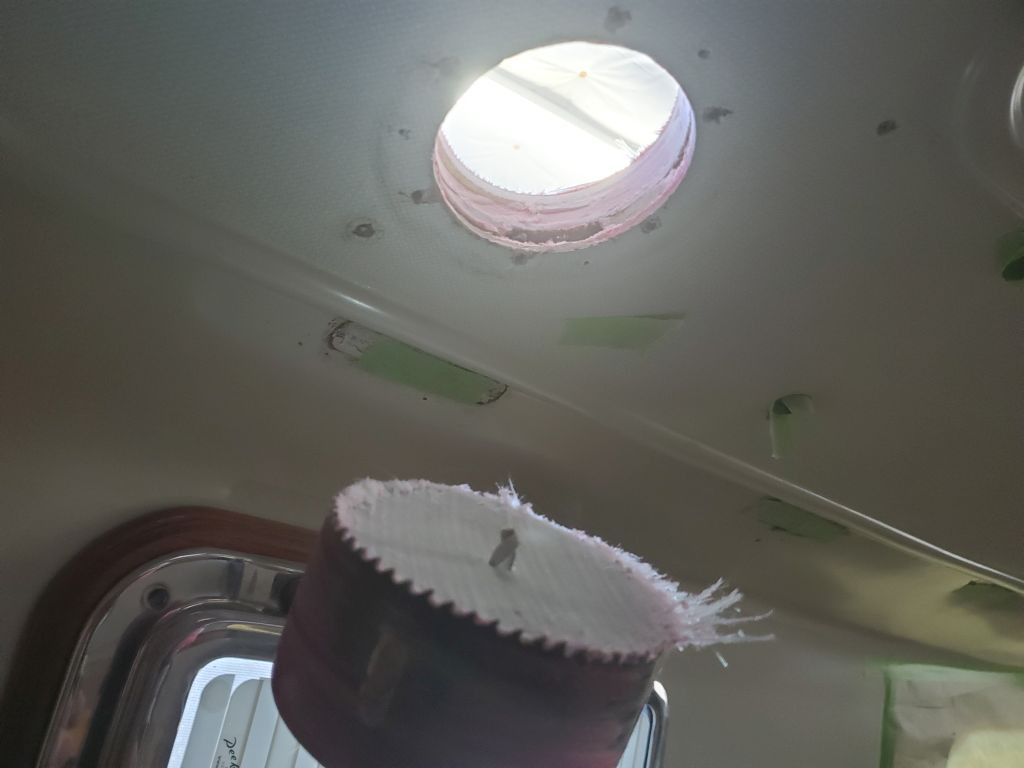
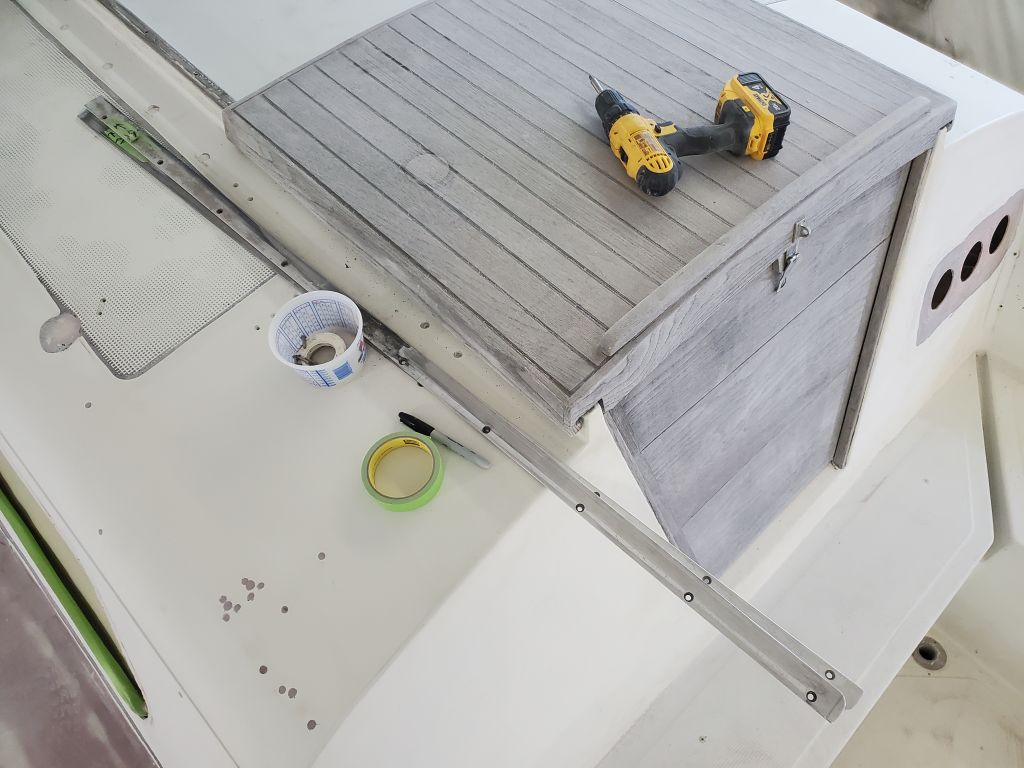
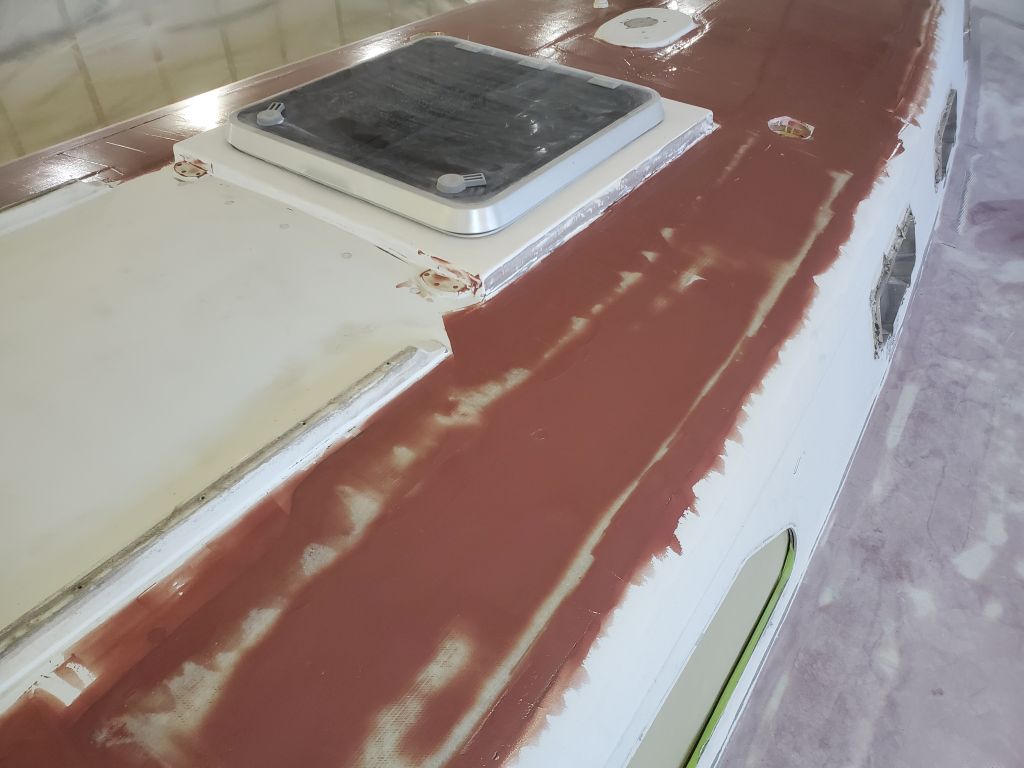
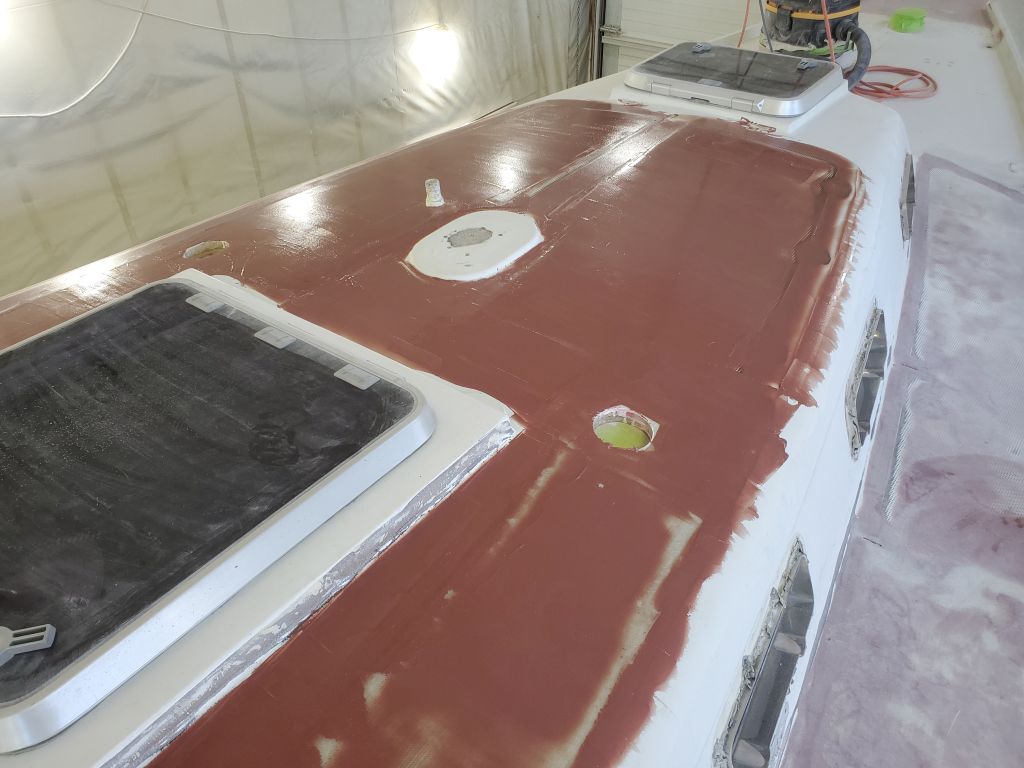
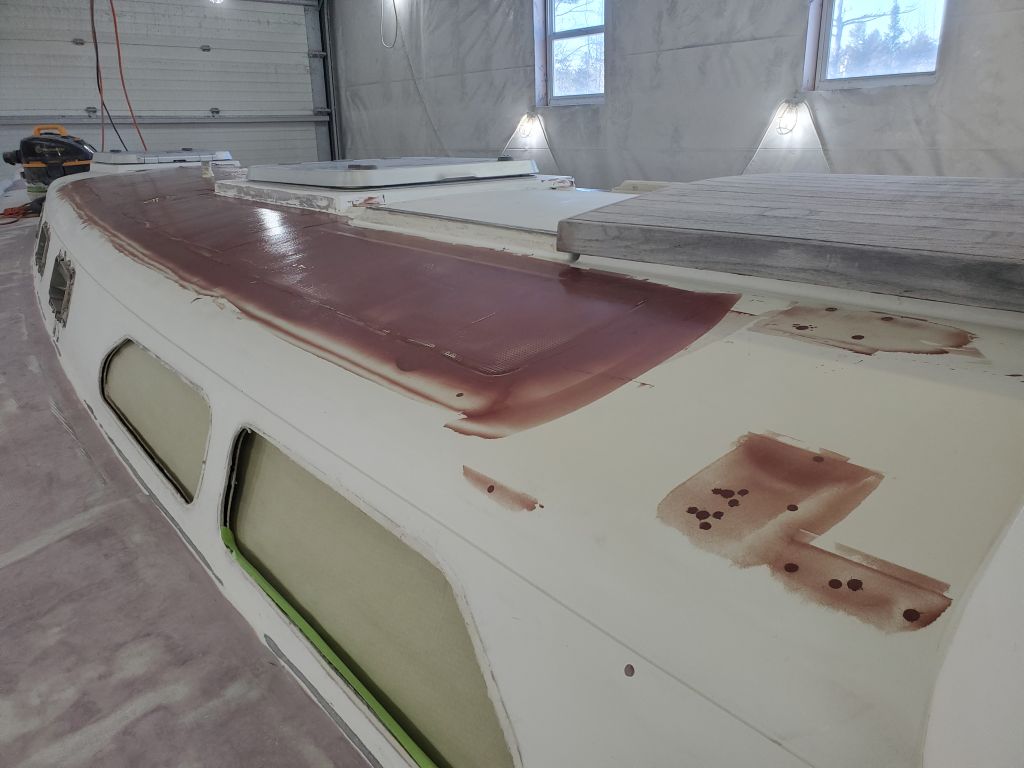
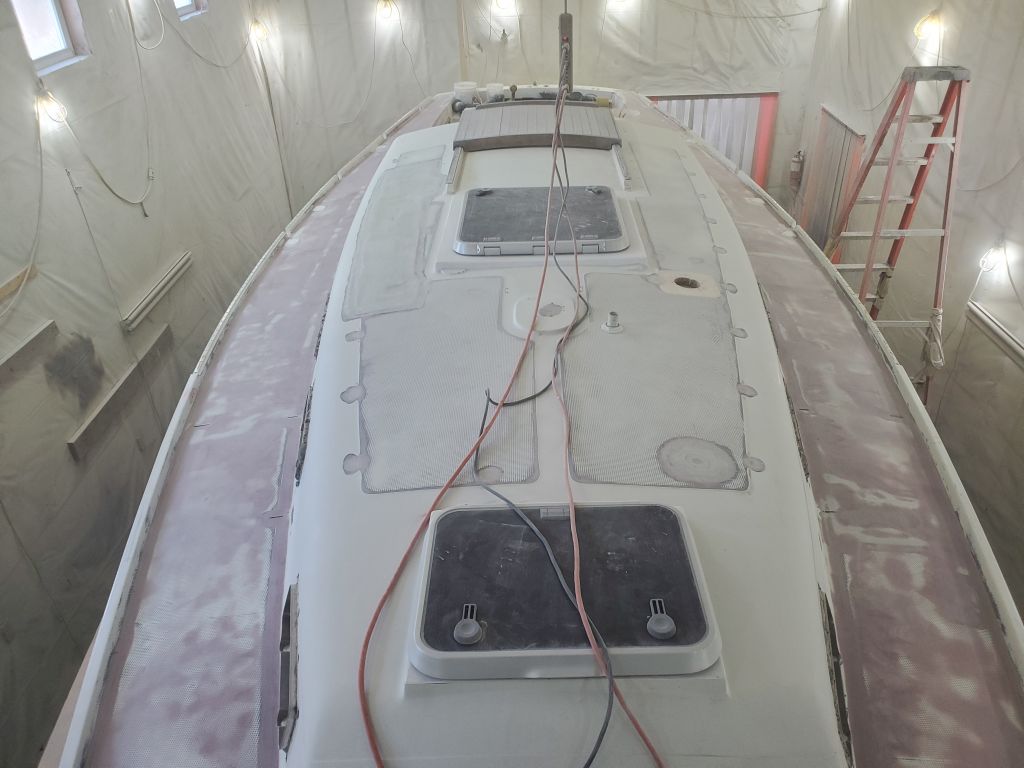
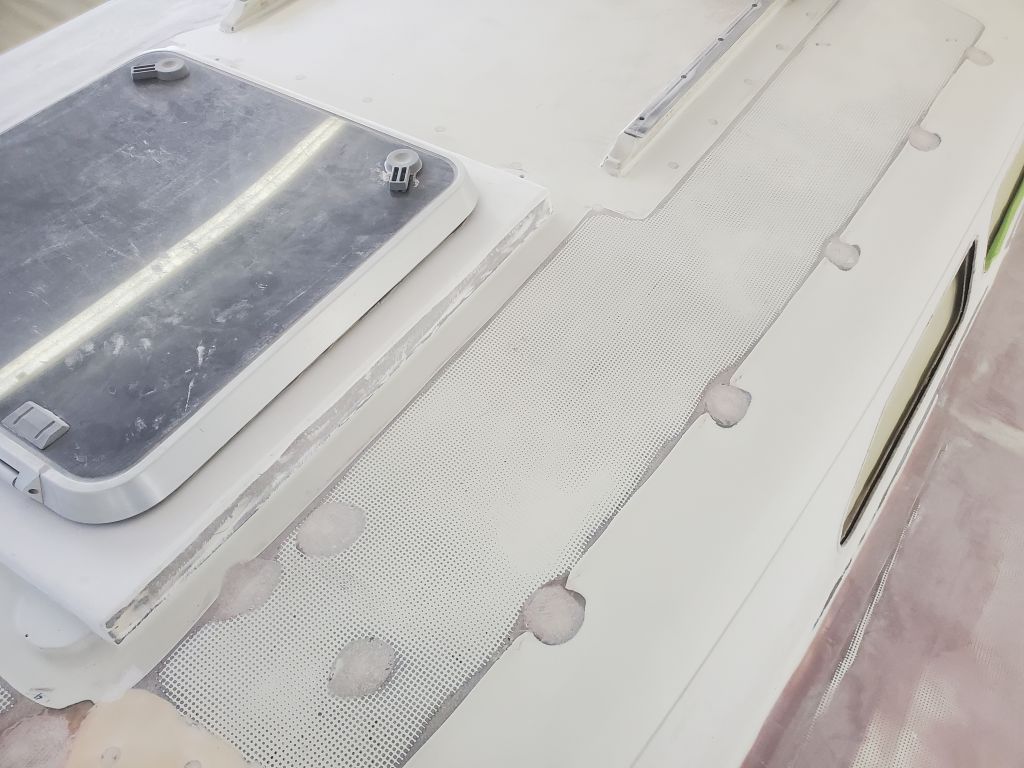
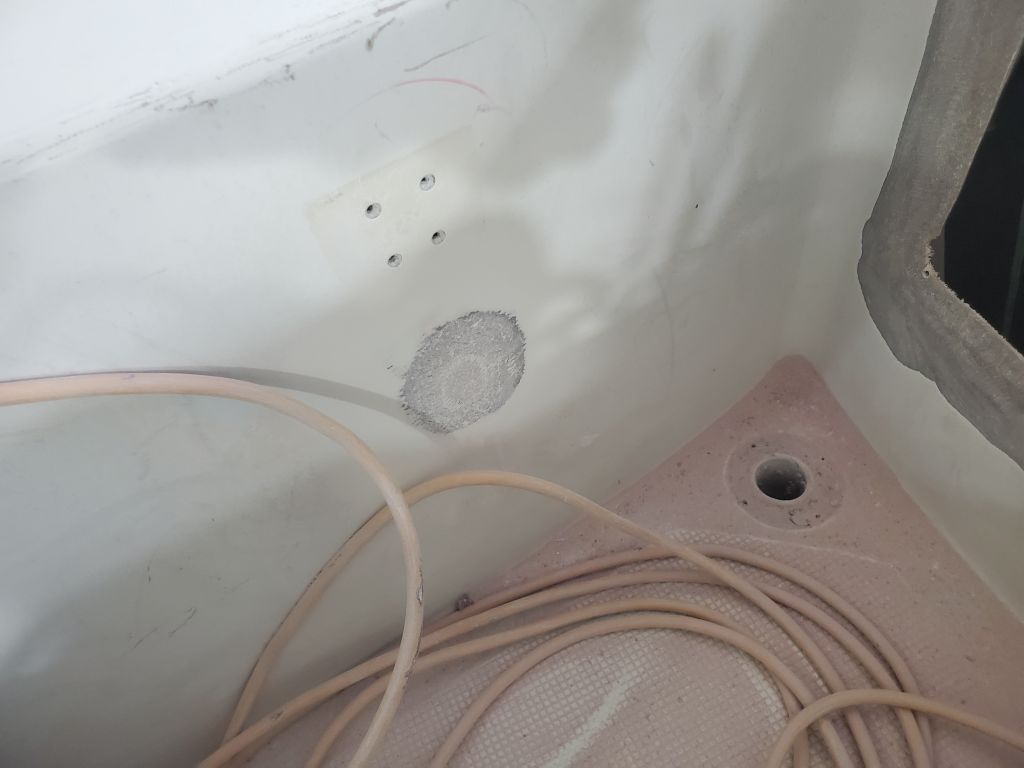
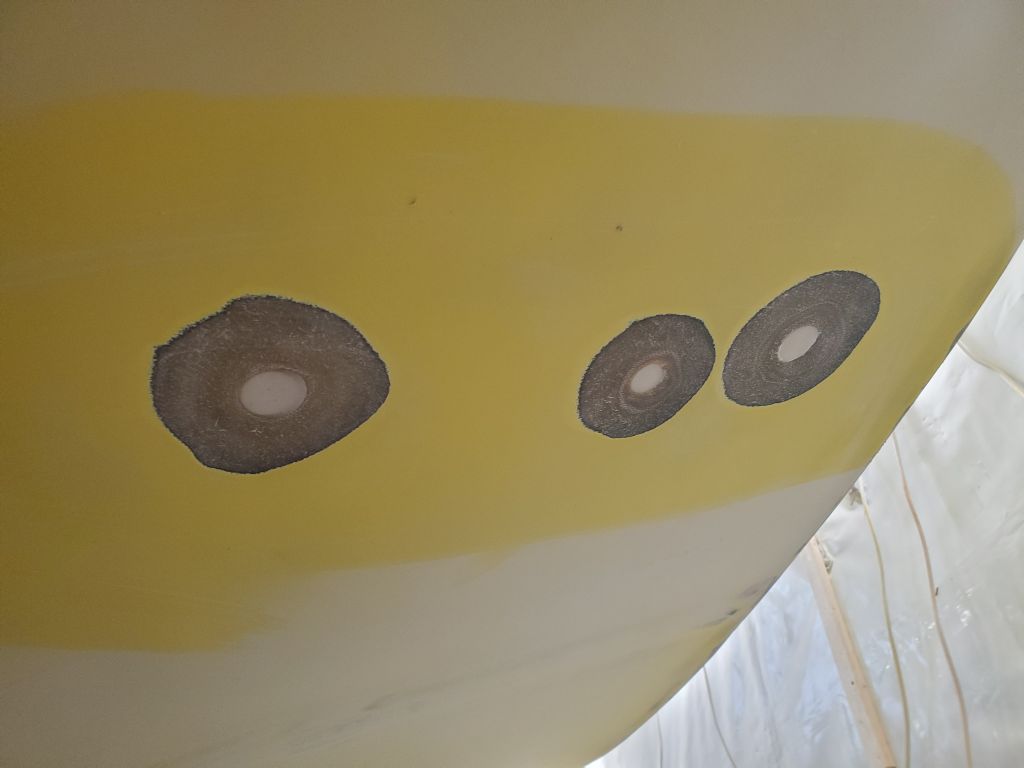
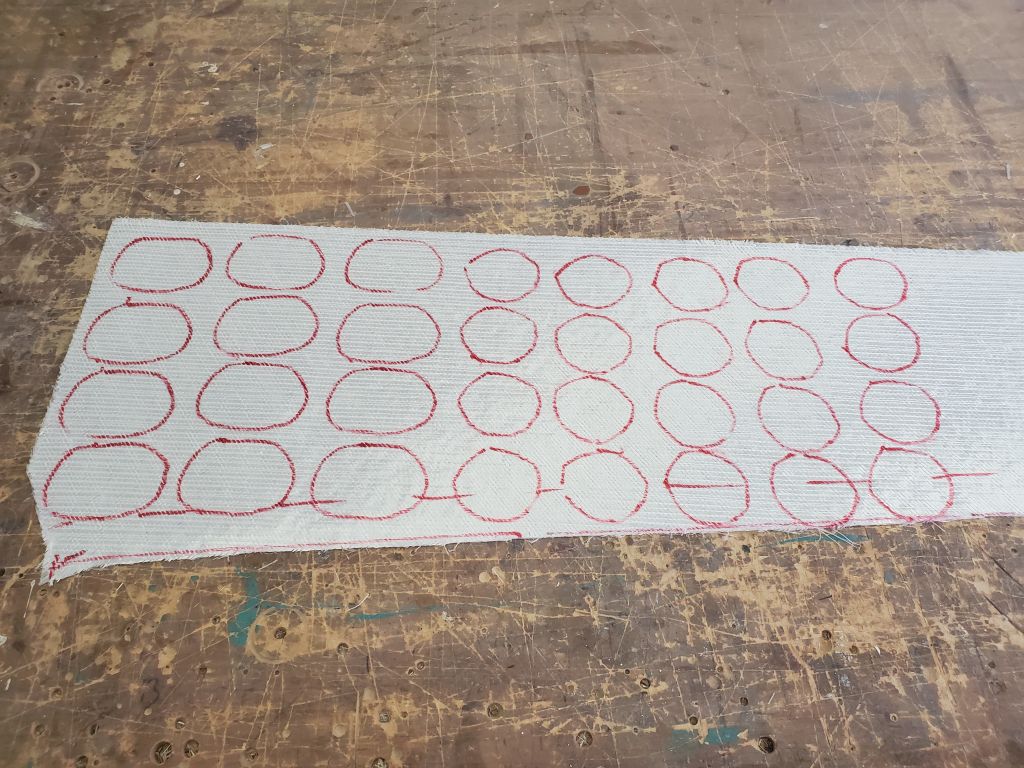
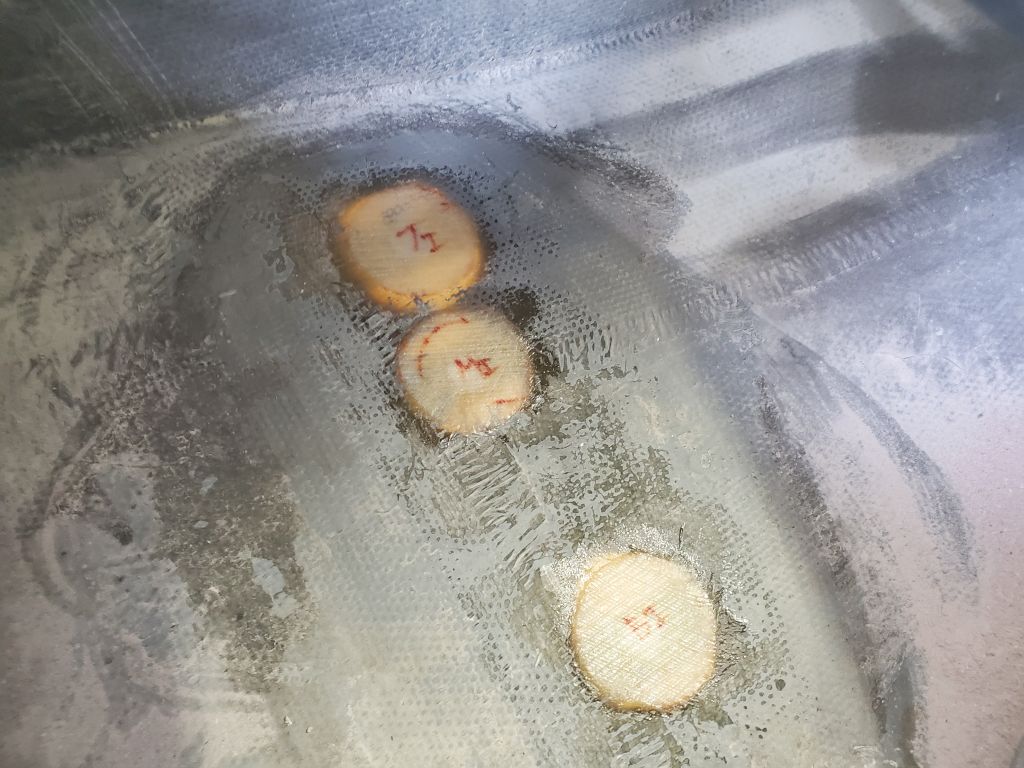
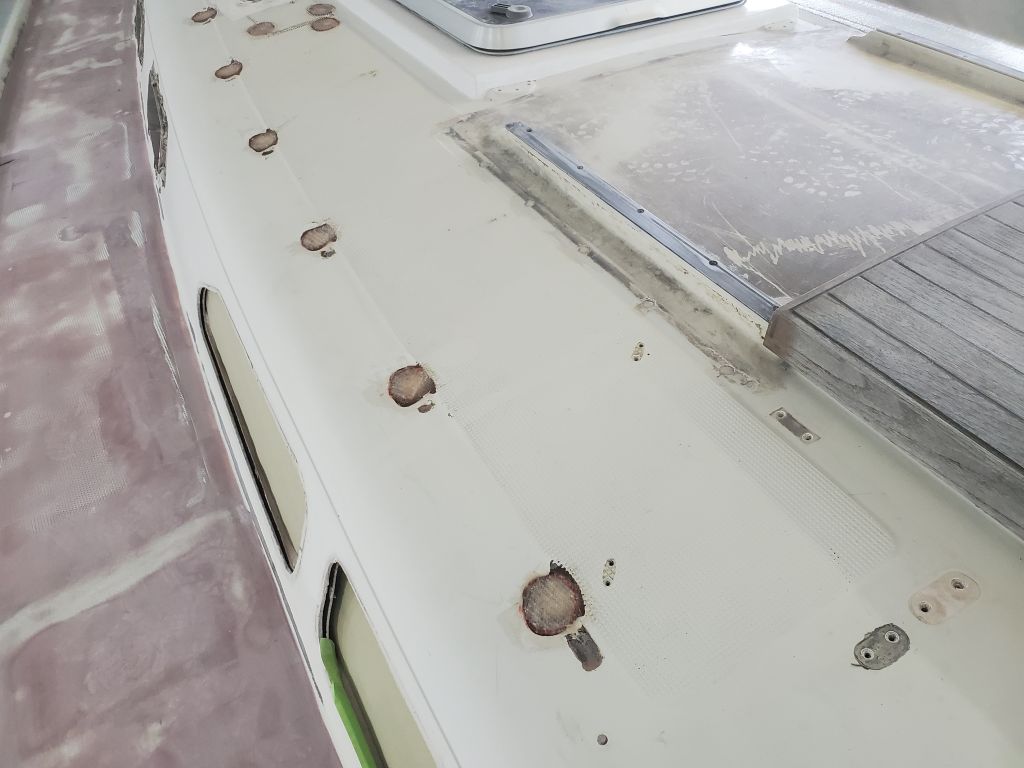
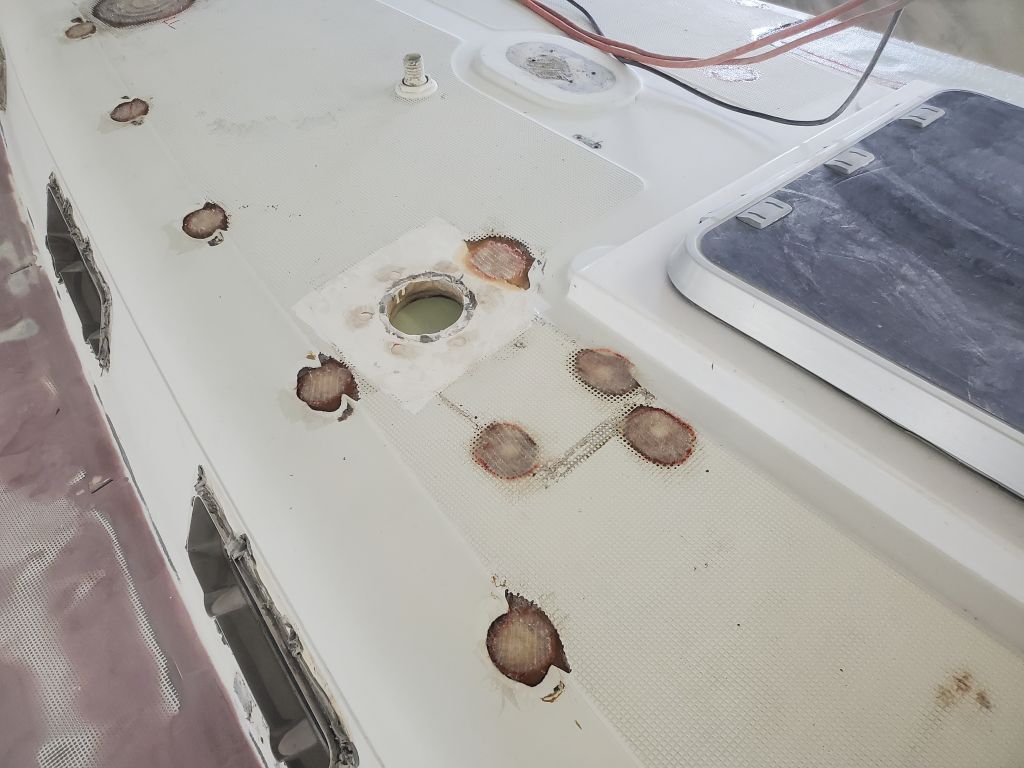
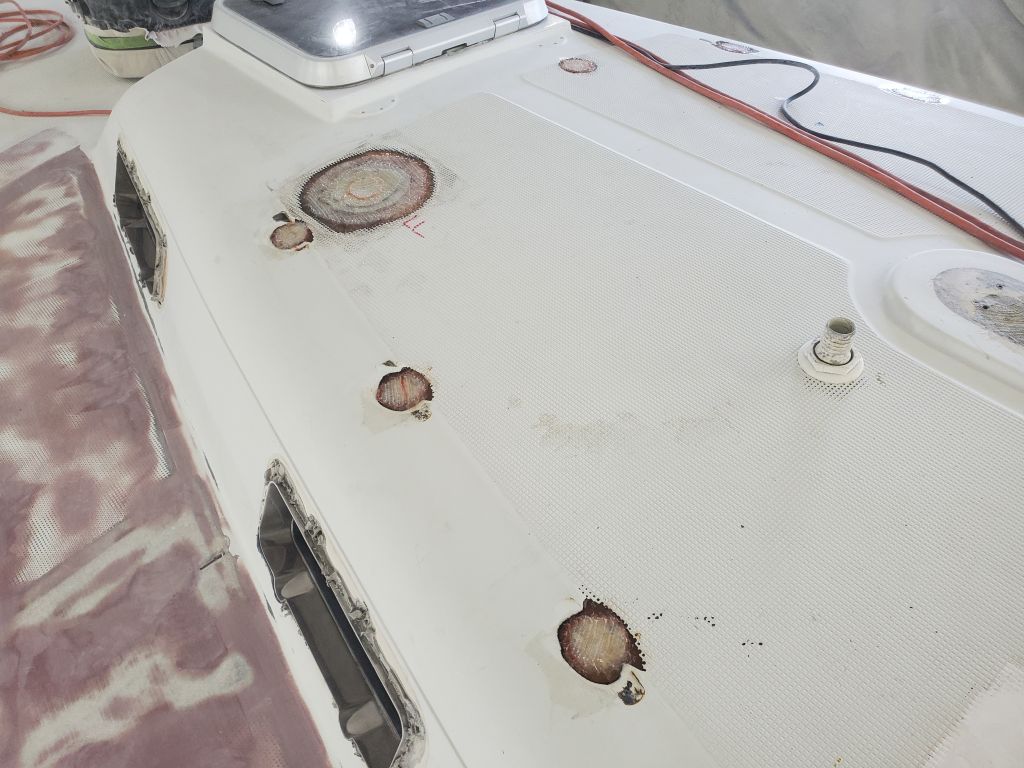
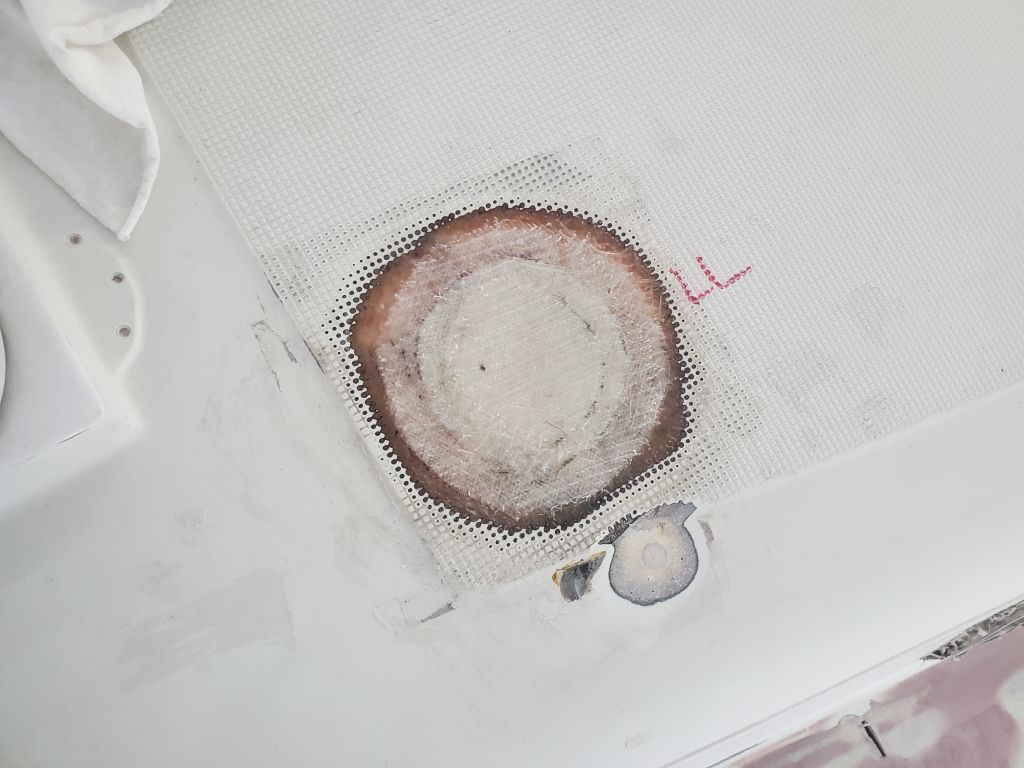
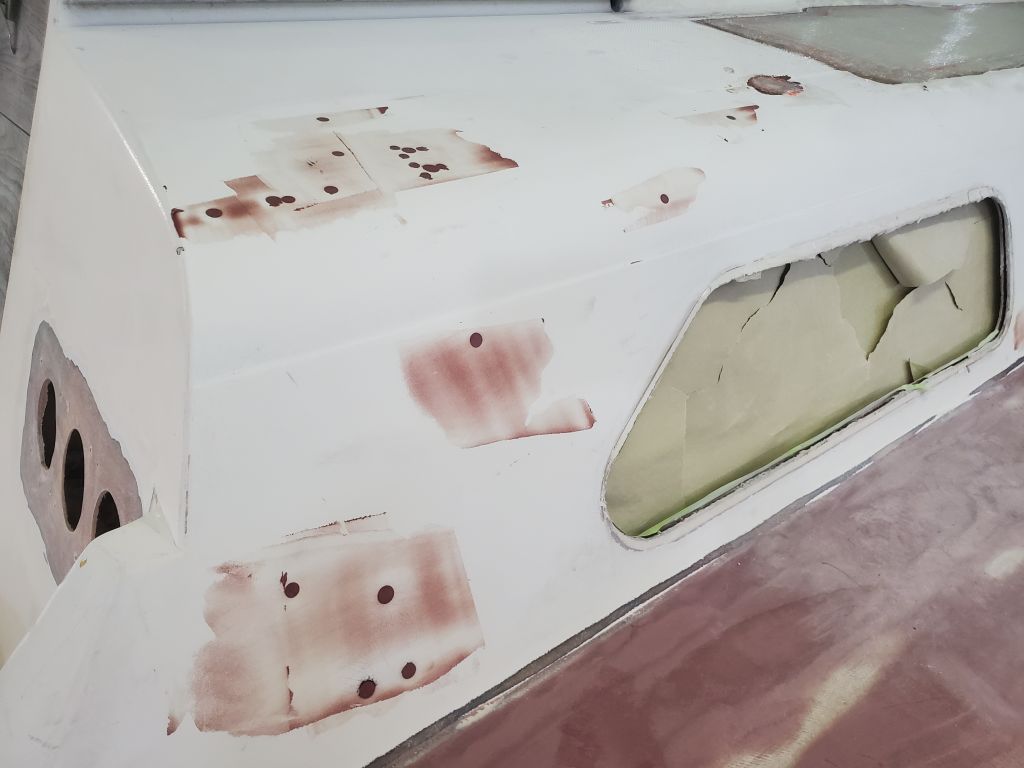
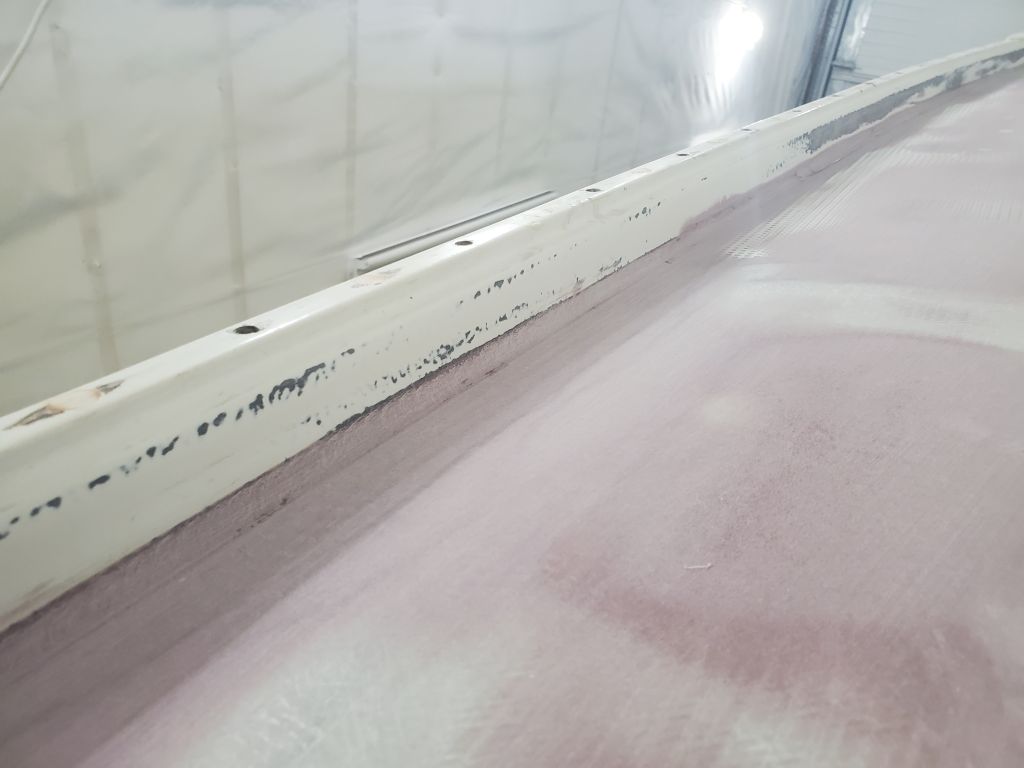
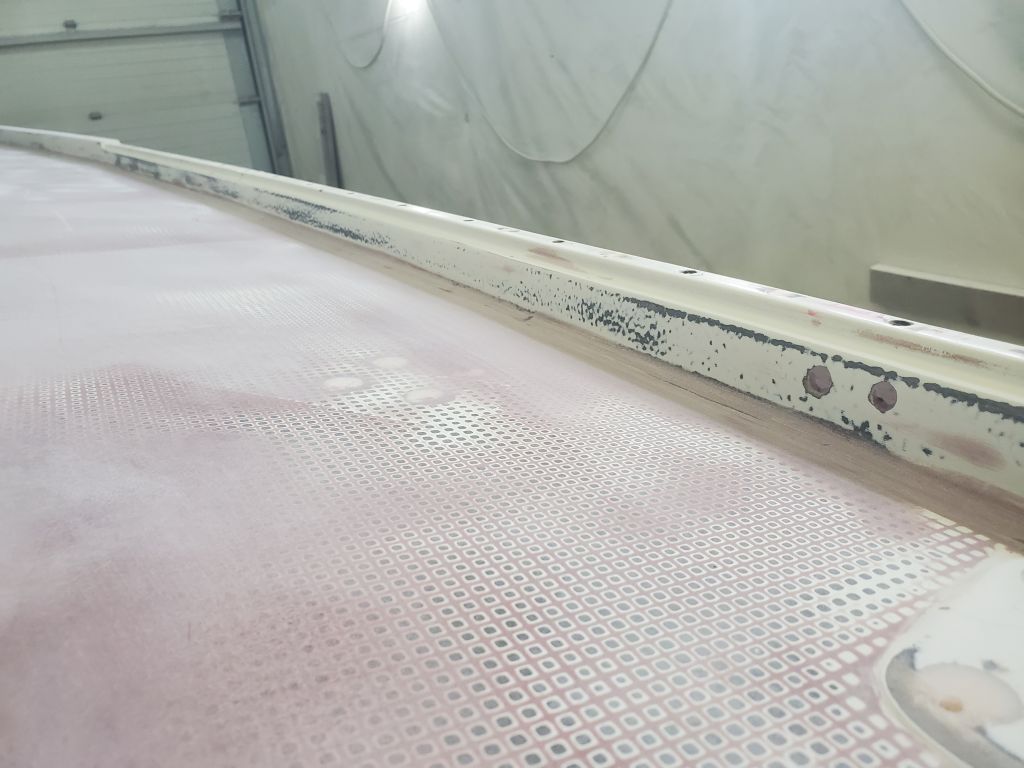
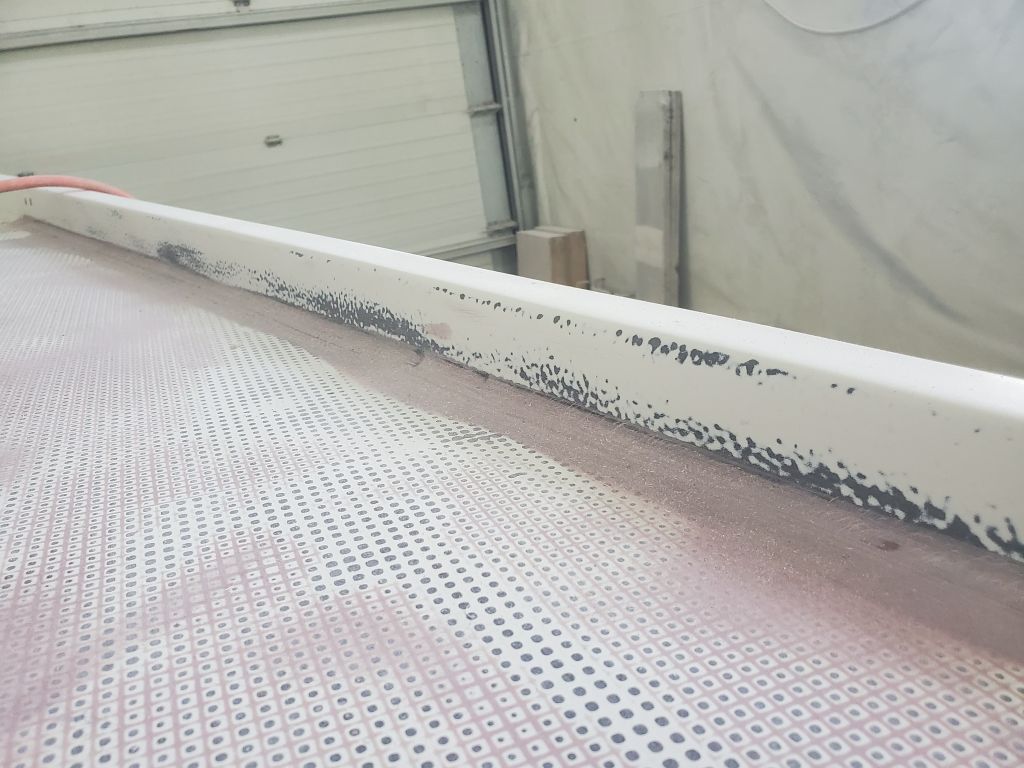
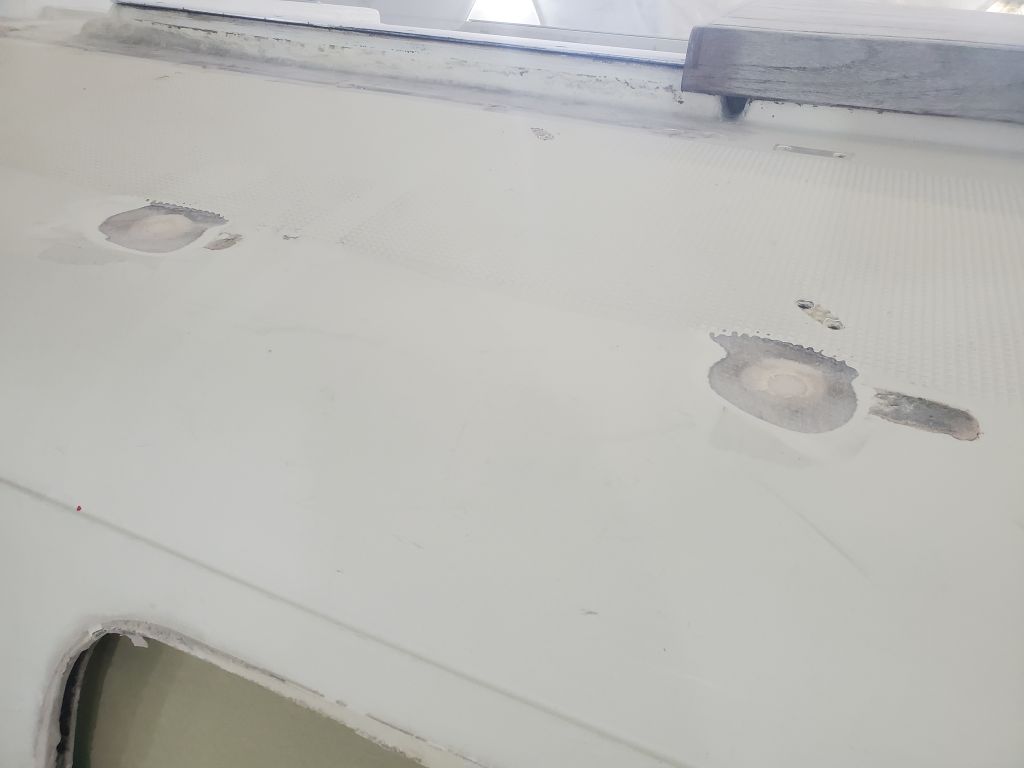
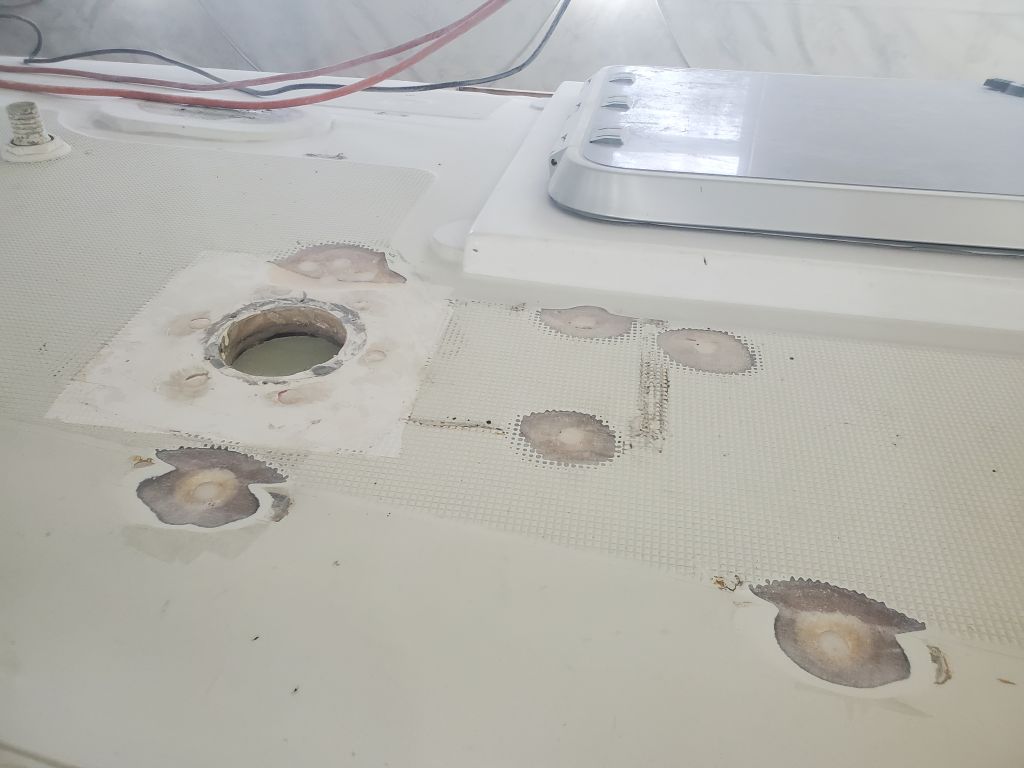
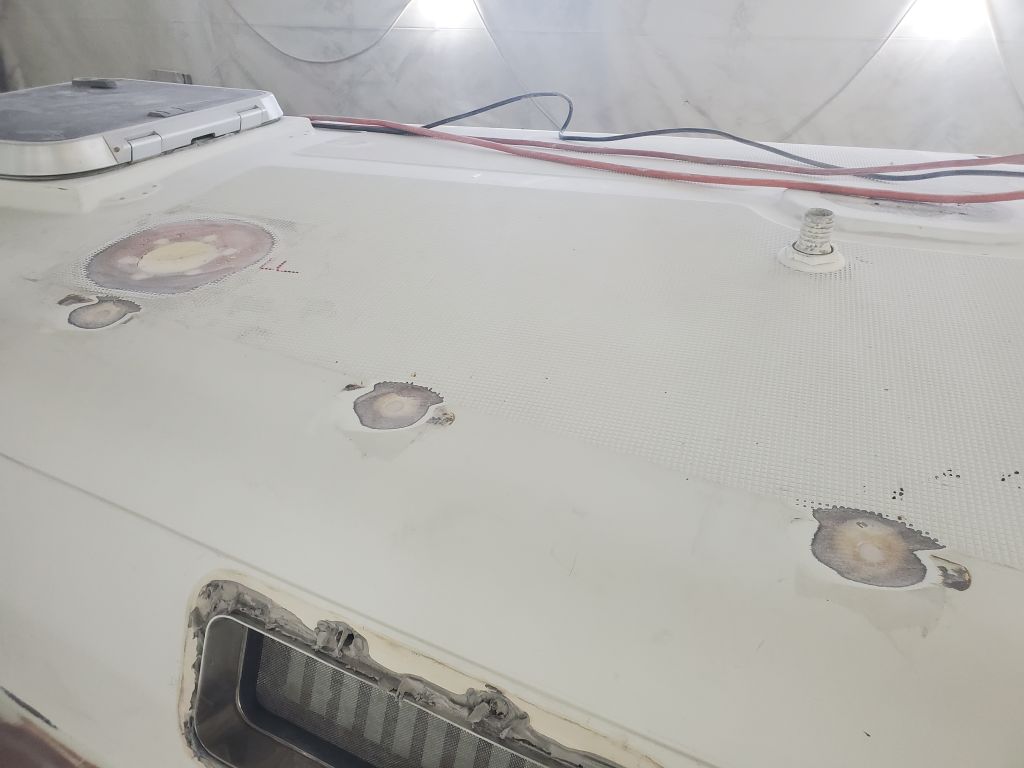
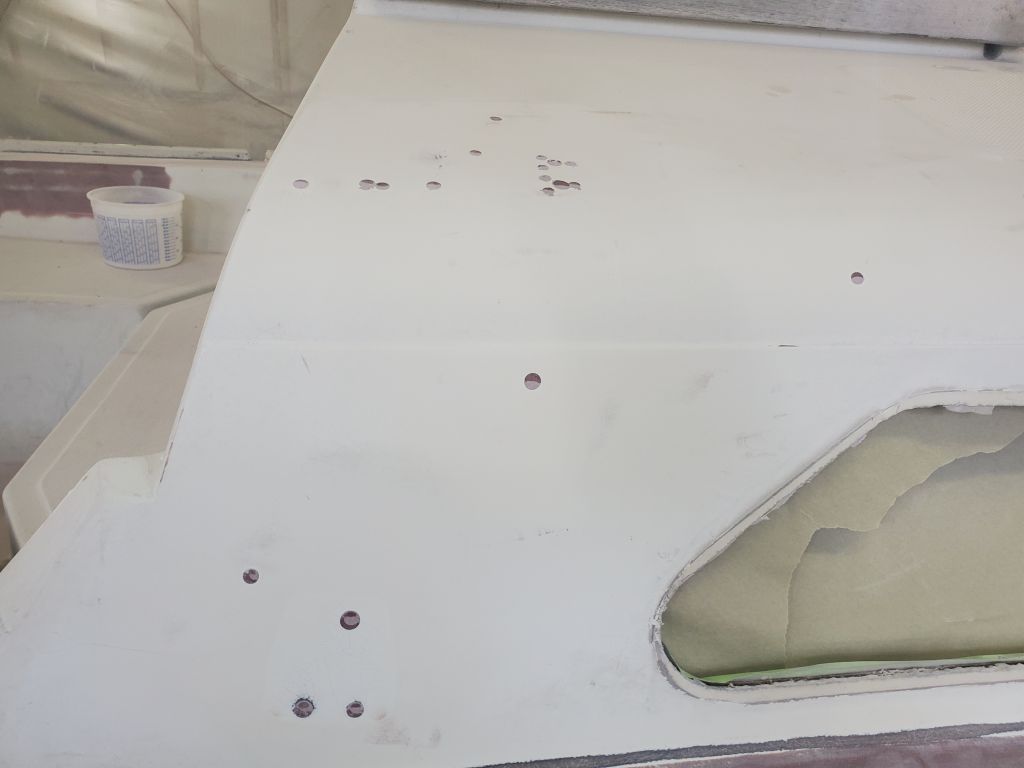
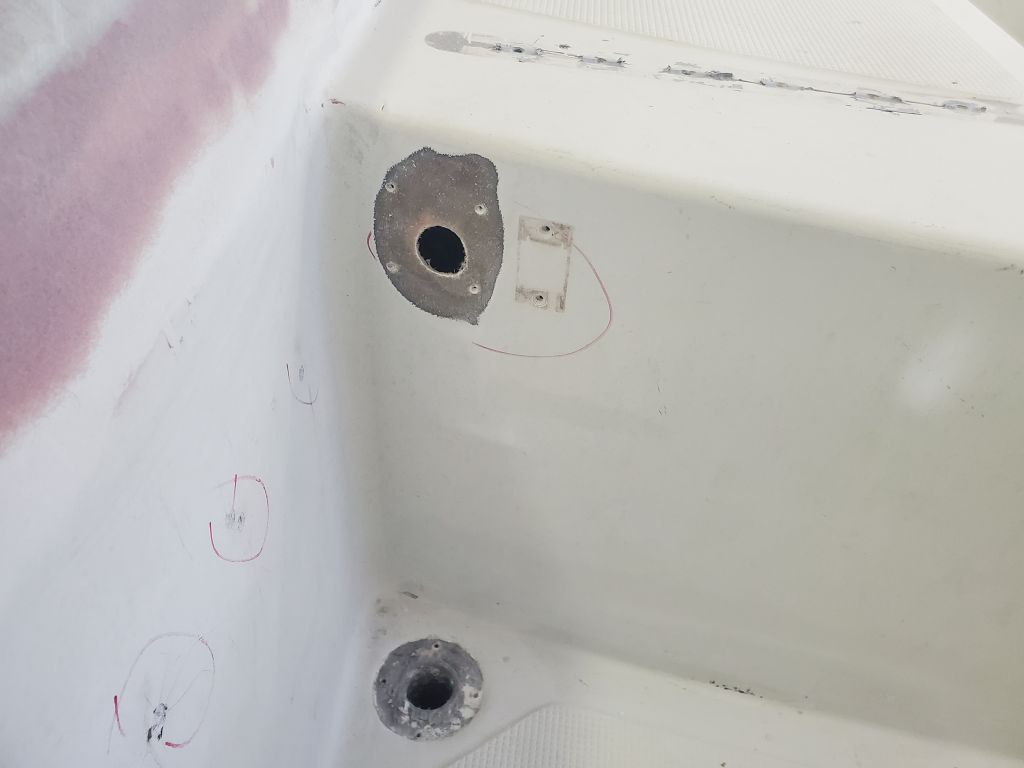
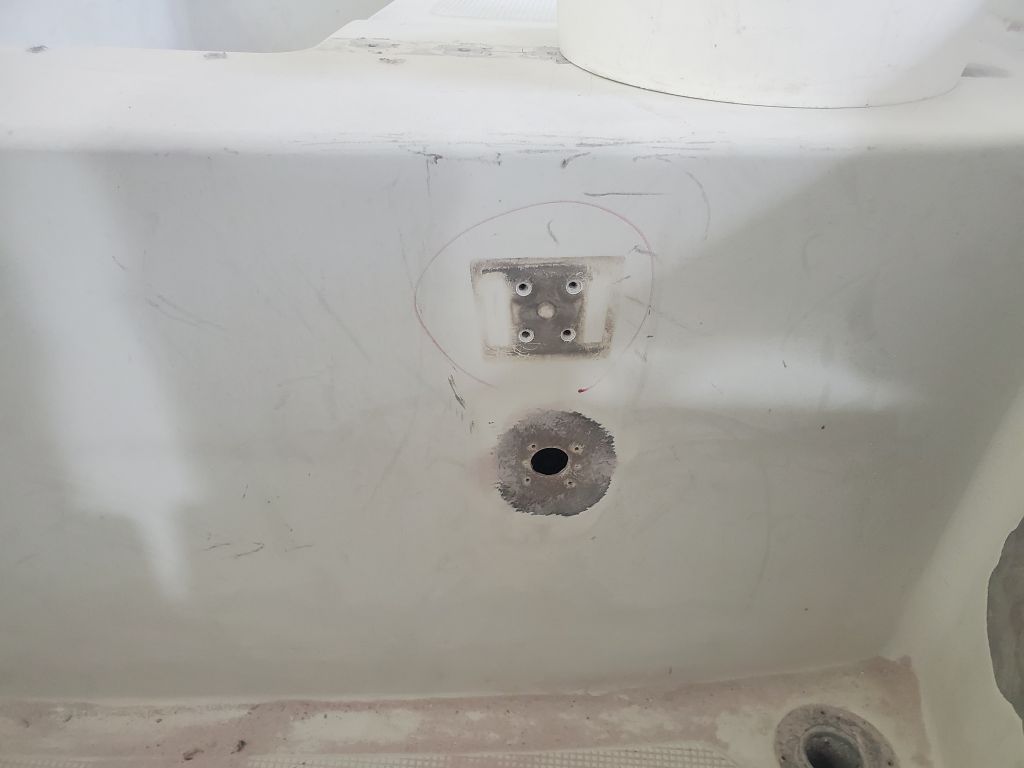
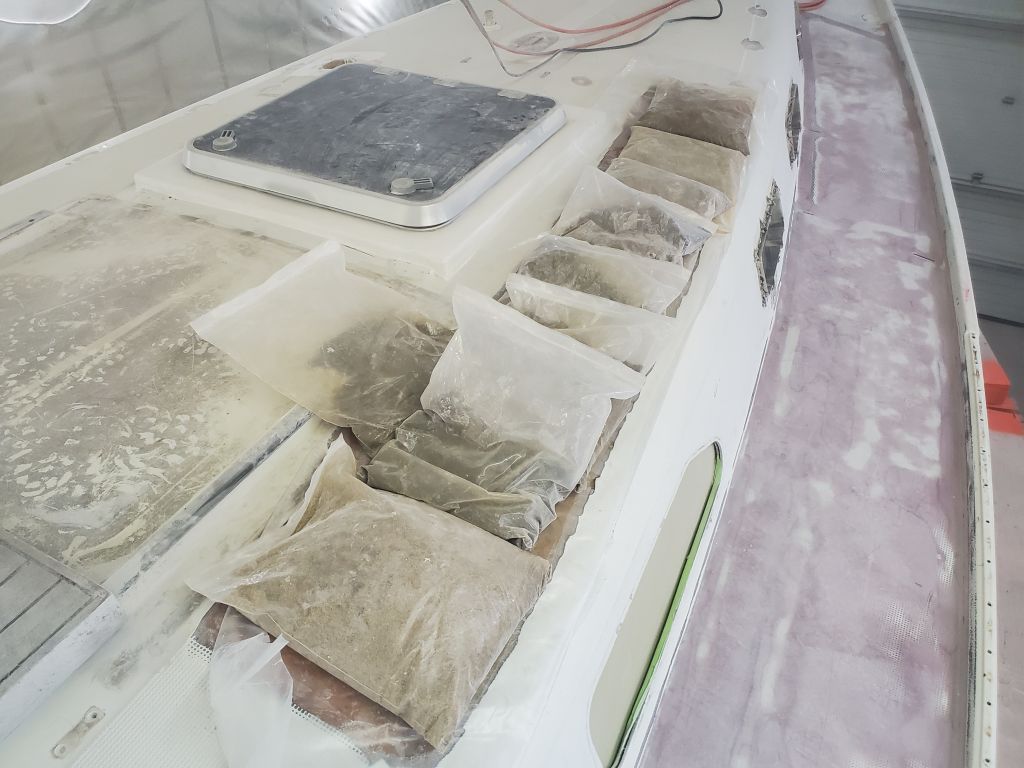
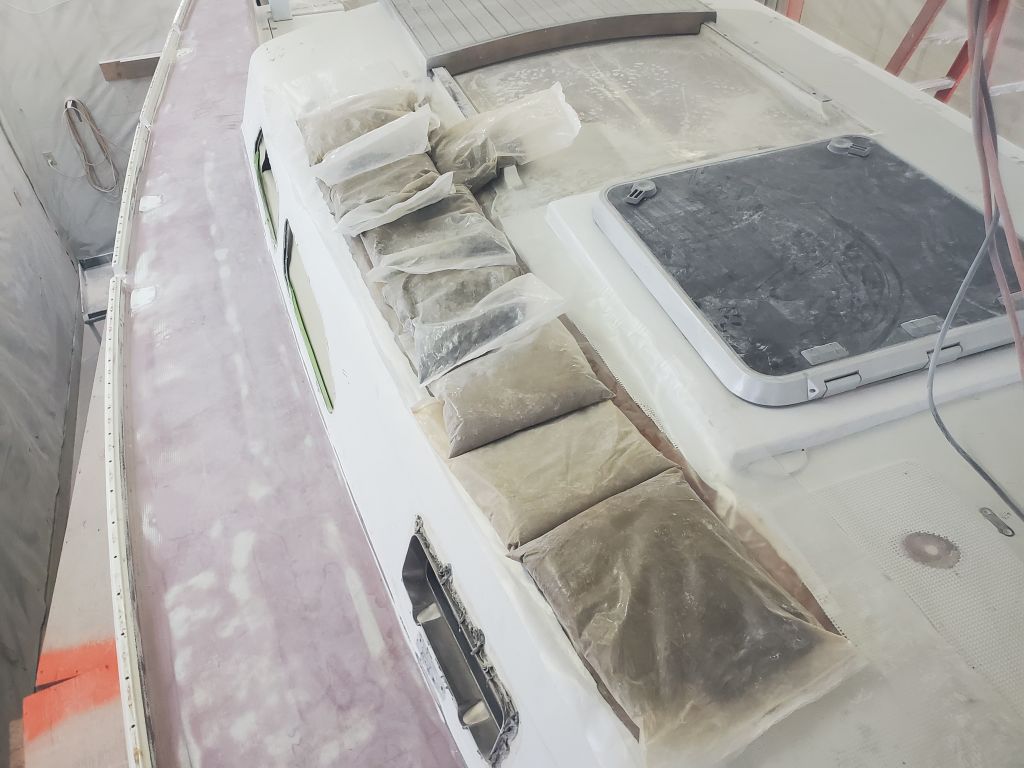
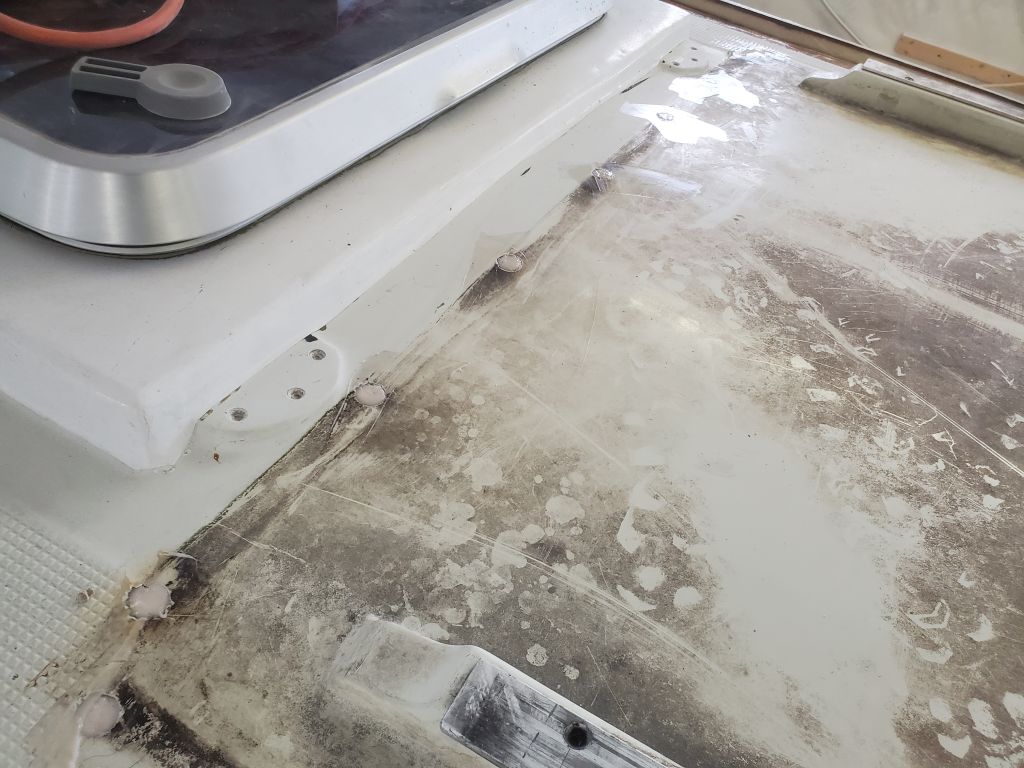
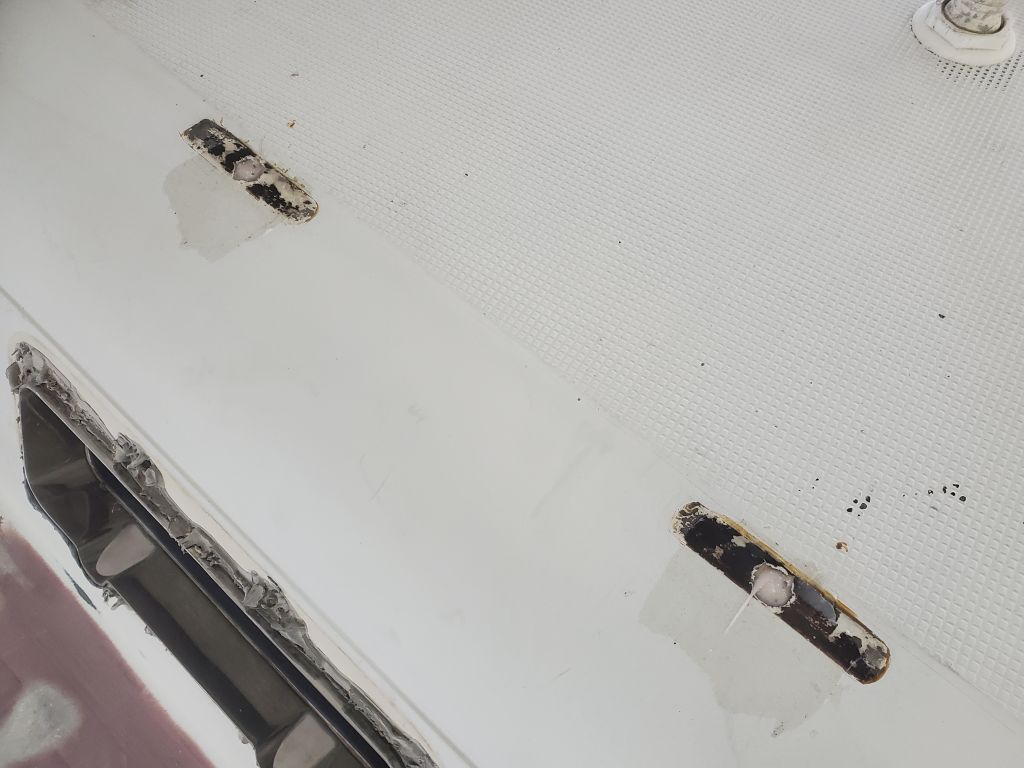
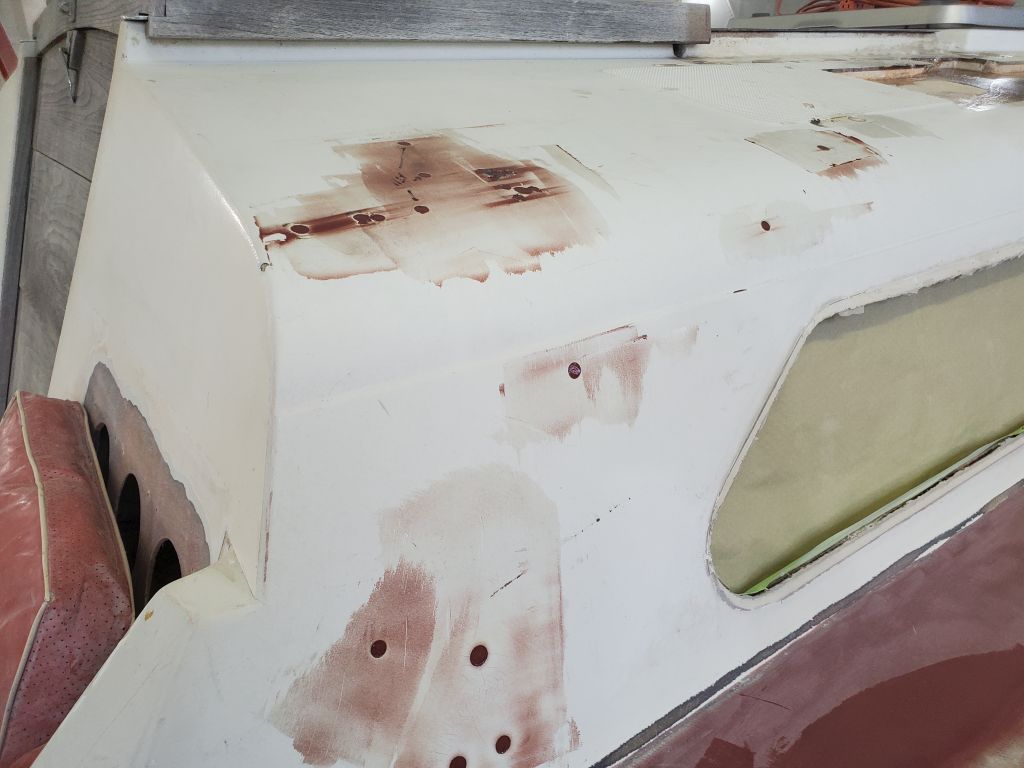
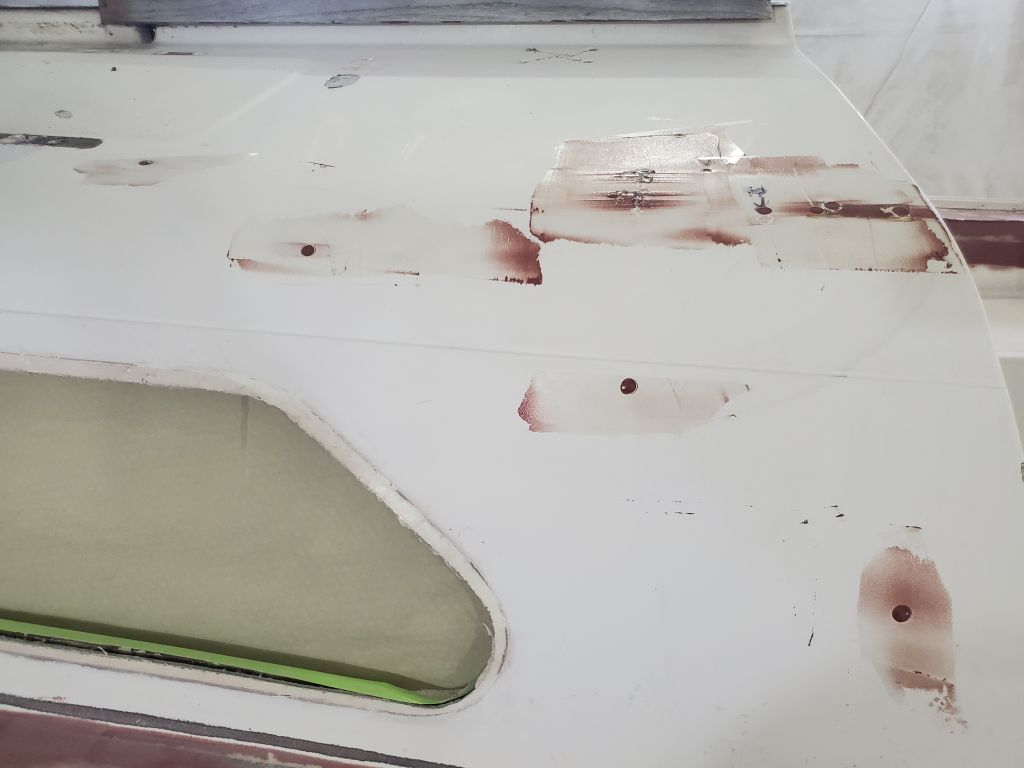
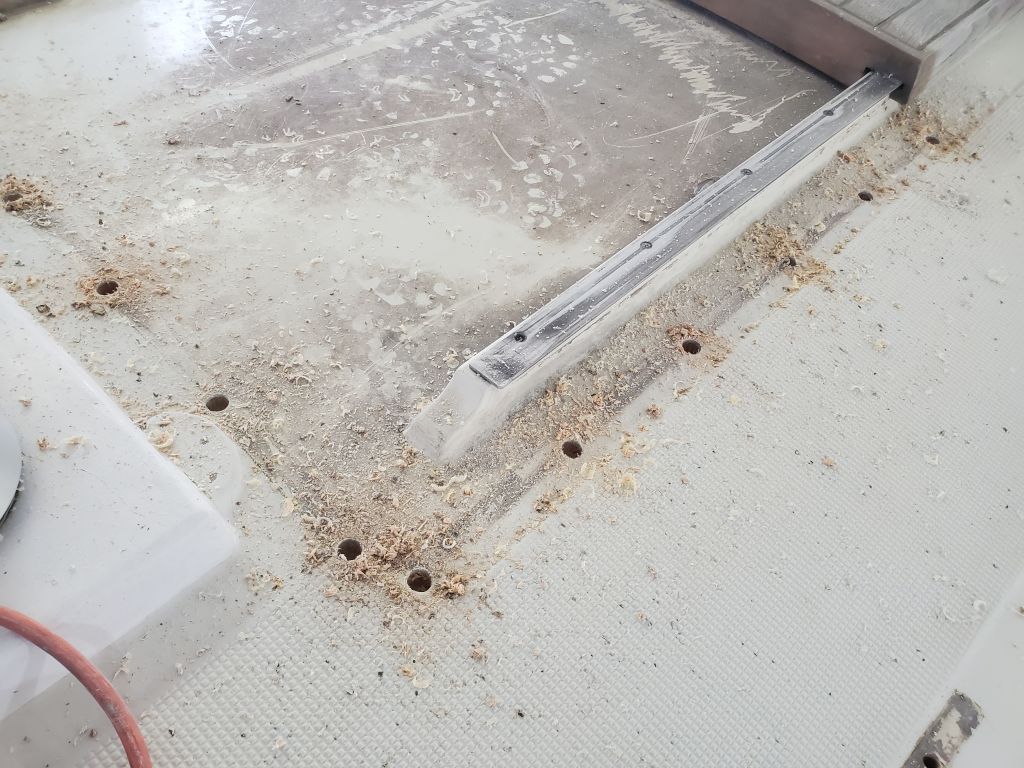
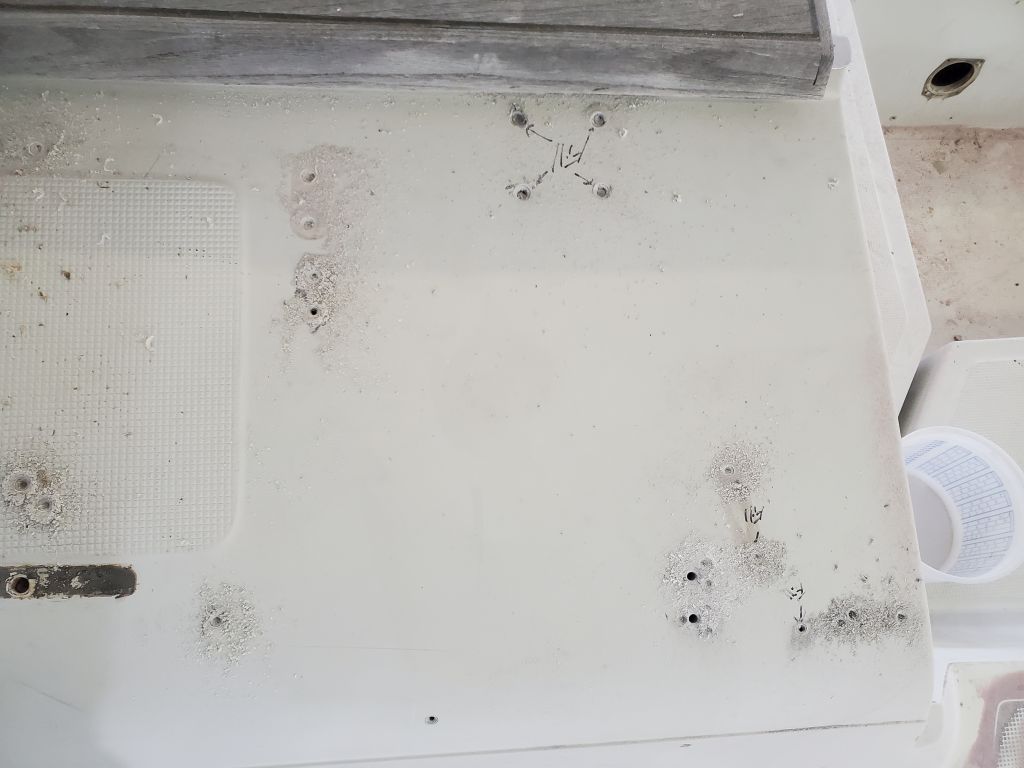
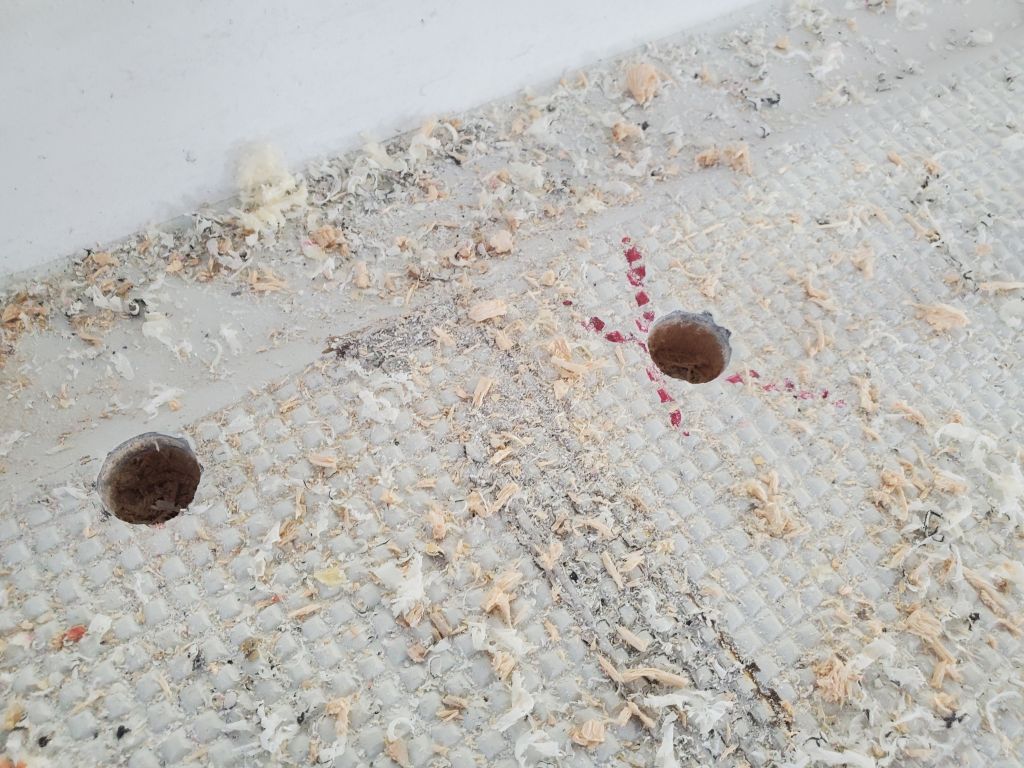
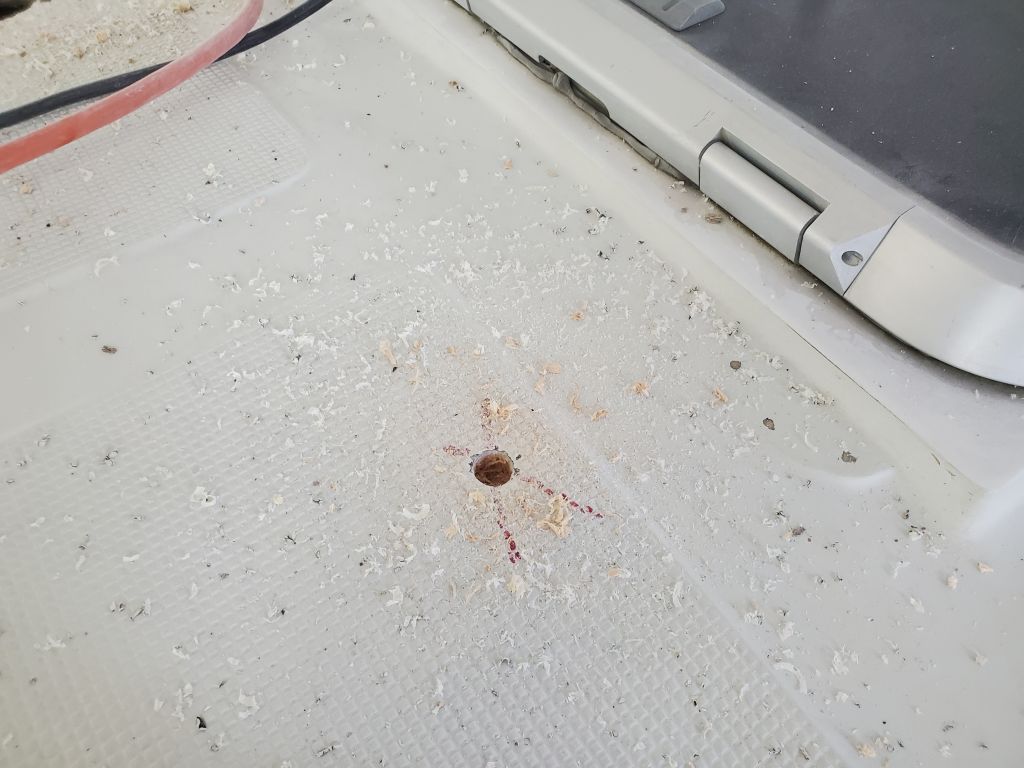
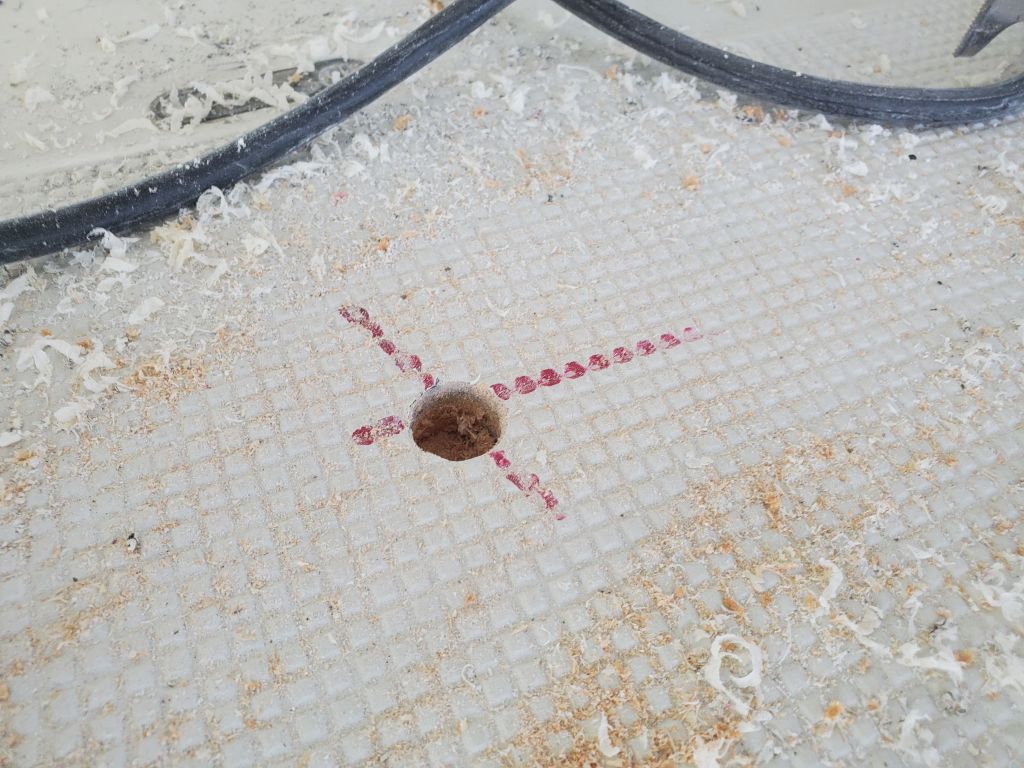
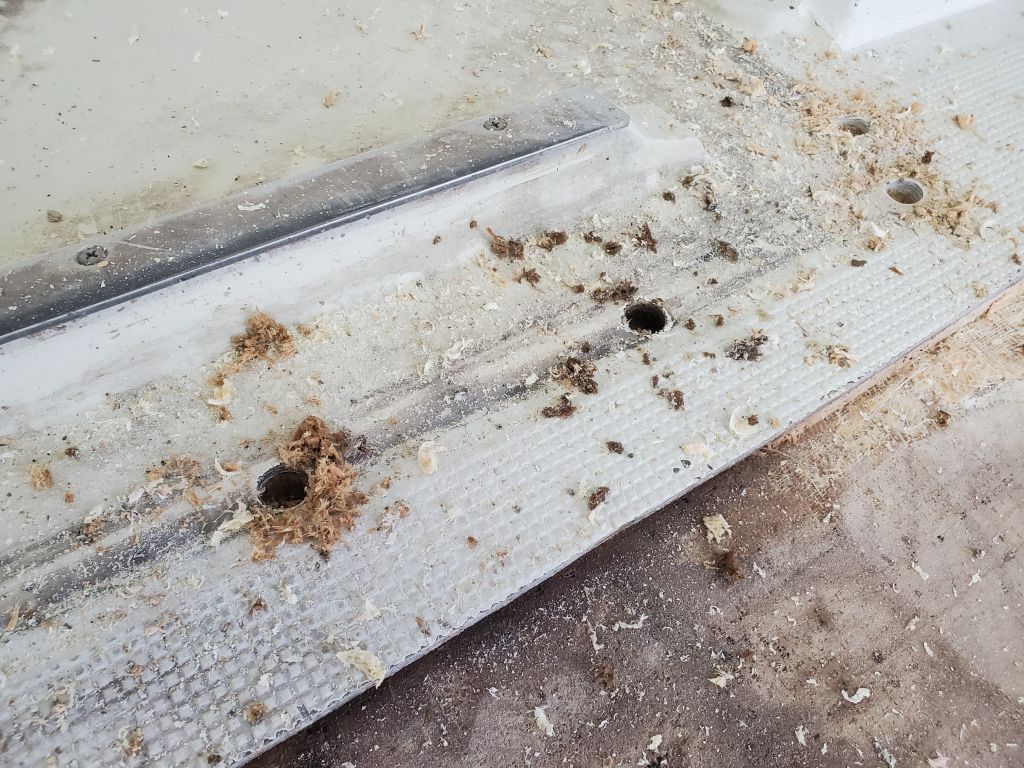
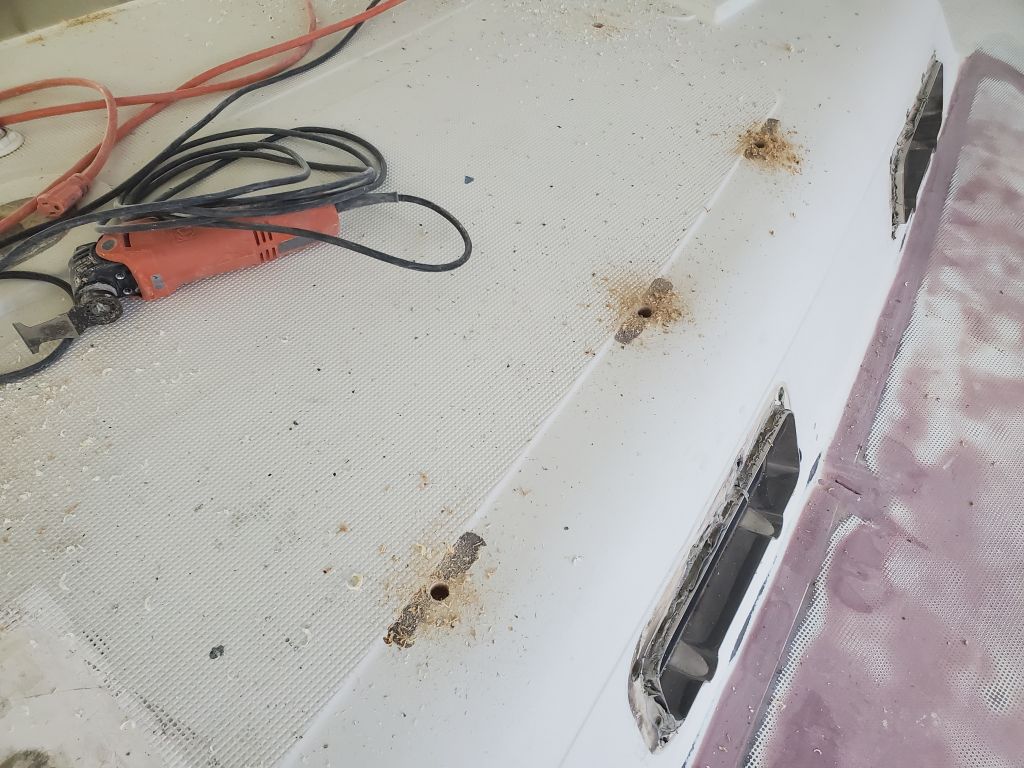
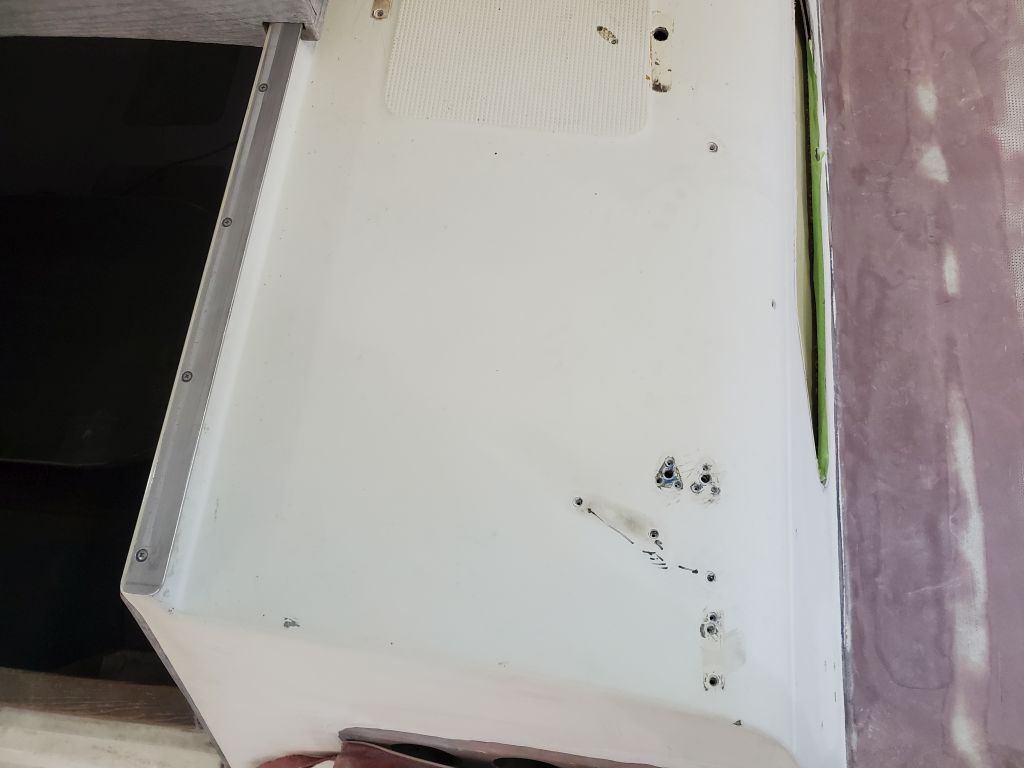
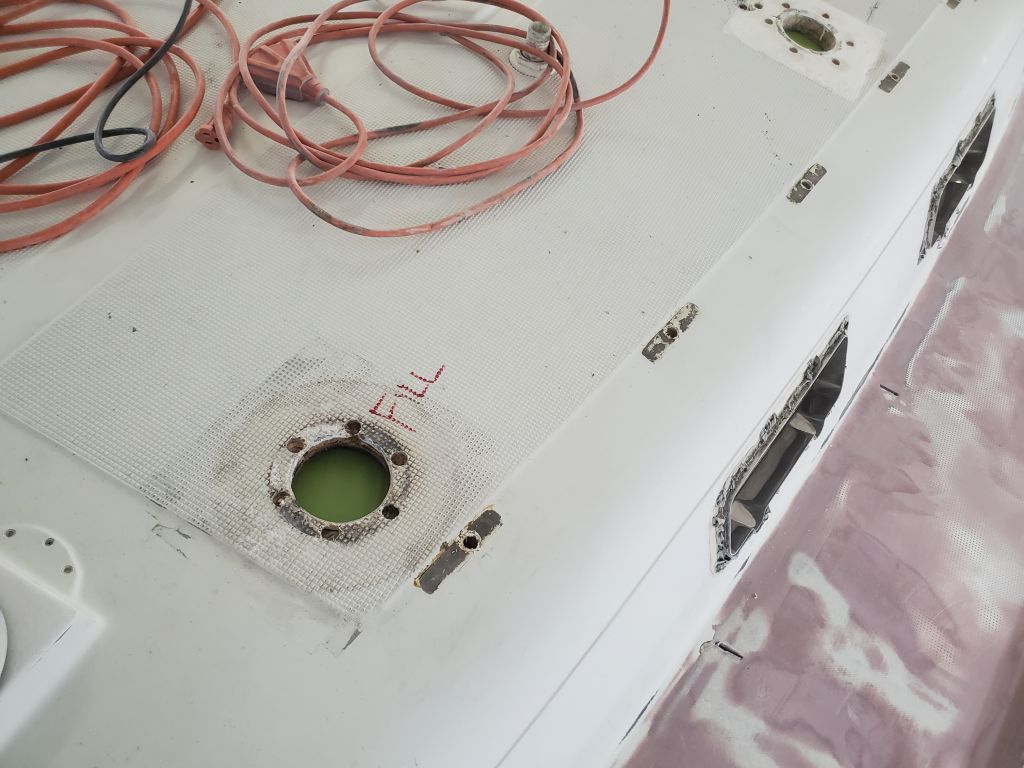
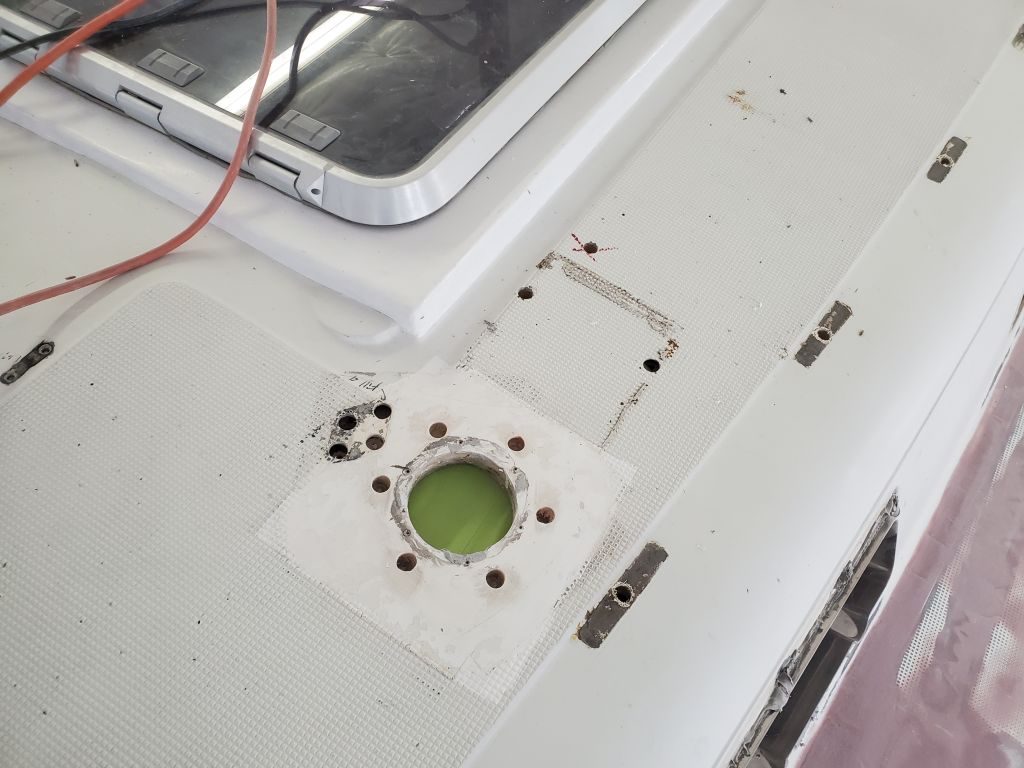
Meanwhile, I went around the coachroof with various bits–countersink for small fastener holes, and a 5/8″ Forstner bit for many other holes, including all fastener holes that would be reused later–and drilled out the holes as needed. This also provided a window into the core at most of the fastener locations, generally displaying clean, dry core with no notable damage, confirming my impressions from my earlier inspections.
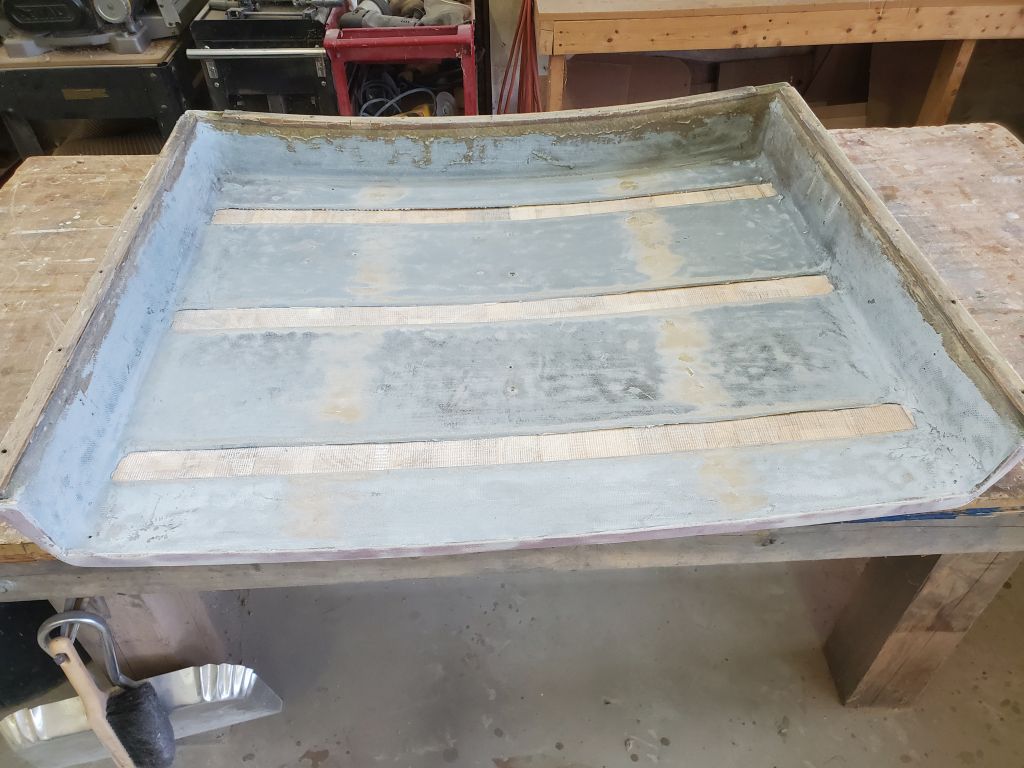
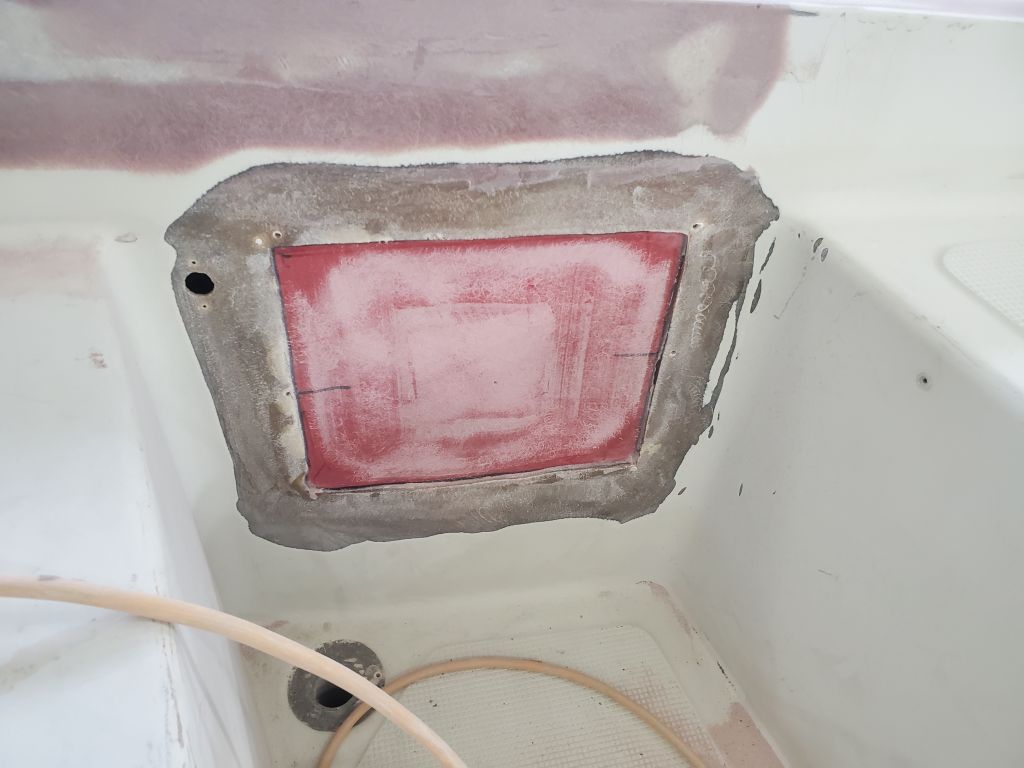
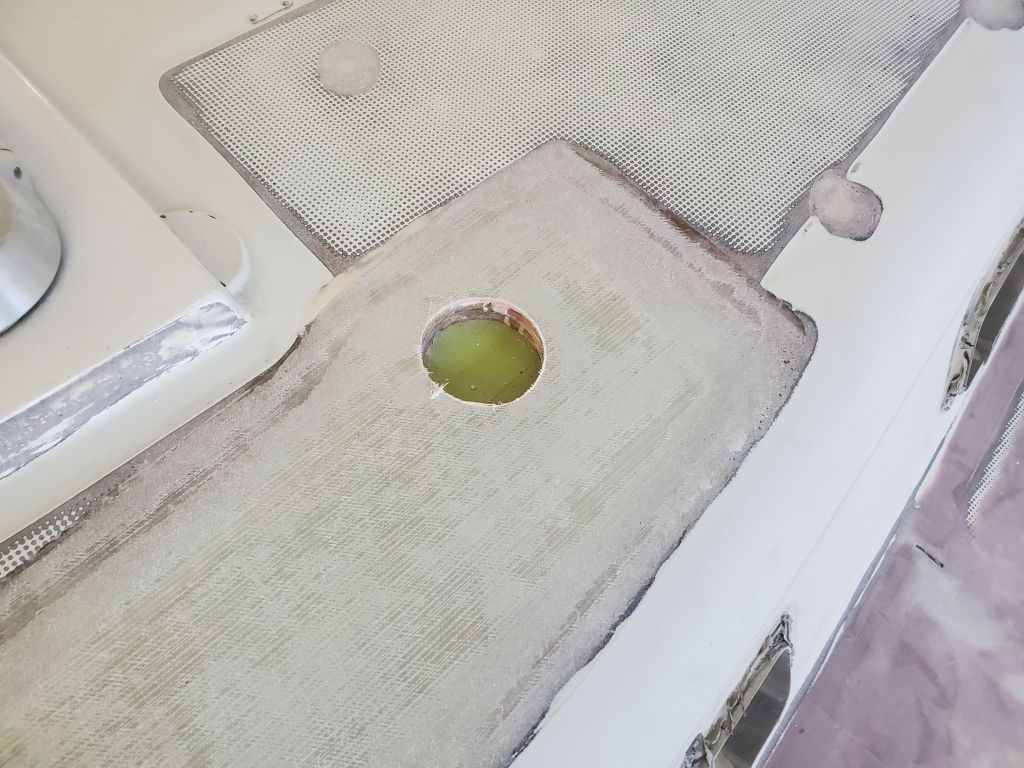
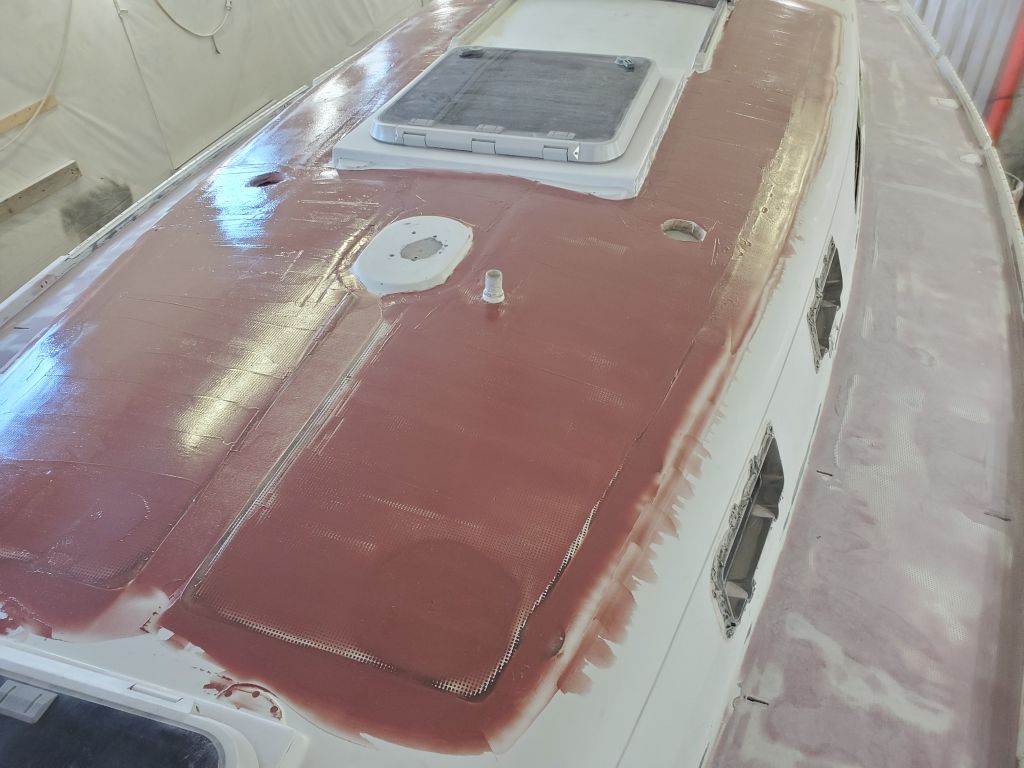
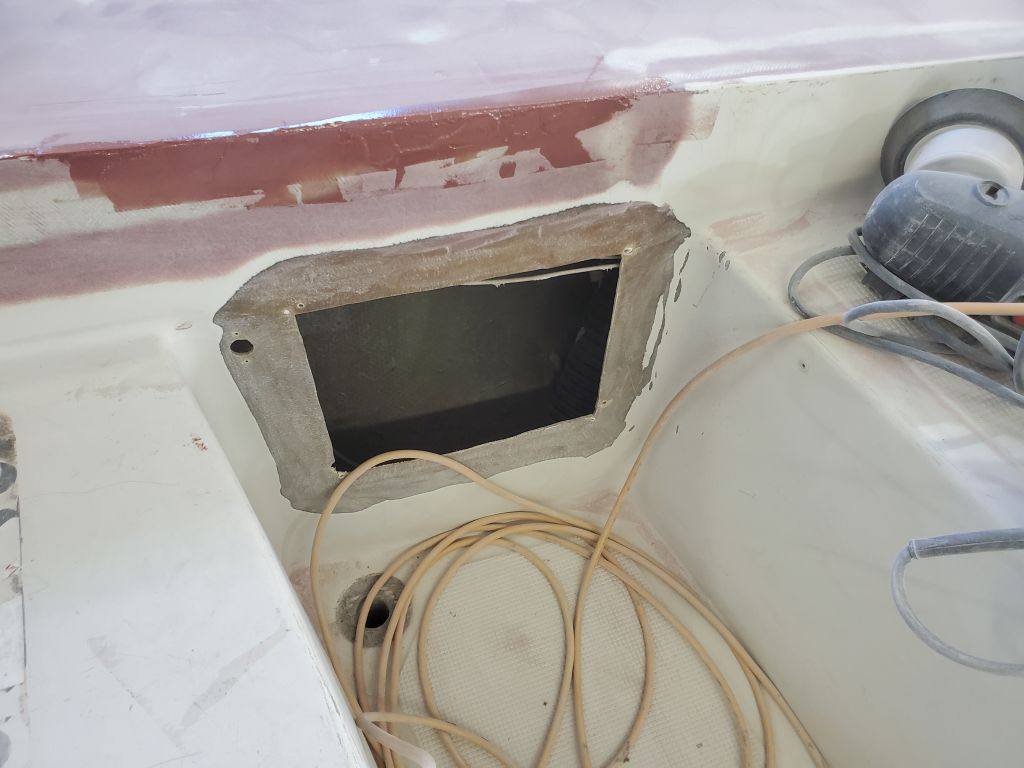
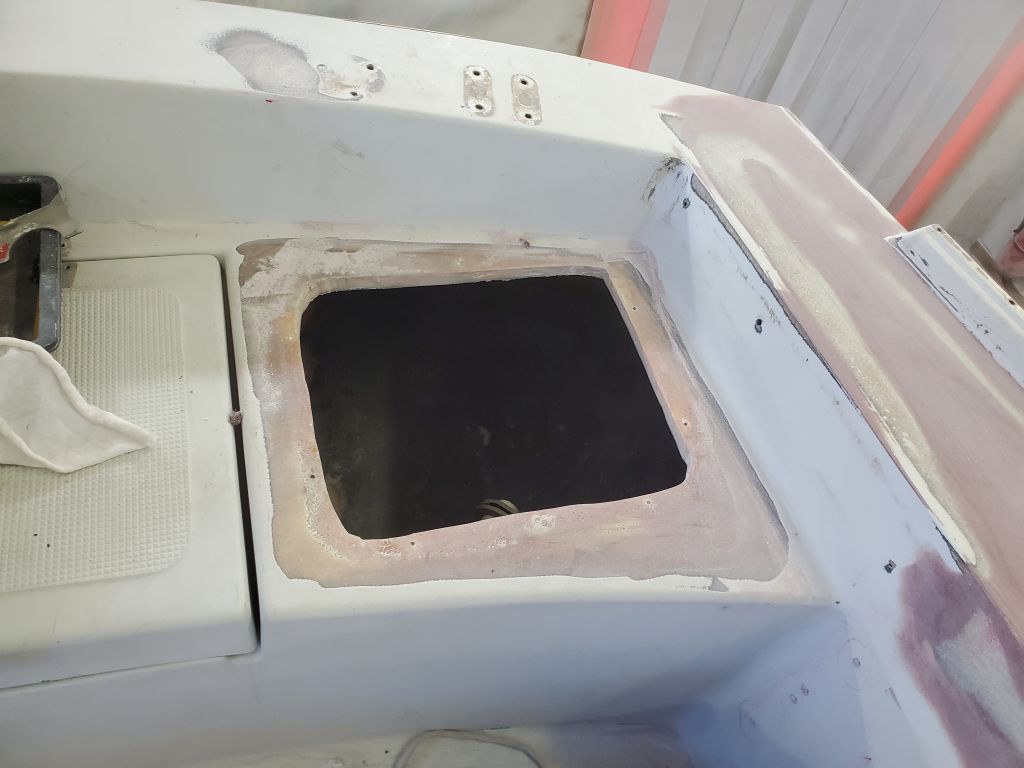
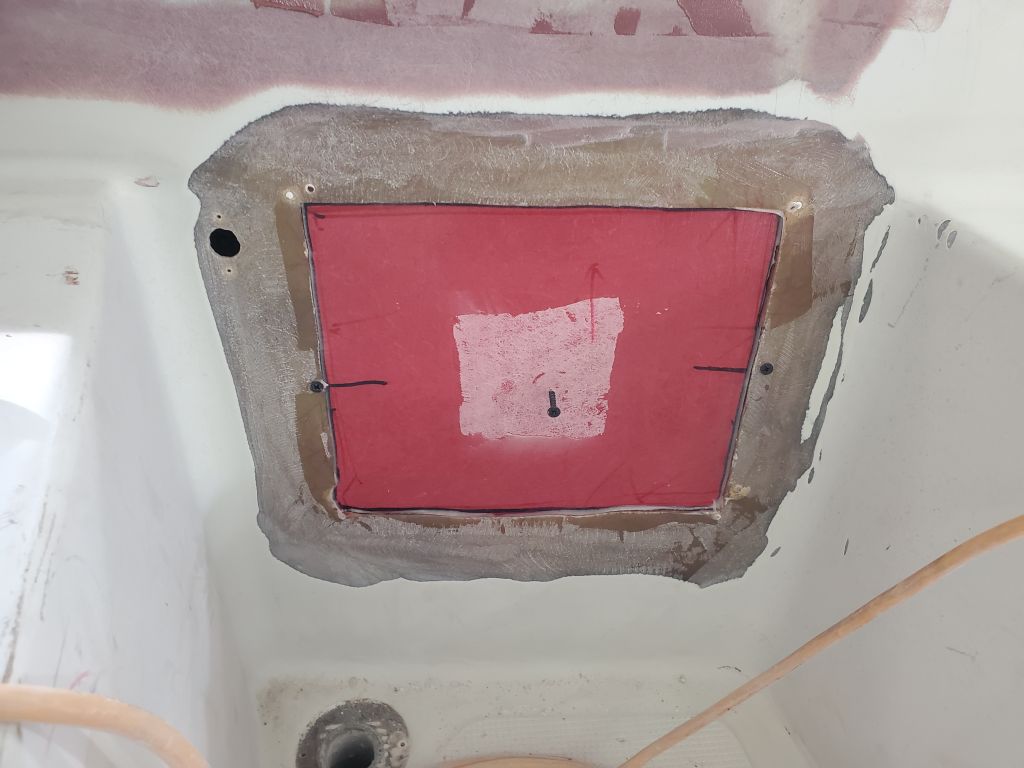
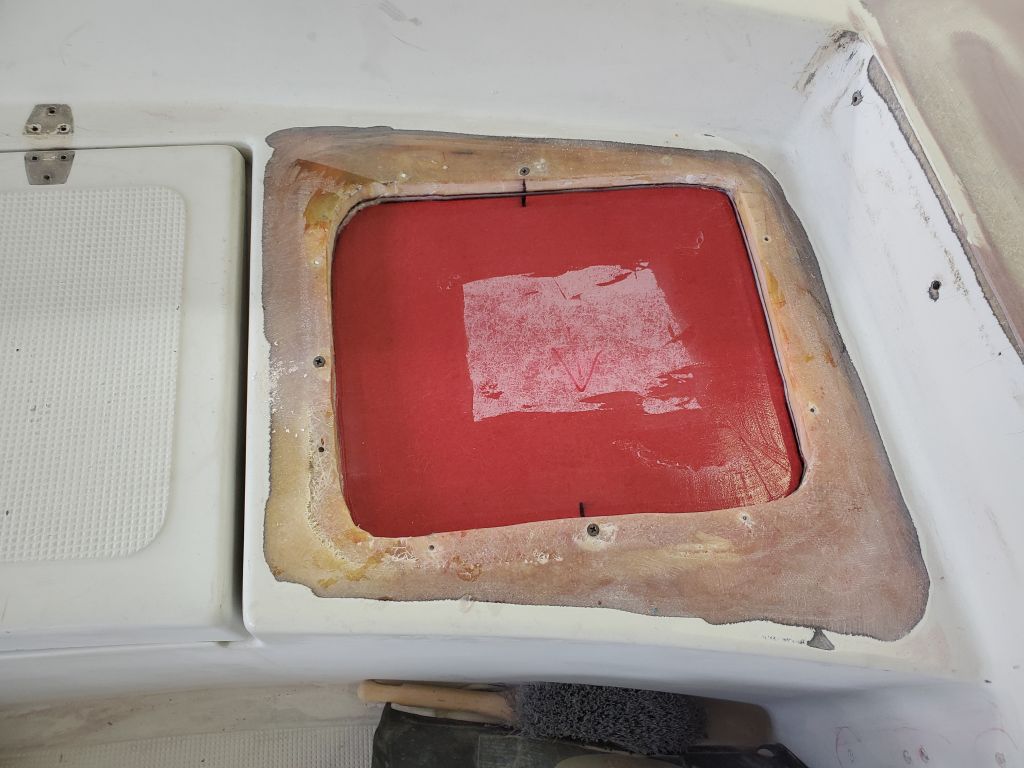
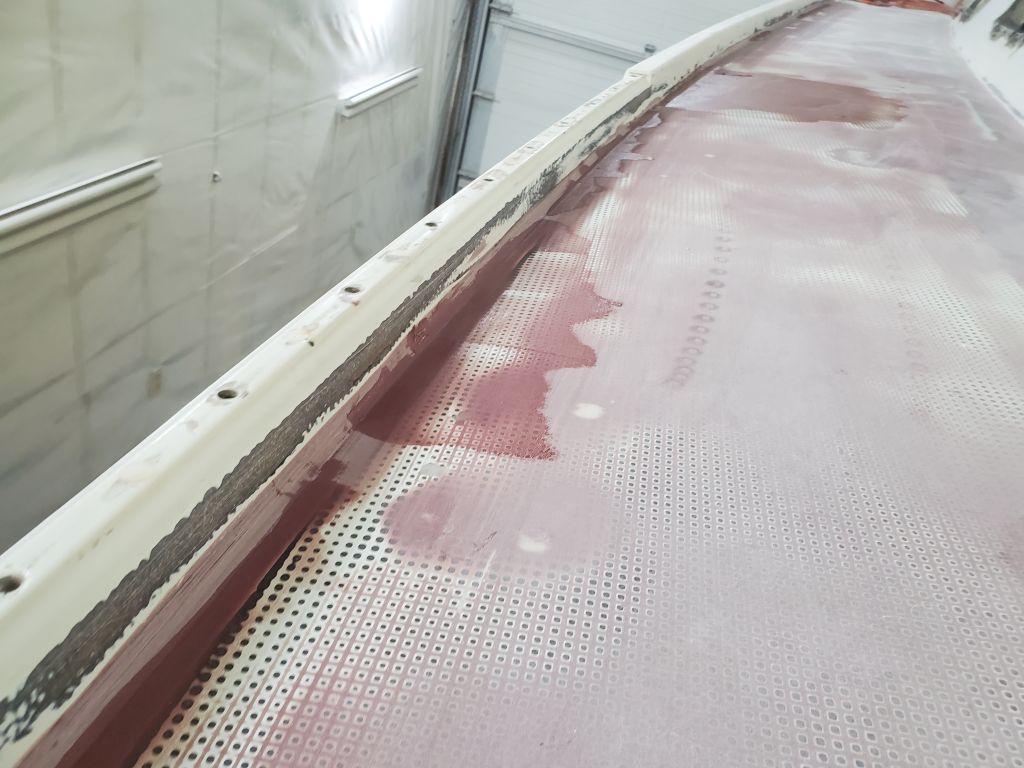
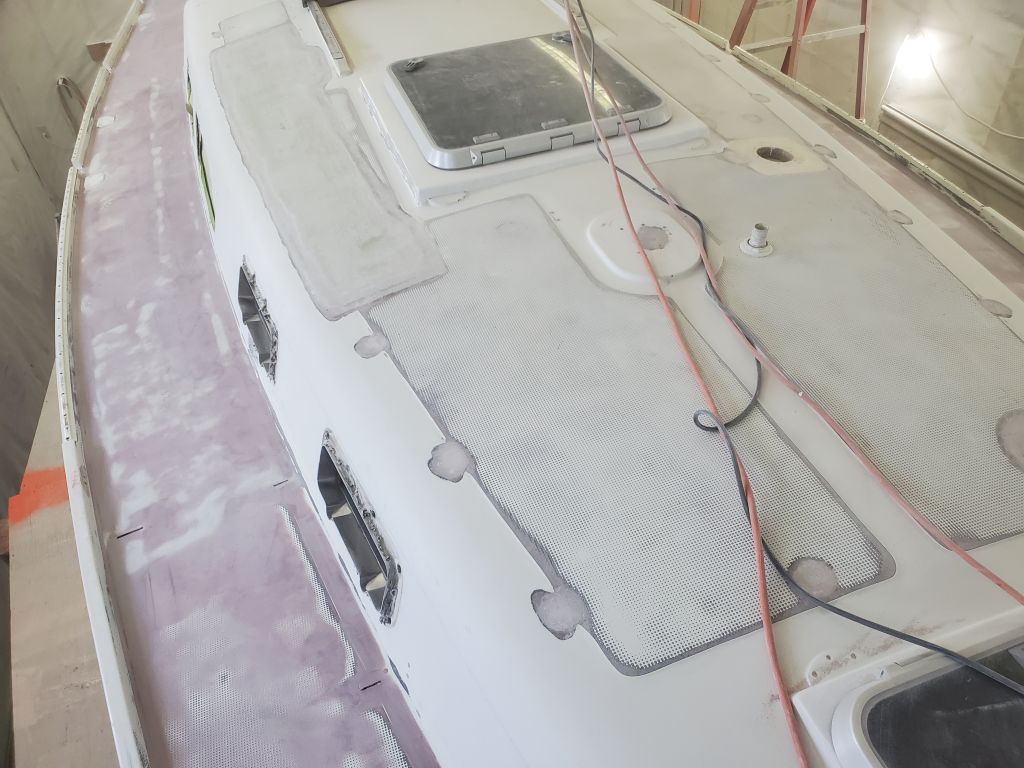
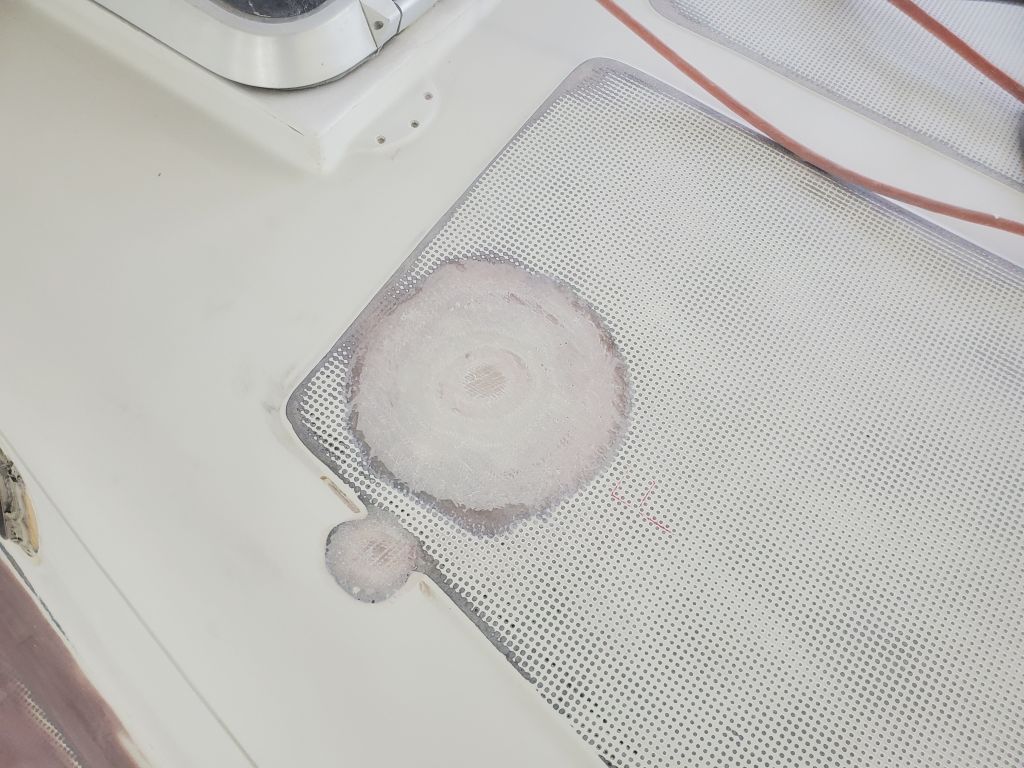
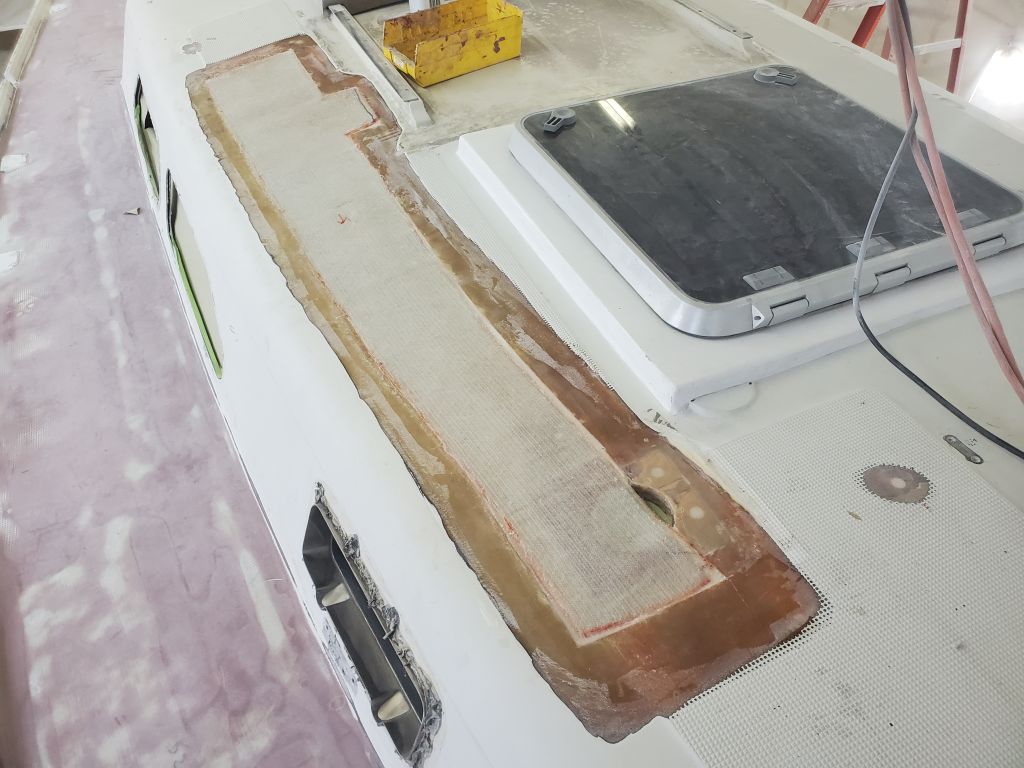
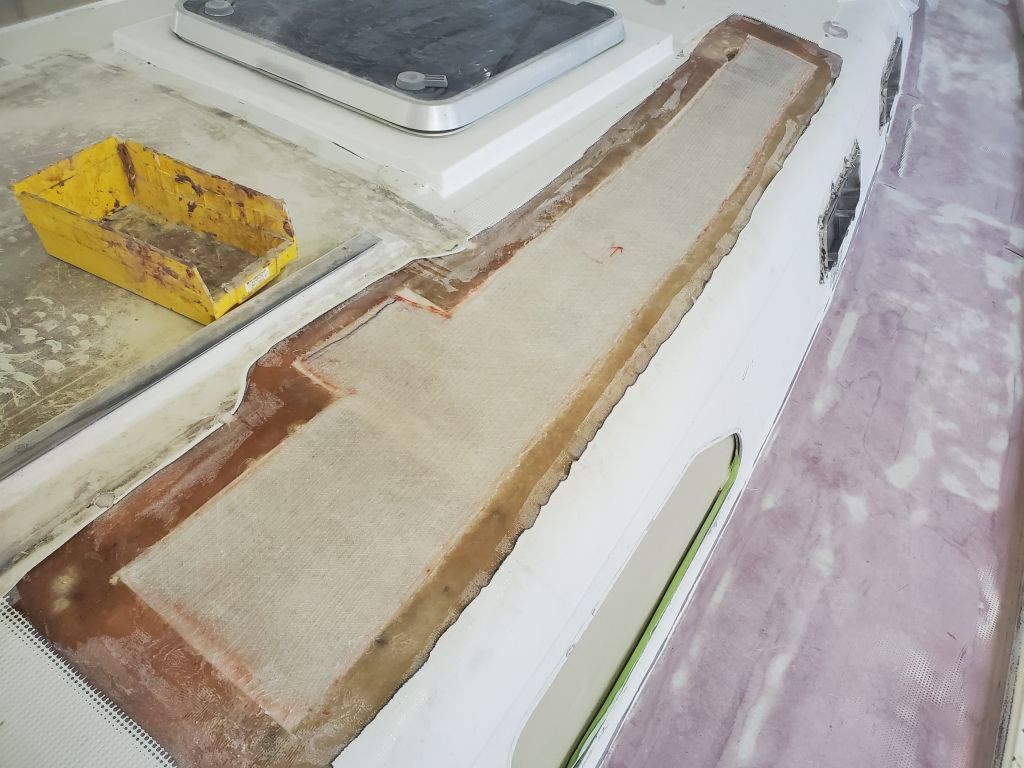
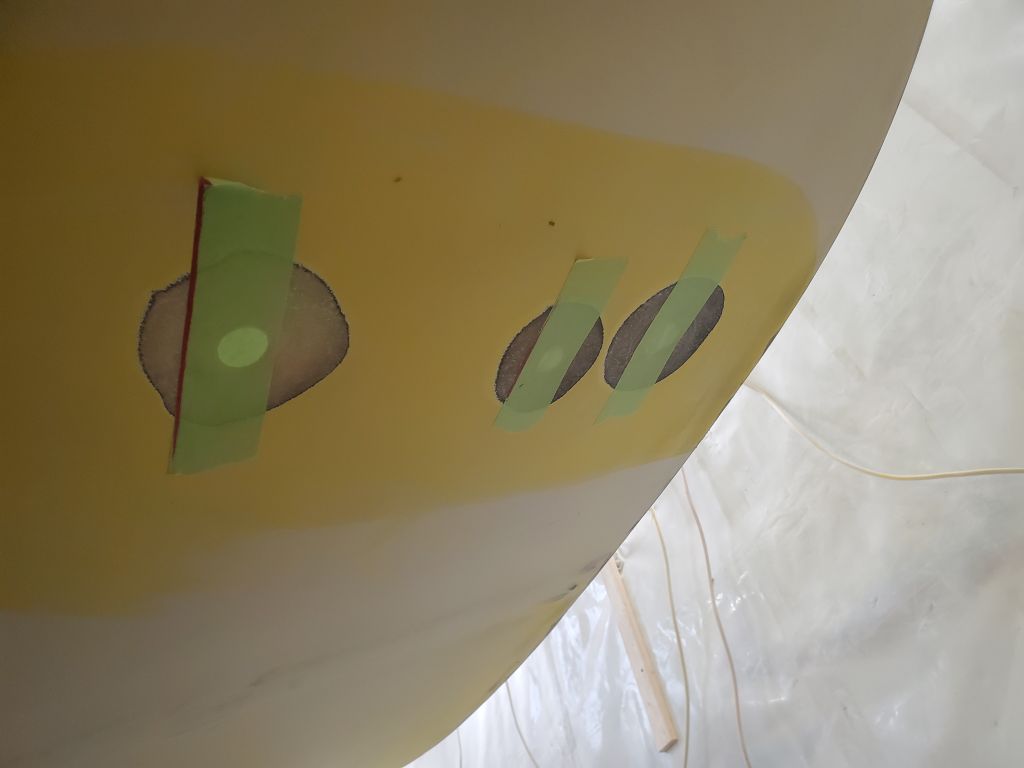
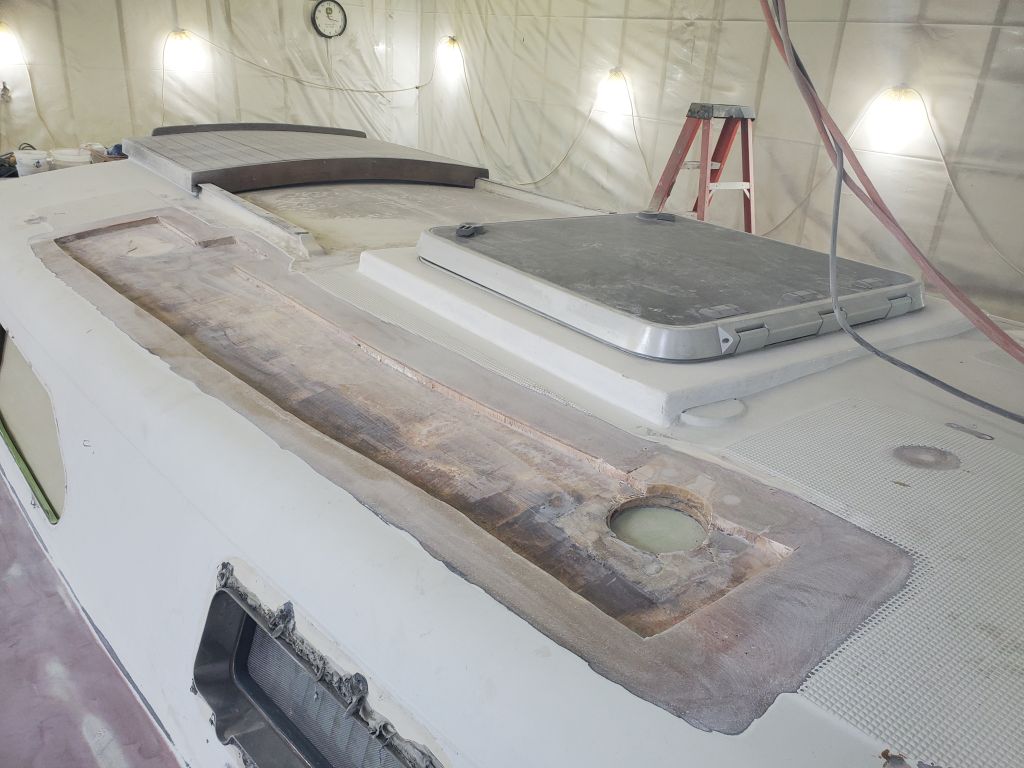
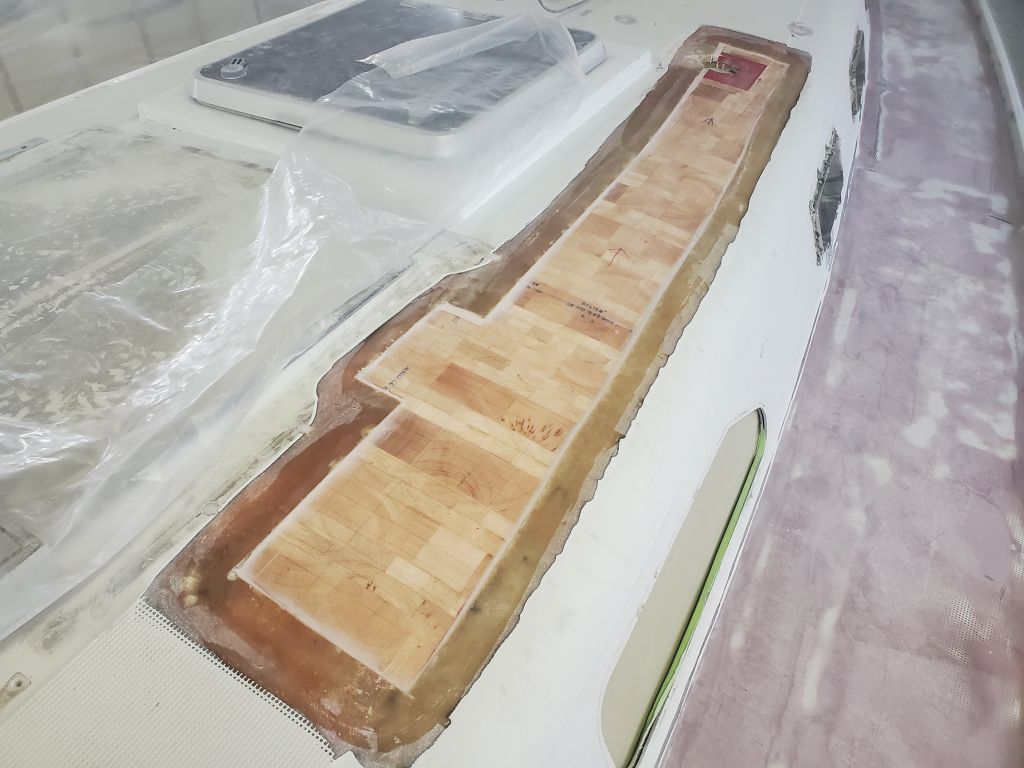
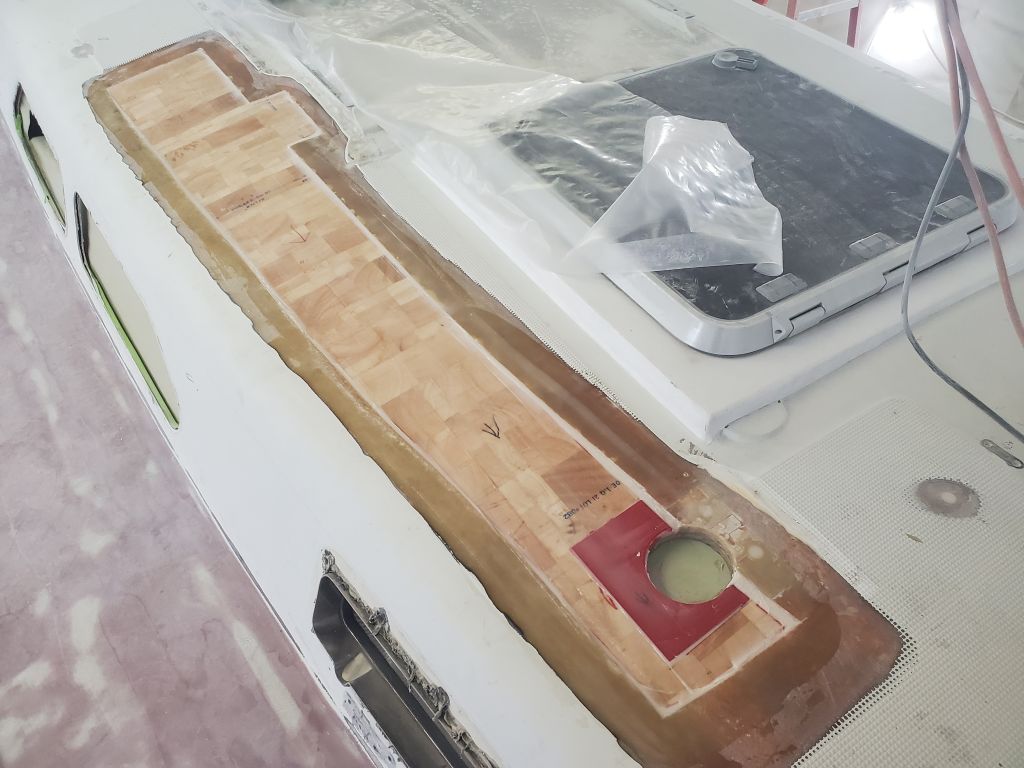
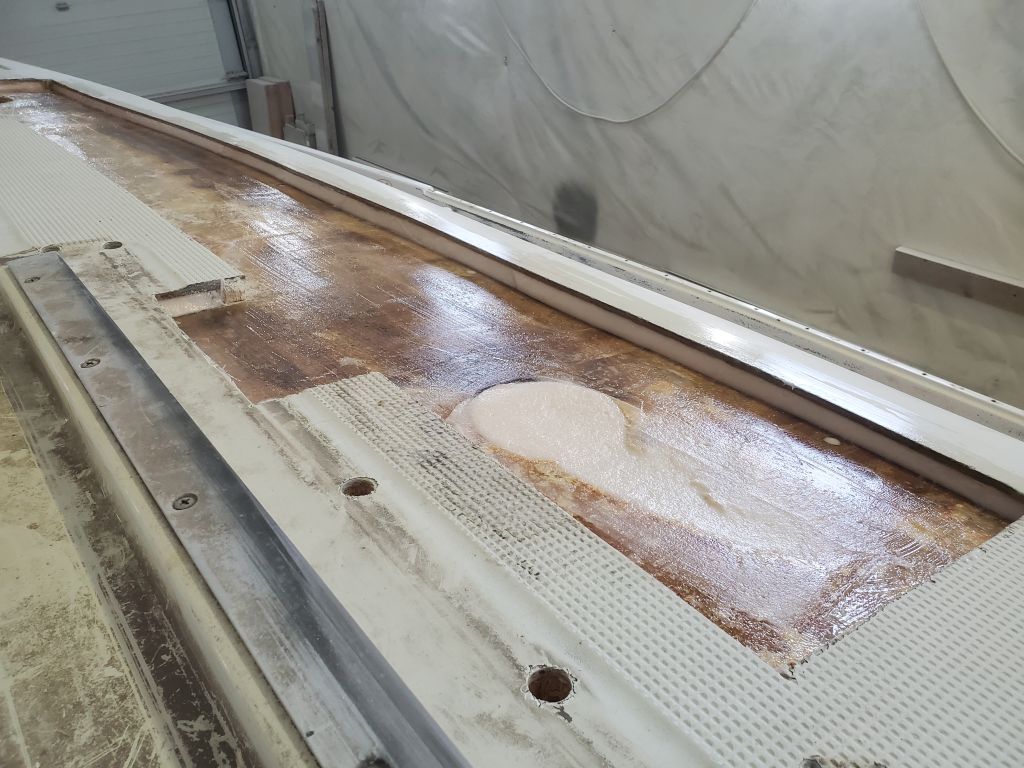
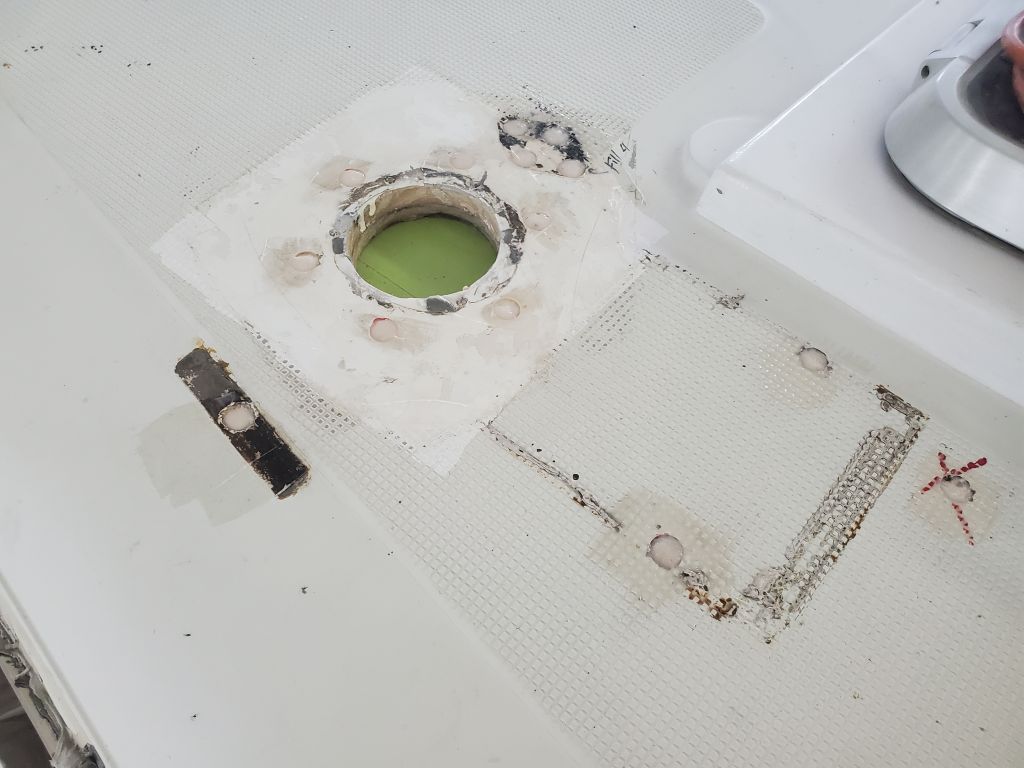
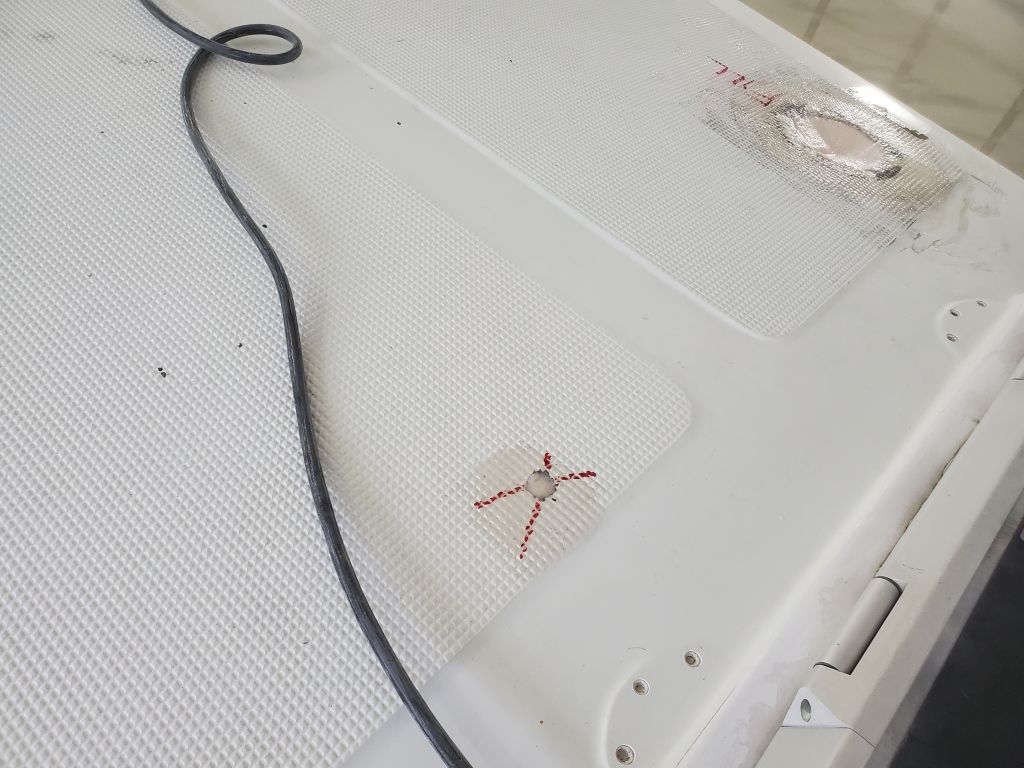
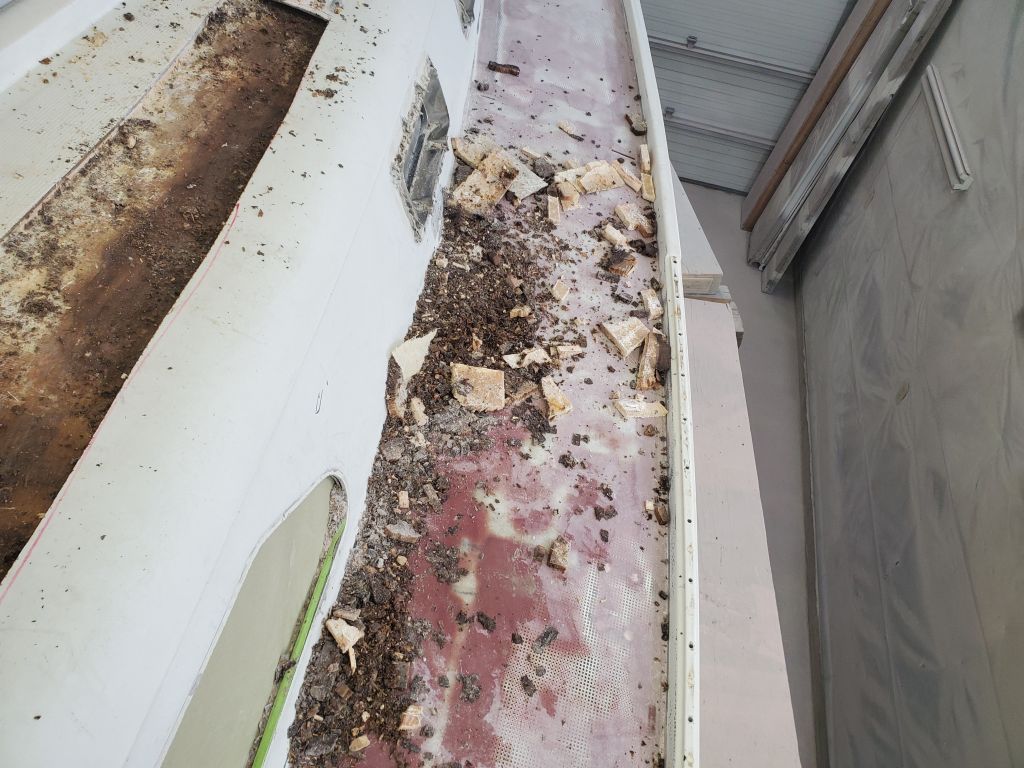
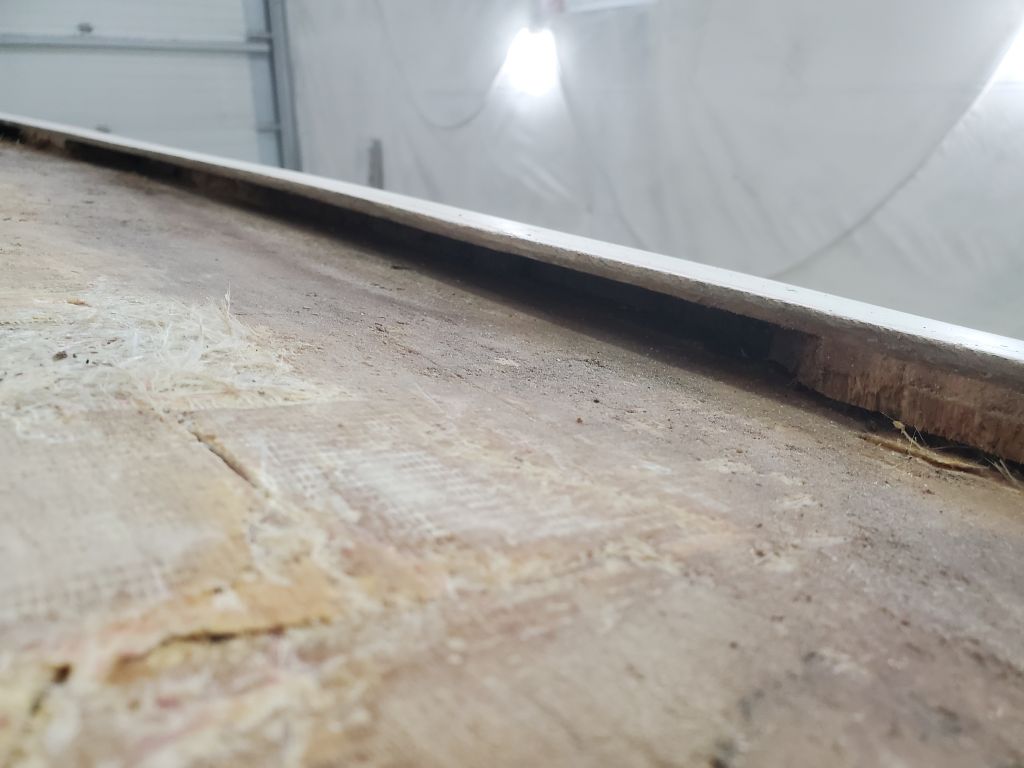
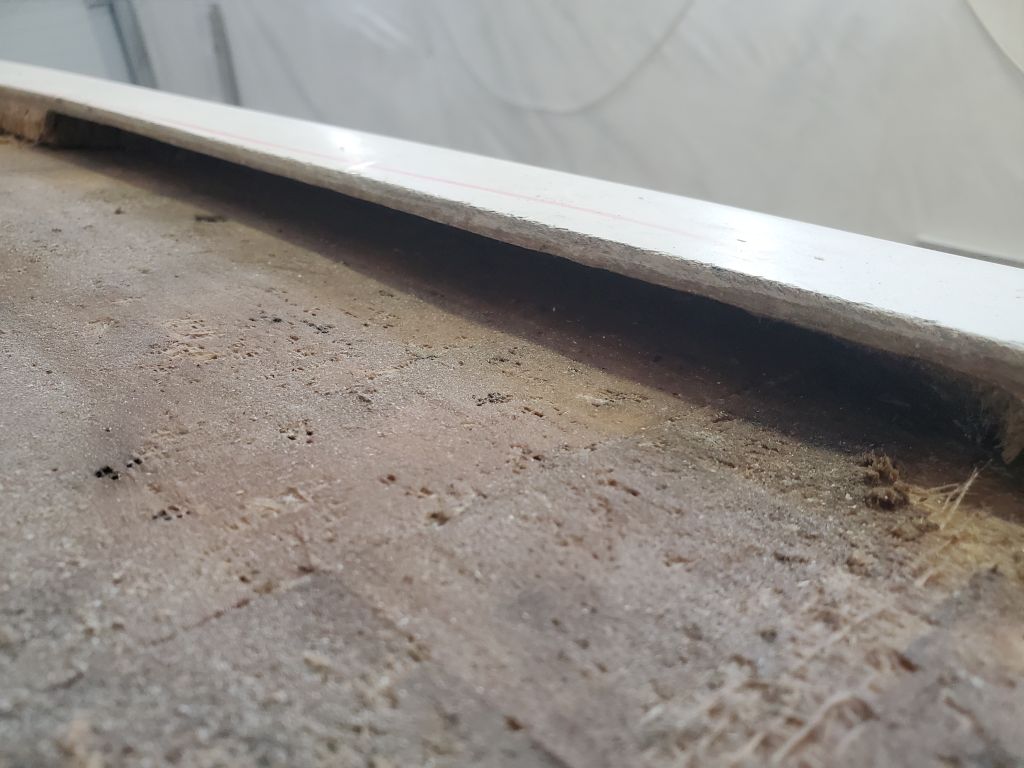
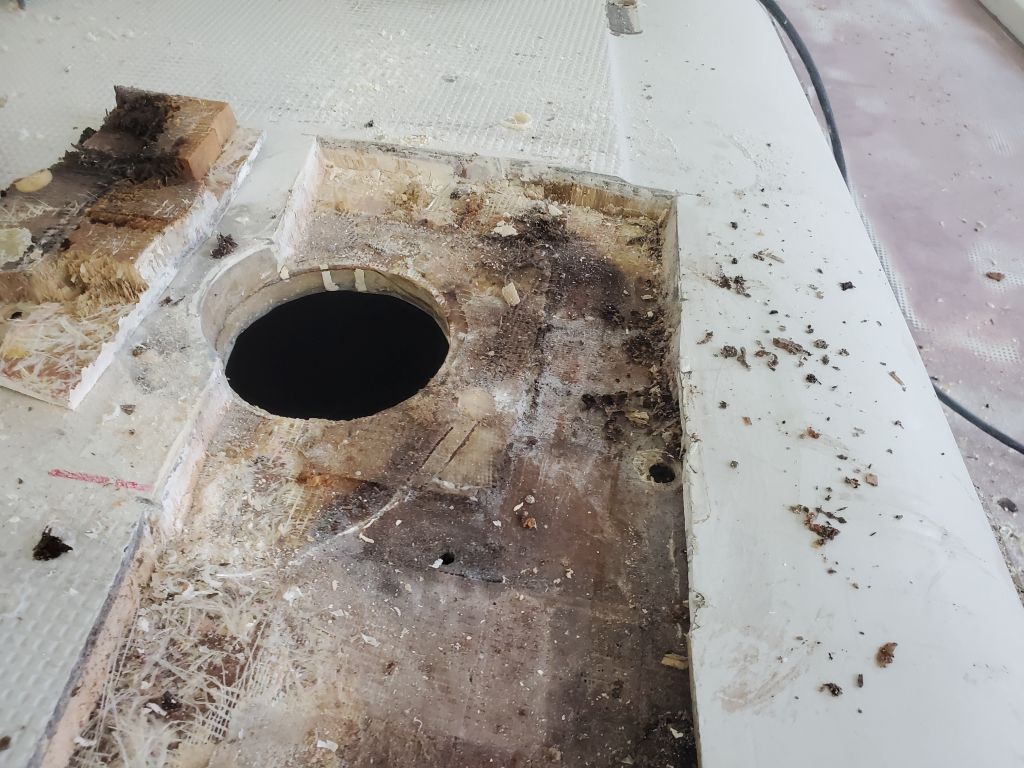
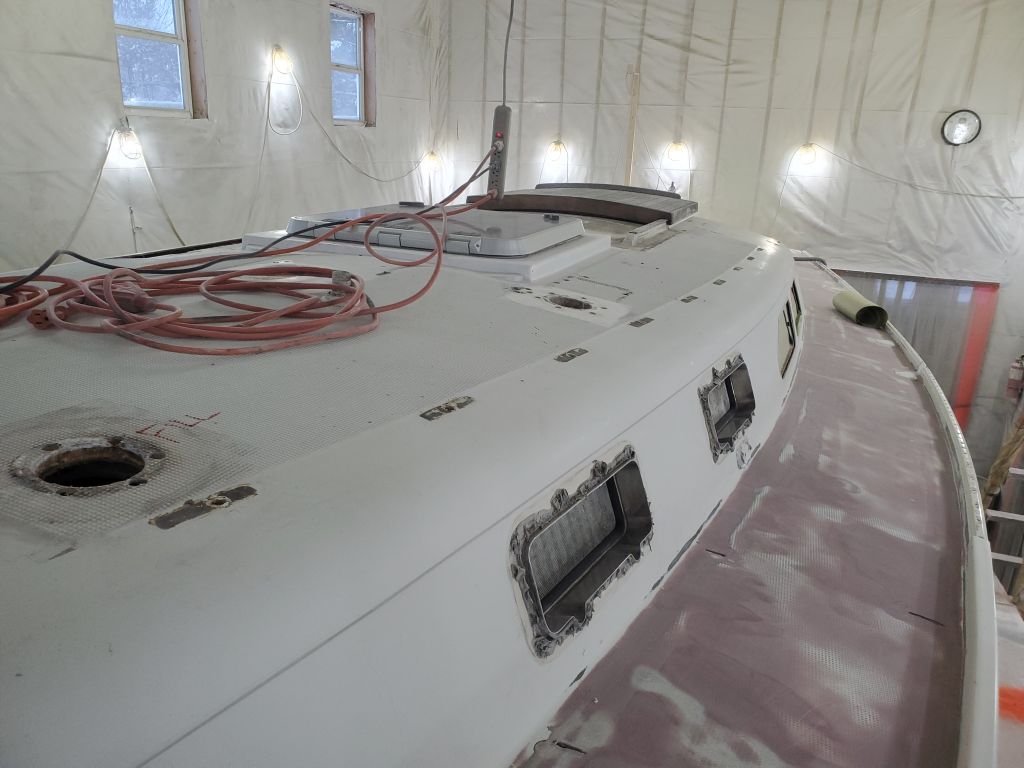
At the large core repair, I dug out the remaining core from the outer edge, and used my wire wheel to clean out the slot as well as possible. Additional new work on the core repair would have to wait till the inner skin dried out before more sanding and filling could occur. After cleaning up and blowing out all the drill spoils and remaining bits of core, I masked over most of the accessible openings from belowdecks, preparing for new work ahead.
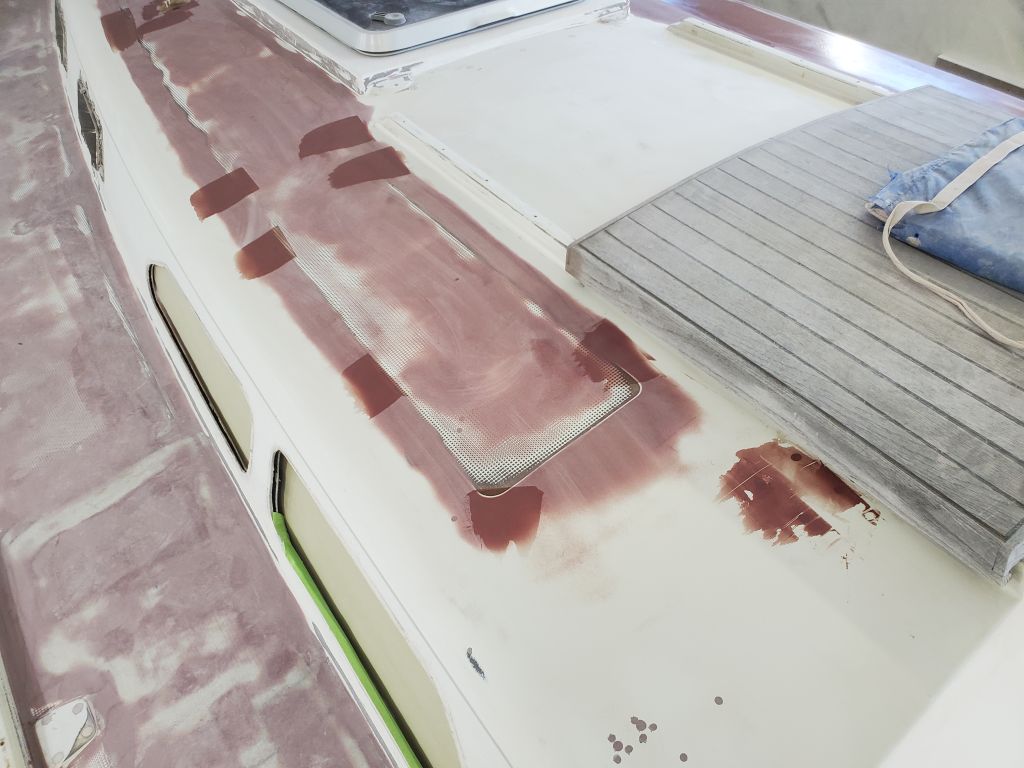
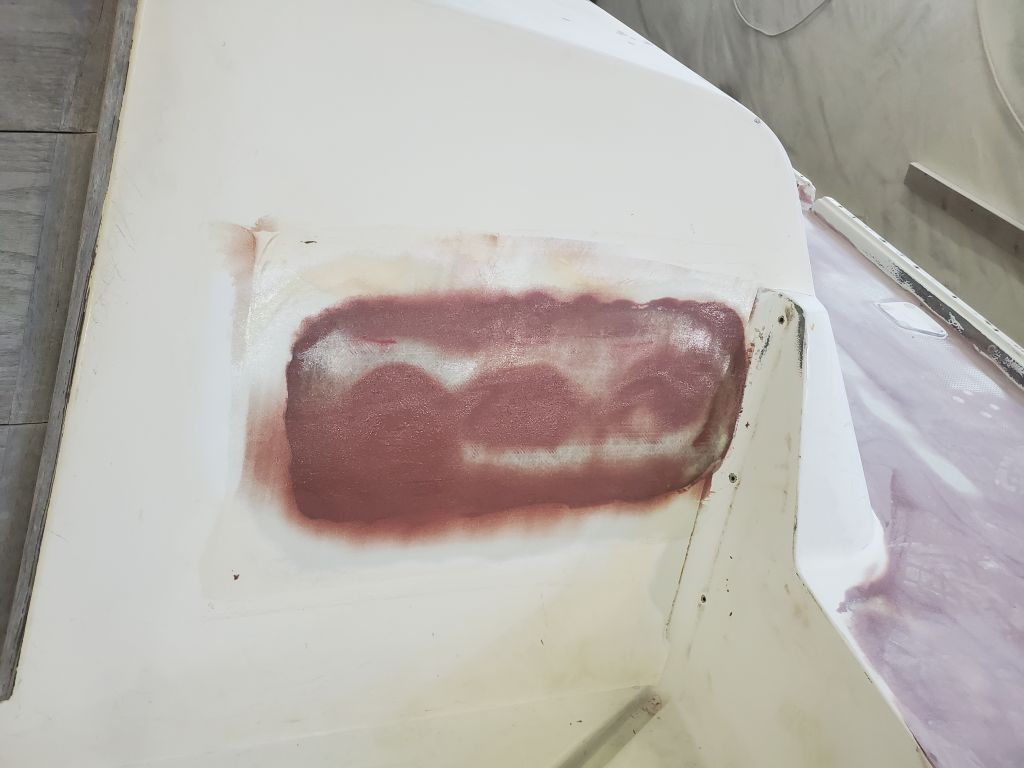
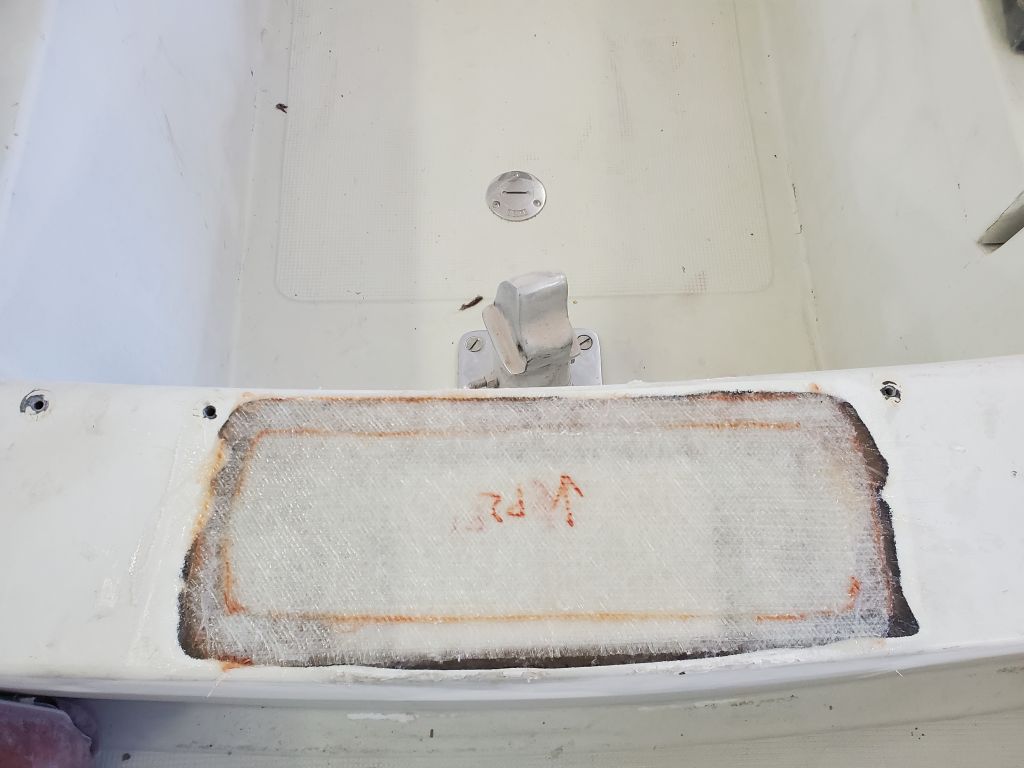
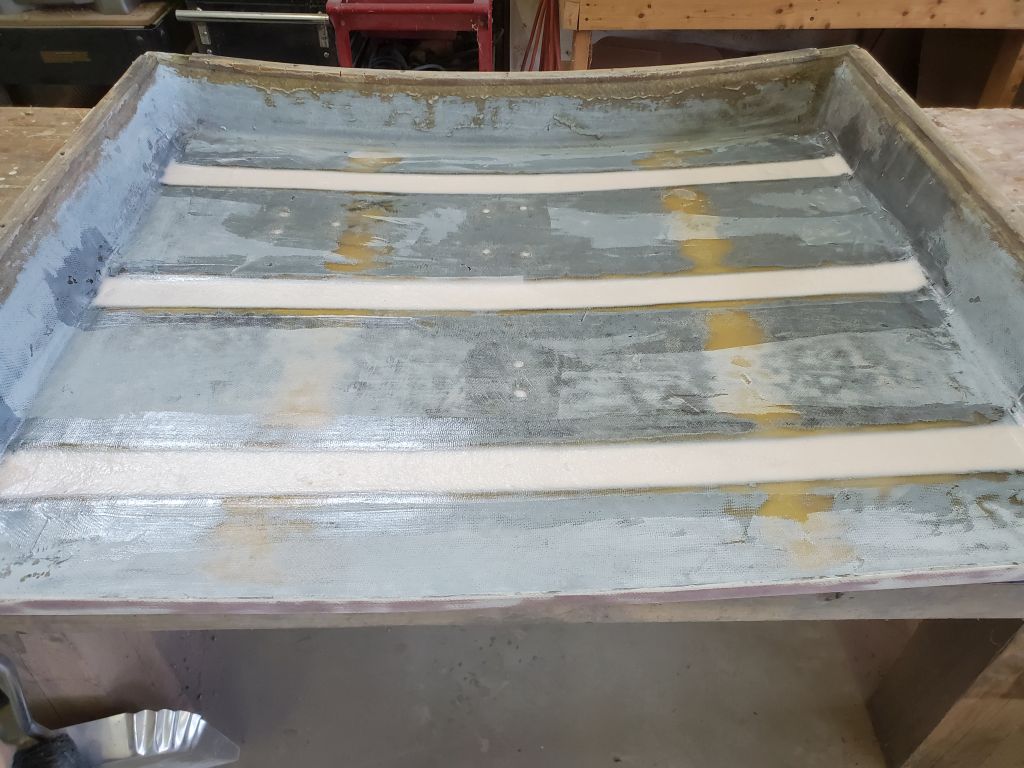
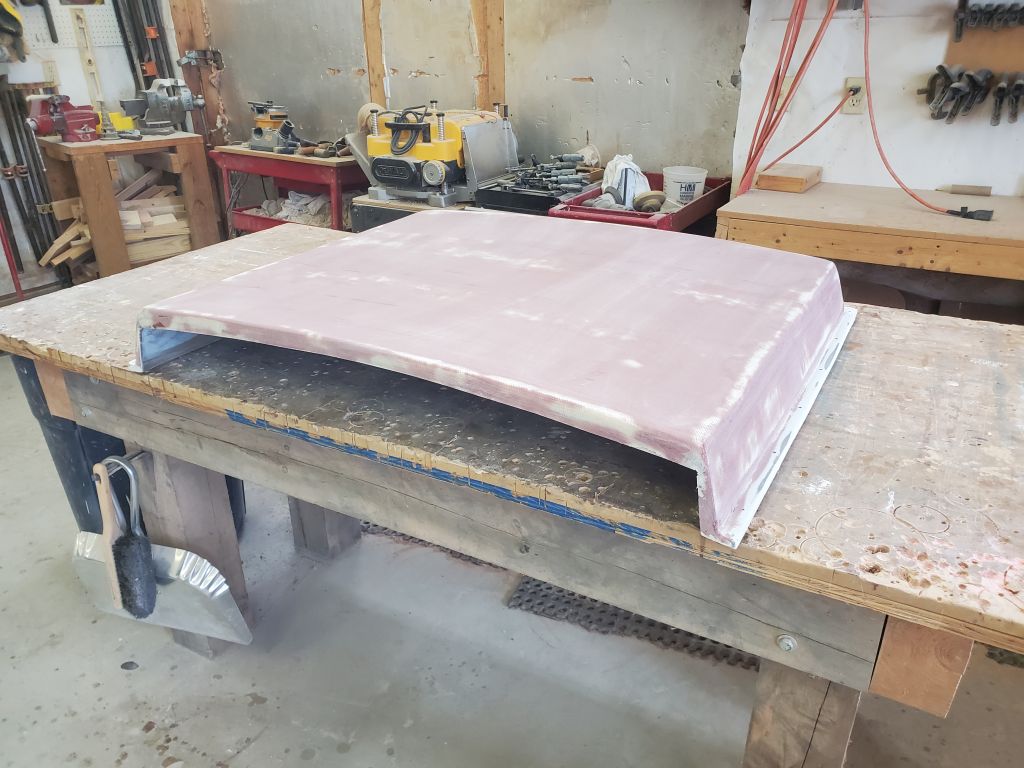
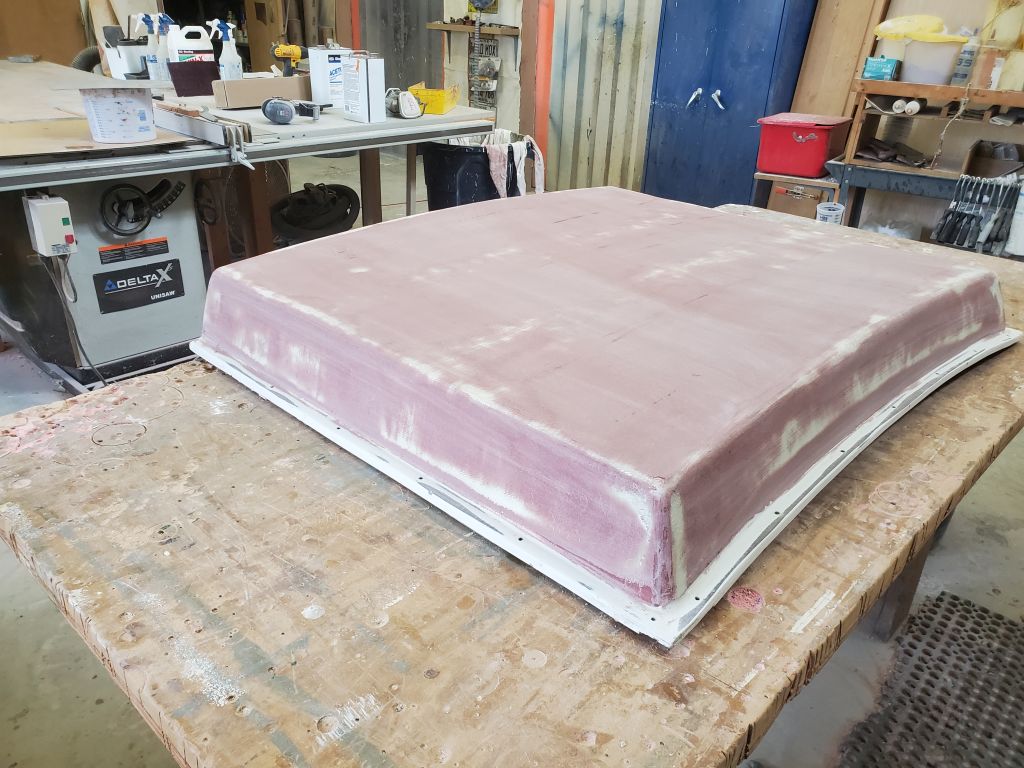
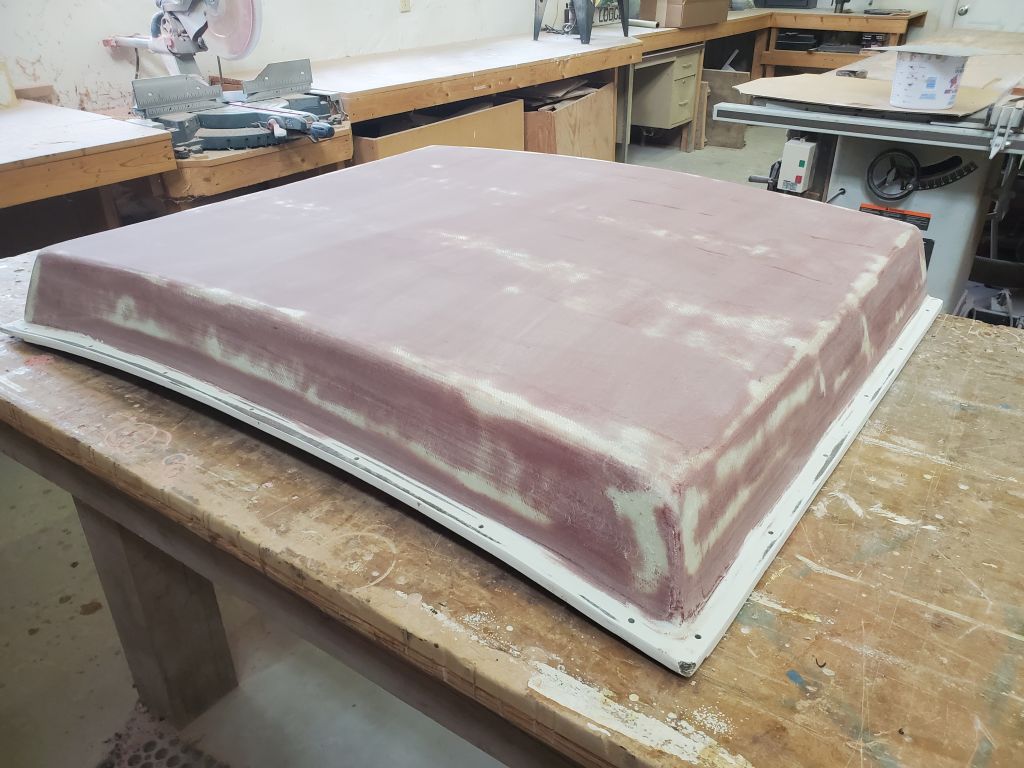
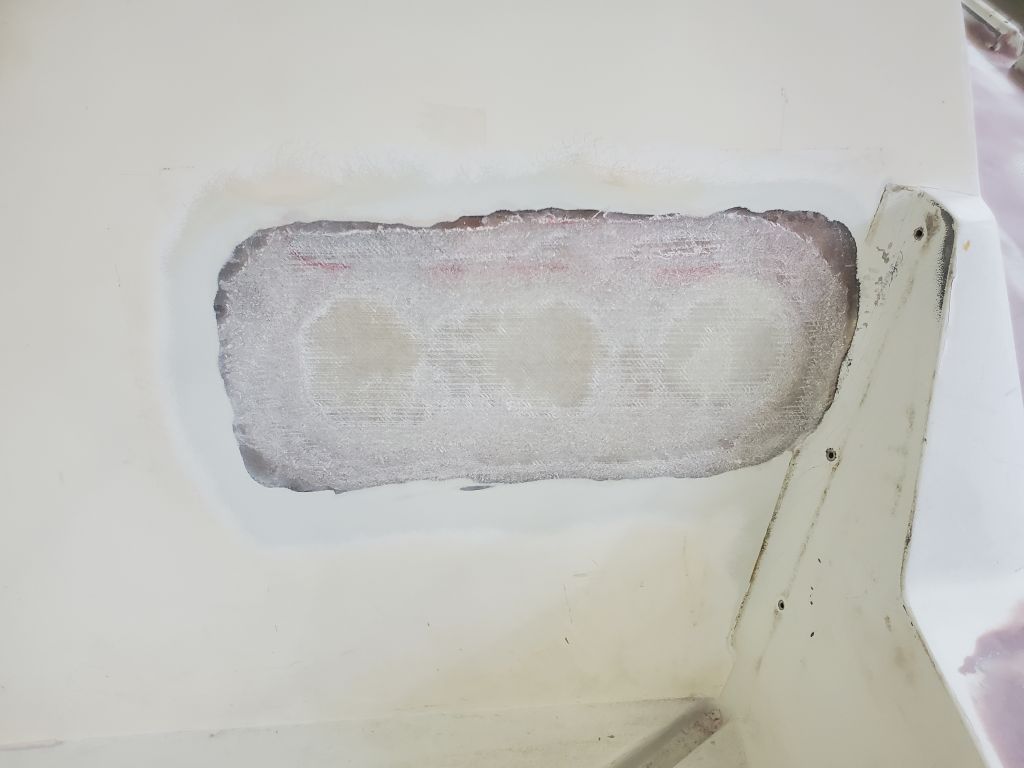
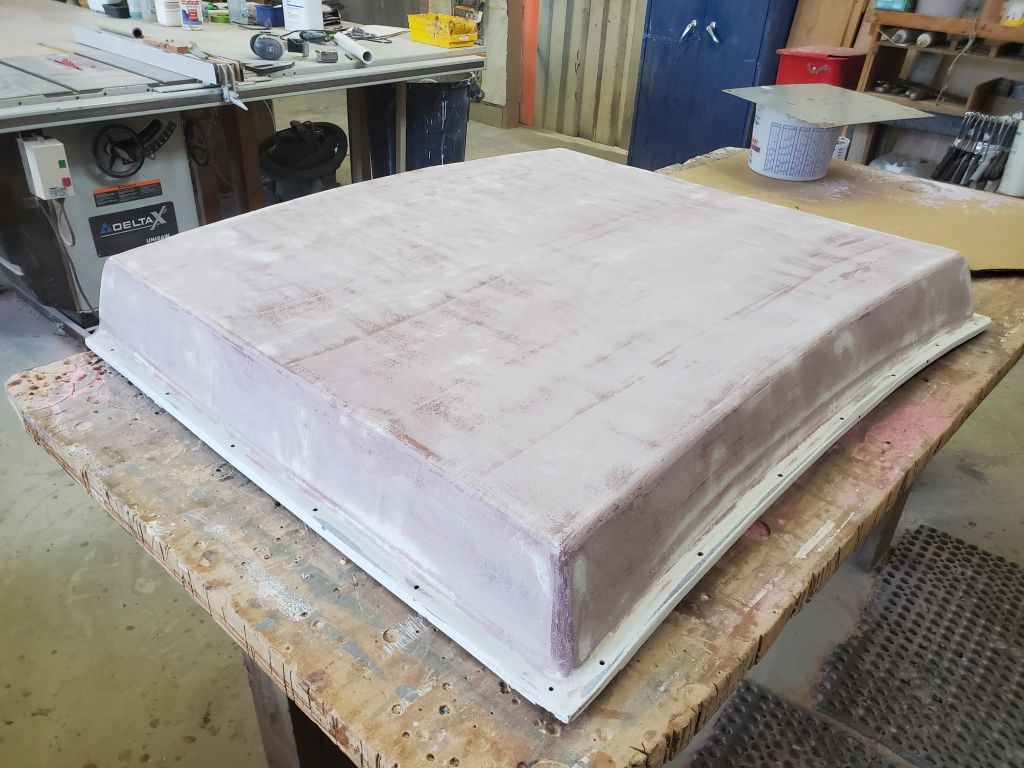
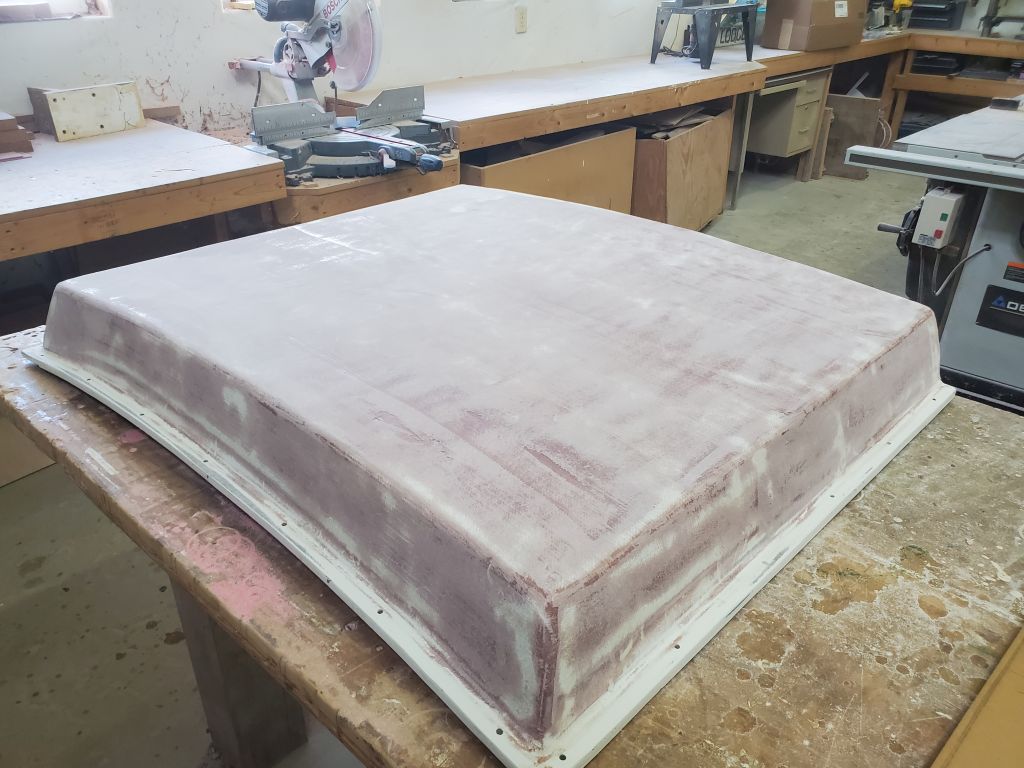
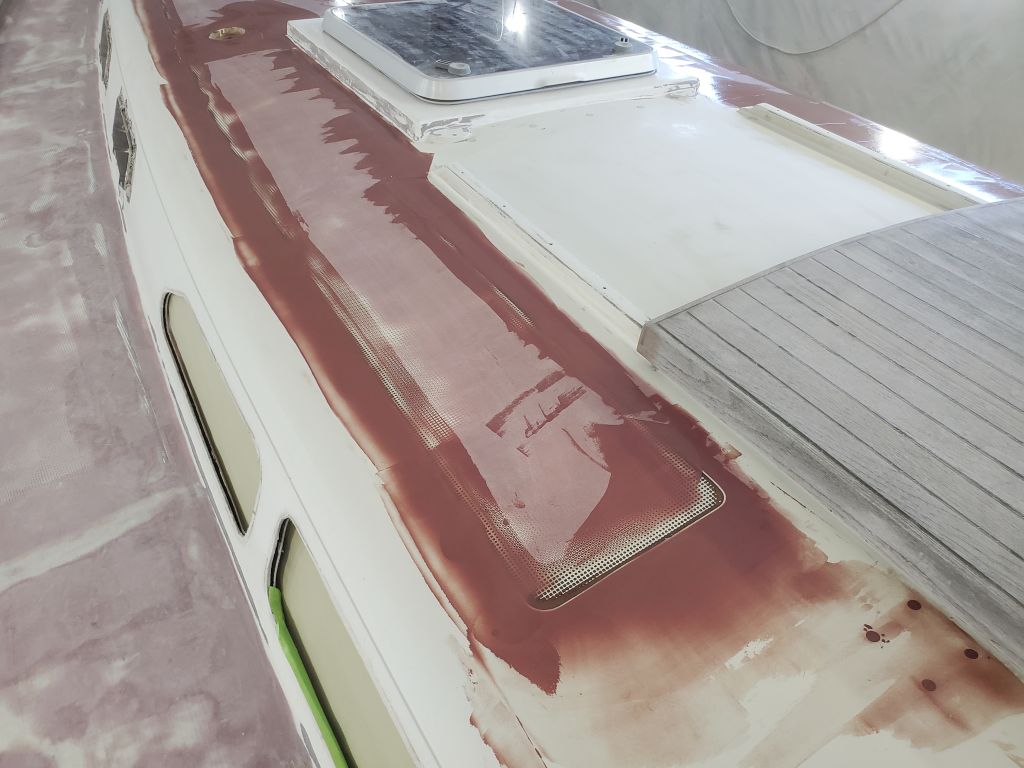
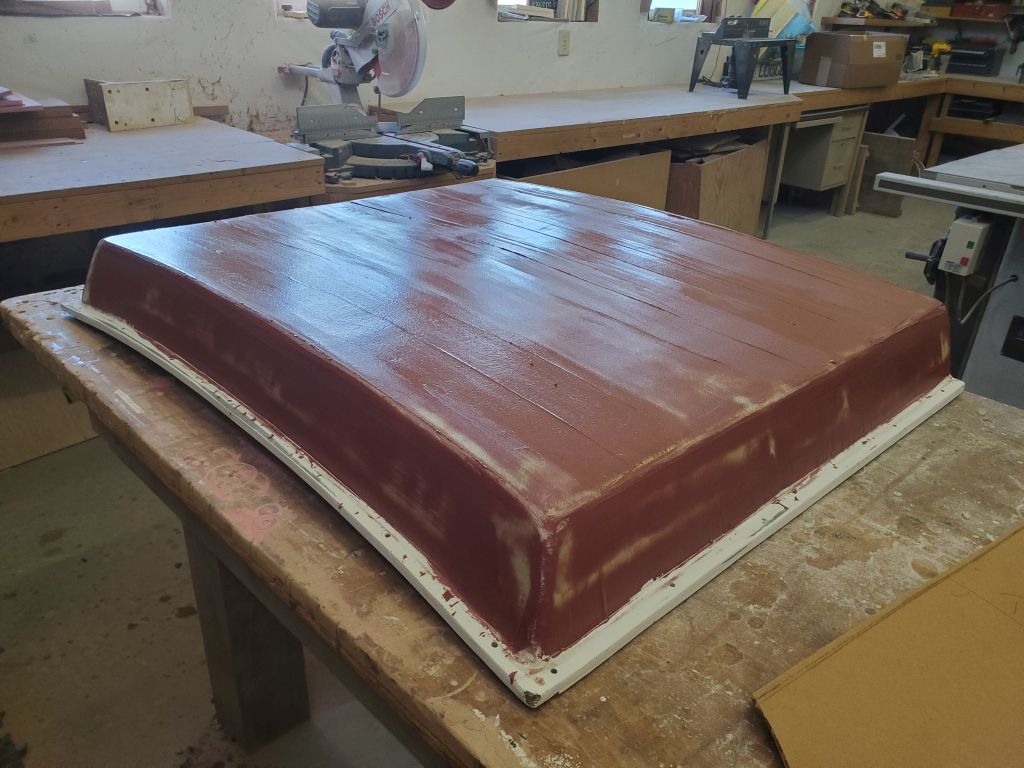
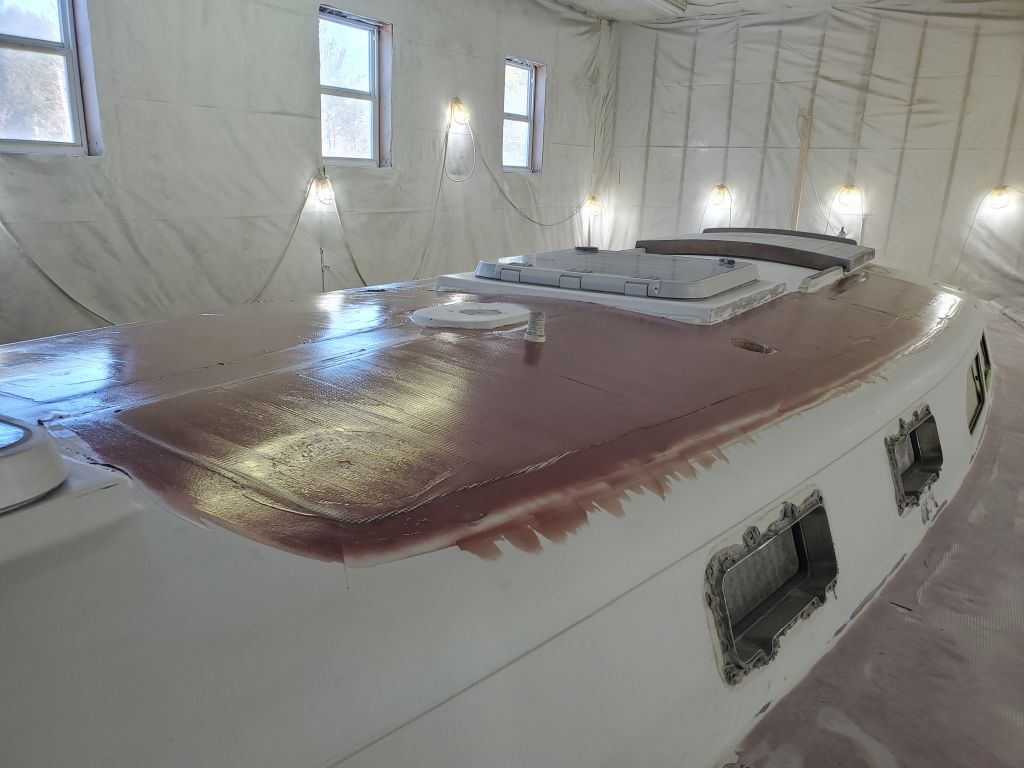
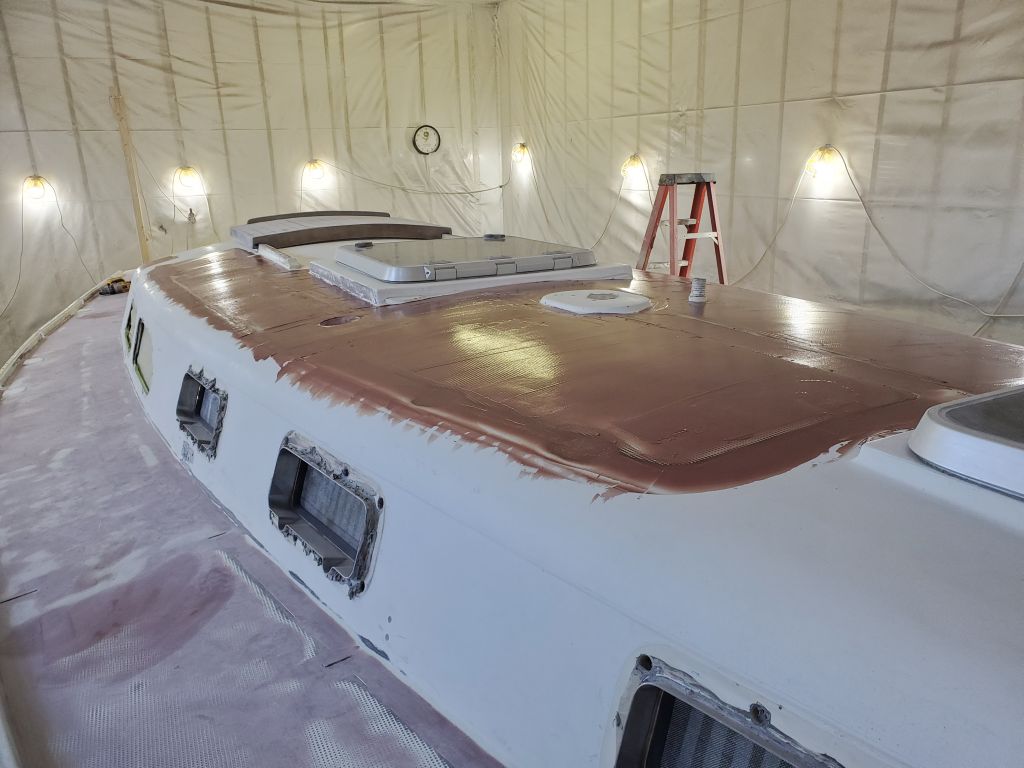
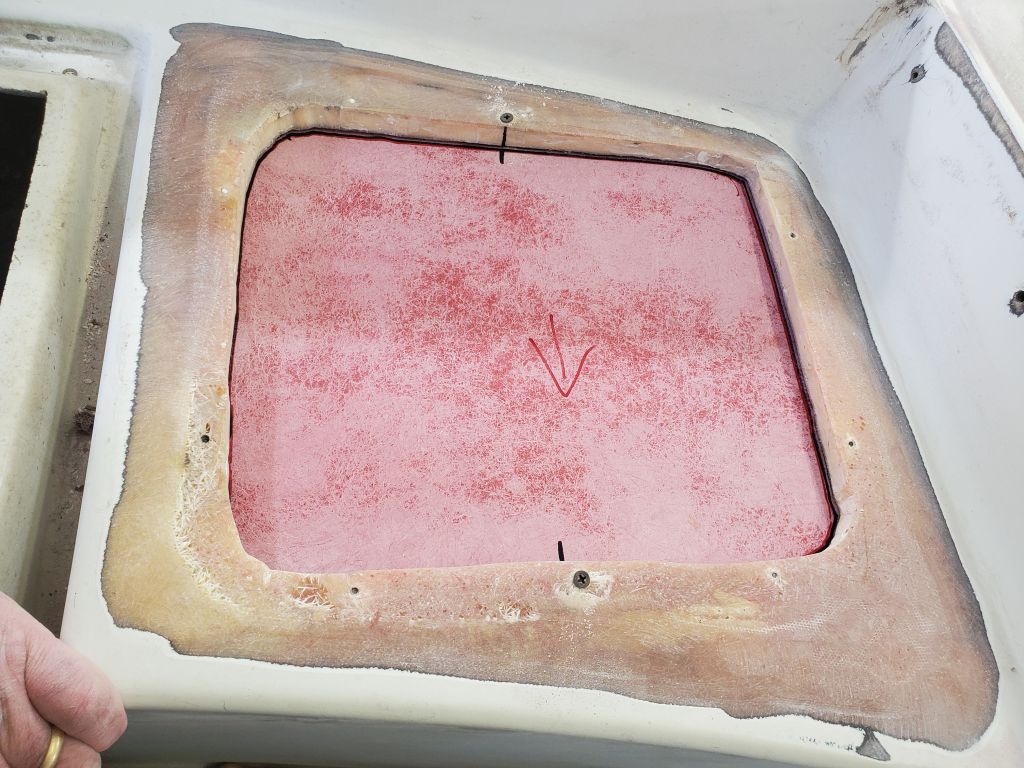
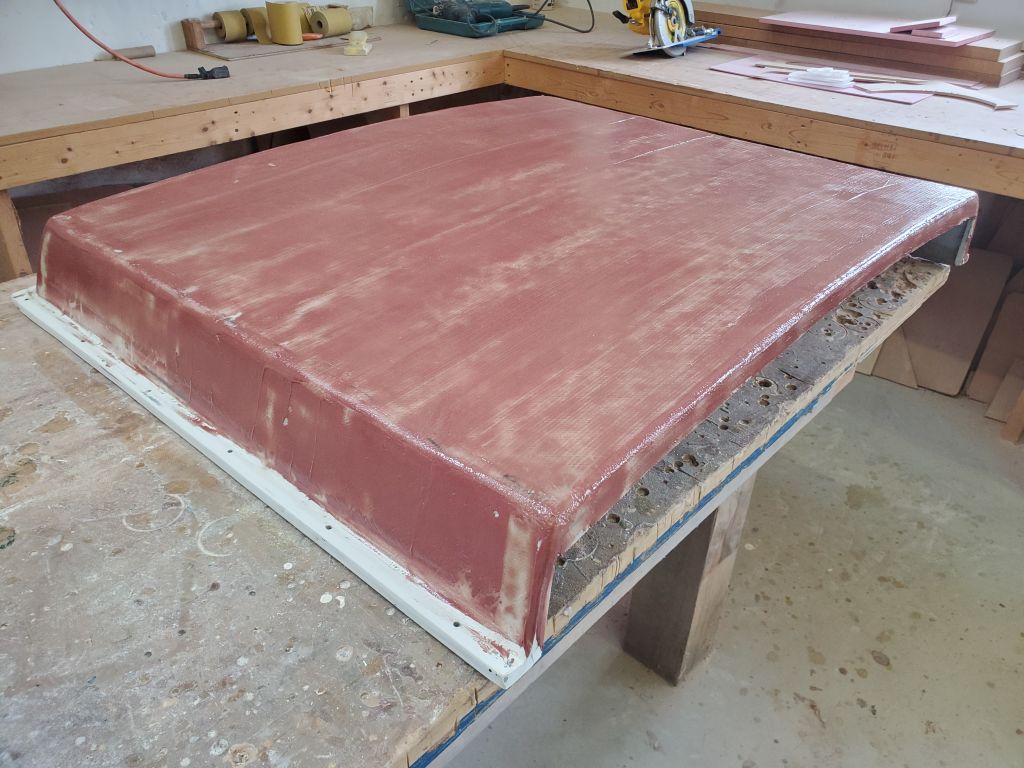
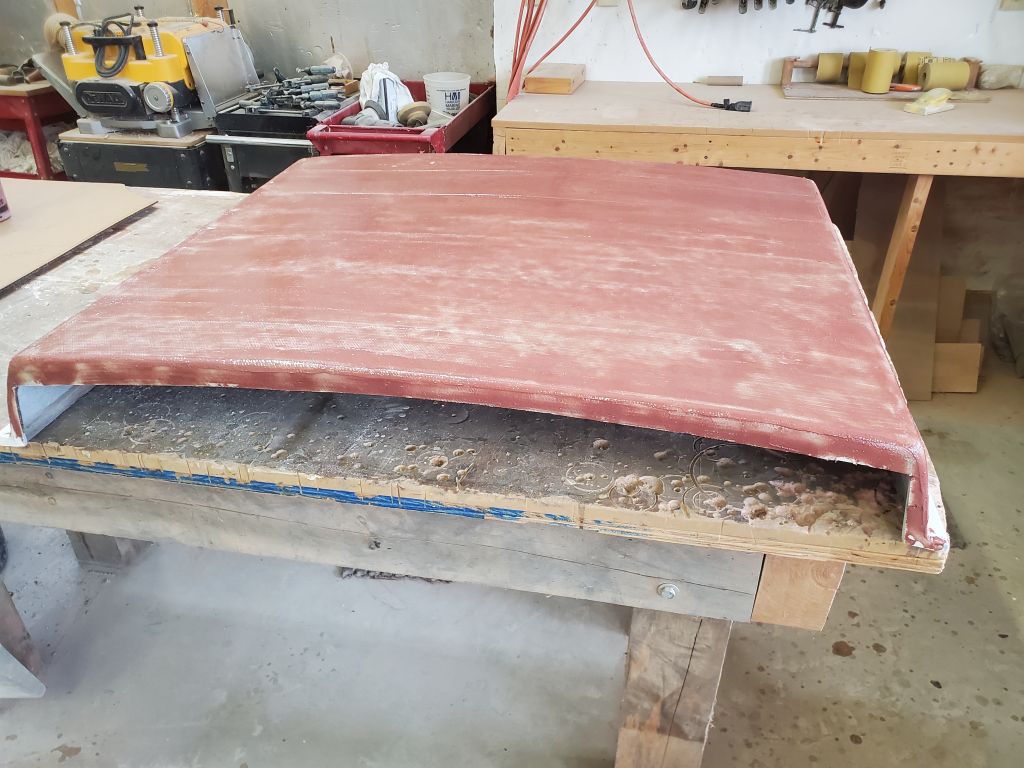
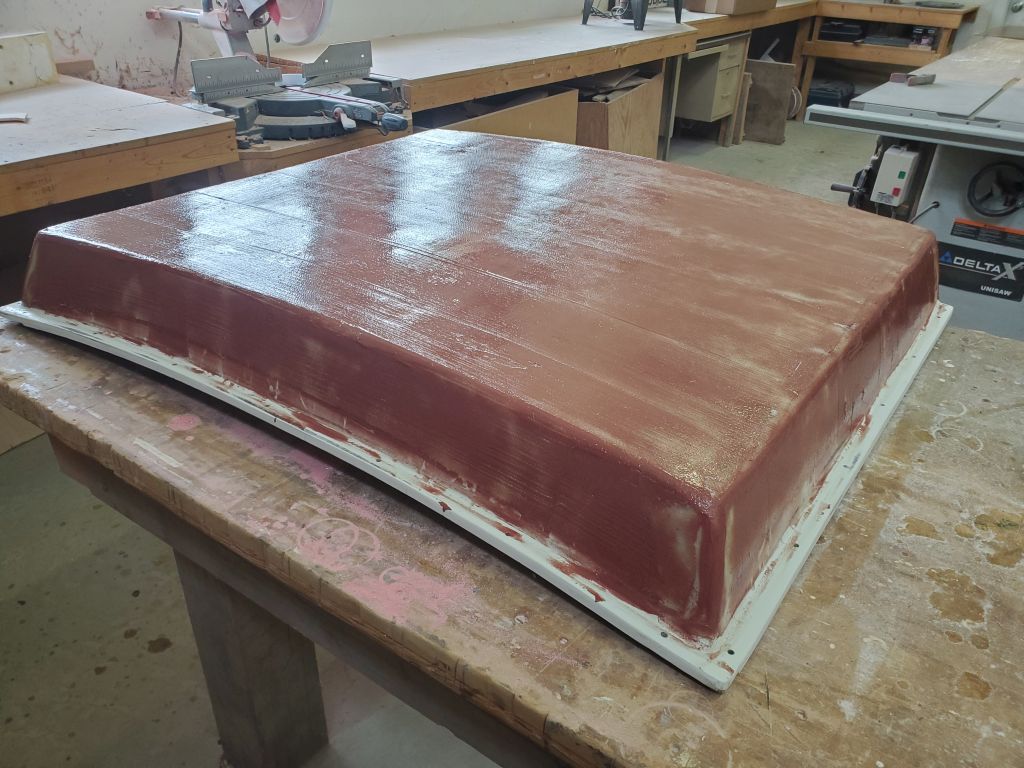
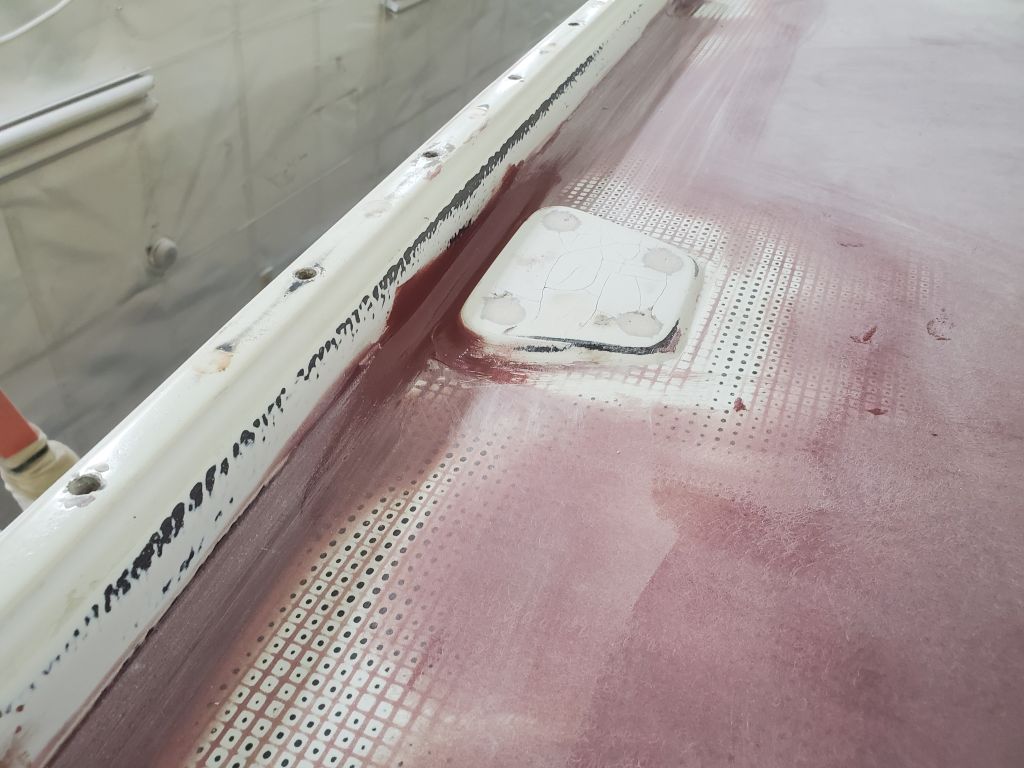
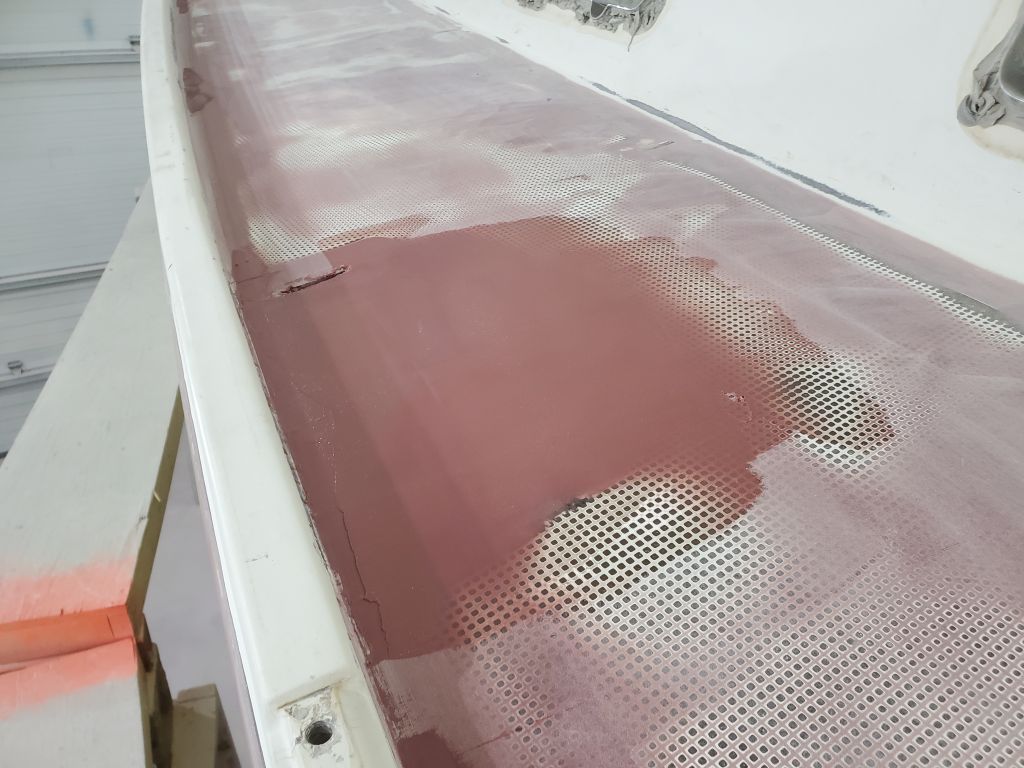
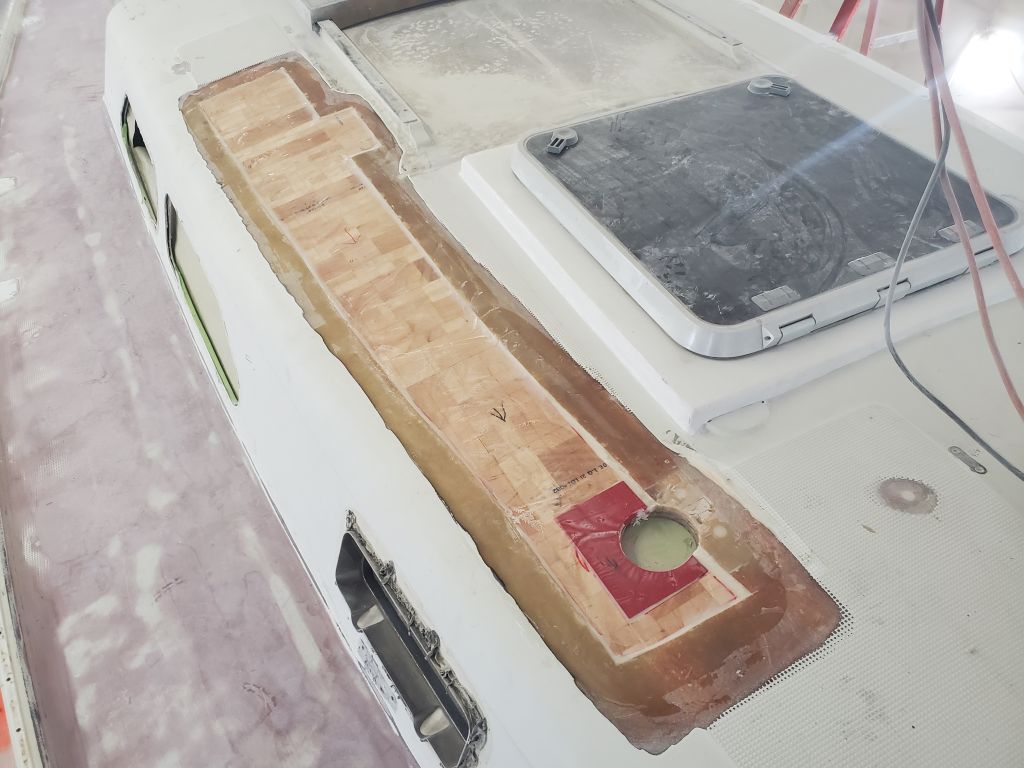
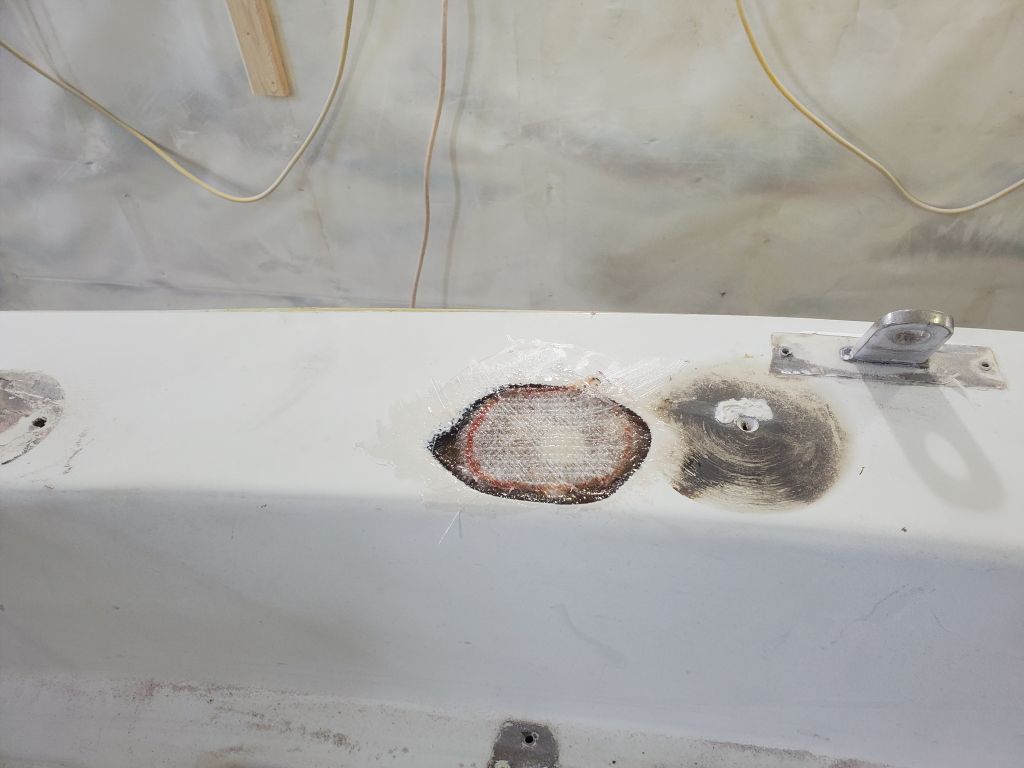
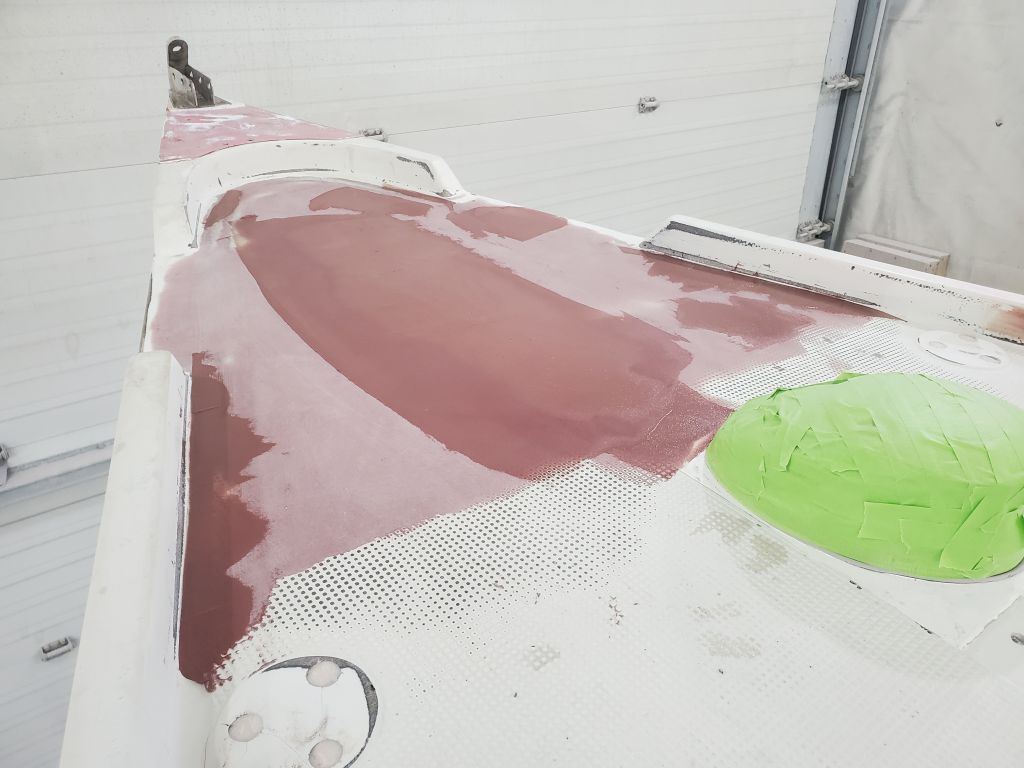
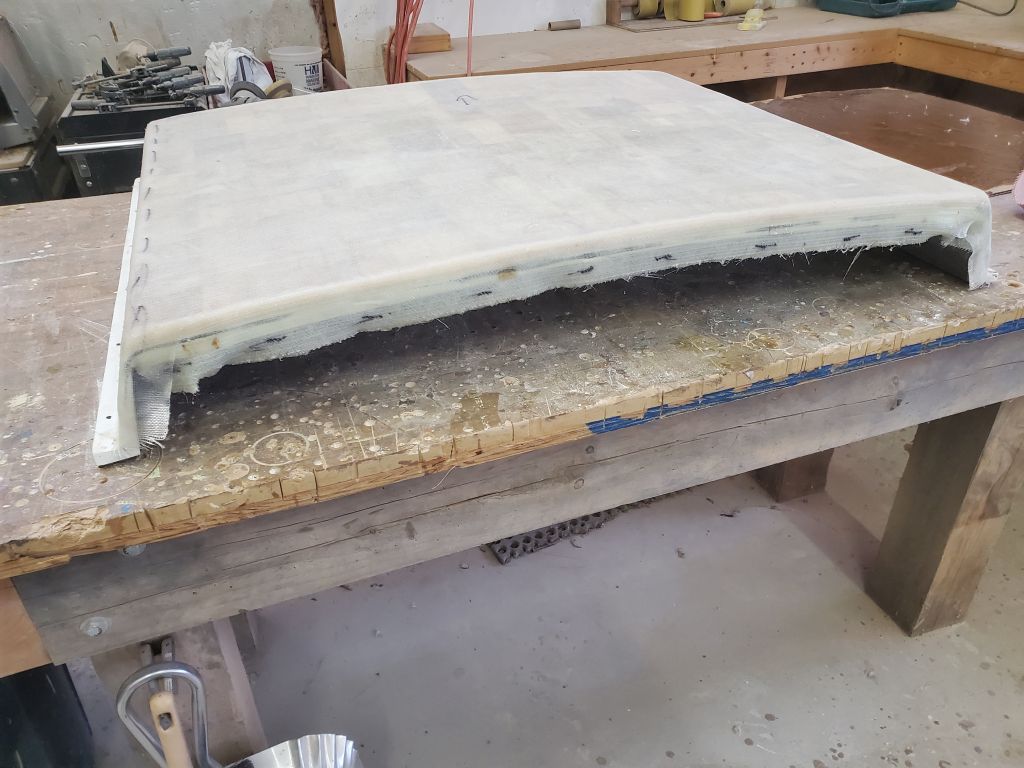
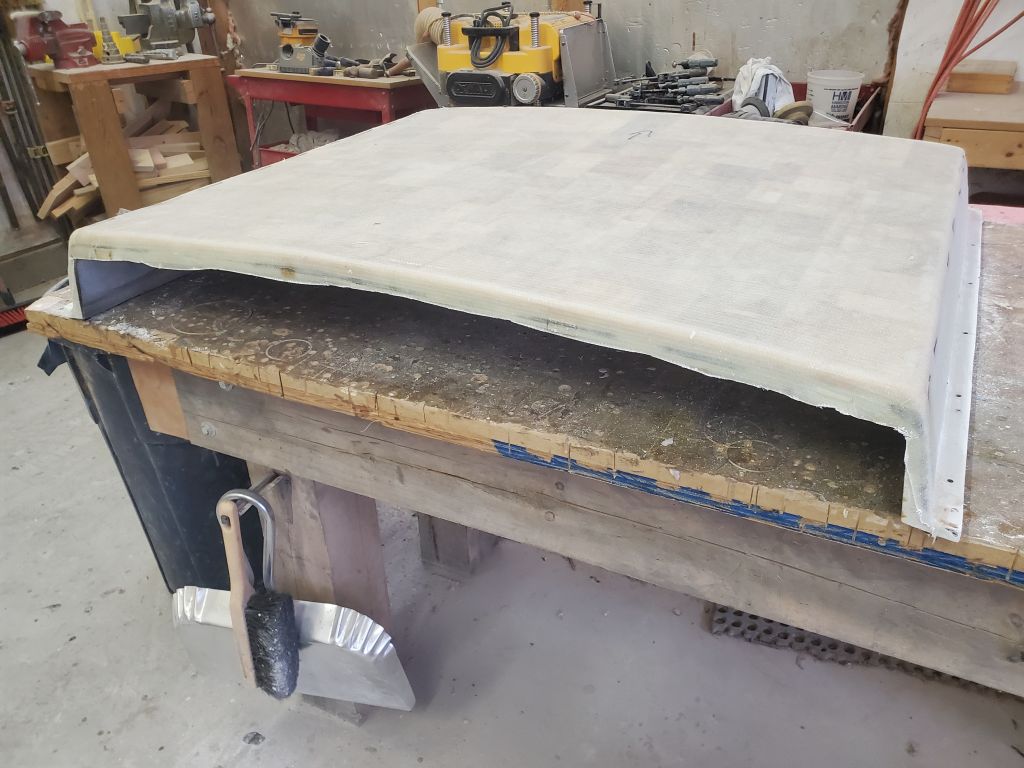
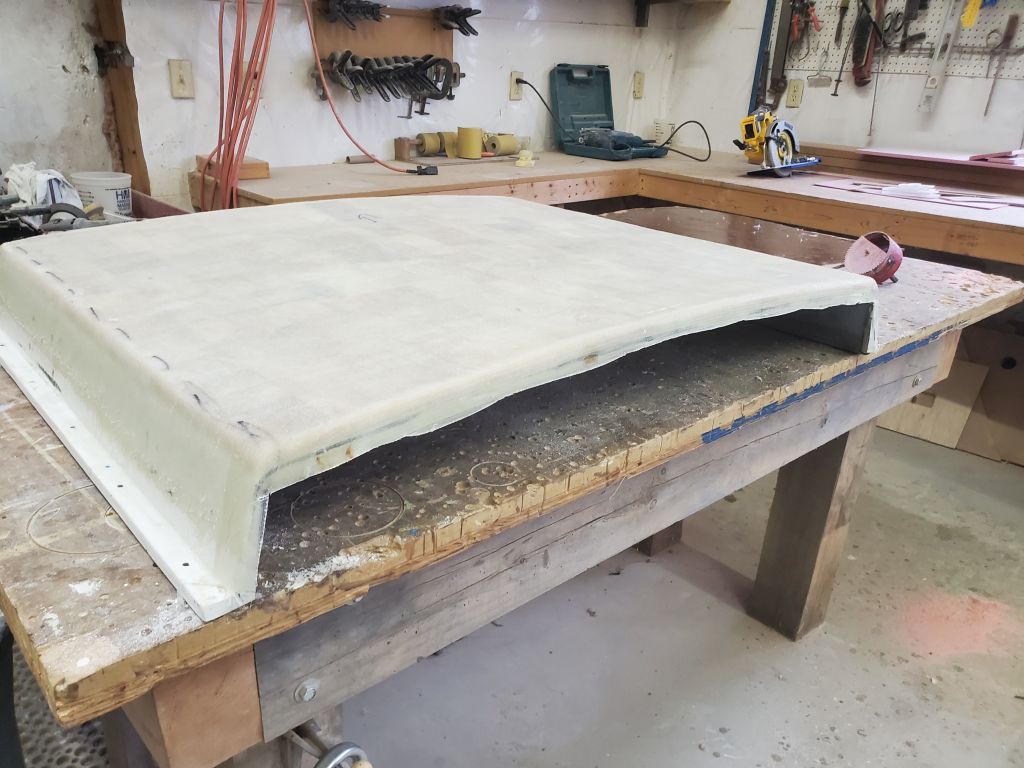
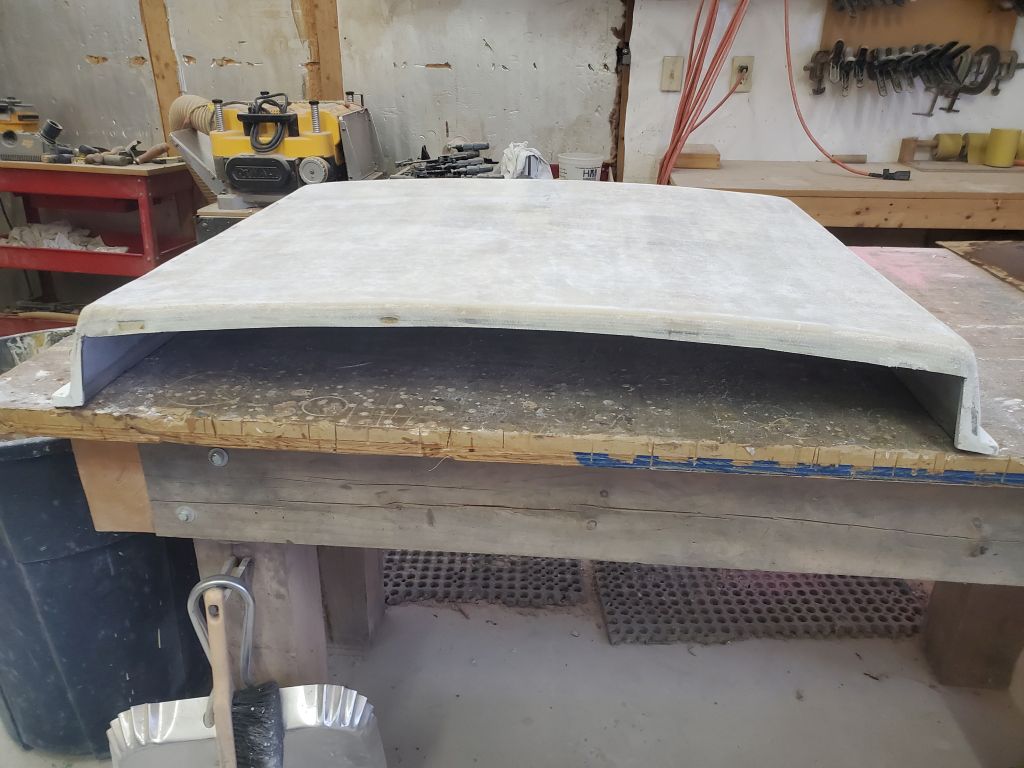
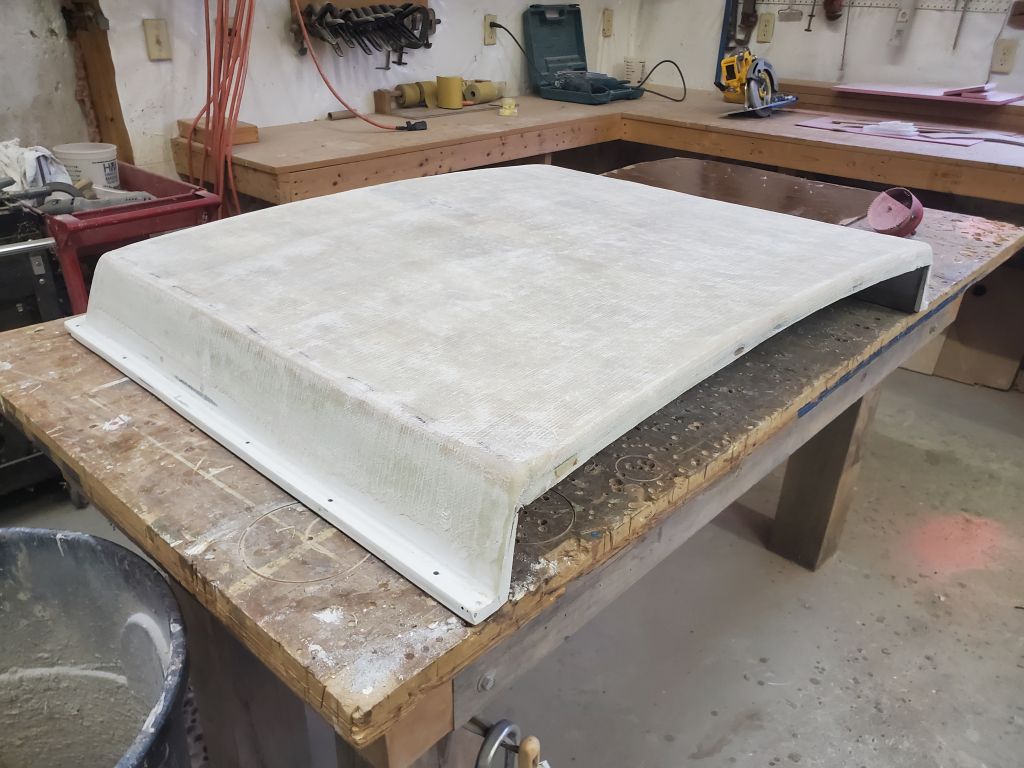
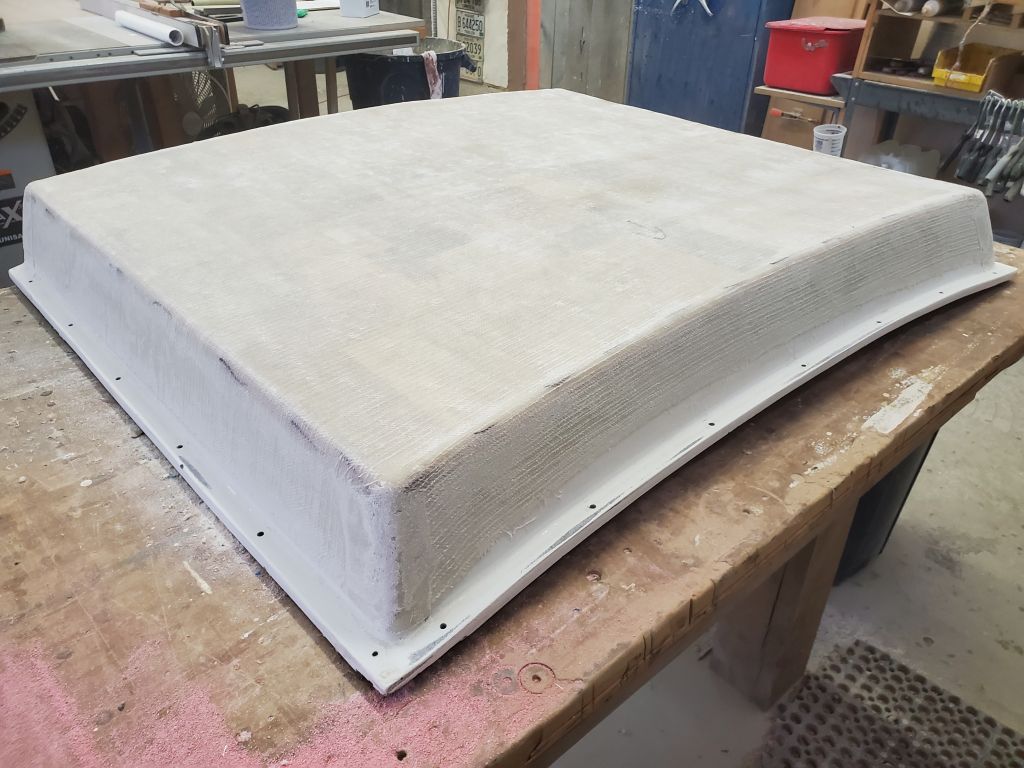
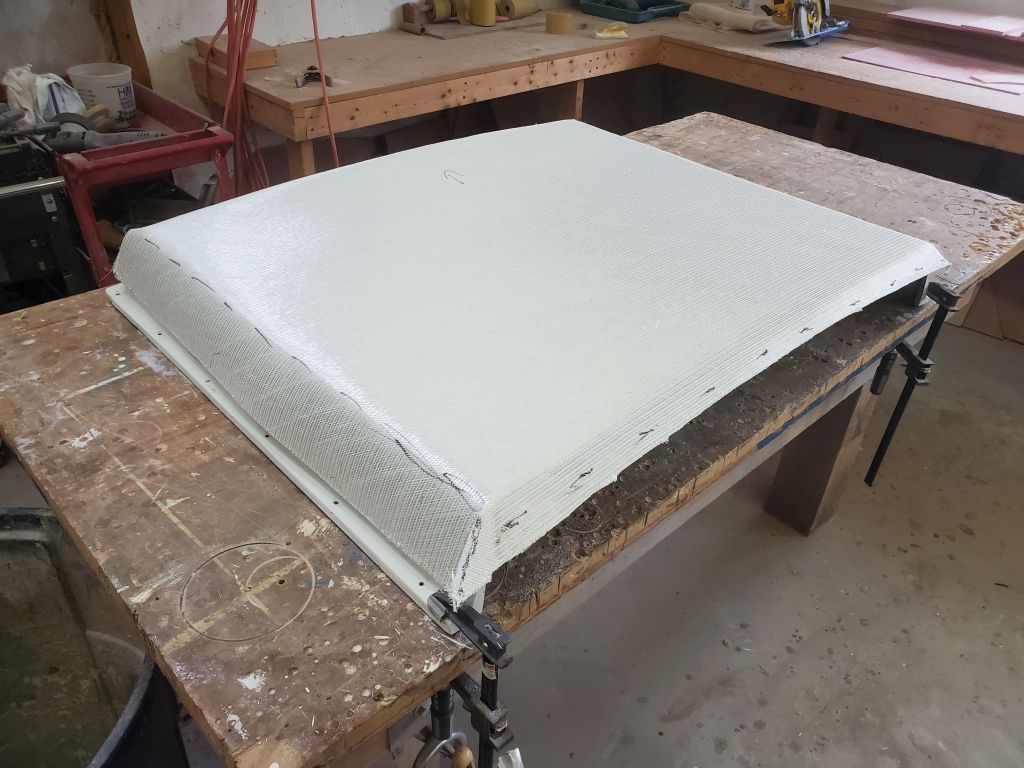
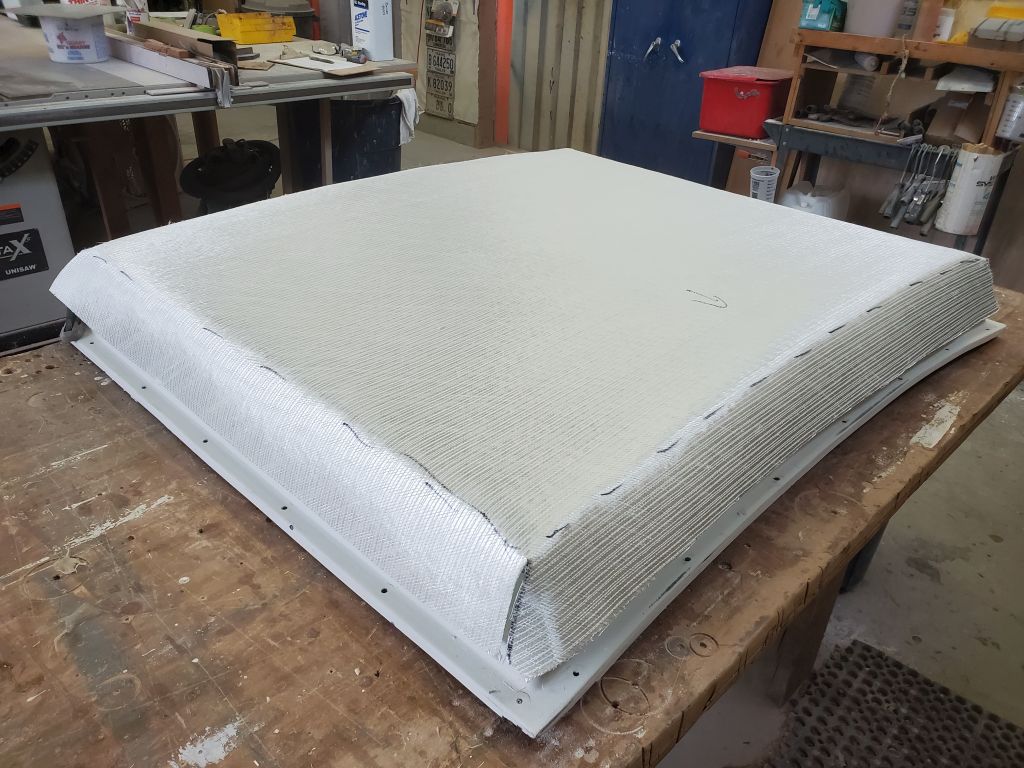
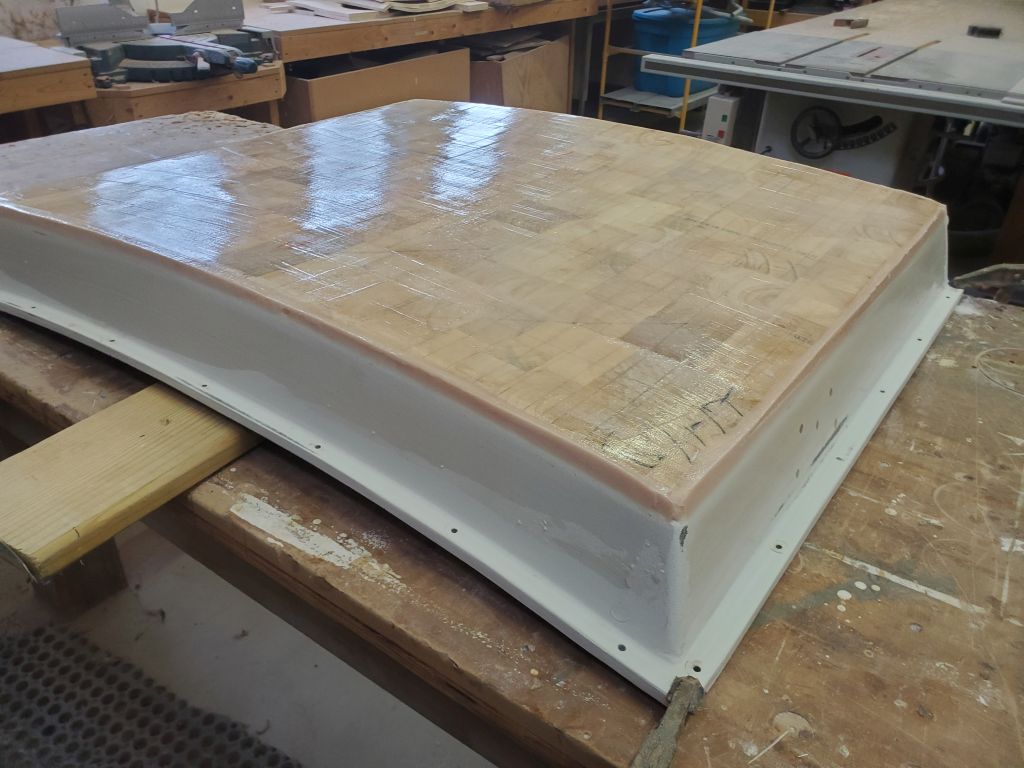
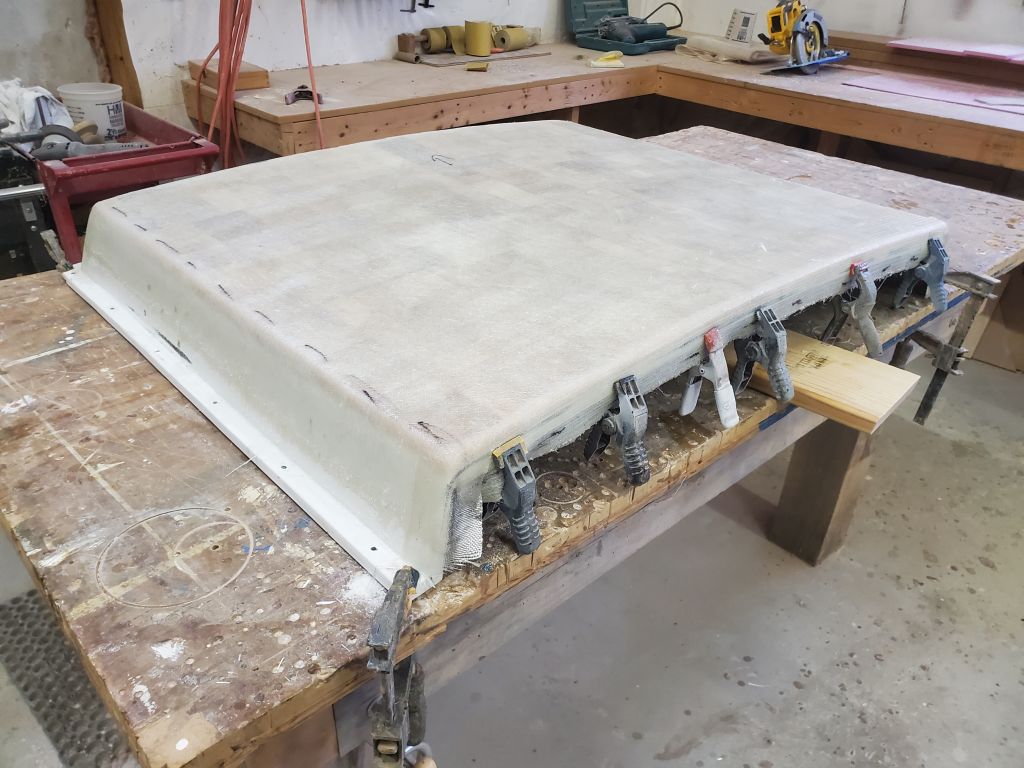
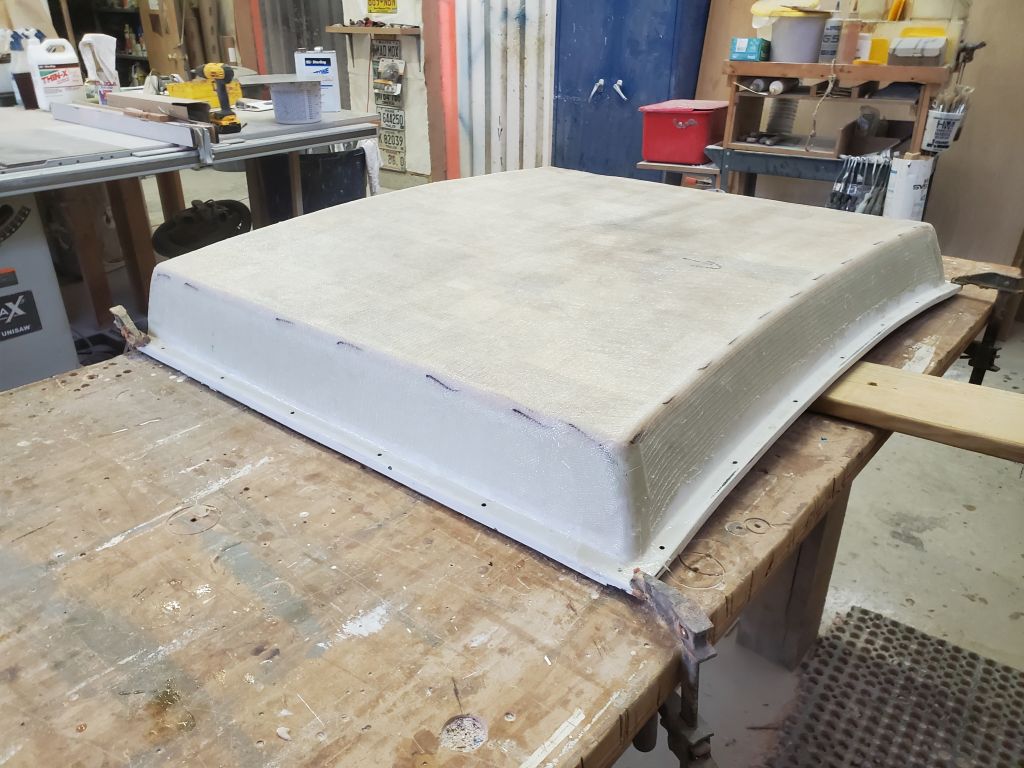
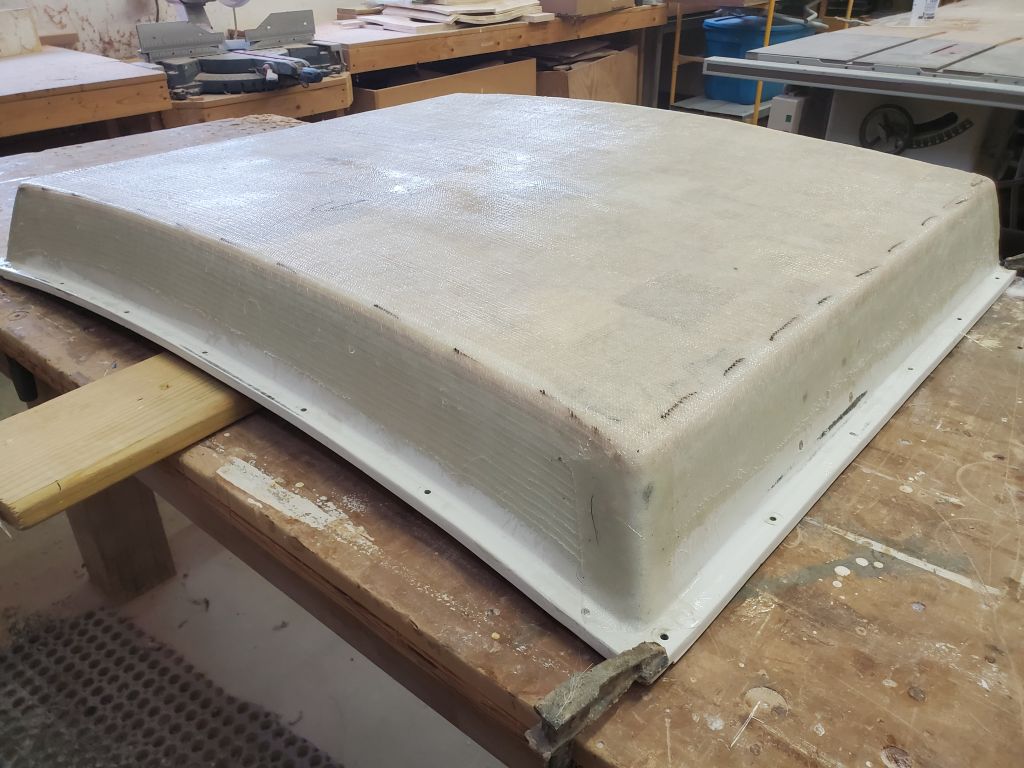
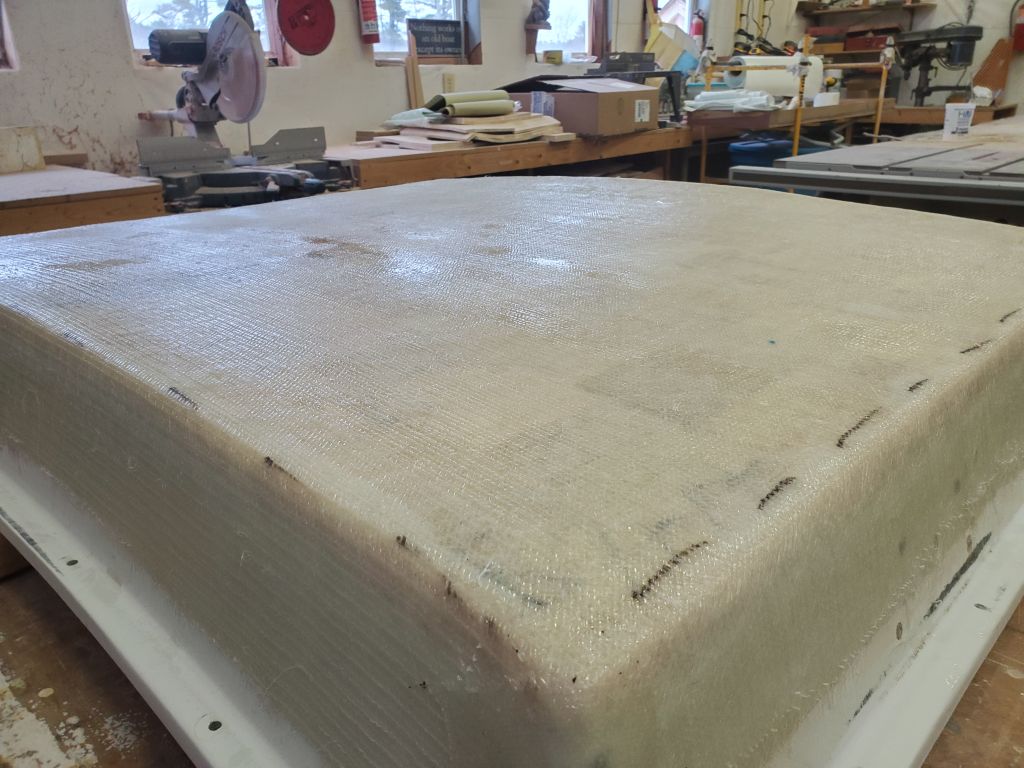
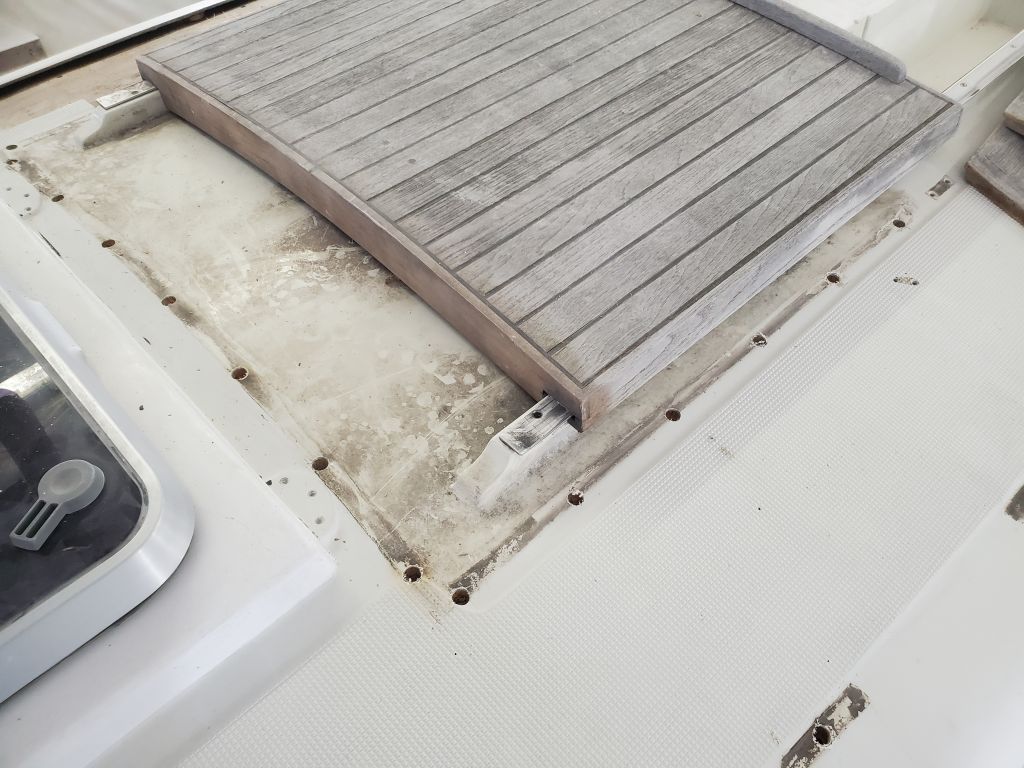
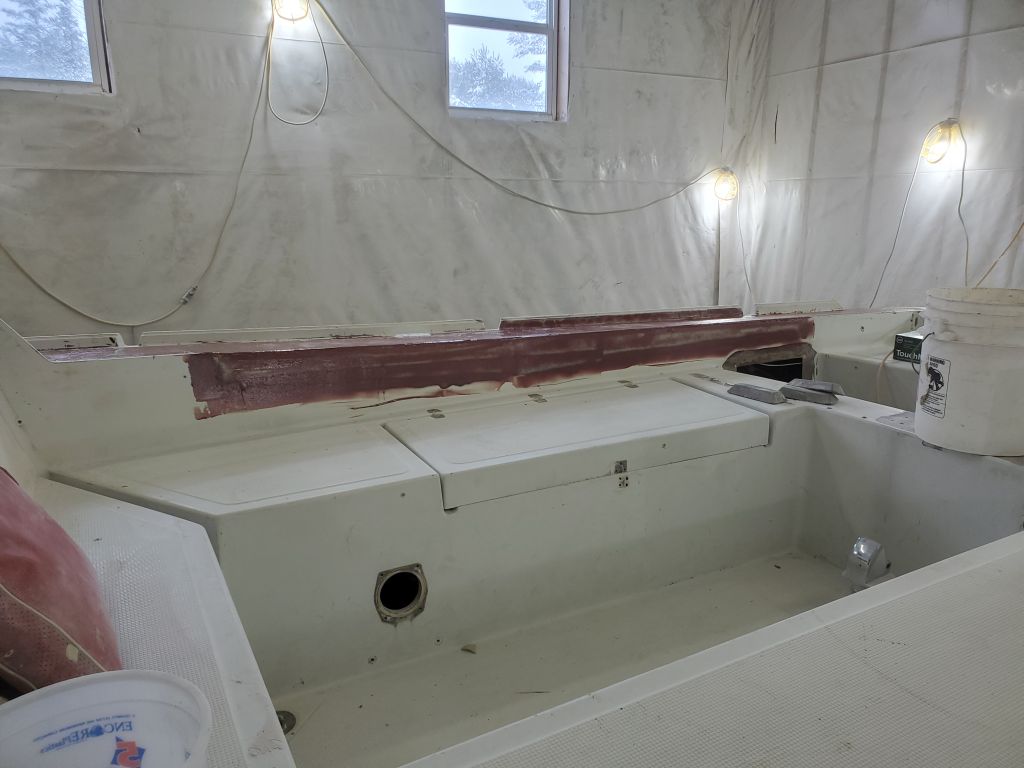
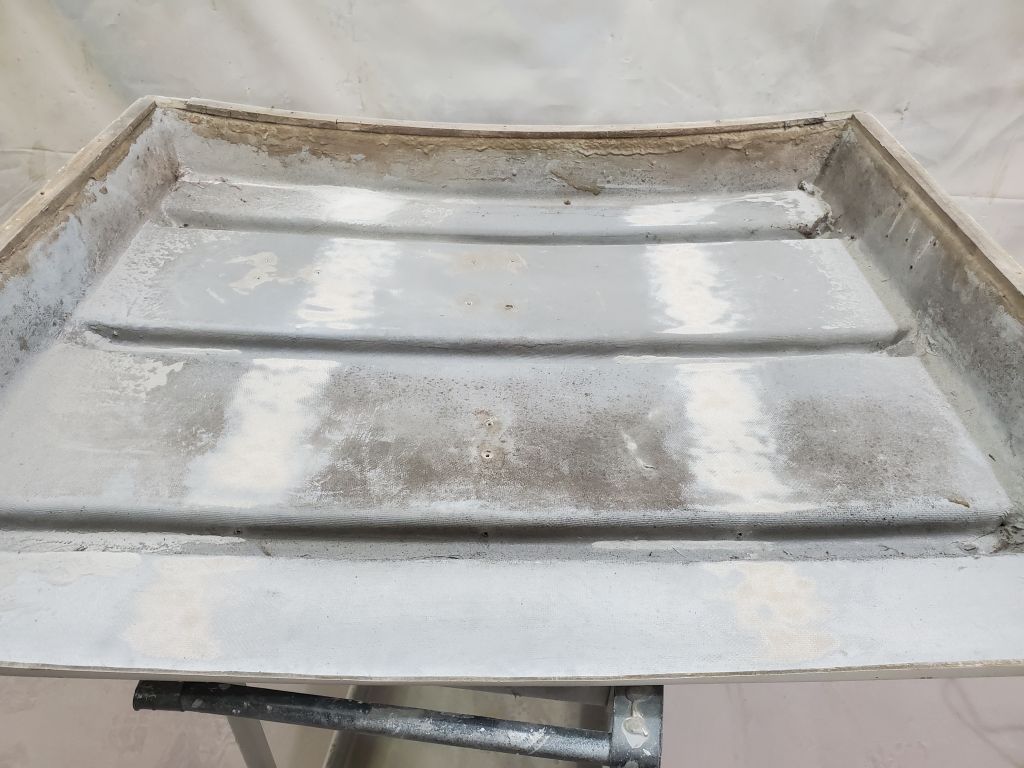
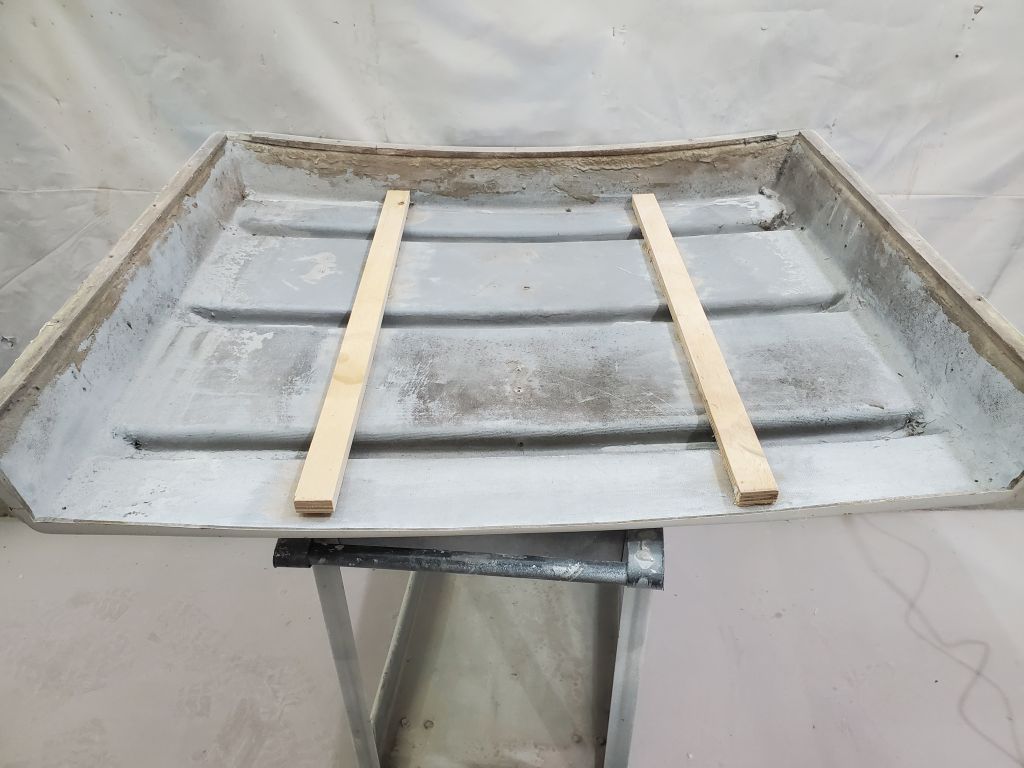
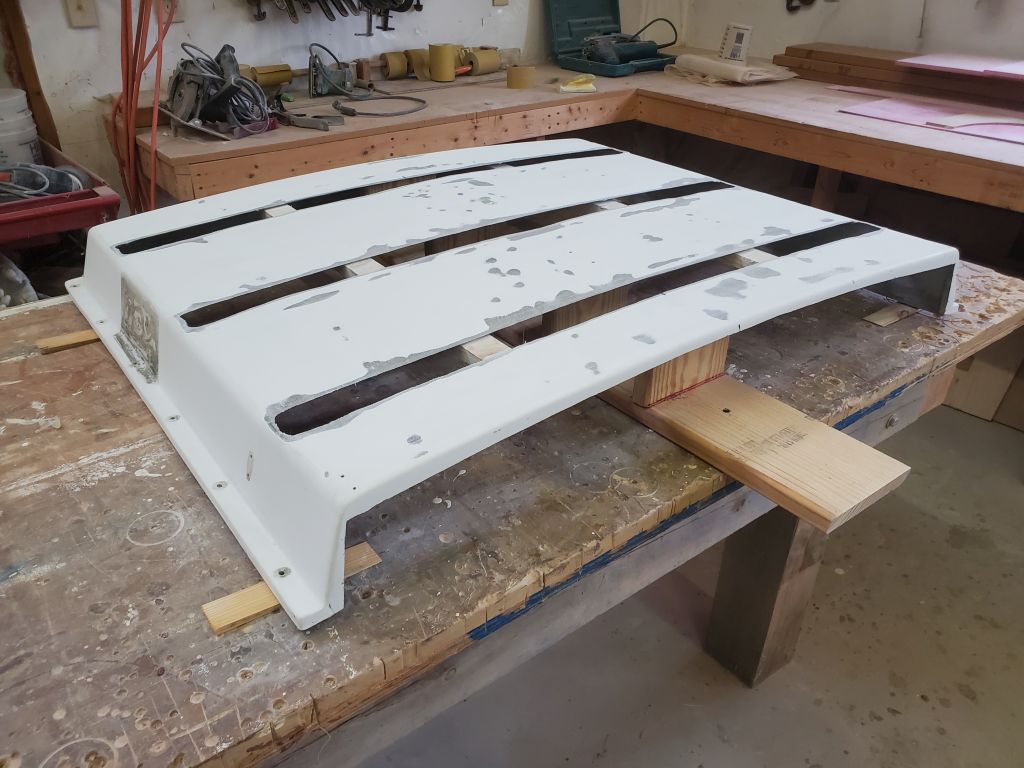
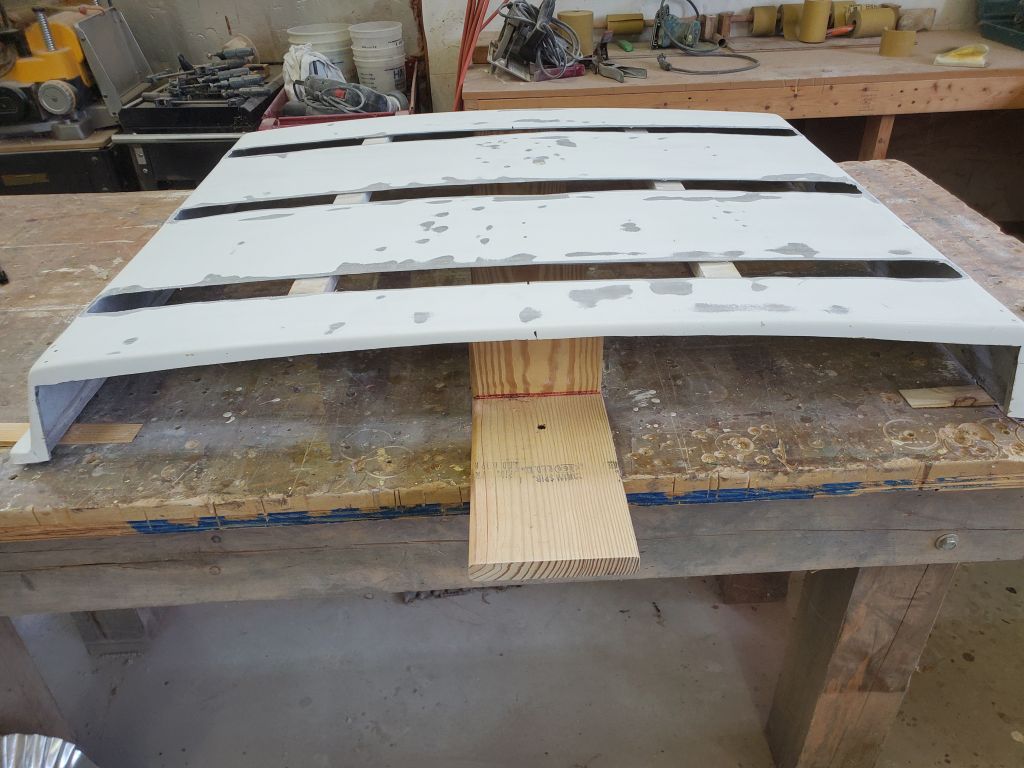
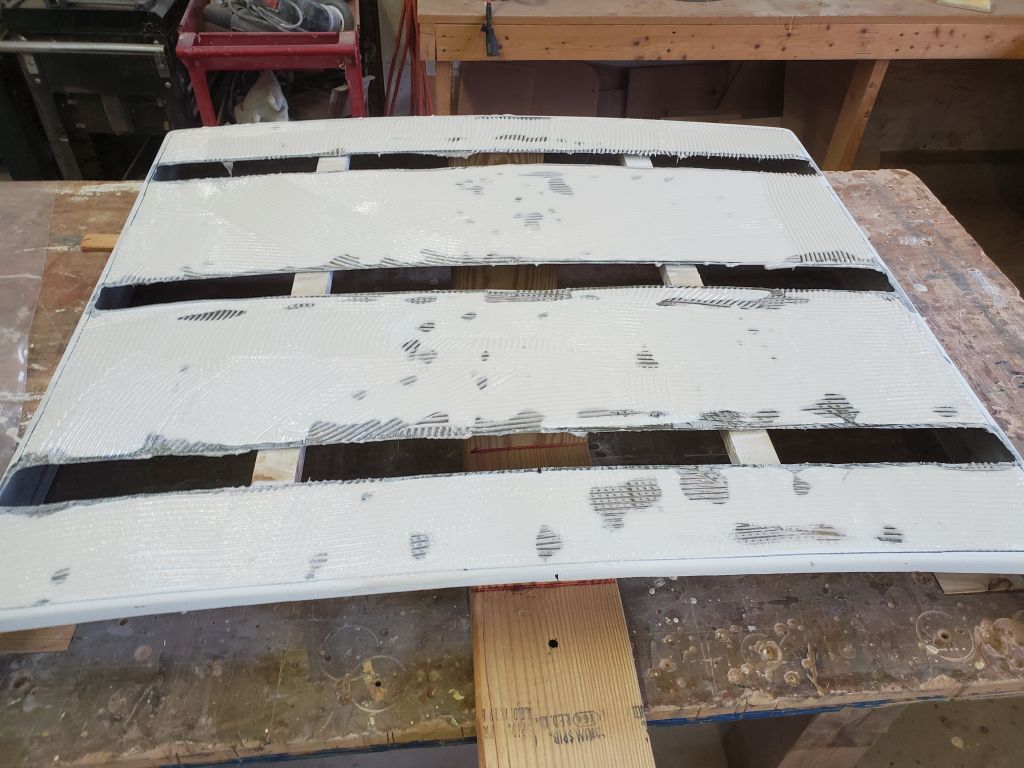
Continuing work on the sea hood, with the core now well-adhered in place I lightly sanded as needed, and gave all the remaining gelcoat on the part a heavy sand to prepare it for new work. Then, I applied a thick mix of epoxy around the edges of the core, filling the space I’d left there and troweling the epoxy even with the sides of the sea hood, and top of the core. I left the epoxy to cure overnight.
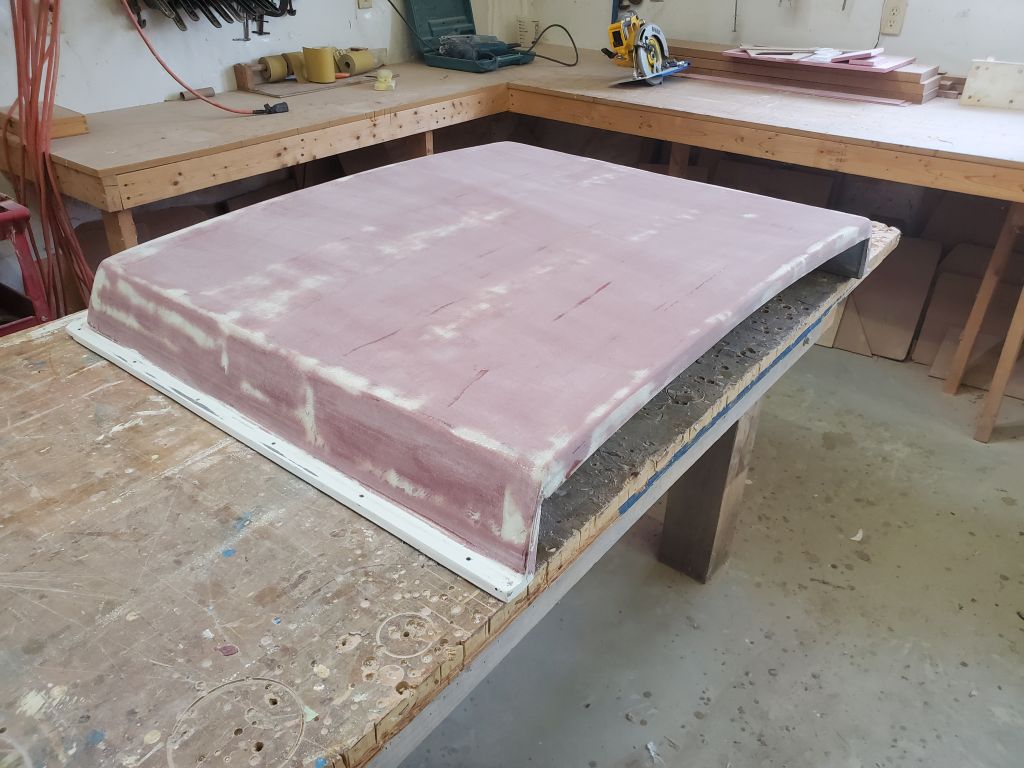
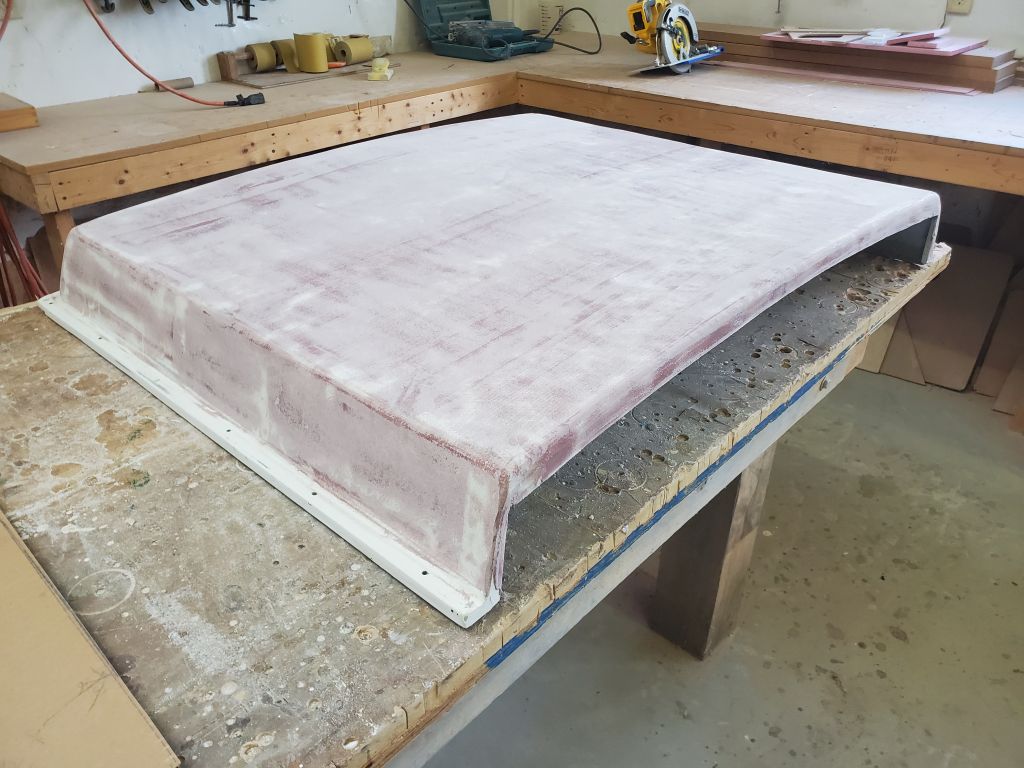
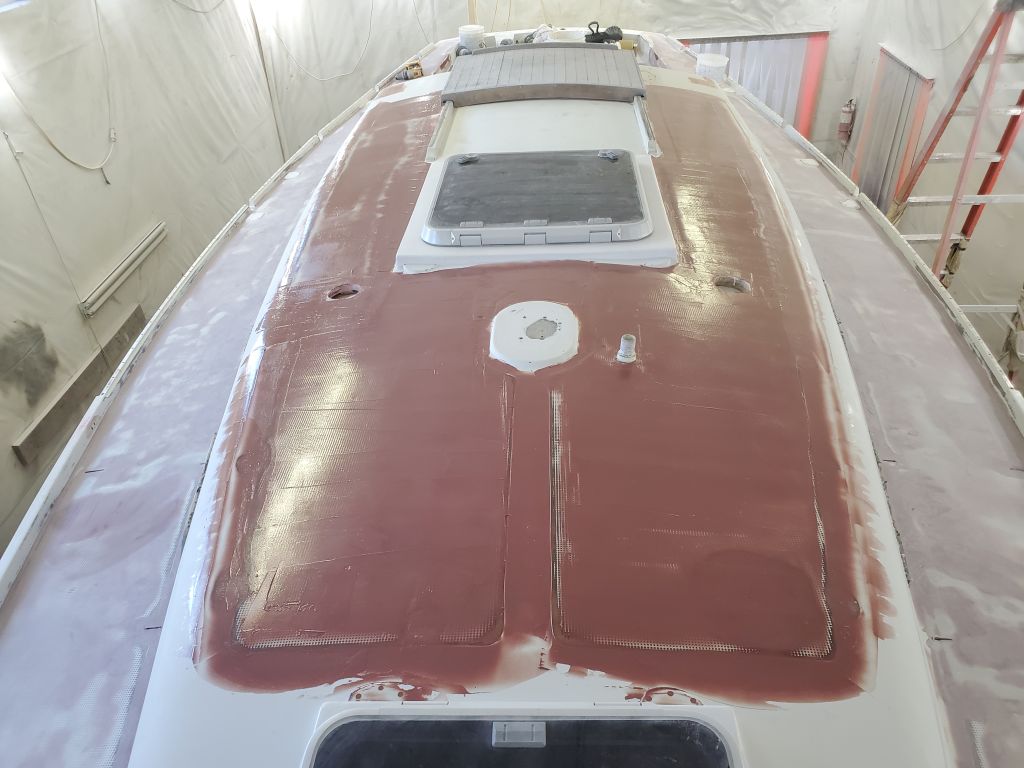
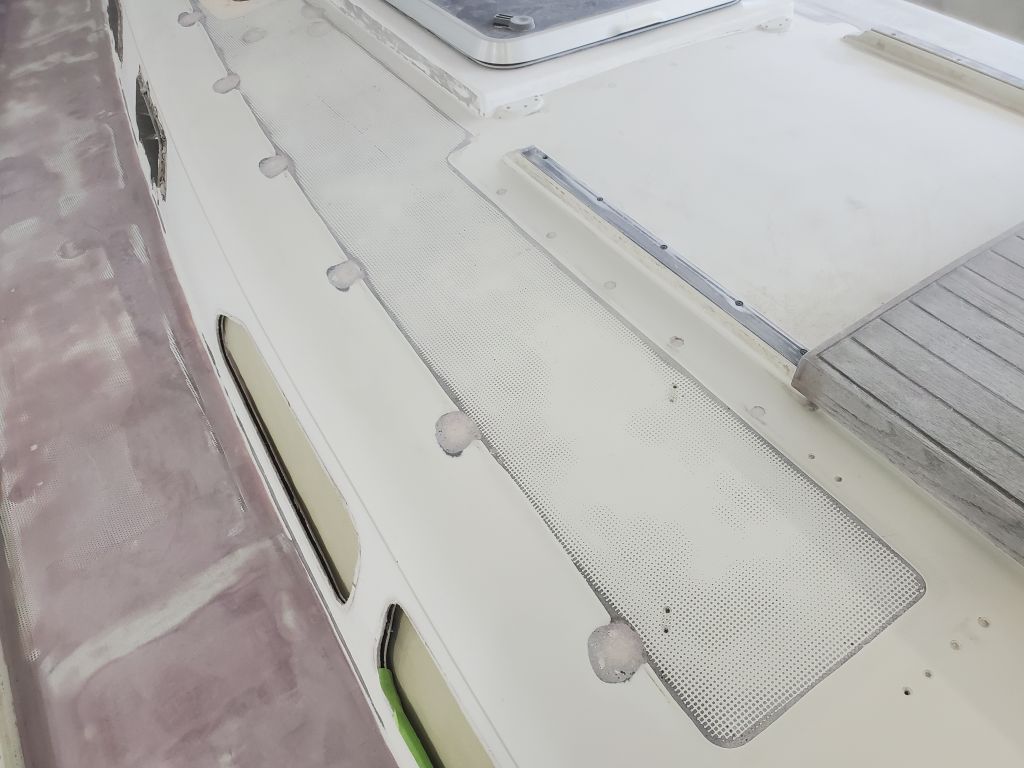
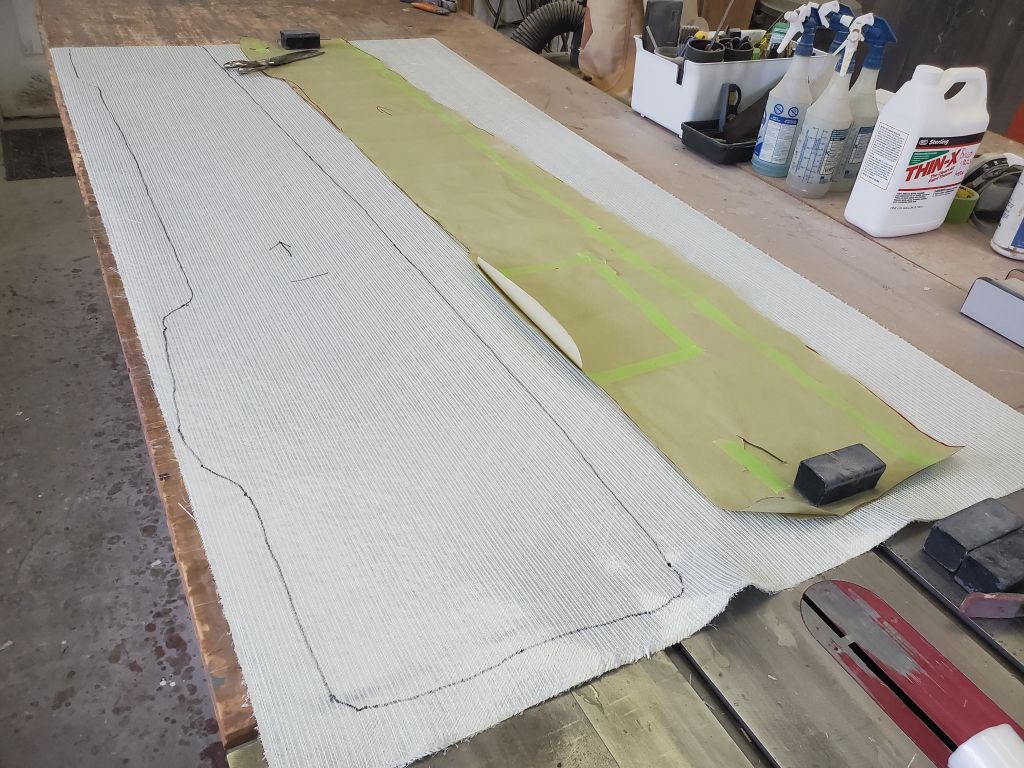
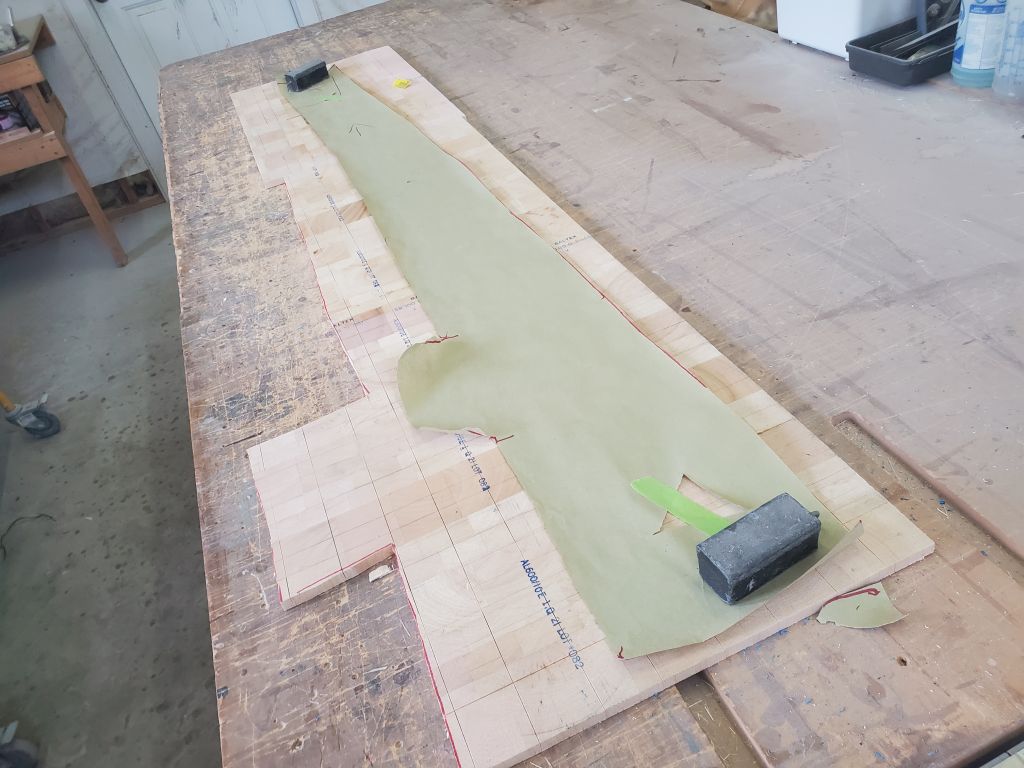
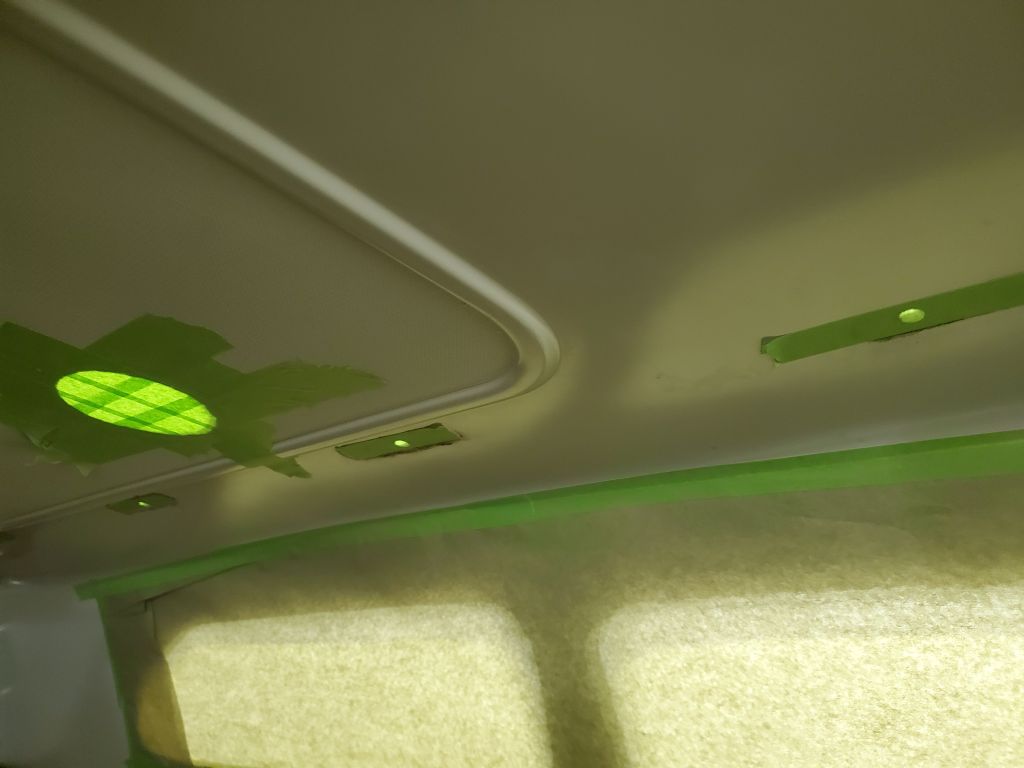
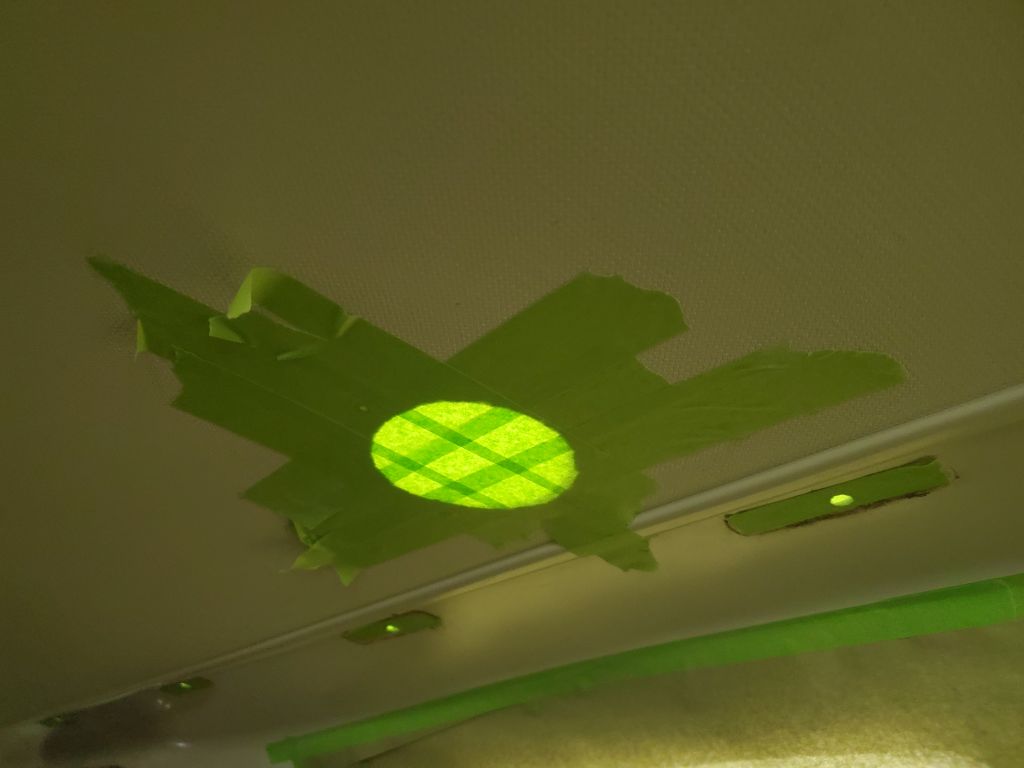
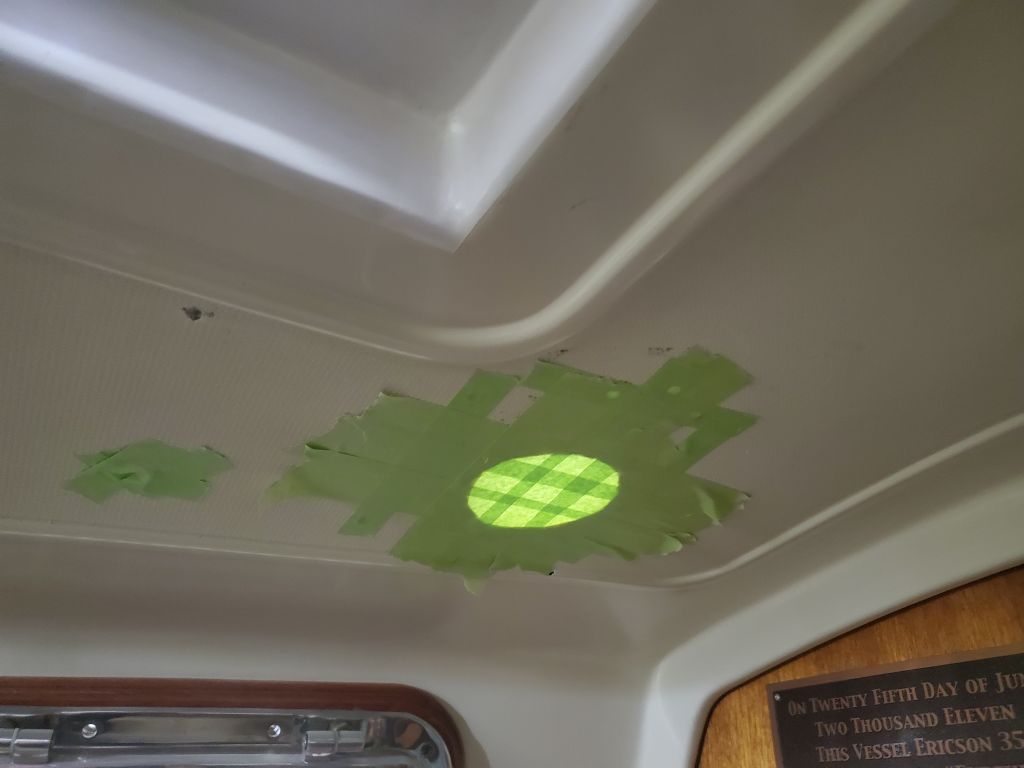
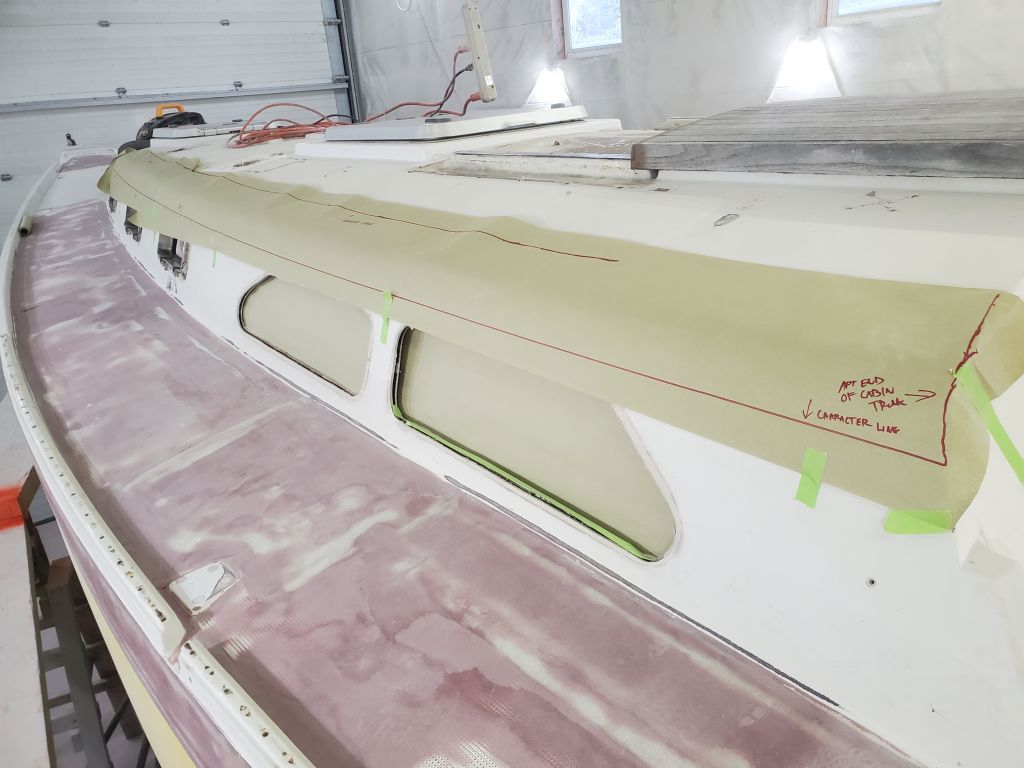
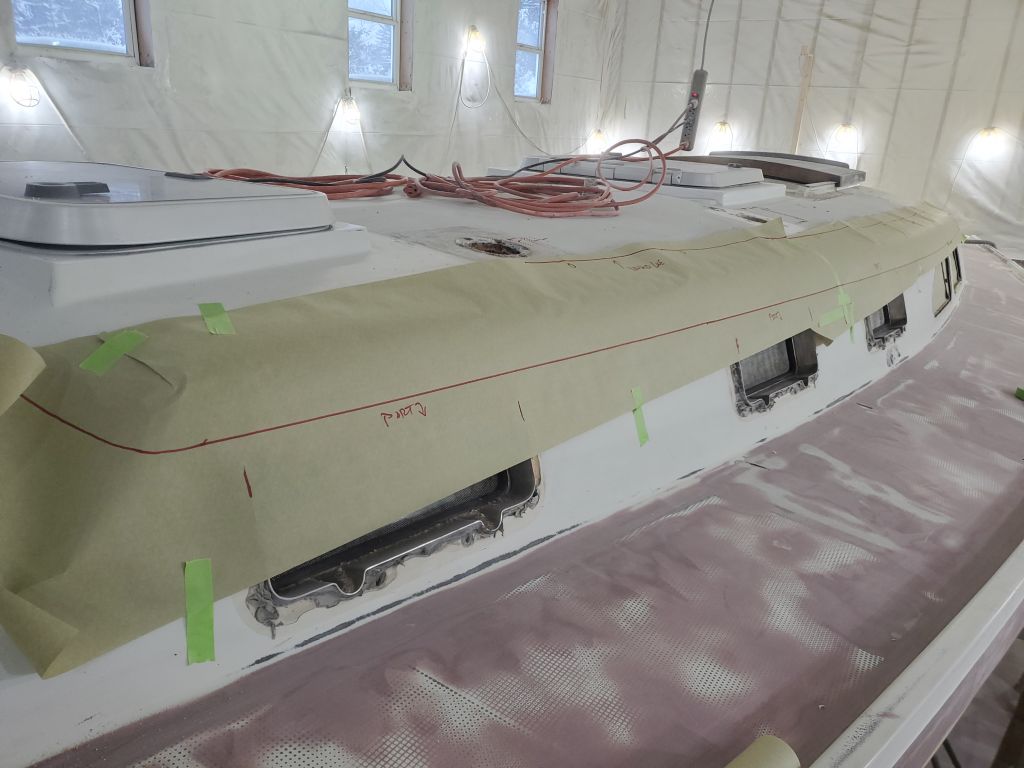
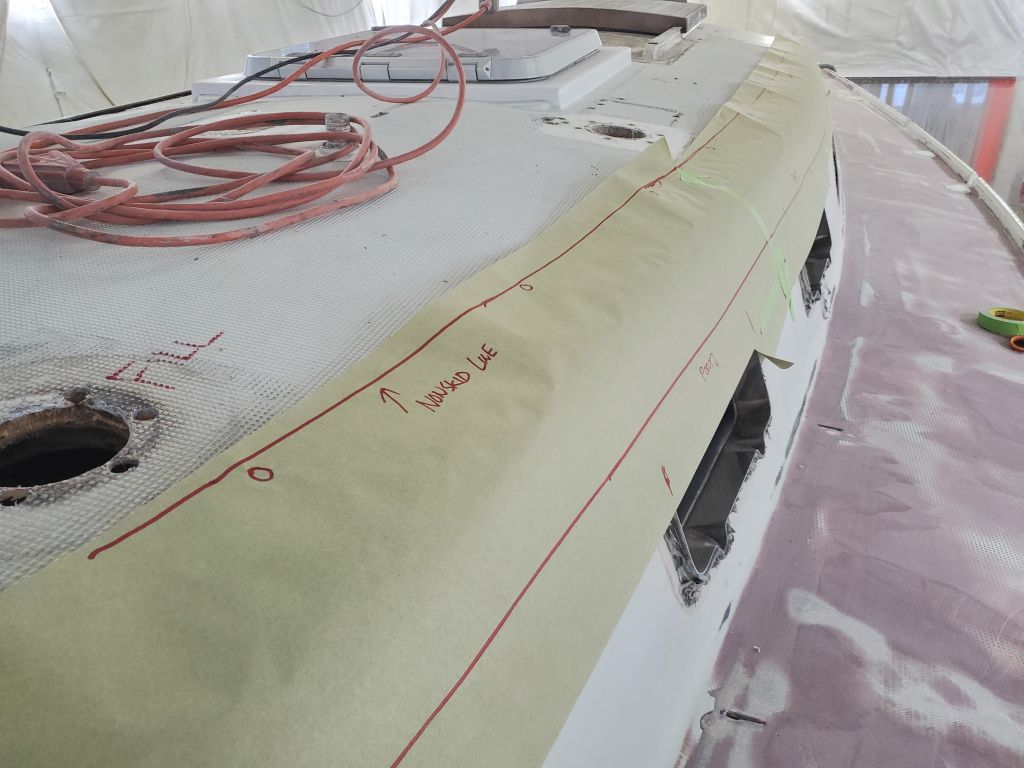
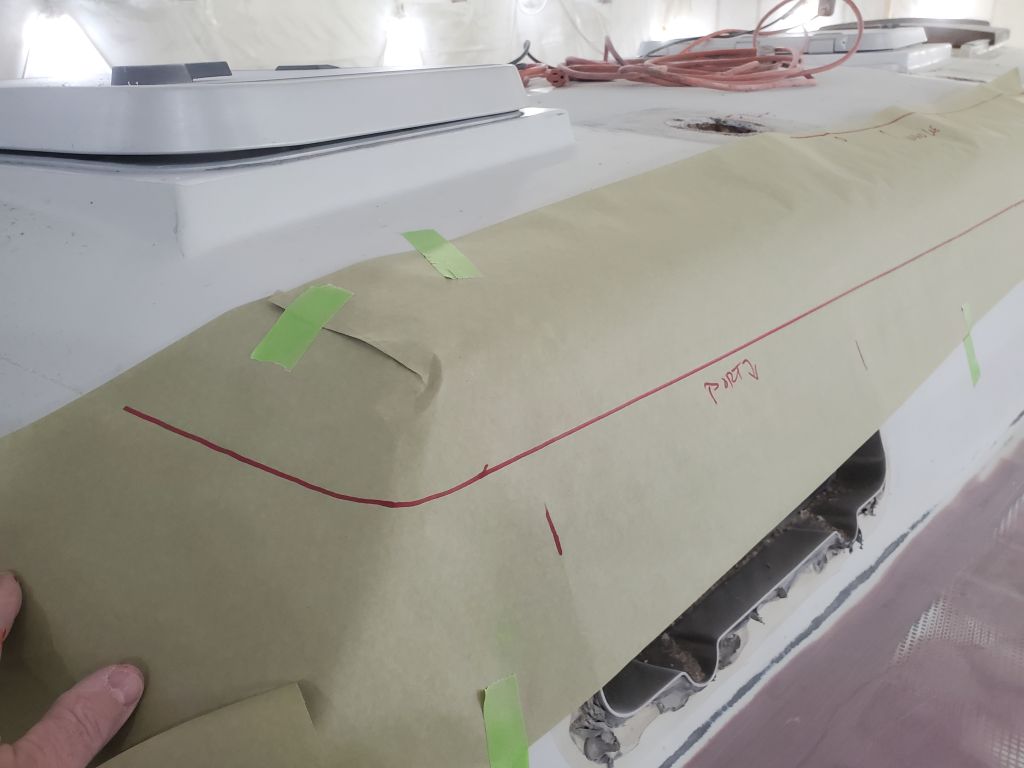
With just a bit of time left in the day, I took a moment to make a quick pattern of the curvature of the molded nonskid pattern on the coachroof, which also defined the curve of the handrails. The owner planned metal handrails that would need to be slightly bent to fit the curve, and this pattern, based on the nonskid edge (located just barely inboard from the old handrail location) and a molded profile line in the cabin sides below, would give a ready reference should it be needed for anything.