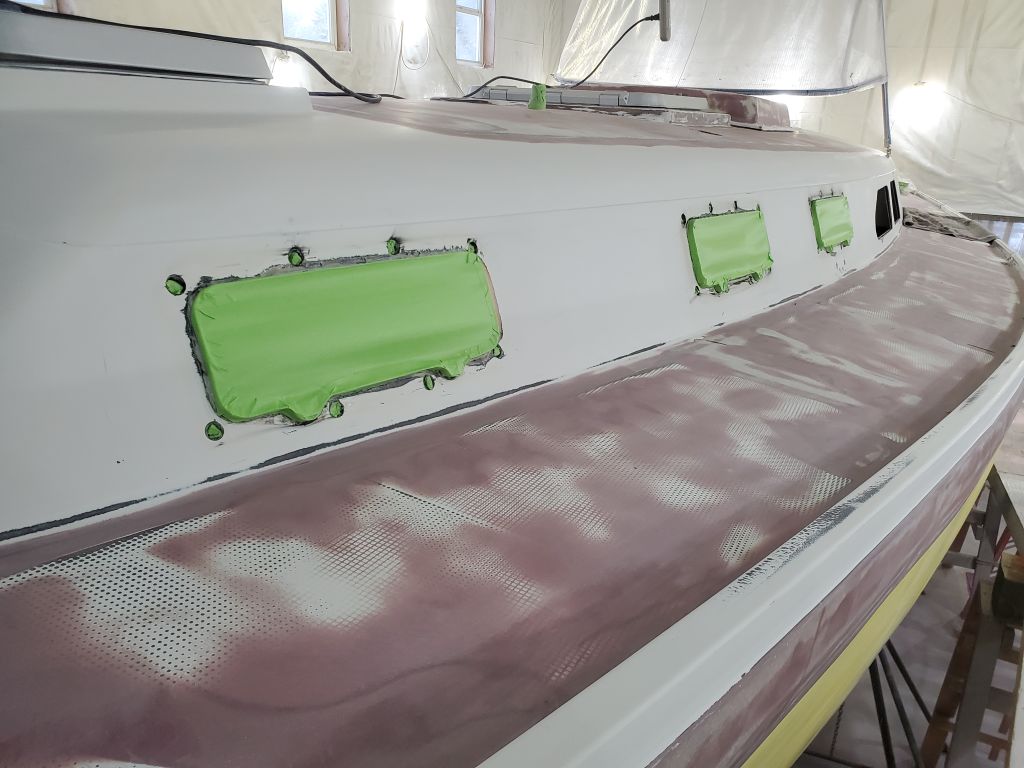
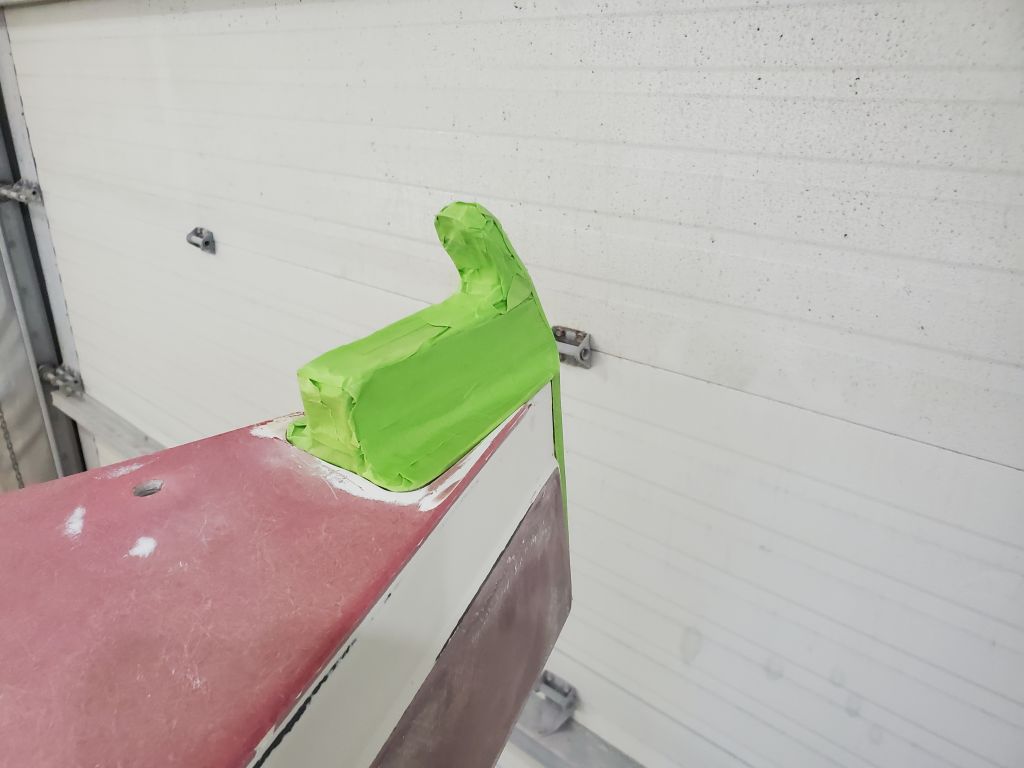
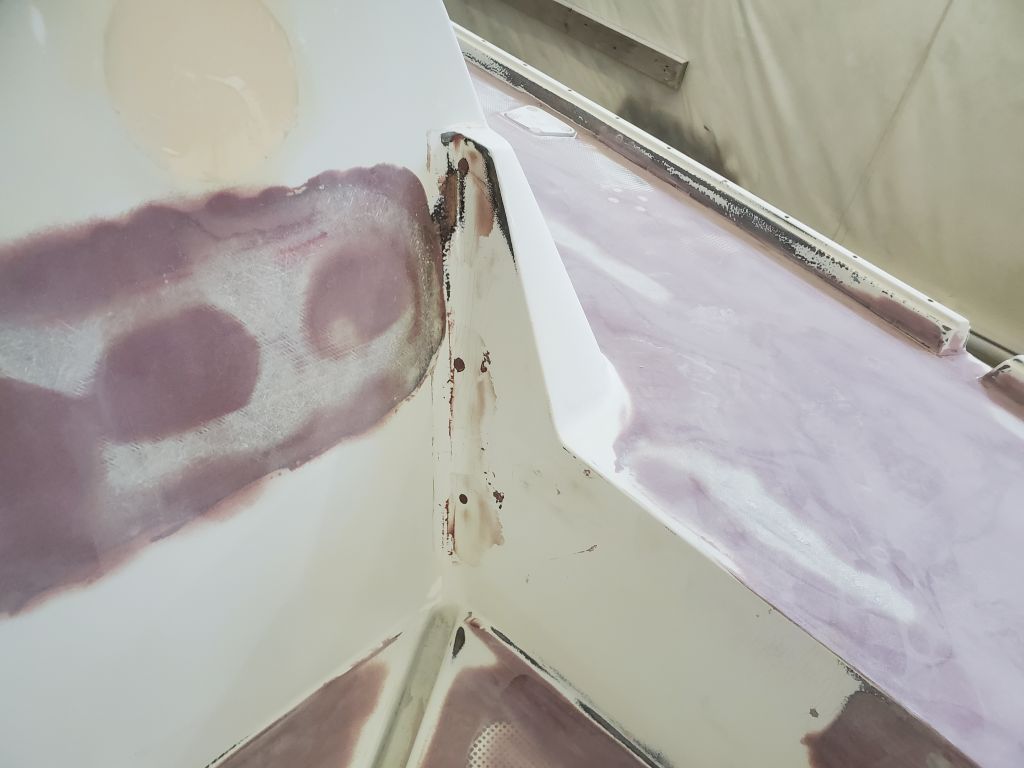
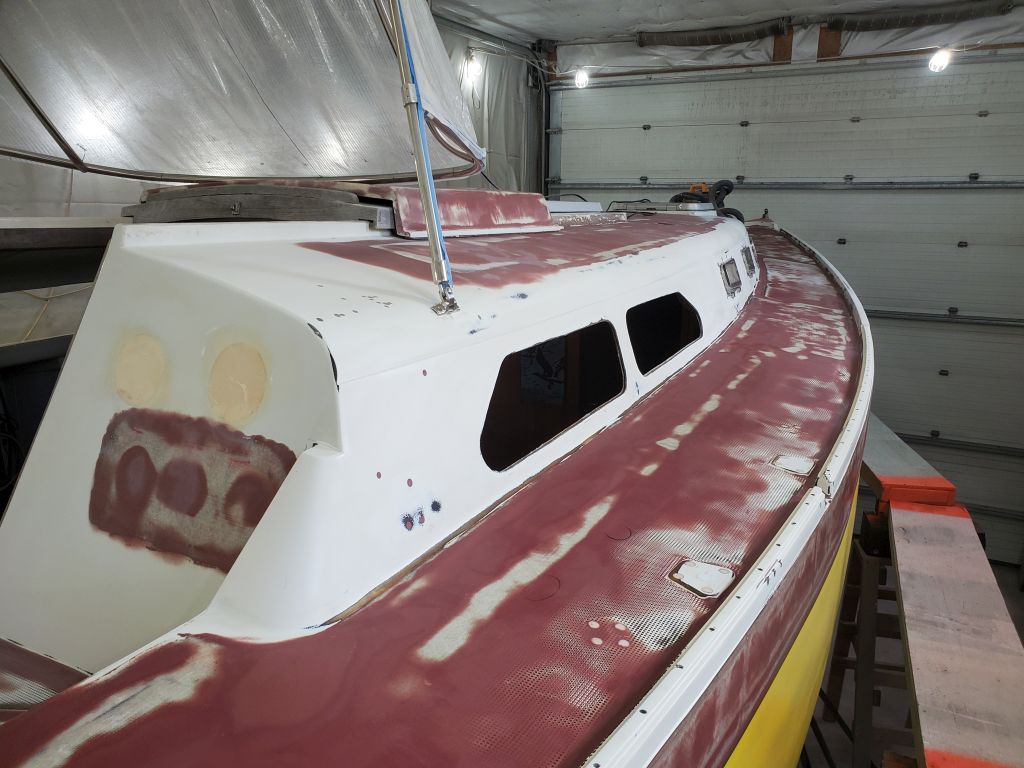
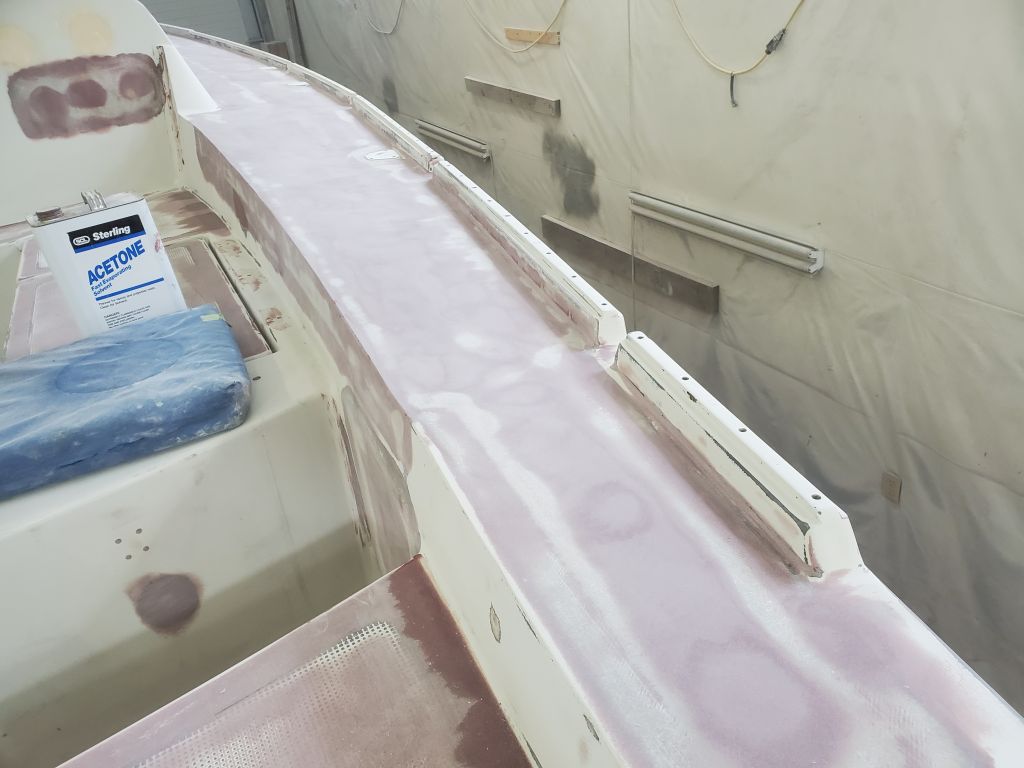
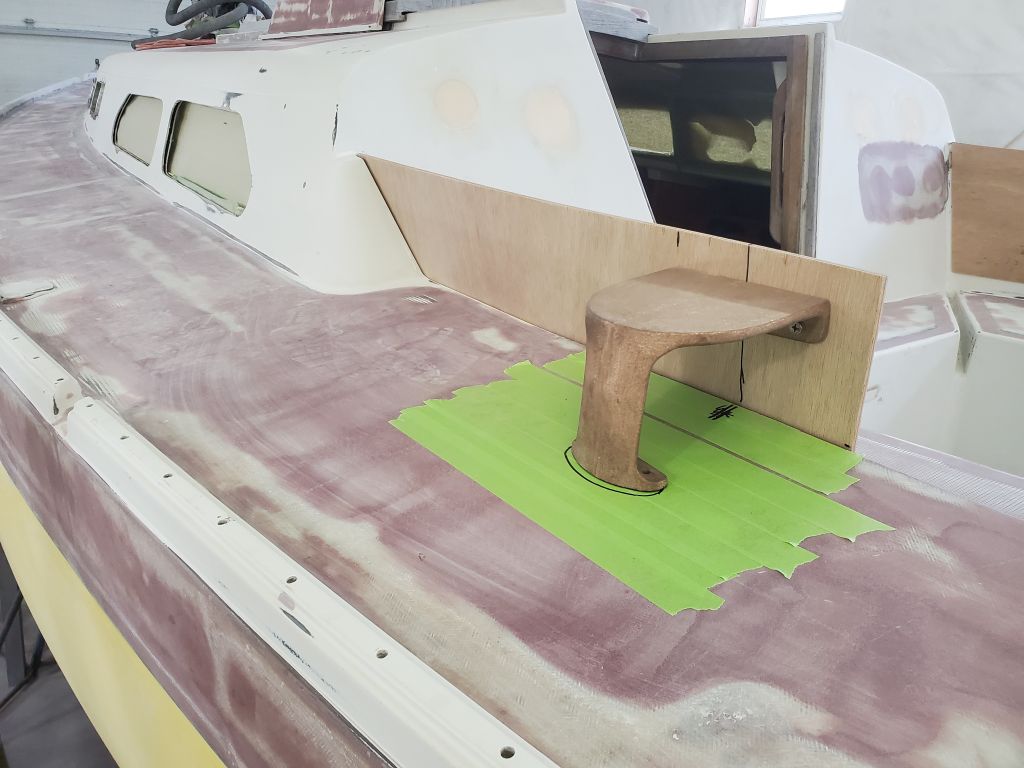
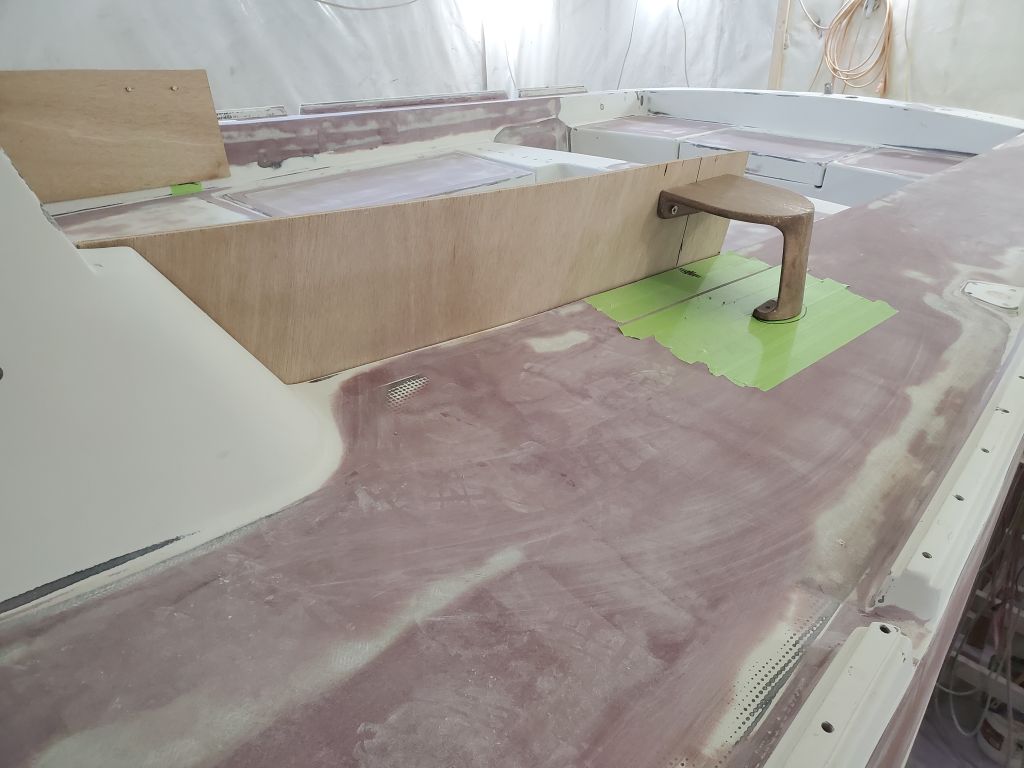
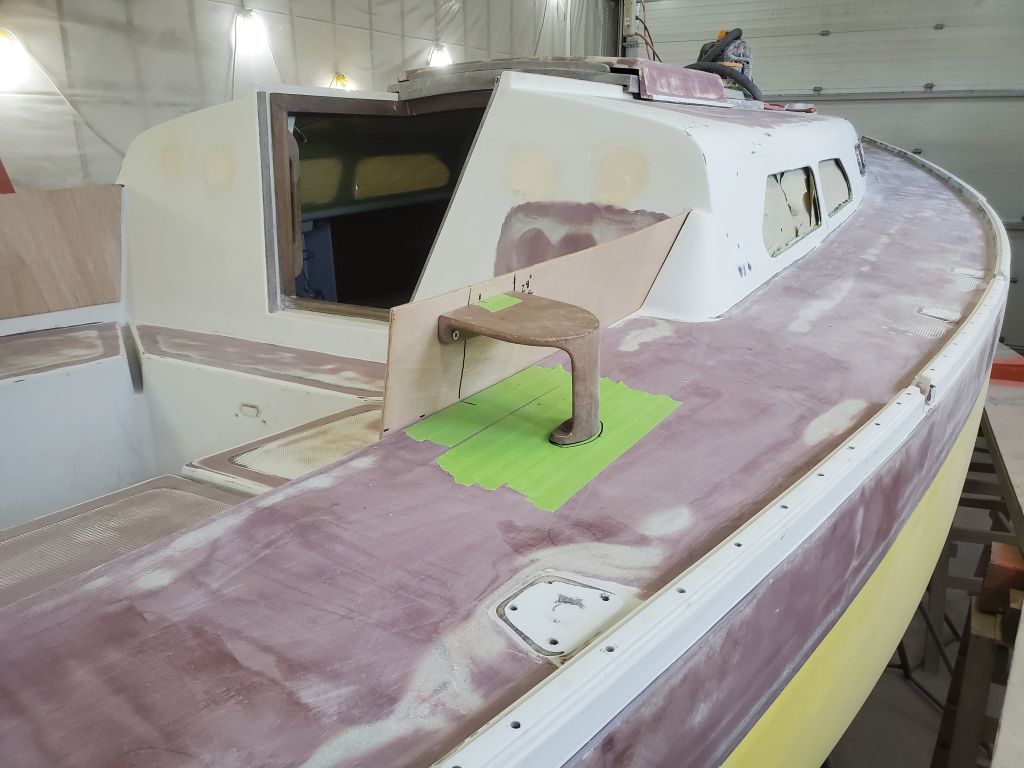
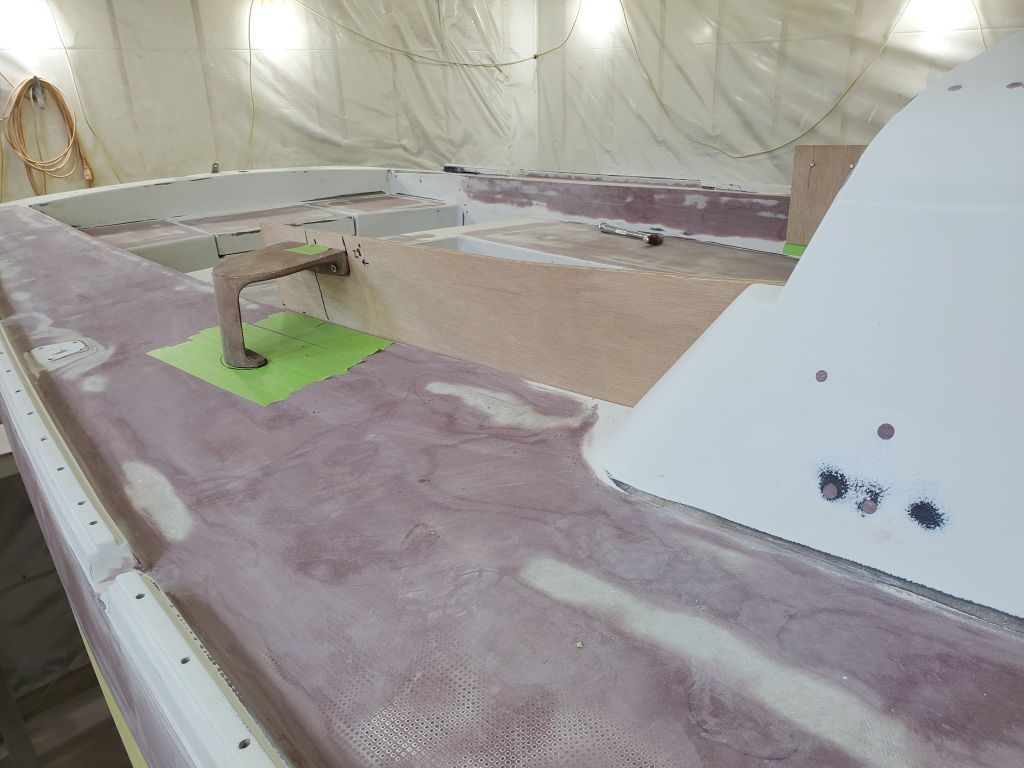
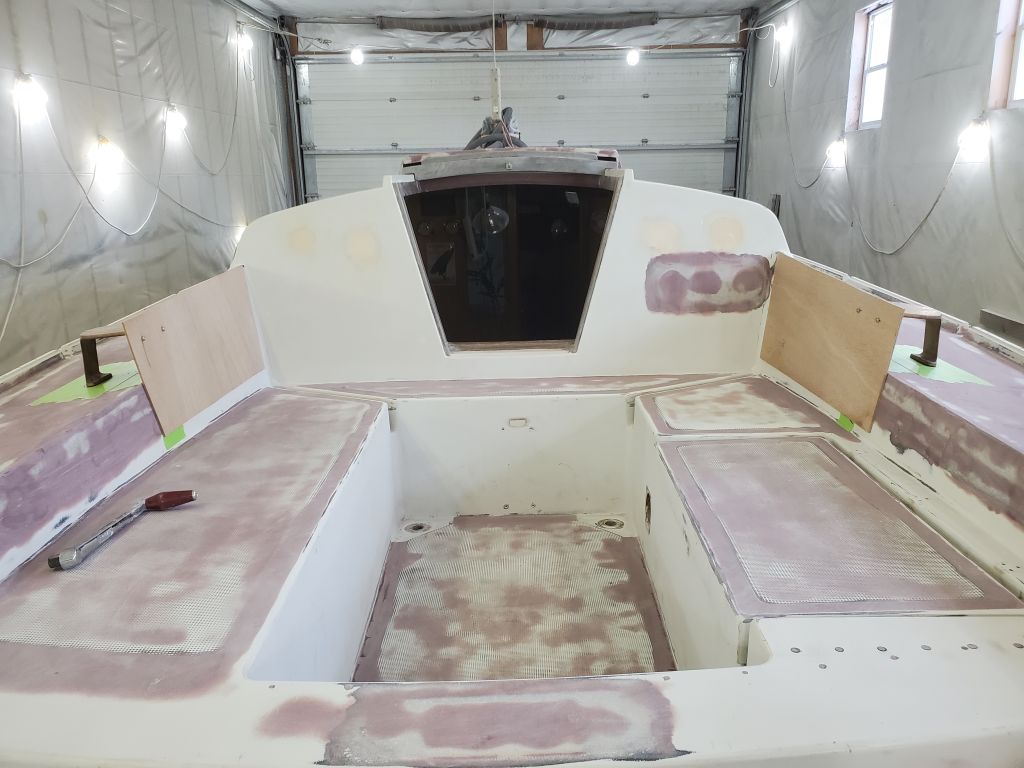
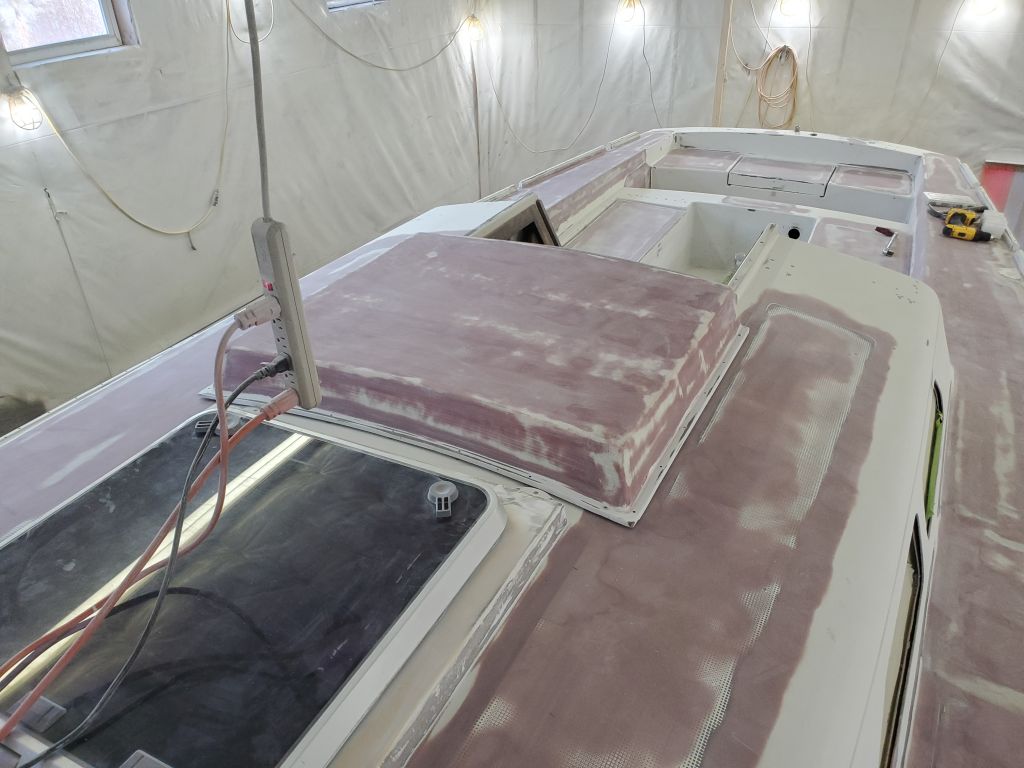
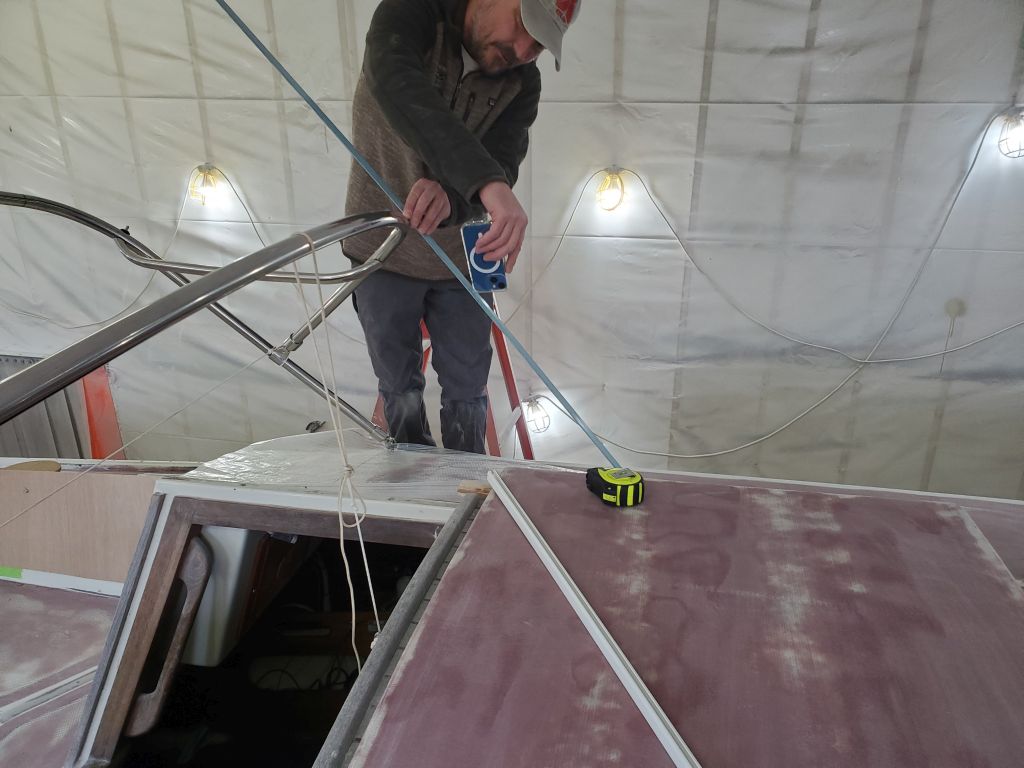
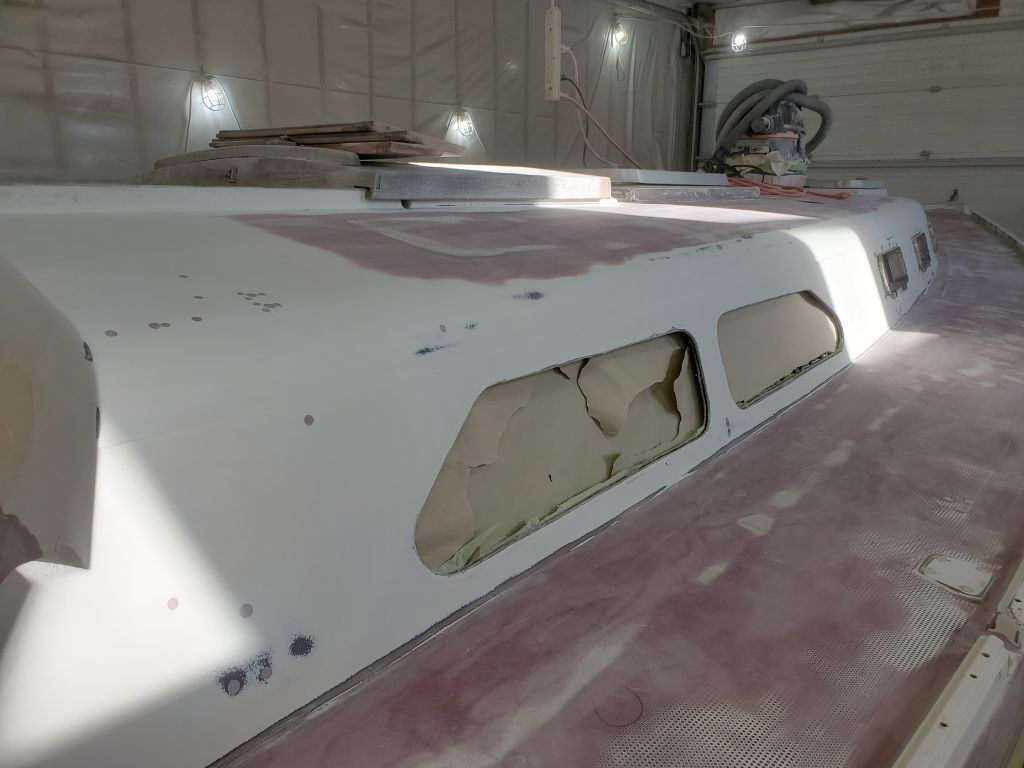
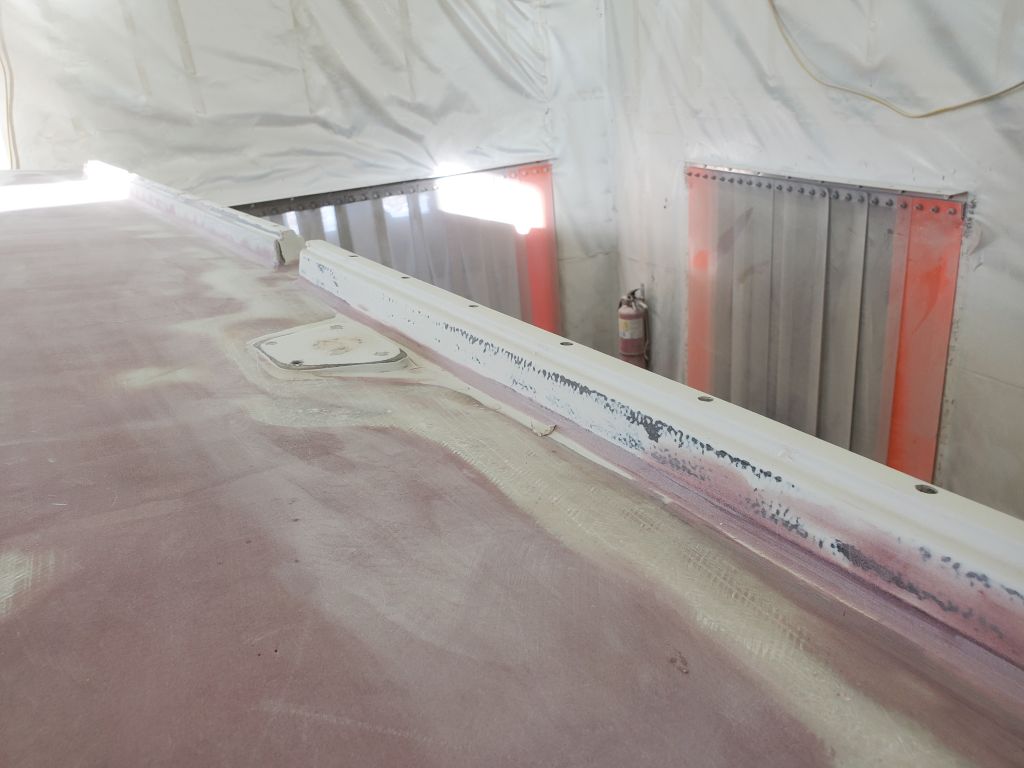
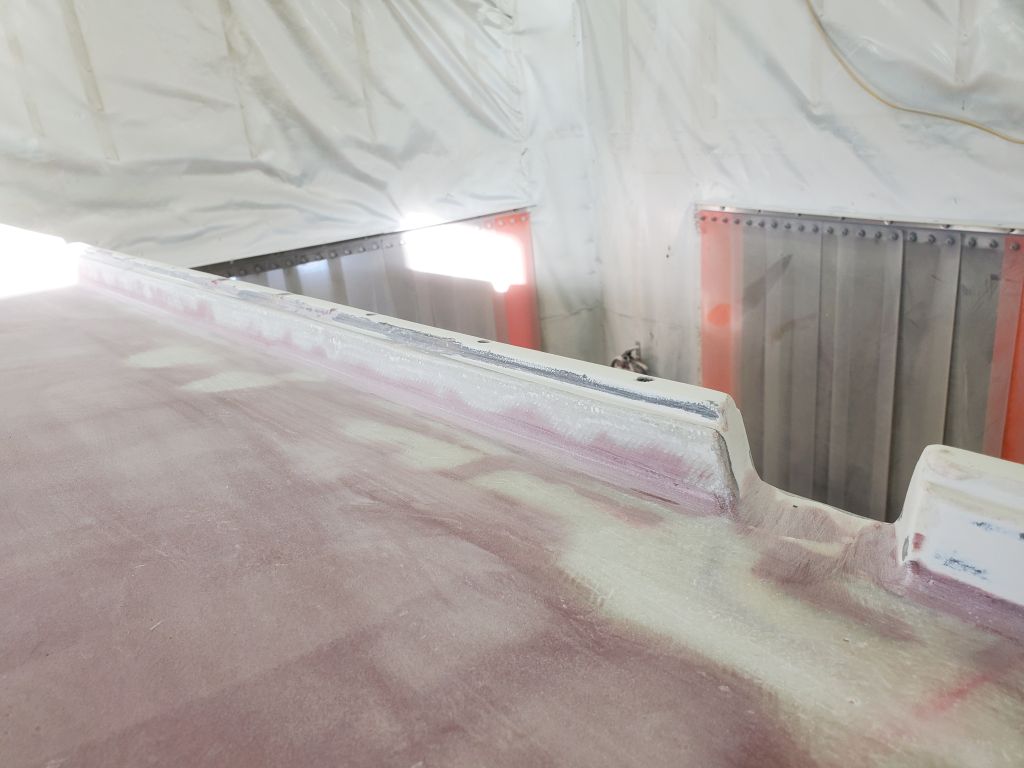
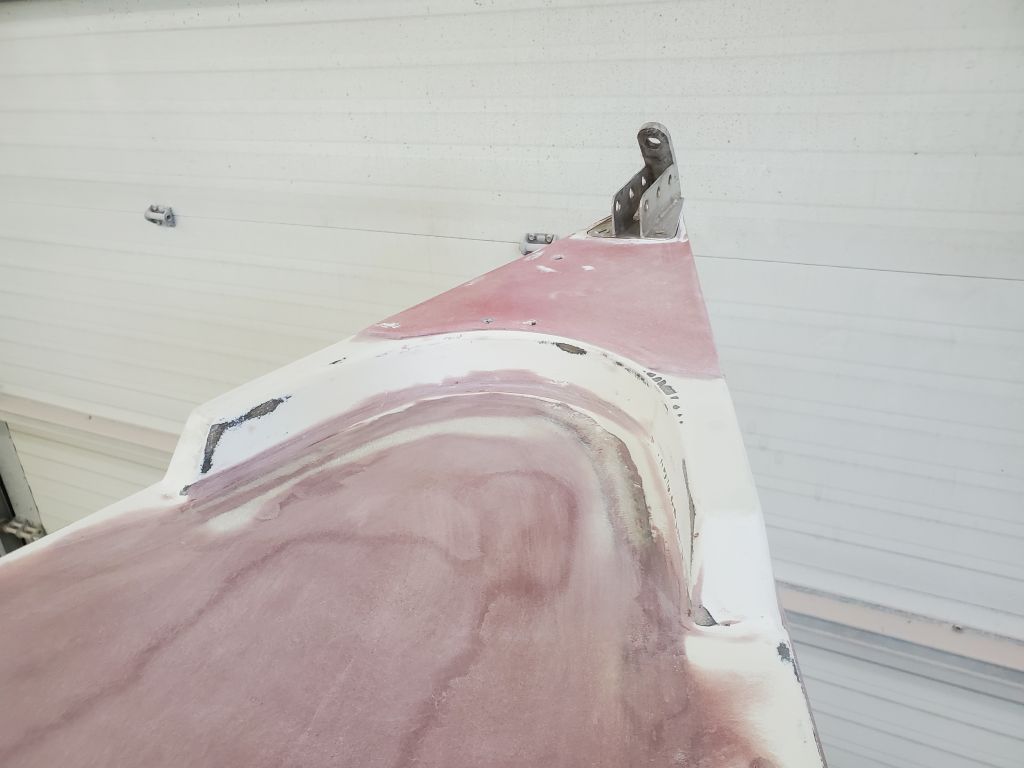
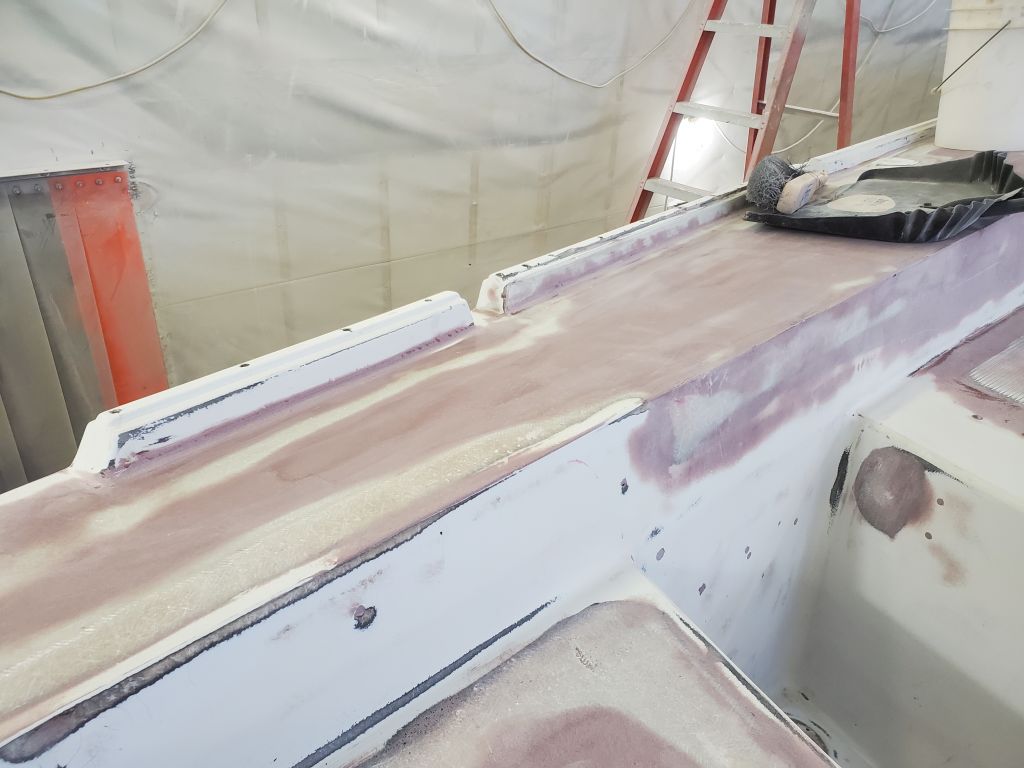
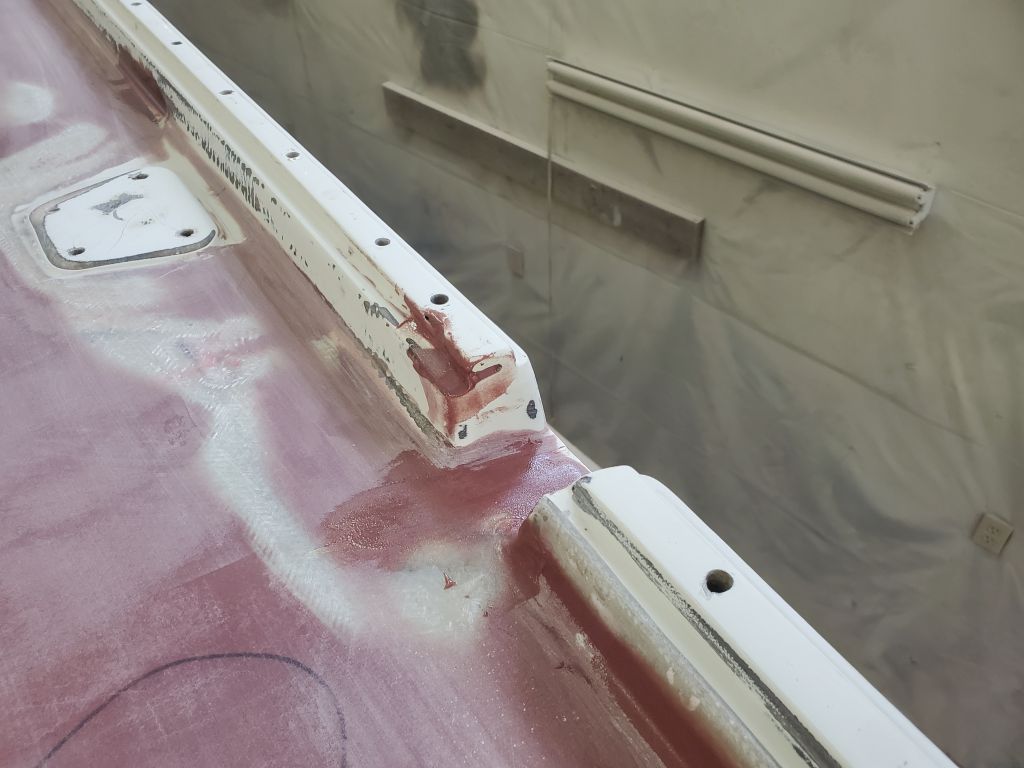
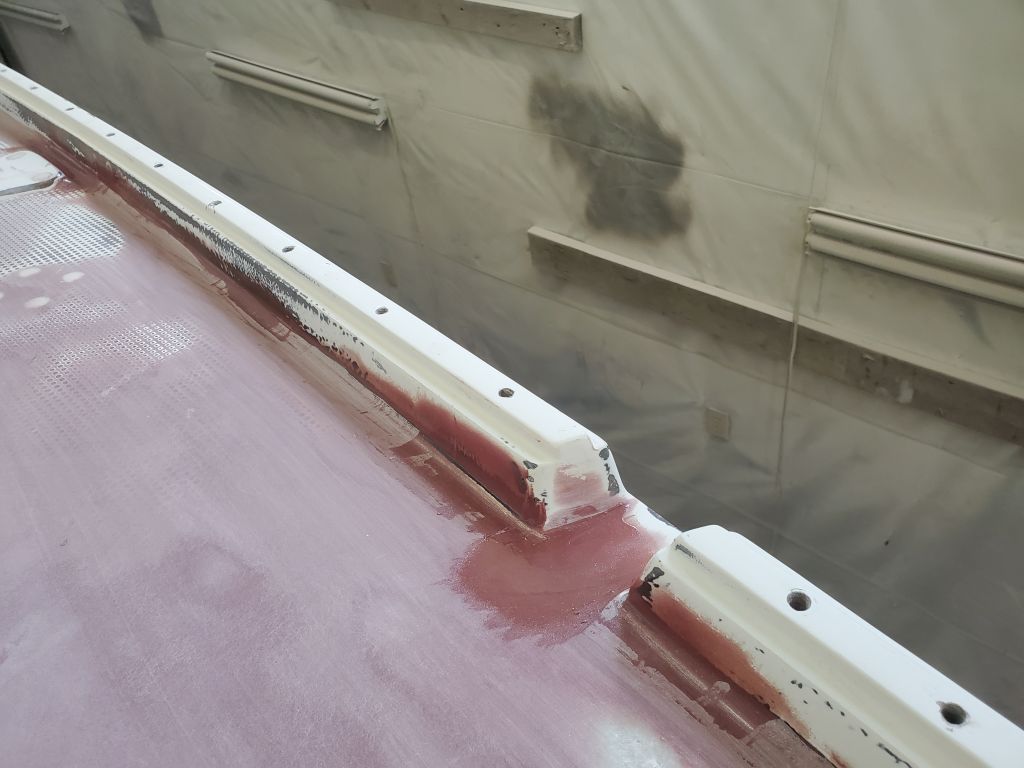
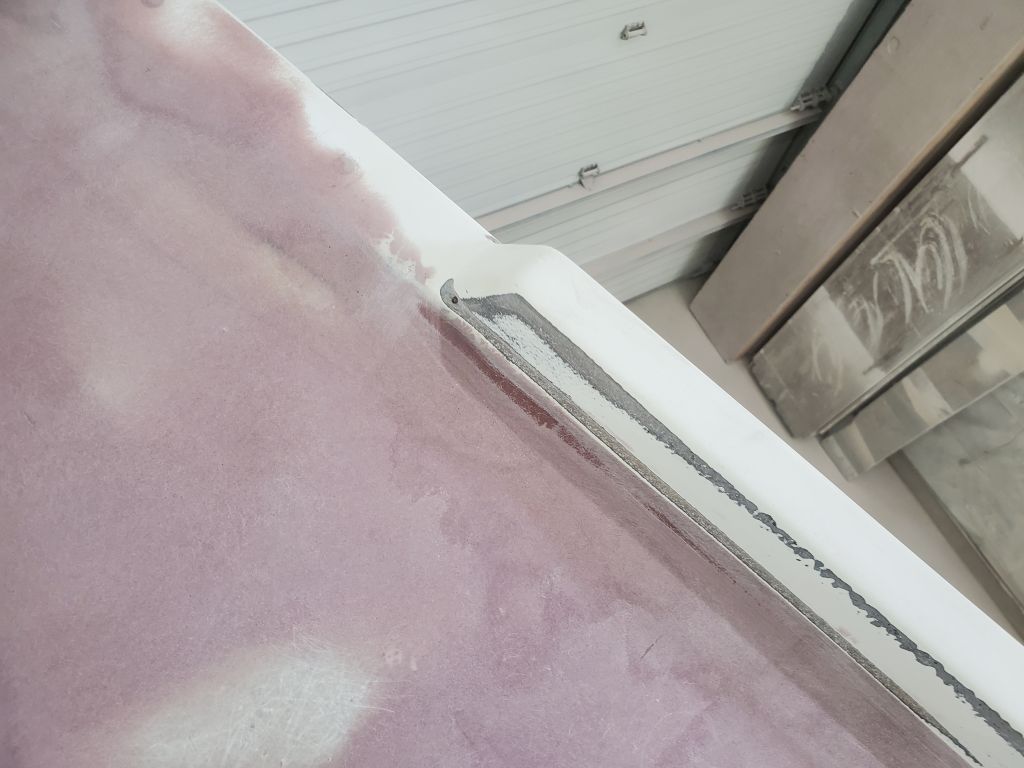
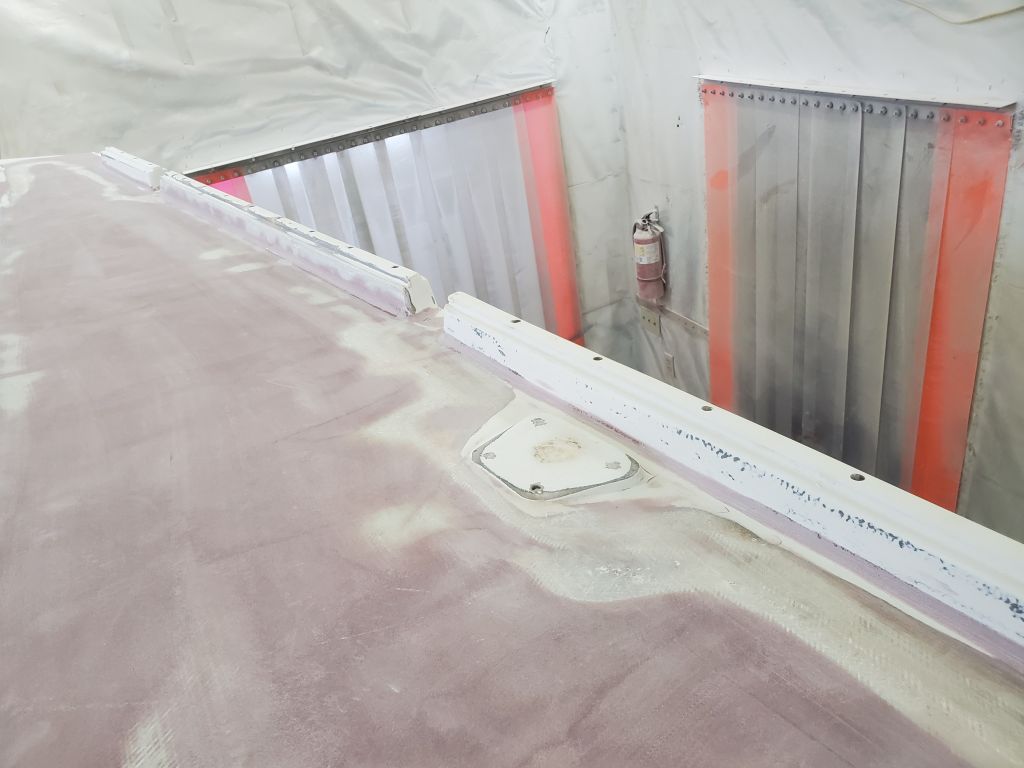
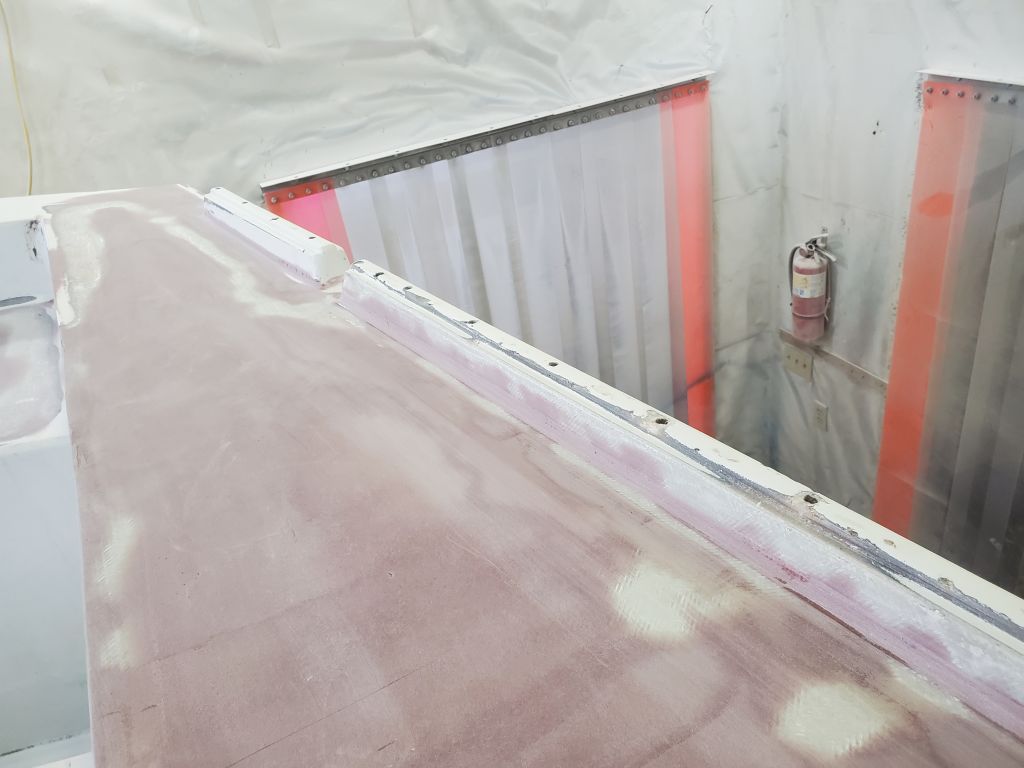
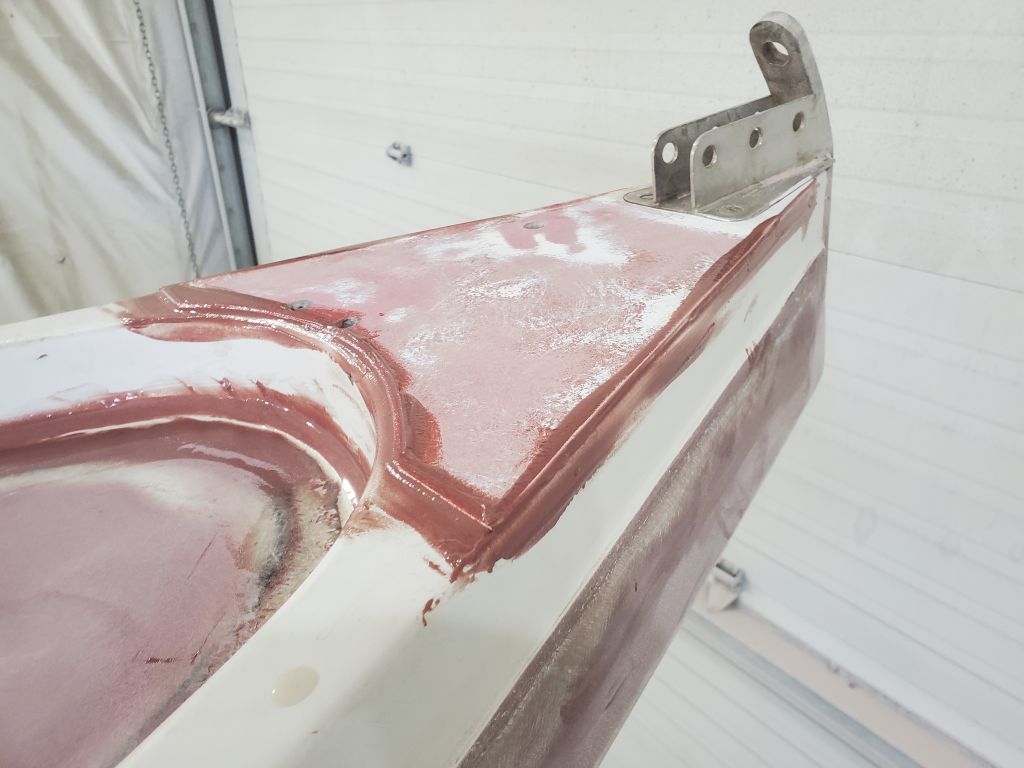
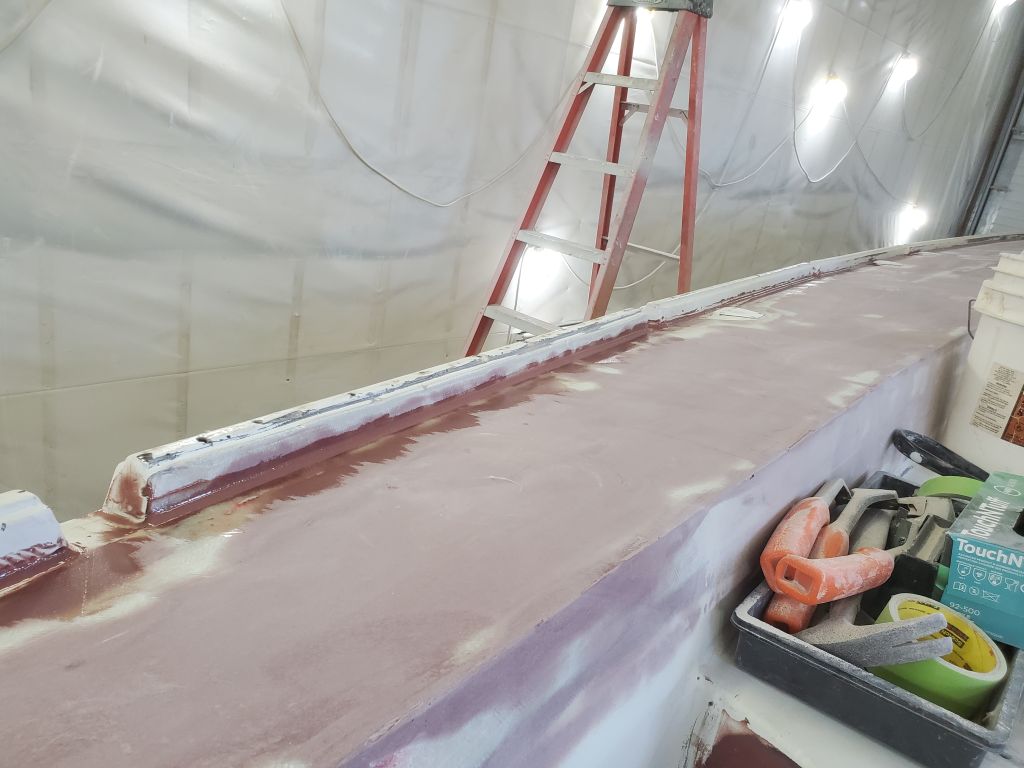
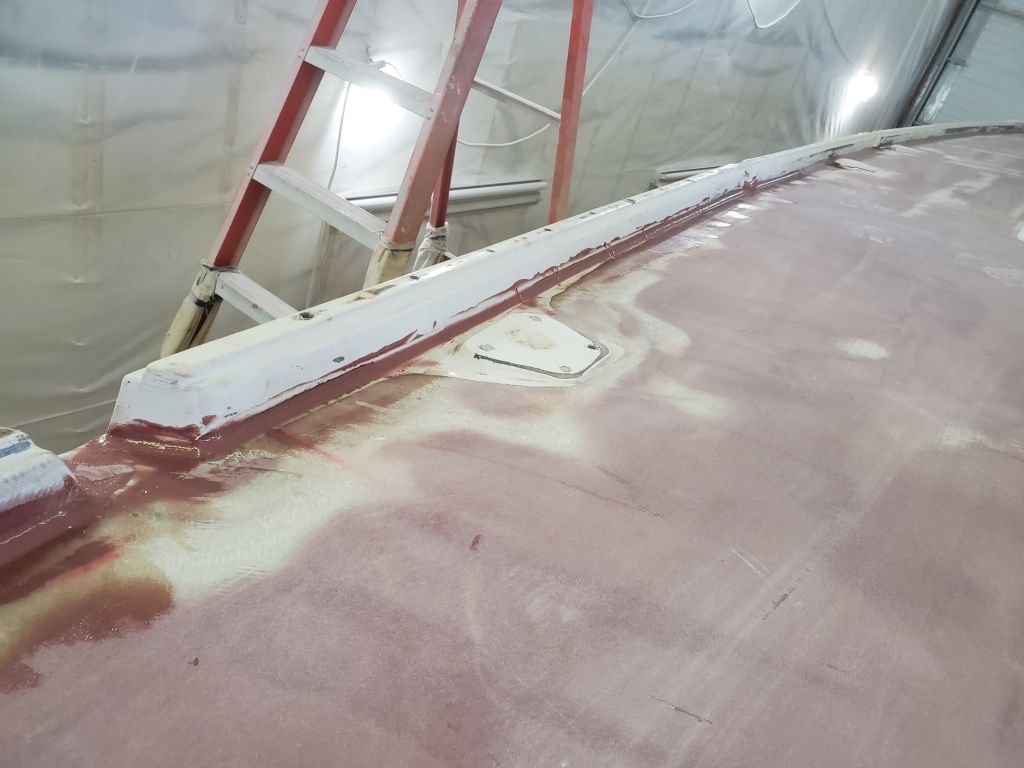
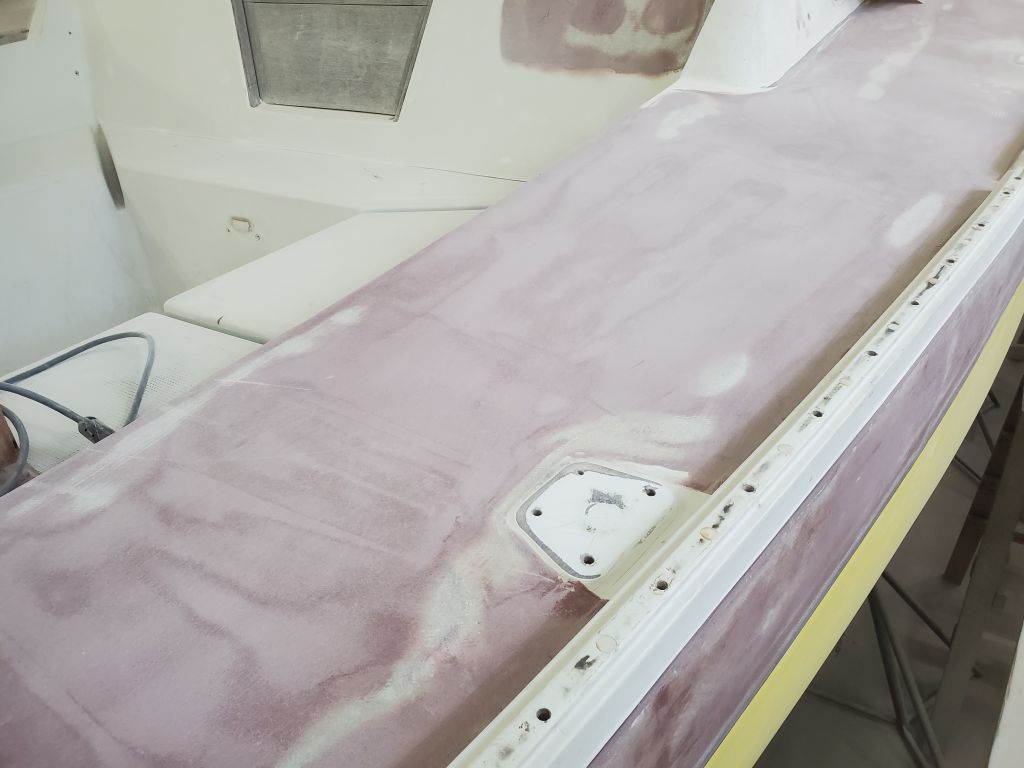
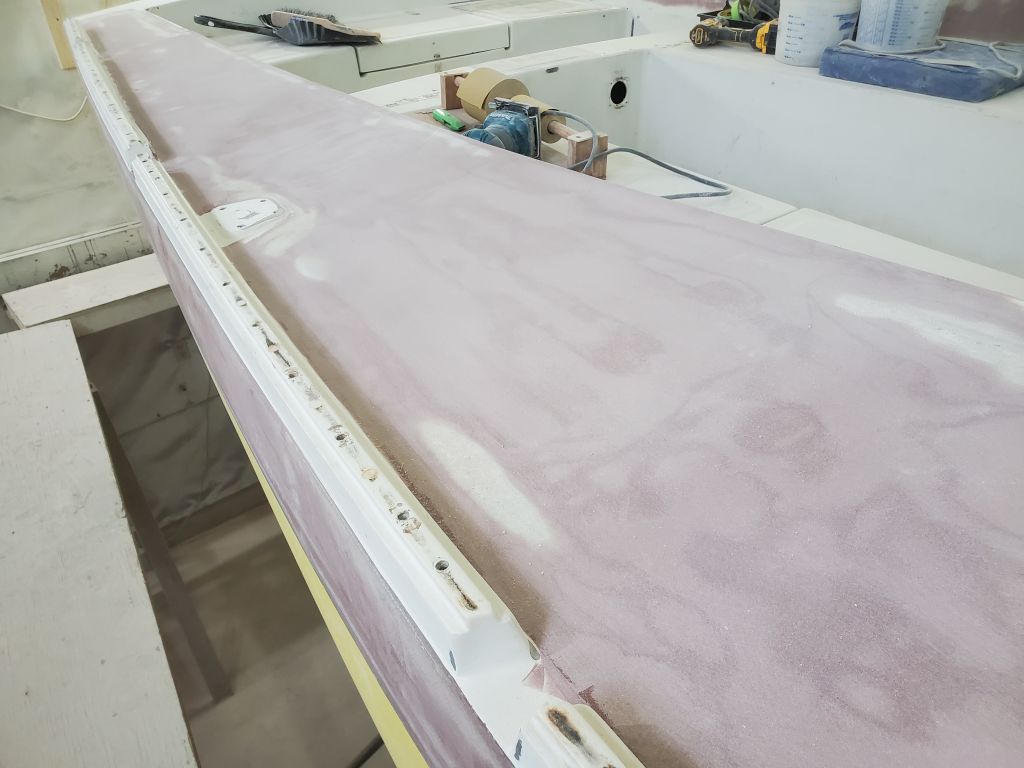
To prepare the boat for the dodger patterning later in the day. I made up some quick plywood mockups of the forward part of the coamings, using the original coamings as a guide to cut the patterns. I only had enough scrap for about 30″ on each side, but that was enough to get to the winch stand location, which was the main reason for making the mockups, as the winch location would dictate firmly the positioning of the dodger wing.
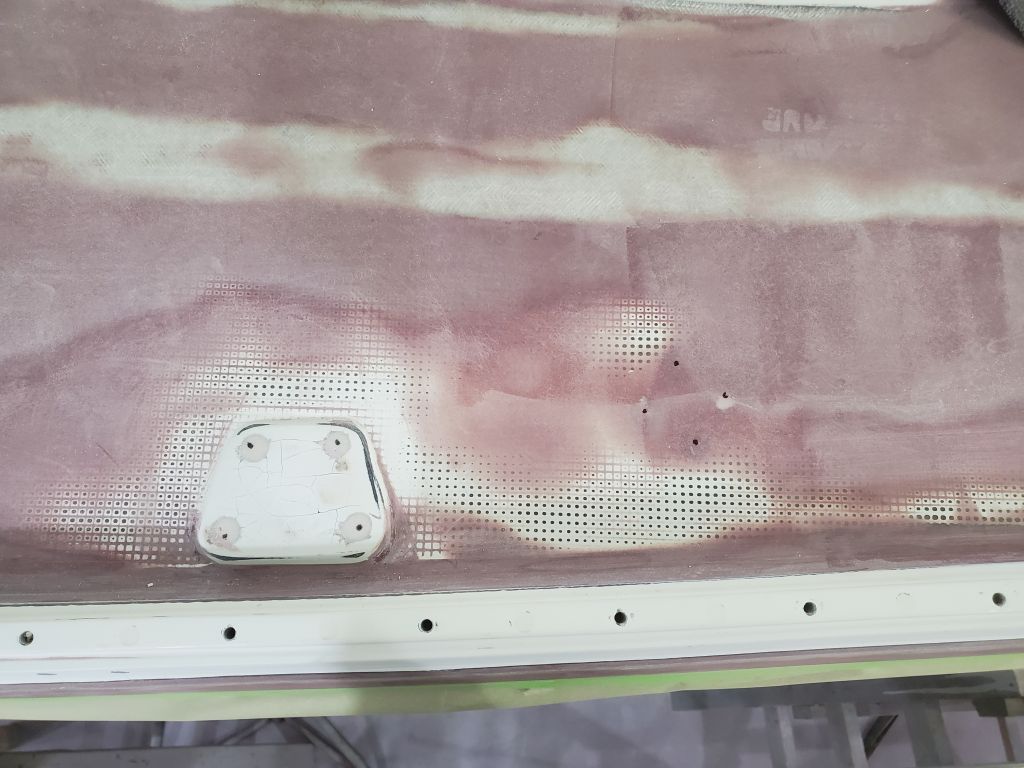
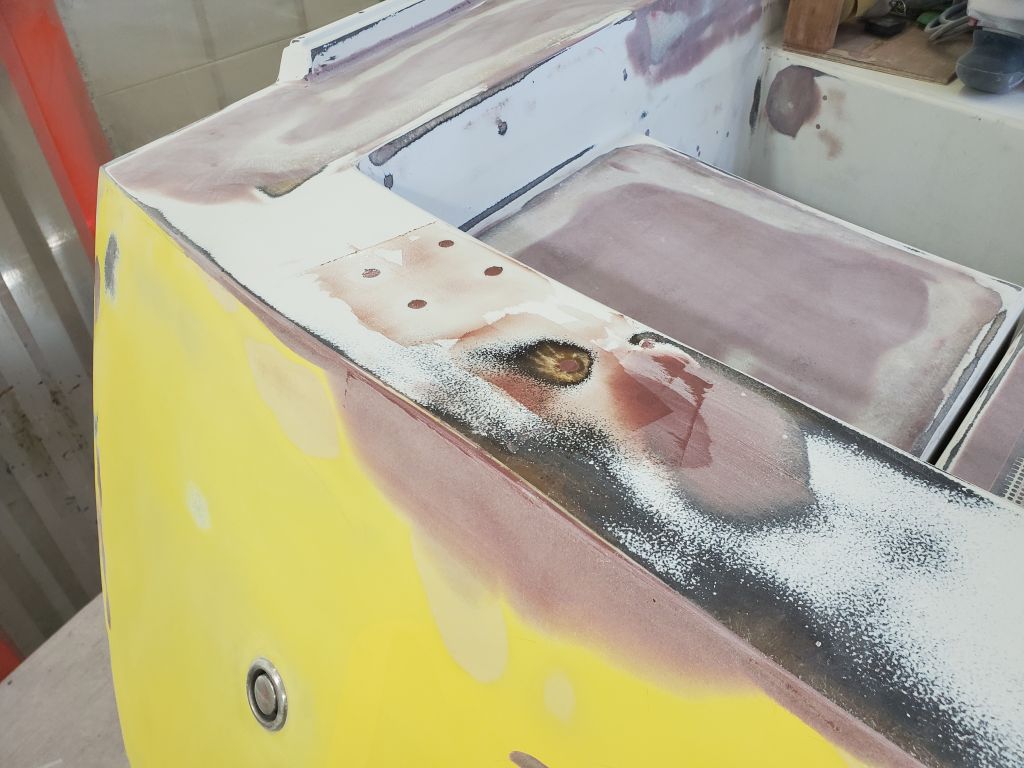
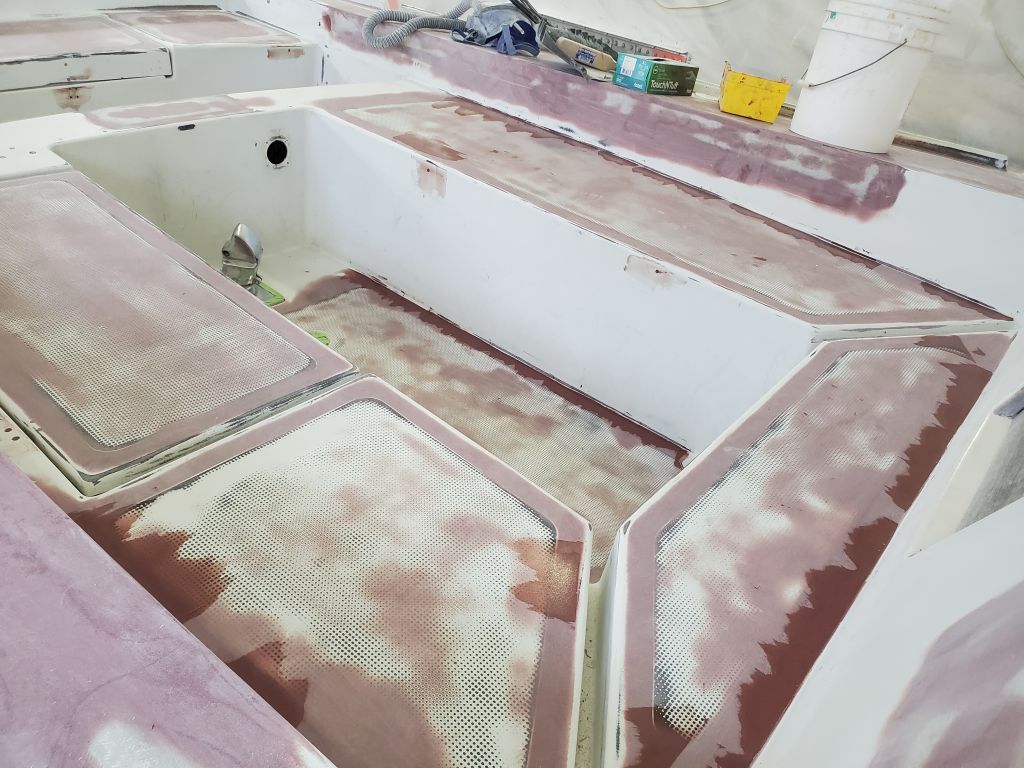
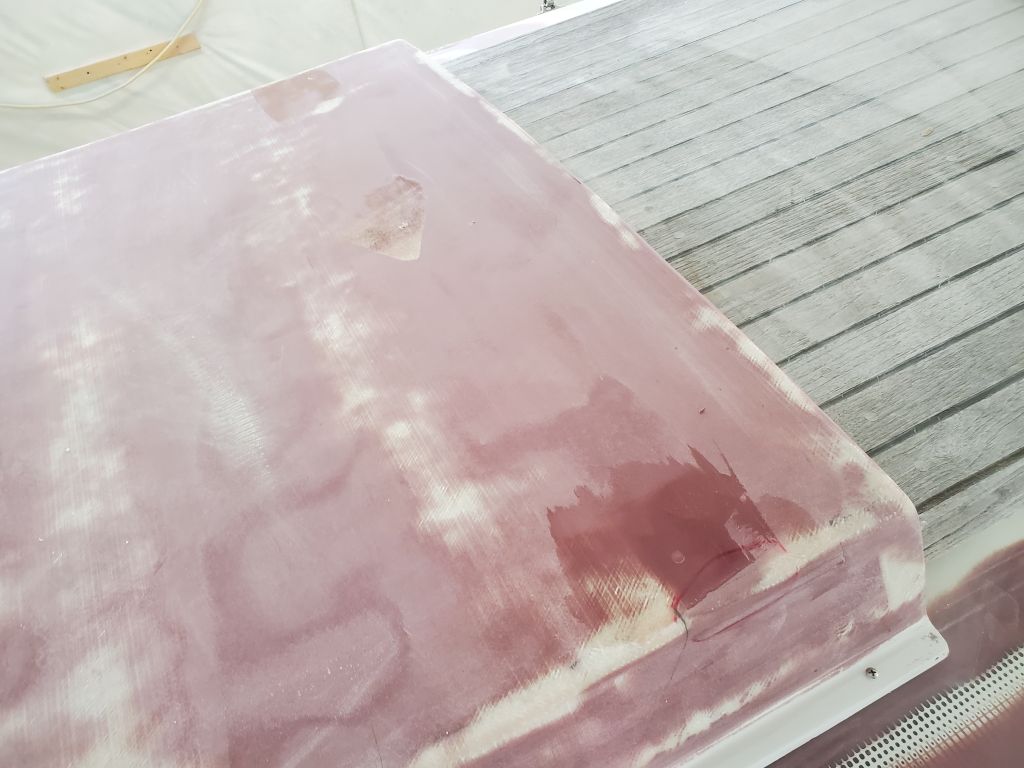
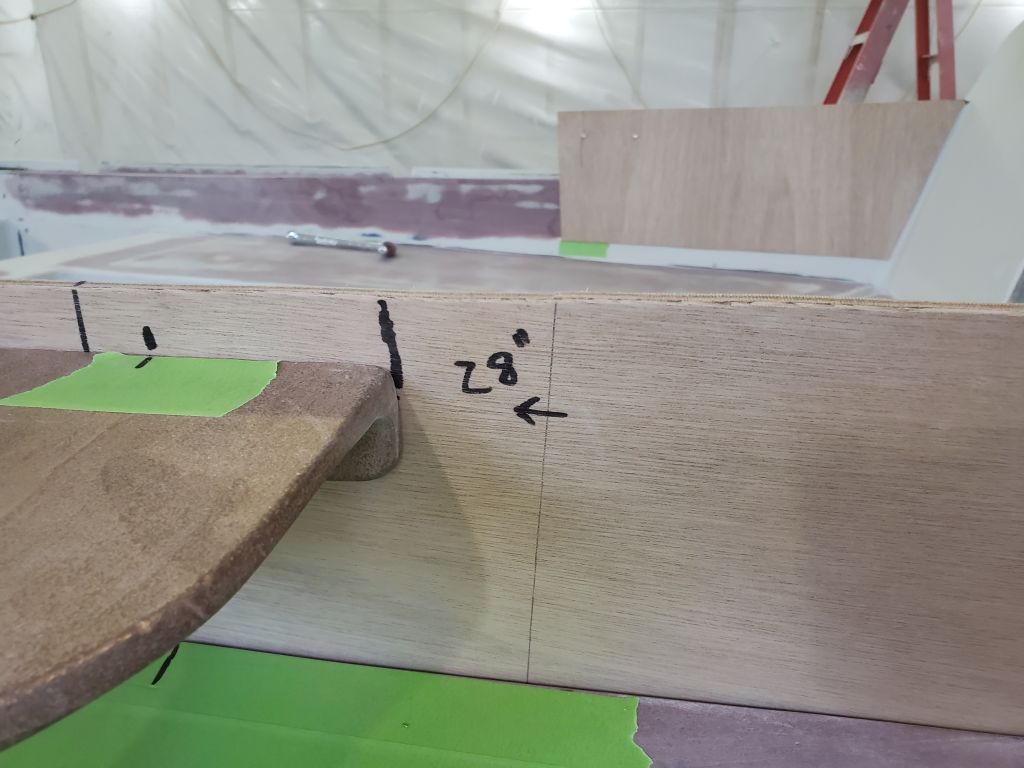
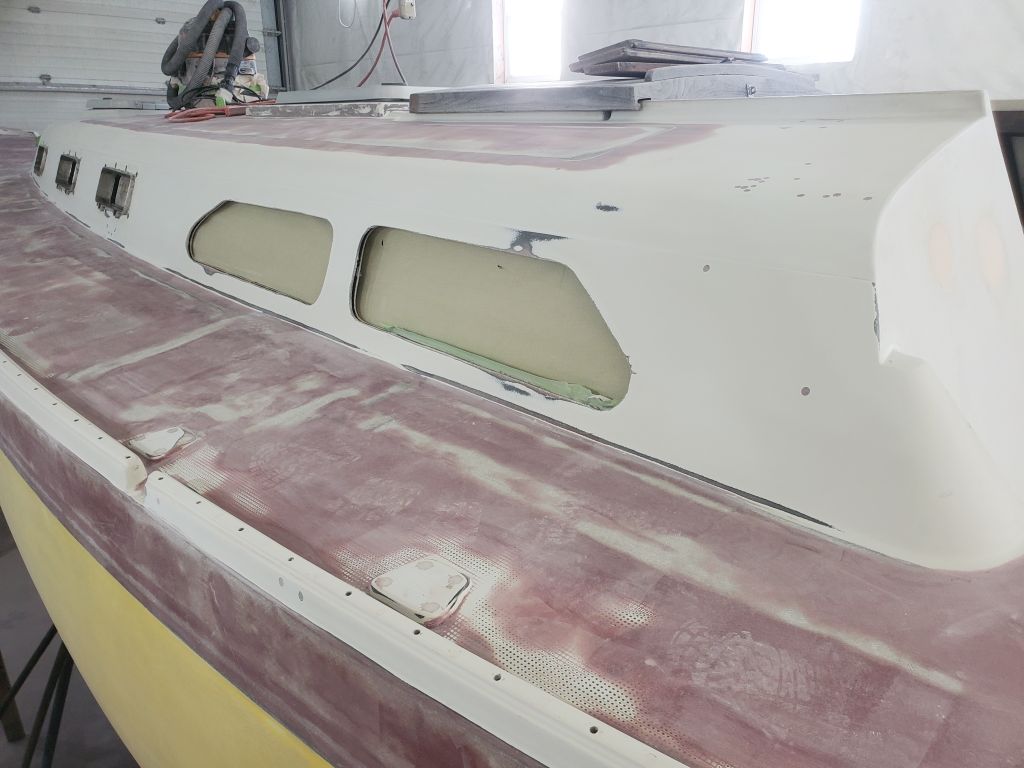
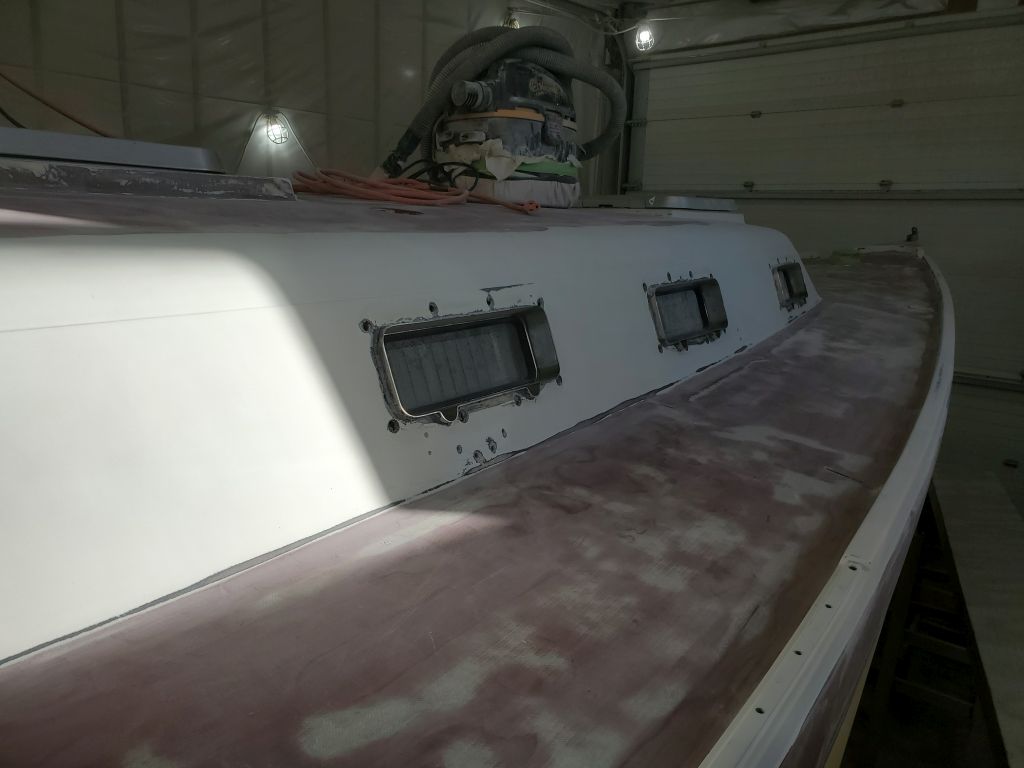
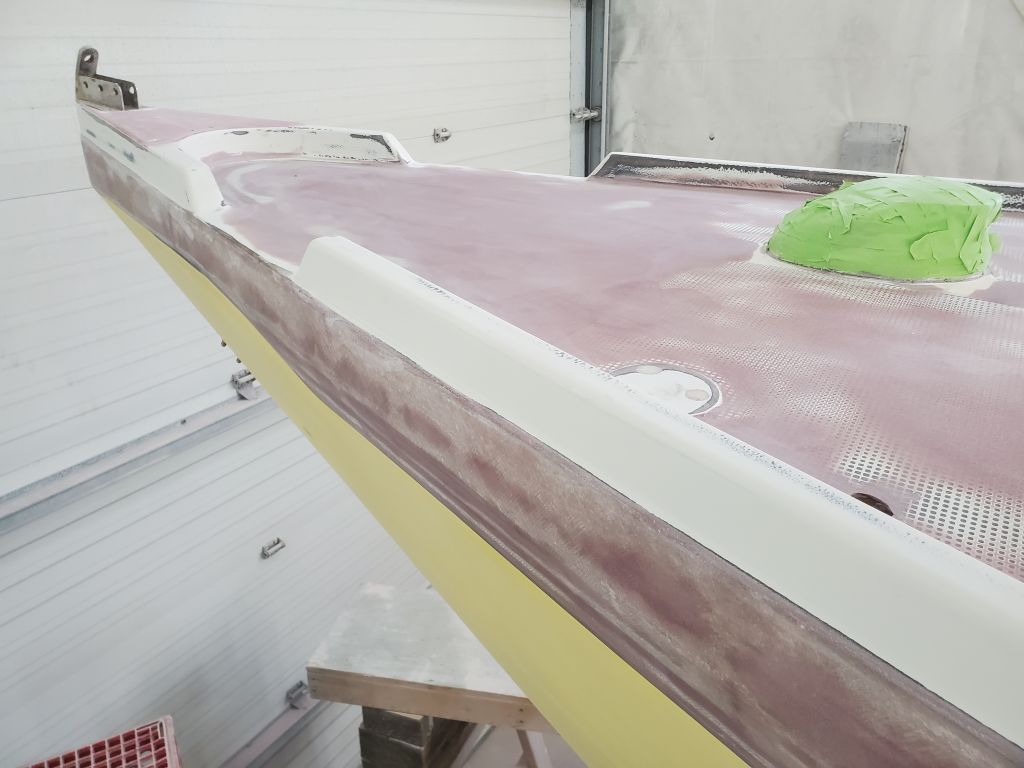
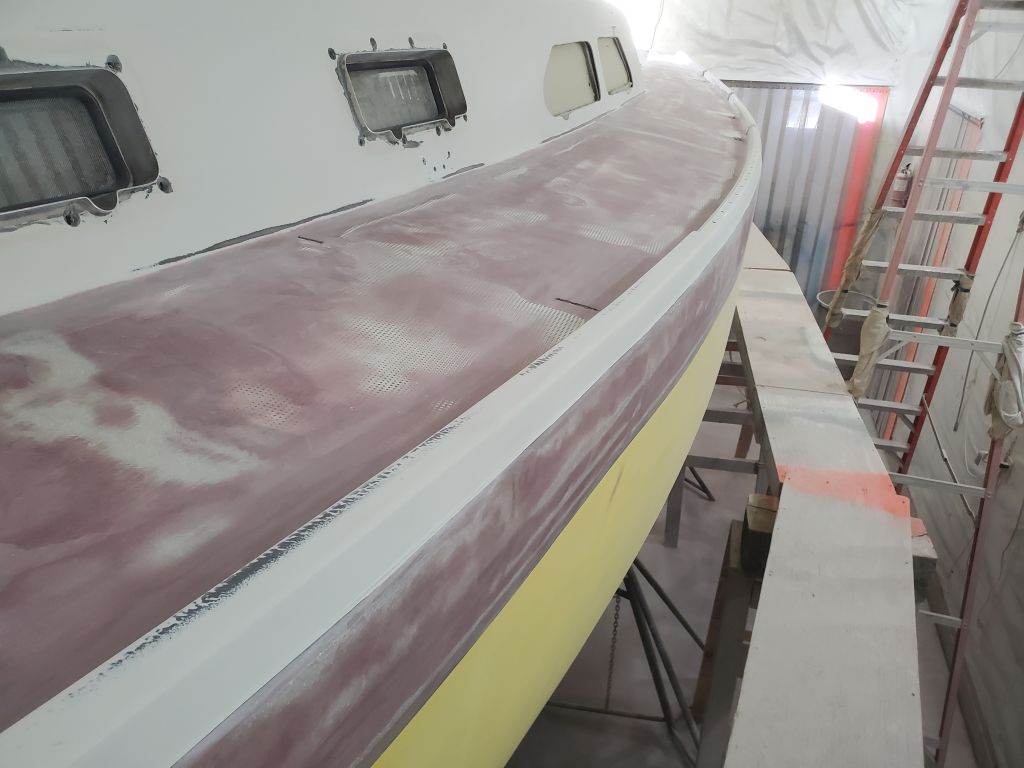
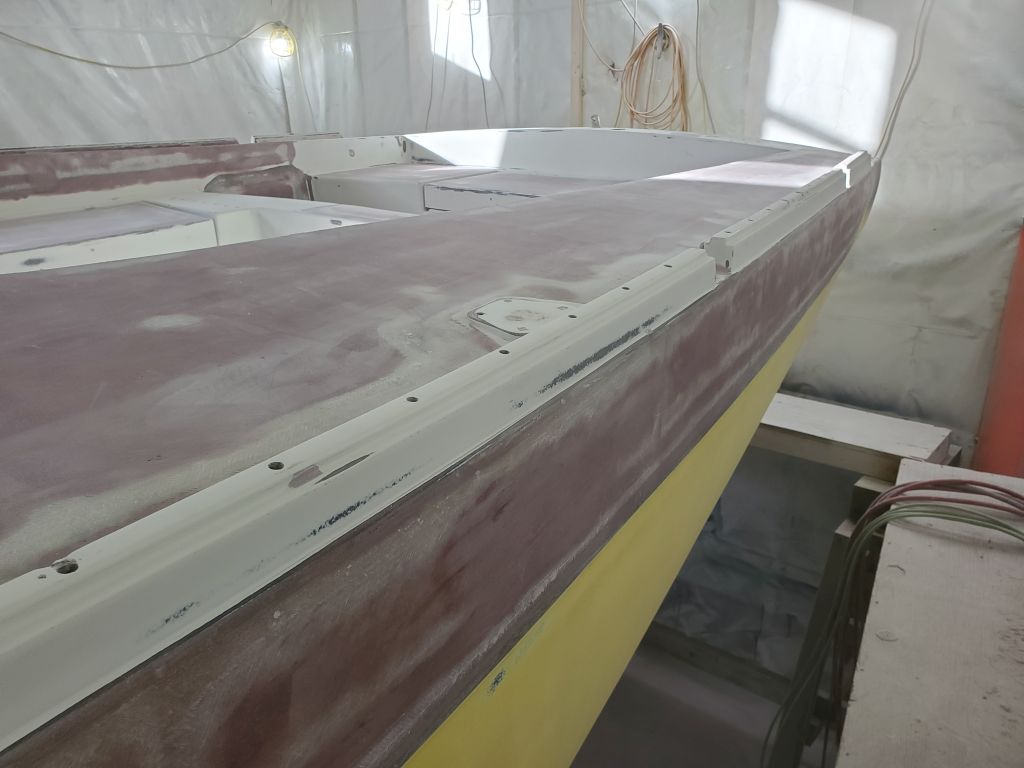
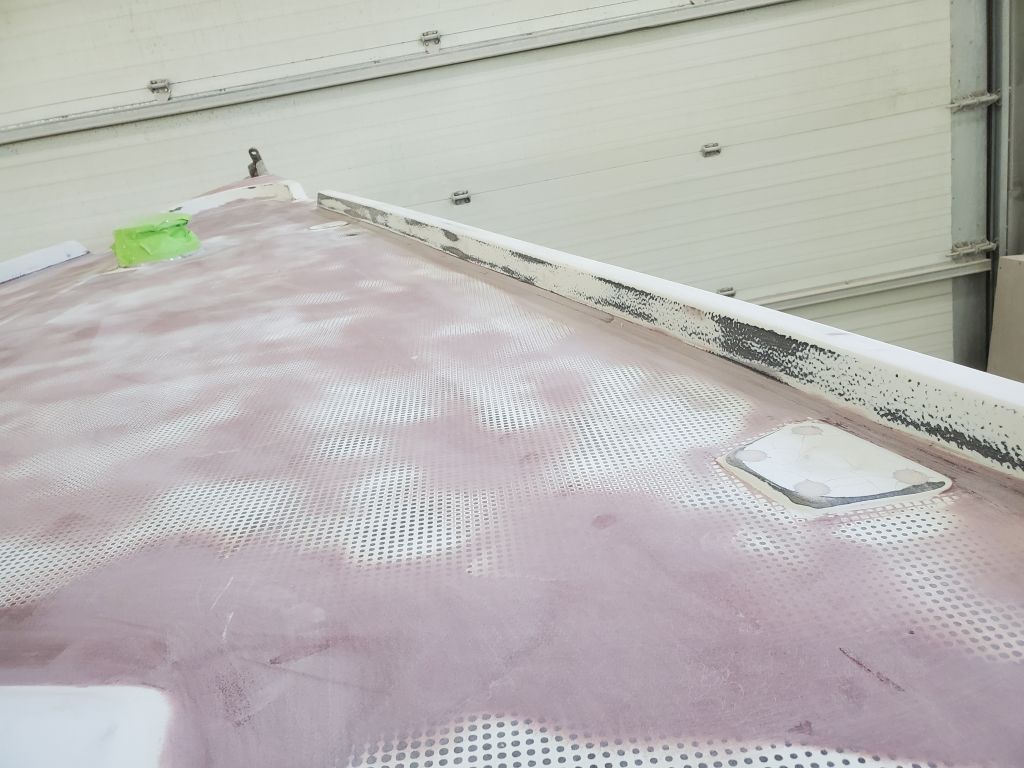
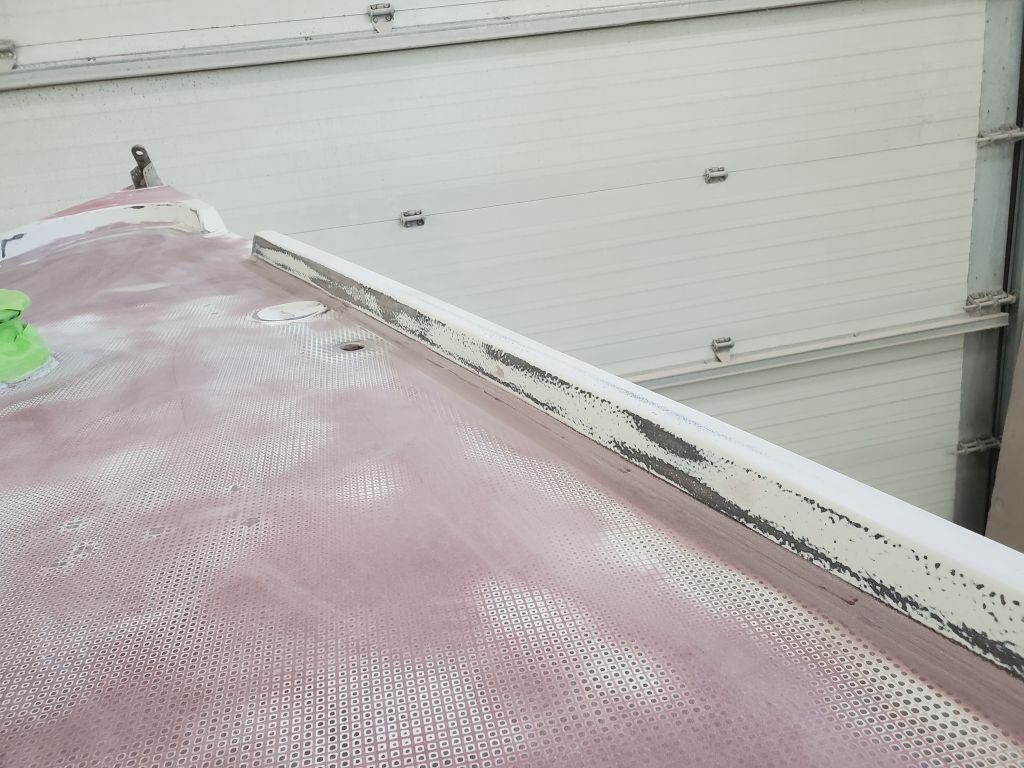
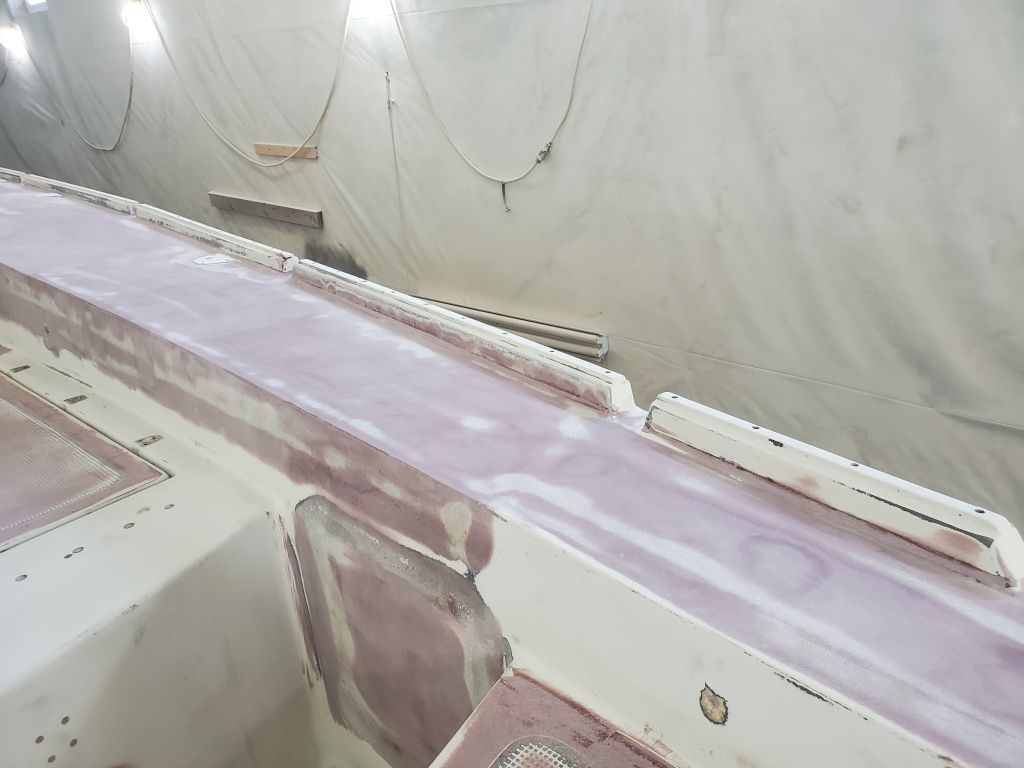
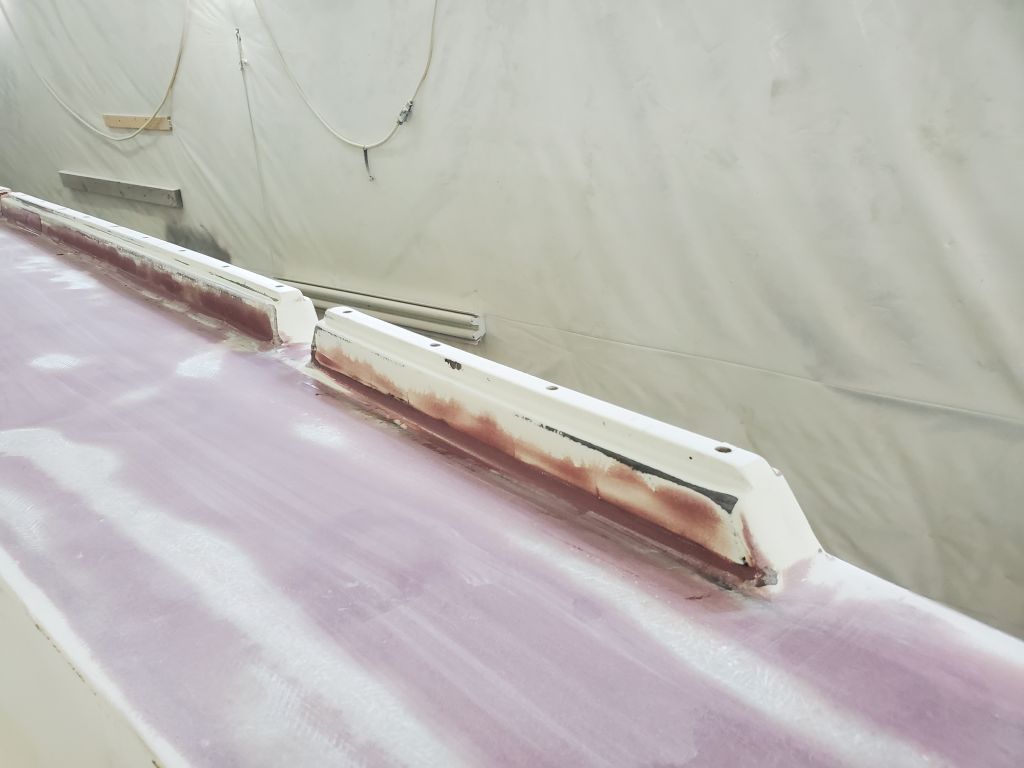
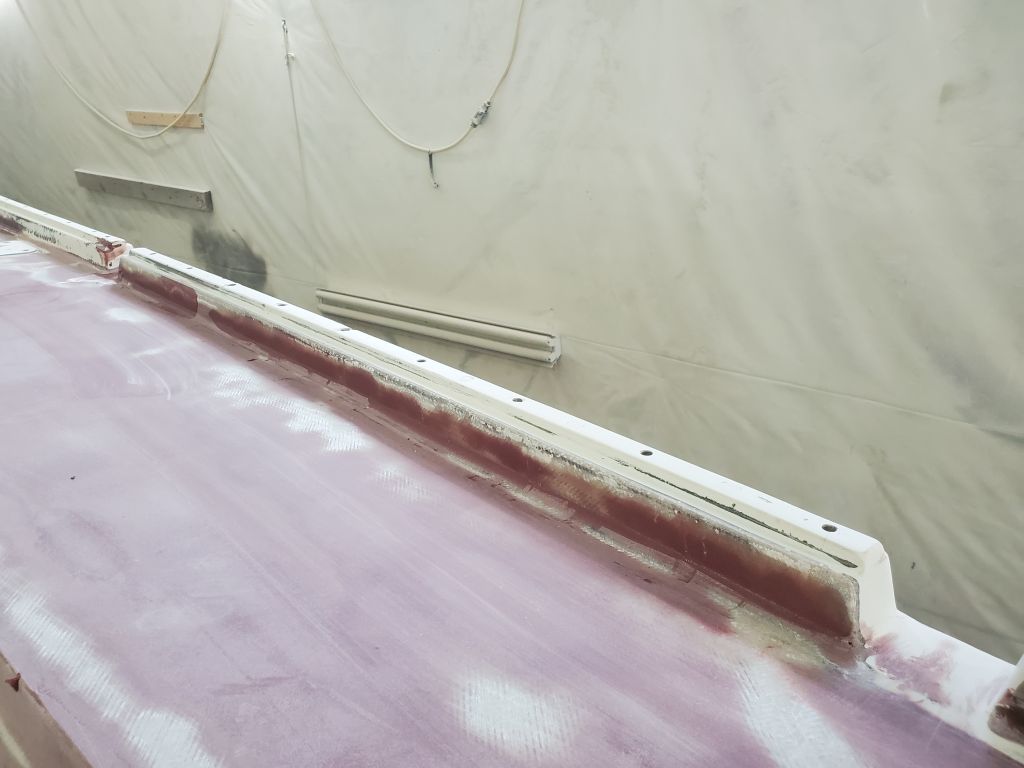
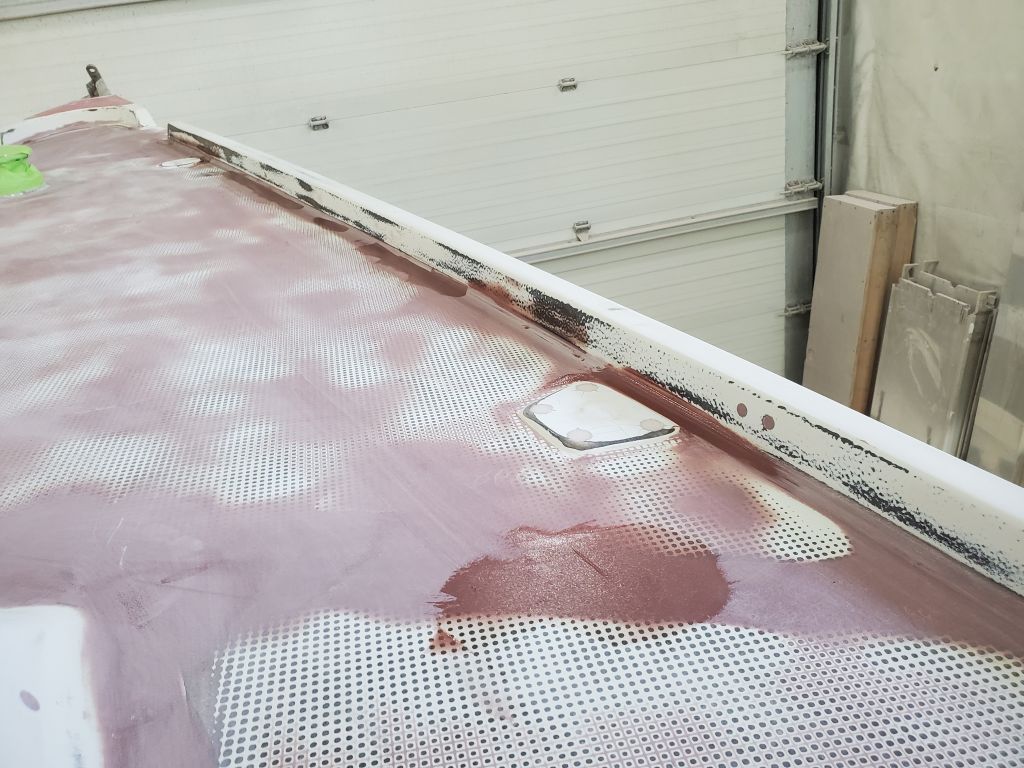
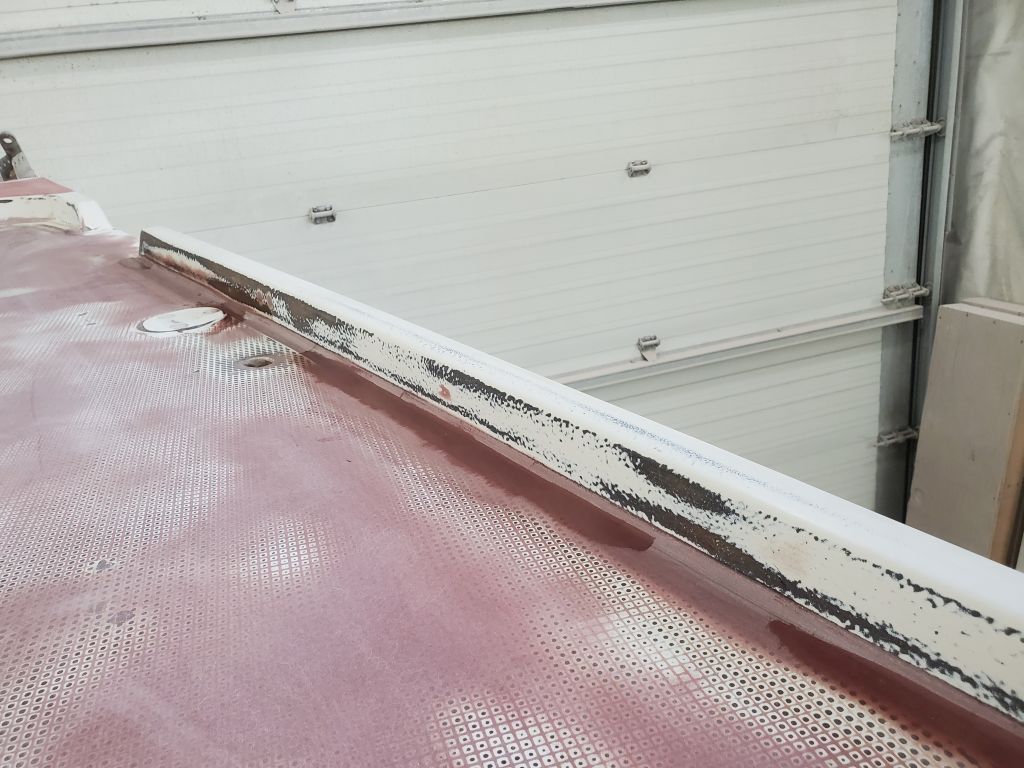
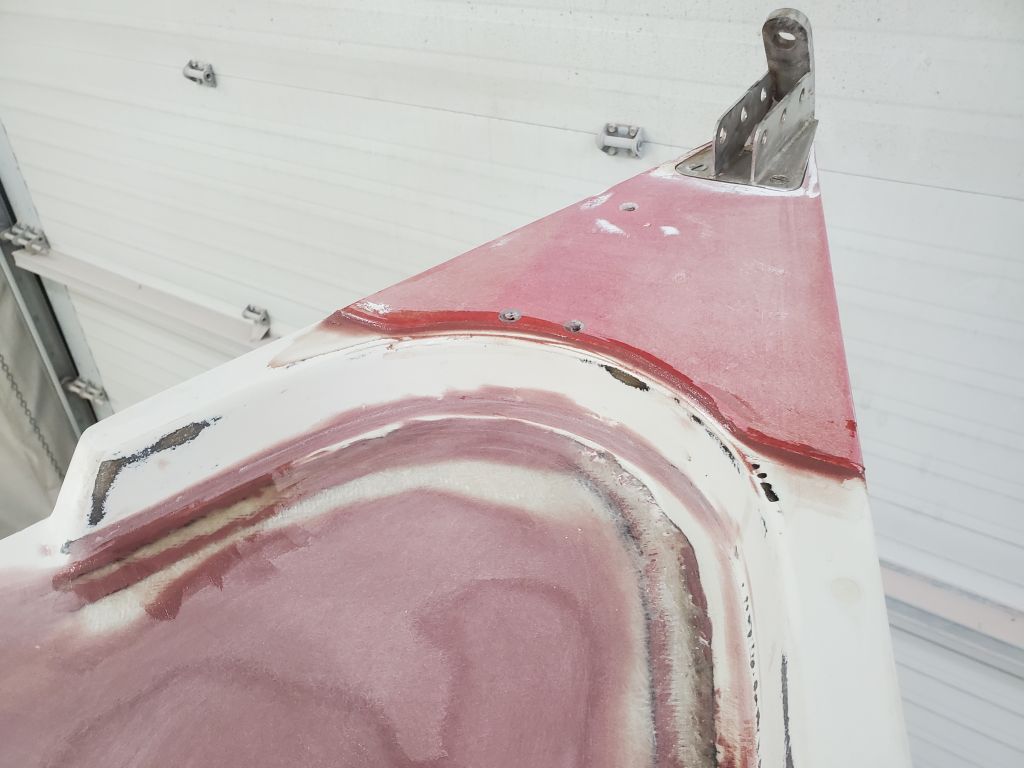
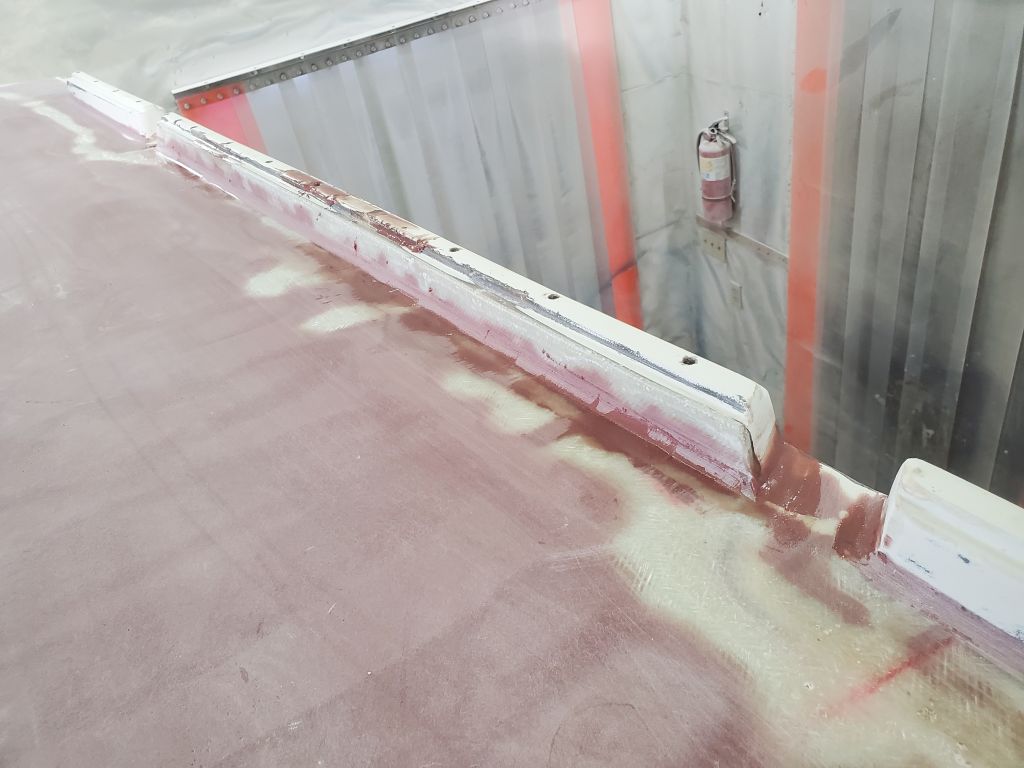
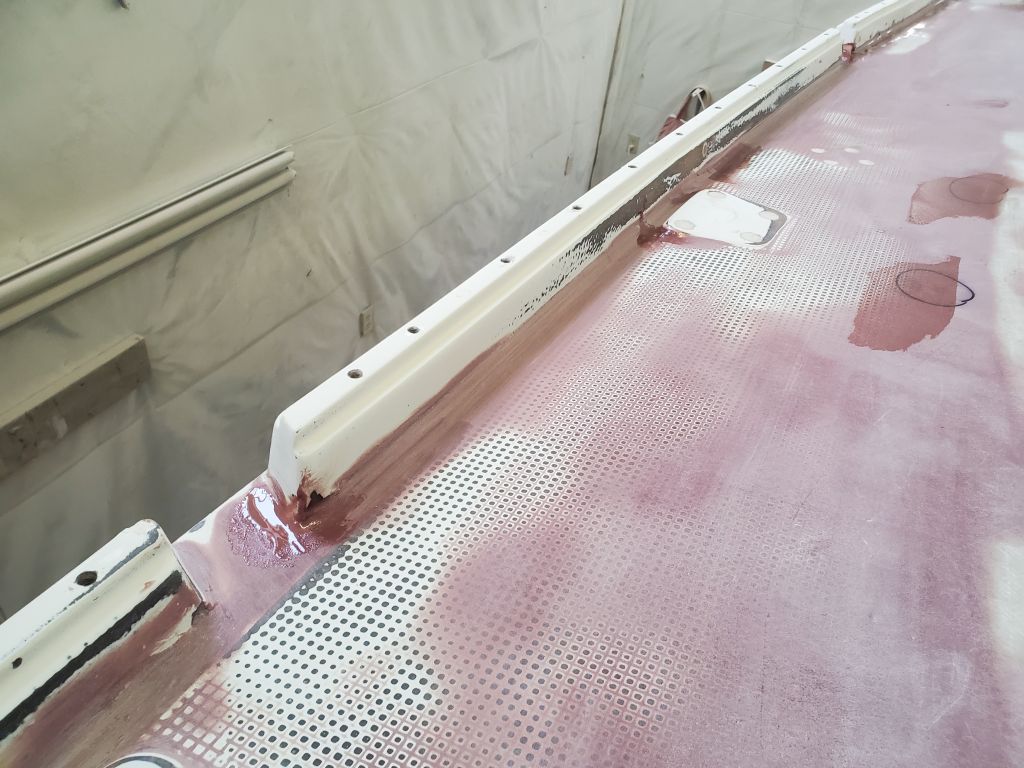
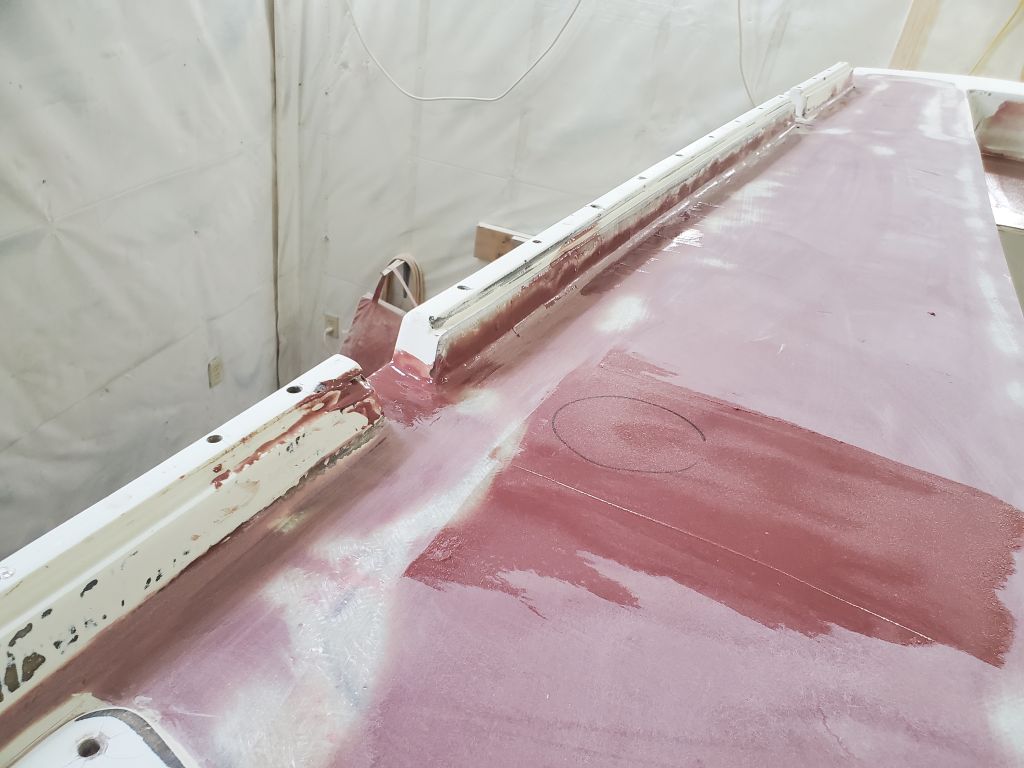
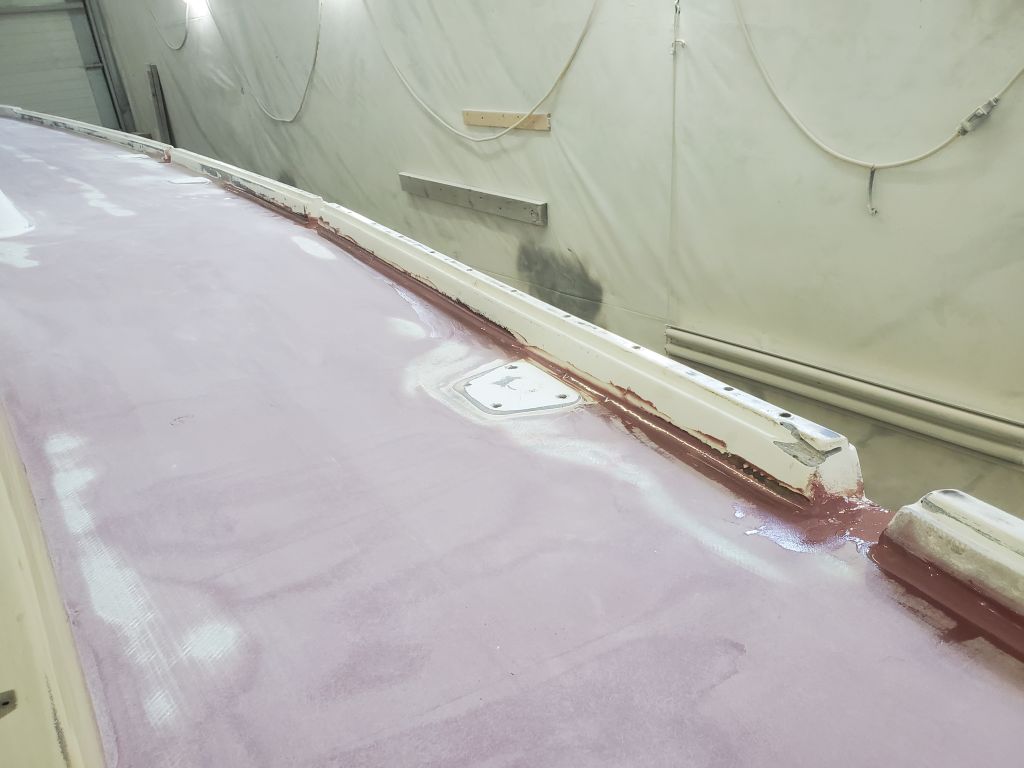
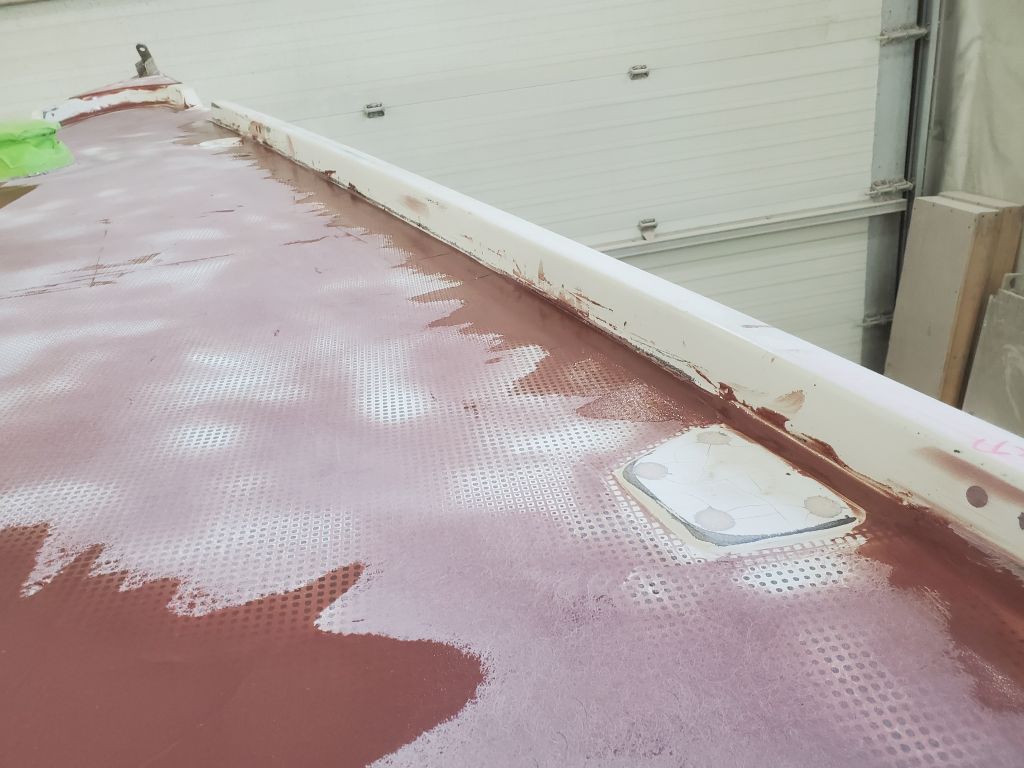
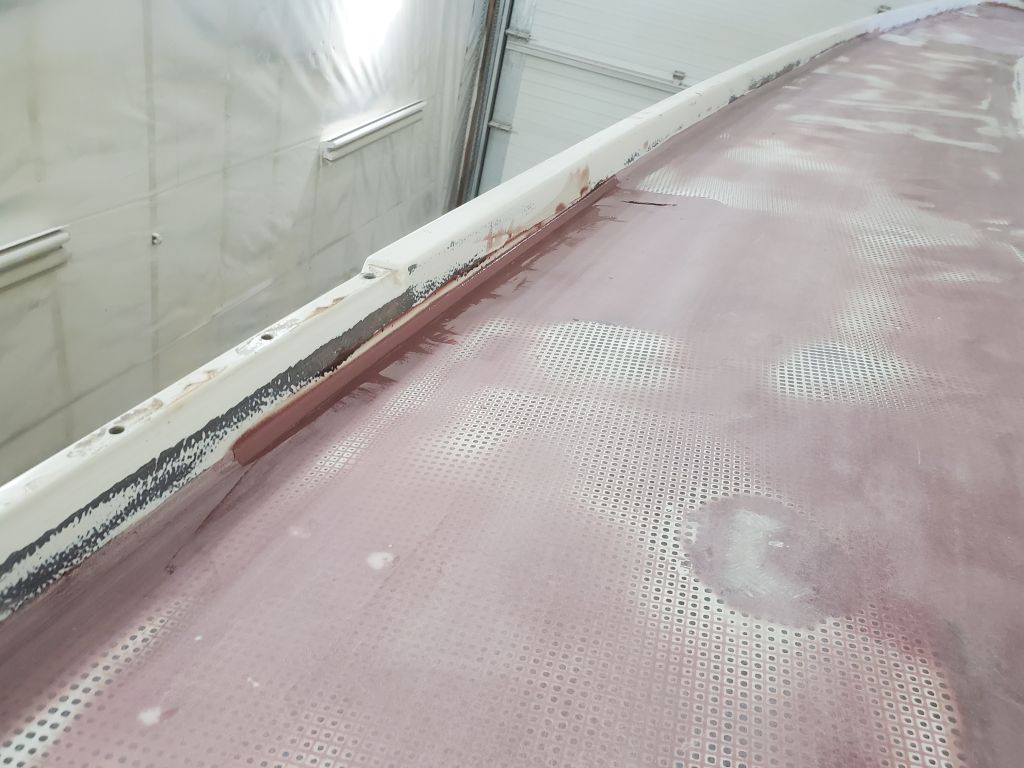
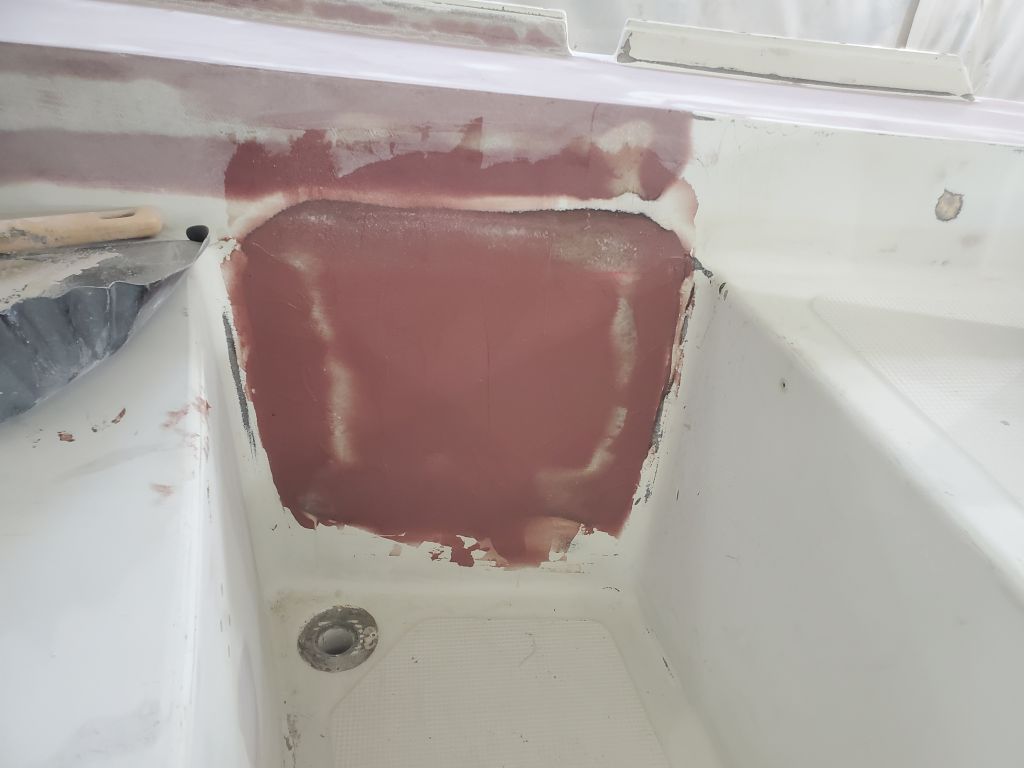
I secured the “coamings” to the boat with some dabs of hot glue, and bolted the winch stands through the plywood to hold them in the proper position. The winch stands’ location itself was dictated mainly by winch handle clearance to the nearby stanchion mount, just aft of the stands, which threatened winch handle and knuckle clearance if the winches were moved much farther aft. I’d determined all this much earlier in the process when I was still installing core in the sidedecks, and had built in solid fiberglass patches beneath the feet of the winch stands in this general area on both sides. I translated my original measurements (along the deck edge from the indistinct curved edge of the molded coaming blocks) to a more linear, repeatable measurement along the top edge of the coaming between the cabin trunk and leading edge of the winch stand, 28″.
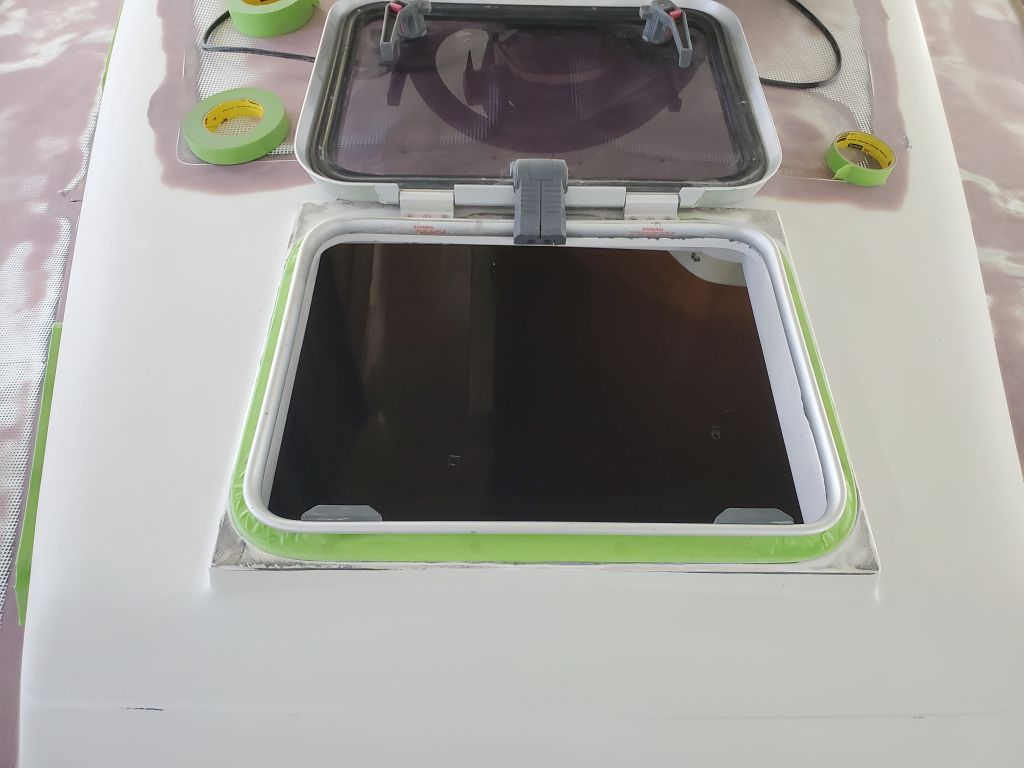
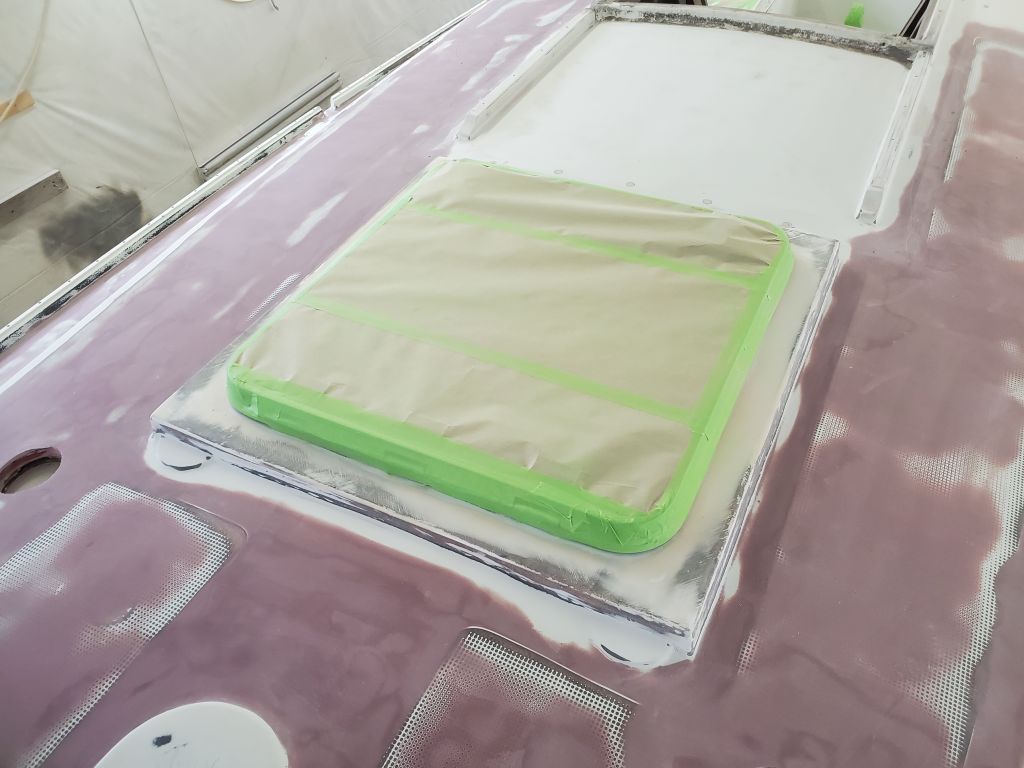
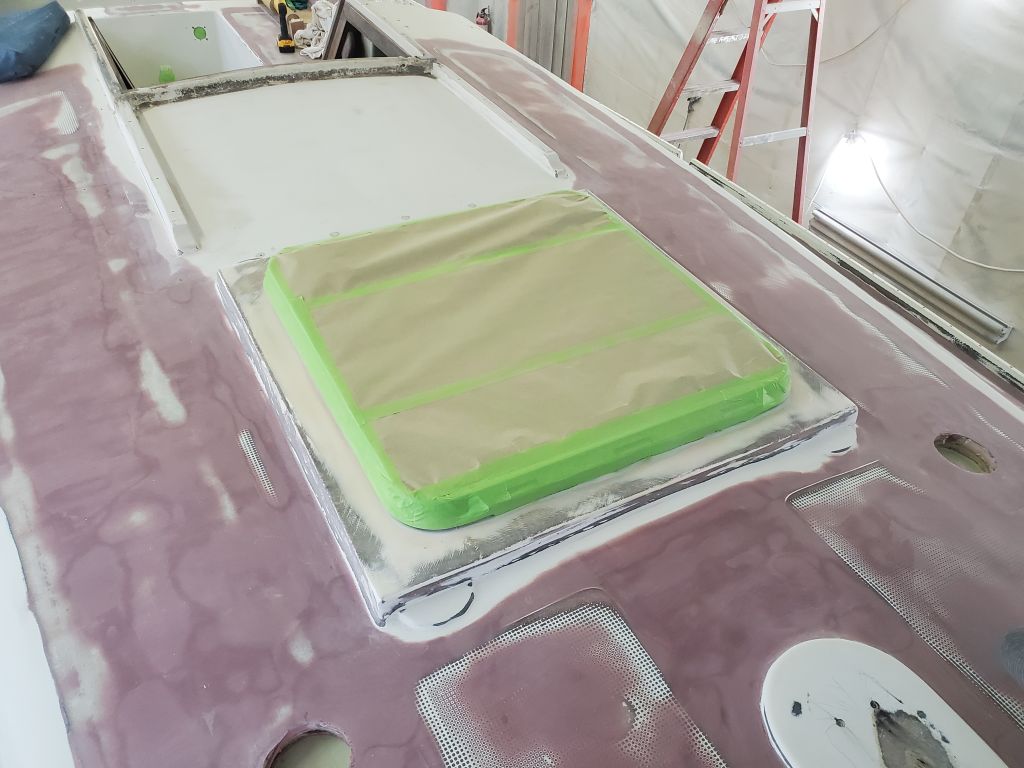
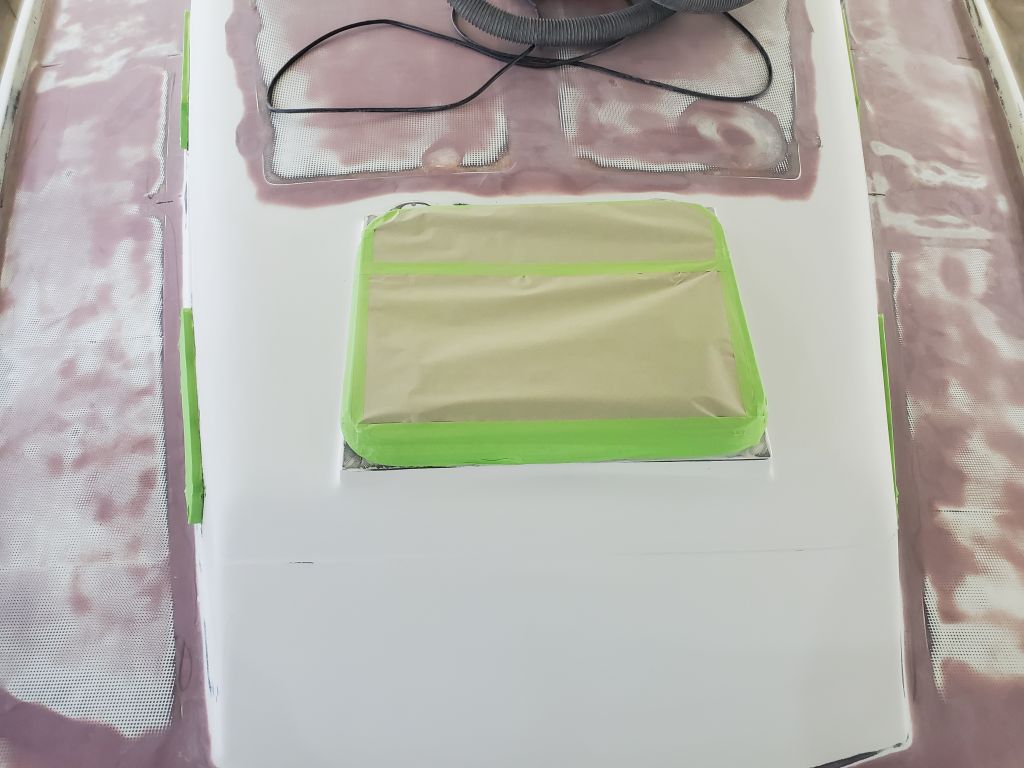
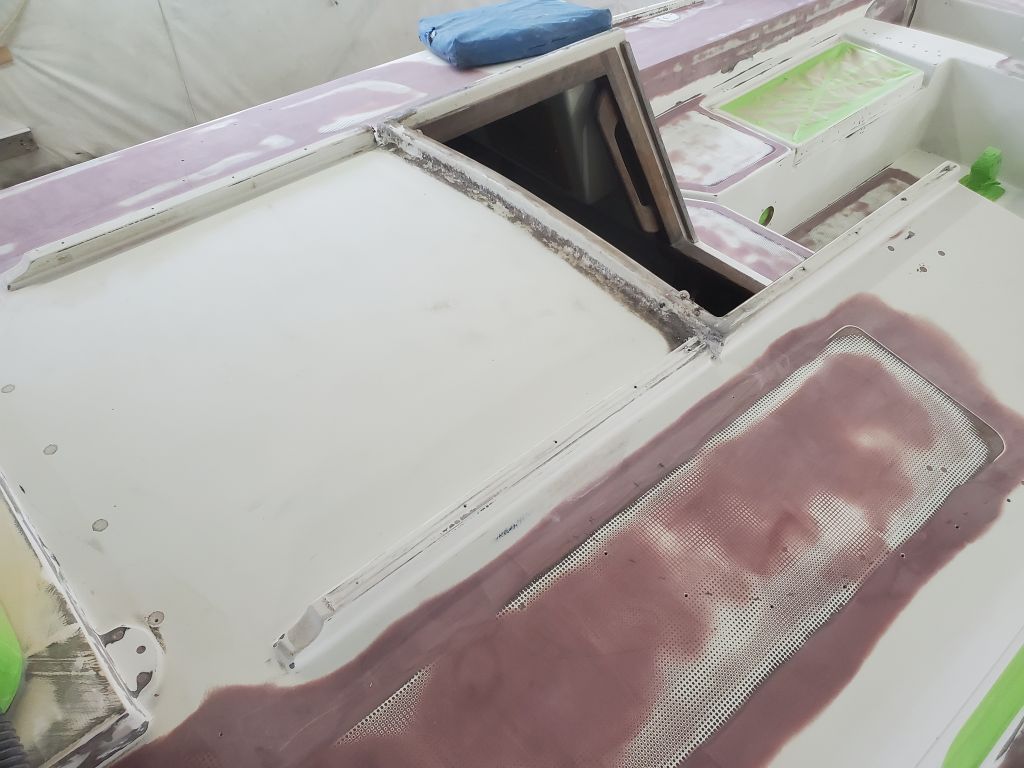
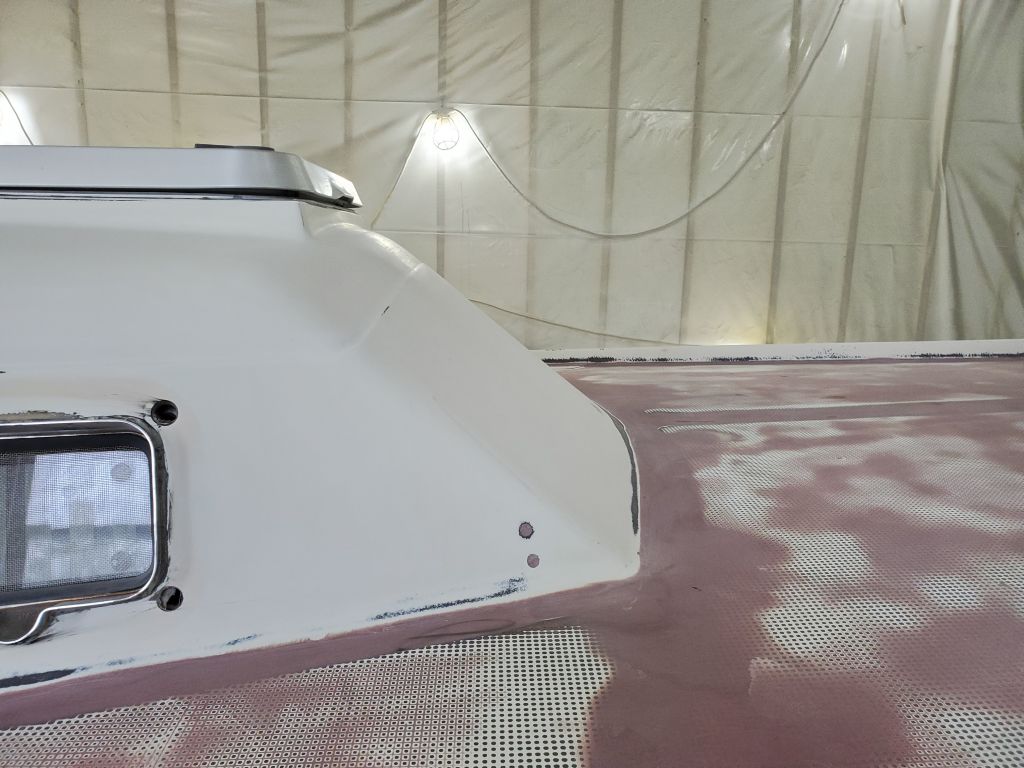
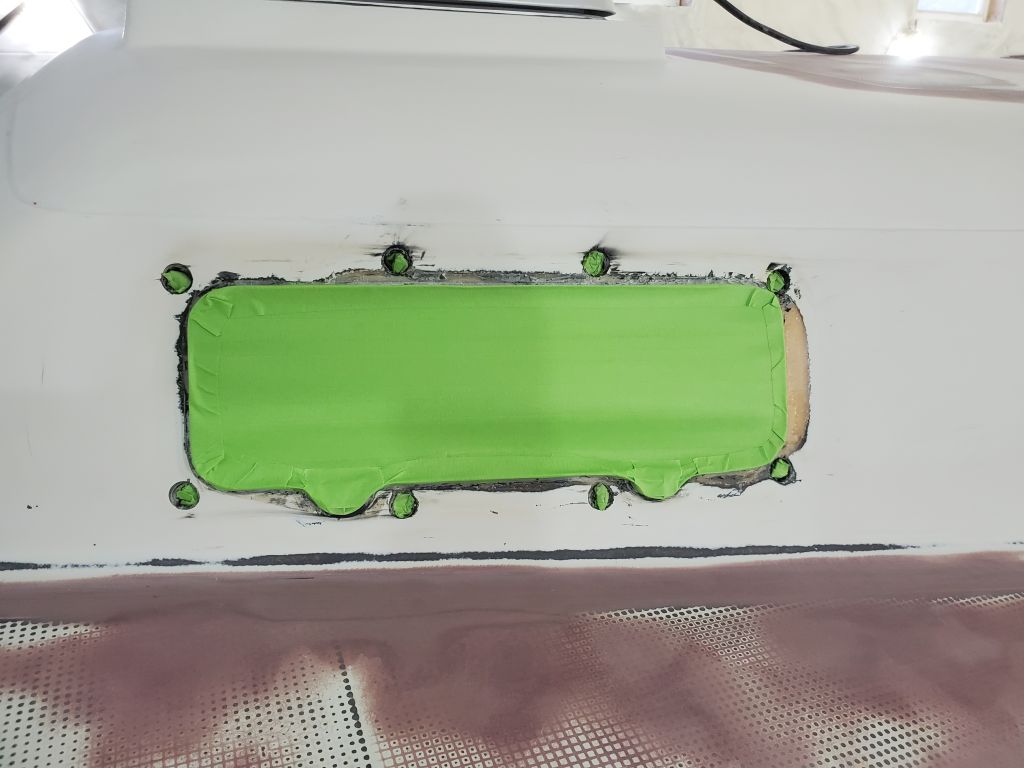
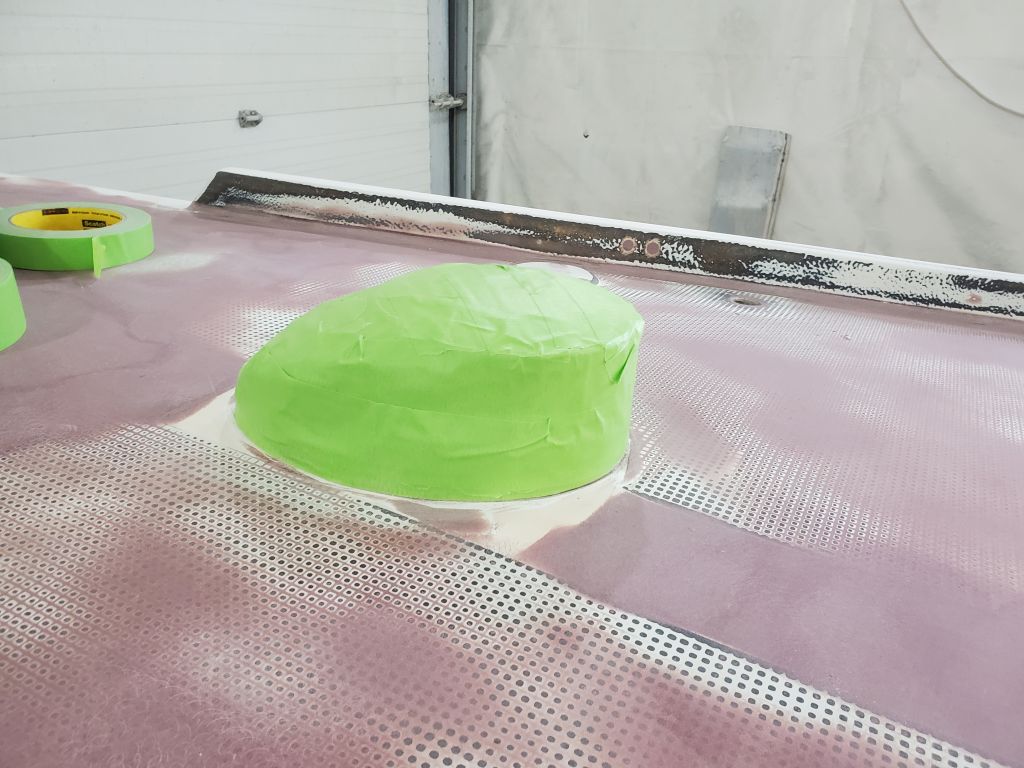
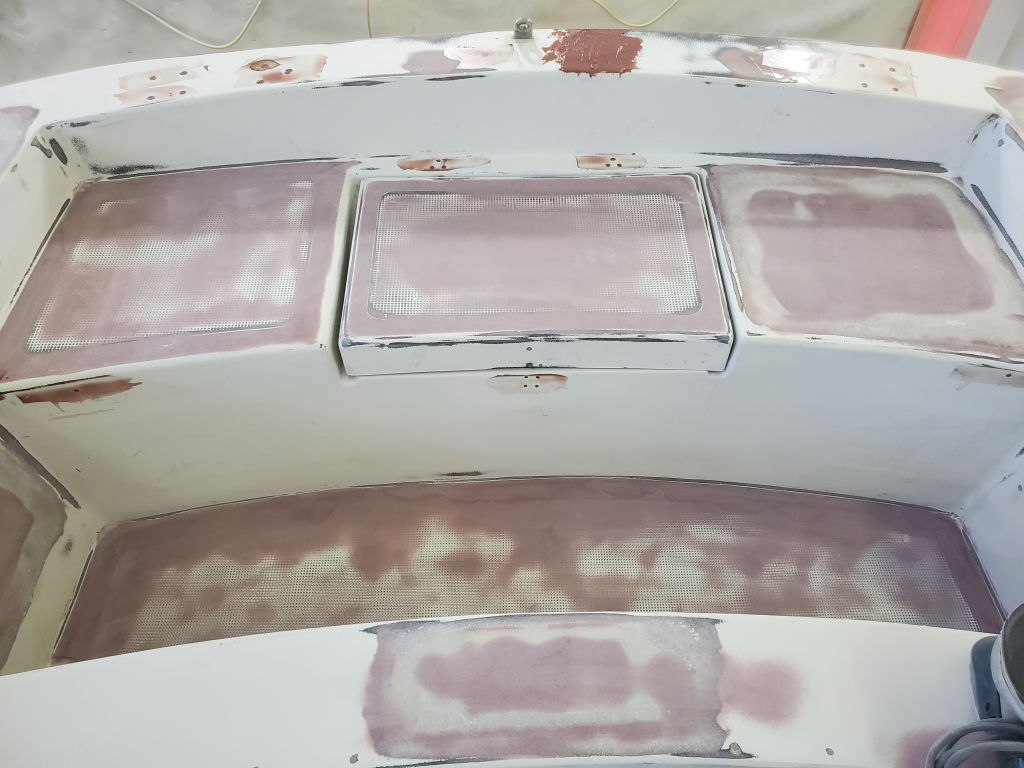
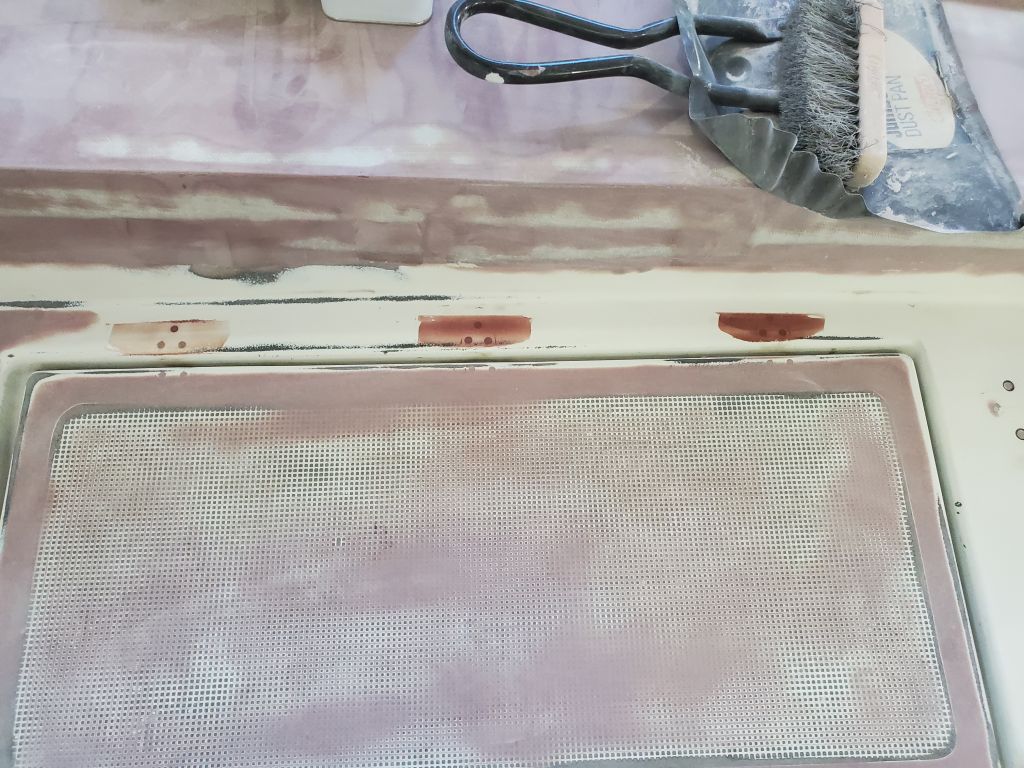
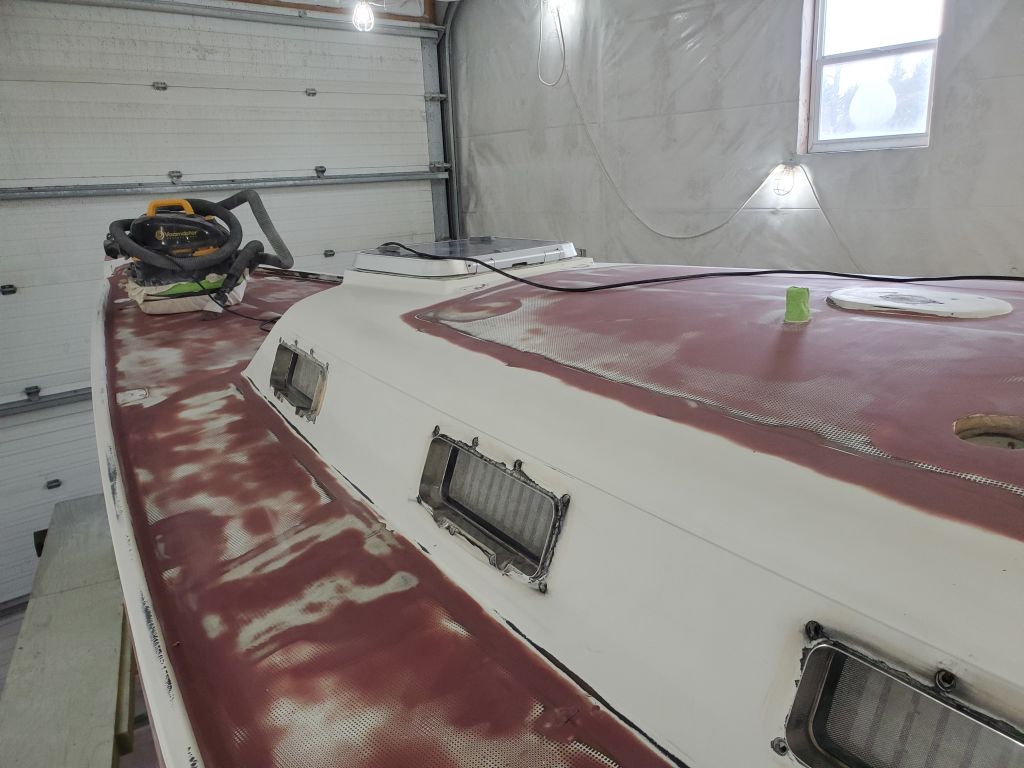
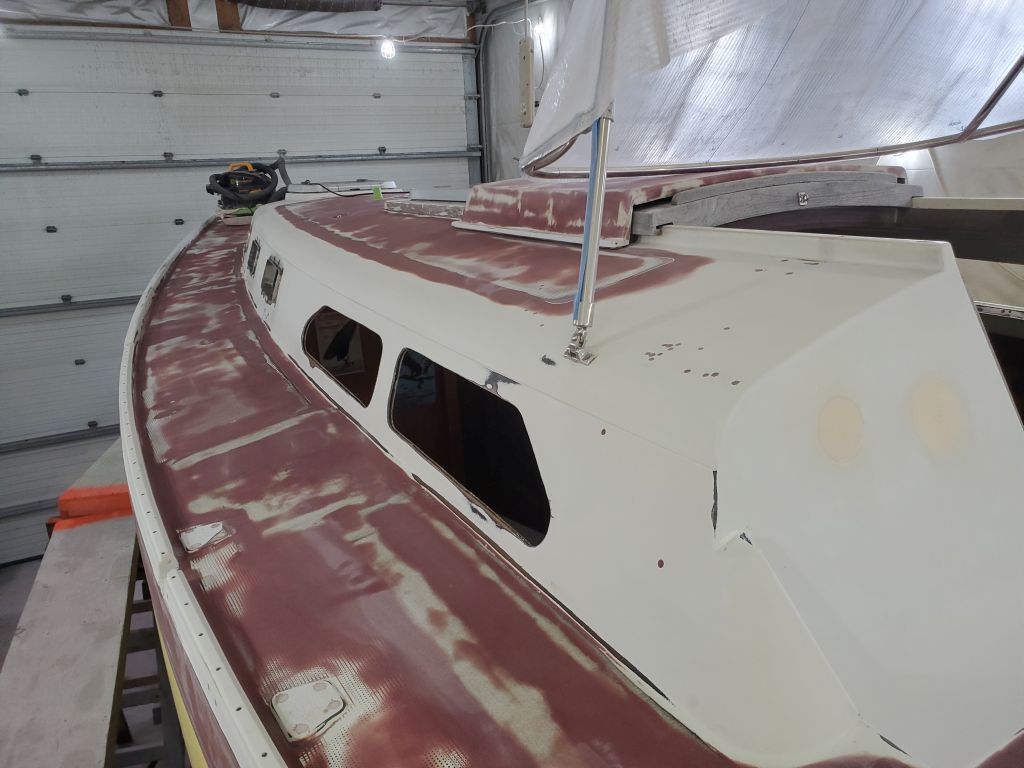
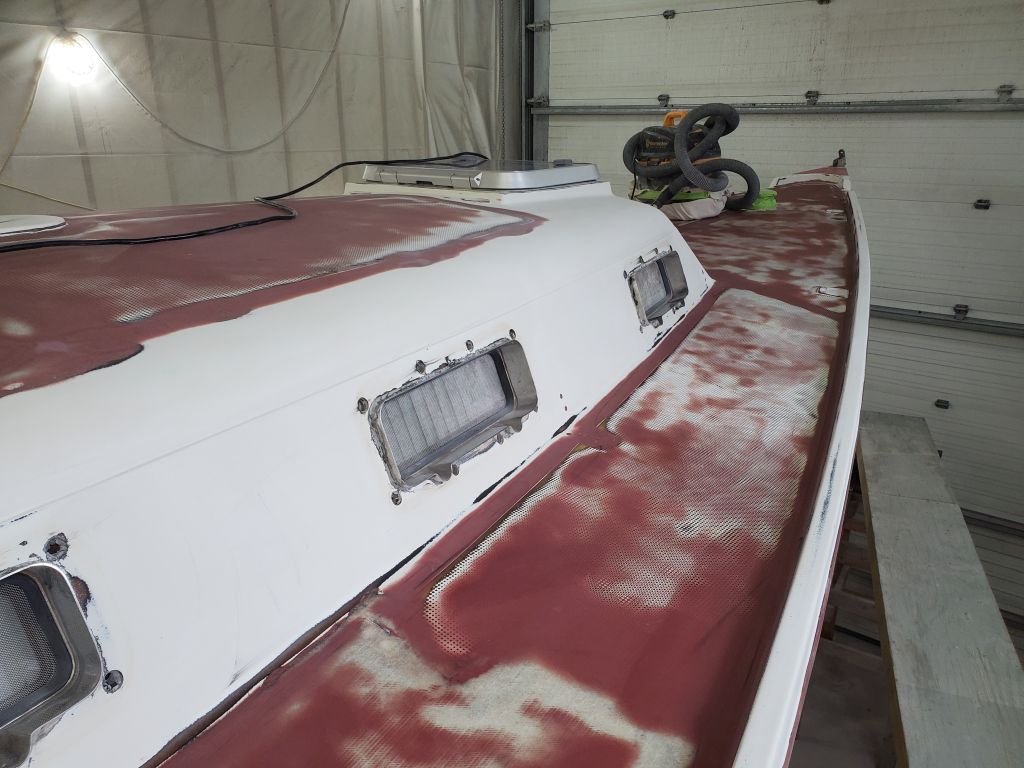
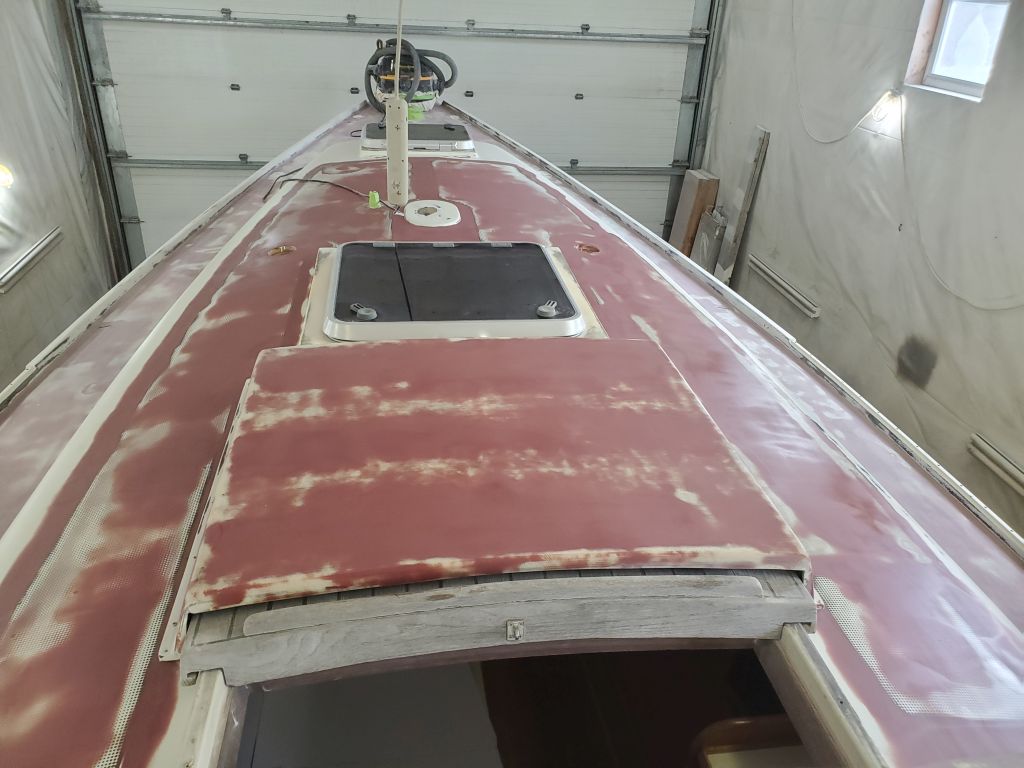
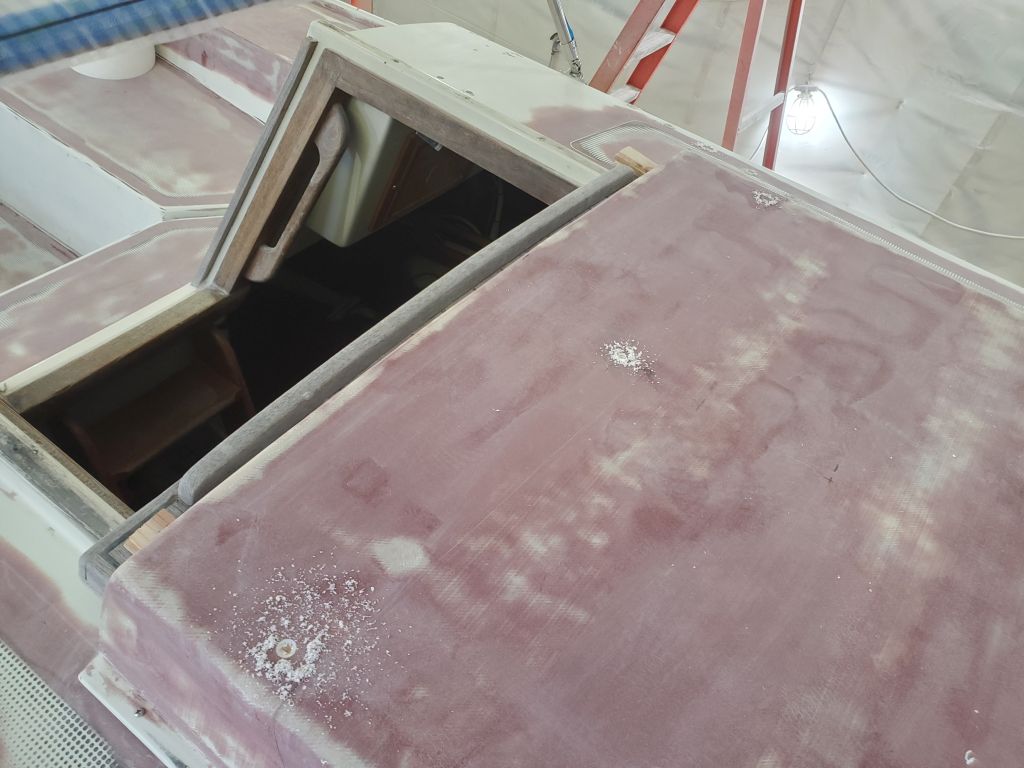
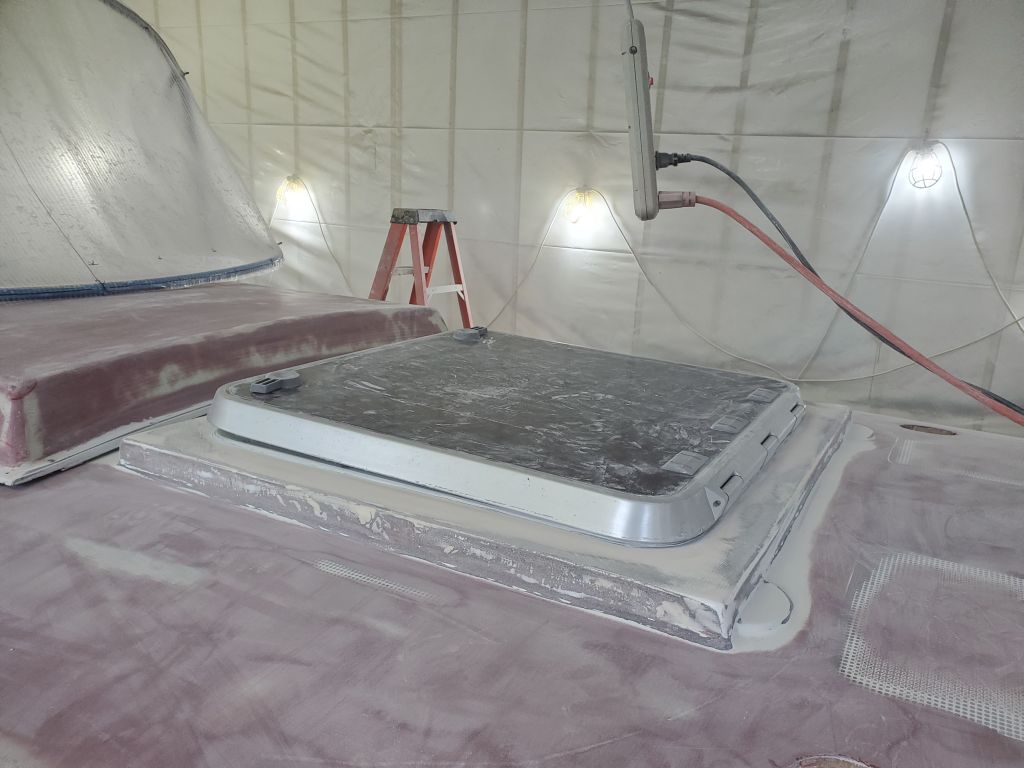
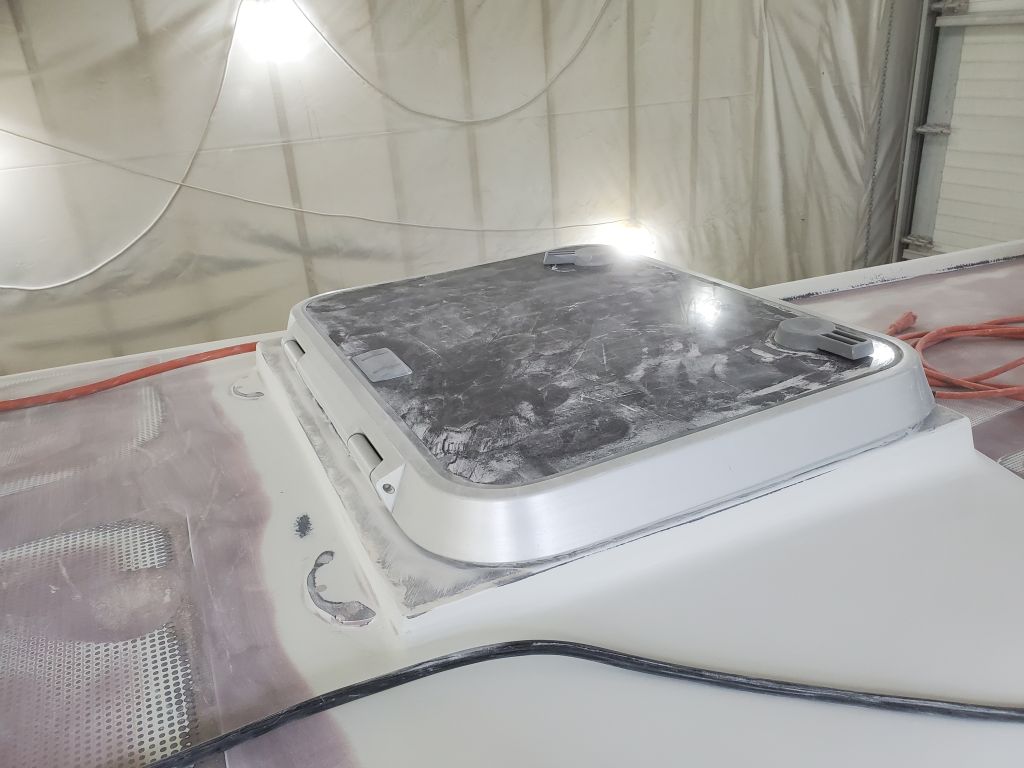
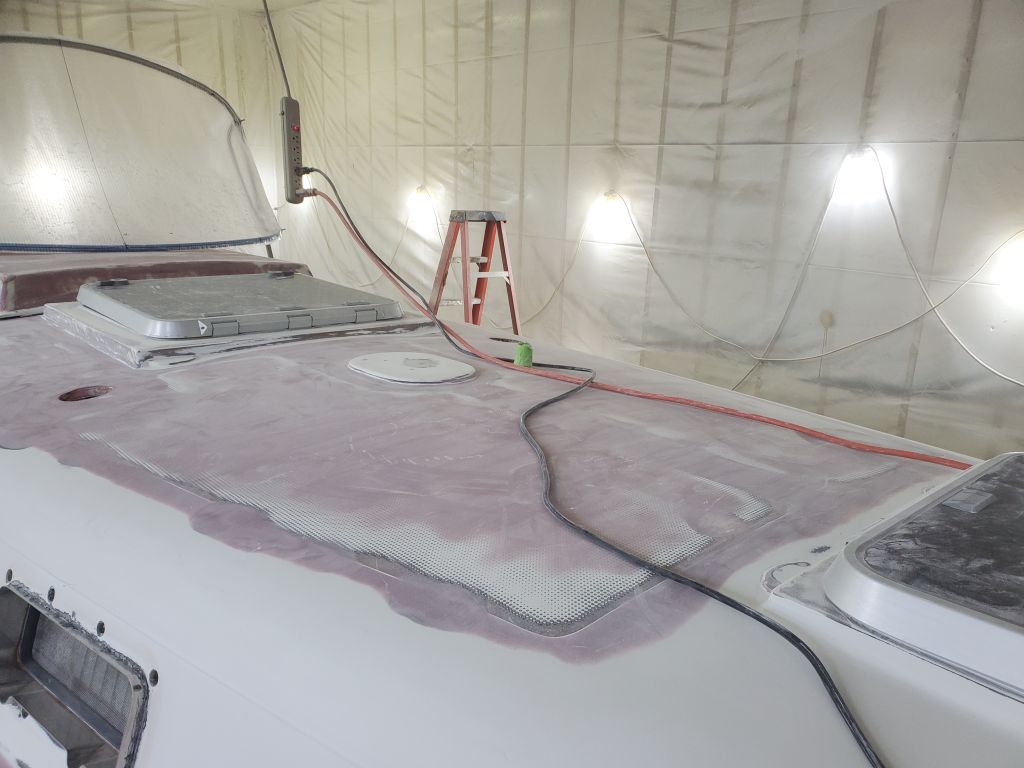
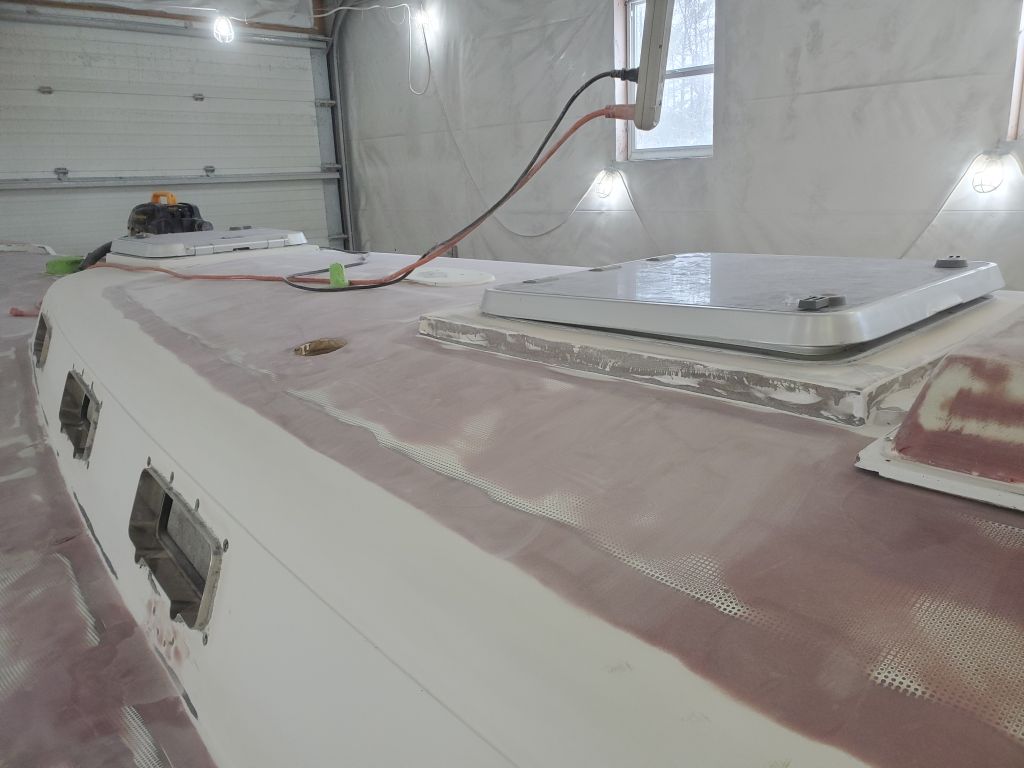
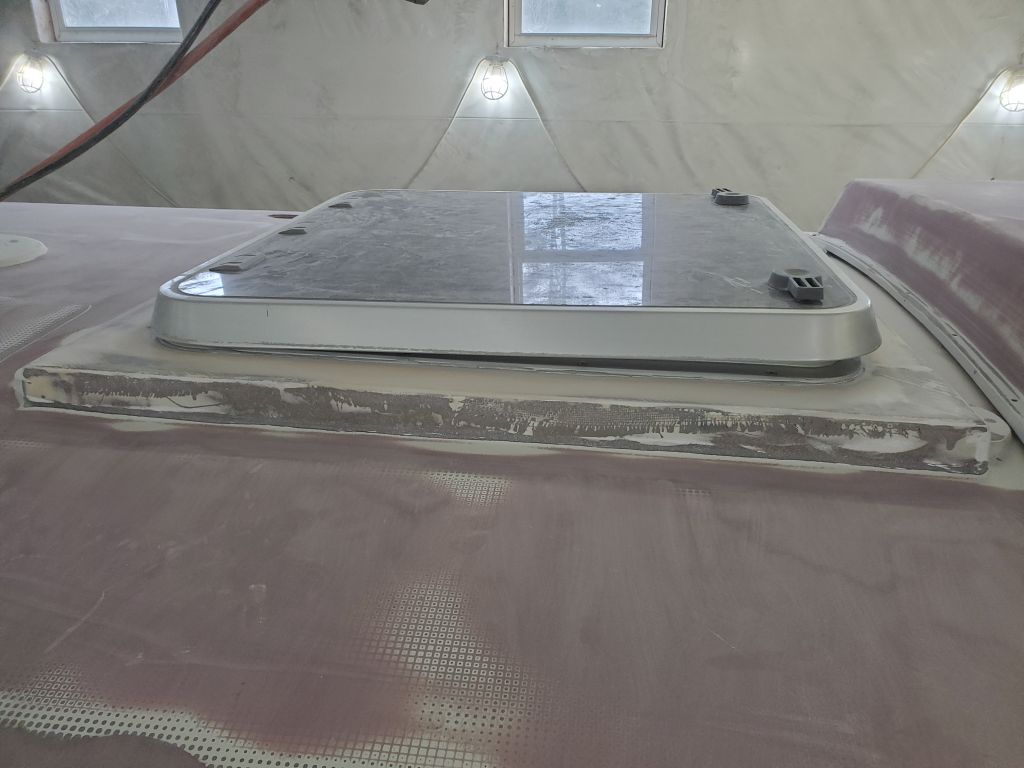
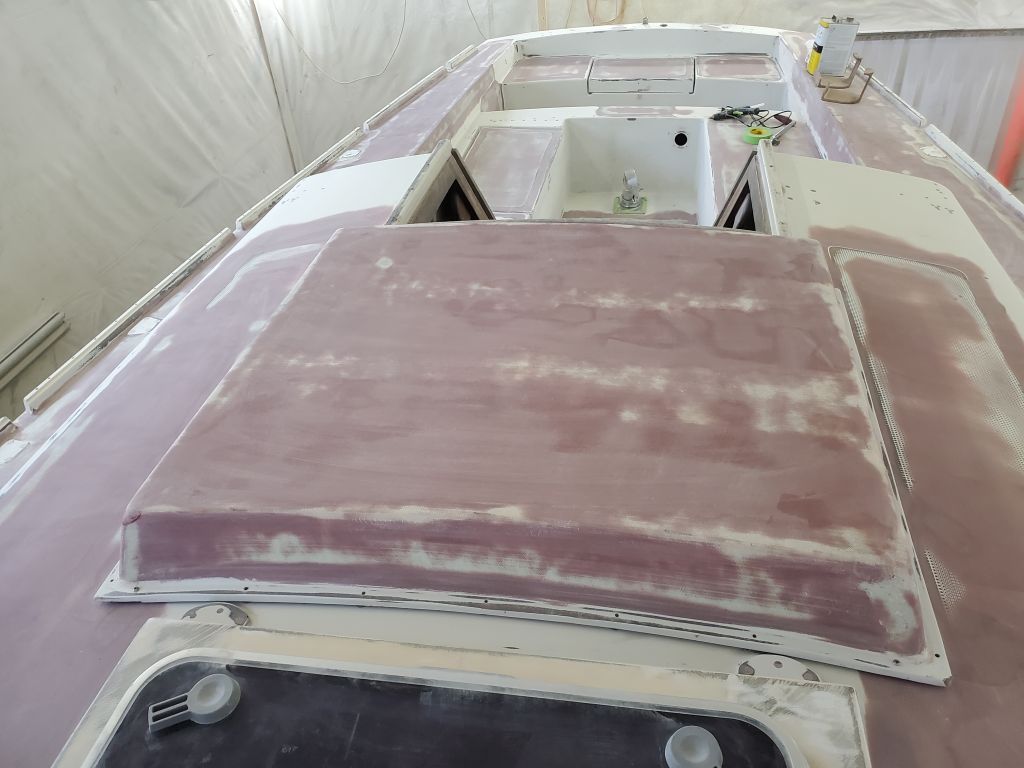
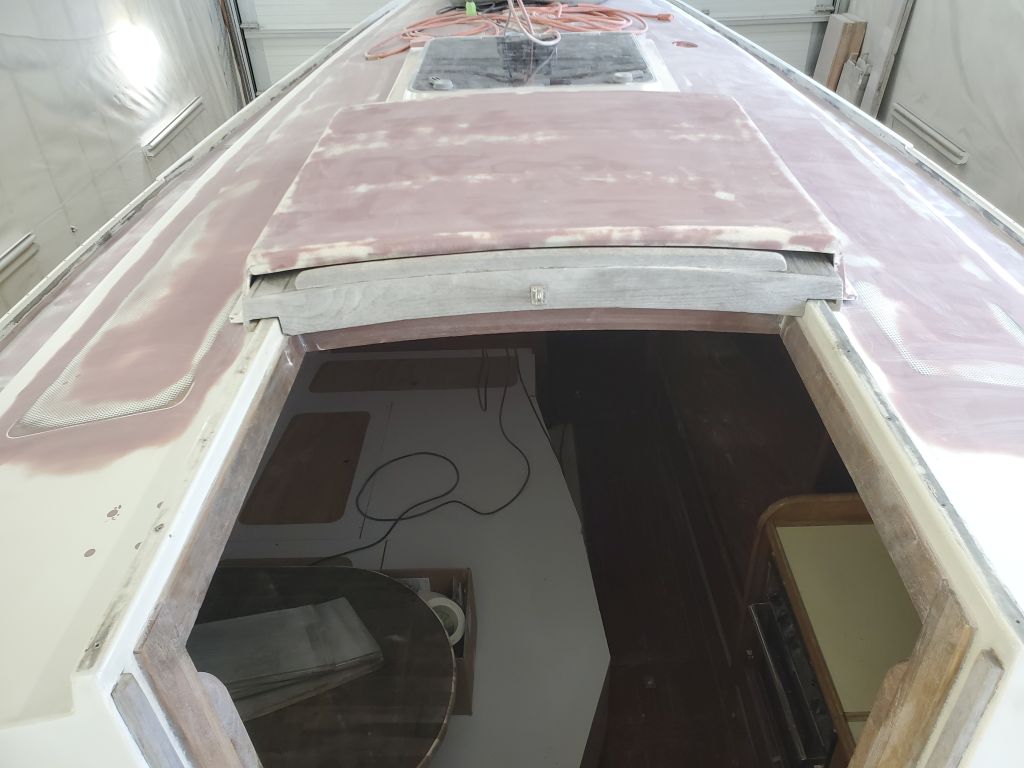
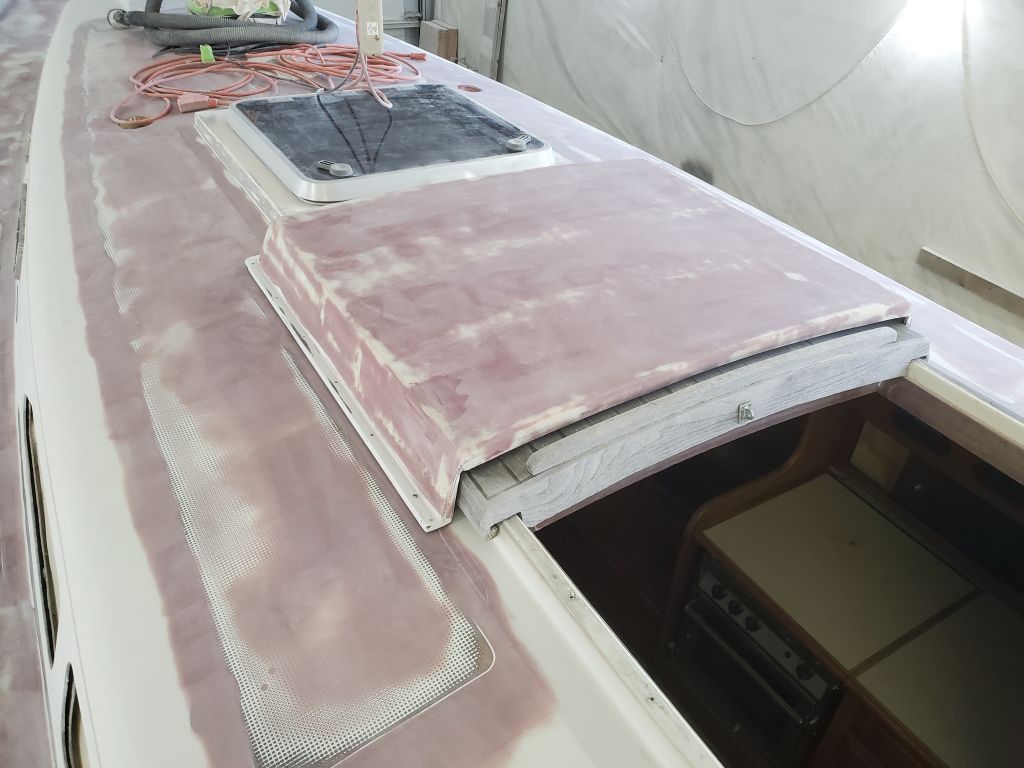
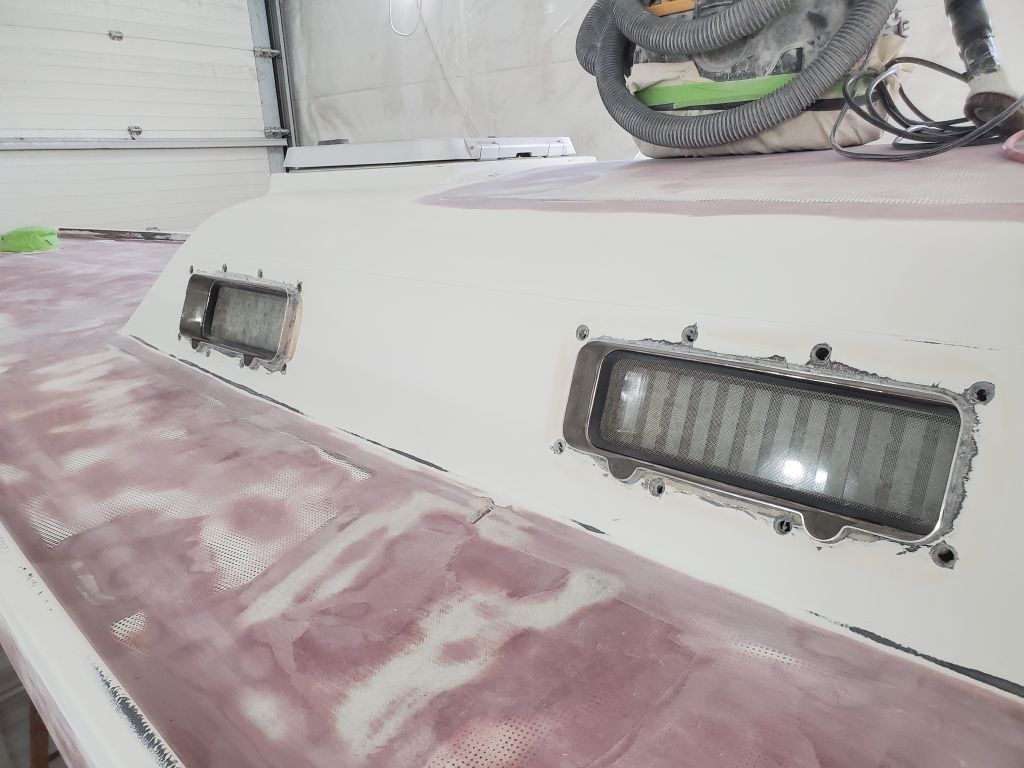
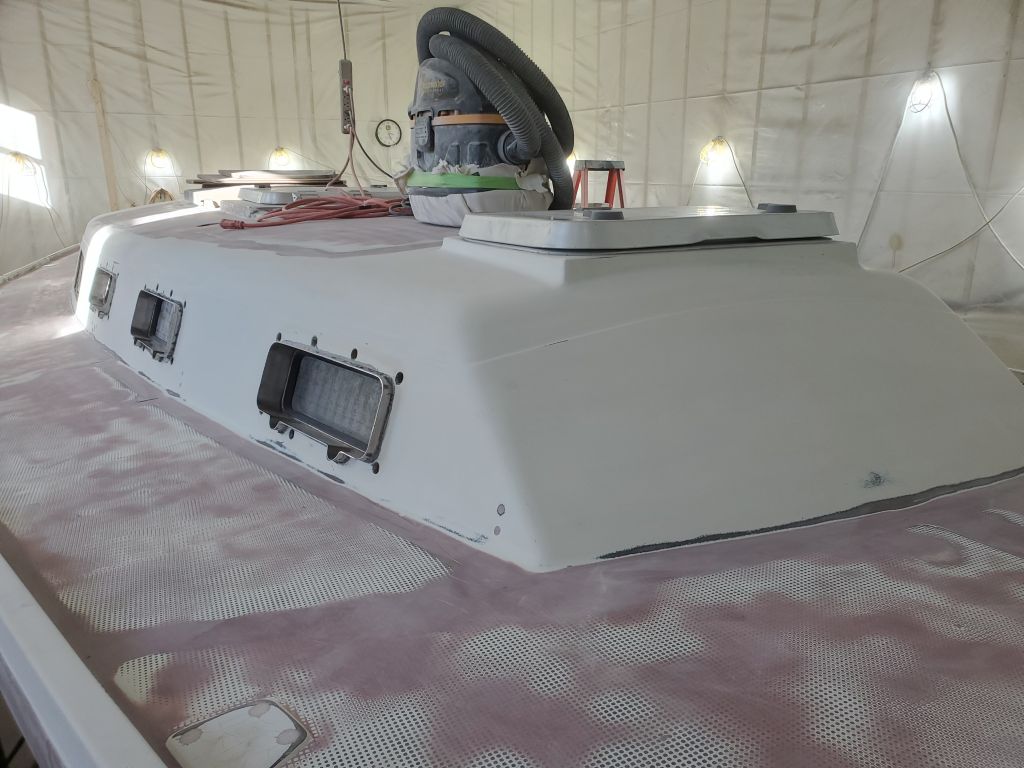
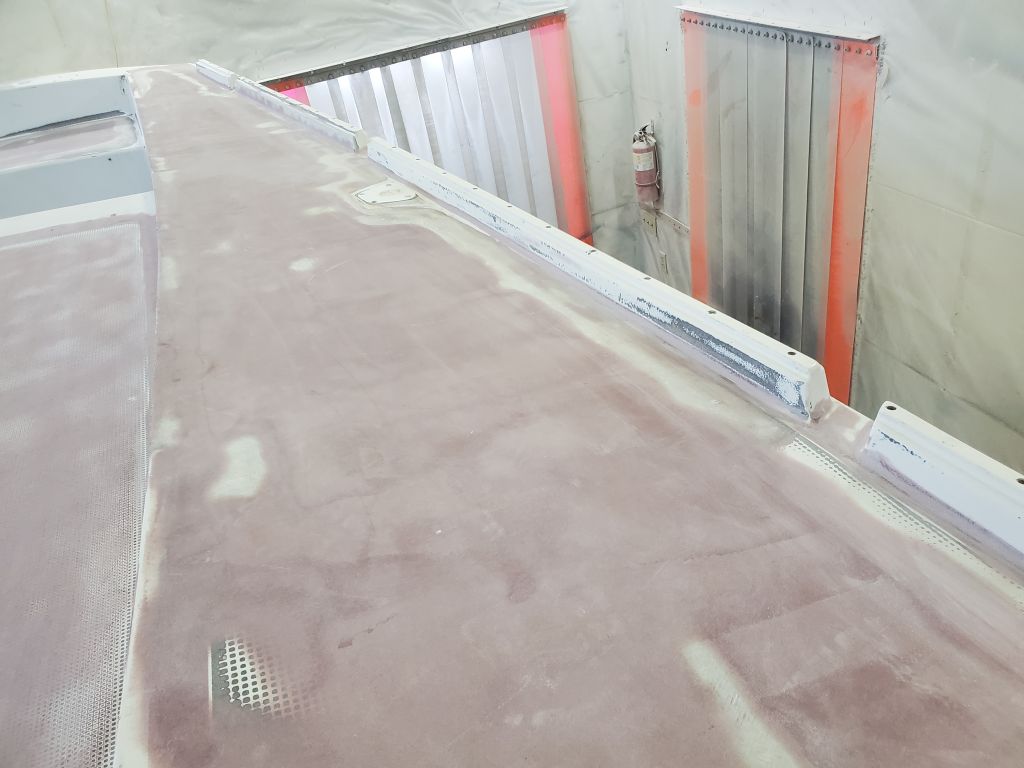
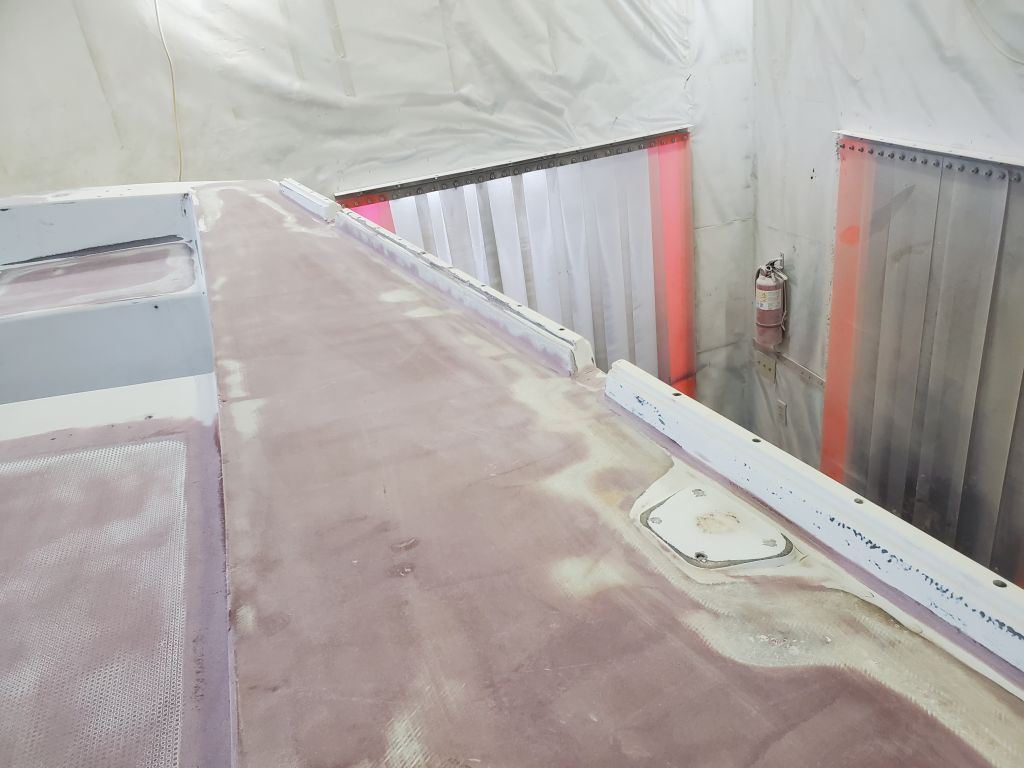
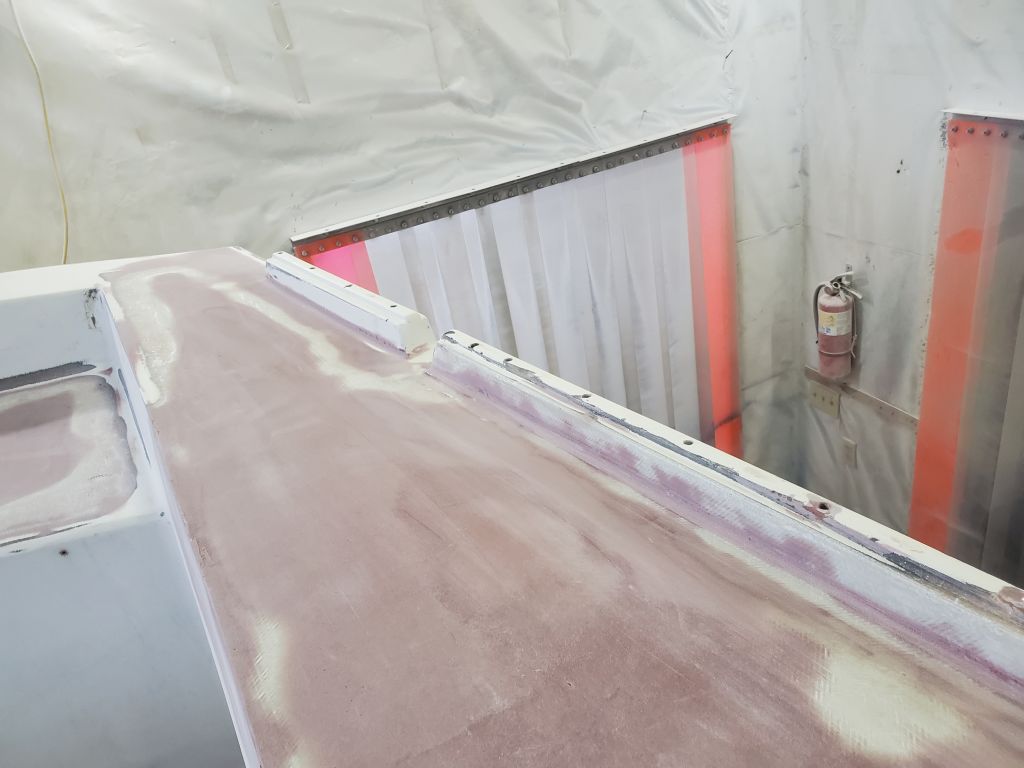
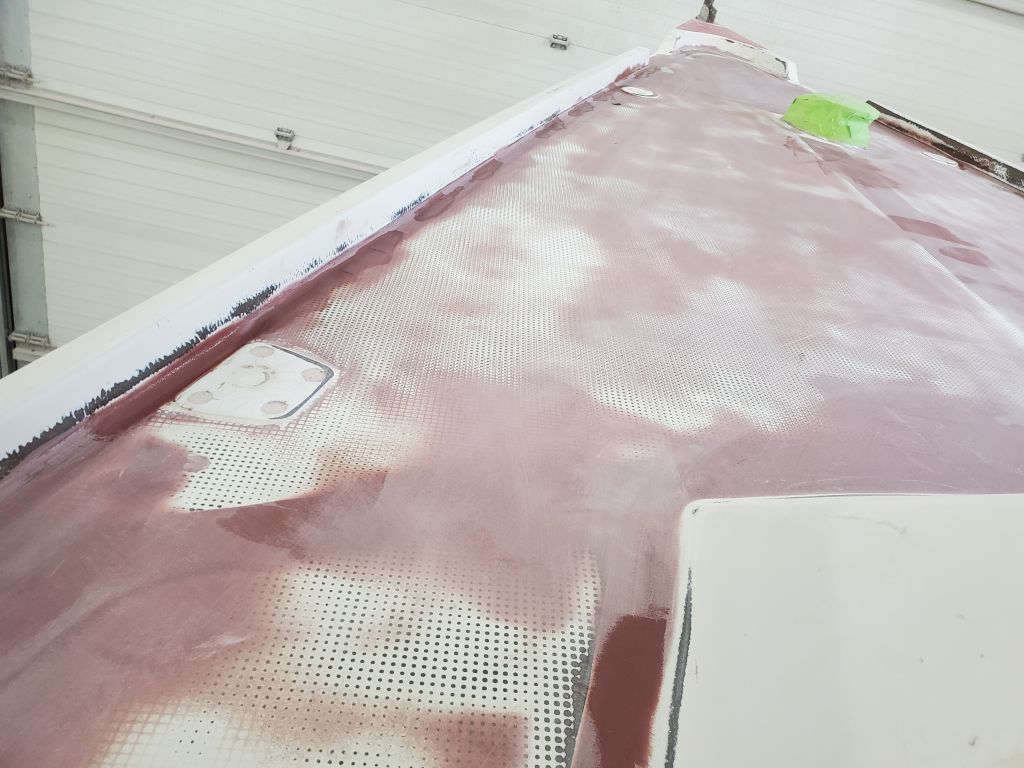
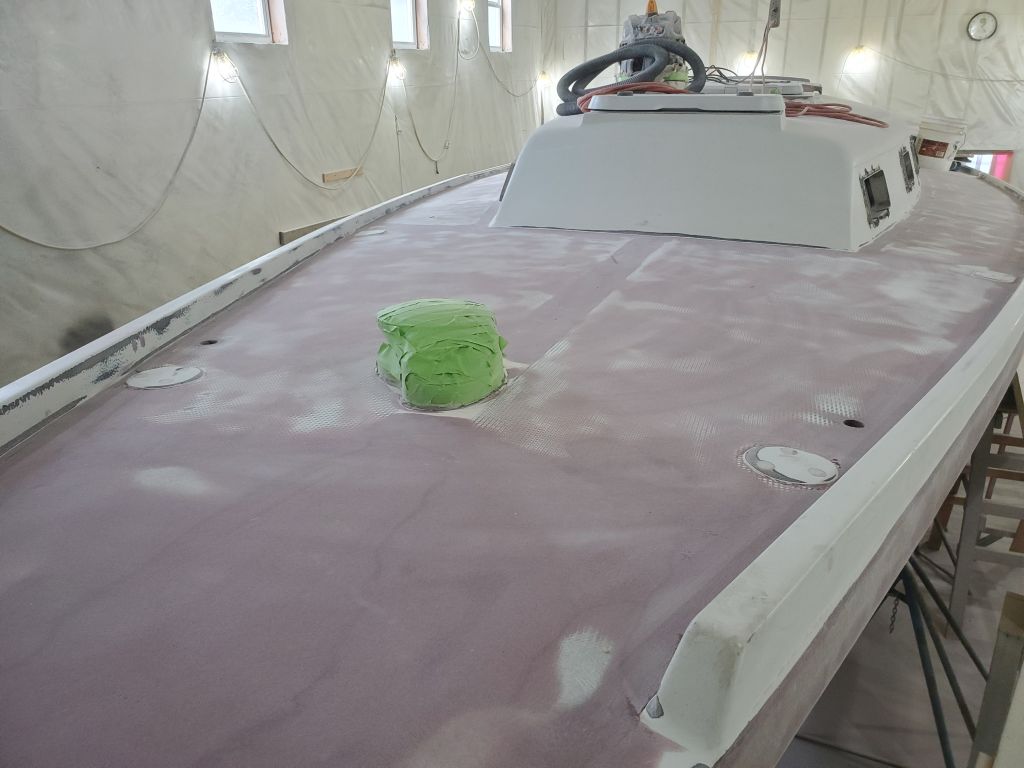
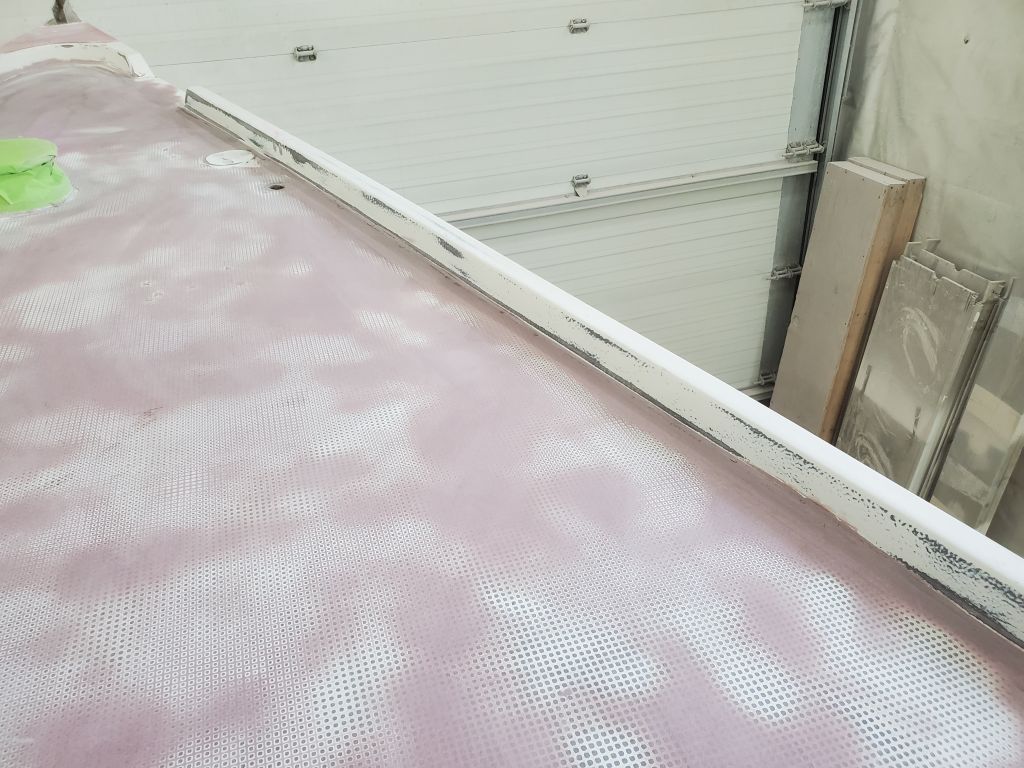
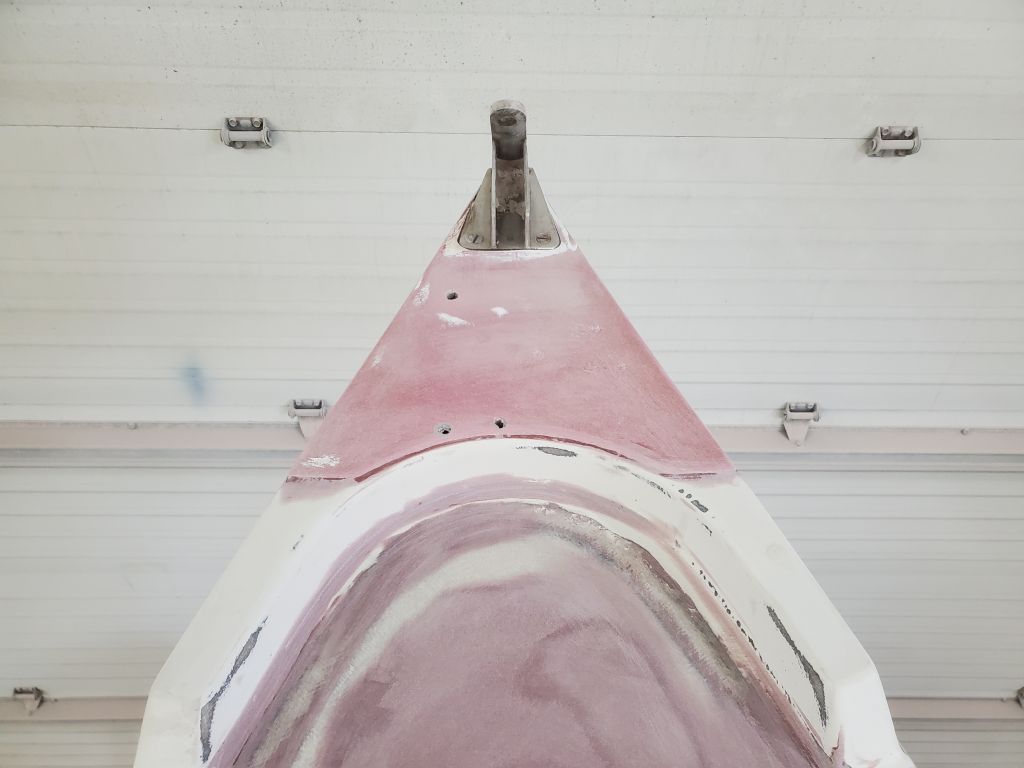
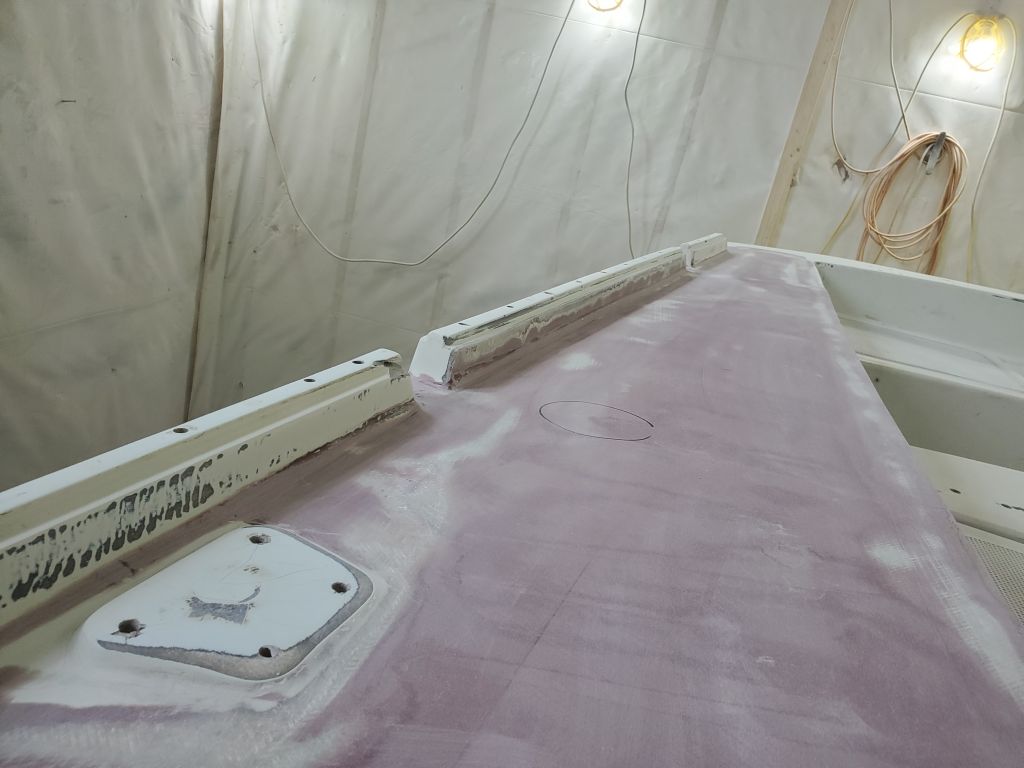
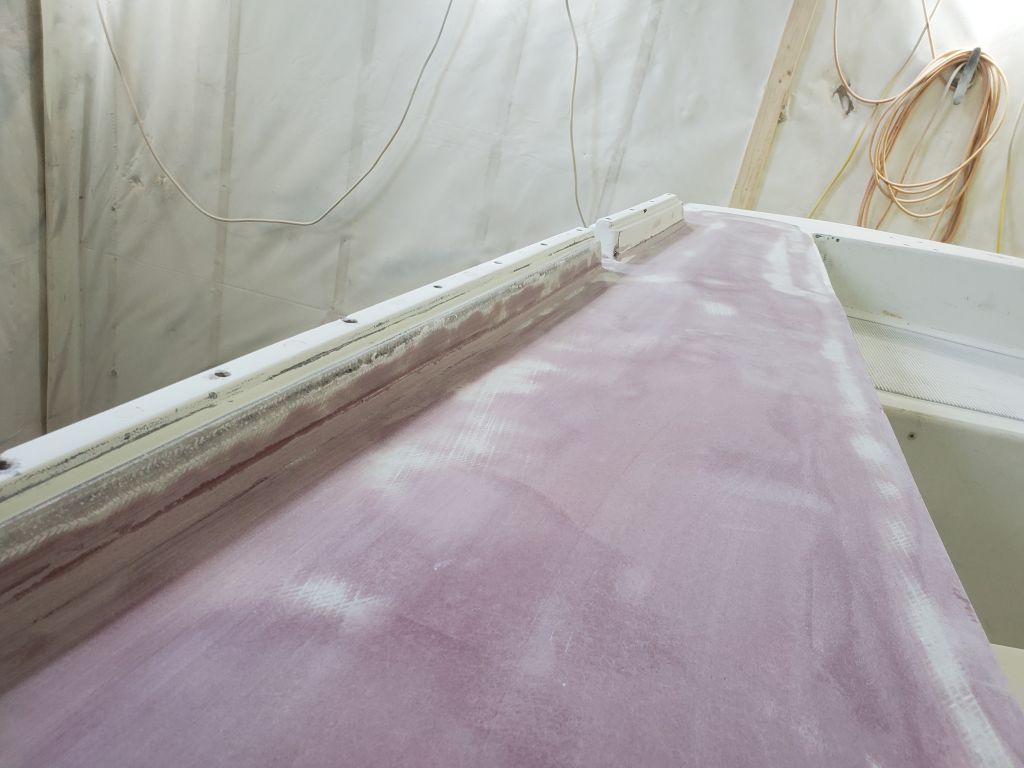
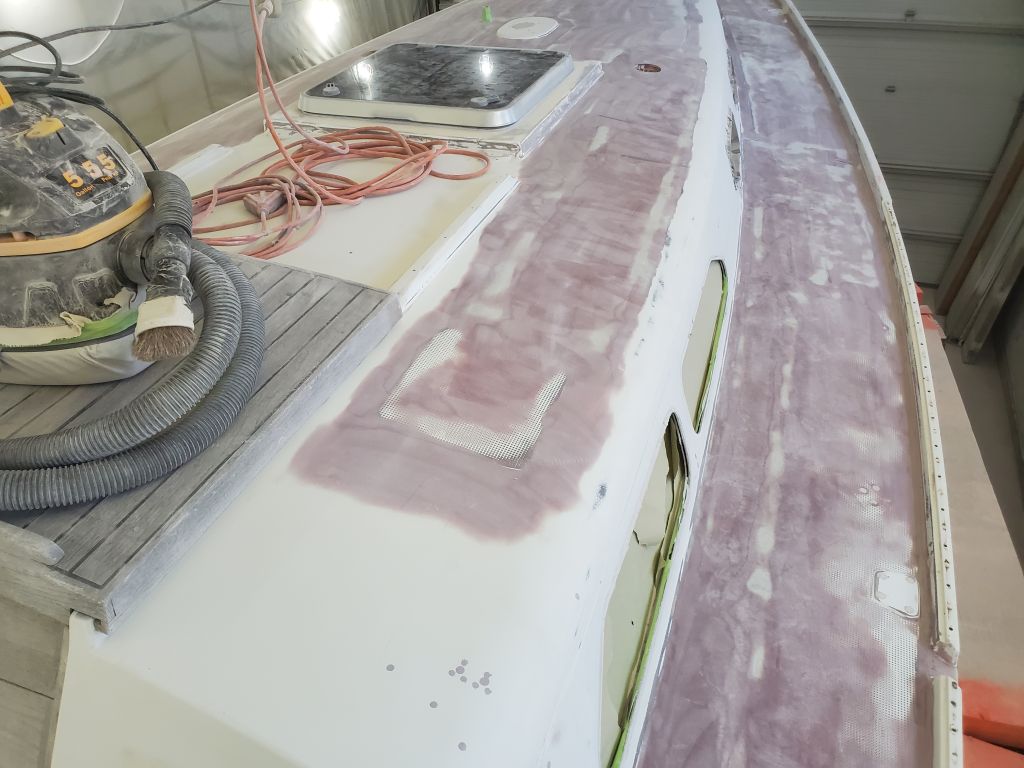
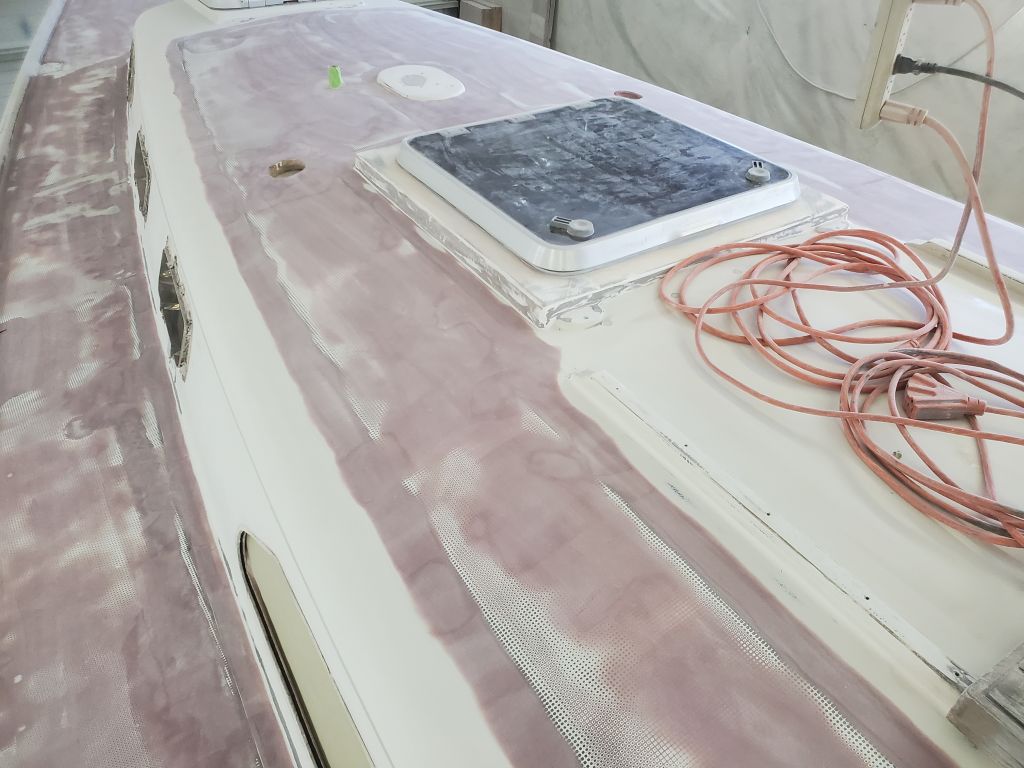
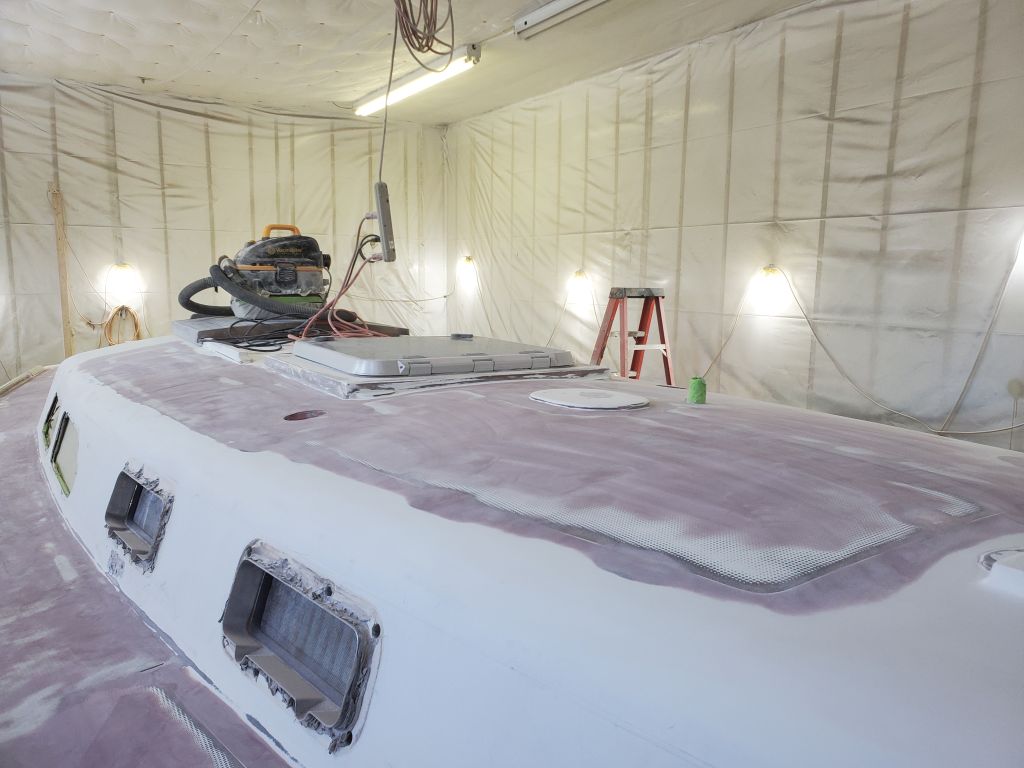
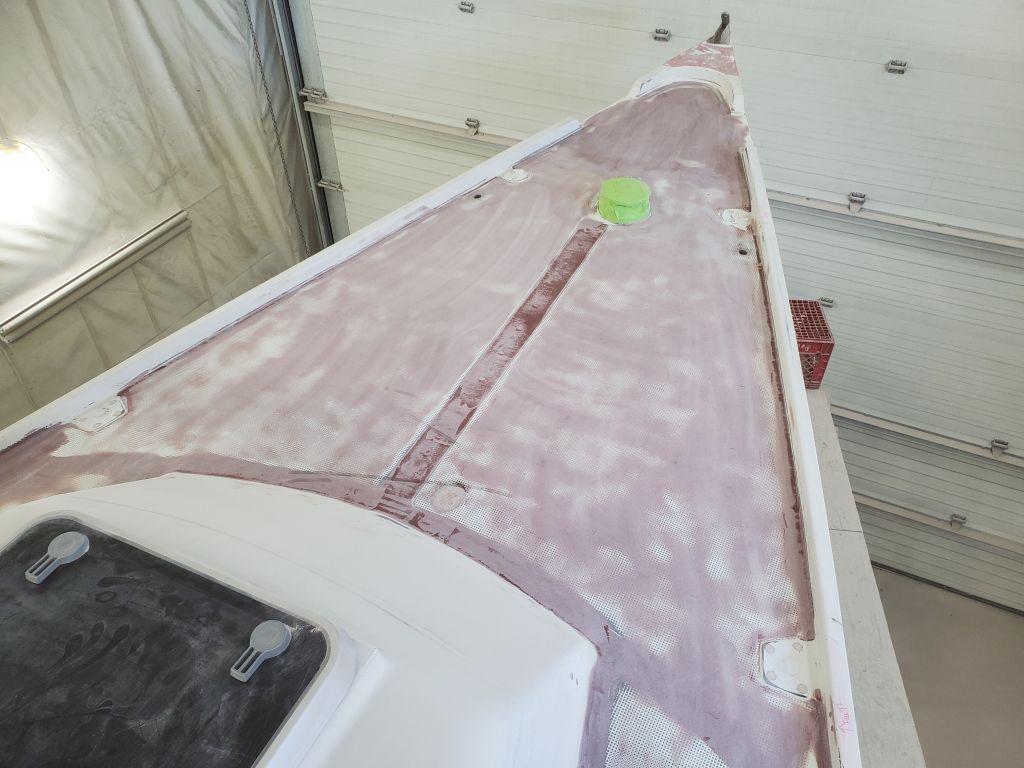
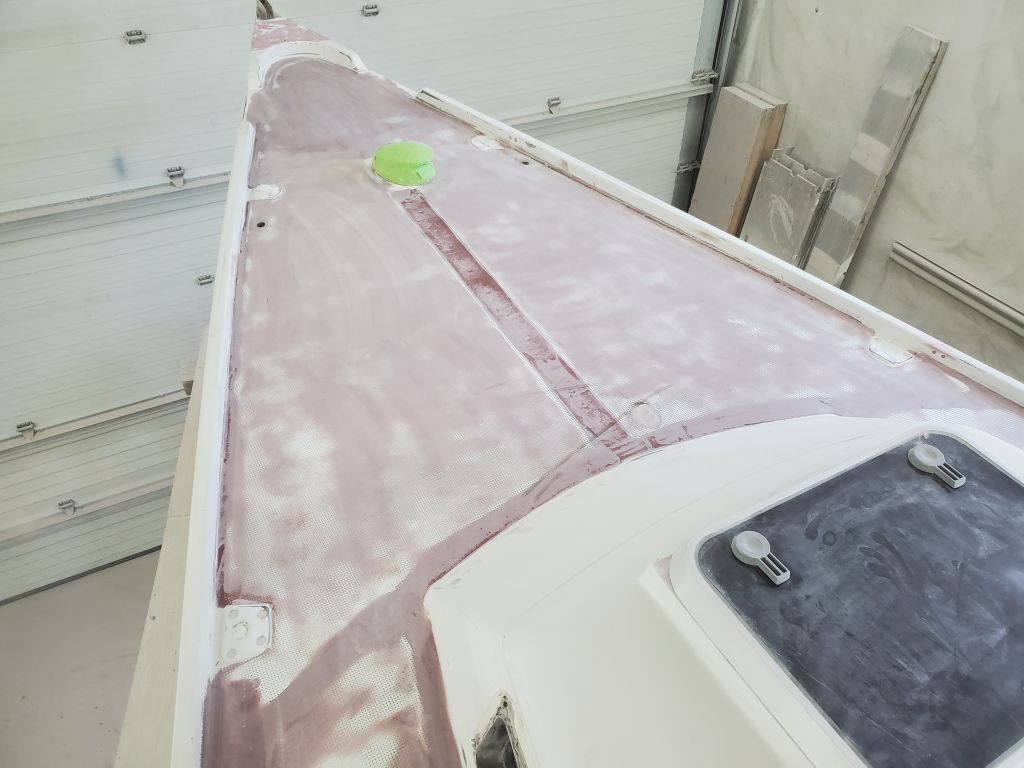
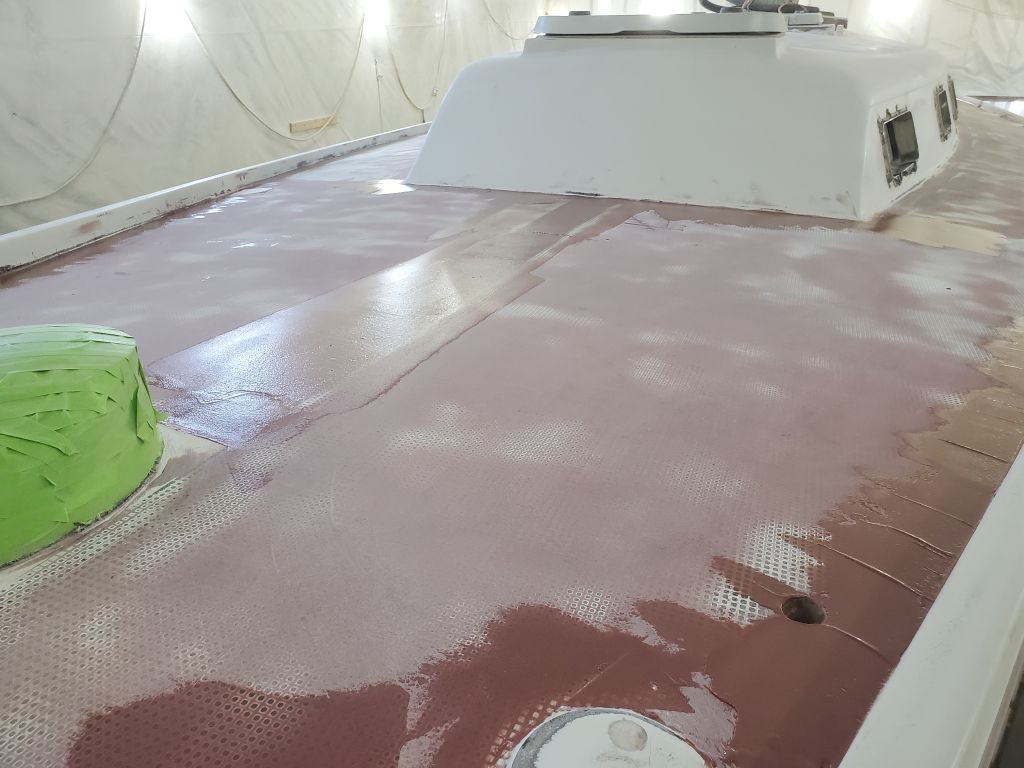
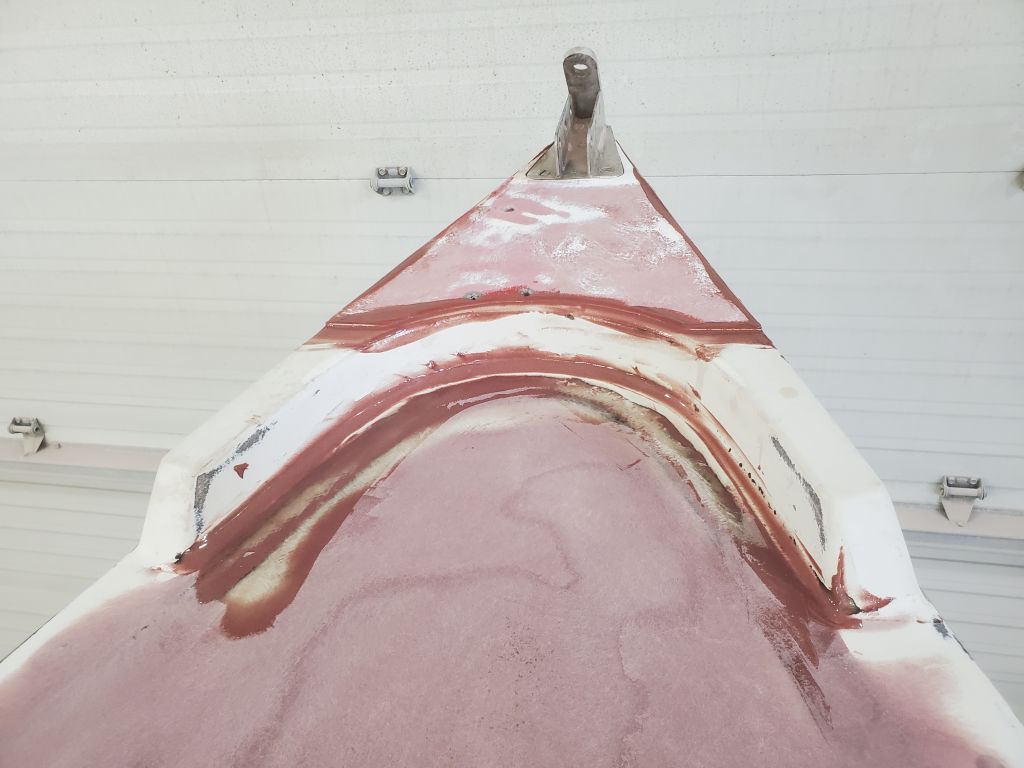
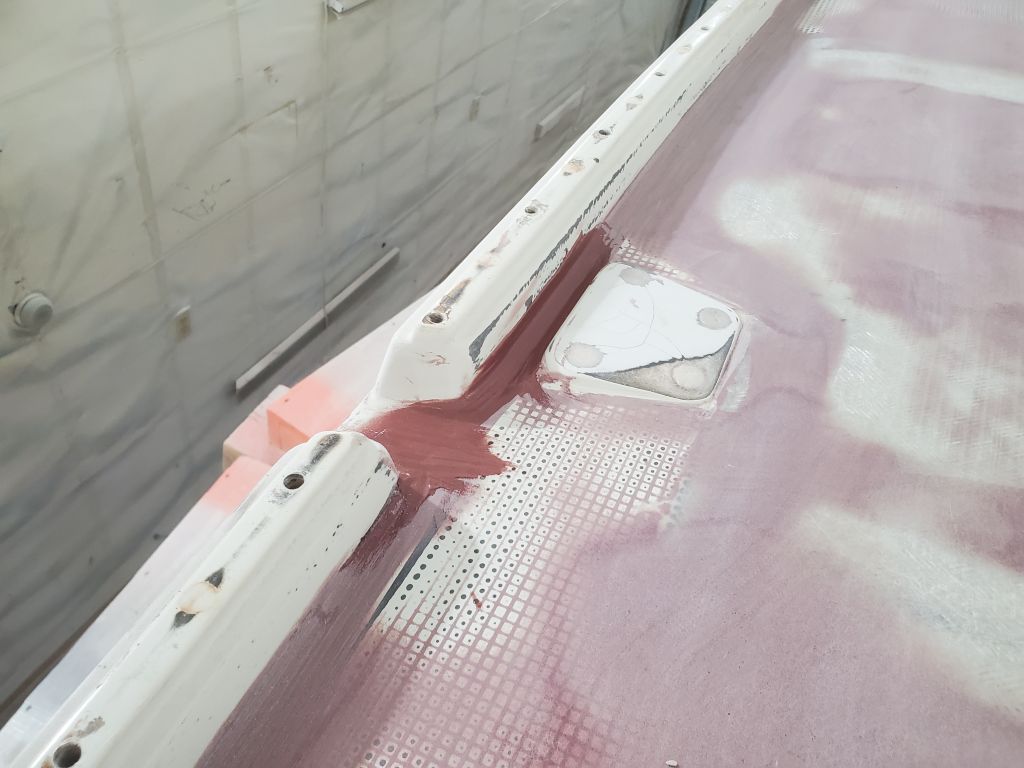
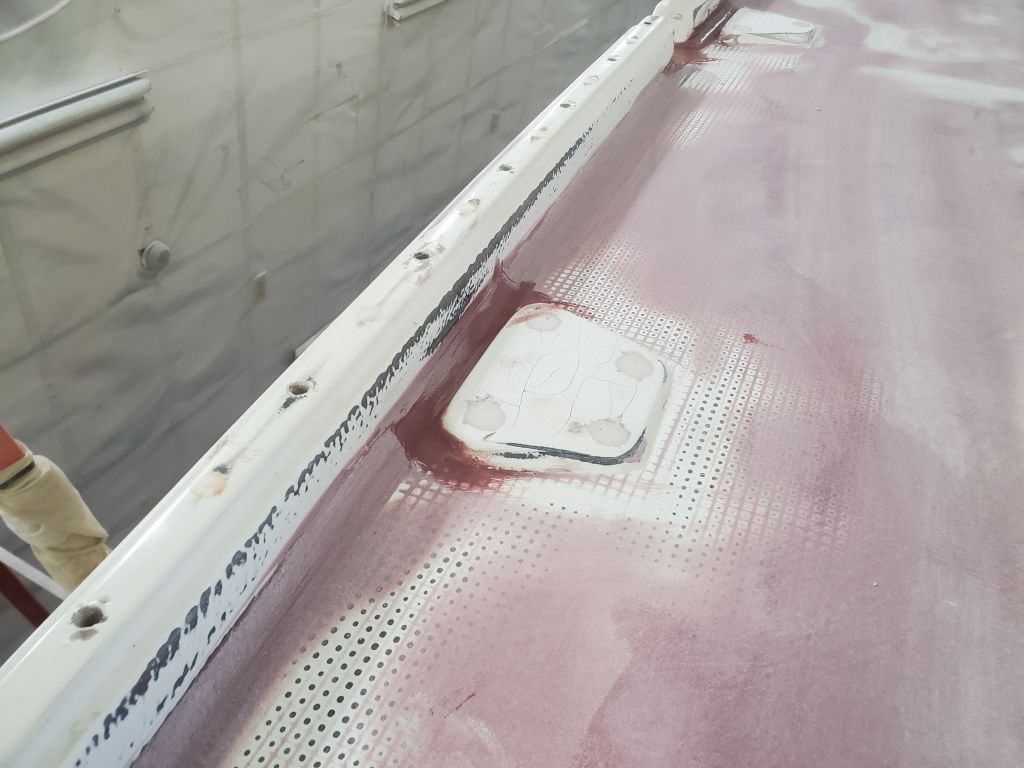
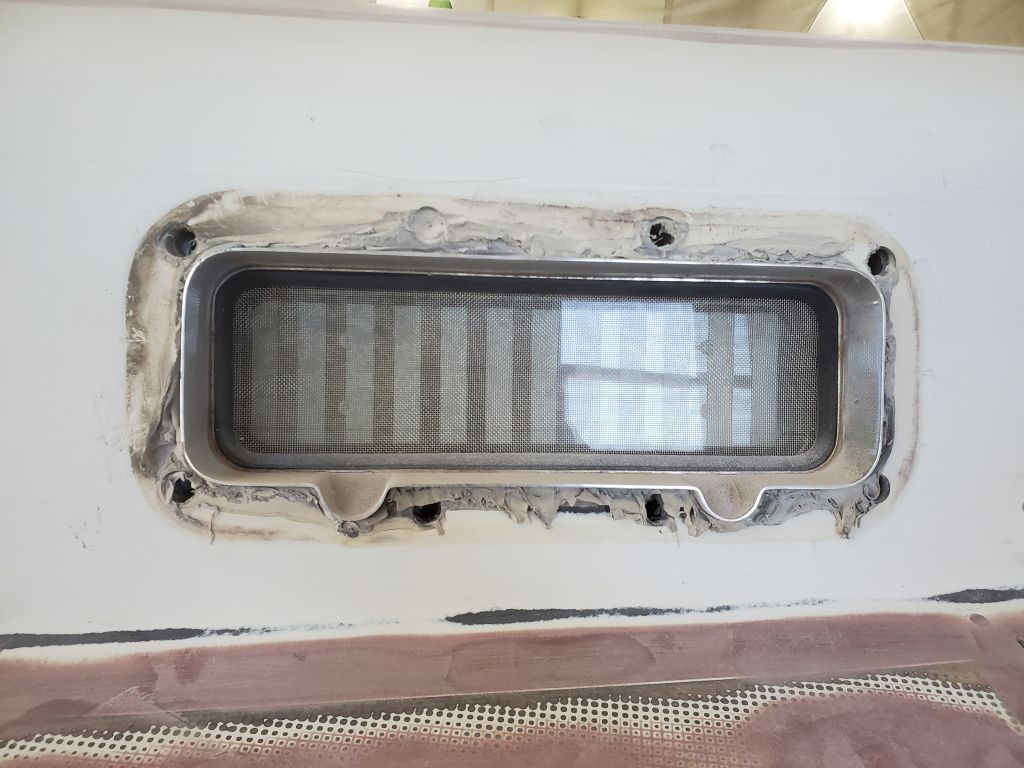
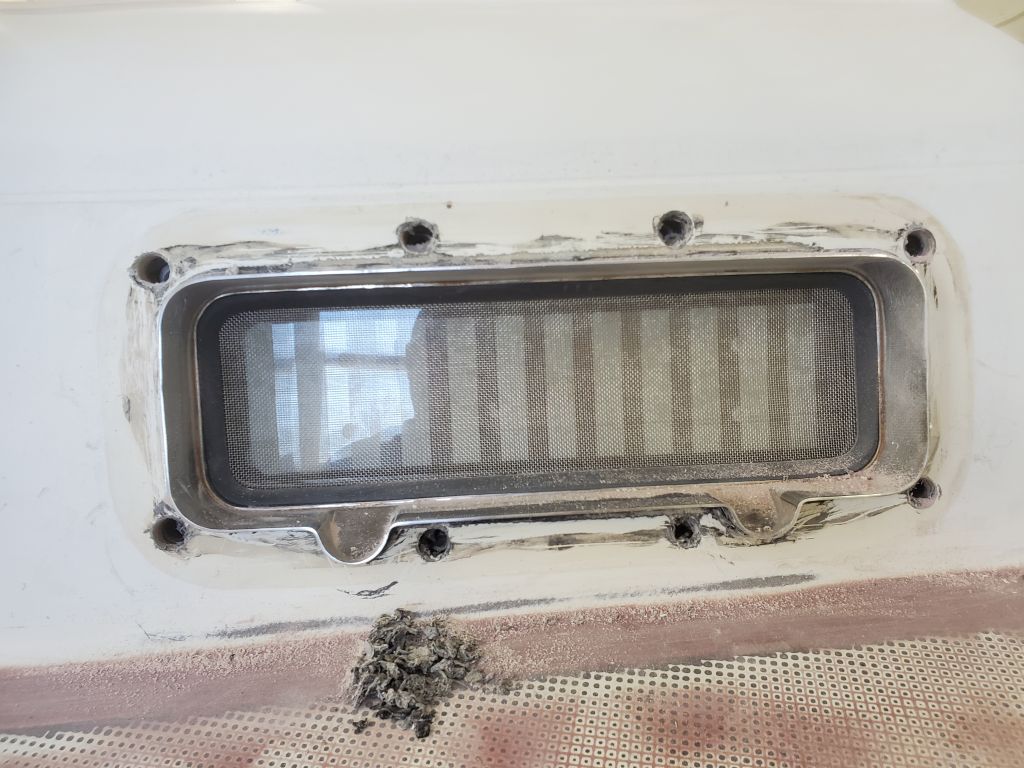
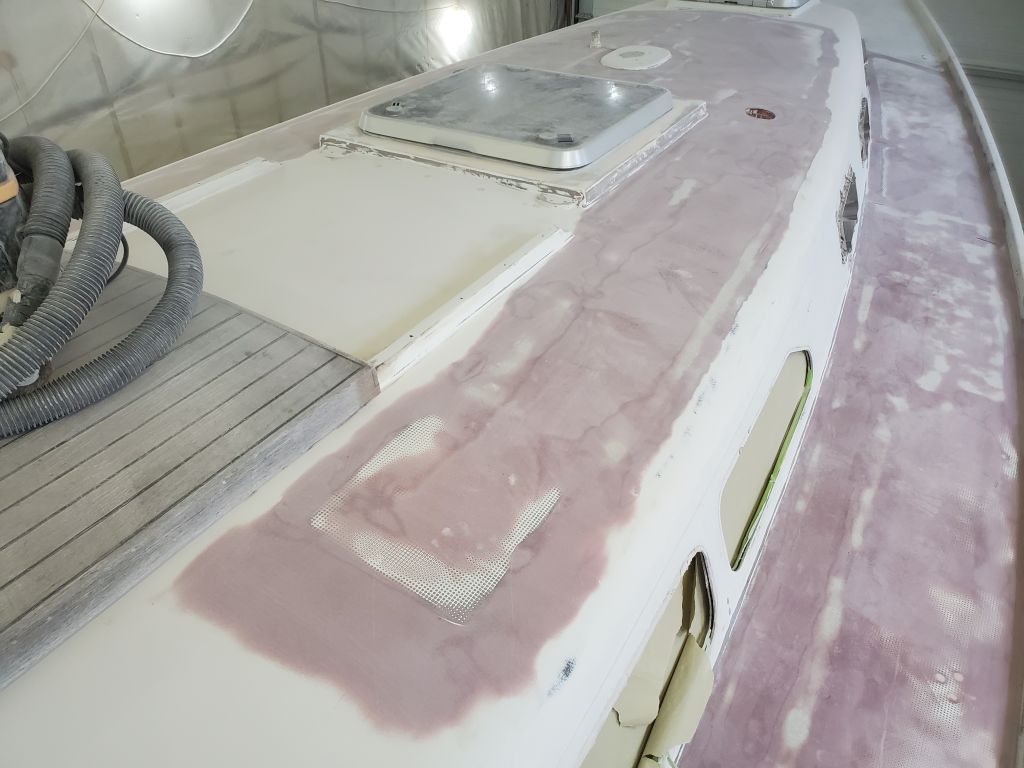
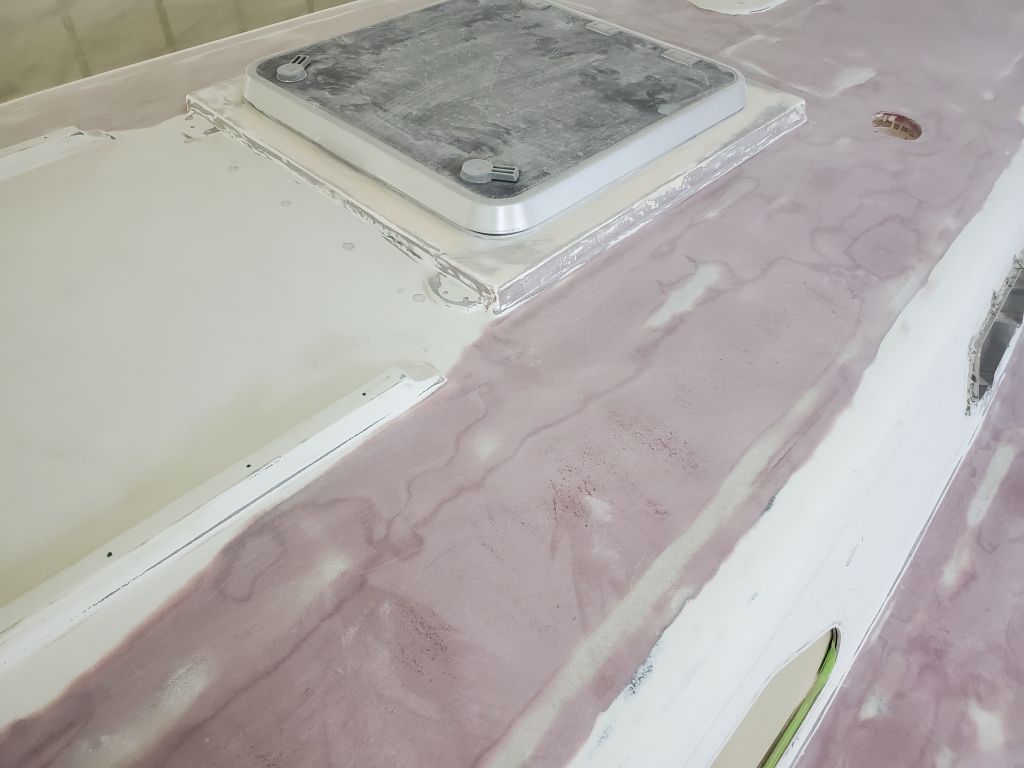
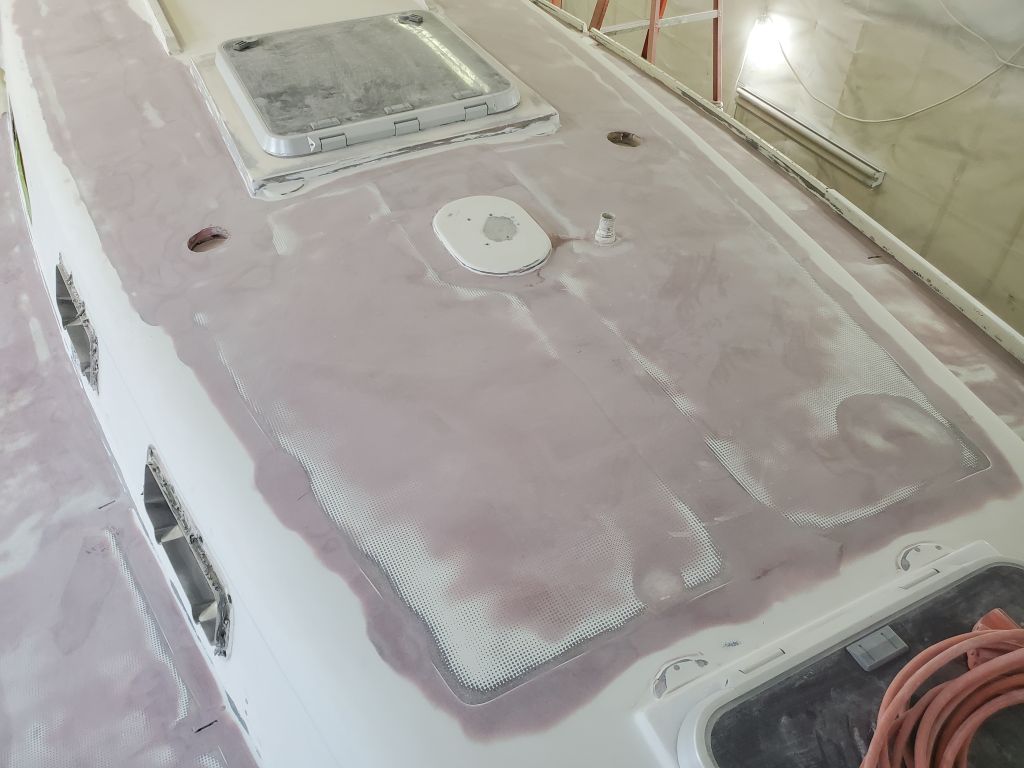
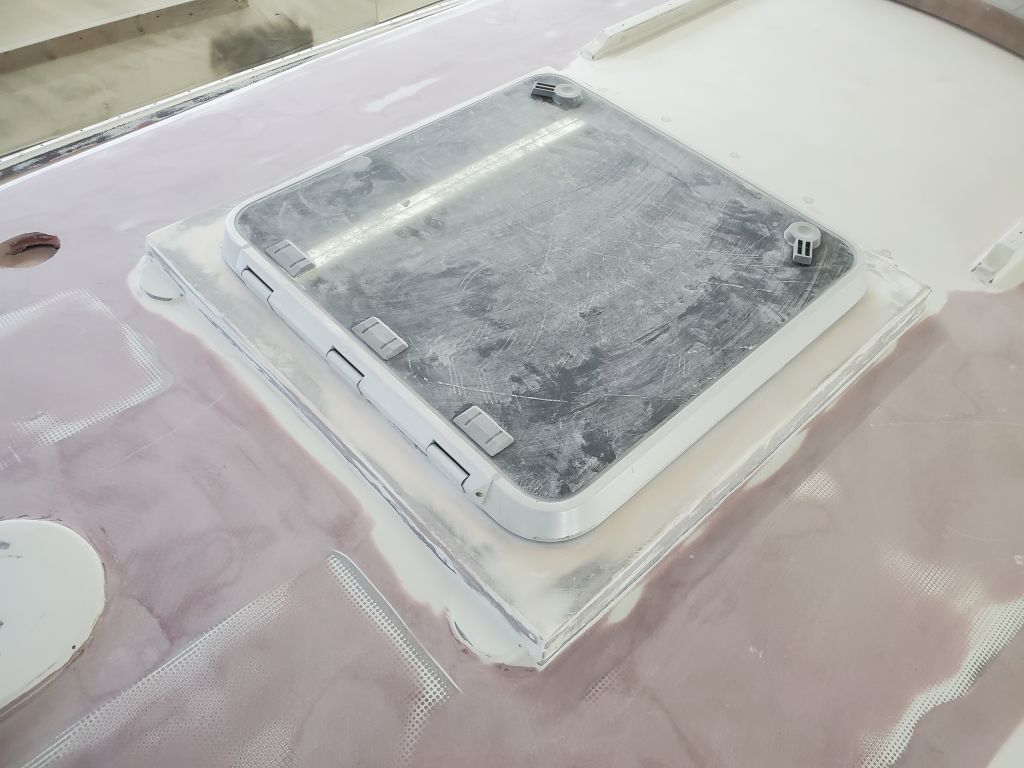
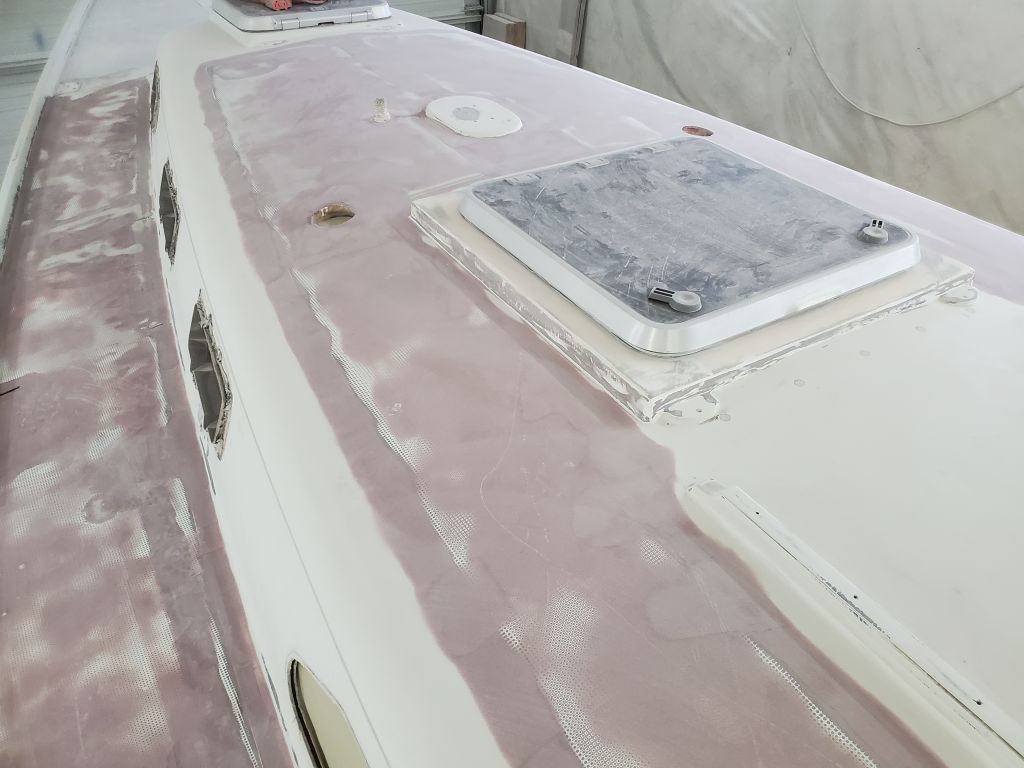
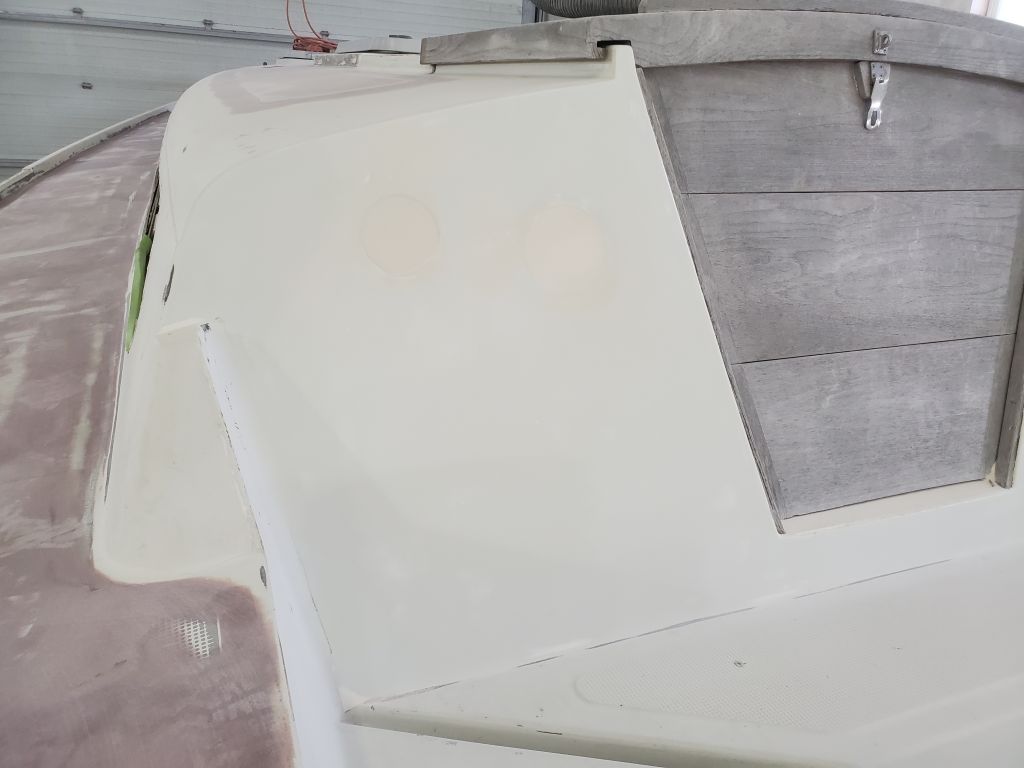
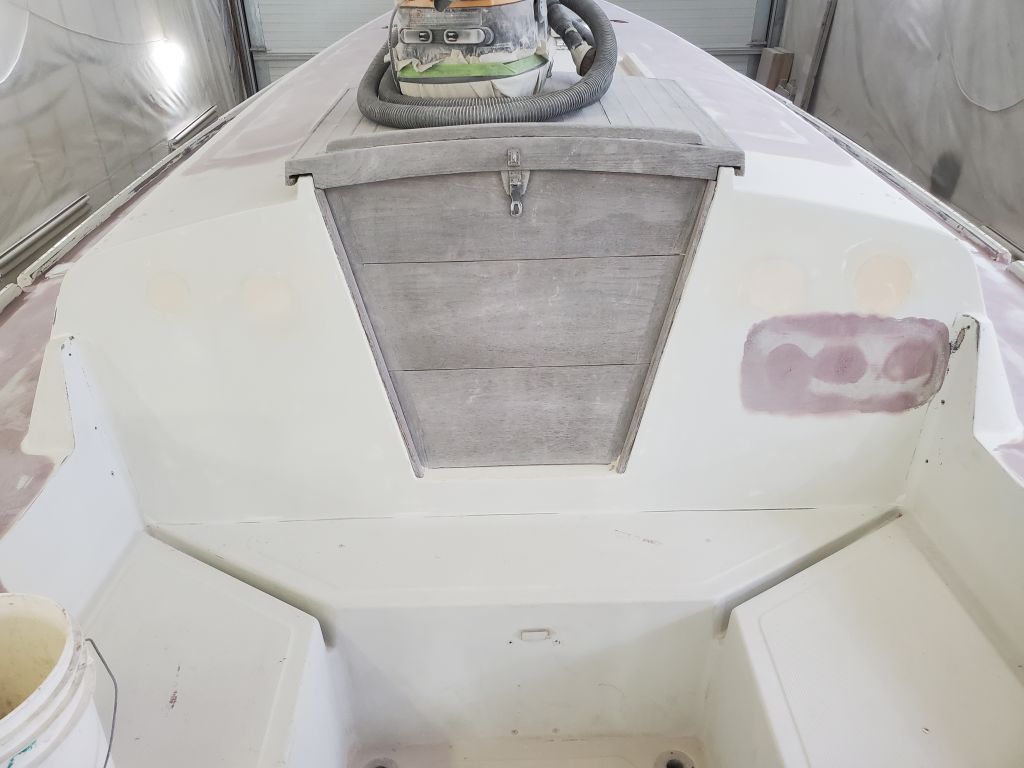
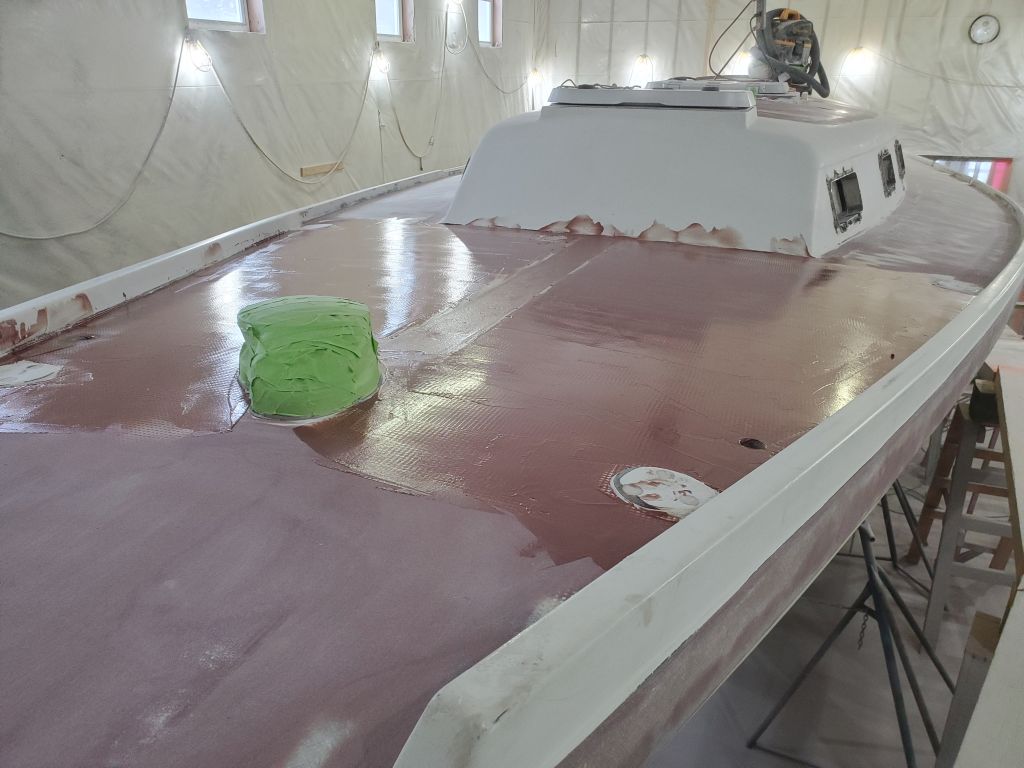
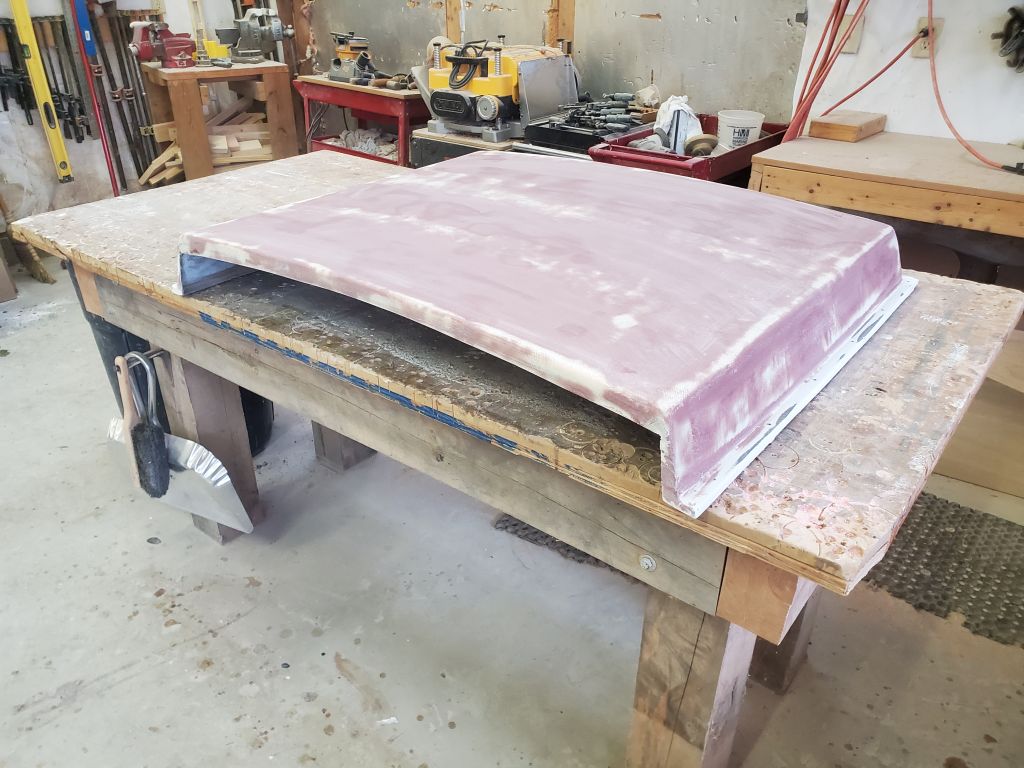
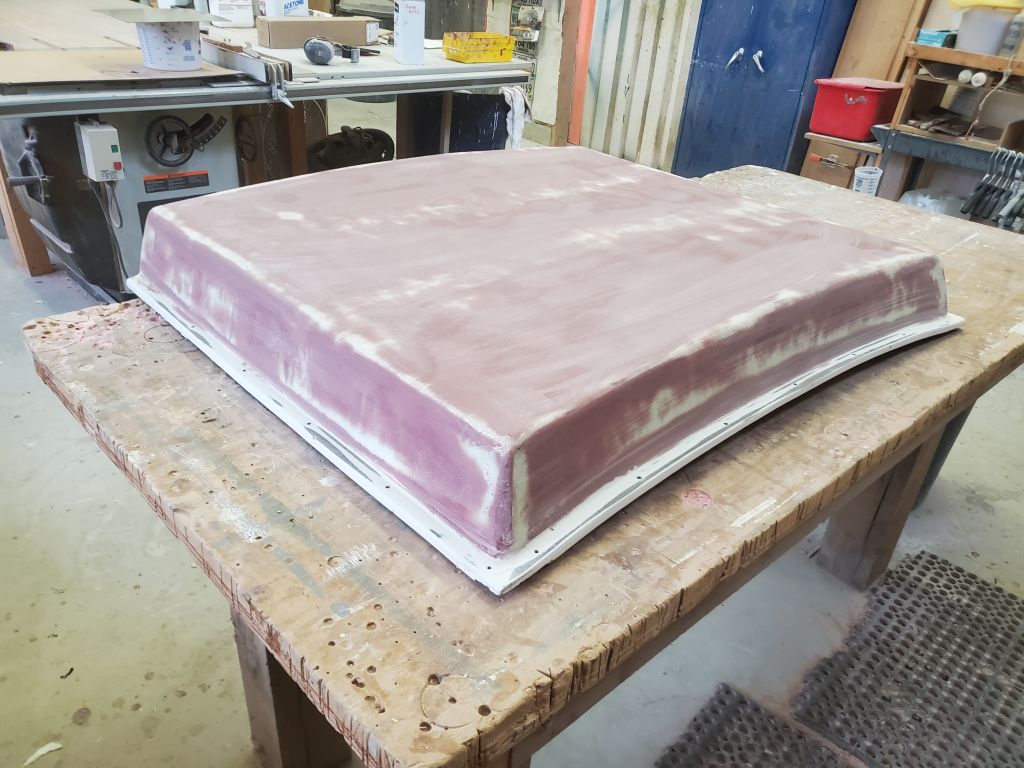
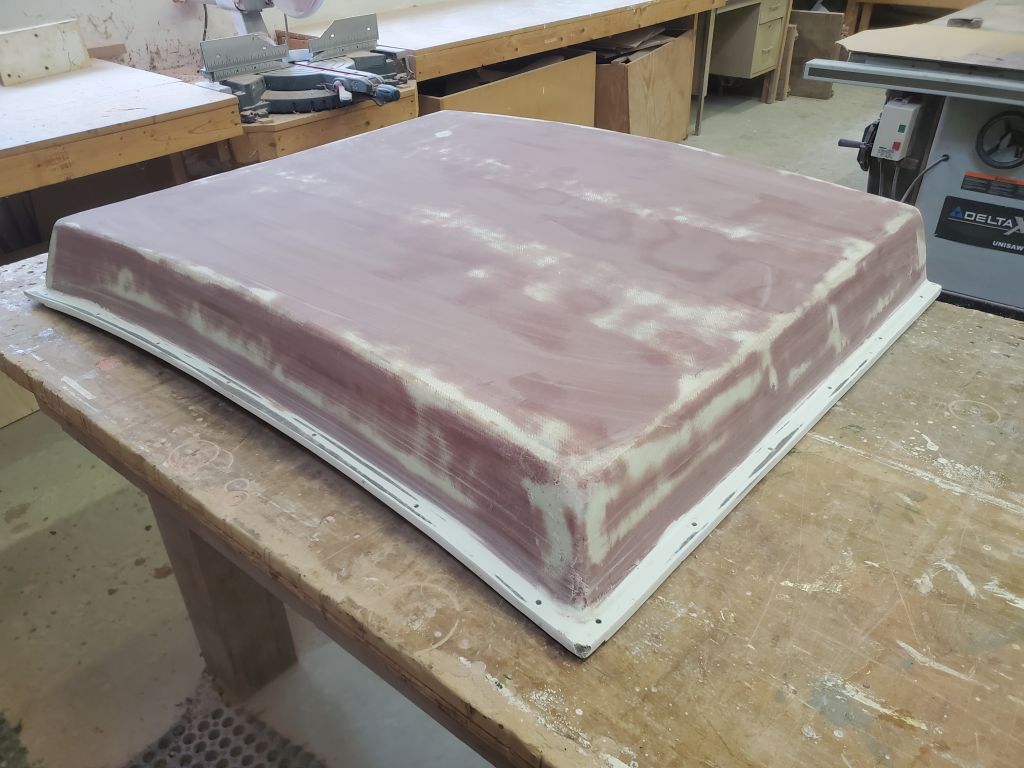
Next, I temporarily installed the sea hood with four screws to hold it in place.
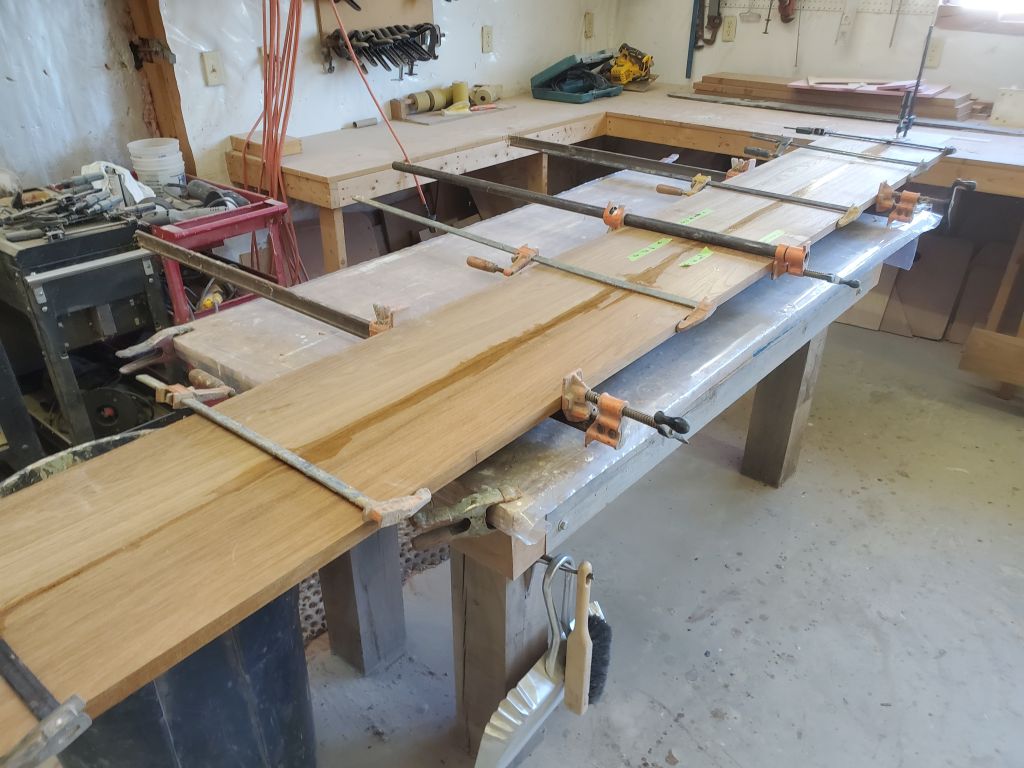
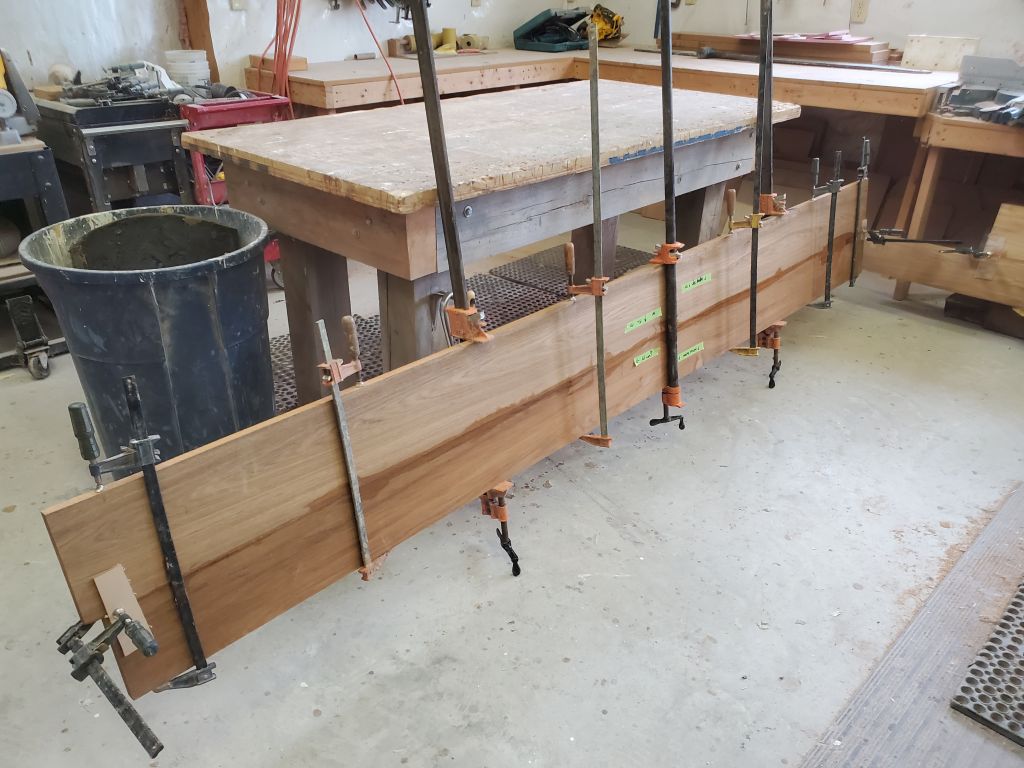
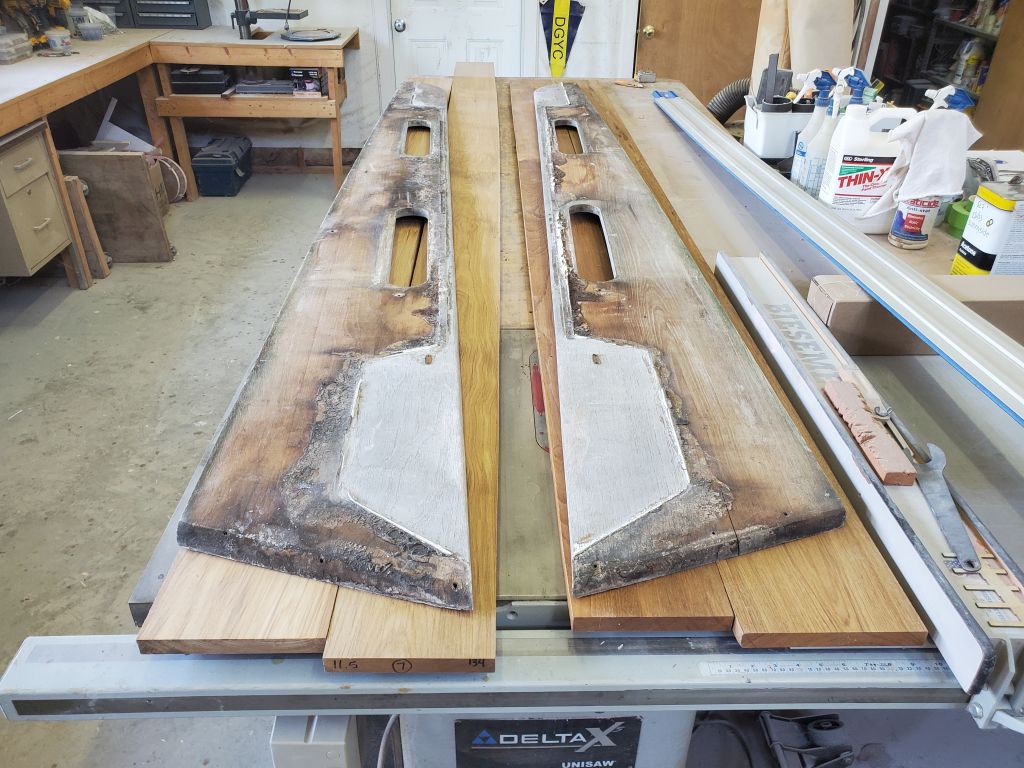
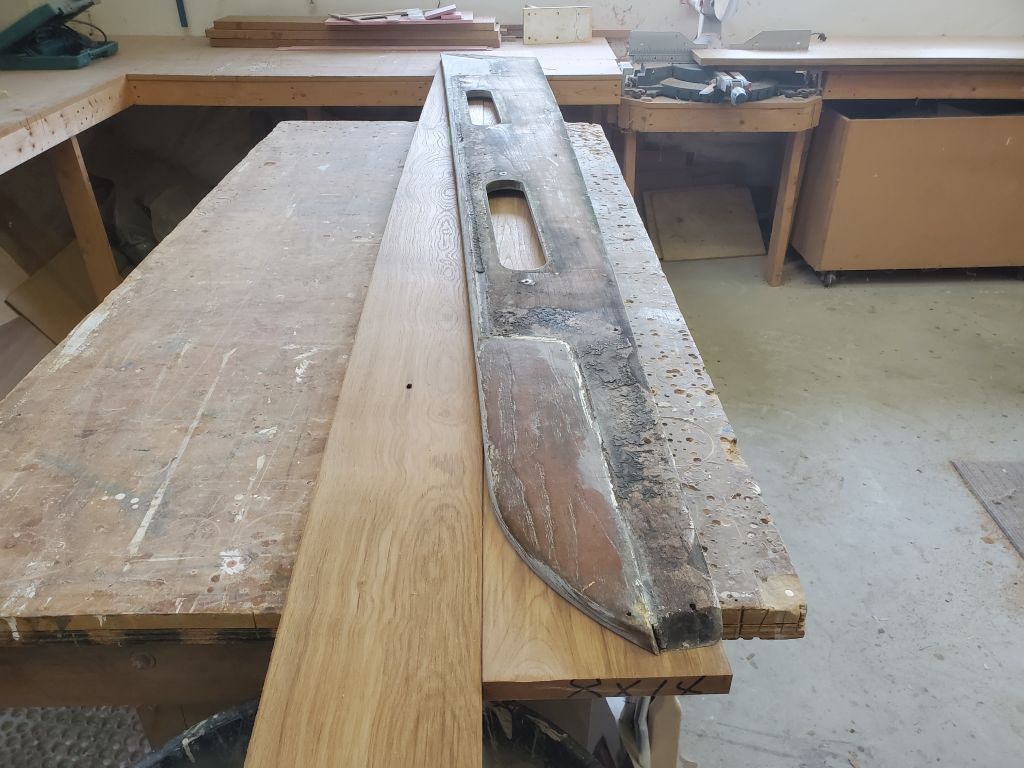
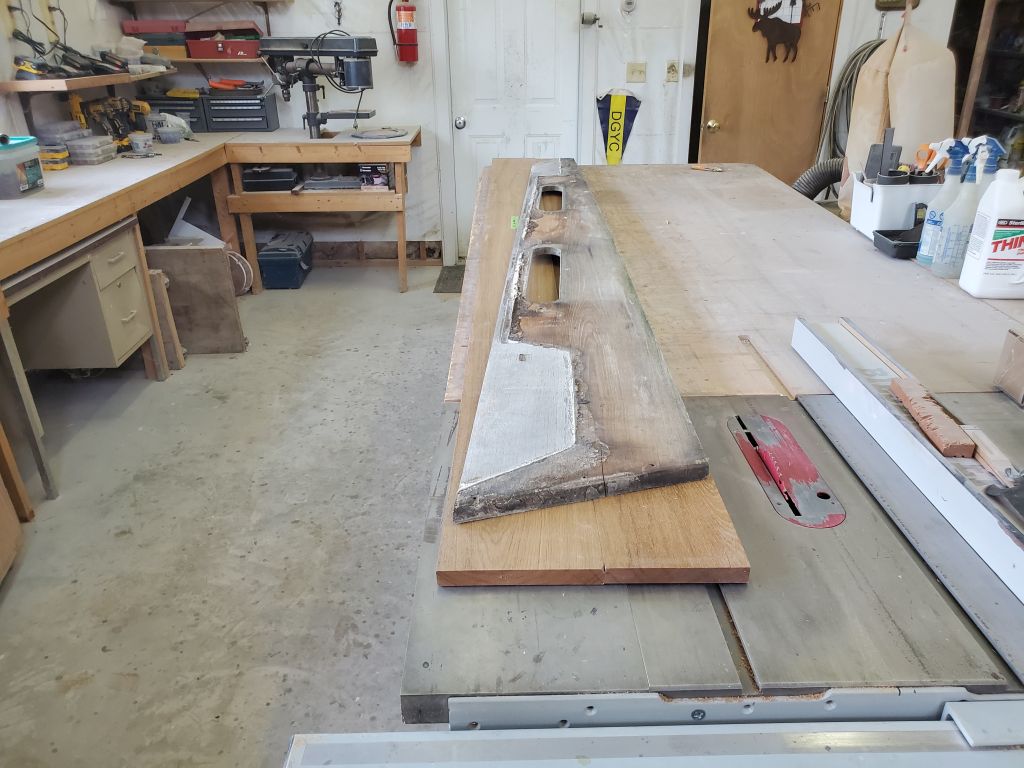
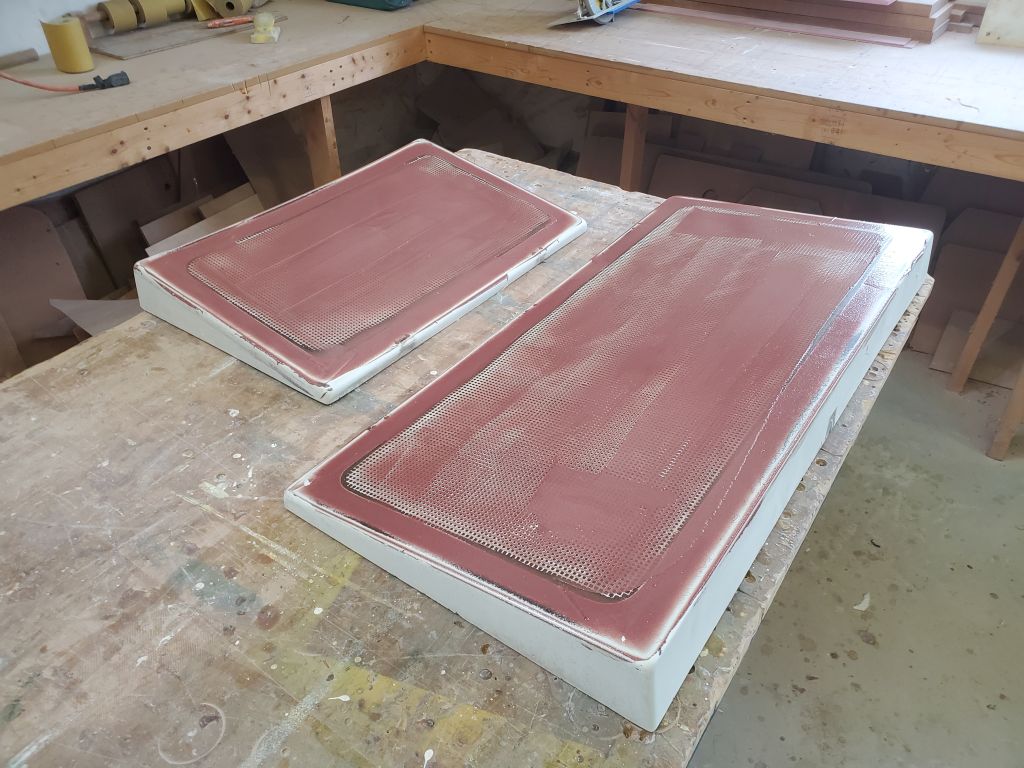
I had some time left before the meeting in late morning, and with nothing I could do on the boat for the moment, I turned to the teak boards for the coamings. Earlier, I’d planed these to a finished thickness of around 15/16″, or maybe 7/8″, and now I laid out all four boards along with the original coamings to pair the boards for each side, working mainly off color and grain appearance to match the boards together. I couldn’t get single boards wide enough to do the coamings in one piece, and couldn’t work with that kind of width in my planer even if I could.
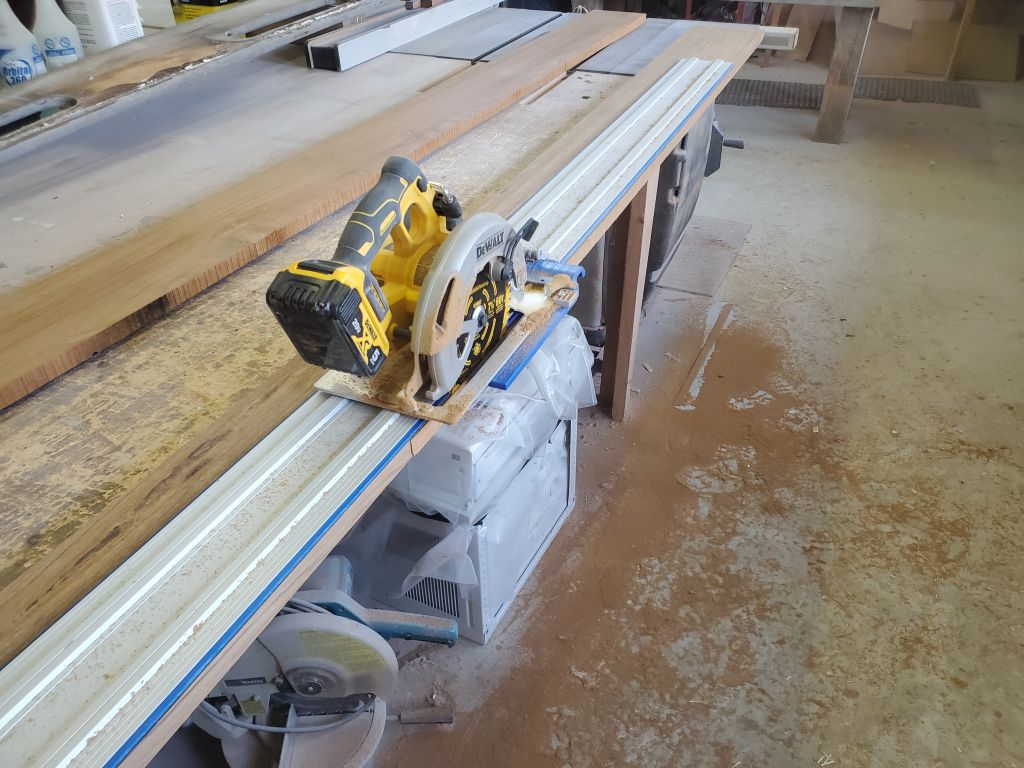
I straightened one edge of each board with a saw and a jig, working to minimize material loss since I didn’t have much extra width to spare for the forwardmost parts of the coamings. With one straight side, I ran one board–the bottom board in each set, since it looked like I could make the bottom edge of the coamings straight–through the table saw to create a parallel, straight edge. The top edge didn’t need to be recut since the angled shape of the coamings would later take care of removing that, and I needed all the width I could get for that first inch or two of the coamings at the forward ends. Now the pairs of boards were ready to be edge-glued together in the near future, after which I could cut the actual coamings to size.
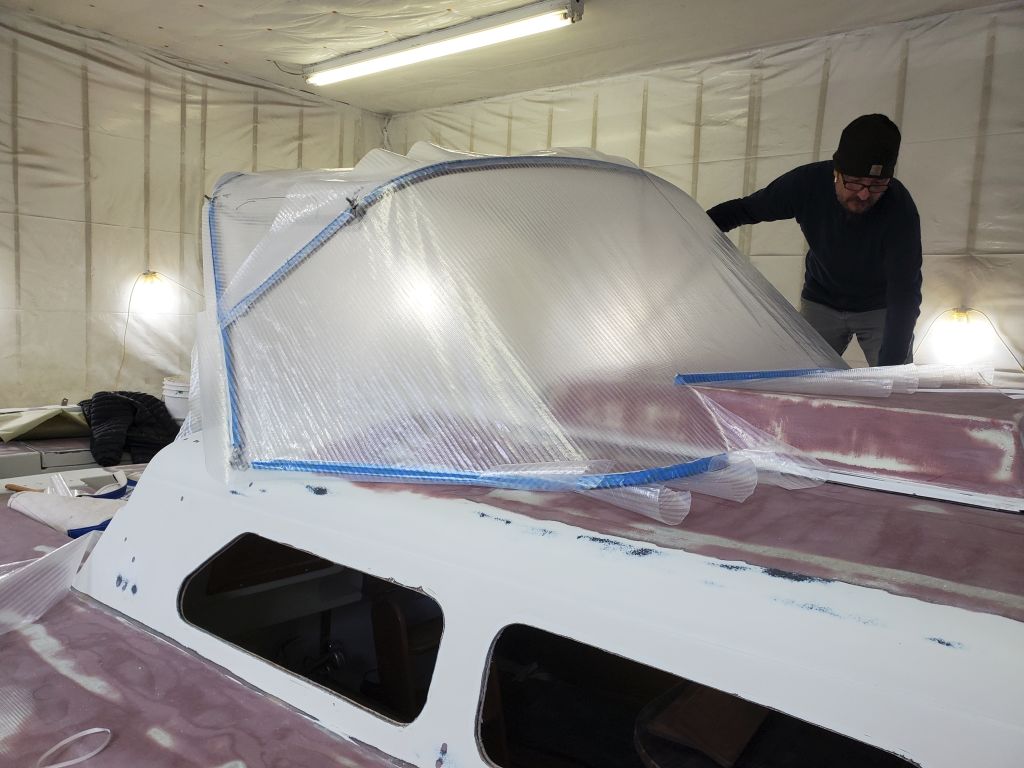
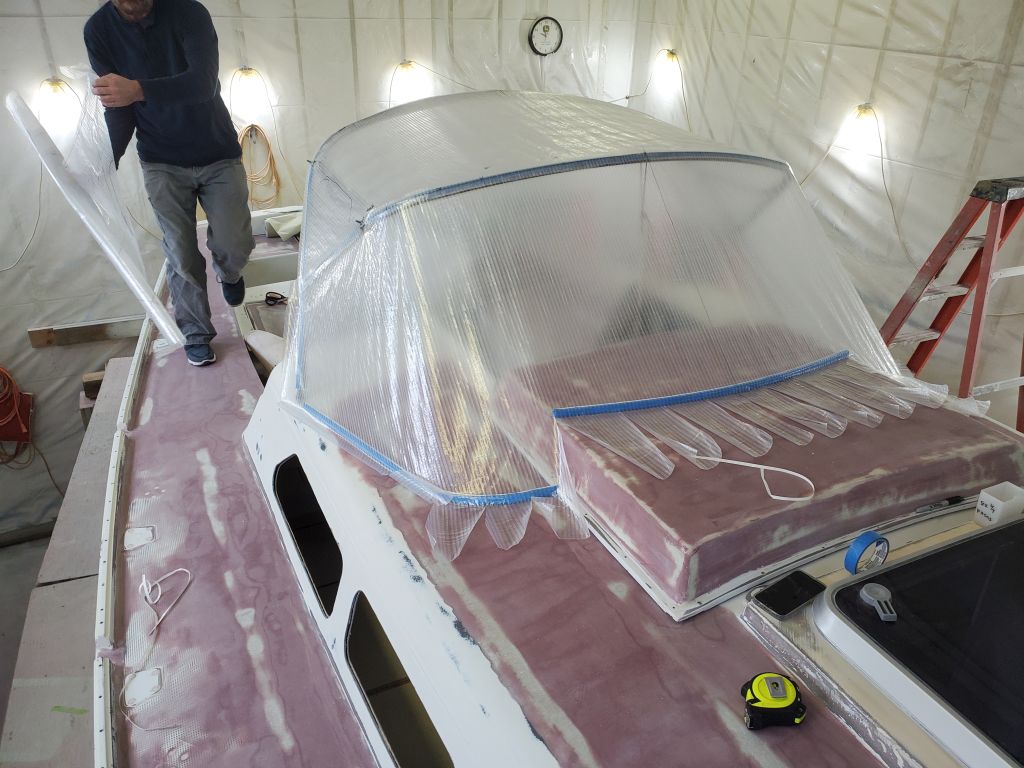
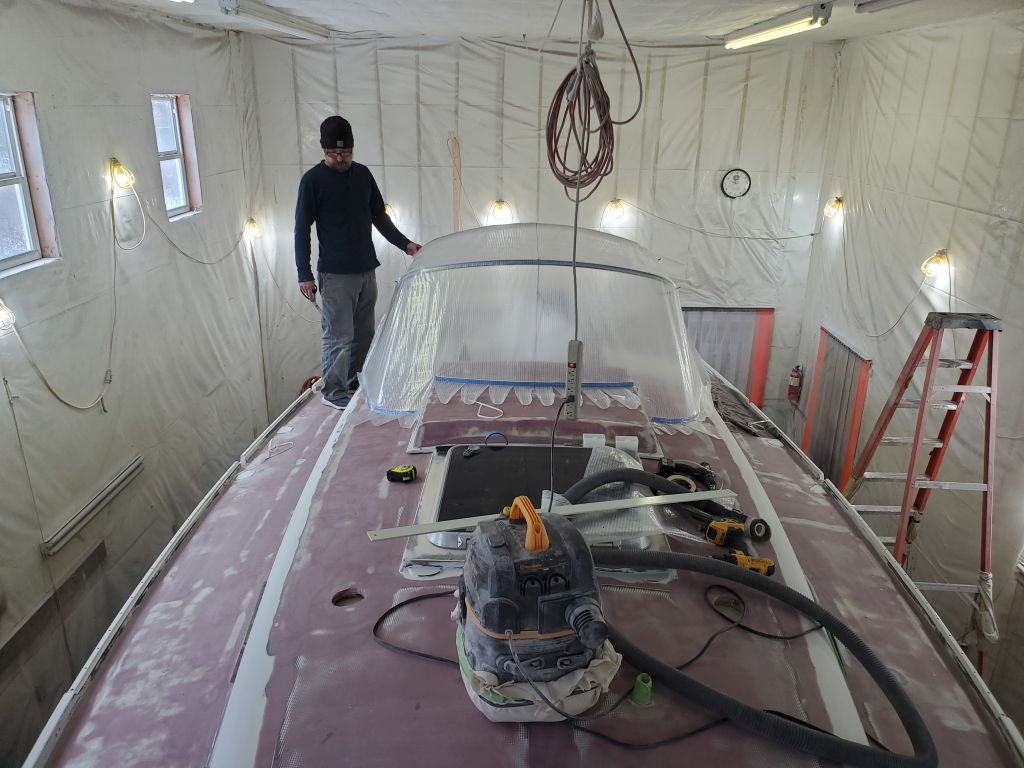
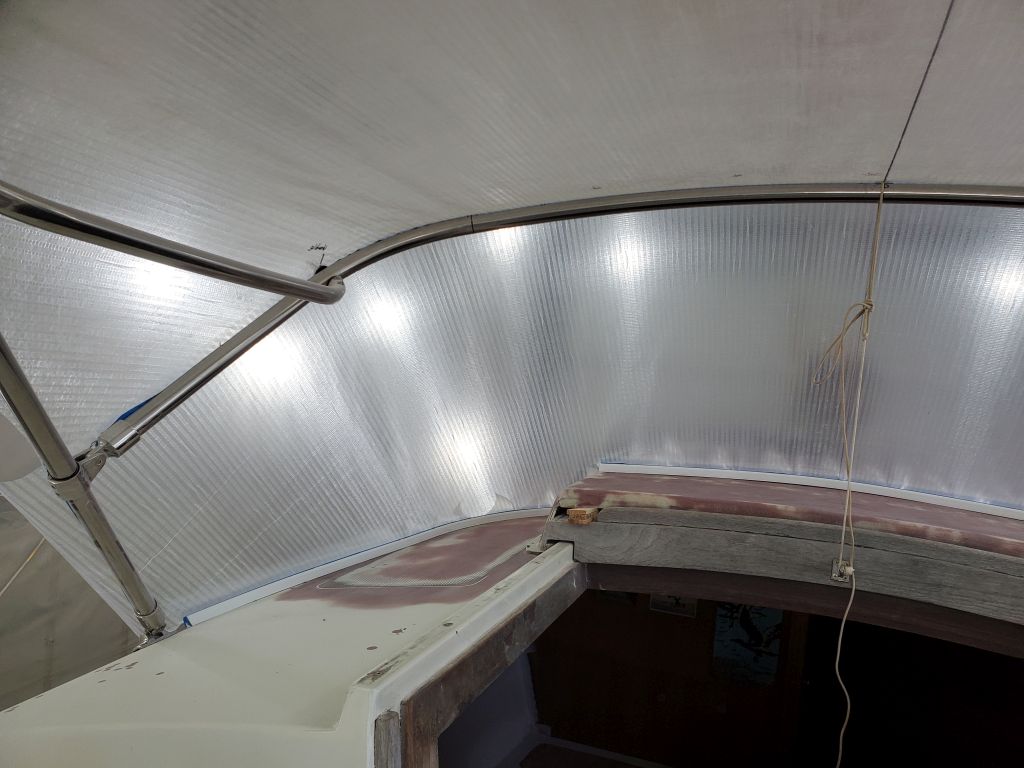
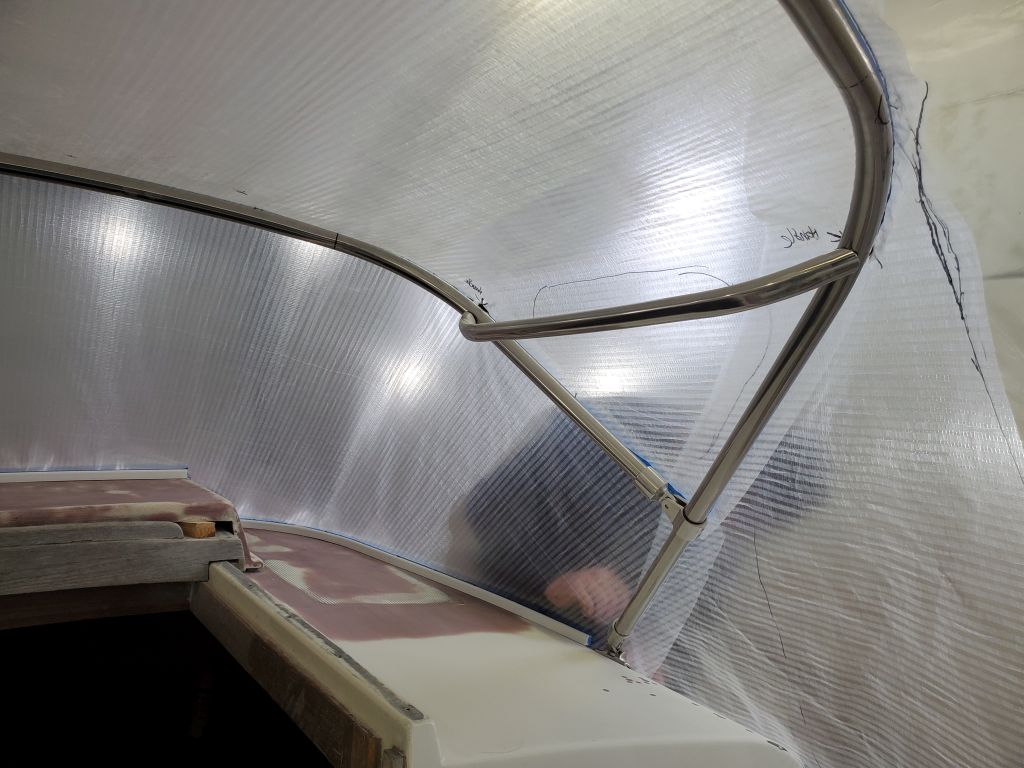
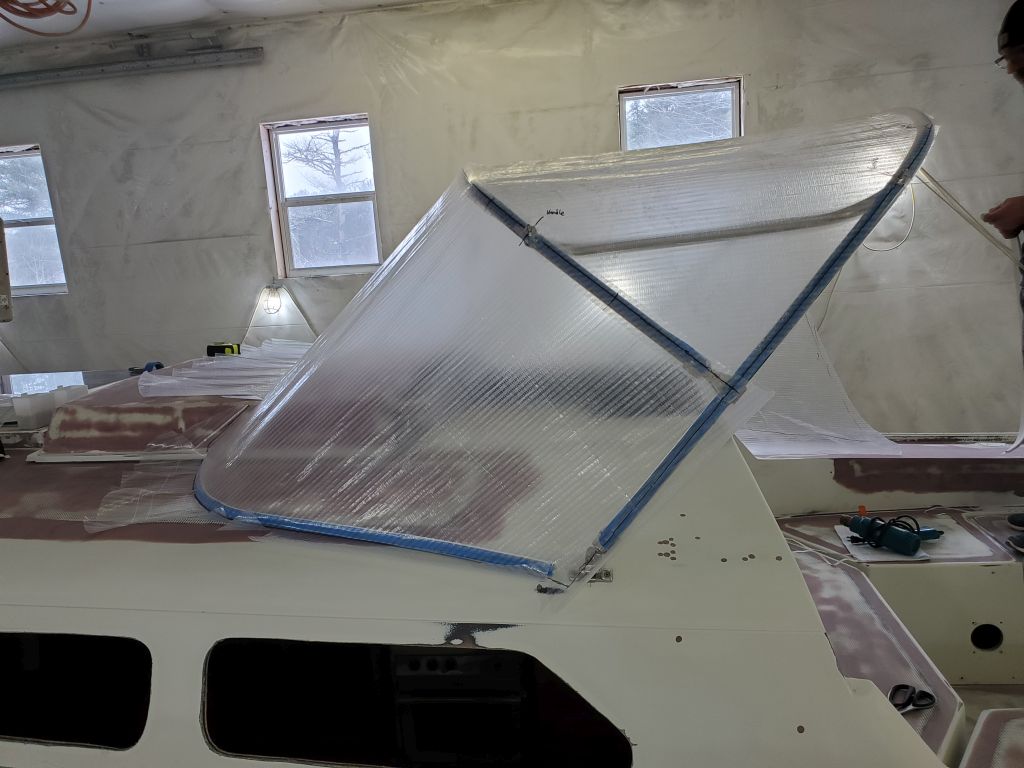
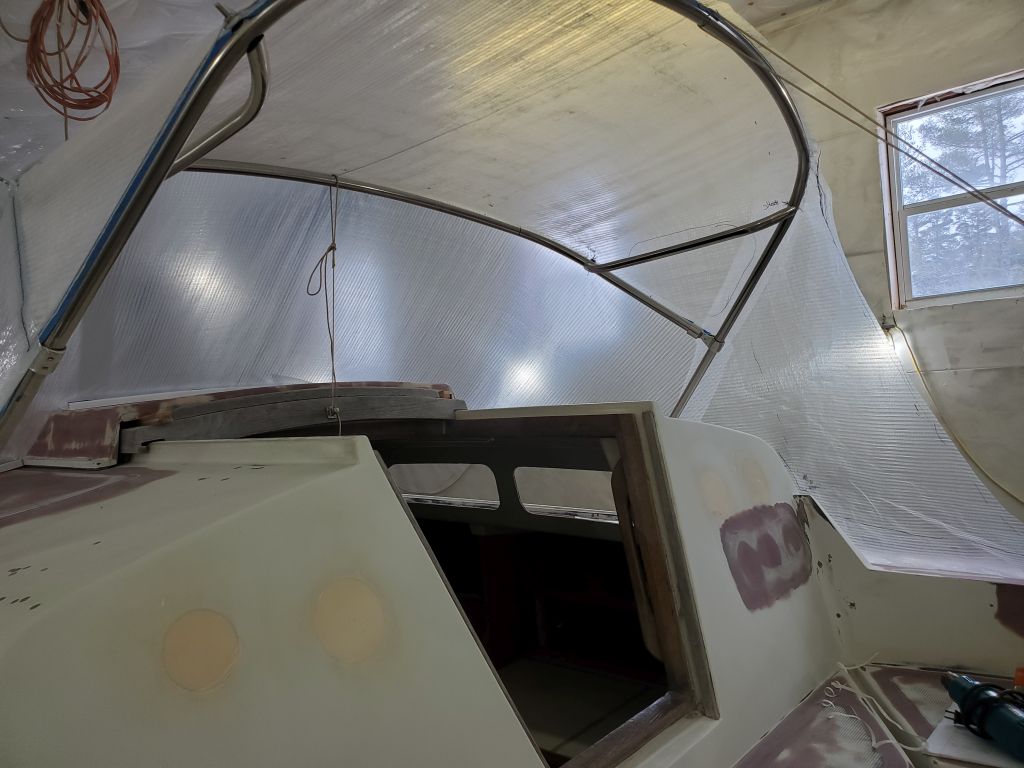
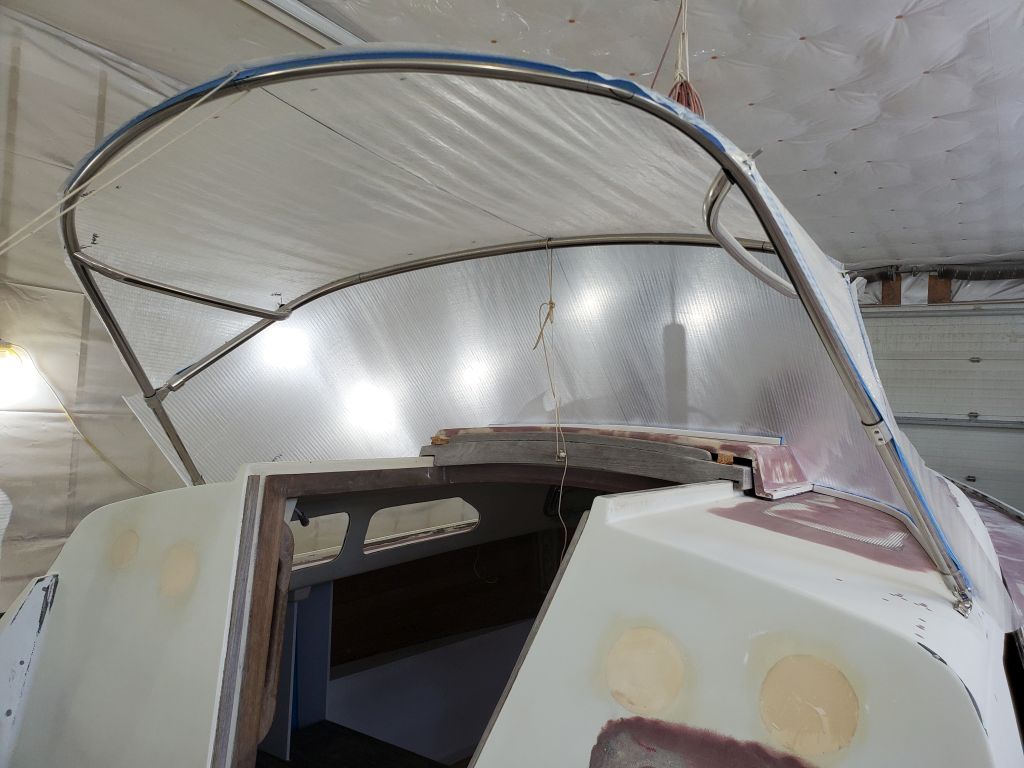
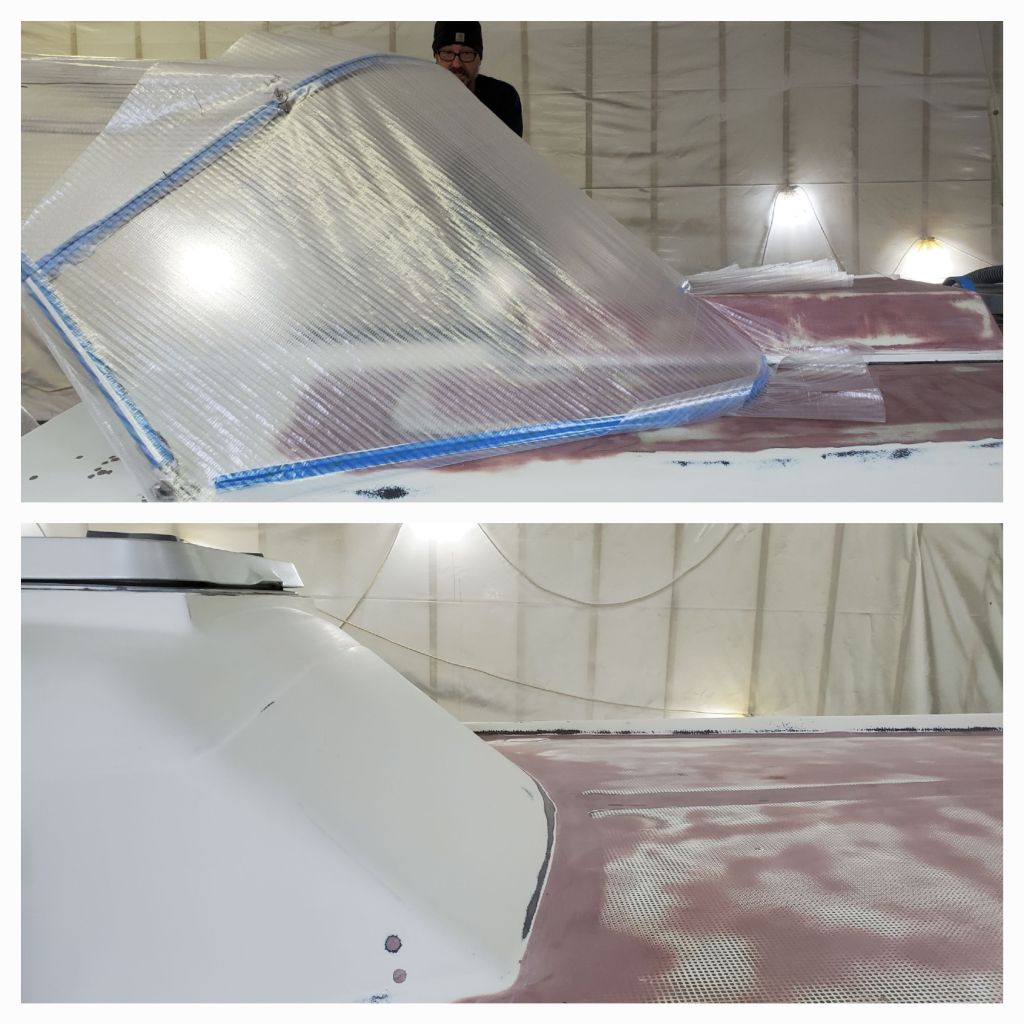
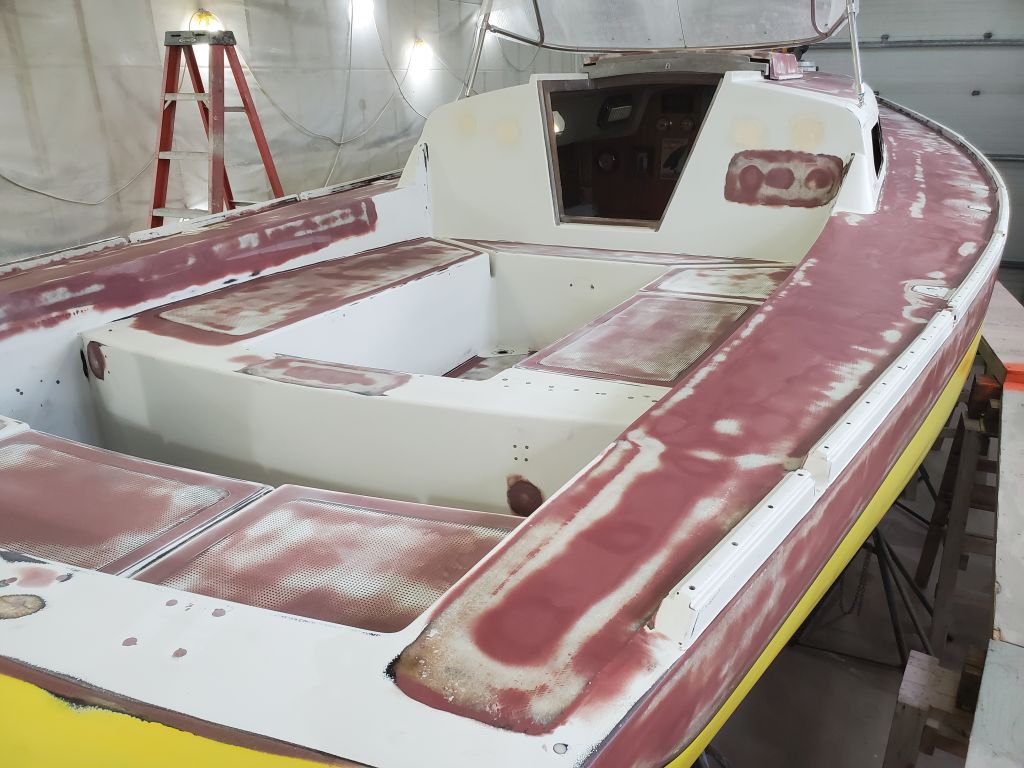
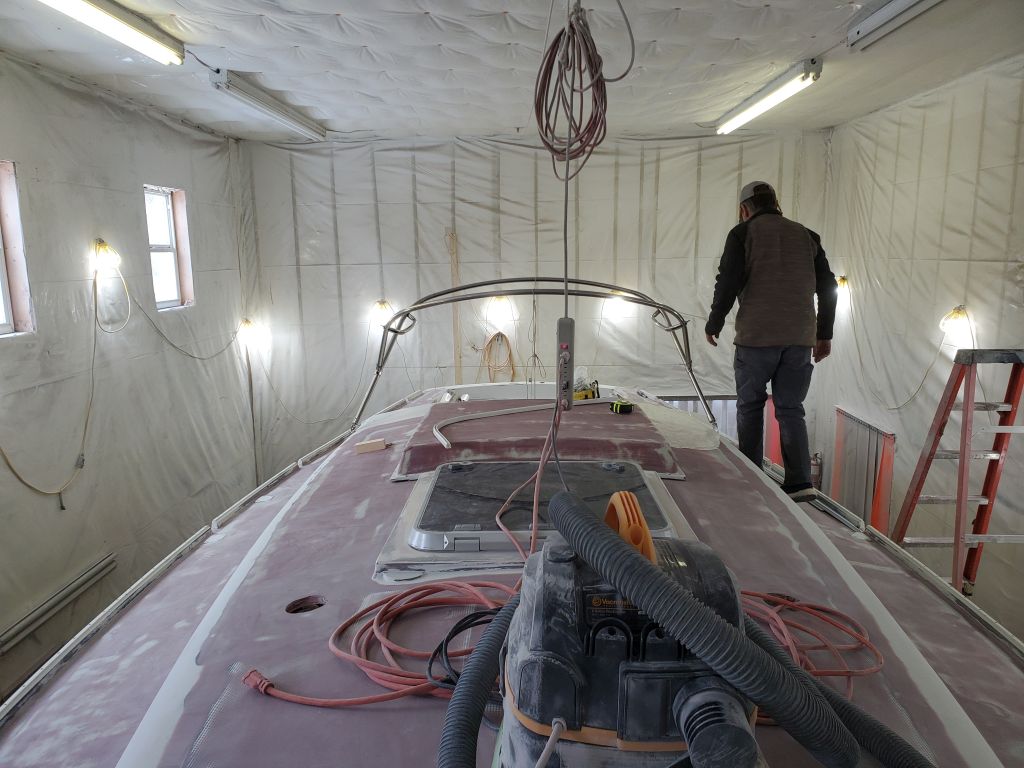
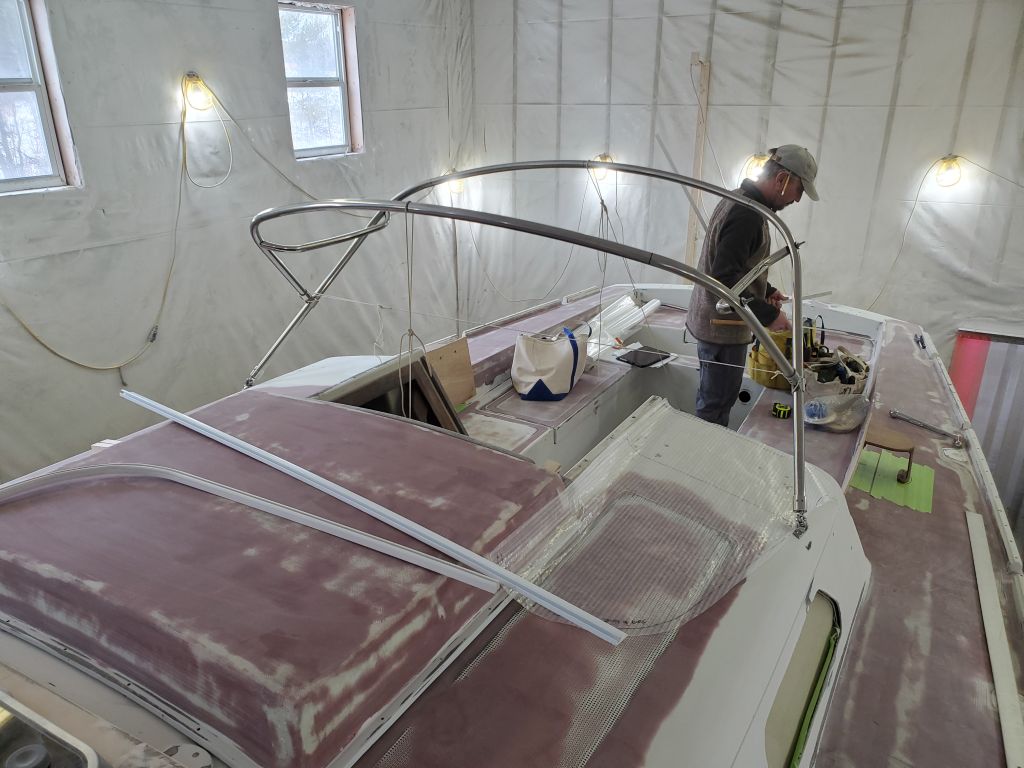
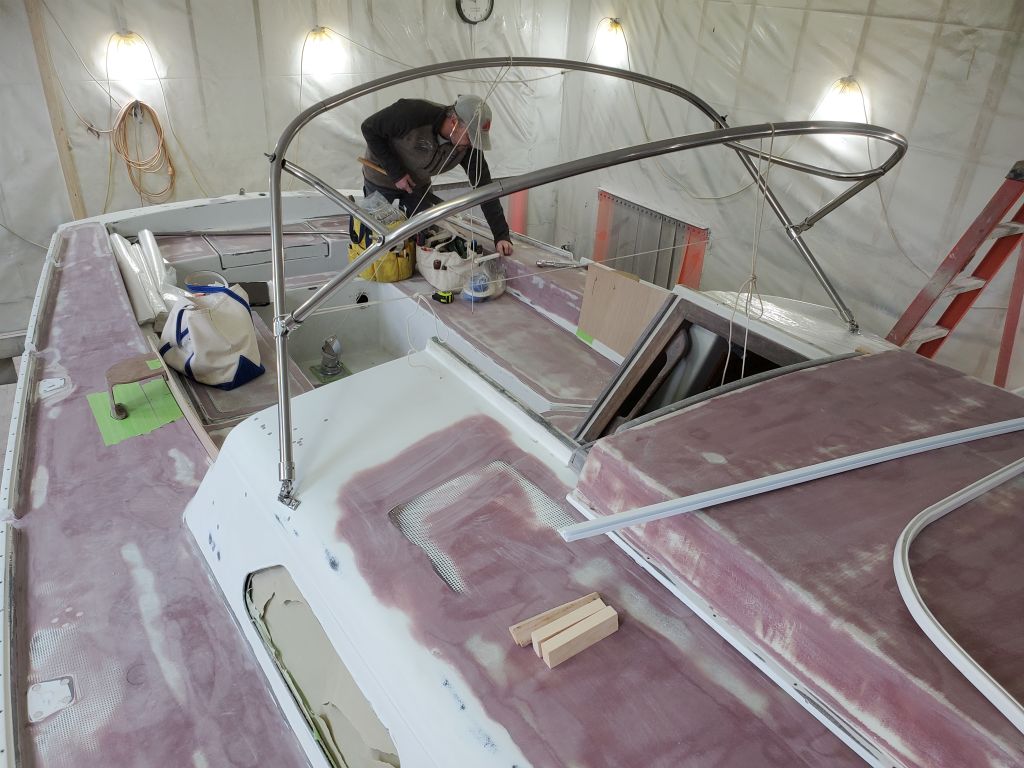
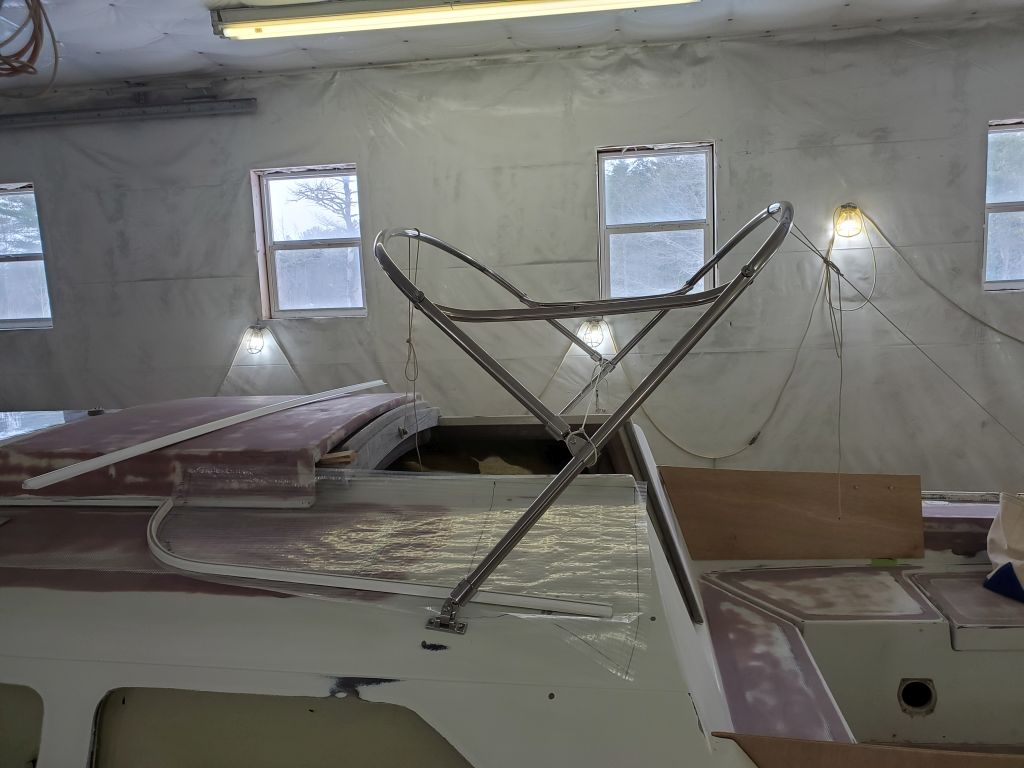
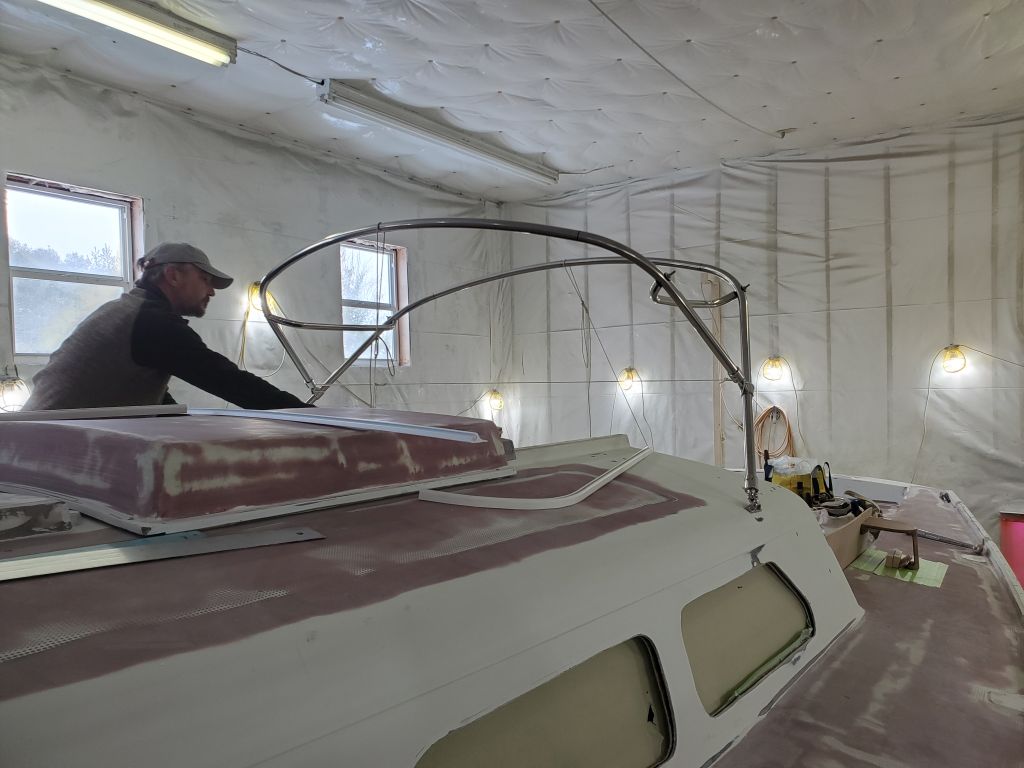
I spent the rest of the day with the boatowners and dodger contractor on the template and related steps for the new dodger. The details of the new frame and overall appearance of the dodger had been worked out in advance. Note that the handrails secured between the two sections of frame are temporarily installed on the inside to hold the frame properly, but not get in the way of the pattern outside. Not shown is a very nice crowned handrail for the aft edge of the frame, facing the cockpit, which would be welded in place before final fitting.
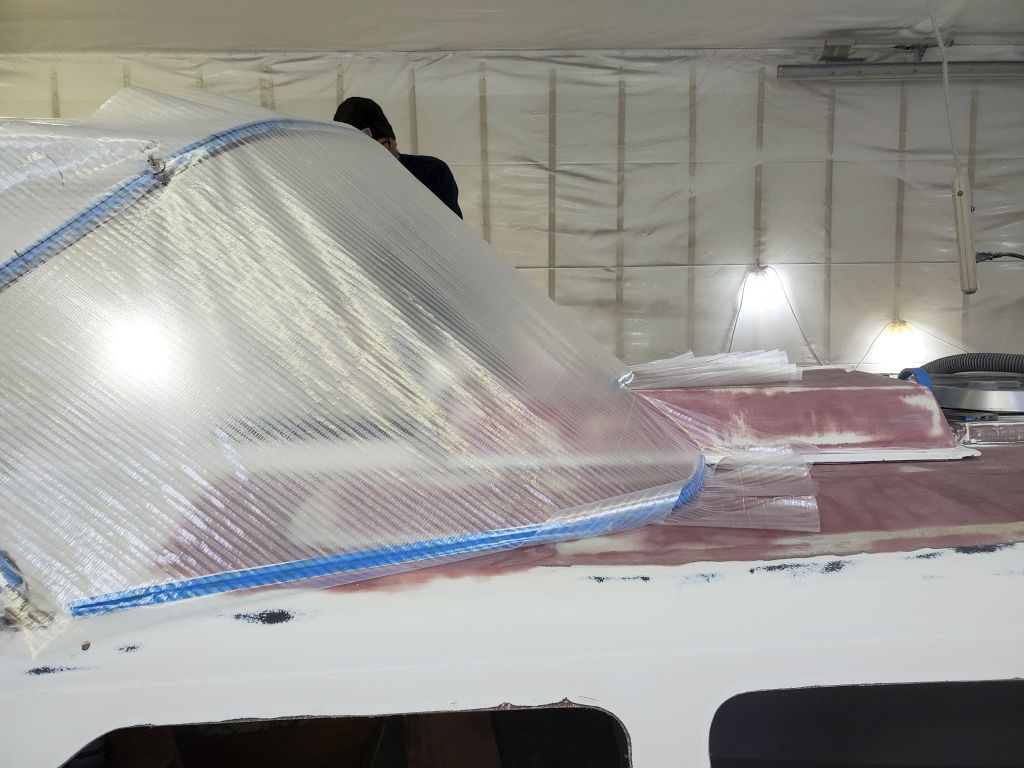
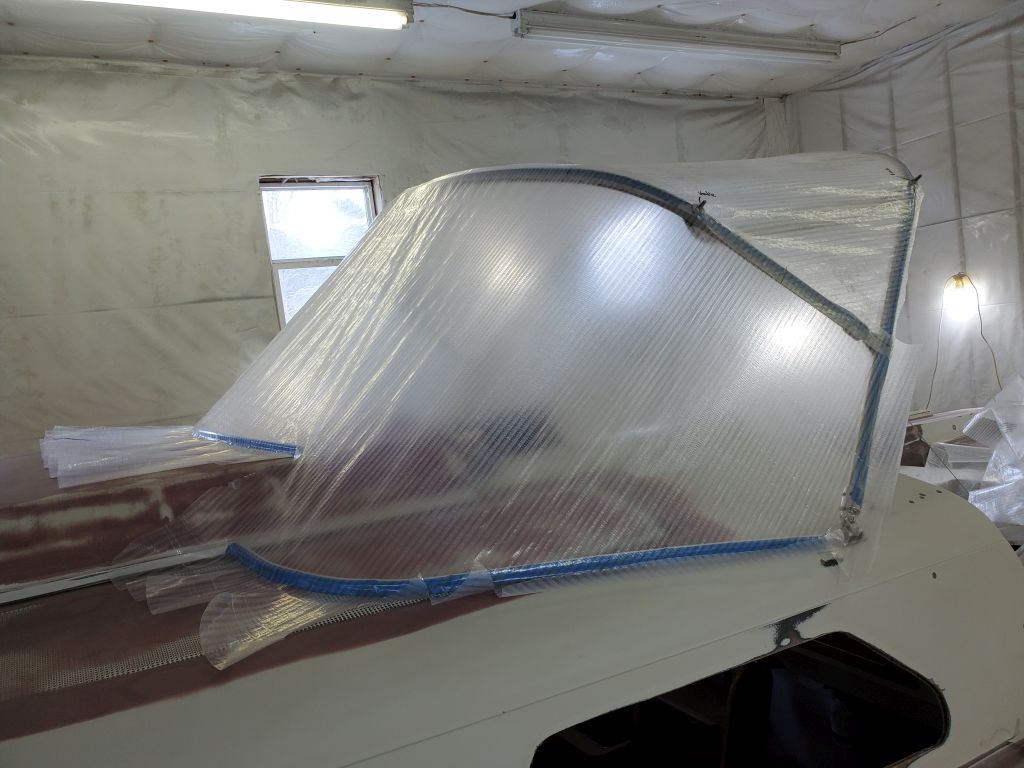
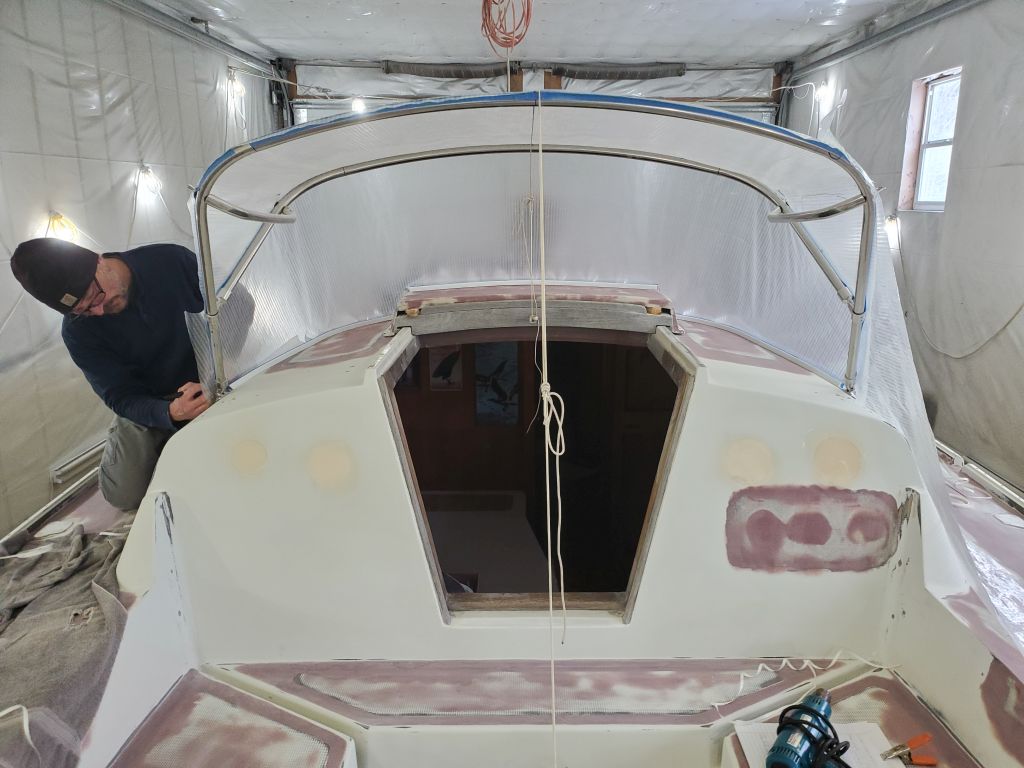
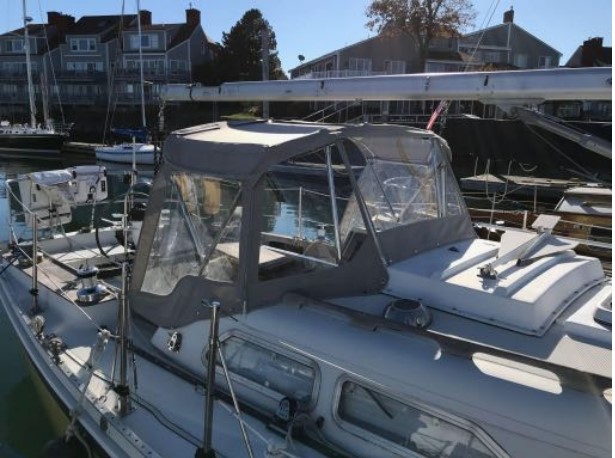
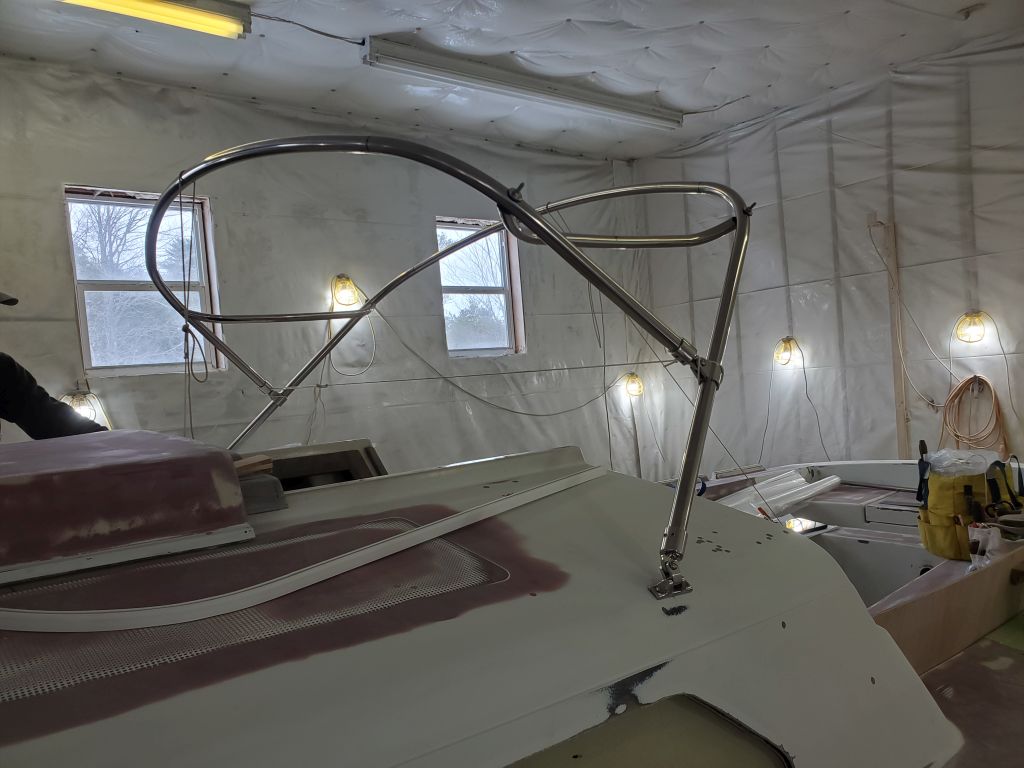
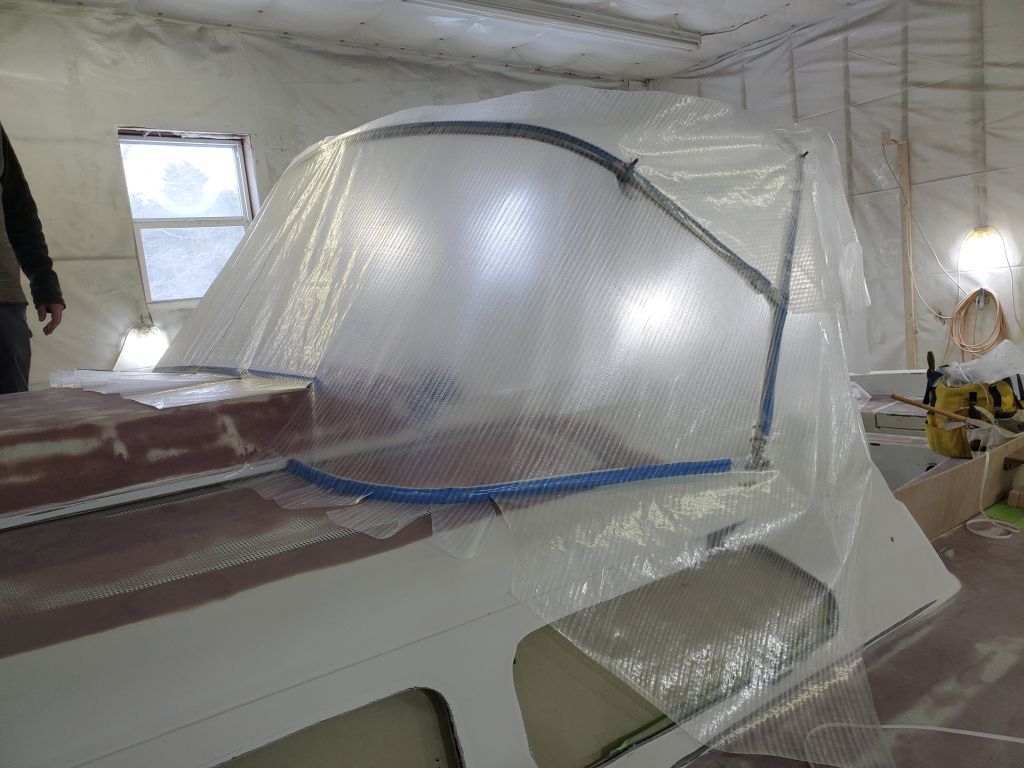
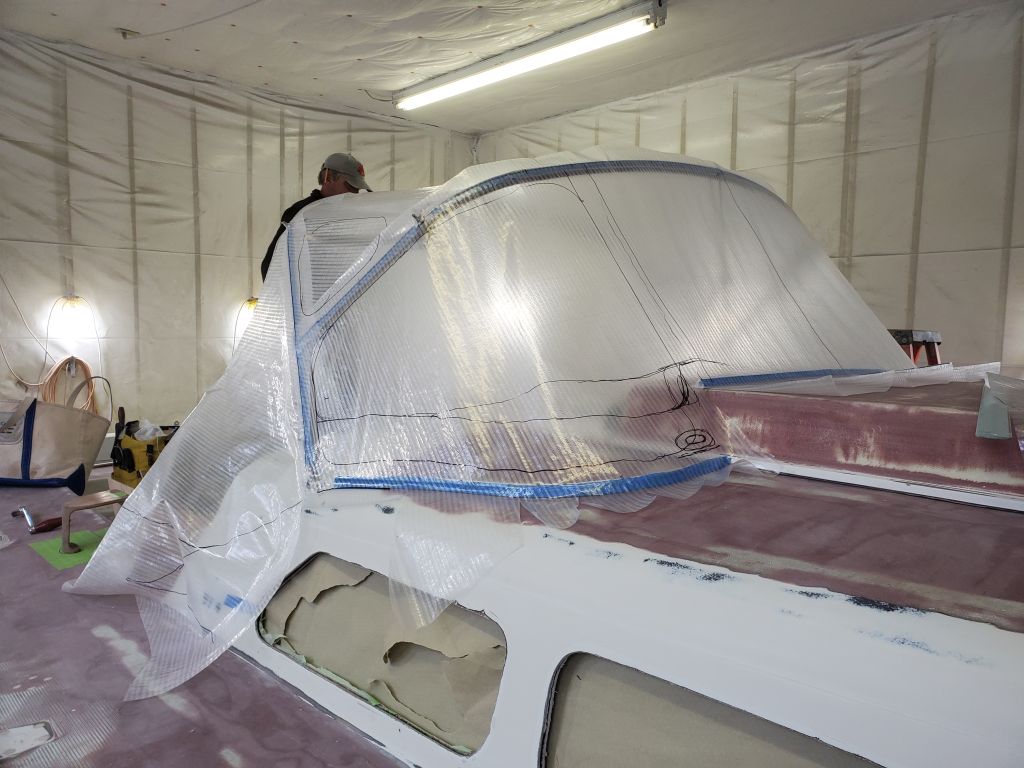
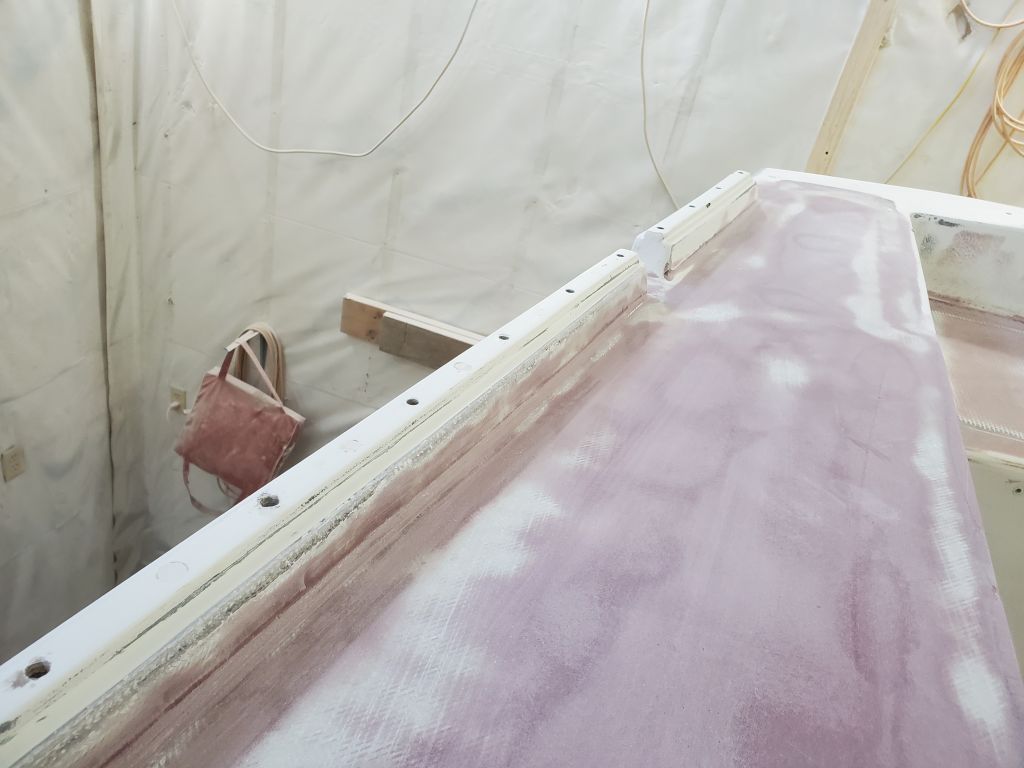
The setup and patterning went as usual, but somehow after the tracks were screwed in place according to measurements and a pattern Jason had made, the angle of the windshield didn’t end up as intended: the goal all along had been to more or less recreate the angle at the leading edge of the cabin house (about 41° ), but when the pattern material went on after laying out and temporarily installing the tracks on both sides and along the sea hood, the angle was substantially less, somewhere in the 30s. It didn’t look bad, but it wasn’t what had been intended all along; the owners had rightfully wanted a much sleeker dodger that fit the design of the boat, after enduring a boxy, ugly dodger for the past 10 years with the boat.
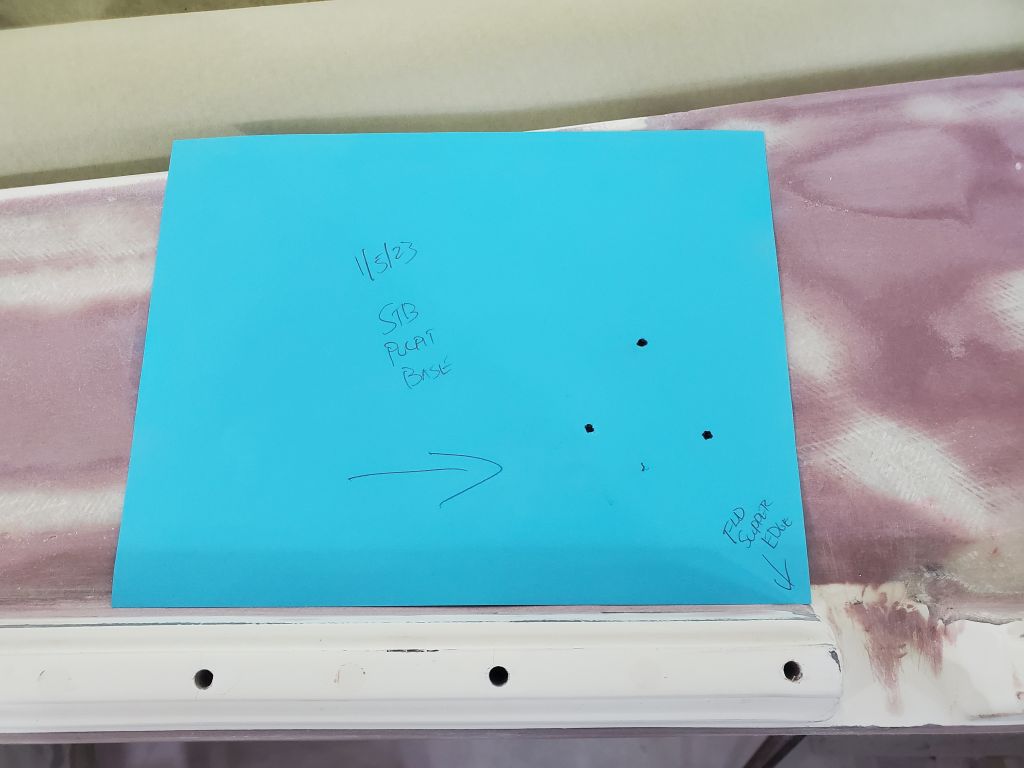
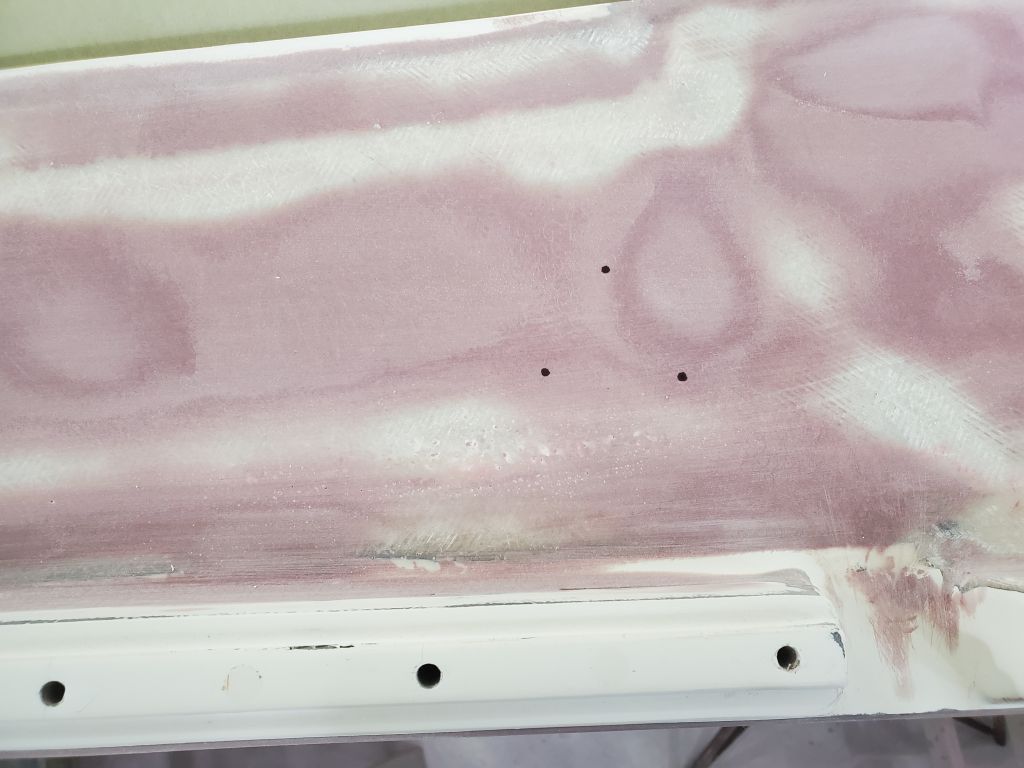
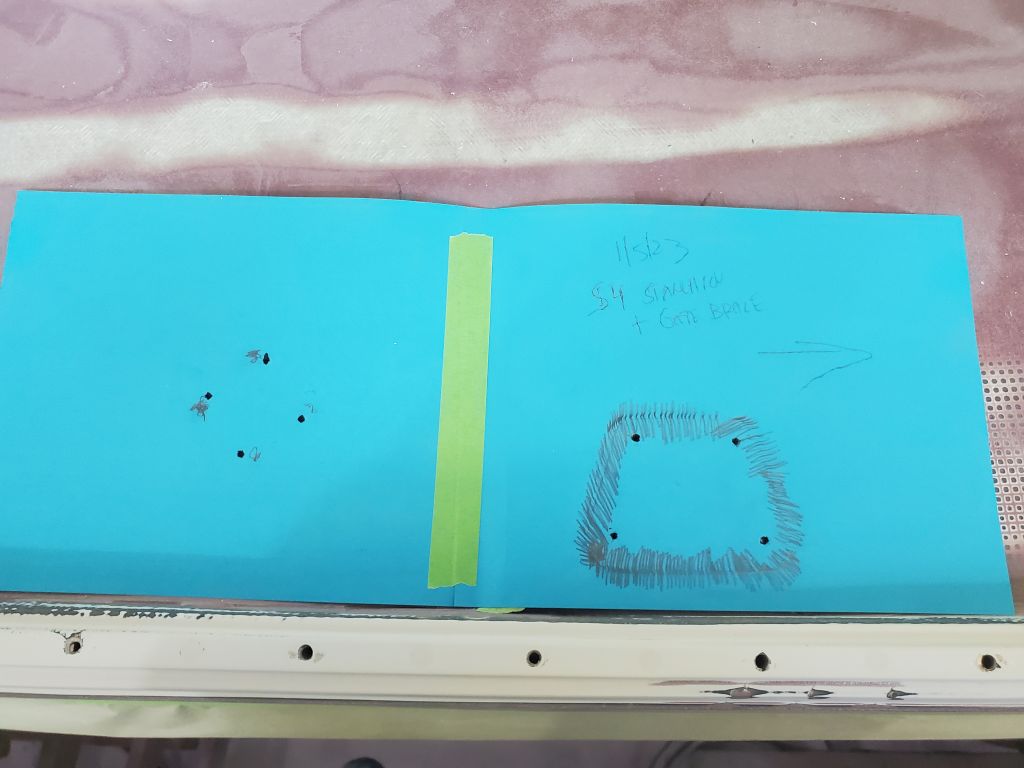
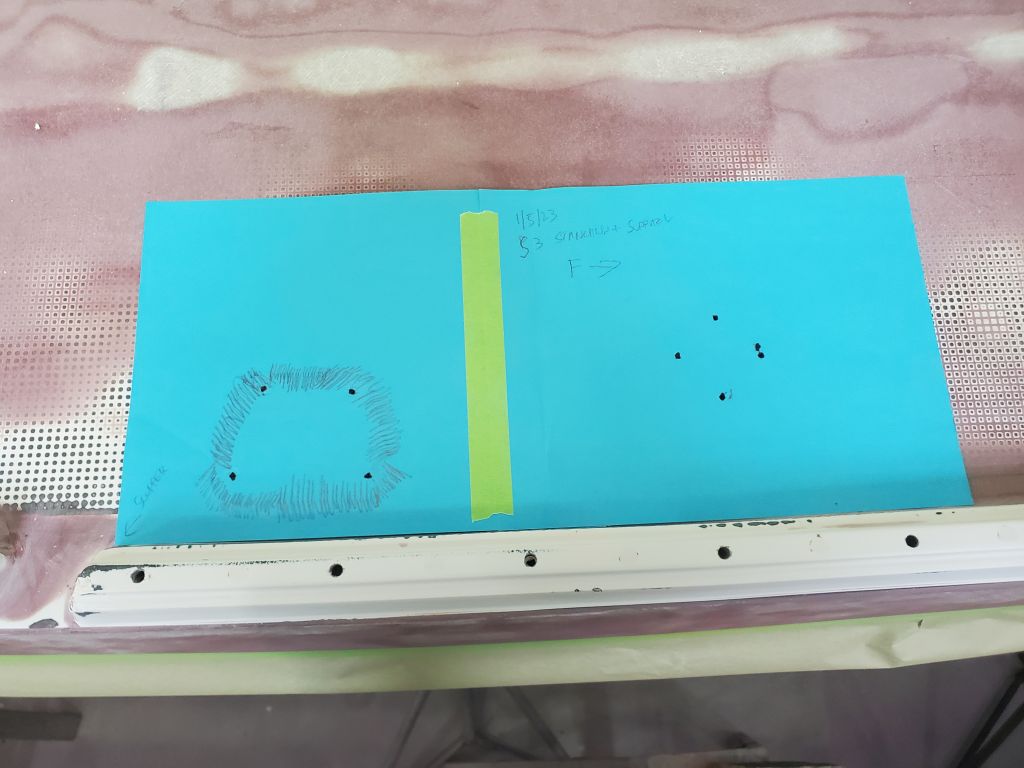
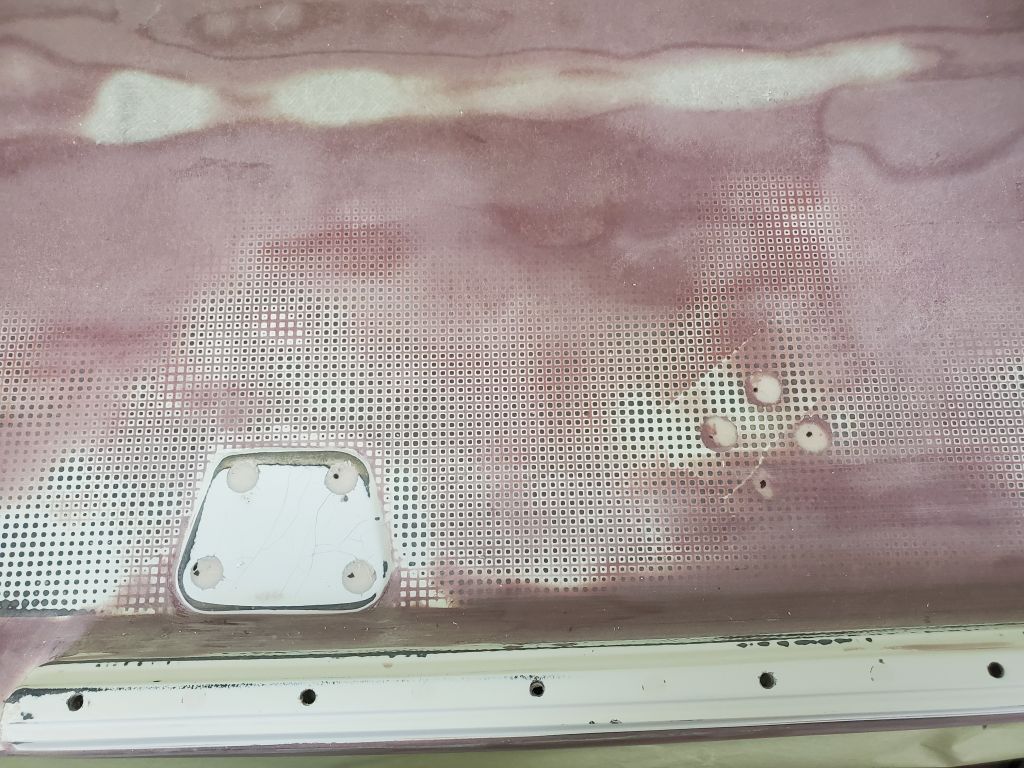
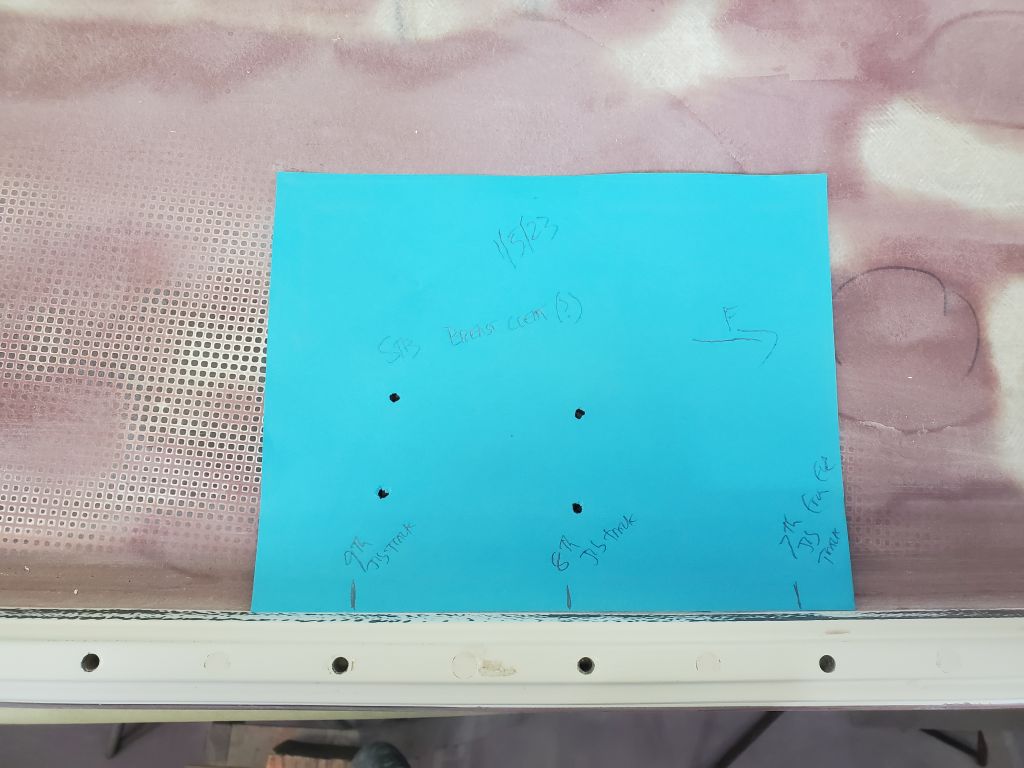
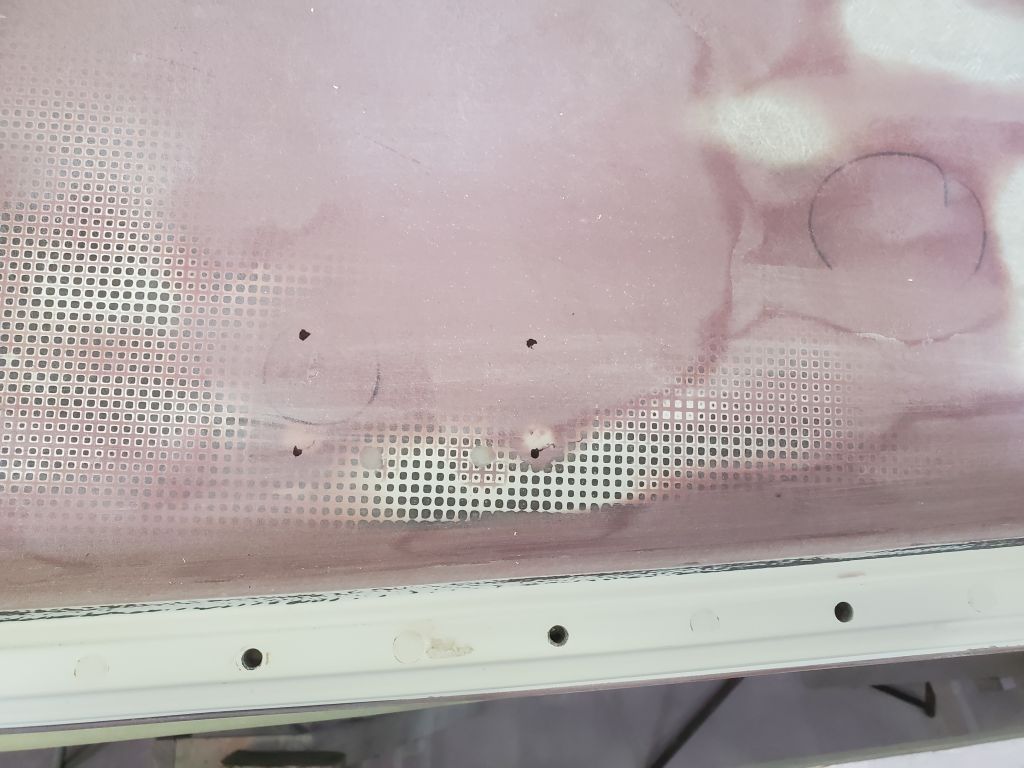
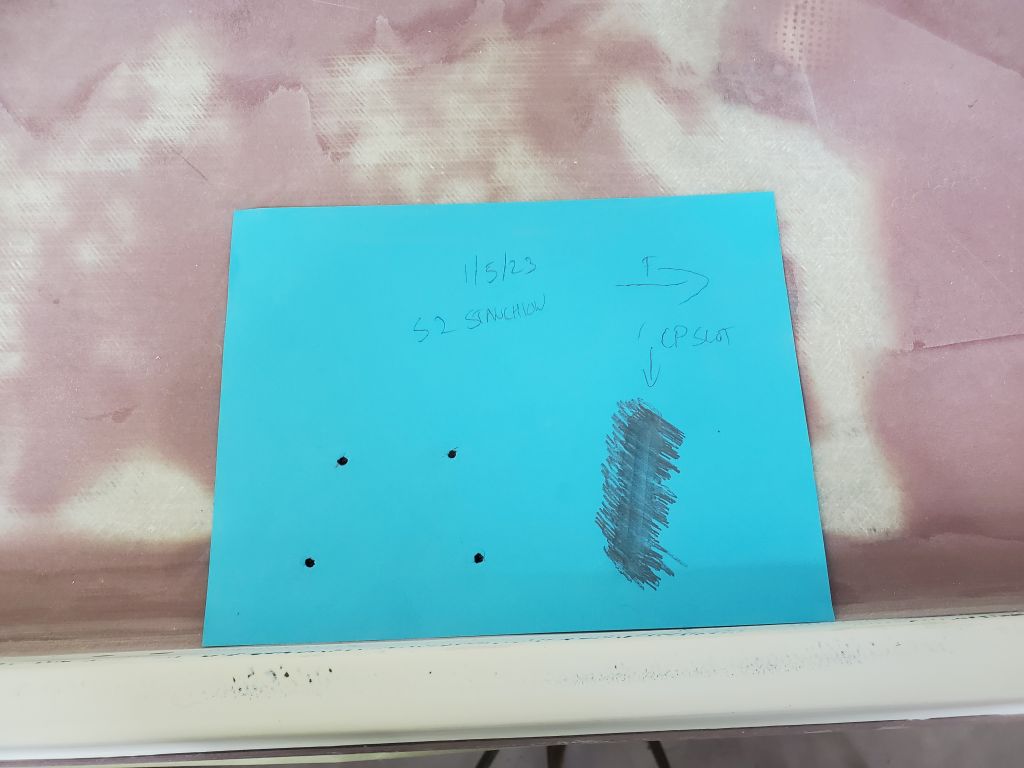
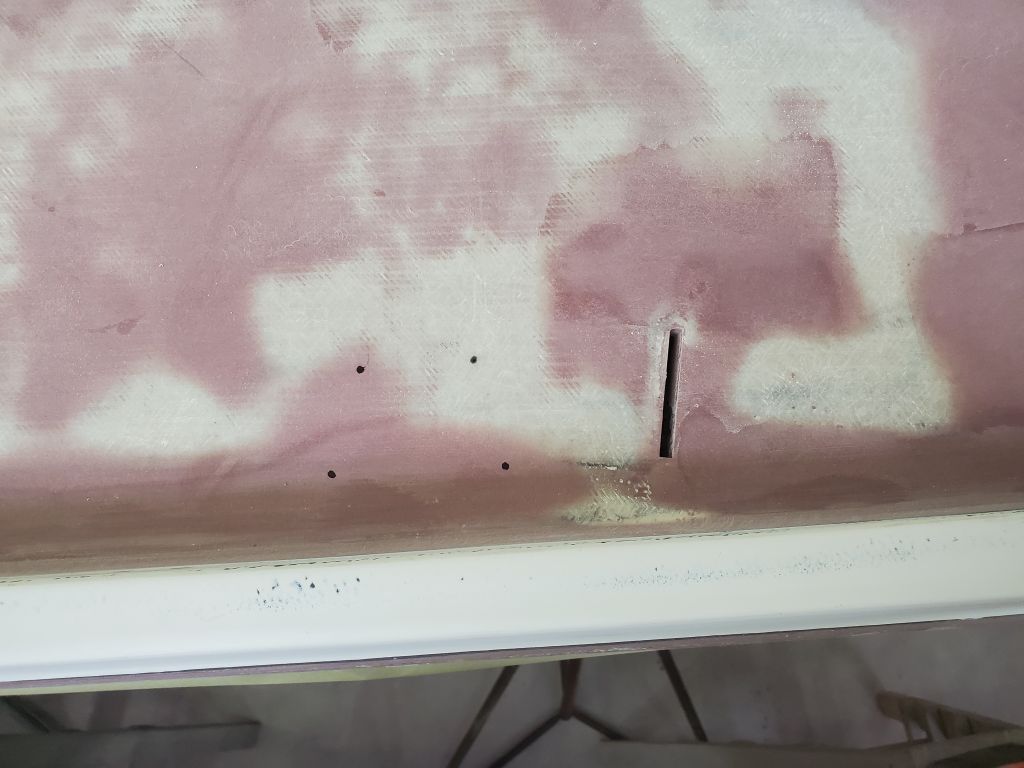
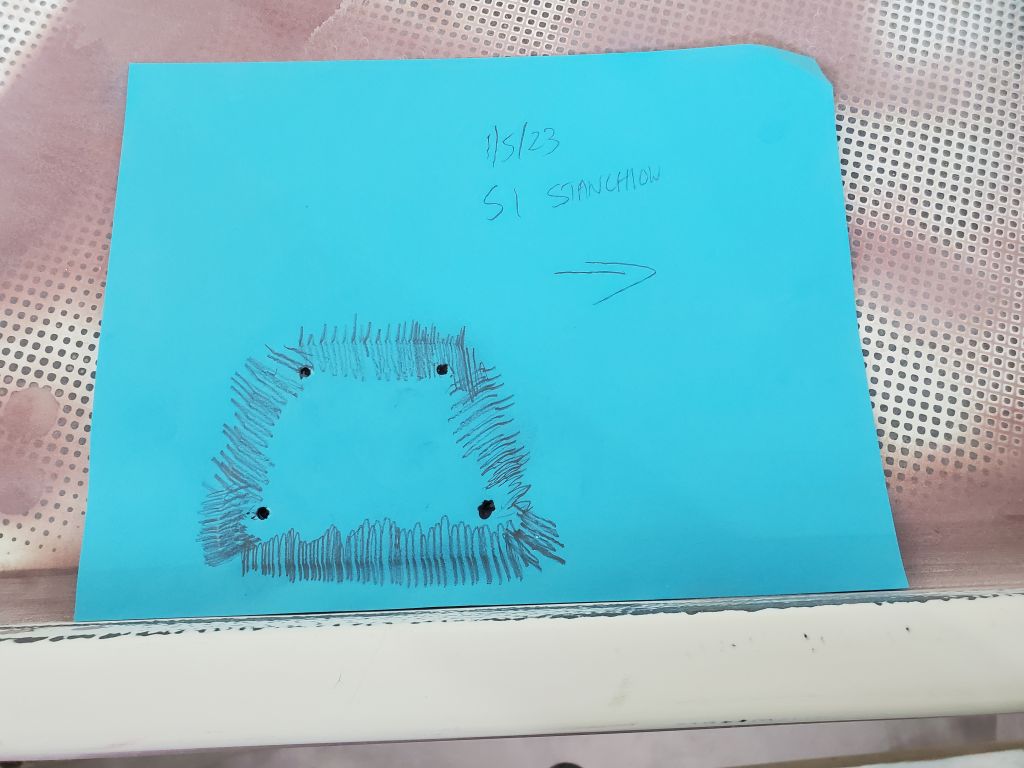
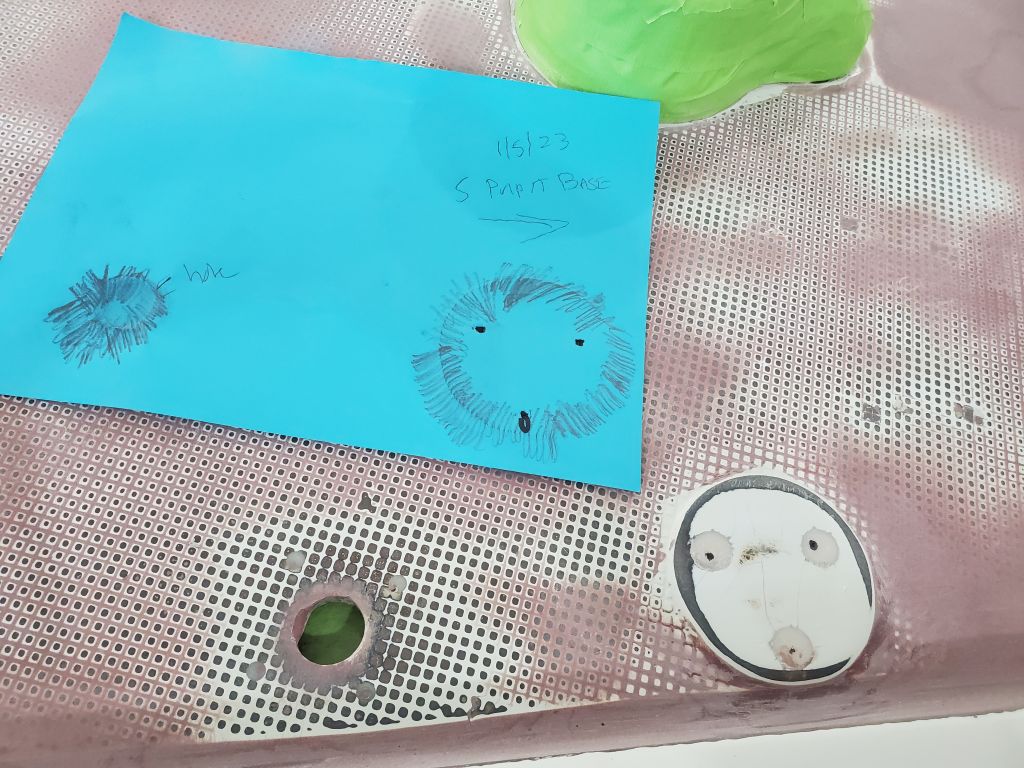
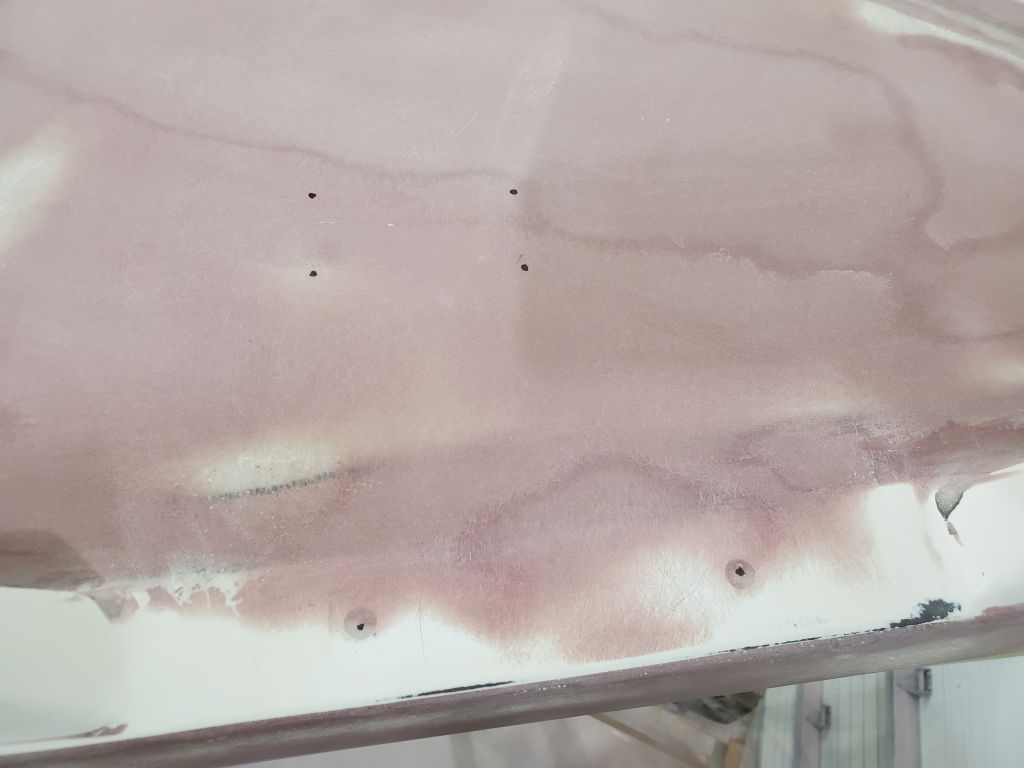
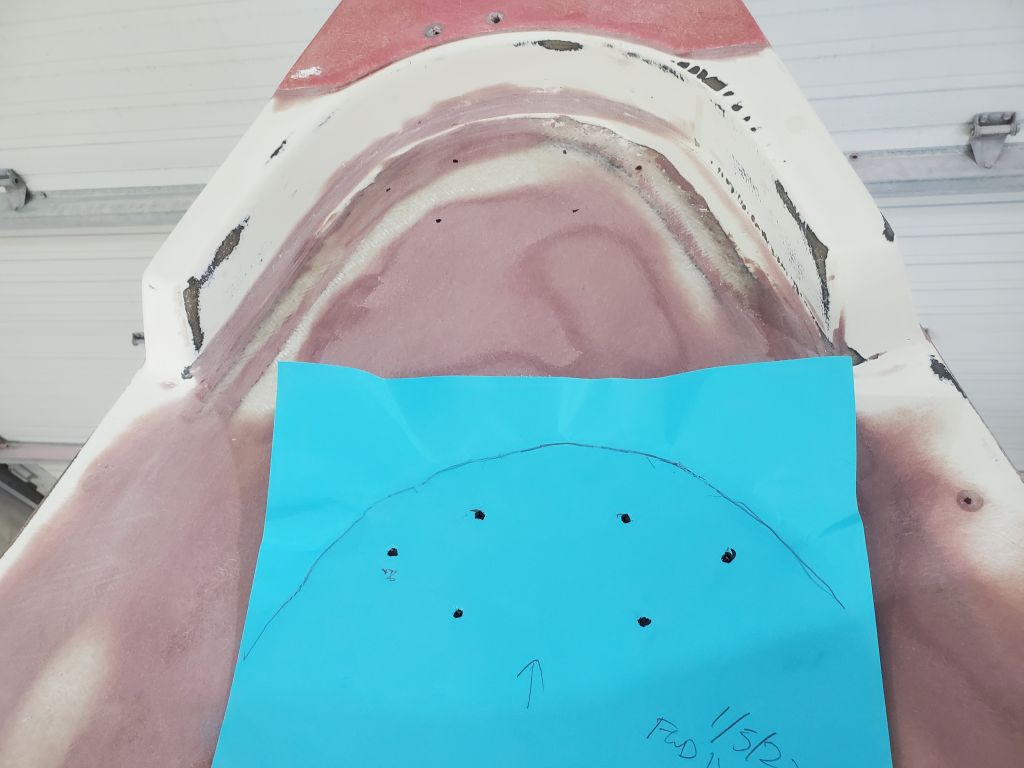
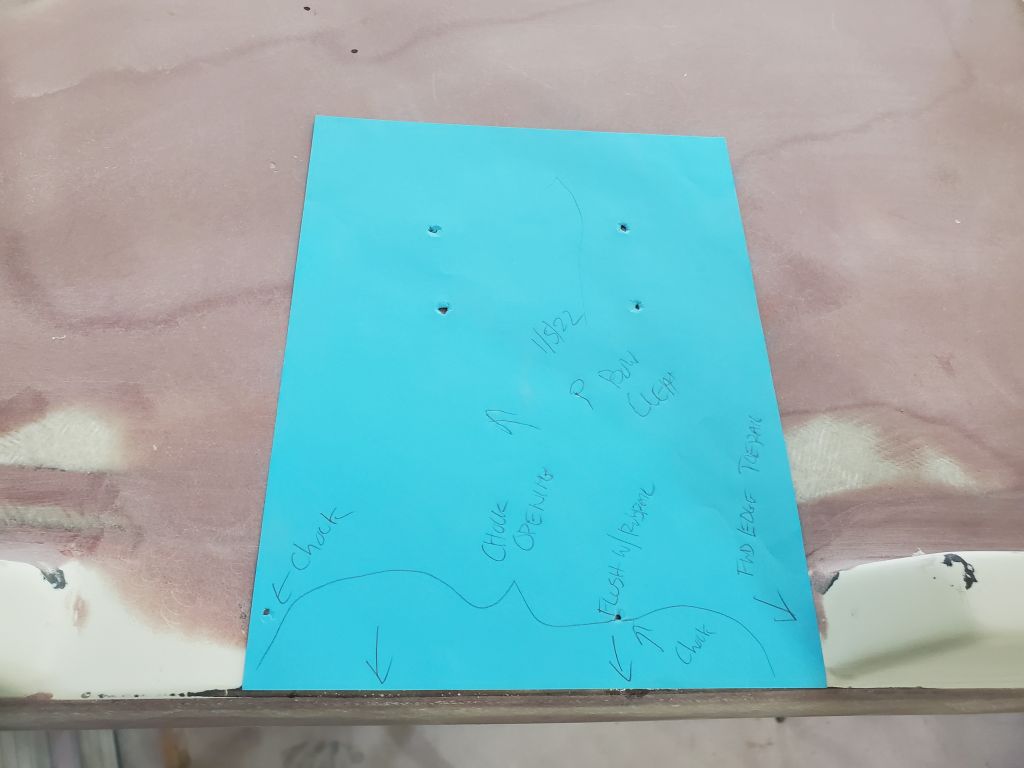
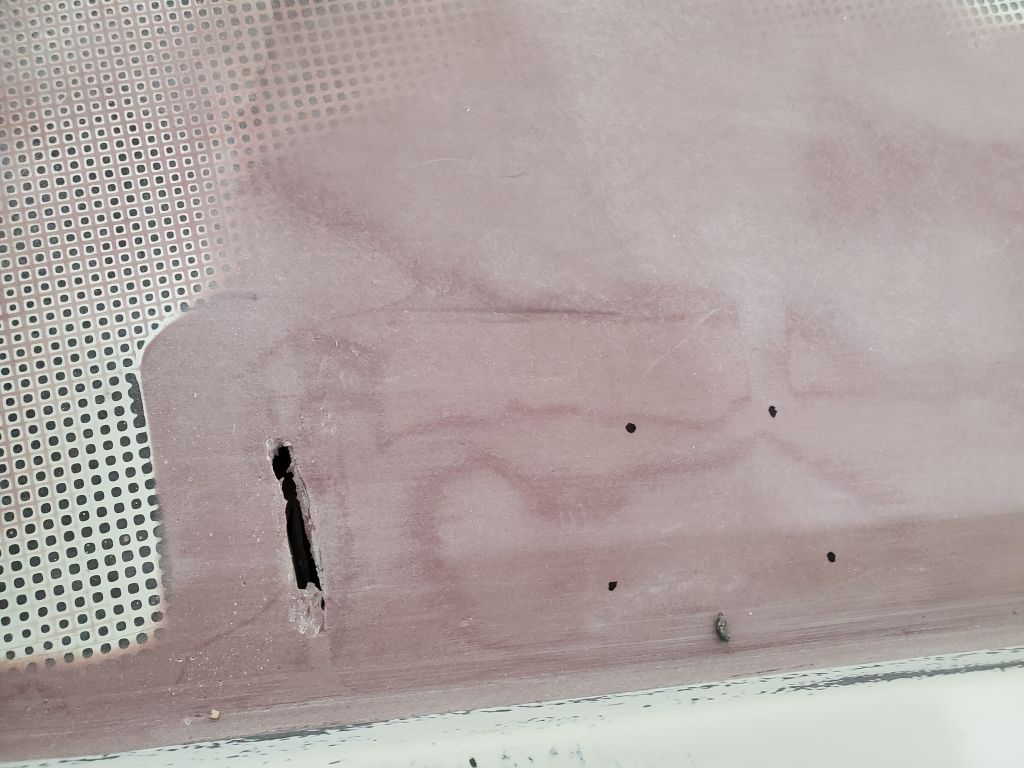
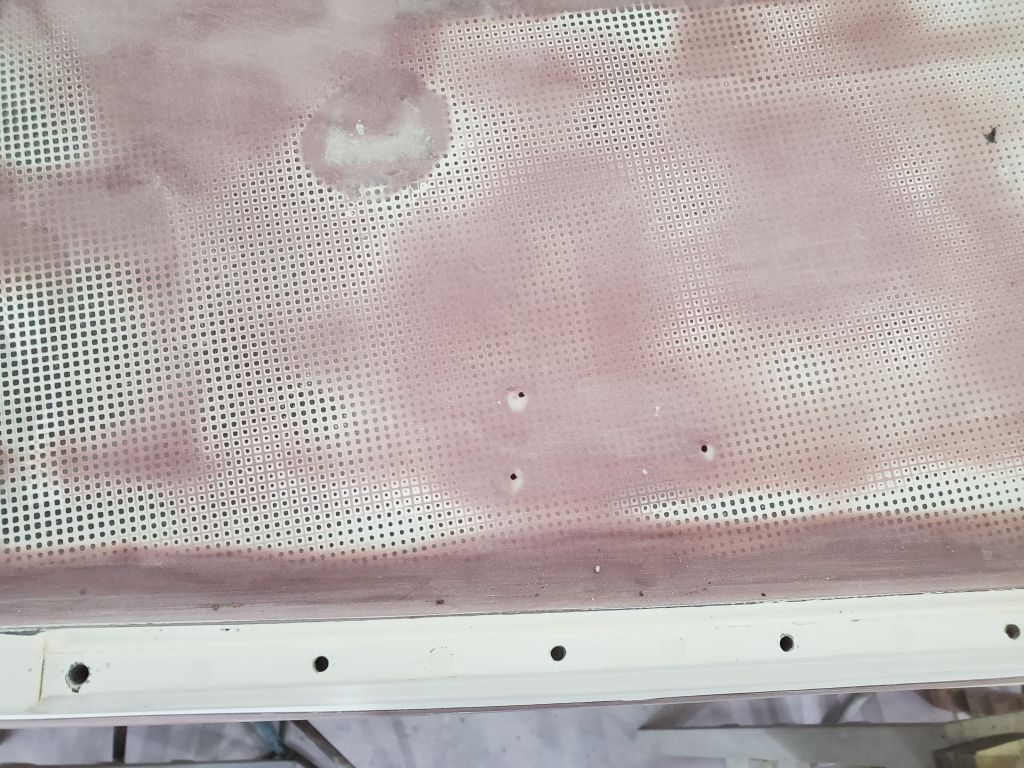
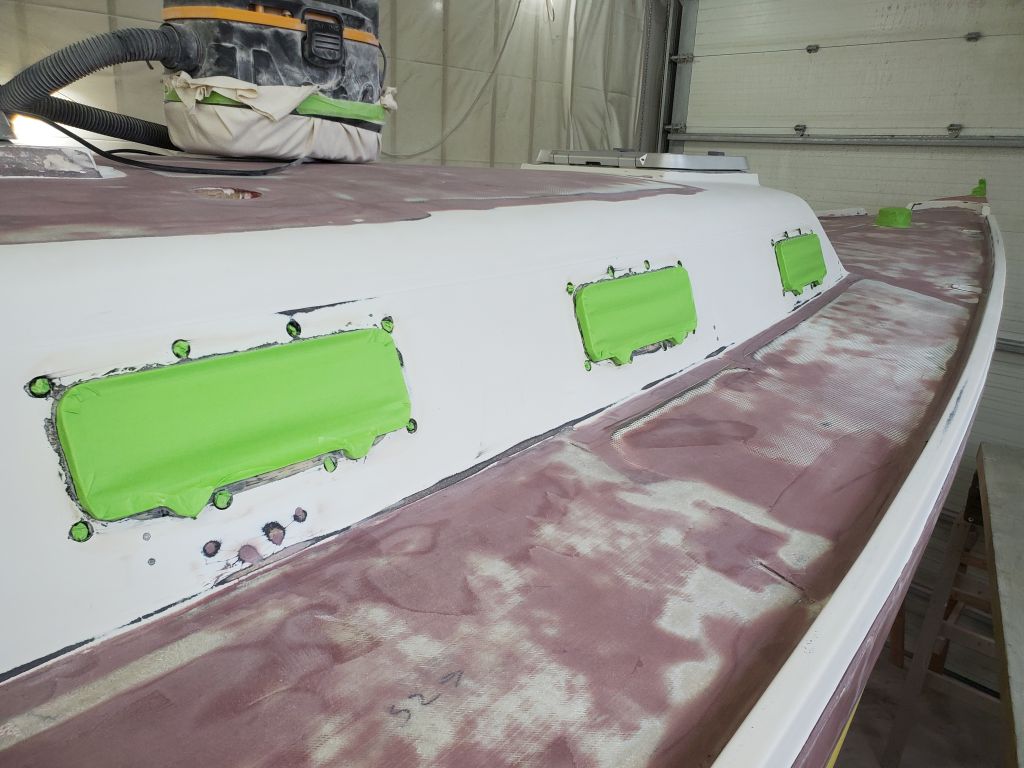
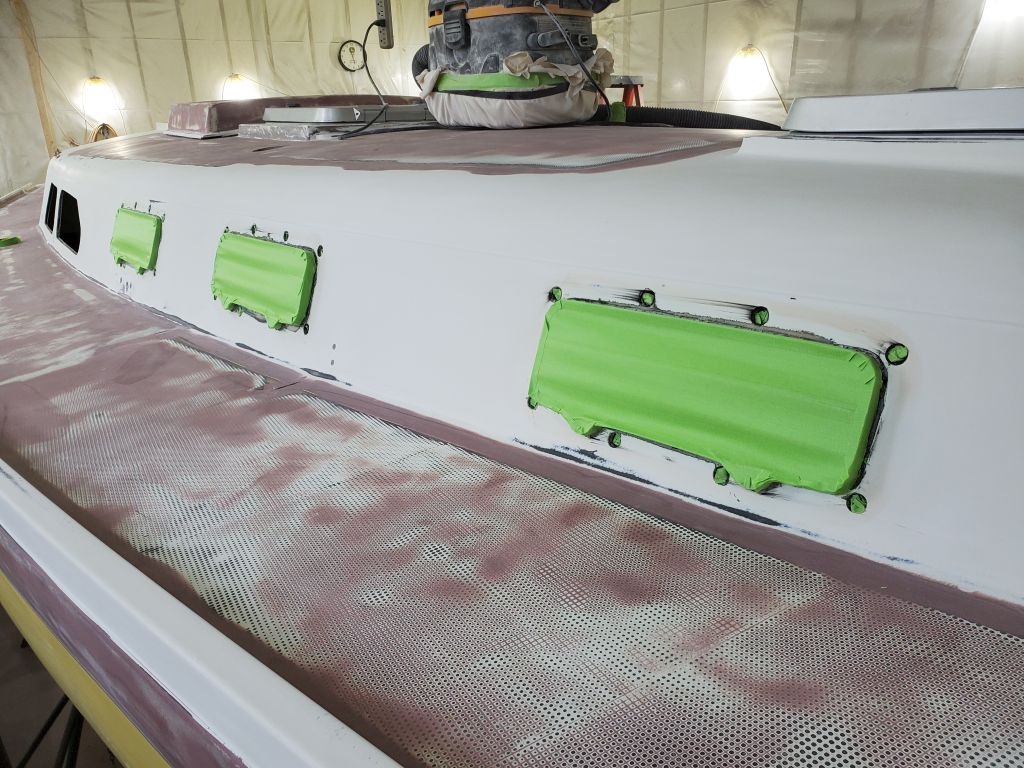
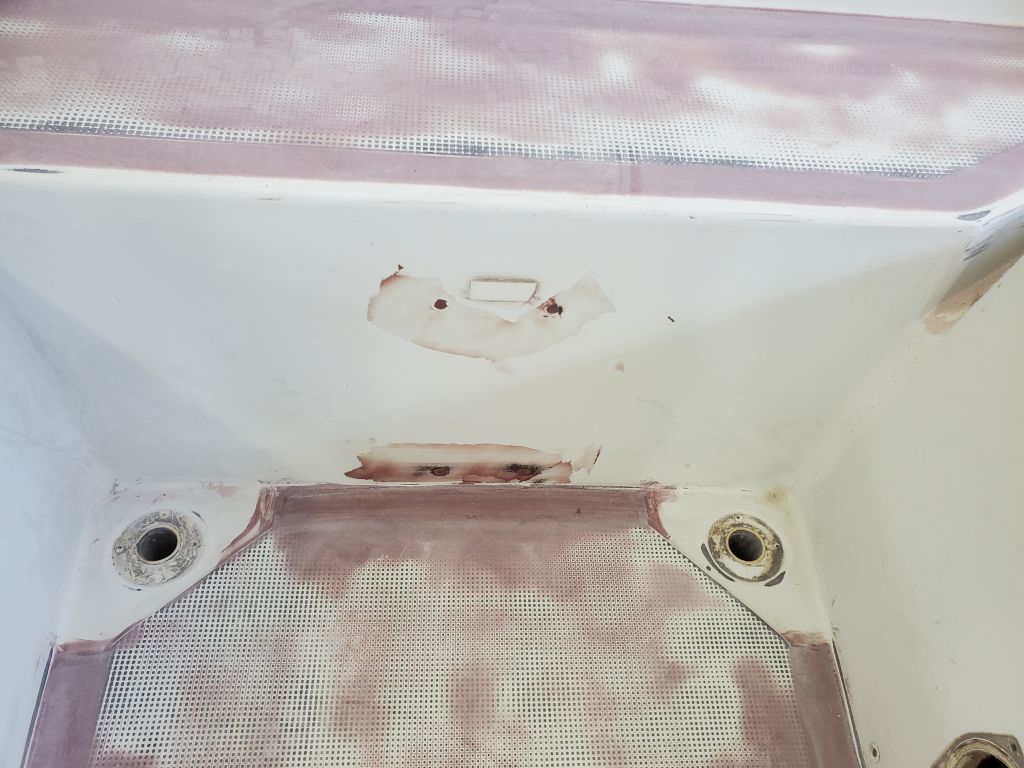
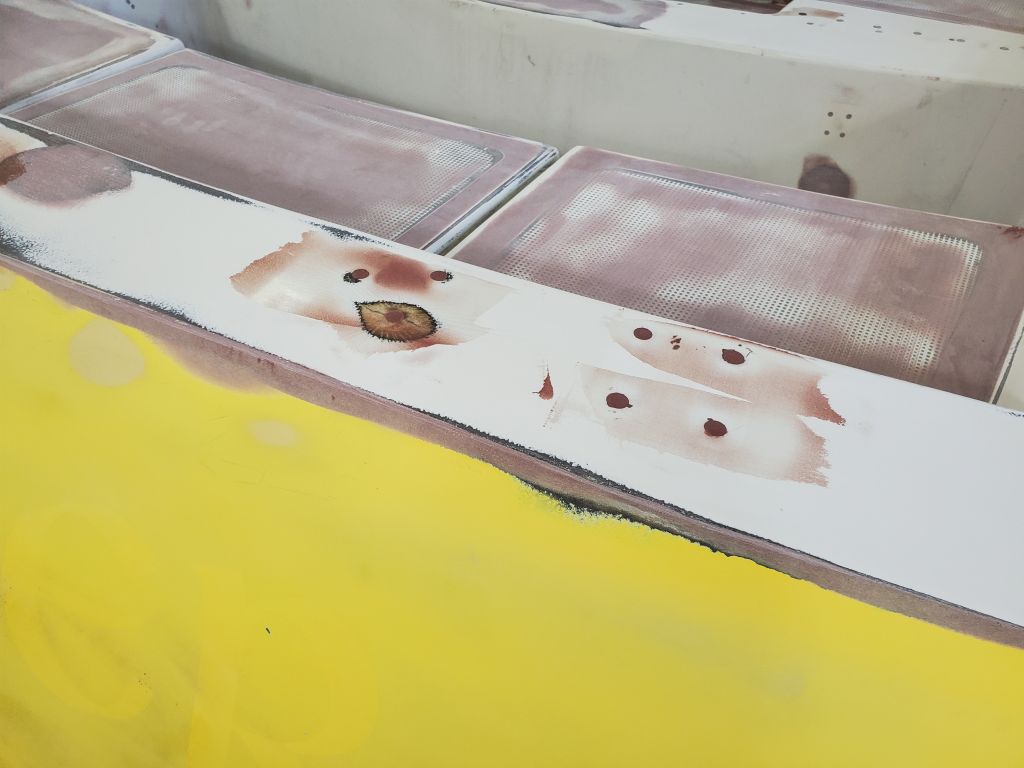
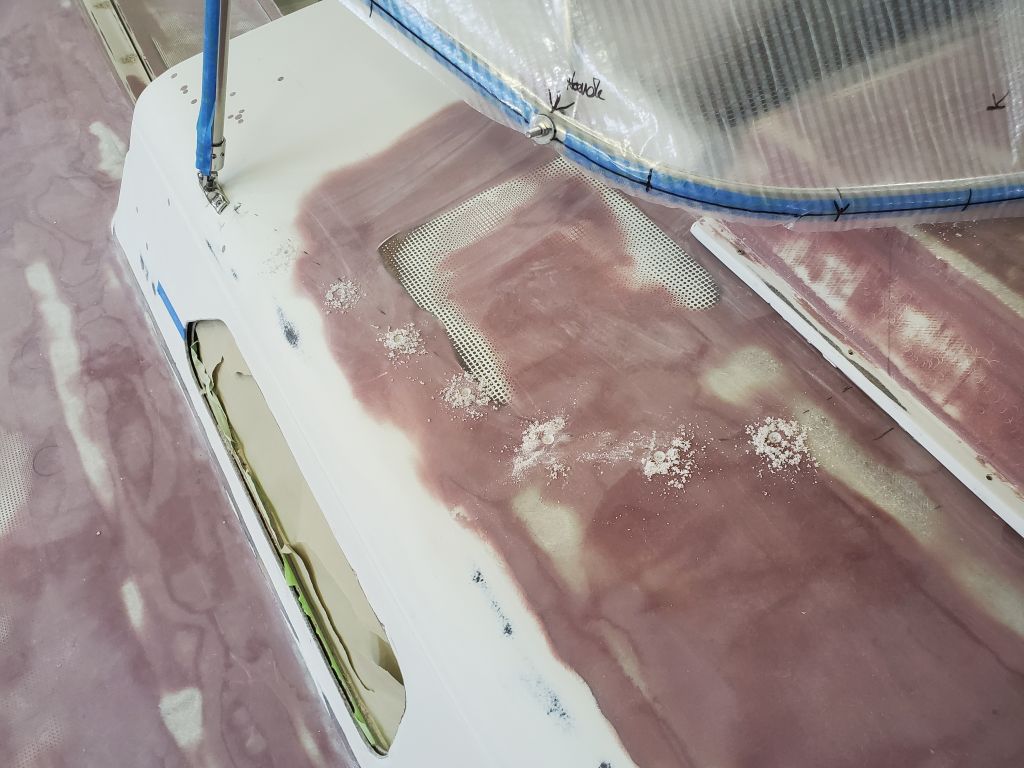
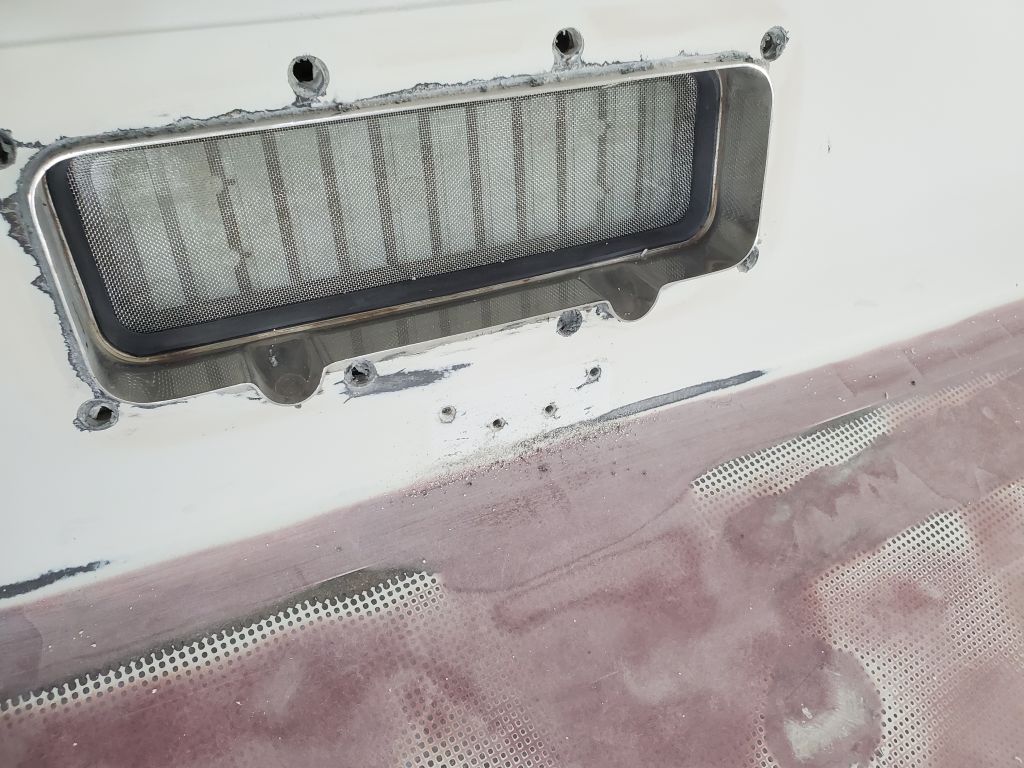
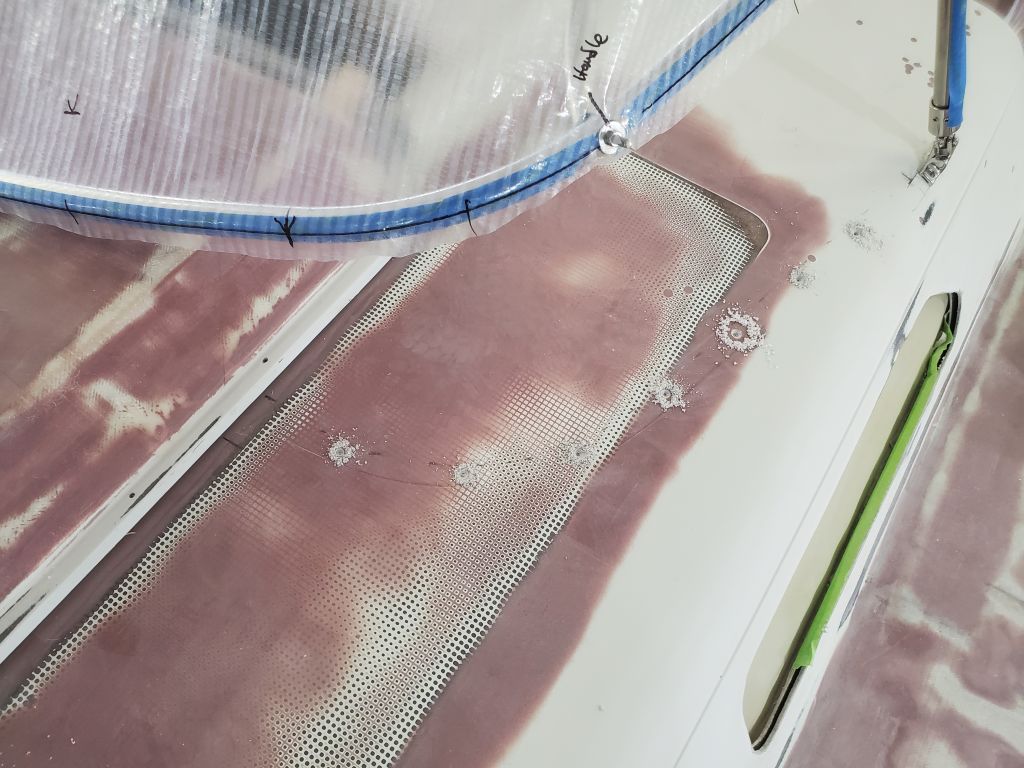
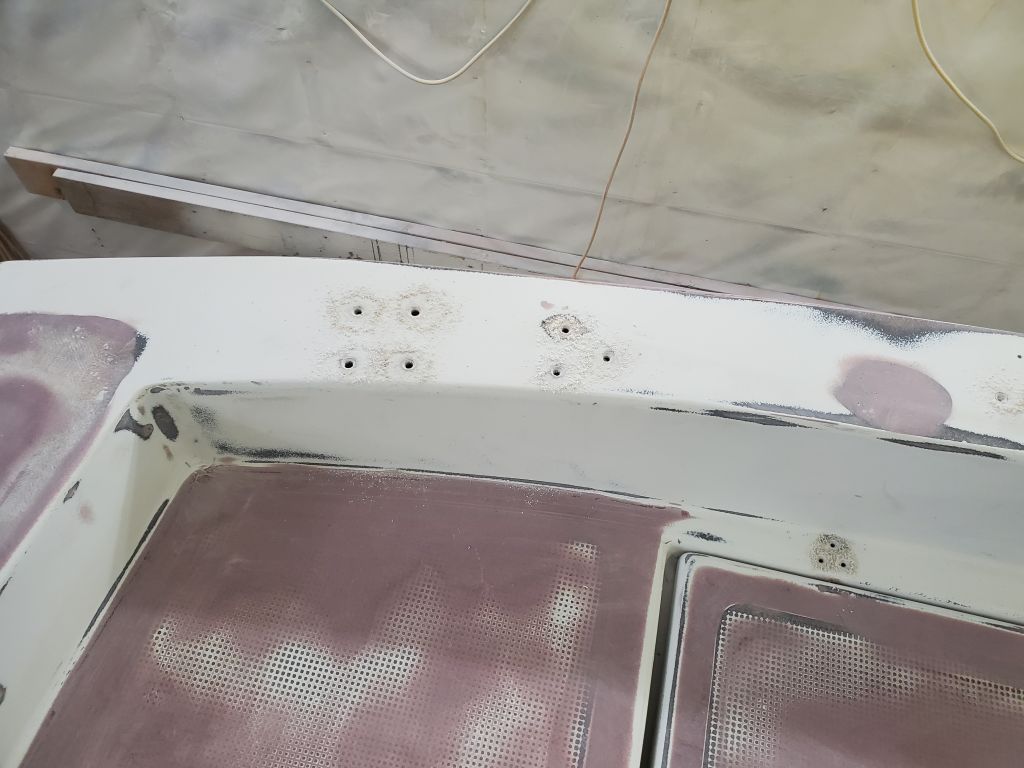
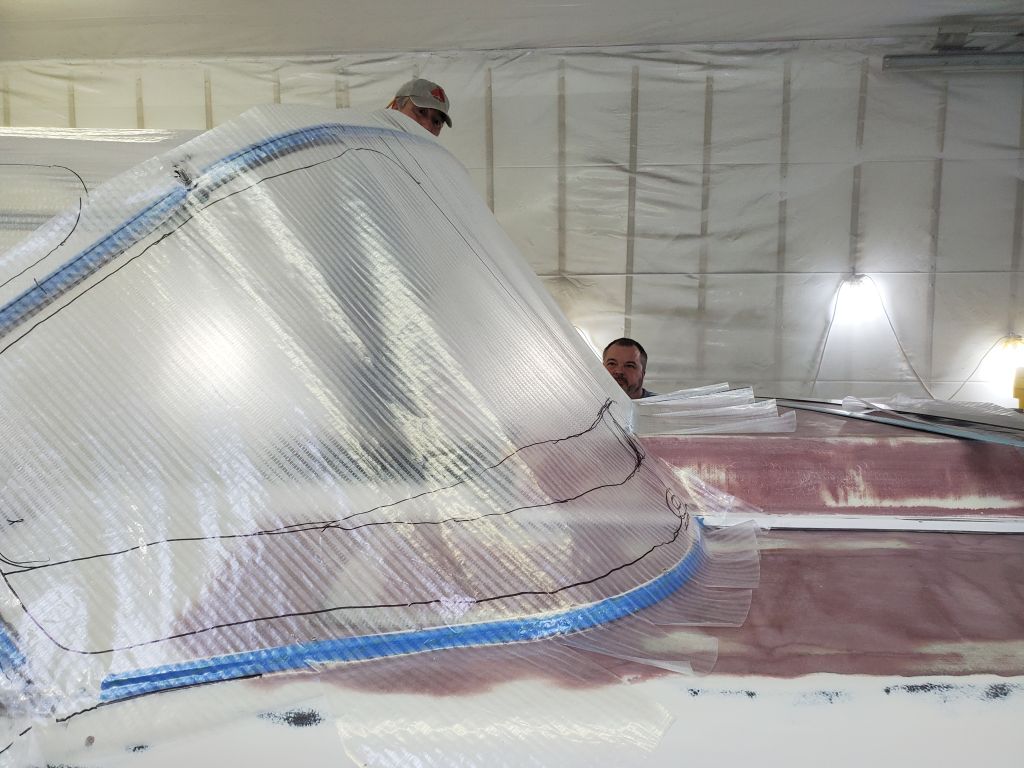
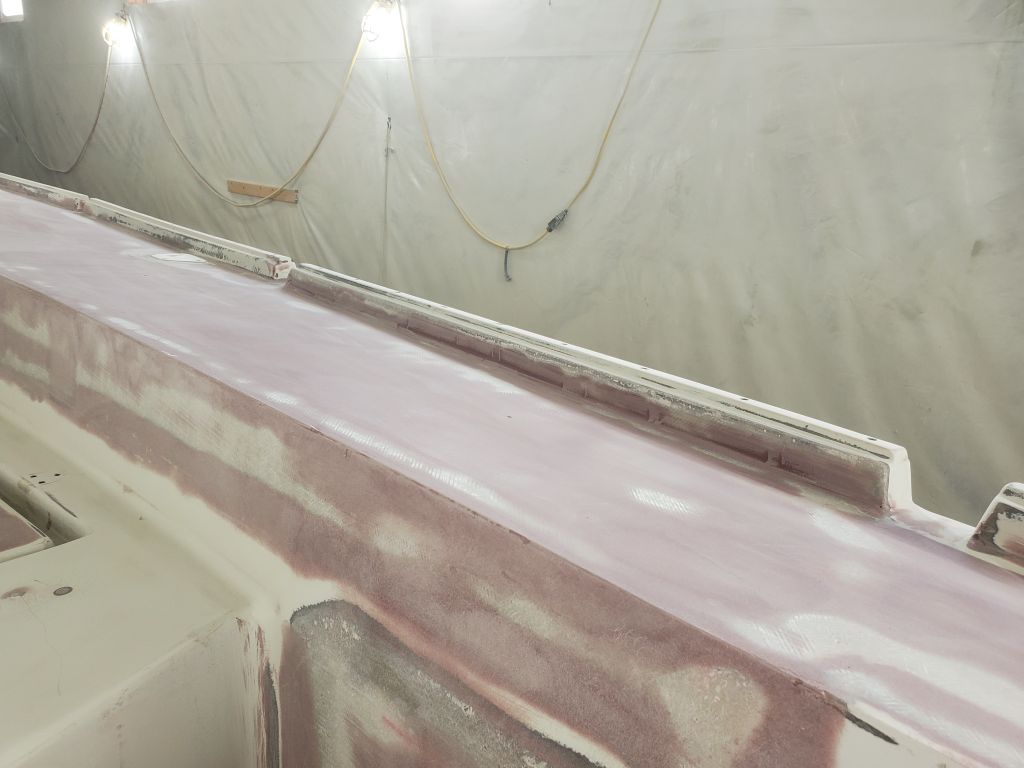
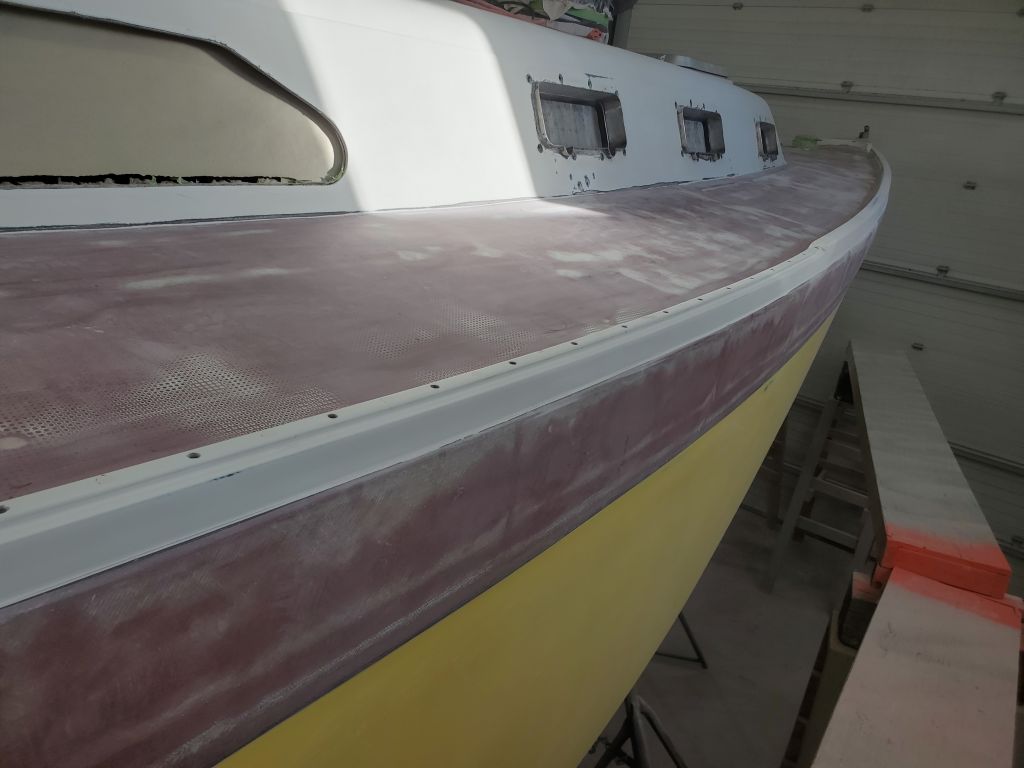
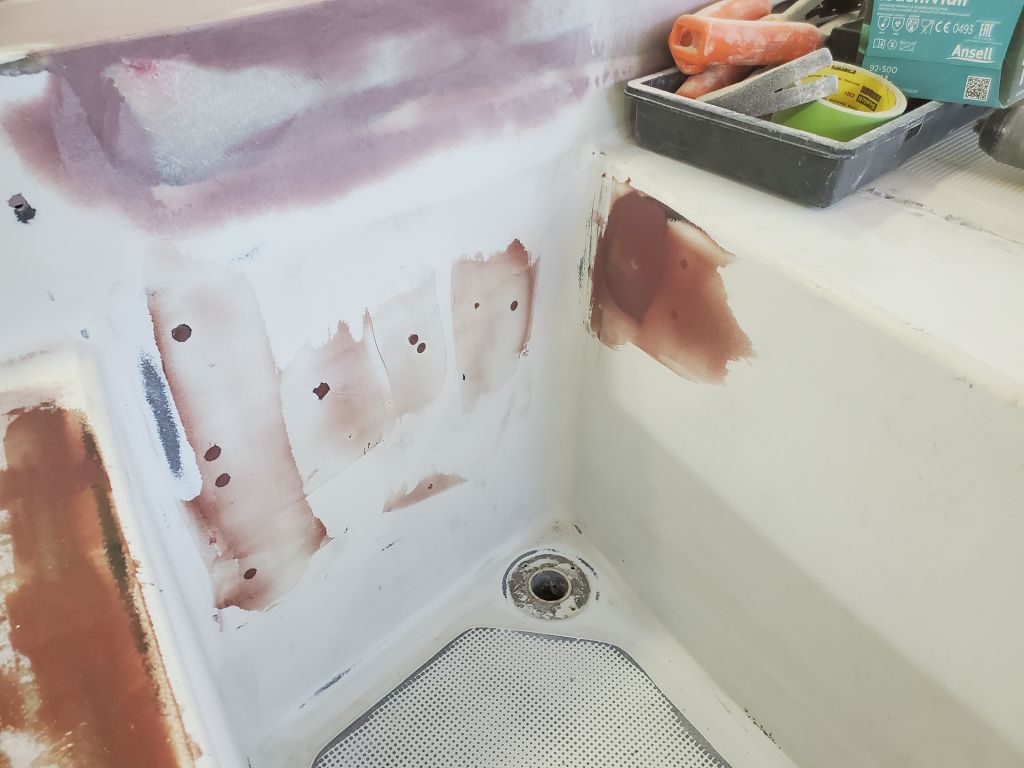
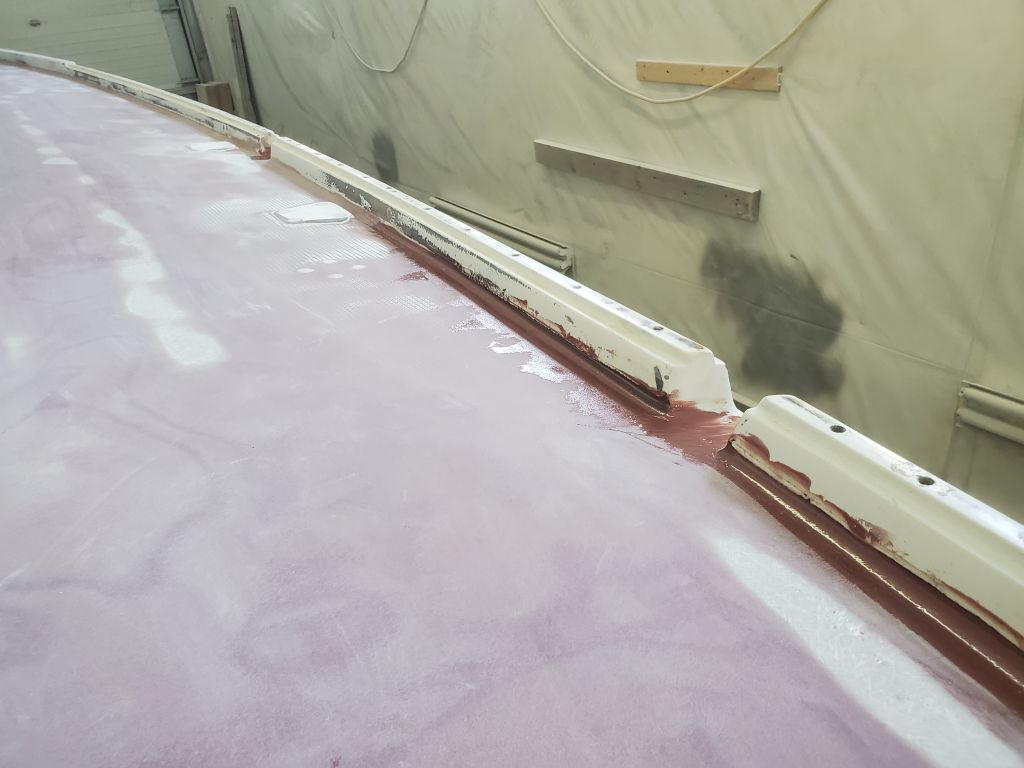
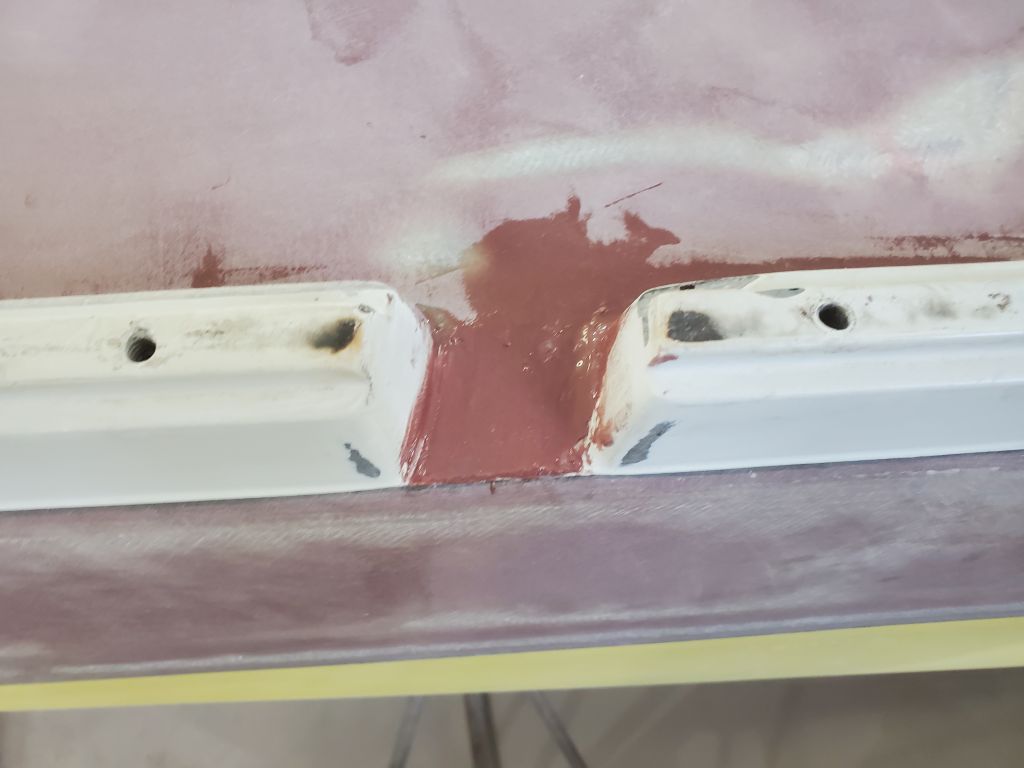
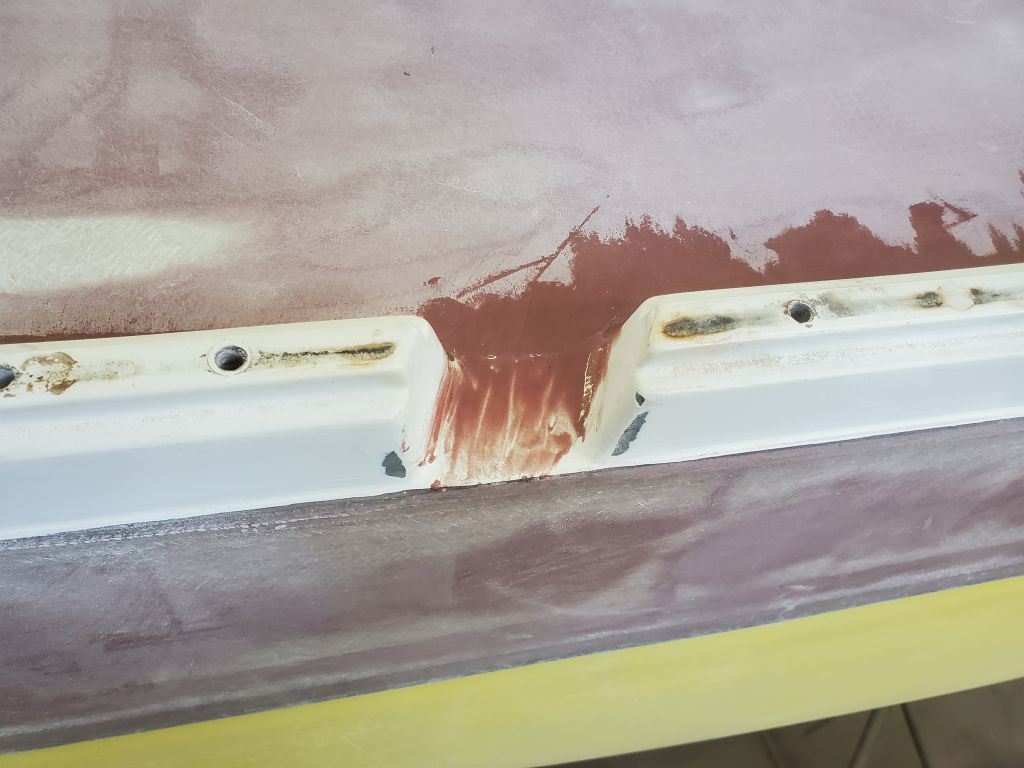
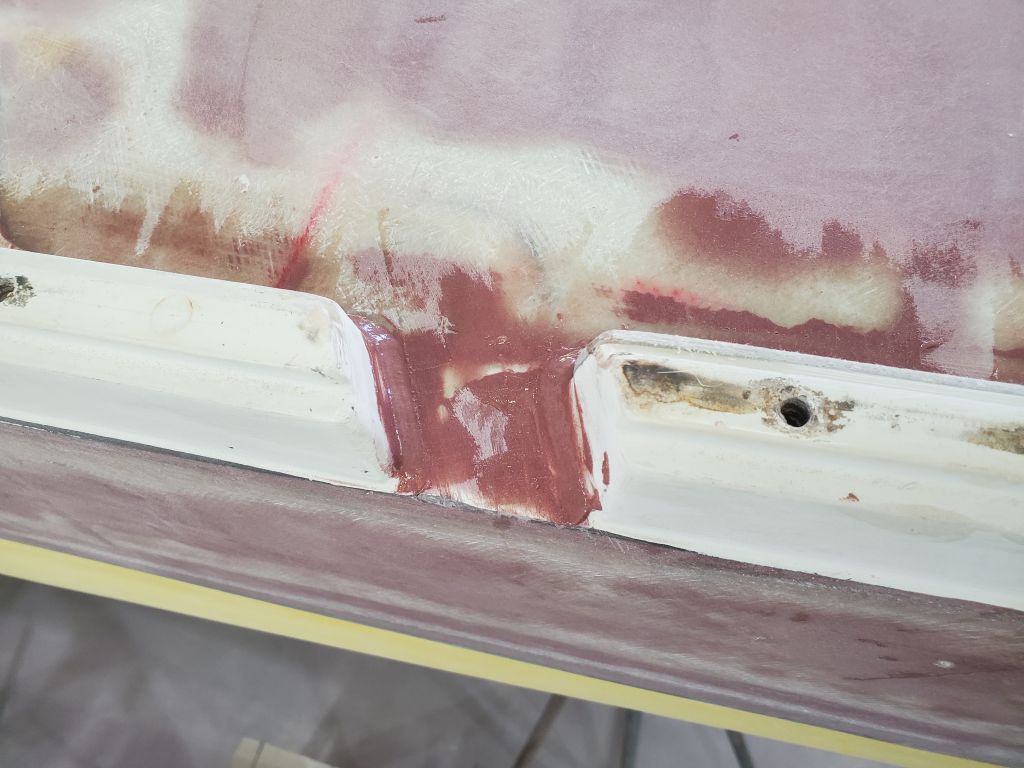
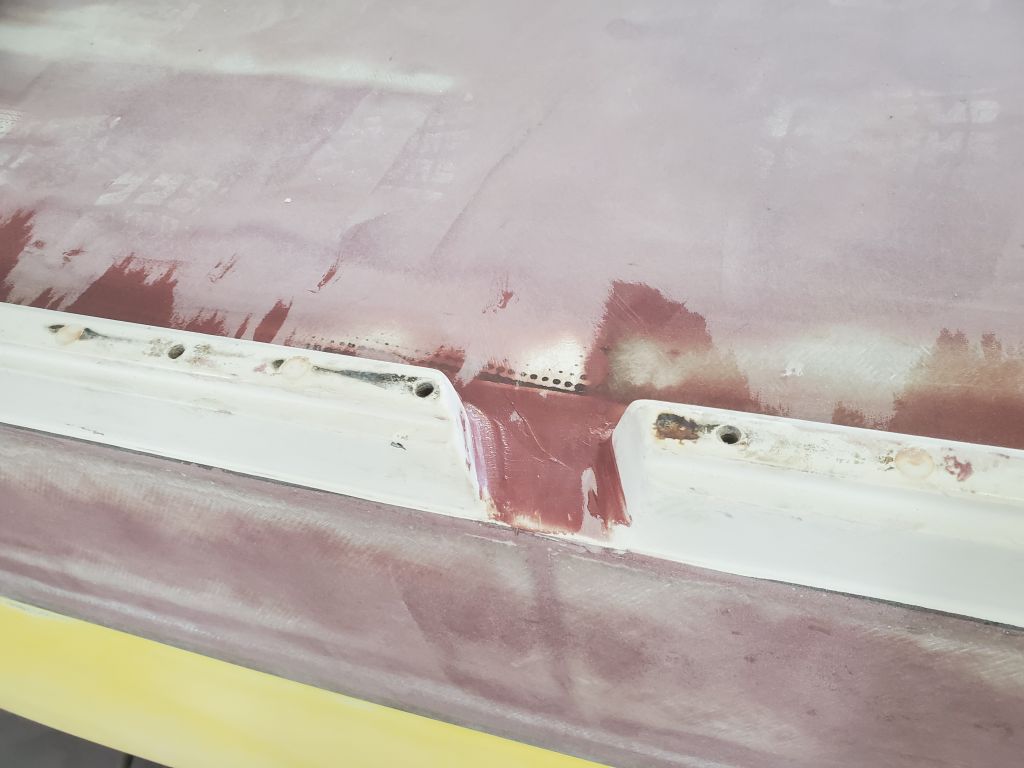
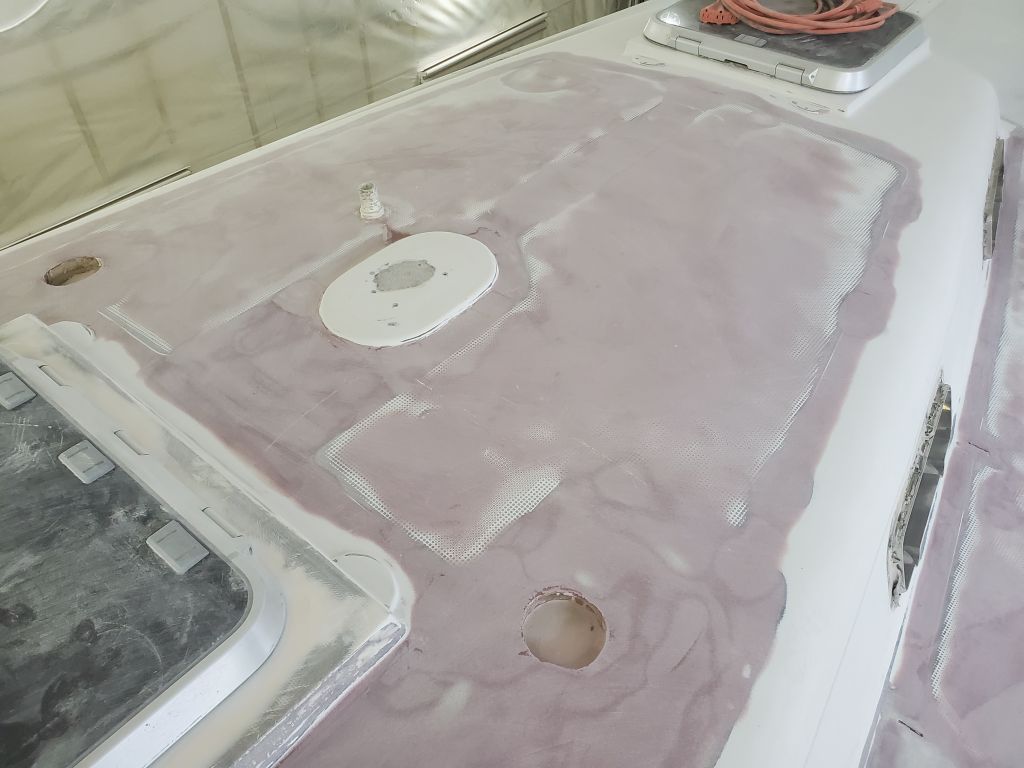
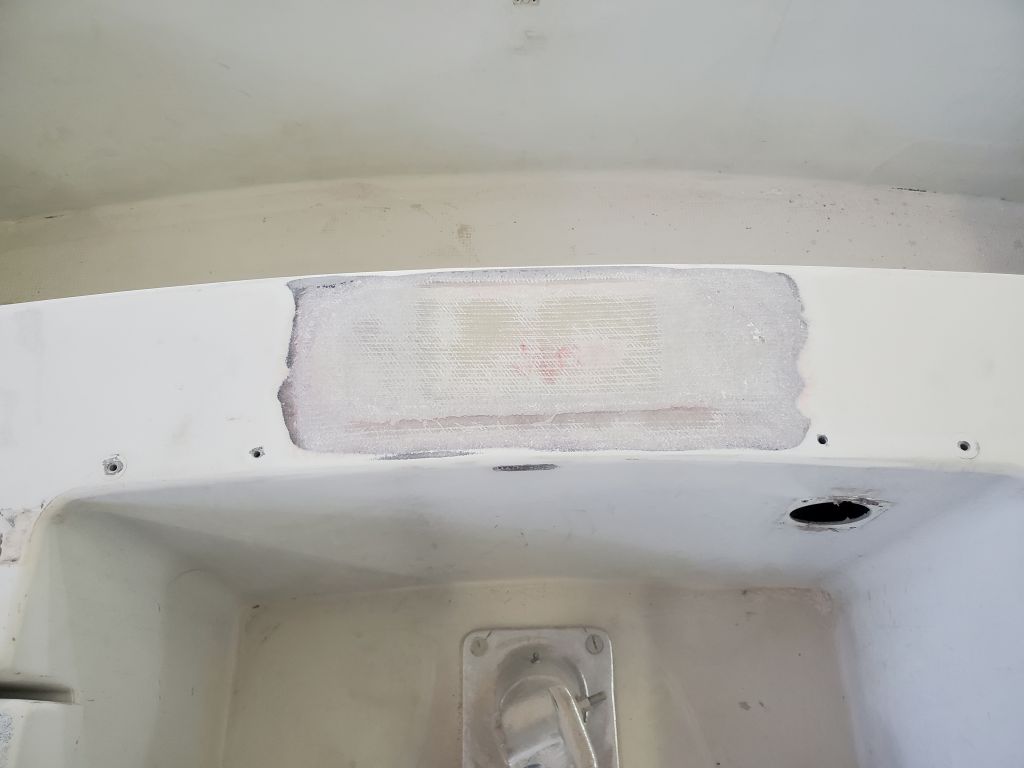
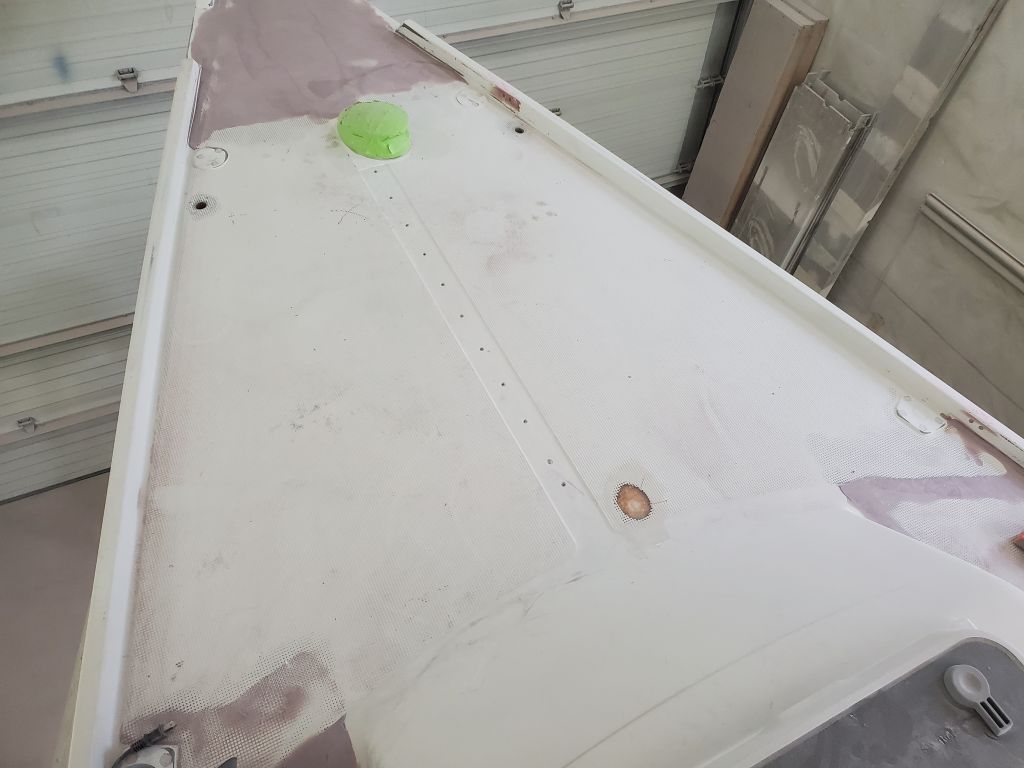
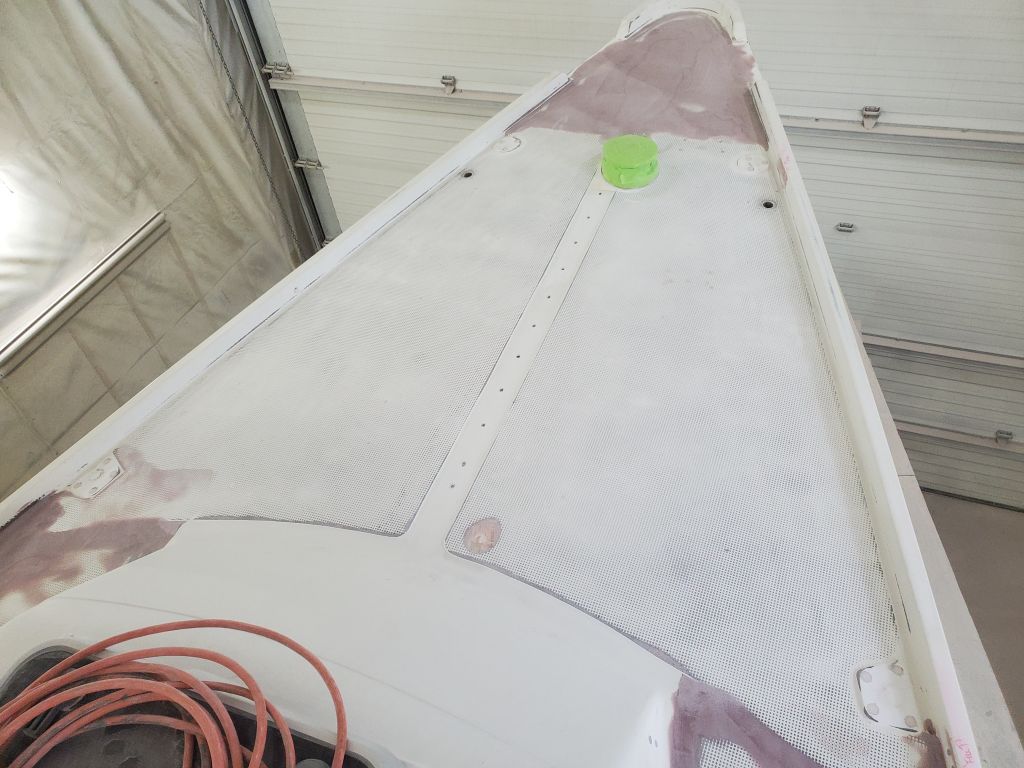
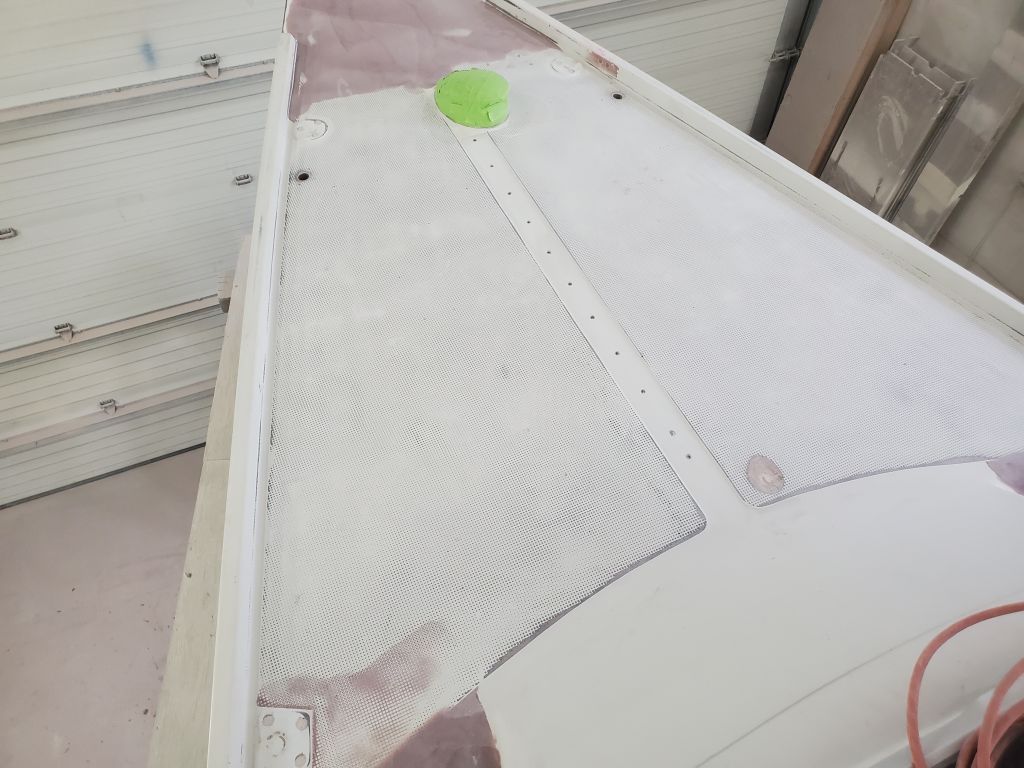
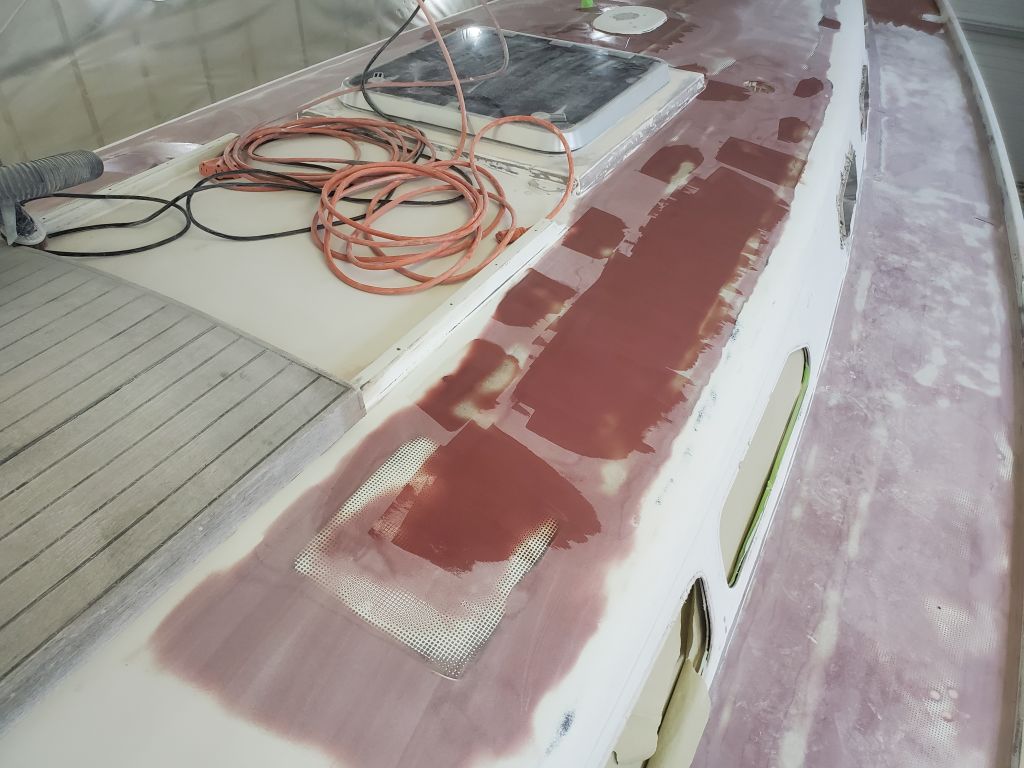
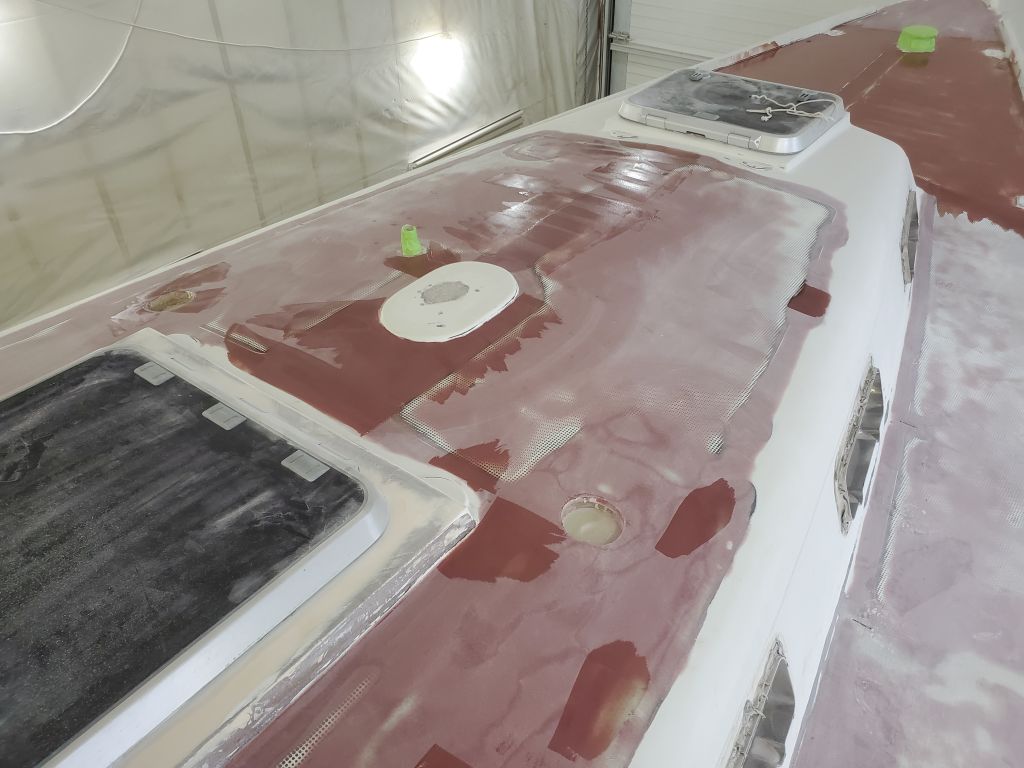
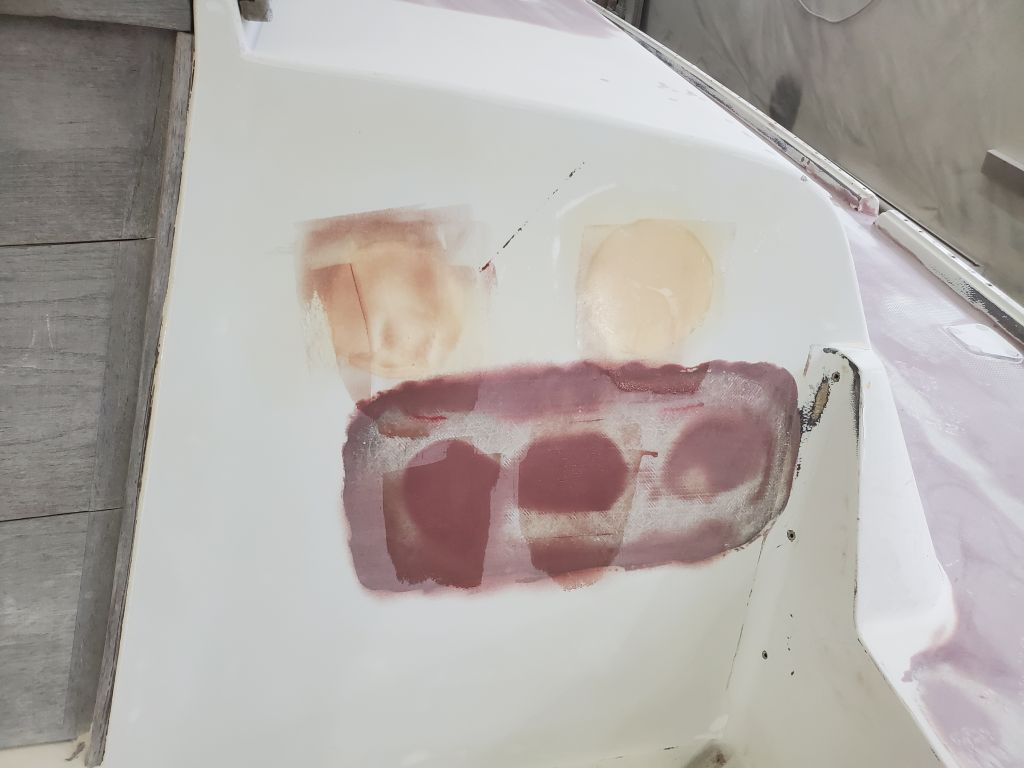
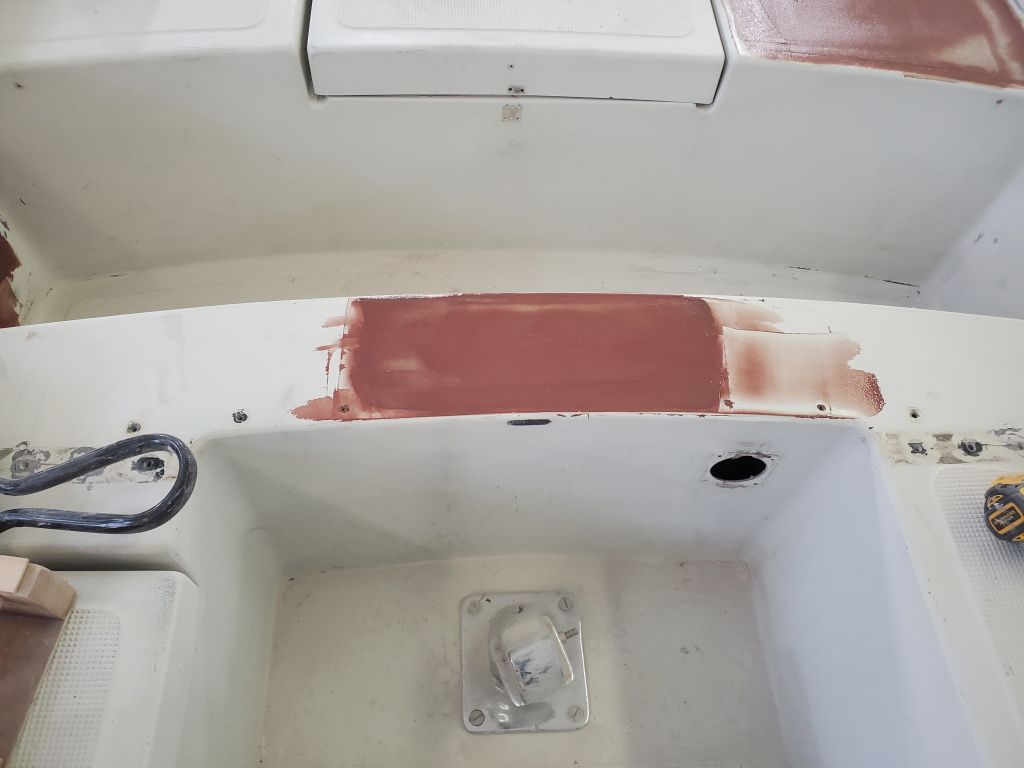
Unfortunately the only way forward was to re-make the bent plastic tracks that secure the dodger to the deck and move them forward (since they’d been cut to length, moving them forward as is couldn’t work), which would take a couple days between getting the material and bending them at Jason’s shop. That said, the other details of the frame and dodger were just where everyone wanted, and the process had advanced substantially. I had a few new holes in the coachroof to fill, where the tracks had been installed for the fitting, but fortunately that was no problem at this stage. The new pattern would happen early next week. In the meantime, I’d press on with the remaining prepwork I had to complete to ready the boat for high-build primer soonest.