(page 163 of 167)

Aventura 30

< Back to Aventura

Friday

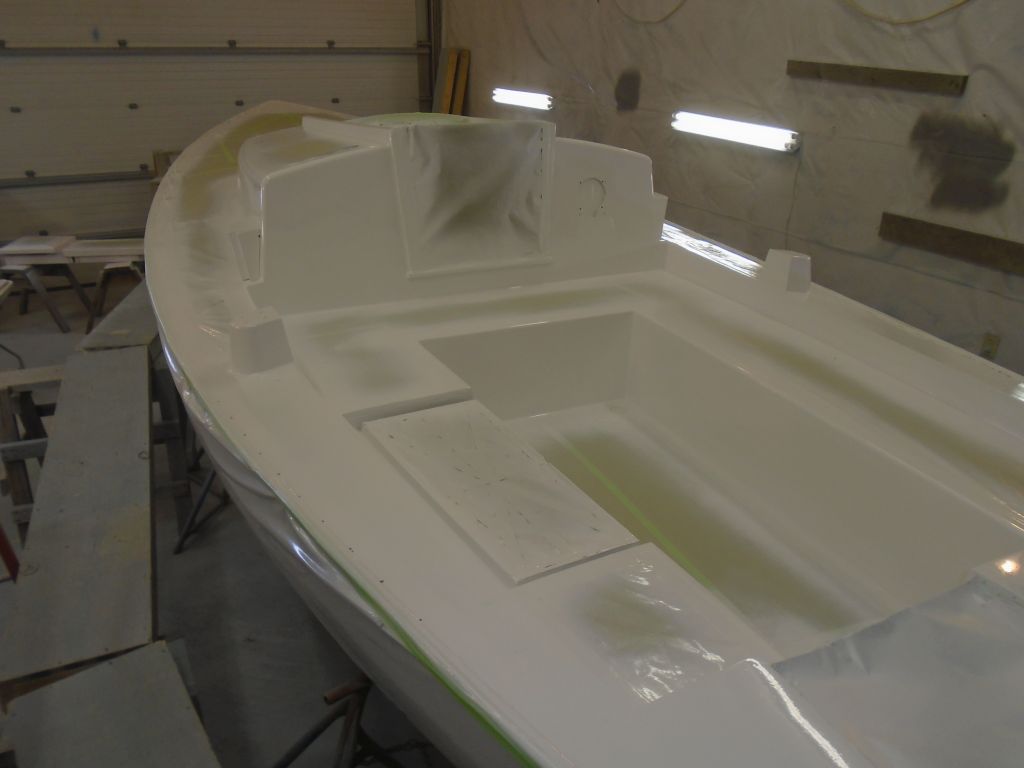
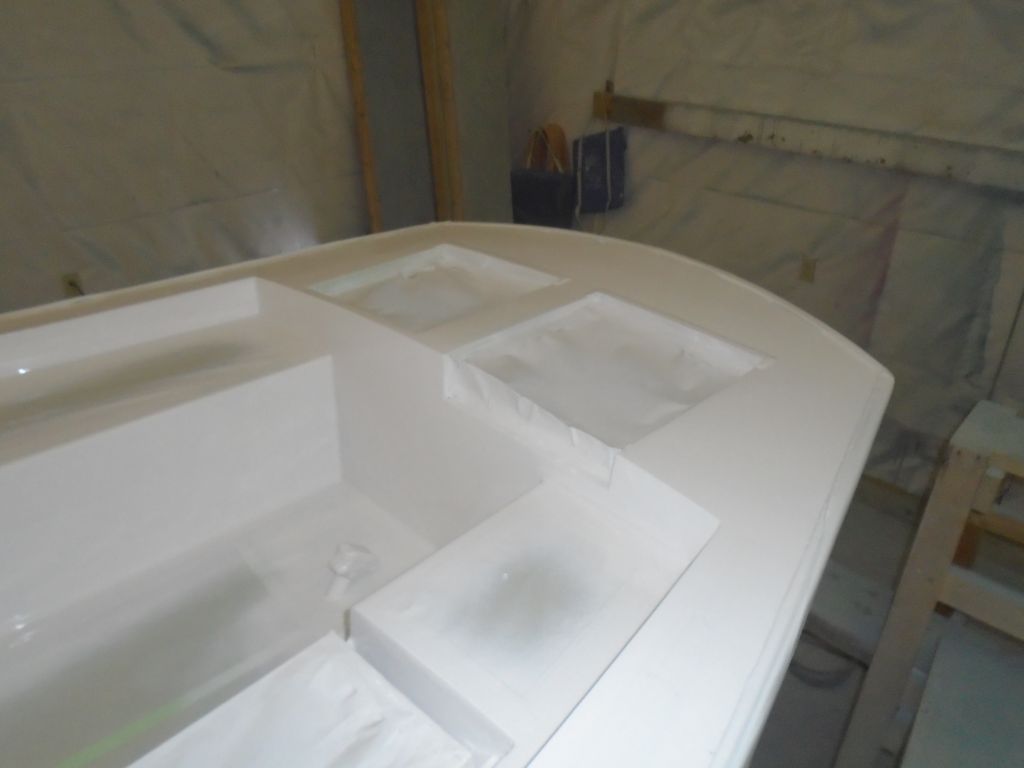
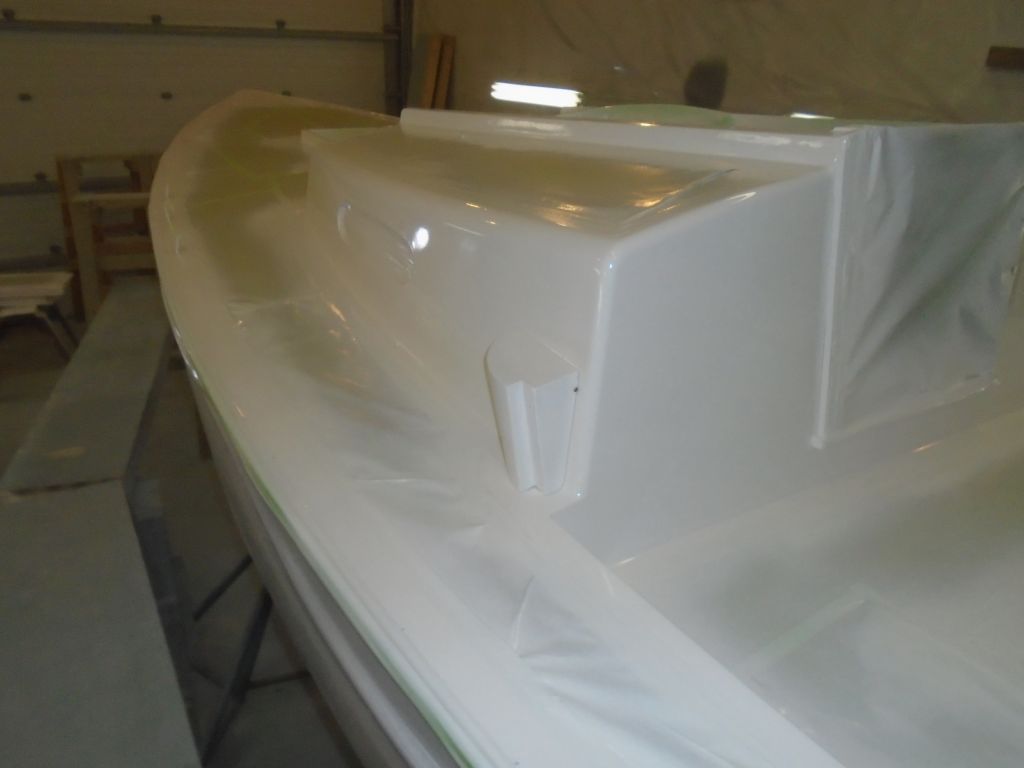
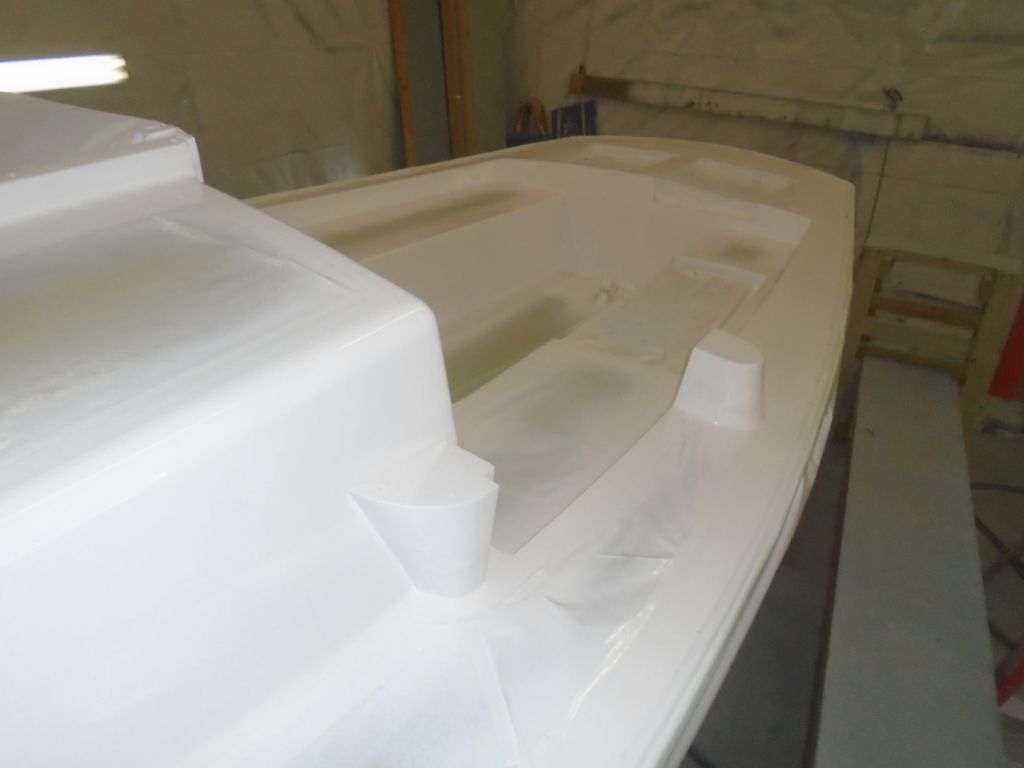
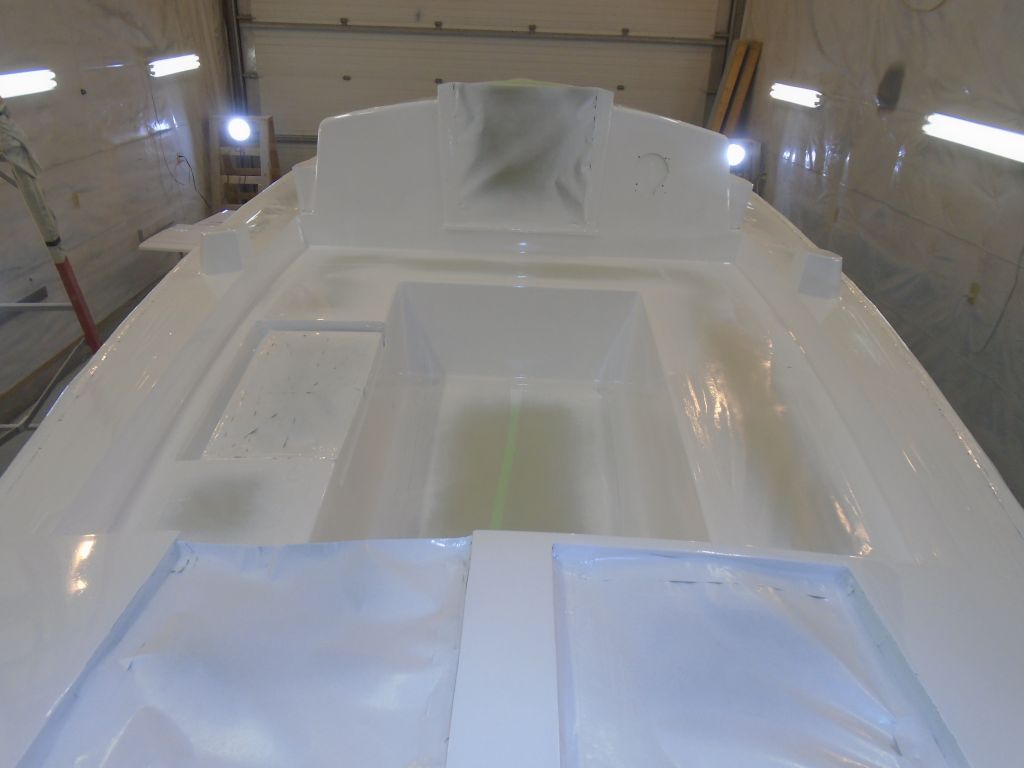
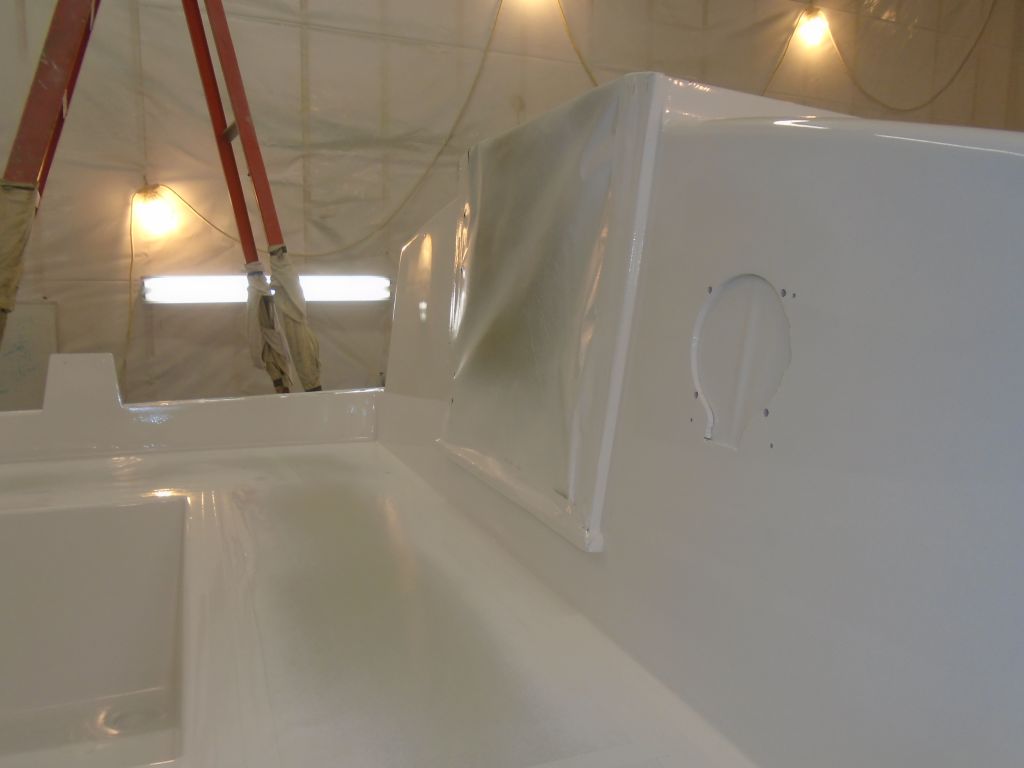
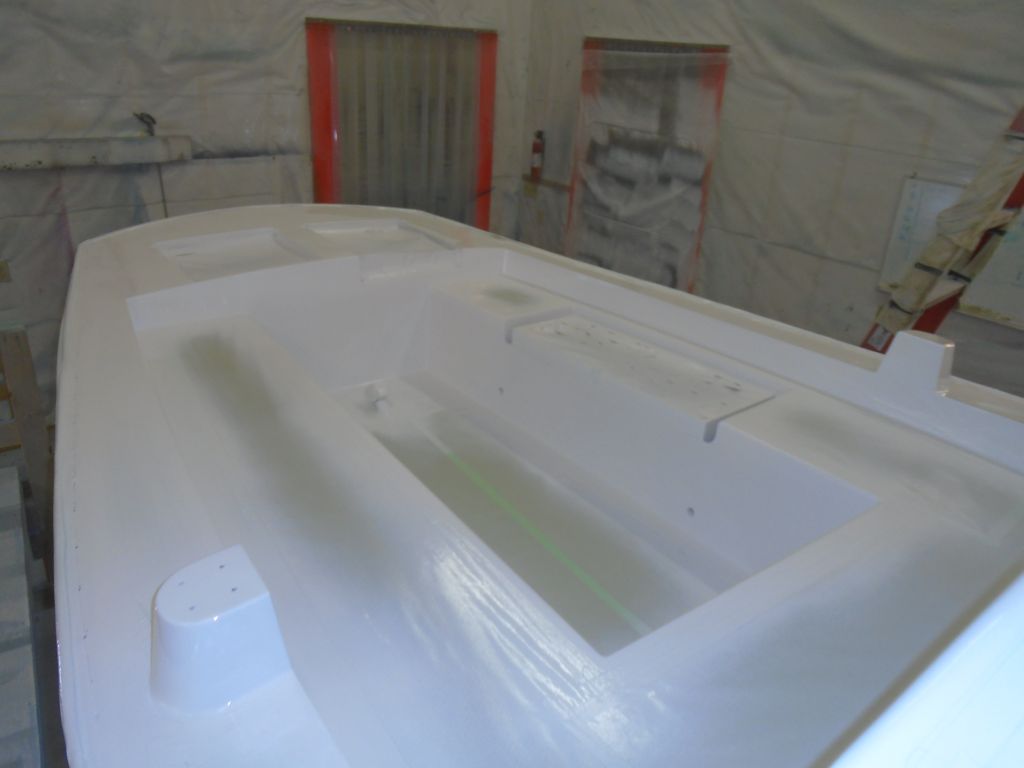
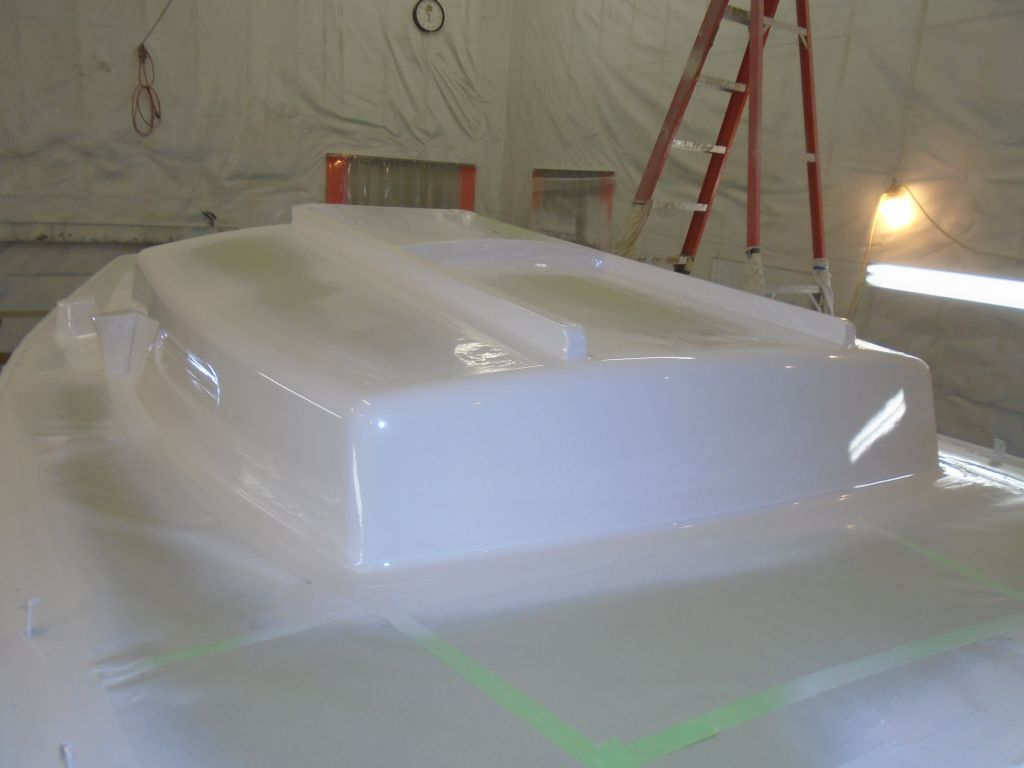
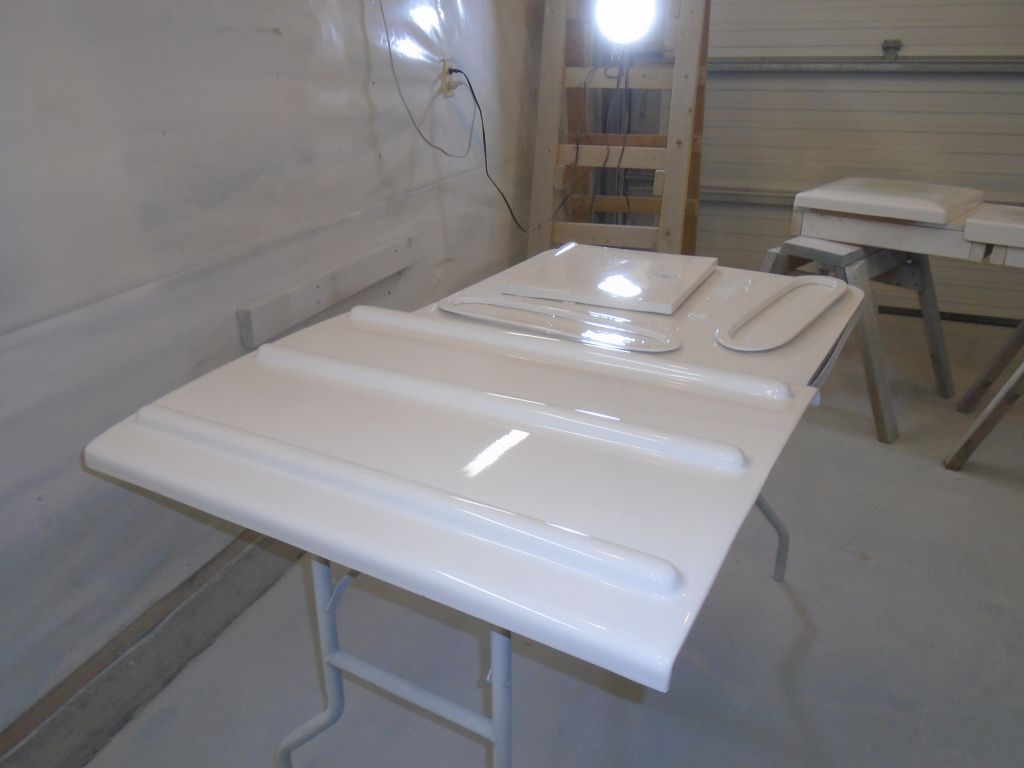
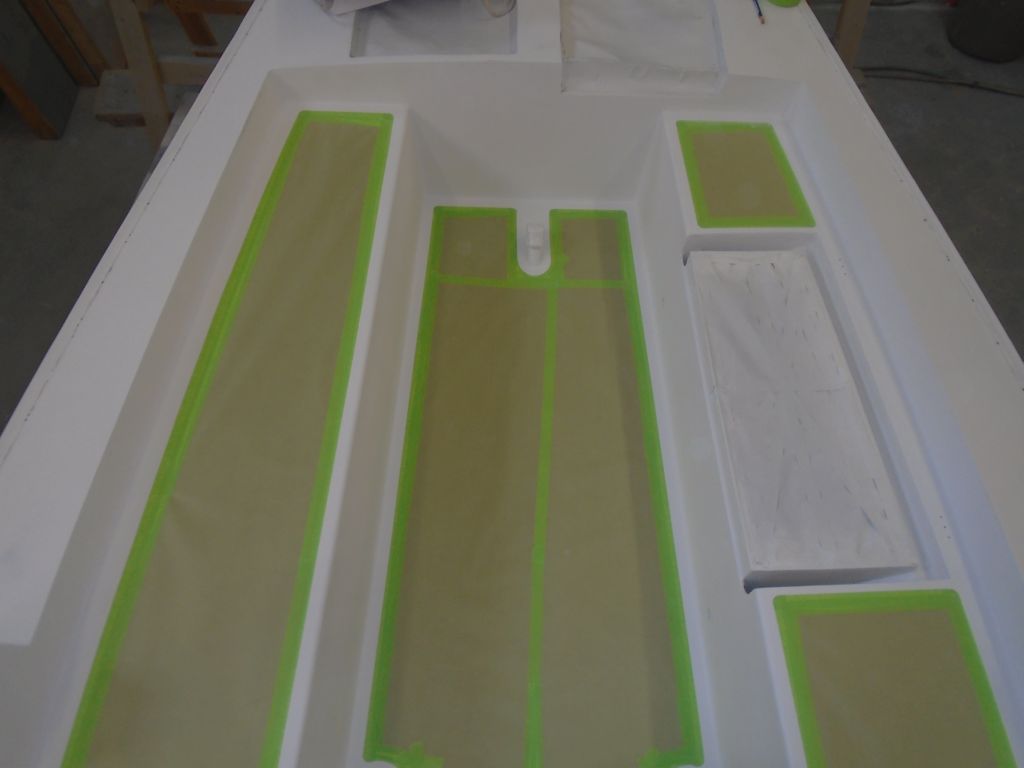
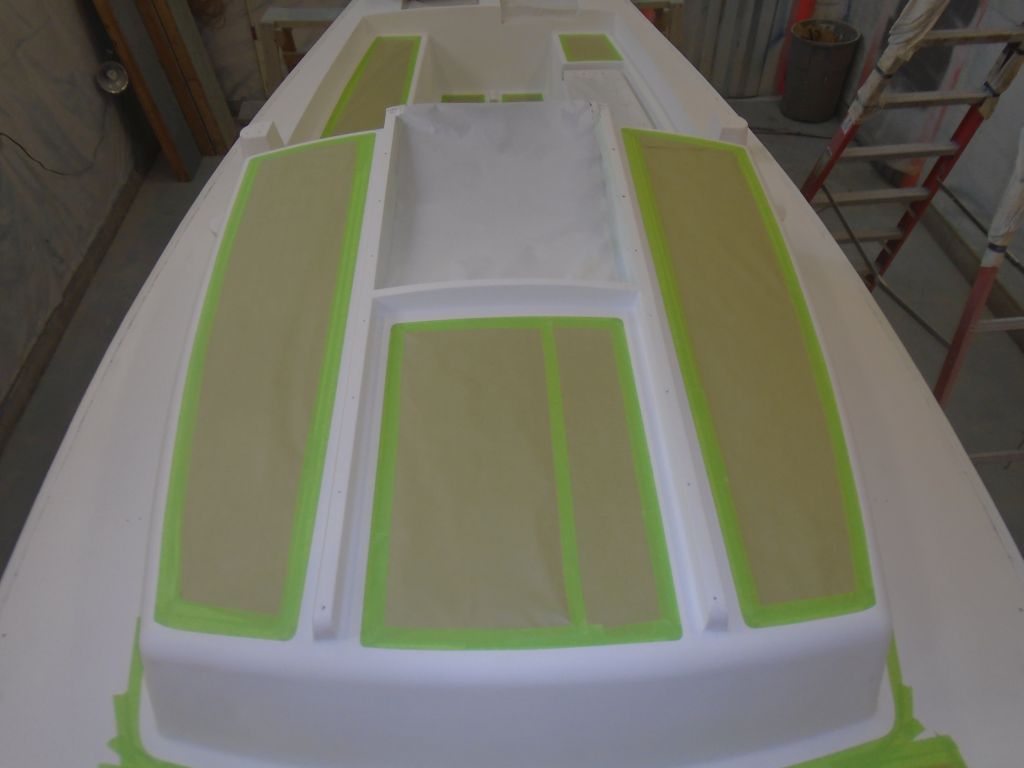
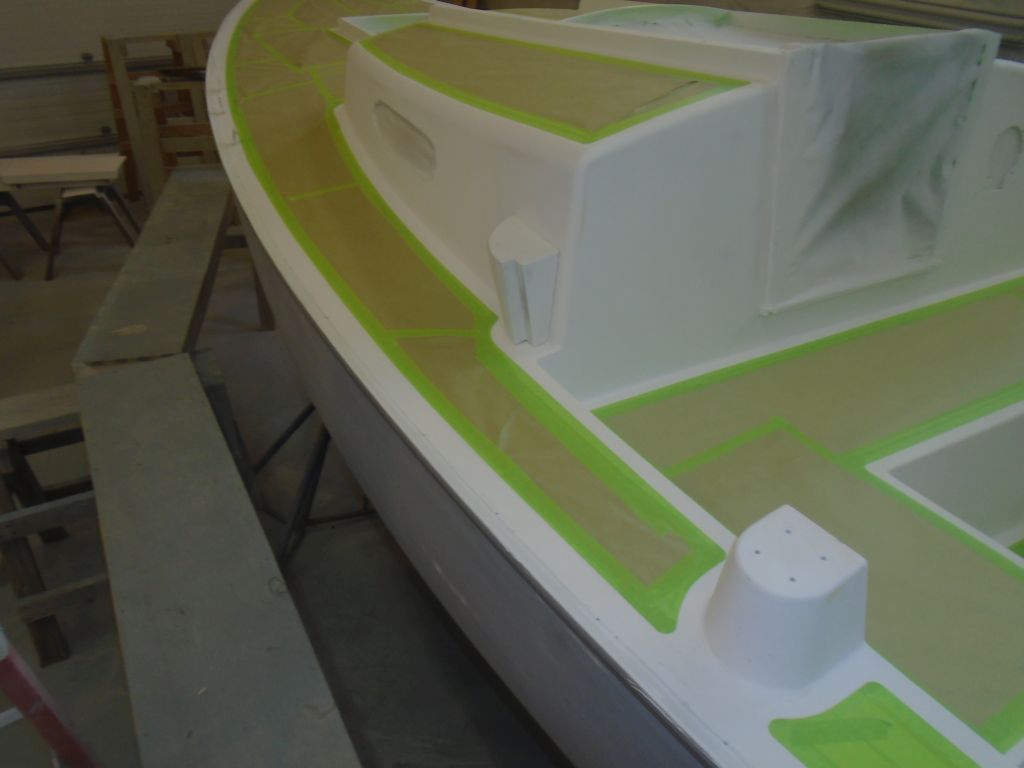
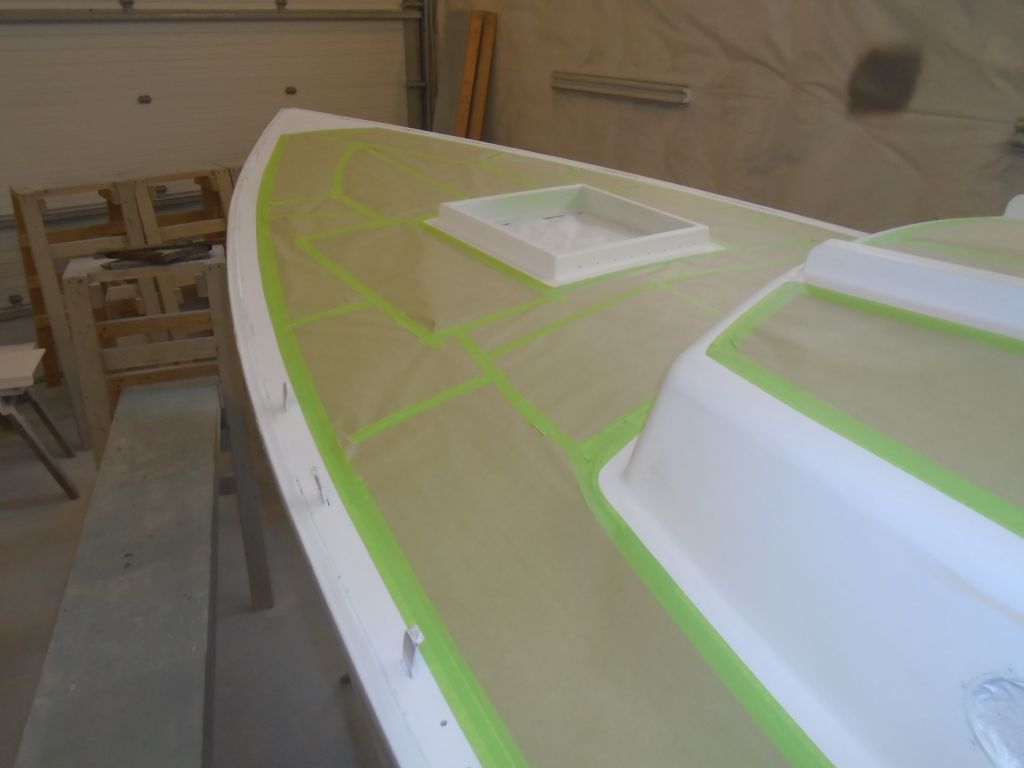
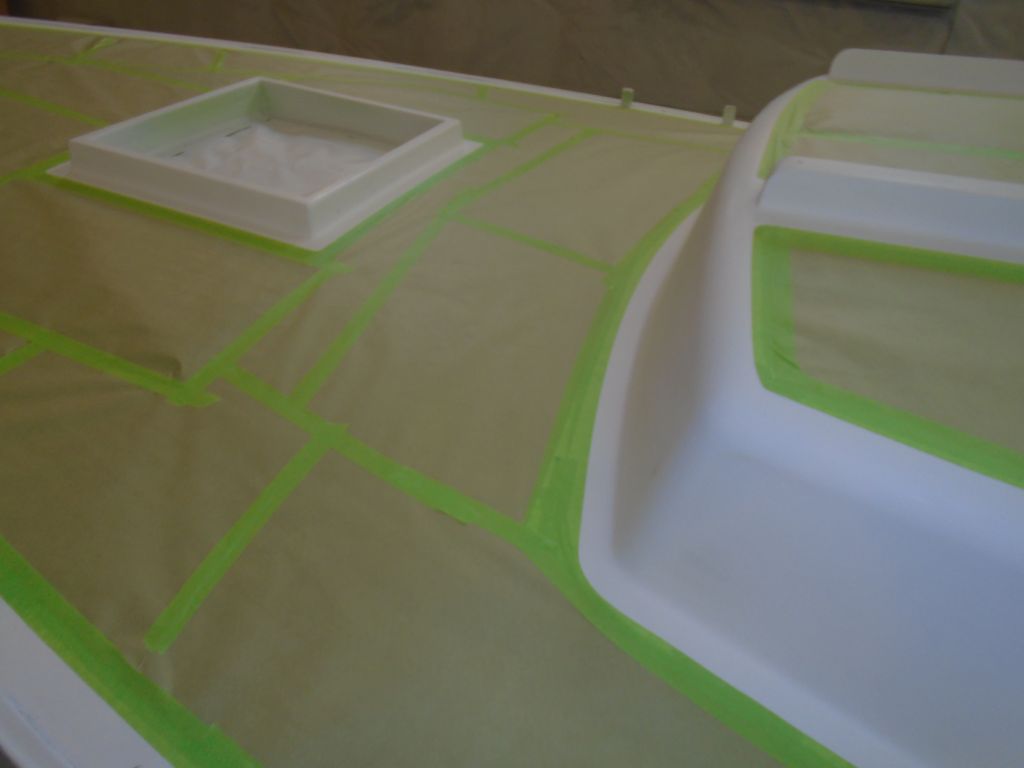
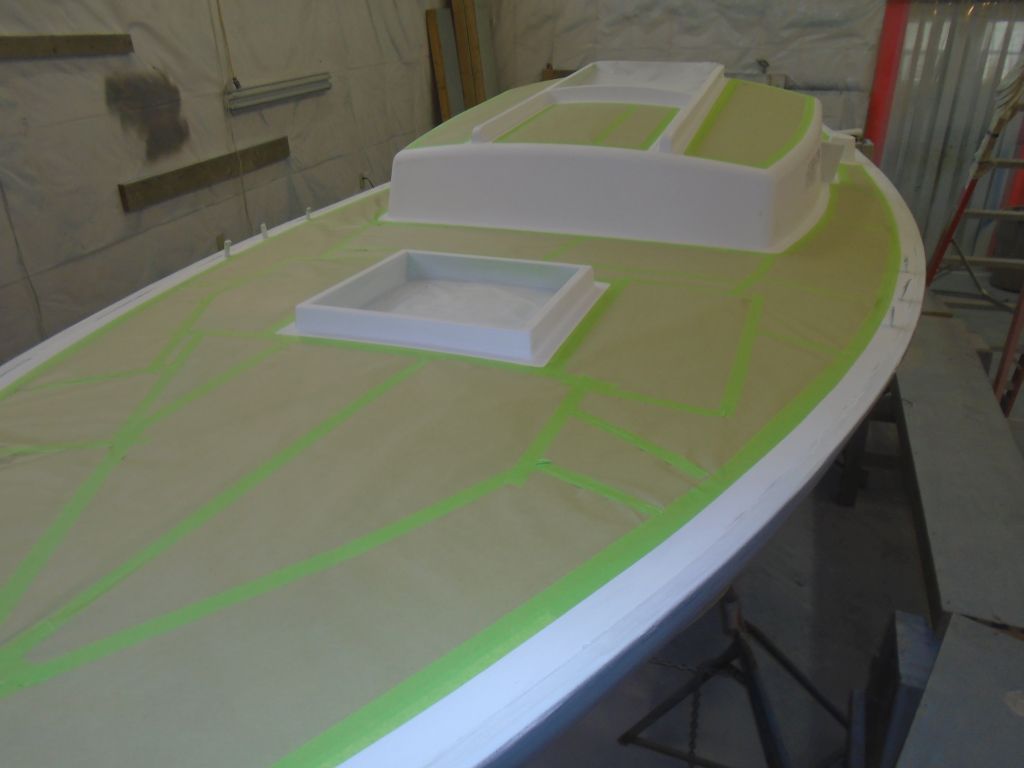
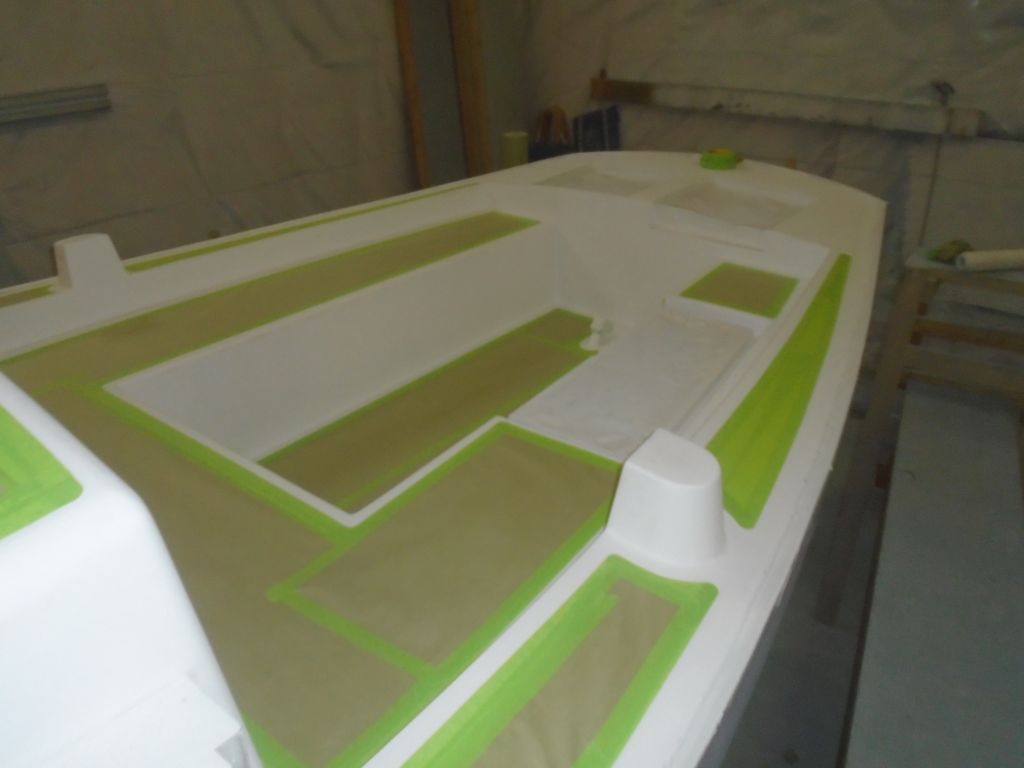
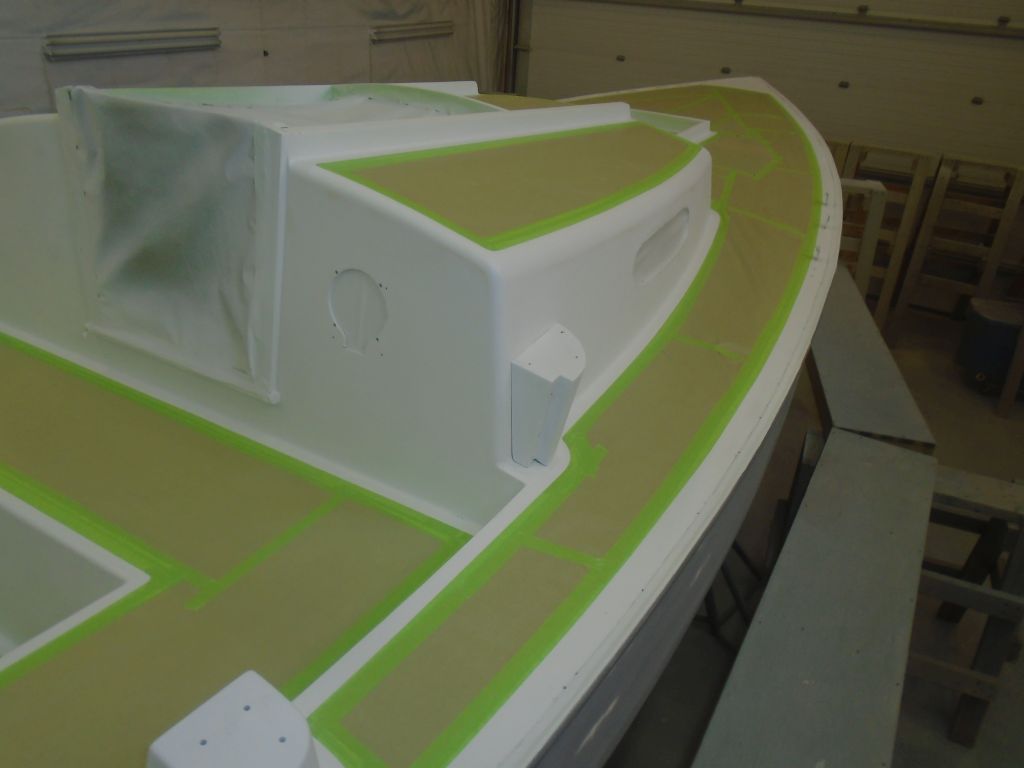
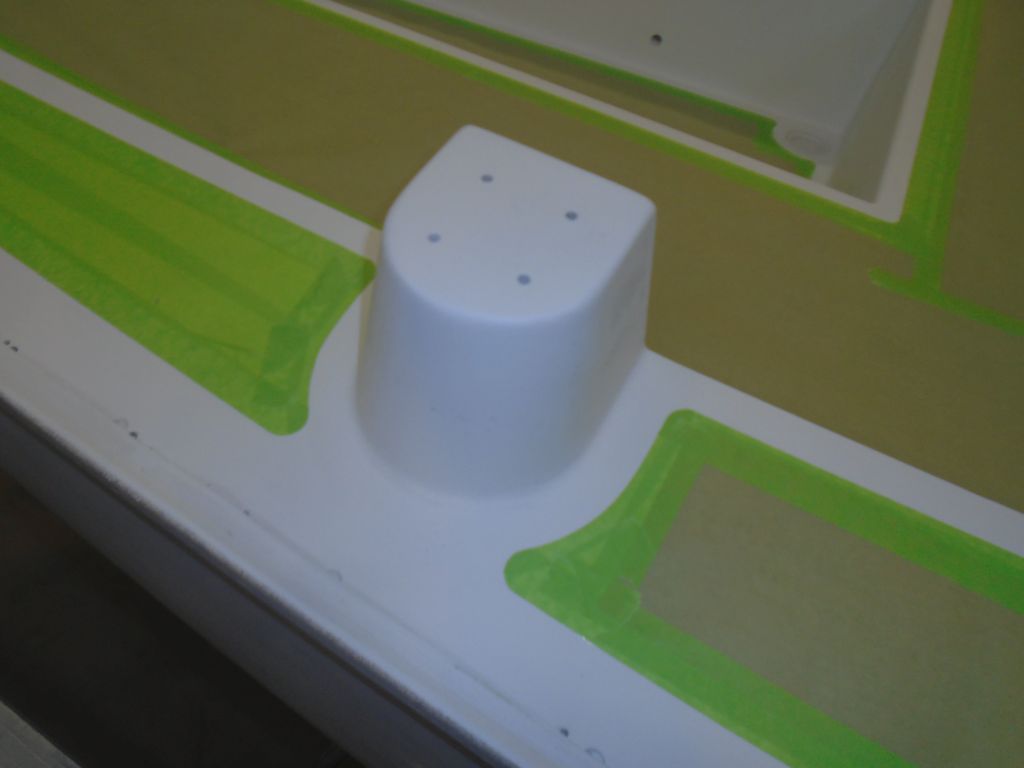
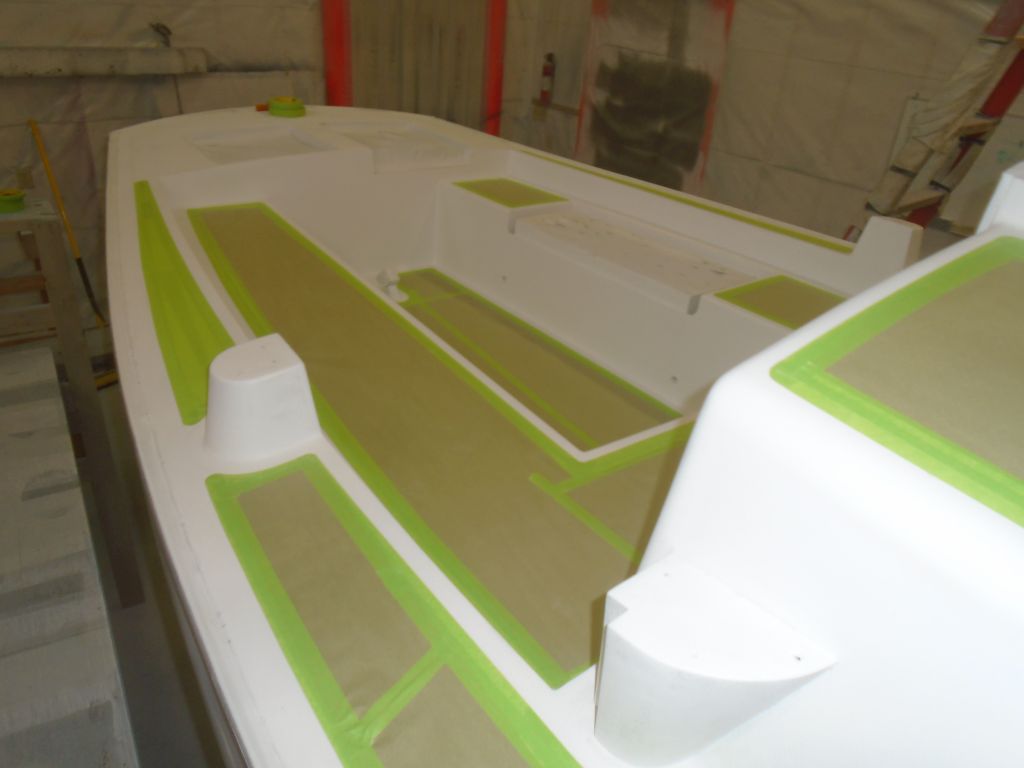
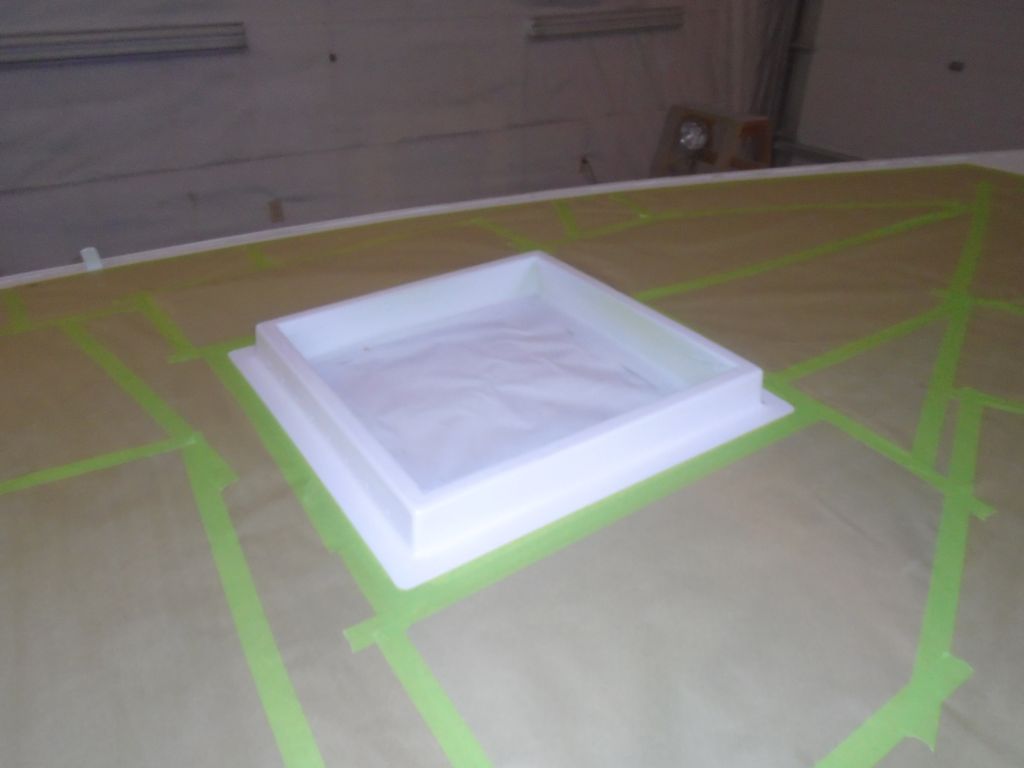
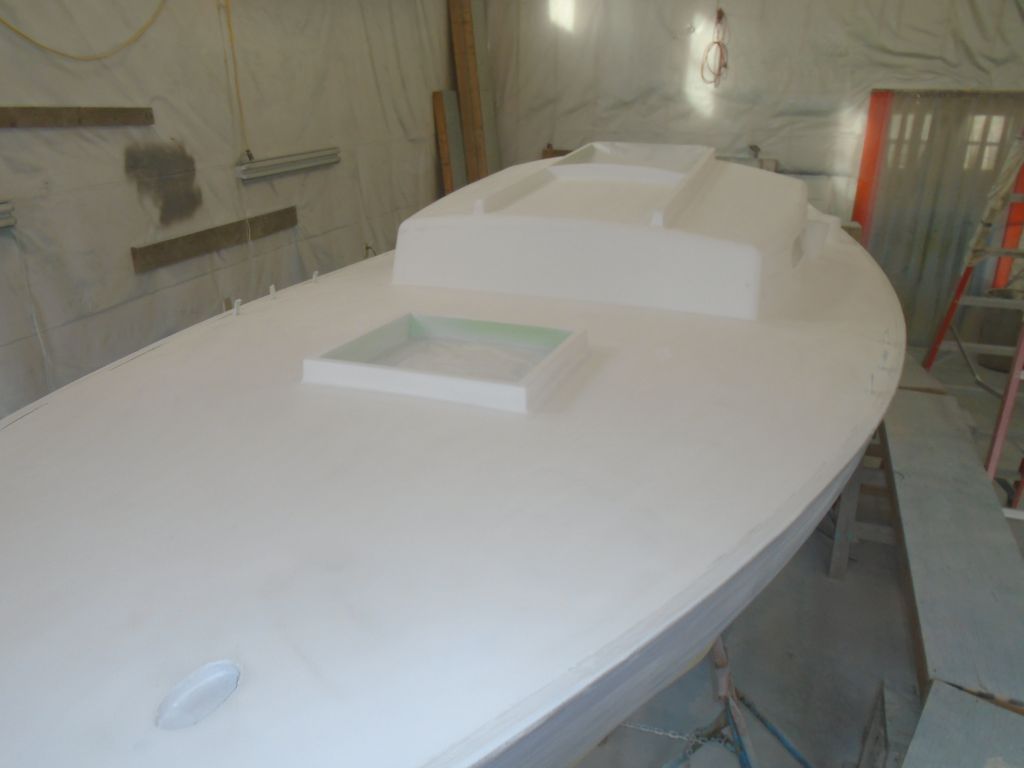
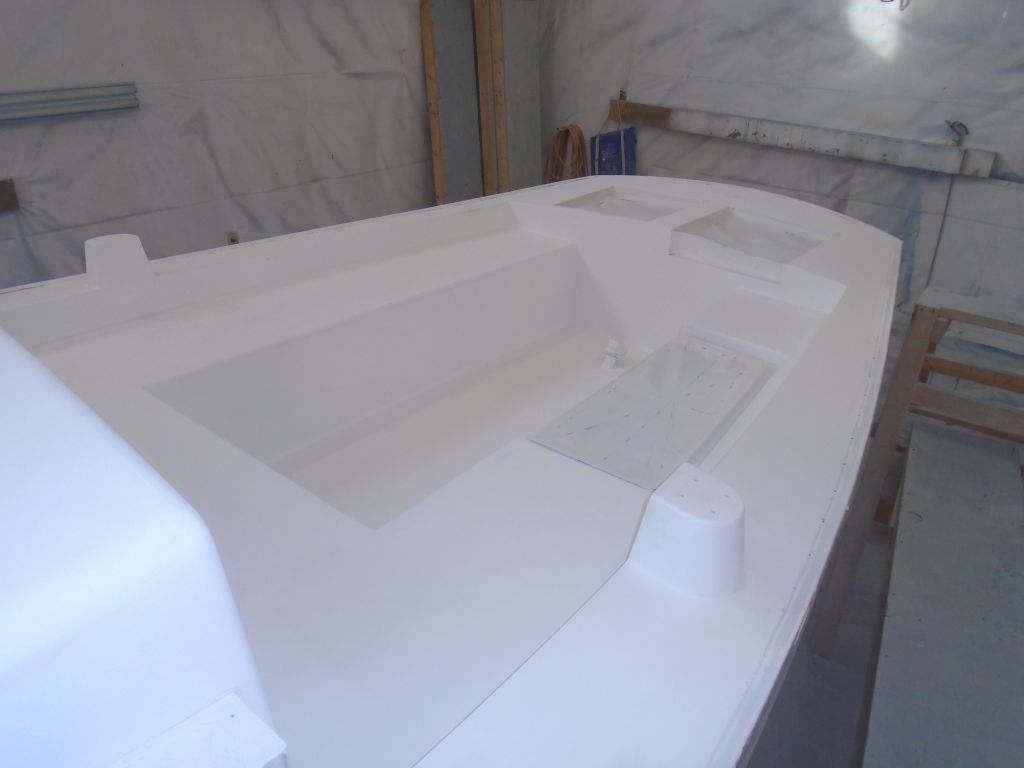
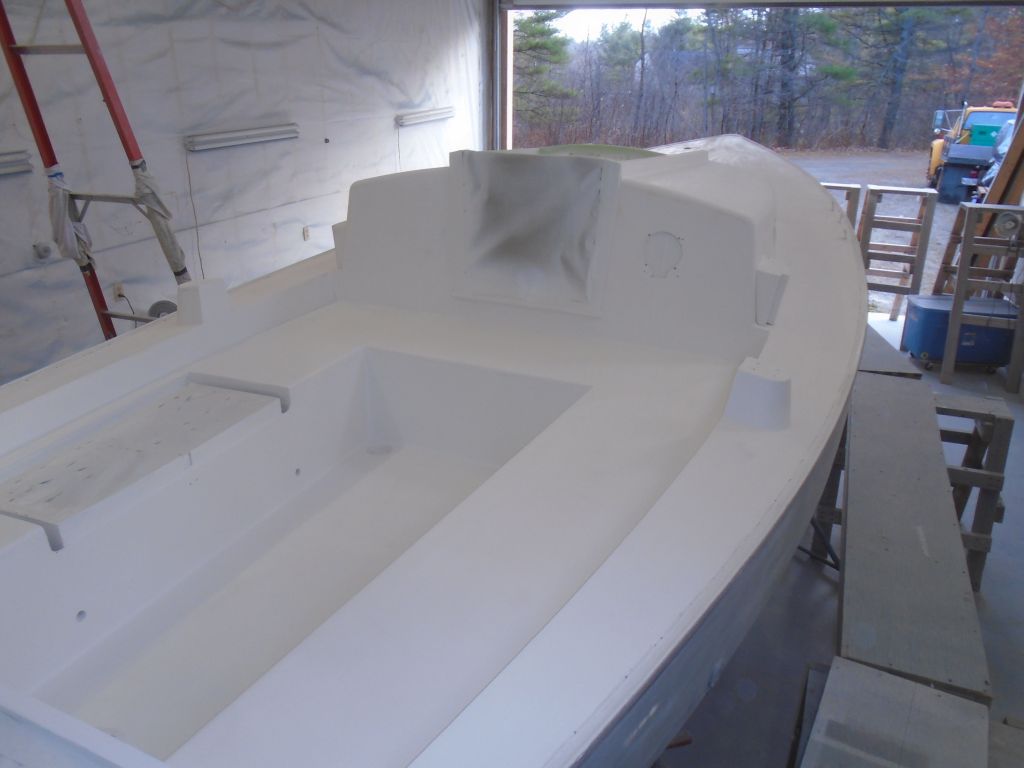
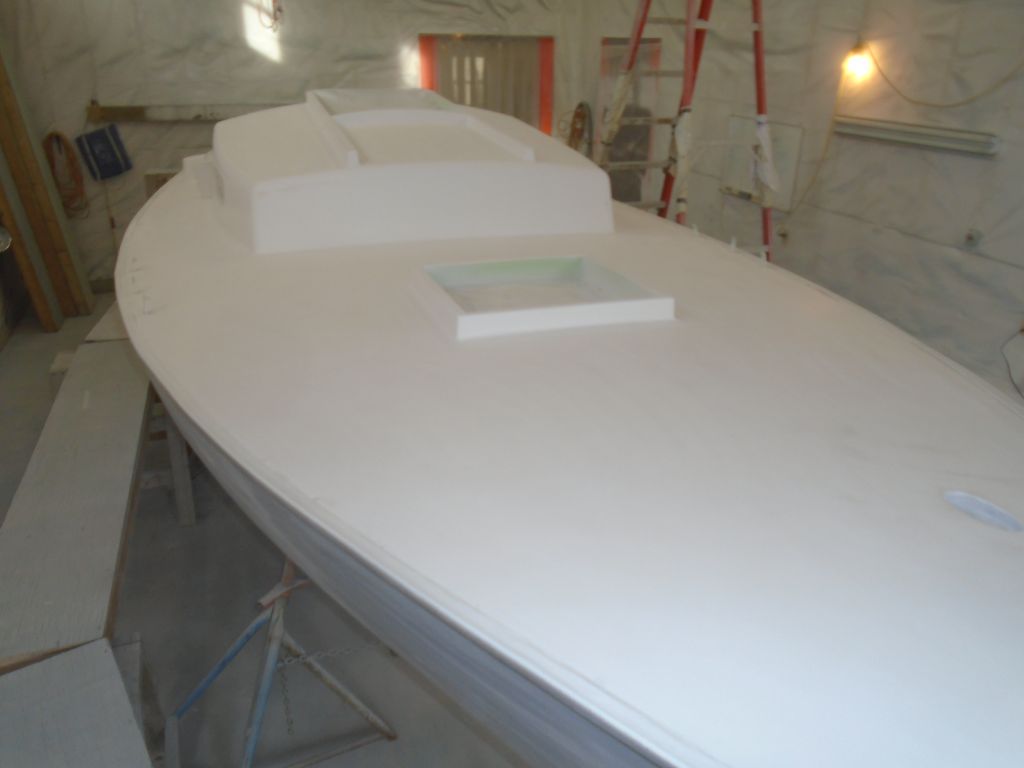
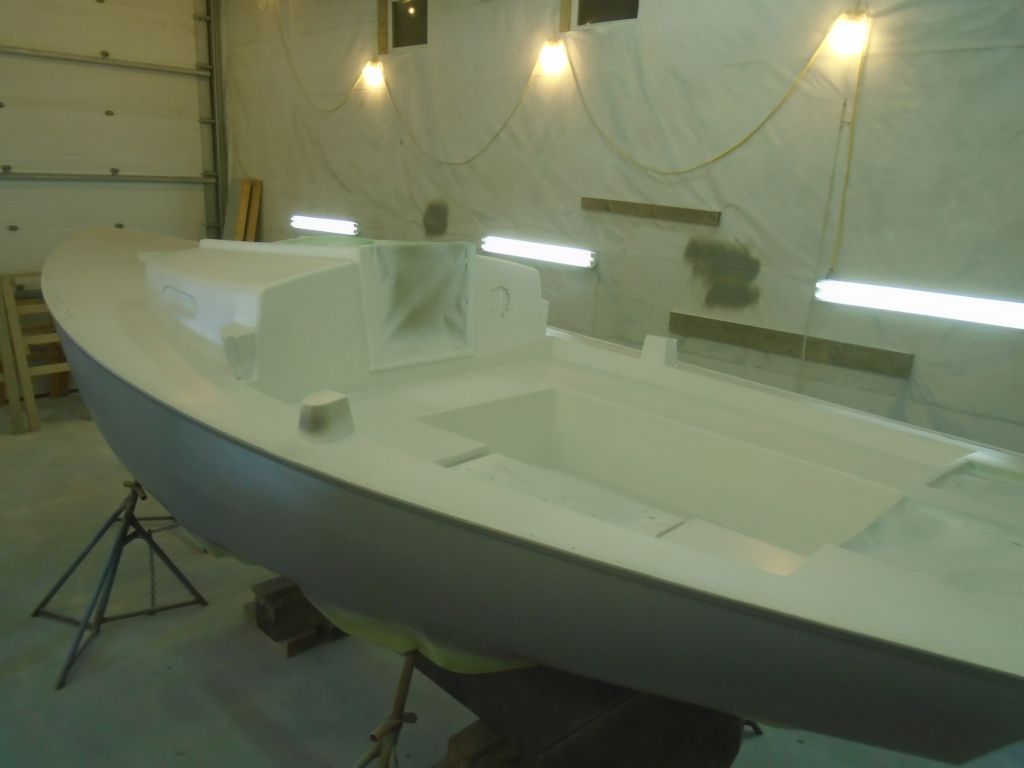
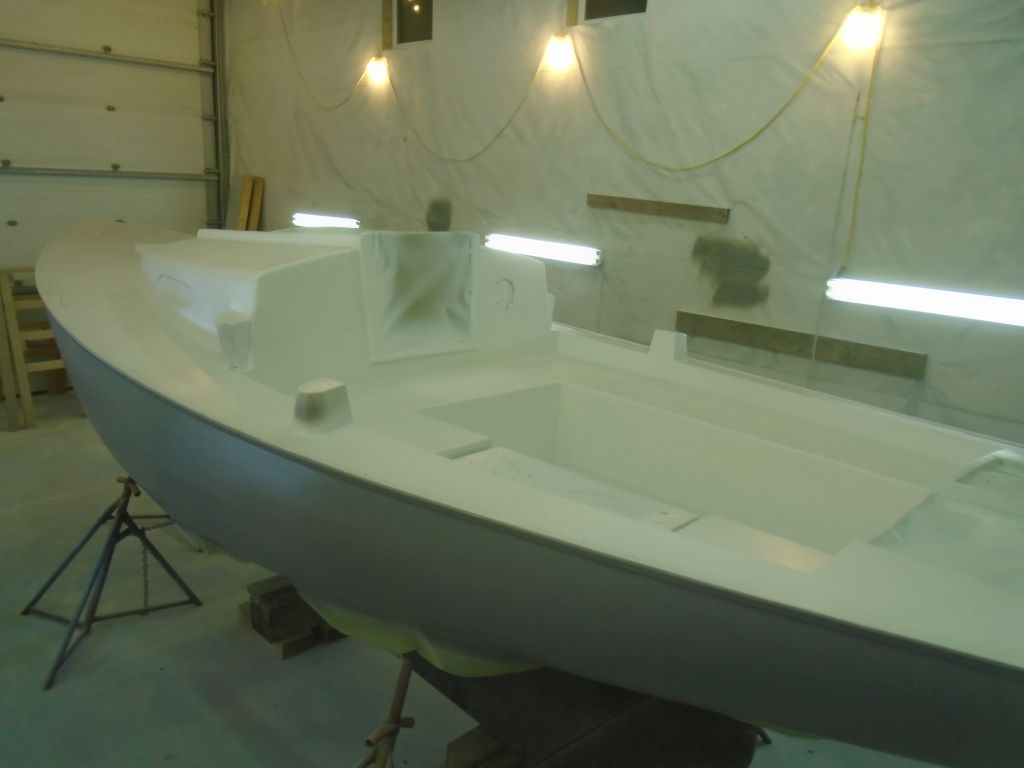
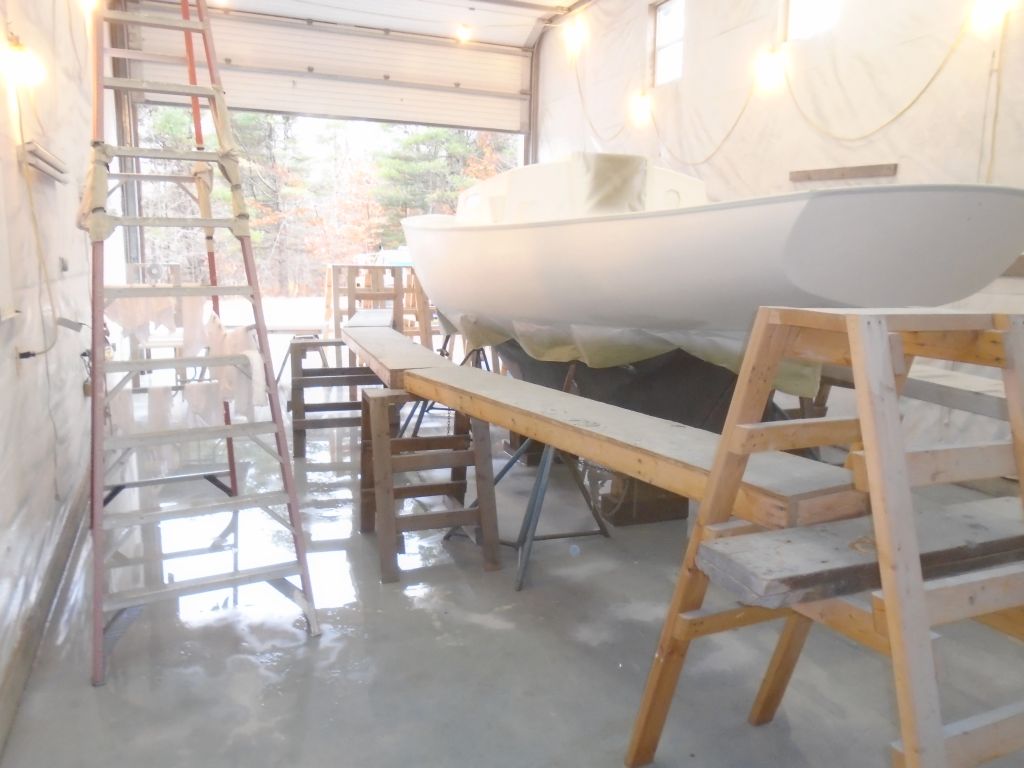
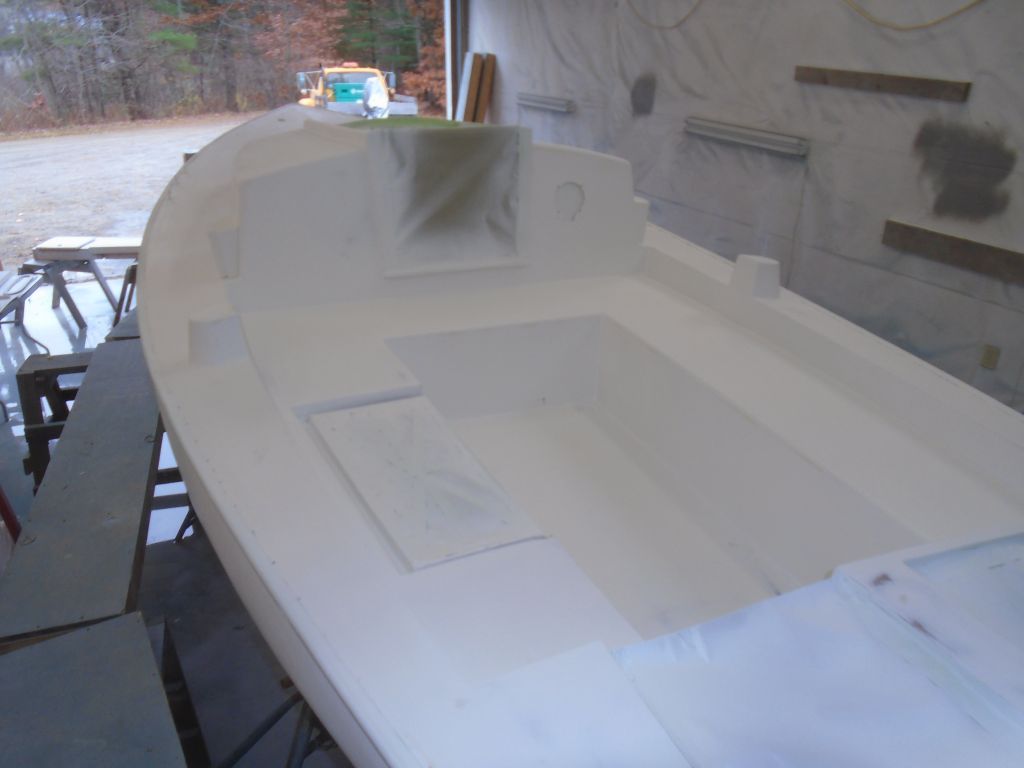
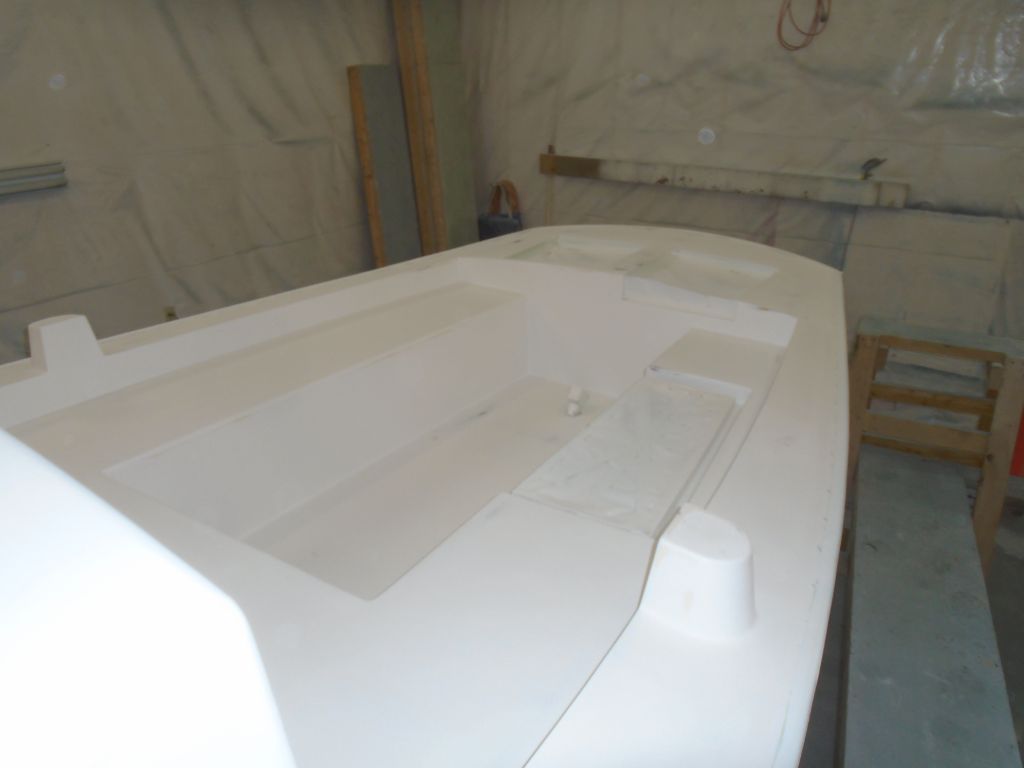
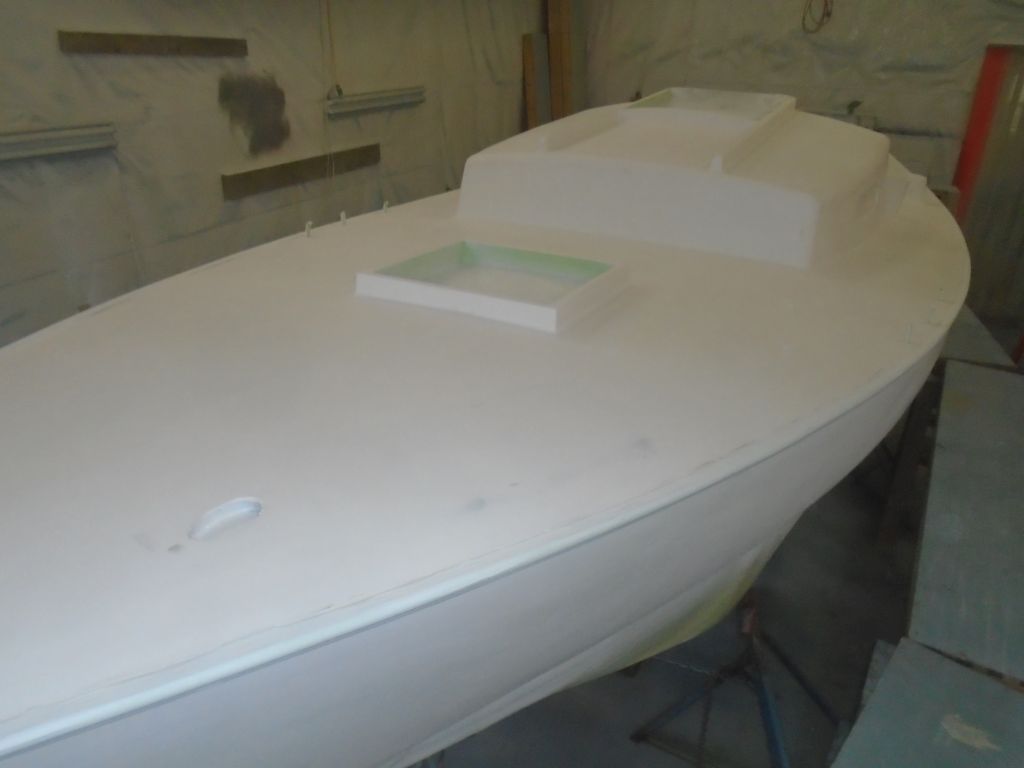
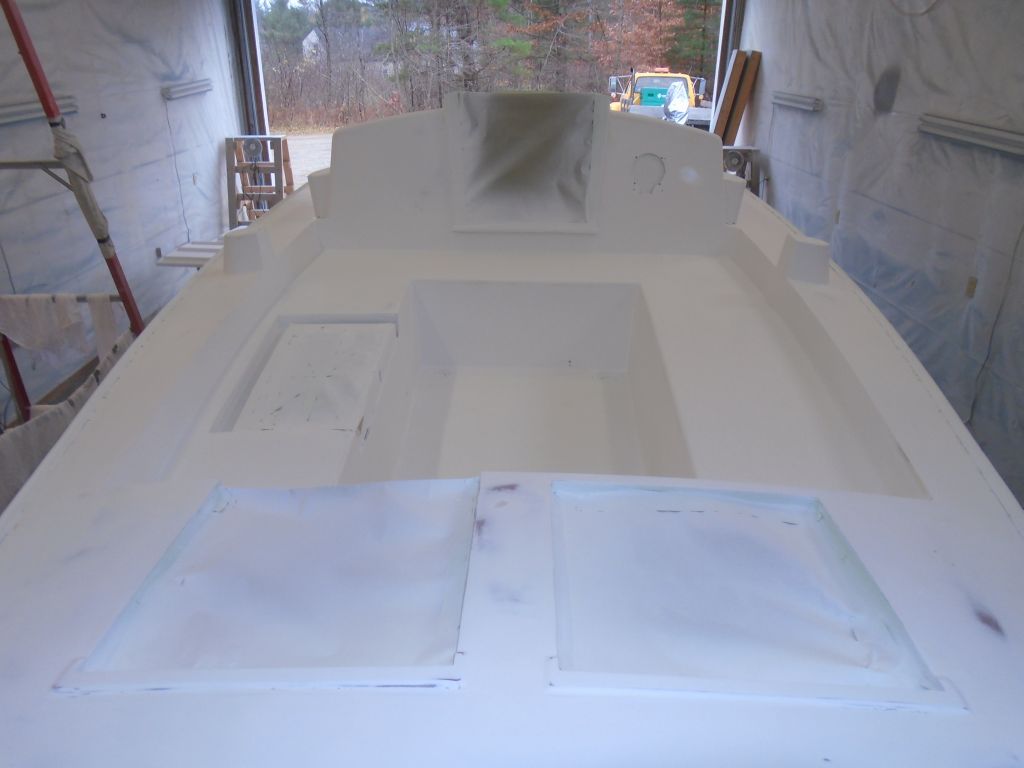
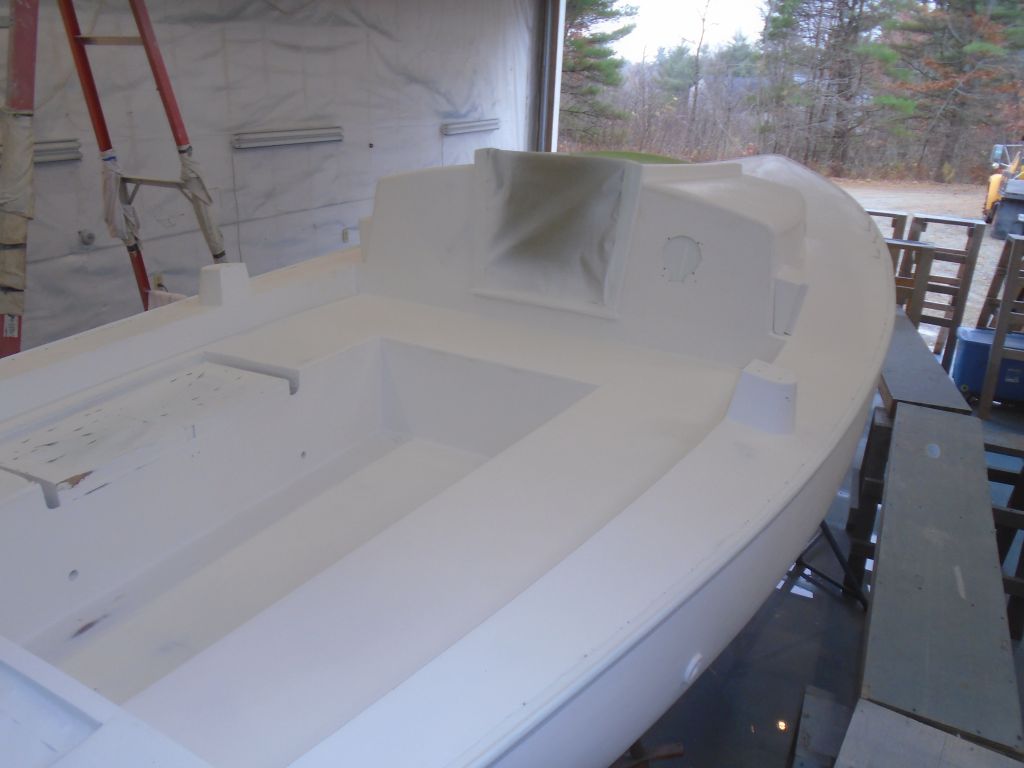
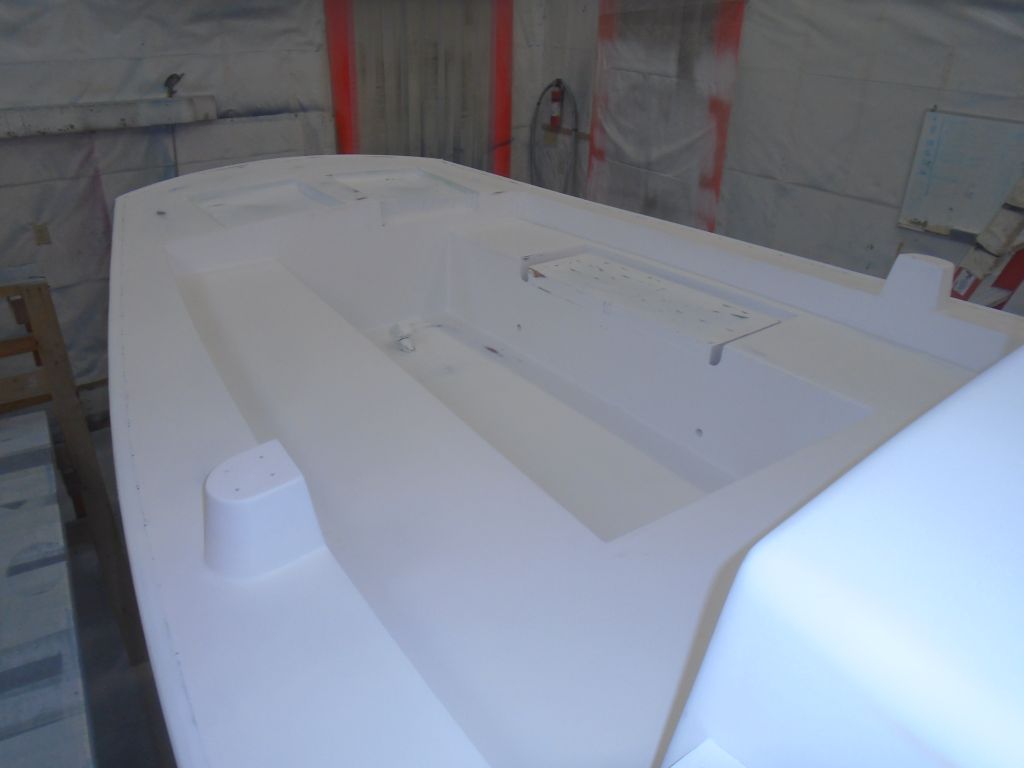
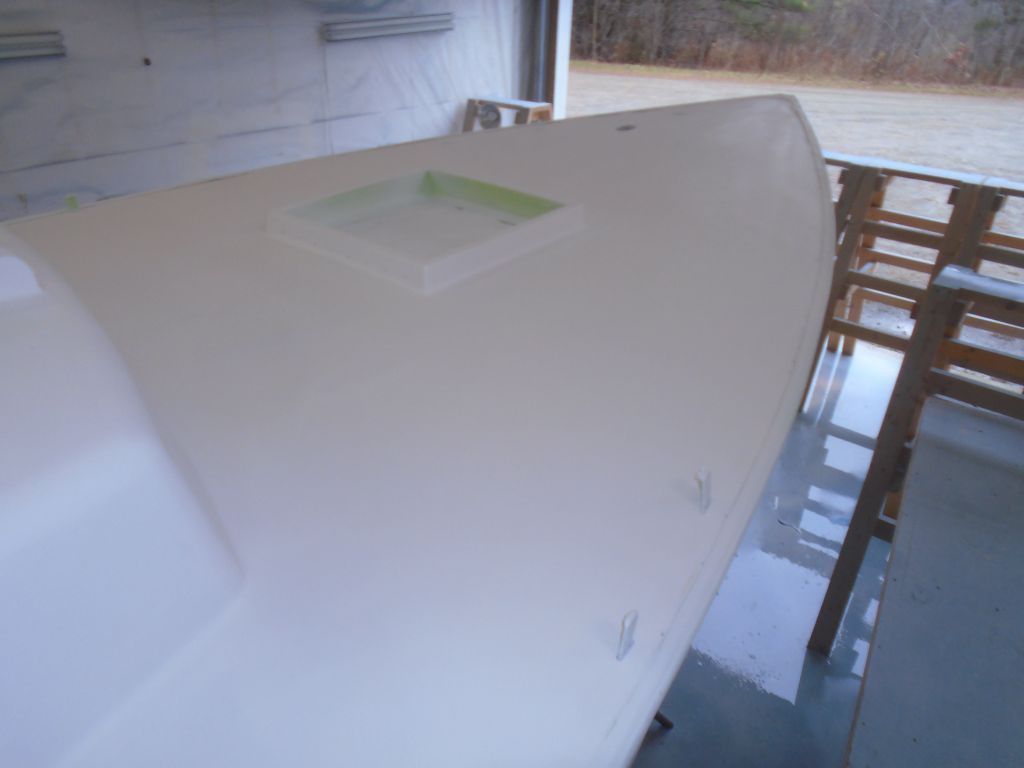
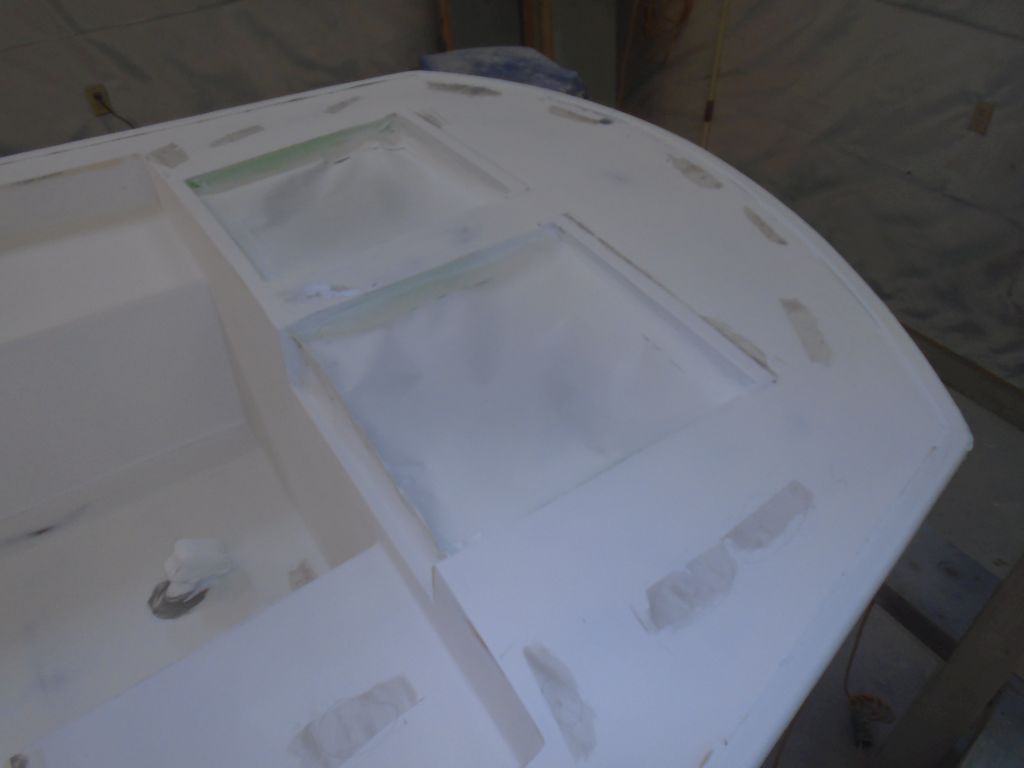
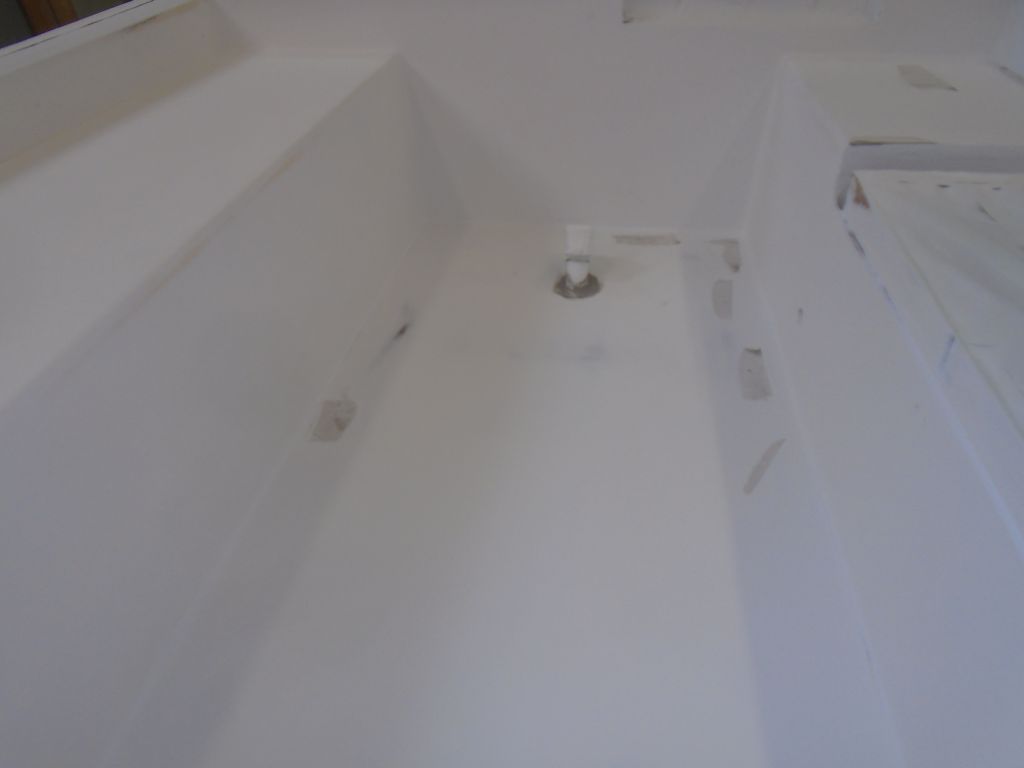
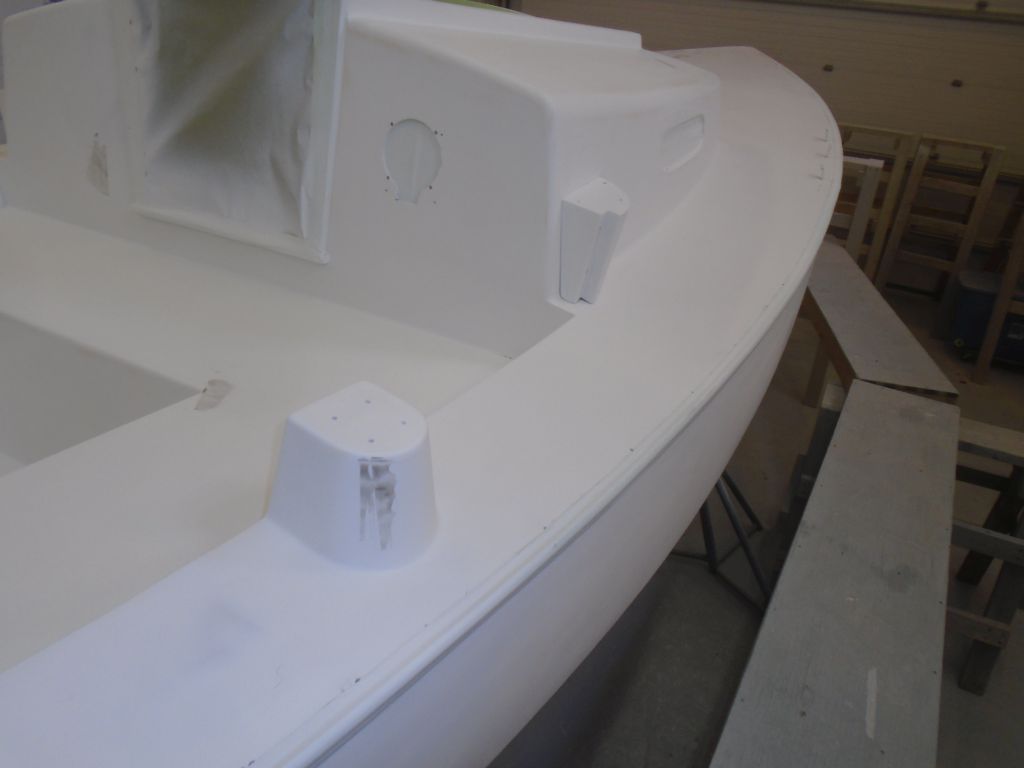
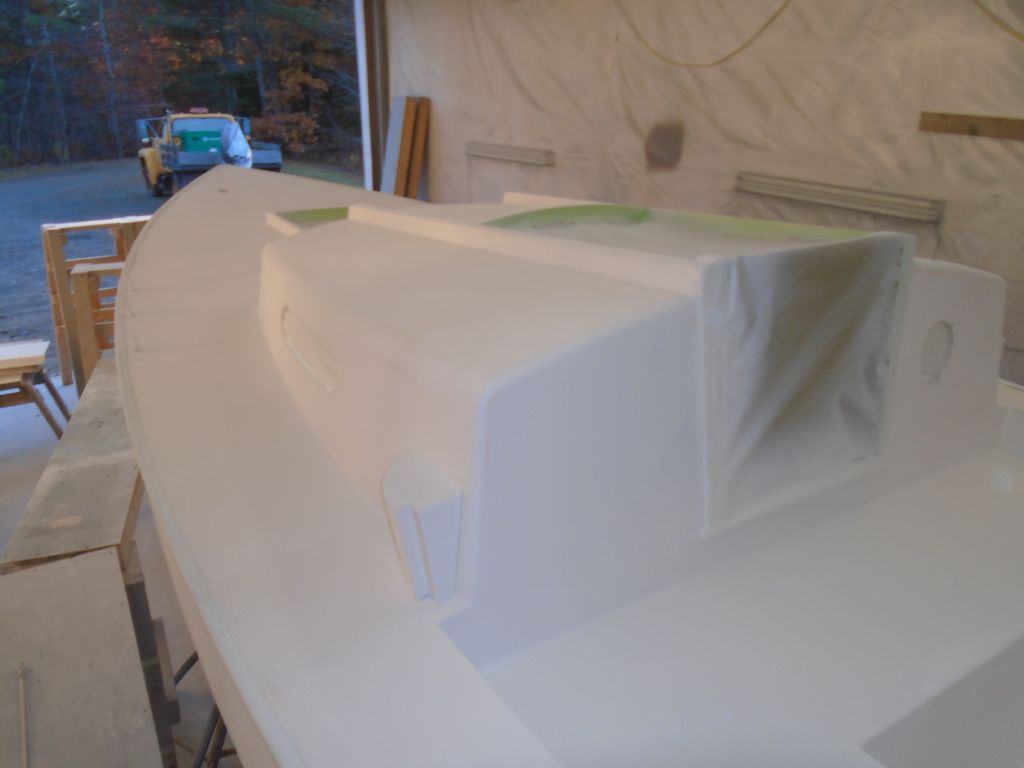
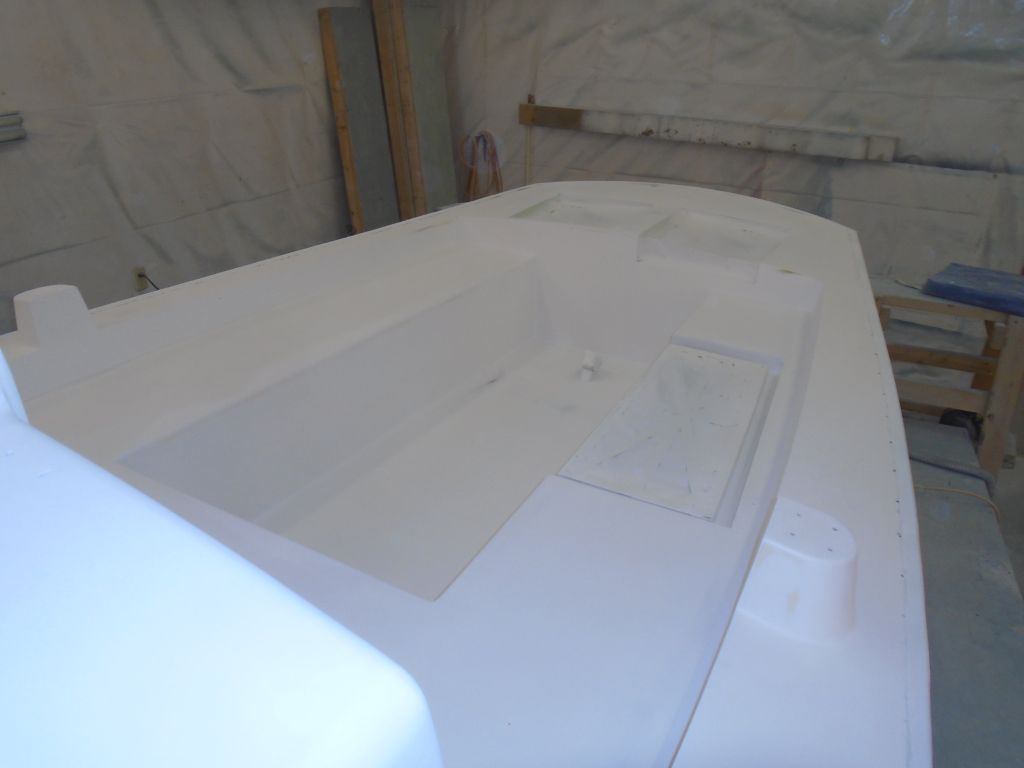
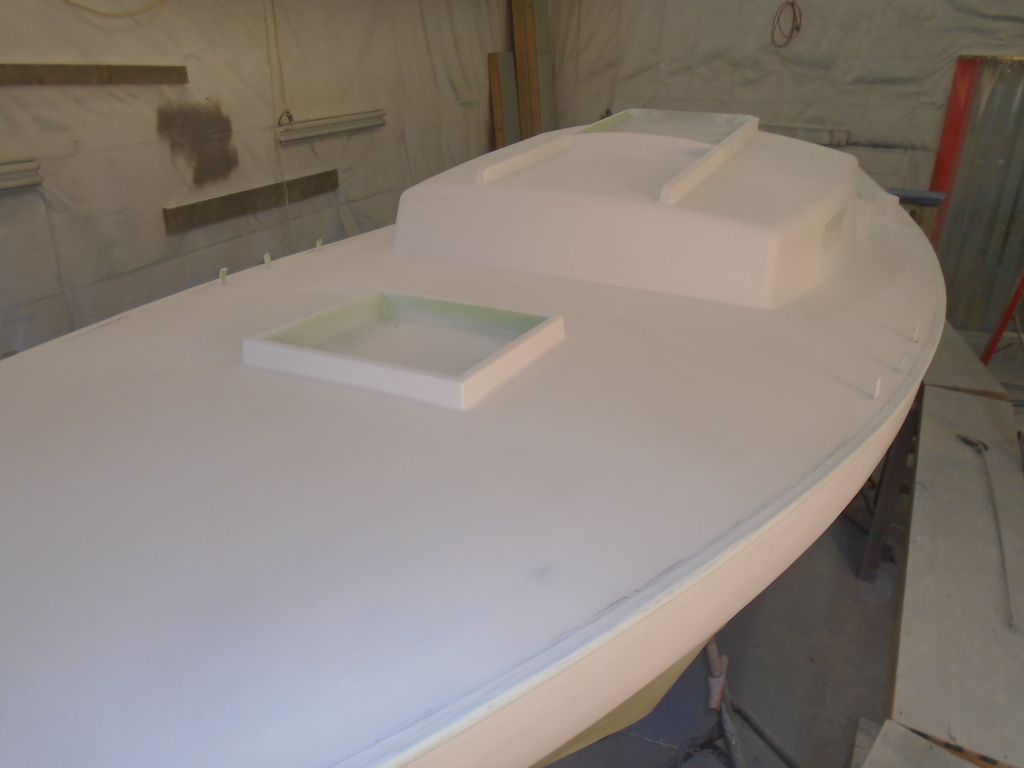
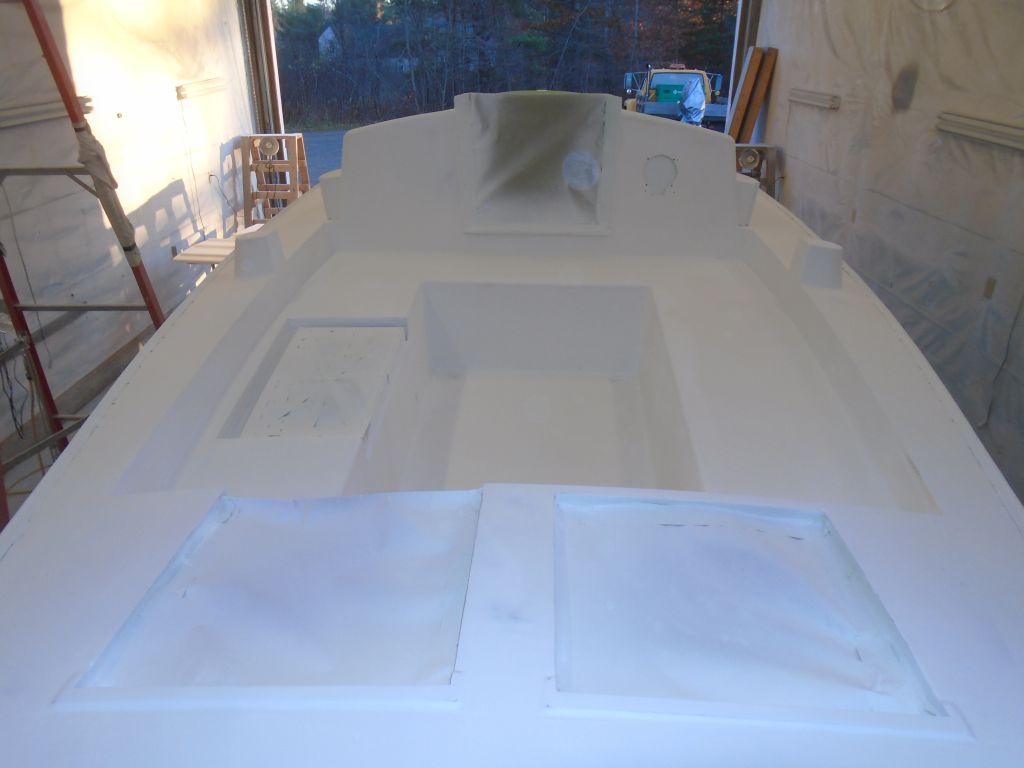
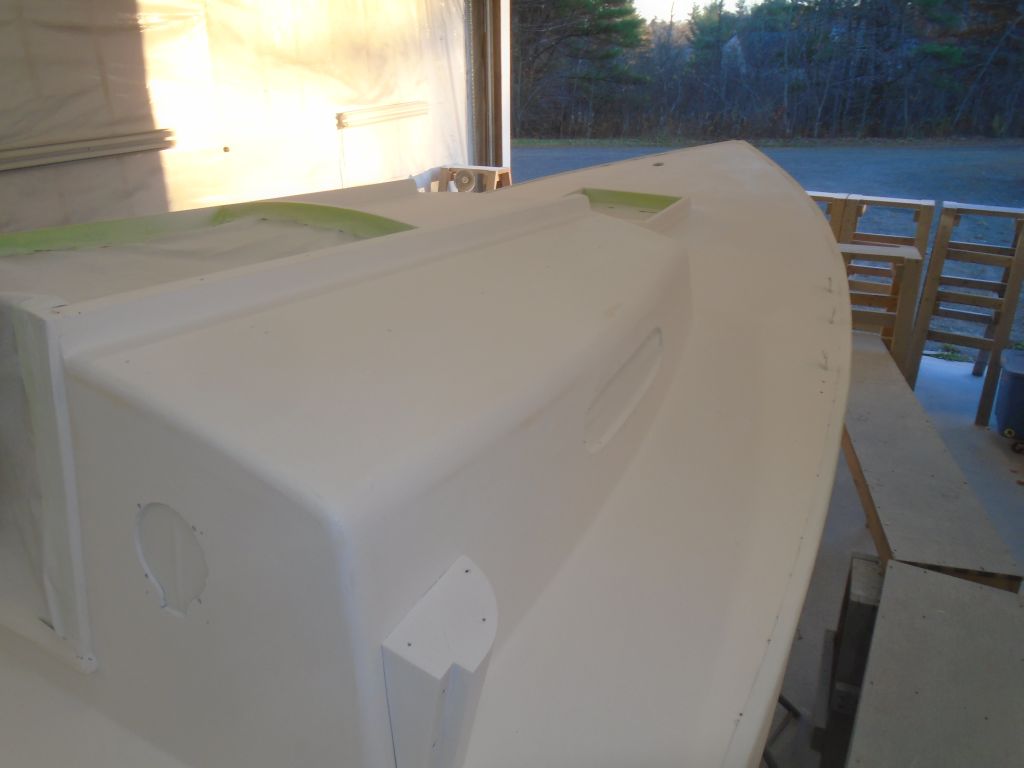
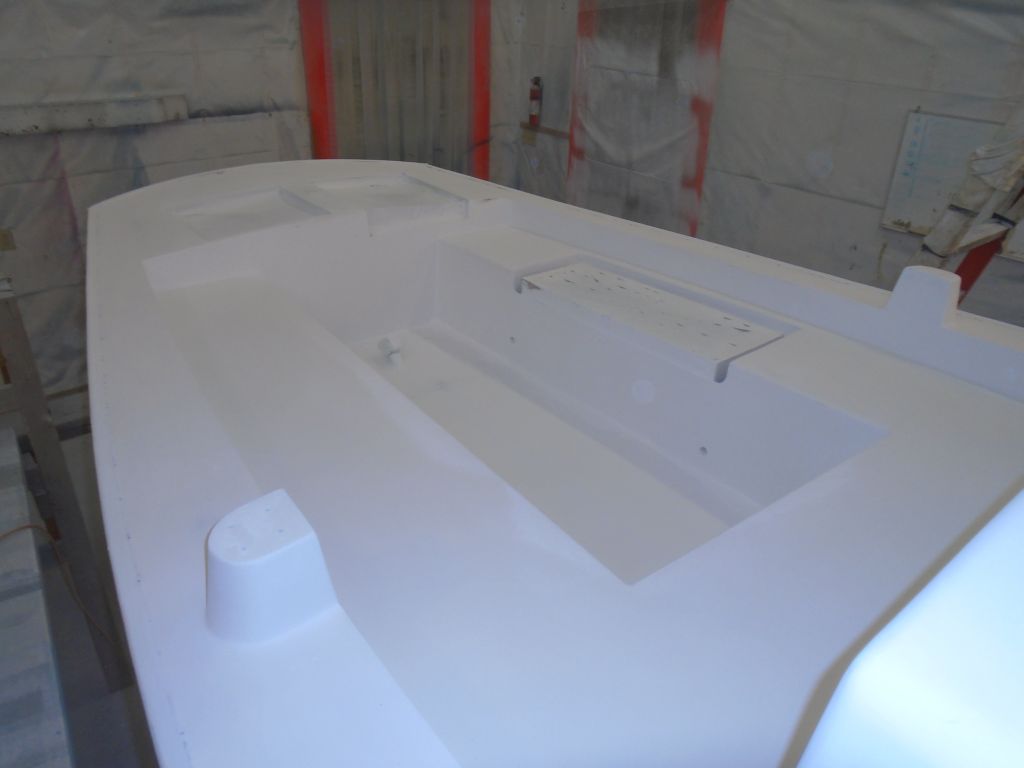
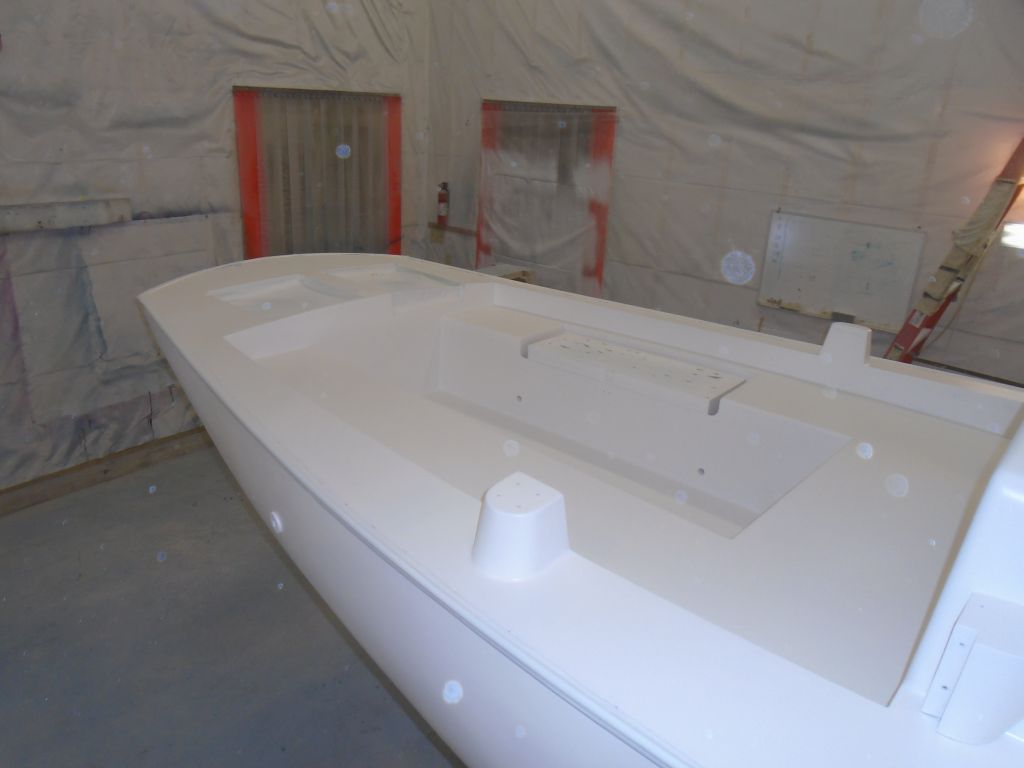
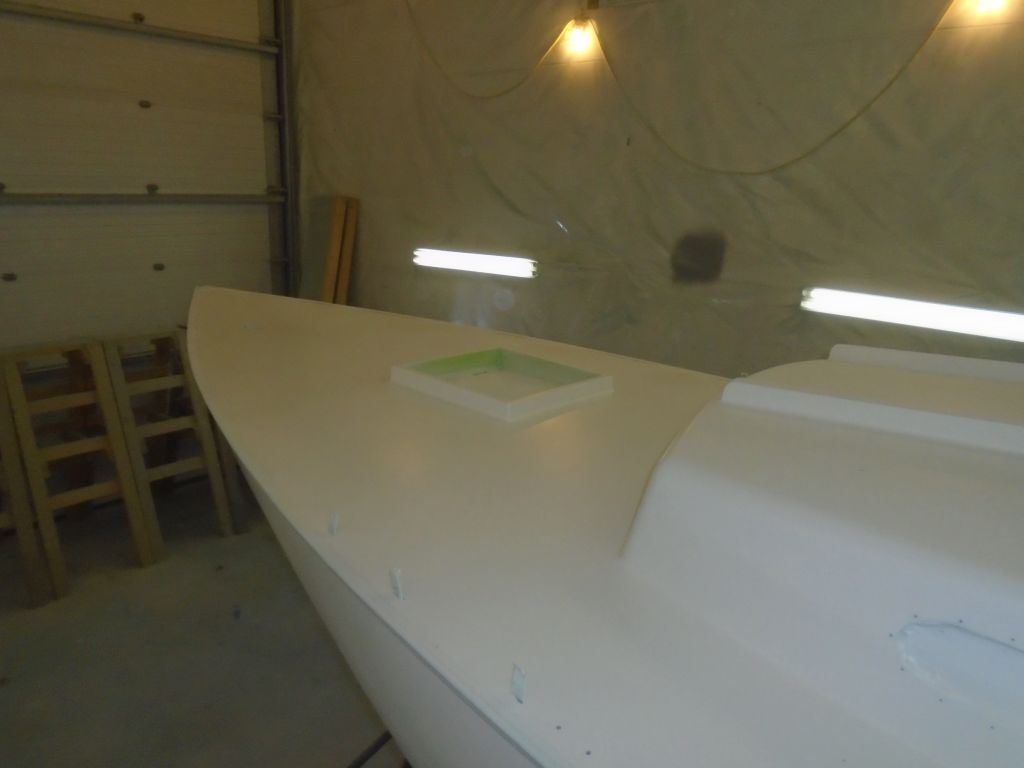
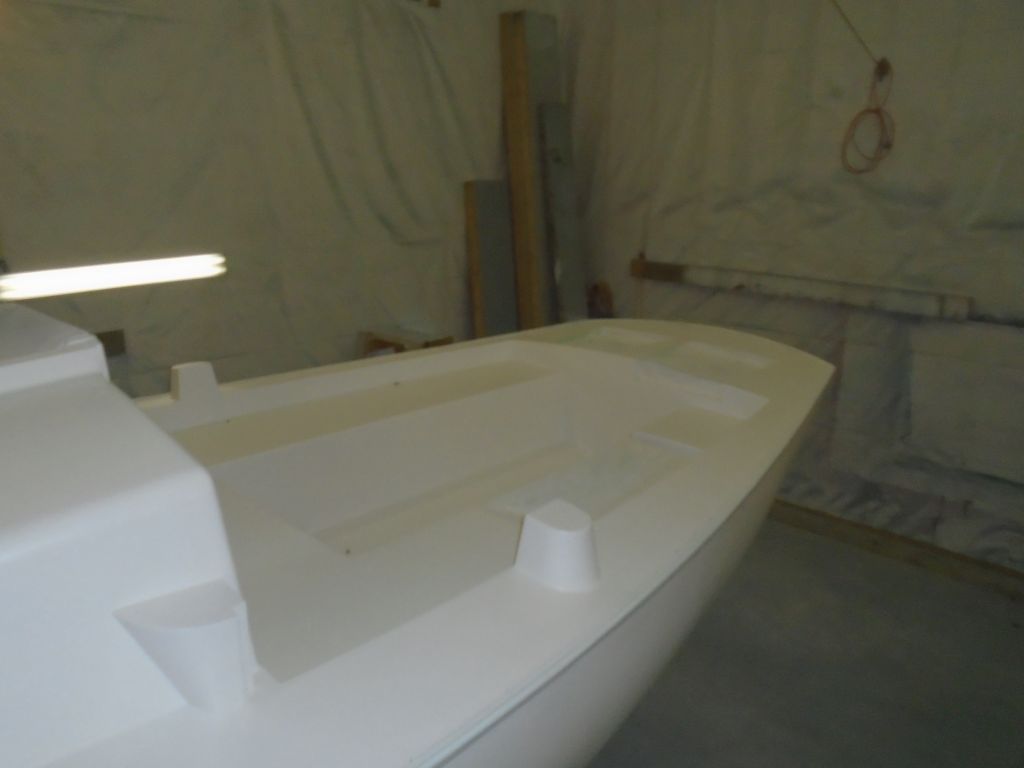
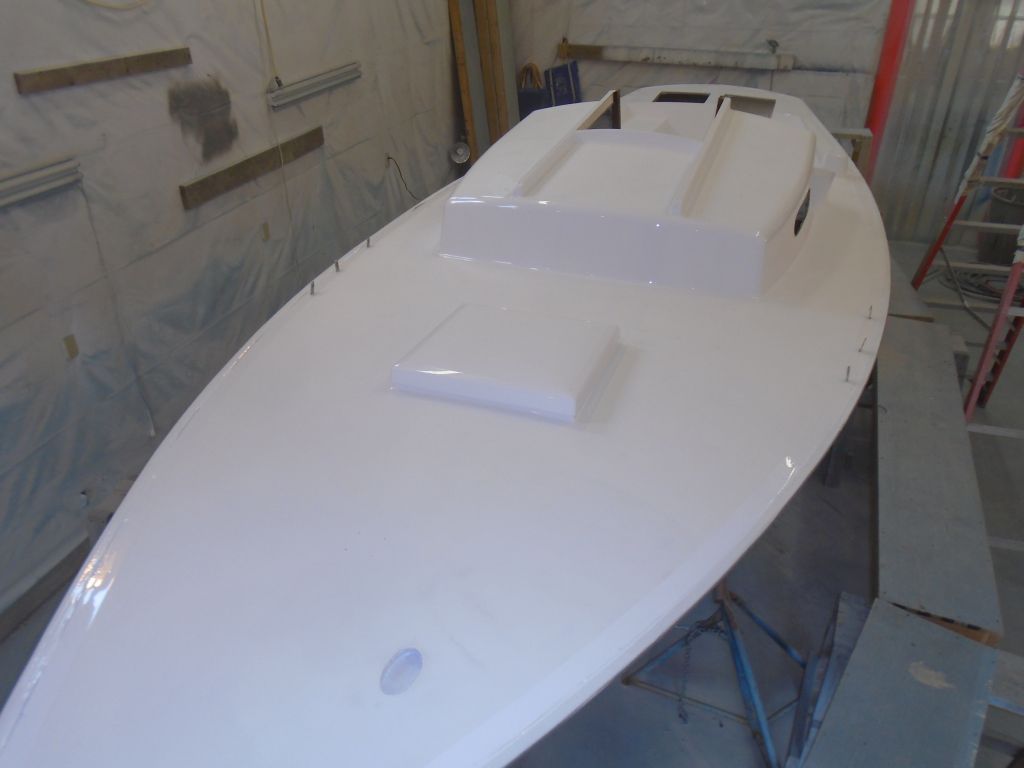
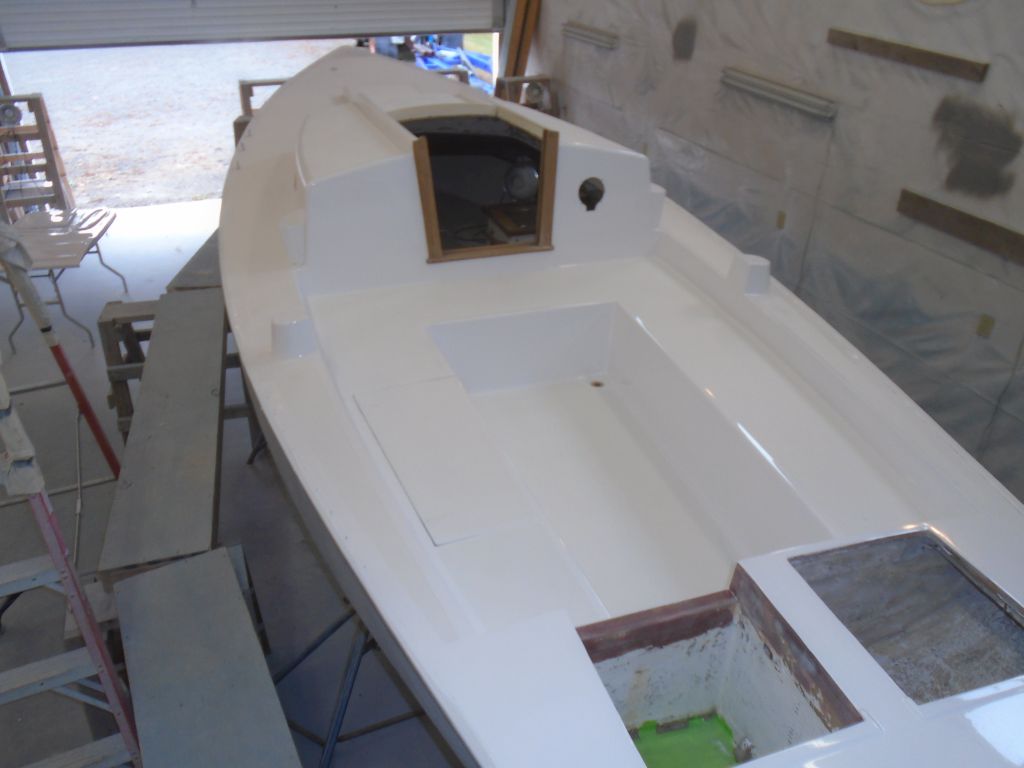
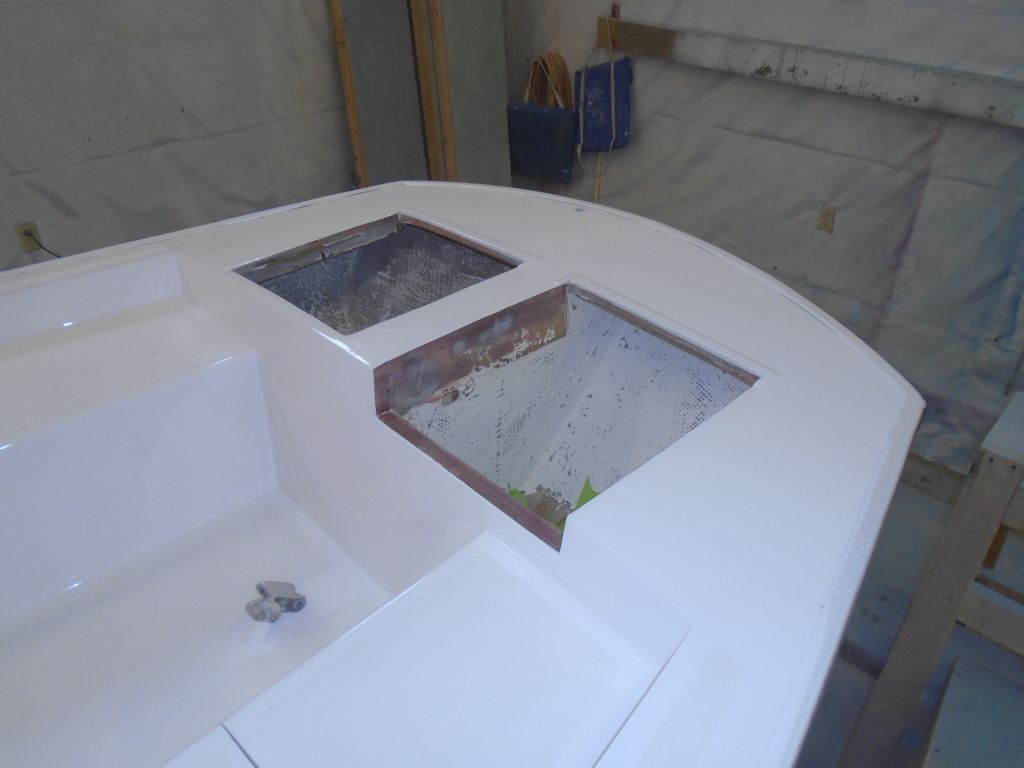
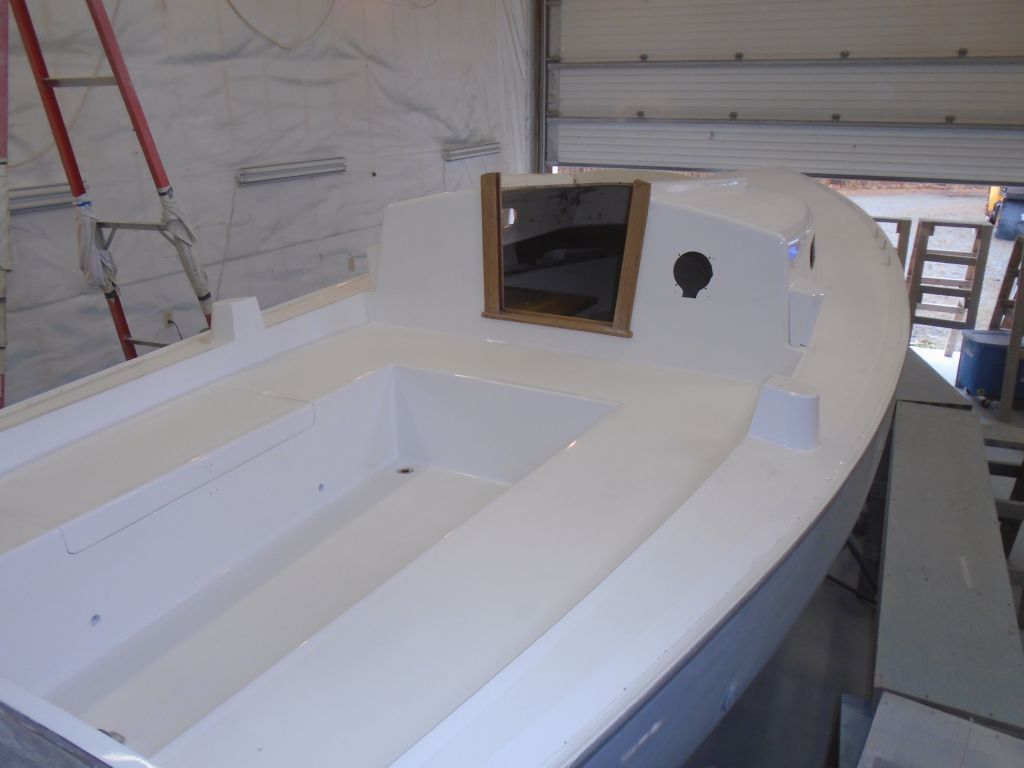
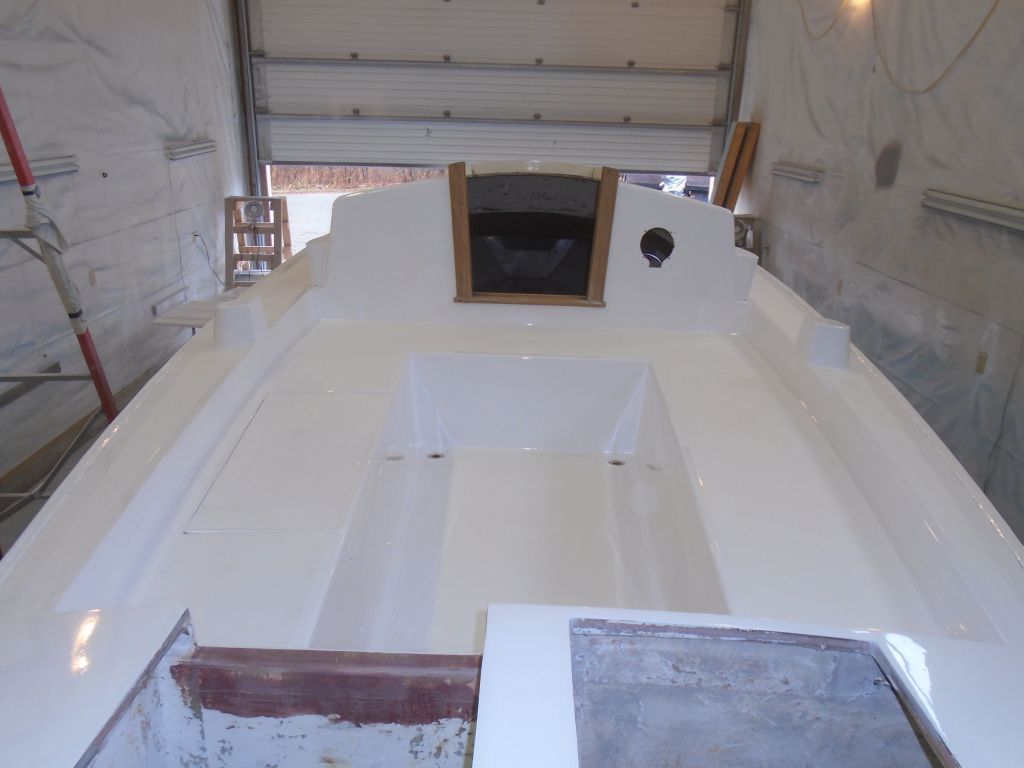
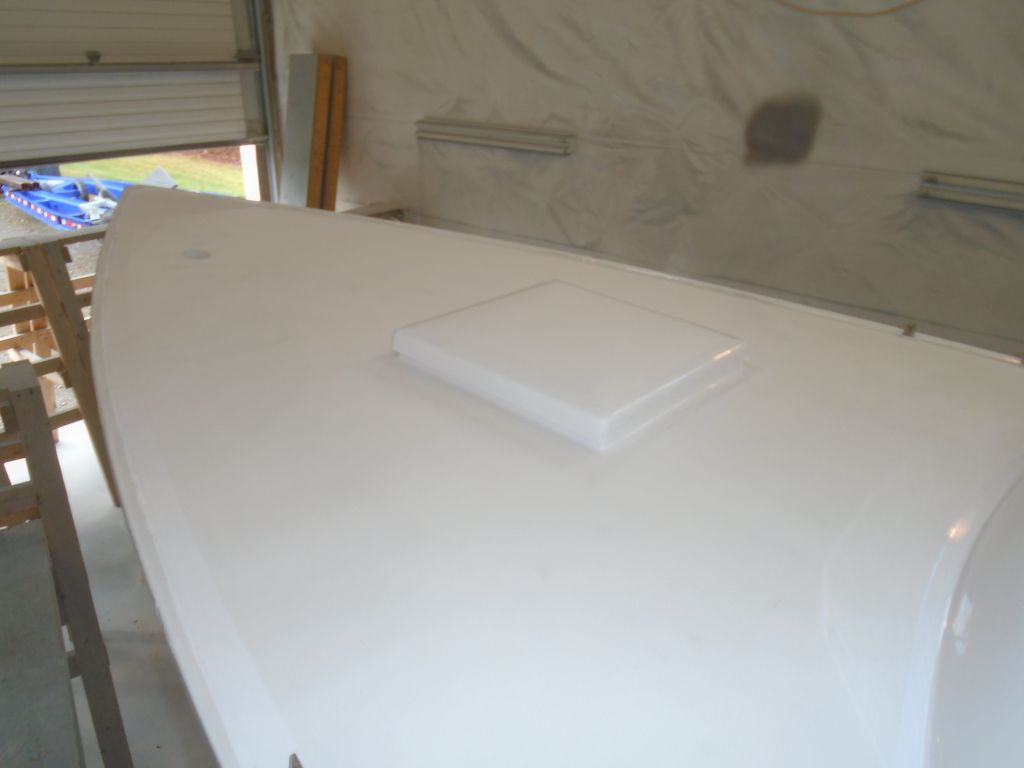
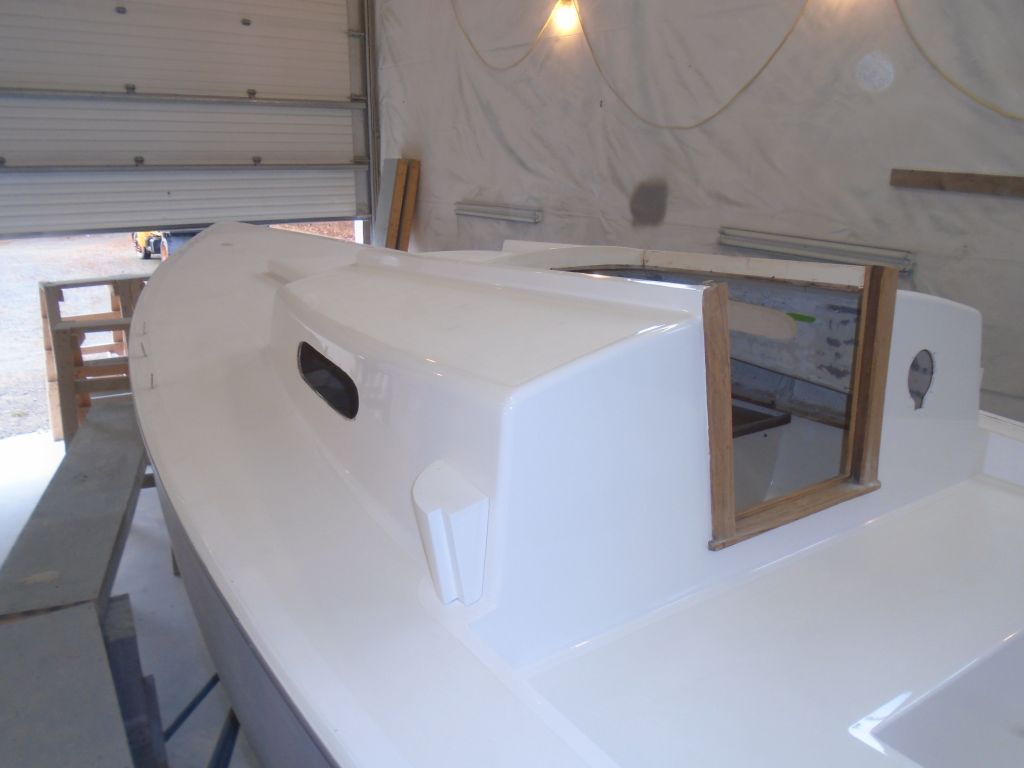
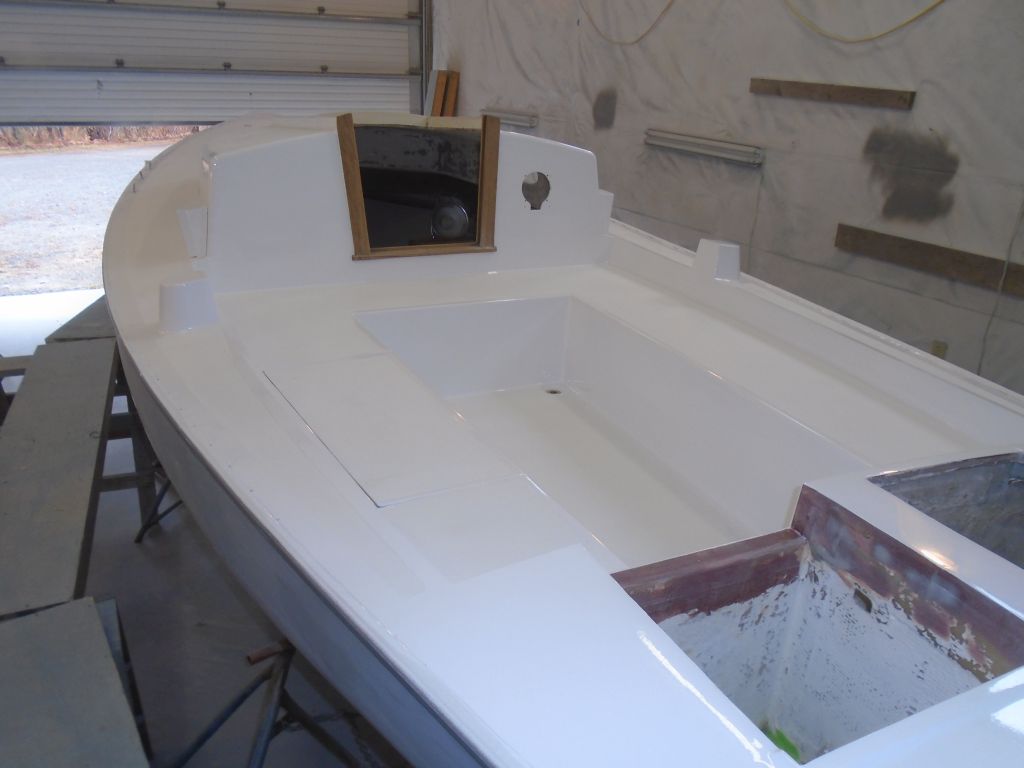
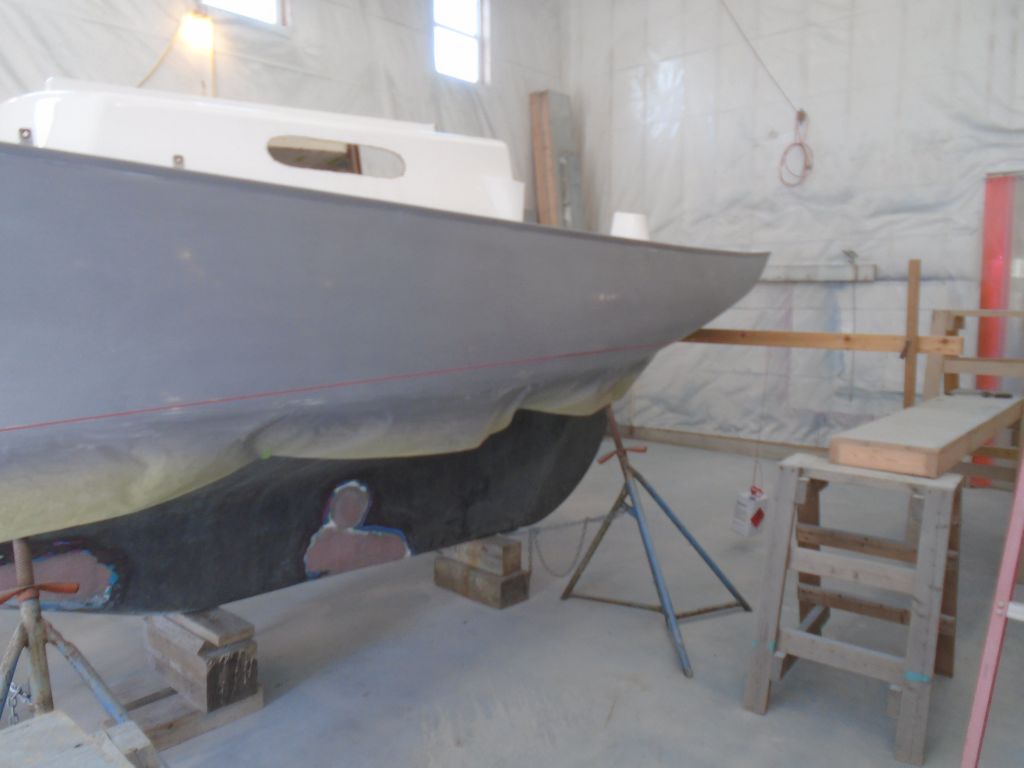
Now that the deck paint had cured sufficiently overnight, I looked forward, as always, to removing all the paper and masking tape to fully reveal the new paint.

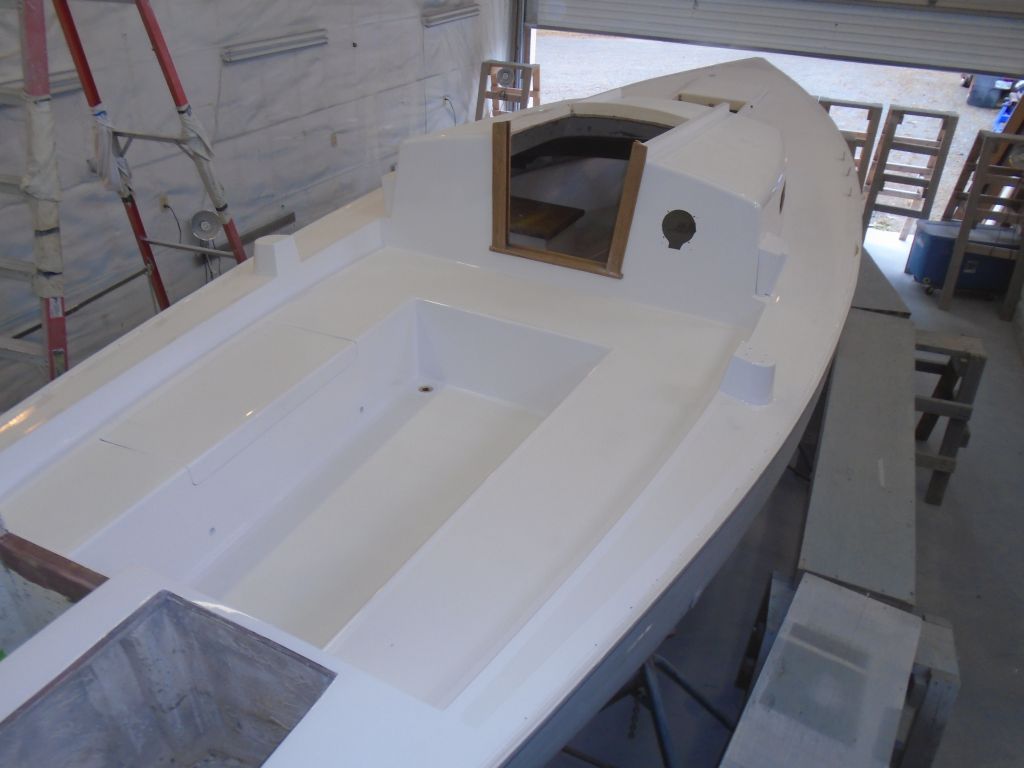
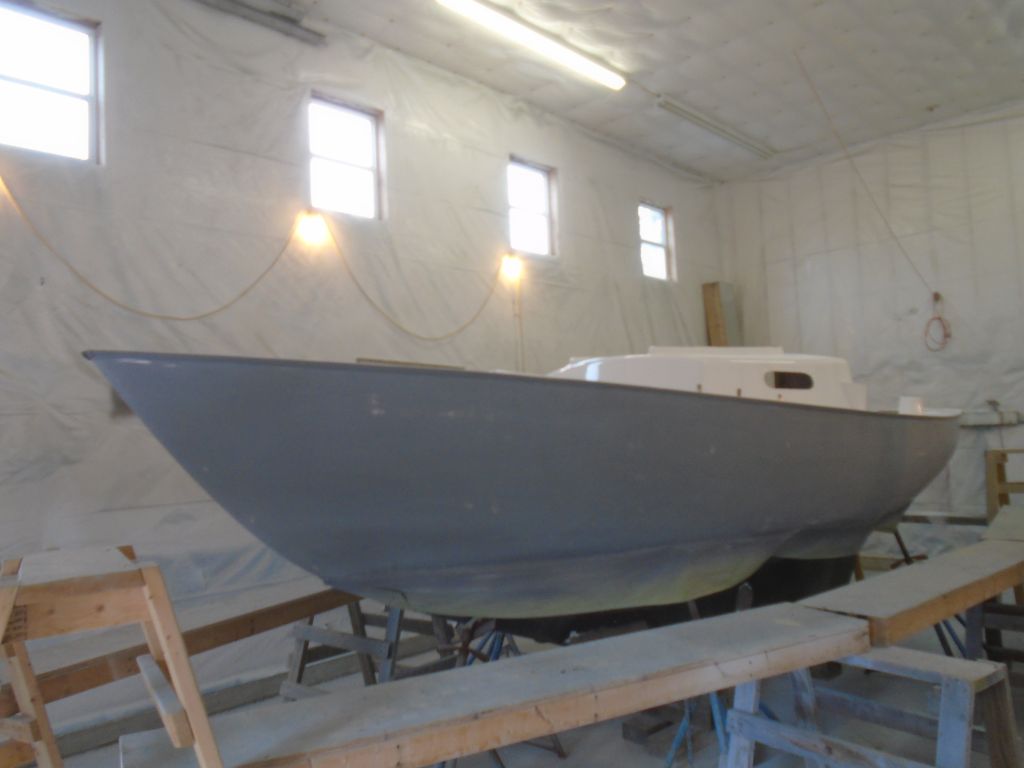
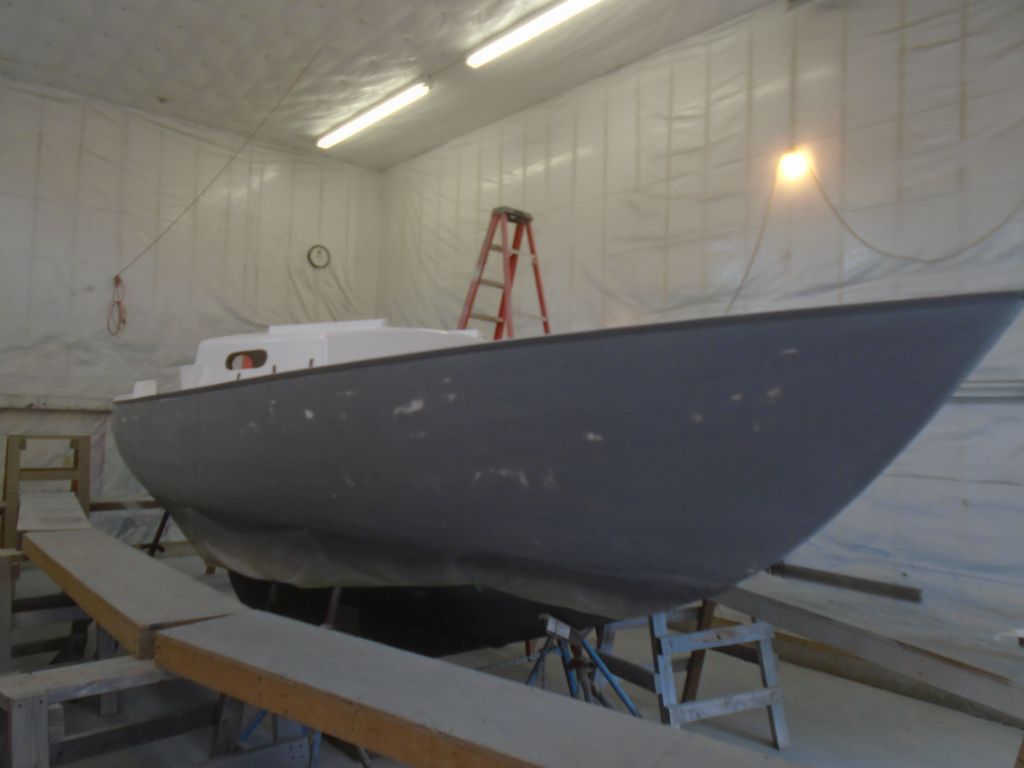
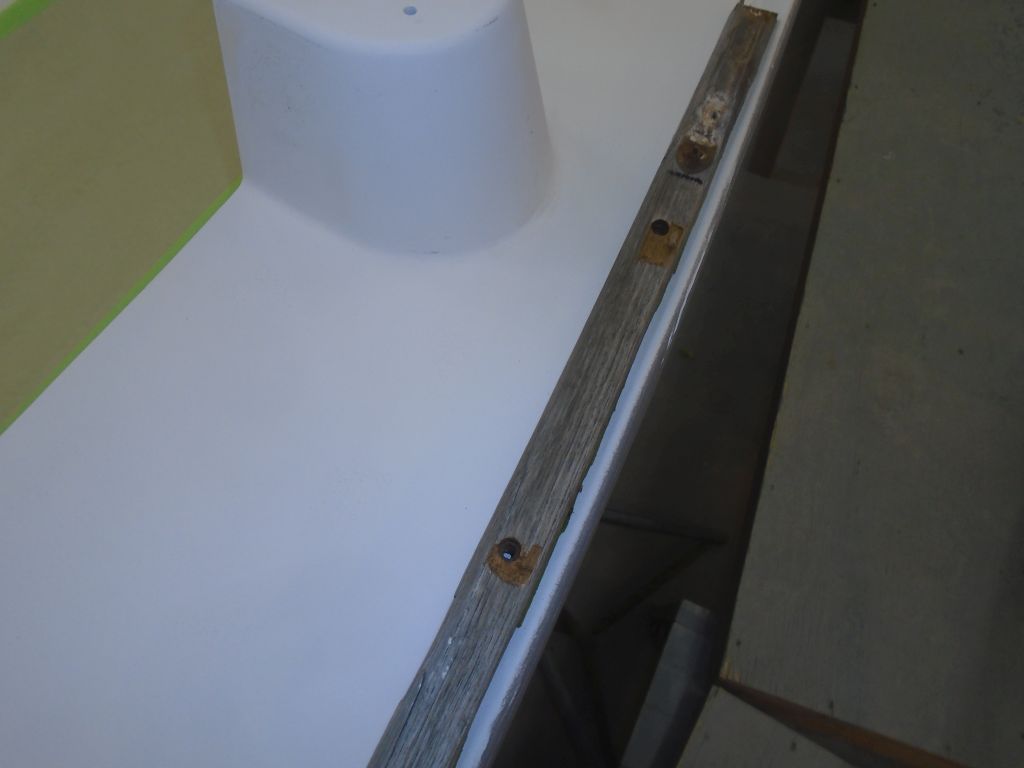
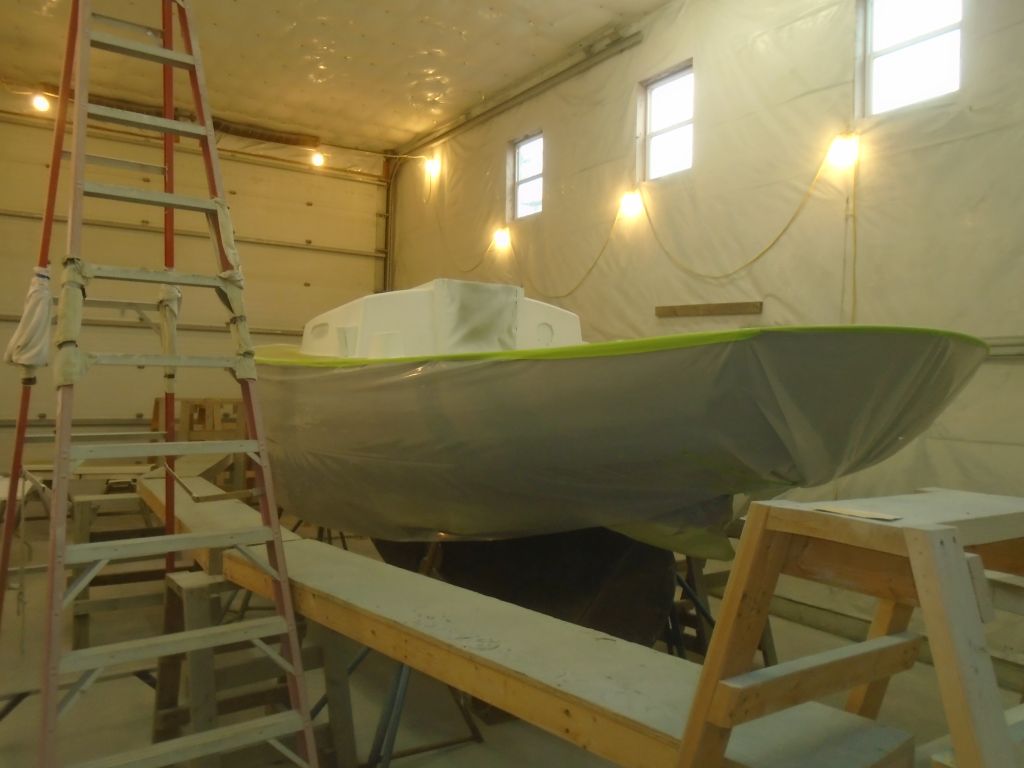
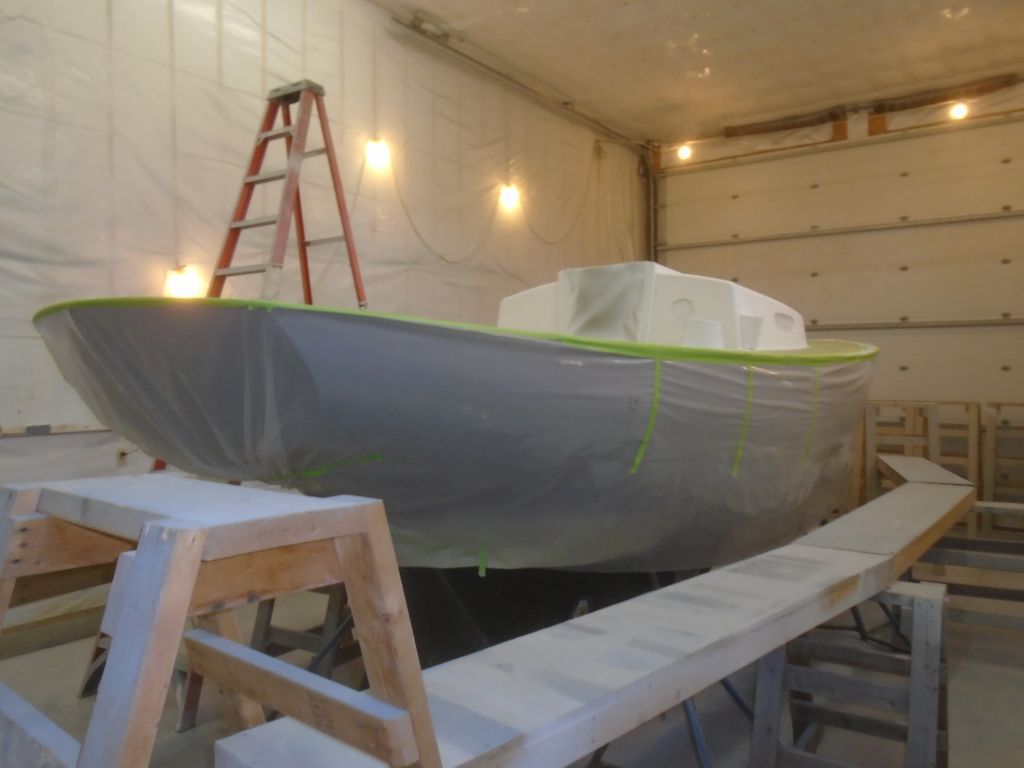
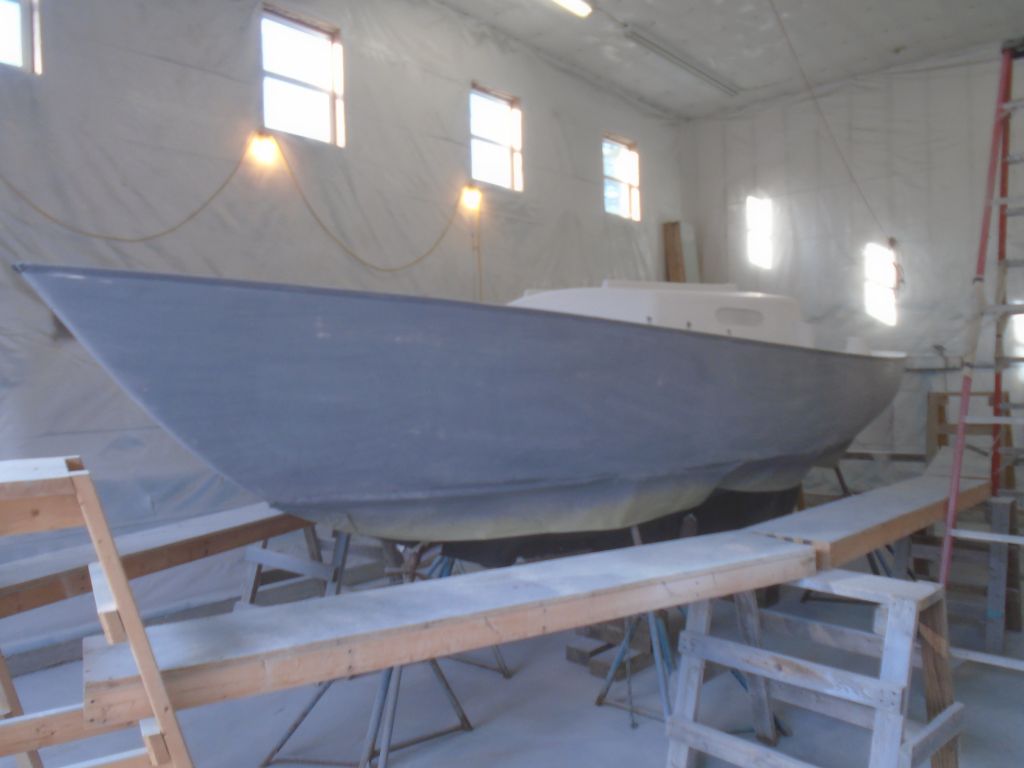
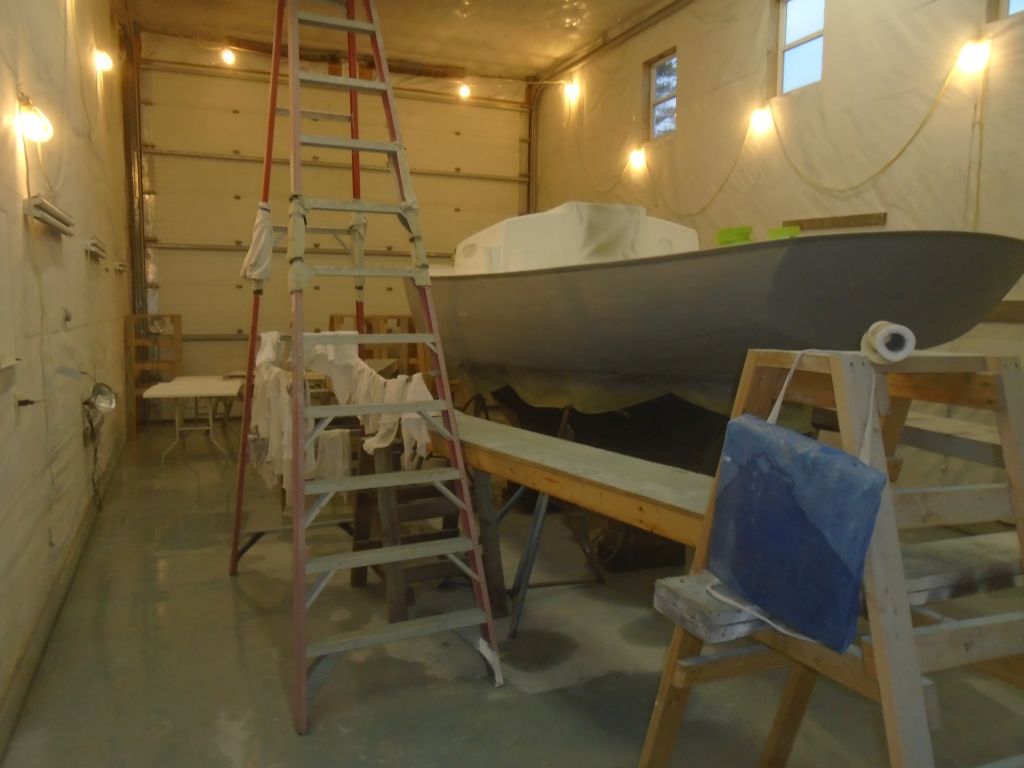
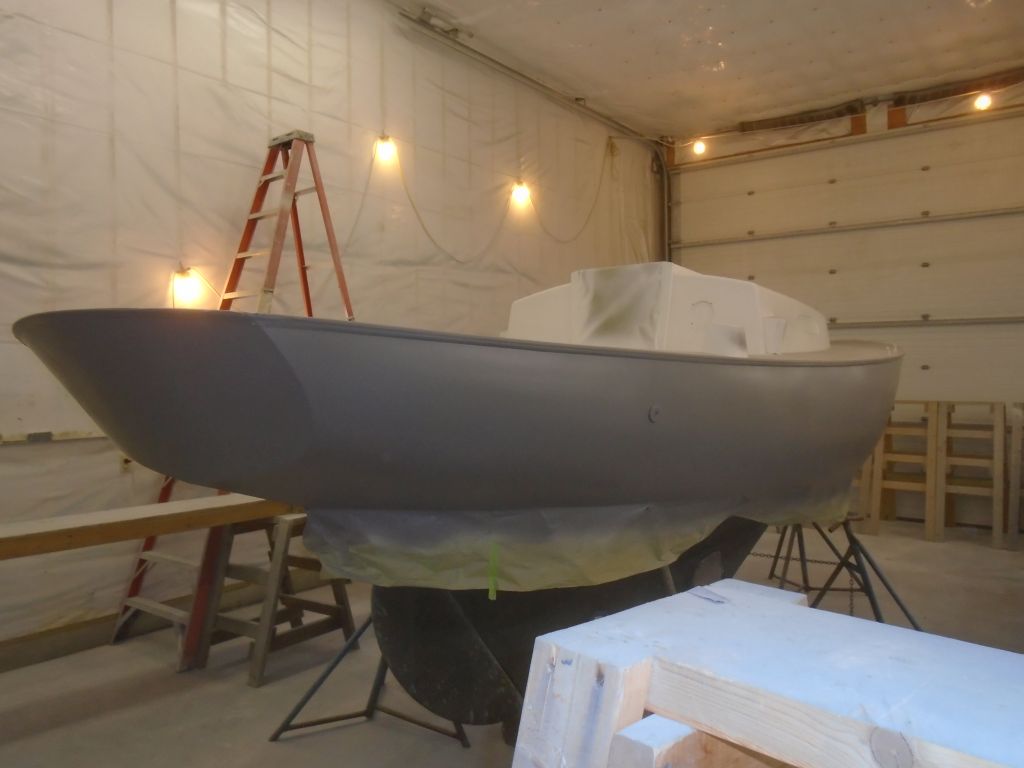
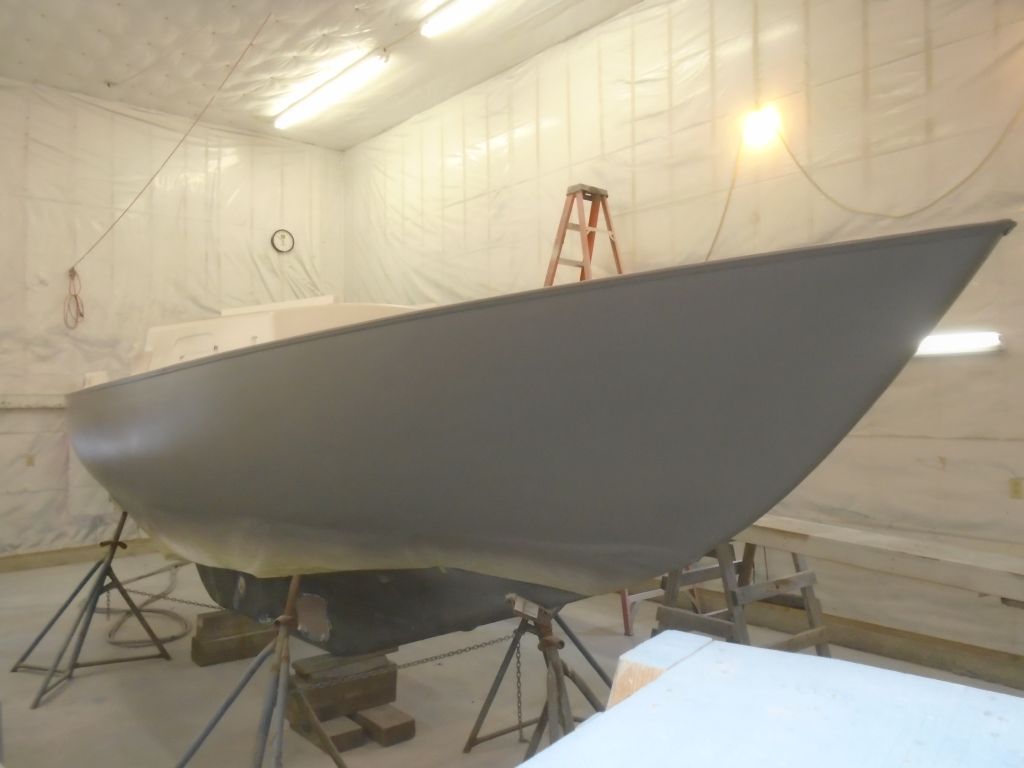
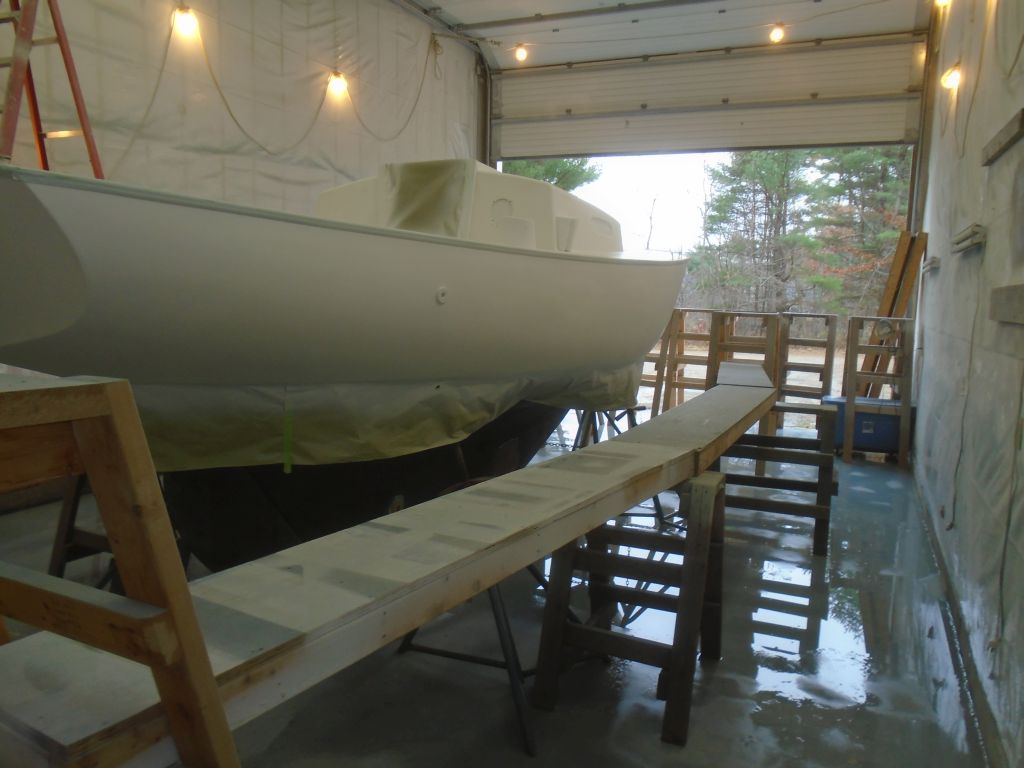
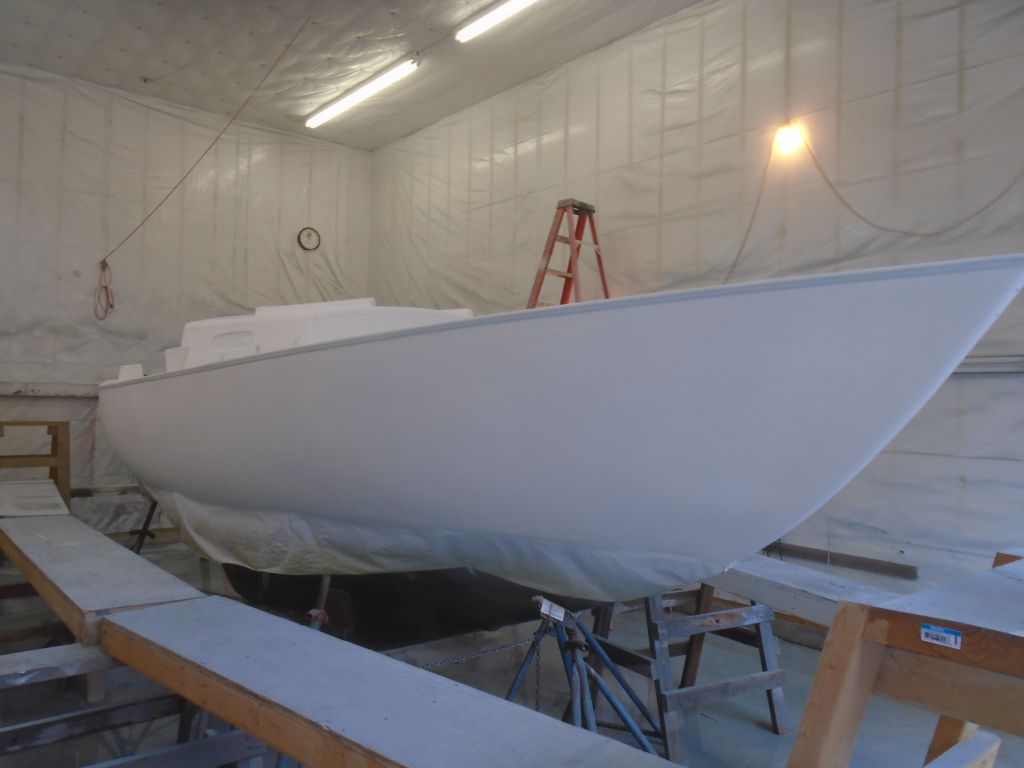
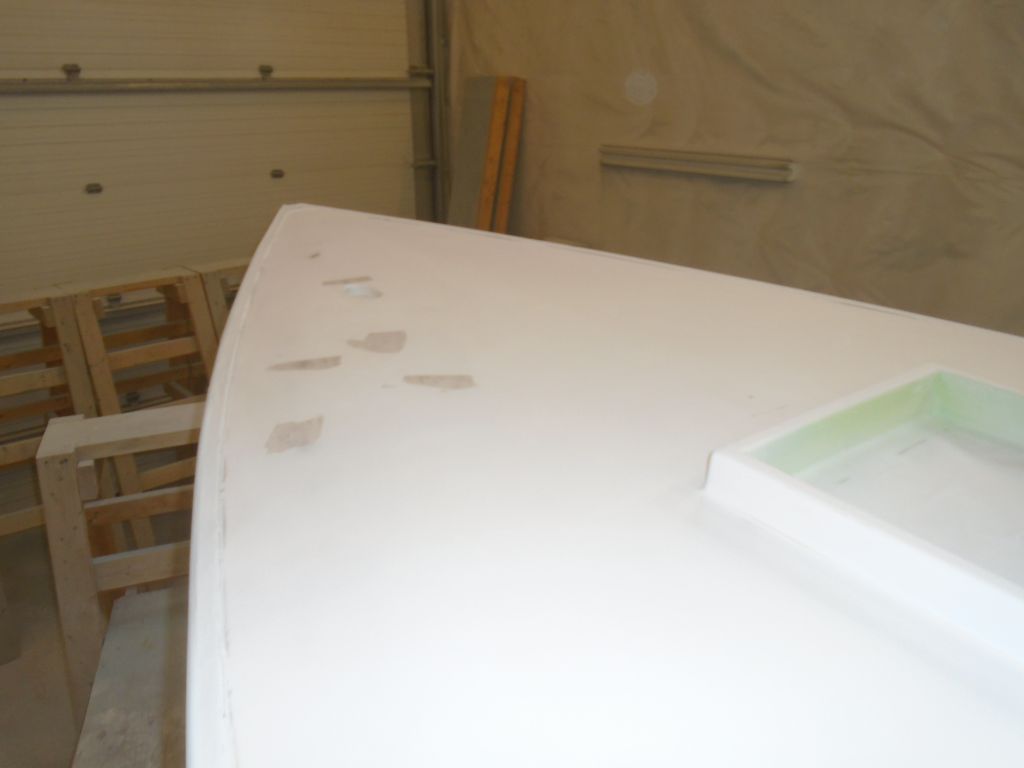
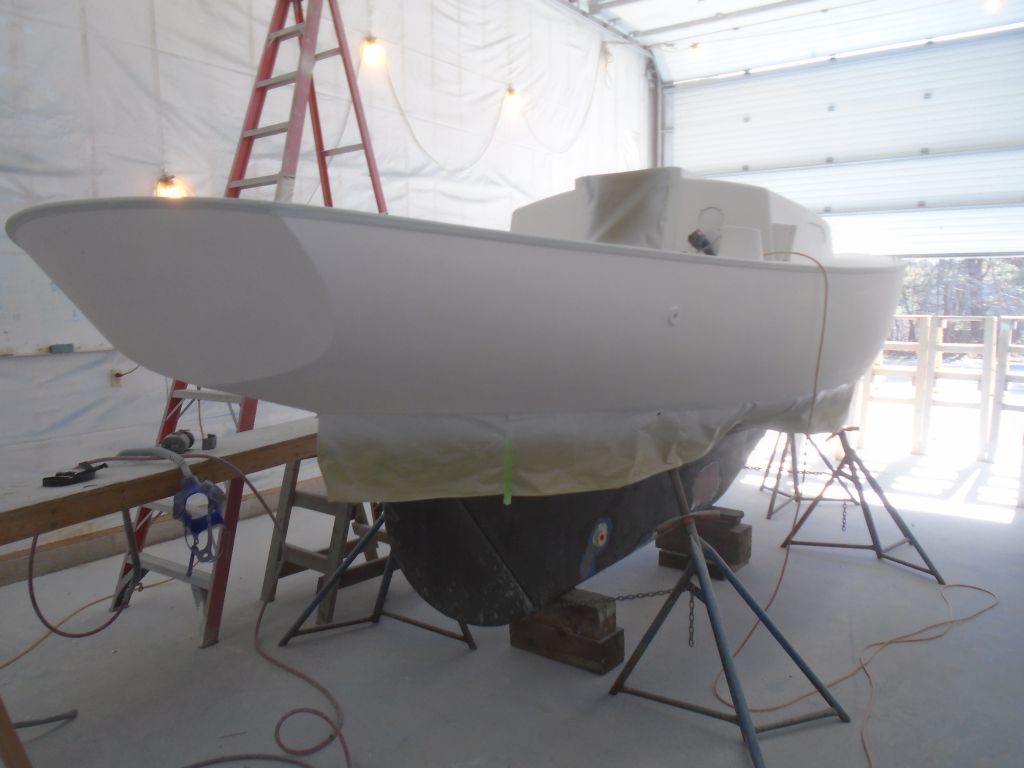
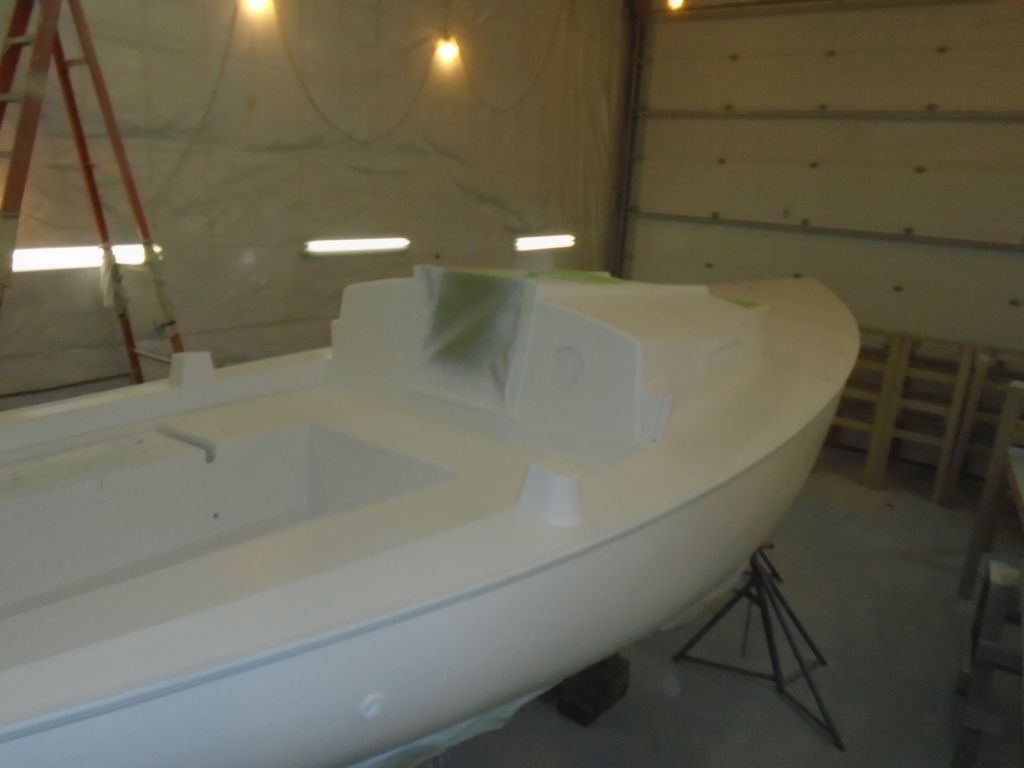
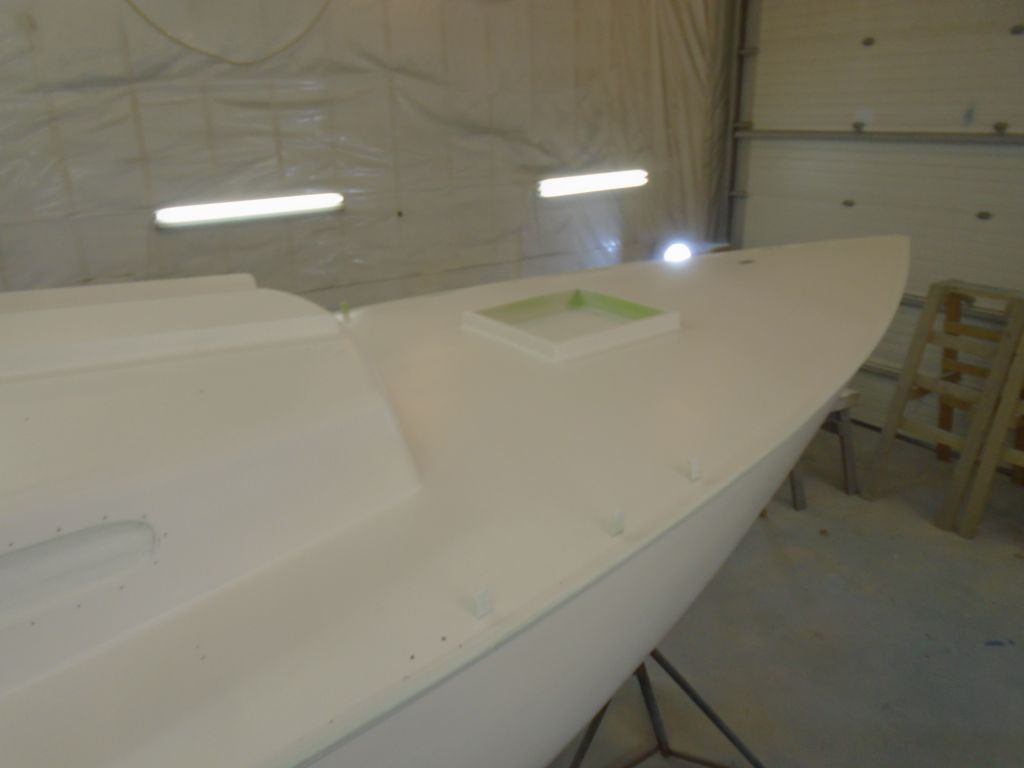
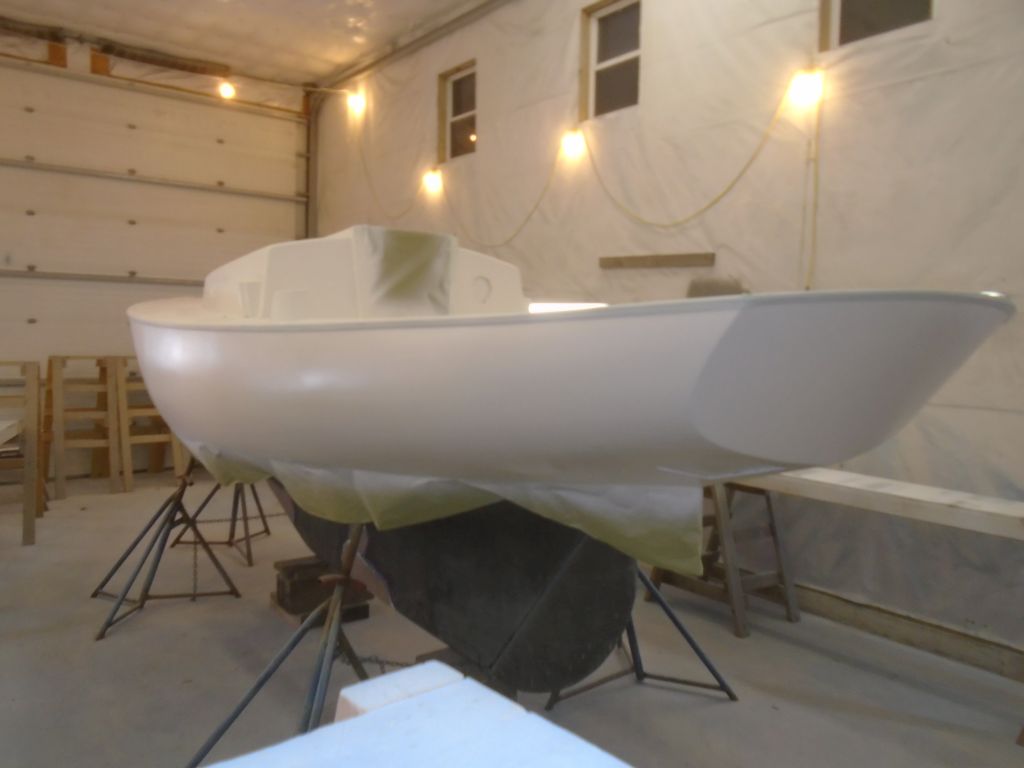
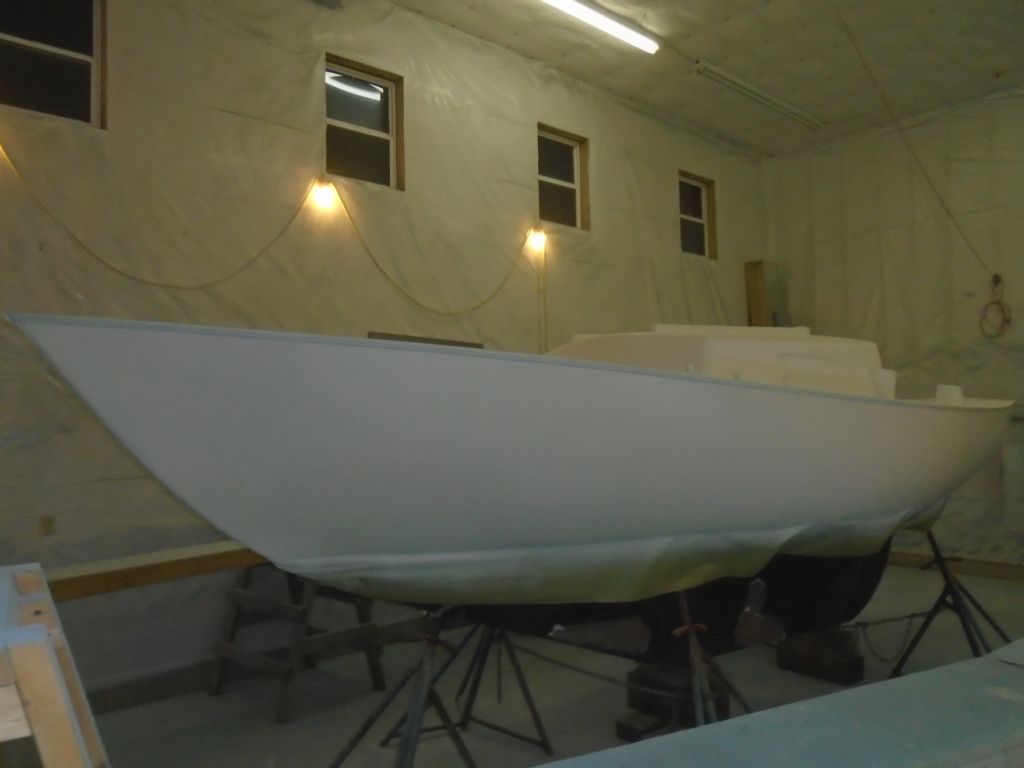
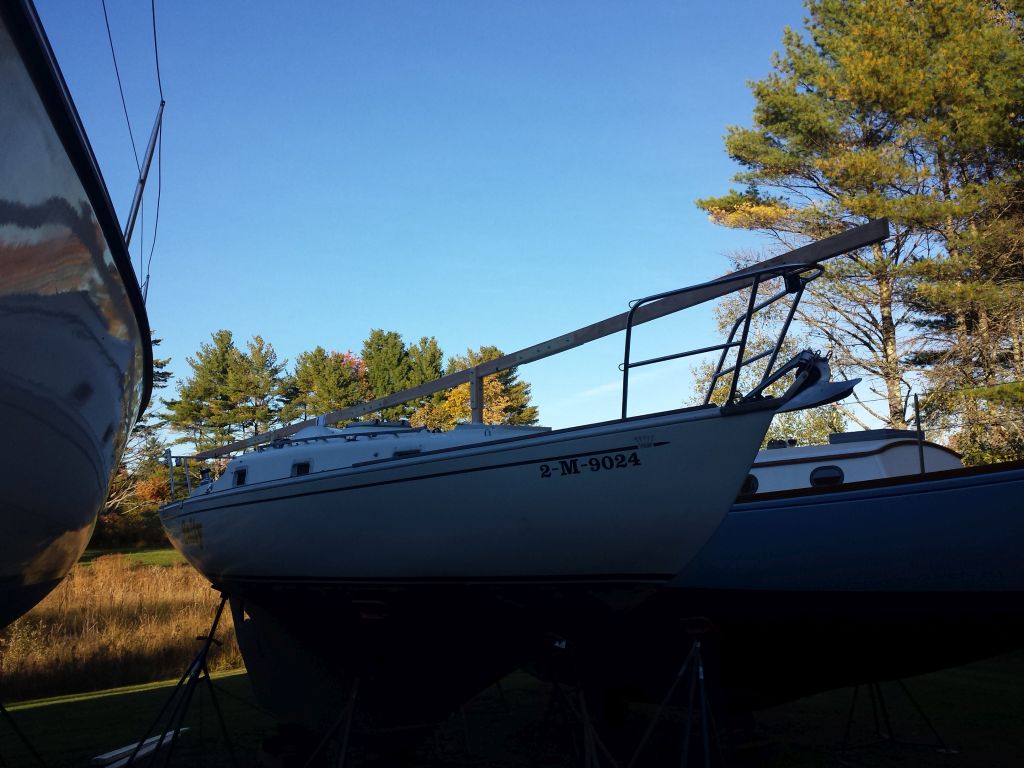
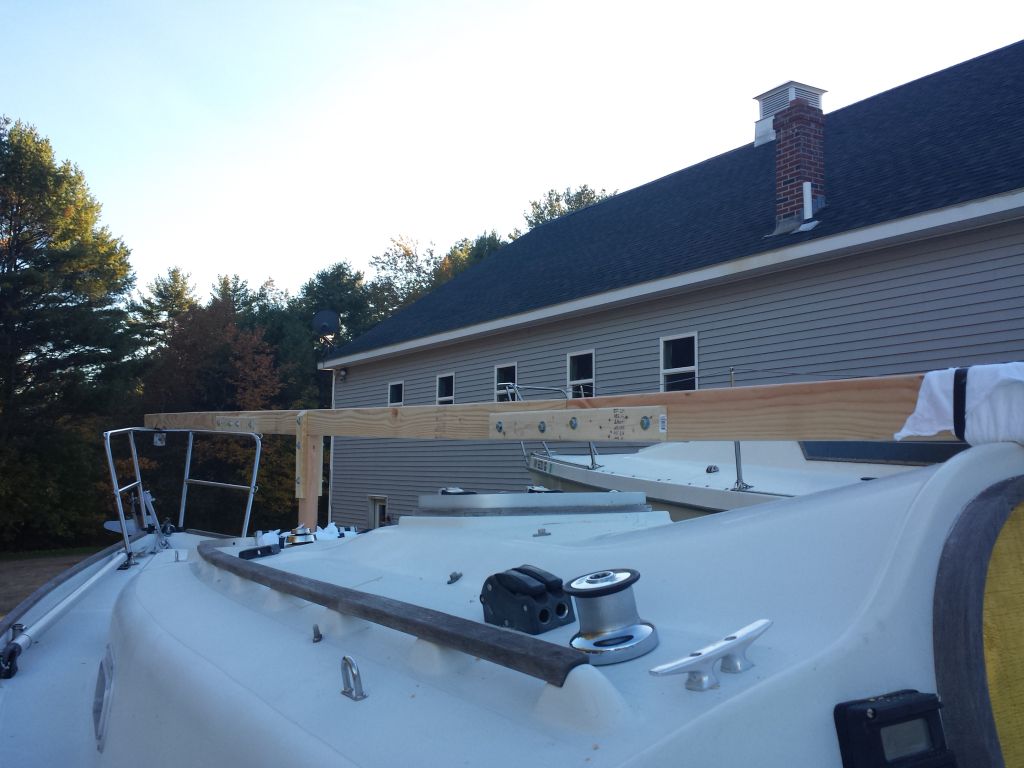
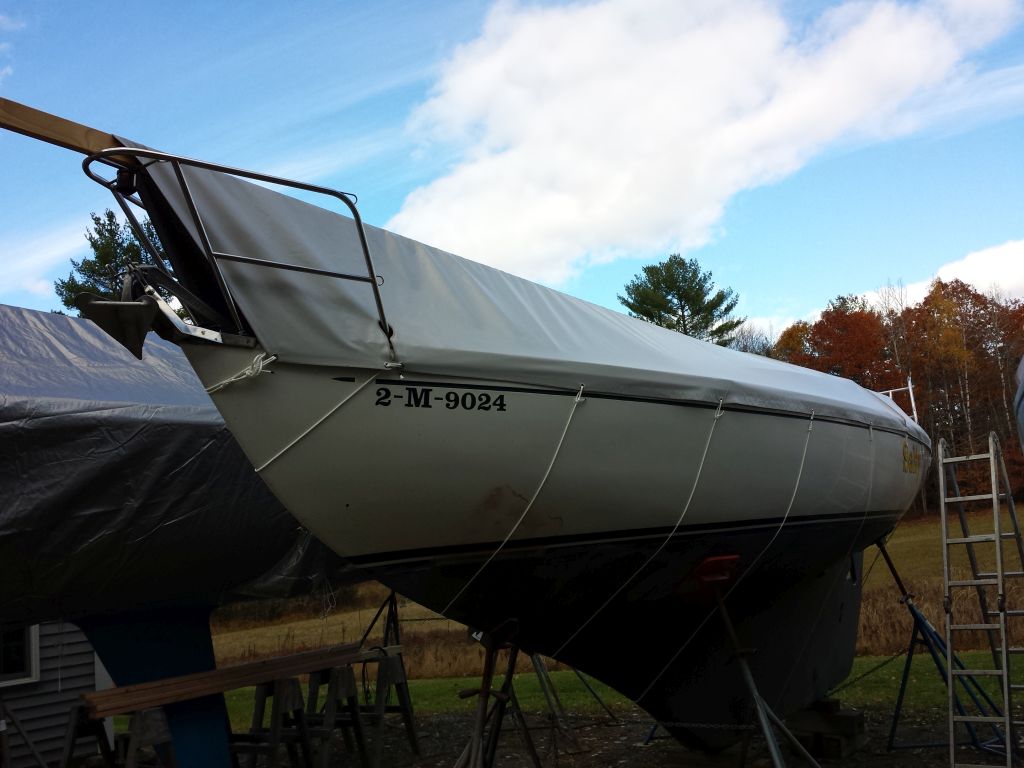
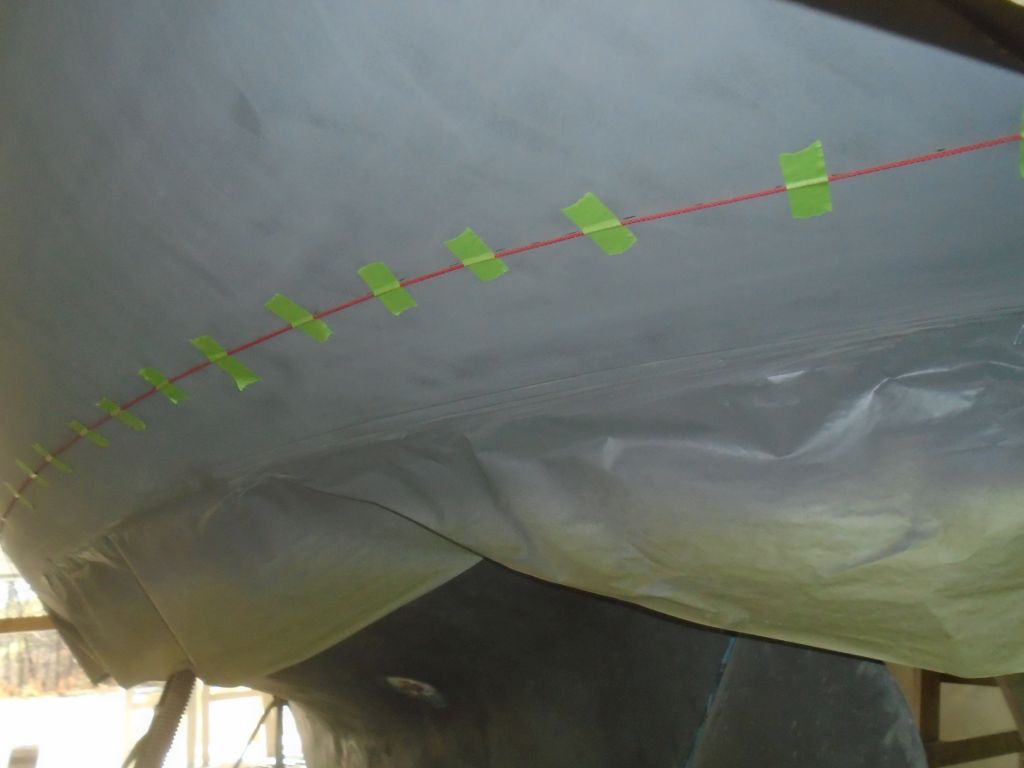
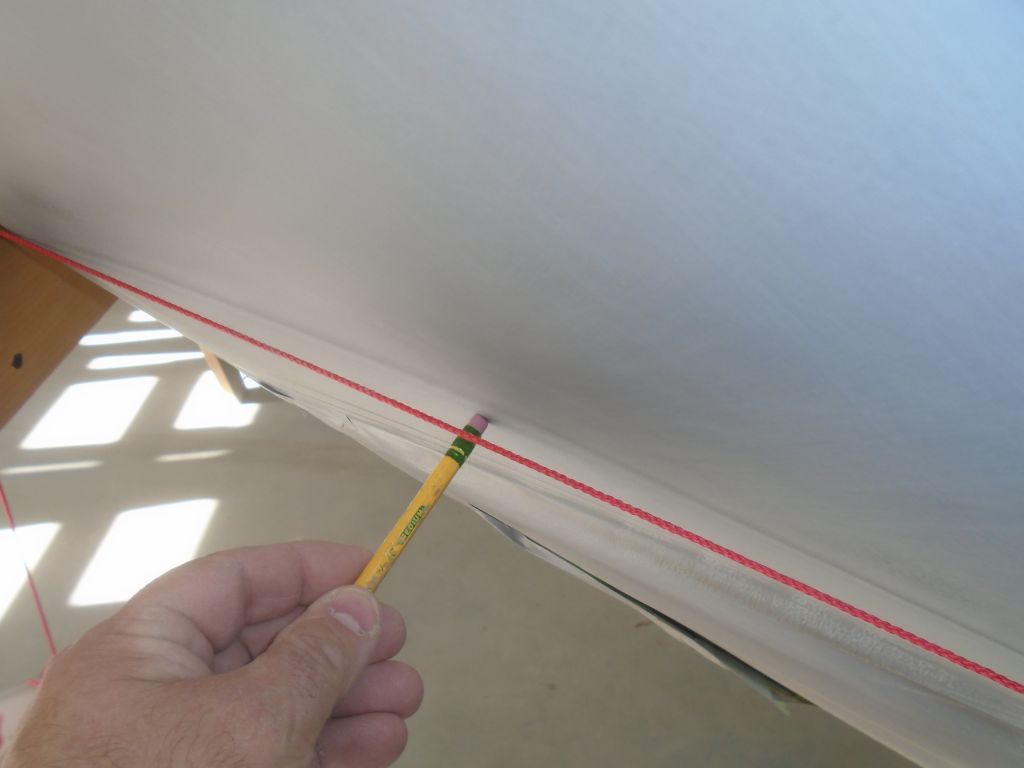
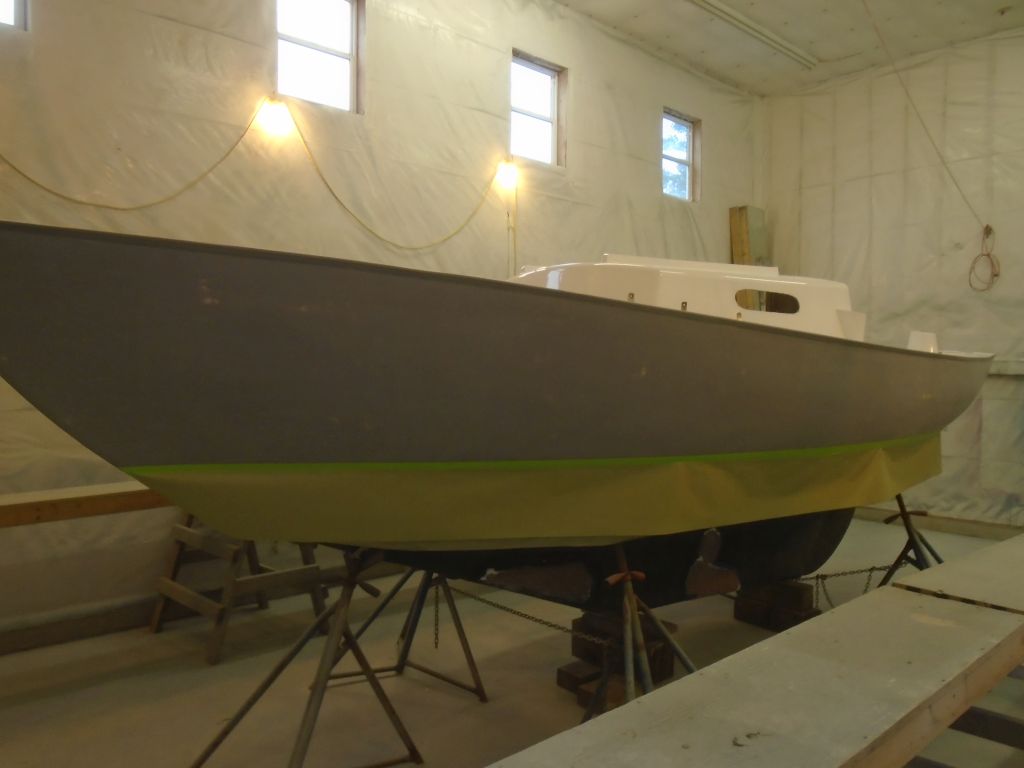
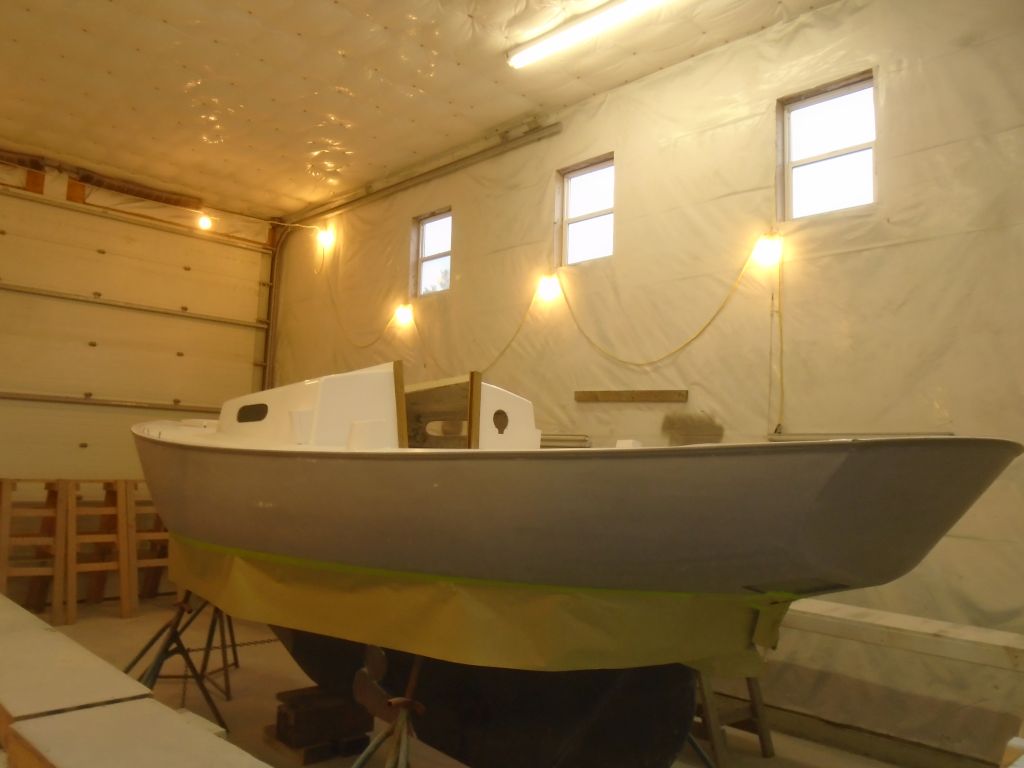
The next step to prepare for hull topcoats was to lay out and strike the boottop.  As with the waterline earlier, I set up my horizontal beams at each end of the boat, this time 2″ above the waterline to demark the visual height of the boottop, and set up a string between the two.  Working from amidships towards each end at a time, I pulled the line in, securing it and marking it on the hull.    With the tick marks complete, I masked off the area beneath before continuing.

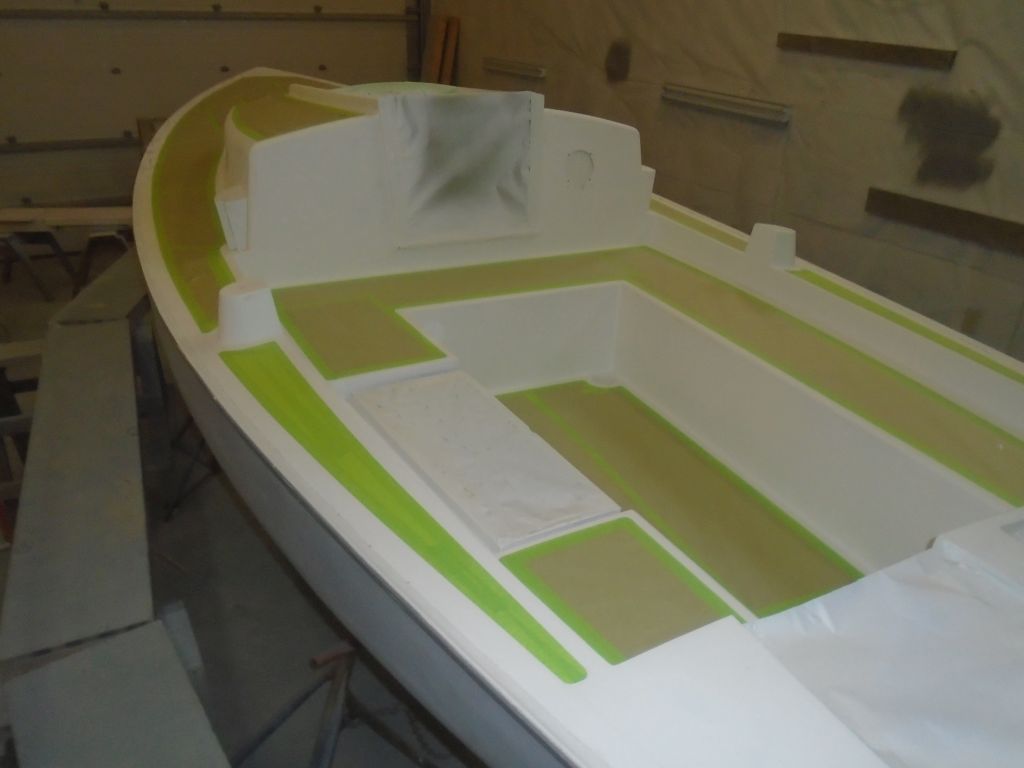
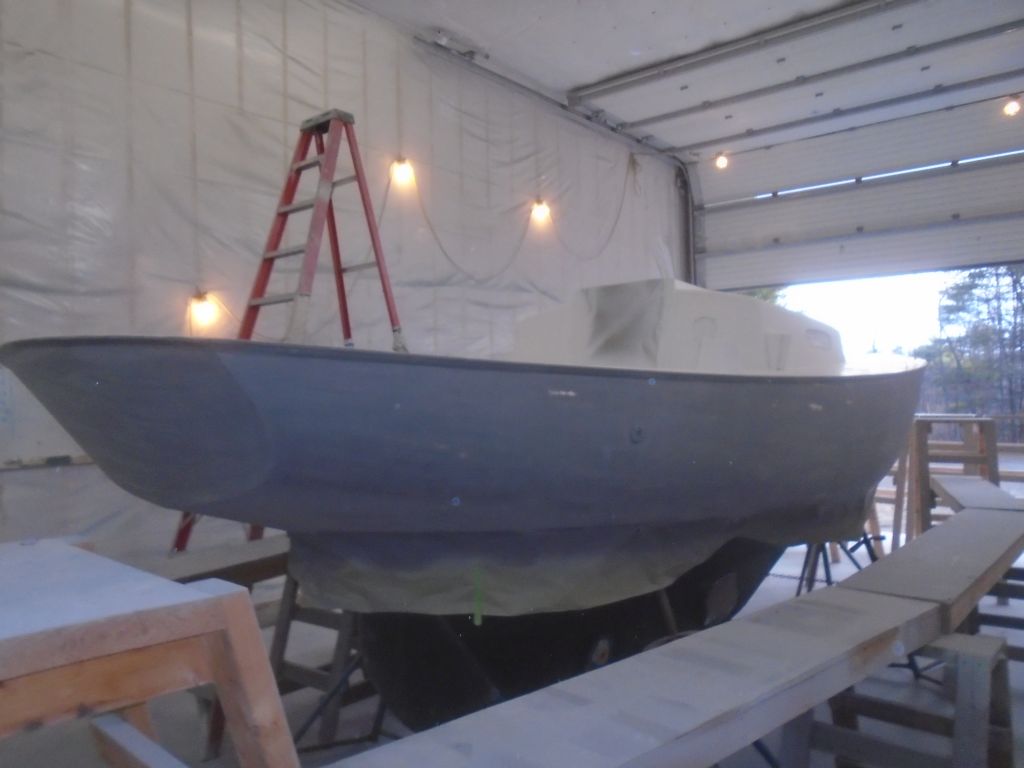
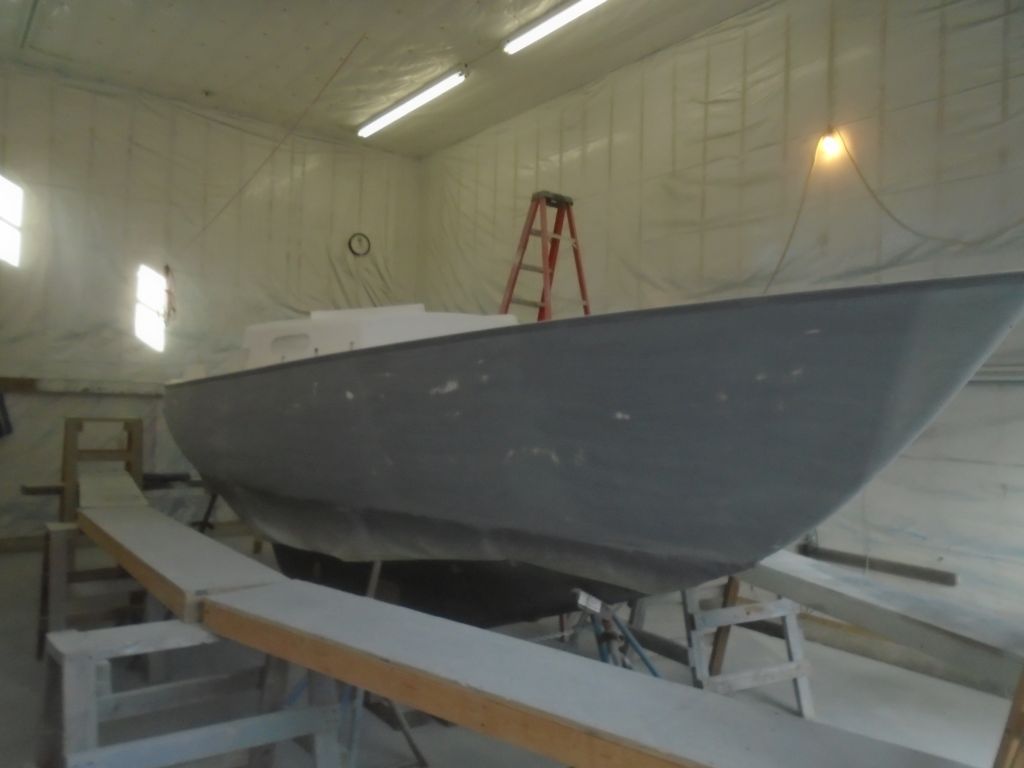
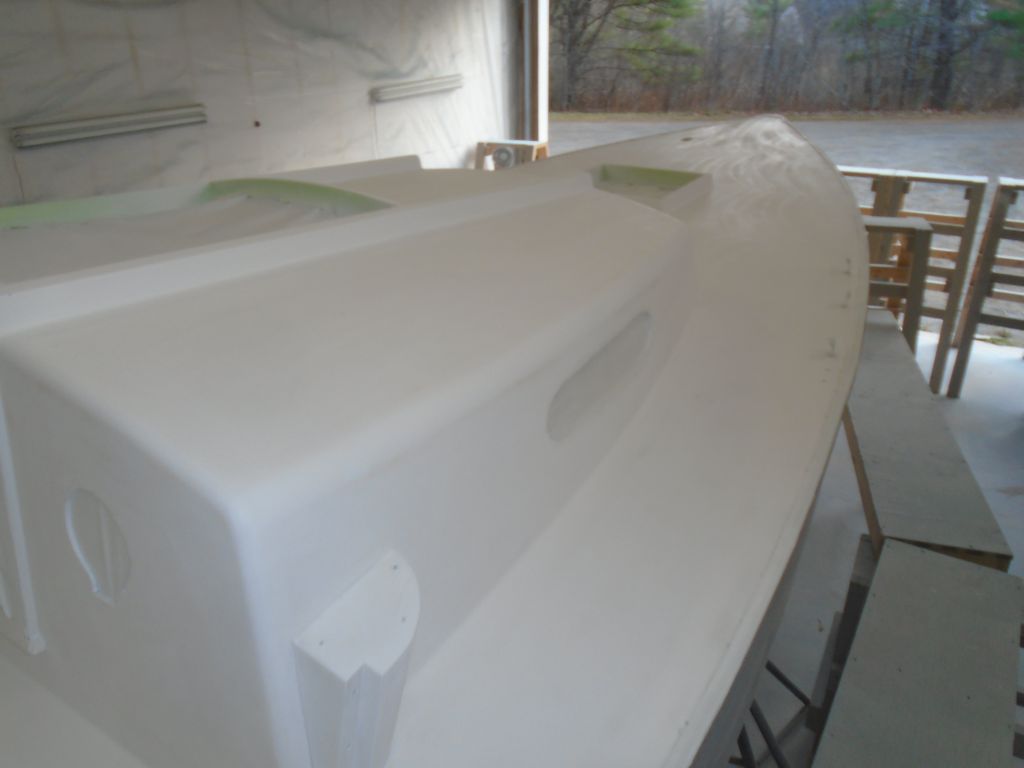
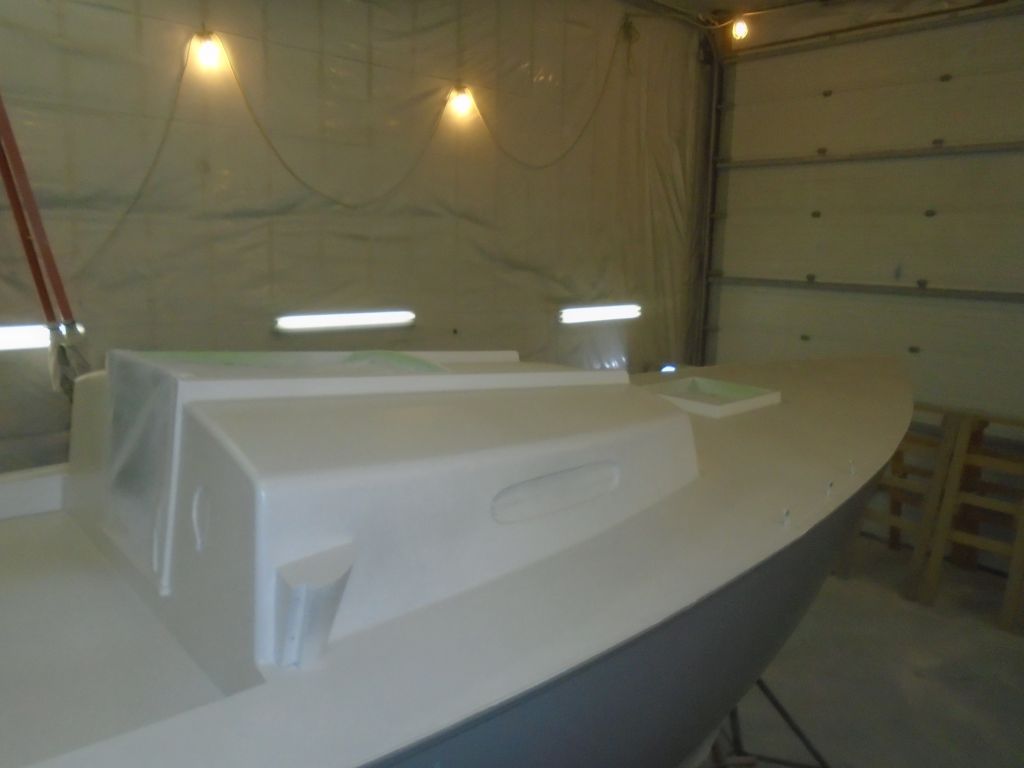
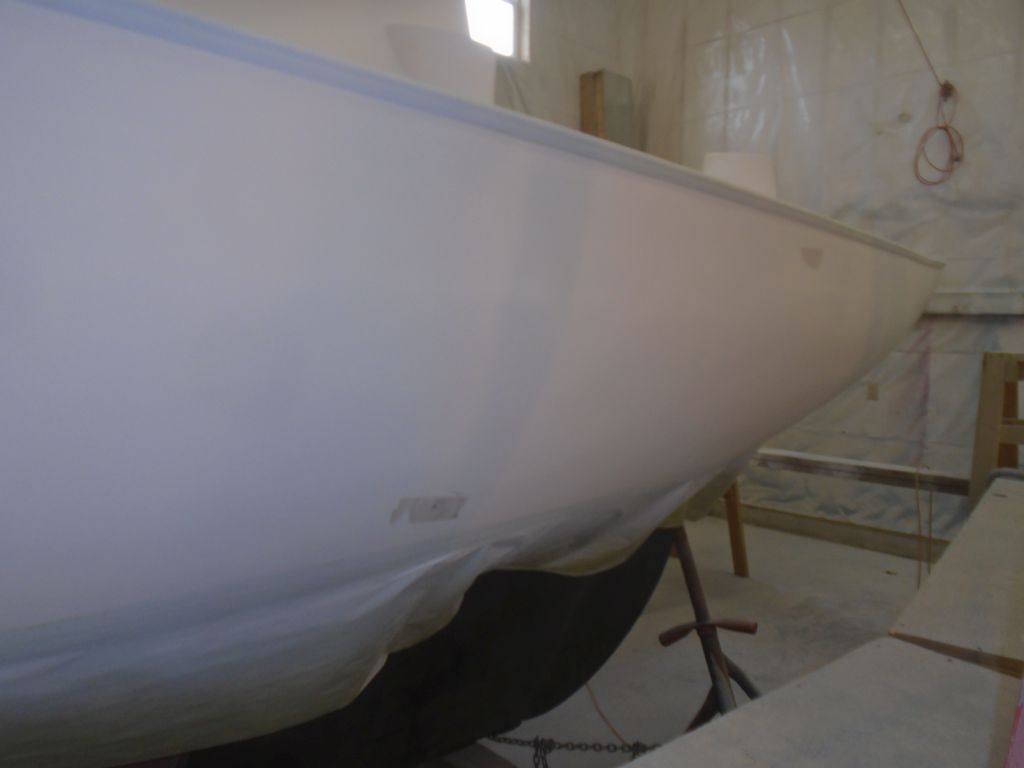
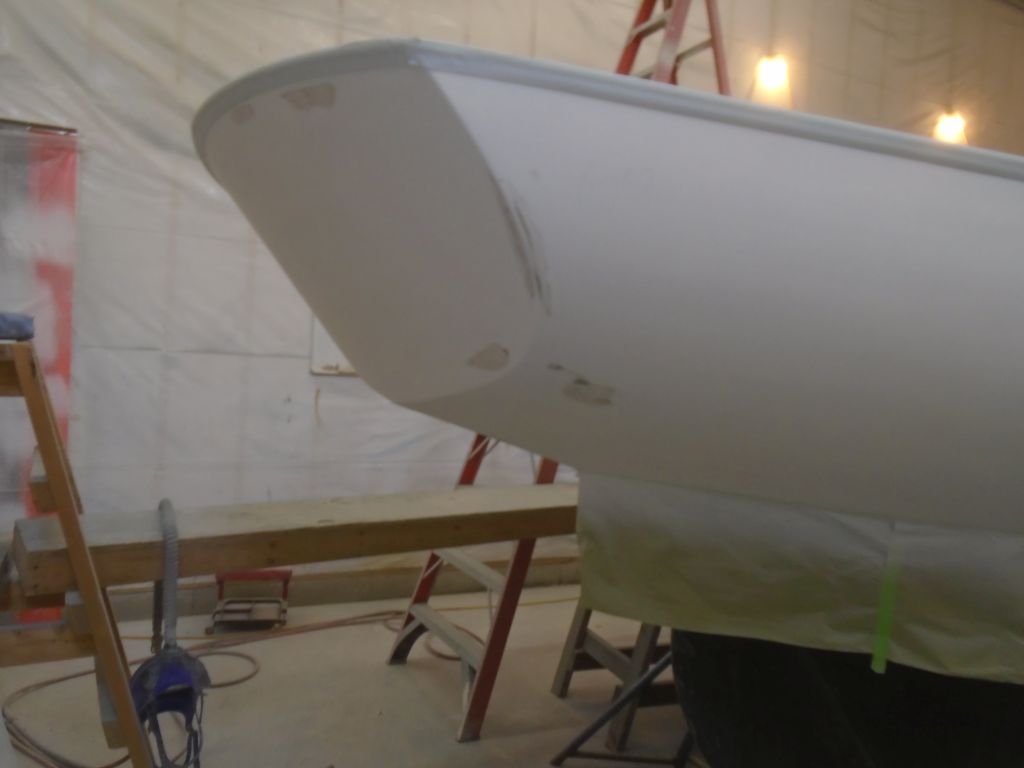
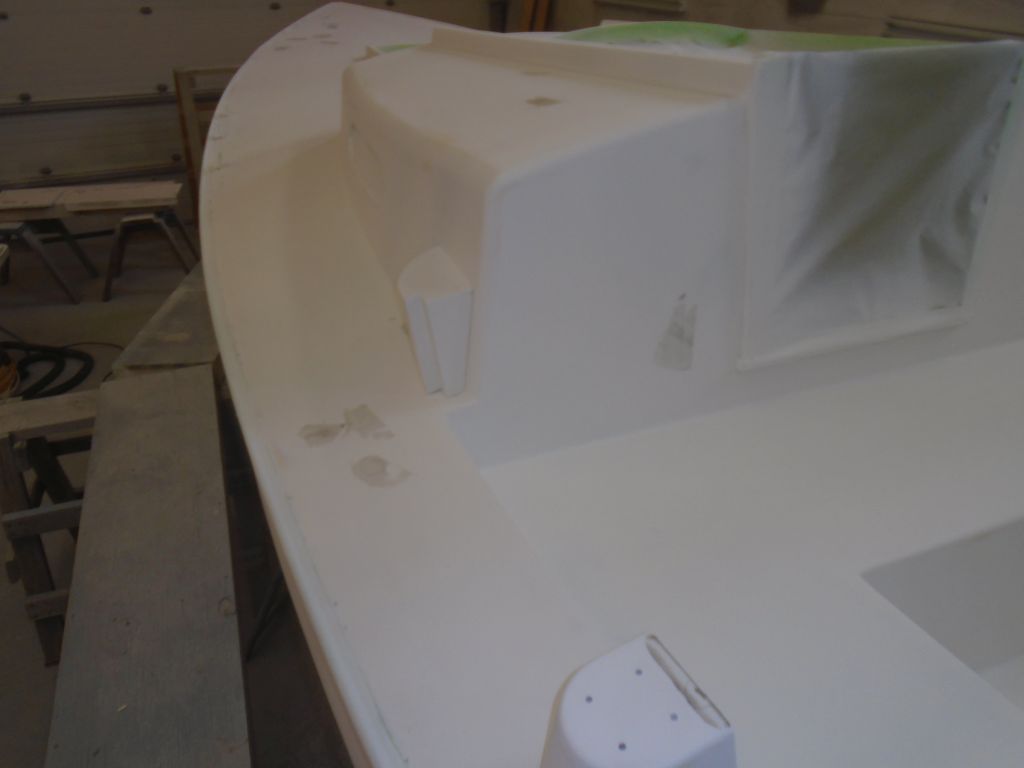
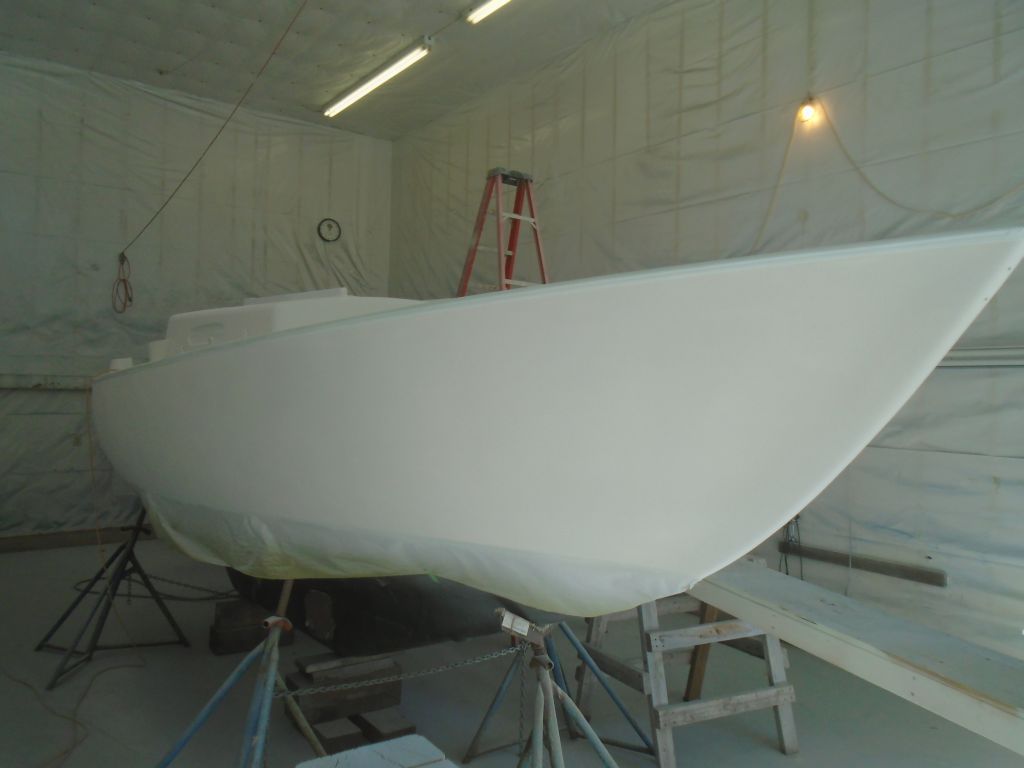
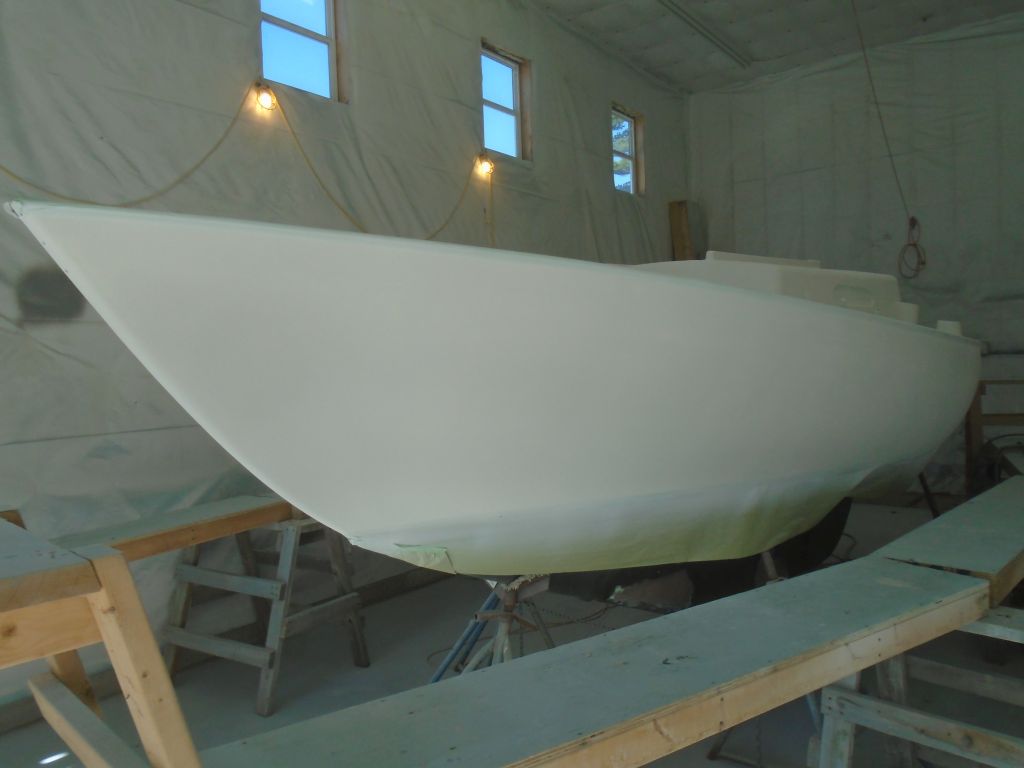
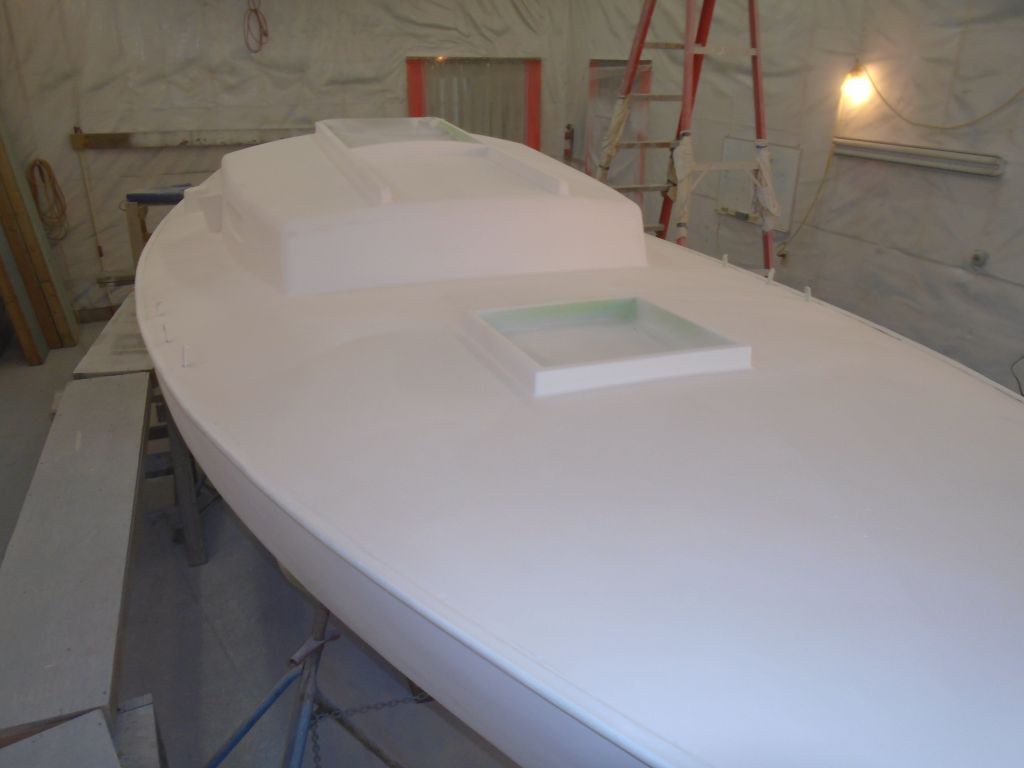
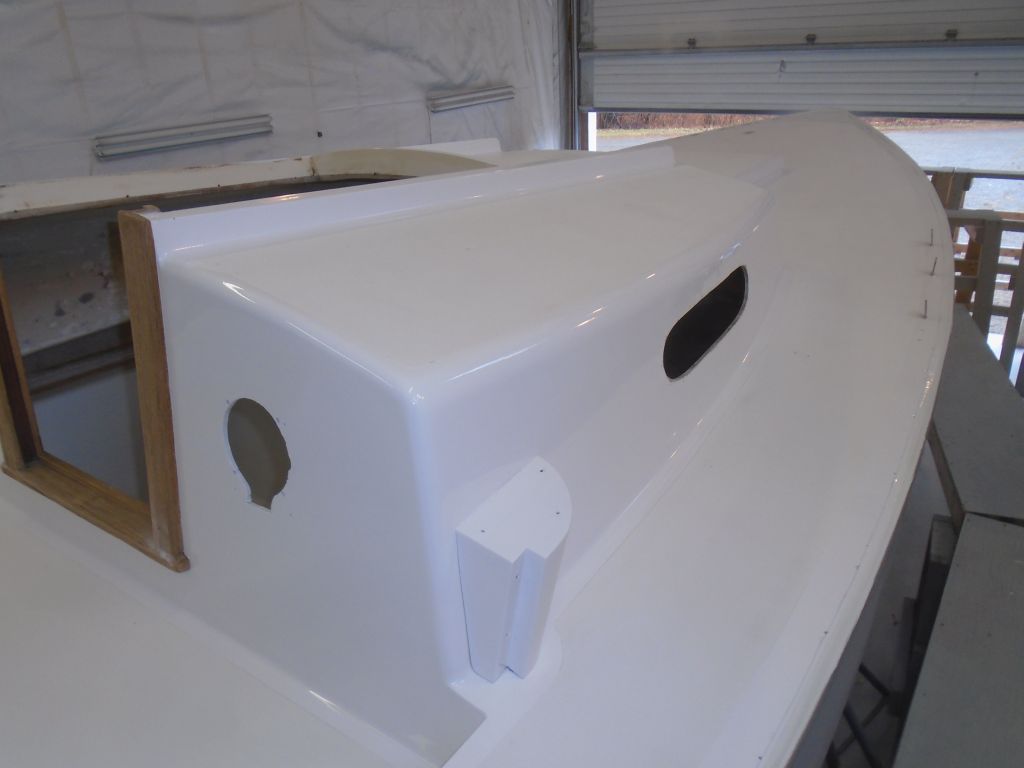
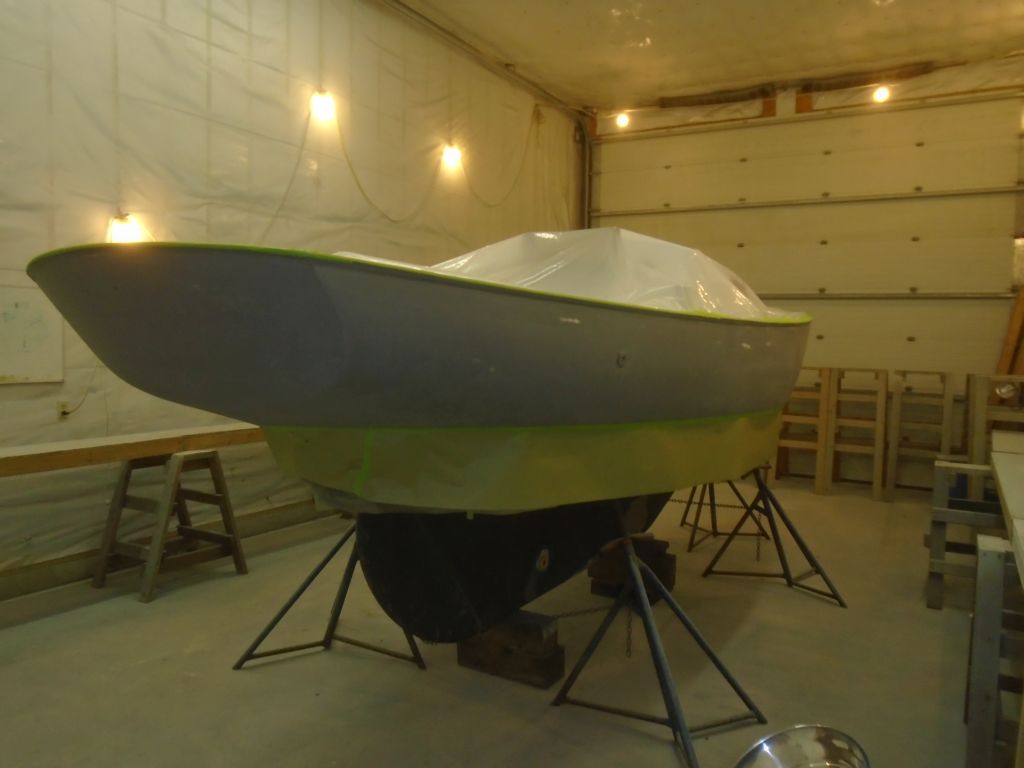
At the bow, I visually sheered the boottop fairly substantially, as per the original striping and to ensure consistent and appropriate visual height and appearance  I raised the height at the stem approximately one visual inch above the “straight” version of the line.

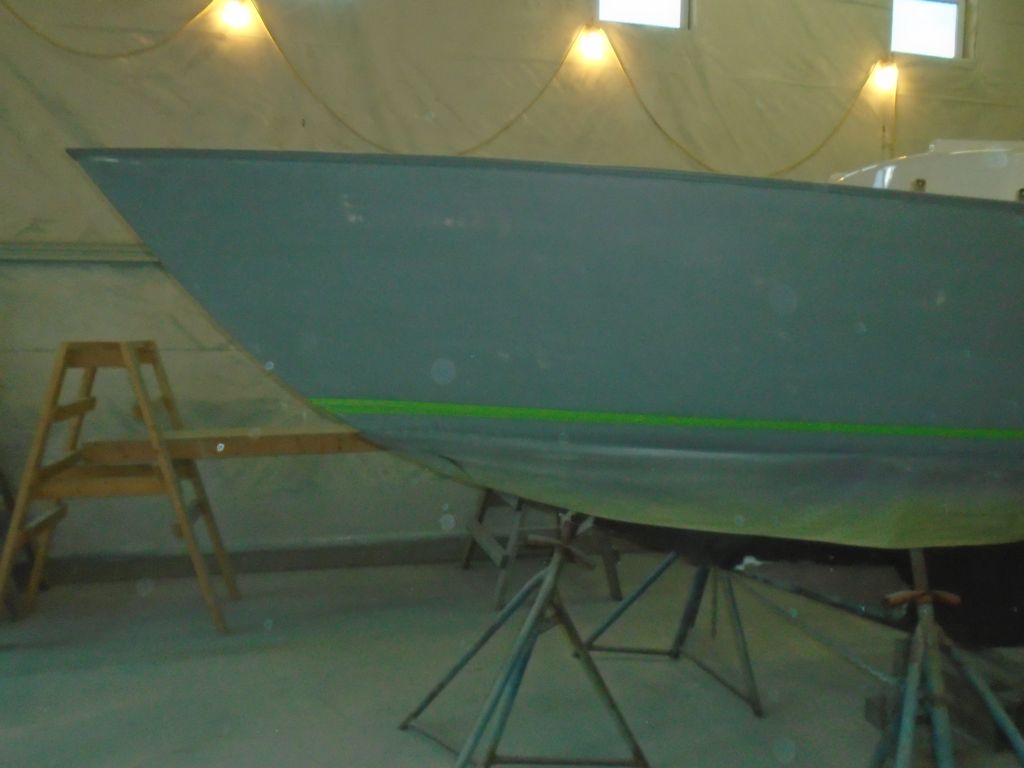
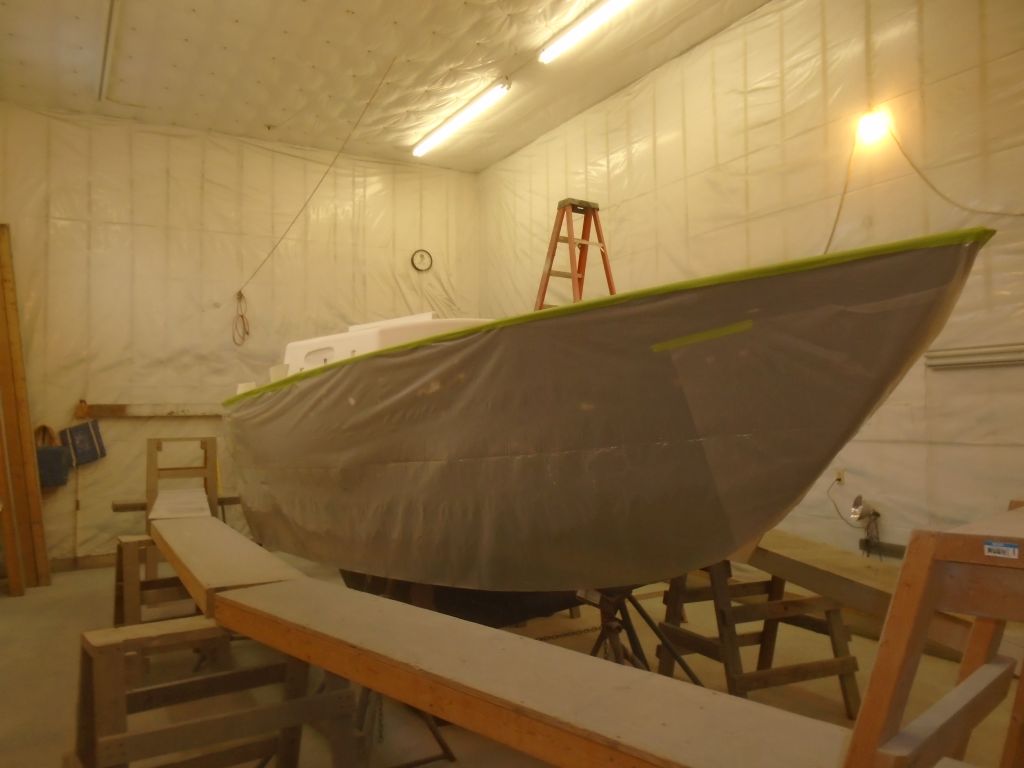
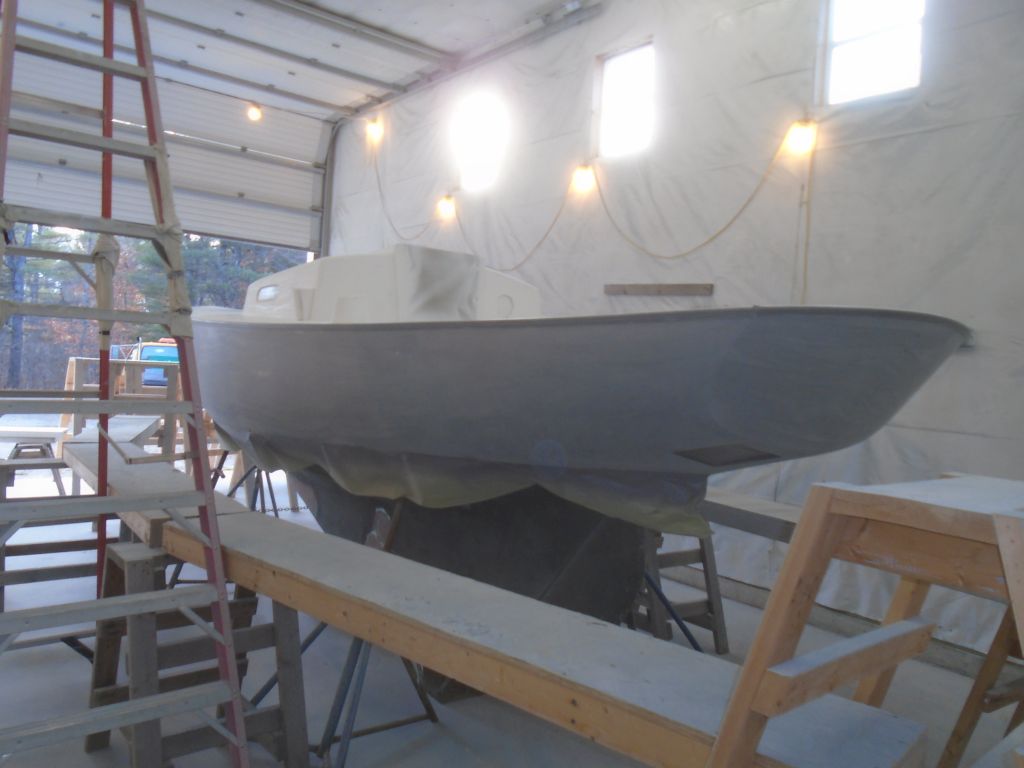
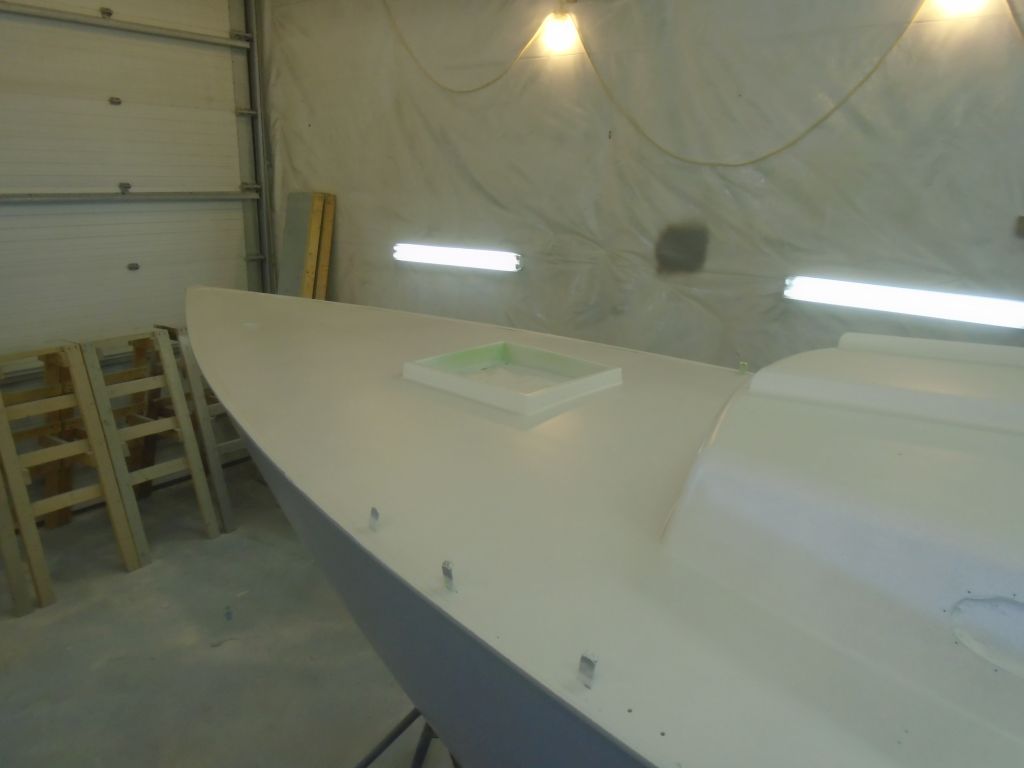
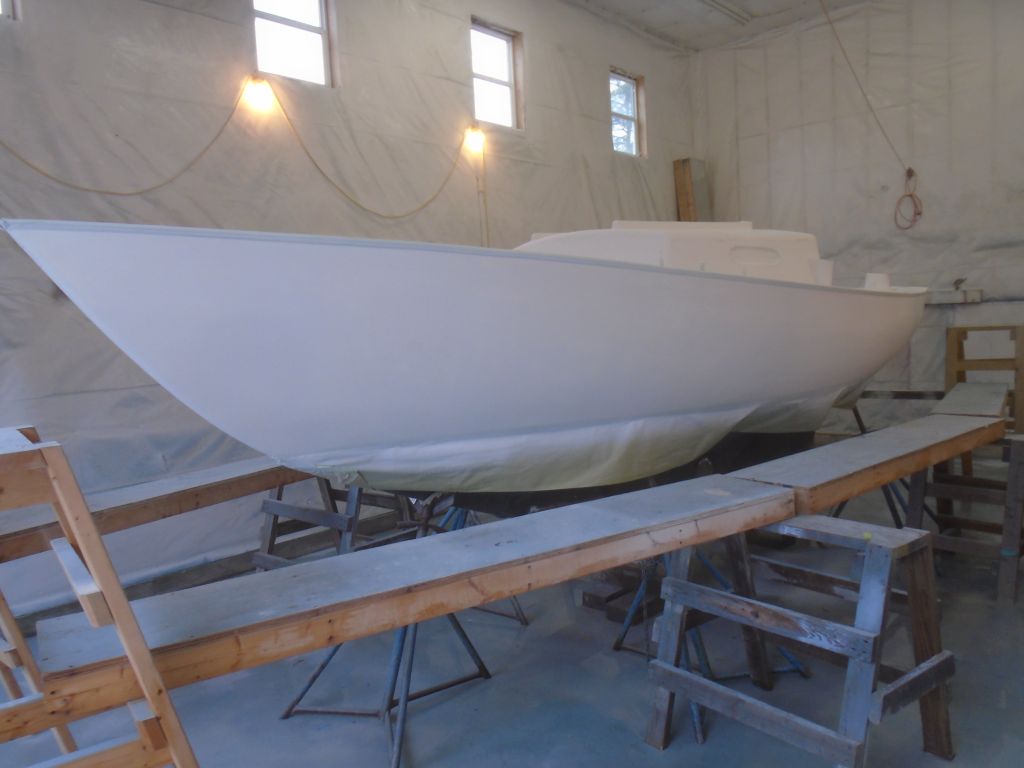
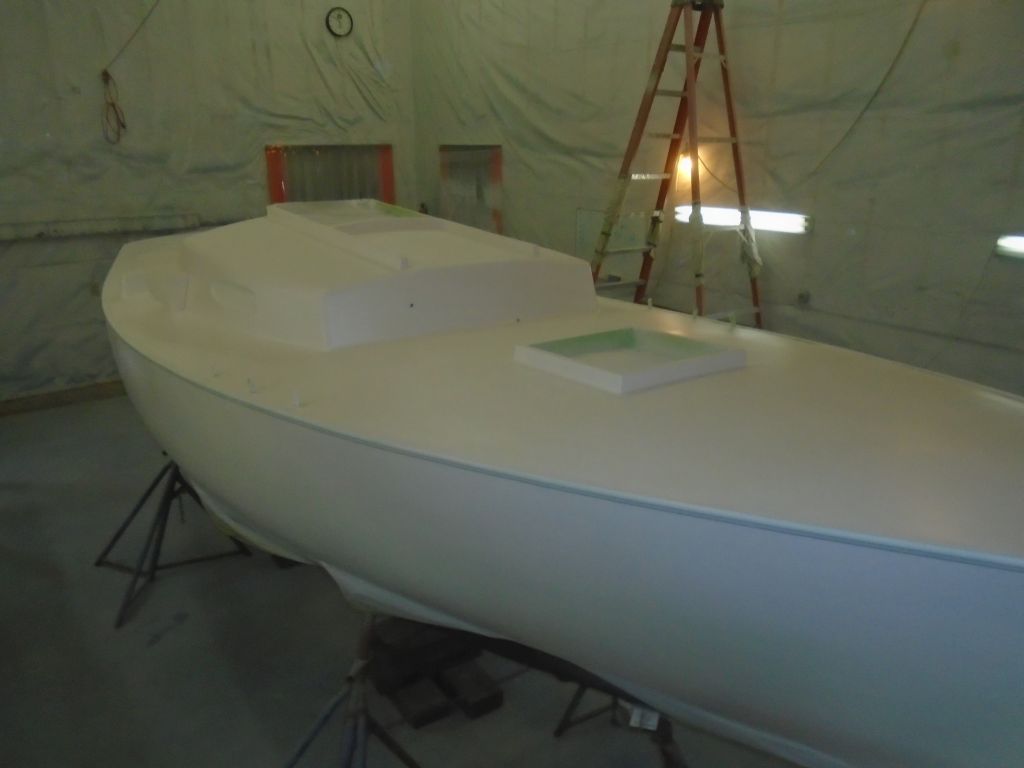
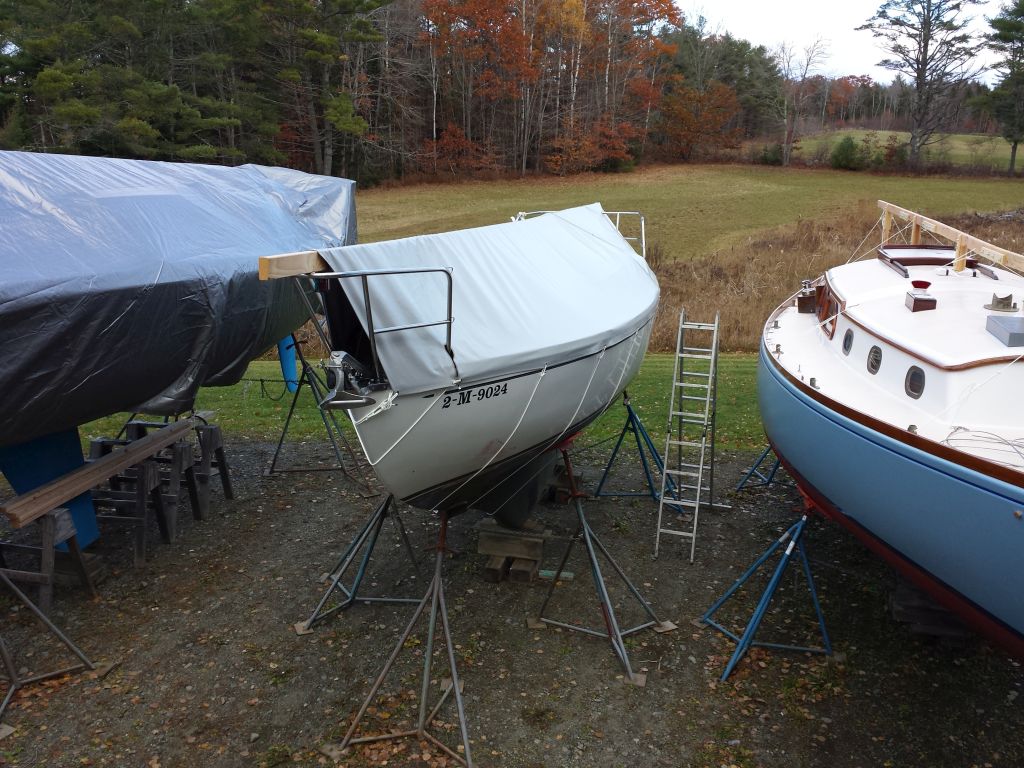
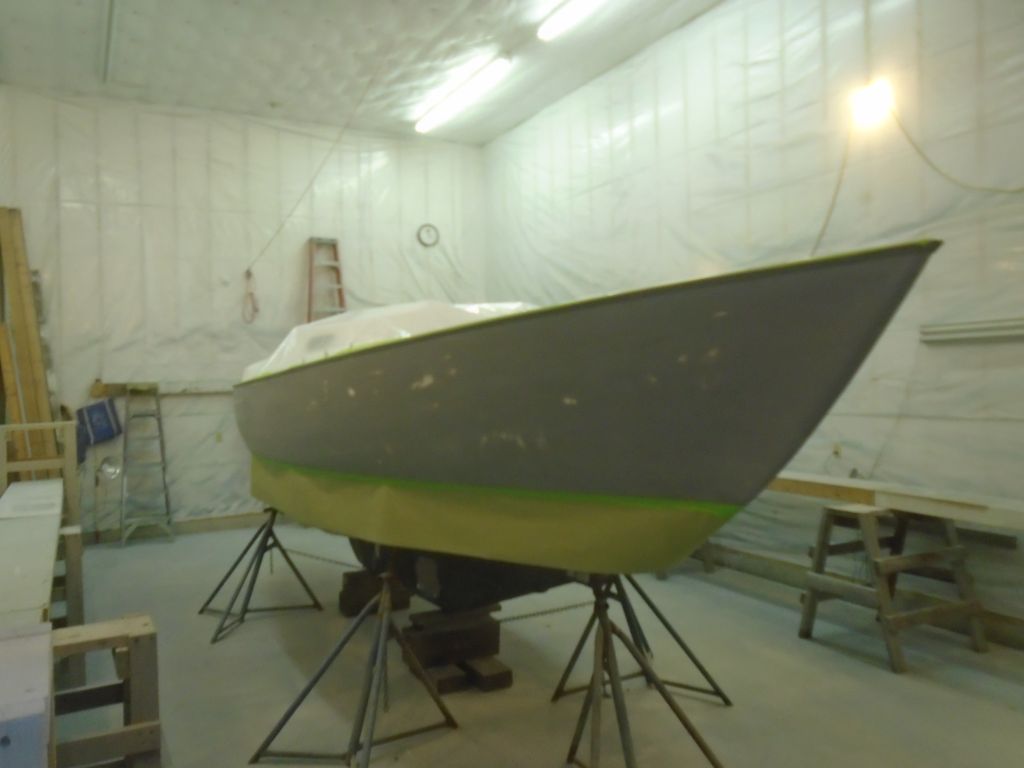
I was struck again, as every time I work on one of these boats, by the amount of hollow in the waterline sections at the bow–not a typical design trait from Mr. Alberg, but he clearly wanted to try out the idea on this design.

boot4-111315

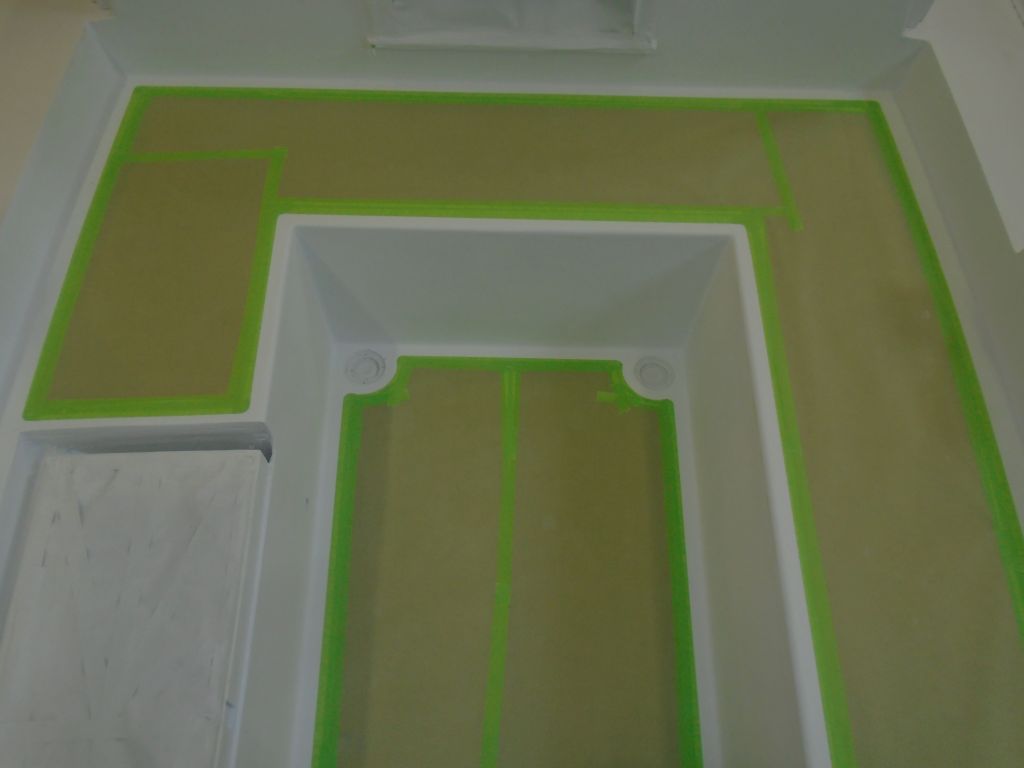
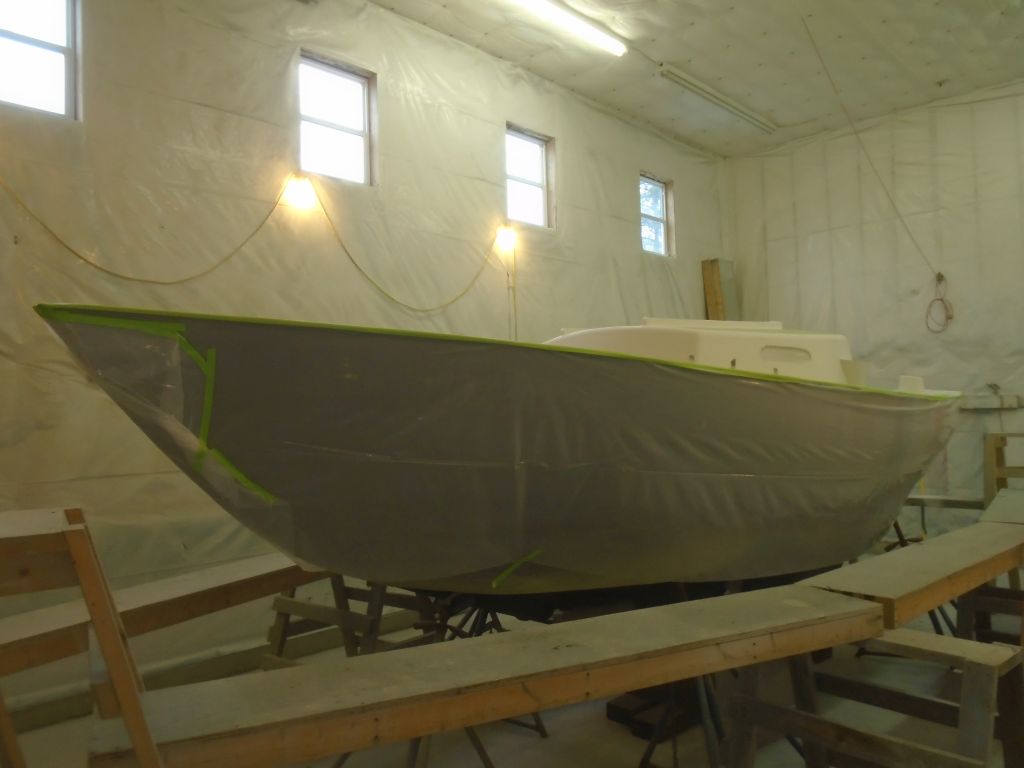
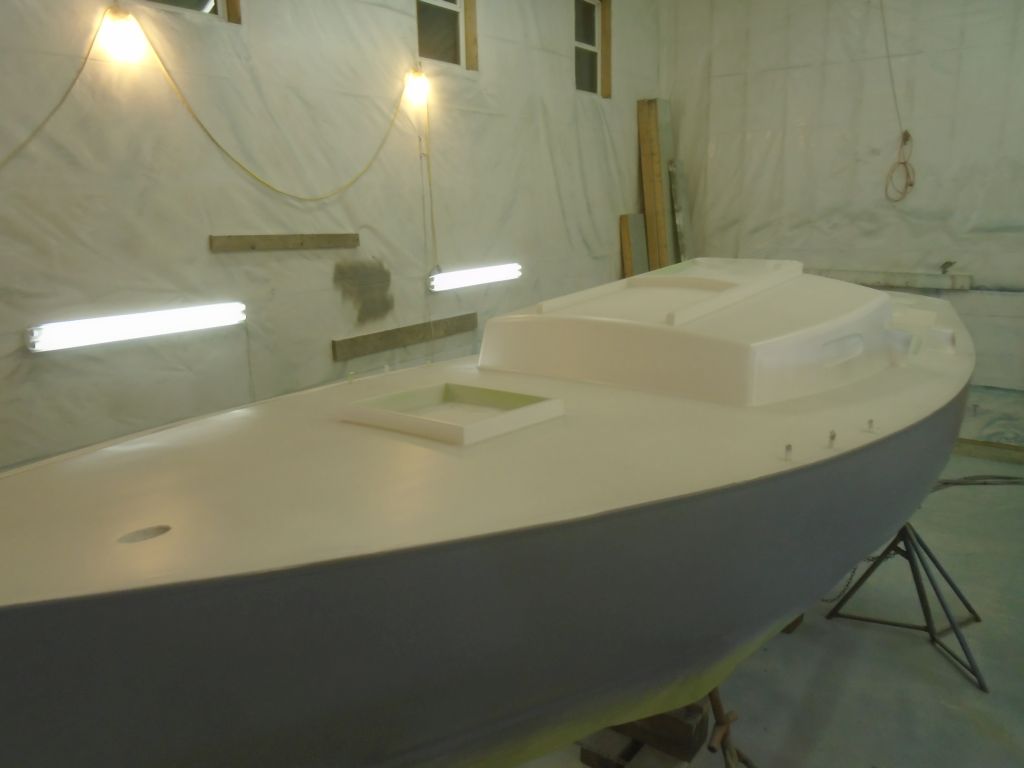
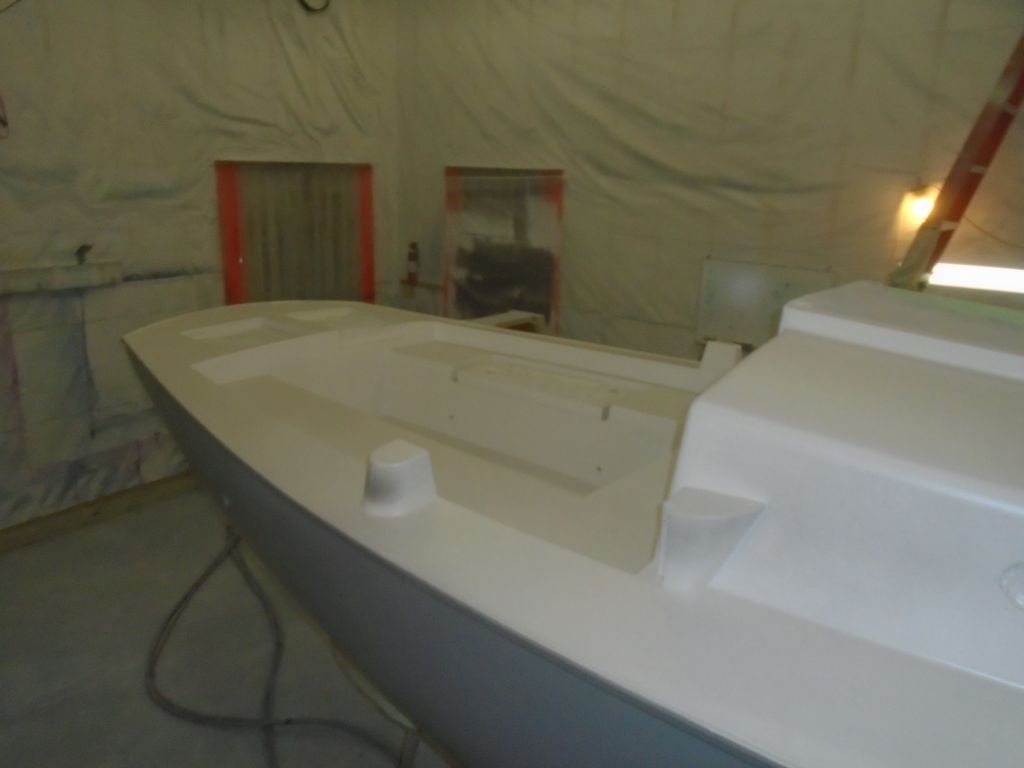
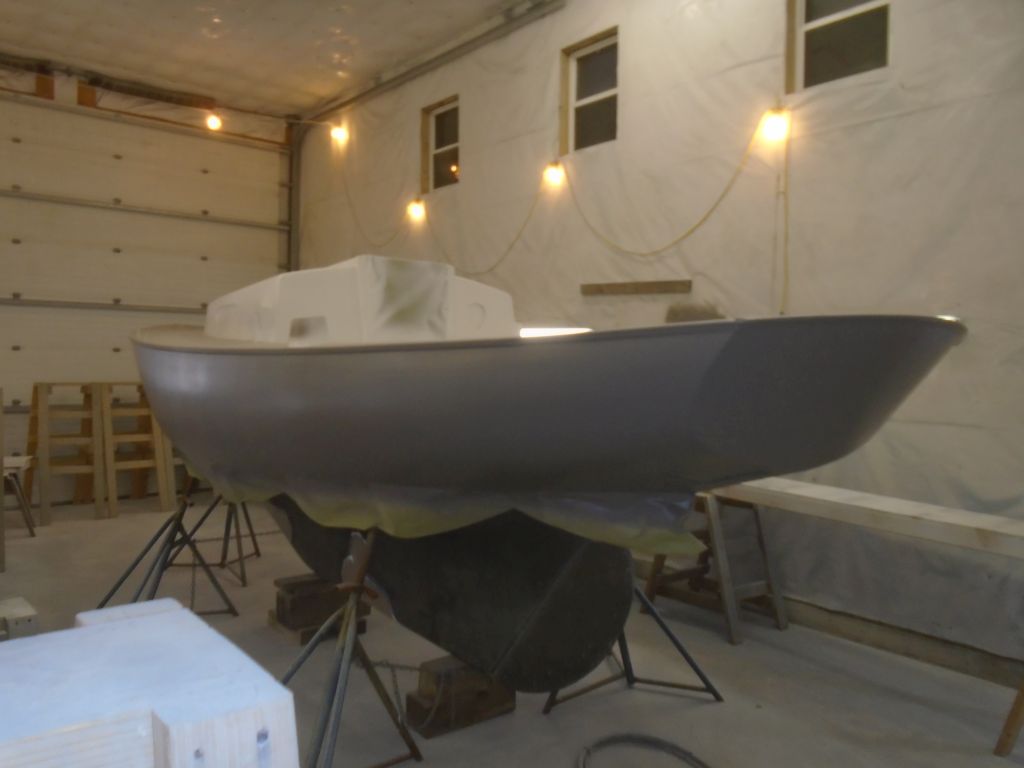
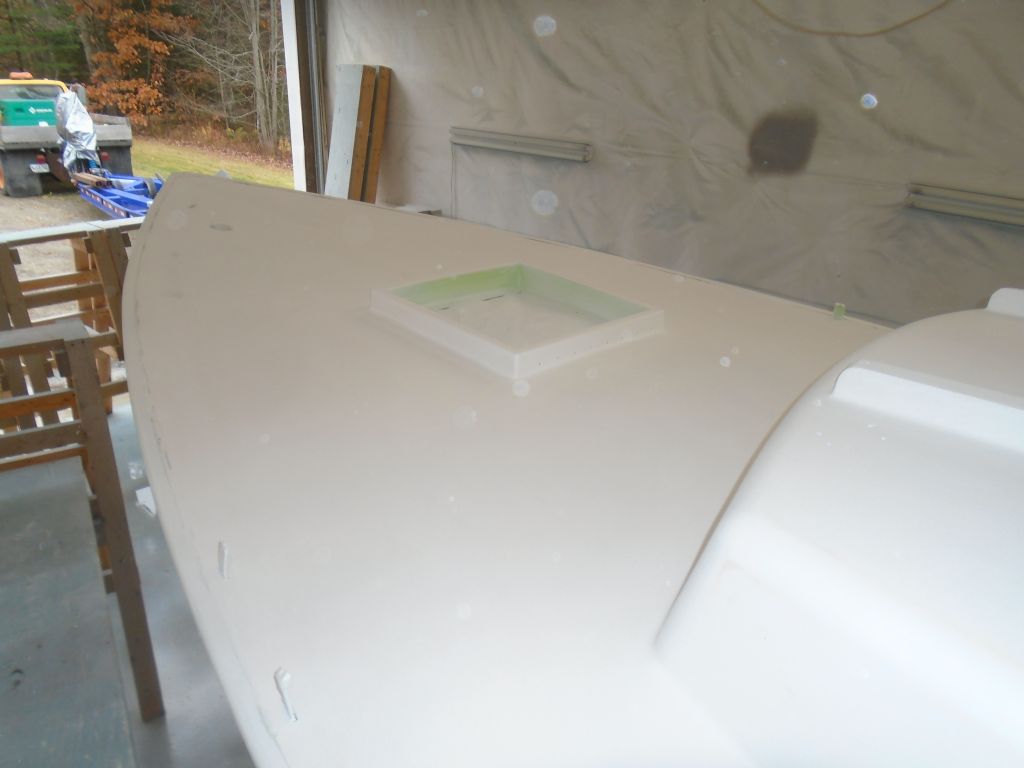
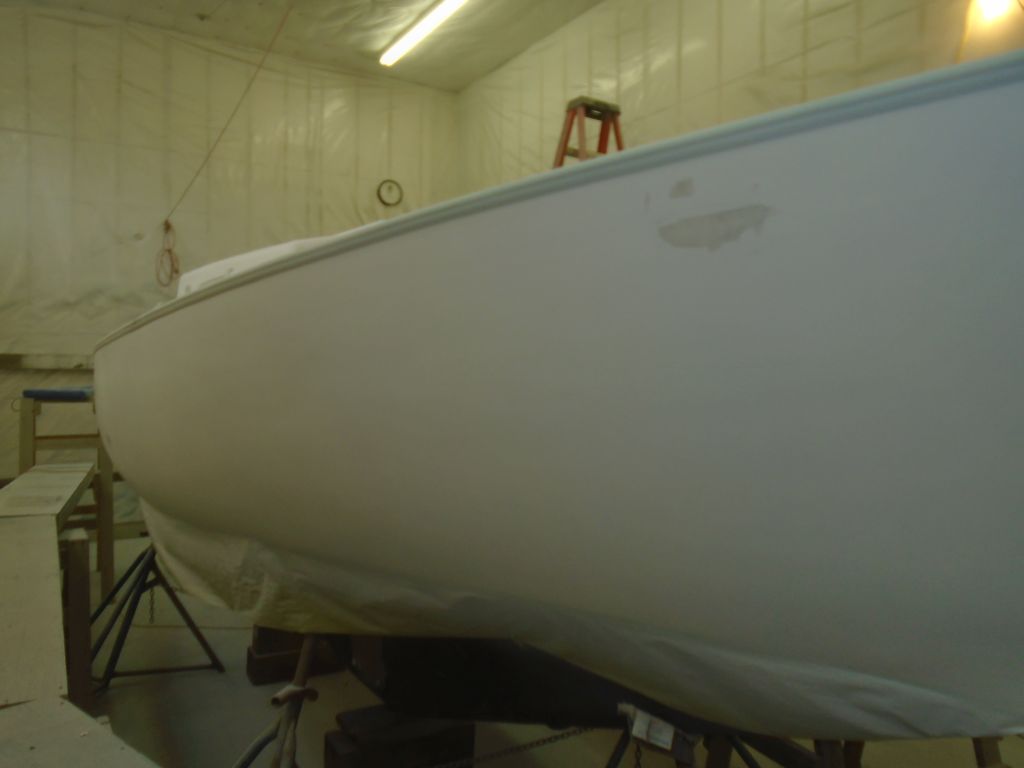
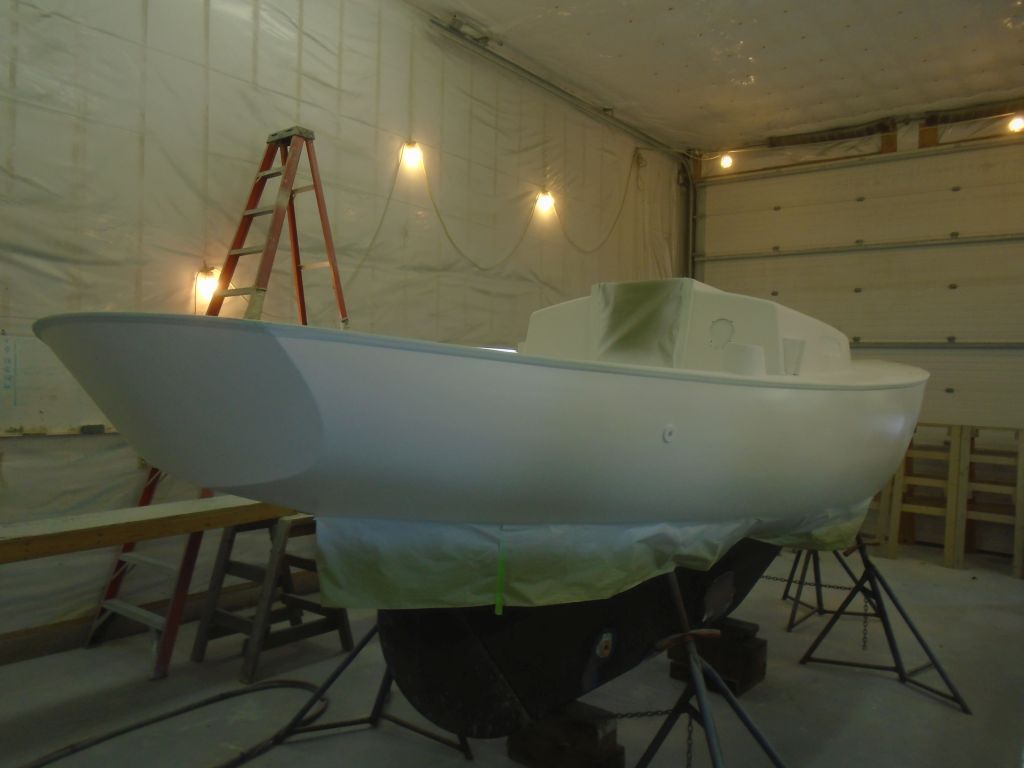
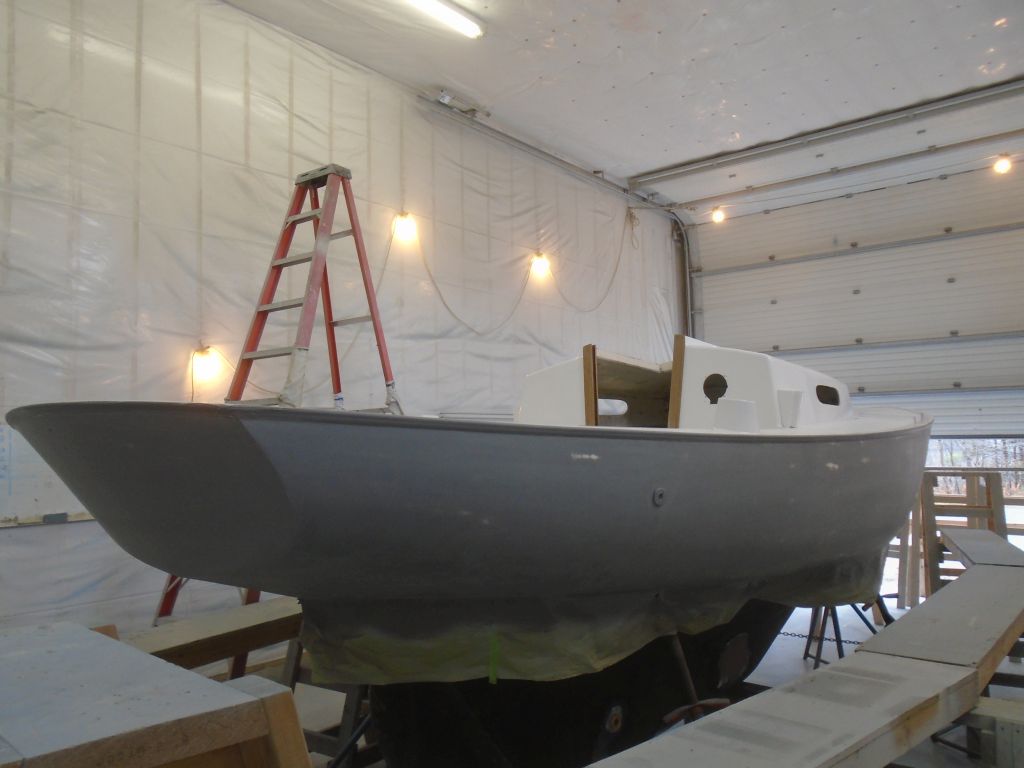
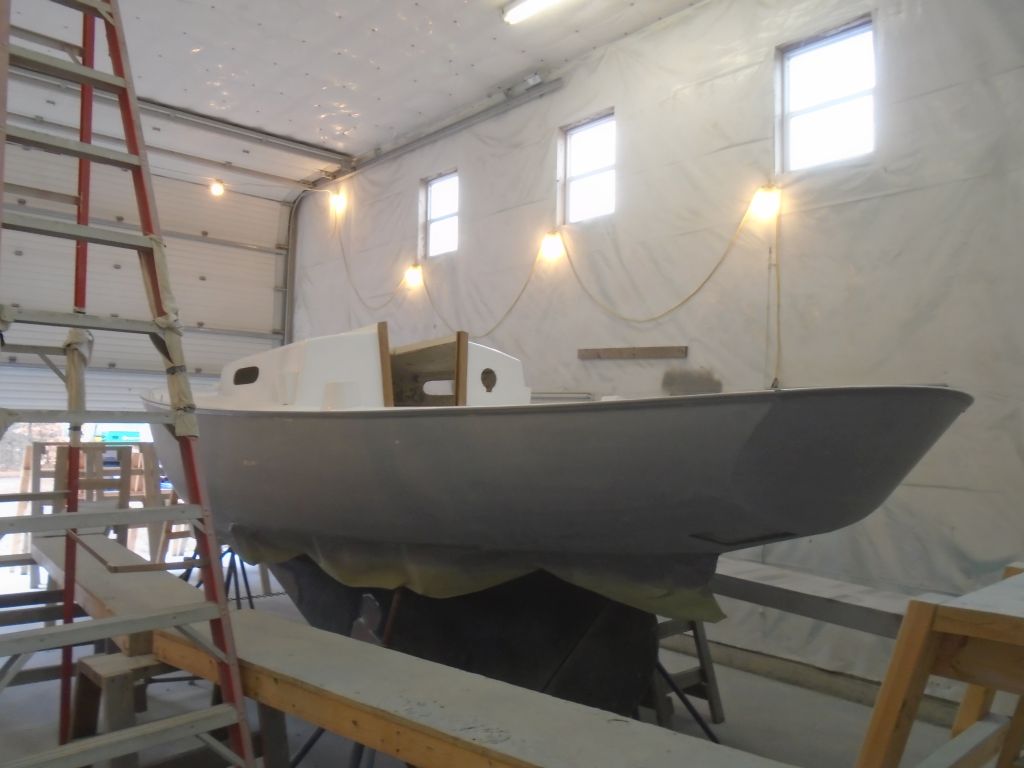
I completed the new masking with a strip of paper below the tape to protect the boottop area from overspray.

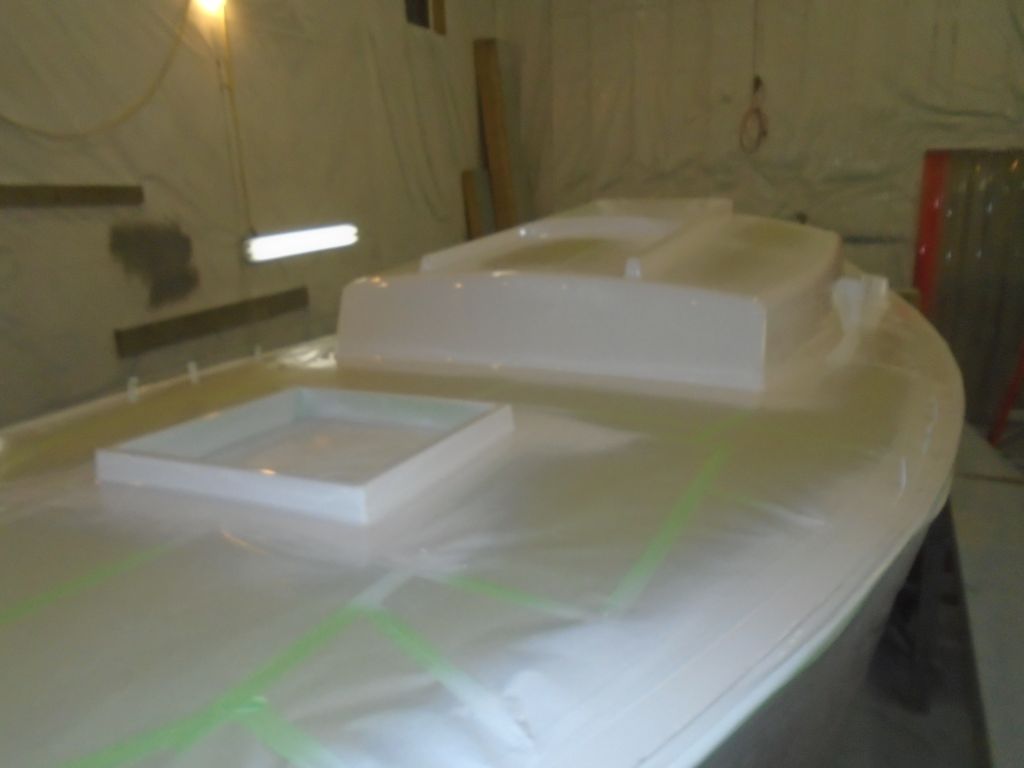
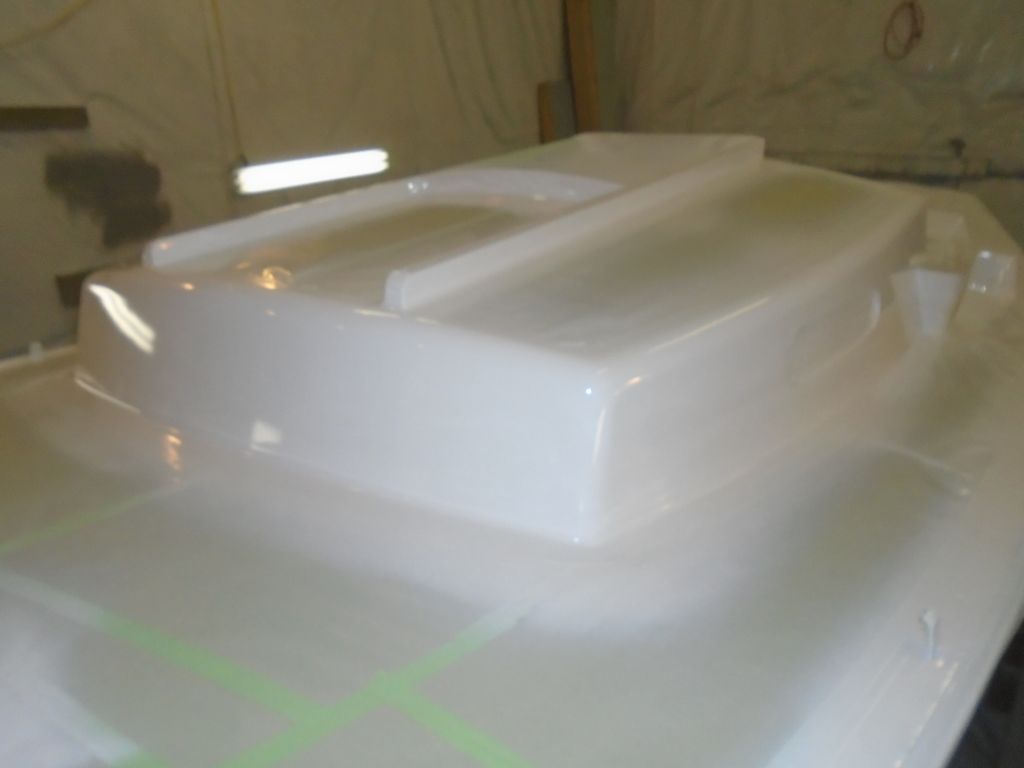
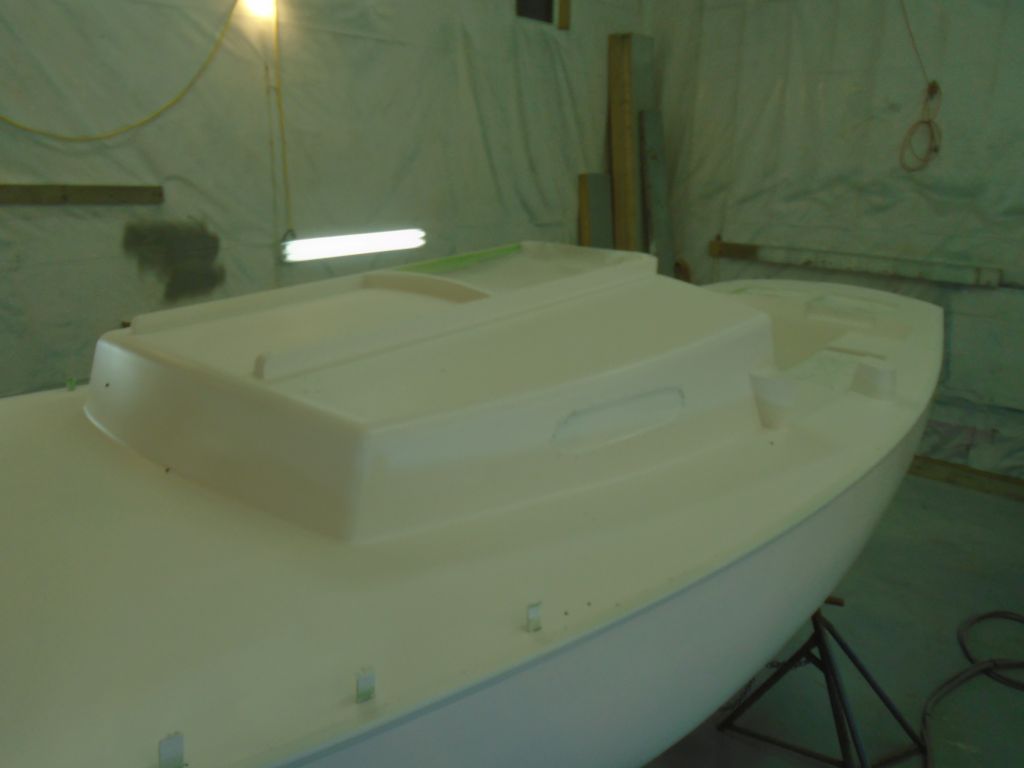
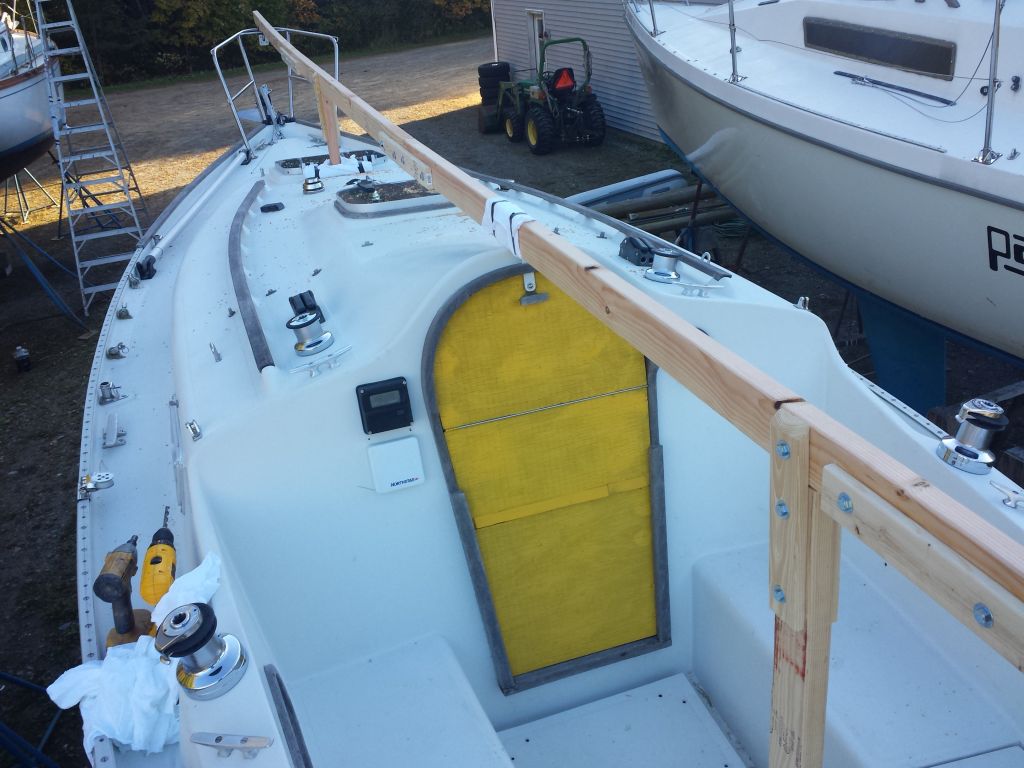
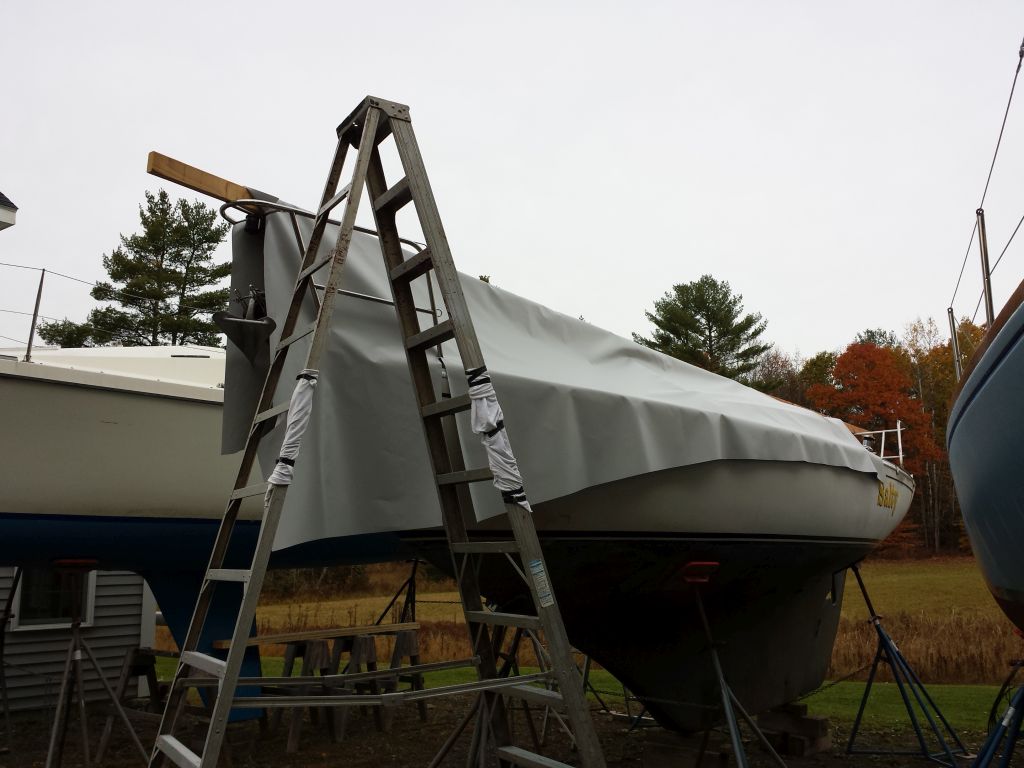
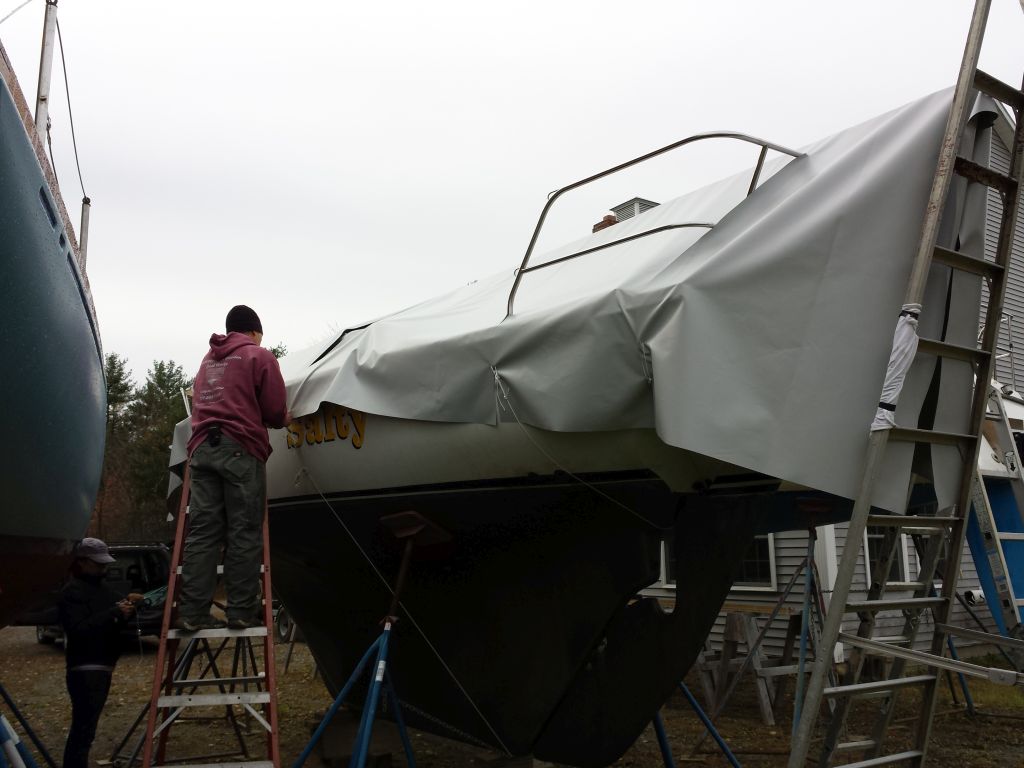
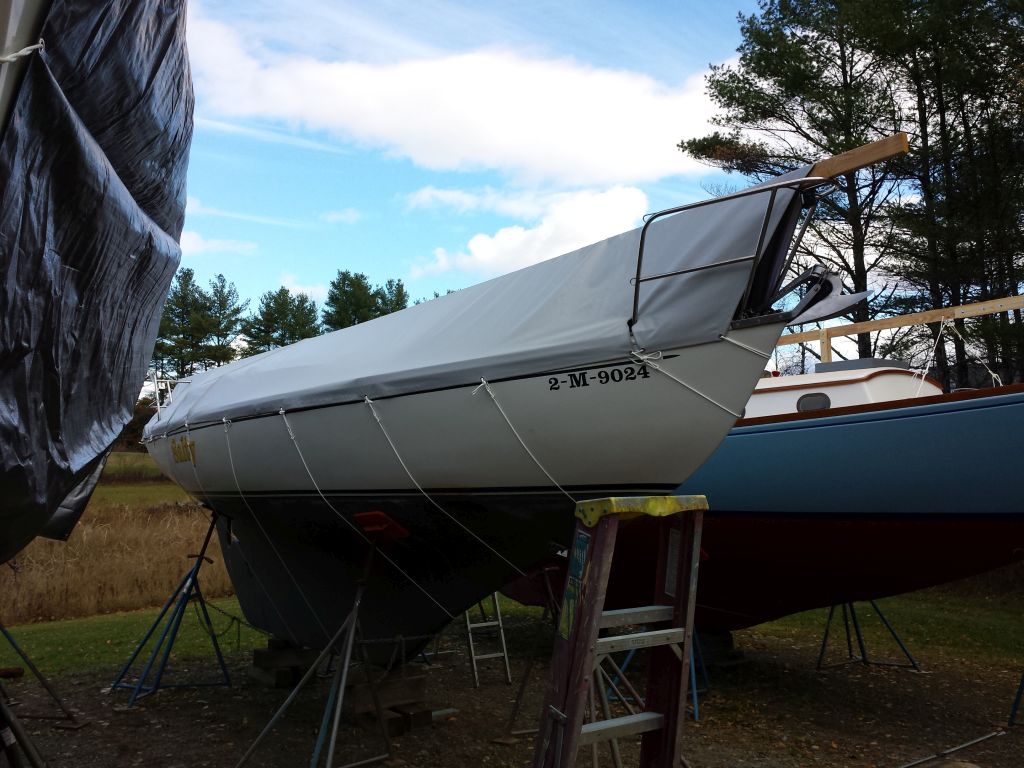
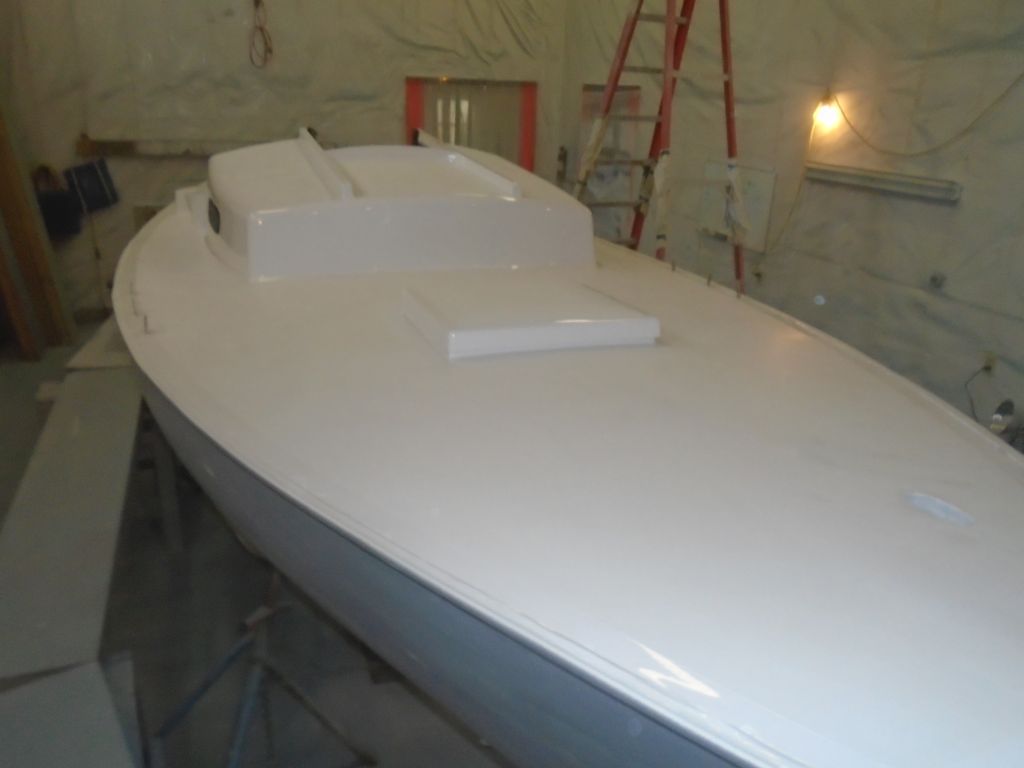
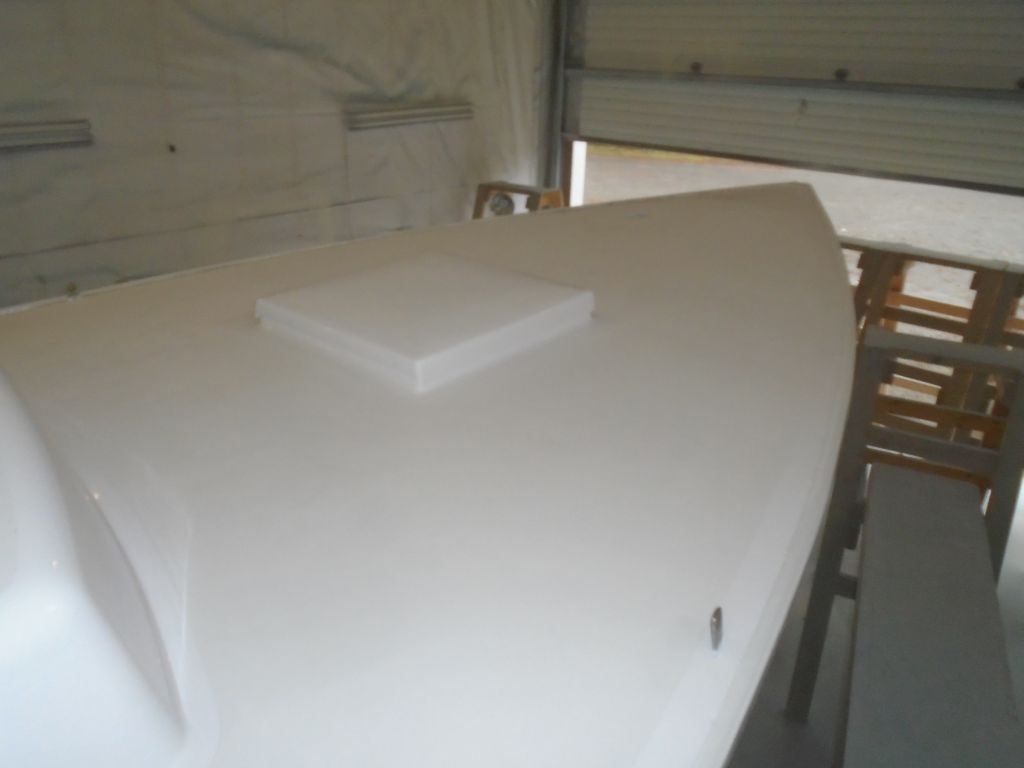
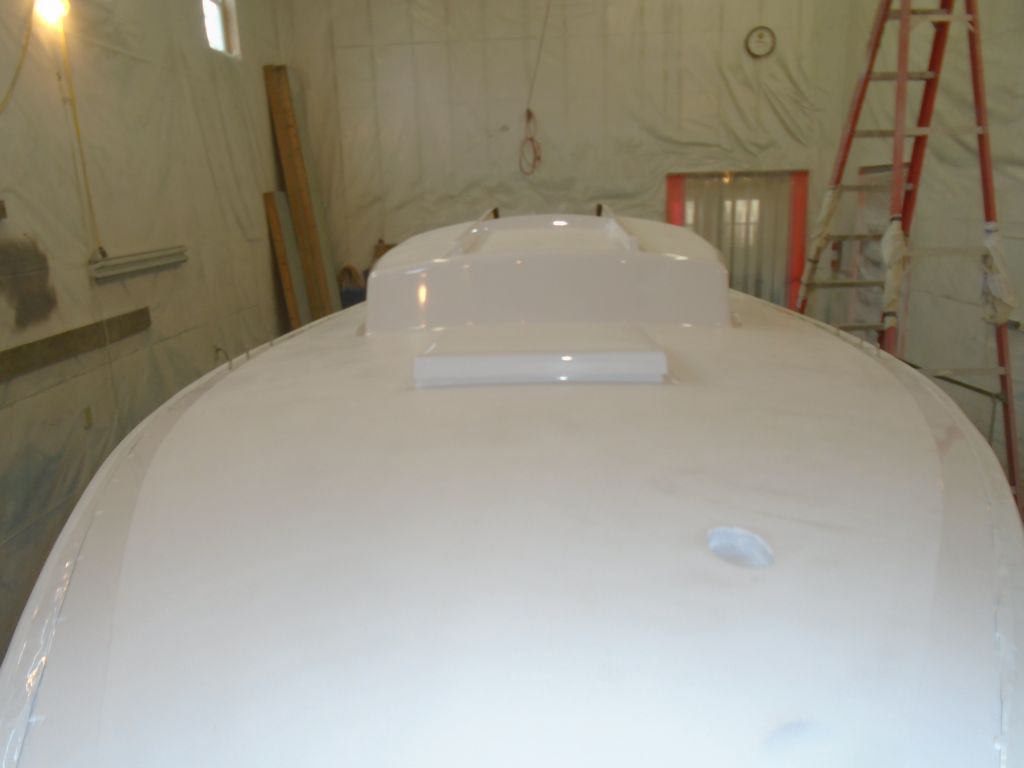
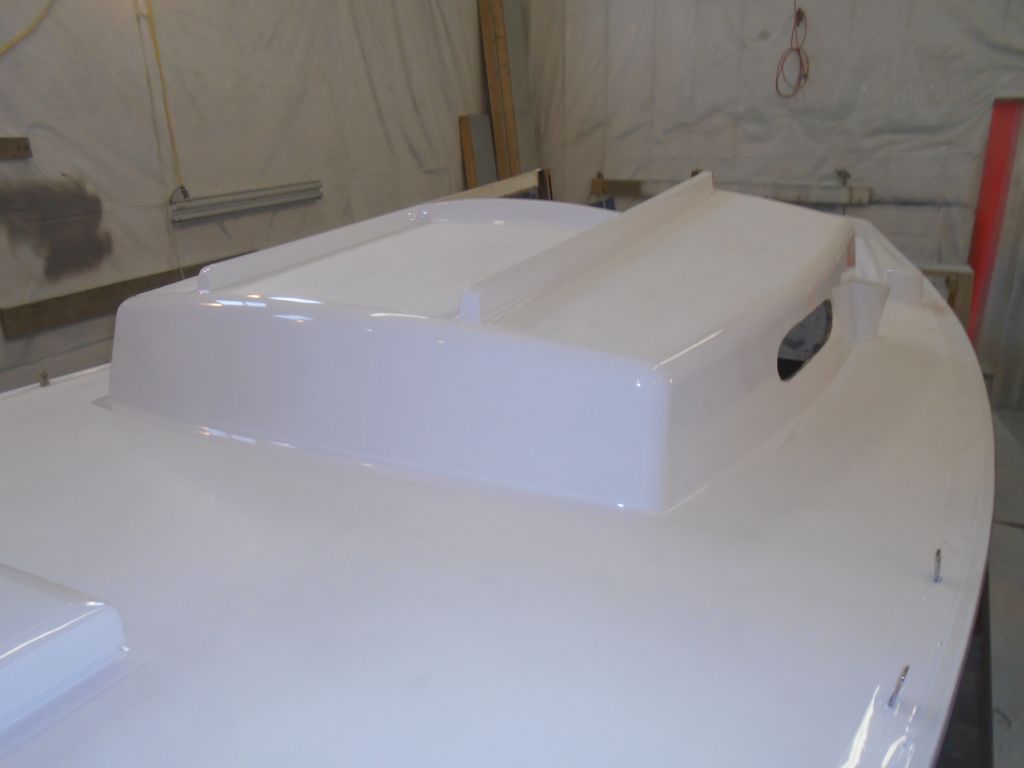
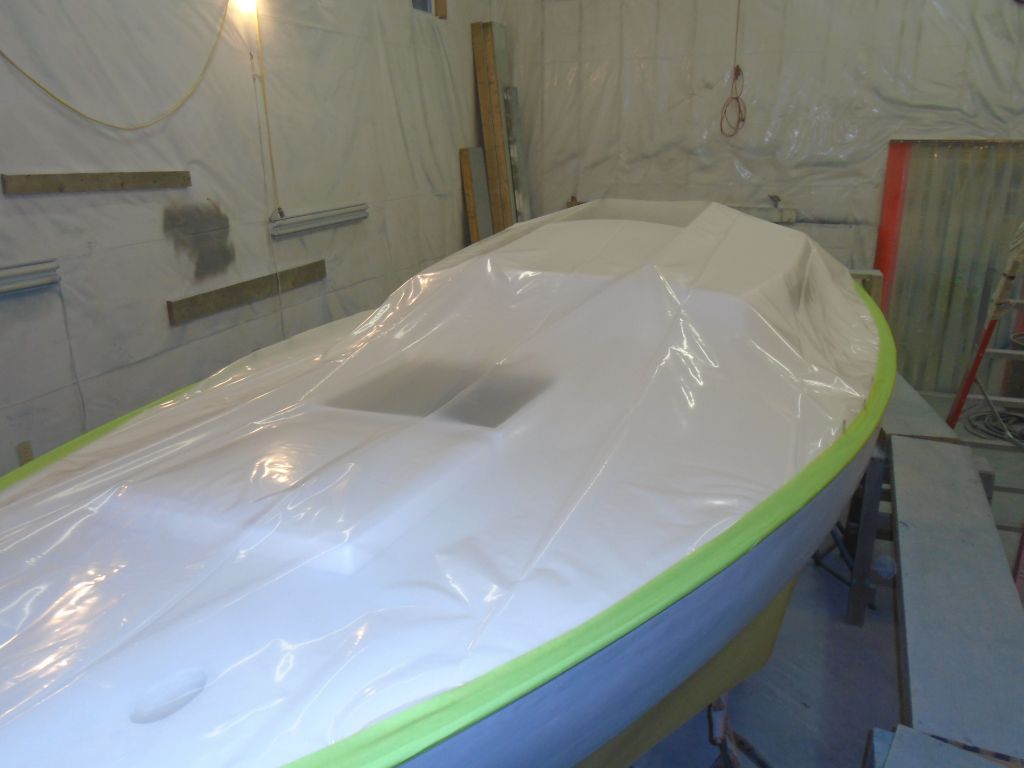
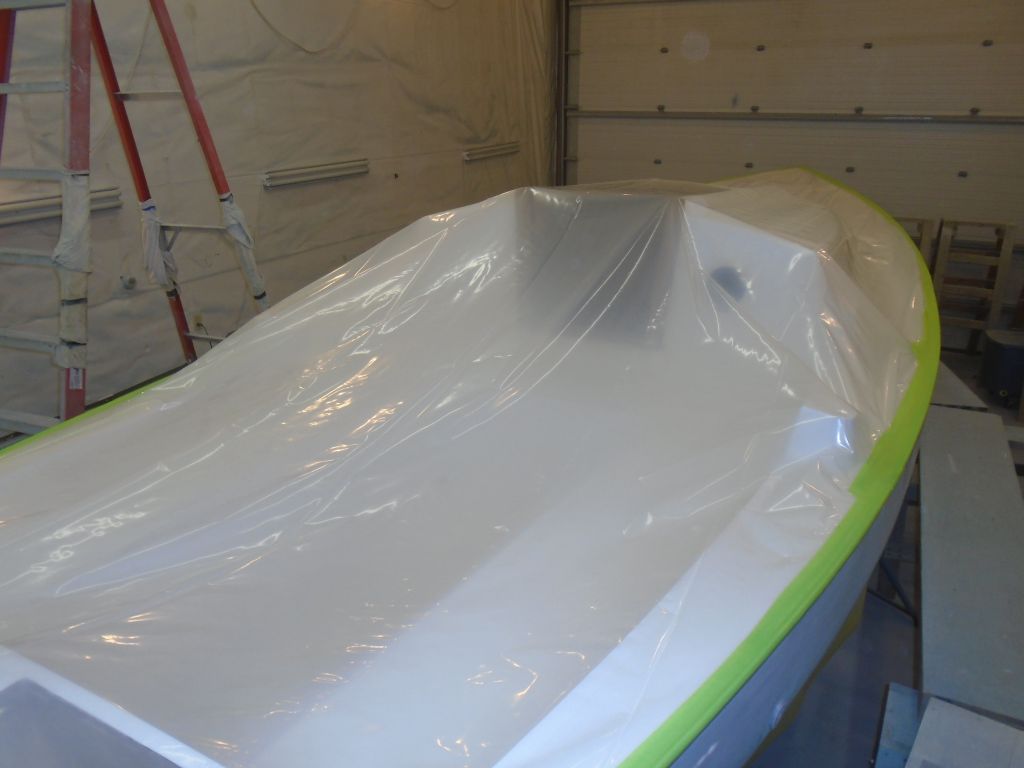
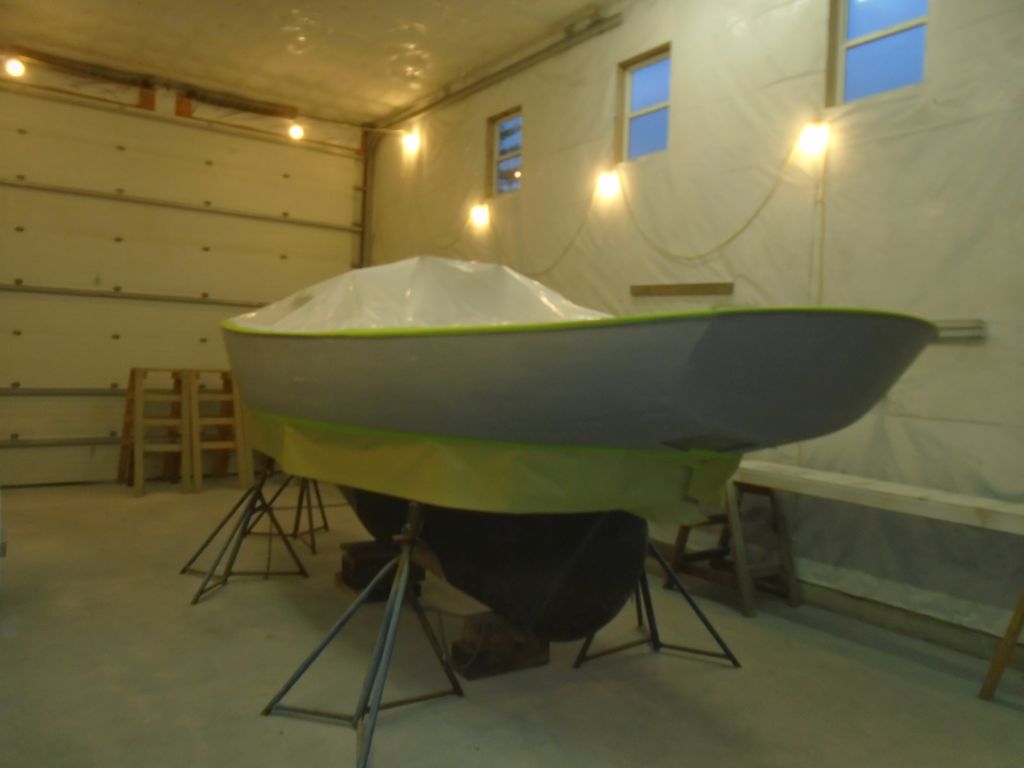
Because I didn’t need to actually mask directly on the new deck paint, by the end of the day I felt comfortable draping the decks in plastic sheeting, the final step towards preparing for hull paint.  I heavily masked the sheeting over the deck, securing it to the already-masked rubrails all the way around the perimeter of the deck.


Total time billed on this job today:  6.25 hours

0600 Weather Report:
40°, clear.  Forecast for the day:  Sunny and breezy, 50s.

Aventura 29

< Back to Aventura

Thursday

After final preparations and tack-off, I applied three coats of Alexseal snow white gloss topcoat to the deck areas, working once more in two stages to allow full access to the inner sections of the deck (cockpit well and coachroof).

Apologies for the poor photo quality of late–dark and/or blurred images have been on the rise, unfortunately.  Apparently my camera is at the end of its useful life and unable to take reasonable shots anymore.  Replacement on the way.


Total time billed on this job today:  5 hours

0600 Weather Report:
32°, clear.  Forecast for the day:  Increasing clouds and rain late in the day, high in the 40s.

Aventura 28

< Back to Aventura

Wednesday

The final step to prepare for gloss topcoats was to mask off the eventual nonskid areas on deck, and I spent much of the day on this task.  Starting in the cockpit, and moving on to the coachroof,  I marked off 1″ wide borders in most areas, and masked to the lines, leaving radiused corners.  I left extra width at the sides of the cockpit to account for the thickness of the cockpit coamings, and laid out the cockpit locker hatch lid in tandem with the surrounding areas to keep the borders consistent throughout.

At the deck edges, I used a piece of the old toerail to help measure for a 1″ border inside the eventual rail, and marked off this distance around the boat before masking to the line.  At the stem, I left a wider area to leave me some wiggle room for the size and shape of the new stem piece so I wouldn’t be tied to a specific shape when it came time to replicate the old one.

With 1″ borders elsewhere on the sidedecks and foredeck, I worked to mask and paper the remaining areas of the deck.

Afterwards. I masked off the hull below the rubrail with some plastic sheeting to protect against overspray, vacuumed and solvent-washed the deck areas, and prepared paint and spray equipment as required for the work ahead.


Total time billed on this job today:  6.5 hours

0600 Weather Report:
Cloudy, 40°.  Forecast for the day:  chance of showers in the morning, then cloudy, near 50.

Aventura 27

< Back to Aventura

Tuesday

With the primer ready for the next steps after an overnight cure, I spent several hours sanding first the hull, and then the deck areas, with 320 grit paper, by machine and hand as required.  Afterwards, I spent the rest of the day with thorough cleanup chores:  vacuum, solvent wash, shop blow-down, sweeping, and floor-washing, all required before I could begin the final stages of prep for the gloss topcoats on deck and hull.  Our stretch of fine late fall weather continued, making shop work that much more enjoyable in the afternoon with the big door open for ventilation as I worked on the cleanup.


Total time billed on this project today: 7.5 hours

0600 Weather Report:
Clear, 20°.  Forecast for the day:  Sunny, 50ish.

Aventura 26

< Back to Aventura

Monday

After final preparations, I applied three coats of white epoxy finish primer to the decks, working in two stages to allow full access as needed.  Once the decks were complete, I continued with gray primer on the hull.  Some of the gray overspray ended up on the decks, but that wouldn’t hurt anything and would actually make sanding the white primer easier.

Total time billed on this job today:  6.75 hours

0600 Weather Report:
20°, clear.  Forecast for the day:  Sunny, high 53°

Aventura 25

< Back to Aventura

Friday

To begin, I lightly sanded the areas I’d filled earlier, removing the excess filler and completing the minor fine-tuning of the surface.  With that complete, my focus shifted once more to cleaning chores to prepare for finish primer.  I blew down, swept, vacuumed and solvent-washed the hull and deck, washed the shop floor,  and ended with a final solvent-wash of the boat before preparing product and equipment for the priming job ahead.


Total time billed on this job today:  4 hours

0600 Weather Report:
Cloudy, 45°.  Forecast for the day:  Fog and clouds, about 65°

Aventura 24

< Back to Aventura

Thursday

I started by vacuuming and solvent-washing the decks and hull, cleaning these surfaces to prepare for the next step.  Afterwards, I went around the boat closely and marked various pinholes and other areas requiring additional attention, then applied fine epoxy filler to these areas.  On this boat, these areas were pretty minimal.

Afterwards, there was little else I could to to advance this project, so I worked on other things during the remainder of the day.


Total time billed on this job today:  2.5 hours

0600 Weather  Report:
Foggy, around 40°.  Forecast for the day:  Becoming sunny, around 60.

Aventura 23

< Back to Aventura

Wednesday

Since the staging was already clear of the hull, I started the sanding process there, working through several hours to sand with 220 grit the hull by machine and hand as necessary, smoothing the new primer and preparing it for the next steps.

Moving the staging back alongside, I sanded the decks, starting with the cockpit well and continuing over the remaining deck areas, including the loose hatches.


Total time billed on this job today:  7 hours

0600 Weather Report:
28°, clear.  Forecast for the day:  Sunny, around 60°

Aventura 22

< Back to Aventura

Tuesday

After final preparations, I applied three coats of Alexseal high-build epoxy primer to the decks, working in two separate stages to maintain access:  first the cockpit well and portions of the coachroof, then, after three coats there, I did the same to the foredeck, sidedecks, and remaining areas.

With the deck spraying complete, I moved the staging aside and applied three coats to the hull, and the loose hatches.

Total time billed on this job today:  7.75 hours

0600 Weather Report:
40°, light rain.  Forecast for the day:  Showers ending, becoming partly sunny, high 50s

Salty 4

< Back to Salty

Salty’s owner requested a custom winter and storage cover, so I turned to my trusted canvas contractor for the job.  After an initial consultation to discuss the overall format of the cover, I built a sturdy yet simple frame running from bow to stern pulpit, supported with vertical posts as needed.  With an eye towards ease of assembly and disassembly, I bolted the pieces together with short splices.  Later (not shown here), I stabilized the frame and secured it with athwartship lines where required.  The angle of the cover itself would be self-supporting and didn’t require any side bracing.

Jason built a pair of blanks for the cover–it was to be in two pieces, split at the aft end of the cabin trunk–and with it draped over the boat in oversized and raw form used it as its own pattern to work out the cuts required to clear the bow and stern pulpits, and exercise in self-faith and mid-air visualization.

A few days later, with the hemming and sewing work complete, Jason returned to install the cover.  With zippers securing the two halves together at the cockpit, and closing off the long slits required around the stern rails, the final result was a great fit, yet with open ends would allow lots of natural ventilation through the boat.  A few small detail items remained to be completed,  but the cover fit so well on its first fitting that we decided to wait for spring for those, as none of these details affected the cover’s function now.


Older posts Newer posts