Wednesday
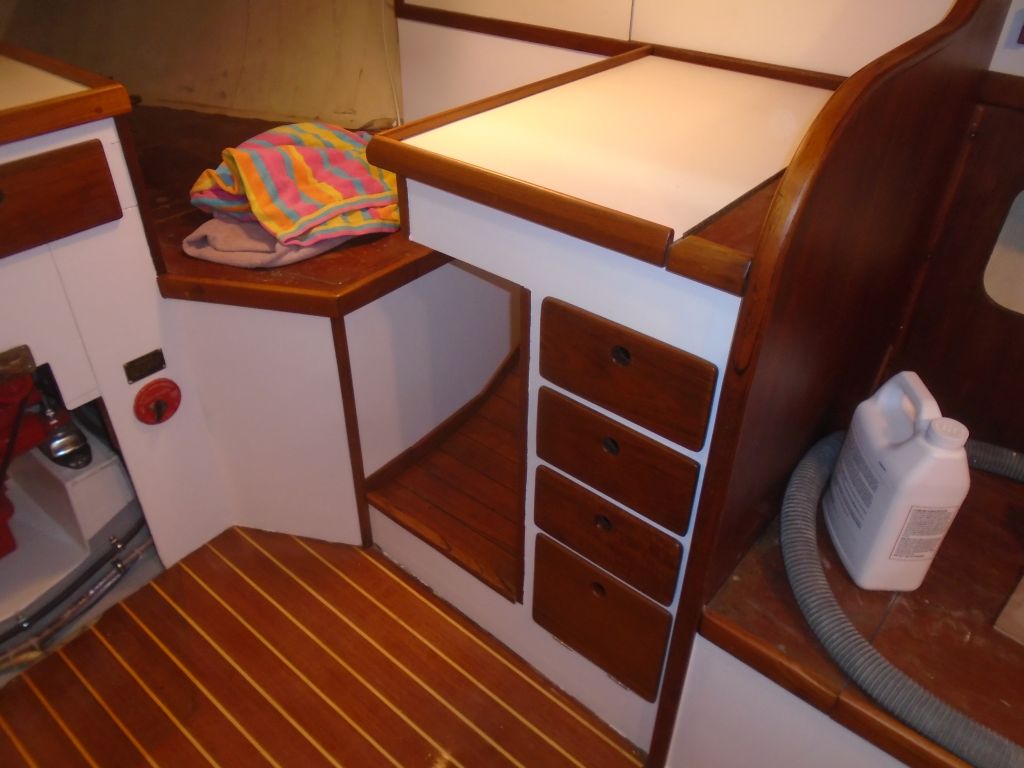
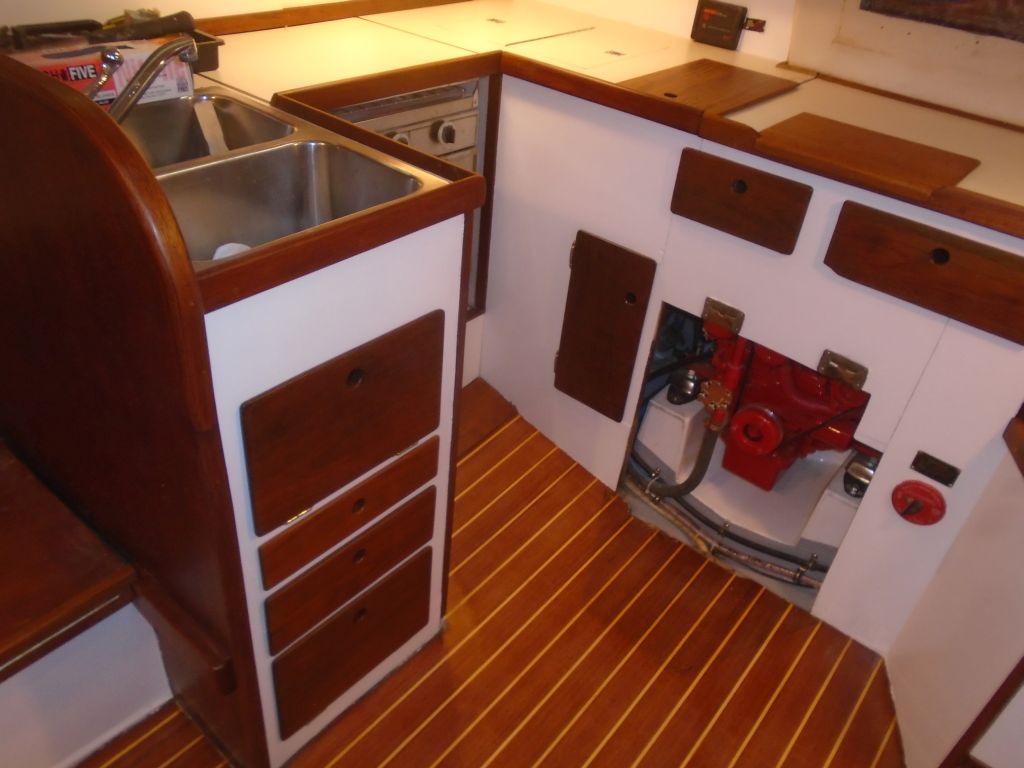
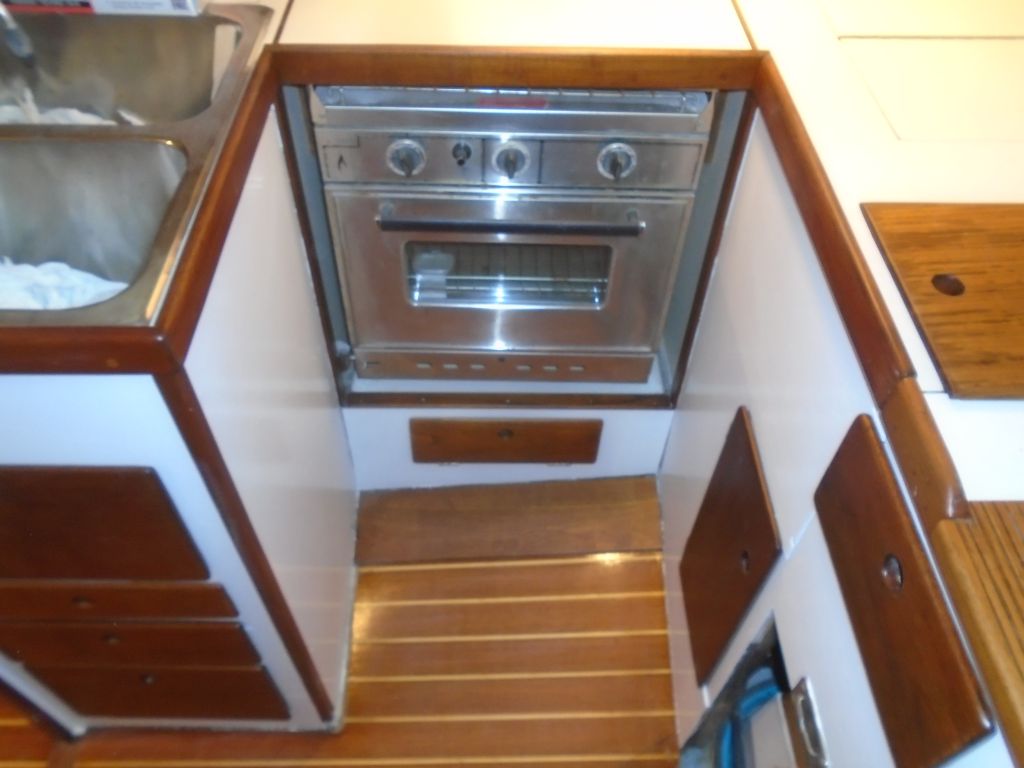
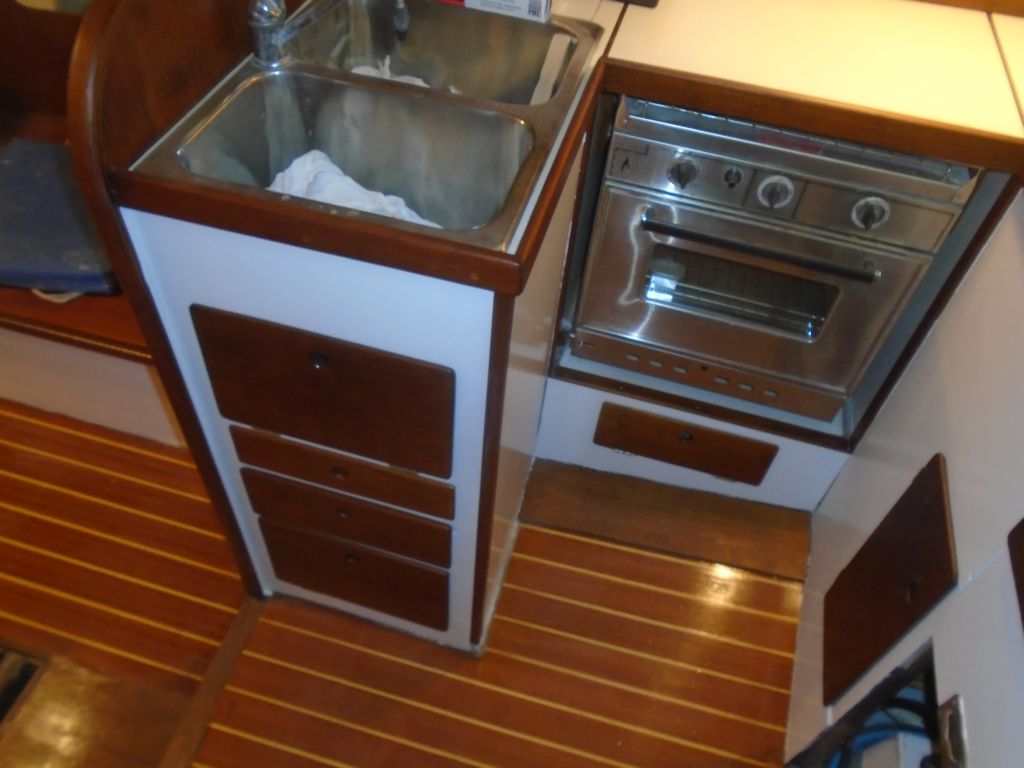
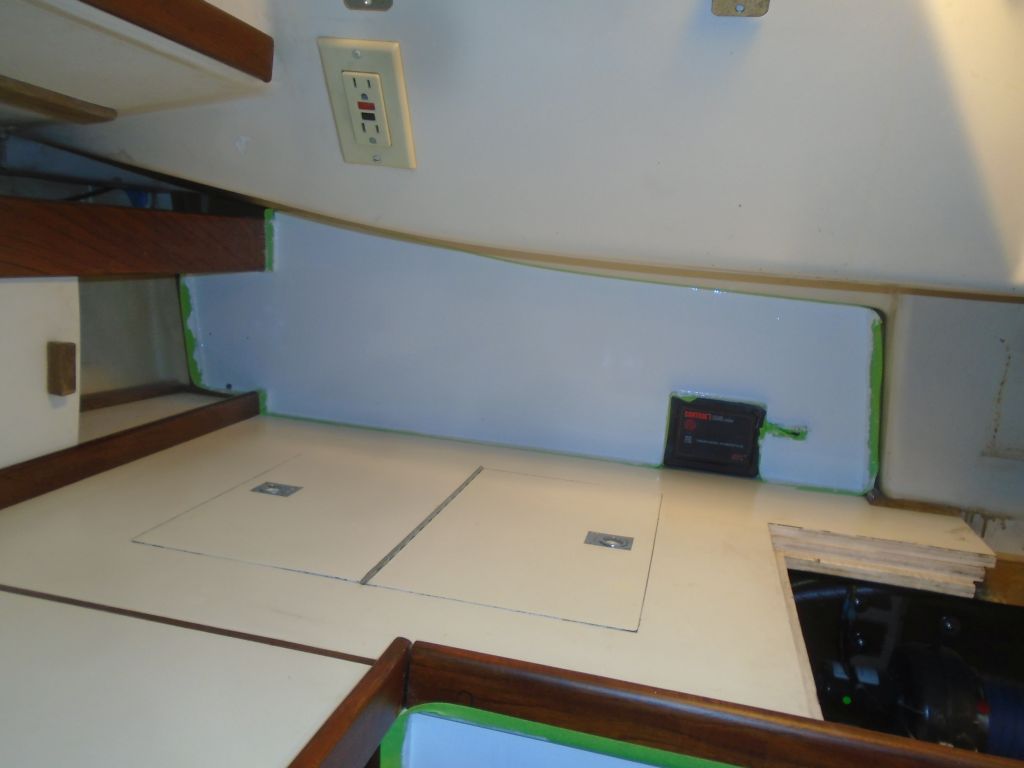
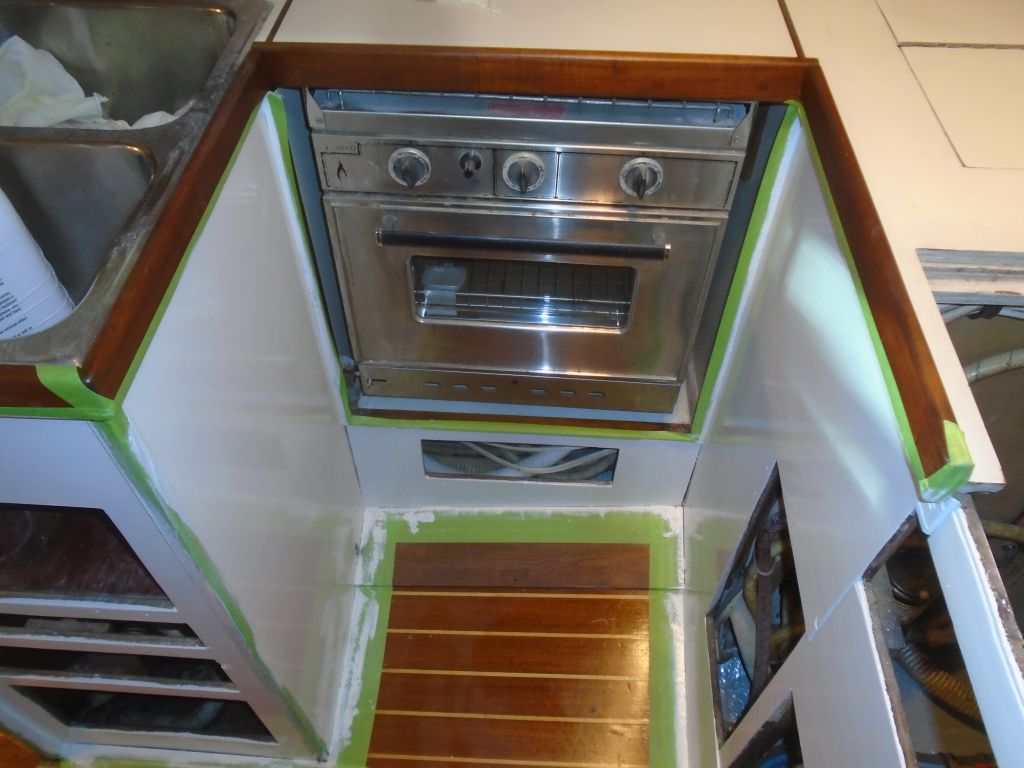
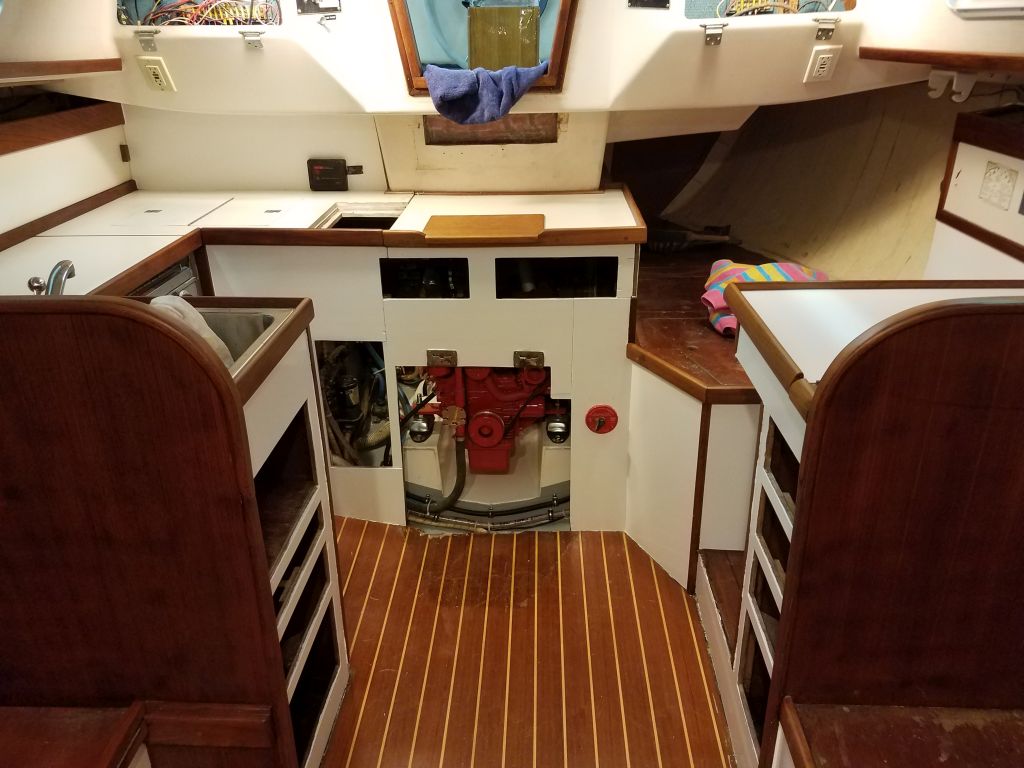
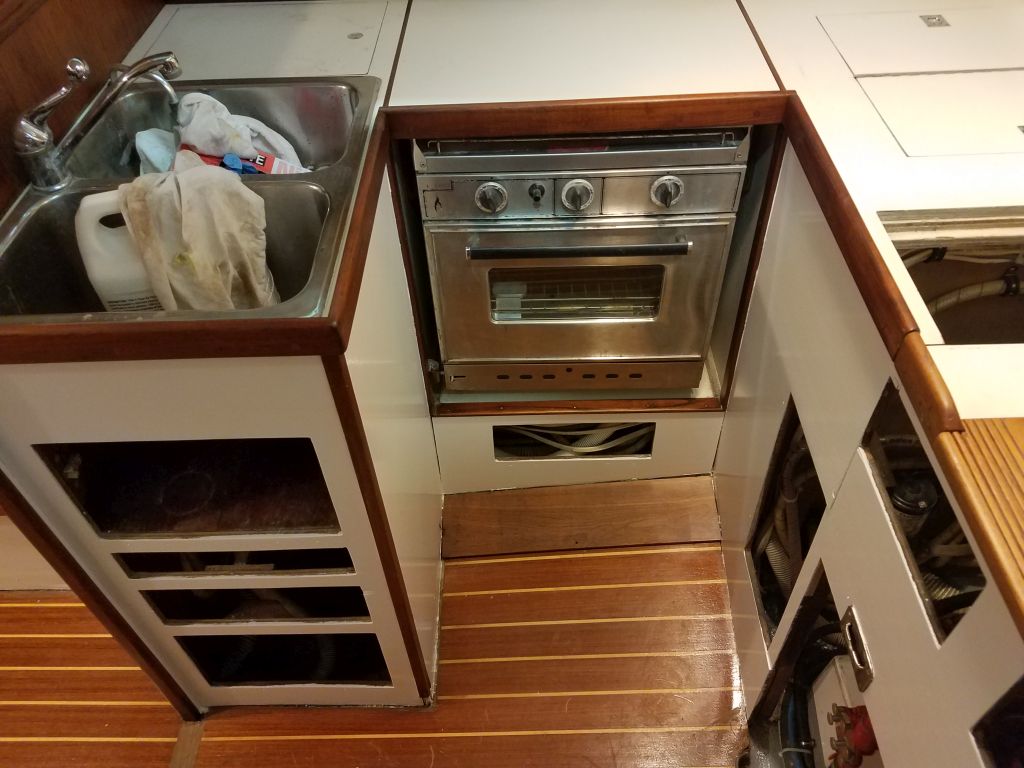
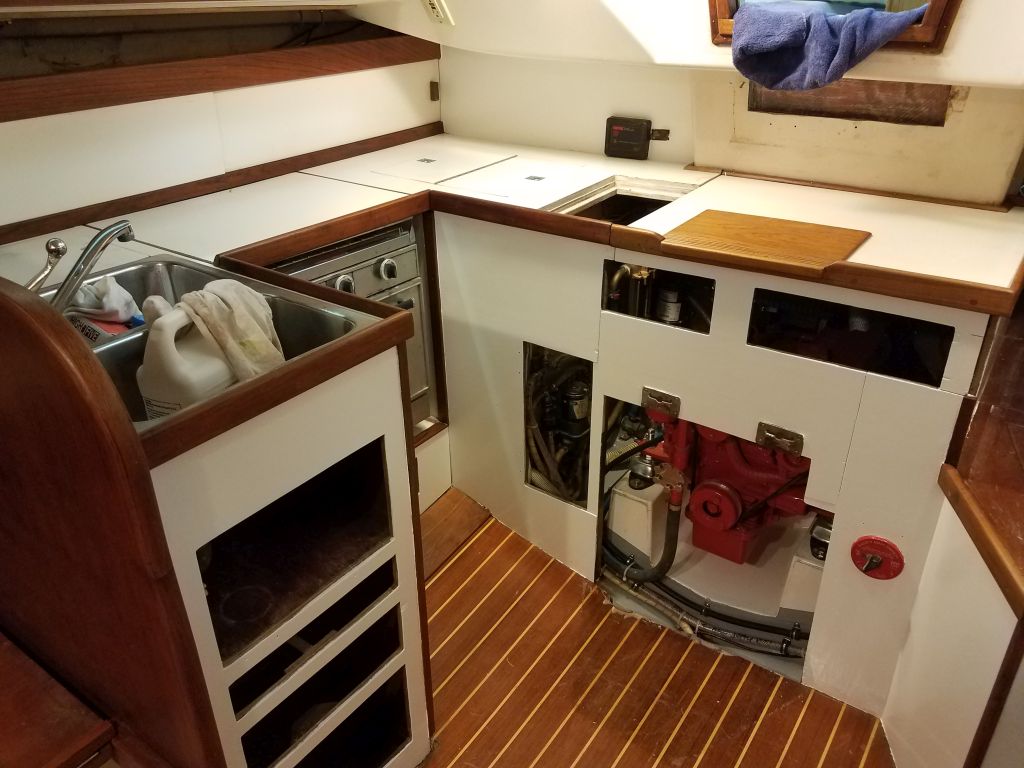
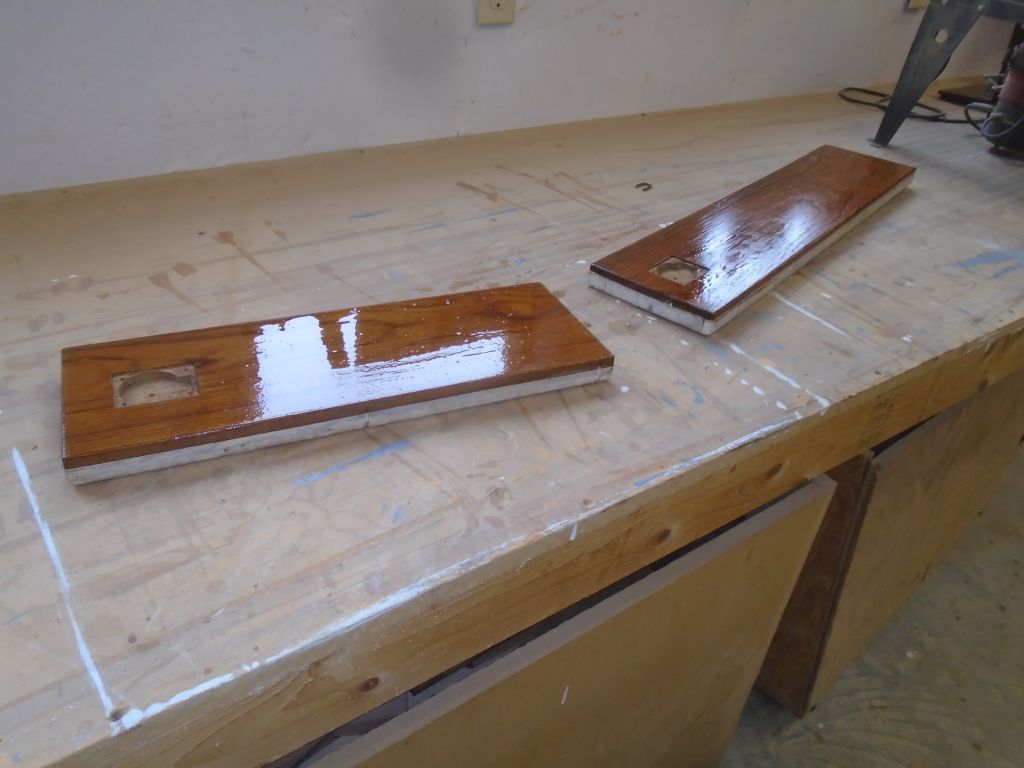
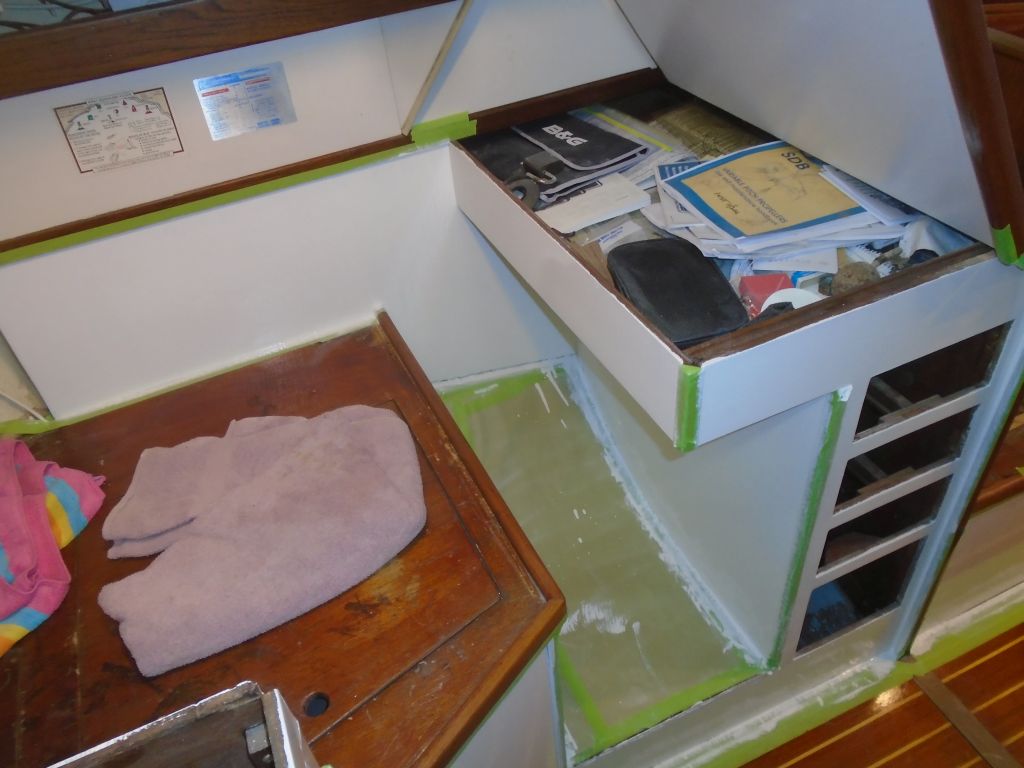
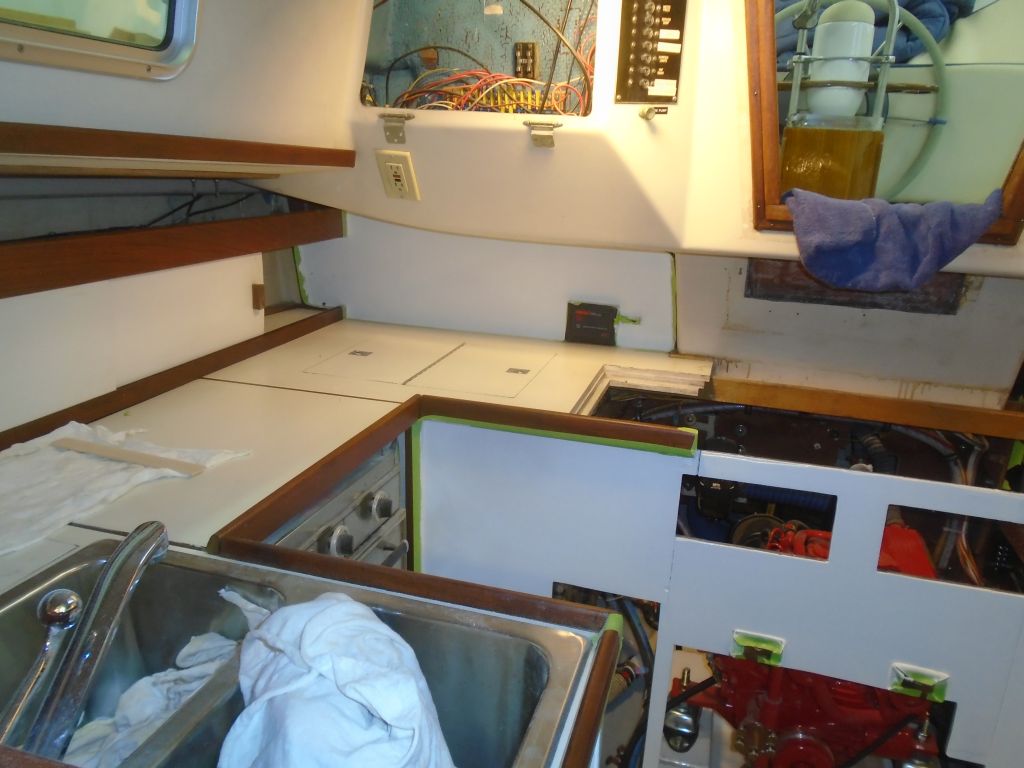
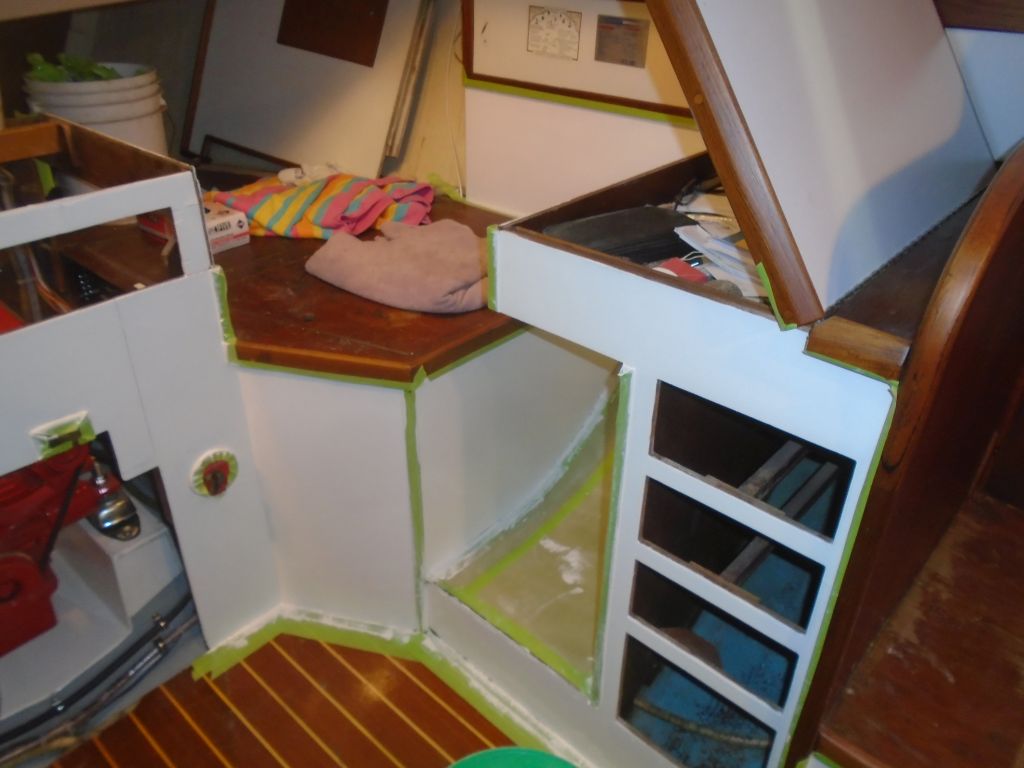
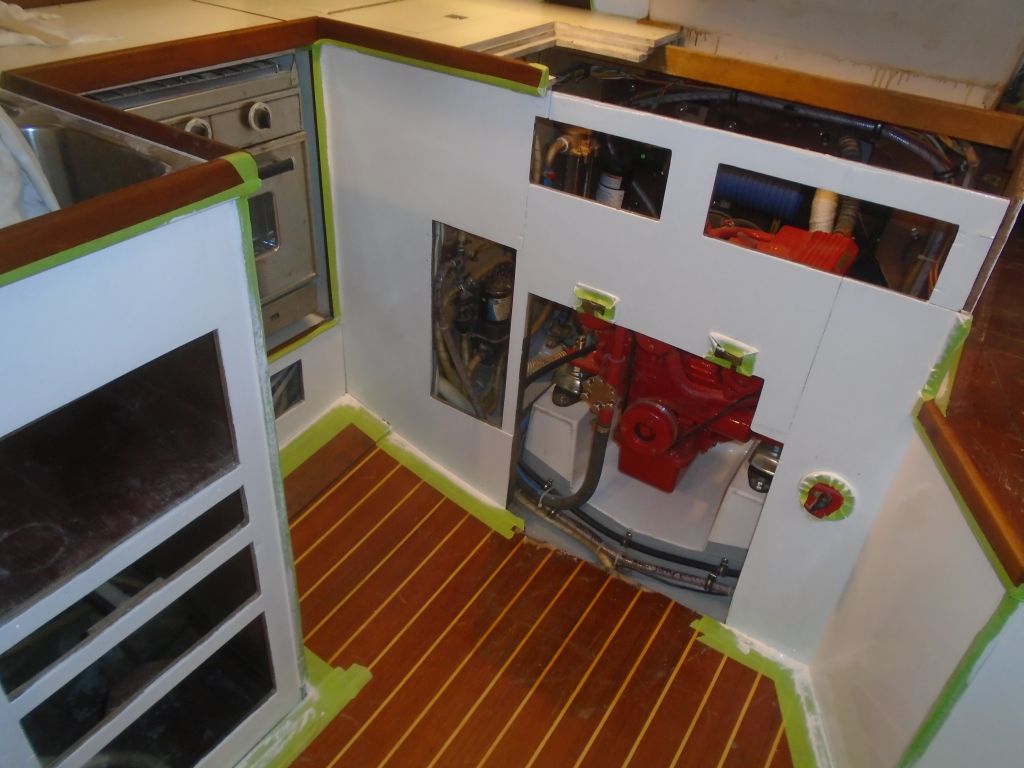
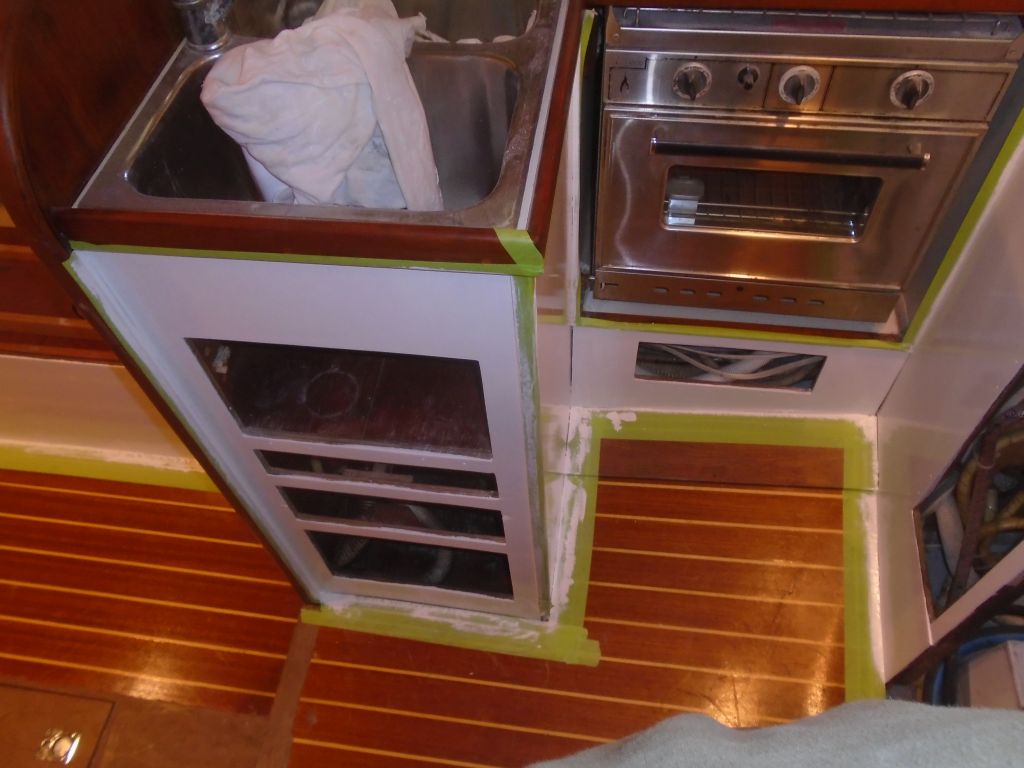
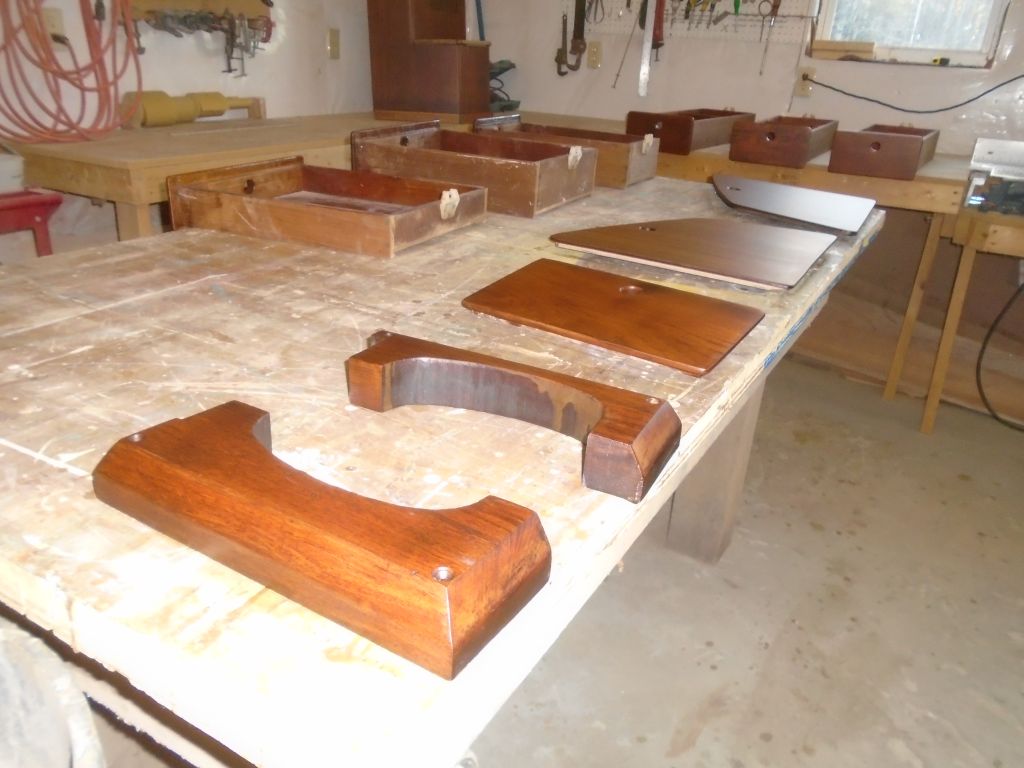
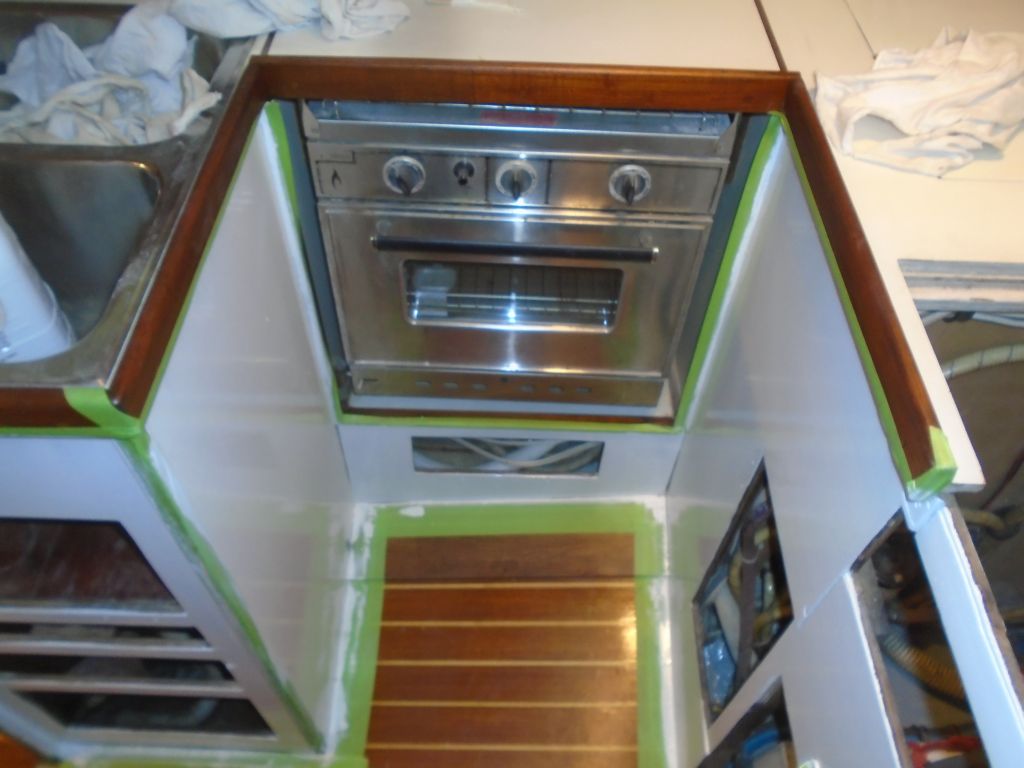
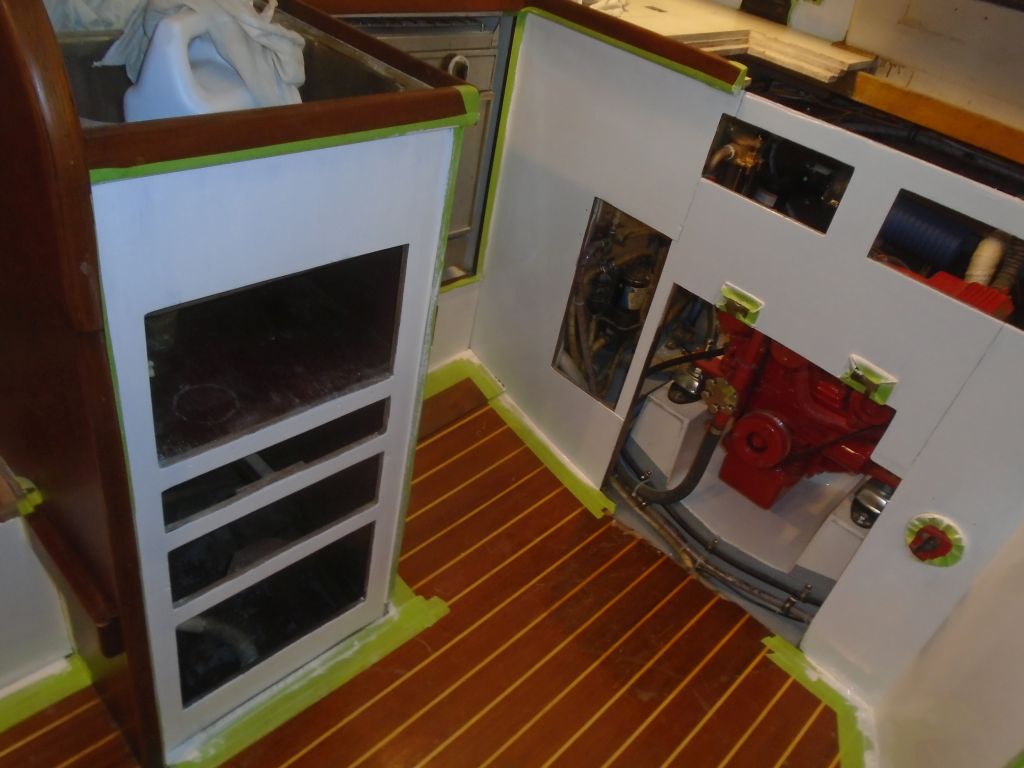
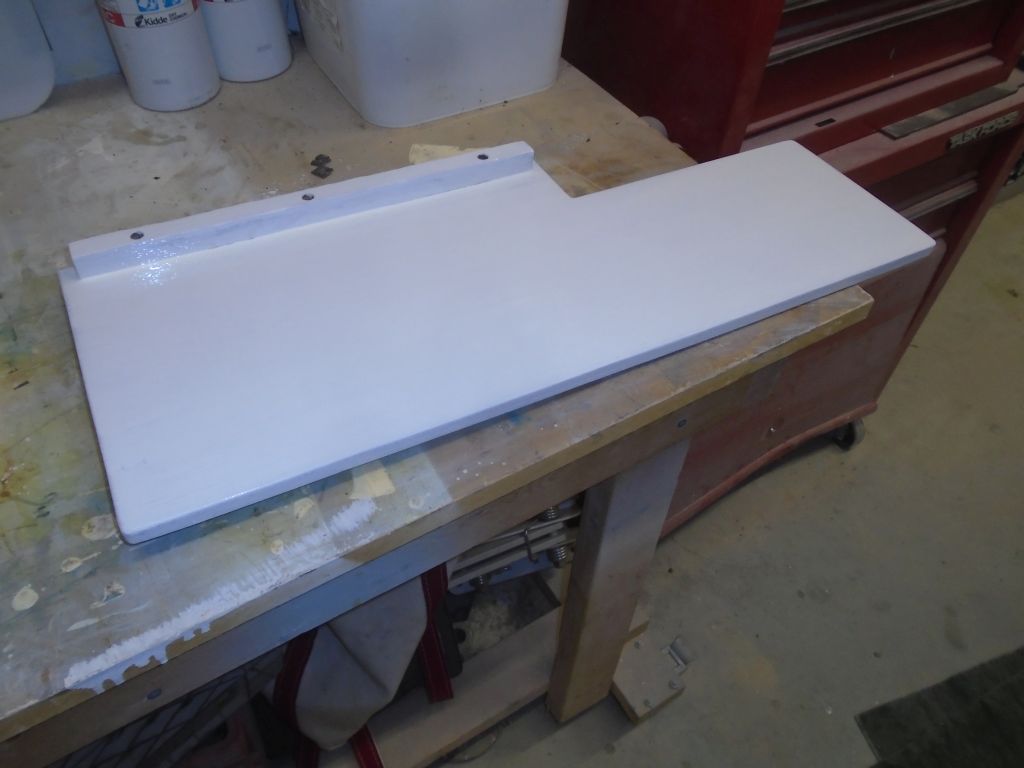
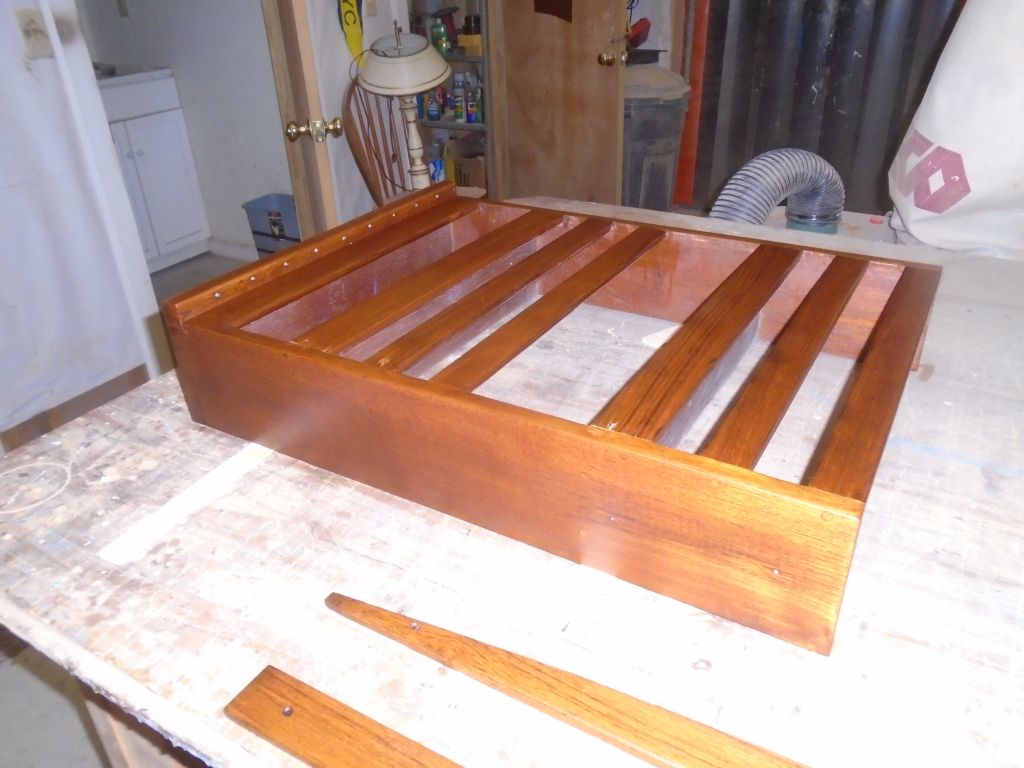
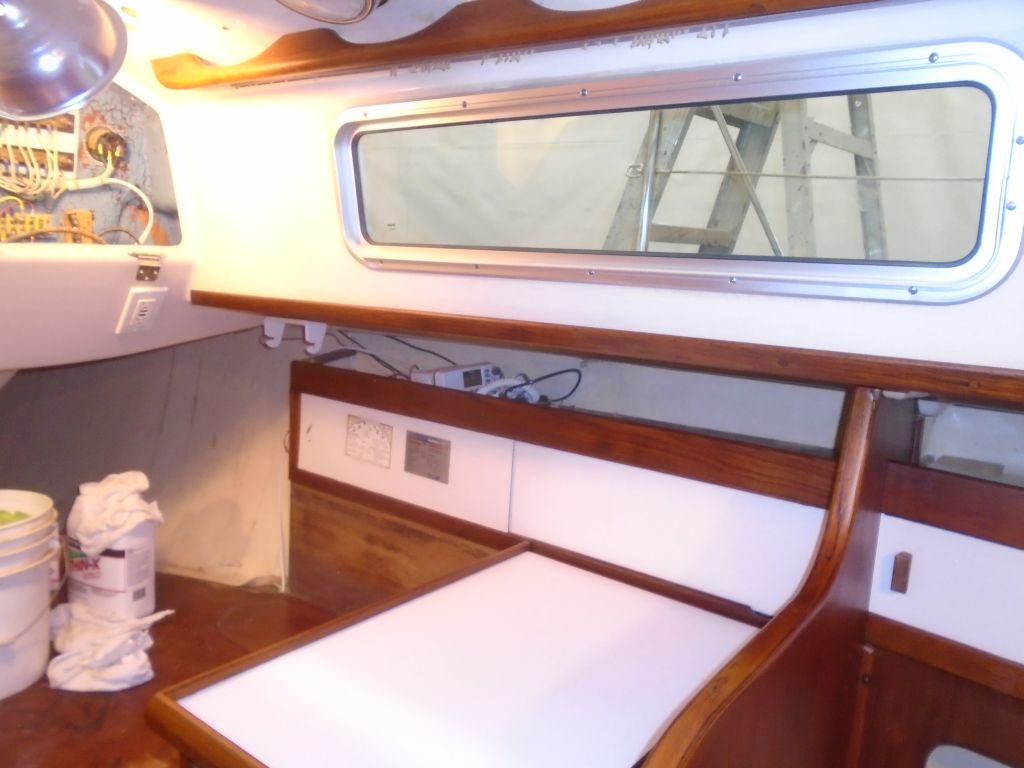
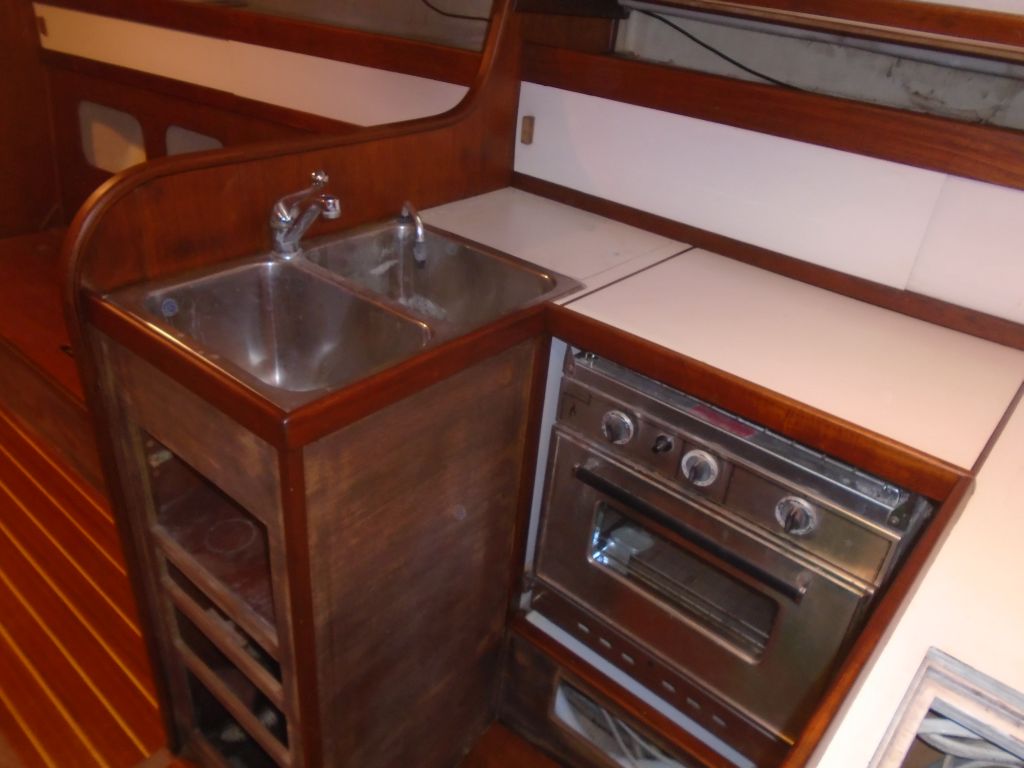
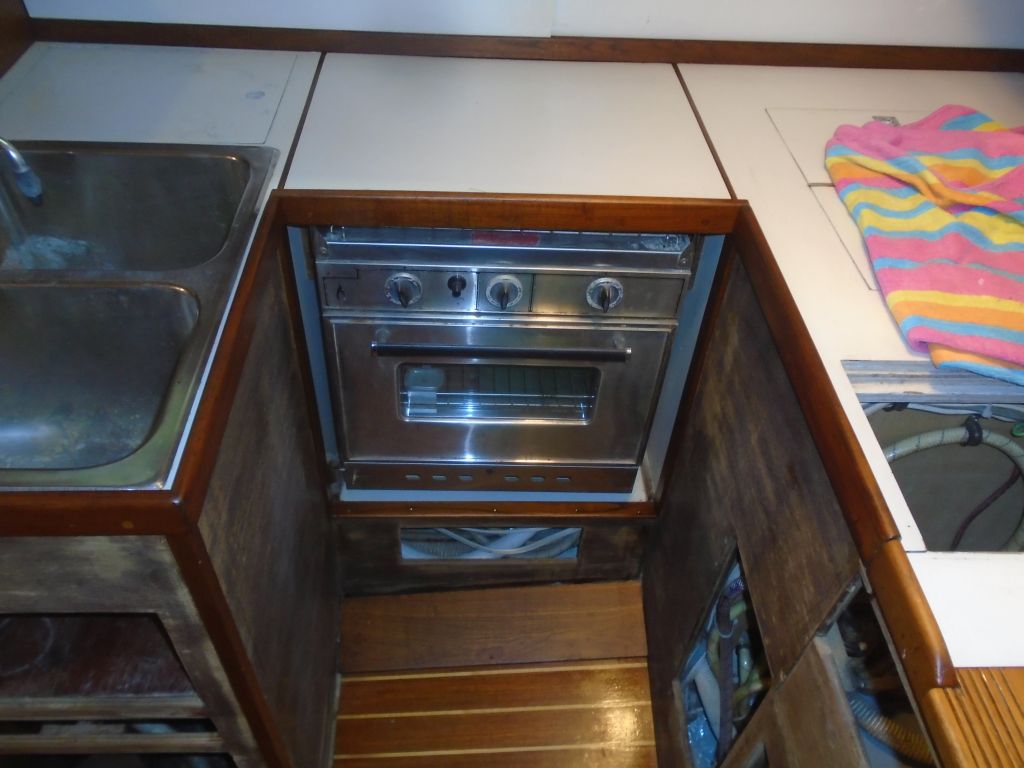
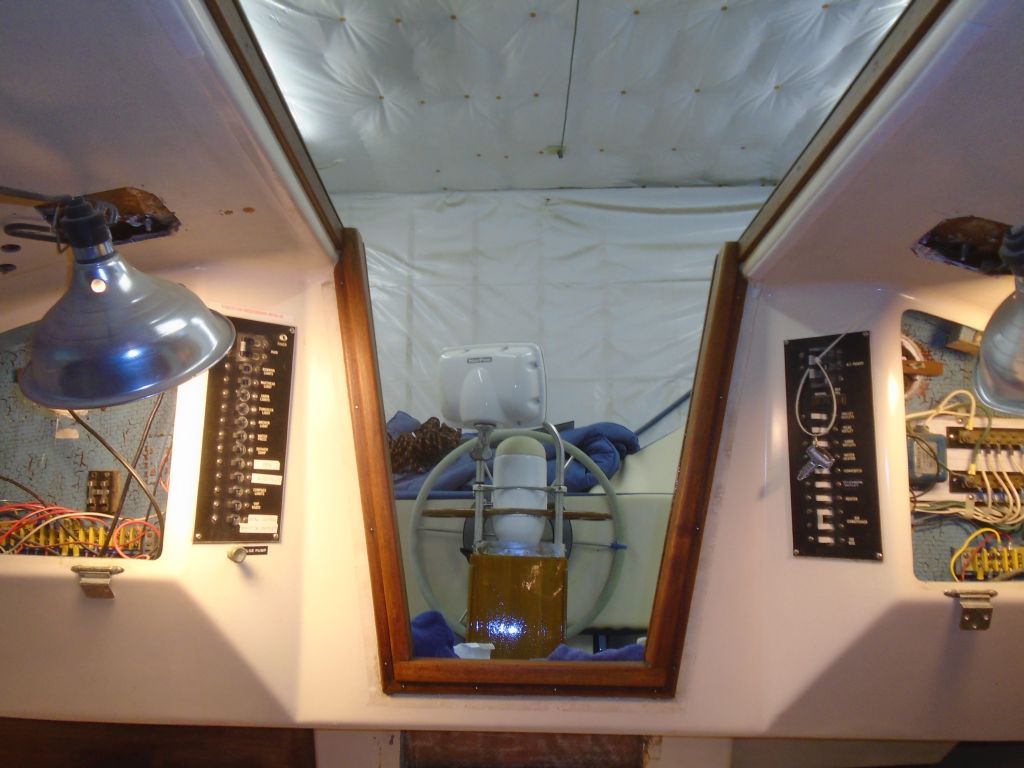
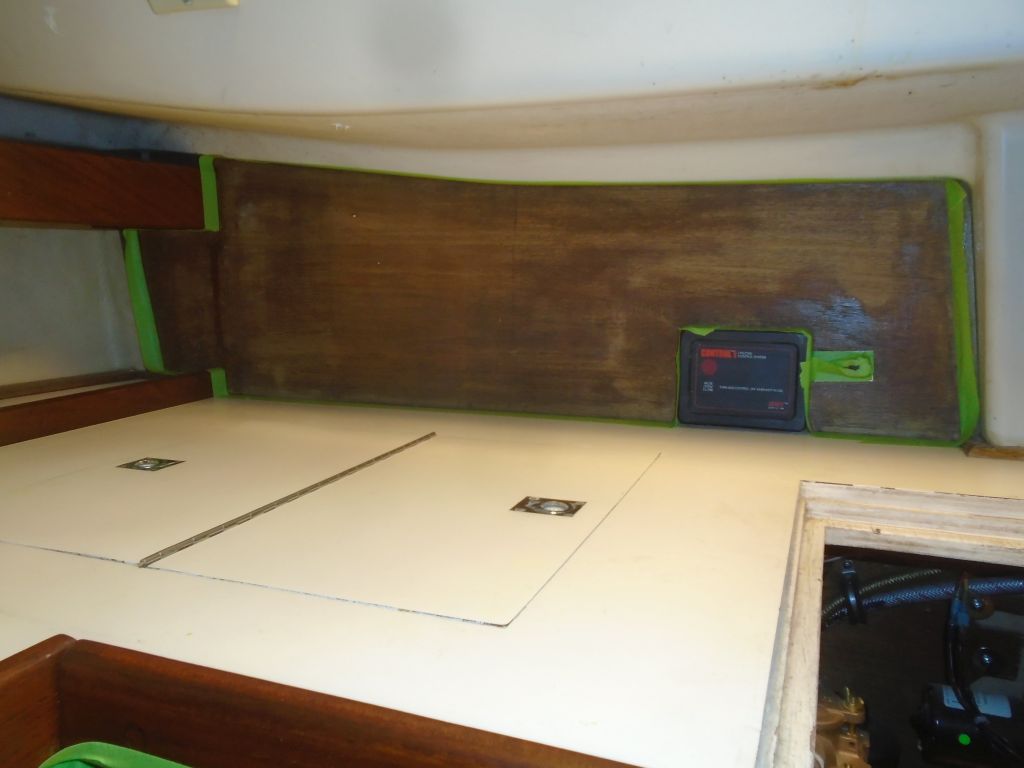
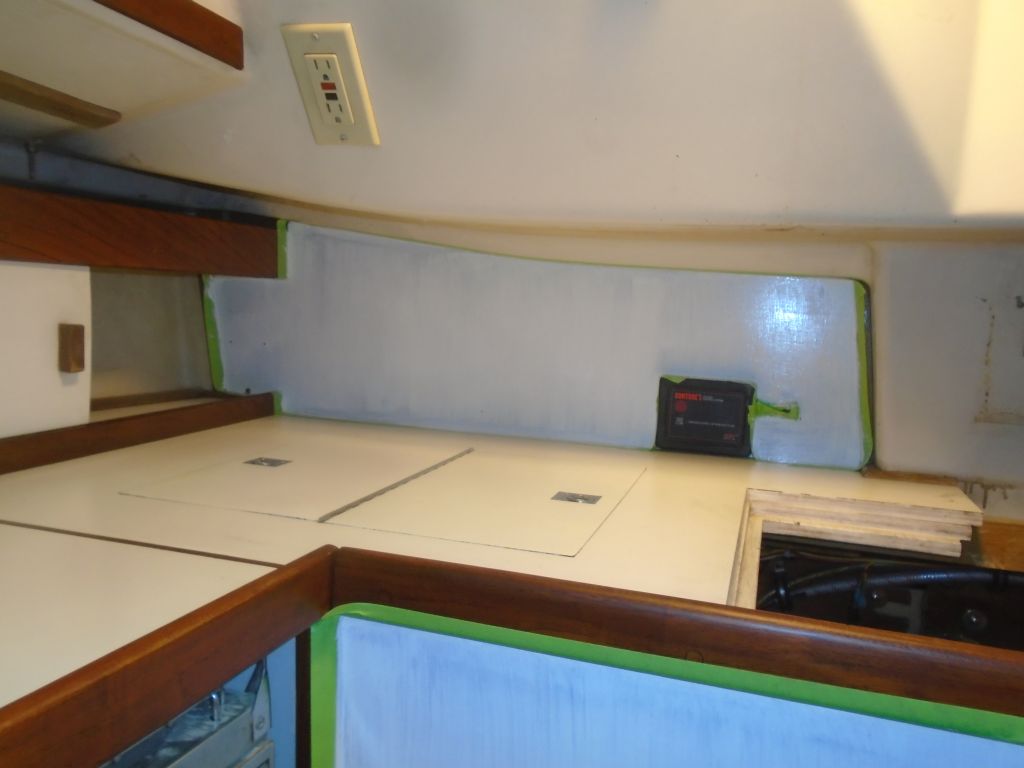
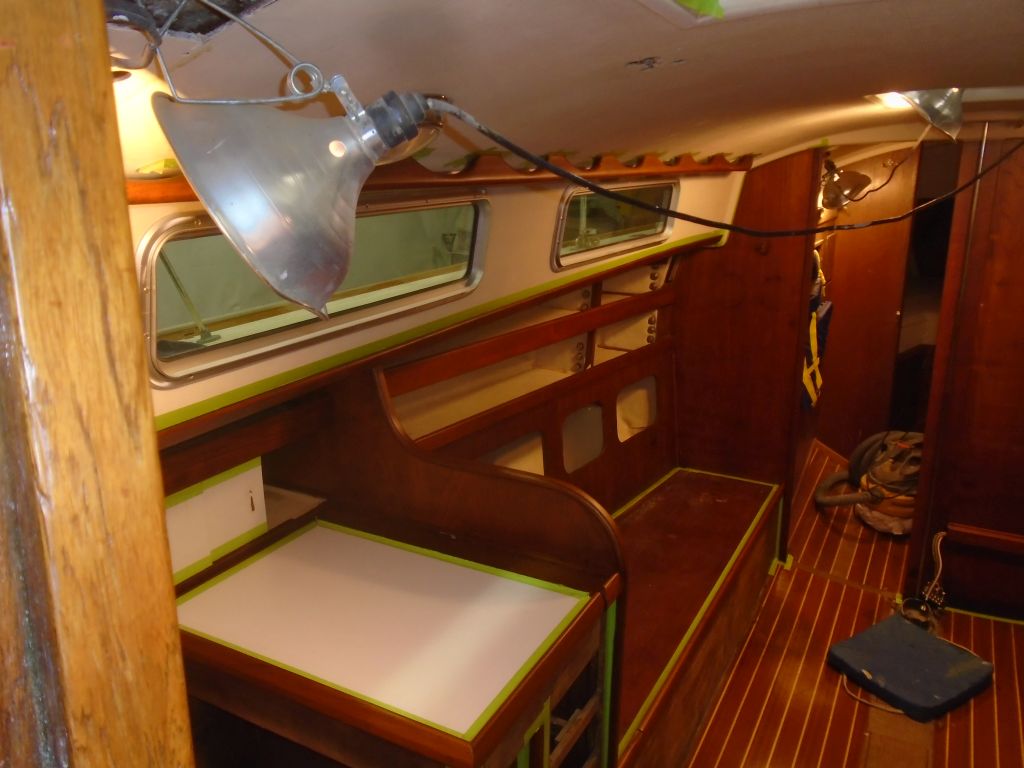
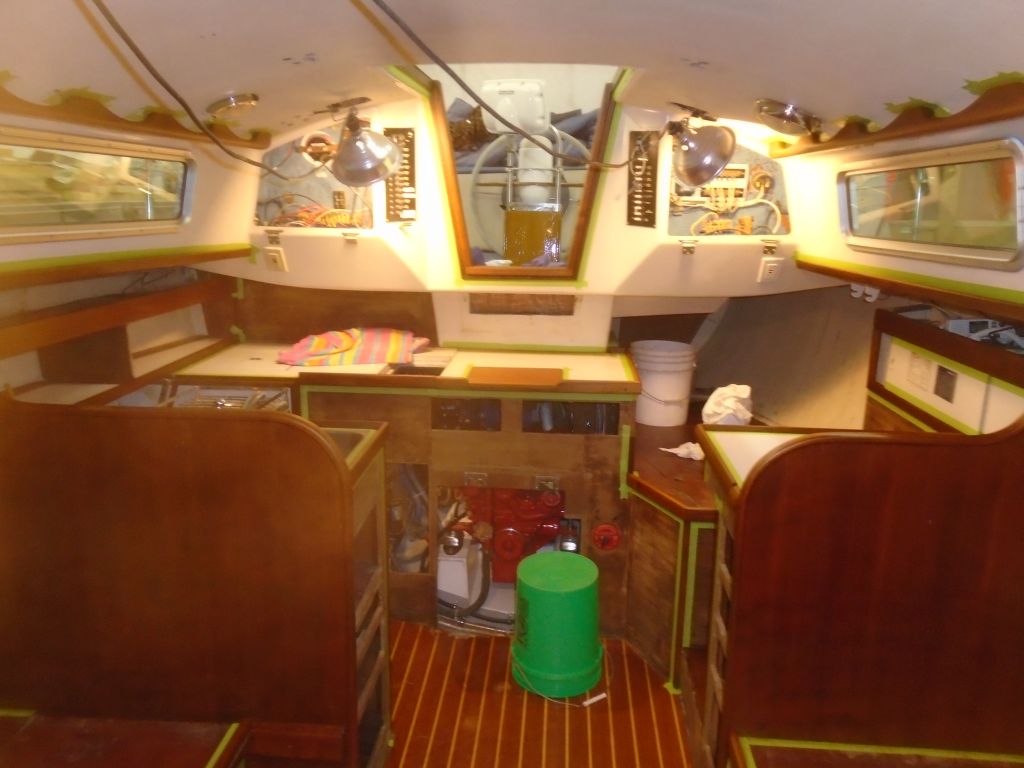
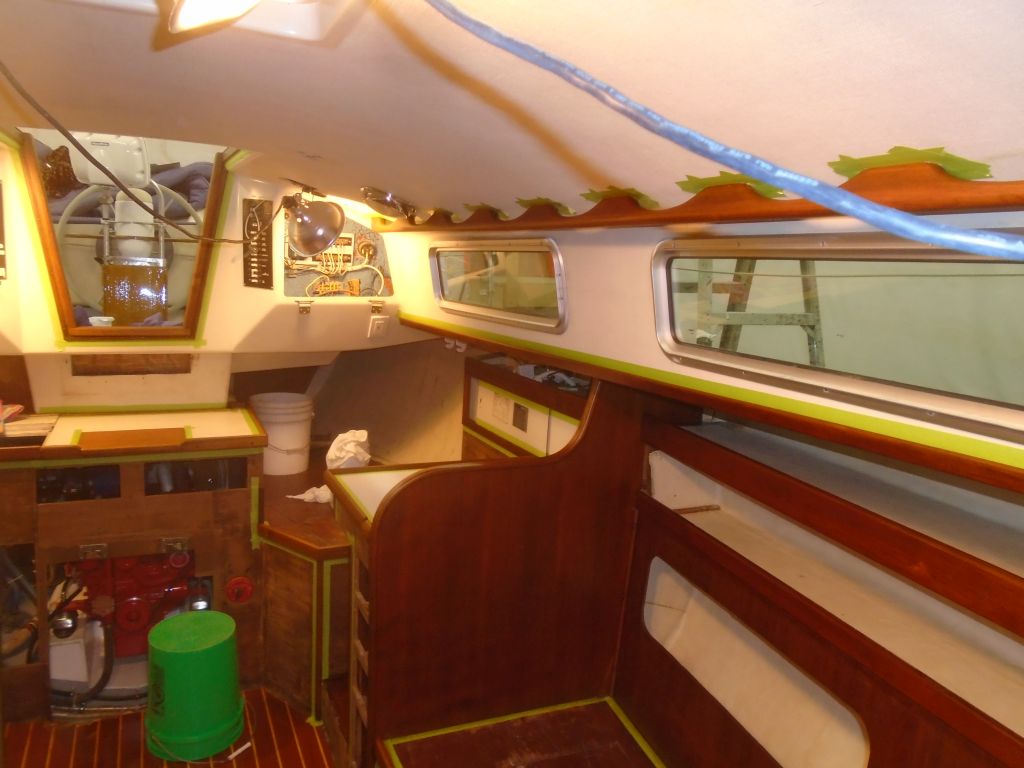
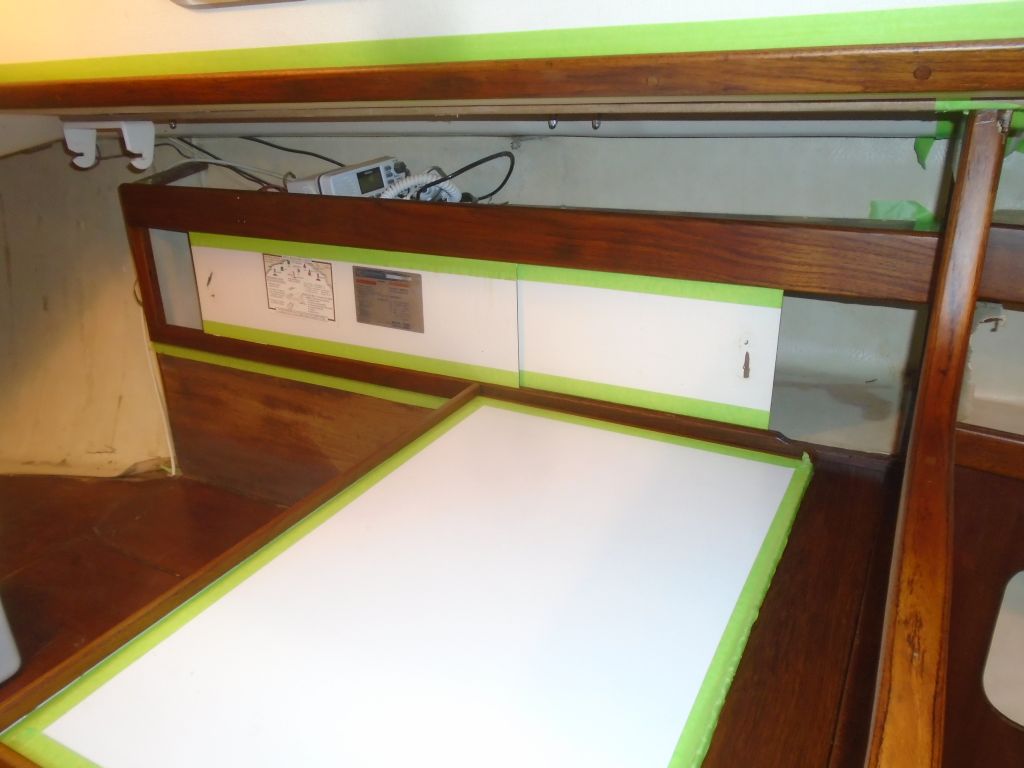
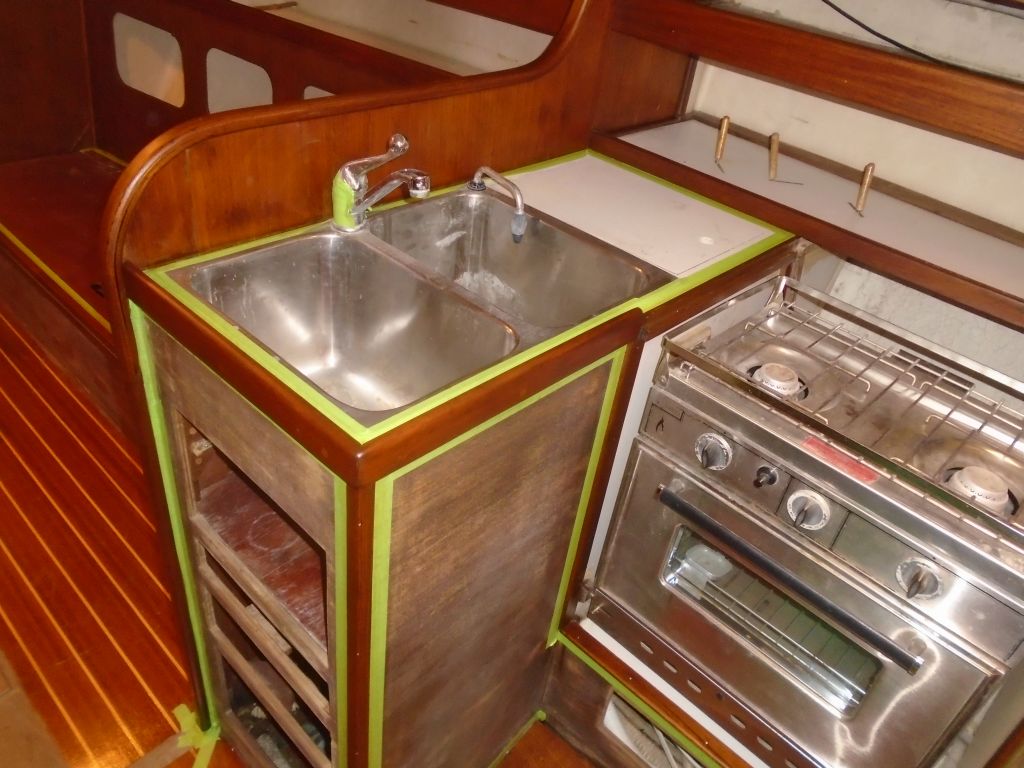
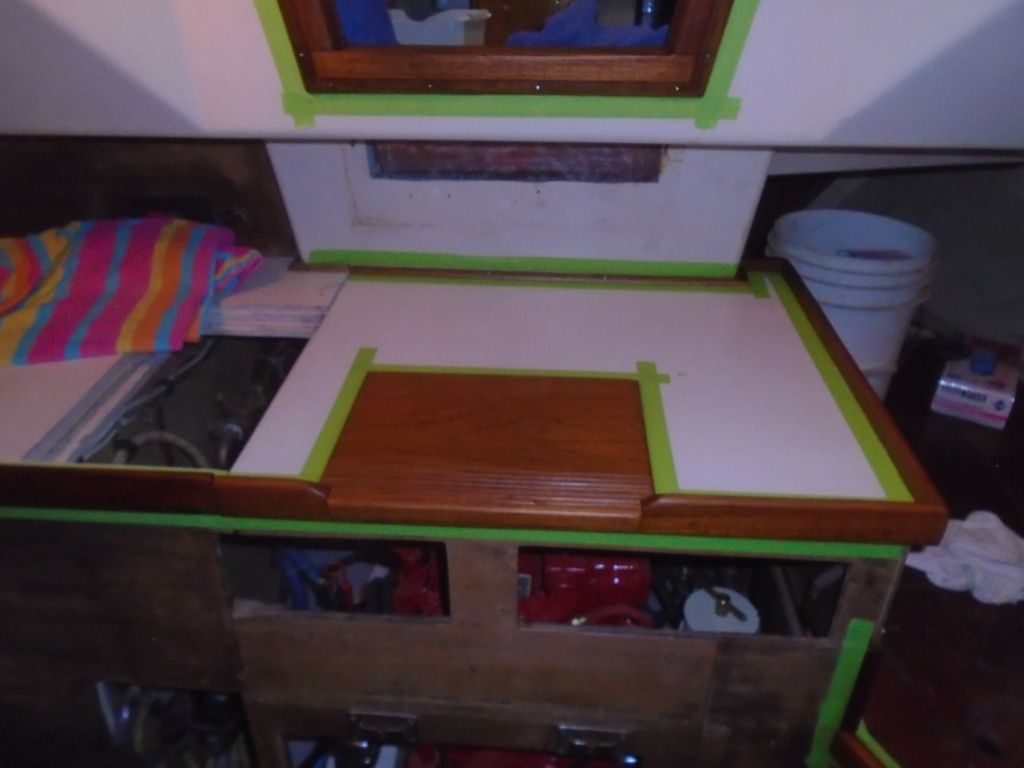
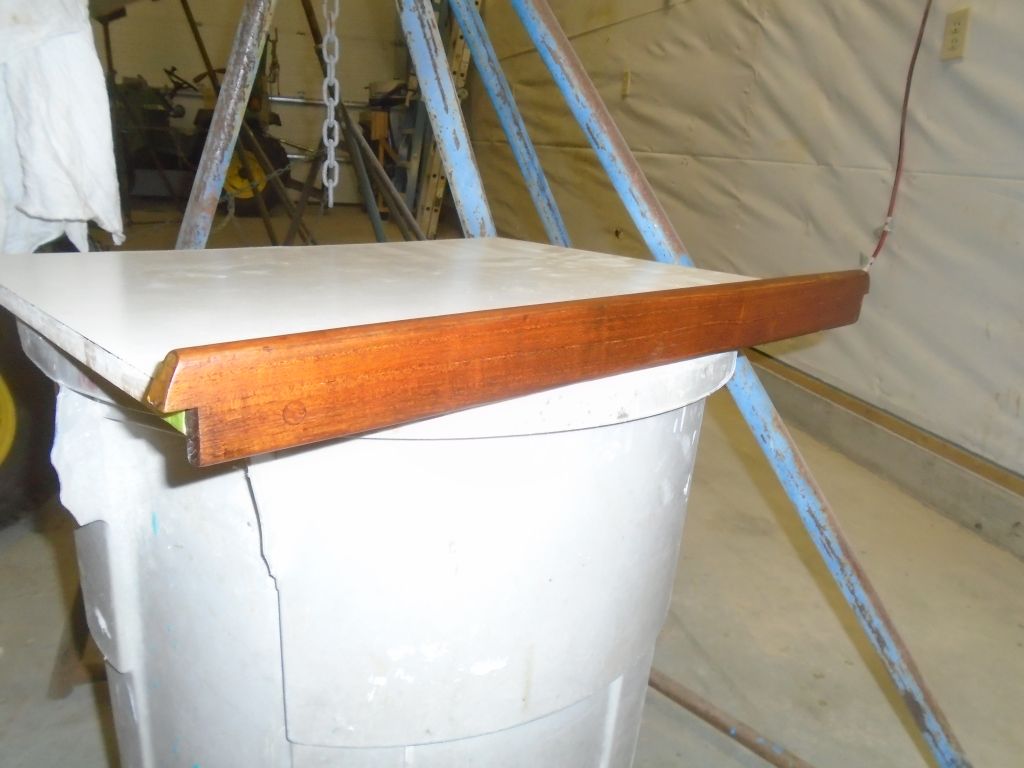
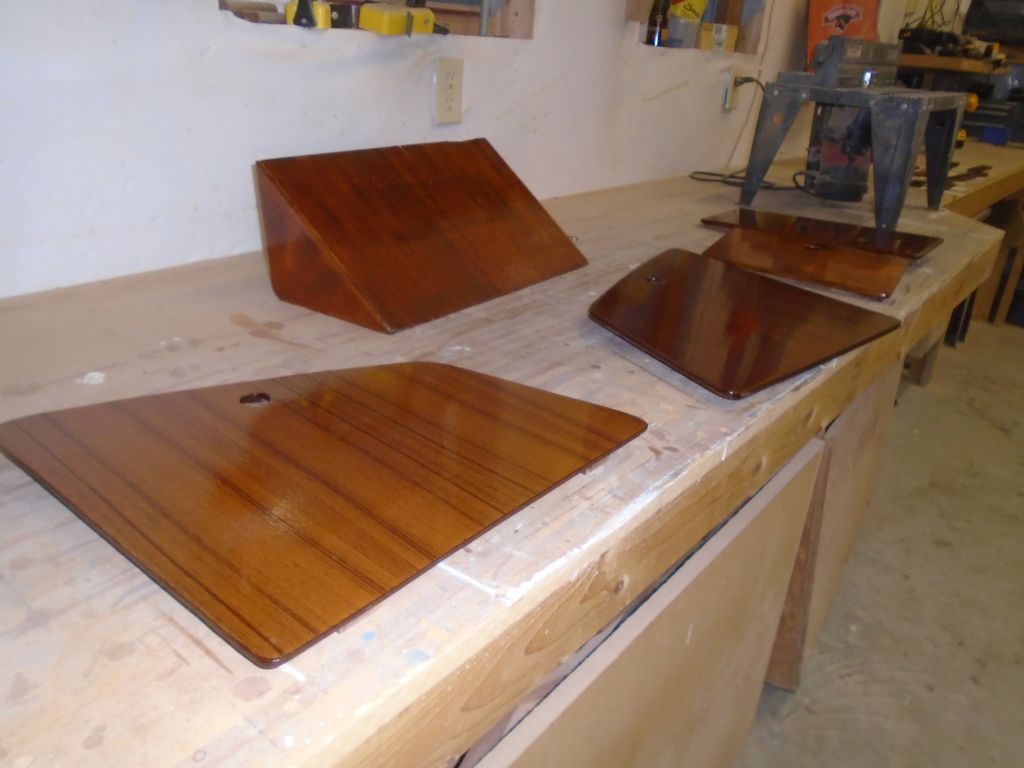
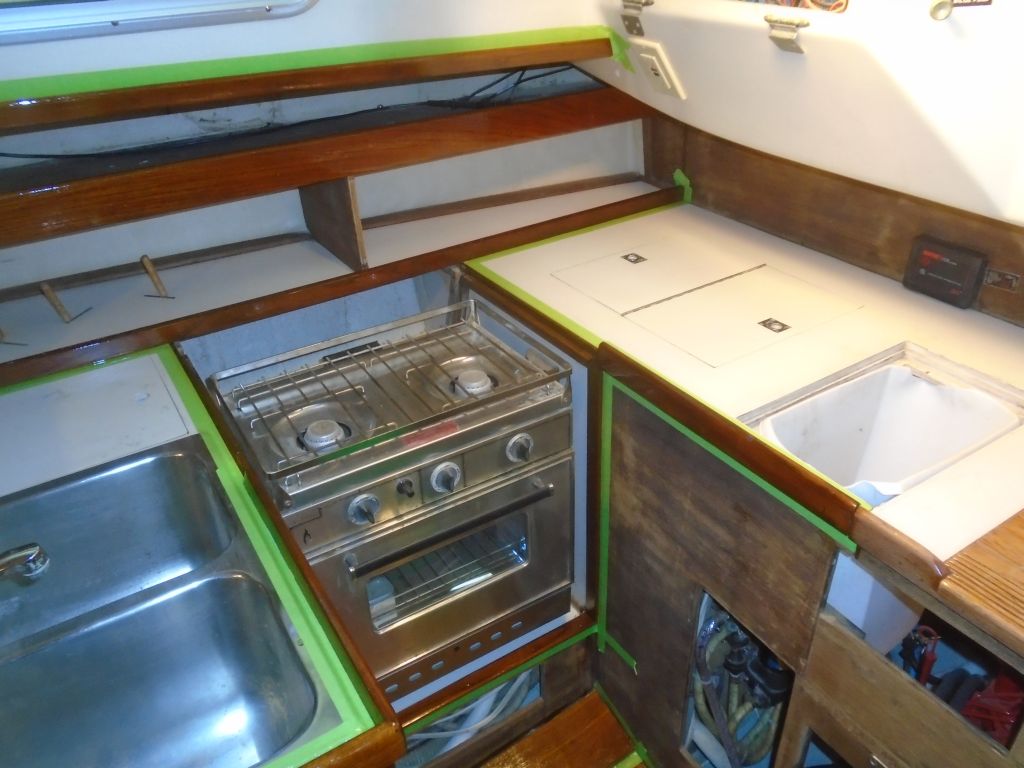
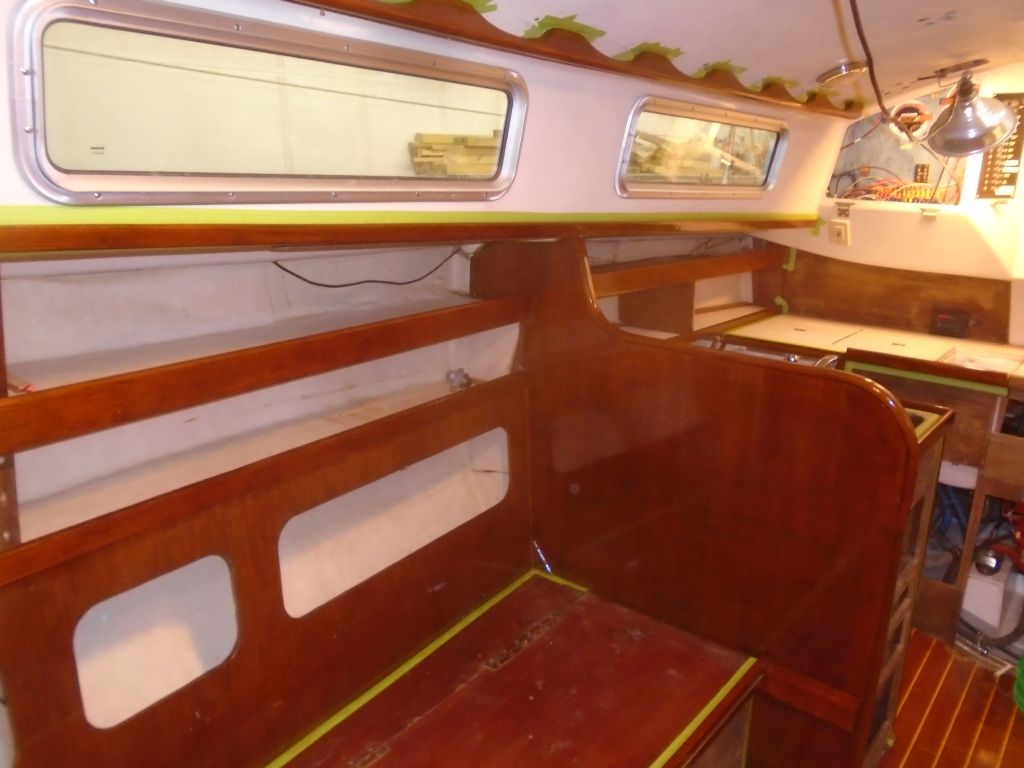
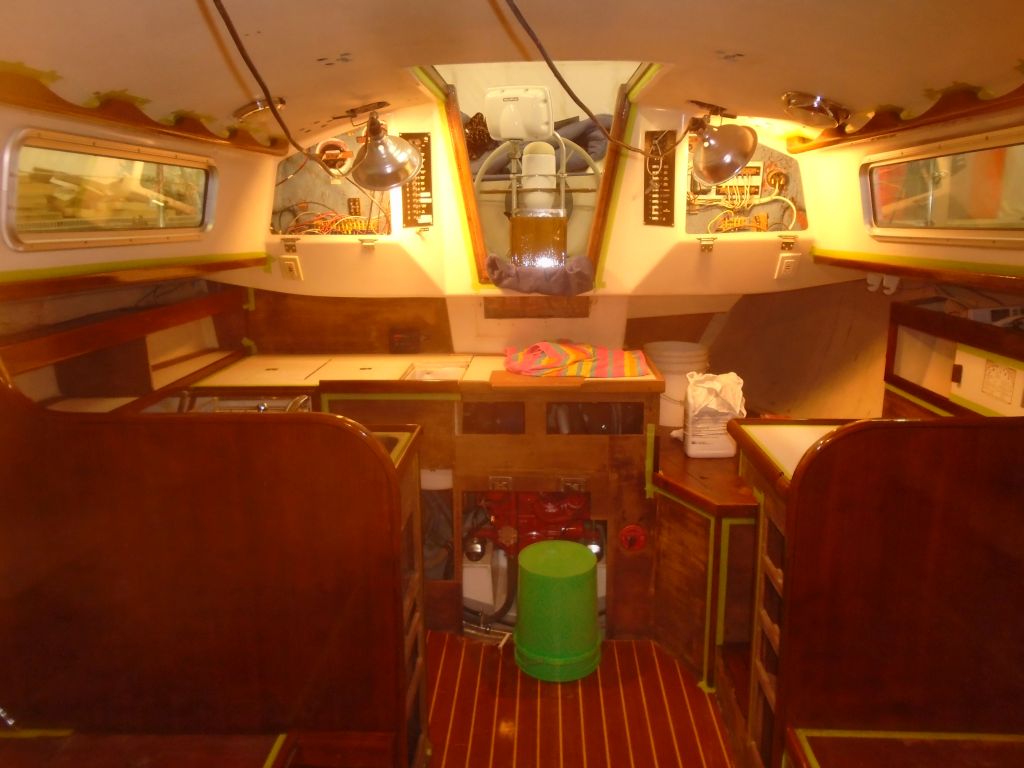
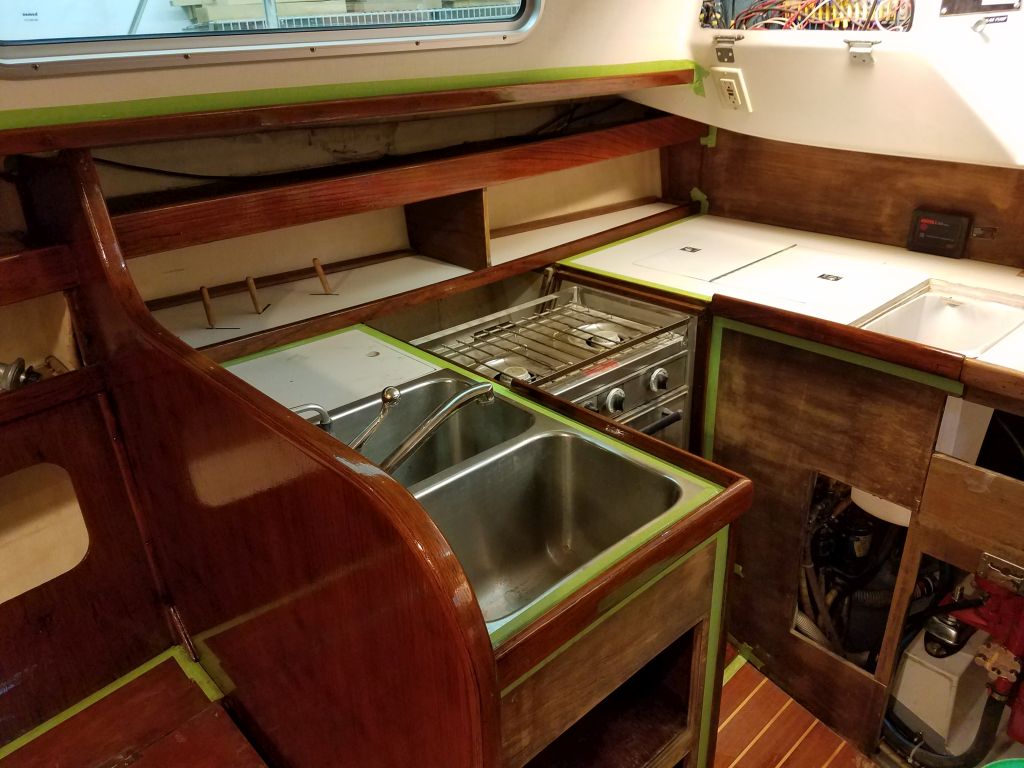
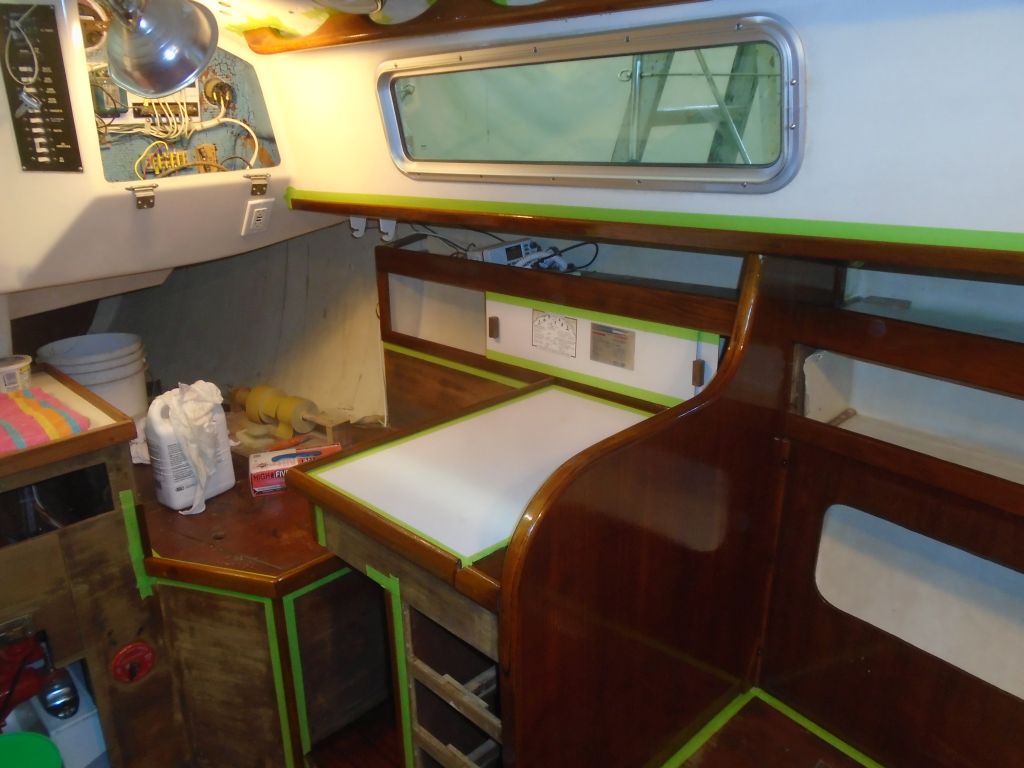
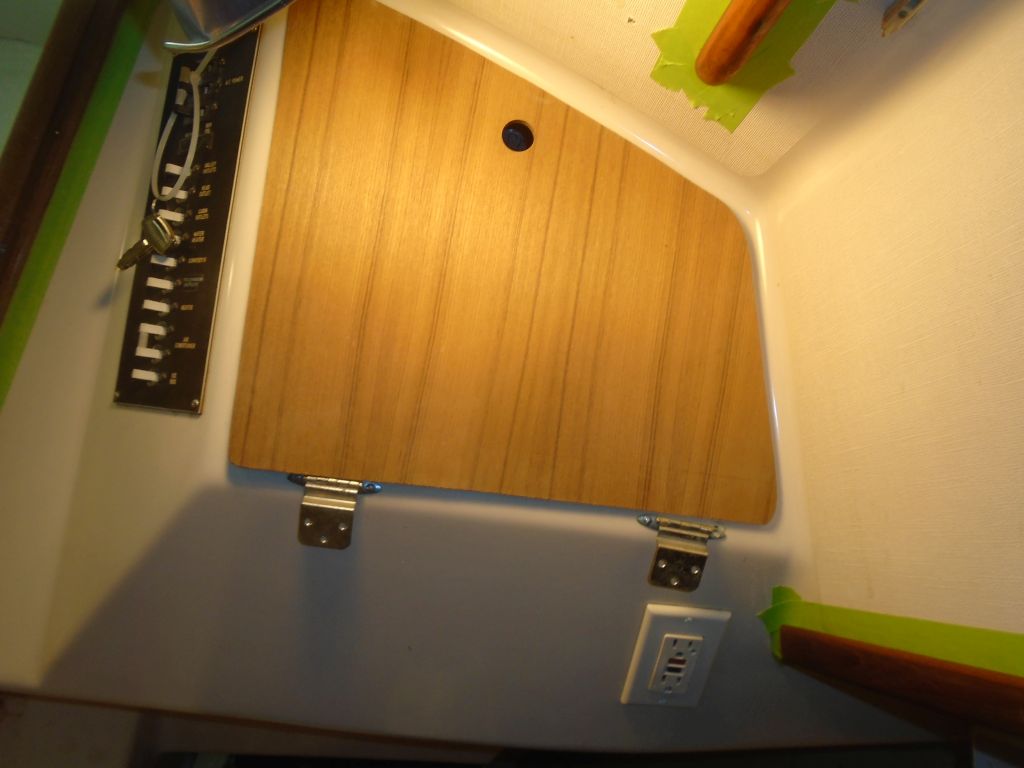
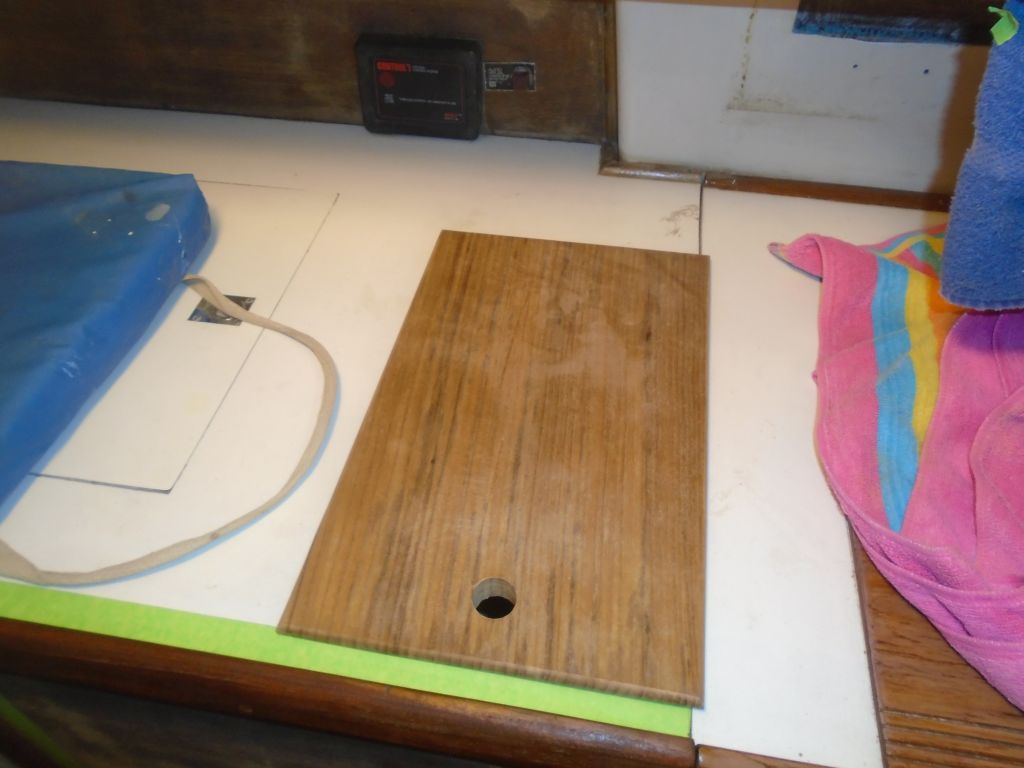
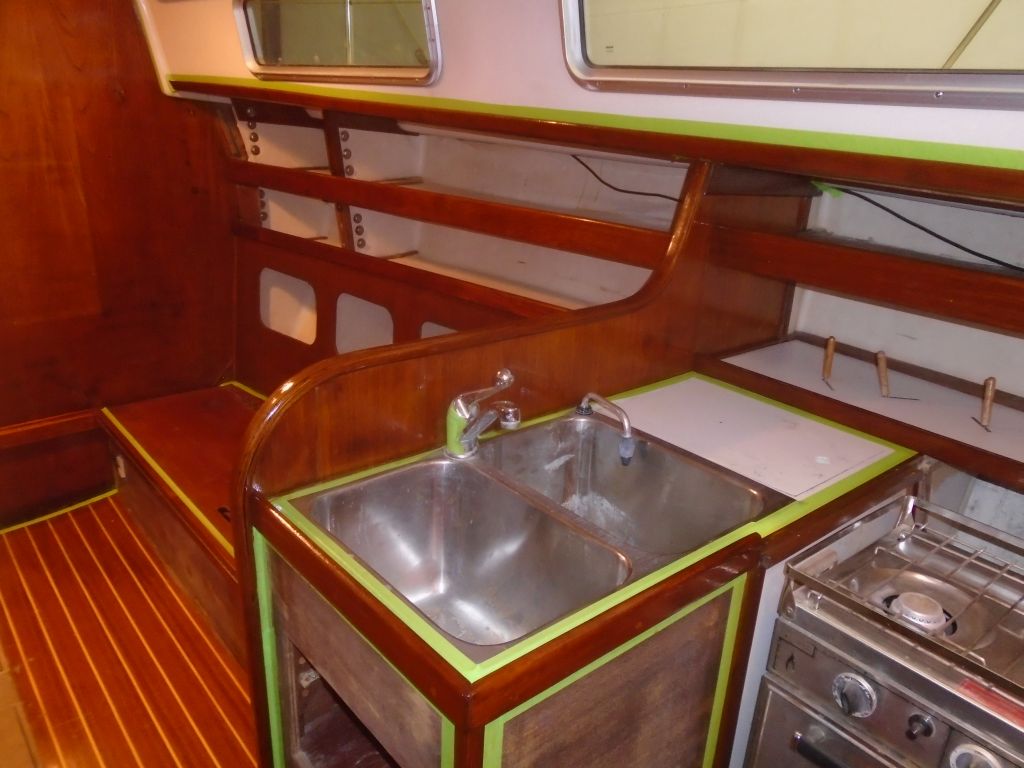
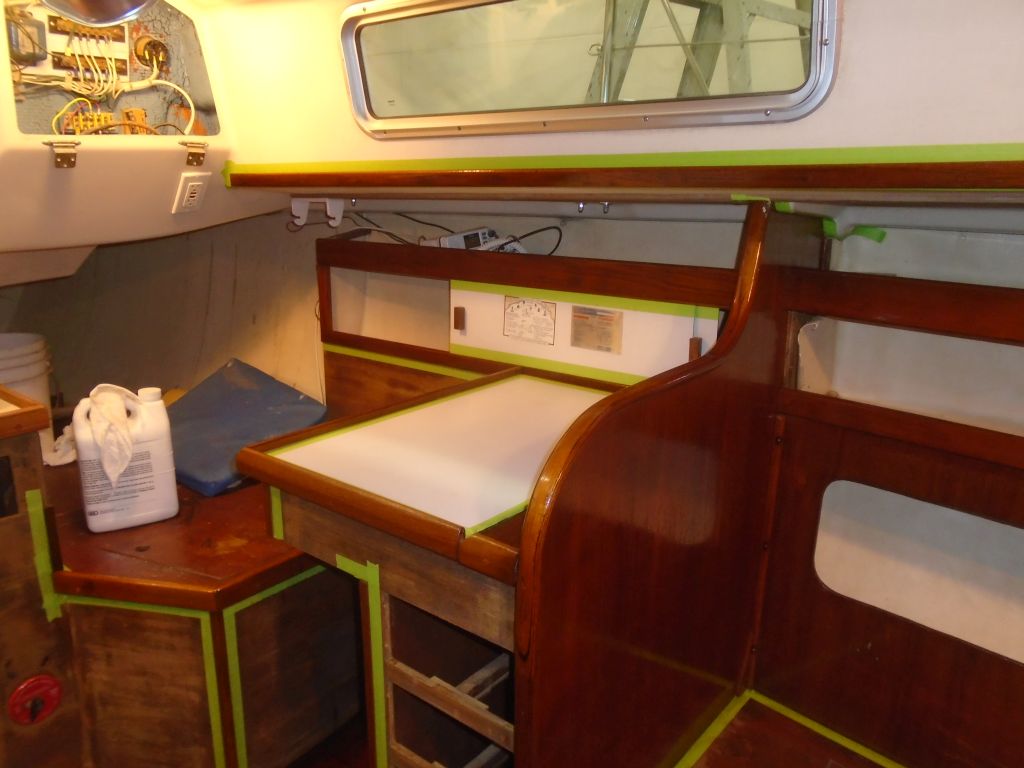
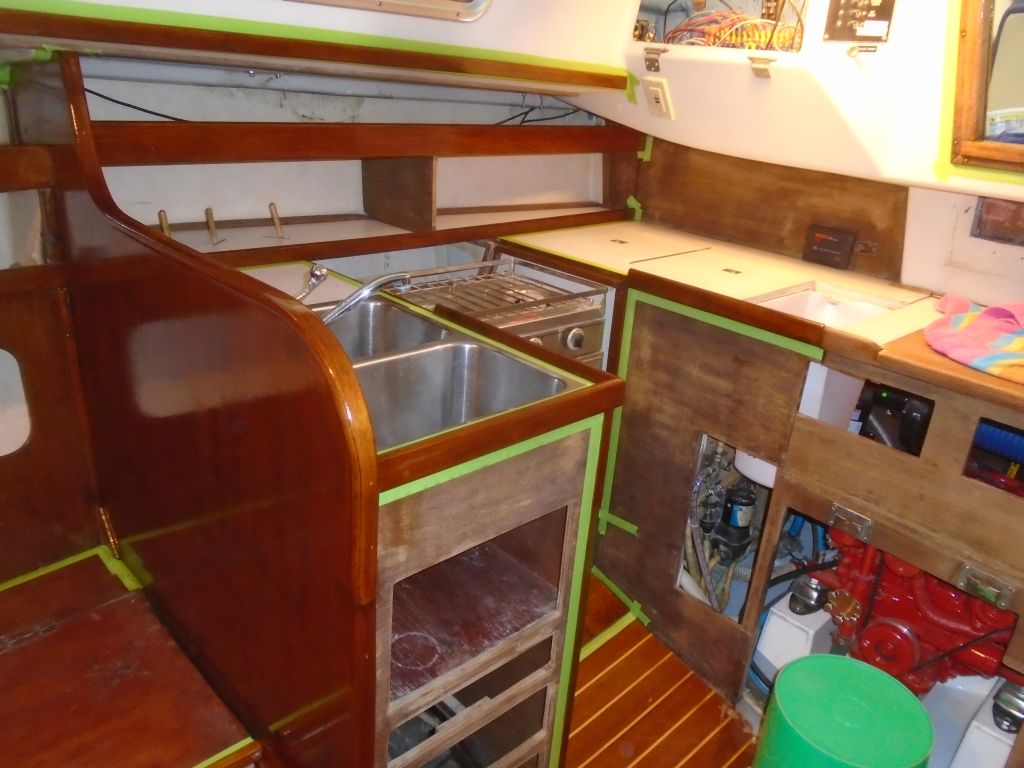
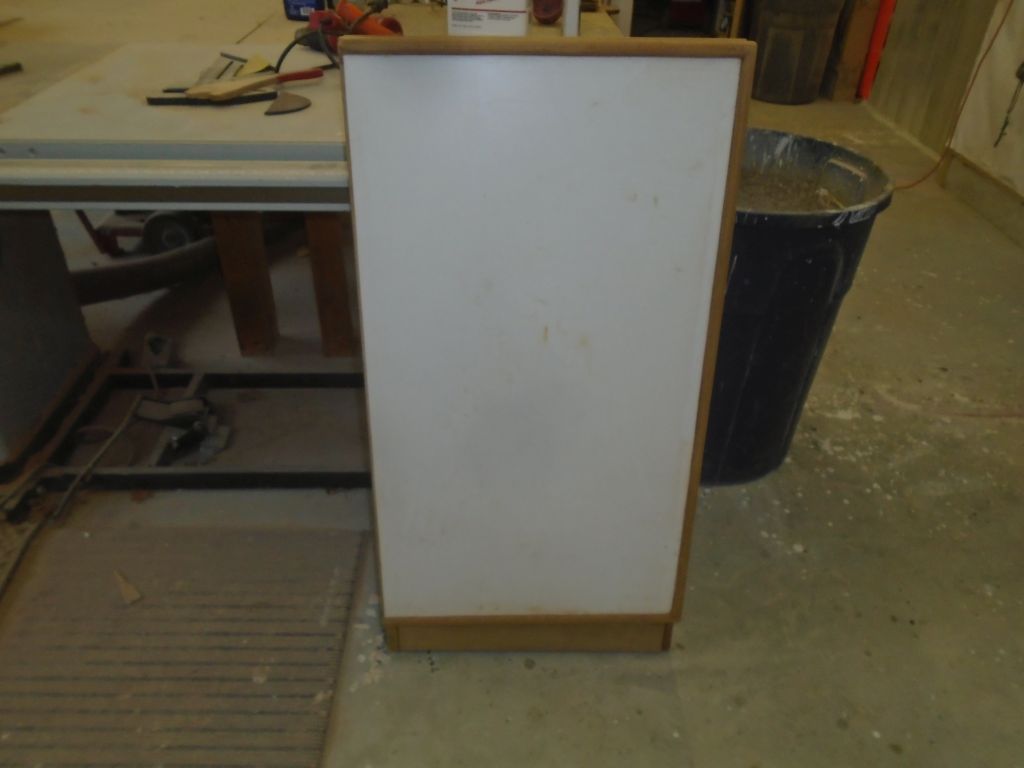
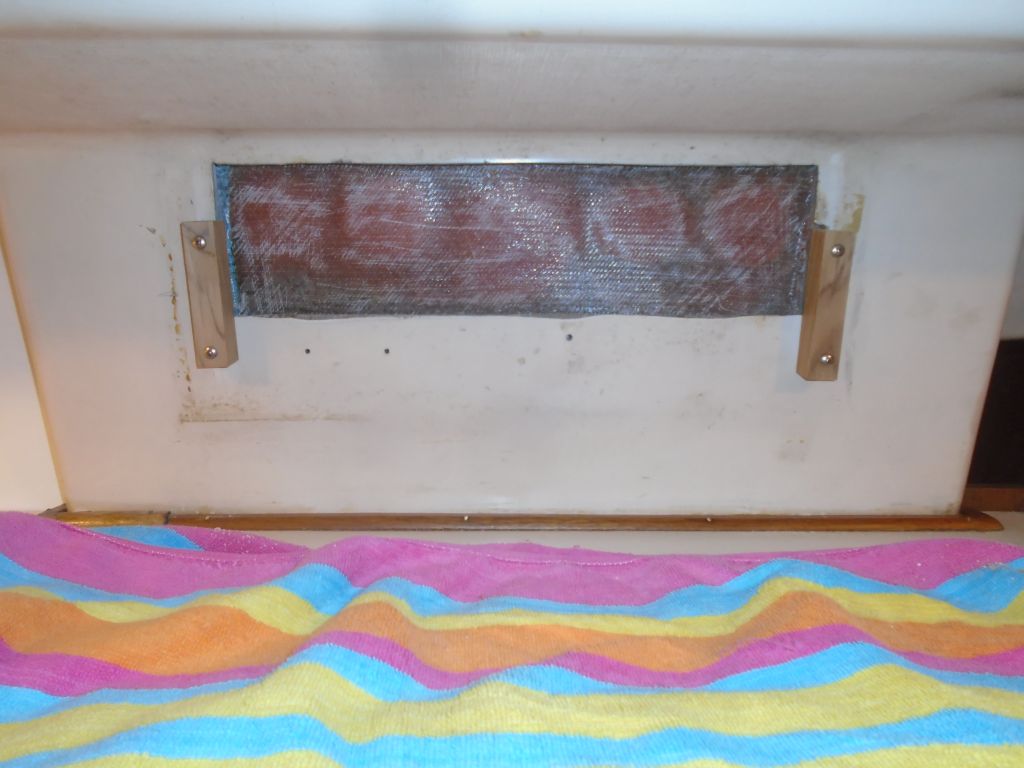
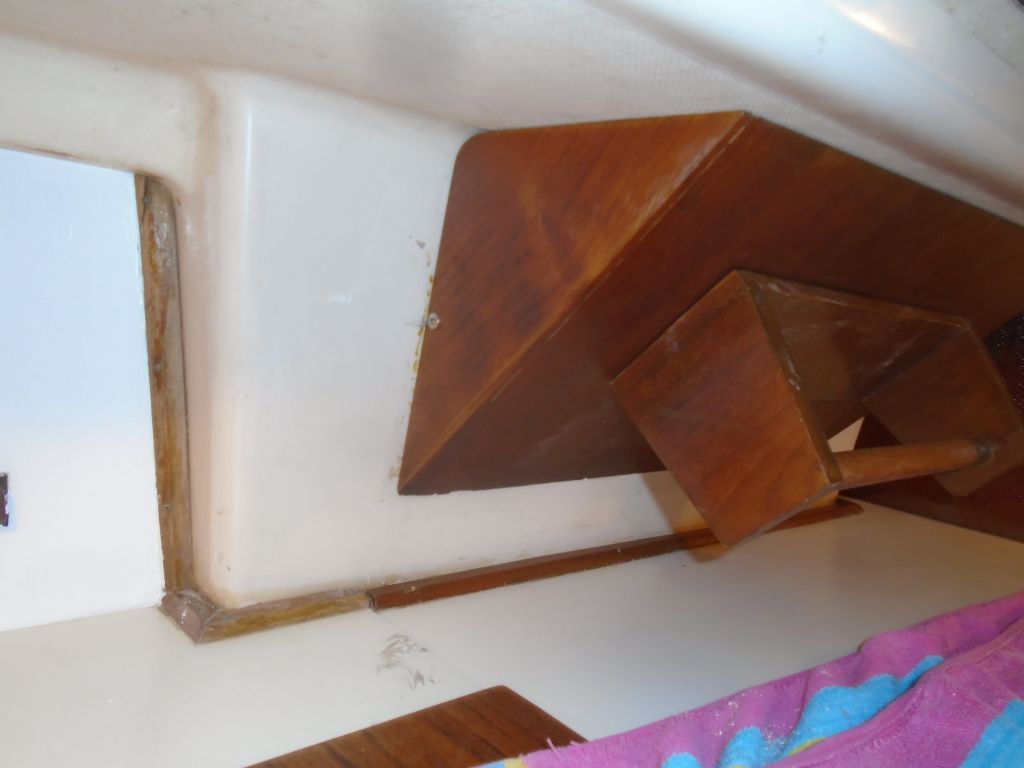
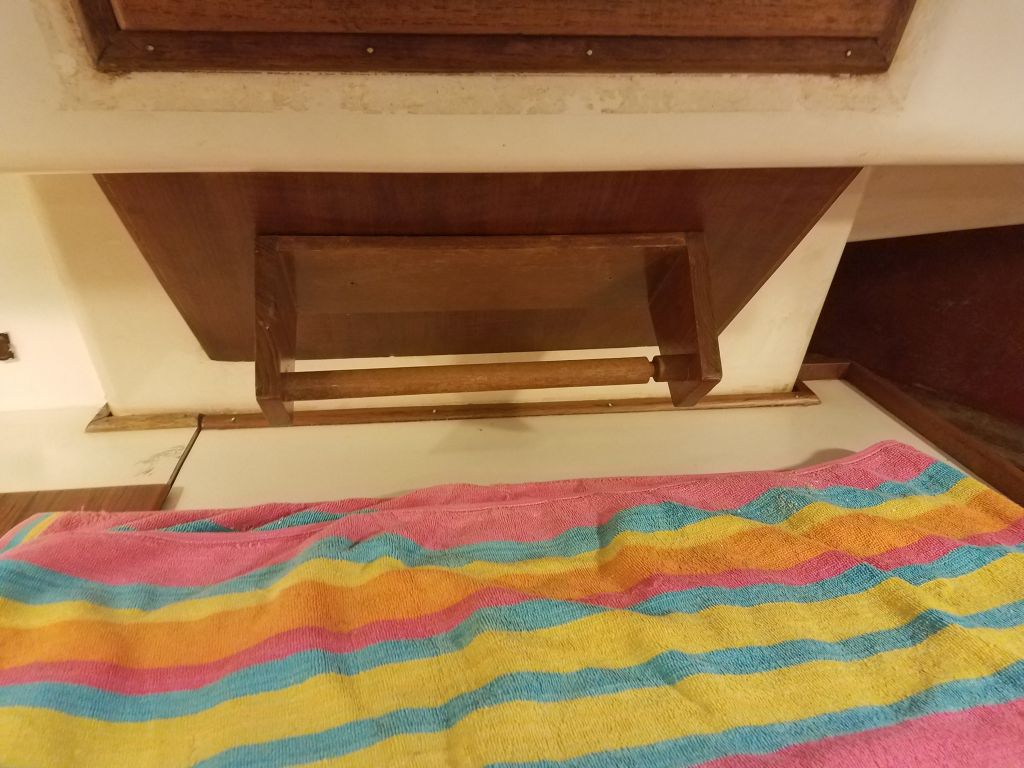
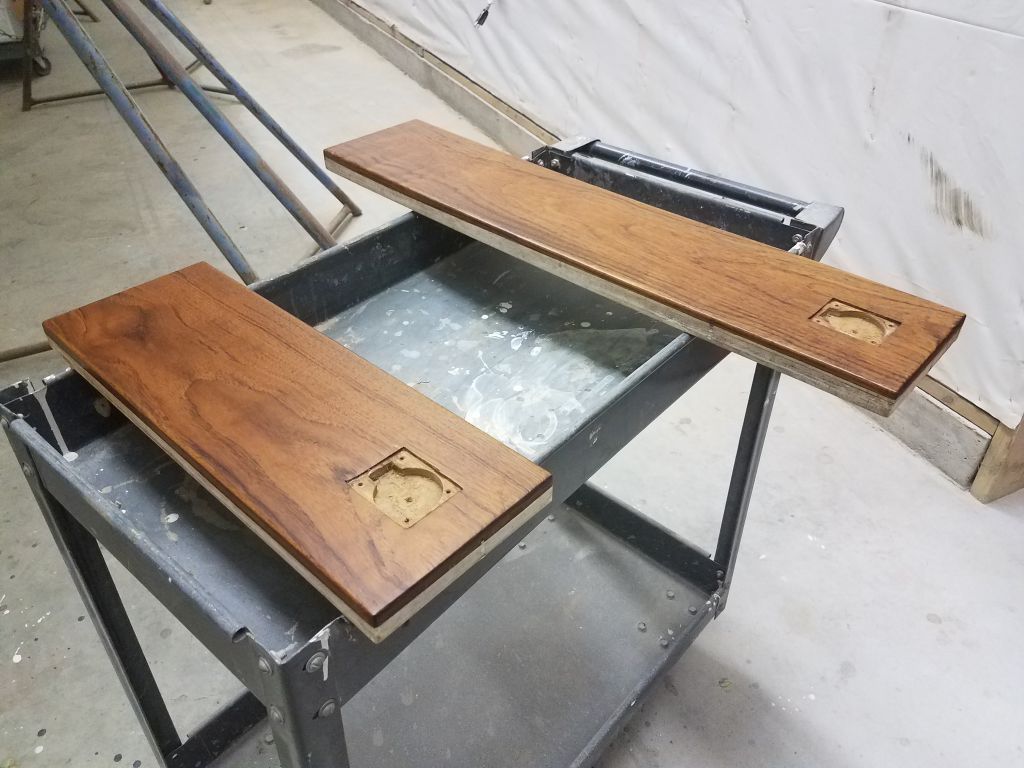
This project was really winding down now, but there were a few odds and ends to take care of yet. One of these was to reinstall a little paper towel holder and cover above the engine room countertop. This angled piece had originally covered the back sides of the old engine instruments, and had been installed with a pair of the plastic slam latches used throughout the boat. One of these was broken, and since such quick access was no longer required to this area (since I’d removed the gauges), I decided to install the unit with a pair of cleats, which I screwed to the liner and the backing behind it. I used a single screw on each side of the angled unit to secure it to the cleats, making it still easily removable if needed, but otherwise secure.
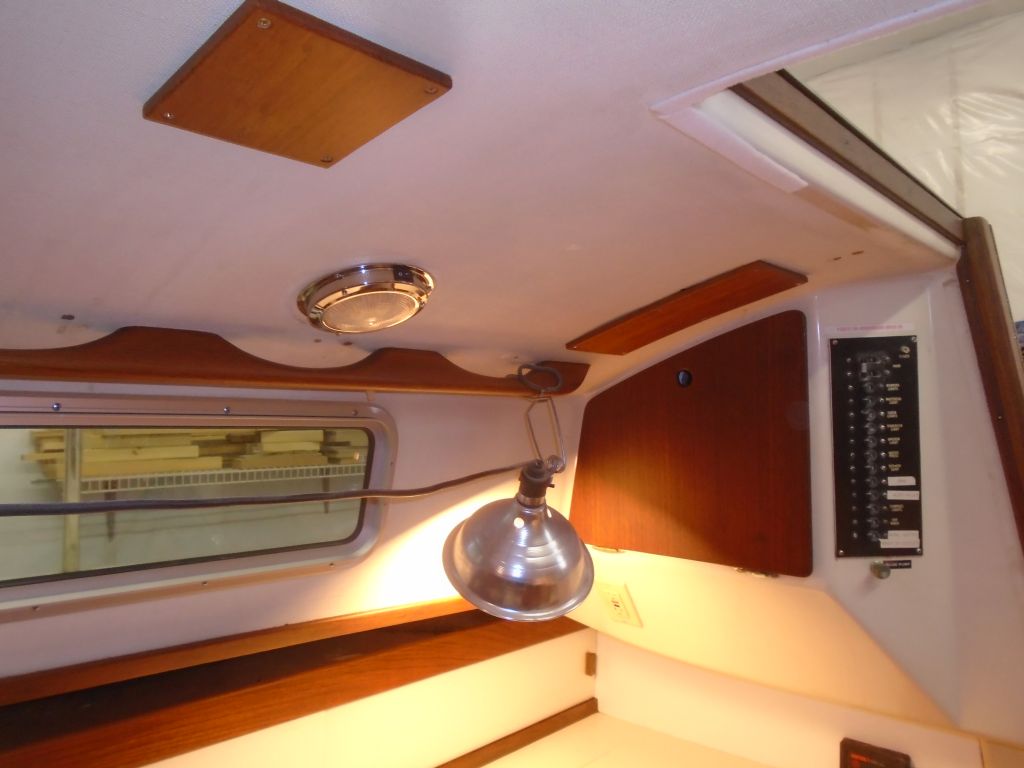
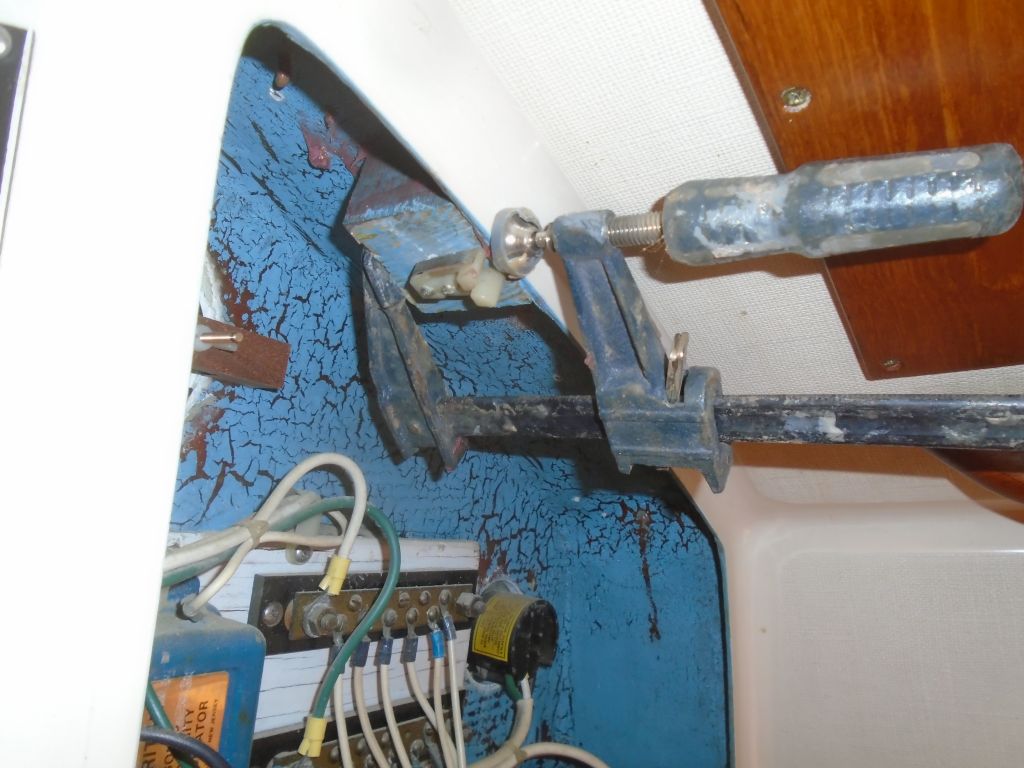
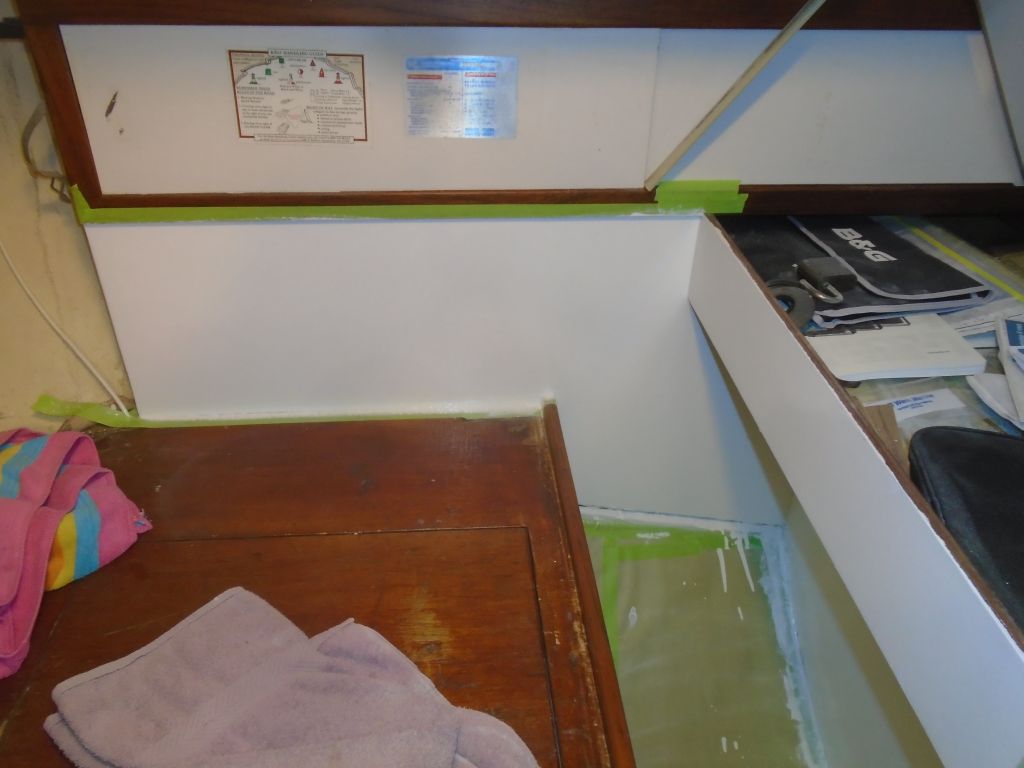
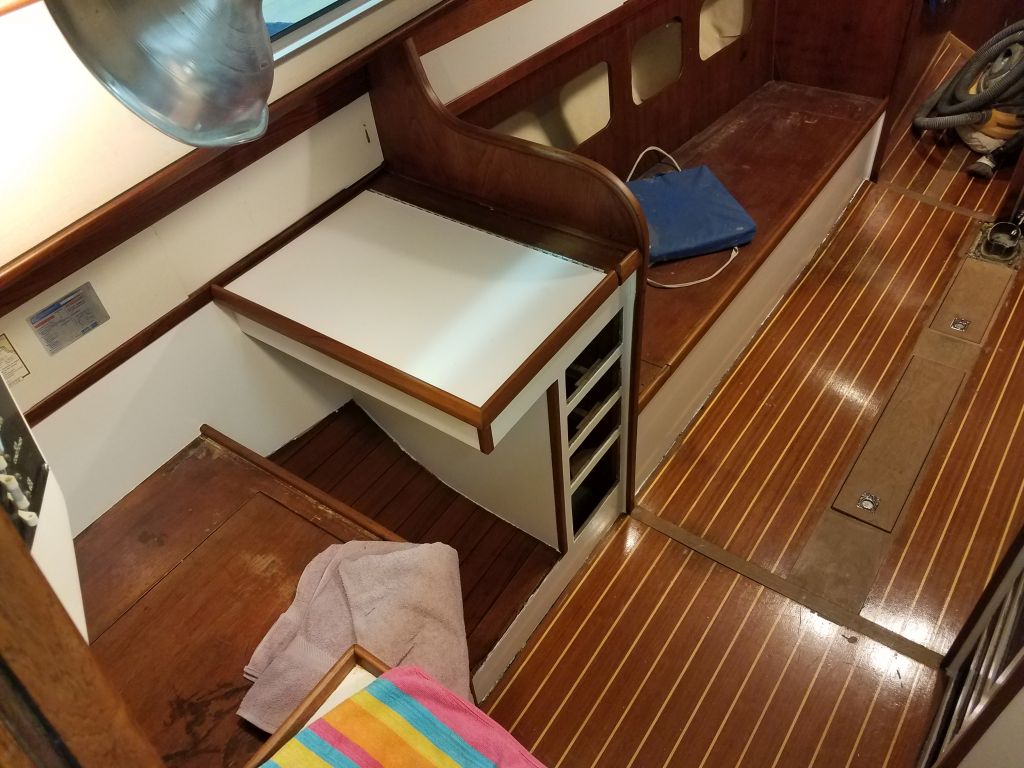
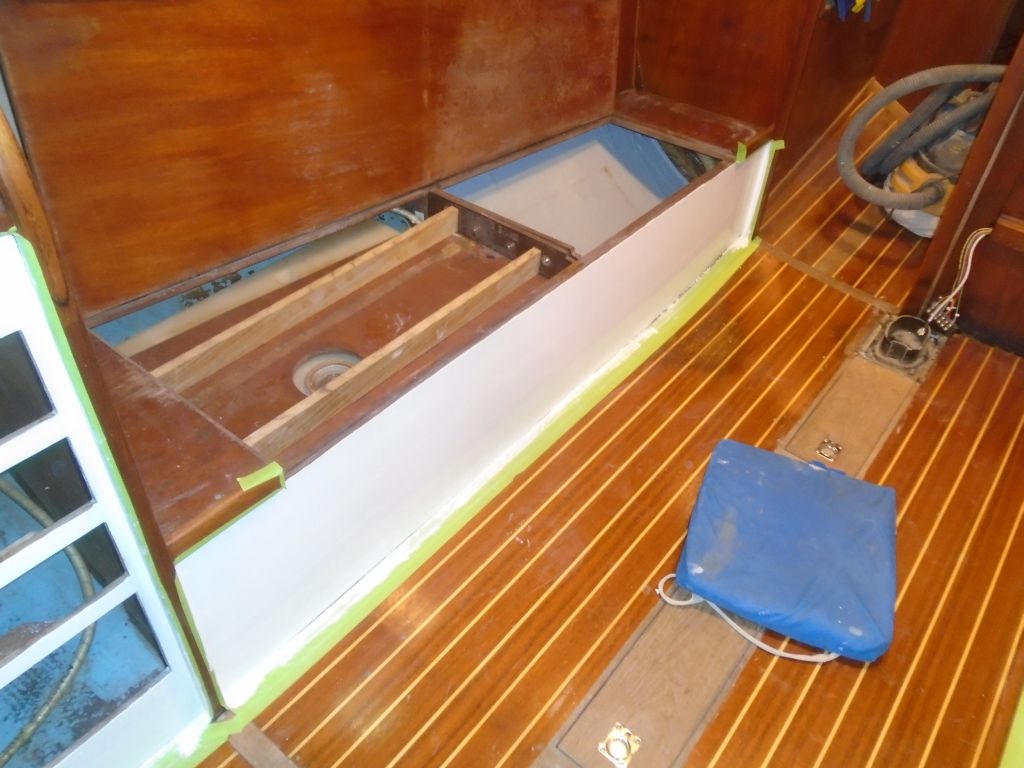
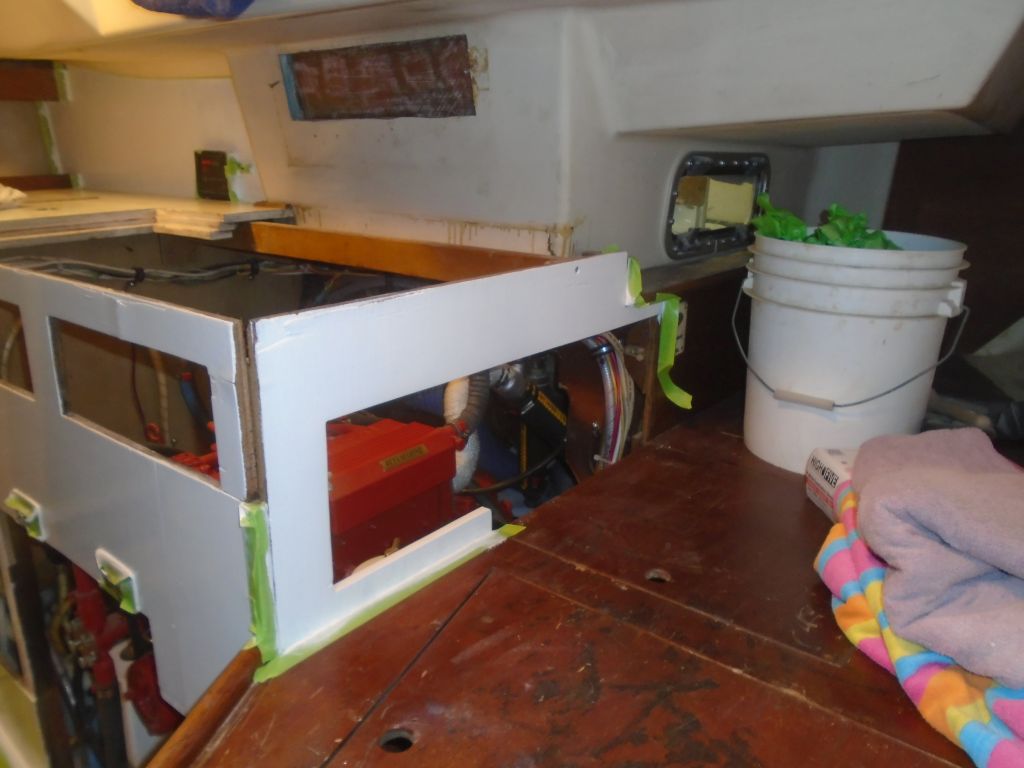
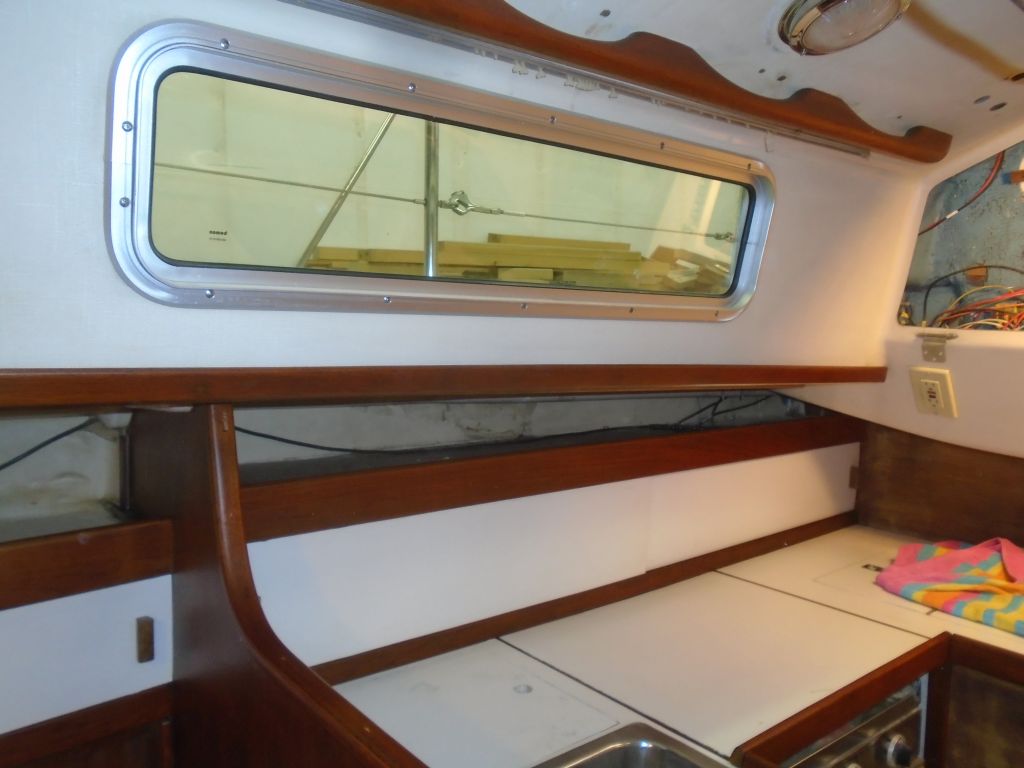
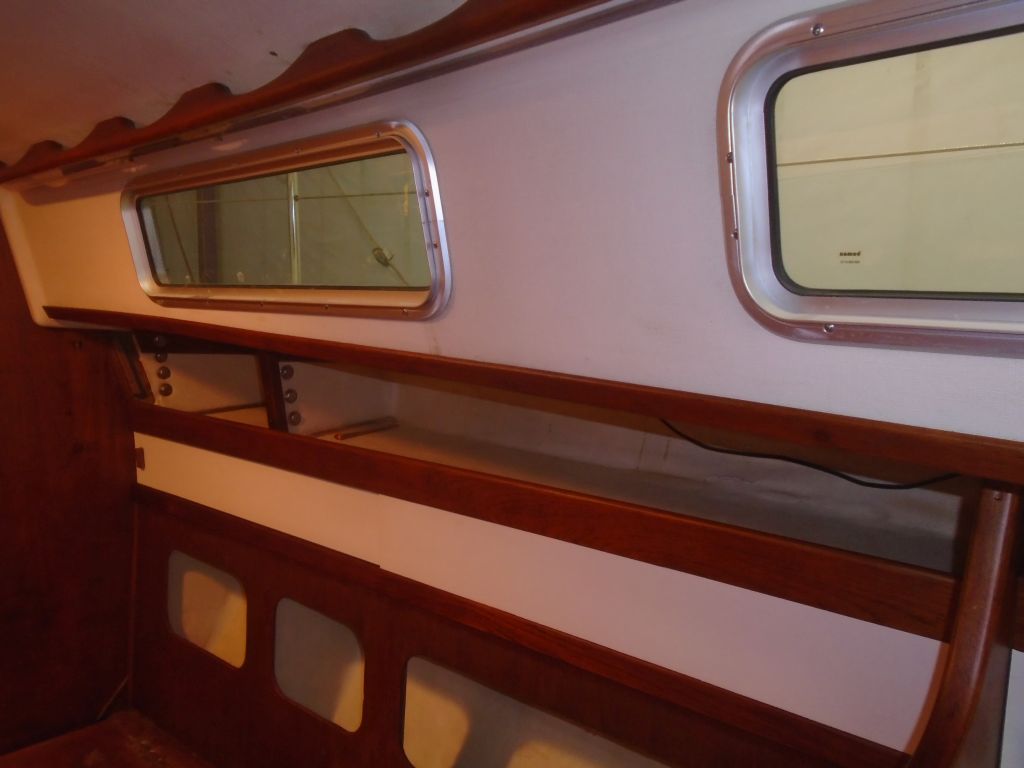
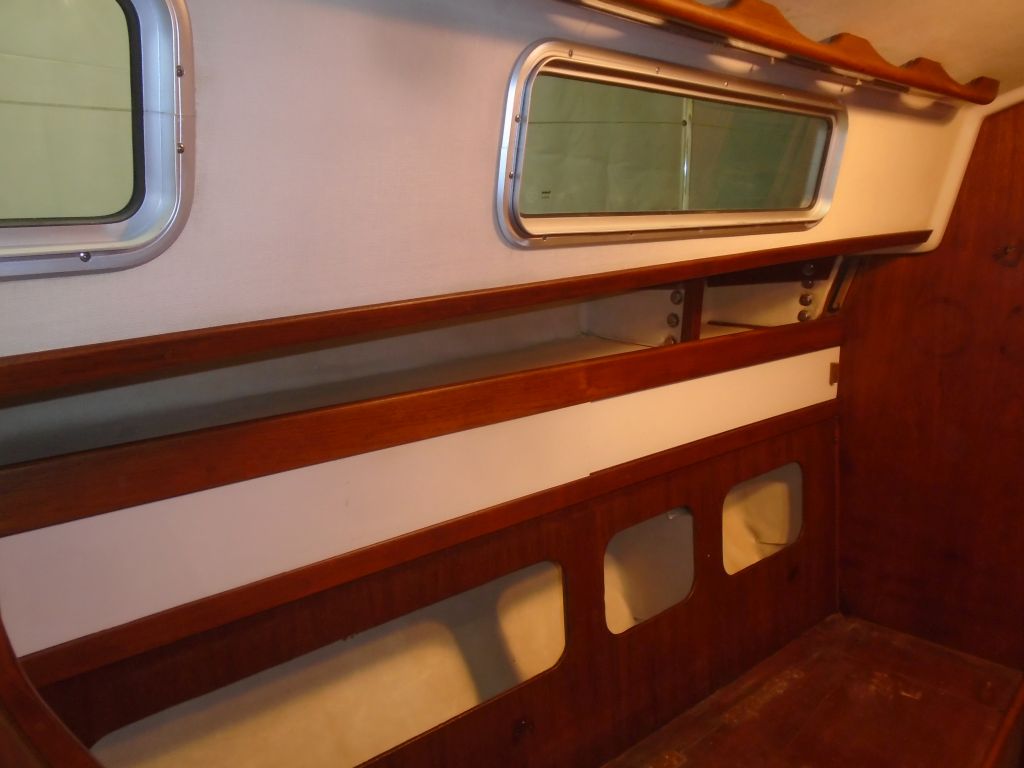
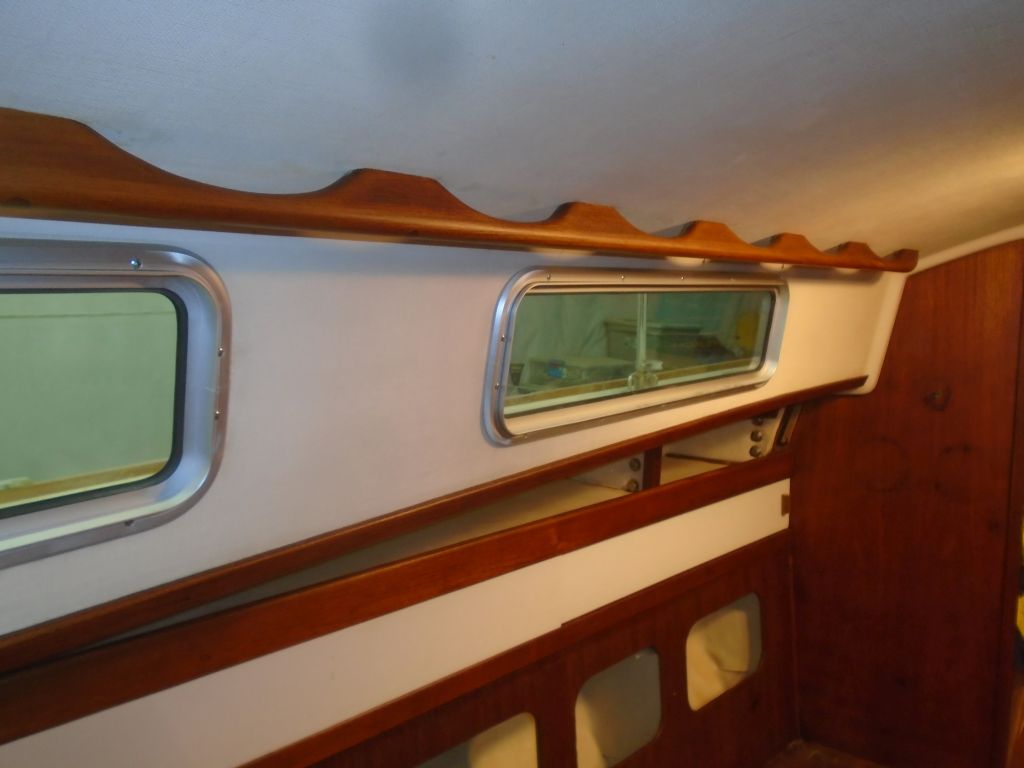
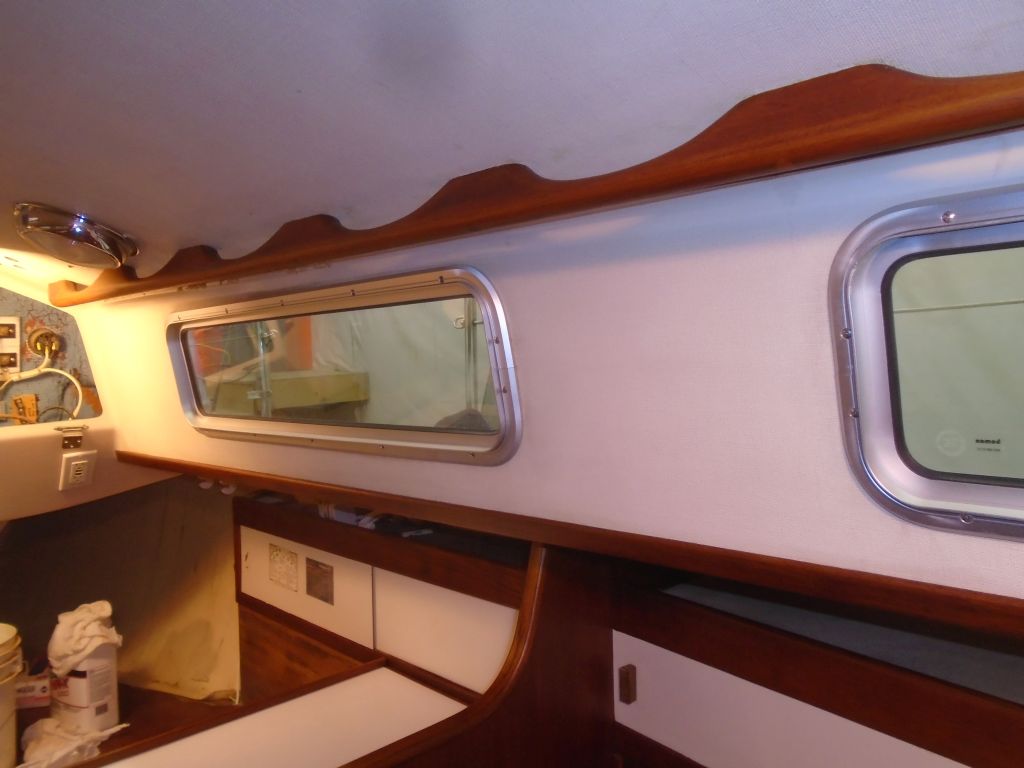
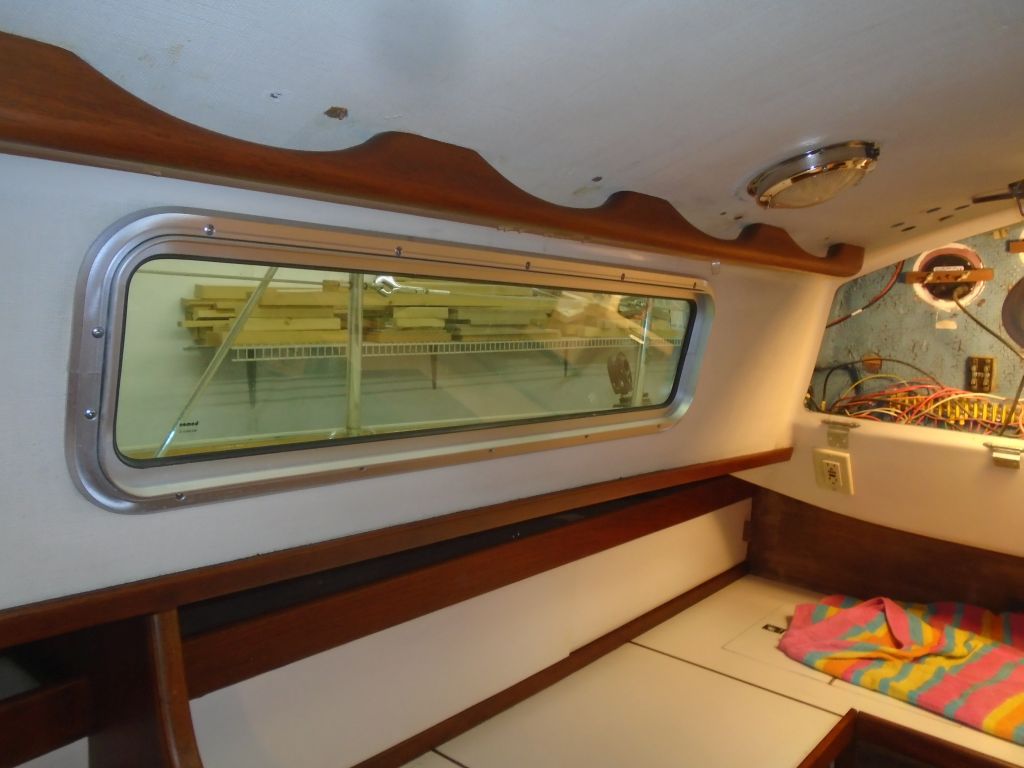
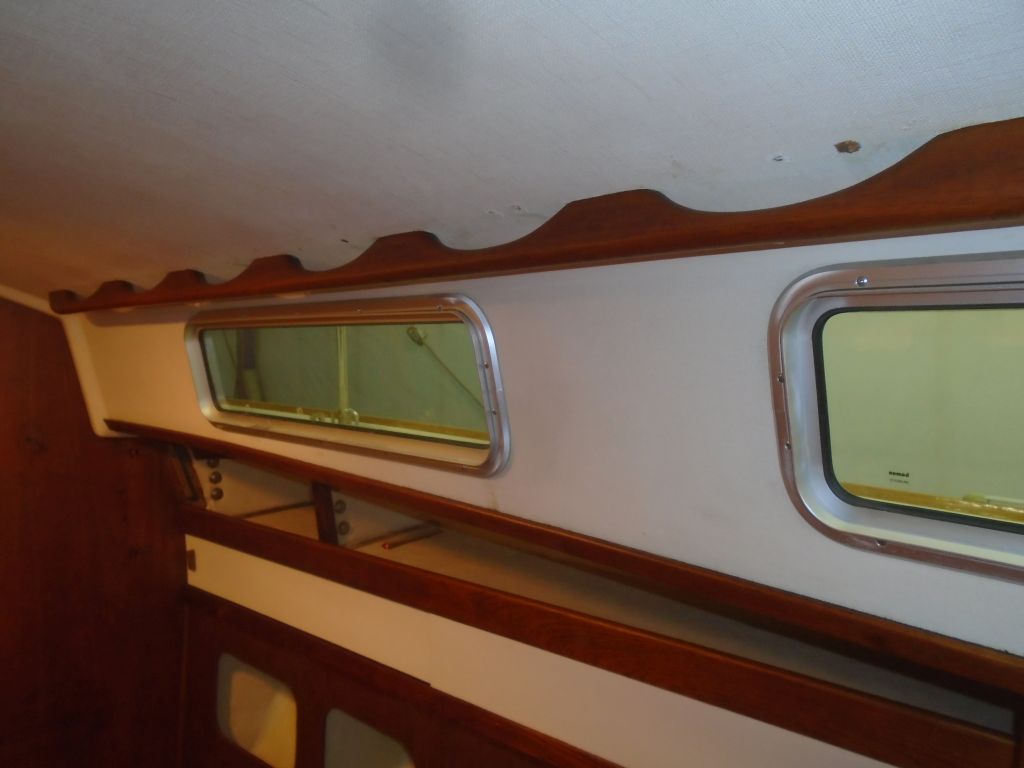
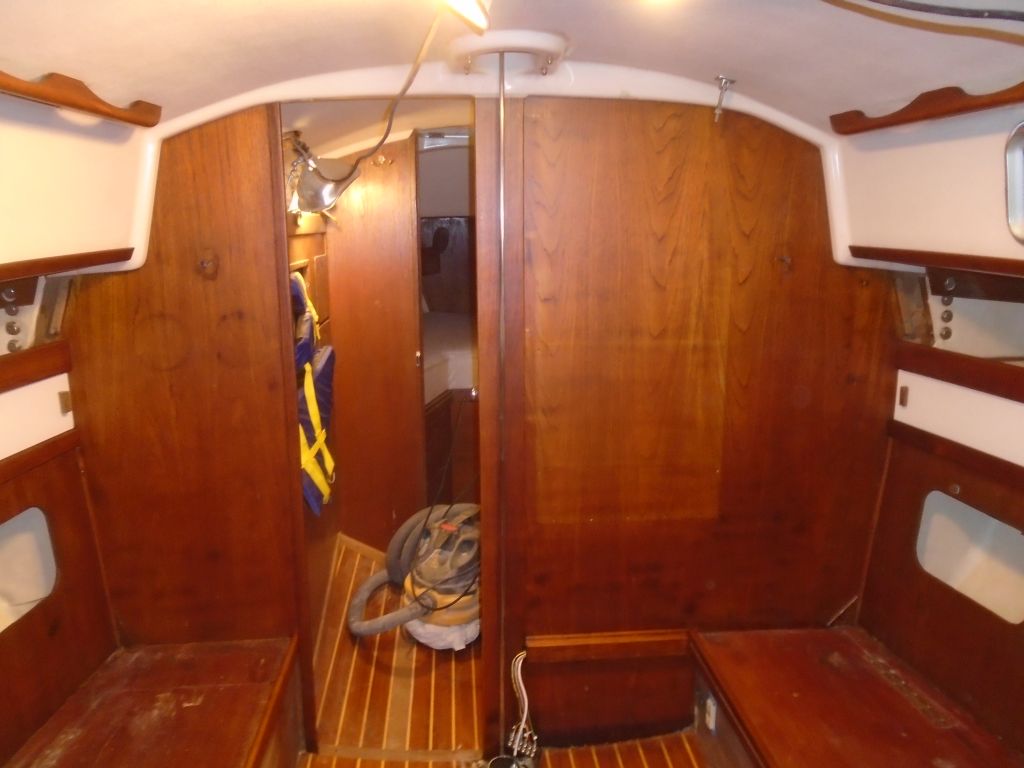
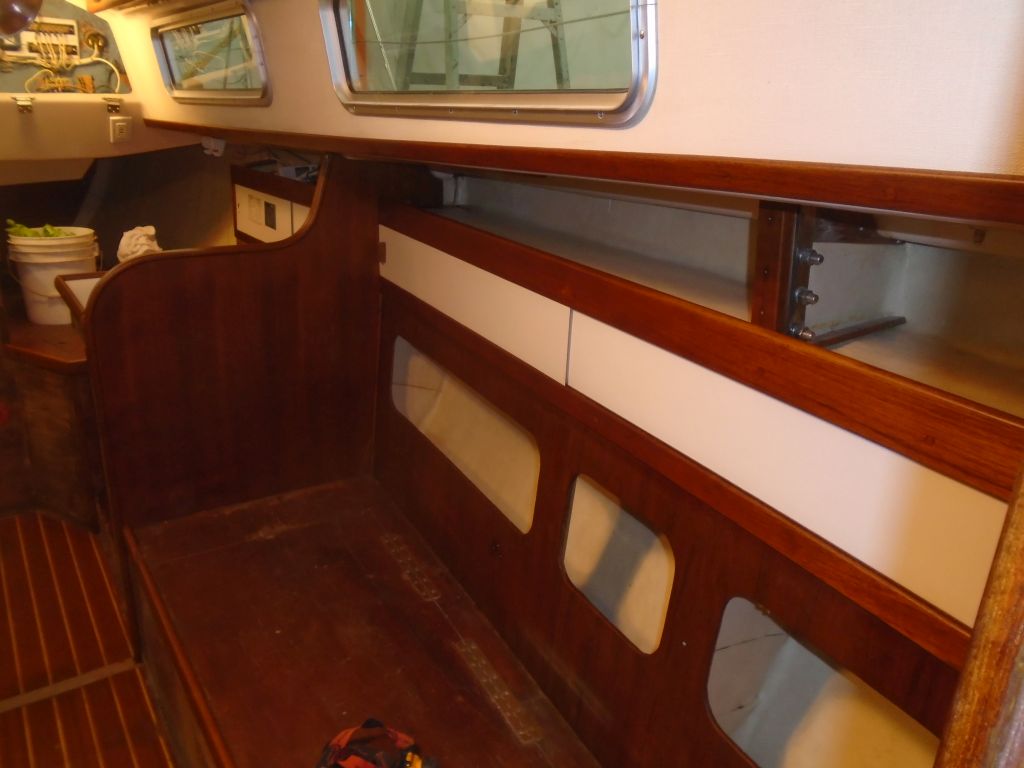
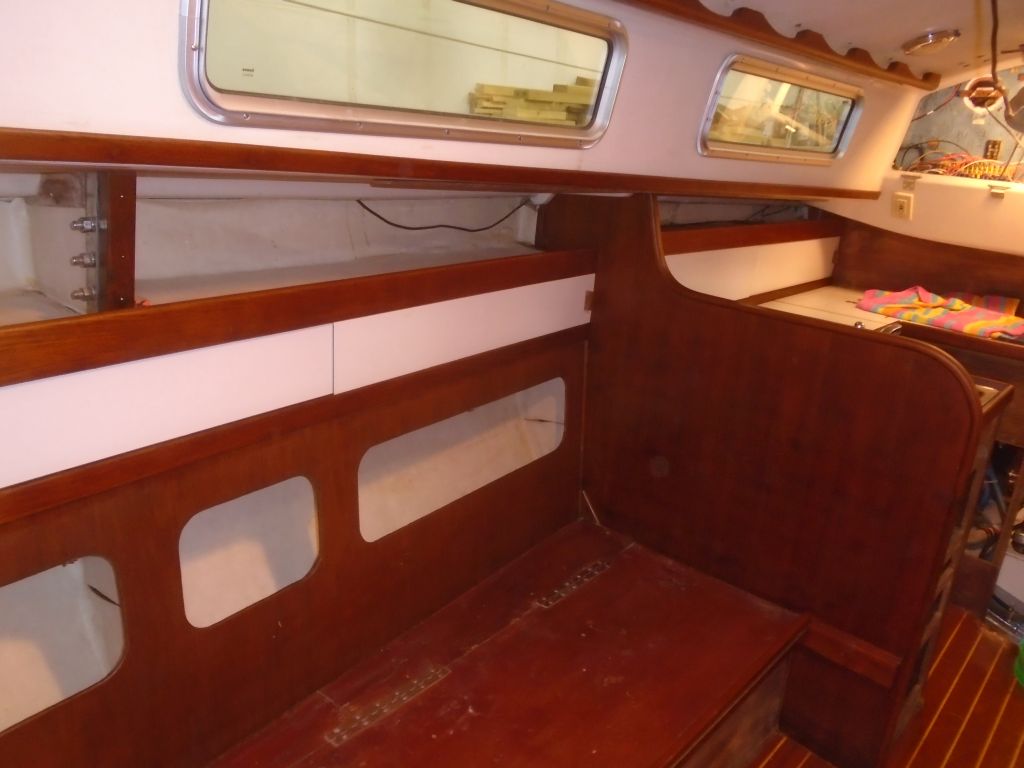
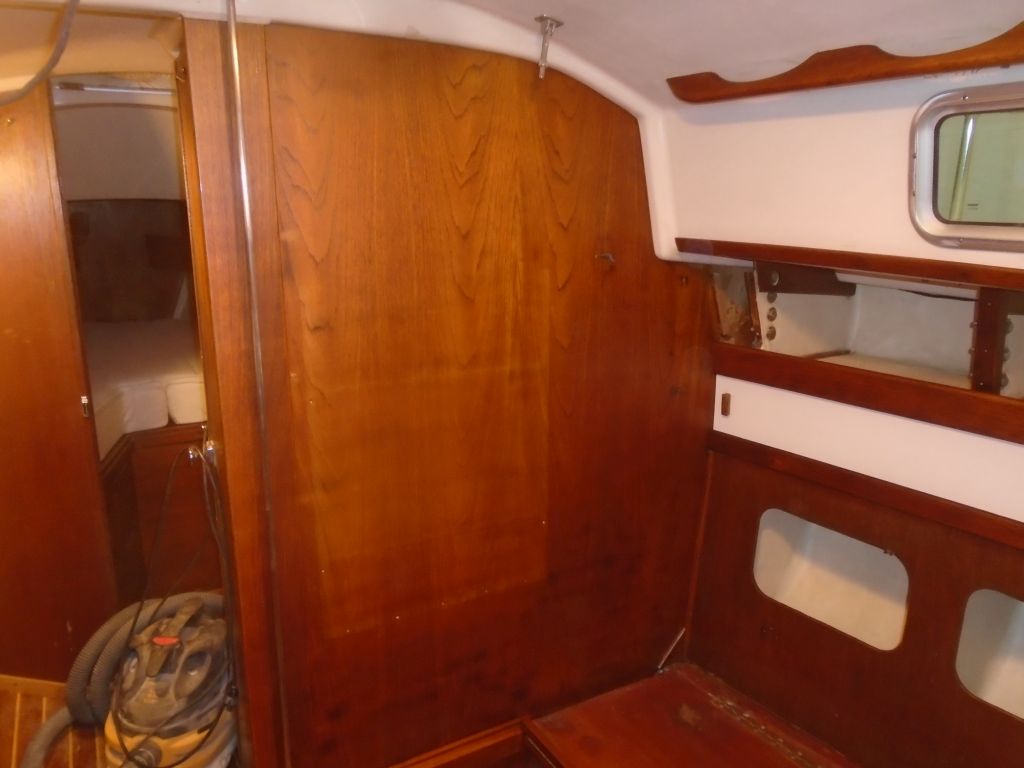
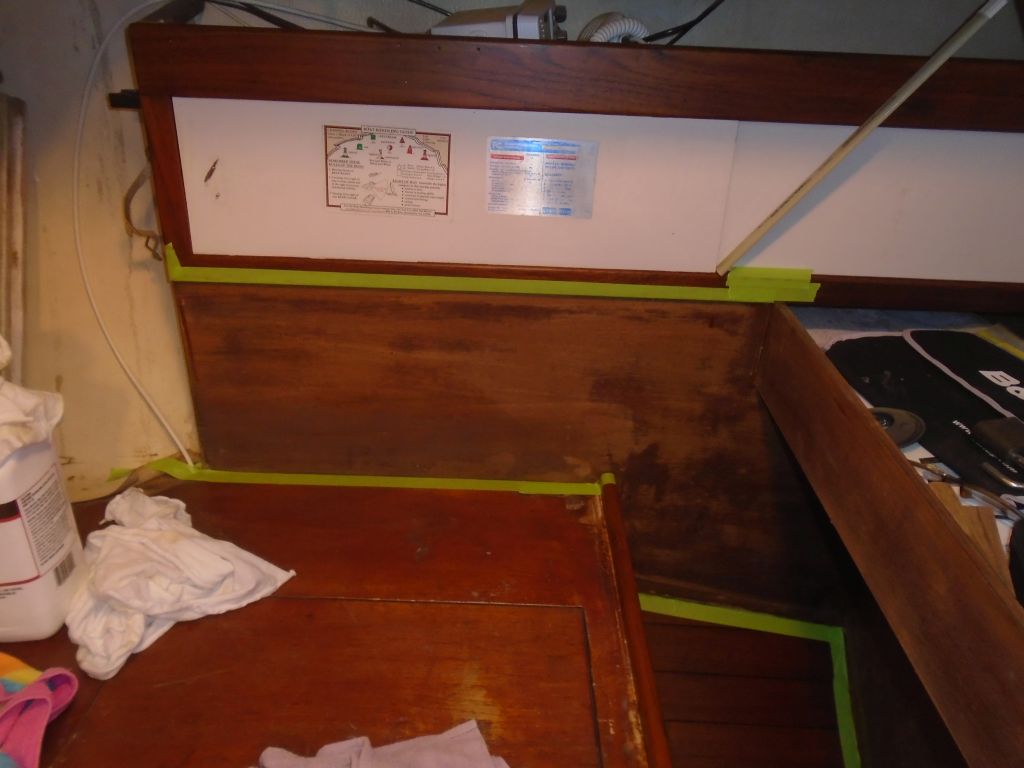
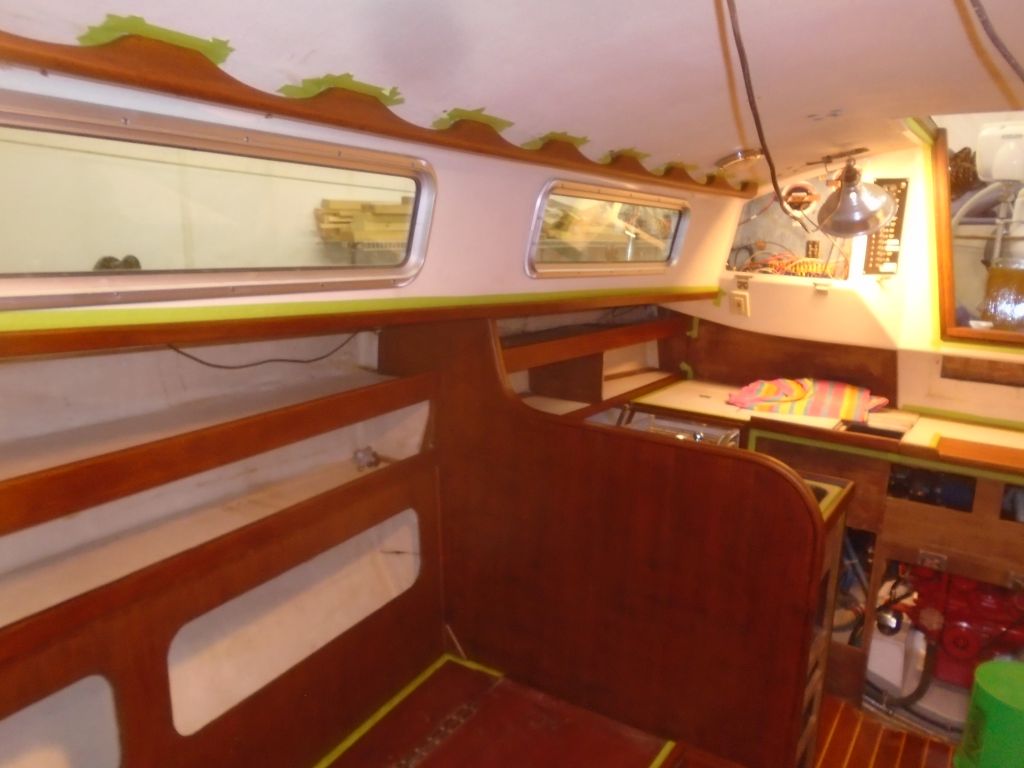
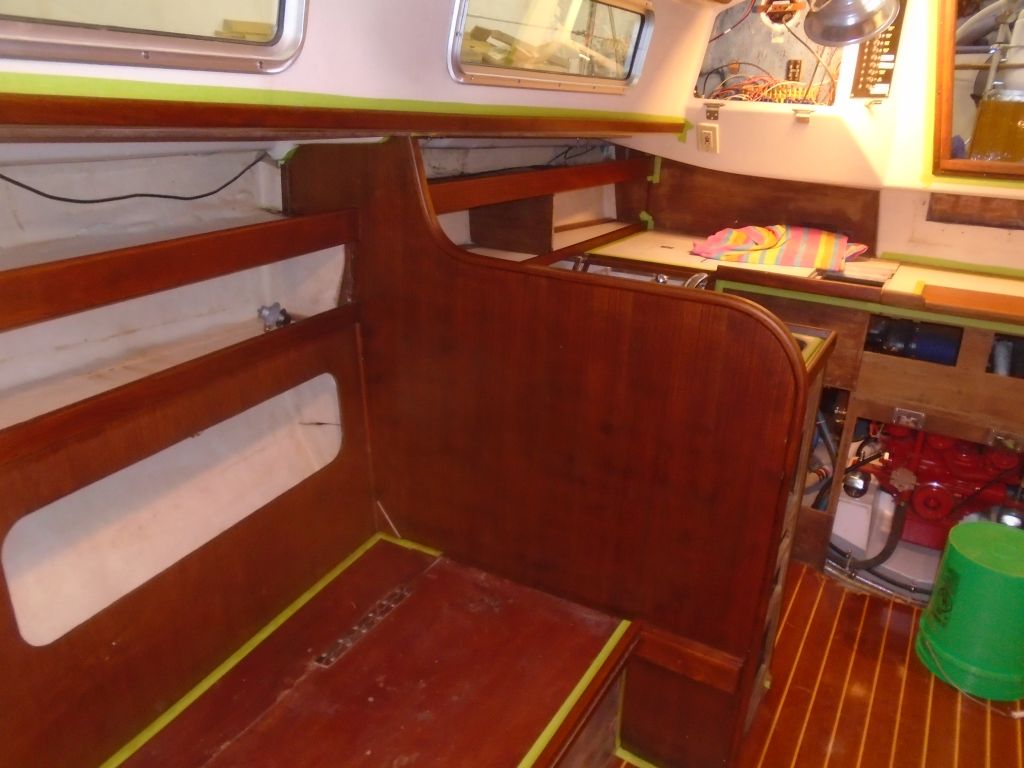
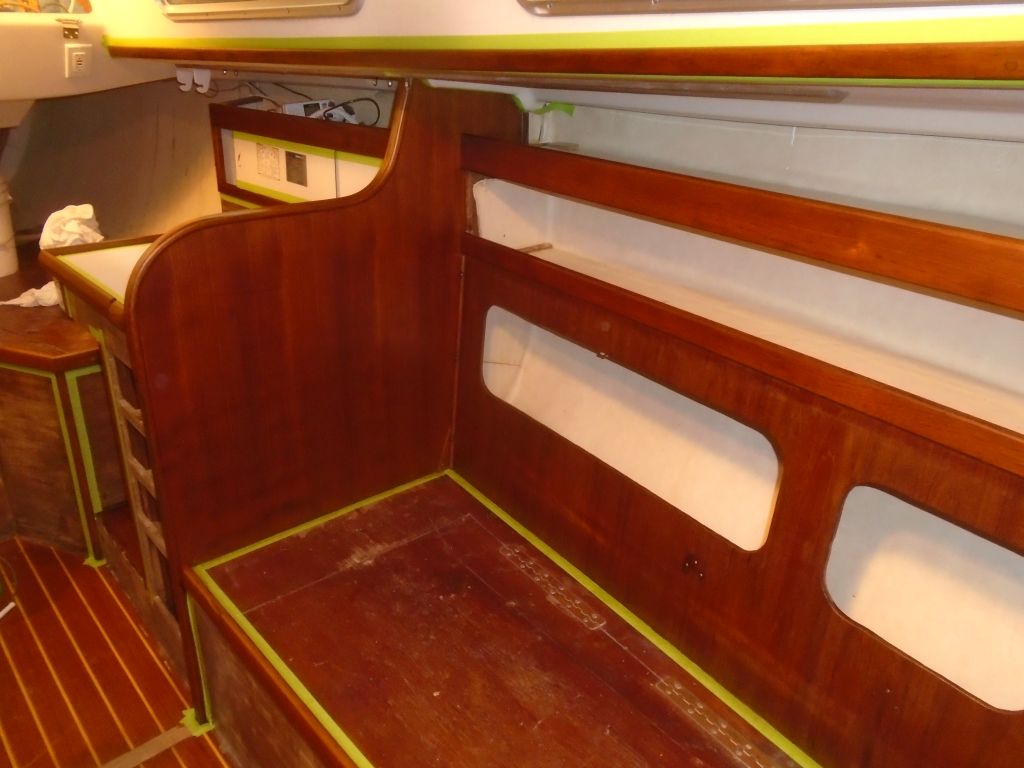
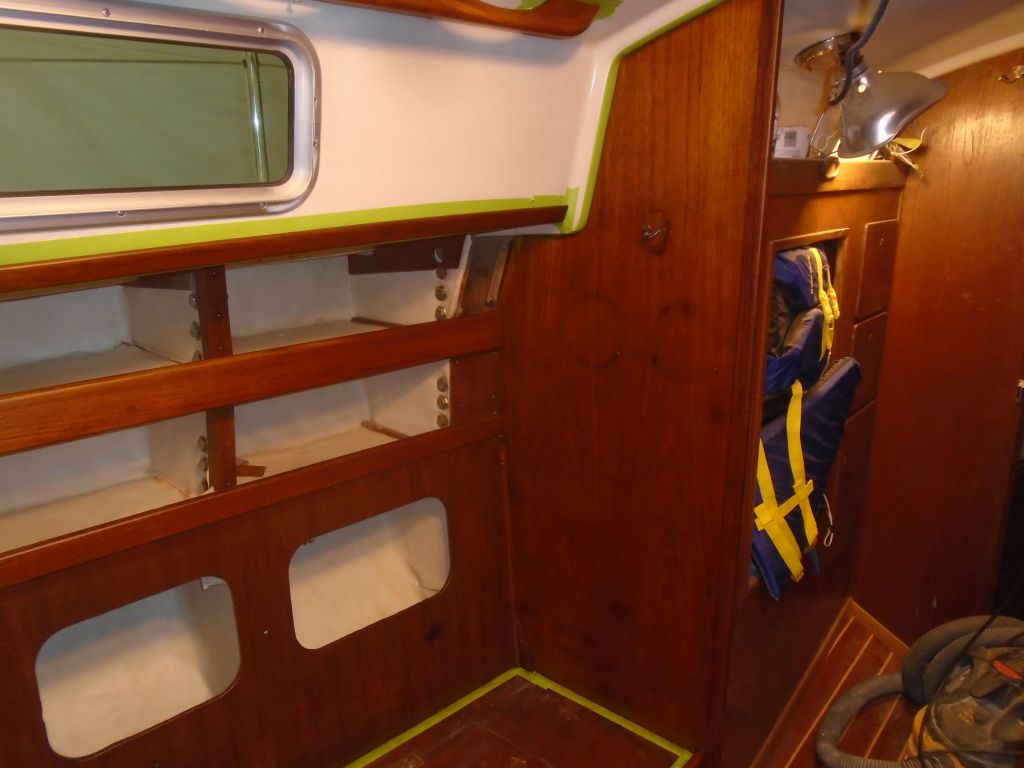
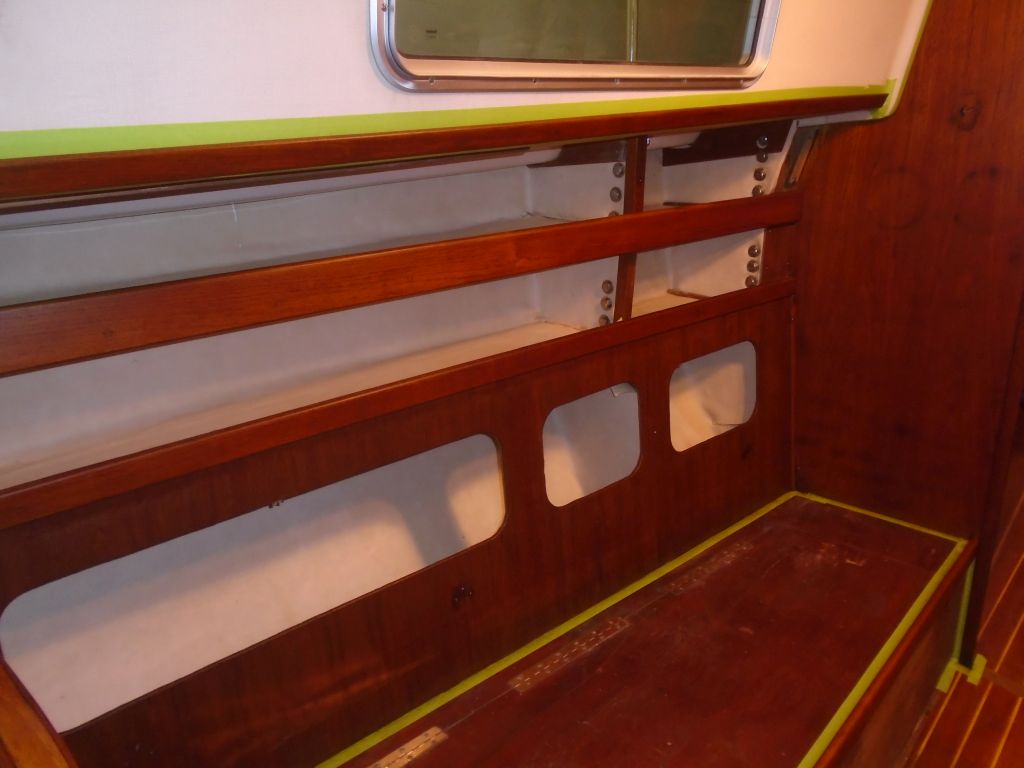
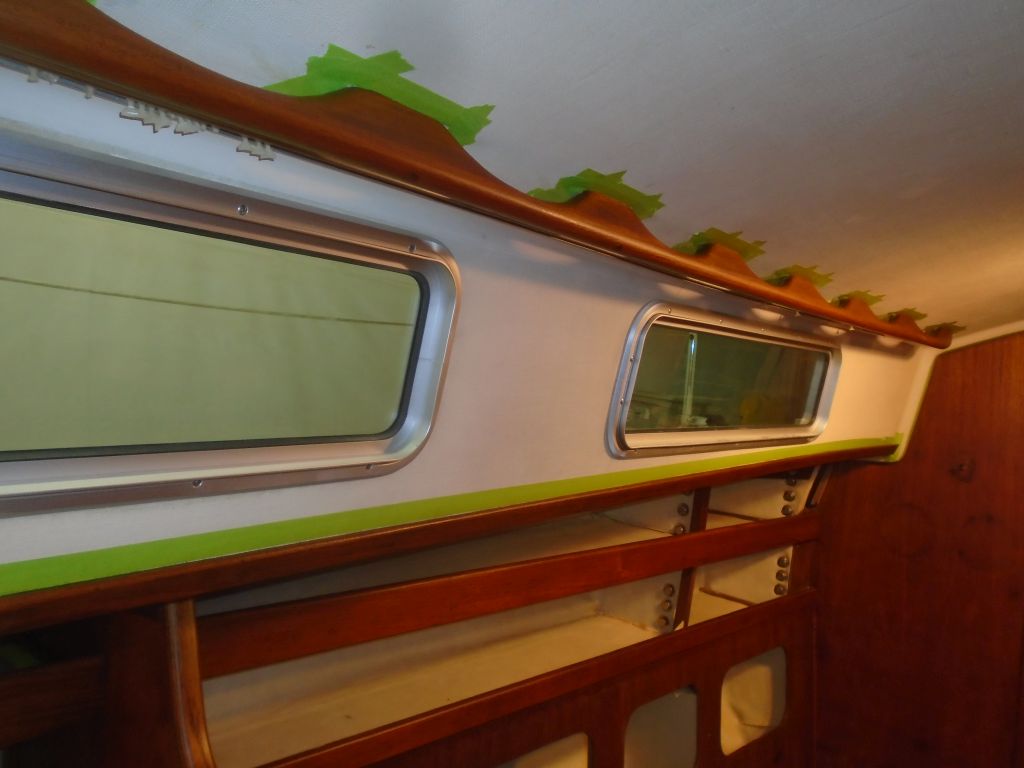
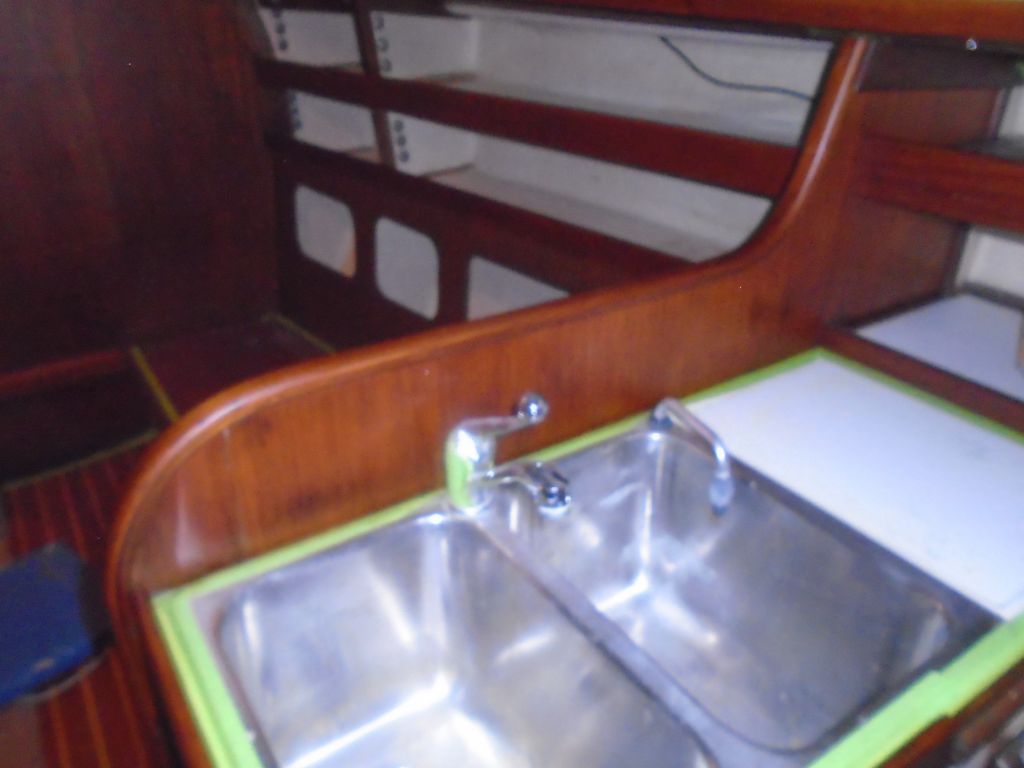
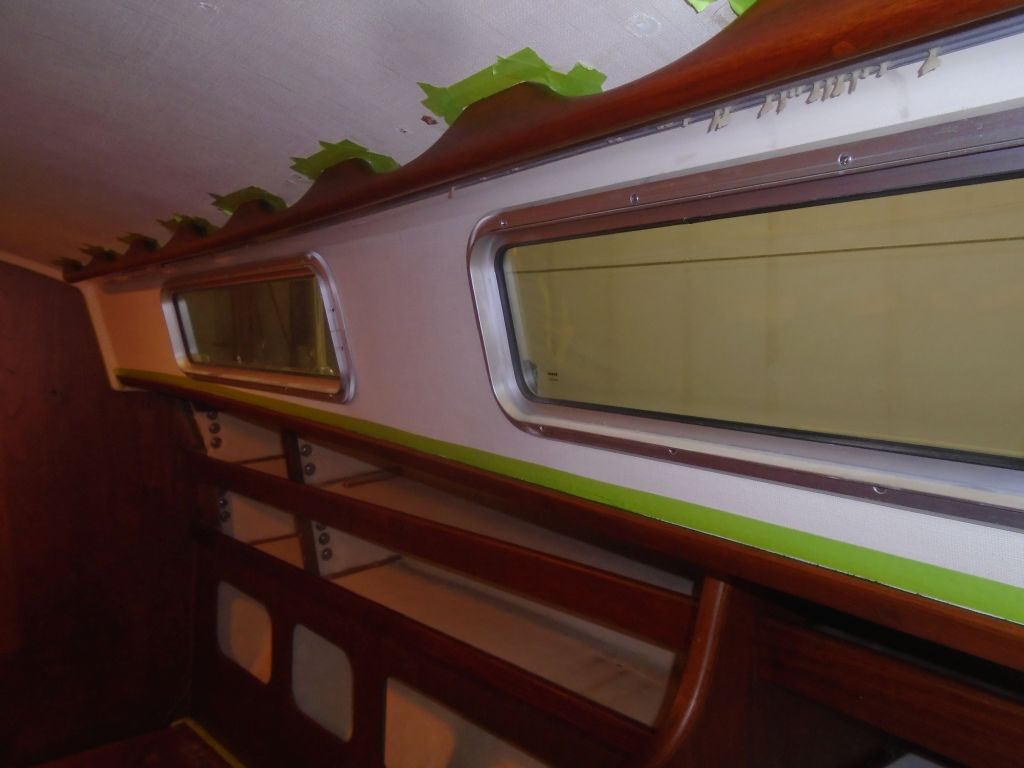
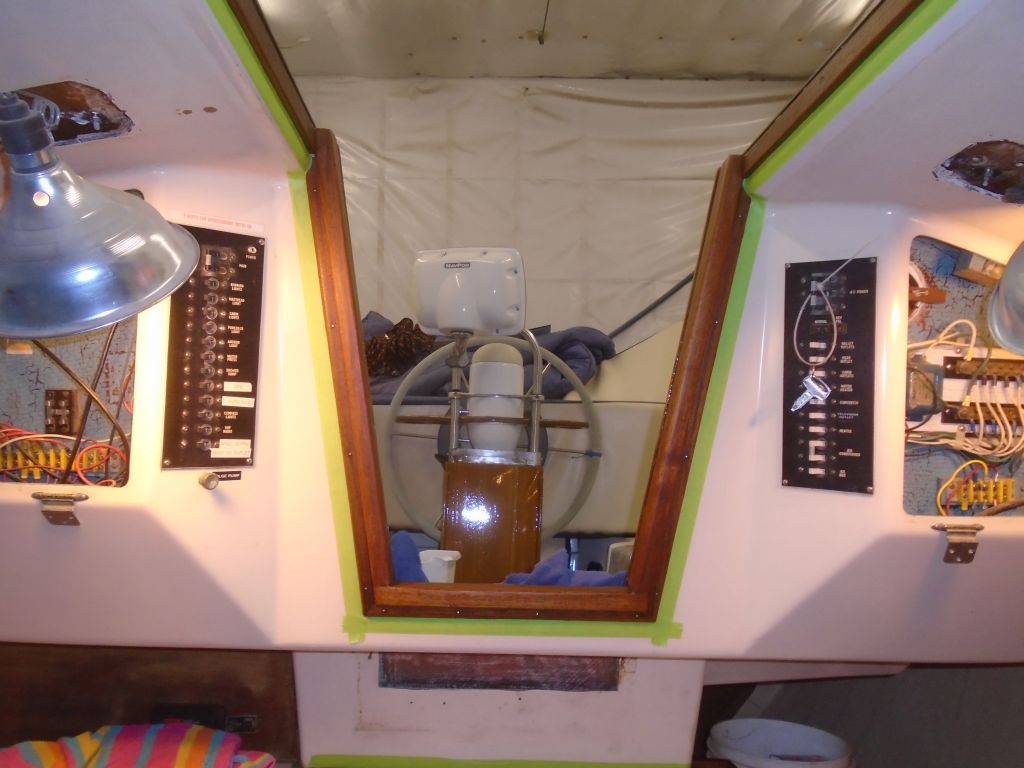
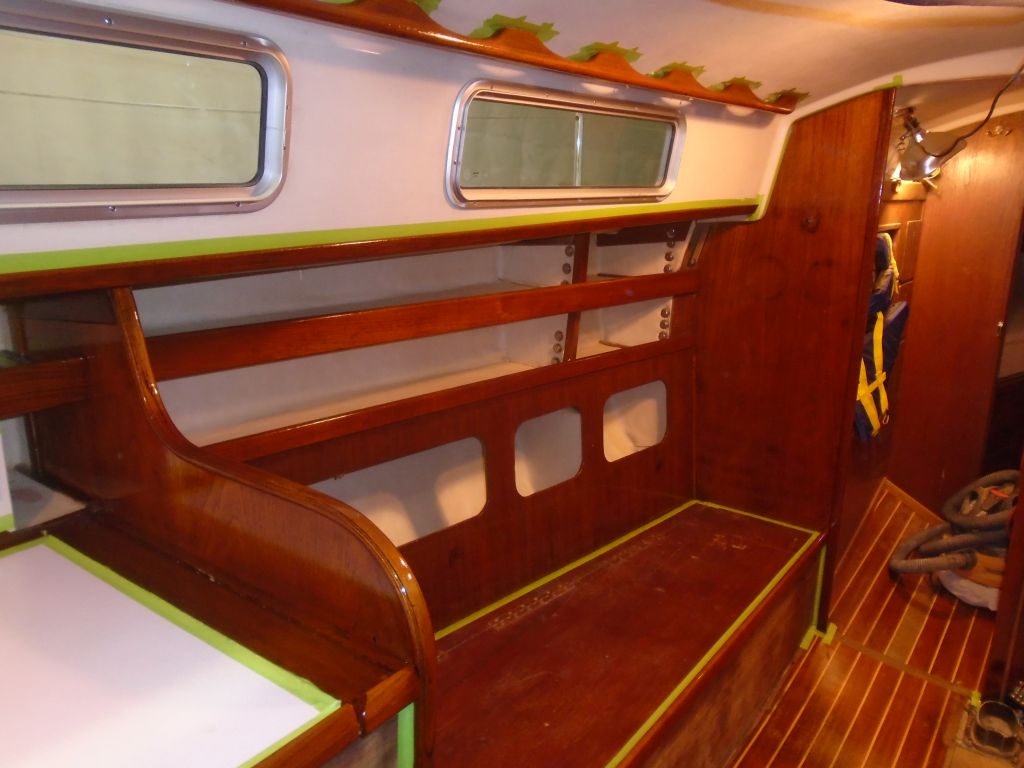
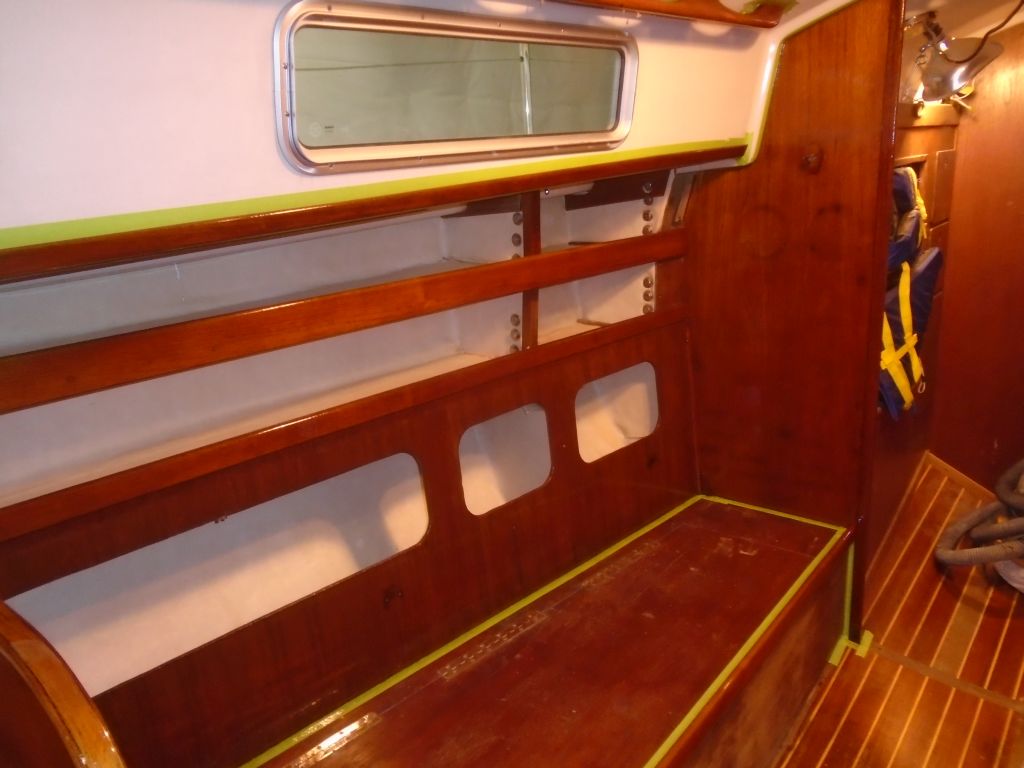
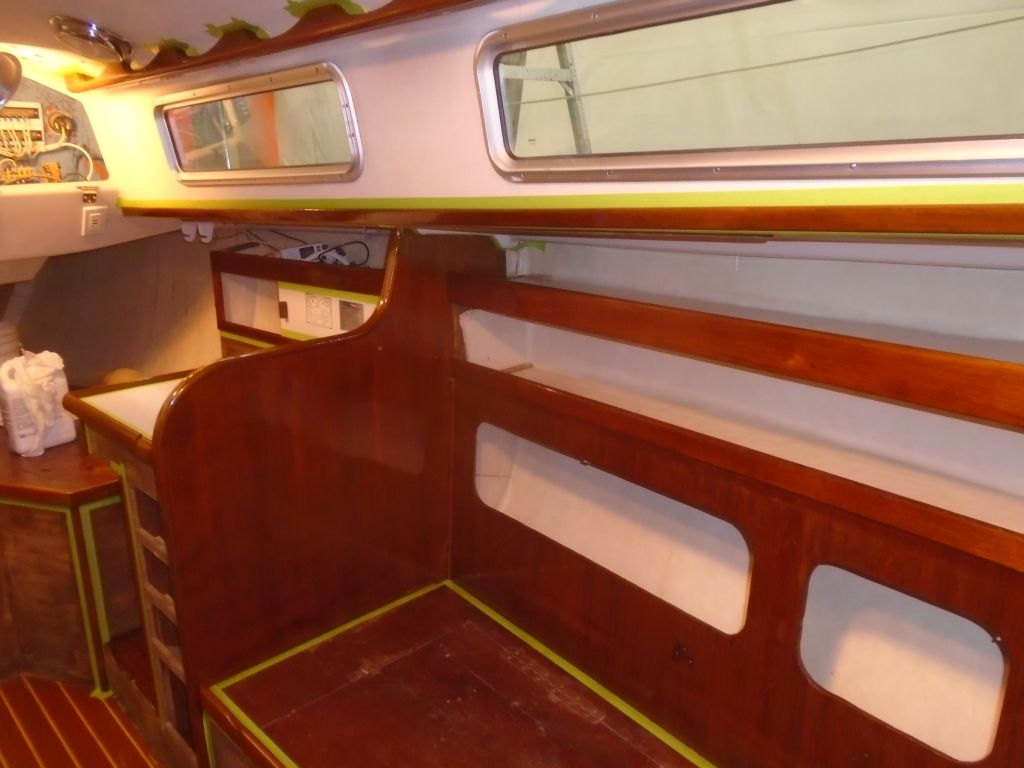
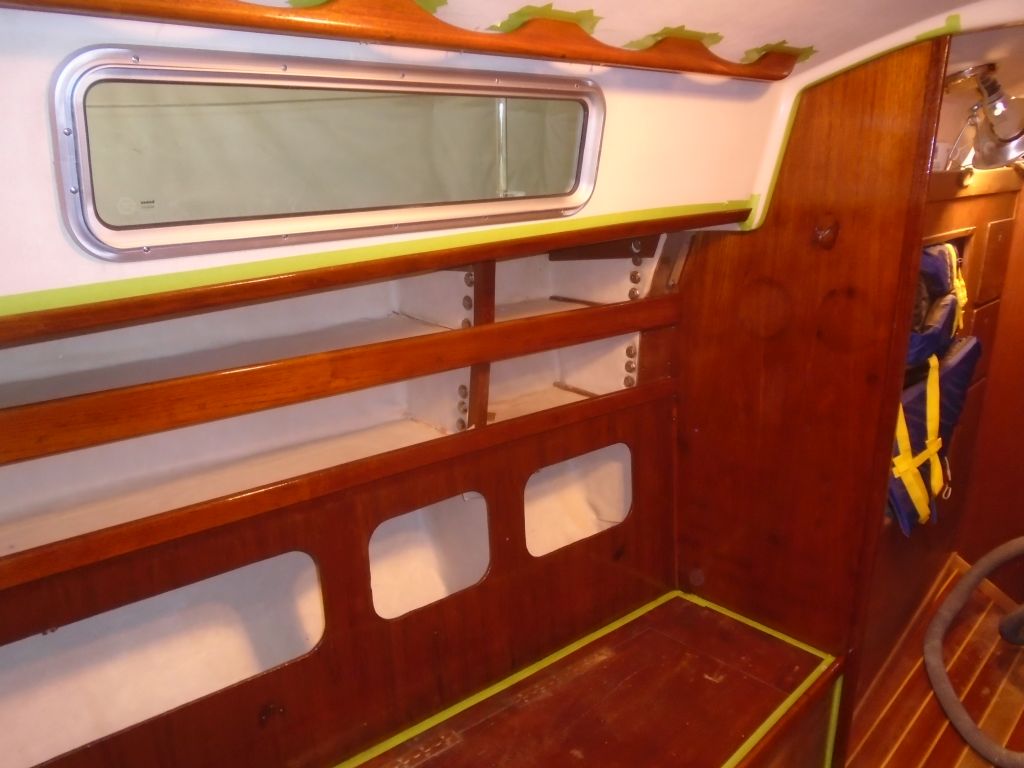
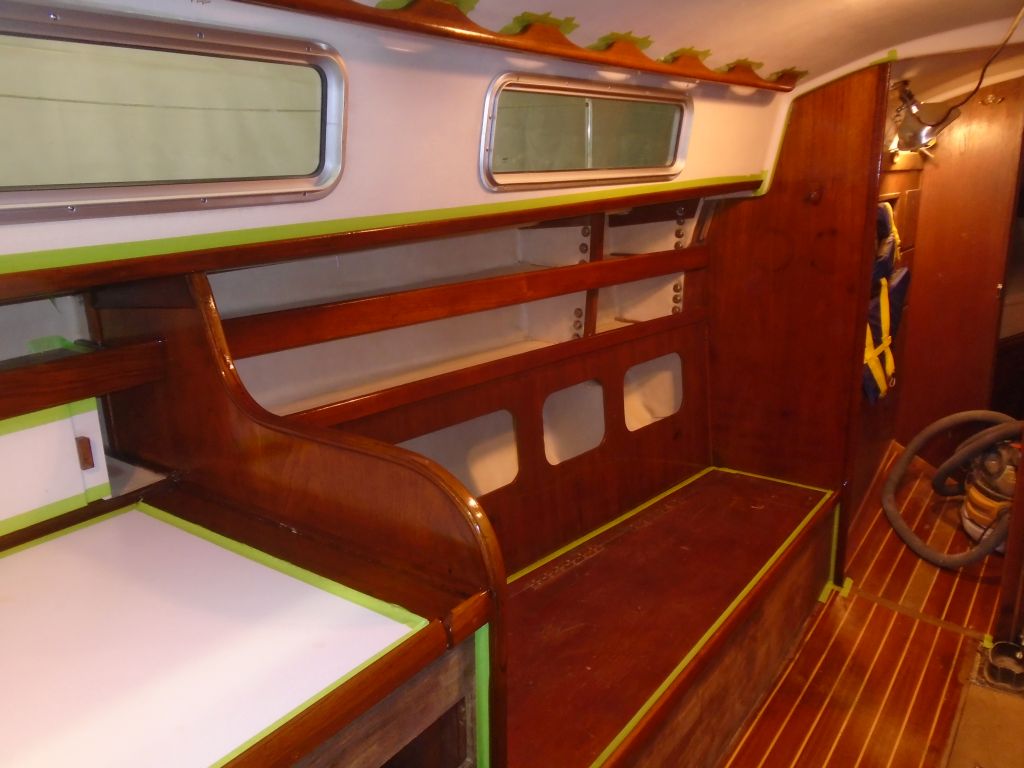
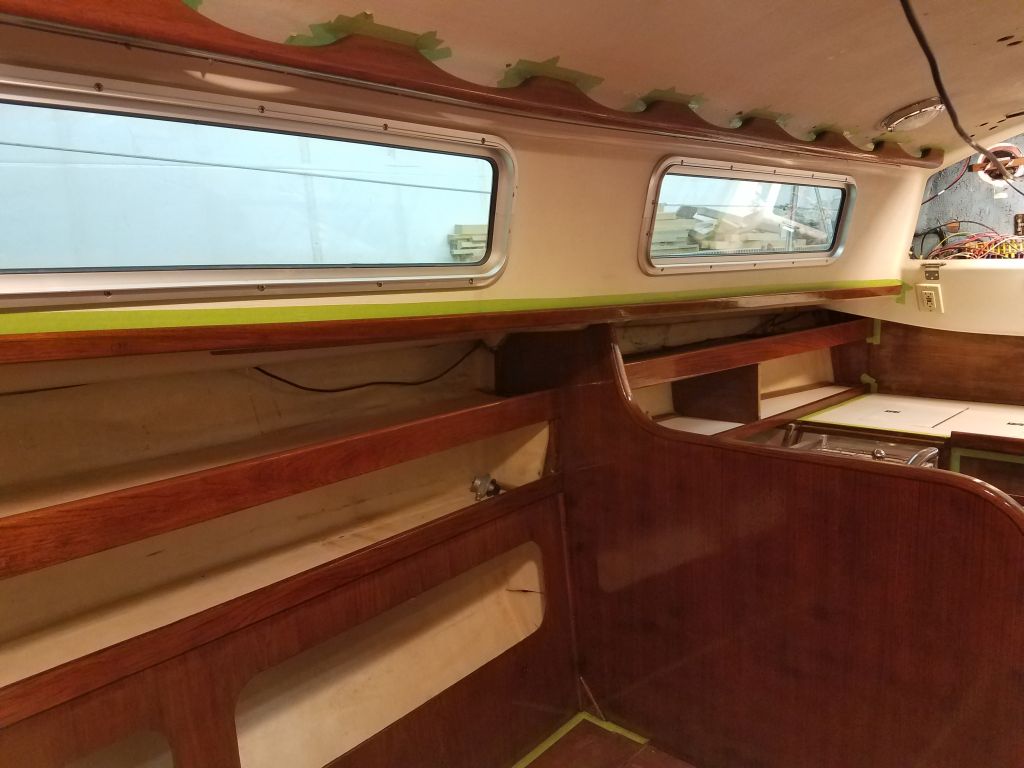
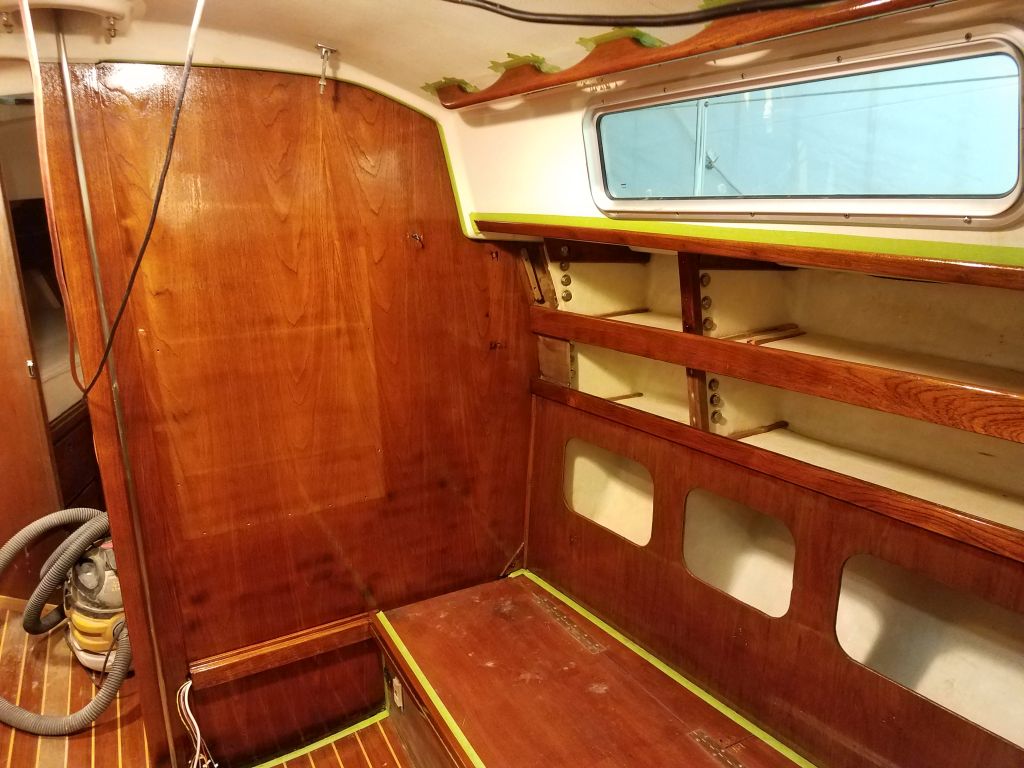
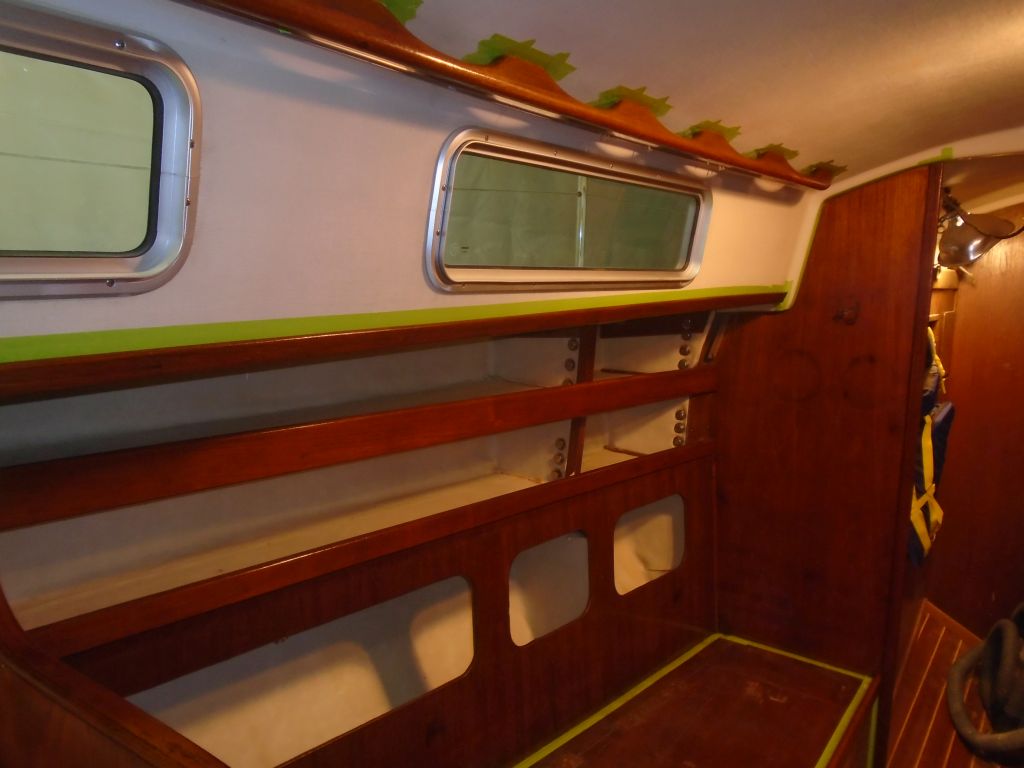
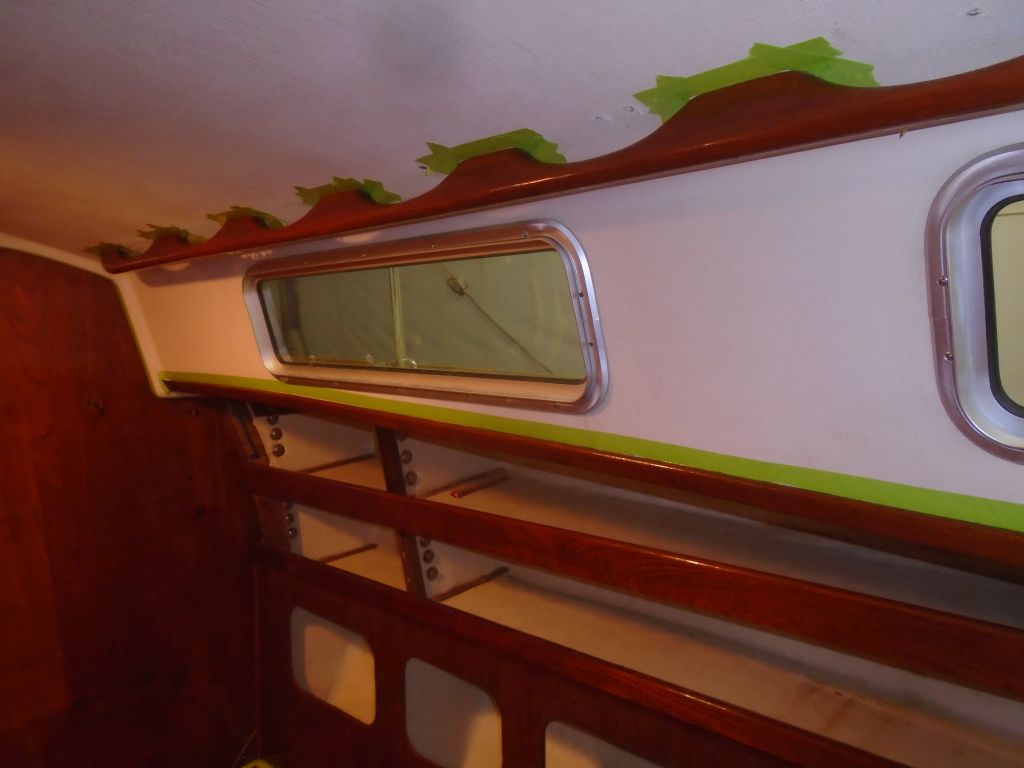
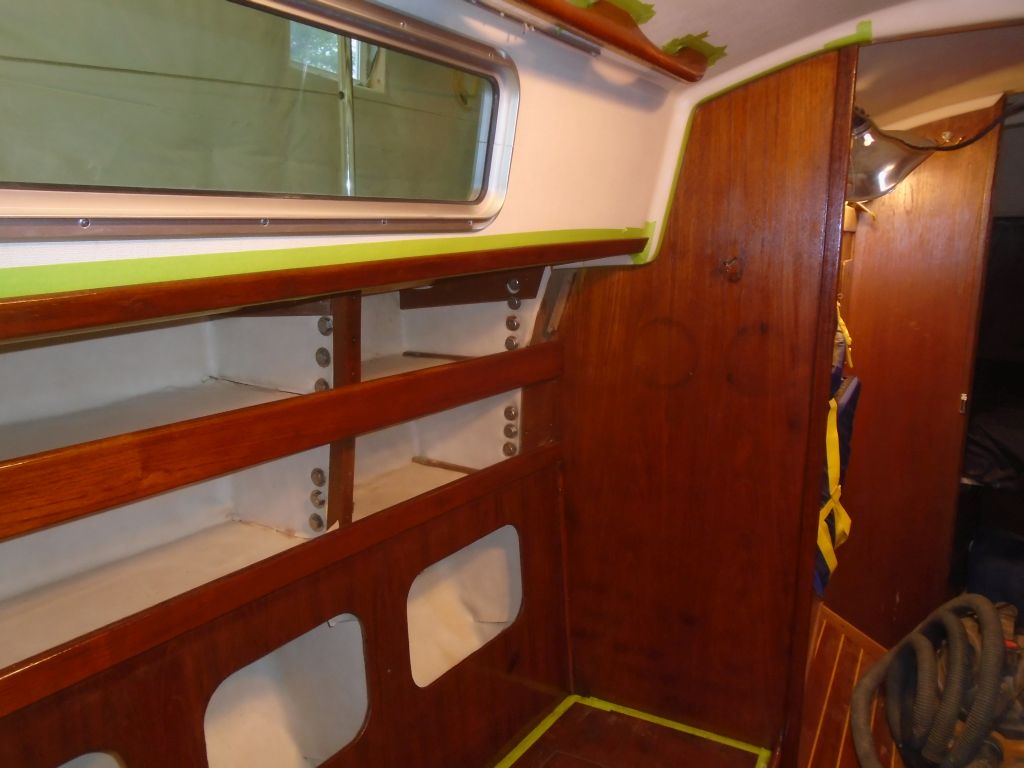
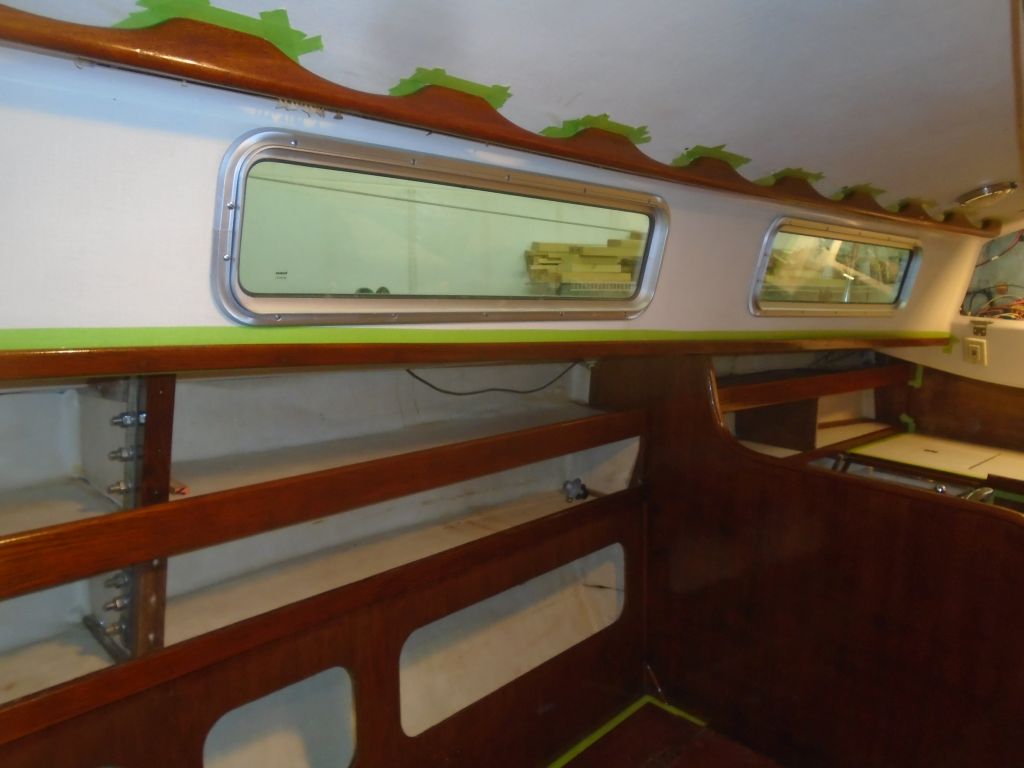
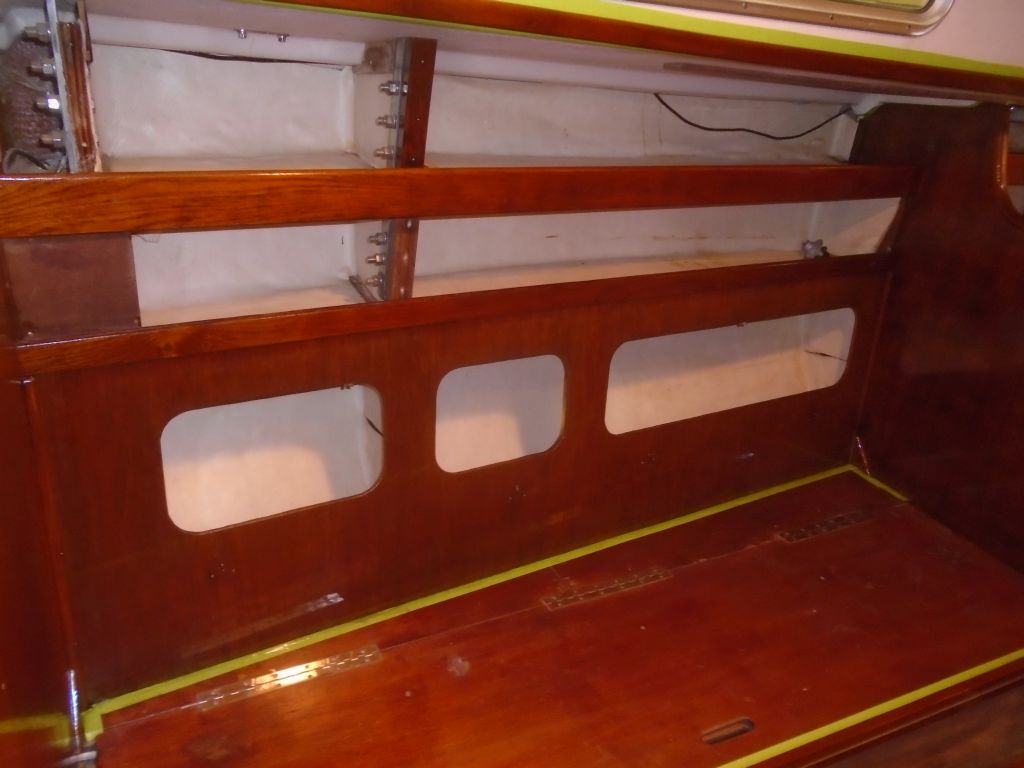
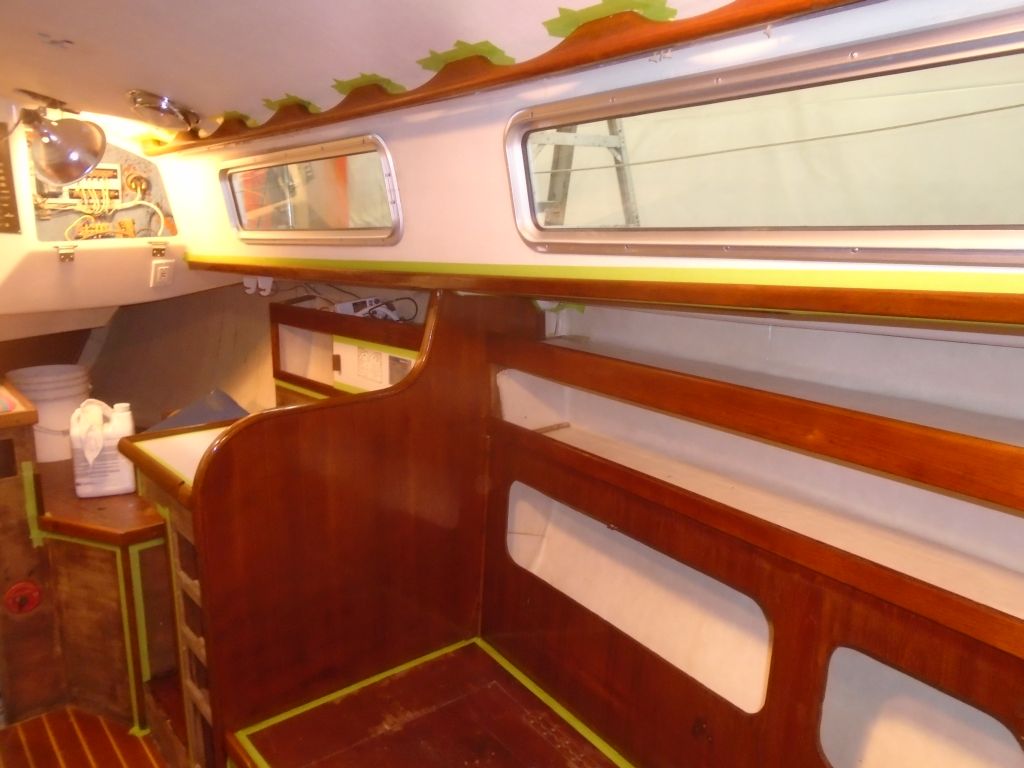
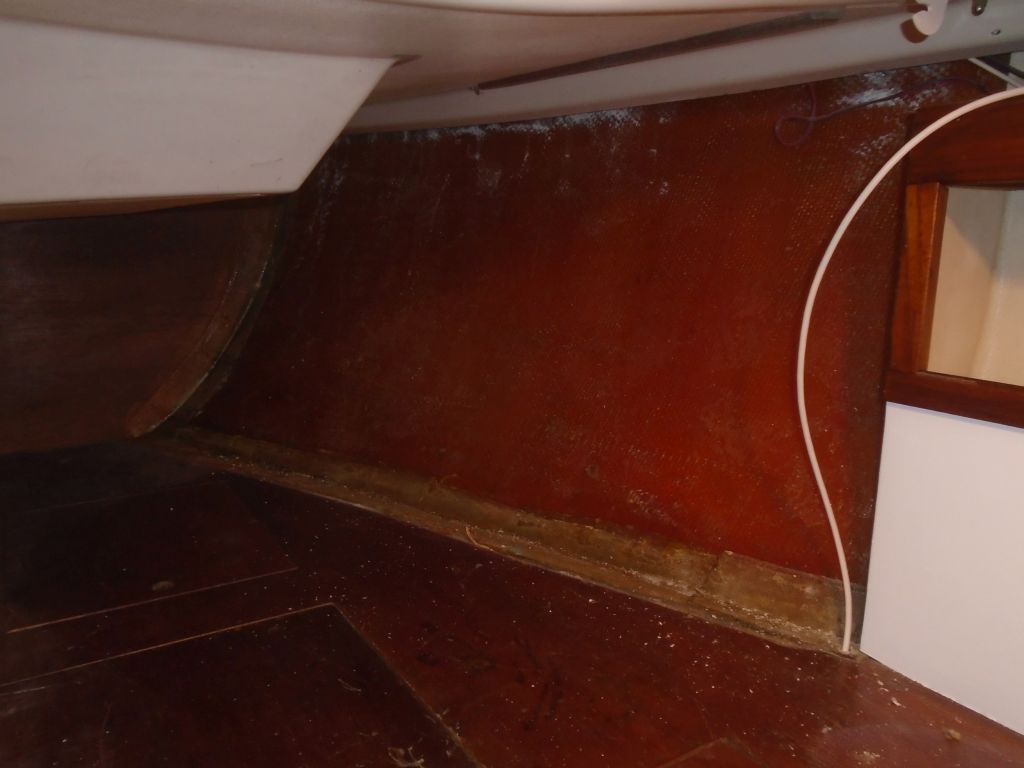
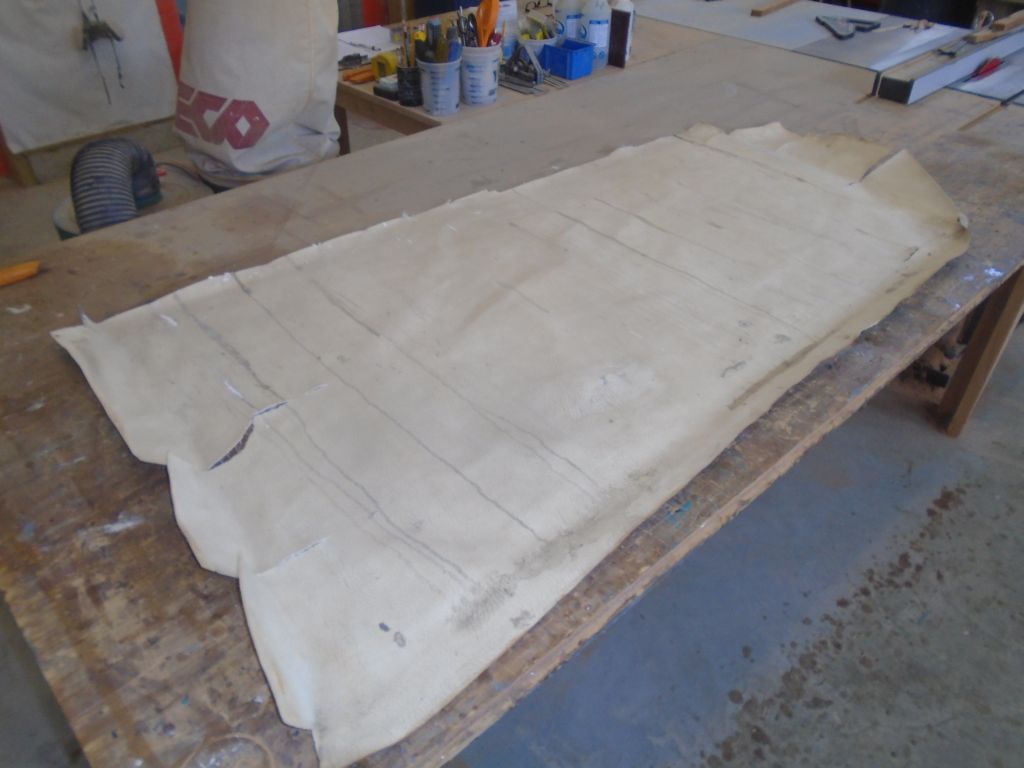
In the quarterberth, there was an old (original) vinyl liner glued to the hull, and this was in poor condition.
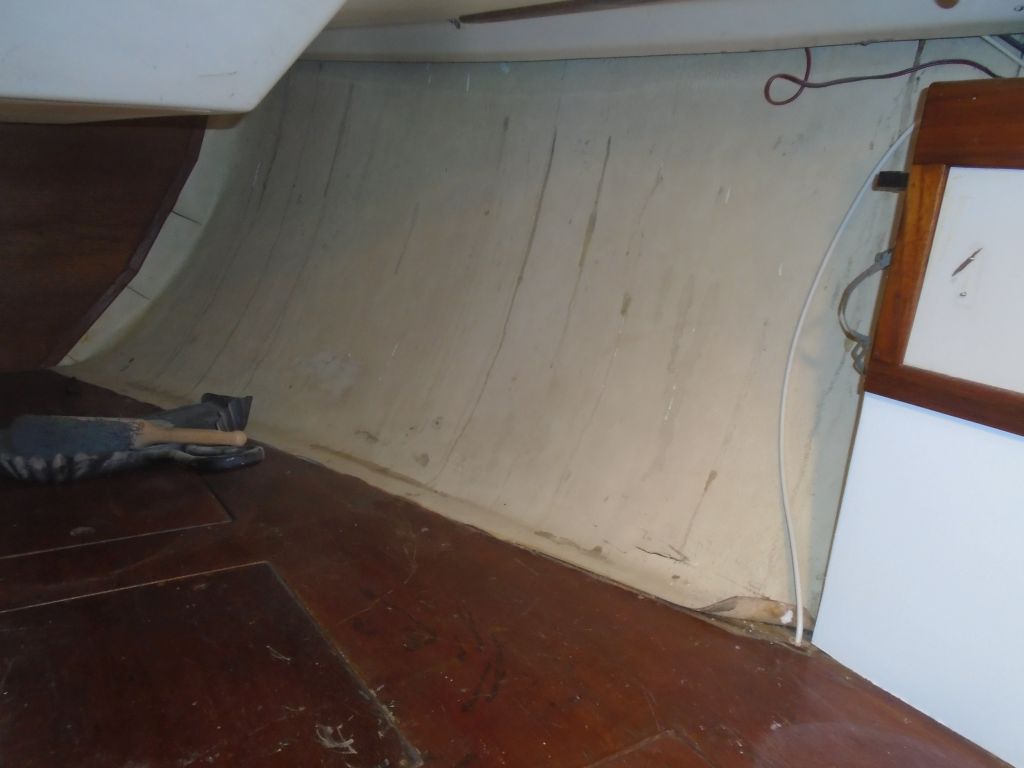
The owner asked that I replace it with a new fabric liner, so with the bulk of the other work now behind me, I turned to the removal of the old liner. Fortunately, though the liner was still adhered well with its adhesive and a few wooden trim pieces at the aft end, it pulled away easily once I started it, and it took little time to remove the old liner in one piece, which I’d use to help prepare the new fabric once it arrived. I’d return to this project in due course.
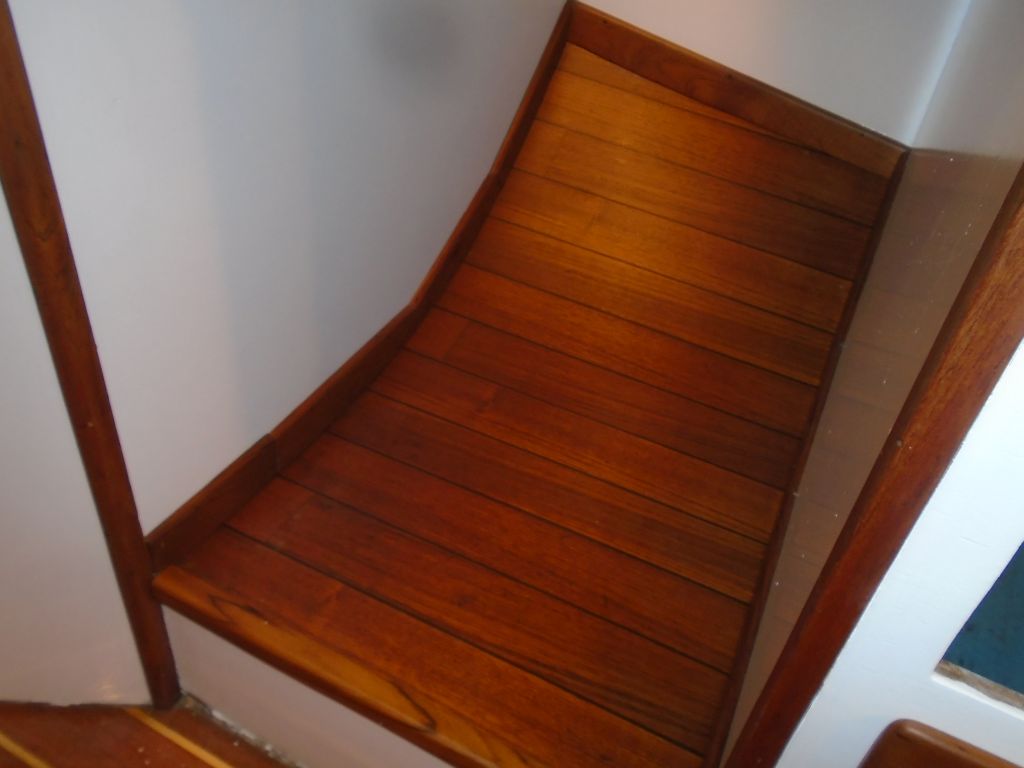
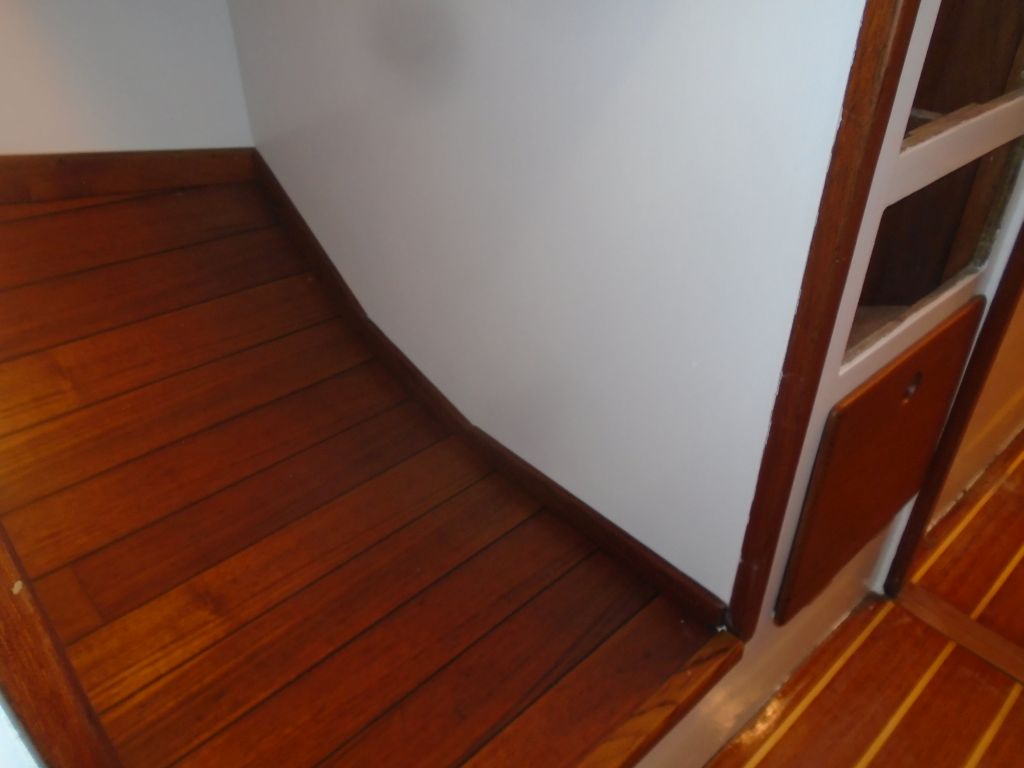
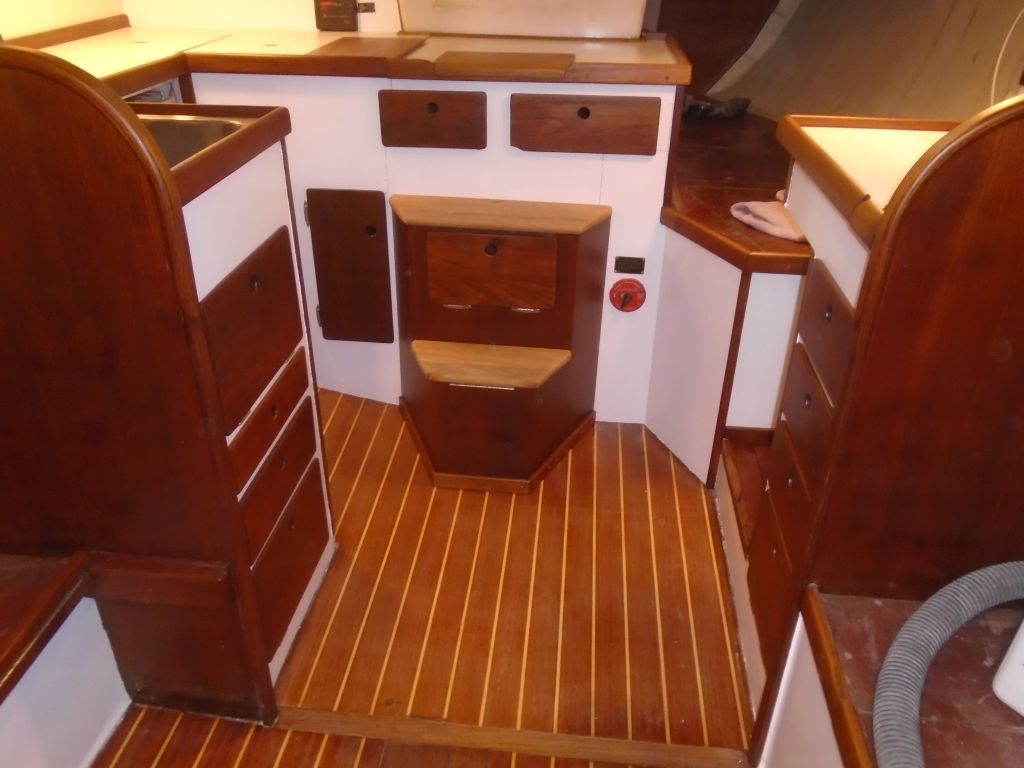
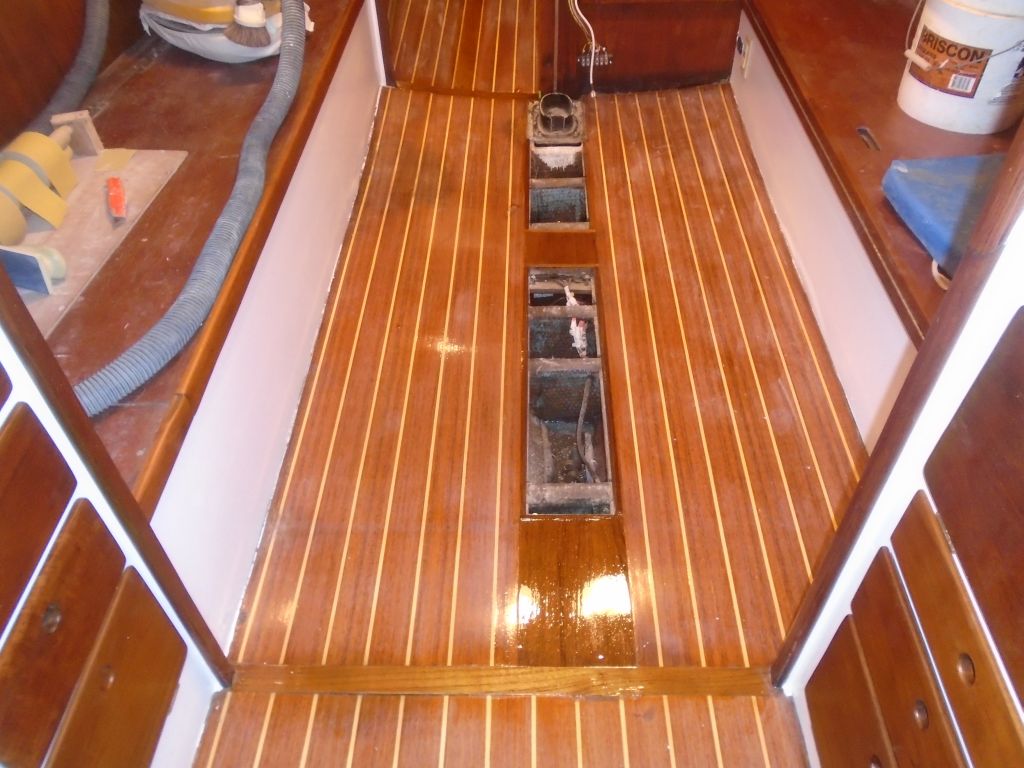
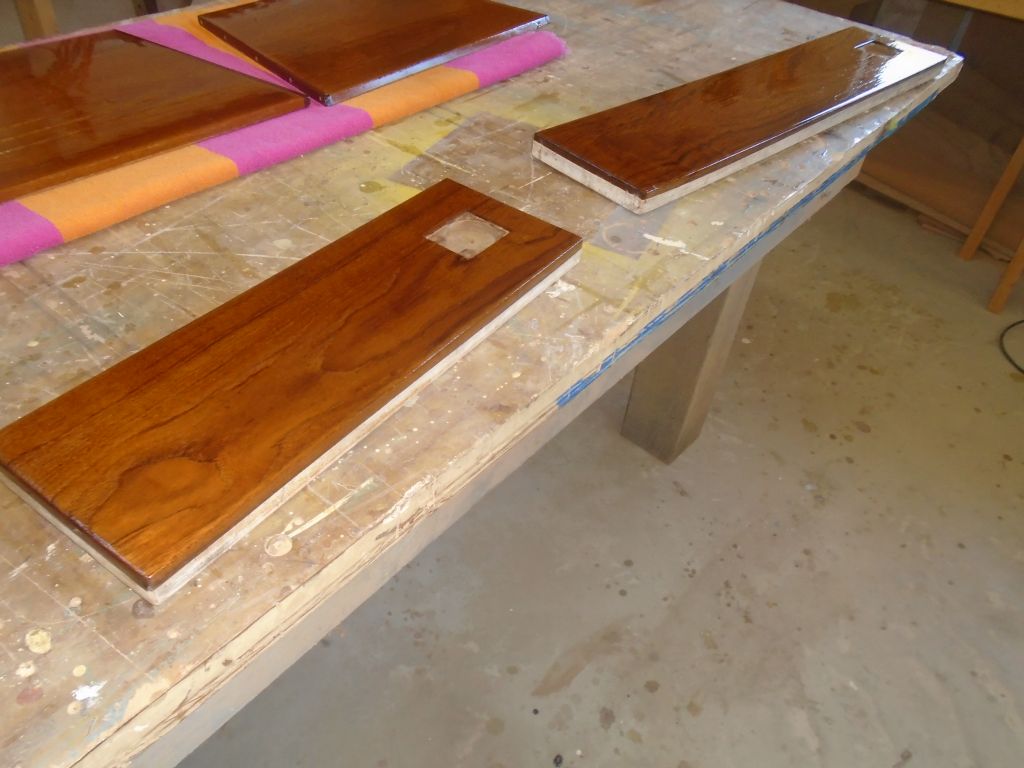
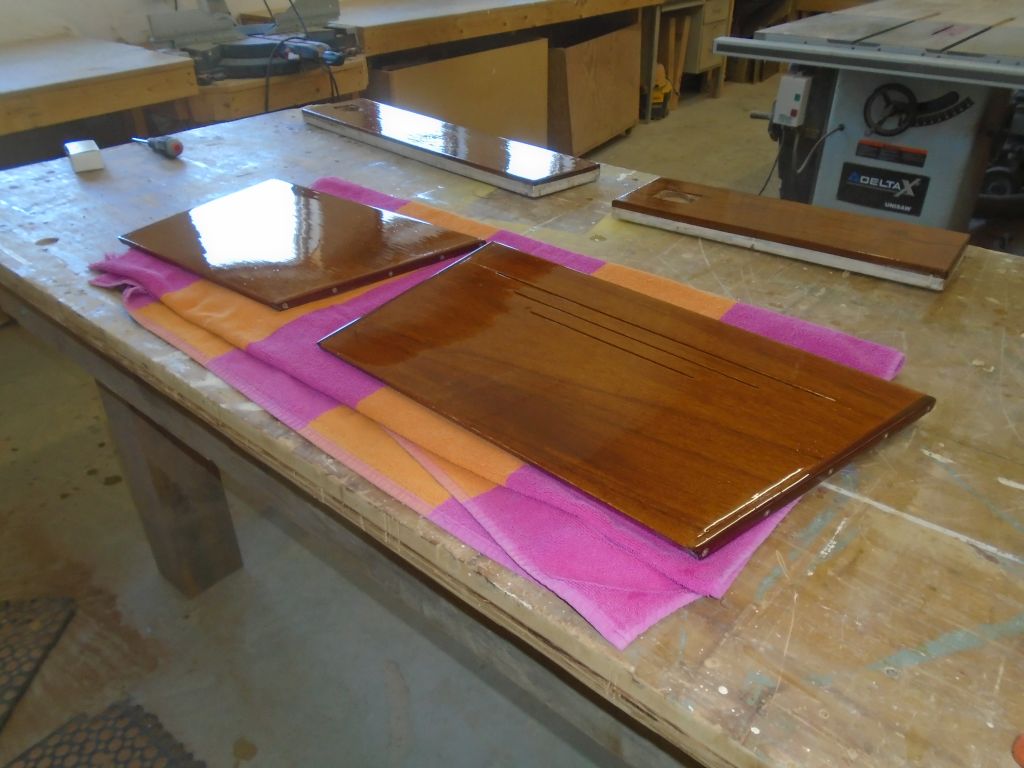
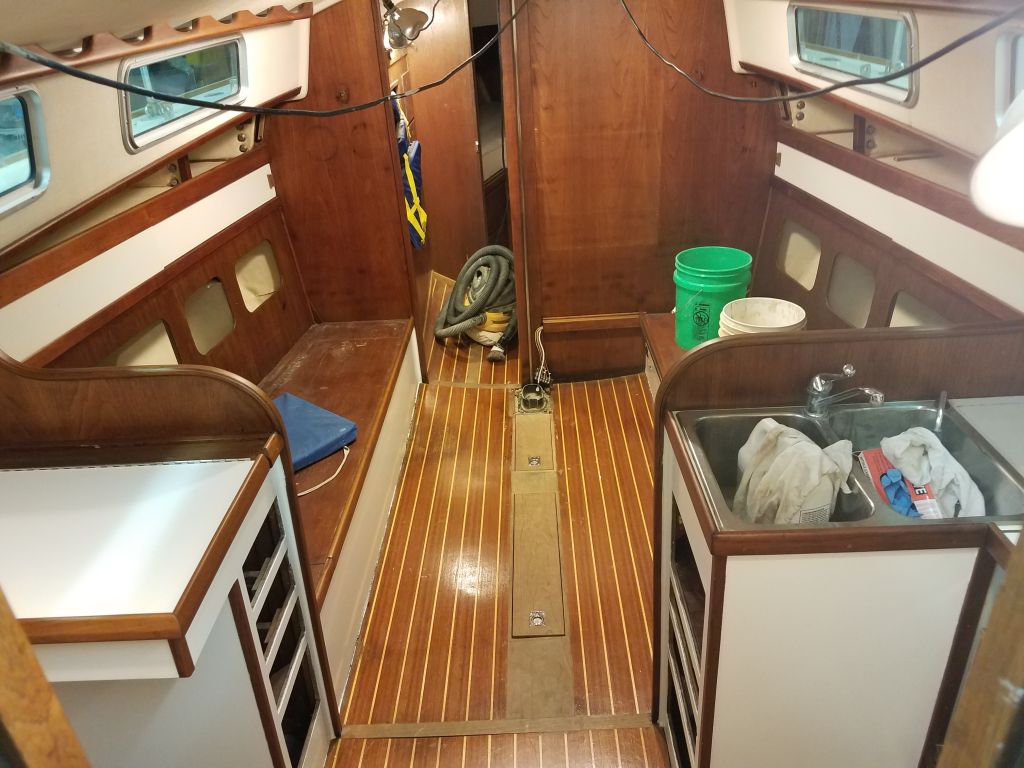
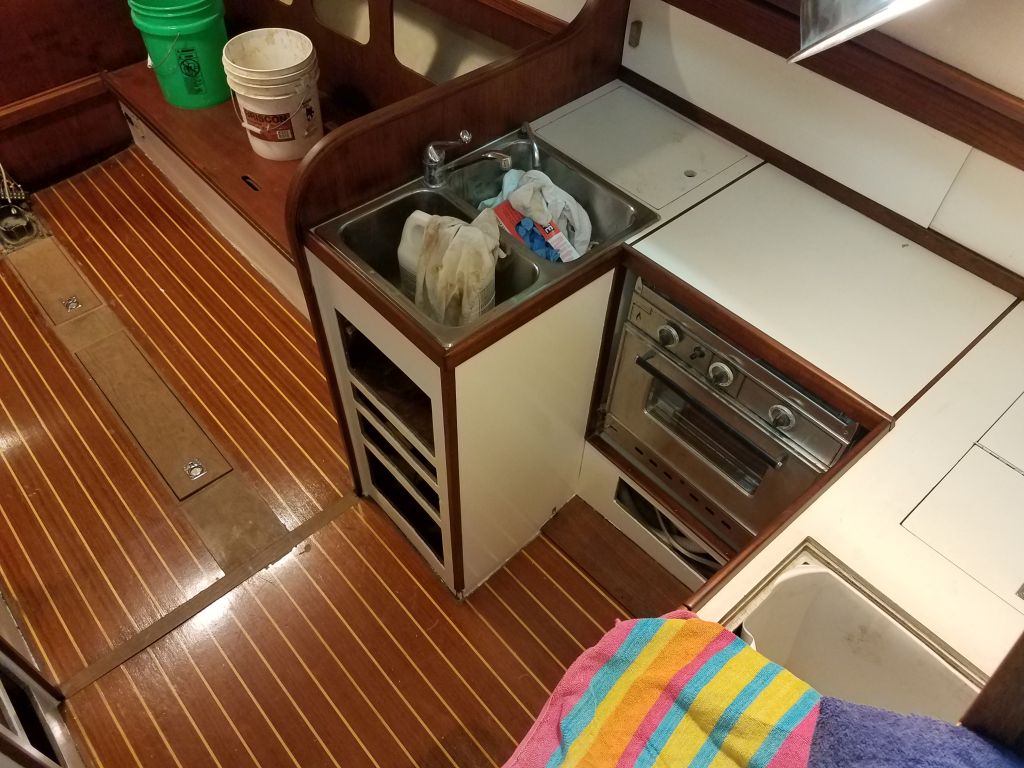
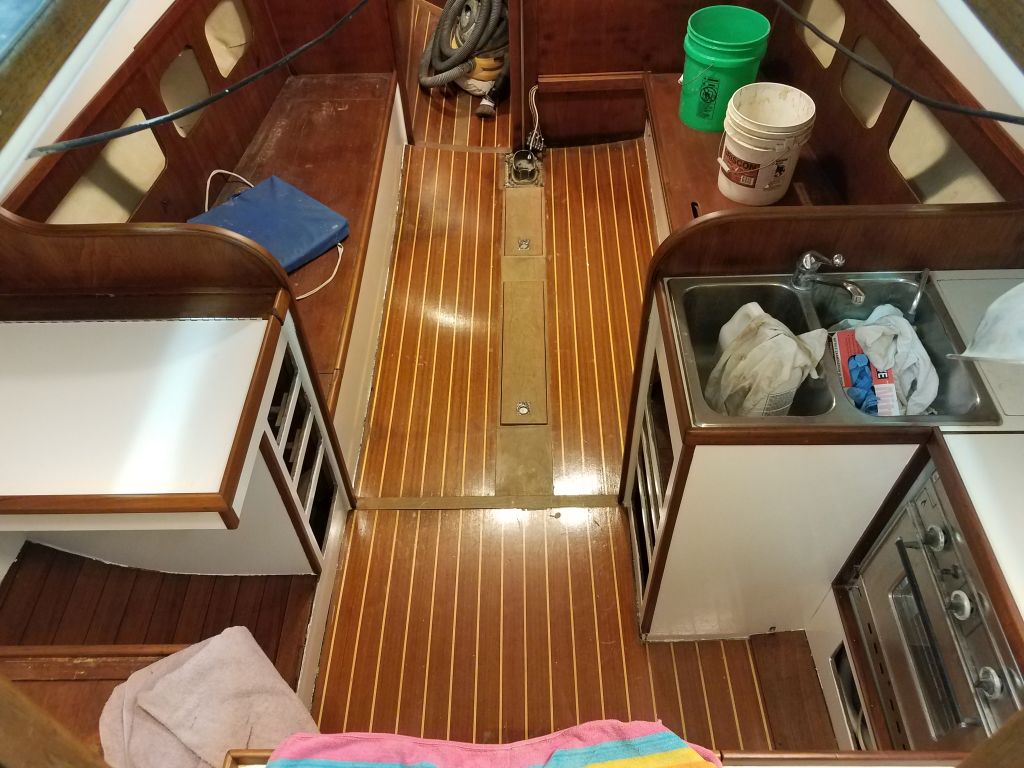
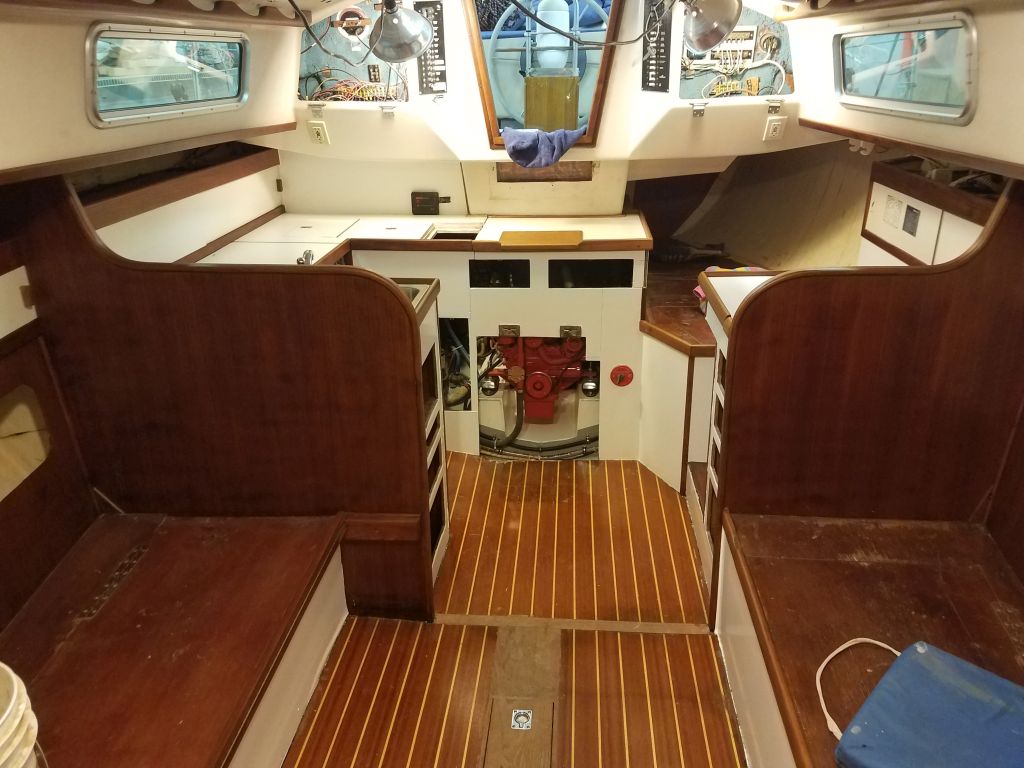
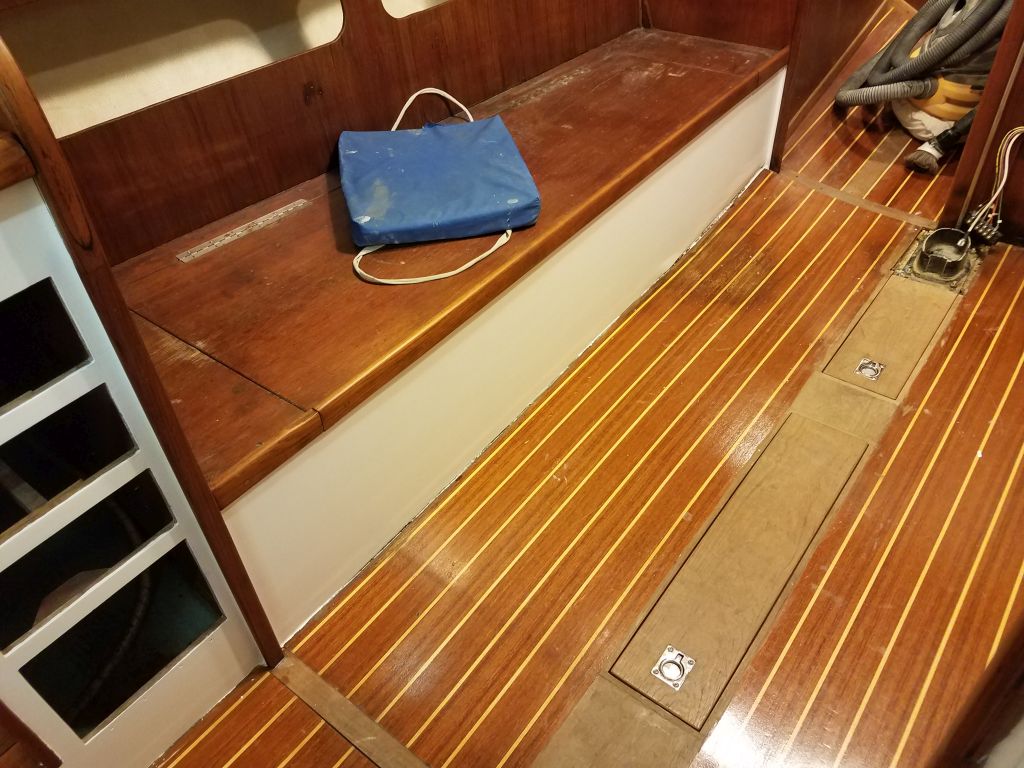
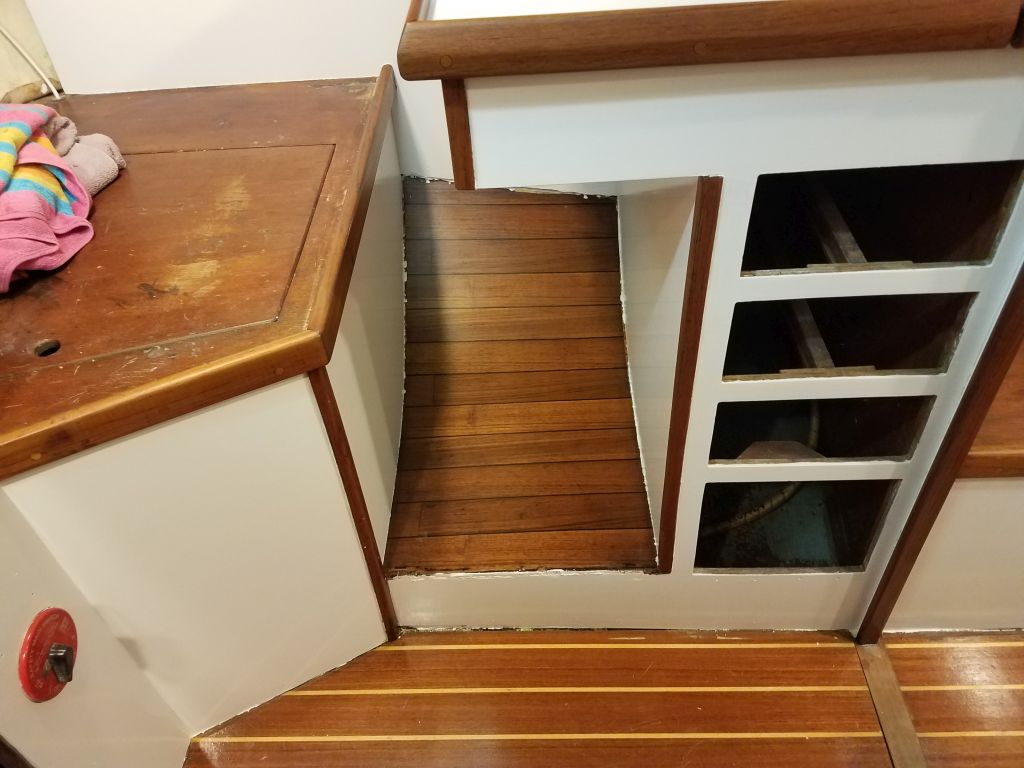
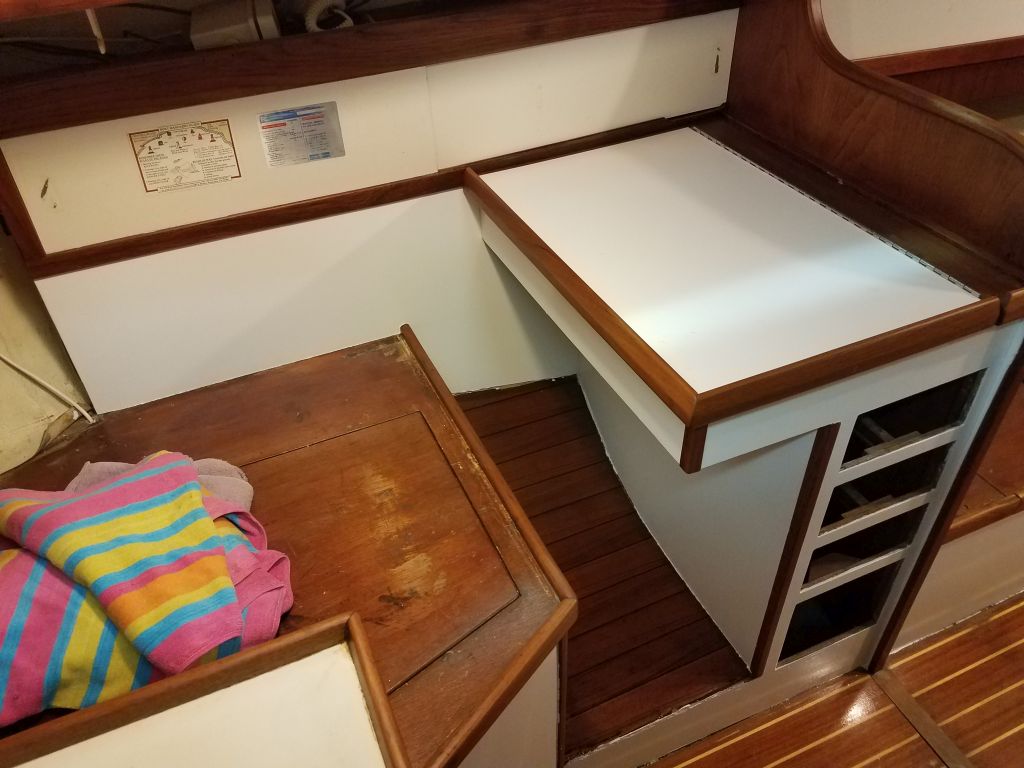
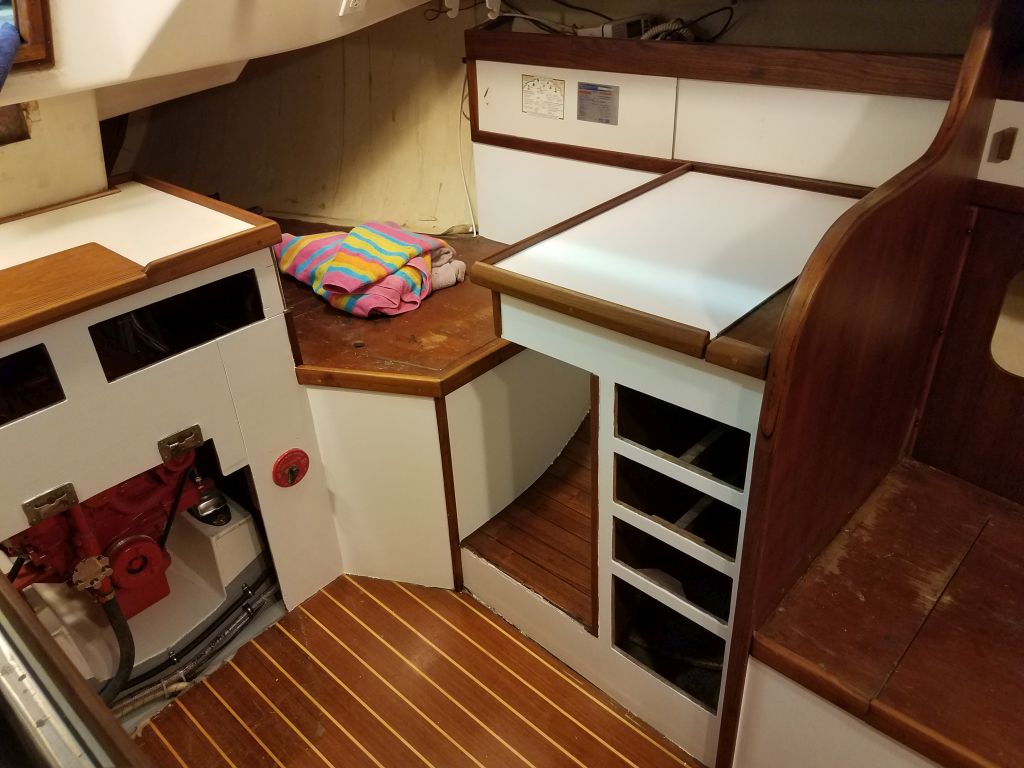
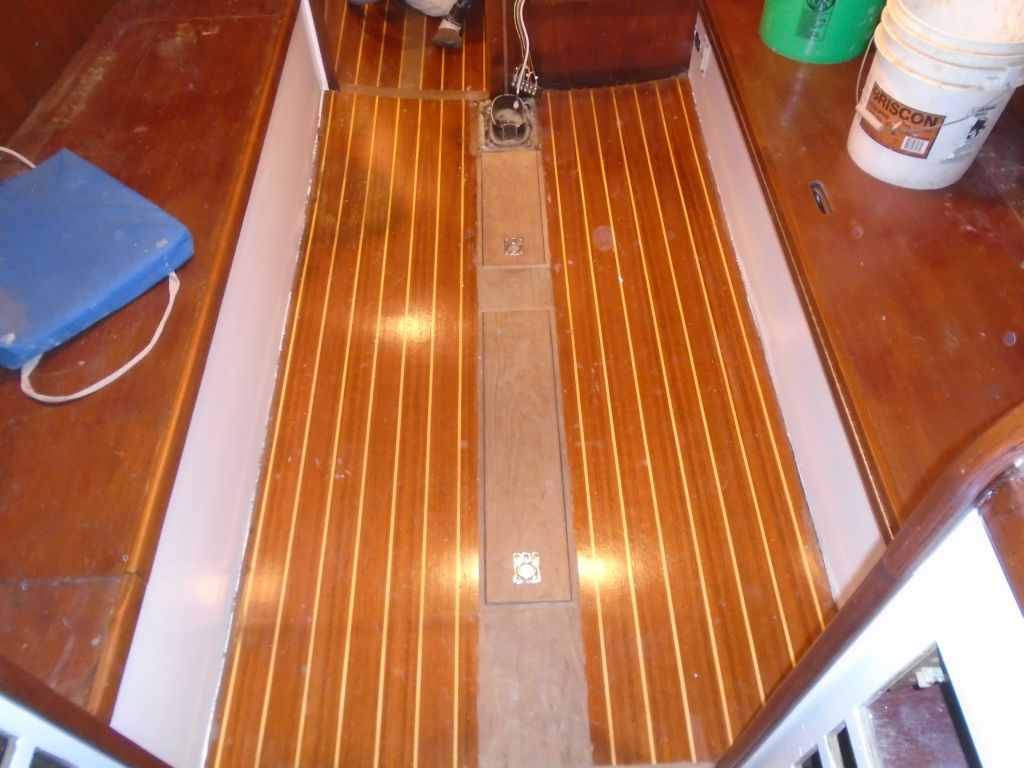
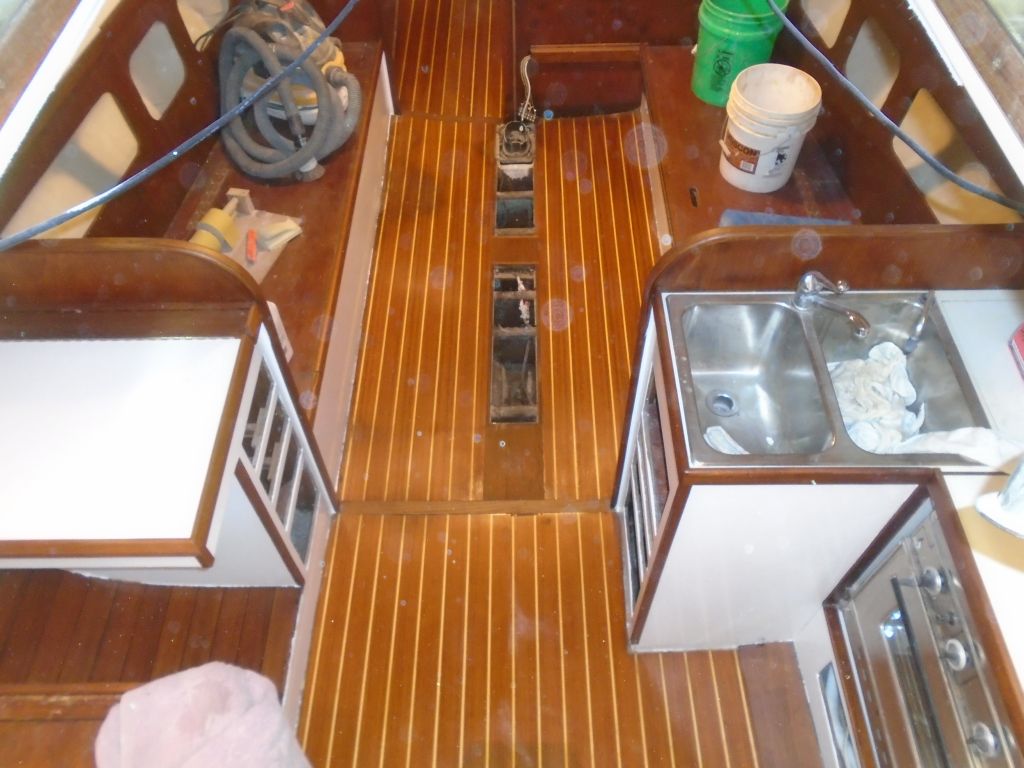
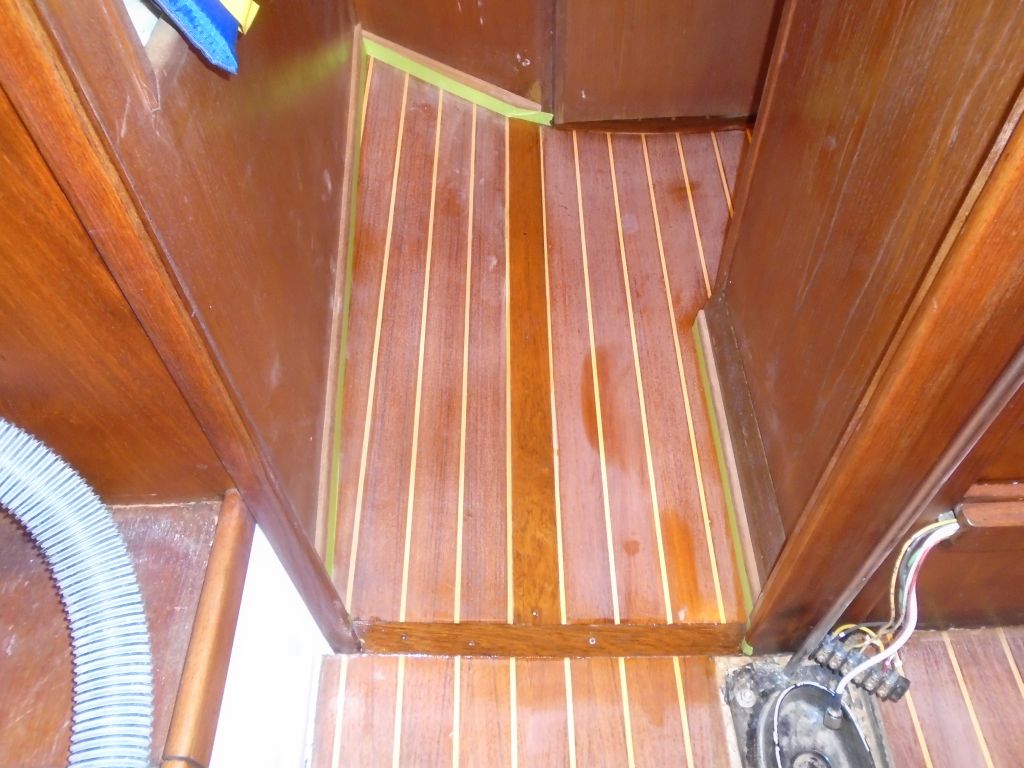
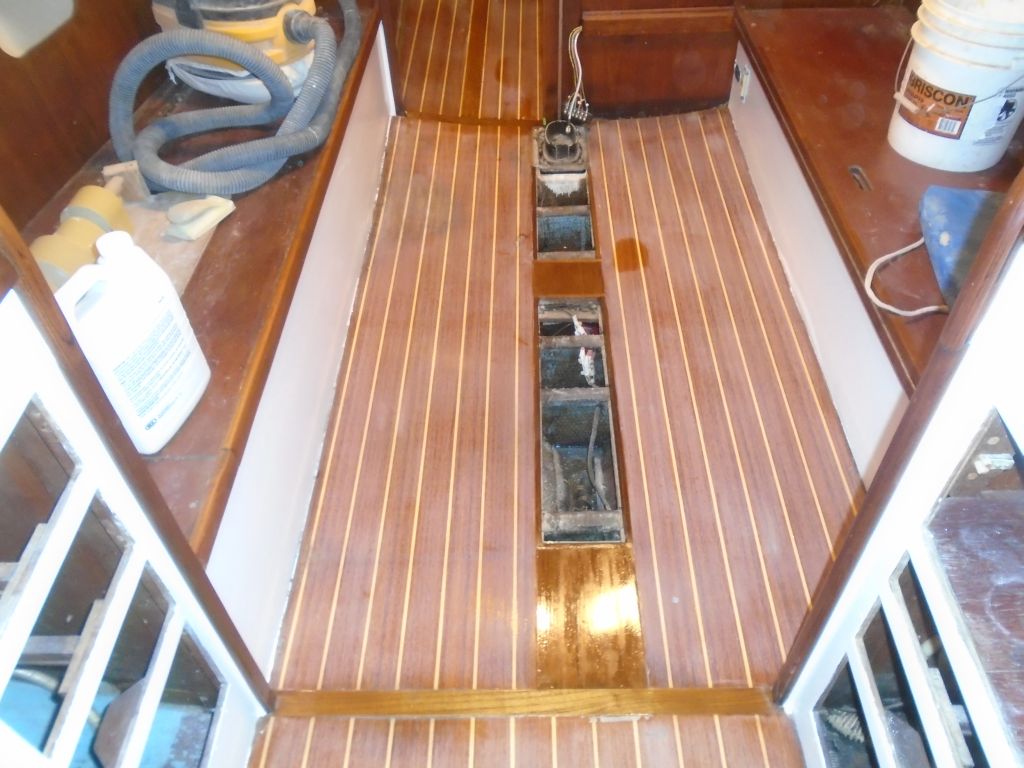
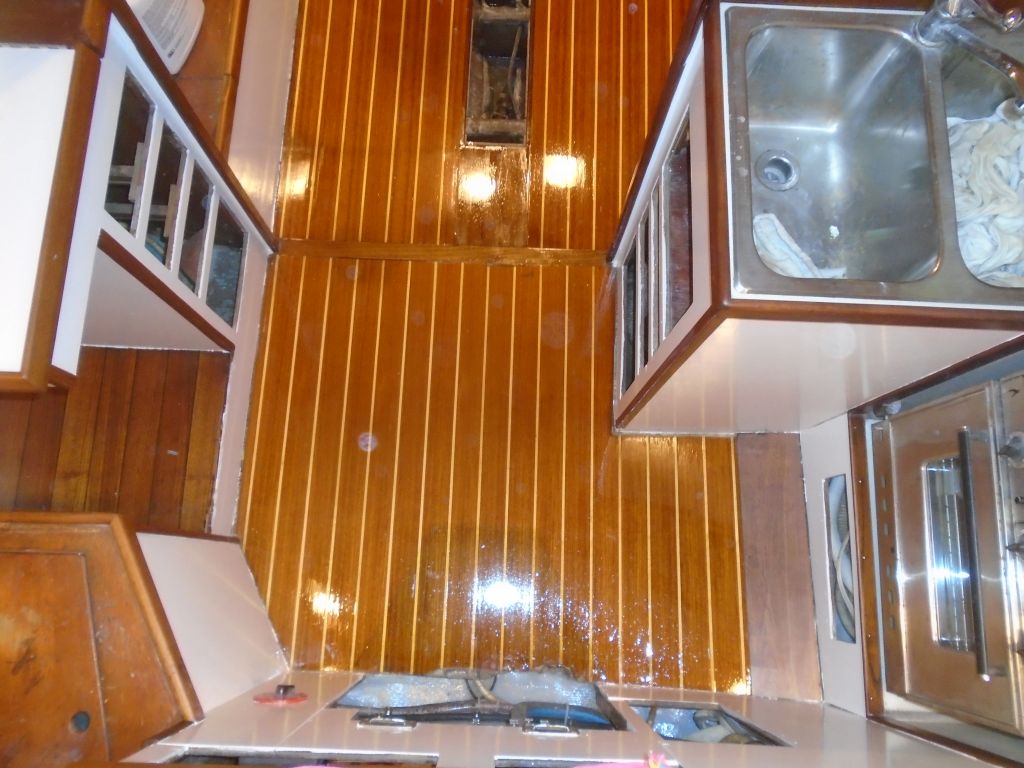
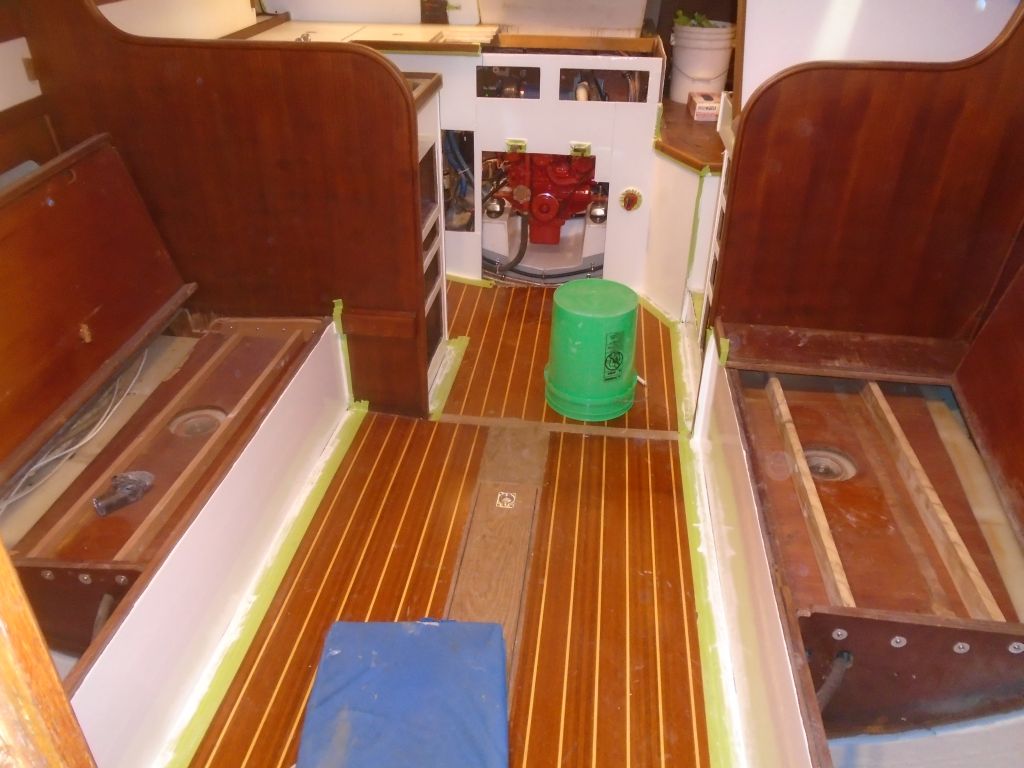
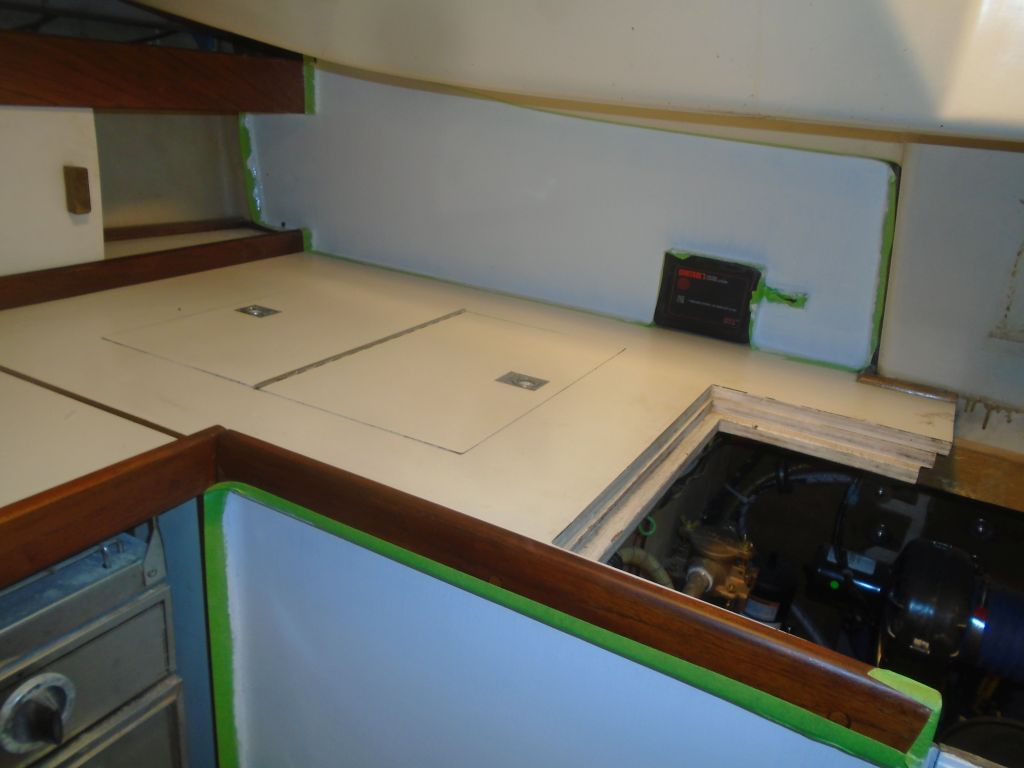
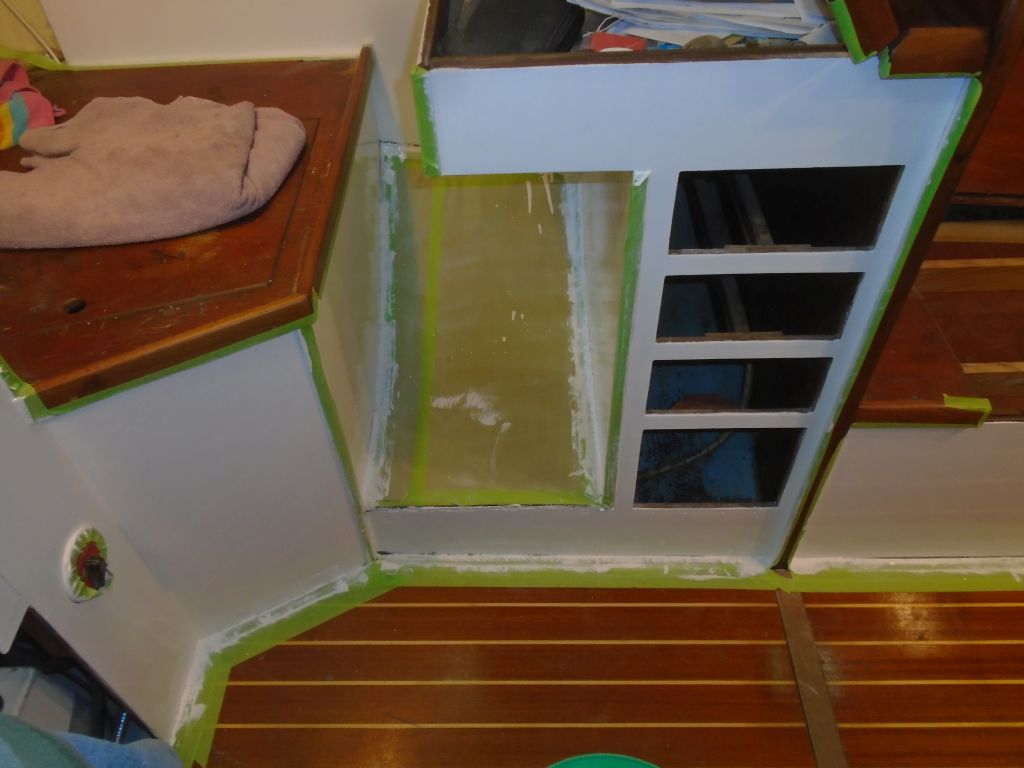
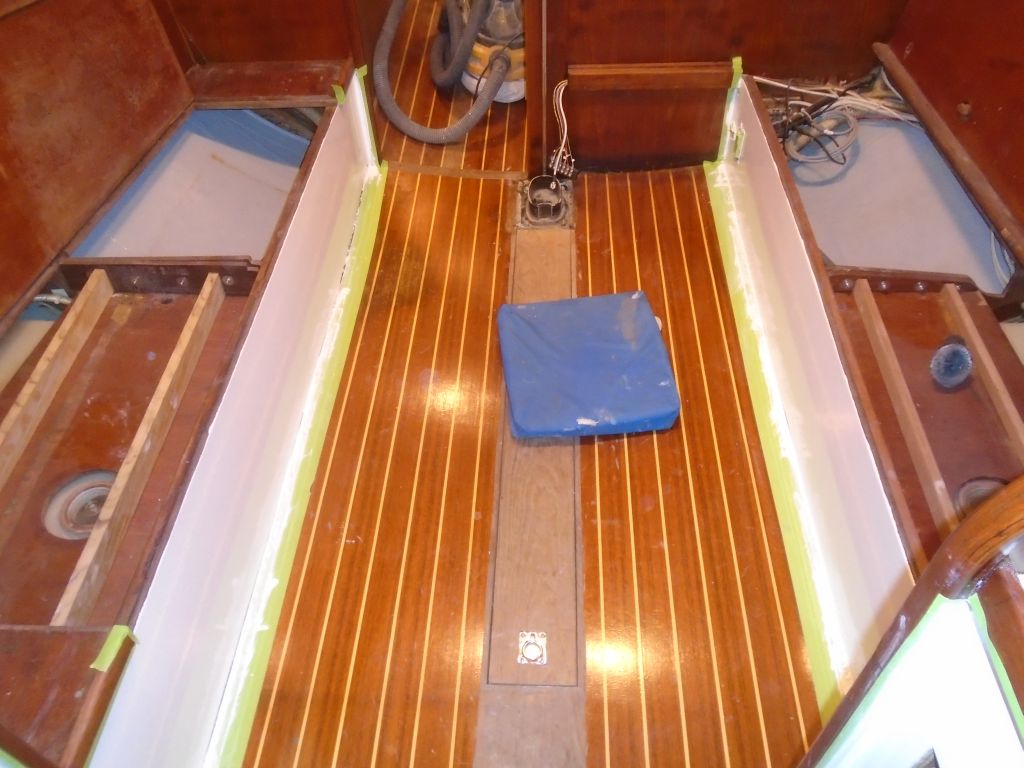
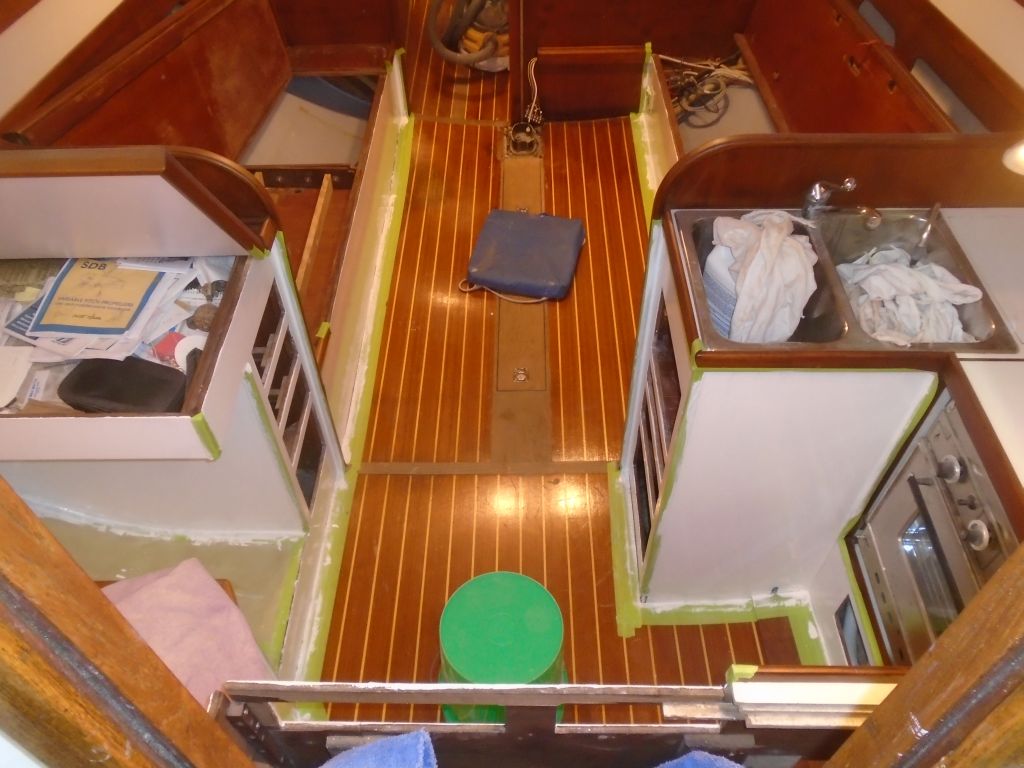
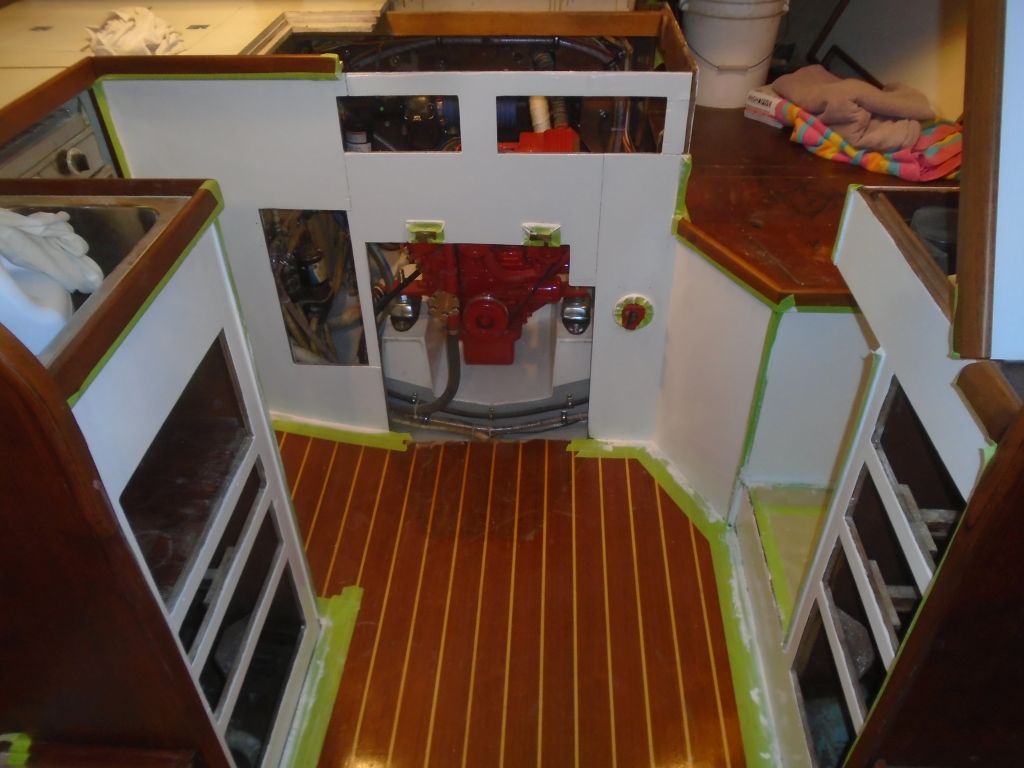
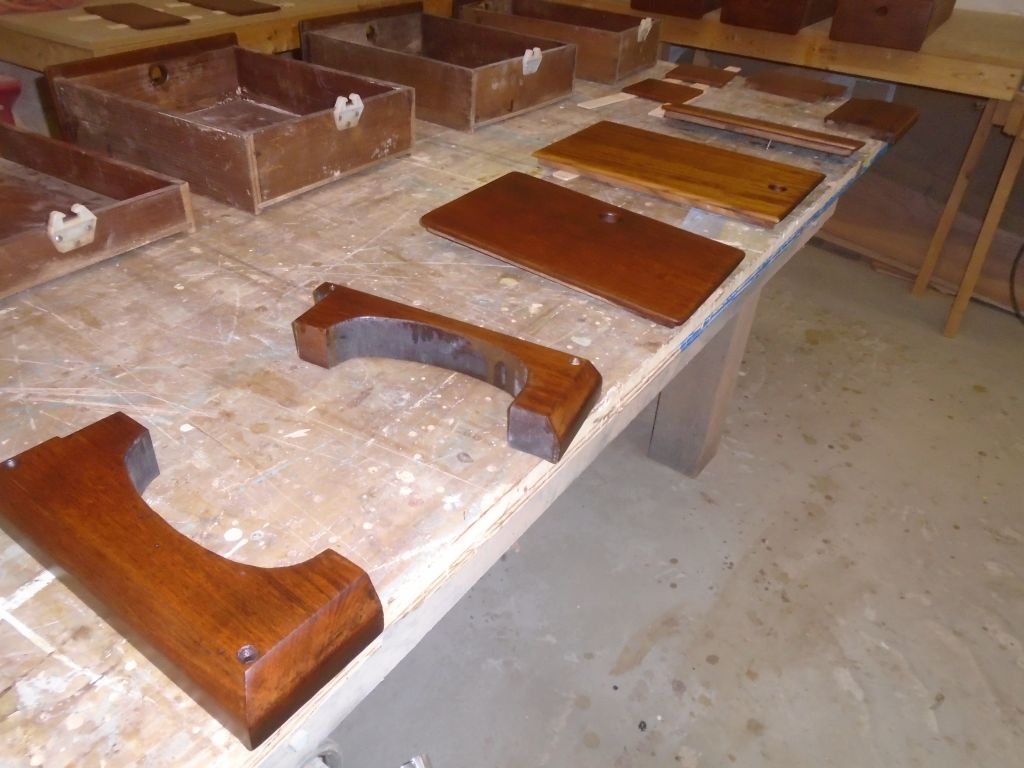
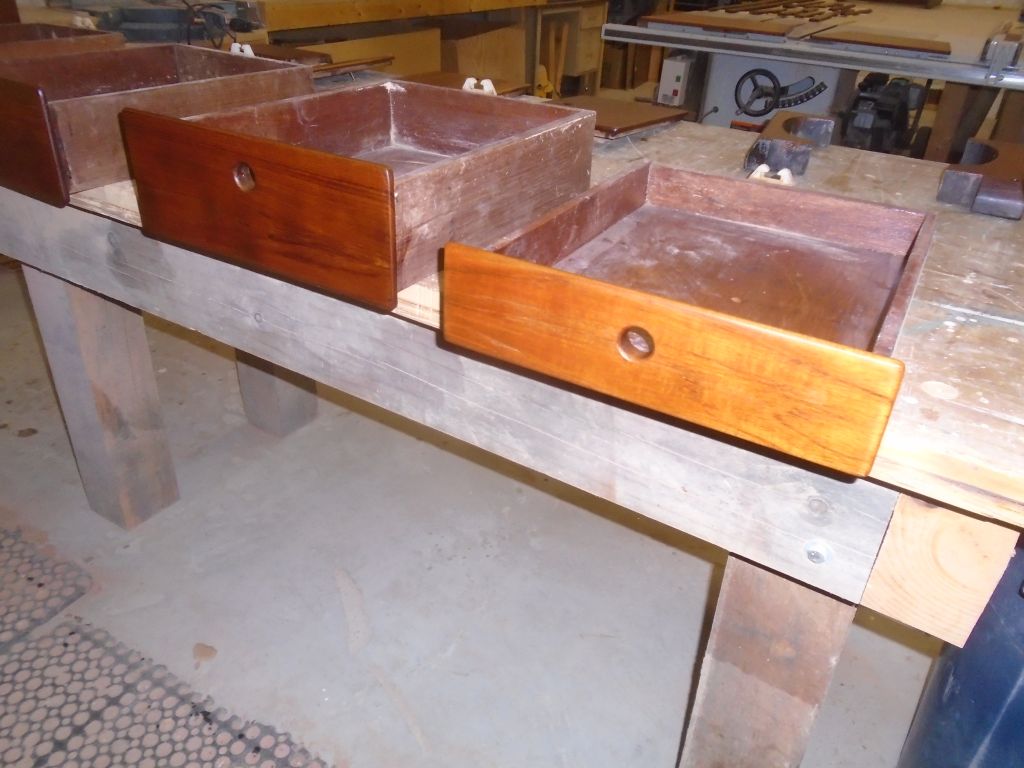
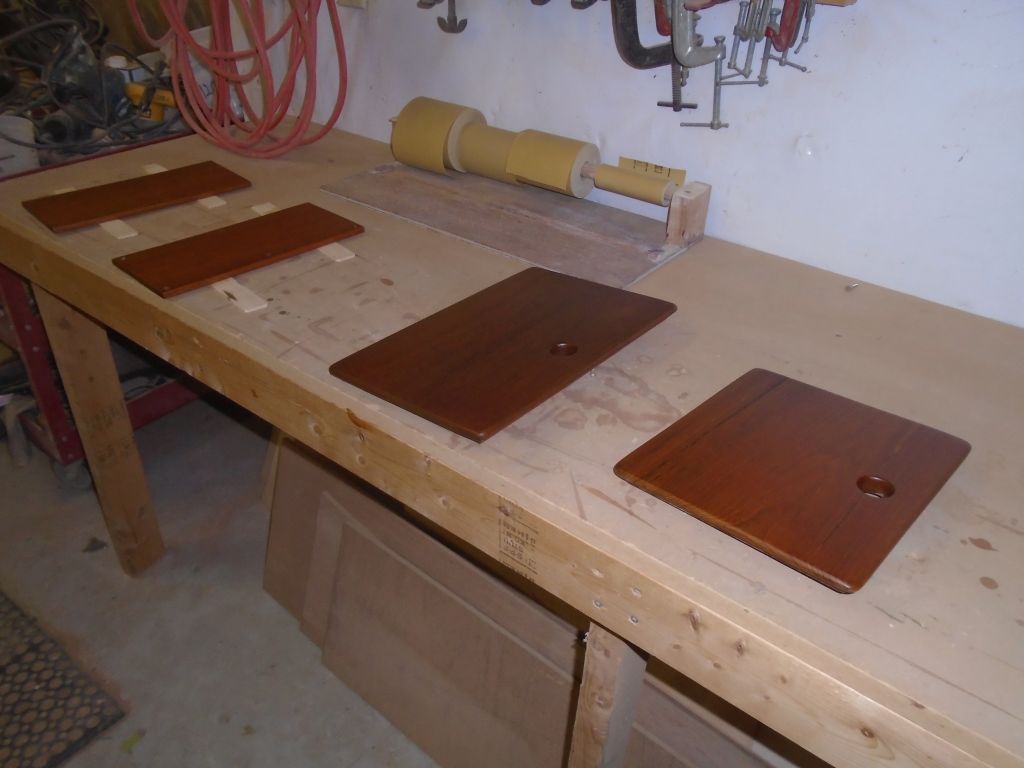
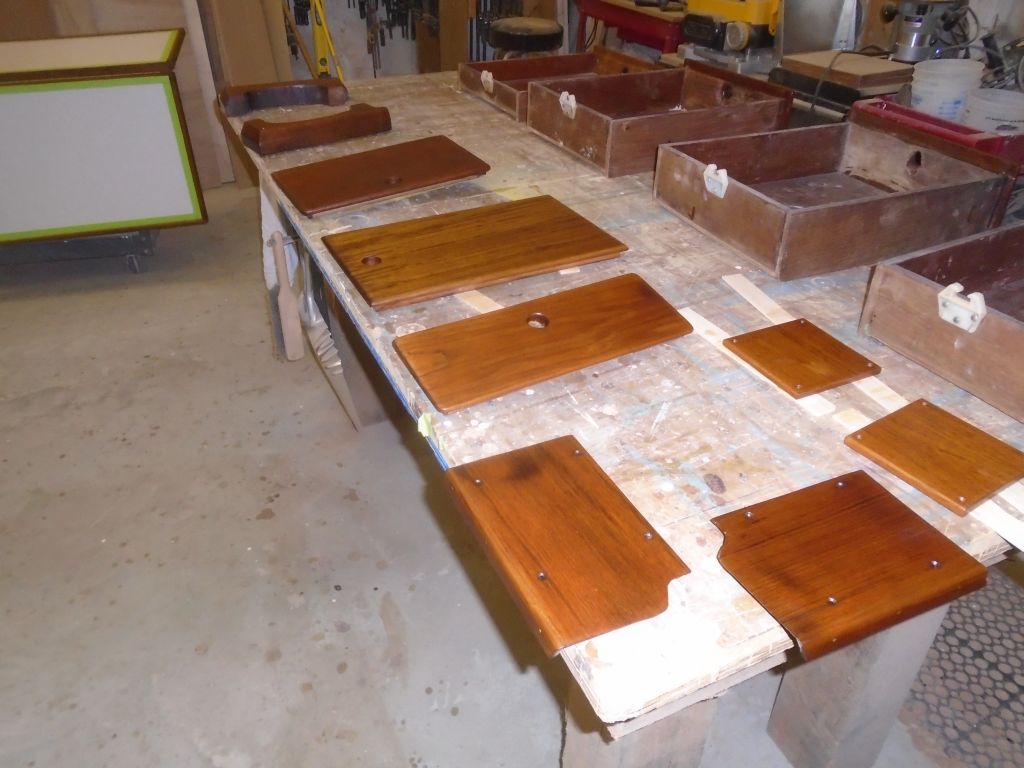
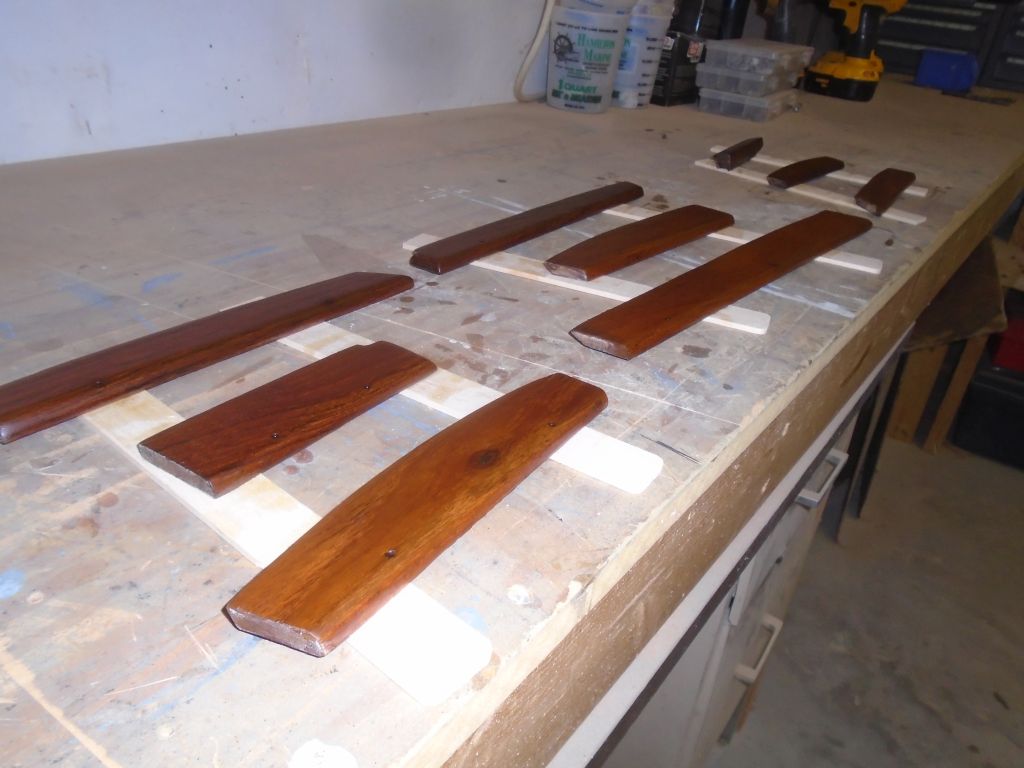
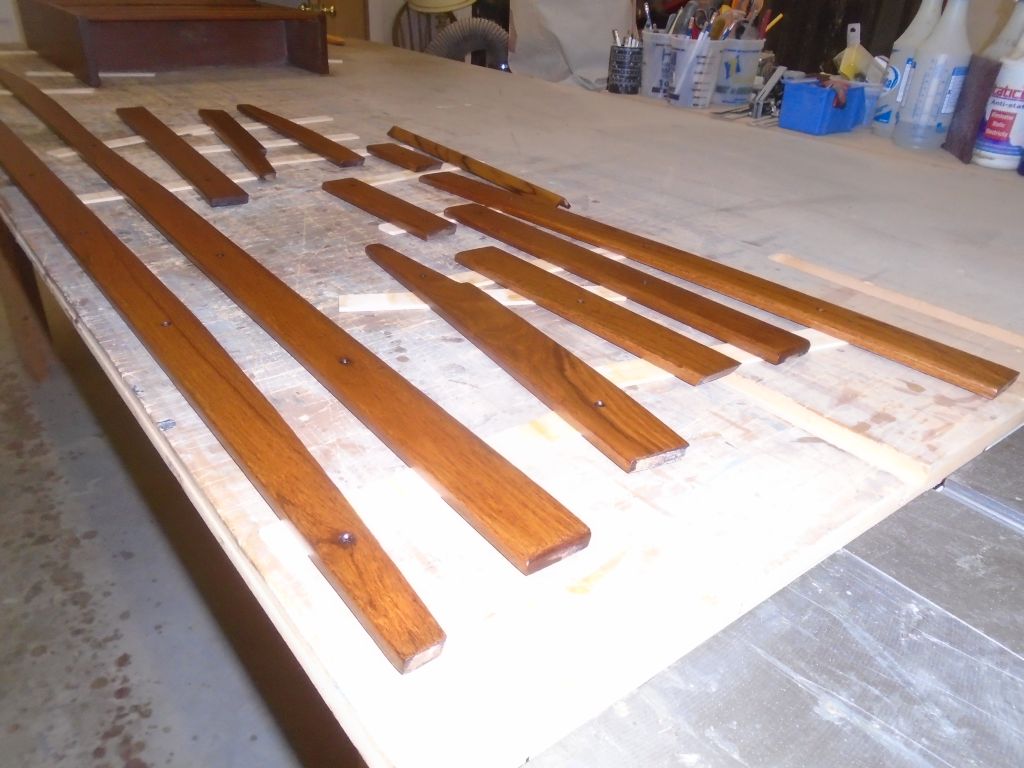
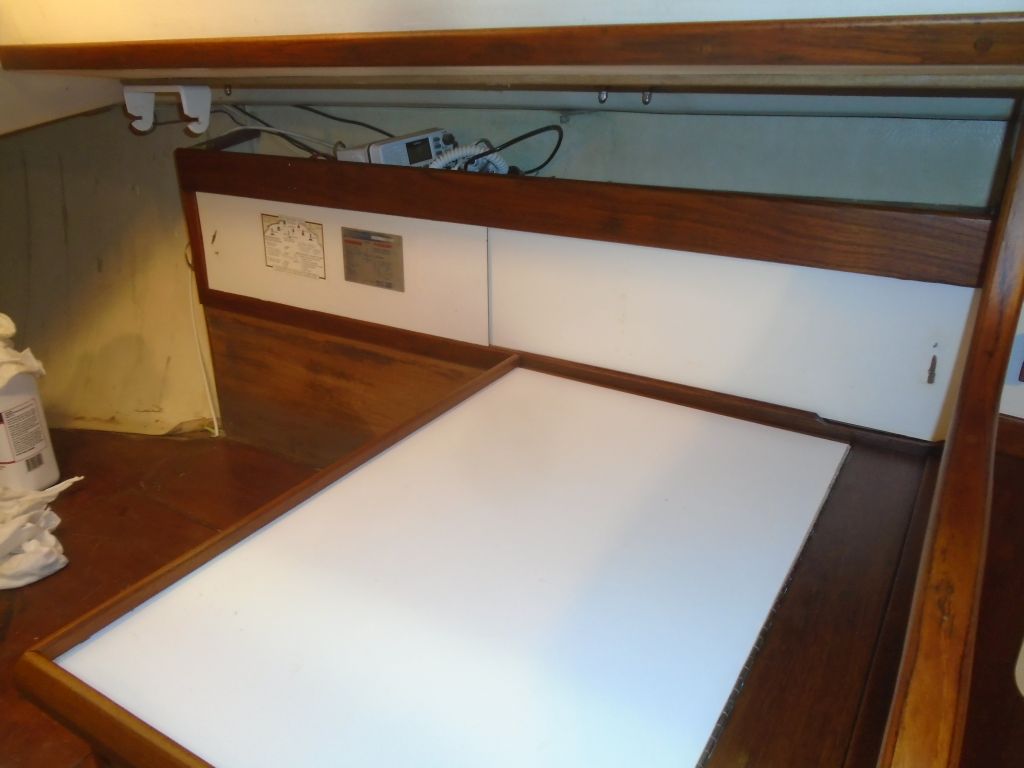
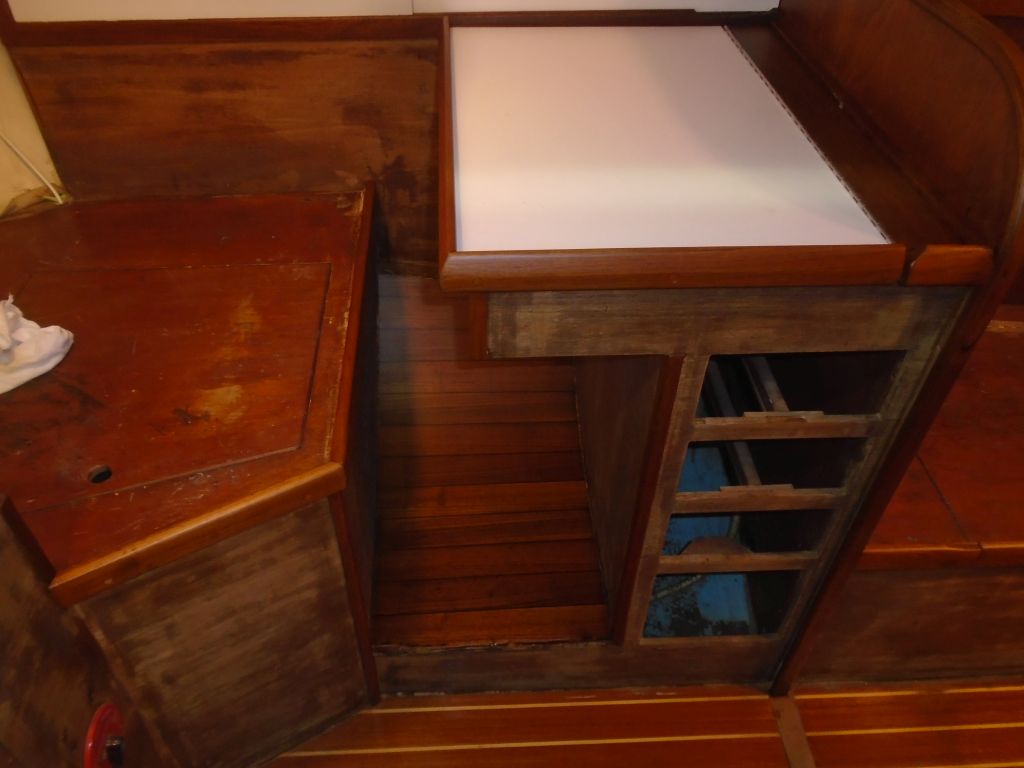
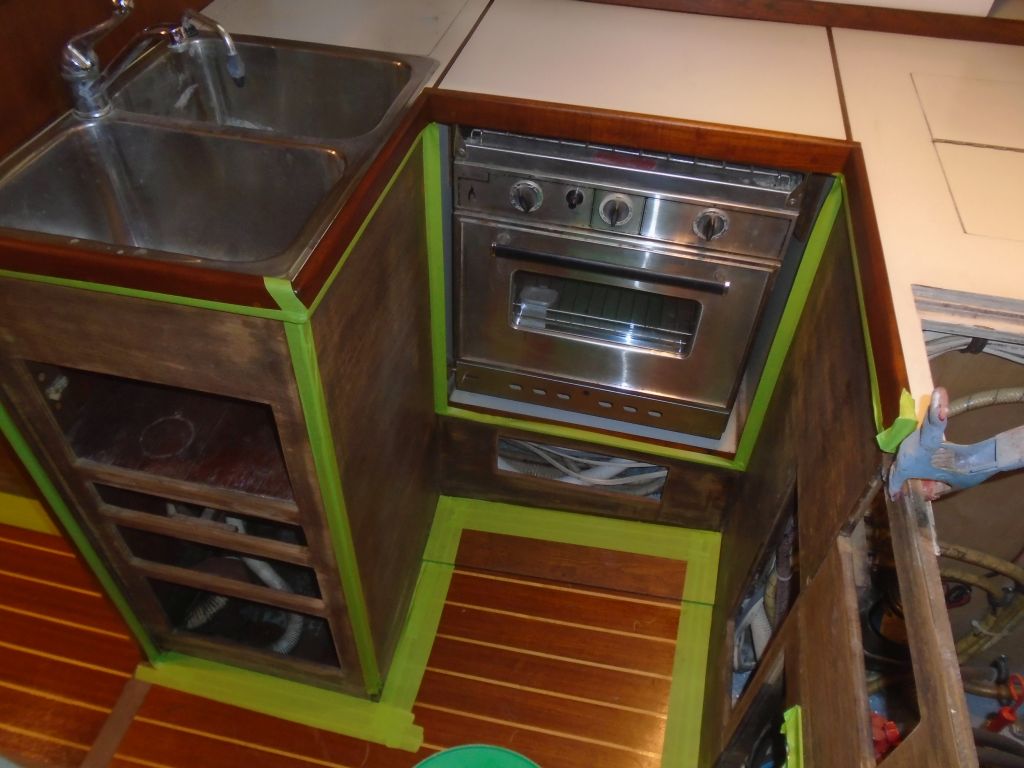
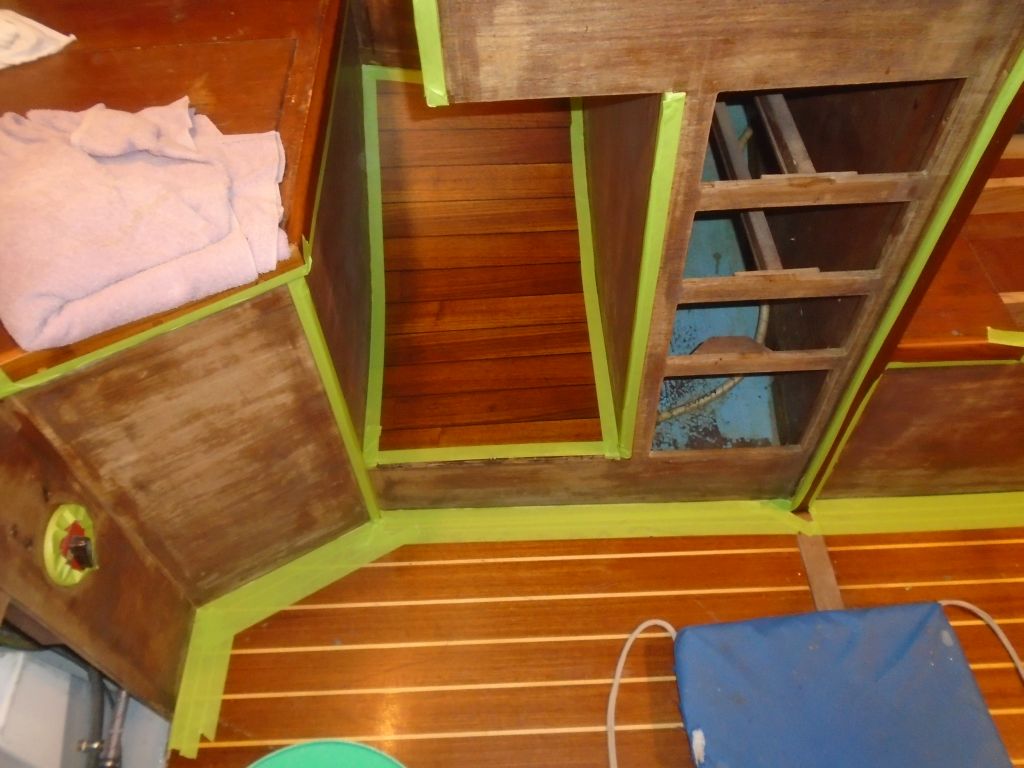
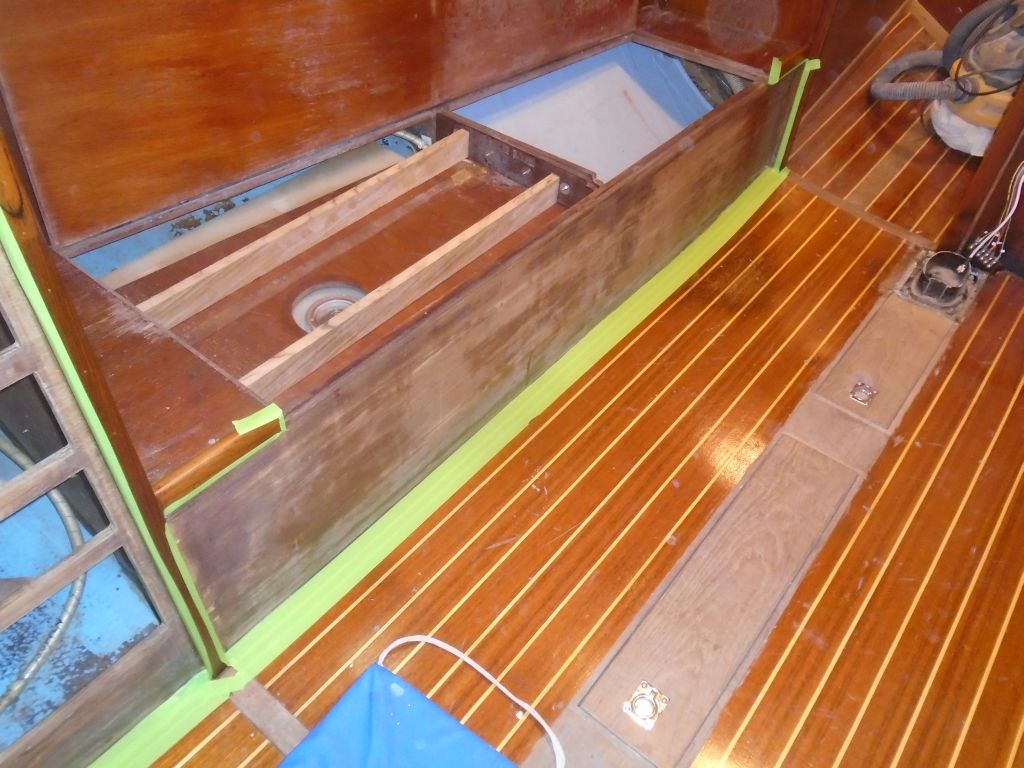
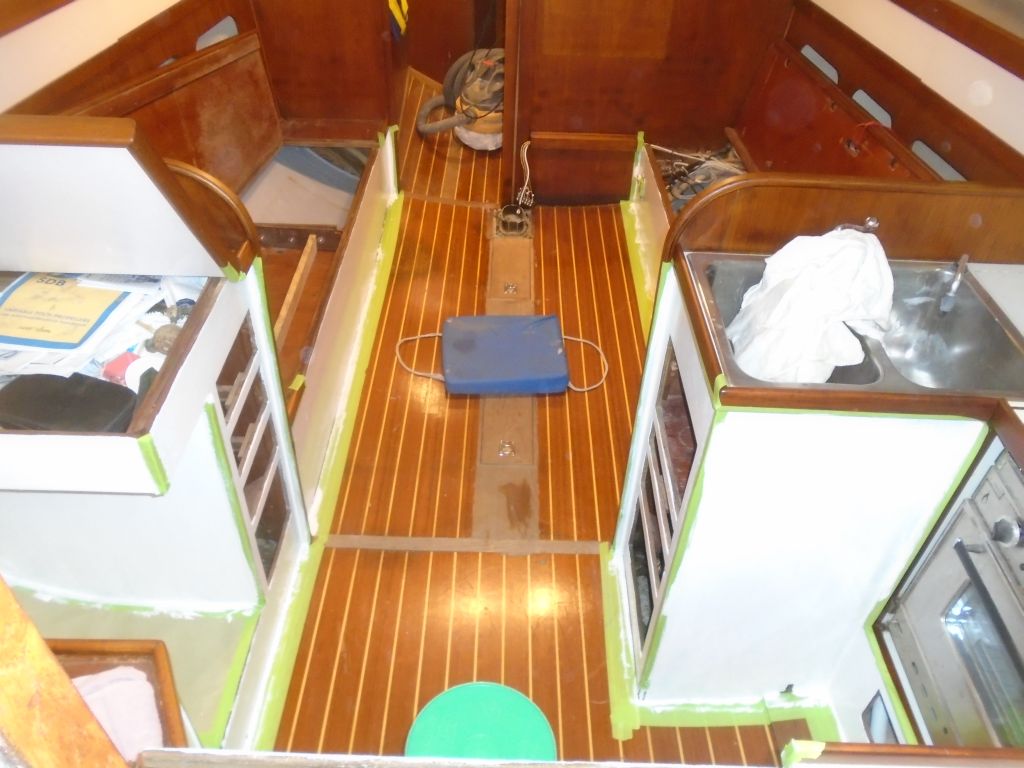
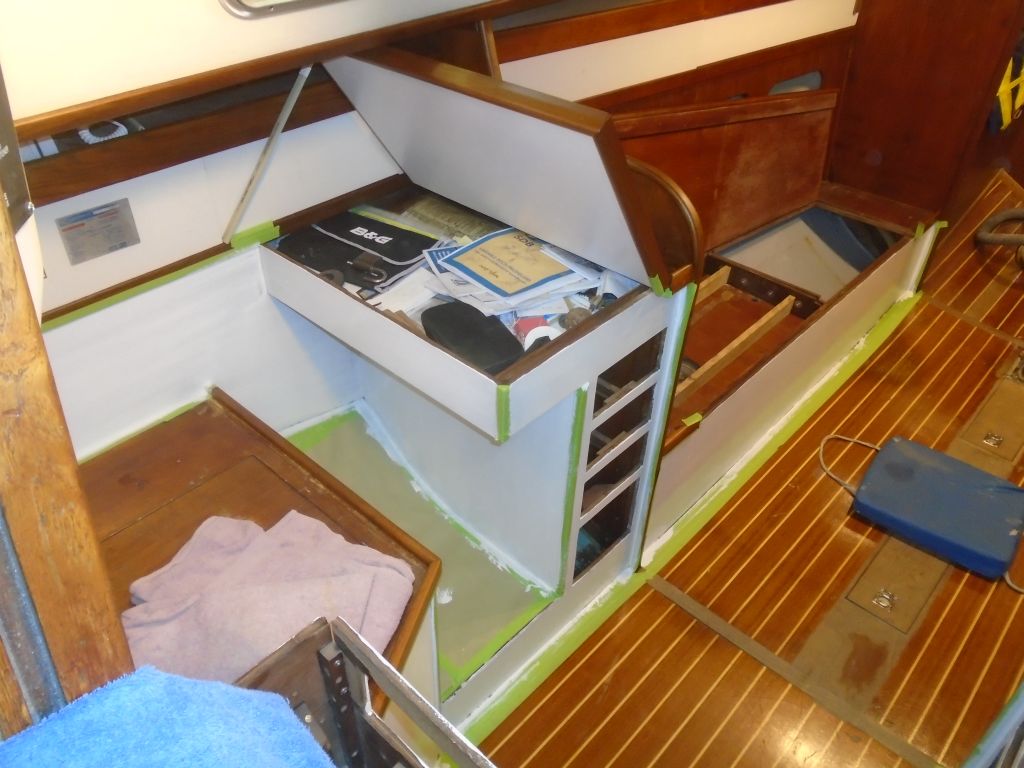
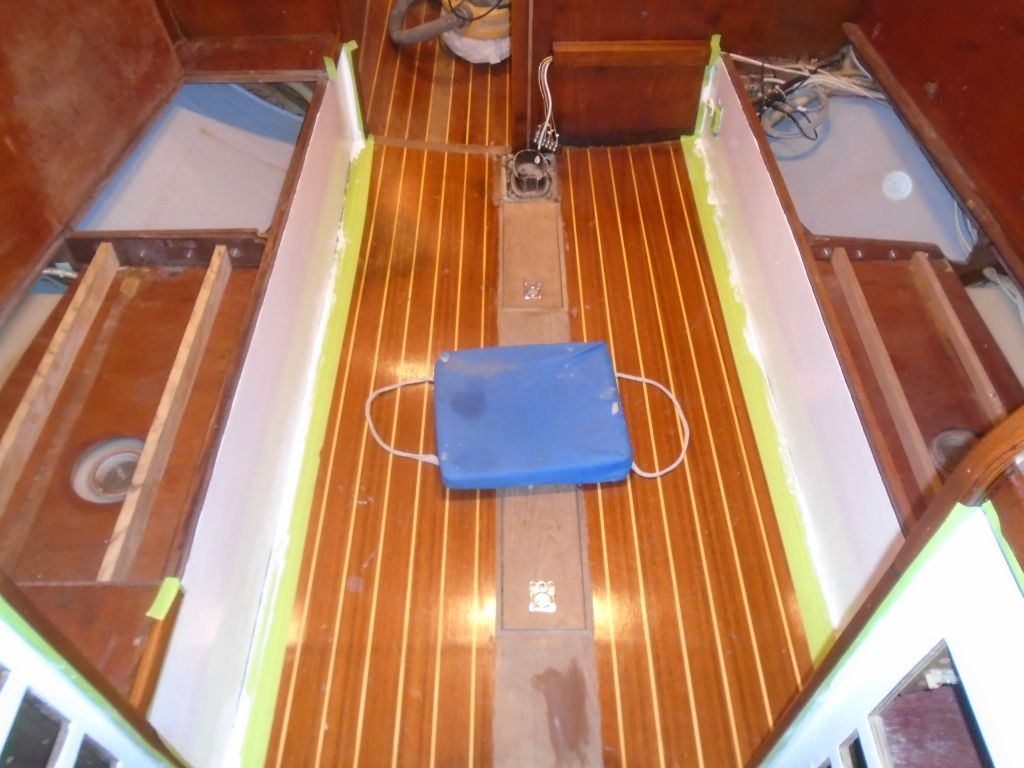
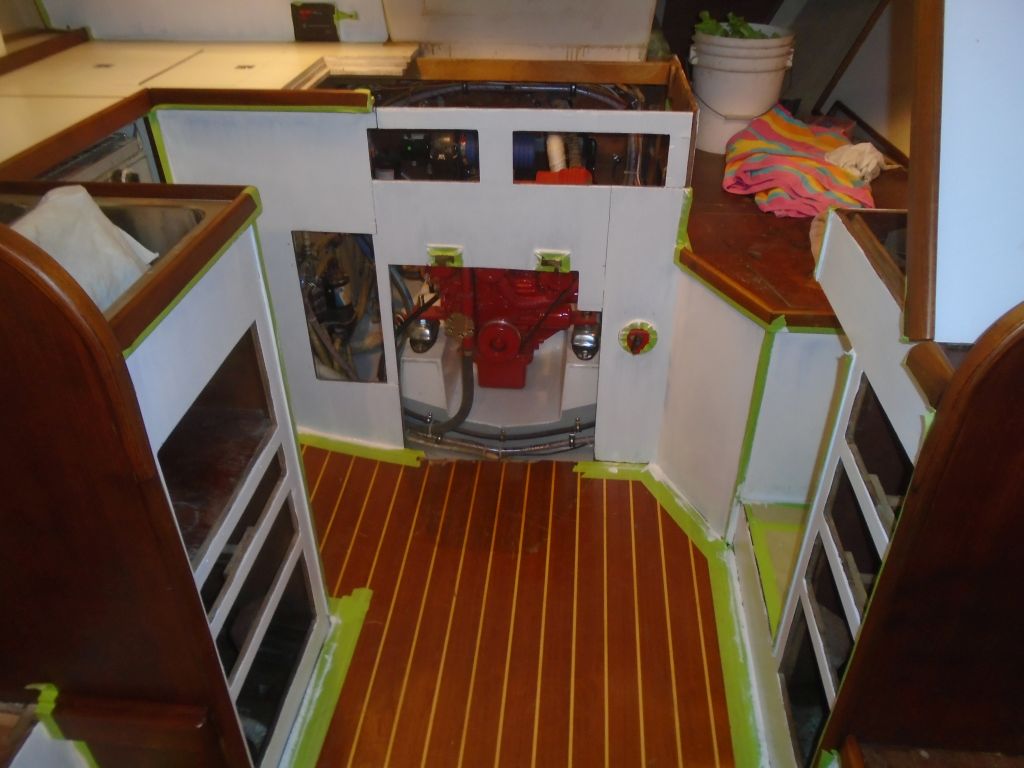
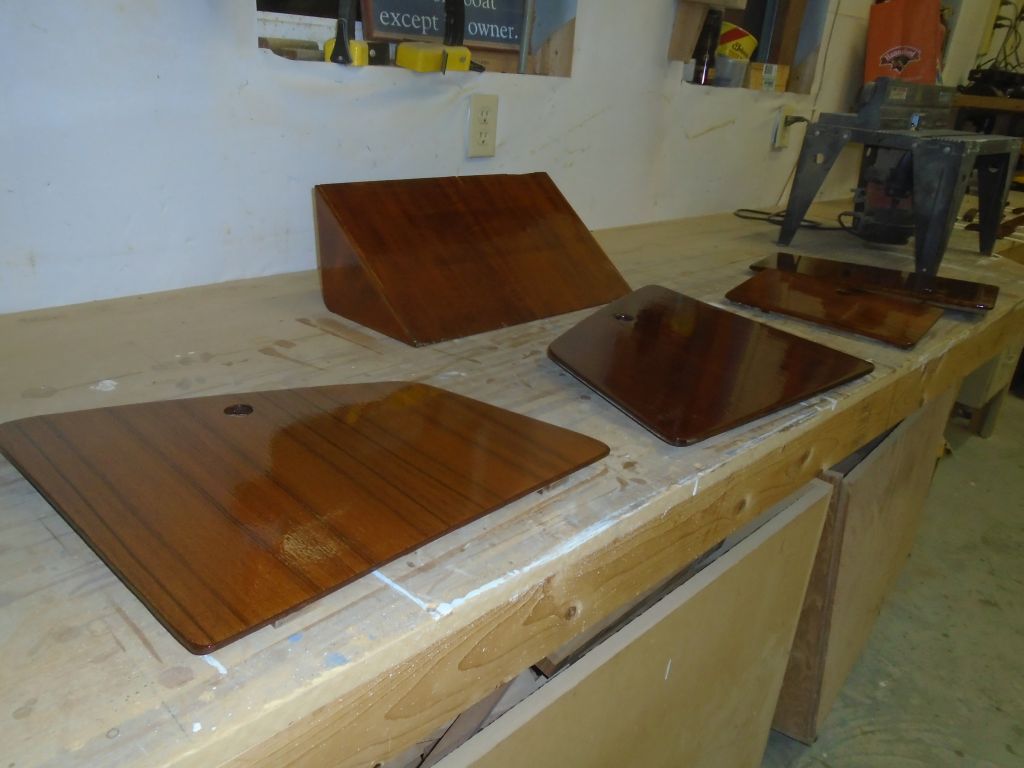
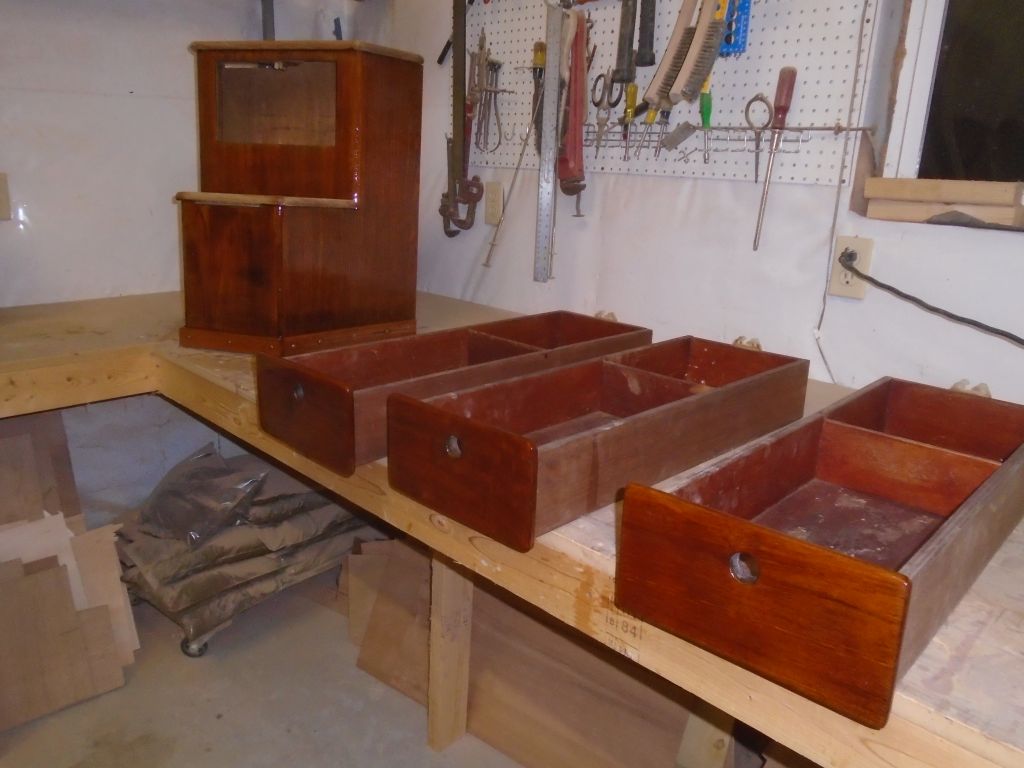
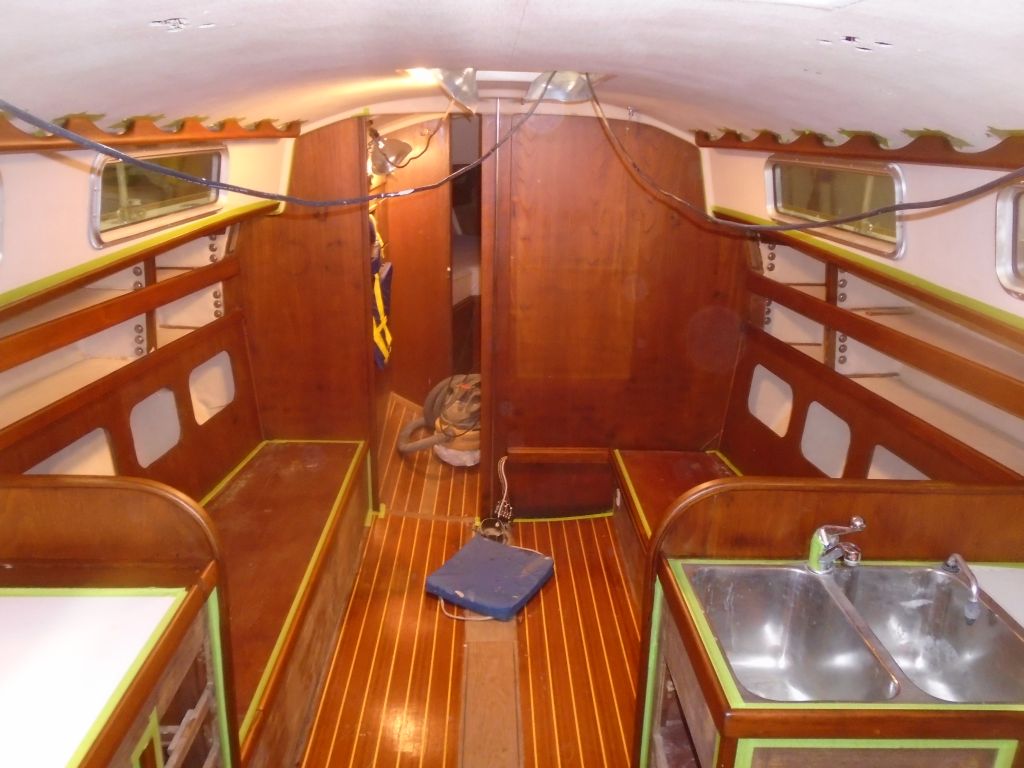
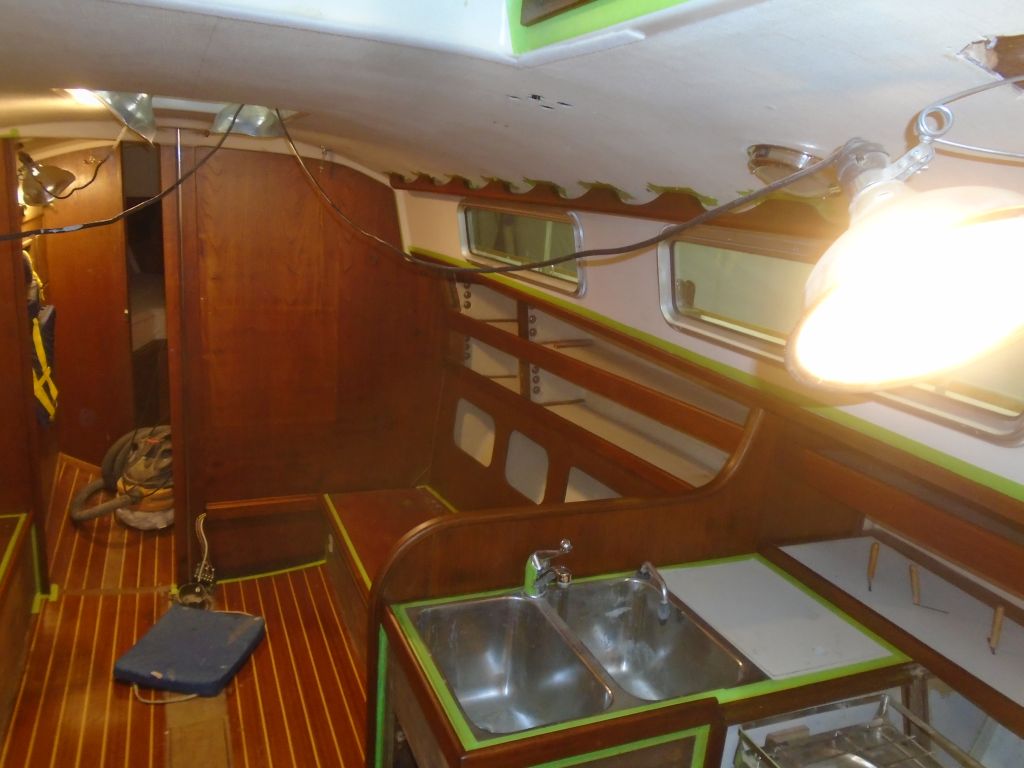
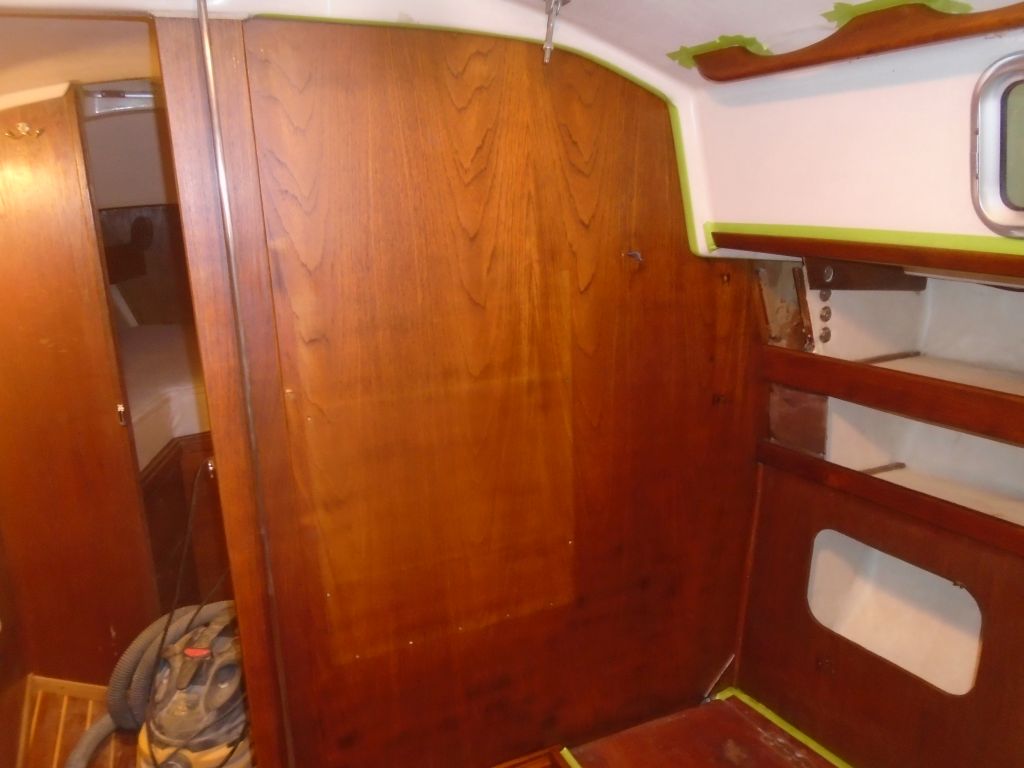
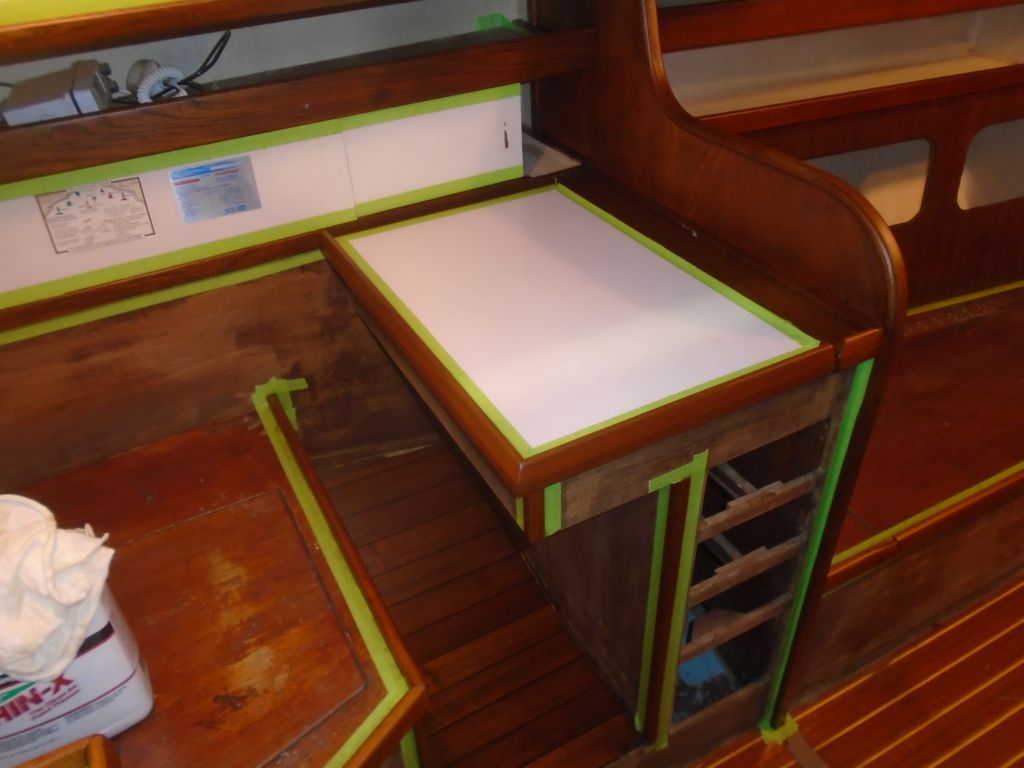
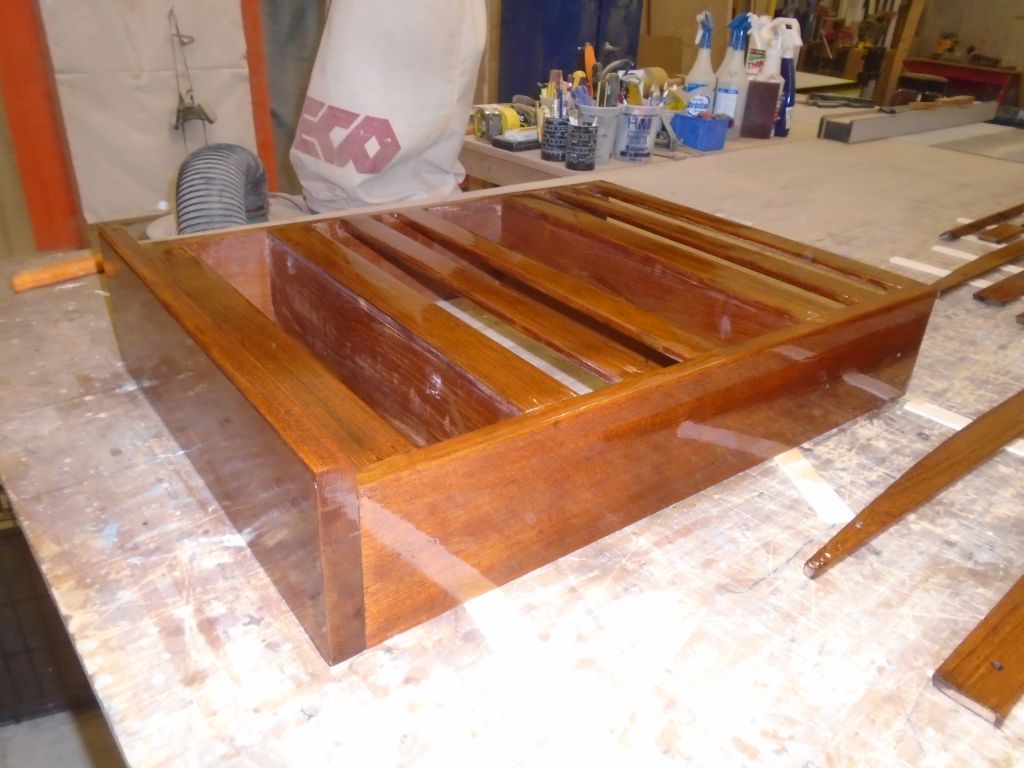
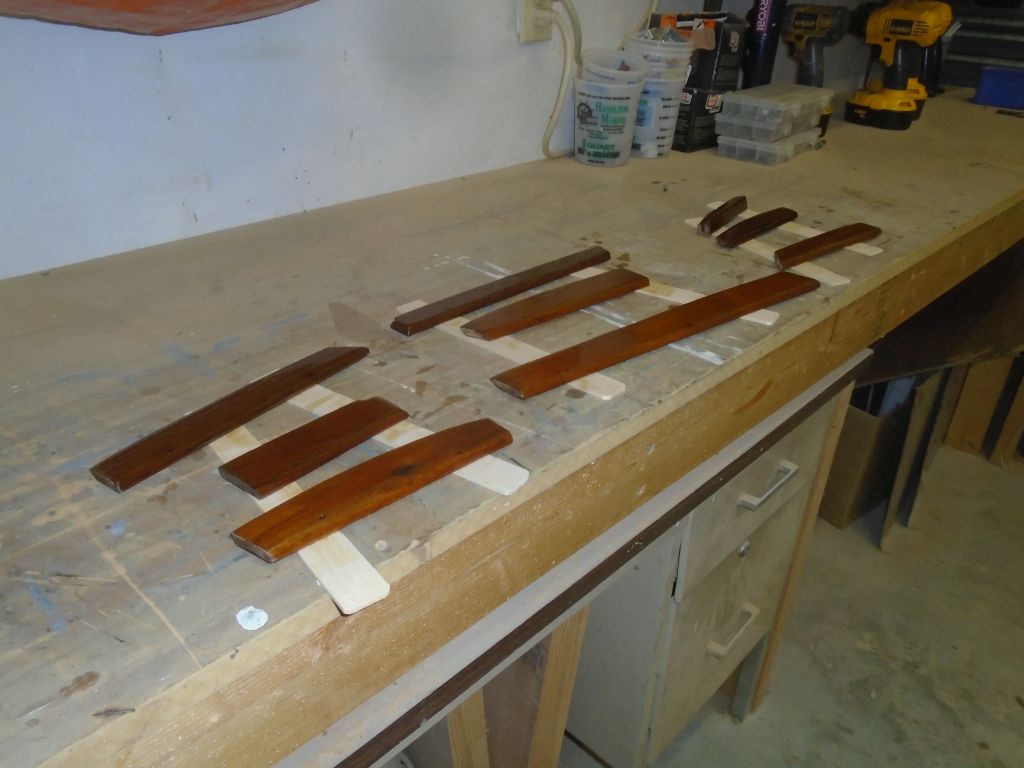
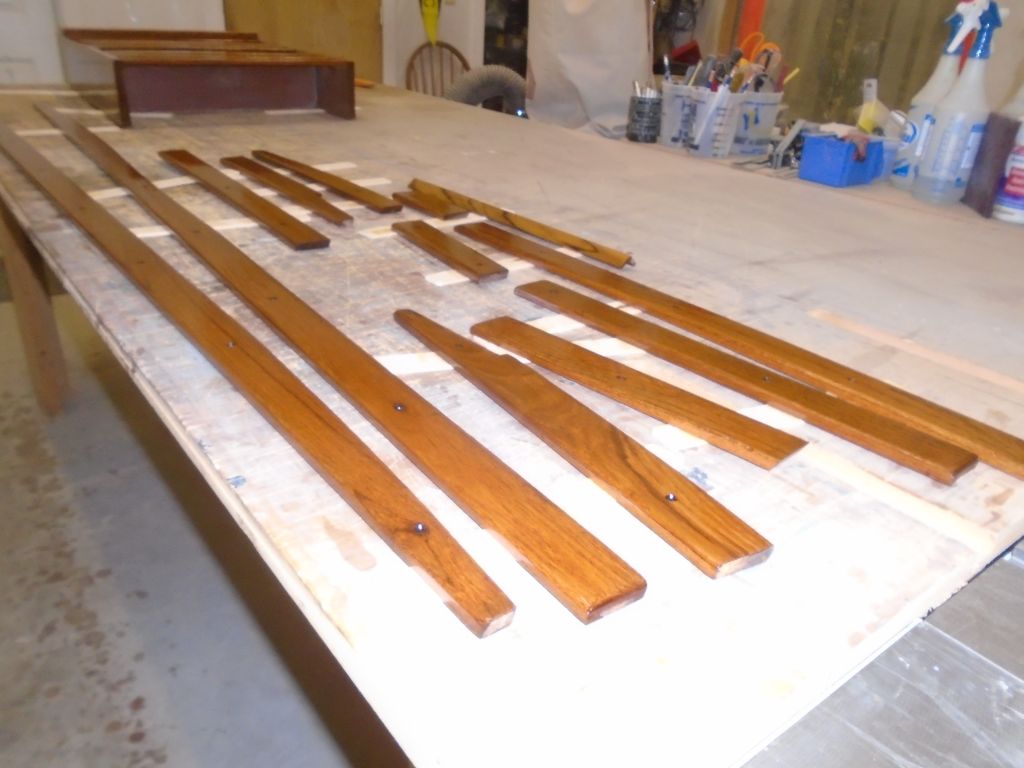
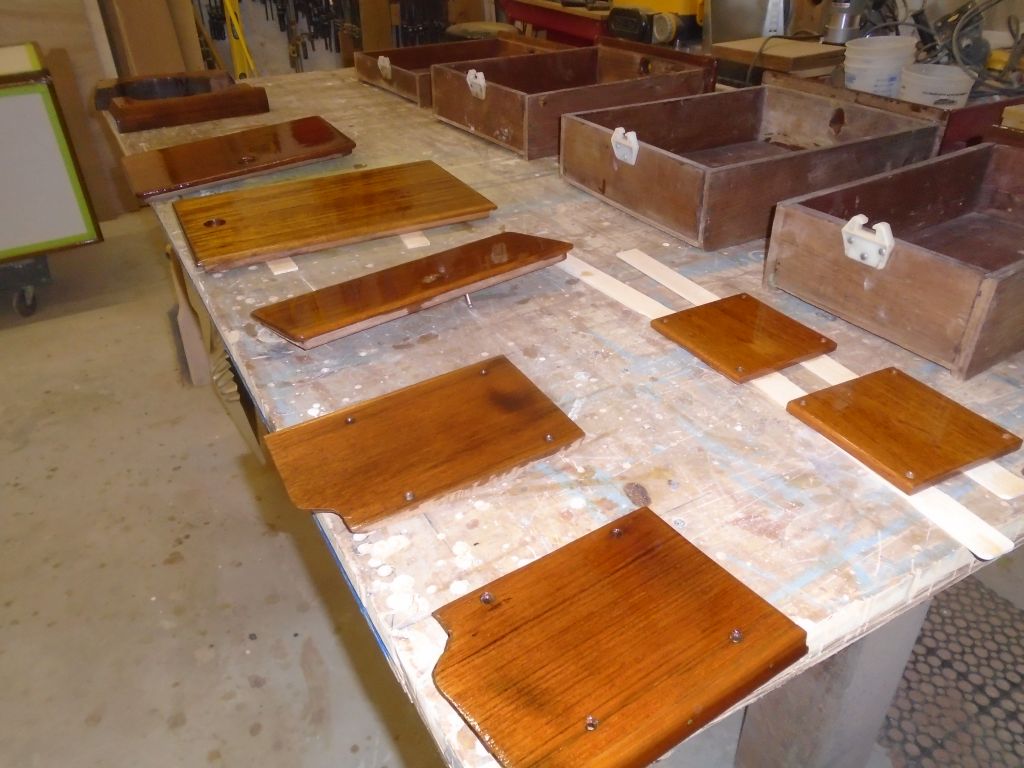
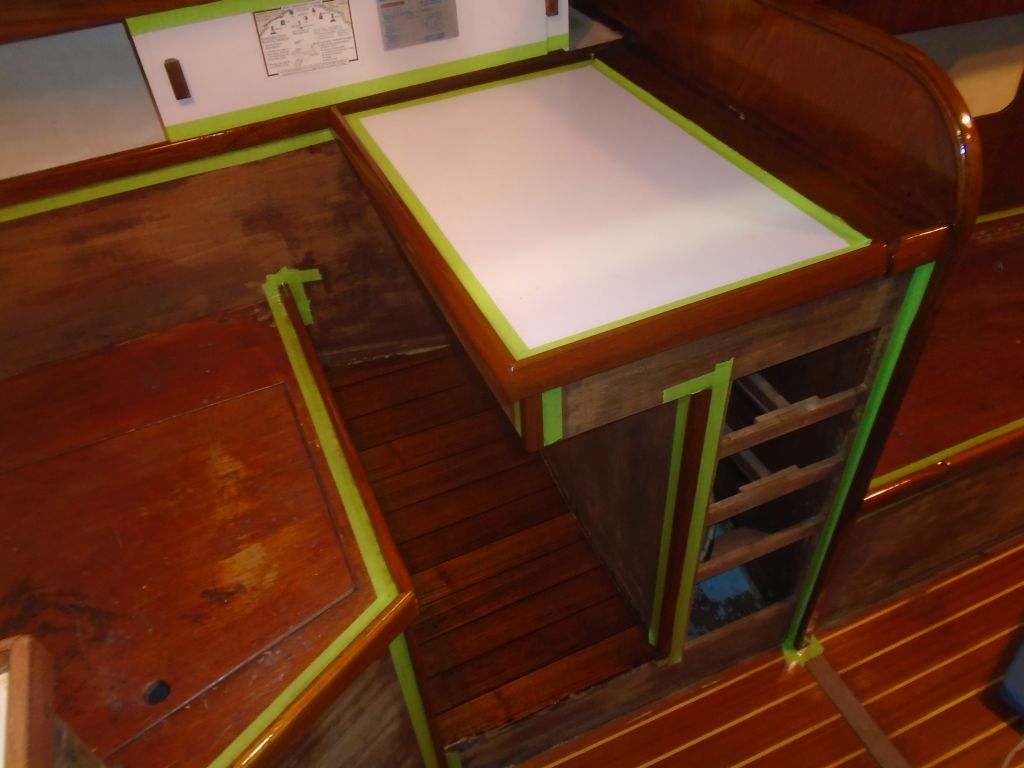
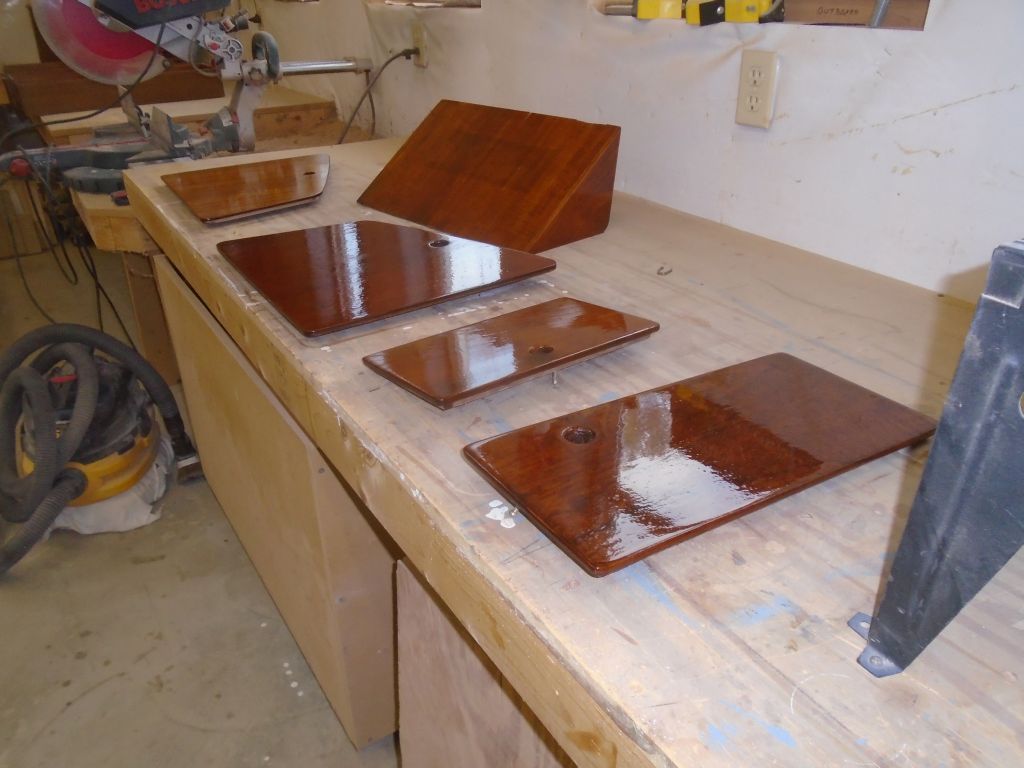
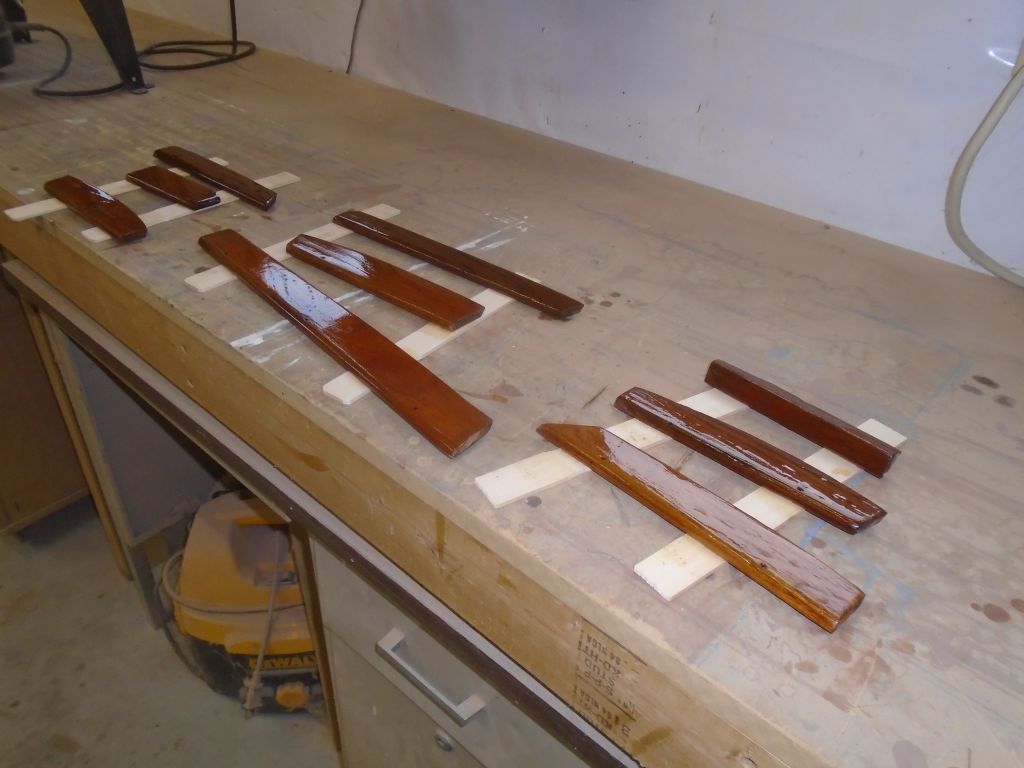
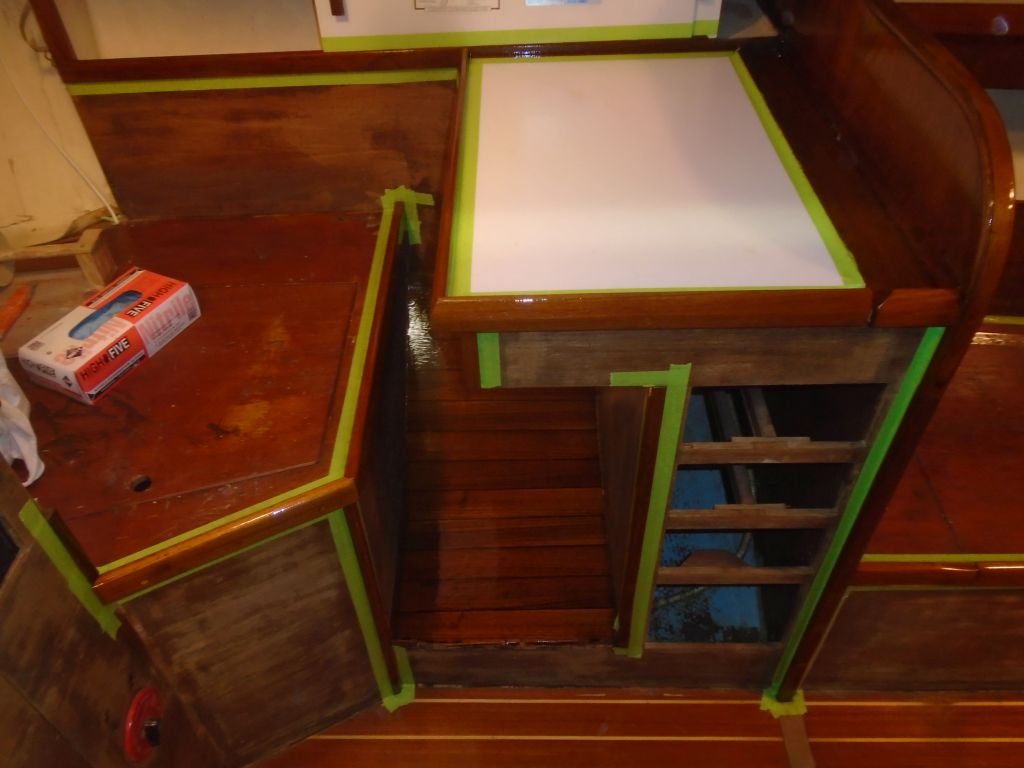
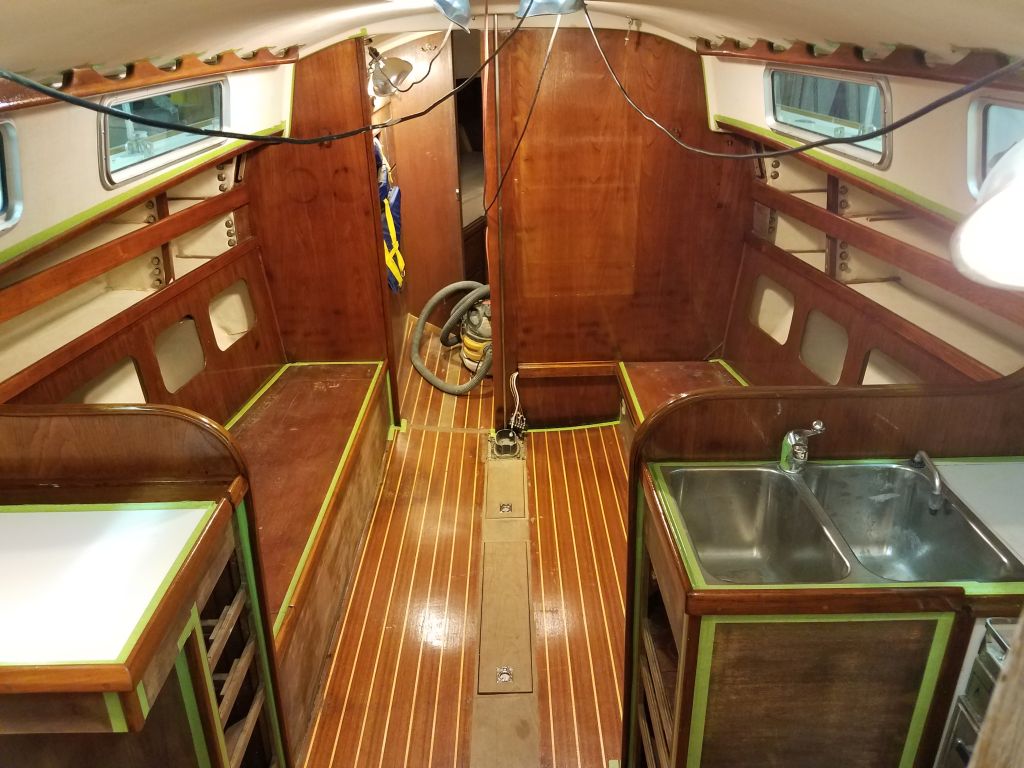
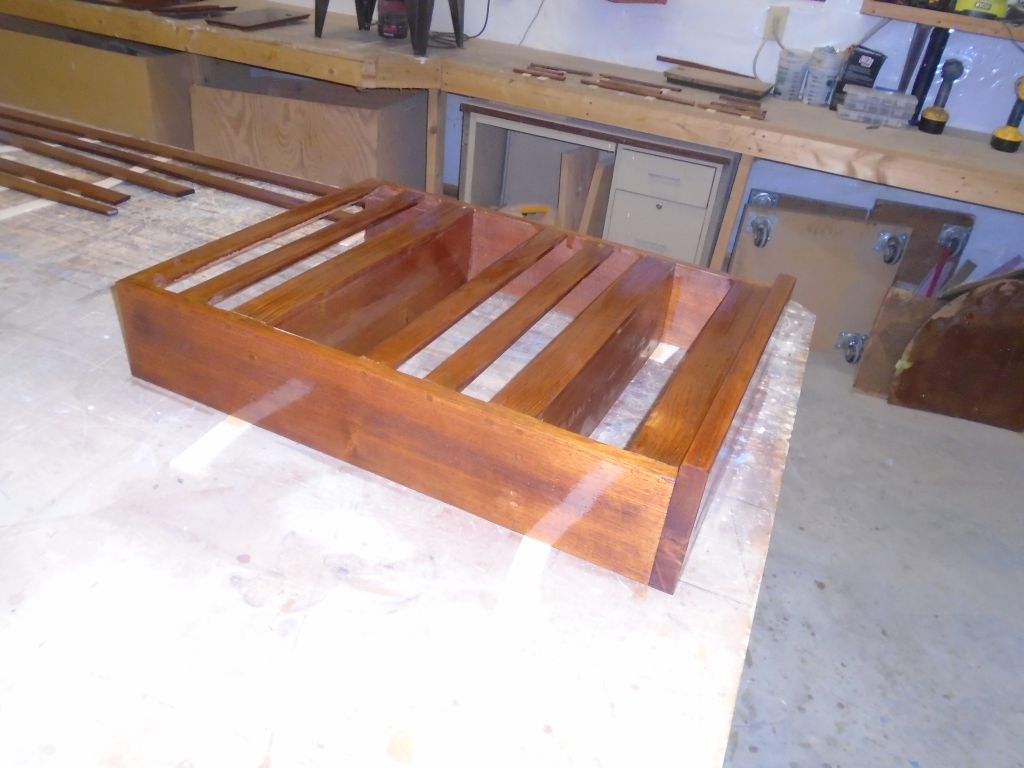
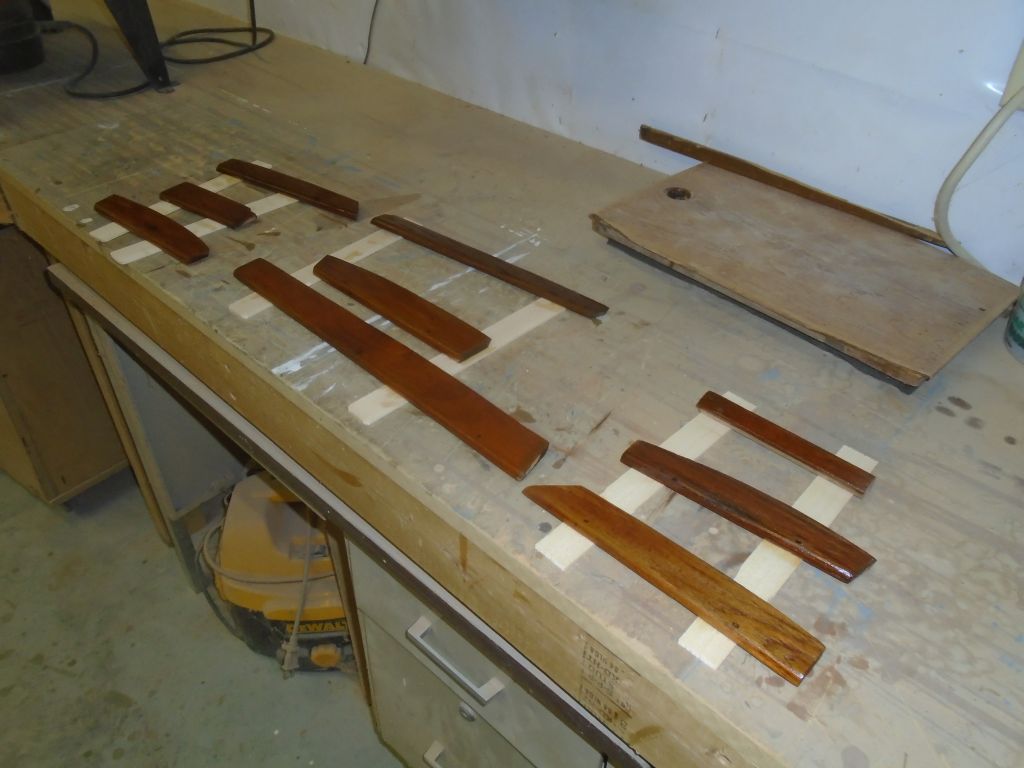
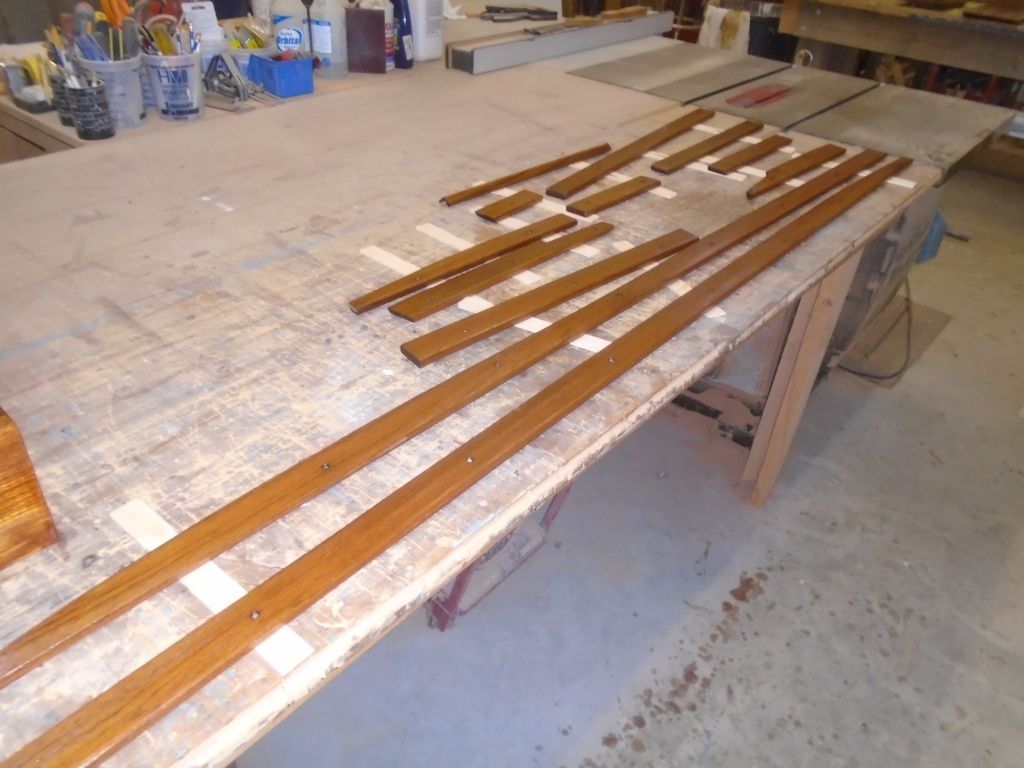
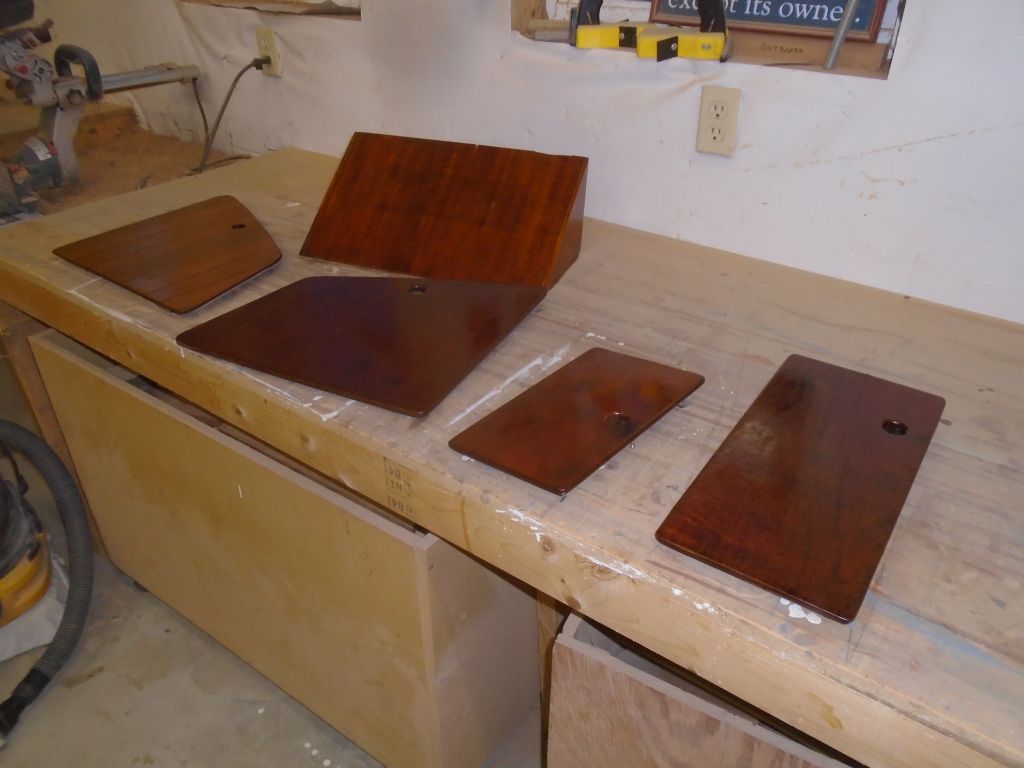
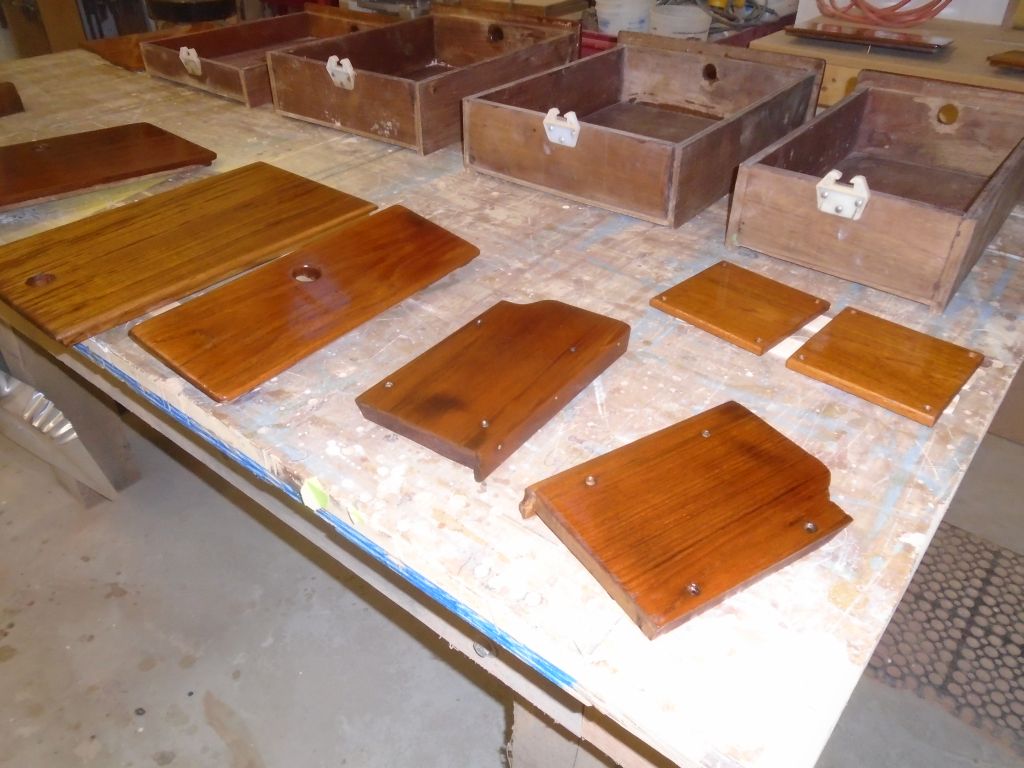
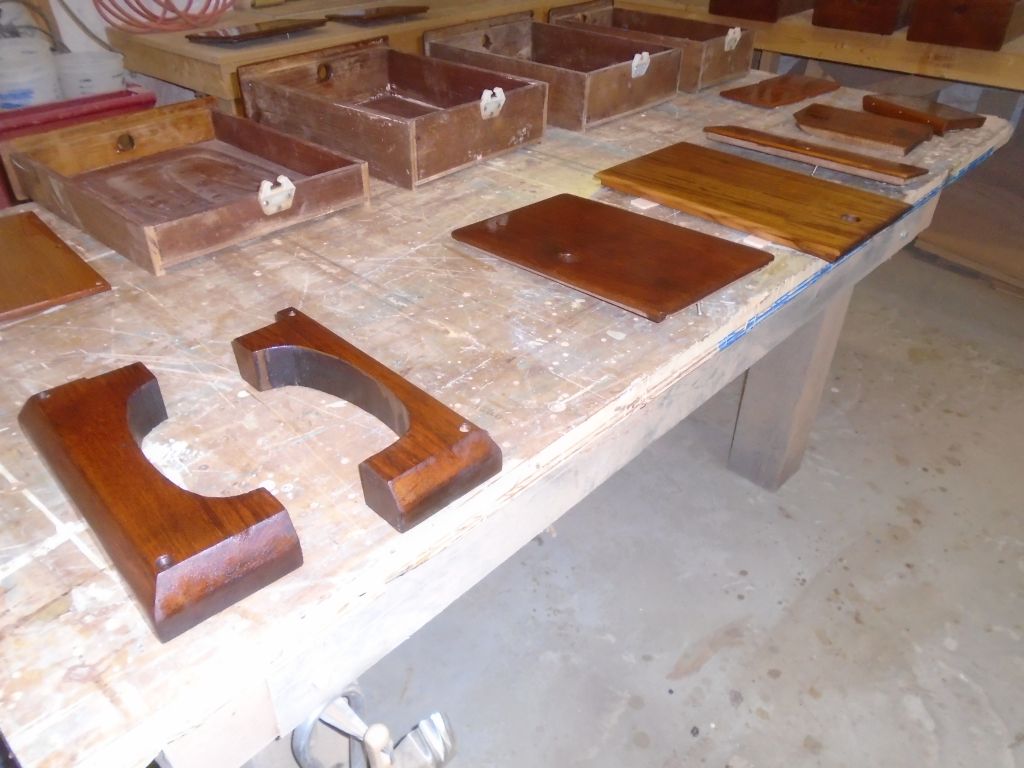
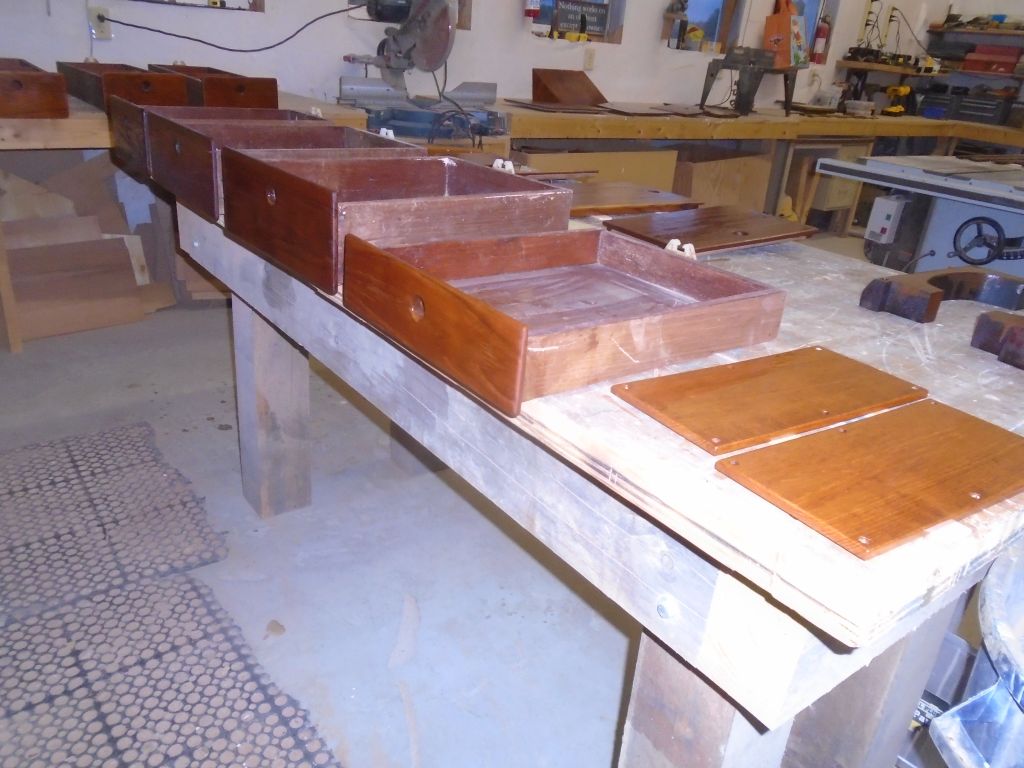
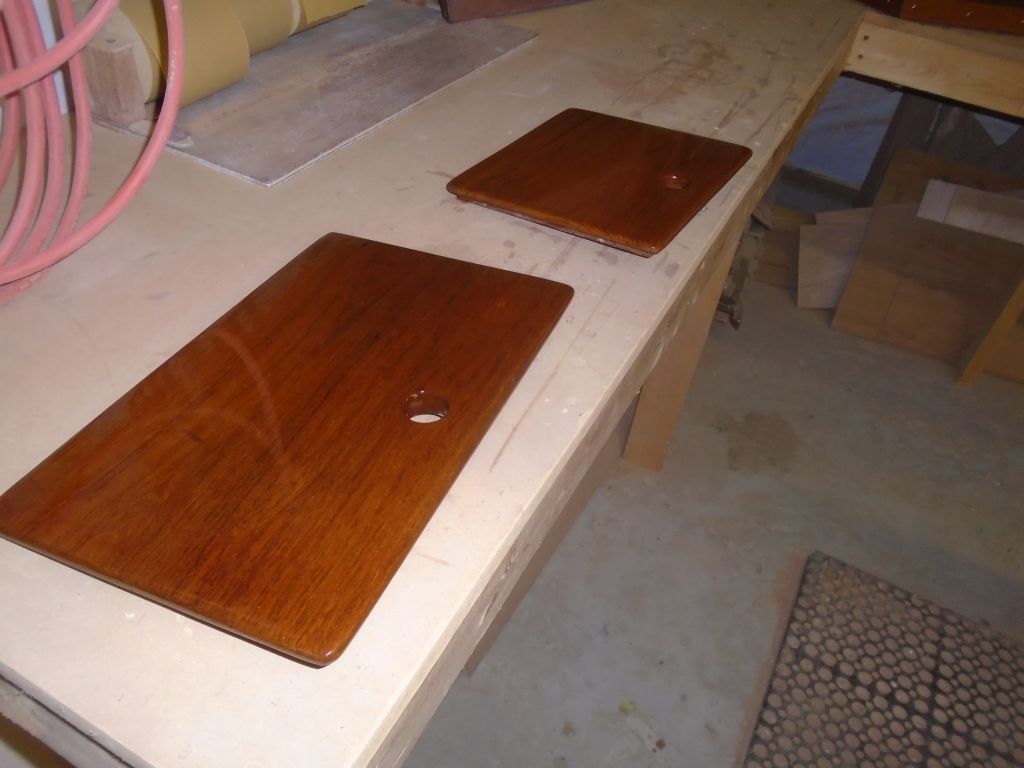
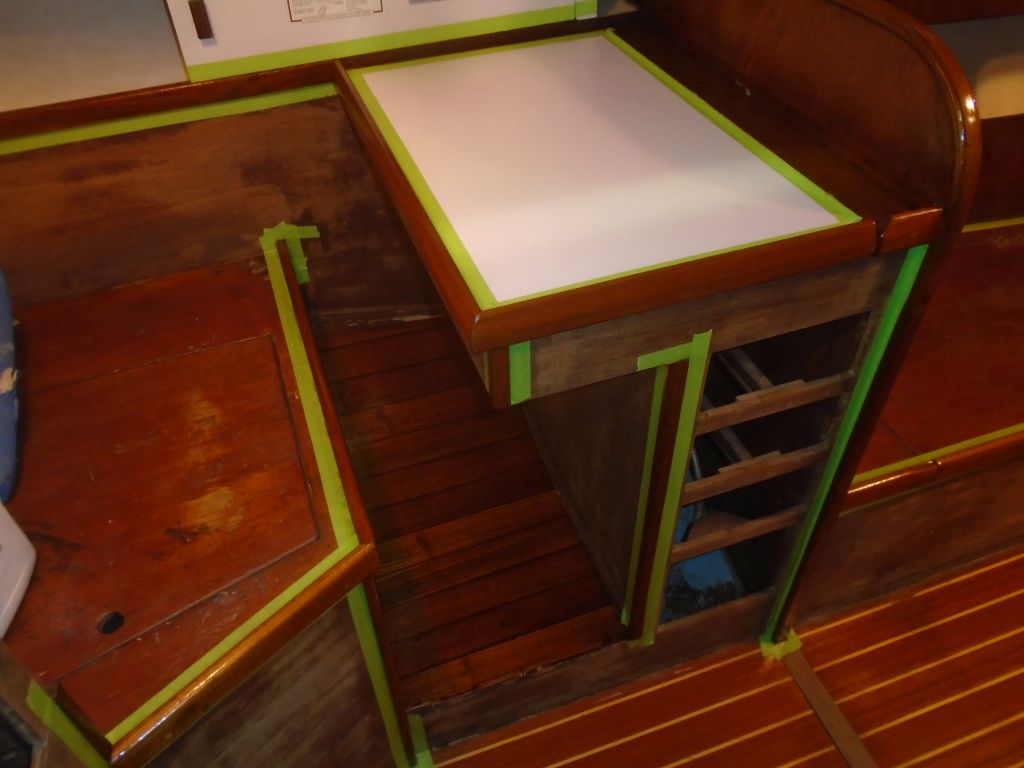
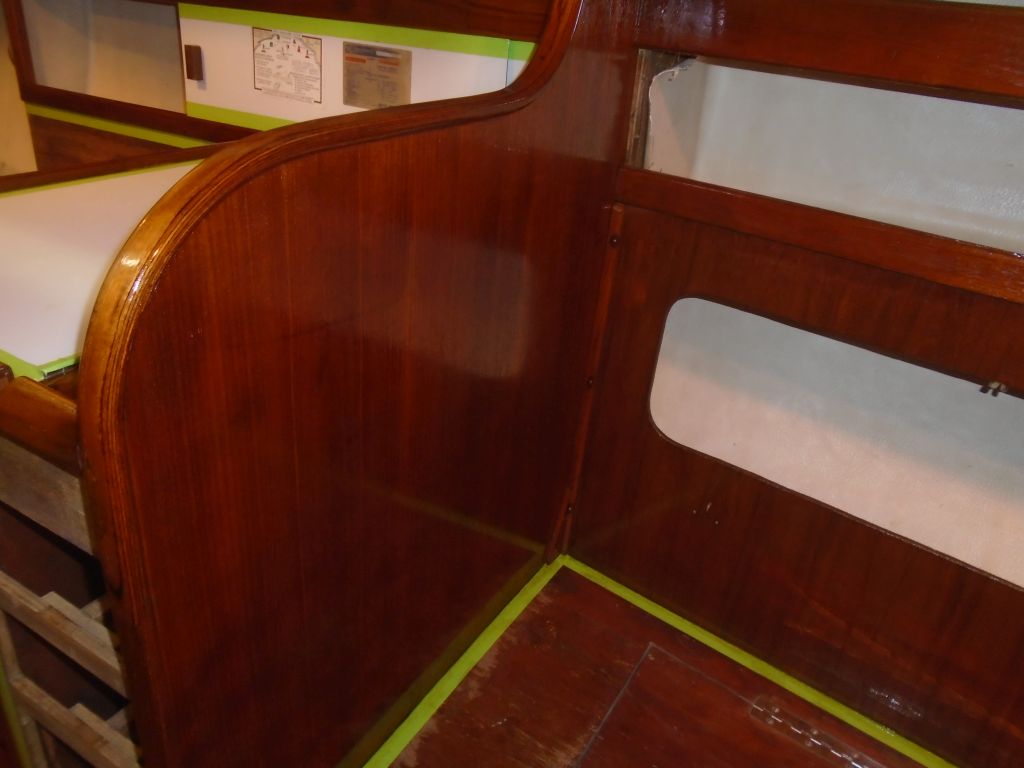
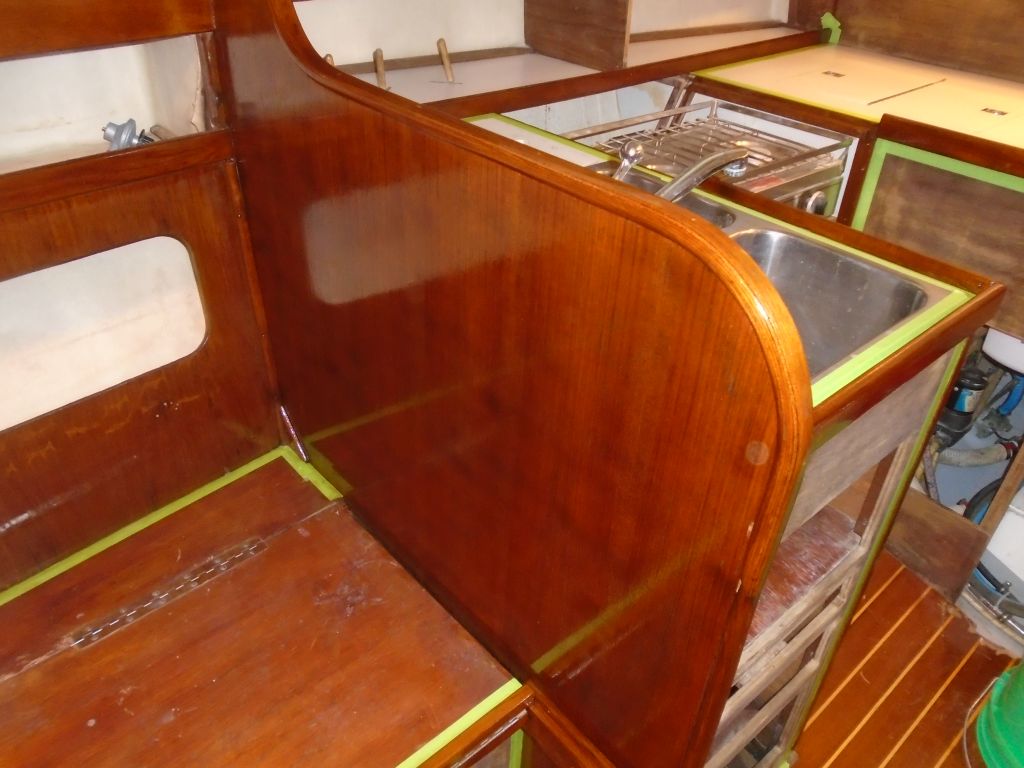
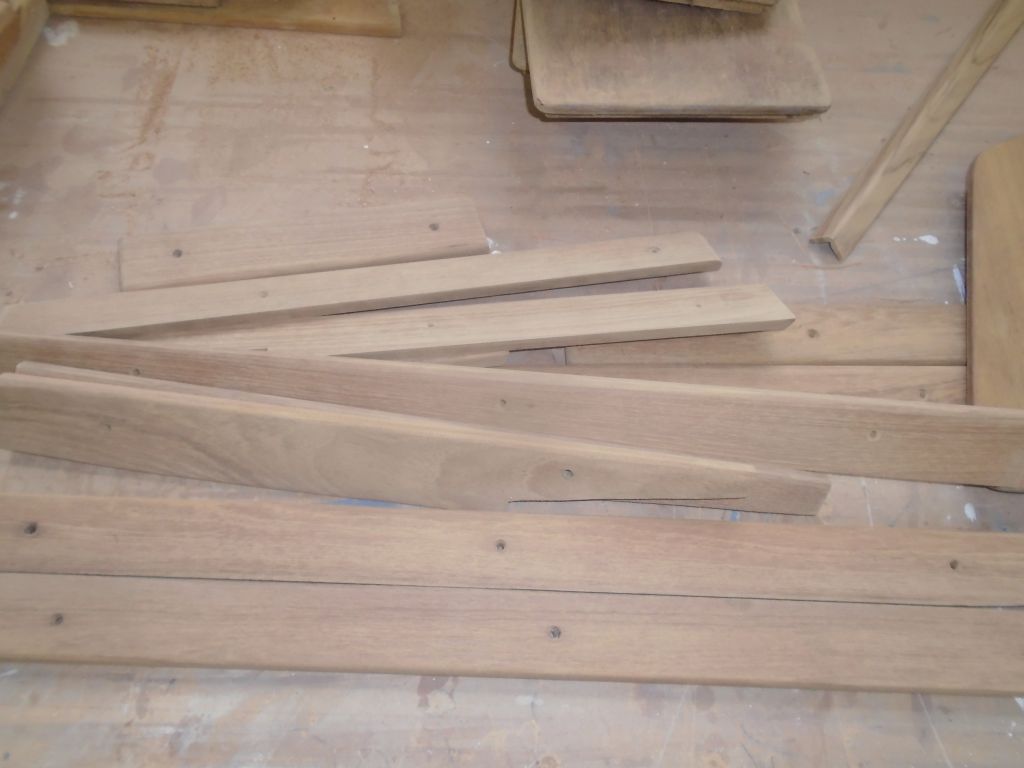
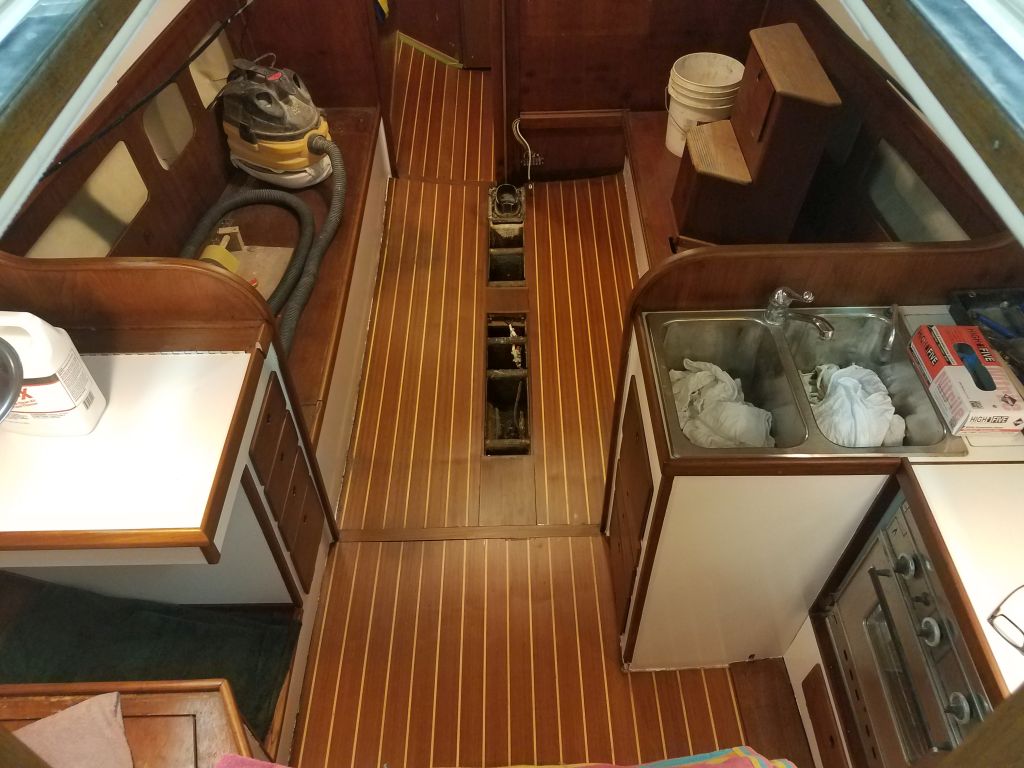
After final preparations, I applied a coat of rubbed-effect satin varnish to the cabin sole and centerline hatches, which wrapped up what I could accomplish for this day. These photos show the varnish after an overnight cure.
Total time billed on this job today: 3.5 hours
0600 Weather Observation:
Mostly clear, 20° . Forecast for the day: Mostly sunny, 30s