Tuesday
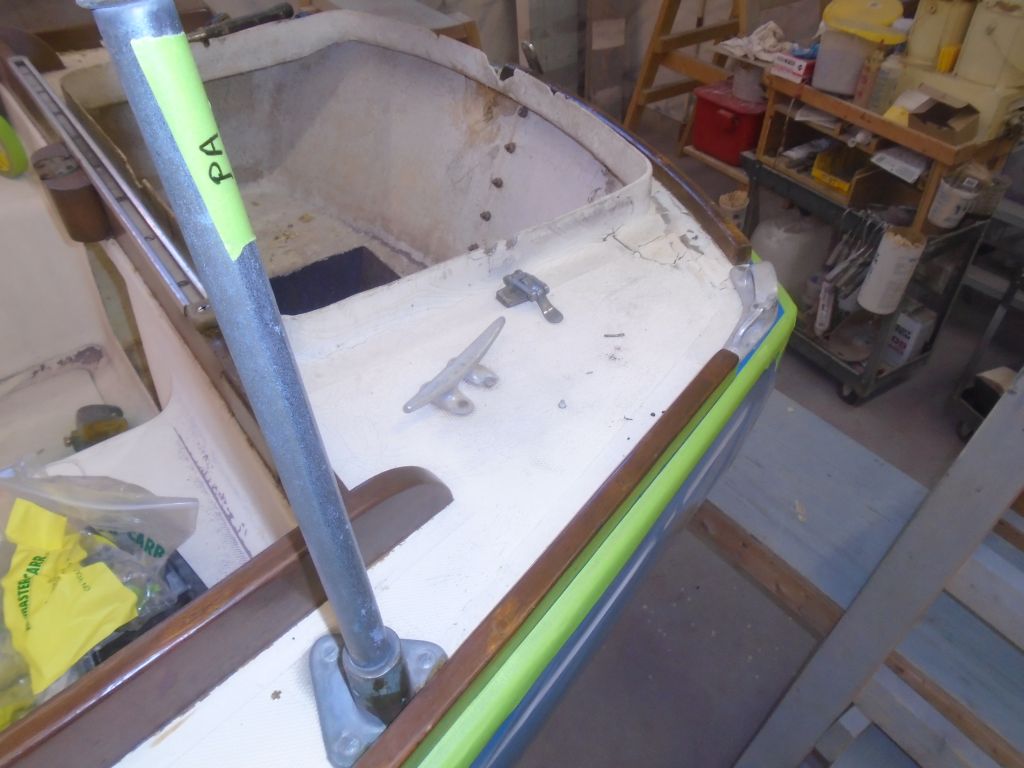
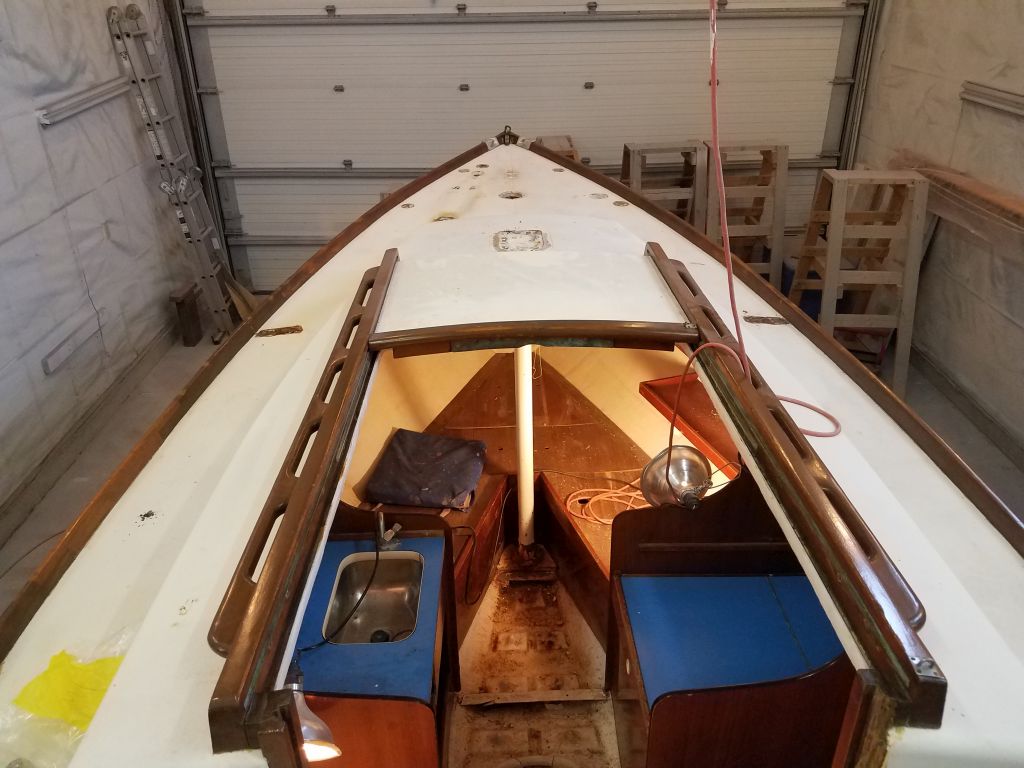
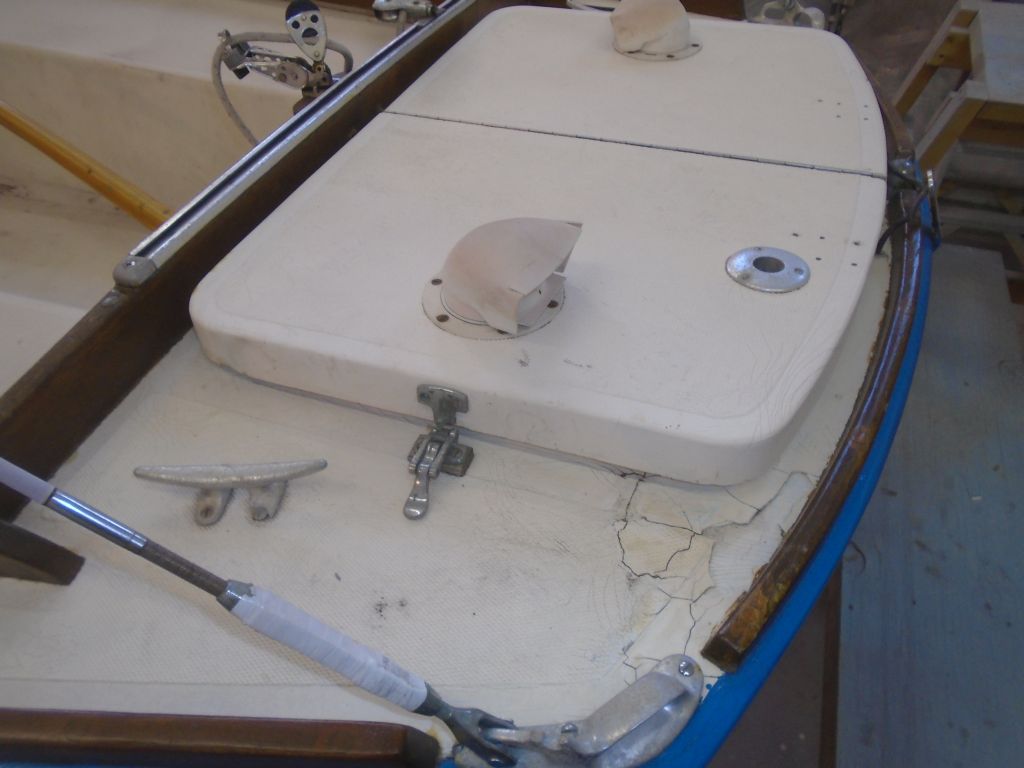
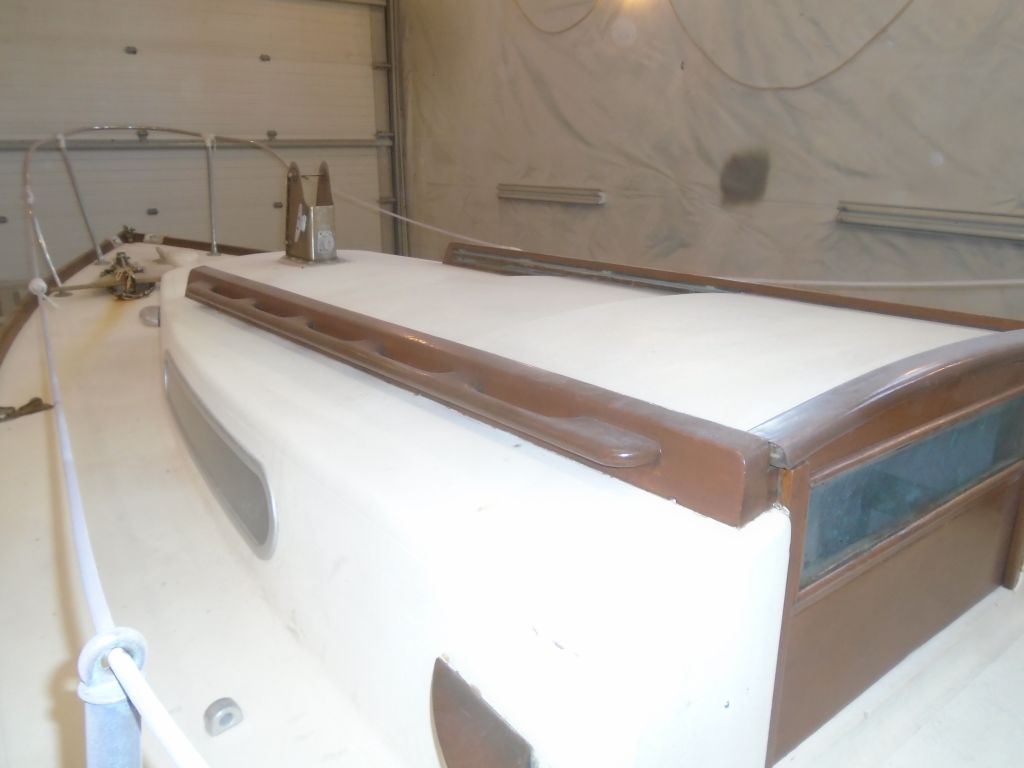
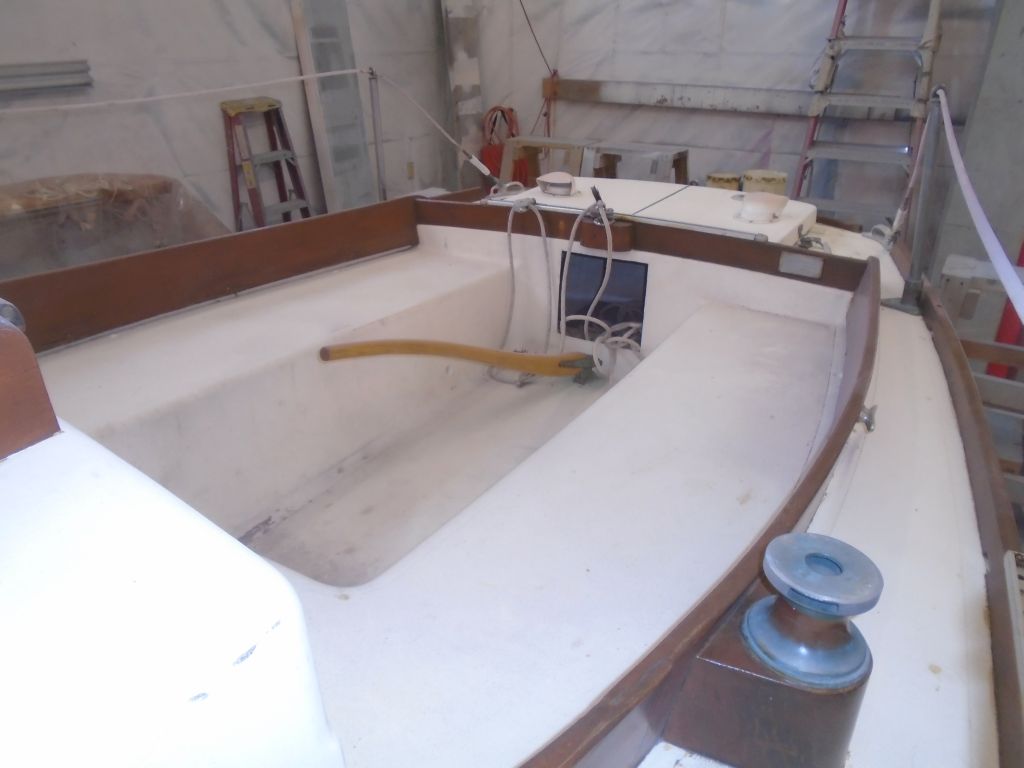
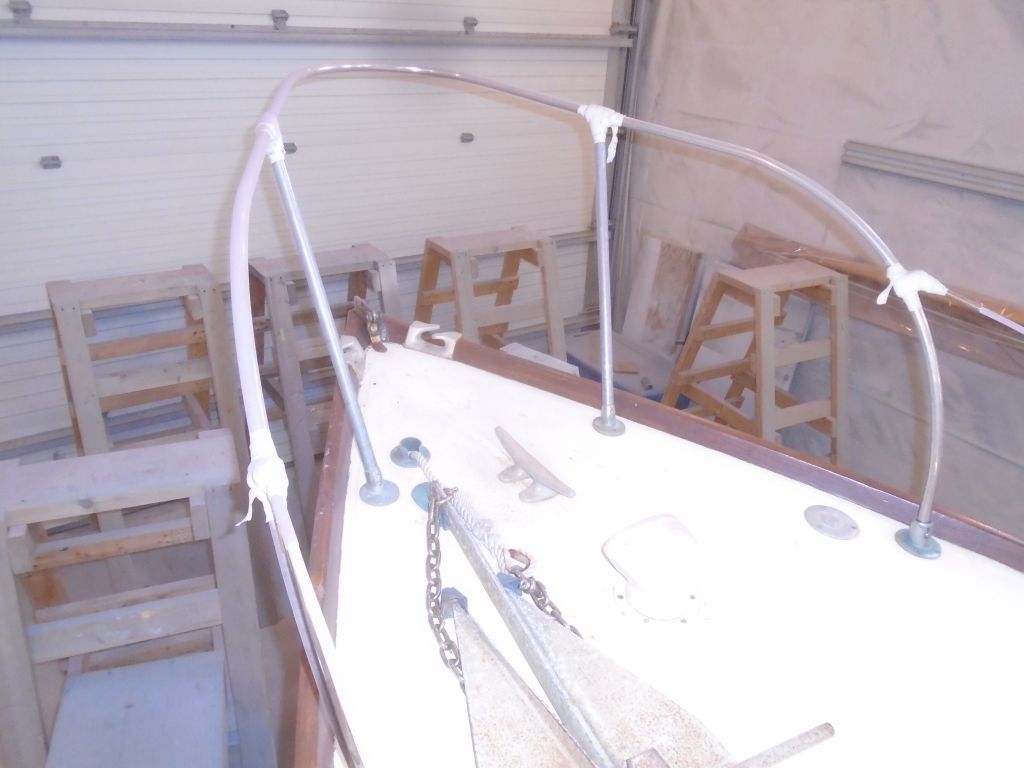
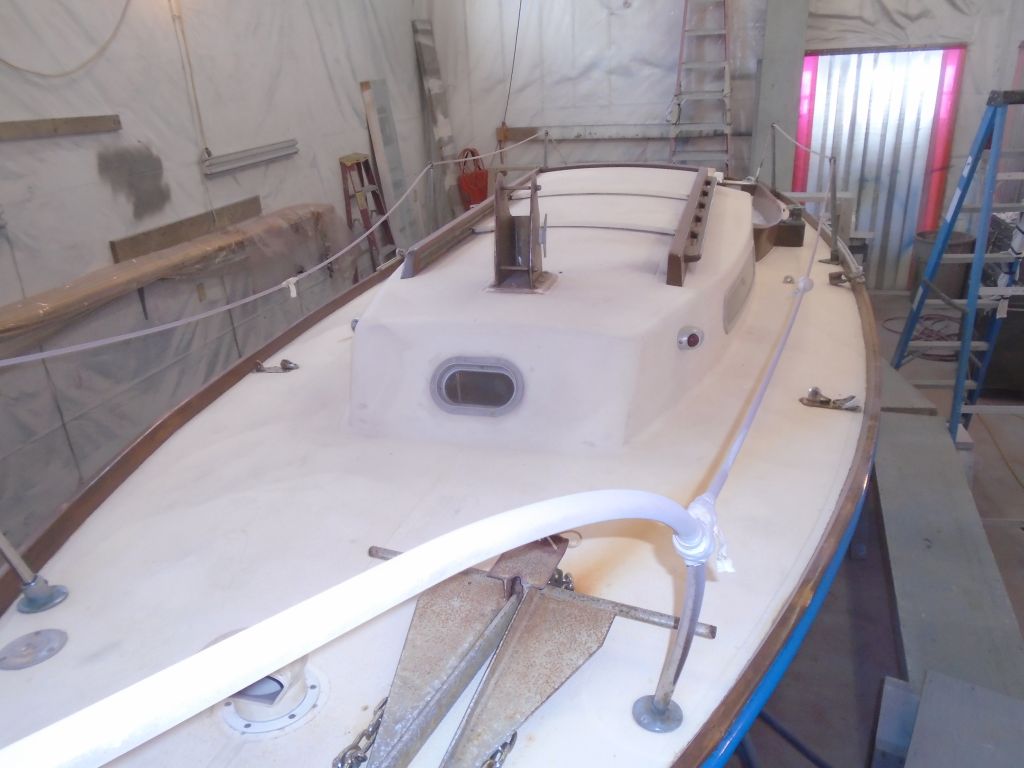
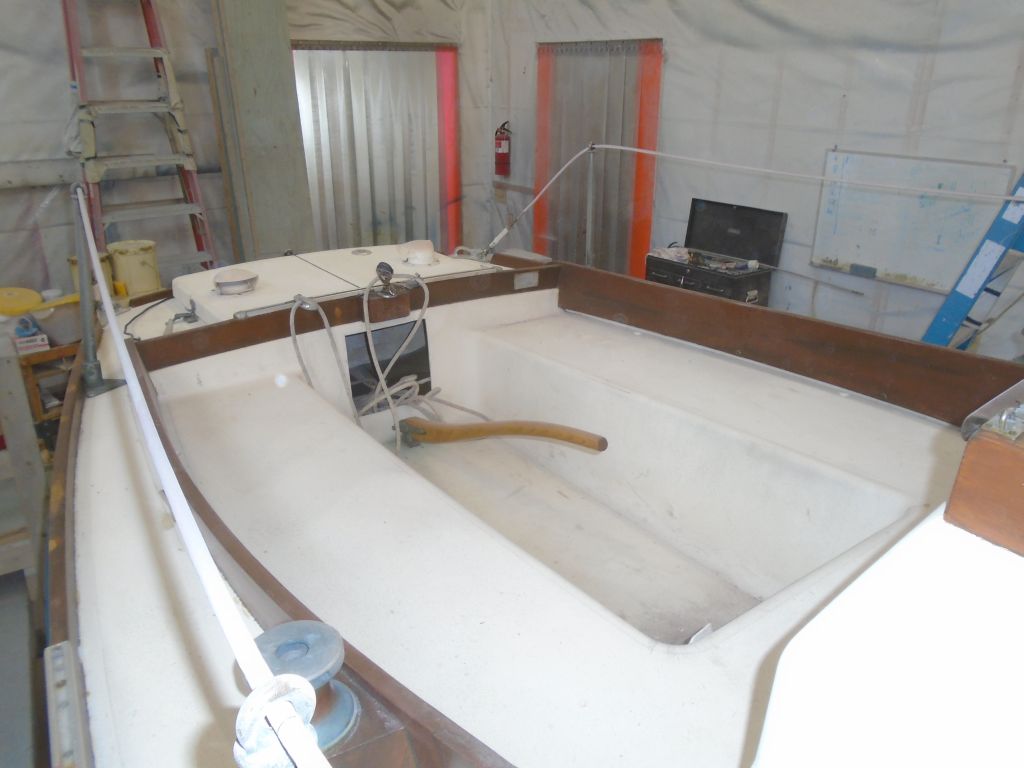
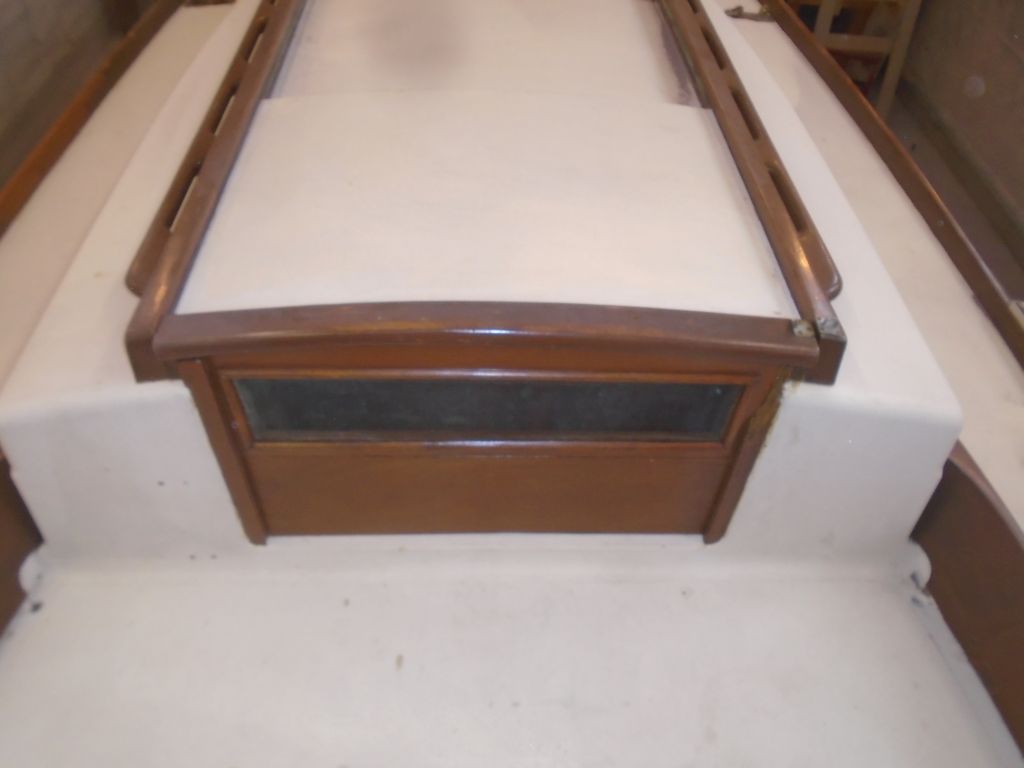
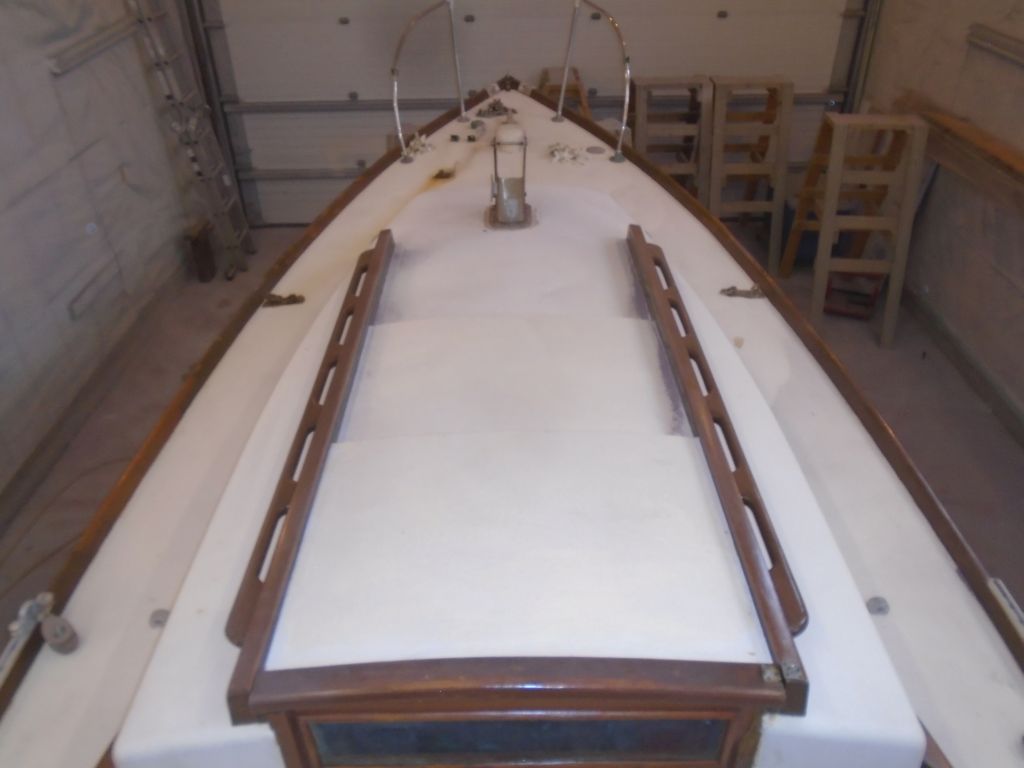
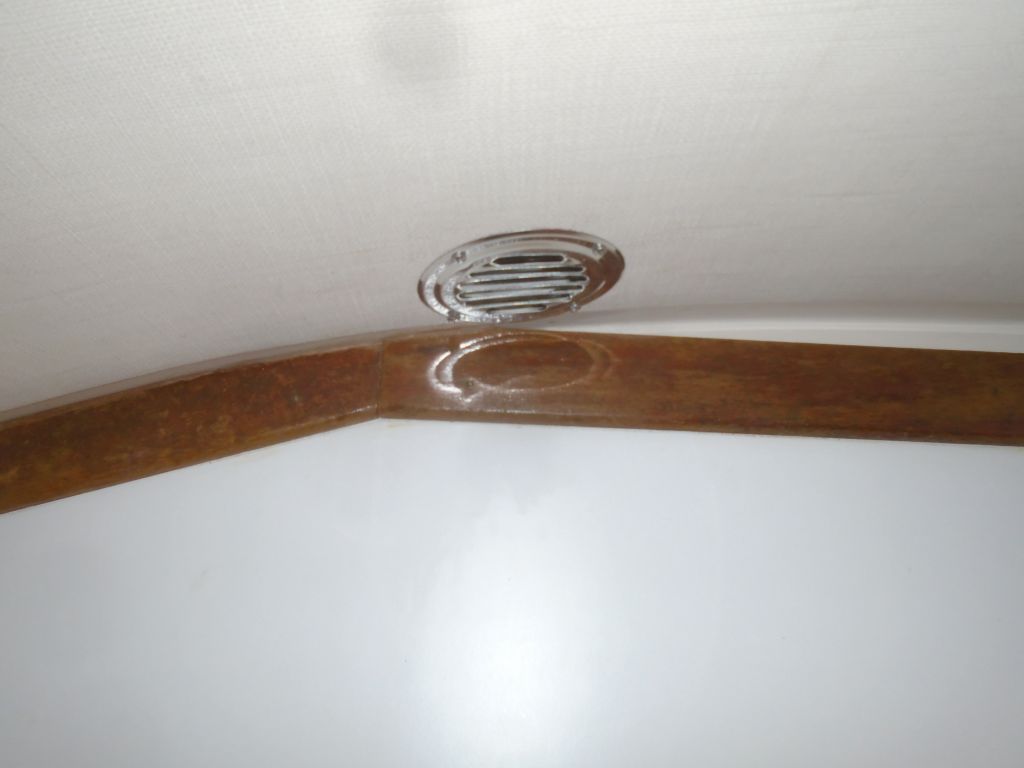
The decks were in original condition, had never been painted, and seemed generally sound overall, but I knew of at least a couple suspect areas I’d identified upon my first inspection of the boat some months ago–specifically the poop deck on either side of the large lazarette hatch. Now, I went over the entire deck with a sounding hammer and drill to determine the condition of the remaining areas and seek out other areas requiring further structural attention.
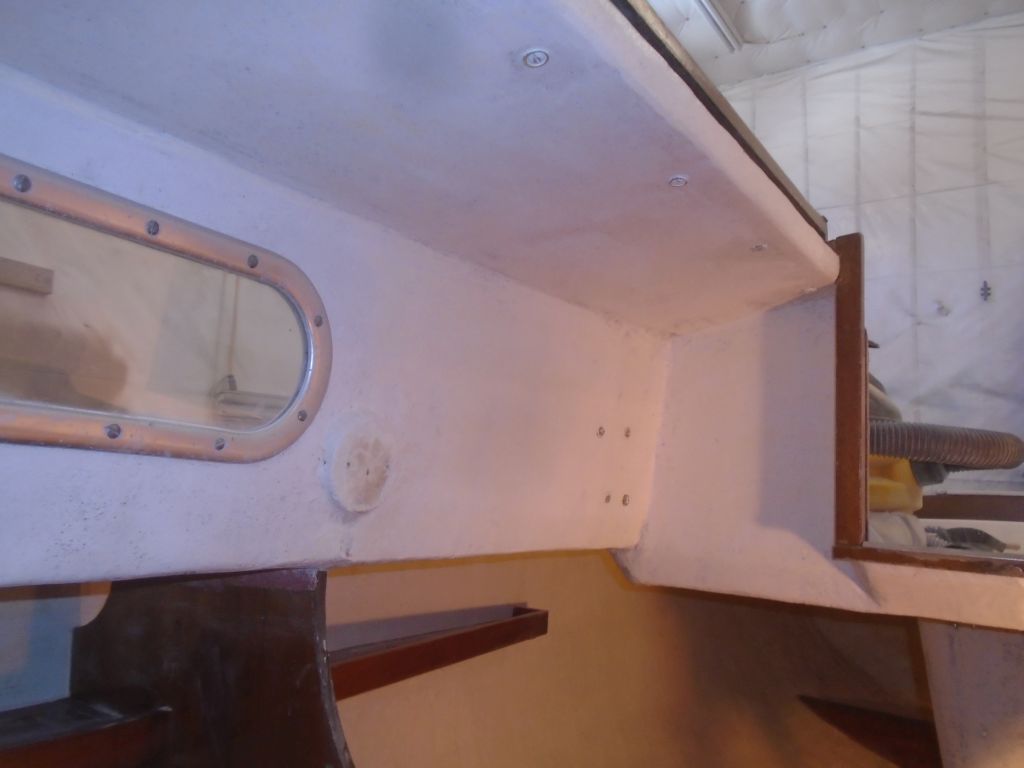
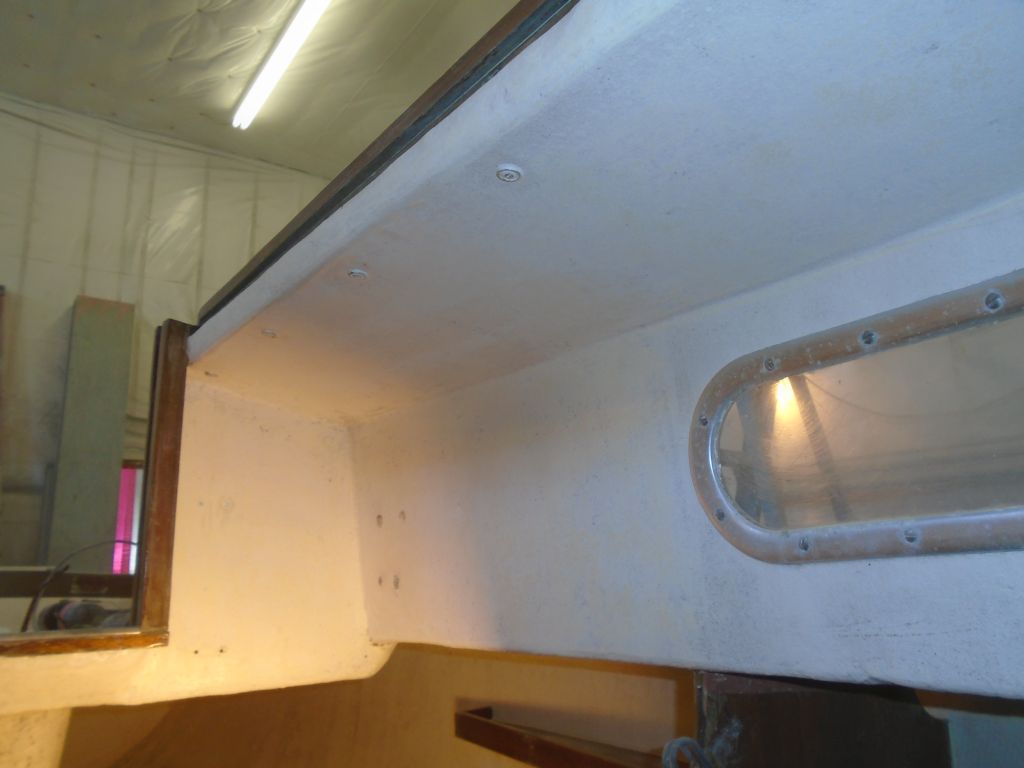
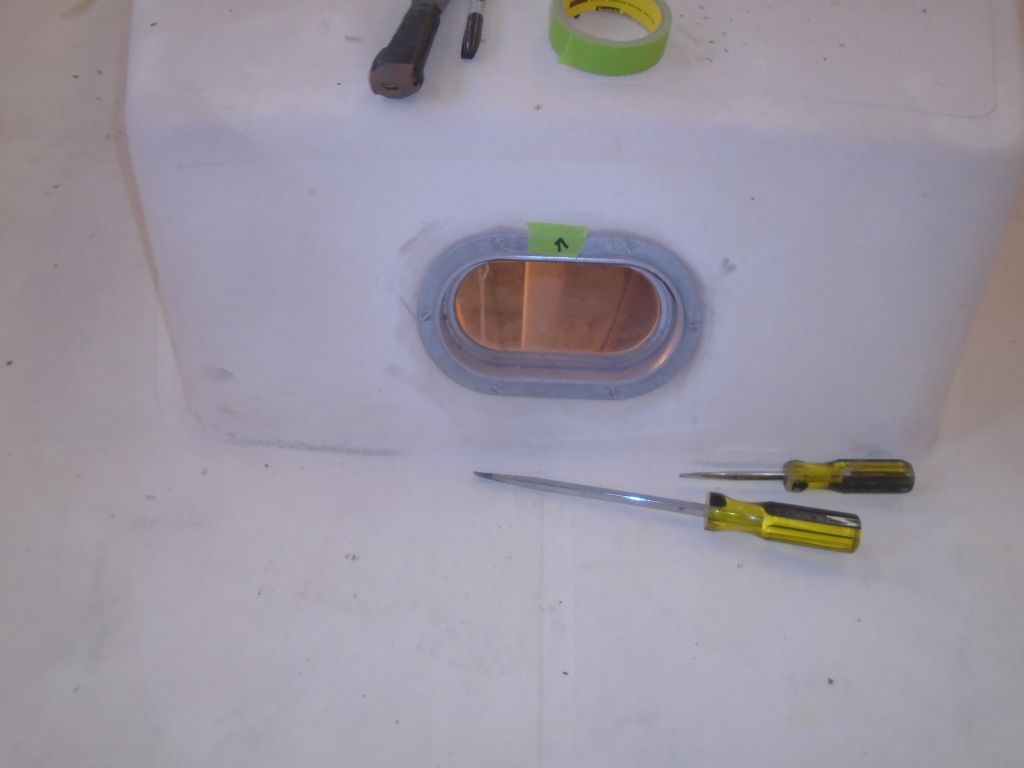
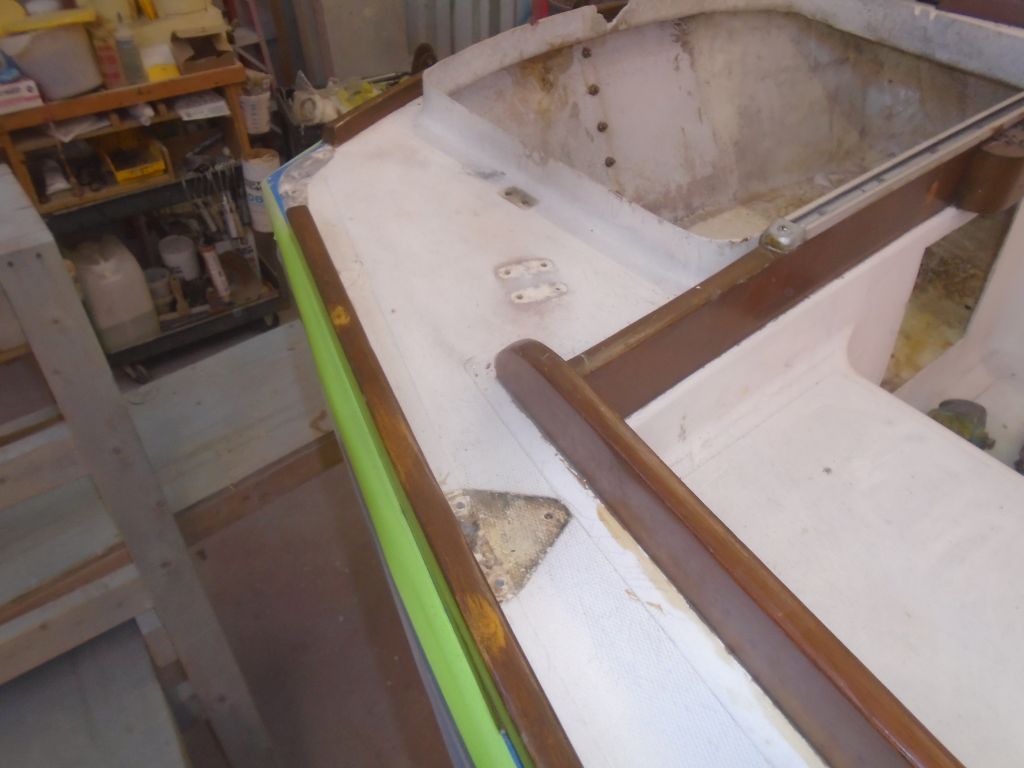
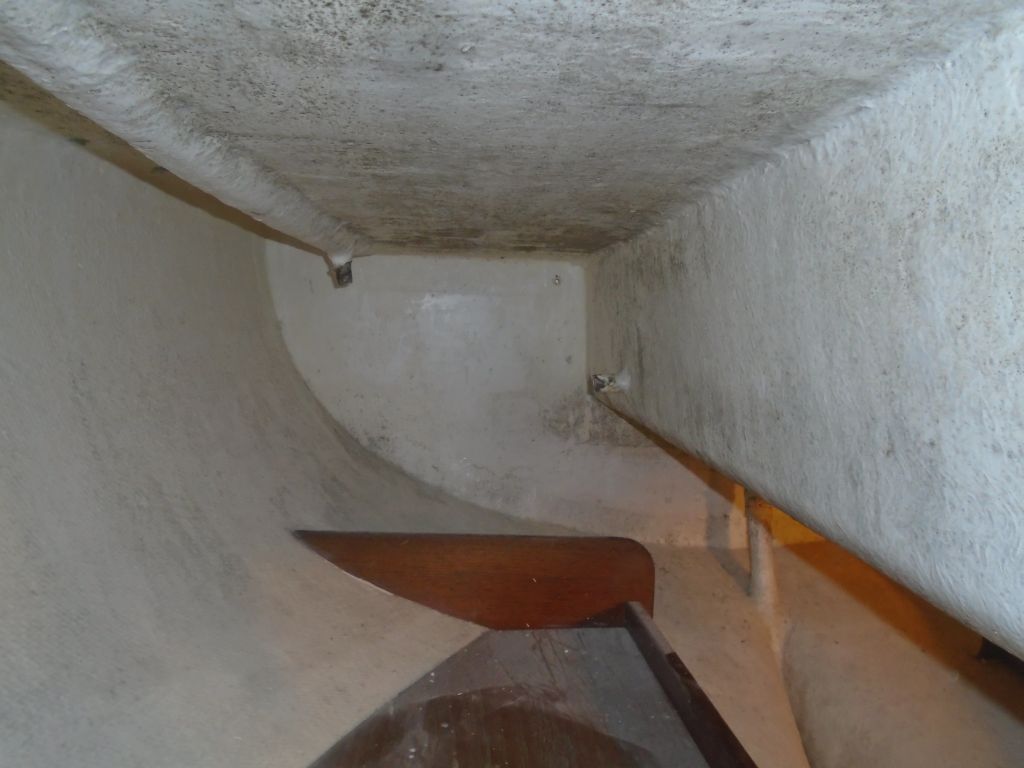
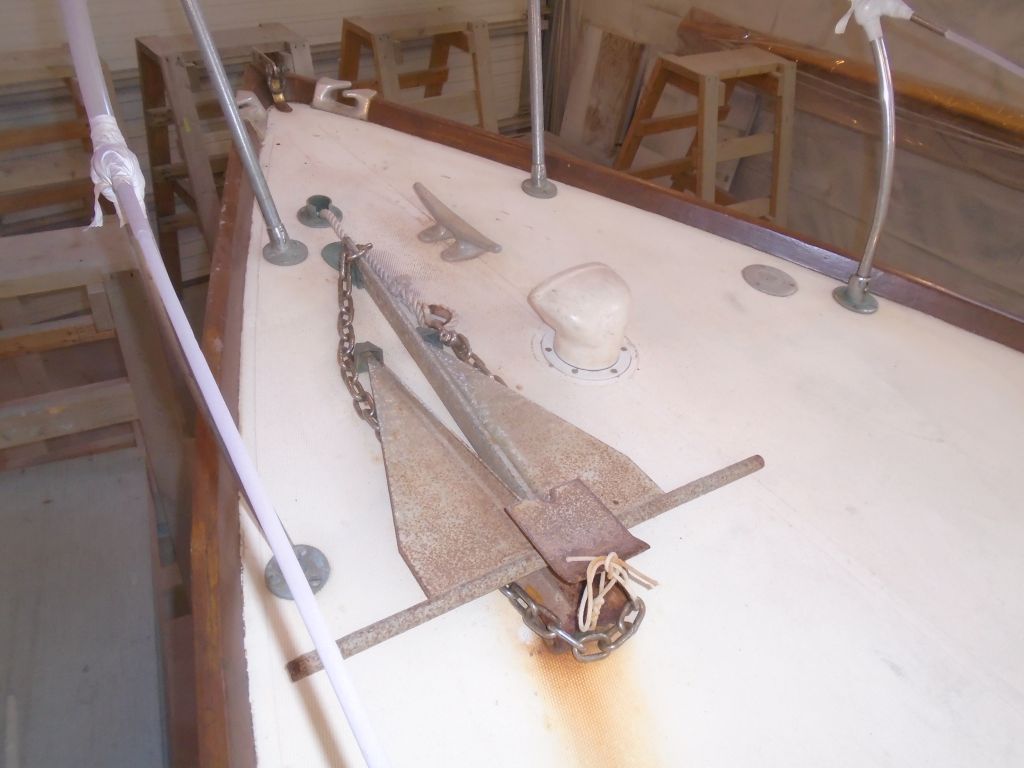
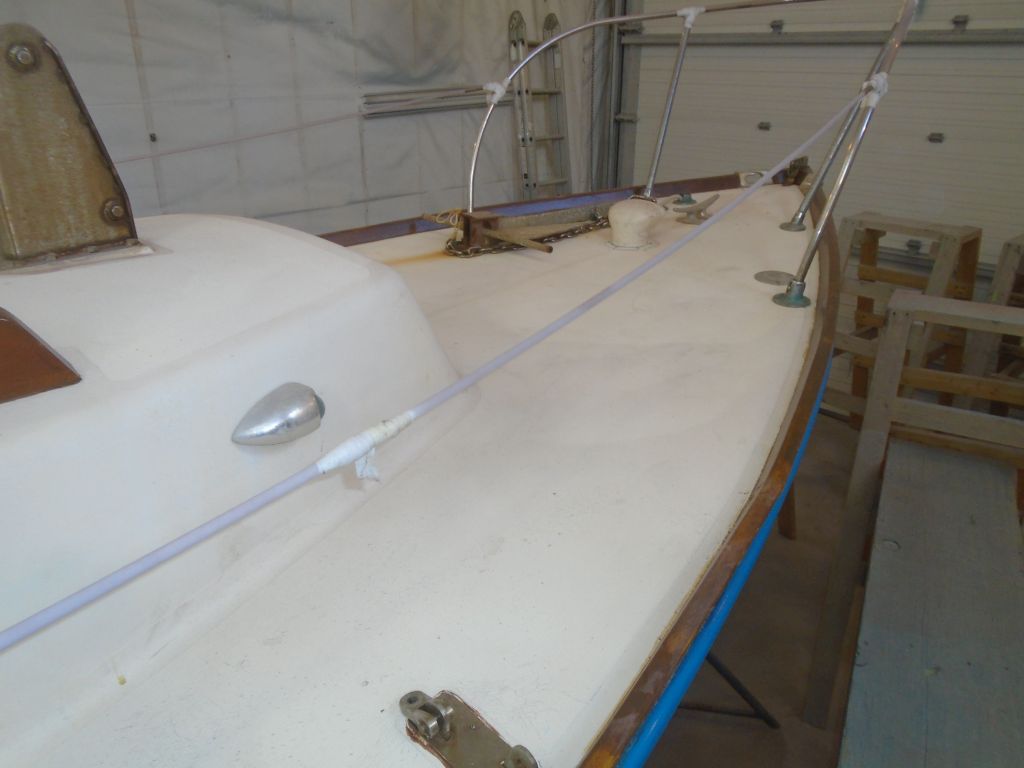
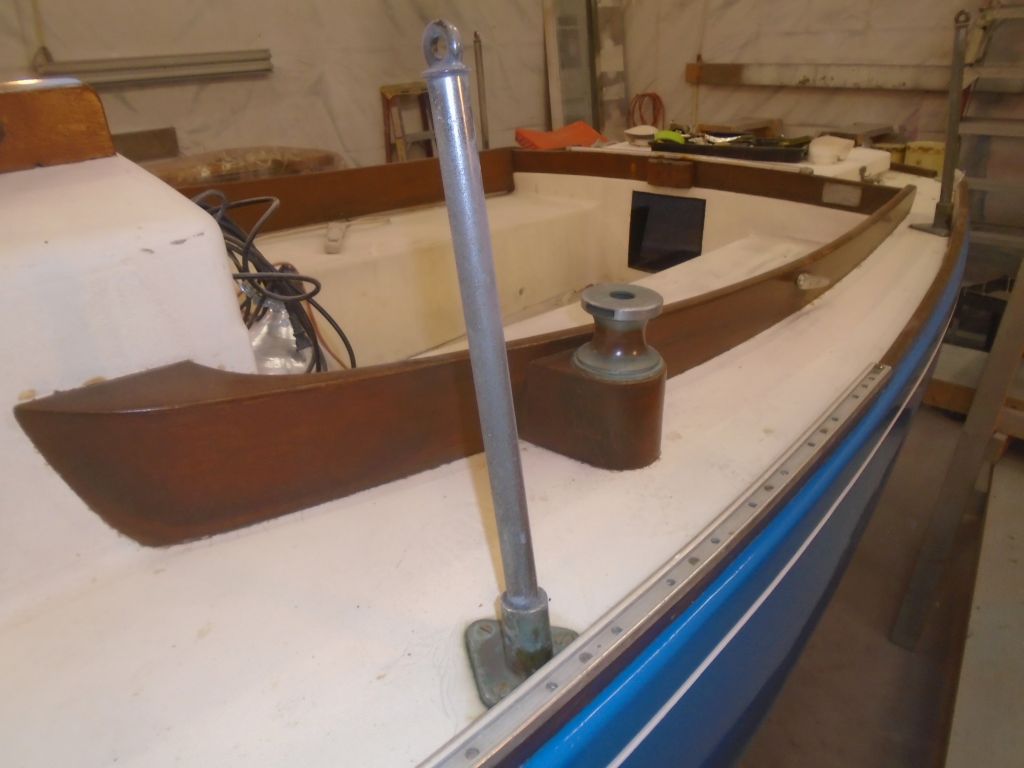
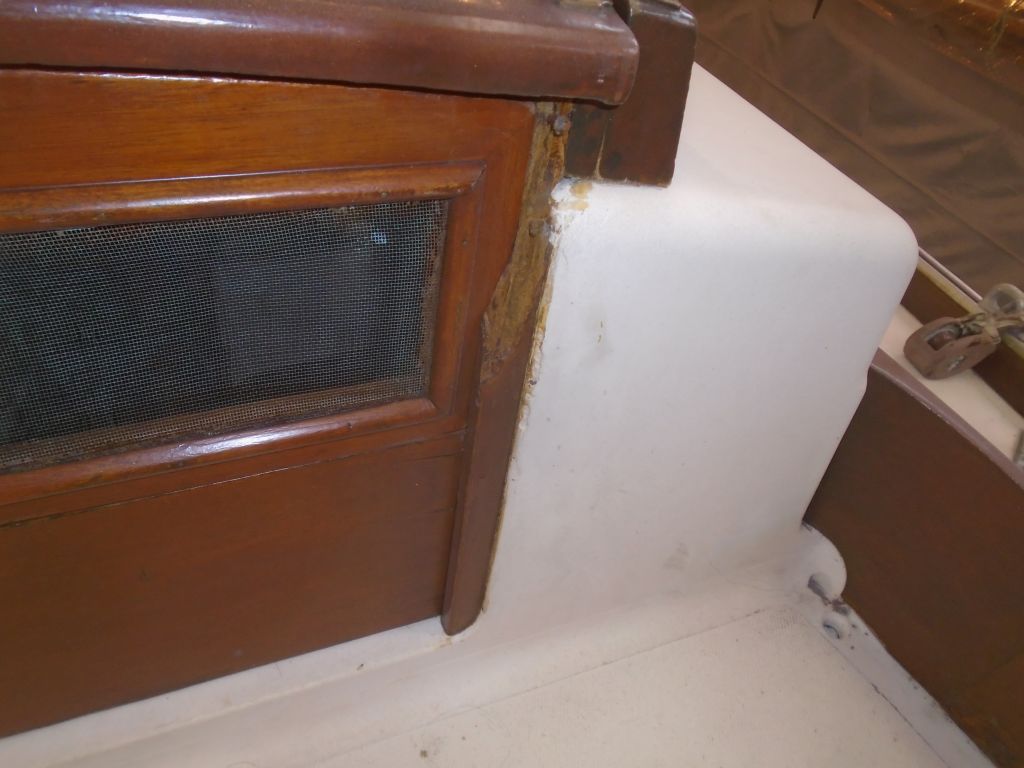
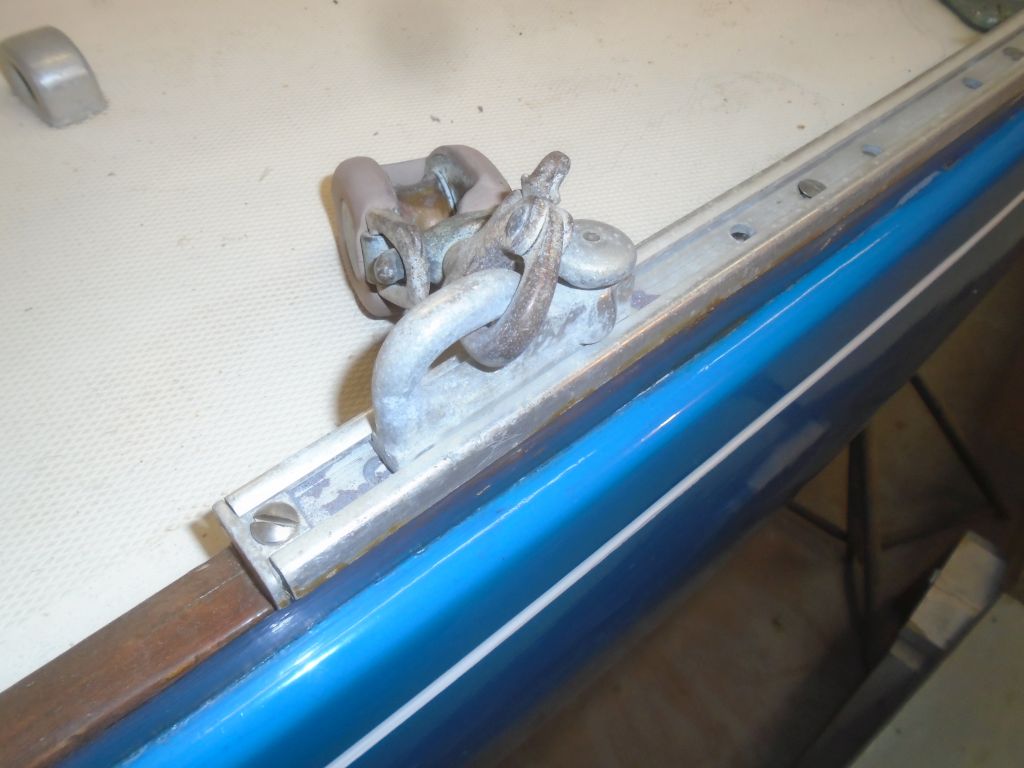
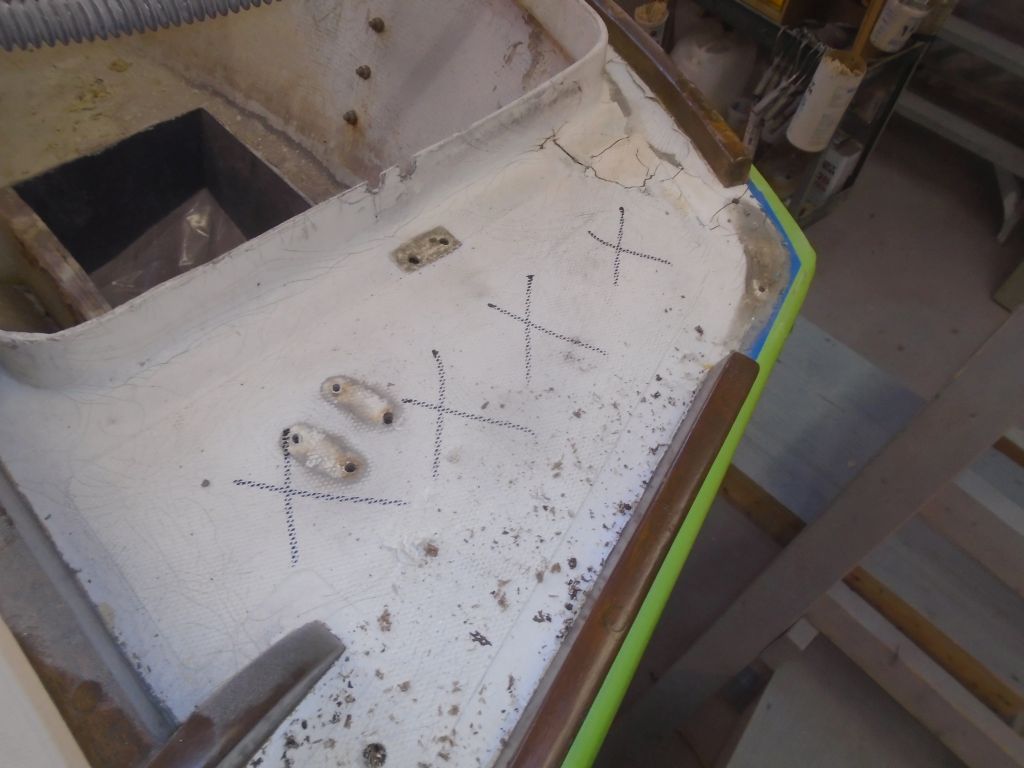
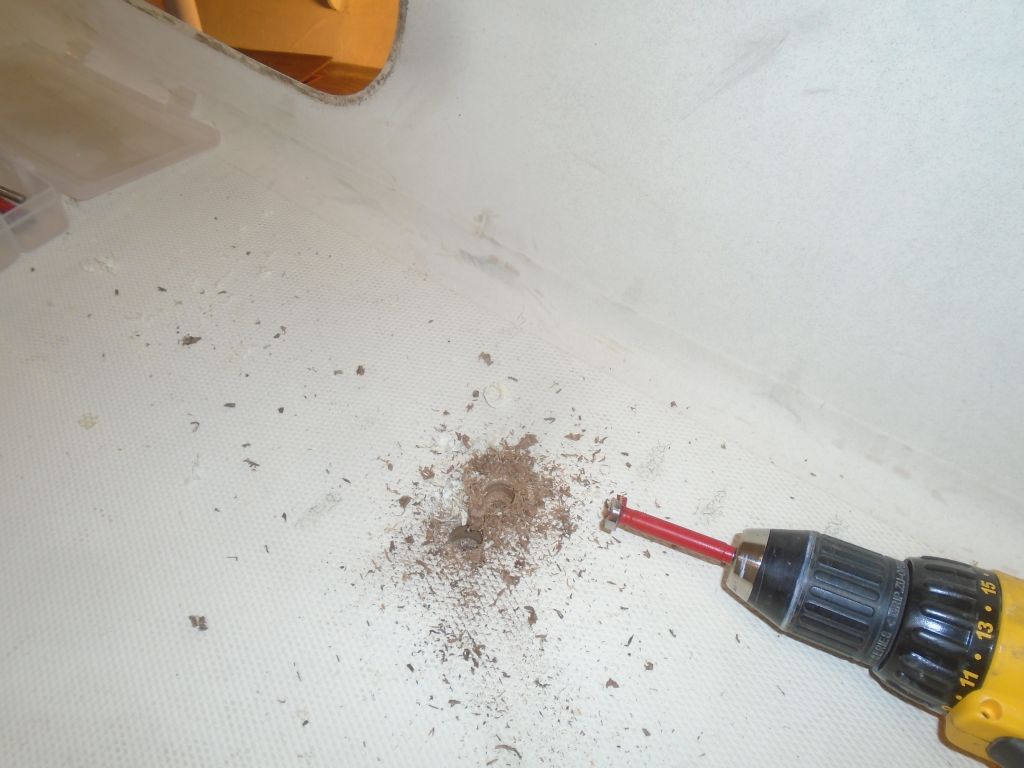
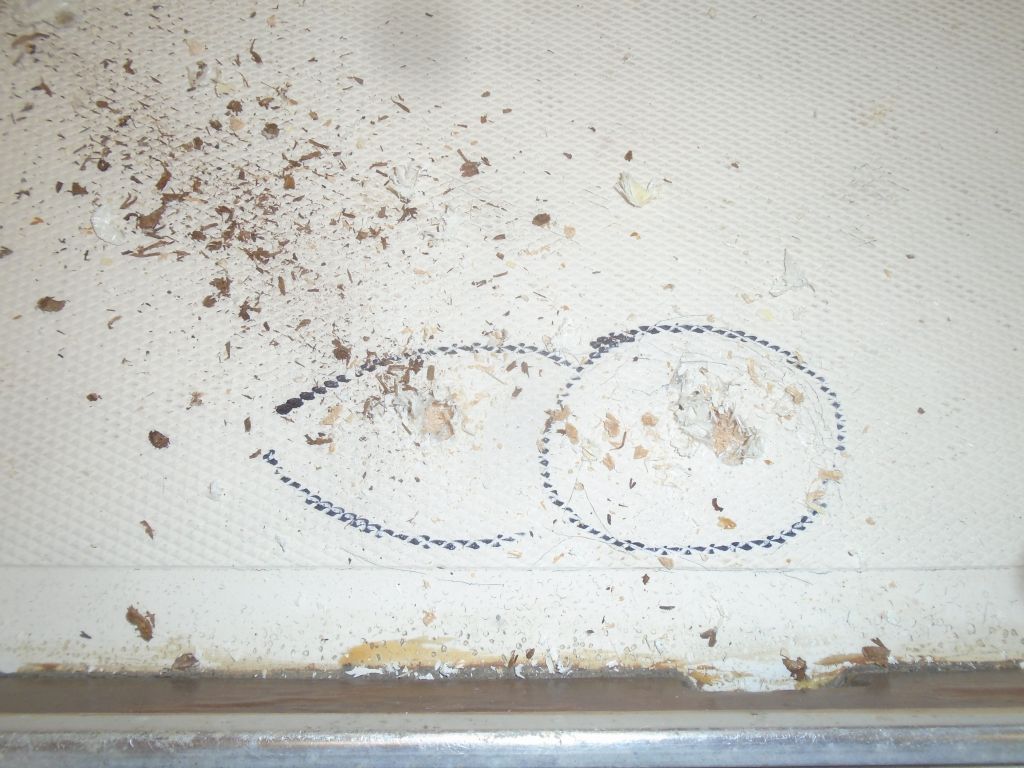
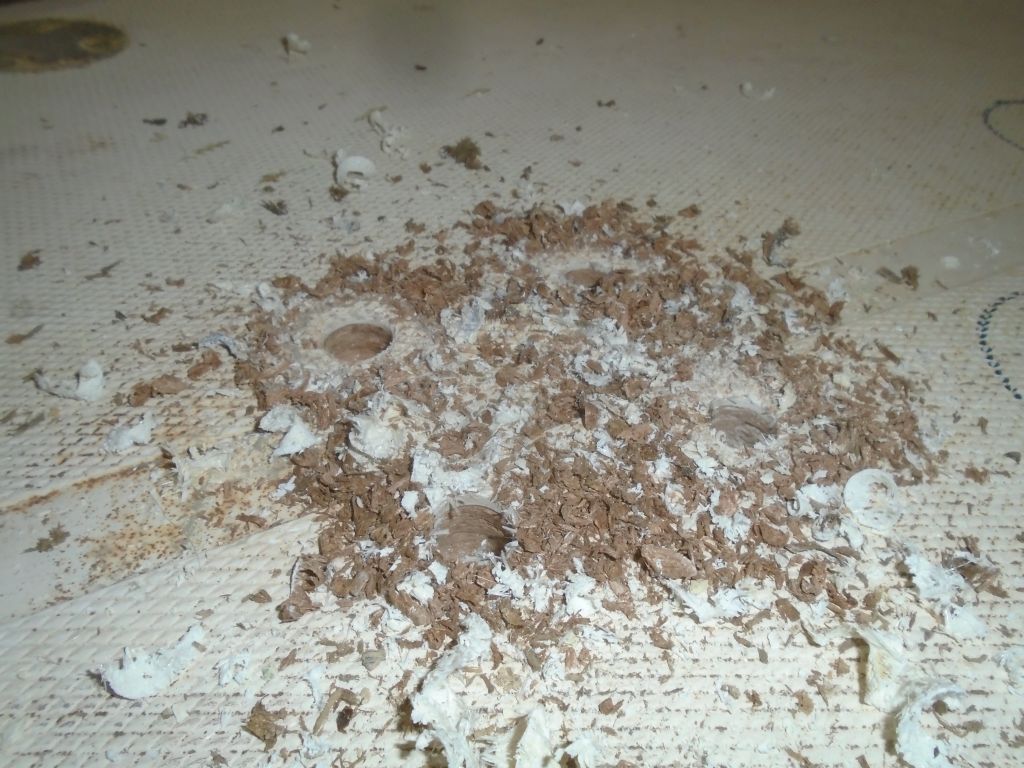
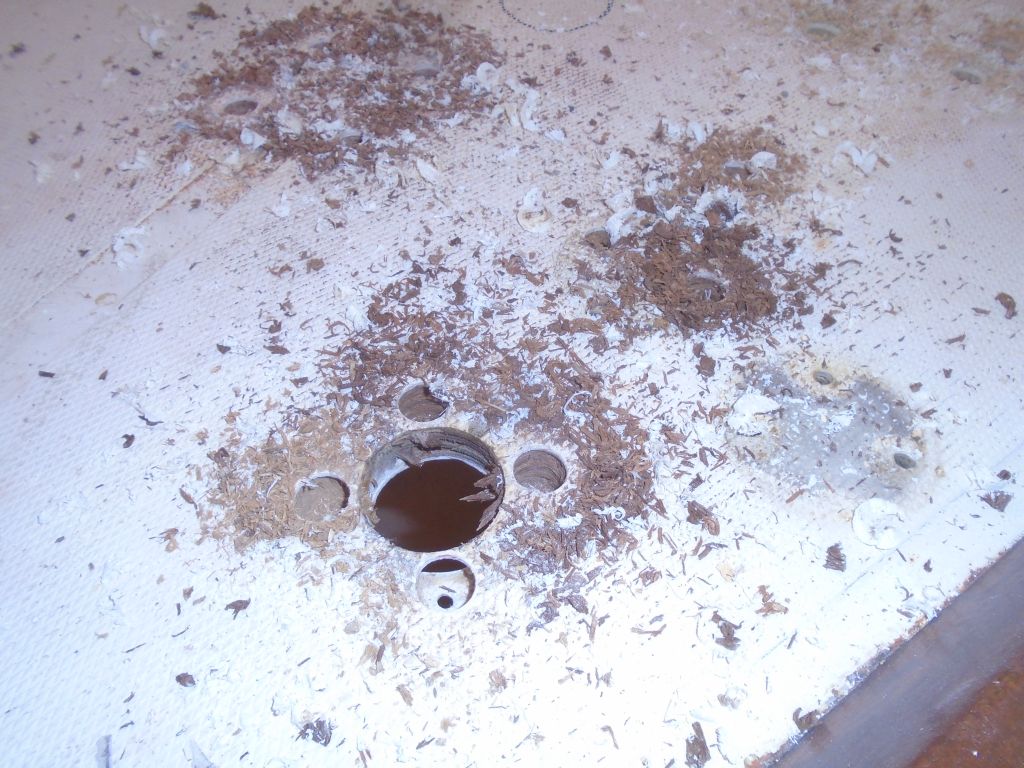
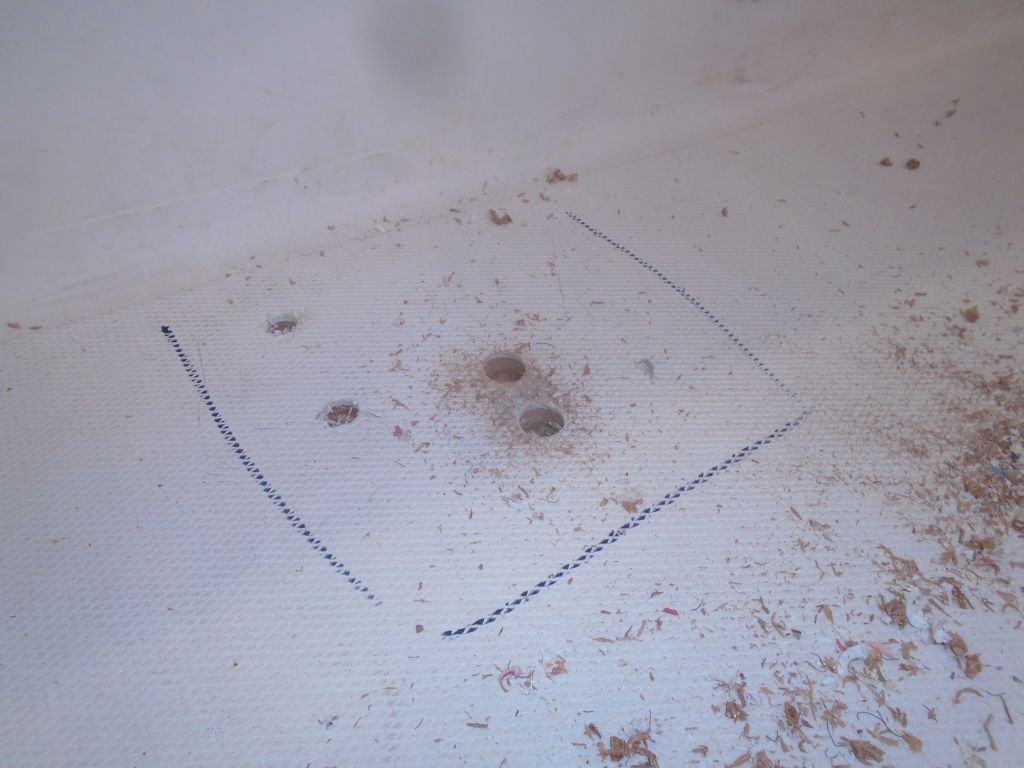
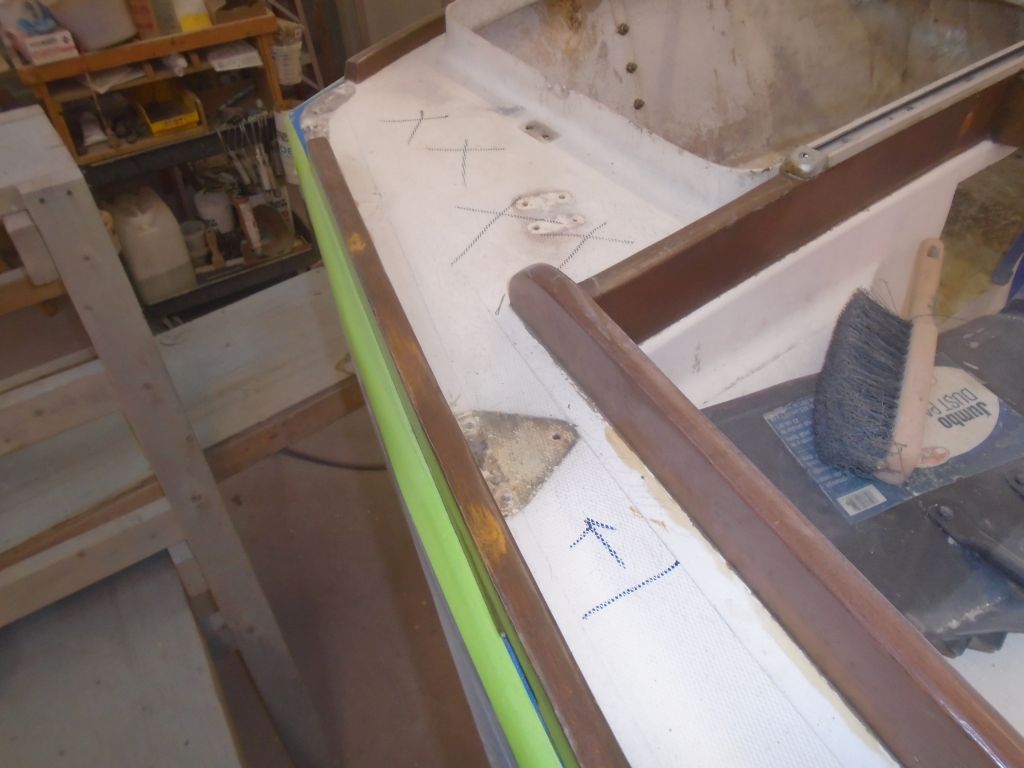
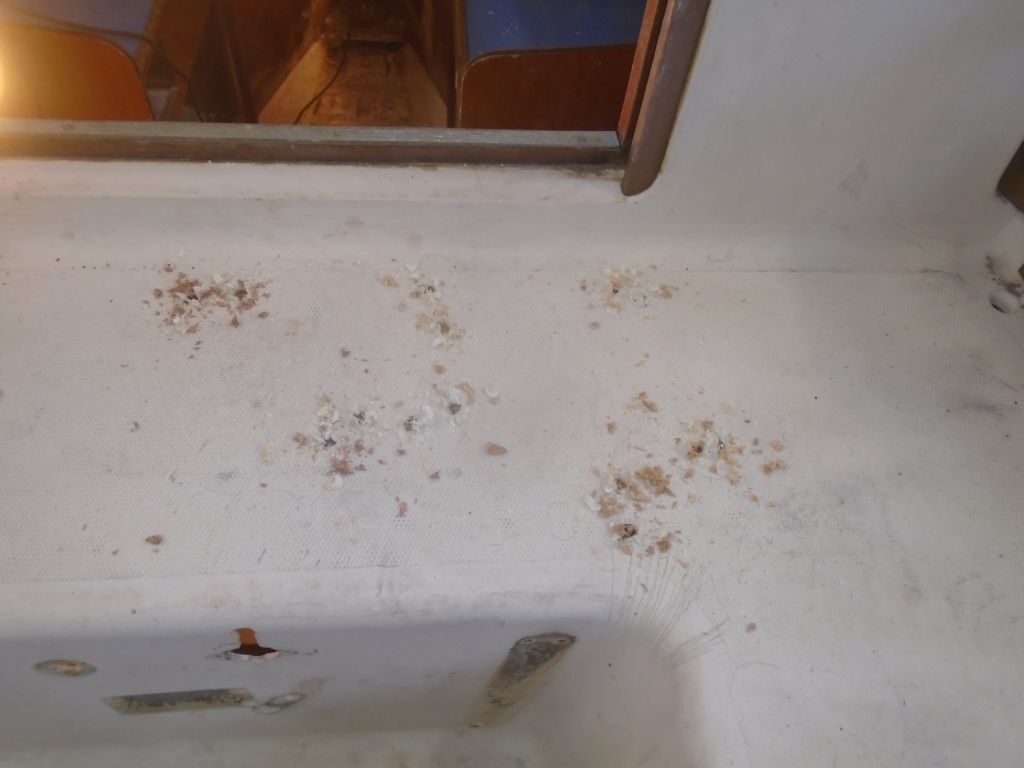
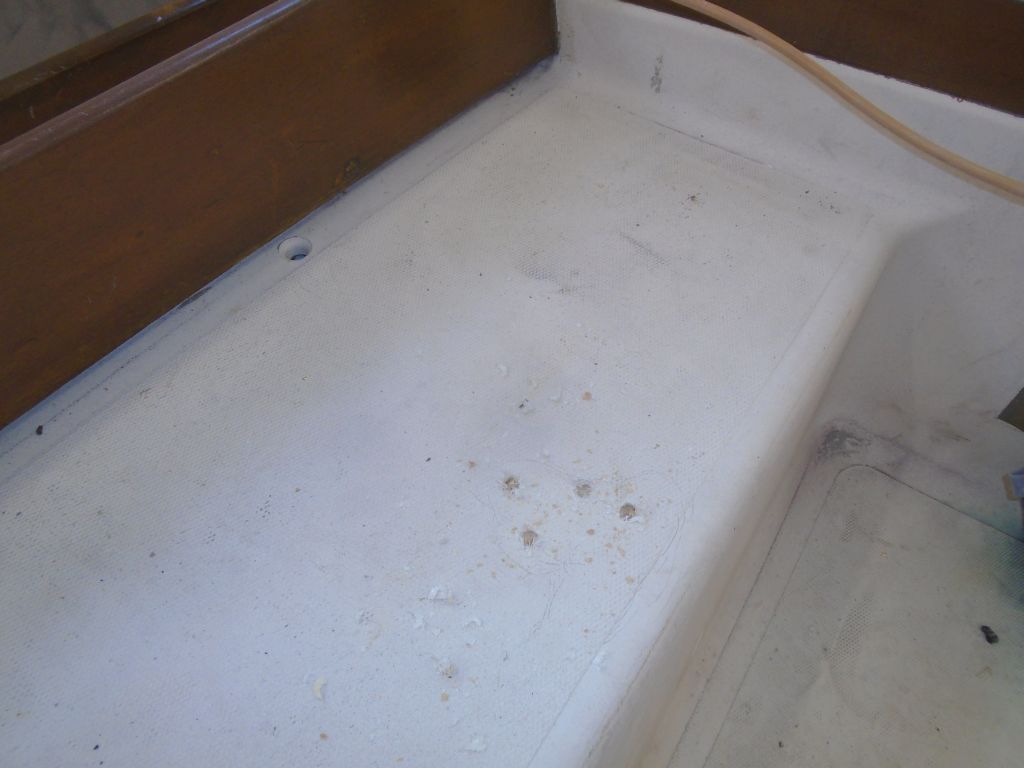
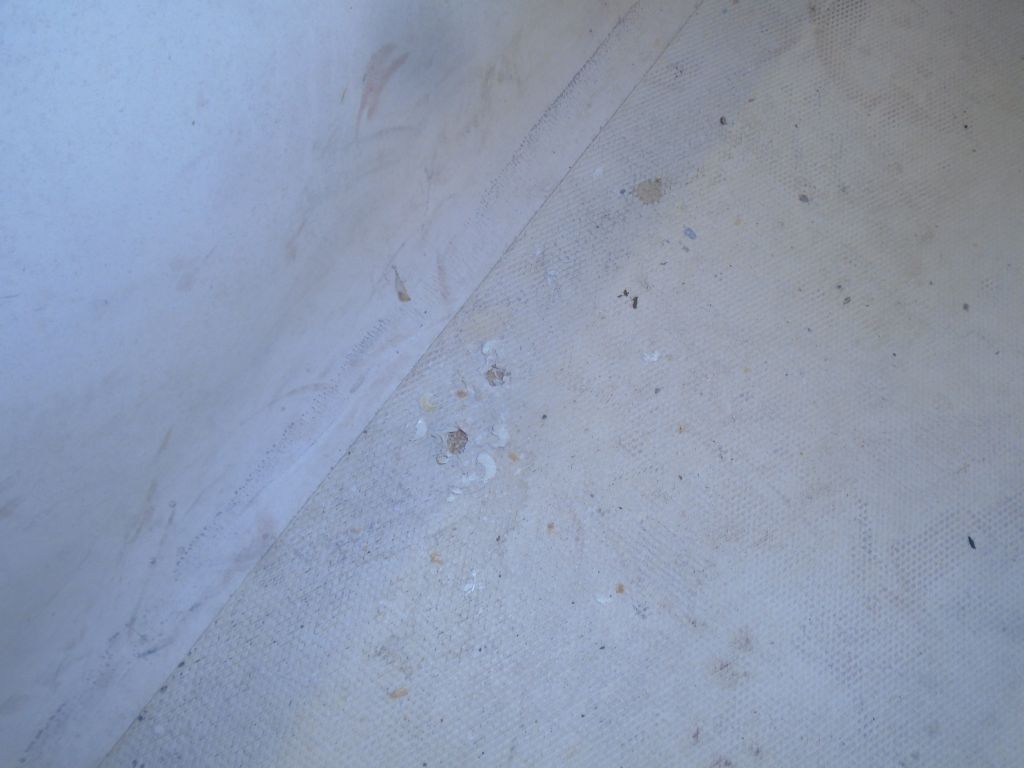
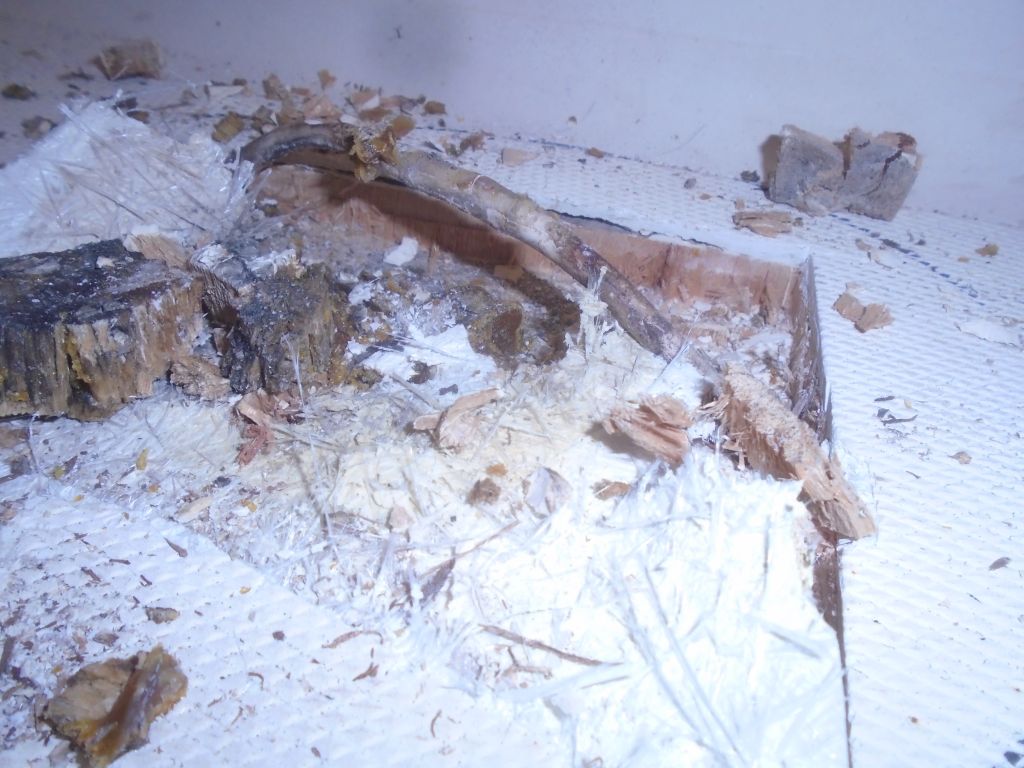
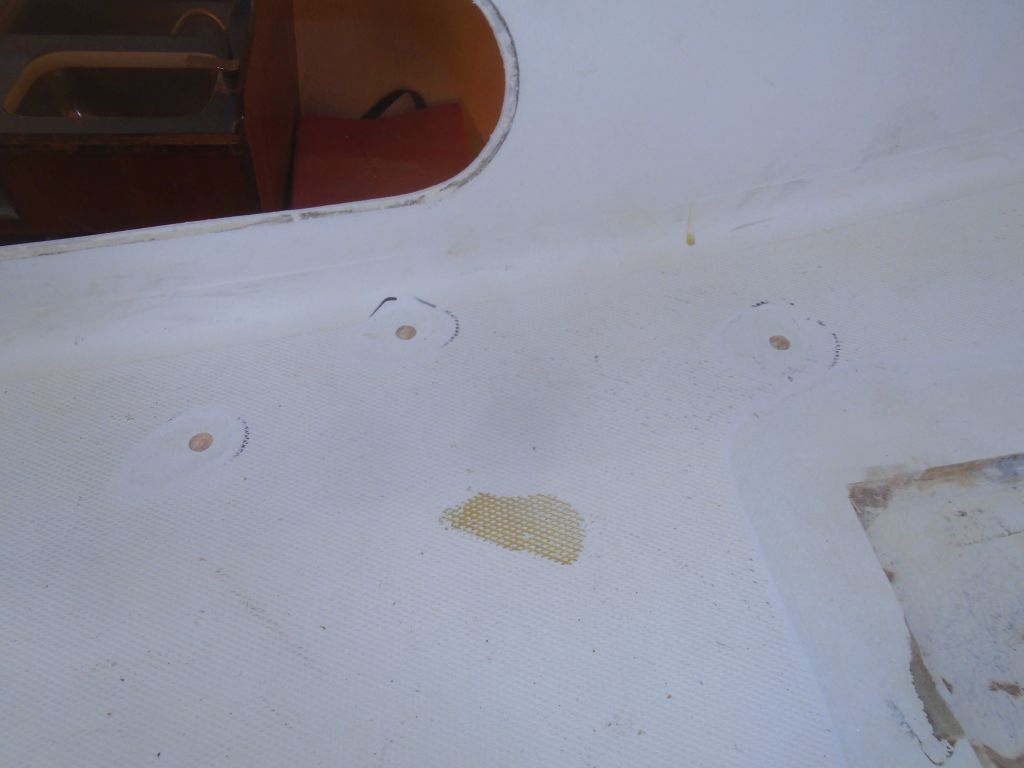
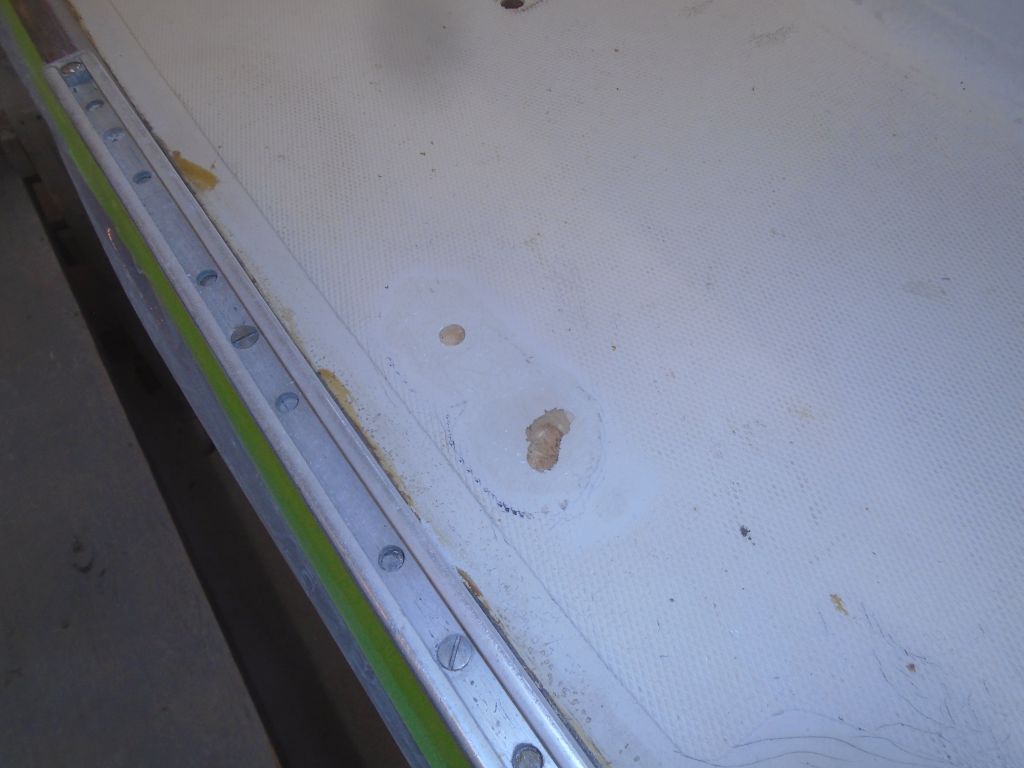
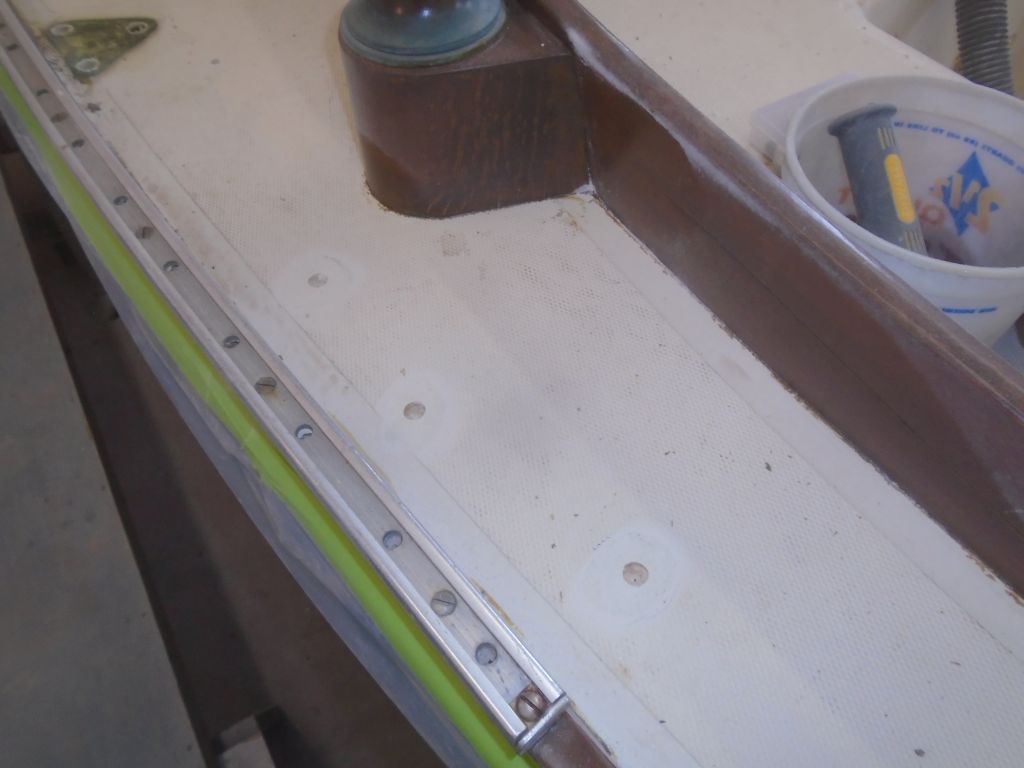
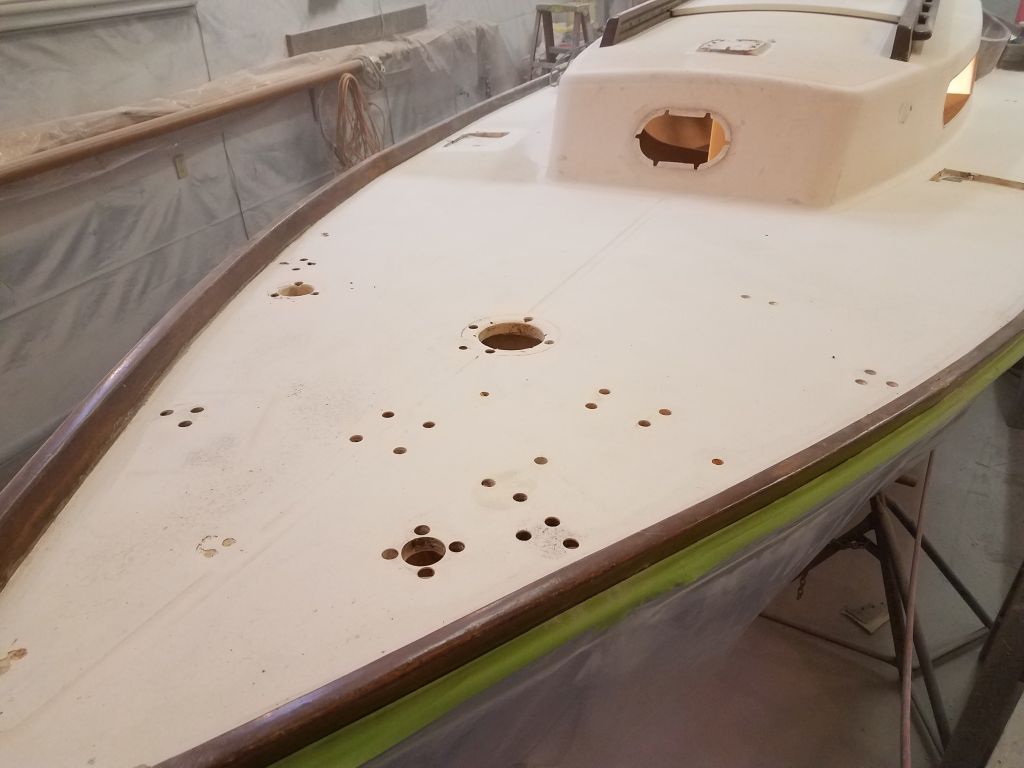
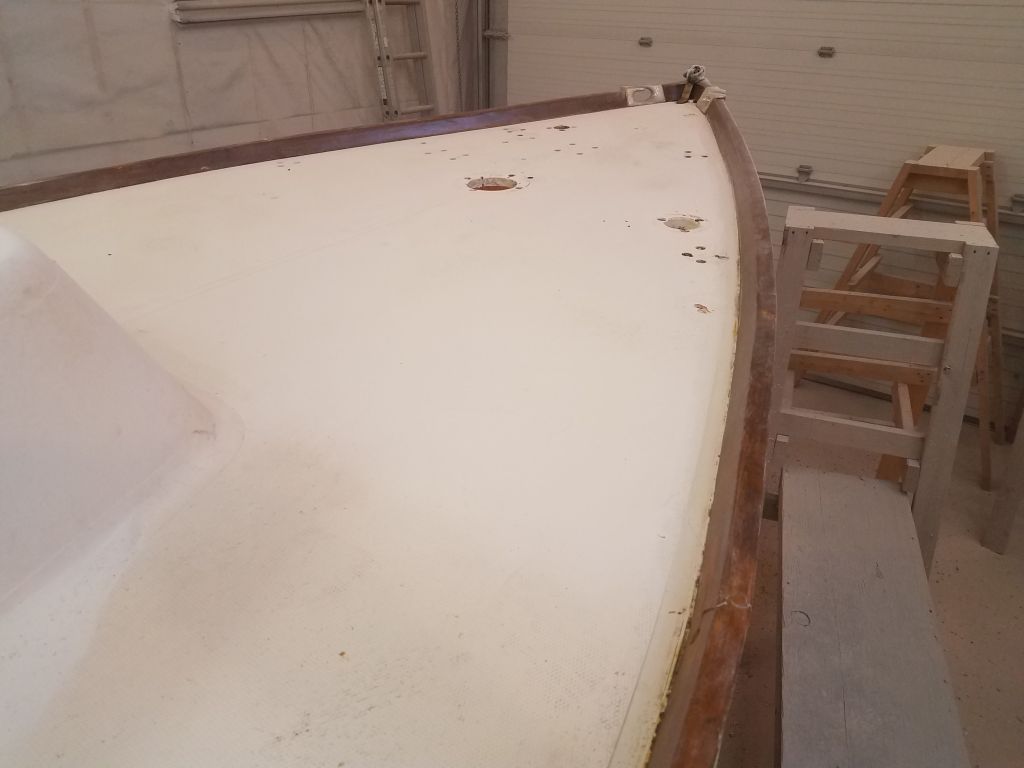
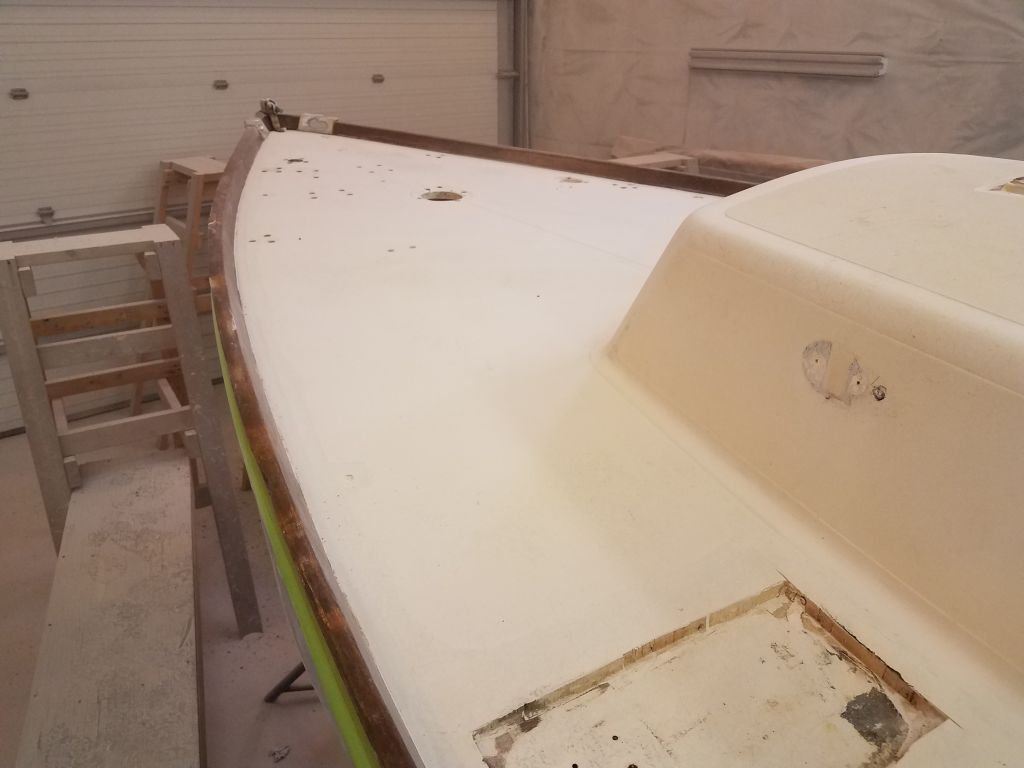
Sounding results in most areas were good, with no issues indicated. There were any number of small construction voids, or latent defects, where the top deck skin was not–and probably never had been–properly bonded to the core beneath. In these areas, I drilled a hole to ensure that the core itself was in good condition, and to allow me to inject a small amount of epoxy during a later step to rebond the area and fill the voids. One area in particular–the port sidedeck near cabin trunk in way of the chainplates–showed significant deck cracking and a more substantial void beneath, which was obvious later when I opened up the deck there. This sort of failure is common in boats of older construction.
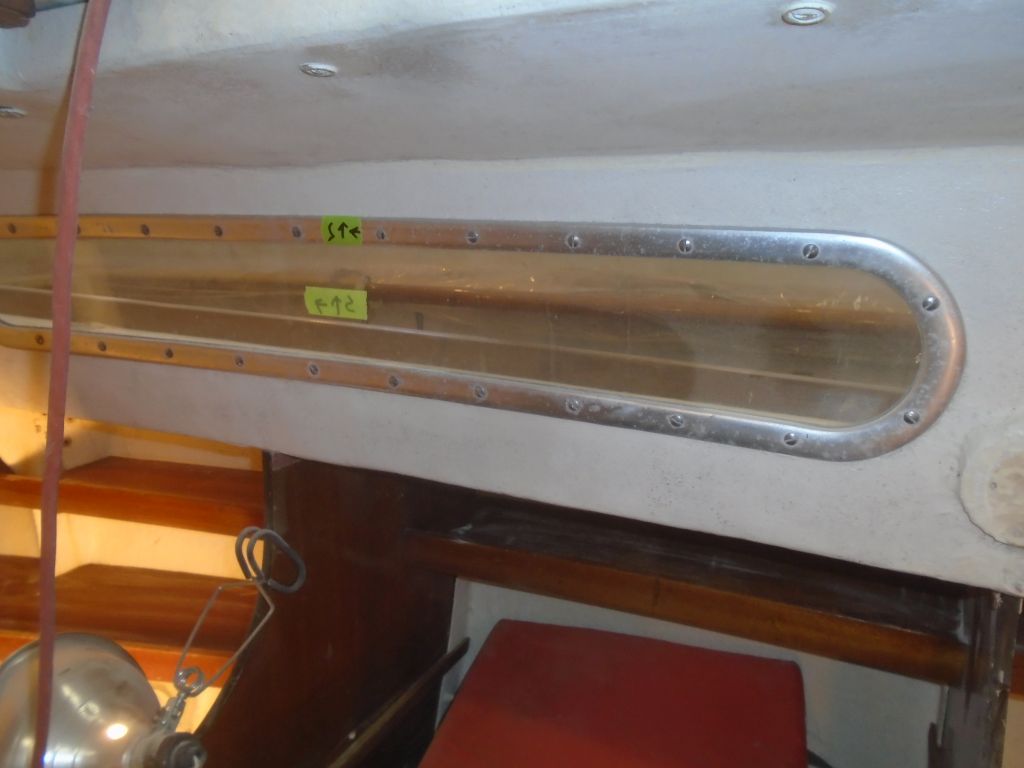
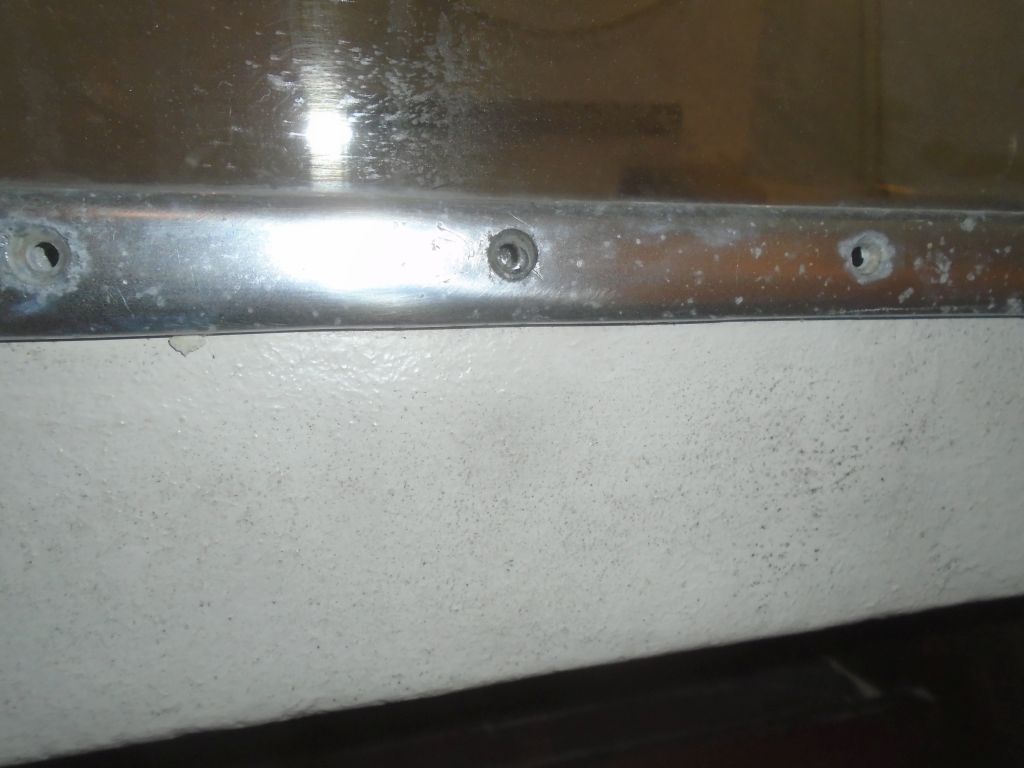
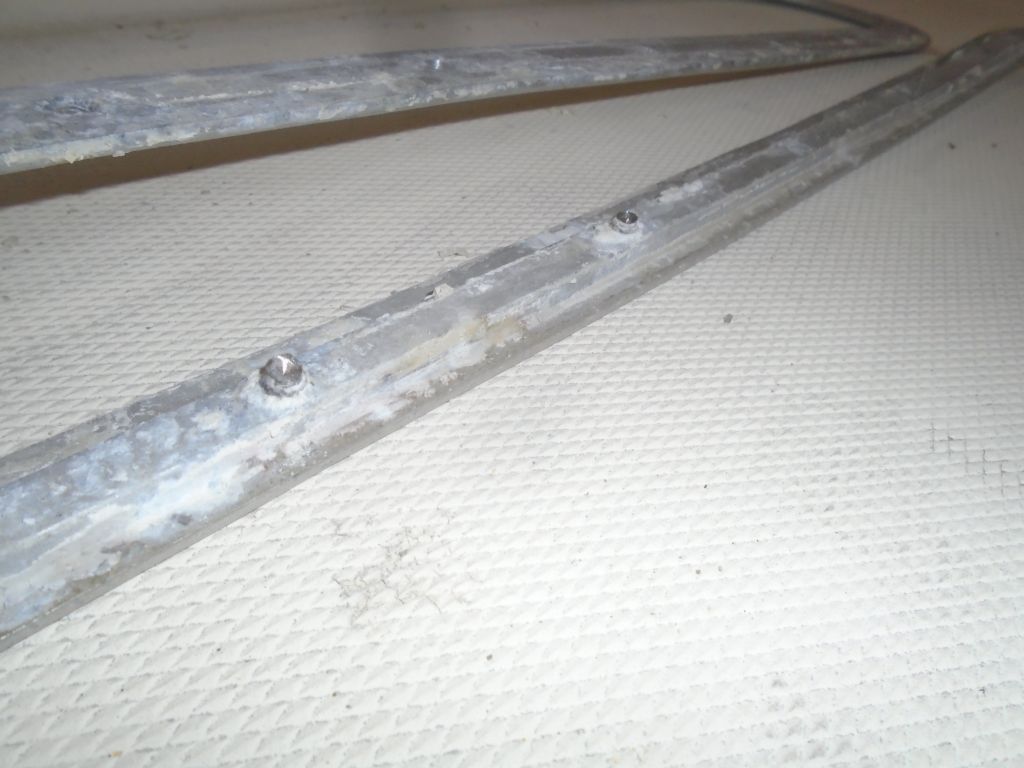
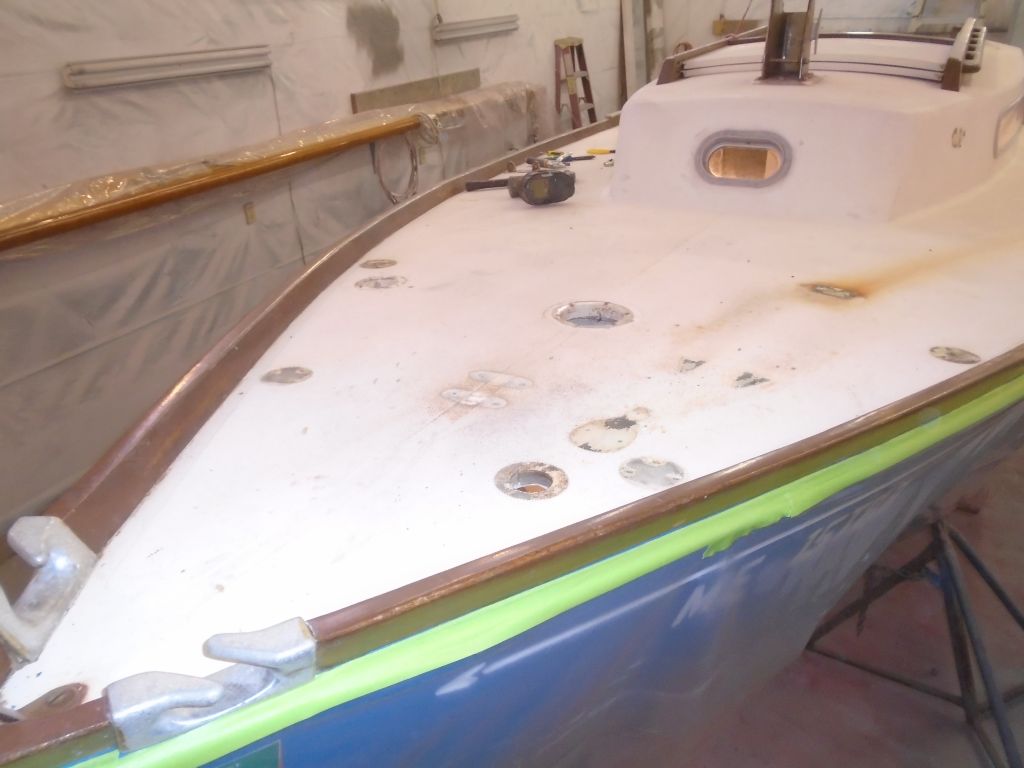
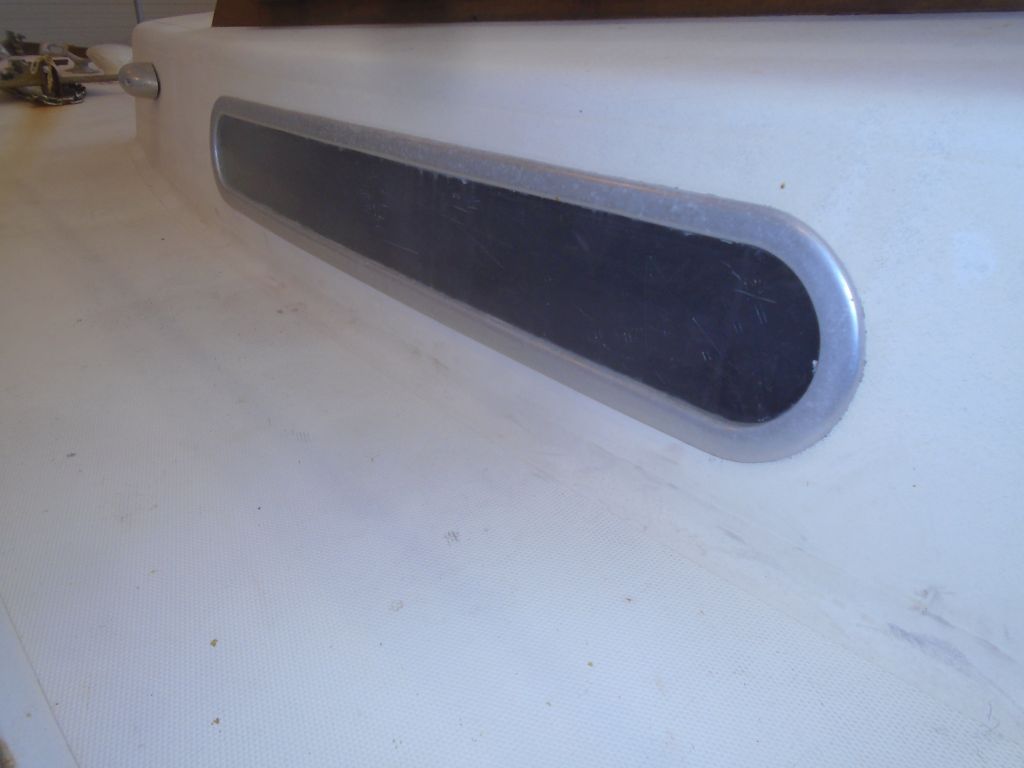
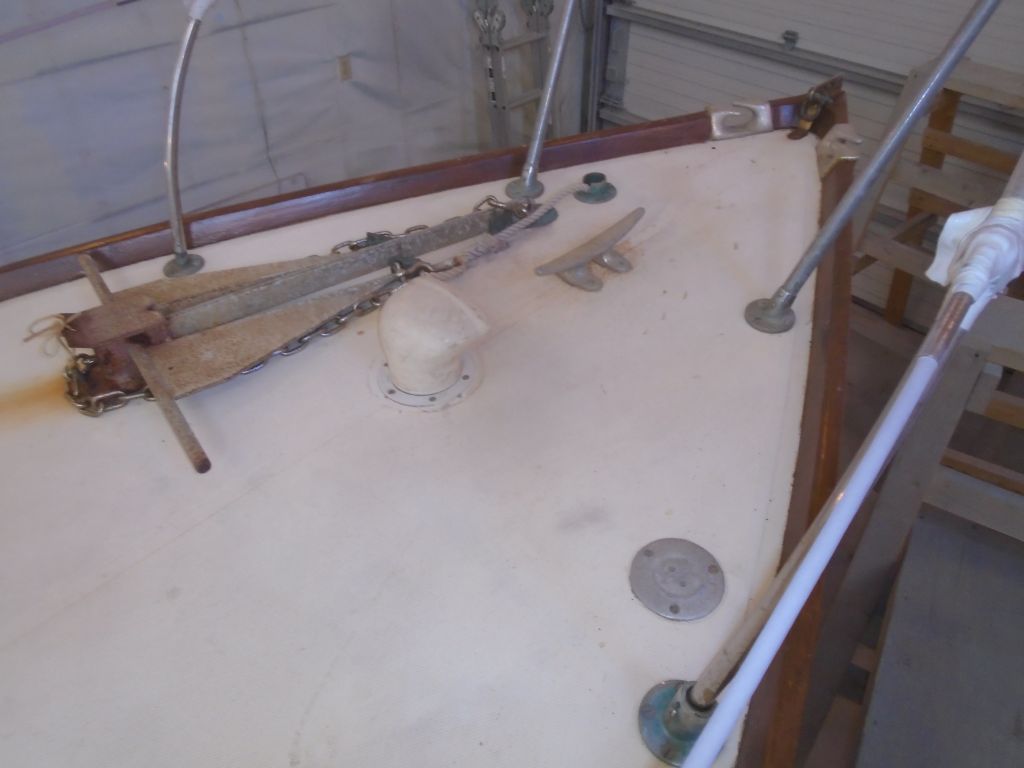
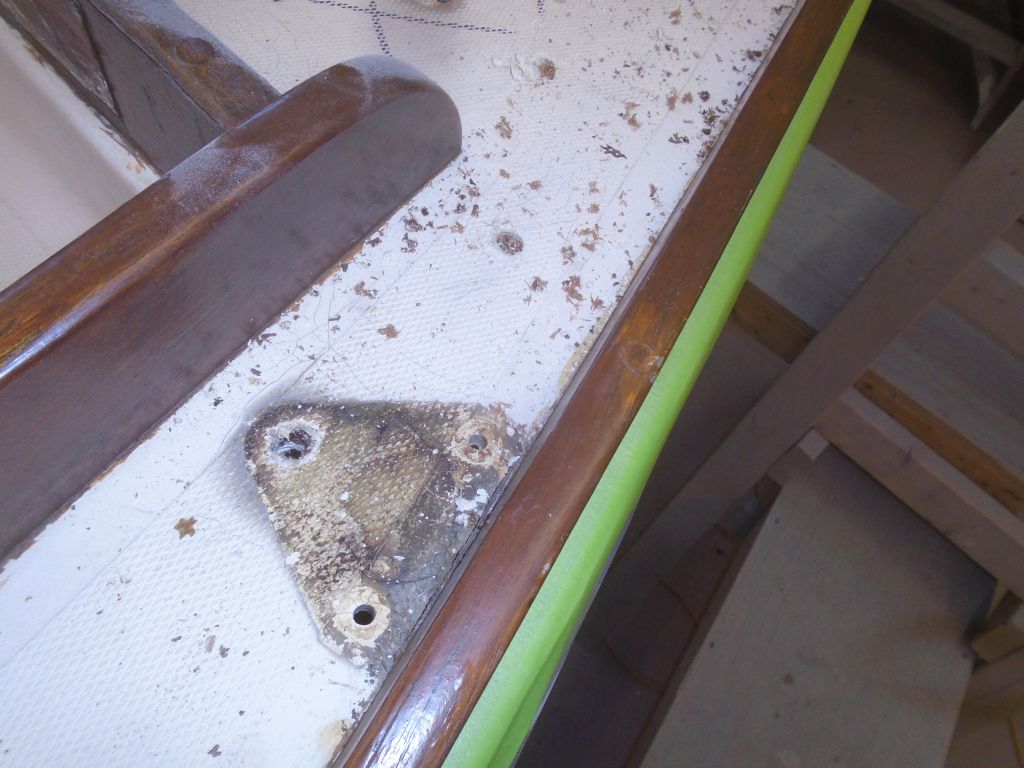
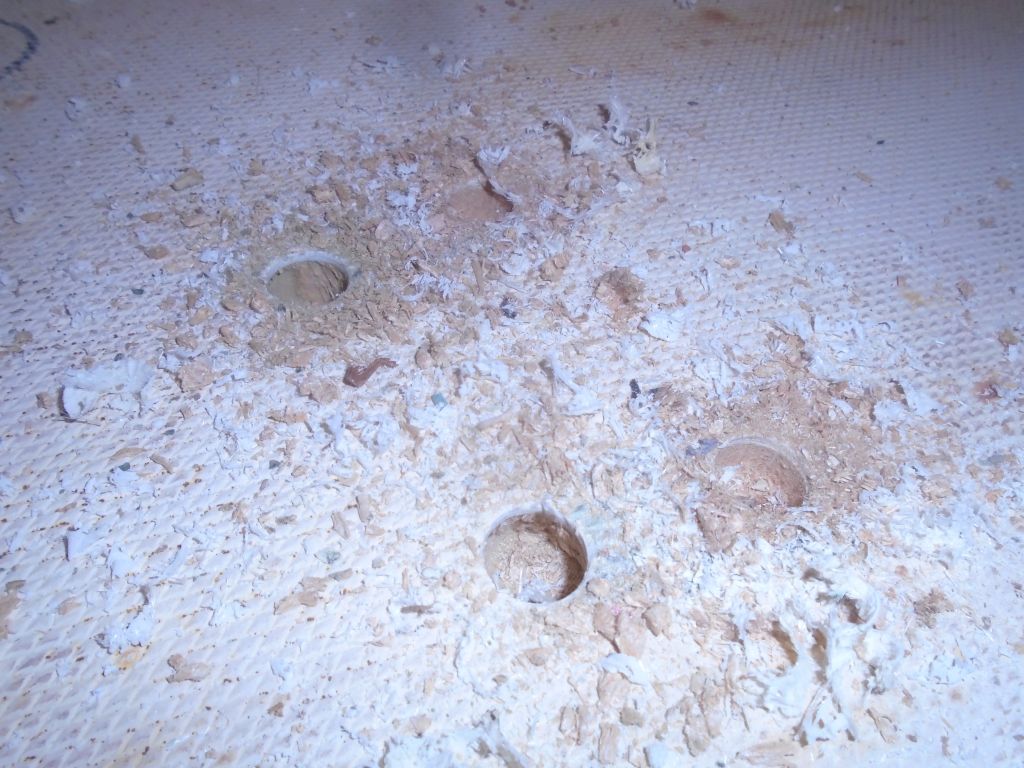
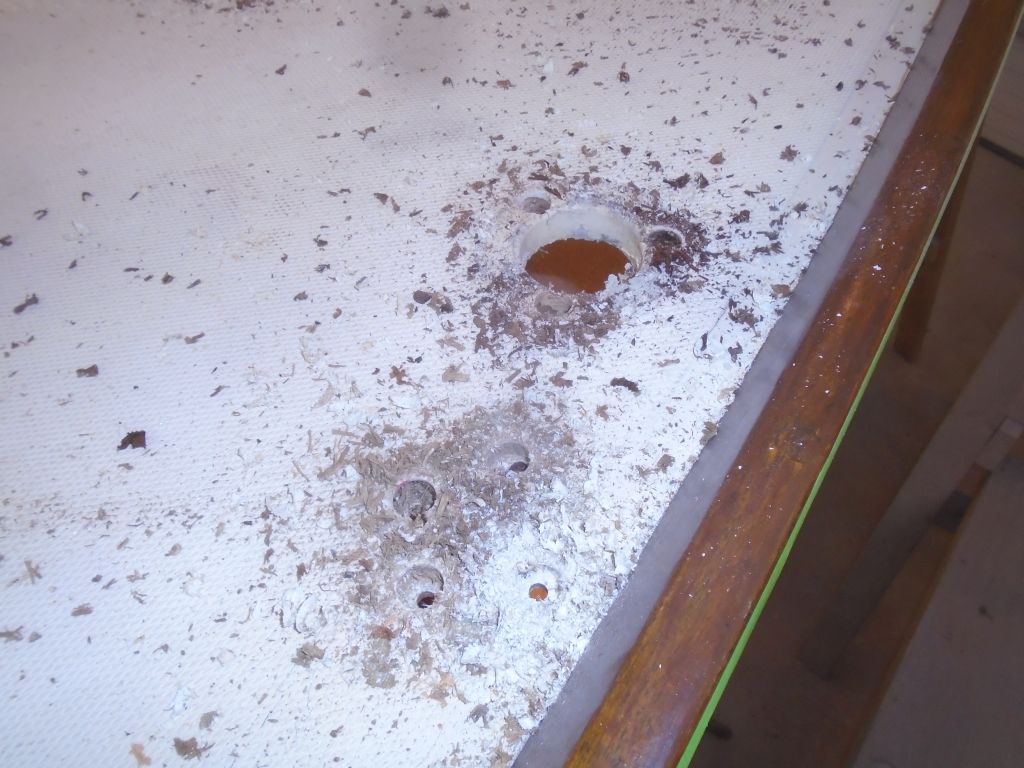
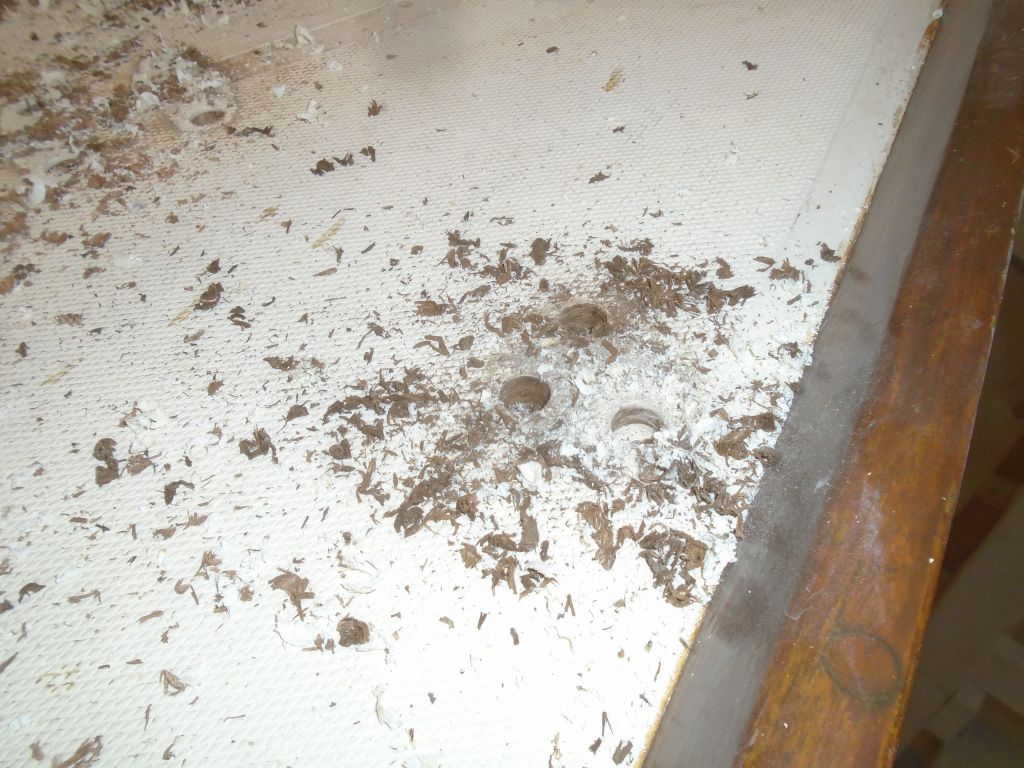
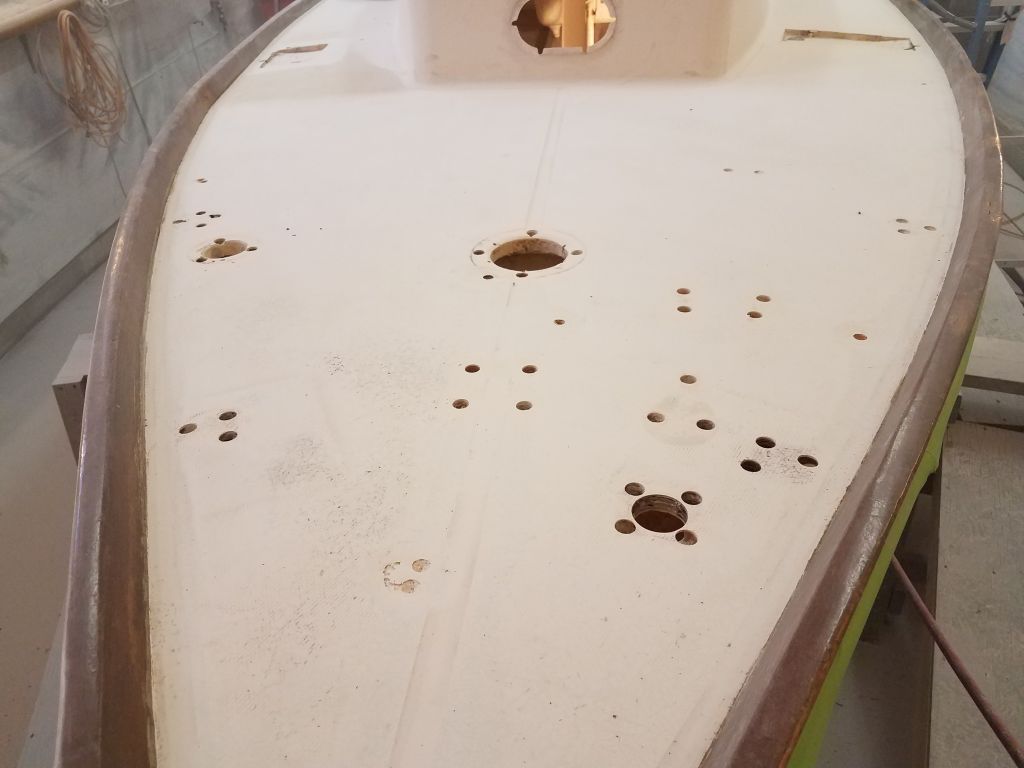
Anywhere there was an old fastener hole, I used a larger bit to bore out the hole, extending through the top skin and core but leaving the bottom skin in place. This allowed me to inspect the coring at these critical areas, where leakage would be most likely to occur over the years, as well as to prepare the fastener holes for epoxy filling and fastener isolation.
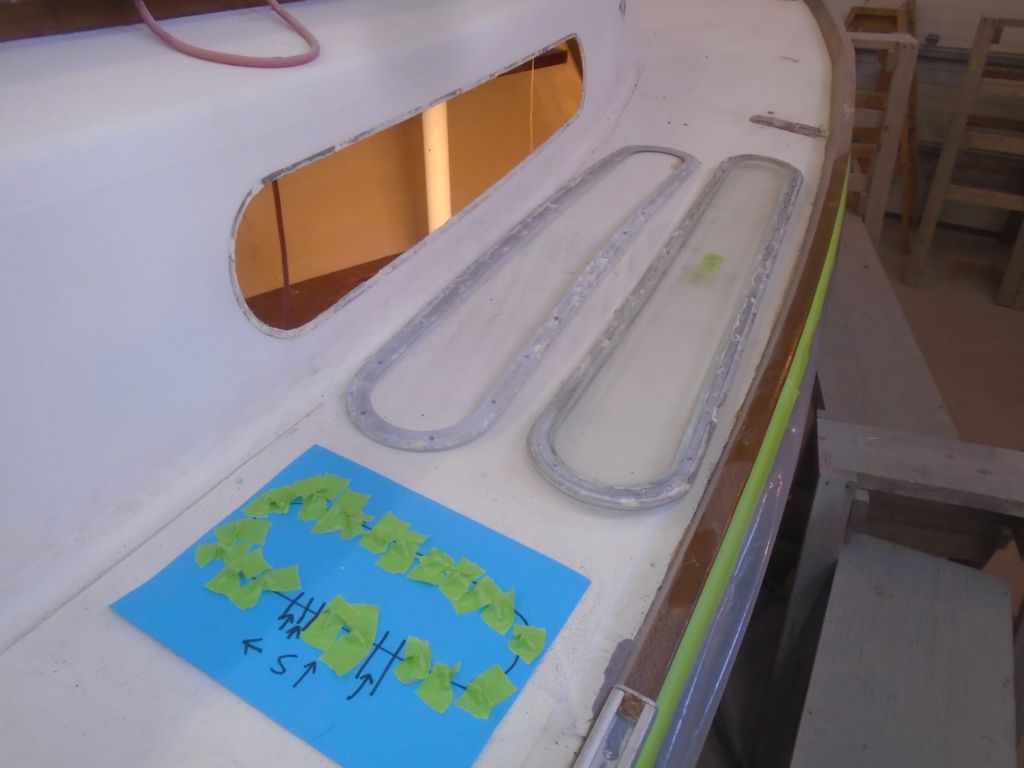
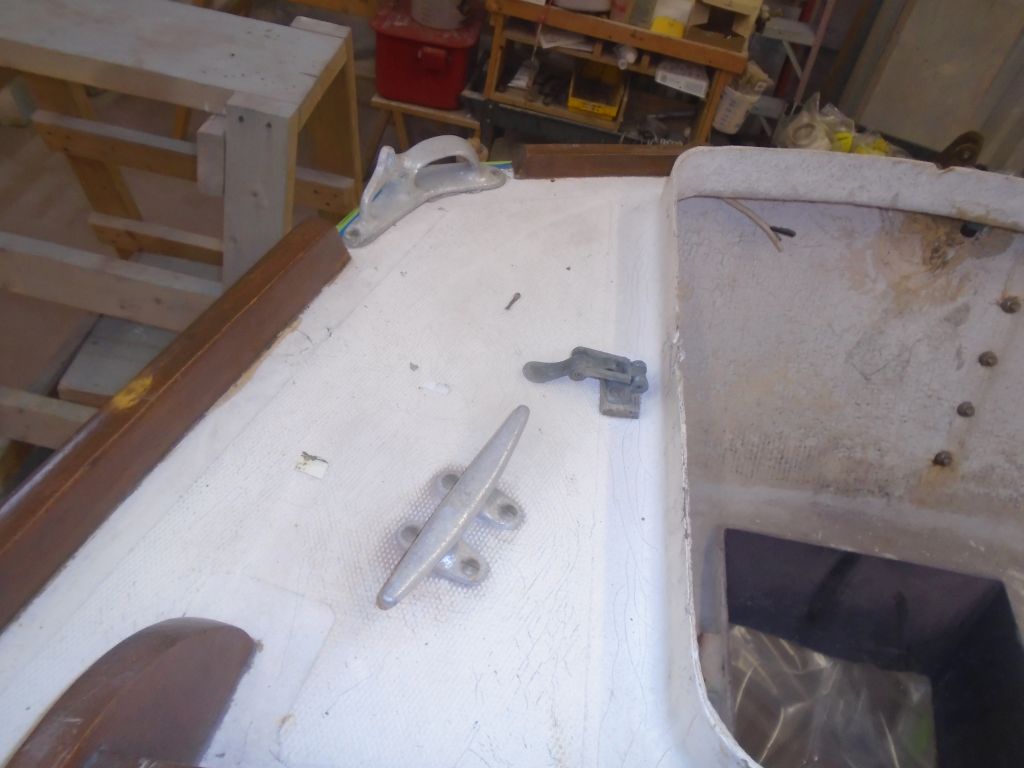
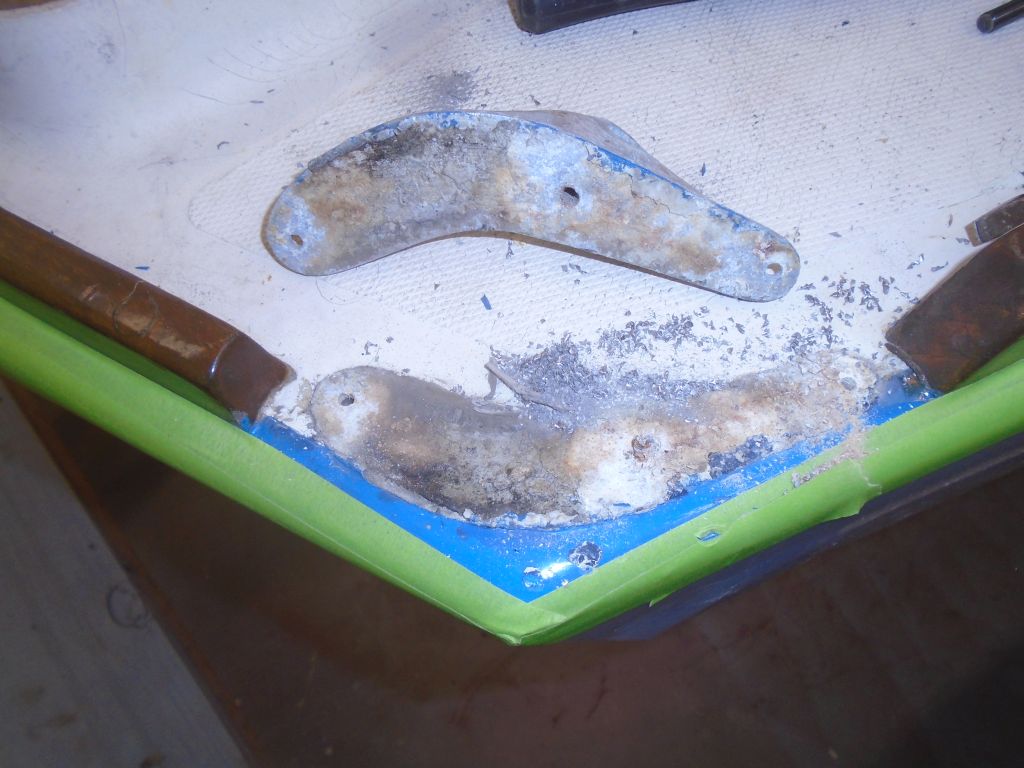
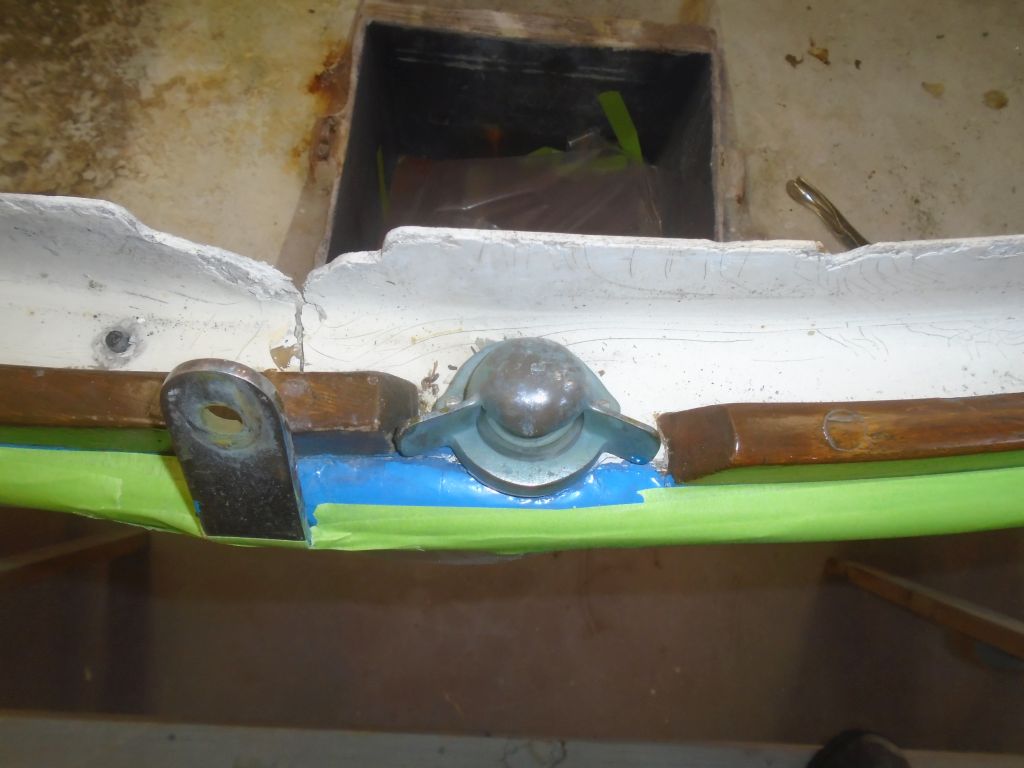
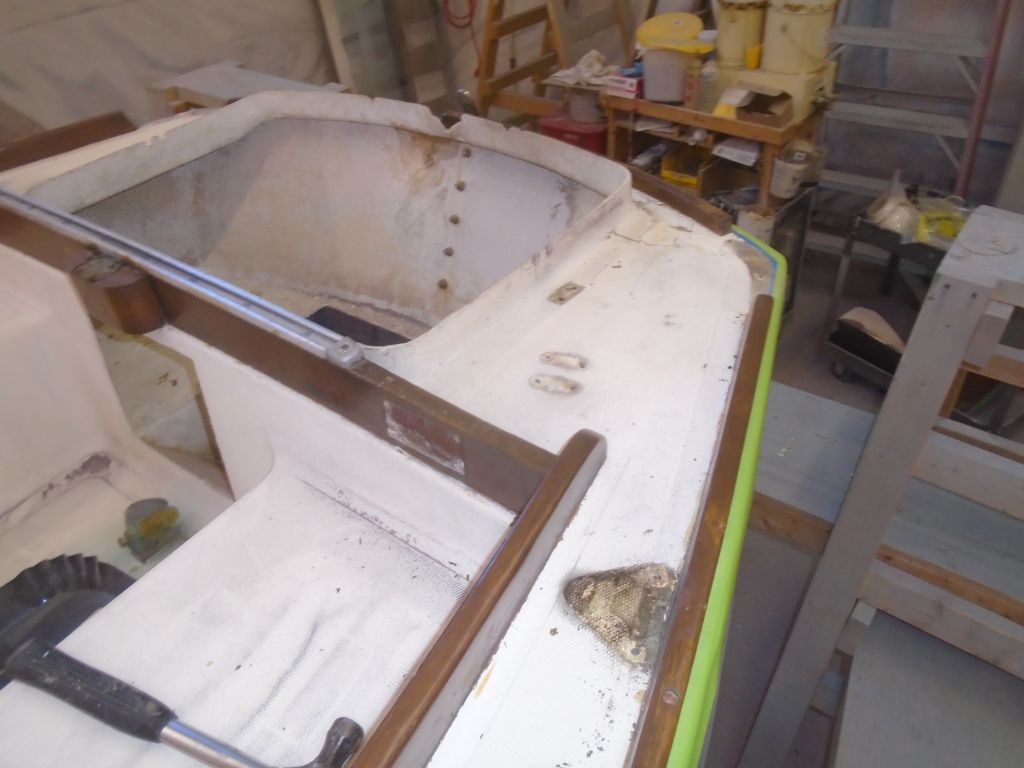
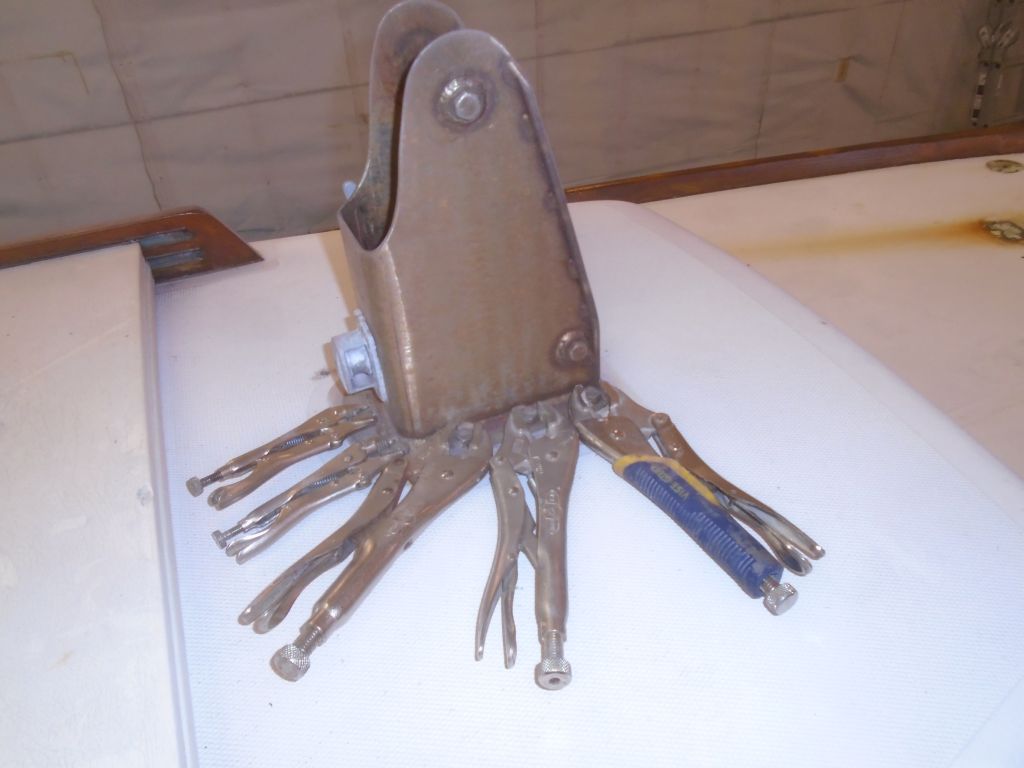
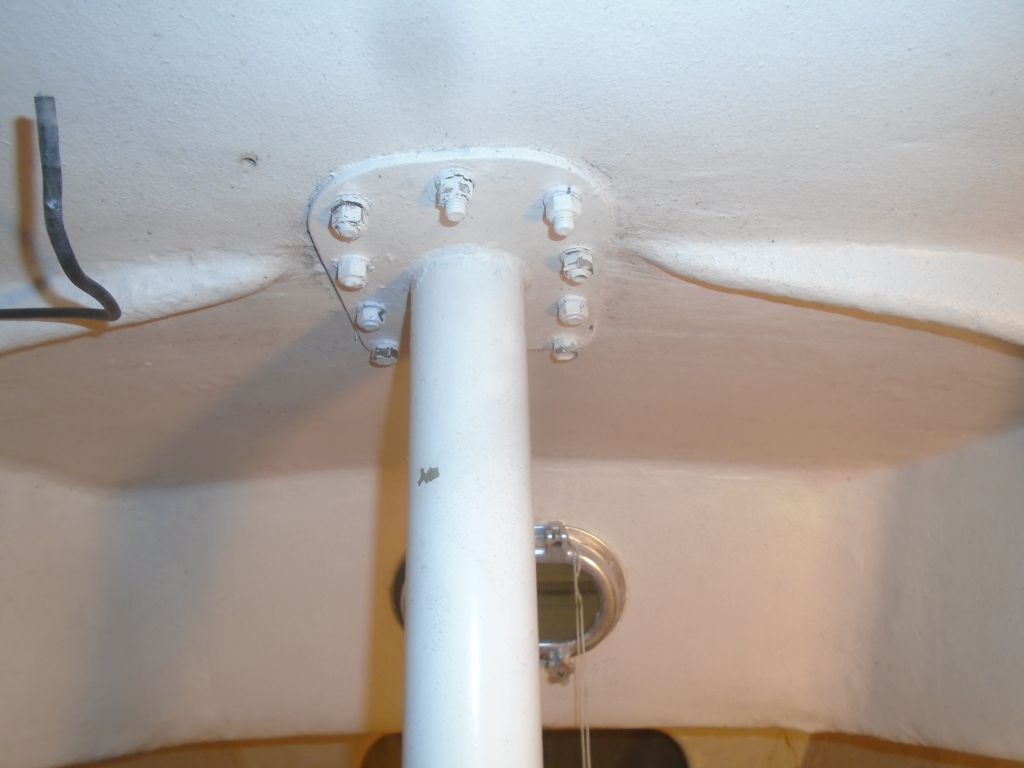
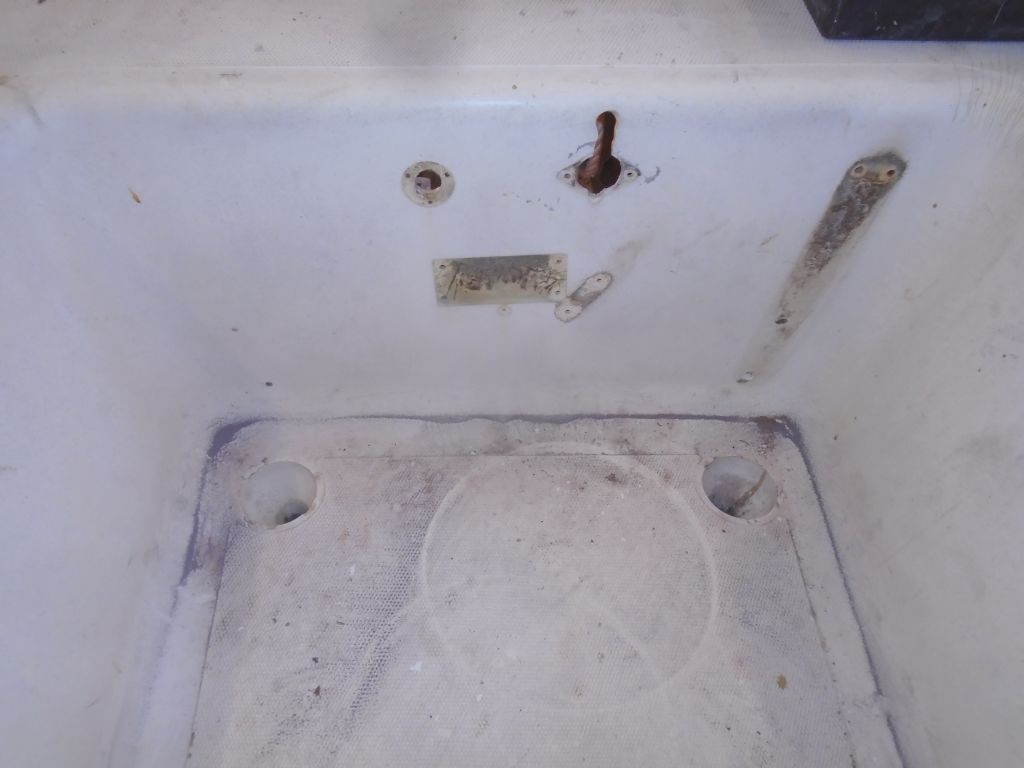
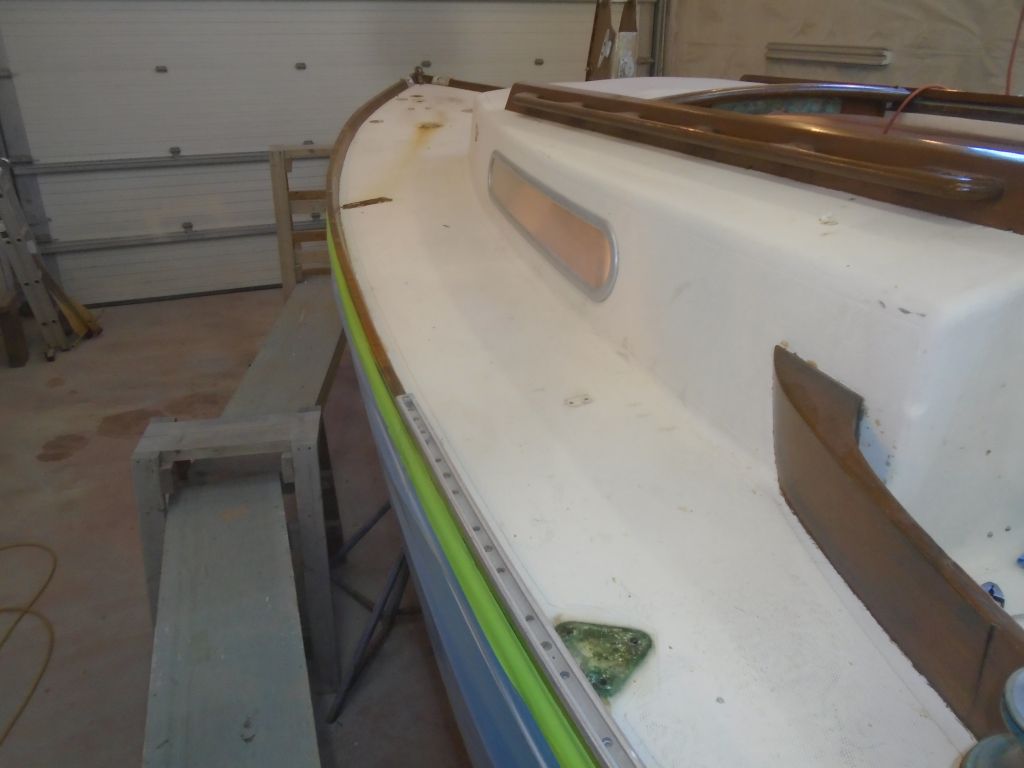
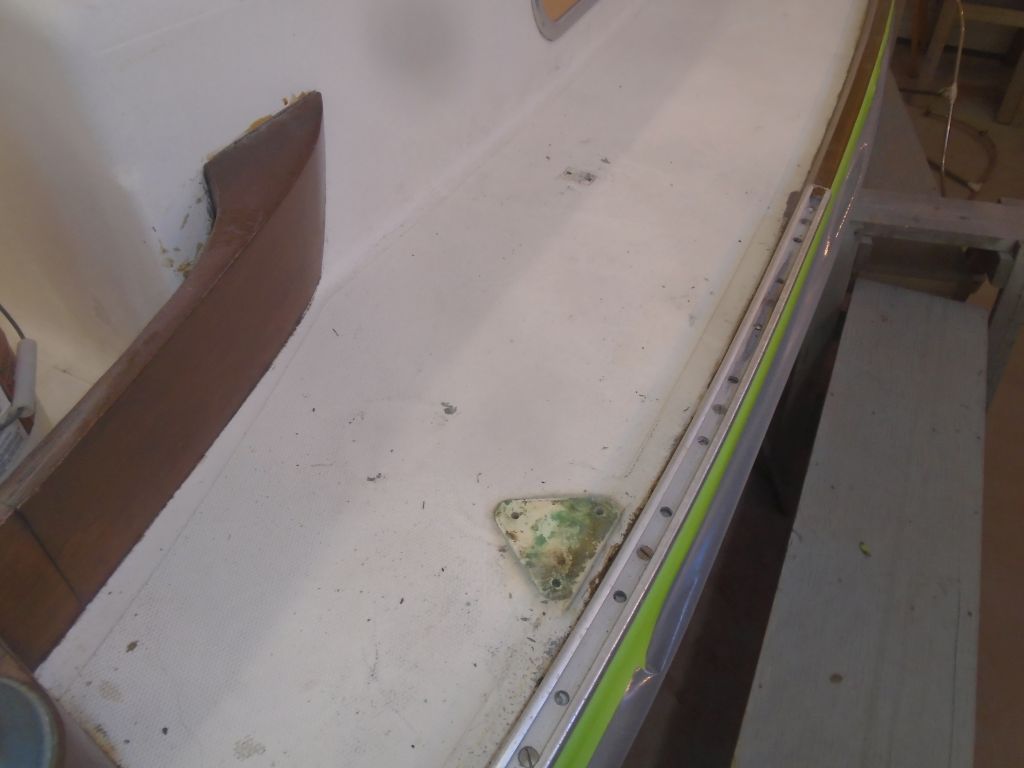
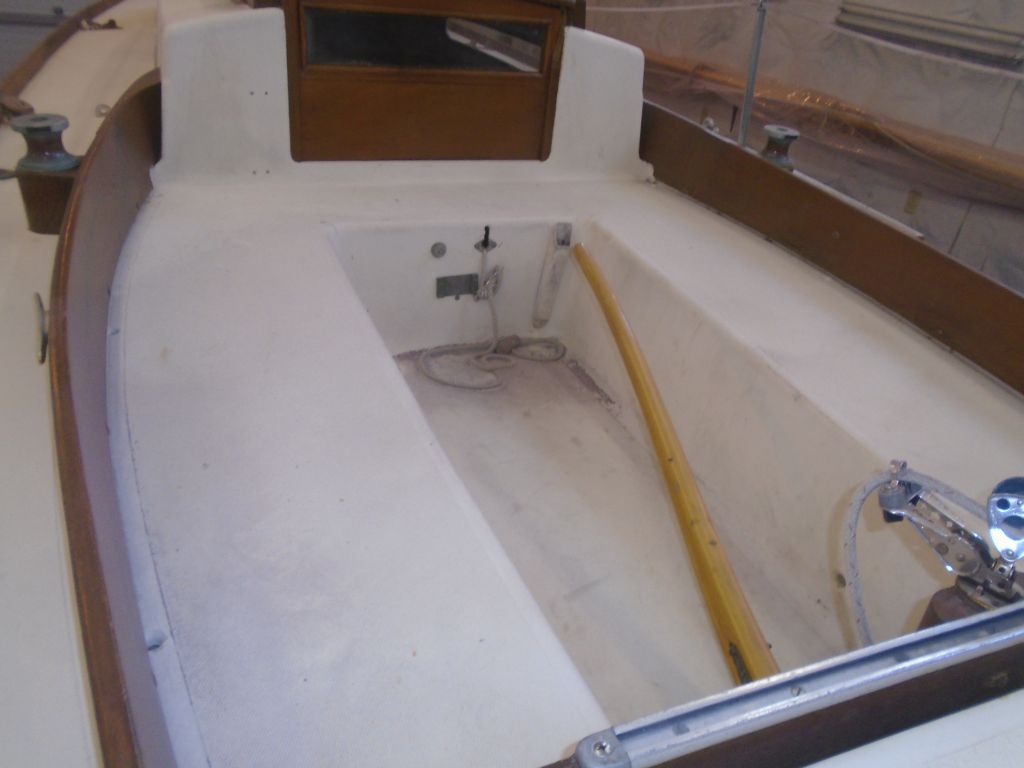
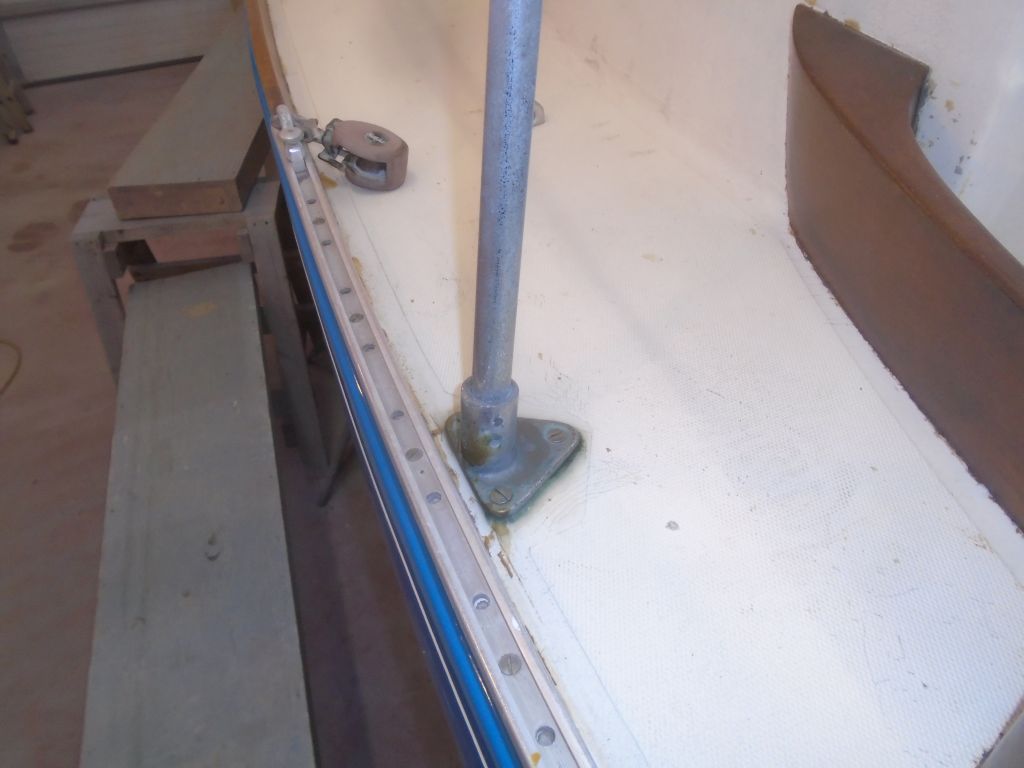
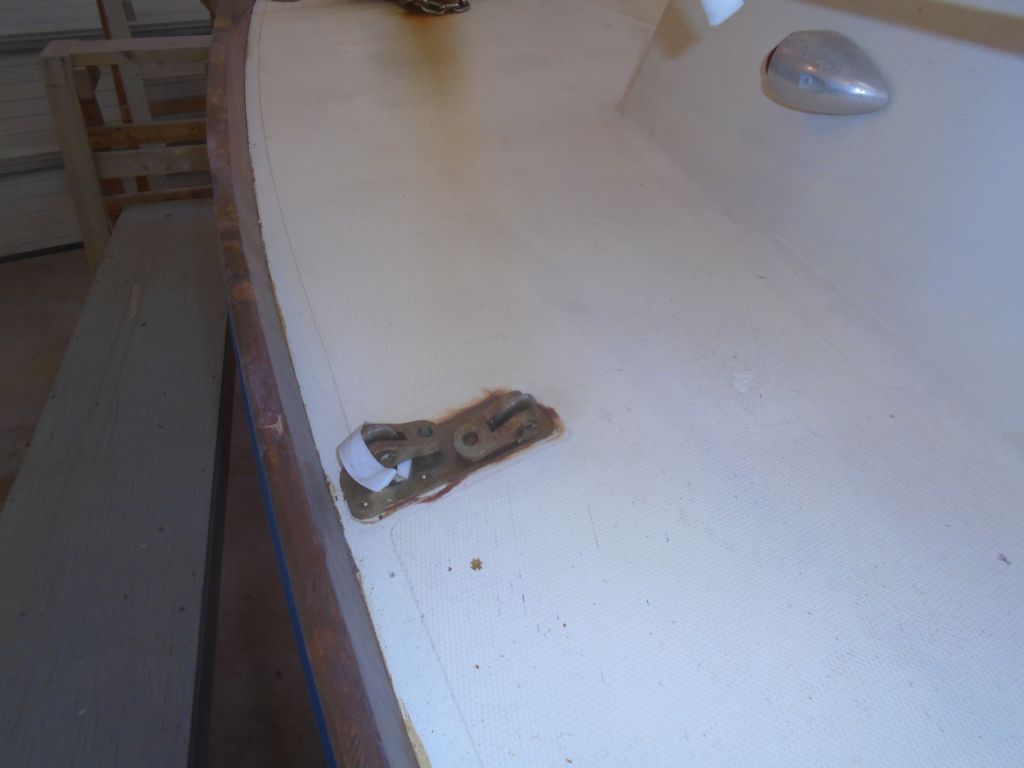
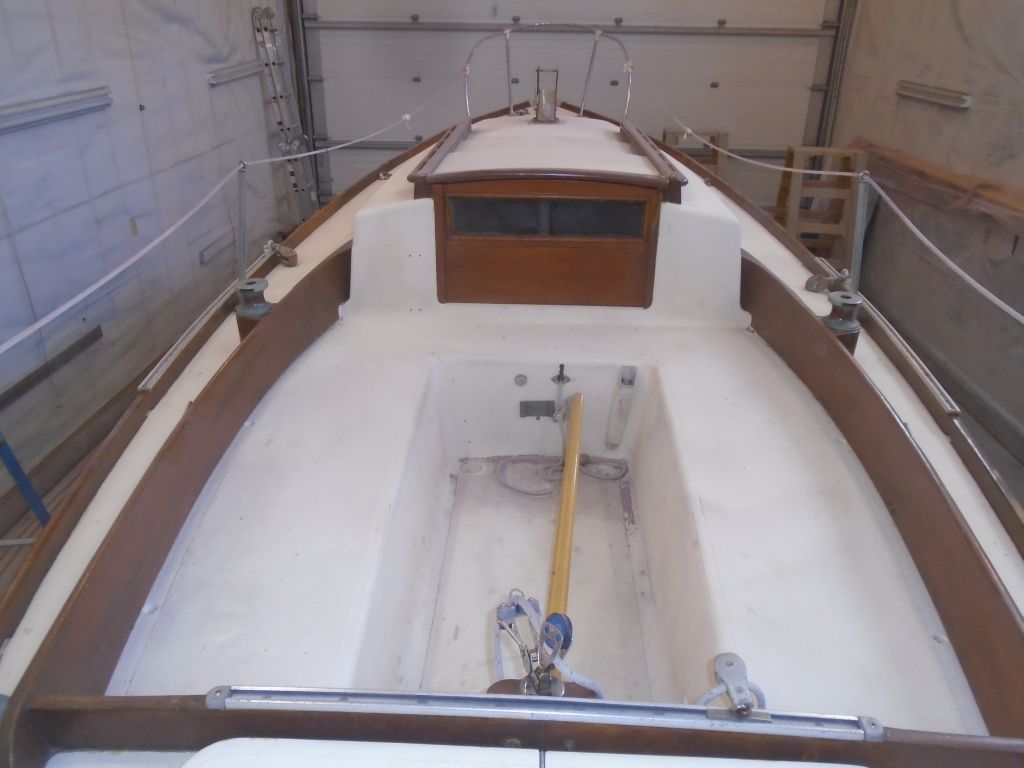
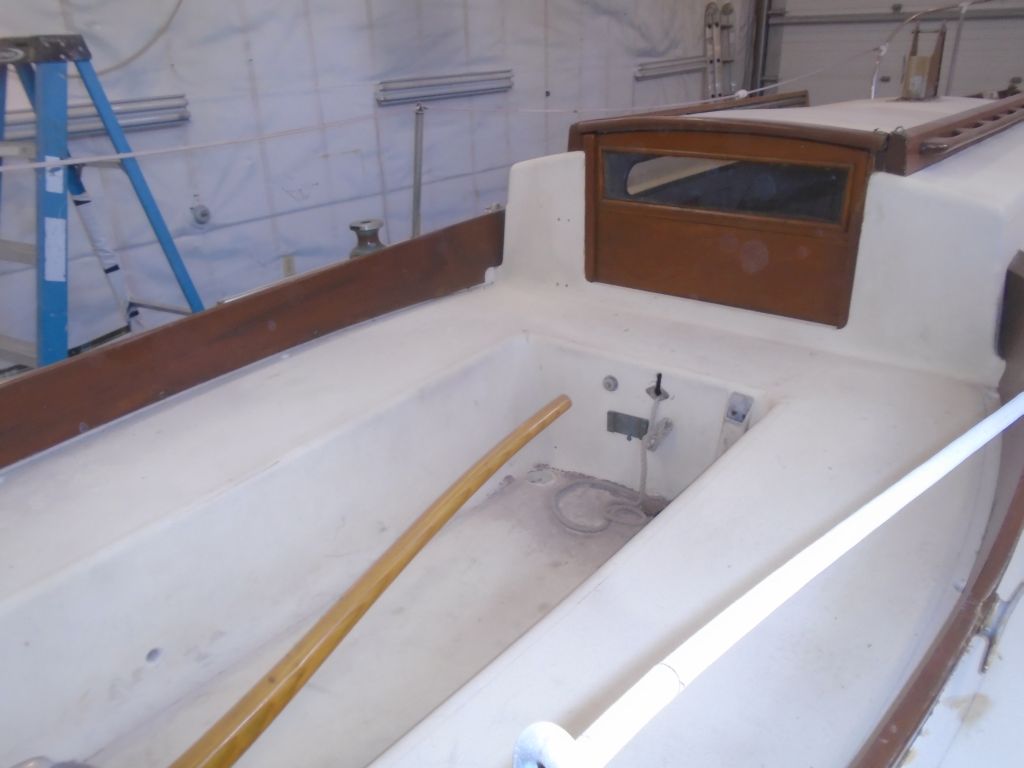
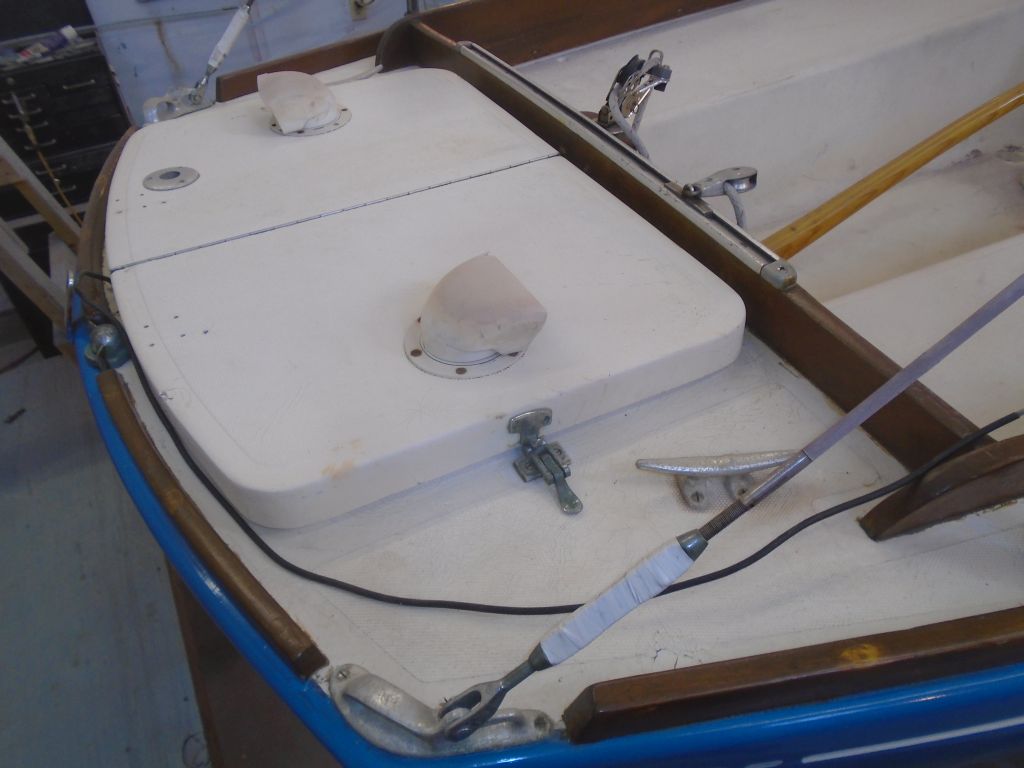
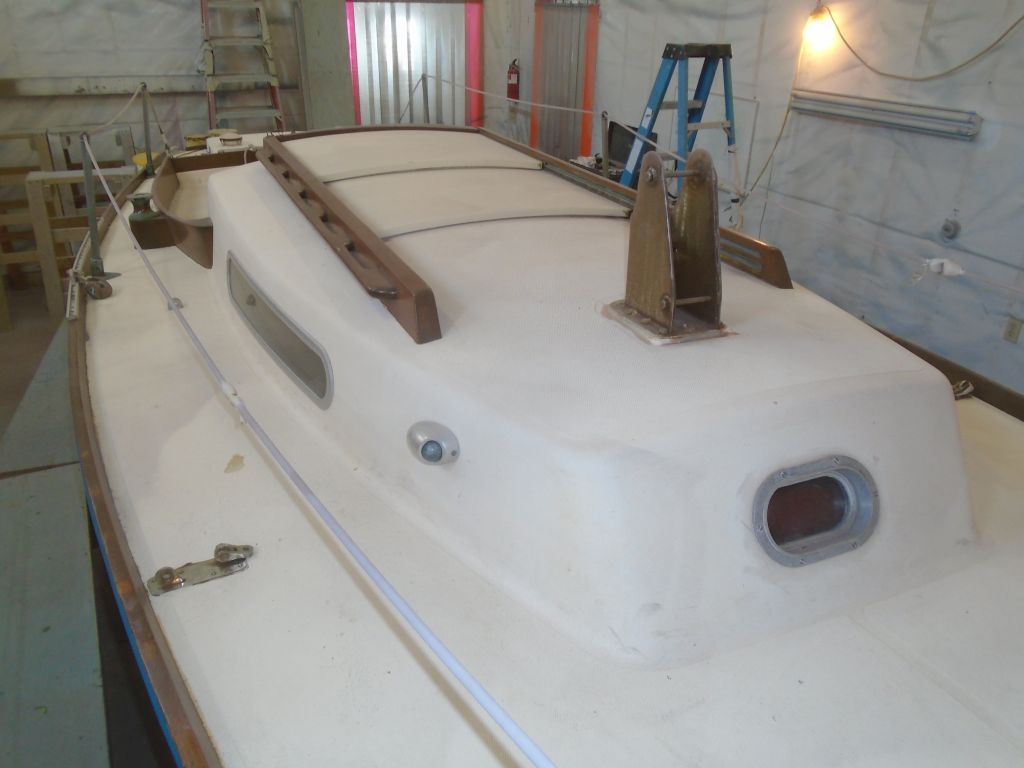
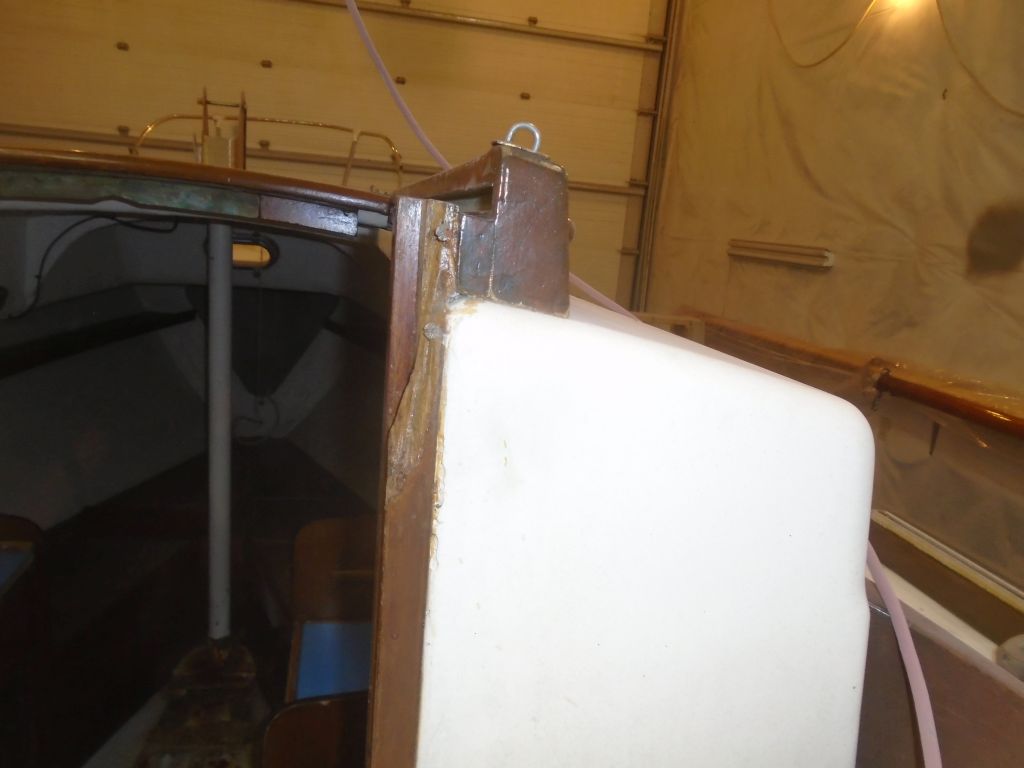
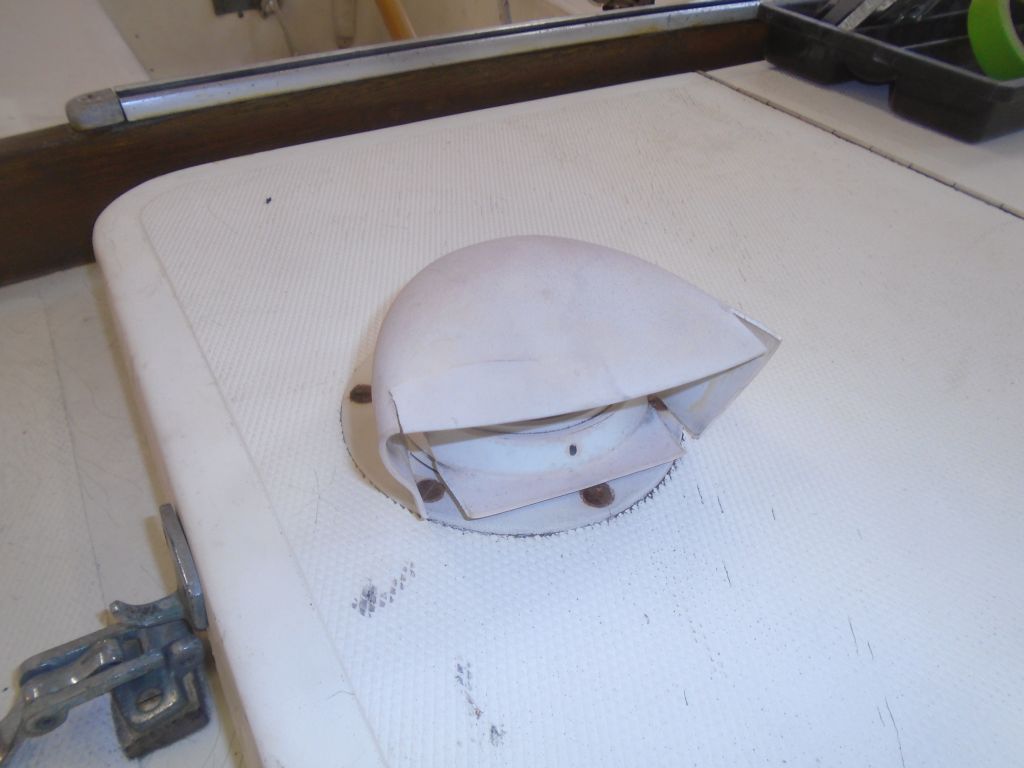
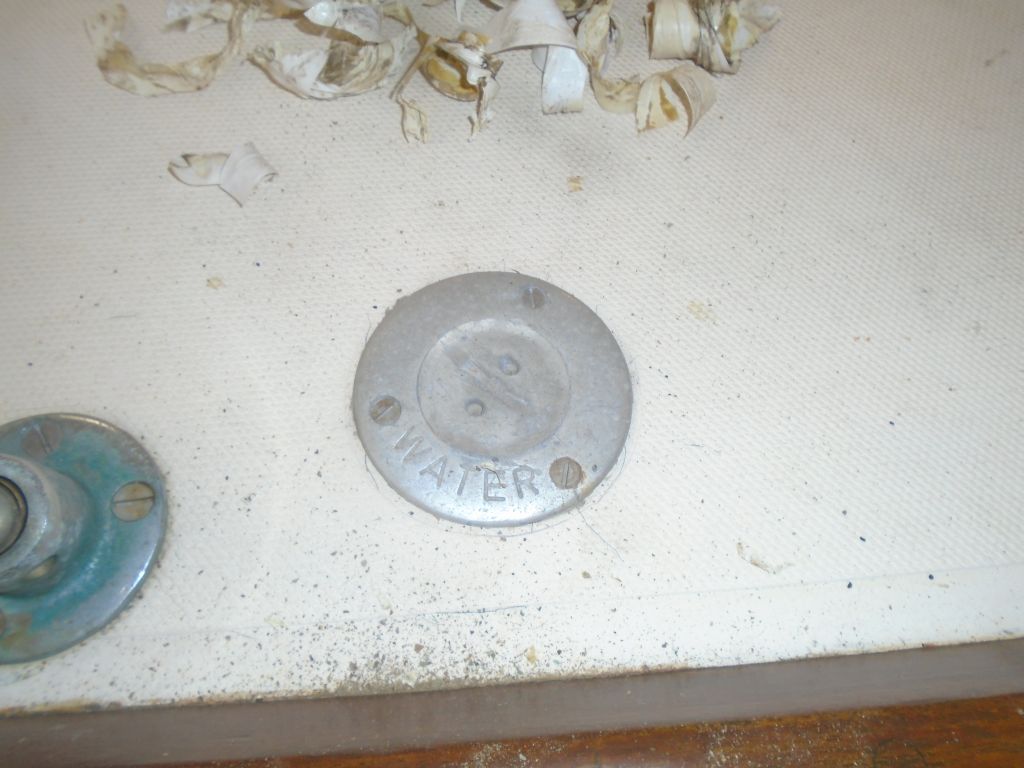
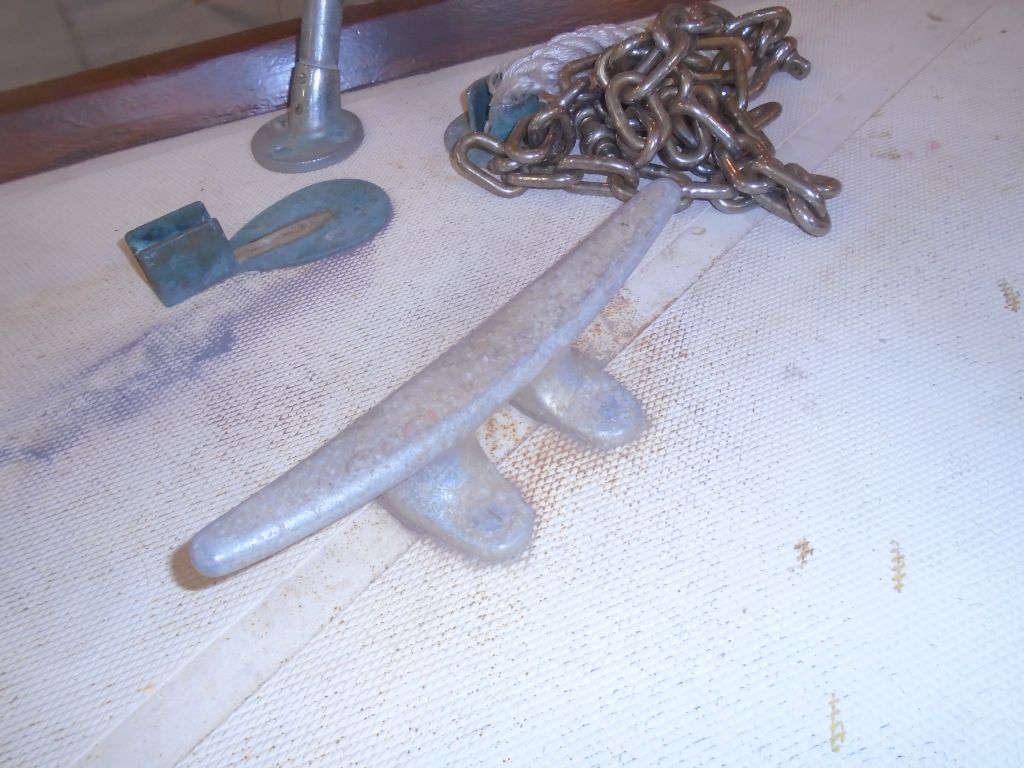
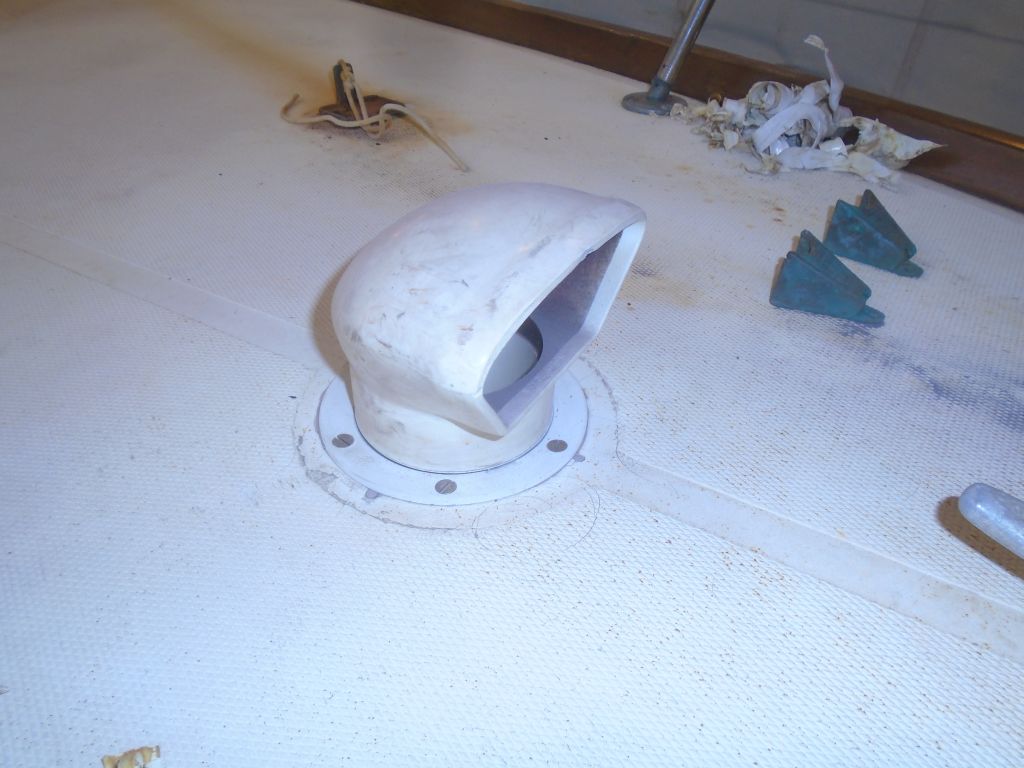
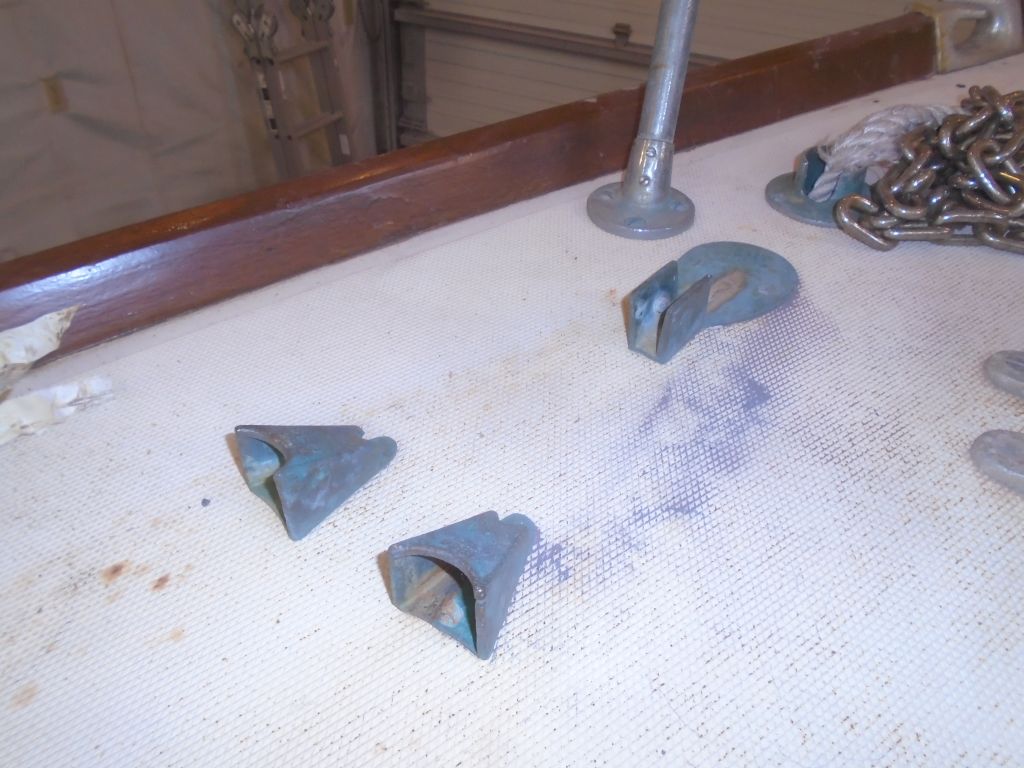
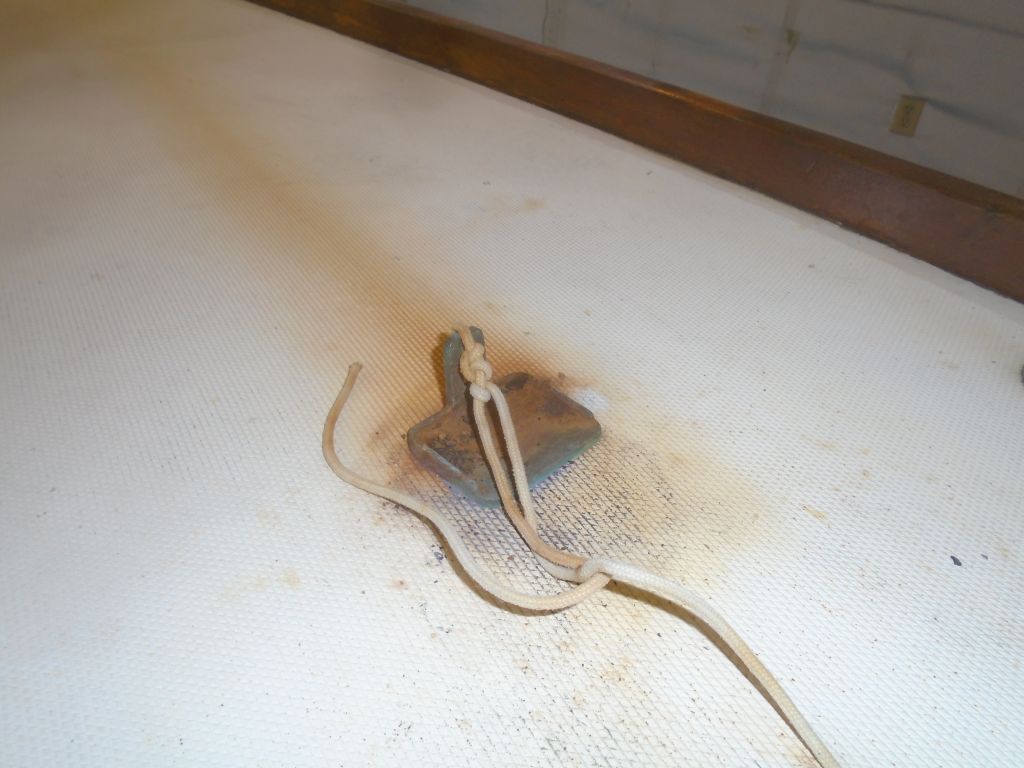
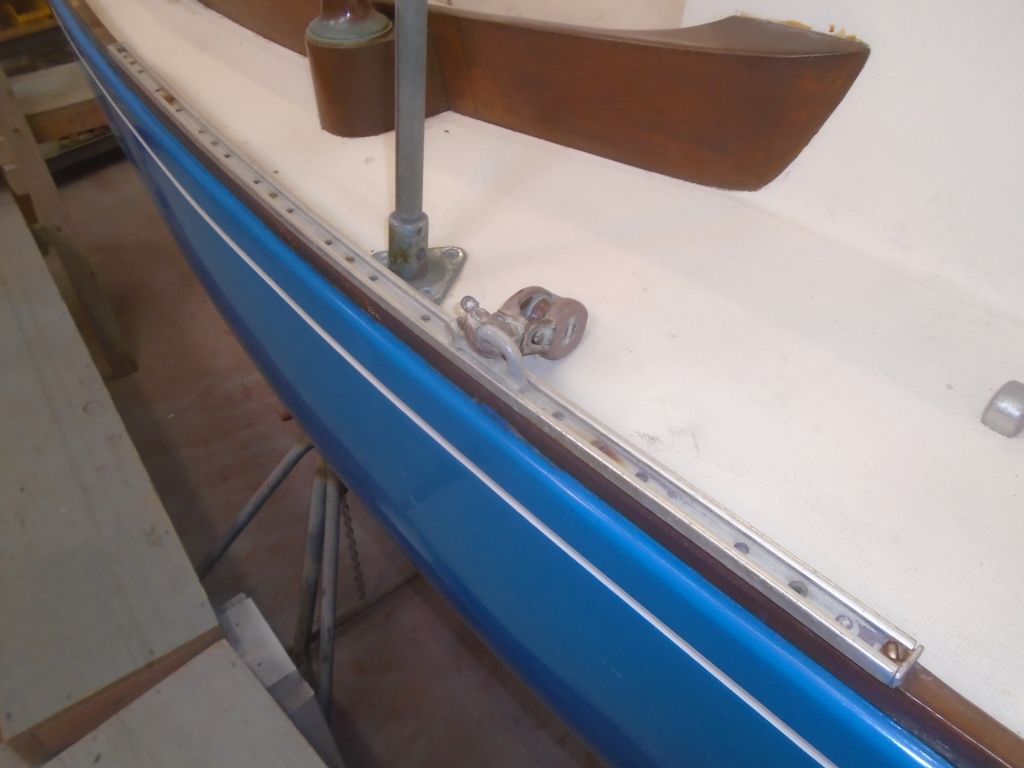
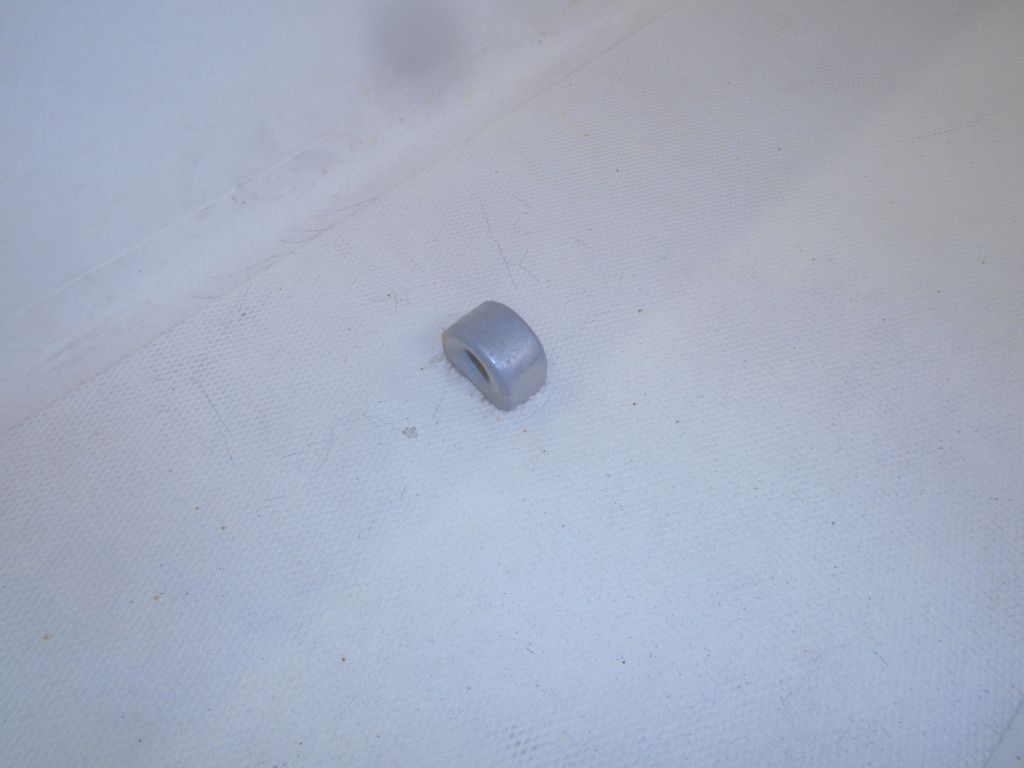
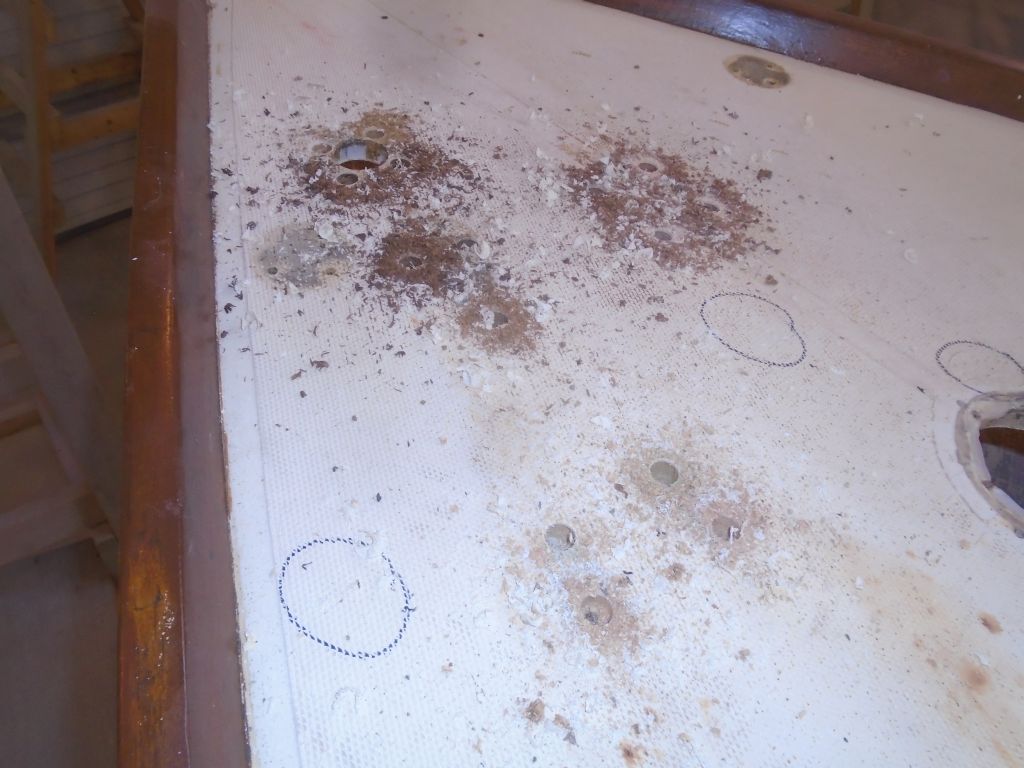
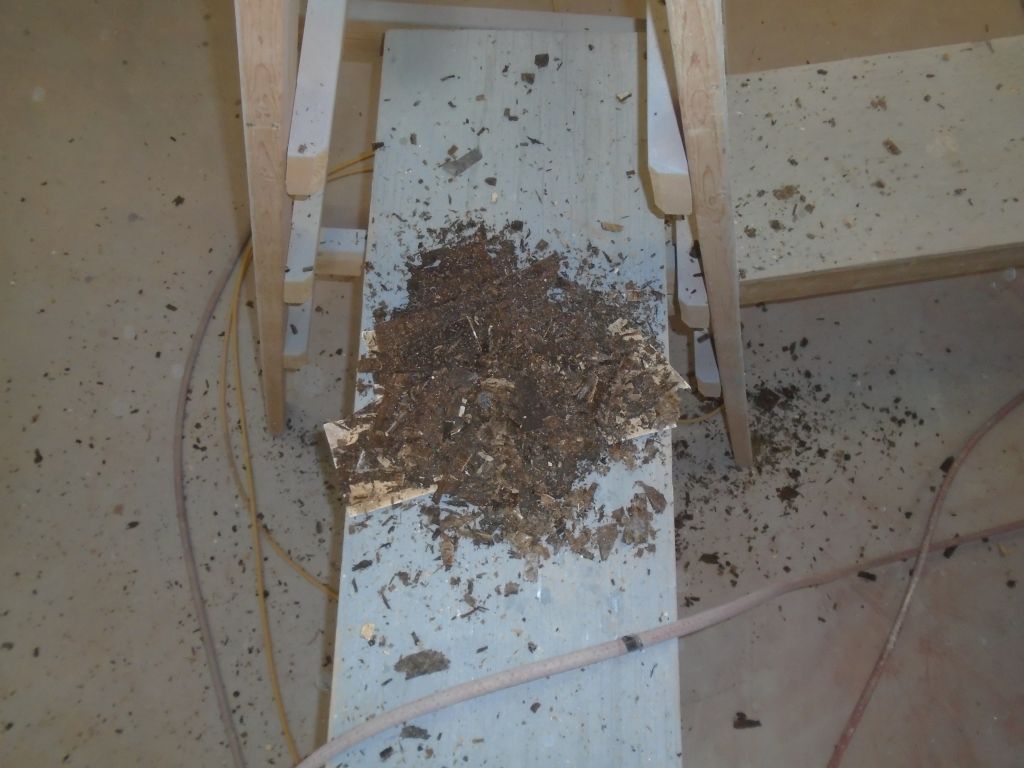
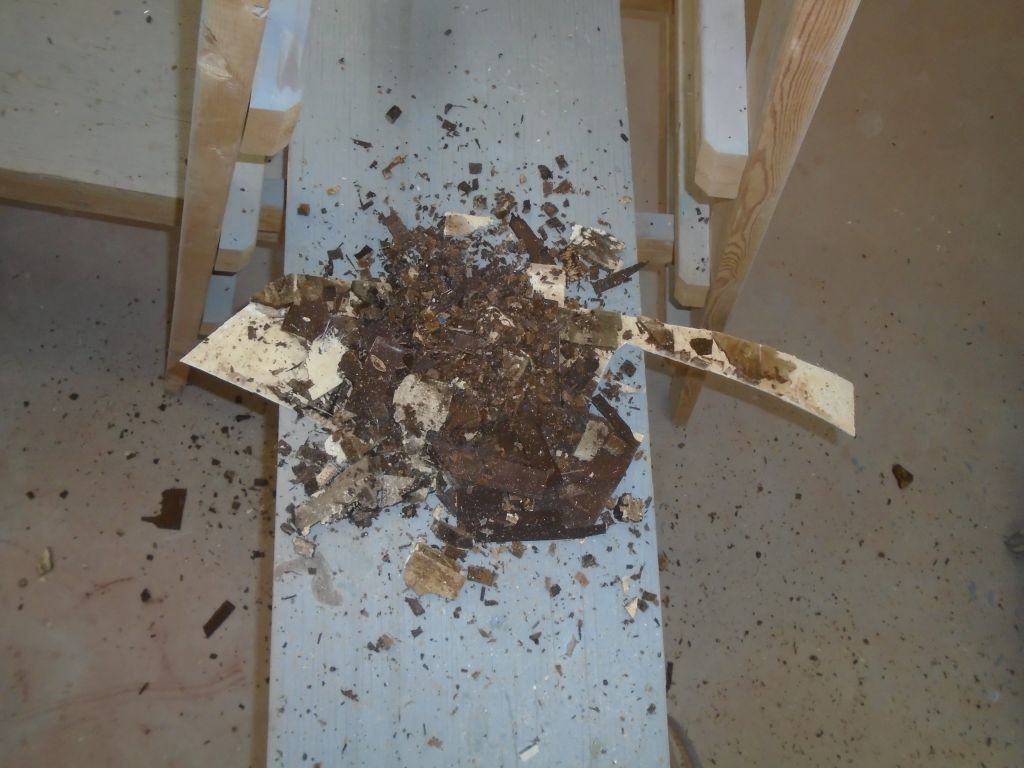
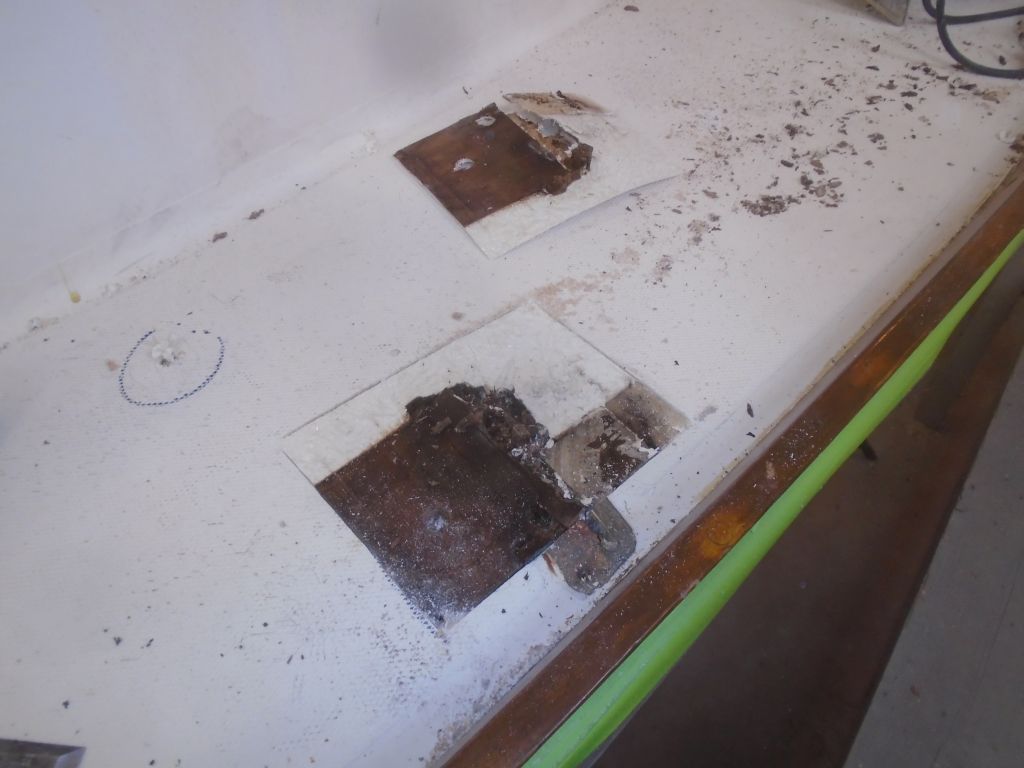
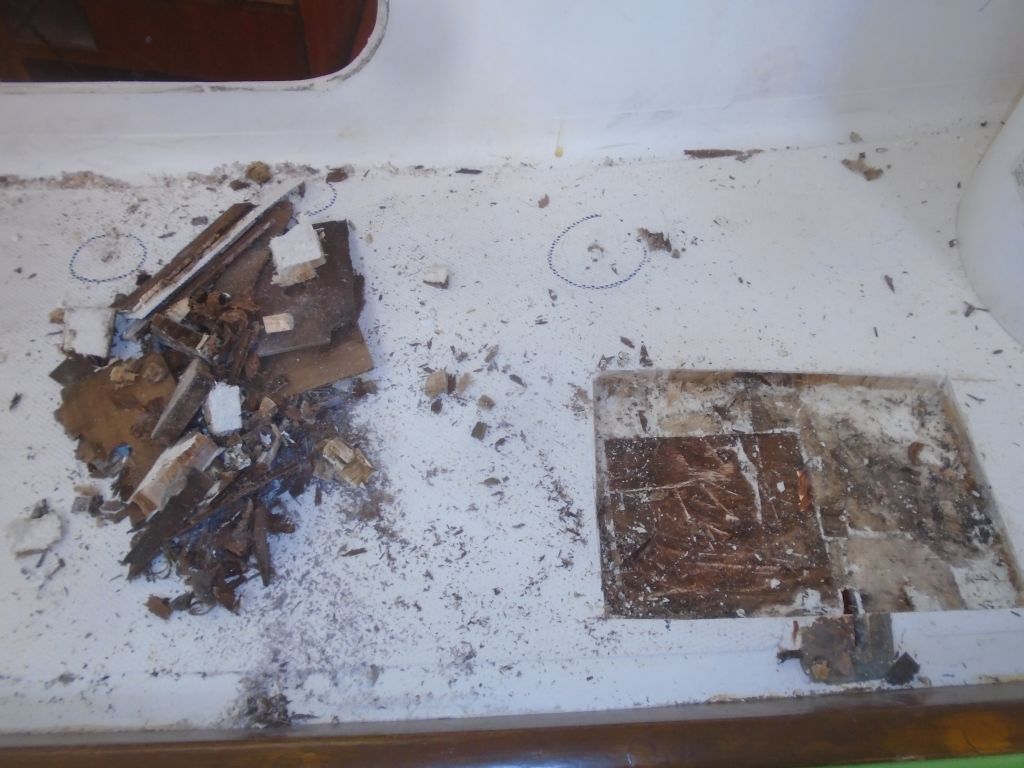
Fortunately, most of the core was sound, and while some of the coring in the old fastener holes was discolored, it remained dry and sound in most places, and no major work would be required. The coachroof and cockpit were in apparently good condition with no significant findings, other than several latent voids in the cockpit, particularly on the bridgedeck. Around both chainplates, however, it was clear that some of the core had been saturated, so I marked these areas for further attention later. The series of photos below shows various test holes and overbored fastener holes, along with the drill spoils and the four larger areas that would require more significant repairs at the chainplates and poop deck.


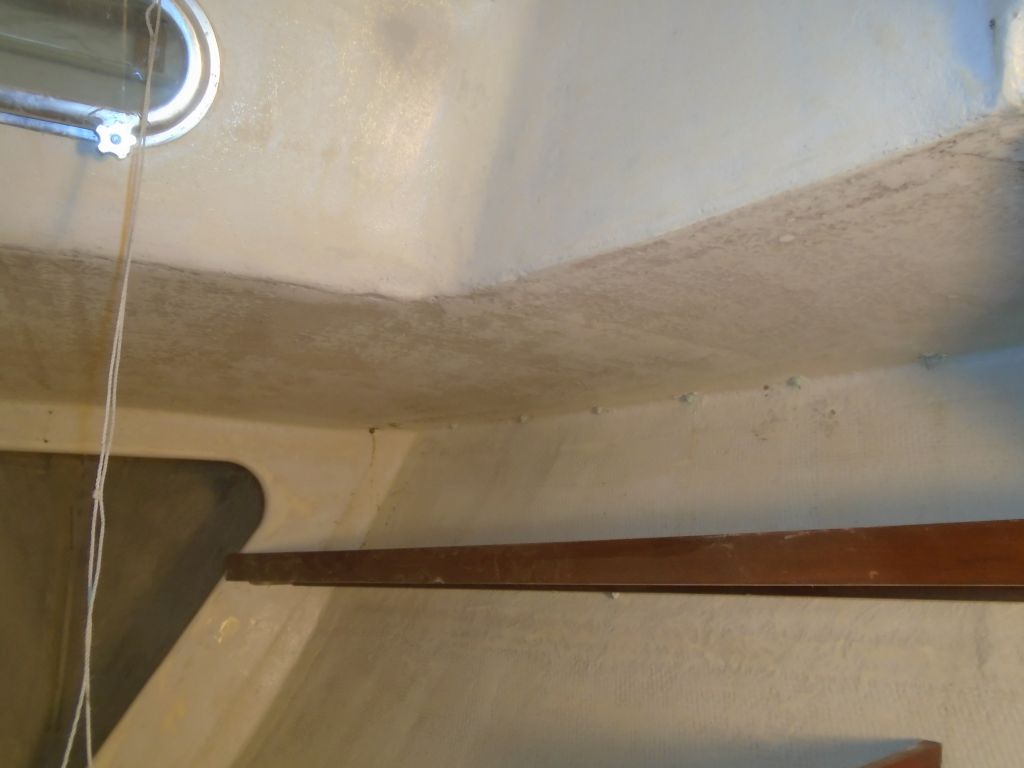
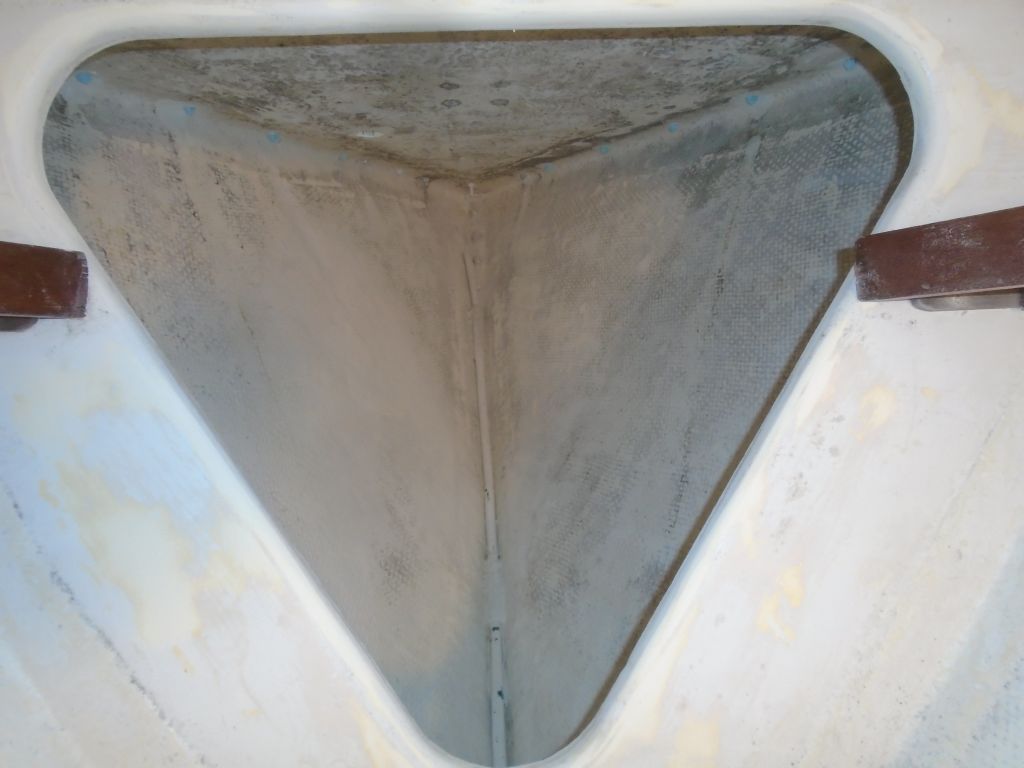
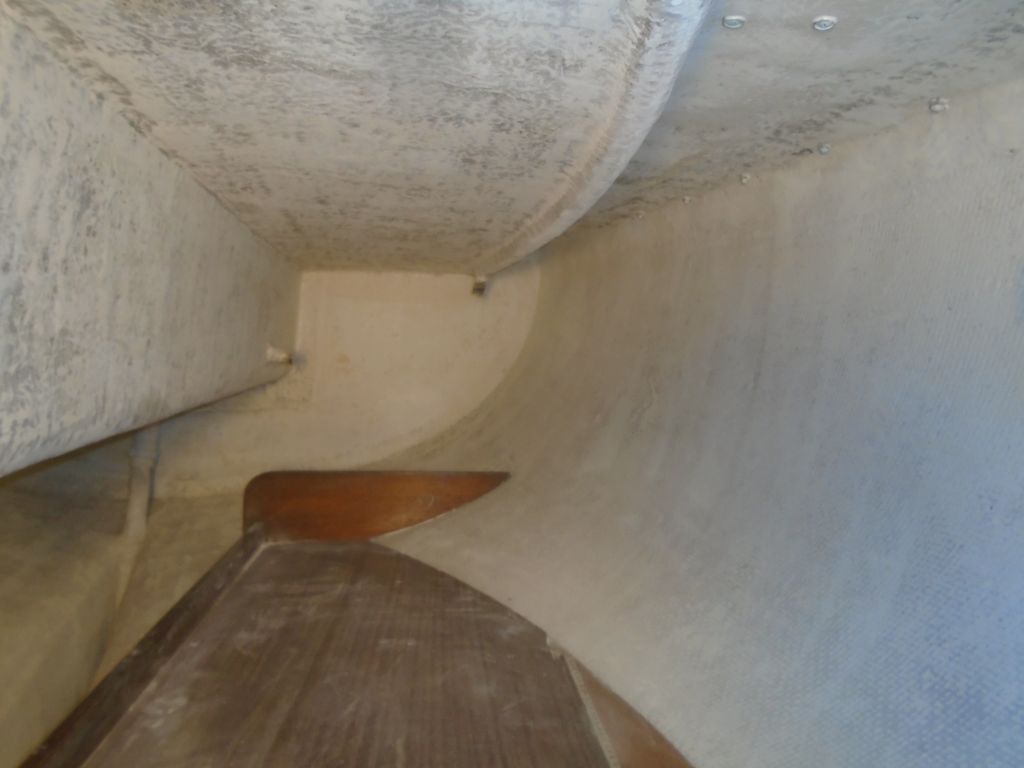
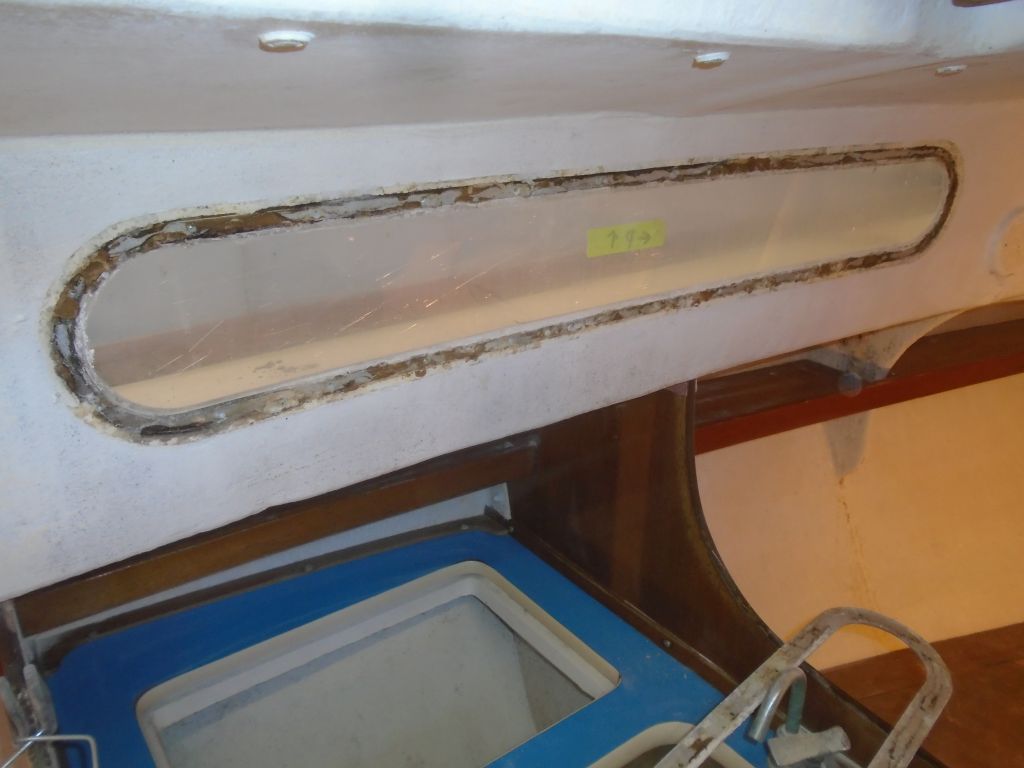
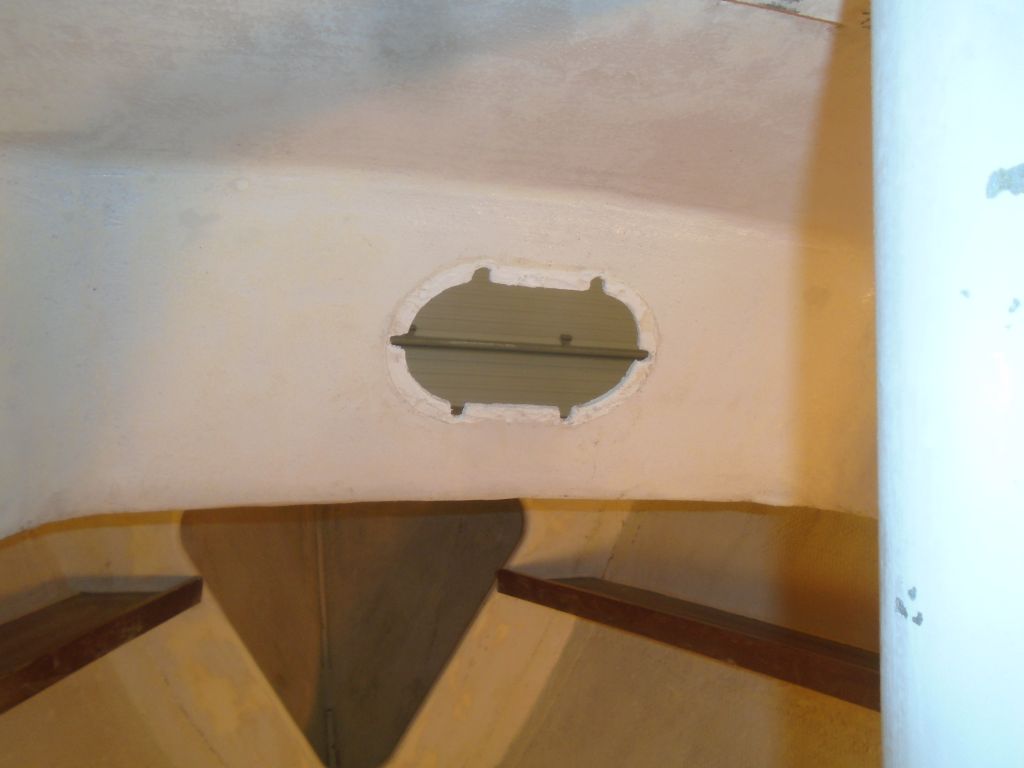
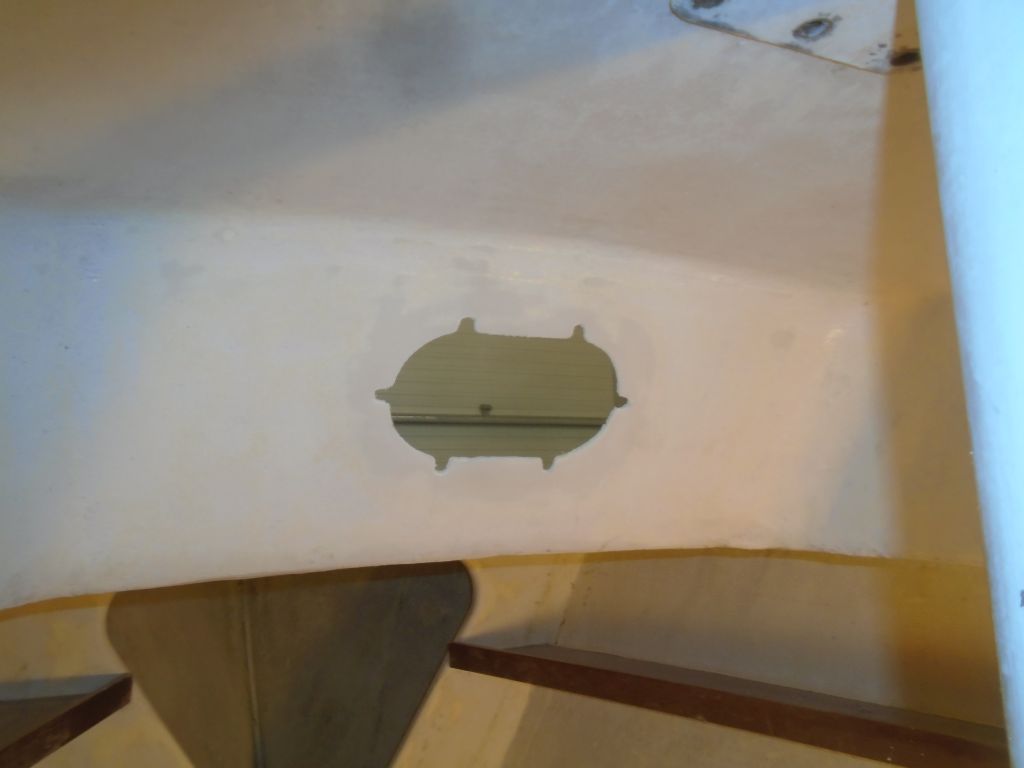
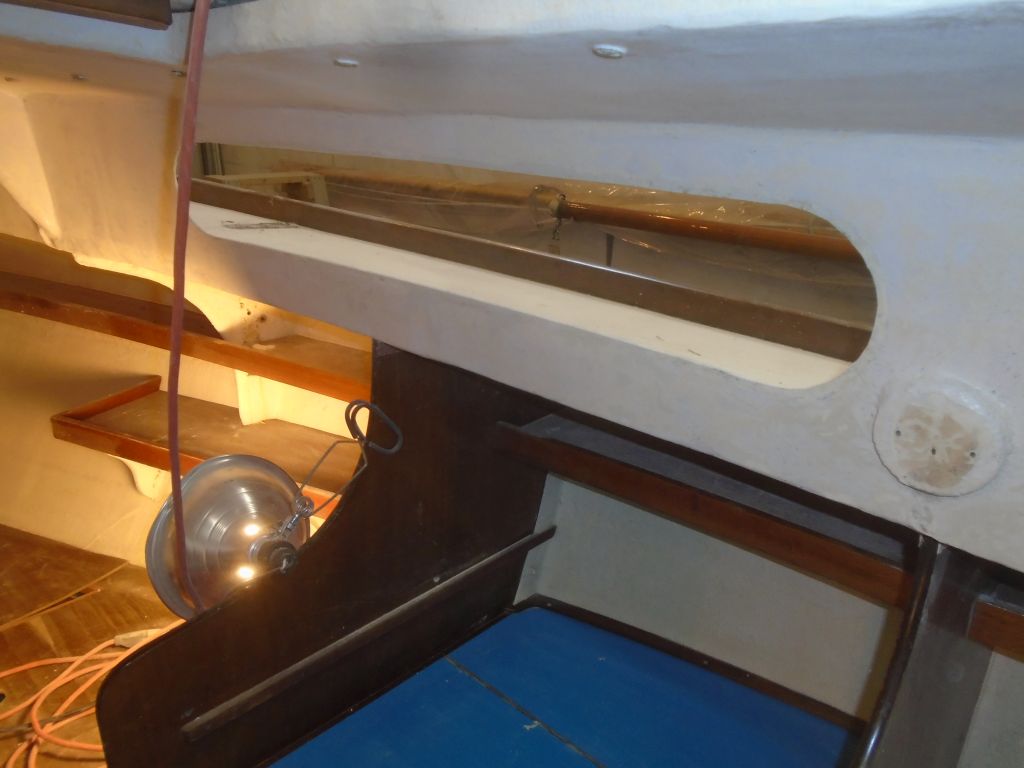
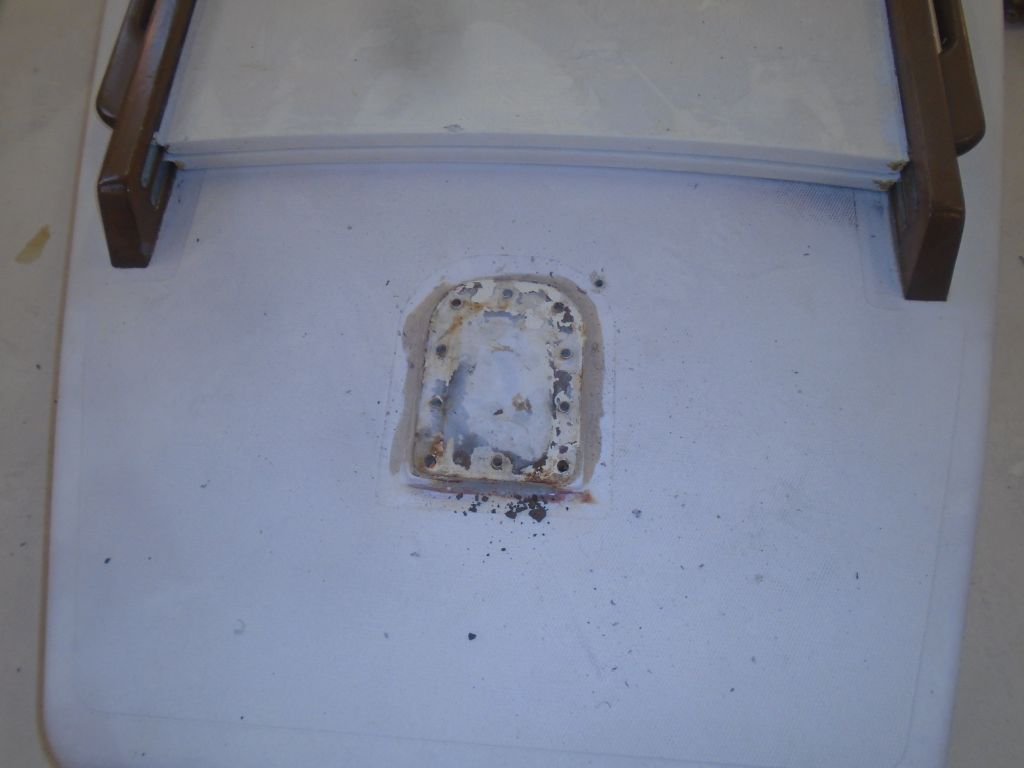
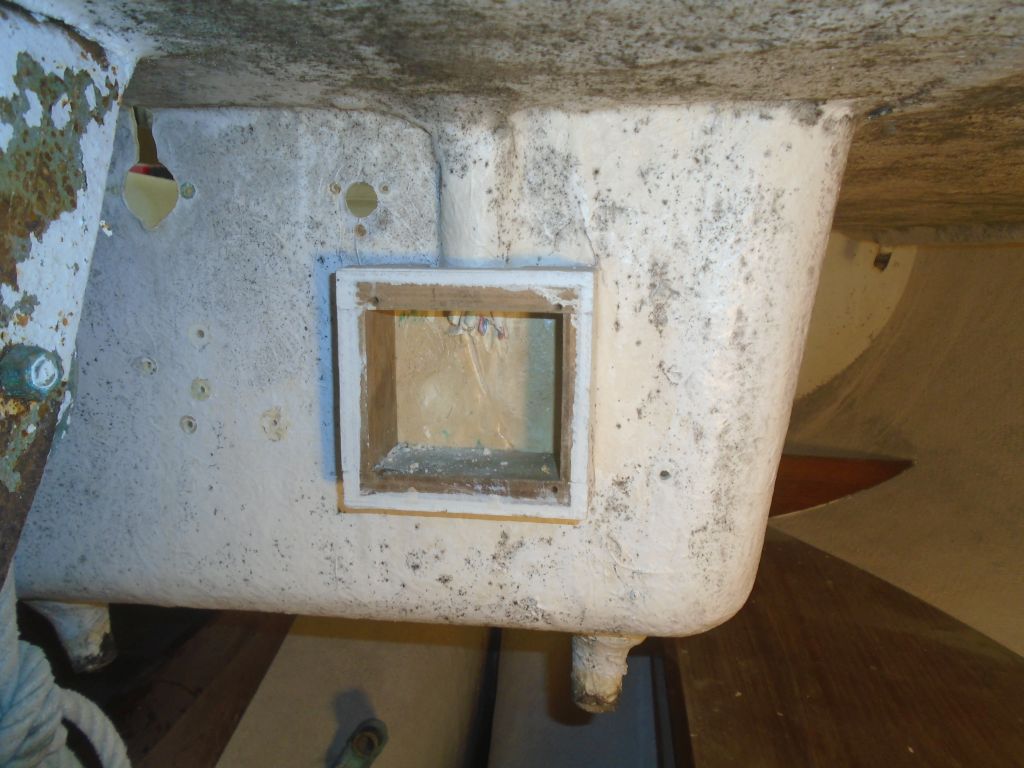
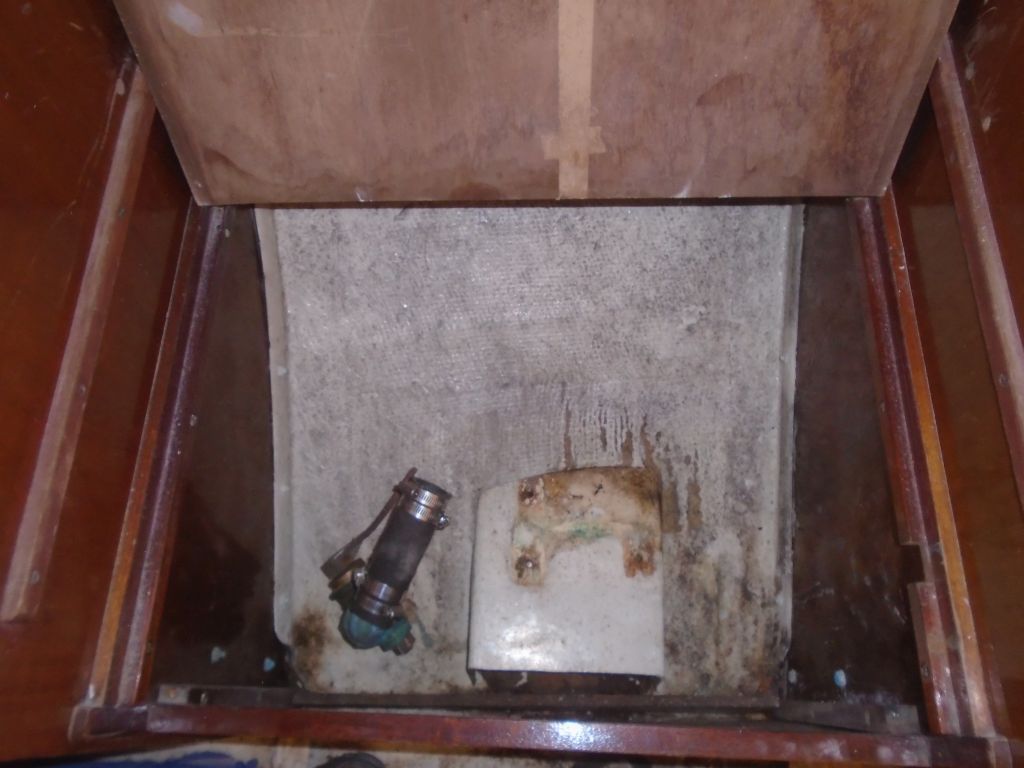
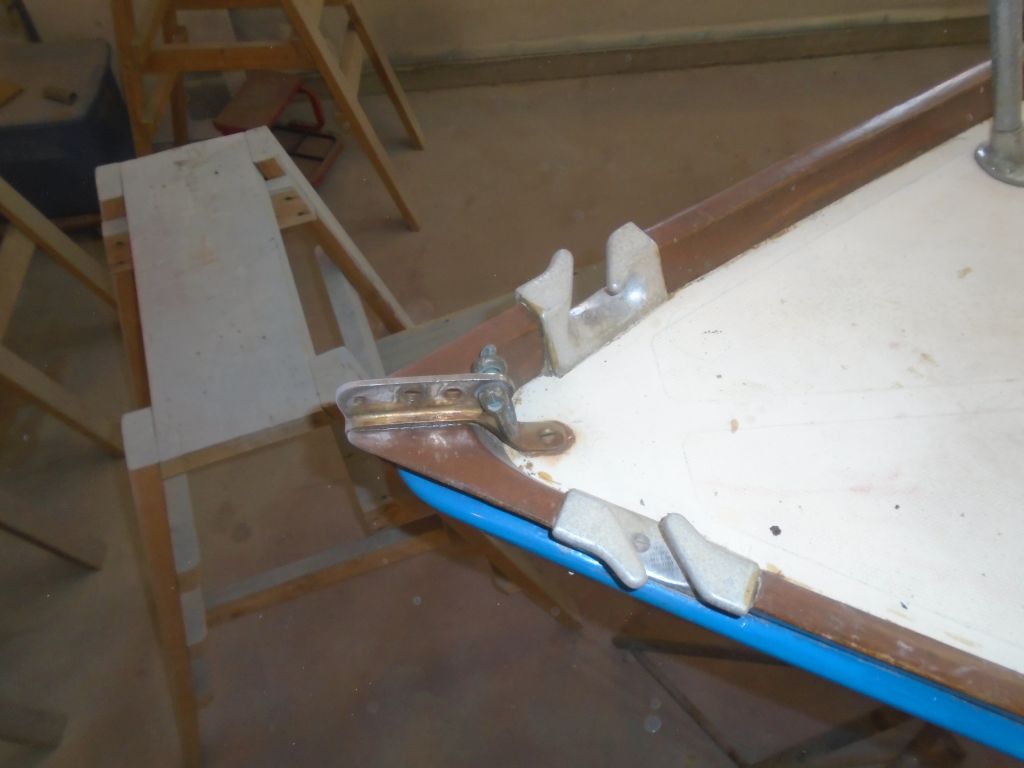
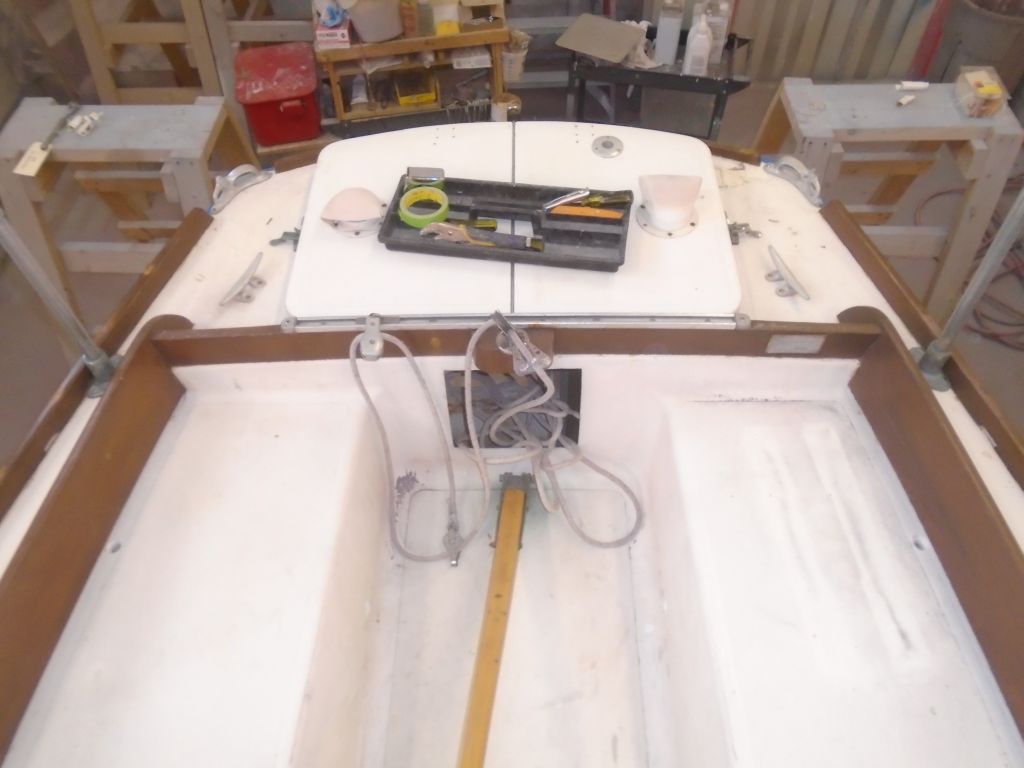
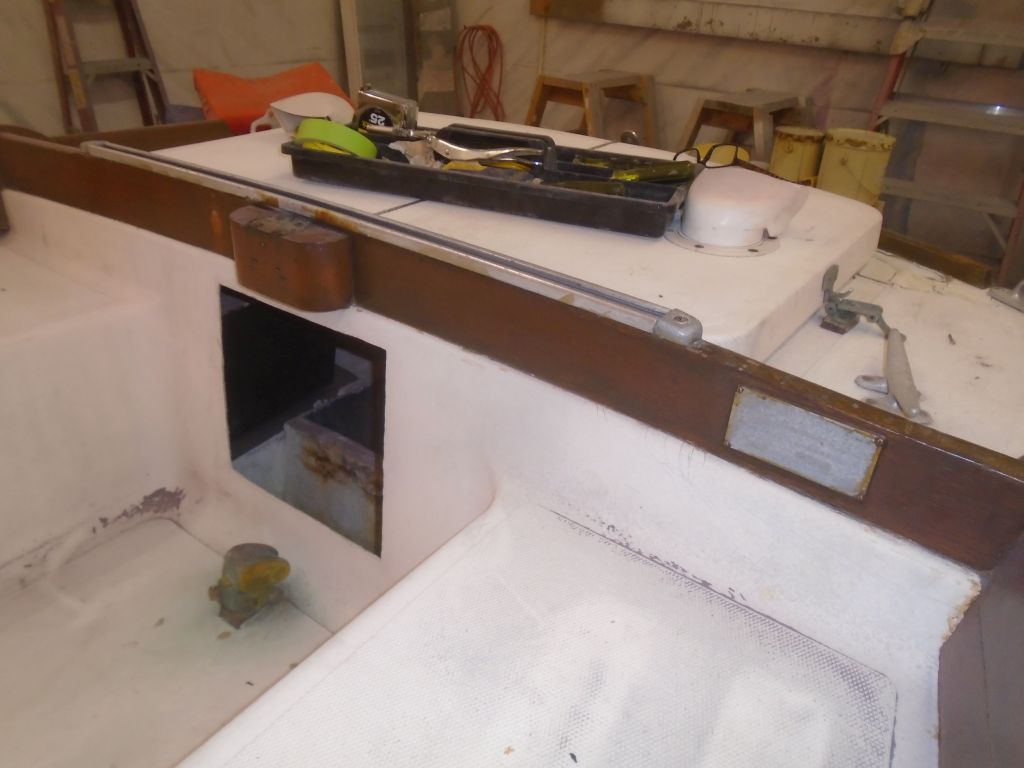
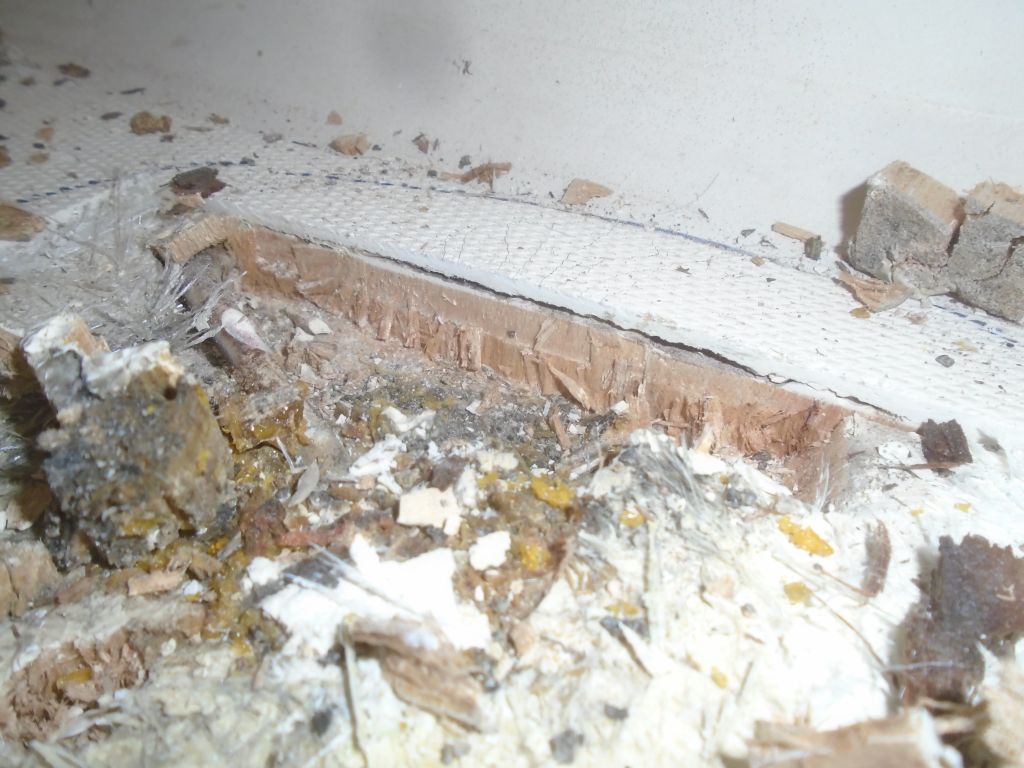
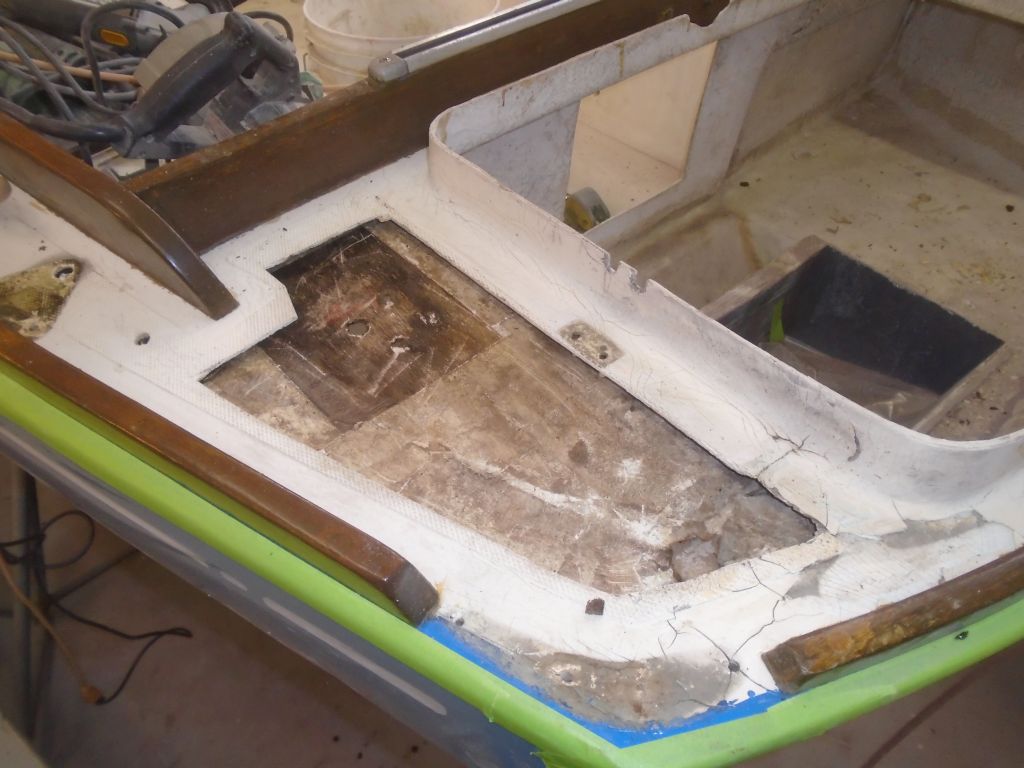
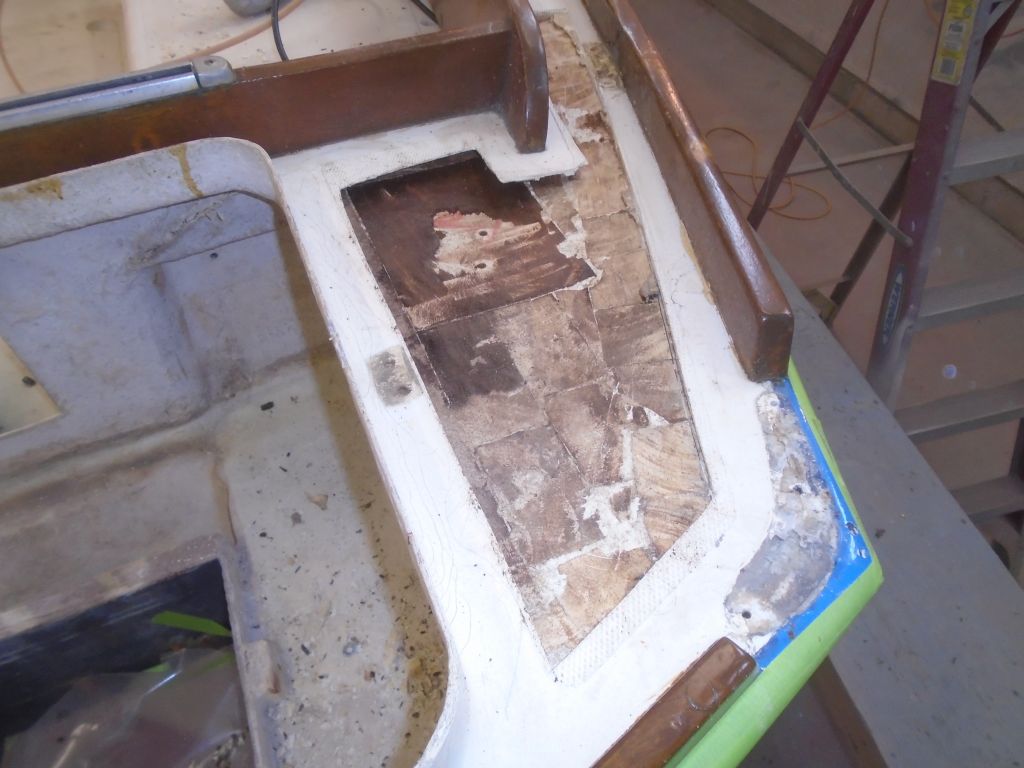
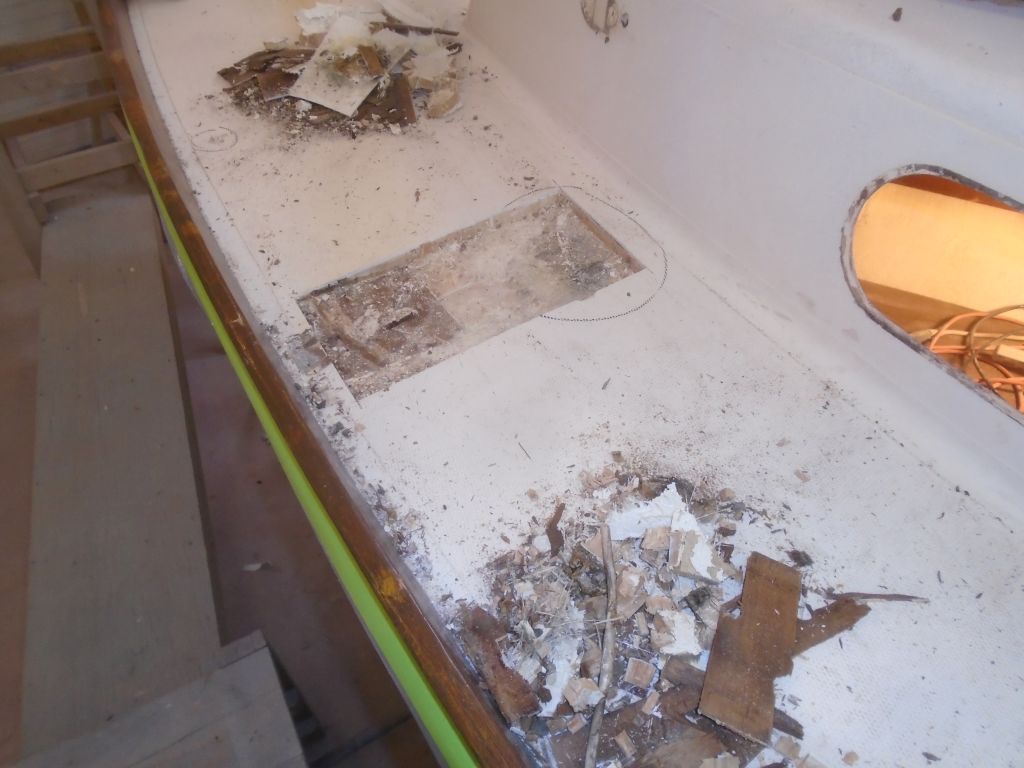
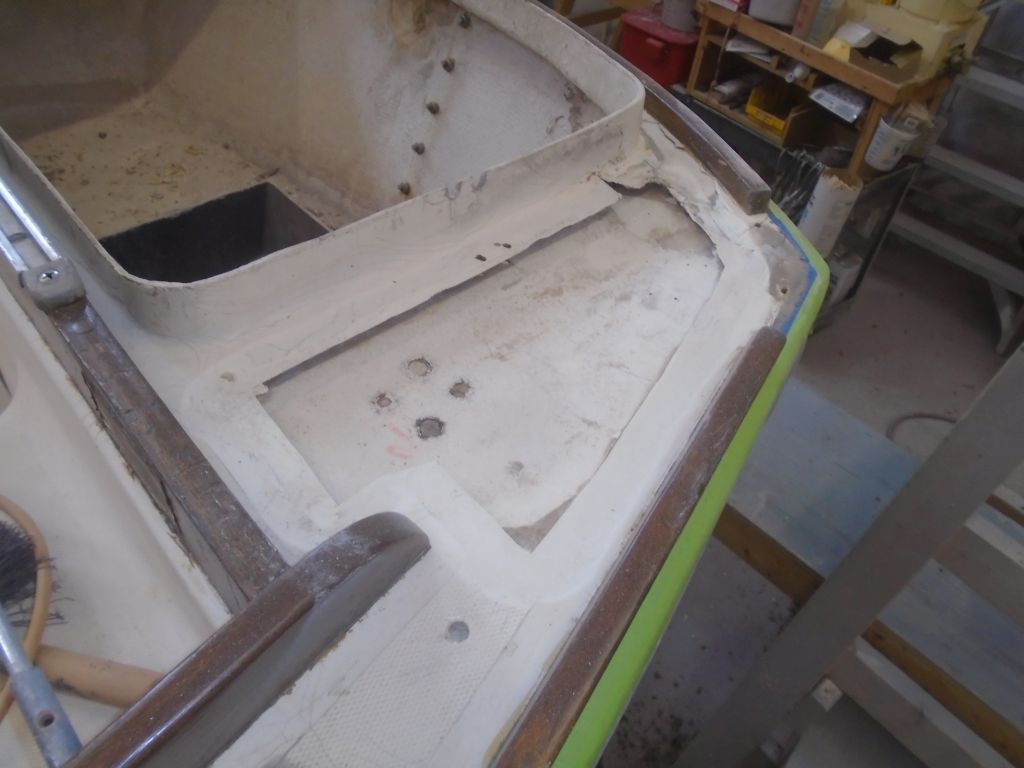
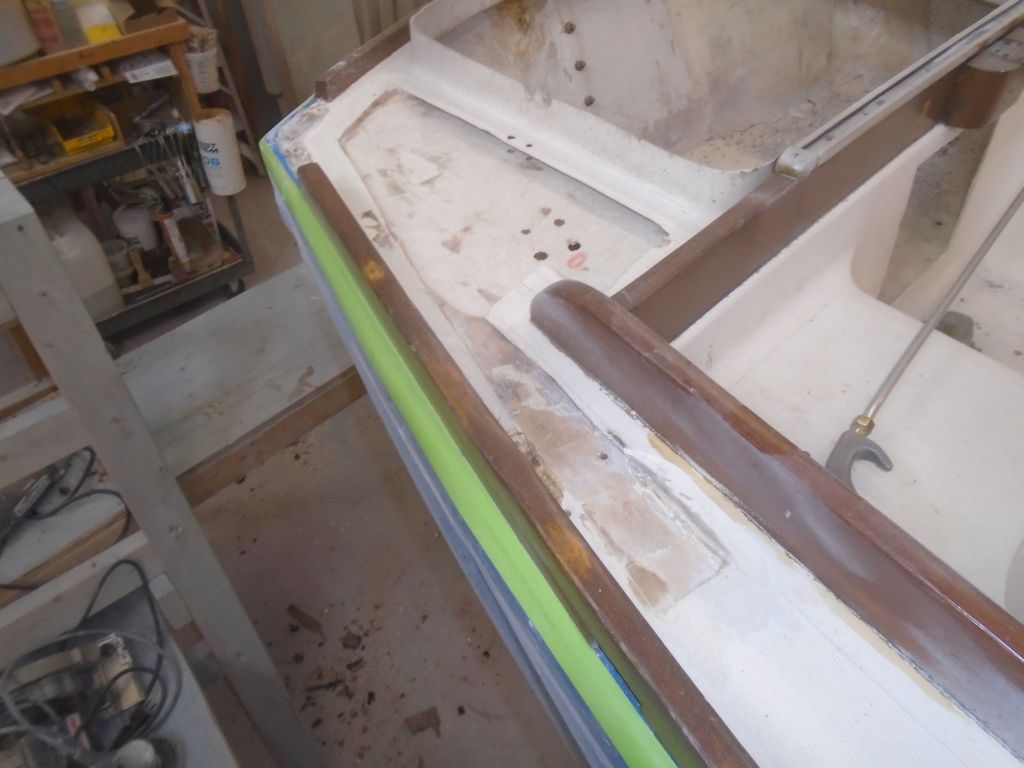
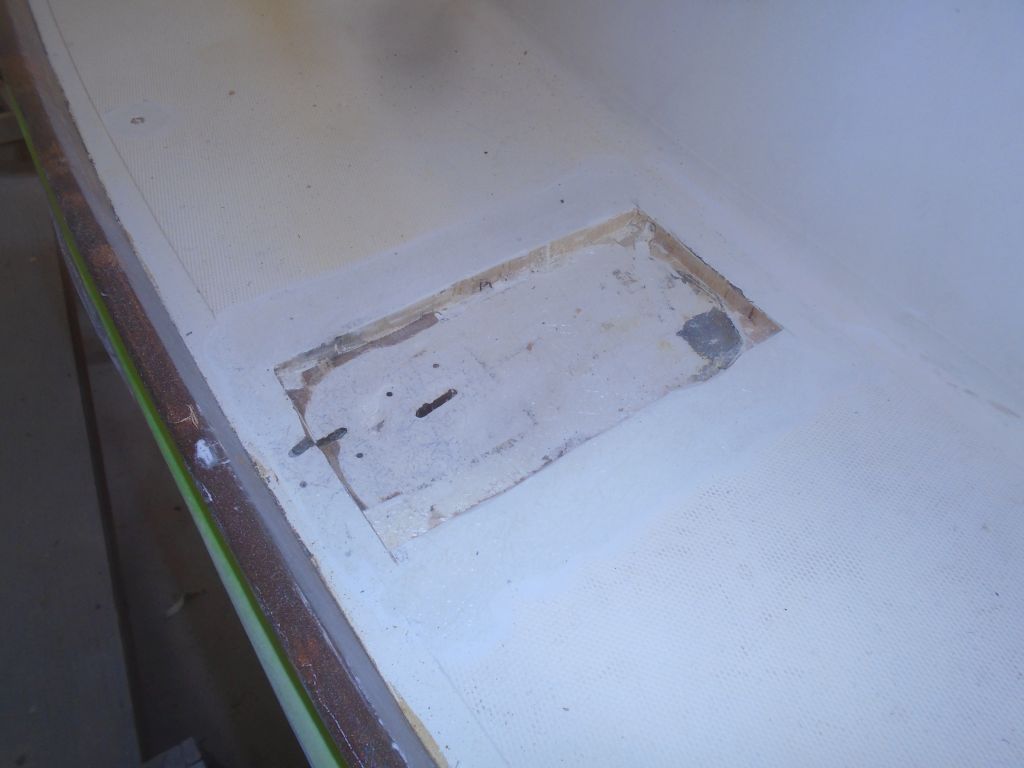
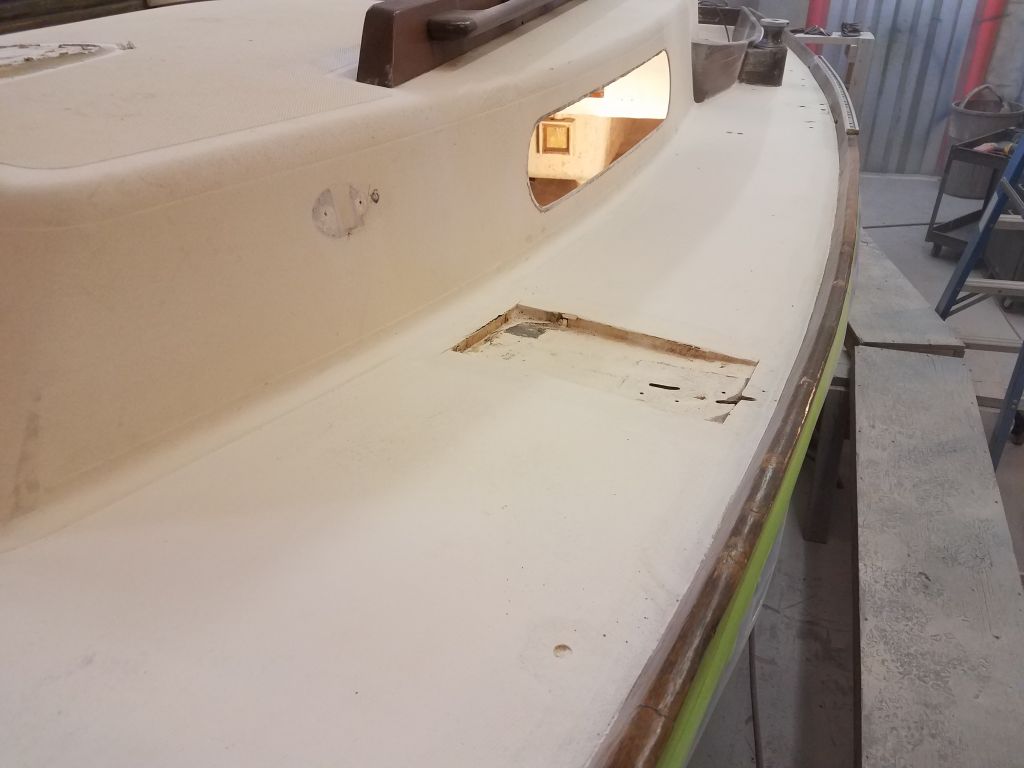
Next, I cut open the deck to expose and remove the damaged coring, starting with the poop deck. I left a flange around the perimeters of the openings to allow room for bonding new fiberglass over the repair later, and dug out the wet and rotting core from within.
Port Poop Deck


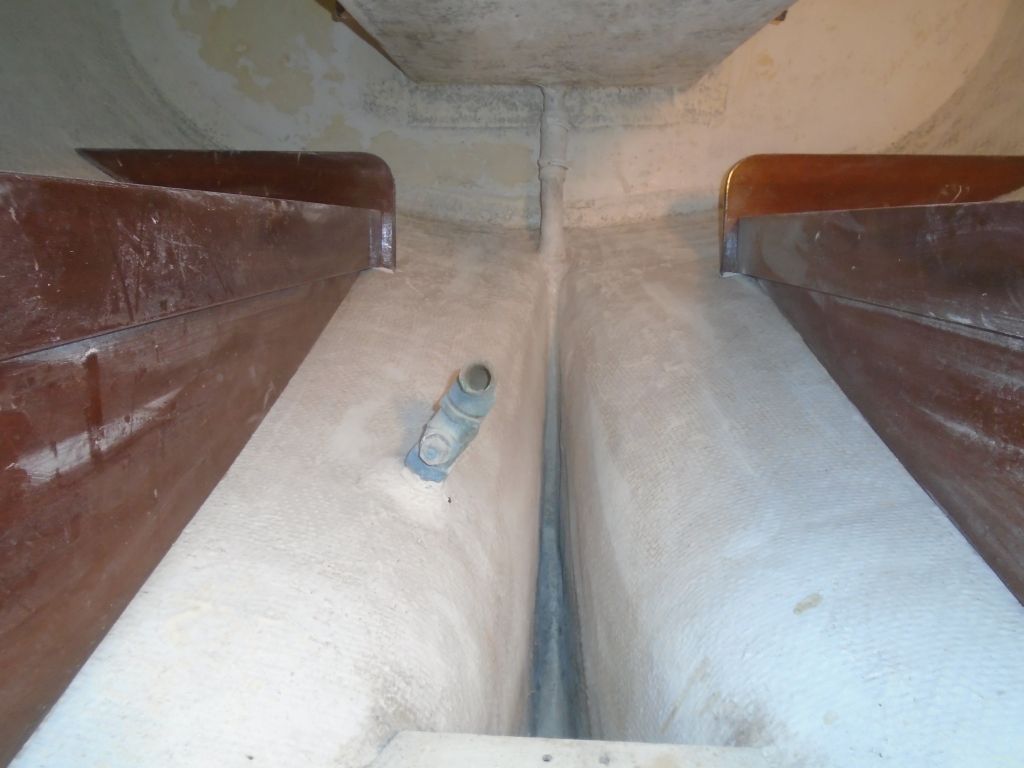
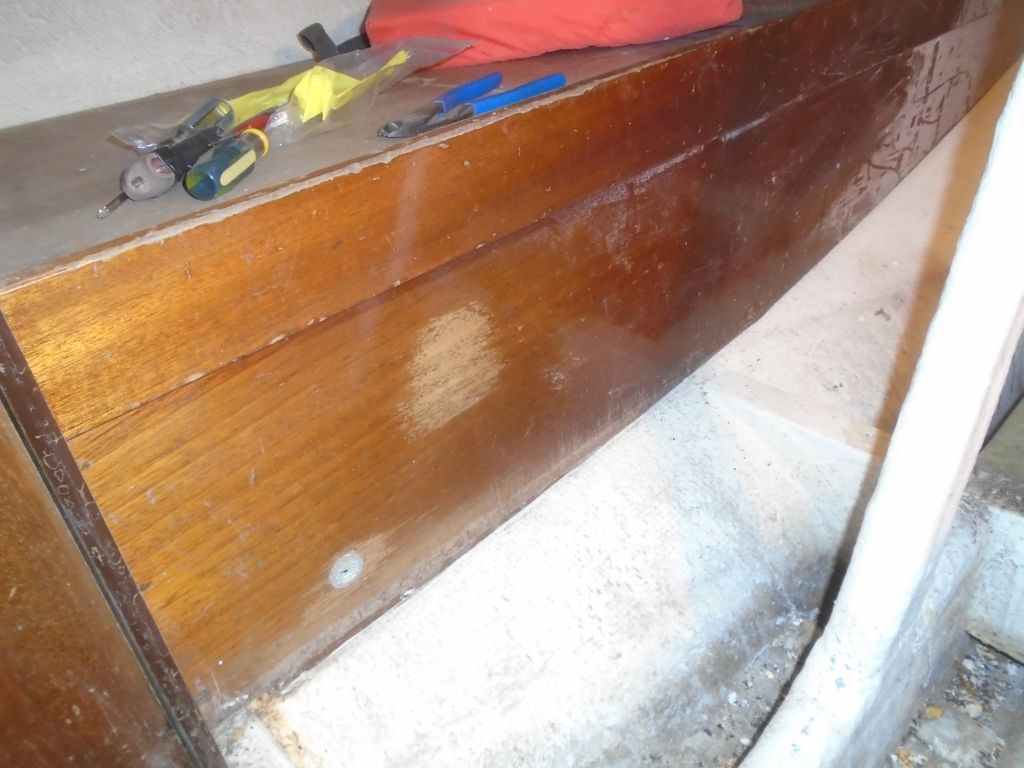
Starboard poop Deck
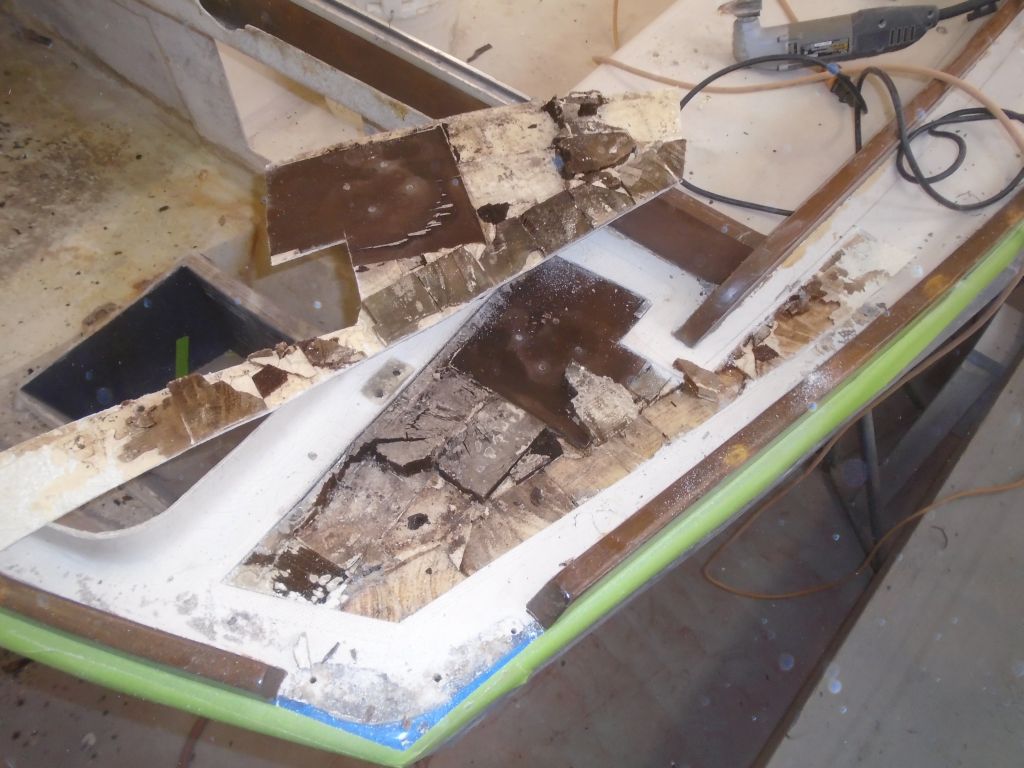
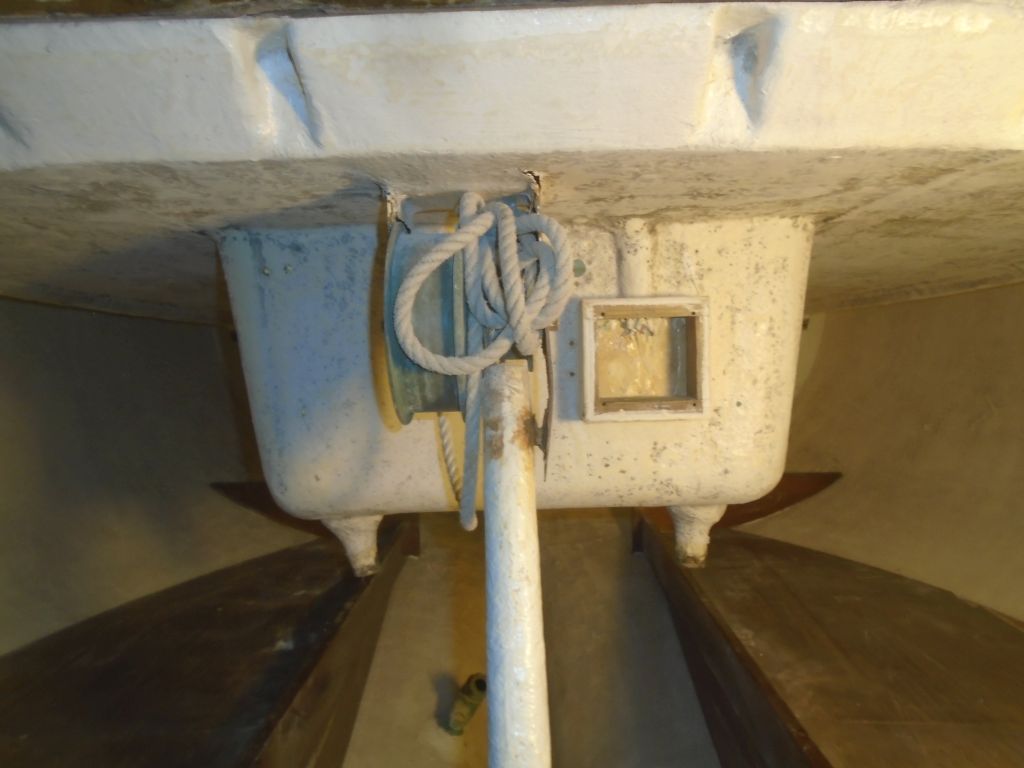
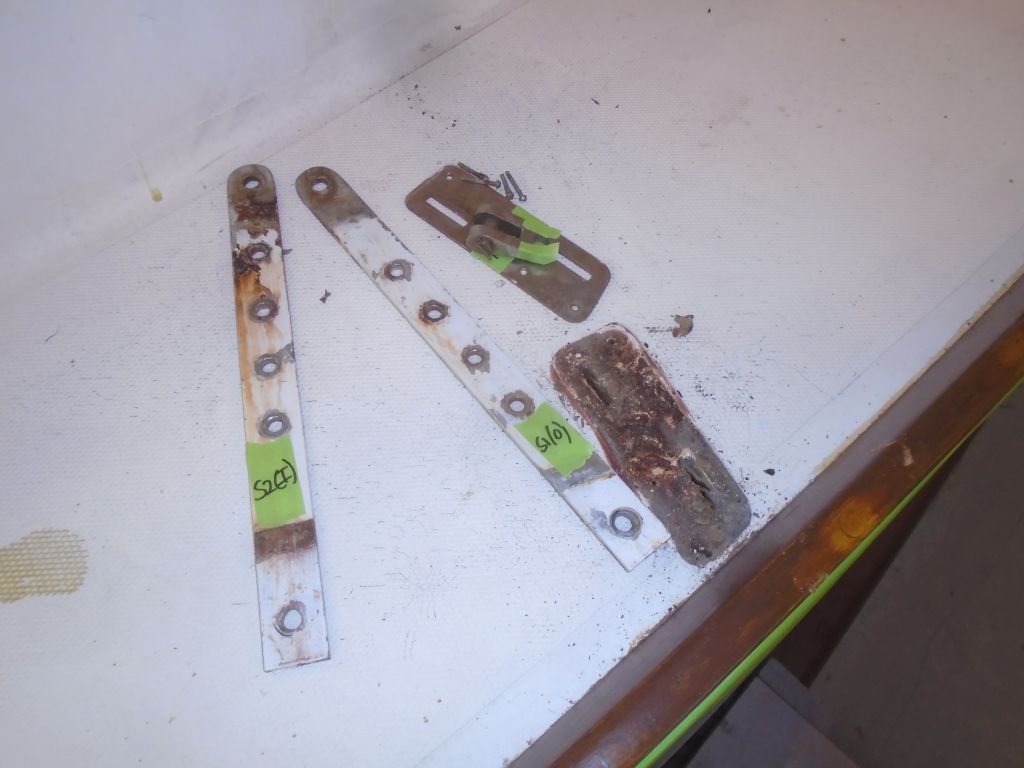
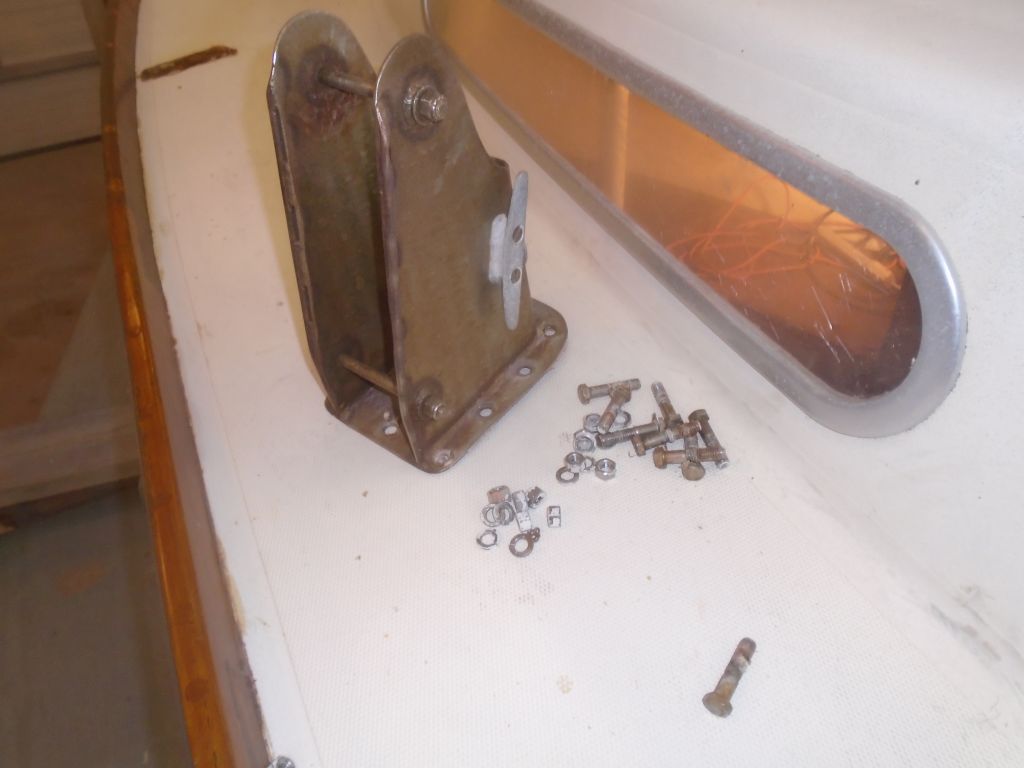
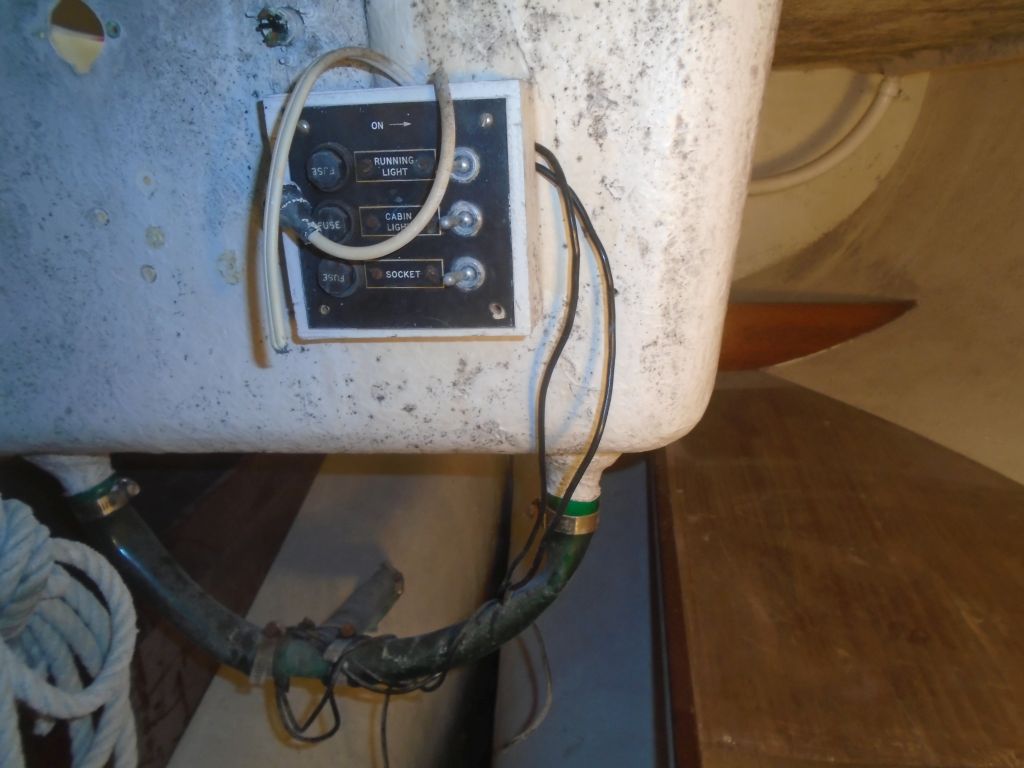
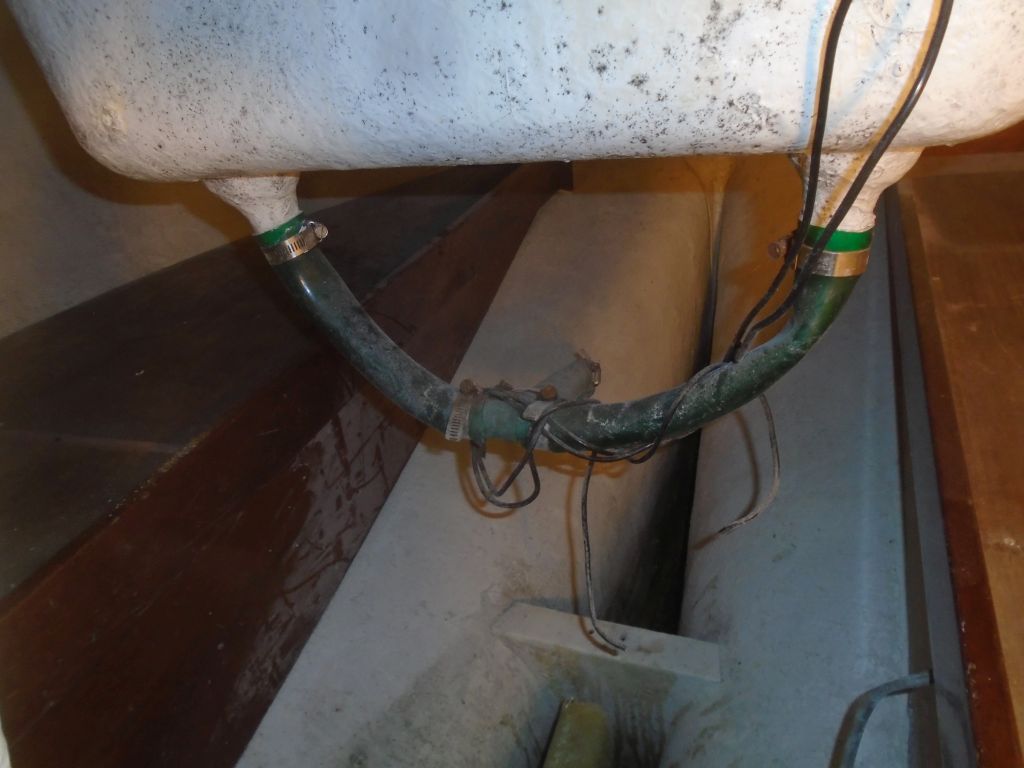
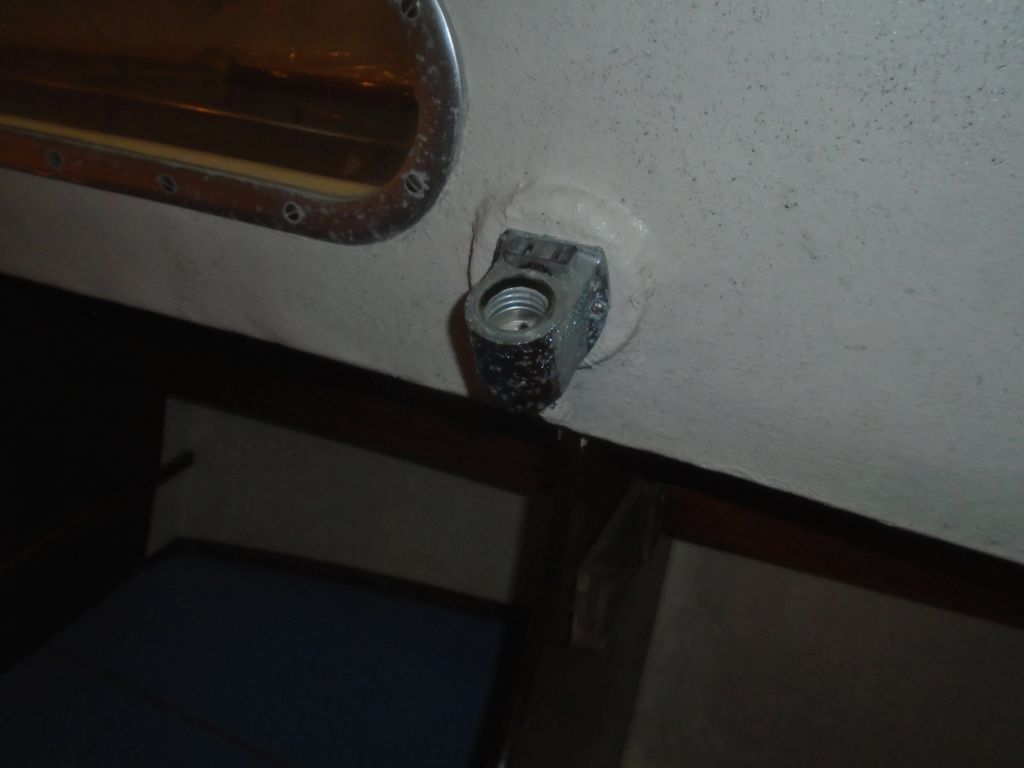
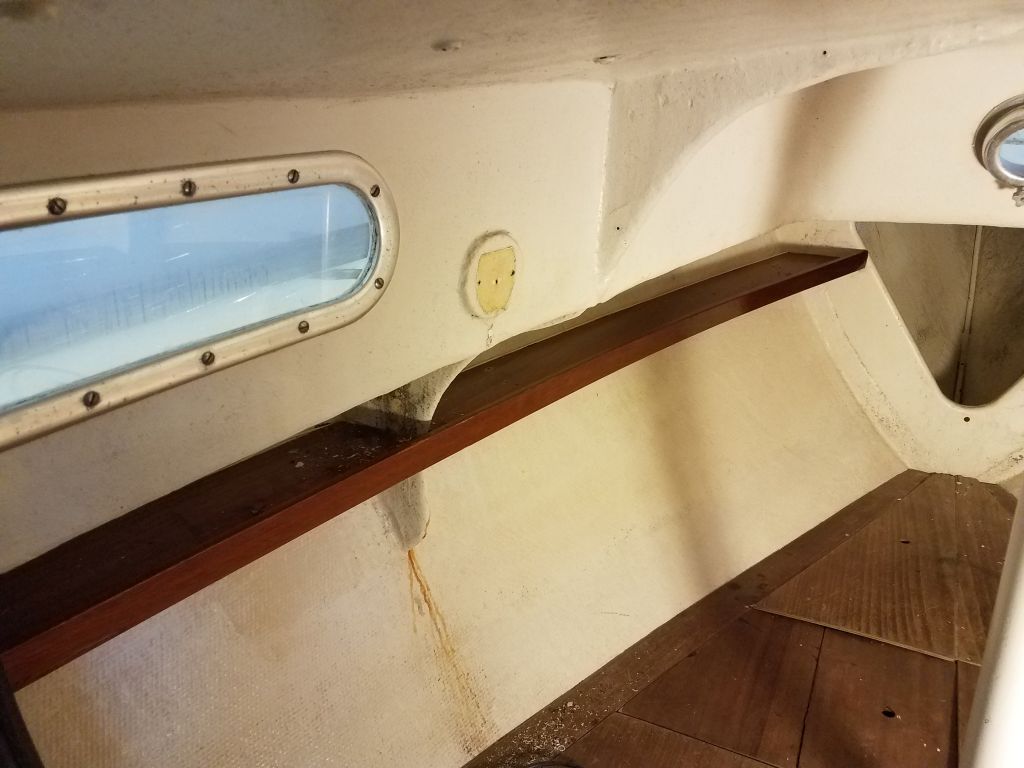
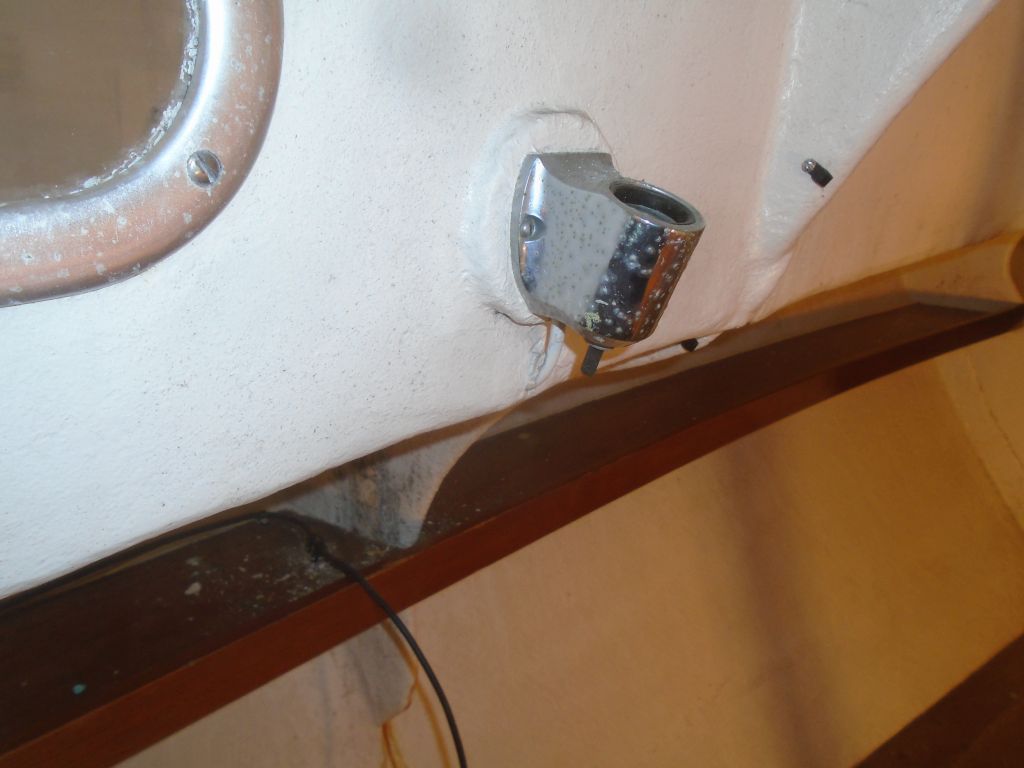
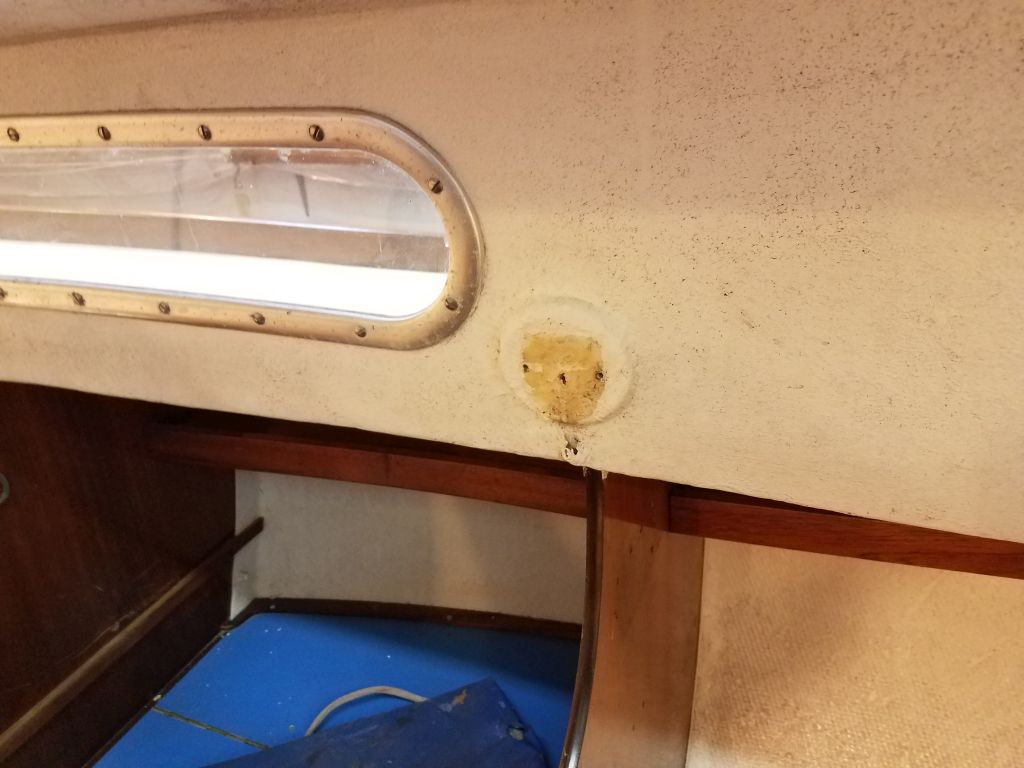
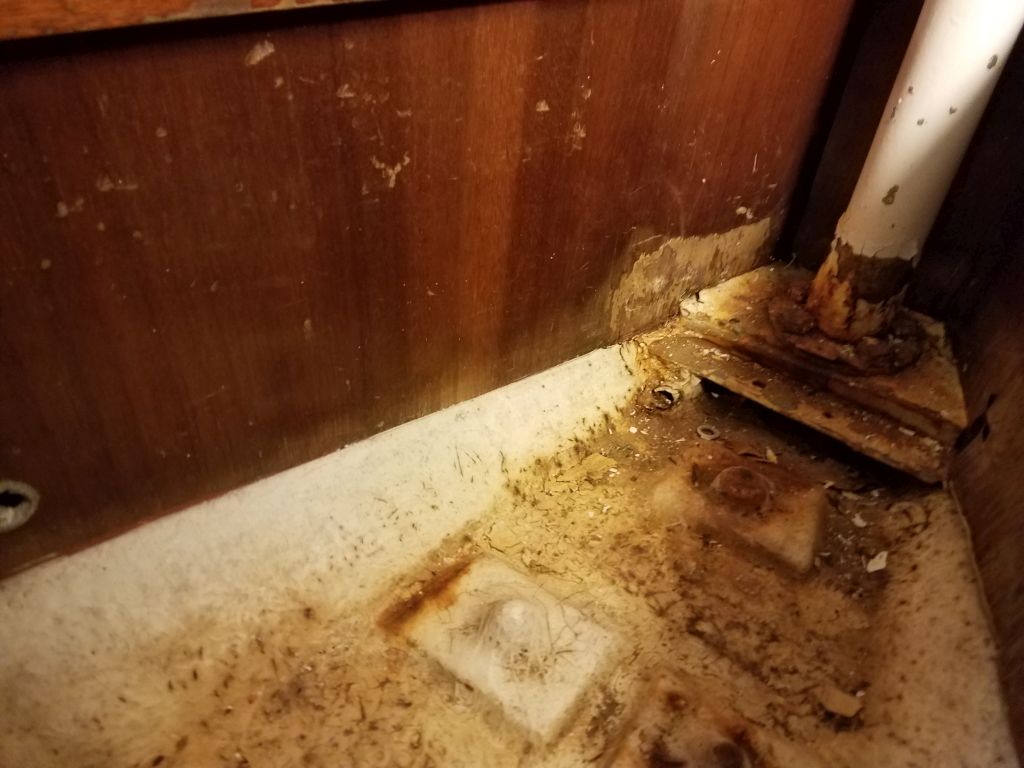
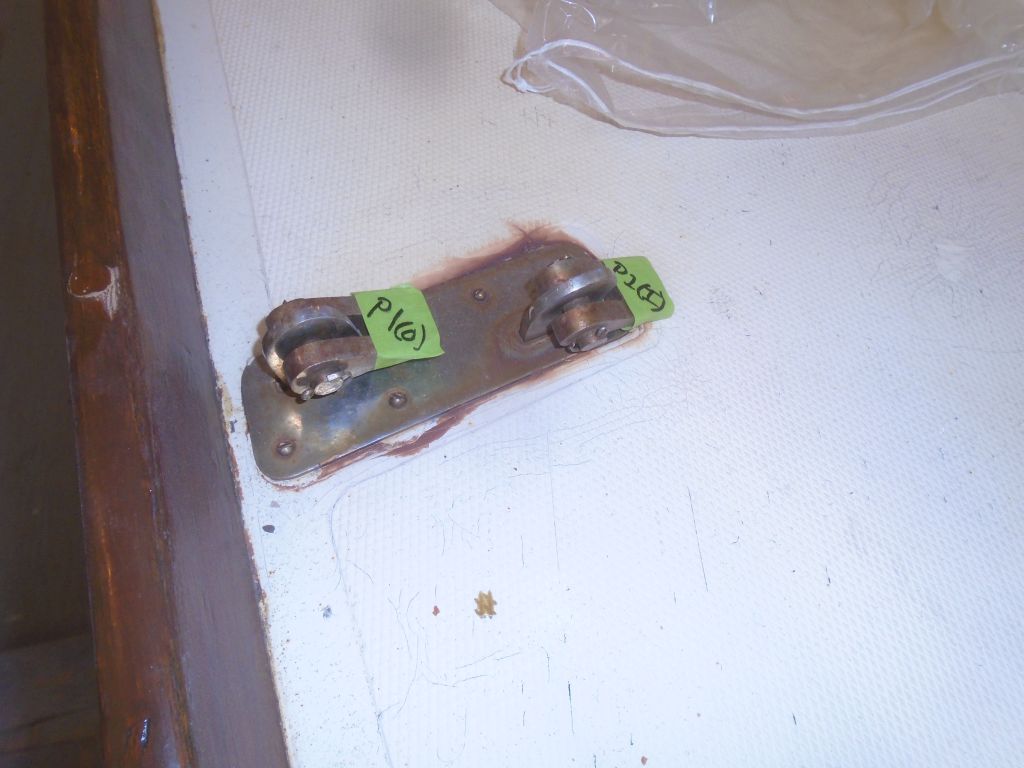
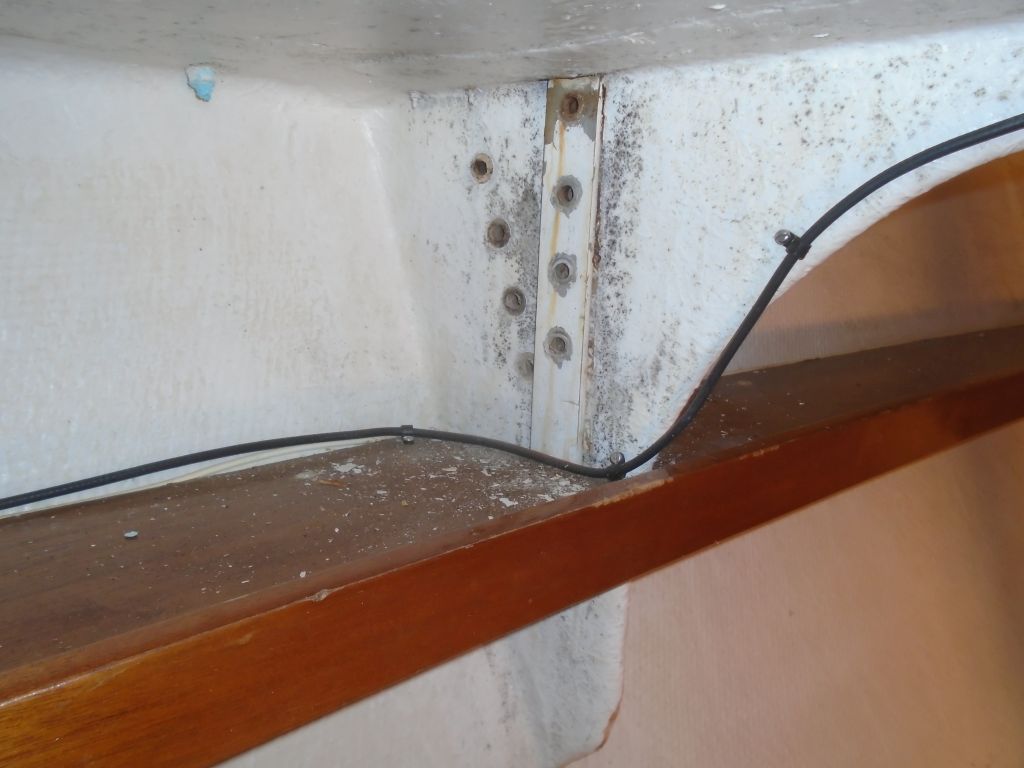
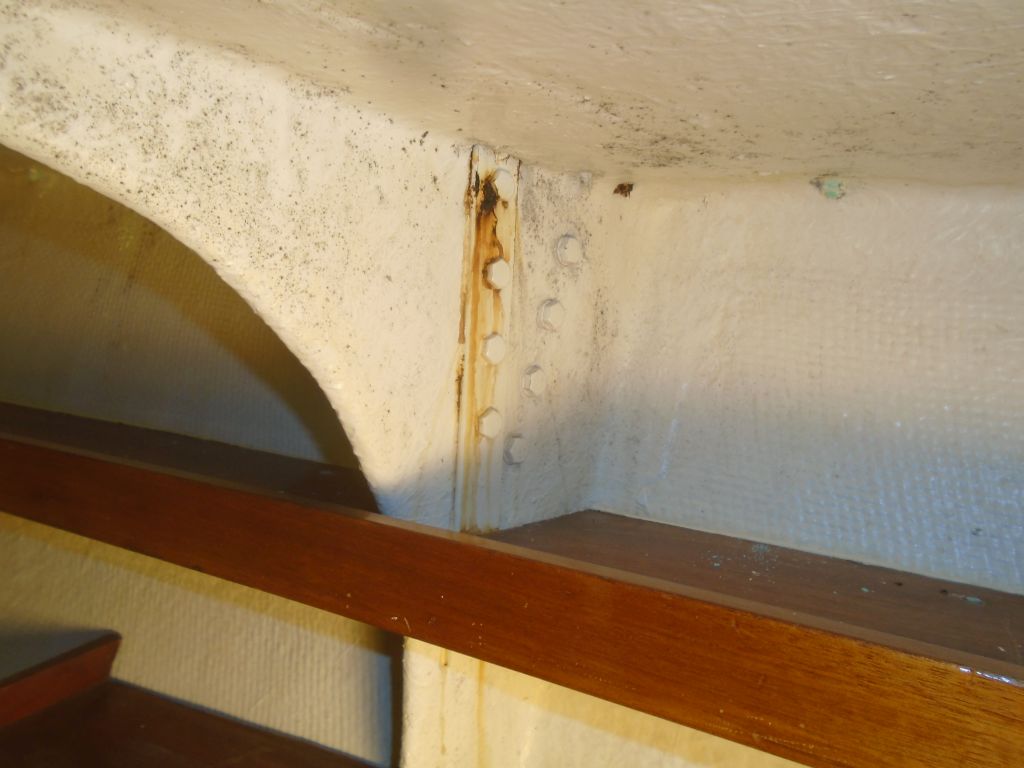
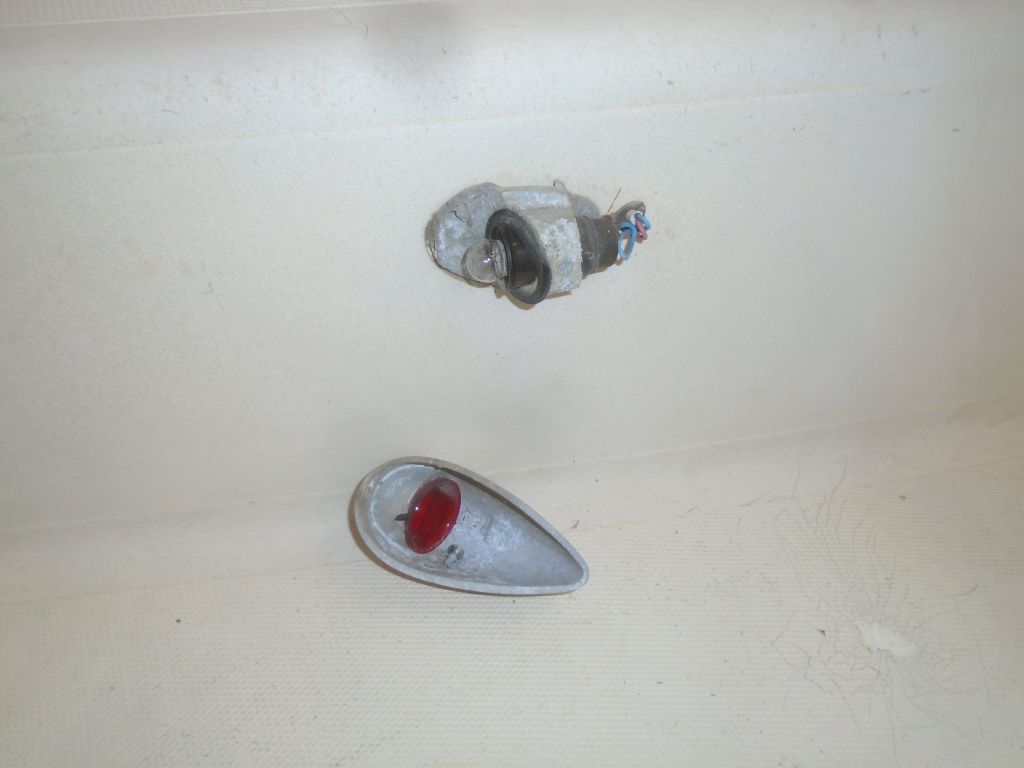
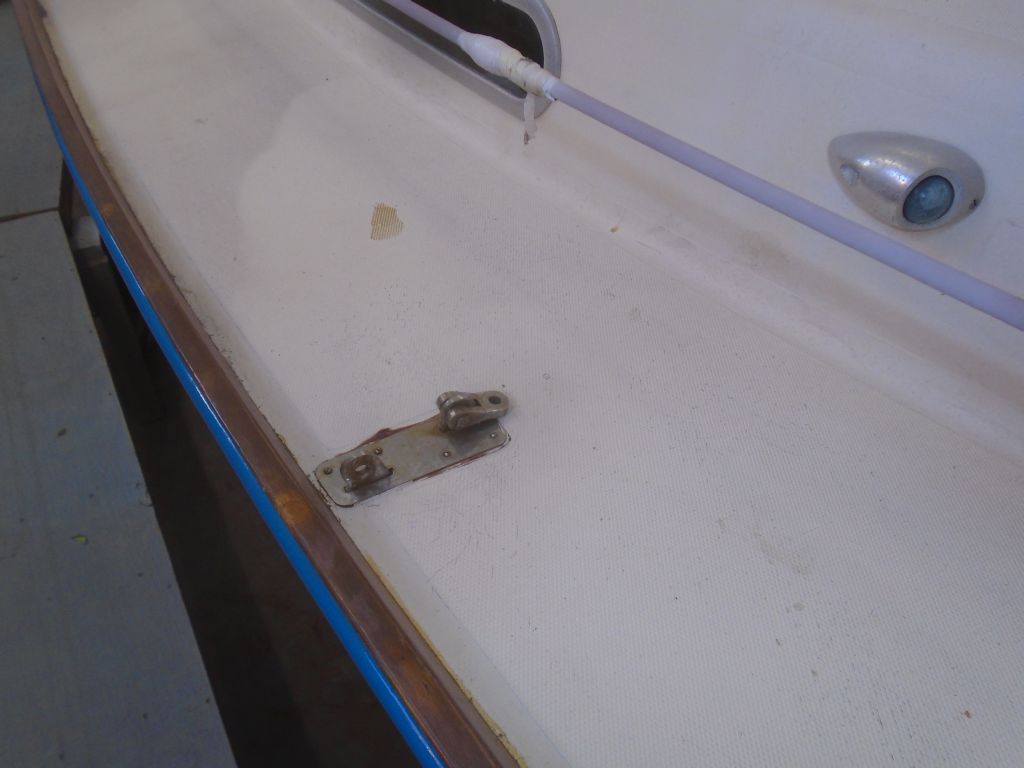
Port chainplates, showing an embedded wire that led to one of the old interior lights


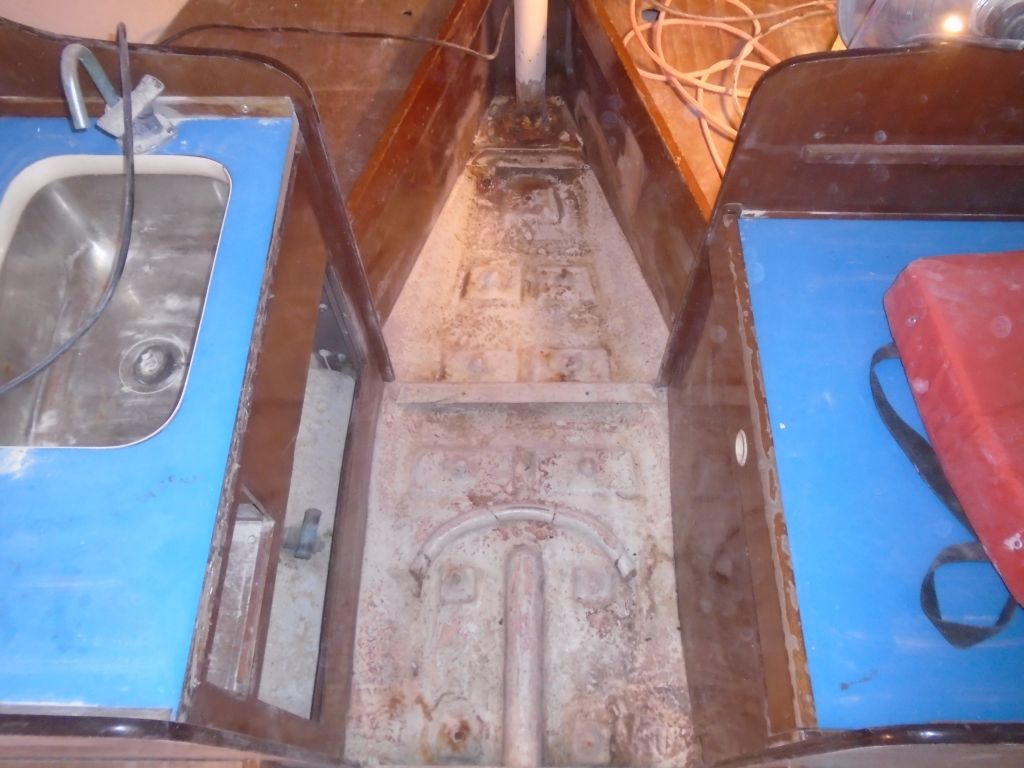
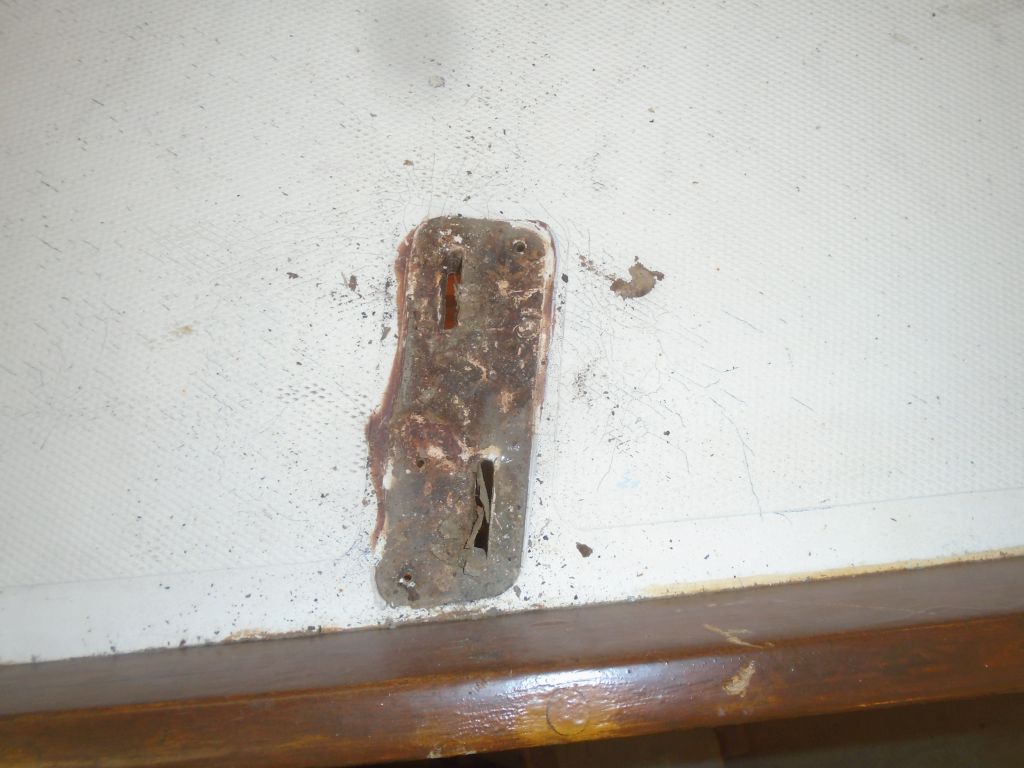
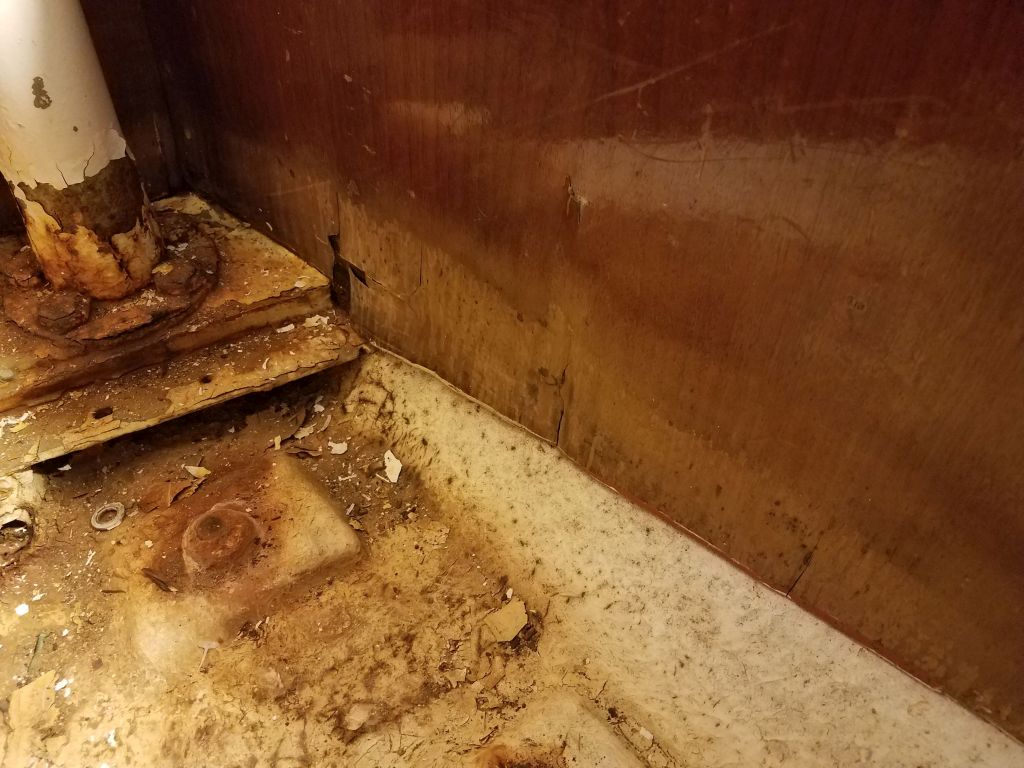
Starboard Chainplates

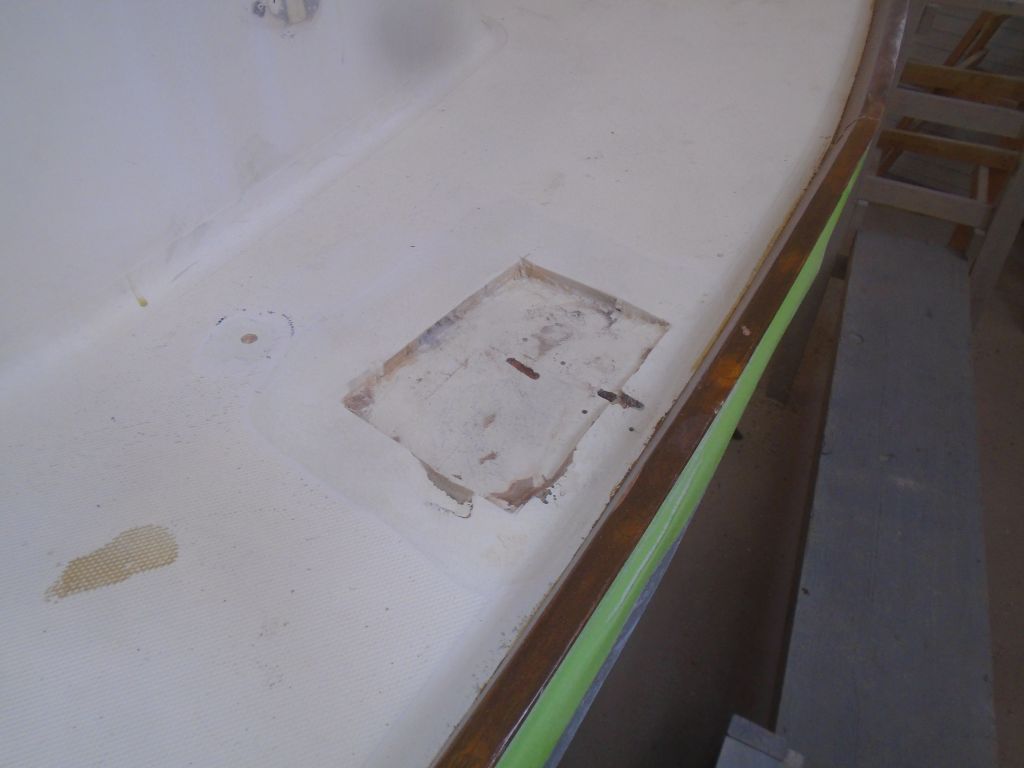
In each case, I cut the deck openings large enough to expose sound coring along the edges of the cut, where applicable, and removed the coring from within the openings as needed. Afterwards, I used a grinder to grind a tapered recess around all the new openings, this to allow new fiberglass to overlap and lie flush with the adjacent deck areas during repairs. I also dished out all my test hole openings to provide room for patching later. Note that the laminating resin on this boat appeared to have been pigmented white (this was the case on another Sailmaster I worked on several years earlier), so the ground fiberglass is not readily apparent.
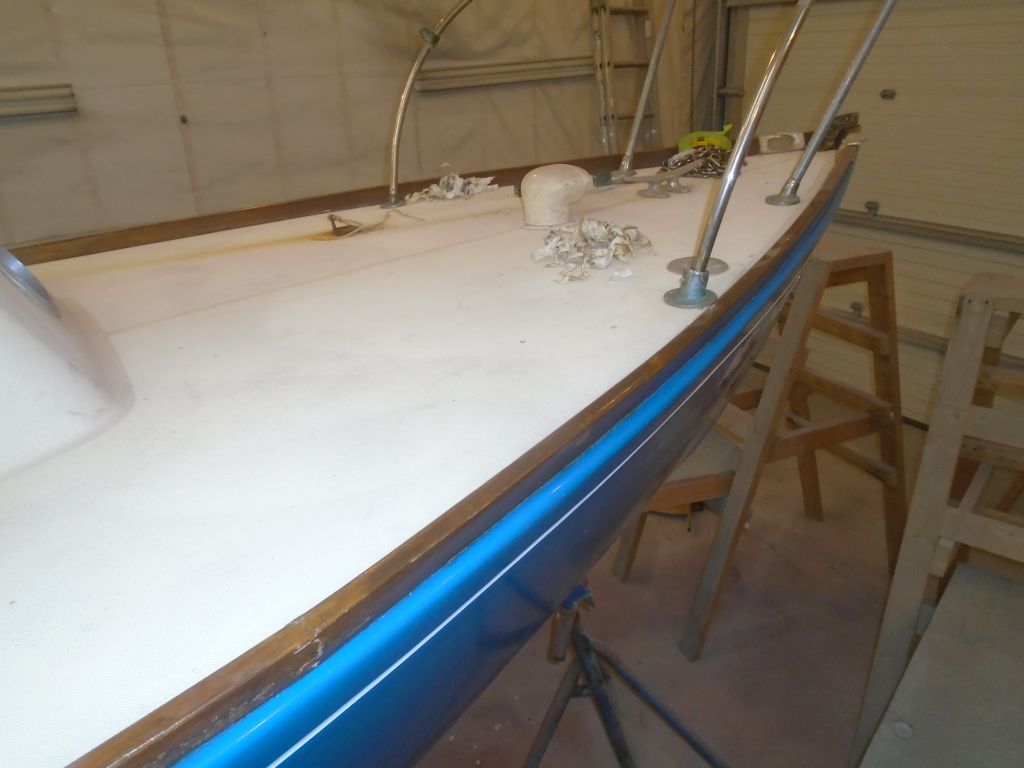
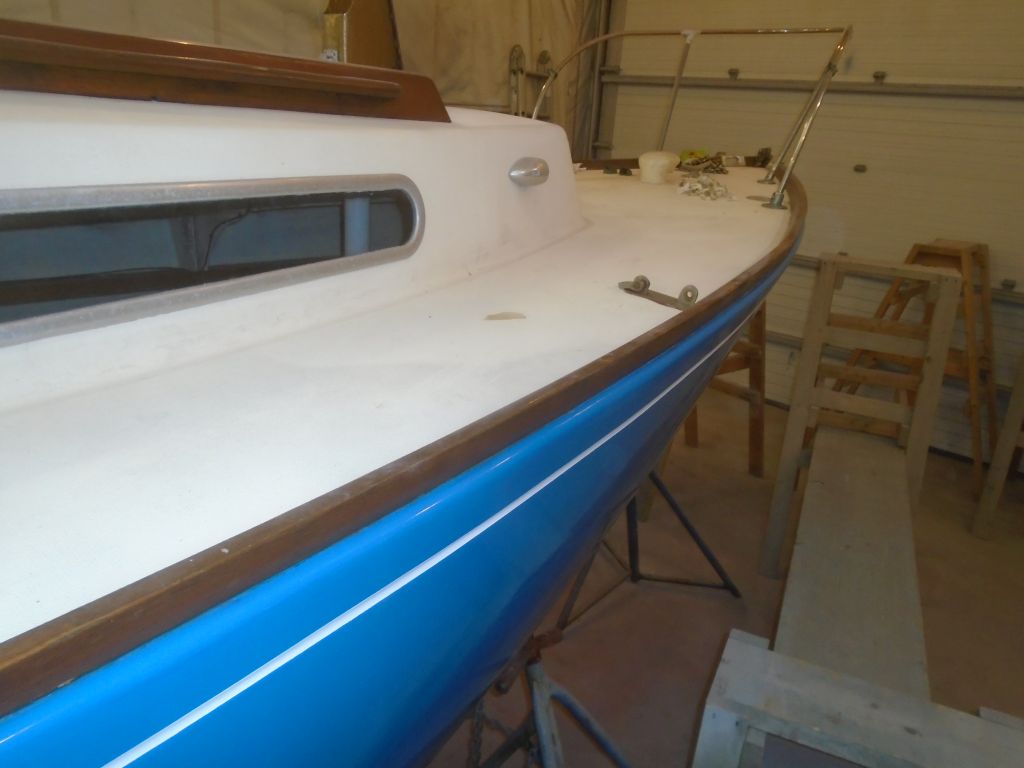
With the inspection, uncoring, and related preparations complete, I spent the remainder of the day working on the port sidedeck and entire foredeck to sand off the molded nonskid pattern and begin the surface preparations for refinishing.


Total time billed on this job today: 6.5 hours
0600 Weather Observation:
-5°, clear. Forecast for the day: clounding up, eventual mix to rain, becoming warmer