Tuesday
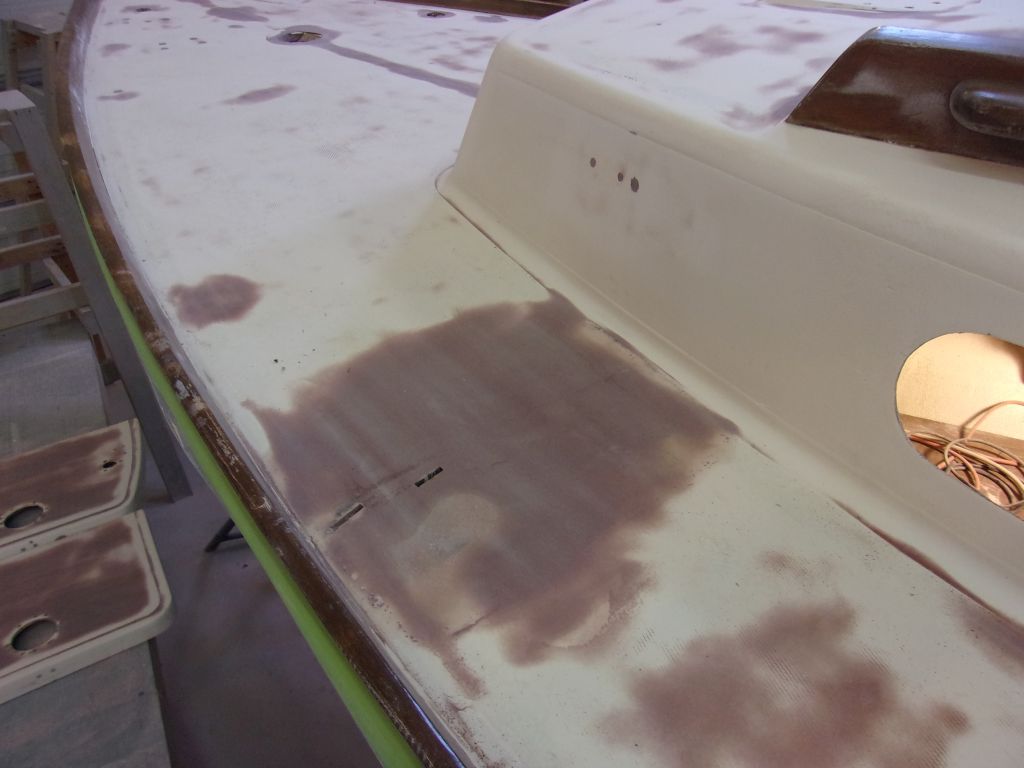
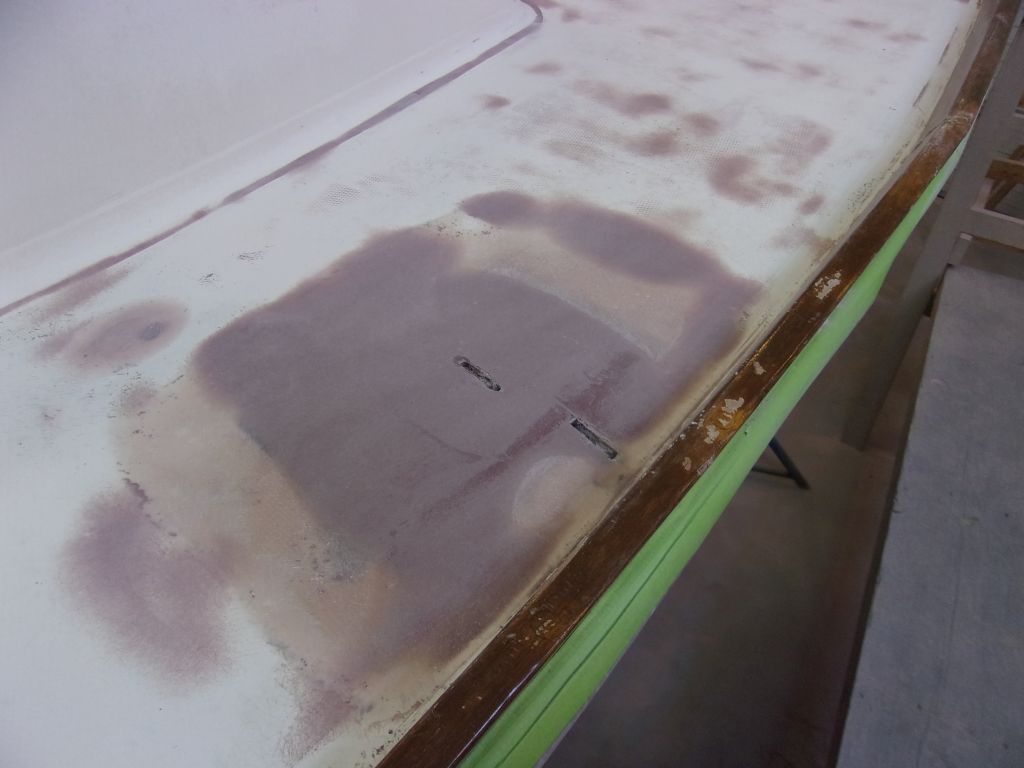
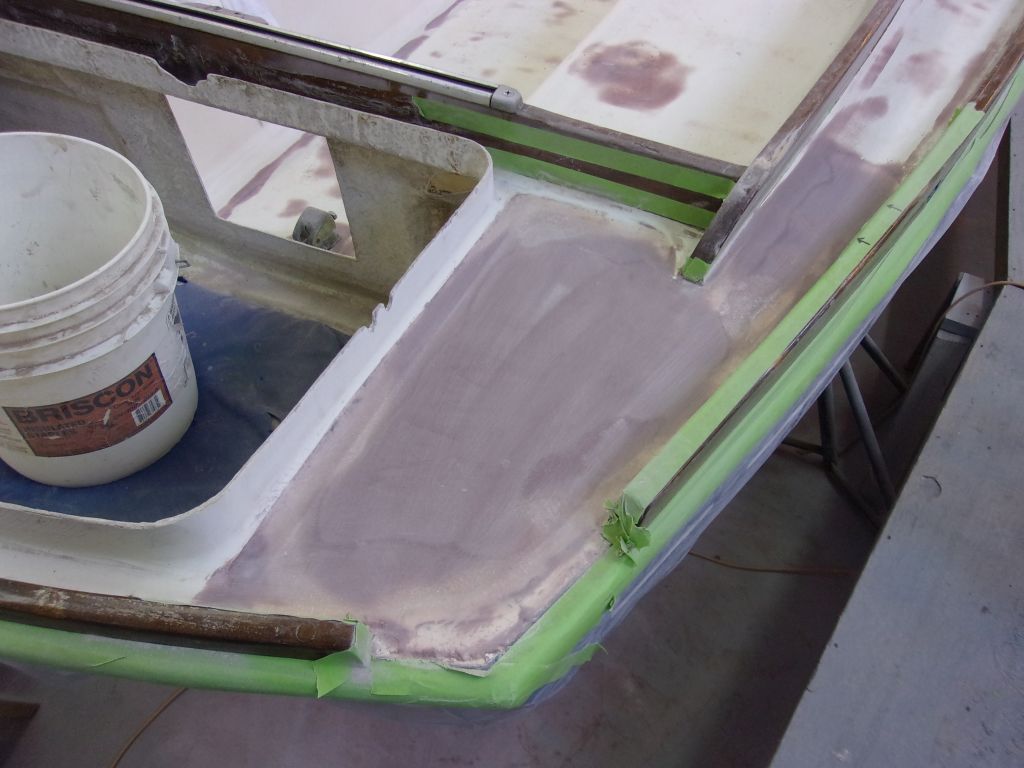
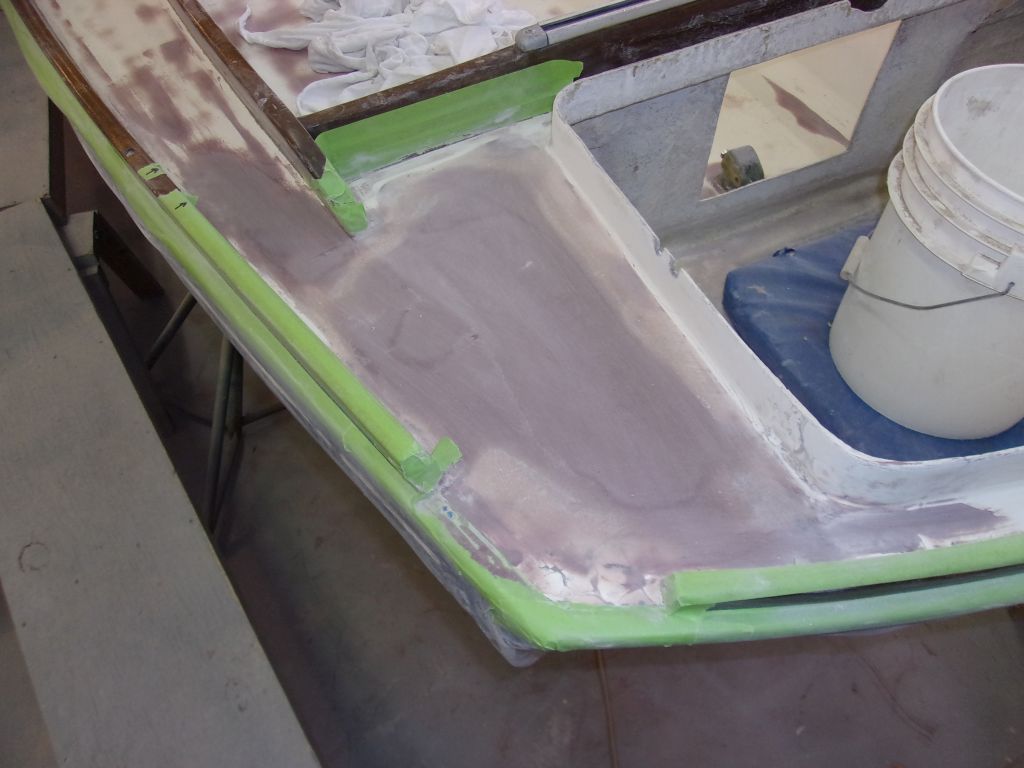
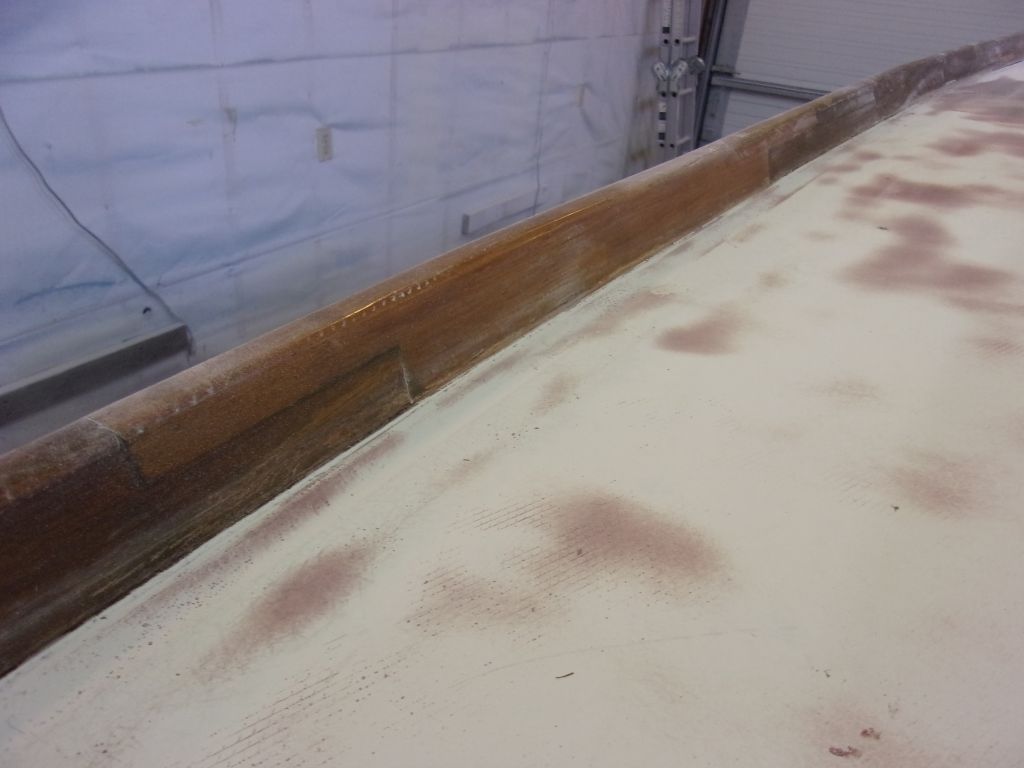
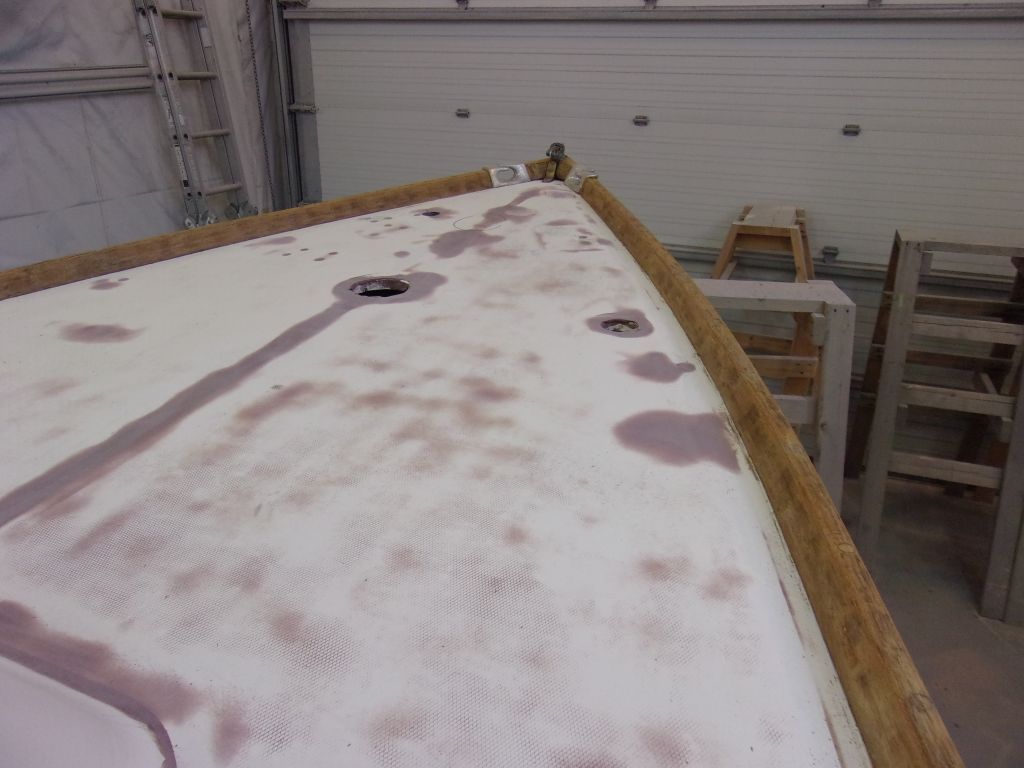
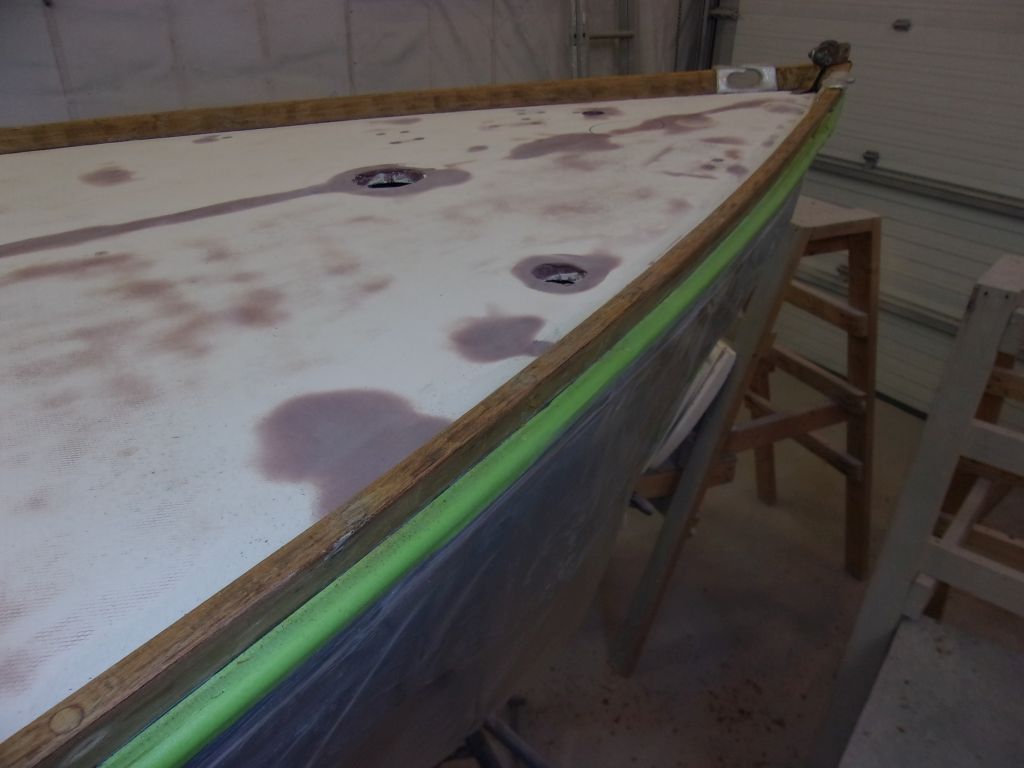
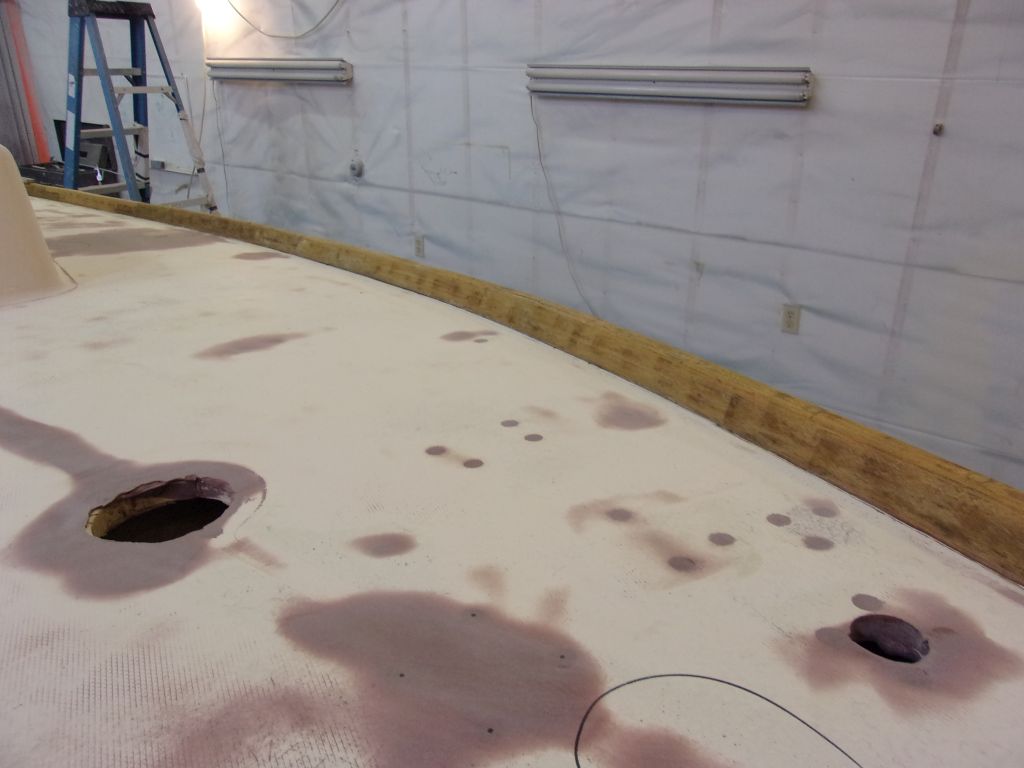
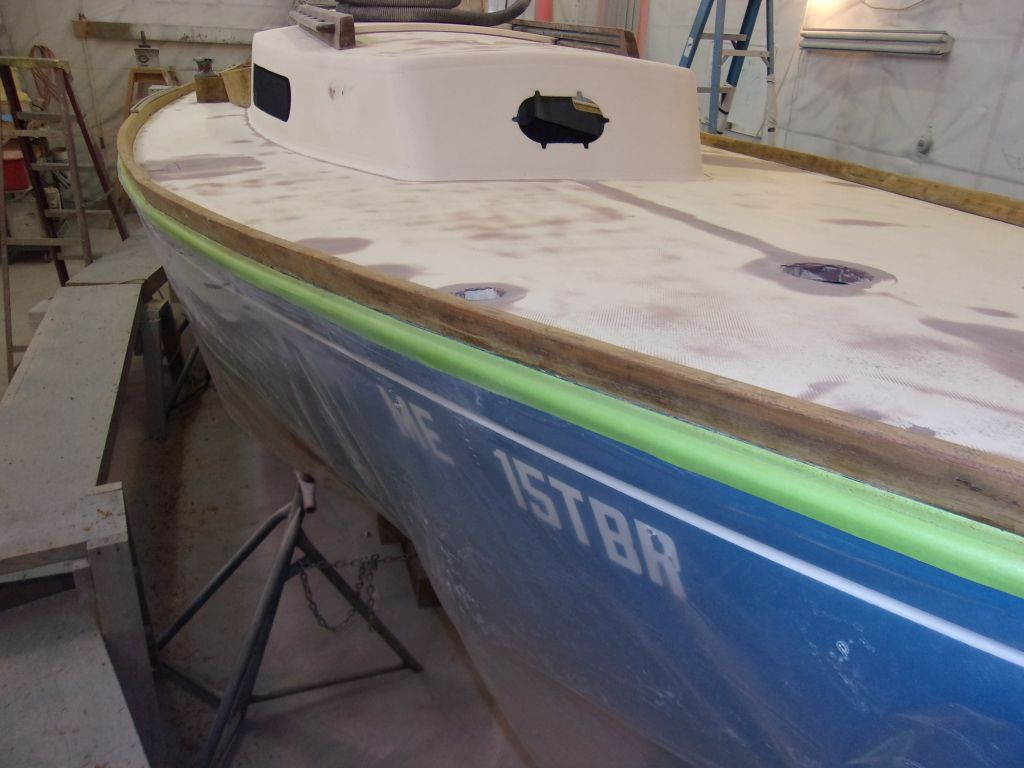
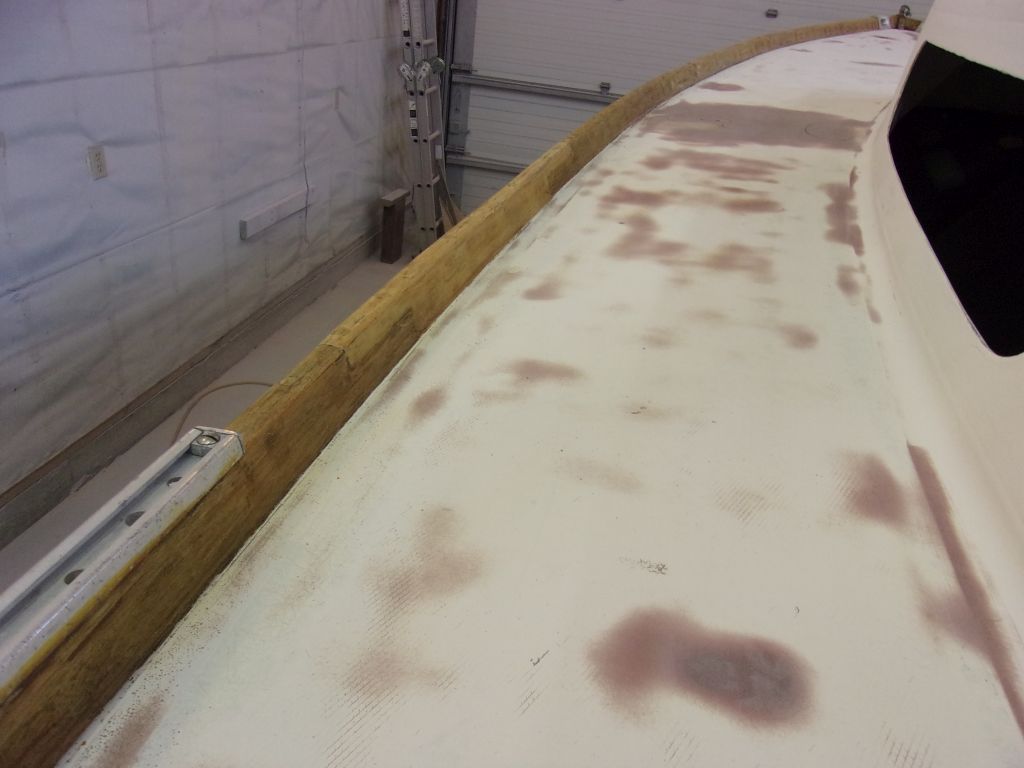
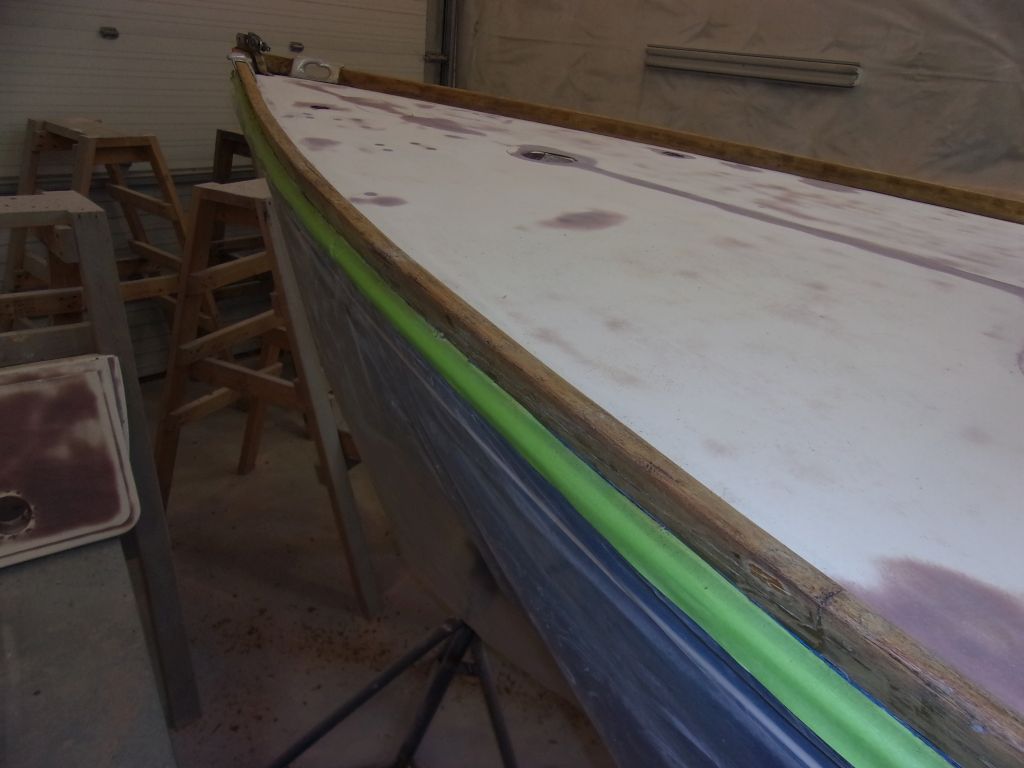
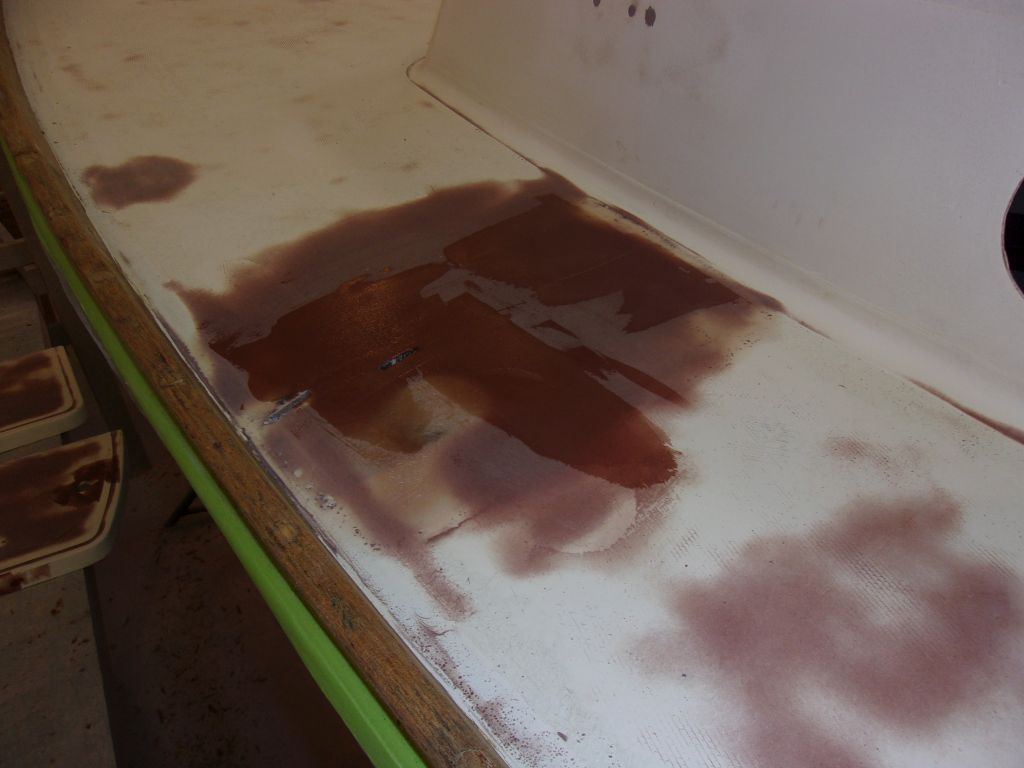
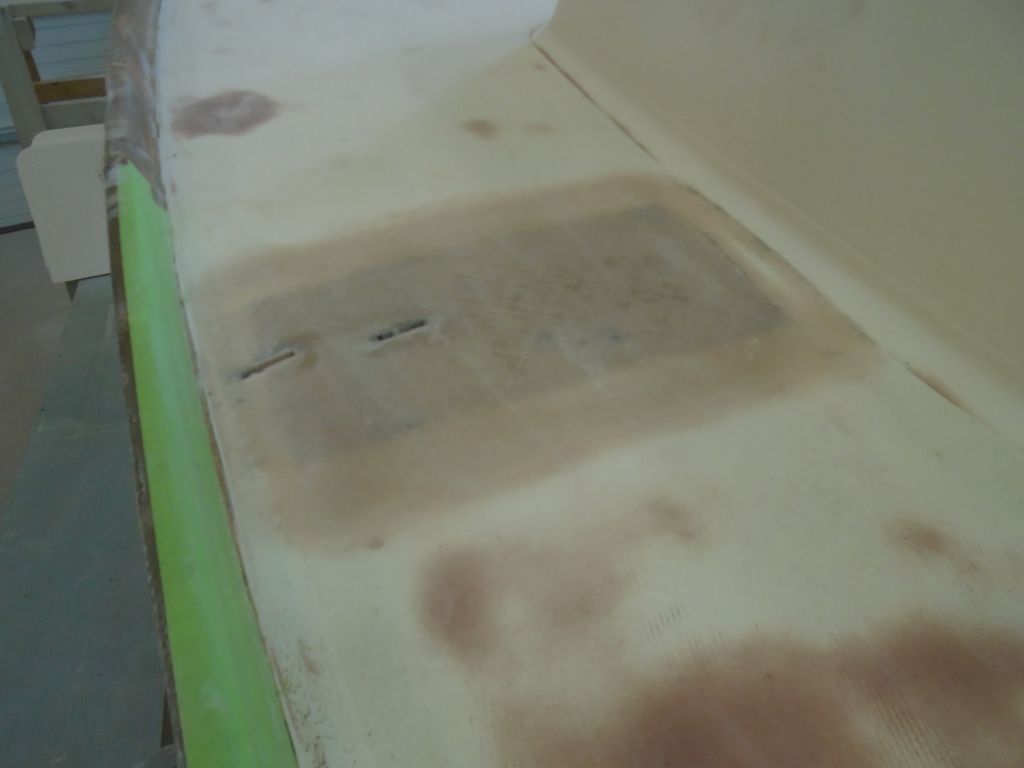
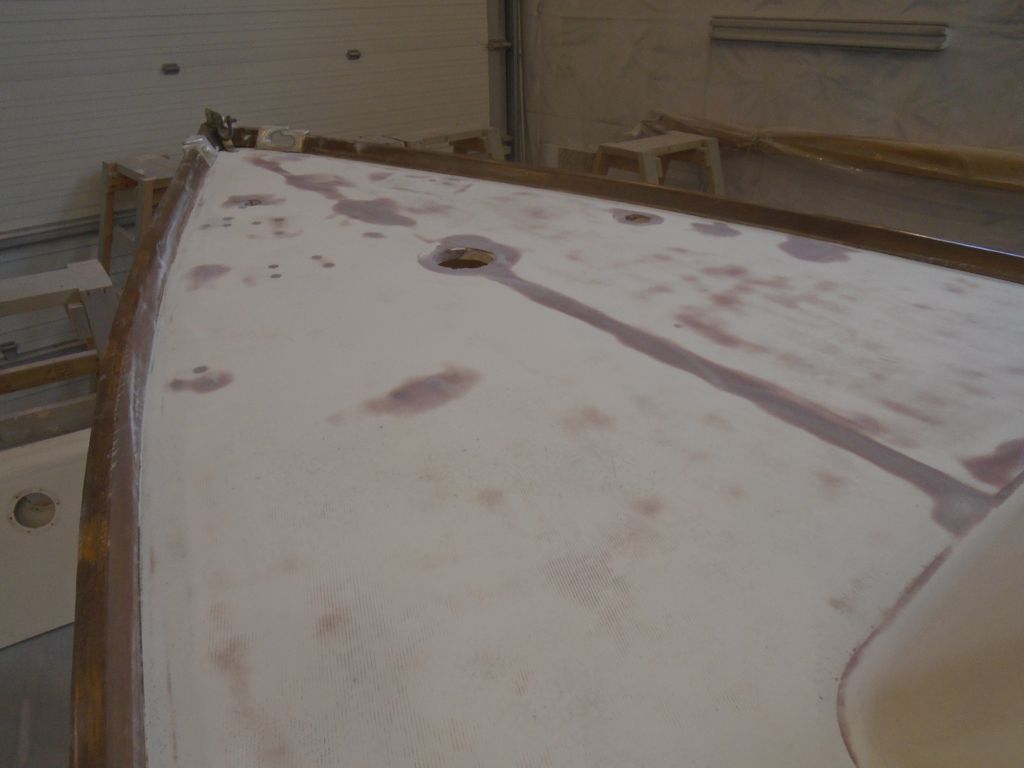
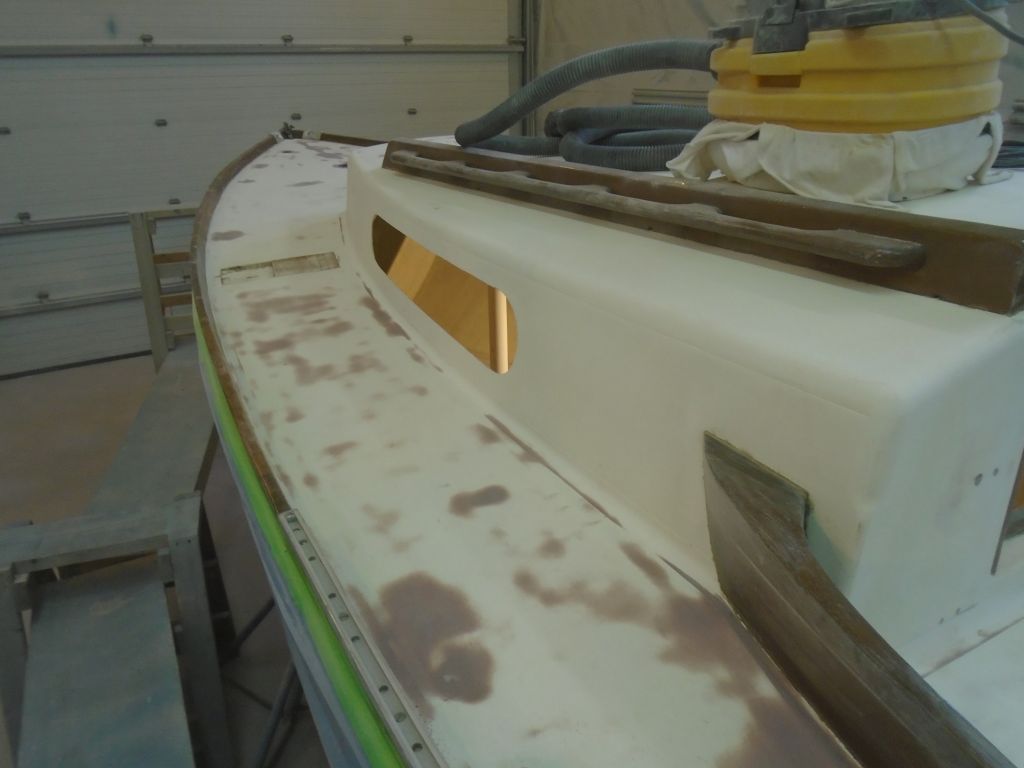
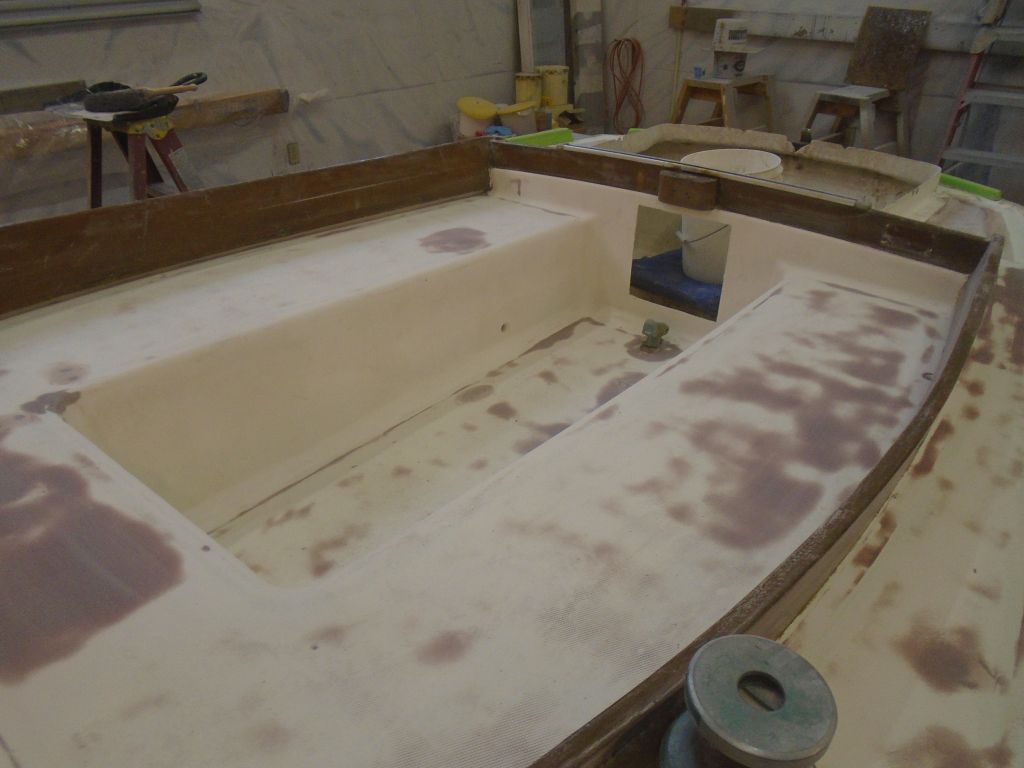
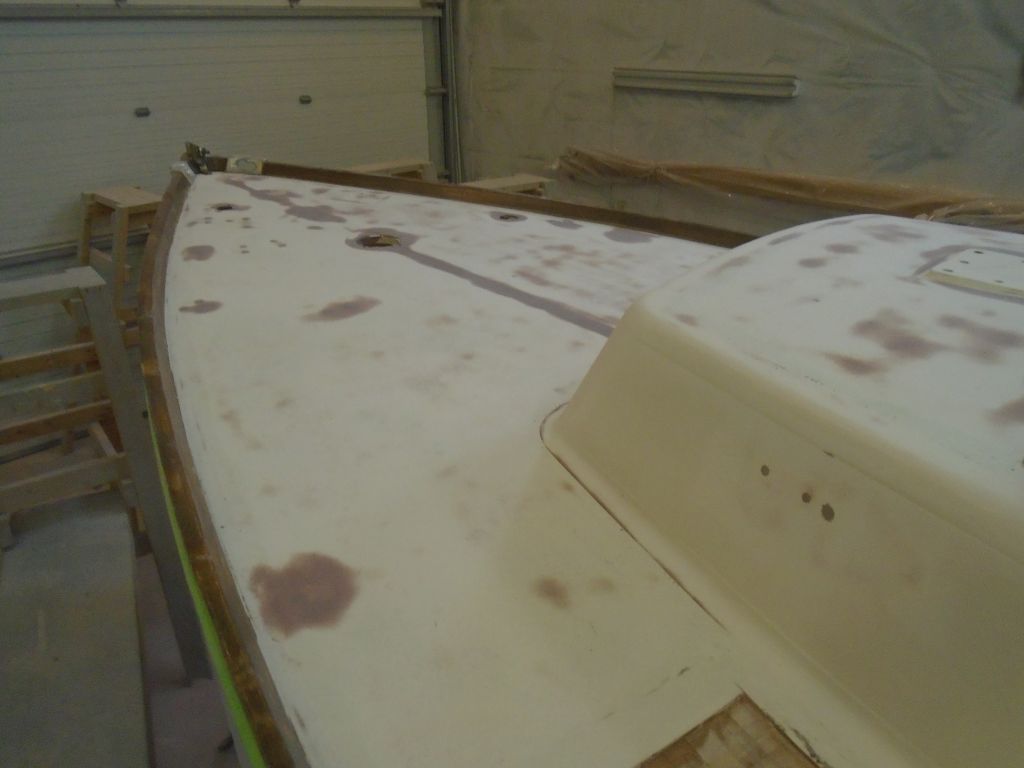
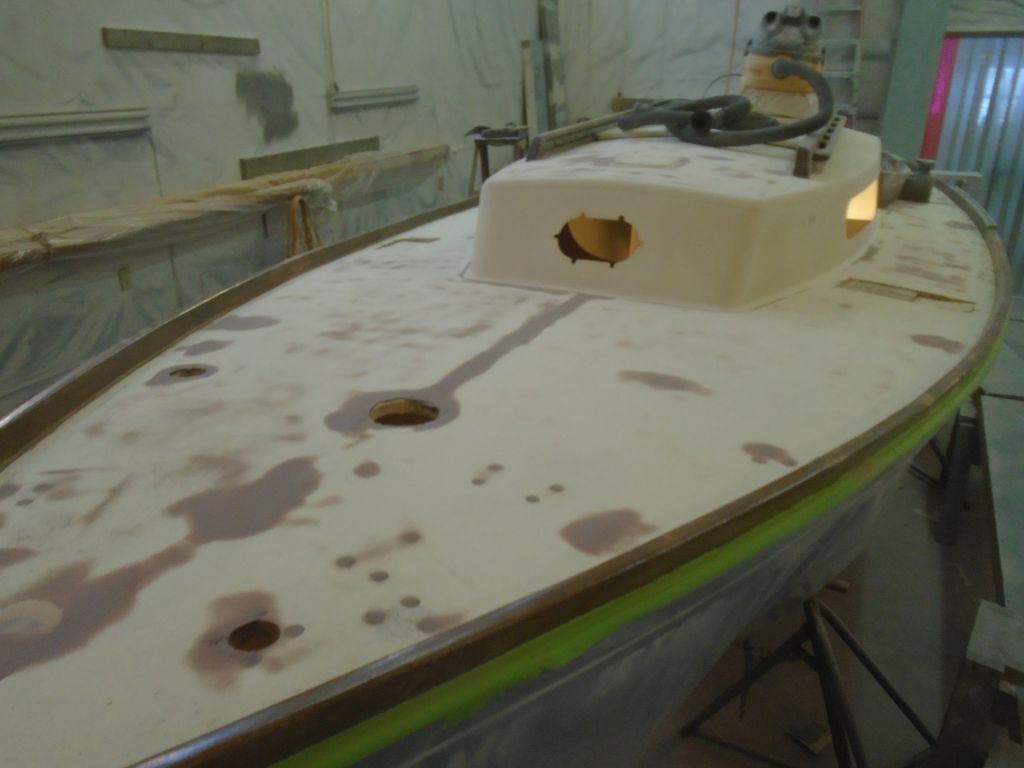
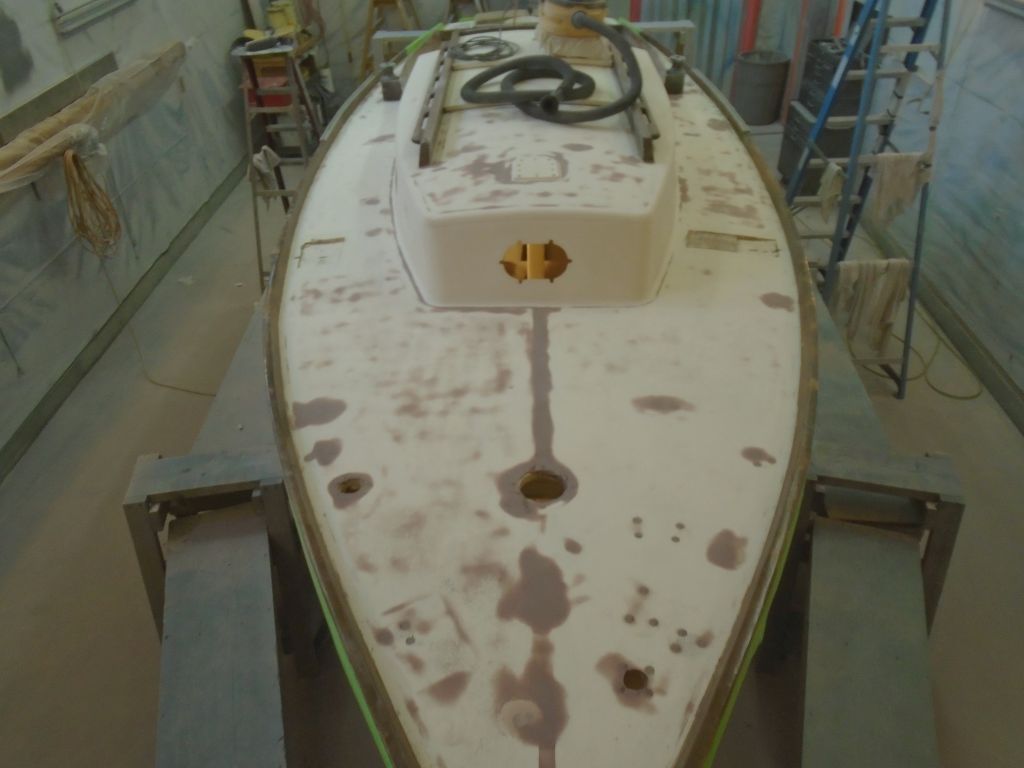
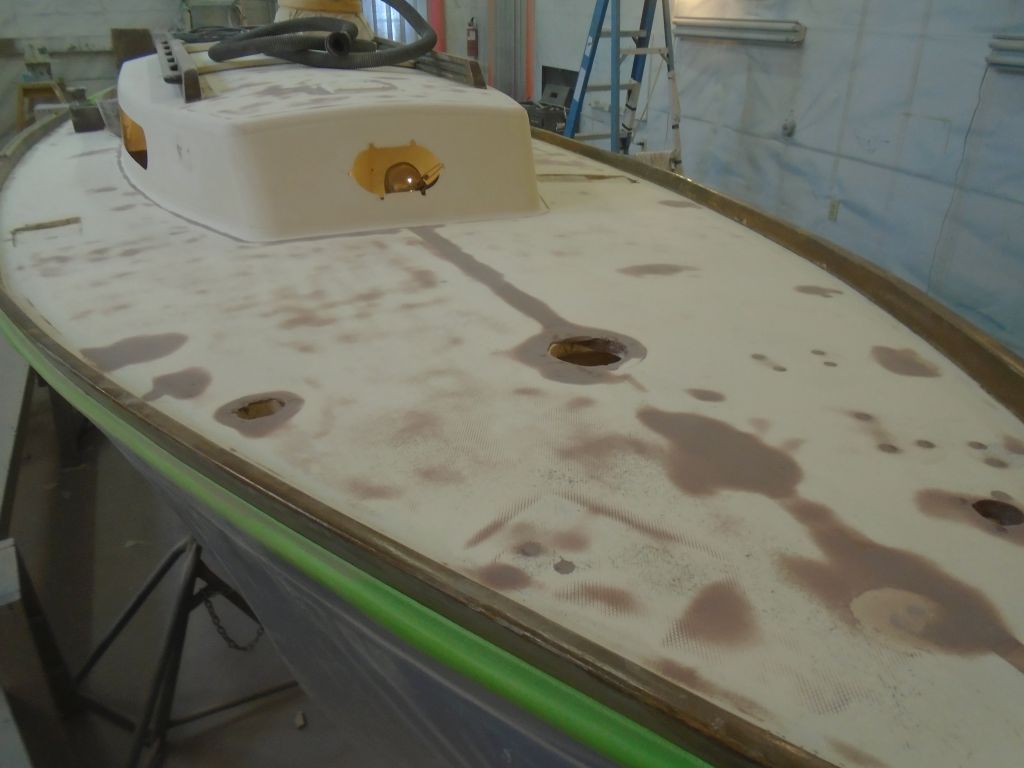
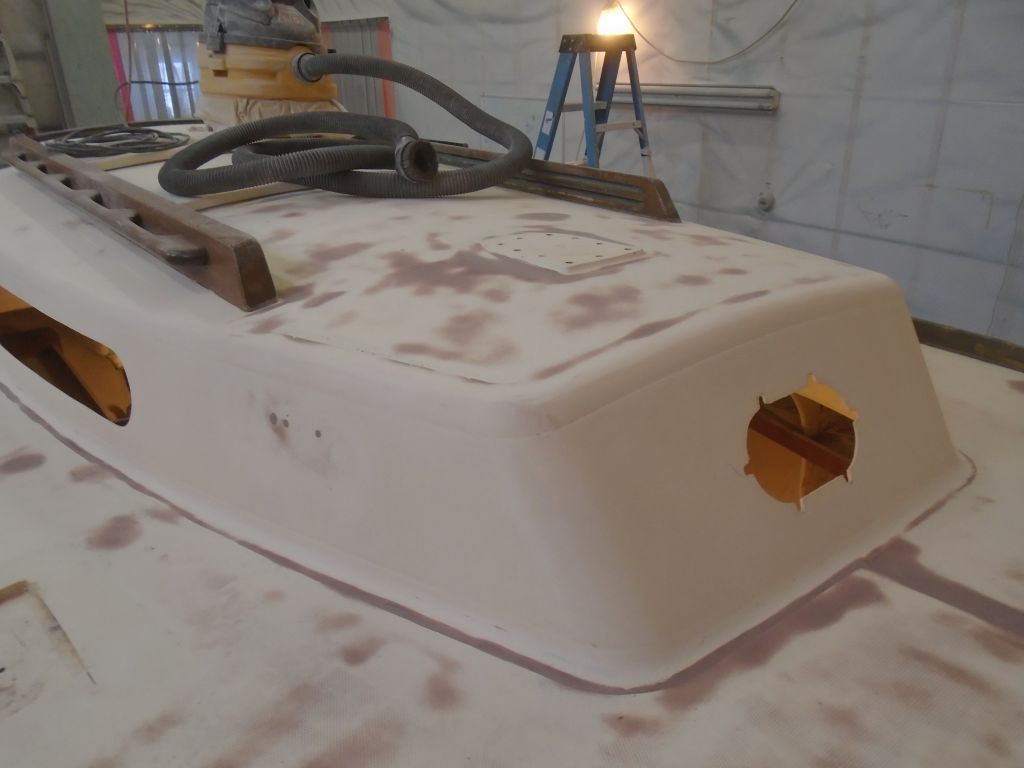
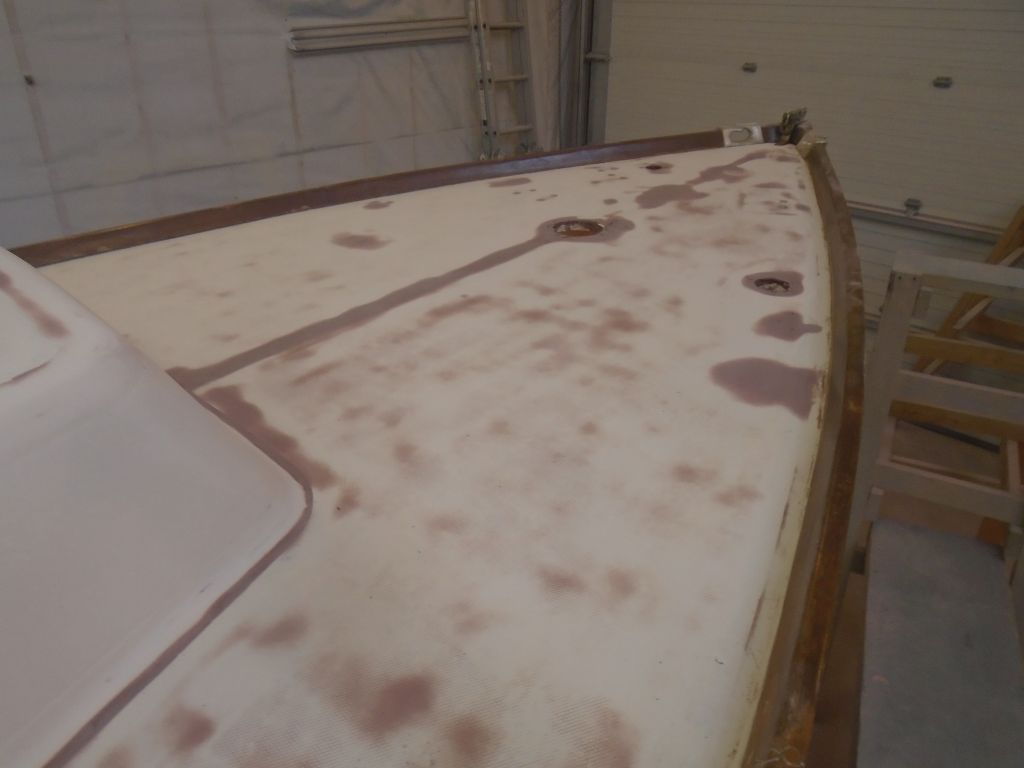
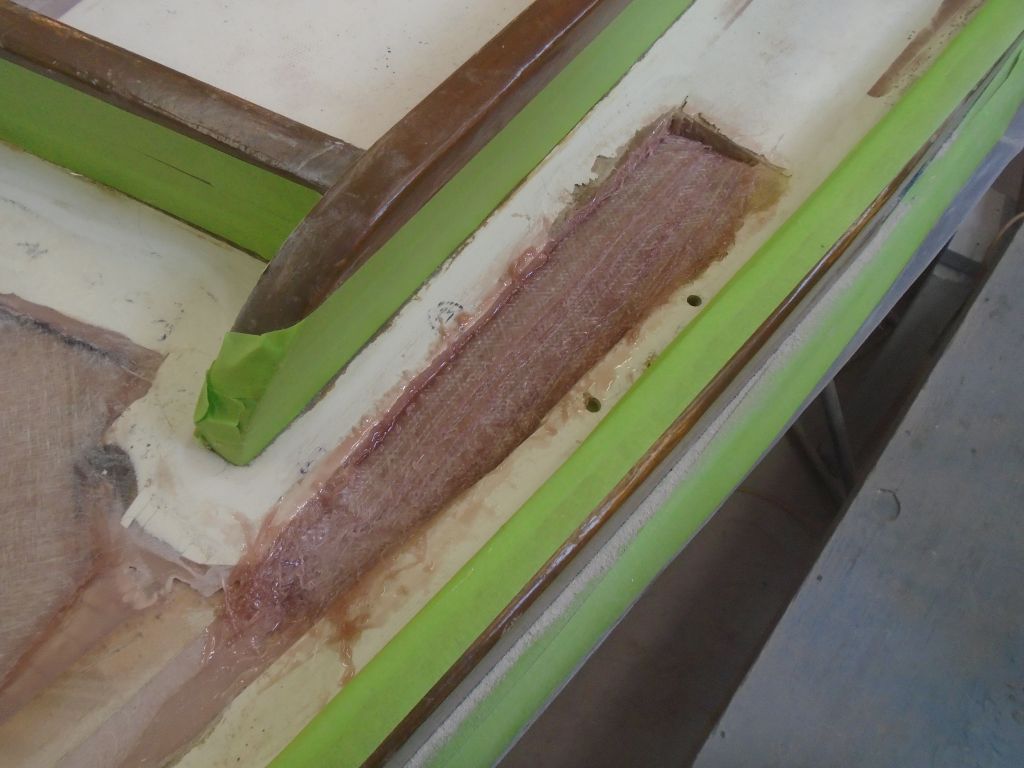
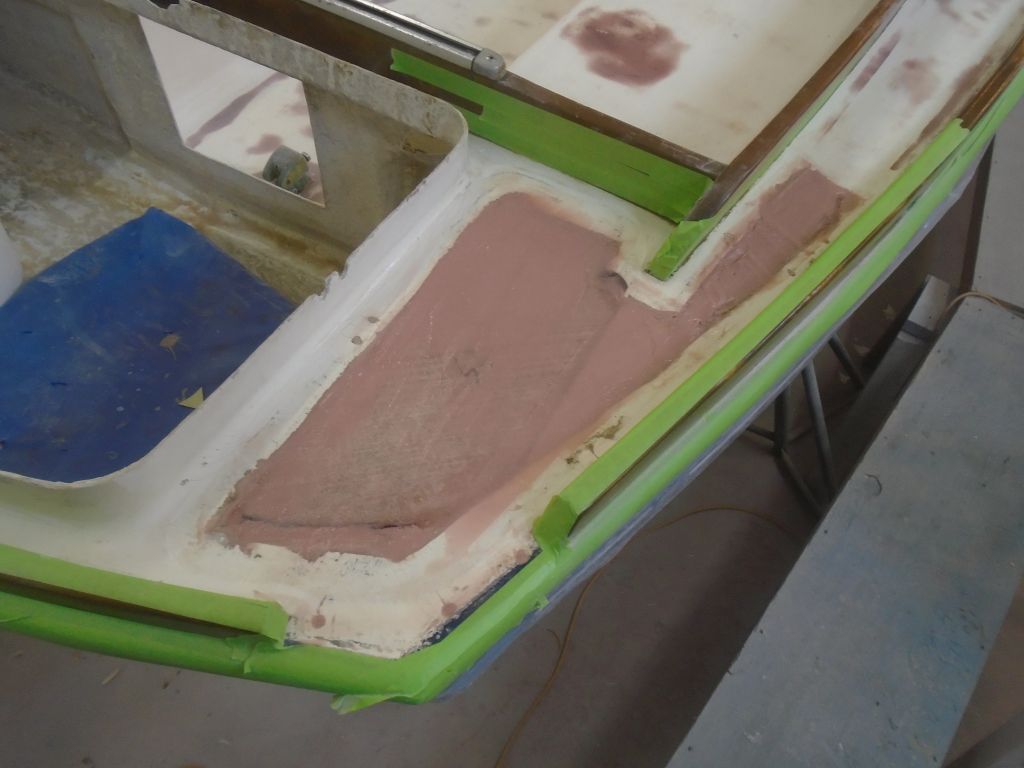
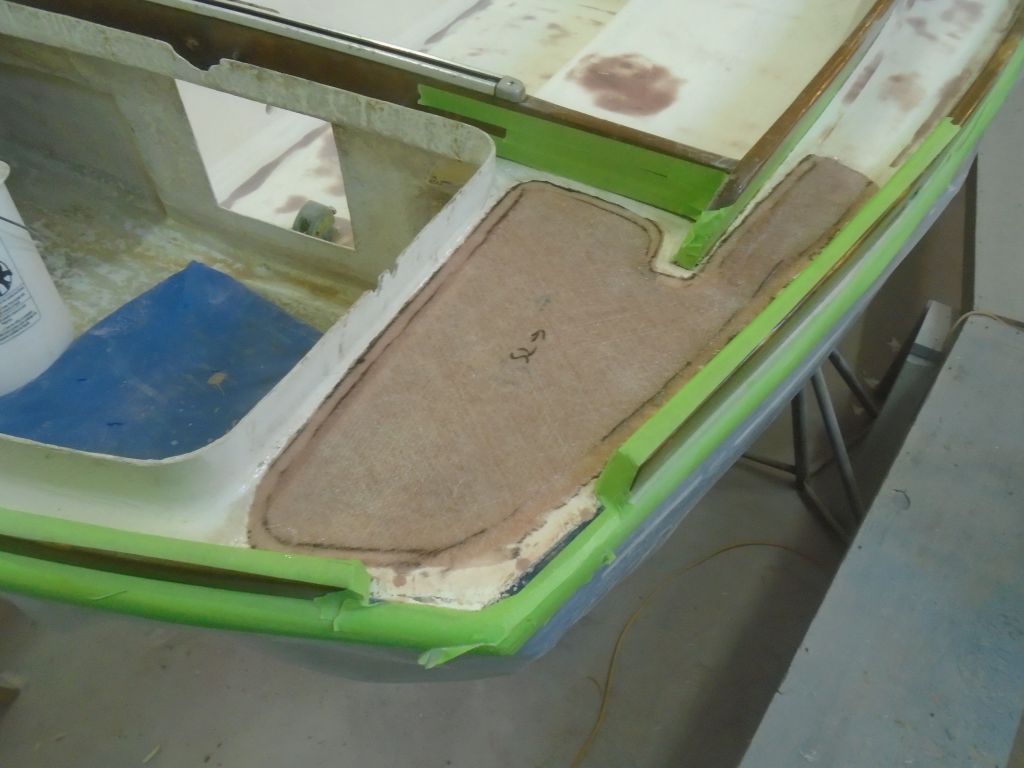
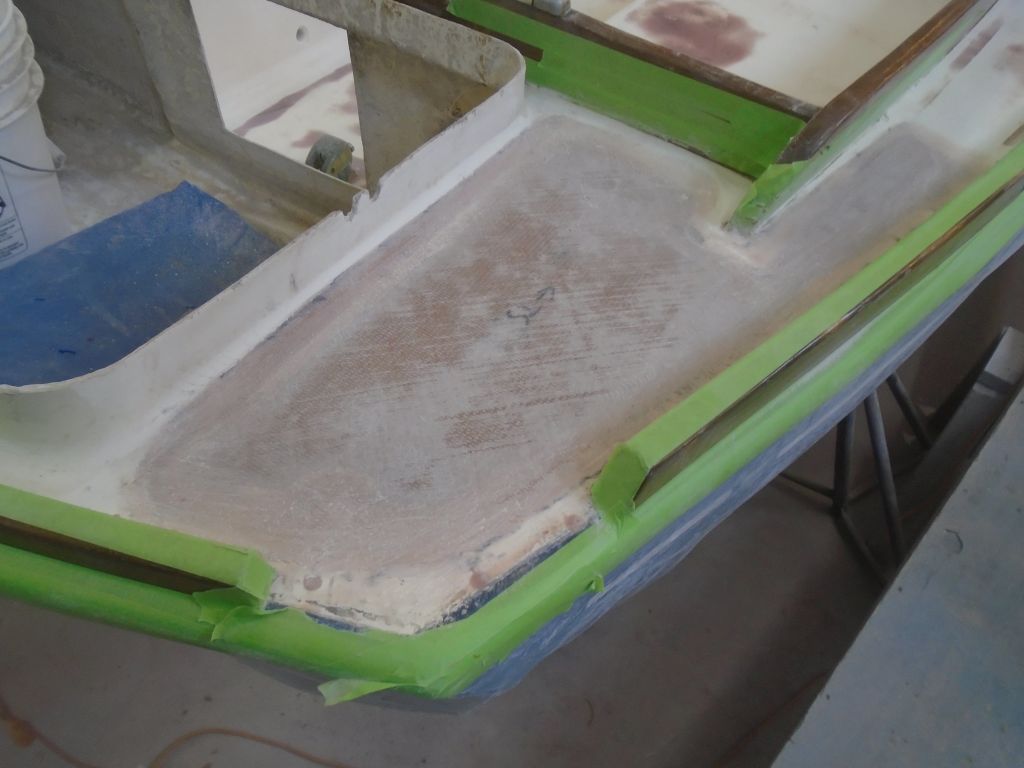
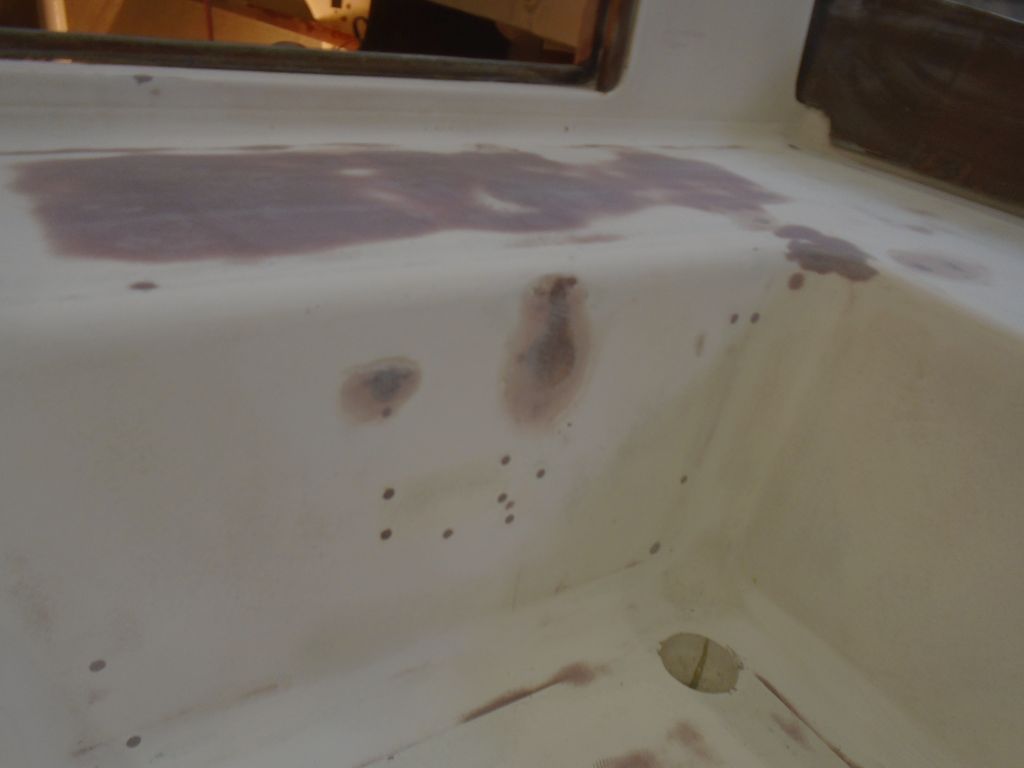
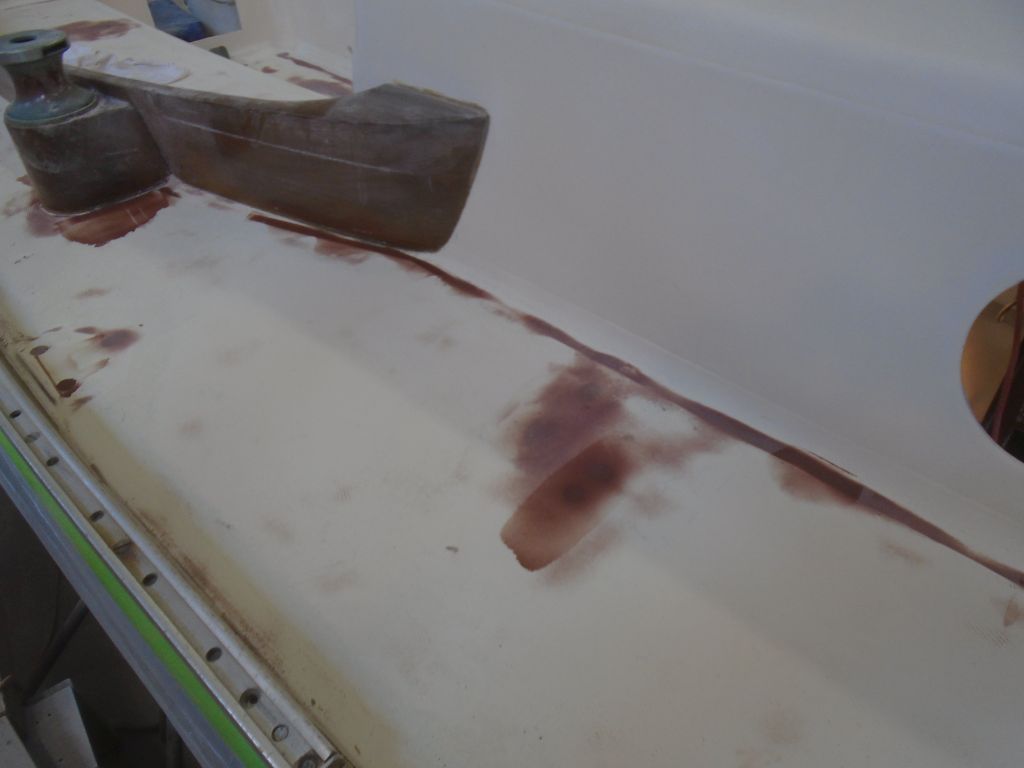
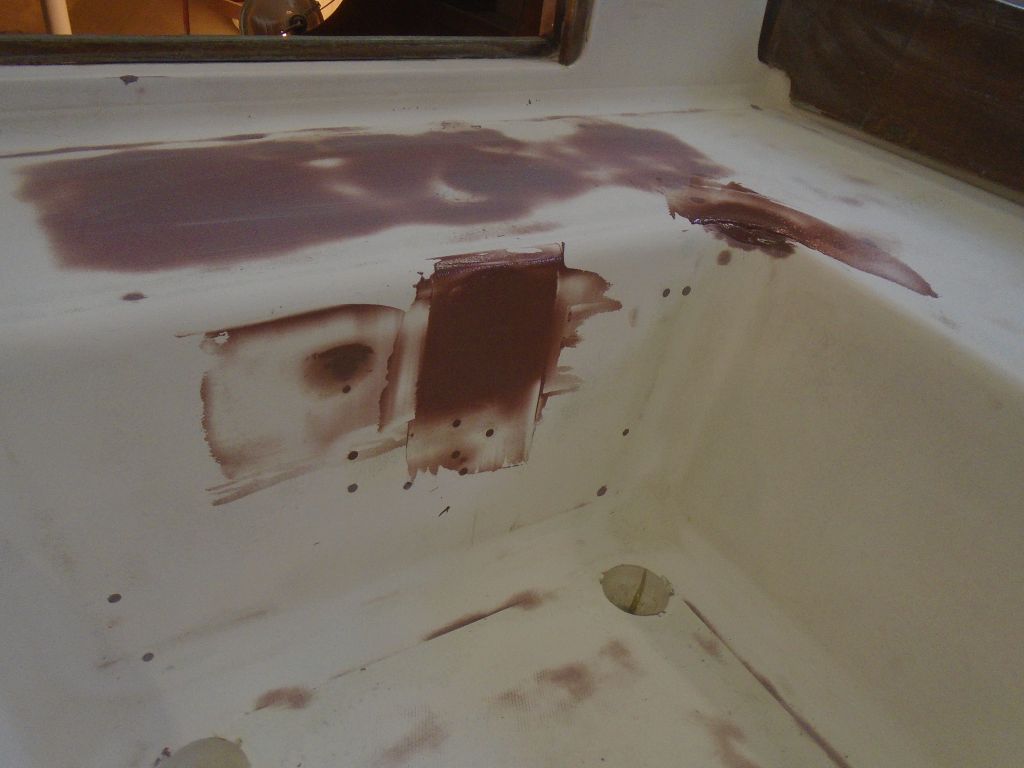
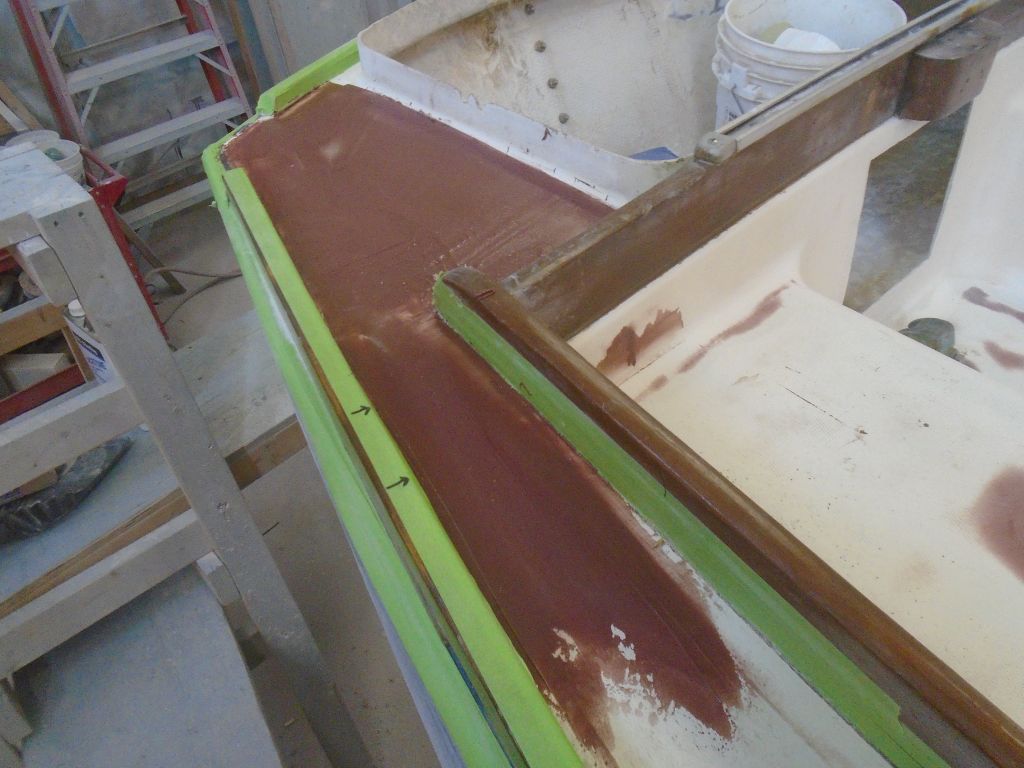
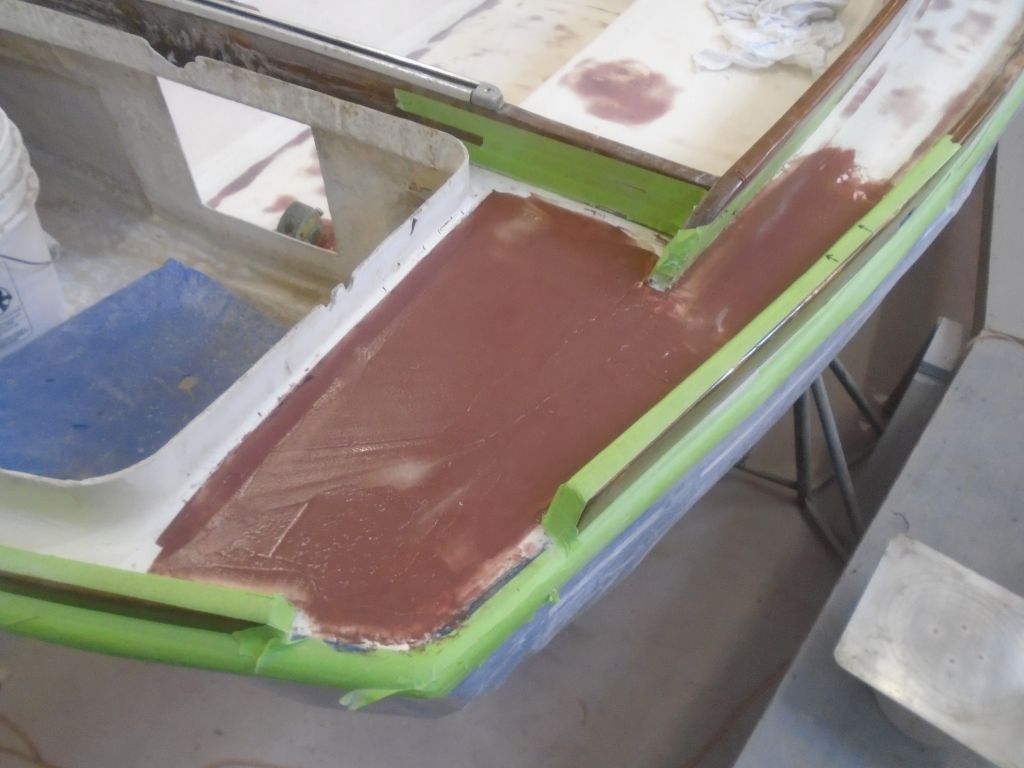
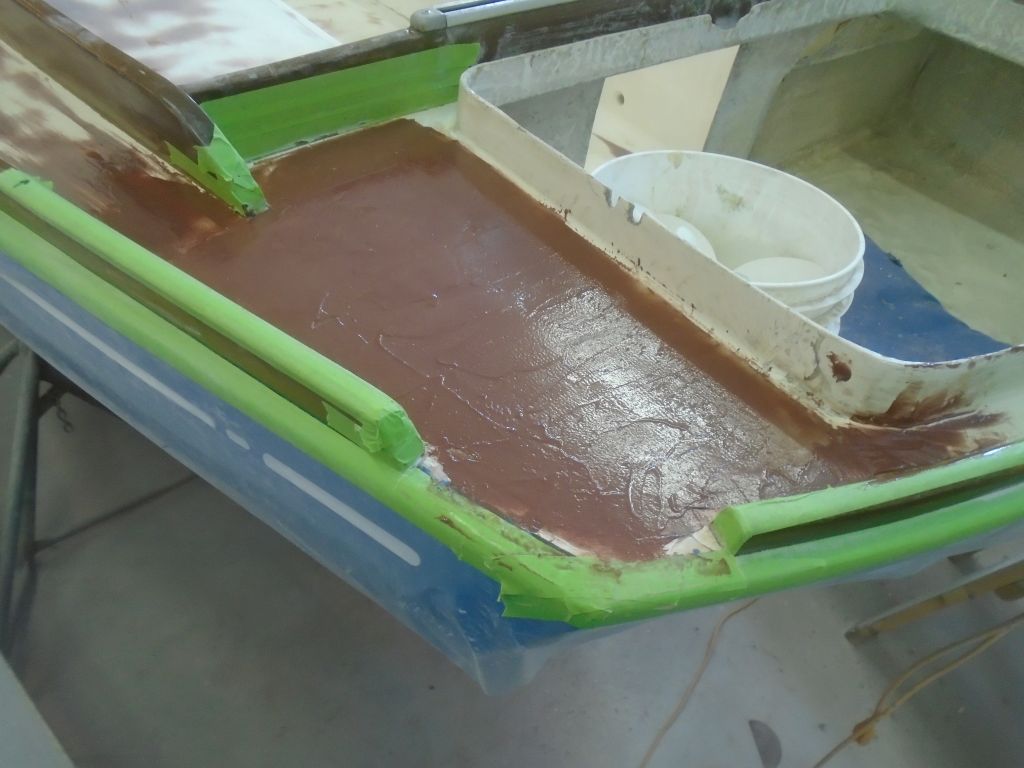
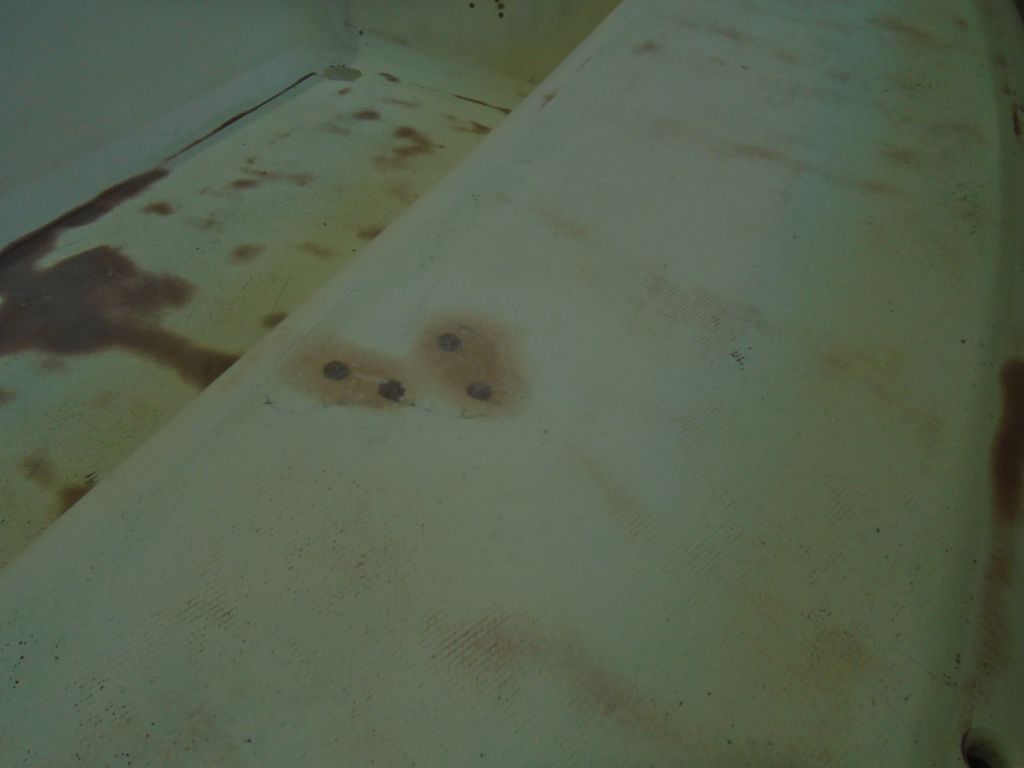
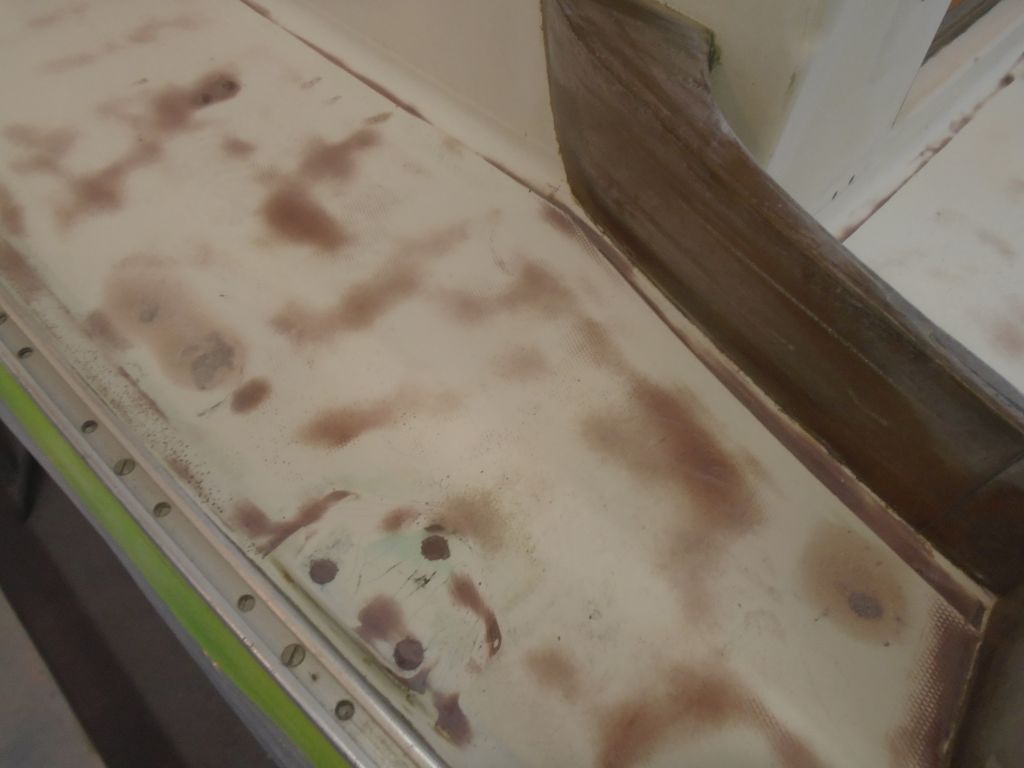
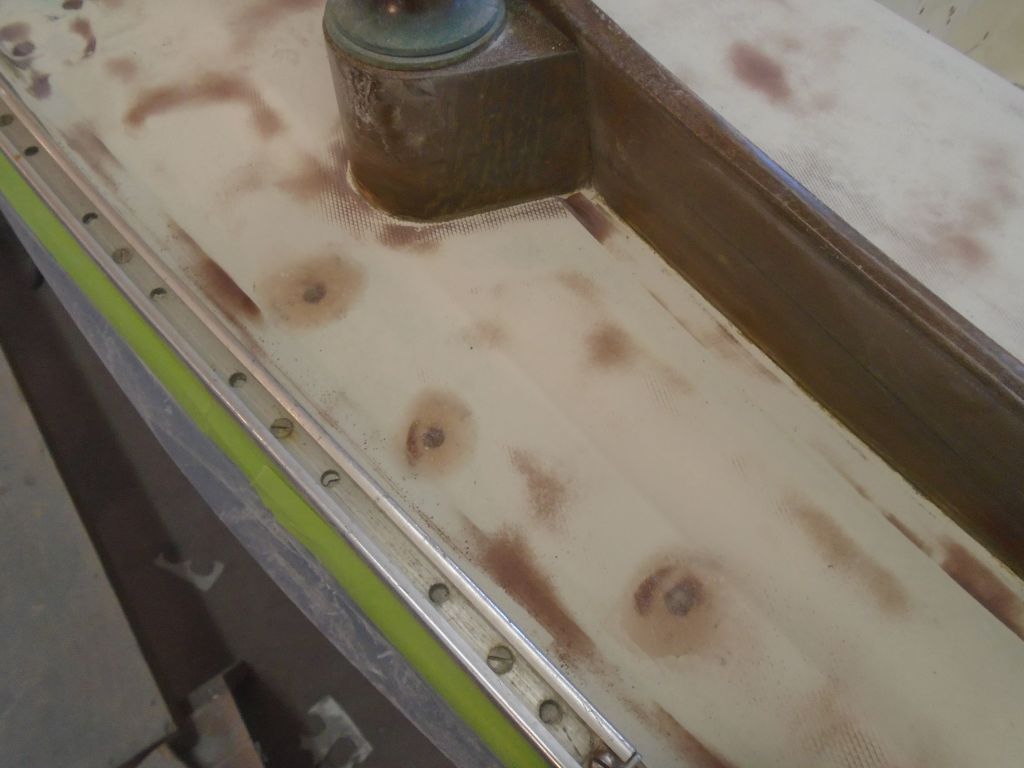
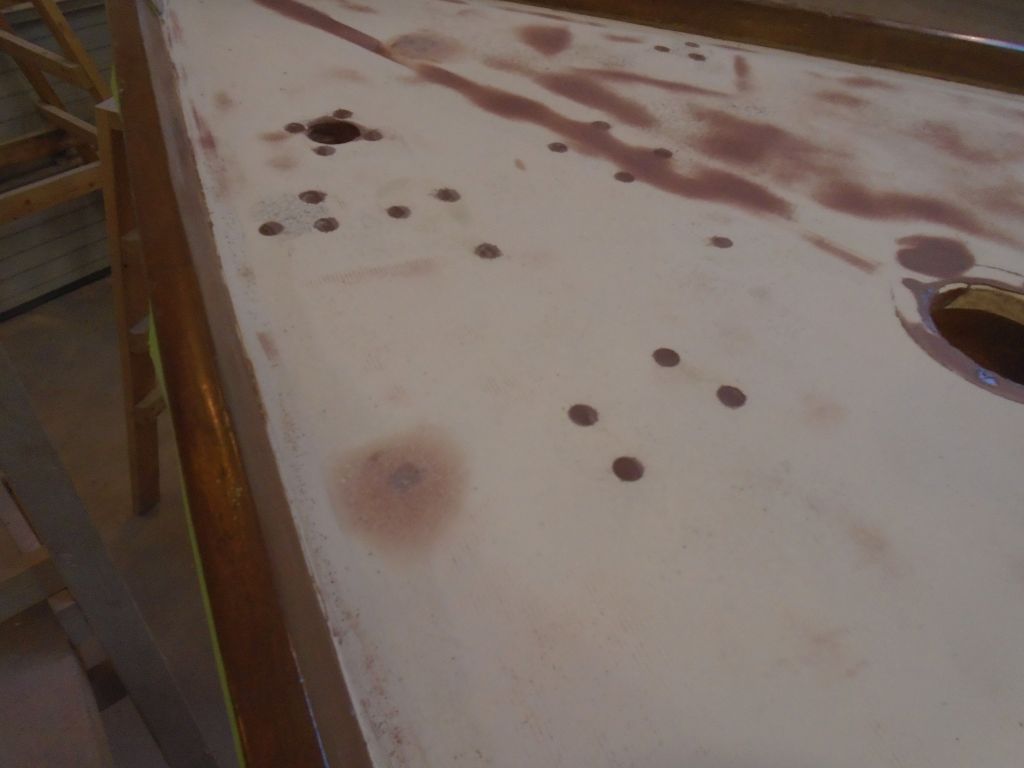
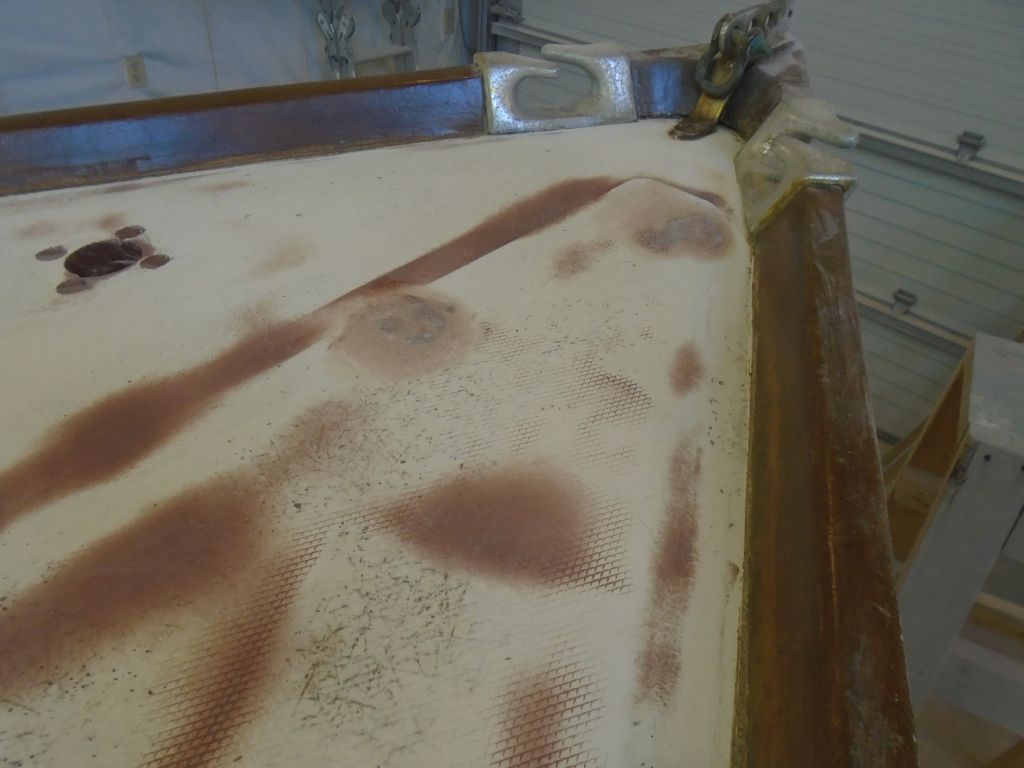
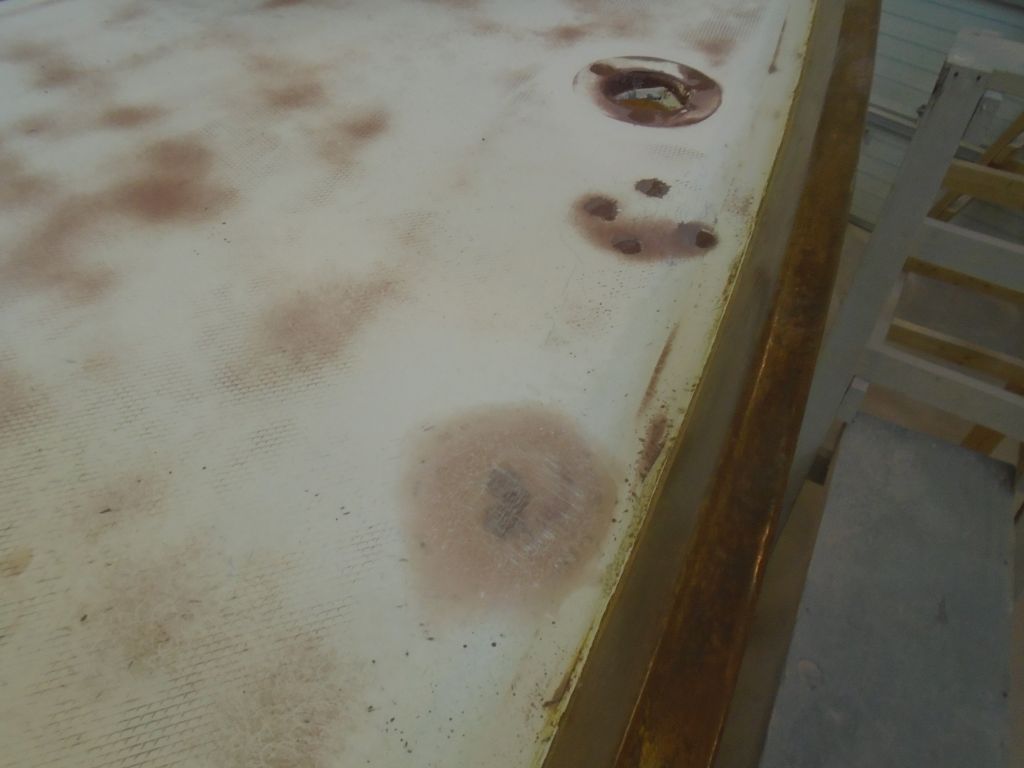
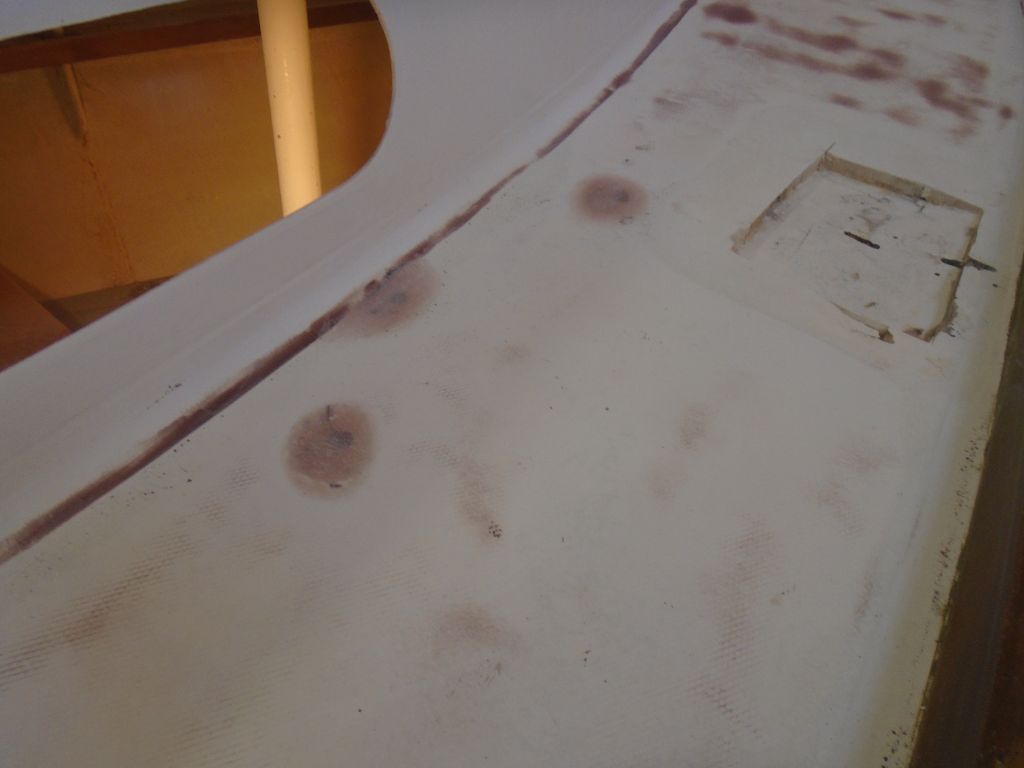
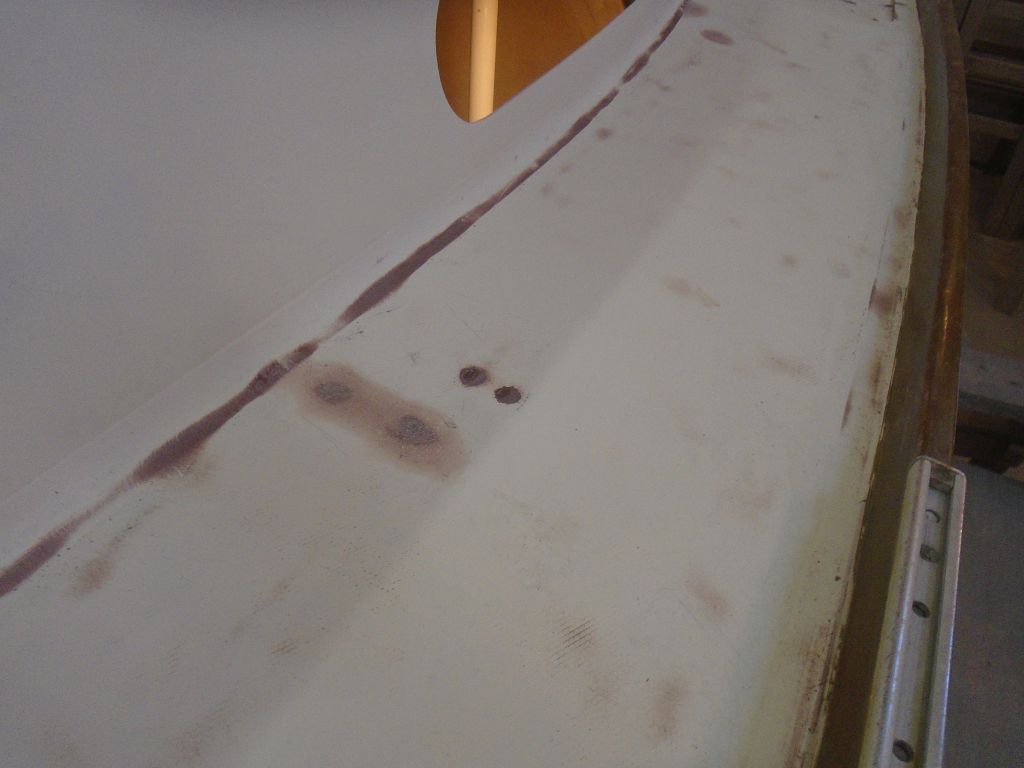
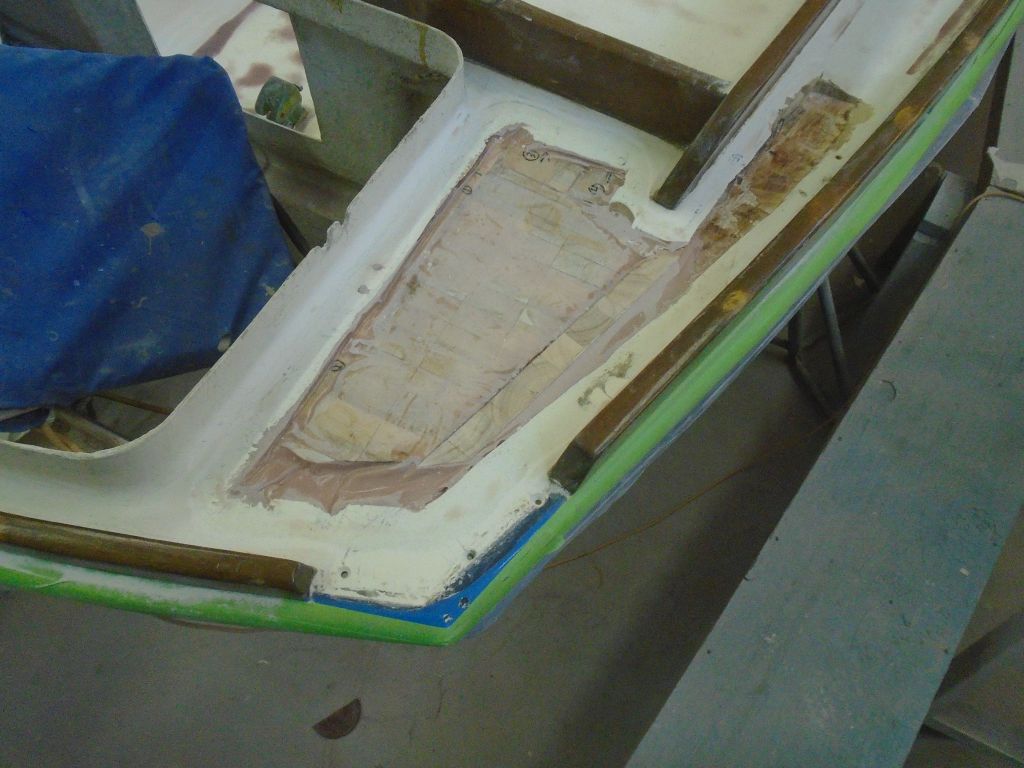
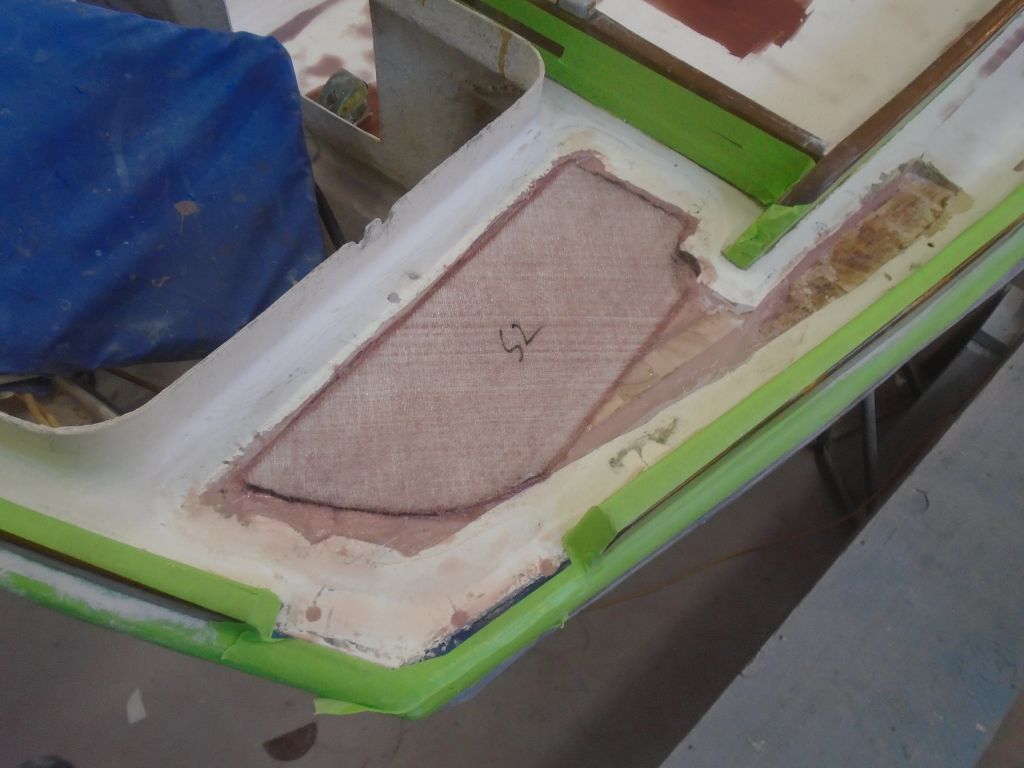
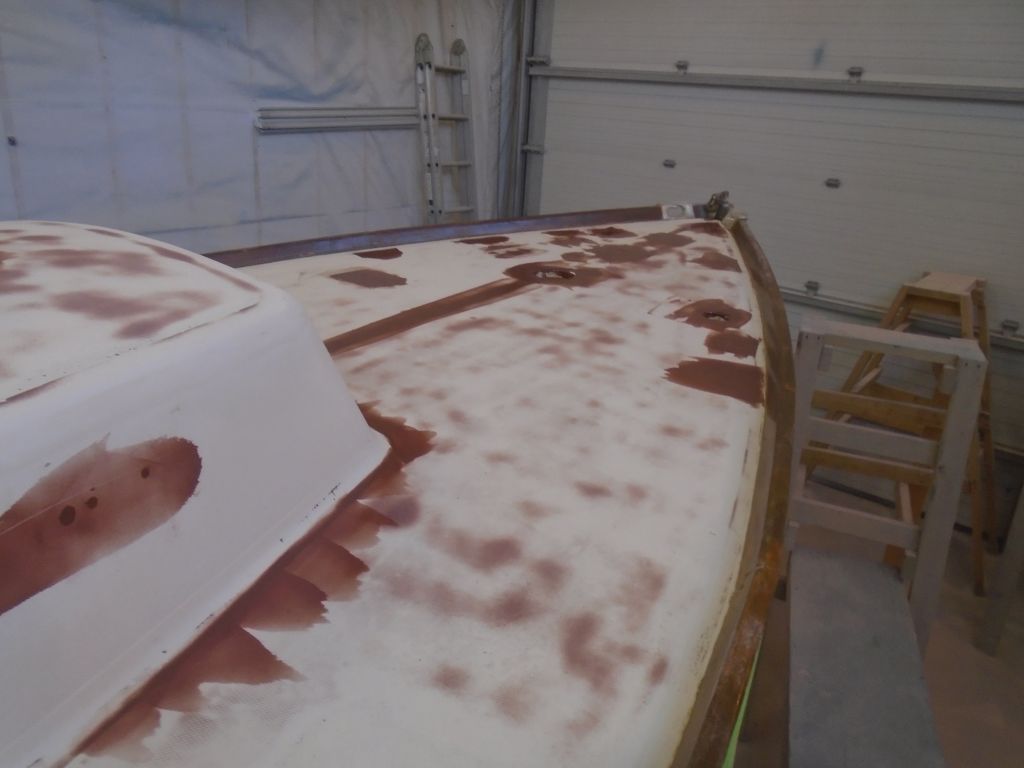
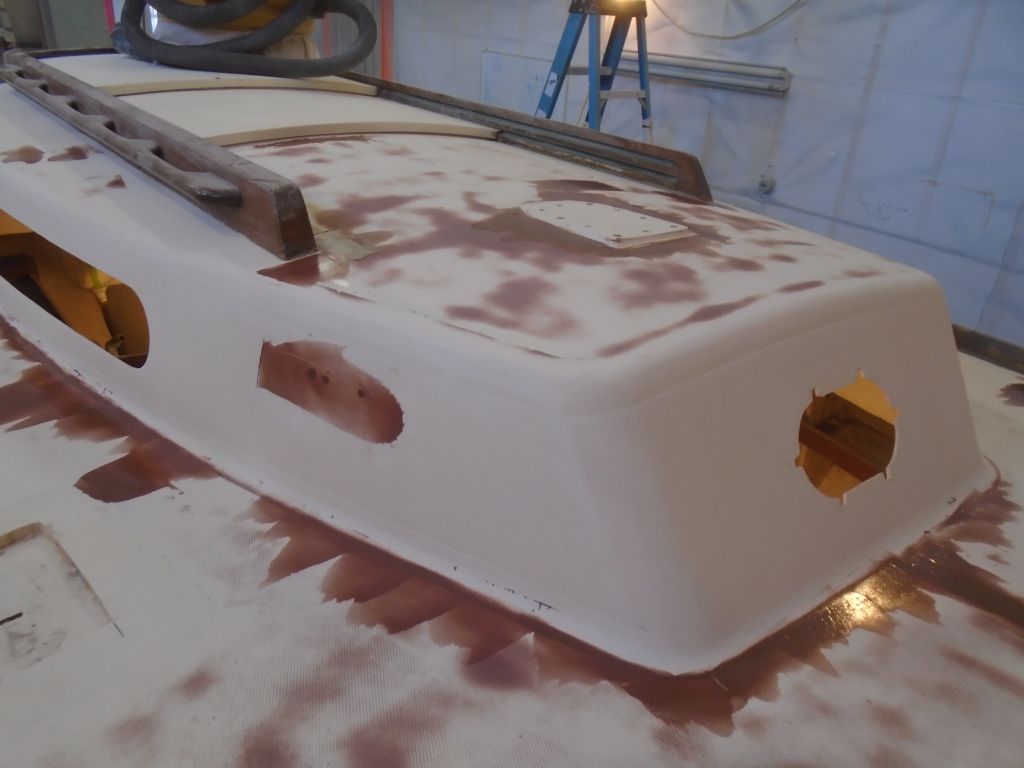
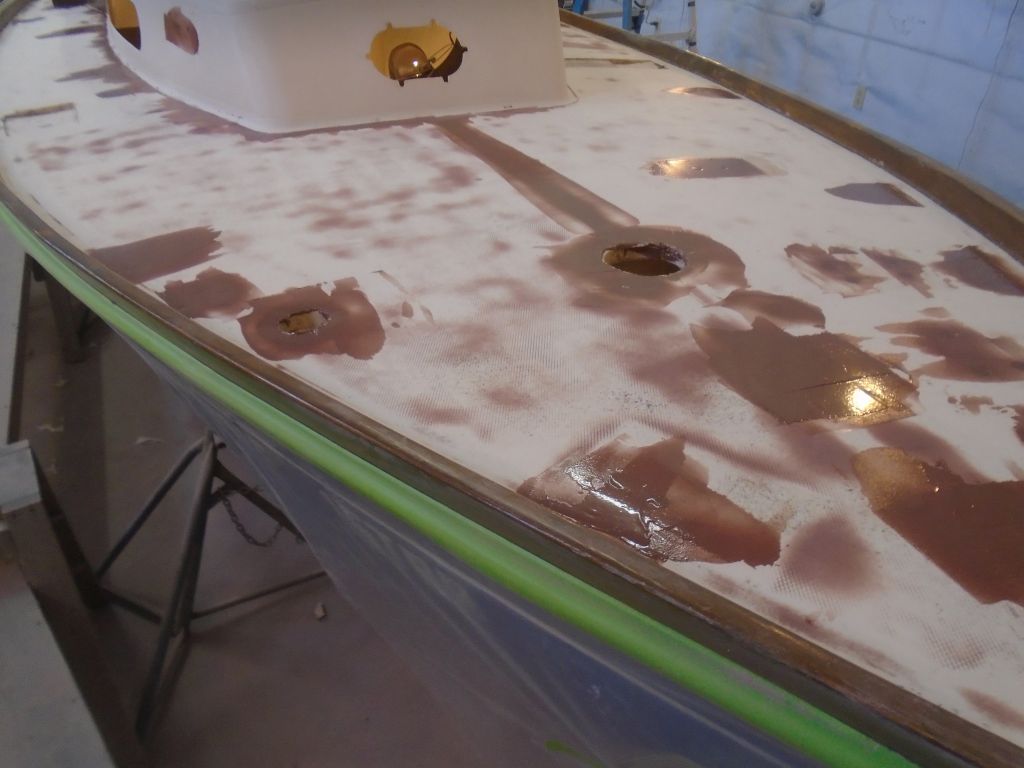
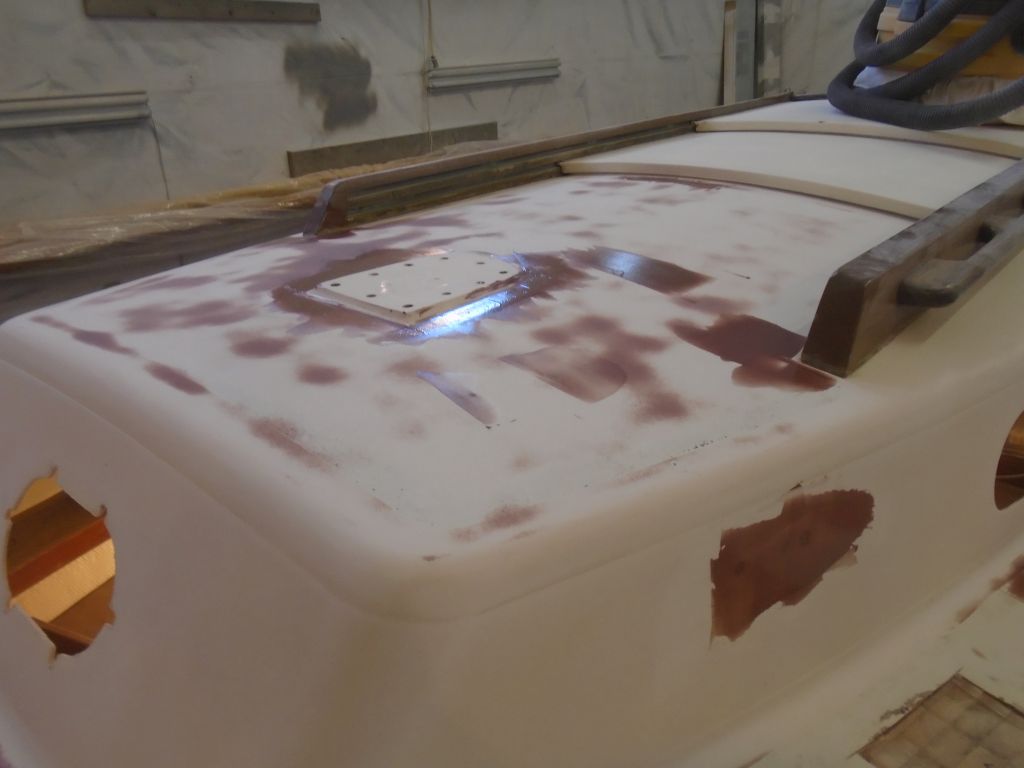
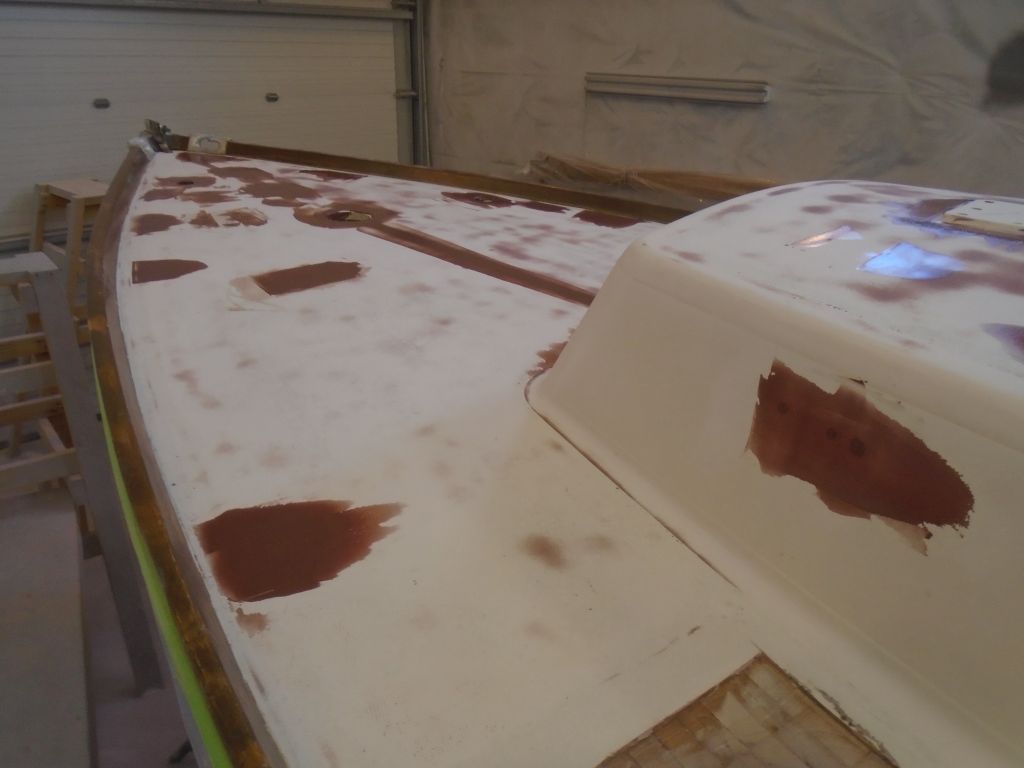
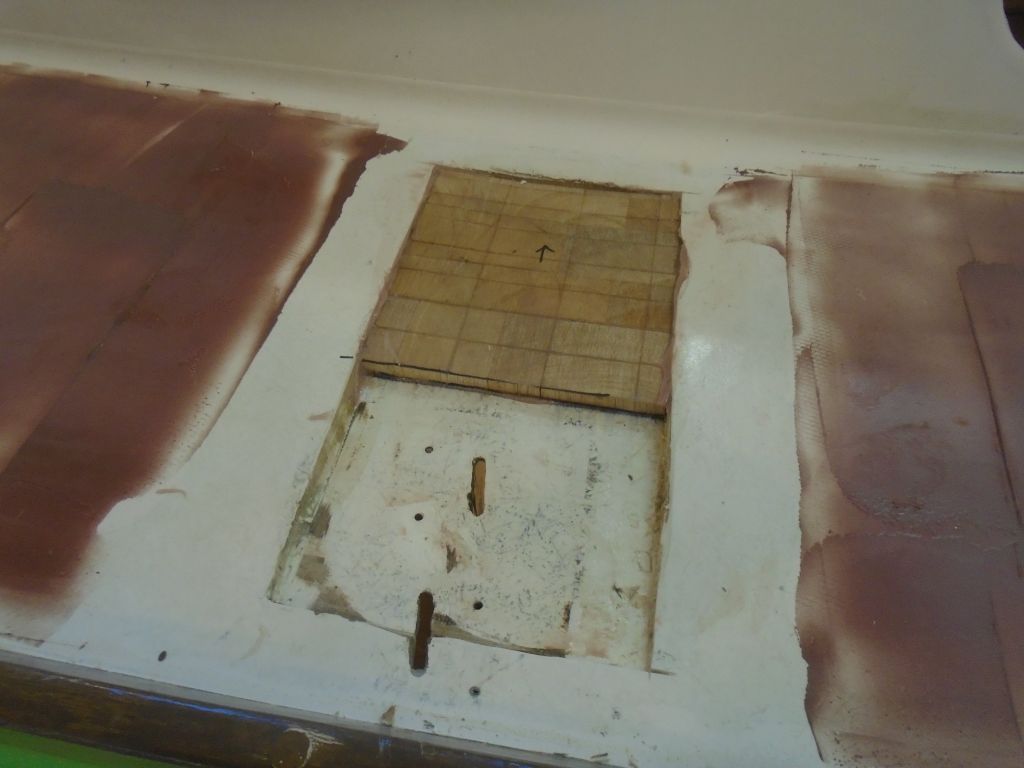
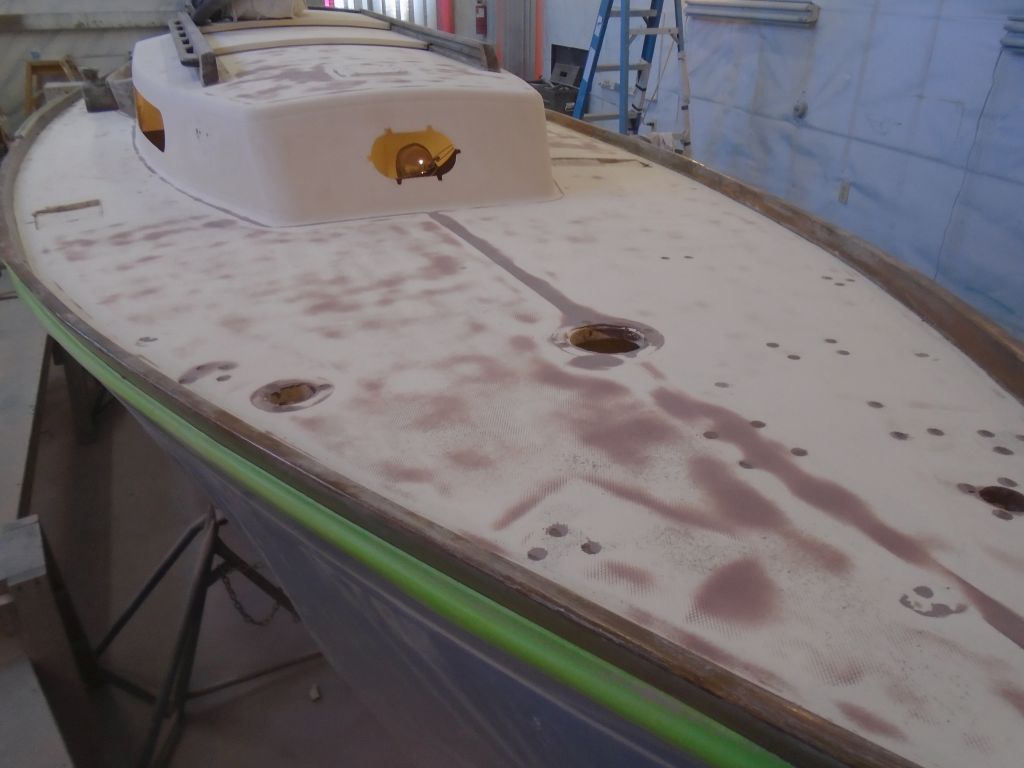
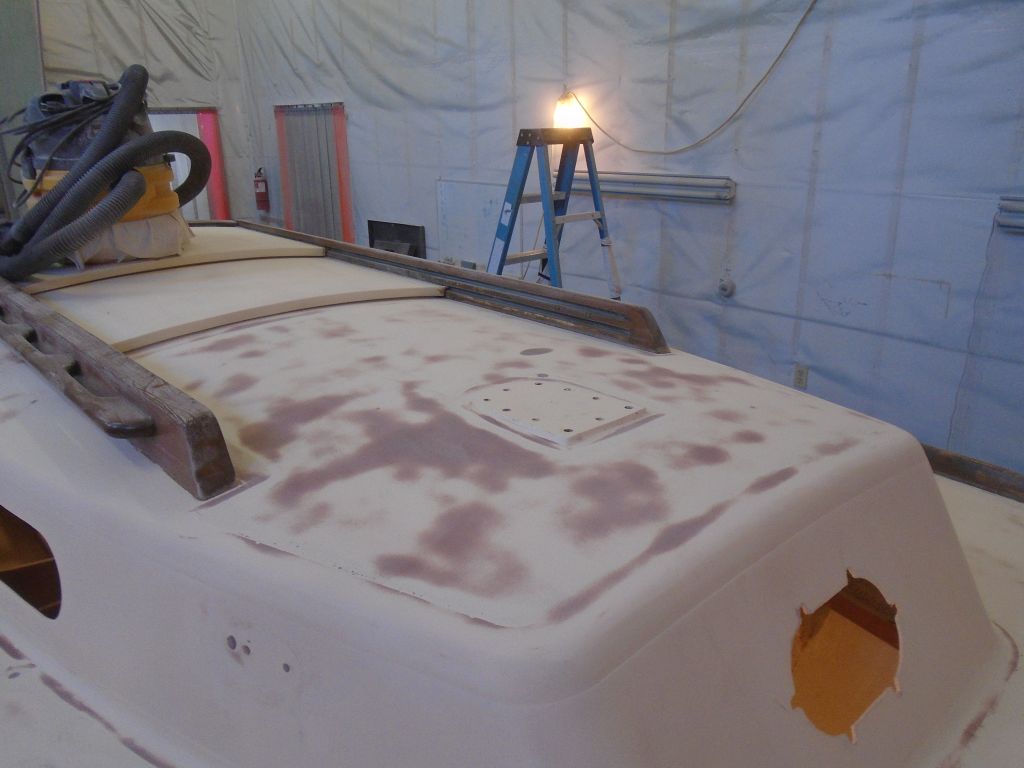
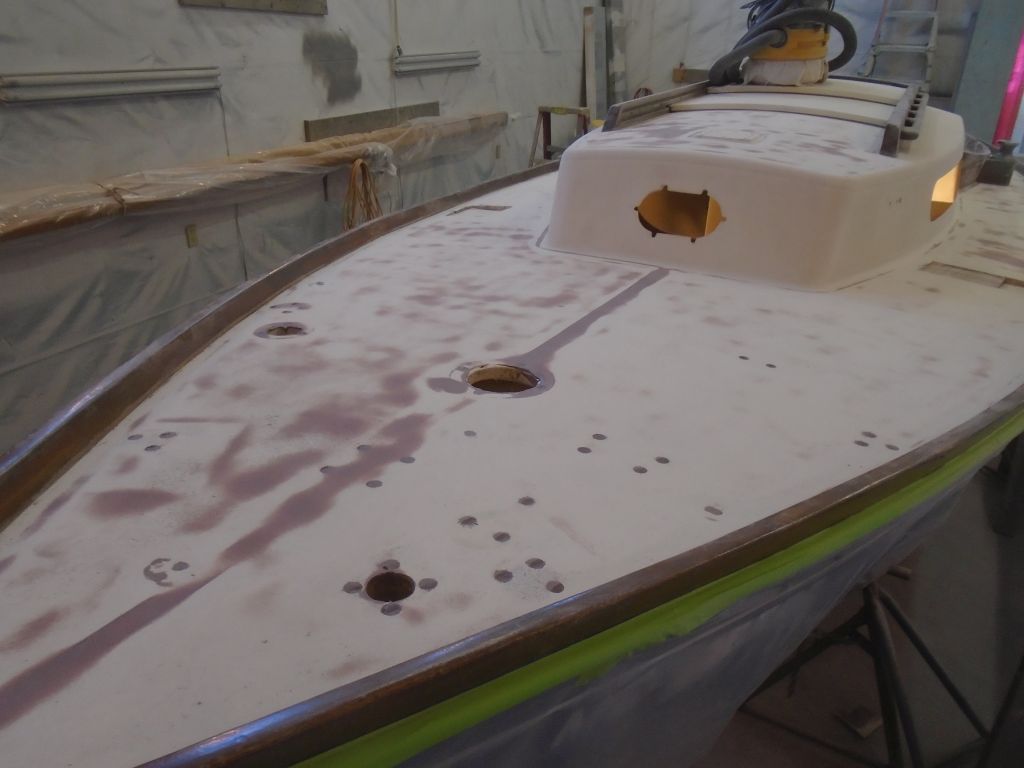
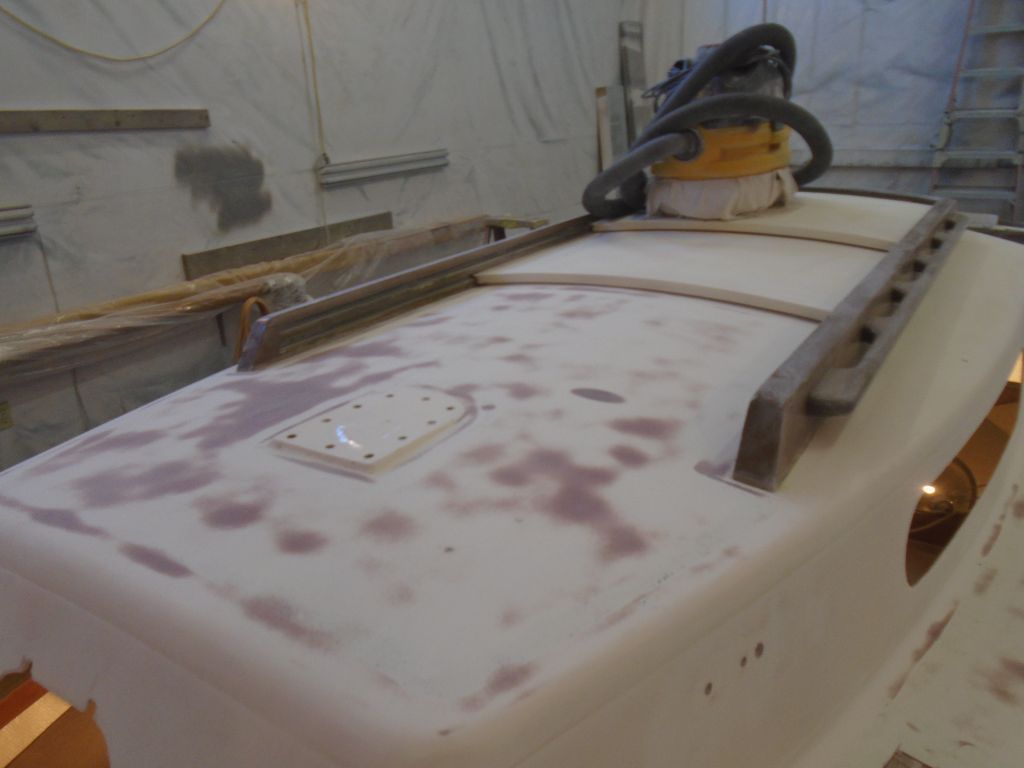
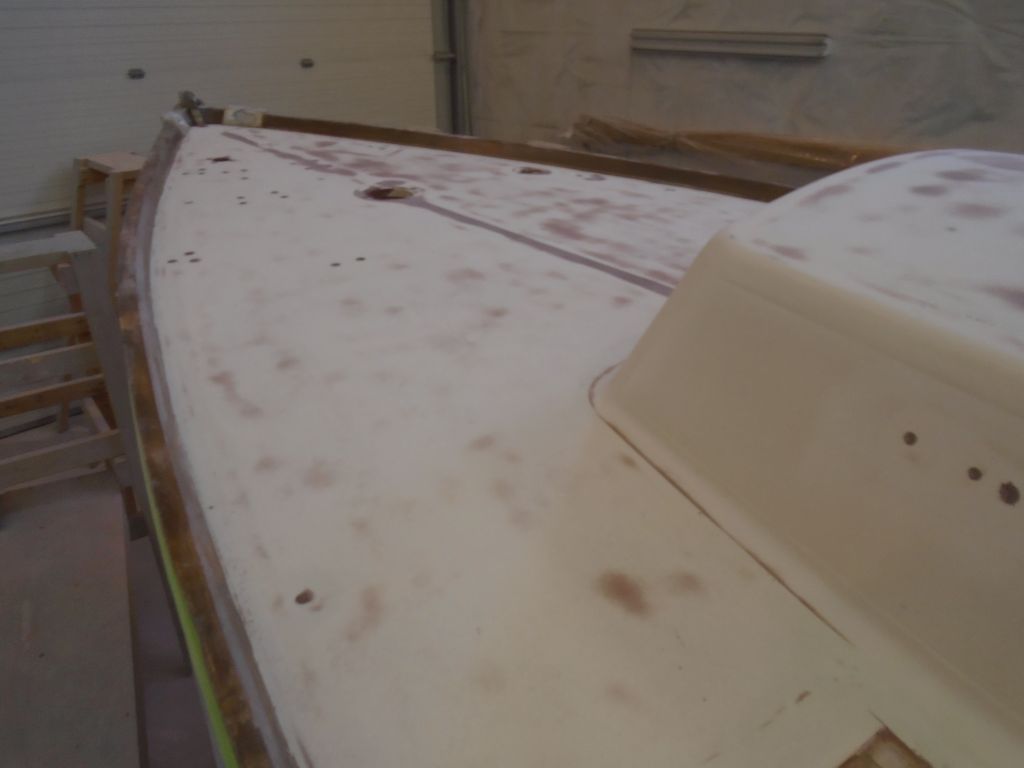
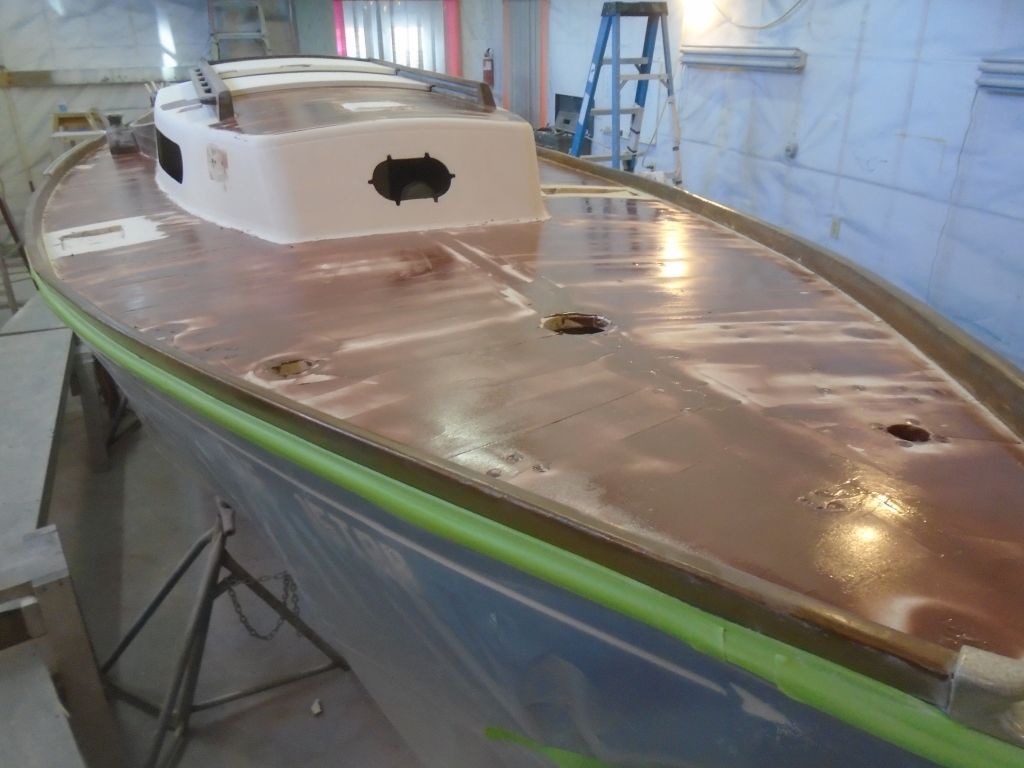
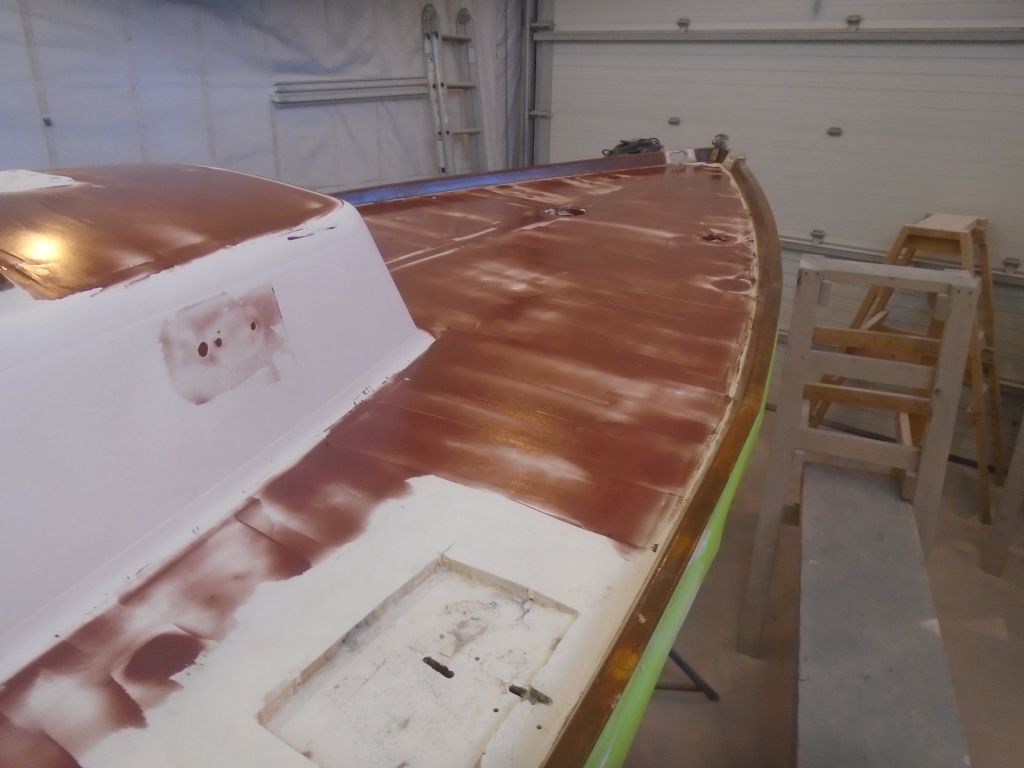
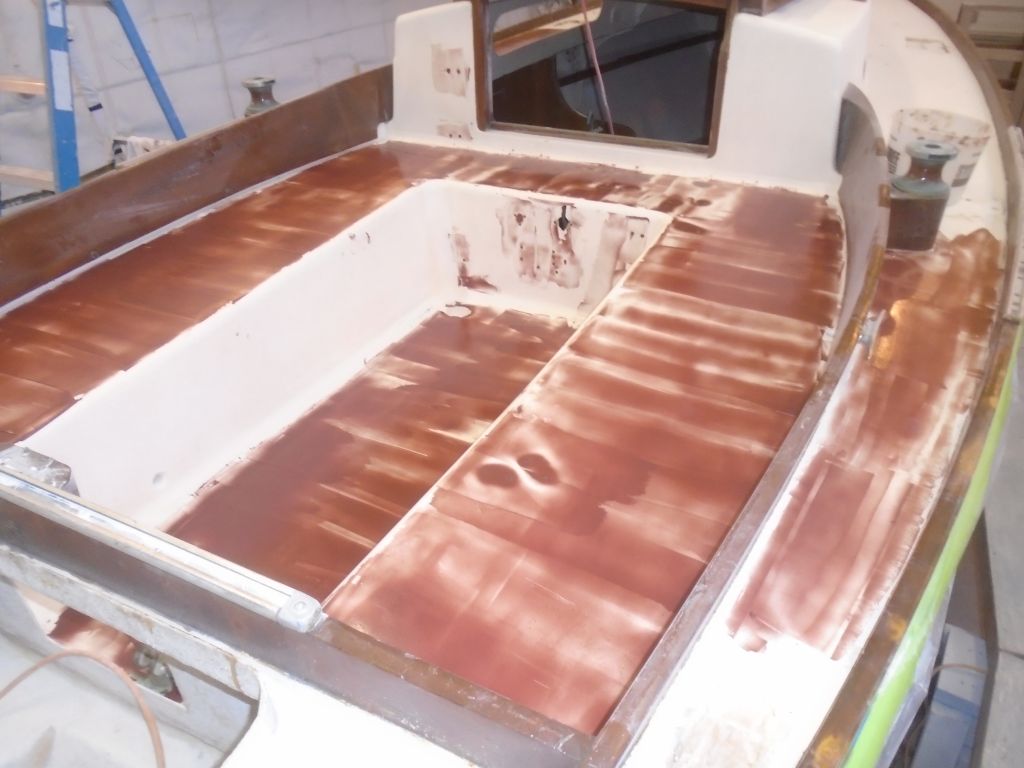
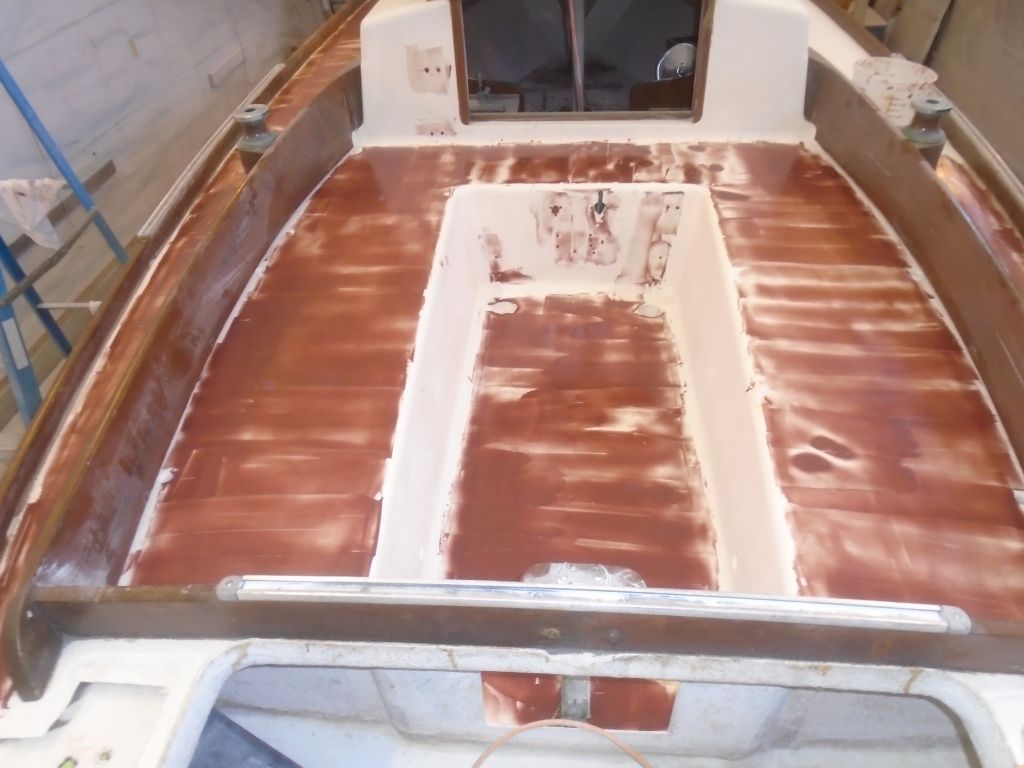
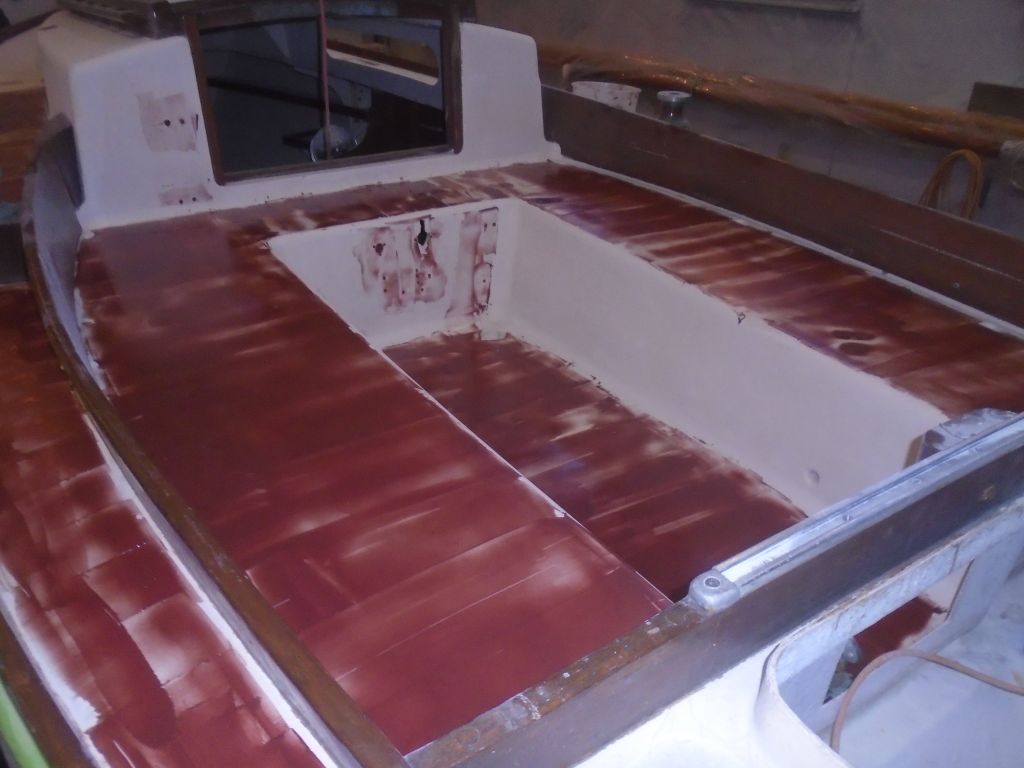
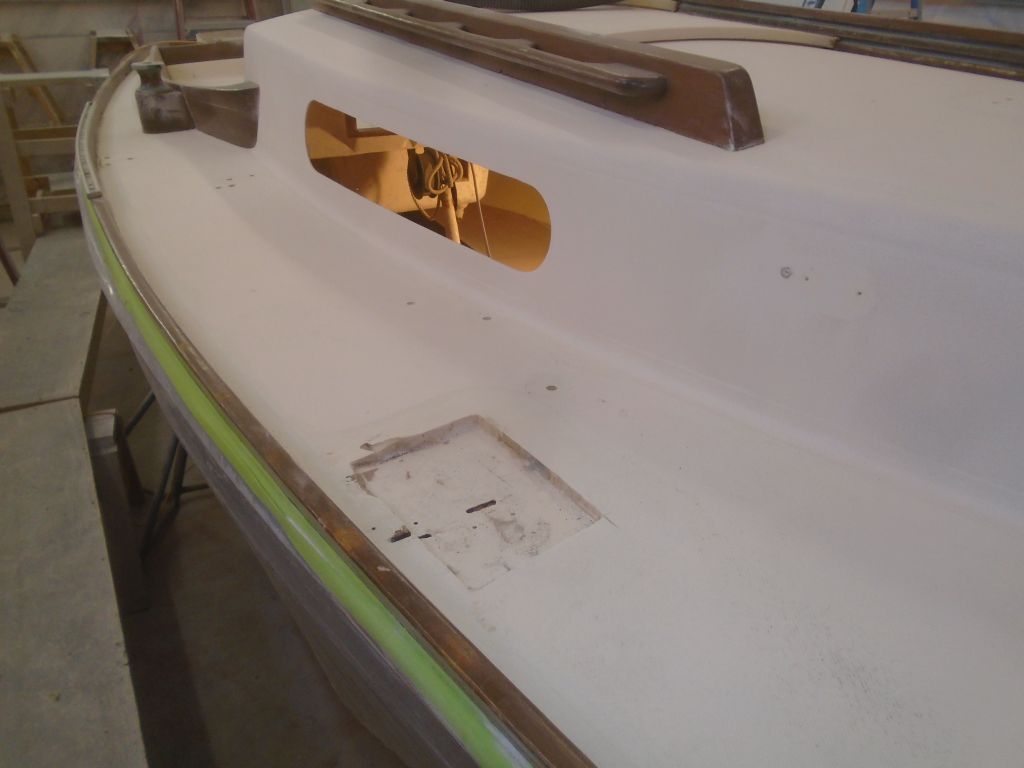
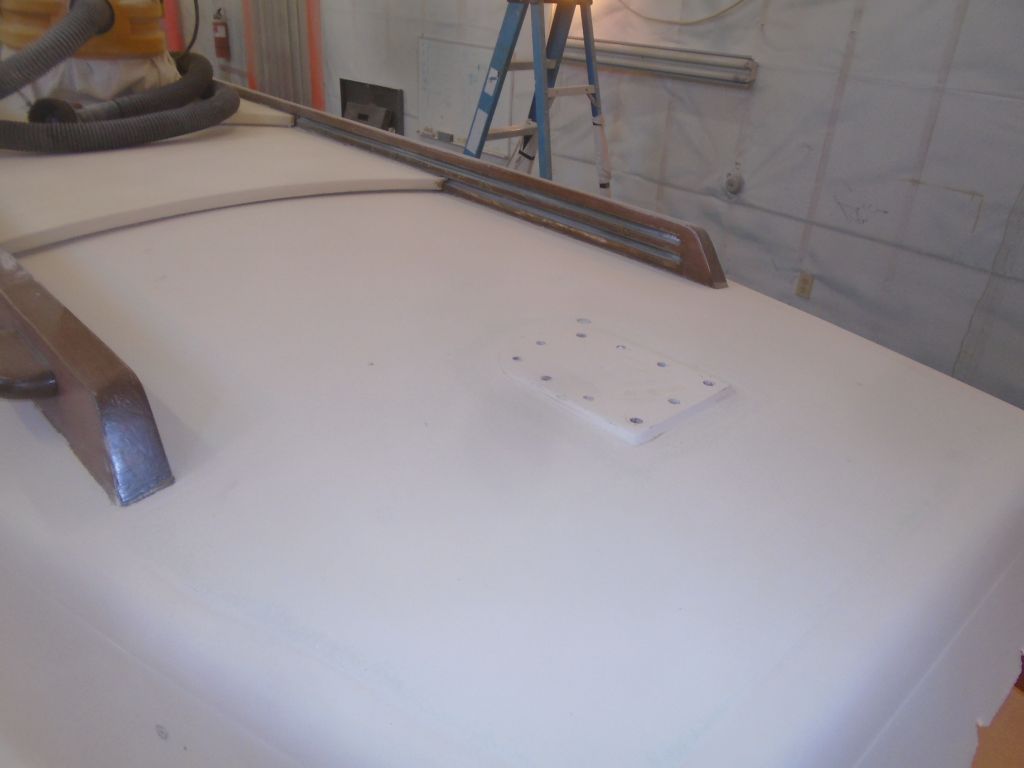
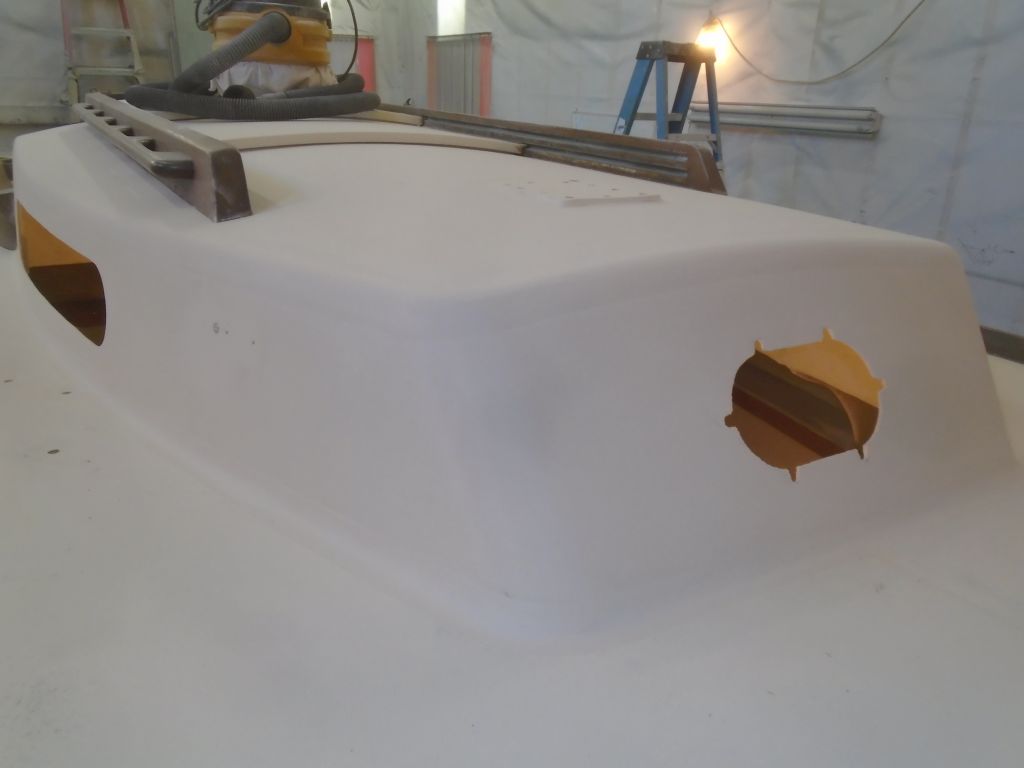
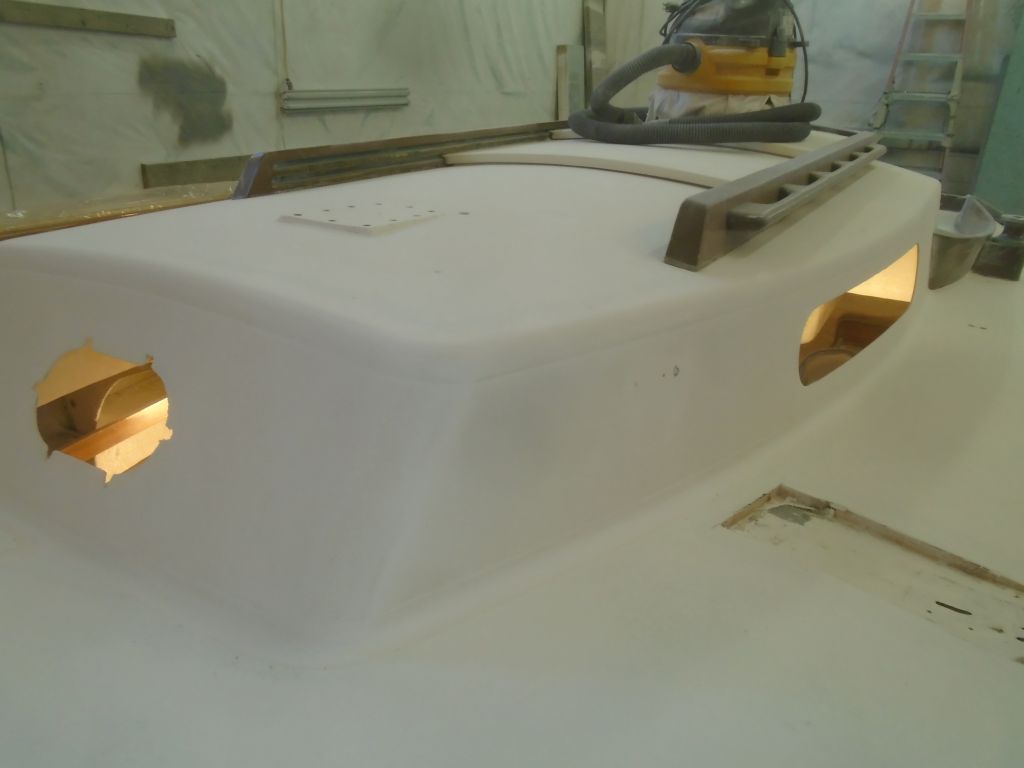
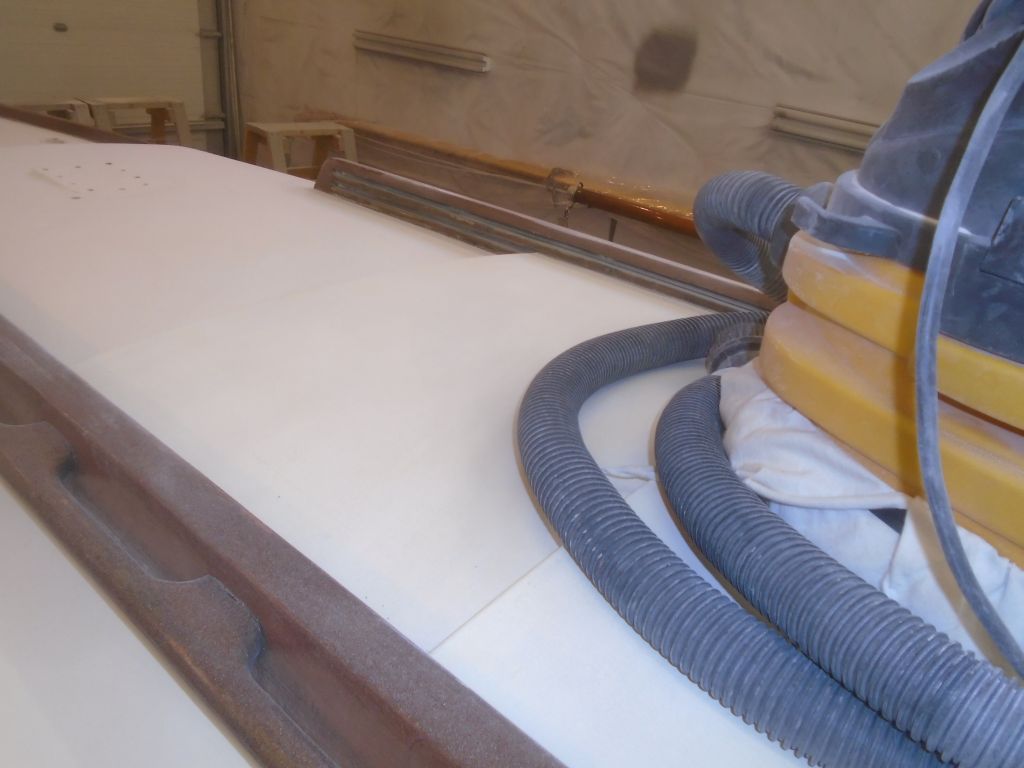
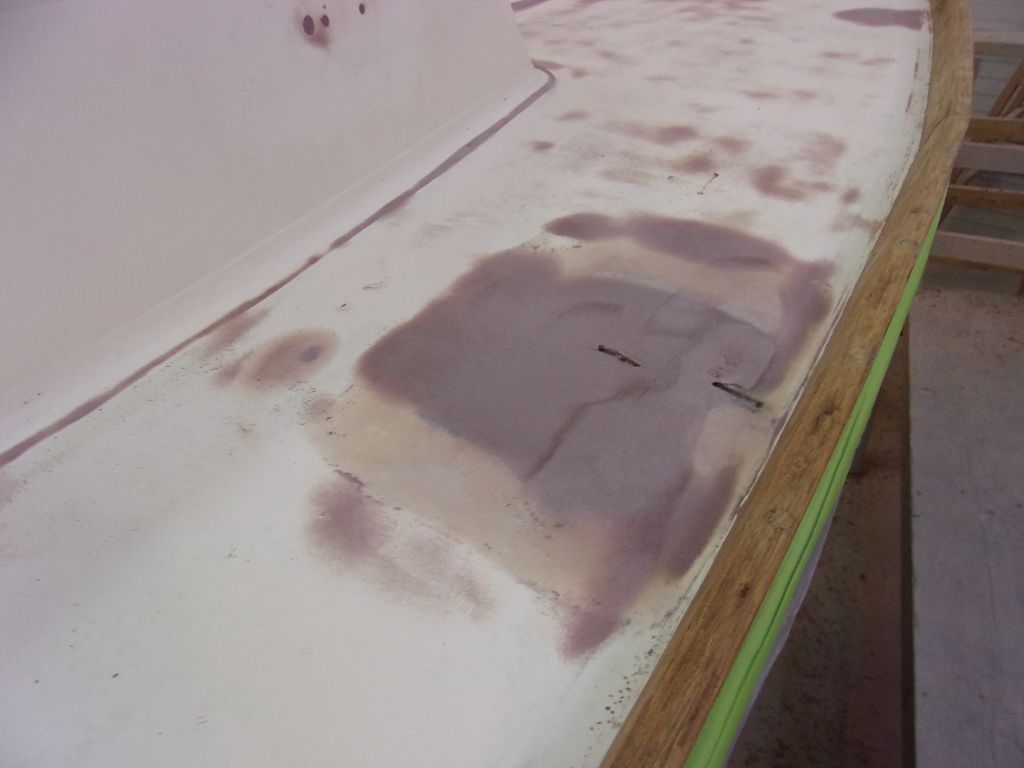
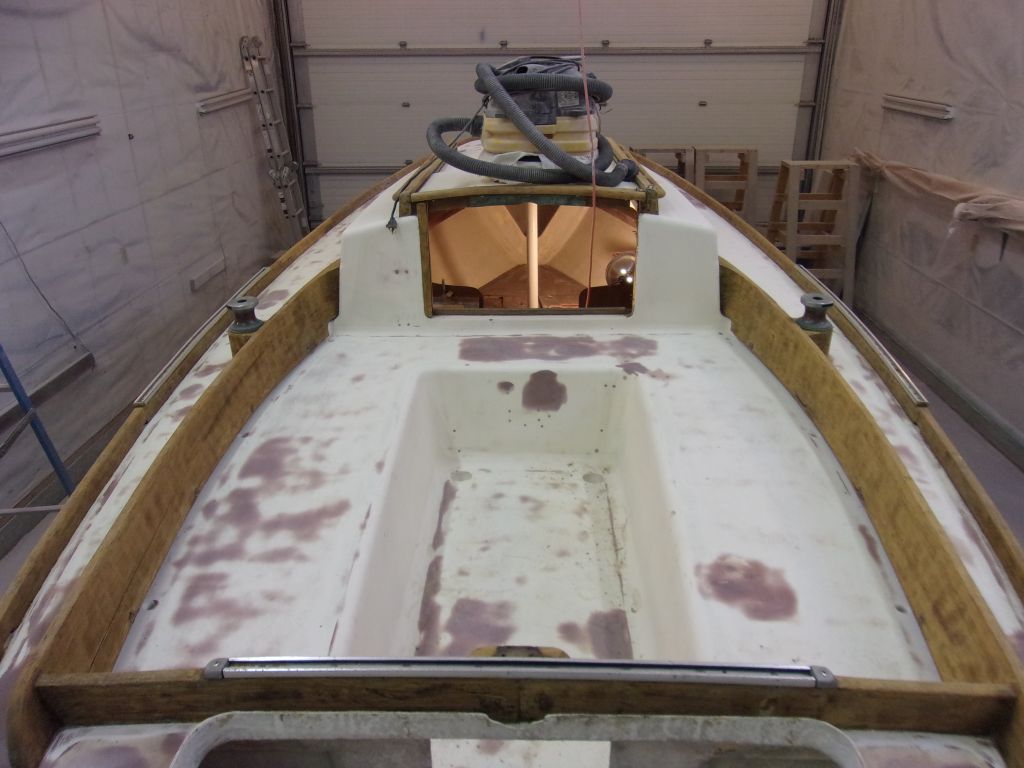
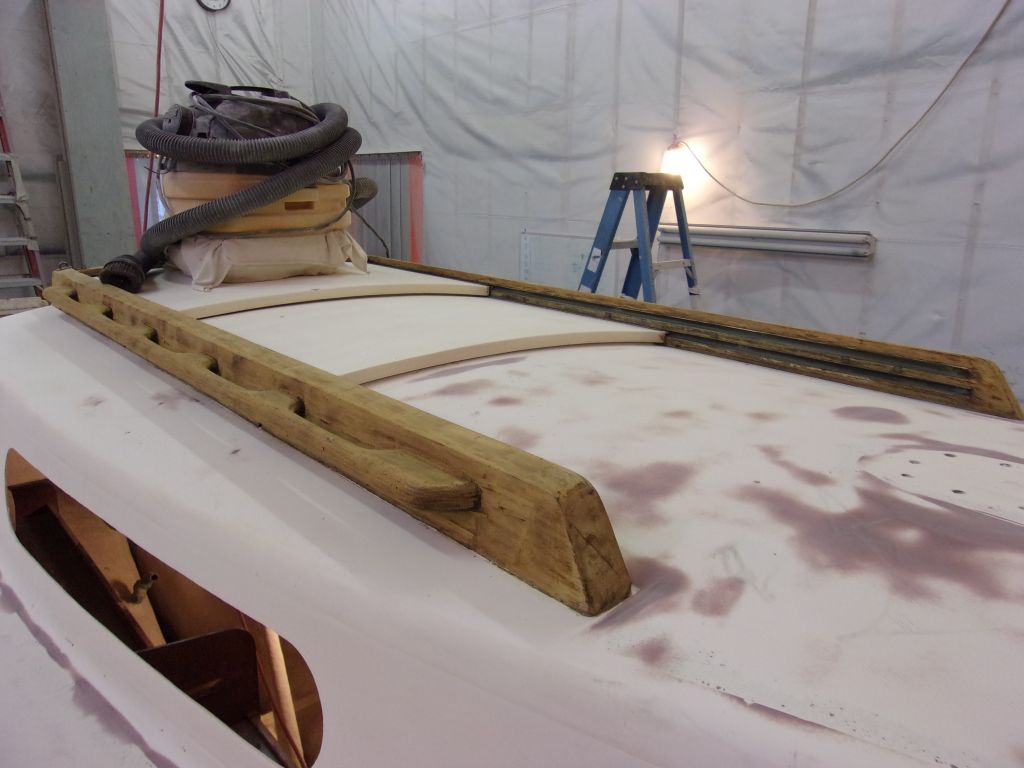
I began by lightly sanding the few deck areas where I’d added another round of fairing compound, pretty much finishing up the work other than a final round of finish sanding over the entire deck areas, which I’d do soon.
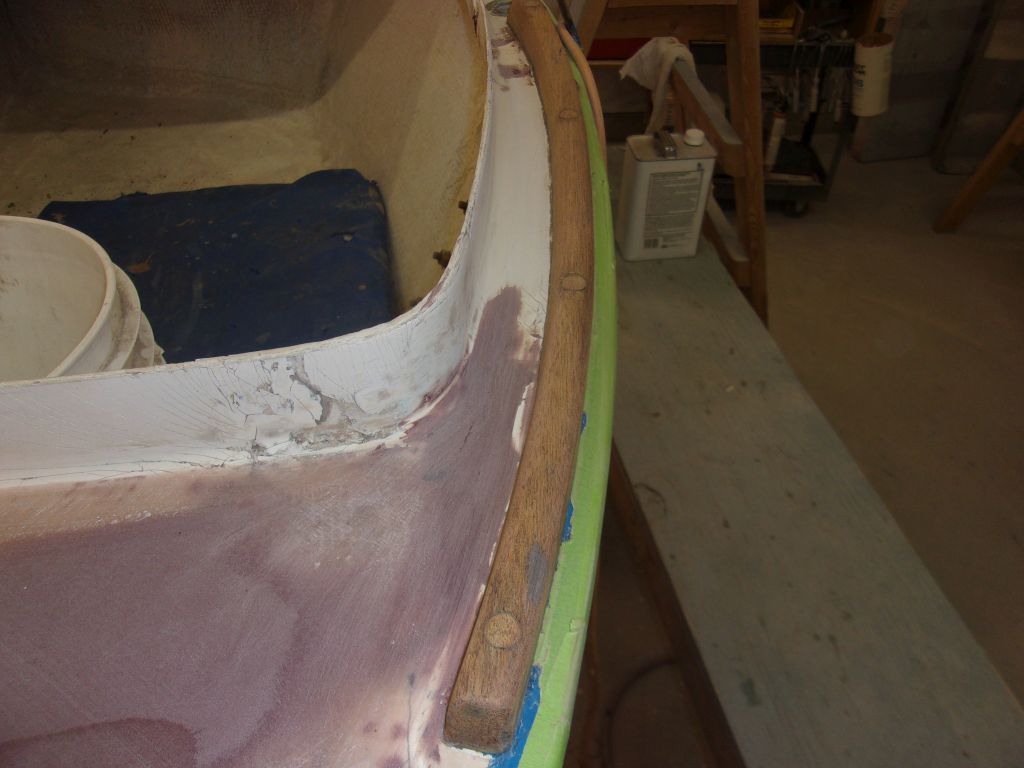
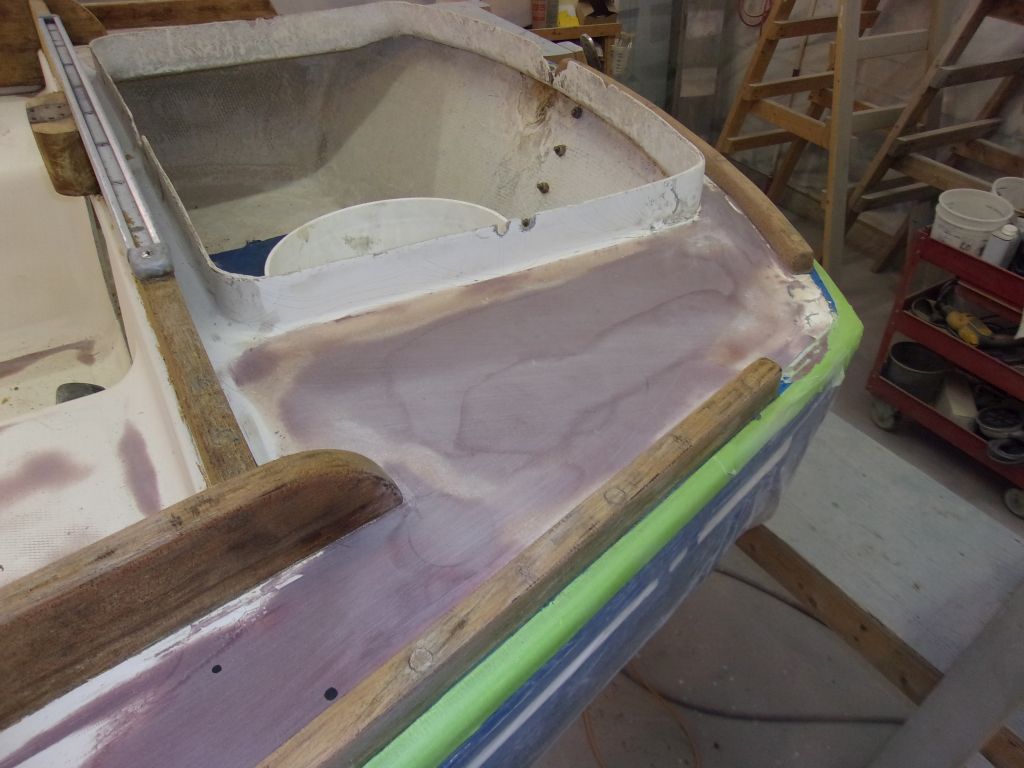

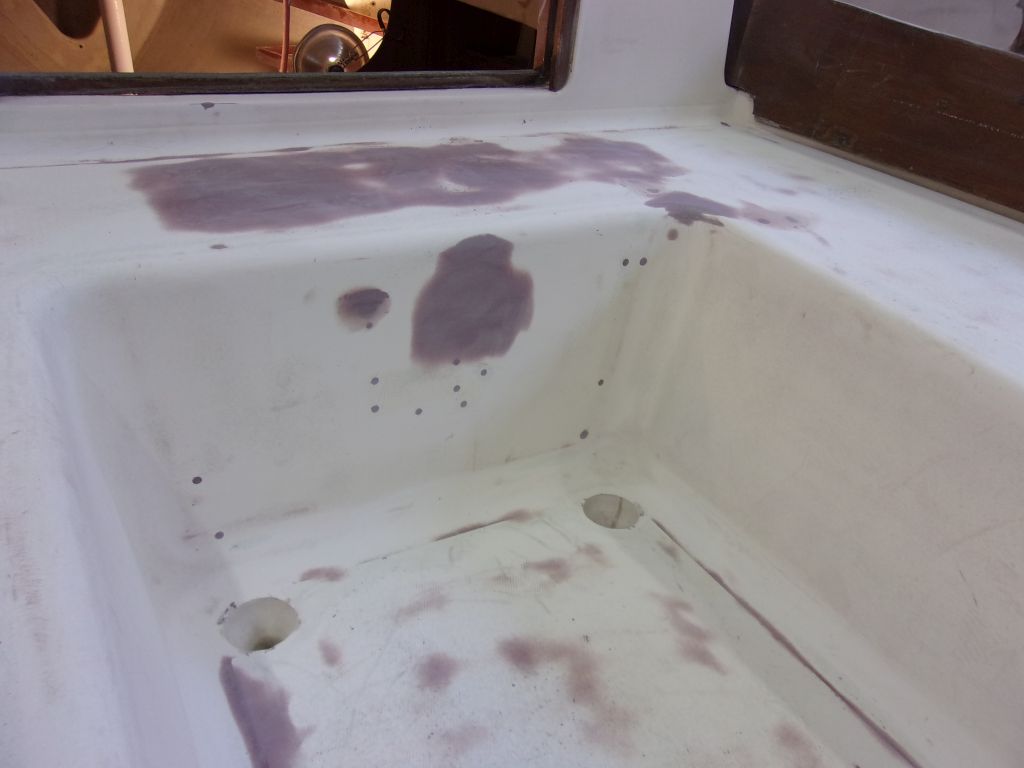
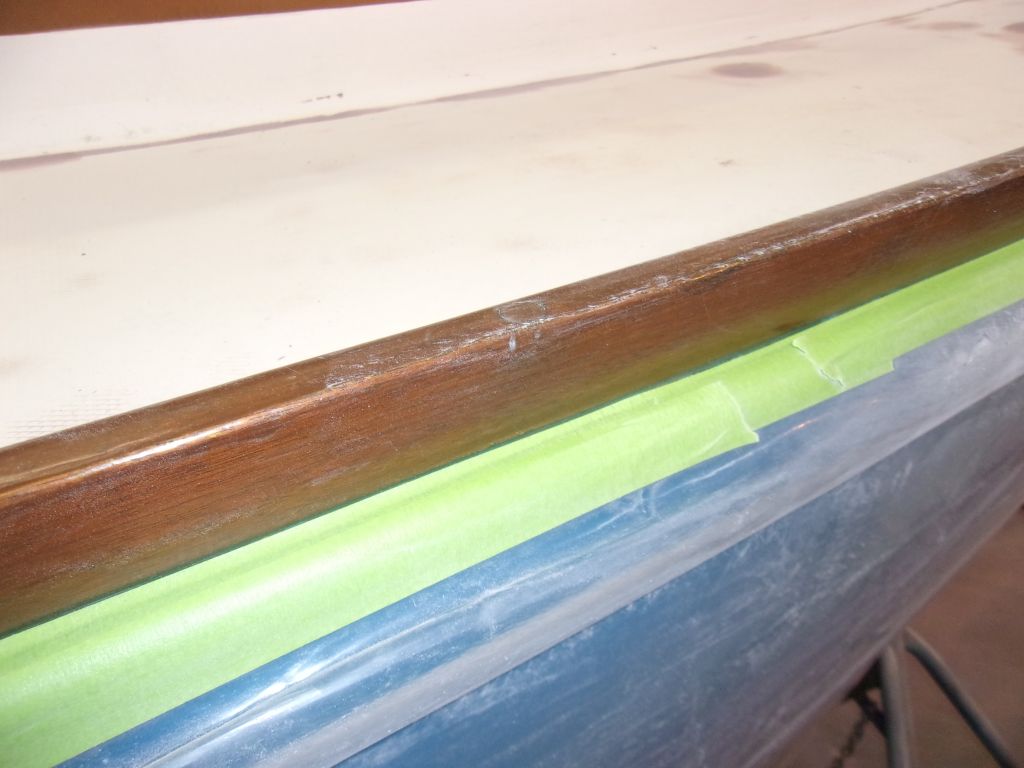
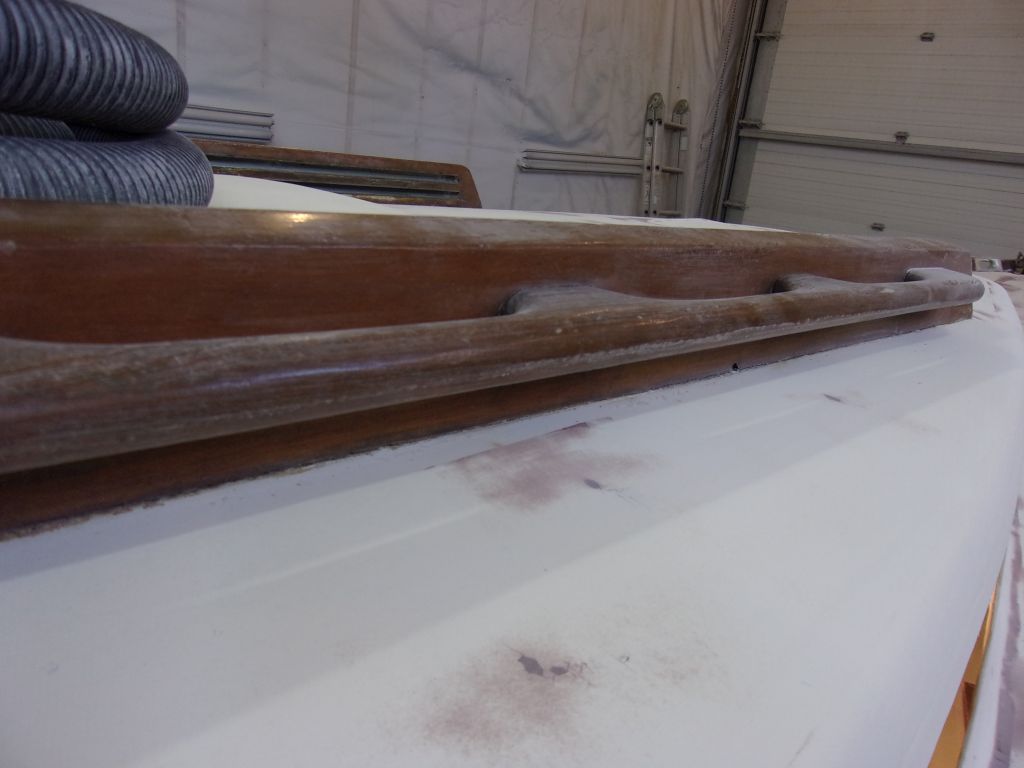
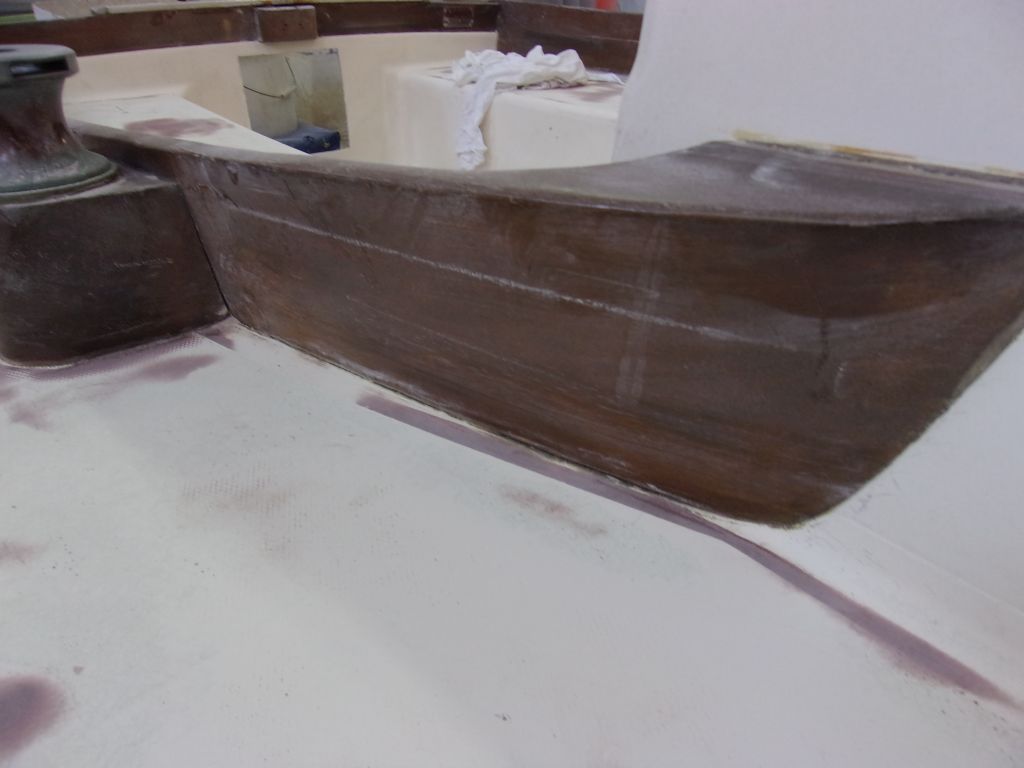
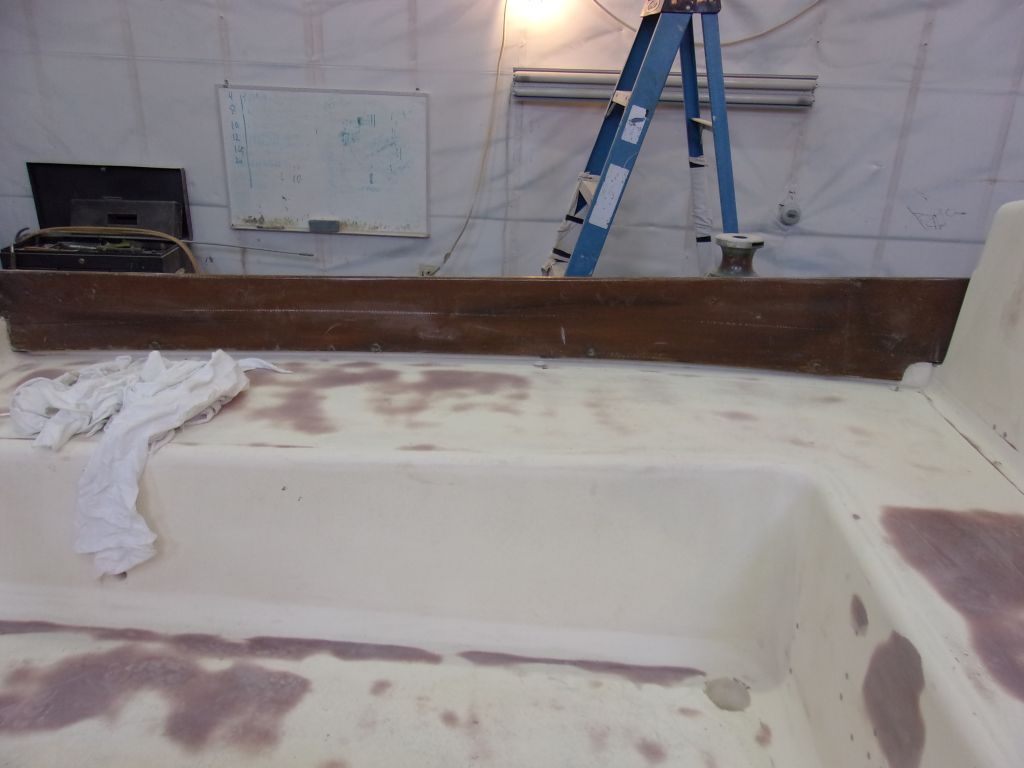
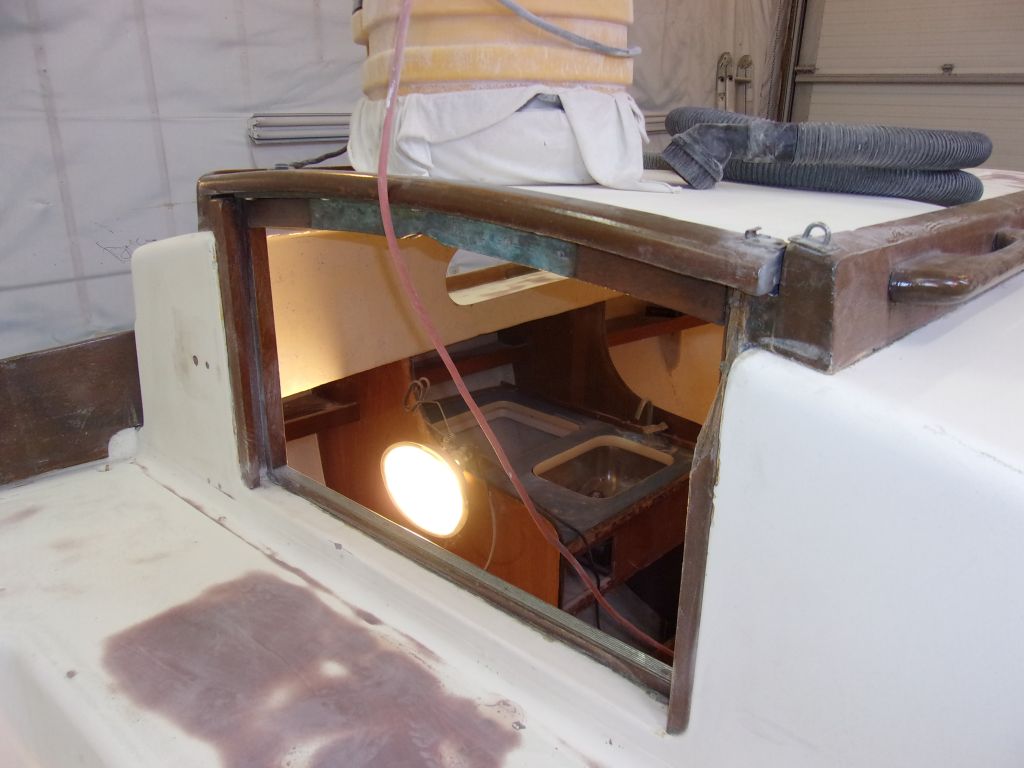
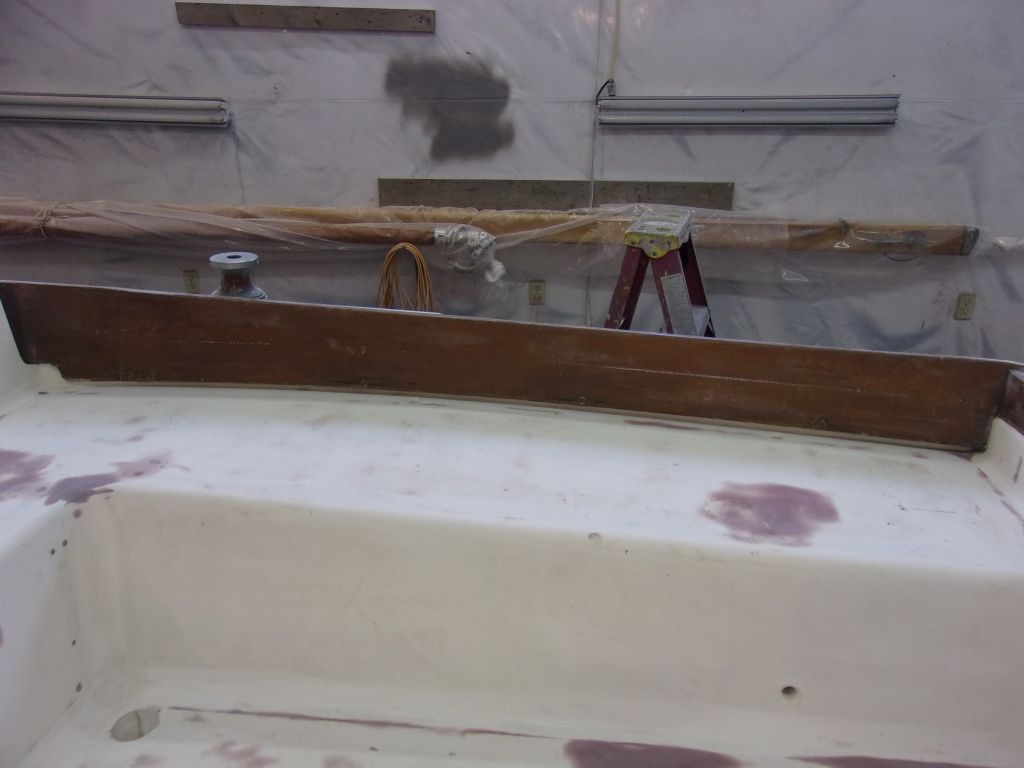
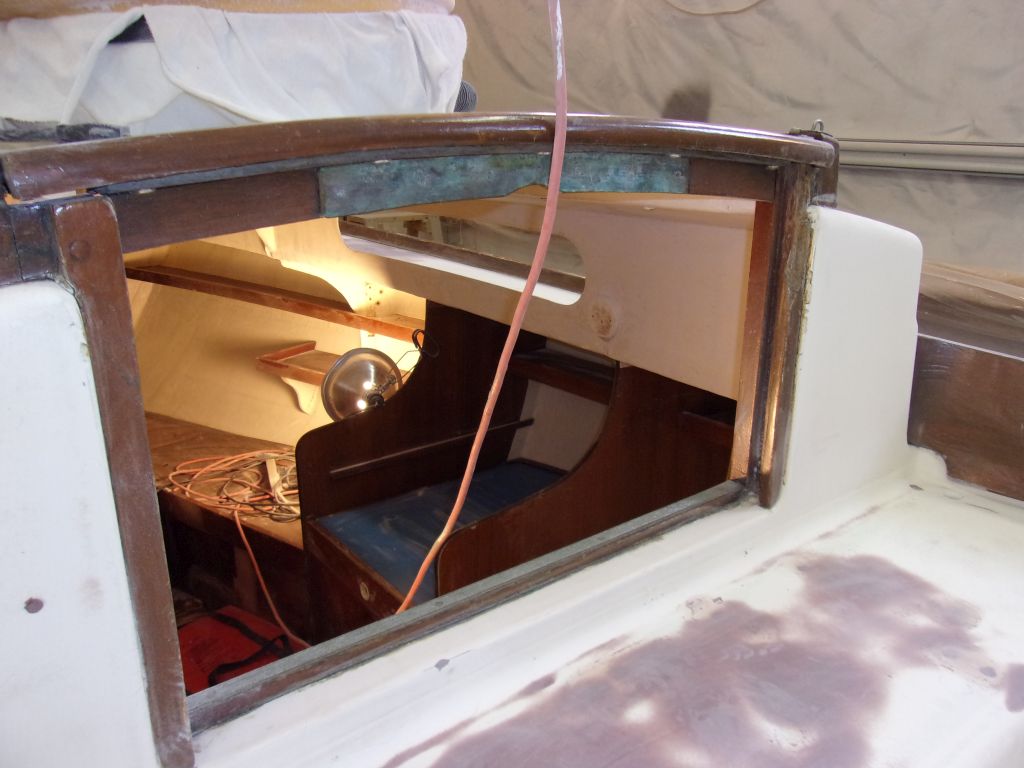
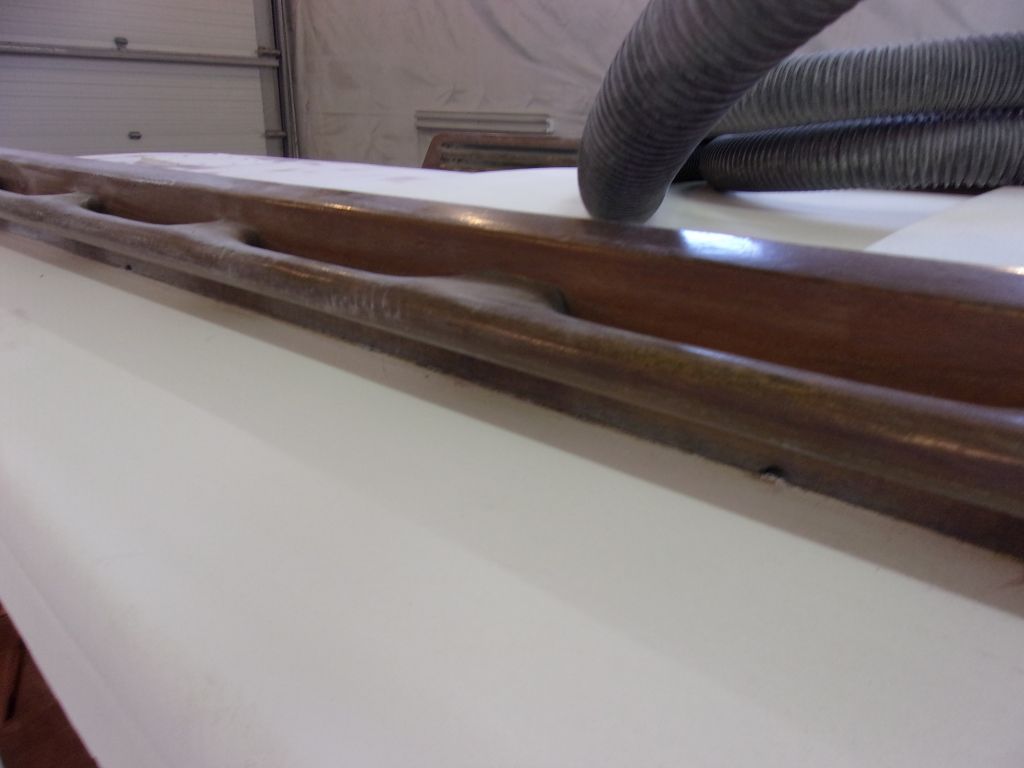
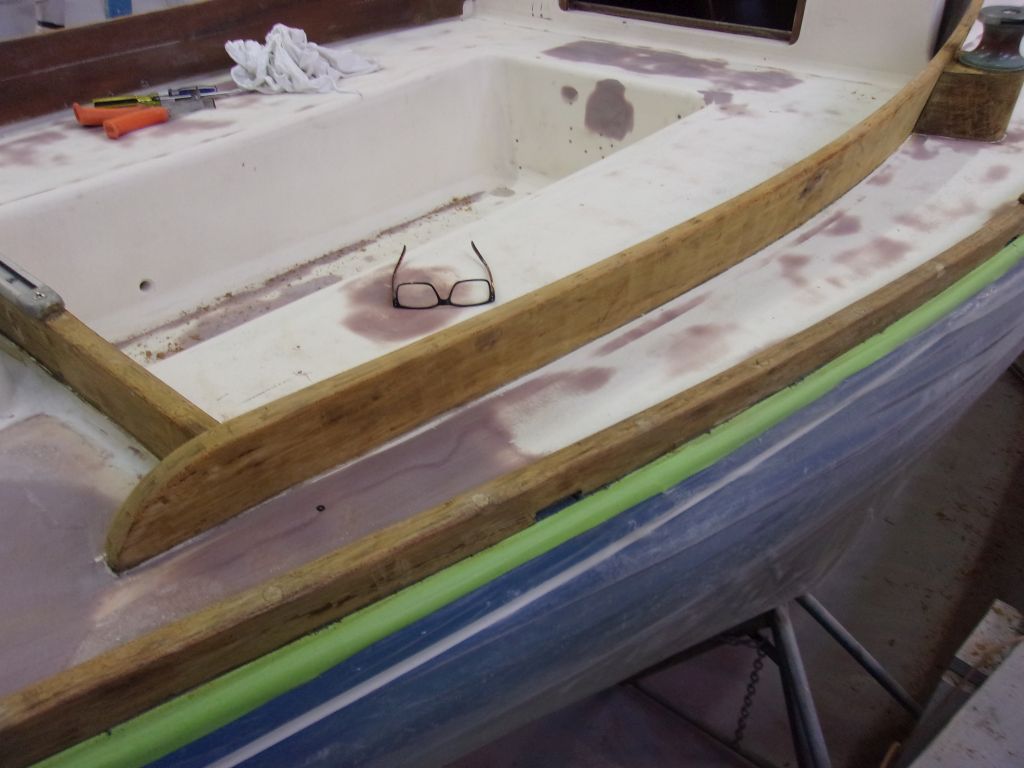
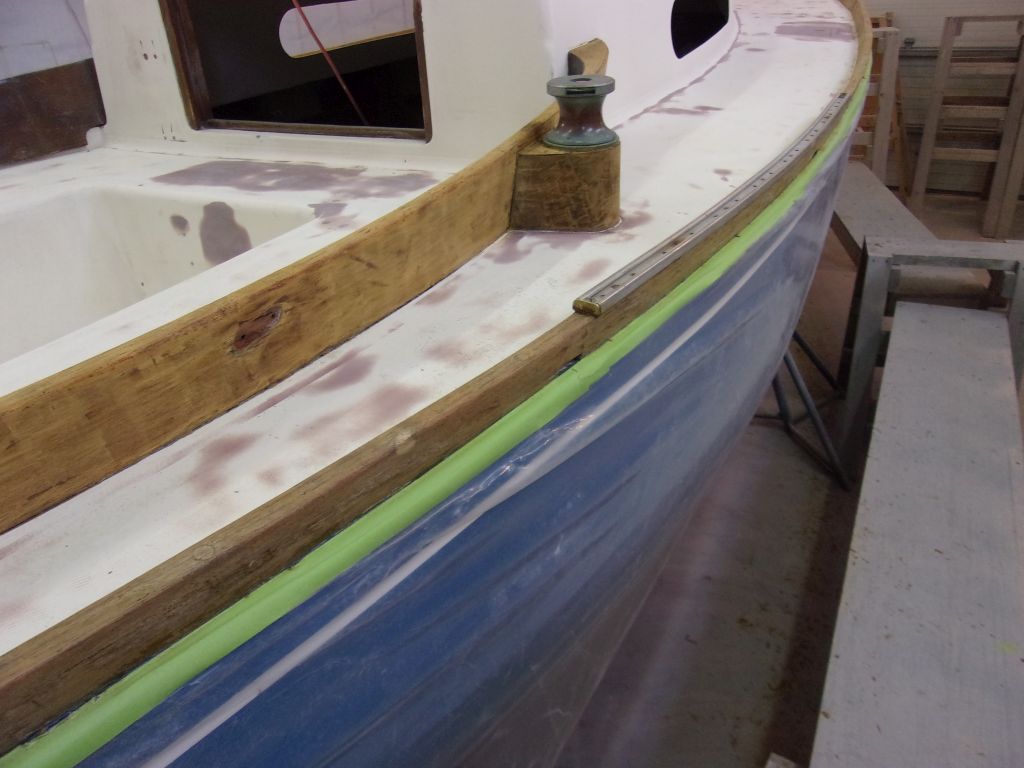
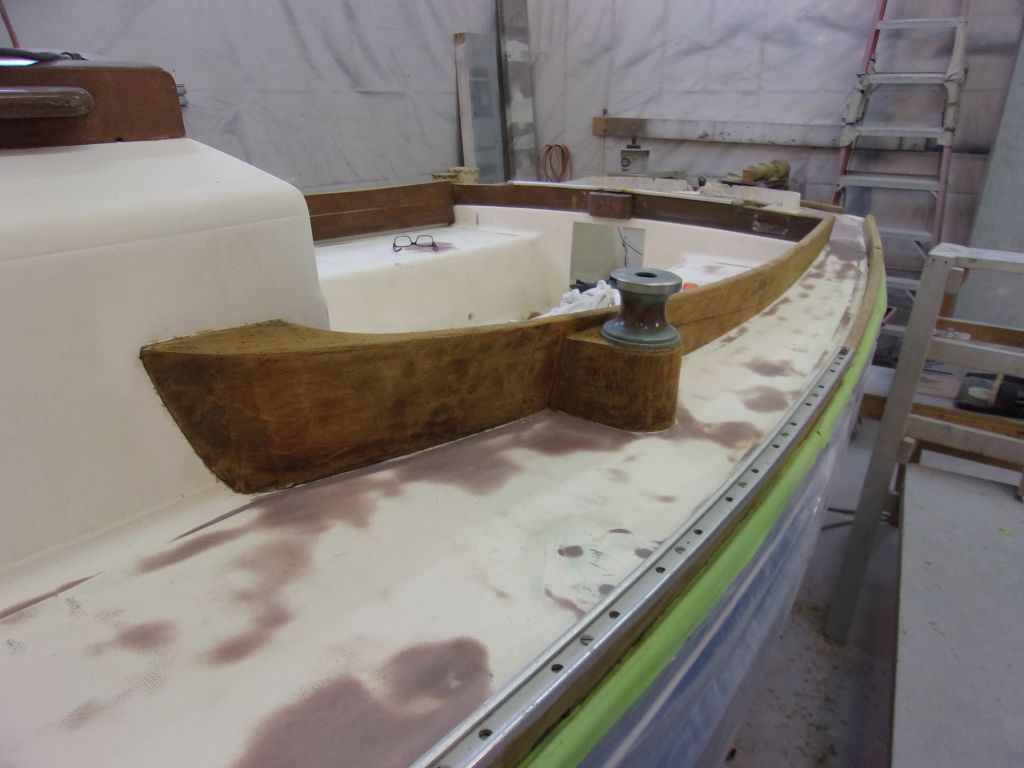
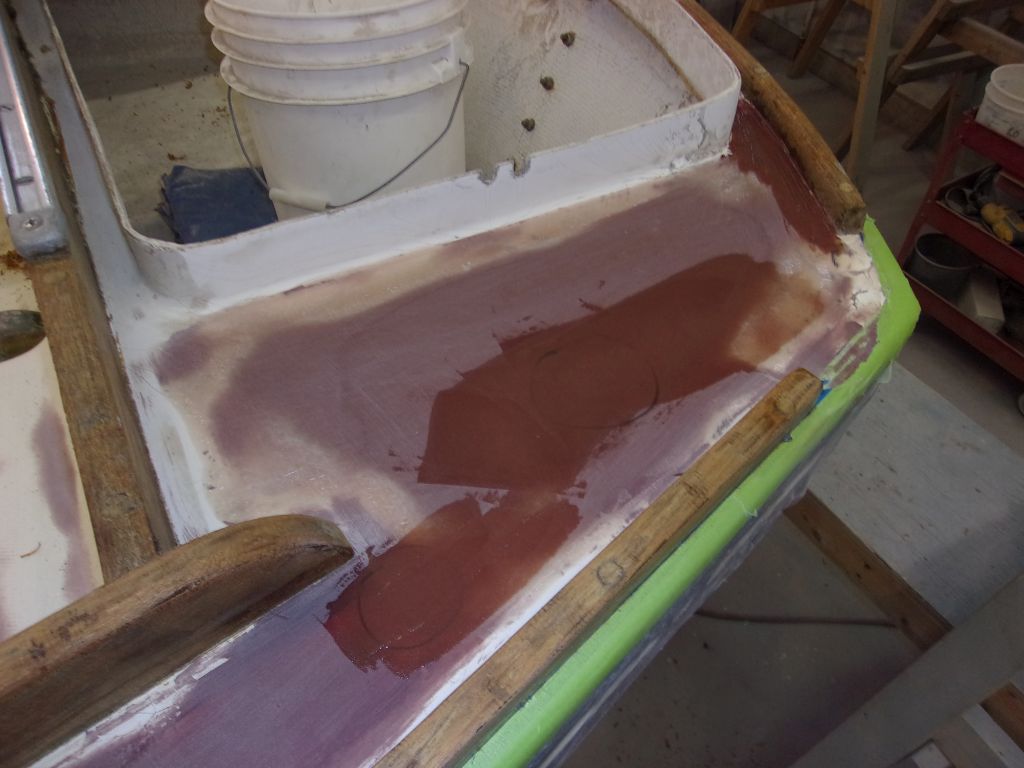
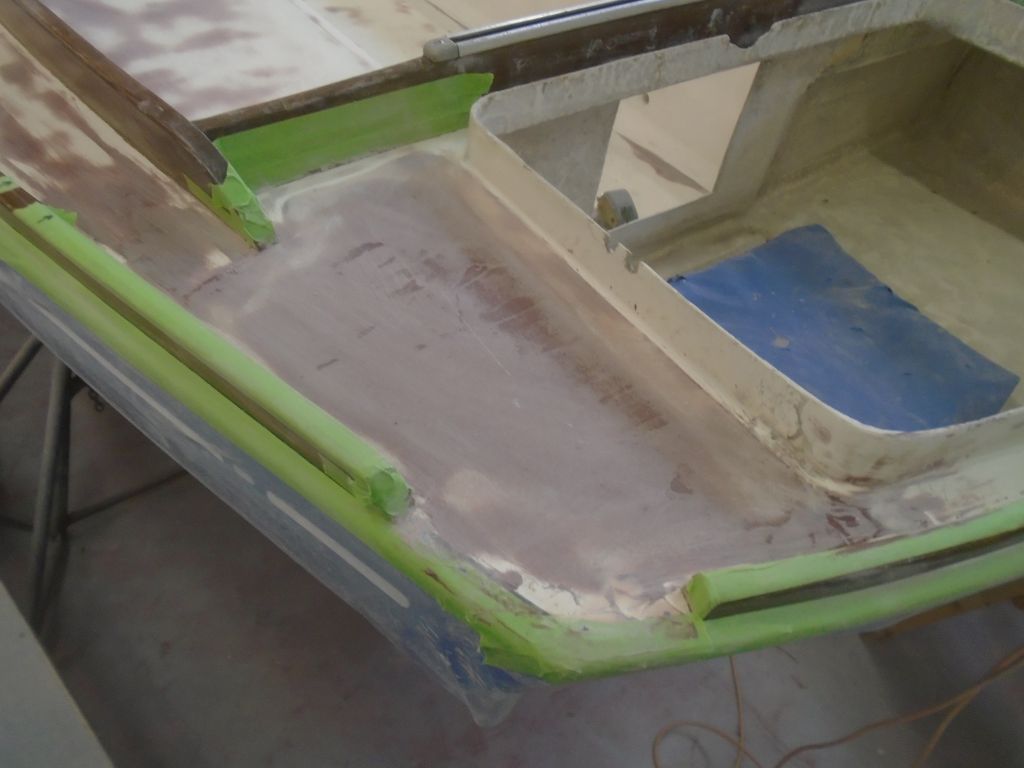
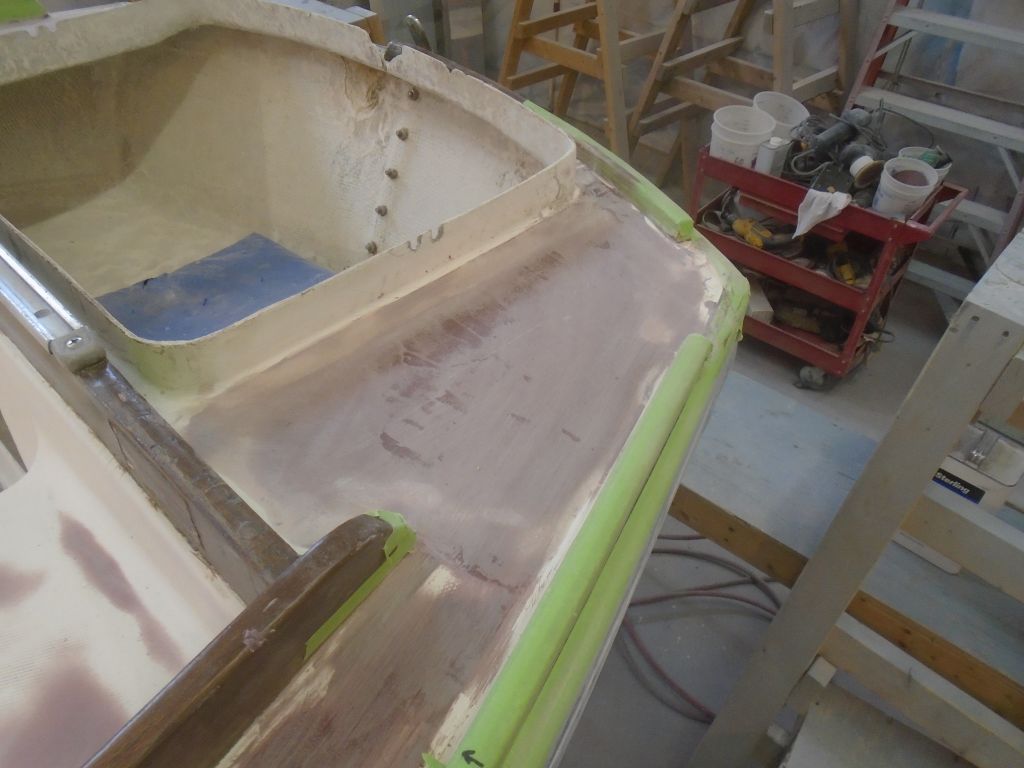
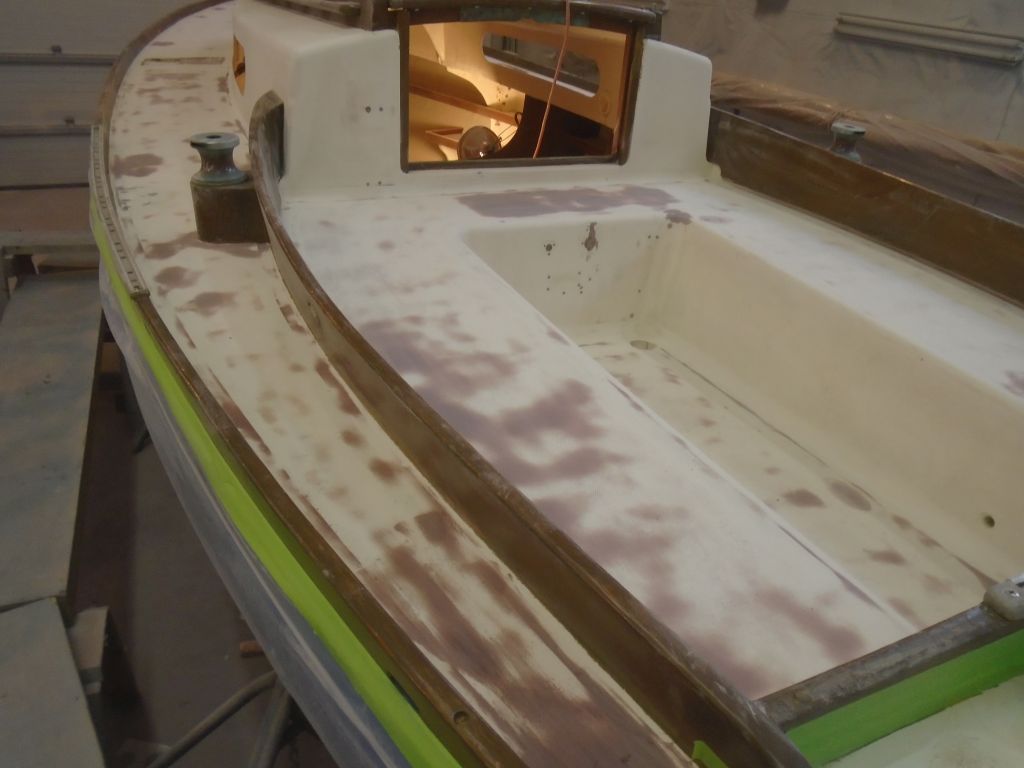
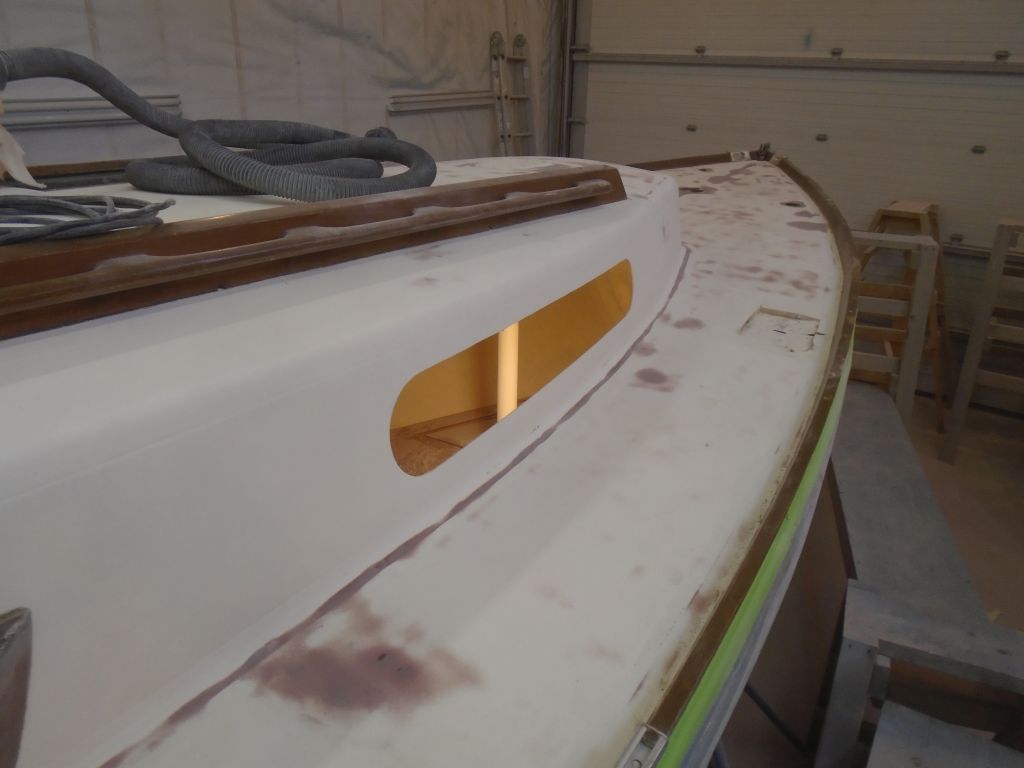
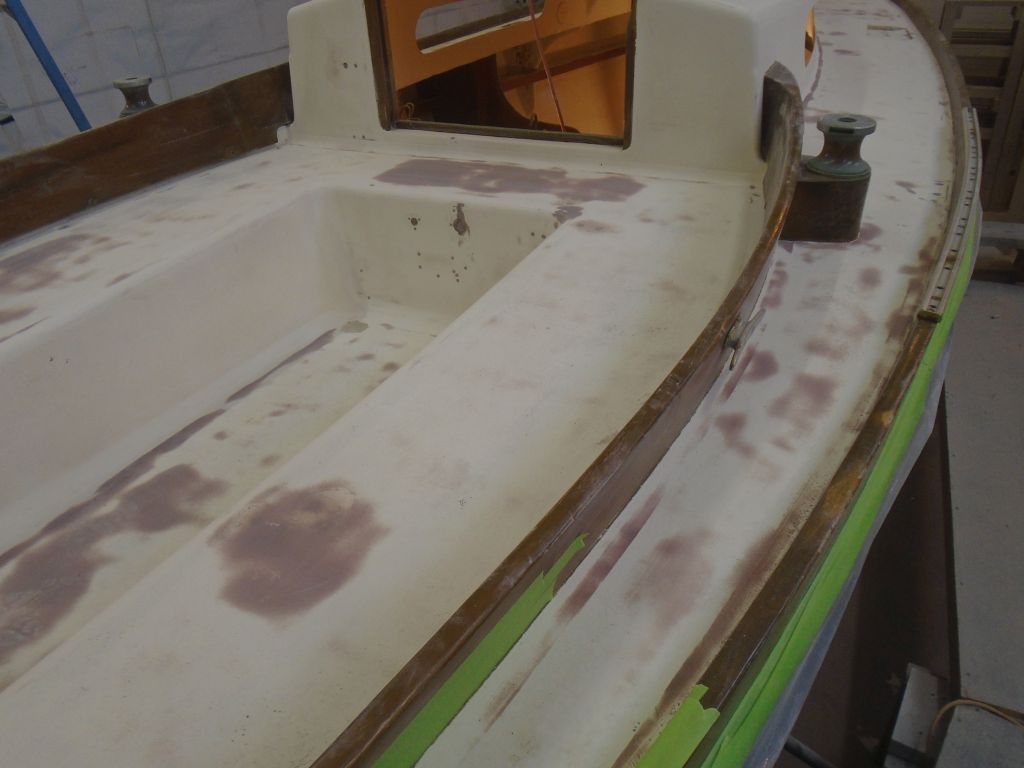
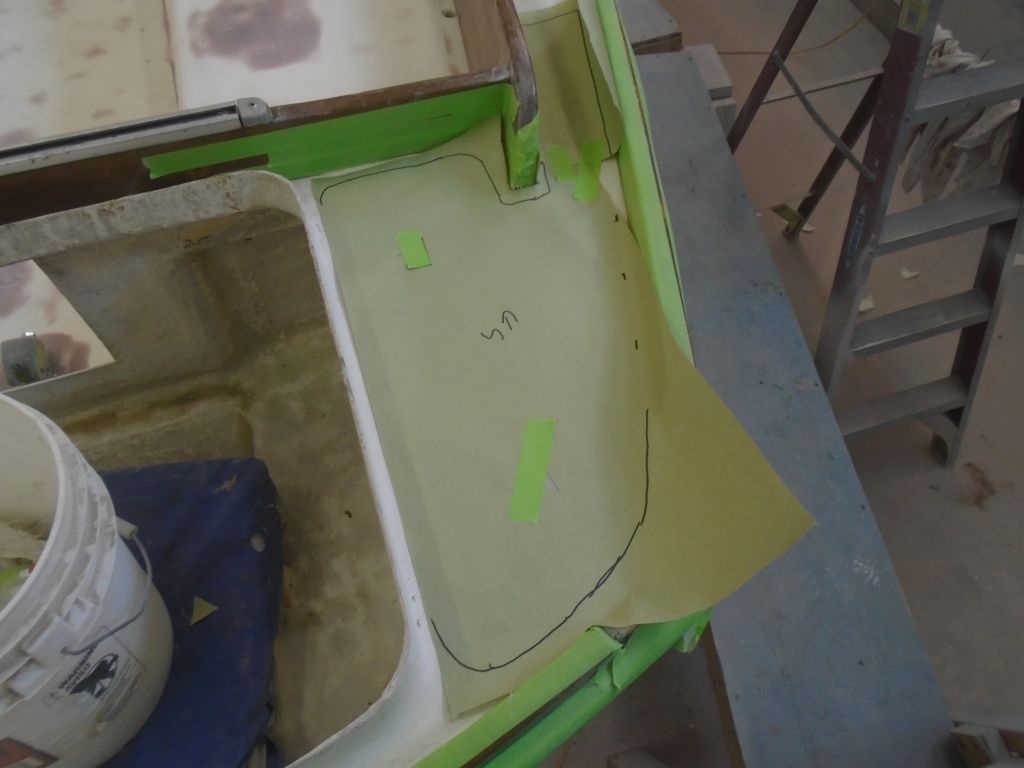
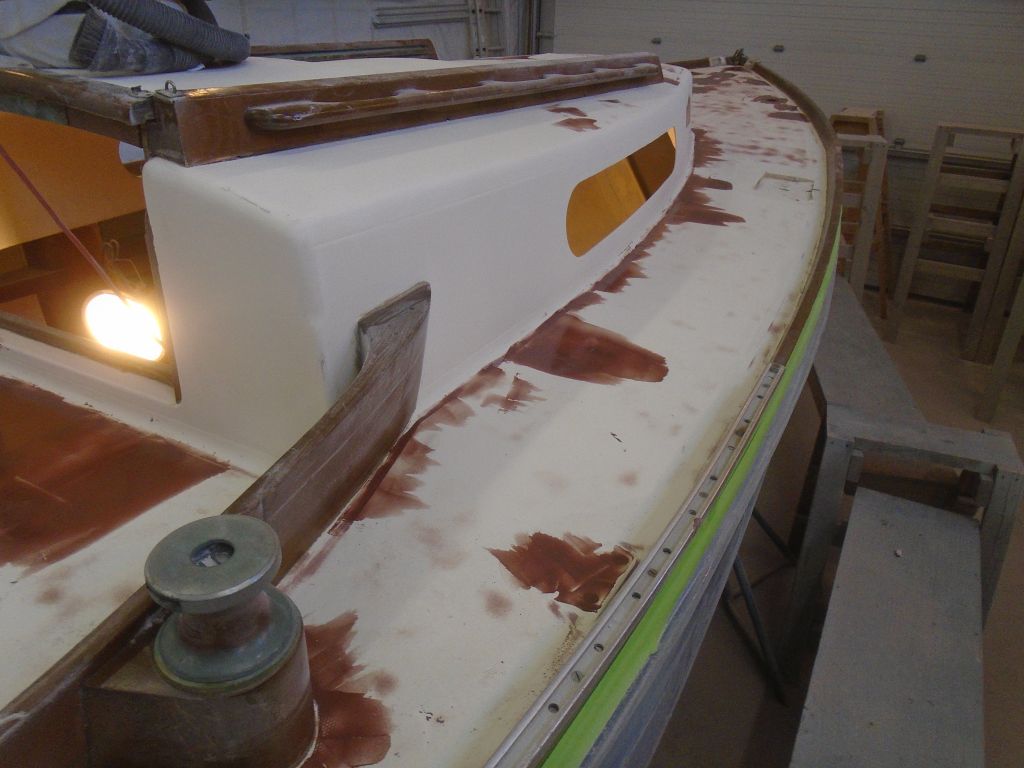
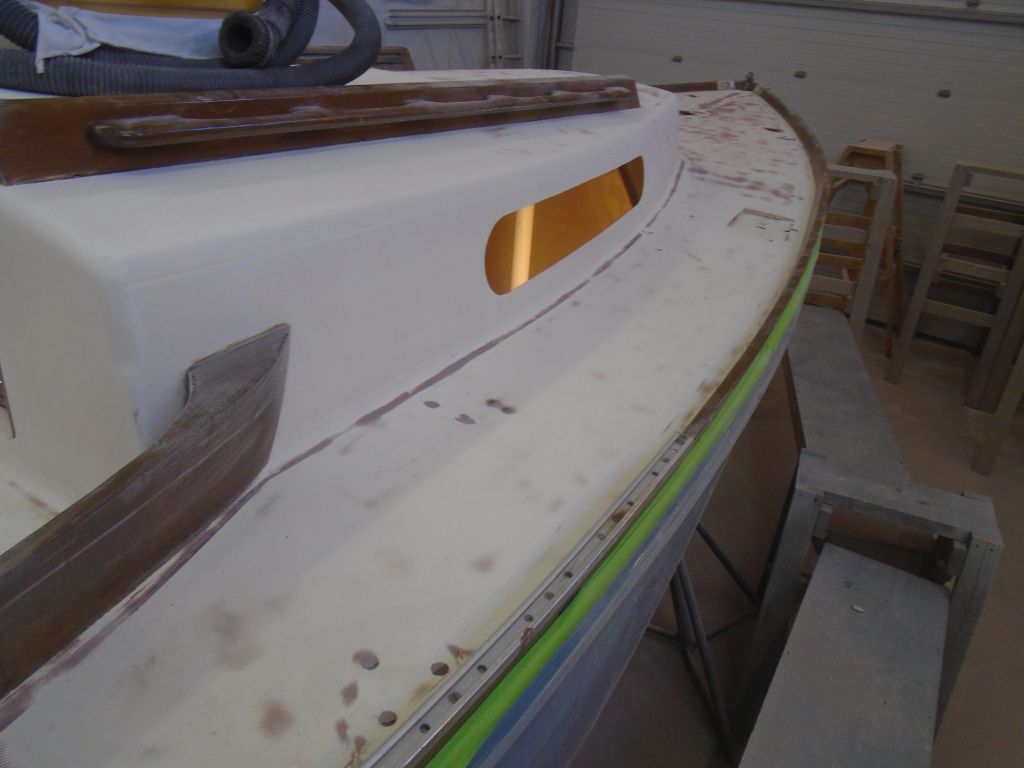
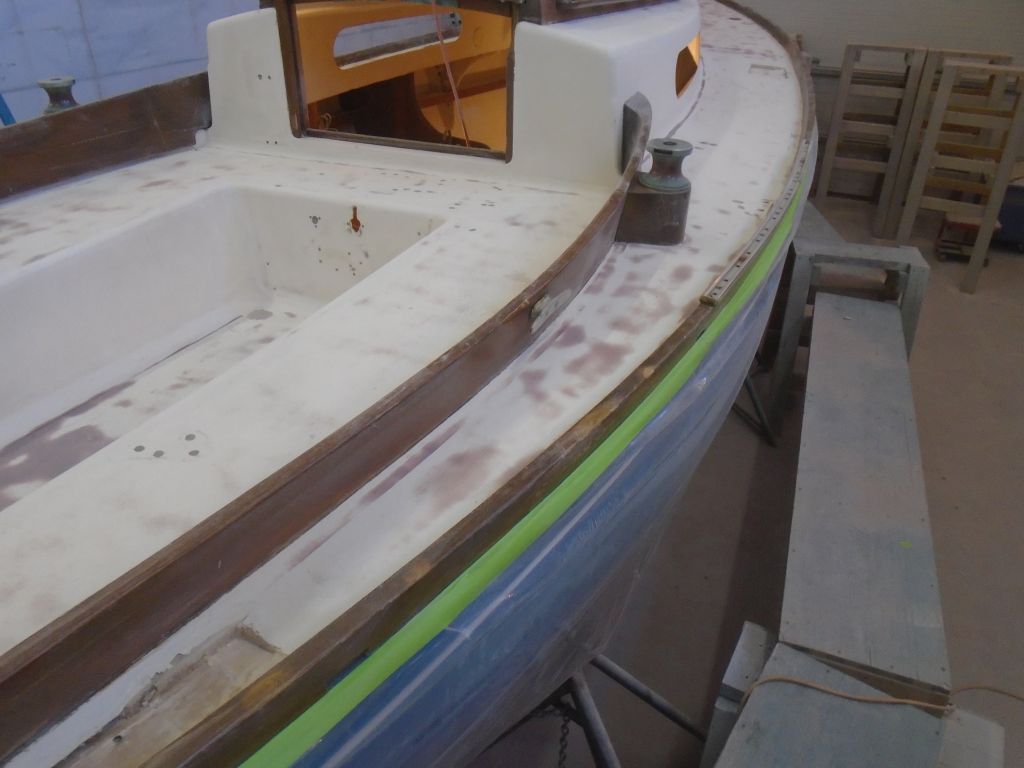
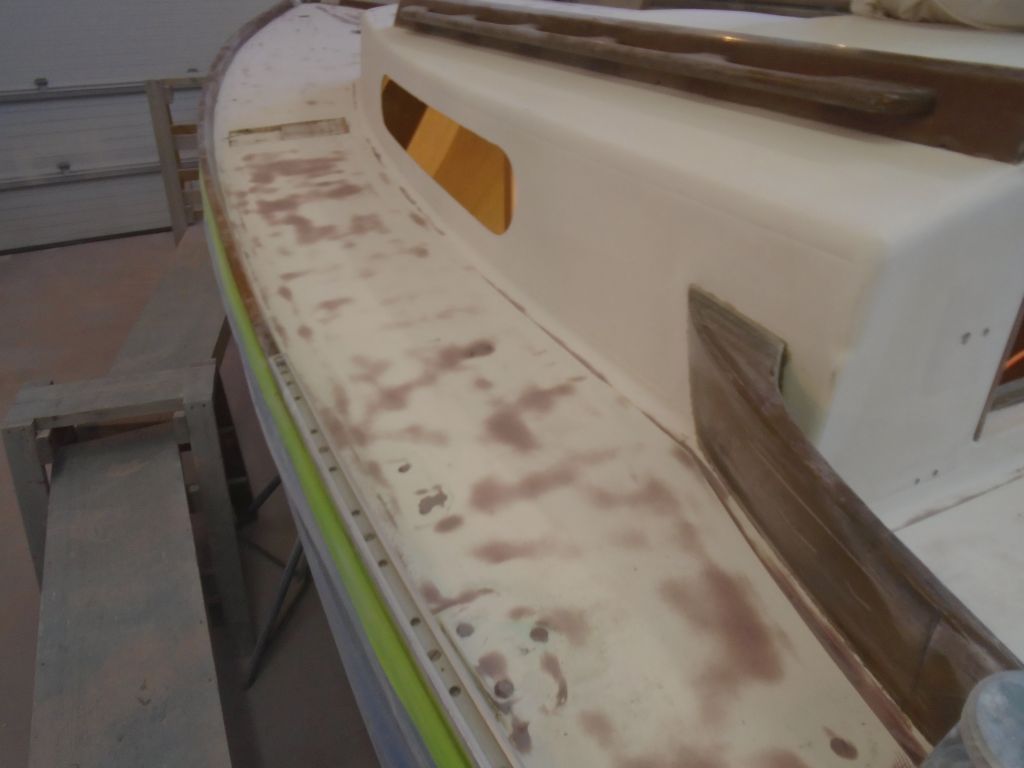
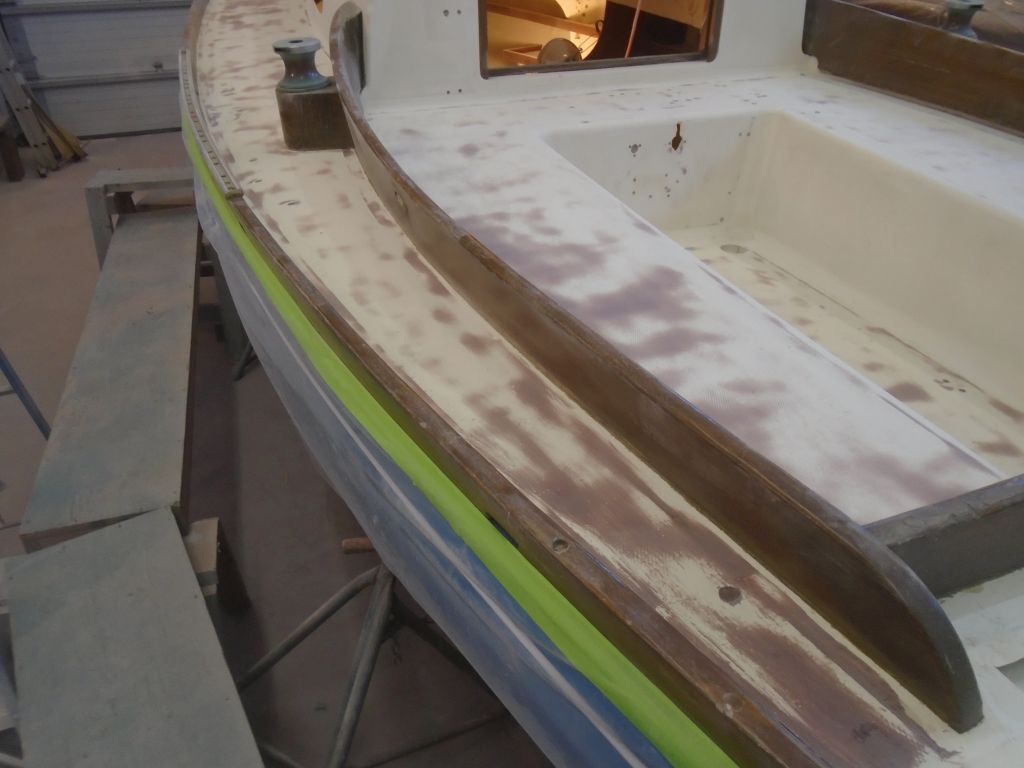
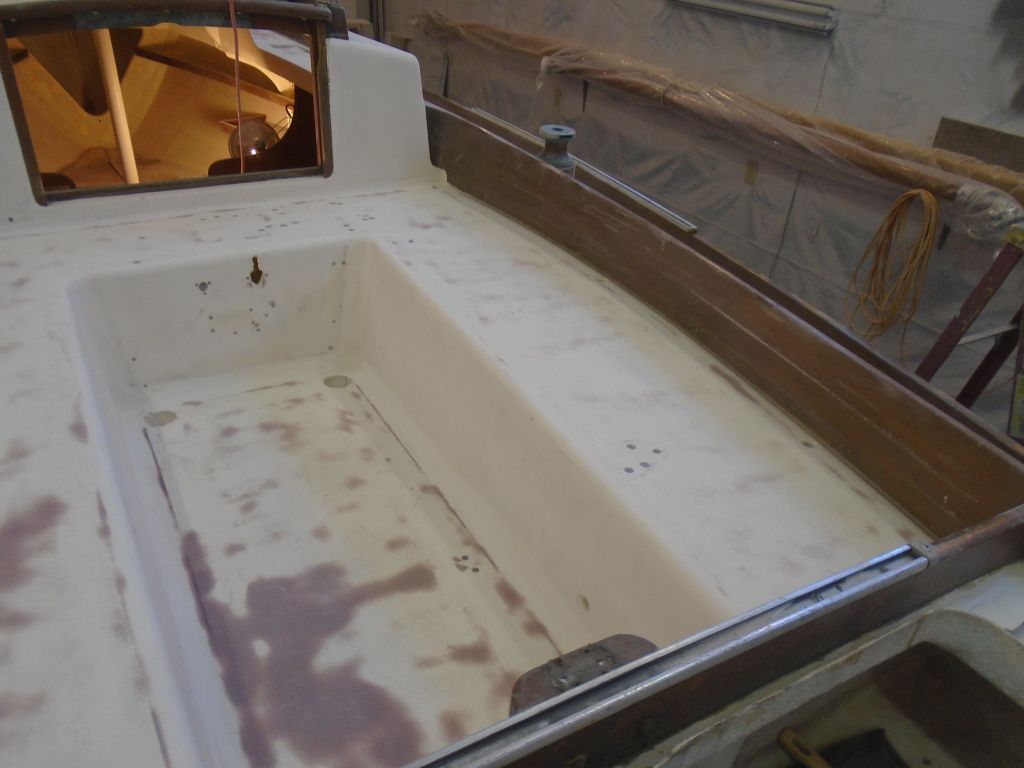
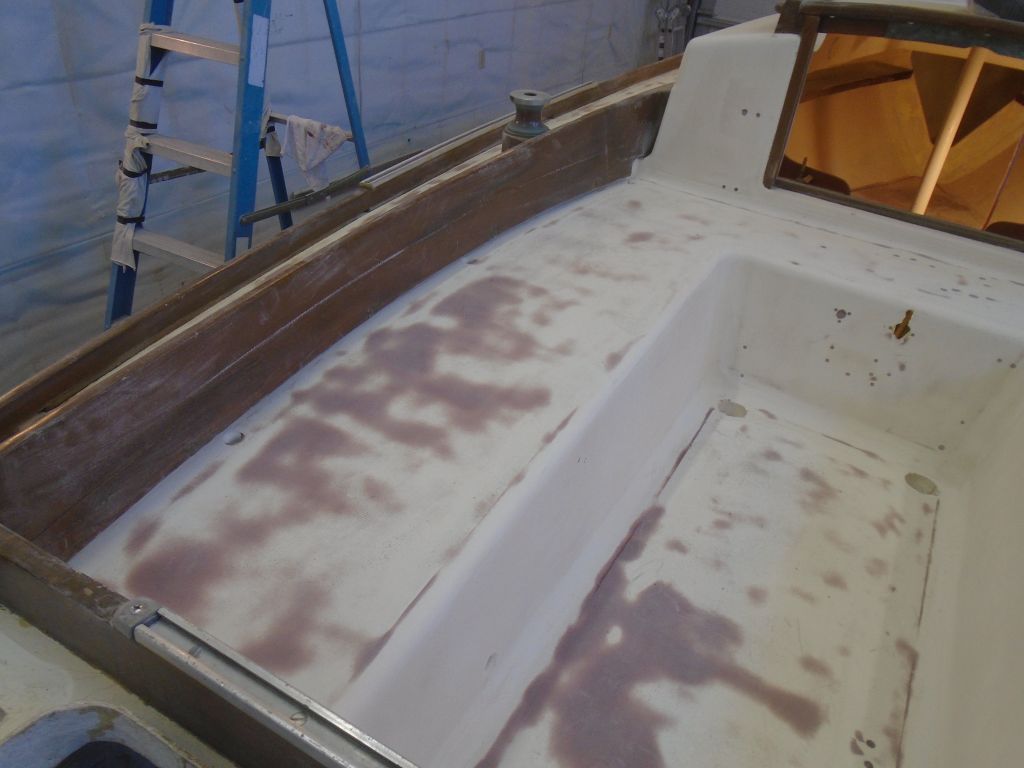
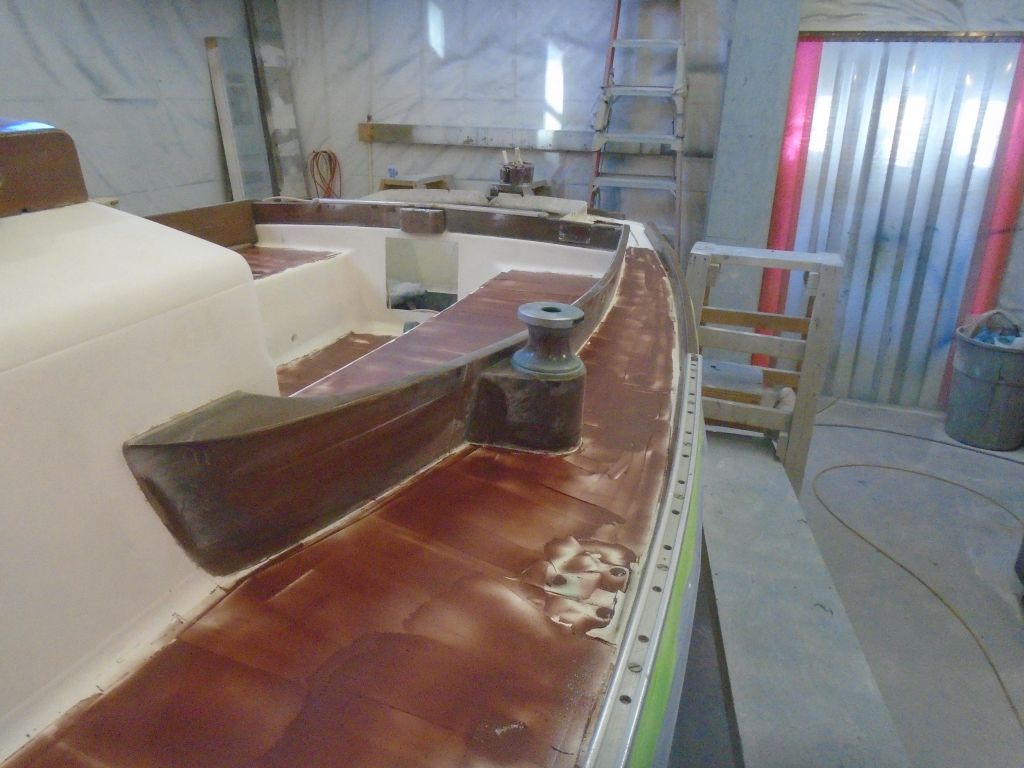
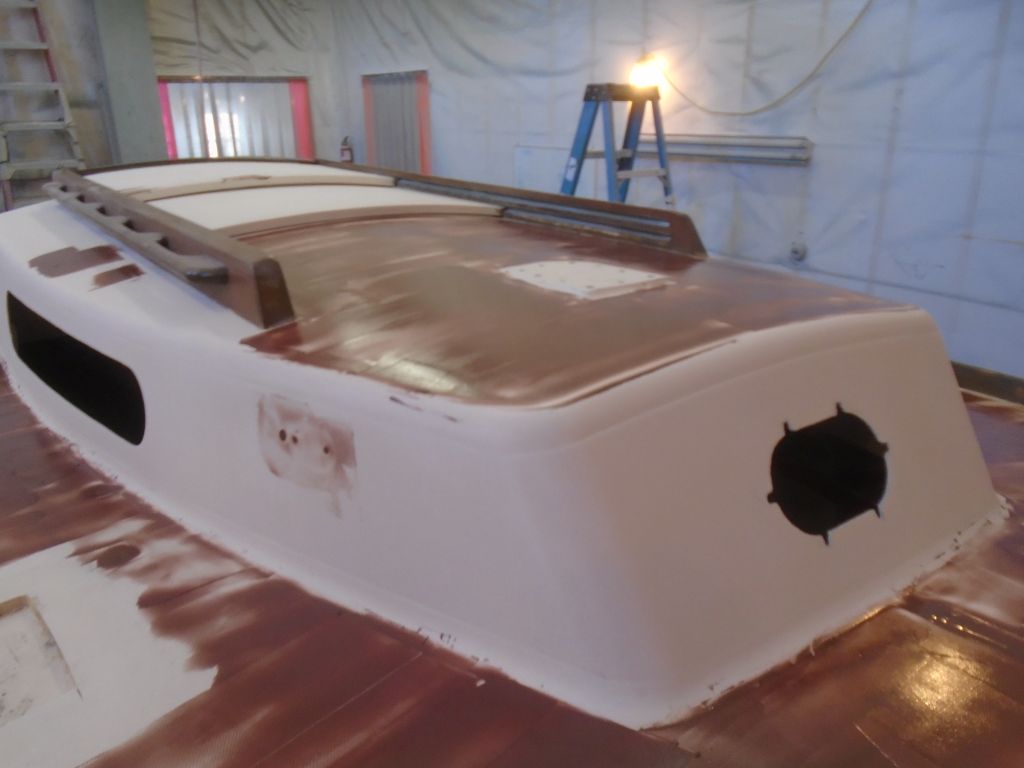
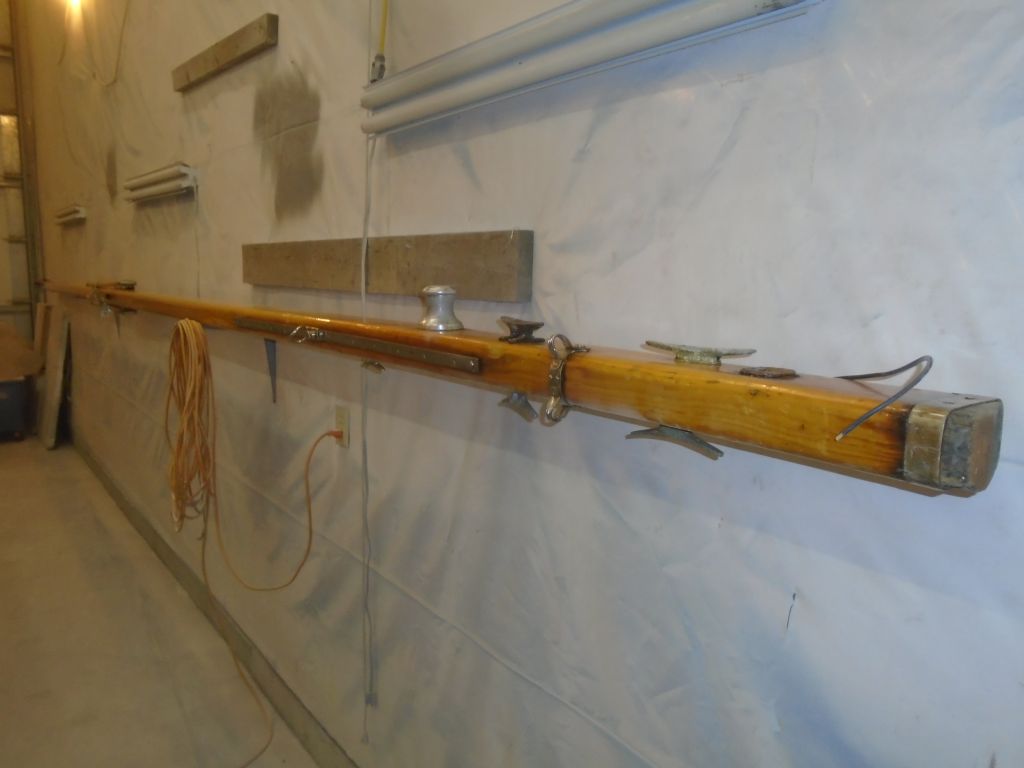
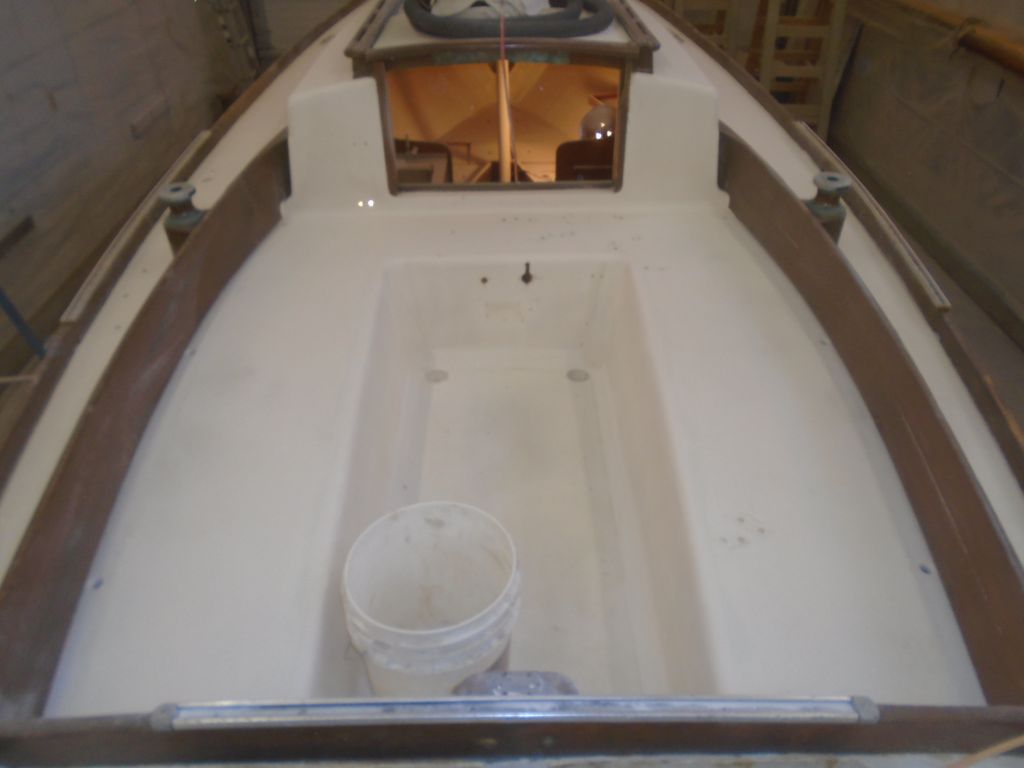
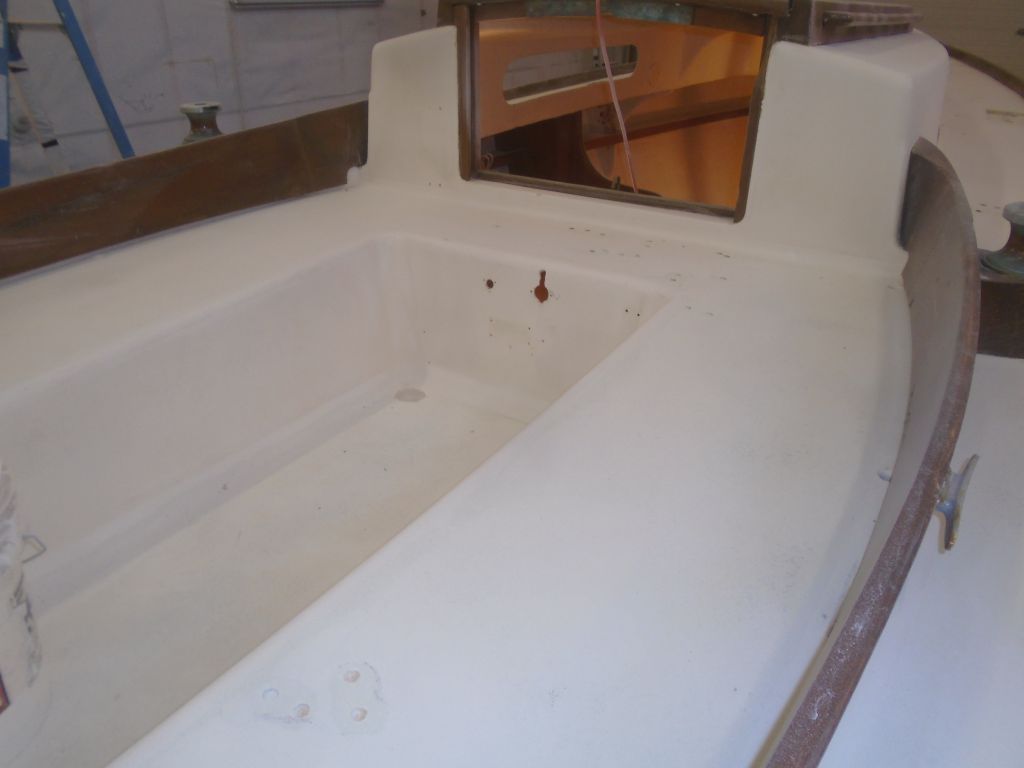
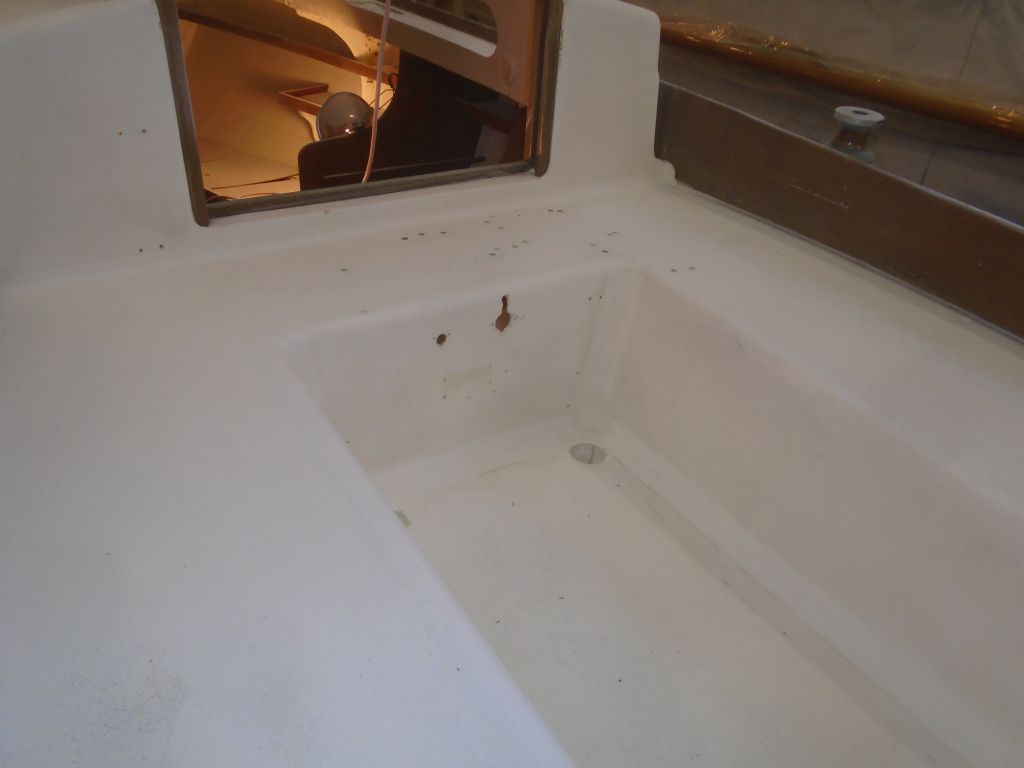
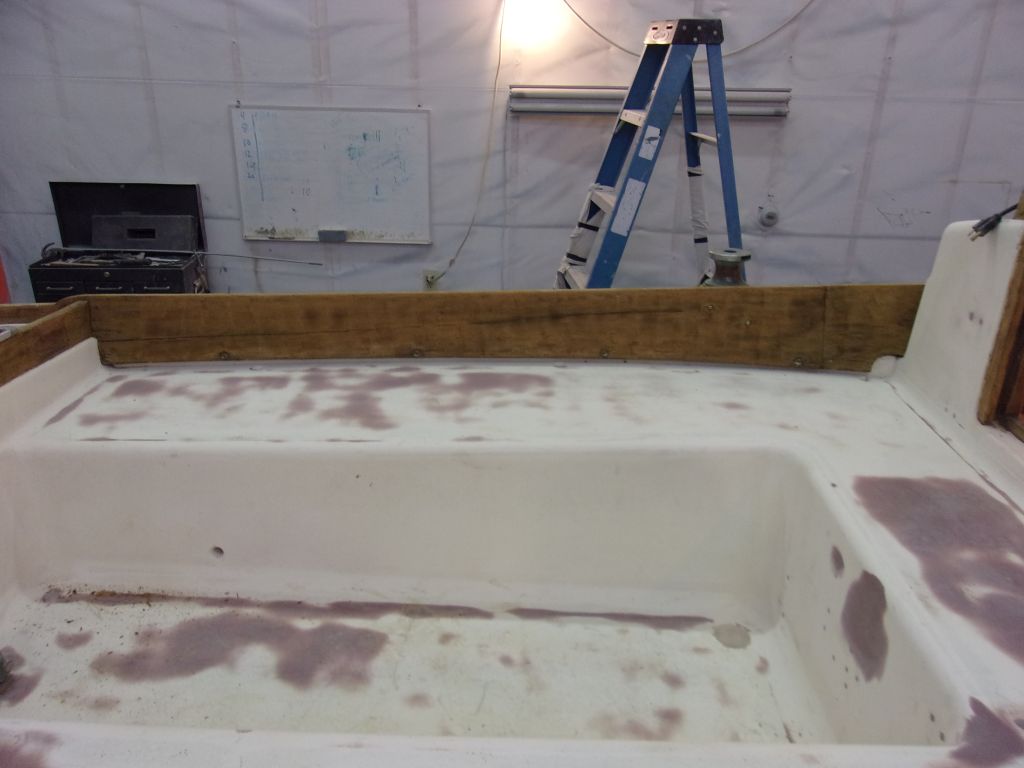
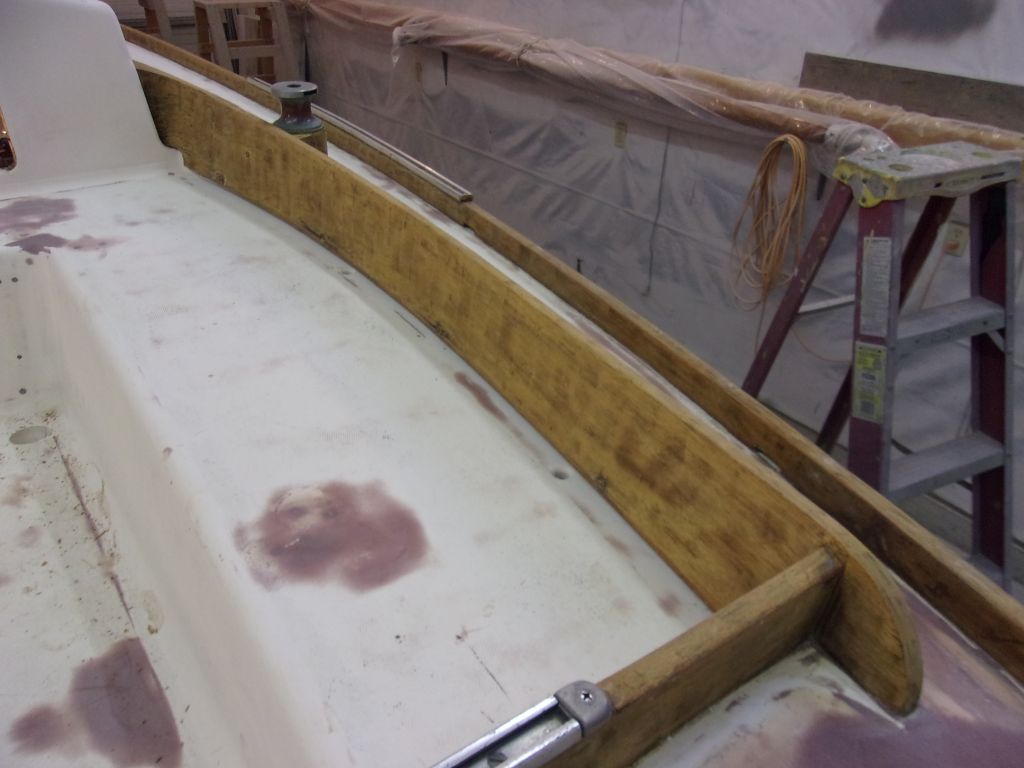
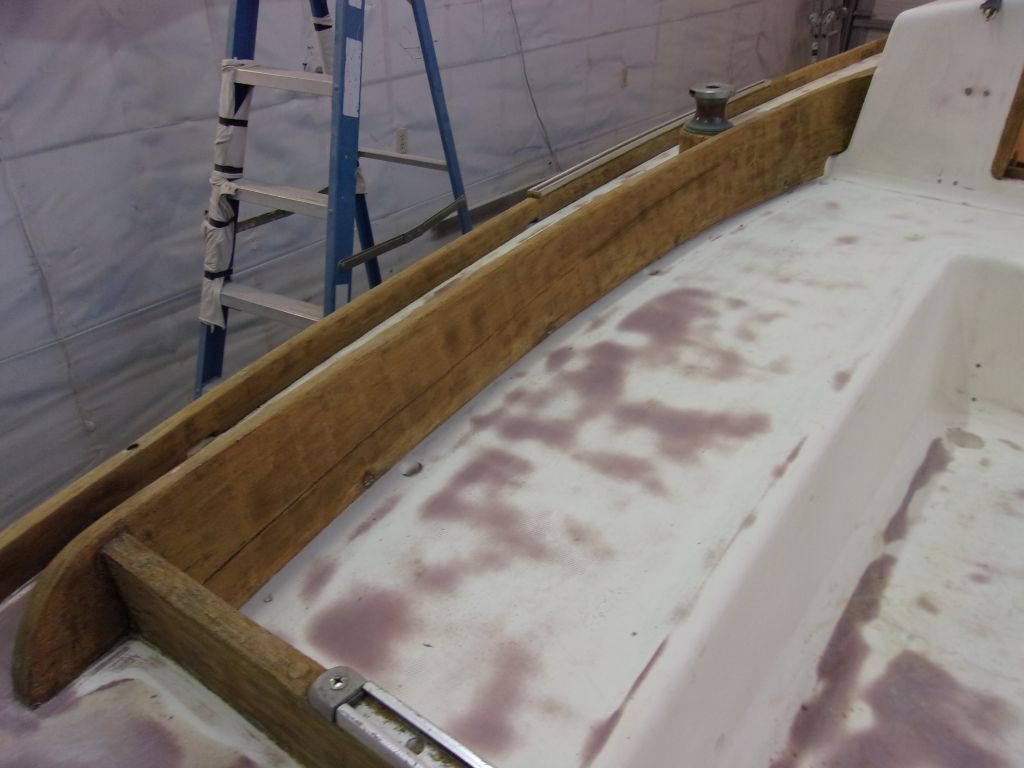
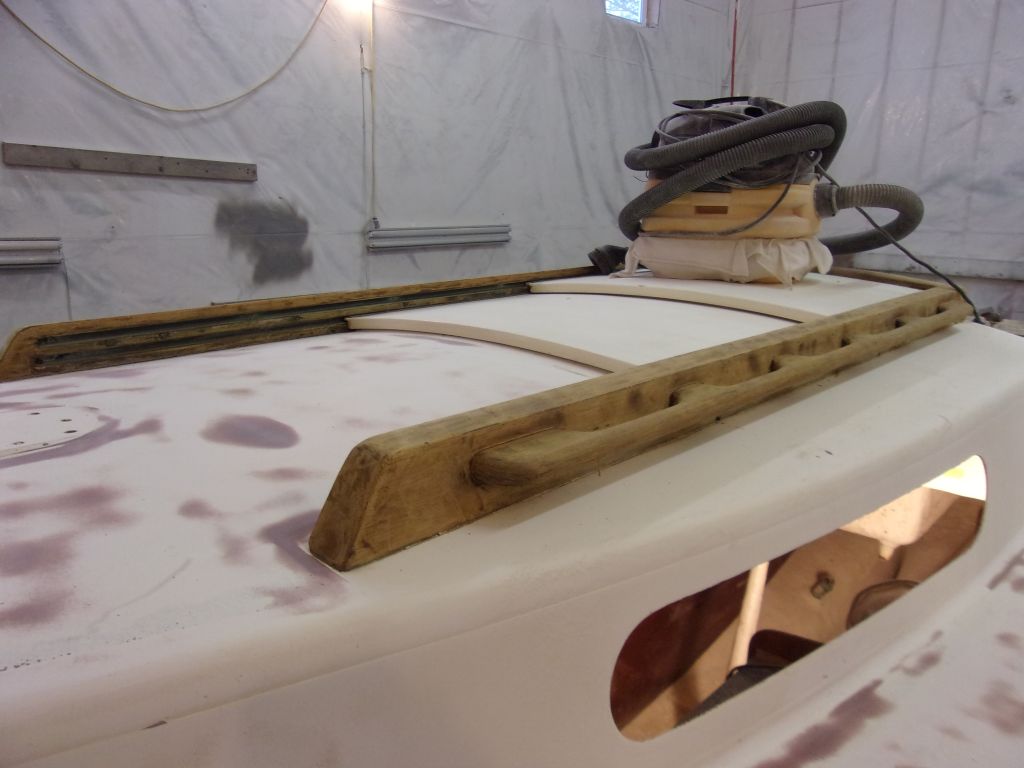
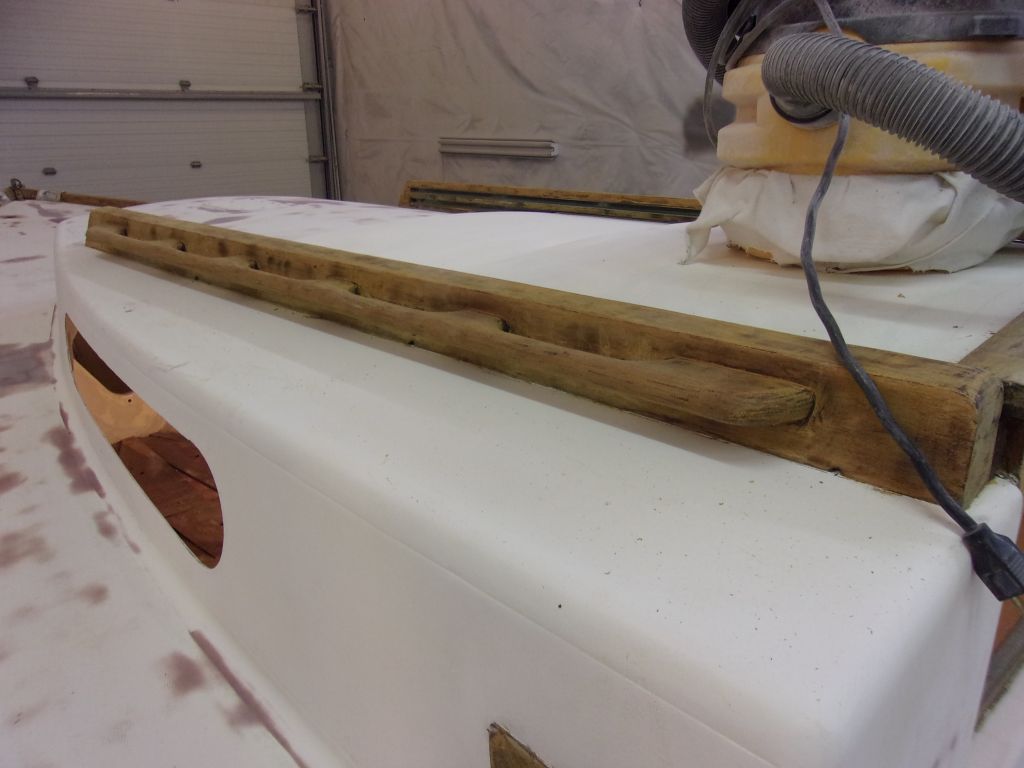
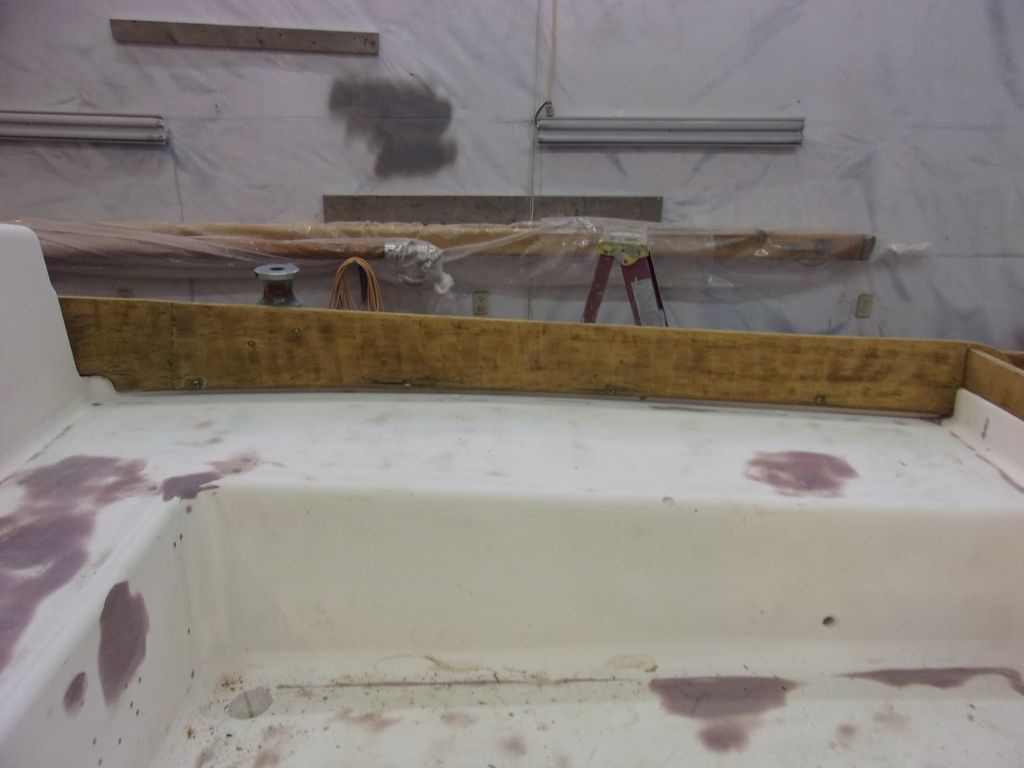
I continued work on the exterior wood stripping, this time with the companionway hatch rails and handrail assemblies, plus the insides of the cockpit coamings and other areas.
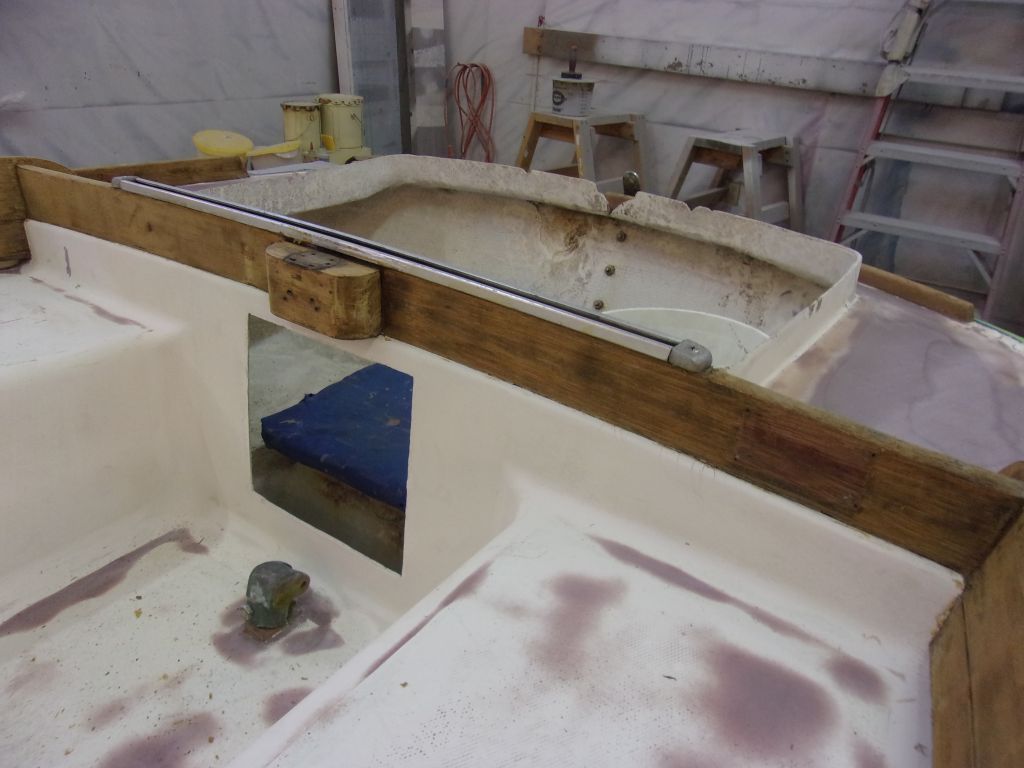
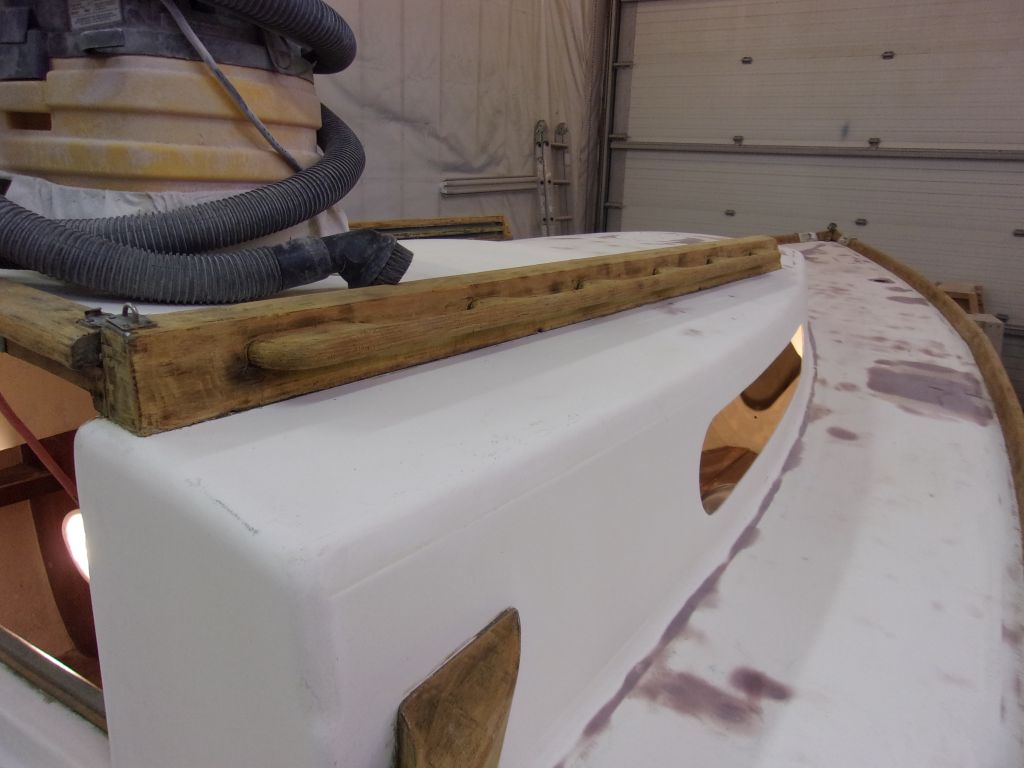


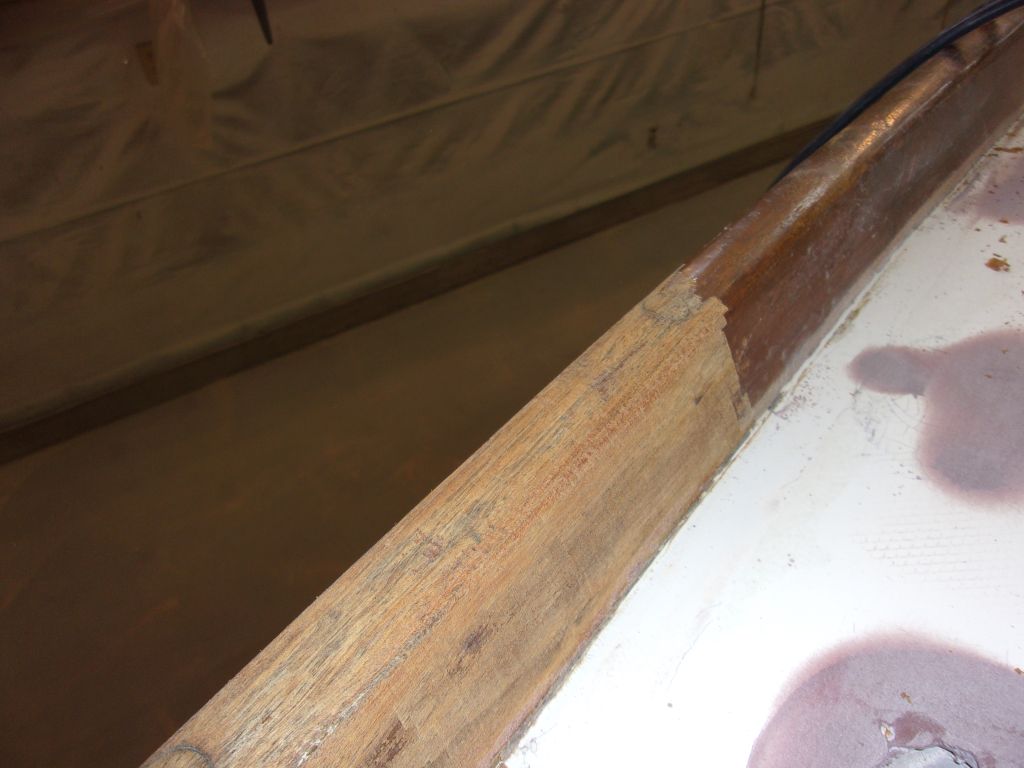
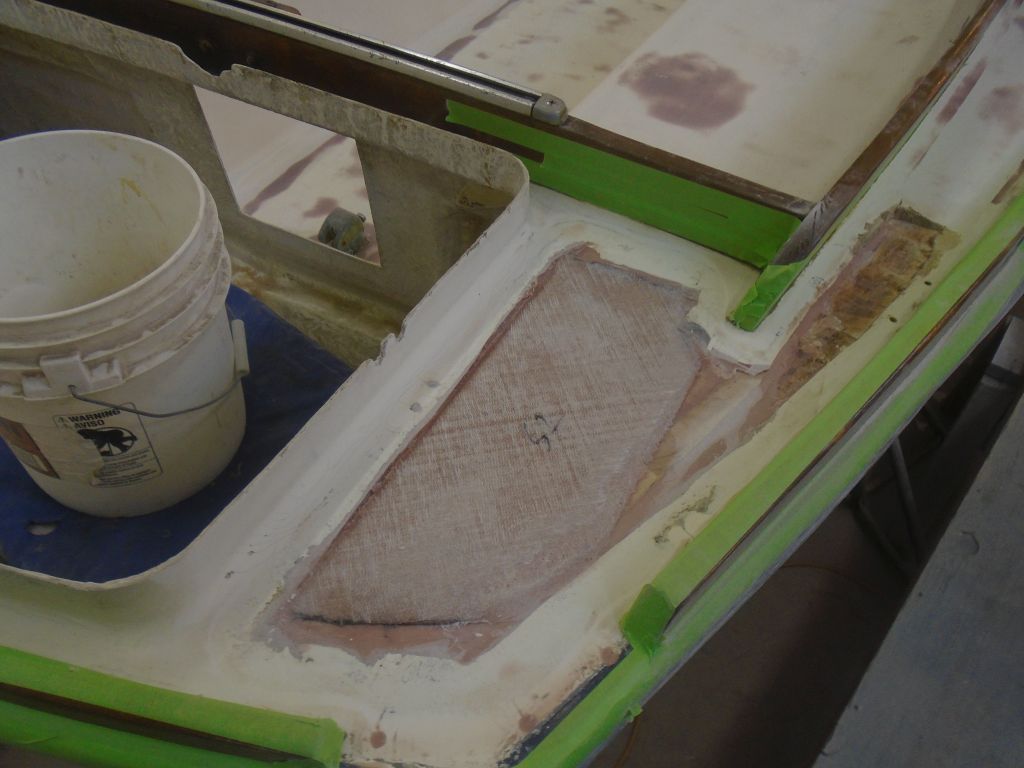
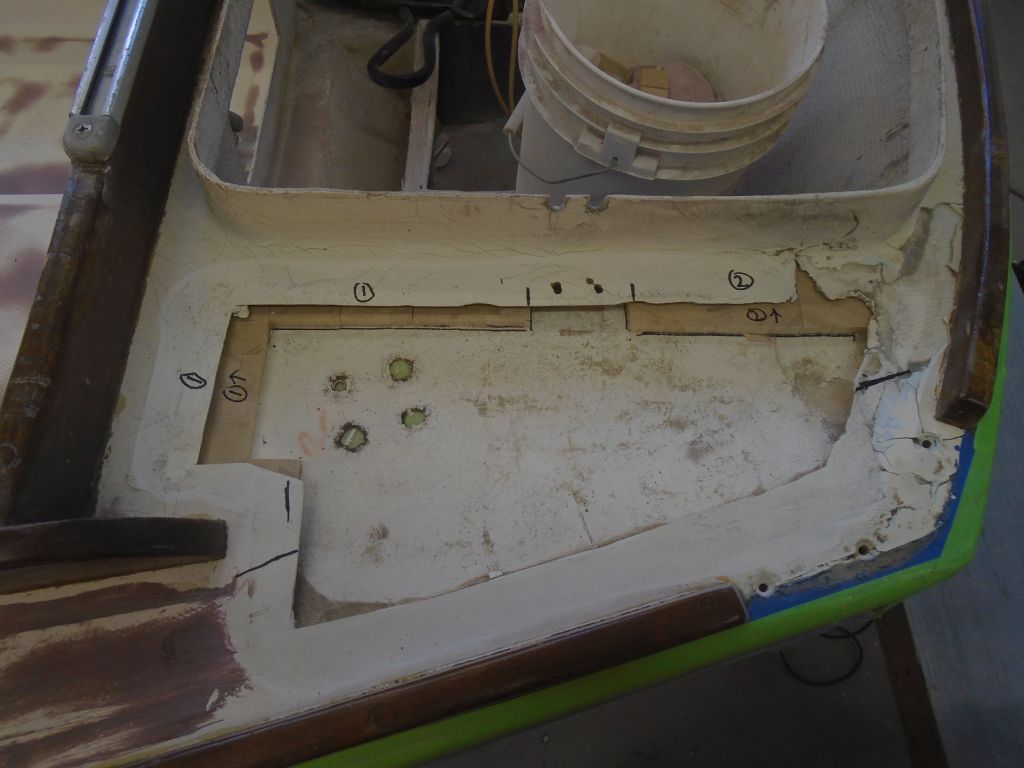
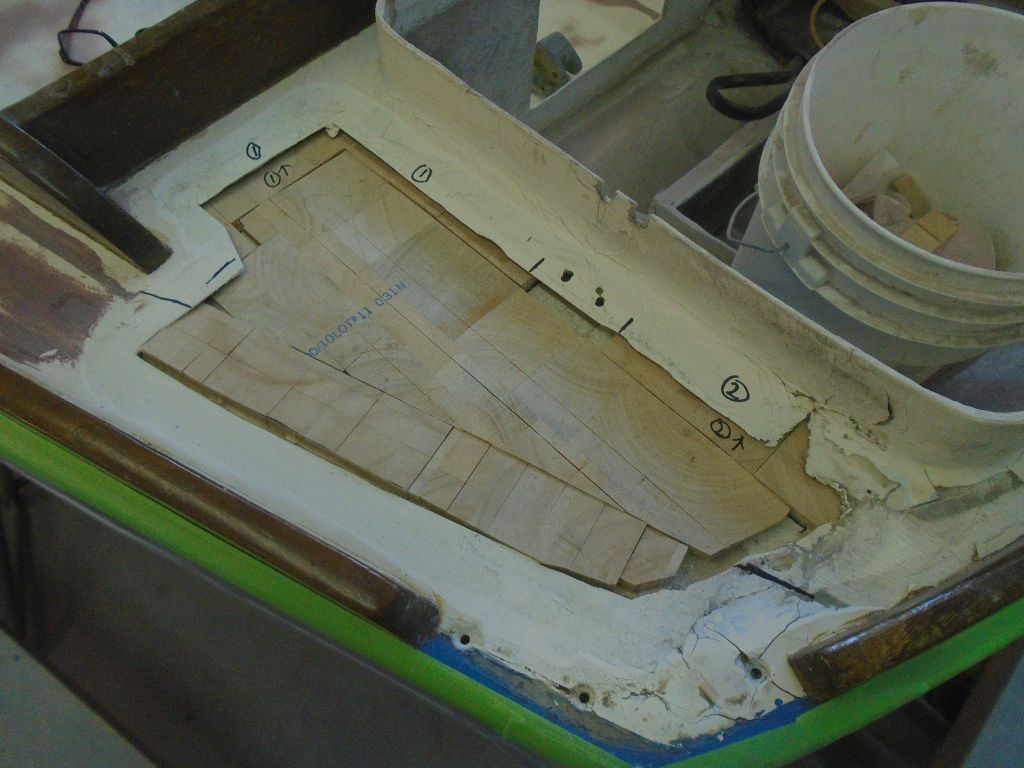
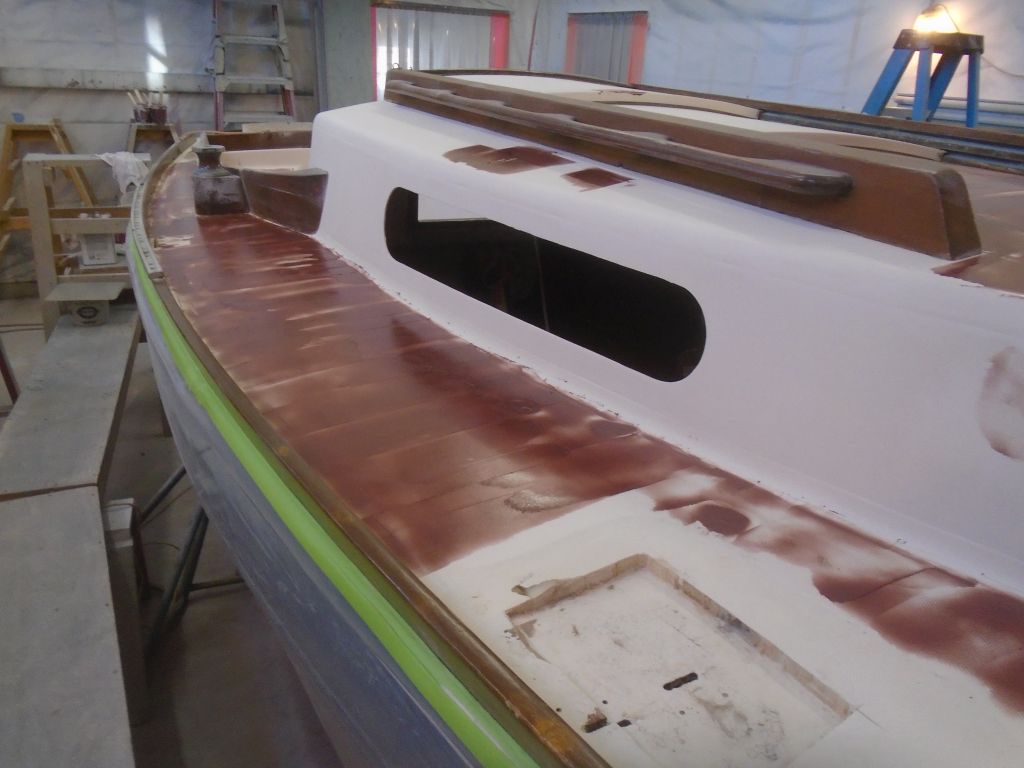
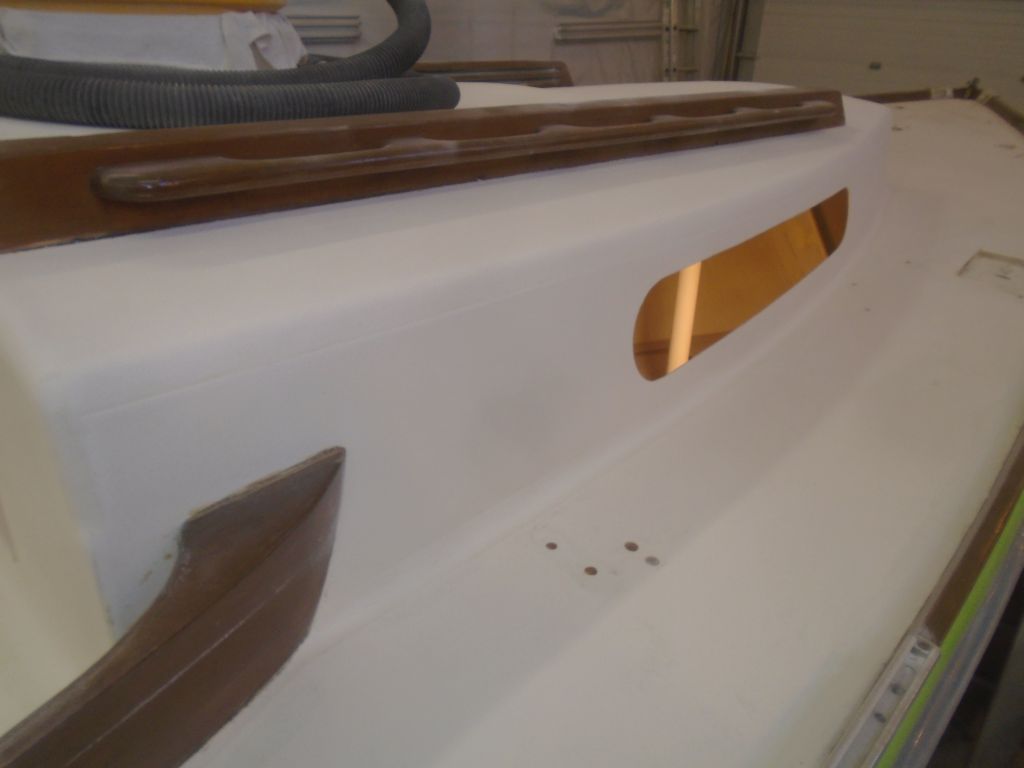
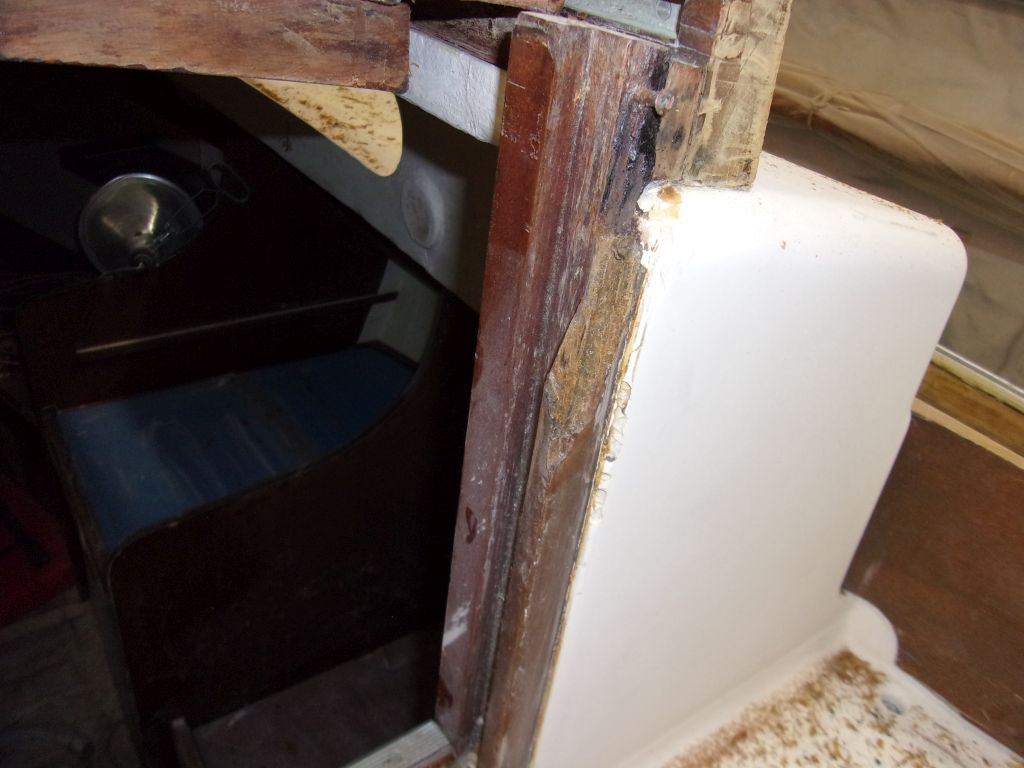
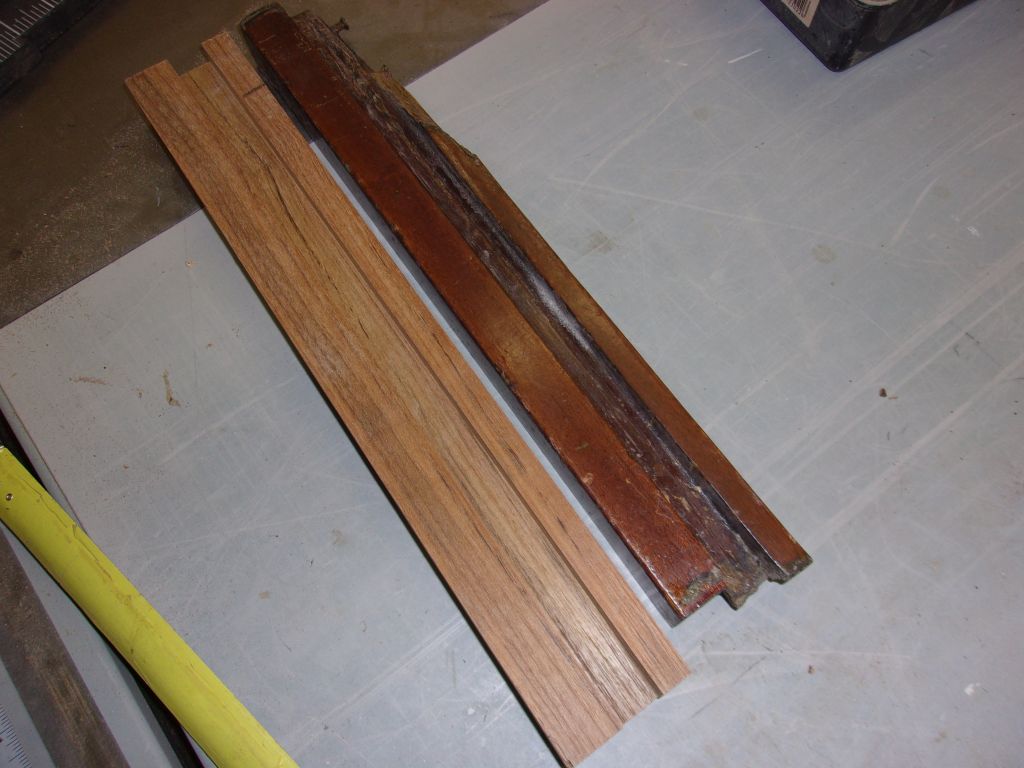
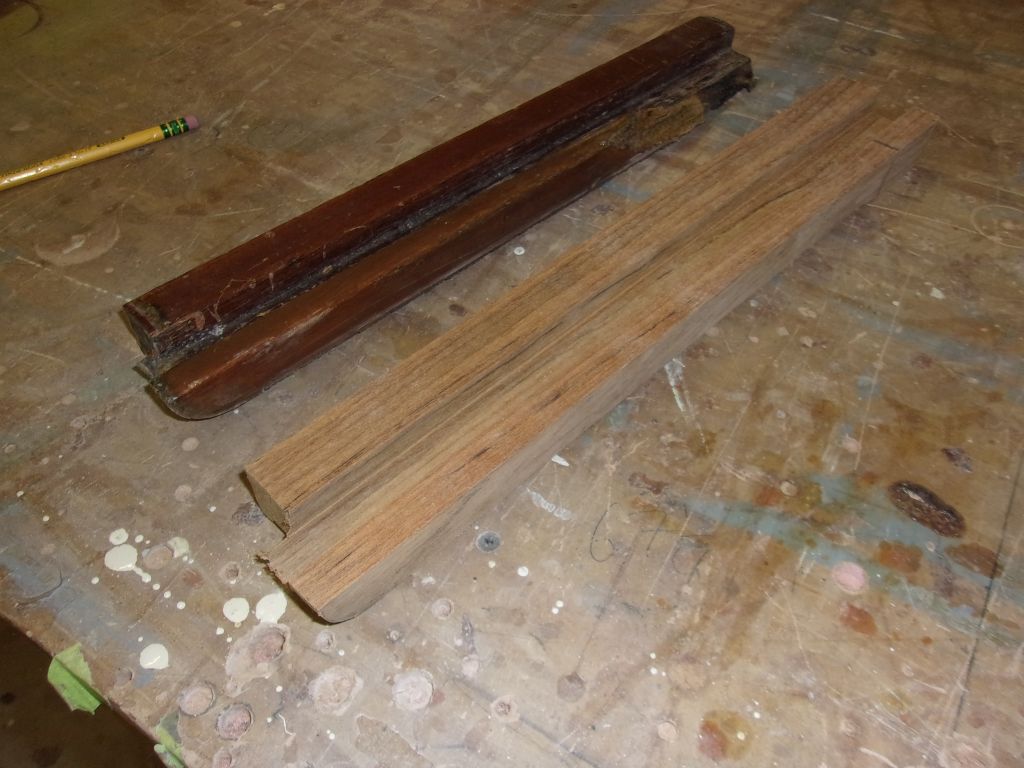
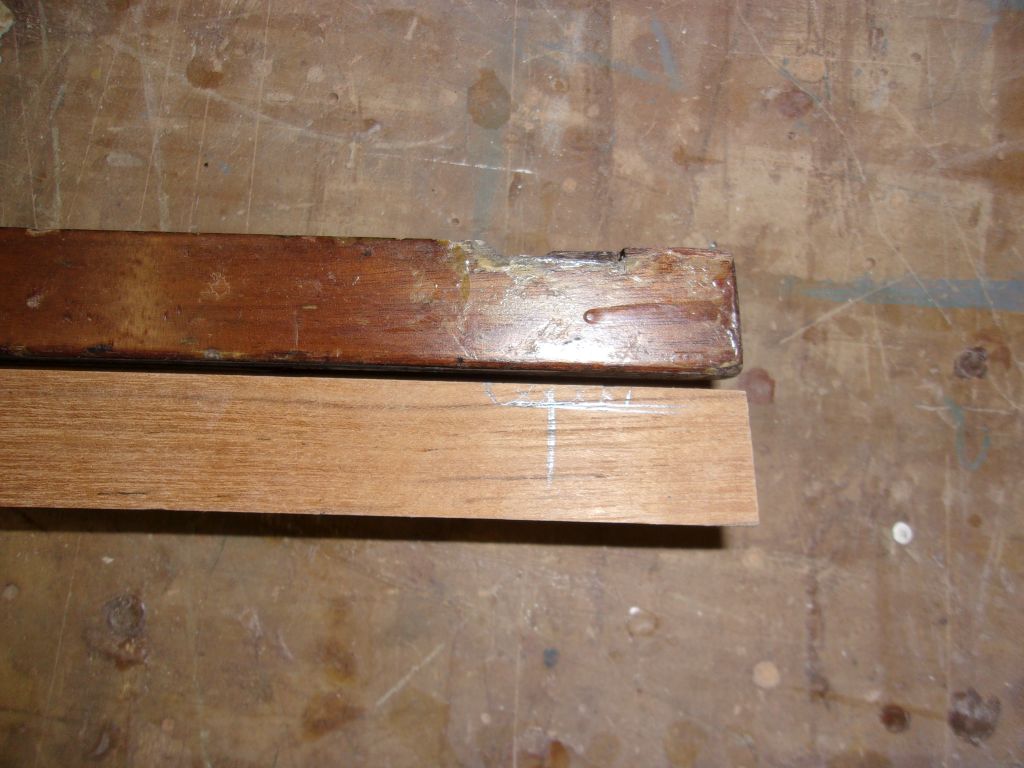
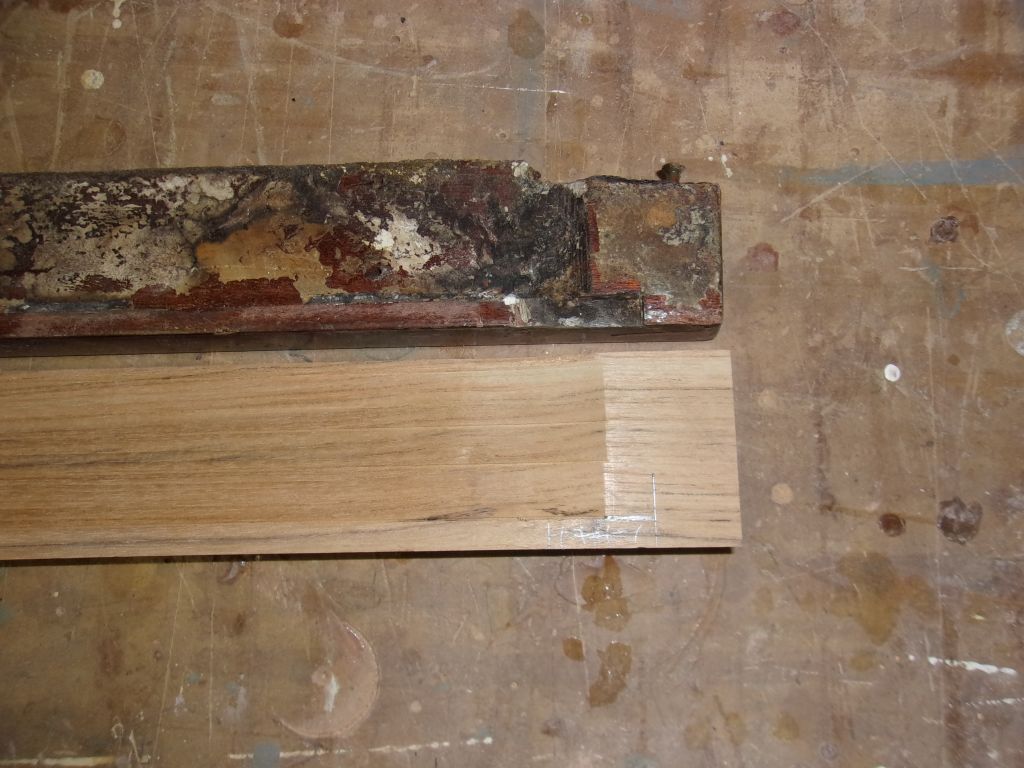
The starboard side of the companionway trim, where the swash boards fit, was damaged and broken at the top edge. Though I briefly considered scarfing in a new piece to make up the damaged section, I quickly elected to rebuild the entire piece from new stock, so I removed the old trim and, down in the shop, used it as a template to mill a new piece from solid teak stock that I had on hand, duplicating the details of the original piece.

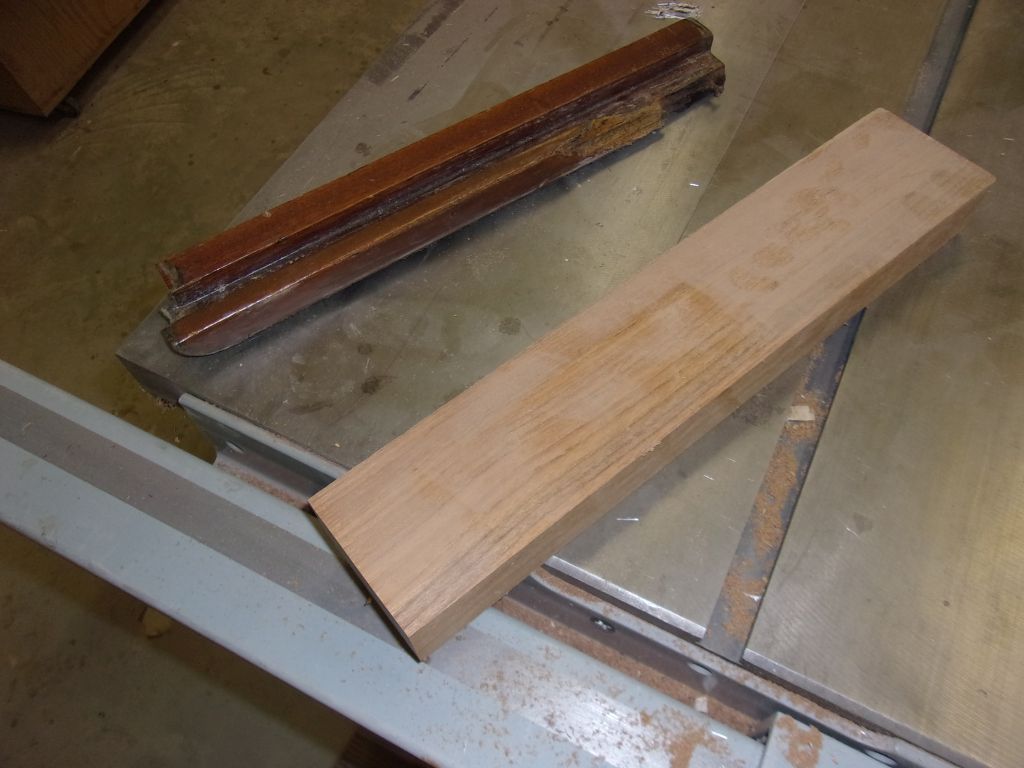

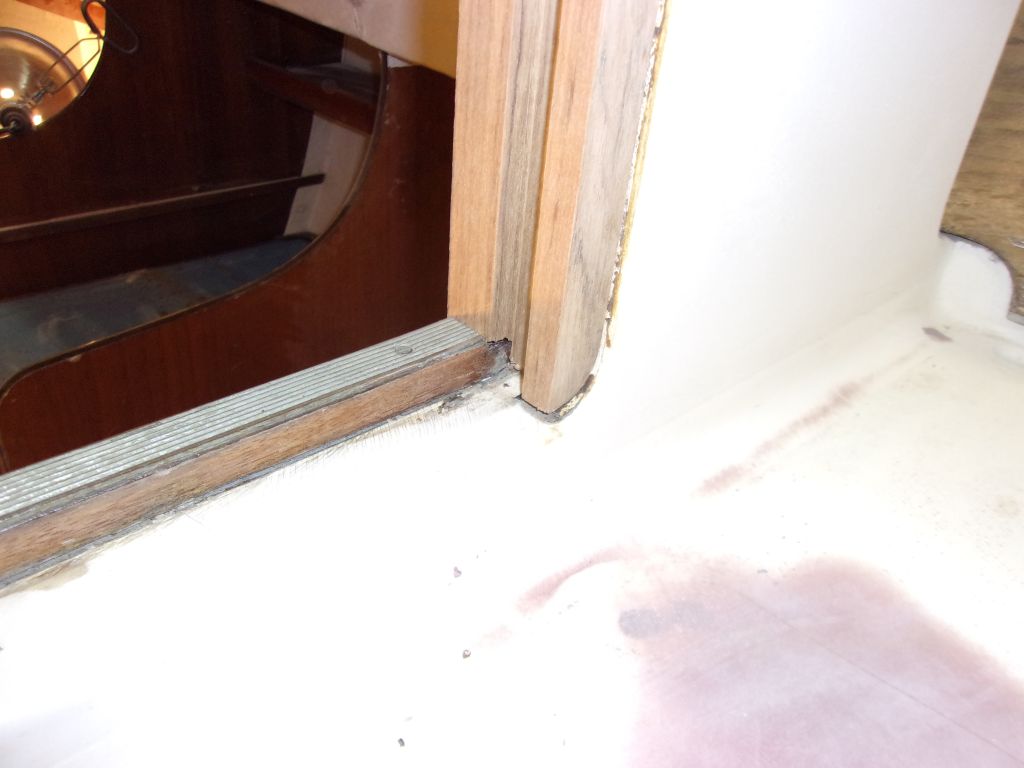
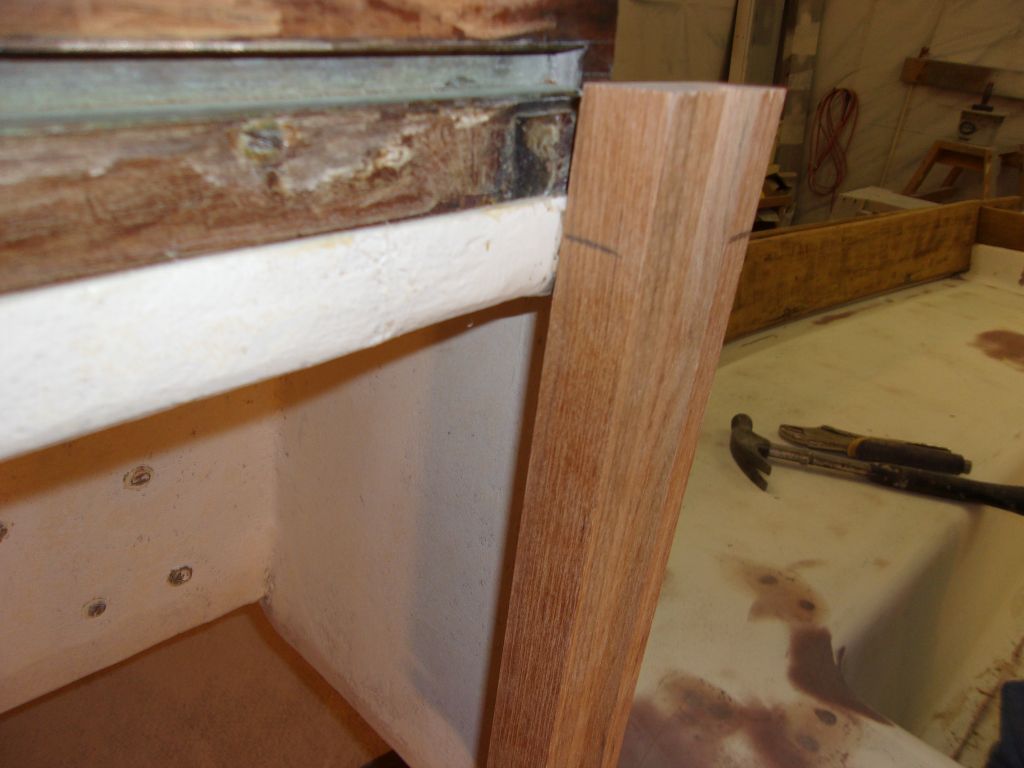
A quick test-fit showed that I needed to further massage the bottom edge, where the piece was curved to fit the molding at the corner of the opening, and also create a notch at the top edge to allow the trim to fit into the existing trim and moldings, as I’d seen on the original piece. I marked the outline of the new cut, but as it was getting late, I decided to leave it till next time before chiseling it out and doing the remaining fine-tuning on the new trim piece.

Total time billed on this job today: 6 hours
0600 Weather Observation:
30°, heavy sleet. Forecast for the day: sleet, freezing rain, rain…everything but snow