Wednesday, Thursday, Friday
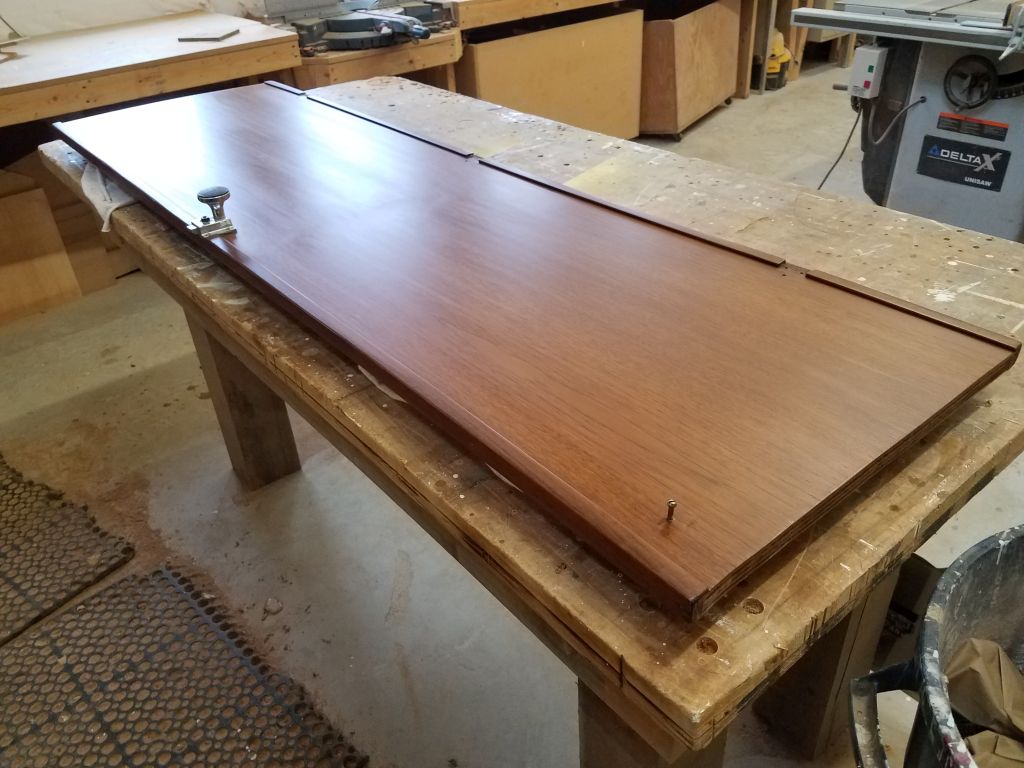
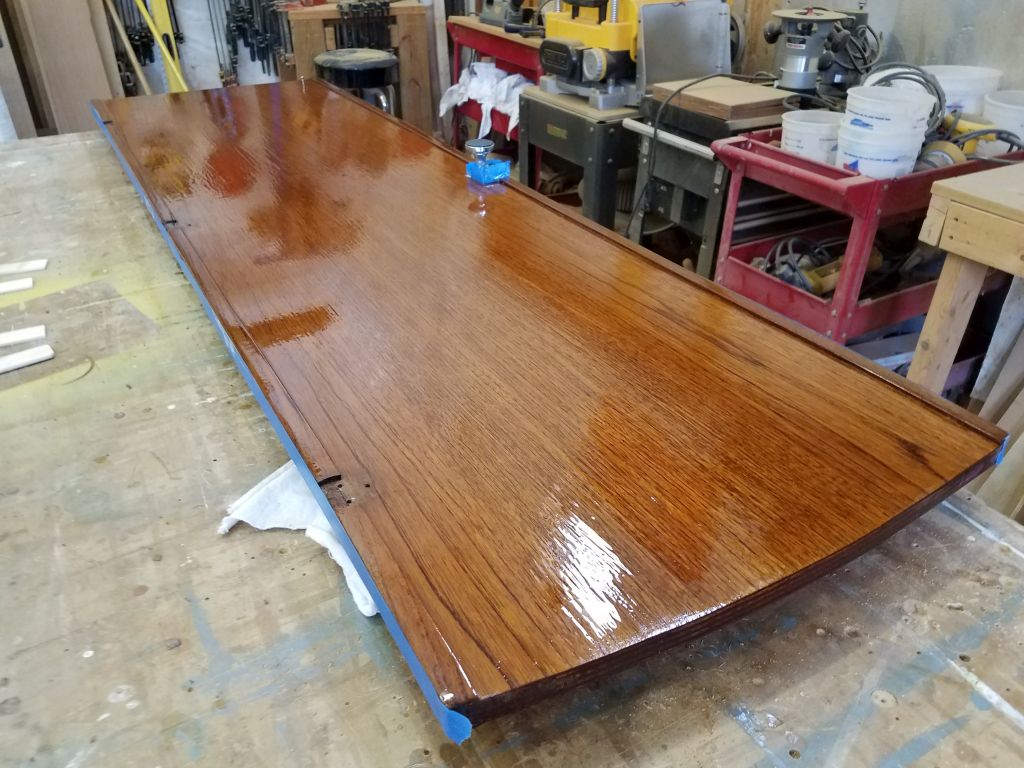
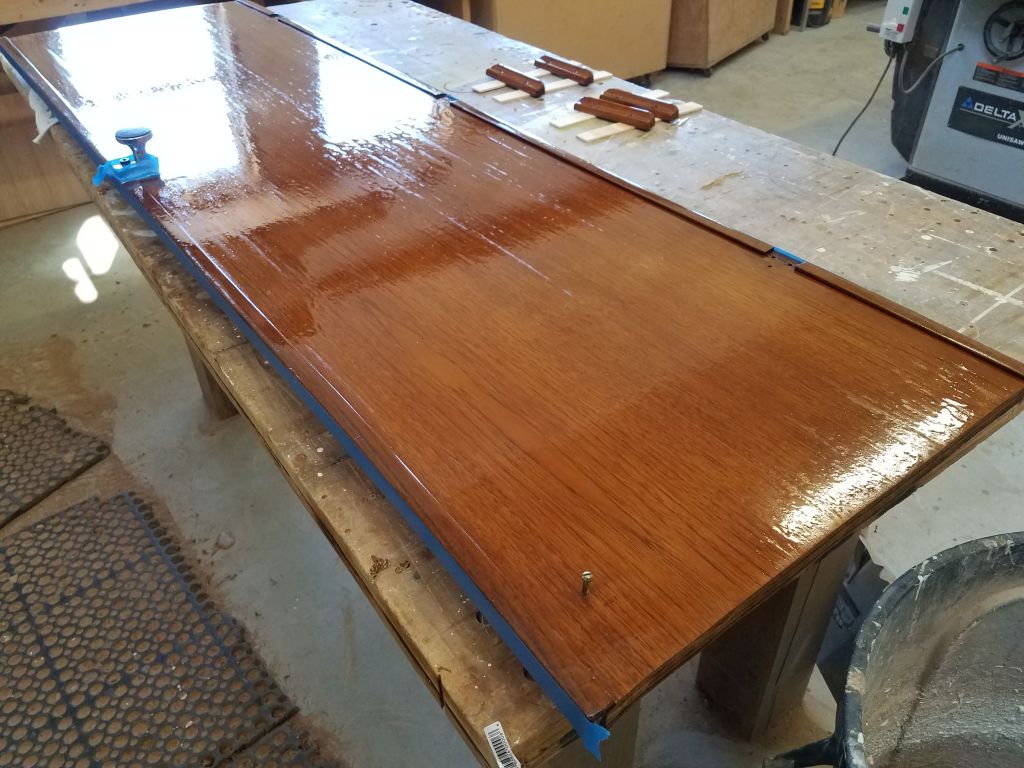
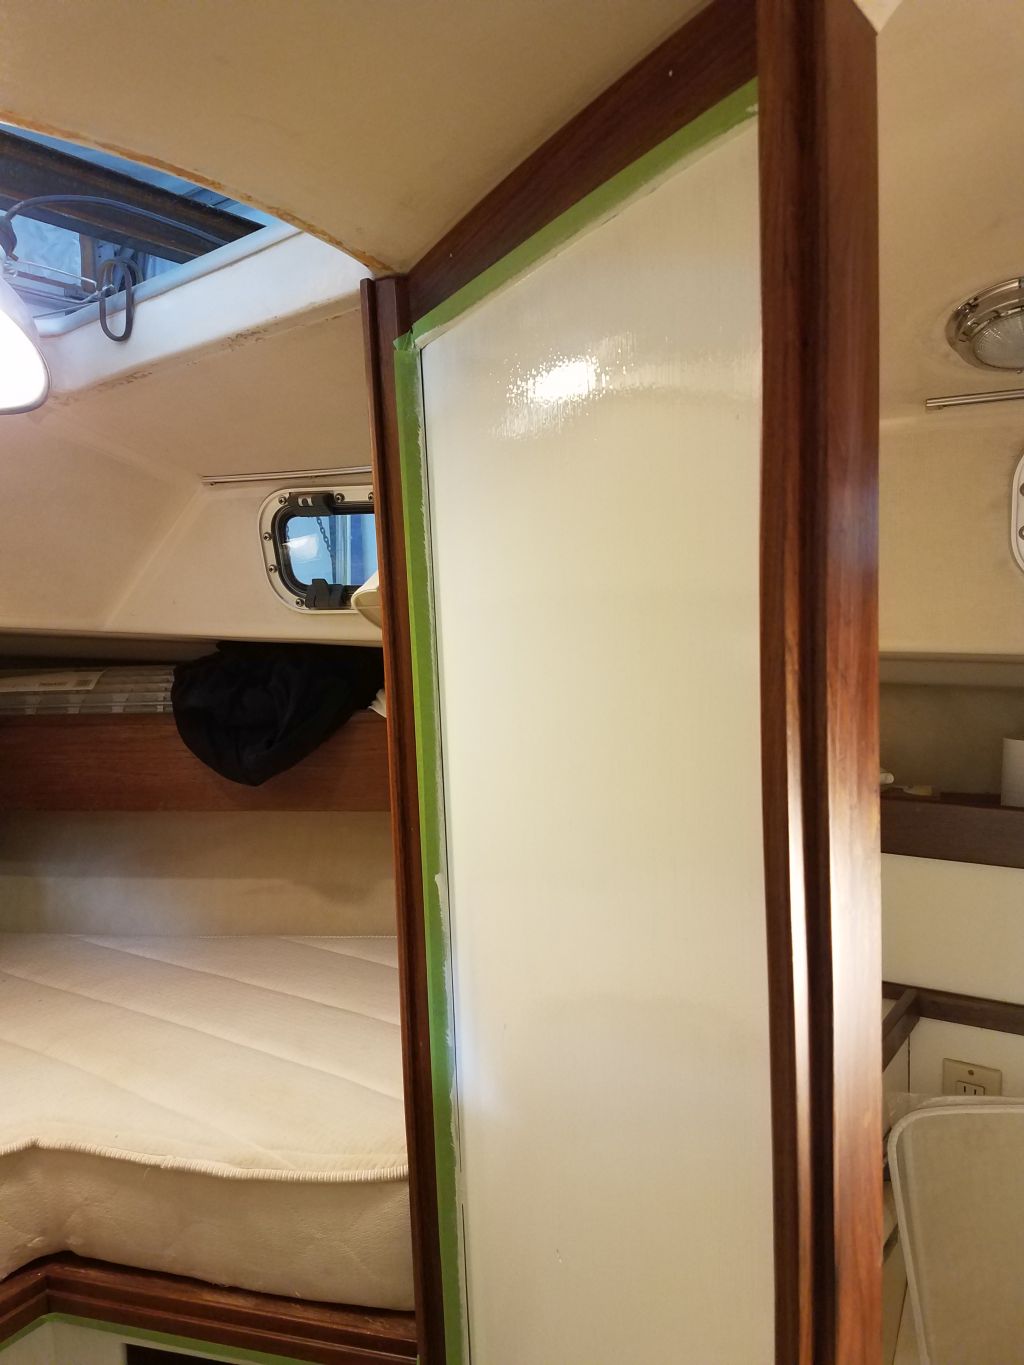
Over a few days, I wrapped up the varnish work on the second side of the v-berth door.
Third coat:

Fourth coat:
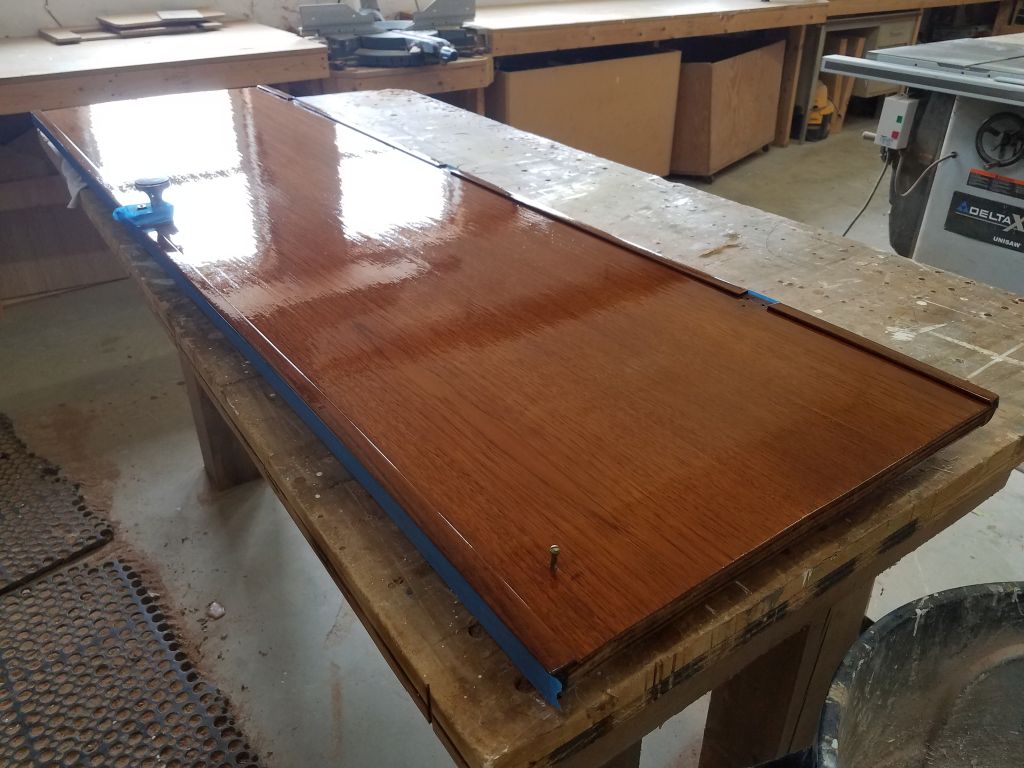
Fifth coat (rubbed-effect satin):
Total time billed on this job today: 1 hour


Wednesday, Thursday, Friday
Over a few days, I wrapped up the varnish work on the second side of the v-berth door.
Third coat:
Fourth coat:
Fifth coat (rubbed-effect satin):
Total time billed on this job today: 1 hour
Thursday
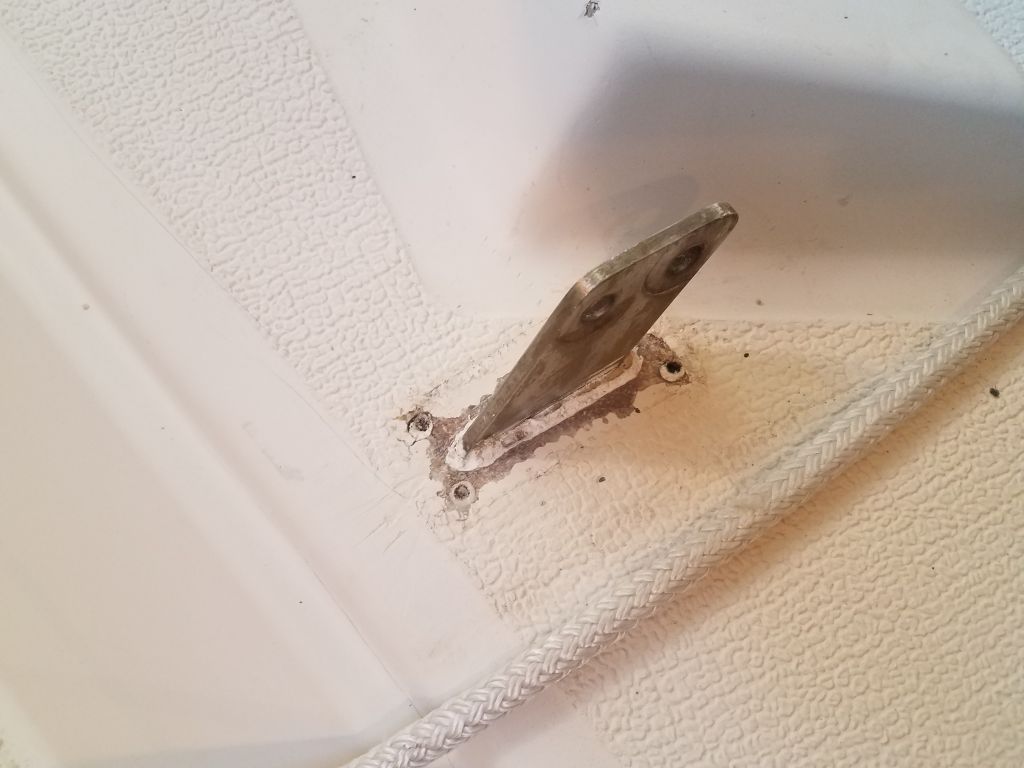
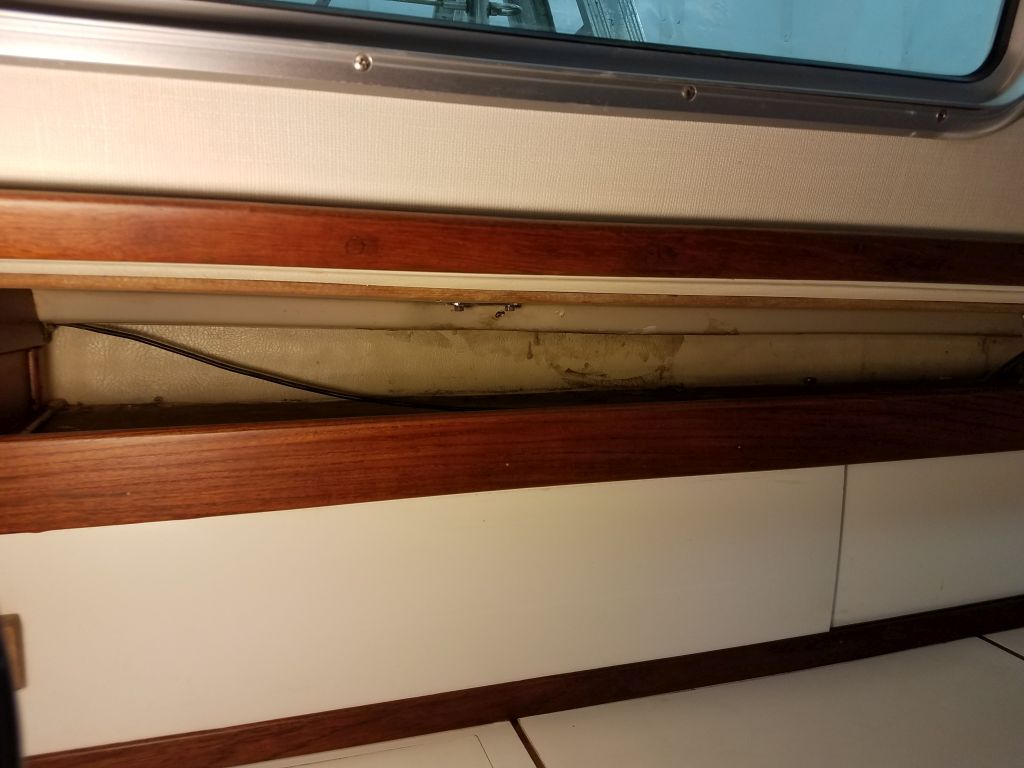
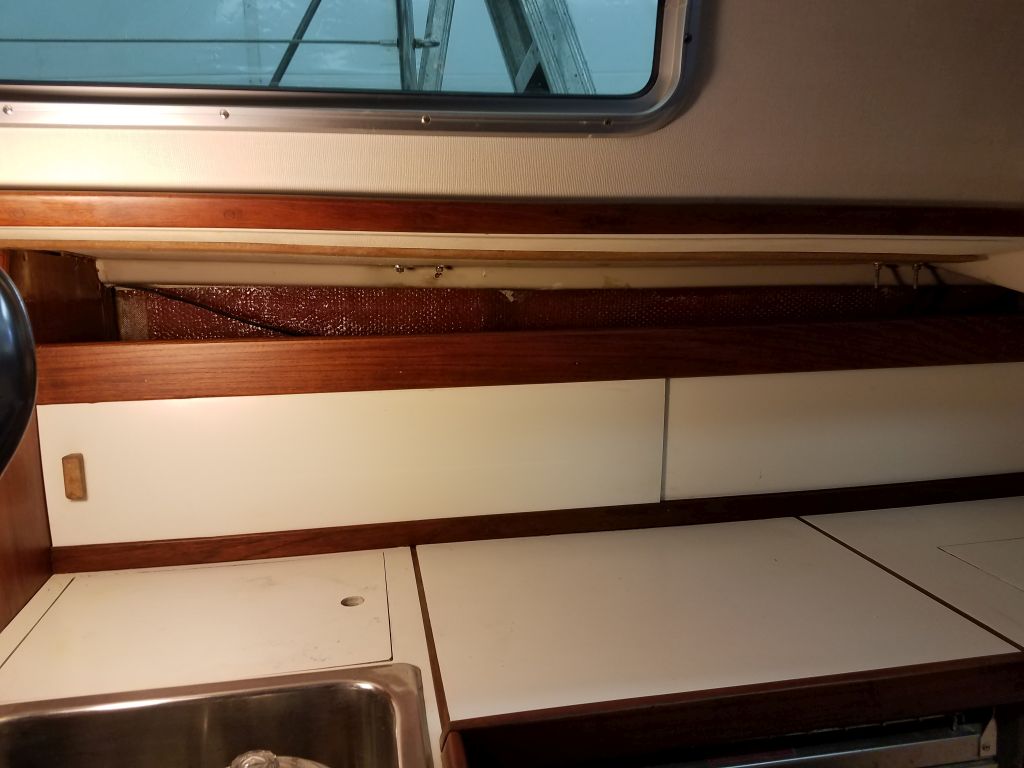
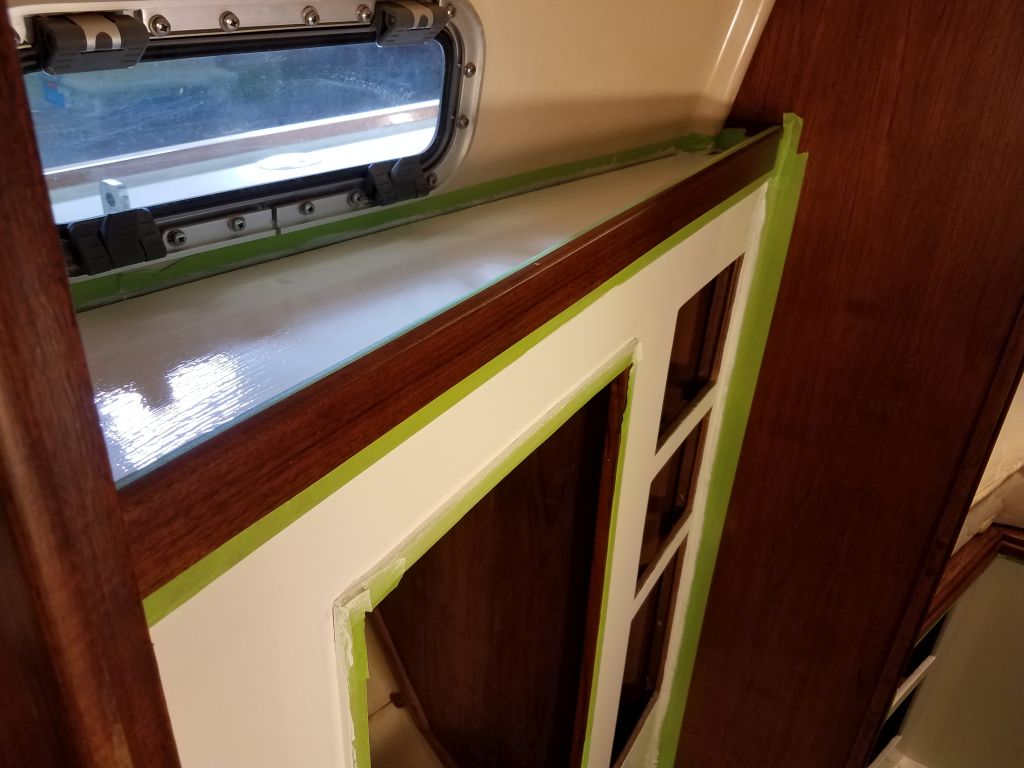
The excess sealant around the ports had cured enough overnight to allow me to cut it away now and clean up the residue as needed, completing the ports’ installation.

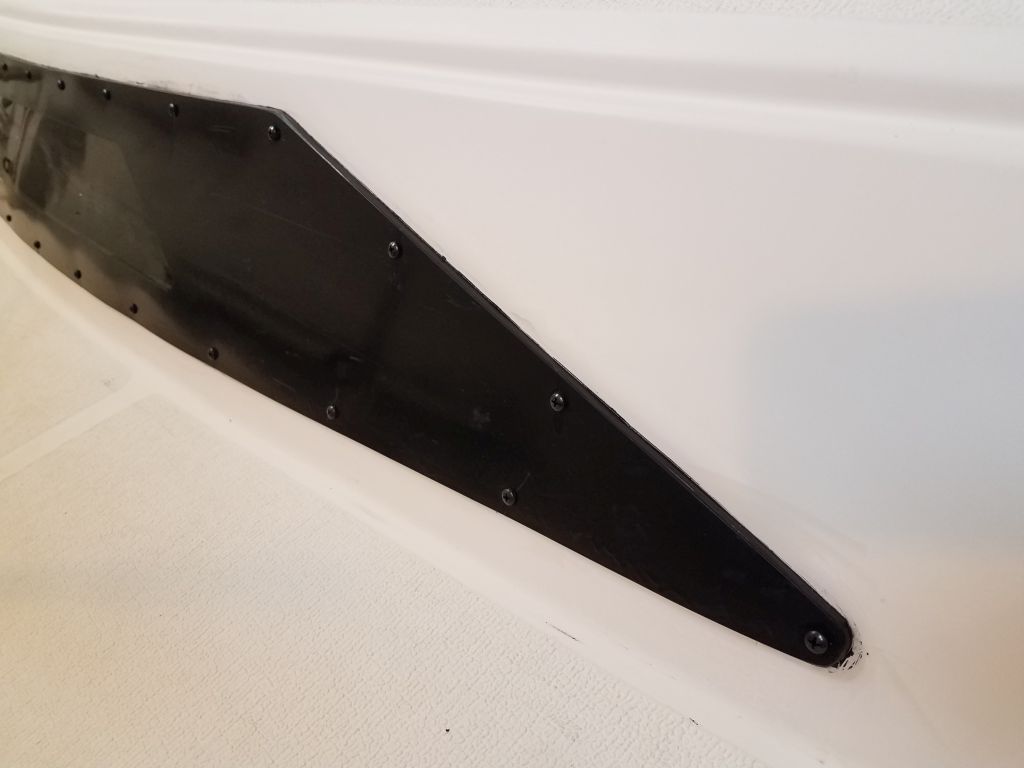


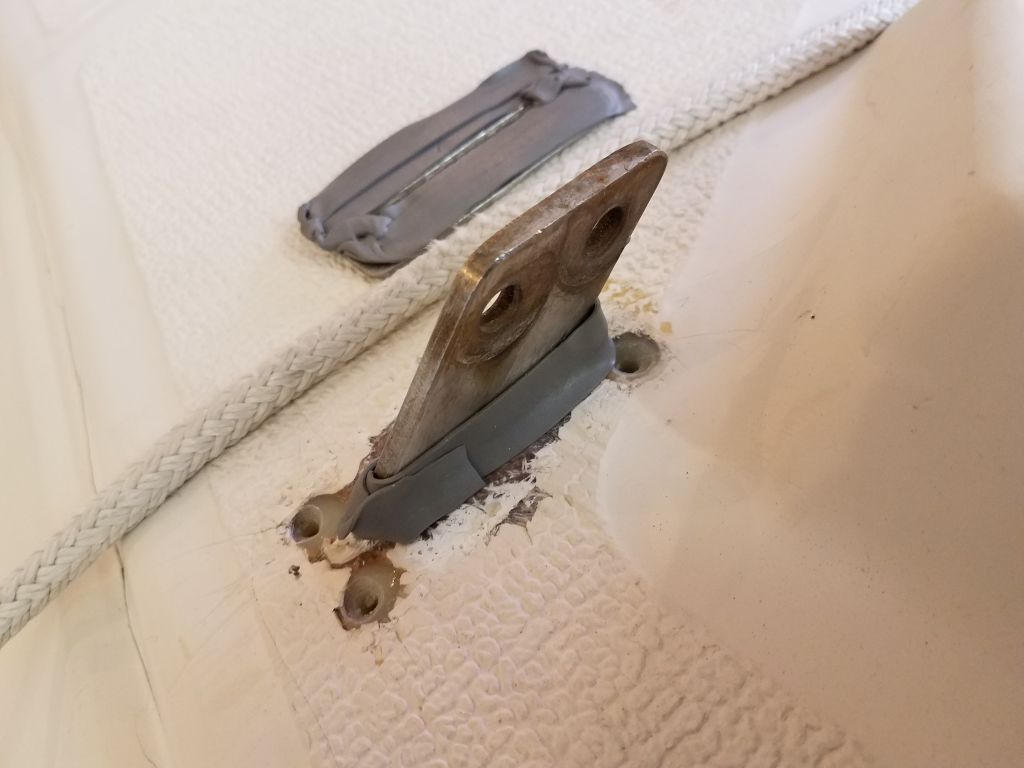
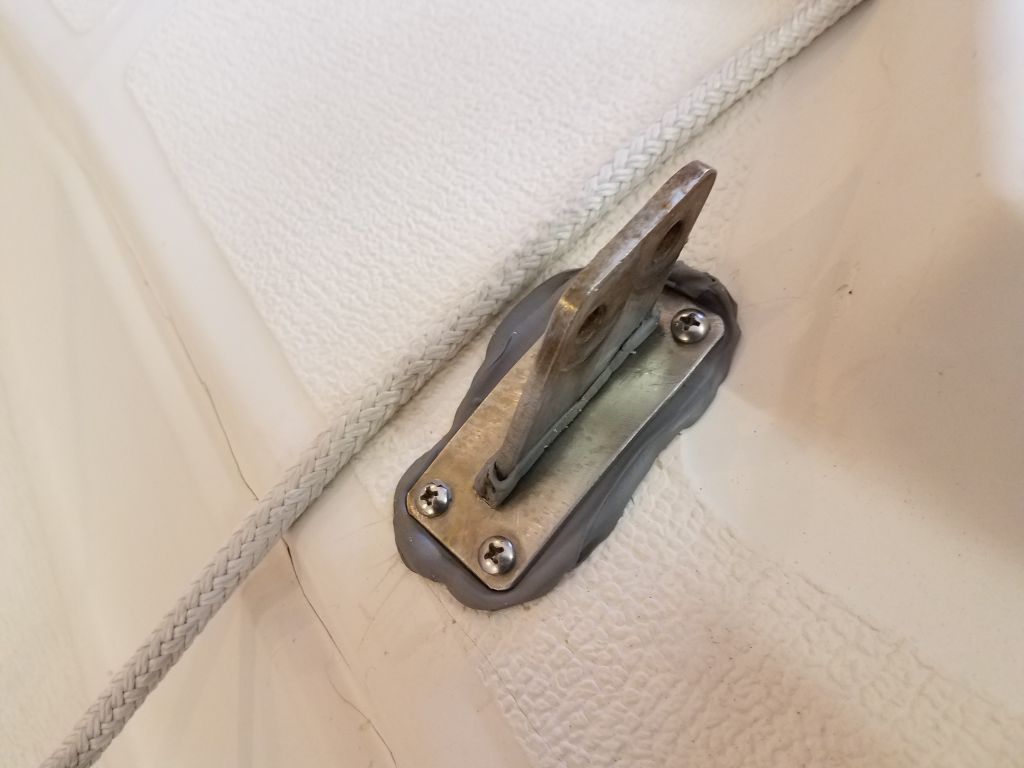
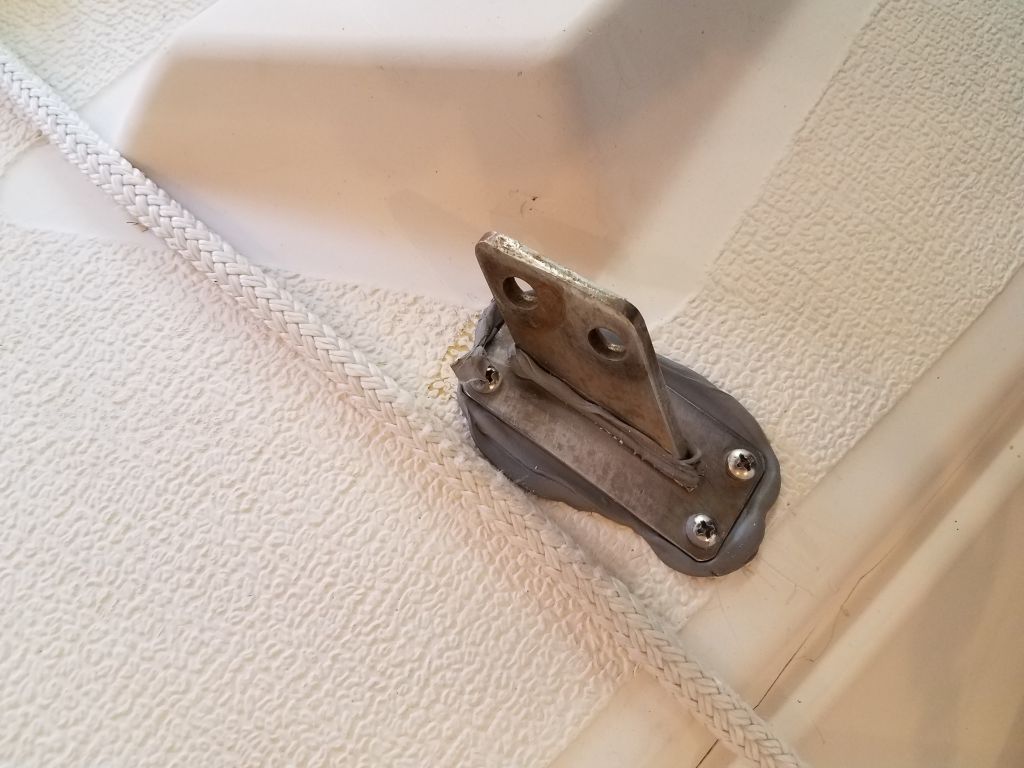
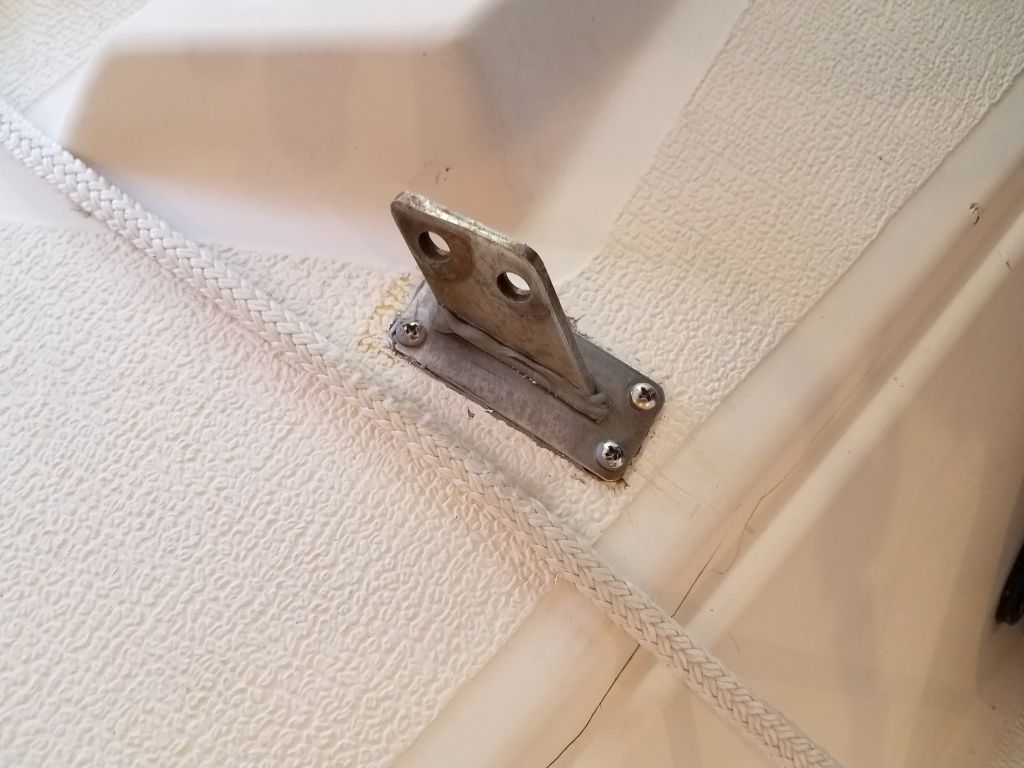
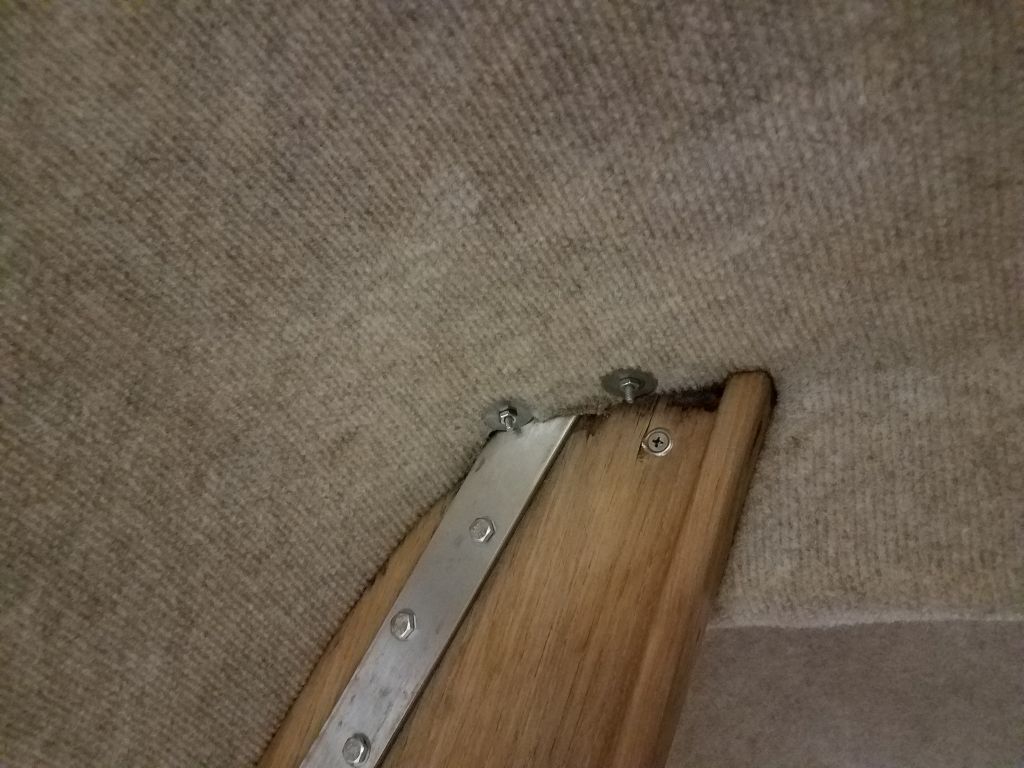
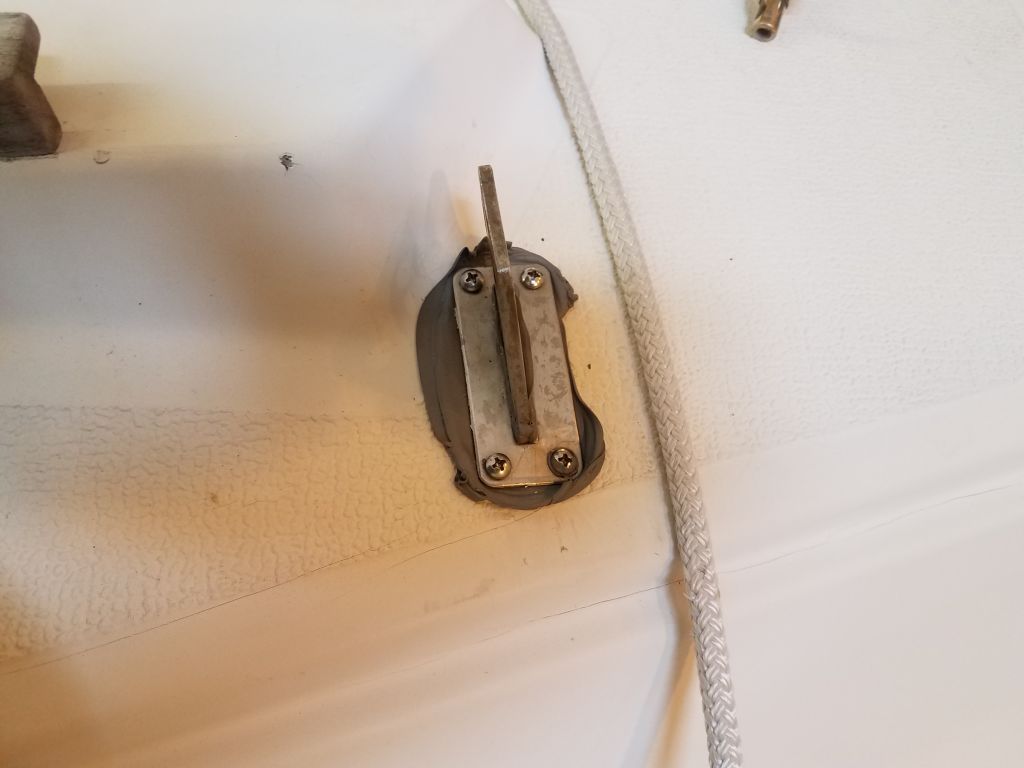
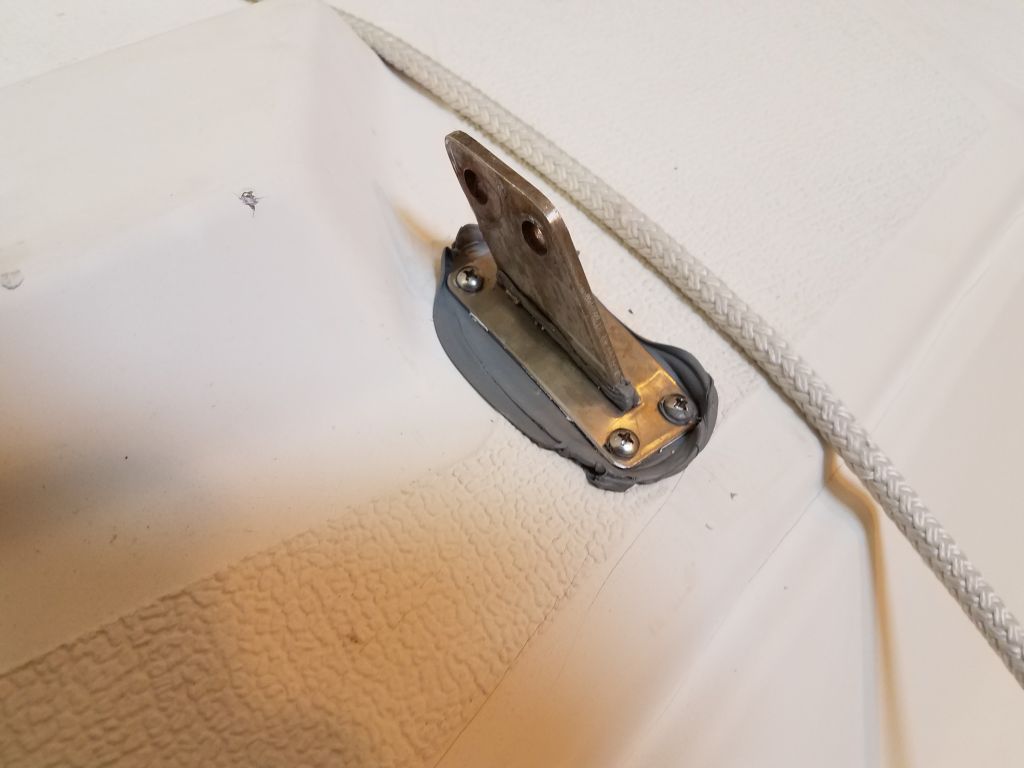
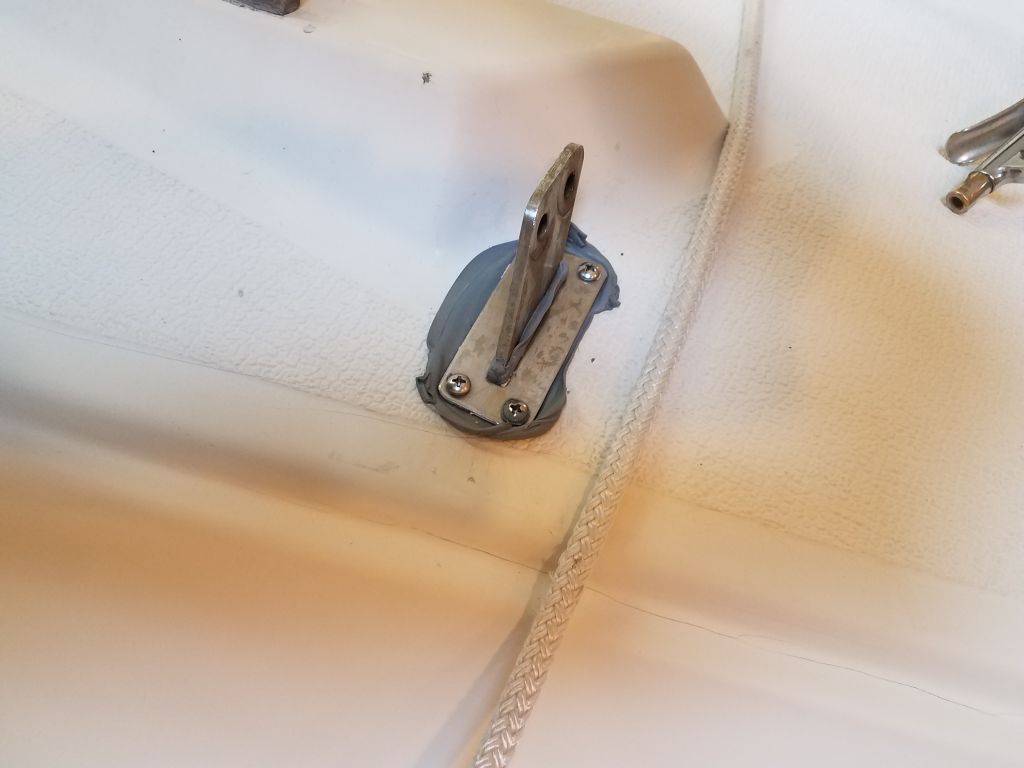
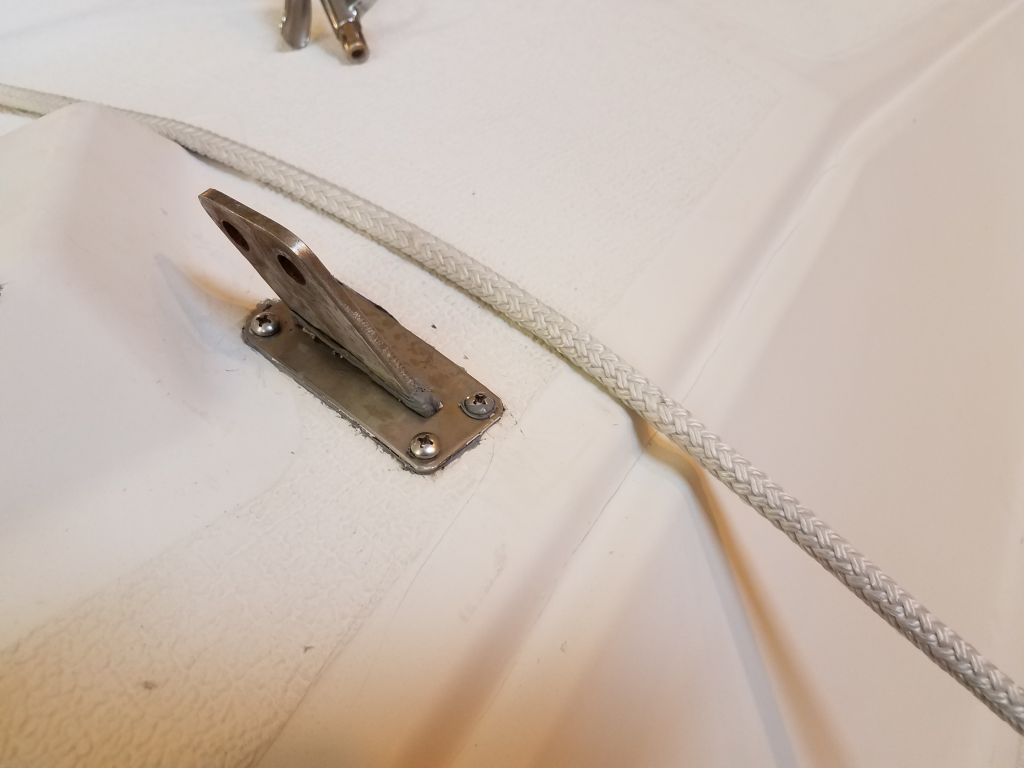
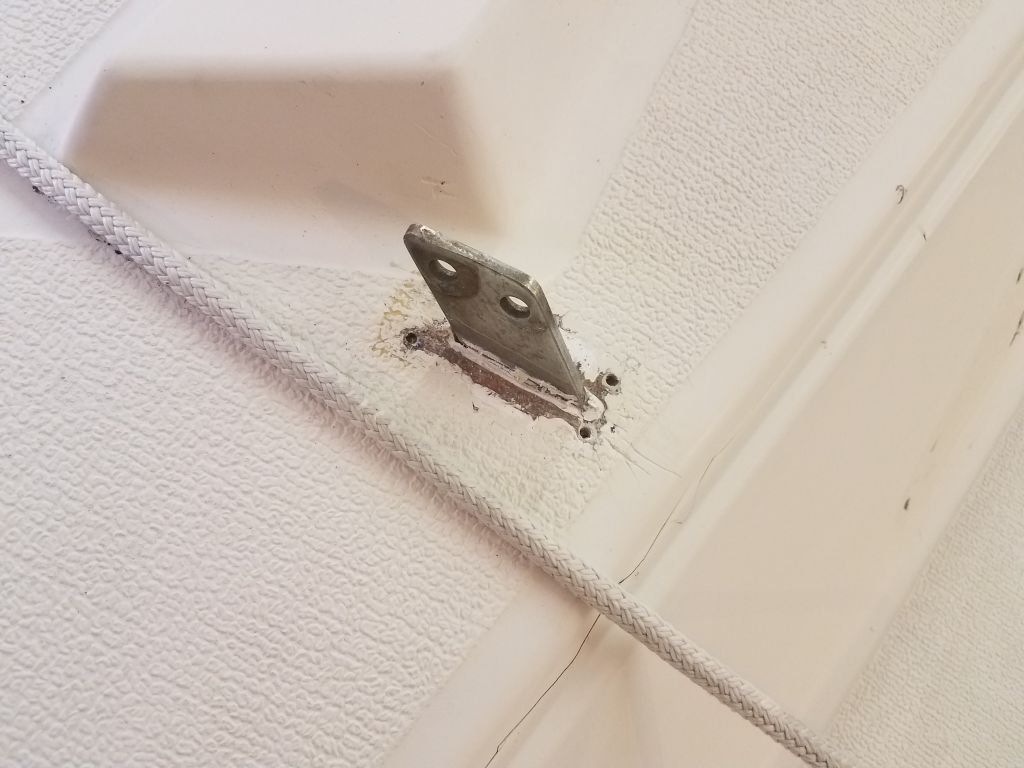
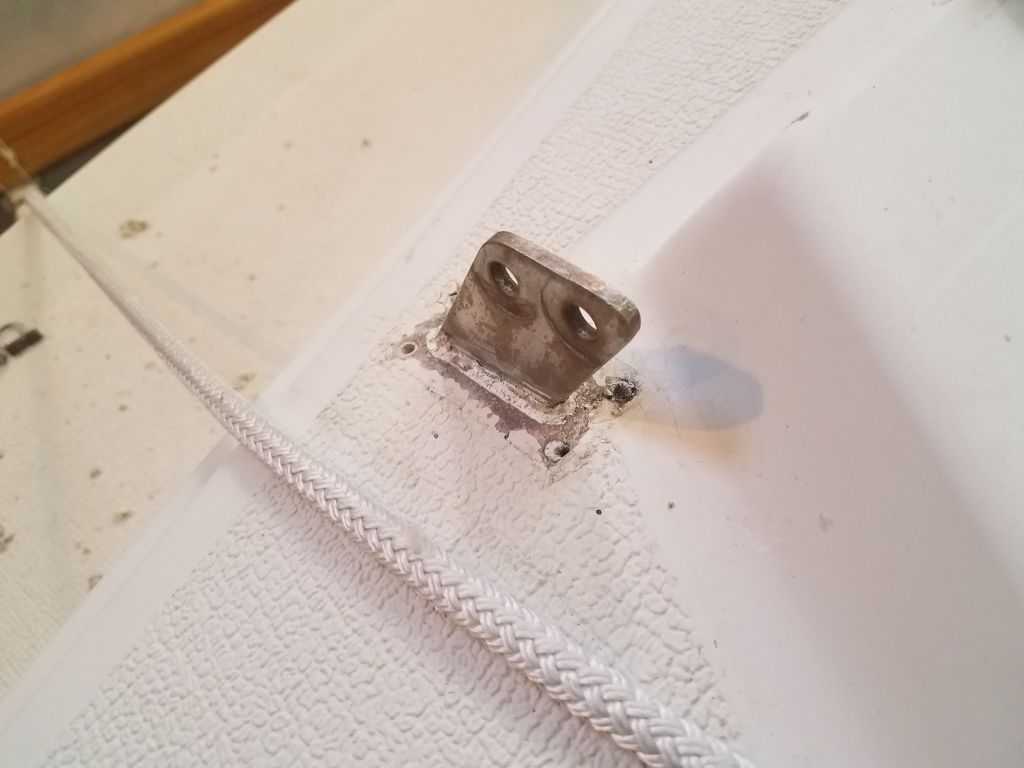
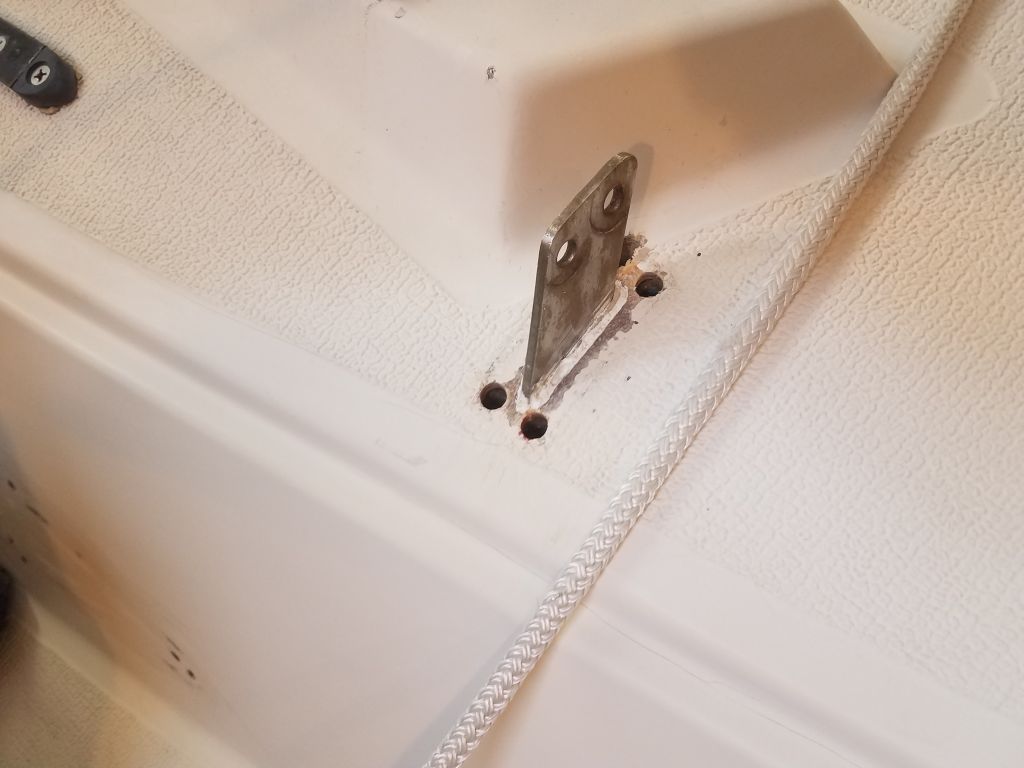
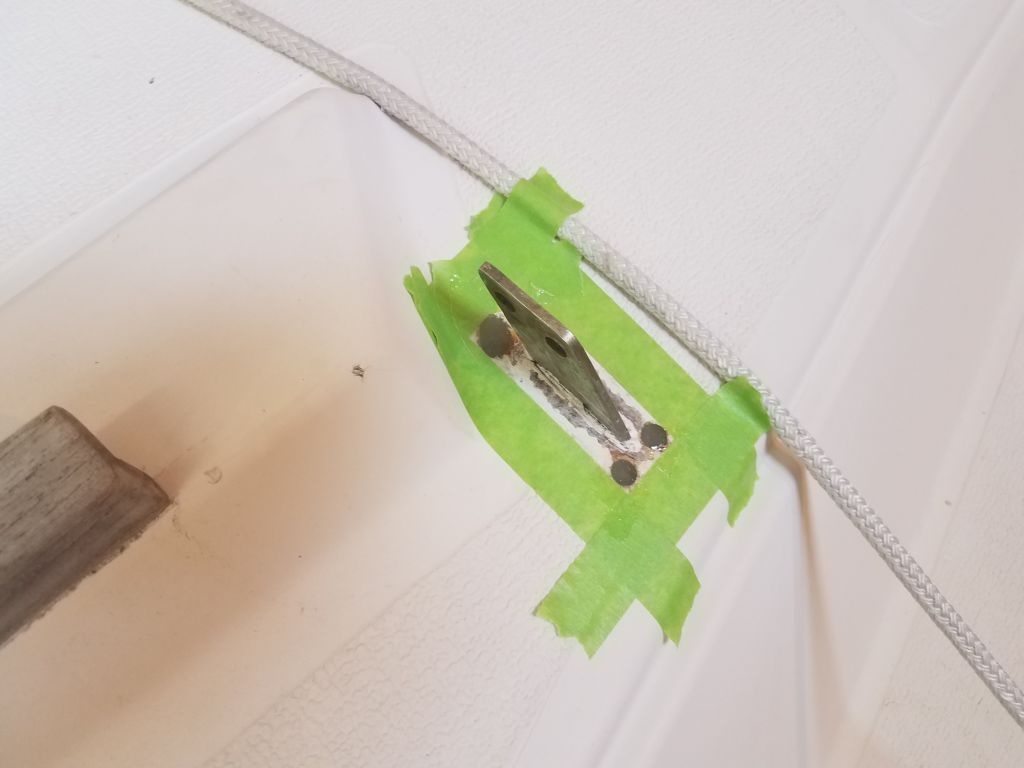
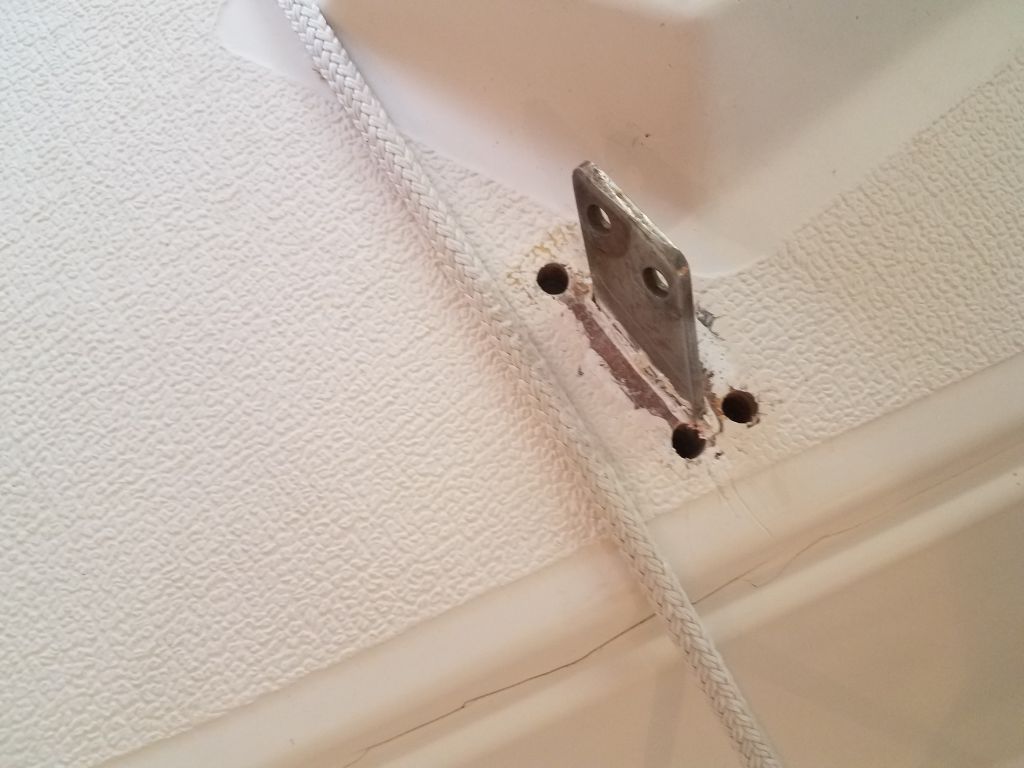
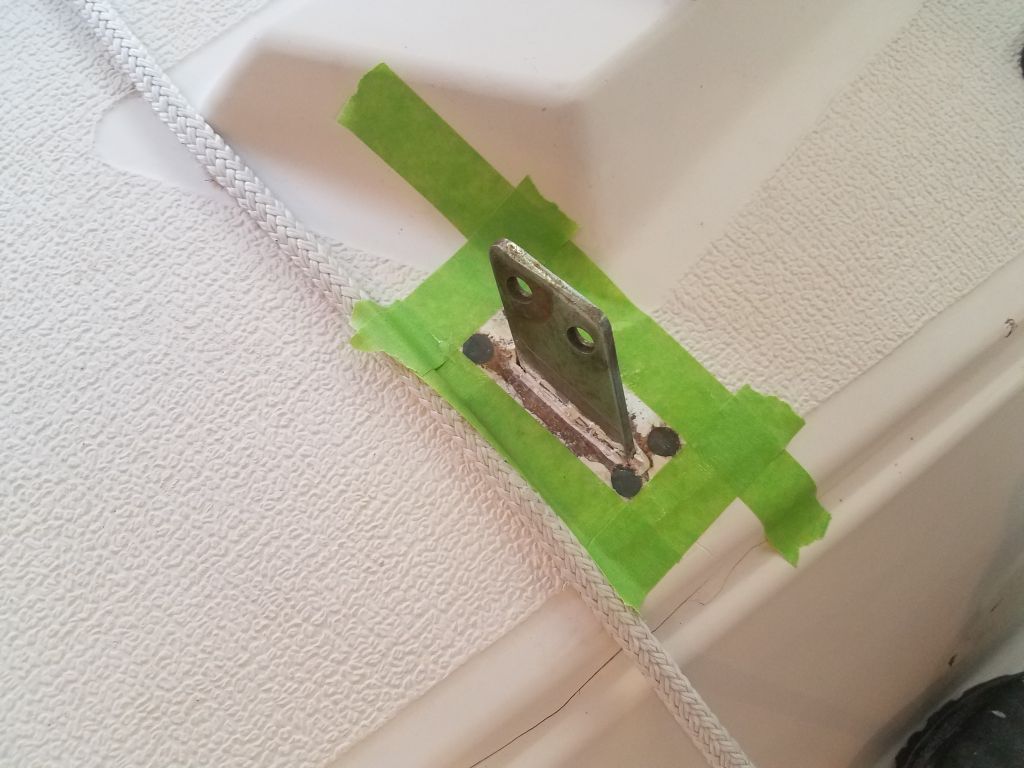
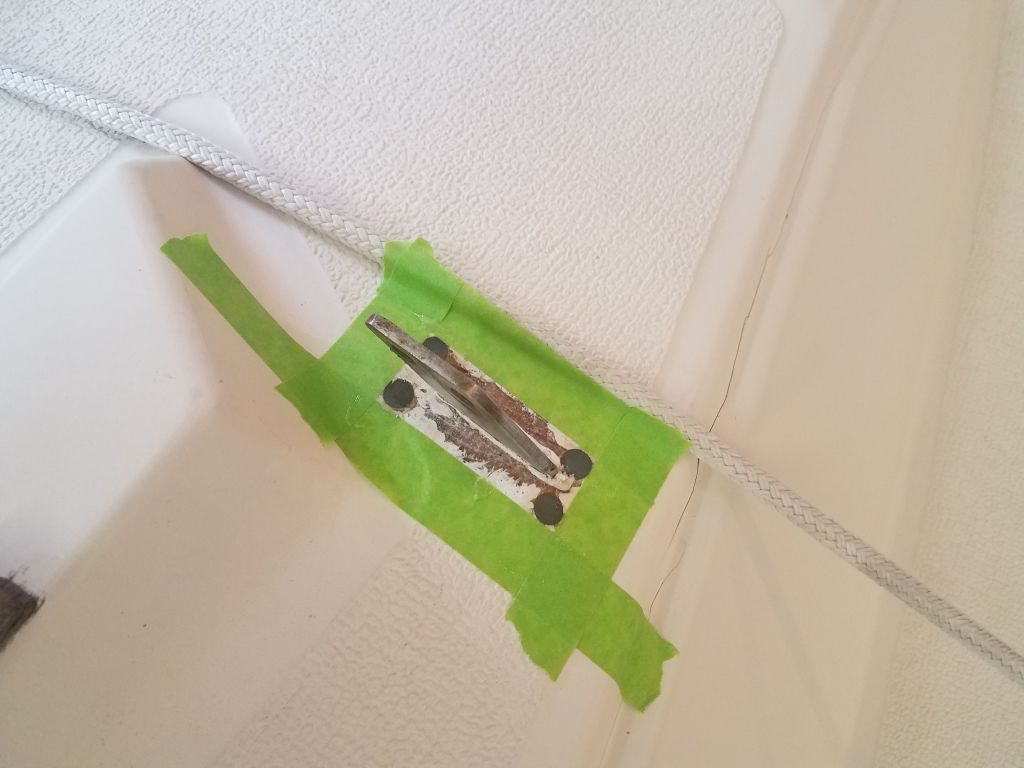
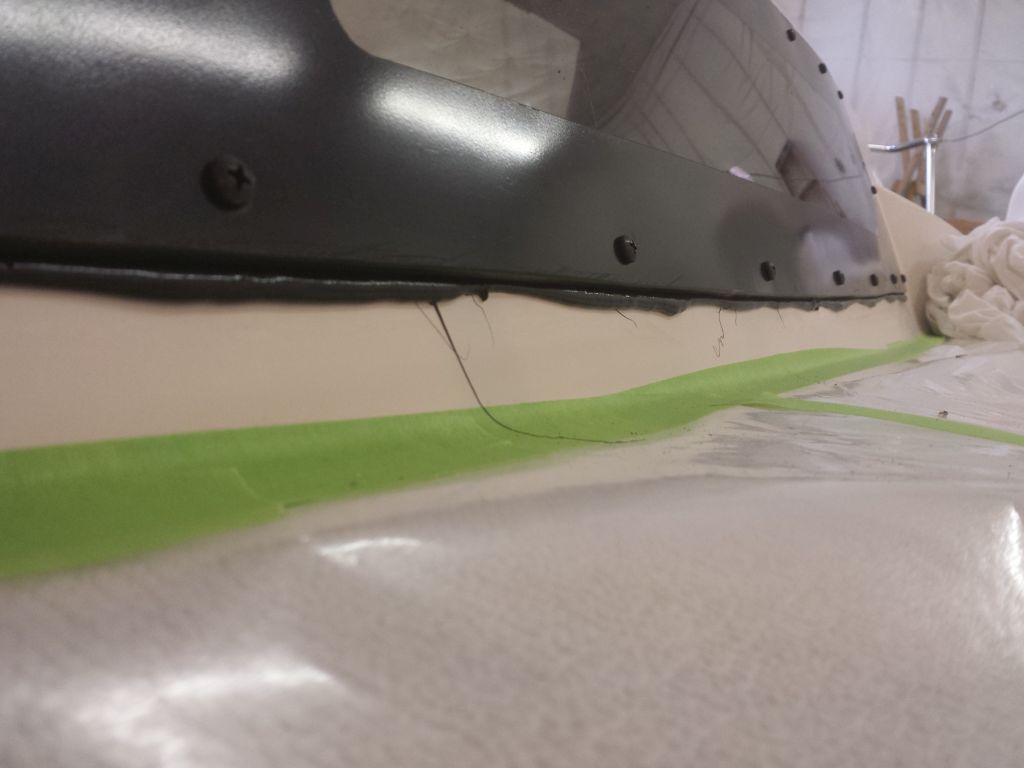
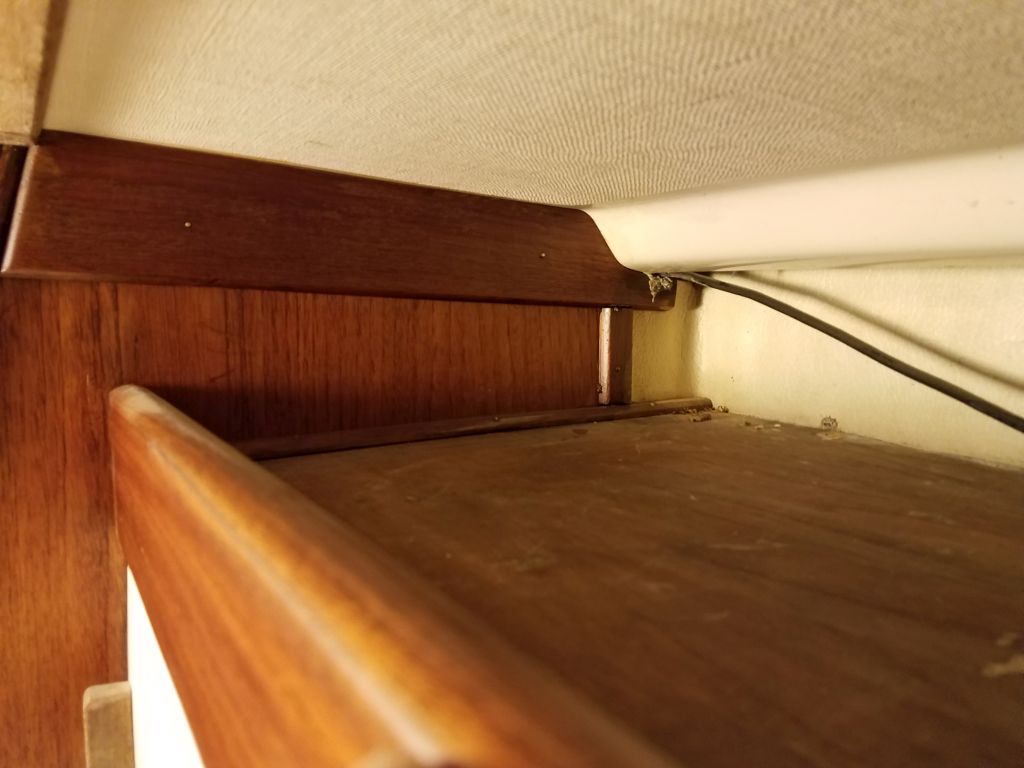
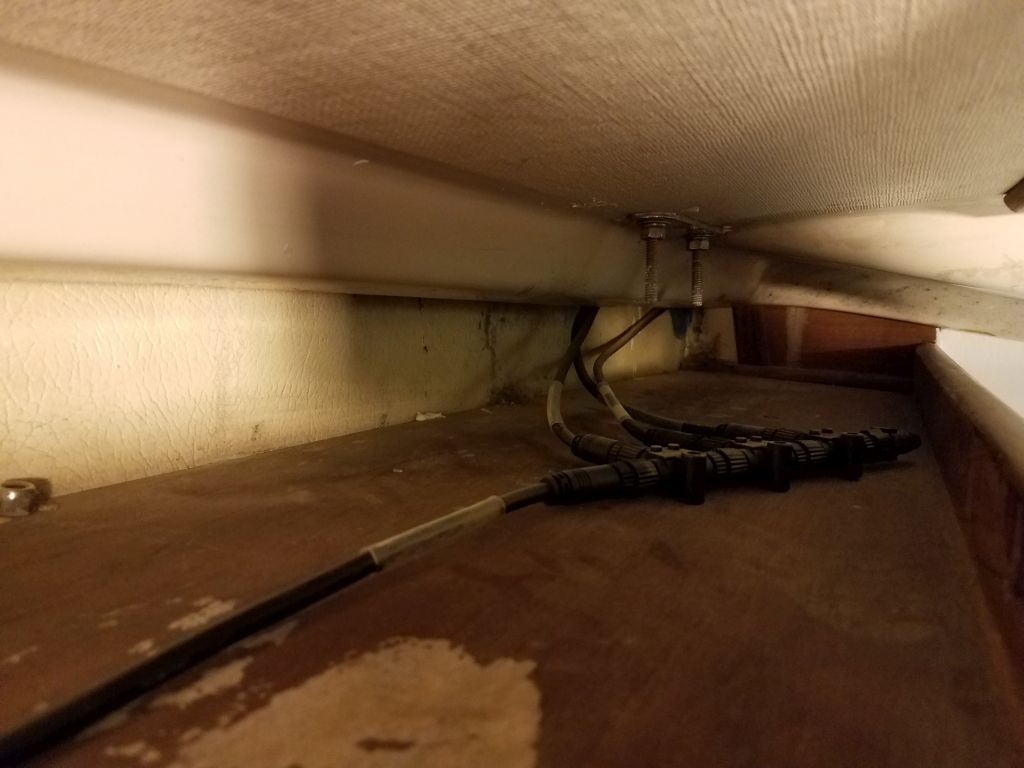
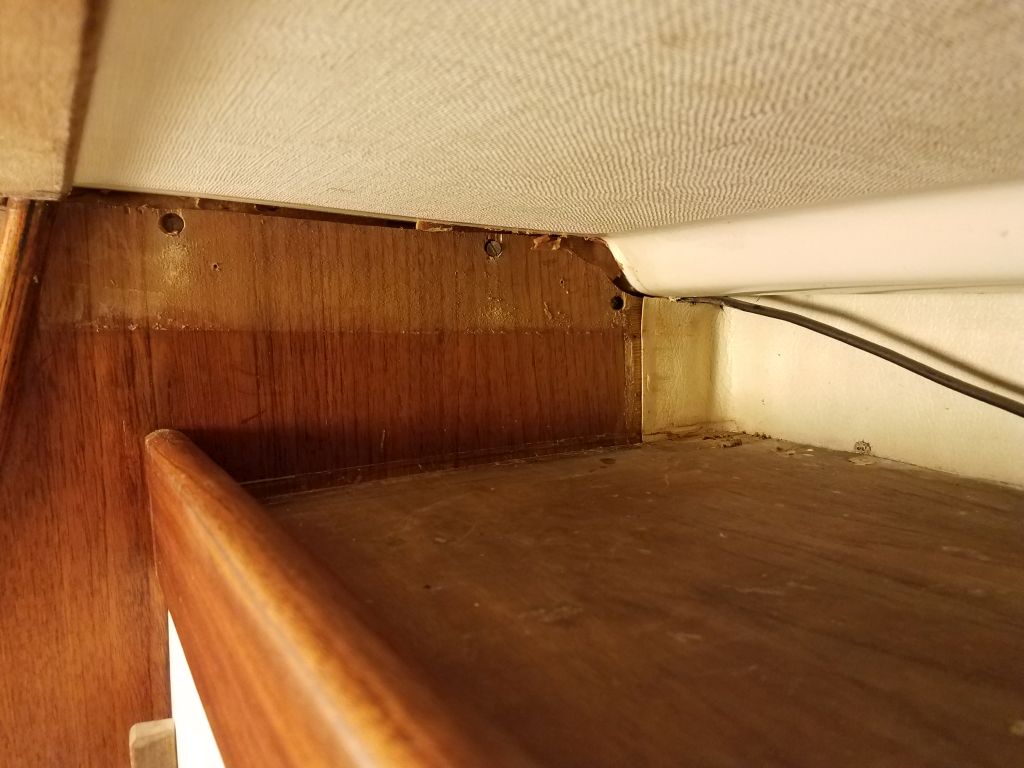
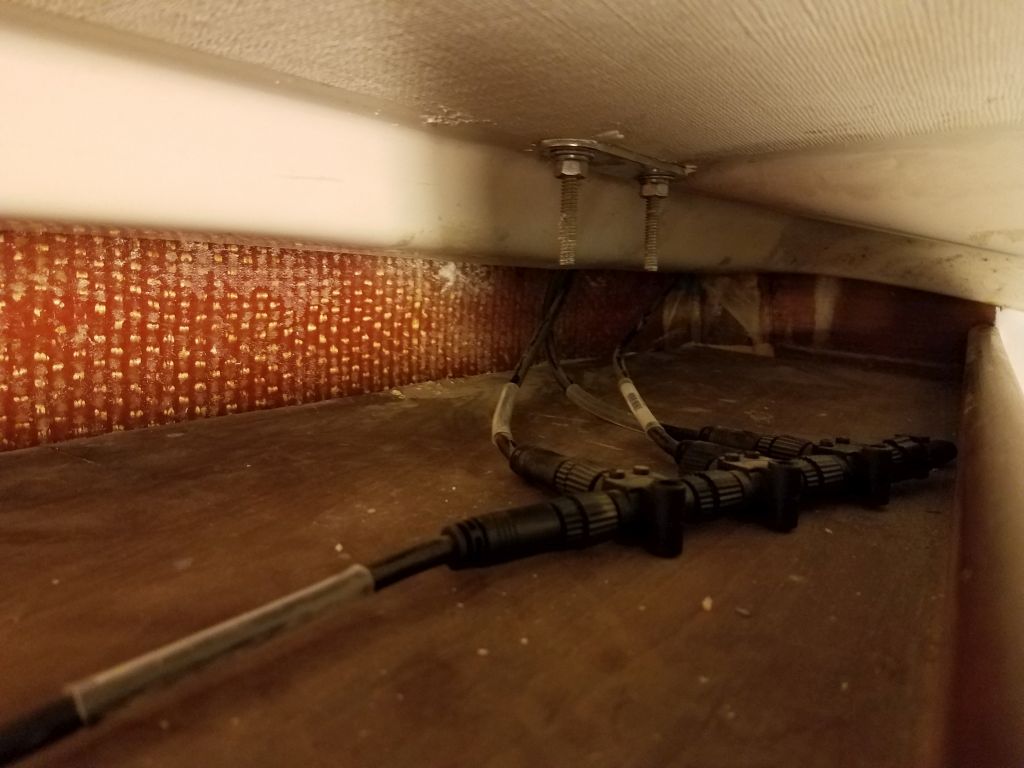
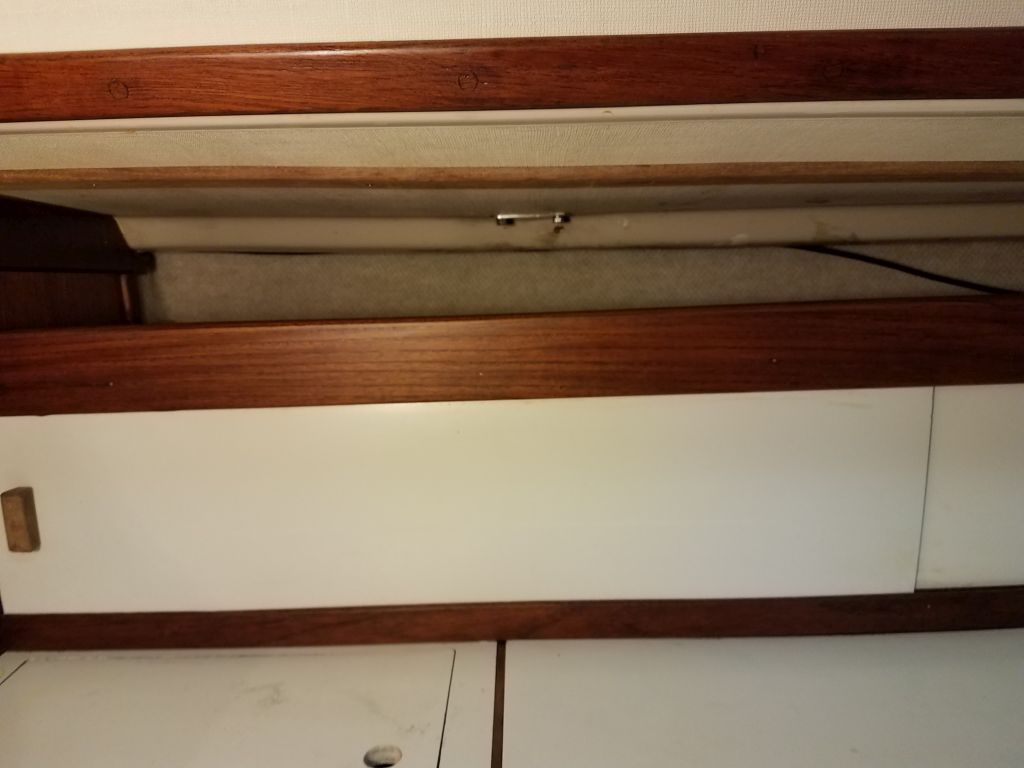
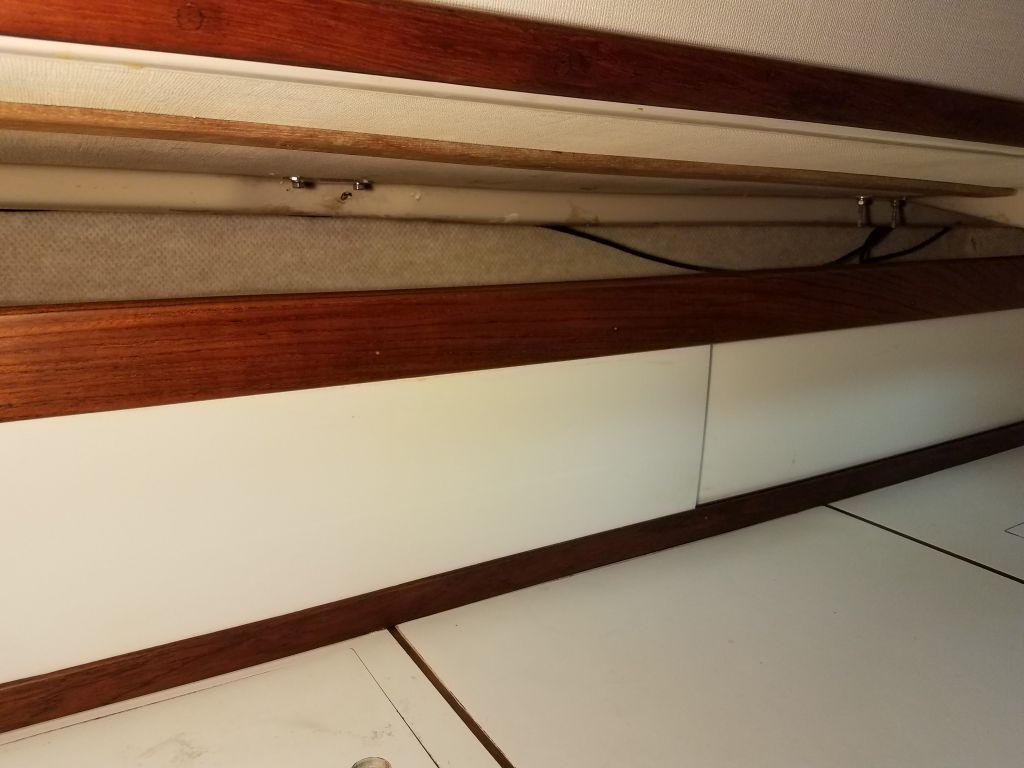
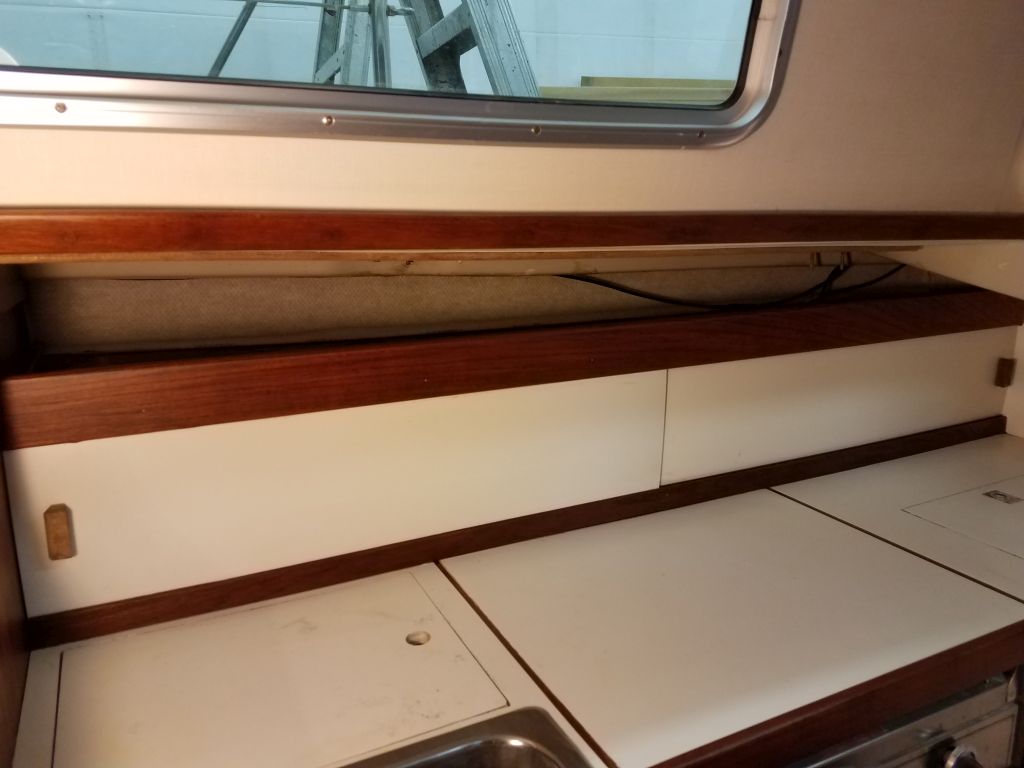
Next, I turned to the chainplates. The epoxy plugs at the fastener locations had cured overnight, so with the cover plates in position I drilled the new fastener holes: two pilot holes on the forward sides for the long sheet metal screws I’d use there, and two tapped holes for 8-32 machine screws at the after side. As usual, I milled little countersinks at the top of each hole, providng a little reservoir for excess sealant right at the fastener shank.
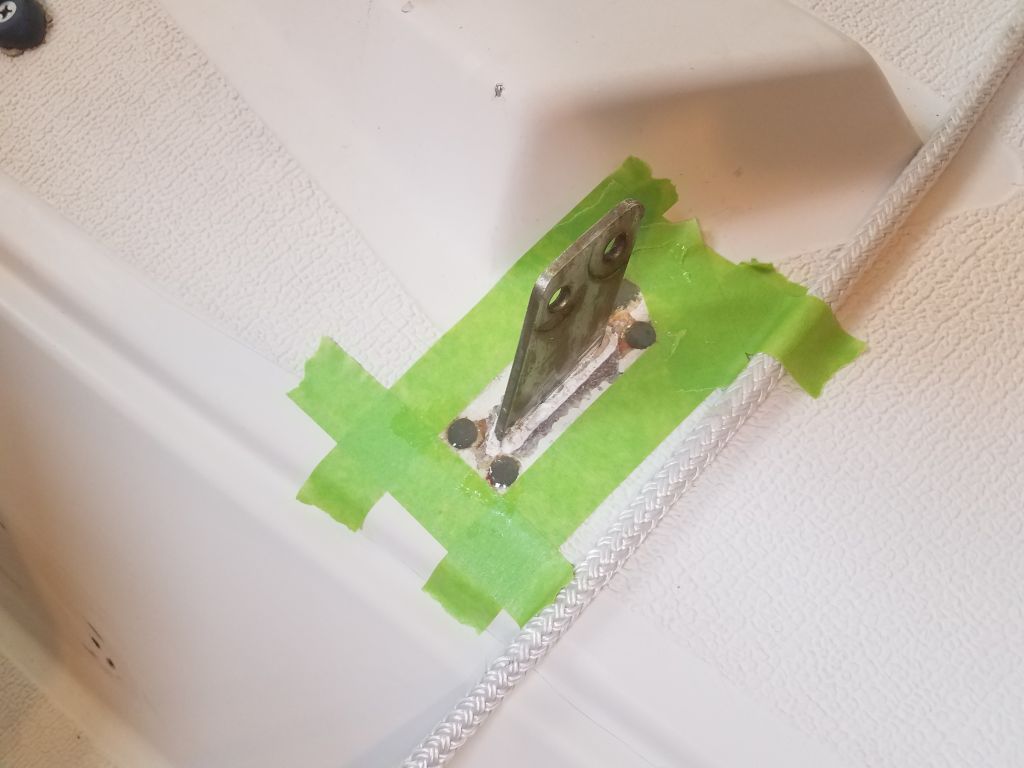
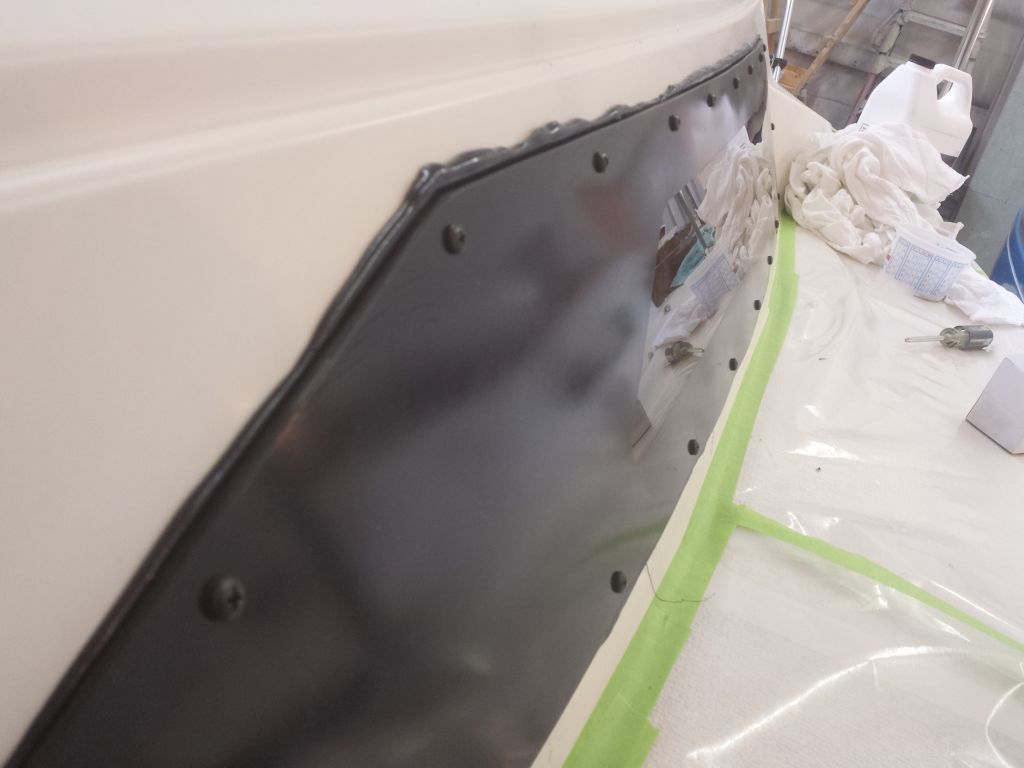
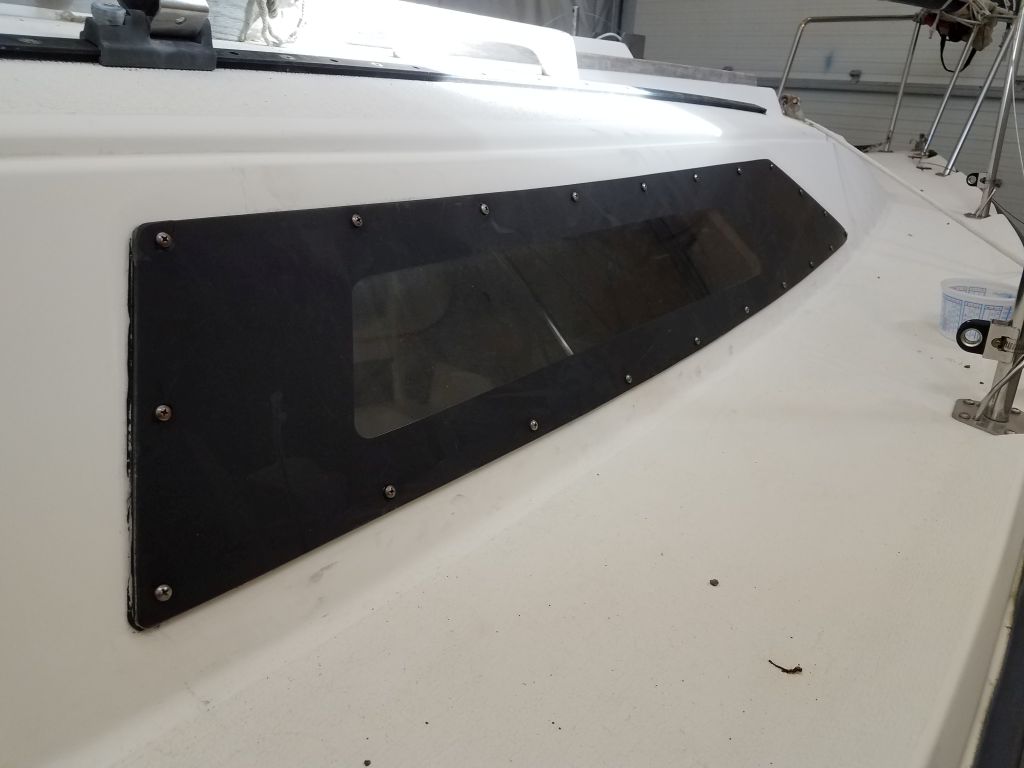
The portion of the chainplate slot through the deck was still well sealed with the polyurethane sealant I used when I rebedded them a year earlier, but this time I chose butyl tape sealant for the cover plates, covering the plate and fastener locations and wrapping more around the chainplate itself to help seal the slot. I hoped this highly flexible sealant would hold firm against the typical dynamic loads on these chainplates. I secured each plate with two long panhead #8 screws at the forward side, which penetrated the deck and into the bulkhead beneath, and a pair of 8-32 machine screws, washers and nuts at the aft ends.


Total time billed on this job today: 1.75 hours
0600 Weather Observation:
34°, cloudy. Forecast for the day: clouds, rain late in the afternoon and overnight
Wednesday
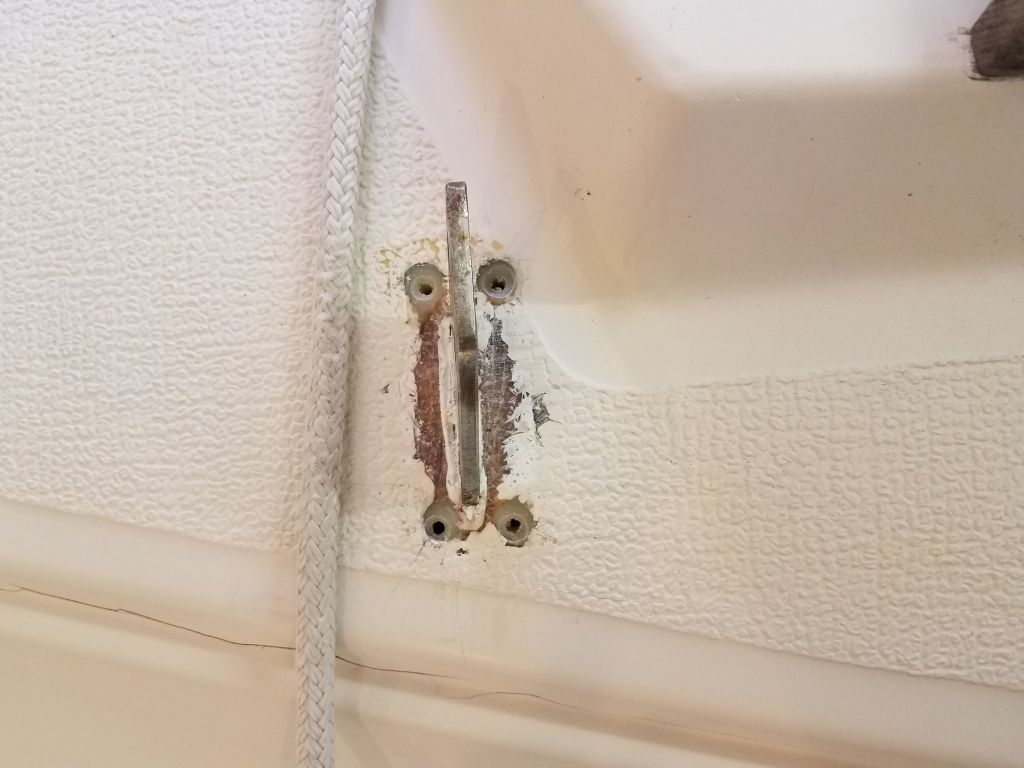
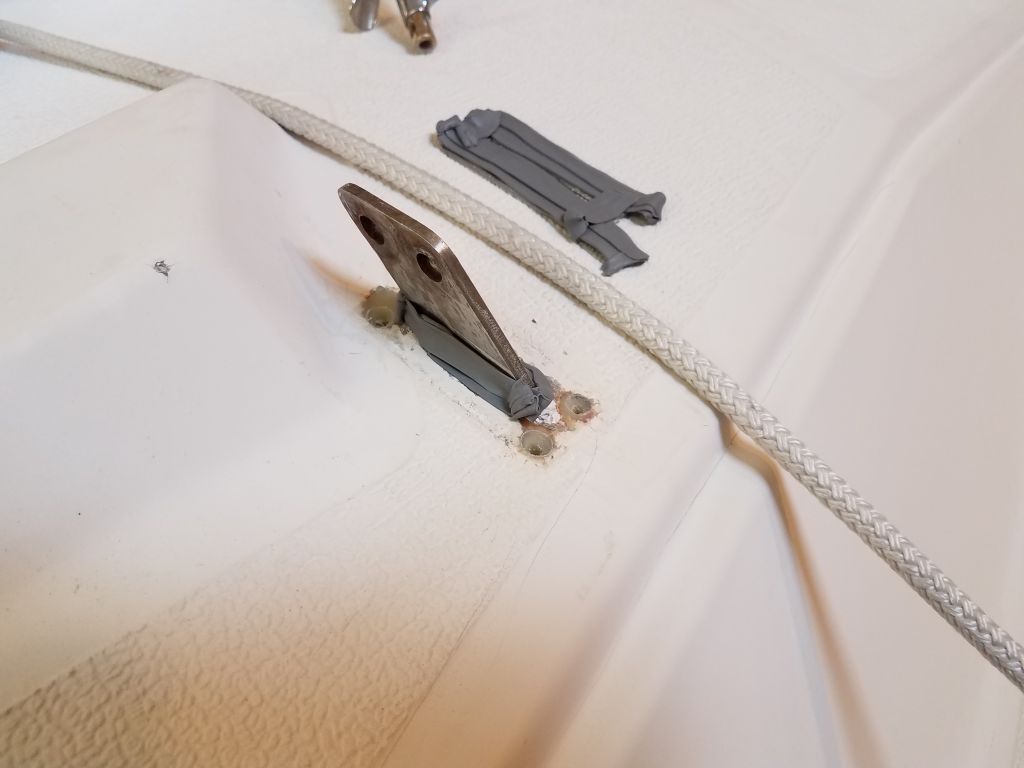
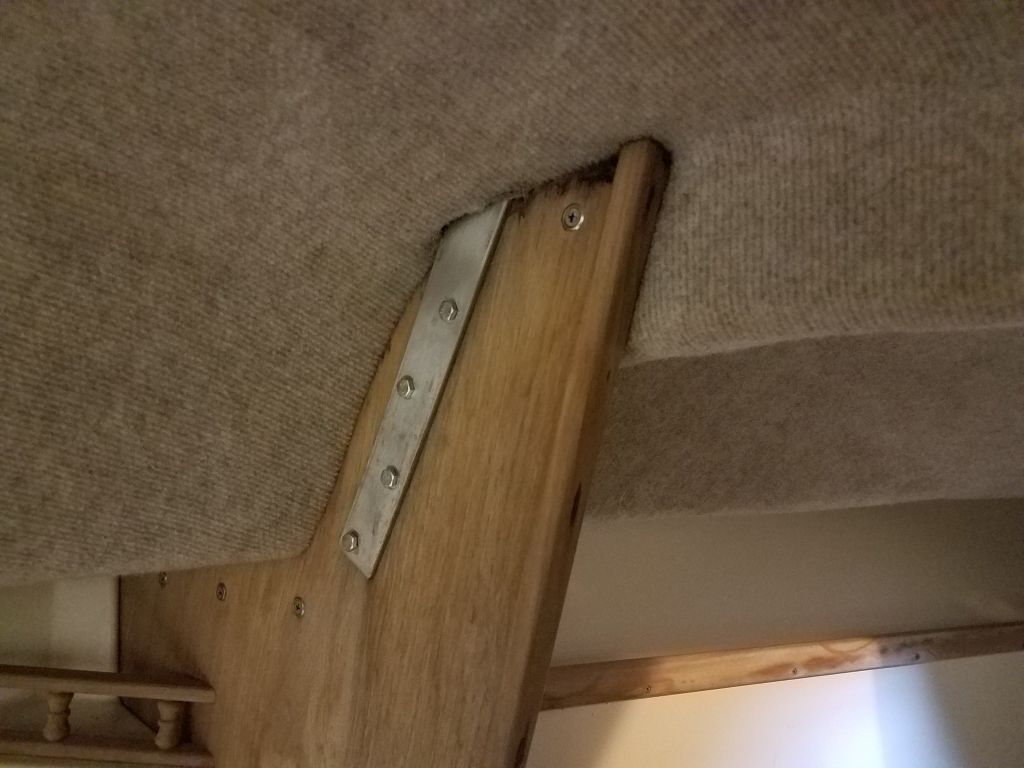
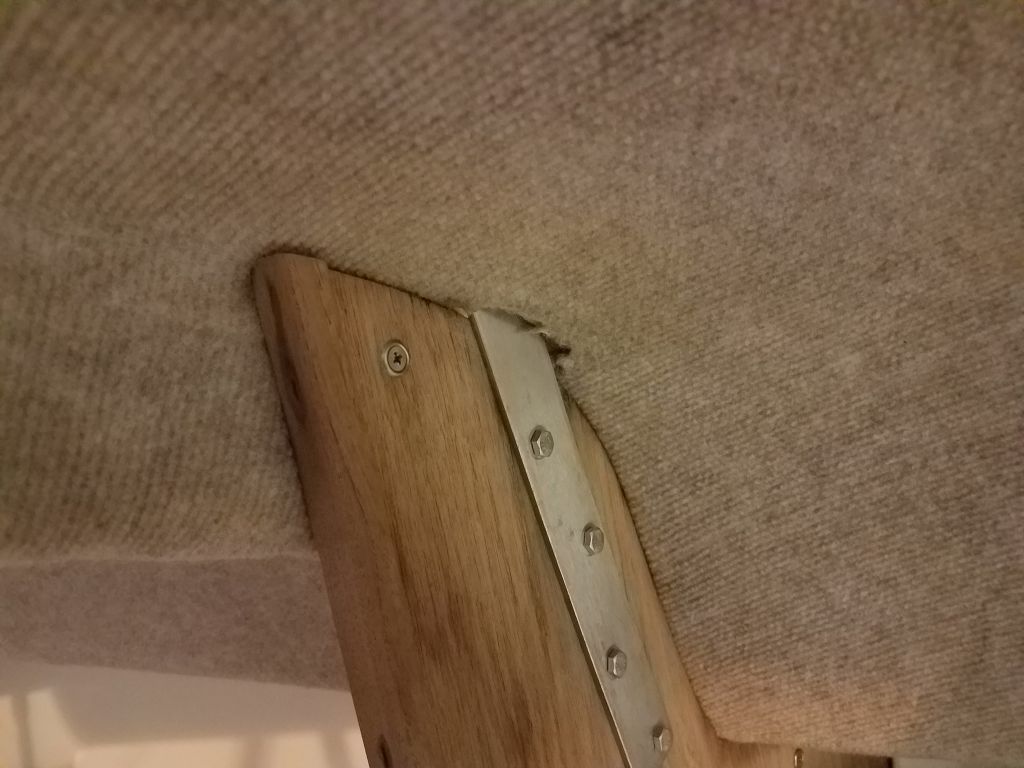
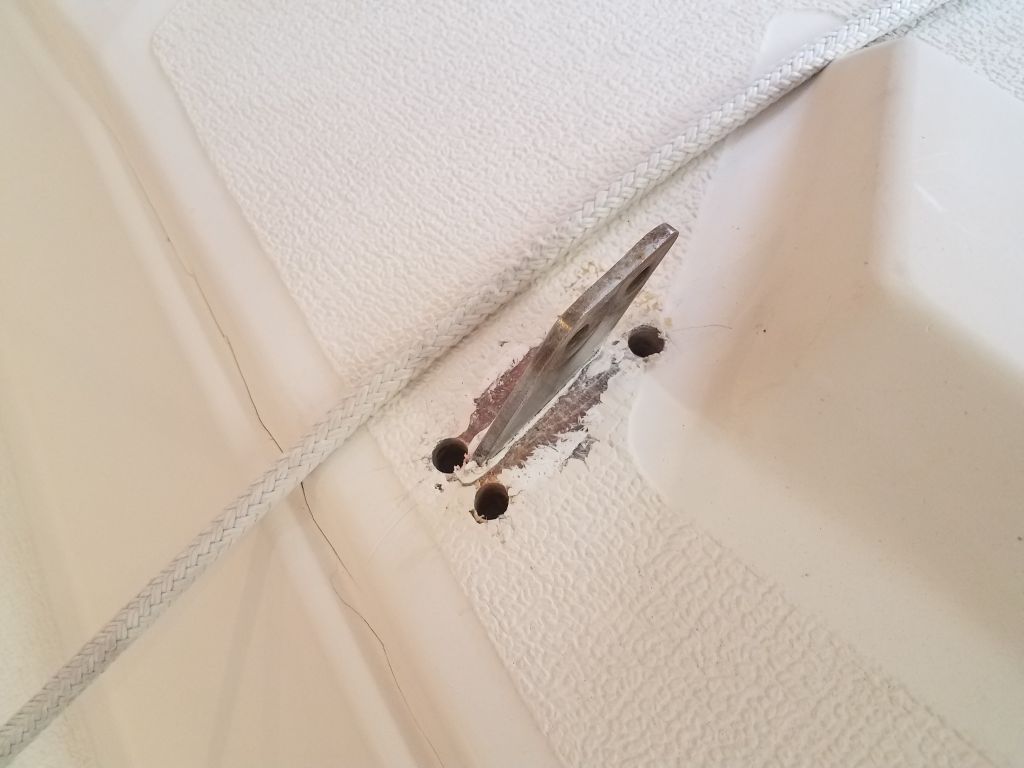
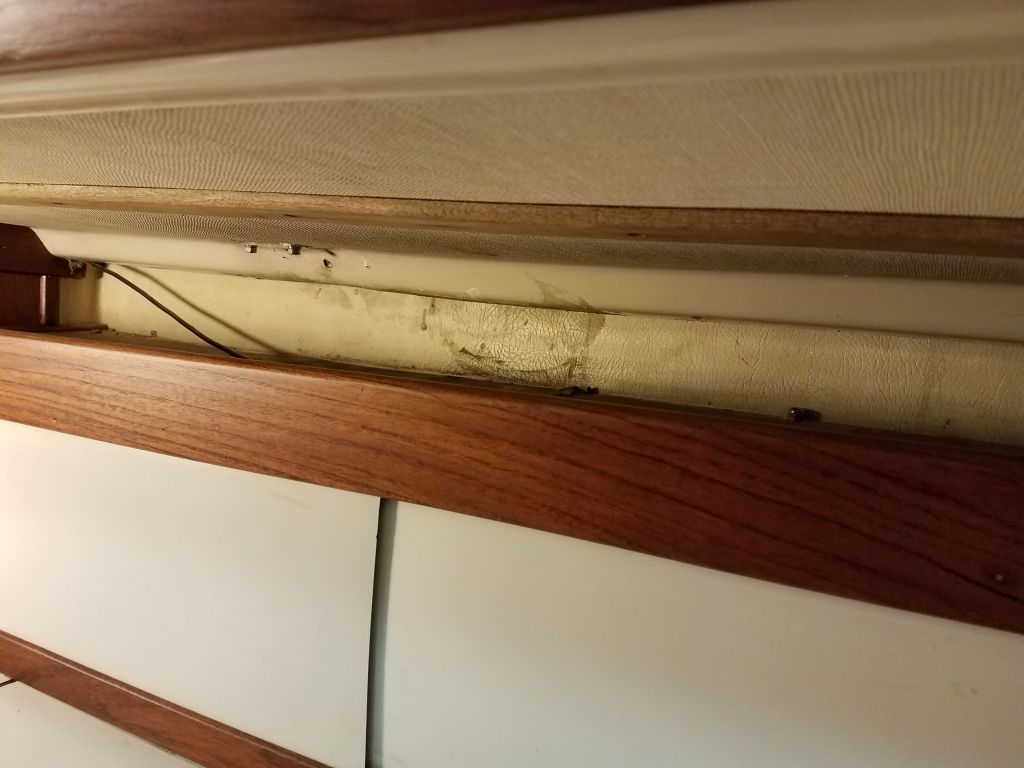
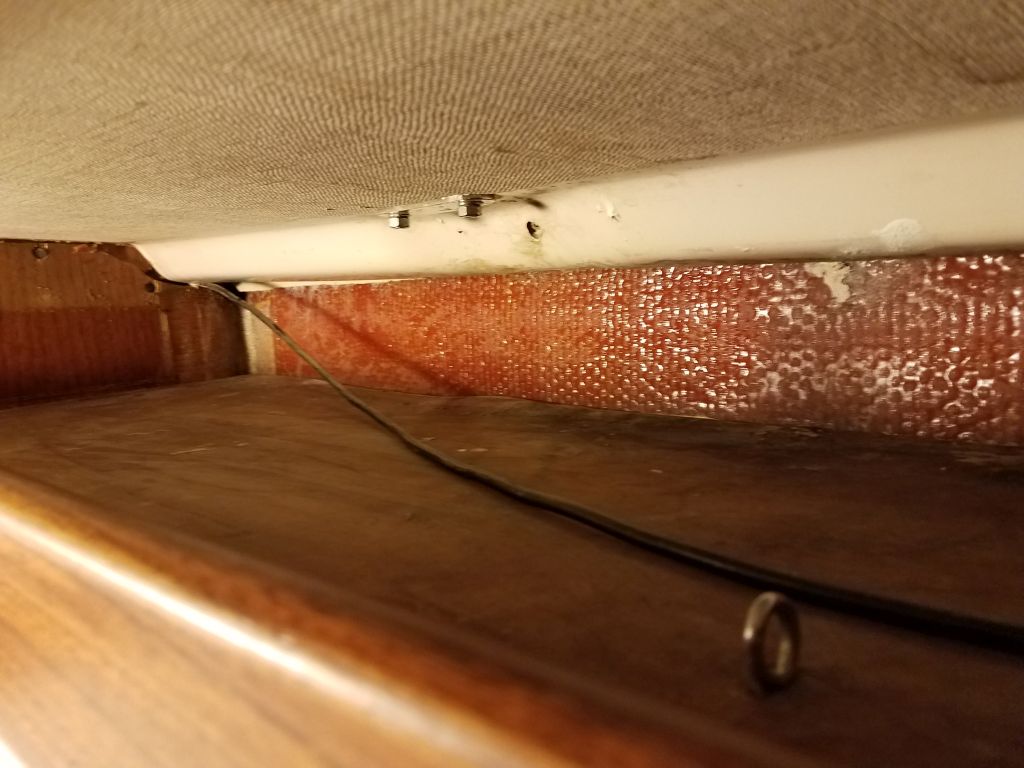
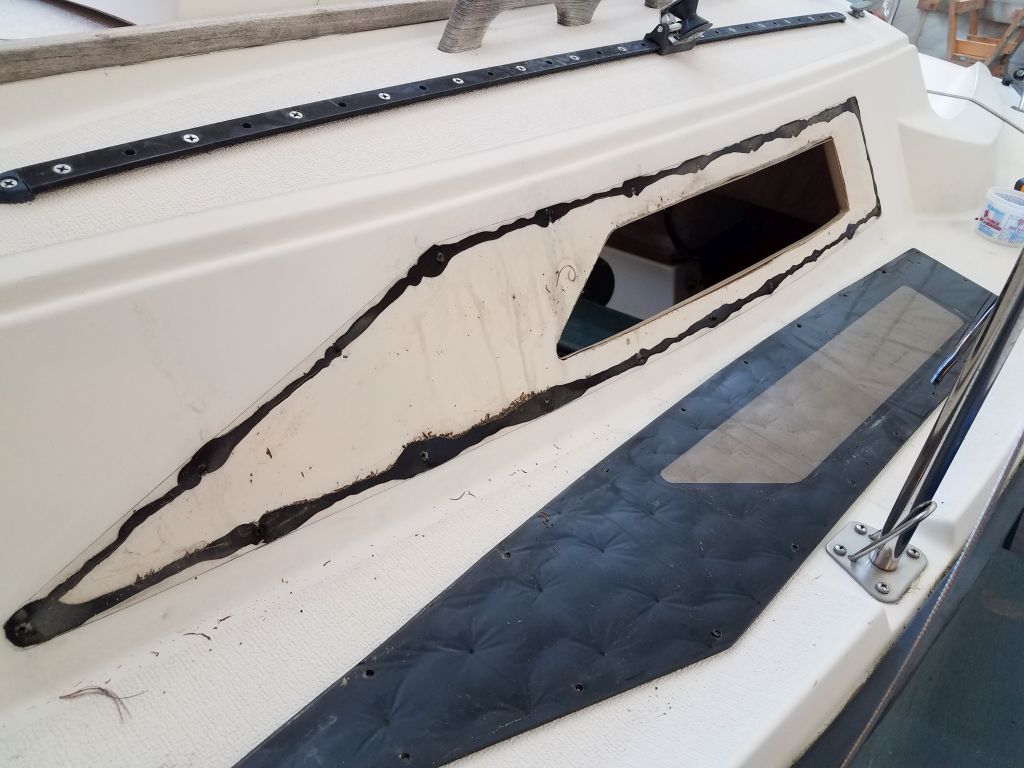
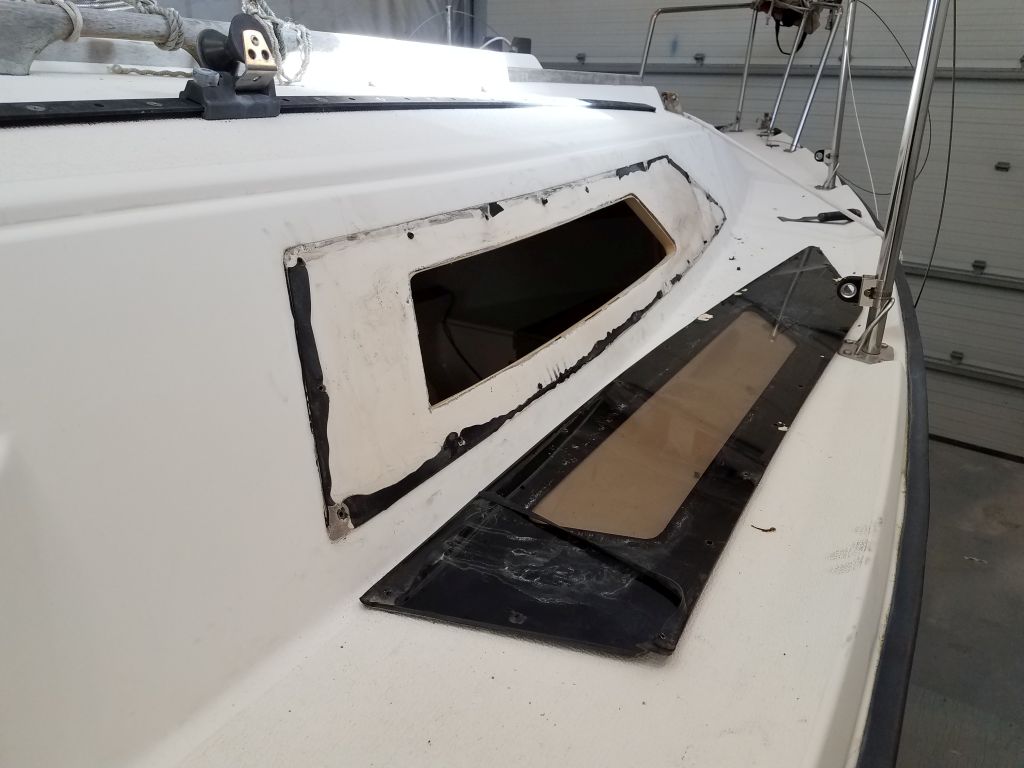
One of the two chainplate cover plates that I’d rebedded and reinstalled a year ago had pulled up from the deck, as the fasteners hadn’t held properly. So I went ahead and removed both cover plates to reinstall them more securely, as well as rebed–again–the chainplates. I cleaned off old sealant around the chainplates and the slots, revealing that the sealant in the slots themselves was actually still in good condition and sound, other than an indication on the port side (the side where the cover plate had pulled up) that there might be some transverse chainplate movement under load.
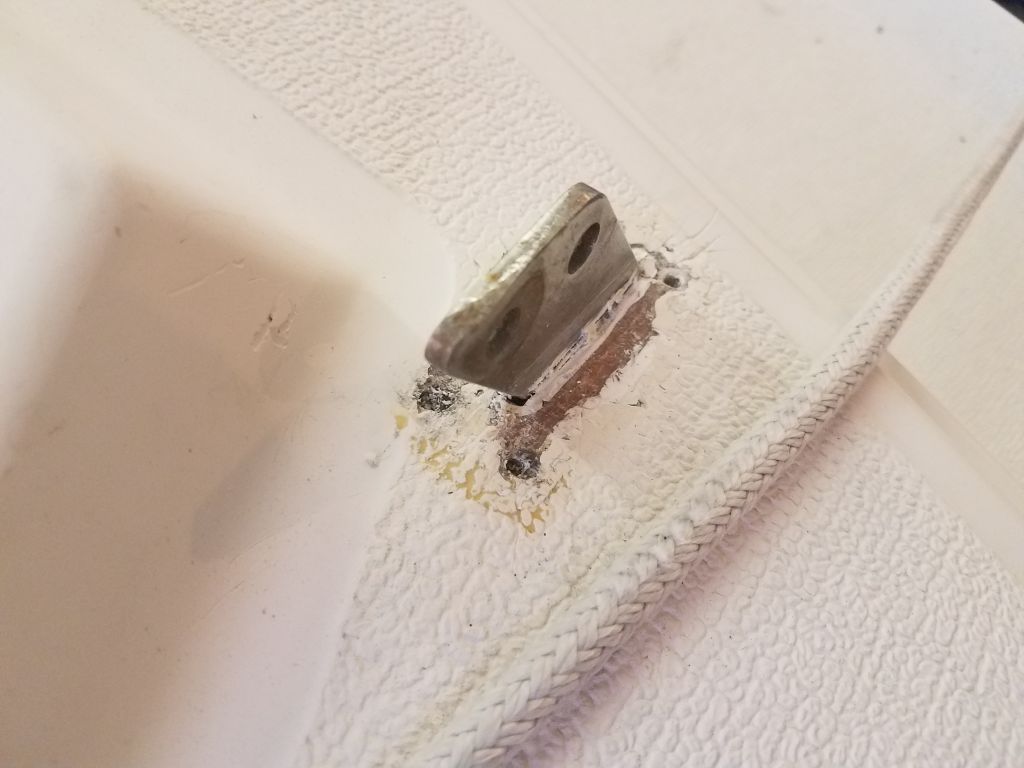
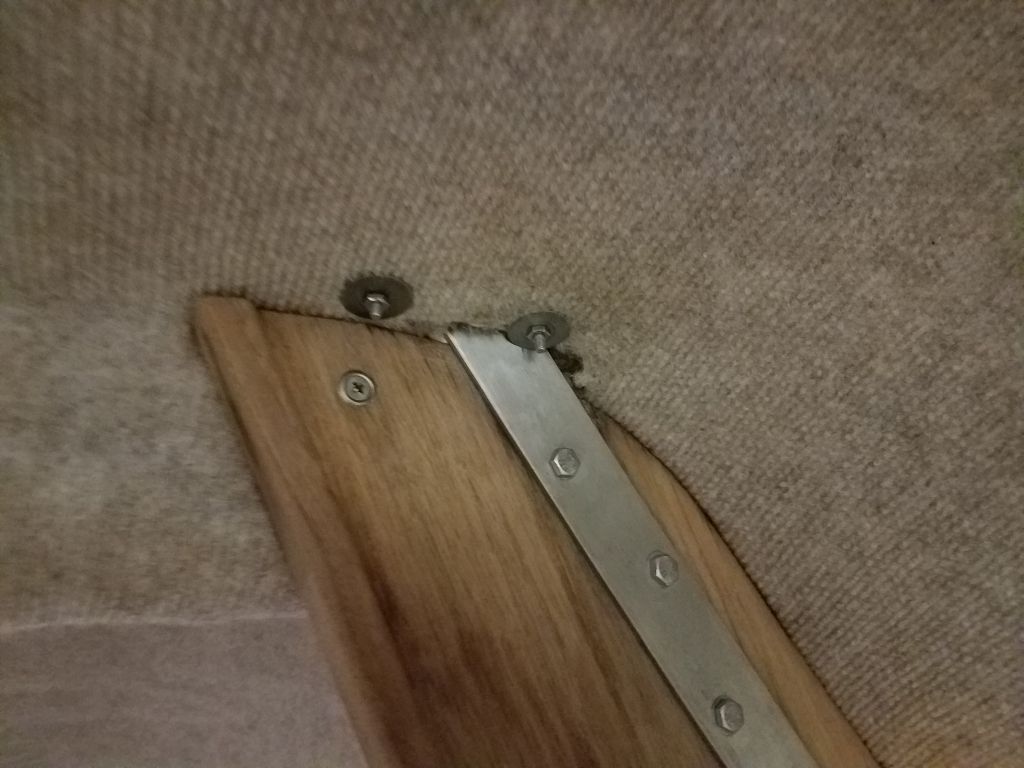
To better hold the plates given their propensity to pull out, I thought I’d through-bolt them this time. The design of the structure beneath the chainplates was such that I could through-bolt the after two fasteners on each cover plate, but the forward pair of fasteners would run into the plywood bulkhead and/or a structural support frame and knee built into the underside of the deck, so for those locations I planned longer screws to pass through the deck and bite into the structure beneath.
To prepare the decks for the new penetrations, I used a 3/8″ bit (the largest possible within the confines of the cover plate) to open up the existing fastener holes and ream out the core within the deck, leaving the inner skin intact. Afterwards, I filled the new openings with a thickened epoxy mixture, leaving that to cure before continuing.

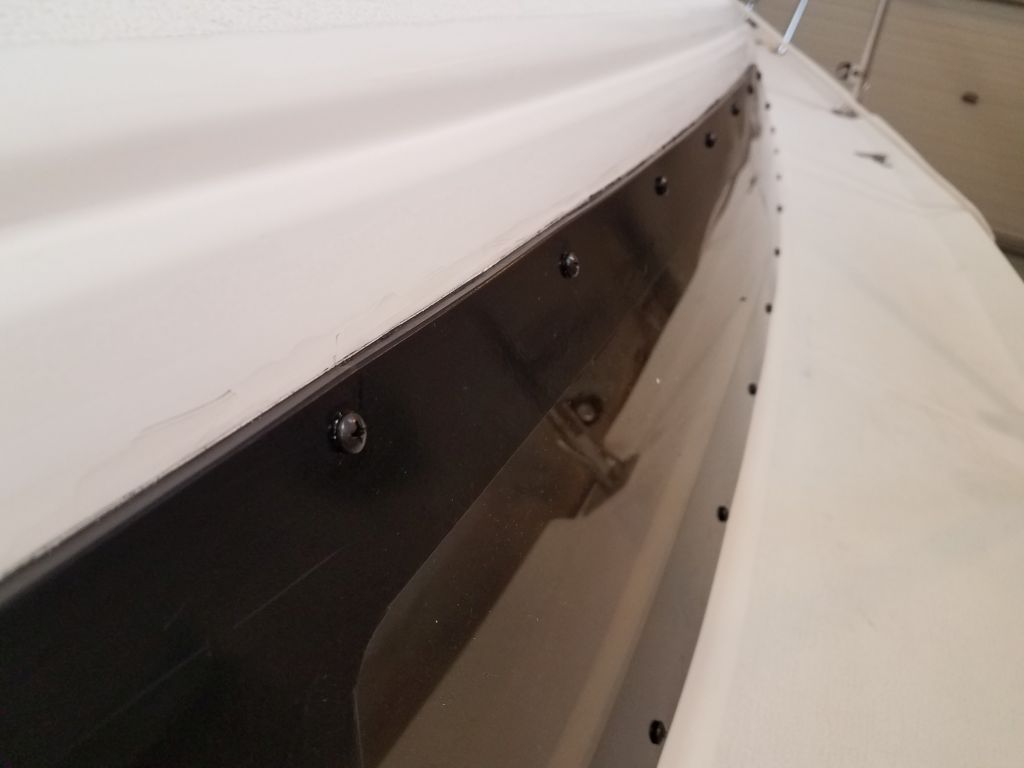
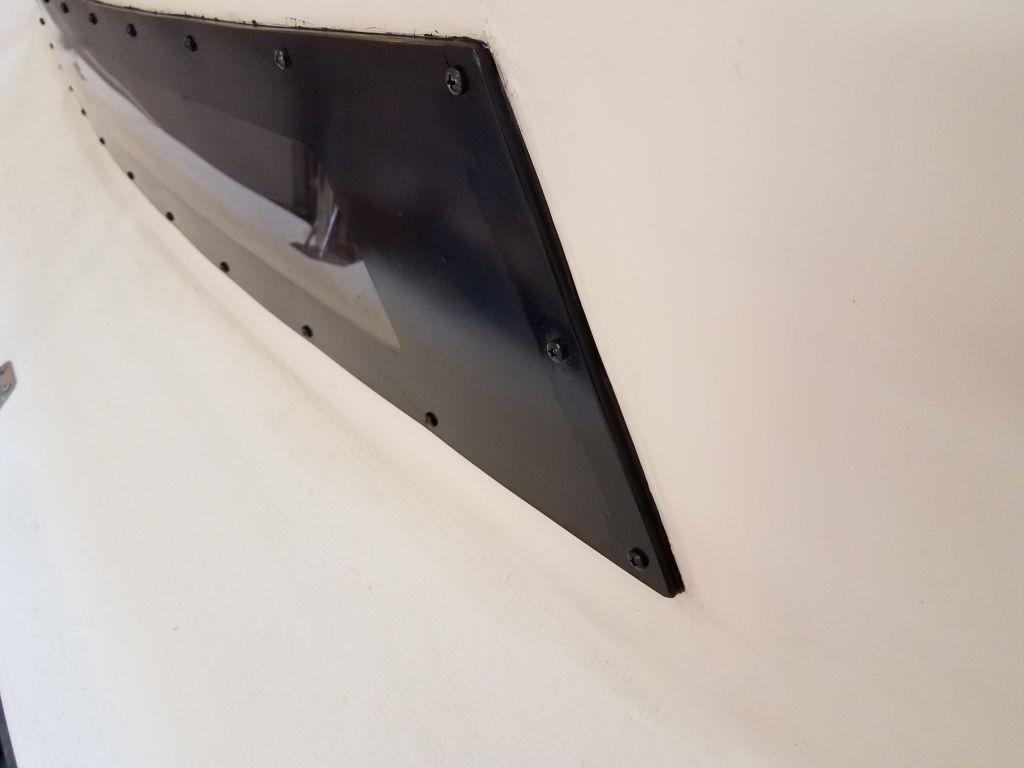
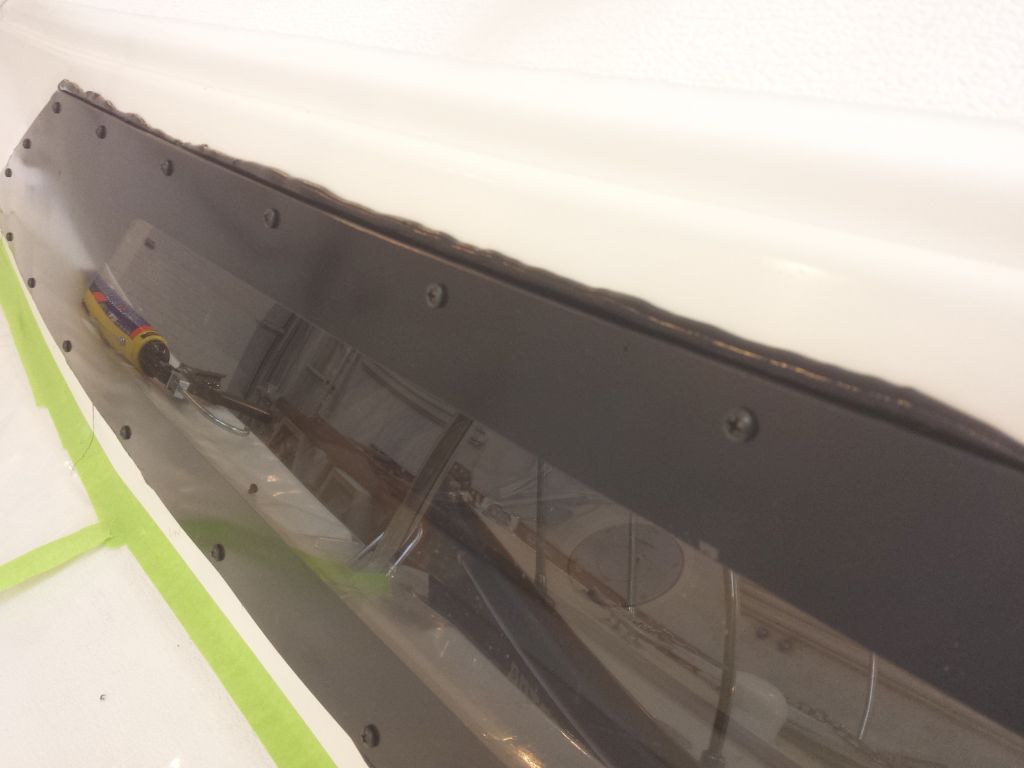
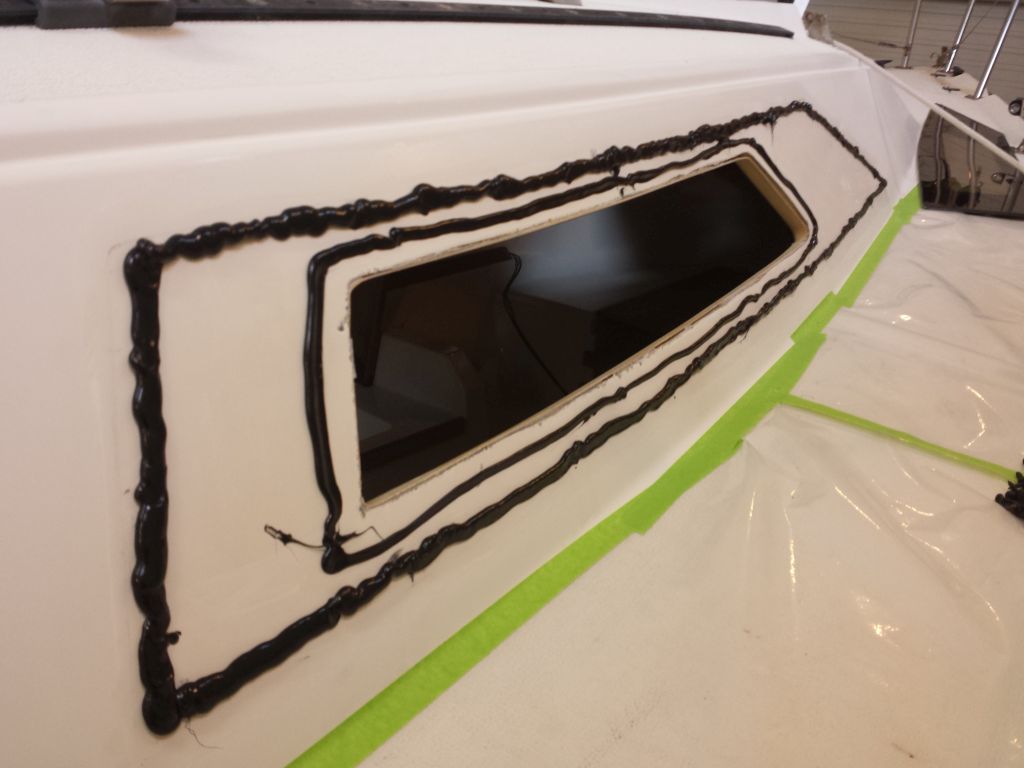
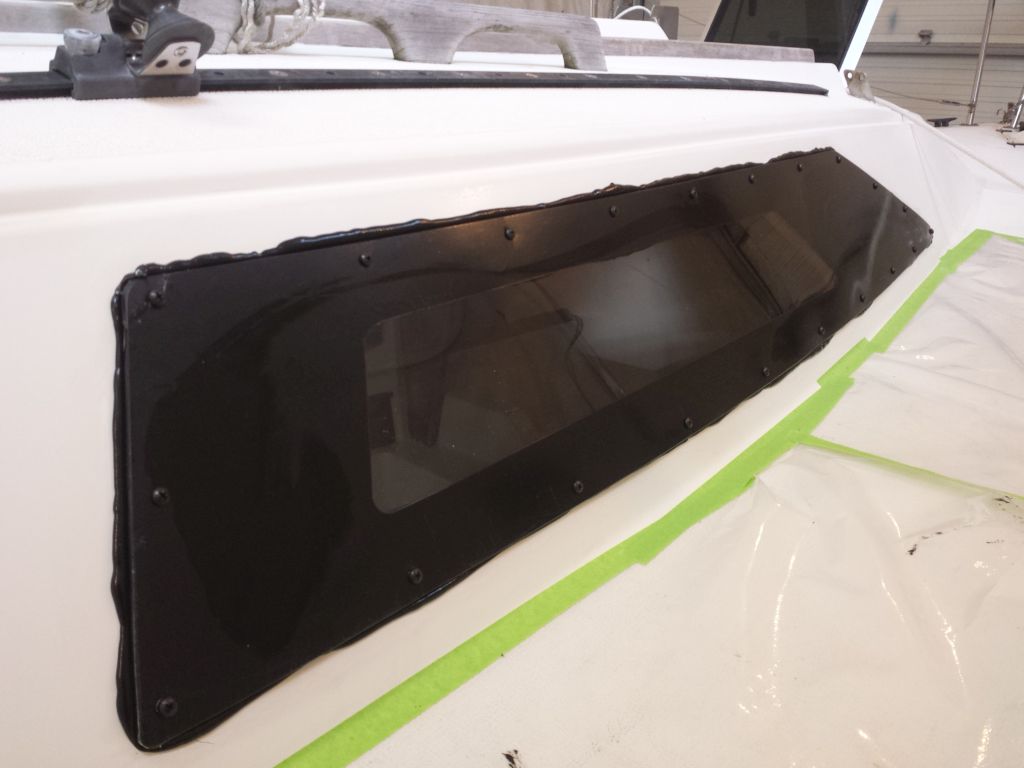
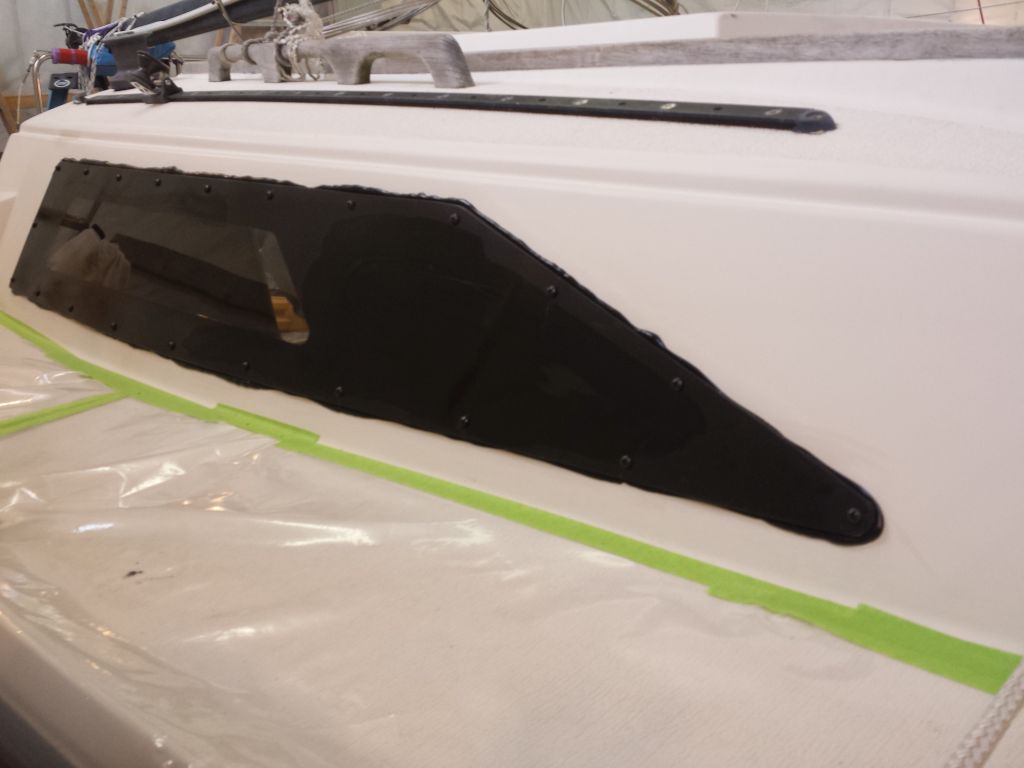
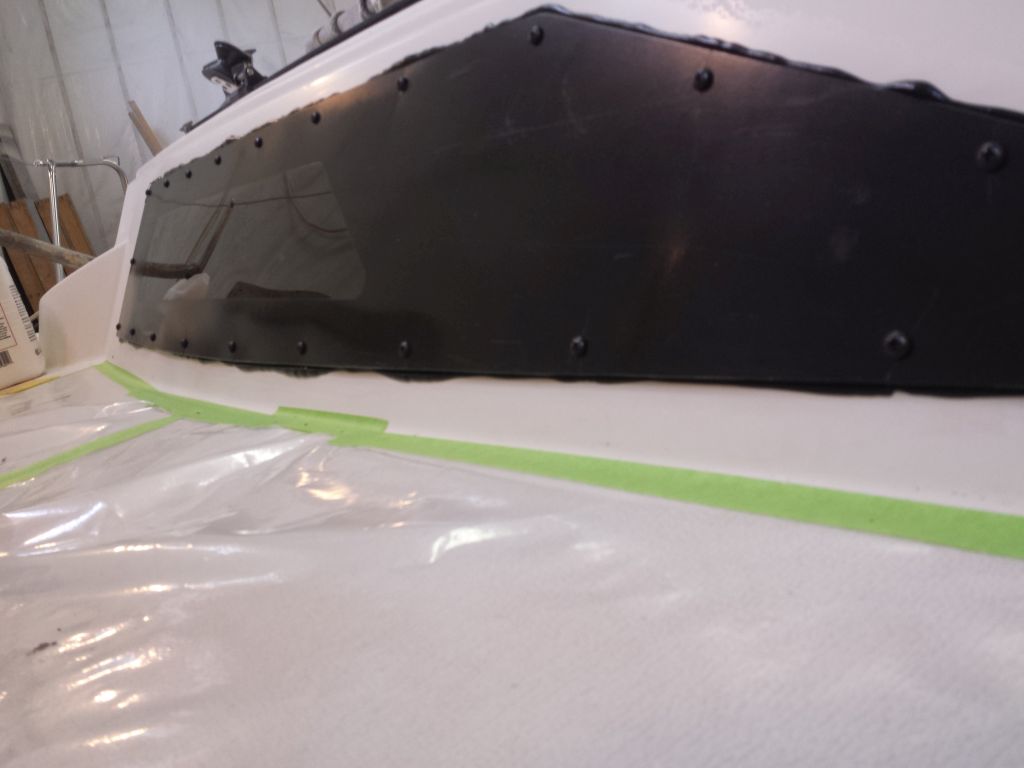
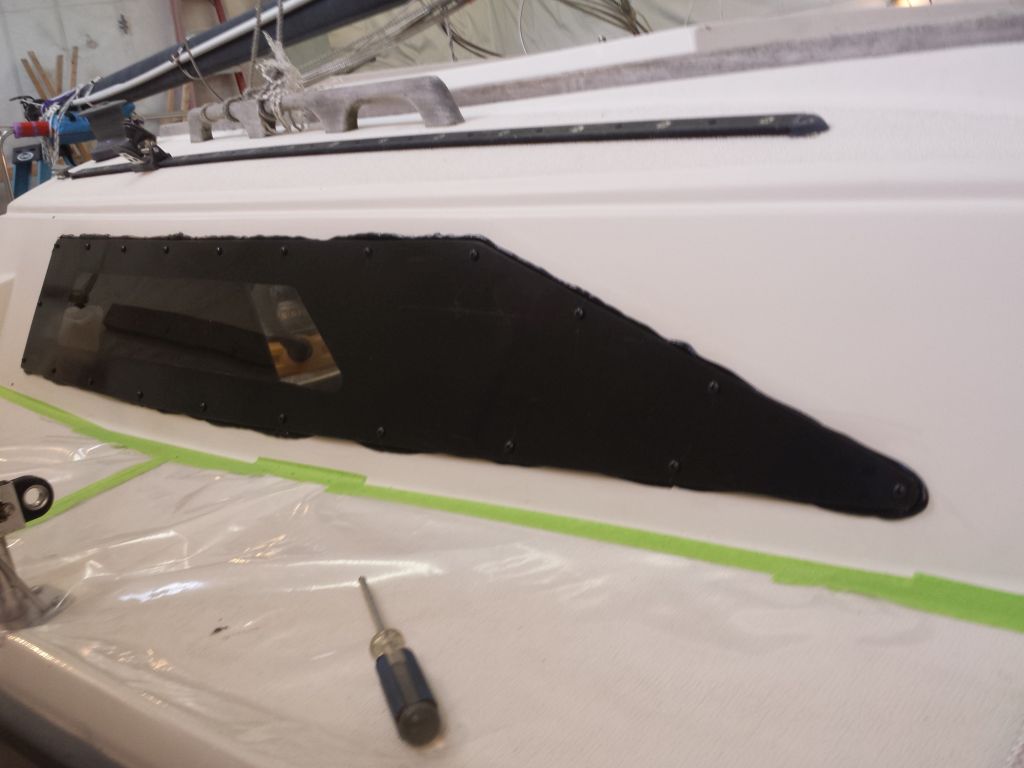
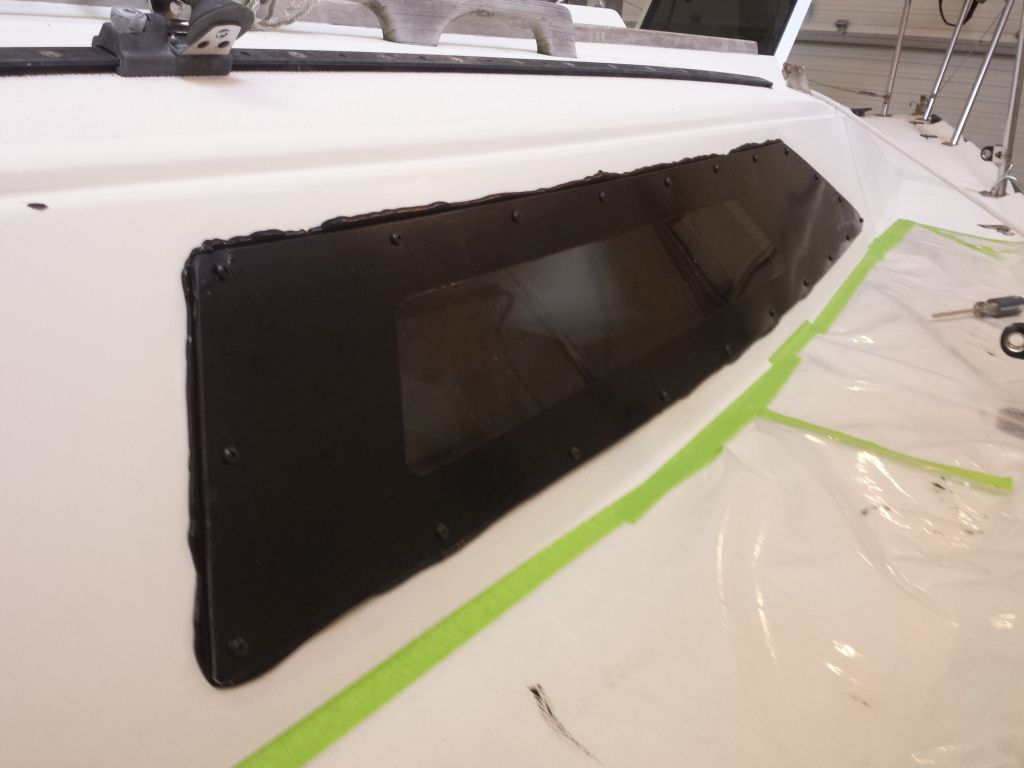
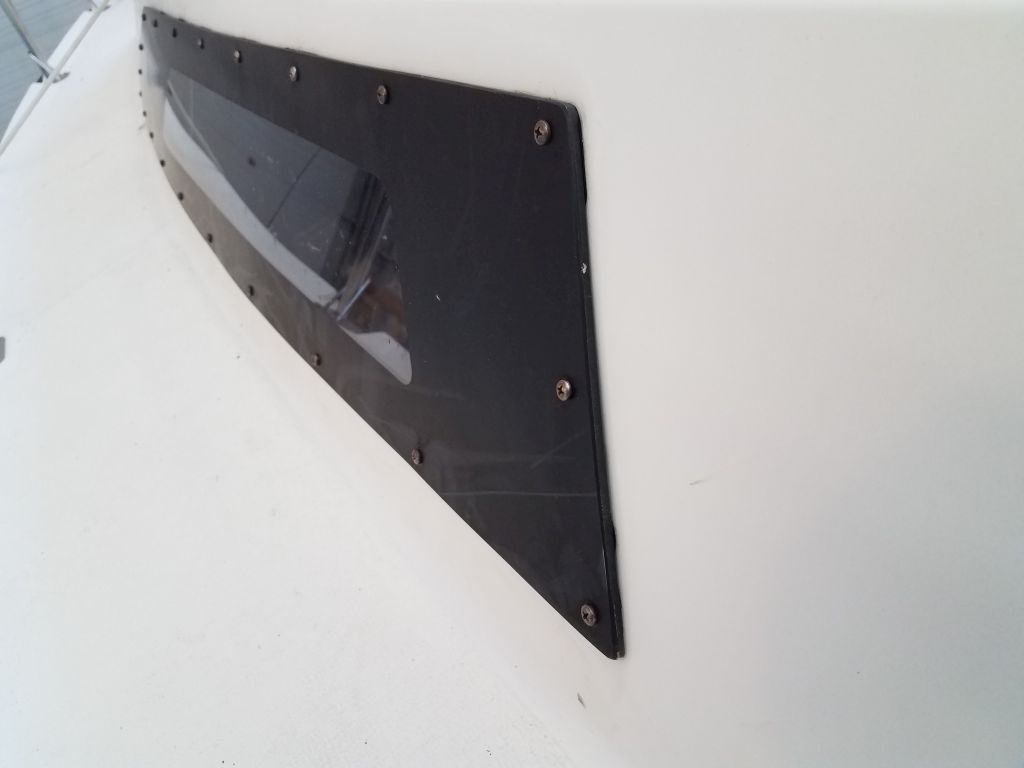
Later, with new sealant on hand, I reinstalled the large plastic windows. Starting on the port side, I applied beads of the sealant around the perimeter of the window’s footprint, as well as a secondary bead closer to the actual window opening in the cabin trunk. Then, I installed the window, screwing it down tightly with new black-colored stainless screws, and cleaned up the excess sealant. I was dismayed to find that the black sealant got into the pores of the gelcoat during cleanup, making the process more difficult and time-consuming, though in the end I was able to remove the staining. Because I soon realized that continuing attempts to clean up perfectly were futile, I ended up leaving some squeezeout at the port edges for now, and would finish up the trimming once it cured.
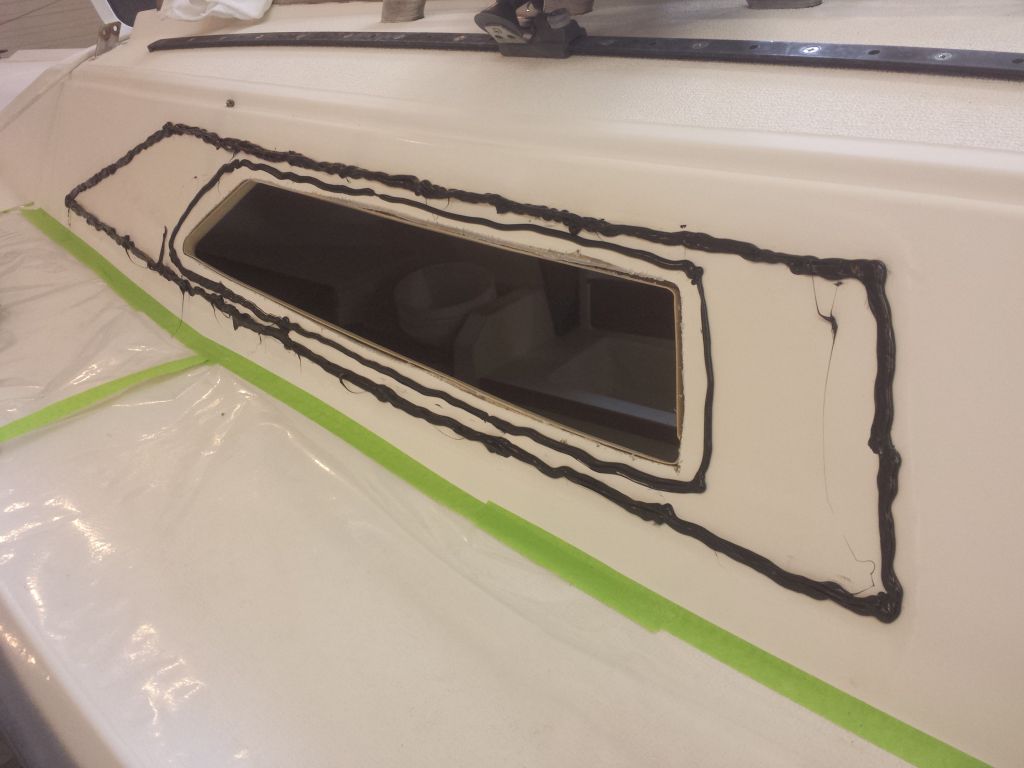


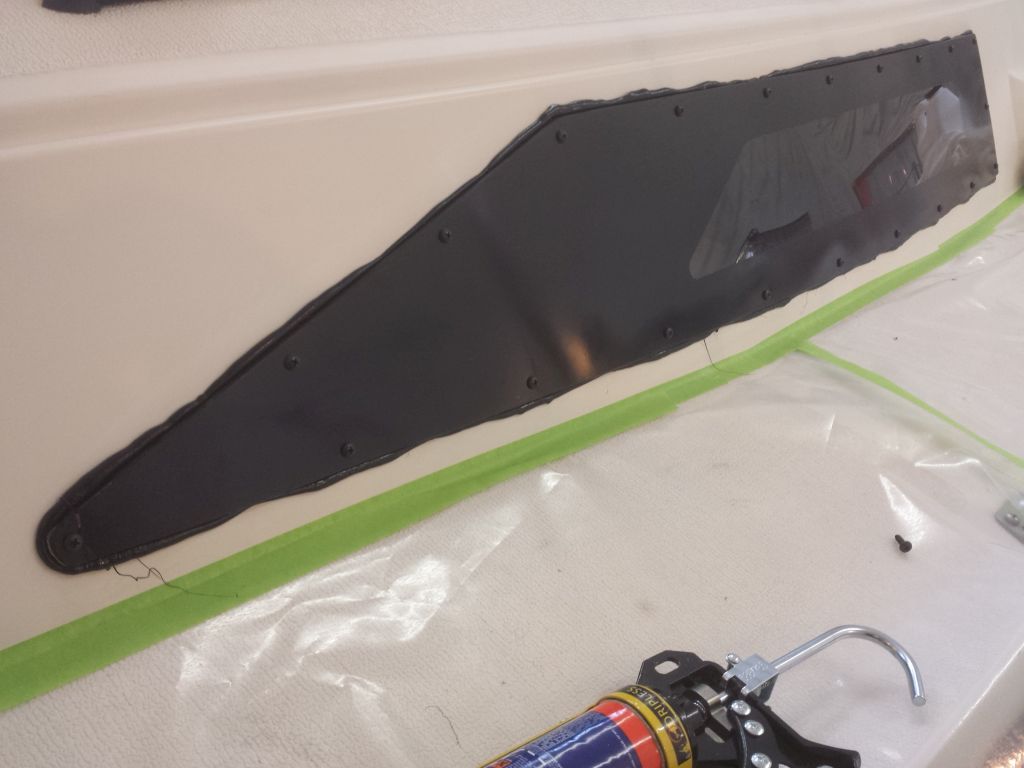
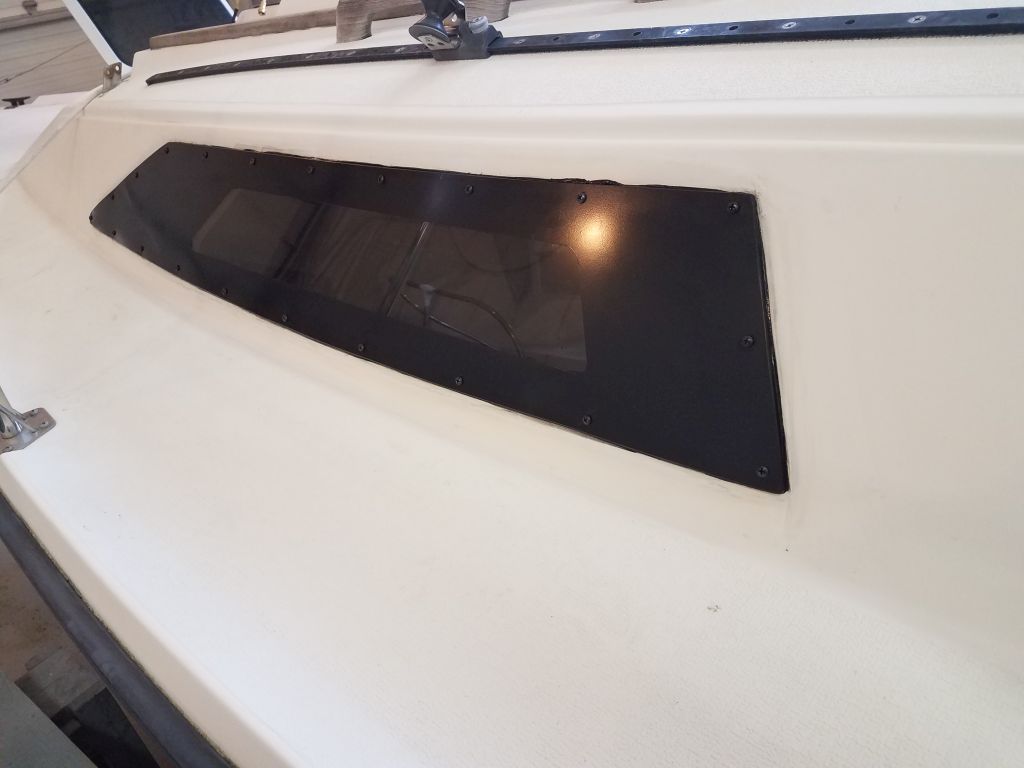


Forearmed with my experience on the port side, on the starboard side I decided to leave all the squeezeout and cleanup alone till it cured, at which point I’d trim the excess and clean up as needed.


Total time billed on this job today: 2.25 hours
0600 Weather Observation:
33°,. dusting of slushy snow overnight, drizzle. Forecast for the day: clouds and drizzle, 30s
Tuesday
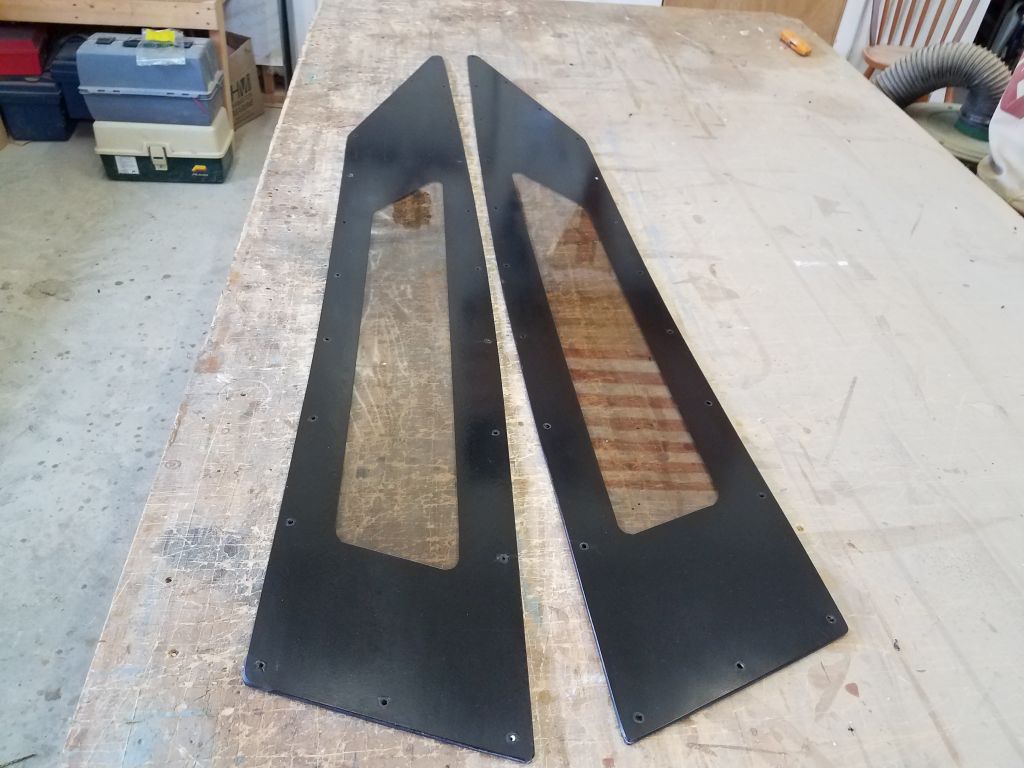
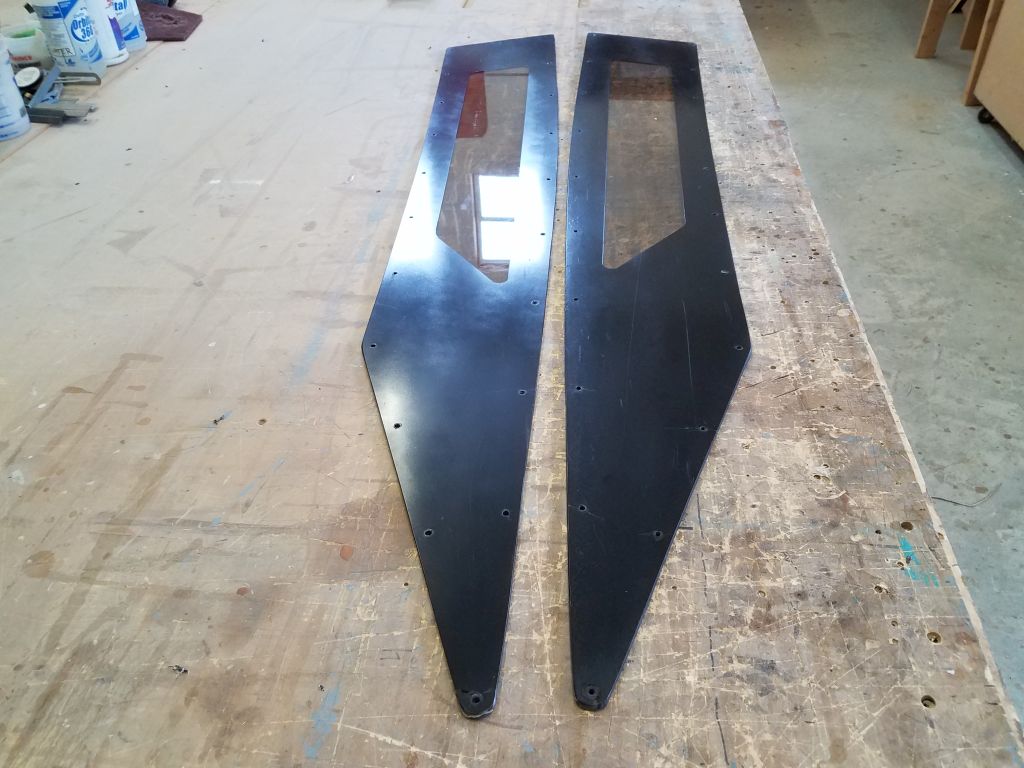
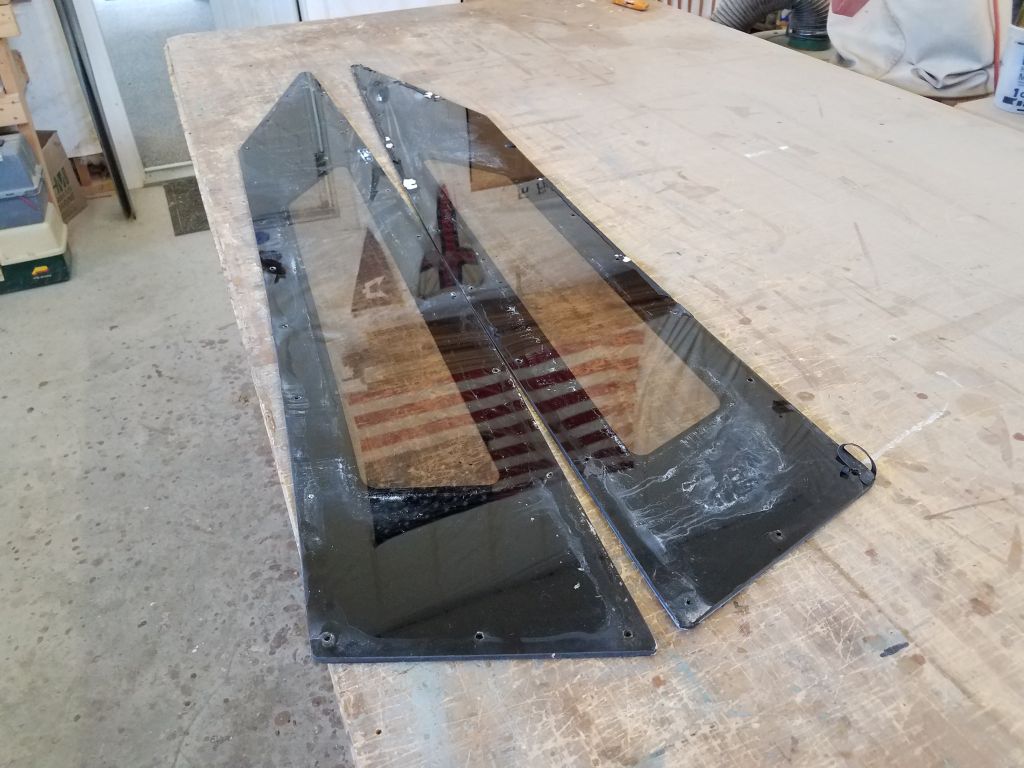
I spent some time cleaning up the insides of the plastic windows (I’d assume acrylic but don’t know for sure), removing any old sealant and generally cleaning the surface to prepare for reinstallation. I’d determined that the existing windows were still in good shape, and that the minor cracks I’d seen would pose no installation problems. I also polished up the exterior surface, which seemed to be a black vinyl applique over the portions of the window that didn’t actually have an opening behind; the exterior coating prevented one from seeing the surface beneath the window once installed. It had faded over the years, but brightened up nicely with minimal work. The smoked plastic was still clear and scratch-free.
Meanwhile, I cleaned up the bonding surfaces on the cabin trunk as well, removing the old sealant and cleaning the area thoroughly to prepare for reinstallation.


I’d hoped to reinstall the lenses, but apparently I missed the shipping cutoff when I ordered the new sealant, so that wouldn’t arrive for another day. For the moment, this was about all I could do to advance the project.
Total time billed on this job today: 2 hours
0600 Weather Observation:
33°, mostly cloudy. Forecast for the day: rain, mixing with or changing to snow, 30s
Tuesday
In the galley, there was a narrow area above the storage shelf where the hull was covered with an old vinyl liner, much like that in the quarterberth that I’d replaced earlier. Actually, this vinyl material was in place throughout the boat, but this section in the galley was decrepit, heavily stained, and the owners asked that I replace it with the same material as in the quarterberth.

The original liner had been installed before the cabinetry, so it extended past the shelf and into the space beneath. I used a sharp knife to cut the material even with the top of the shelf so I could remove it. Several pieces of trim at the bulkheads at either end also held the fabric in place and covered the raw edges, so I removed these in order to release the fabric, after which I could pull it away from the hull and remove it. Access was tight at best; at the after end, I could barely fit in a hand and arm over the fiddle and with the minimal clearance beneath the deck.

I used the old liner to rough out the width of the new fabric. I decided to wrap a little of the fabric onto the shelf during installation, which I thought would look nice and finish off the area better.

After dry-fitting the new material and making adjustments and relief cuts as needed. I permanently installed it with spray adhesive. Clearance at the aft end was so tight that I had to spray the adhesive into a cup, then with maximum effort reach into the space with a brush to get some on the hull and fabric. Once the new material was in place, I reinstalled the trim at the forward end, but left off the aft trim since there was quite simply no way to install it, whether by hand nail (as original) or with an air tool, as the clearance was simply too tight. Fortunately, this trim wouldn’t be missed nor visible.


To wrap up work for the day, I applied another coat of varnish to the back side of the v-berth door.
Total time billed on this job today: 2.5 hours
0600 Weather Observation:
33°, mostly cloudy. Forecast for the day: rain, mixing with or changing to snow, 30s
Monday
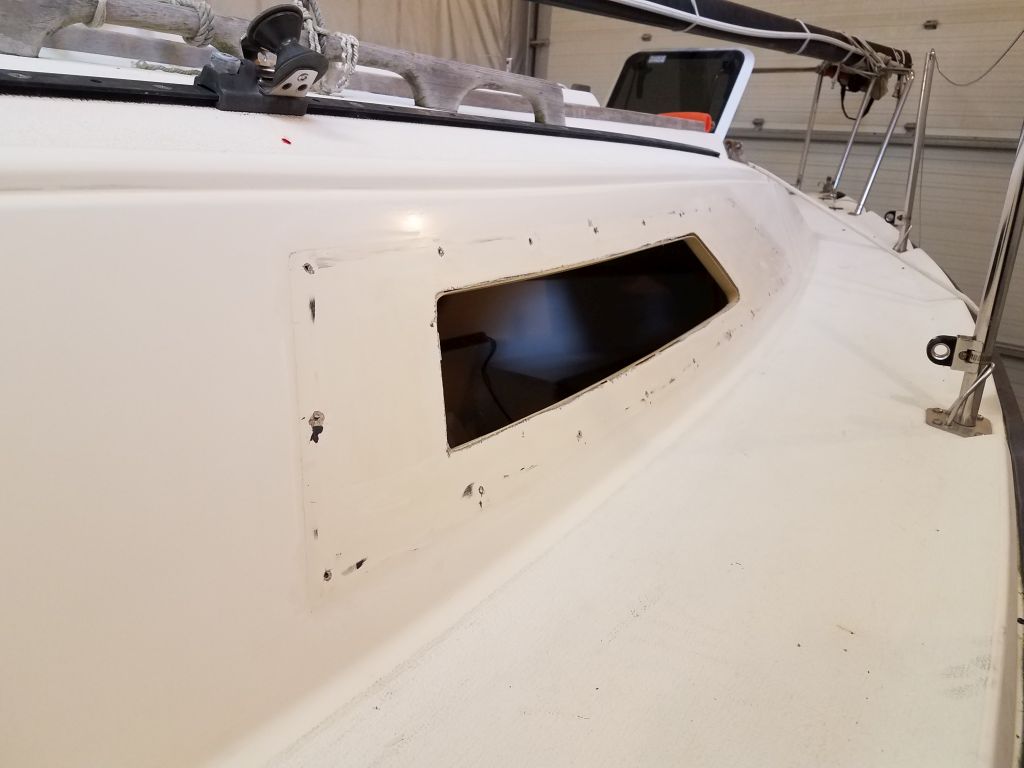
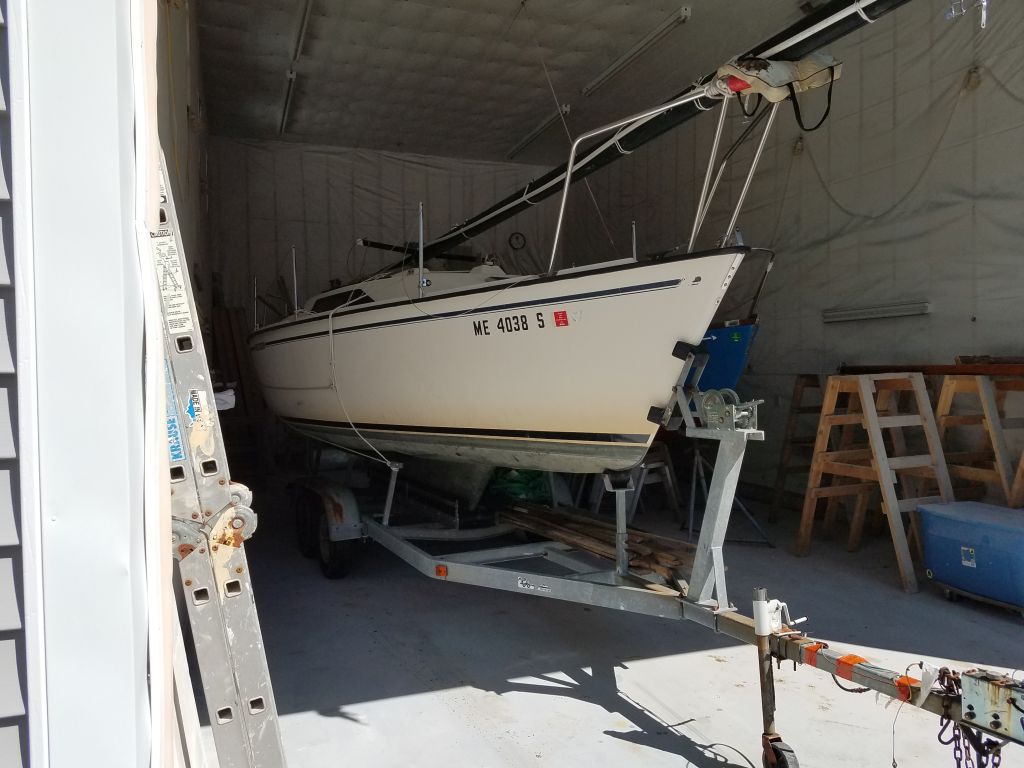
The owner delivered this boat to me back in the fall, at which point I covered the boat and stored it for the winter next to the shop. I’d done various upgrade and maintenance tasks to the boat a year earlier, and now the owner requested that I rebed the large windows, which were leaking badly. In addition, he mentioned that the chainplates–which I’d rebedded during the earlier phase–were also leaking again, at least in part because the screws securing one of the cover plates hadn’t held, allowing this plate to pull up.
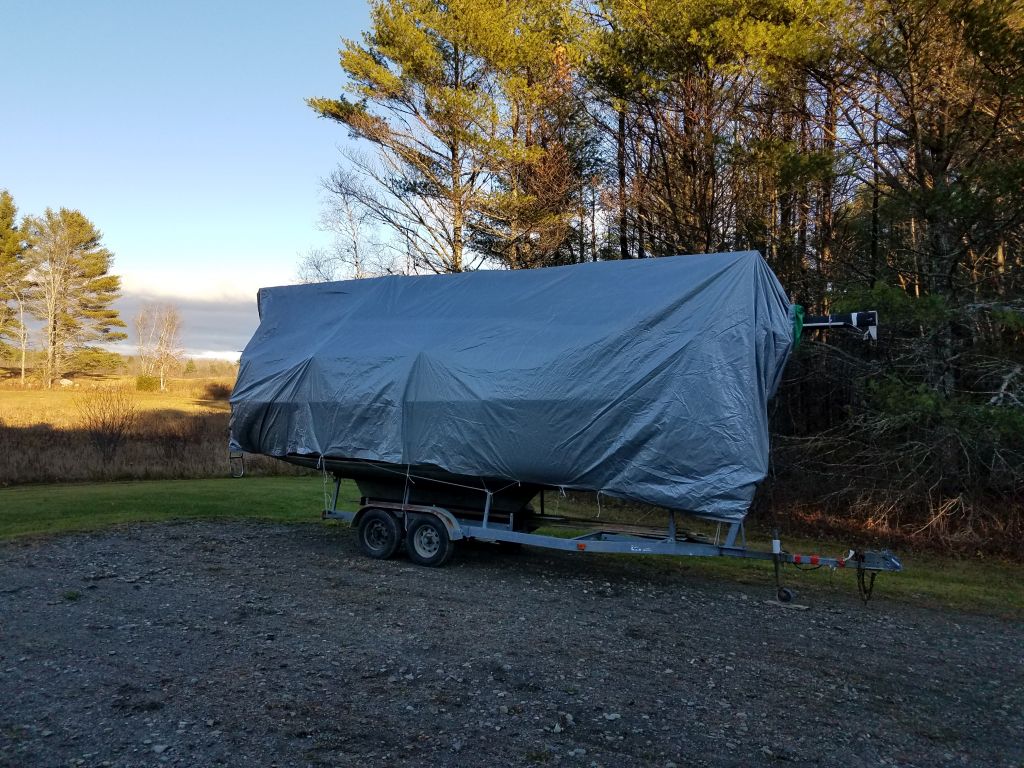
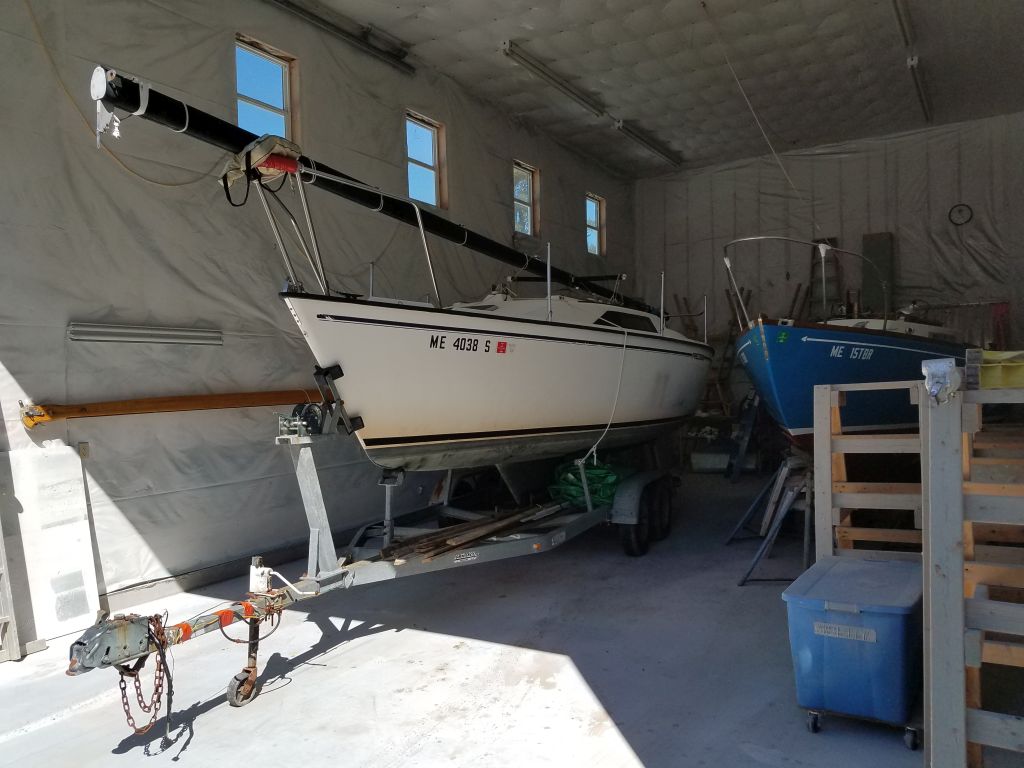
A few days earlier, during a brief stretch of good weather, I’d pulled the boat from its storage area, taking advantage of warmer weather to release the trailer tires from the mud into which they’d sunk. Now, I removed the cover and frame that I’d installed in the fall, and moved the boat into the shop, where I’d recently made room. It was a tight-ish fit considering I wanted to leave room to work on the windows on each side, but it was workable.

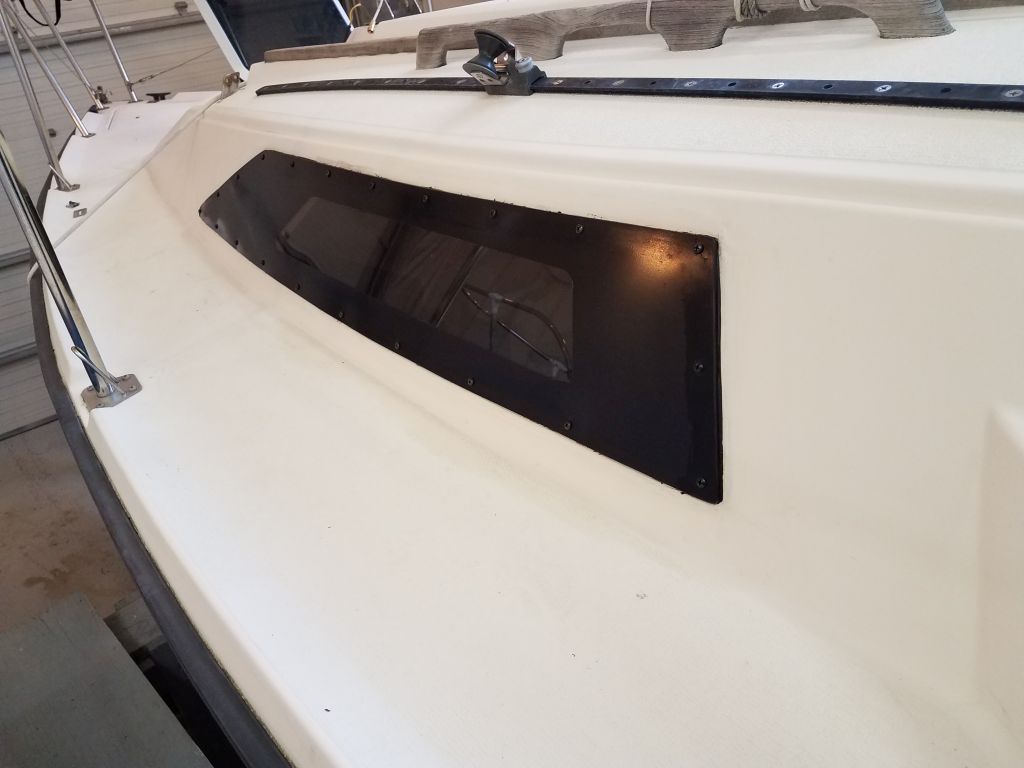
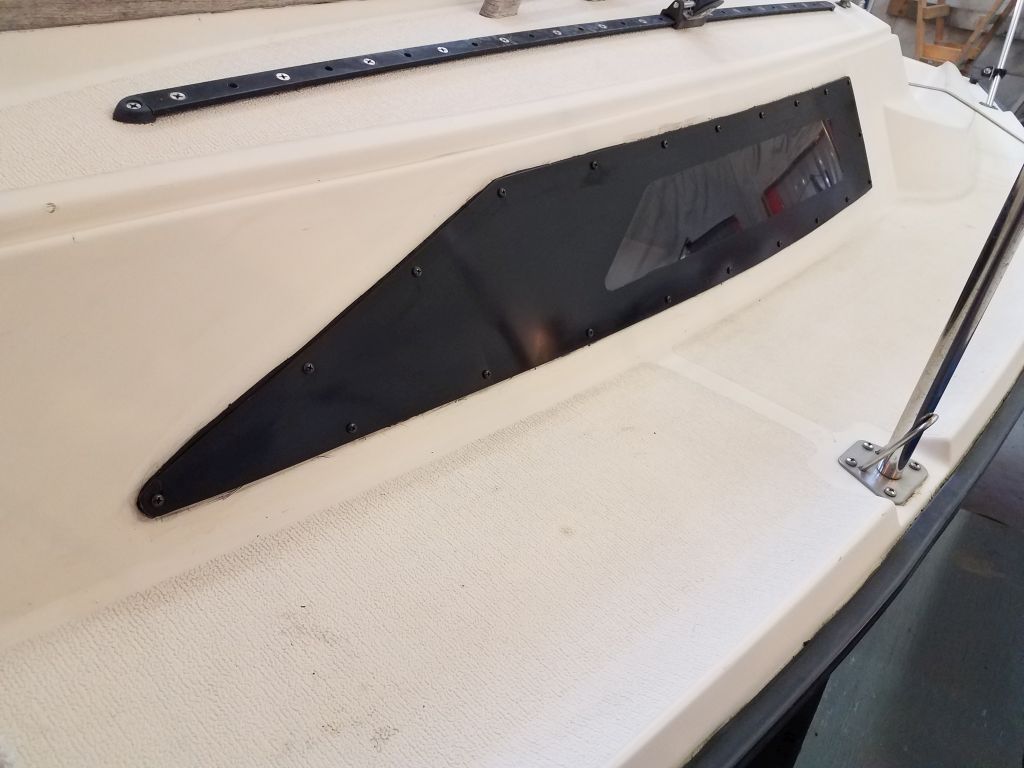
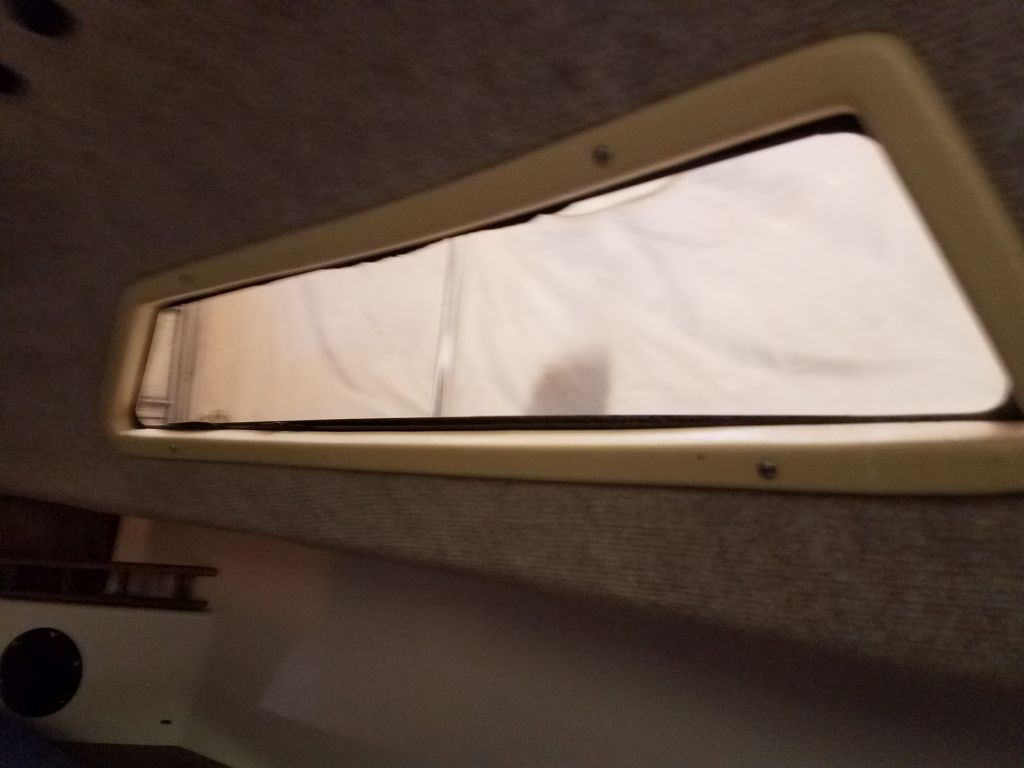
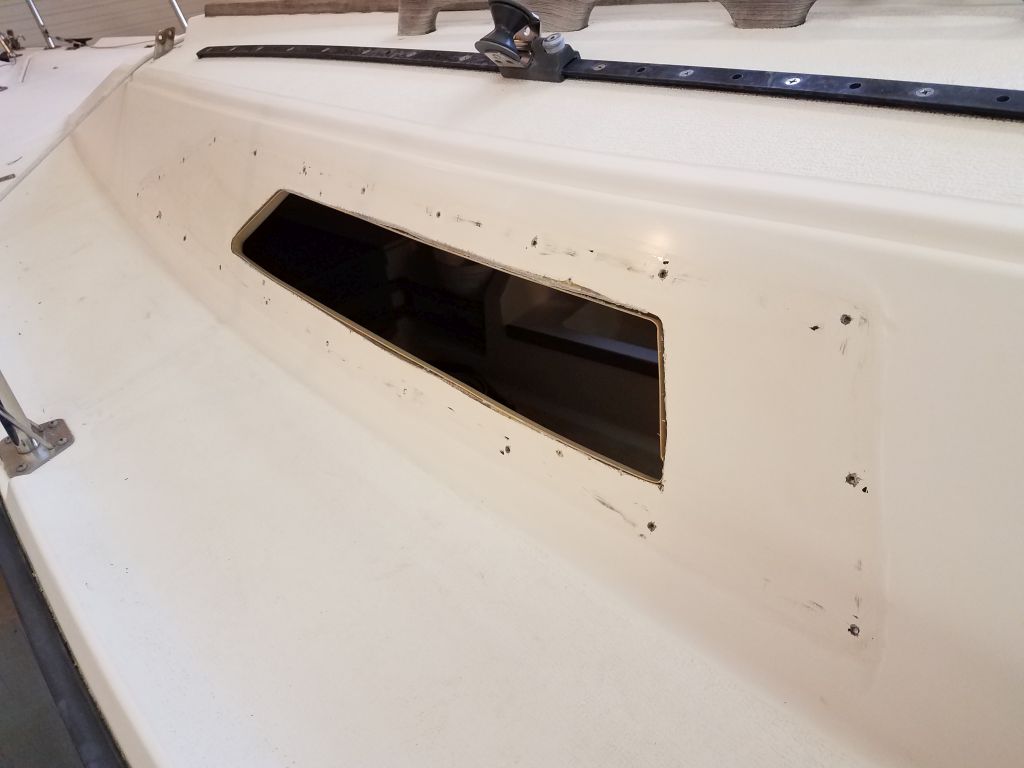
With staging set up alongside, I turned to the windows. Particularly on the port side, it was easy to see why the windows might leak, as the sealant appeared inconsistent, and, viewing the port from an angle, I thought I saw light between the plastic and the cabin side. The large tinted window was secured from the outside with screws, and was substantially larger than the actual opening in the cabin side, presumably for the sake of a certain outward appearance. The outer portion of the plastic was coated with paint outside of the actual window opening, and overall the plastic itself looked to be in good condition; I thought I might be able reuse it unless some clear reason came up why I couldn’t.
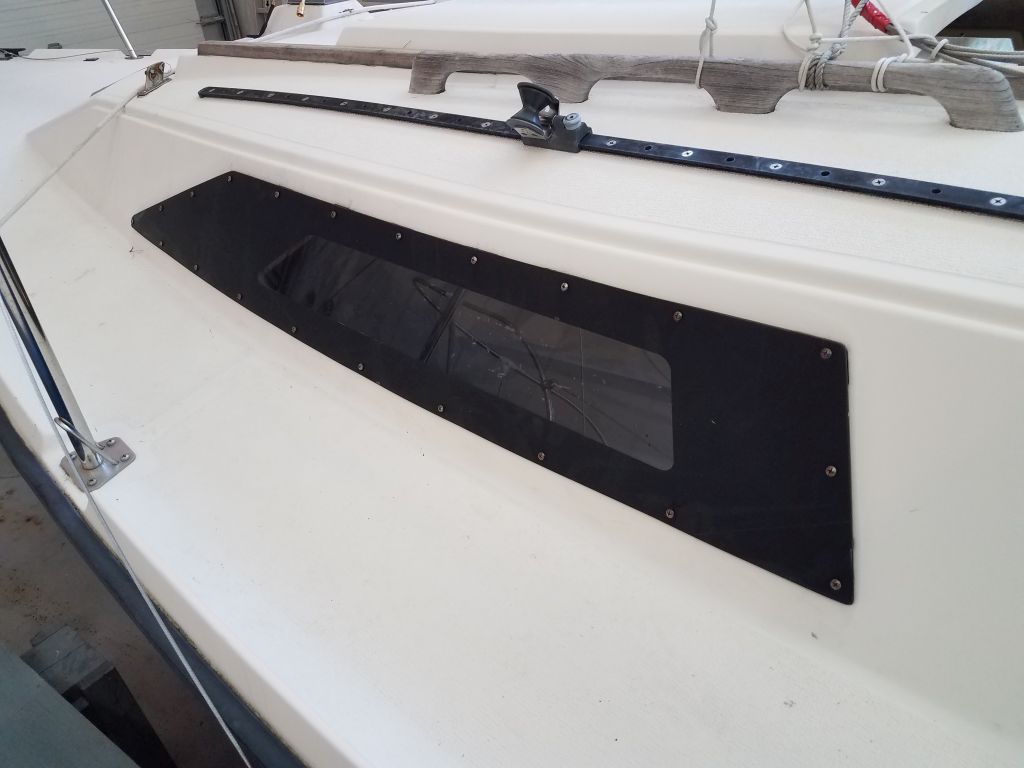


Continuing in the port side, I removed the screws and then the window itself. The window came off easily, and seemed barely sealed in place.
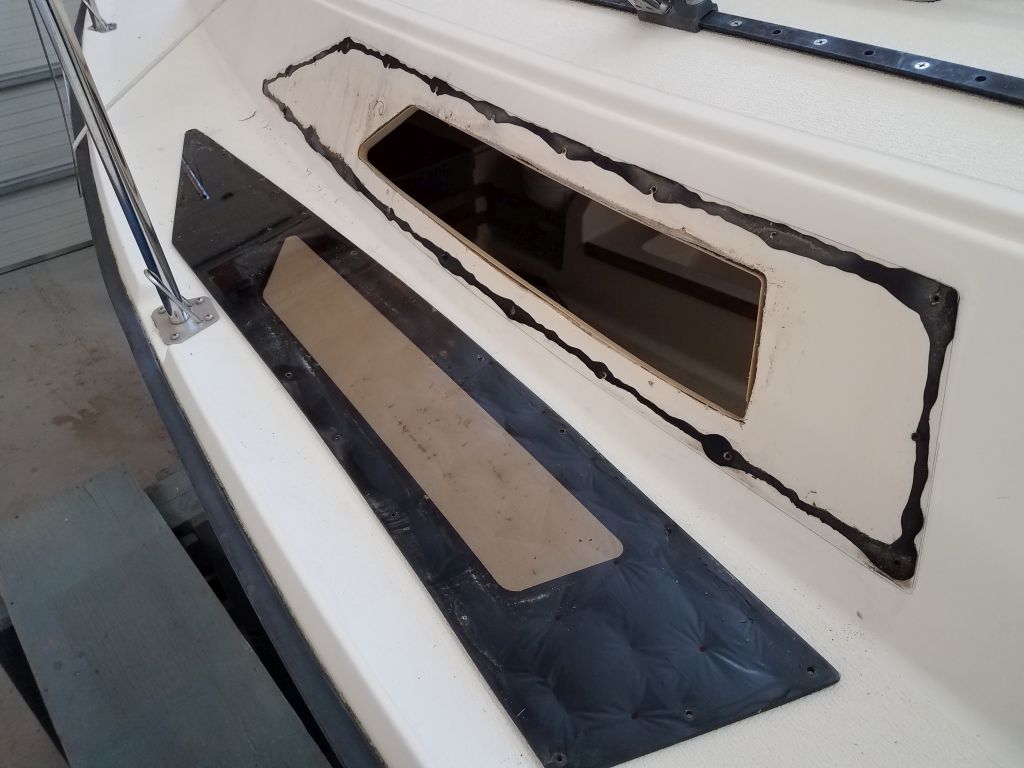
I repeated the process on the starboard side, where I found that the plastic was definitely much better-adhered than on the port side, but still I had little trouble removing the window intact.


The starboard window had some pre-existing cracks emanating from a couple of the screw locations, and for the moment I reserved judgement whether it would be reusable or not. For the moment, I ordered some materials I knew I’d need either way–black sealant and replacement screws–and would forge ahead next time.
Total time billed on this job today: 2.5 hours
0600 Weather Observation:
21°, clear. Forecast for the day: sunny, 40s
Monday
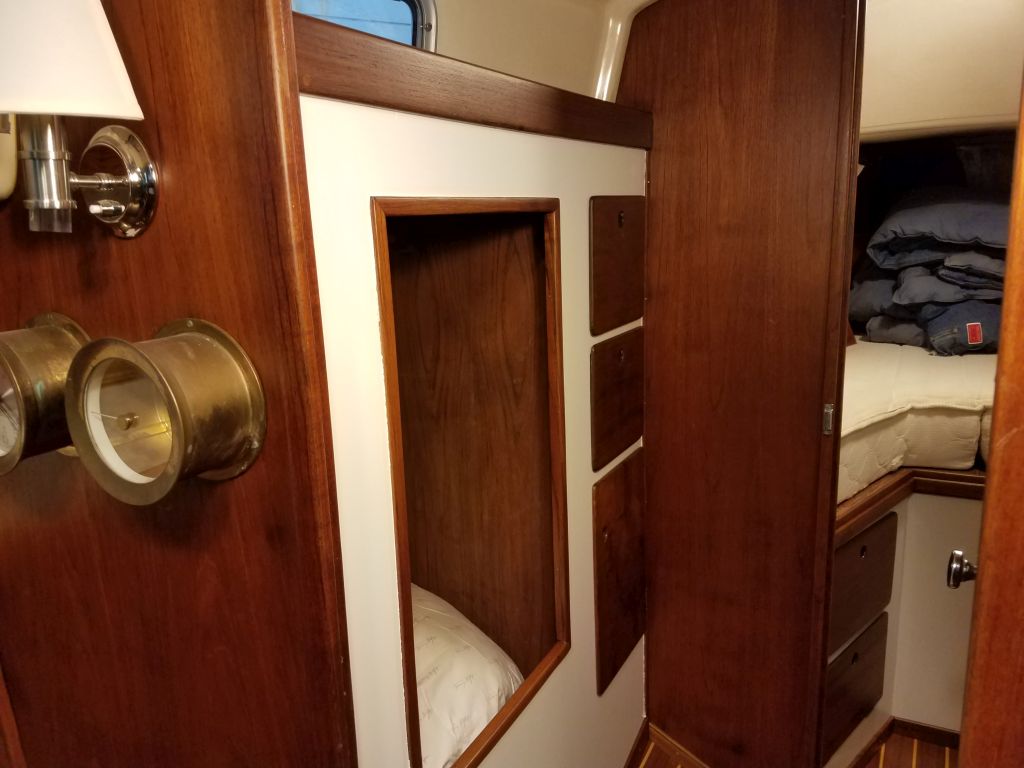
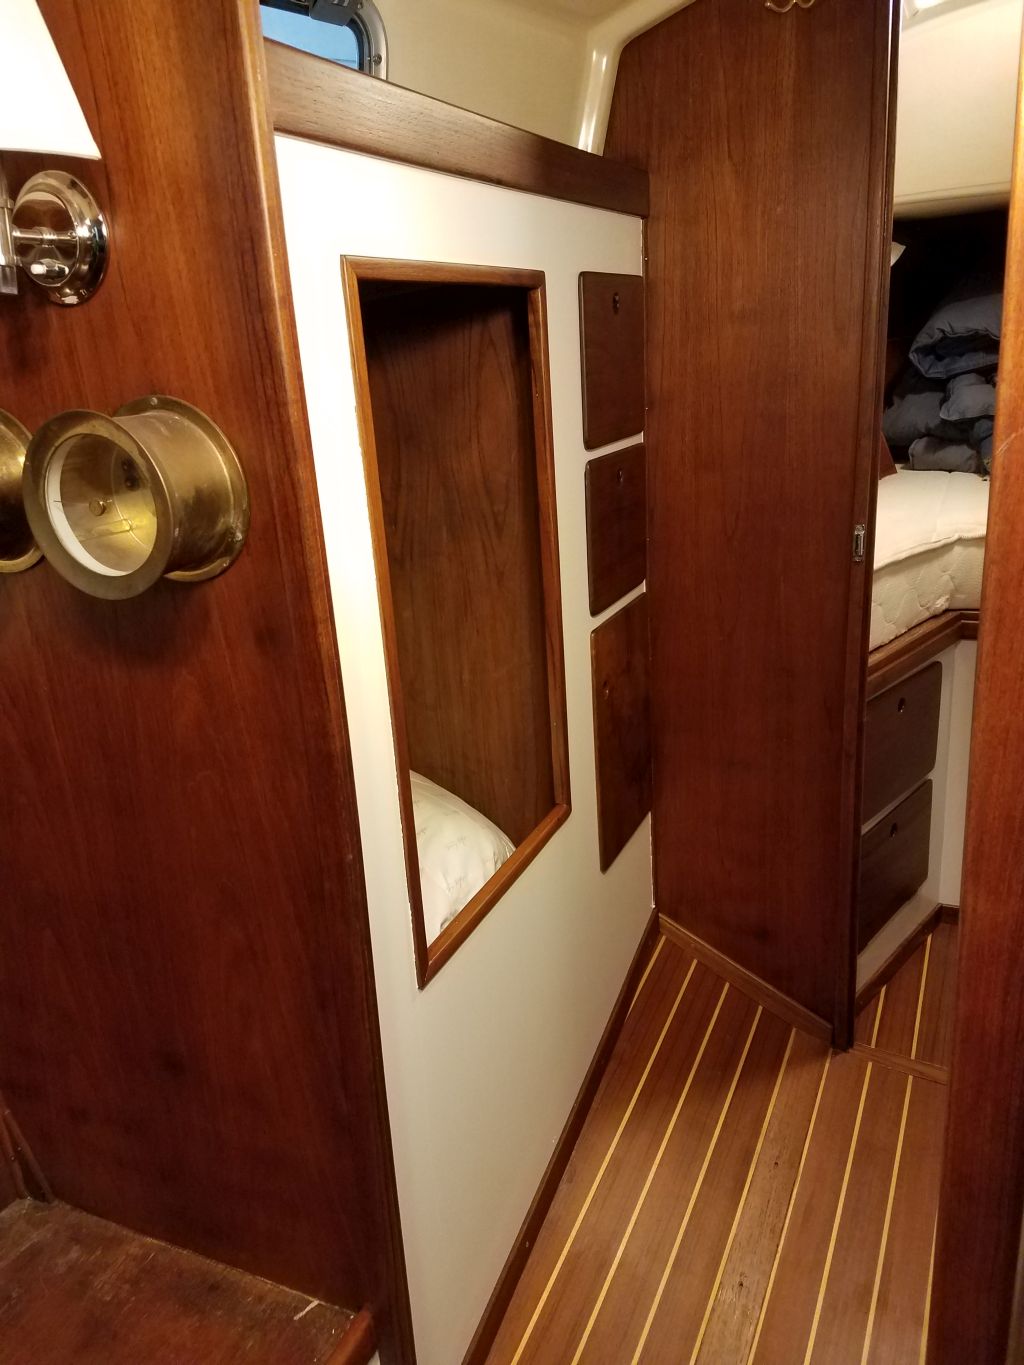
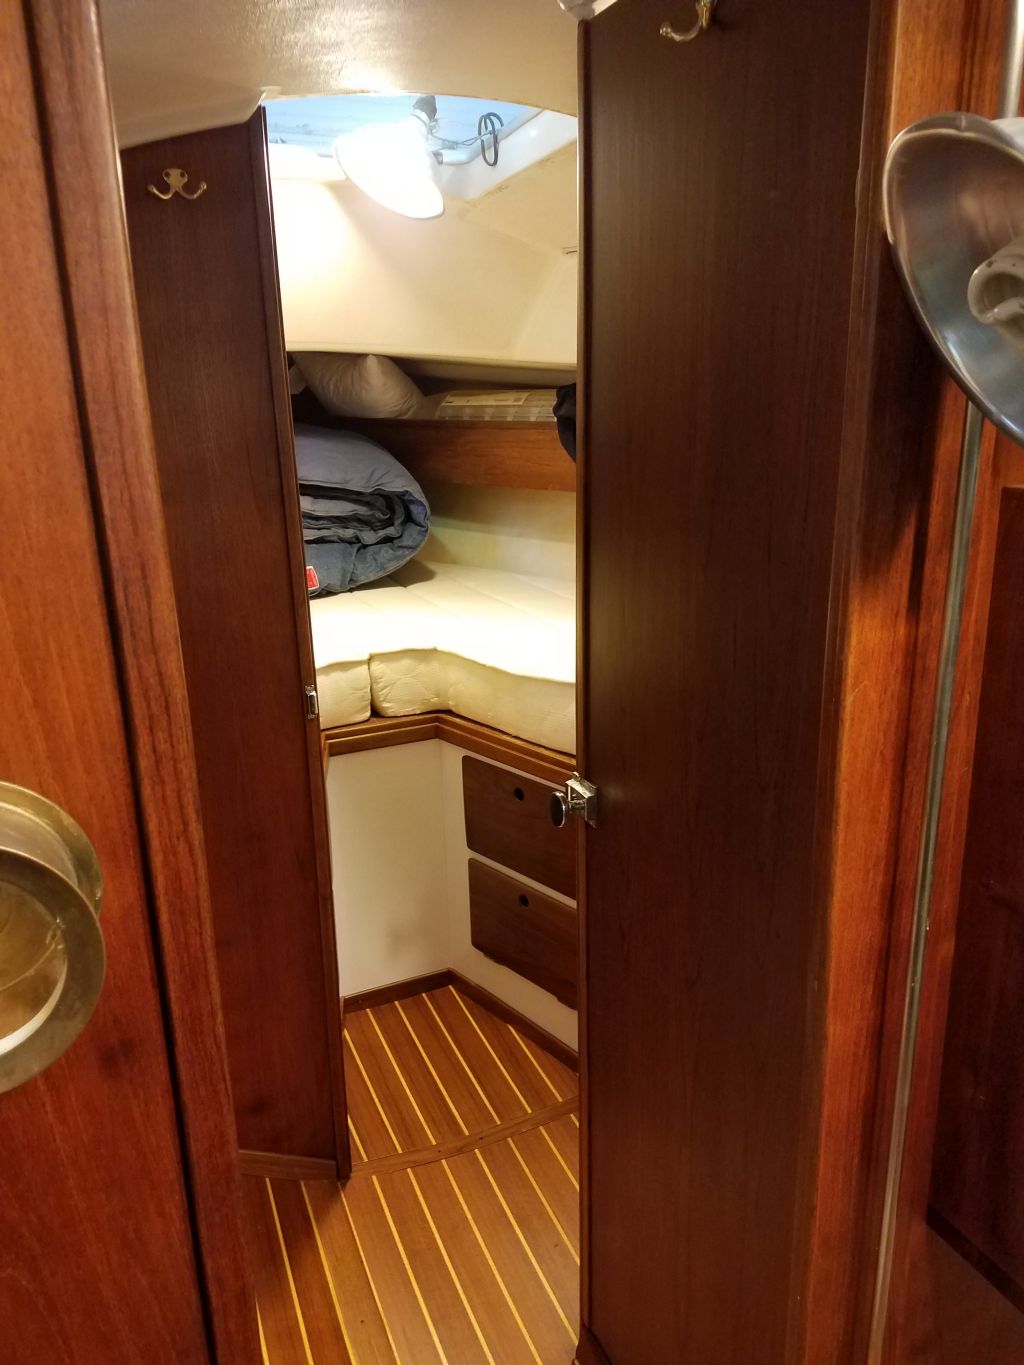
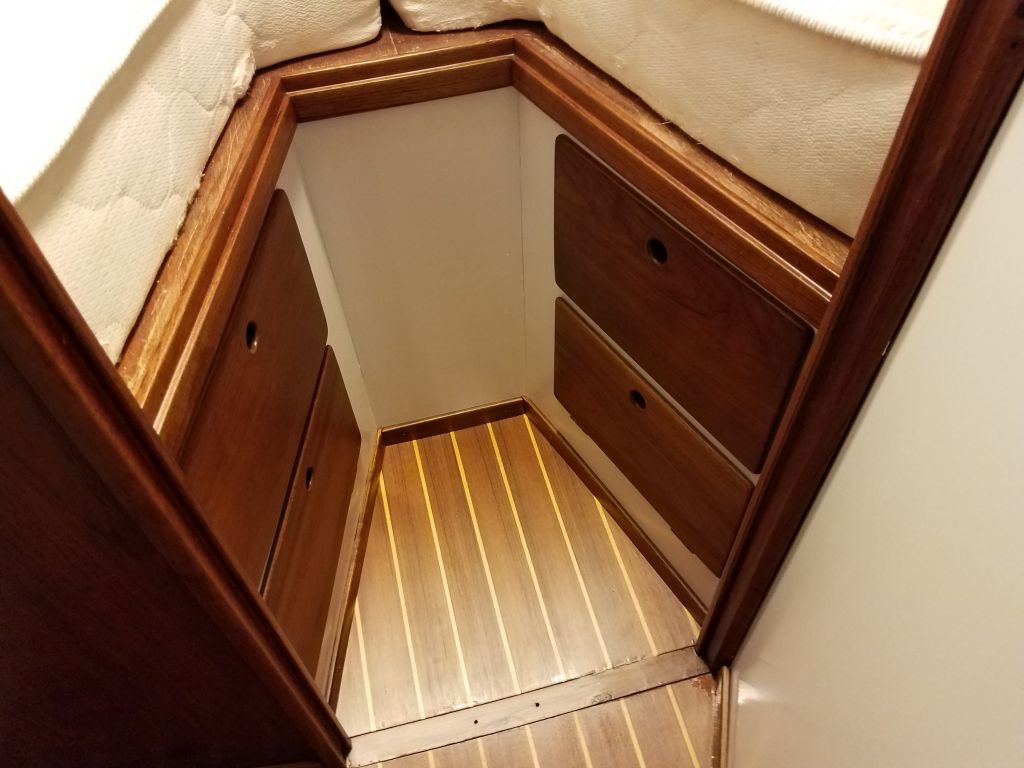
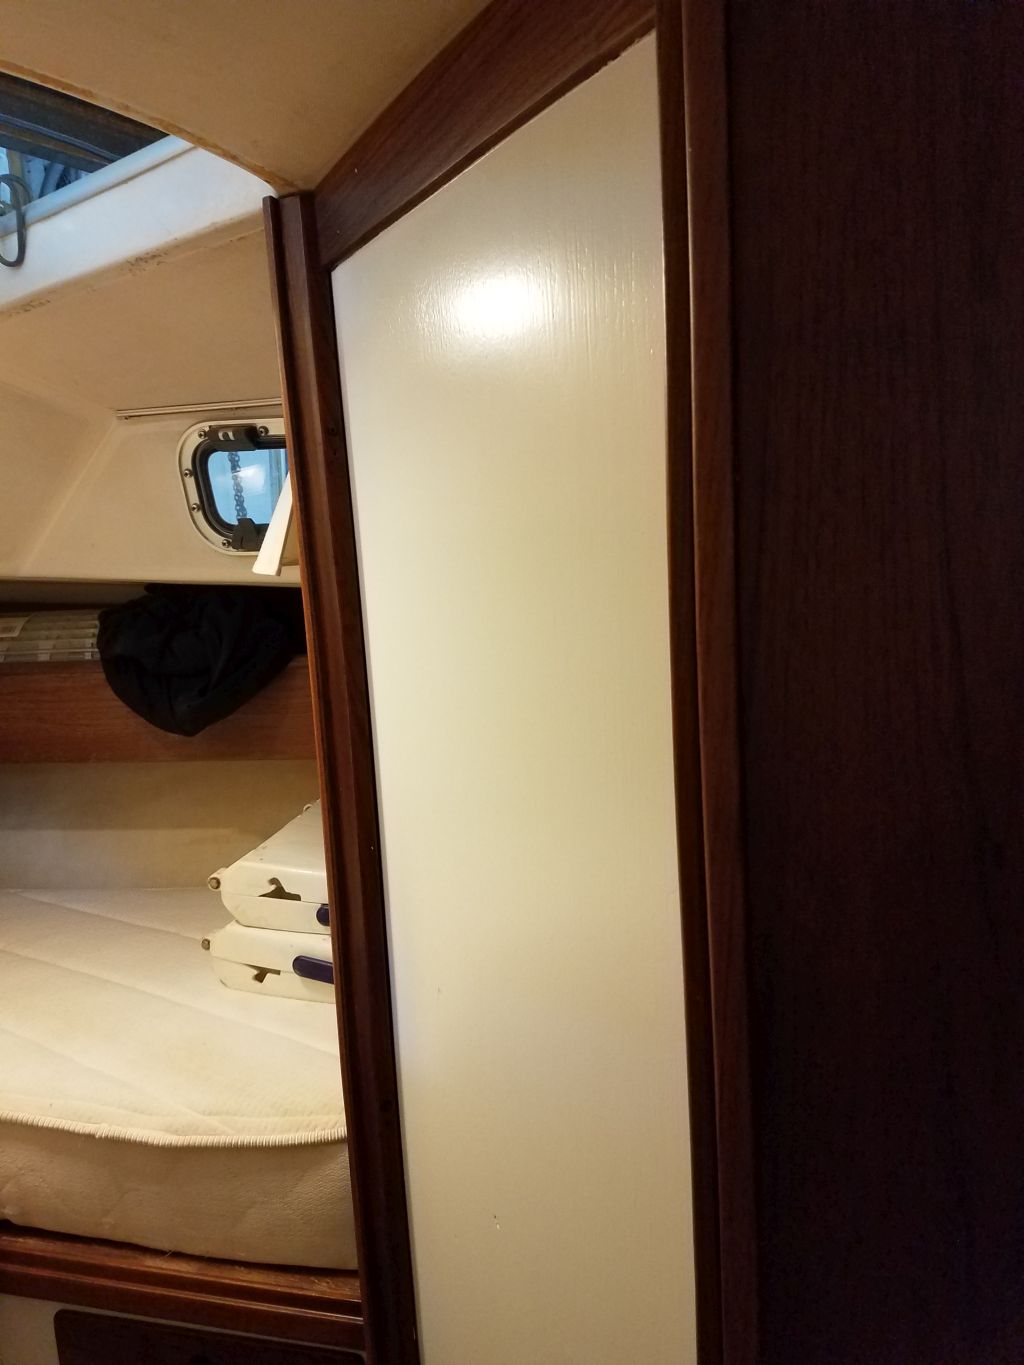
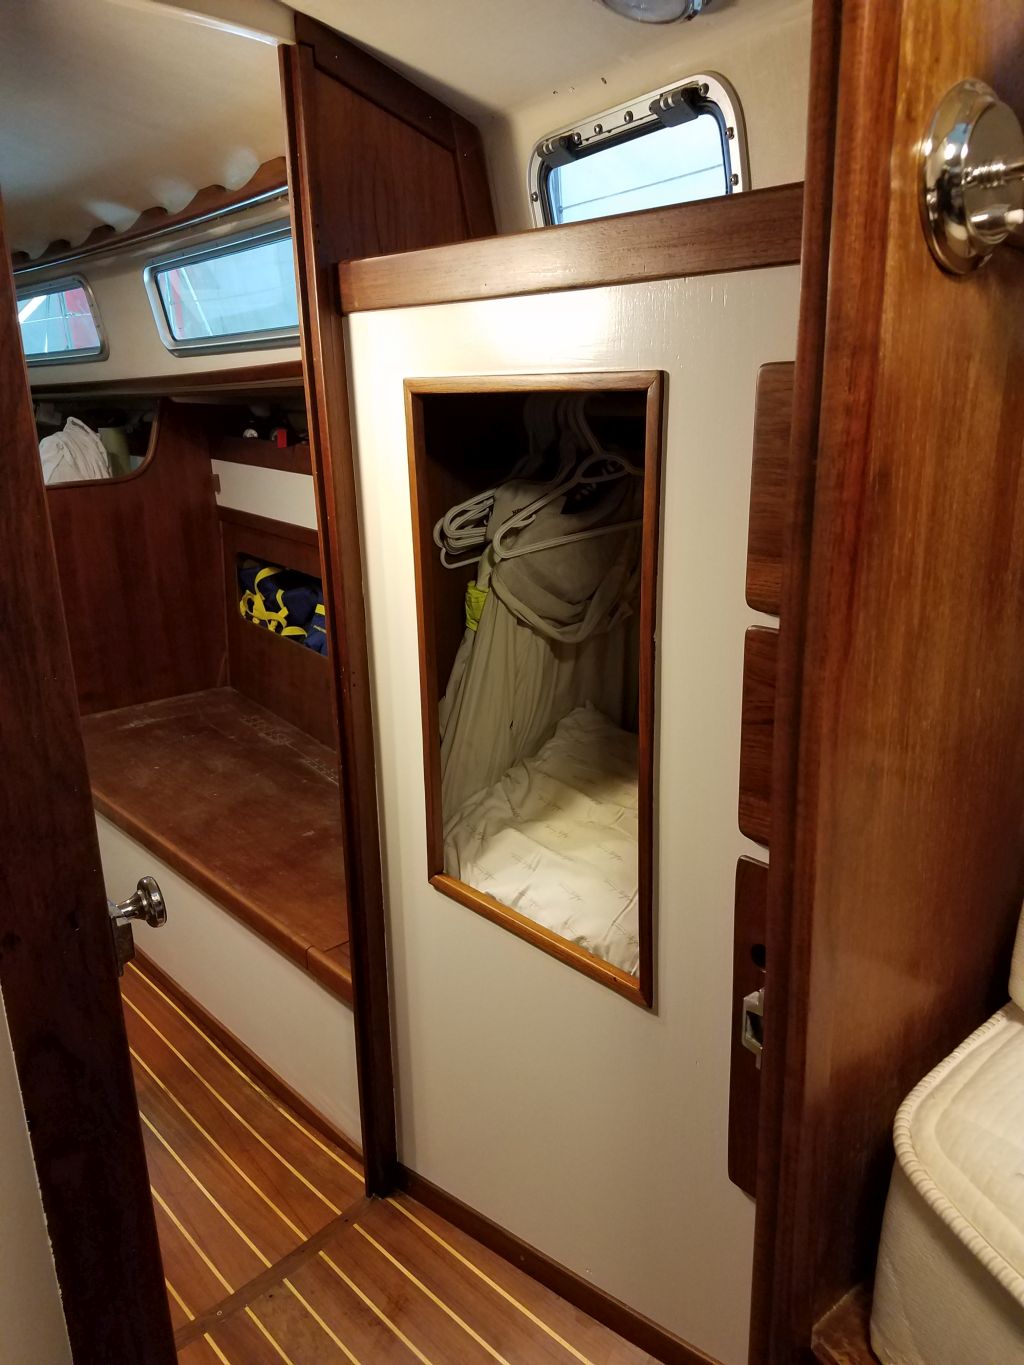
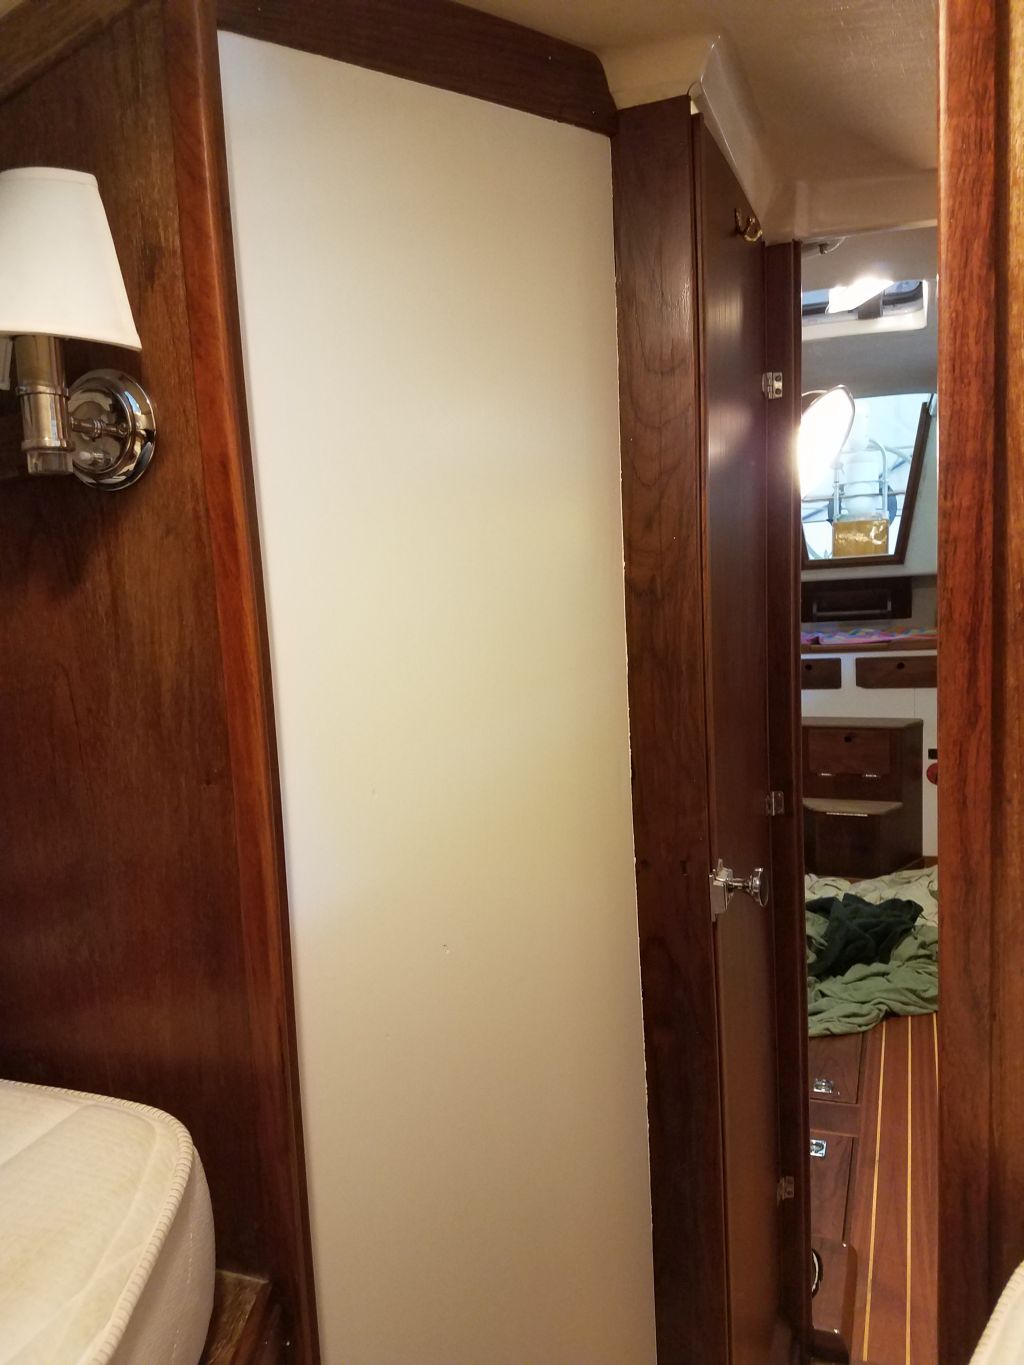
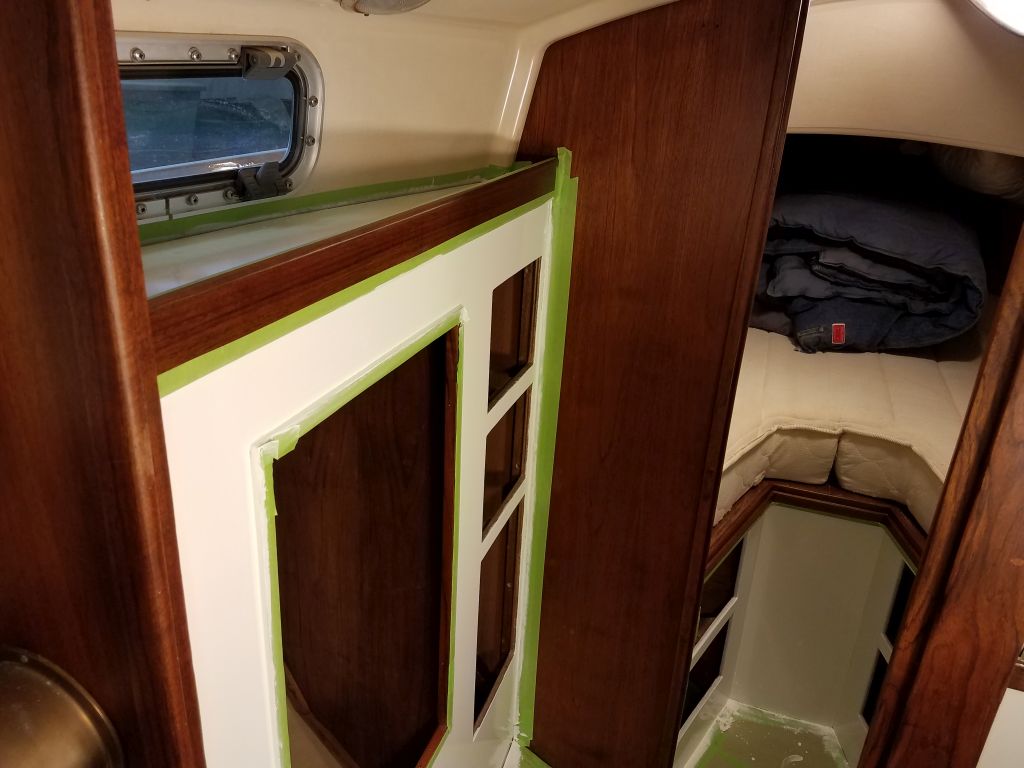
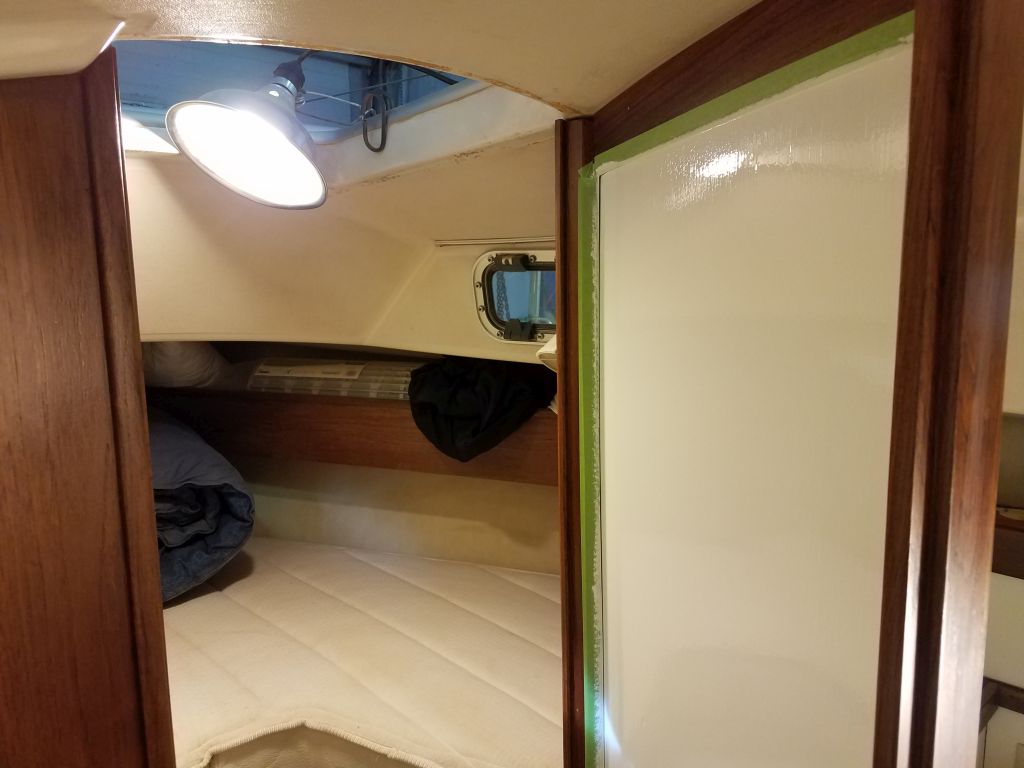
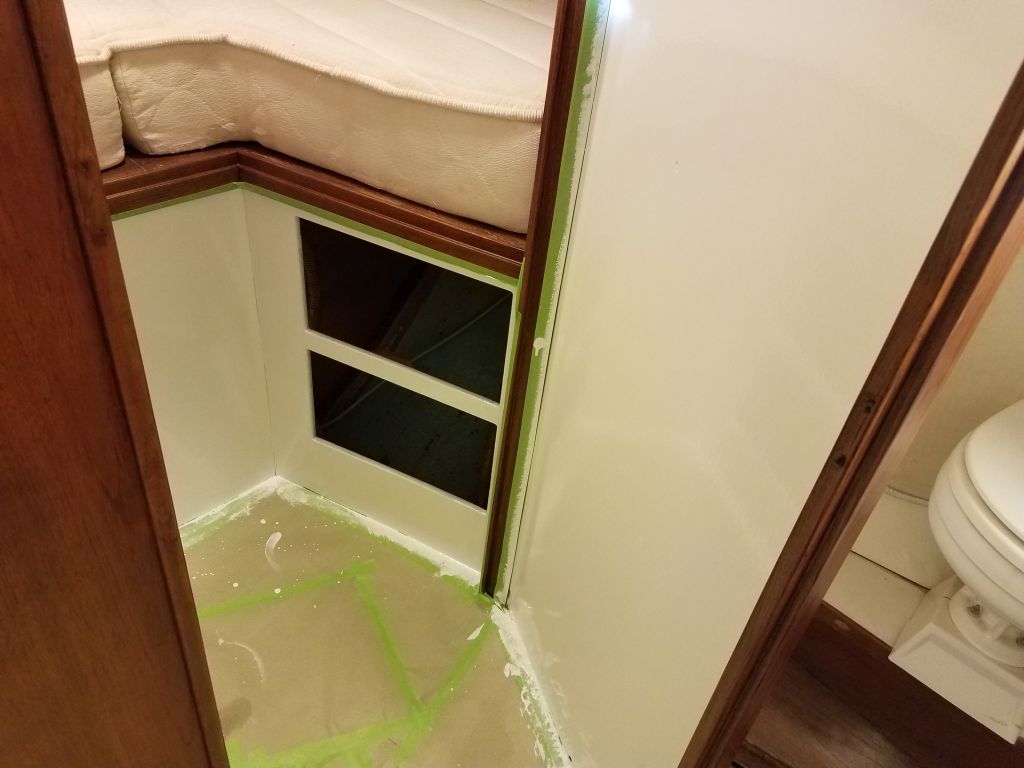
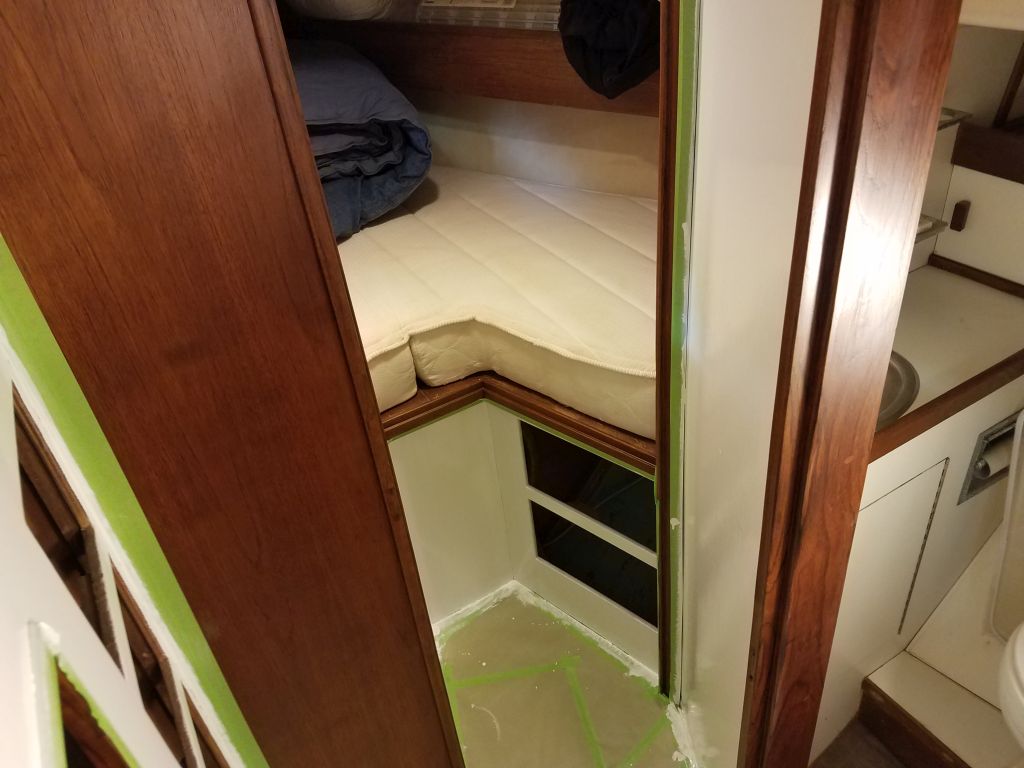
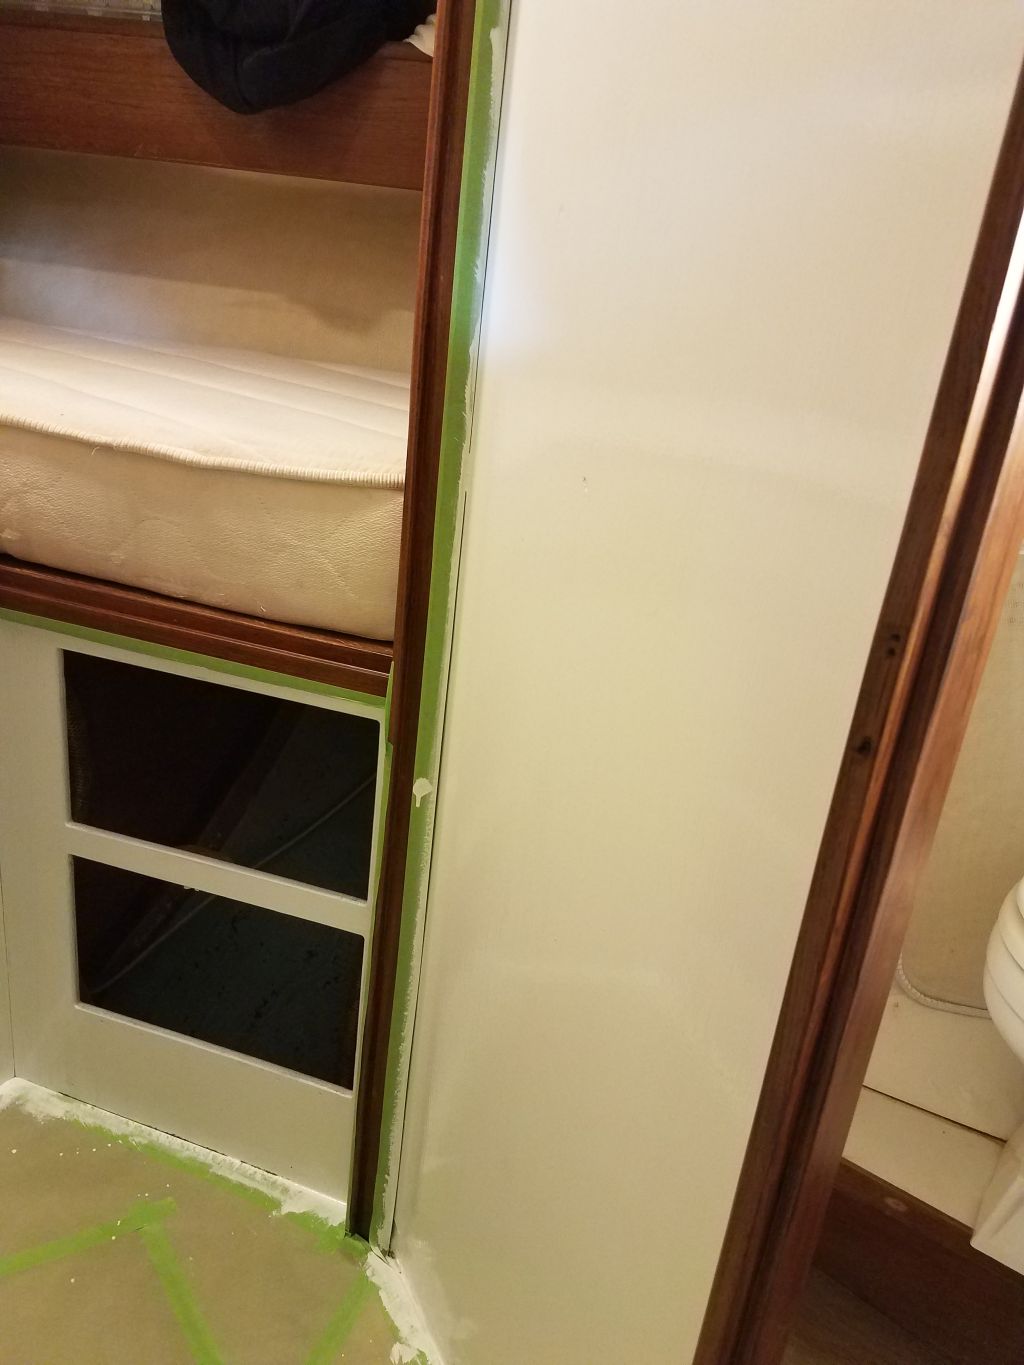
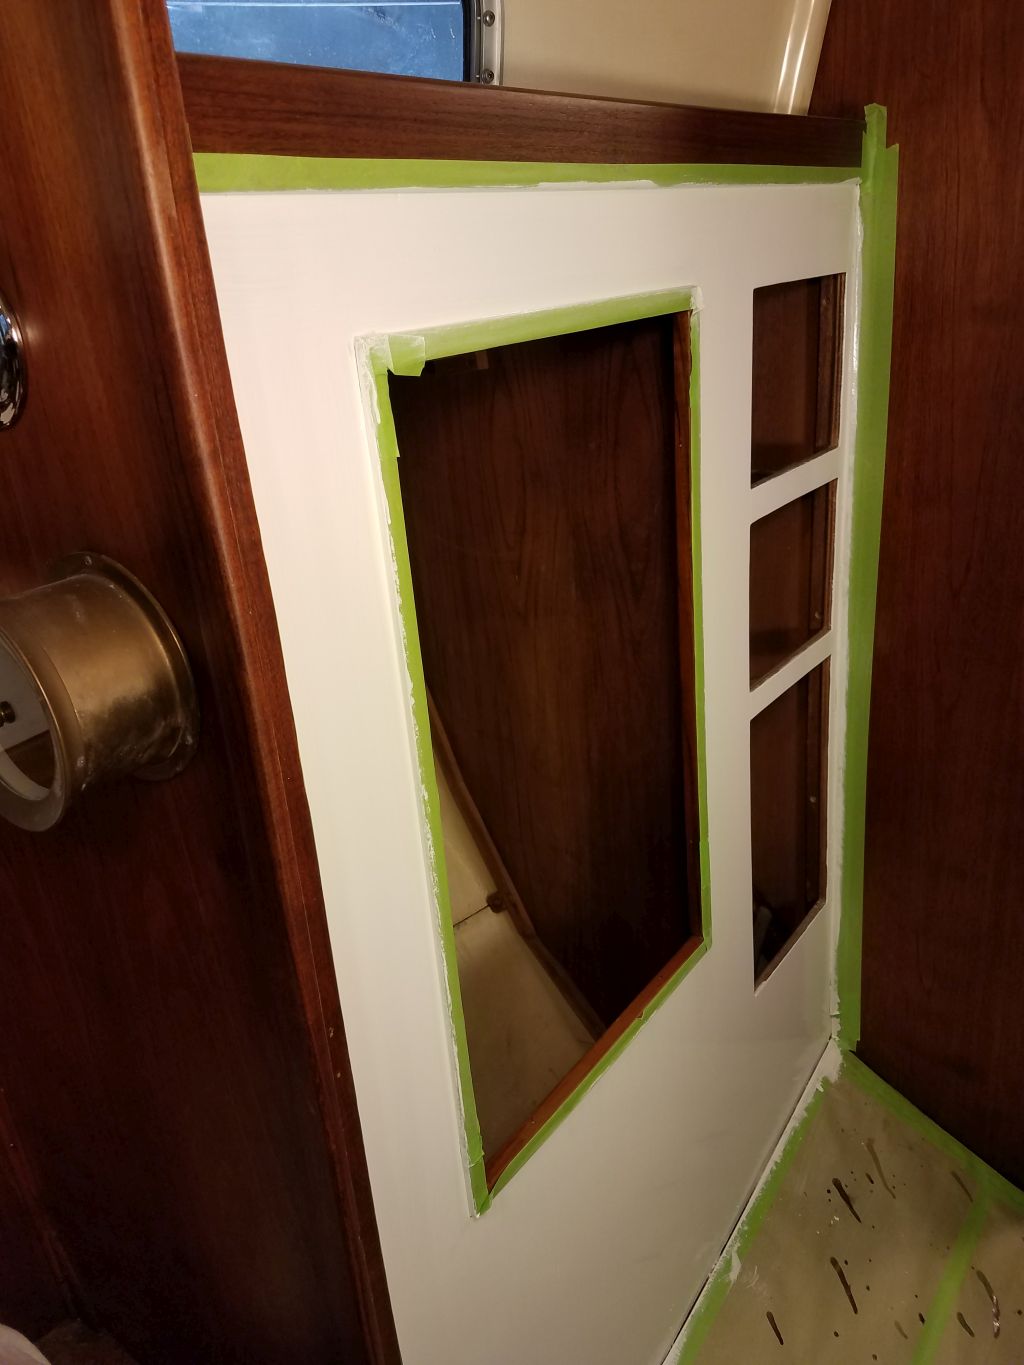
Now that the paintwork in the passageway and forward cabin was complete, I unmasked the area and then reassembled the various doors, hinges, and trim to complete the work.


The owners requested a curtain to close off the saloon from the forward cabin, and this was underway at the canvas shop. To hang the curtain, I installed a simple curtain rod made from stainless steel rod with simple removable ends.

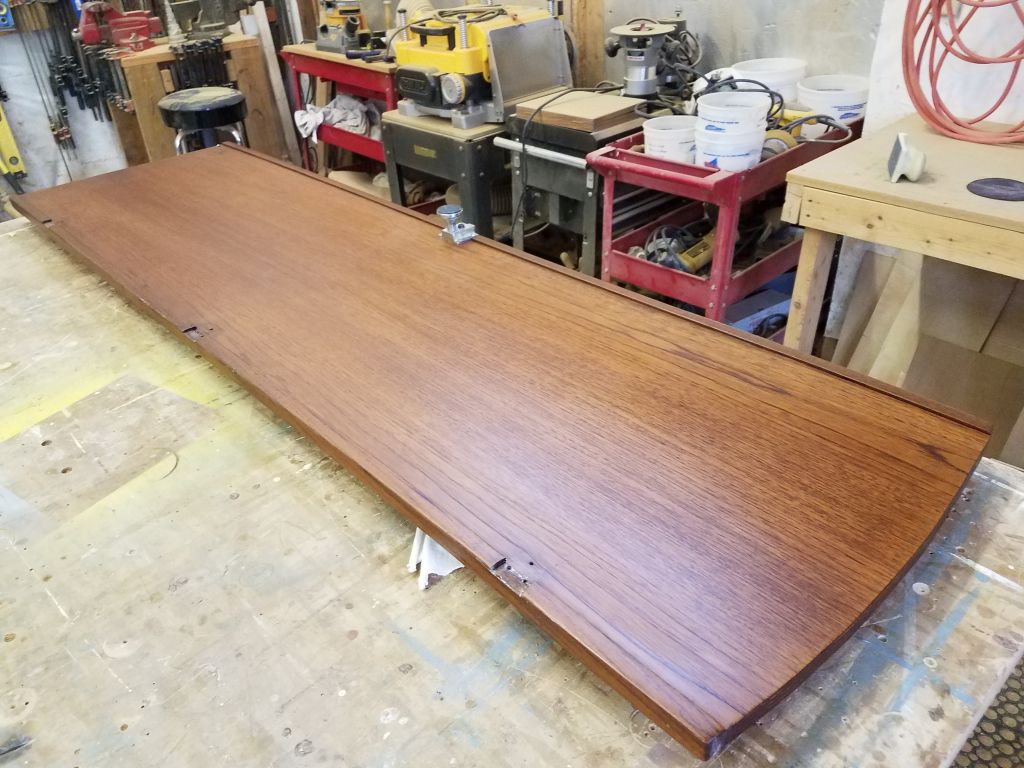
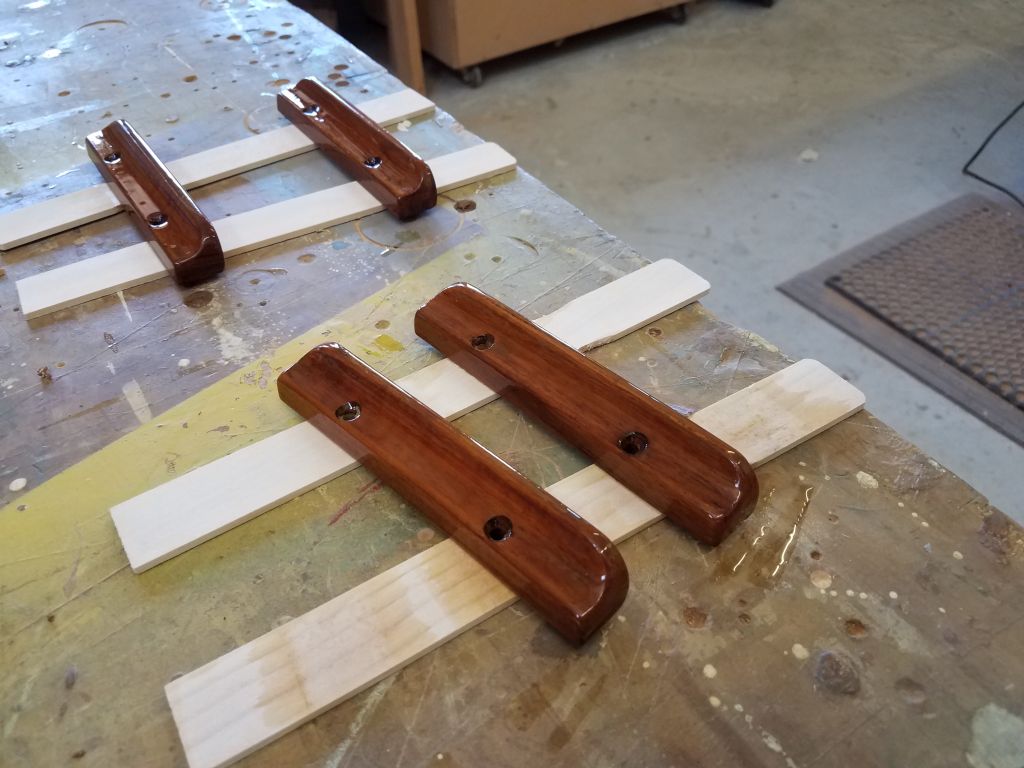
The door leading to the vee-berth had a second side that required the full varnish program (the head door had wood veneer on only one side, with Formica on the inside), so with the first side now complete and cured, I turned over the door to begin the work on the second side with a sealer coat of varnish. I also applied the first of a few coats to the little handles that came off the settee backrest cushions while these were being reupholstered.
Total time billed on this job today: 2.5 hours
0600 Weather Observation:
21°, clear. Forecast for the day: sunny, 40s
Friday
It was tough to come up with flowery prose to describe such a simple set of tasks on this day, so I thought I’d try a simple list:
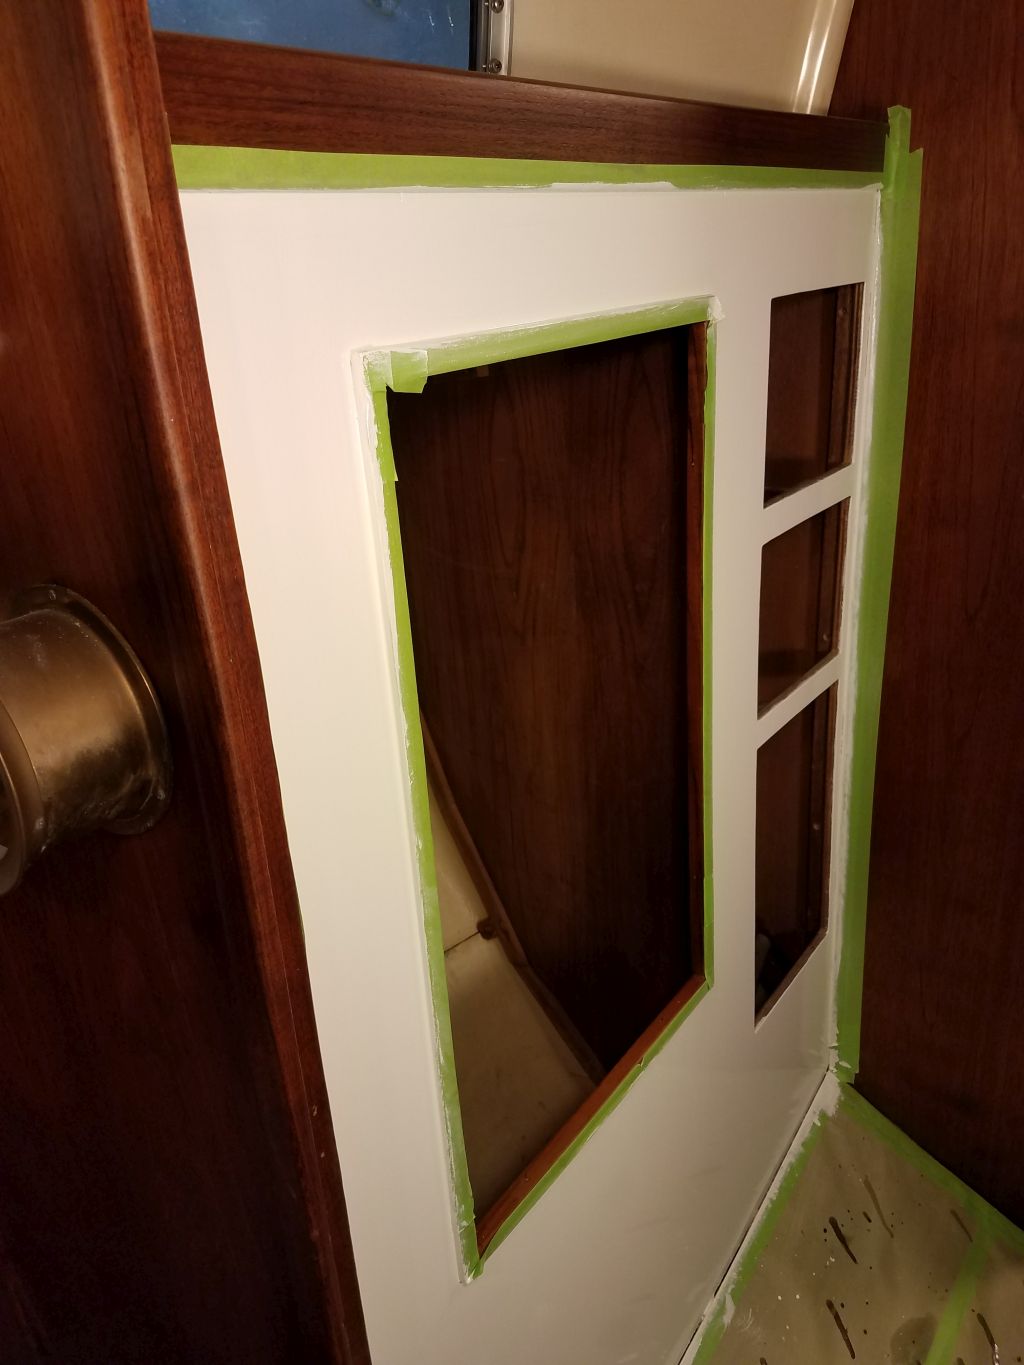
1. Lightly sand the fresh paint in the cabin
2. Clean up
3. Apply second coat of semi-gloss enamel.
4. Watch paint dry.

Total time billed on this job today: 1 hour
0600 Weather Observation:
23°, mostly clear. Forecast for the day: sun and clouds, 40.
Thursday
I lightly sanded the fresh primer in the cabin, then vacuumed and solvent-washed the area. Afterwards, I applied the first of a couple coats of semi-gloss white enamel.


Total time billed on this job today: 1.5 hours
0600 Weather Observation:
32°, clear. Forecast for the day: sunny, 40s
Wednesday
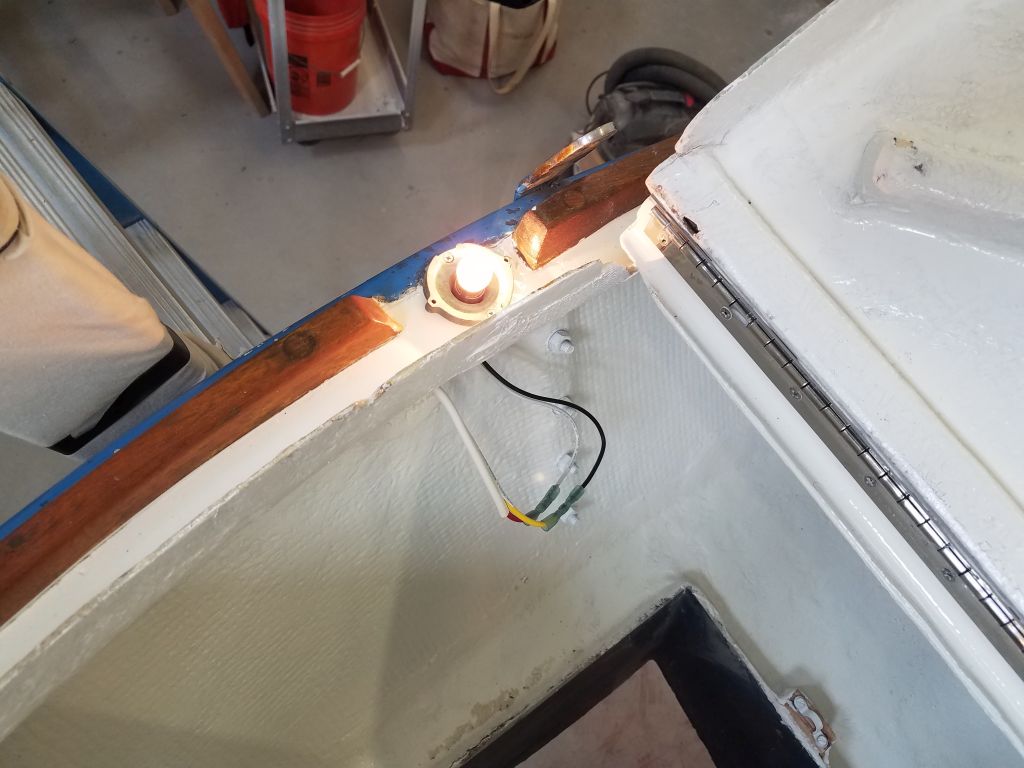
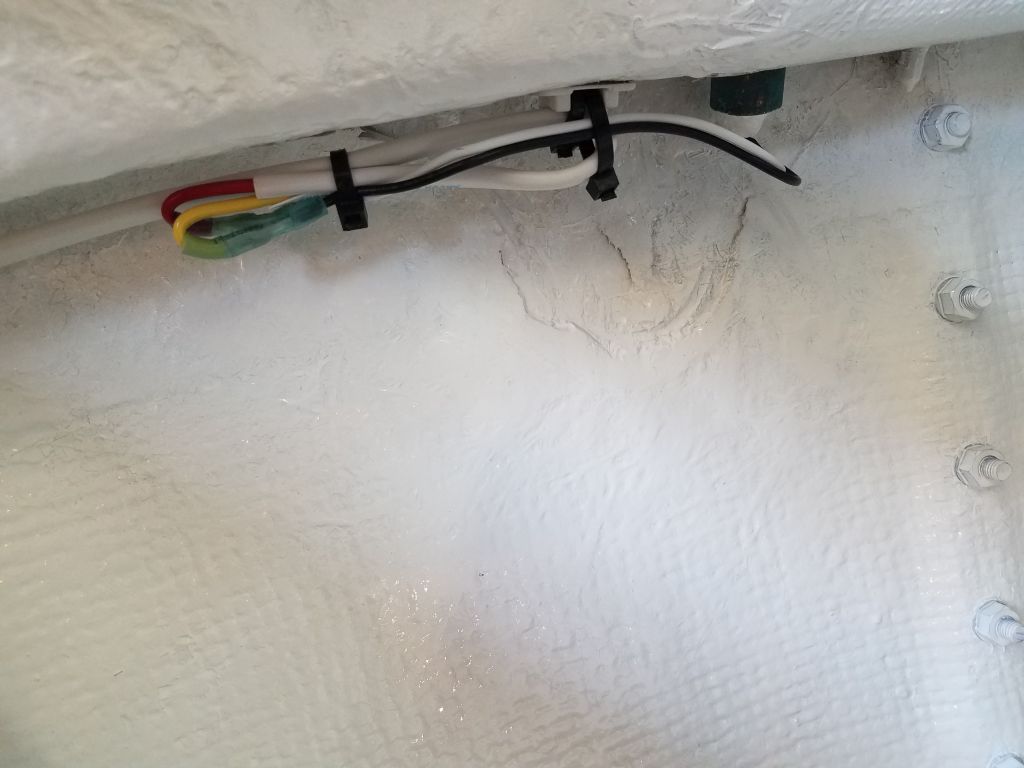
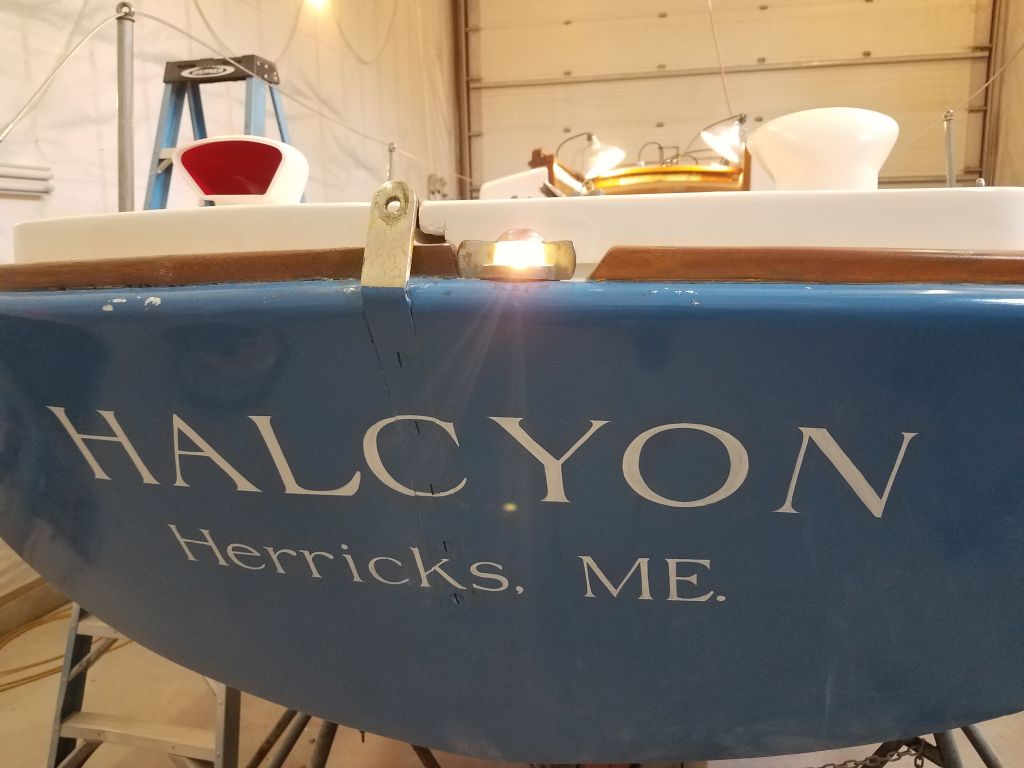
The revamped stern light was all set and ready to go, so I finalized the installation, reinstalling the fixture in its original hole at the transom and making up the wiring connections.
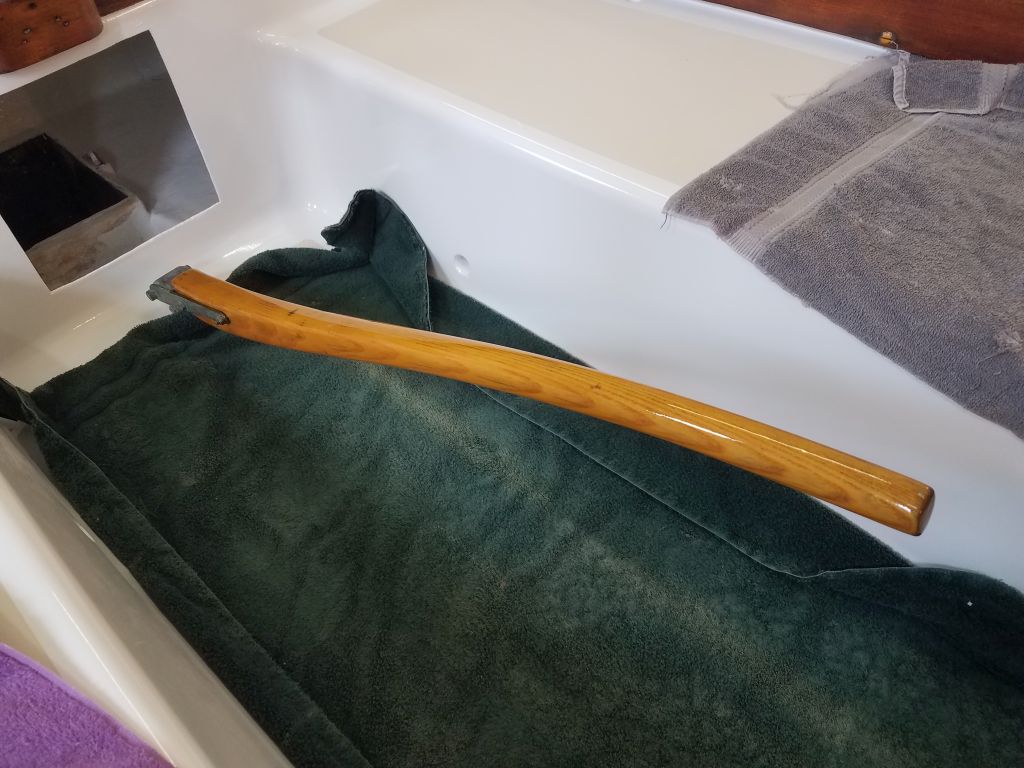
While working on the mast earlier, I’d also taken the opportunity to apply maintenance coats of varnish to the tiller, and now it seemed the best place to store it was back in place in the cockpit.
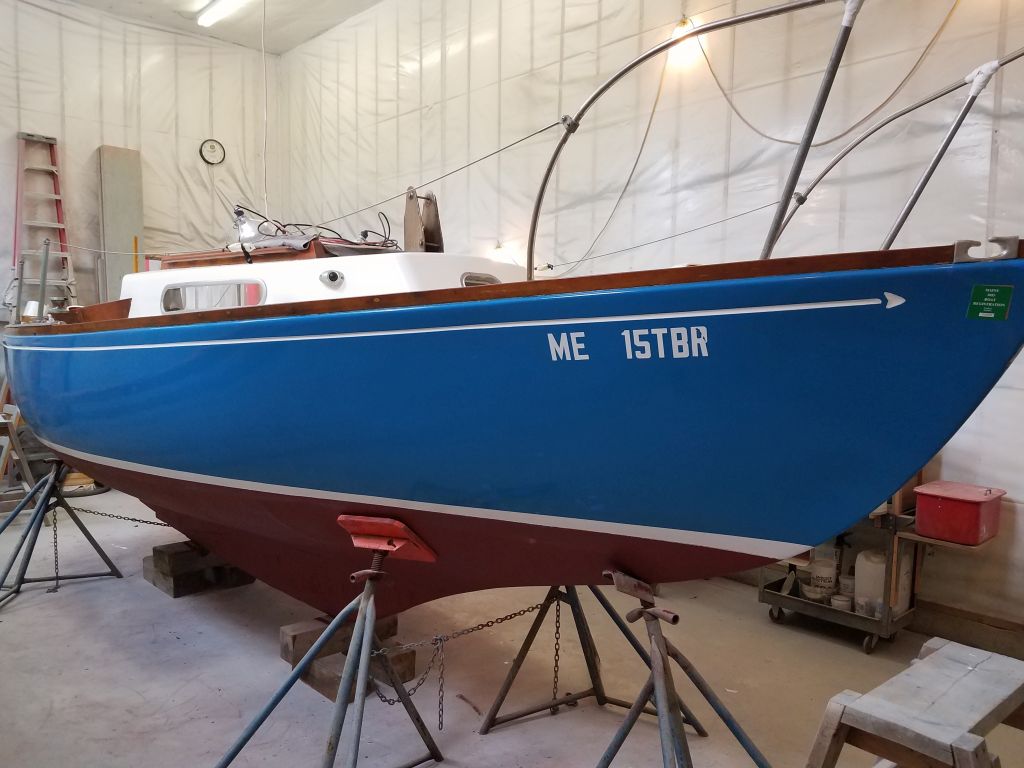
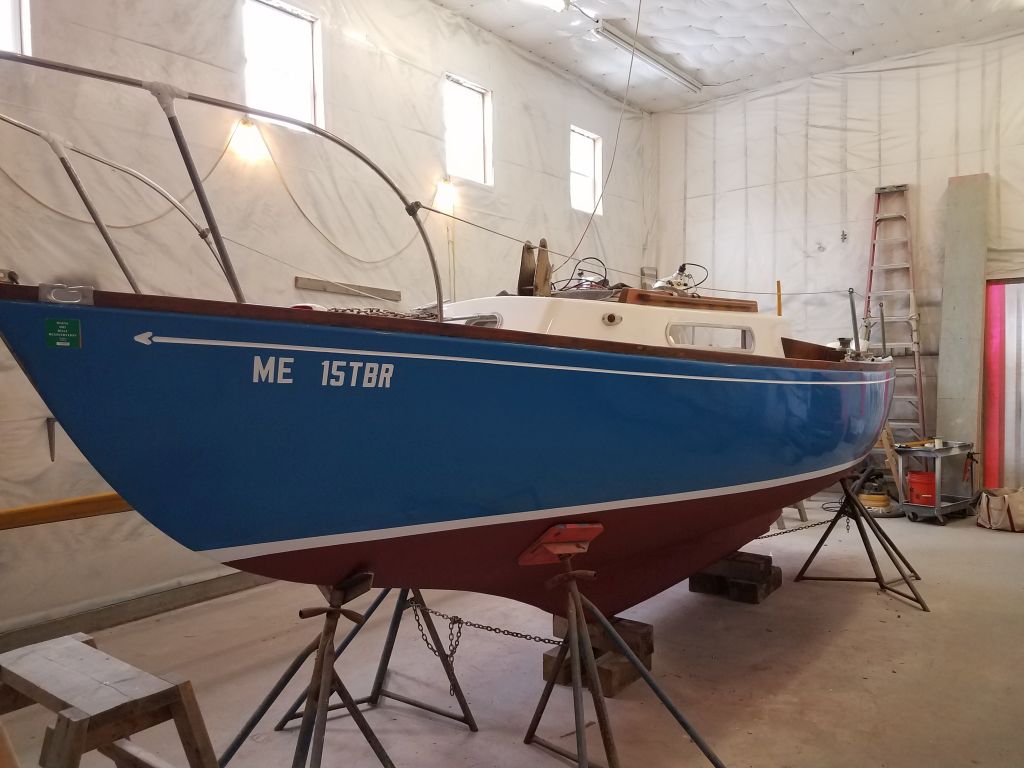
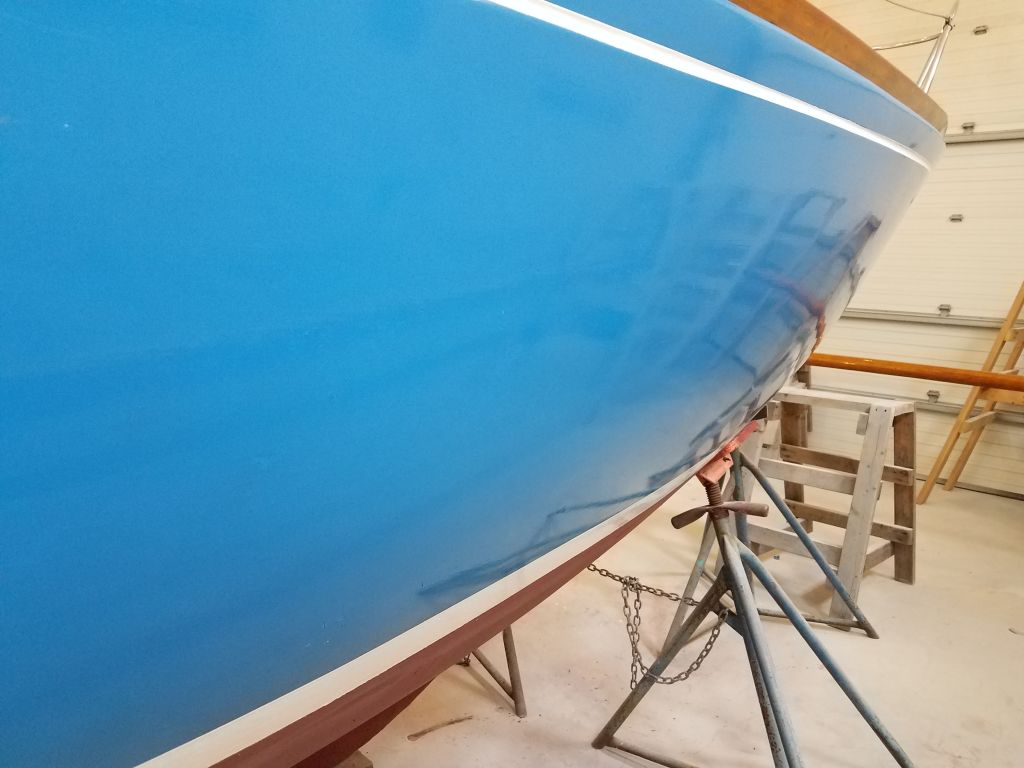
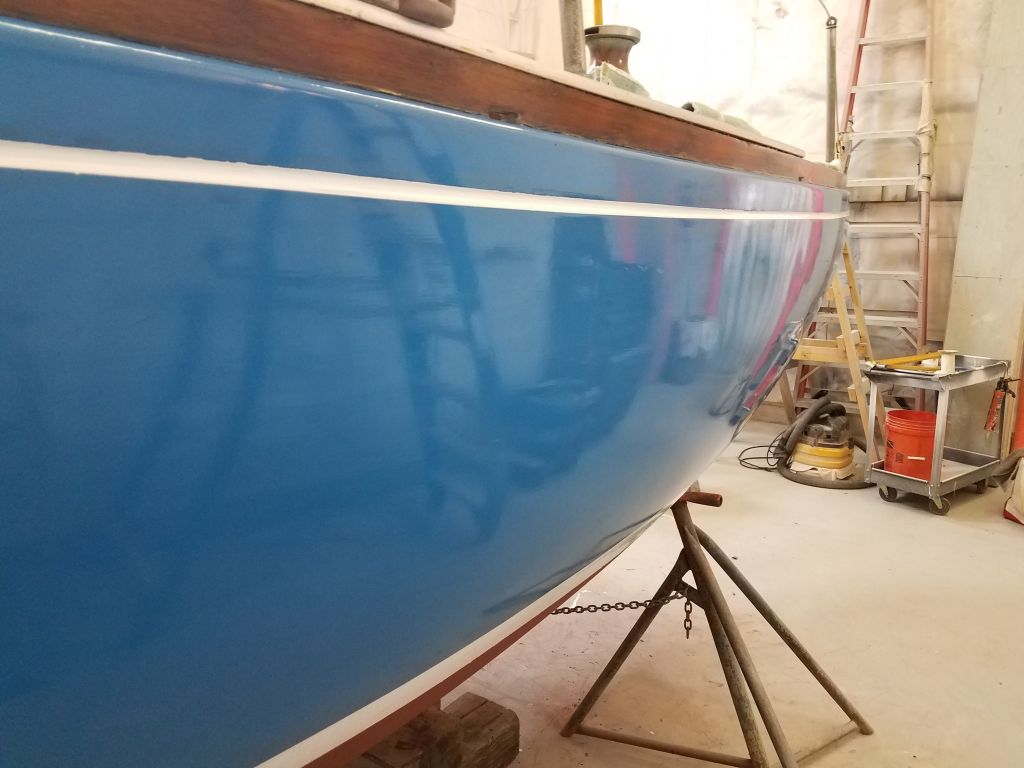
I cleaned and polished the existing hull paint, removing dust and minor grime and improving its appearance, and touched up the paint in a few small areas that had been damaged at one time or another.
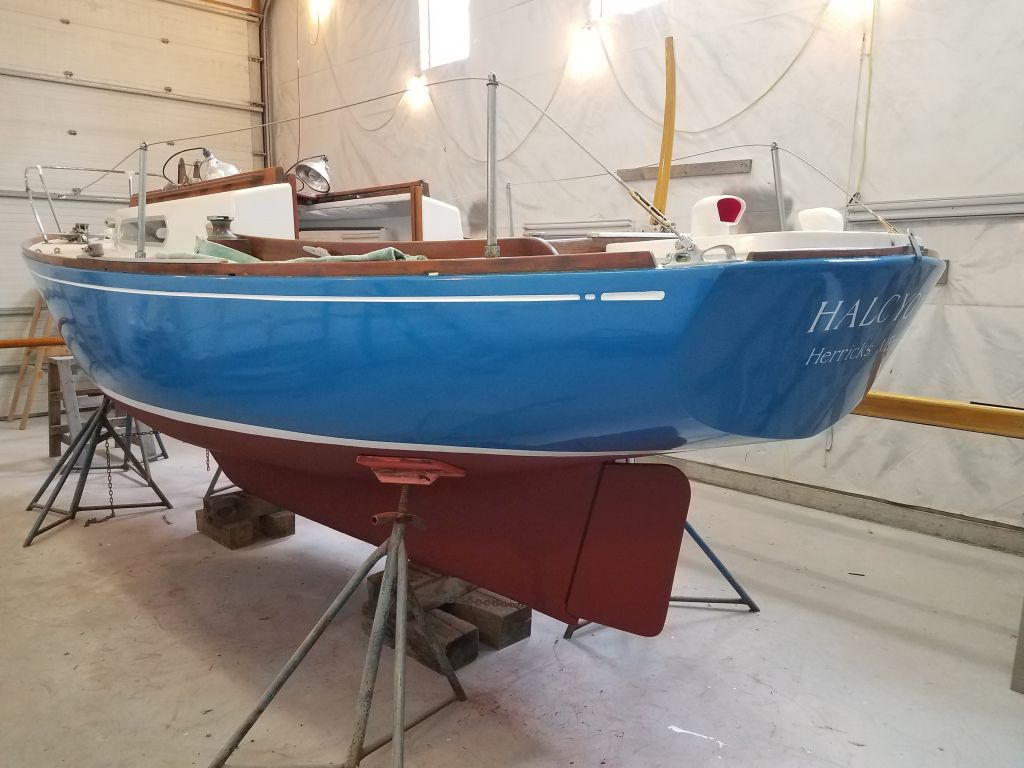

At this point, the work list was complete, though I awaited new standing and running rigging (currently underway), as well as new interior and cockpit cushions. New updates to follow as progress on these final tasks dictates.
Total time billed on this job today: 2 hours
0600 Weather Observation:
34°, clouds and drizzle. Forecast for the day; eventual clearing, 40s