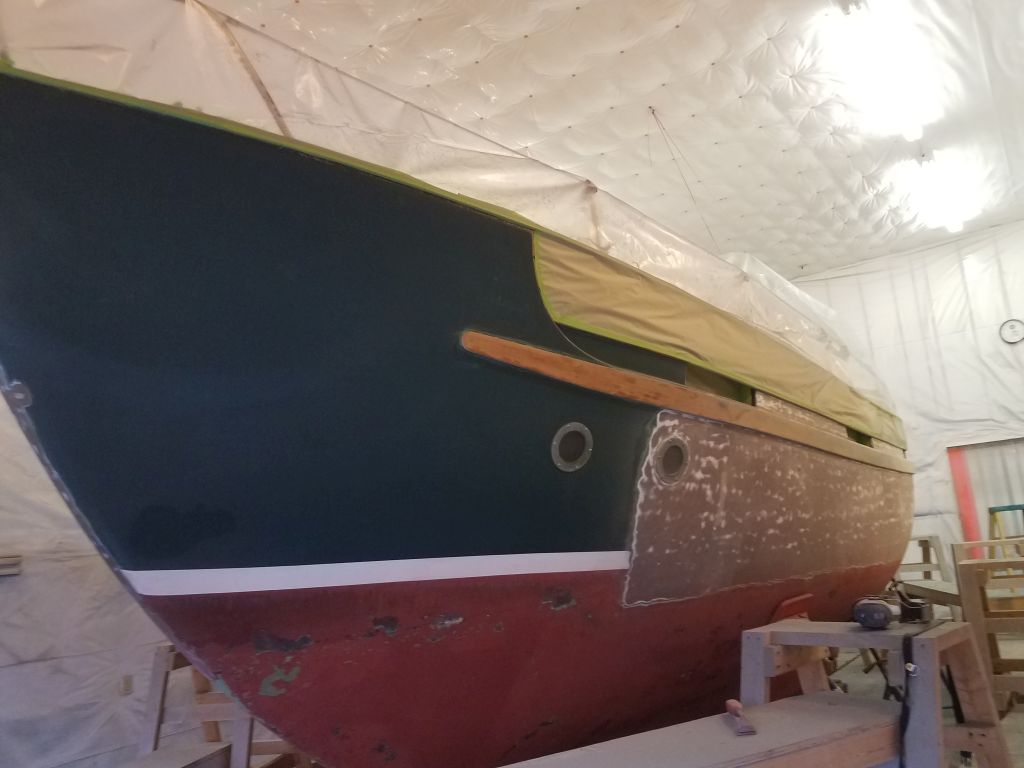
Continuing where I left off, I spend the day removing the existing paint from the hull, working my way down the rest of the starboard side, around the stern, and back up the port side towards the bow before finally stopping for the day at the little ports in the hull, leaving the high bow area for next time. The next rounds of finish sanding would take care of the final remnants of old paint on the hull, as well as any final detail areas.
Total time billed on this job today: 7.25 hours
0600 Weather Observation: 60°, cloudy. Forecast for the day: clouds and a shower, 60s
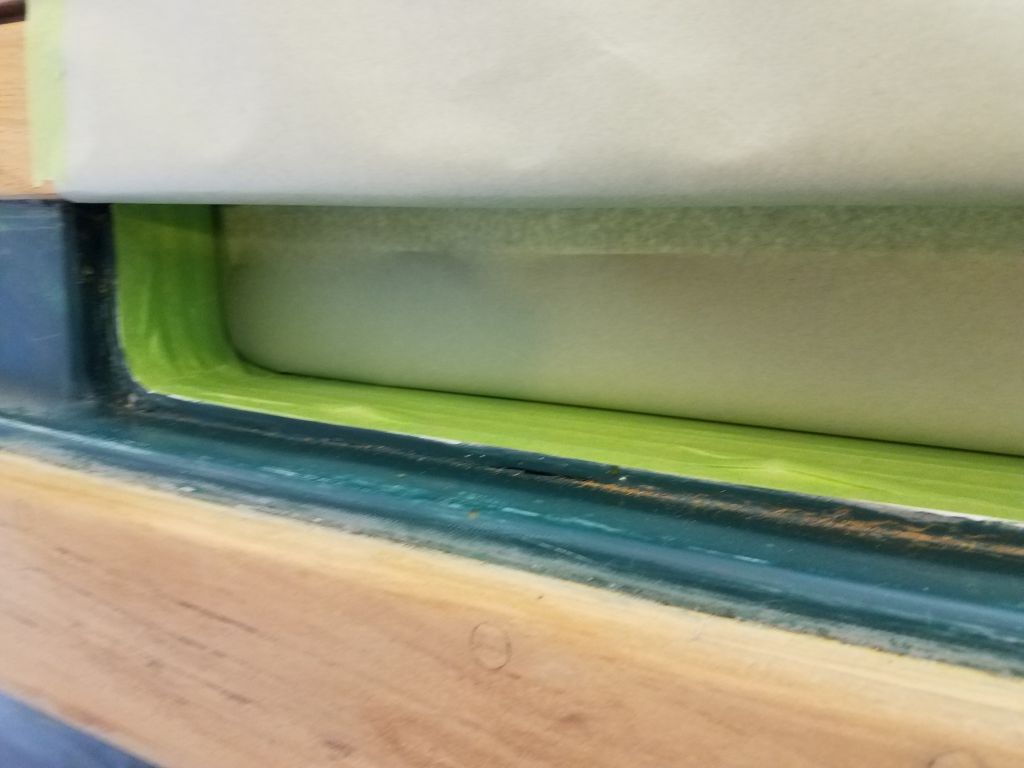
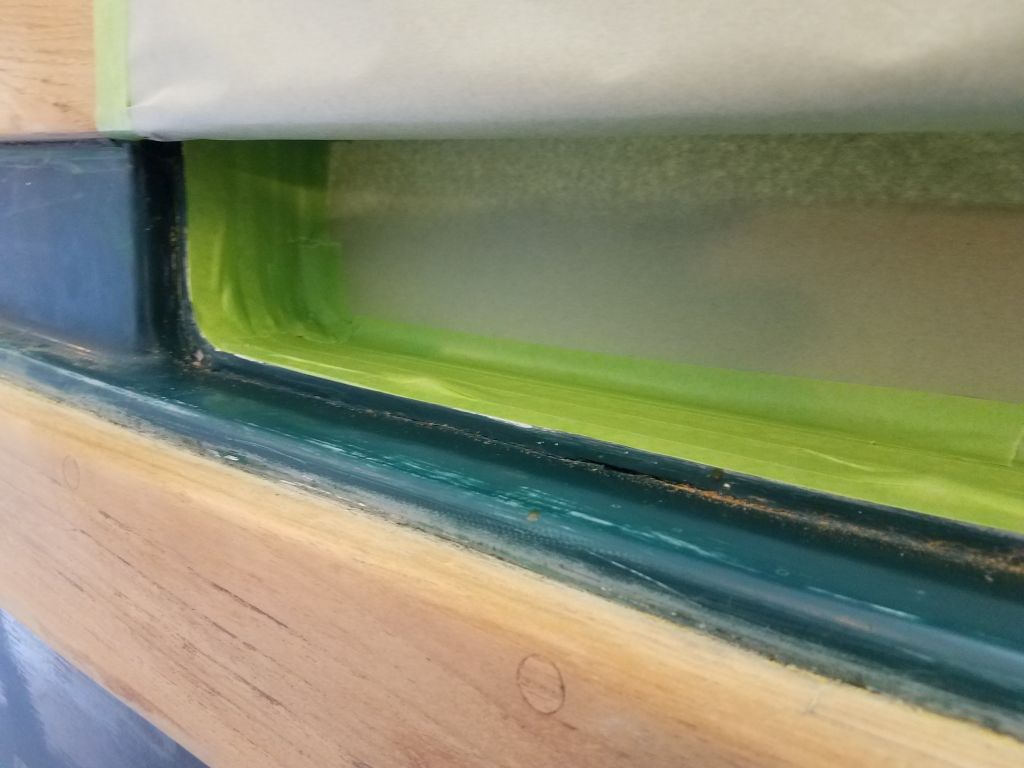
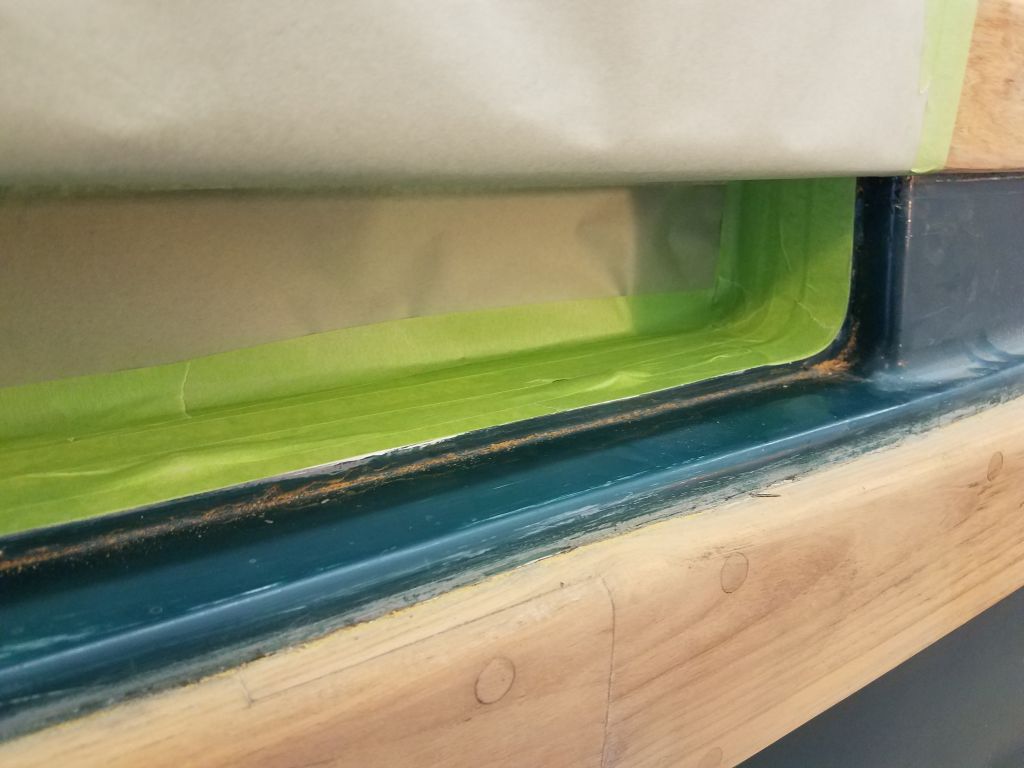
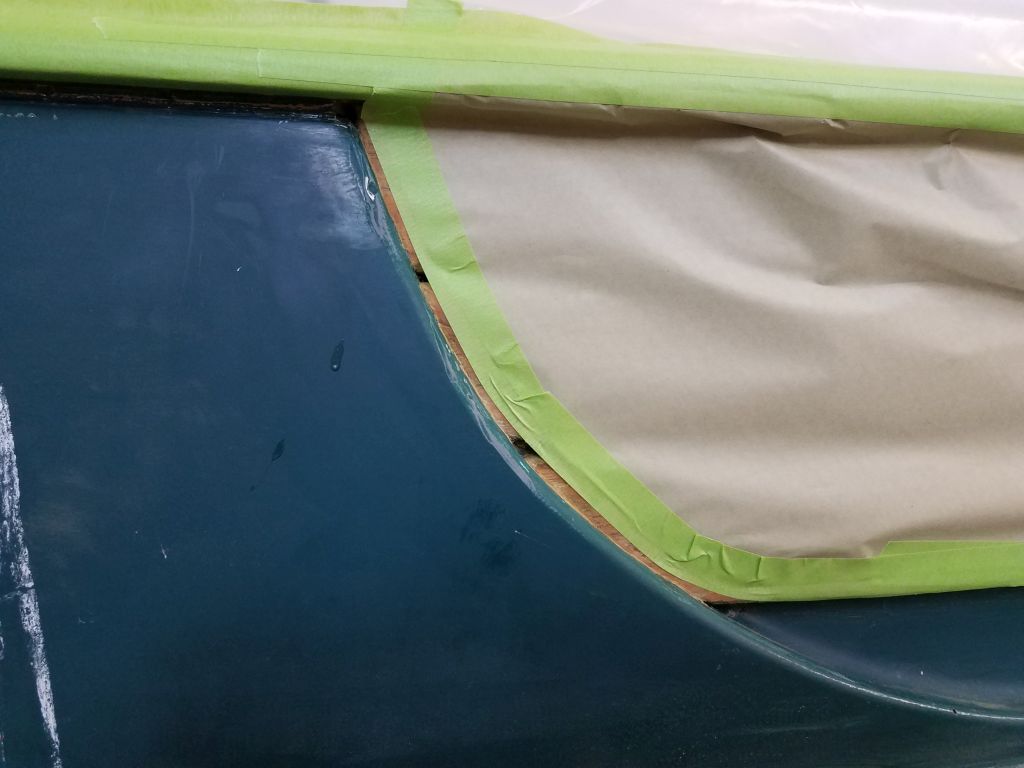
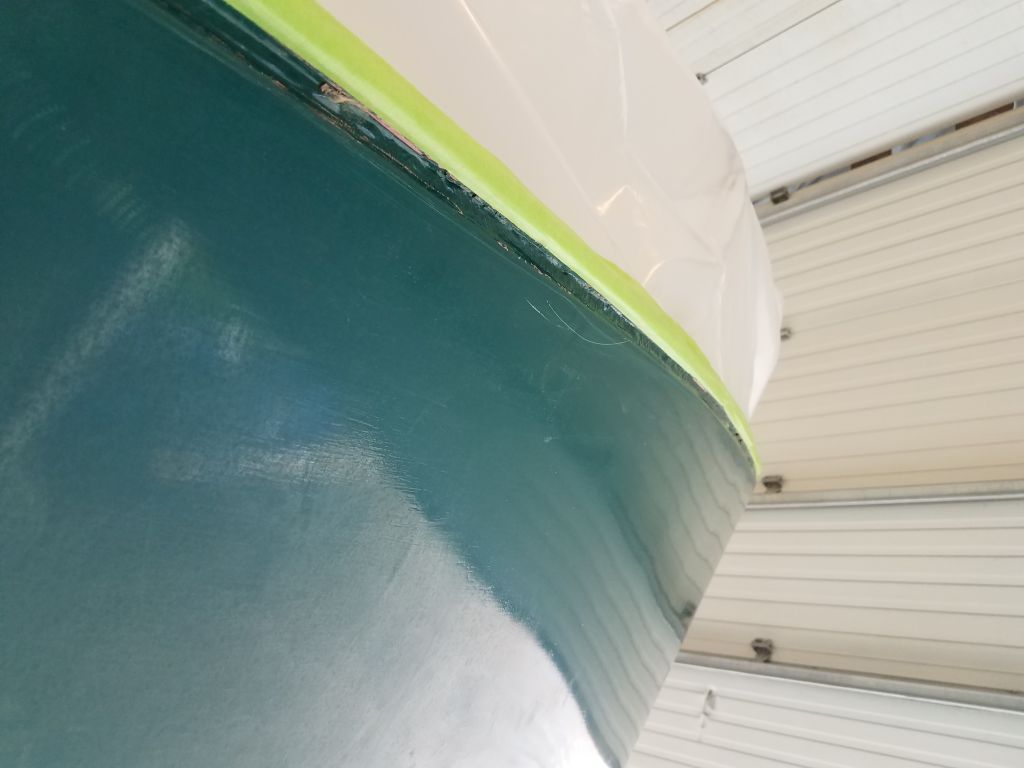
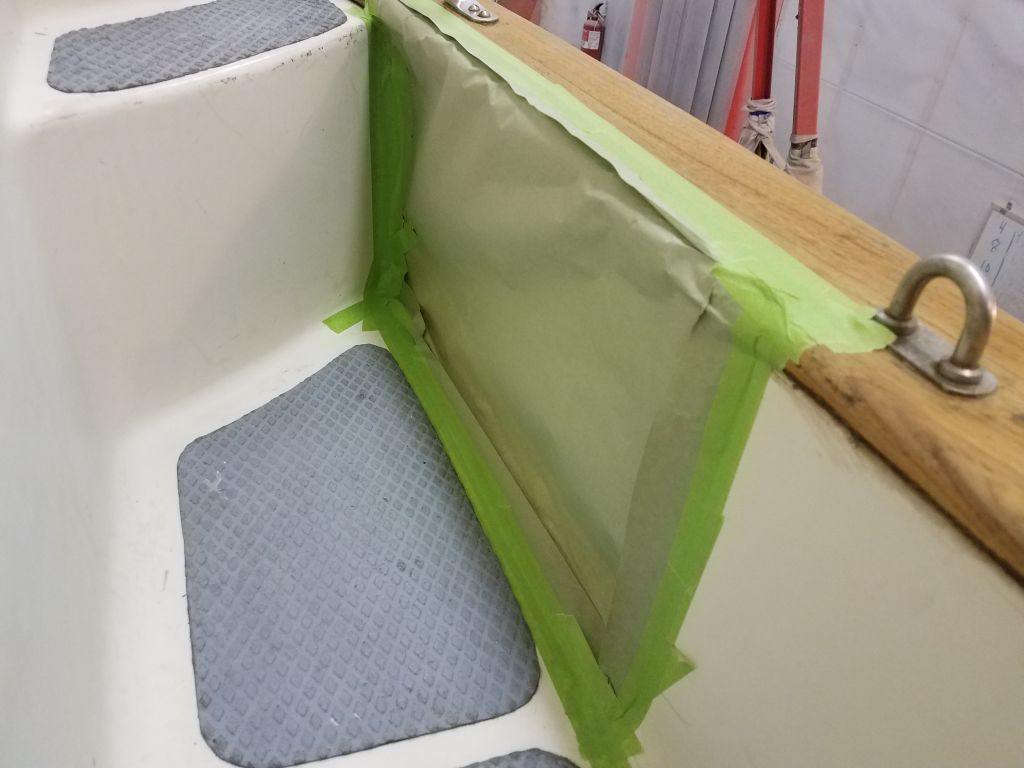
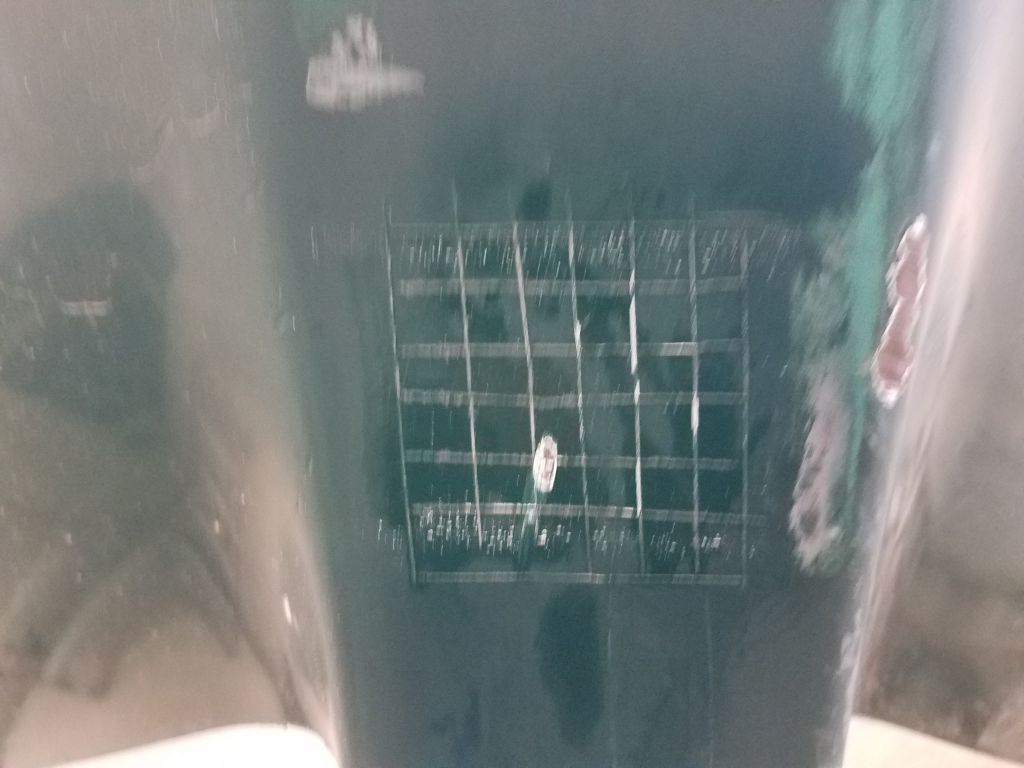
I finished up the masking at the freeing port openings, applying additional tape from the outside to seal off the gaps between the paper and the tape inside the port. I repeated this process for all six openings, but I’ve randomly selected two to display below
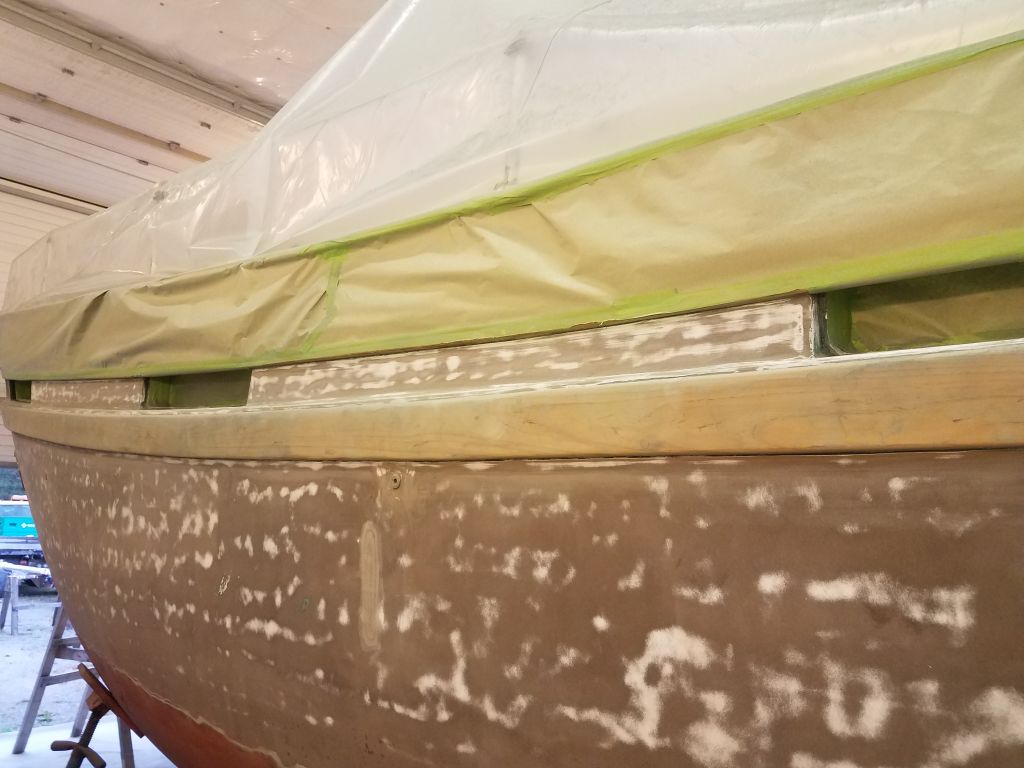
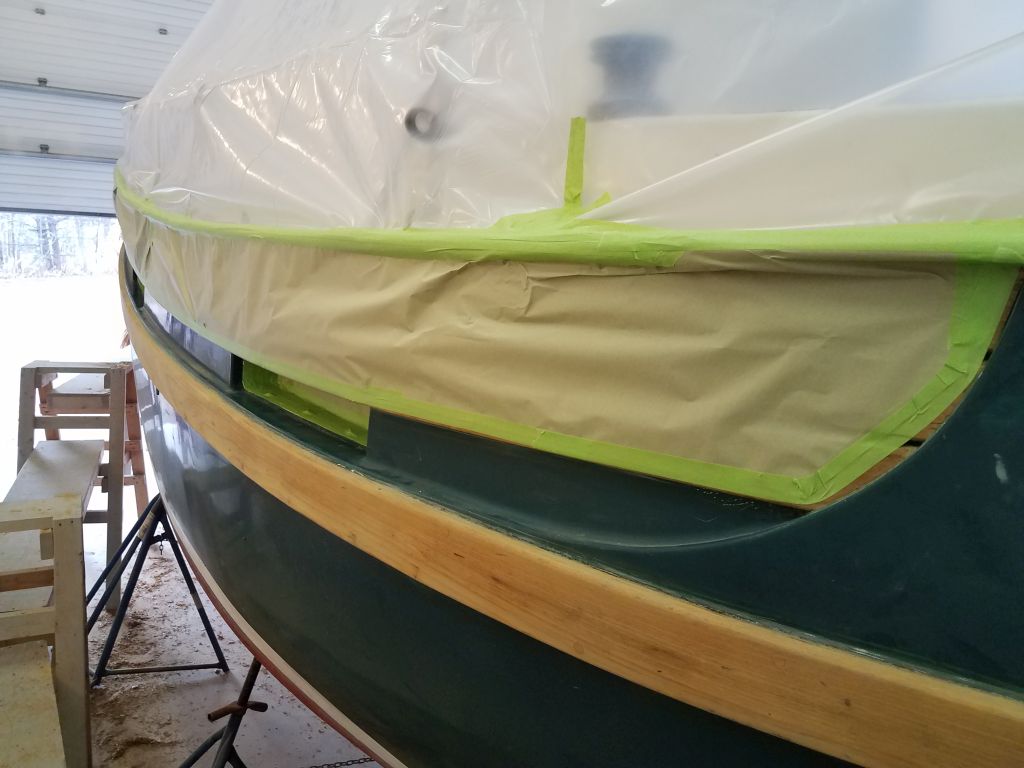
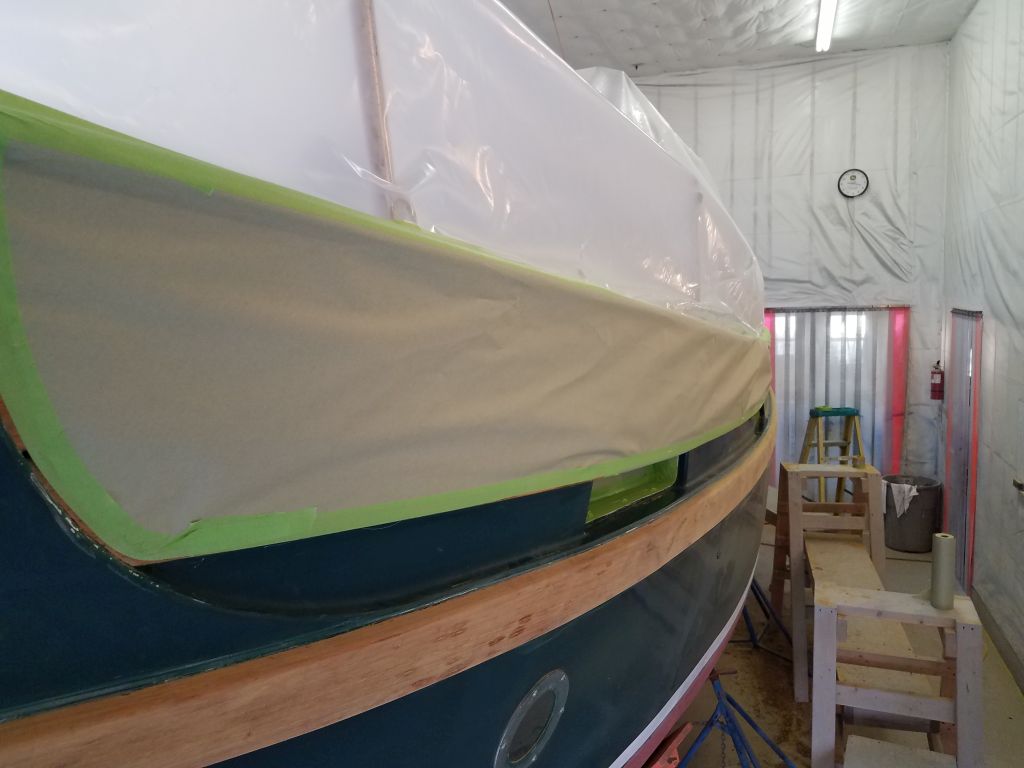
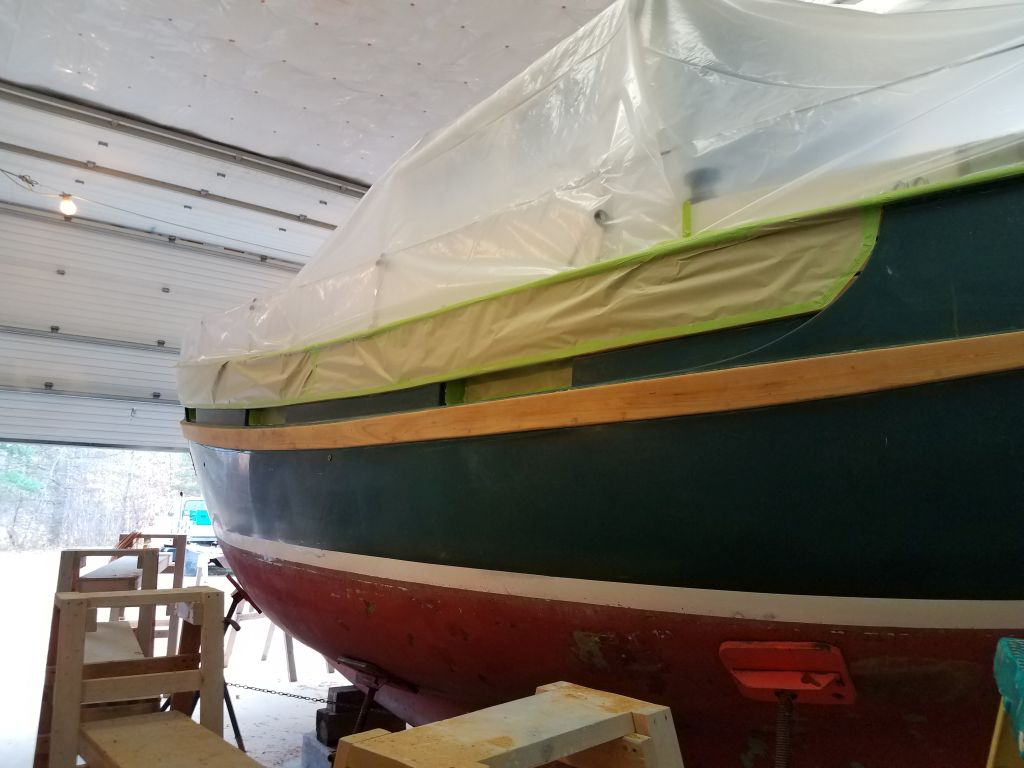
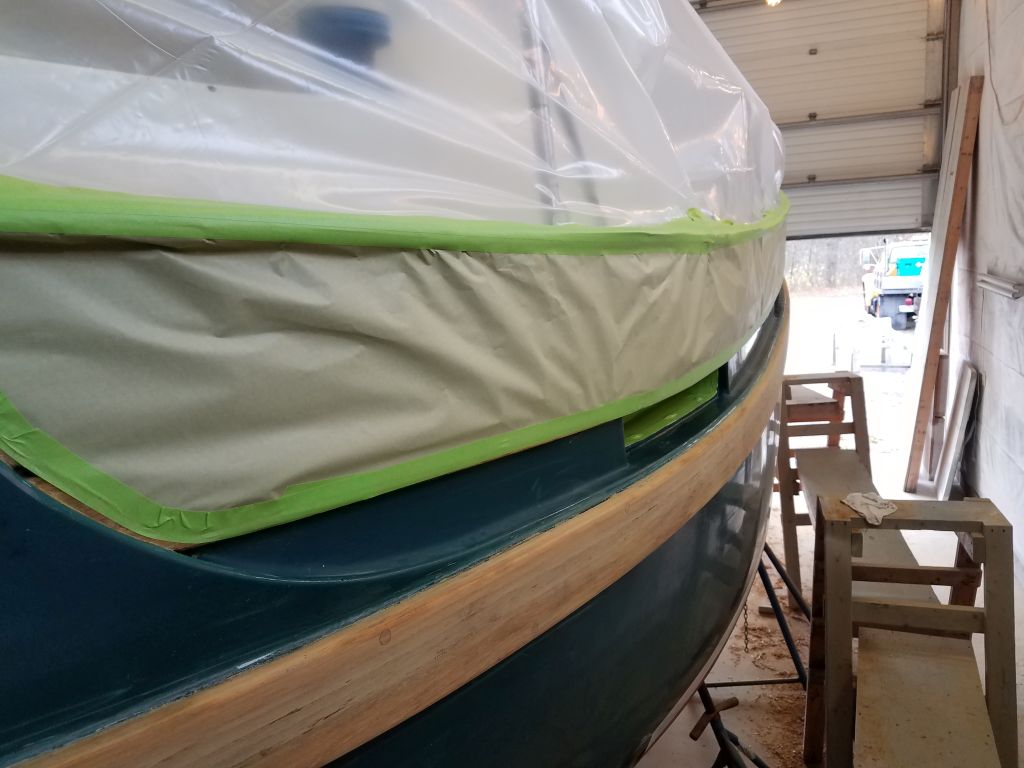
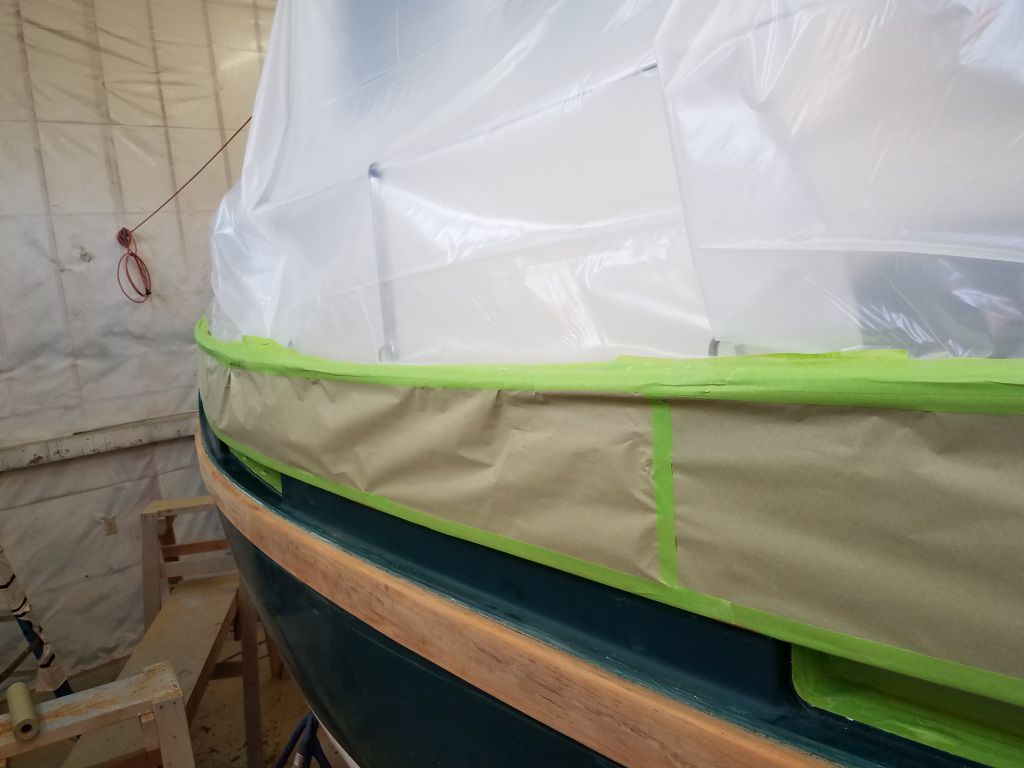
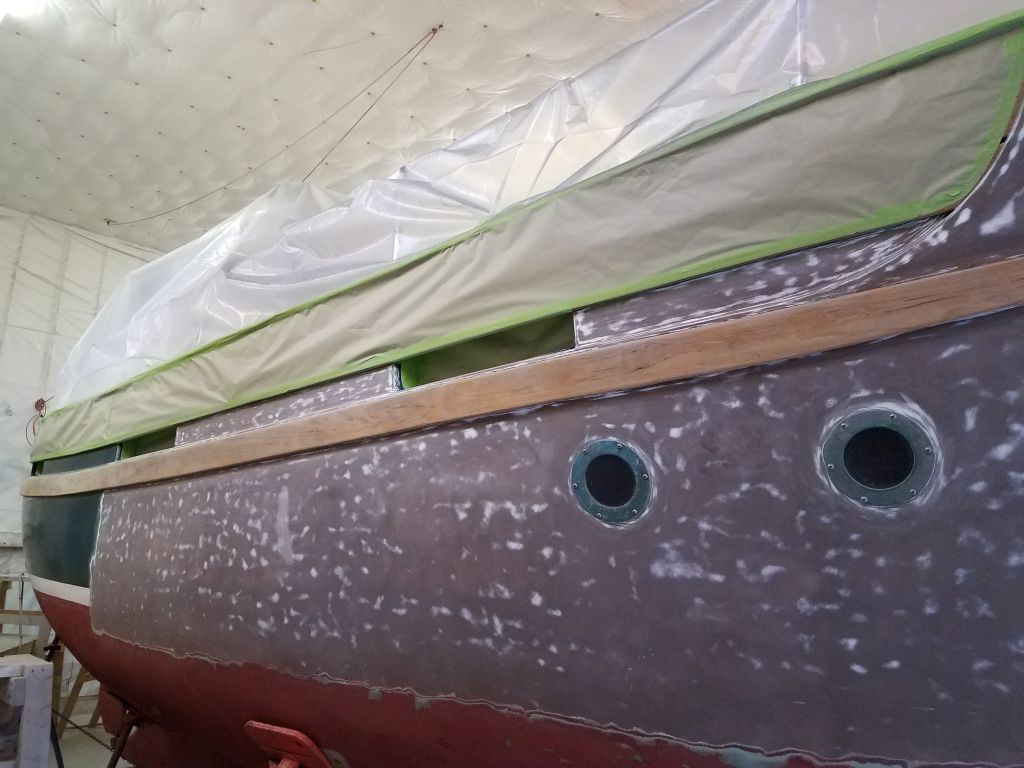
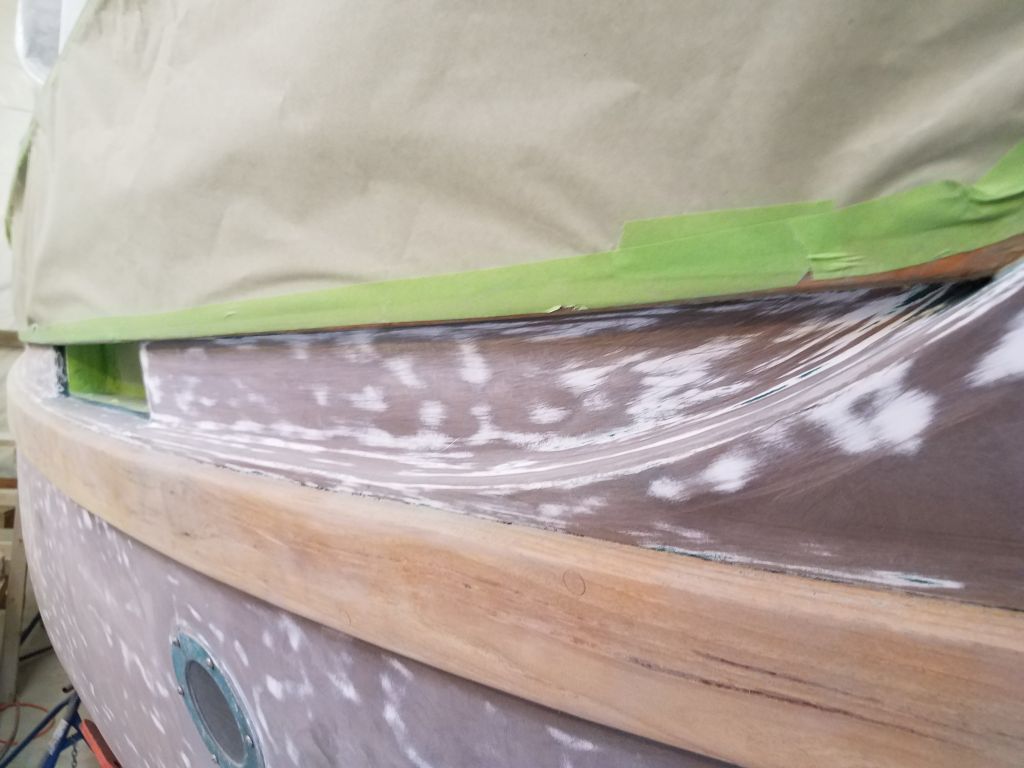
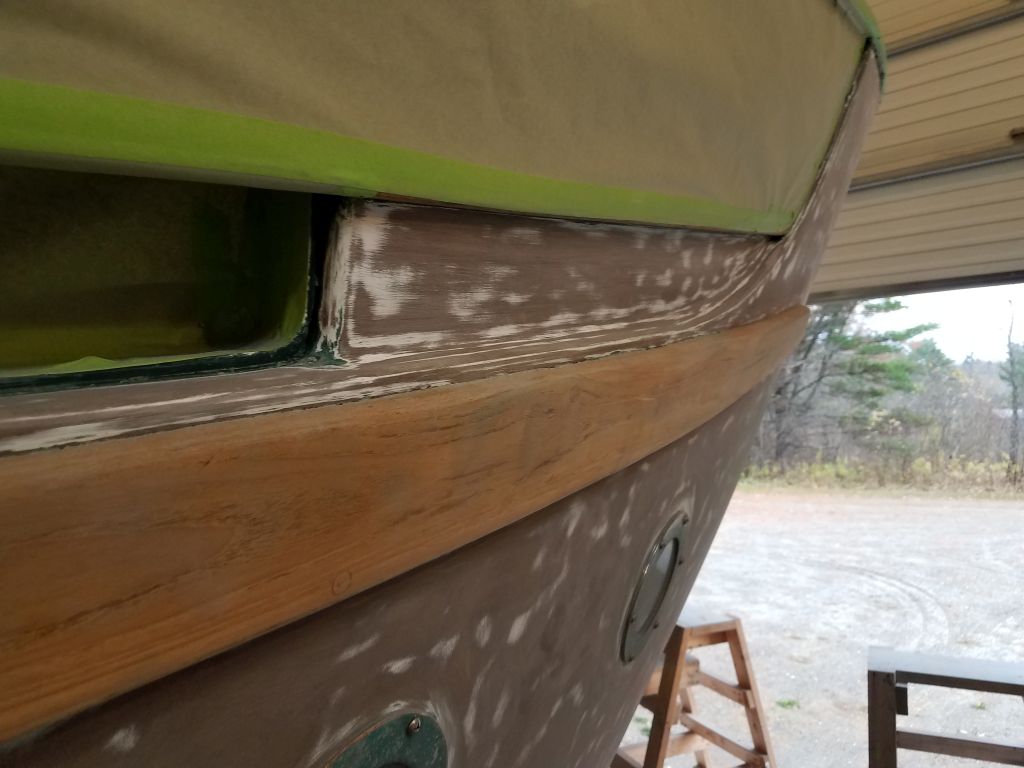
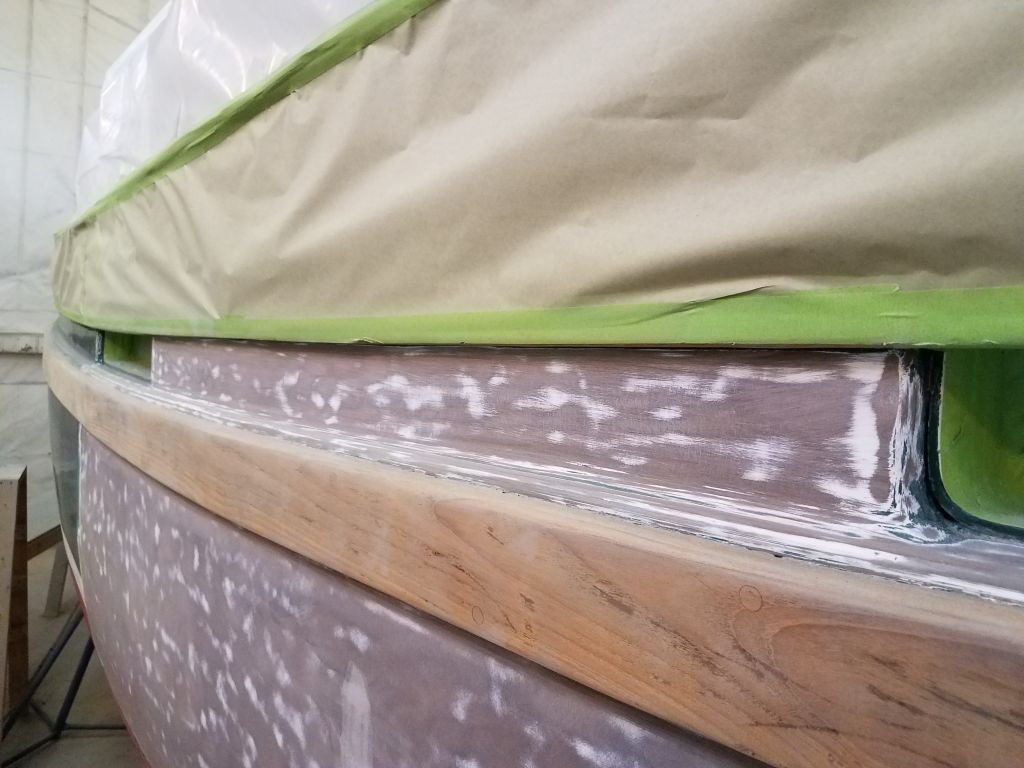
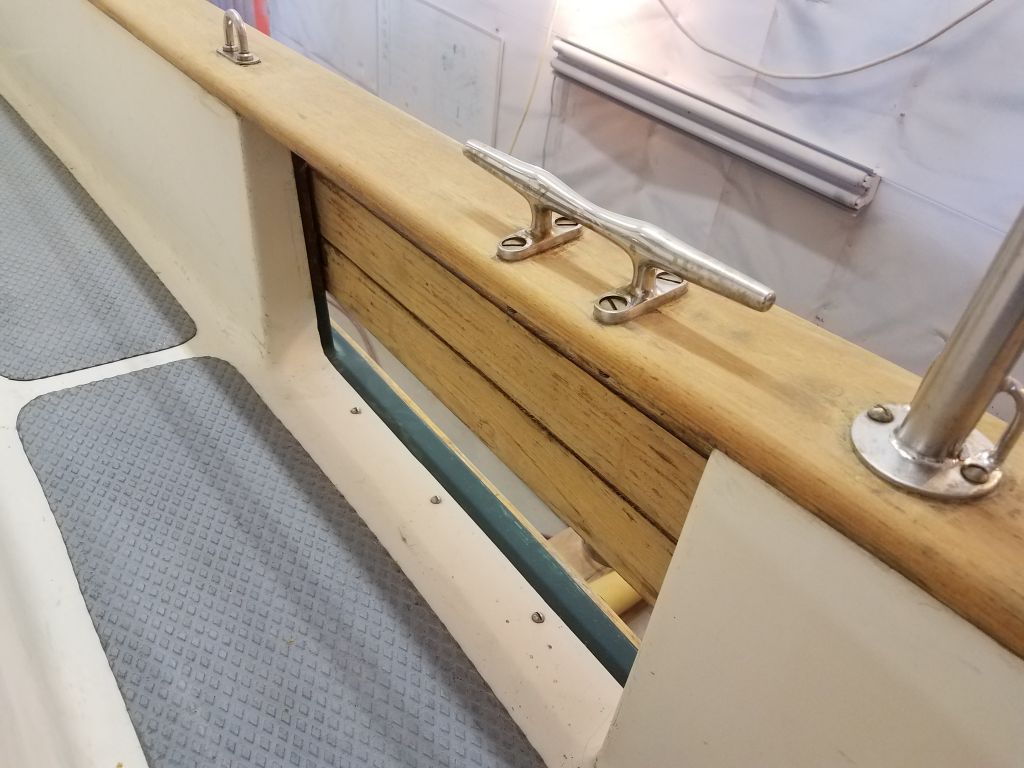
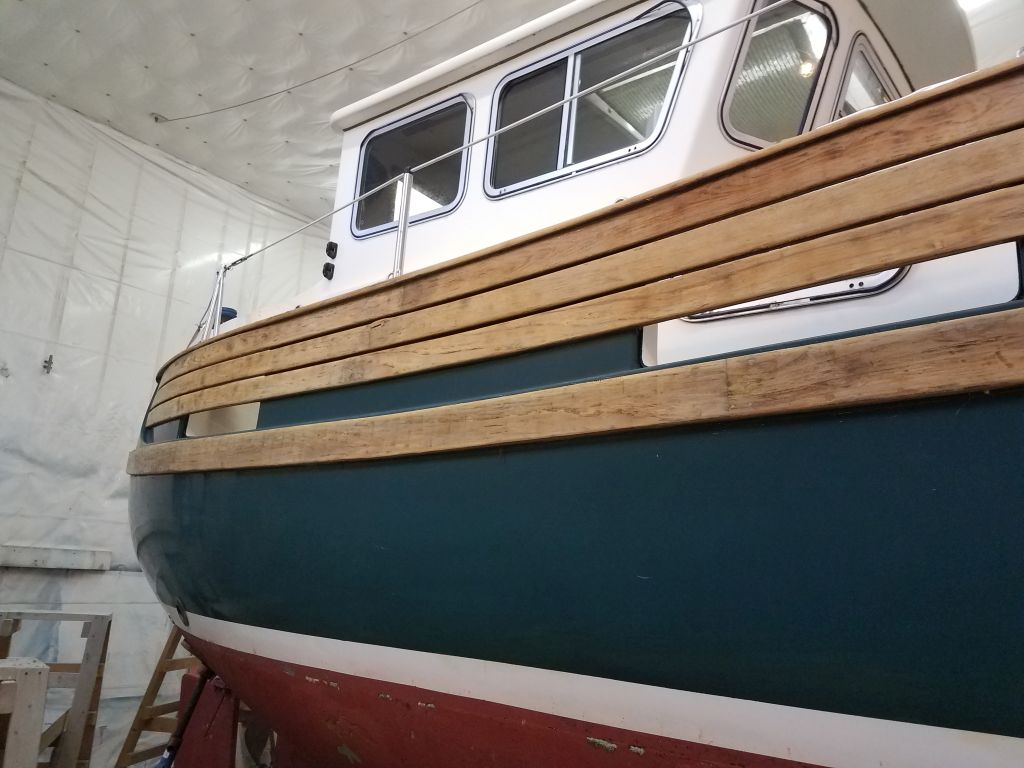
Next, I covered the bulwark strips with paper to keep out dust (immediately) and overspray (later). For the moment, I held back the tape at the edges and the bottom of the strips, since any tape immediately adjacent to the hull was likely to be damaged during sanding operations, but once the bulk sanding was complete I’d come back and mask off the final edges of the bulwarks.
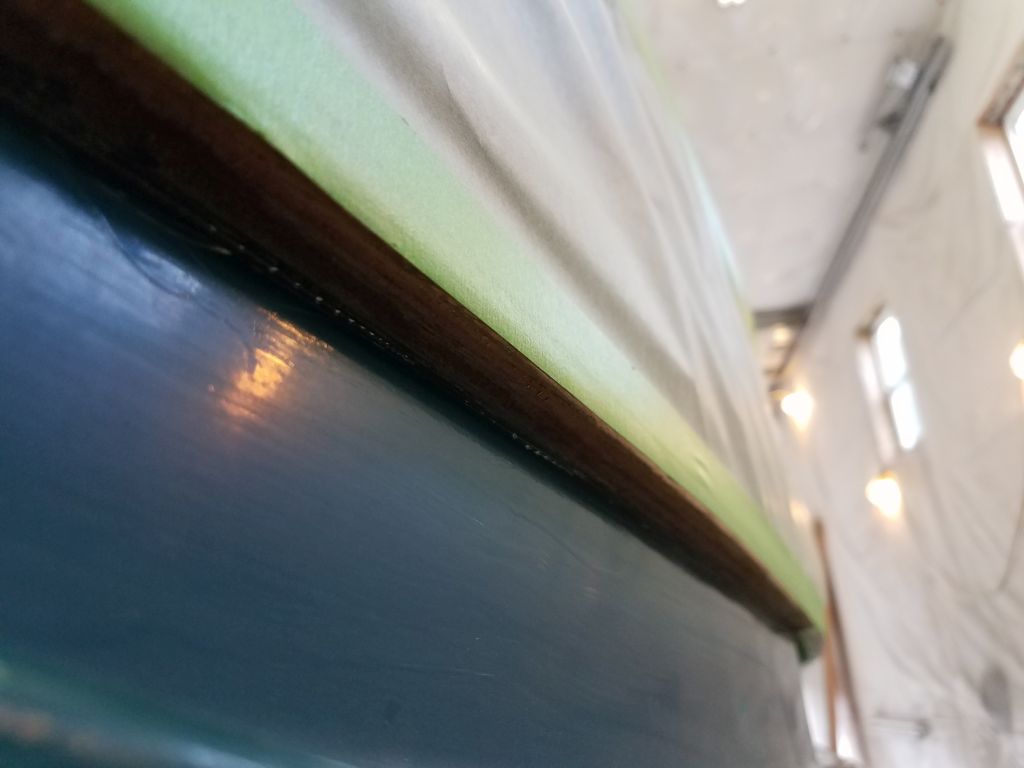
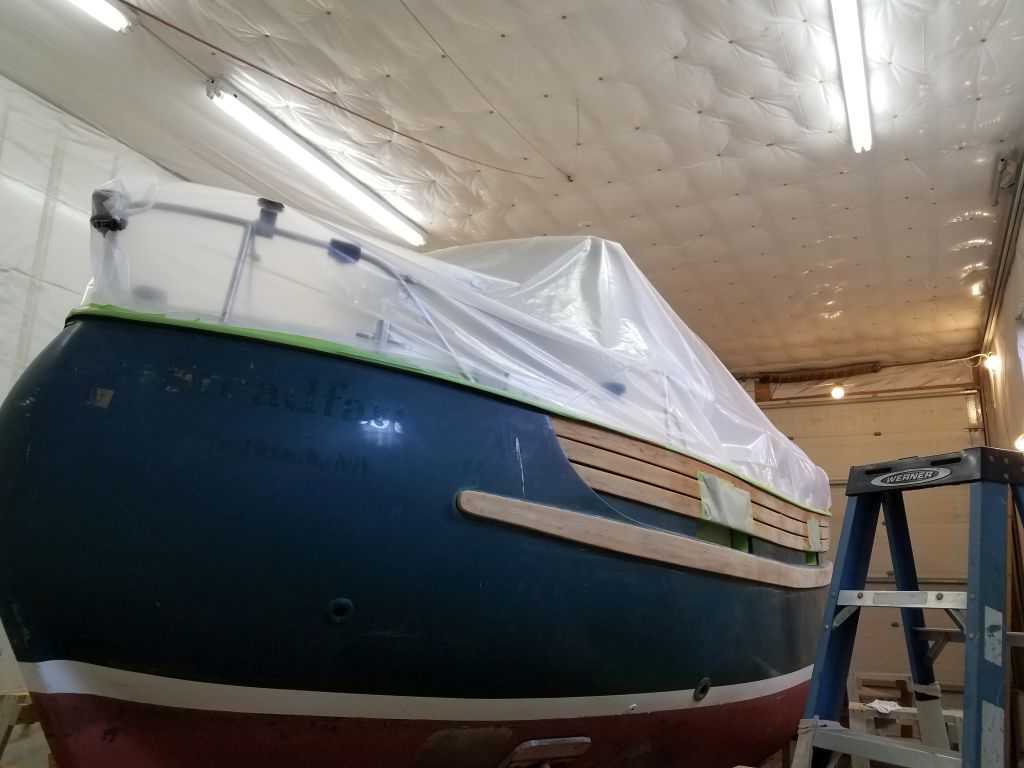
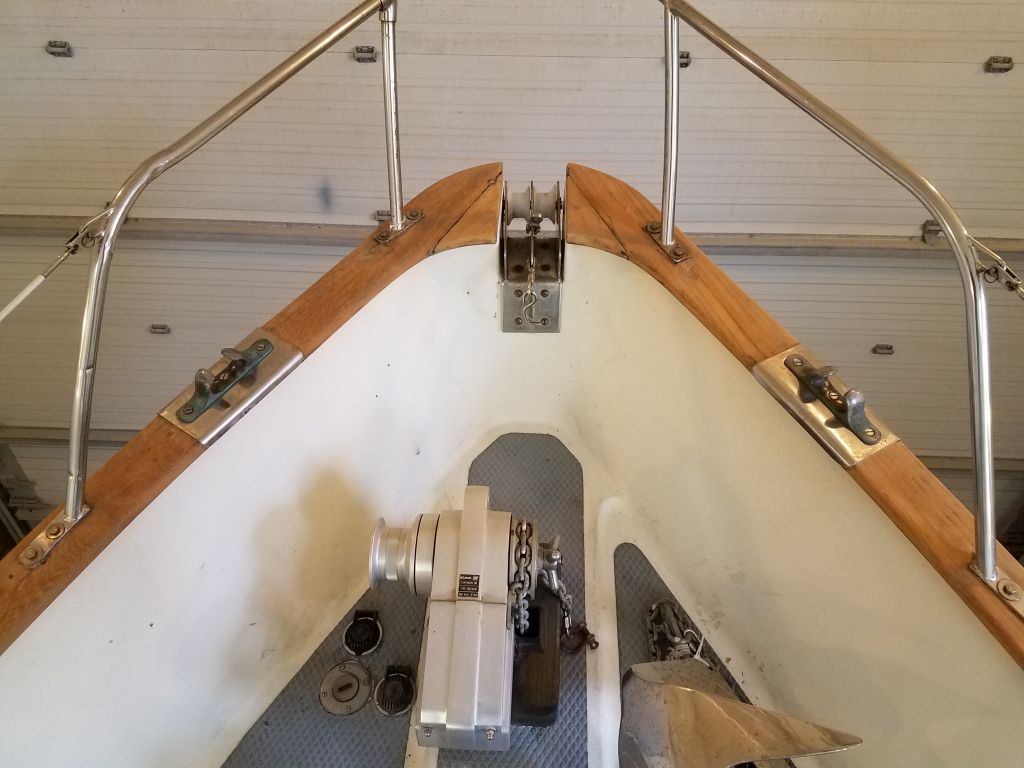
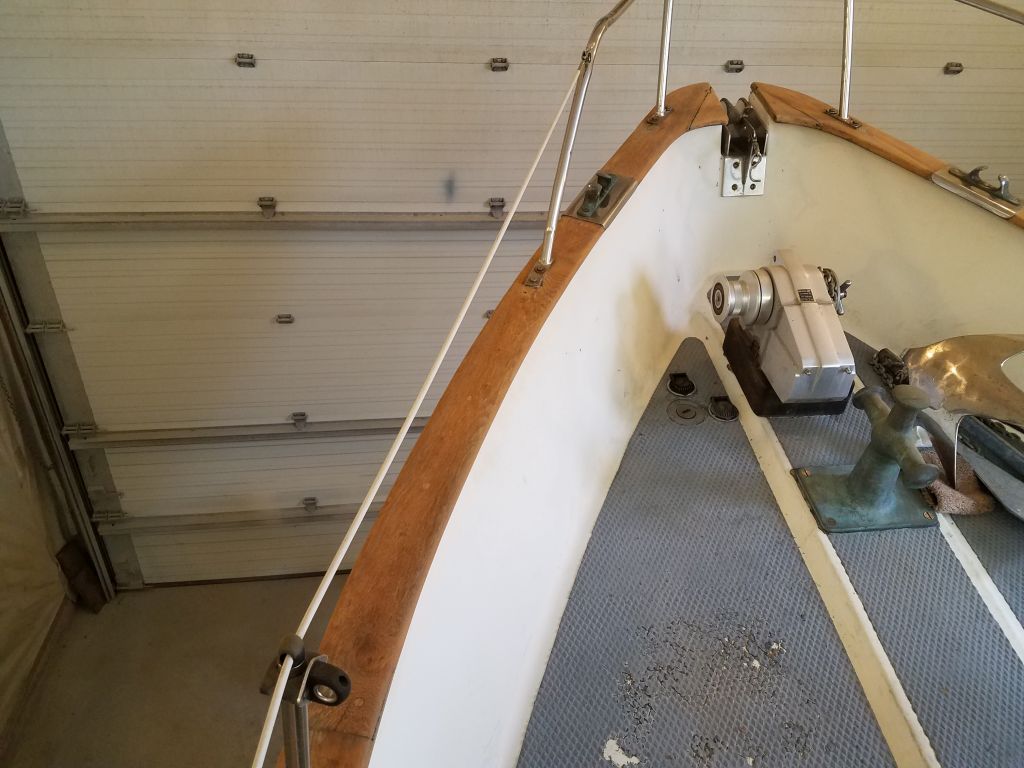
Forward and aft of the bulwark area, I masked beneath the caprails, following the caulk and paint line that already existed there, and finally, at the stem, I closed off the plastic and masked off the stem fitting and rollers to complete the job.
The owner, in contact with a previous owner of the boat, had learned that the current paint system was a well-known one part polyurethane paint. This was good information, but alas, it meant that despite the existing coating seemingly passing all the compatibility tests, I’d now have to remove it all before refinishing with a two-part system–a possibility I’d always entertained, but had hoped not to require.
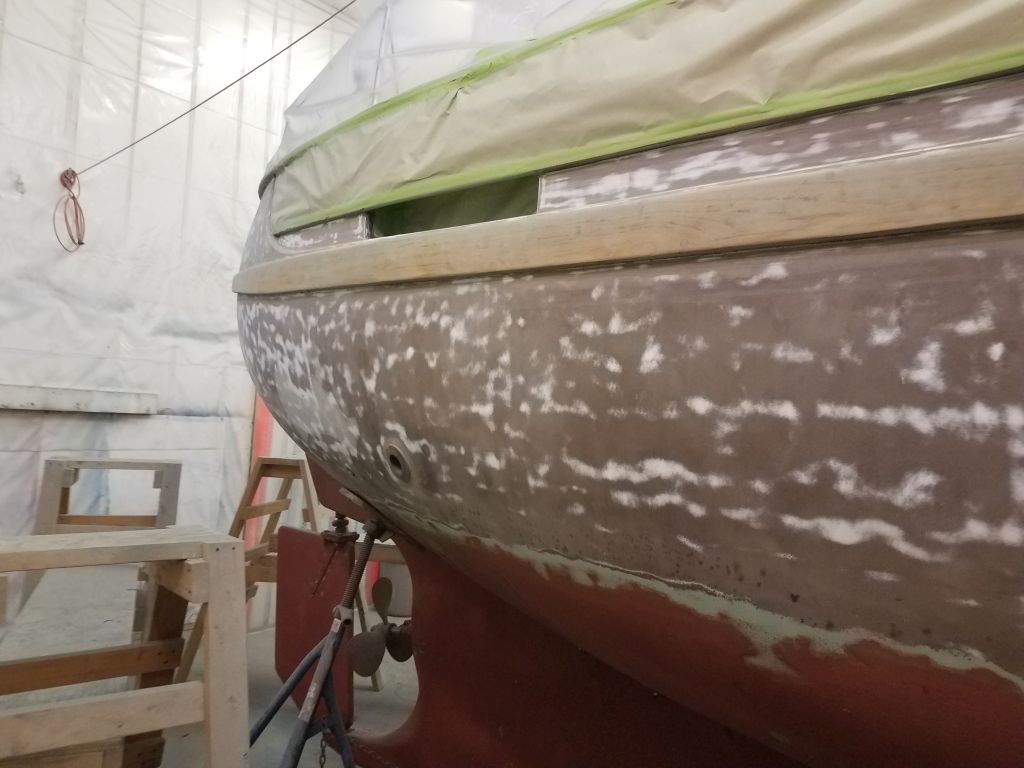
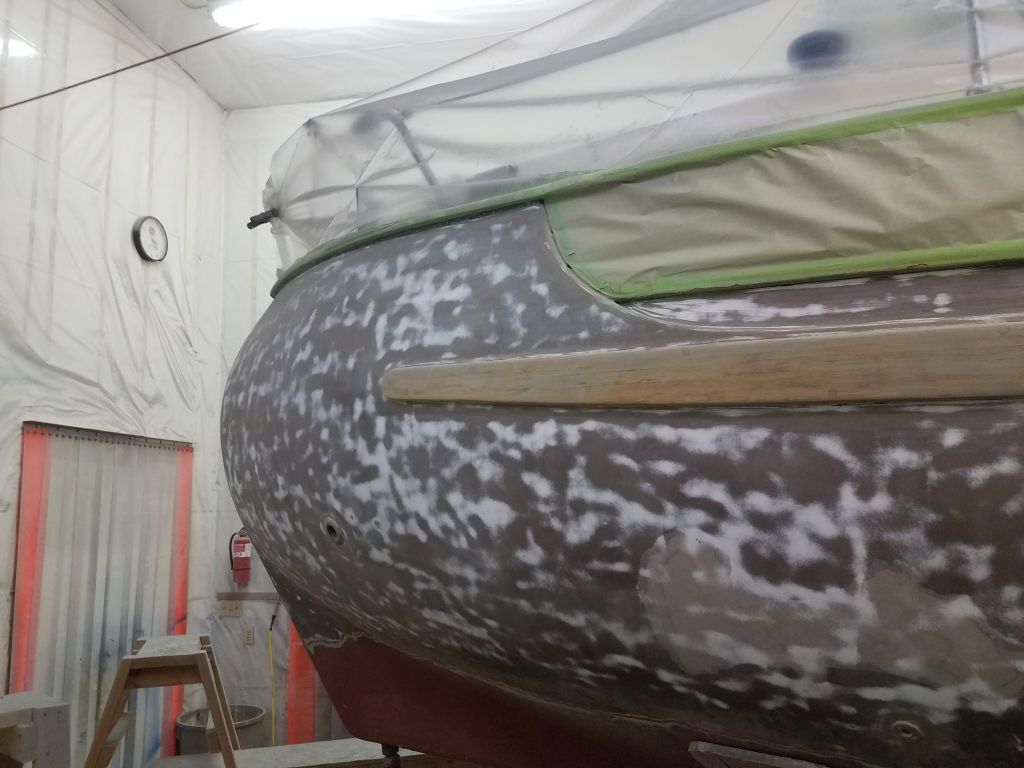
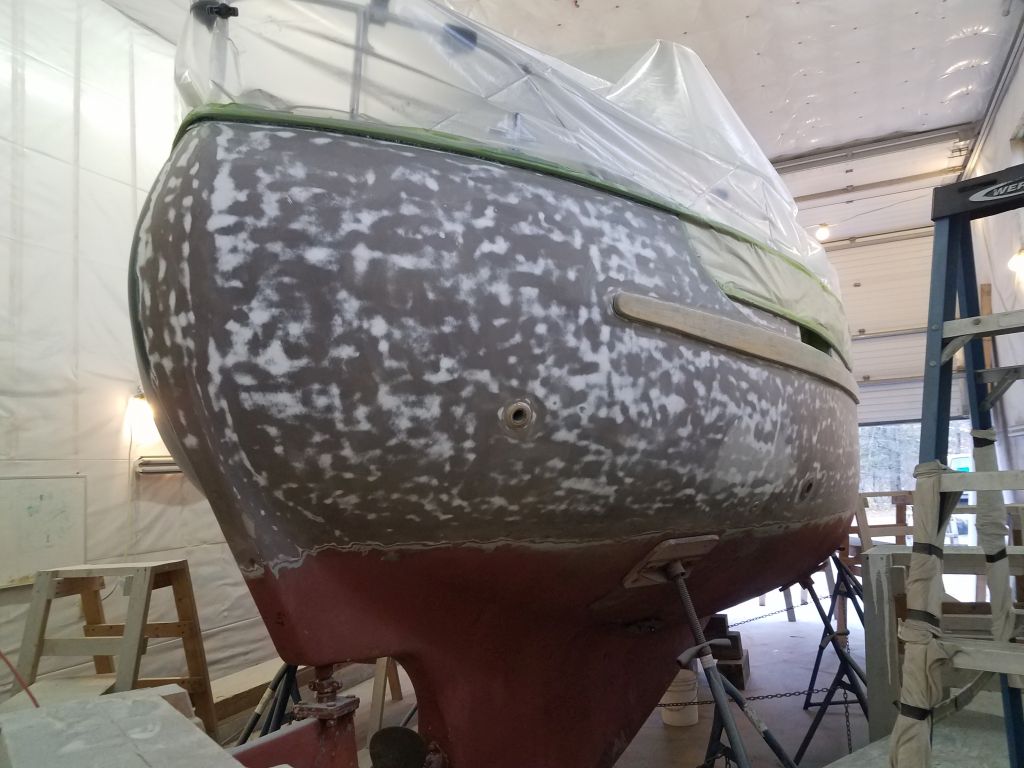
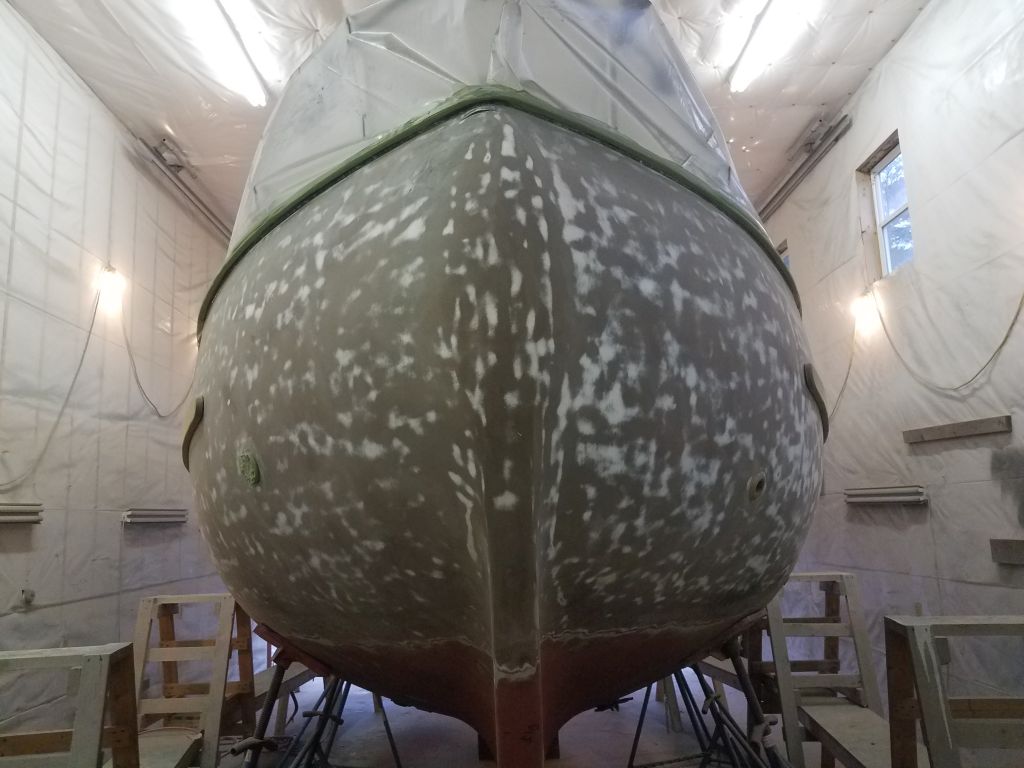
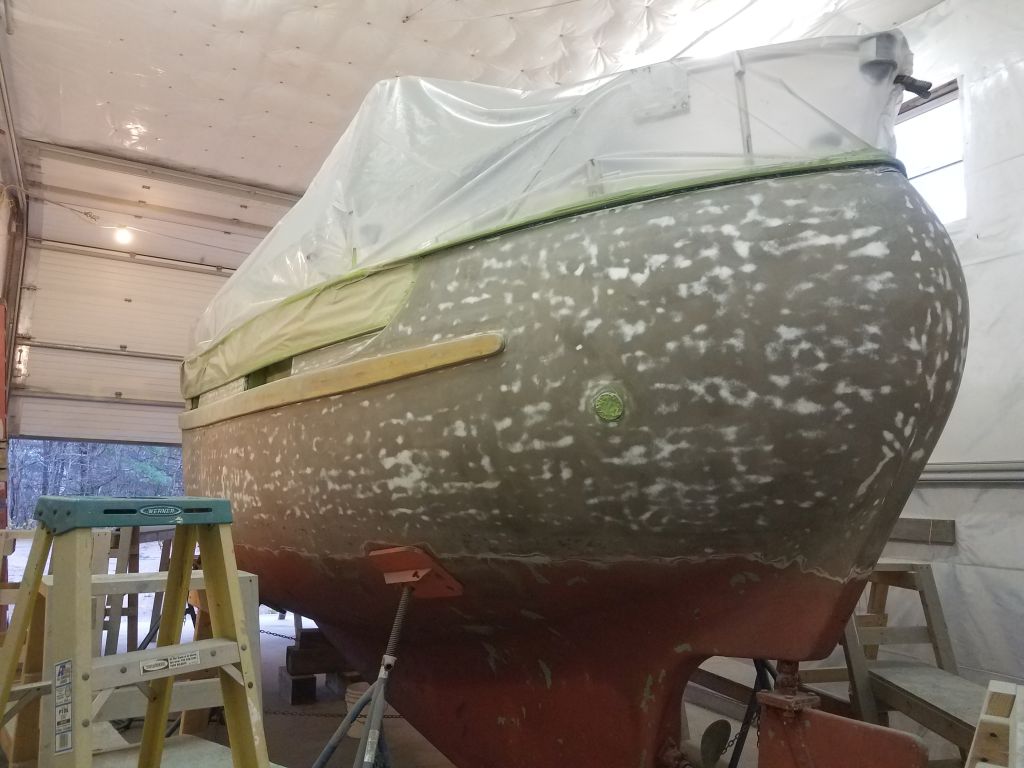
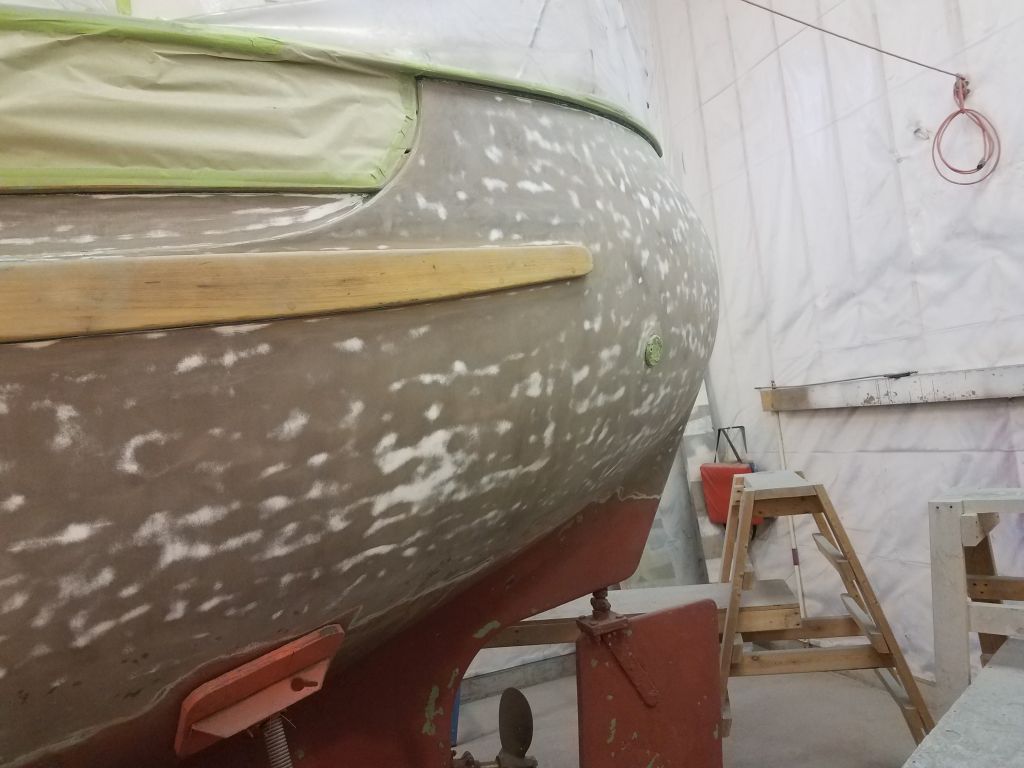
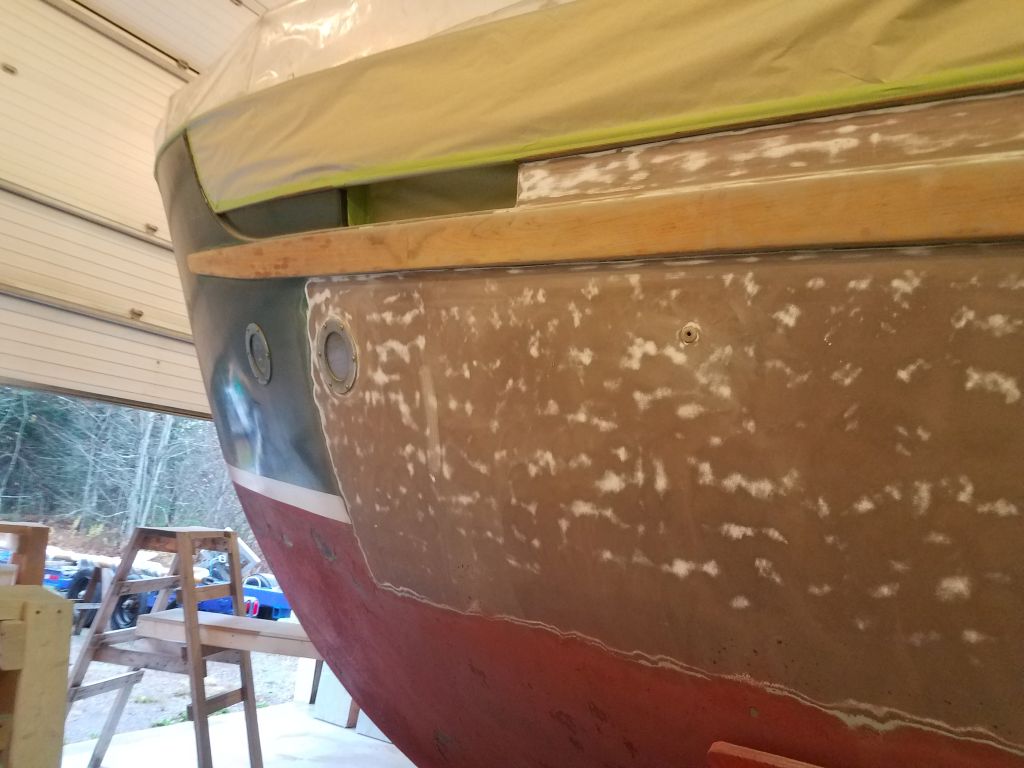
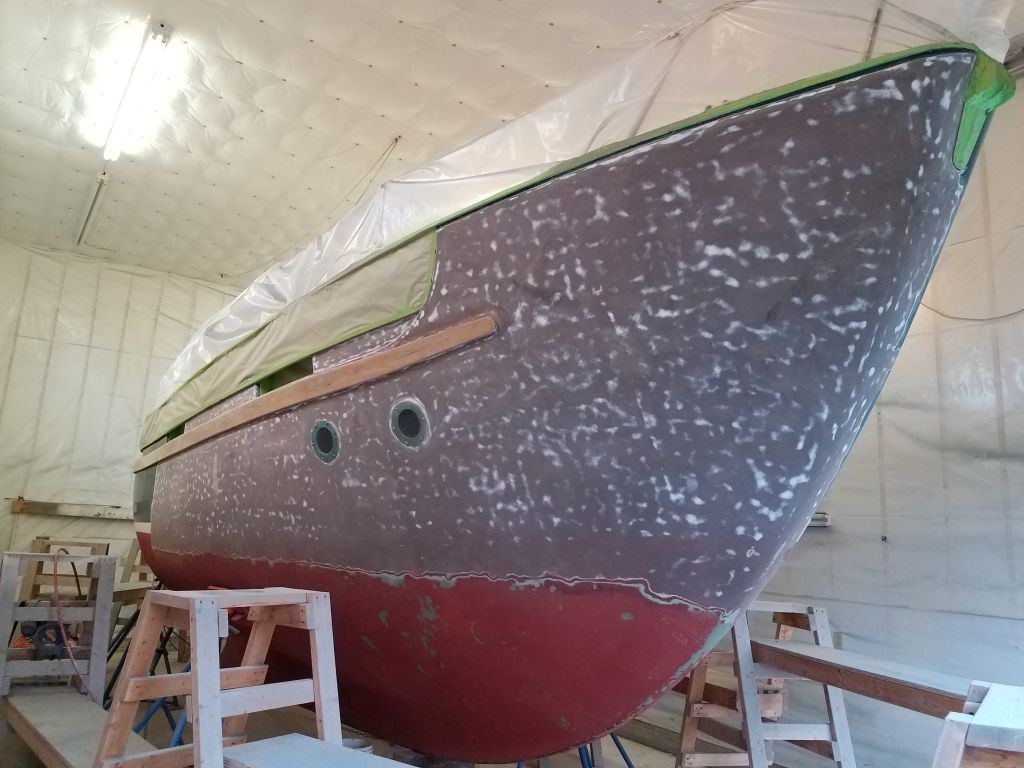
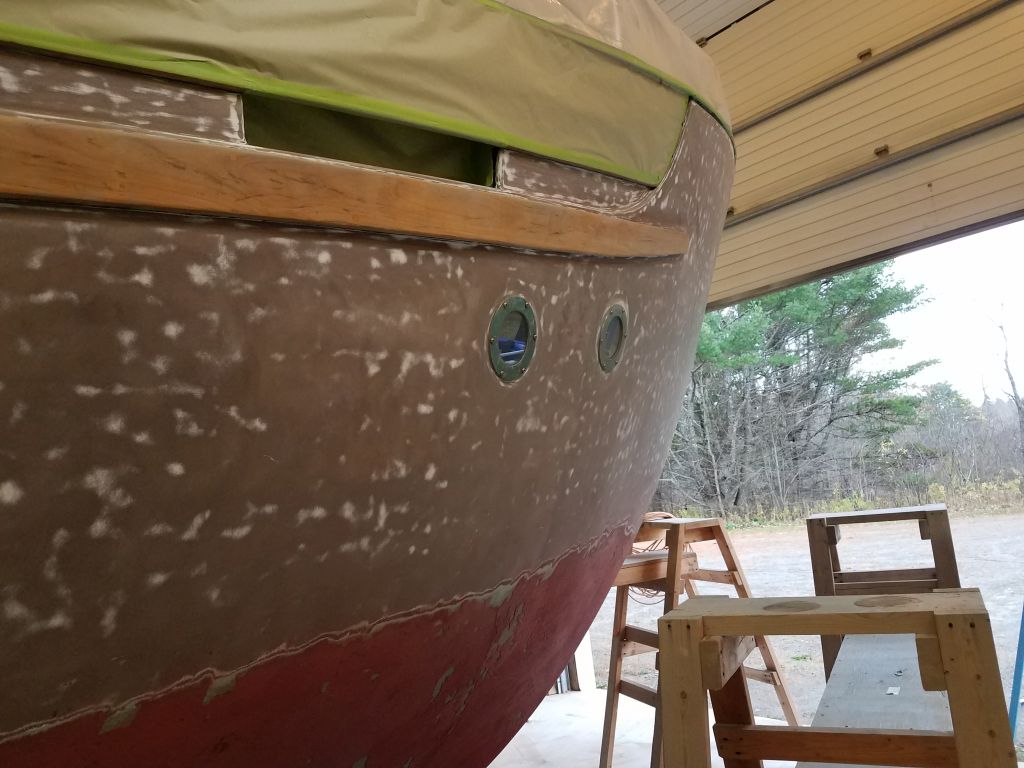
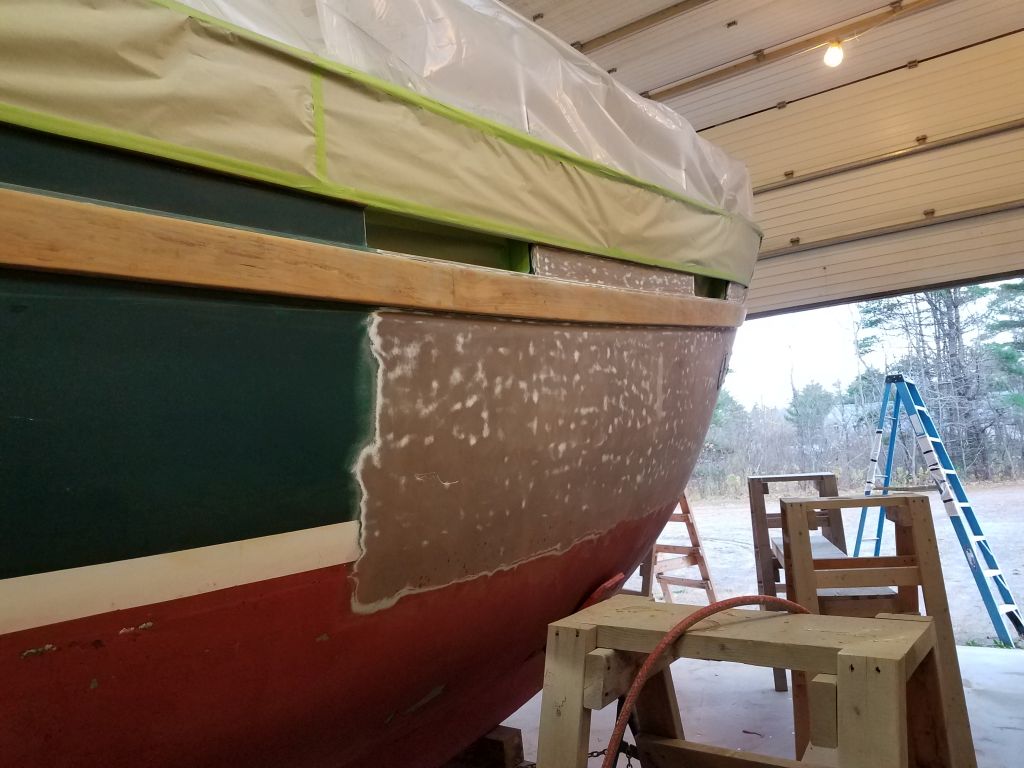
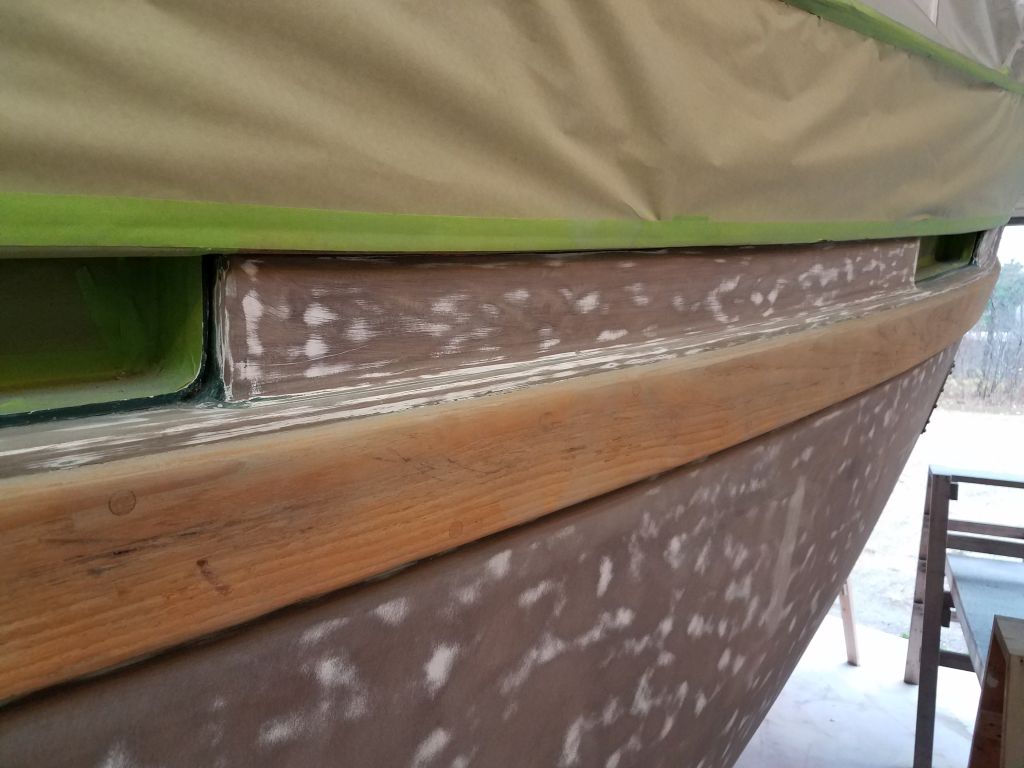
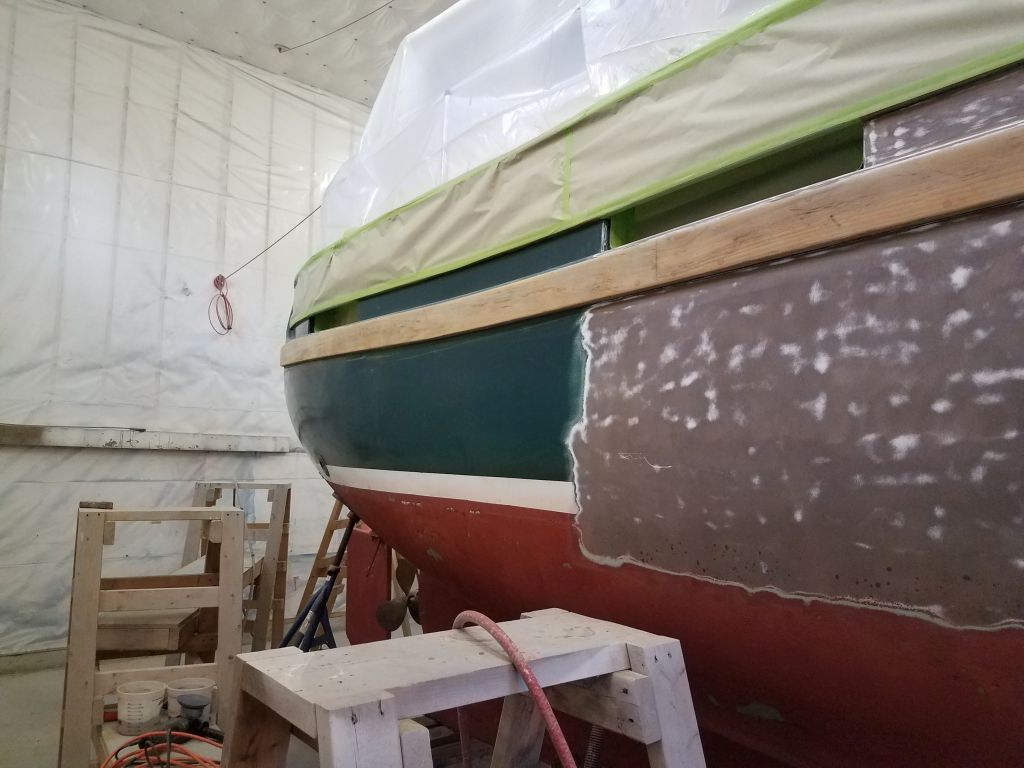
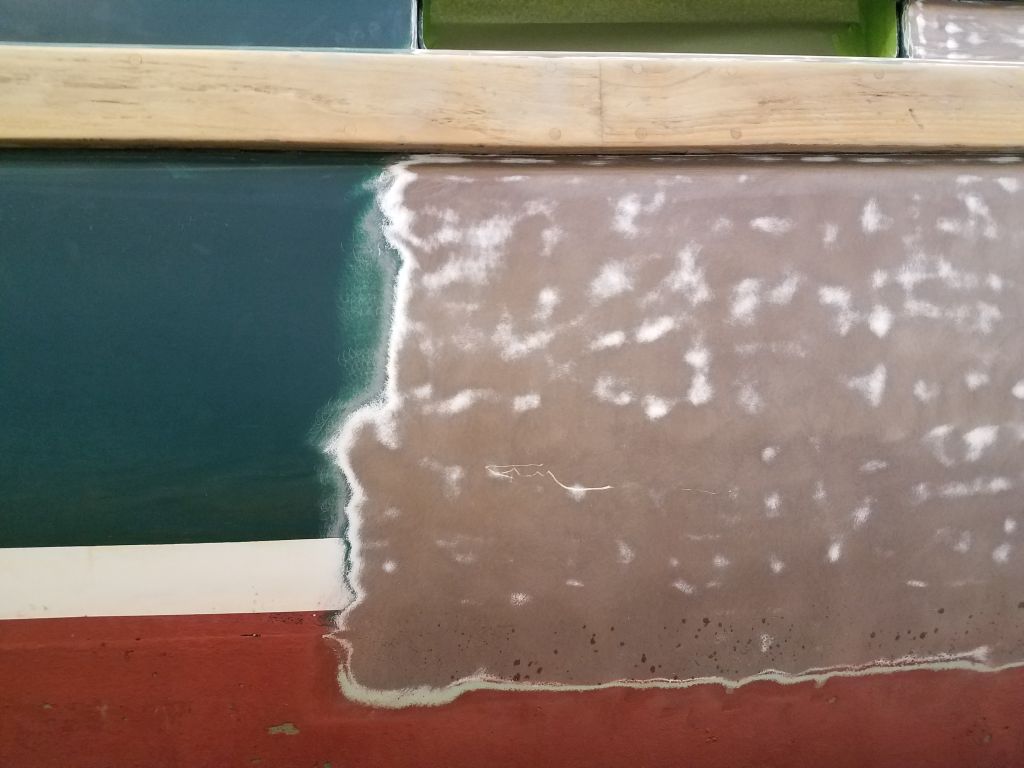
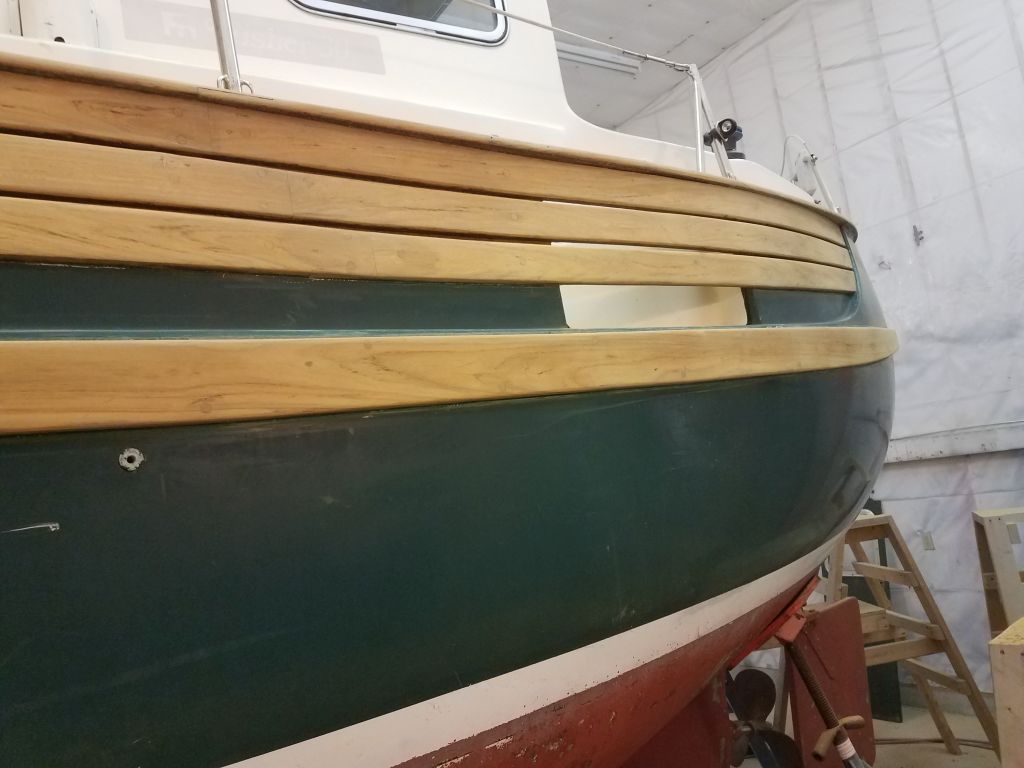
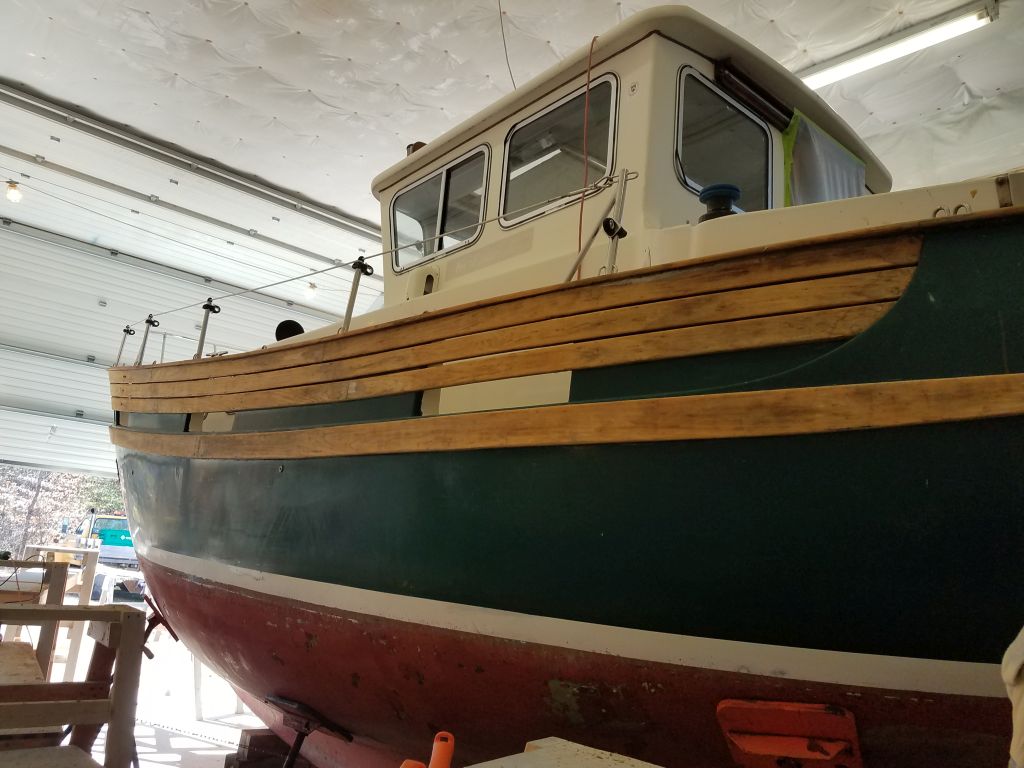
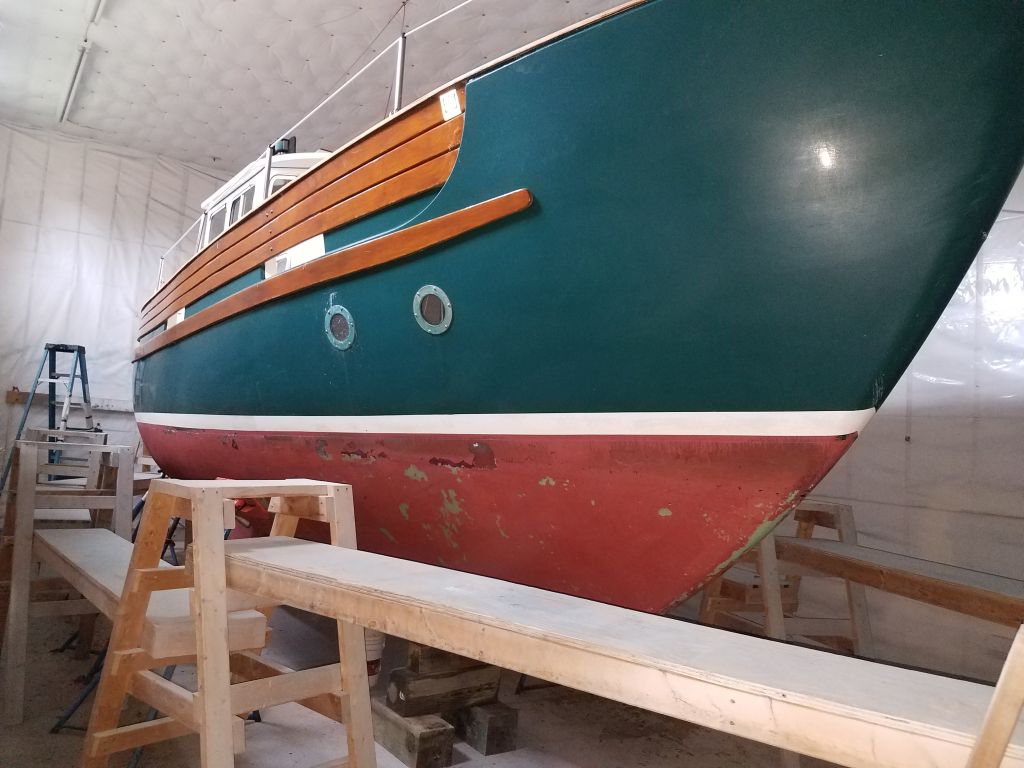
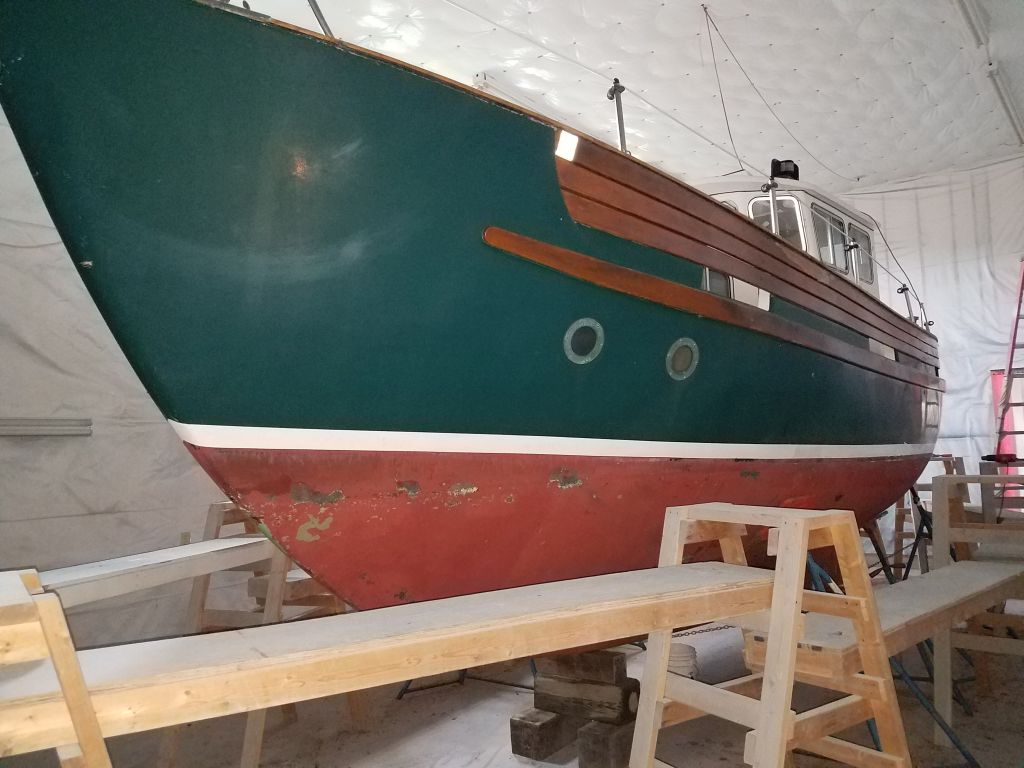
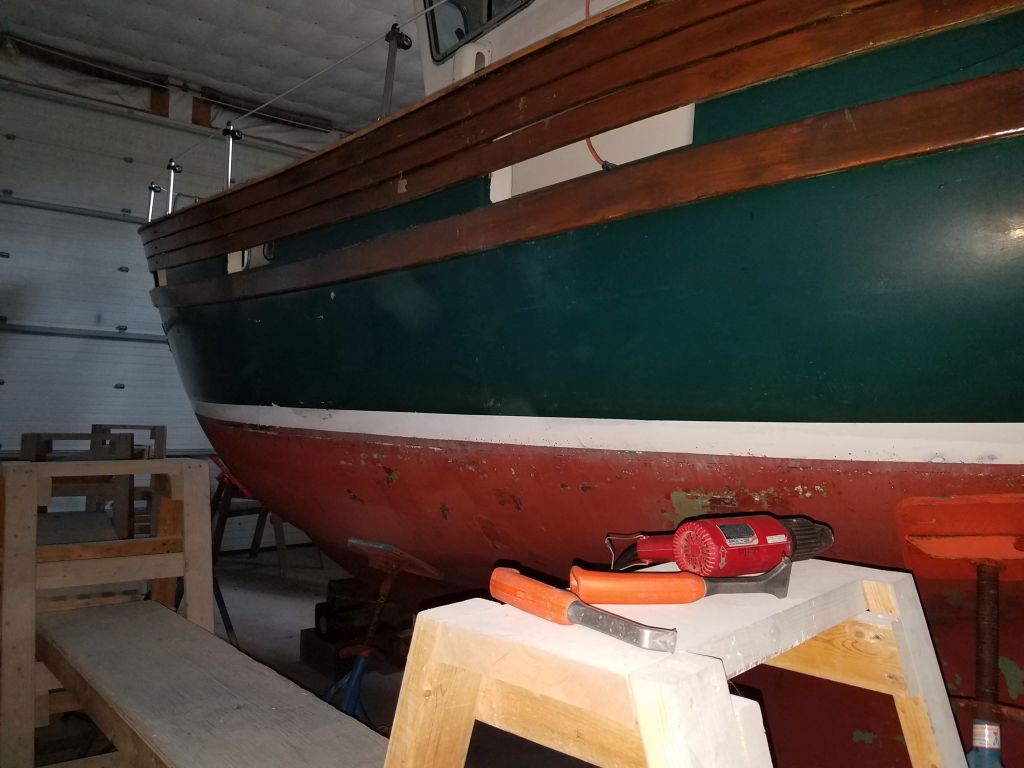
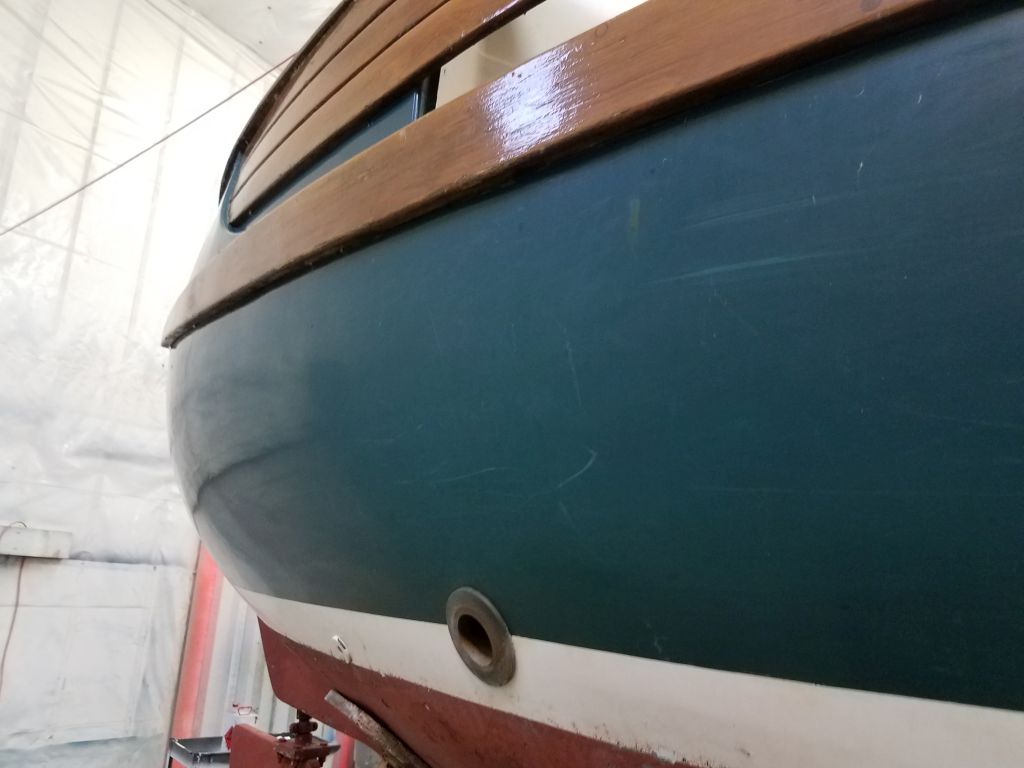
Starting at the starboard bow and working aft, I spent the remainder of the day sanding and removing the old paint more or less down to the gelcoat substrate (the boat was apparently brown from the factory). As I started, I explored cautiously till I could determine the various paint layers and what the actual final substrate was. I worked through 40 and 80 grits on the sander, not taking it too far with either grit and leaving spots of old primer that the next rounds of finish sanding (with a different tool and sanding grits) would take care of in due course, all to ensure that the hull remained fair. I removed the boottop and bottom paint to a point roughly 2″ below the apparent actual waterline so I could strike anew these lines later.
There was a lot of hand work required, not only at the usual places like around the stem casting and the forward deadlights, but particularly in the bulwark recesses and freeing ports, where the exposed hull area was too narrow for a tool. Because of the extensive nature of the hand work on this boat, I took care of these areas as I went along, rather than leaving them all for later while concentrating on the bulk hull sanding. This helped to spread out the hand work so it didn’t overwhelm. By the end of the day’s work, I’d made it about halfway down the hull–the “big half”, since the bold bow had much more surface area than the after portions of the boat, and to the aft end of the second freeing port.
Total time billed on this job today: 7 hours
0600 Weather Observation: 60°, mainly cloudy. Forecast for the day: Clouds, maybe a sunny break, then showers, high 60s.
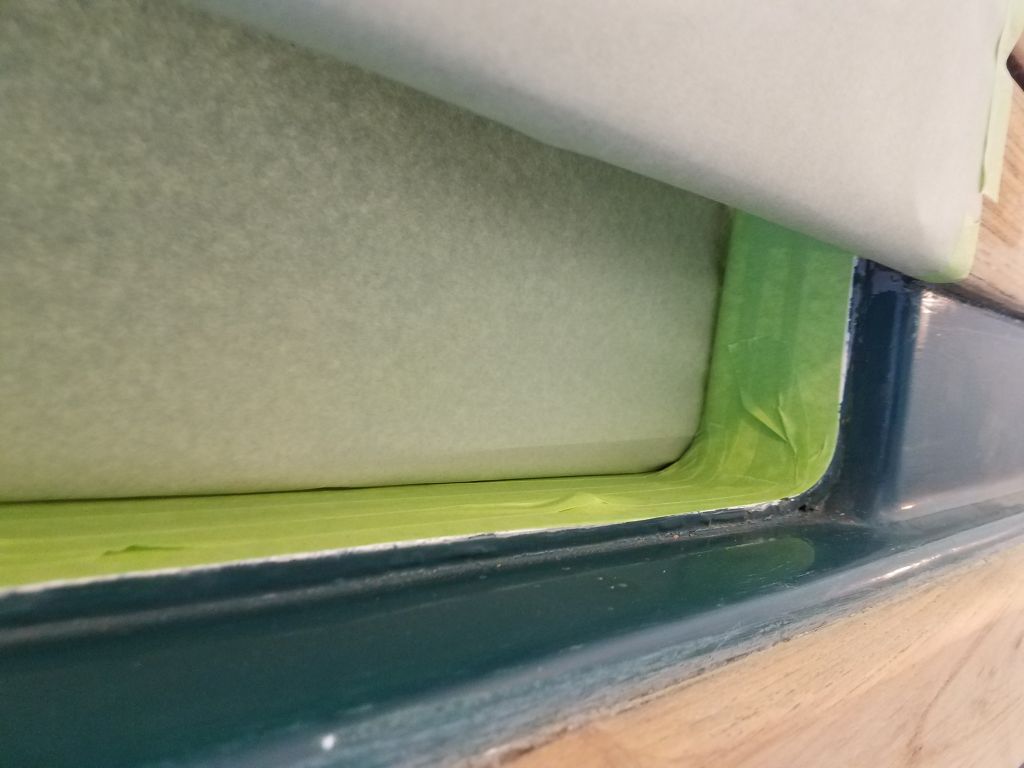
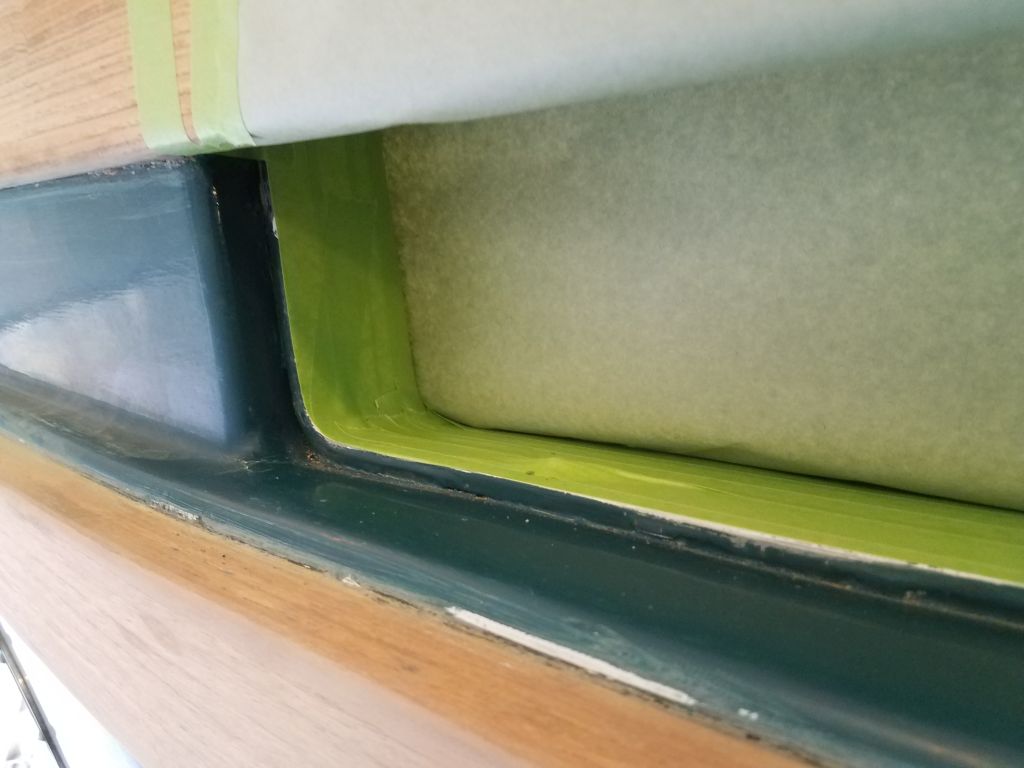
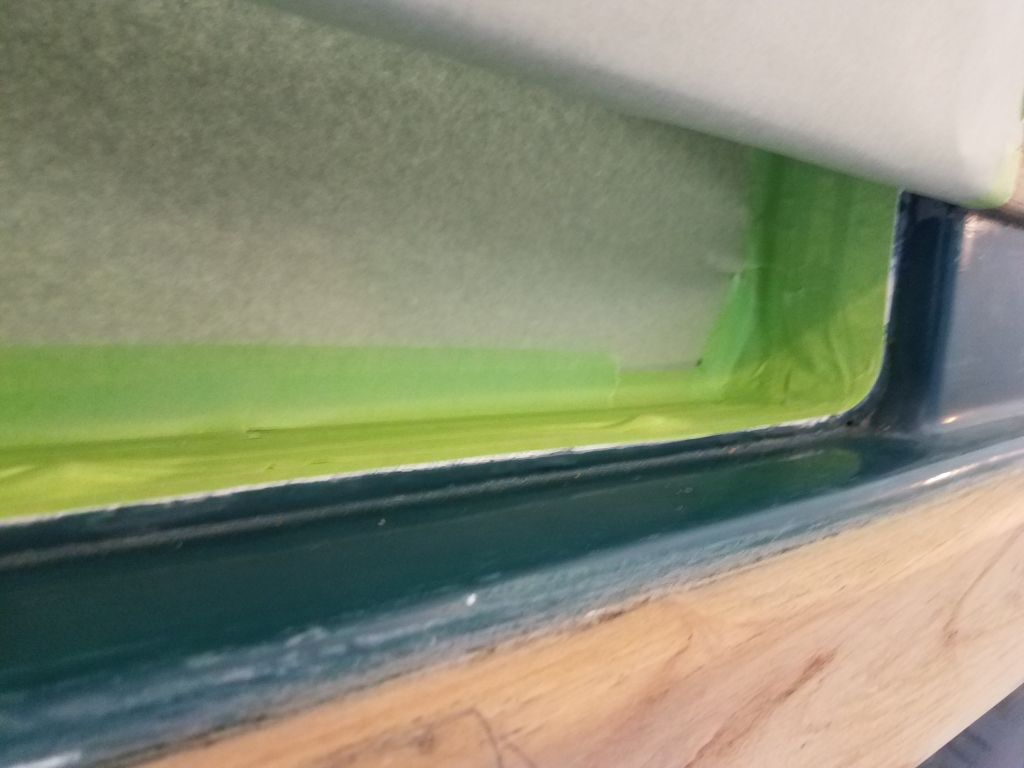
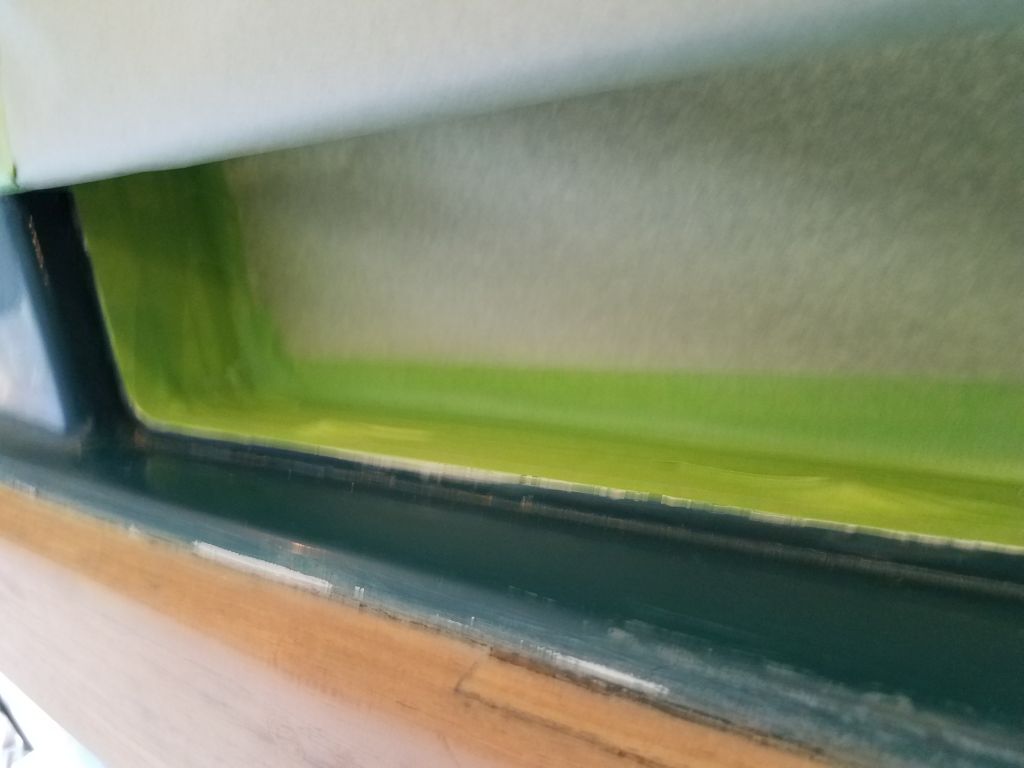
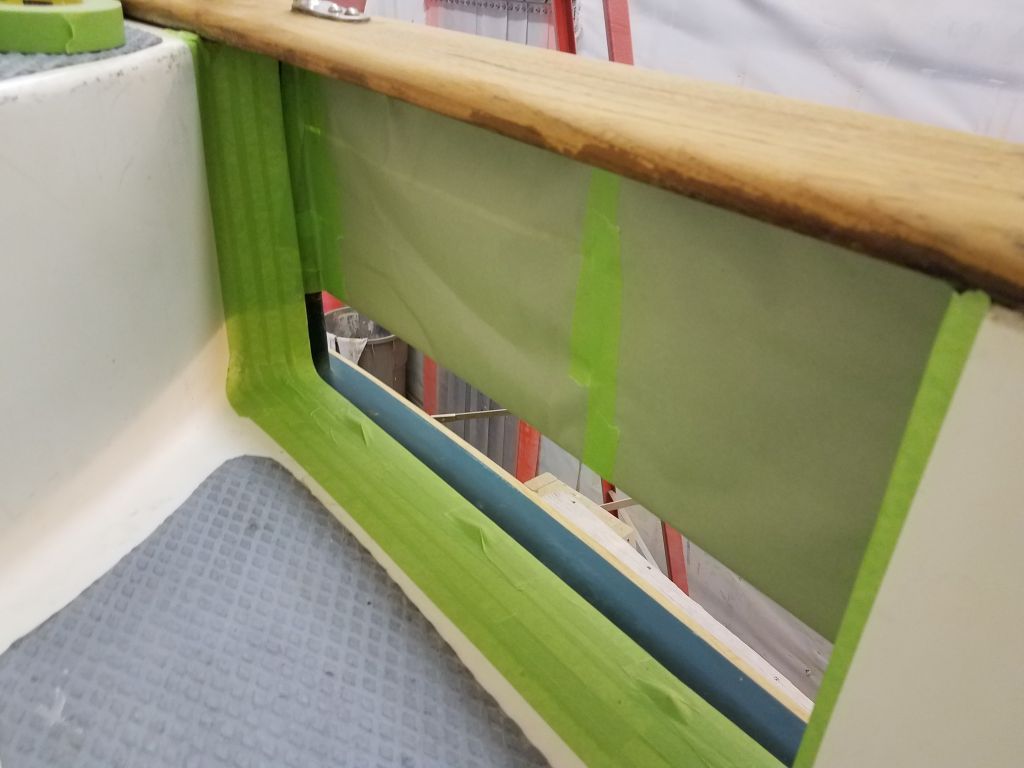
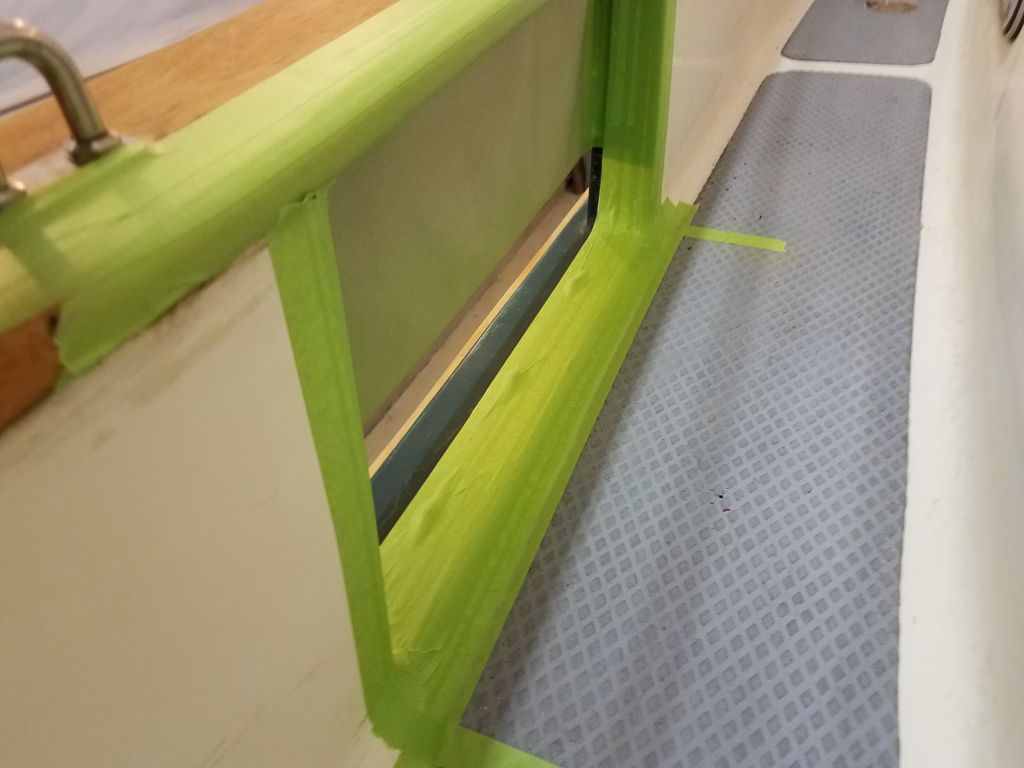
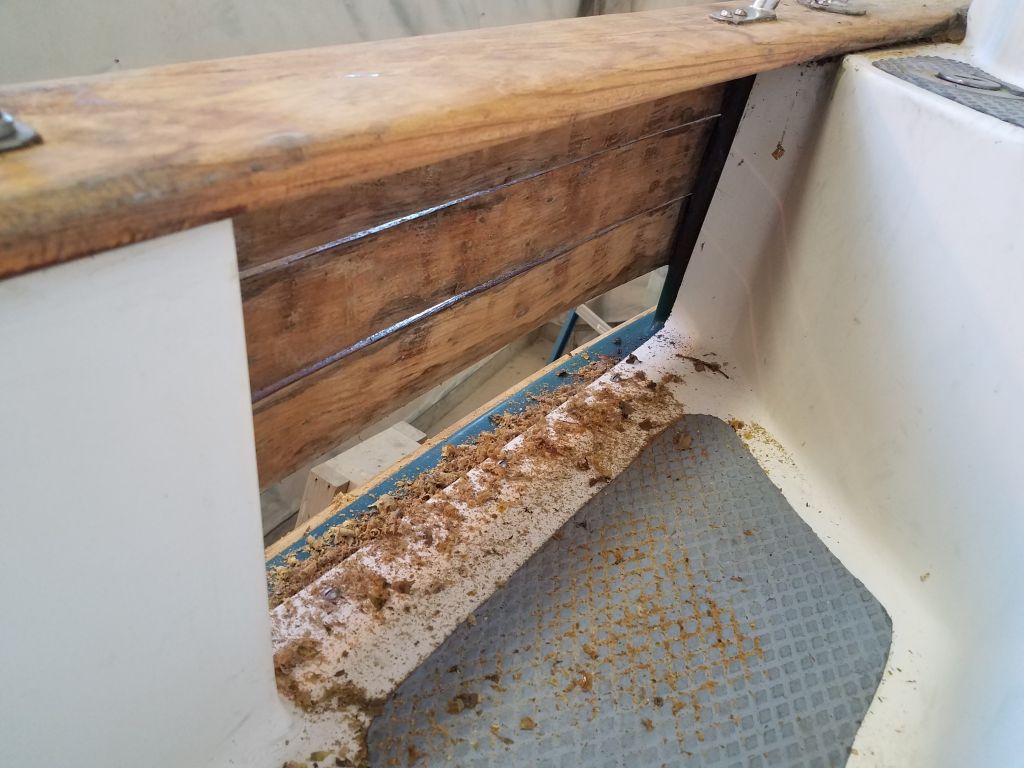
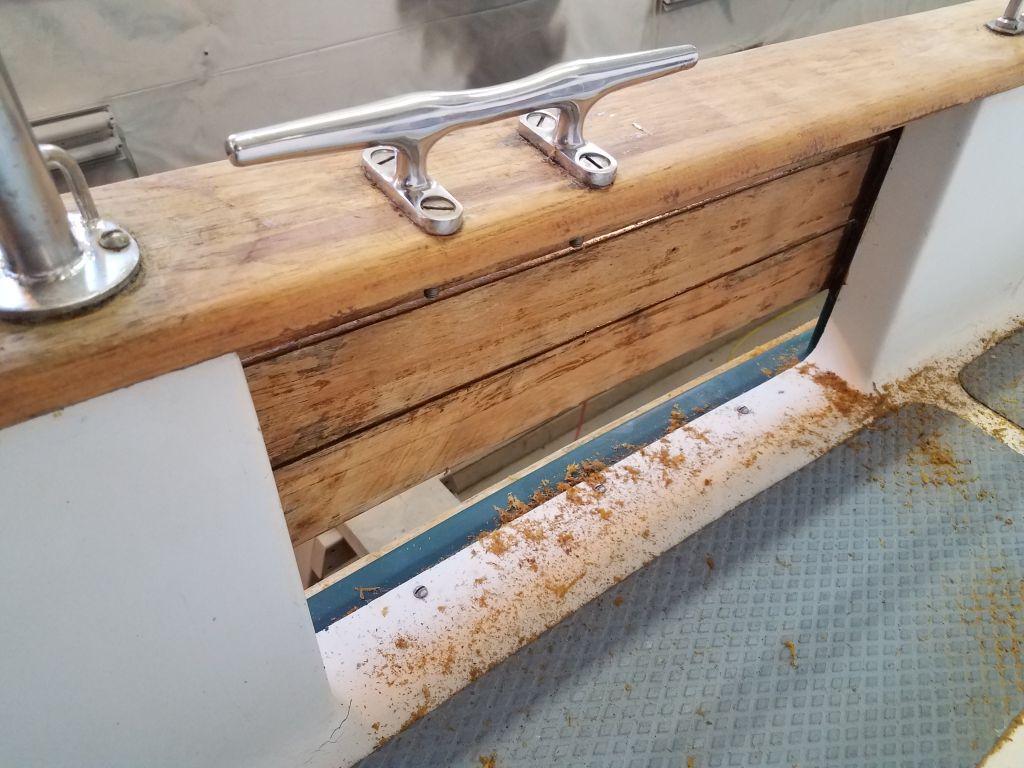
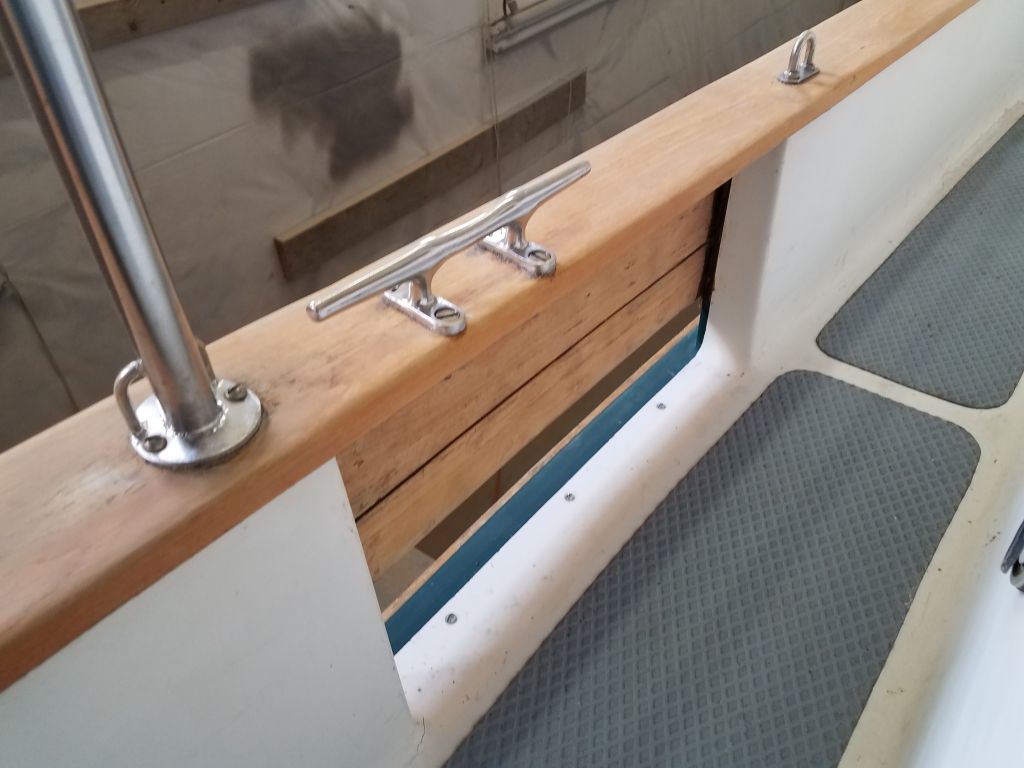
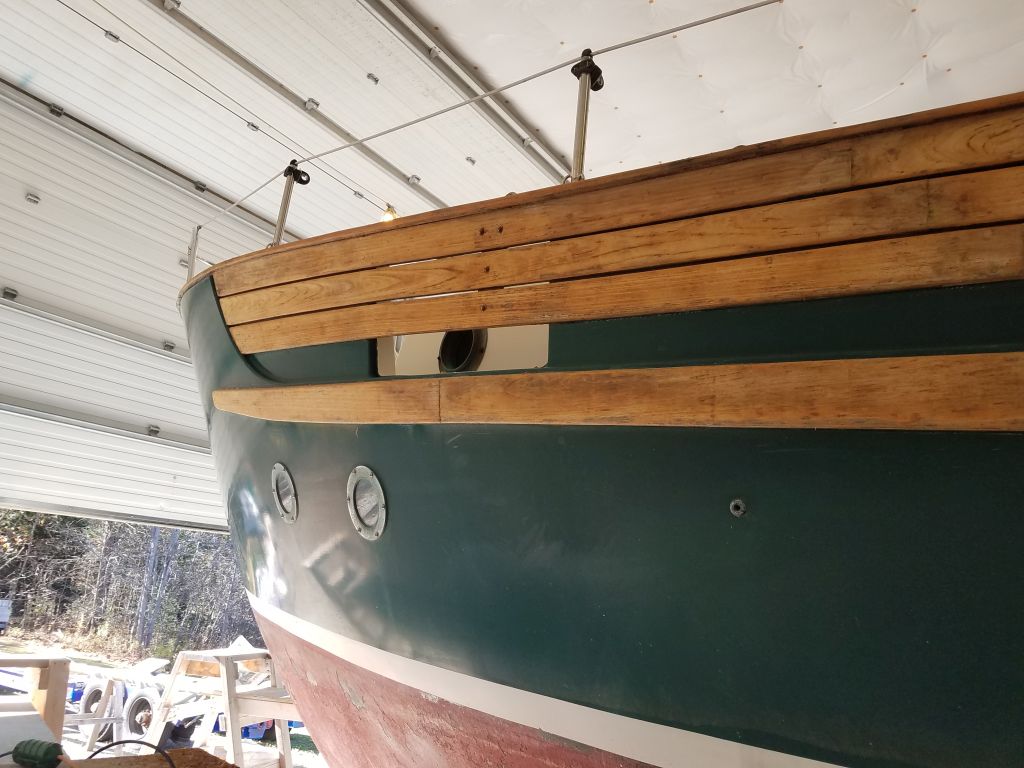
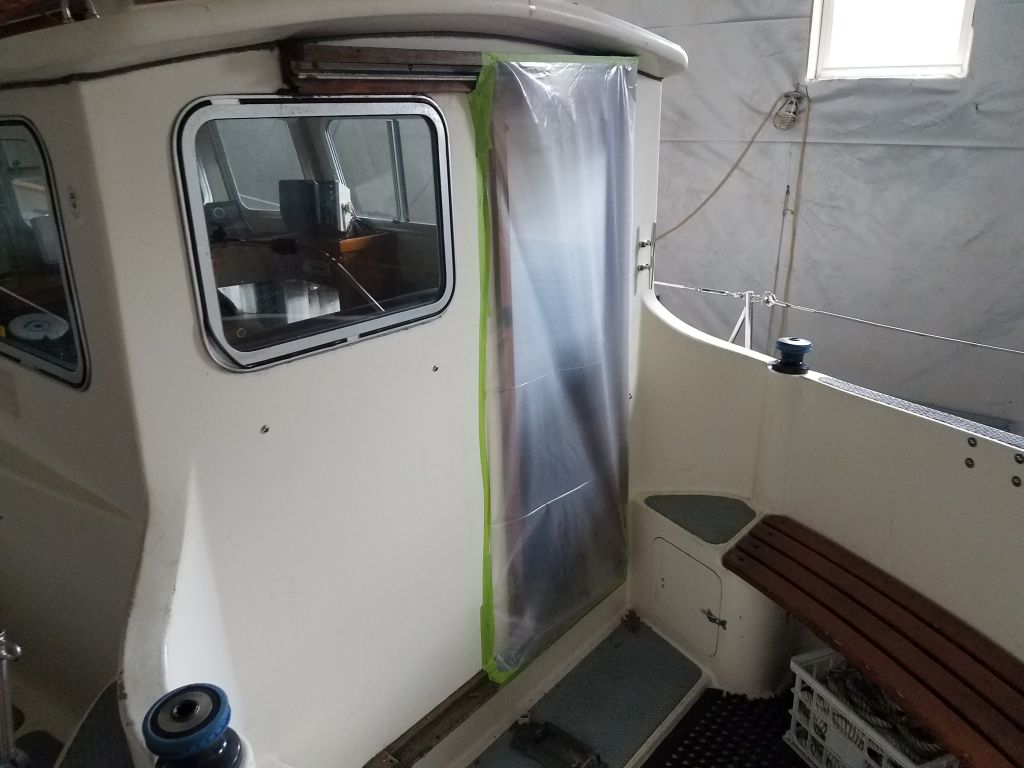
I vacuumed the deck areas and freeing ports, then solvent washed the caprails and areas immediately around the freeing ports to prepare for masking and covering the deck areas for the next steps. Then, I focused on masking off the freeing ports–one of the unique and highly functional features of the boat’s design, but time-consuming areas to deal with when refinishing.
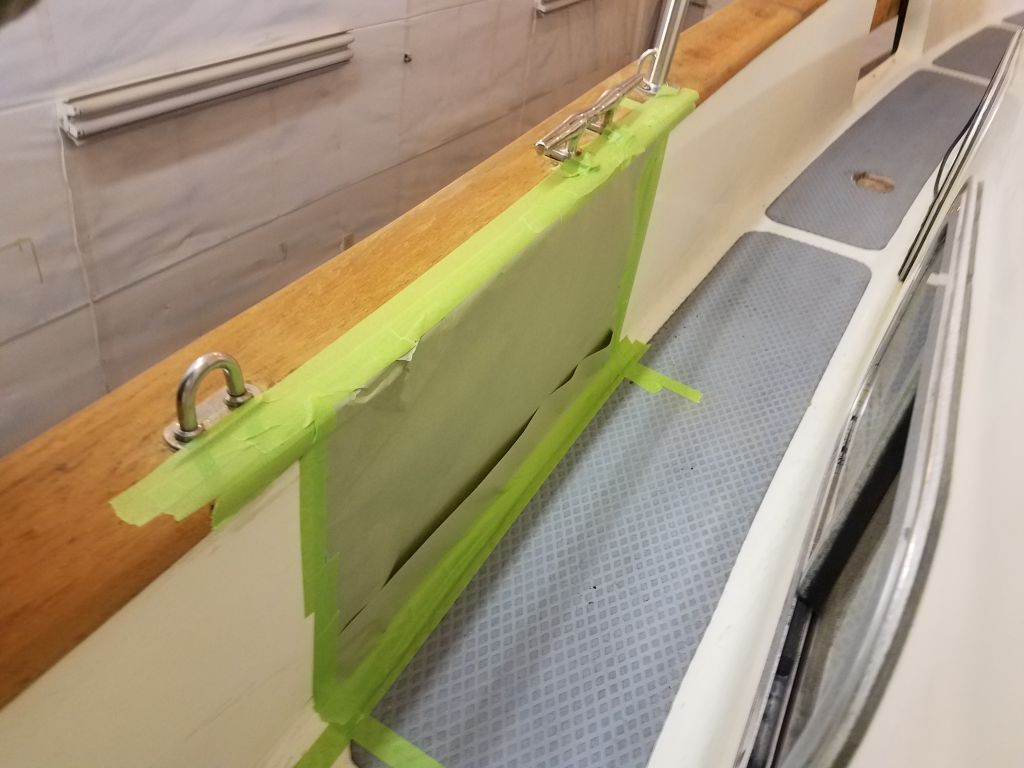
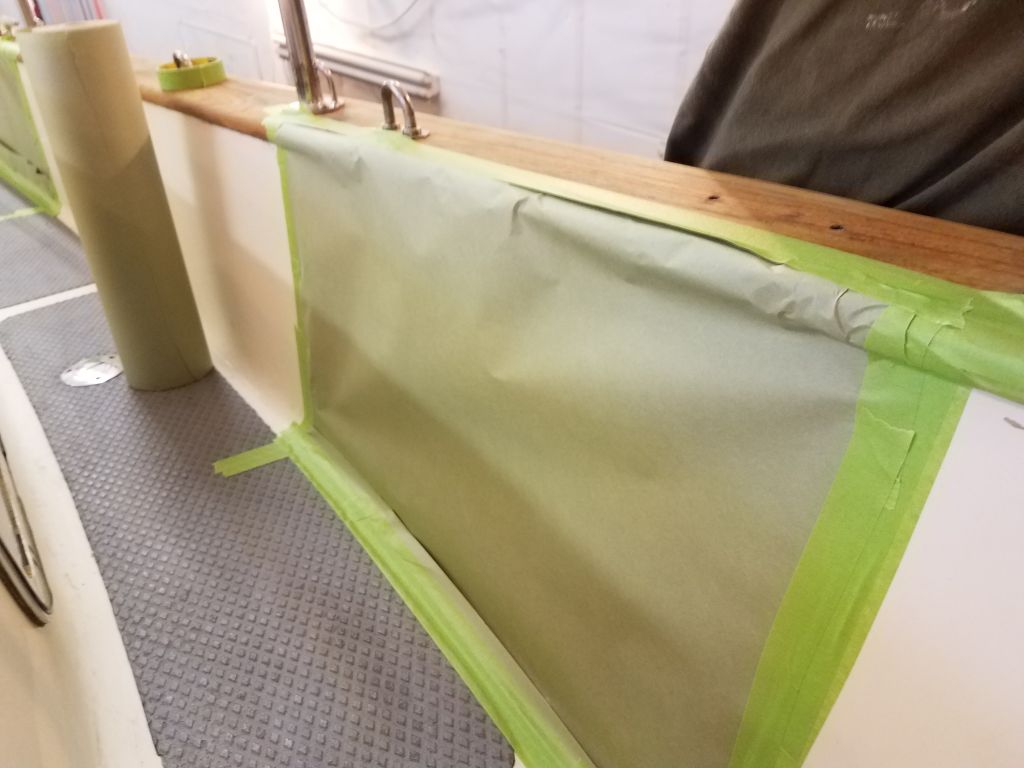
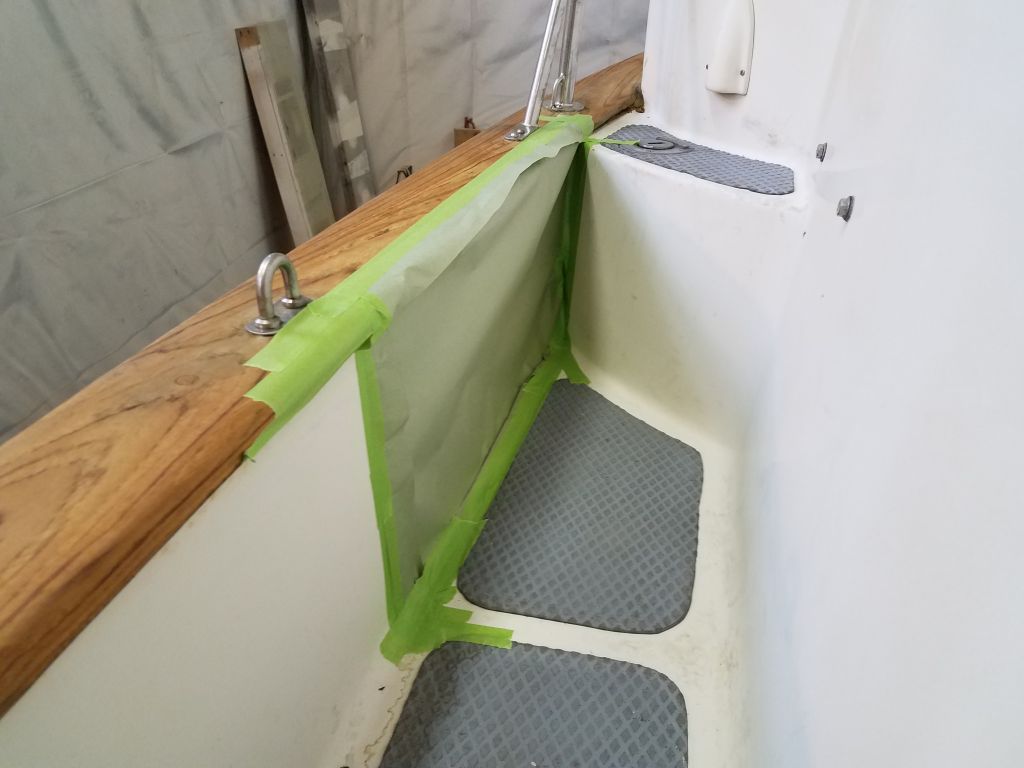
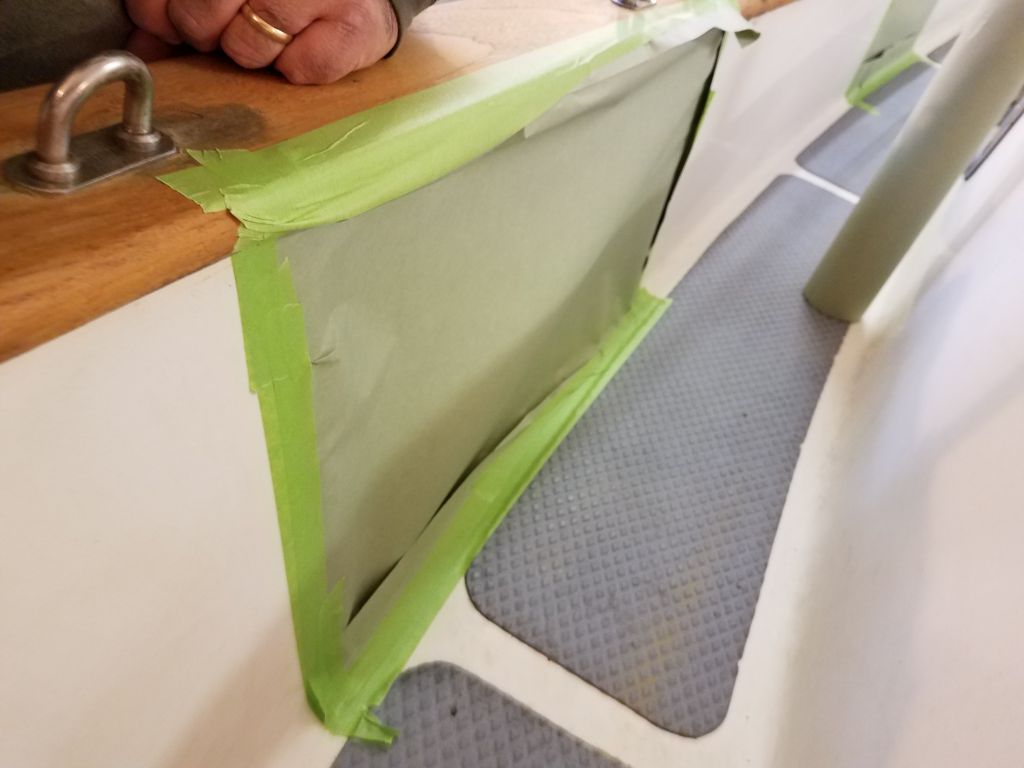
The masking for these openings had to accomplish several things: first, keep out the dust during sanding efforts; second, keep out overspray (most importantly); finally, they also had to avoid or eliminate little pockets that could catch and accumulate dust throughout the process. Working from outside on high staging and leaning over the caprail, I first masked off the deck areas and bulwark liner, as well as the inside of the wooden bulwark strips. This would be the first and main defense against overspray, as these pockets would be open during the process so I felt all areas needed to be covered though only the lower section below the wooden strips would actually be sprayed.
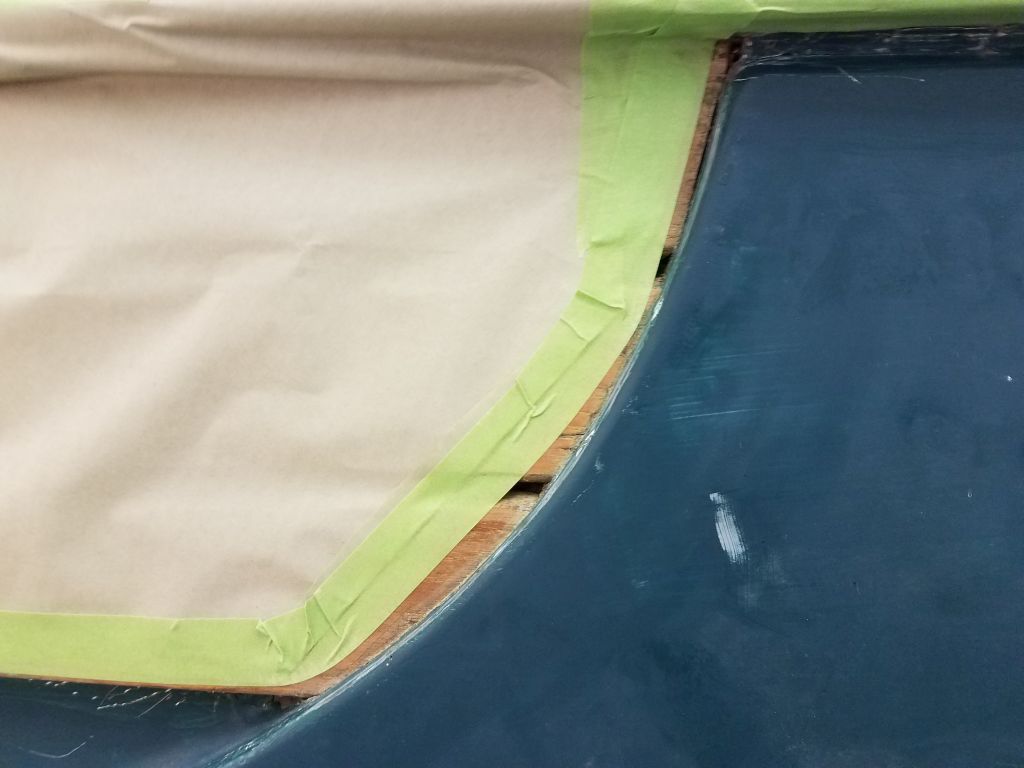
Although I completed all the masking steps at each freeing port location before moving to the next, the photos below show just the first step on several of the openings.
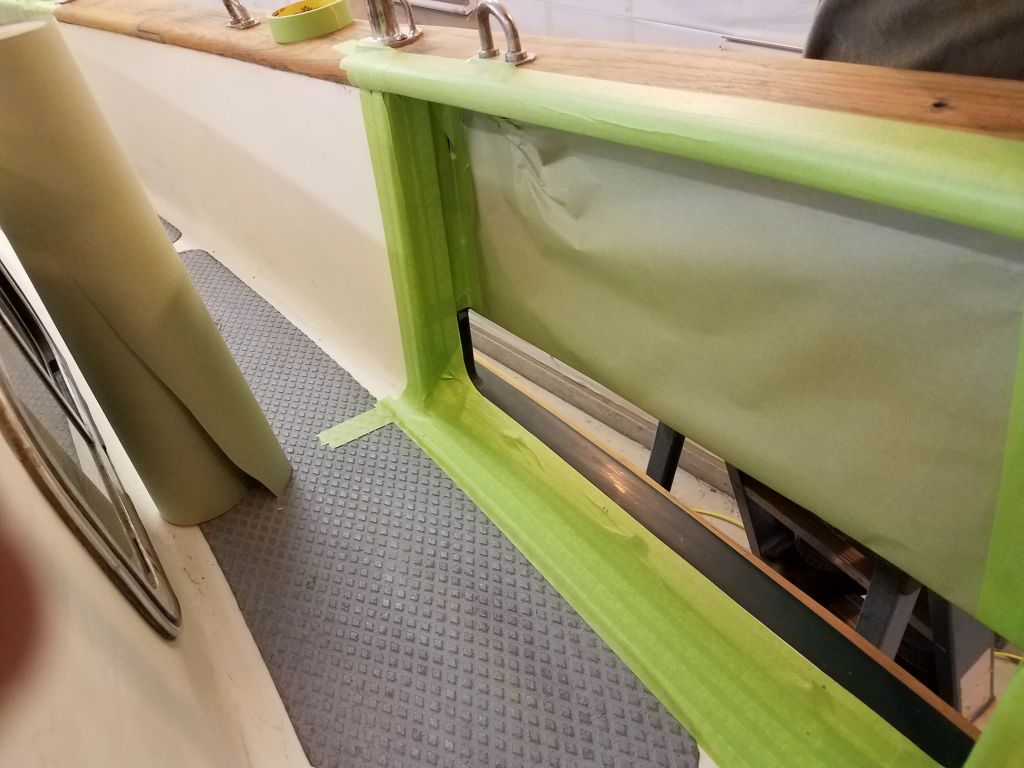
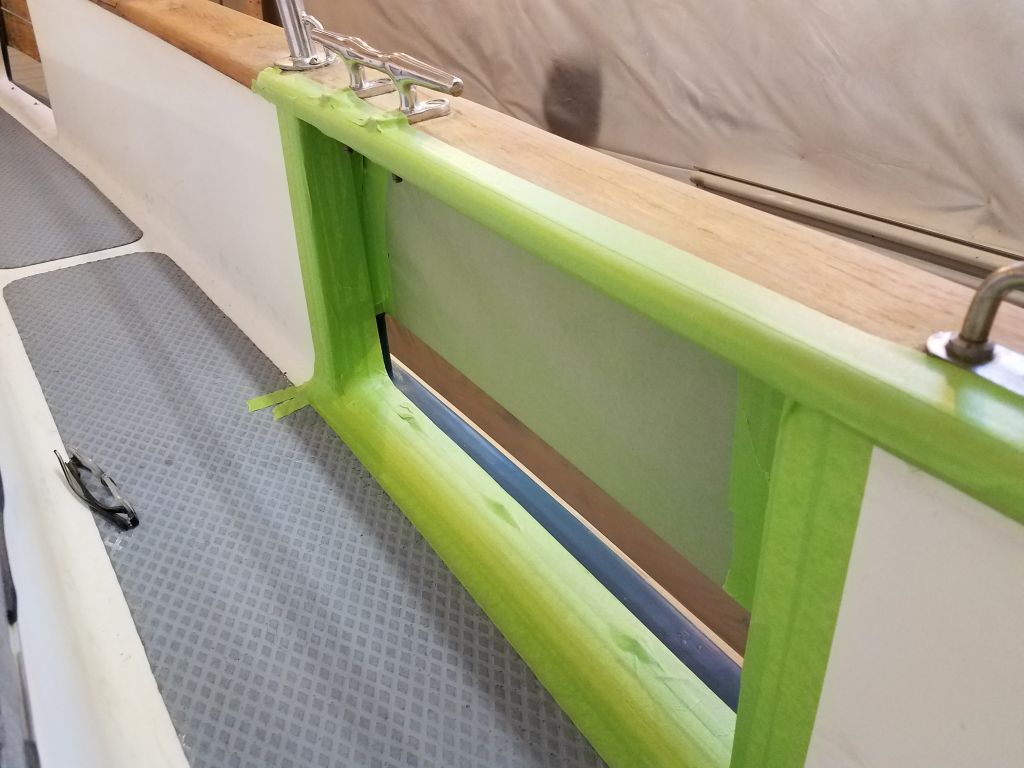
With the inside of the openings masked off carefully, I covered the opening inside with masking paper, taping it to the tape I’d already laid around the perimeter of the openings. This paper was the main defense against dust and overspray getting into the deck areas. The final step in the masking process–taping the seam between paper and perimeter from the outside to seal that little dust-collecting gap–would happen from outside the openings, but I’d do that a little later when I had the staging at the appropriate height. These photos, in order from first to last, show an evolutionary progression in how I went about the masking, with commensurate results.
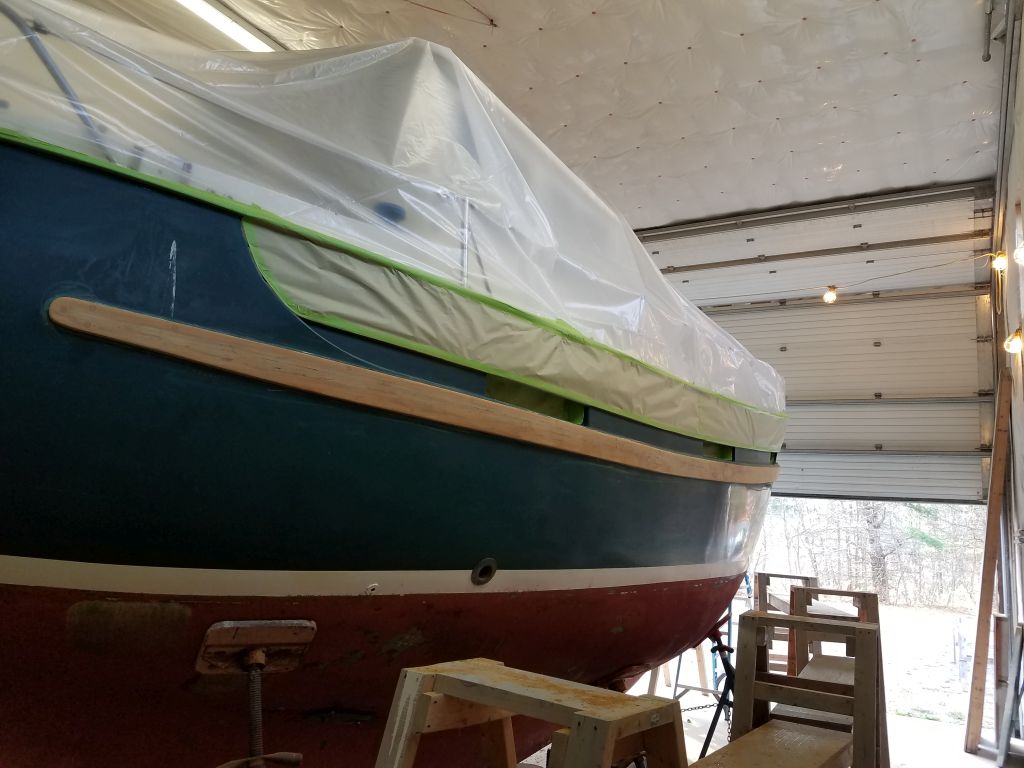
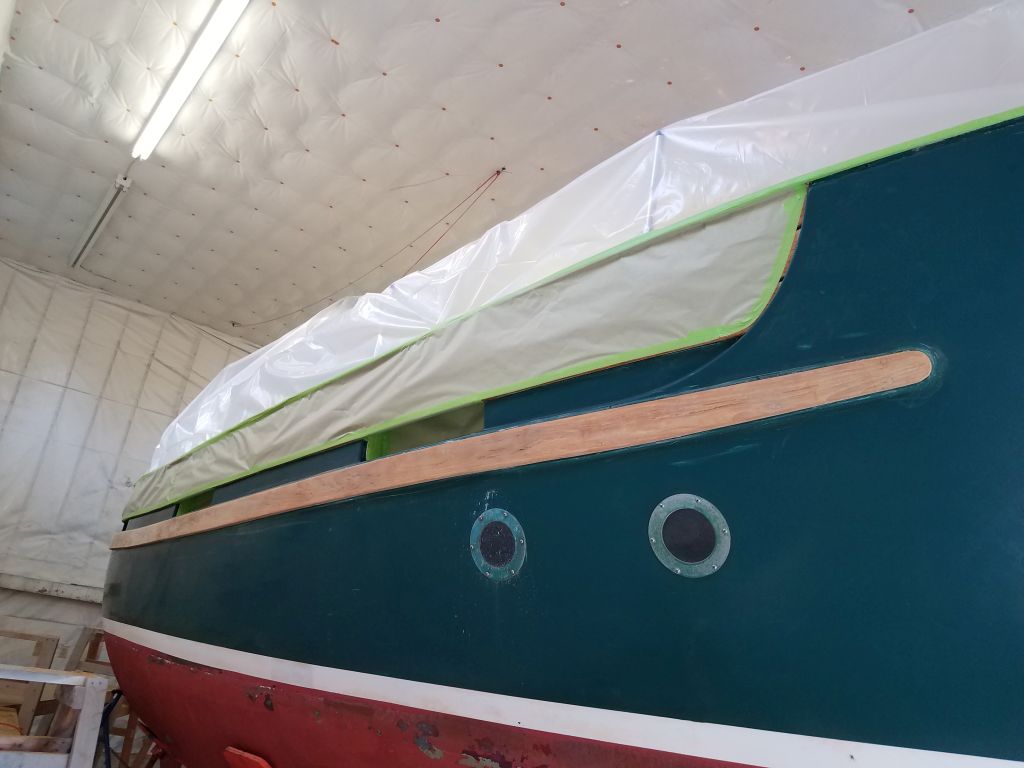
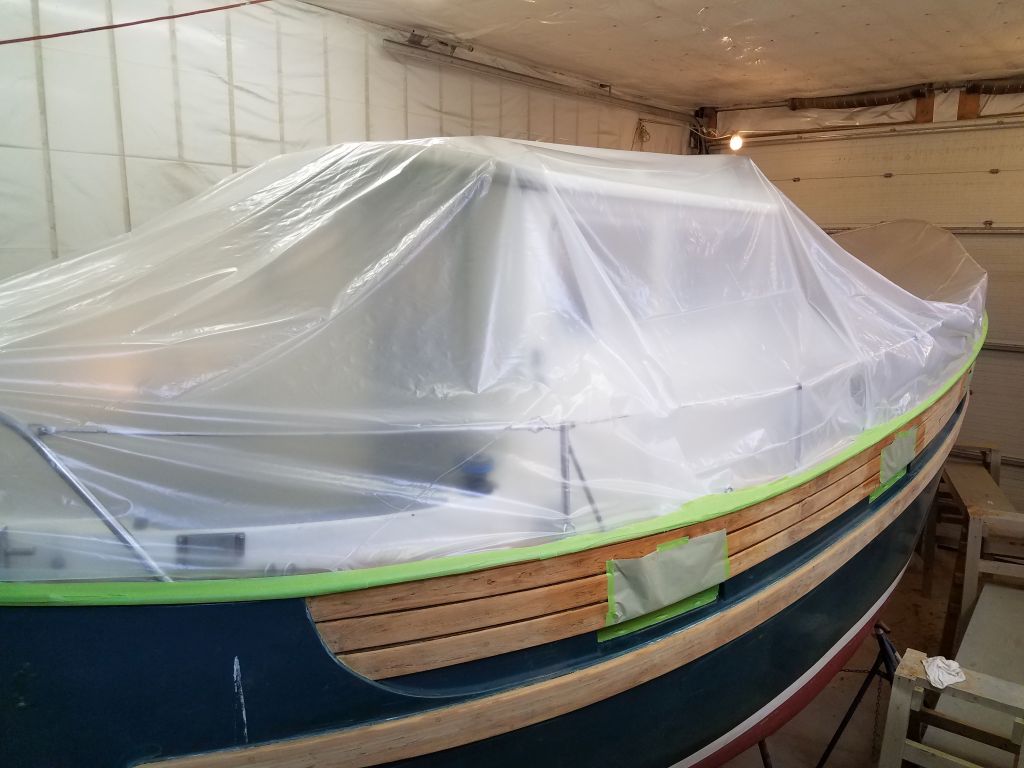
Now that the major work on the freeing ports was complete and they were well sealed into the decks, I covered the entire deck with plastic sheeting, taping it securely to the edge of the caprails all the way around. Since I had to leave the shop on other business during the afternoon, this was as far as I got; some final plastic-taping details remained, as well as the final masking in the freeing ports.
Total time billed on this job today: 4.5 hours
0600 Weather Observation: 50°, cloudy, a shower. Forecast for the day: clouds and showers, around 60
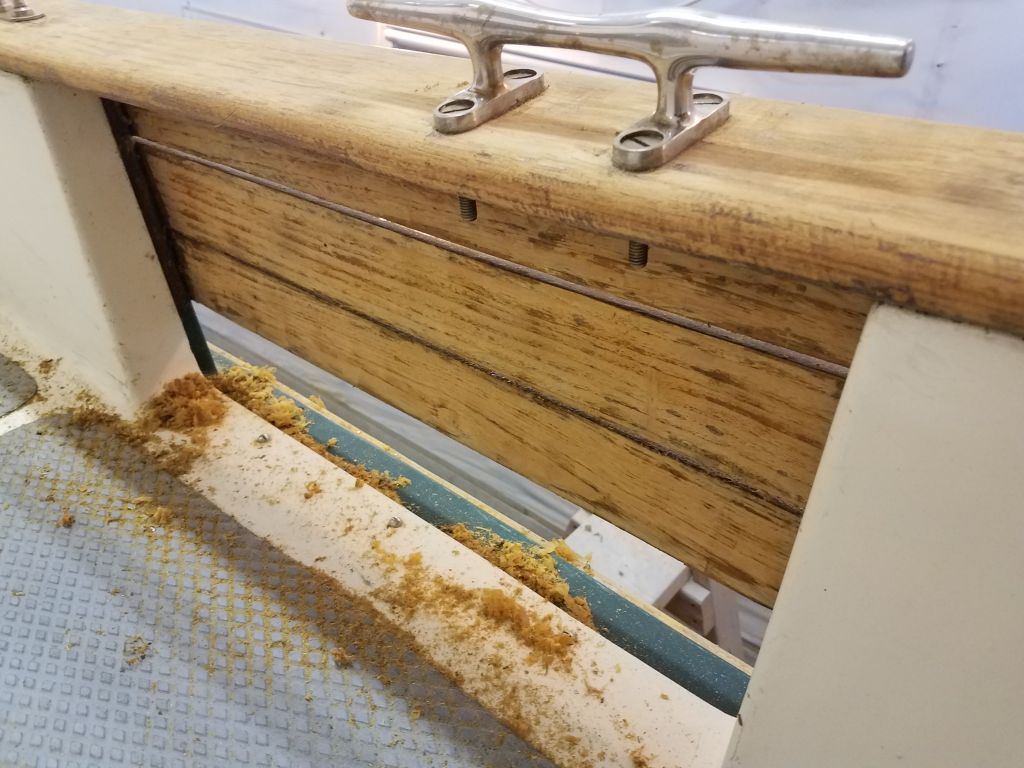
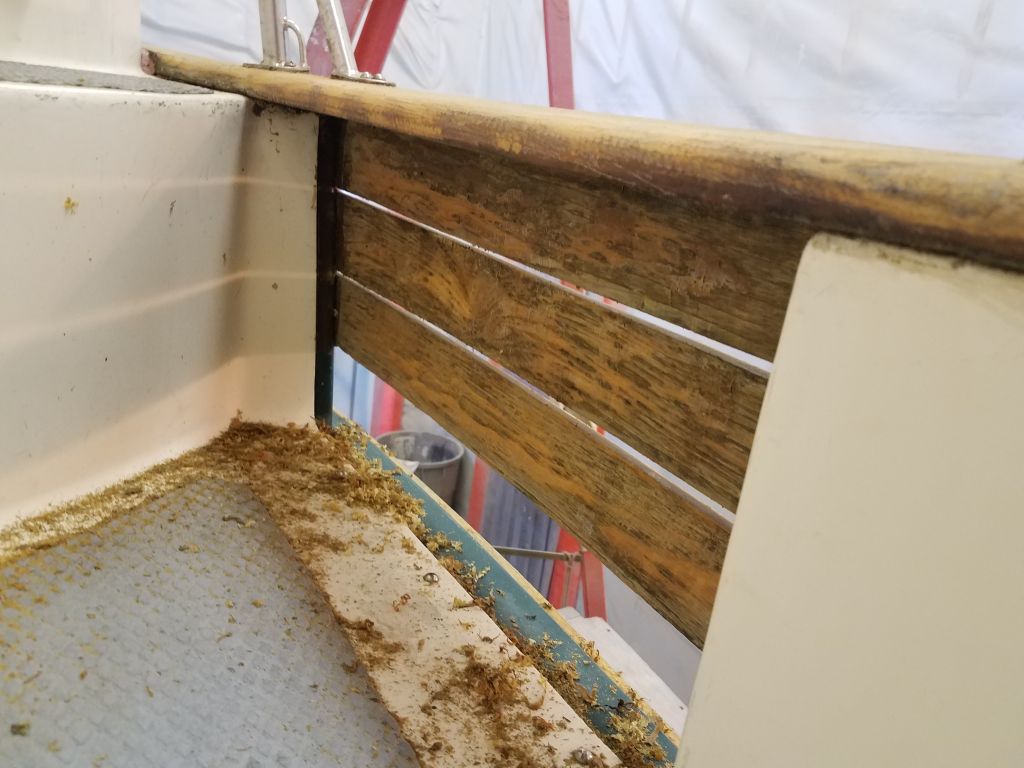
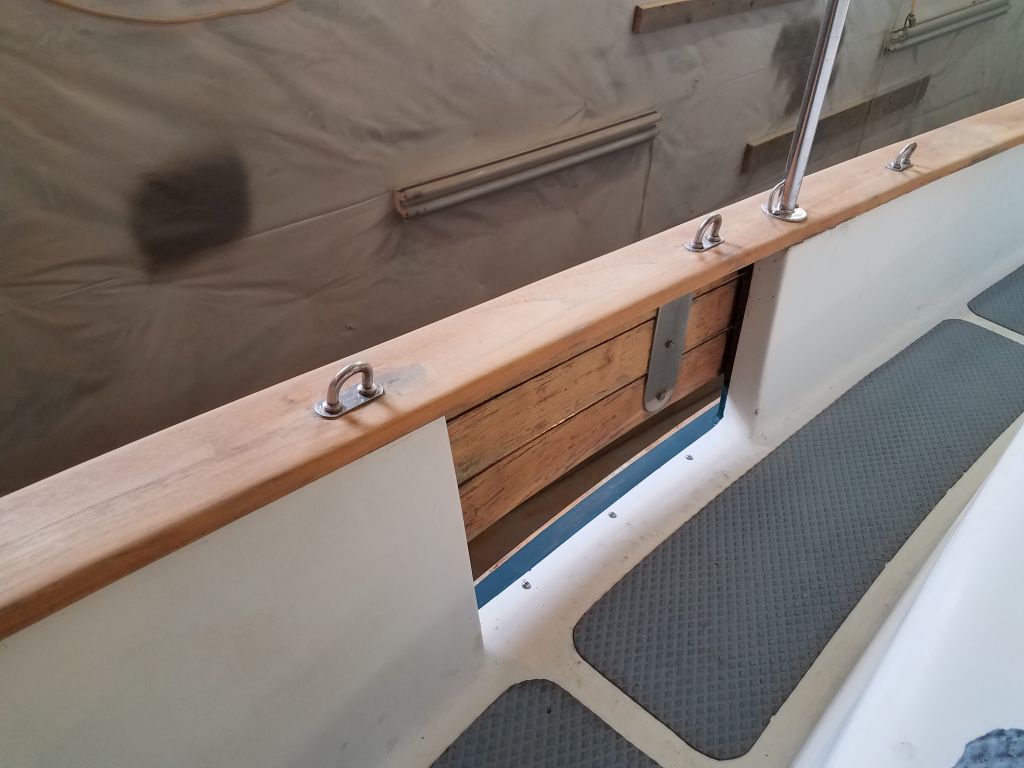
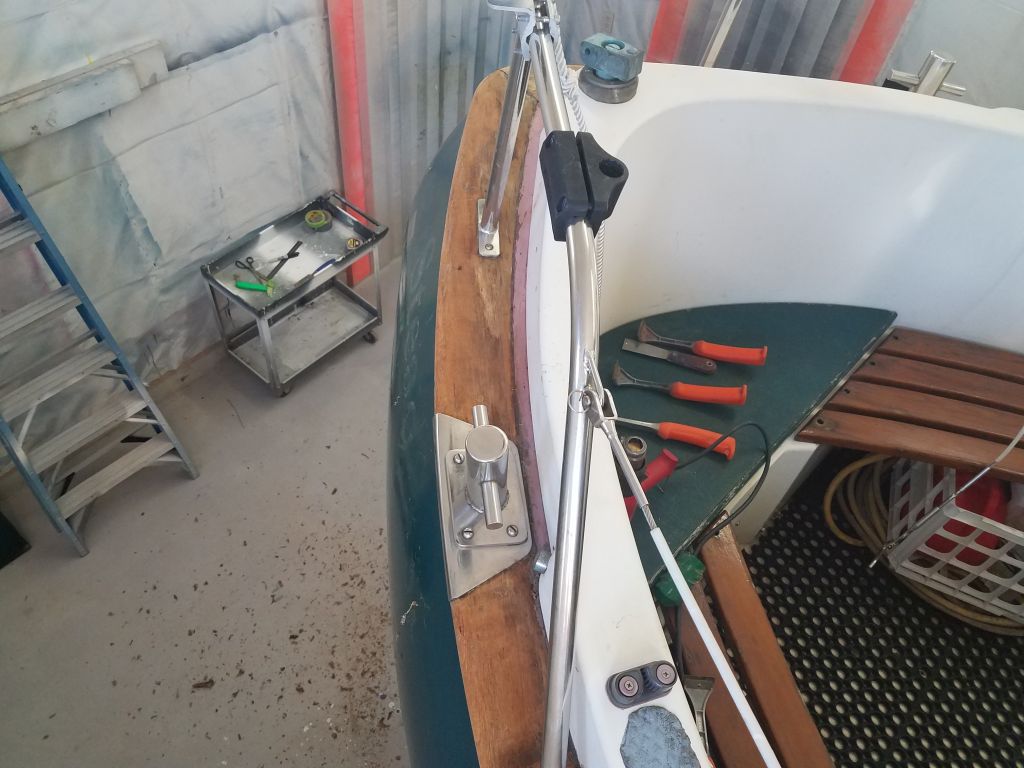
The first order of business was to strip the inside sections of the bulwarks inside the freeing ports. Access from the deck side in the narrow passageway while juggling scraper and heat gun turned out to be next to impossible, so I did most of the work from a high staging plank I set up outside.
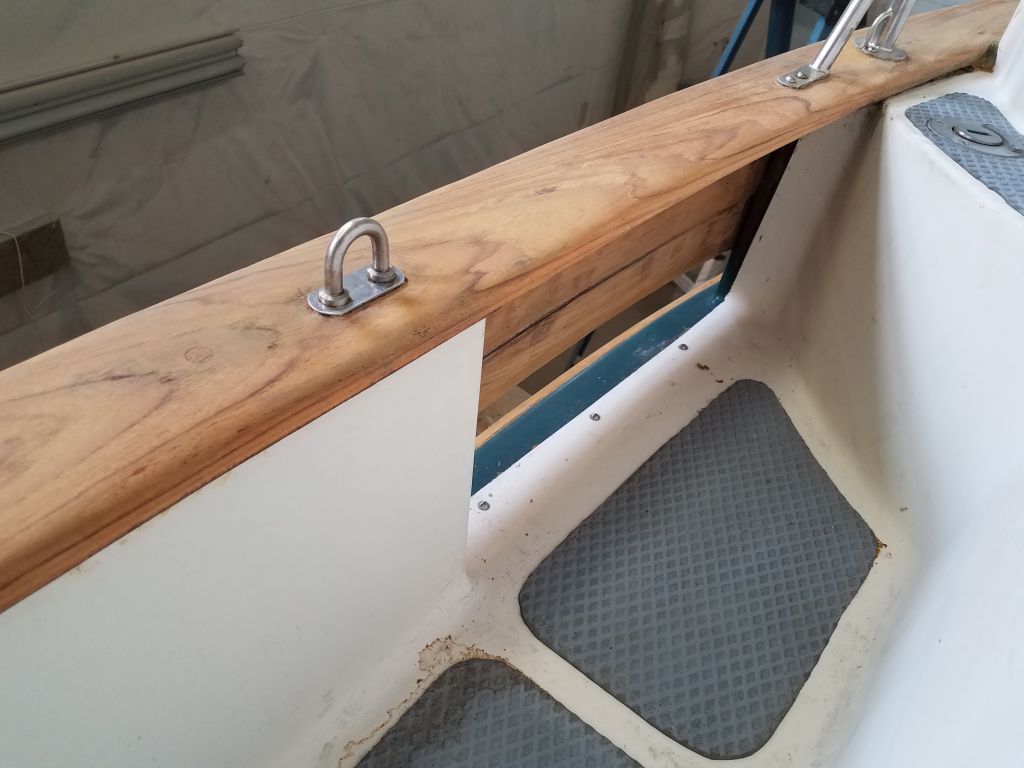
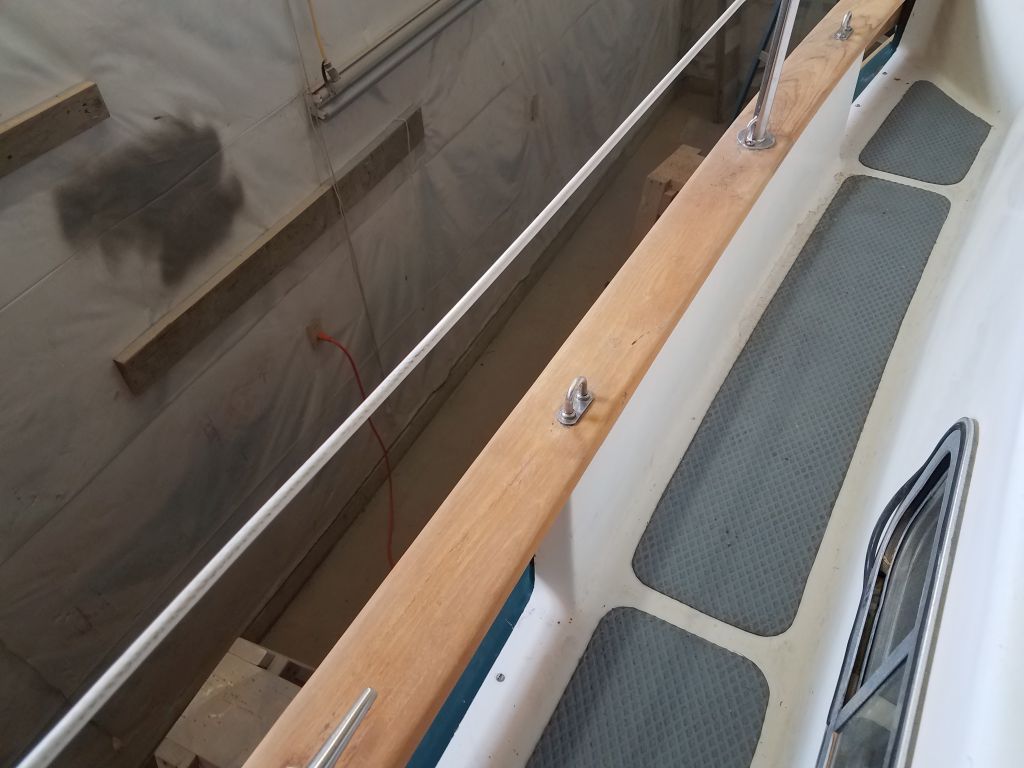
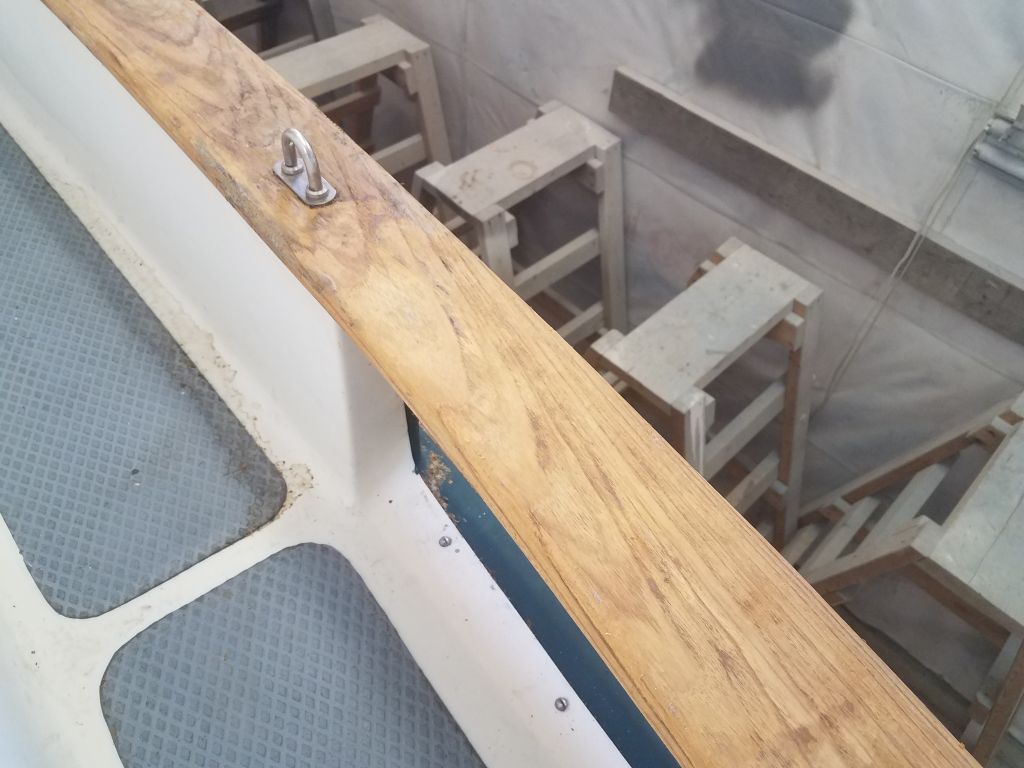
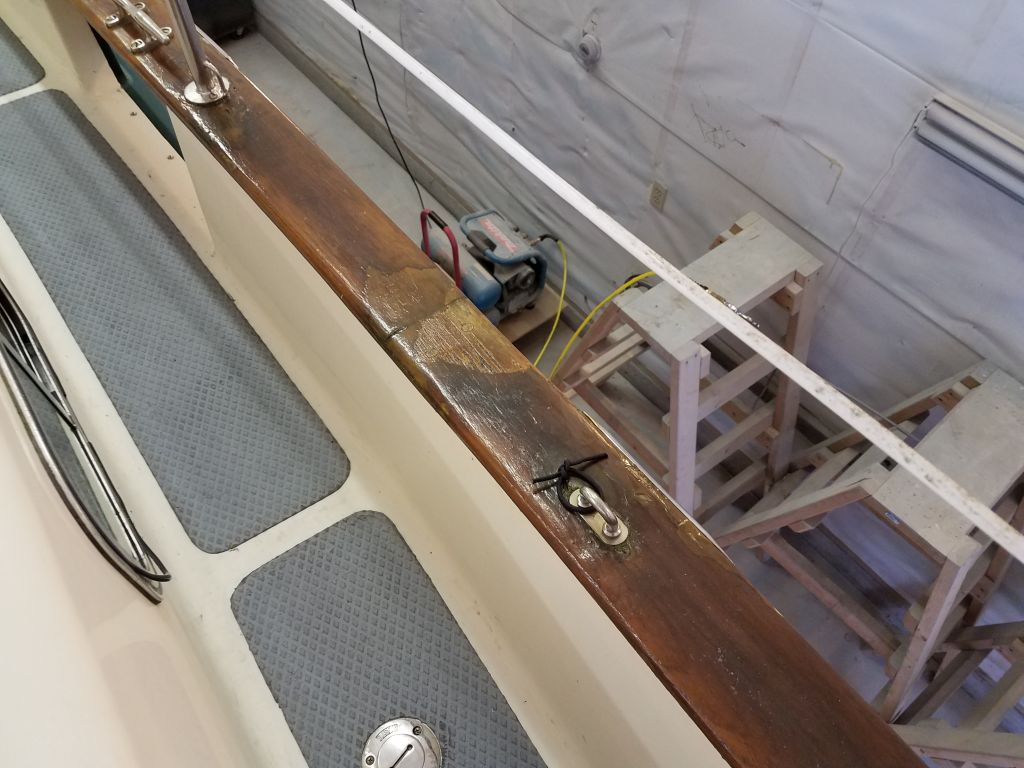
After an appointment away from the shop, I got to work back on deck by sanding the newly-stripped caprails, as well as the insides of the bulwarks I’d just stripped. I sanded the wood smooth and clean through the grits, working with palm sander and by hand as necessary.
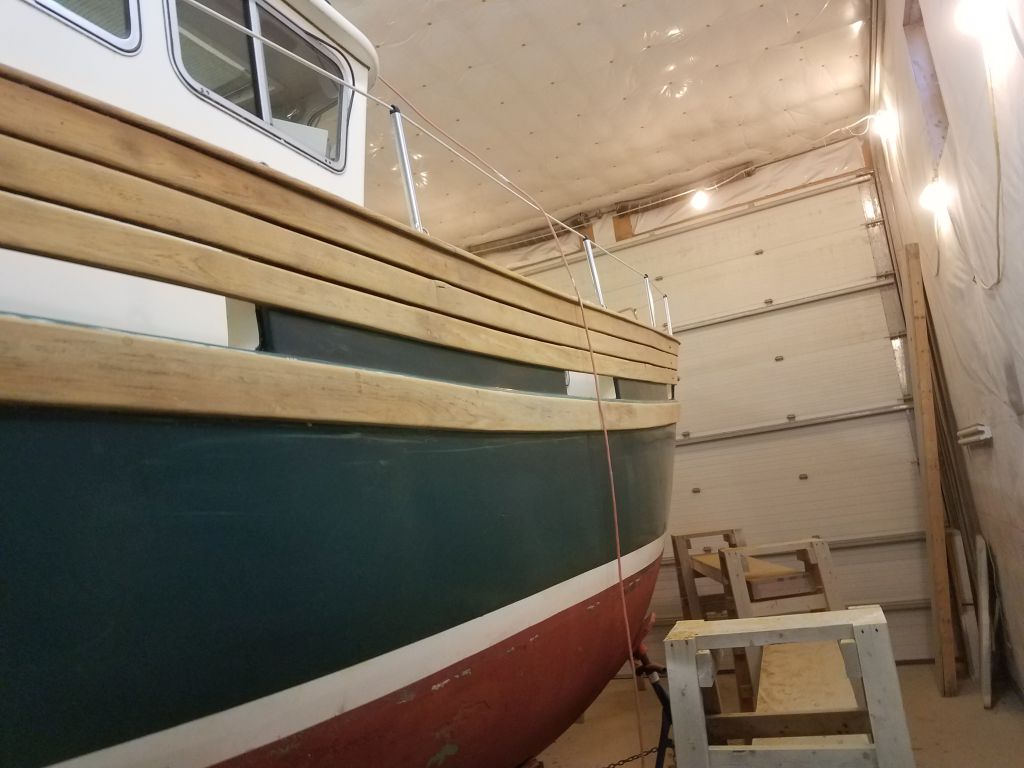
Afterwards, I continued by sanding the bulwarks and rubrail, working from the staging outside the hull, first the port side, then the starboard, completing all the sanding by the end of the day.
Total time billed on this job today: 6.5 hours
0600 Weather Observation: 30°, clear. Forecast for the day: Sun but increasing clouds, 50s
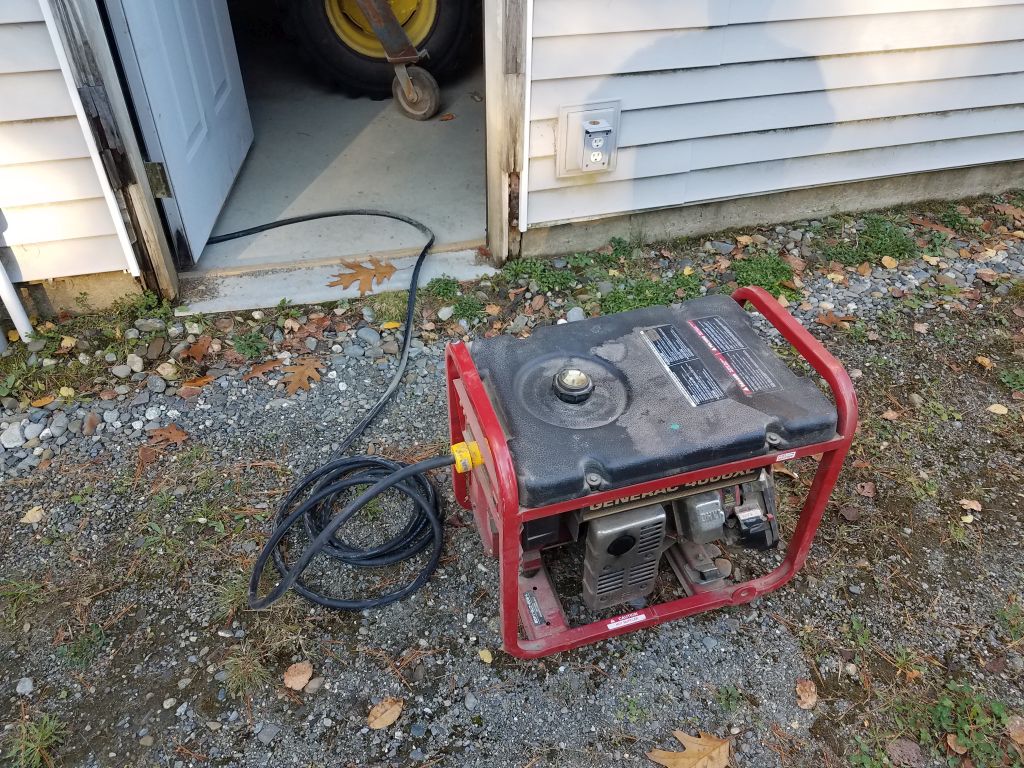
I’d never had cause to use my shop generator setup since having the proper switch and circuits installed about two years ago, so with just a little trepidation I prepared my old portable generator, which started on the first pull, and hooked up the cable to the shop. Success! I’d had a few circuits wired up for use with the generator, including the heat (not needed now) and the lights and two walls worth of outlets in the main shop. So I was in business.
During the morning work session, I stripped the old finish from the bulwarks and rubrail on the port side, starting at the stern and working forward.
After lunch, I got going on the starboard side, this time starting from the bow (direction of strip chosen based on the required juxtaposition of the heat gun and scraper for me). I’d not been working long under the din of the generator before I received a text from my wife saying the generator at the house had stopped, which immediately concerned me. But then I got the second part of the text: because the power was back on. This was great news, as I’d been expecting a much longer outage based on all the information I’d seen (and at this writing there were still nearly 300,000 statewide outages). So I took a few minutes to kill the generator and get back to normal power usage before continuing and finishing the starboard side stripping by the end of the day.
Total time billed on this job today: 6 hours
0600 Weather Observation: Clear, 40°. Forecast for the day: sunny, 50s
A brief but highly intense wind and rain storm blew through Maine early in the morning, with up to 70 MPH winds causing widespread tree and powerline damage and putting over 400,000 electric customers in the dark–including us just after 0500. With generator power at the house and no major damage at our property or immediately nearby, I had no immediate worries, but since the shop didn’t have the luxury of a standby generator the storm put the damper on my work plans for the day–and, as it happened, somewhat longer, as the prospects for full power restoration to the state looked like many days hence.
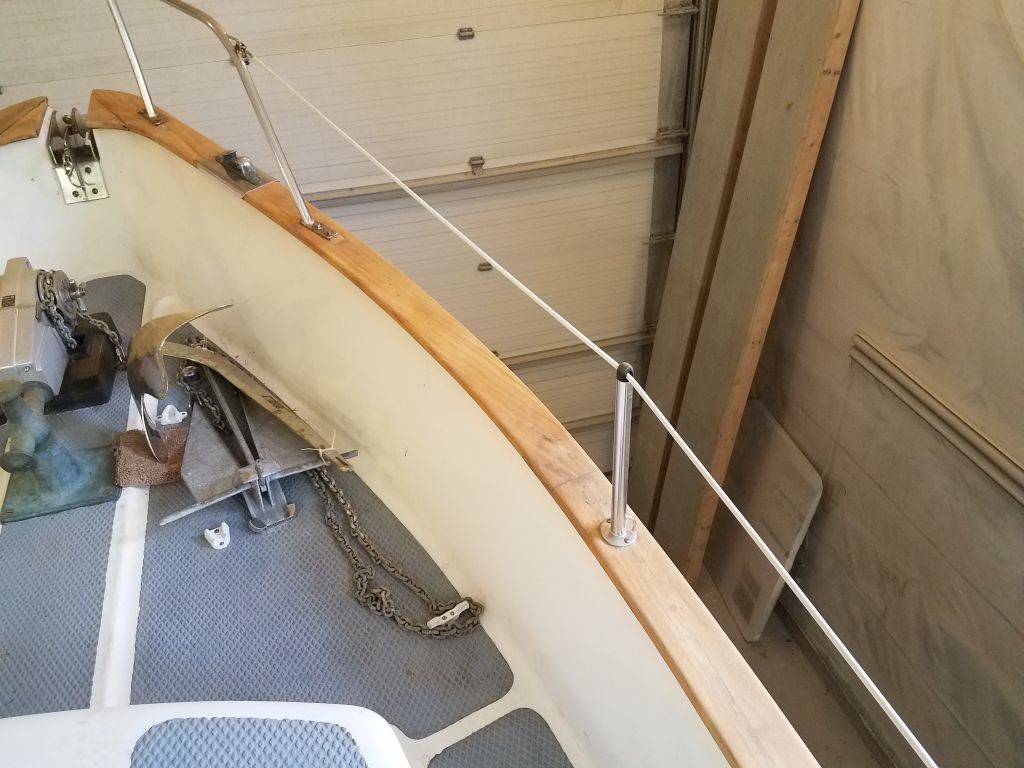
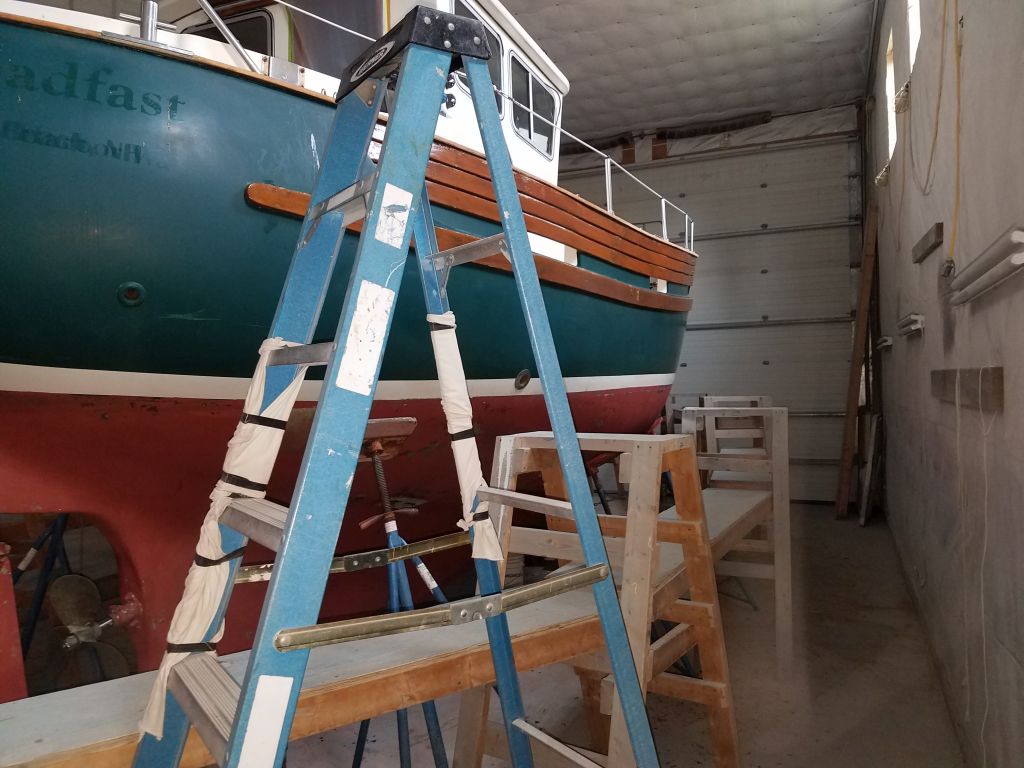
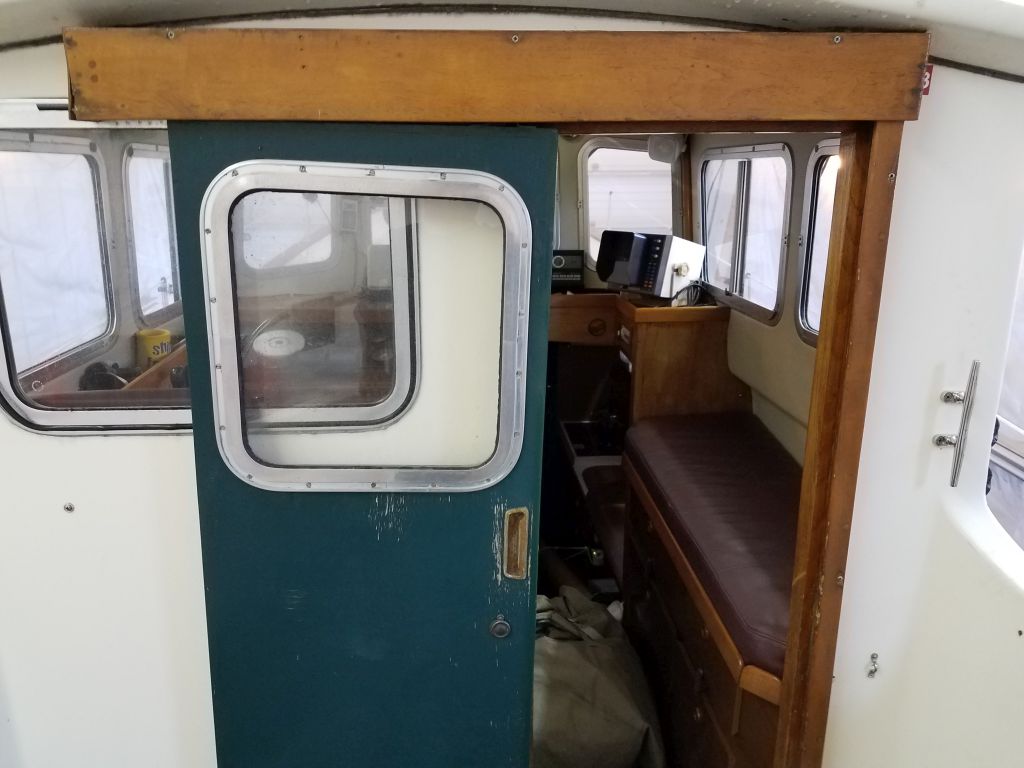
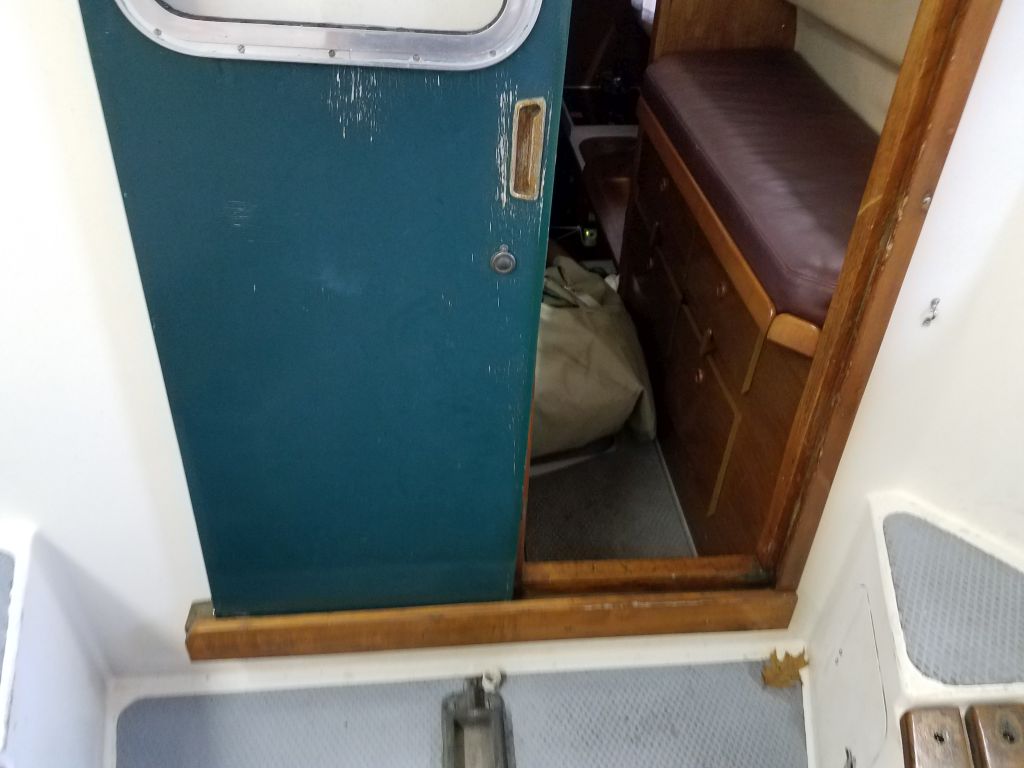
In the afternoon, with the full impact of the storm now evident, if unbelievable, I decided I had to go down and do something, not only for the immediate satisfaction but also to prepare for at least a limited workload going forward during the week with no immediate hope for normal power. I spent the time setting up staging around the boat so I could reach the wooden bulwarks for stripping (and eventually the hull for sanding), and taped some plastic over the now-doorless pilothouse to keep nuisance dust out of the cabin during the work in the immediate future. I set up power cords and prepared my portable generator for use on the ‘morrow so I could get back to some progress.
Total time billed on this job today: 1 hour
0600 Weather Observation: Rain, extremely windy, 50s. Forecast for the day: Rain ending, clouds, wind diminishing, 60s.
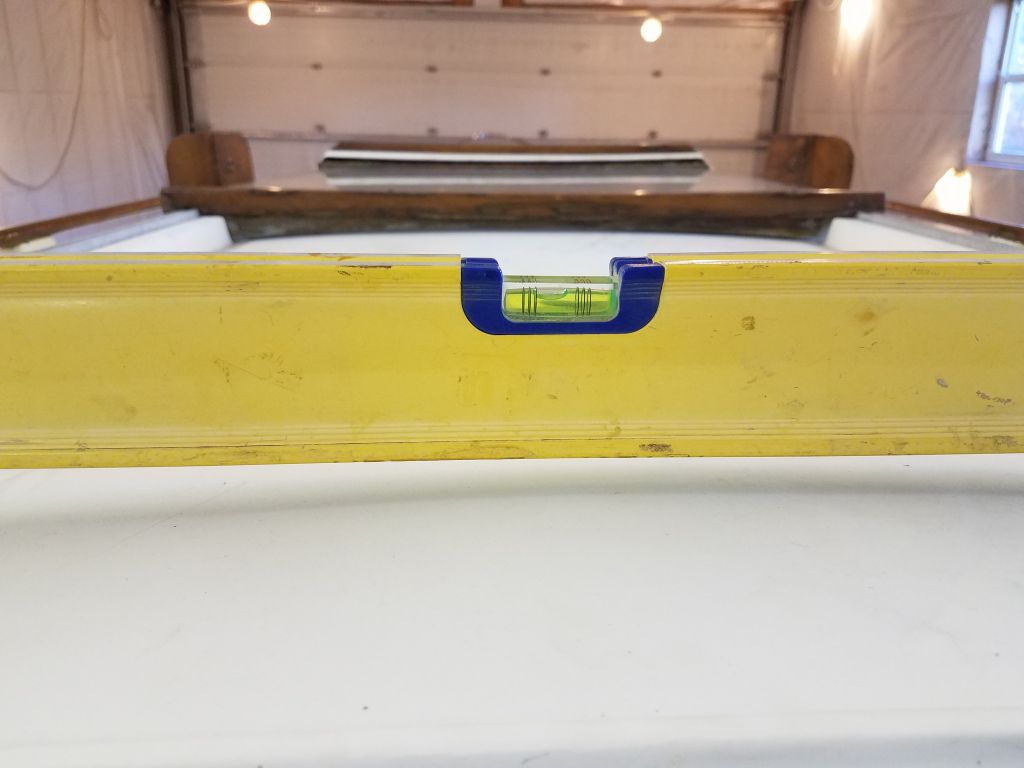
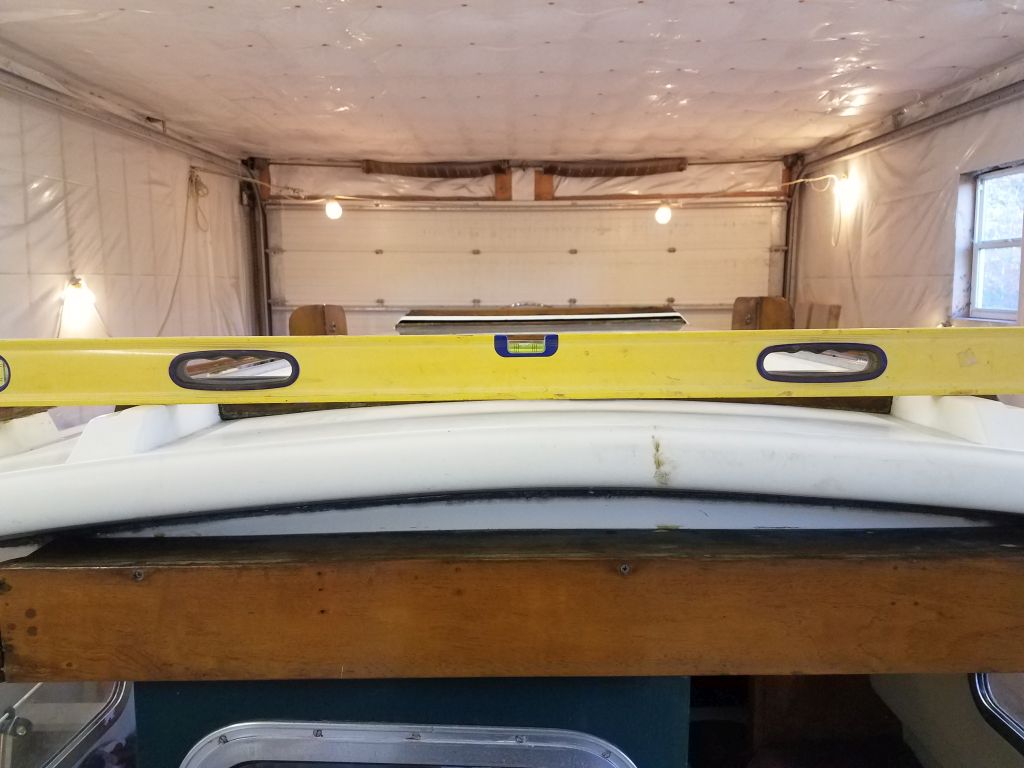
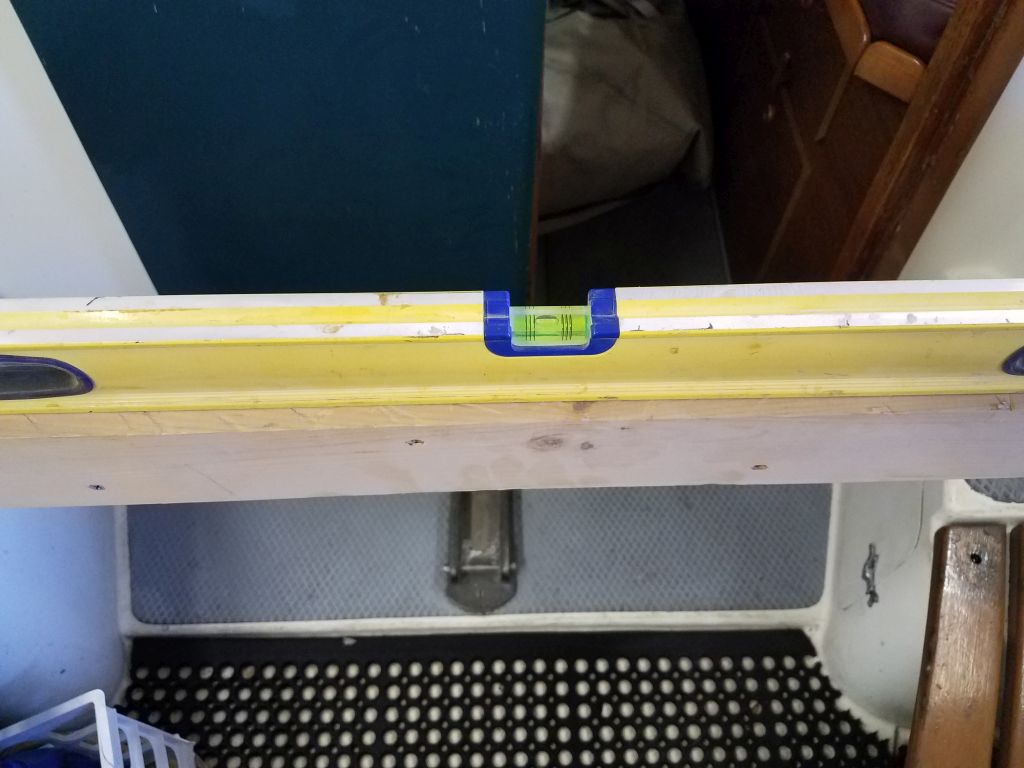
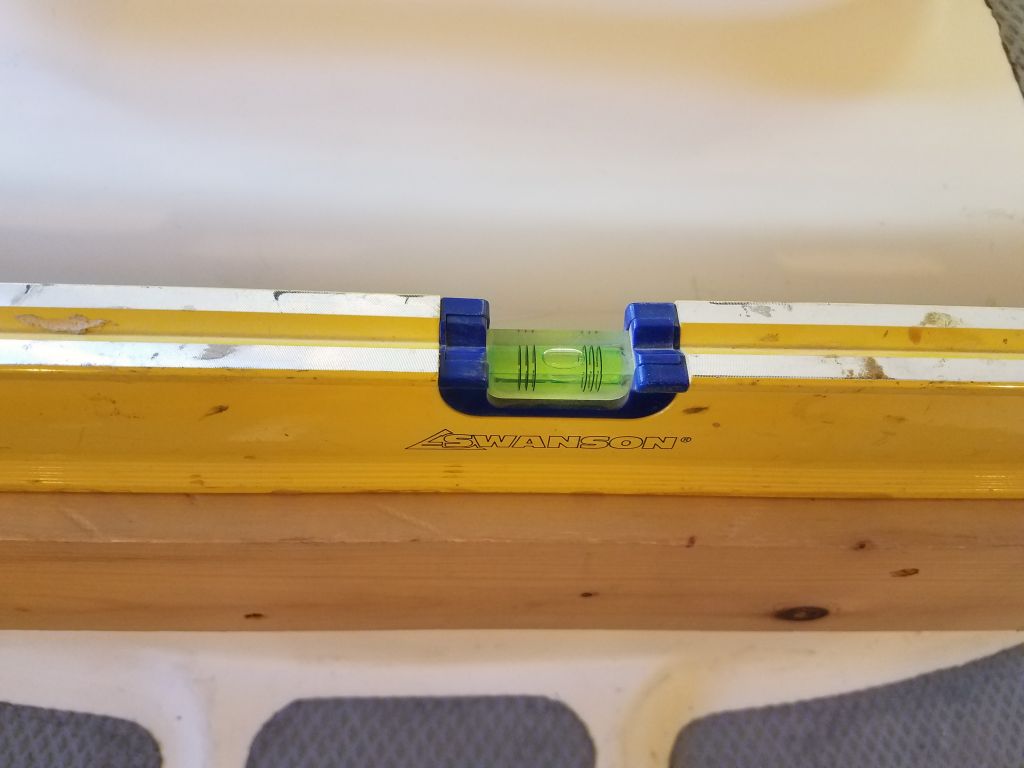
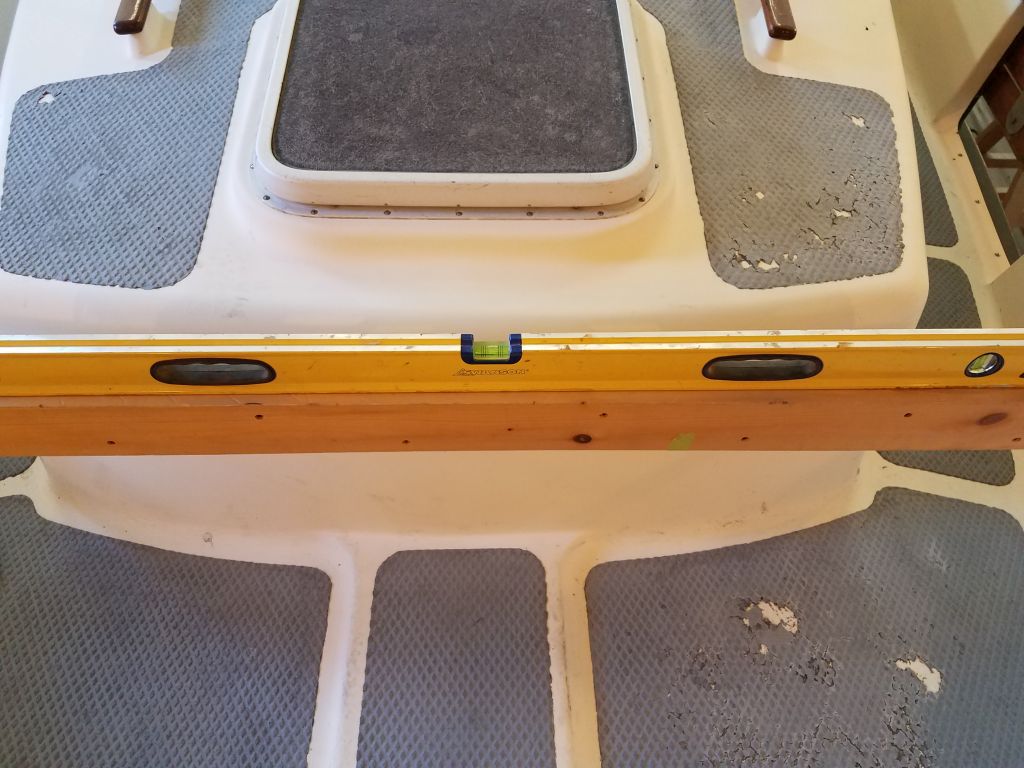
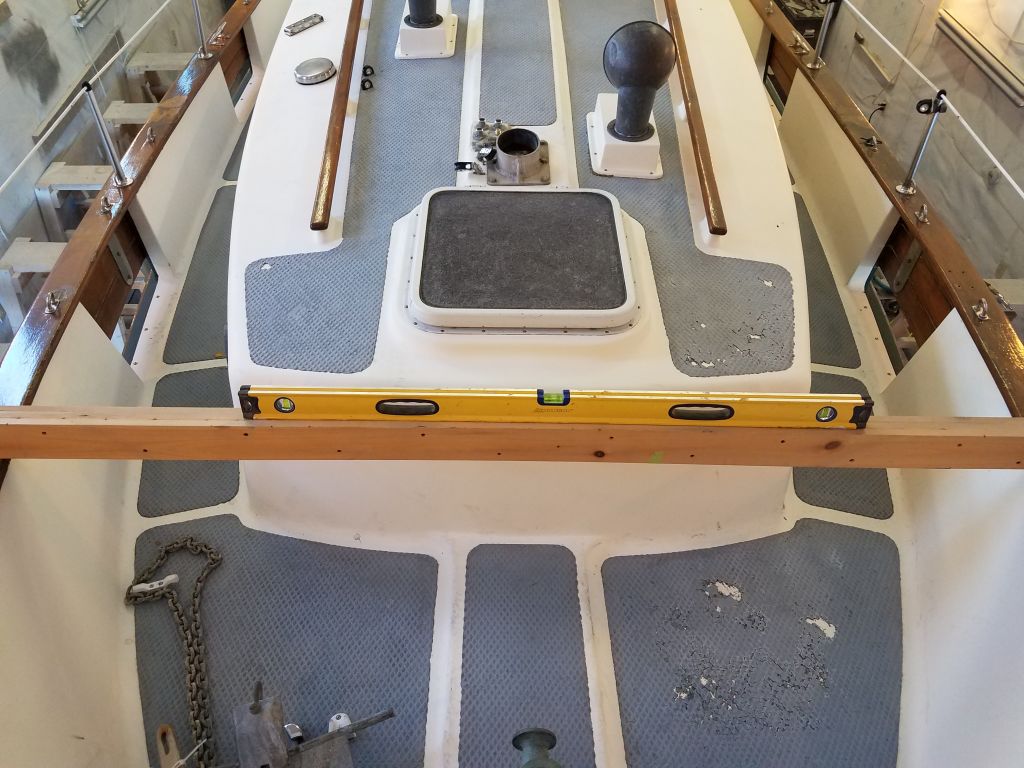
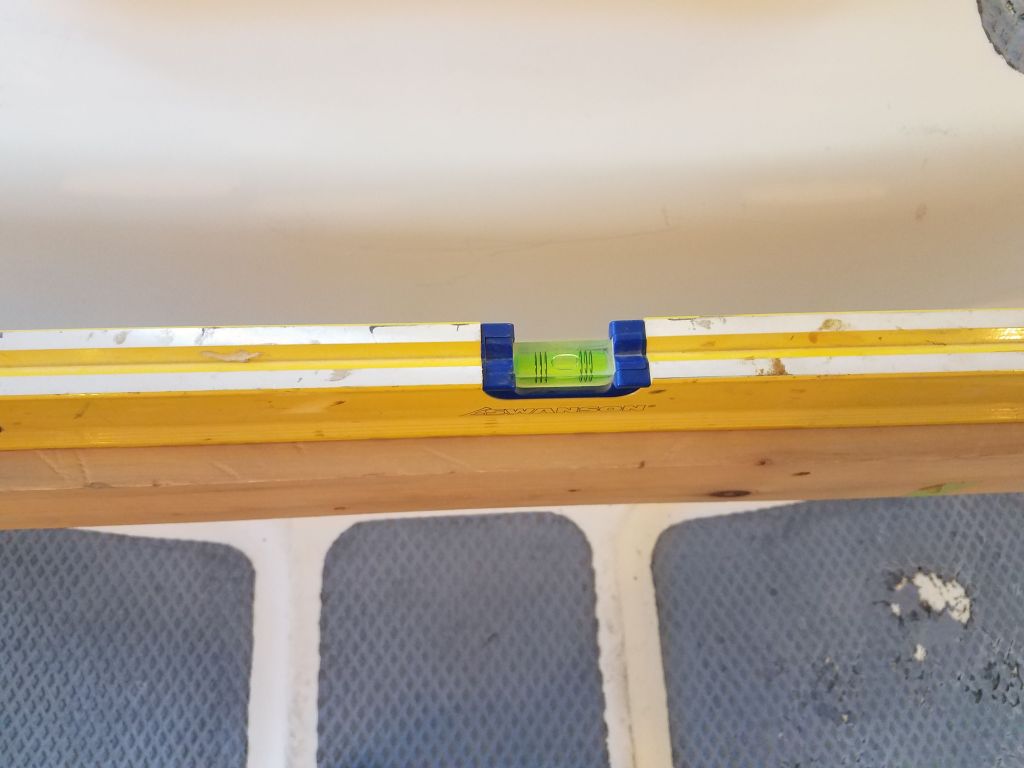
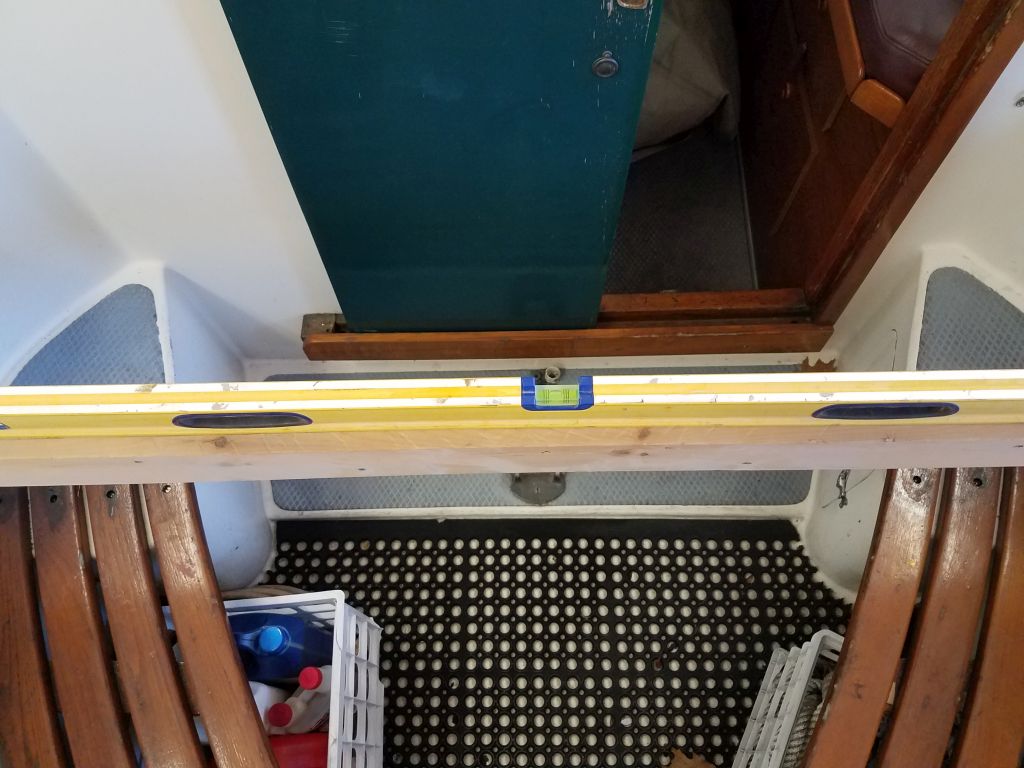
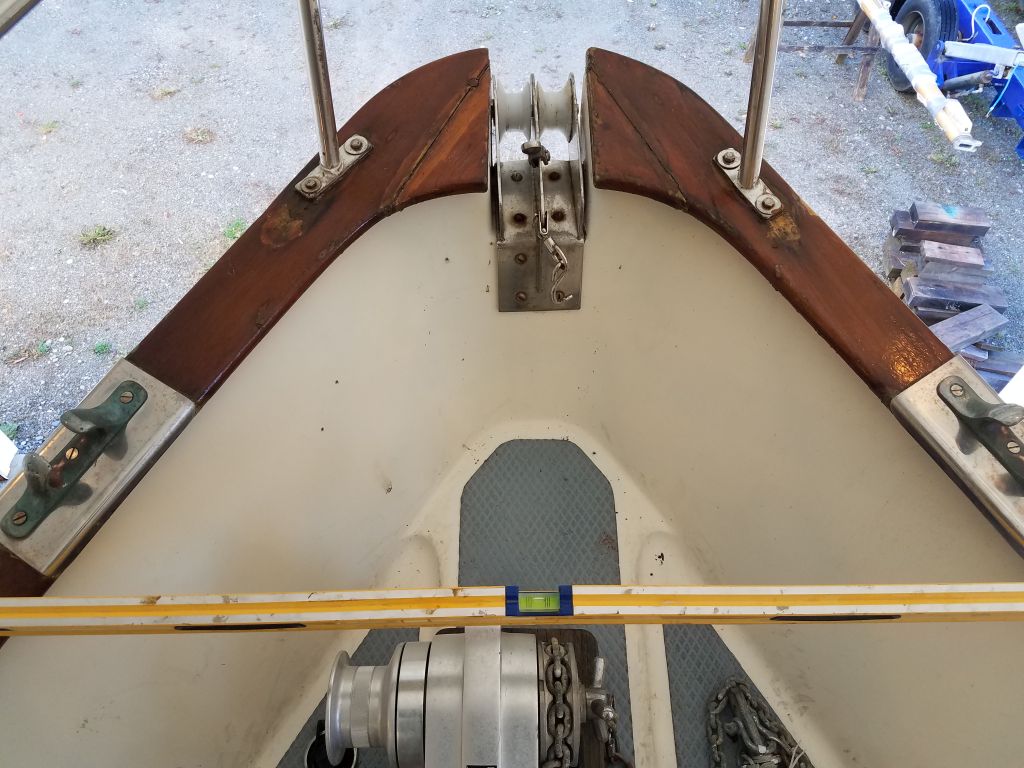
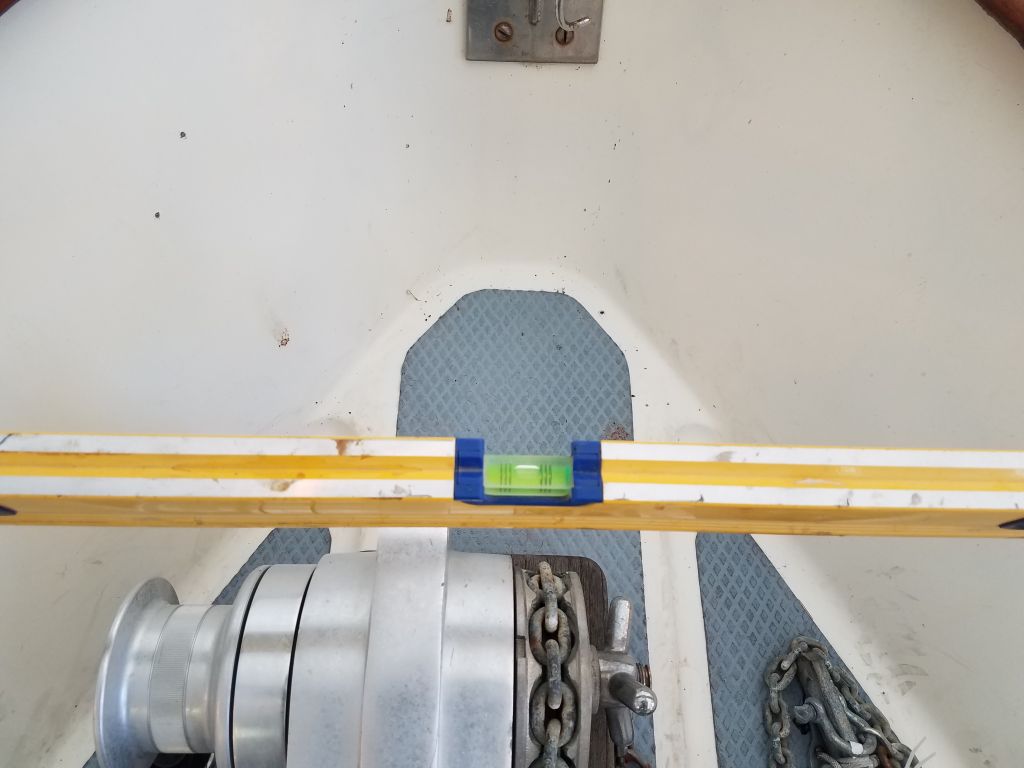
I started the day by leveling the boat side to side, which I’d require later in the process when I was ready to strike the new waterline. On deck, I used a 4′ level in various places, also placing the level on a pair of long straightedges that I spanned from side to side over wider distances at the bow and cockpit. Initially, the boat was close to level, but needed some adjustment.
After some time adjusting the stands–this one was a bit fussy to get both bow and stern leveled together–I achieved satisfactory results on both levels and called it good.
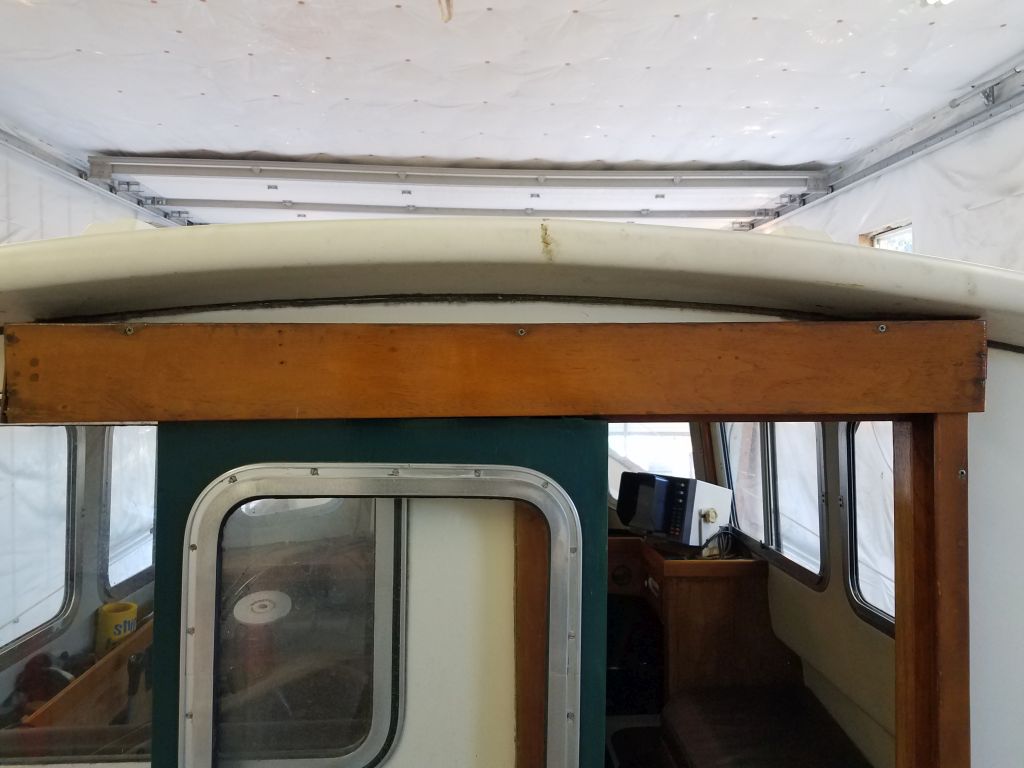
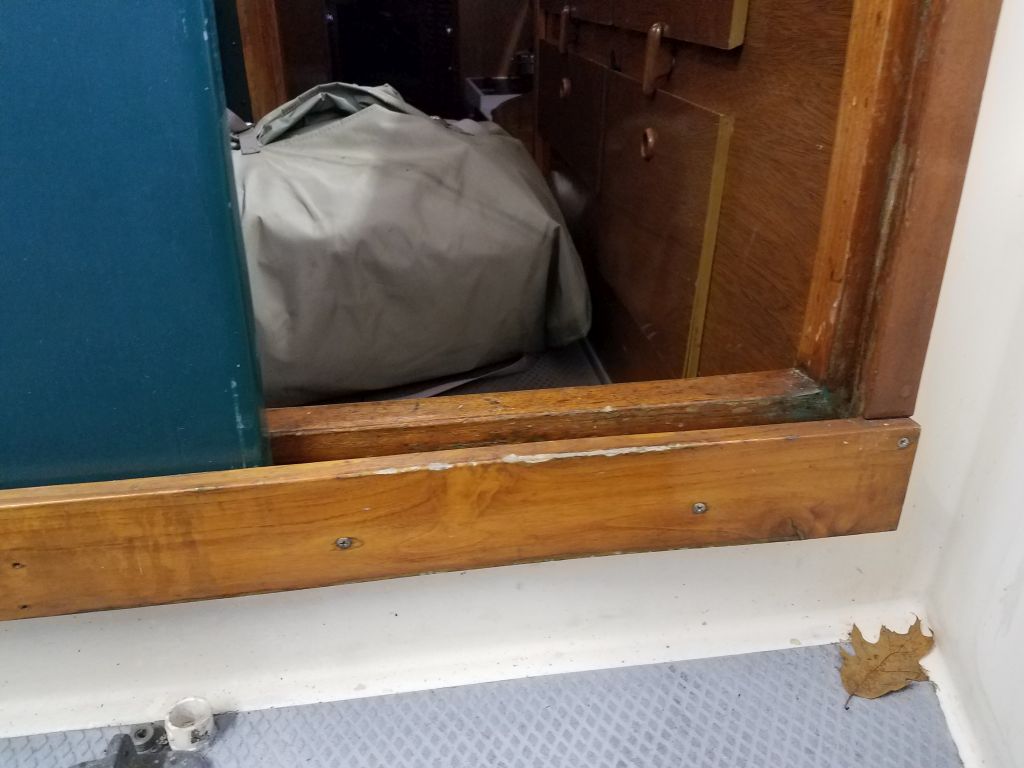
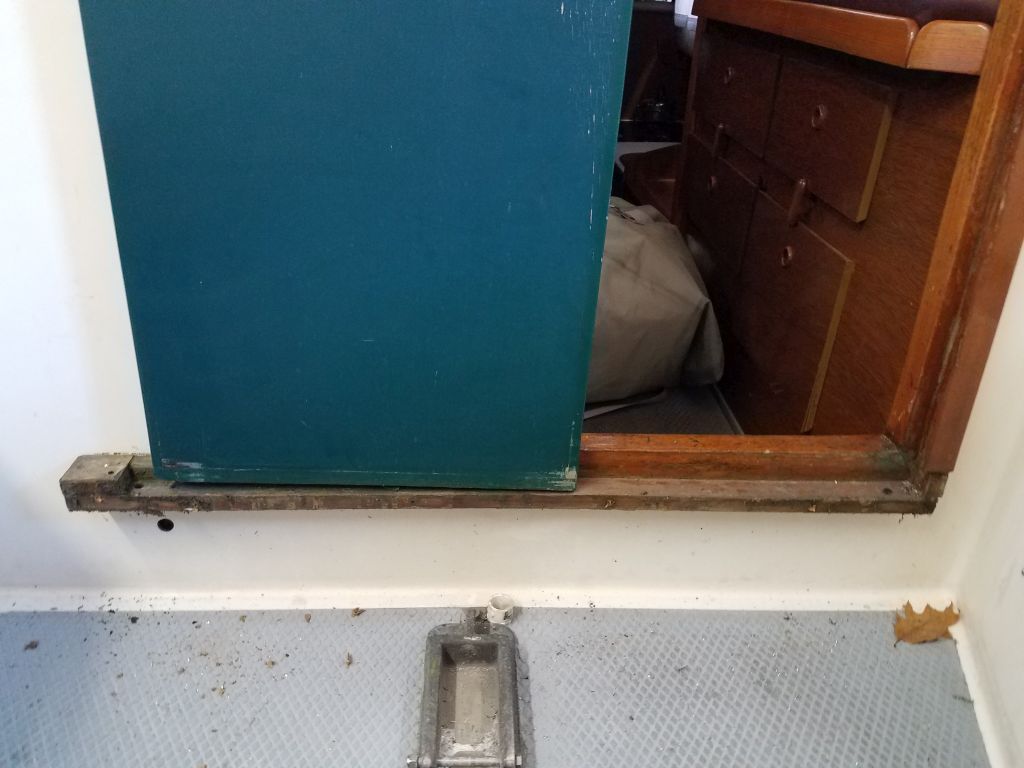
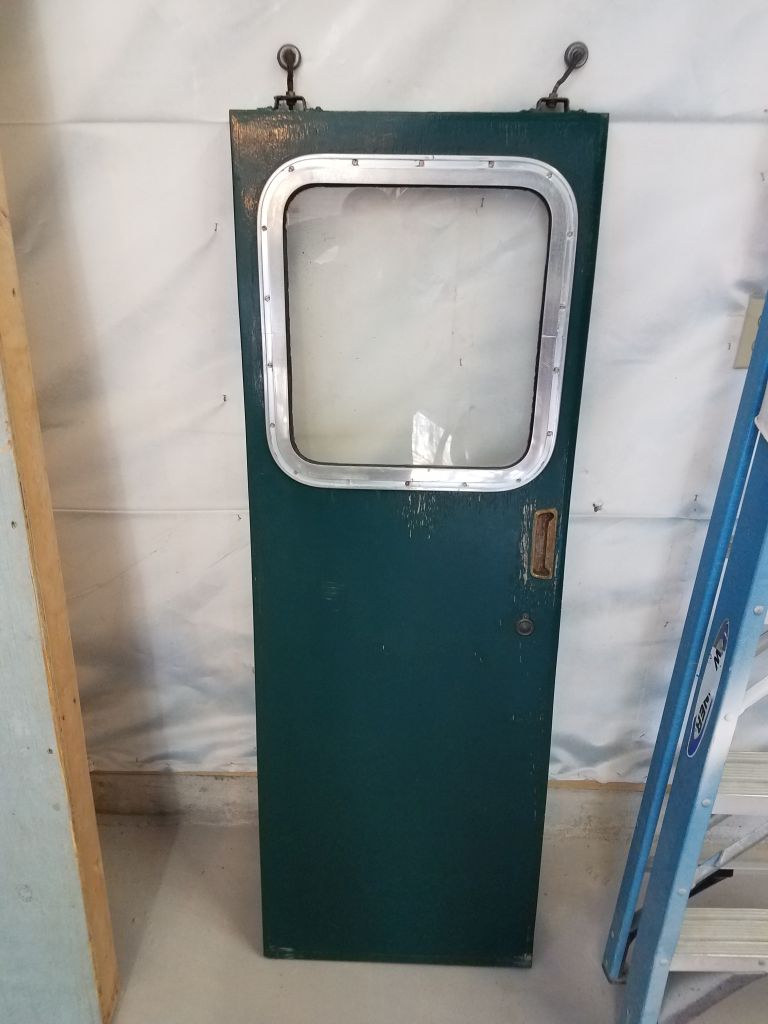
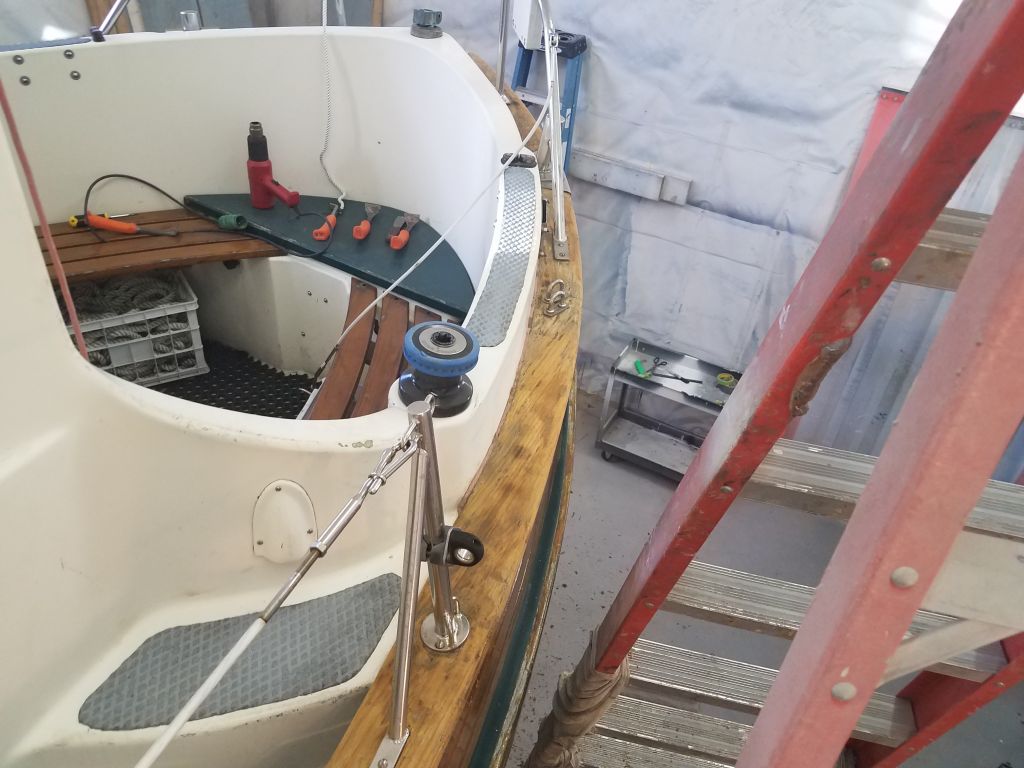
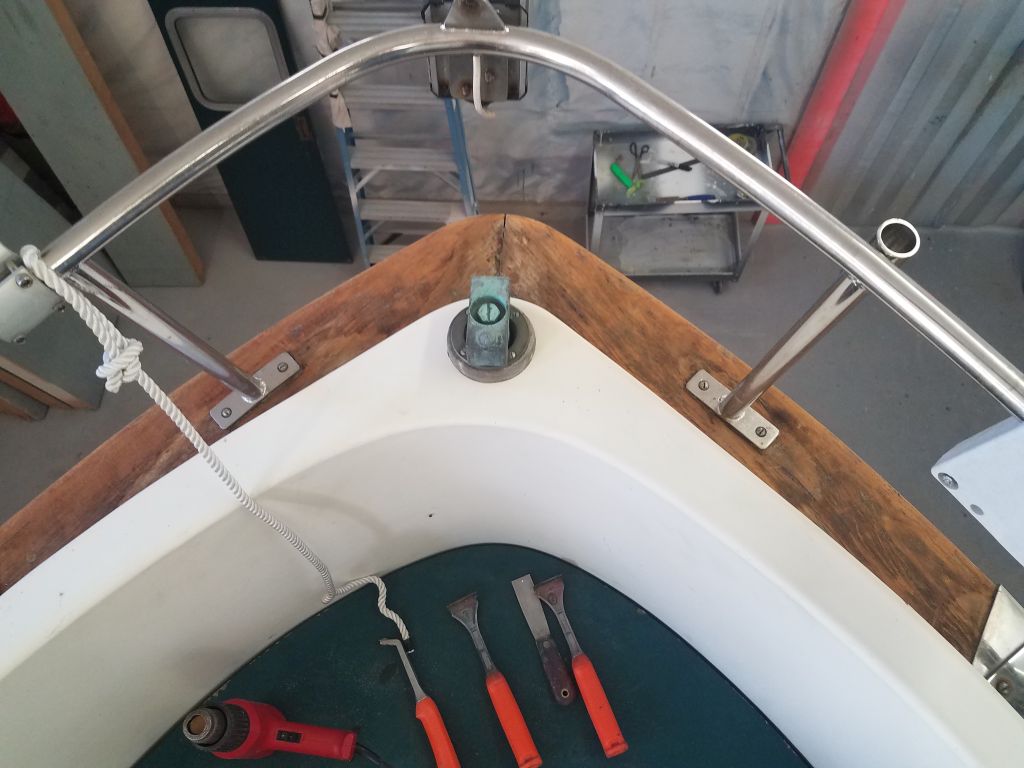
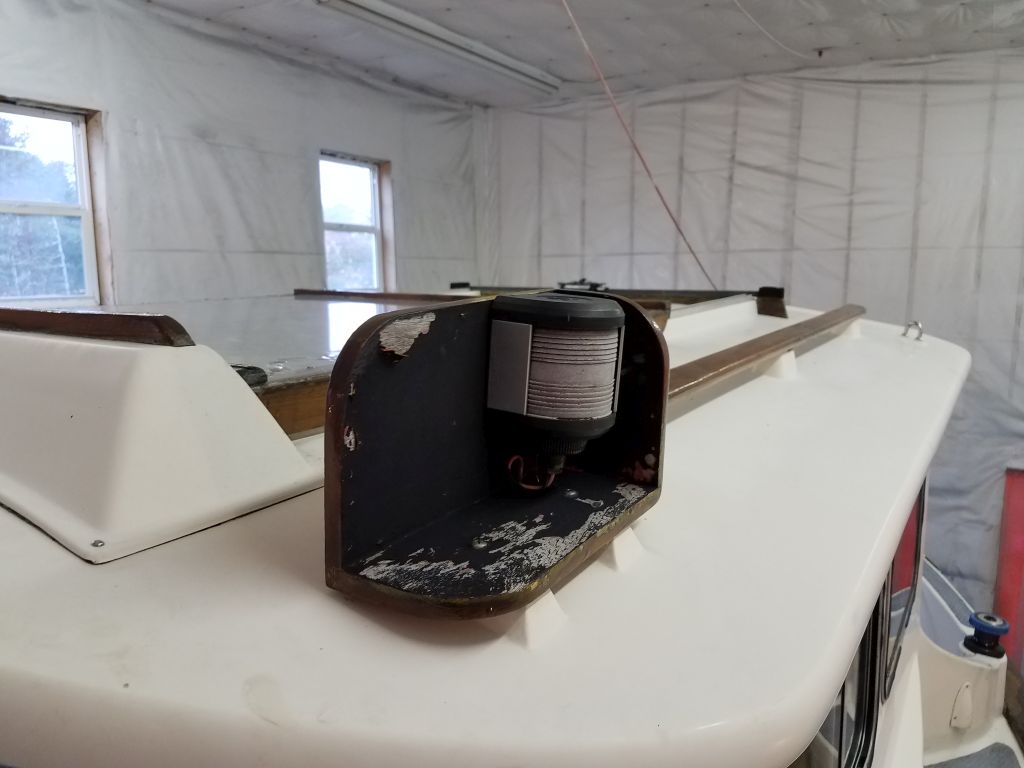
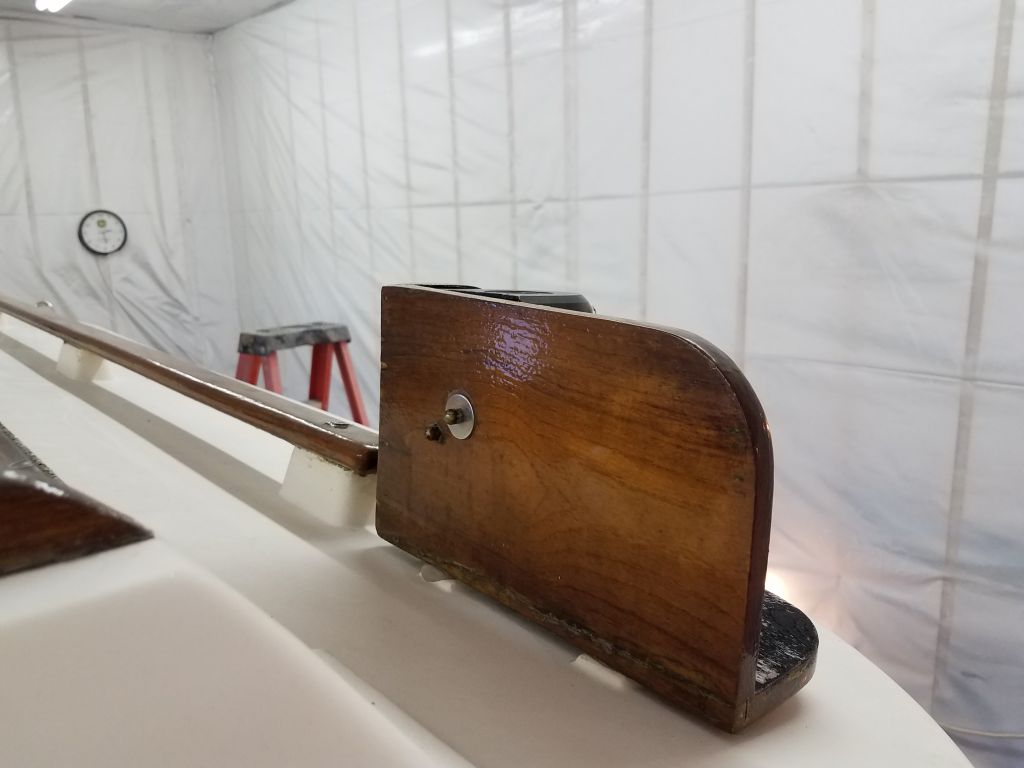
The pilothouse door was painted the same color as the hull, and to prepare for painting it anew I decided to remove it, which appeared to be a simple matter of removing trim top and bottom, which I did, and which released the door without issue. This also meant that I could refinish those pieces of door trim down at shop level.
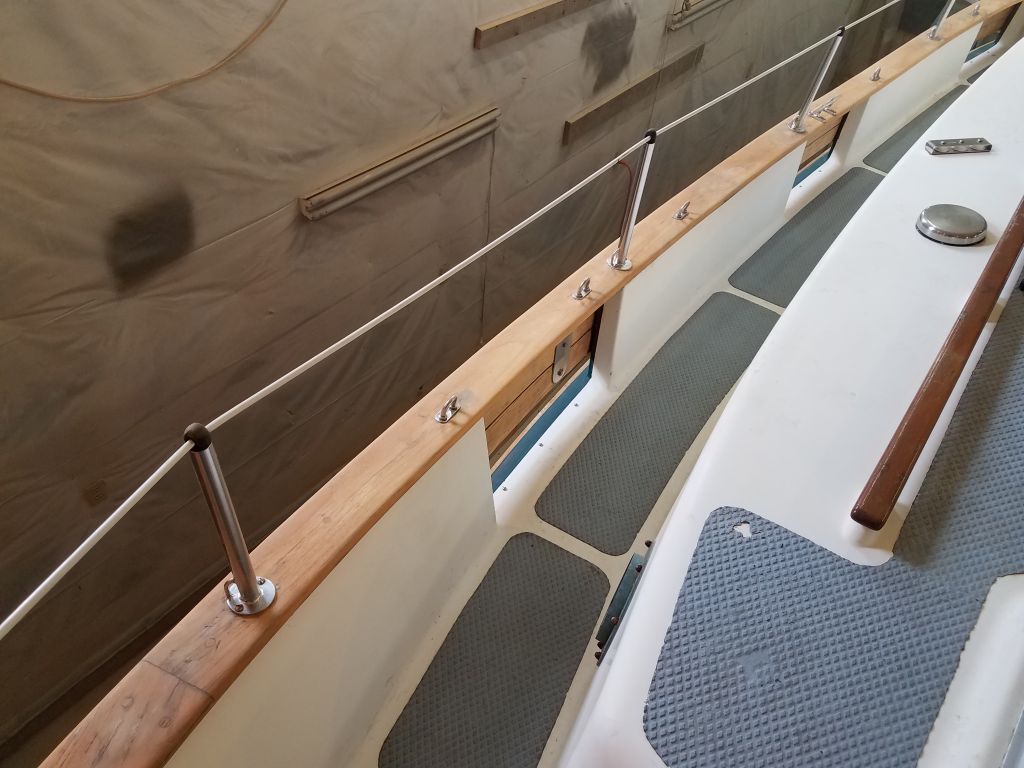
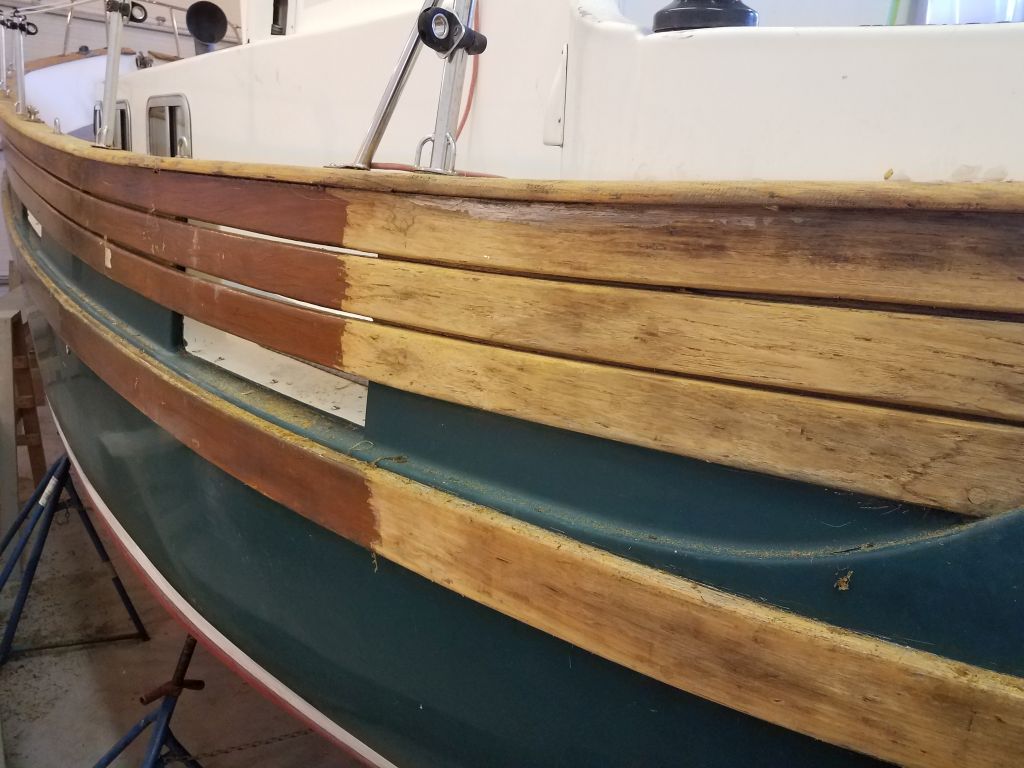
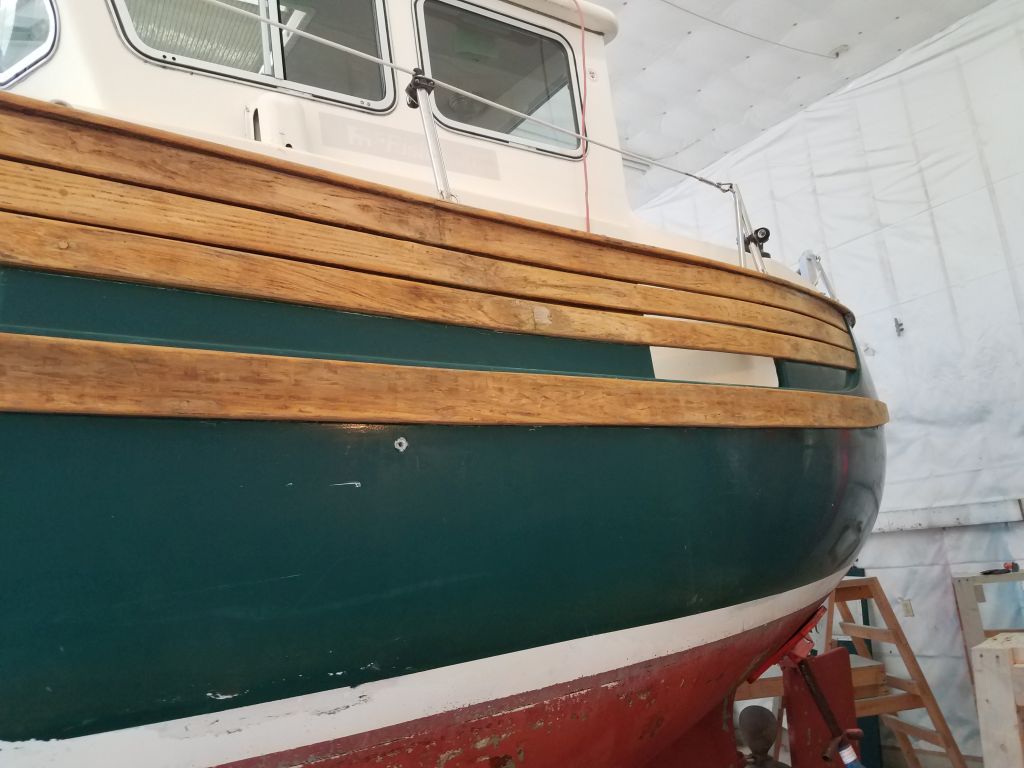
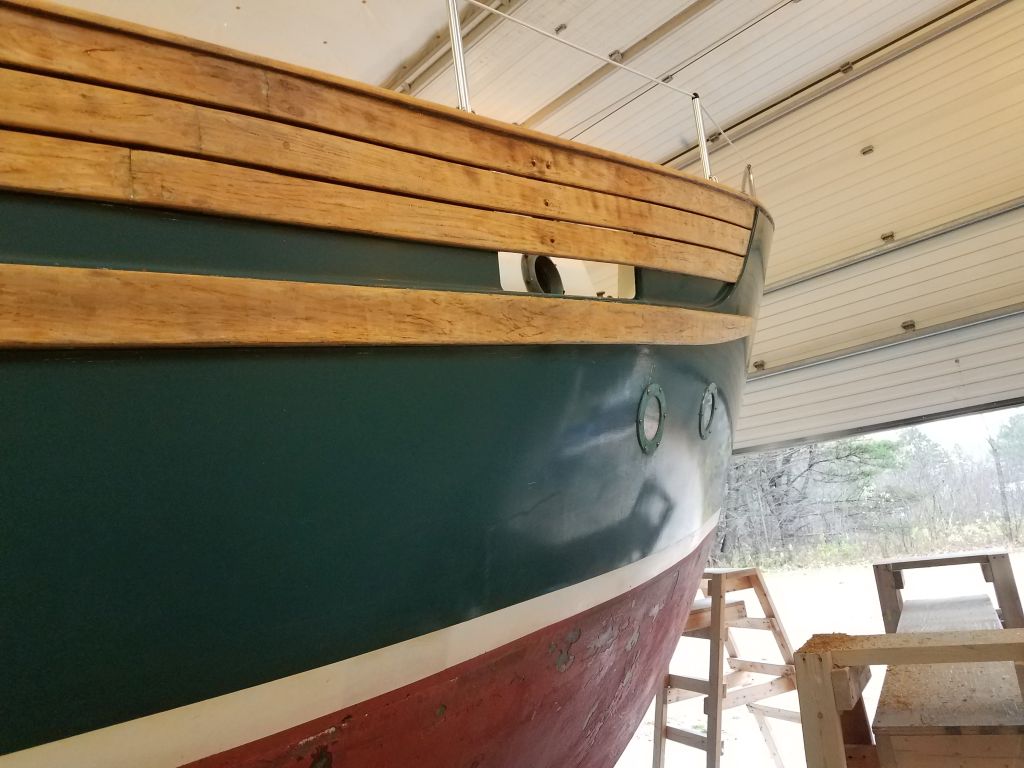
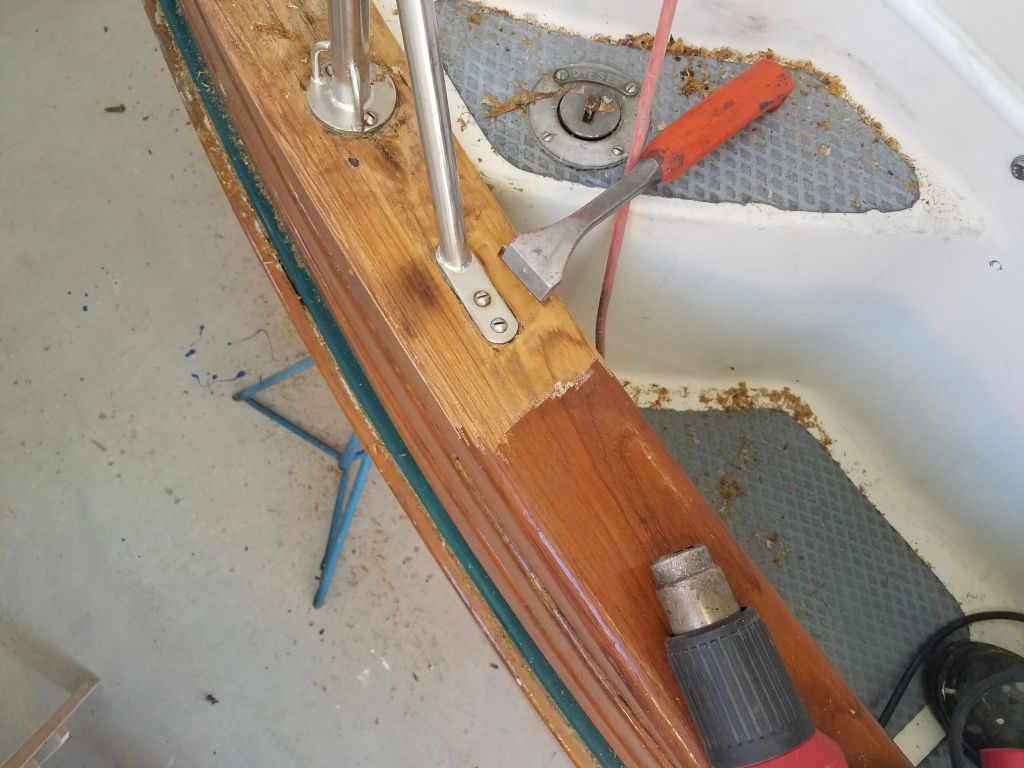
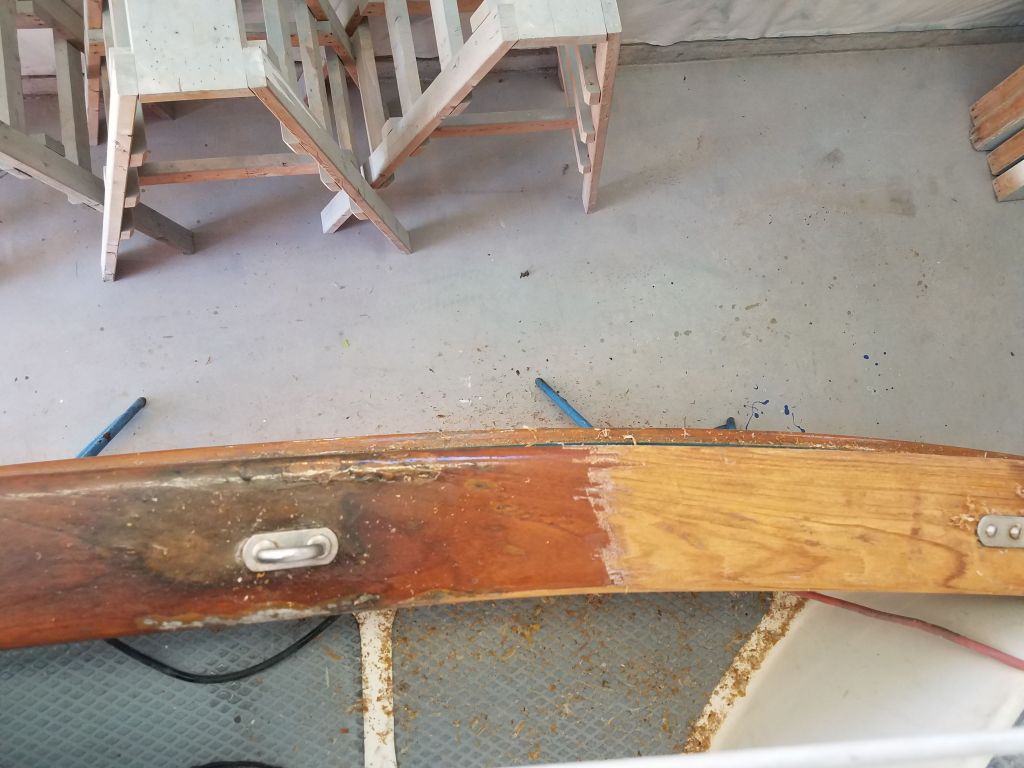
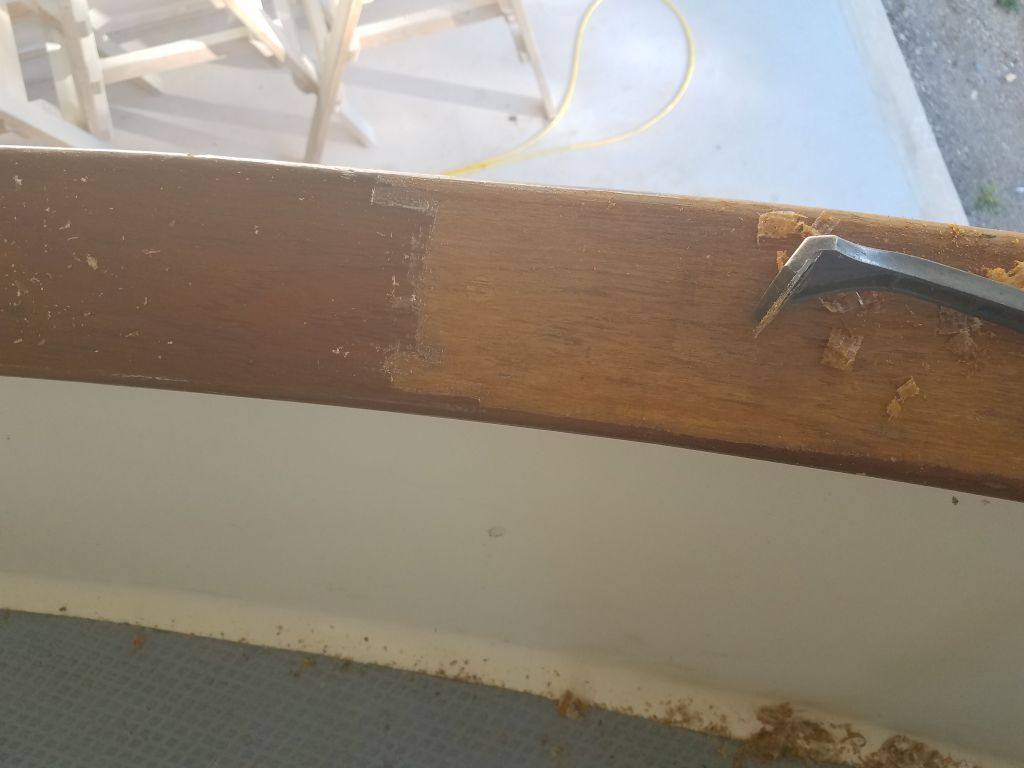
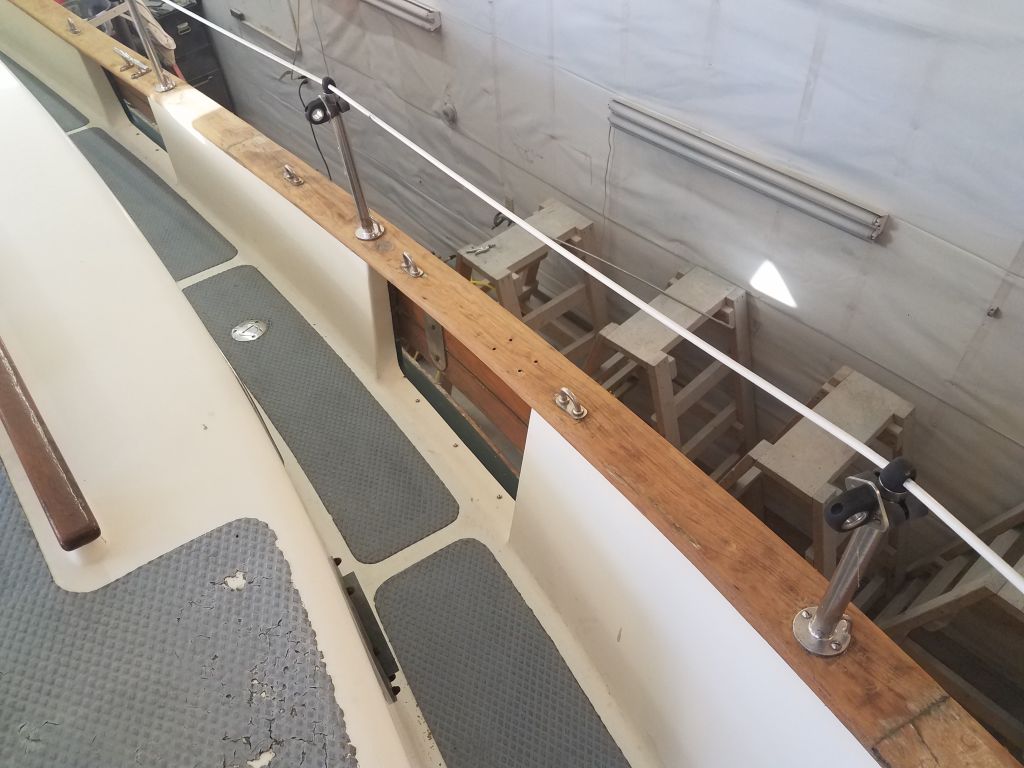
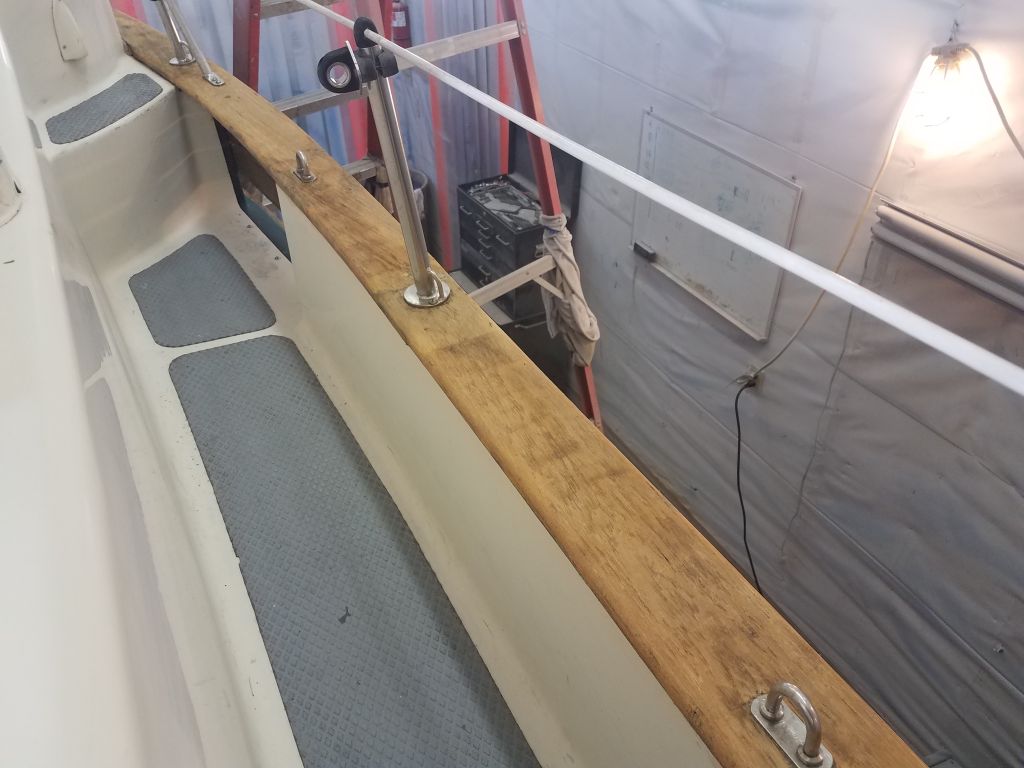
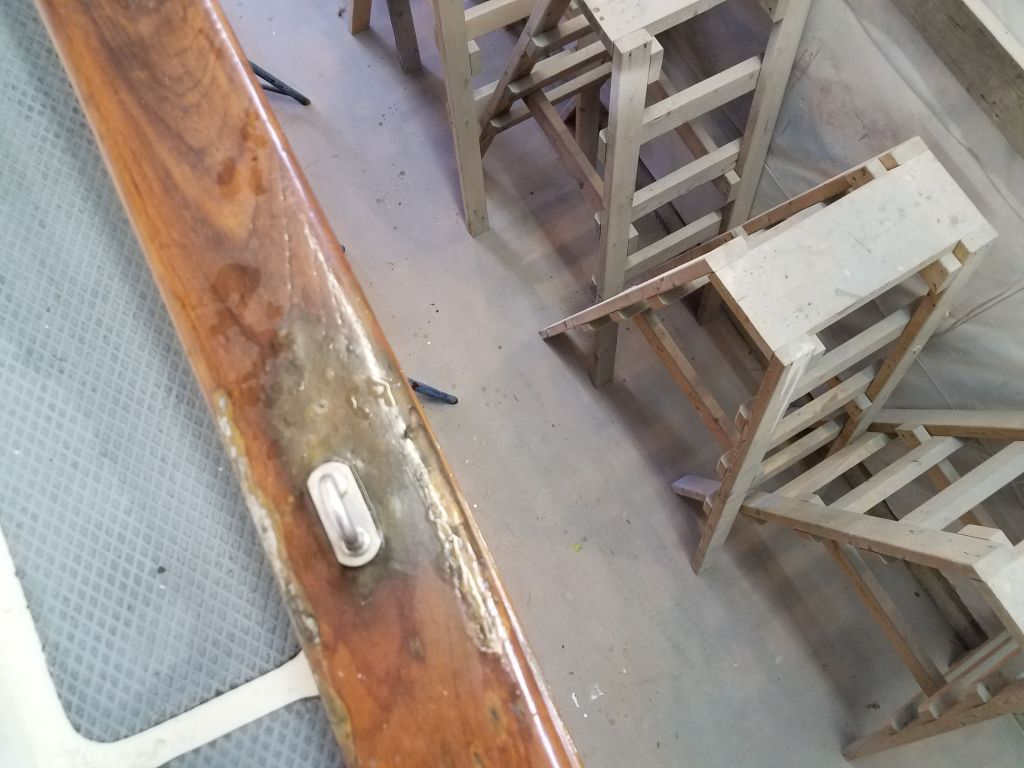
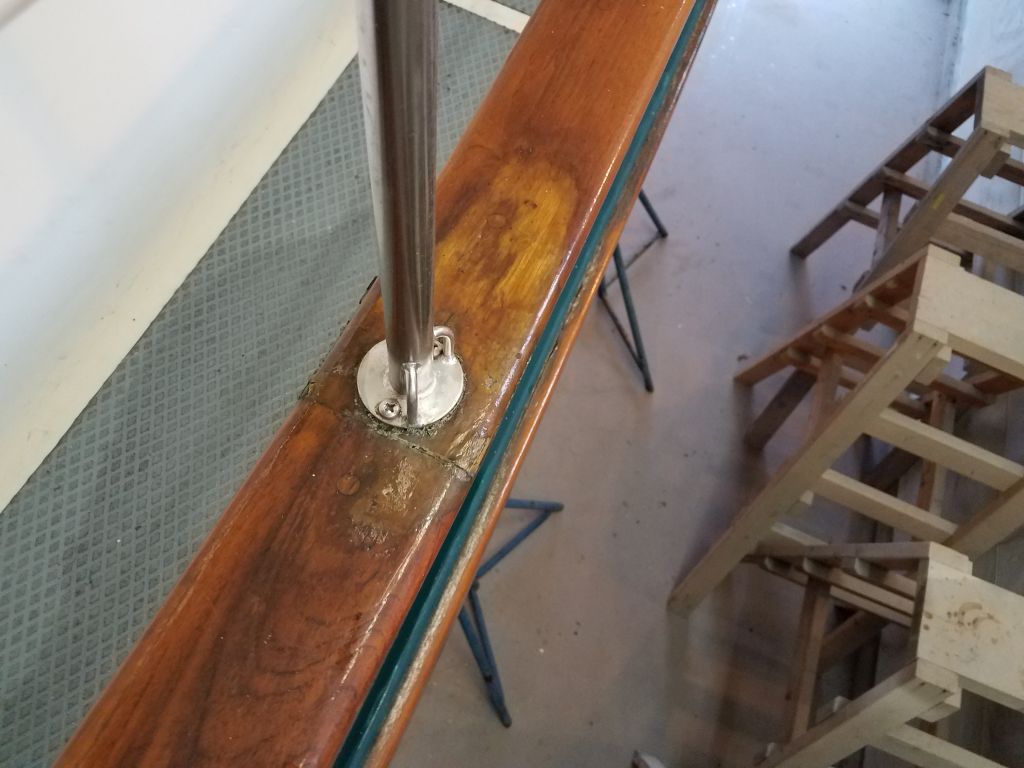
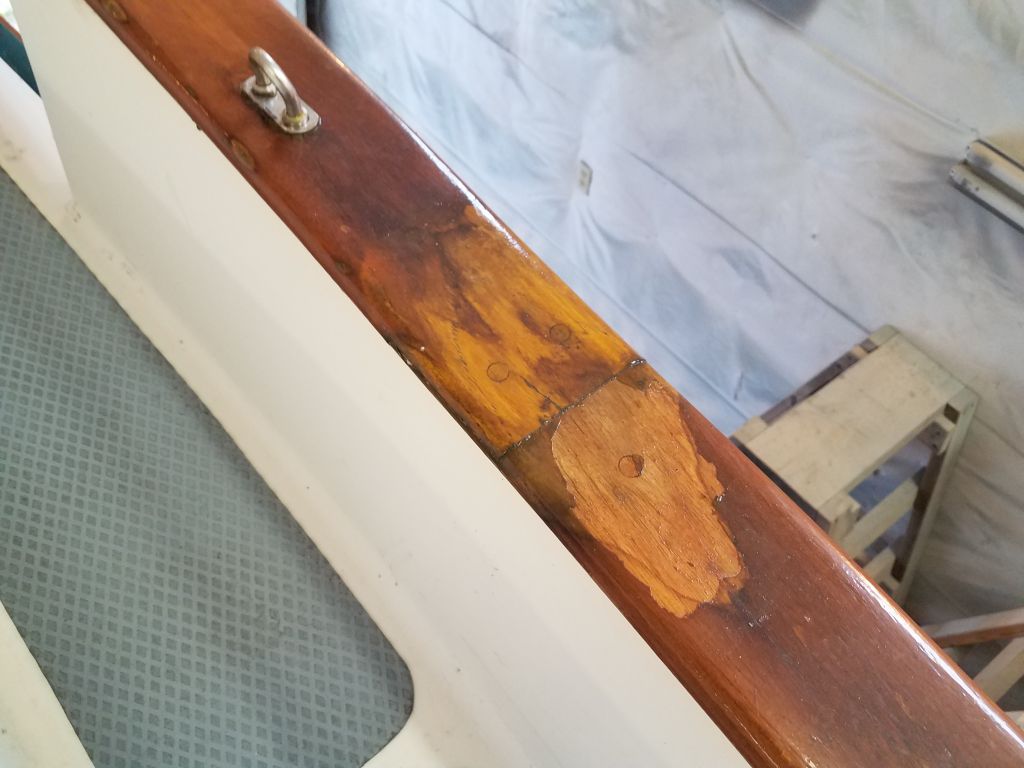
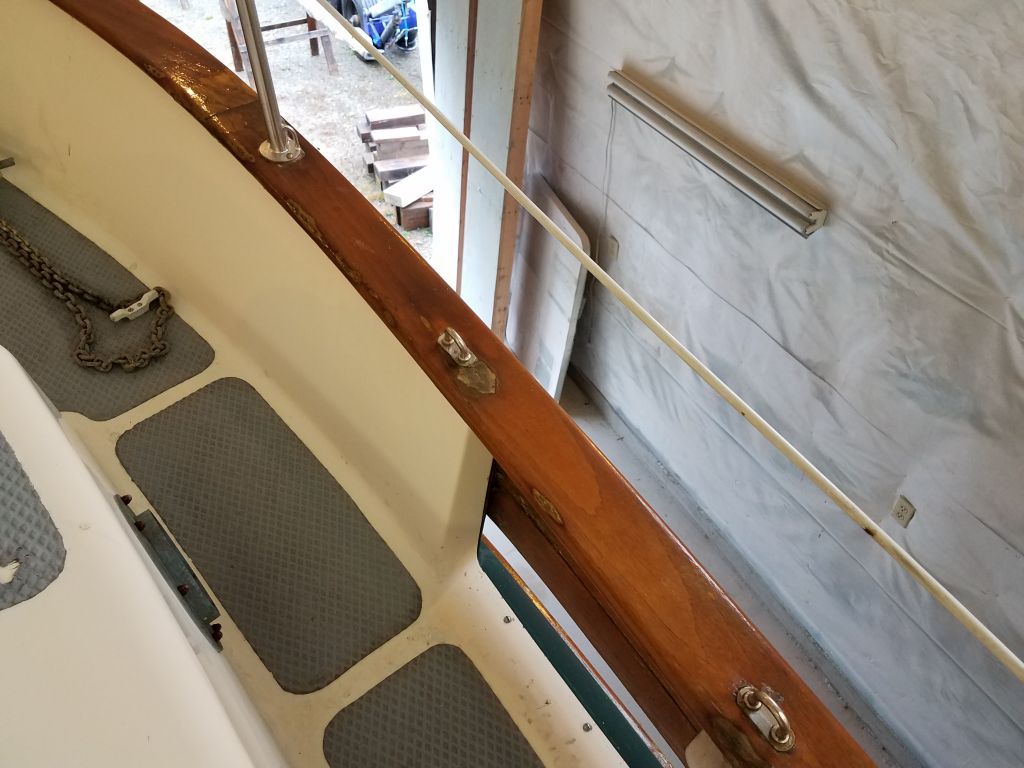
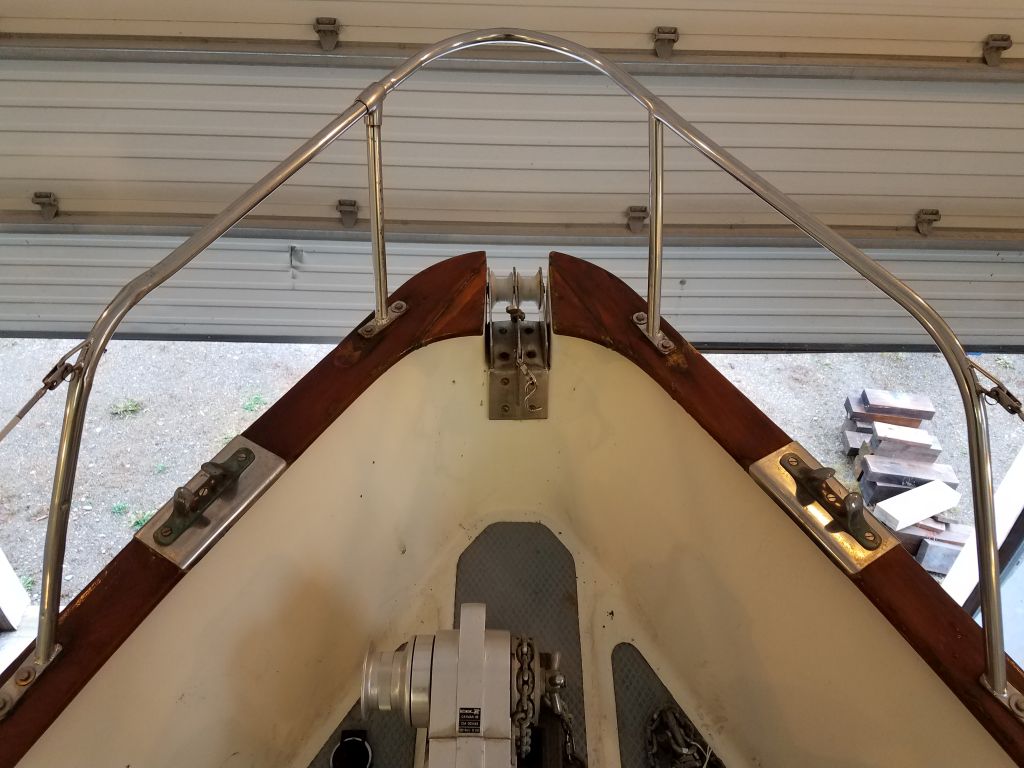
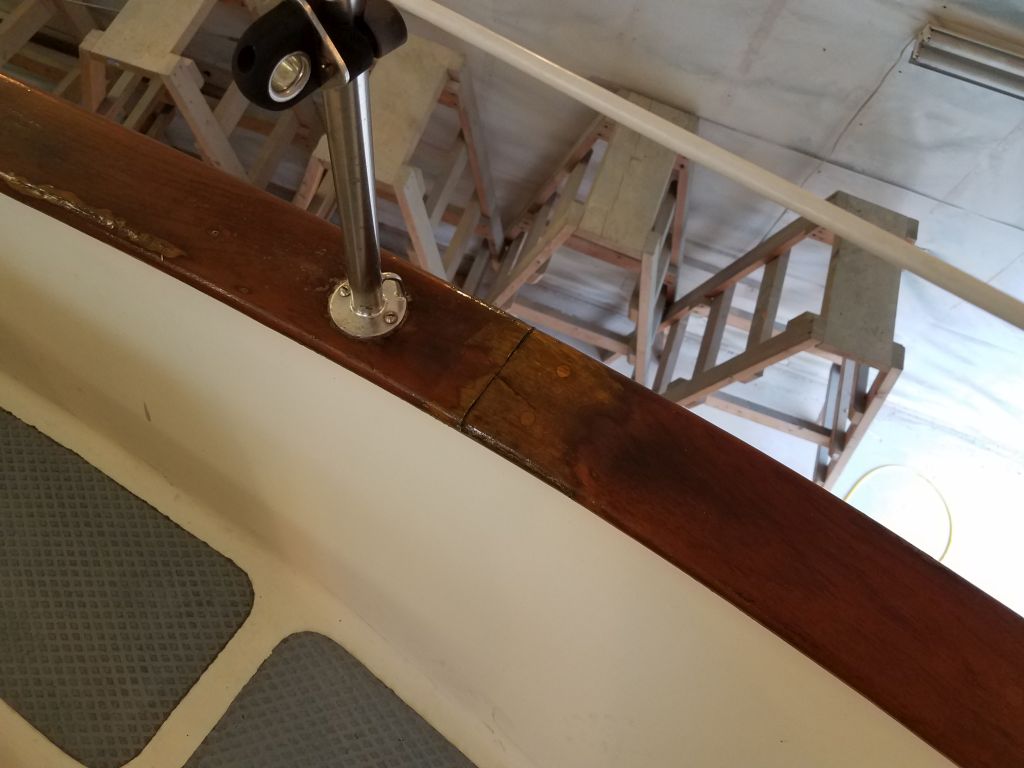
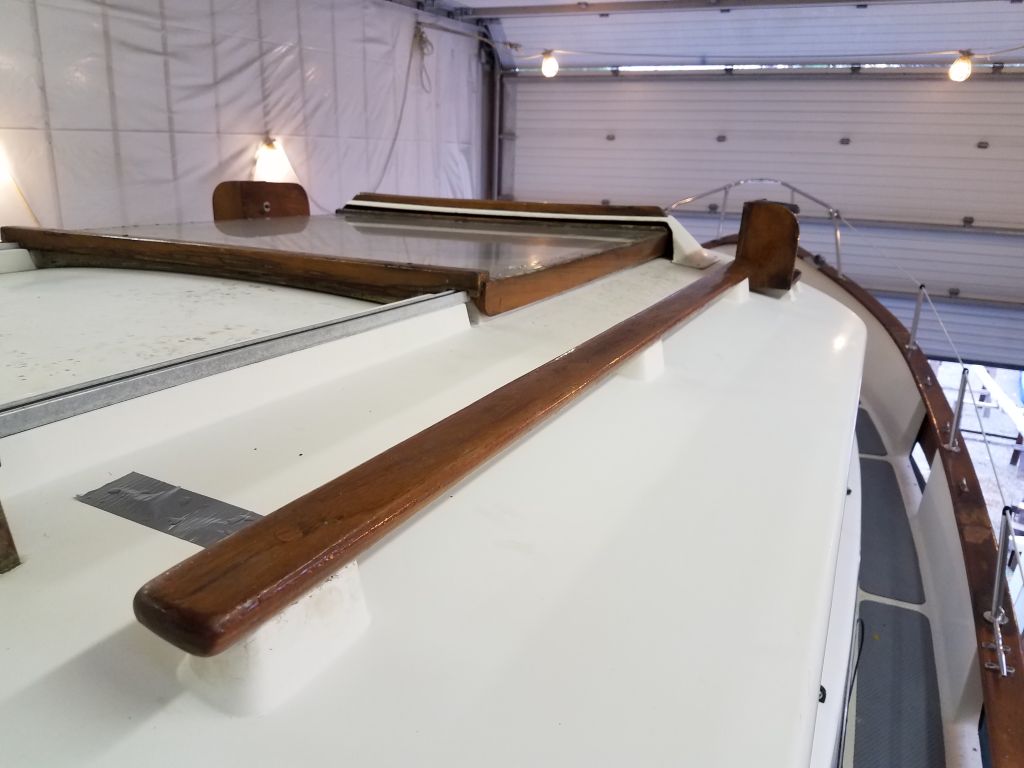
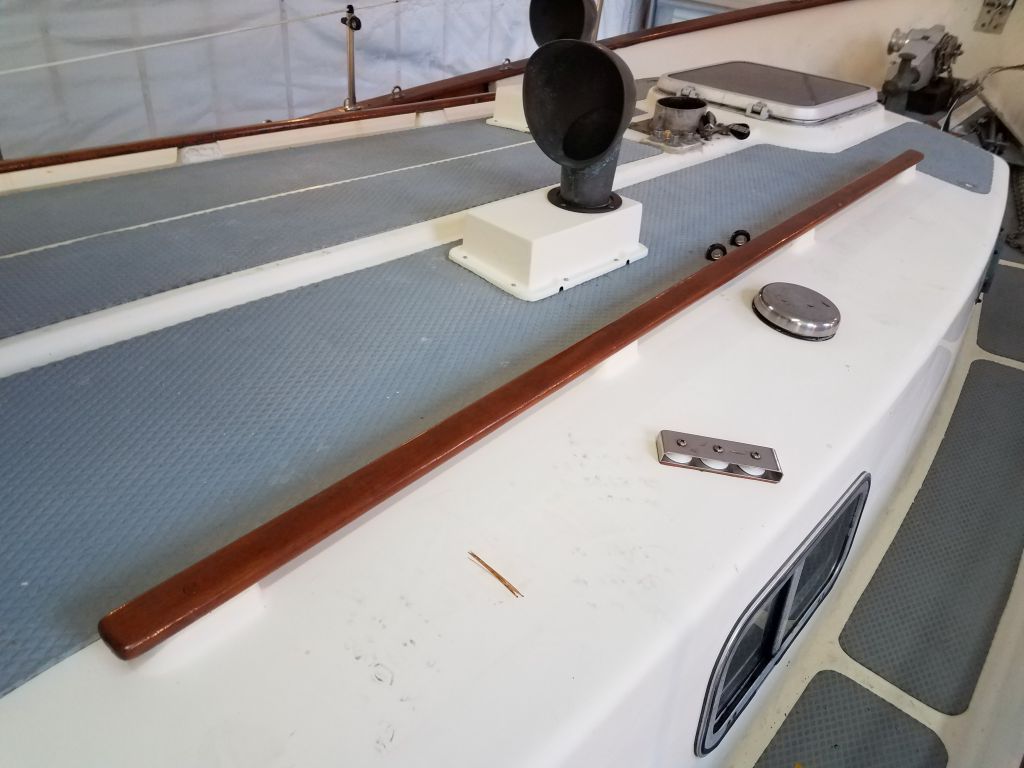
After setting up cords and tools, I got to work with heat gun and scraper to remove the old finish from the caprails. The old finish was heavy in some areas, lighter in others (where it’d apparently failed and been spot-refinished over the years), and loose and flaky in other areas. The teak beneath was in good condition and had held up well despite it all.
During the remainder of the day, I worked my way from the starboard transom, forward around the stem, and back down the port side, finishing up just in time to wrap up the day.
Total time billed on this job today: 6.25 hours
0600 Weather Observation: 44°, clear. Forecast for the day: sunny, high 50s
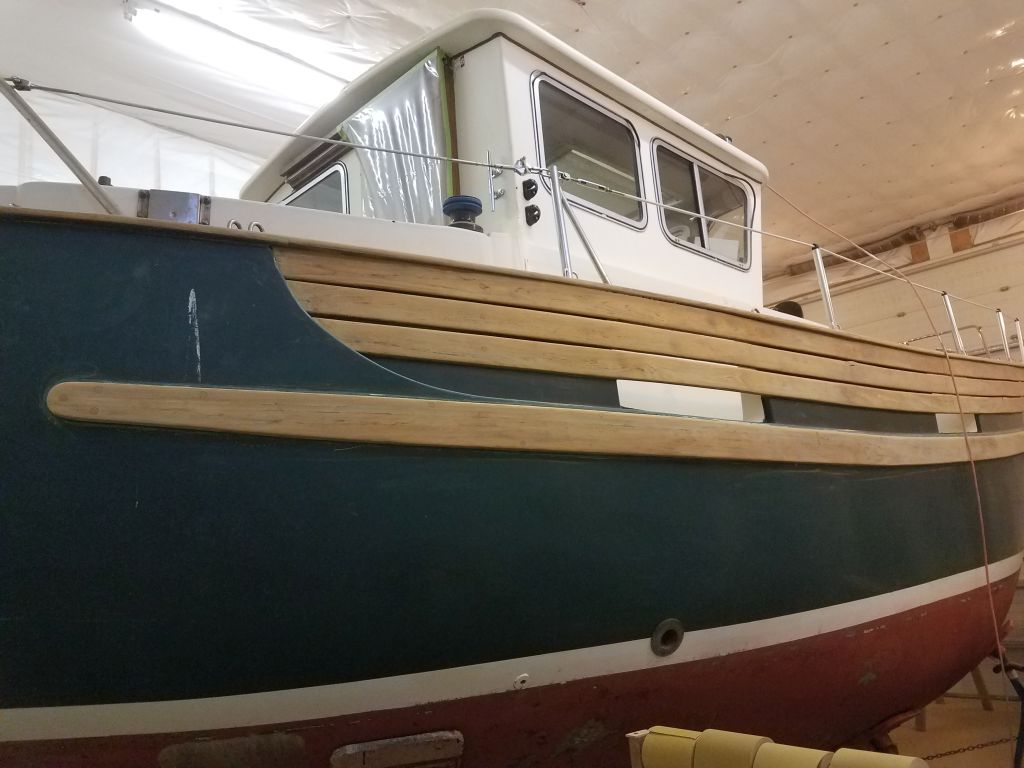
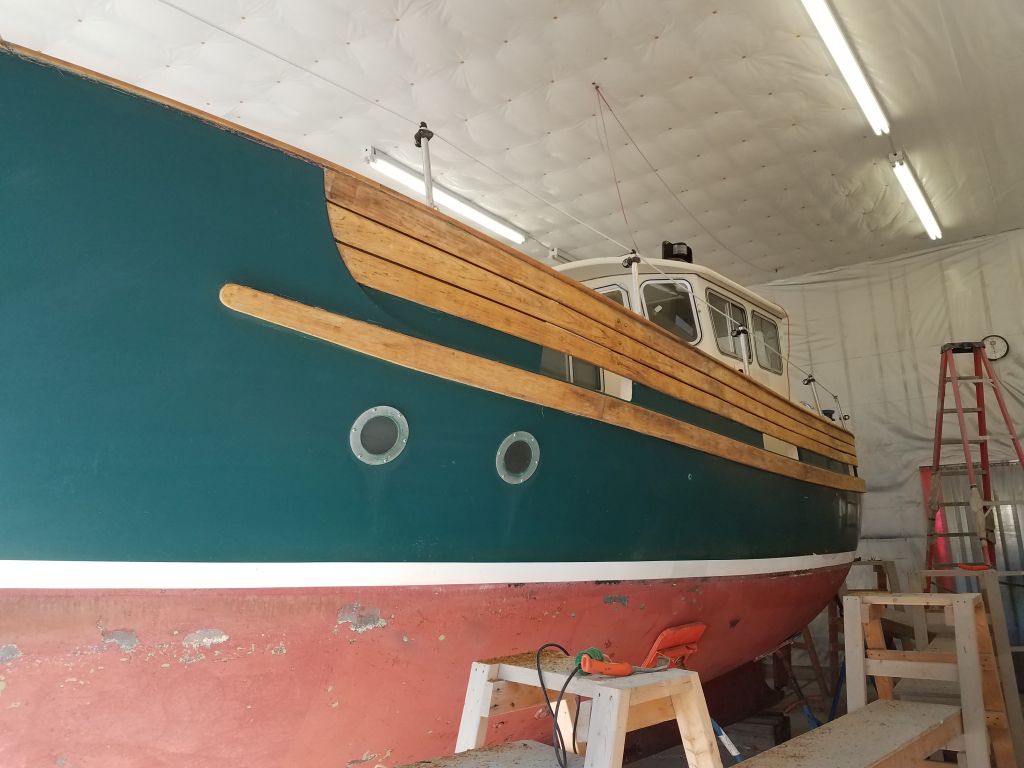
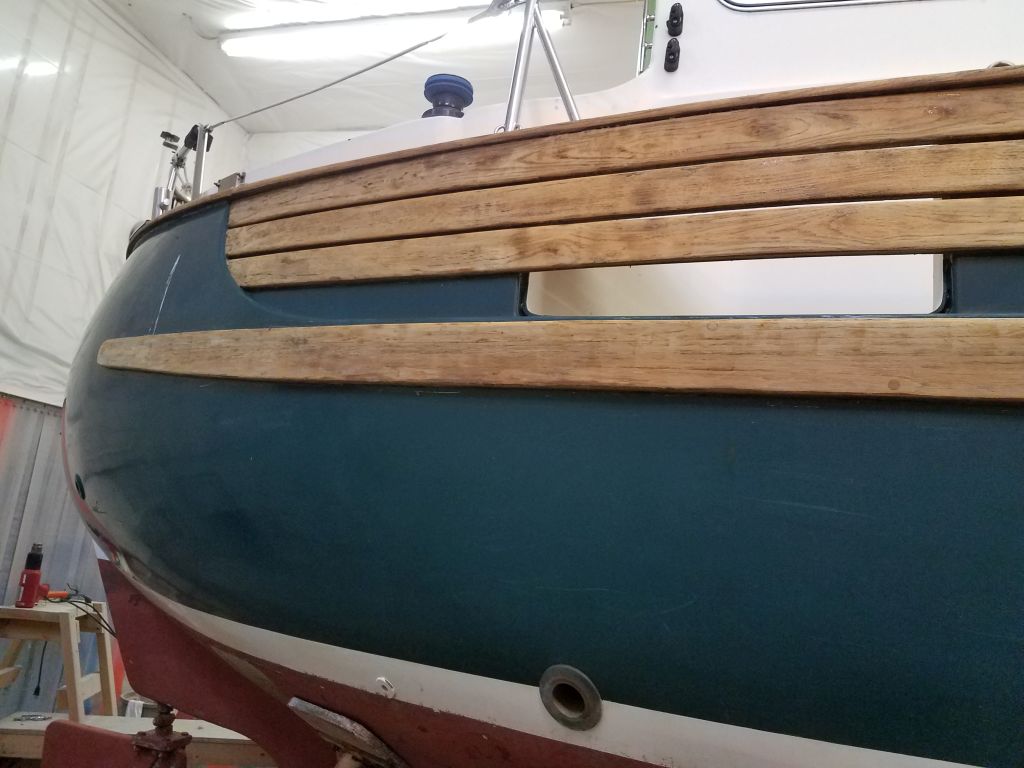
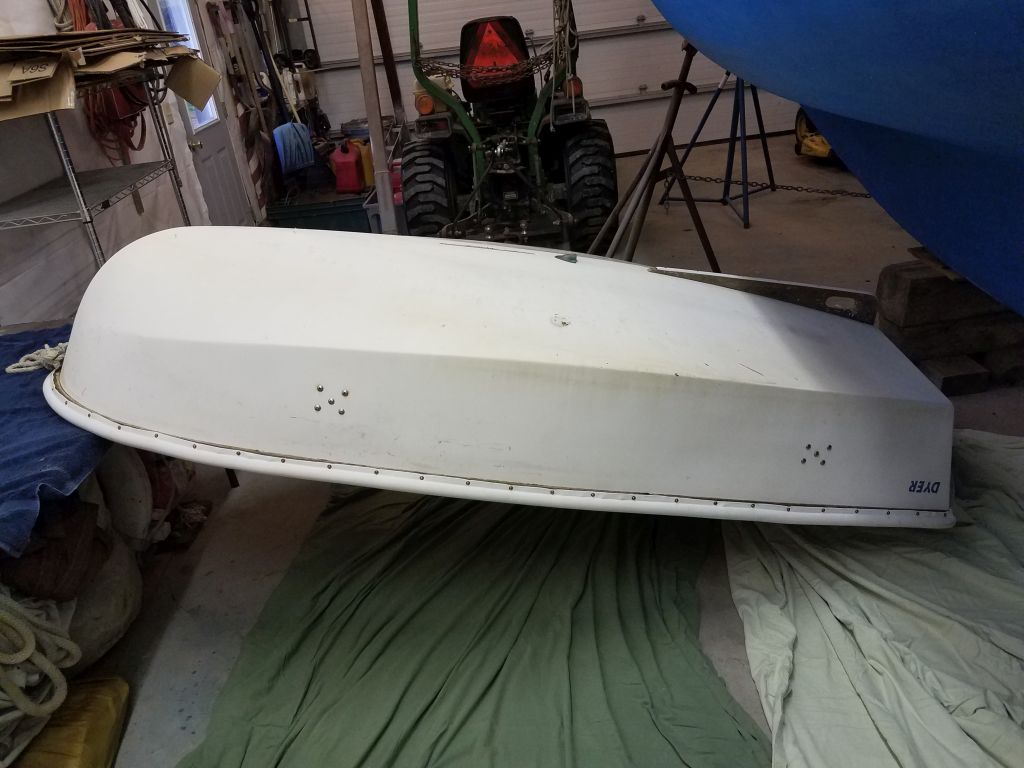
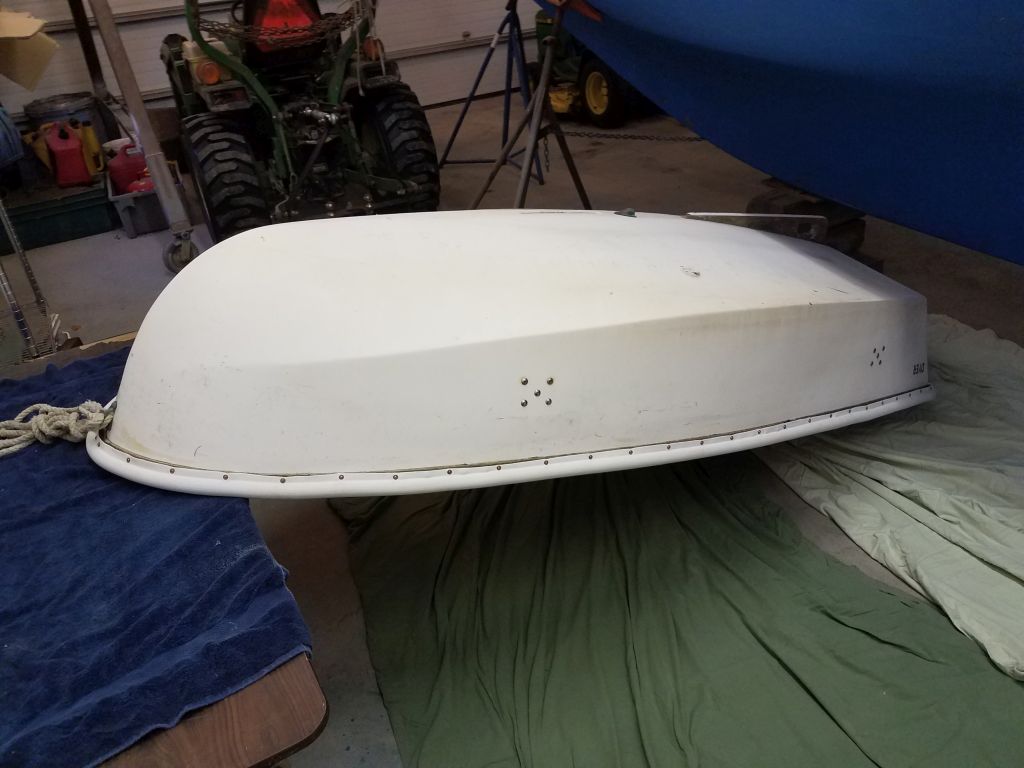
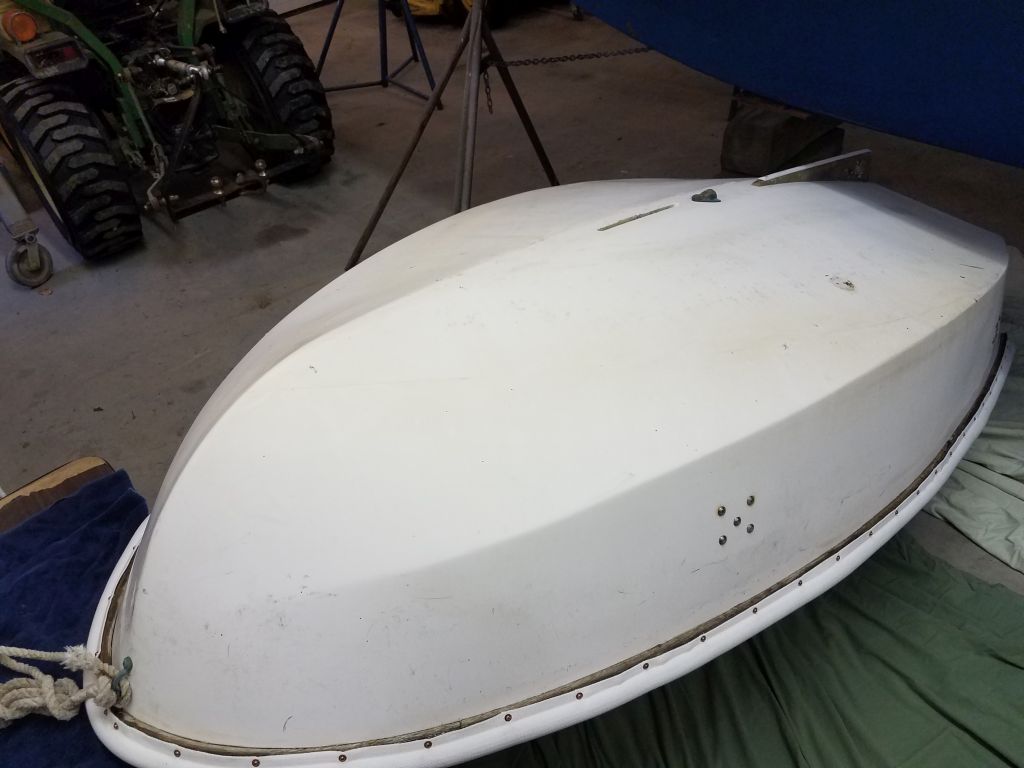
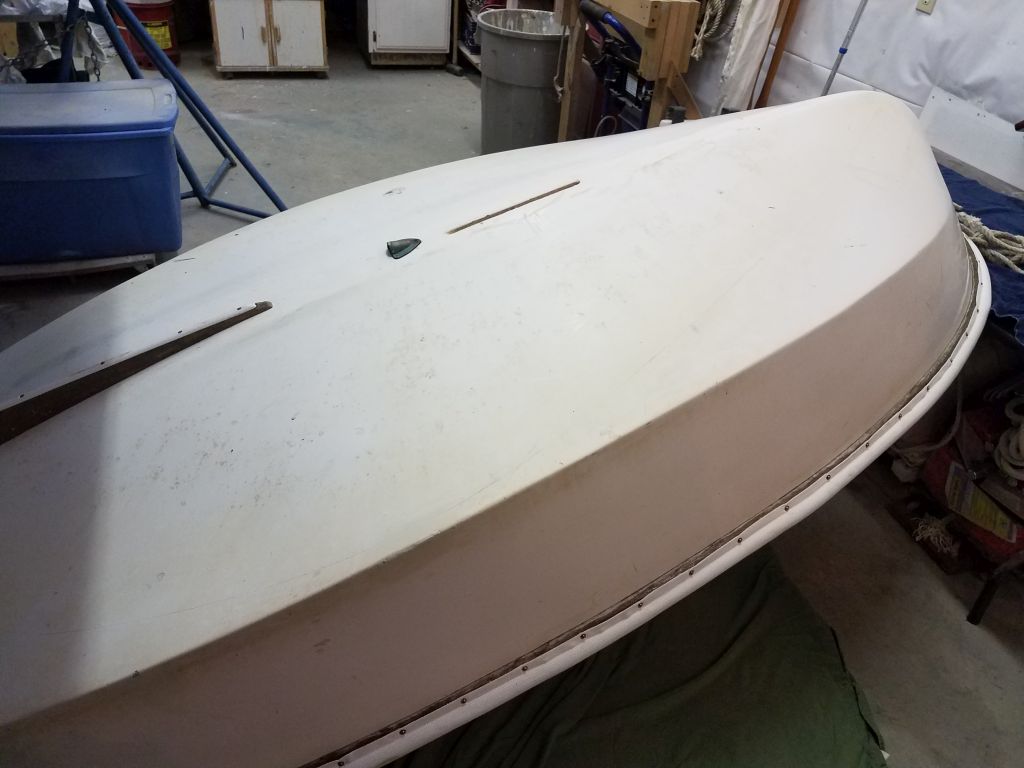
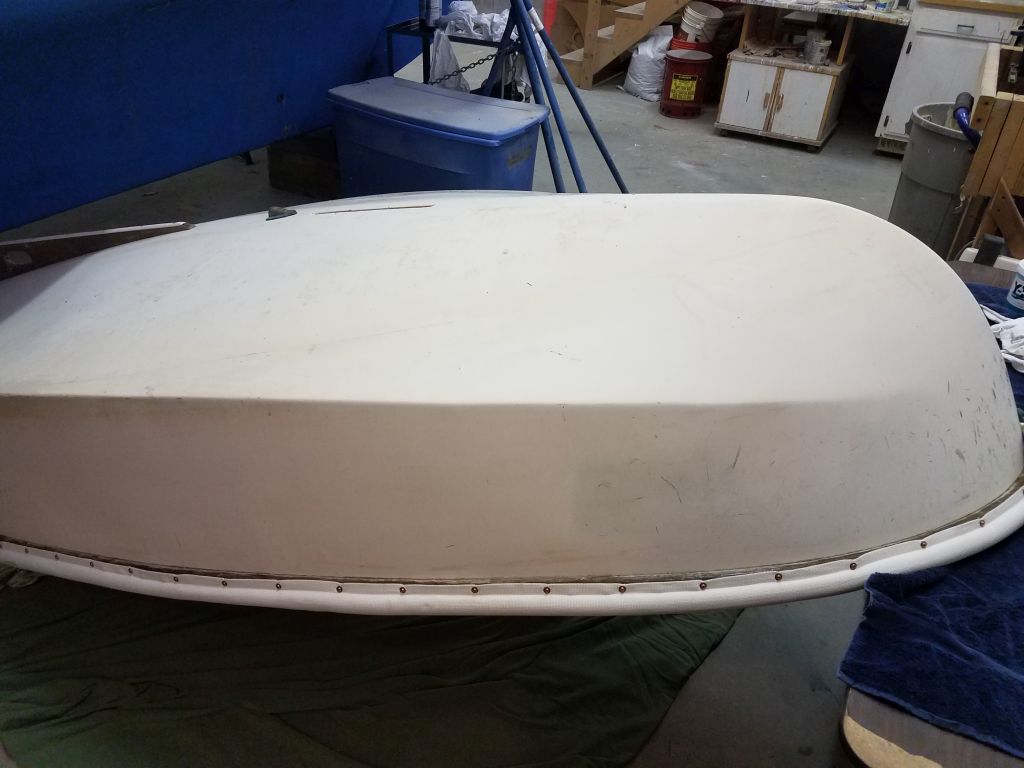
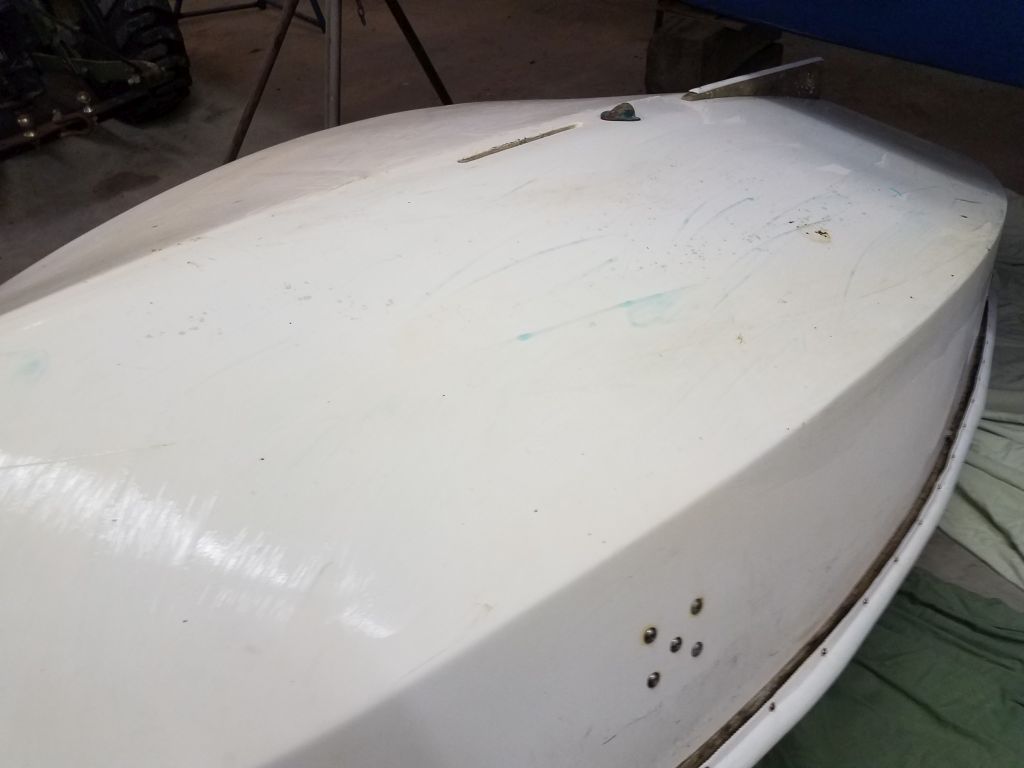
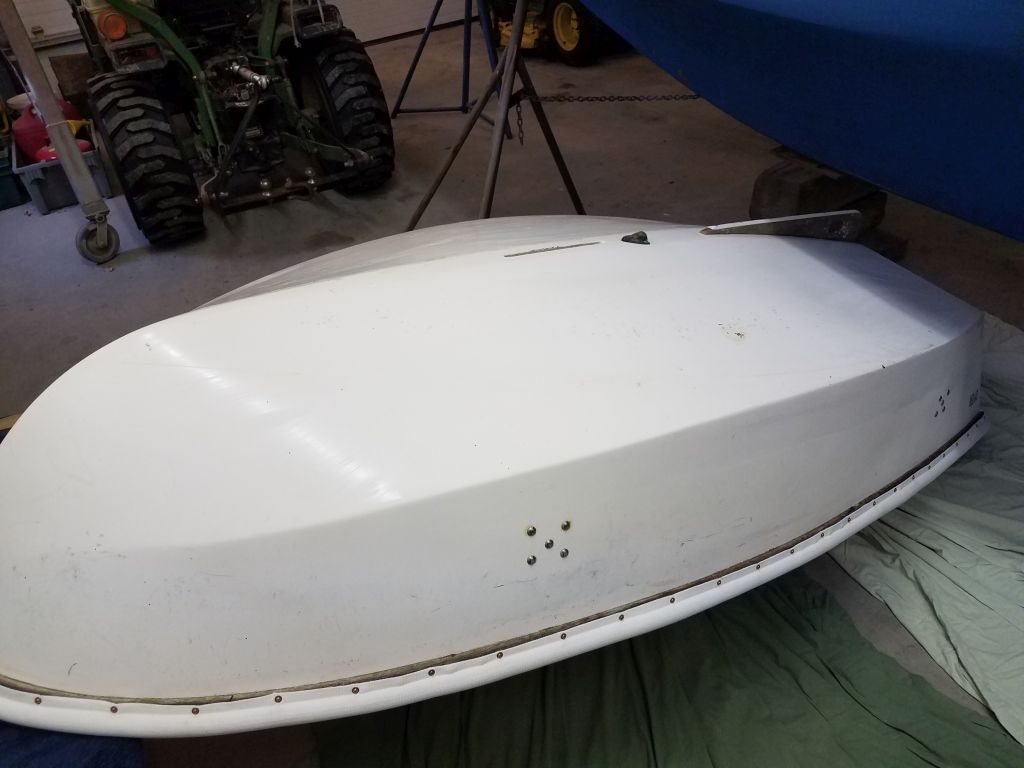
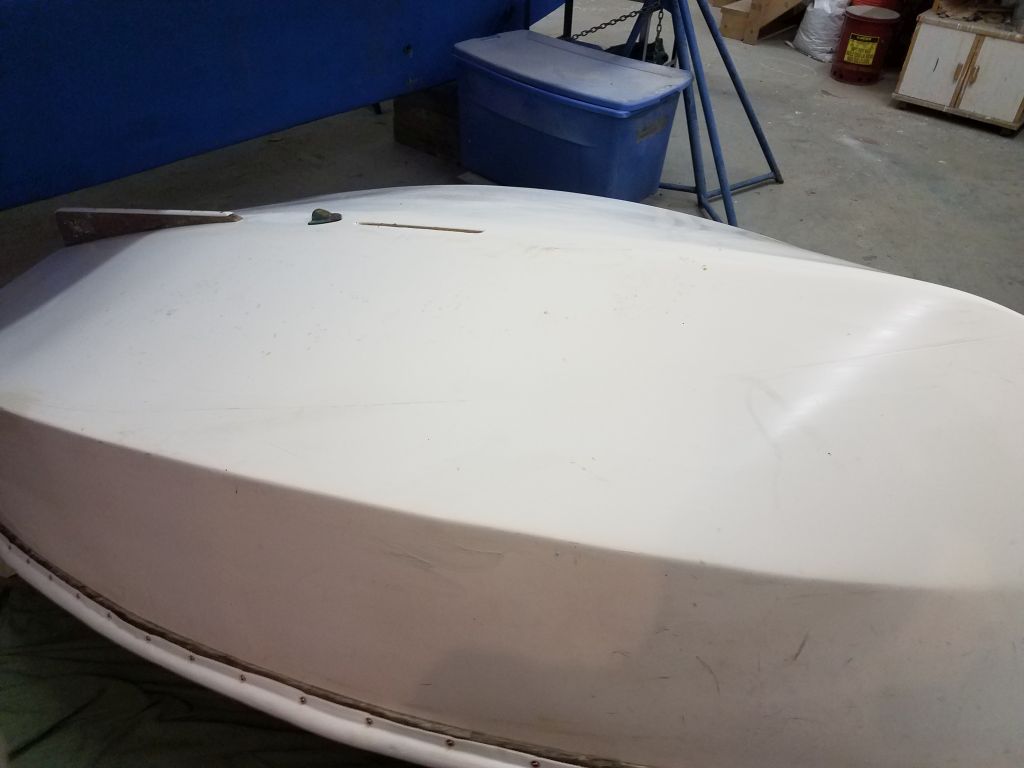
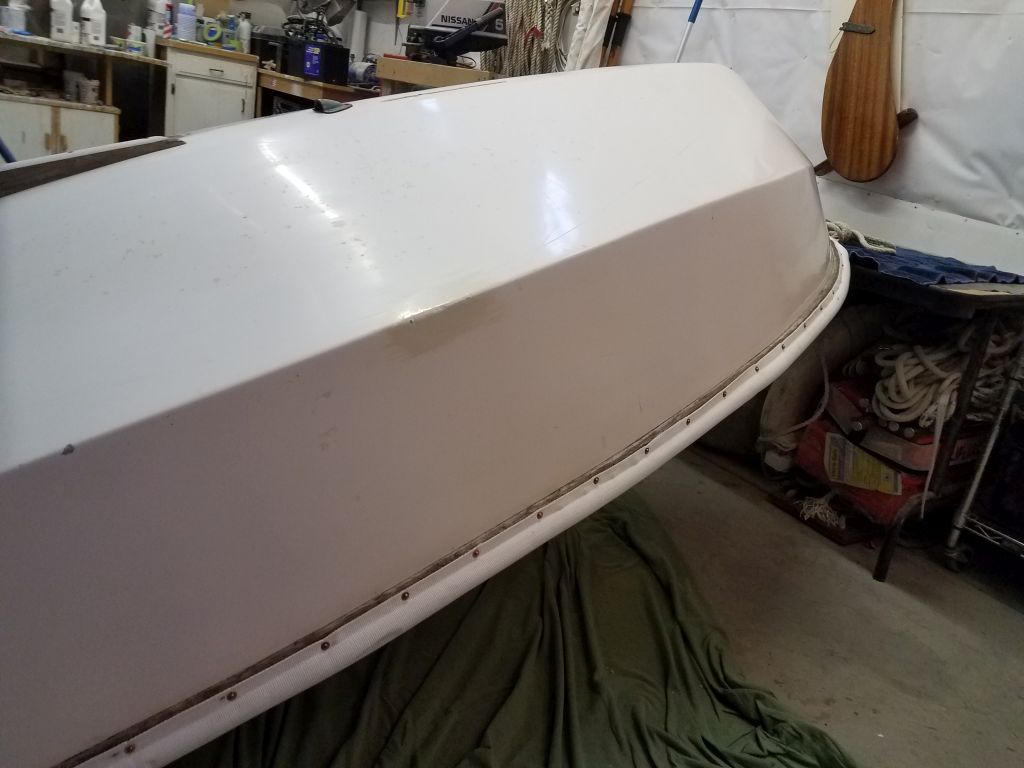
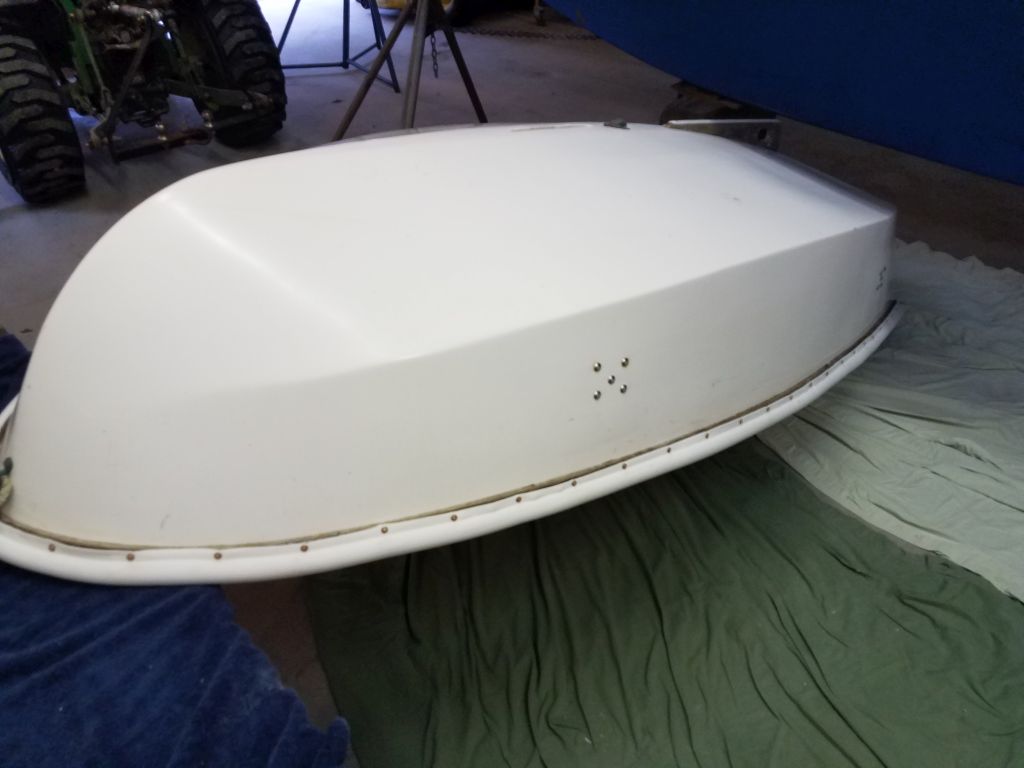
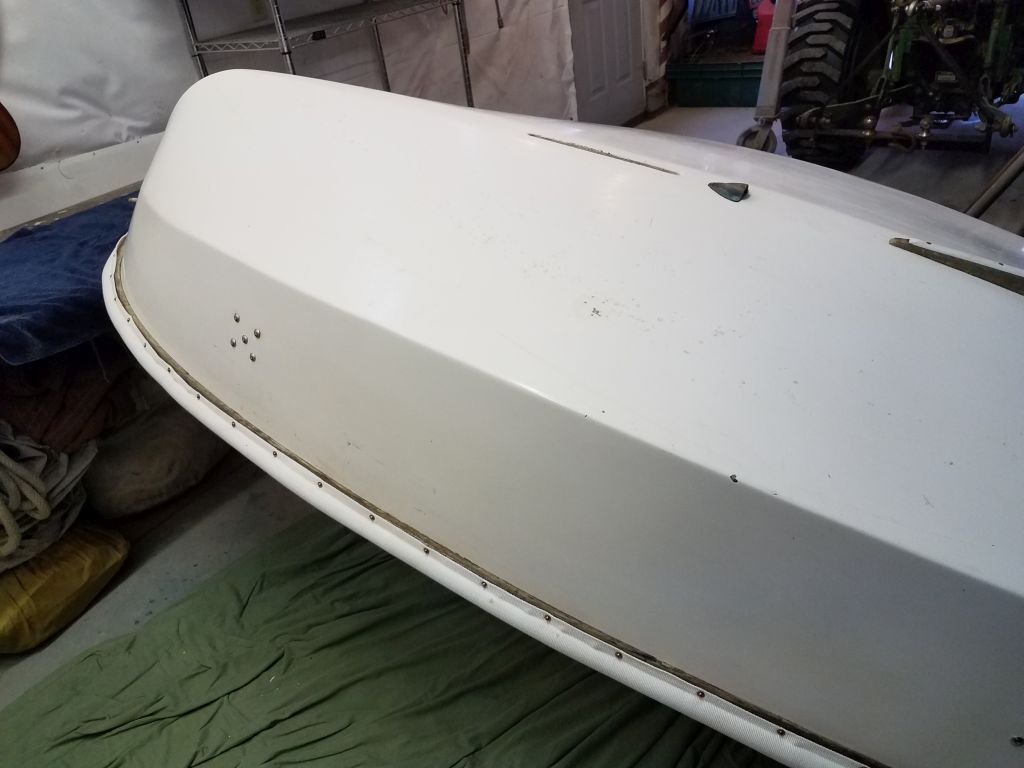
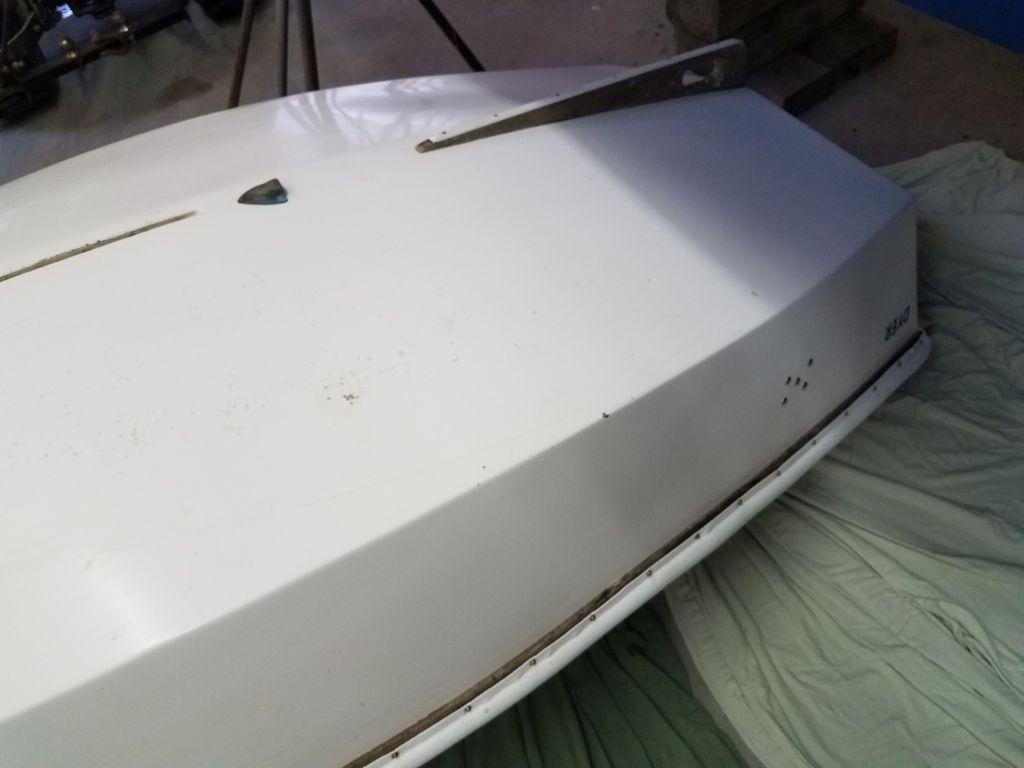
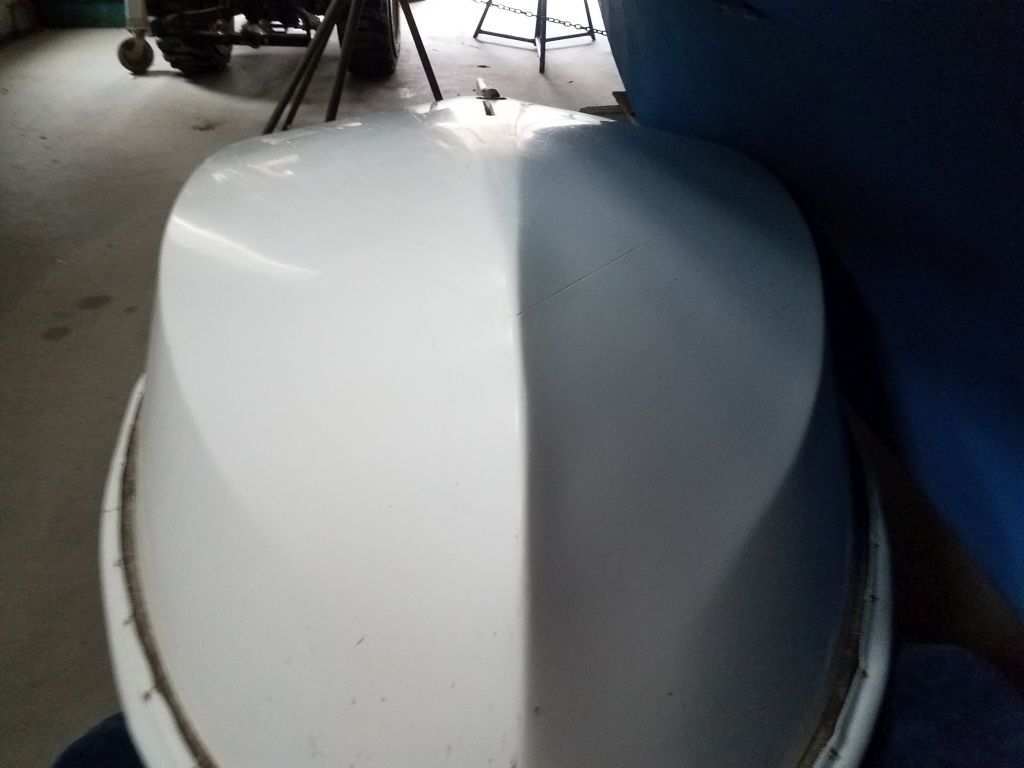
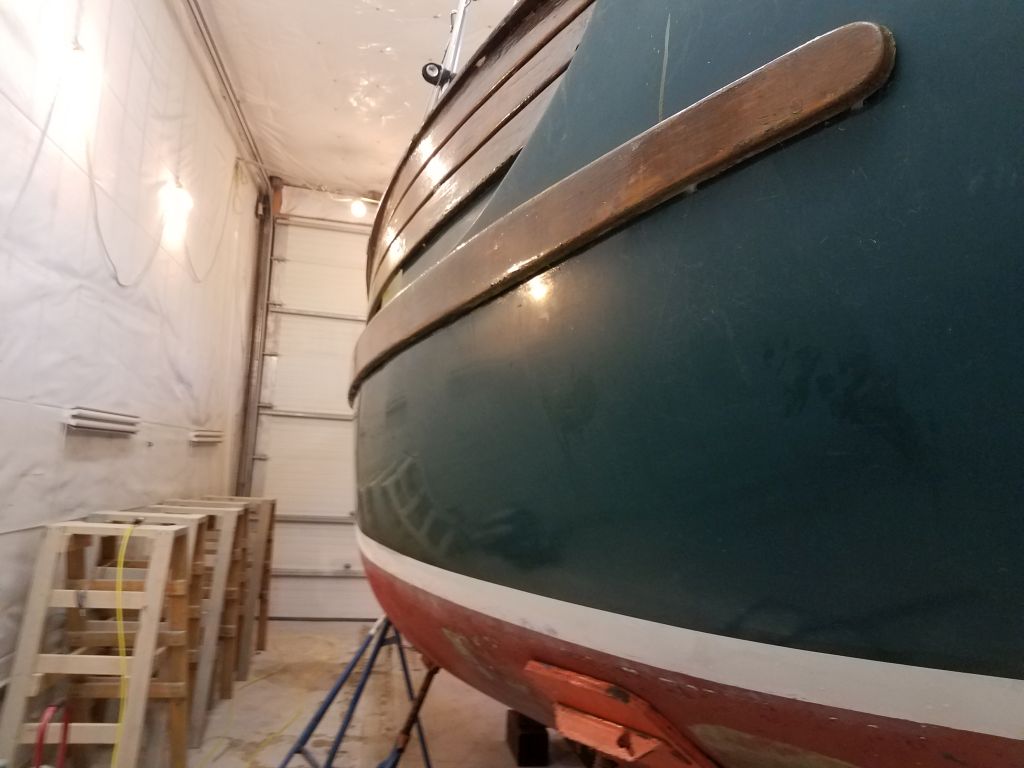
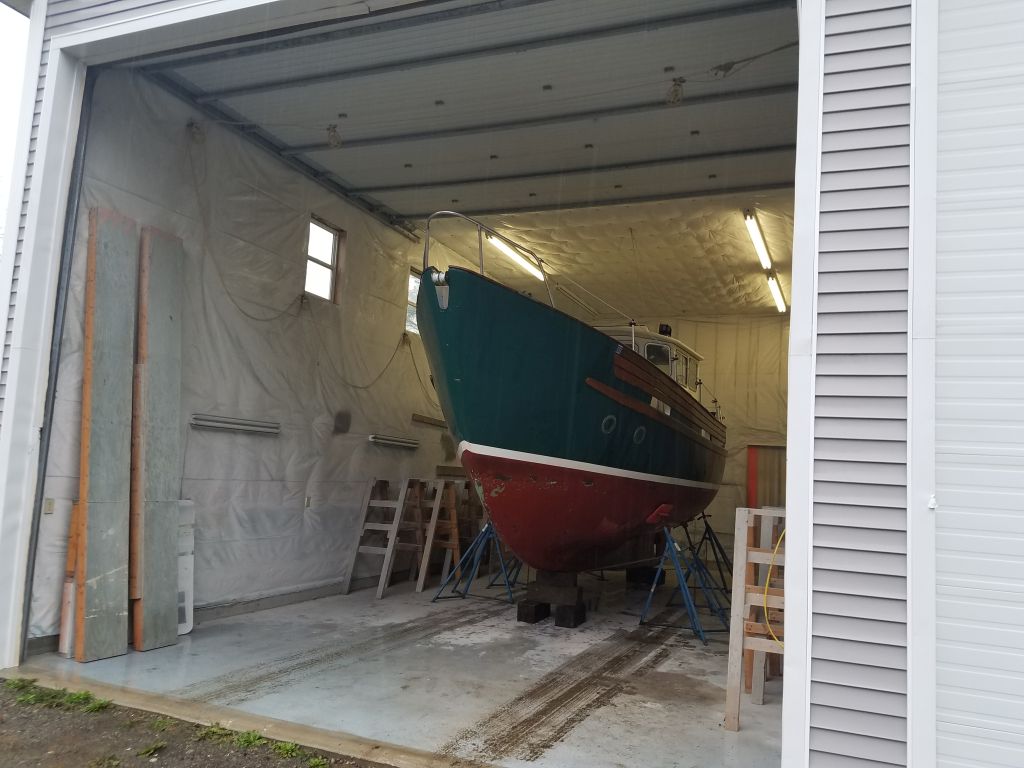
The final task on my list was to clean up the nearly 40 year-old hull, still in its original gelcoat. The finish was in quite good condition considering the age and use, but would benefit from a modicum of attention. I overturned the boat and propped it up for (relatively) convenient working height, taking care to protect the pristine new rubrail.
There was a yellowish stain on the bottom and around the waterline, so my first step was to apply some anti-yellowing material to remove most of the staining. This worked as expected.
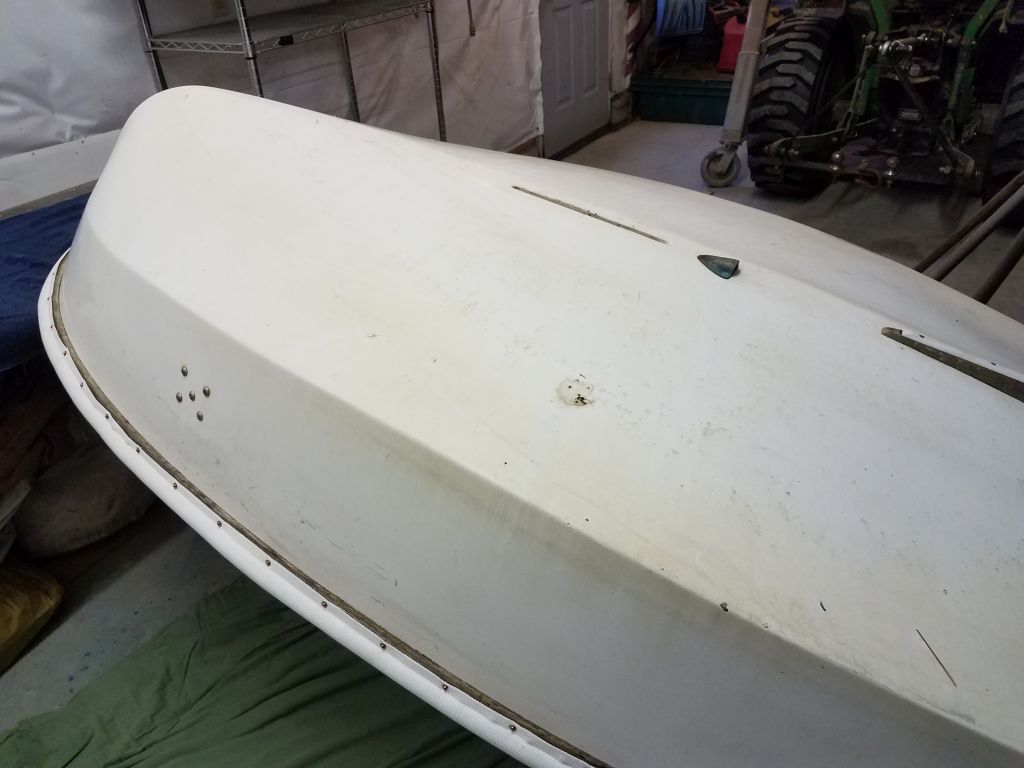
Next, I buffed the hull with rubbing compound to remove additional staining and any more significant scratches or minor damage, followed by a buffing with a polishing material to finish things off. The results were good given the age and beginning condition of the hull.
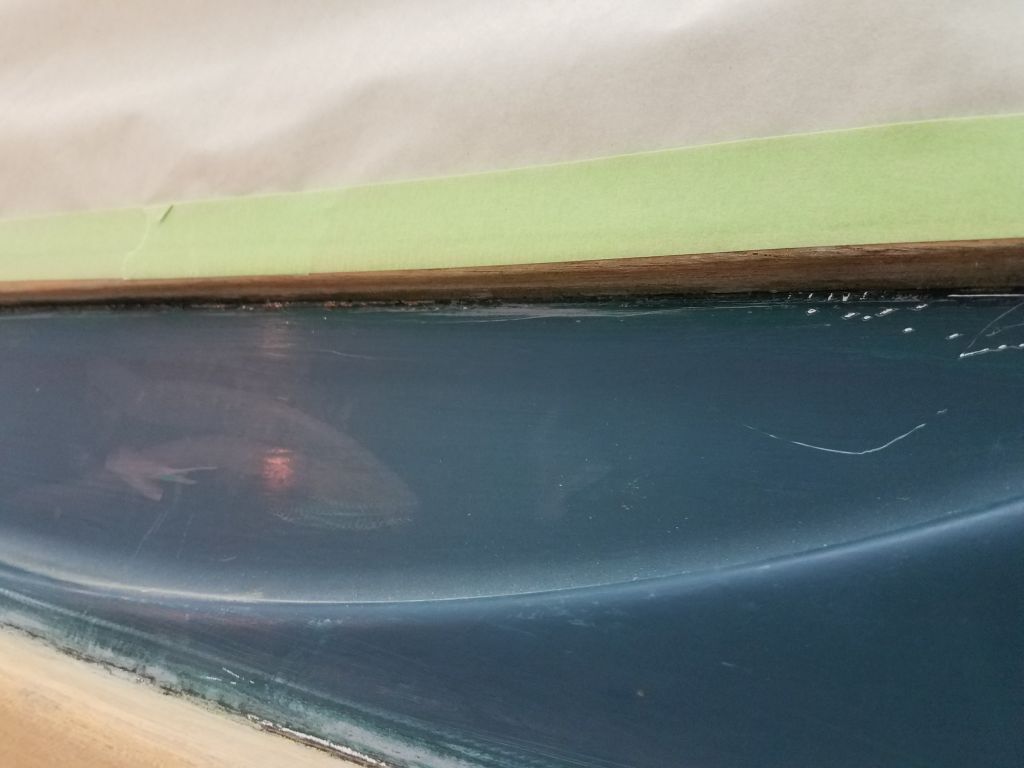
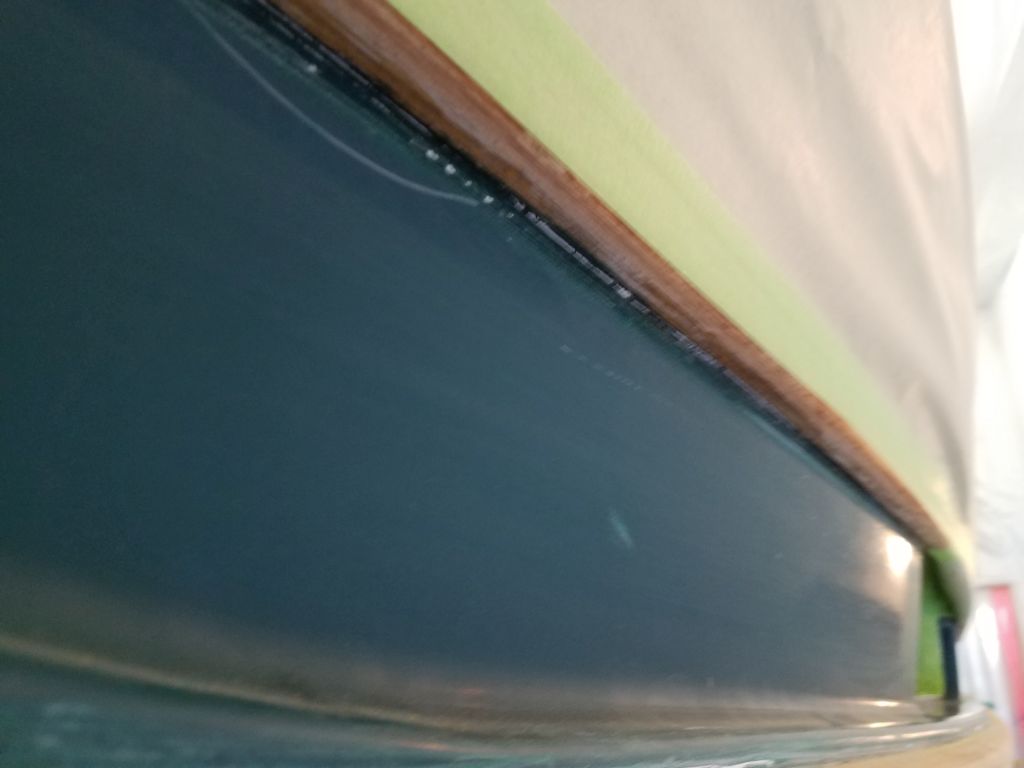
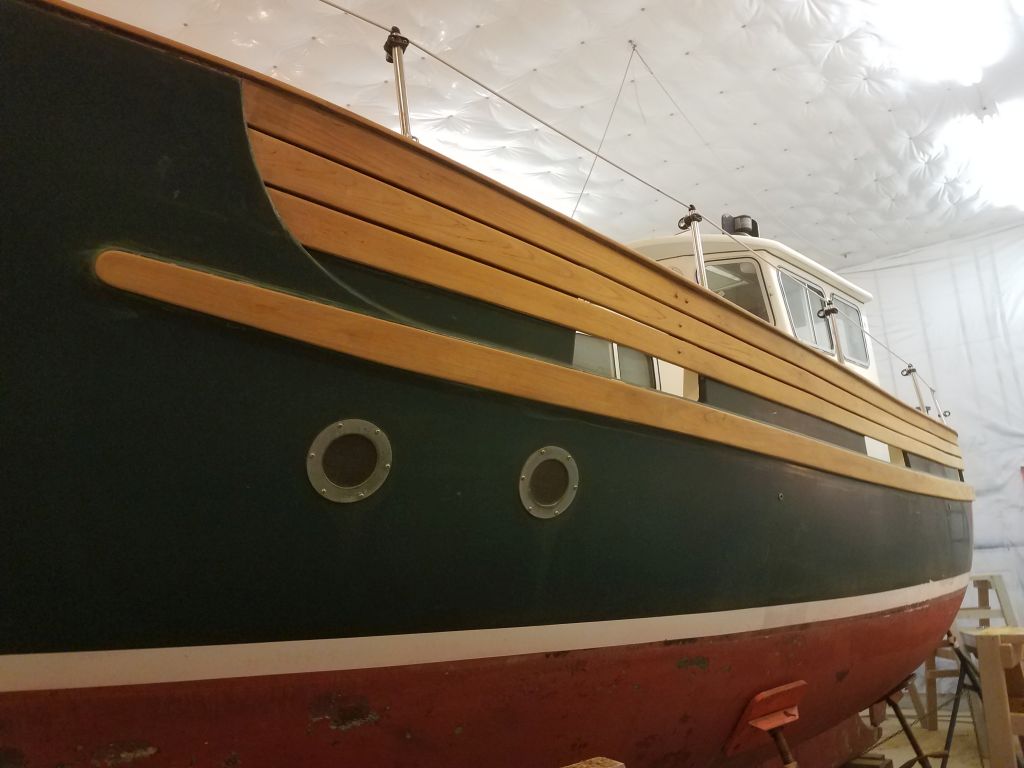
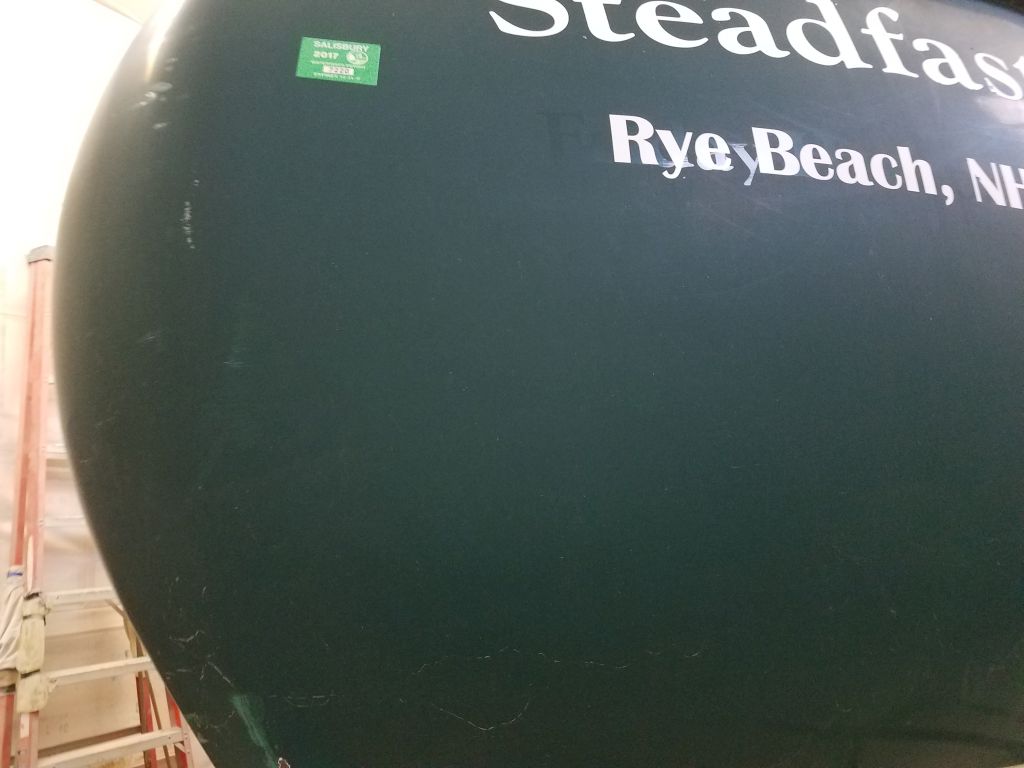
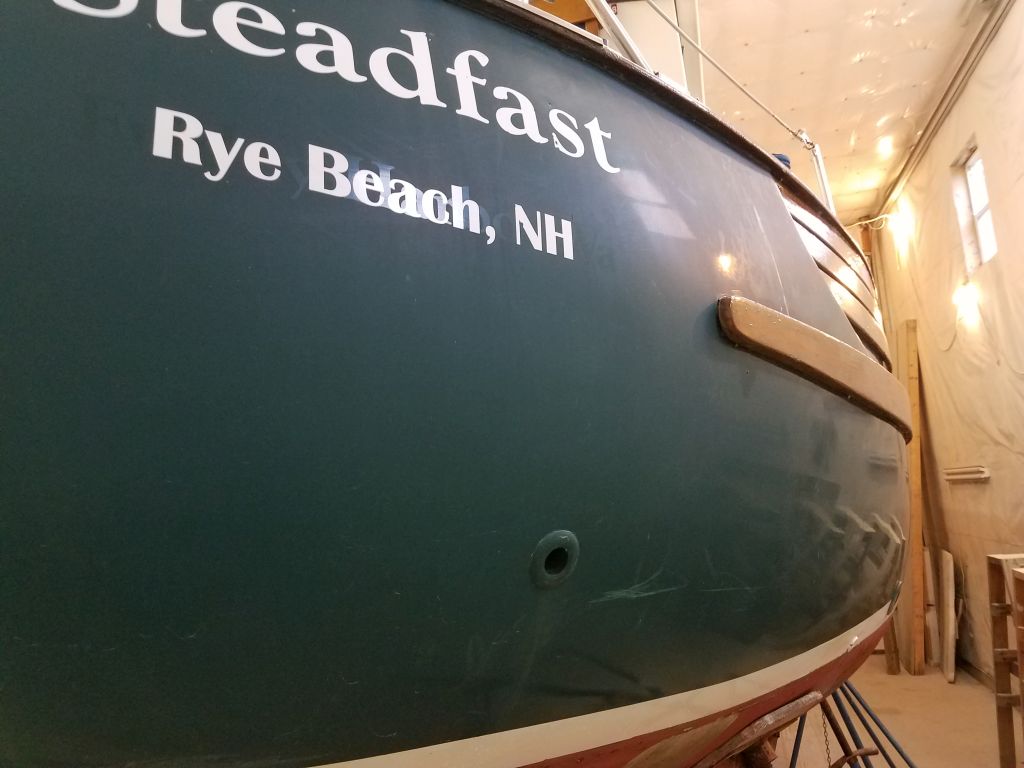
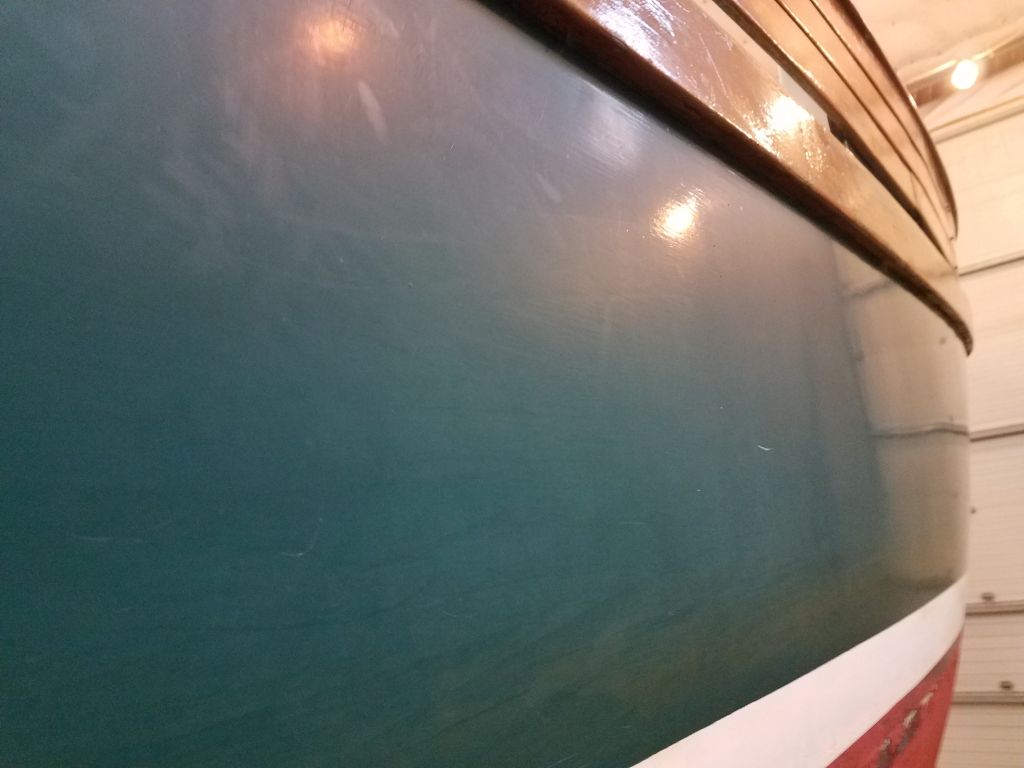
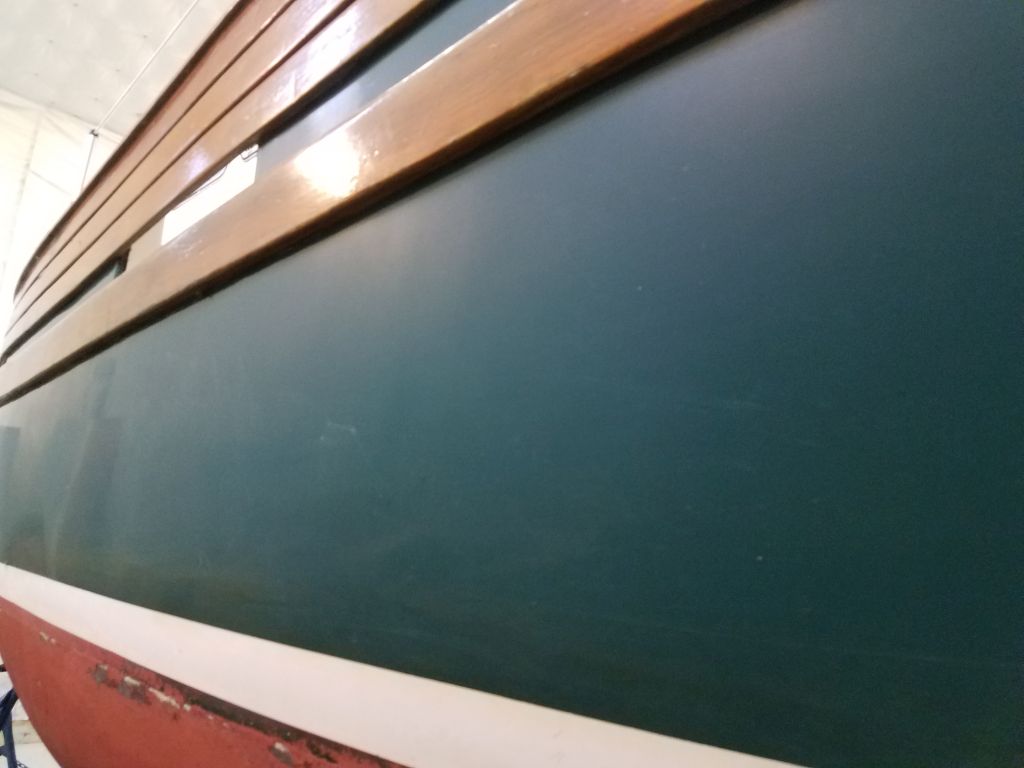
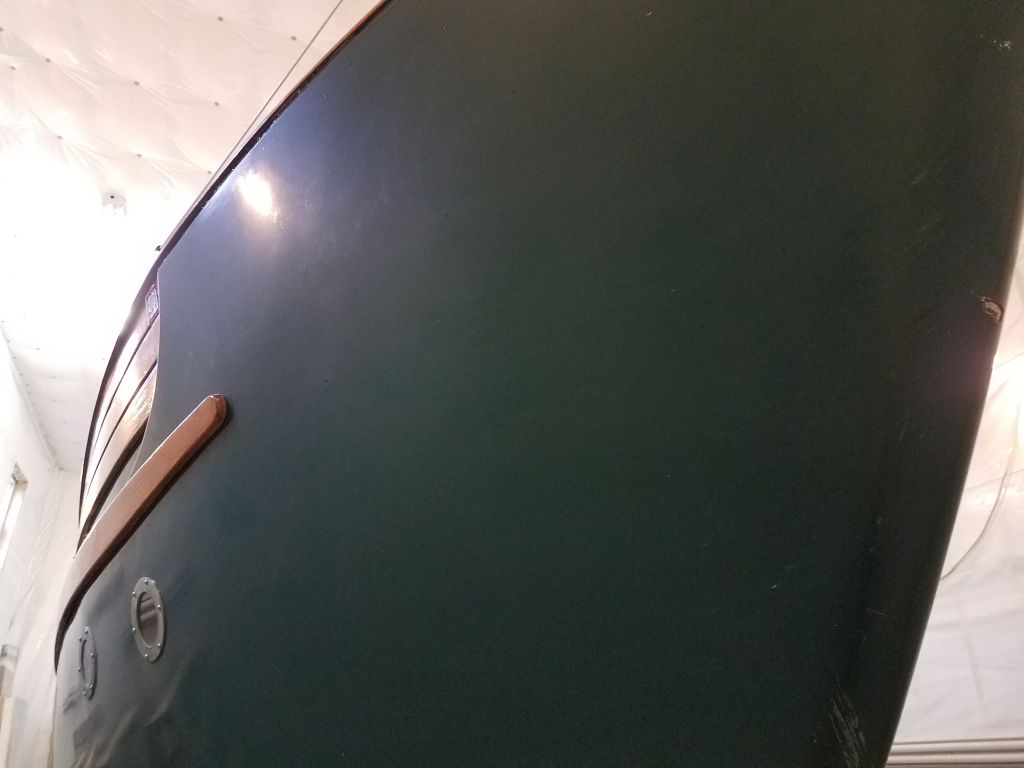
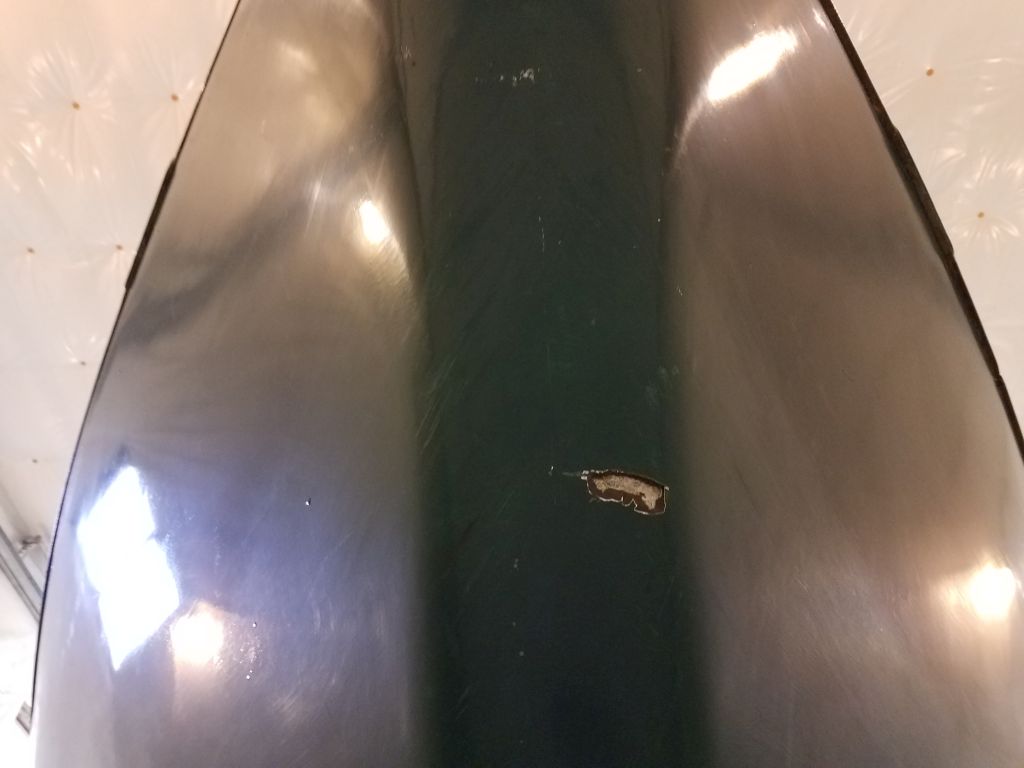
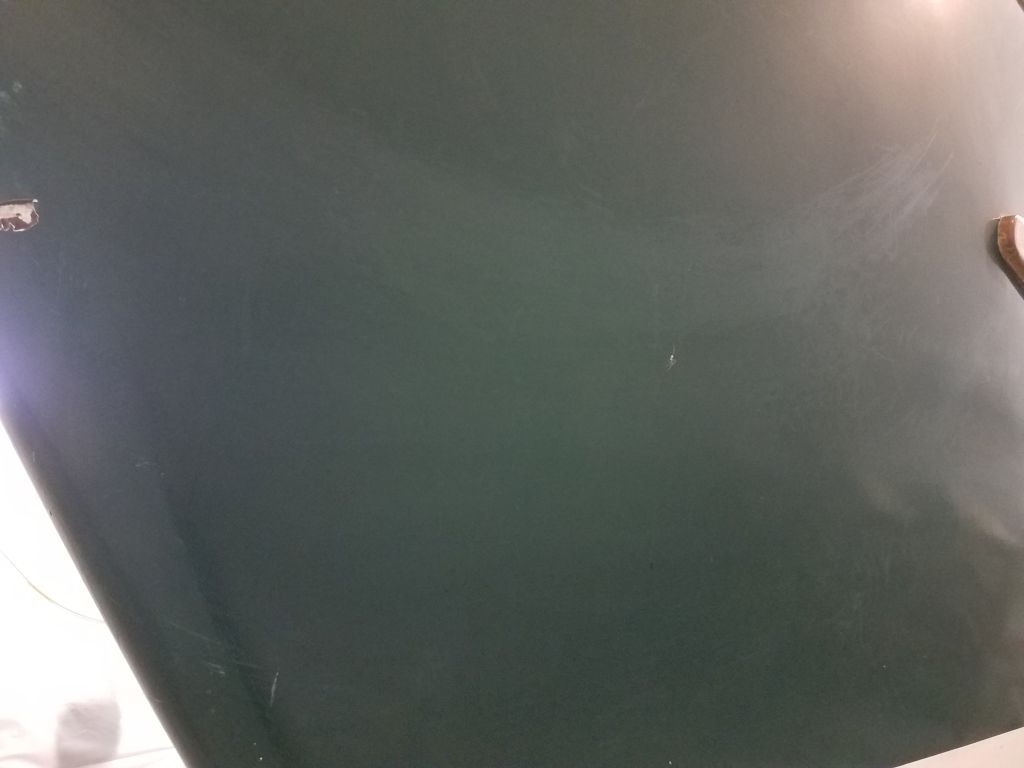
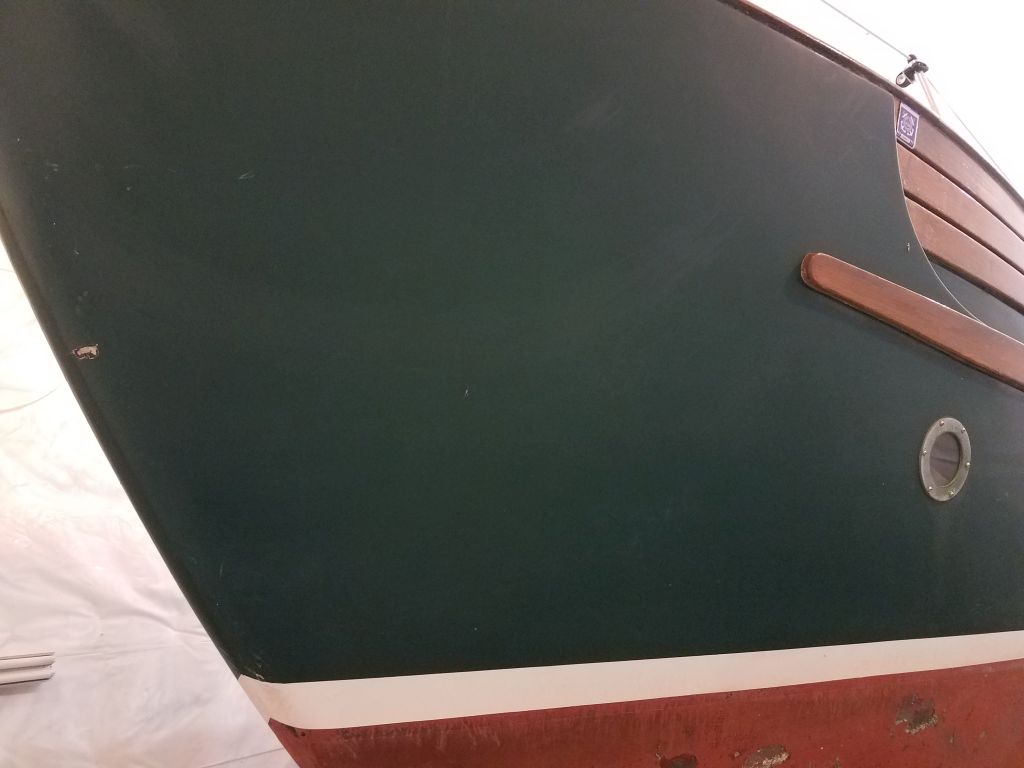
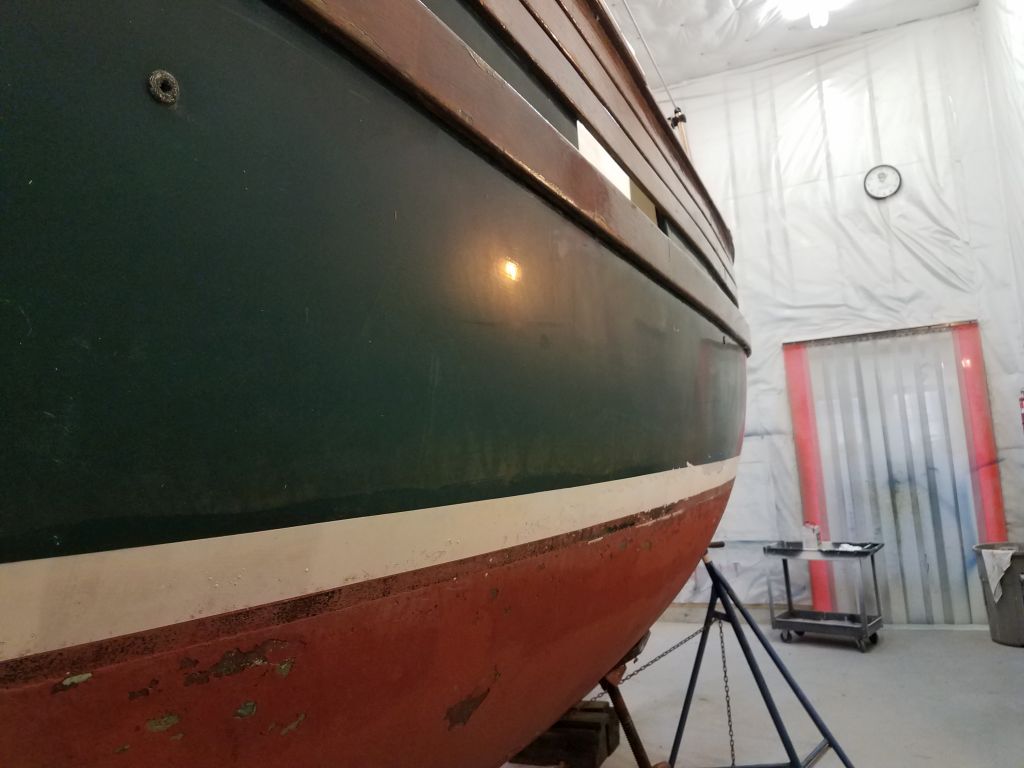
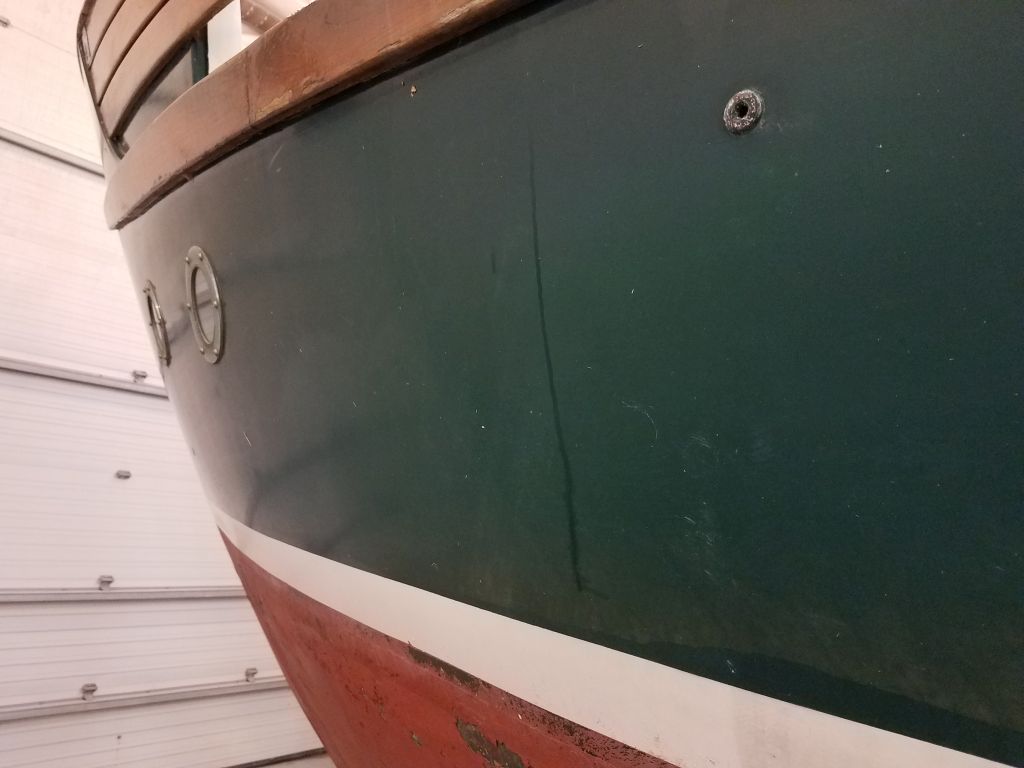
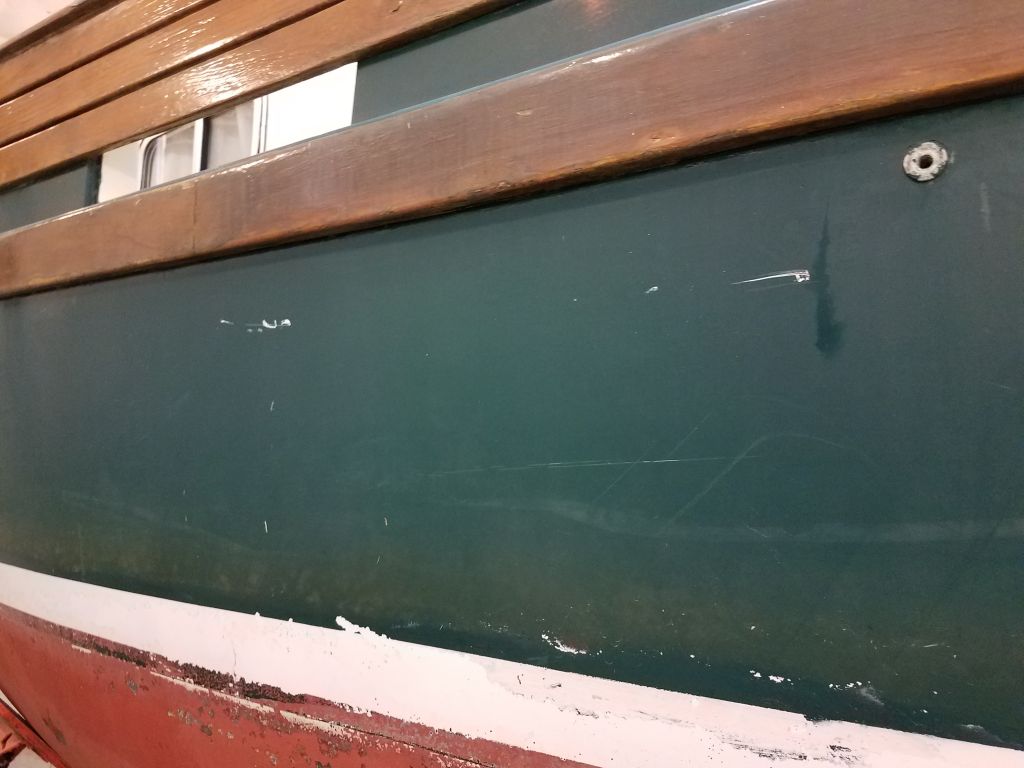
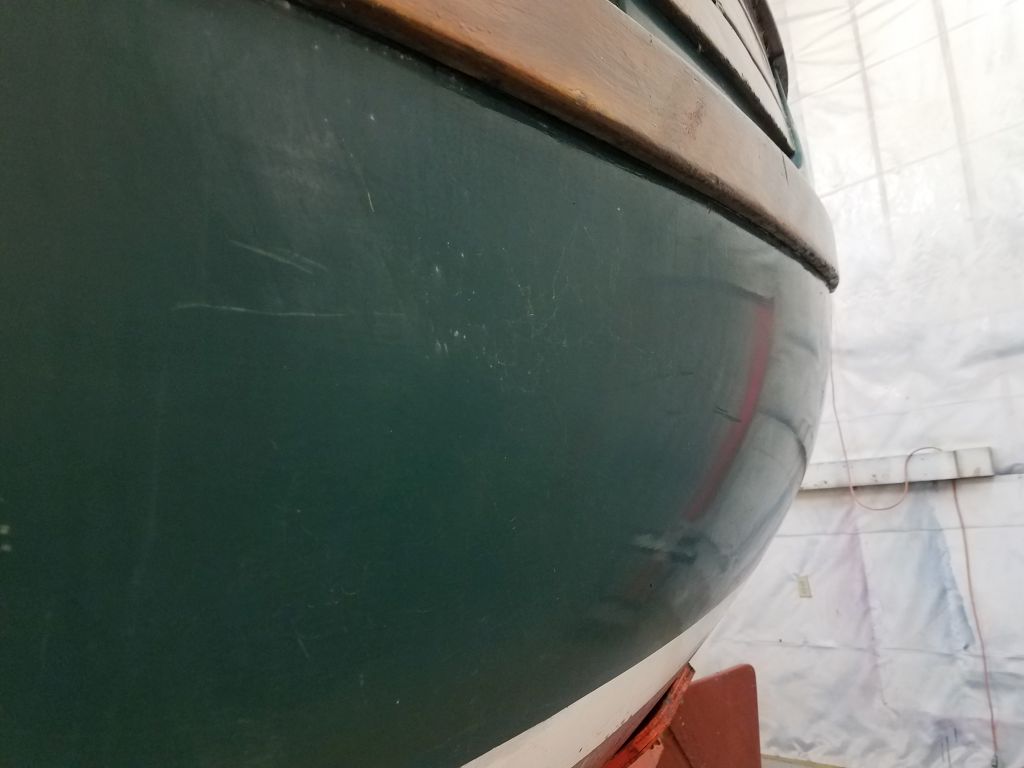
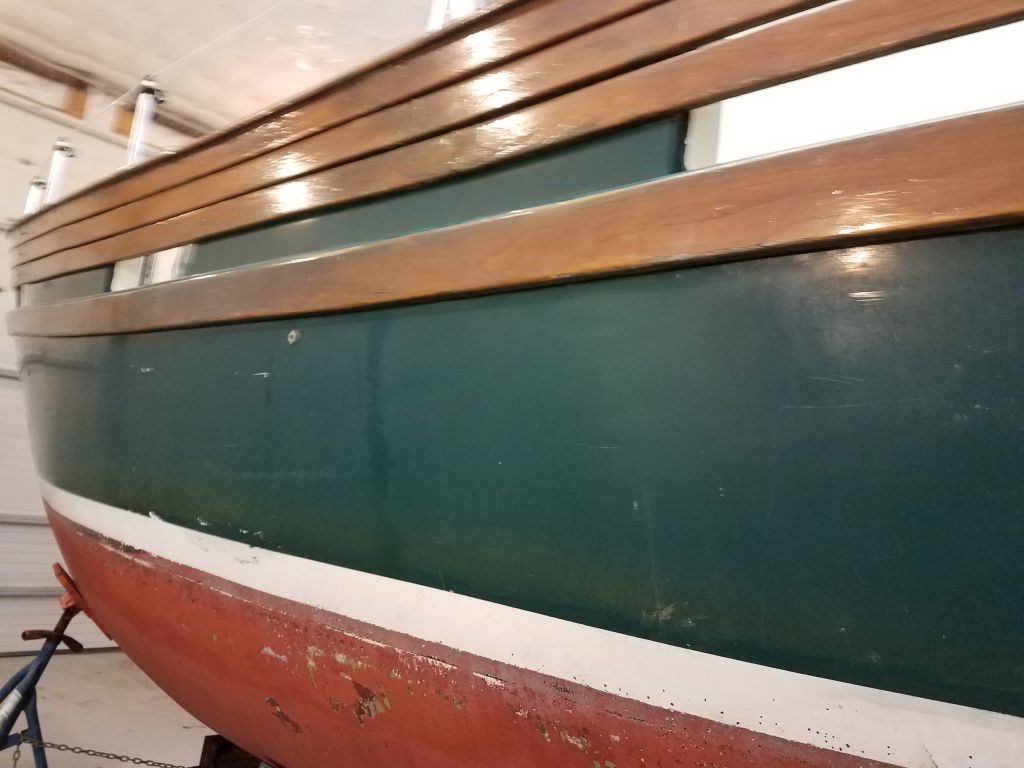
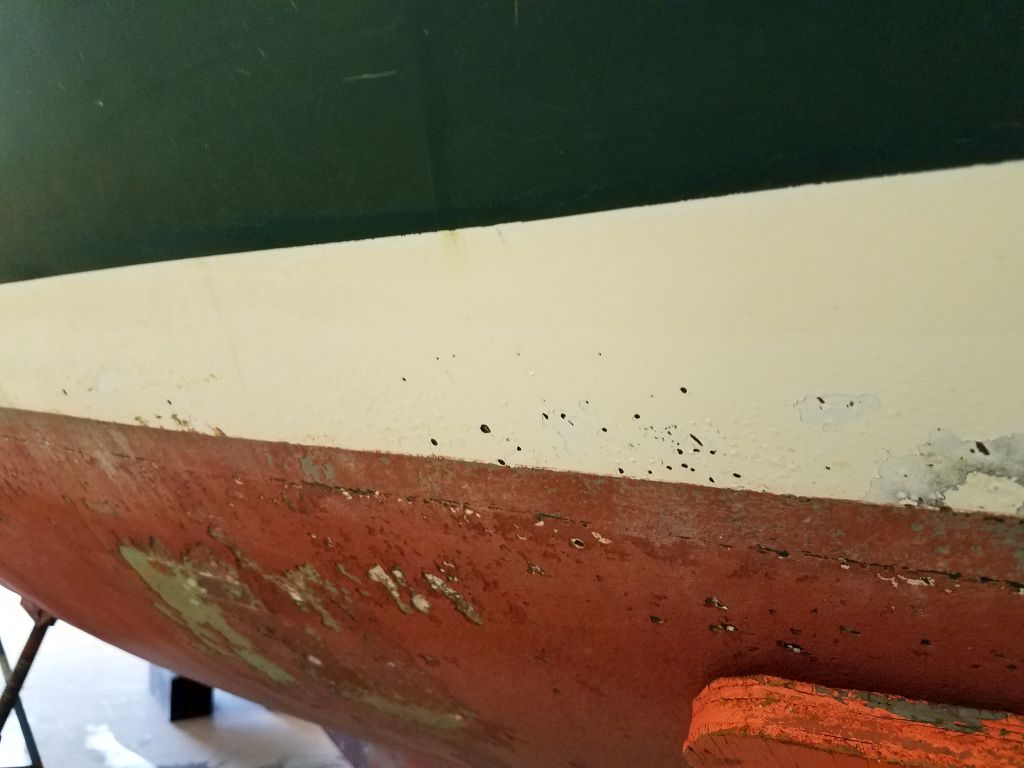
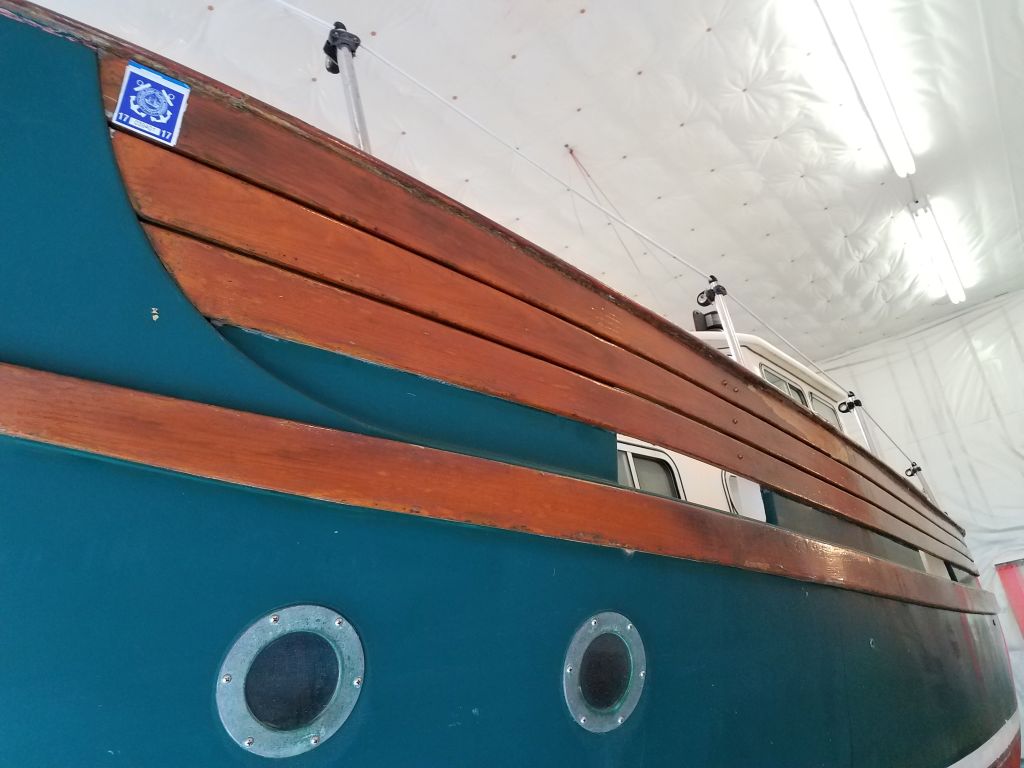
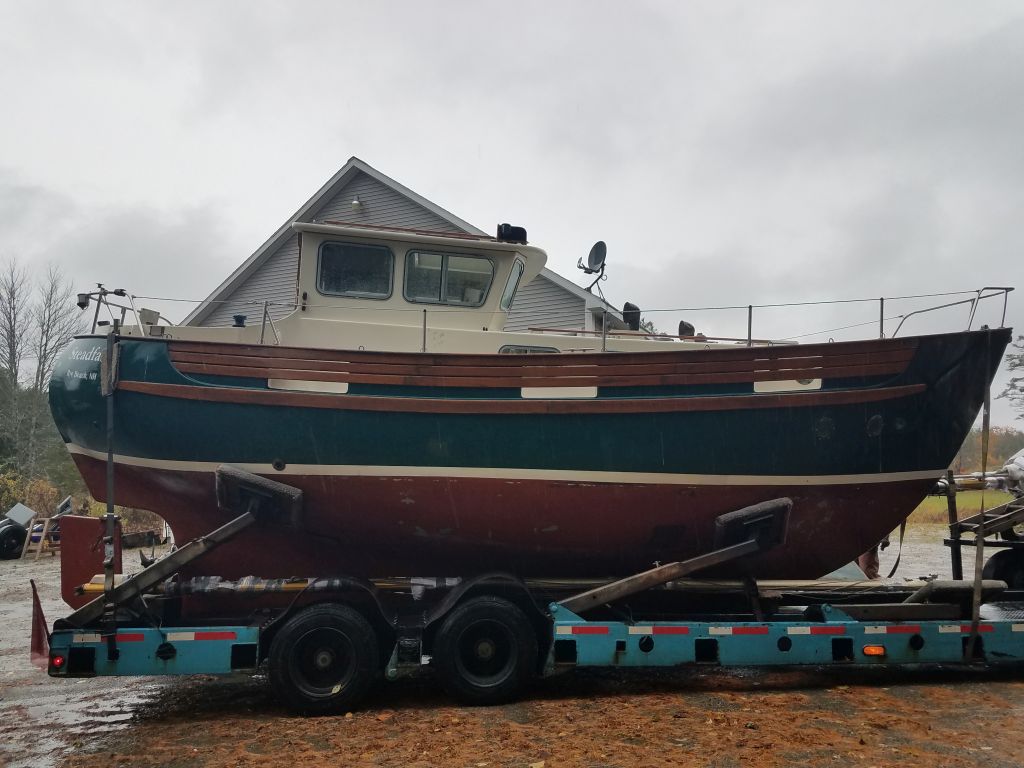
Now that the boat had had a chance to at least begin to dry out, I could begin the process by inspecting the existing hull substrate to prepare for the refinishing work ahead. The existing coating–and it was a painted surface, not gelcoat–was in fair condition overall, with only minor damage from the usual assortment of docking incidents, etc. The paint surface was flat and smooth, and fairly faded and oxidized in some areas, showing its age (which was indeterminate), but otherwise appeared basically sound. I’d first viewed the boat two years earlier during the original job discussion, and the paint appeared to have held up well in the meantime.
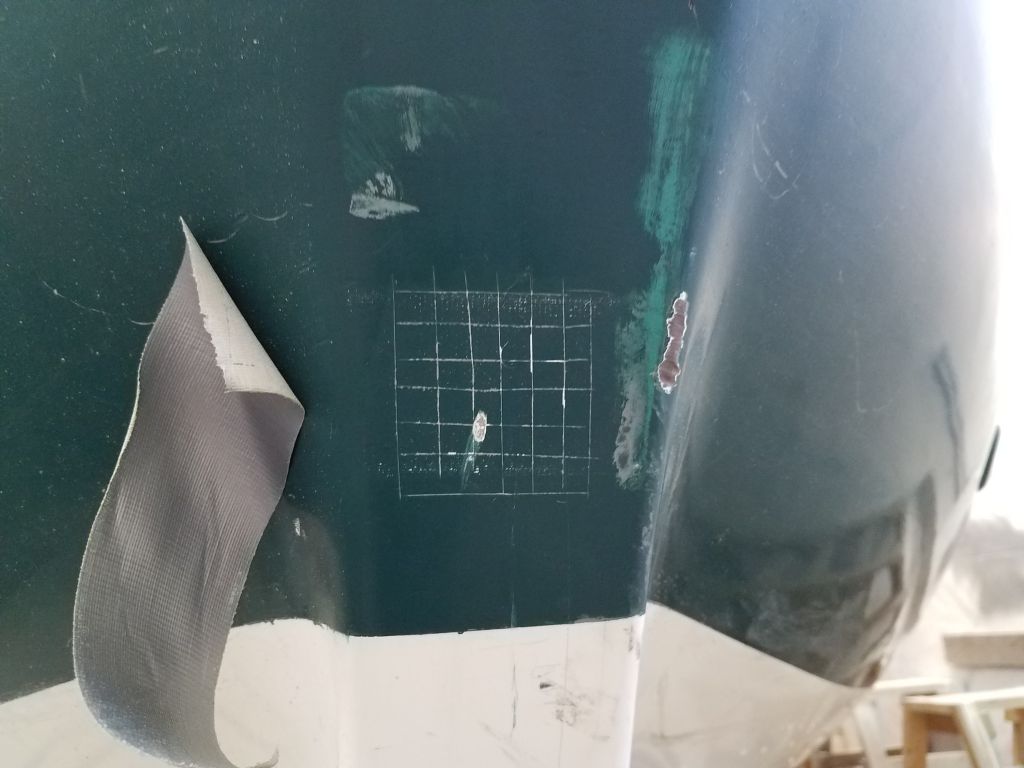
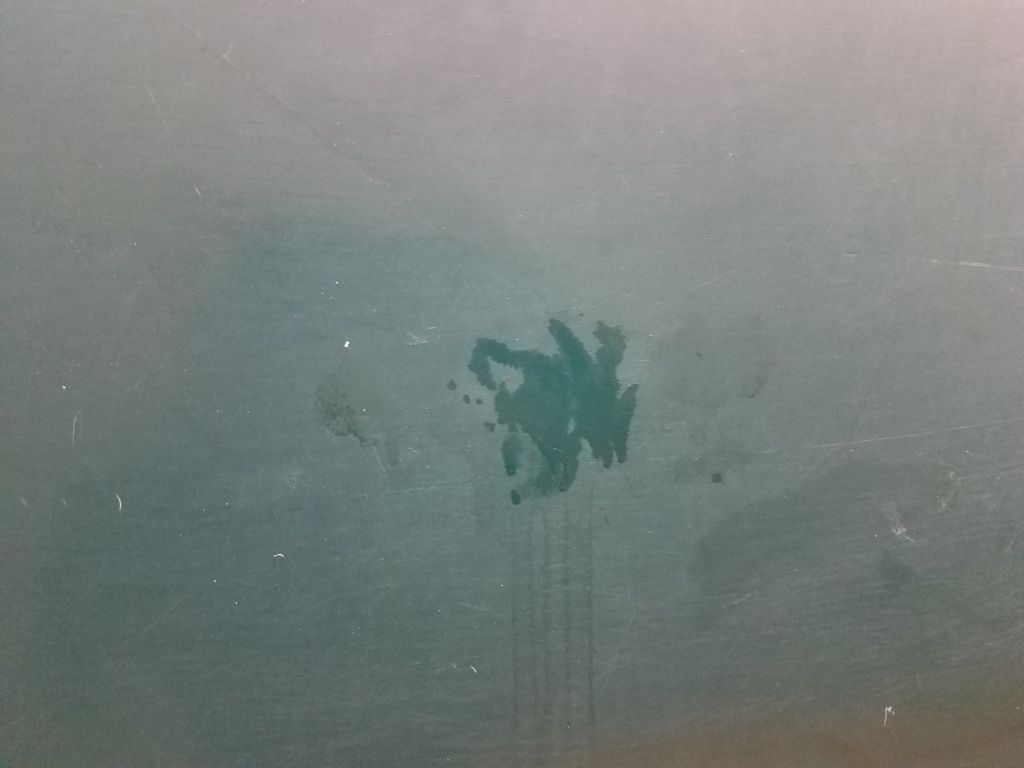
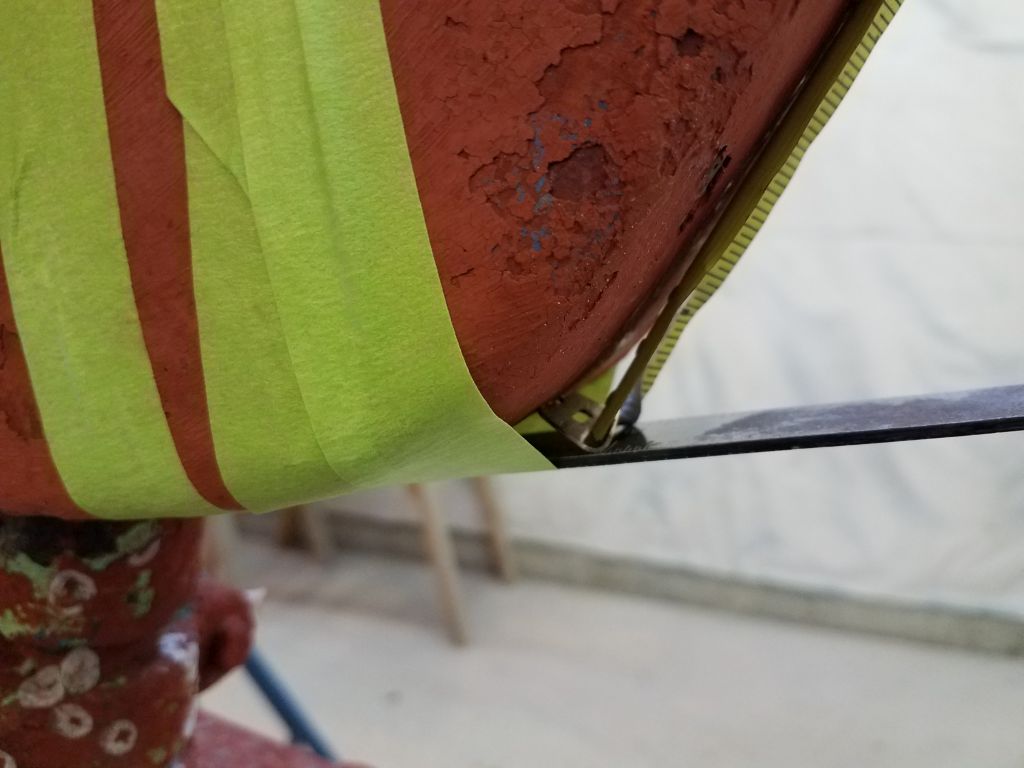
To determine the compatibility of the existing coating with the new paint, I had to do a couple adhesion and compatibility tests, beginning with a scoring test to check the coating’s adhesion to the original substrate. I followed the coating system’s documentation in performing these tests.
Choosing an area that would be straightforward to repair during surface preparations–the flat surface of the lower portion of the transom– I used a sharp knife to cut through the paint surface over a 2″ square area, creating a matrix of 1/4″ squares between the score cuts.
I firmly applied a piece of duct tape, a strong-adhesive tape, pressing it onto the surface evenly. Then, I pulled it straight off, at a 90° angle, like a Band-Aid. The goal of this test was to determine if any of the paint in between the score lines came off with the tape, as it likely would were basic adhesion suspect.
The paint in the scored area remained firmly in place. I performed the tape test a second time to be sure, and the only sign of anything was perhaps some of the oxidation/weathering on the surface coming away with the tape, natural enough since the paint was oxidized for hints of the color to come away even on a dampened rag.
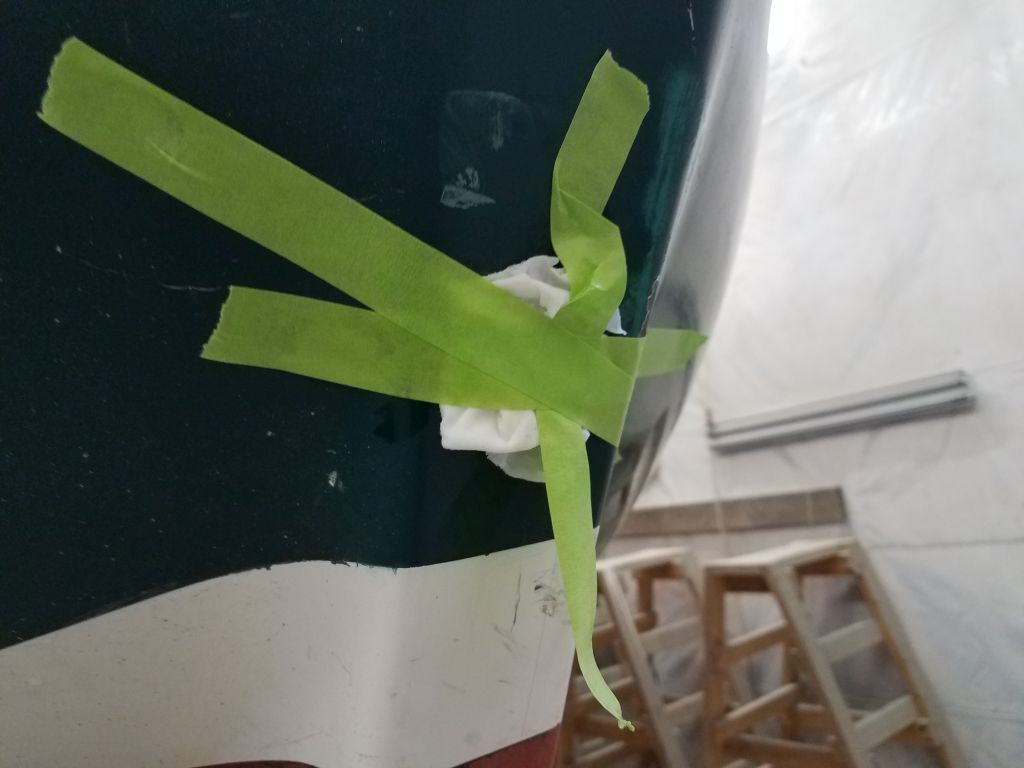
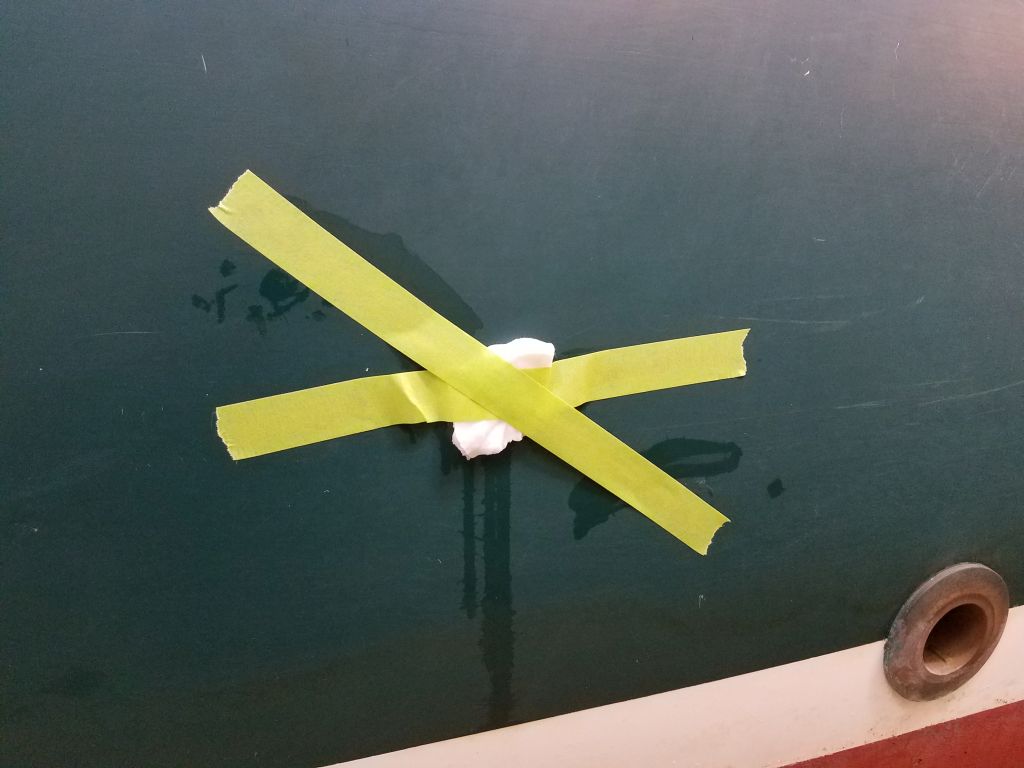
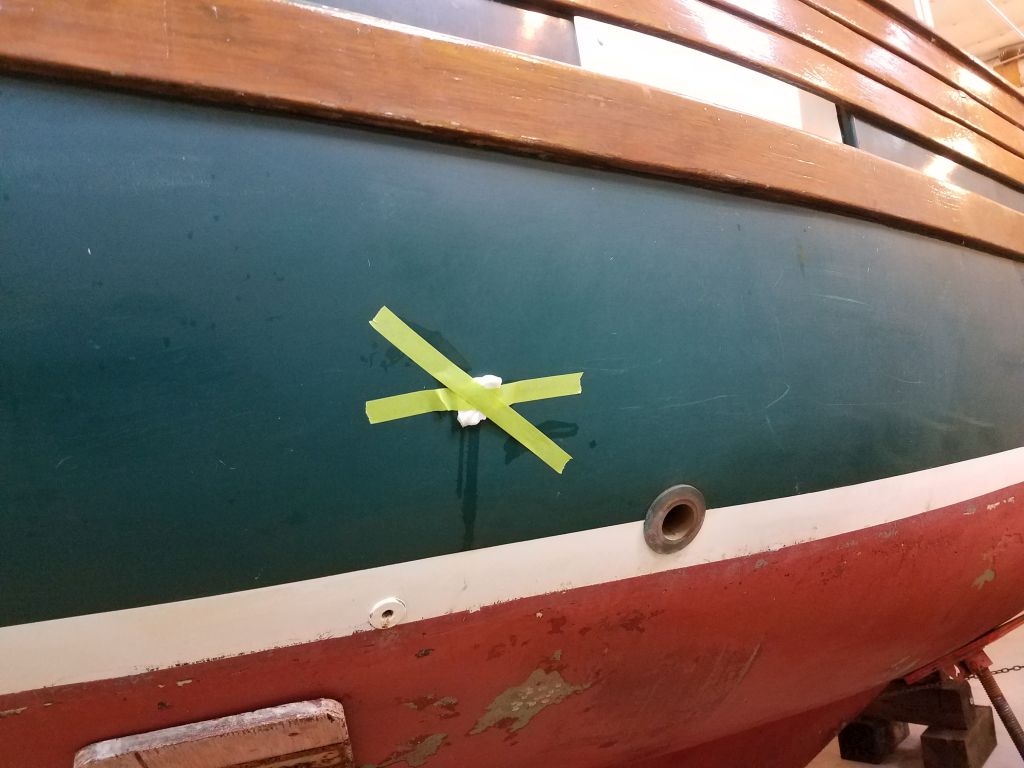
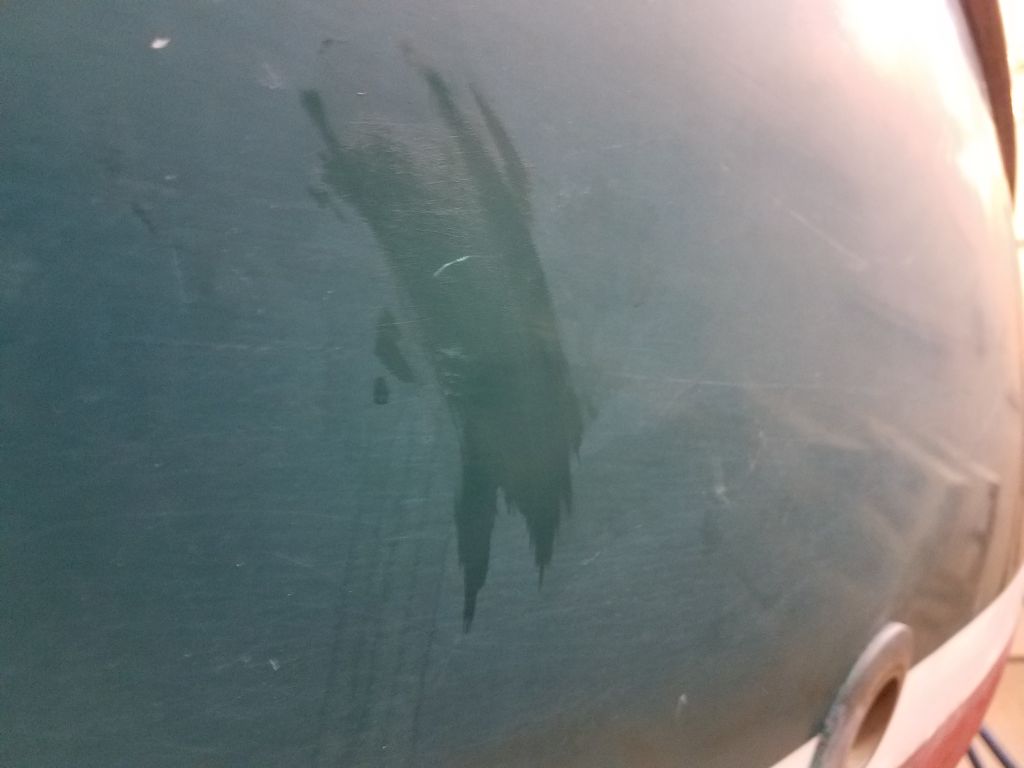
Next, I performed the important solvent compatibility test. Soaking small rags in topcoat solvent from the paint system, I taped them in place in two areas on the hull: one directly over the scored area, and the other in another random location, which happened to be on the starboard topsides near the exhaust outlet, but could have been anywhere.
I left these tests in place for 15 minutes before removing the rags and inspecting the paint beneath. There were no signs of any paint removal, wrinkling, or other suspect damage, nor even any particular signs of coating softening beneath the harsh solvent. This was all good news, as it meant that I’d not have to remove the existing coatings, and that they could provide an acceptable substrate for the new primer and paint.
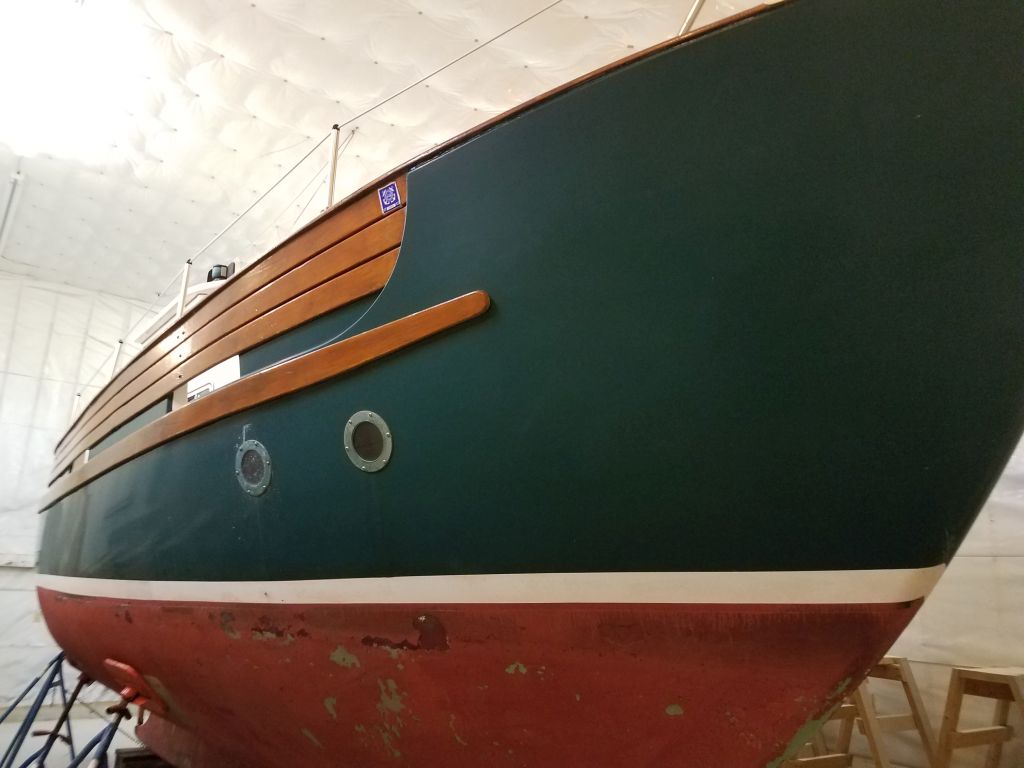
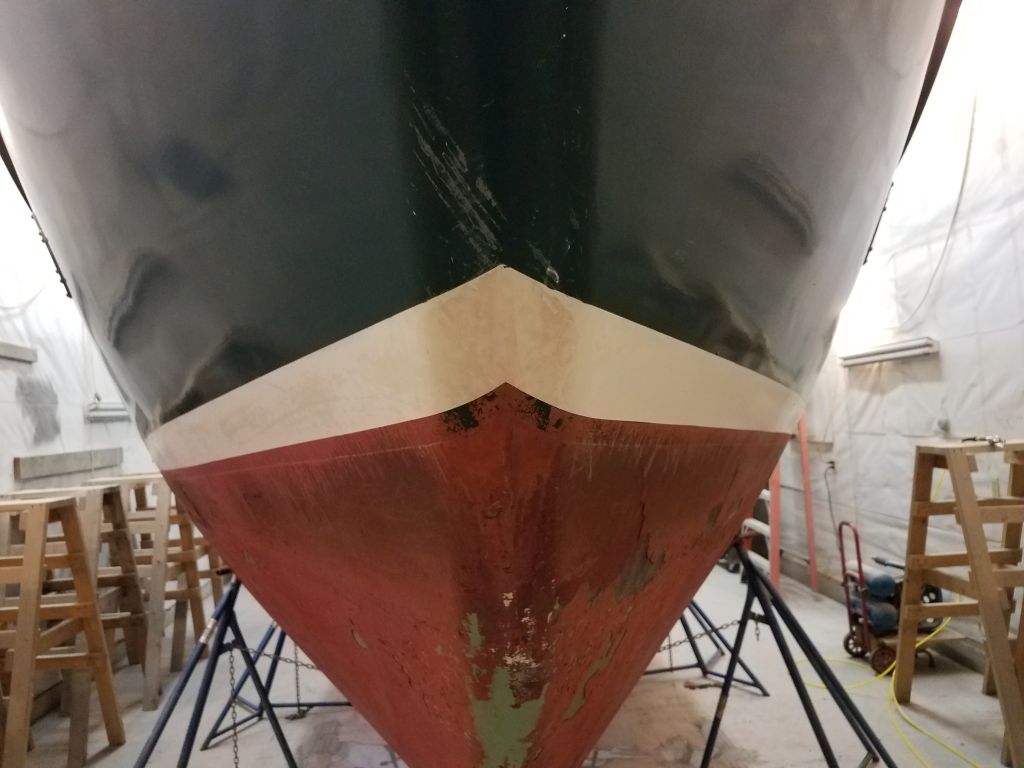
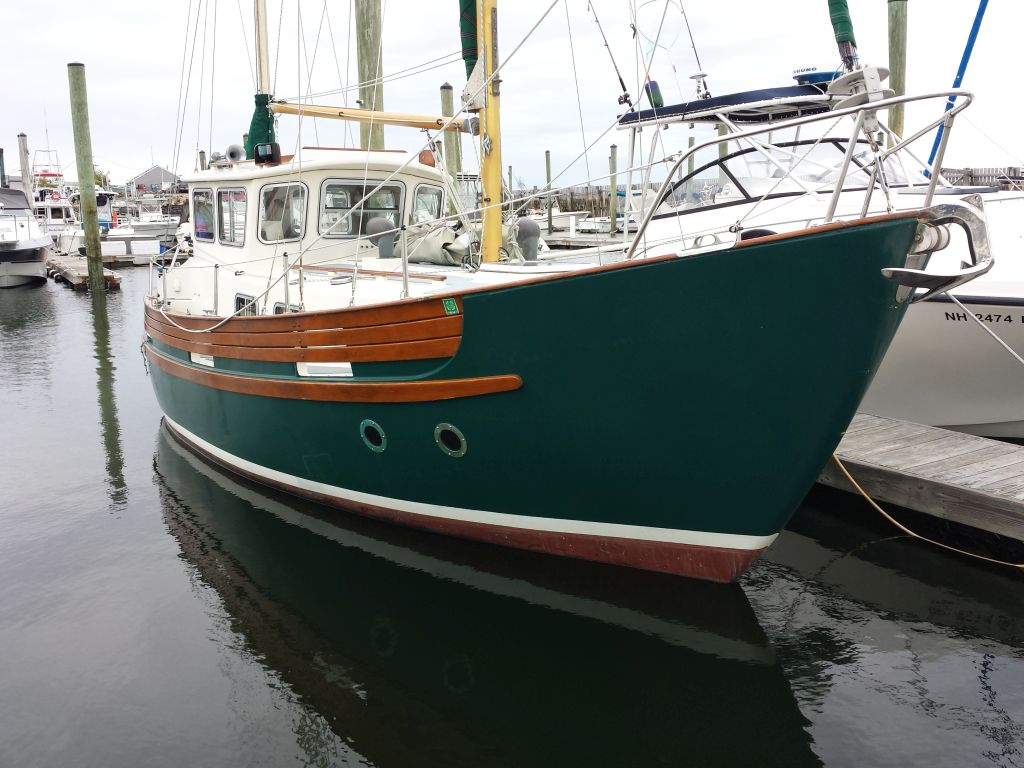
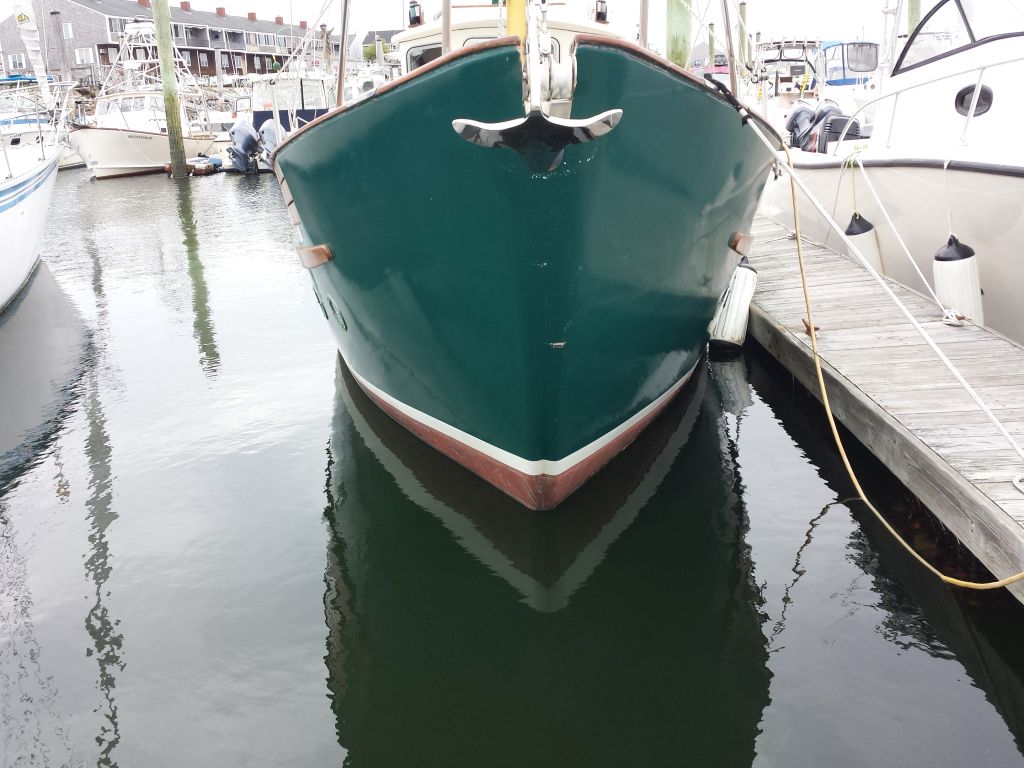
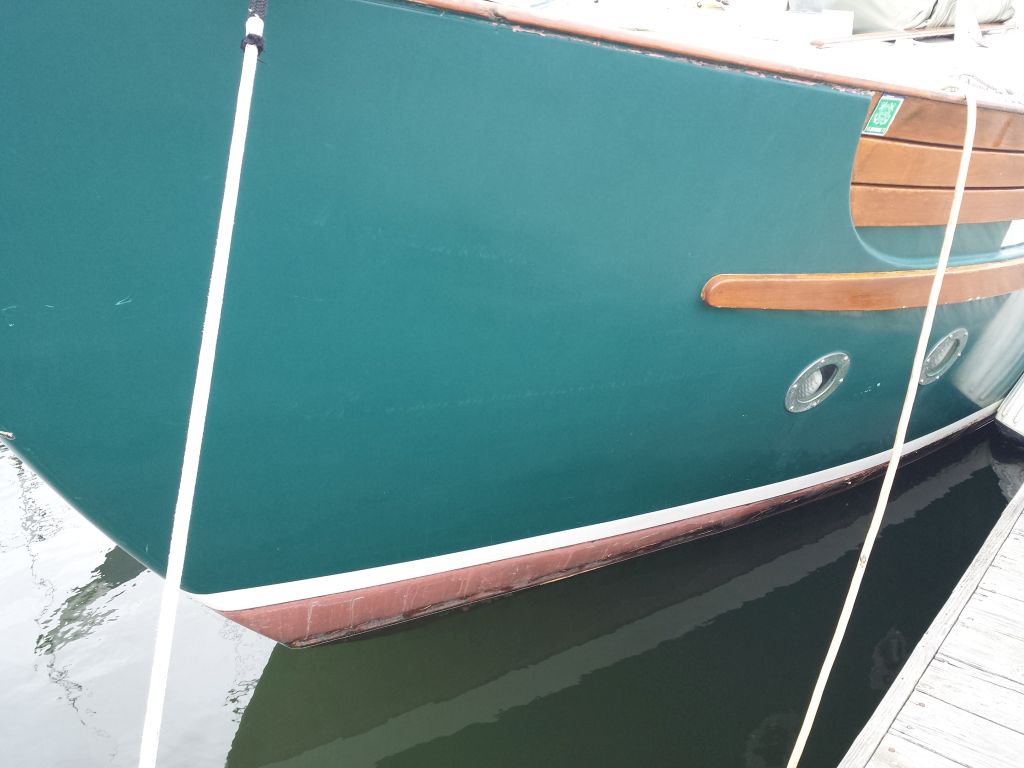
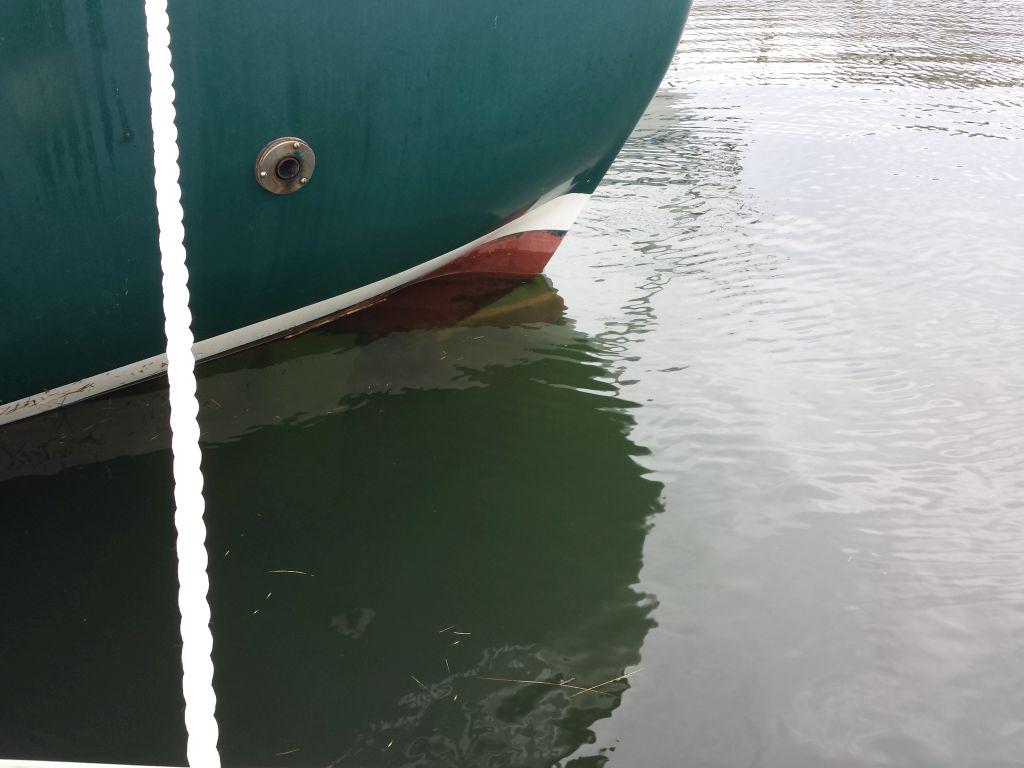
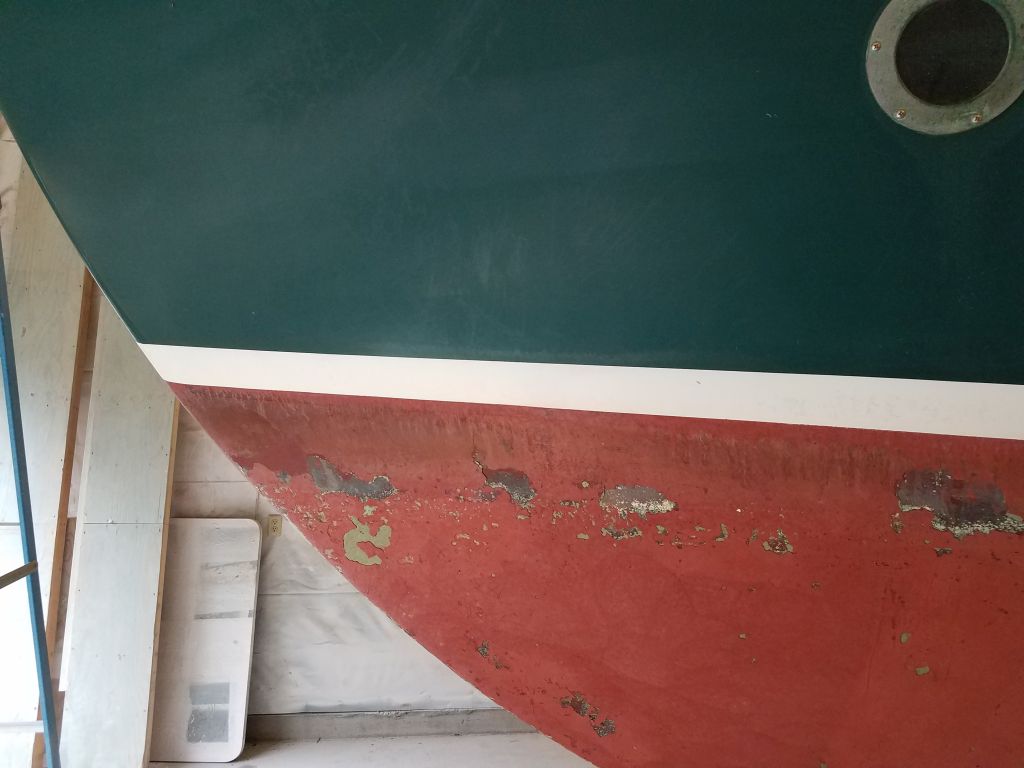
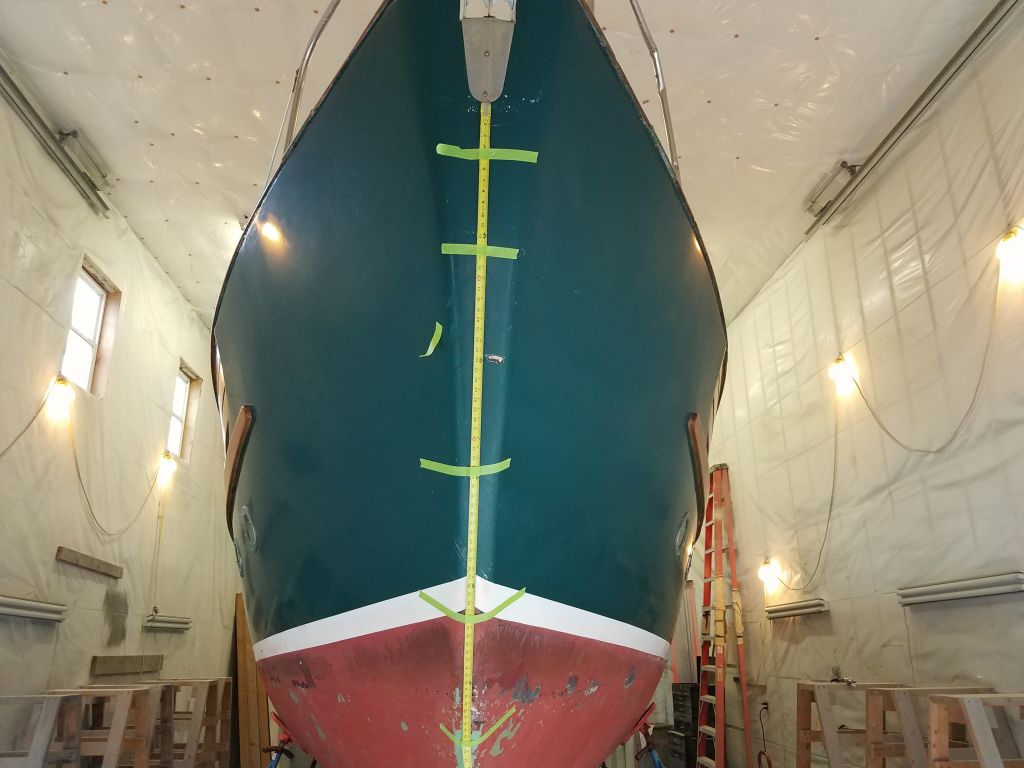
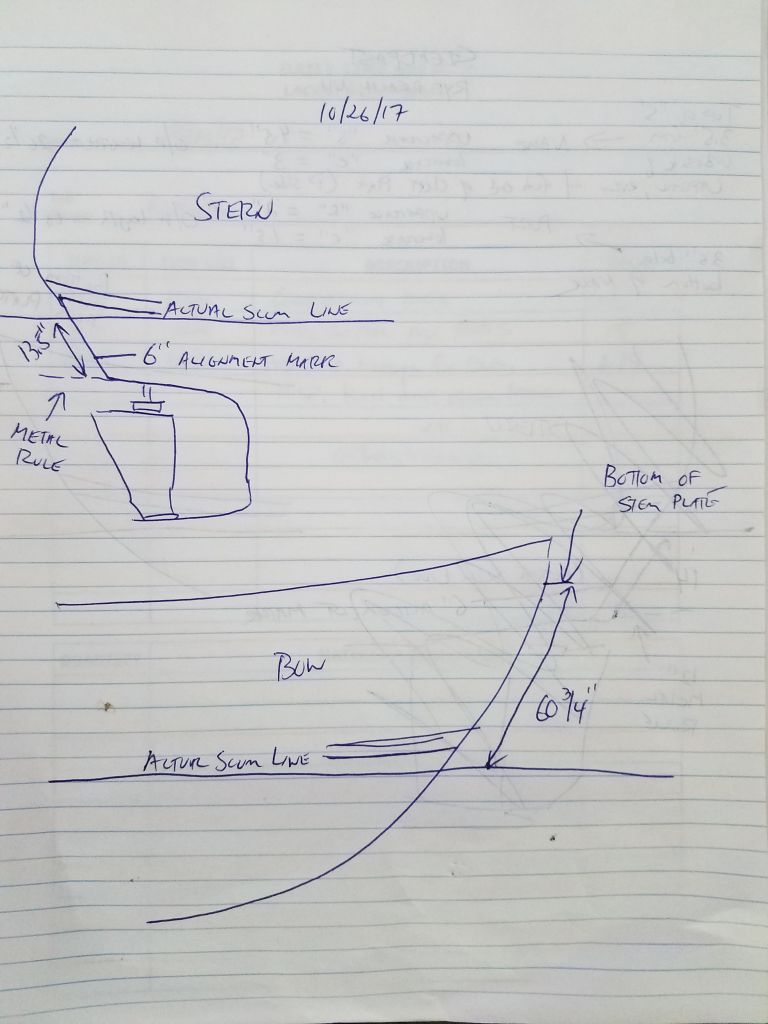
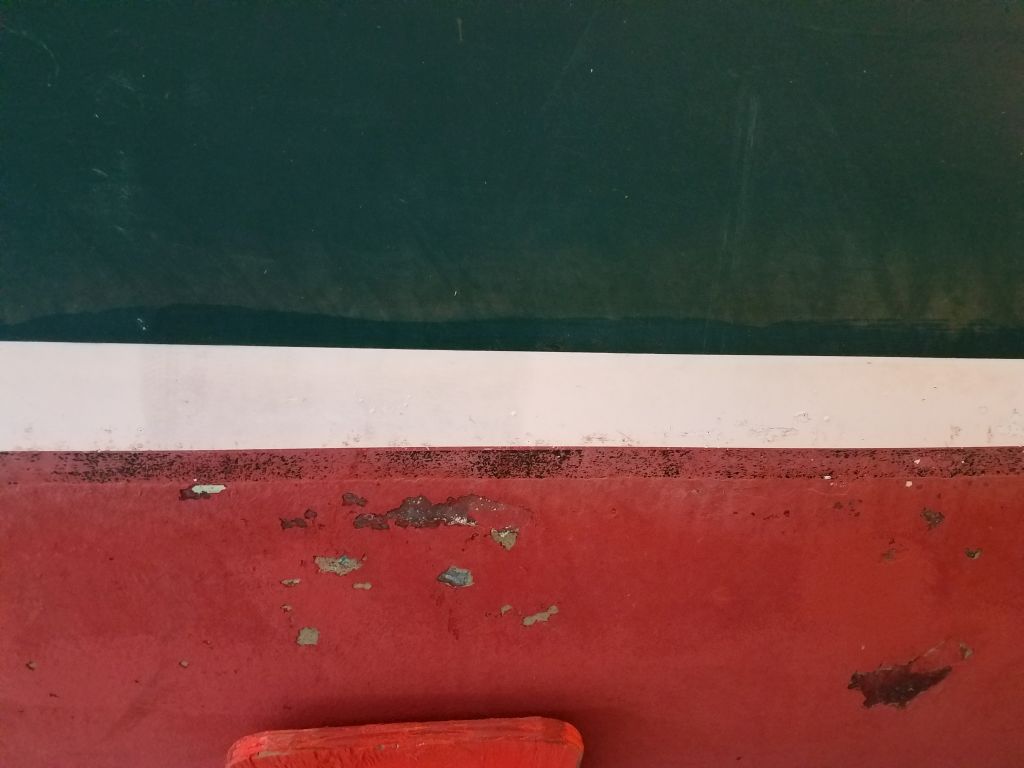
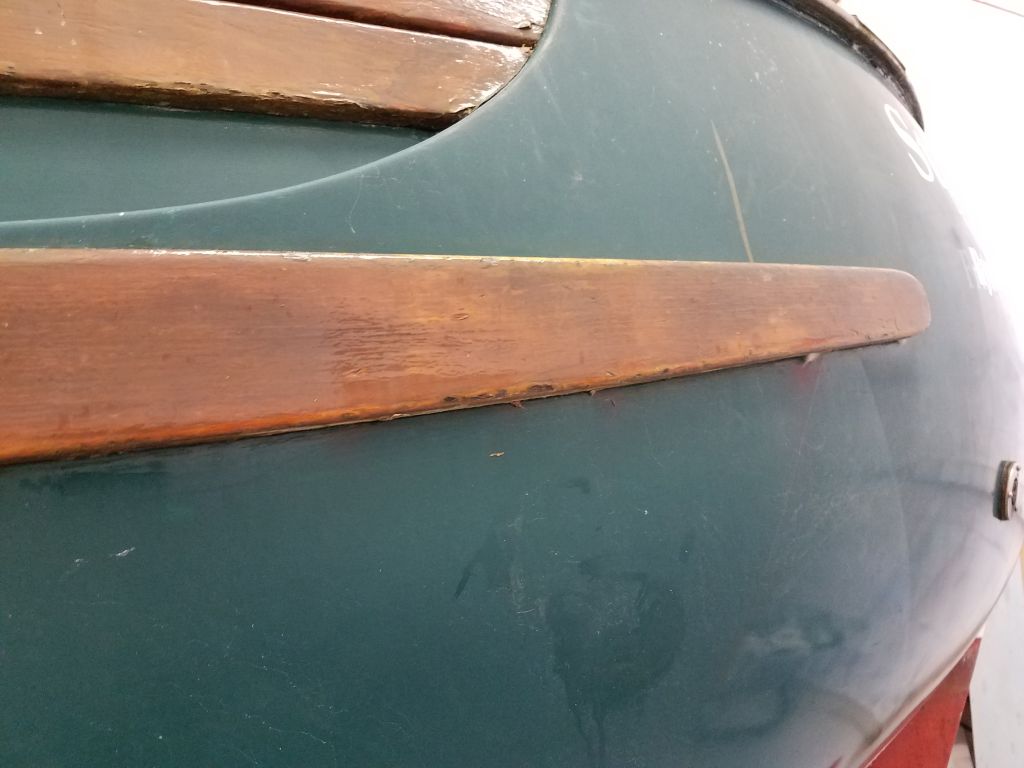
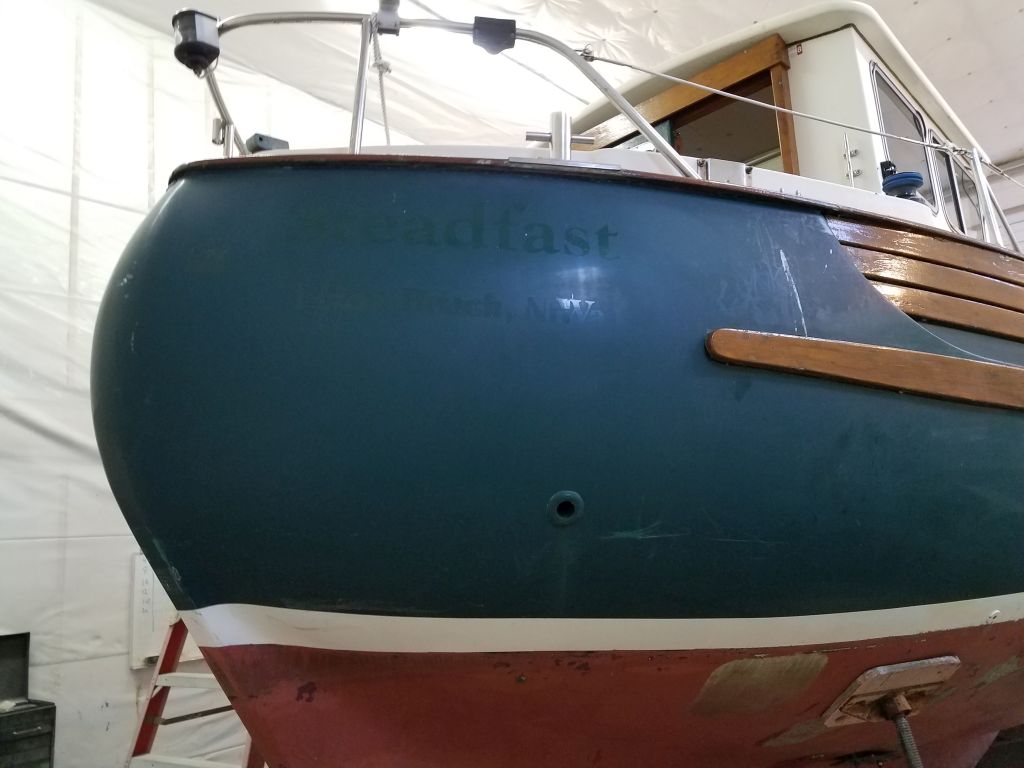
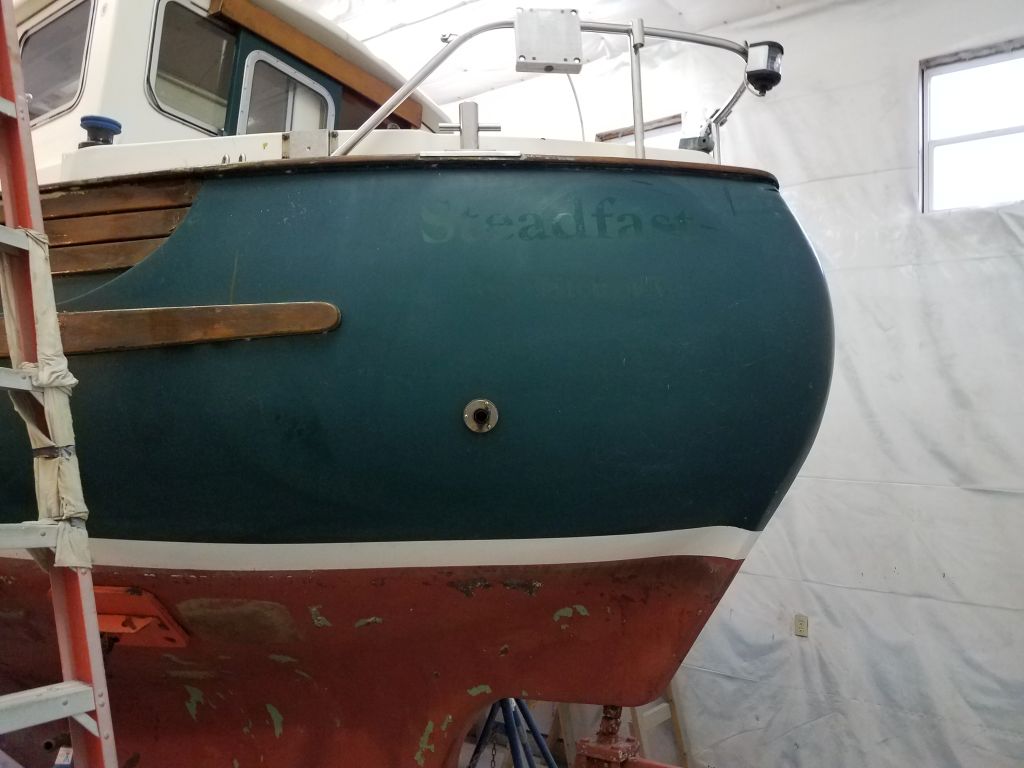
With those critical steps behind me, I turned to documenting the existing position of the bottom paint, boottop, and true waterline; the actual floating waterline was easily determined by a visible scum line bow and stern, and backed up by some photos of the boat in the water that I took during my inspection and estimating two years earlier.
Photo from 10/2/15
Photo from 10/2/15
Photo from 10/2/15
Photo from 10/2/15
The owner requested that we correct the waterline, which was a bit wonky and could certainly be improved upon. For this purpose, the location of the actual floating waterline was most important and was the main focus of my measurements.
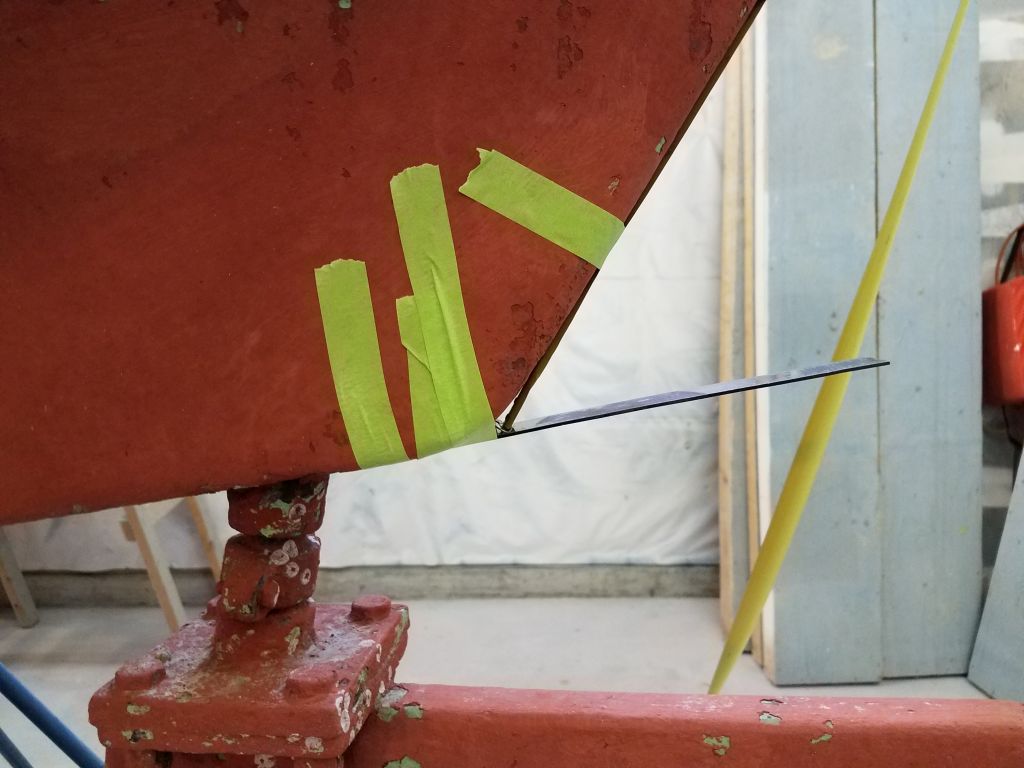
At the stern, I measured from a known point on the hull, determined by securing a steel rule in line with the angle of the hull at the top of the aperture behind the rudderpost. From here, I could determine set measurements to the actual scum line (13-1/2″). I’d use this mark again later as a reference point for striking a new and improved waterline (i.e. top of the bottom paint in my personal nomenclature here) and boottop.
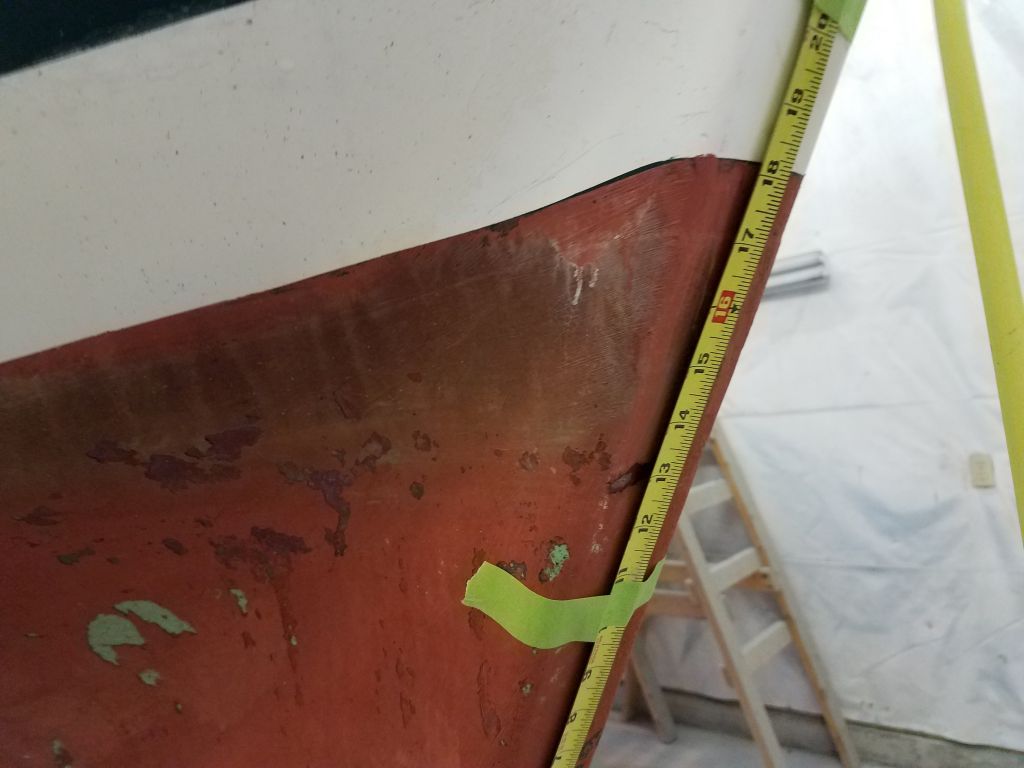
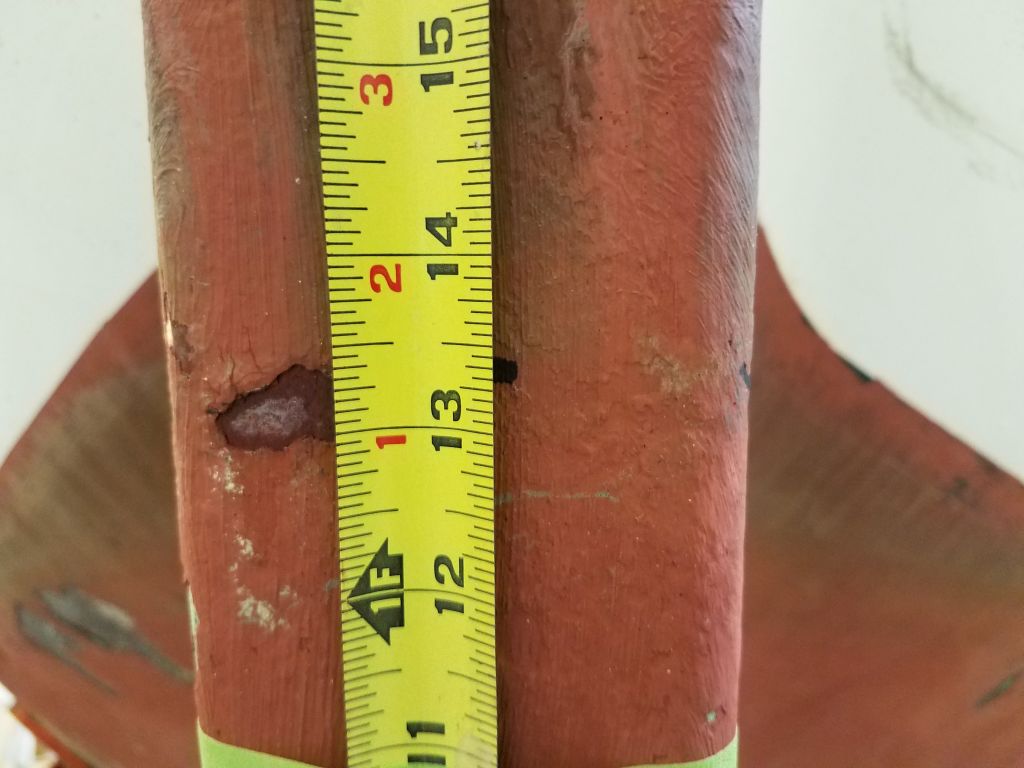
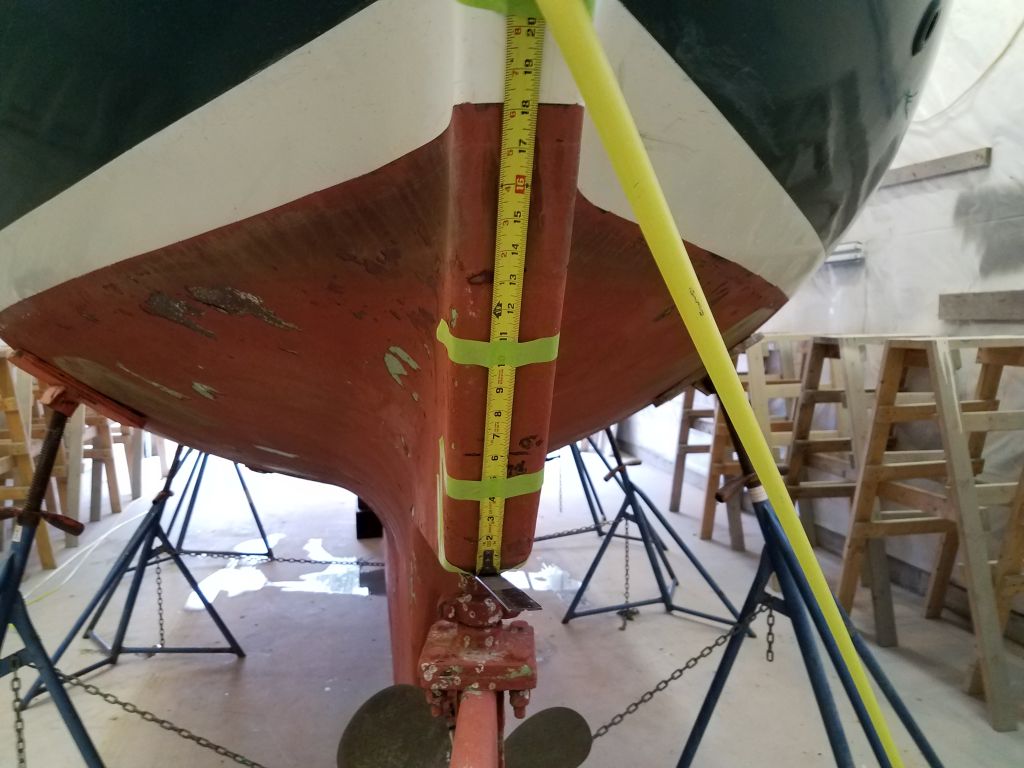
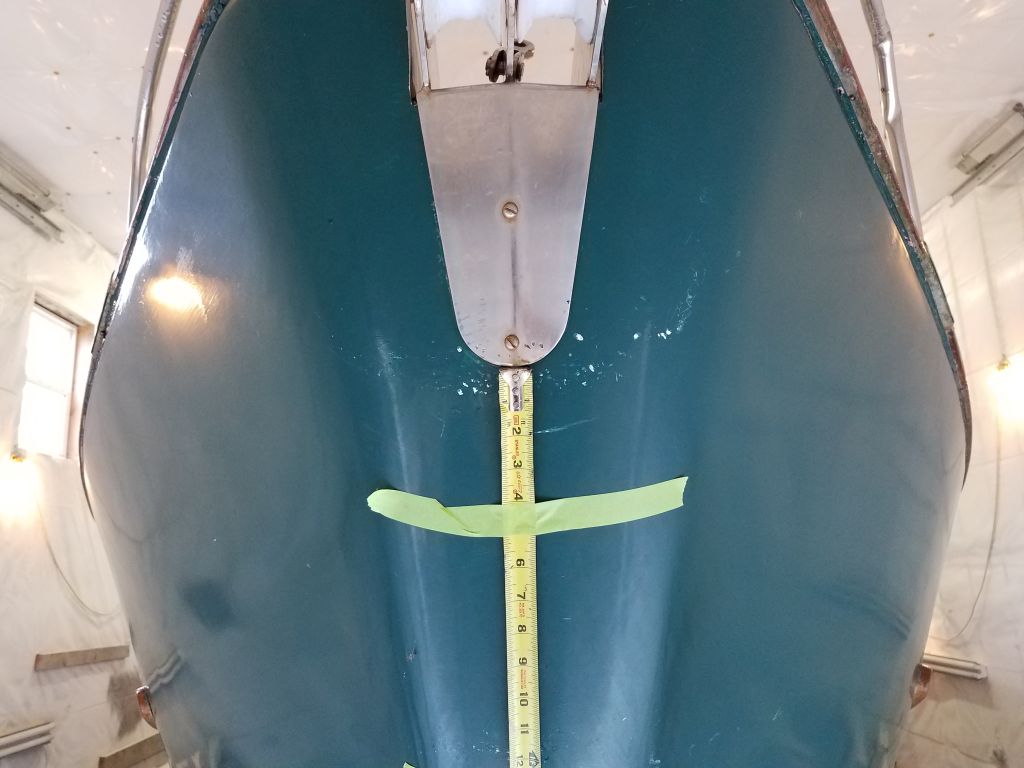
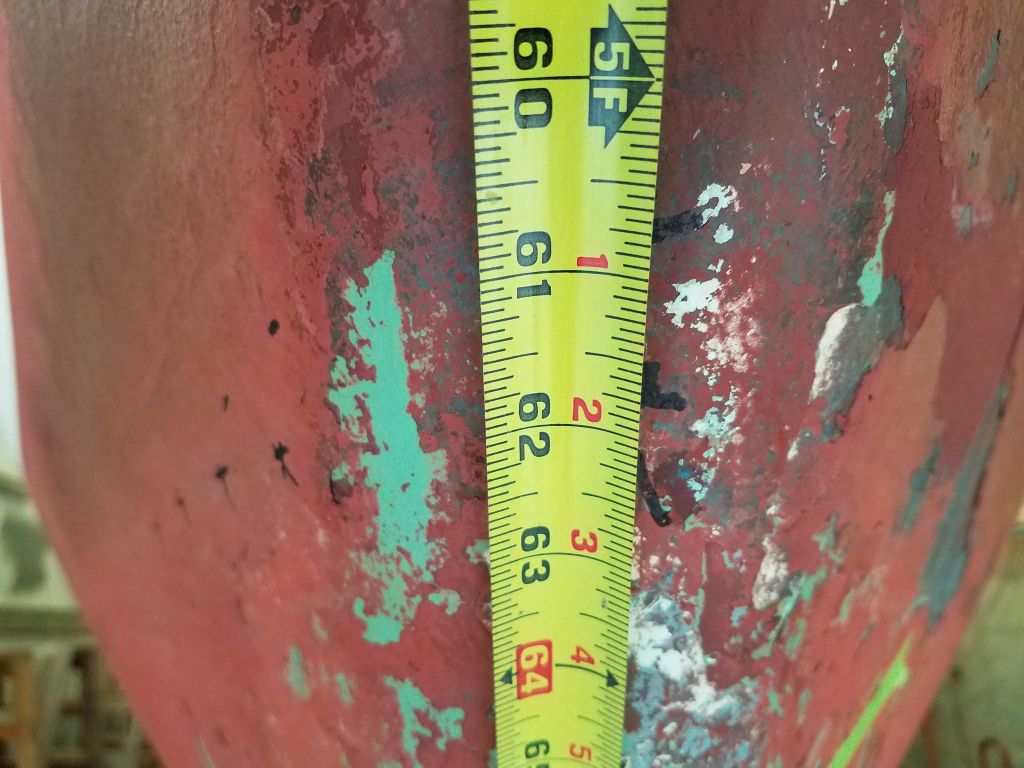
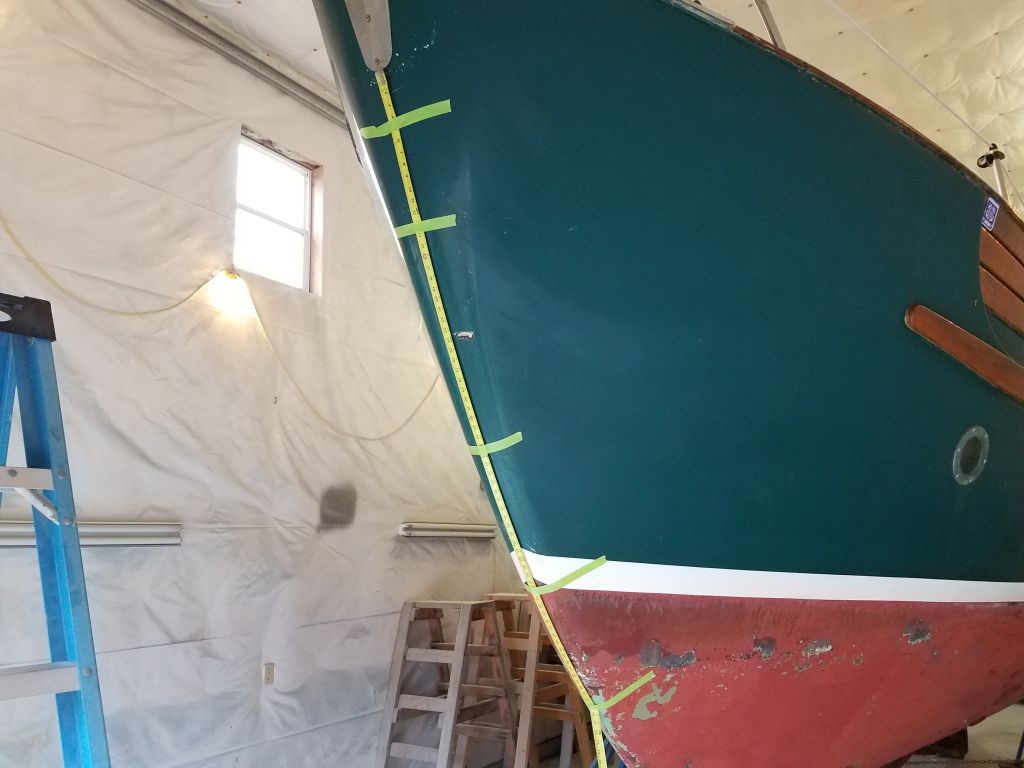
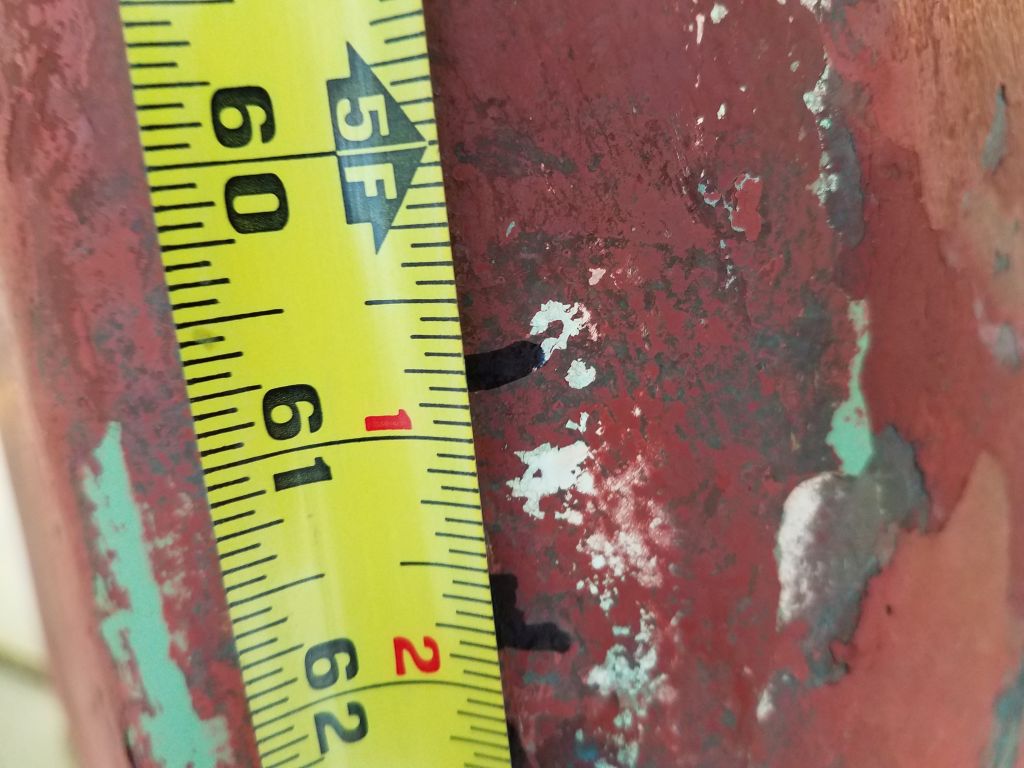
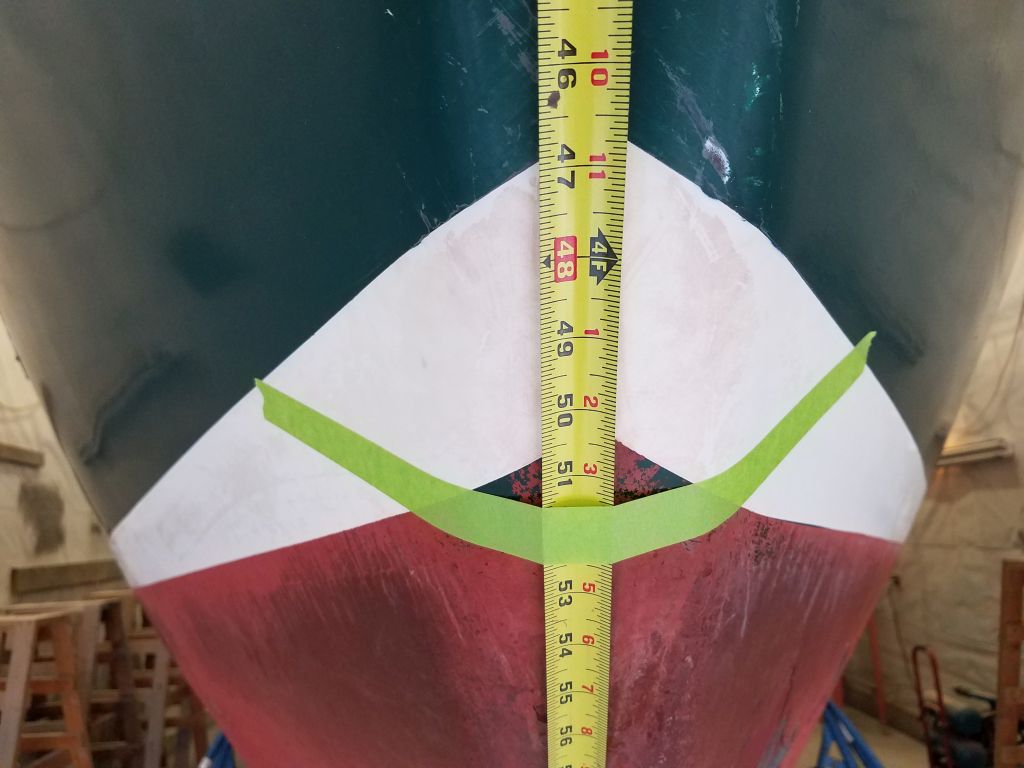
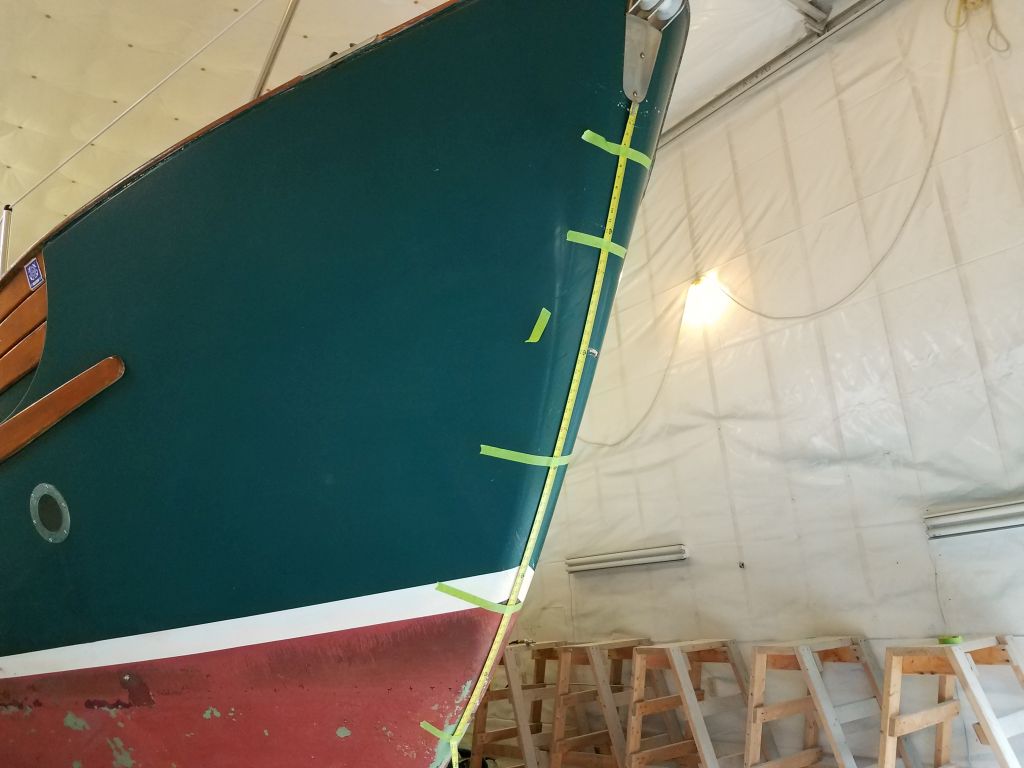
At the bow, I followed a similar procedure, this time using the bottom edge of the stem plate as my reference for measurement. I secured the tape measure along the stem and noted the various measurements for the record: 60-3/4″ to the actual scum line.
I also noted that the existing boottop had a visual height of 3″ amidships. While its current position was irrelevant, I did note that on the port side, there was evidence that the boot was at or possibly below the waterline at rest, evidenced by various paint failure and bubbling that suggested submersion or at least proximity.
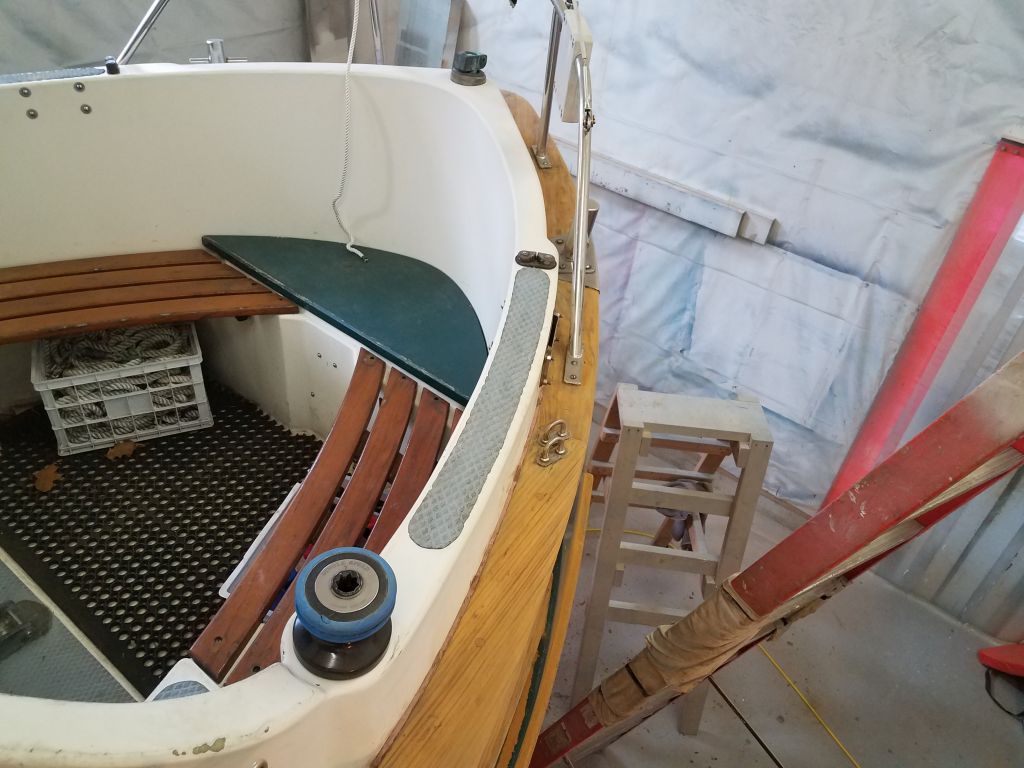
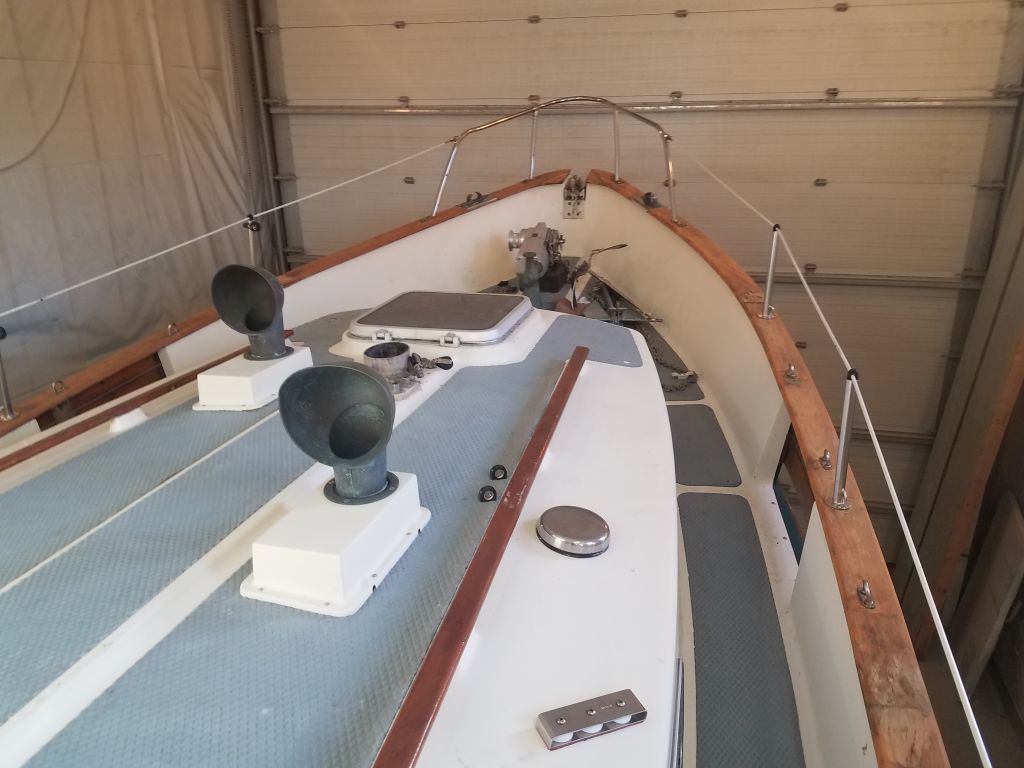
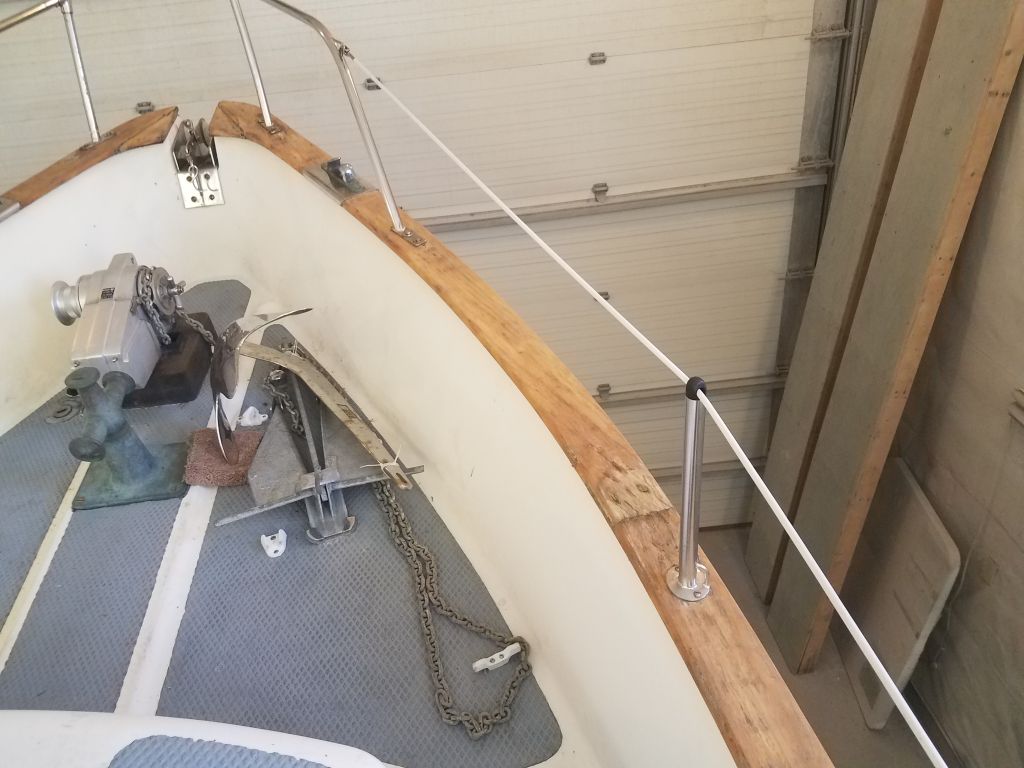
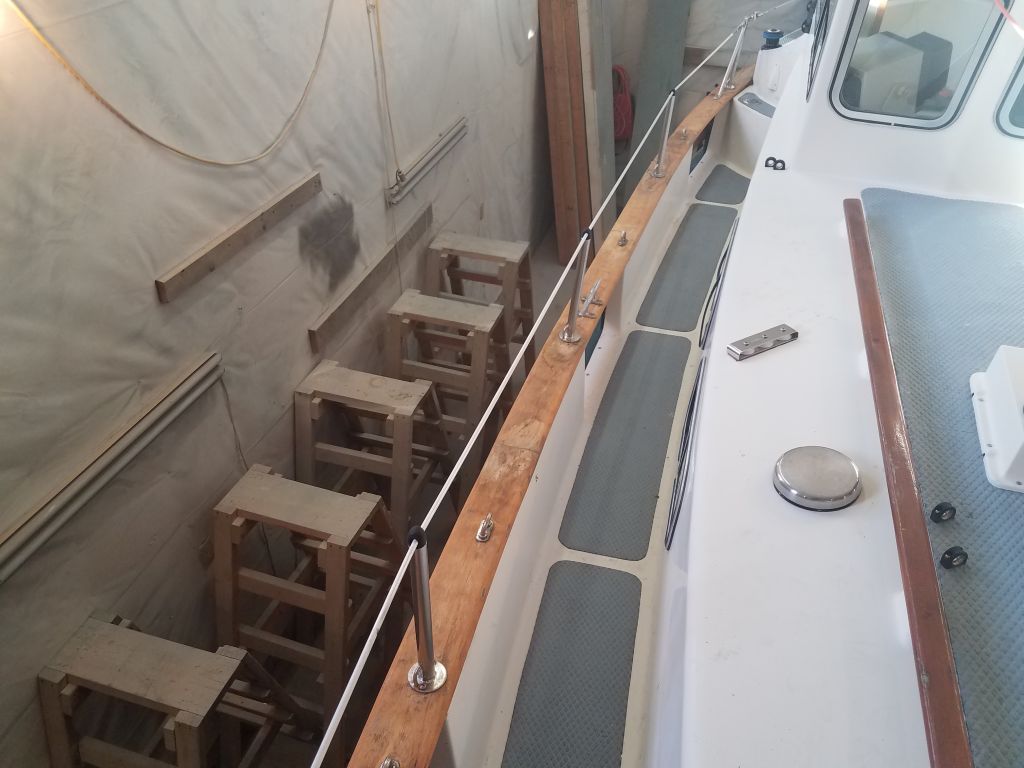
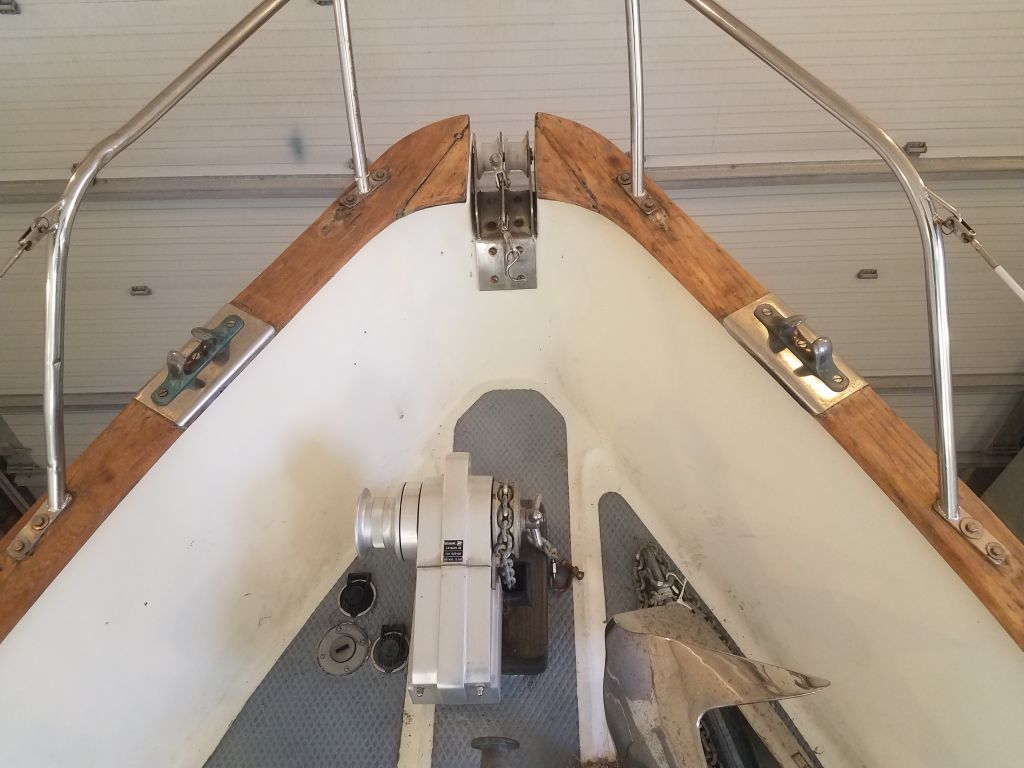
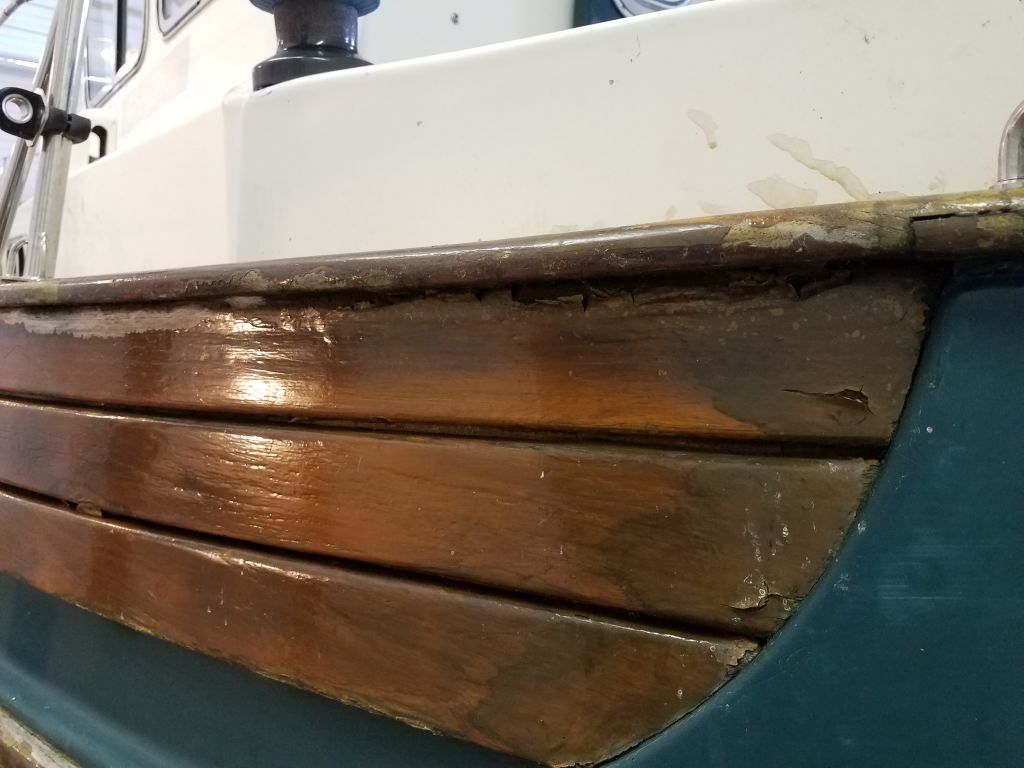
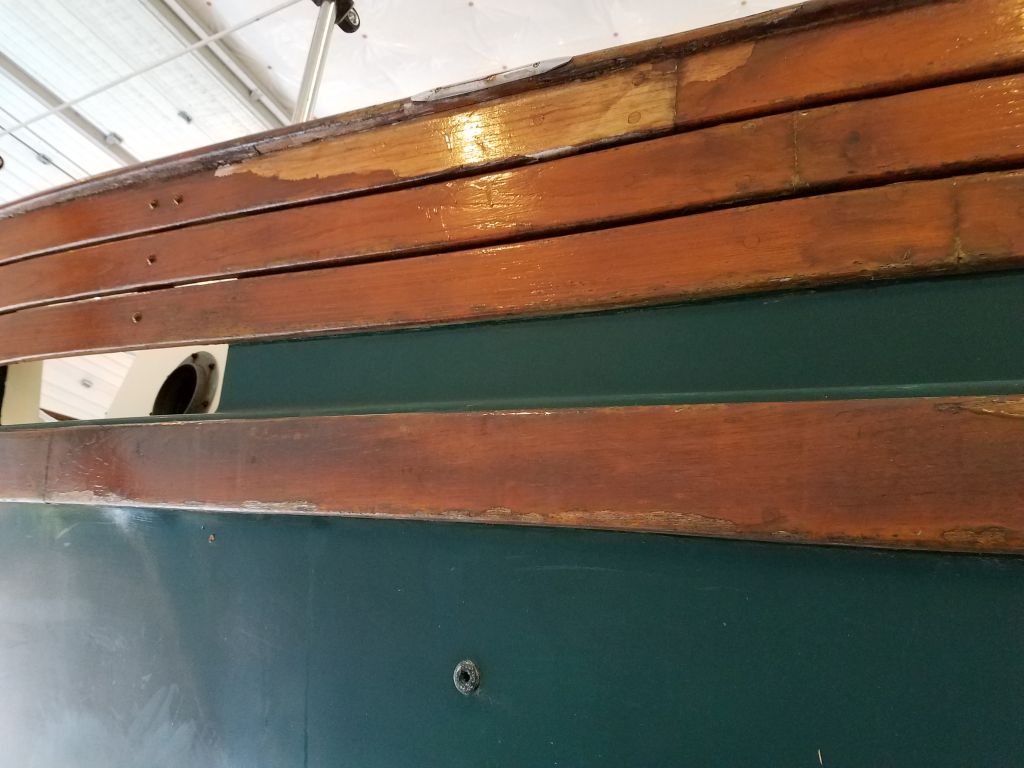
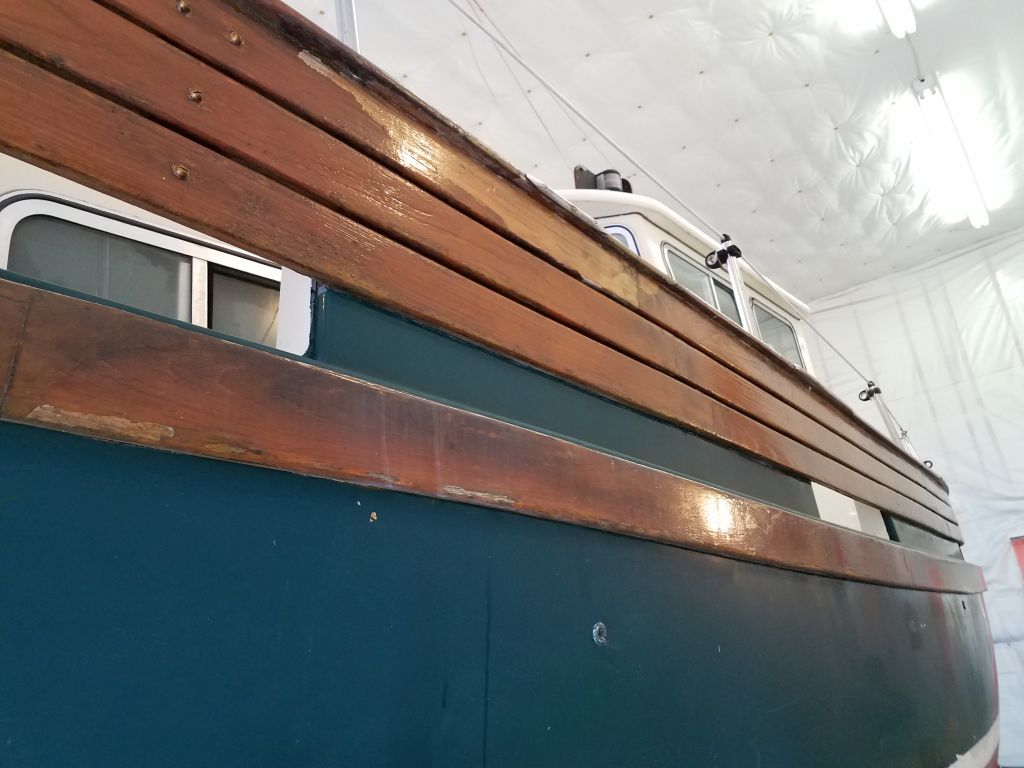
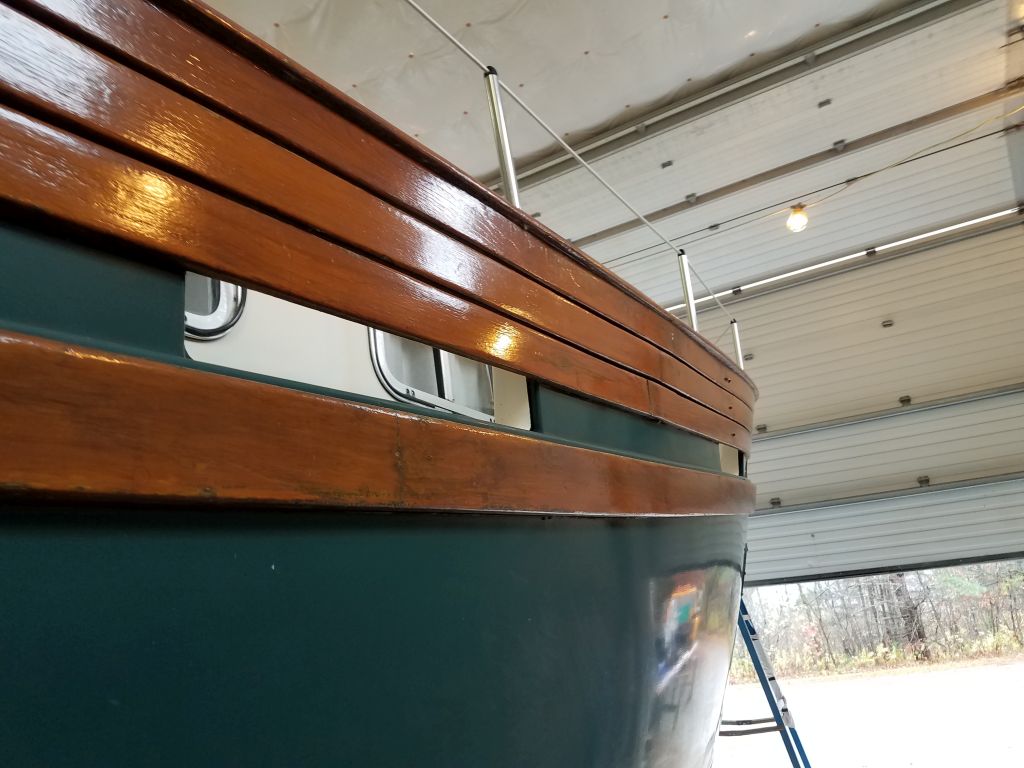
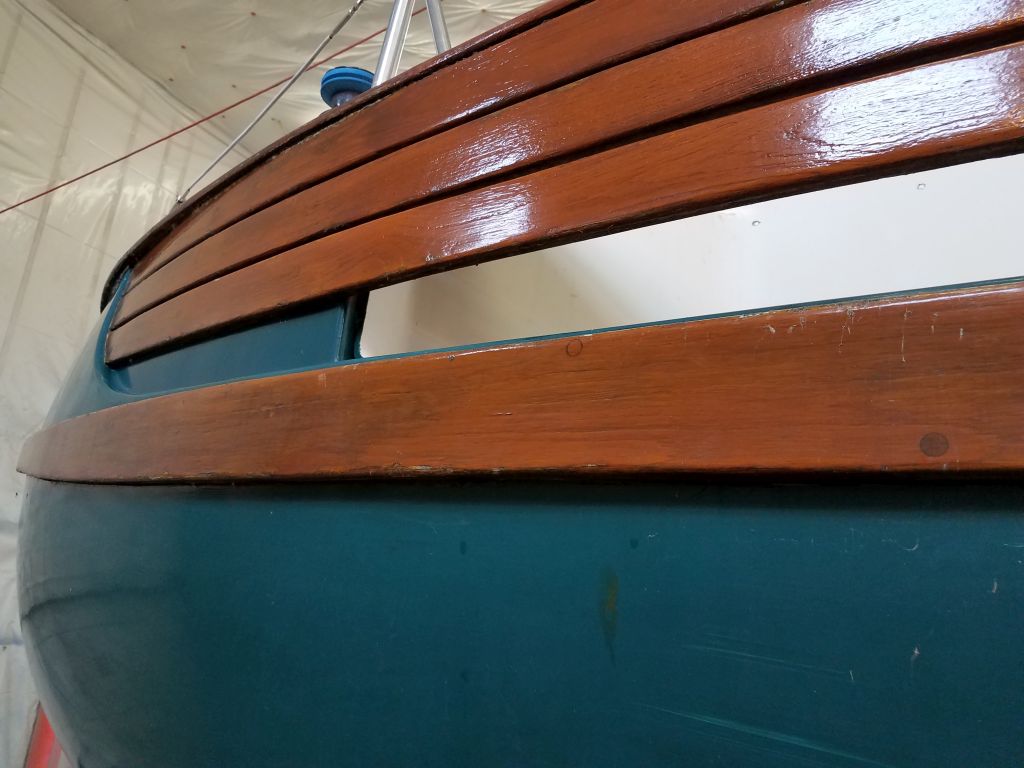
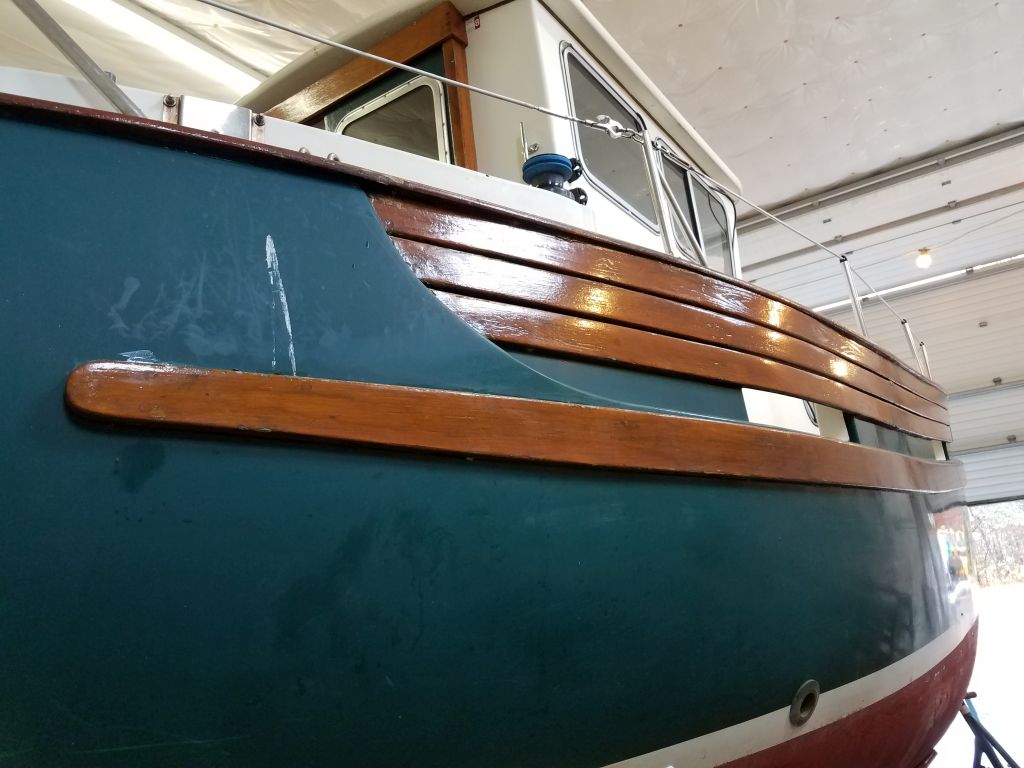
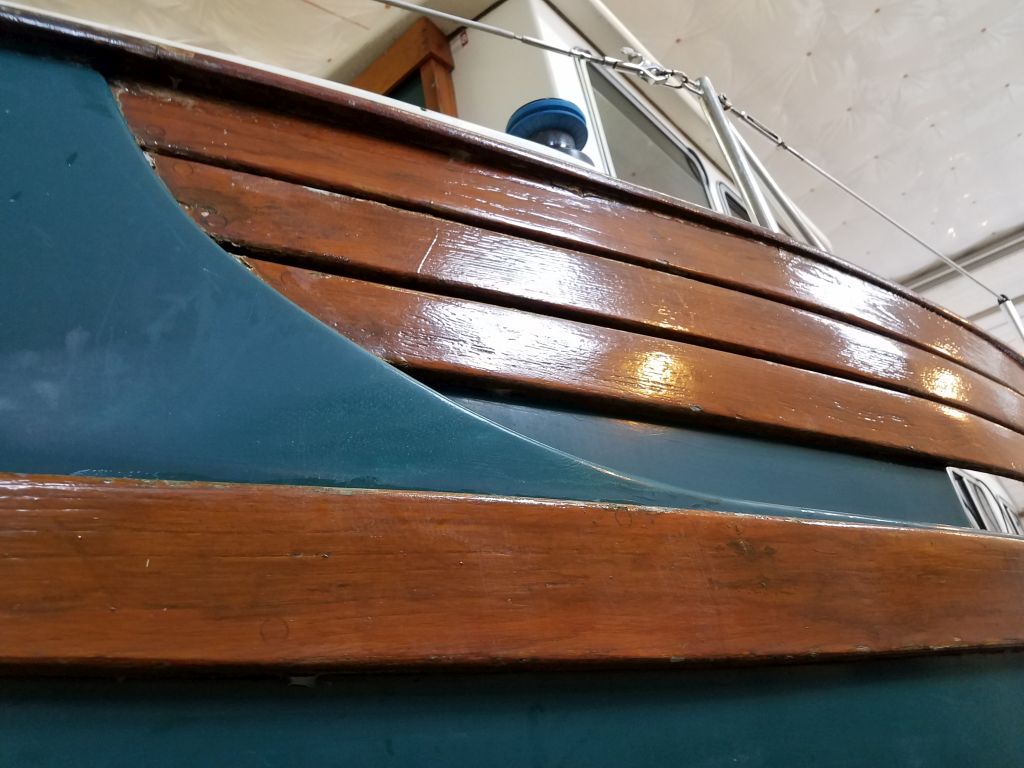
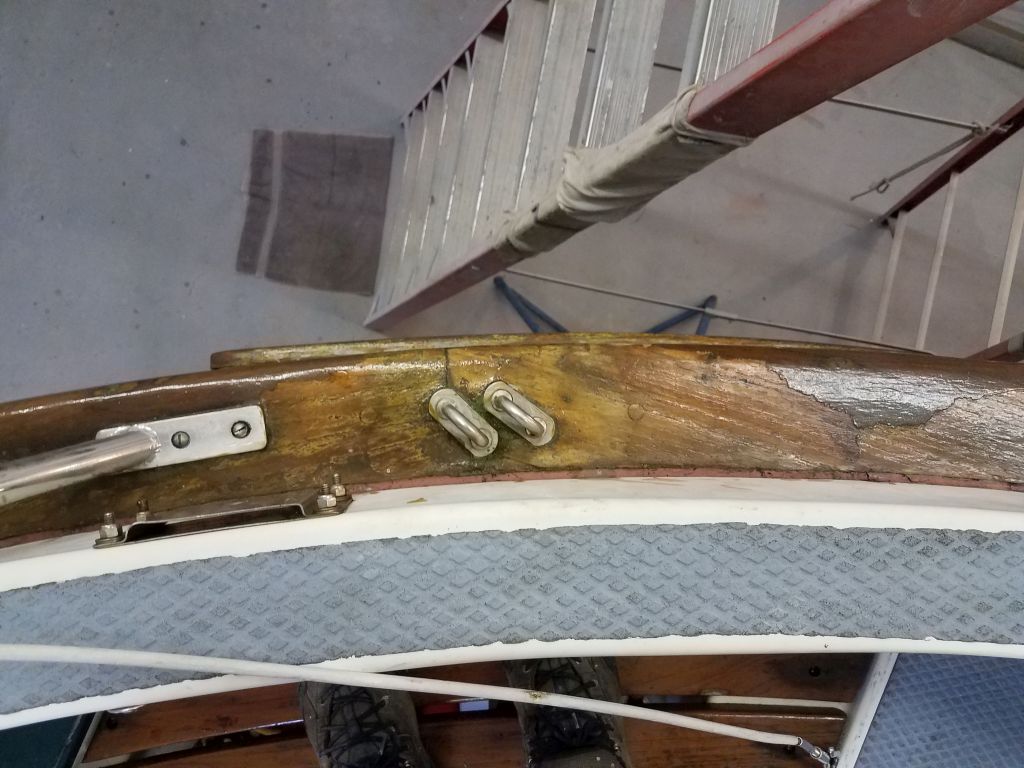
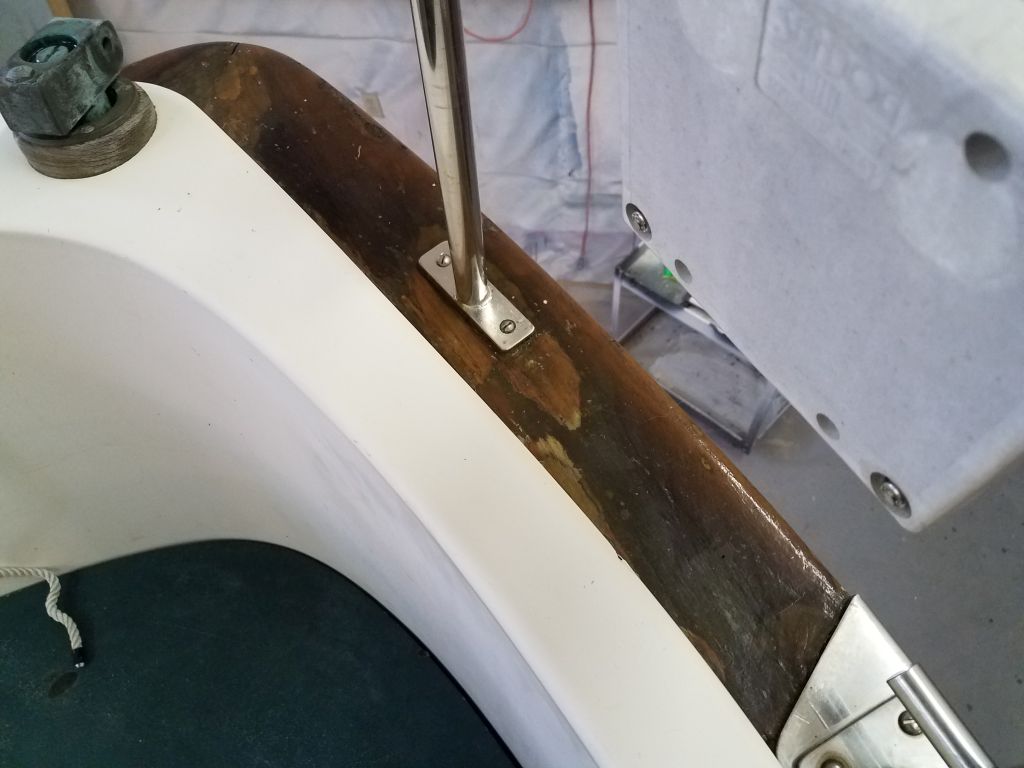
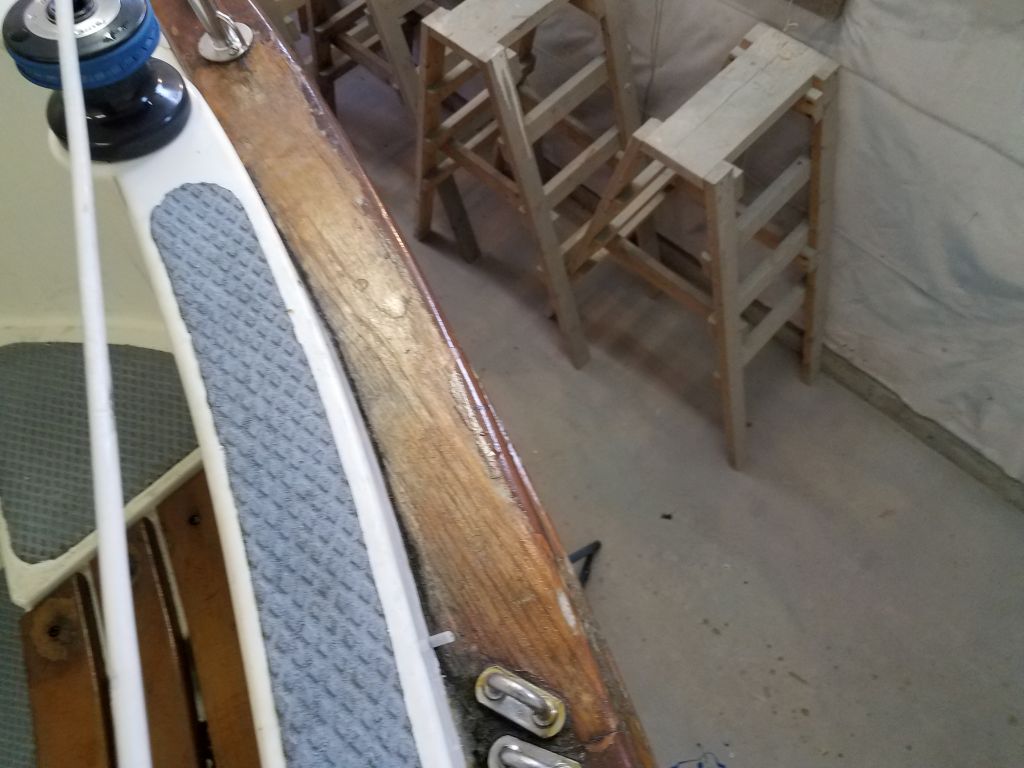
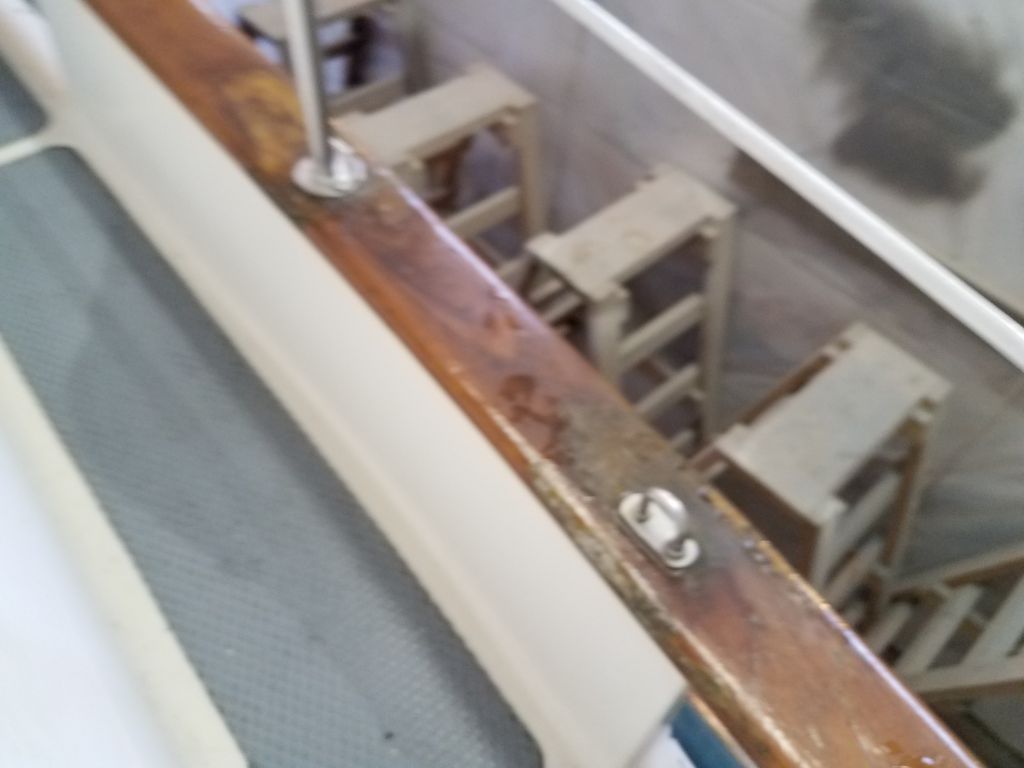
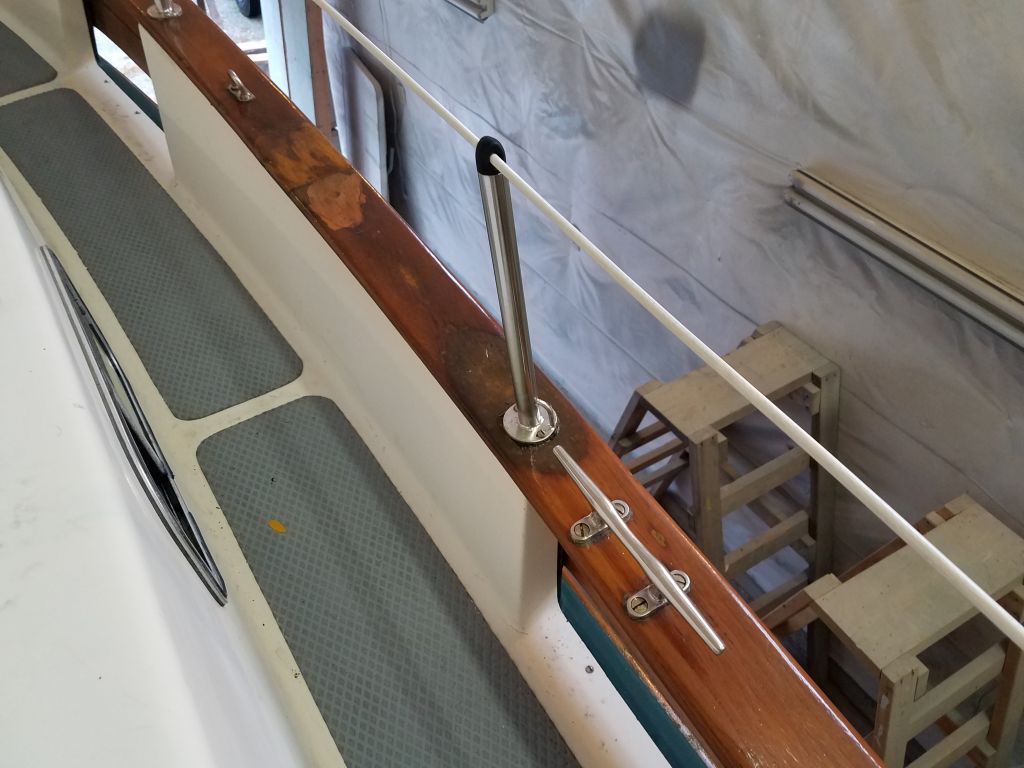
Onwards. The original job bid had me performing basic seasonal maintenance on the brightwork on deck, along with the caprails, rubrails, and bulwarks. Inspecting the woodwork now, I noted many past and present failures of the old finish (Cetol) on the caprails, as well as the bulwarks and rubrails. On deck, the handrails, hatch trim, and cockpit areas were more serviceable if not in ideal condition, but upon discussion with the owner we decided to concentrate mainly on the most significant areas that also happened to need the most work: caprails, rubrails, bulwarks. At my suggestion, the owner decided to proceed with stripping and refinishing these areas, while sticking with maintenance coats on the deck trim for the moment.
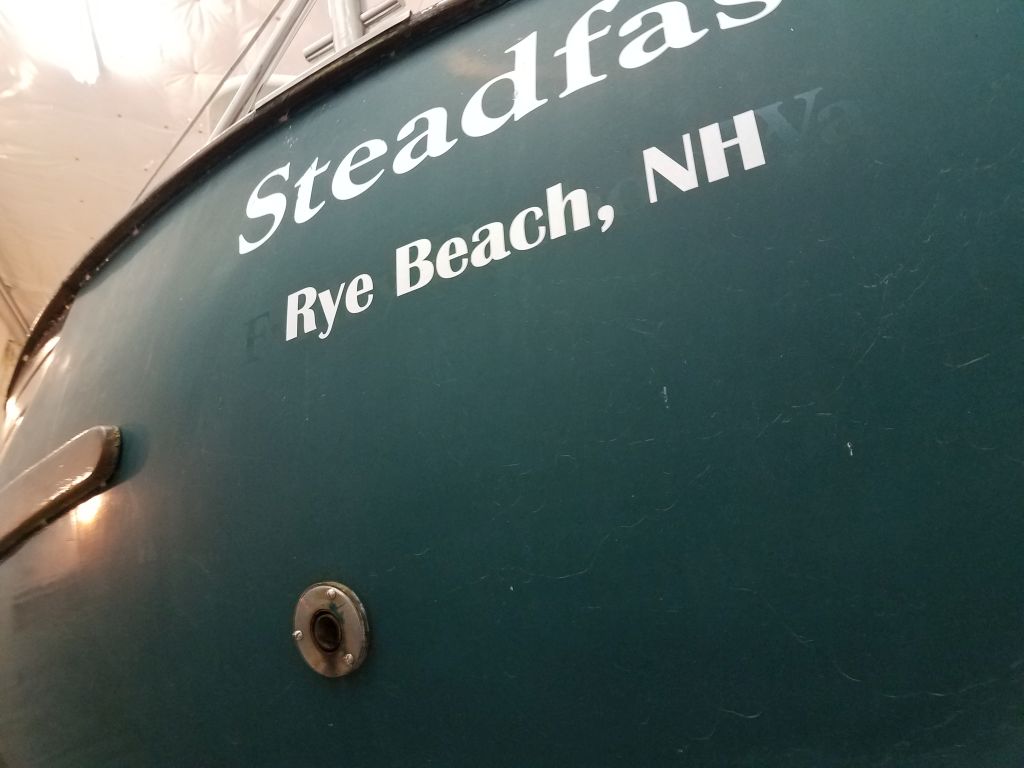
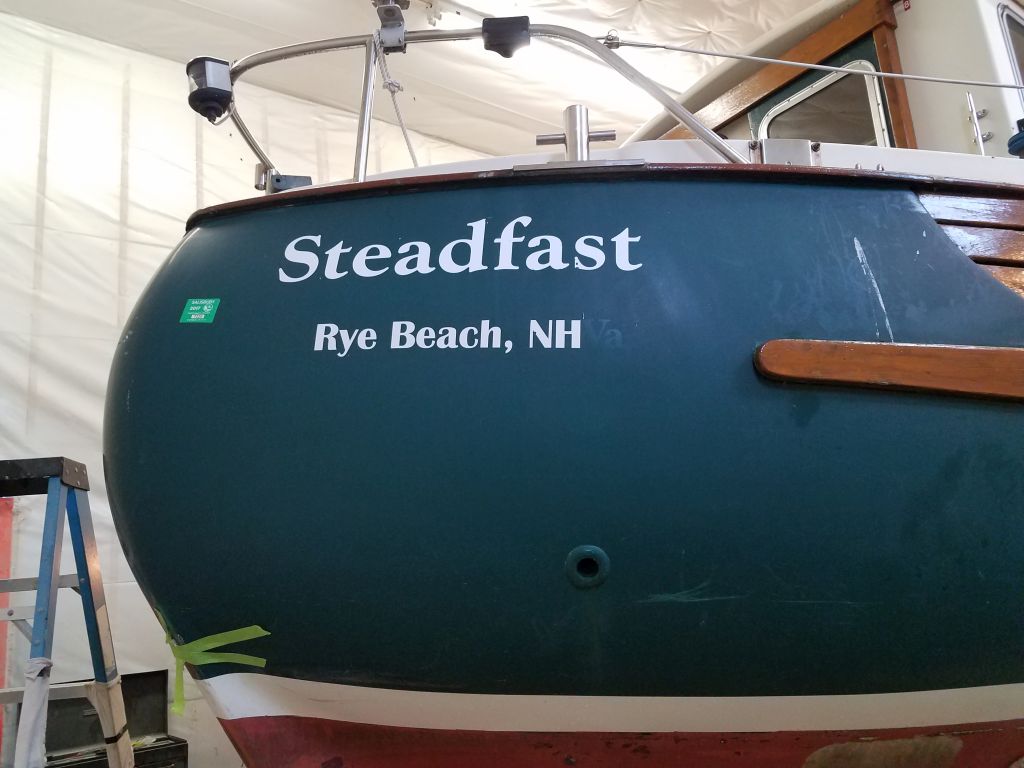
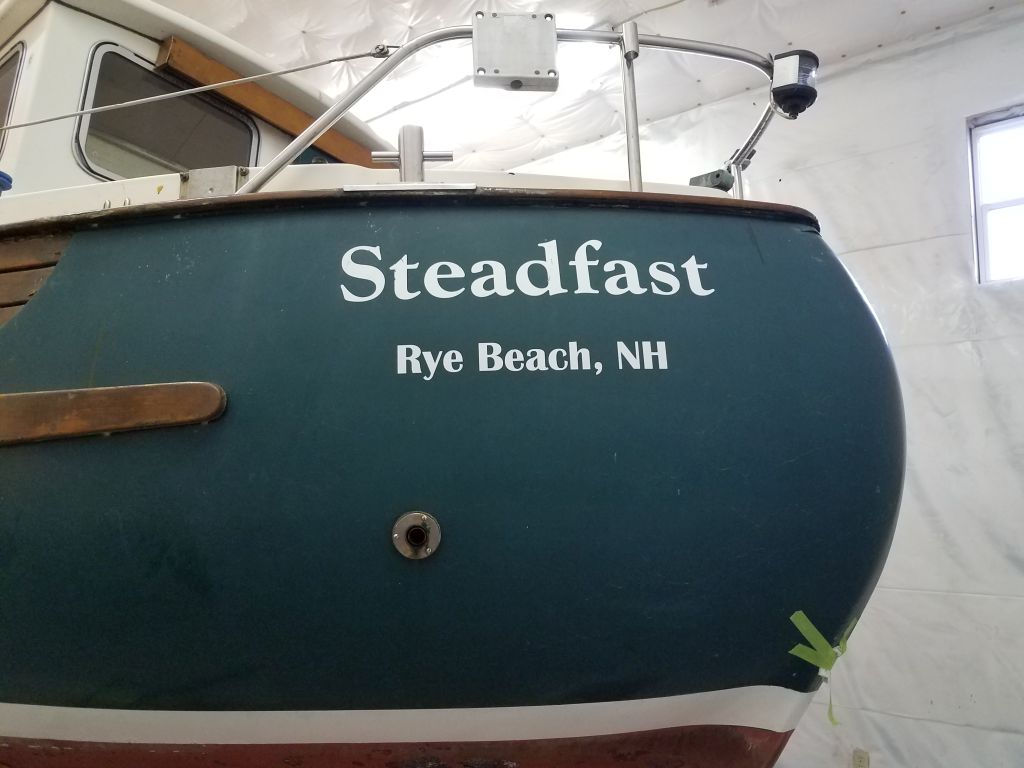
At the stern, I took various measurements to document for my future reference the existing letter sizes and spacing of the name and hailport on each side, the removed the vinyl lettering to prepare for sanding and surface preparation.
Total time billed on this job today: 3.75 hours
0600 Weather Observation: 60°, rain. Forecast for the day: Rain, 60s
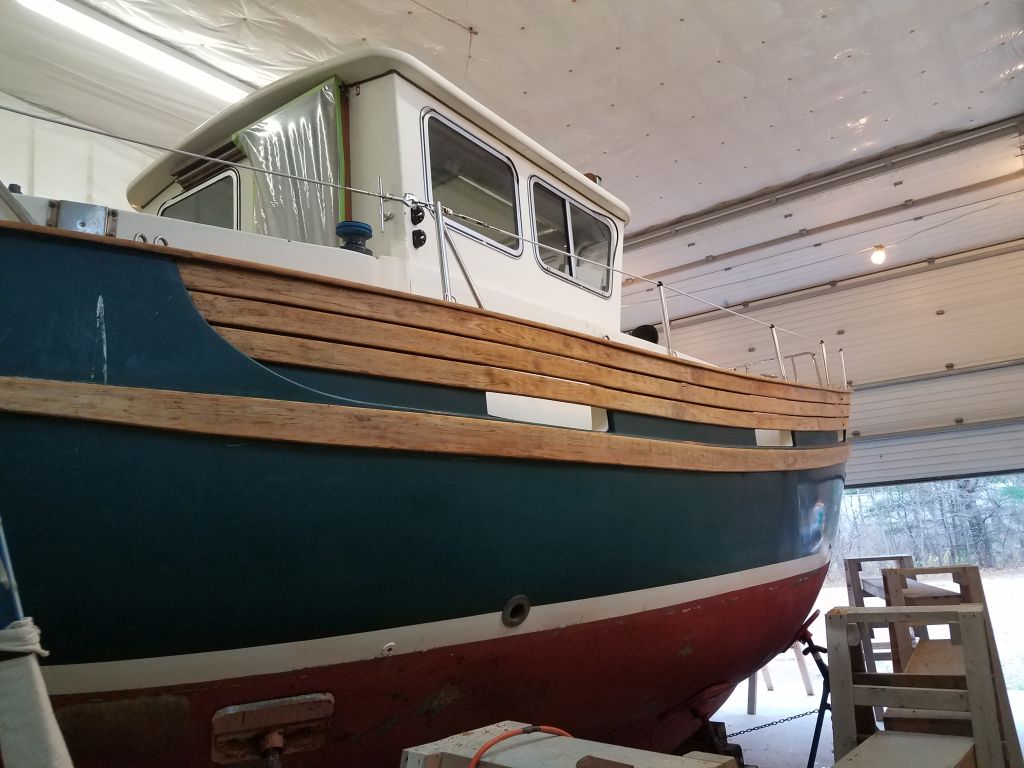
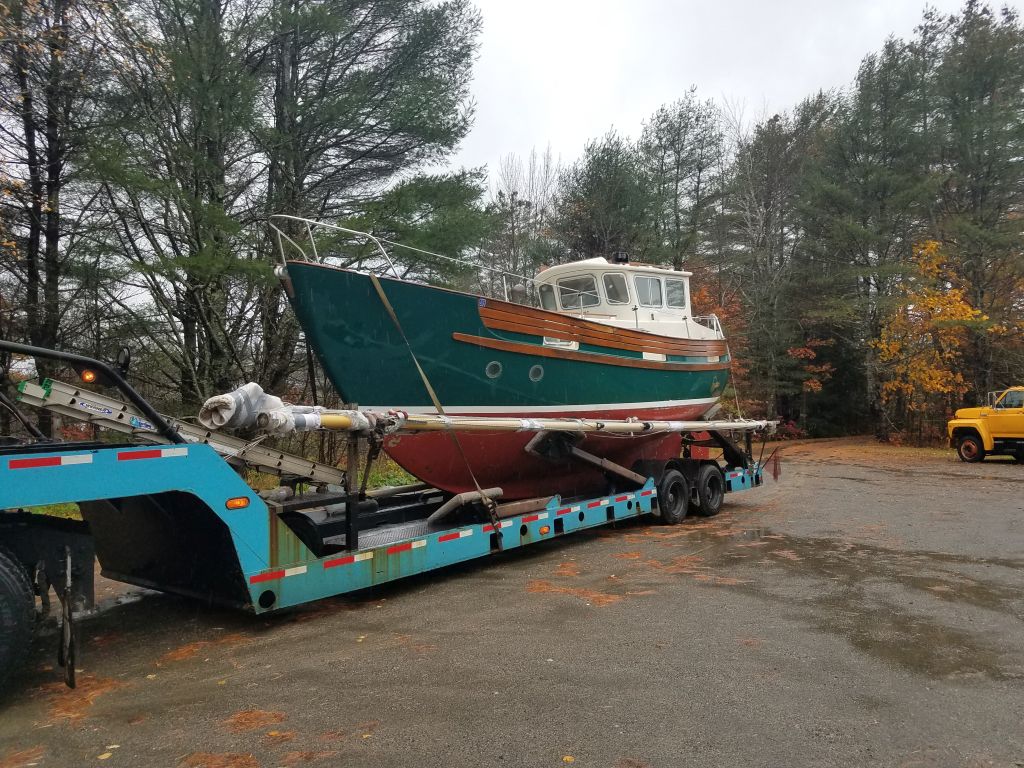
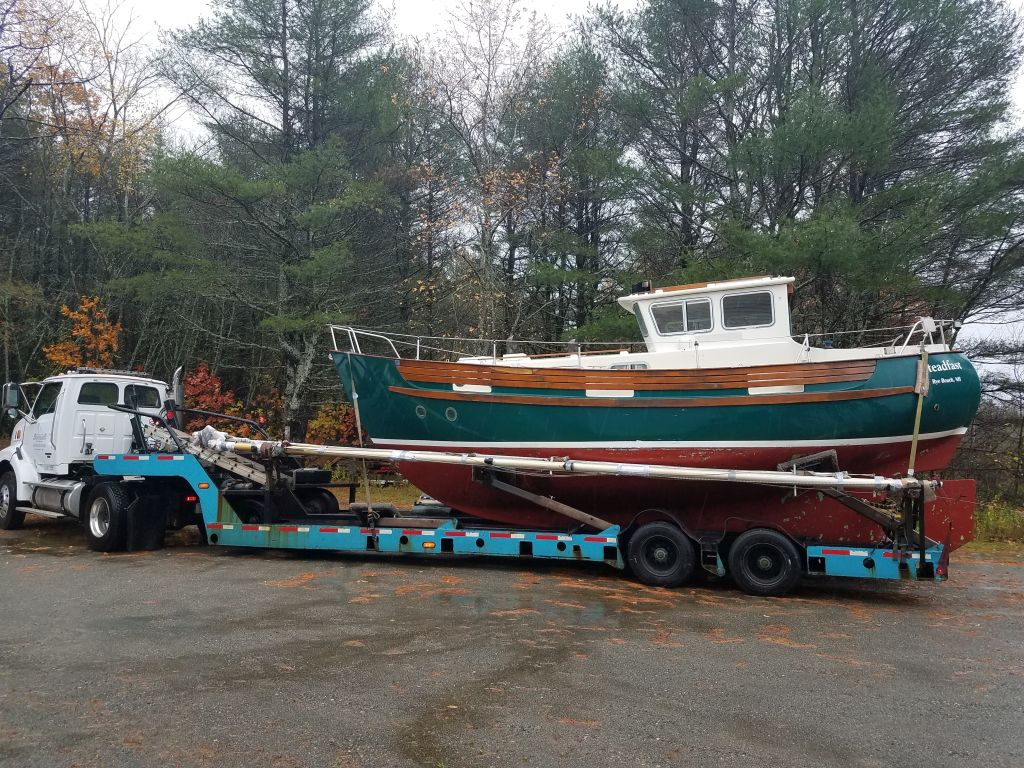
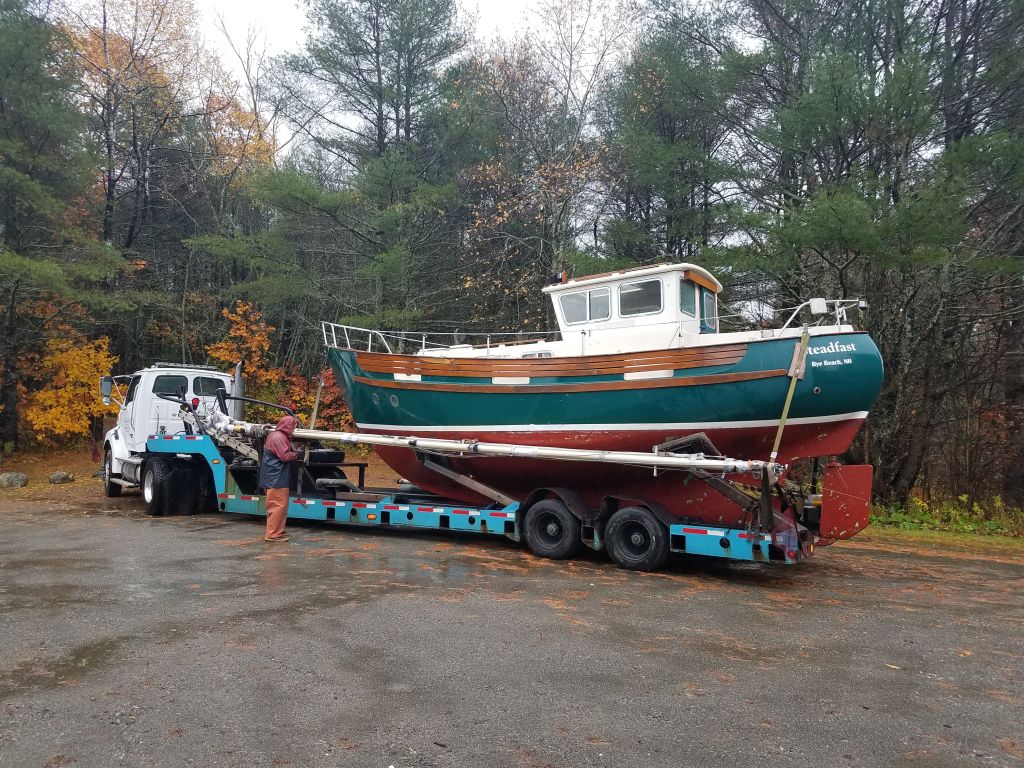
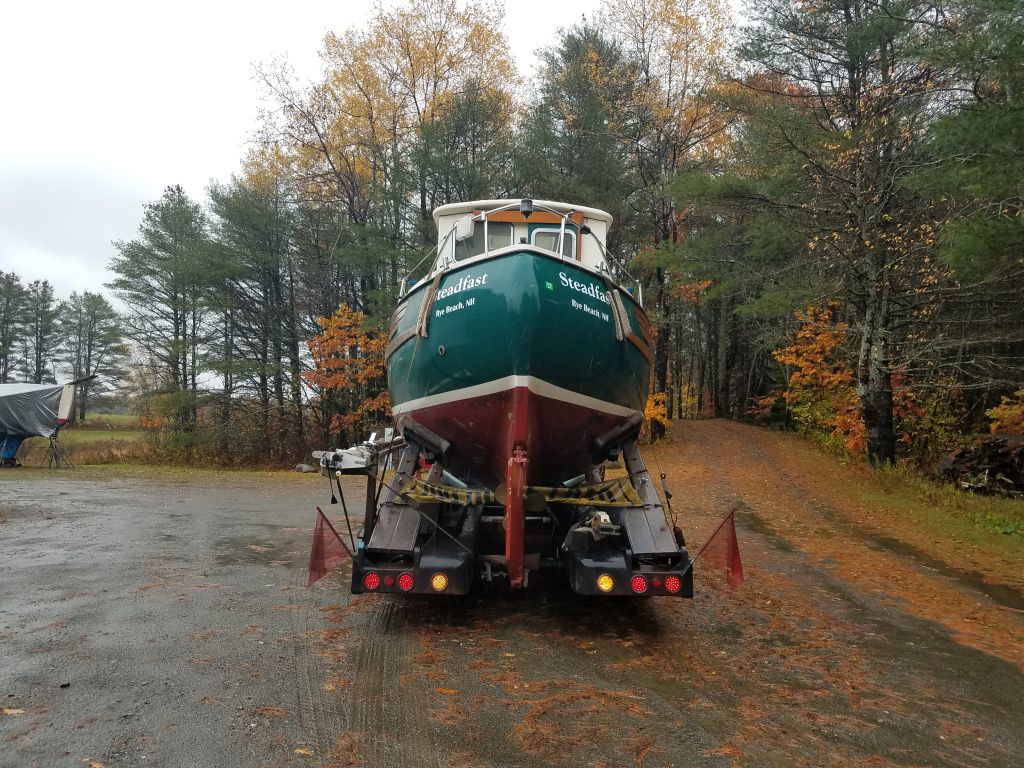
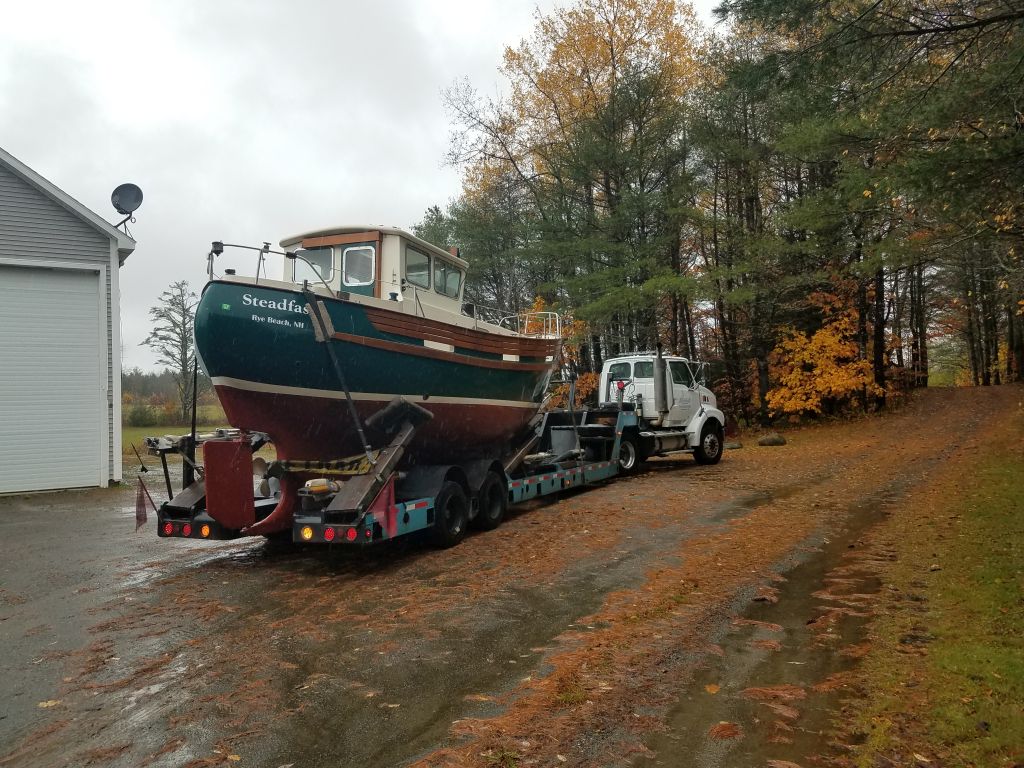
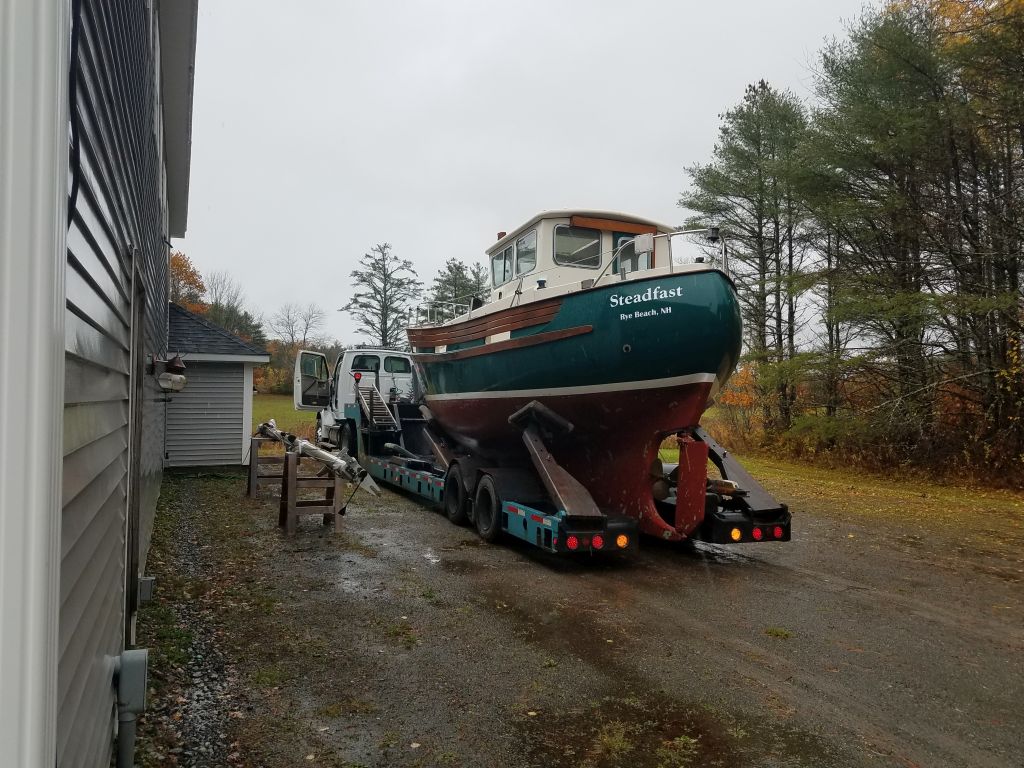
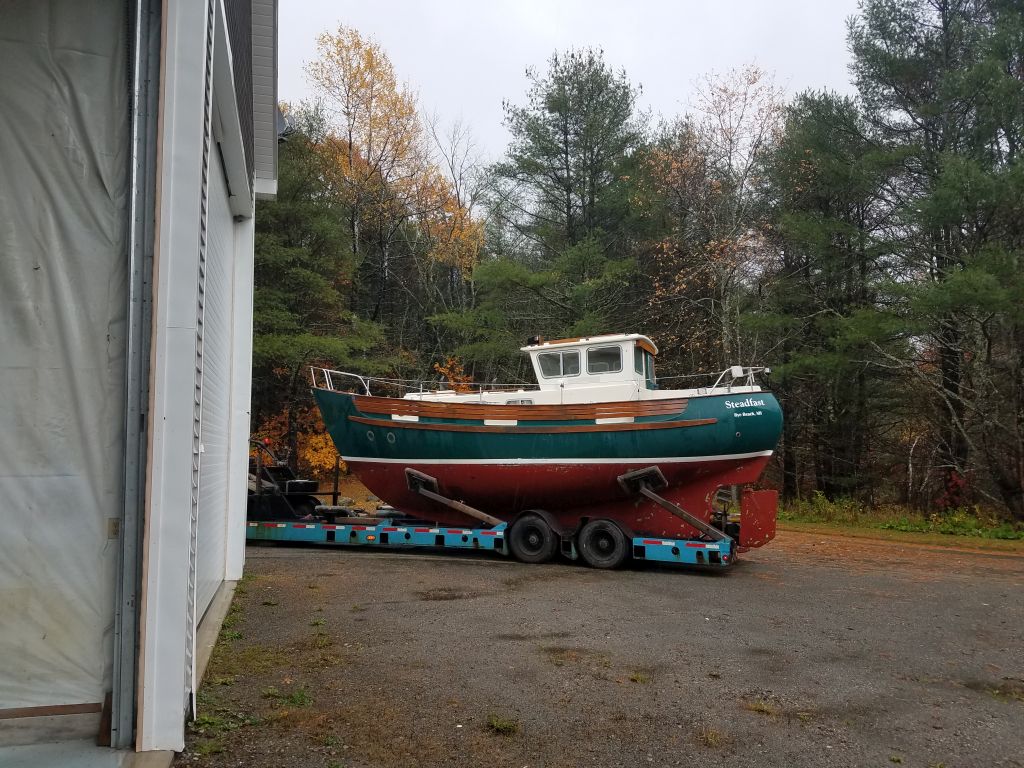
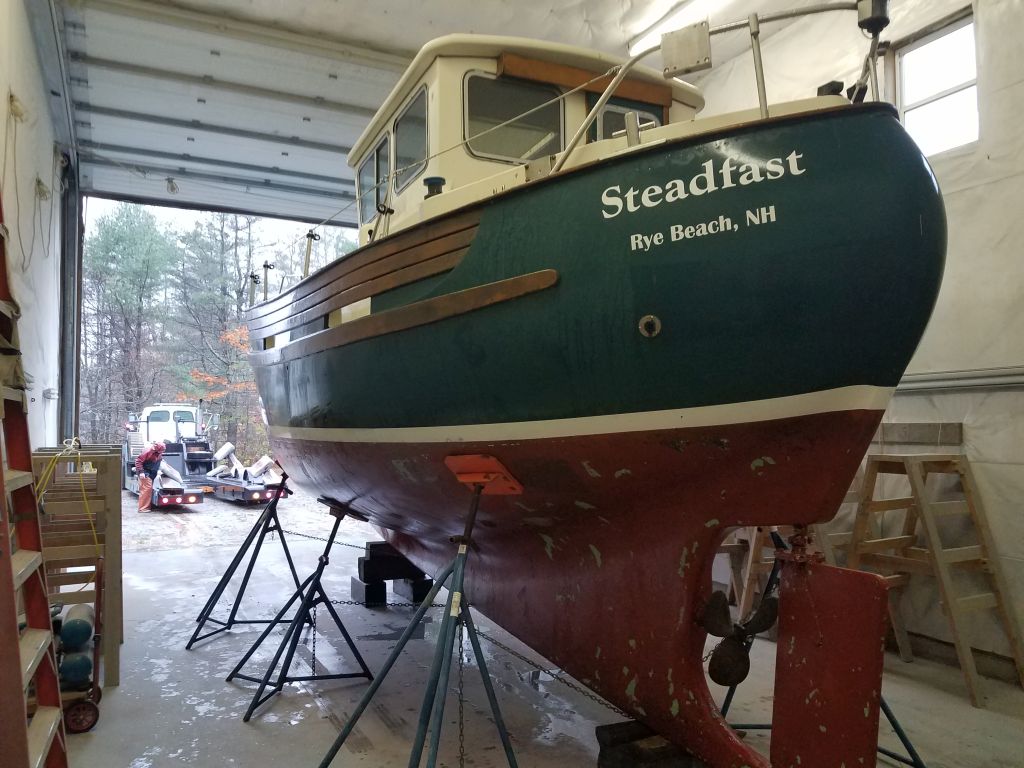
Steadfast arrived at the shop by truck on a tropical rainy day, about a week later than originally planned because of an owner-requested delay to give him additional time to haul and prepare the boat. The project scope included hull refinishing and woodwork maintenance.
Once the driver unstrapped the boat and spars from the trailer, he moved over near the shop so we could unload the mainmast onto some saw horses for temporary storage. The mizzen, located under the boat on the inside of the trailer, could stay there till the boat was unloaded in the shop.
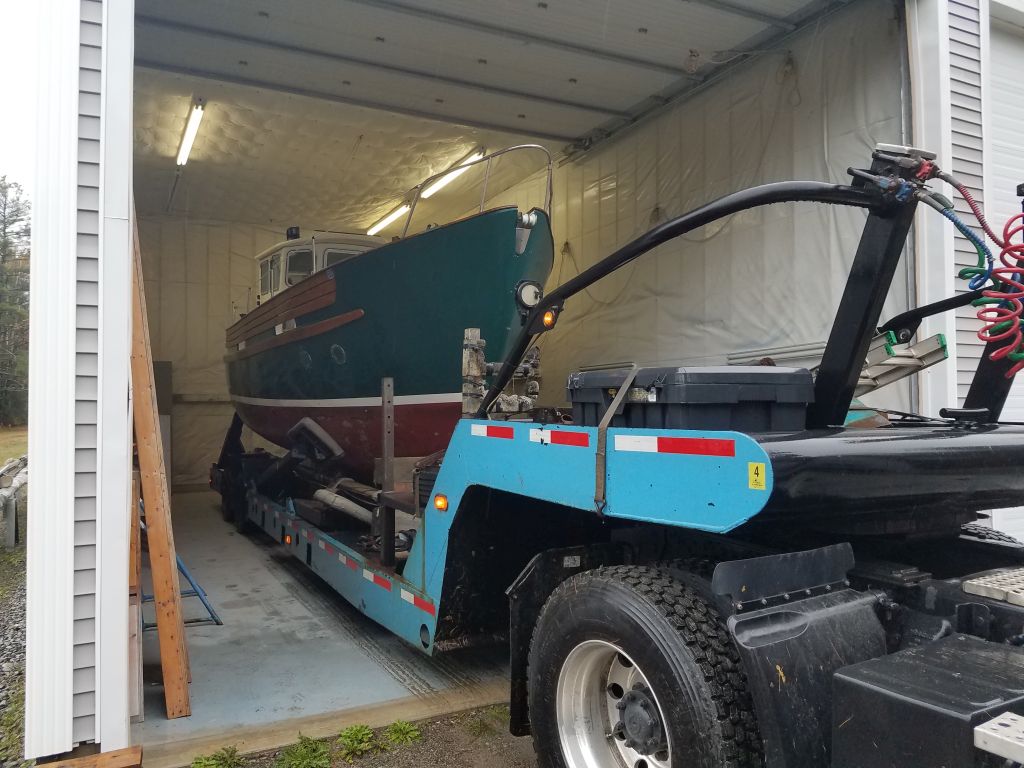
With the mast off, it was quick business to back the boat into the shop for unloading. Outside, we unloaded the mizzen. completing the delivery.
Total time billed on this job today: N/A
0600 Weather Observation: 65°, rain. Forecast for the day: Rain, often heavy, high 60s. Windy.