Wednesday
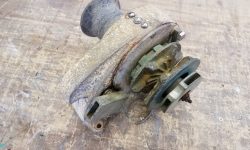
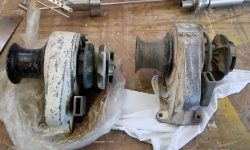
When I permanently installed the “new” sheet winches, I’d discovered to my dismay that one of the winches was missing a simple–yet critical–piece, something that had clearly gone missing when the original owner of the winches removed them from the donor boat about 16 years earlier. I’d had no idea about the missing piece since I’d had the winches in storage ever since I obtained them (as well as the original donor boat, back in the day, but that’s another story –one that I’ve told before), and for various reasons I’d never had cause to take them apart before now.
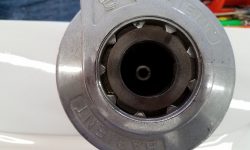
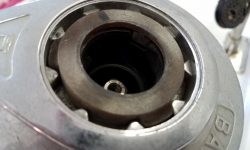
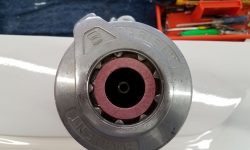
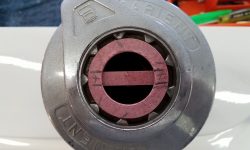
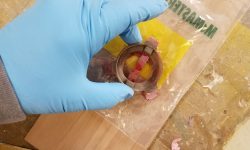
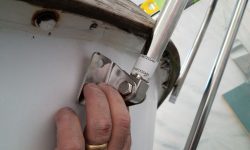
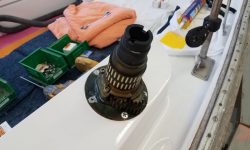
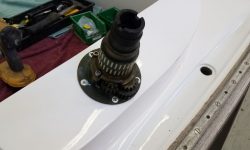
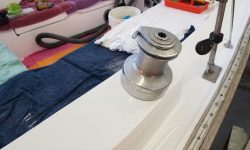
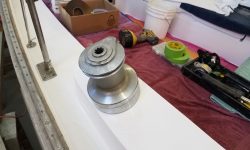
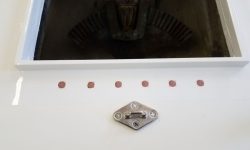
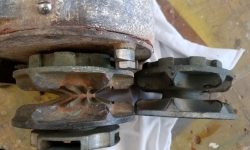
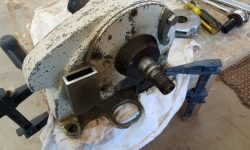
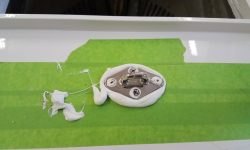
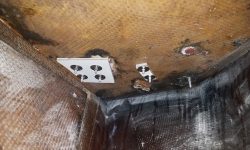
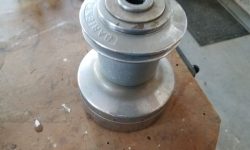
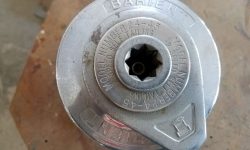
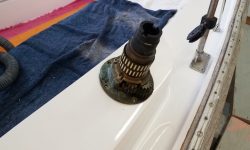
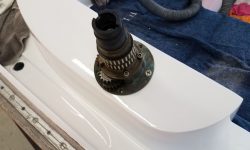
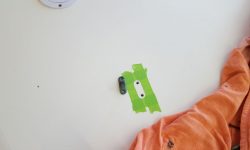
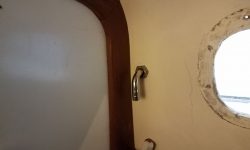
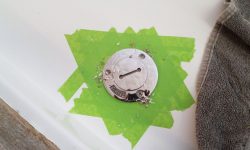
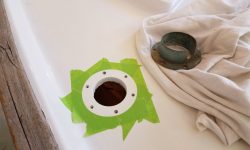
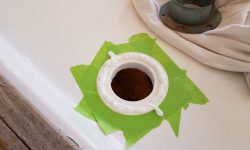
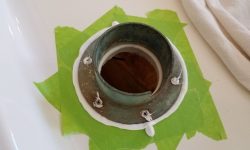
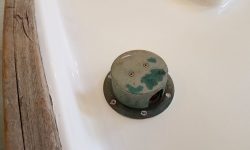
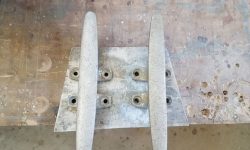
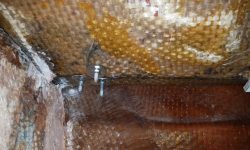
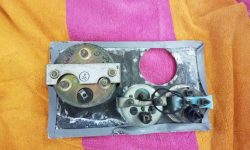
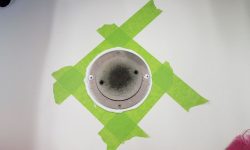
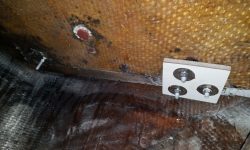
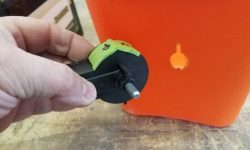
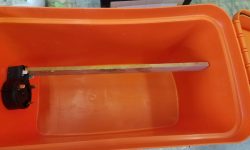
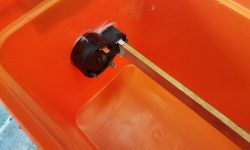
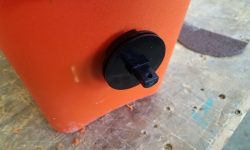
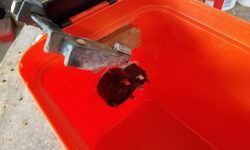
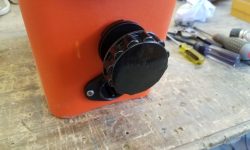
The piece in question was a little plastic do-dad that helped hold the self tailer stripper arm in place by locking into the top of the winch shaft, as well as the little teeth on the stripper arm assembly itself. It’s the circular piece seen inside the chrome body of the winch here.
These winches were long obsolete in that the manufacturer was long gone, but of course good winches really seem to last more or less forever, as long as one can find the occasional replacement part. I didn’t think finding this piece (I didn’t even know what it was called) was highly likely, but looking at the original, it seemed that I could make a replacement in the shop without too much trouble. After all, its function, while critical, was quite straightforward, and the original piece was just plastic.
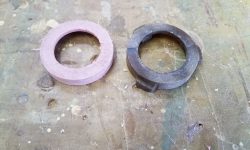
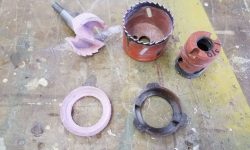
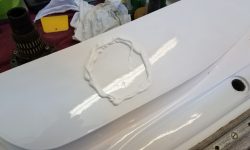
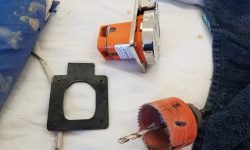
I chose some 3/8″ fiberglass sheeting that I had on hand because ultimately I decided it was the easiest and most logical thing for me to work with. With a combination of three drill bits, I formed a basic disc that approximated the shape of the original piece.
It took just a little fine-tuning with a portable drill fitted with a drum sander to fit the new disc to the top of the winch as required, as I had to trim down one of the inside edges till the disc slipped over the winch shaft properly.
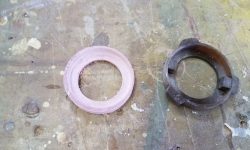
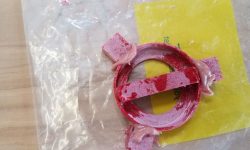
The main reason I chose fiberglass for the replacement part was because I couldn’t come up with an easy way to fabricate the part including its various little ears and nubs, all of which were critical for the part to function as needed; with fiberglass, I could easily epoxy little pieces together as needed to make the final shape. I started with the nubs on the inside of the part, which needed to fit in a slot in the top of the winch shaft. I cut a little strip of the fiberglass to fit across and through the slots, marking its position clearly on the top of the ring. I’d leave the crossbar whole during glue-up, and would cut out the center portion later.
For the three nubs on the outside of the disc, which would ultimately fit into the teeth of the stripper assembly, I cut some slightly oversized bits of fiberglass that I could glue on in the correct position, then trim to the correct size and shape later. Then, I epoxied the various pieces together and set the assembly aside for the epoxy to cure.
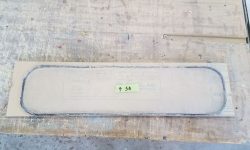
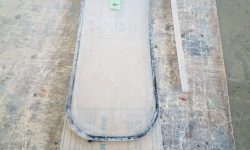
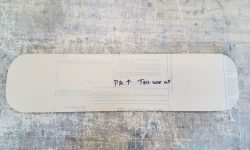
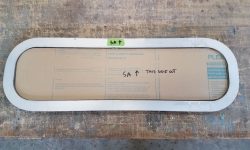
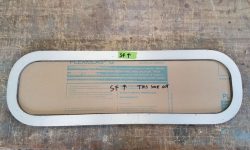
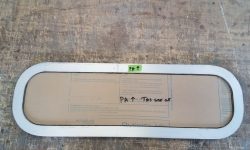
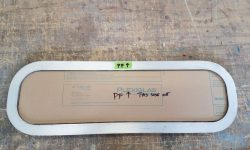
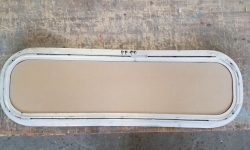
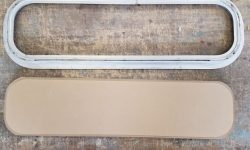
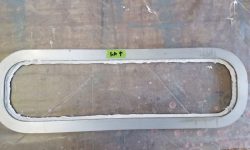
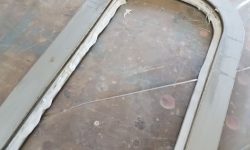
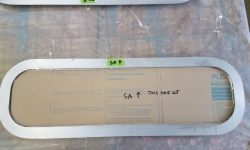
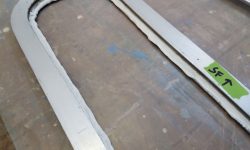
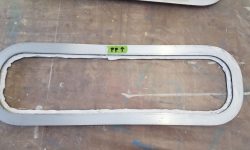
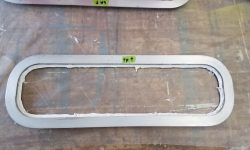
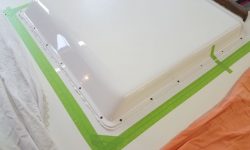
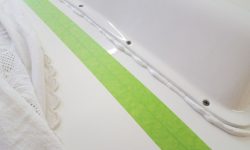
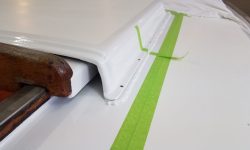
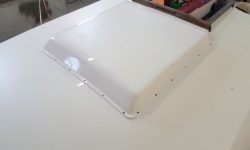
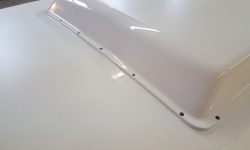
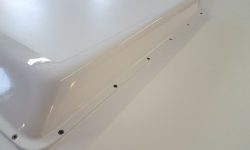
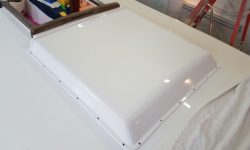
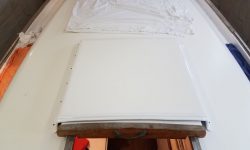
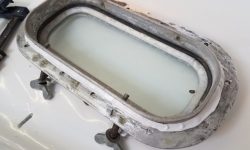
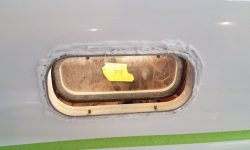
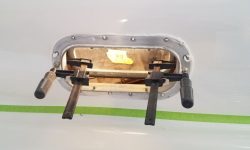
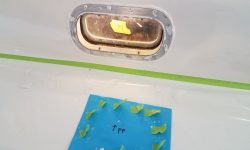
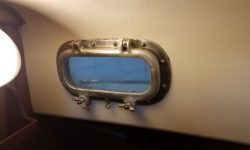
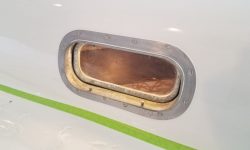
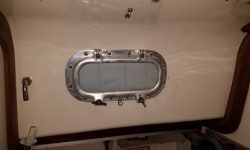
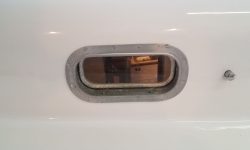
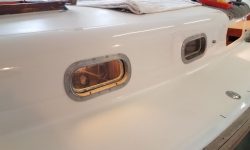
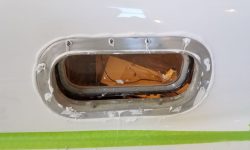
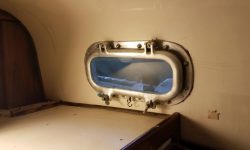
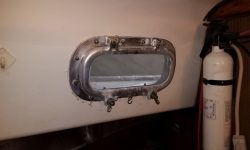
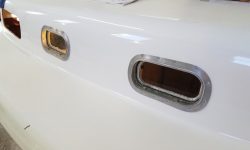
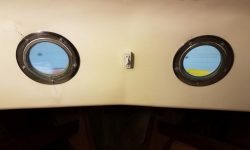
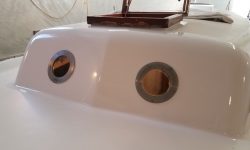
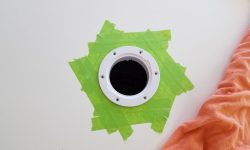
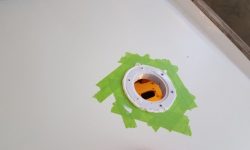
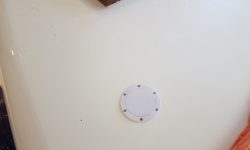
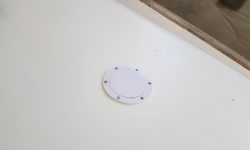
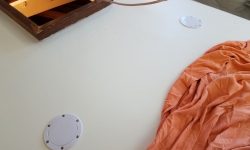
Now I turned to the deadlight frames and lenses. I’d ordered new 3/8″ clear acrylic for the replacement lenses (the originals were 3/16″, and had the plastic shop cut the rectangular blanks a bit oversize so I could do the final cutting in the shop. After confirming the overall width of the original lenses at 6-1/2″, I trimmed the new blanks to the correct width on the table saw, then used each of the old lenses as a template to cut the new pieces to fit the frames.
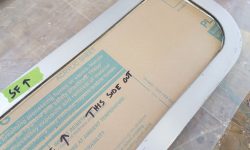
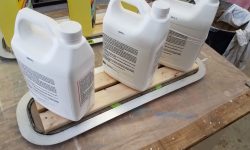
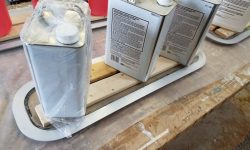
After cleaning the raw frames one final time, I prepared for final installation of the lenses. For each lens, I trimmed the protective paper on the back (inside) side where the frame overlapped, exposing the plastic in the bonding area but leaving the paper in place elsewhere.
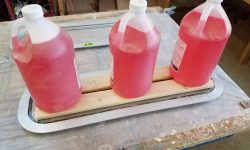
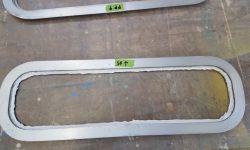
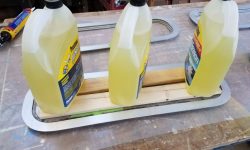
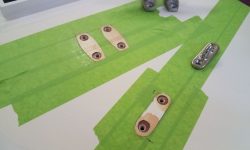
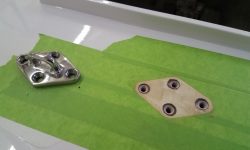
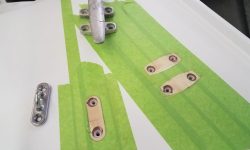
In these frames, the lenses relied on a bond between the lens and the frame only. The original setup had rubber gaskets pressed into grooves inside the frame, but I planned to use modern flexible adhesives for the job. For each installation, I first applied the sealant–a polyurethane–into the innermost groove of the frame, filling it with sealant. Then, I applied sealant over the bonding flange, and pressed the new lens firmly into place. To ensure the lens didn’t move during curing, I added some weight over the lens to hold it in place securely. I repeated this process for each of the four lenses. Later on, I’d finish the job by applying more sealant on the outside, filling the second groove and creating an external cosmetic-only bead for improved appearance.
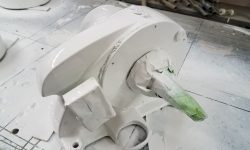
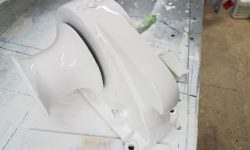
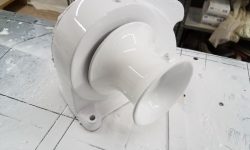
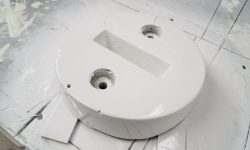
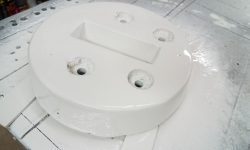
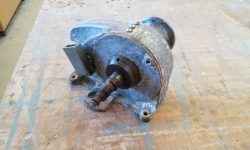
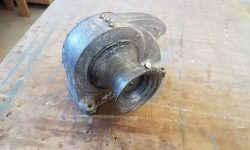
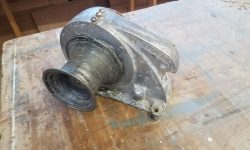
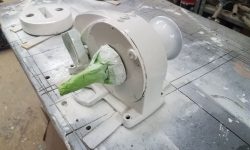
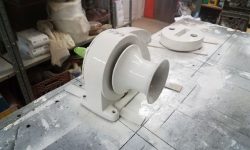
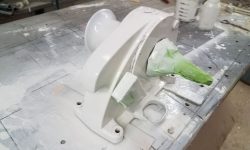
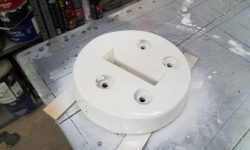
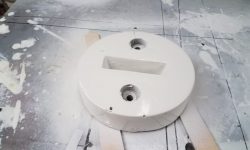
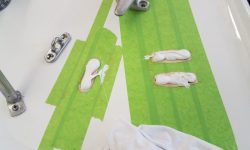
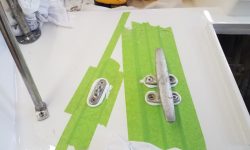
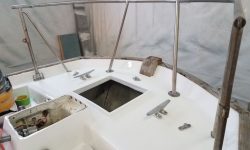
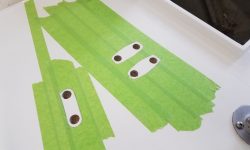
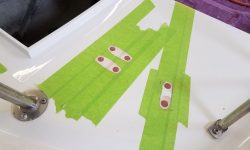
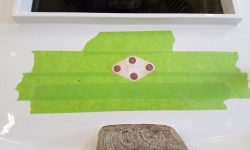
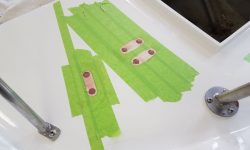
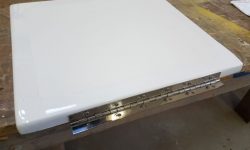
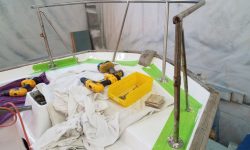
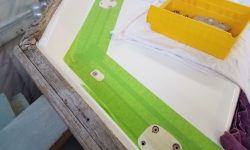
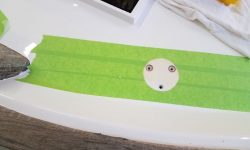
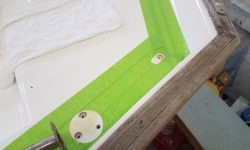
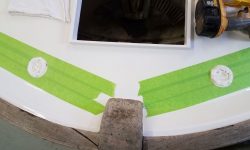
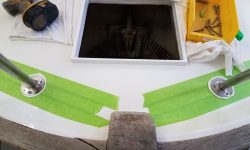
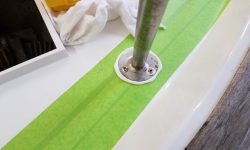
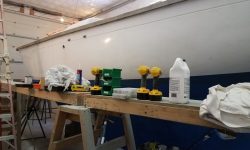
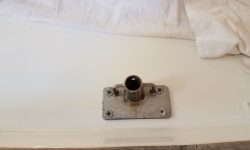
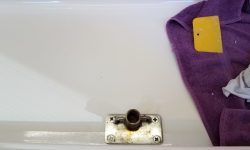
Throughout the day, I applied three coats of gloss white LPU to the anchor windlass and two mast step assemblies, using a little disposable spray gun.
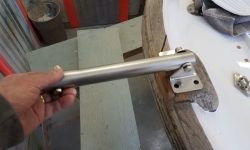
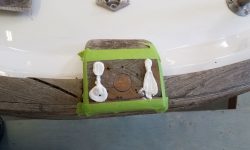
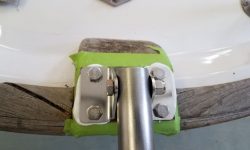
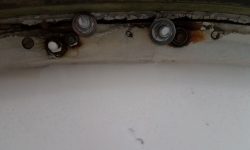
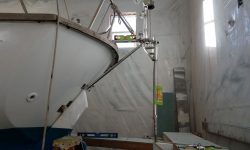
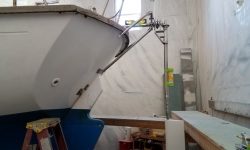
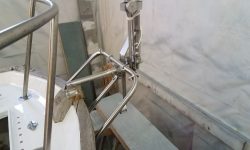
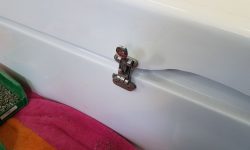
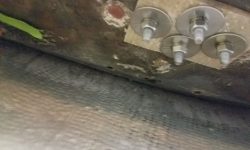
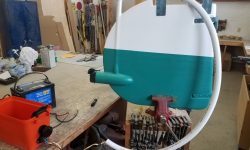
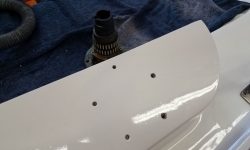
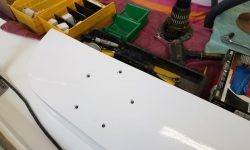
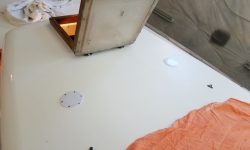
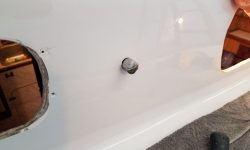
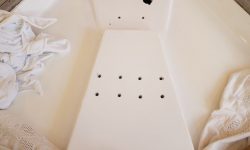
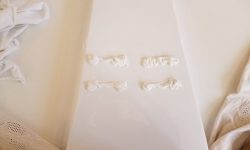
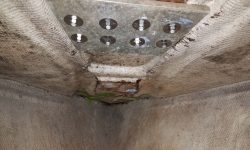
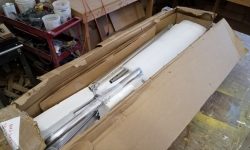
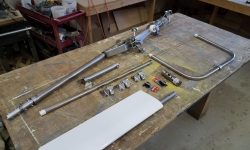
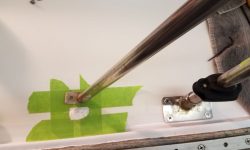
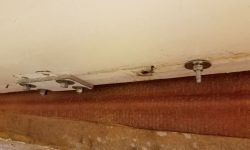
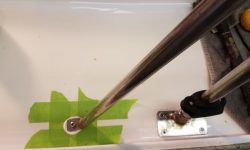
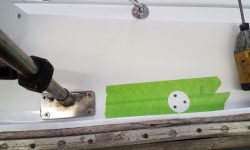
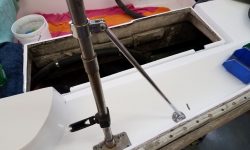
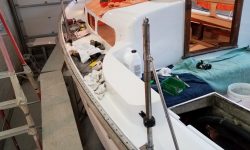
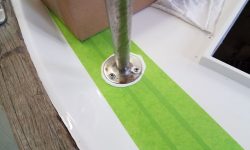
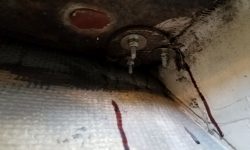
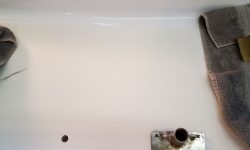
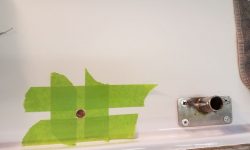
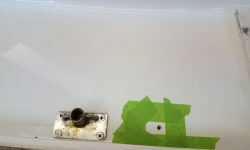
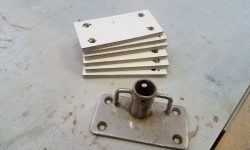
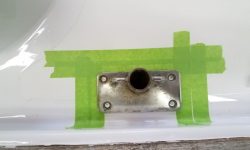
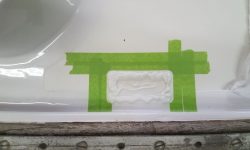
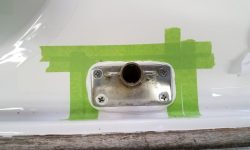
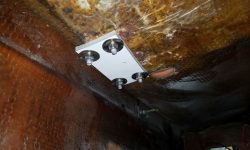
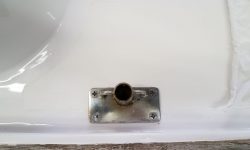
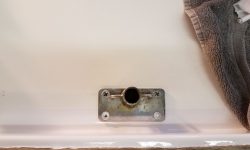
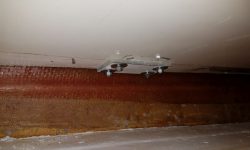
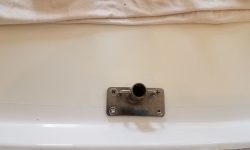
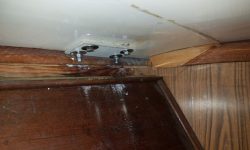
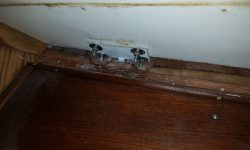
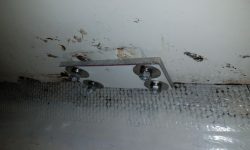
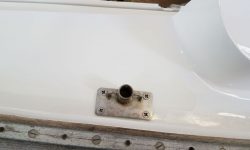
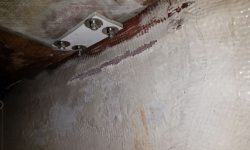
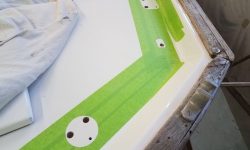
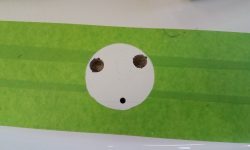
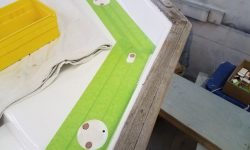
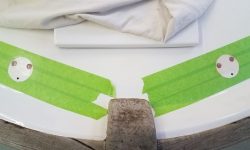
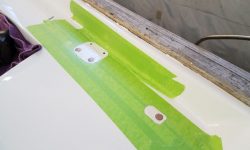
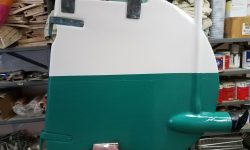
I spent the afternoon working on the Norvane windvane installation. The first step in the installation was to install a horizontal pipe and support bracket, which the instructions called the “belled pipe” on account of its flared (belled) end configuration. Reviewing the instructions, along with the anecdotal photo of a sistership’s installation and making some confirming measurements, I installed the bracket for the belled pipe right on top of the wooden block located at the taffrail centerline. This allowed for two through bolts, which passed through the block, taffrail, and outward hull/deck flange, with two 2″ lag screws for the inner pair of holes, since there was no means of throughbolting here. Any forces on this particular support pipe would be sheer in any event, and this pipe mainly spaced the vane out correctly beyond the transom. The real support for sailing forces came from other means that I’d soon get to.
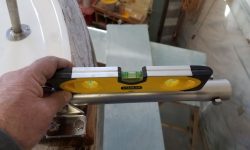
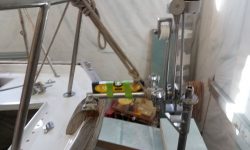
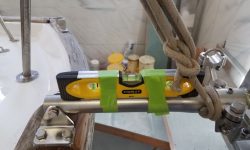
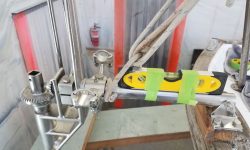
Following the installation guidelines, I set up the new pipe with a level and by eye as needed, then secured it to the stern pulpit with line to help hold it in its required horizontal attitude for the next steps.
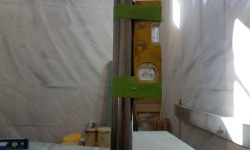
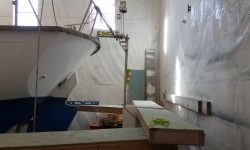
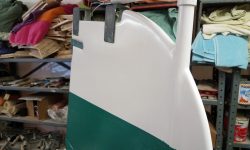
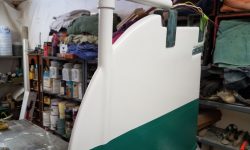
With the belled pipe secured for now, I installed the main body of the windvane, which featured an insert that slipped right into the belled socket at the end of the pipe, with a through bolt to secure it. This held the vane securely, and now I fine-tuned the supporting lines to ensure the whole thing was plumb and level as required. I also used this opportunity to confirm yet again that the vane was mounted at the correct height for this boat, and that the servo rudder was positioned as required in the instructions–that is, with 1-3″ of the rudder above the waterline.
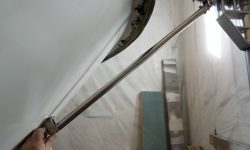
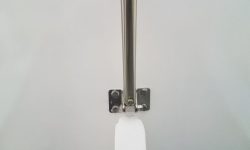
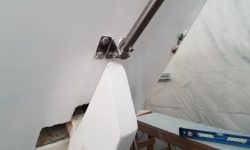
With the vane secure, plumb, and level, next I installed the main diagonal vertical support, which led from the vane body down to the transom on centerline. The length of pipe included was just a bit too long for me to install the bracket above the rudder where it entered the transom, so I made a mark and cut off the pipe accordingly. Then, satisfied with the length and bracket position, I drilled through the support pipe for the bolt that would secure it to the insert end that fit into the bracket.
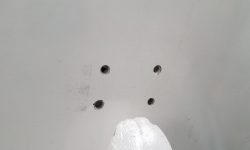
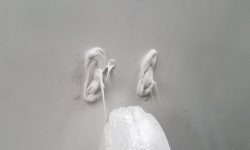
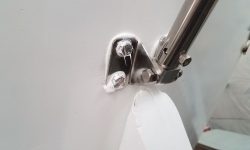
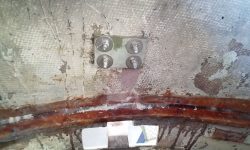
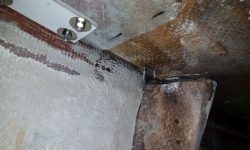
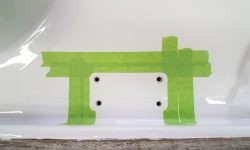
I marked, drilled, and tapped the holes through the transom for the 3/8″ bolts required, and secured the bracket with sealant and a good fiberglass backing plate inside. Then, after checking the level/plumb once more, I tightened the bolts that secured the brace to the transom bracket and vane, firming up the whole installation and locking it in place.
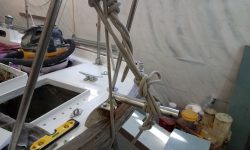
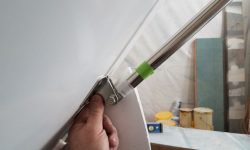
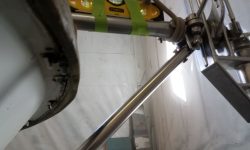
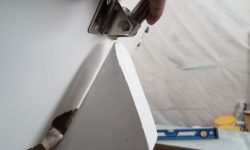
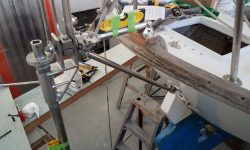
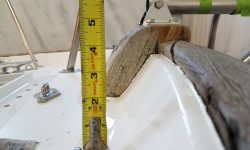
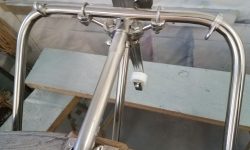
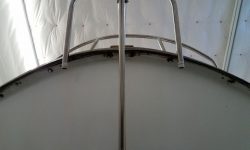
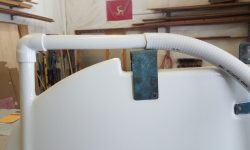
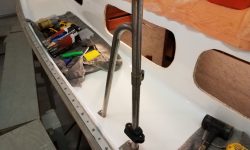
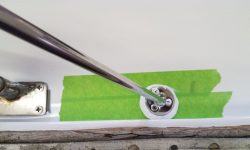
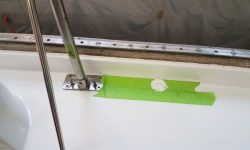
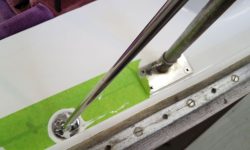
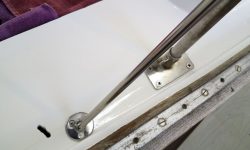
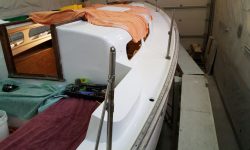
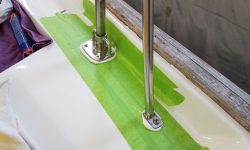
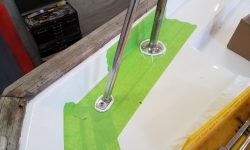
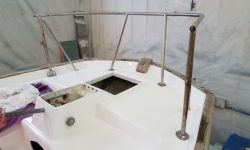
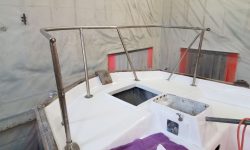
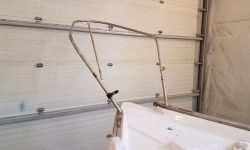
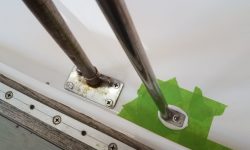
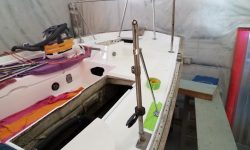
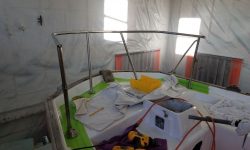
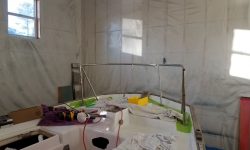
The last part of the supporting structure for this windvane was a U-shaped stainless tube that fit through brackets on the top of the vane and extended towards the hull, where they’d ultimately be secured with additional brackets. Here, however, I ran into a problem: the legs of this brace were too short to properly secure to the hull. At issue here was the fact that the top of the transom from the outside was actually several inches higher than the deck, thanks to the tall molded bulwarks surrounding this deck. I could make the brace and bracket work (i.e. touch the hull) if I held the bracket right up beneath the overhanging toerail, but this would place the bracket above deck level, not where it should be secured. Even in this too-high position, the bracket didn’t really touch the hull, as the pipe contacted the edge of the toerail above; even if I thought mounting here was an option, I’d need blocks to build up beneath the brackets.
For the brace and brackets to be positioned properly–that is, with the brackets mounted on the hull somewhere below deck level and where I could access the bolts from inside the hull–I calculated that the legs of the stainless brace needed to be about 5″ longer. This would place the support brackets in a good position, and better triangulate the forces acting on the windvane in any event. I couldn’t hold the pieces in this mocked-up configuration and take a picture at the same time, so I haven’t shown where the brackets would end up once I dealt with the extended U-brace.
The brace itself was a simple-enough thing and I hoped to get a new one fabricated locally and quickly. But for now, this disappointment ended work on the vane installation, for which I’d otherwise been on track this day.
Total time billed on this job today: 7.75 hours
0600 Weather Observation: 26°, mostly clear. Forecast for the day: Mainly sunny, around 40°


