Thursday
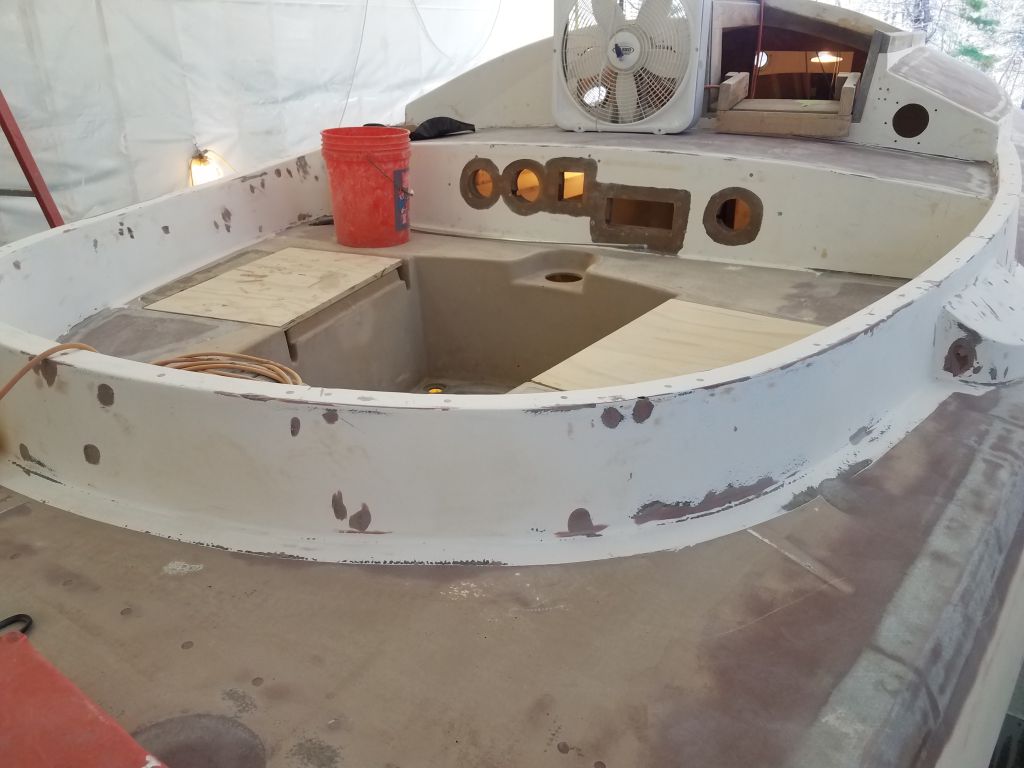
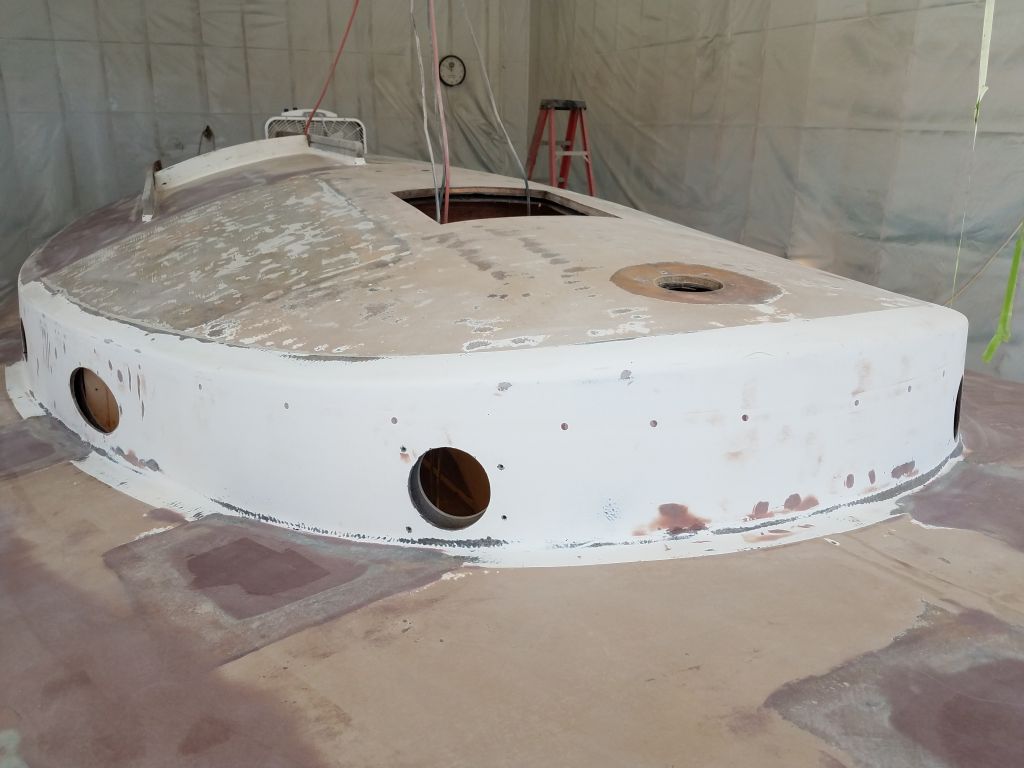
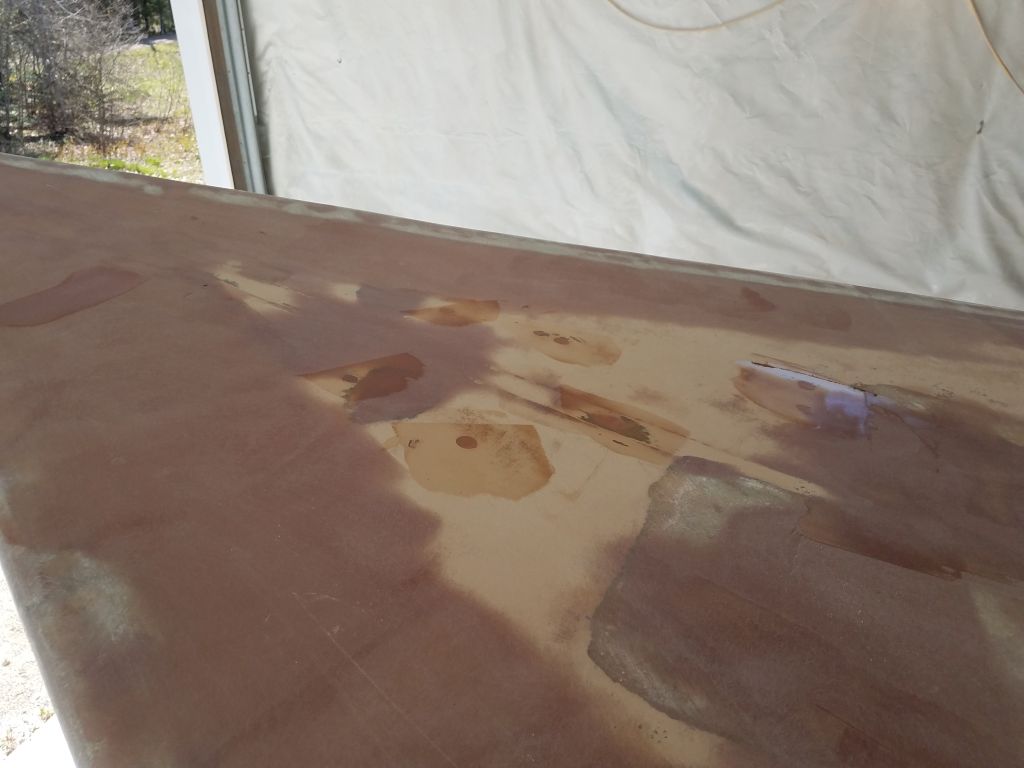
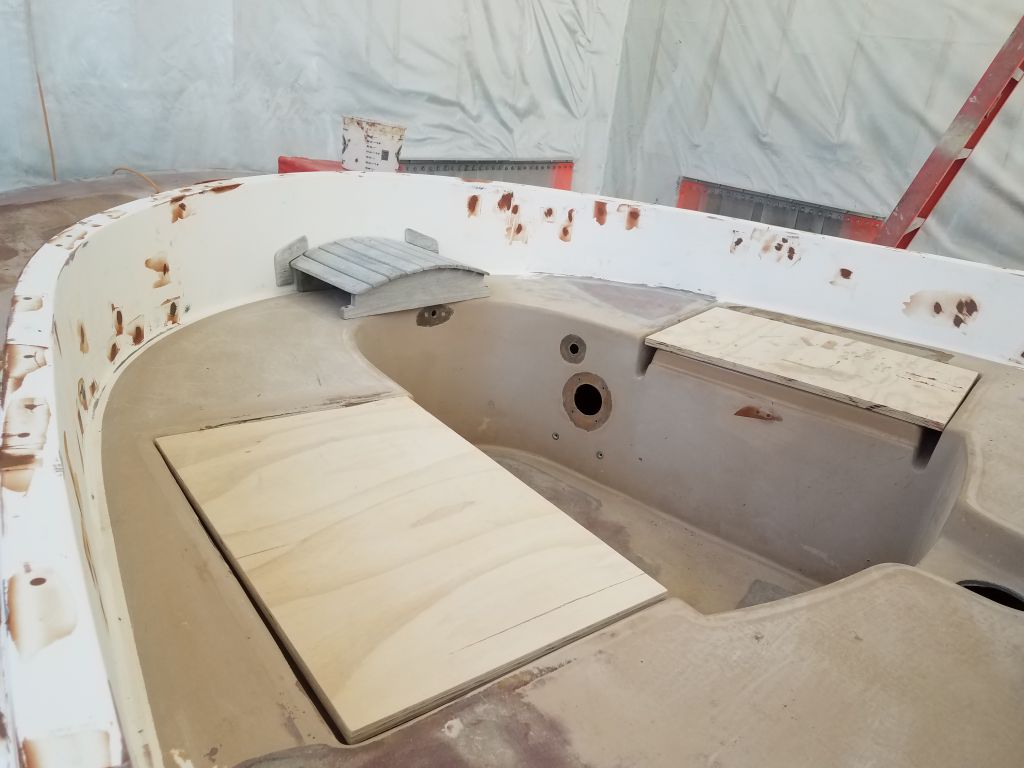
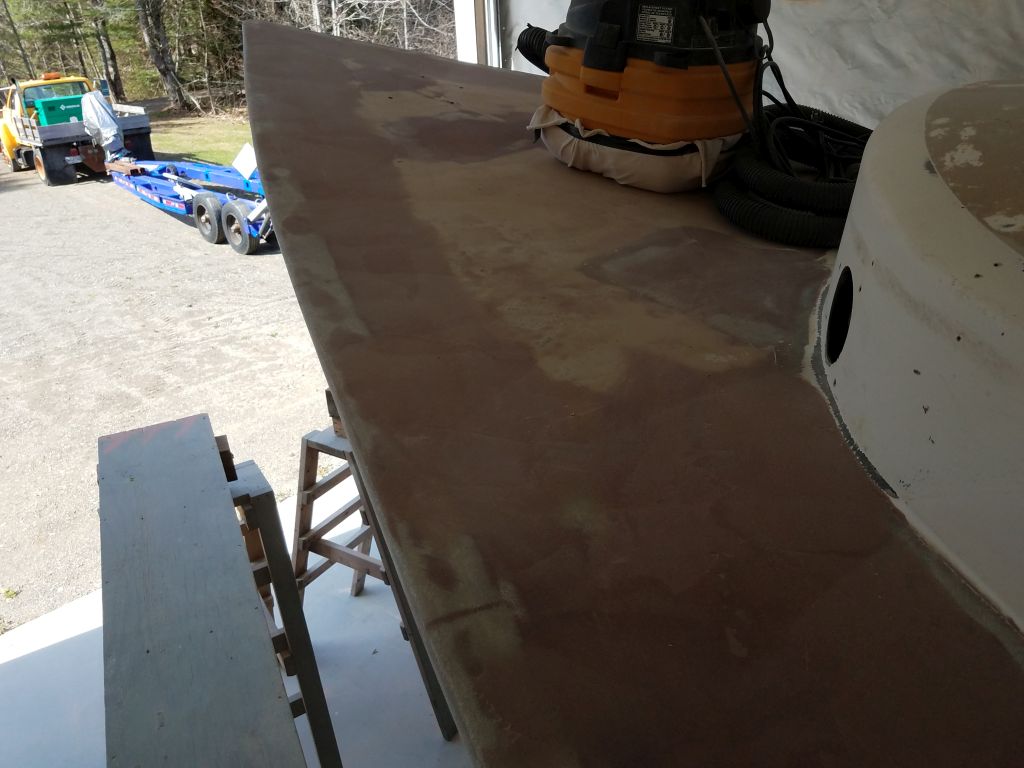
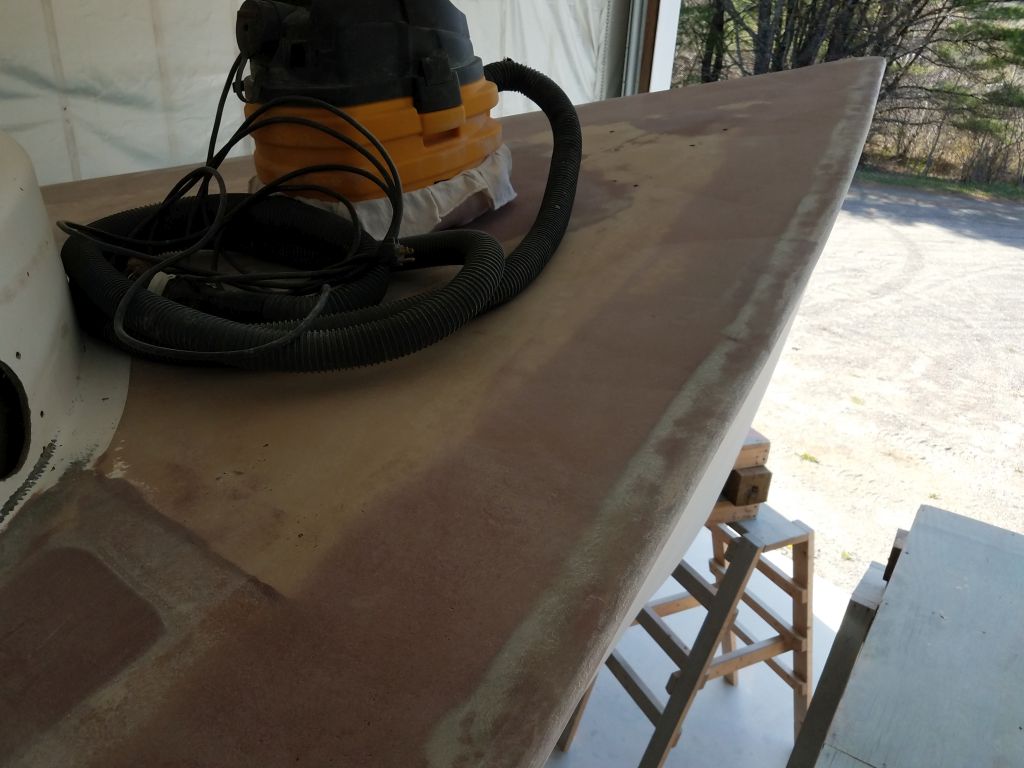
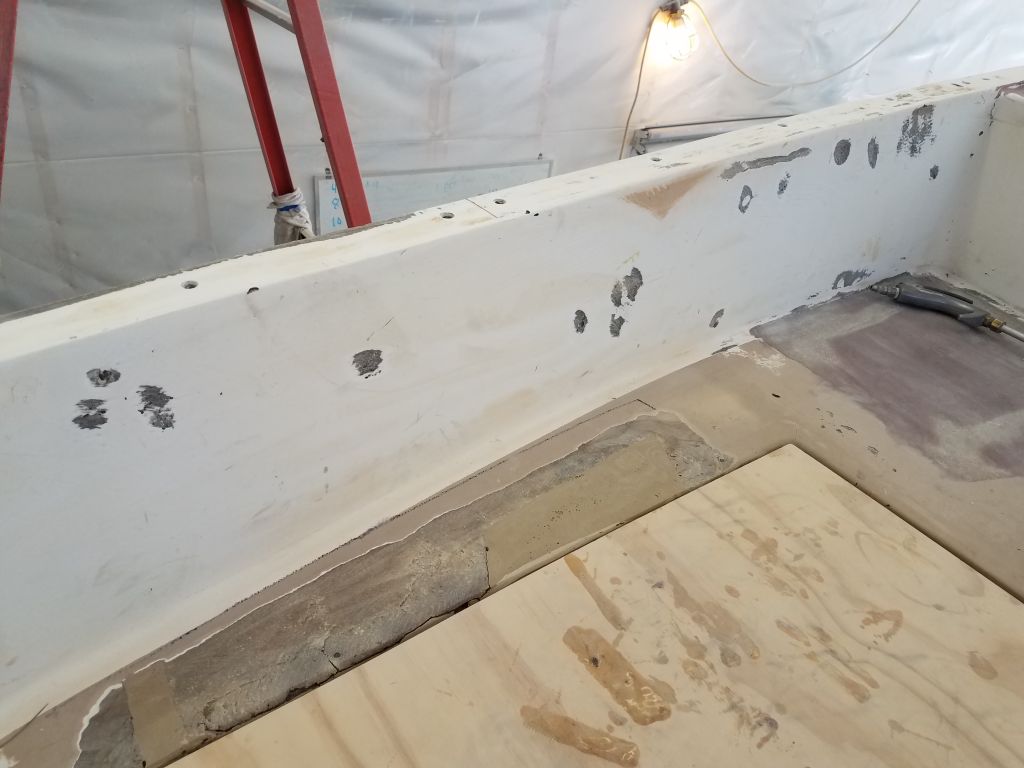
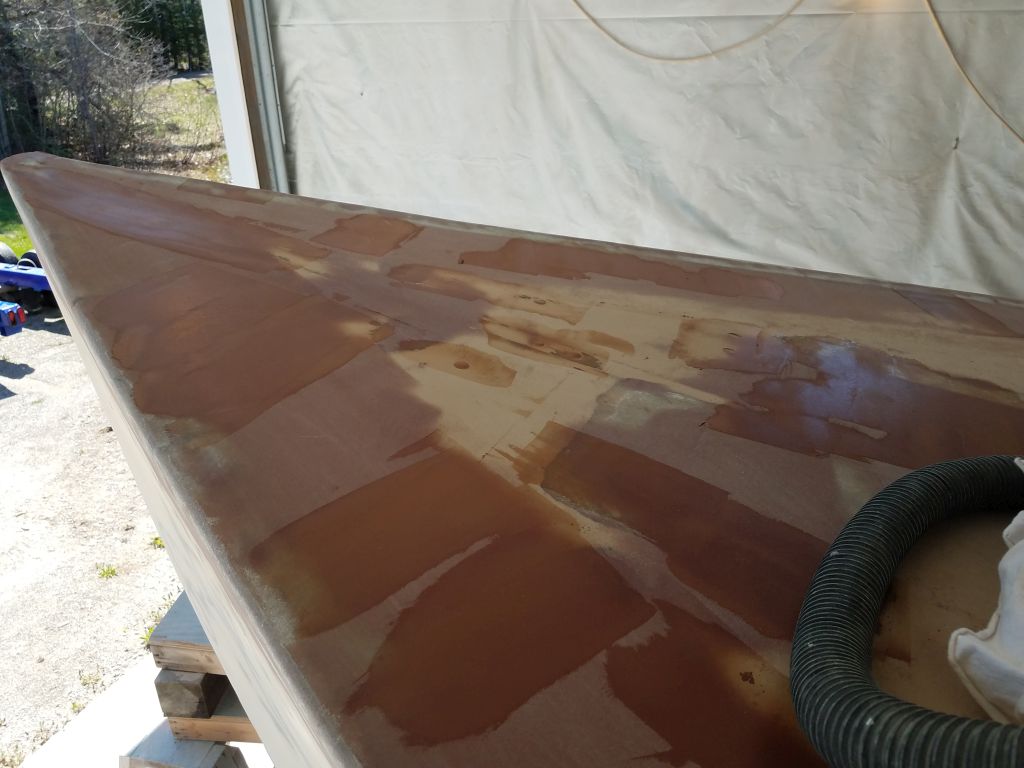
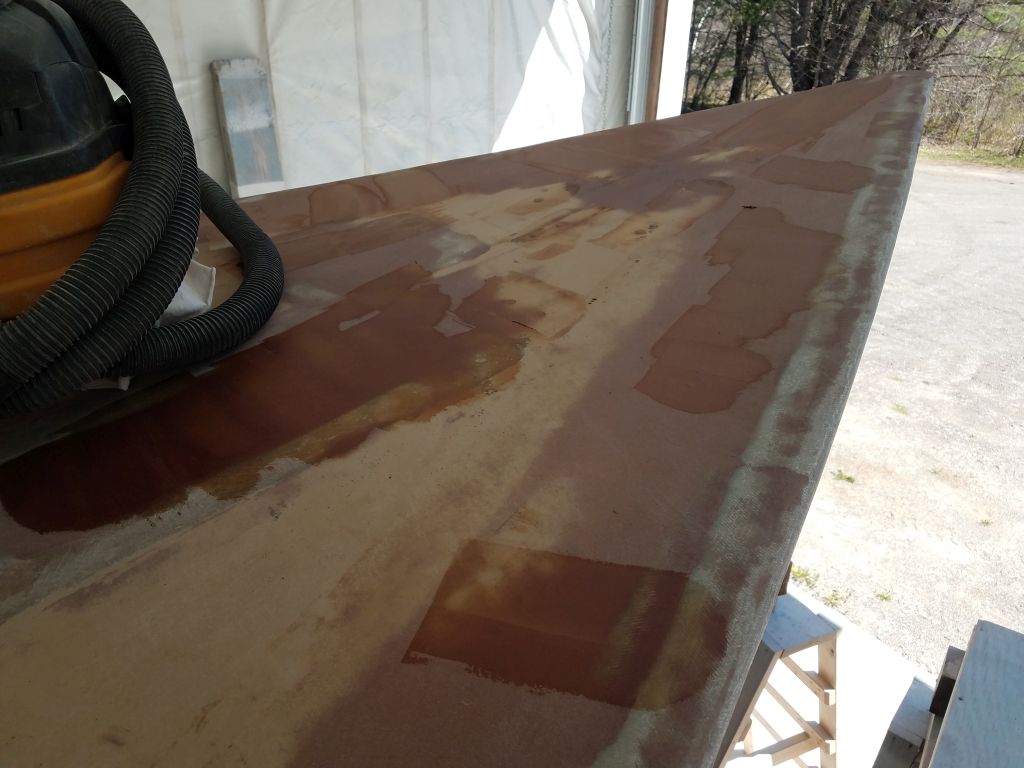
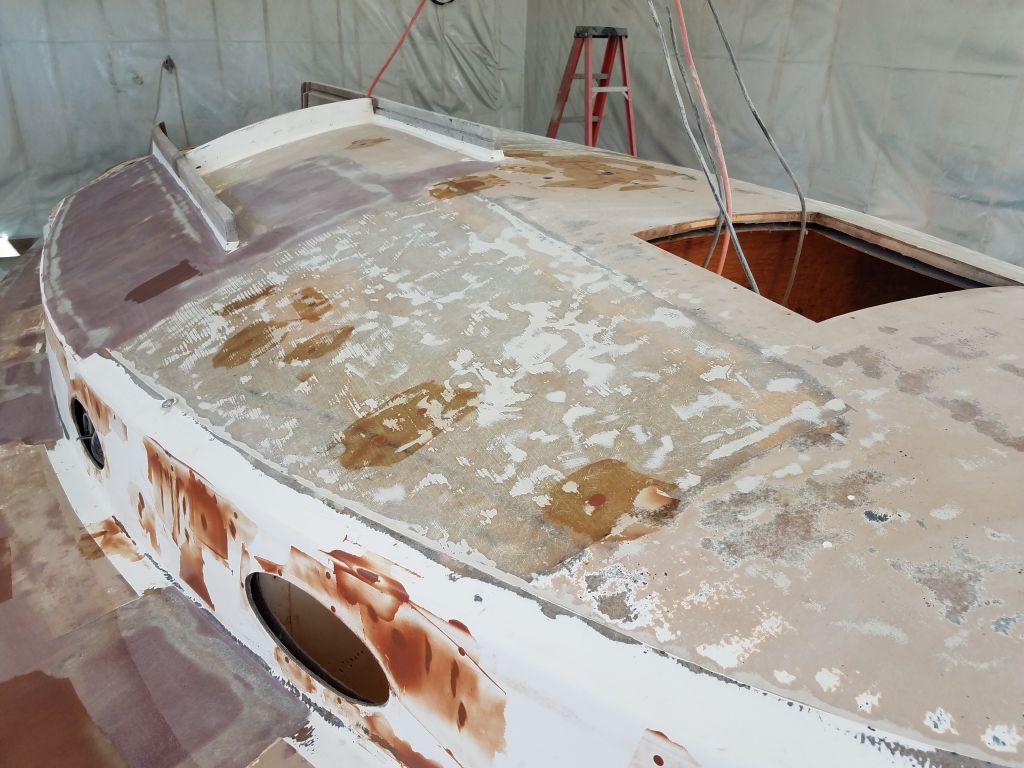
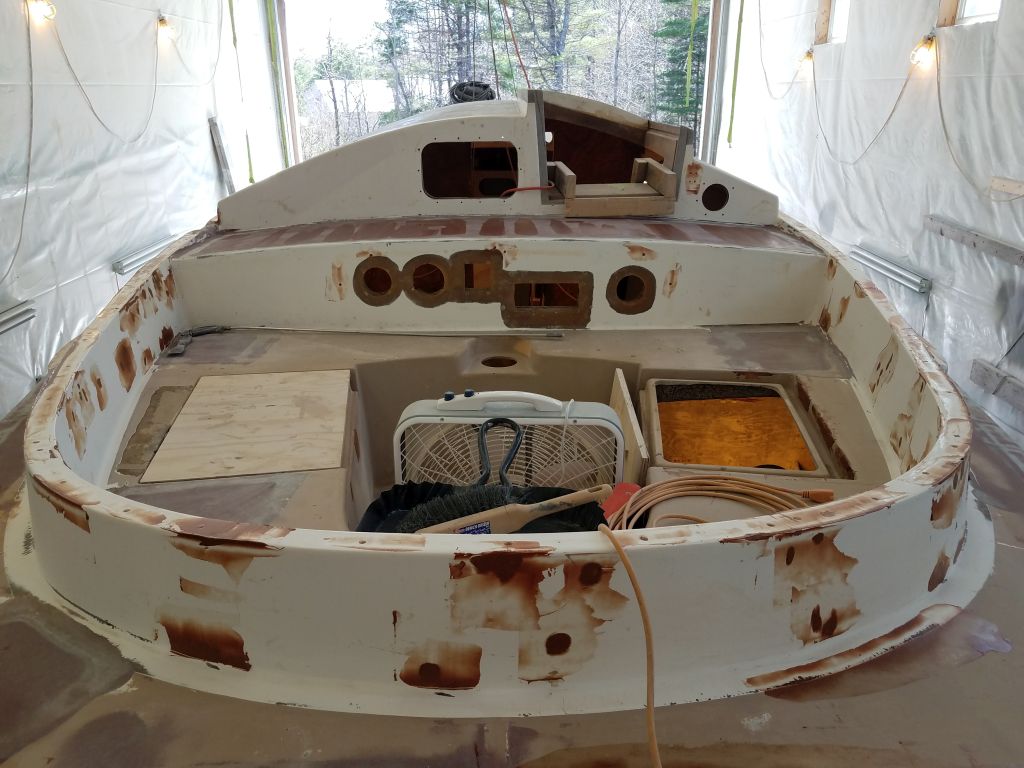
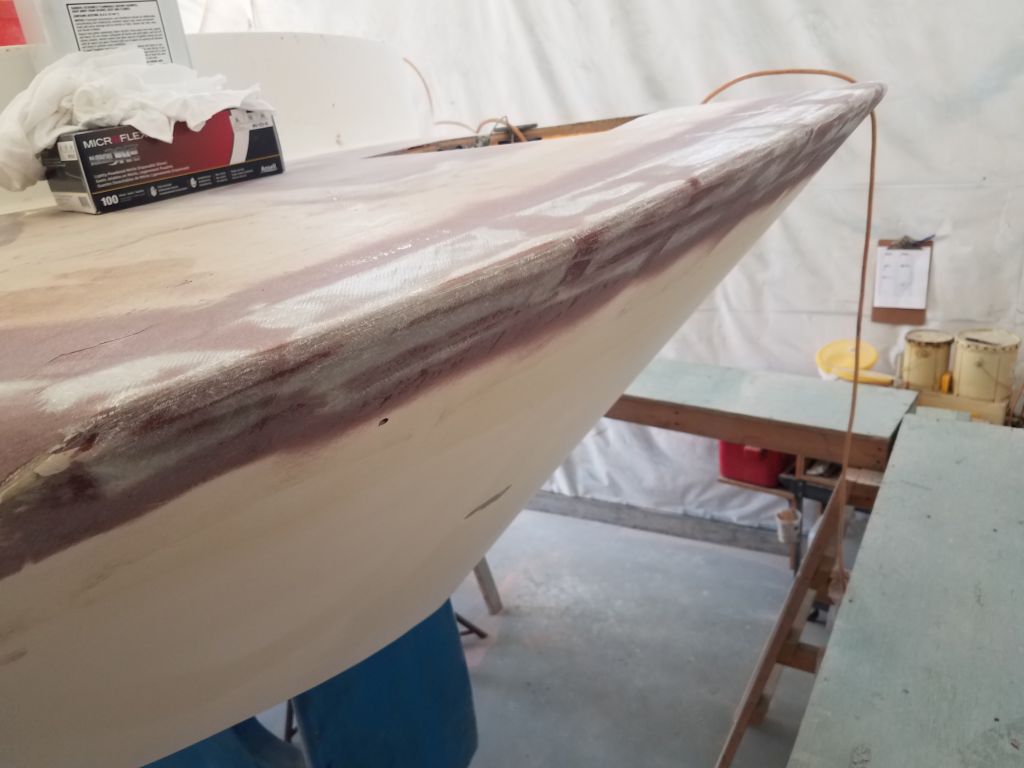
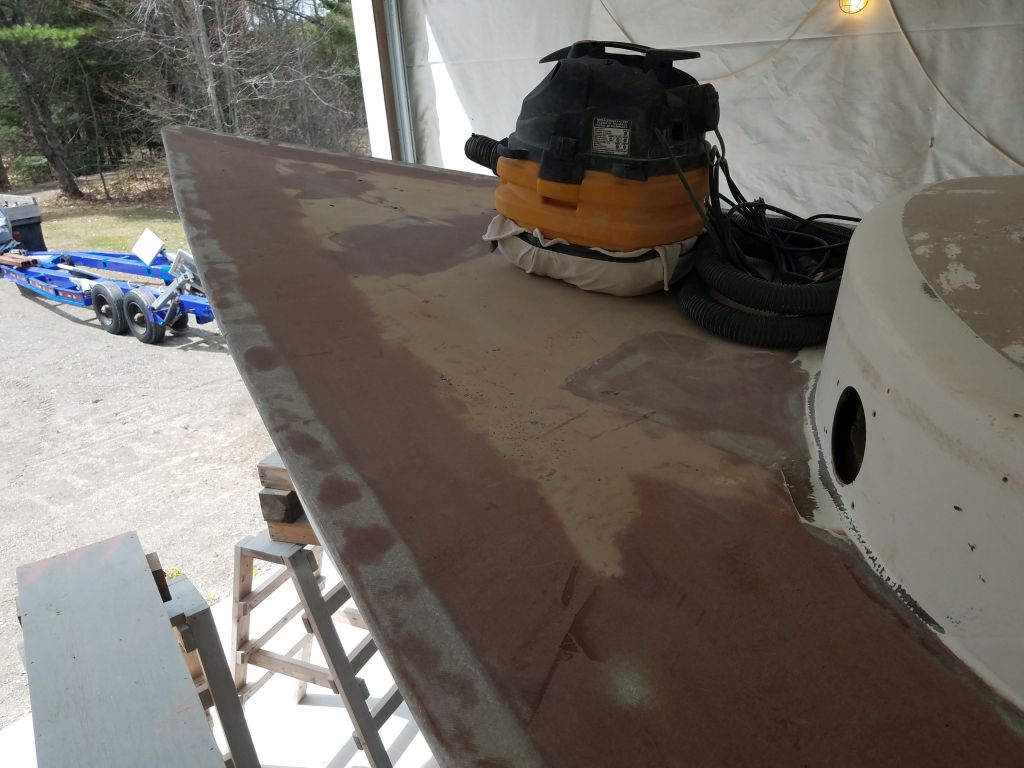
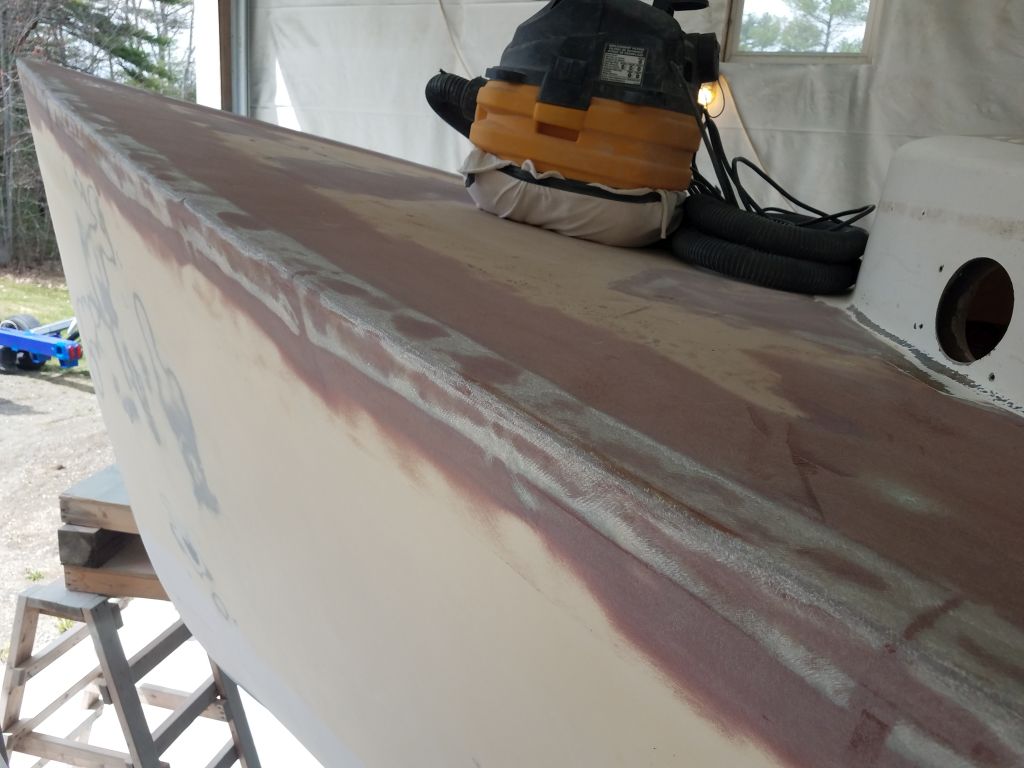
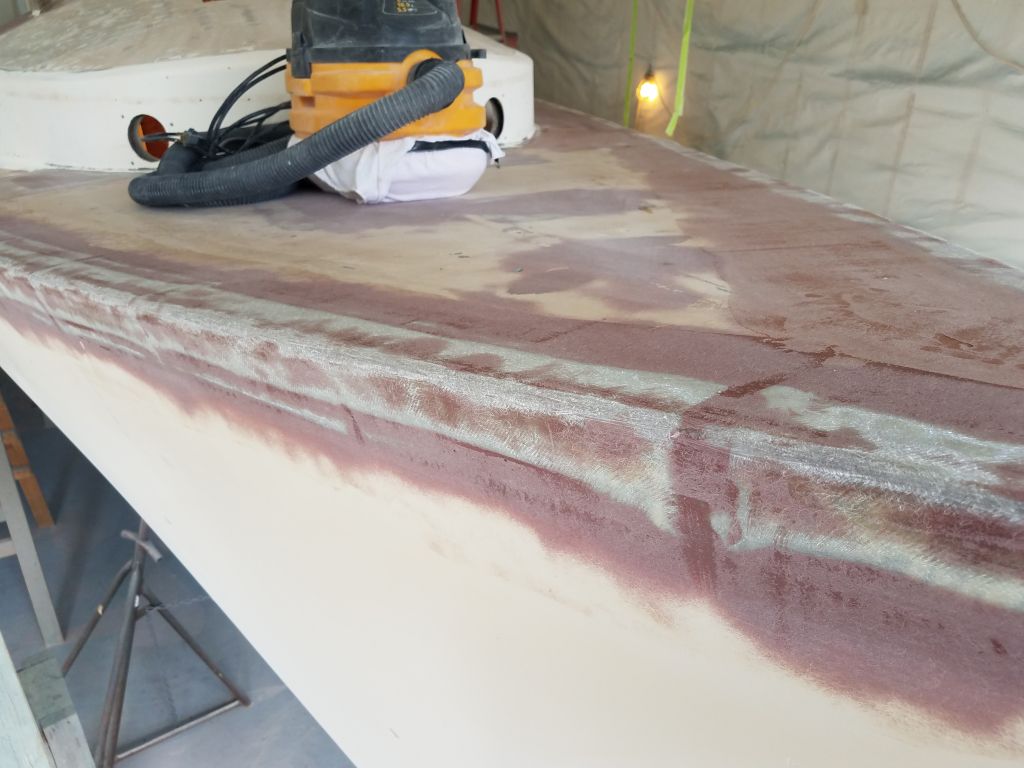
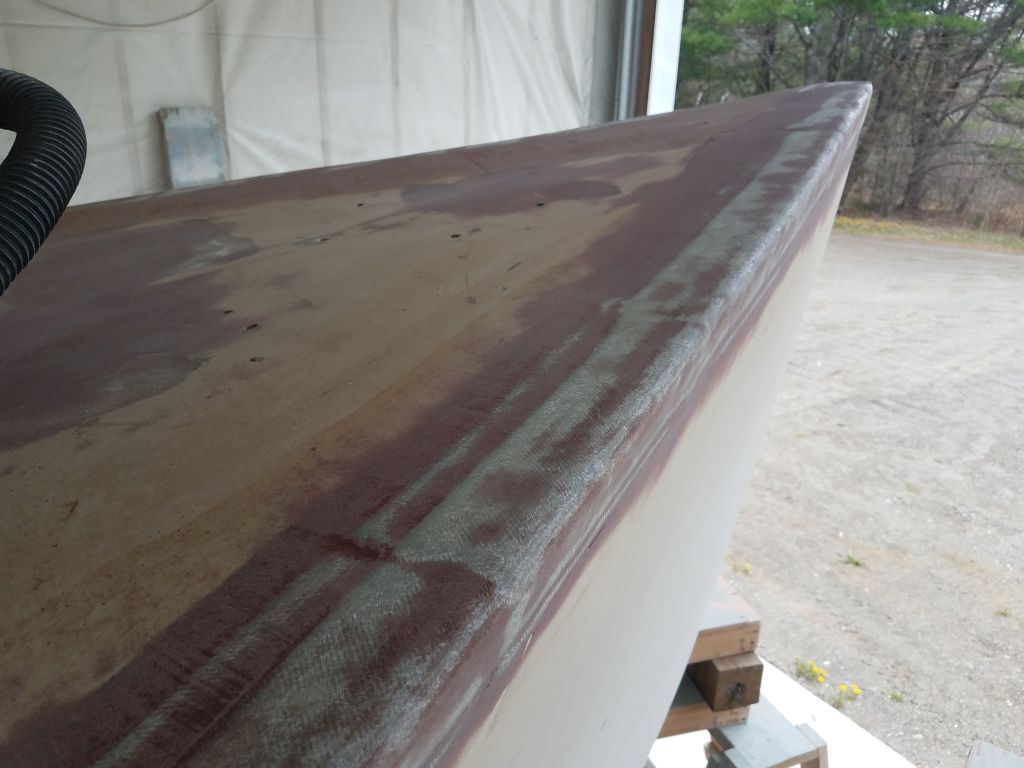
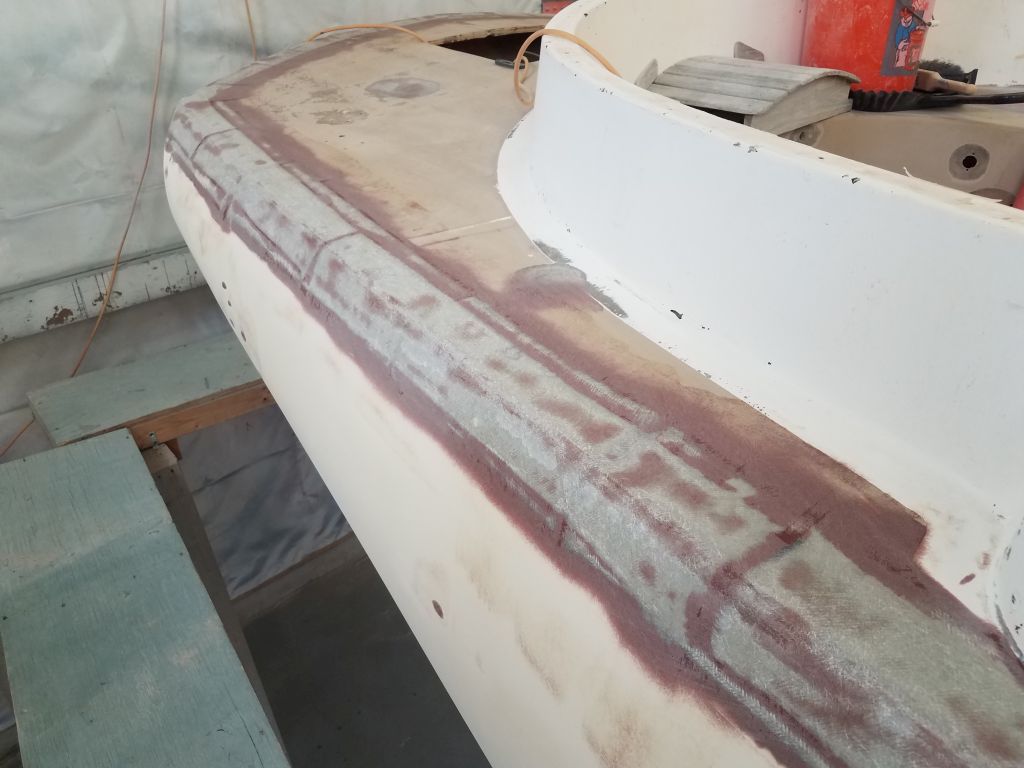
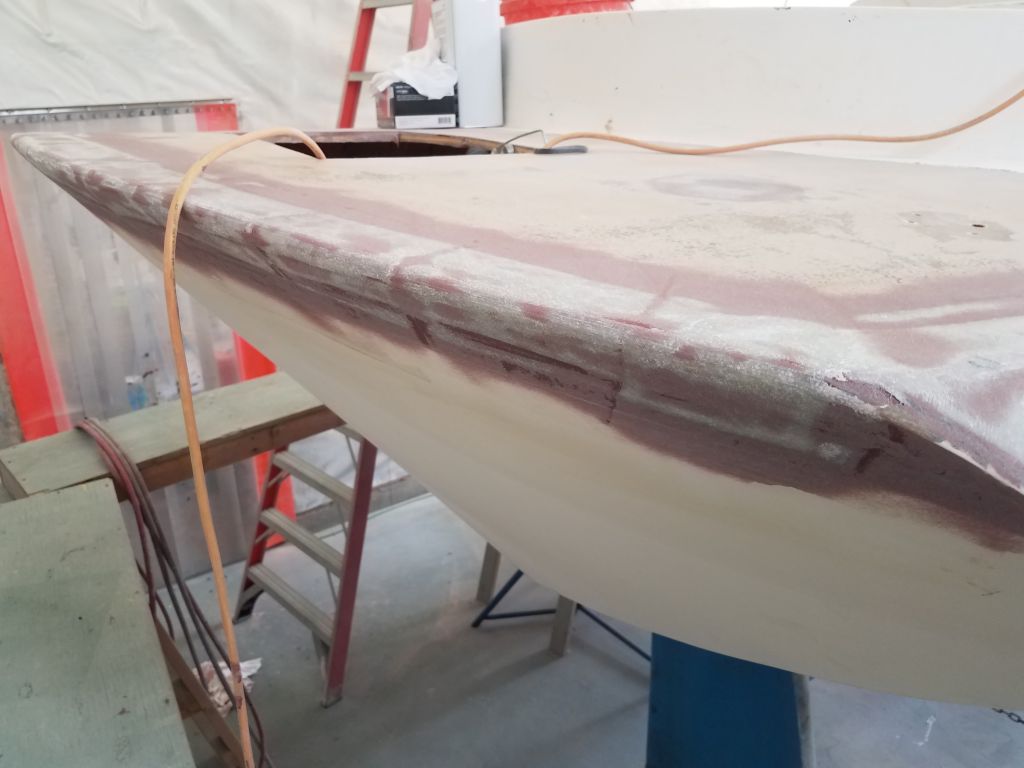
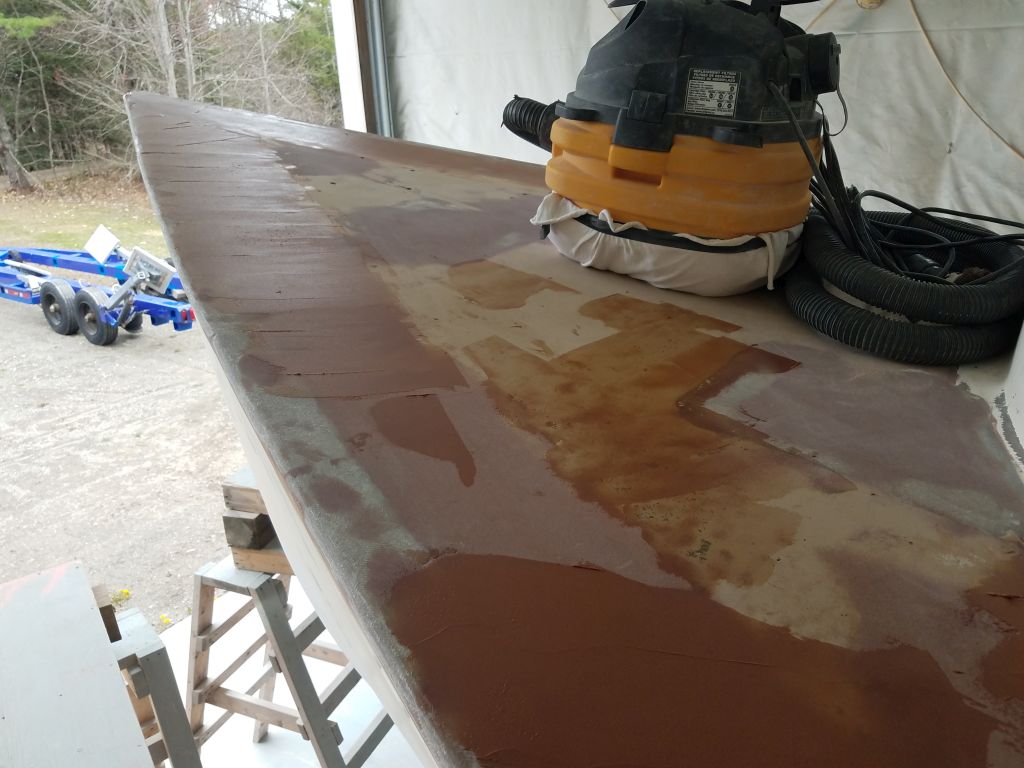
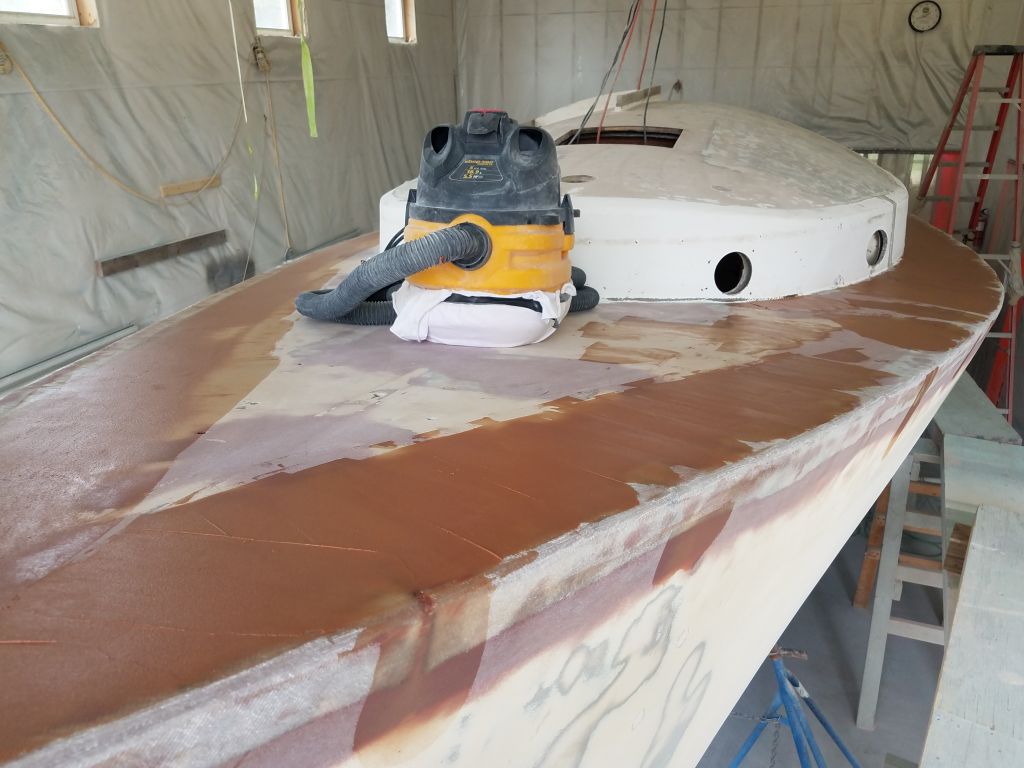
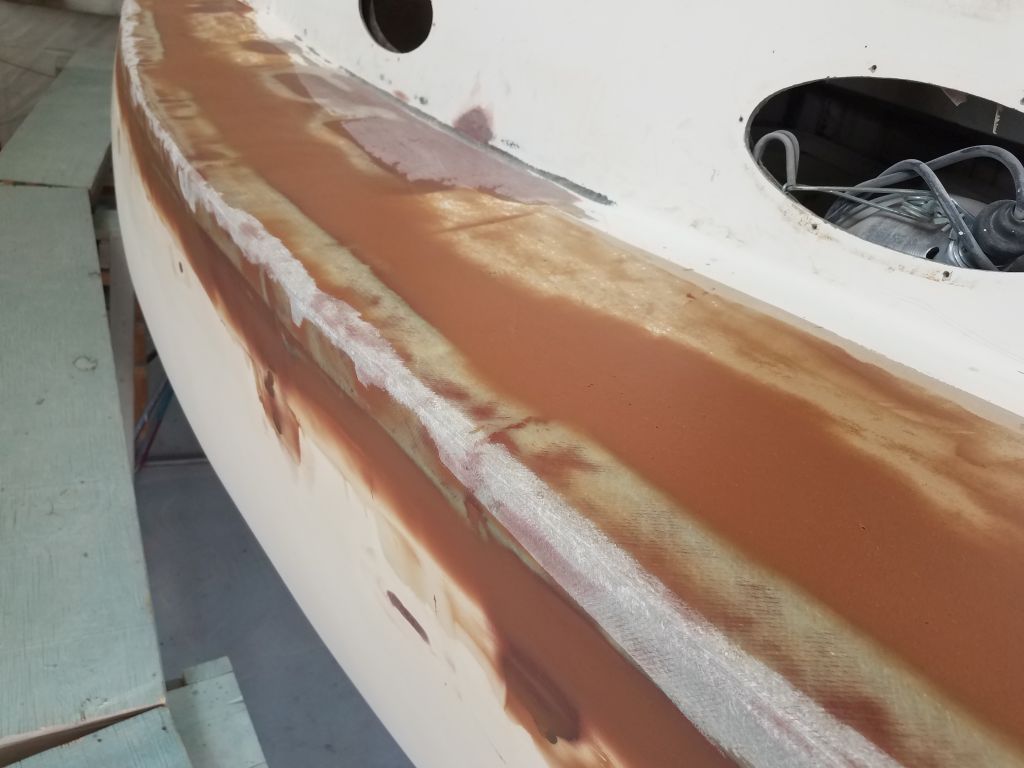
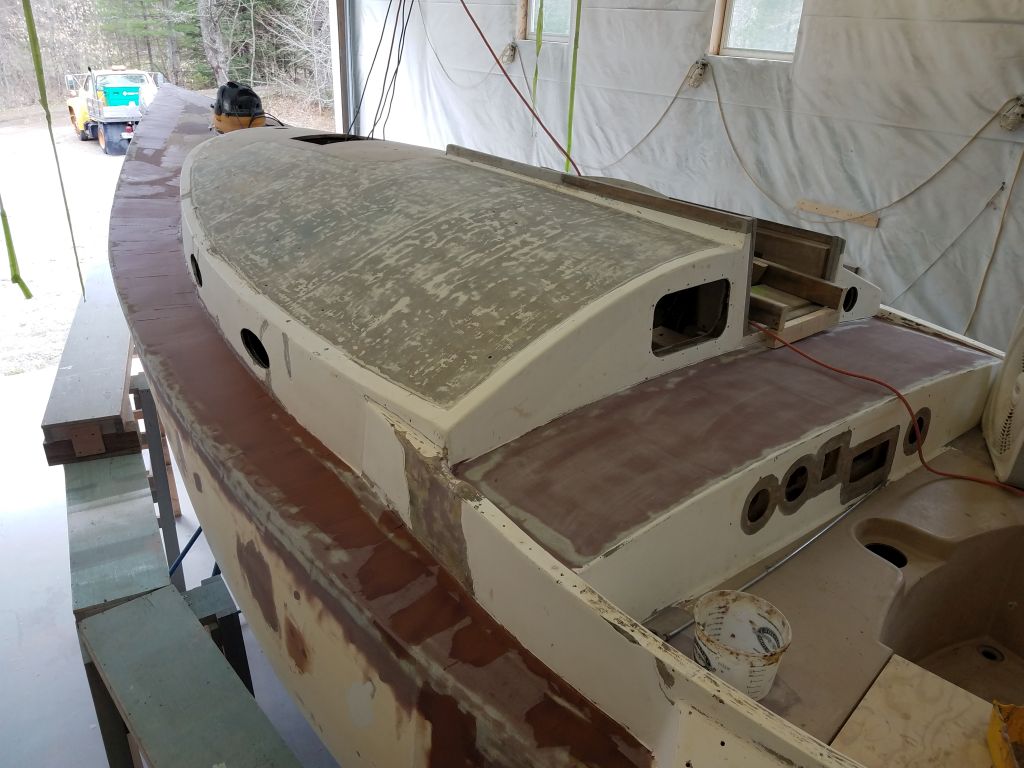
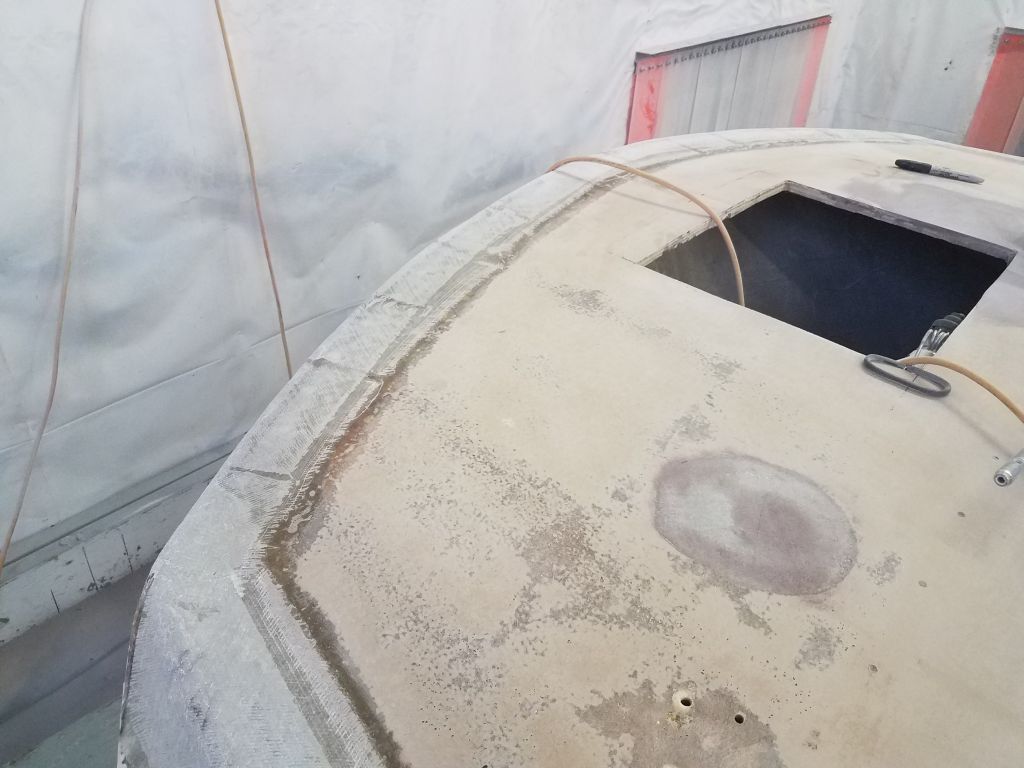
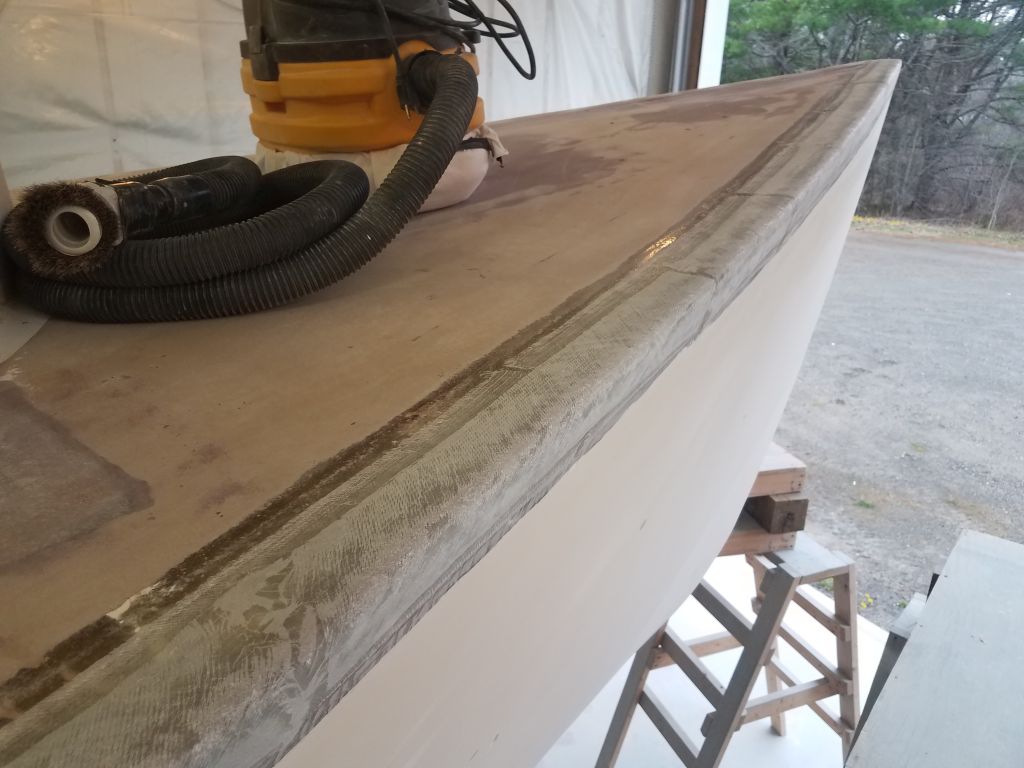
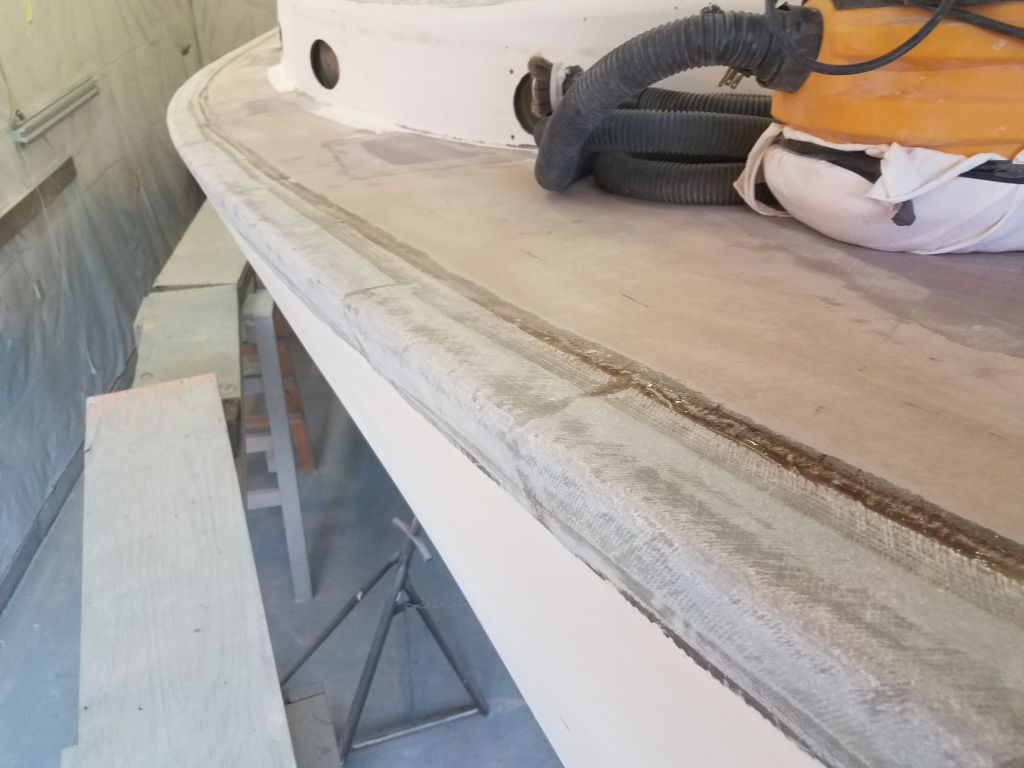
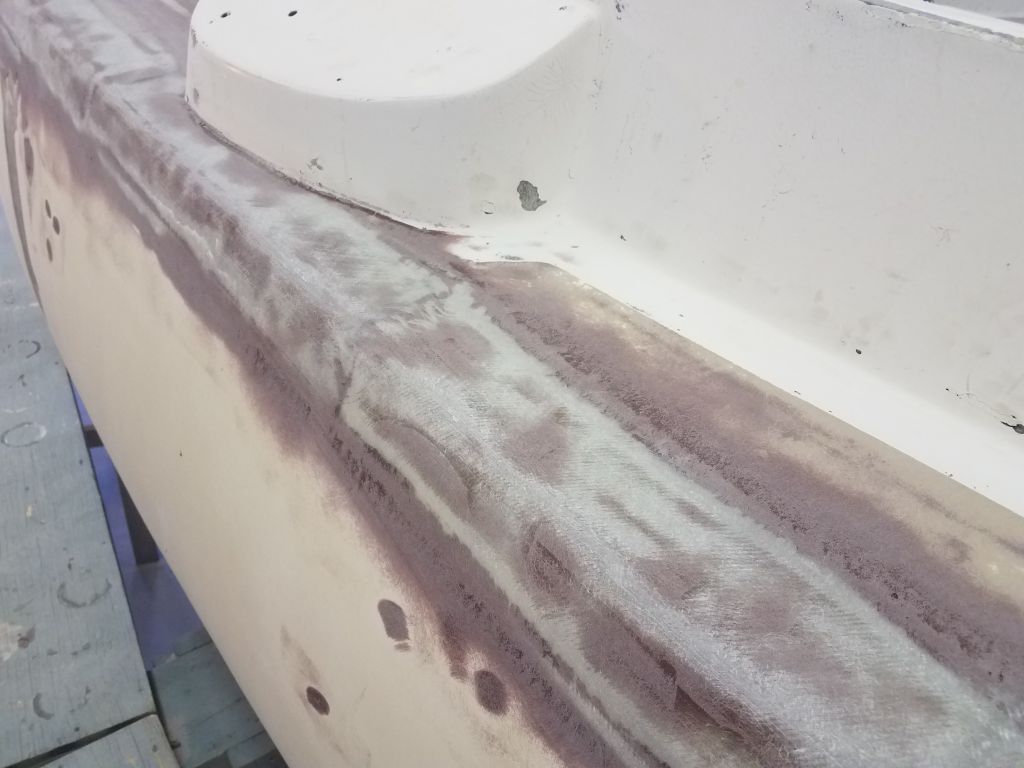
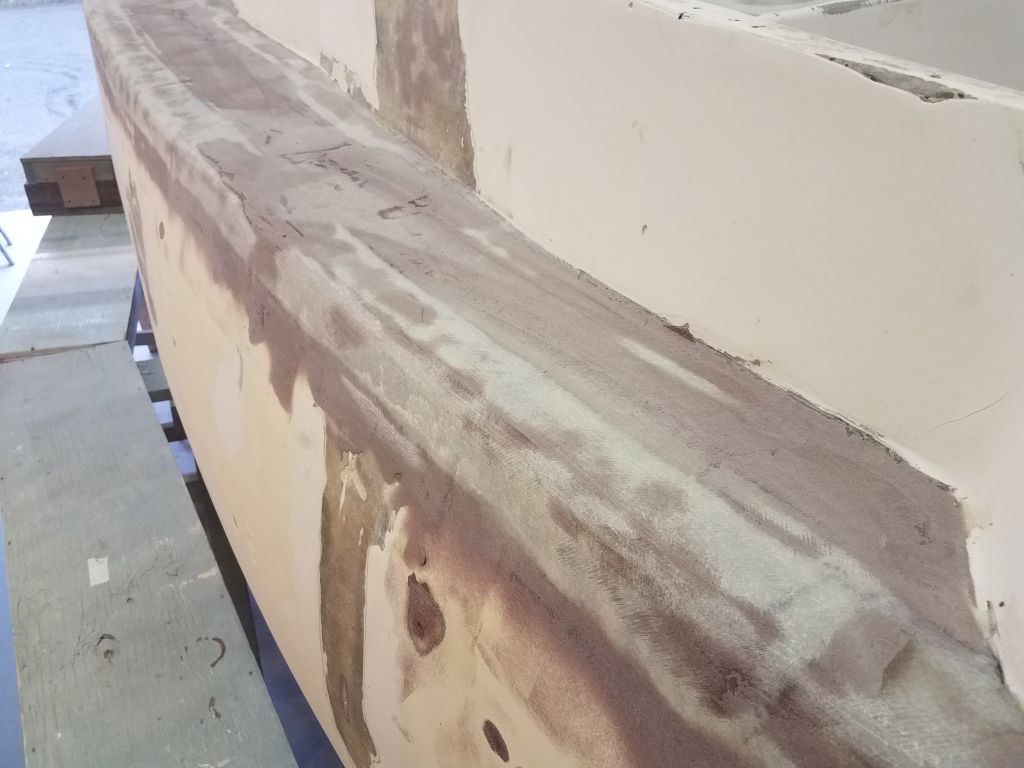
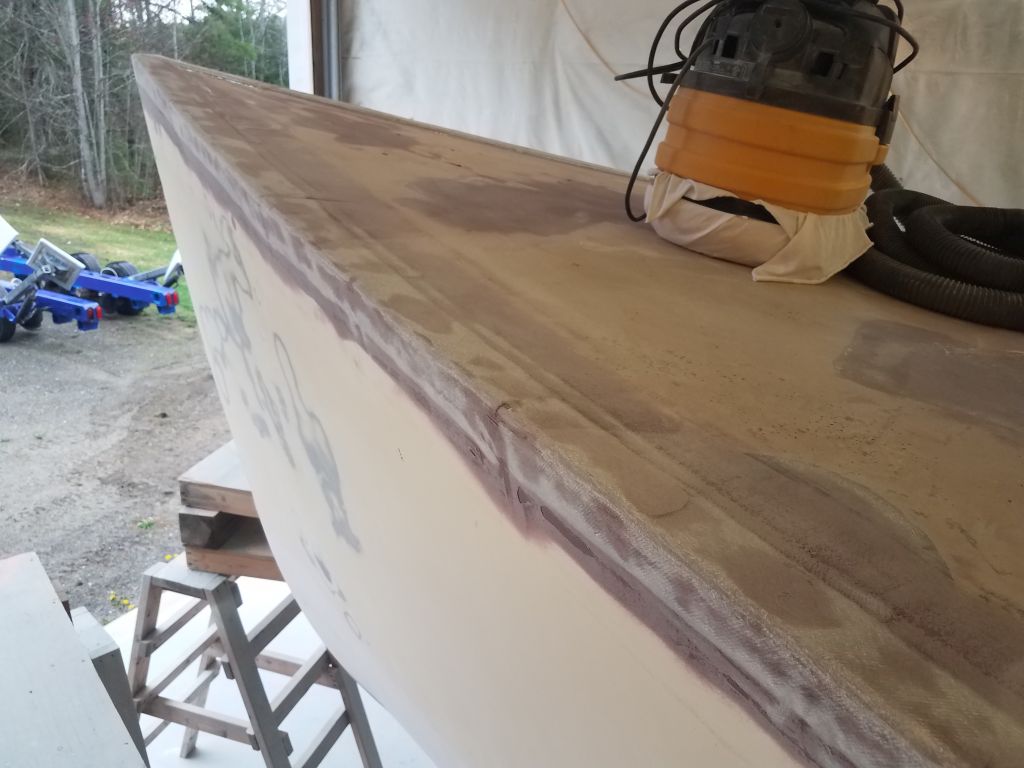
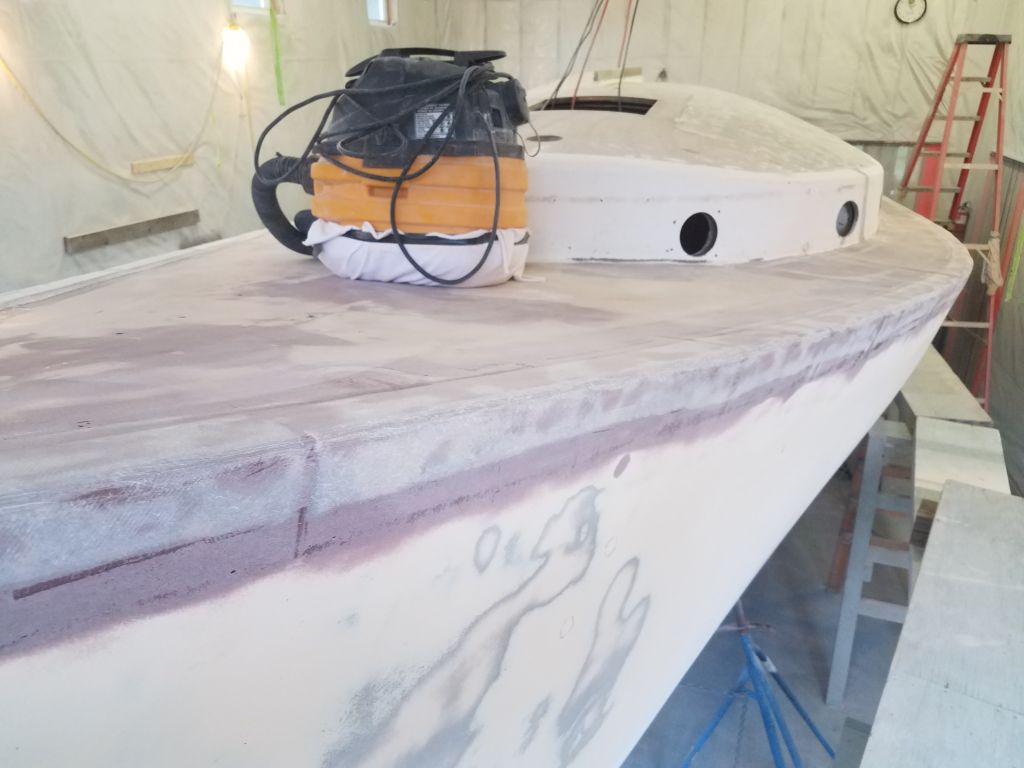
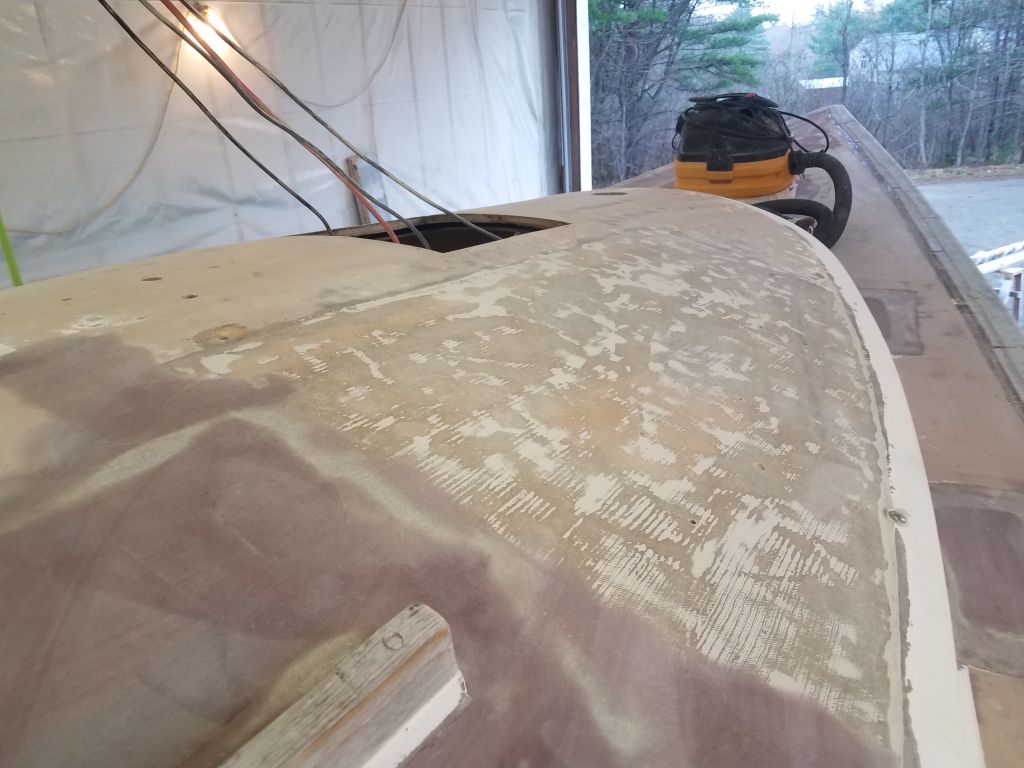
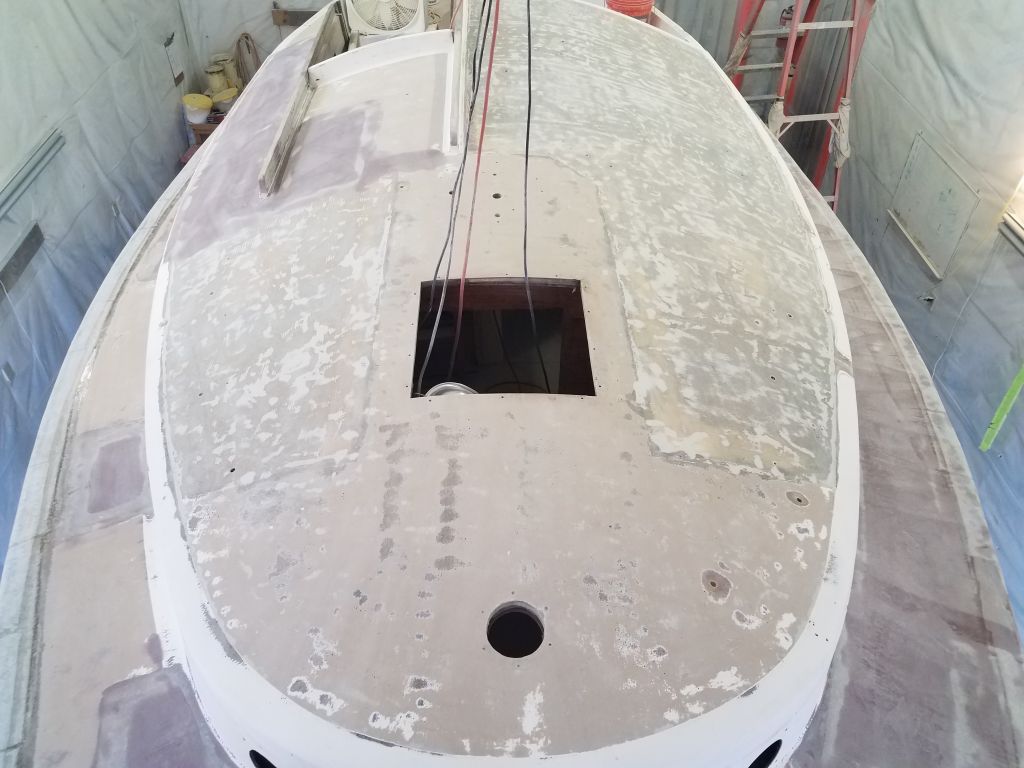
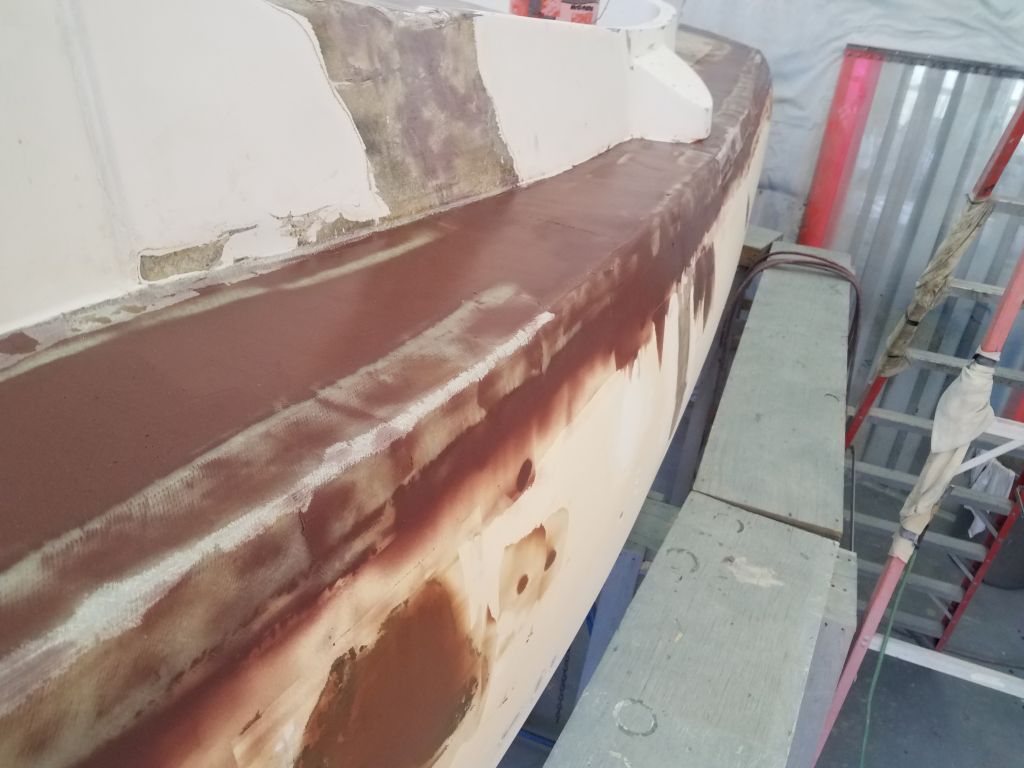
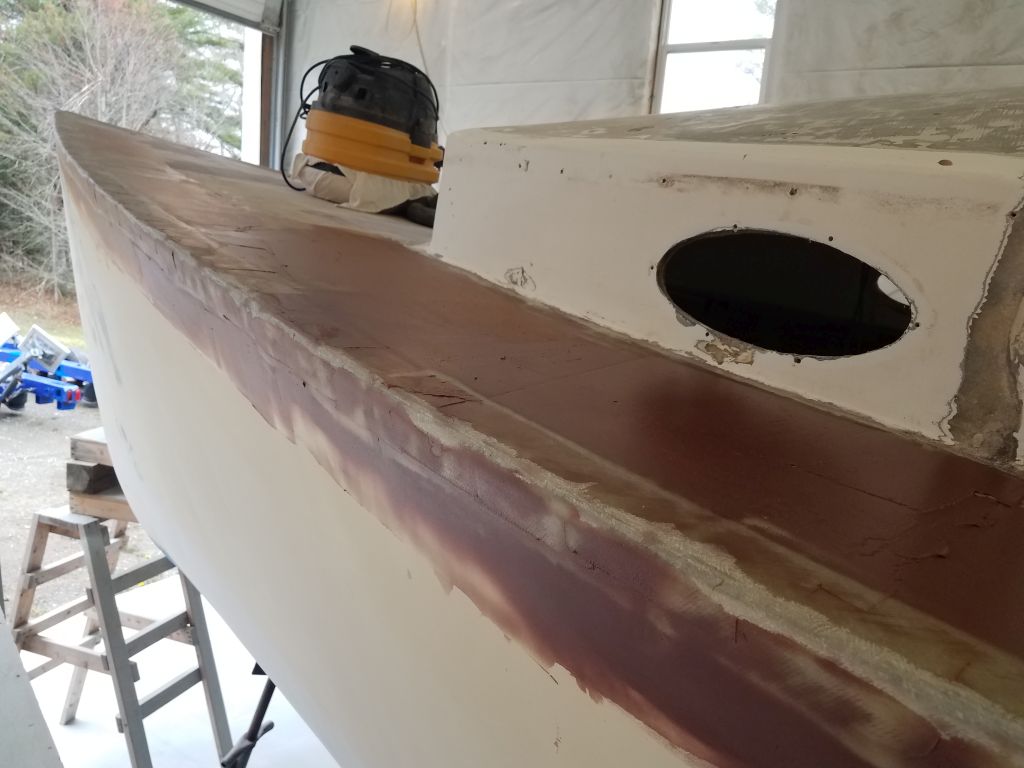
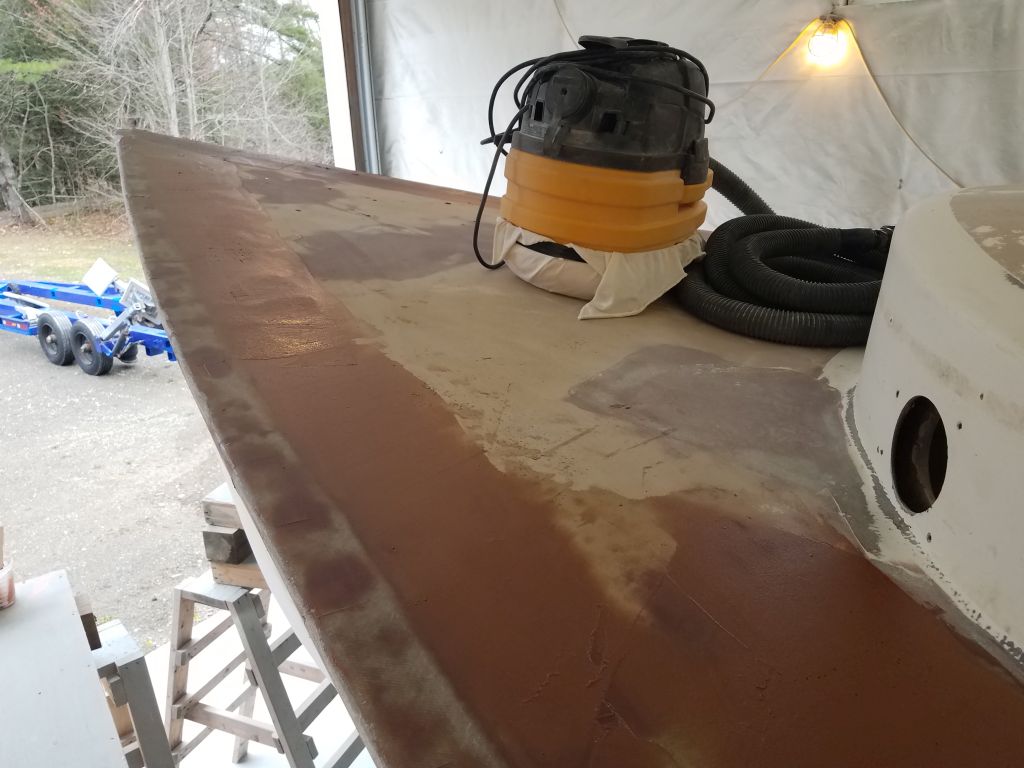
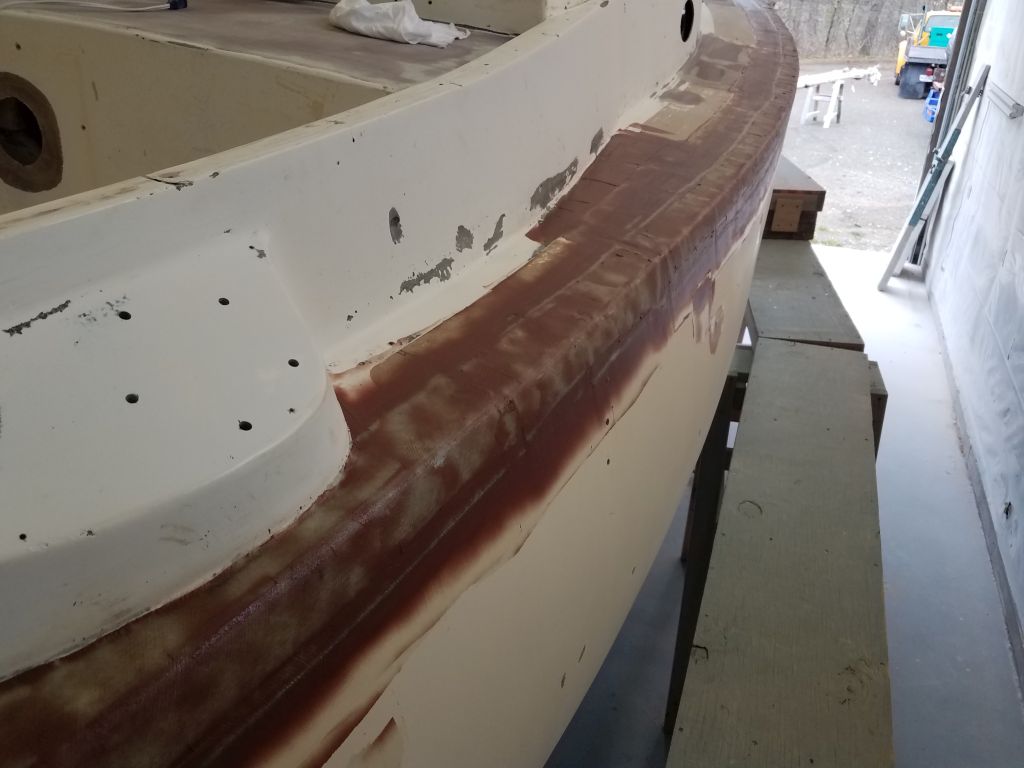
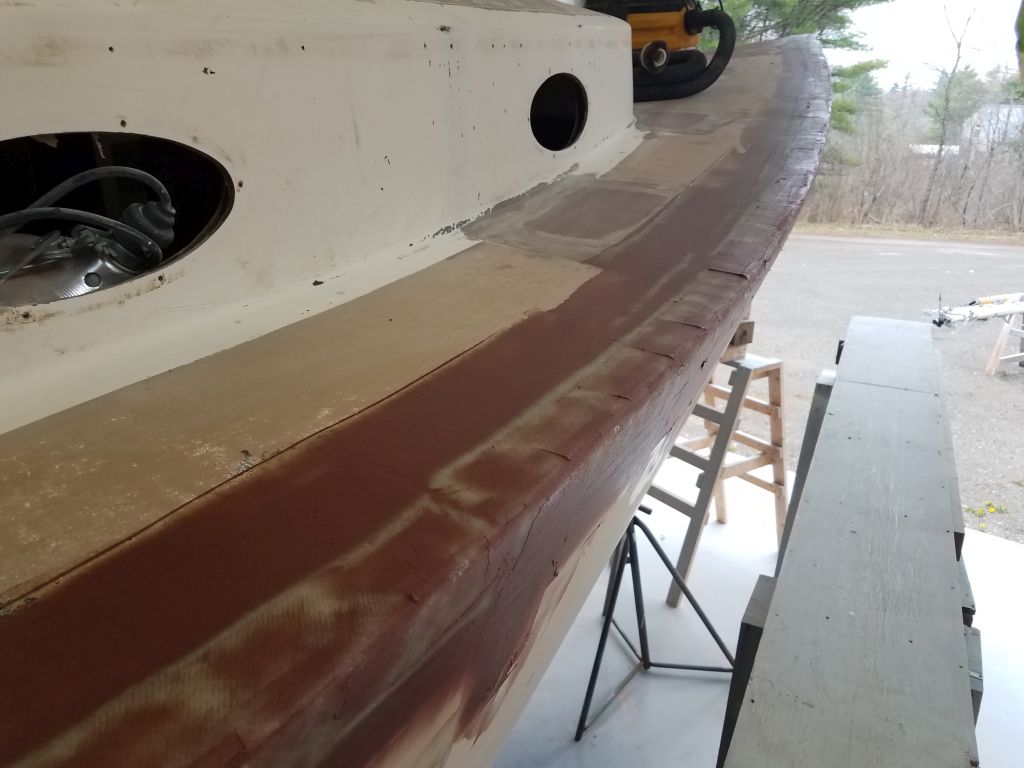
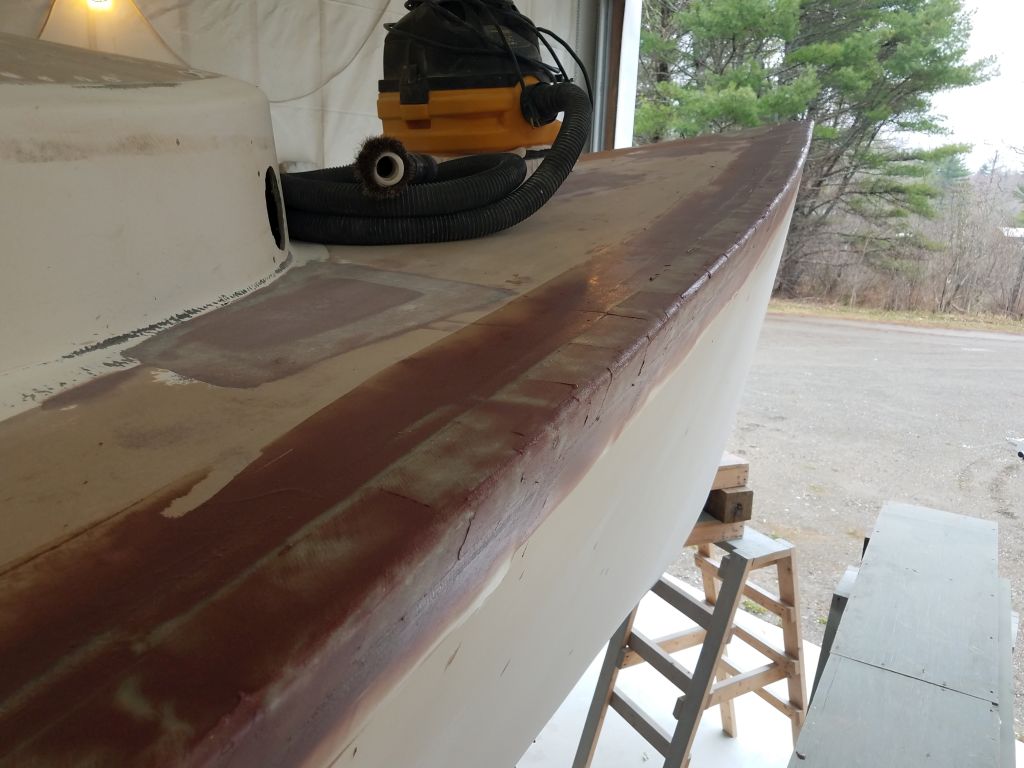
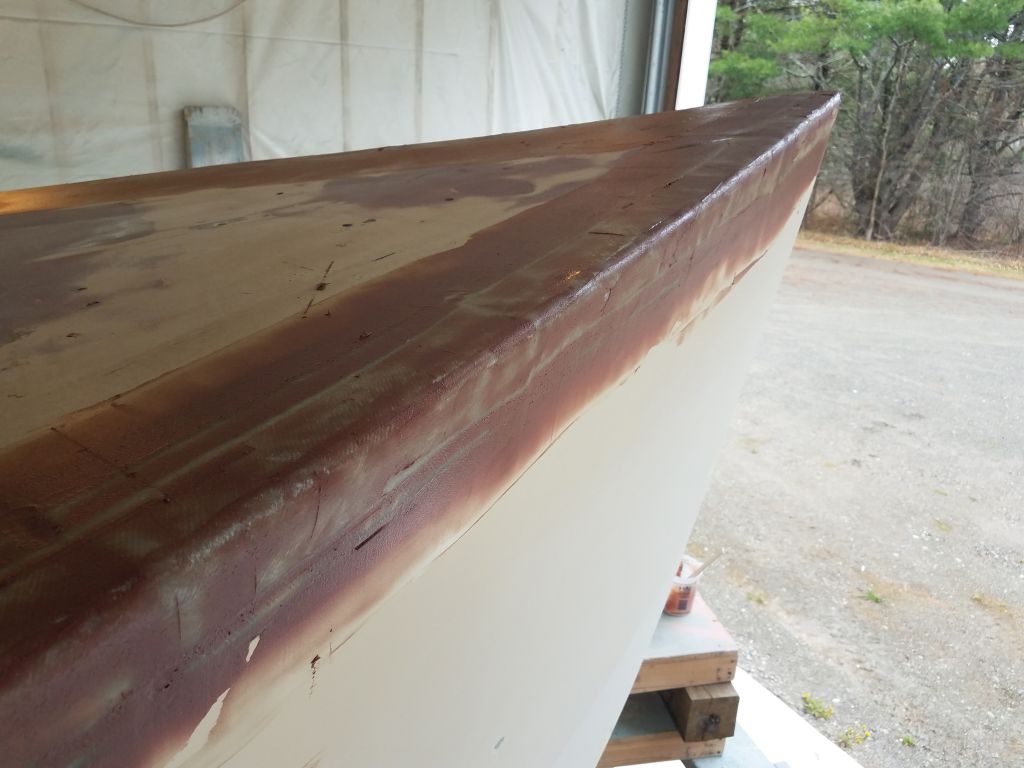
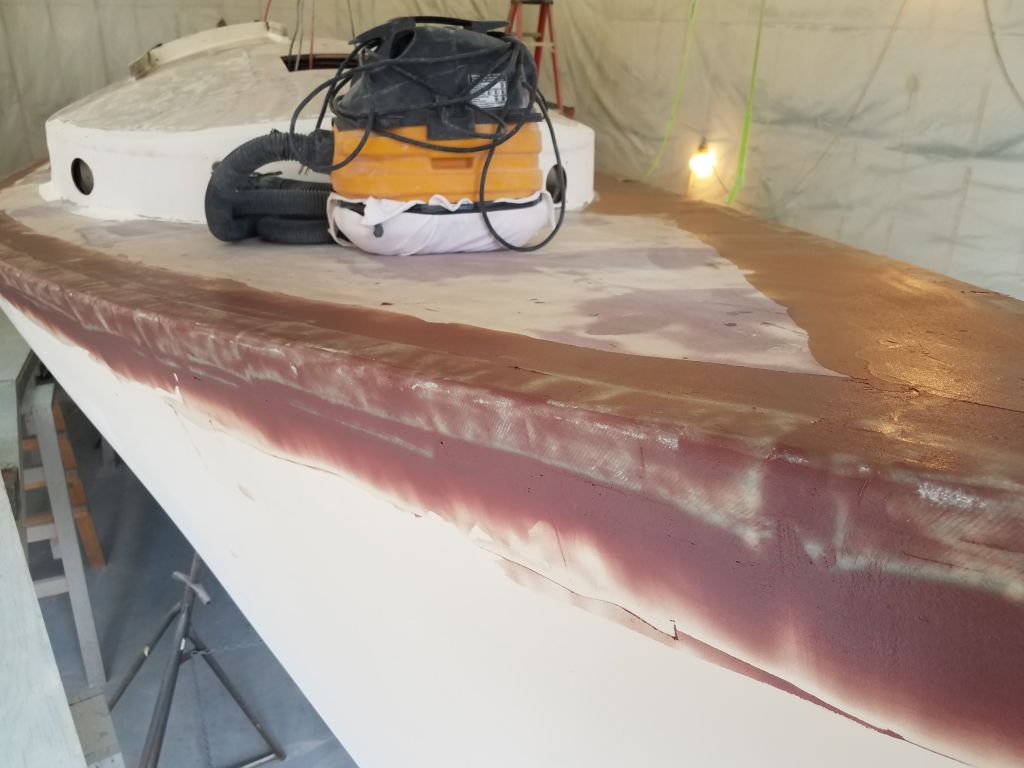
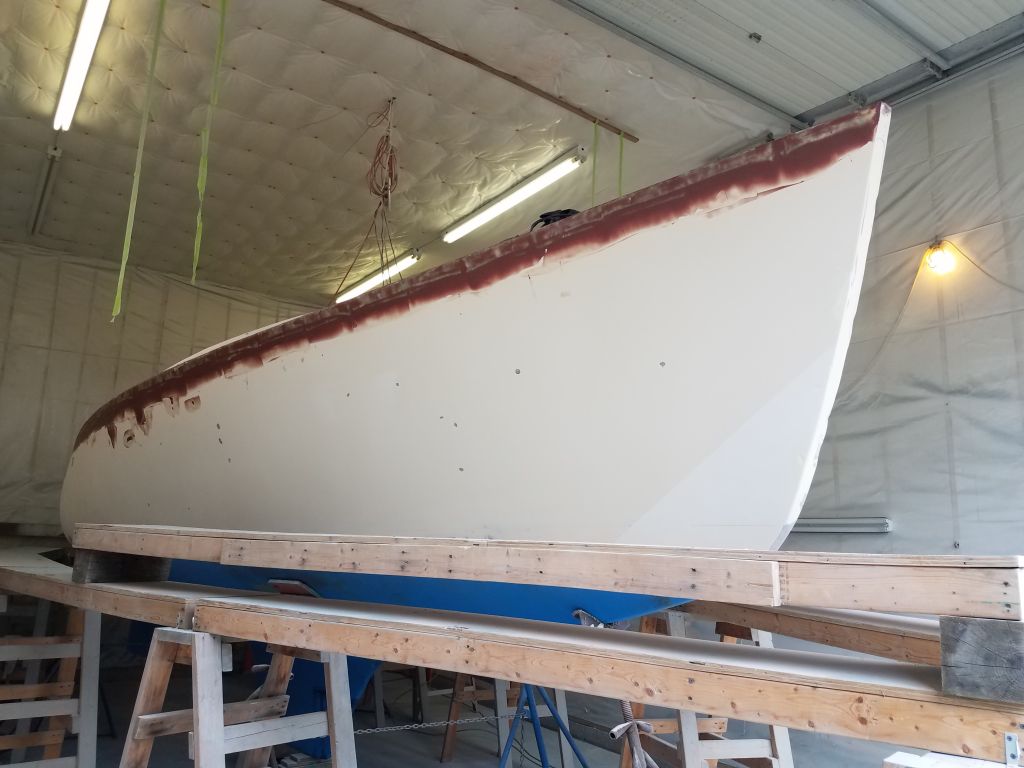
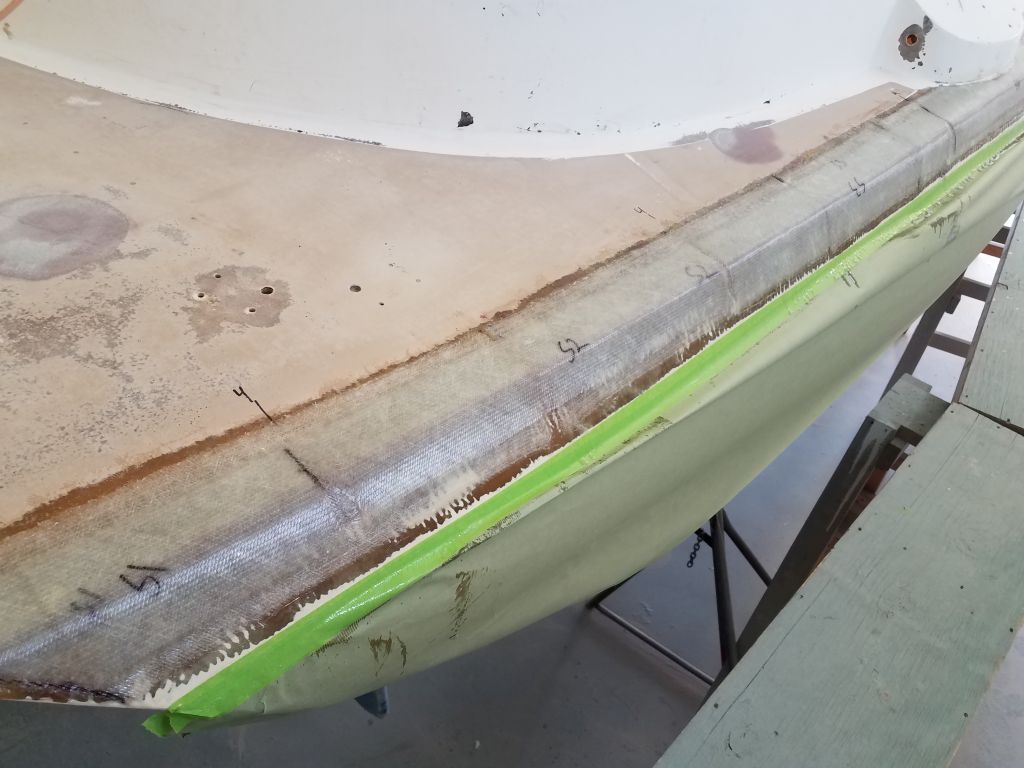
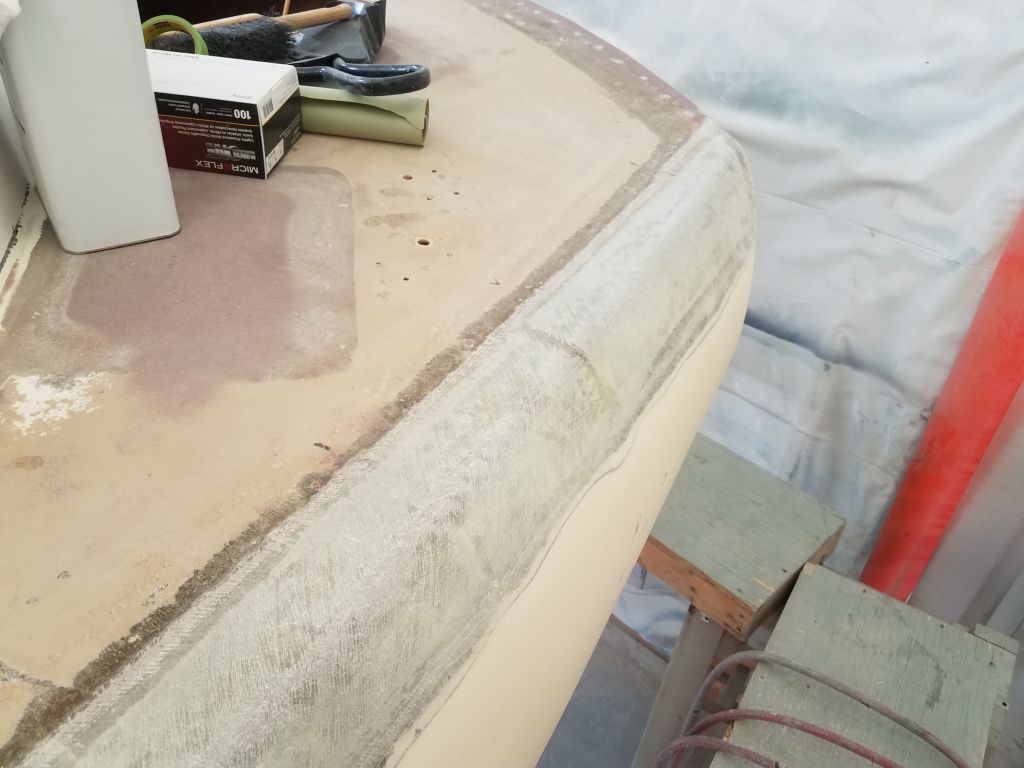
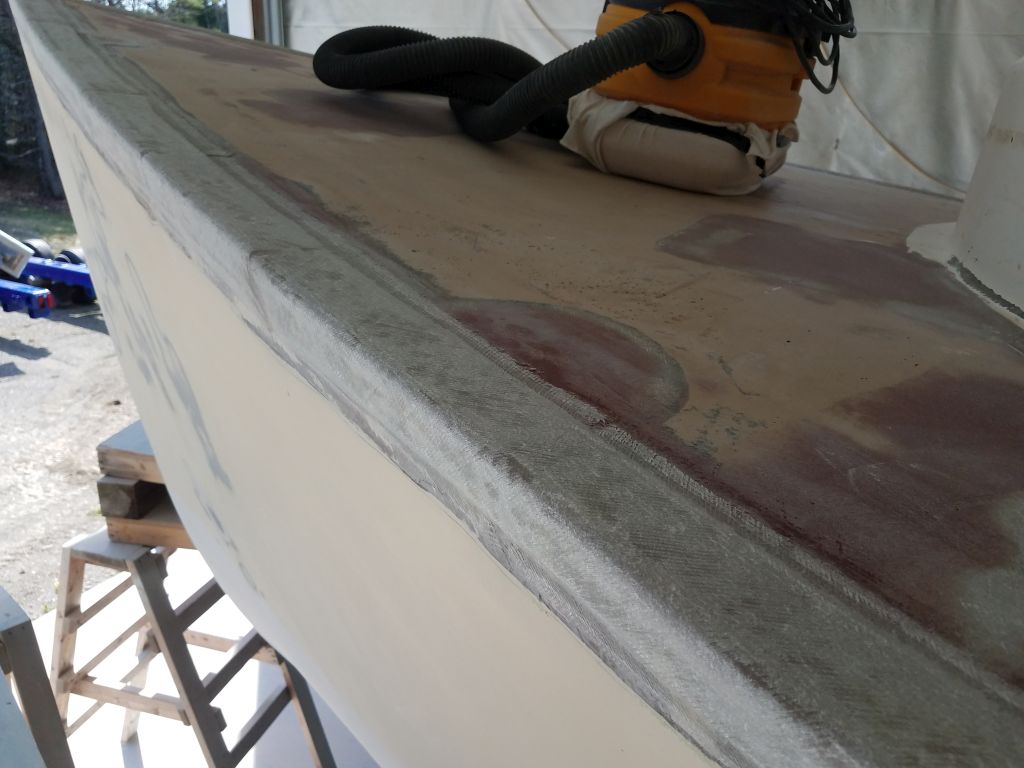
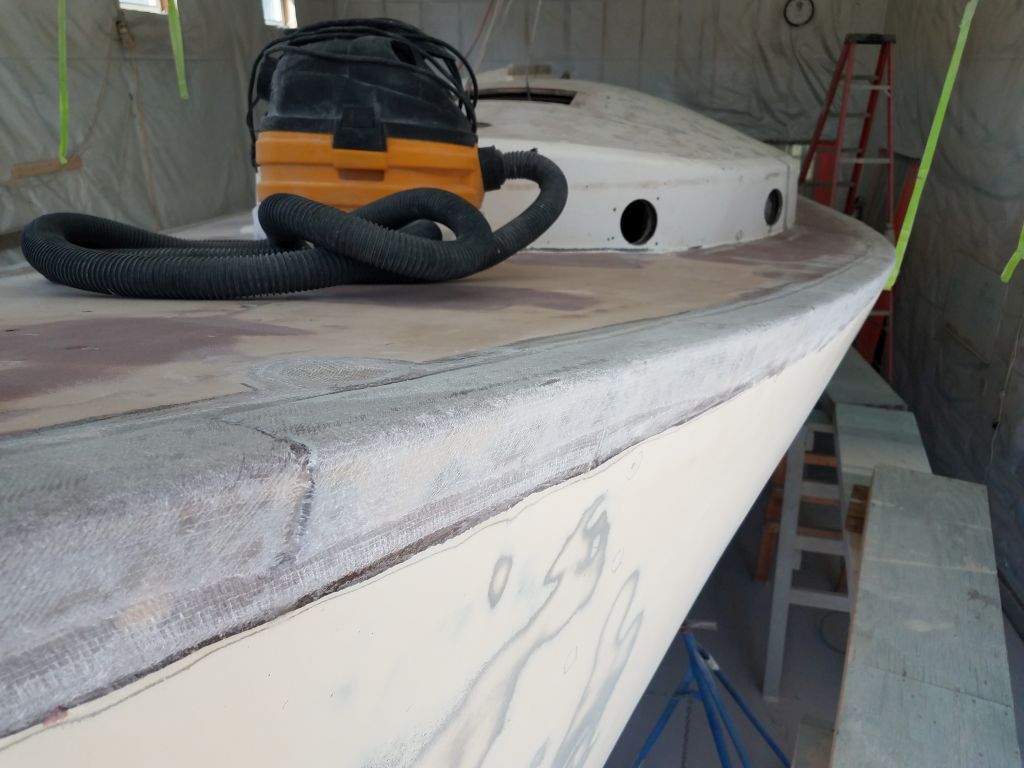
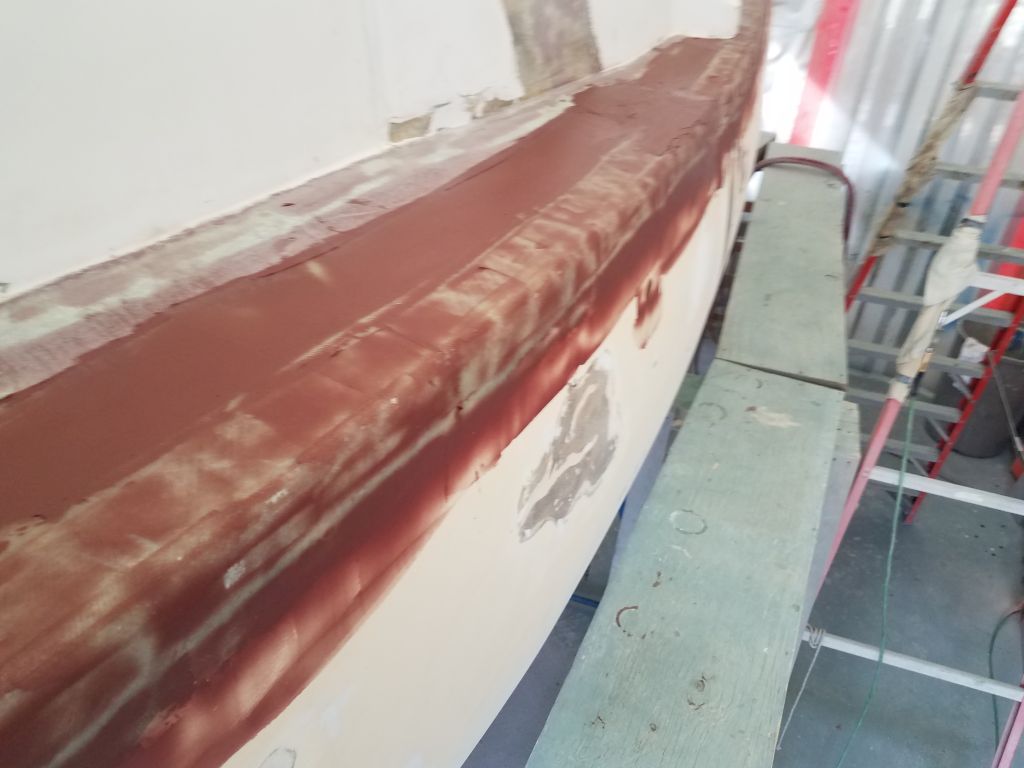
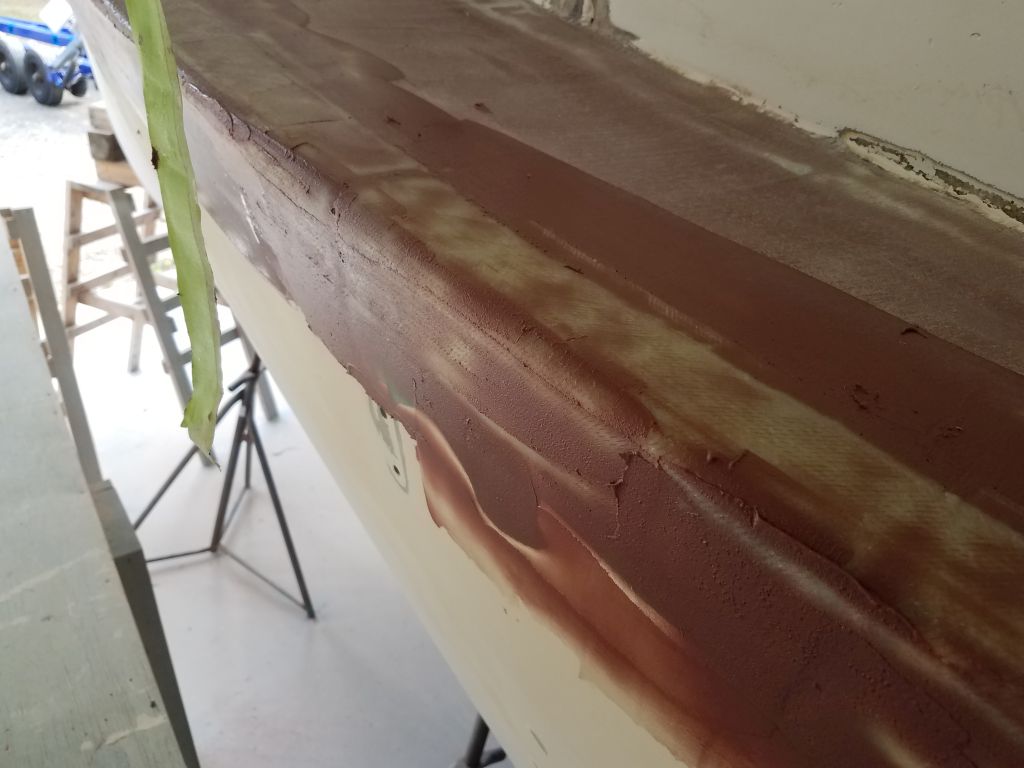
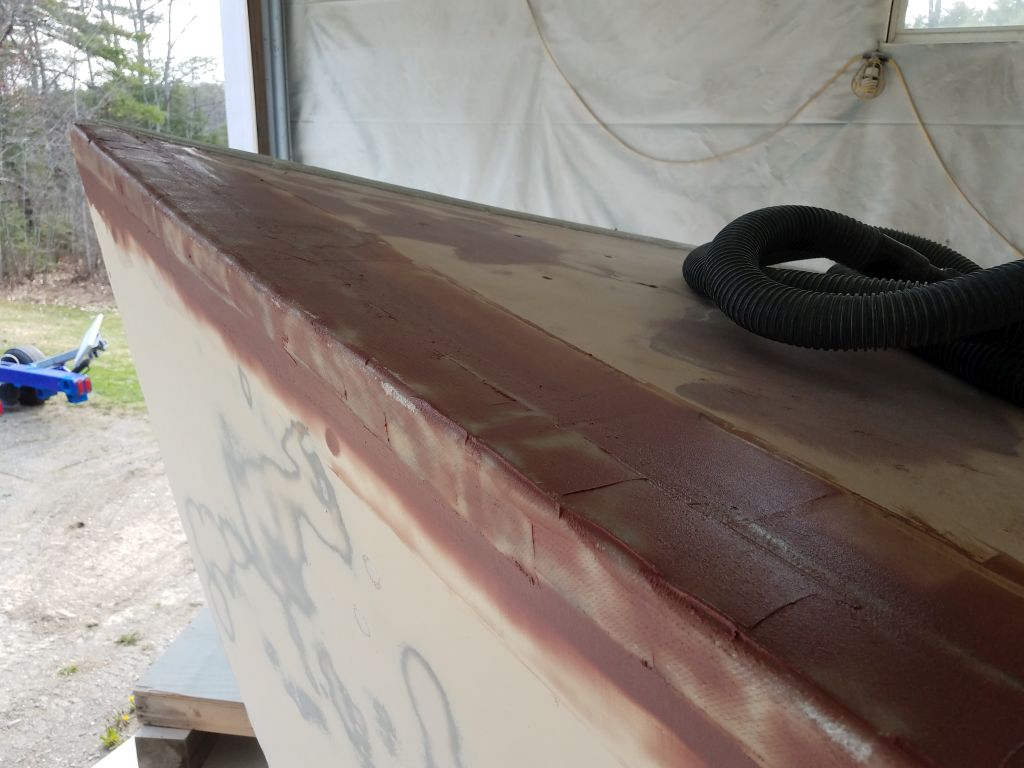
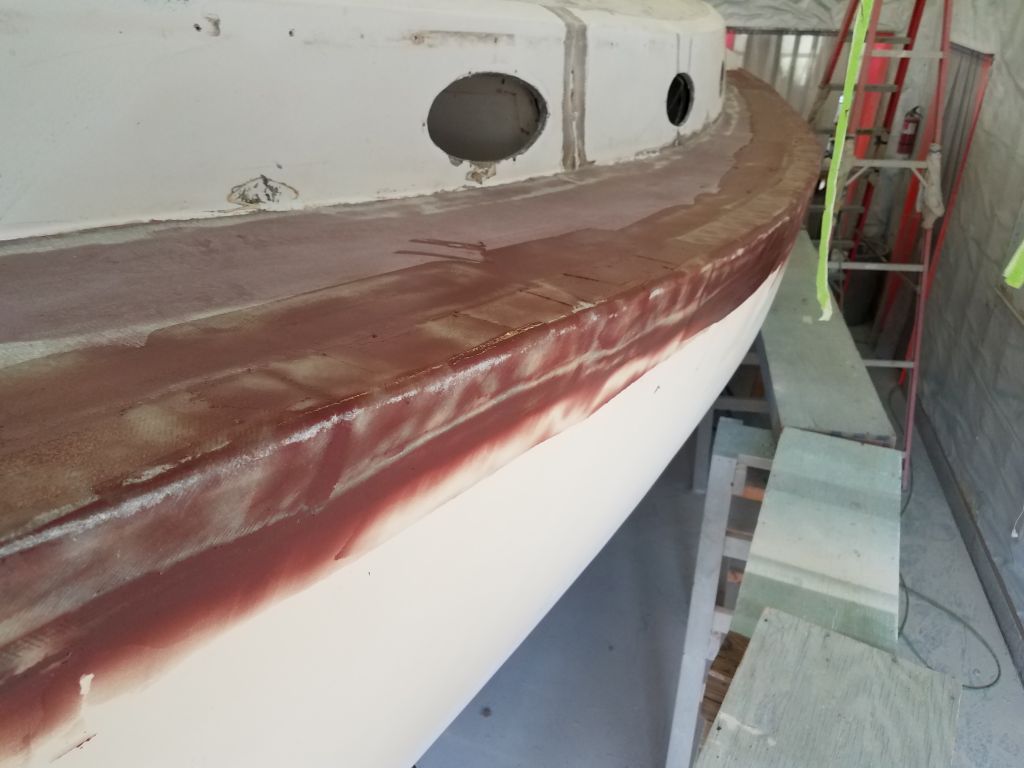
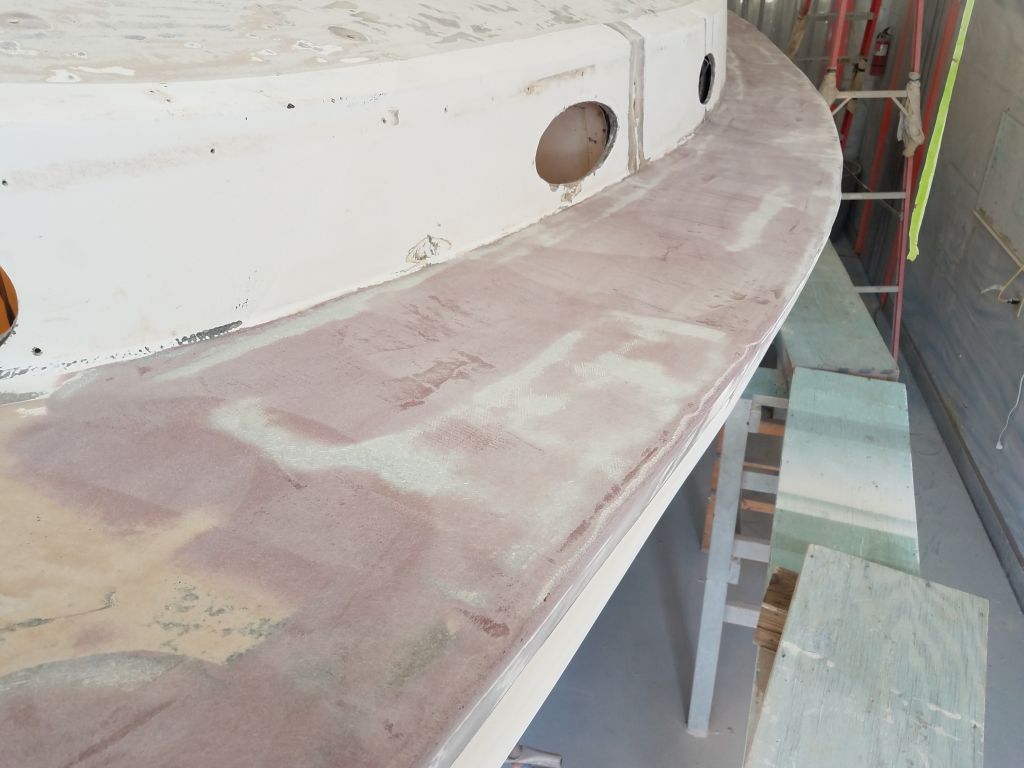
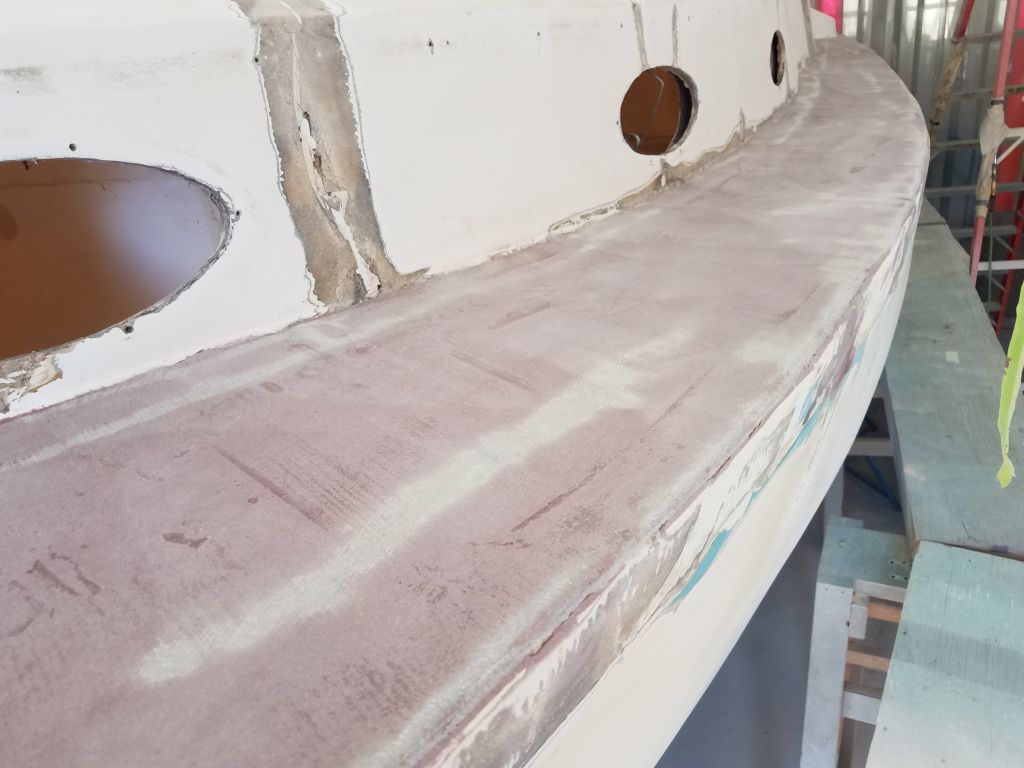
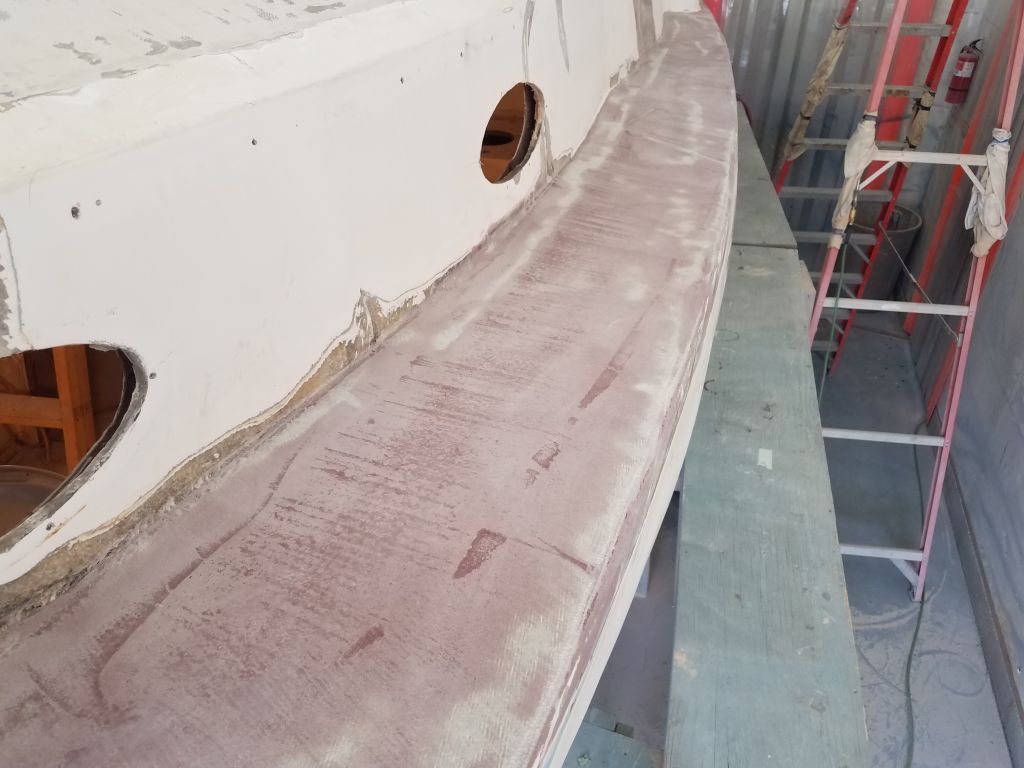
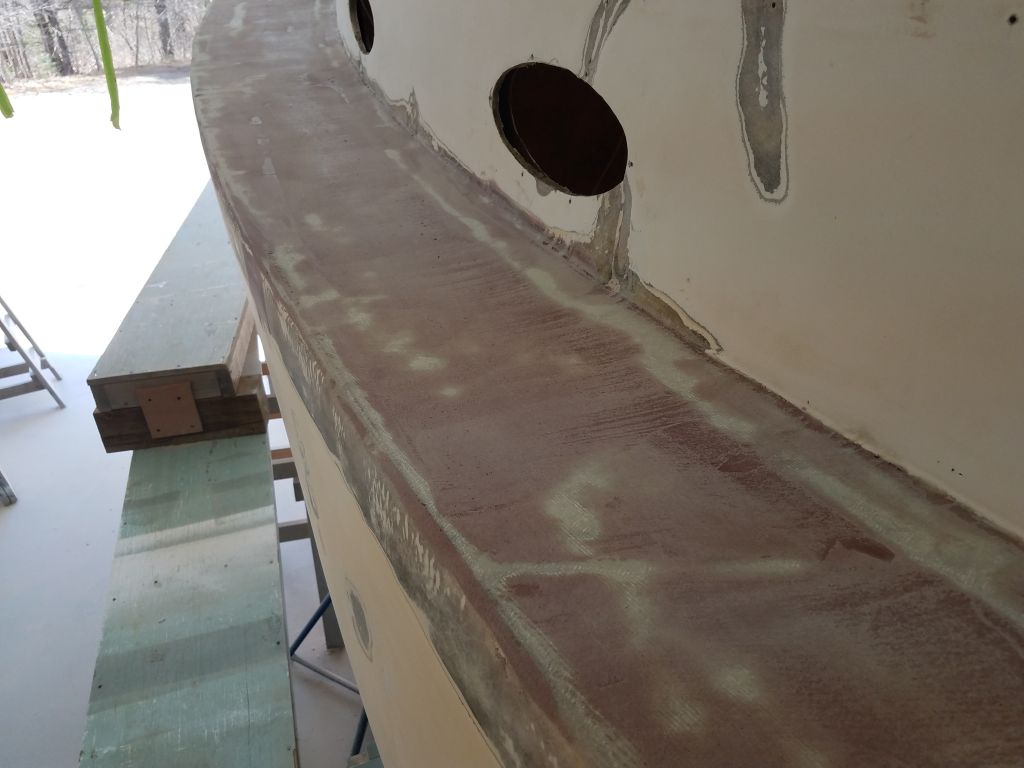
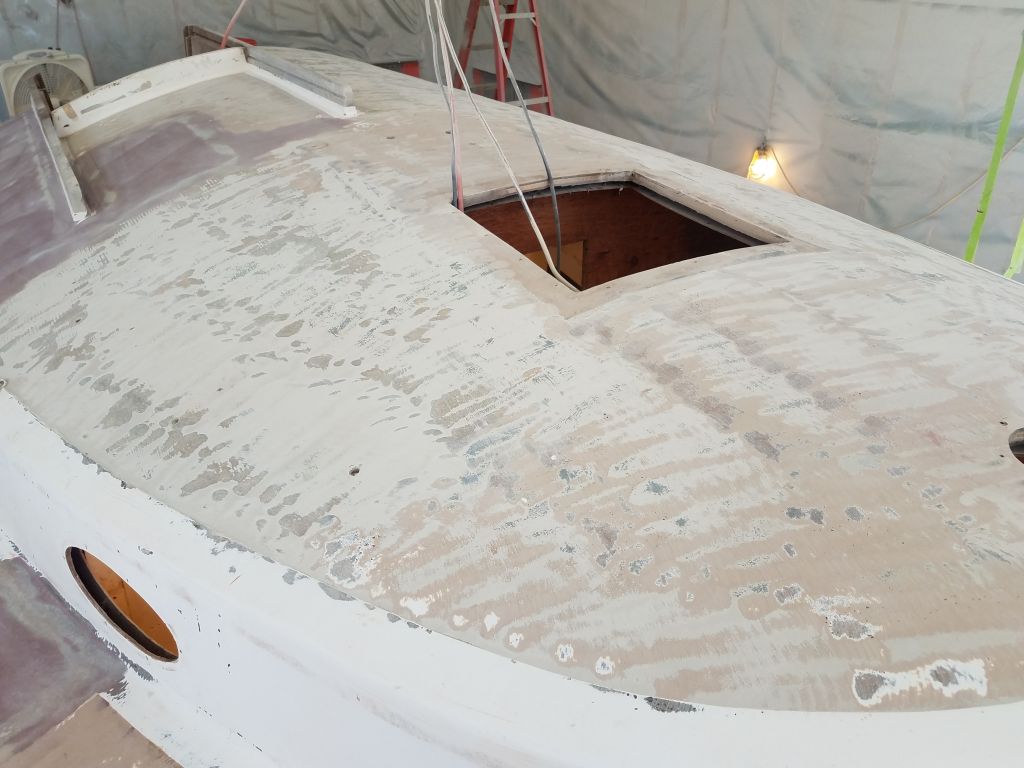
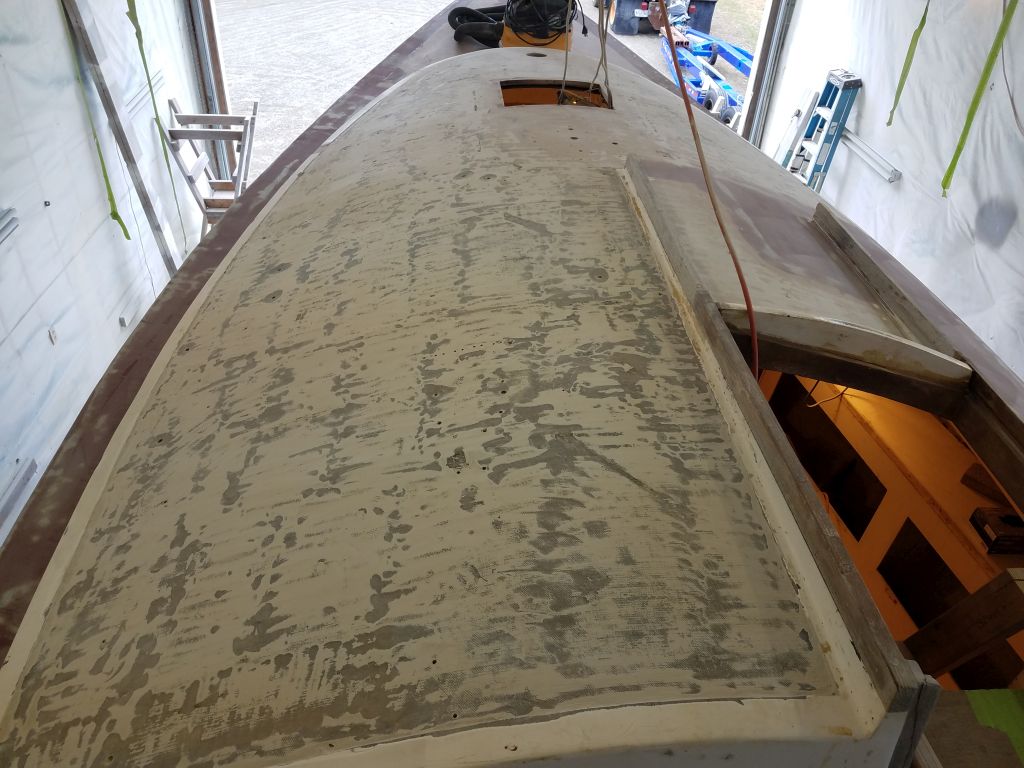
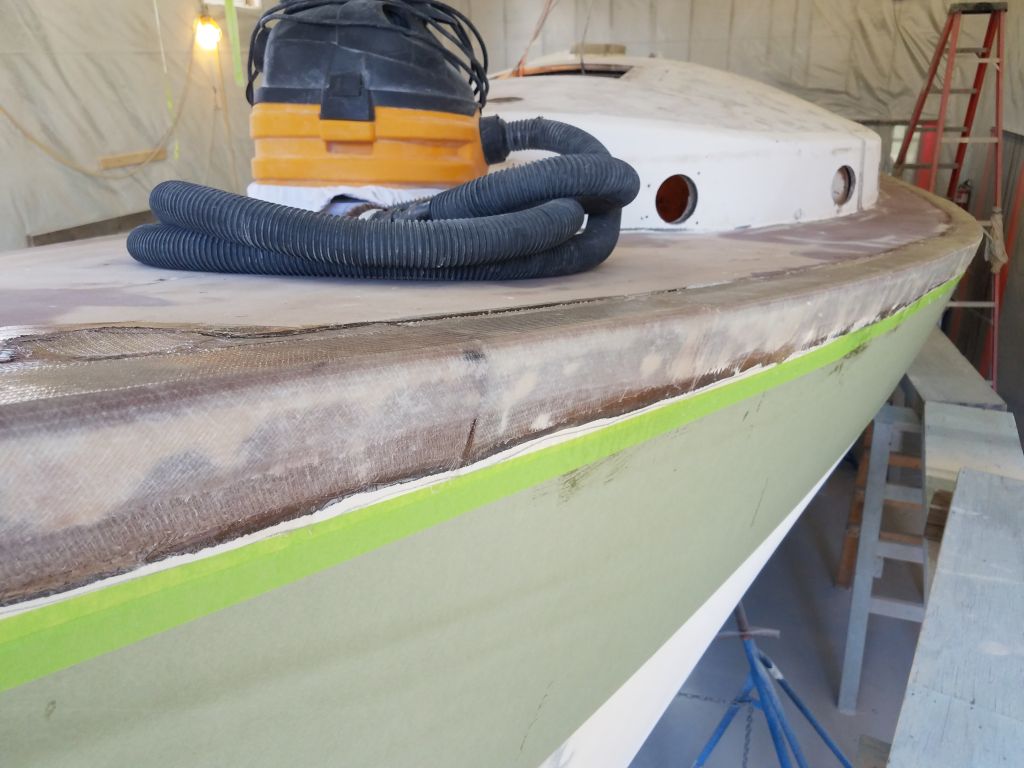
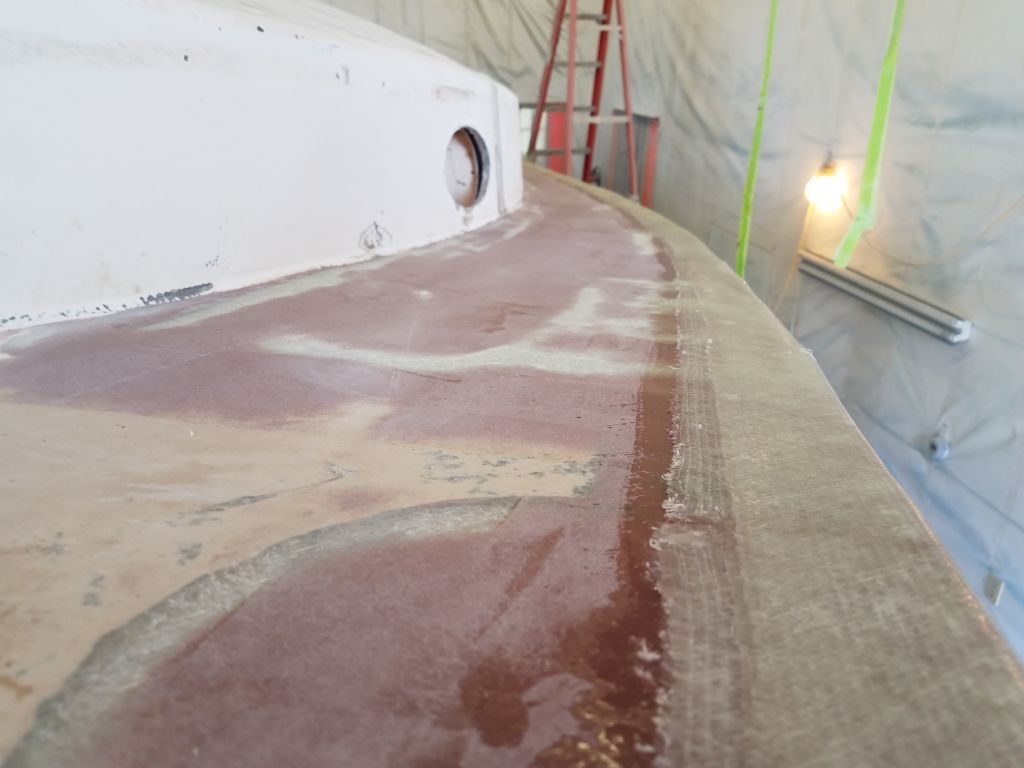
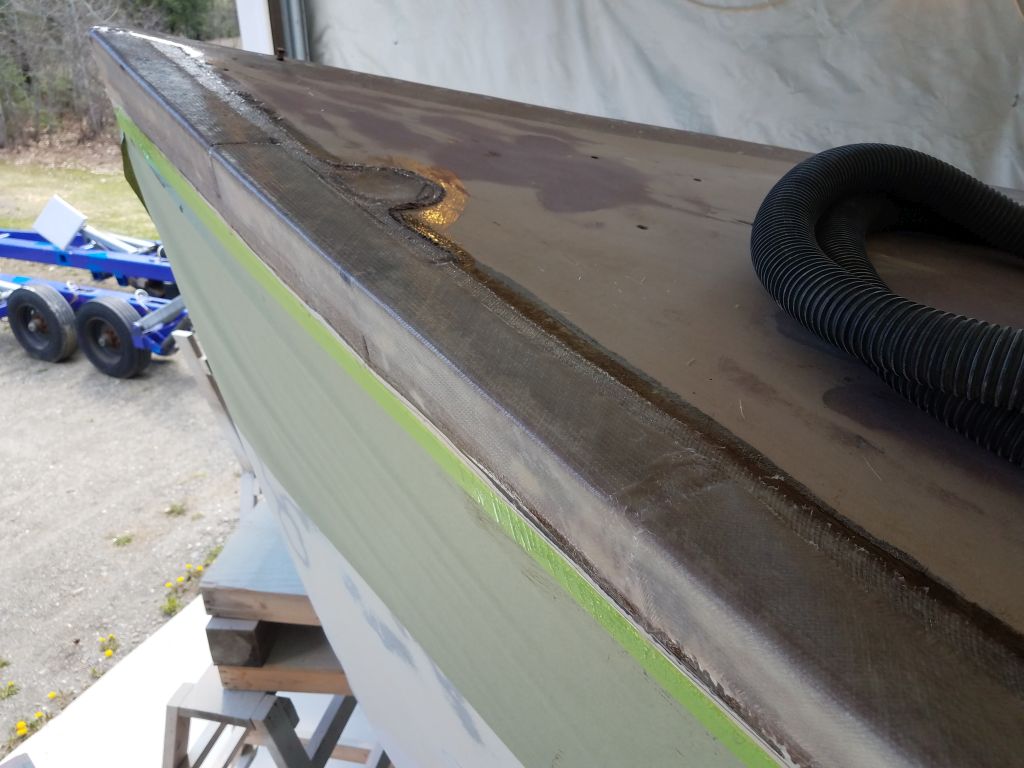
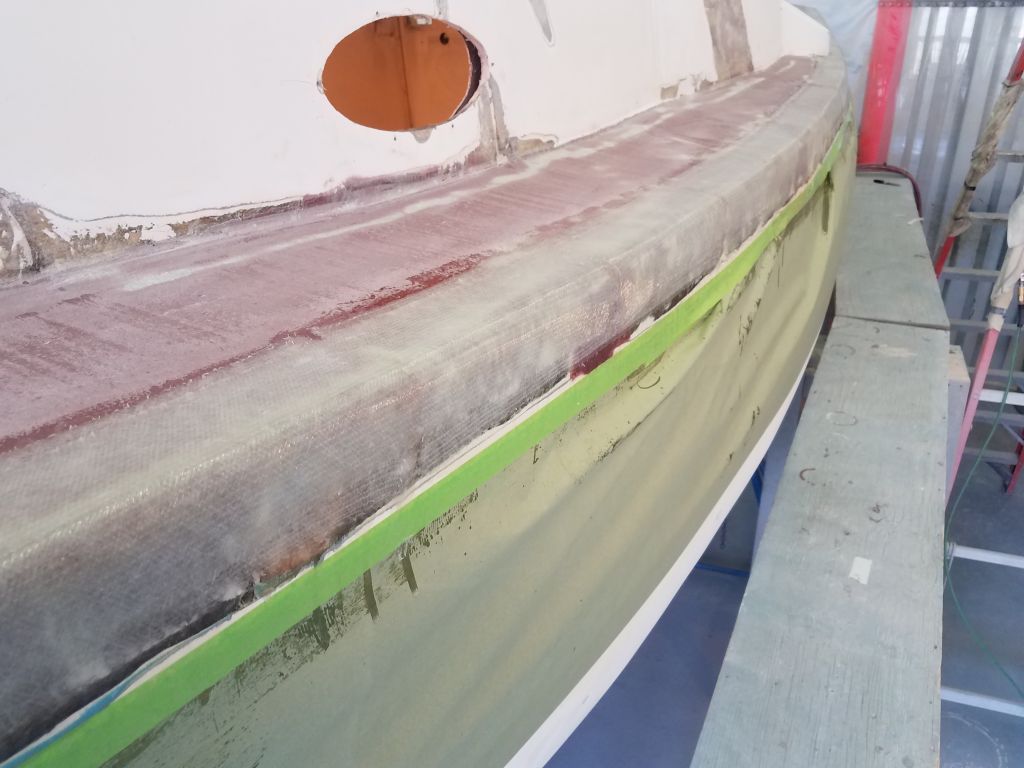
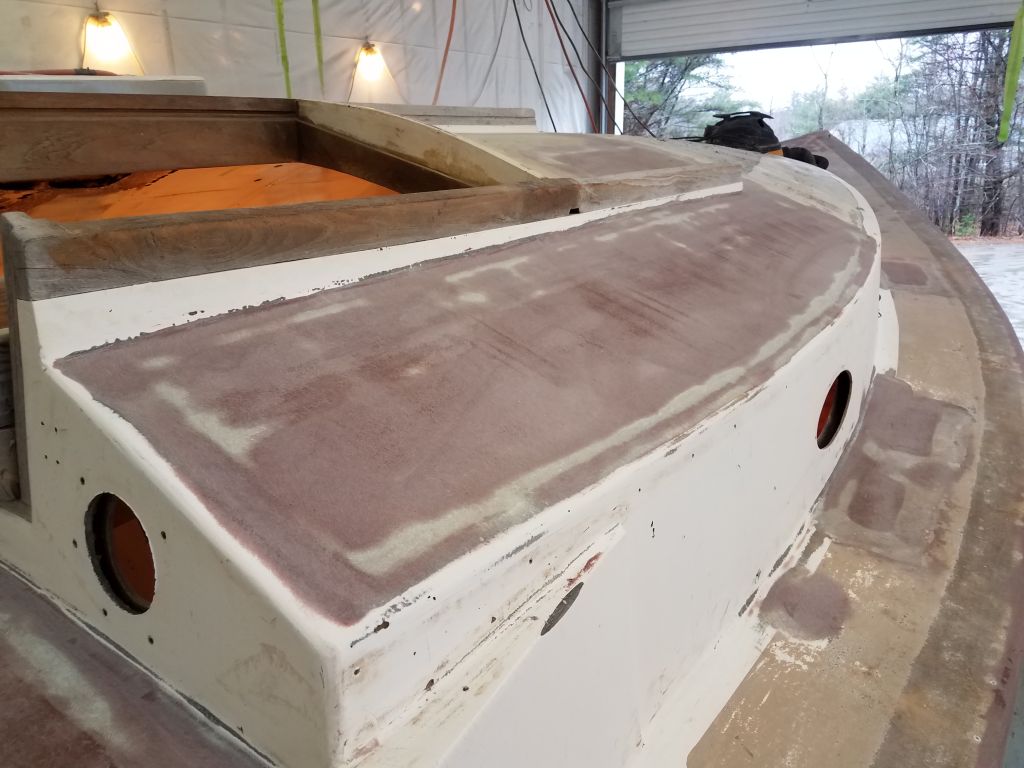
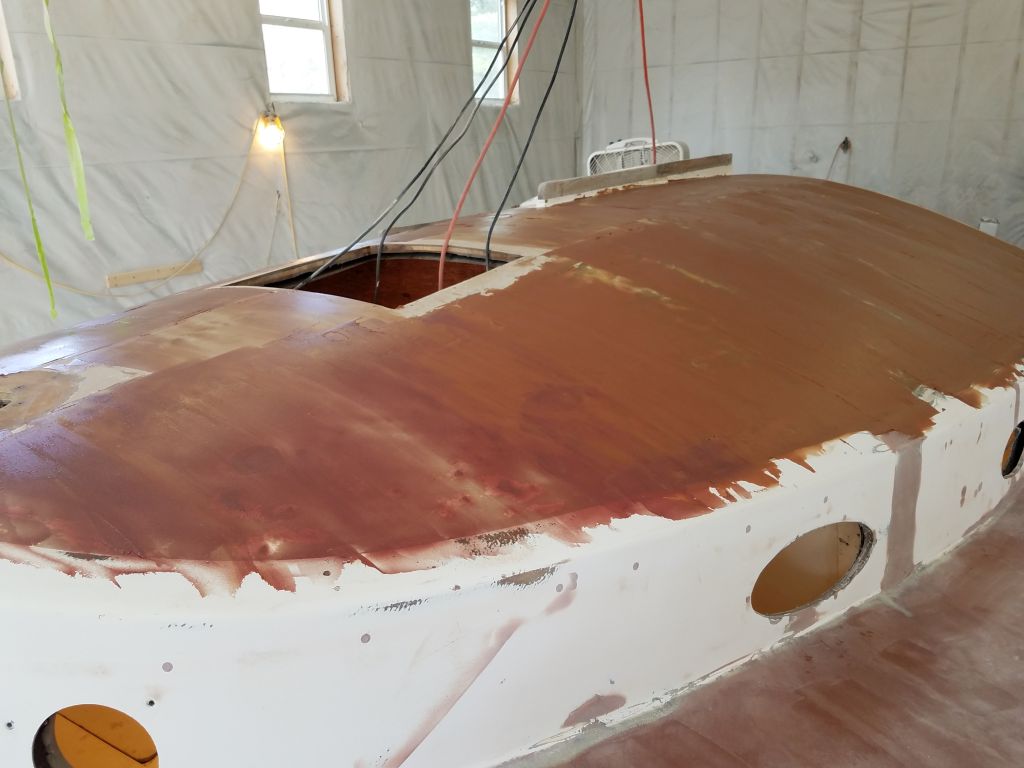
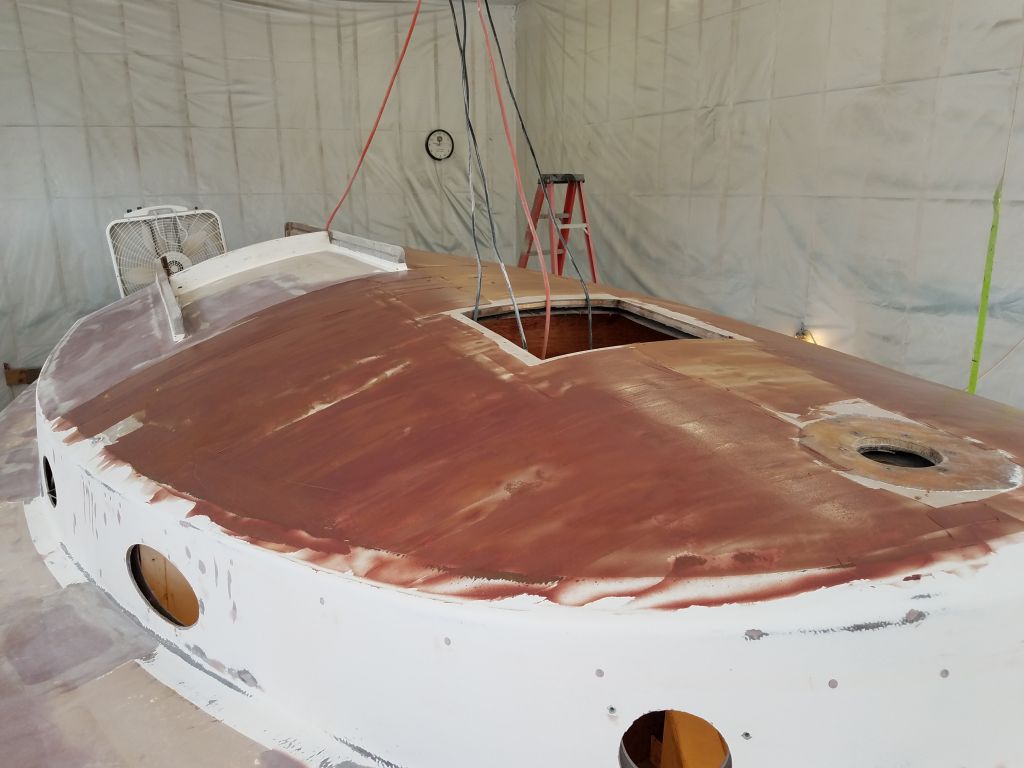
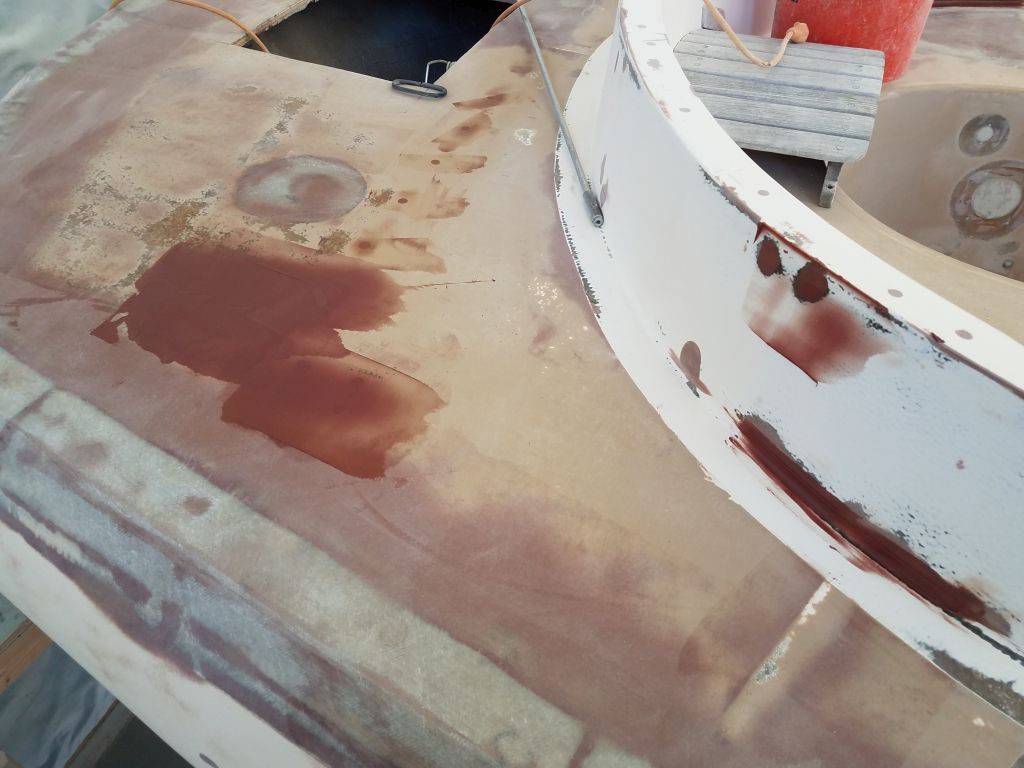
After a day away from the shop working at a remote project, I got back to the deck and hull work with the usual round of sanding, this time mainly with a less aggressive finishing sander now that most of the fairing work was in its final stages. There’d be additional, finer rounds of sanding soon ahead, but for the moment most deck areas were pretty much where they needed to be, other than some minor lows still requiring filling.


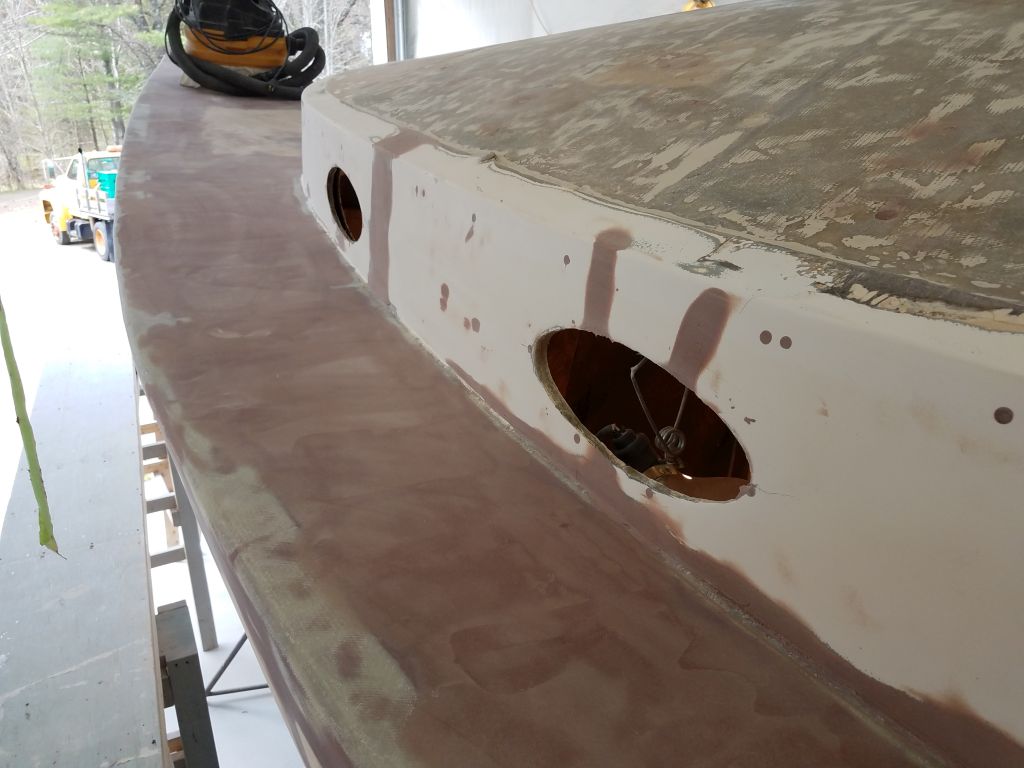
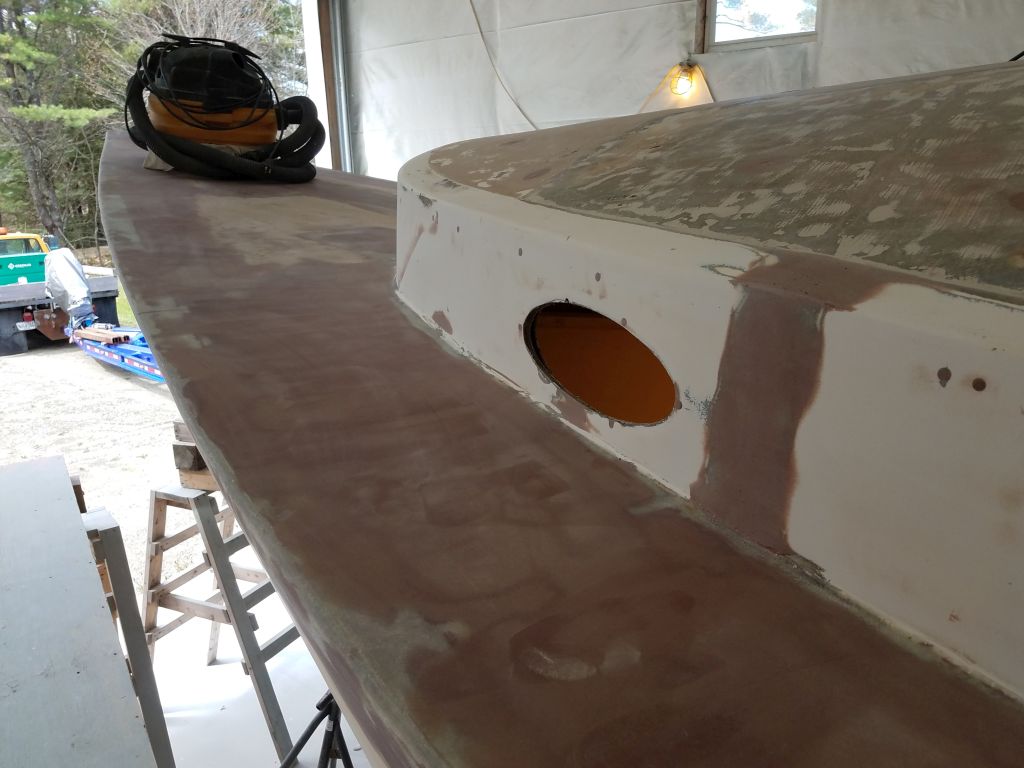

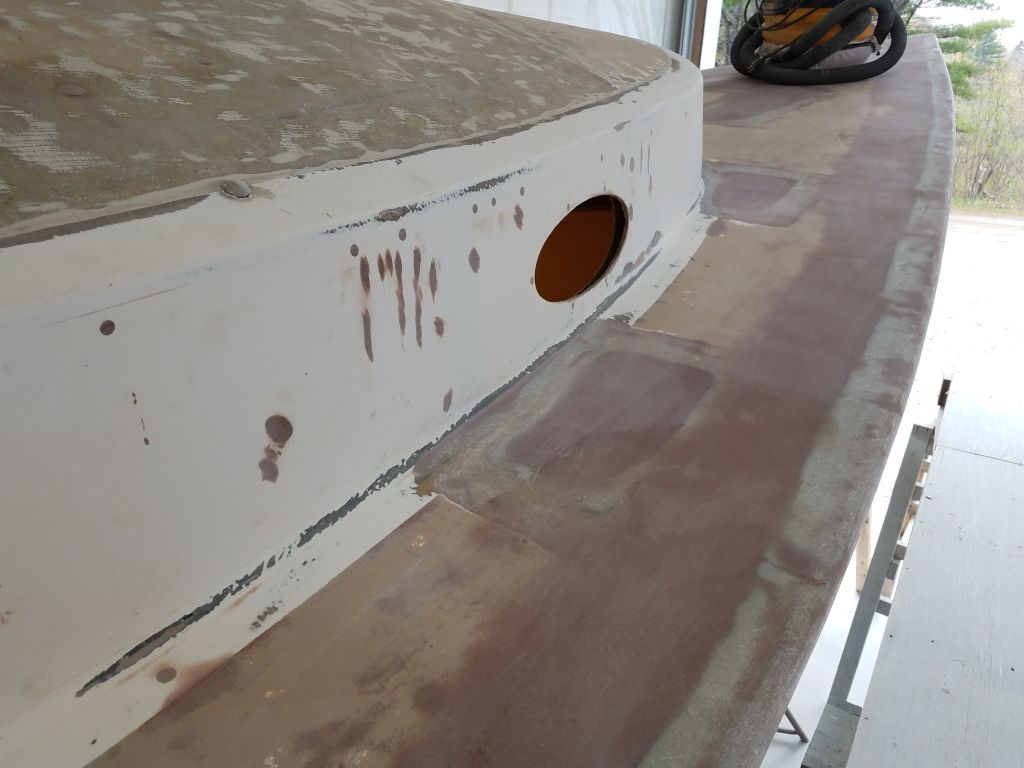
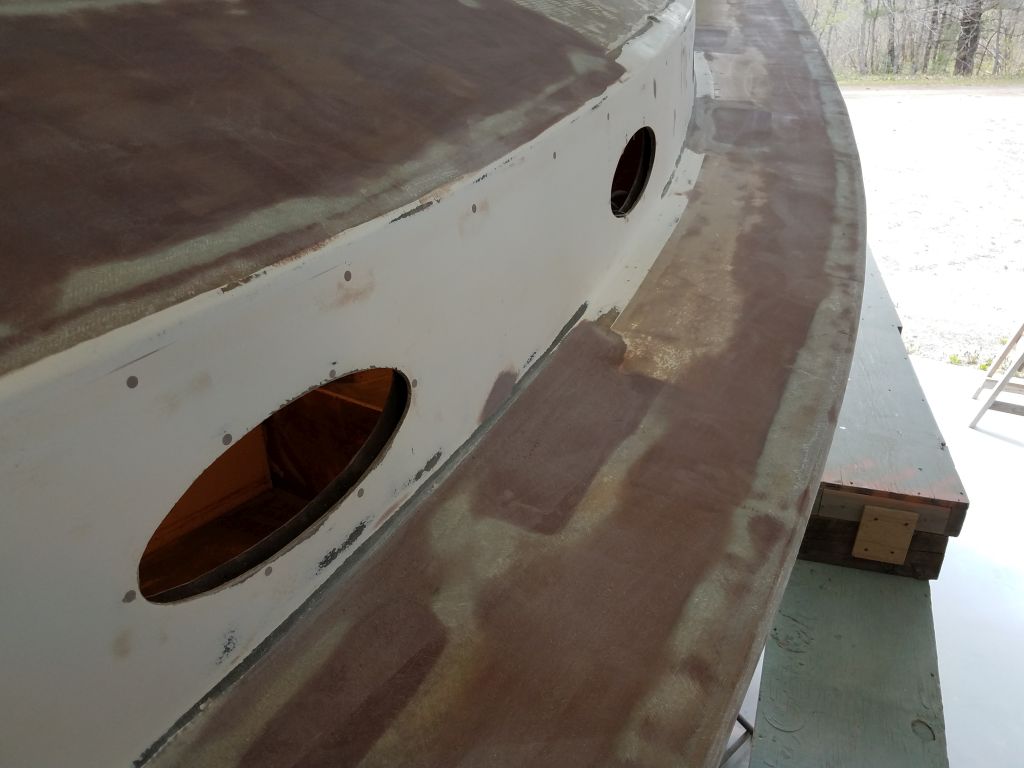
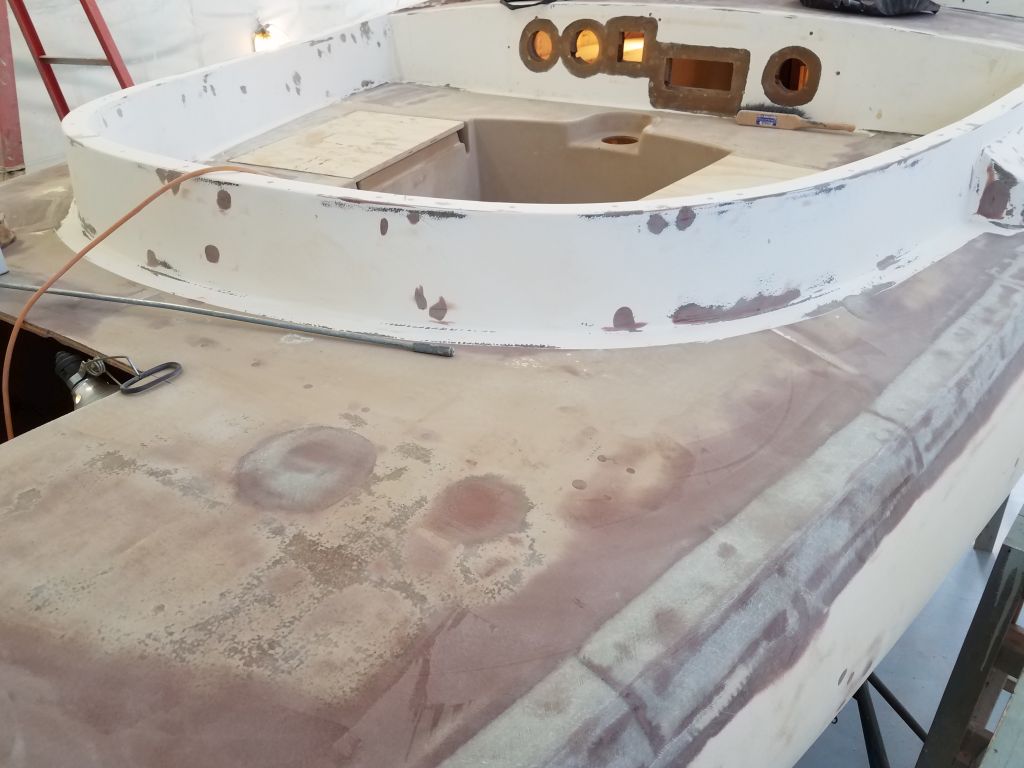
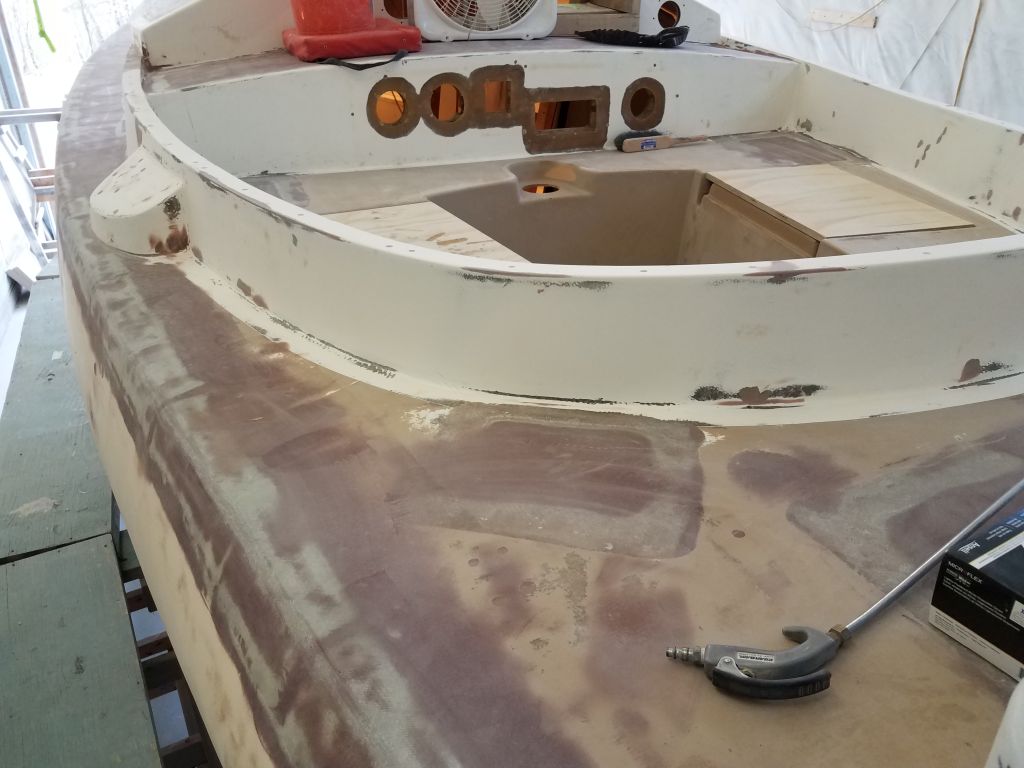
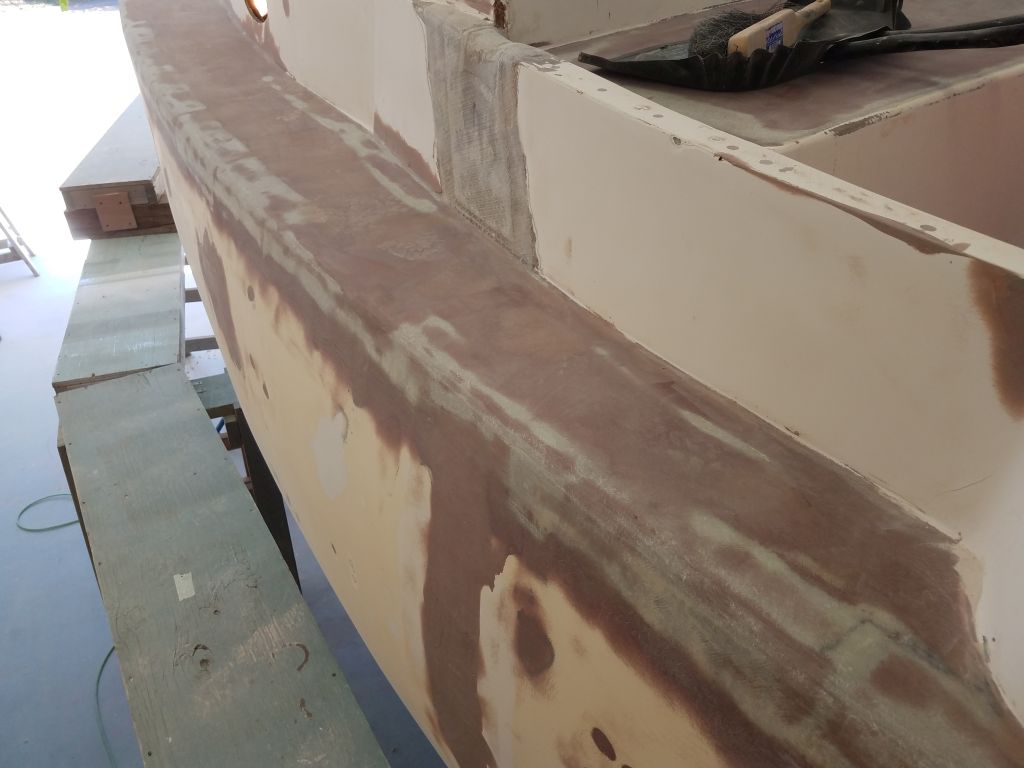
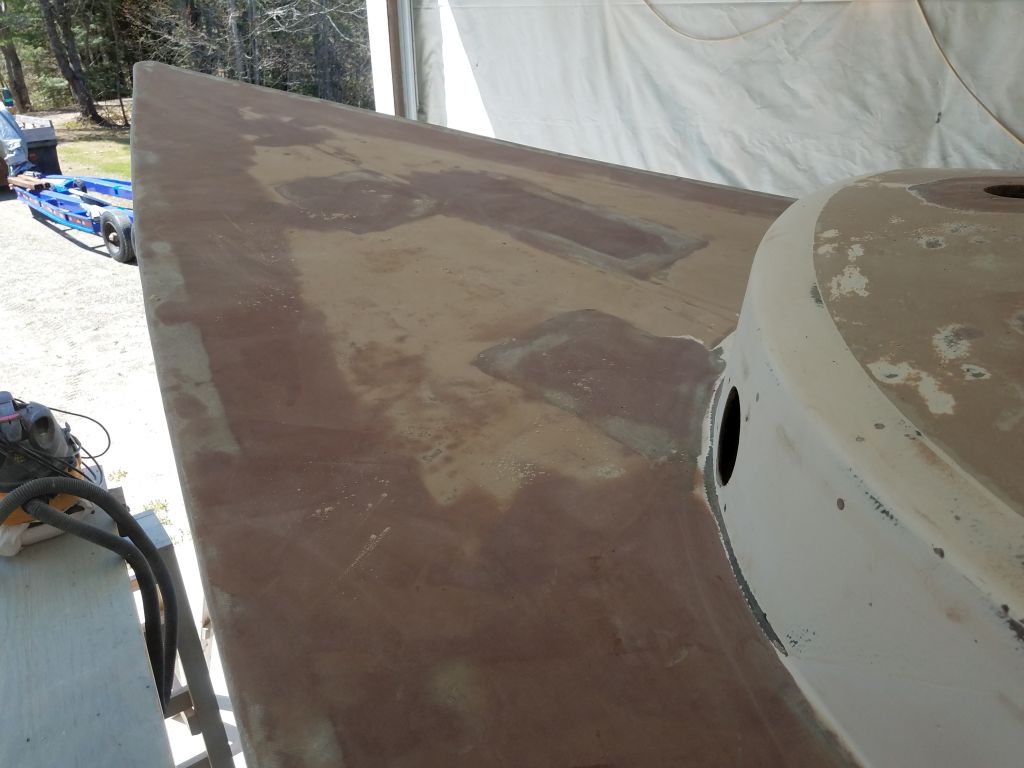
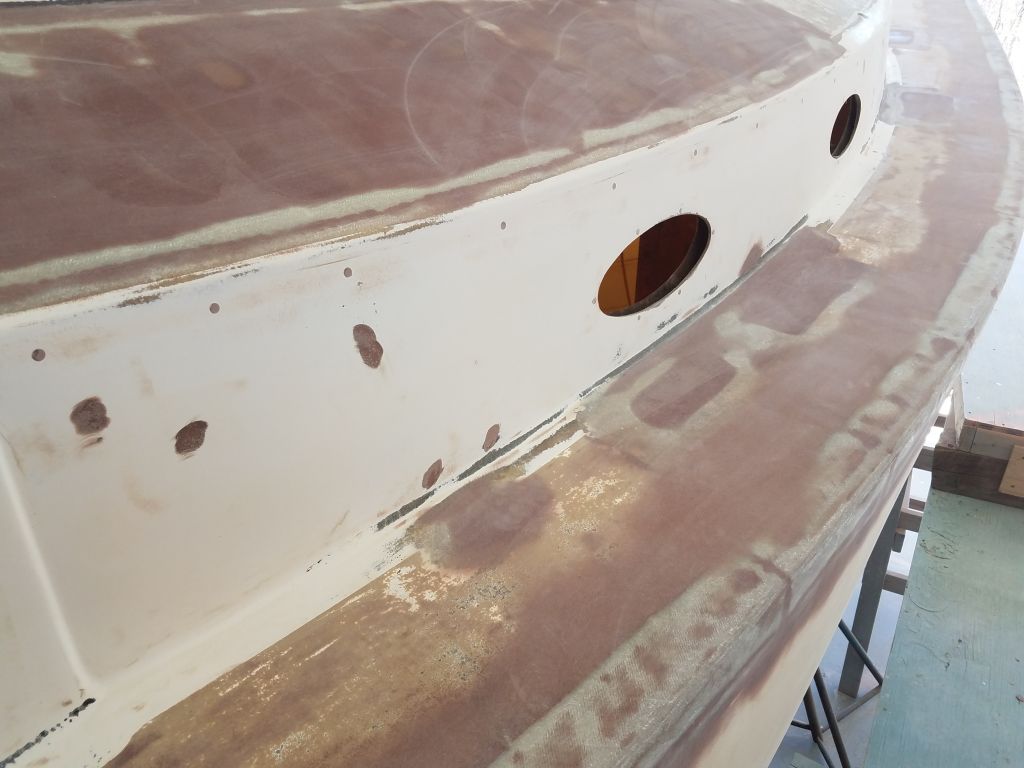
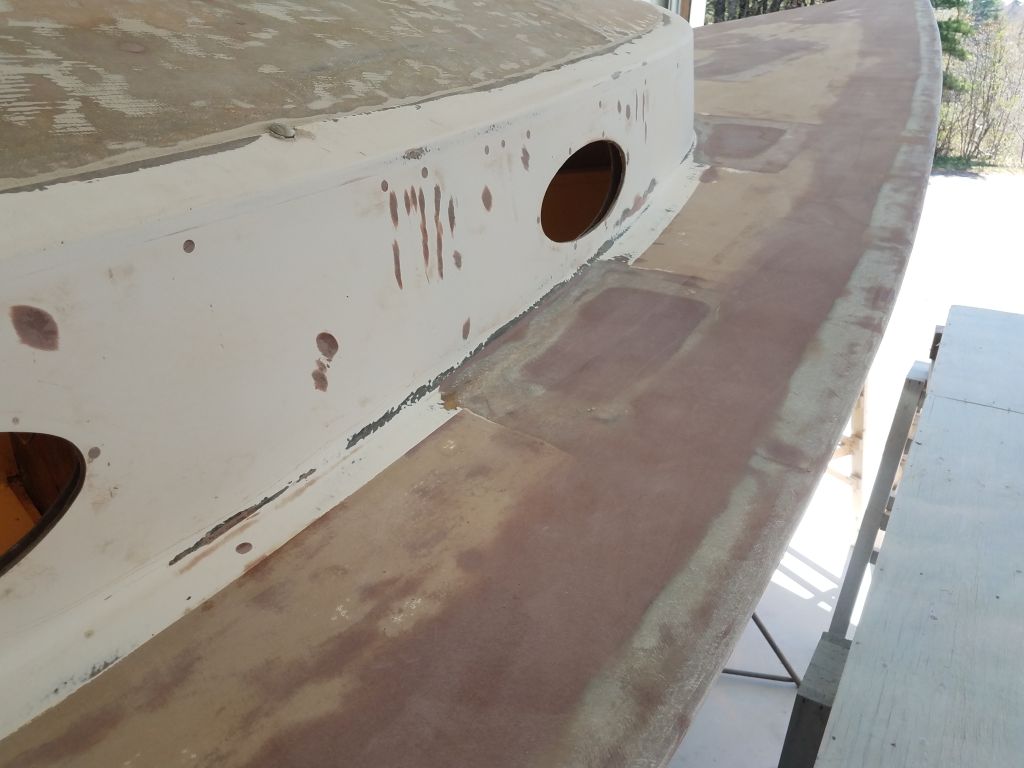
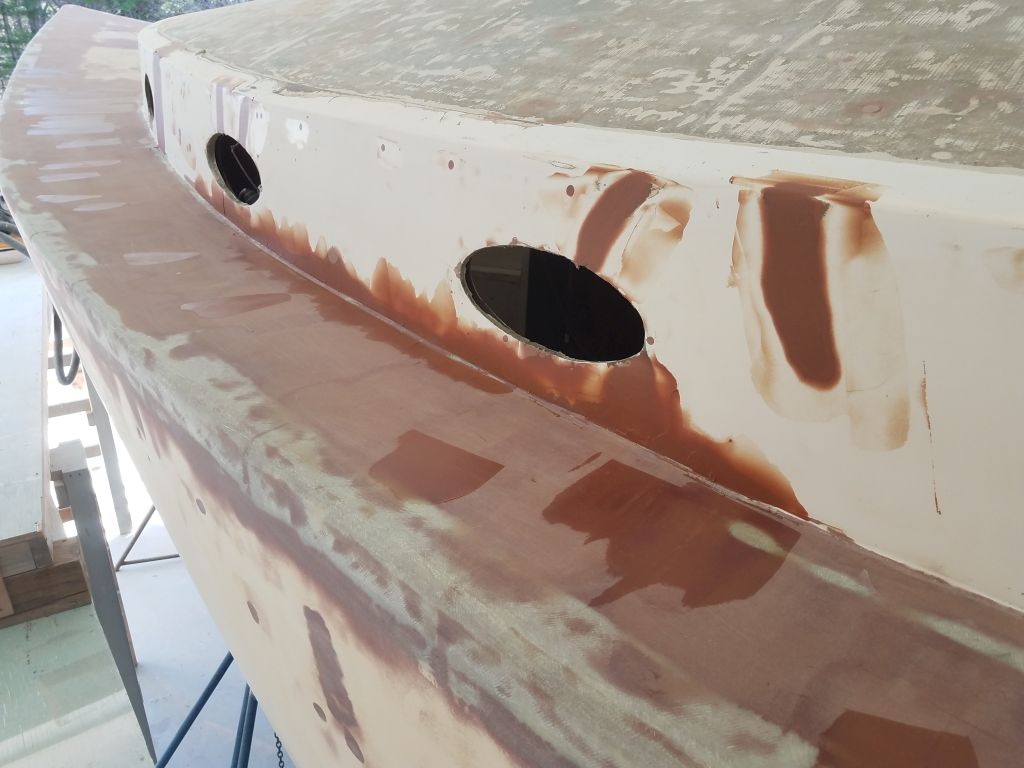
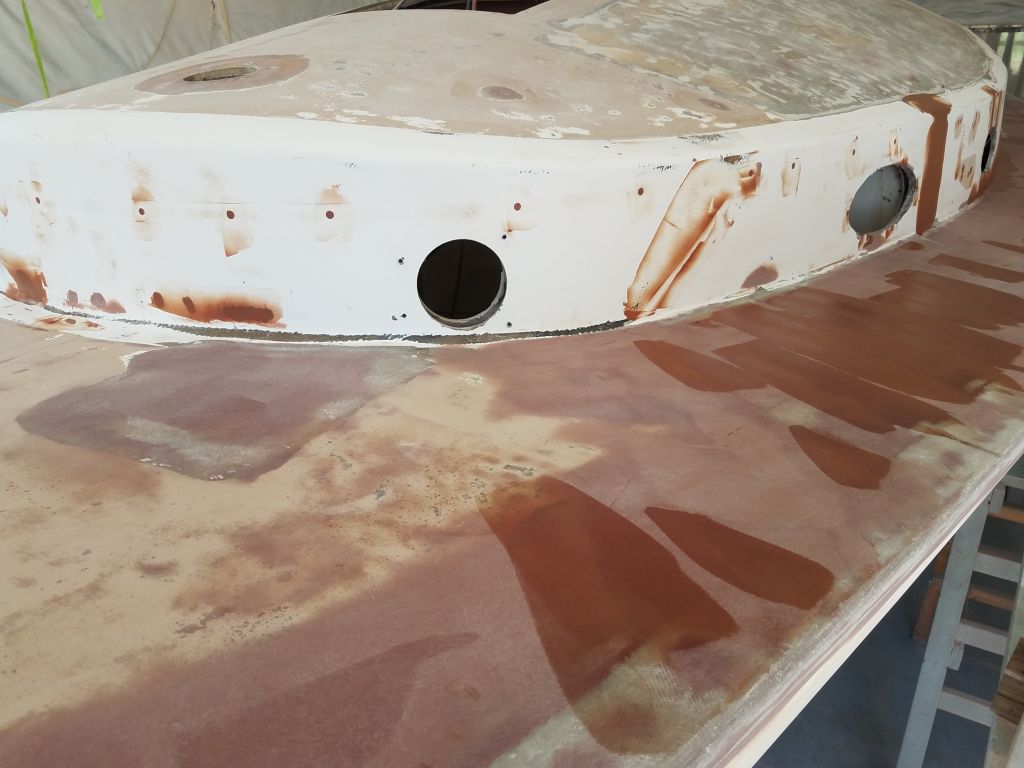
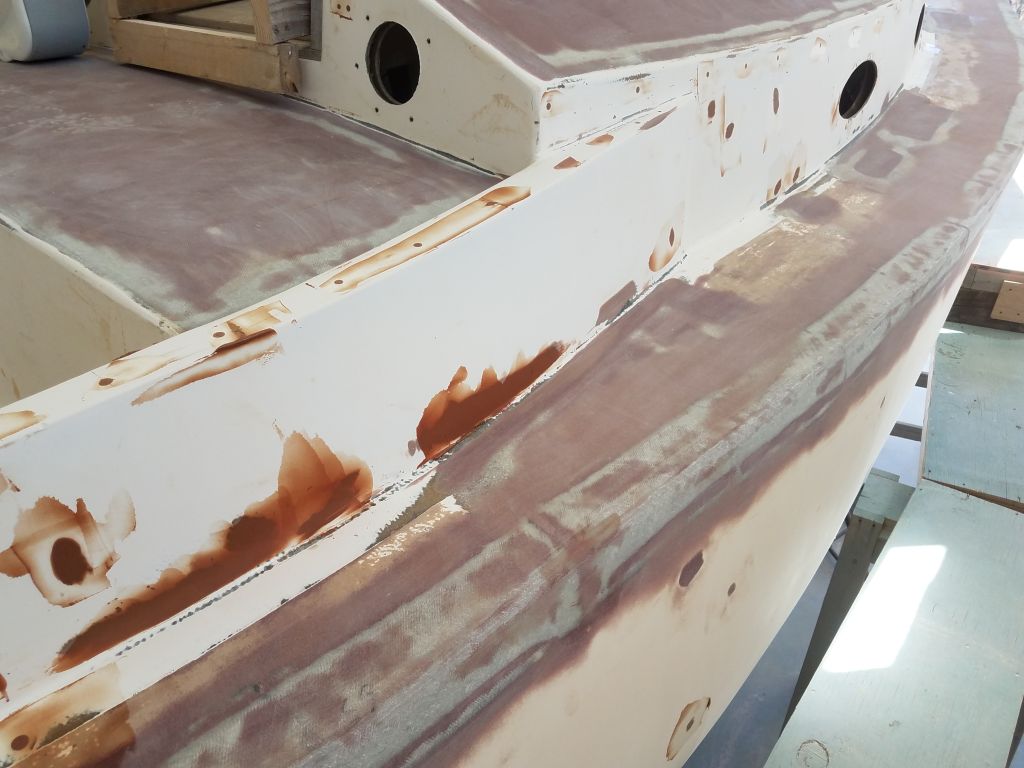
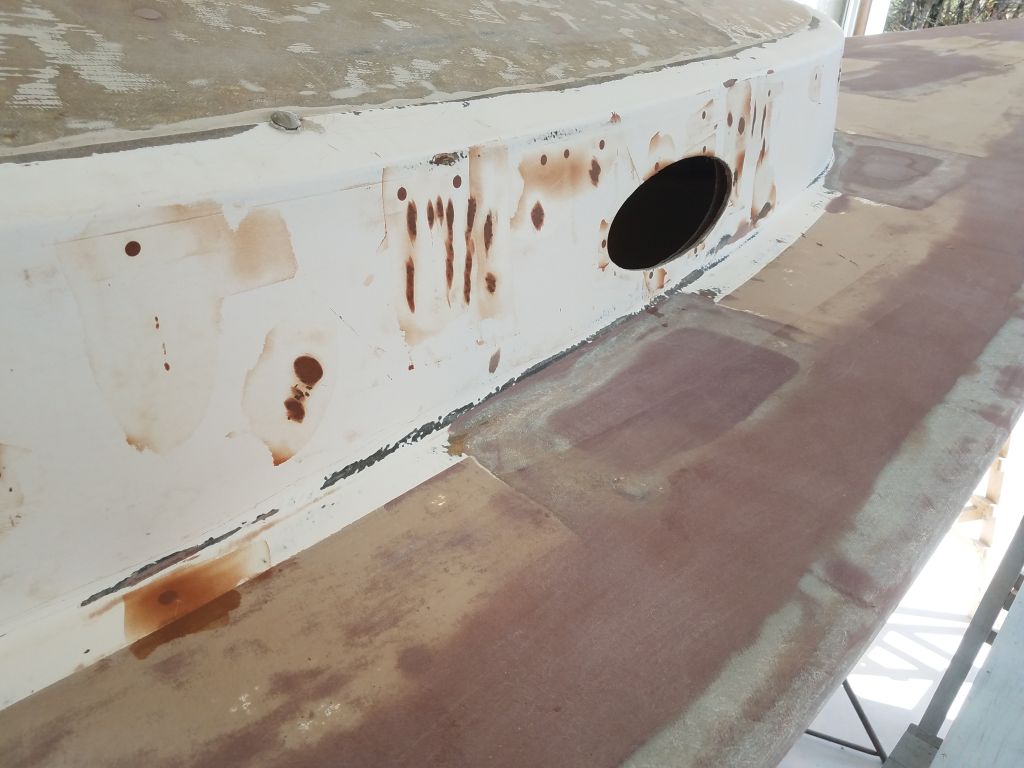
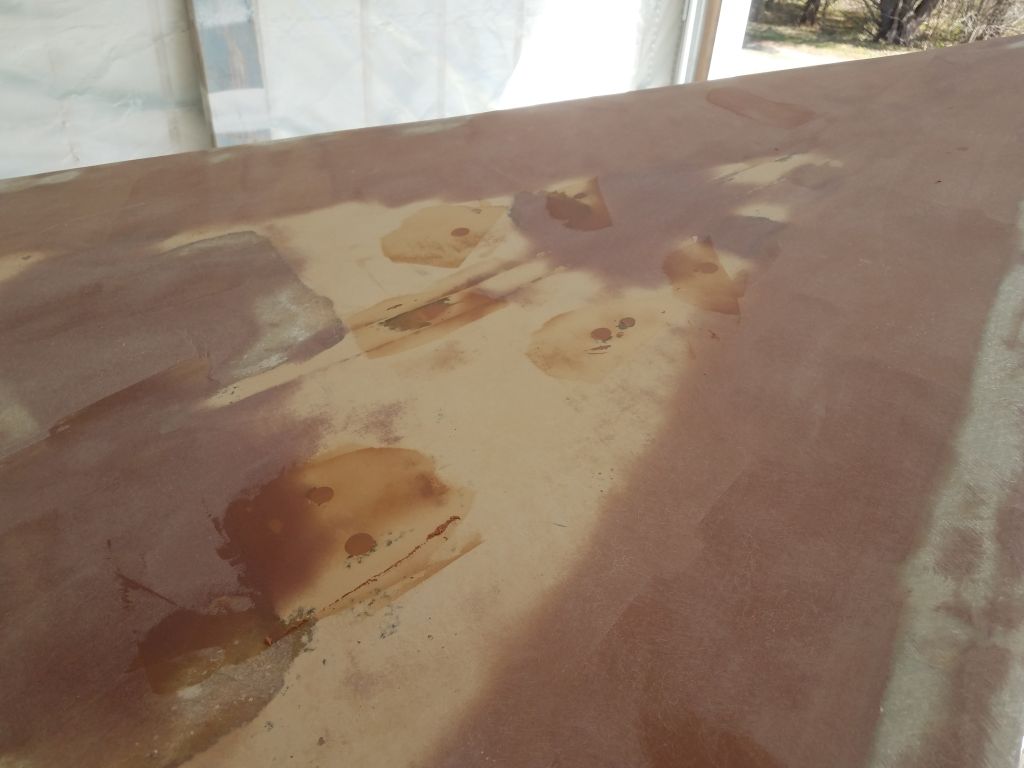
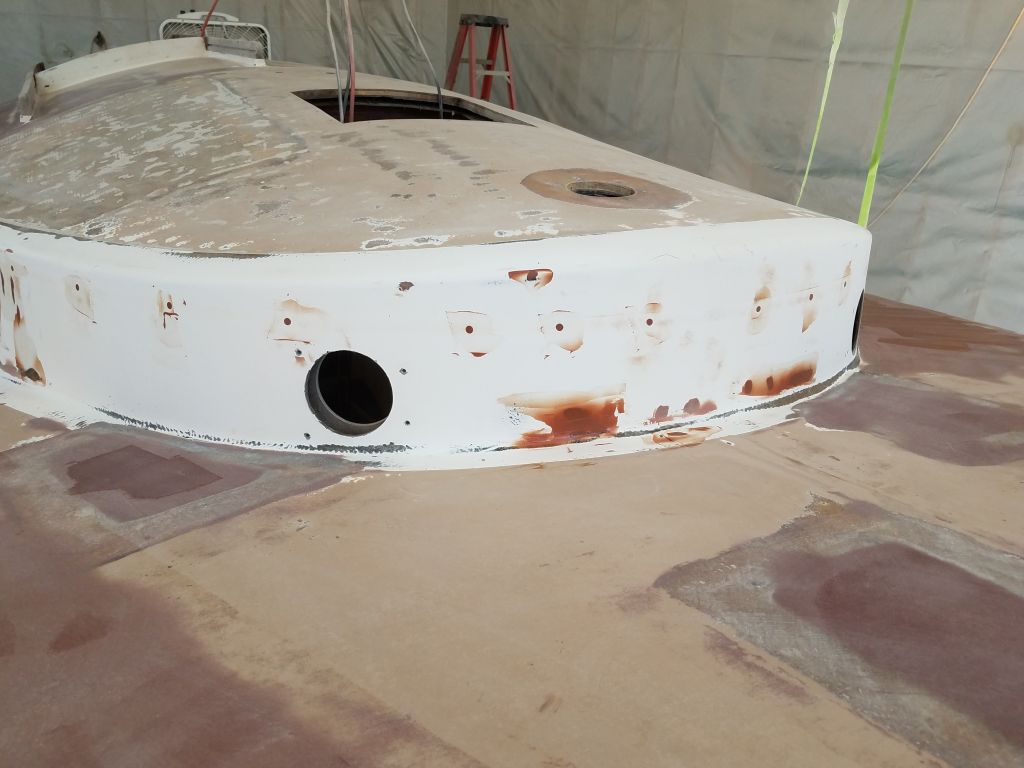
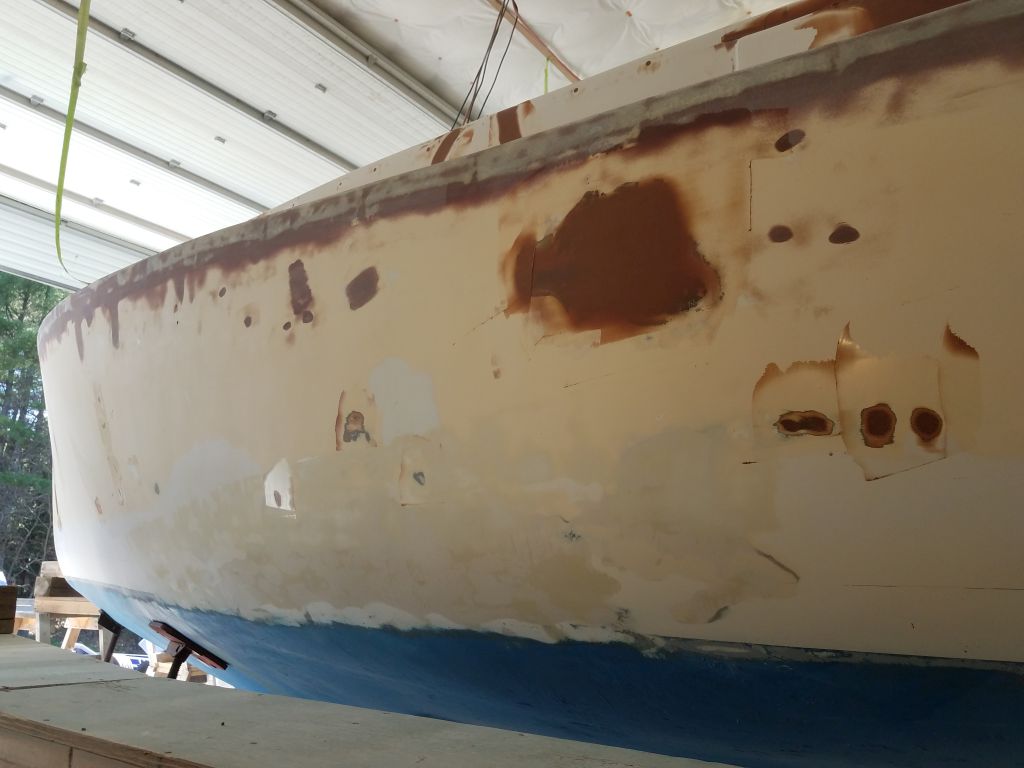
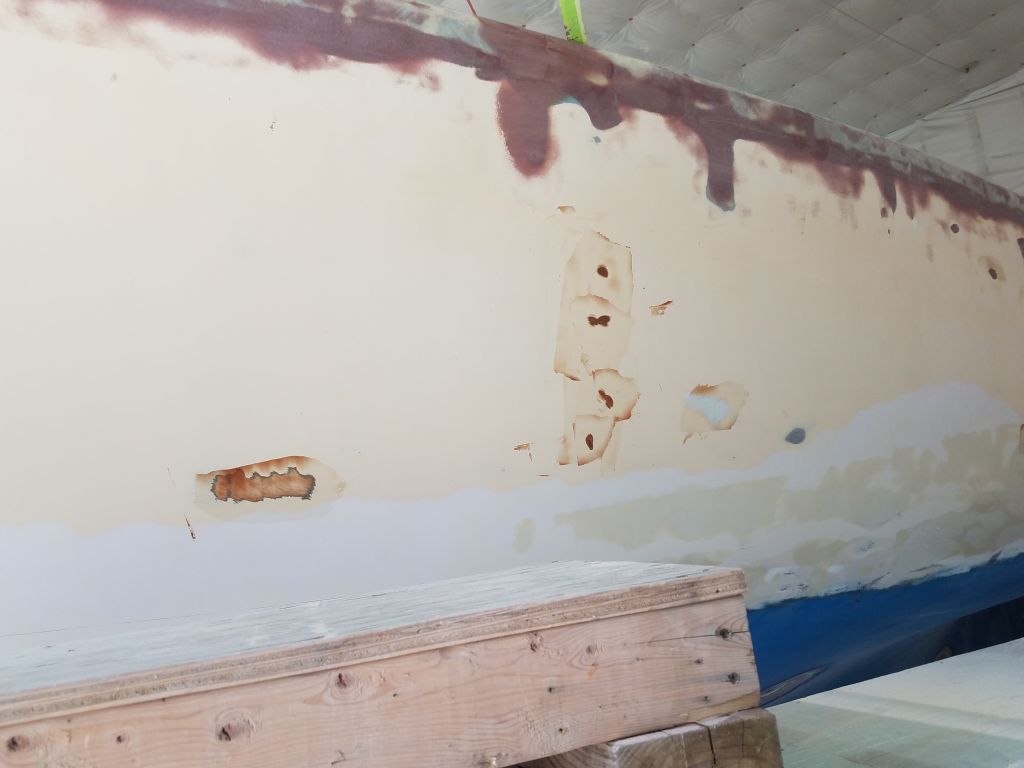
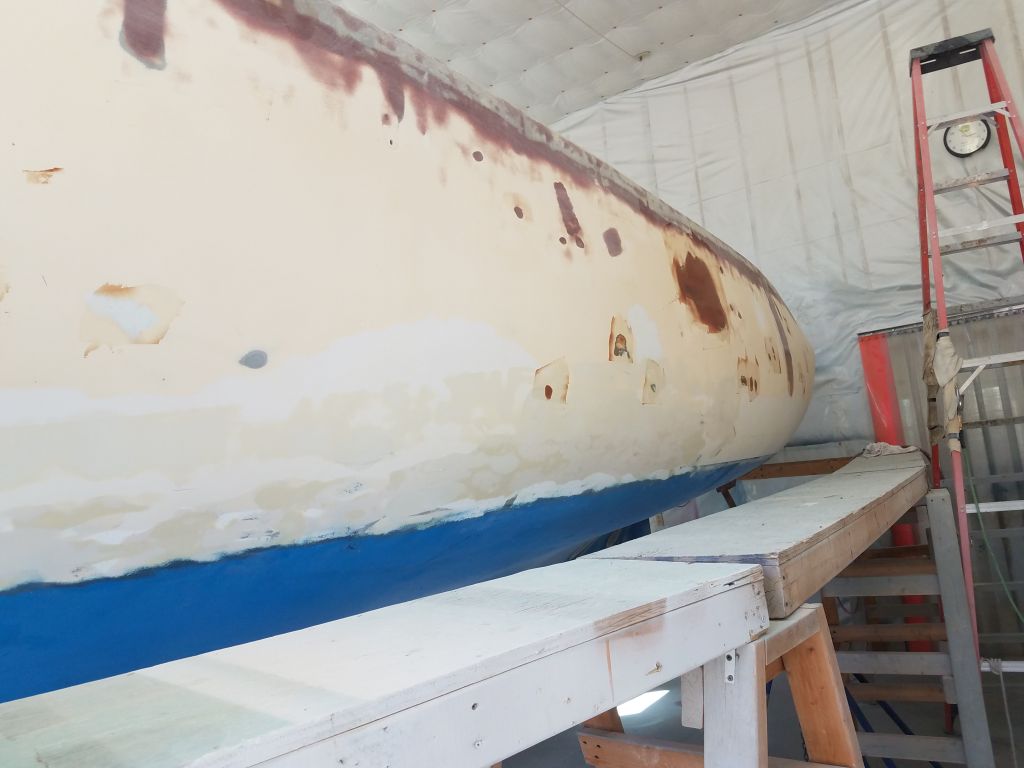
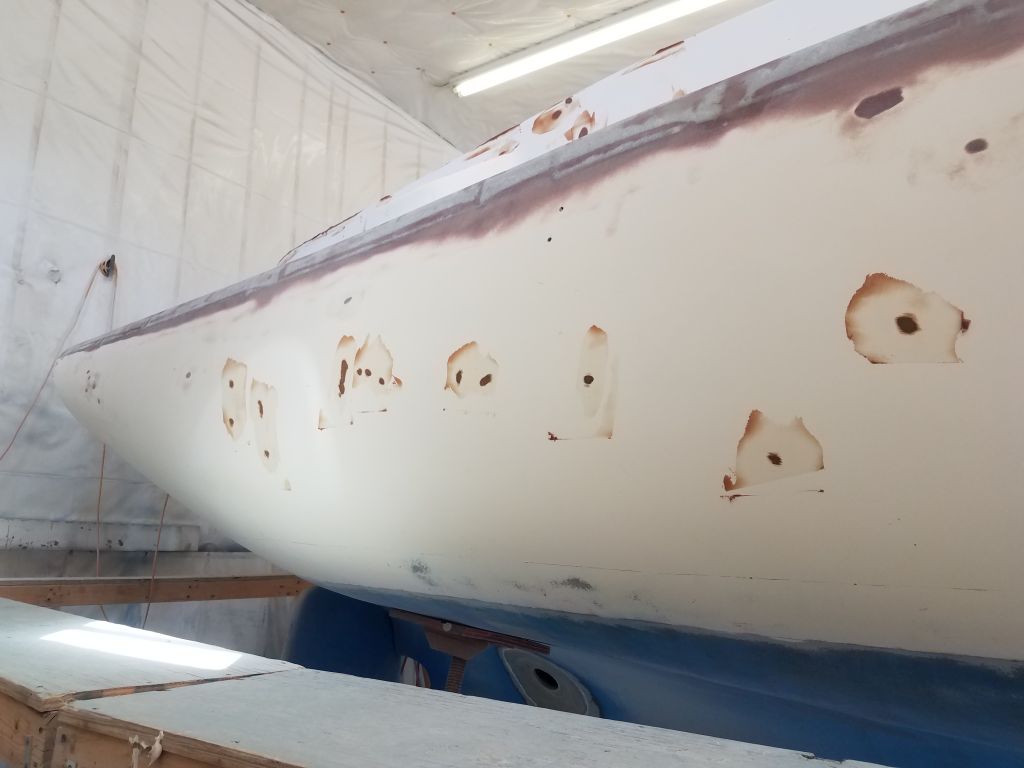
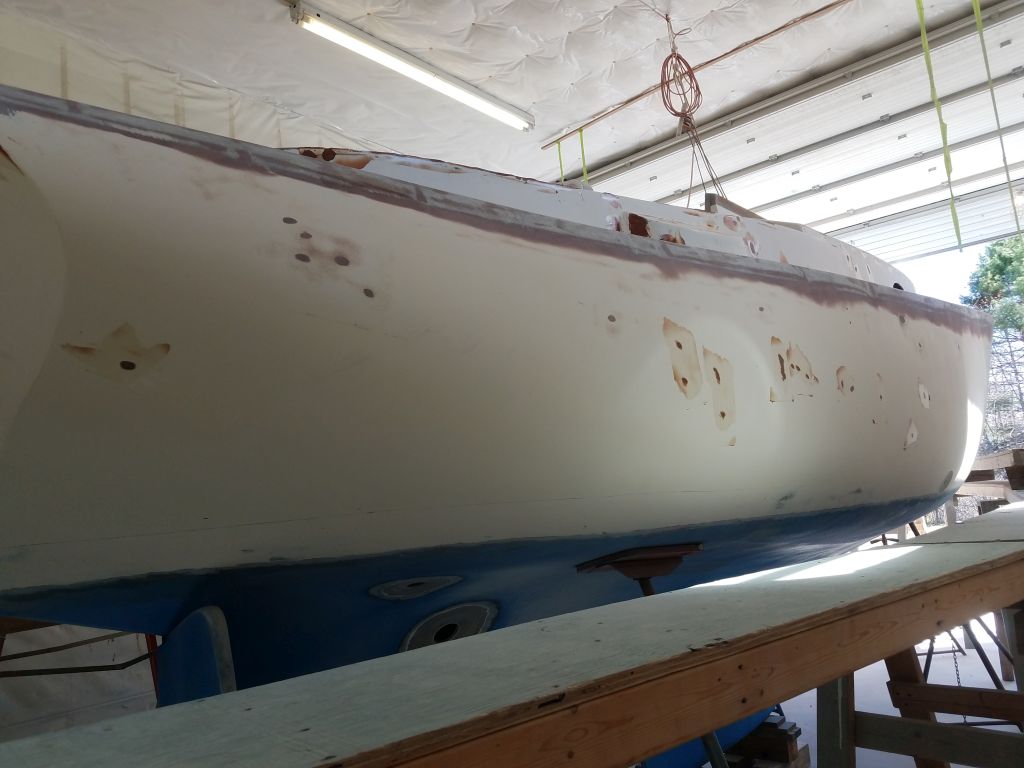
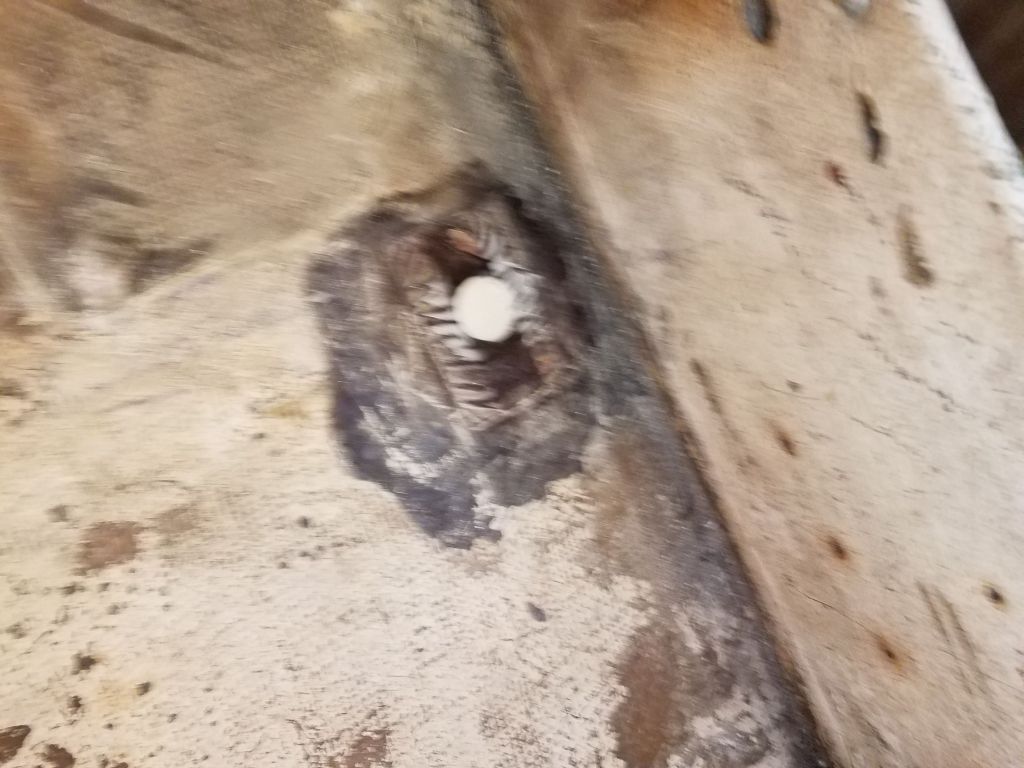
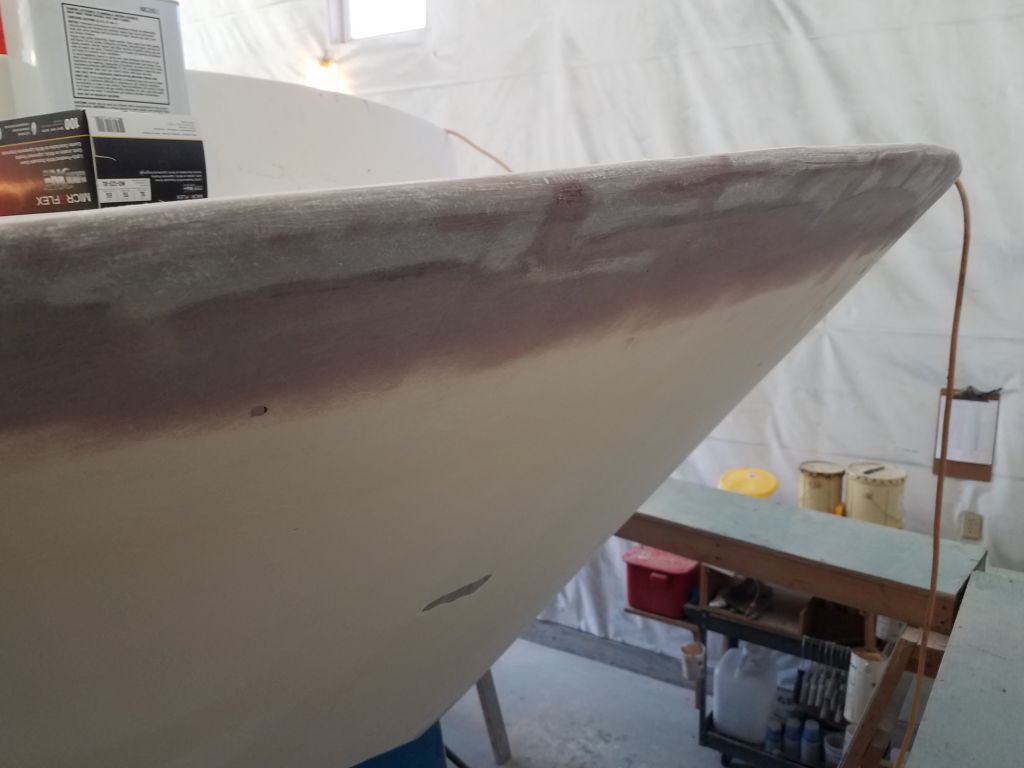
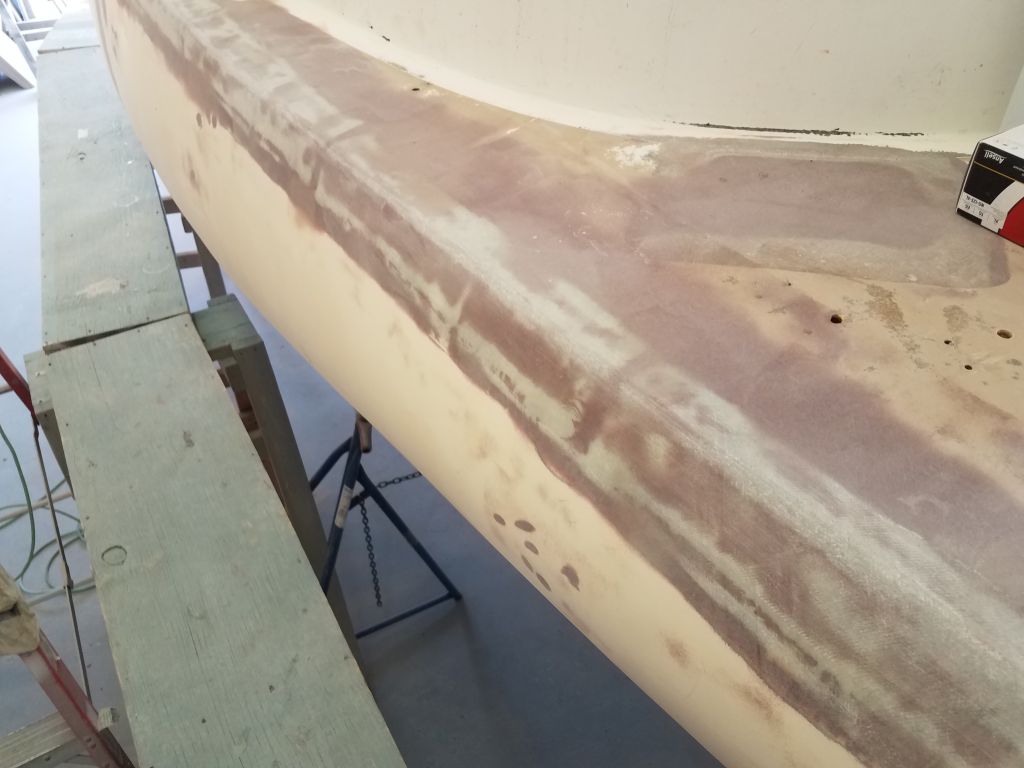
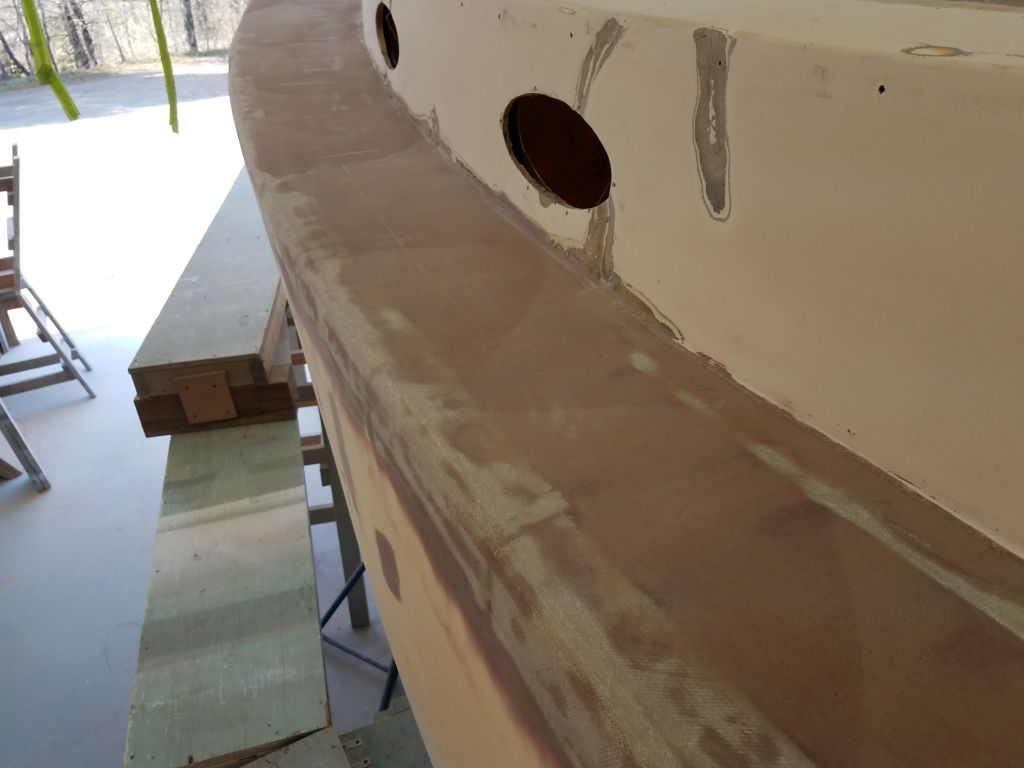
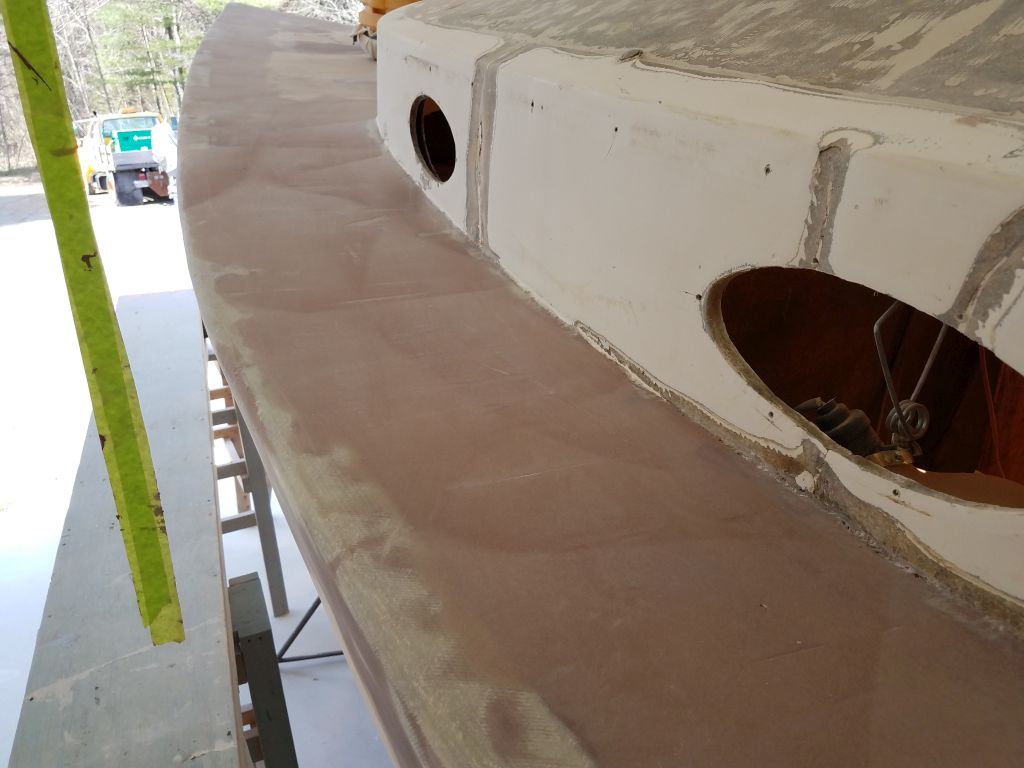
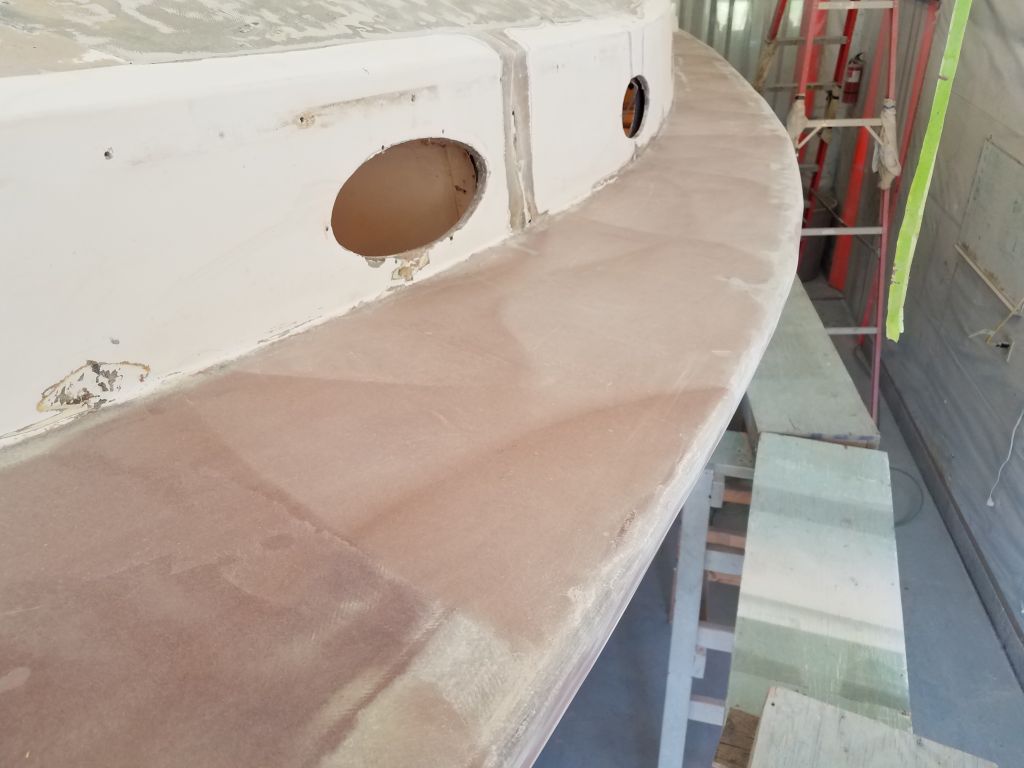
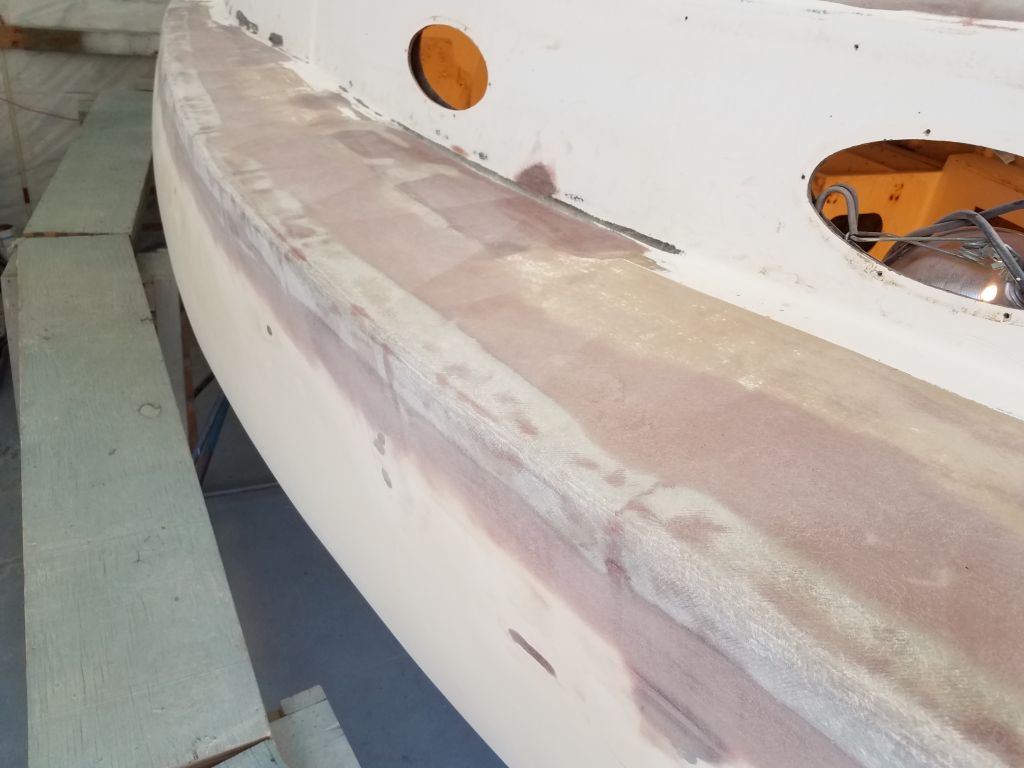
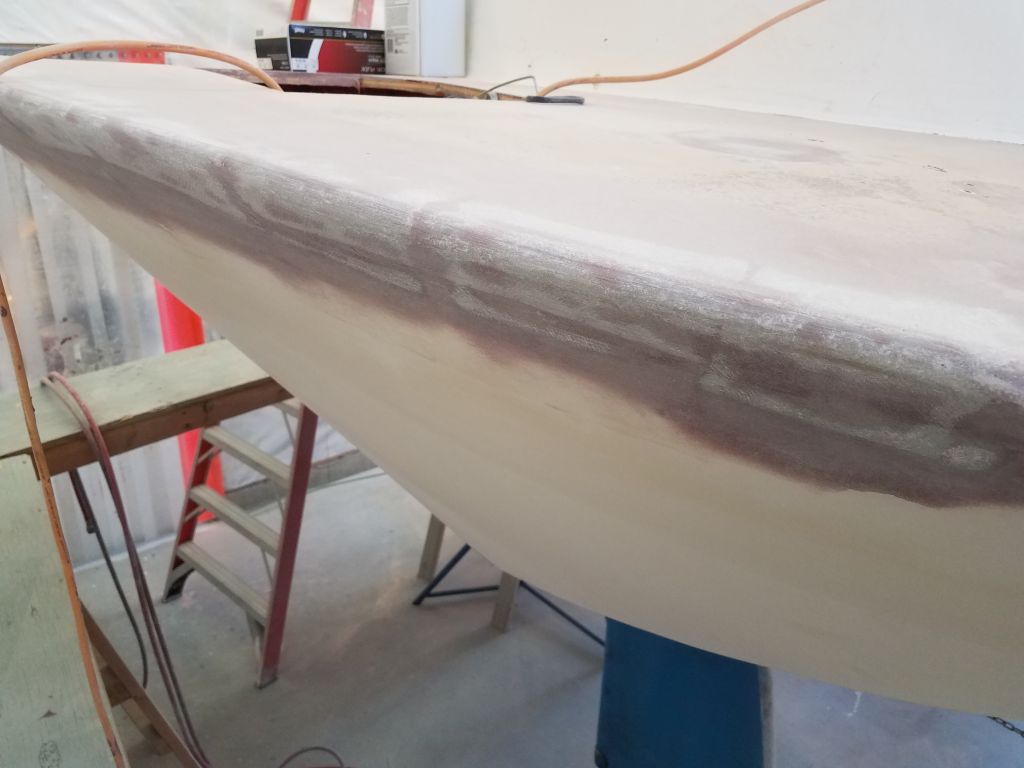
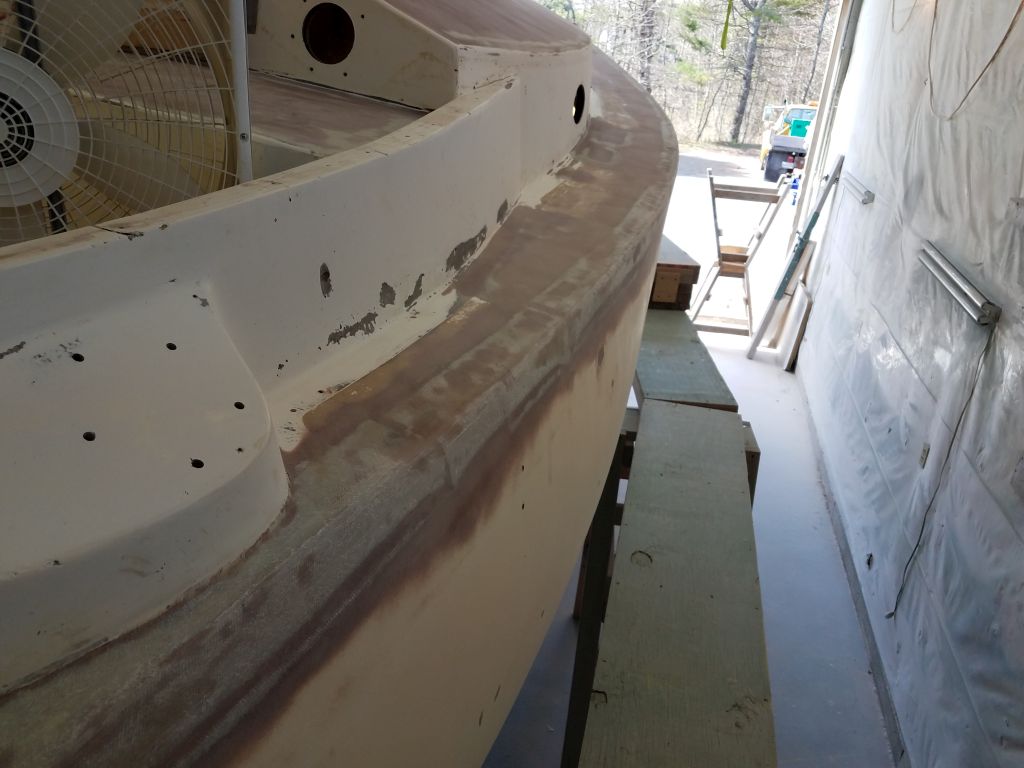
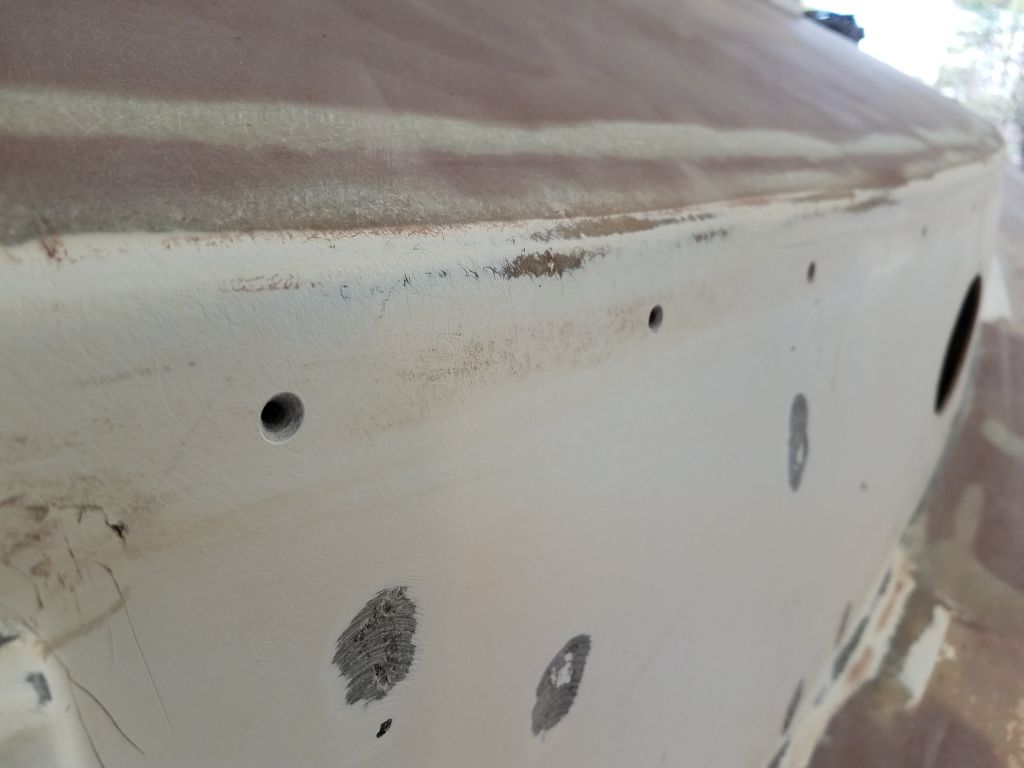
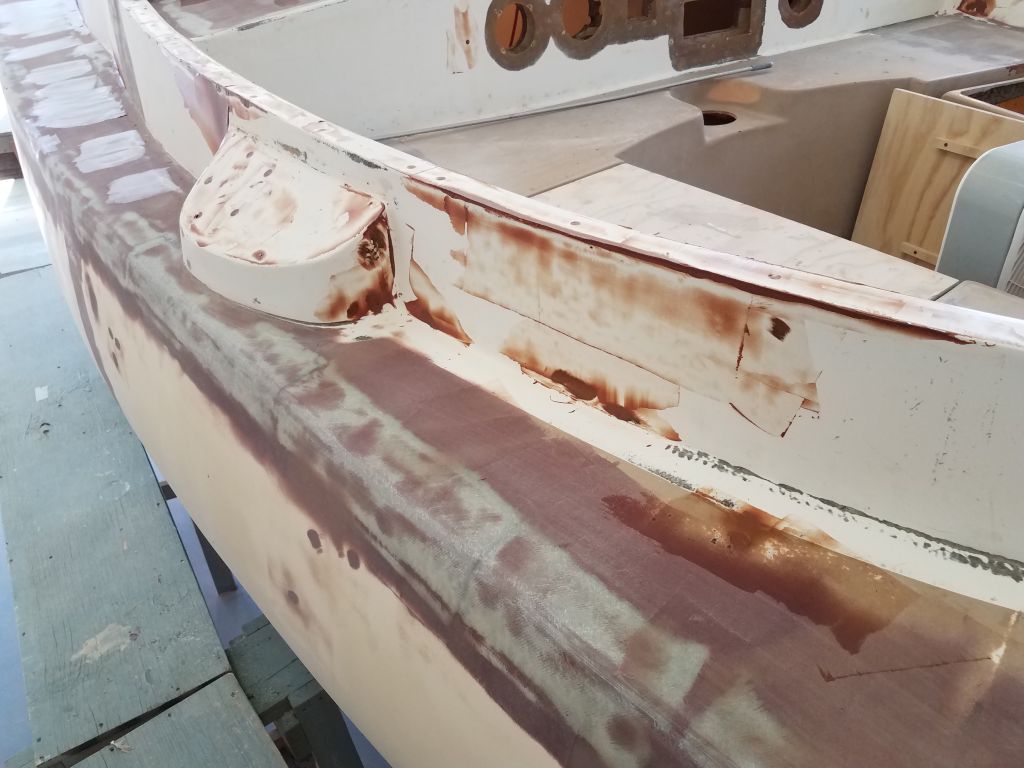
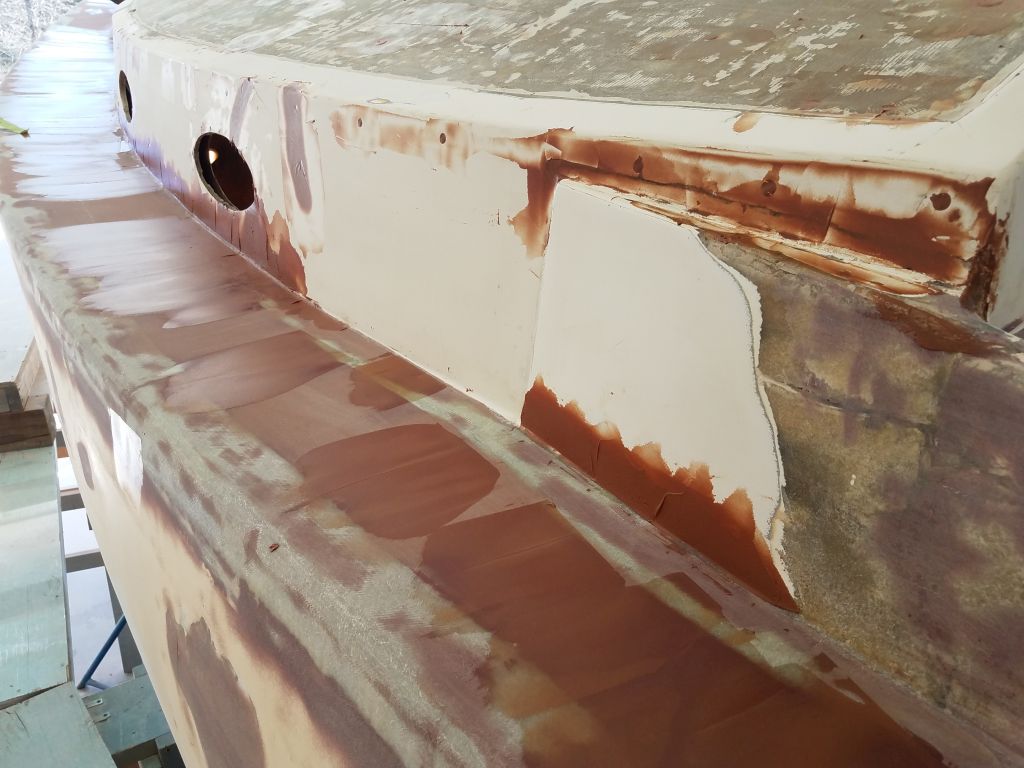
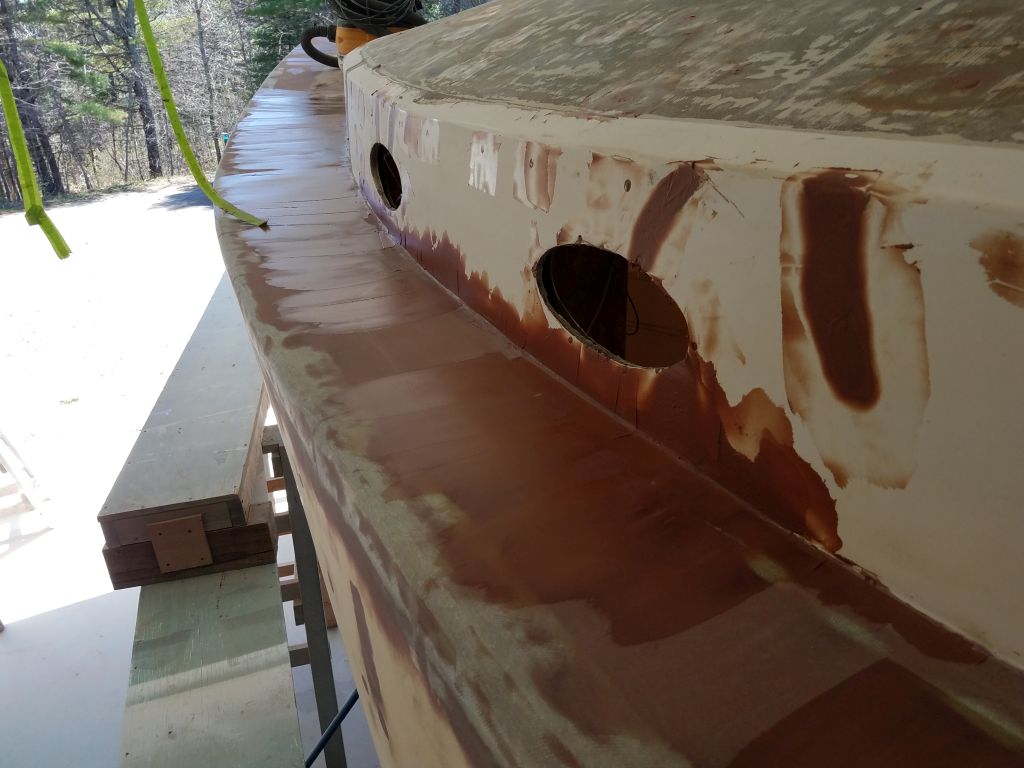
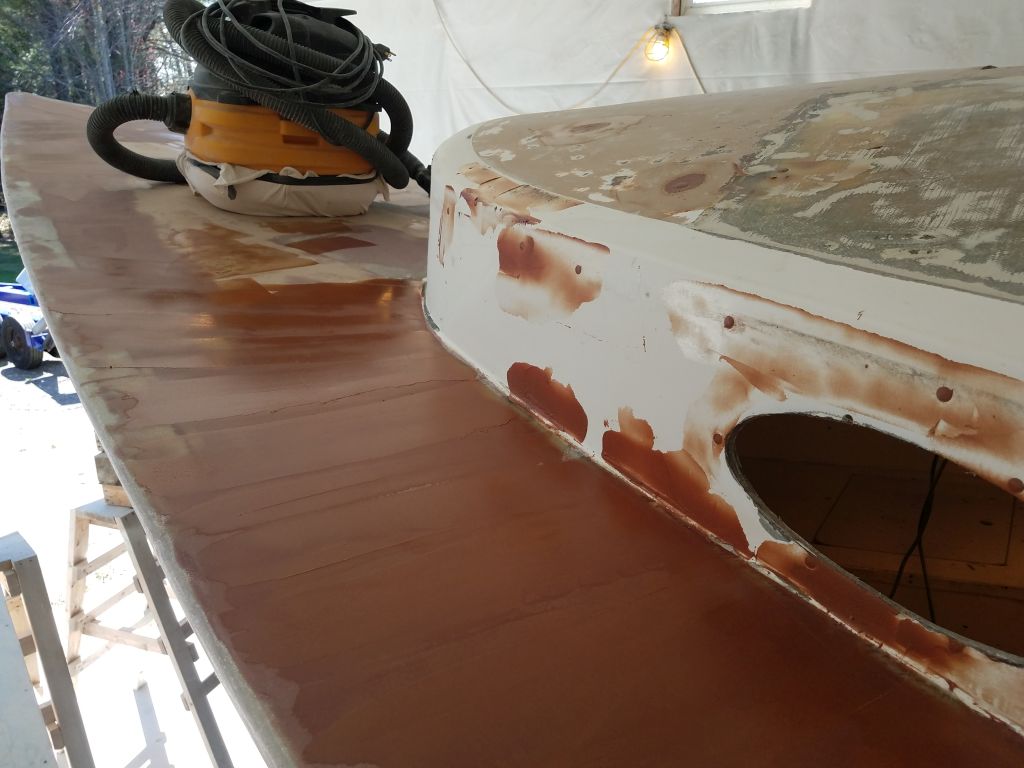
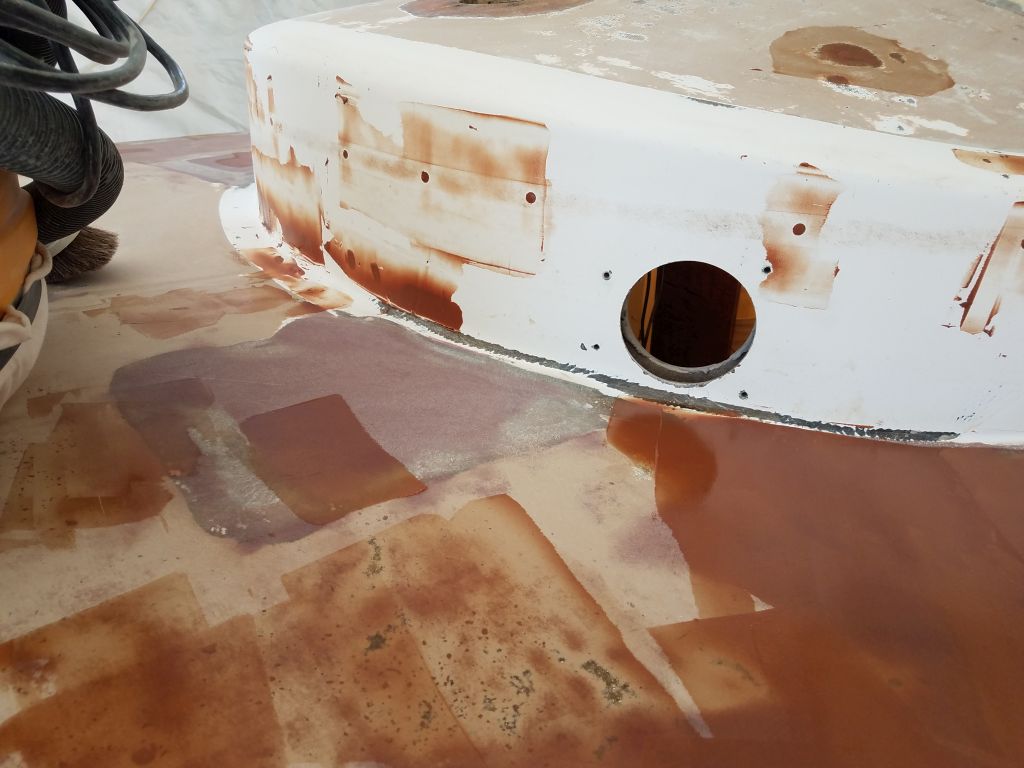
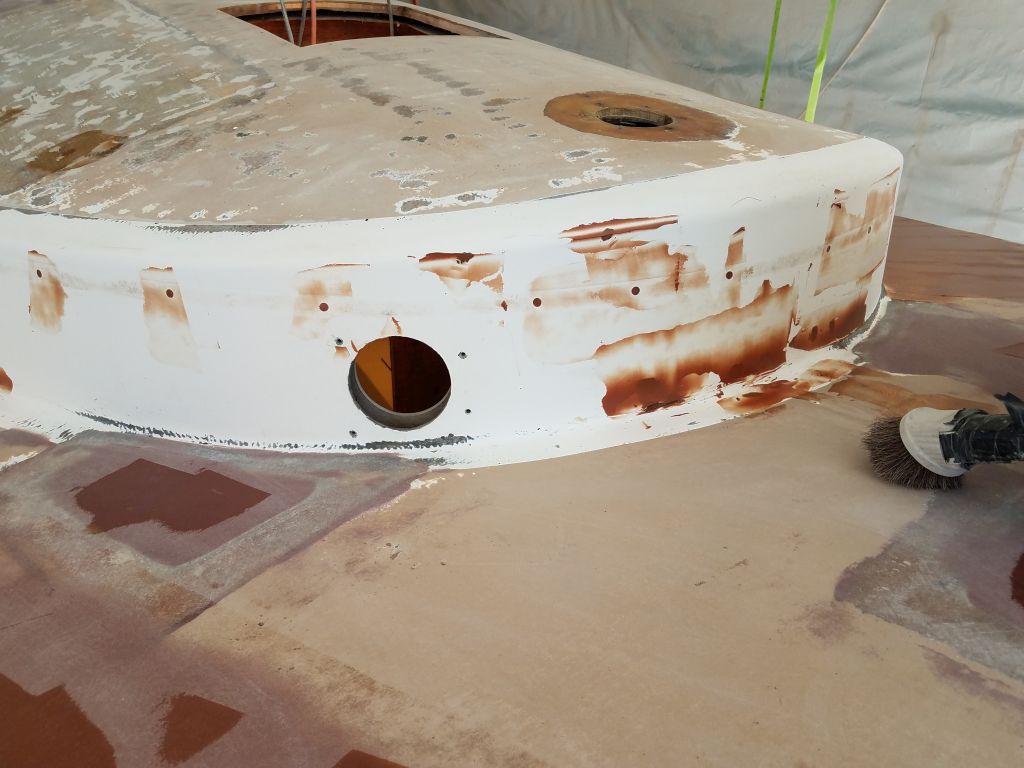
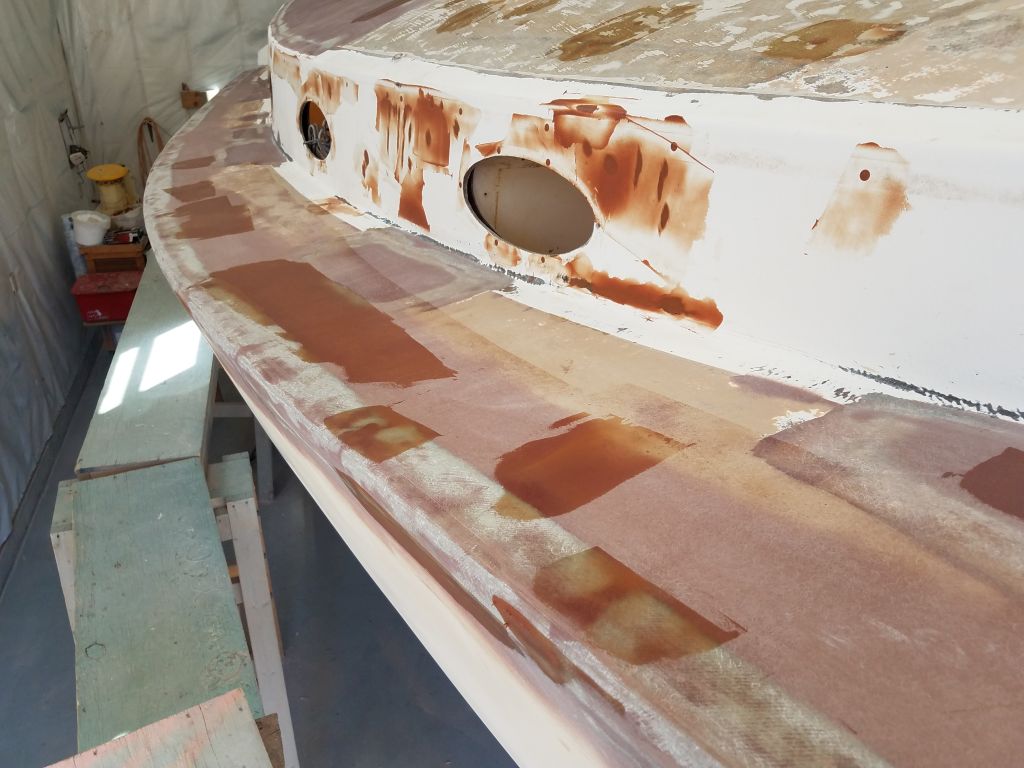
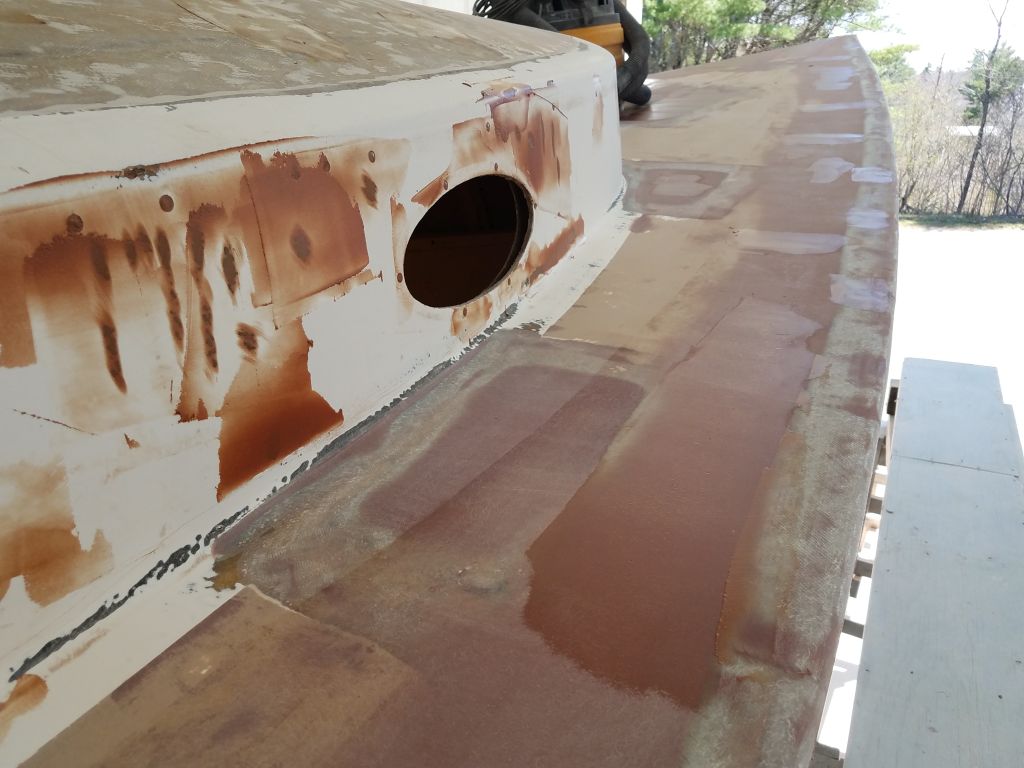
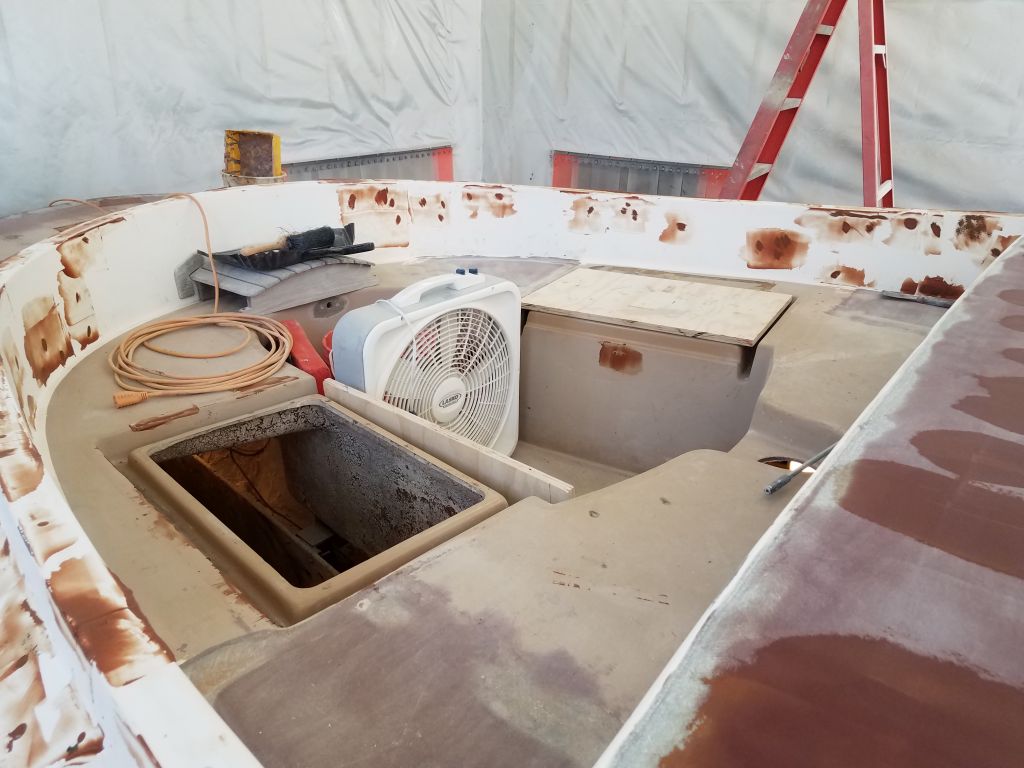
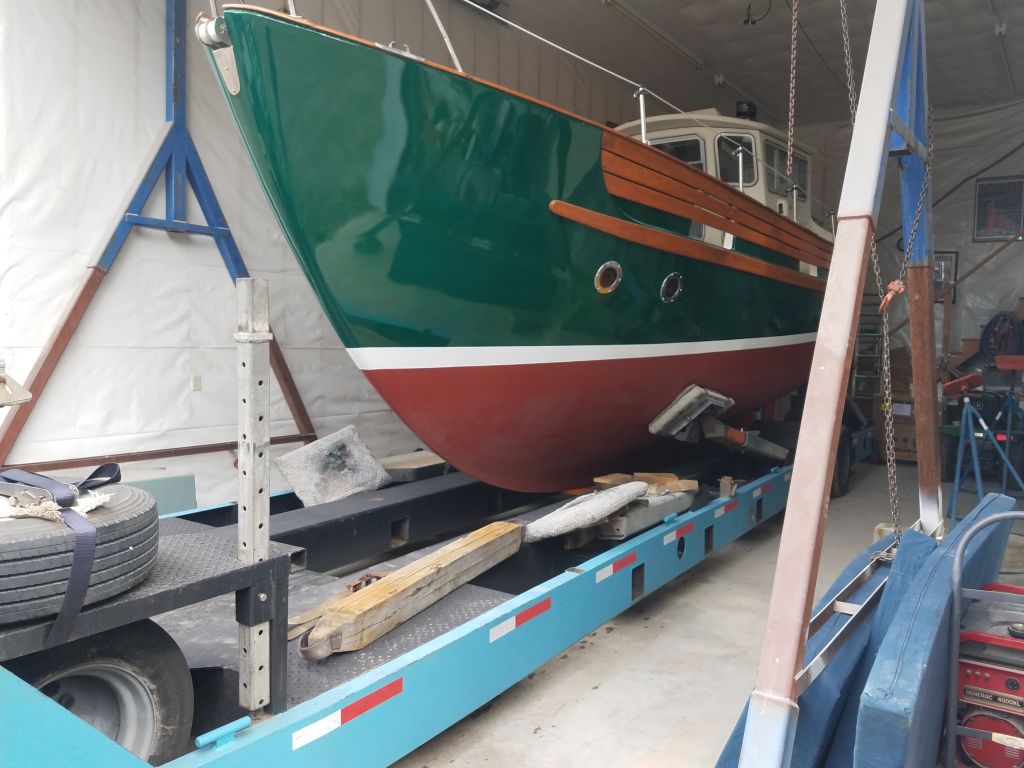
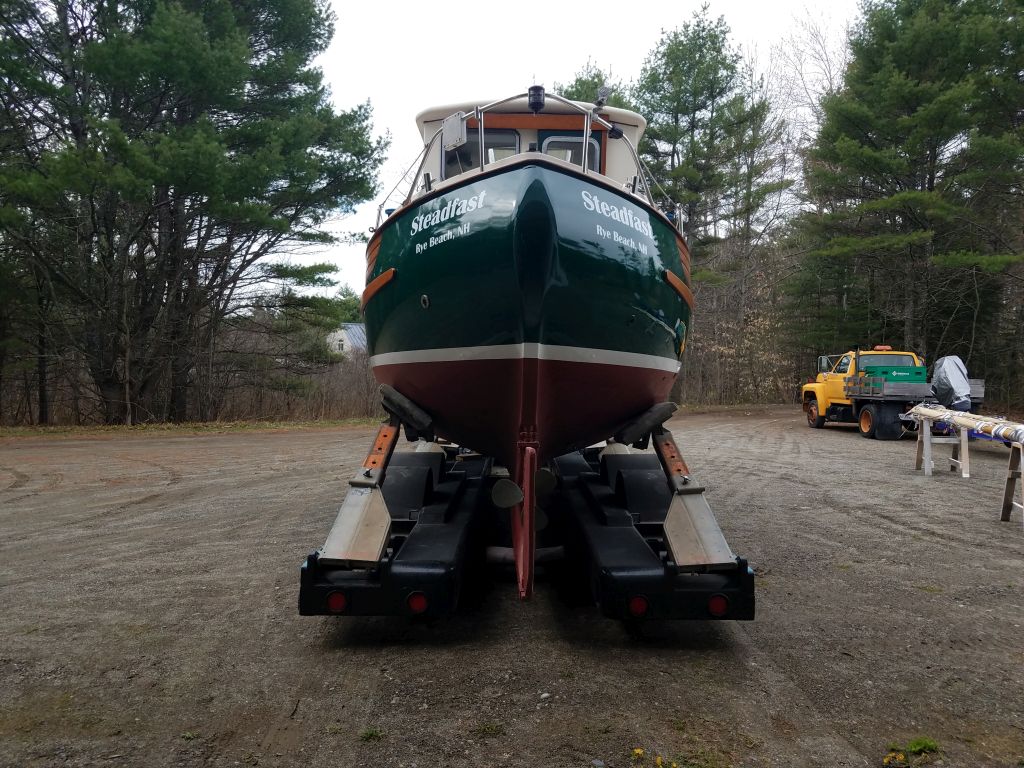
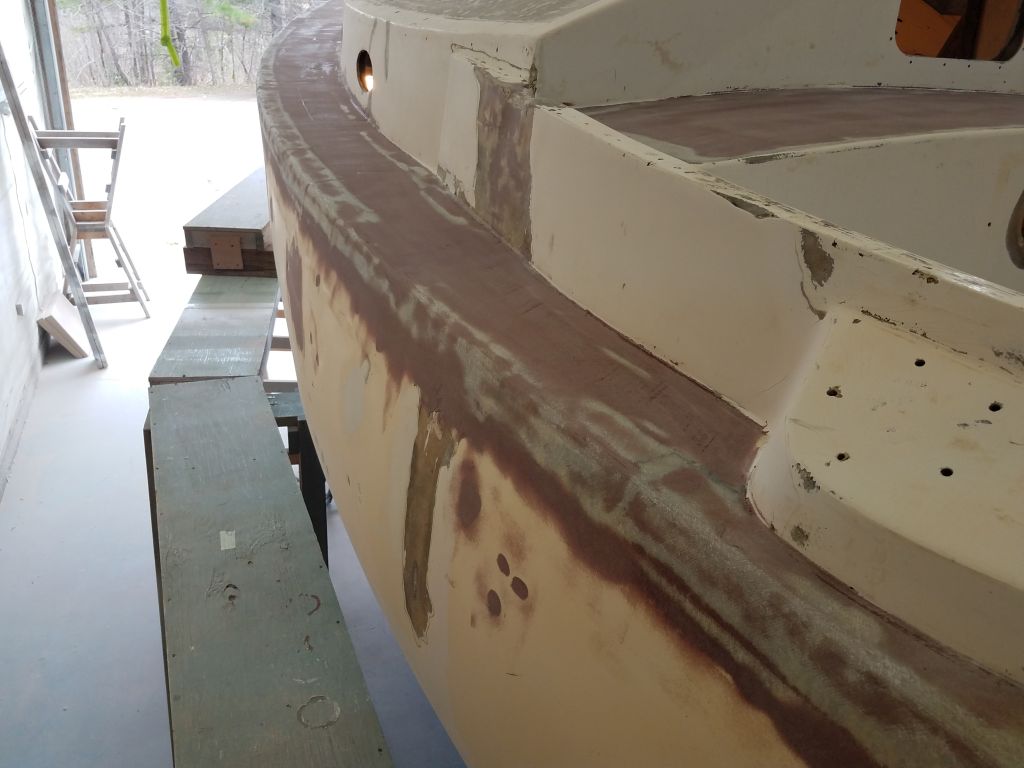
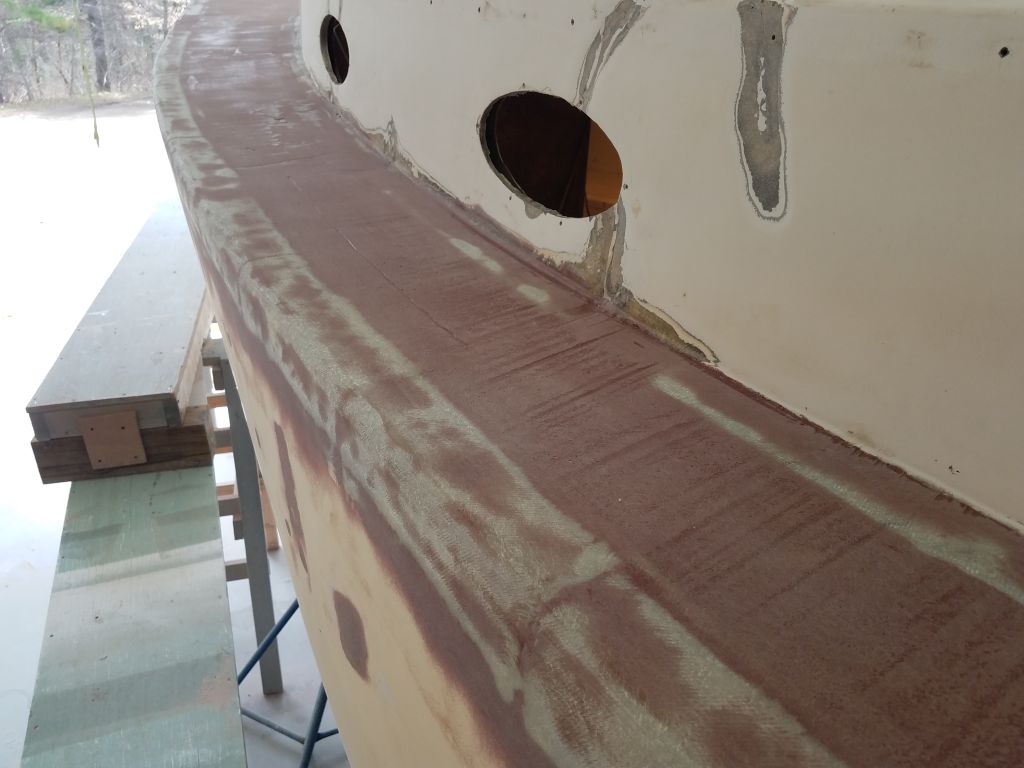
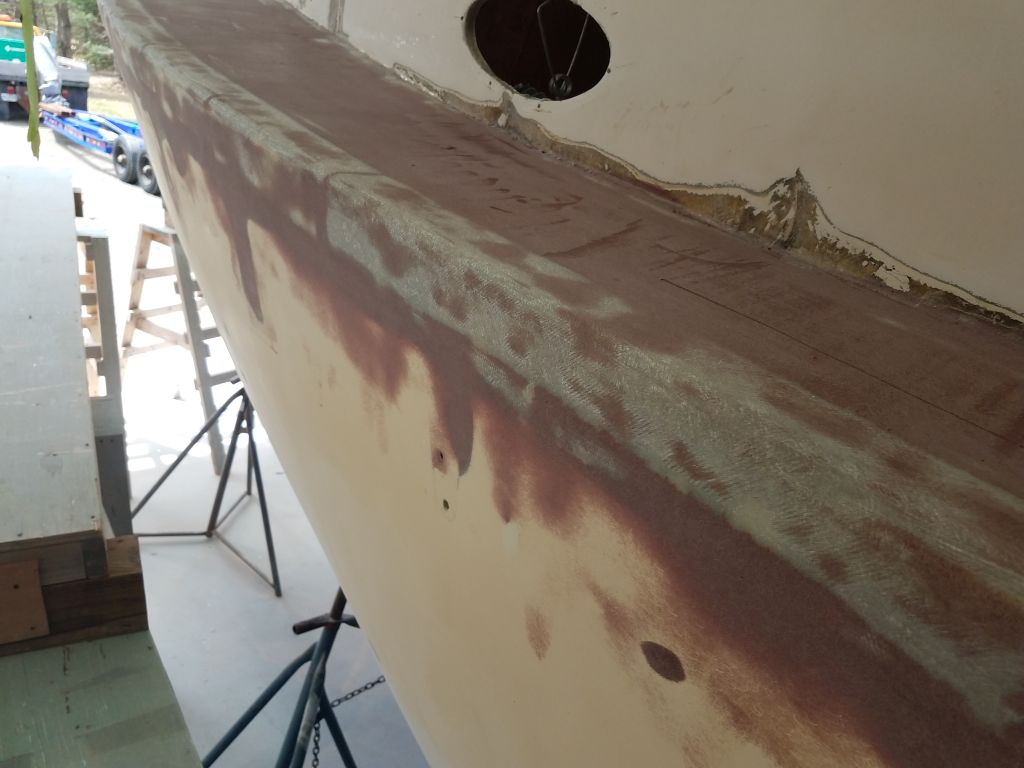
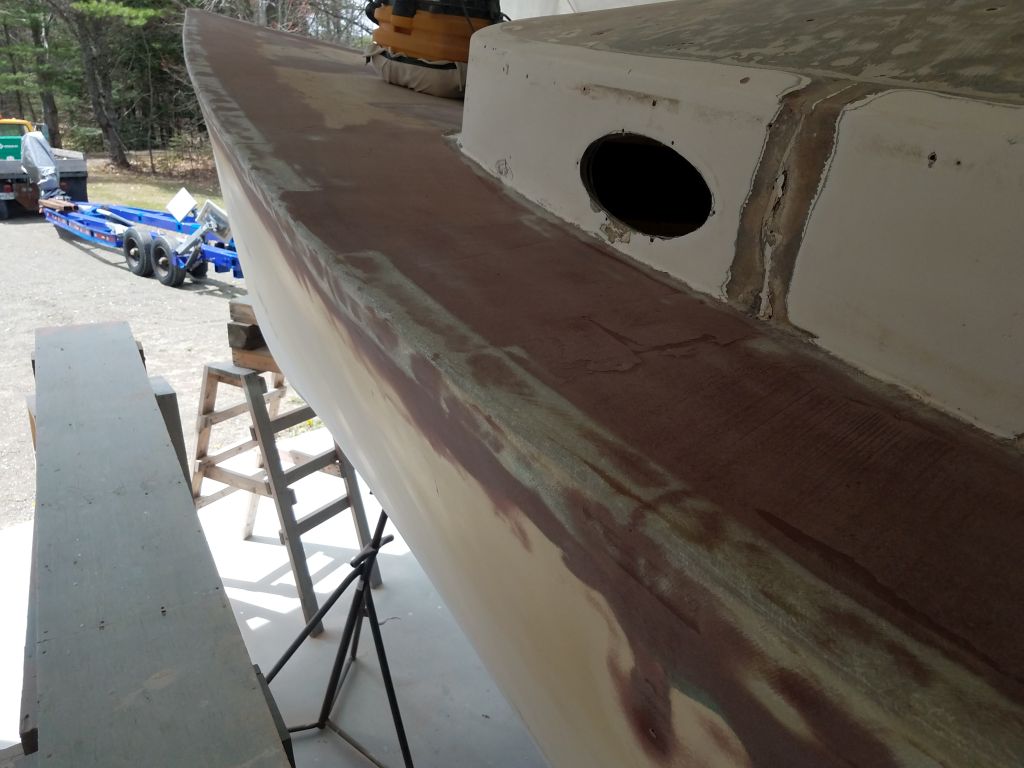
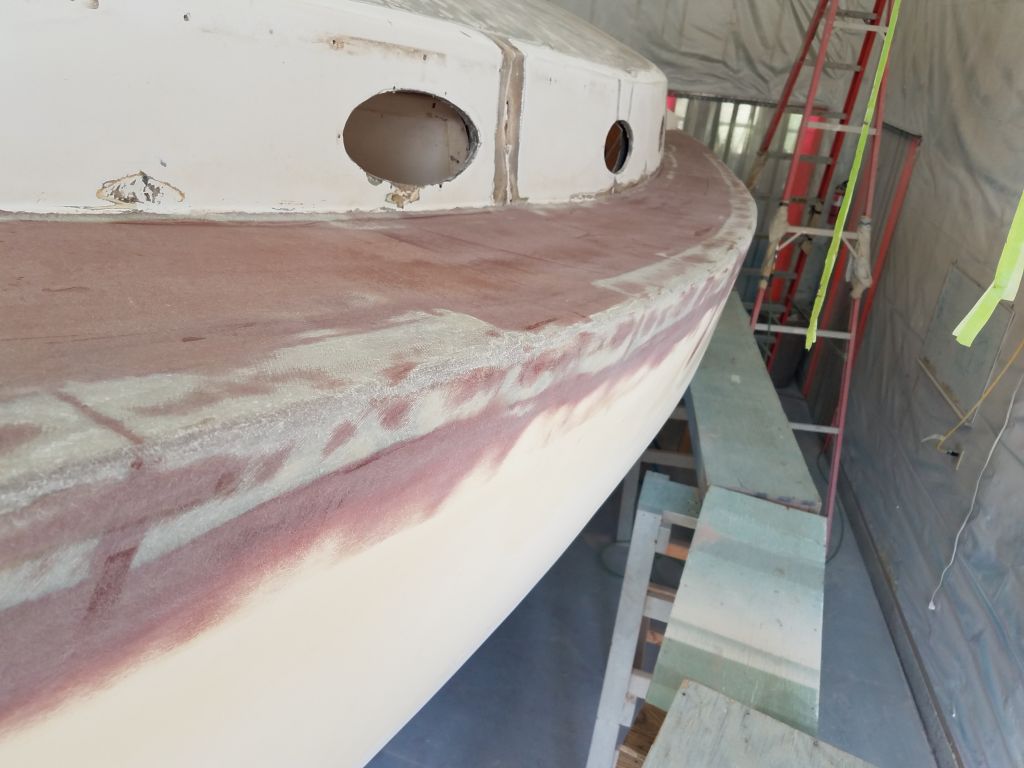
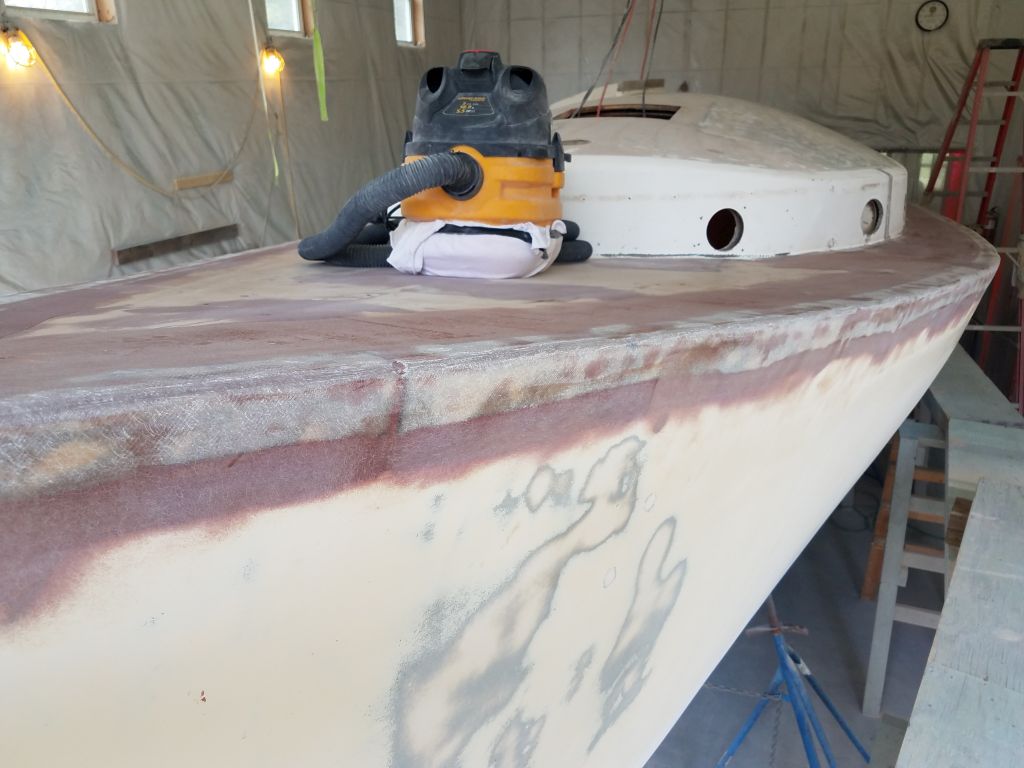
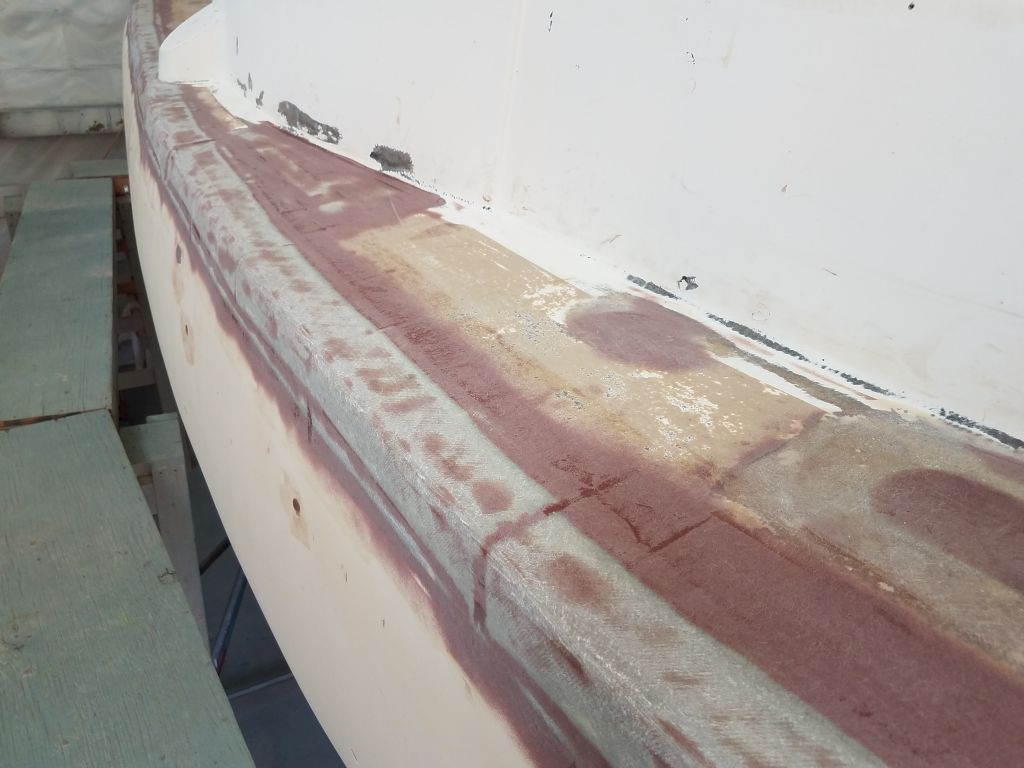
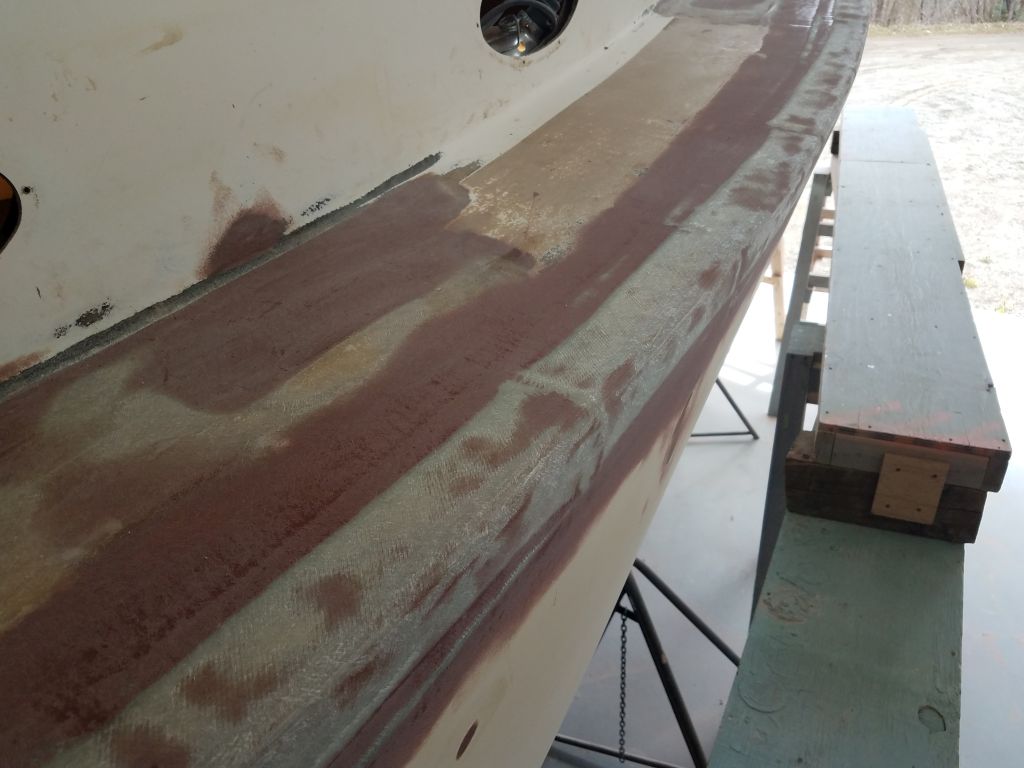
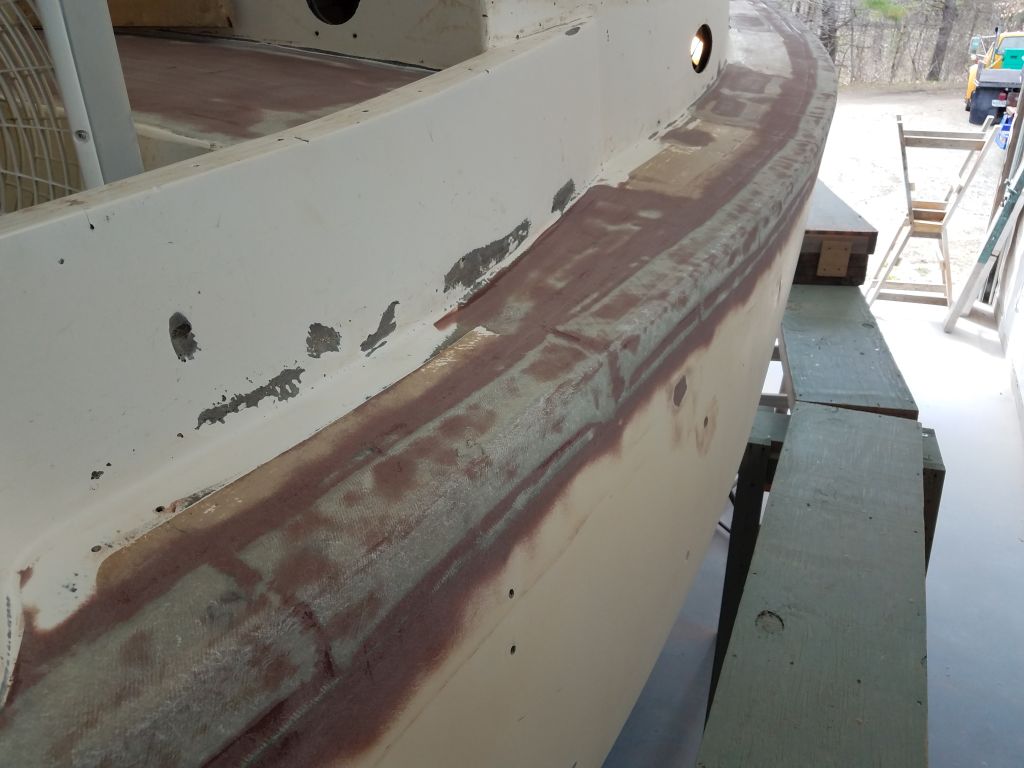
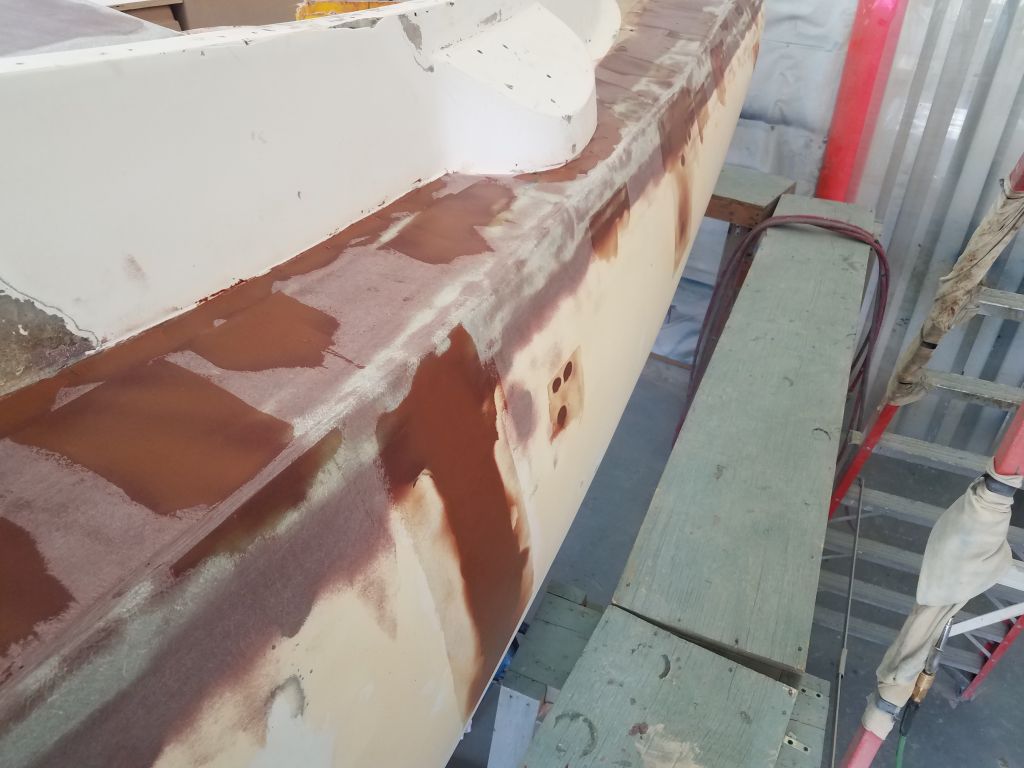
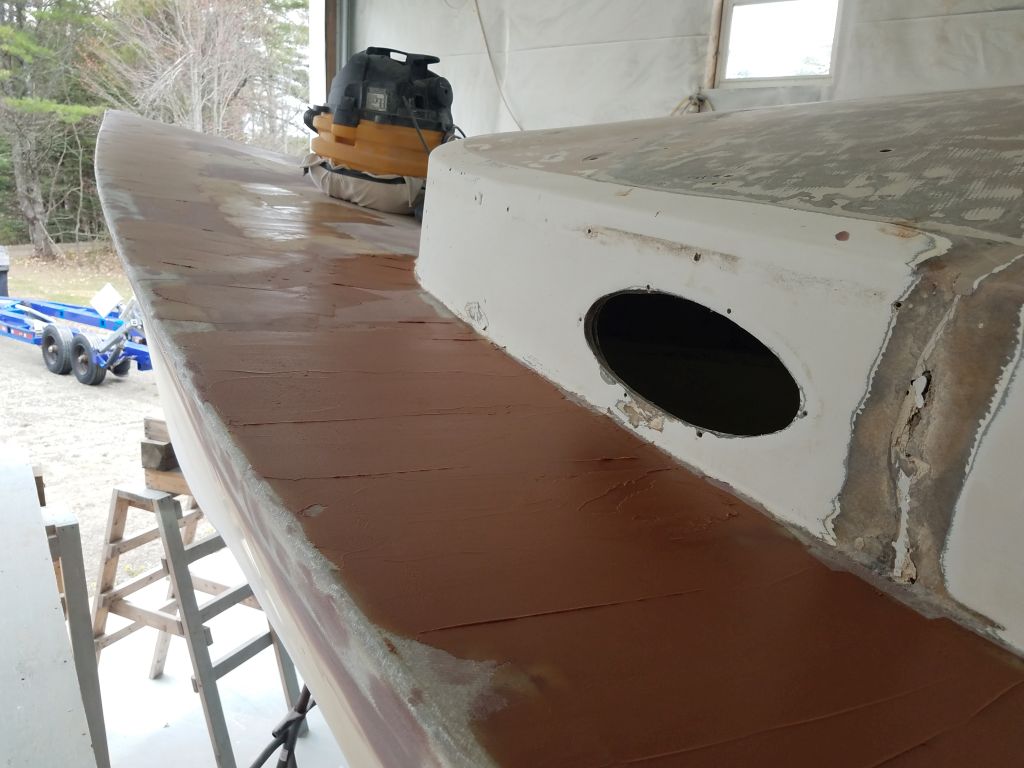
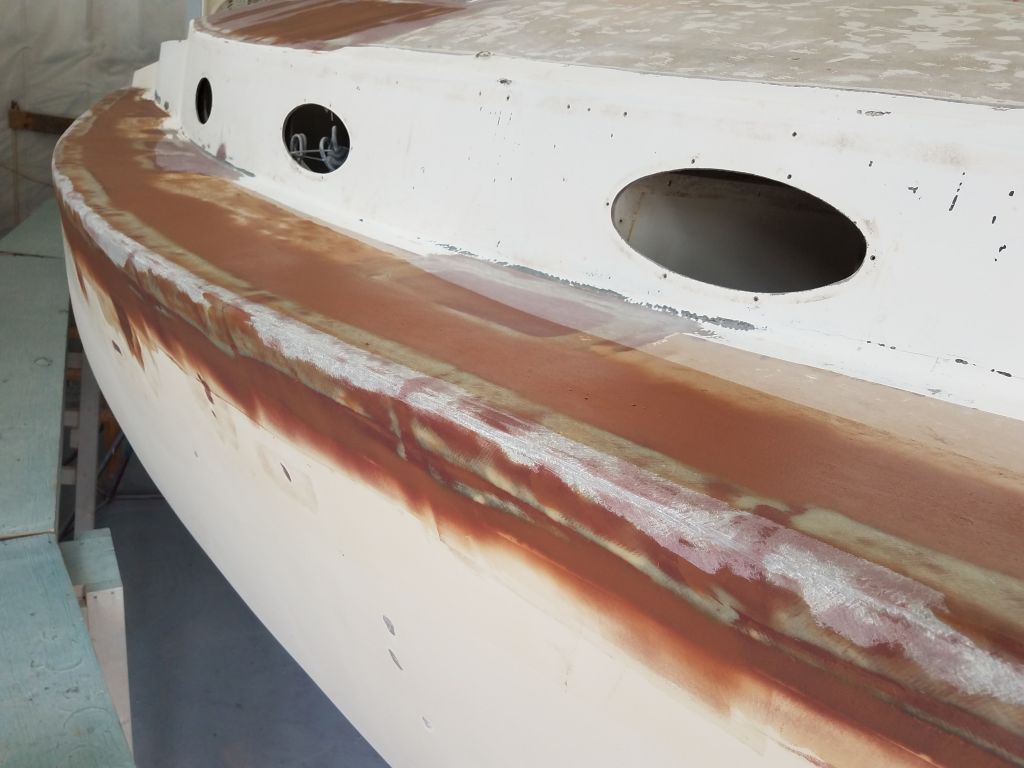
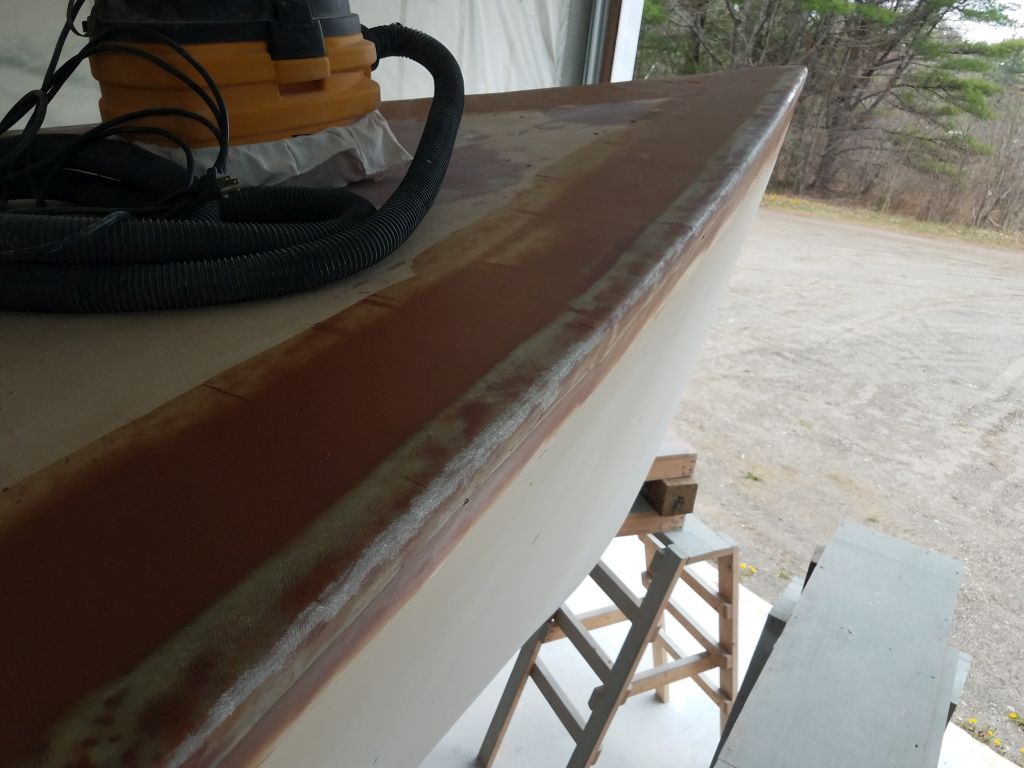
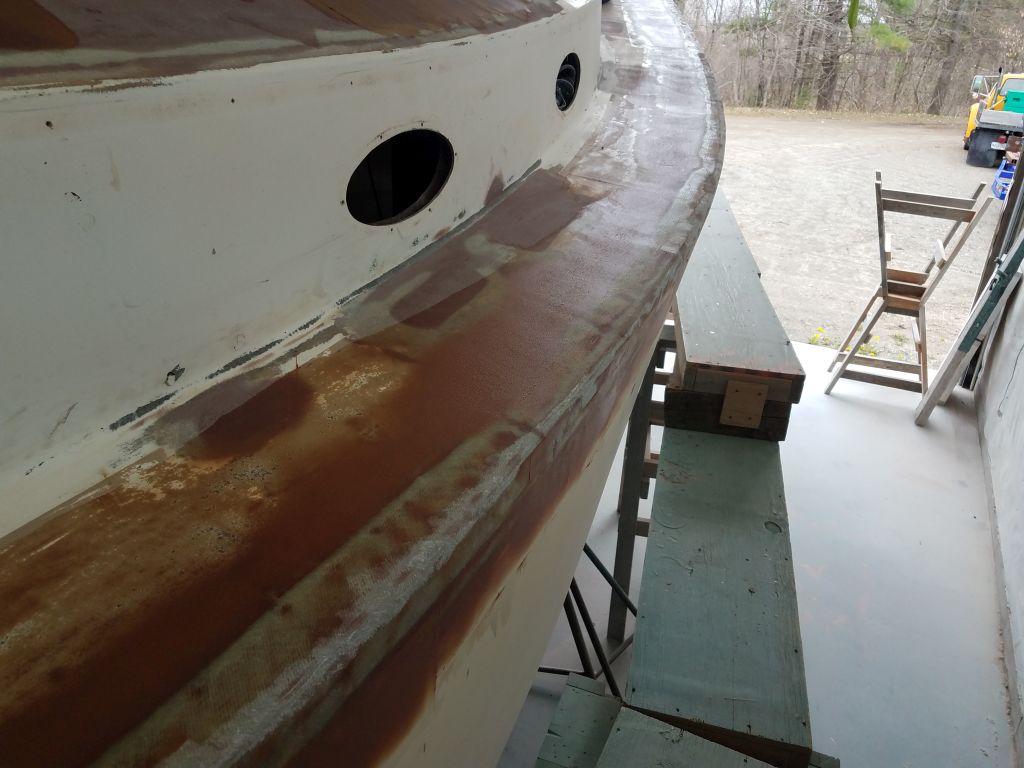
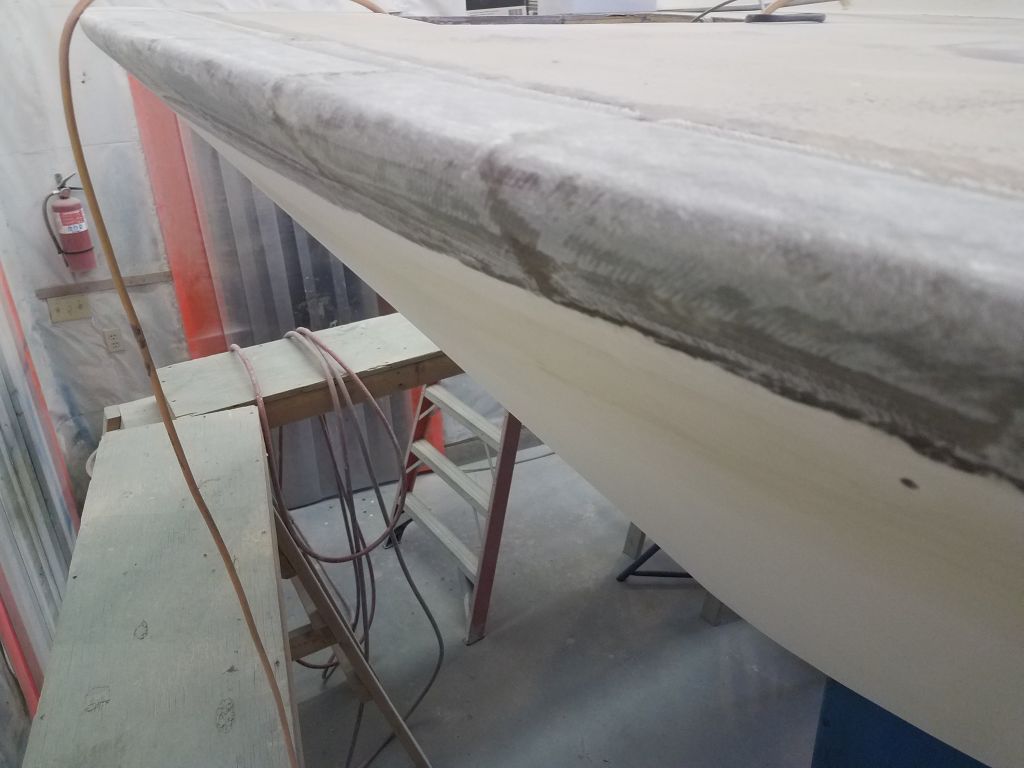
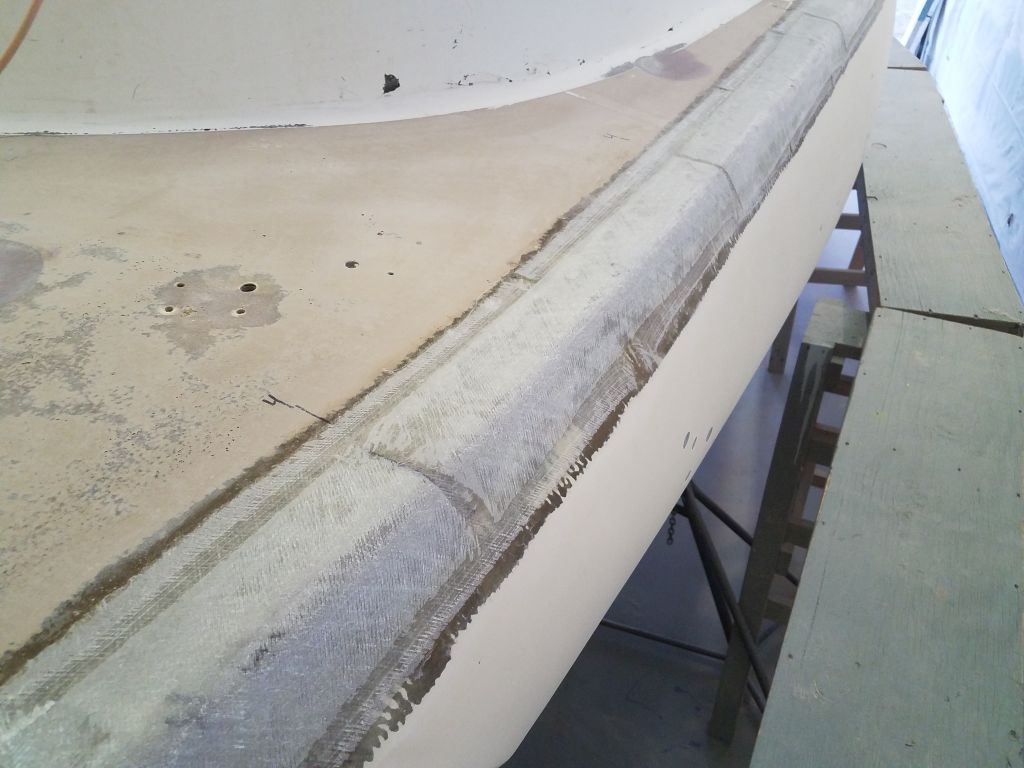
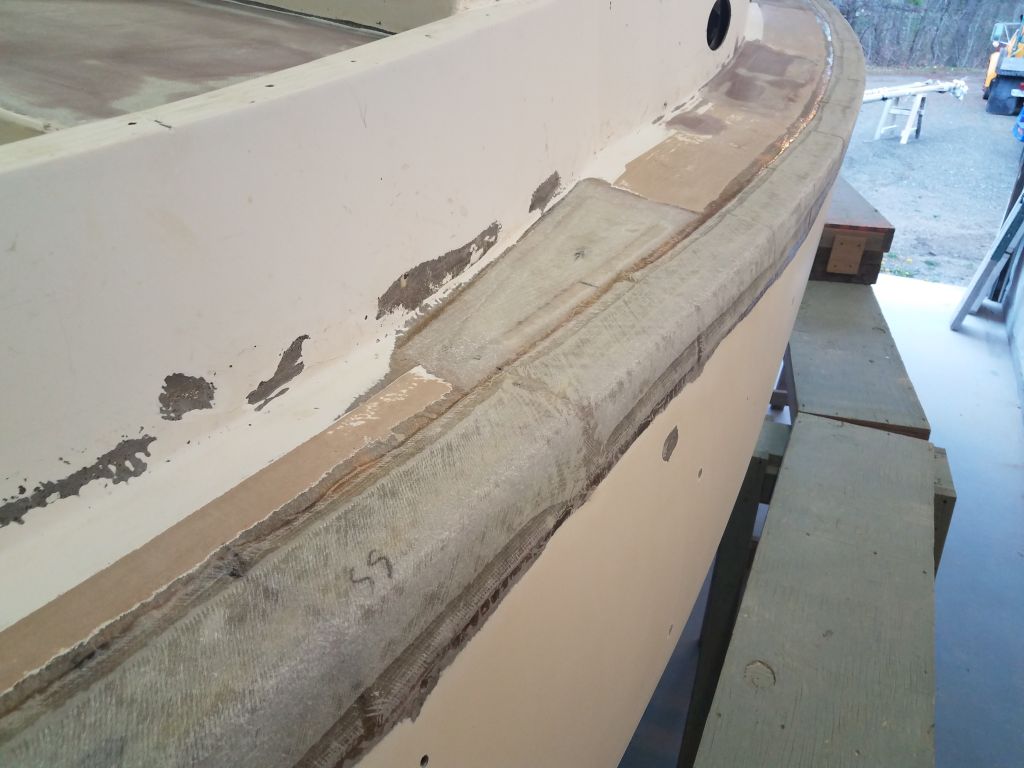
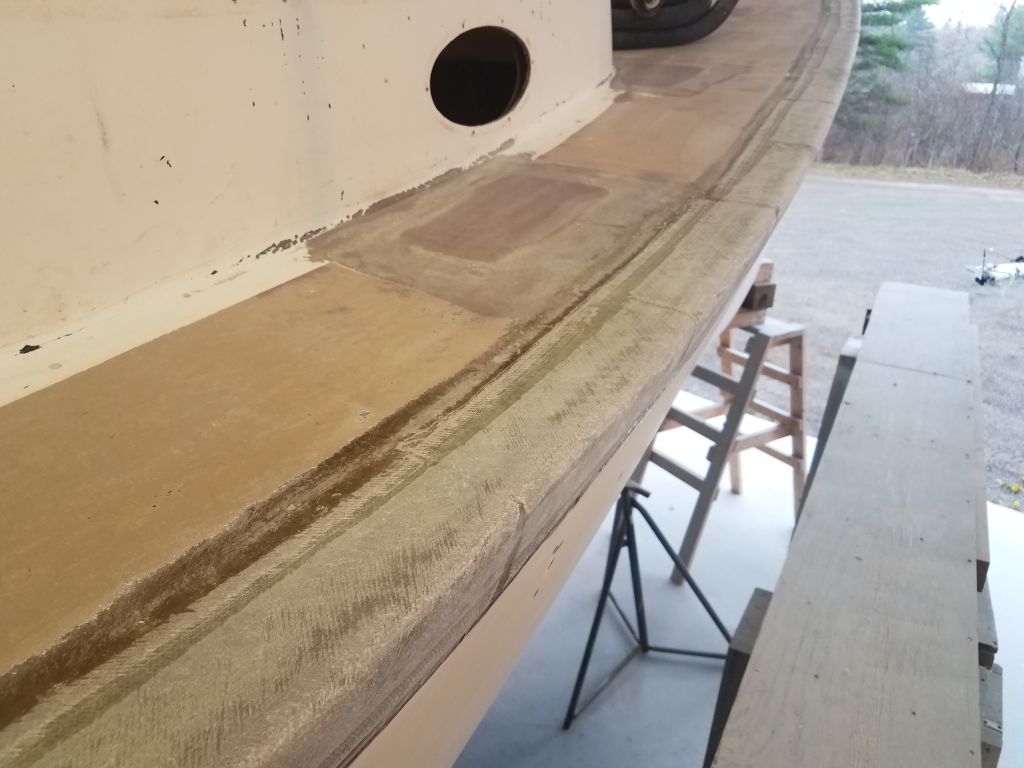
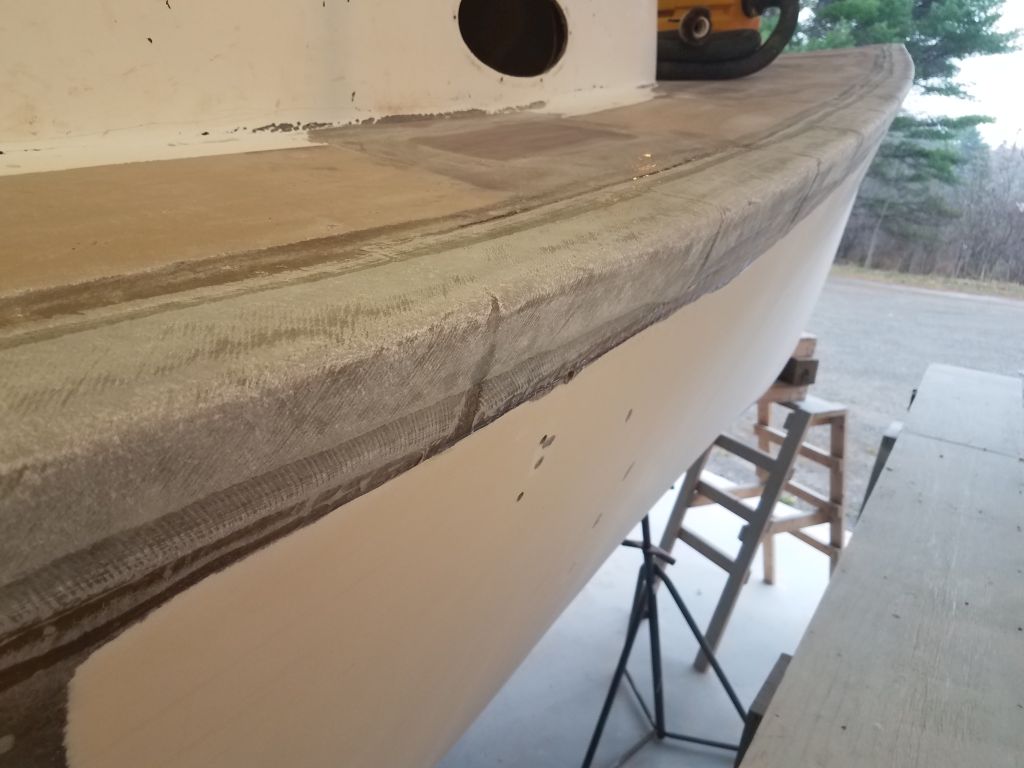
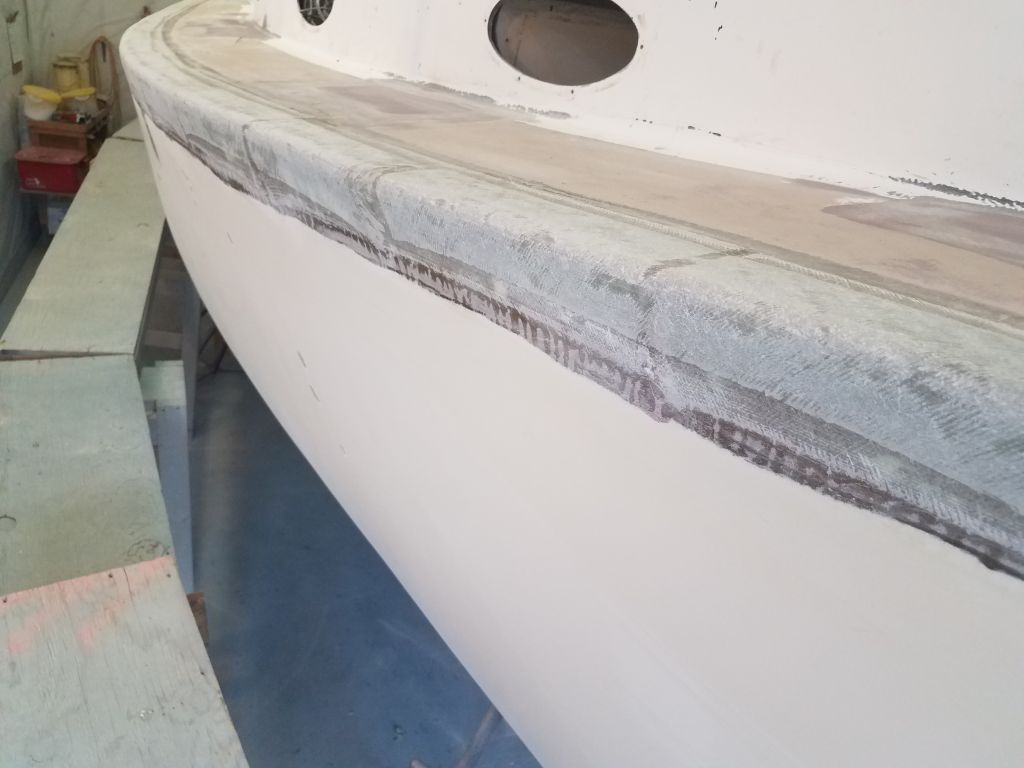
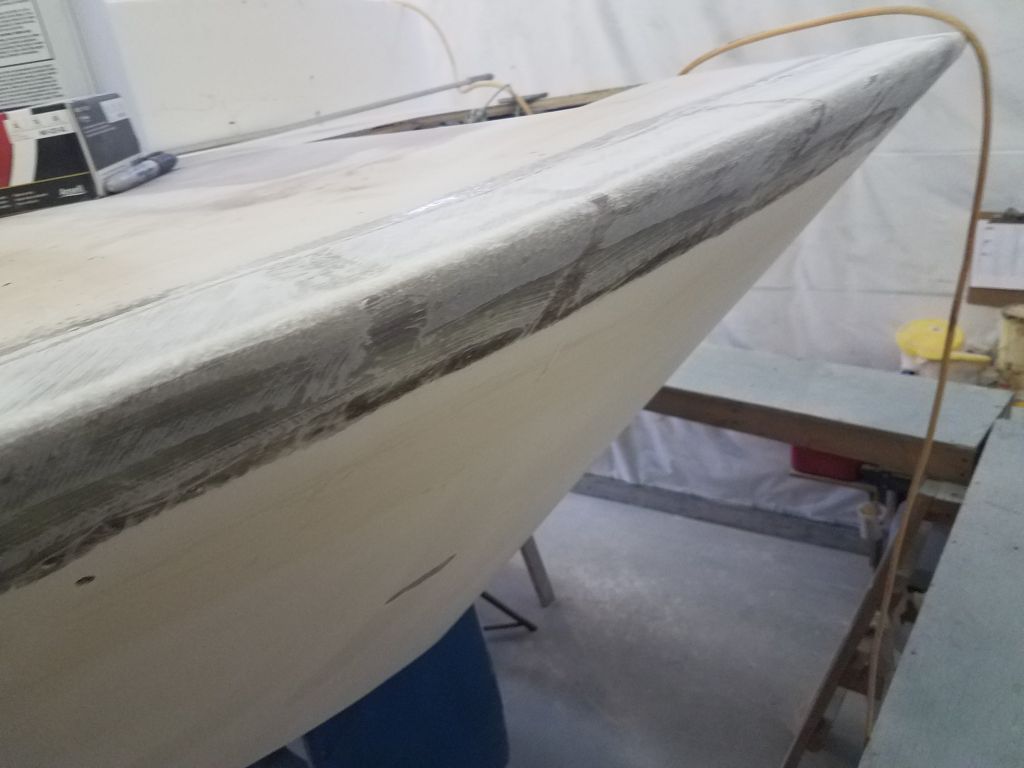
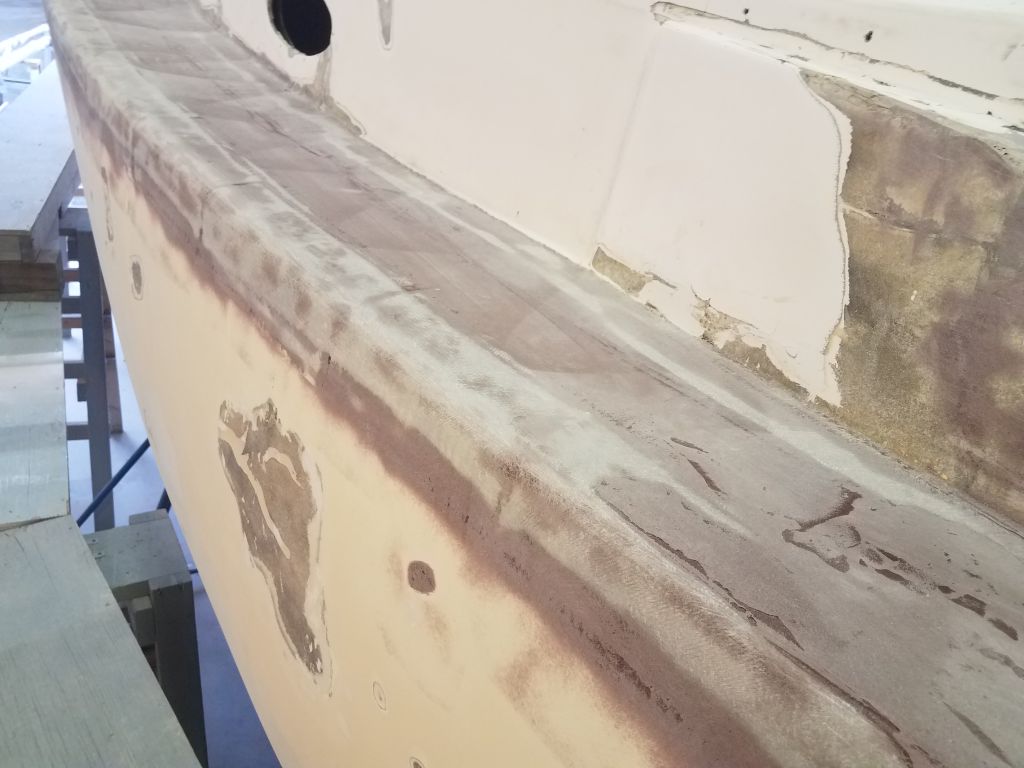
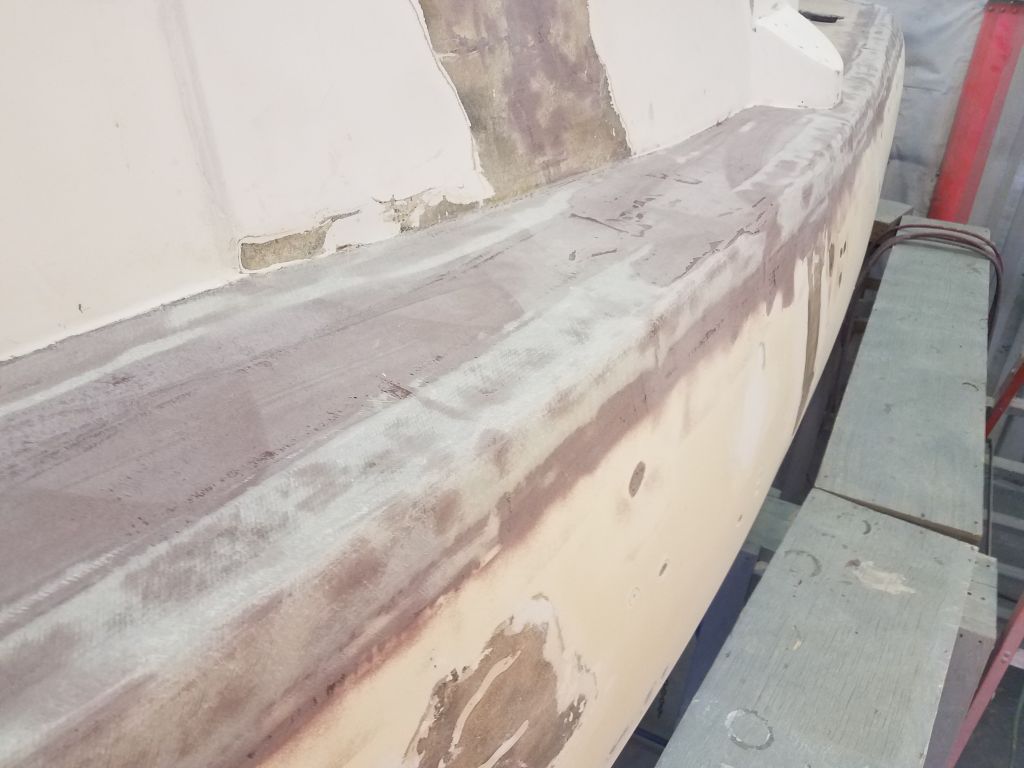
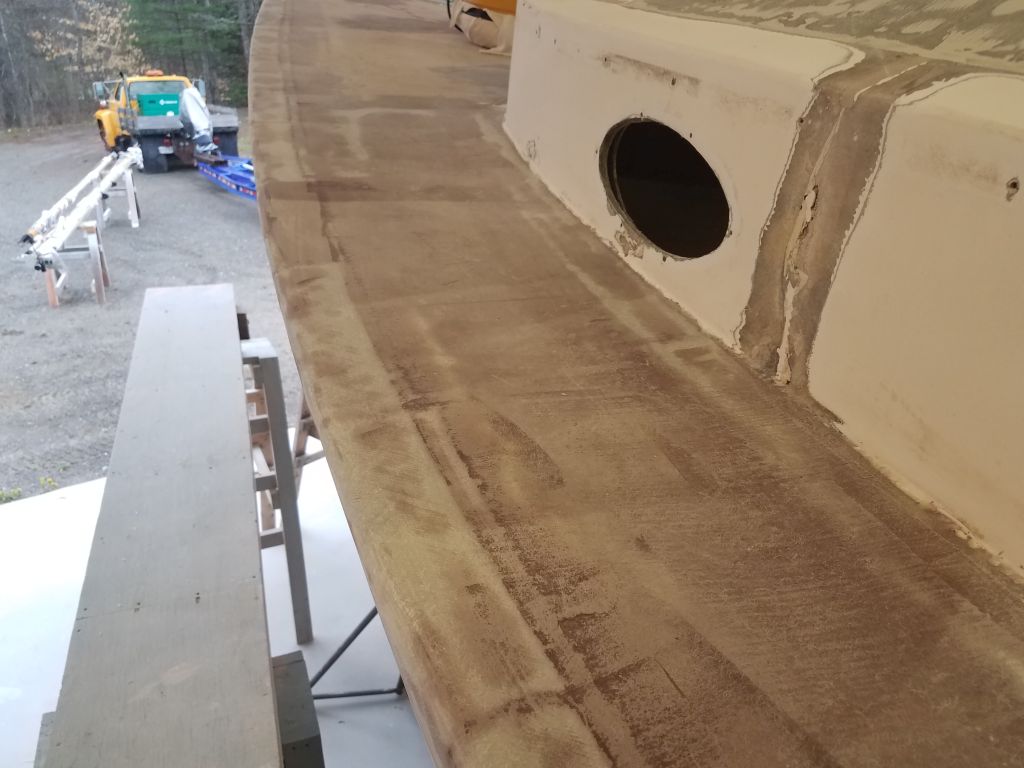
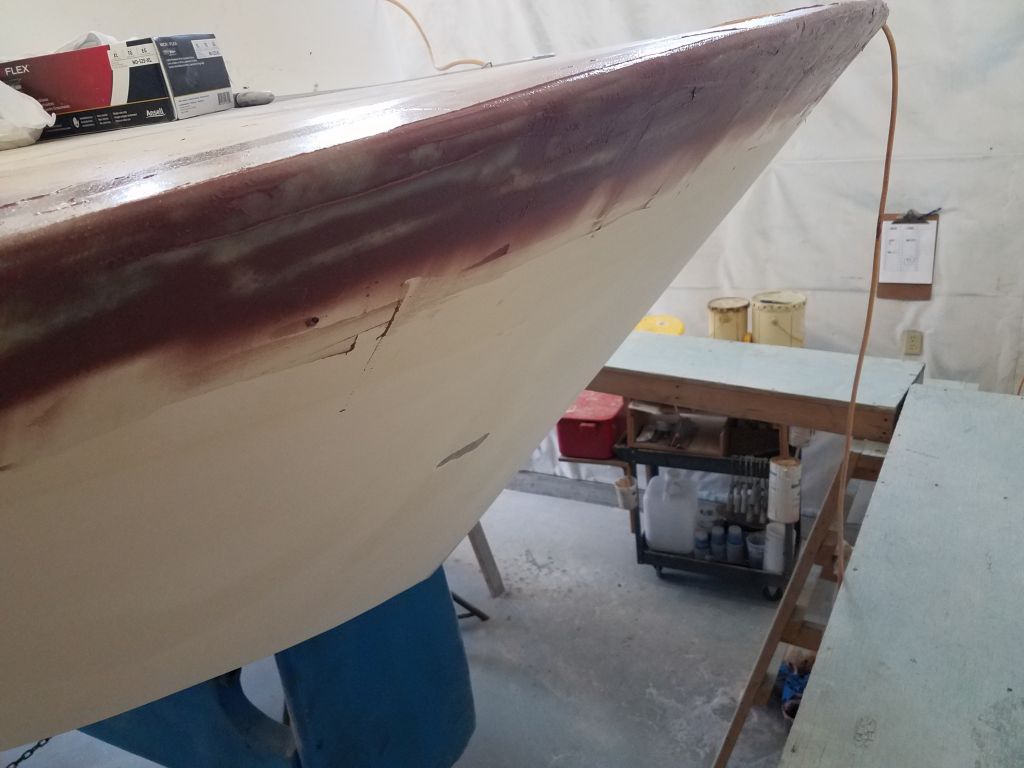
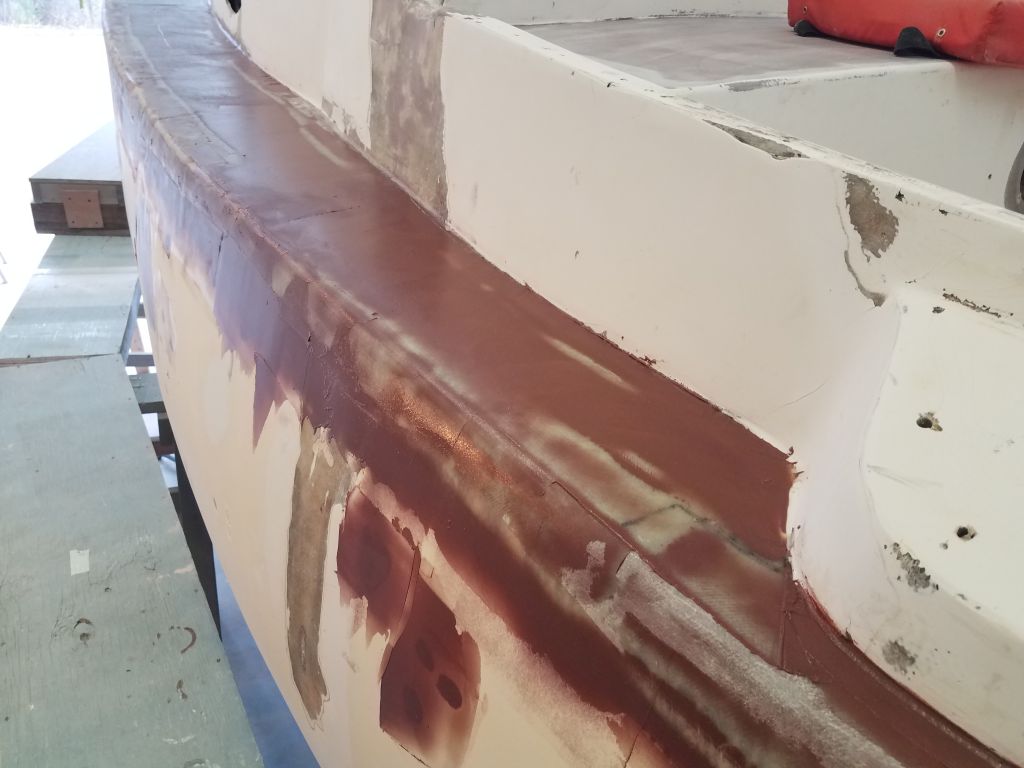
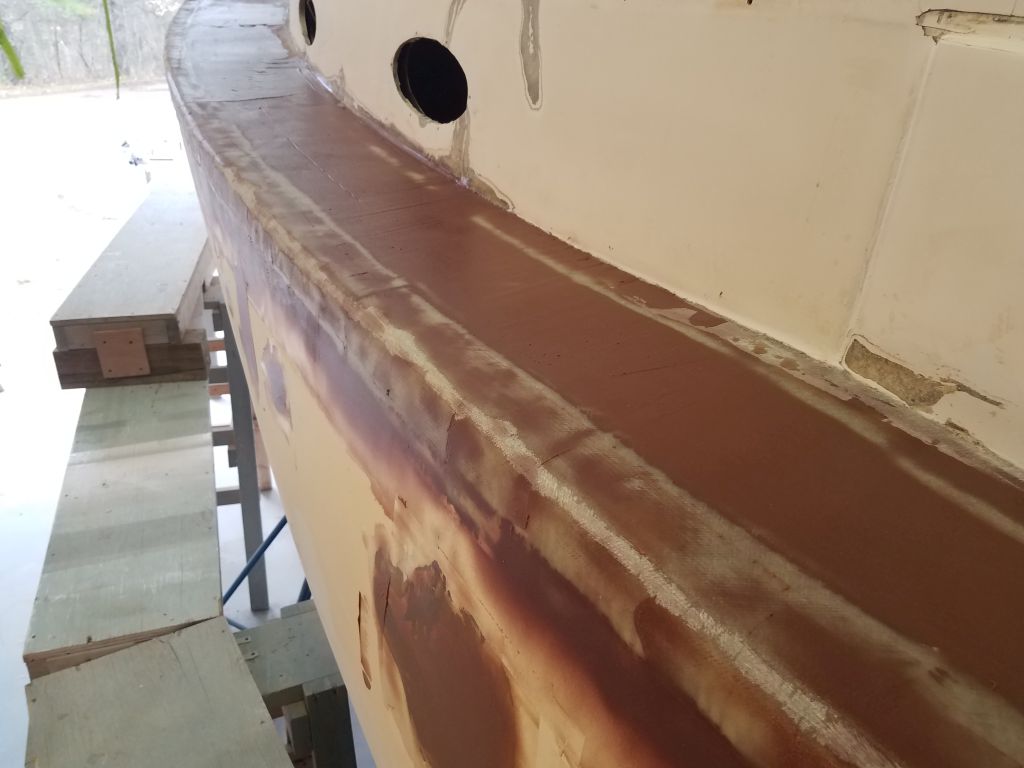
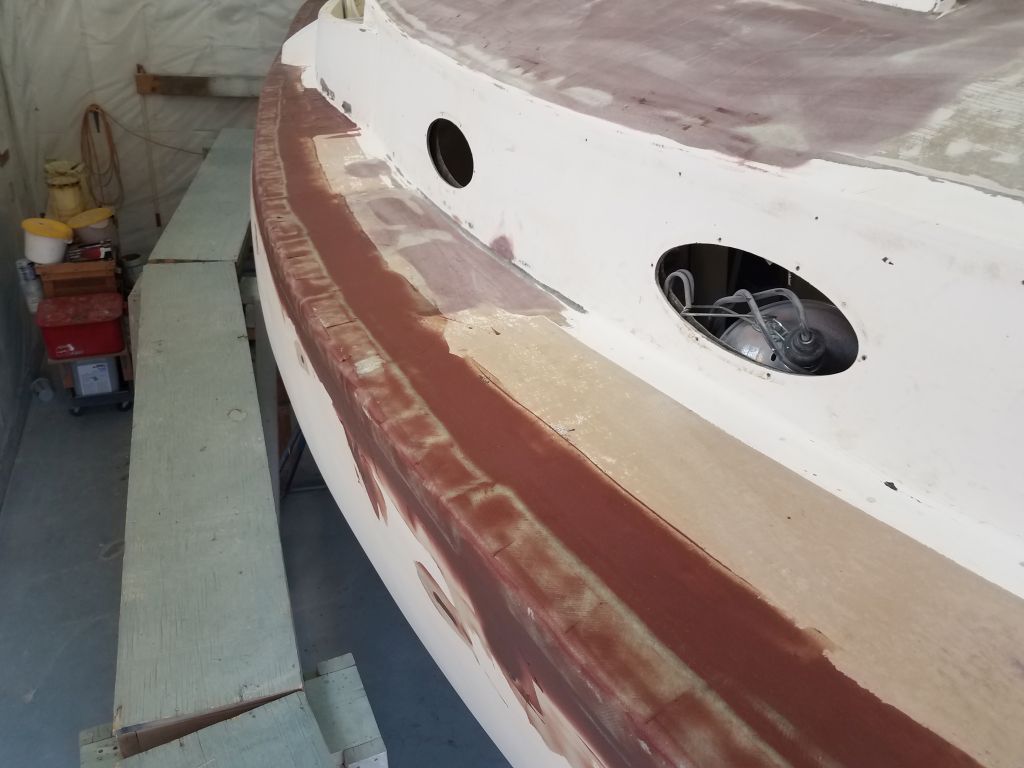
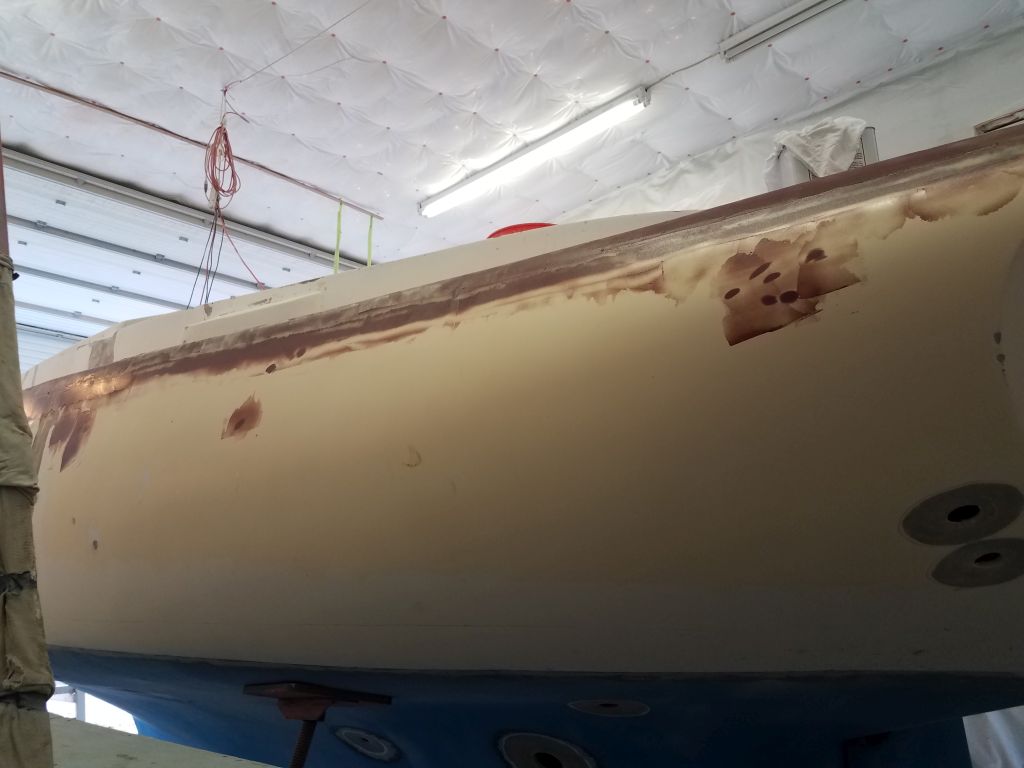
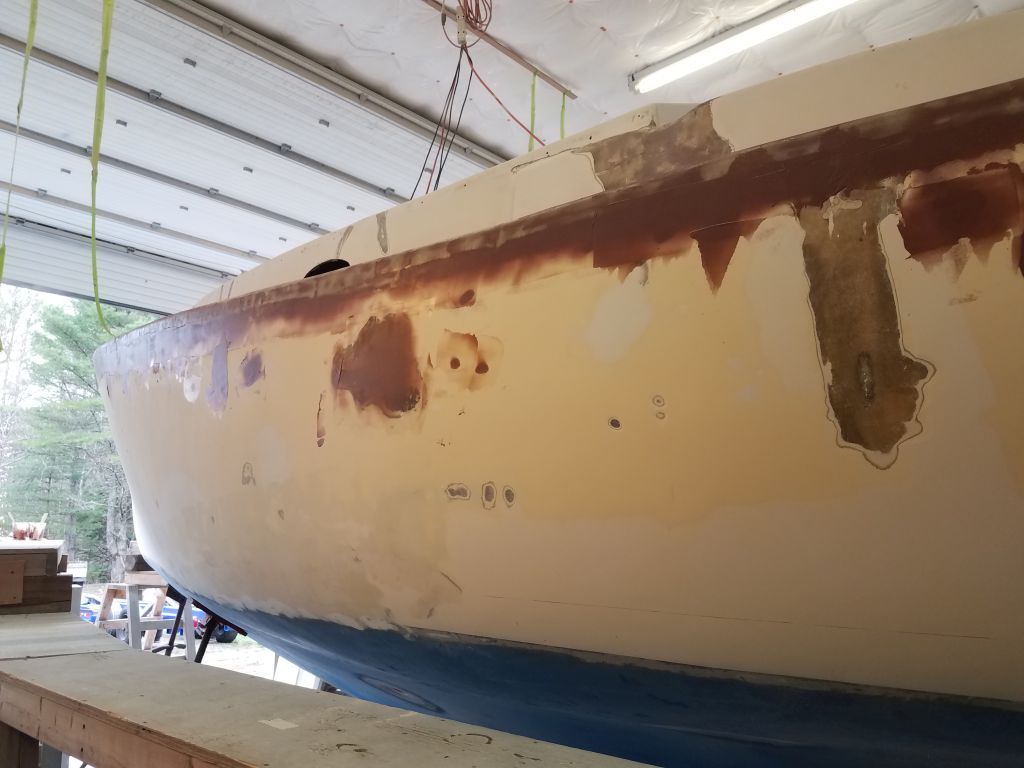
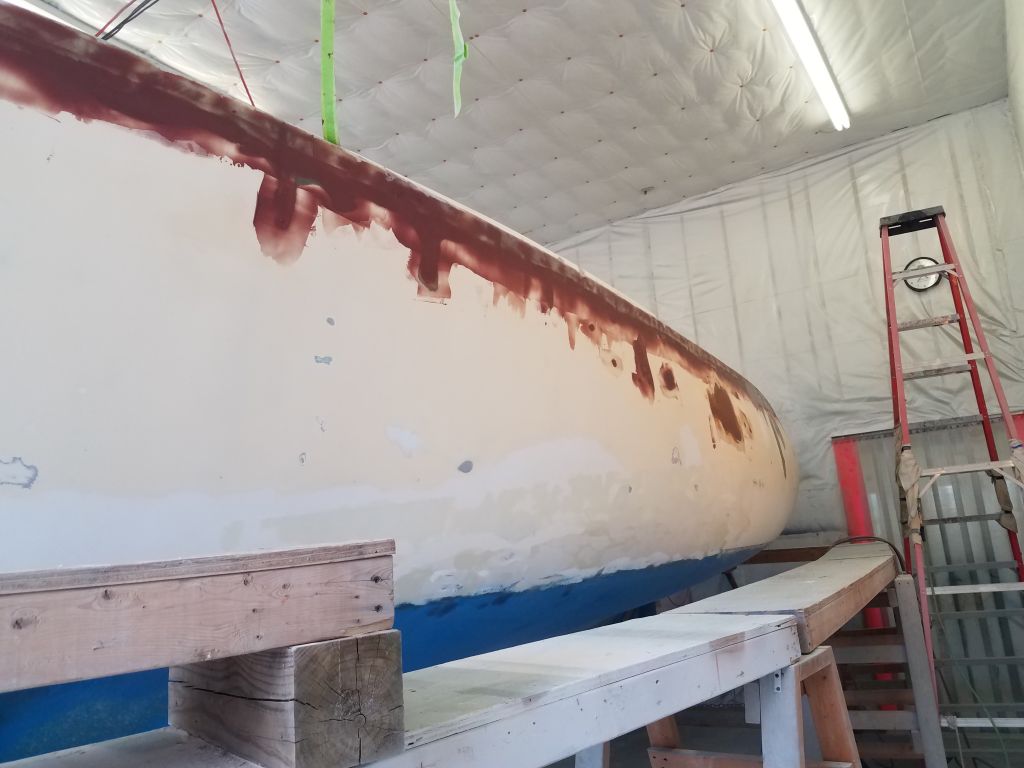
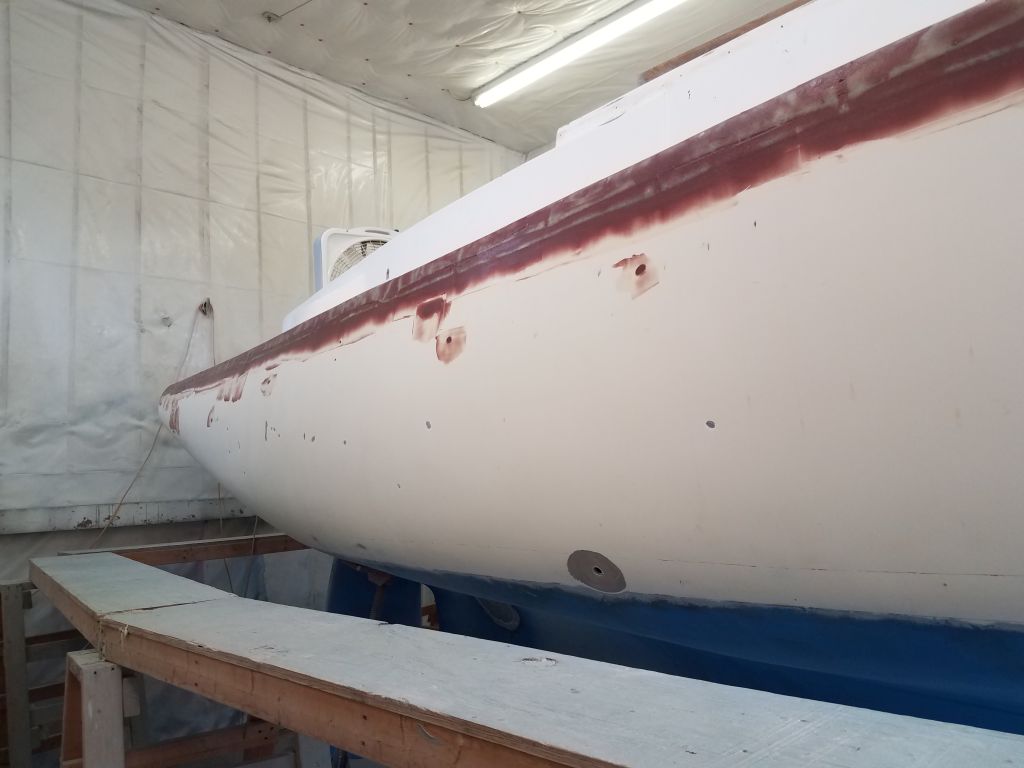
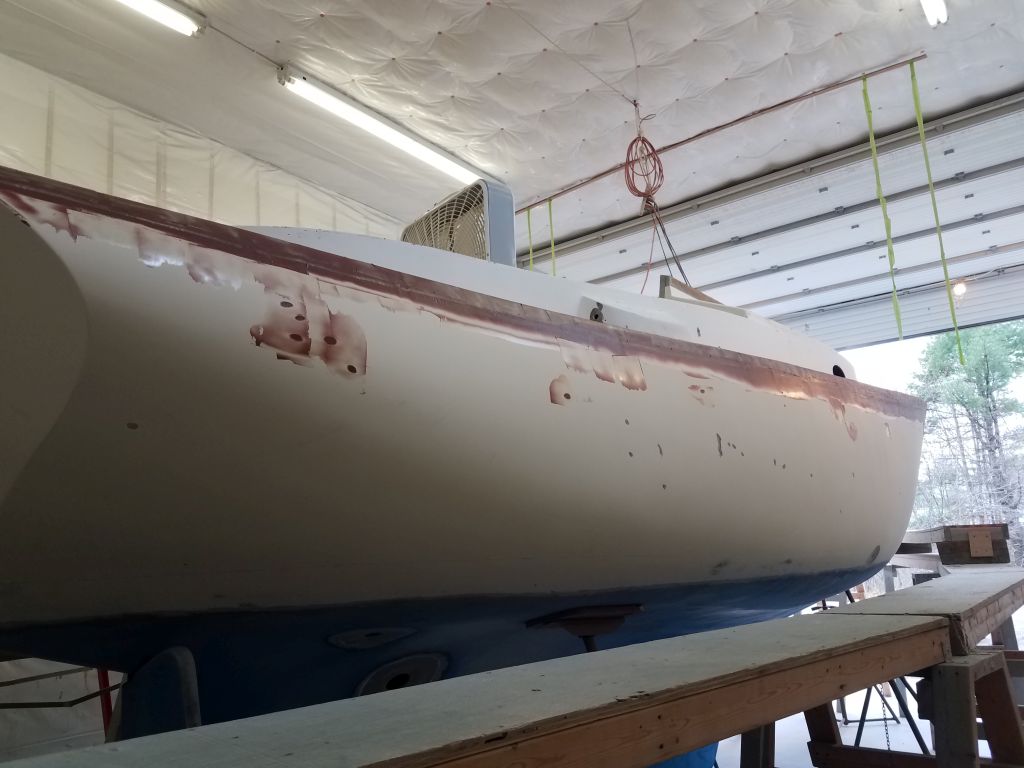
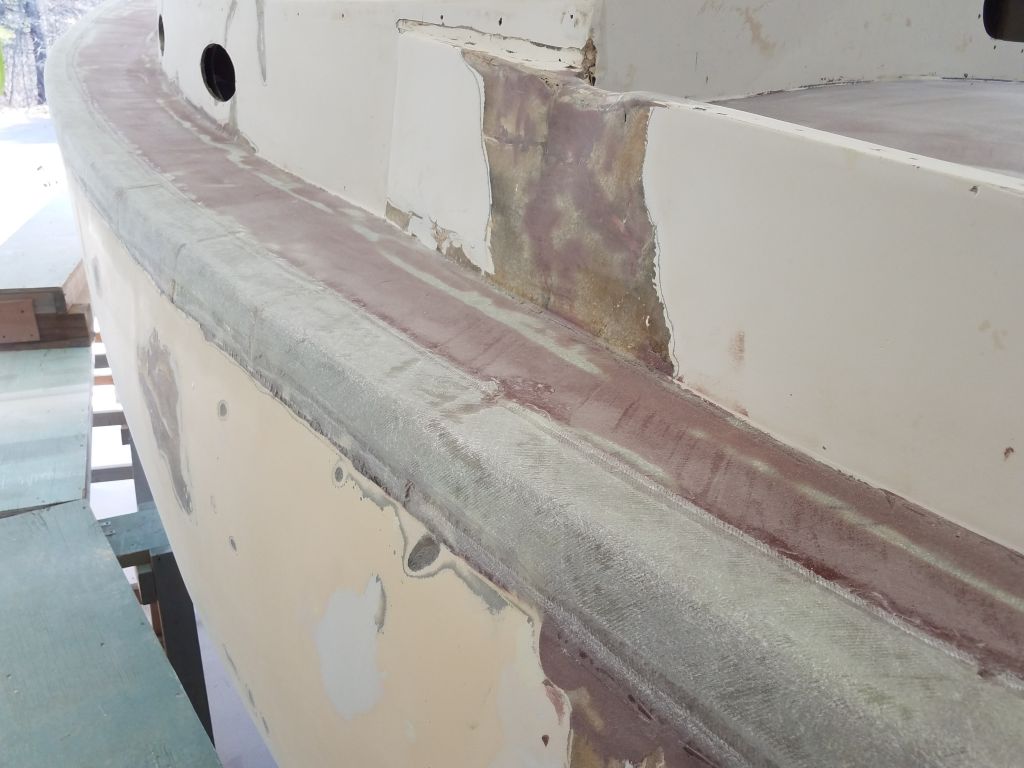
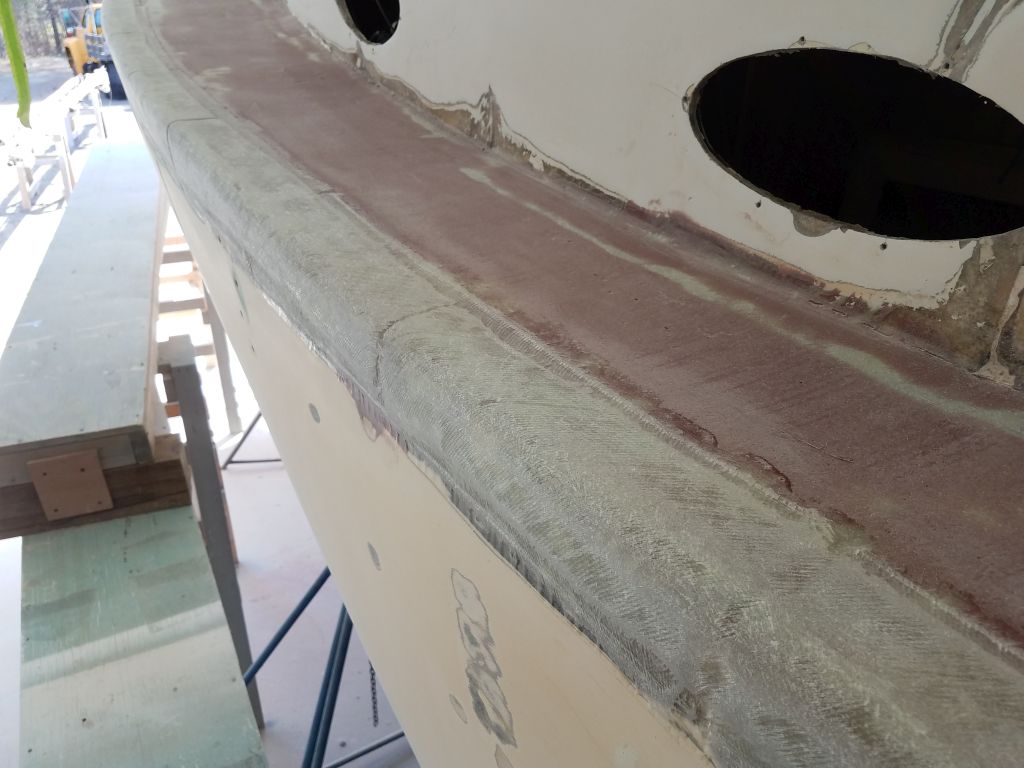
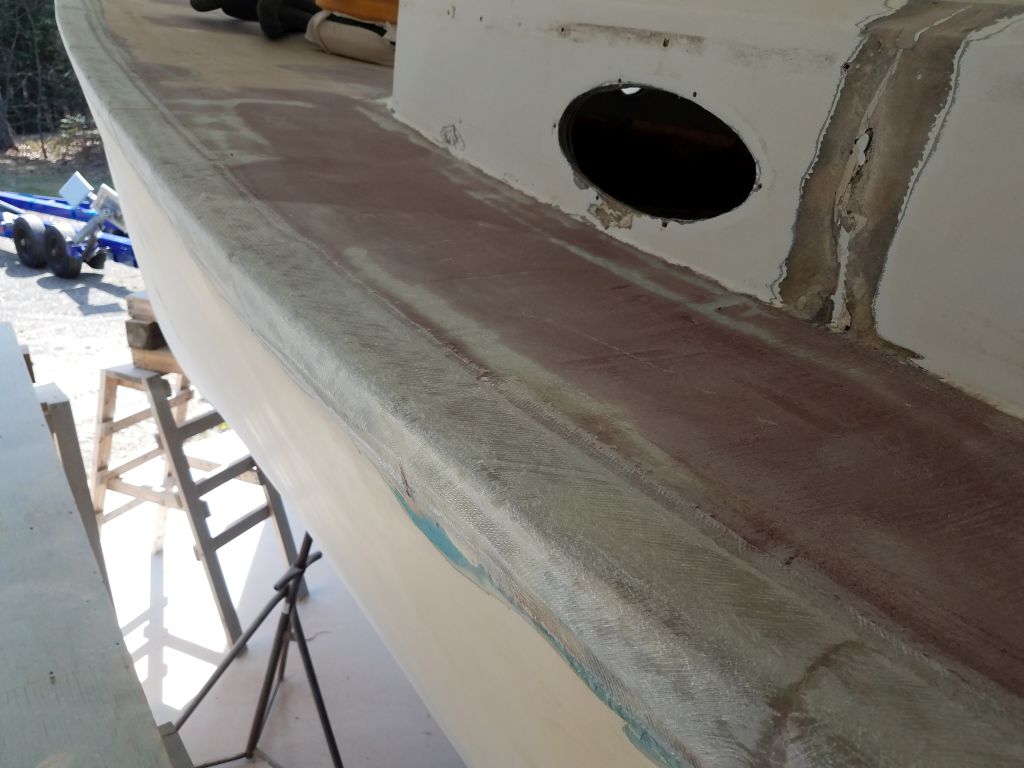
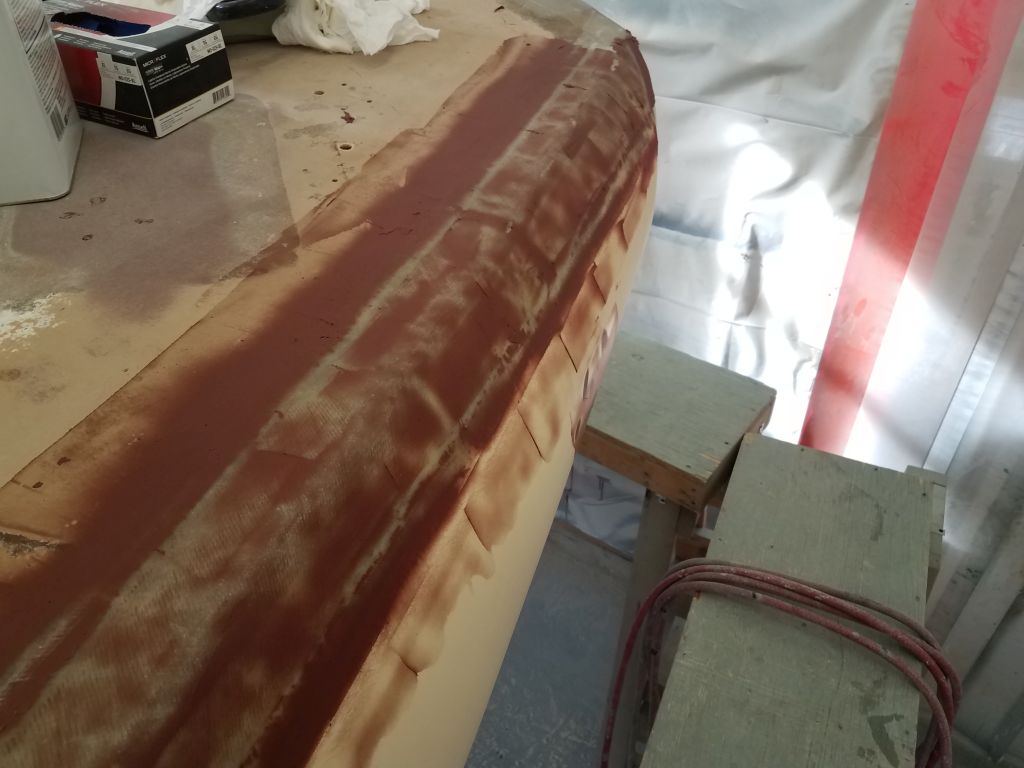
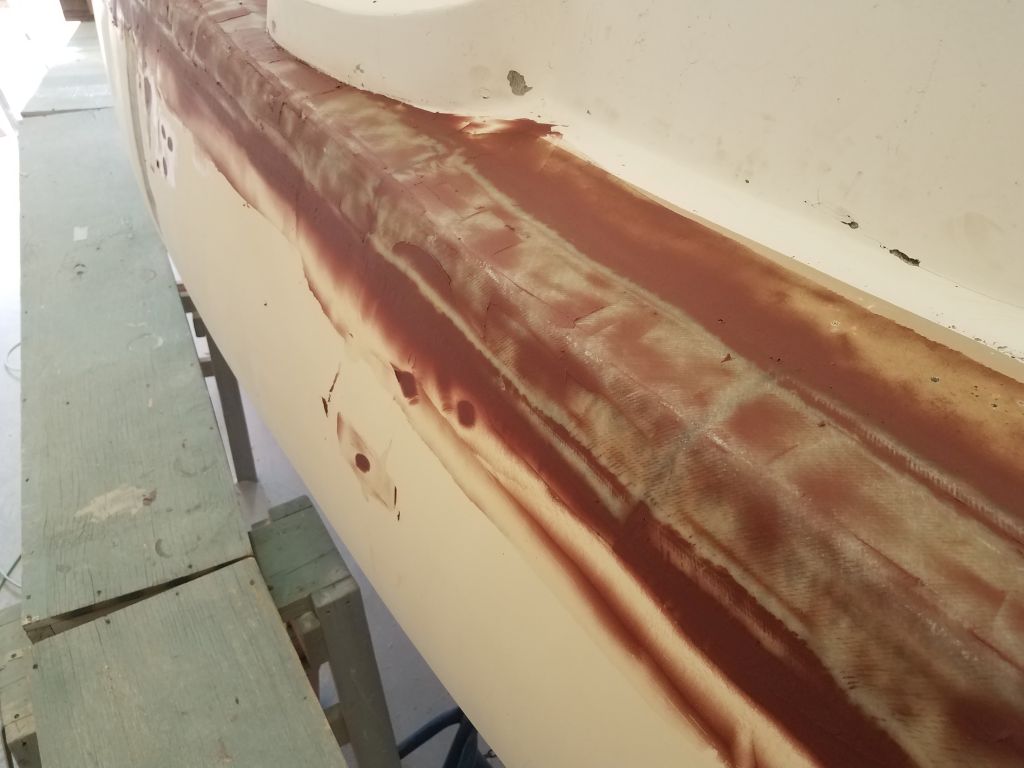
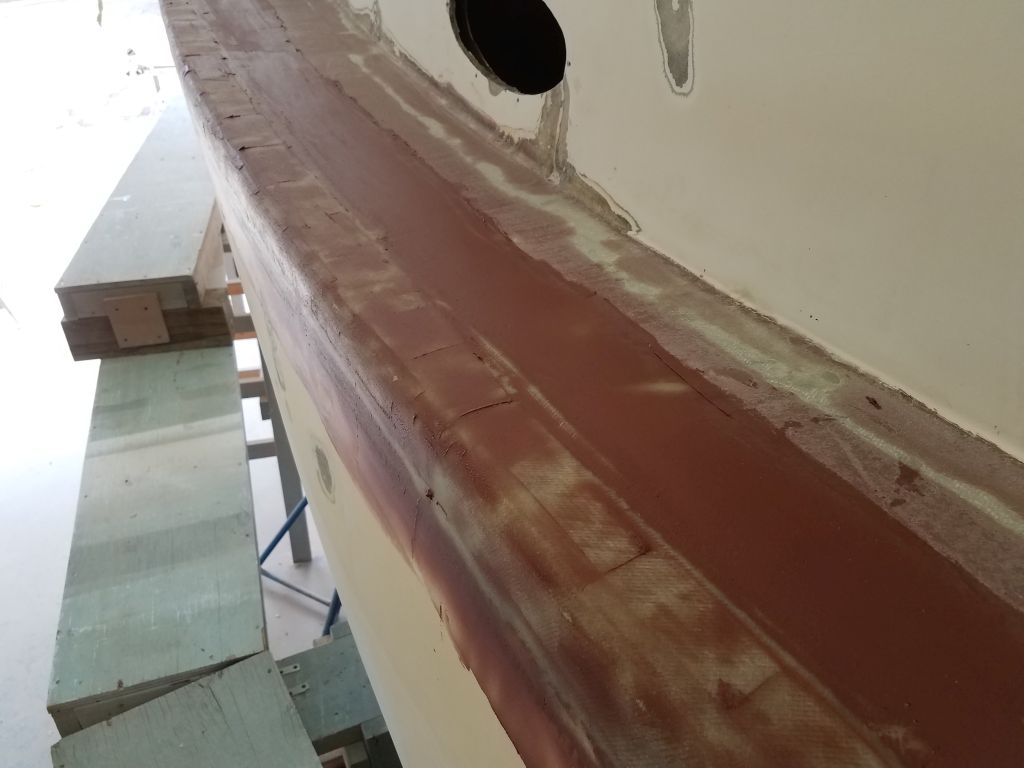
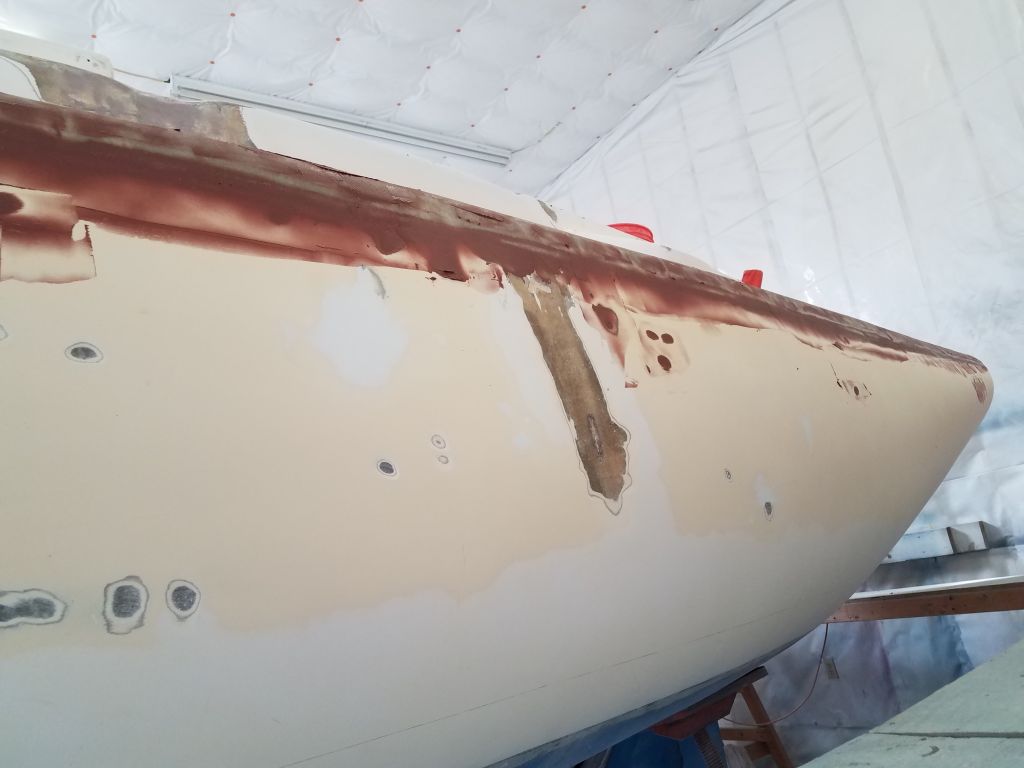
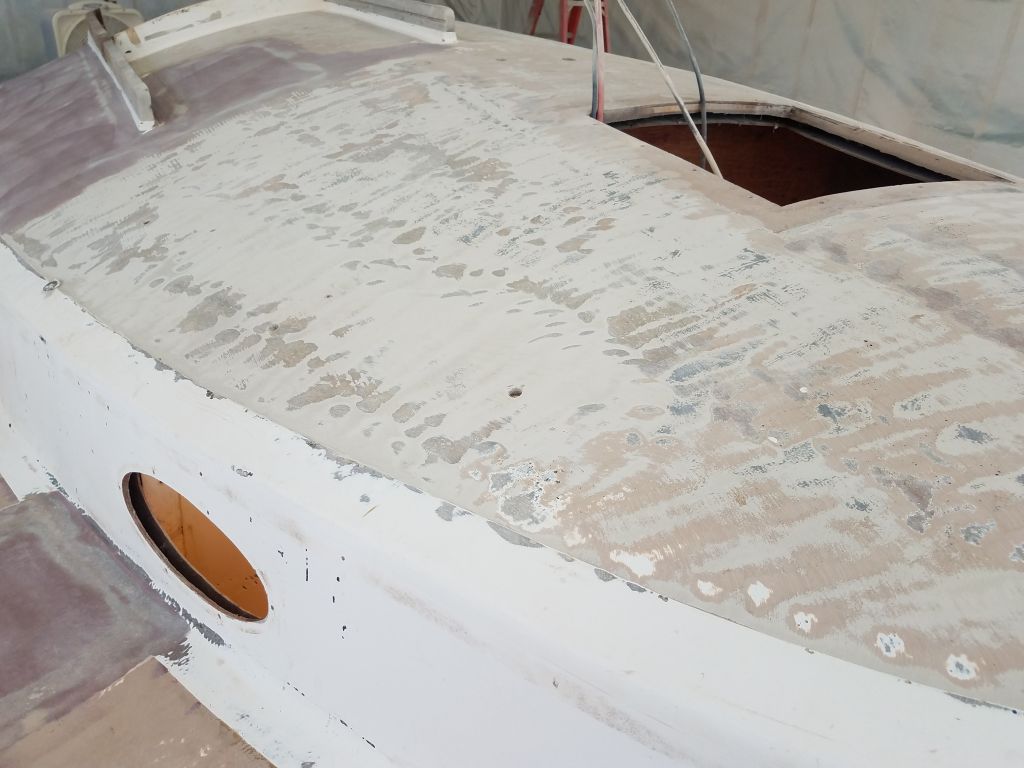
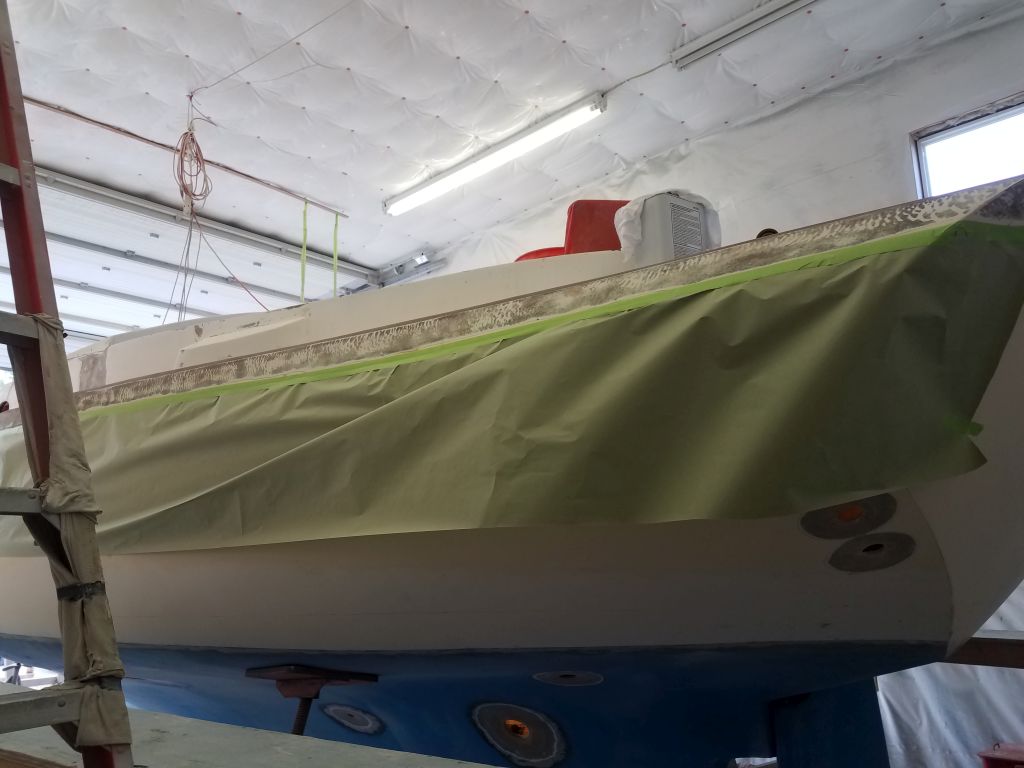
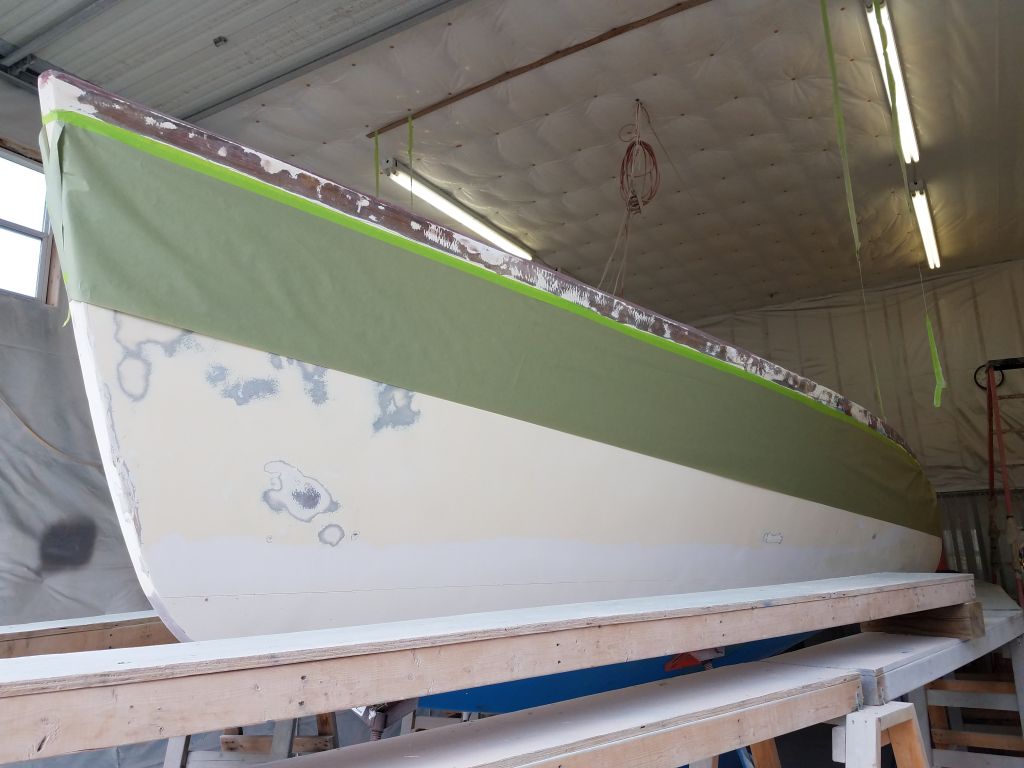
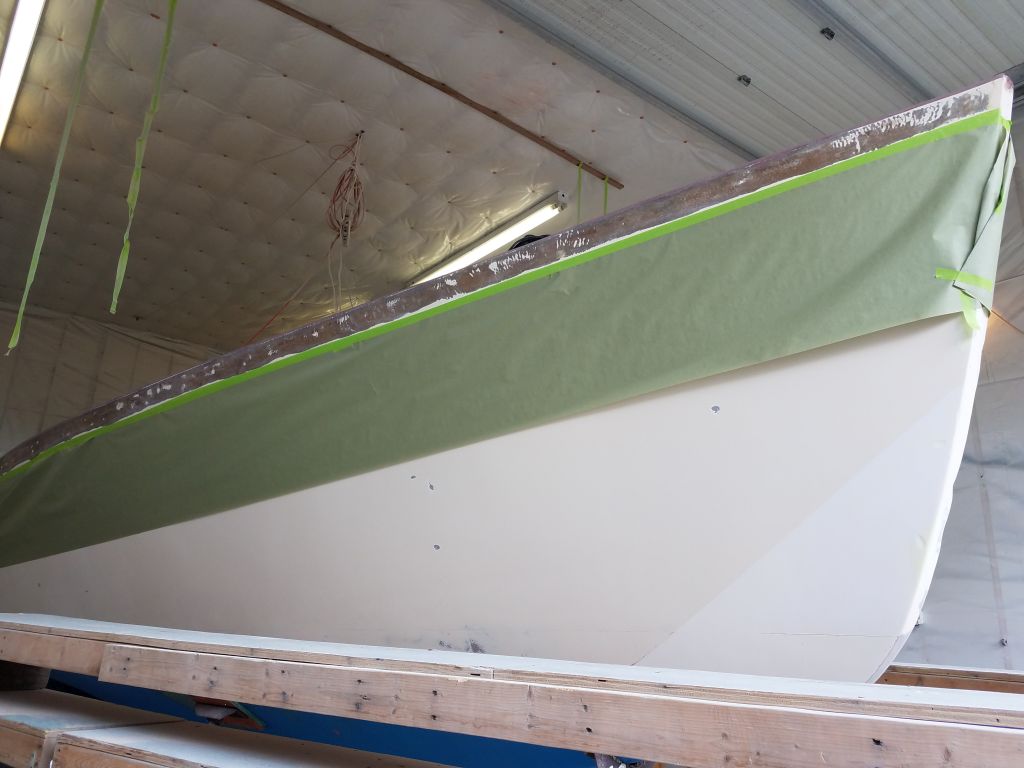
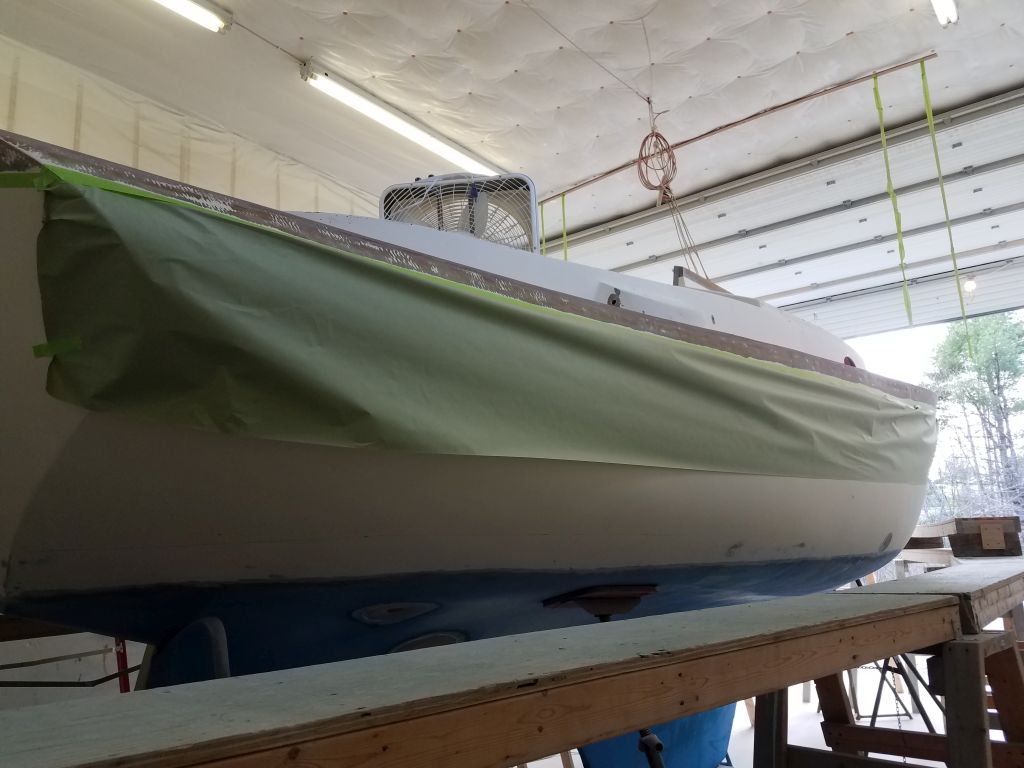
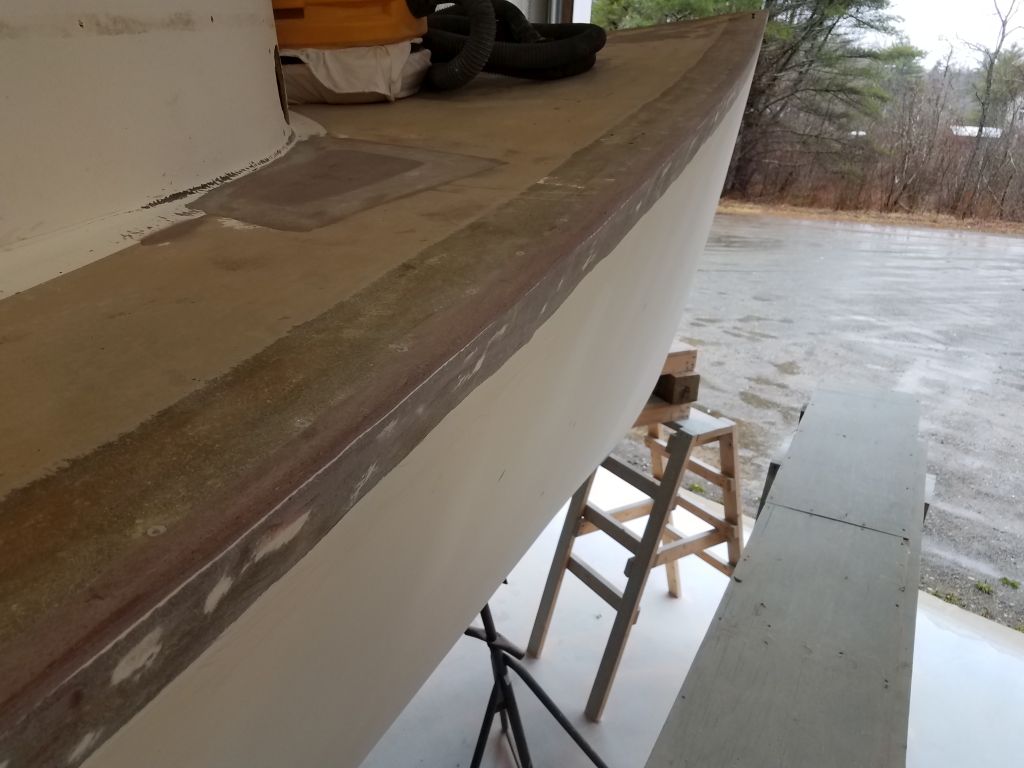
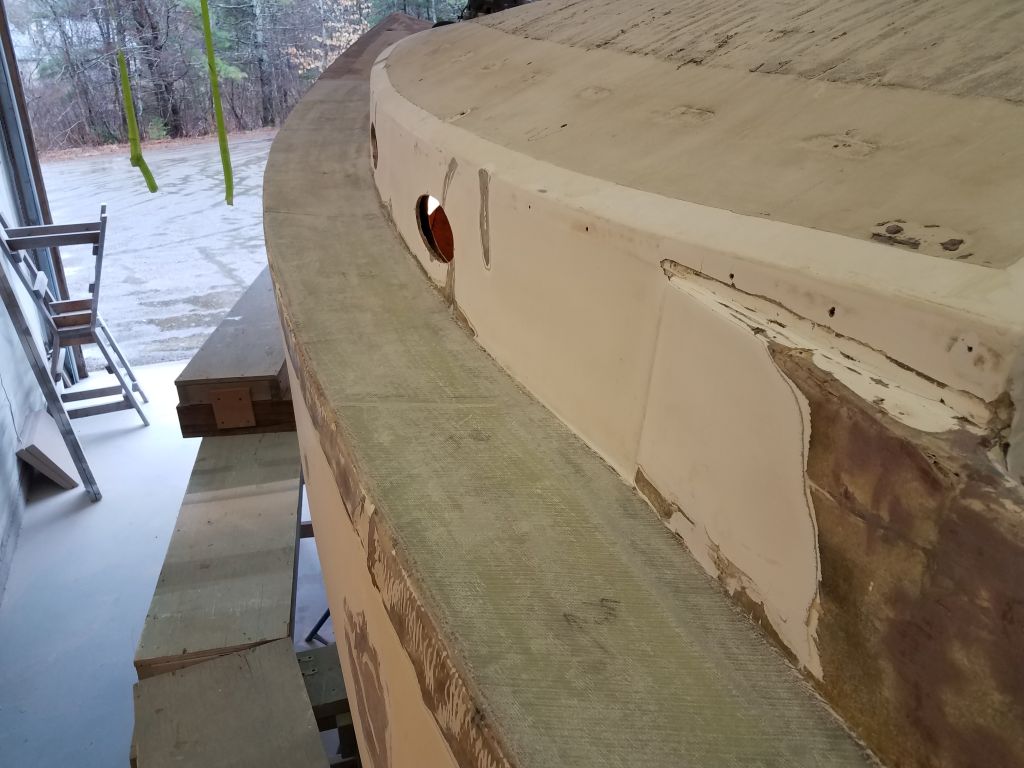
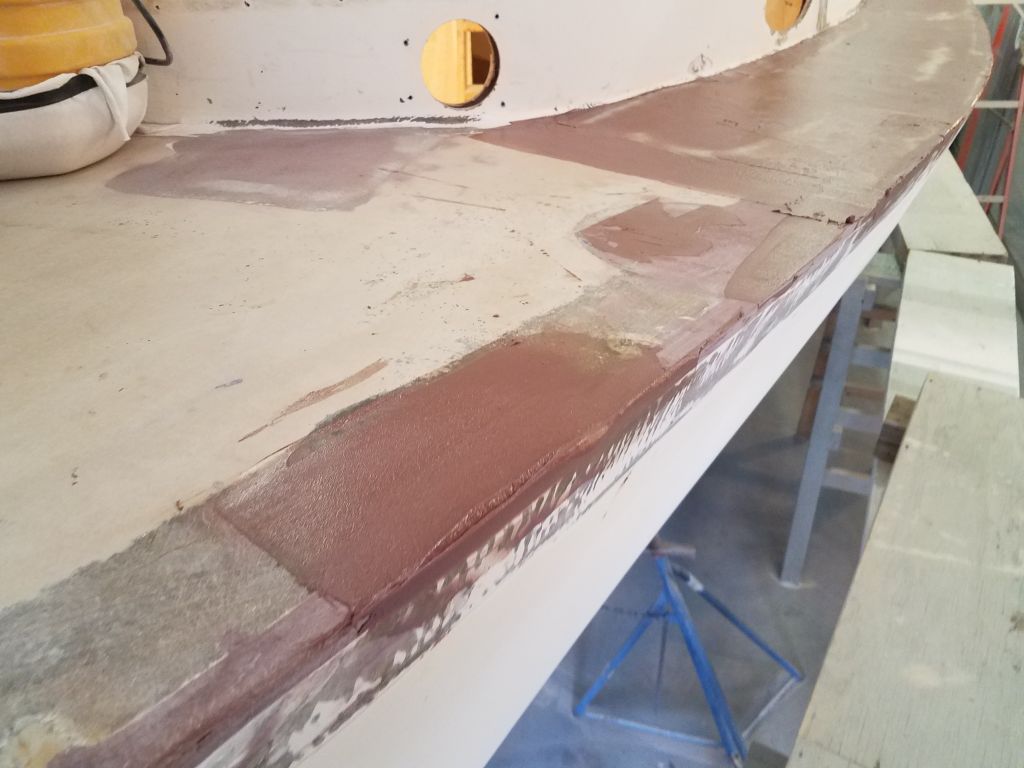
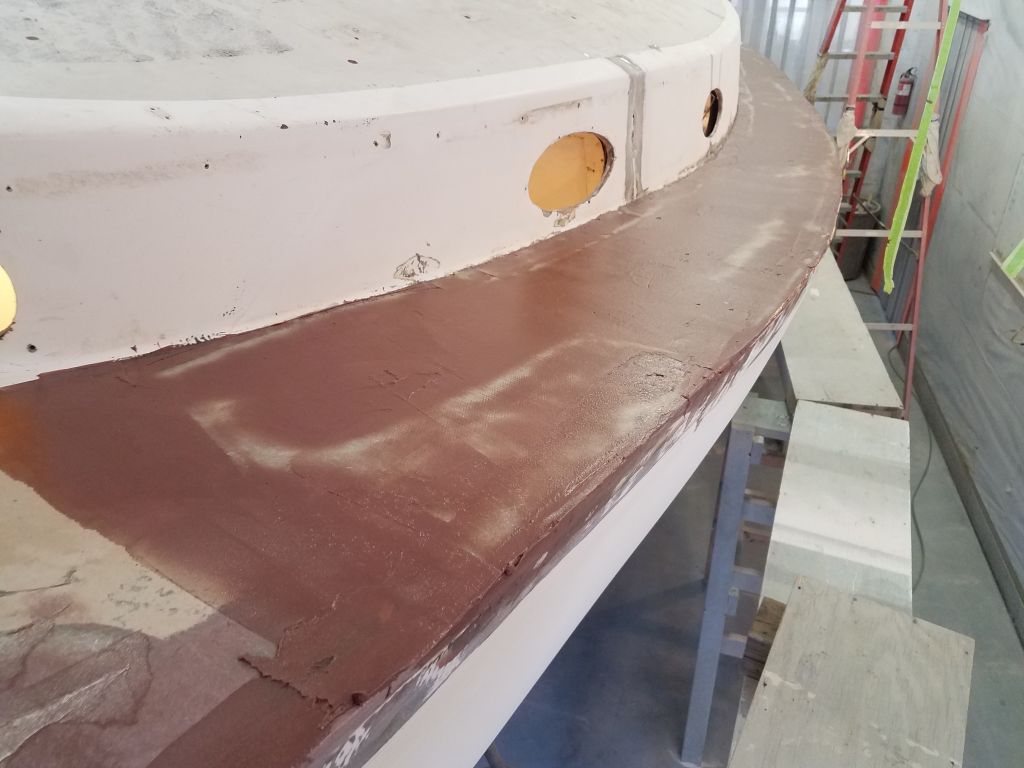
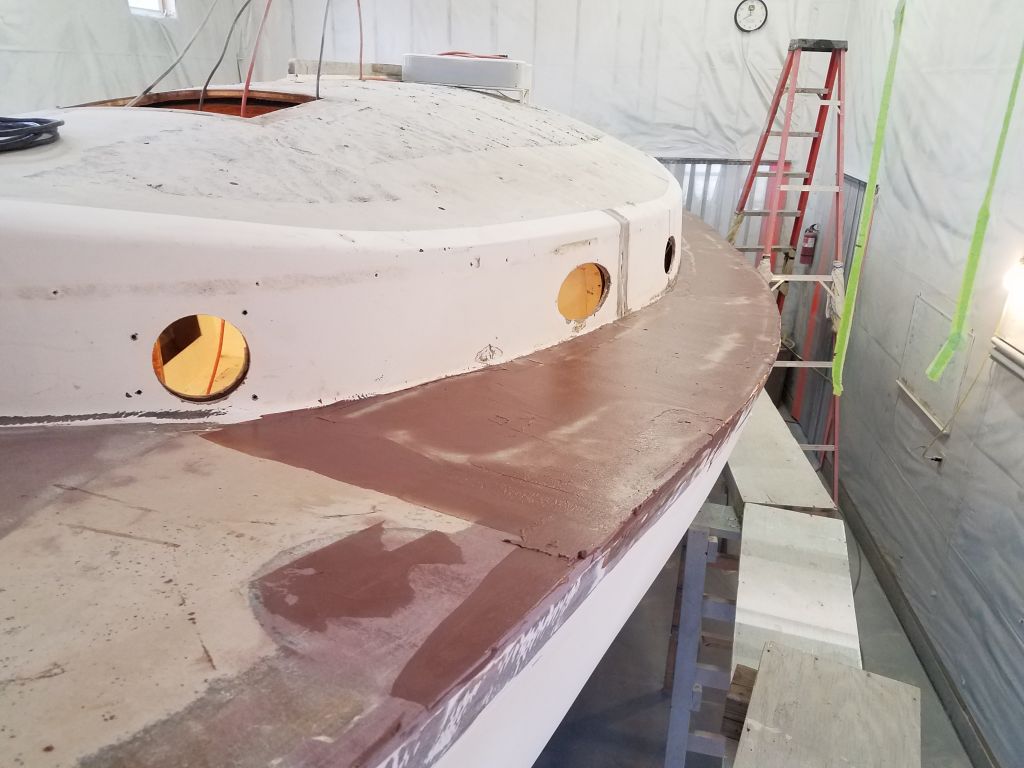
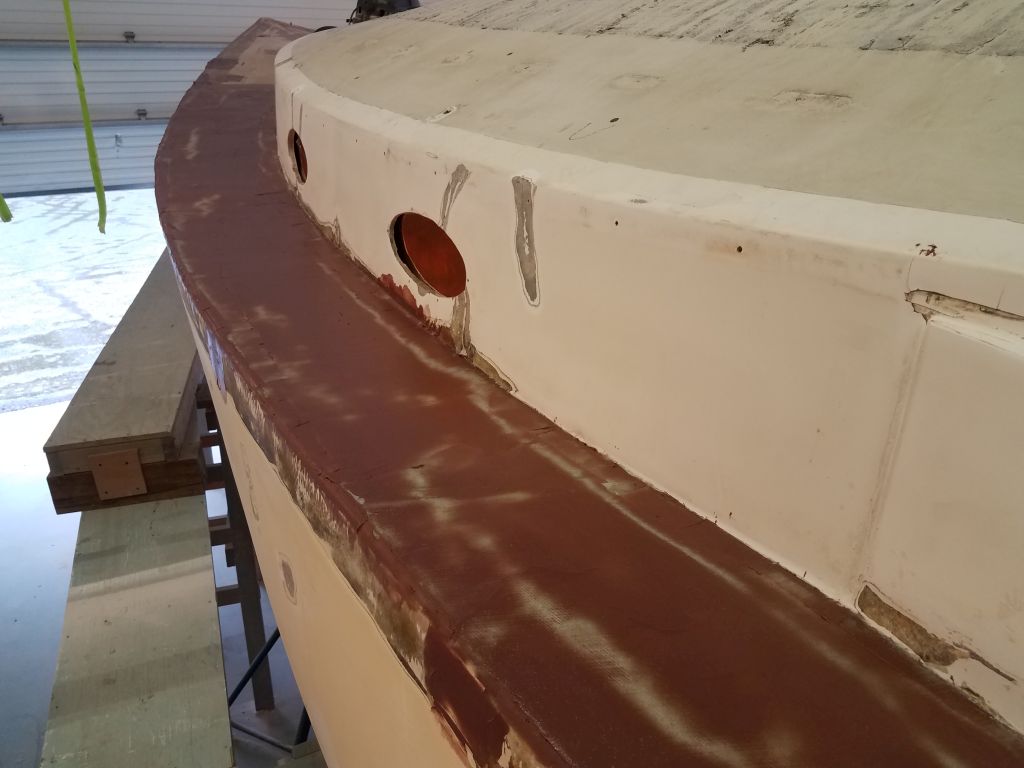
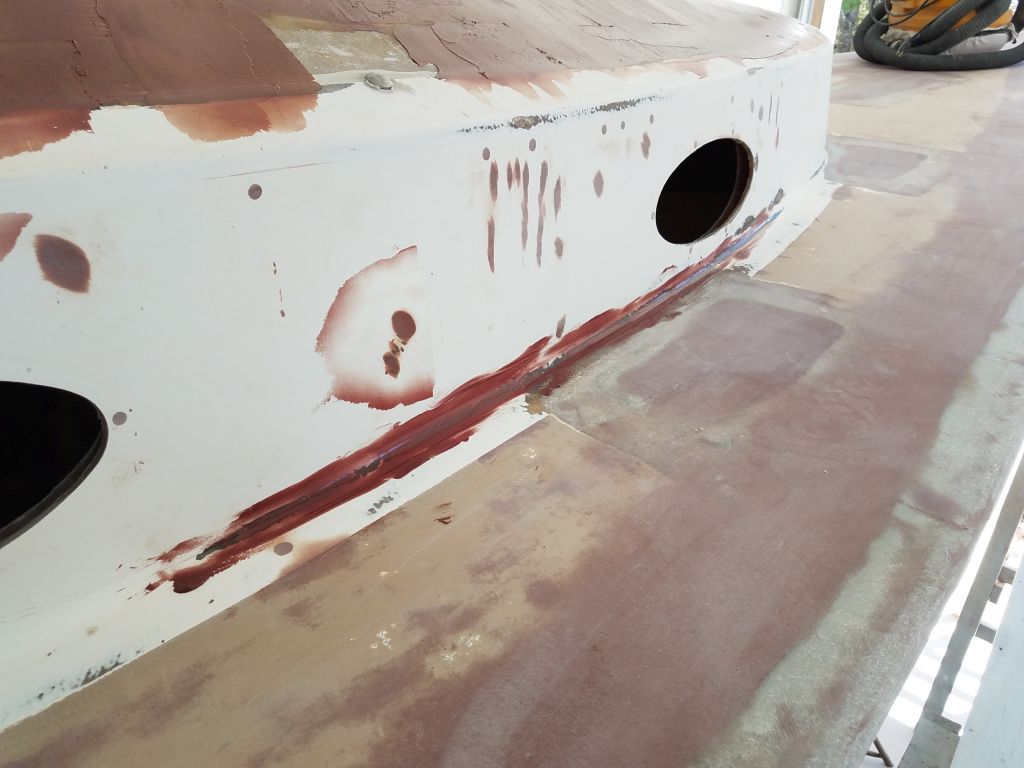
After sanding, some of the ground-out divots and gouges on the hull still required additional work, as many had received only one coat of fairing compound, but it was too awkward doing serious work on these areas with the staging at the higher height meant for deck work, so for the moment I planned to leave the hull mainly alone for more detailed attention as needed later on.
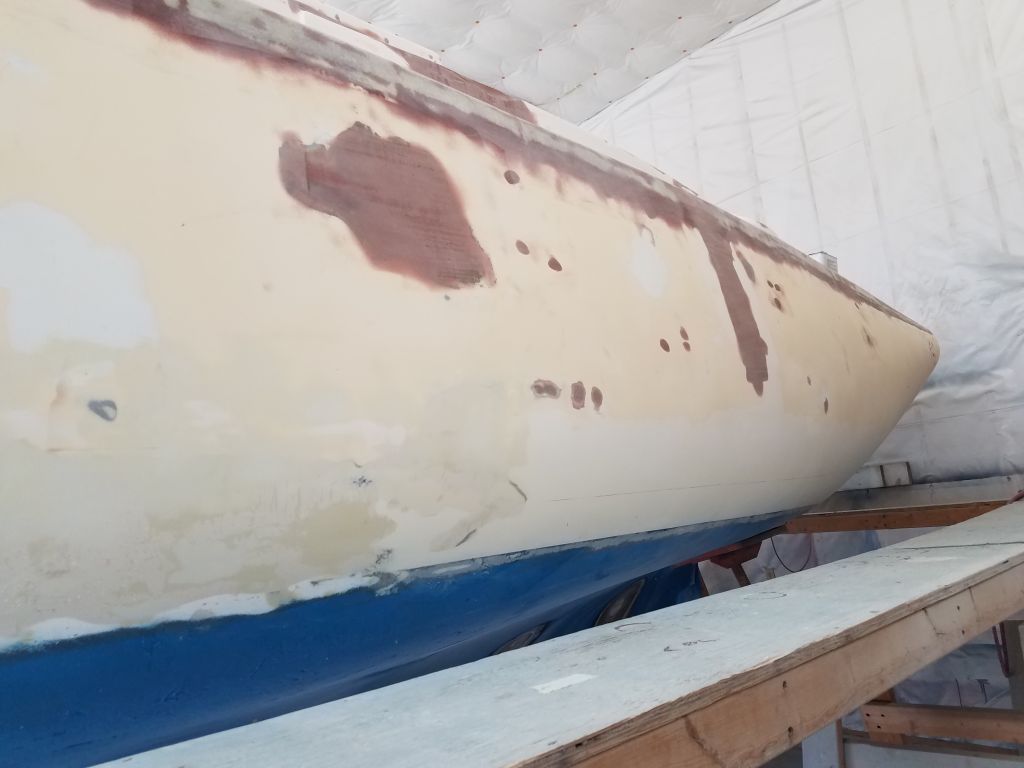
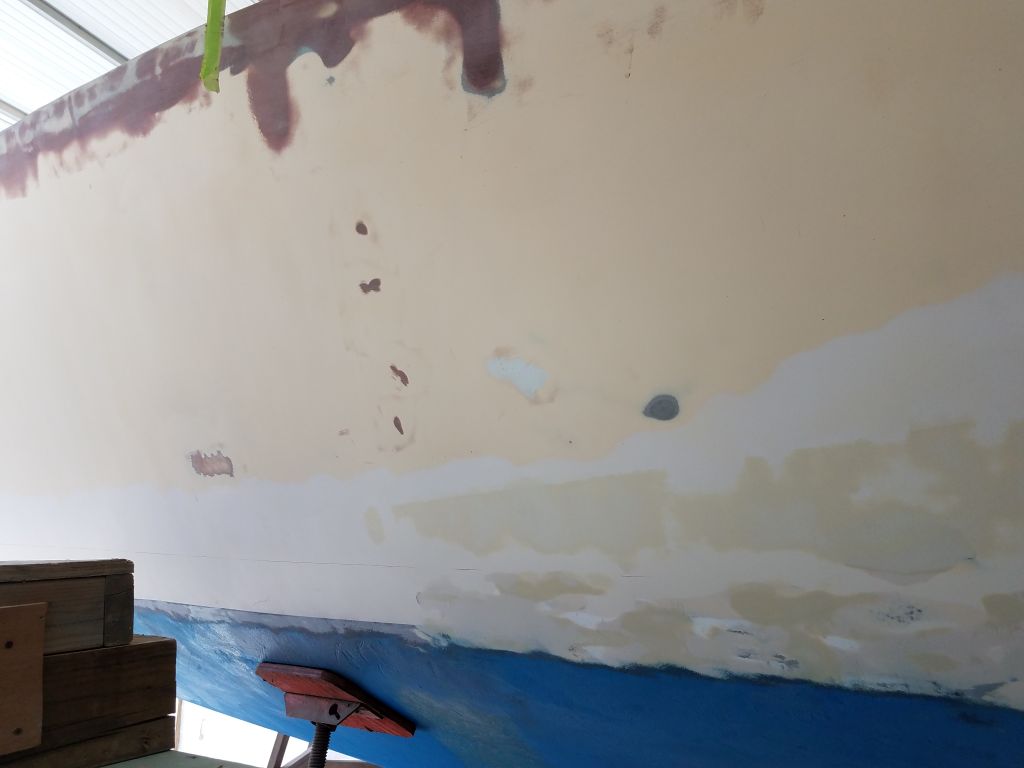
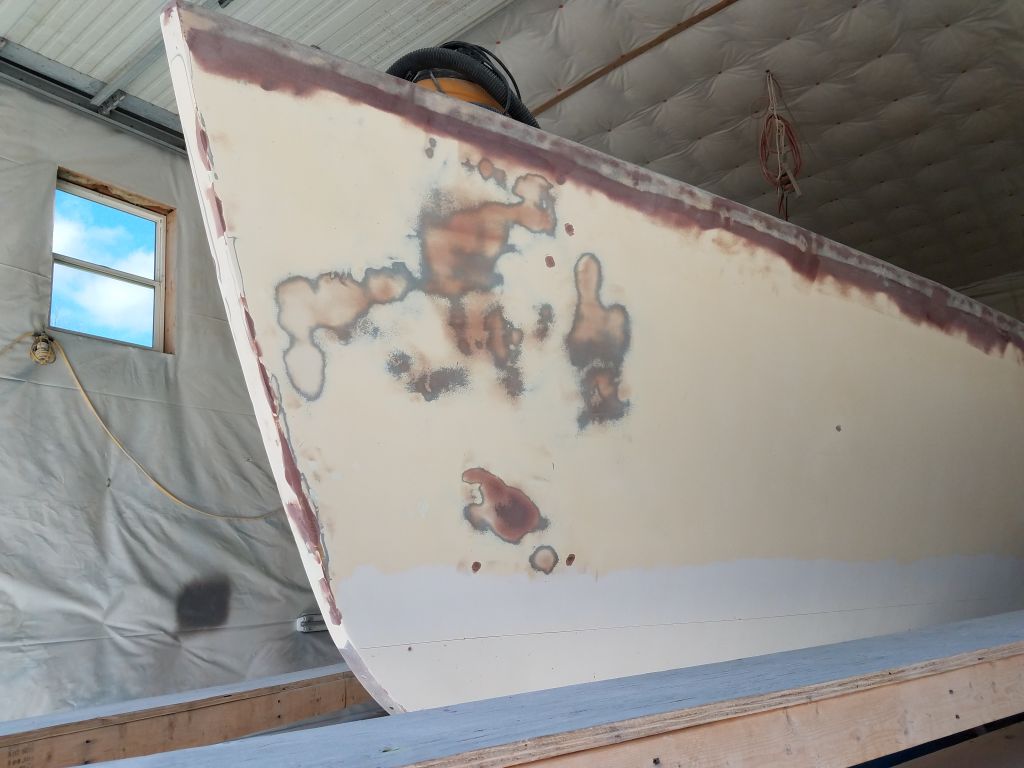
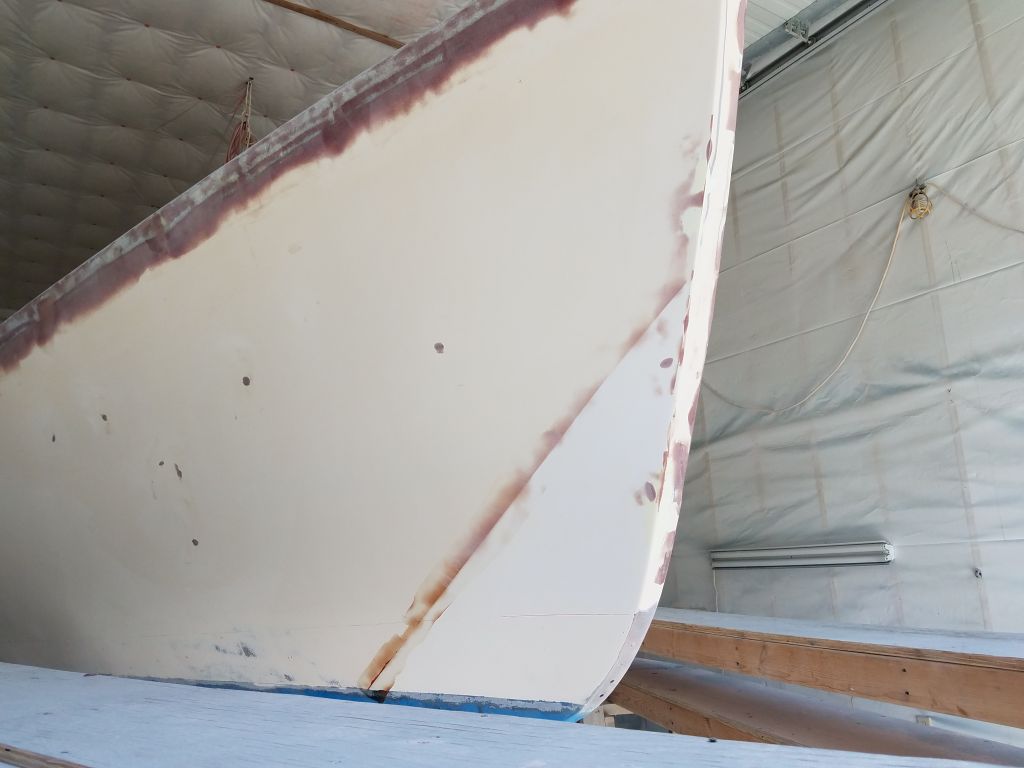

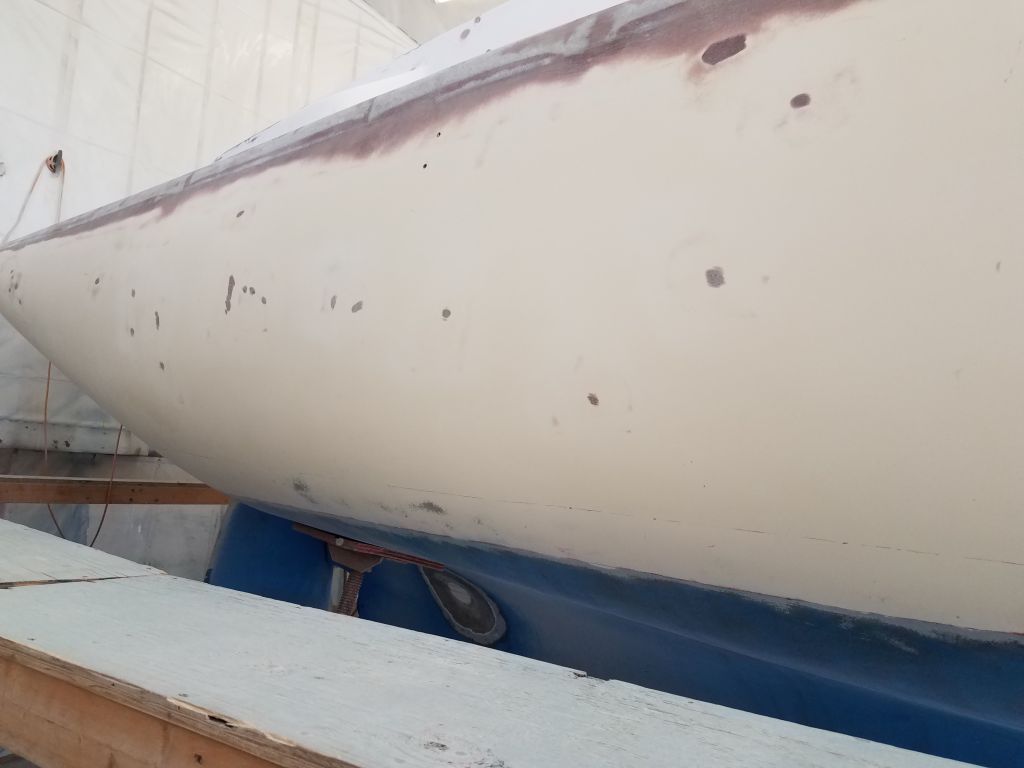
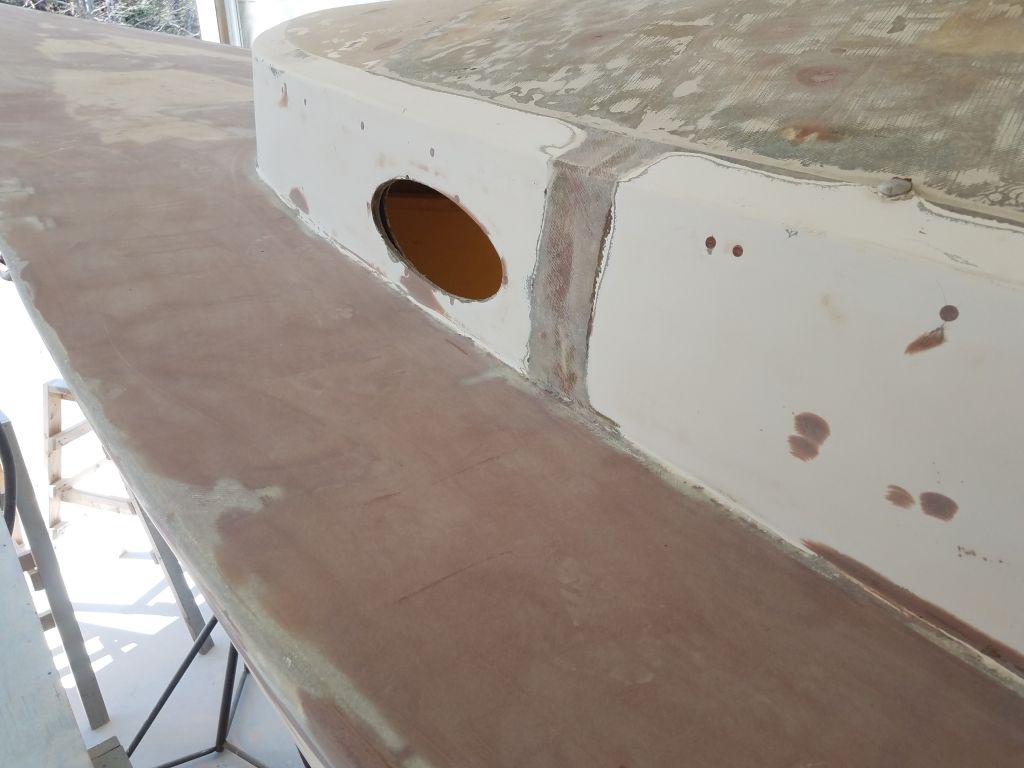
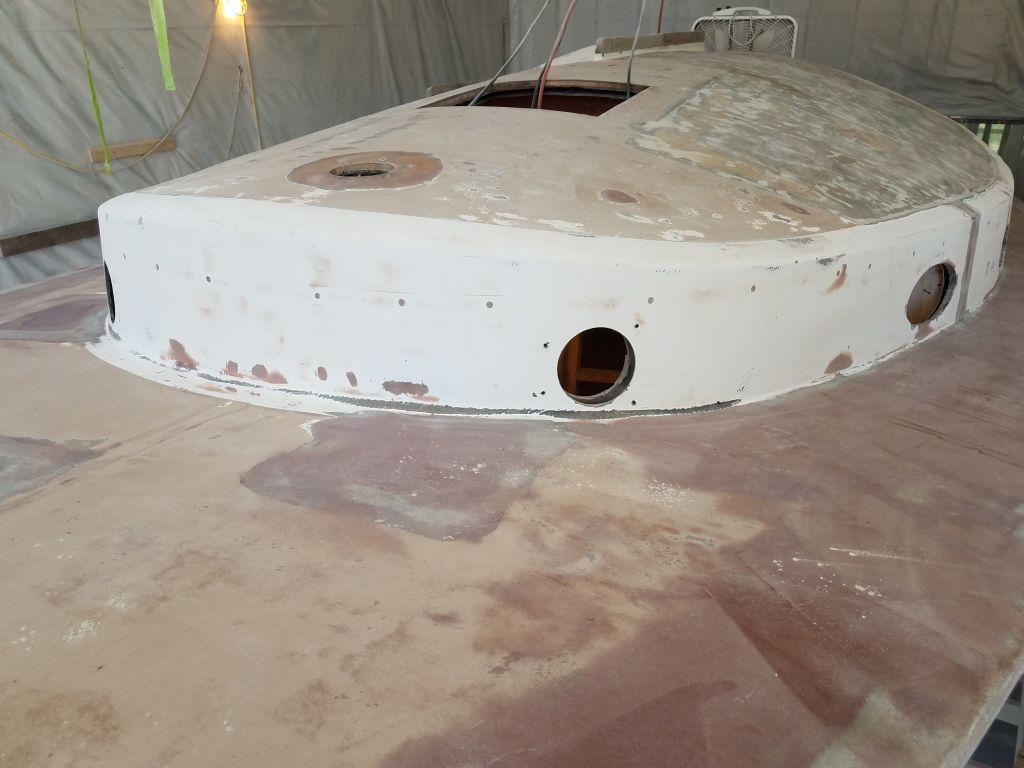
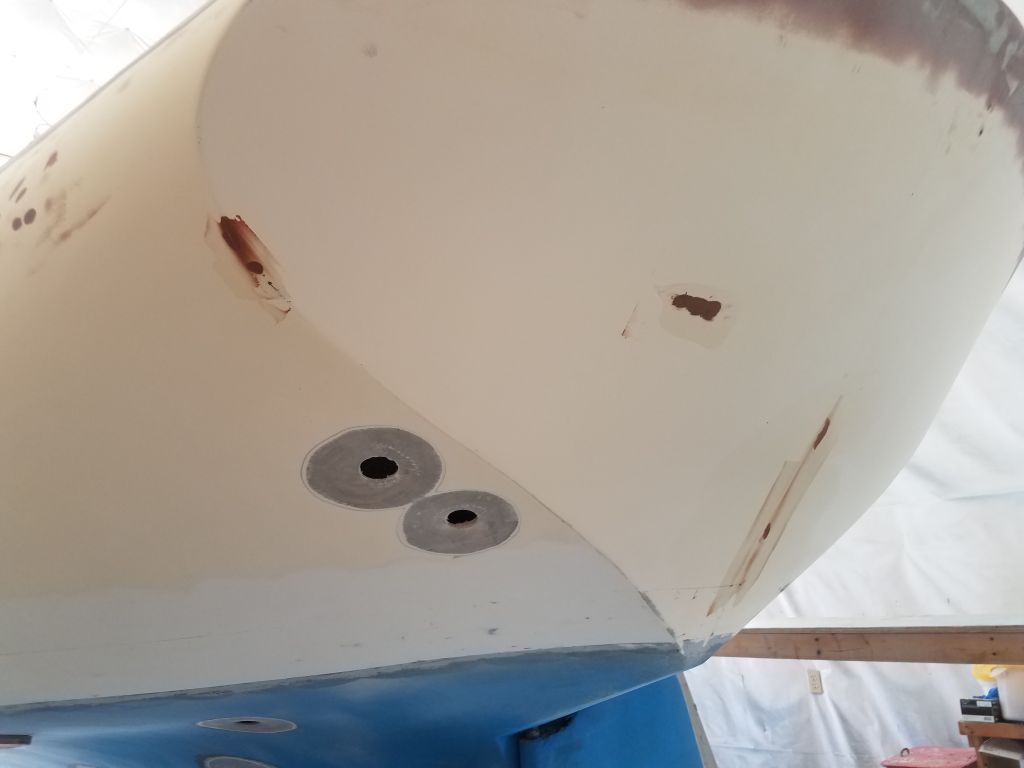
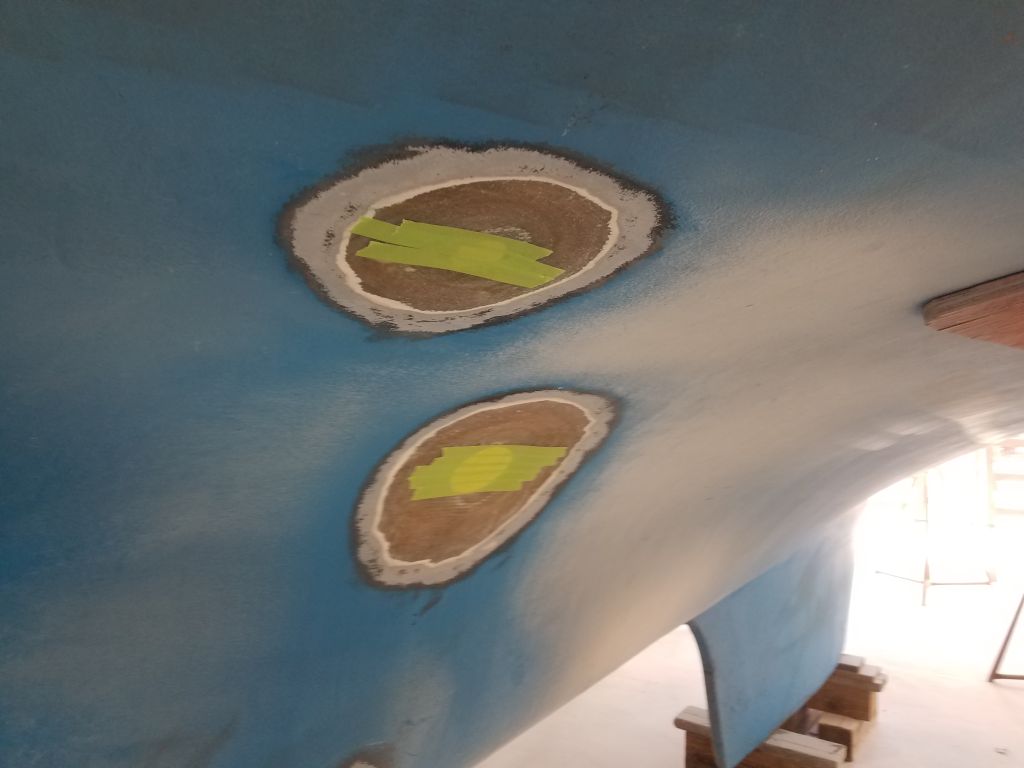
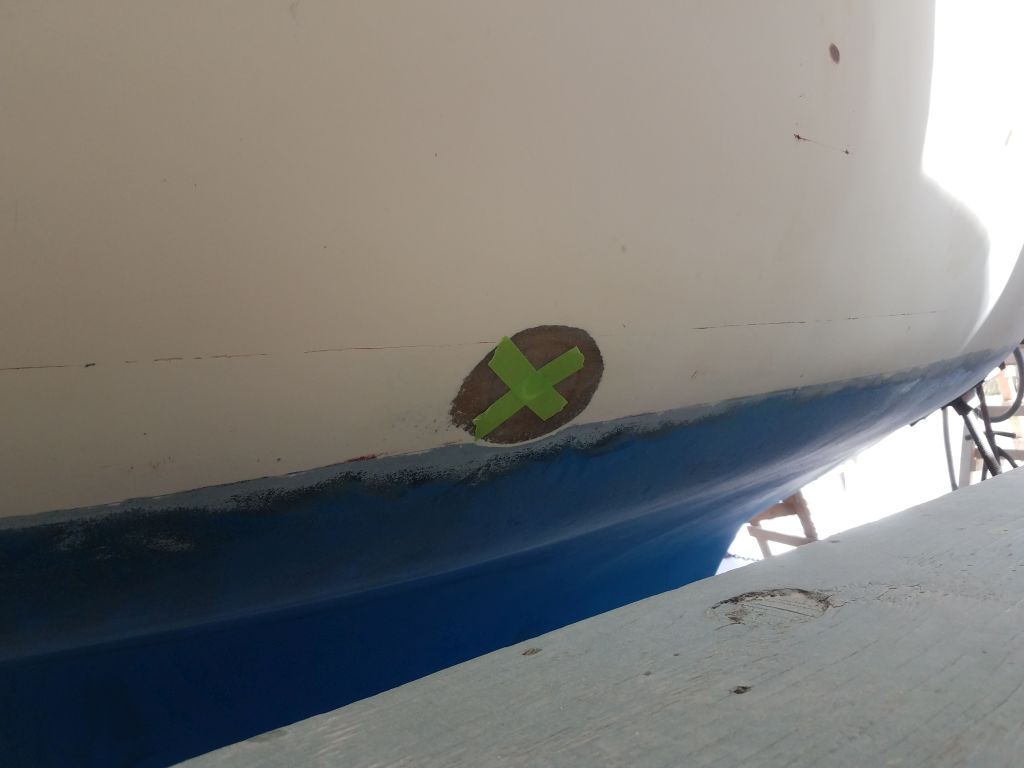
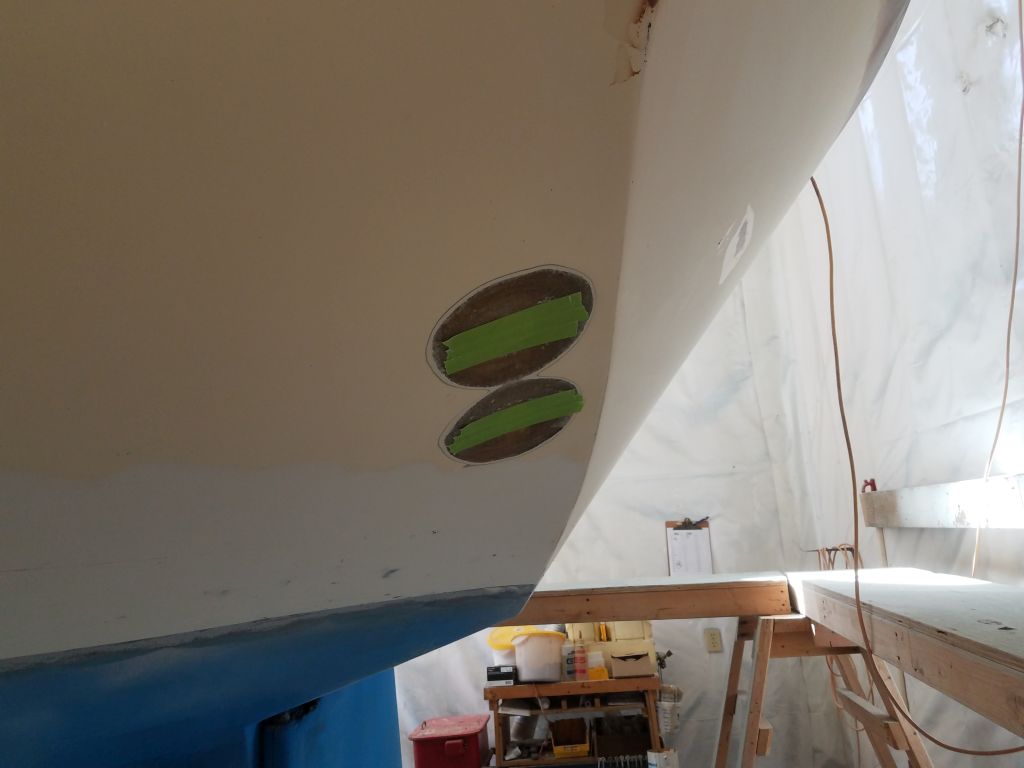
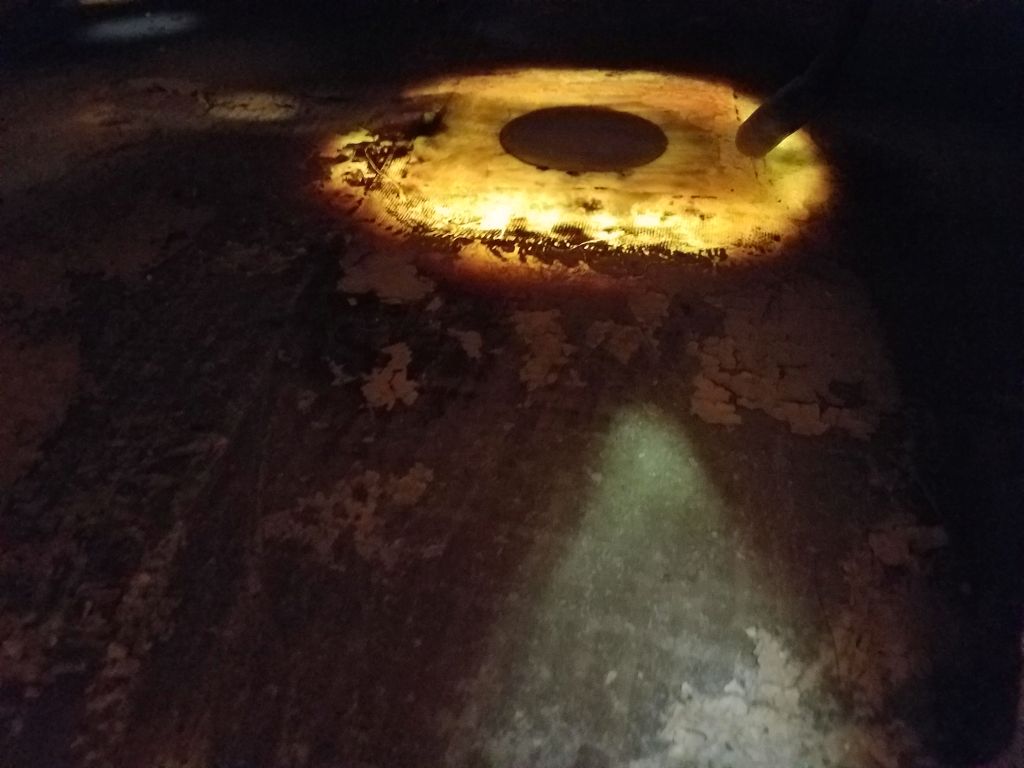
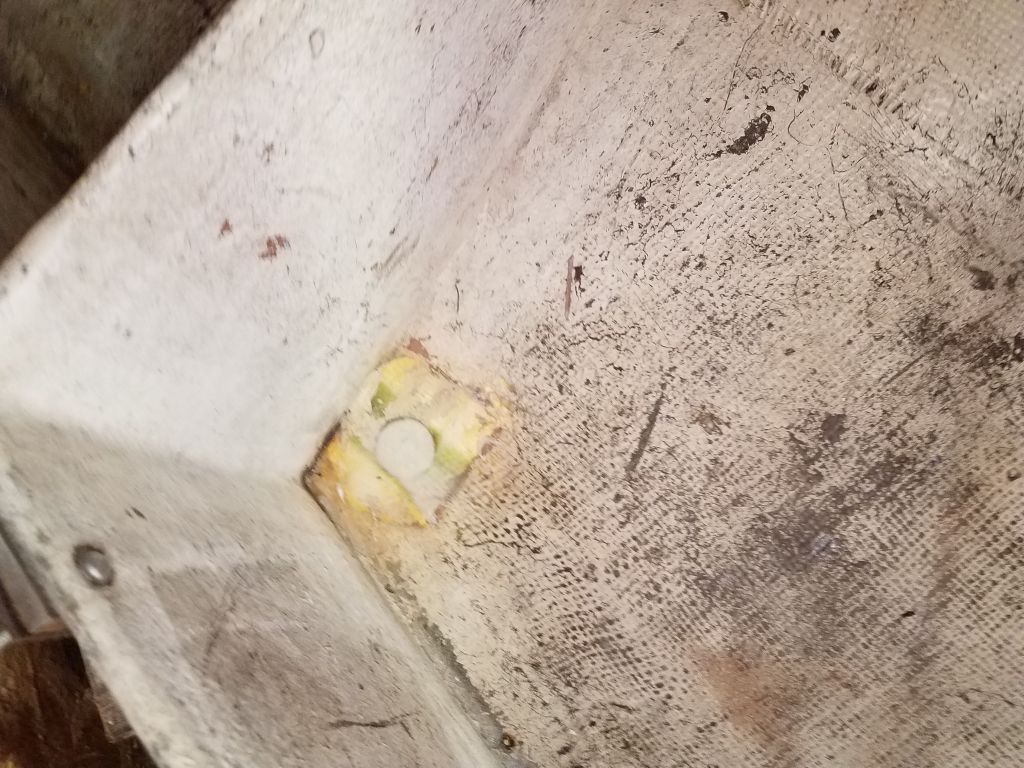
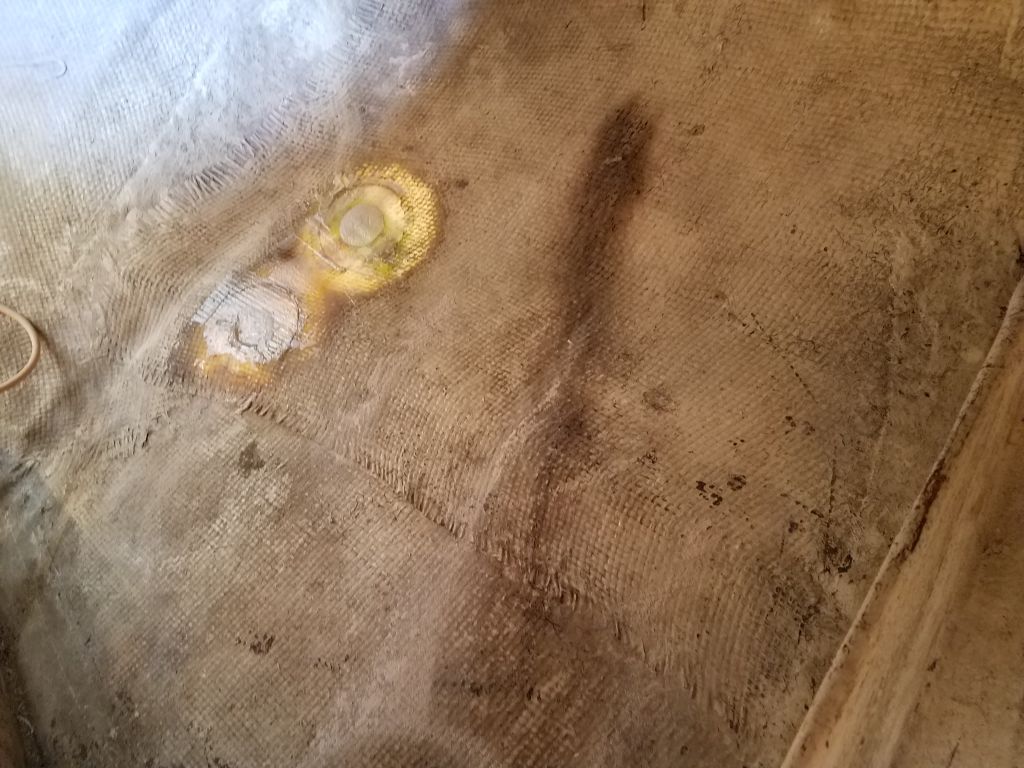
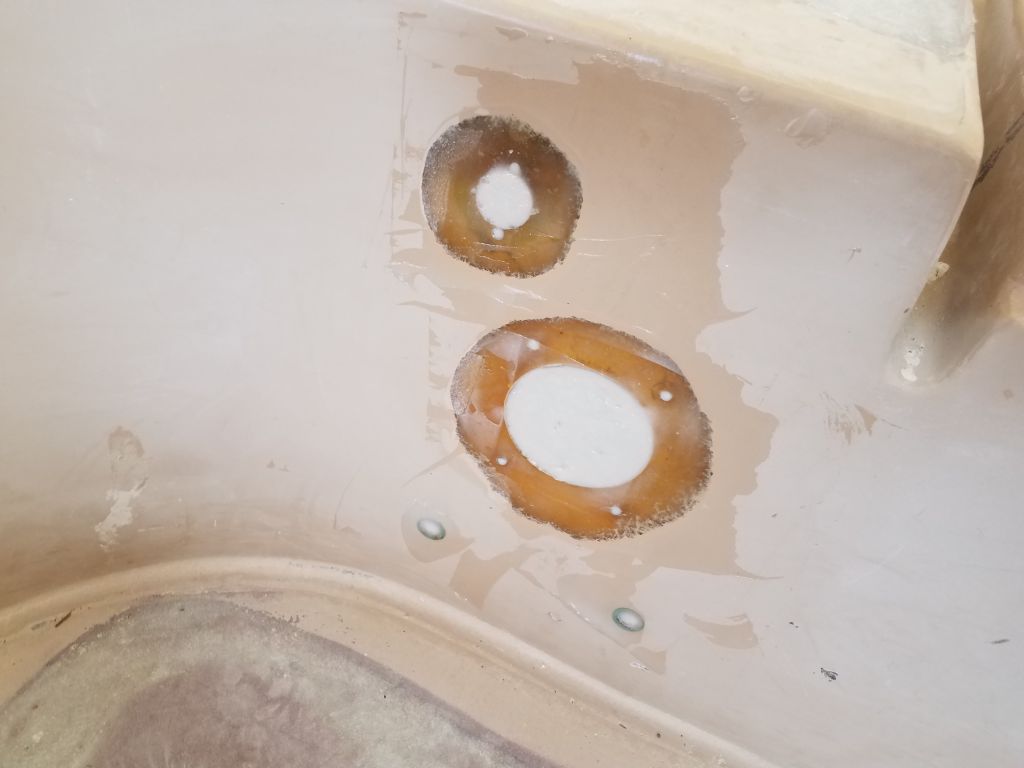
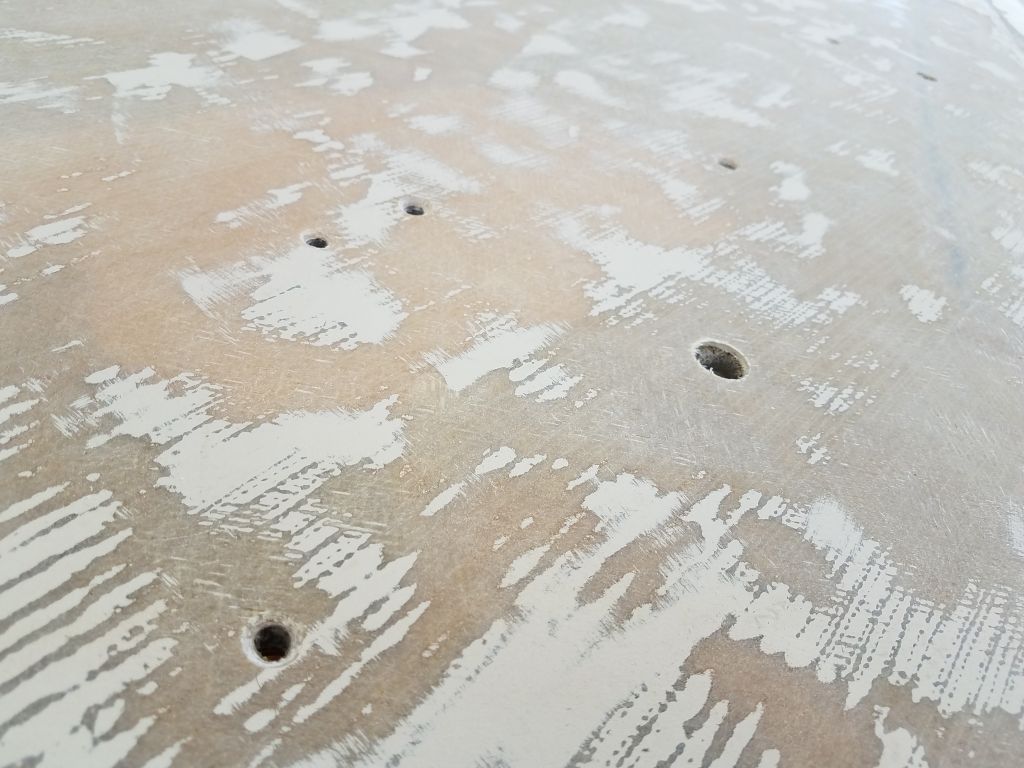
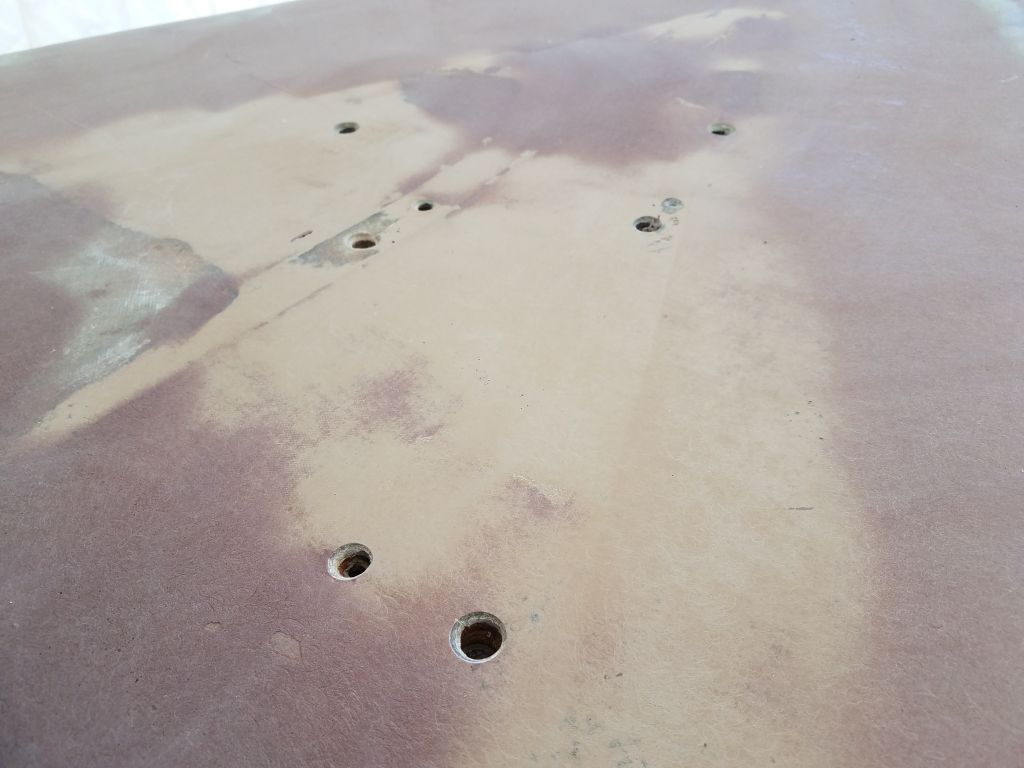
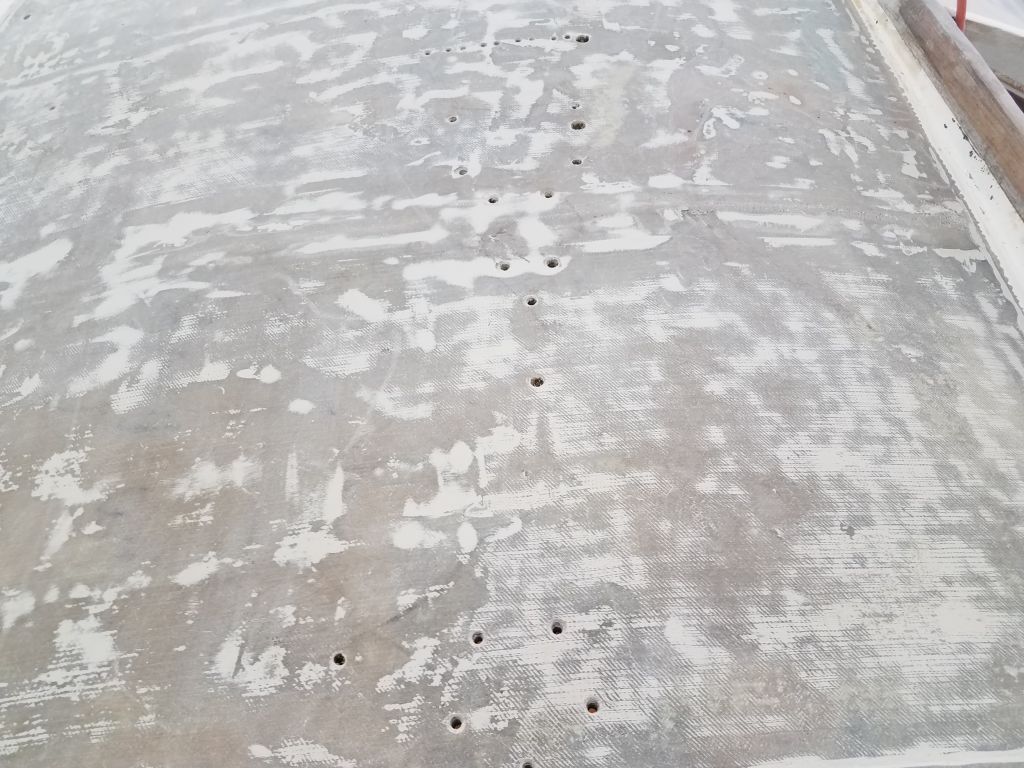
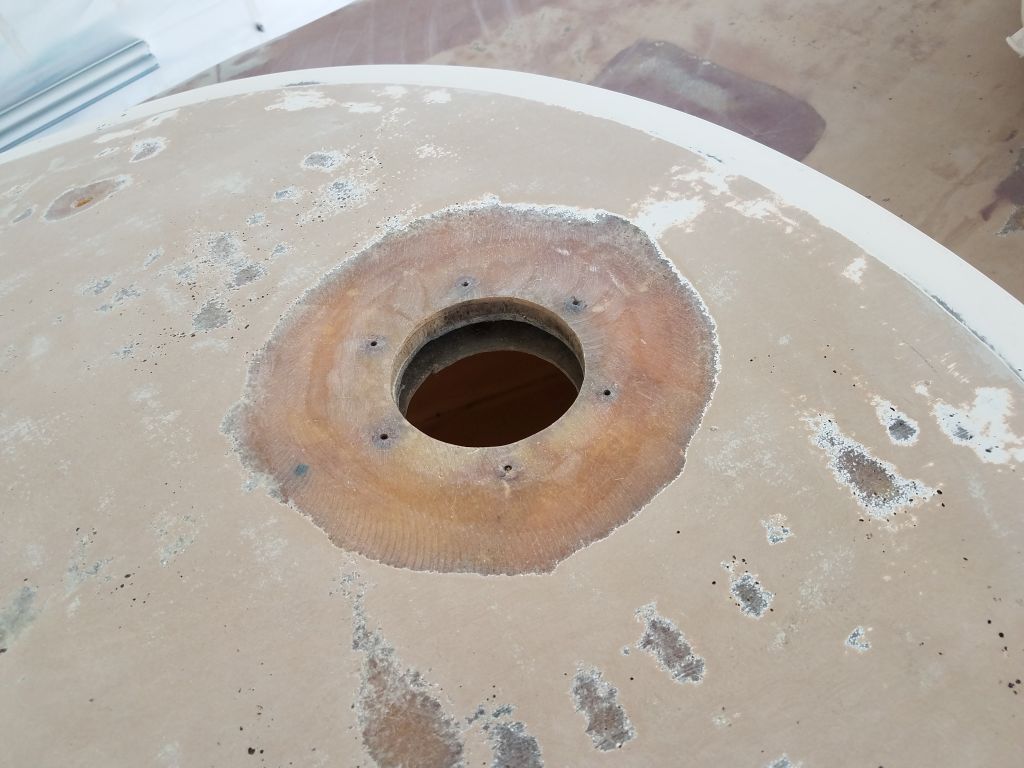
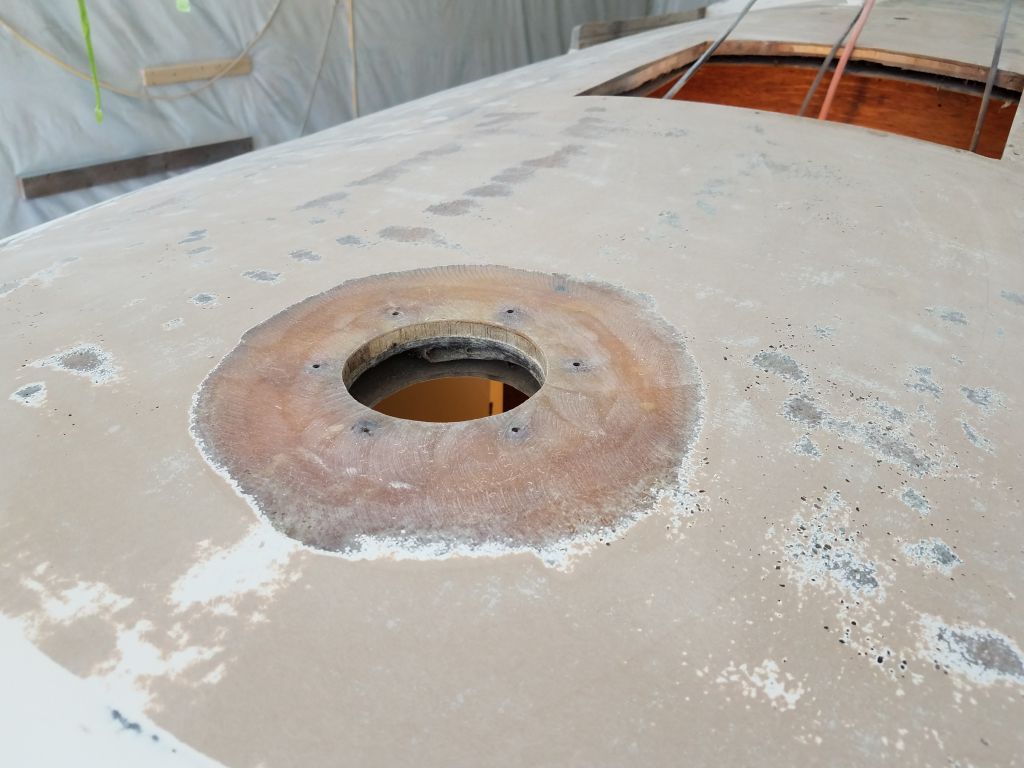
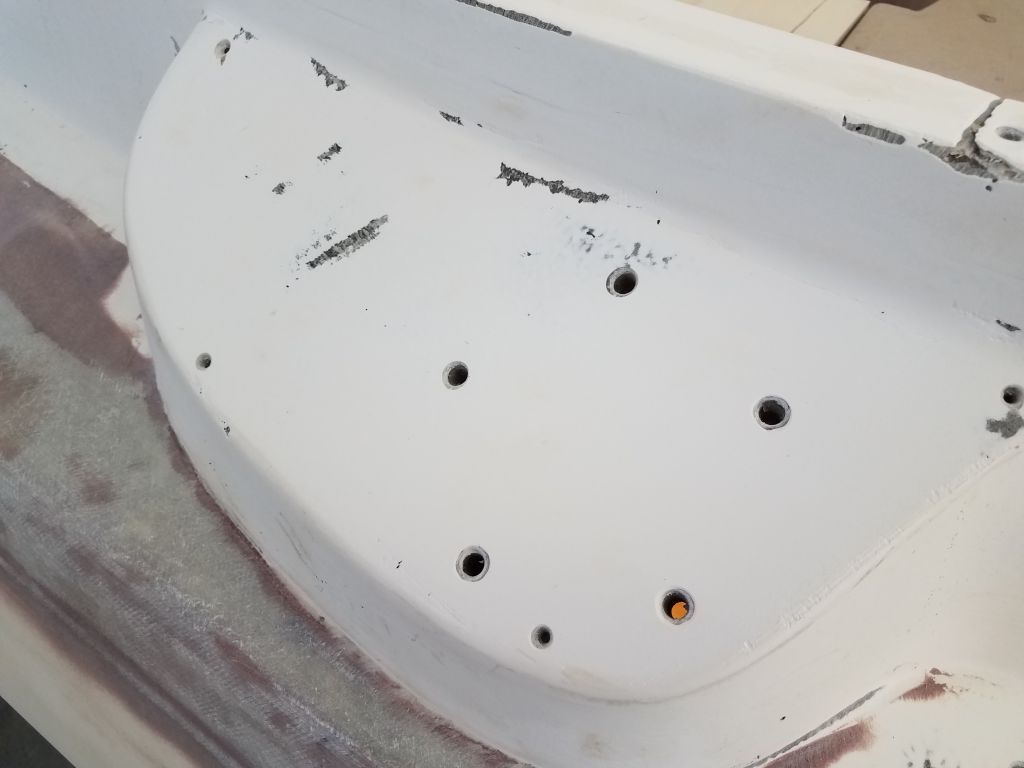
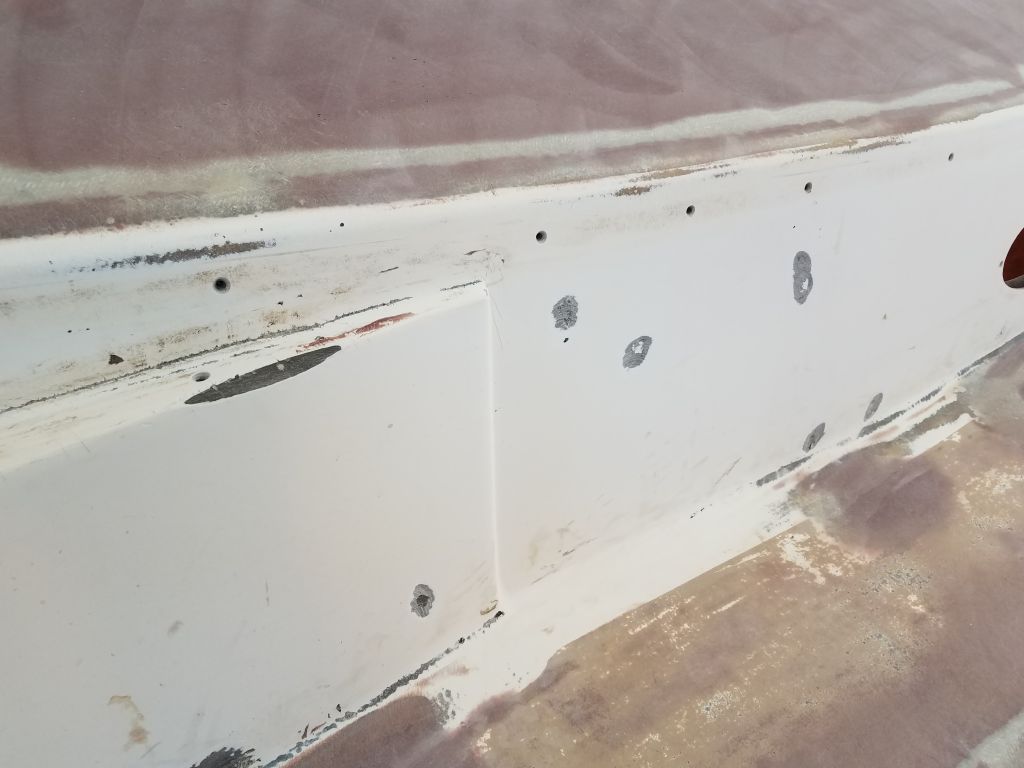
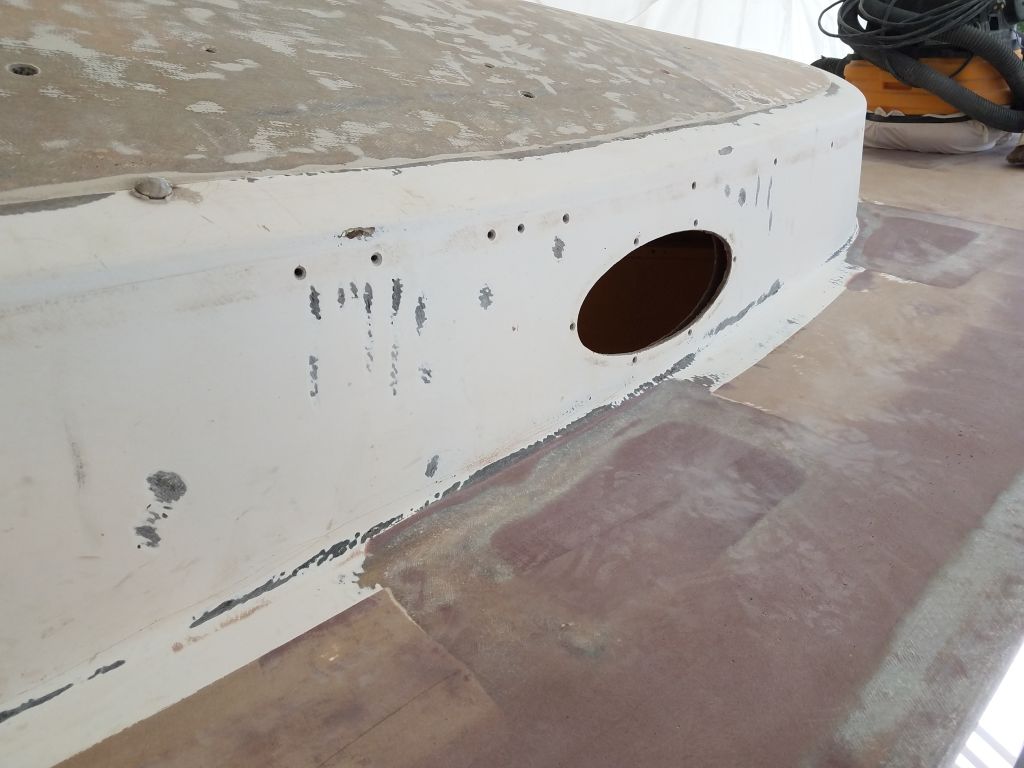
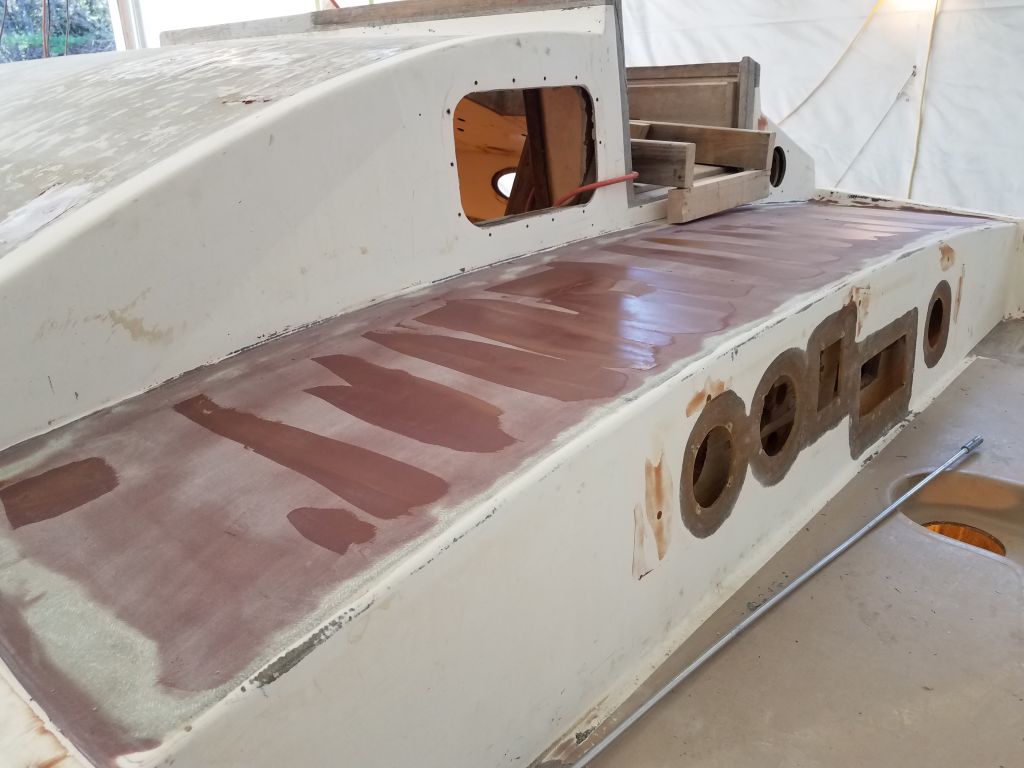
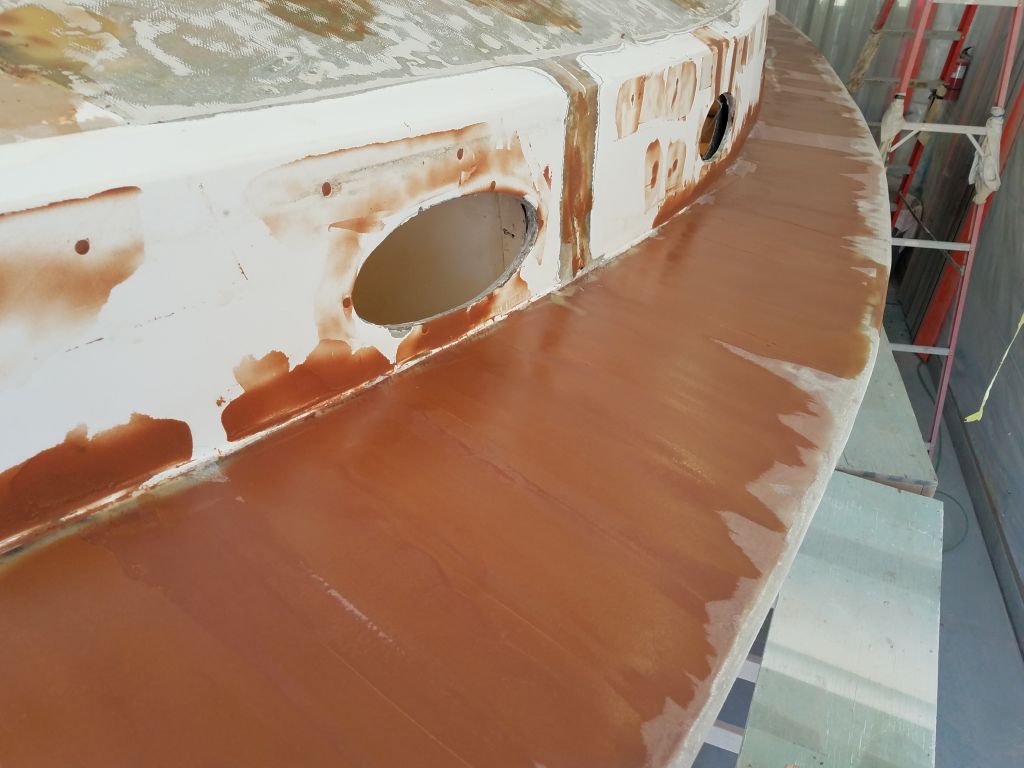
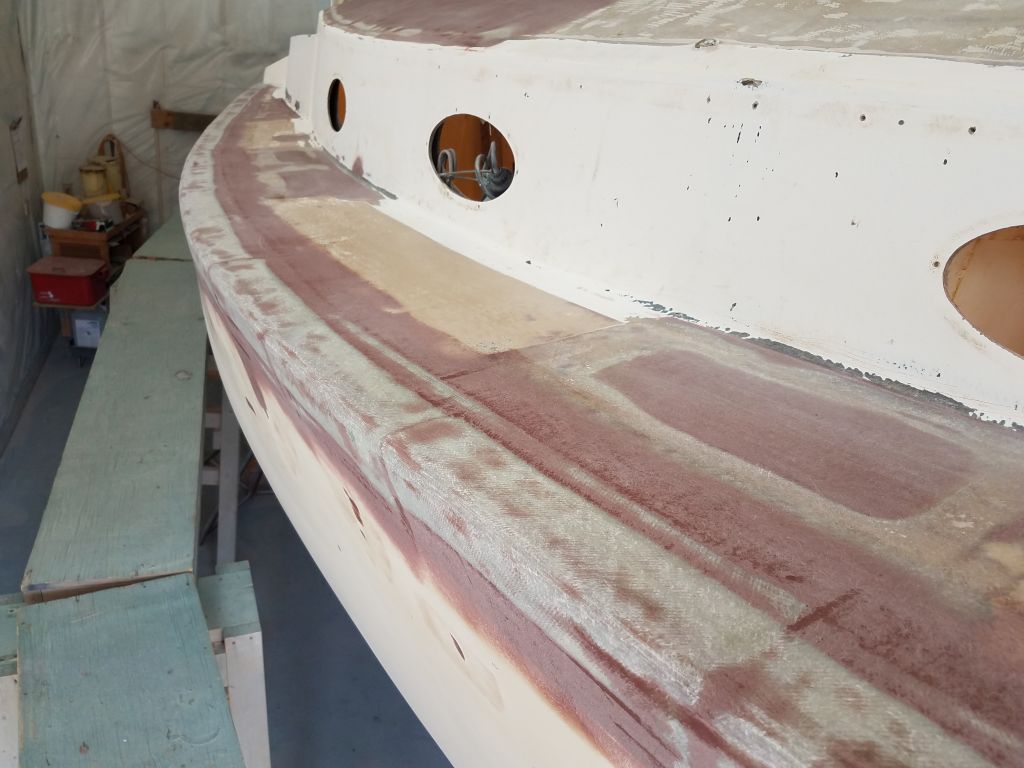
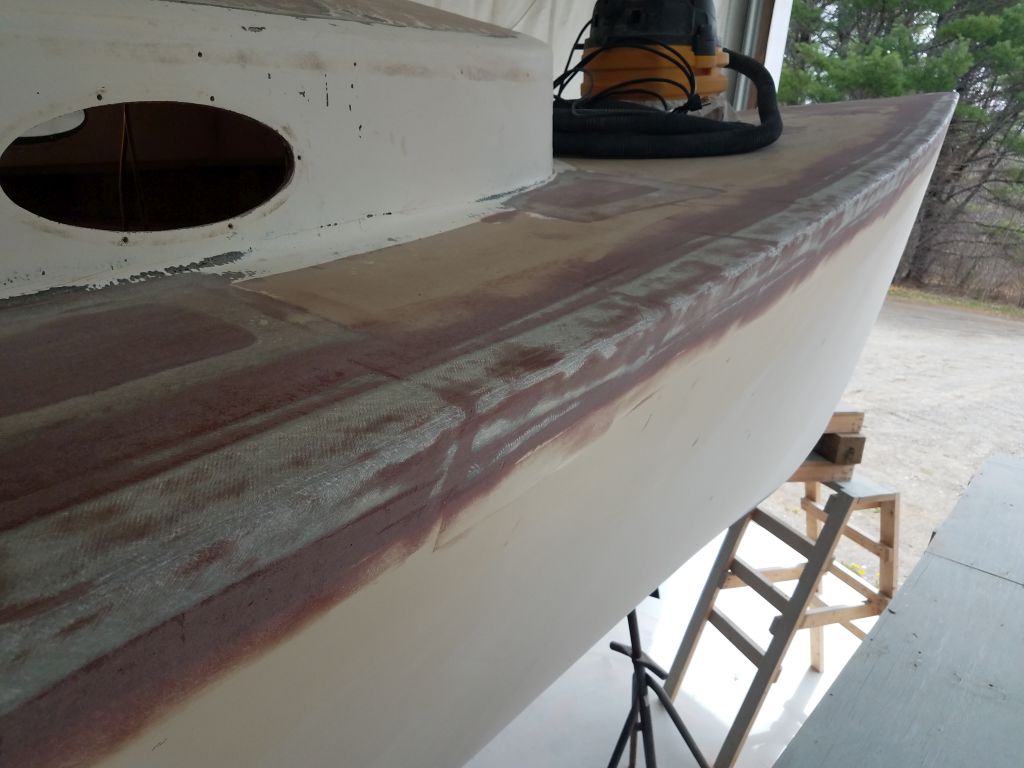
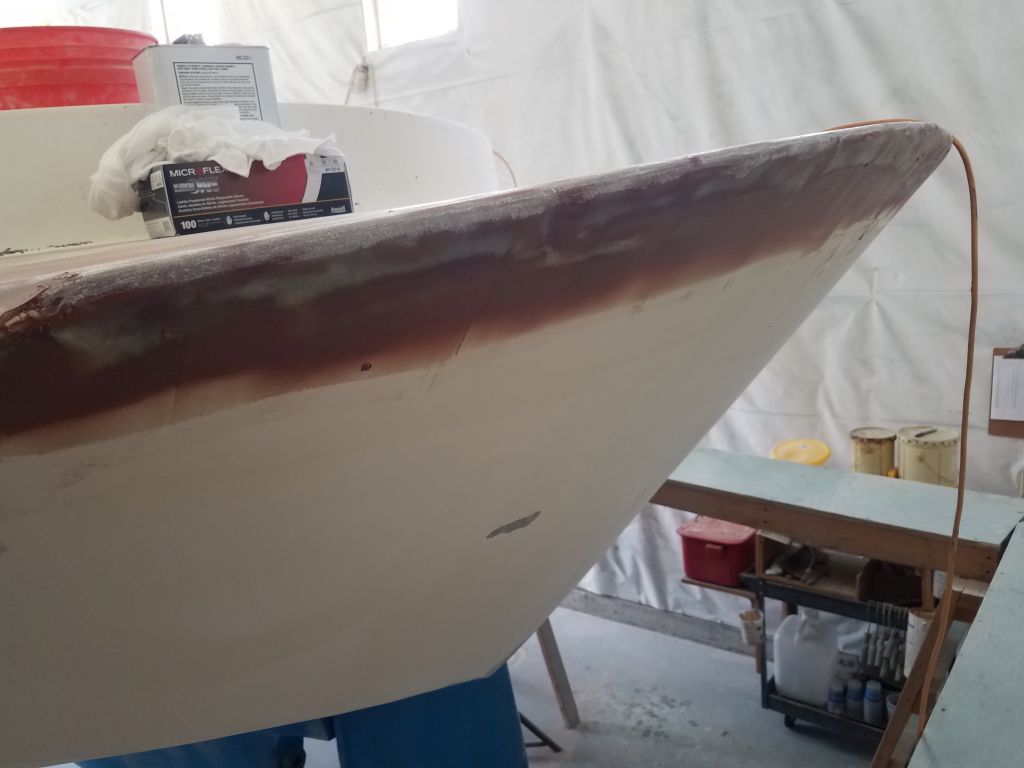
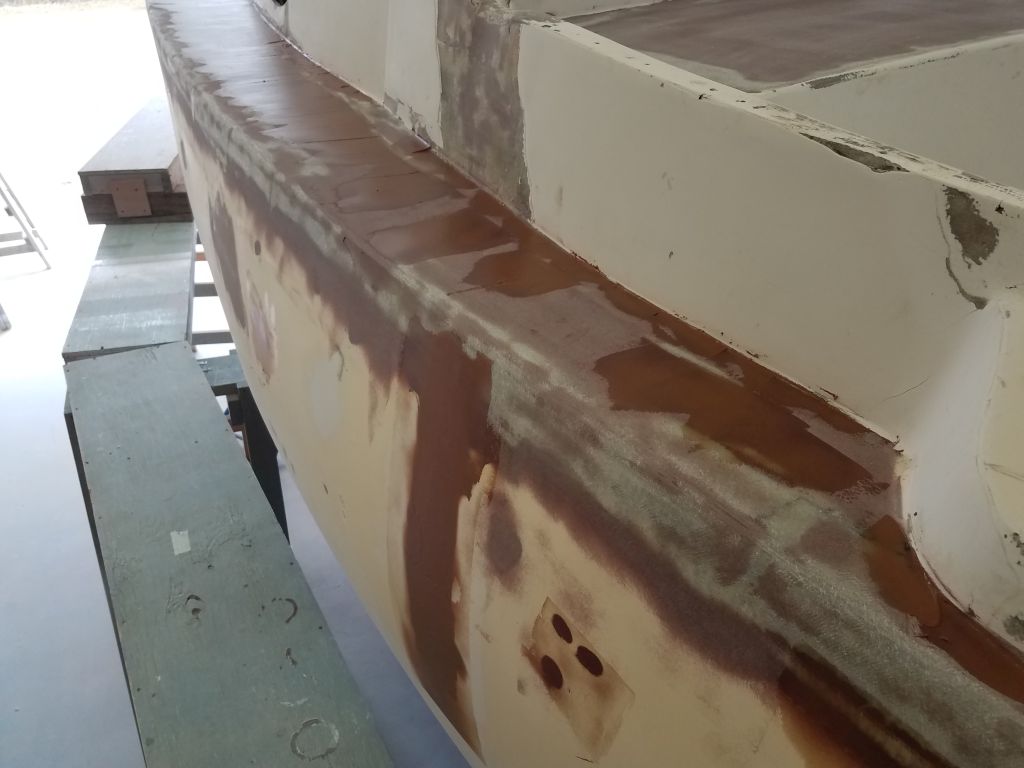
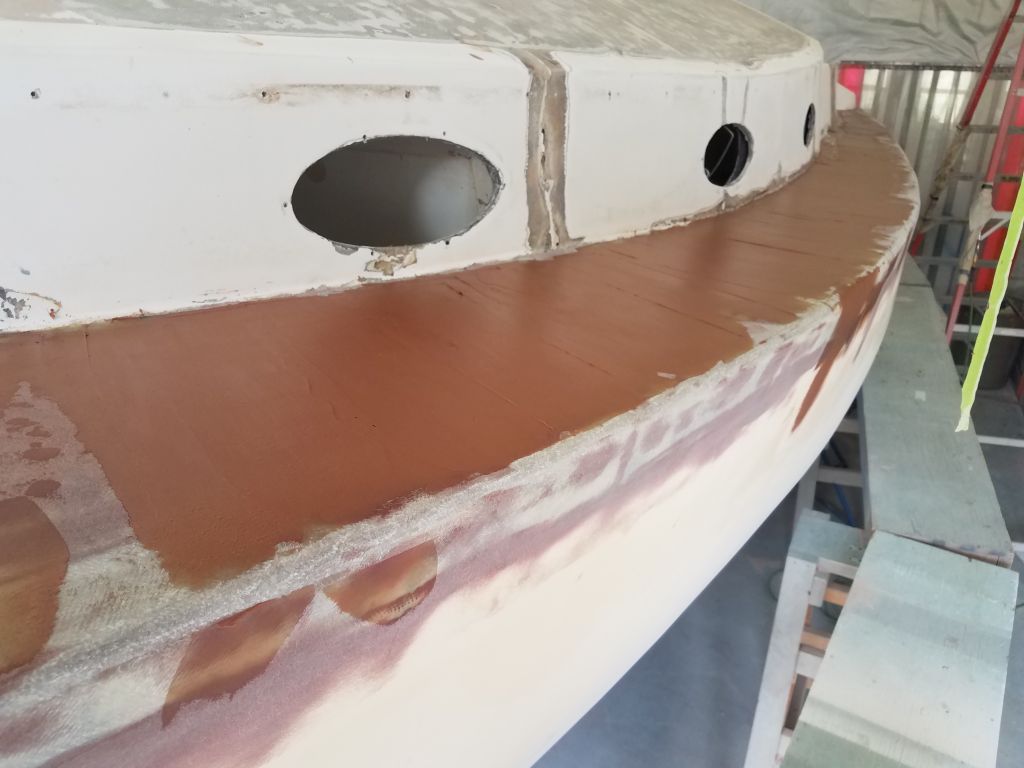
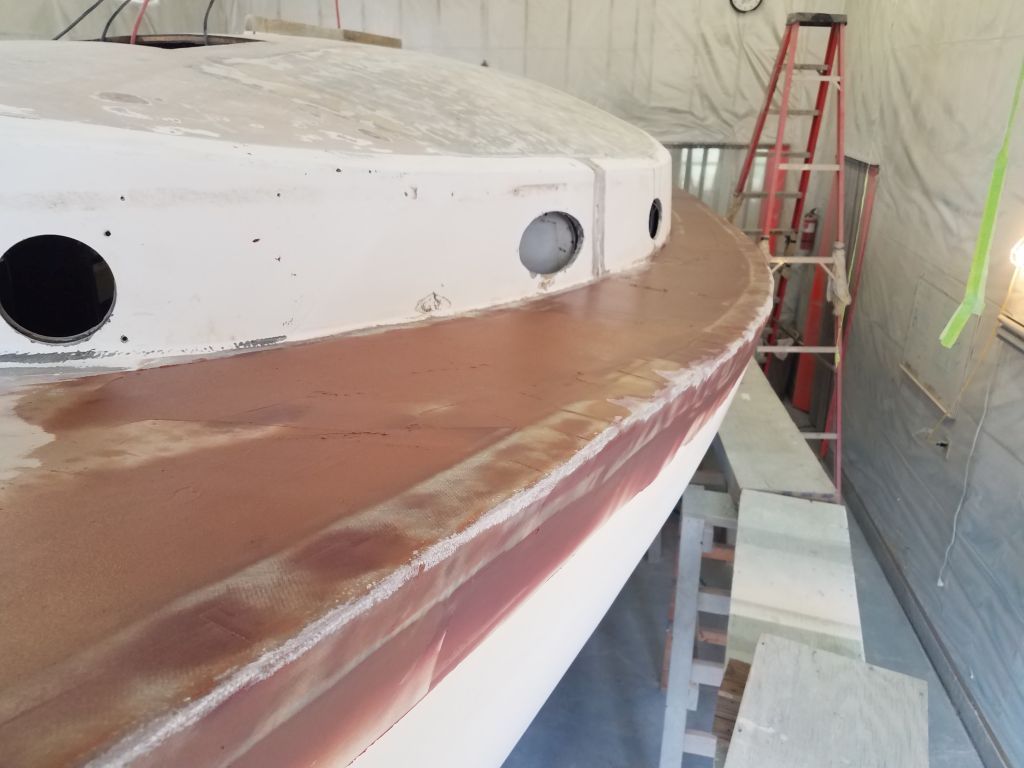
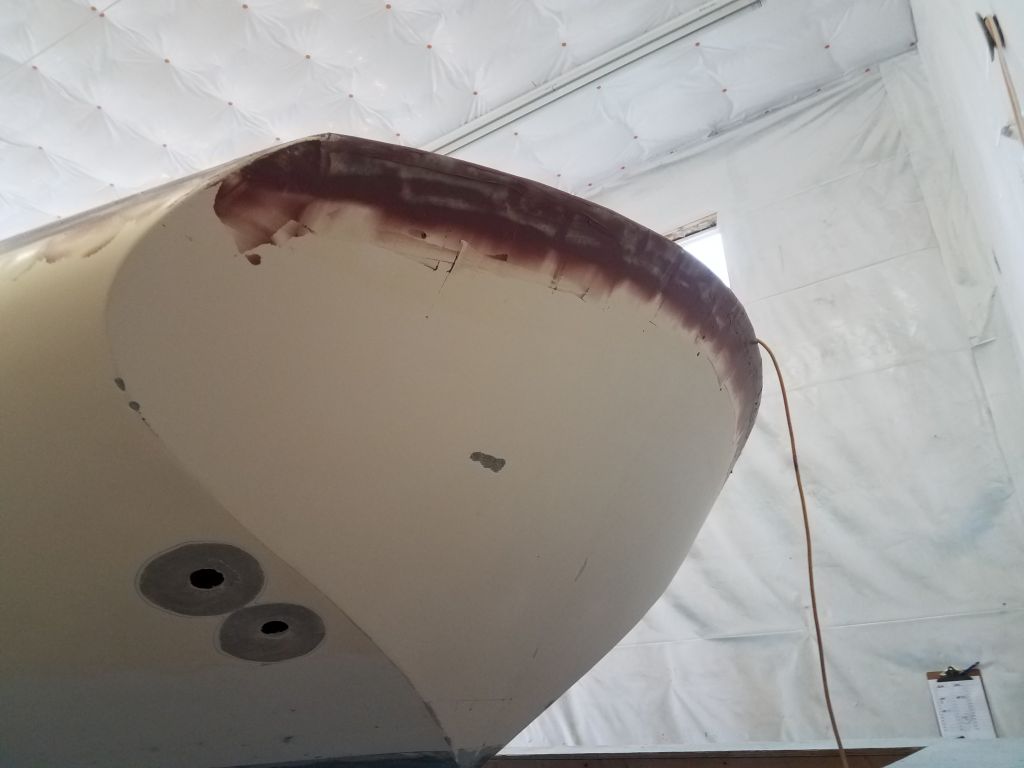
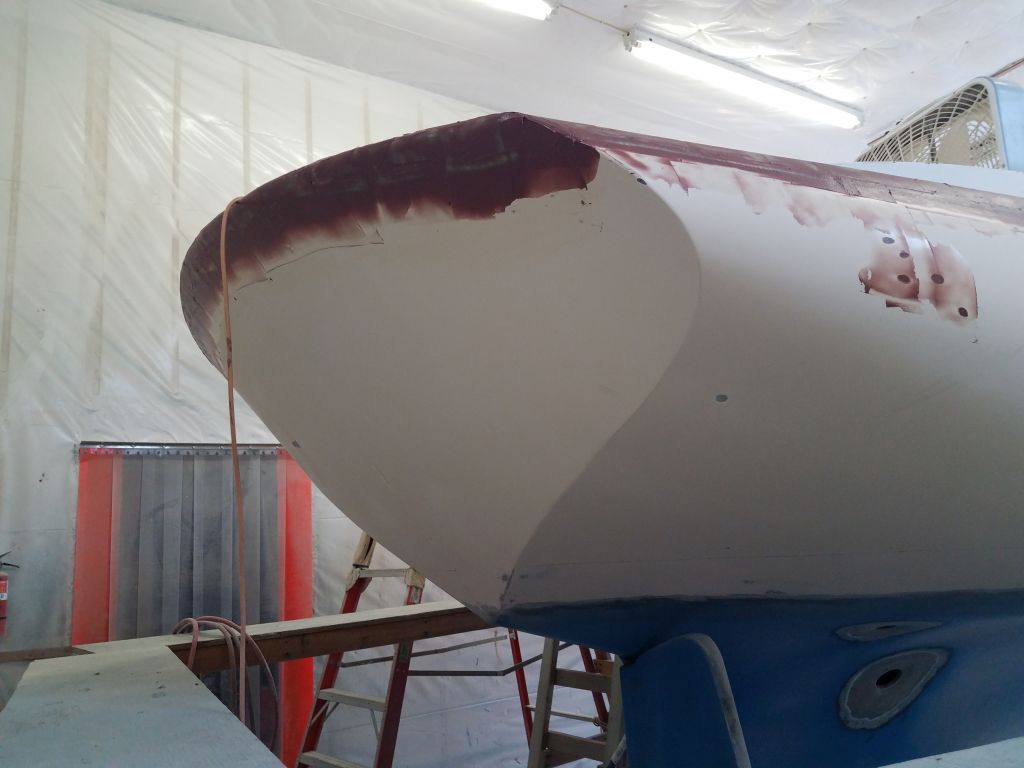
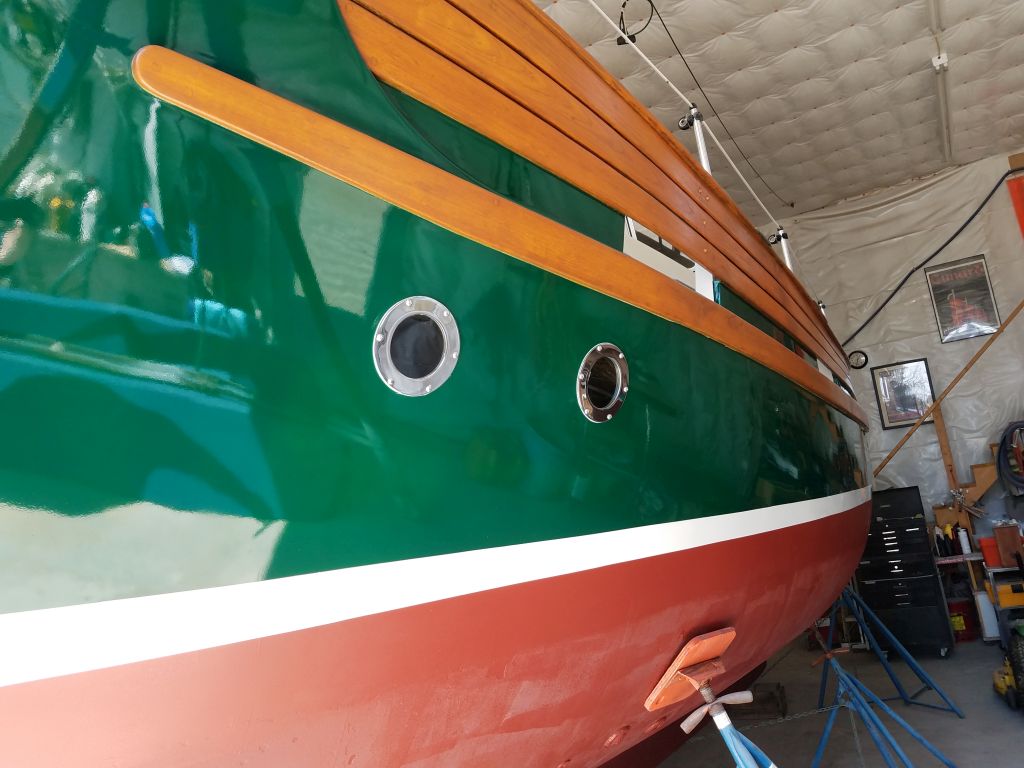
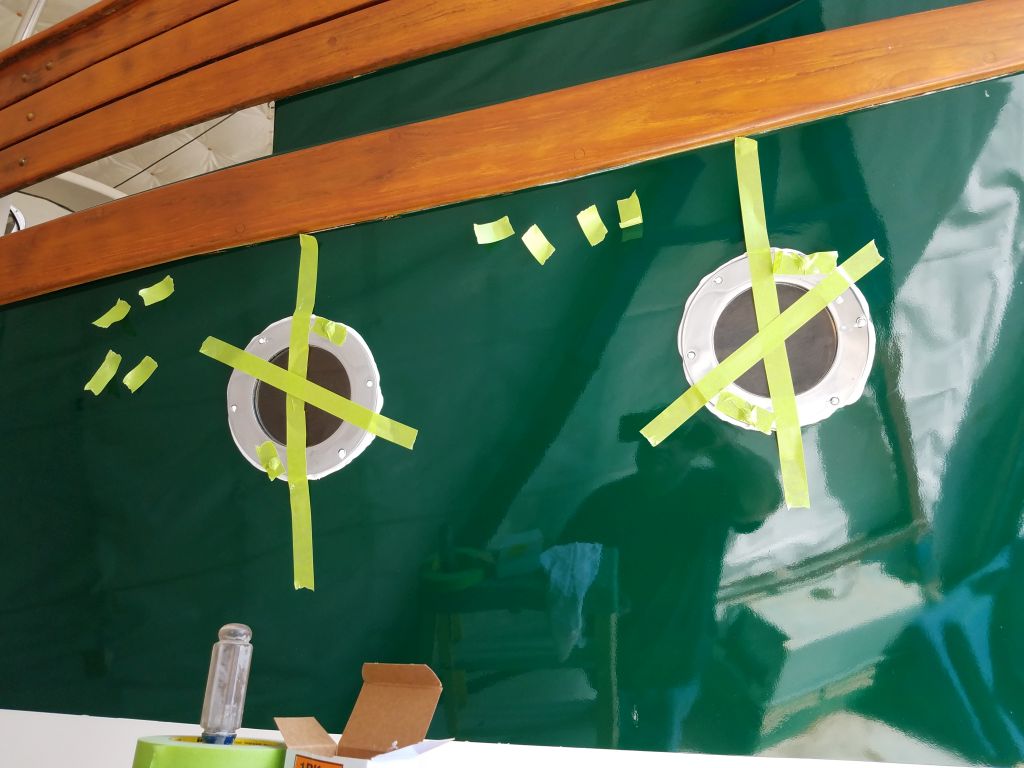
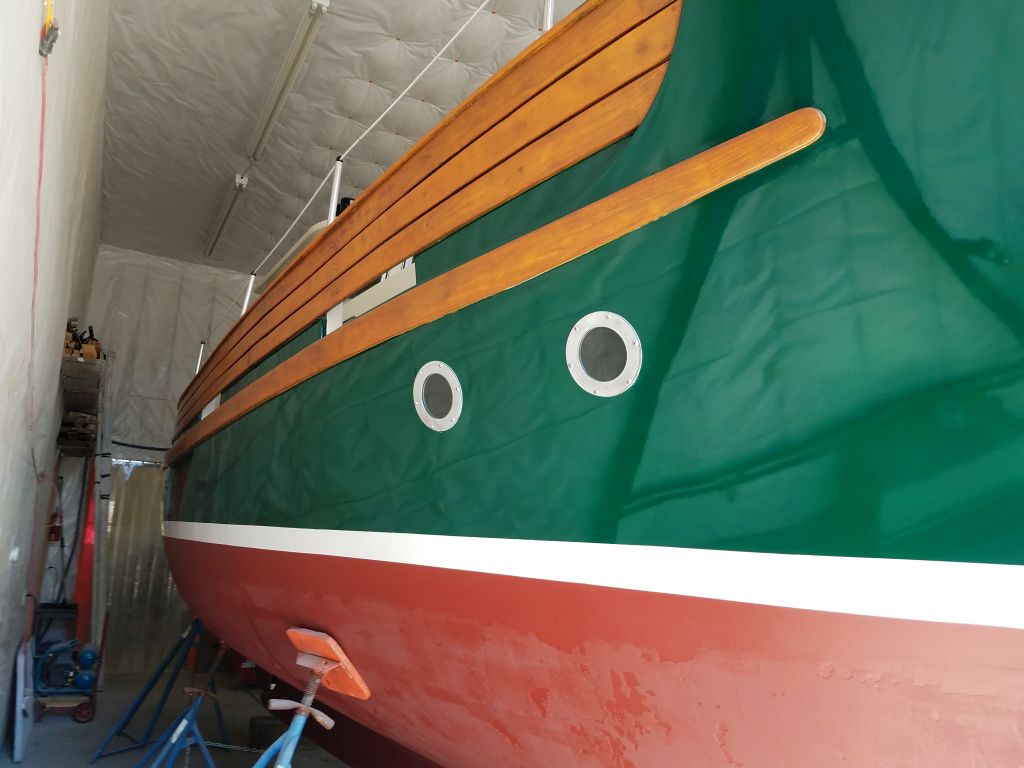
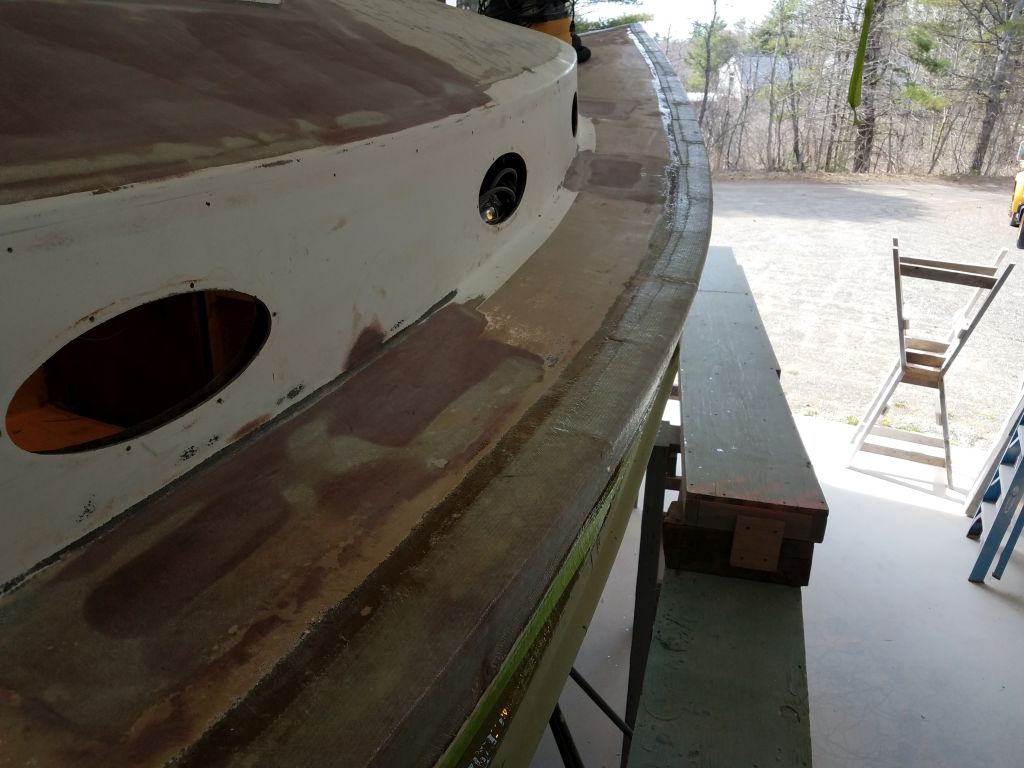
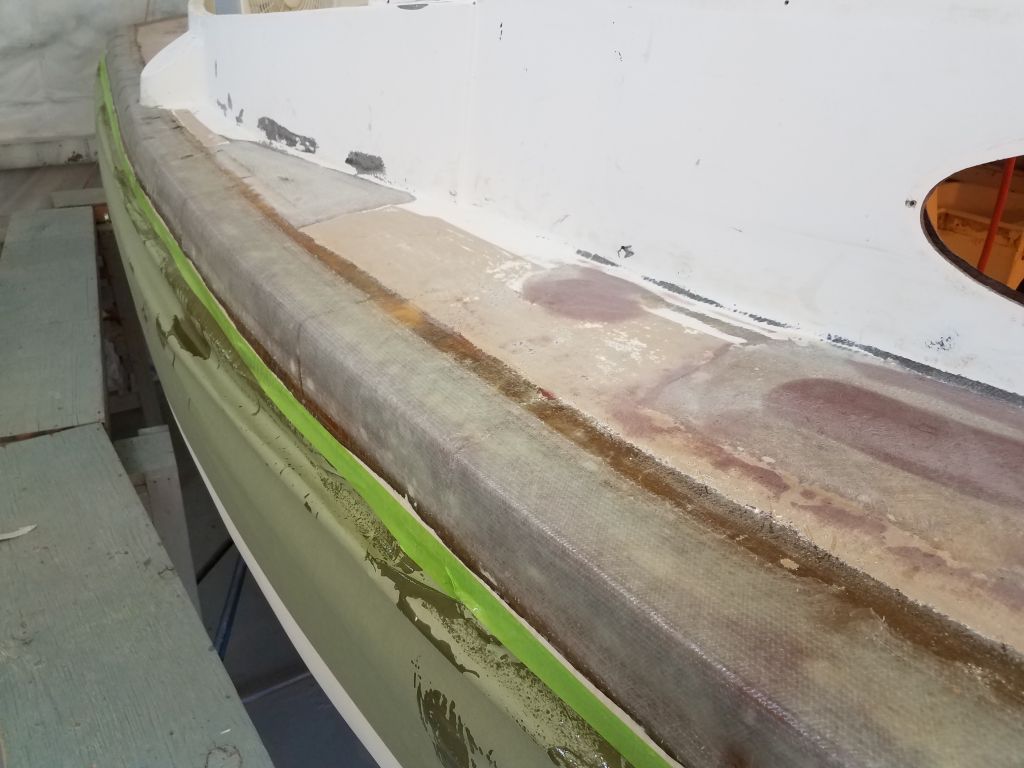
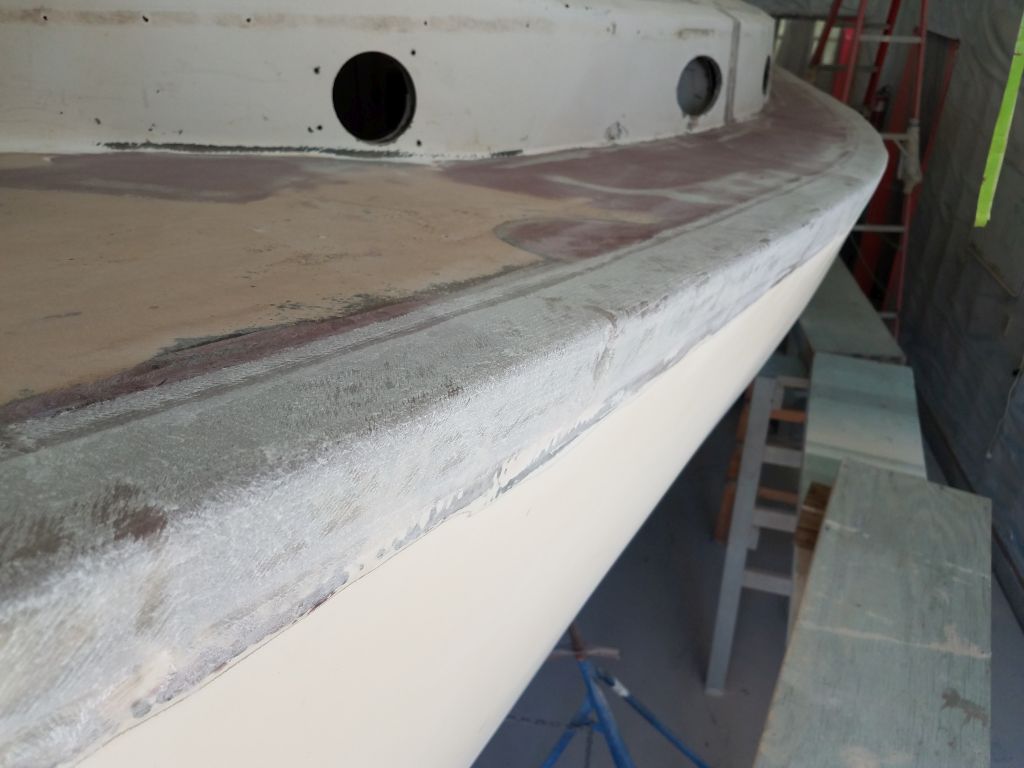
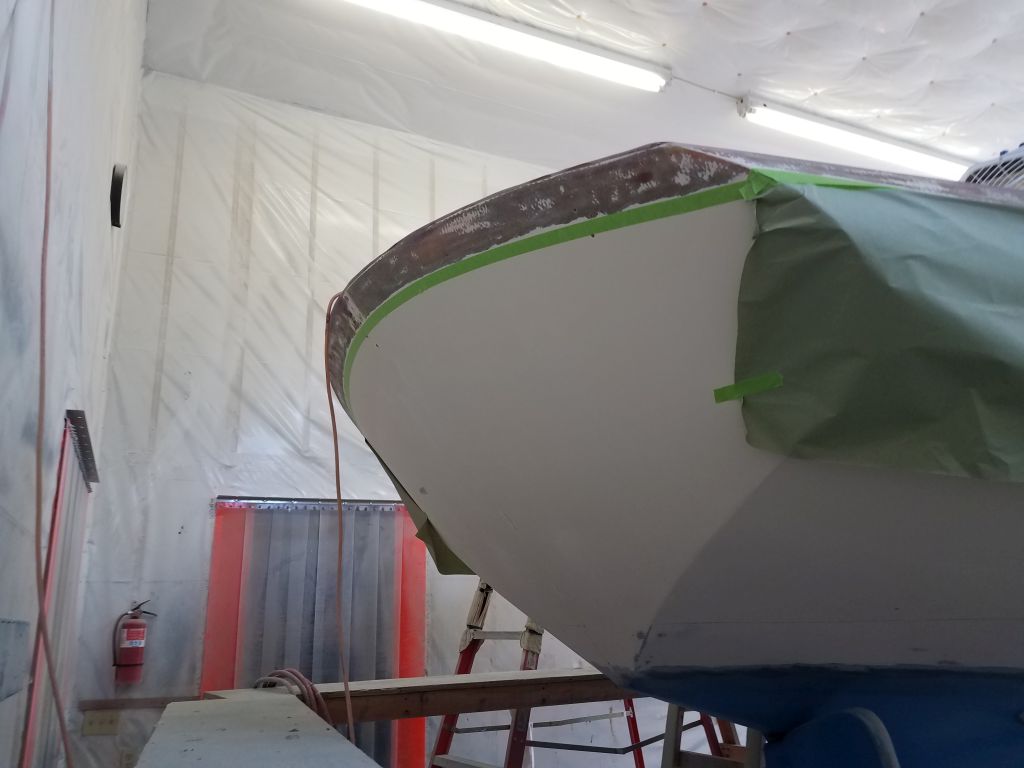
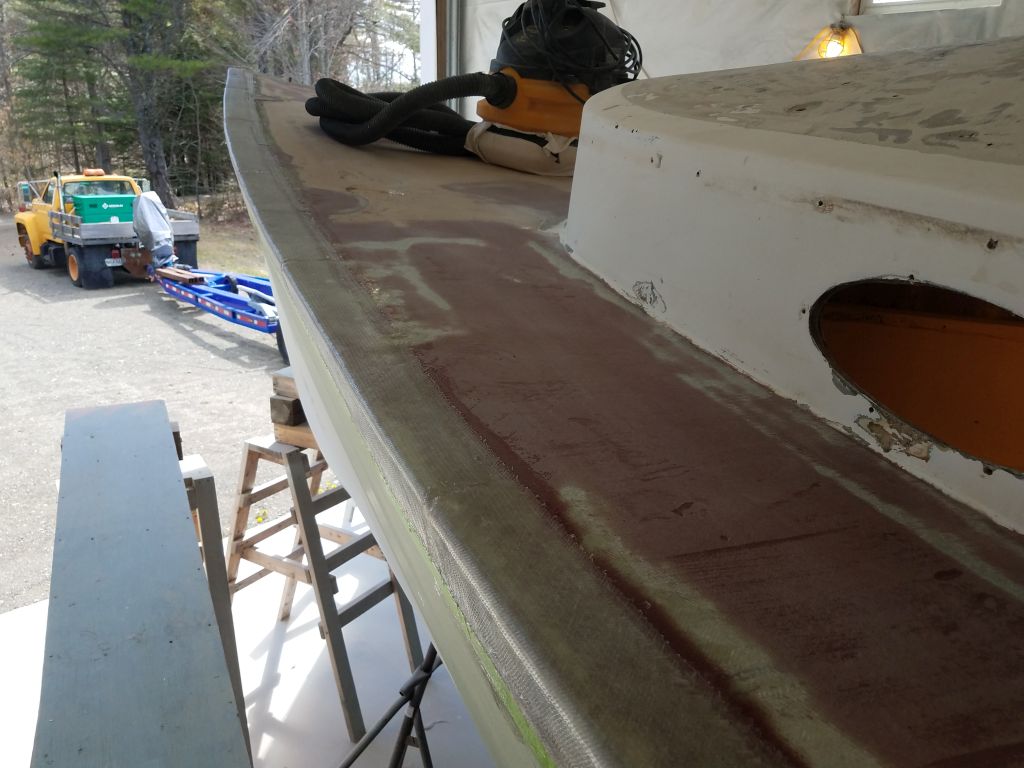
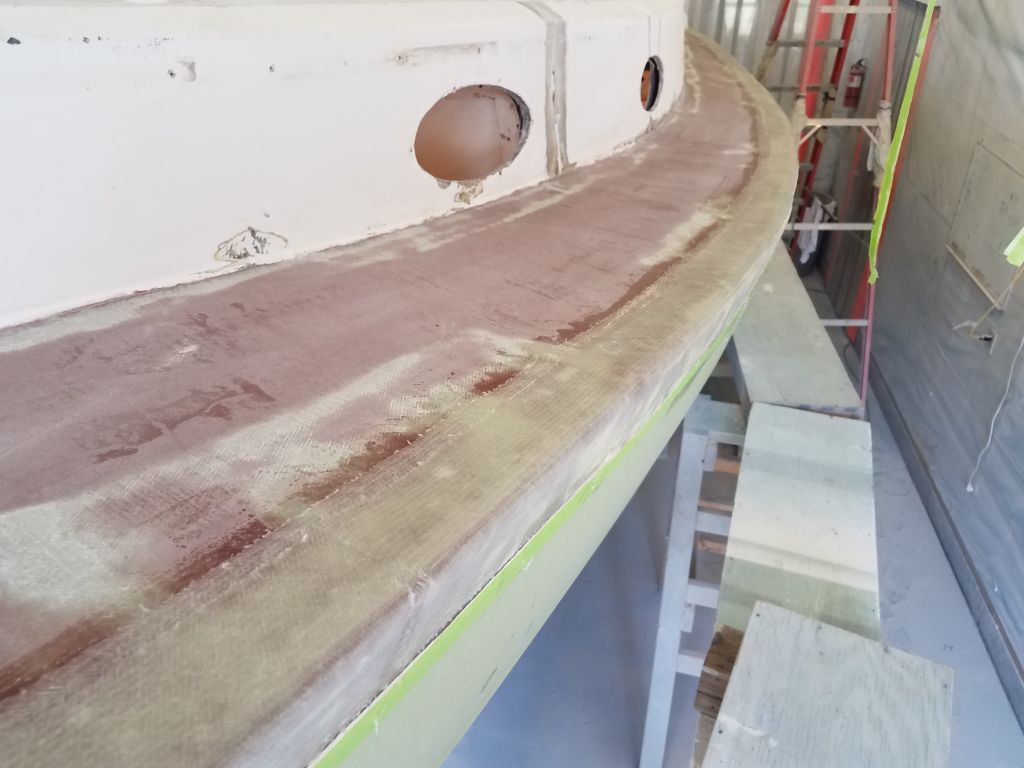
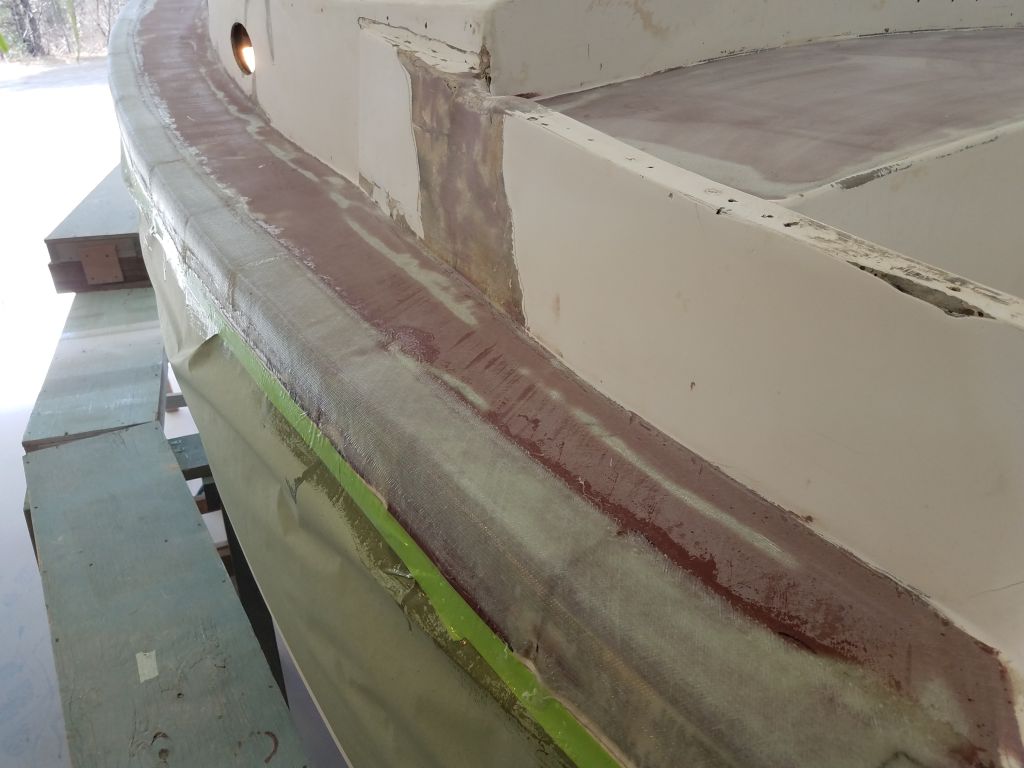
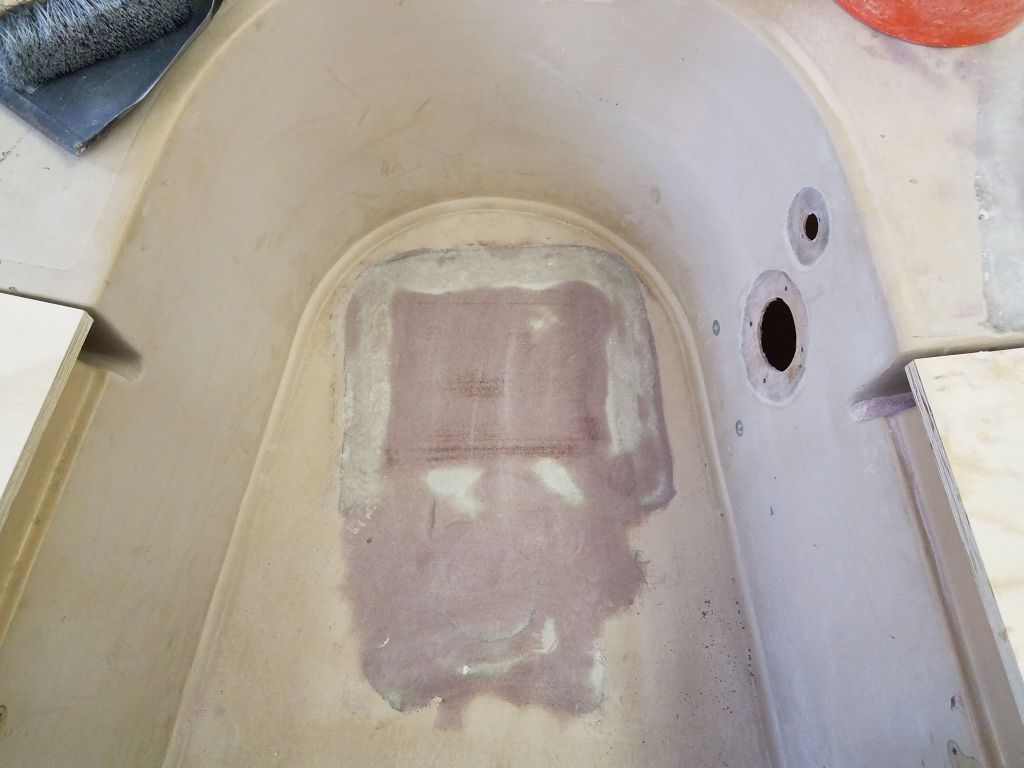
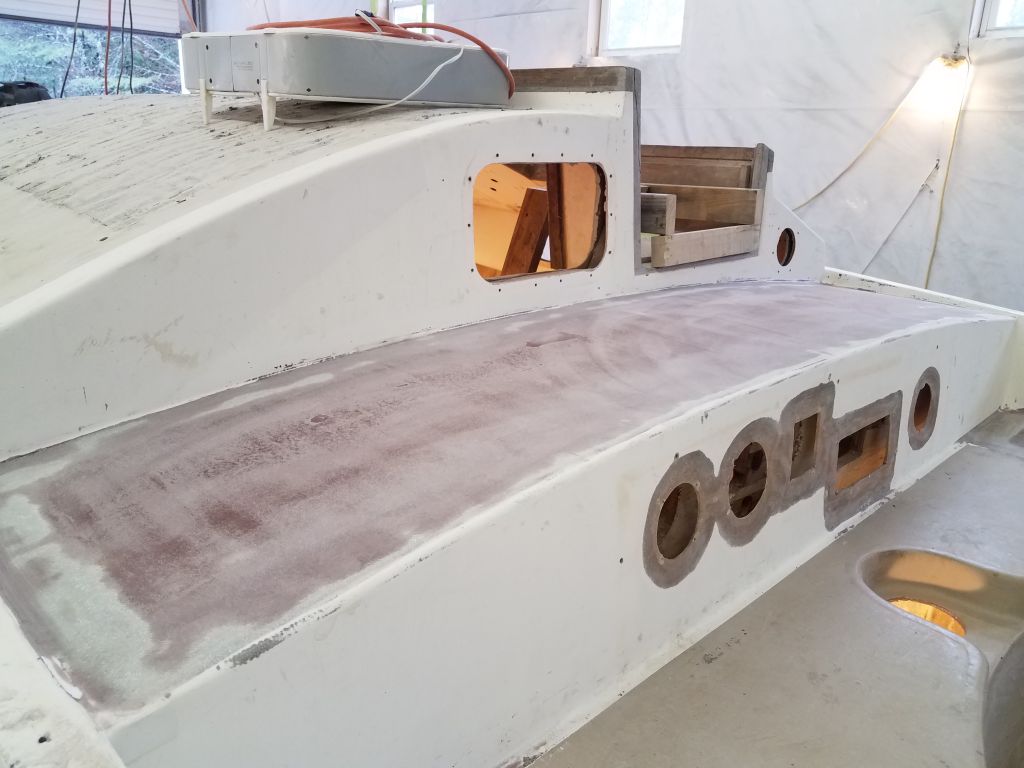
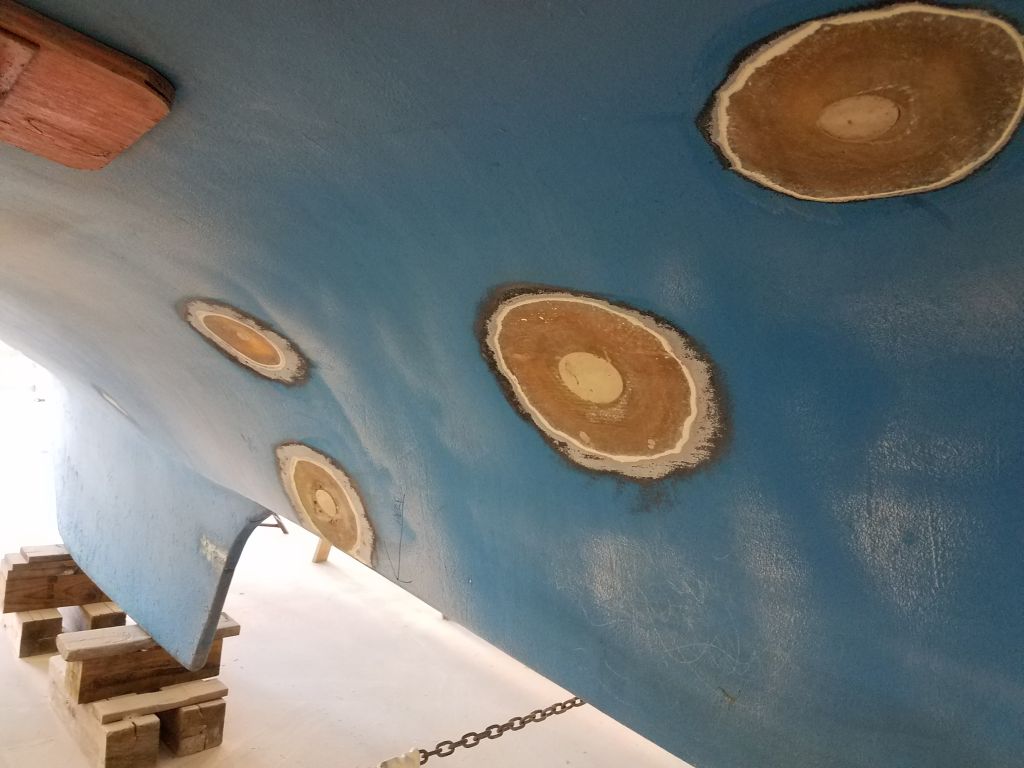
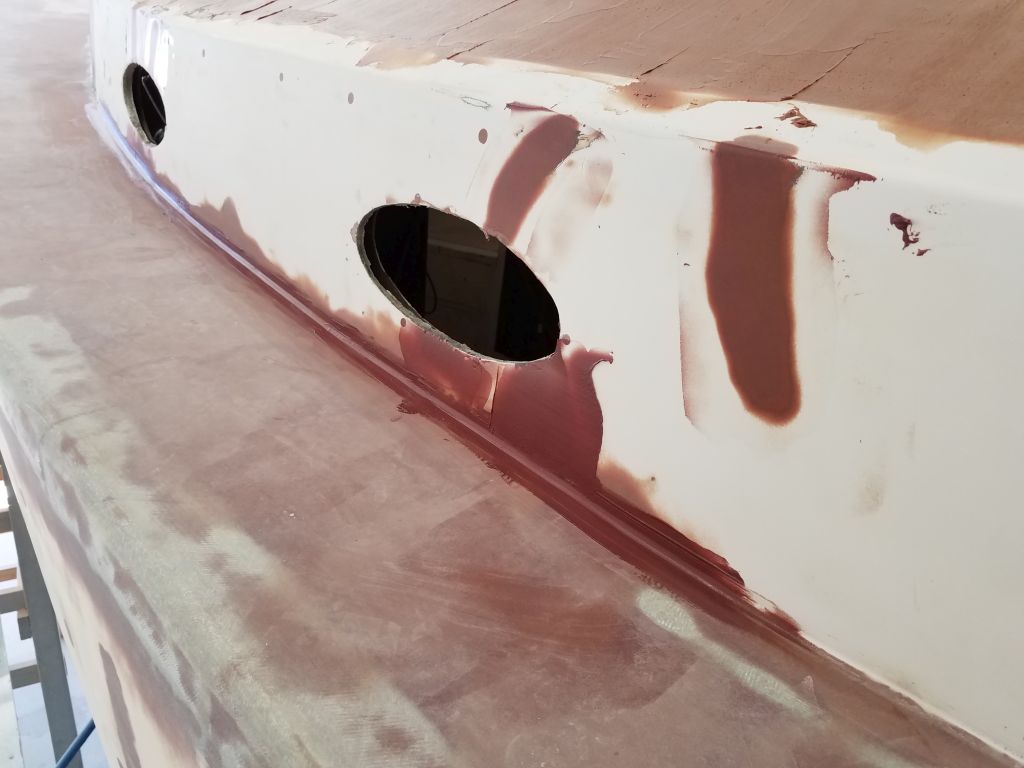
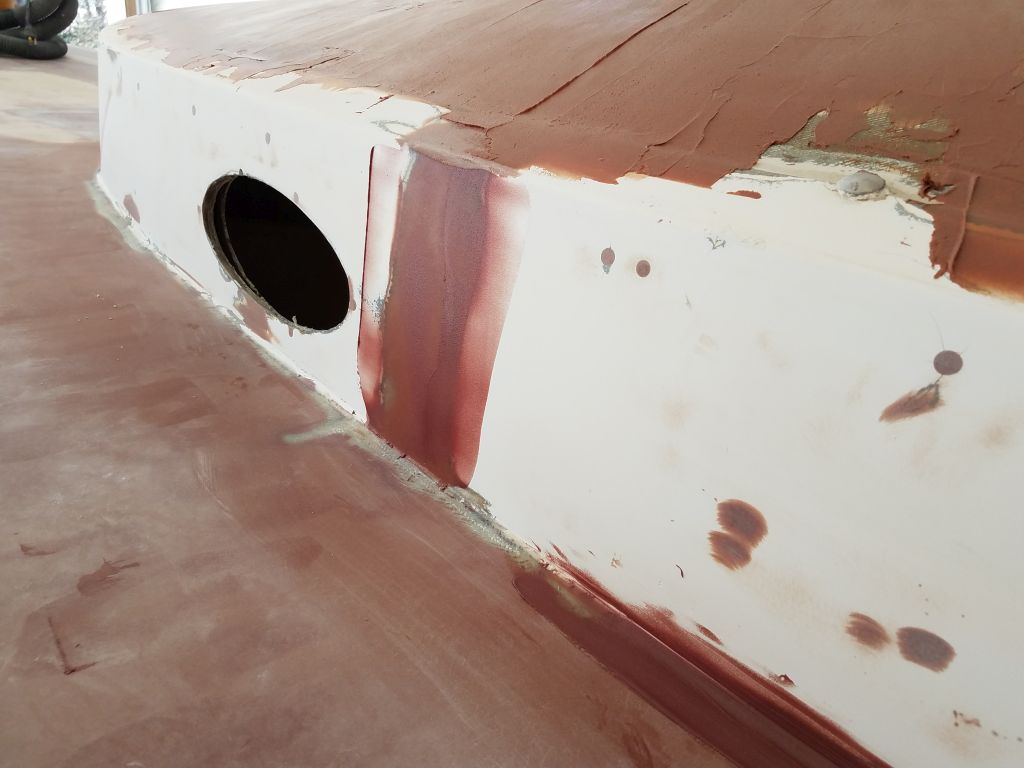
I removed the masking tape from the hull in way of the various through hulls I’d filled earlier, and as needed gave these areas a light sanding to prepare for the new fiberglass over the outside (and eventually inside).


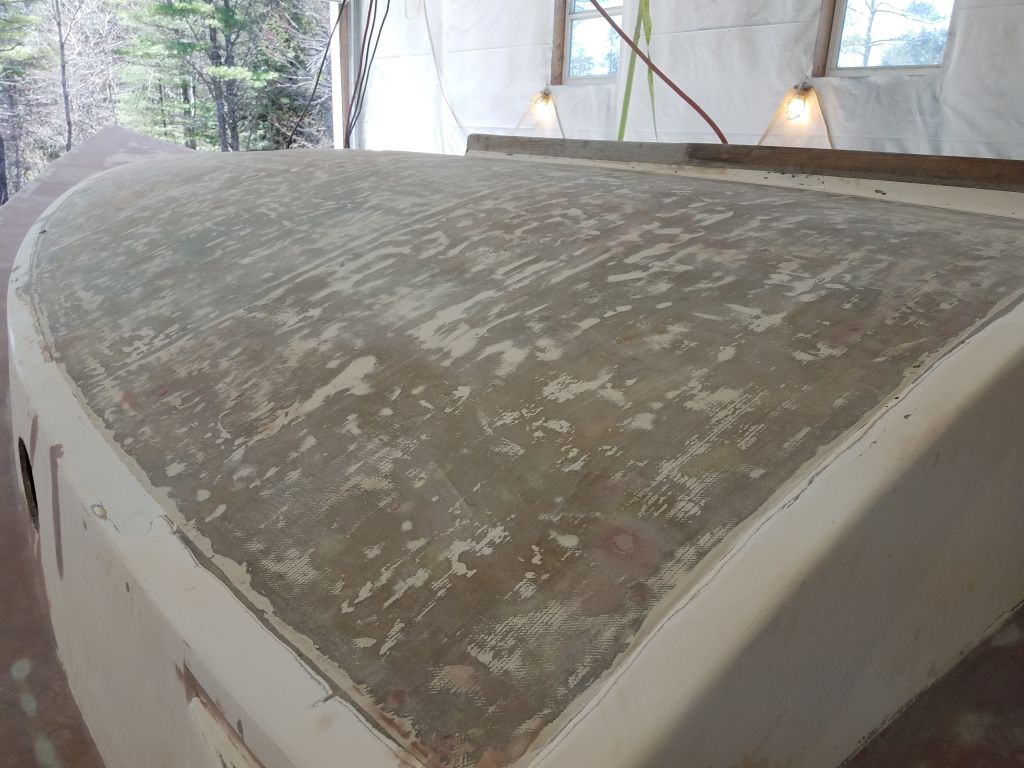
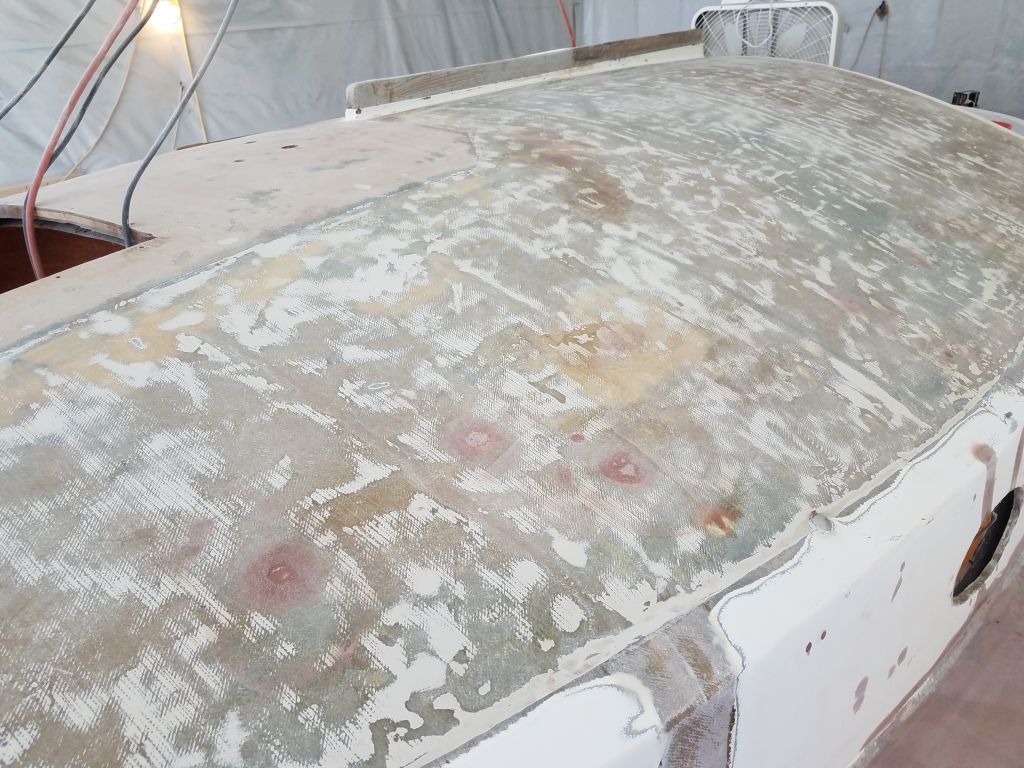
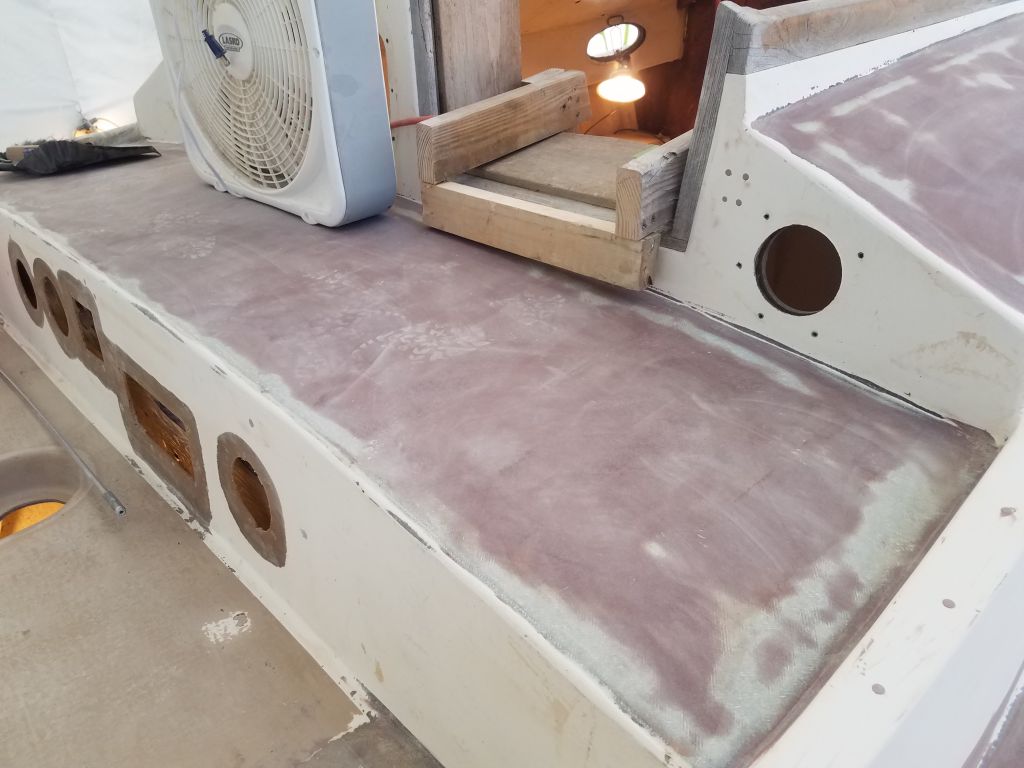
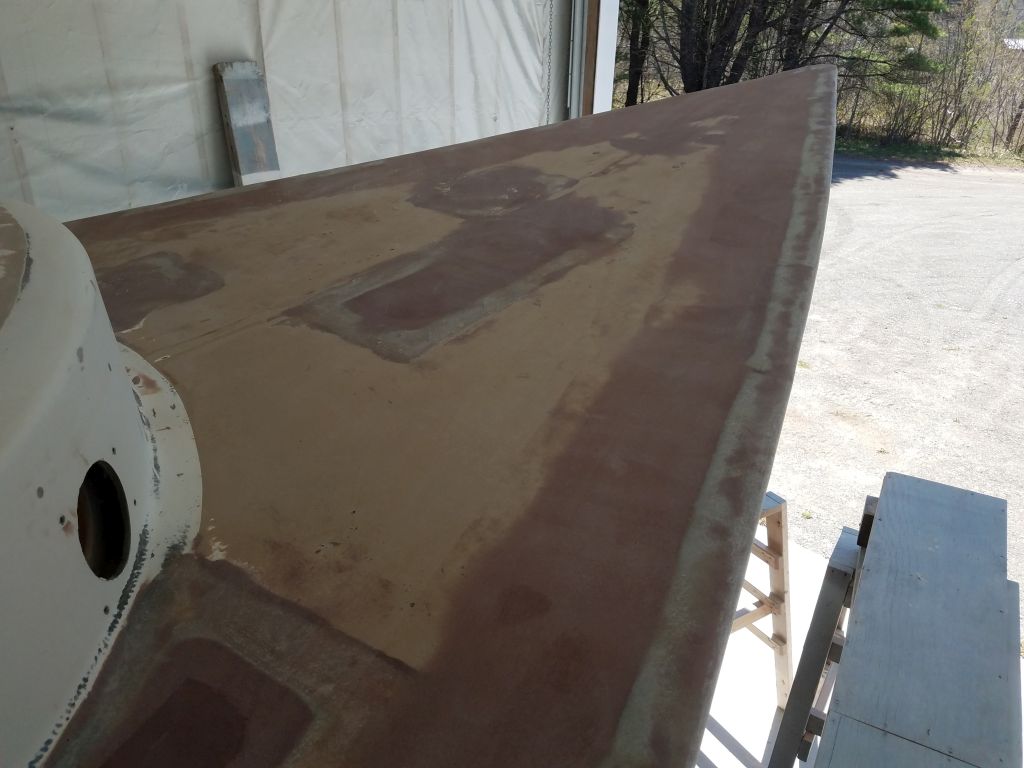
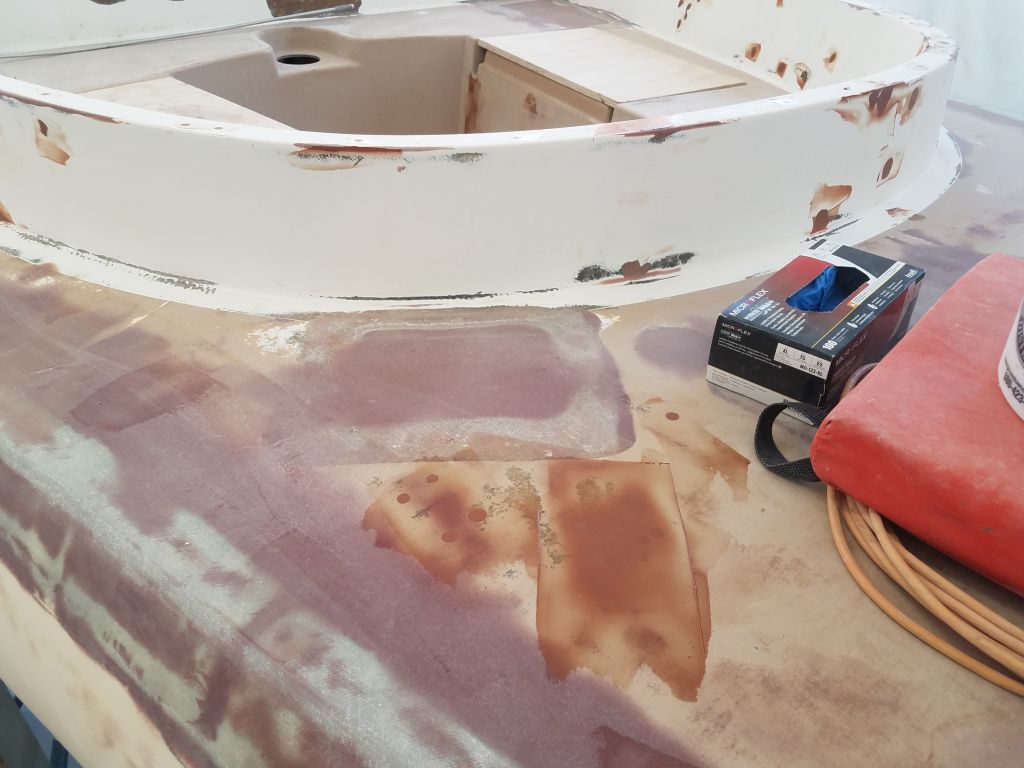
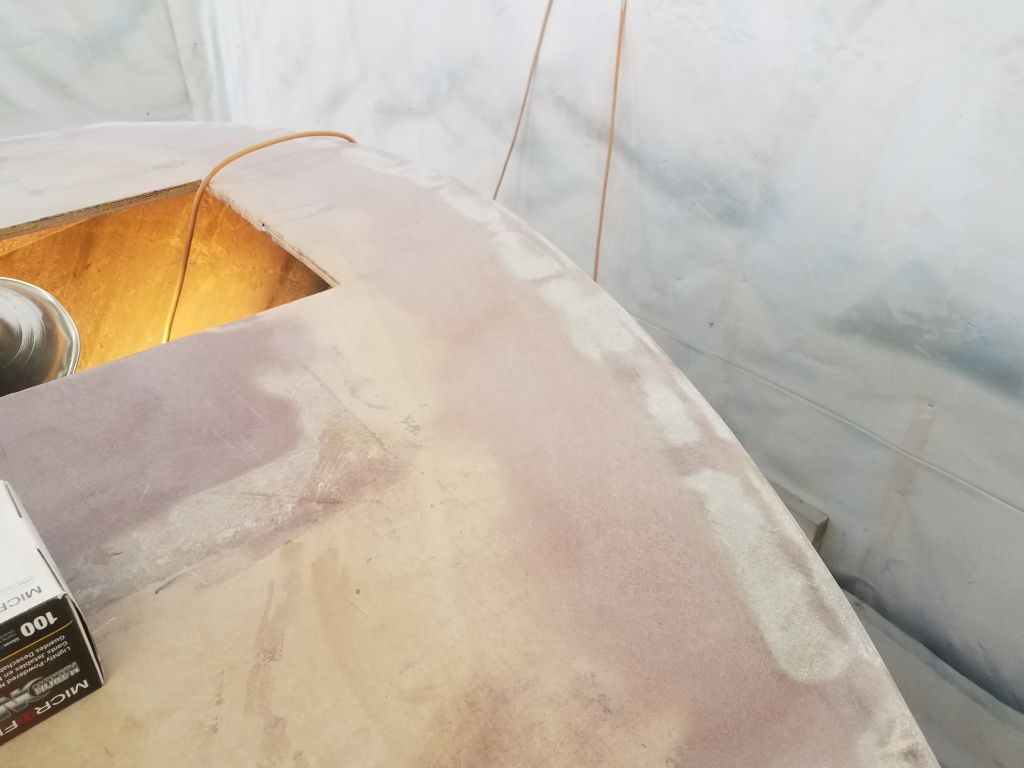
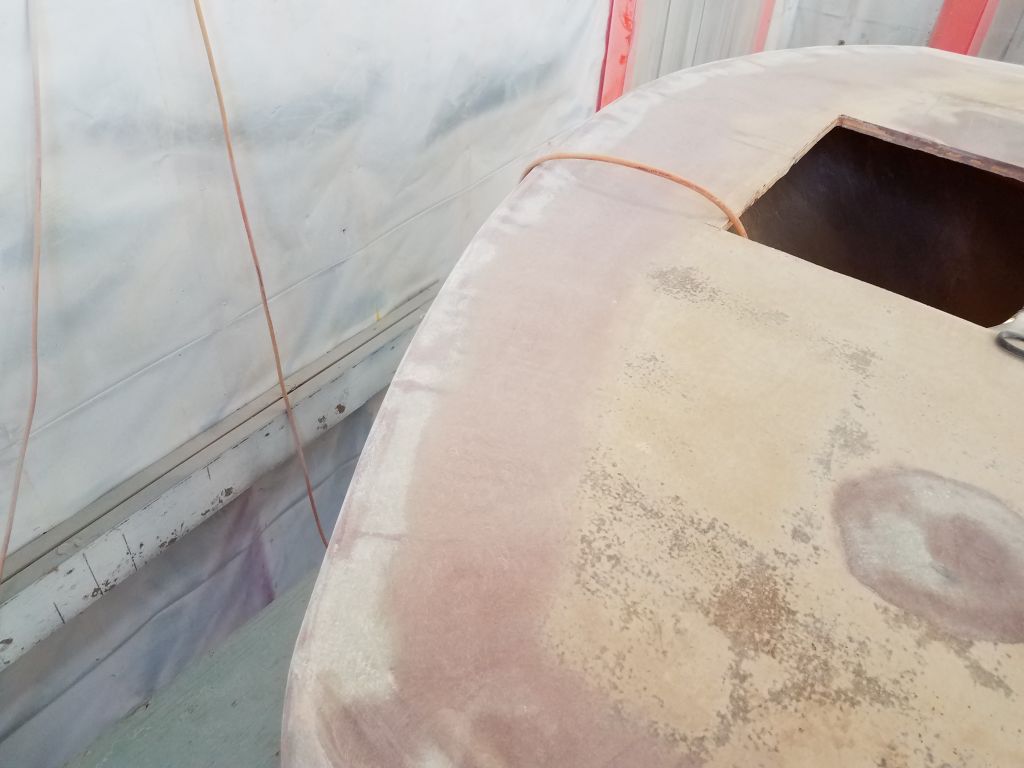
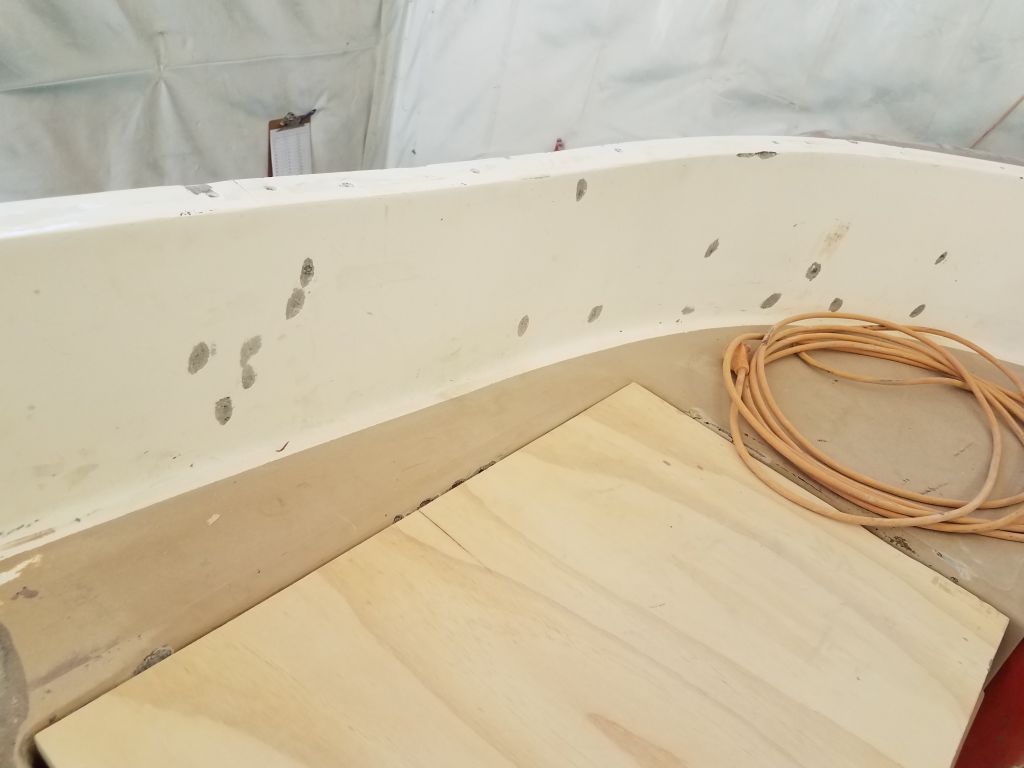
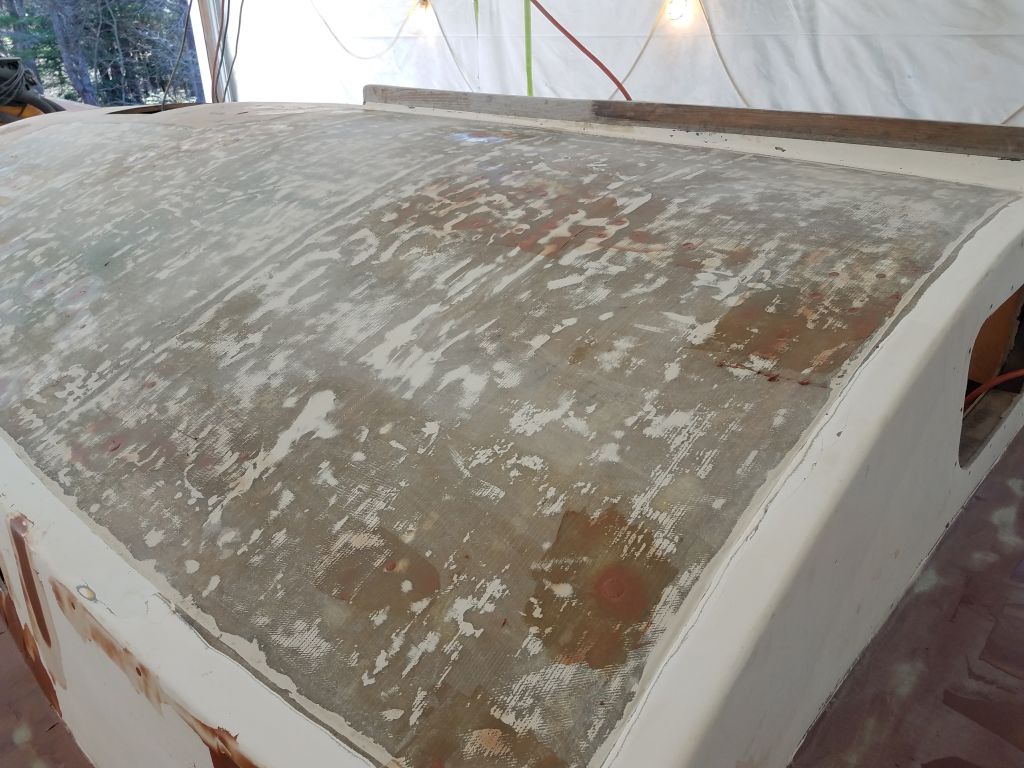
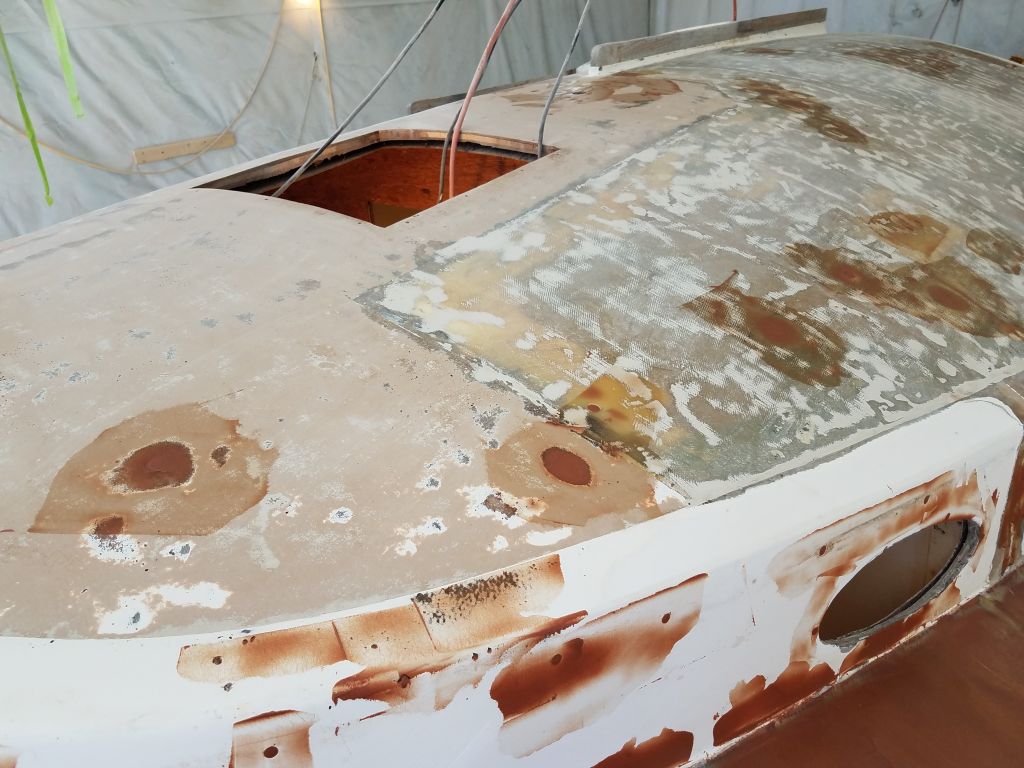
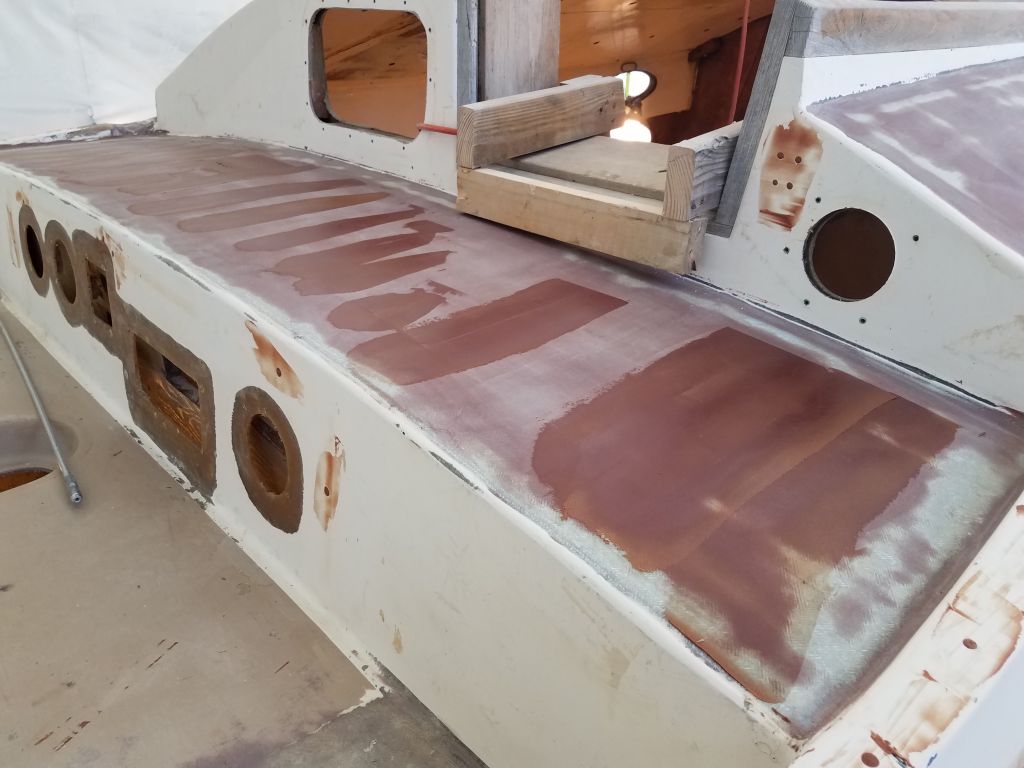
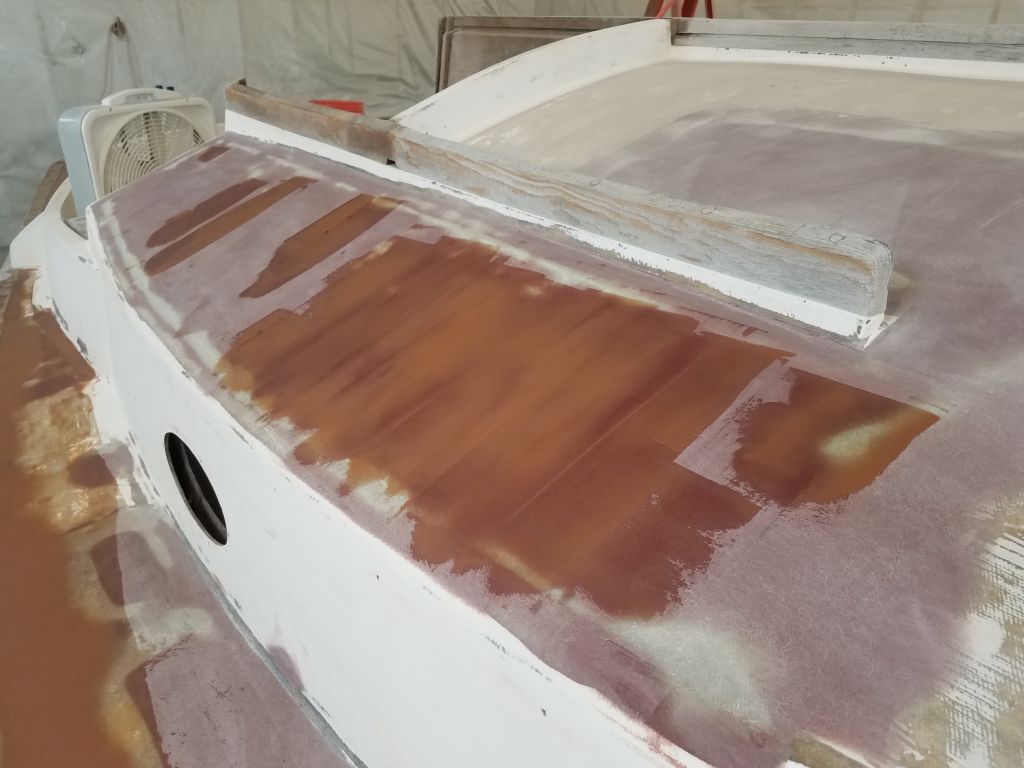
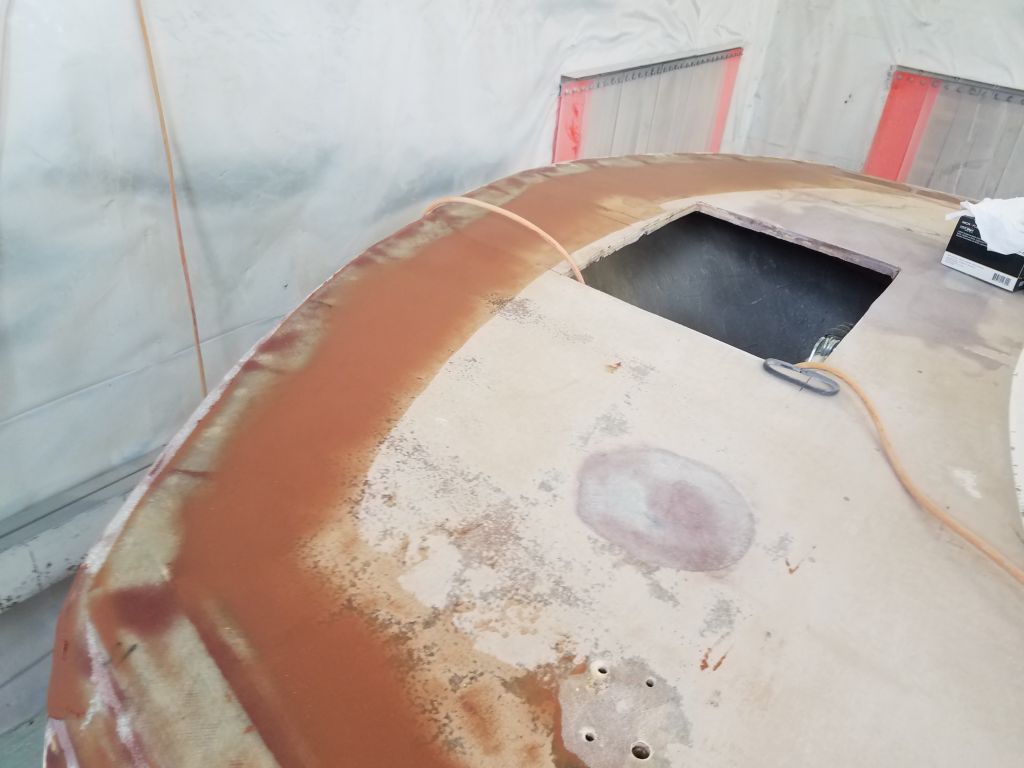
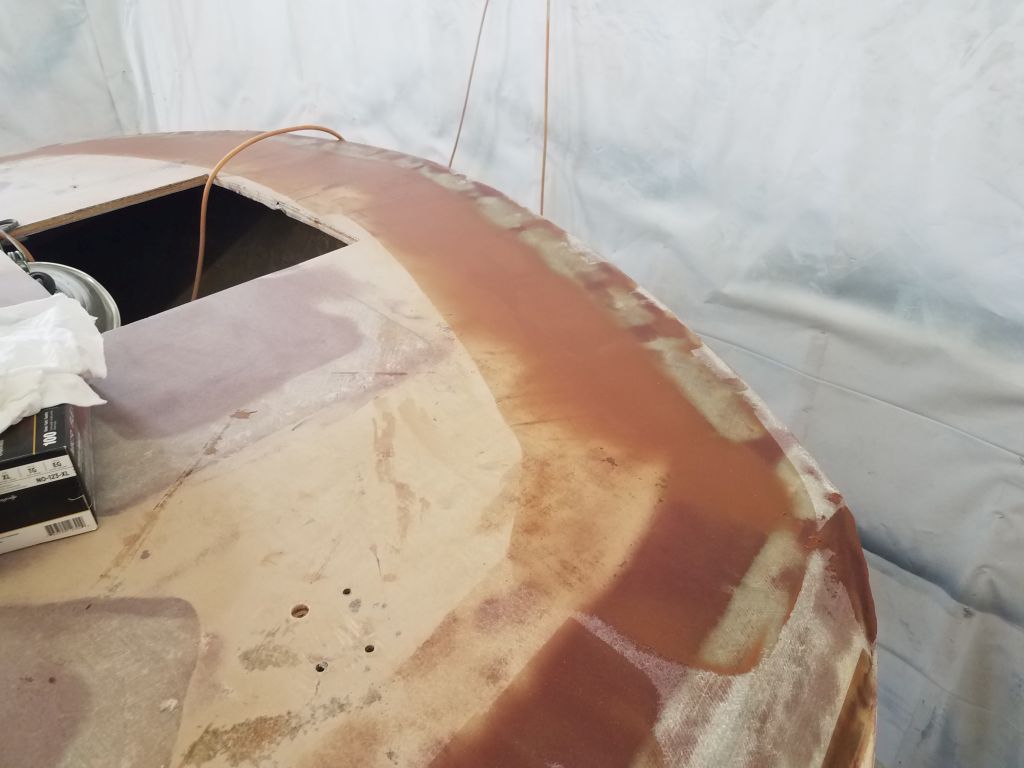
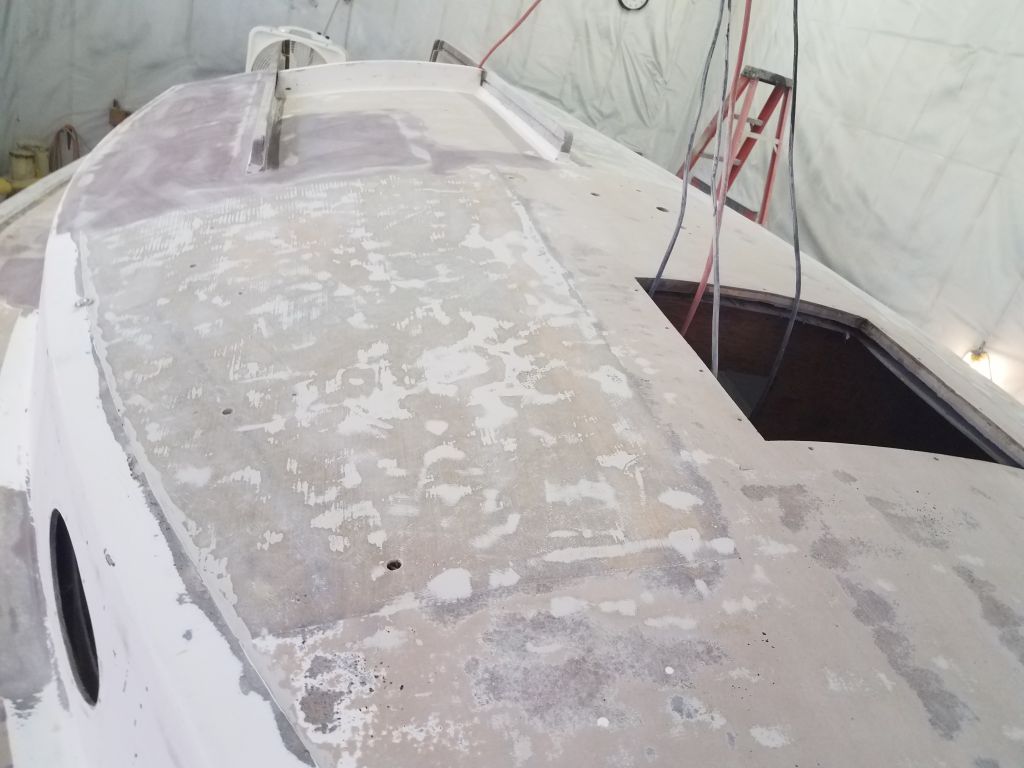
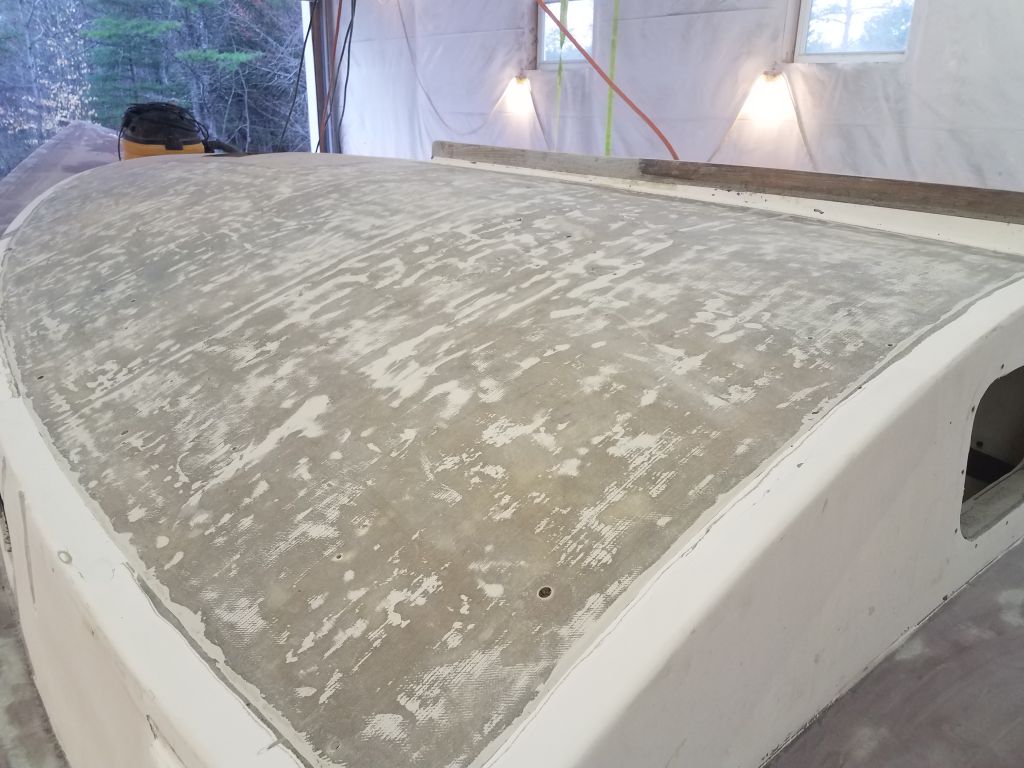
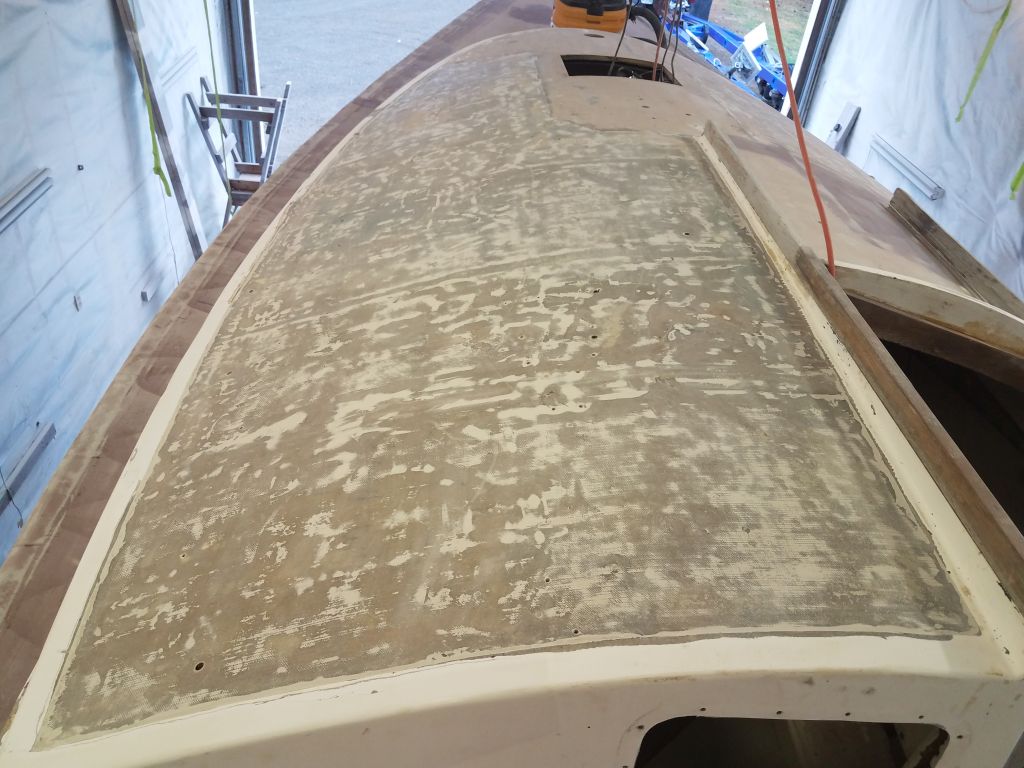
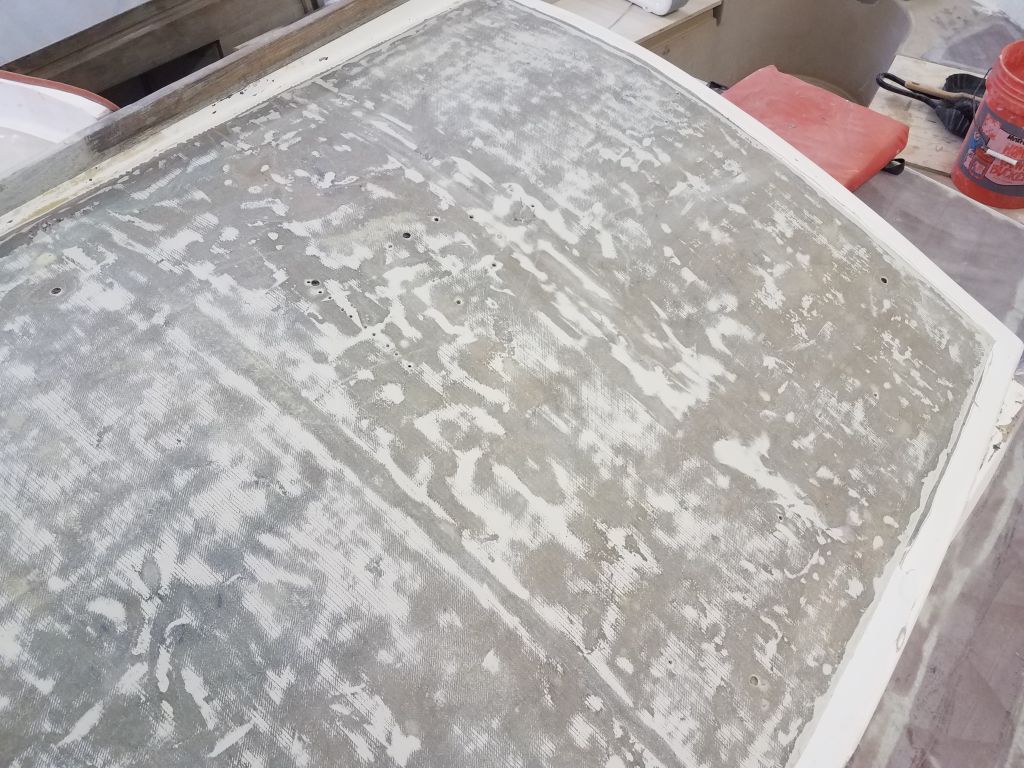
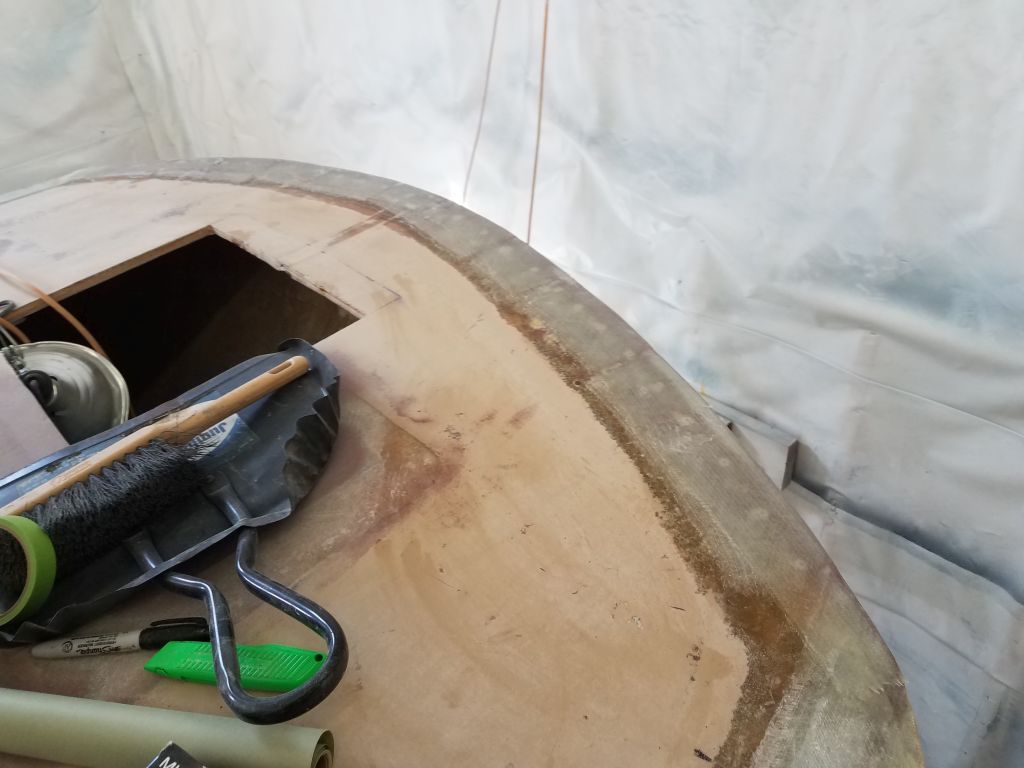
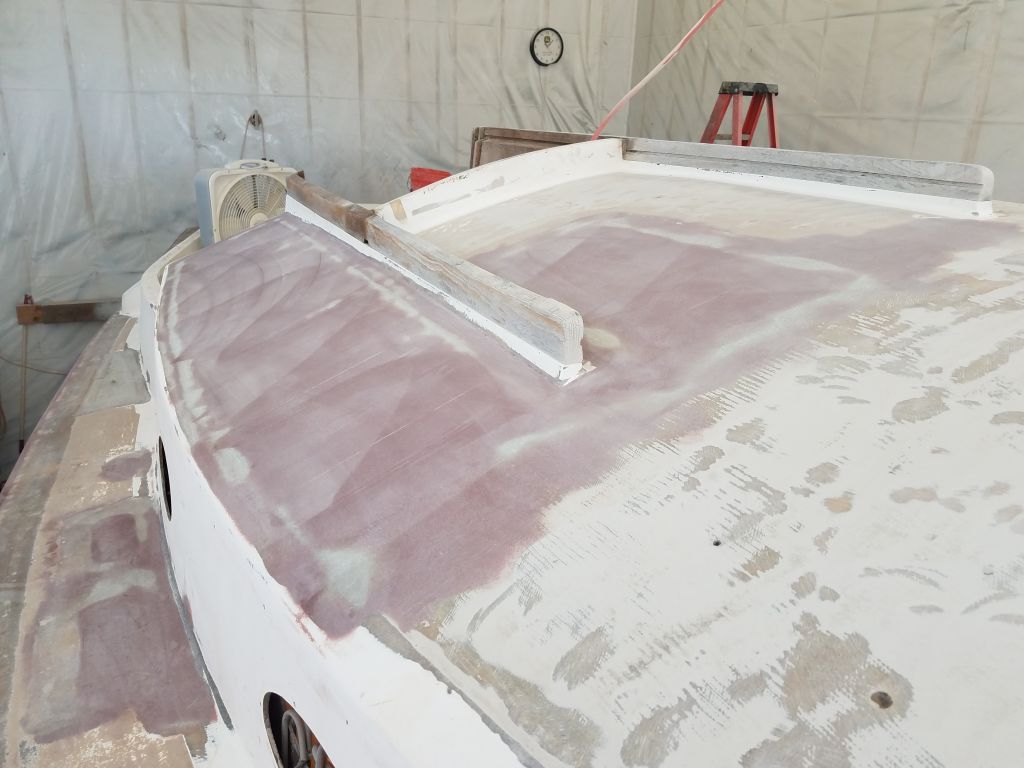
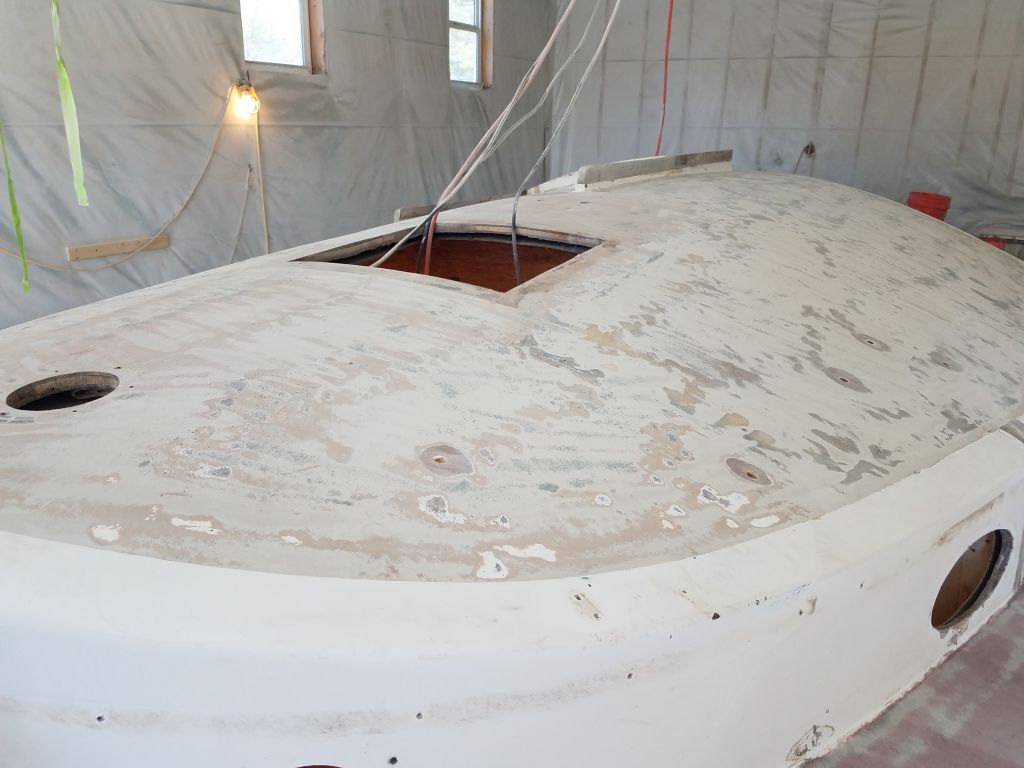
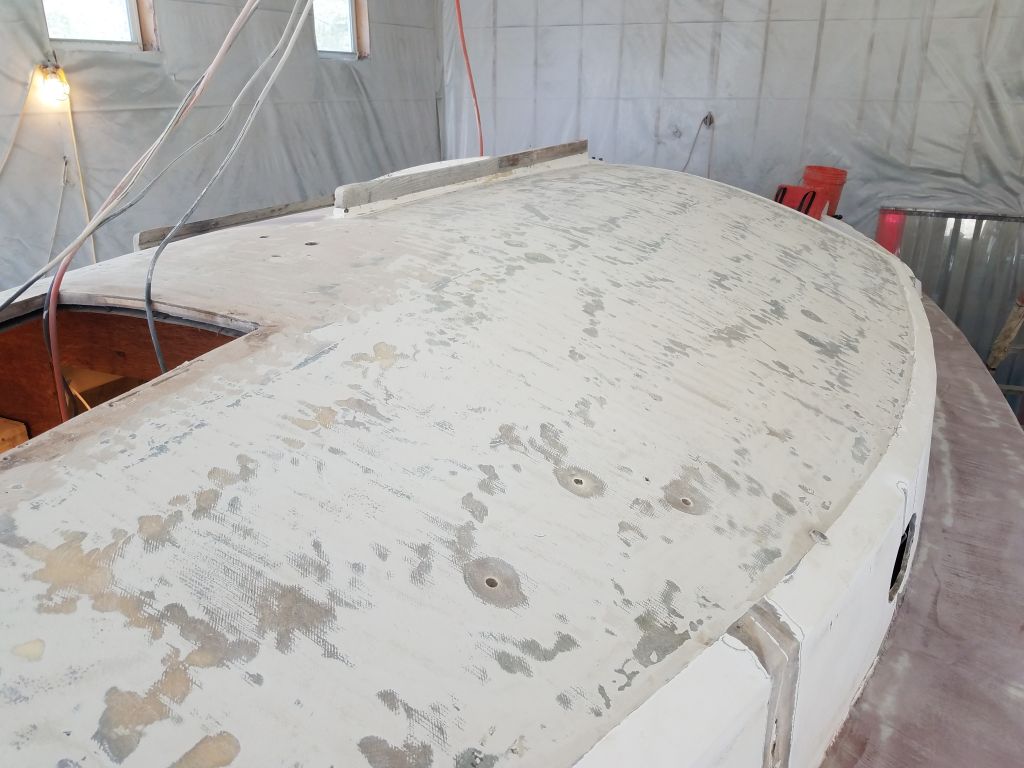
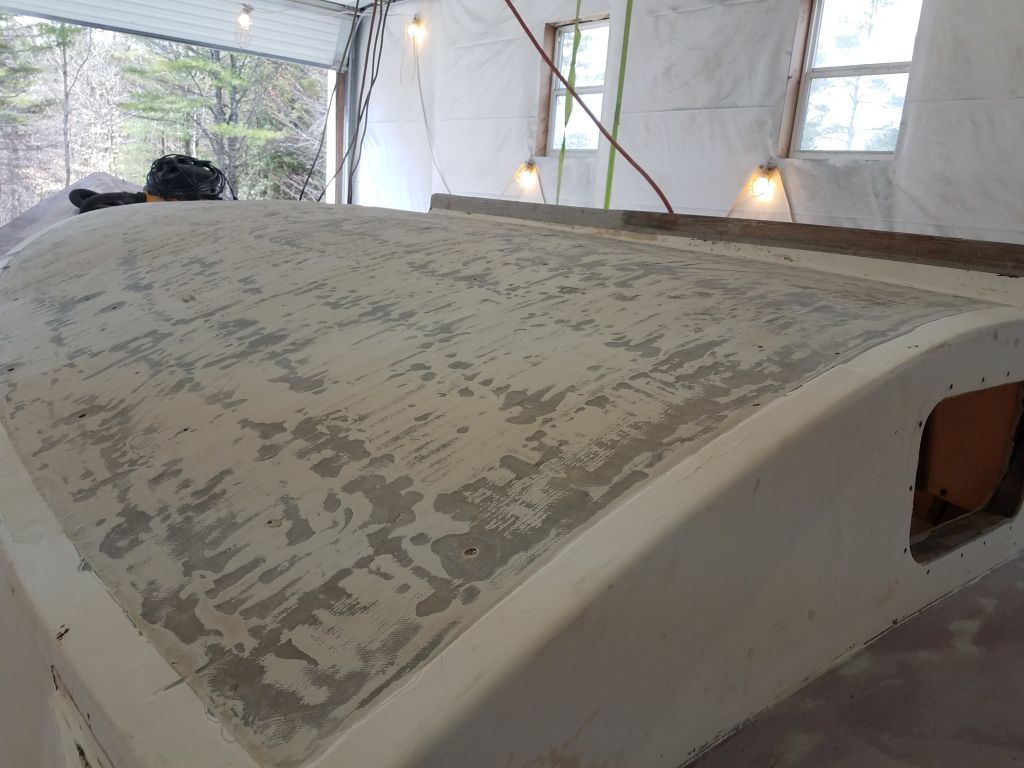
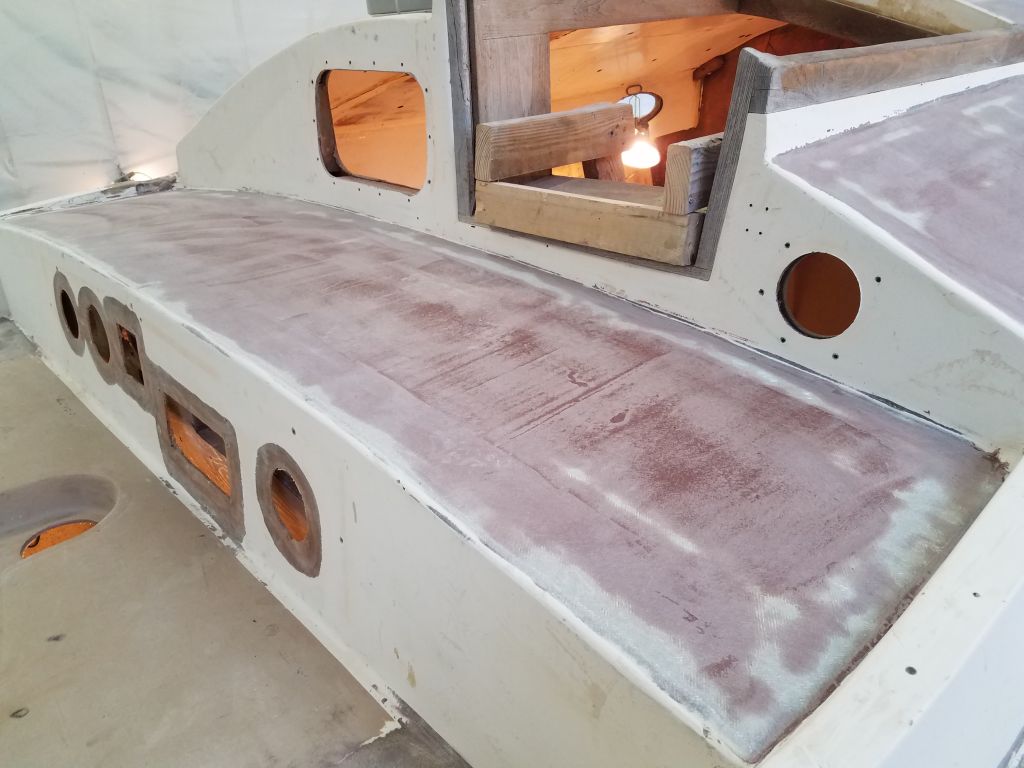
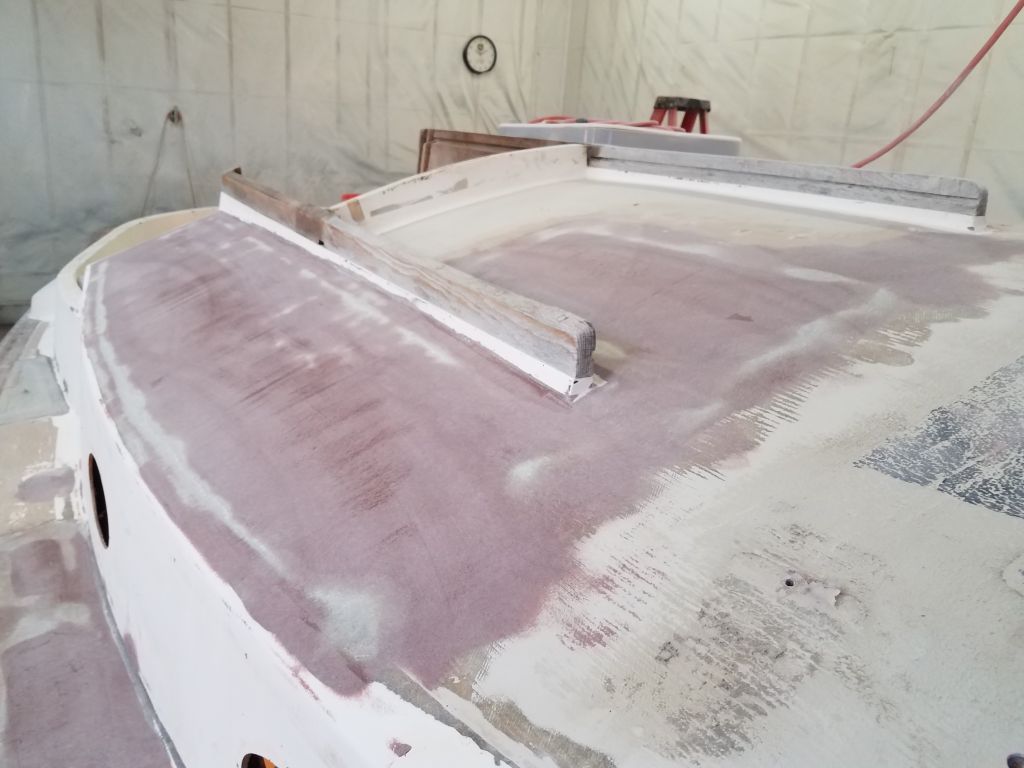
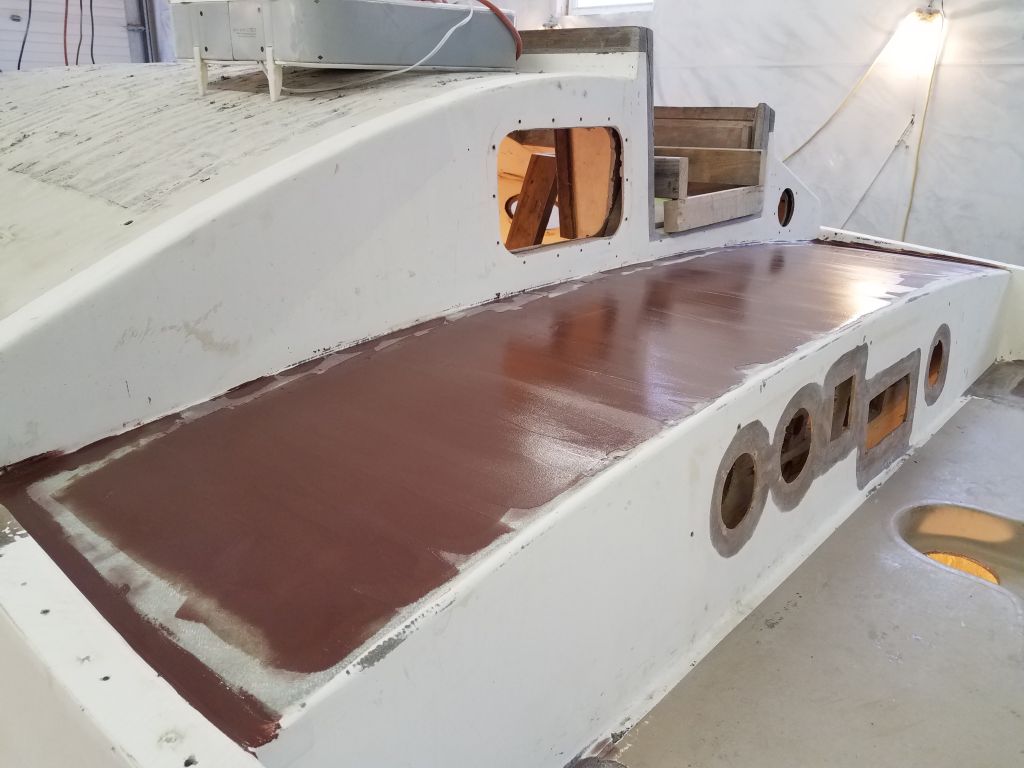
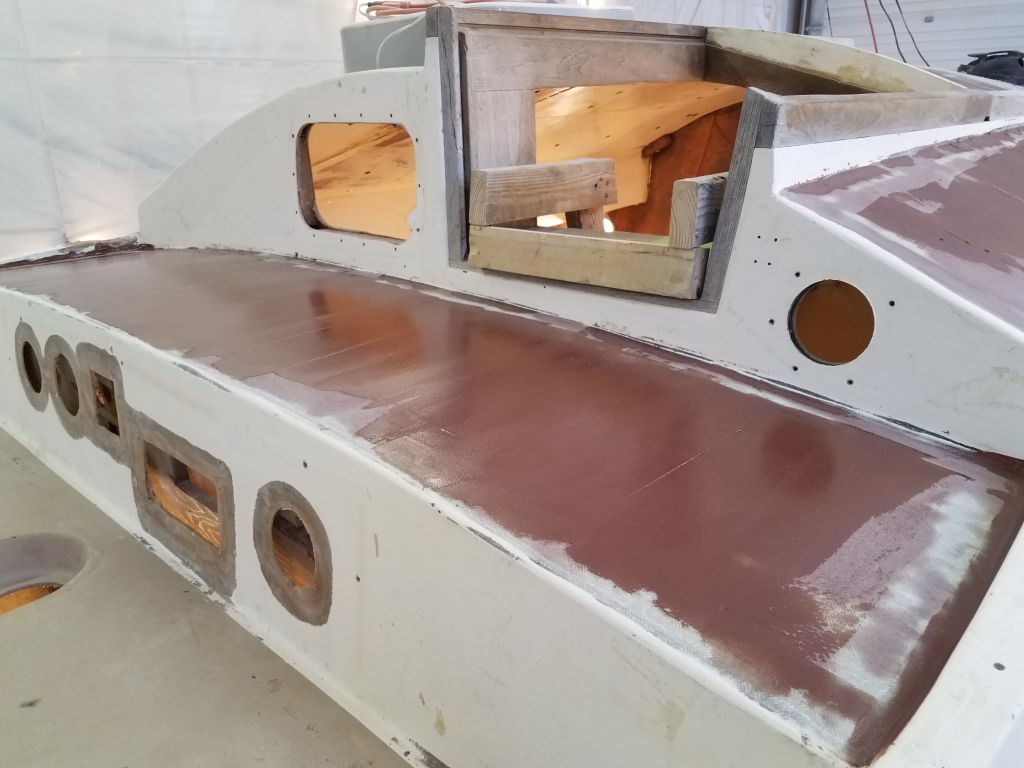
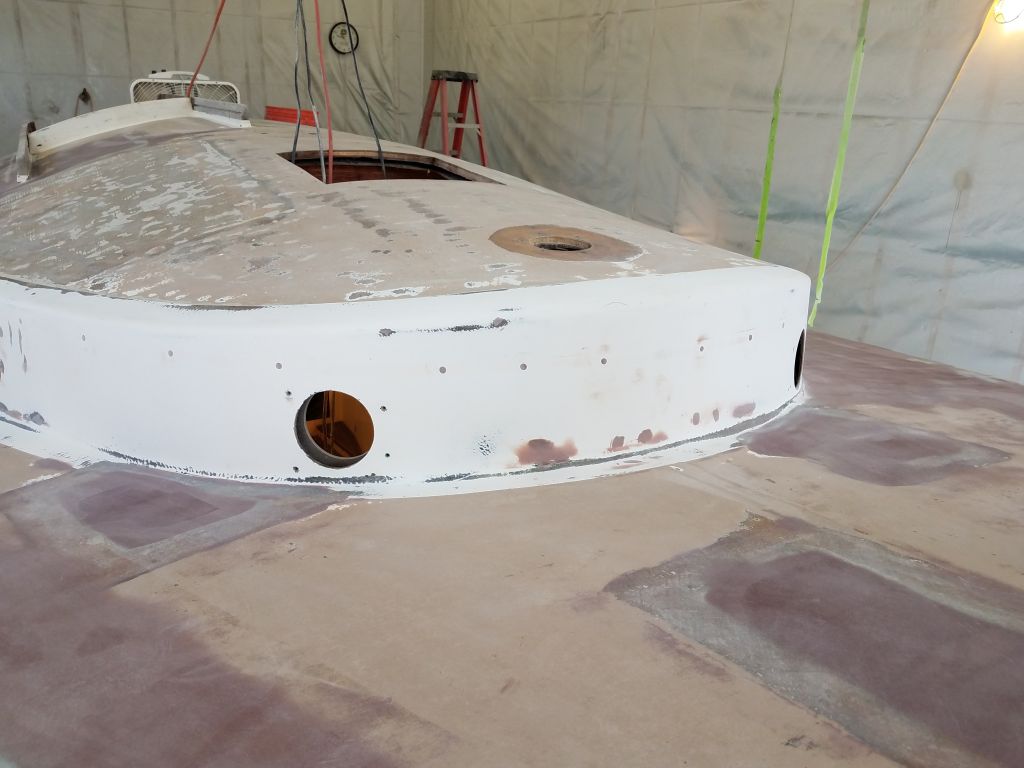
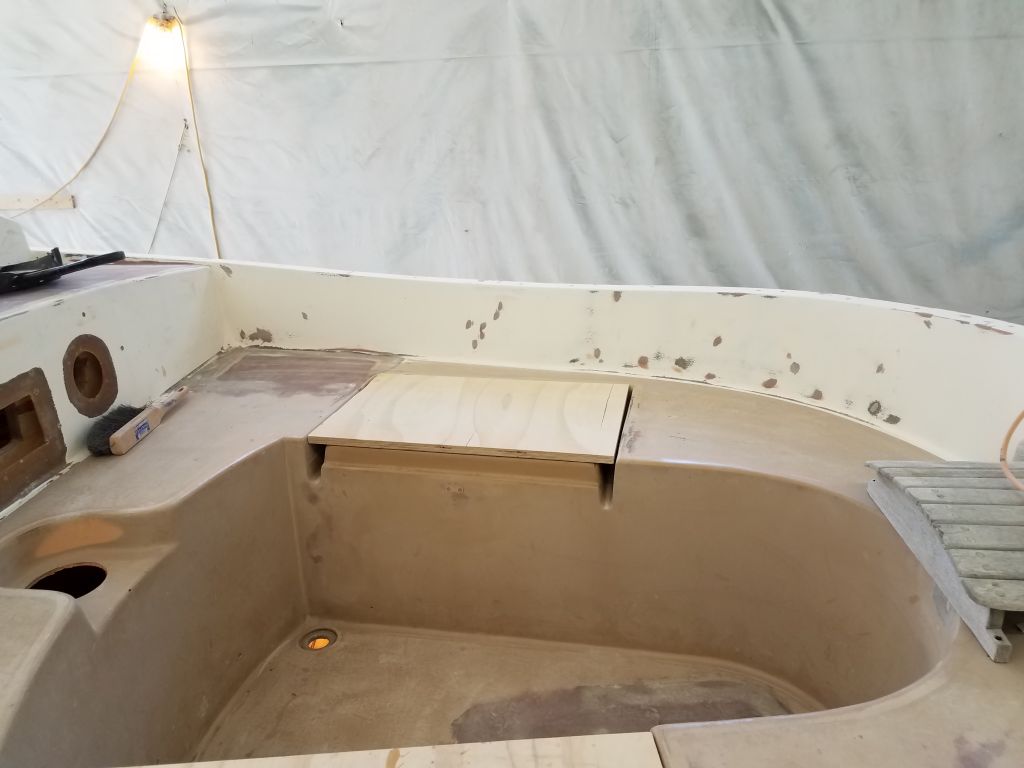
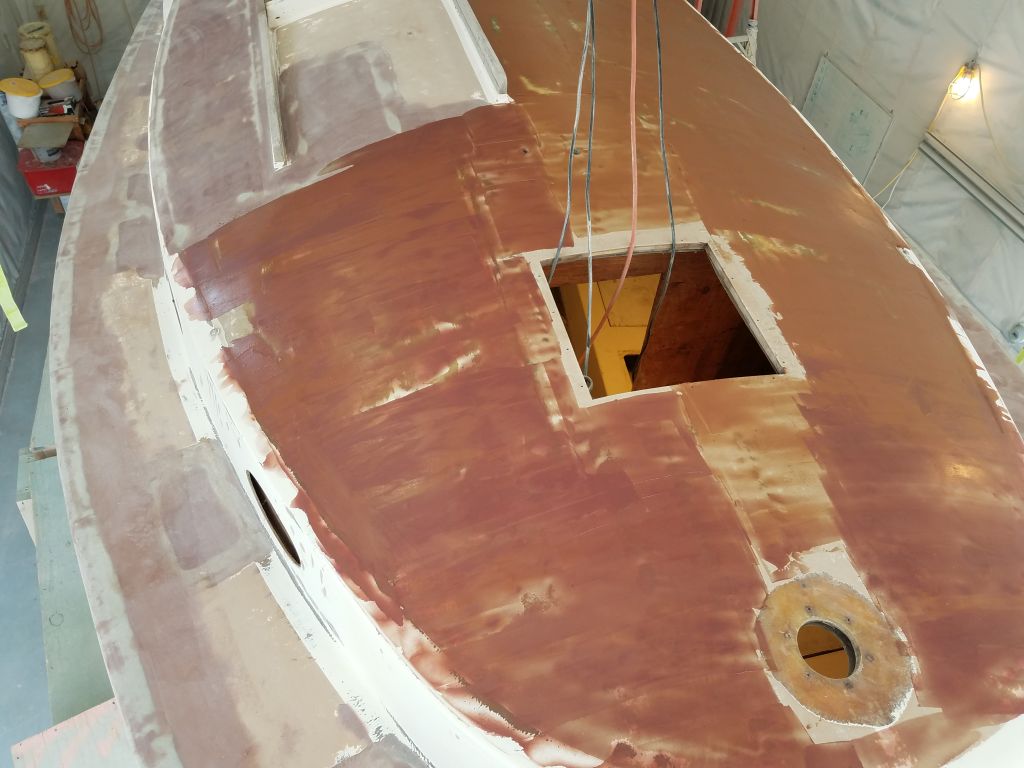
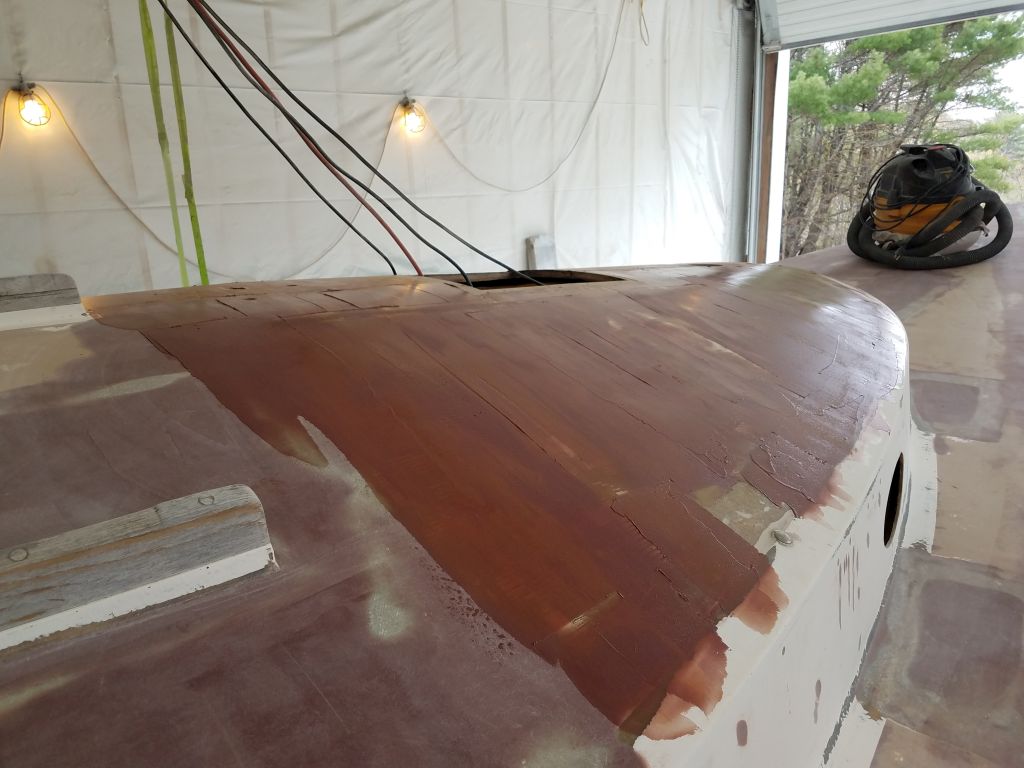
After cleaning up the coachroof, I applied a first coat of epoxy fairing compound over the whole area, starting to even out the contours of the curved surface. The first application was intended to fill the most obvious lows and bring some semblance of an overall contour to the area, but there’d be plenty of sanding and additional fairing to come.

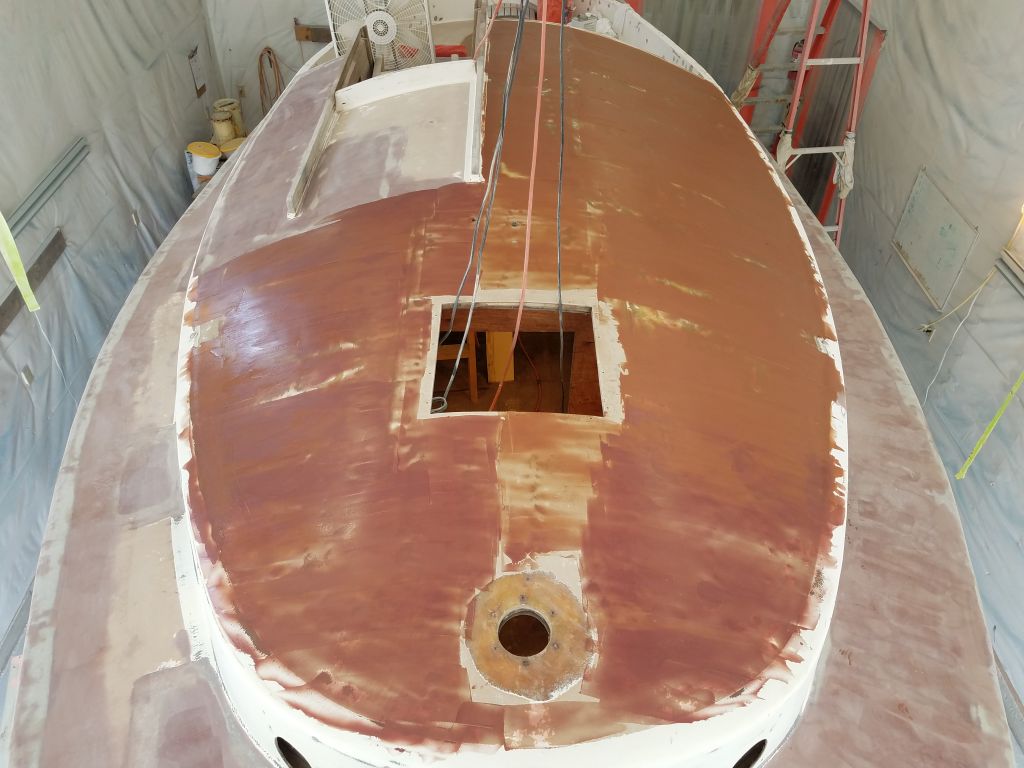

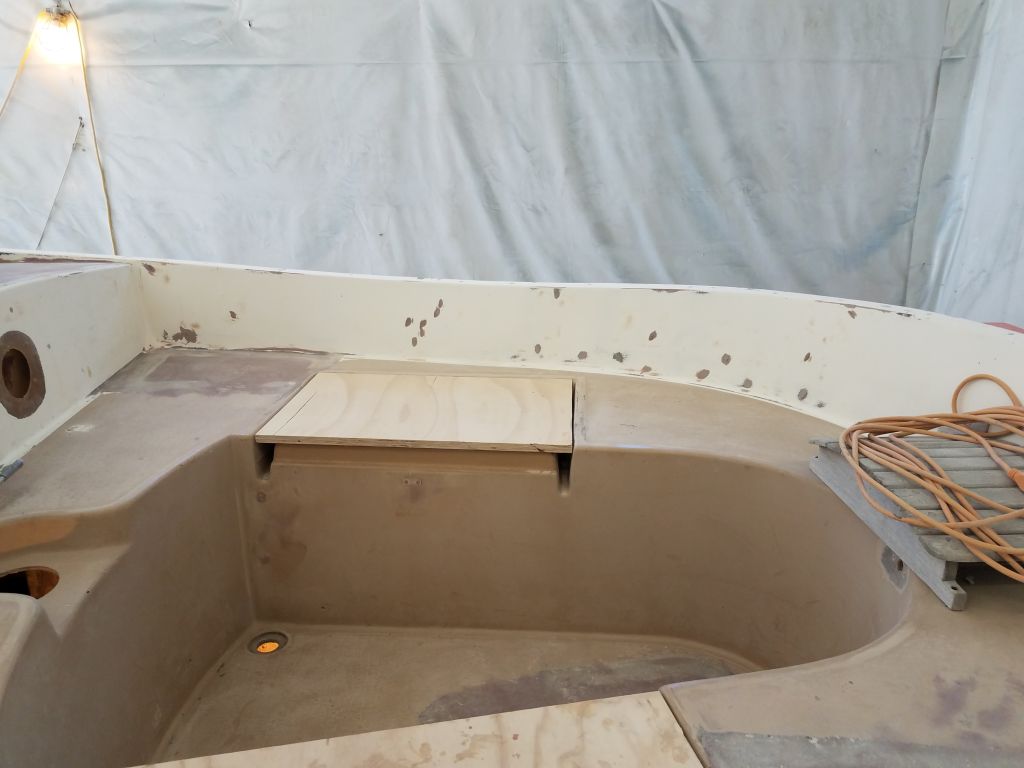
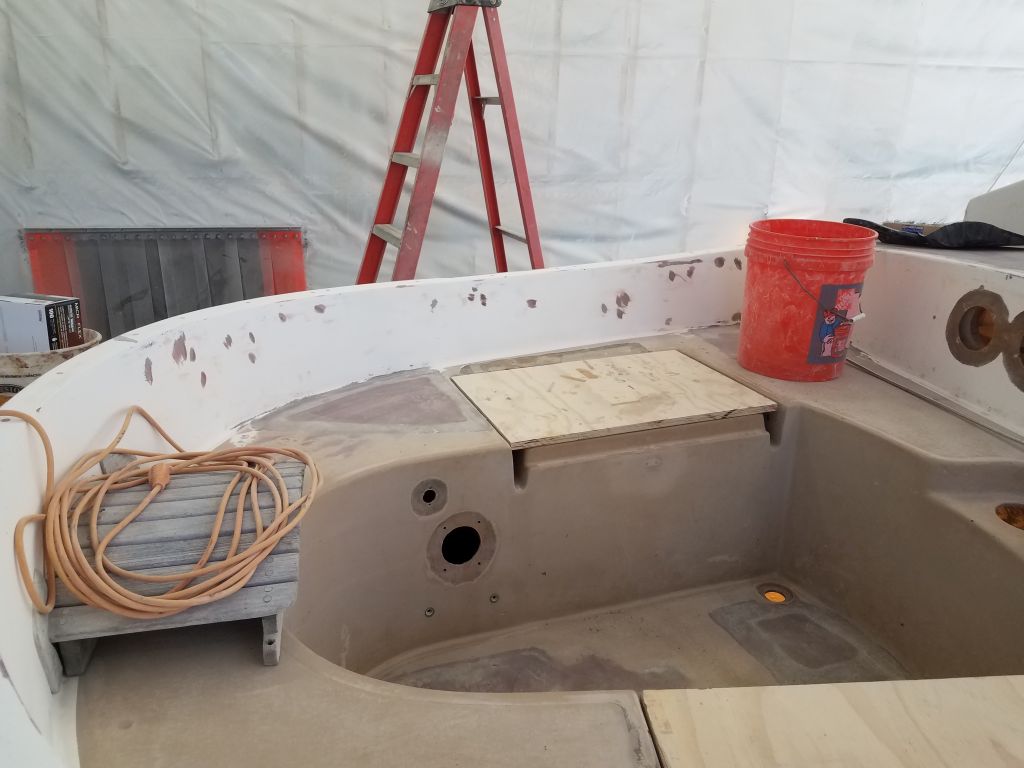
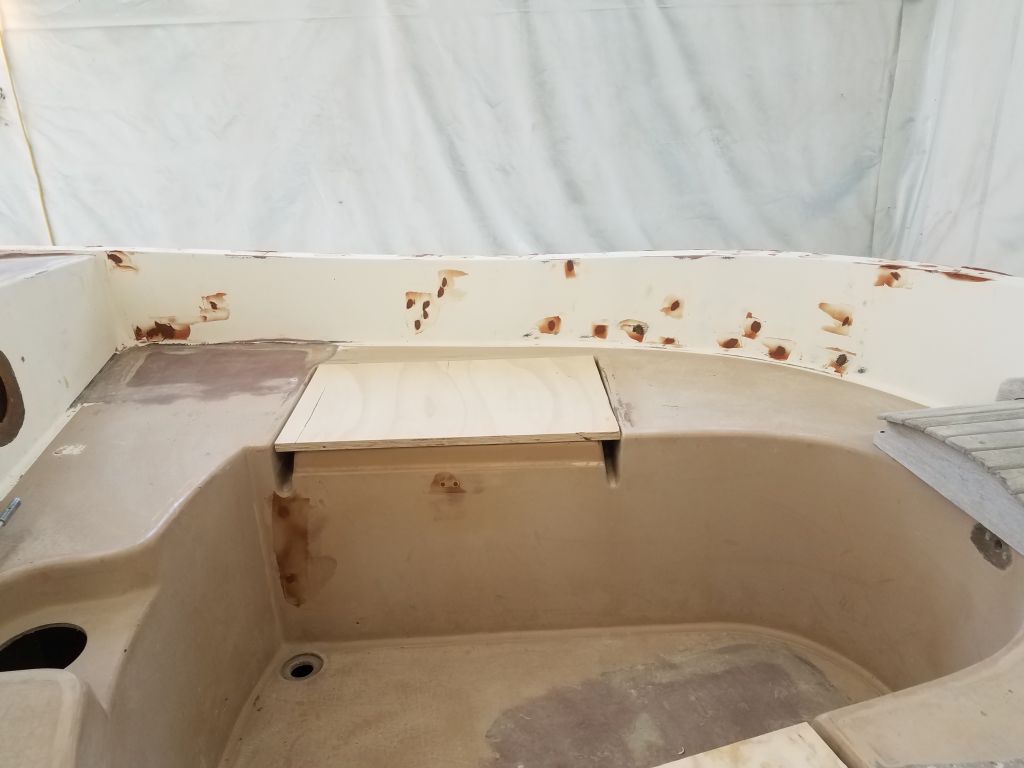
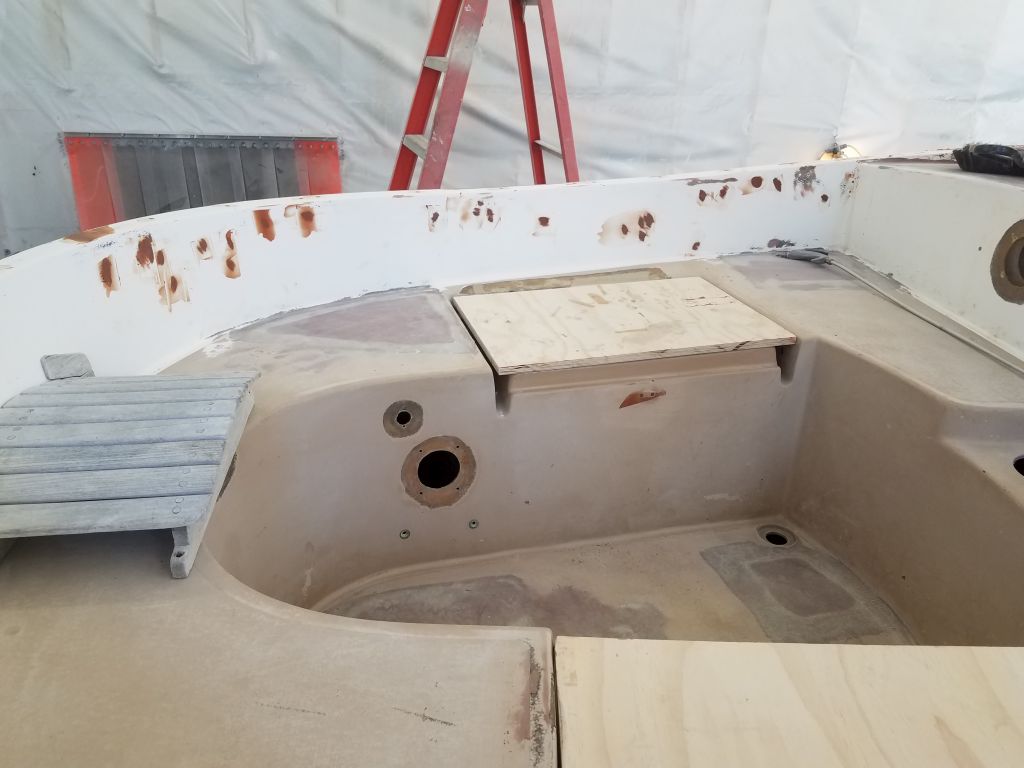
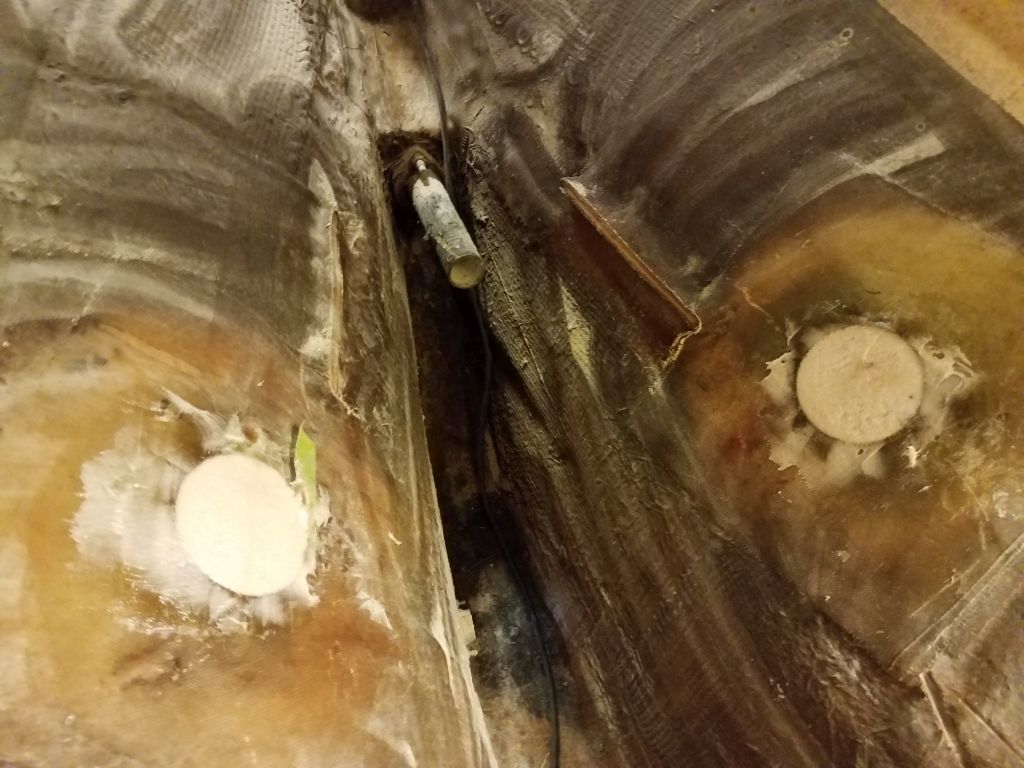
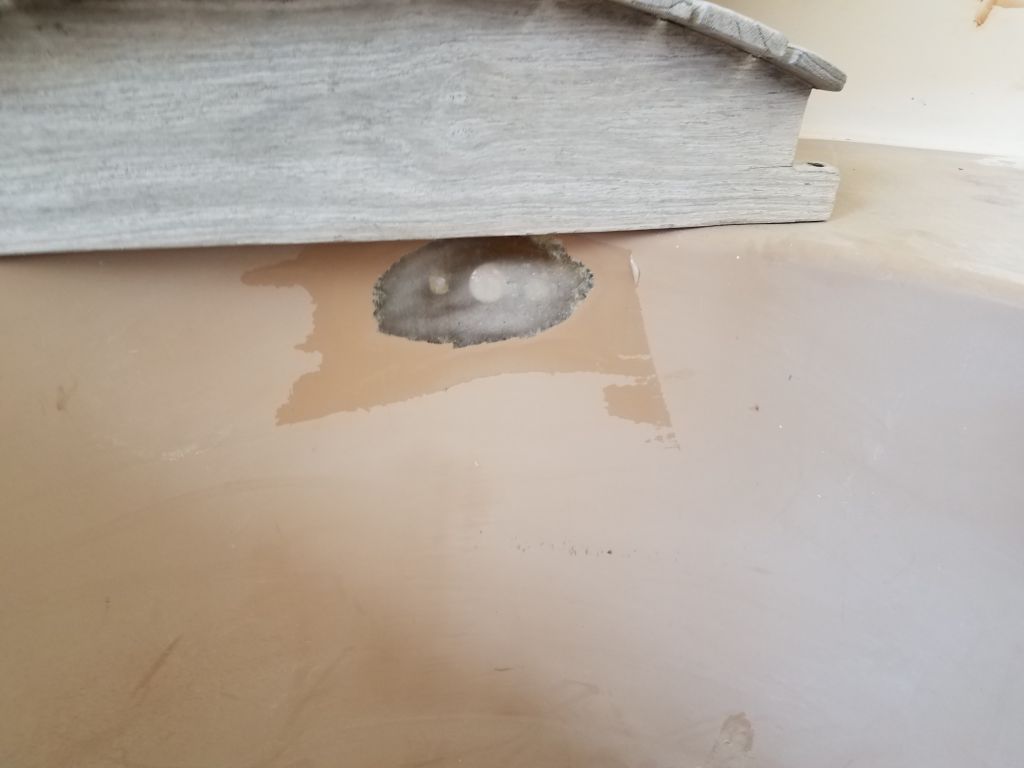
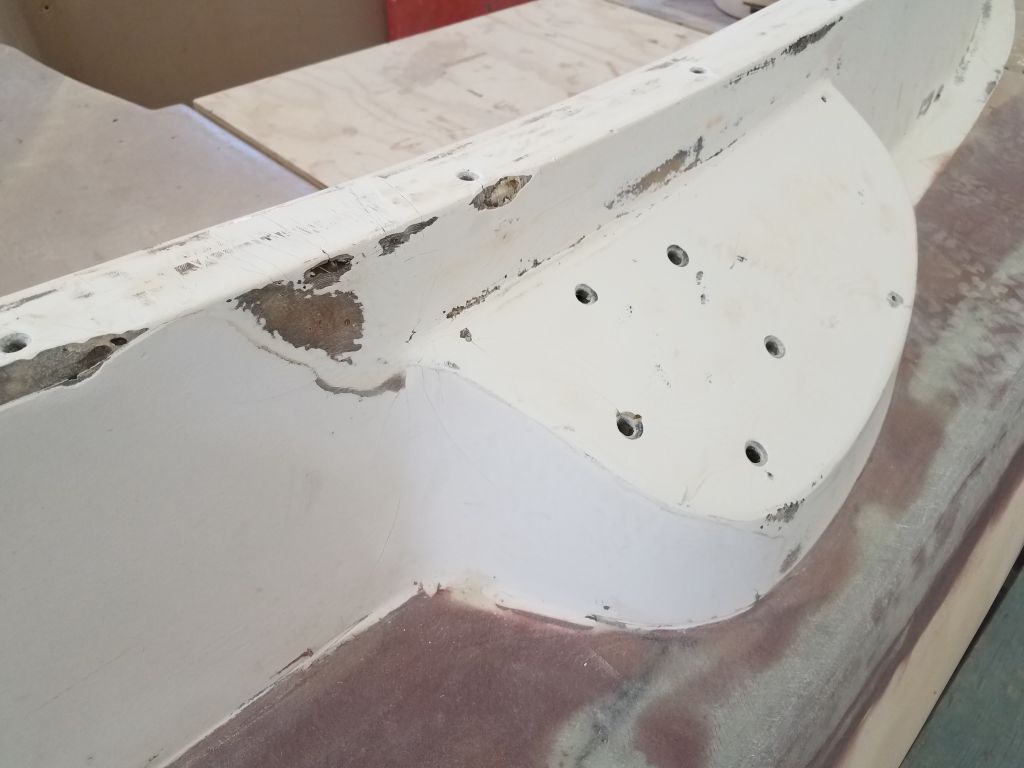
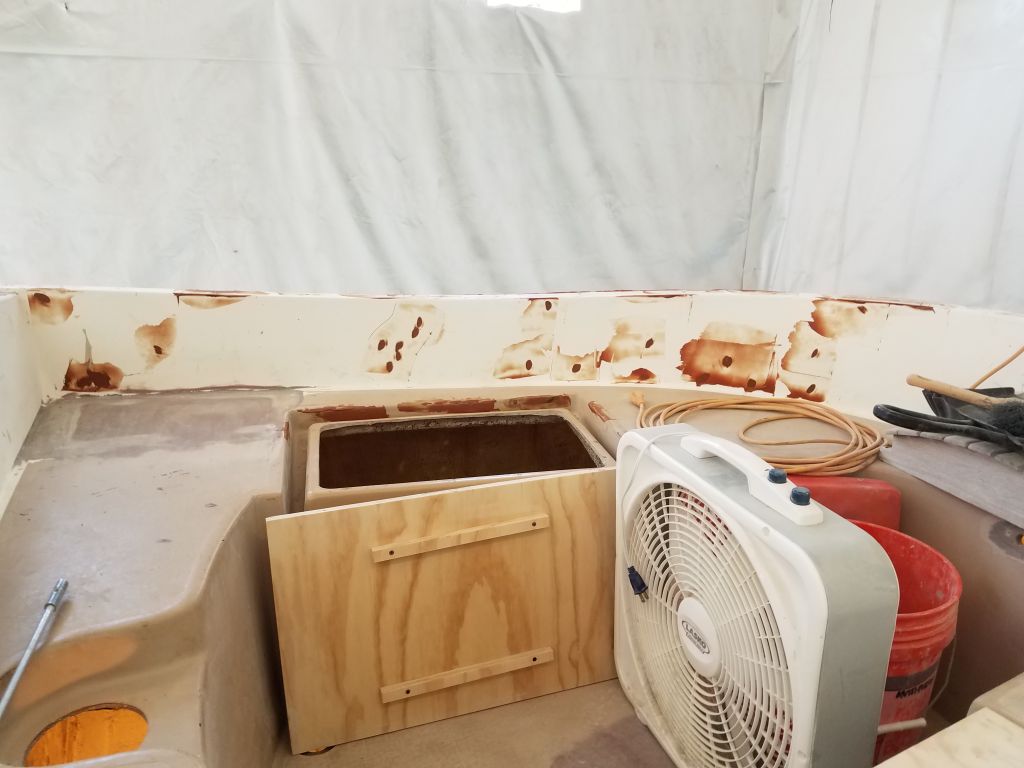
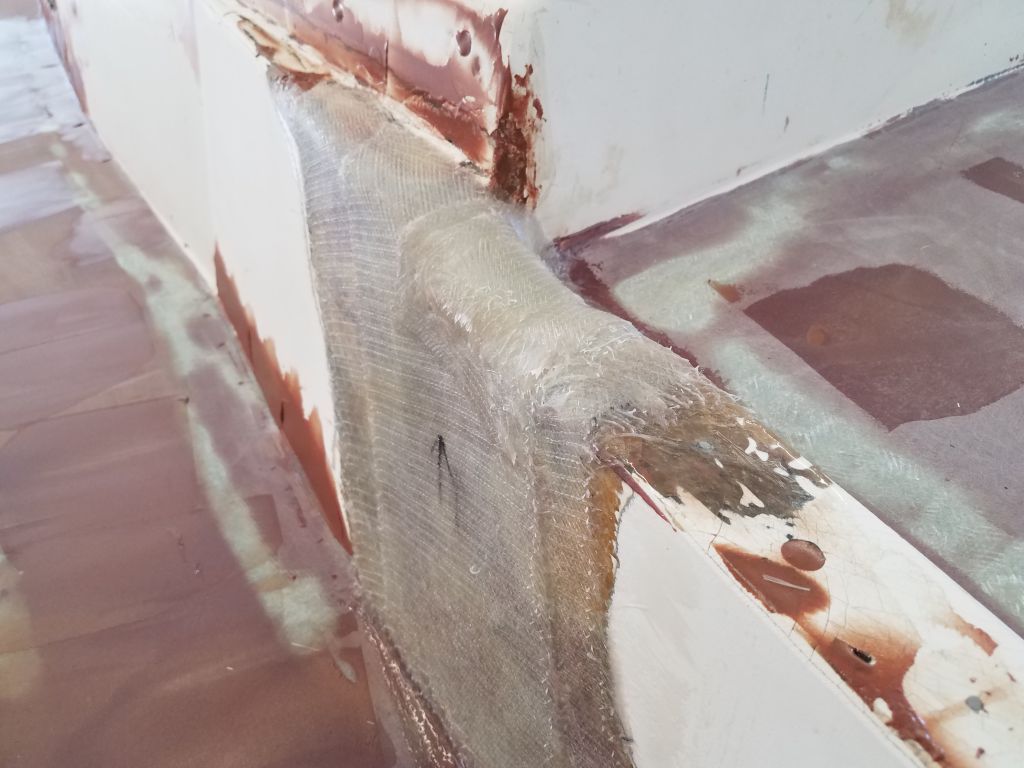
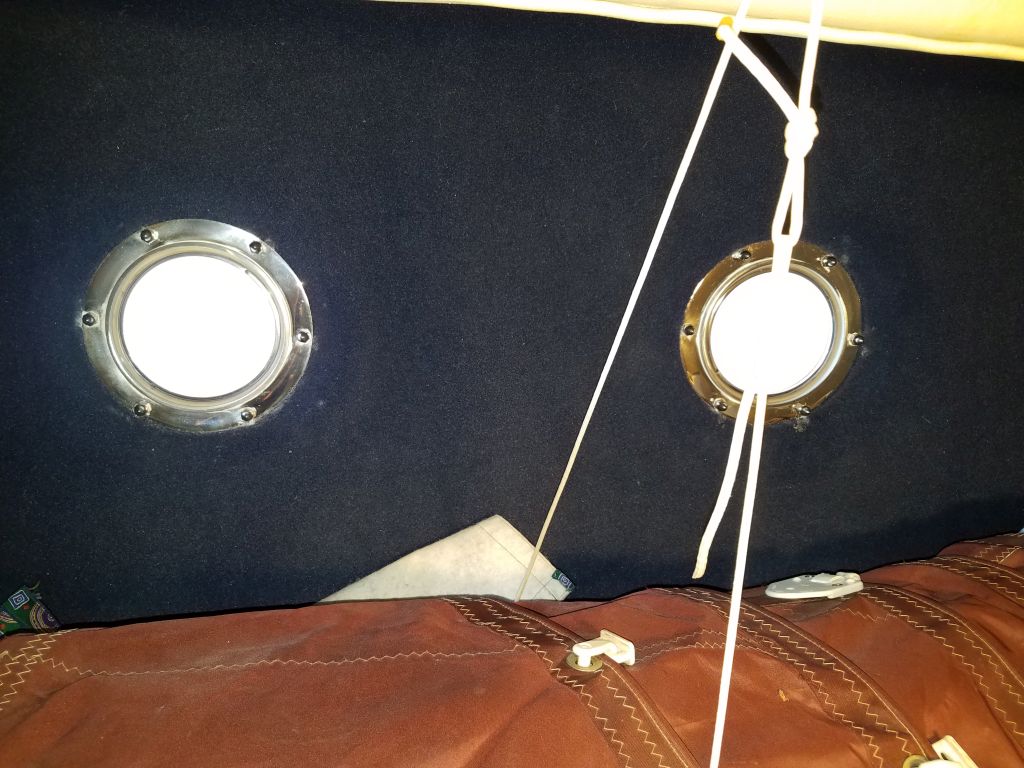
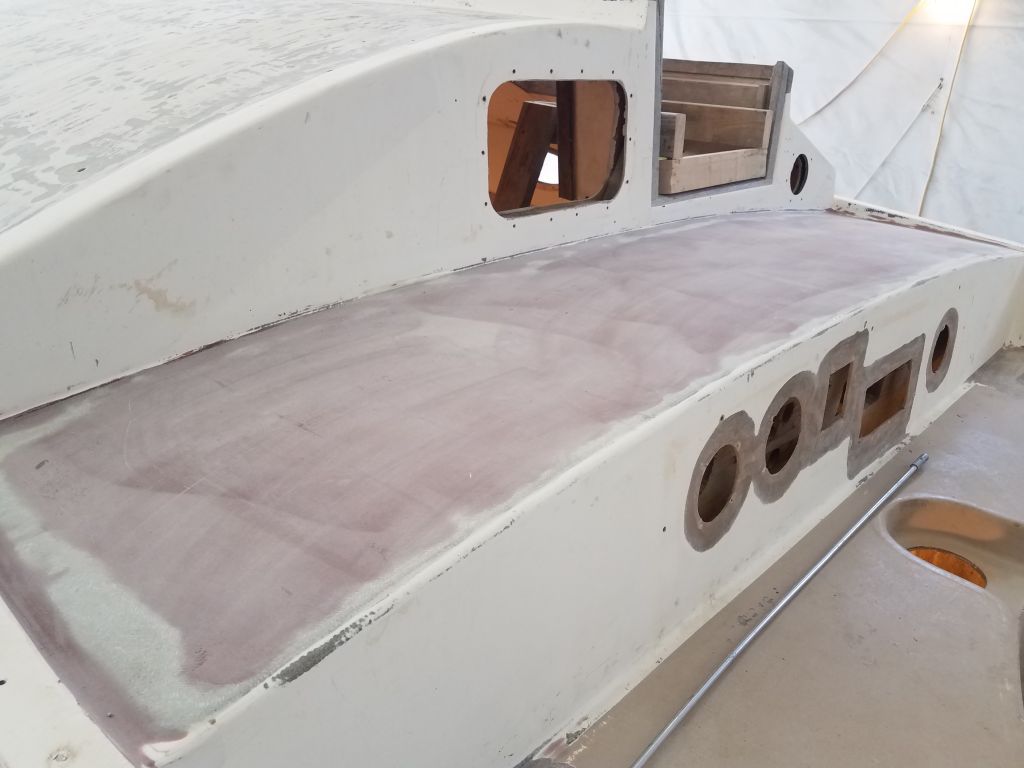
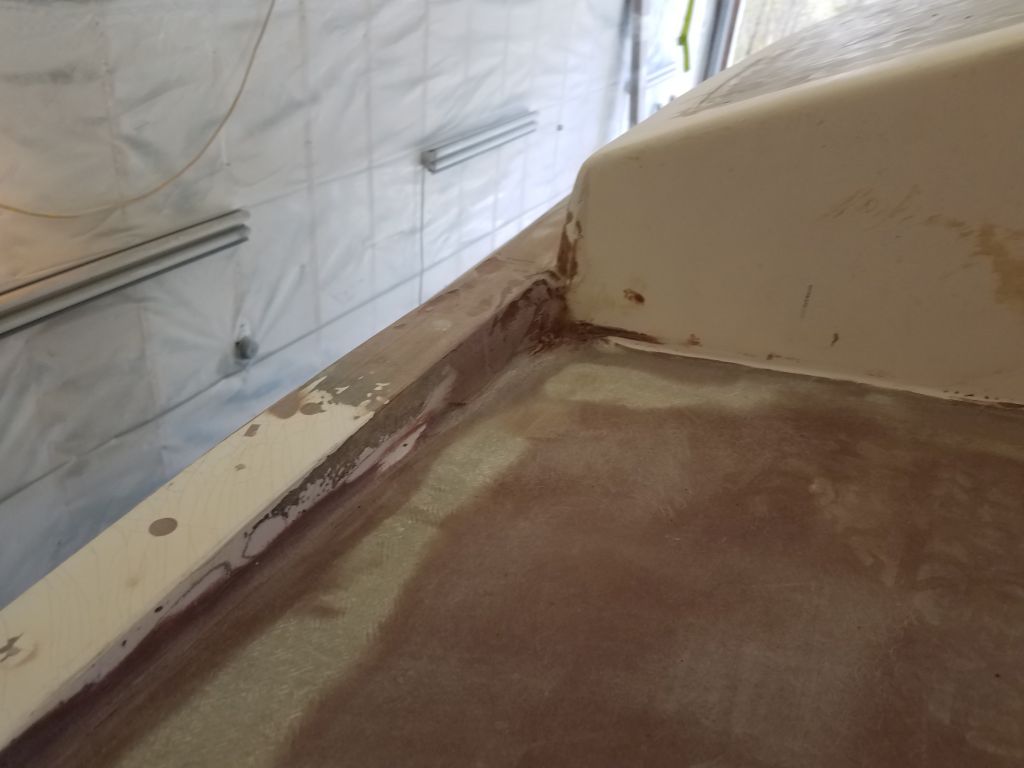
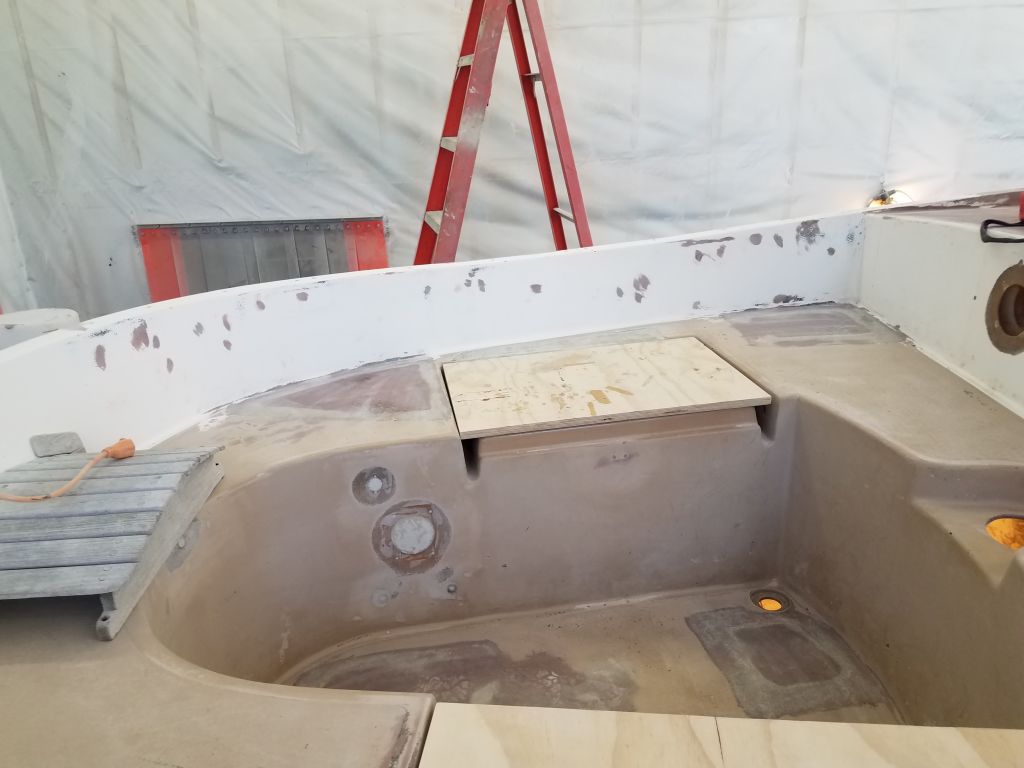
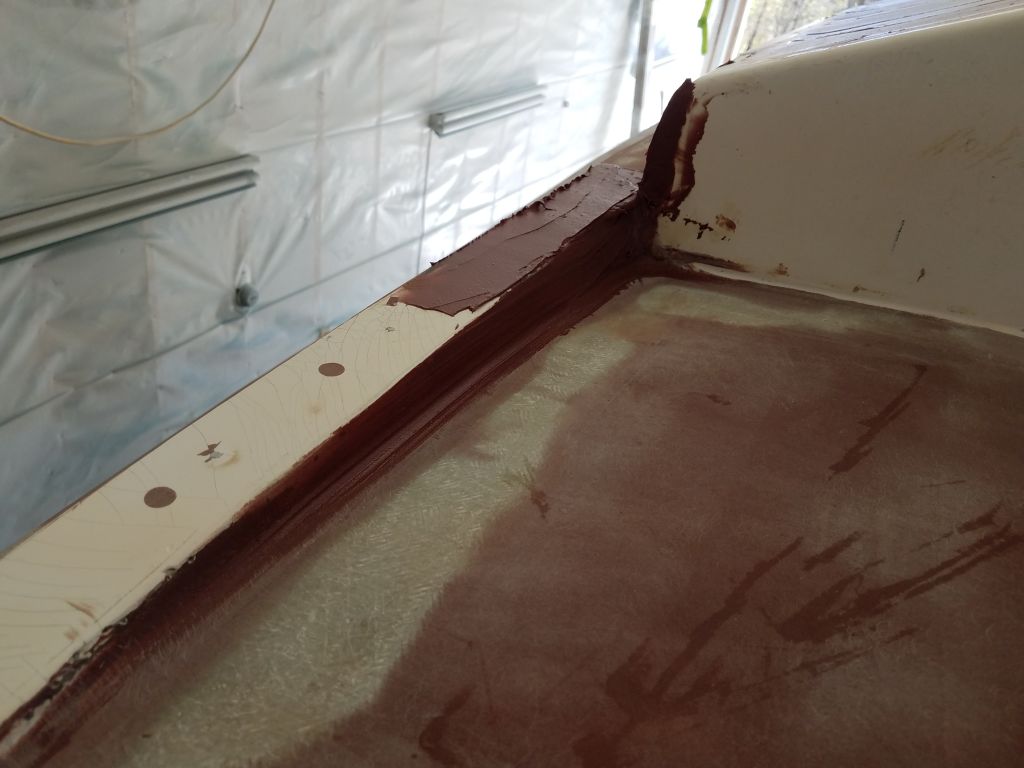
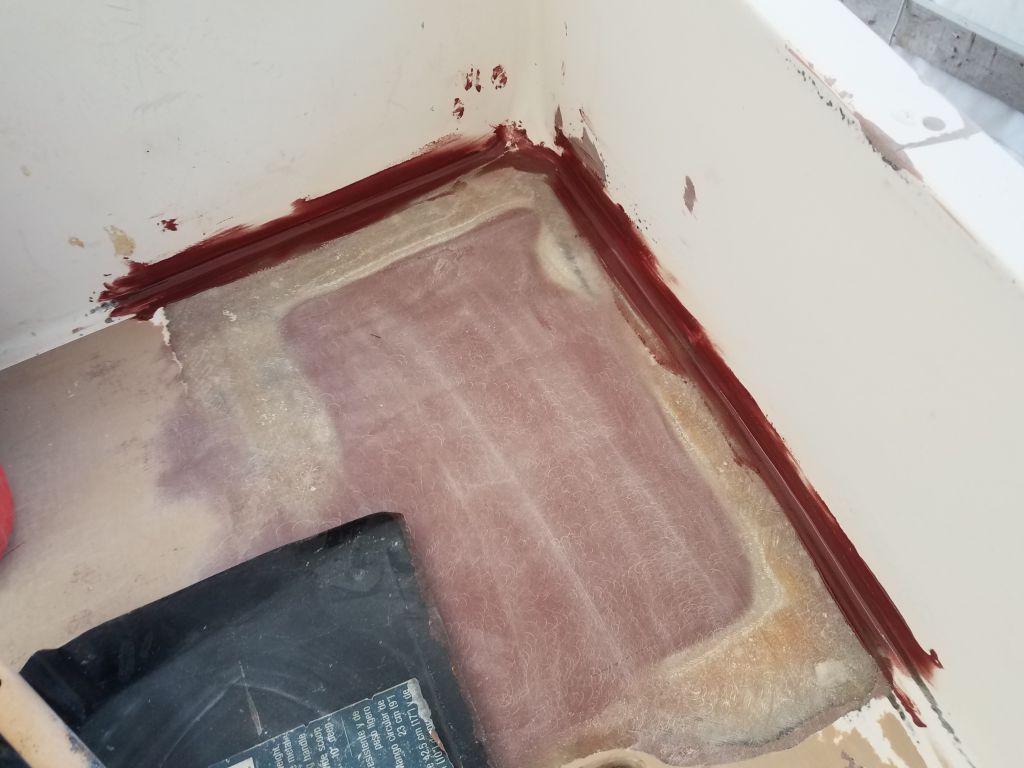
The main bulkhead was pinned in place with some wooden blocks that were bolted through the cabin top with these barrel bolts. I planned to remove these and secure the bulkhead in another way (tabbing), but for the moment I just left the fairing compound away from the bolt heads.

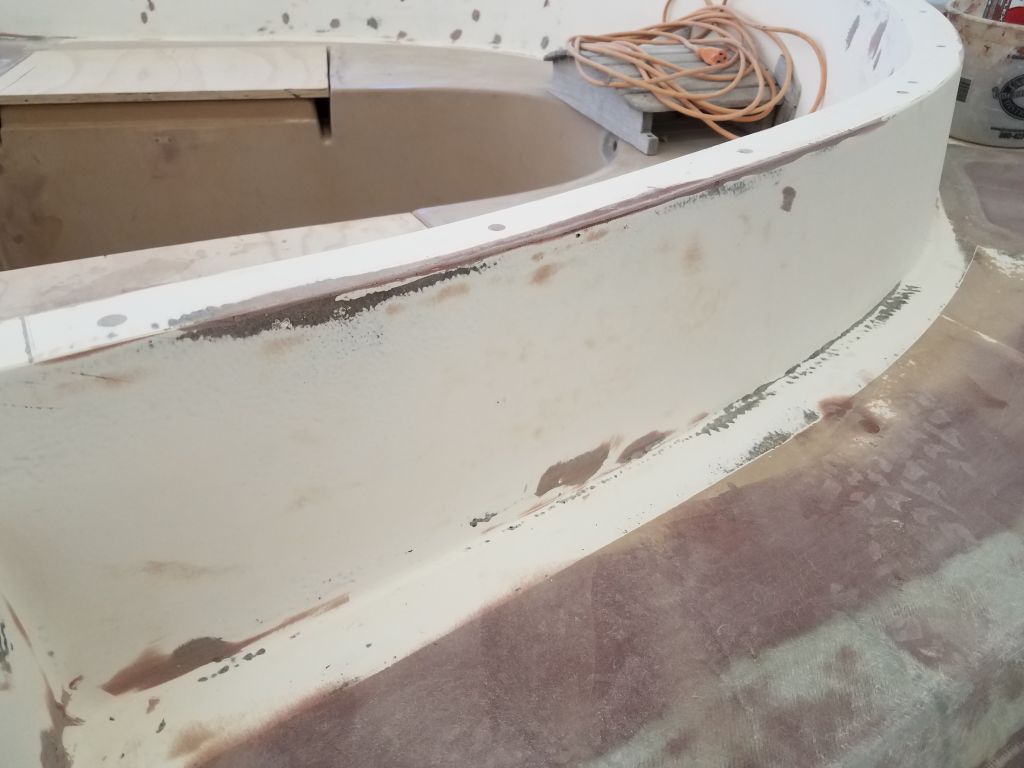
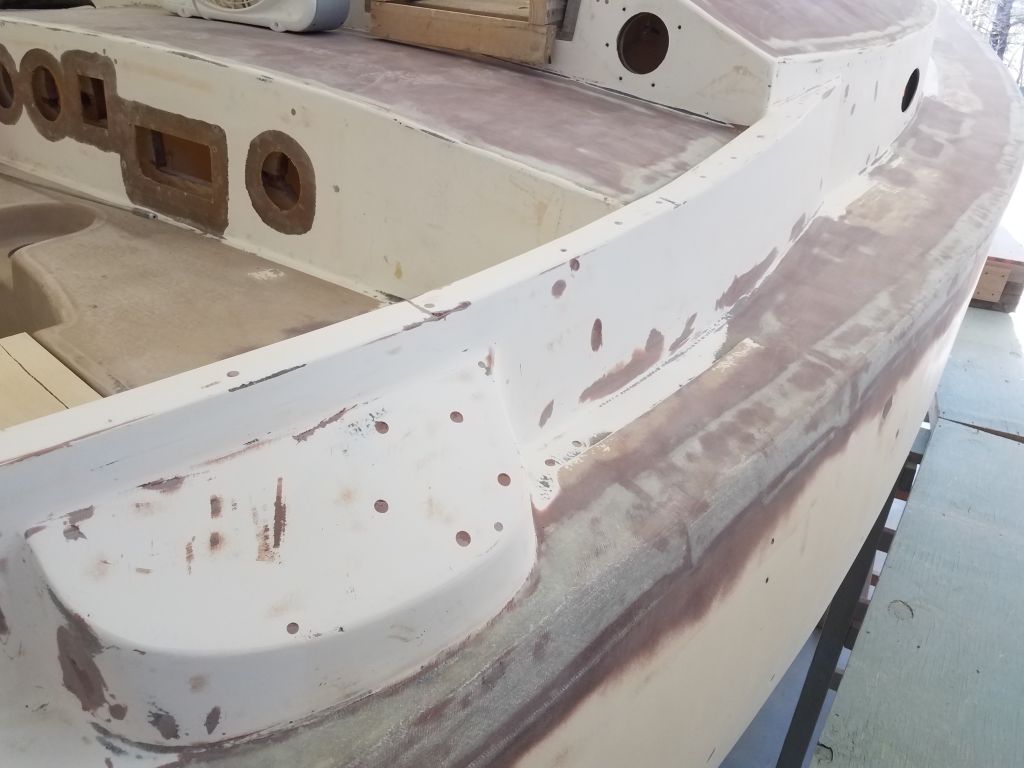
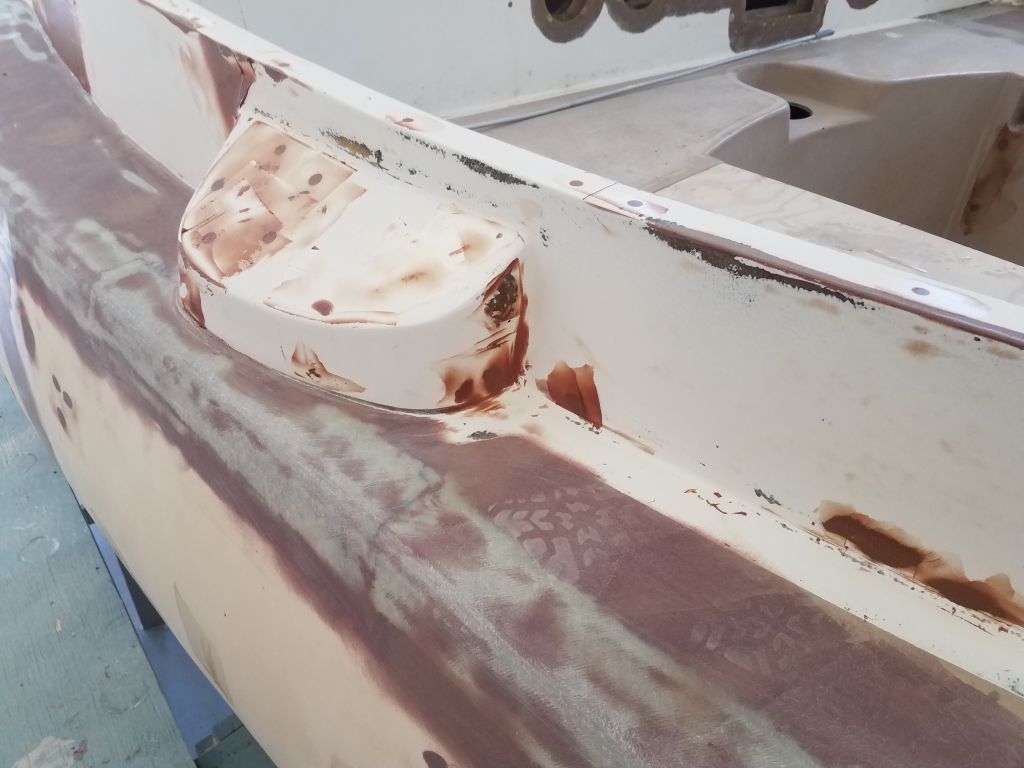
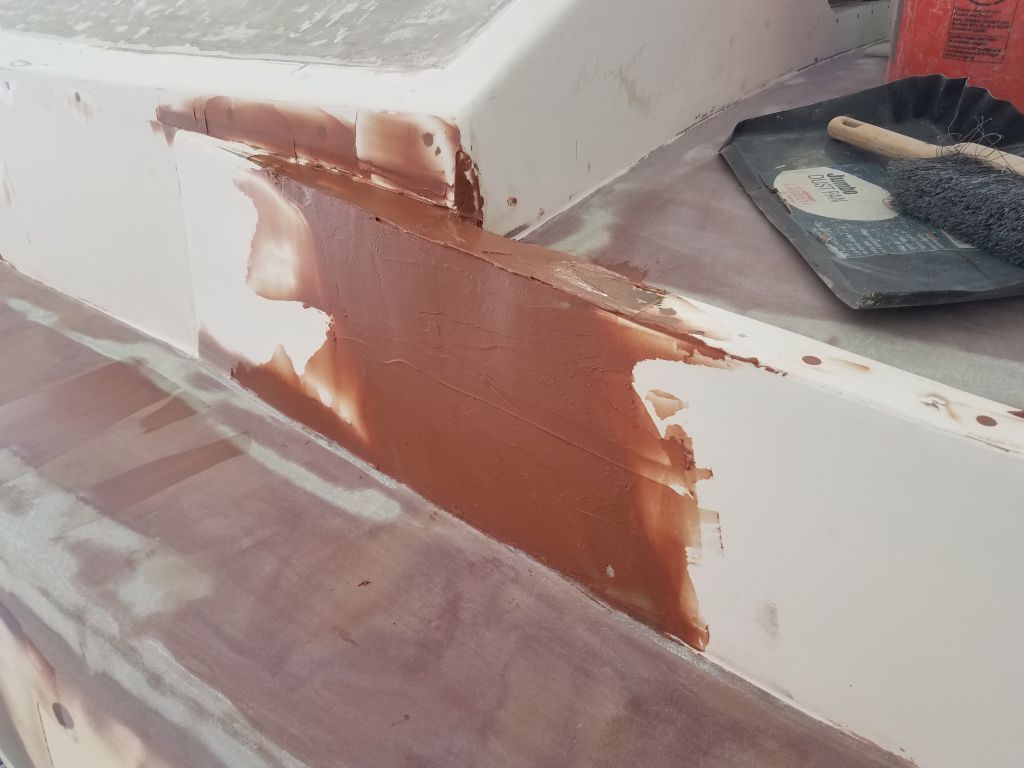
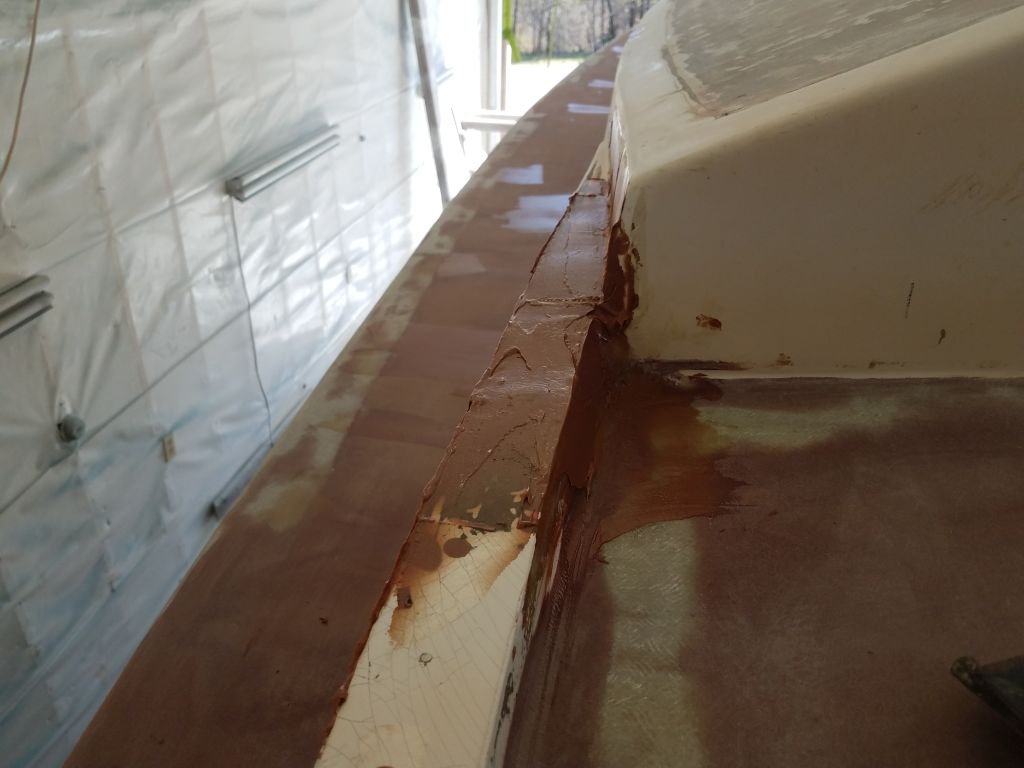
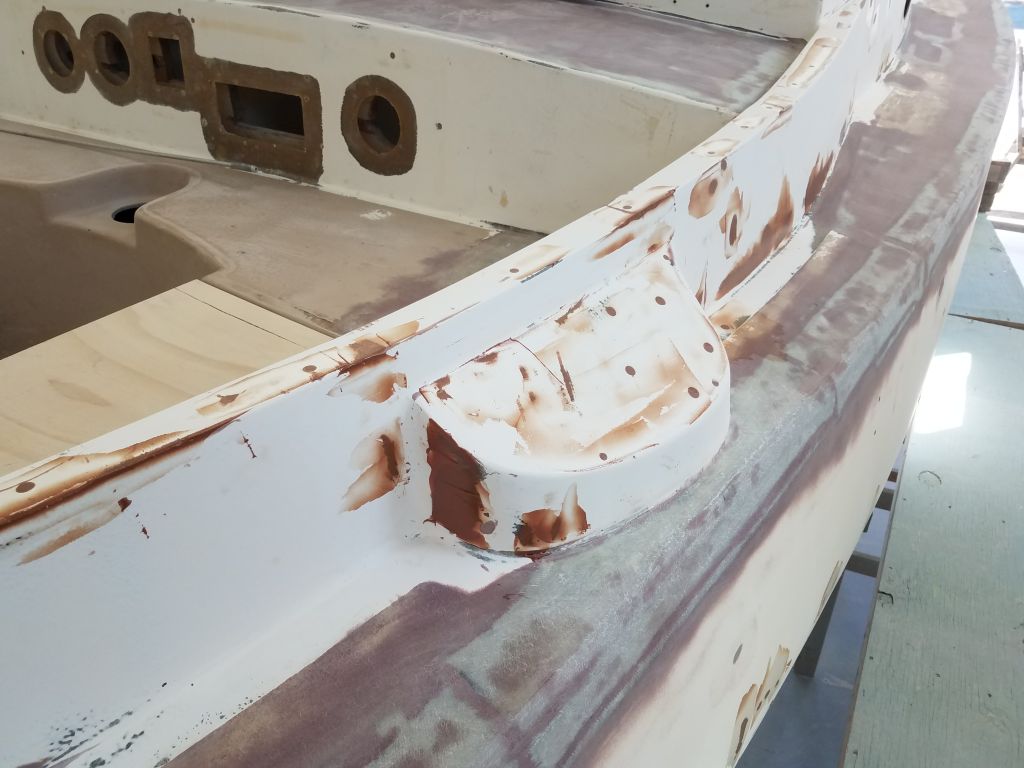
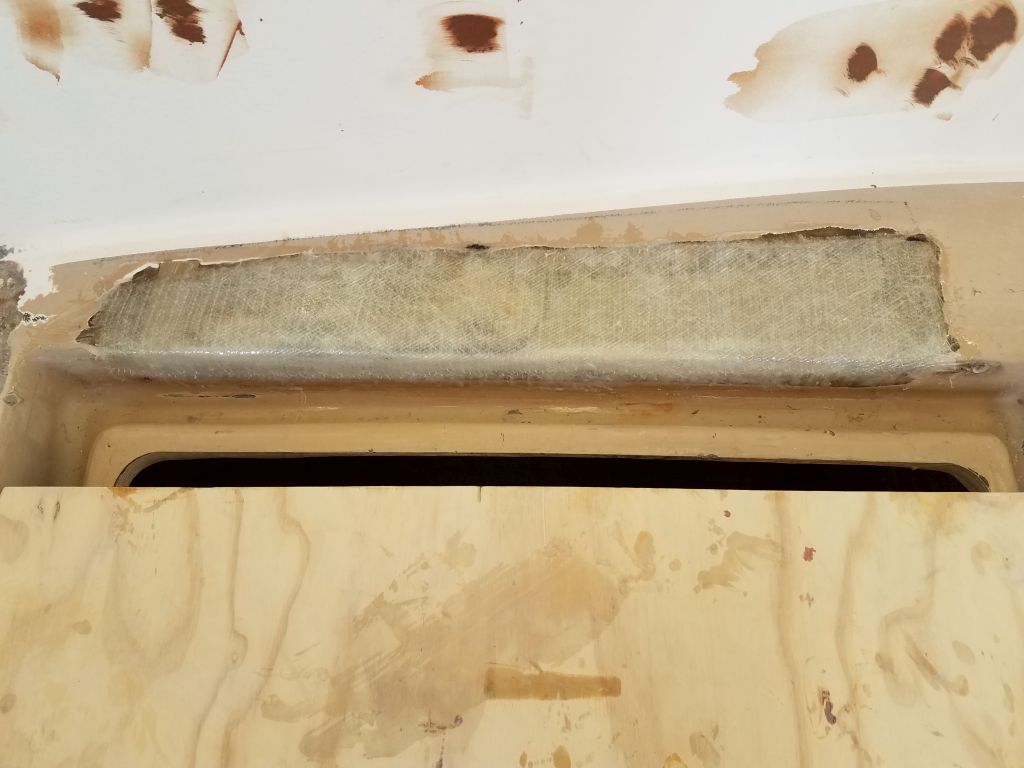
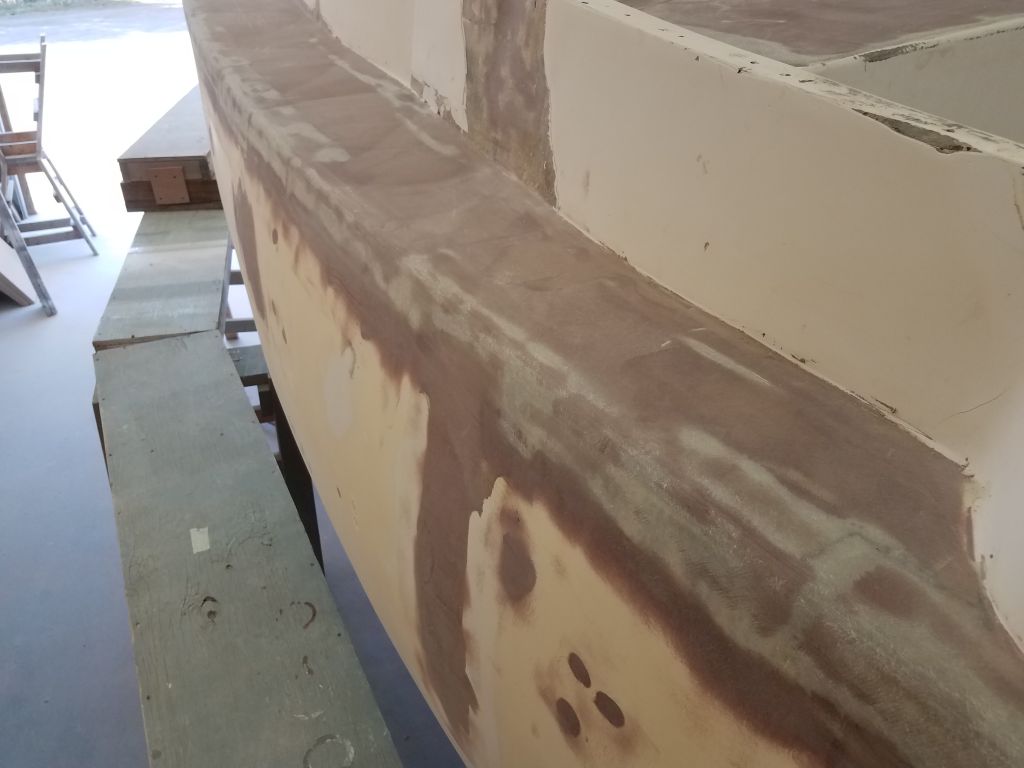
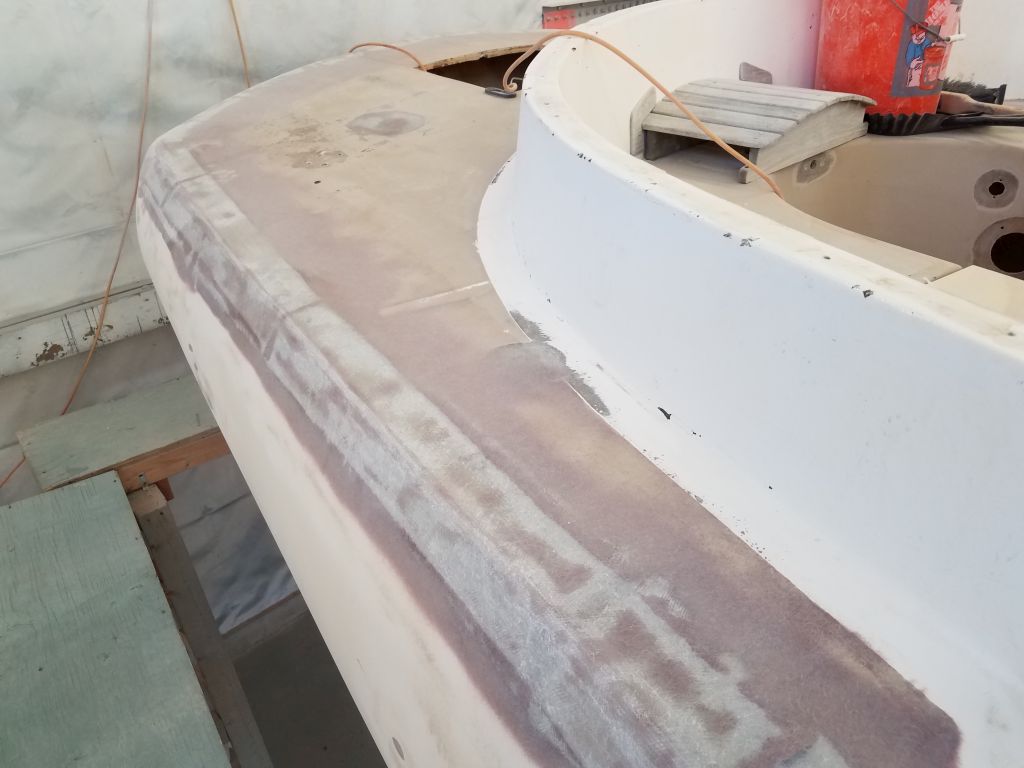
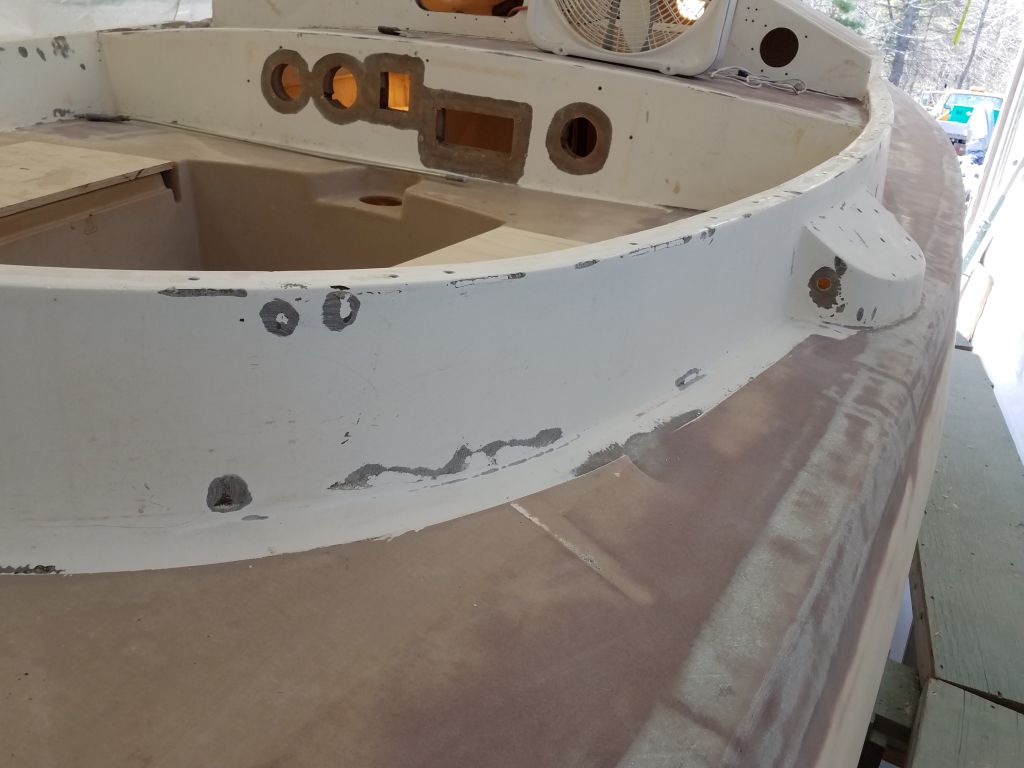
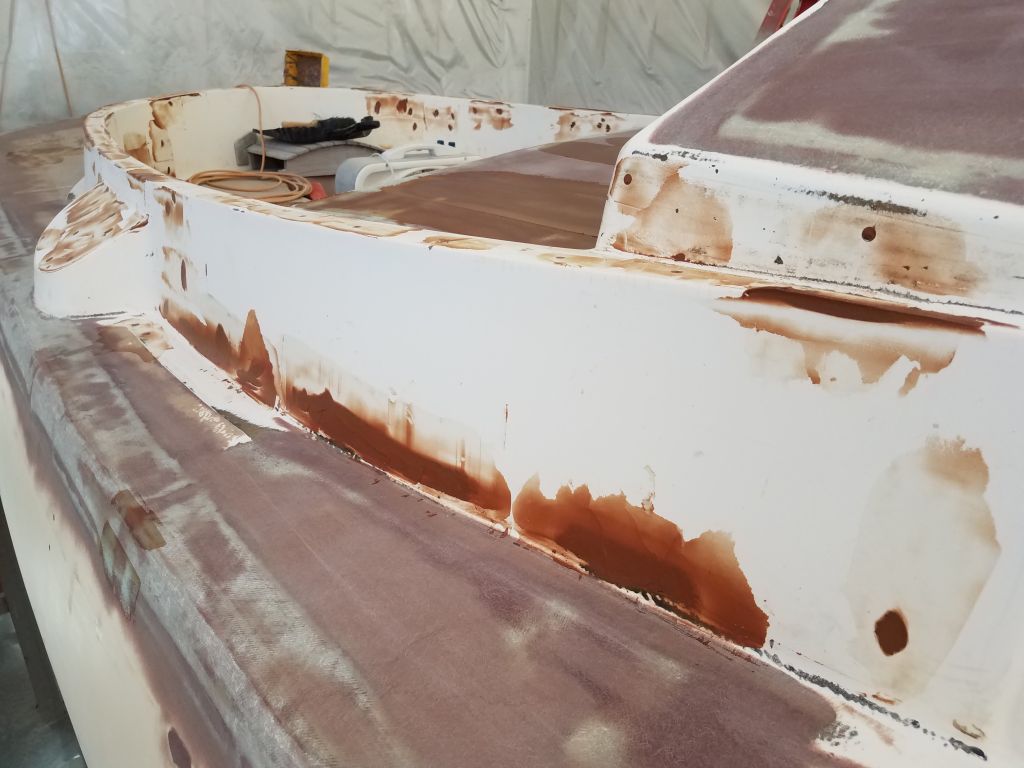
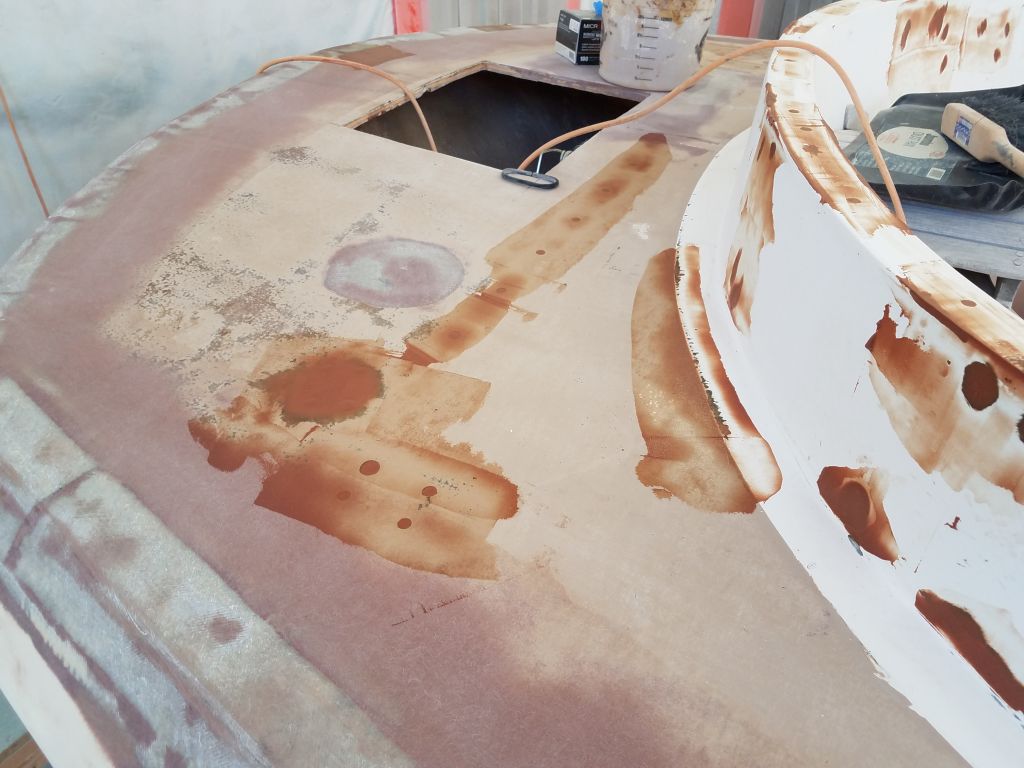
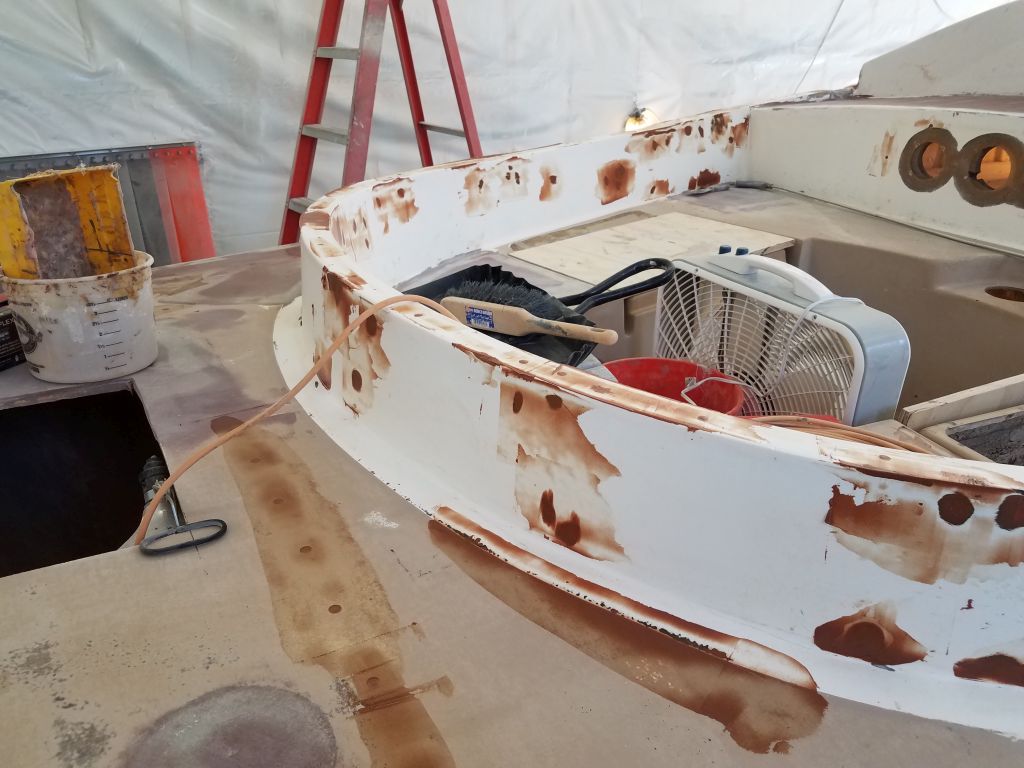
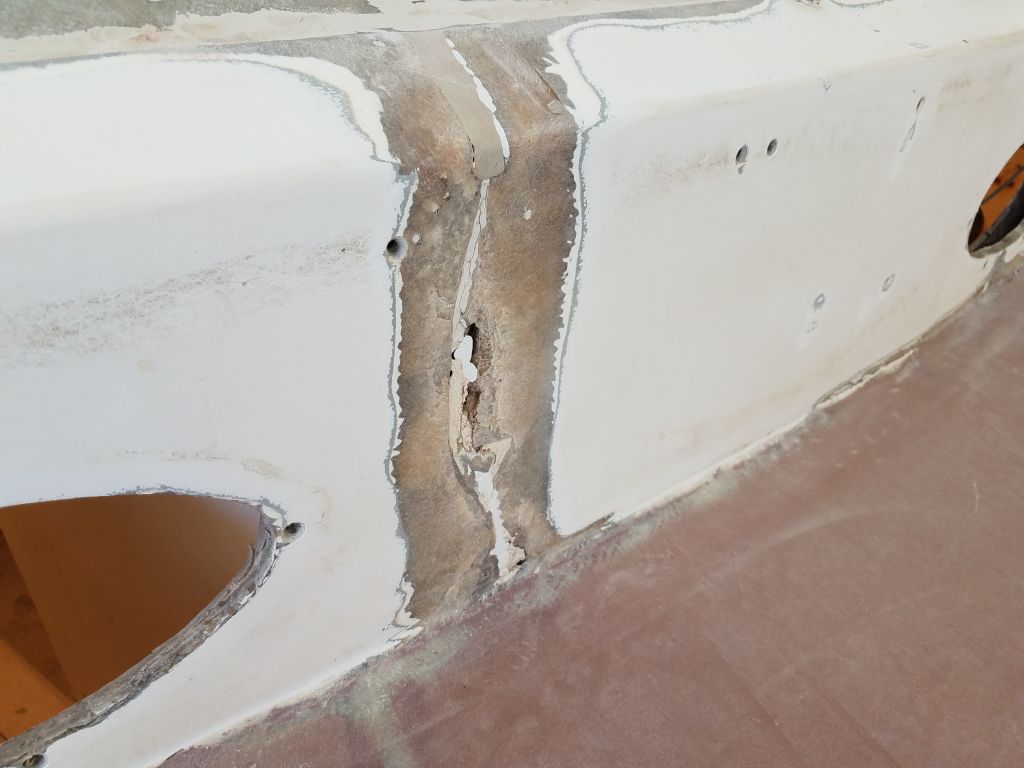
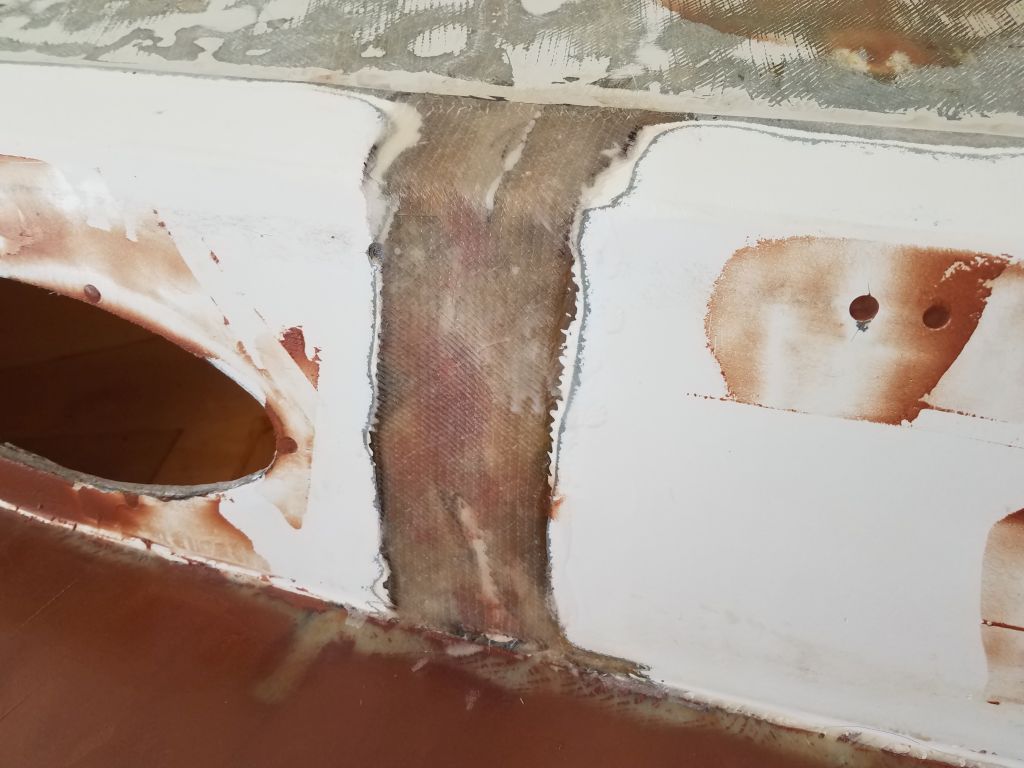
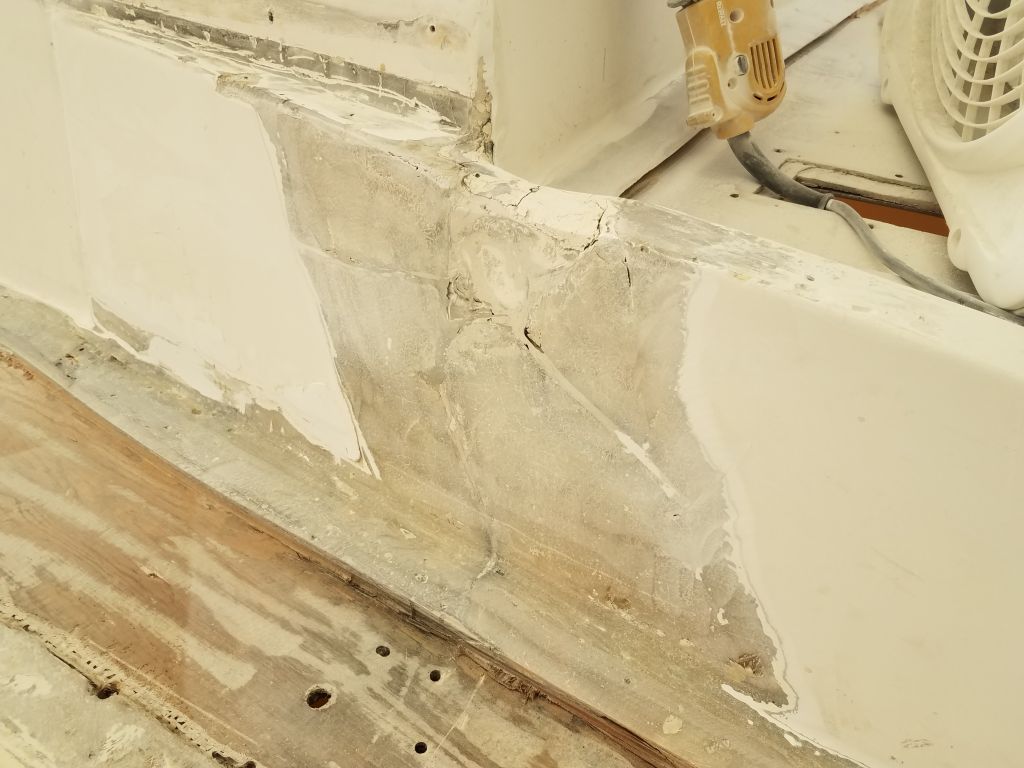
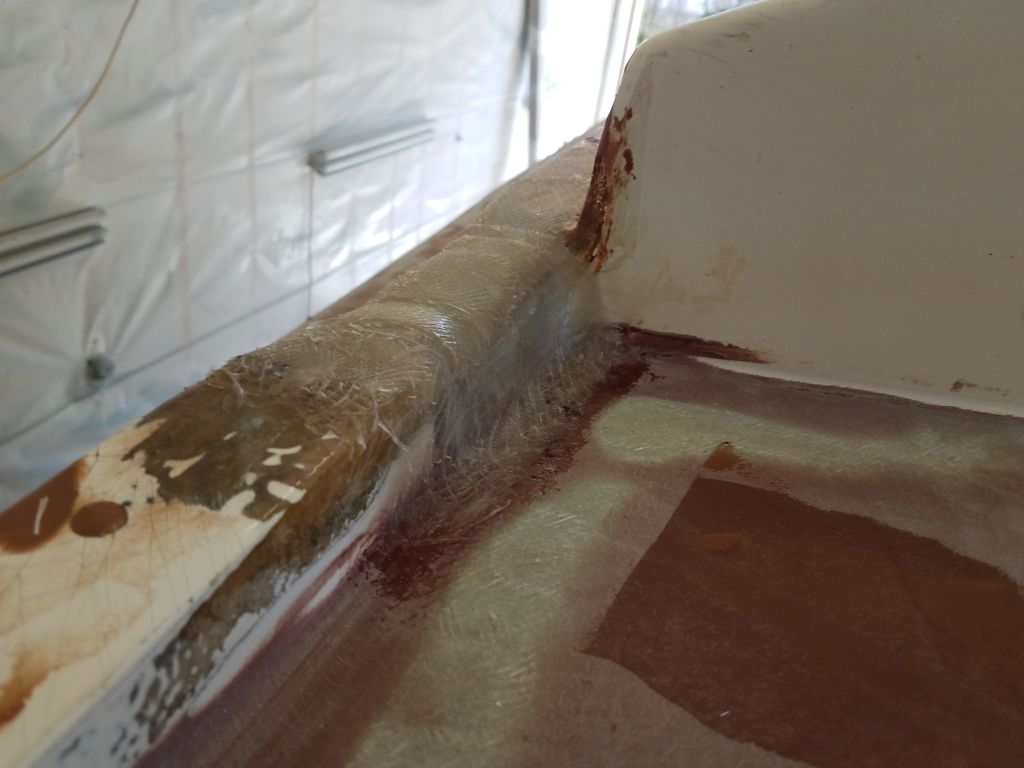
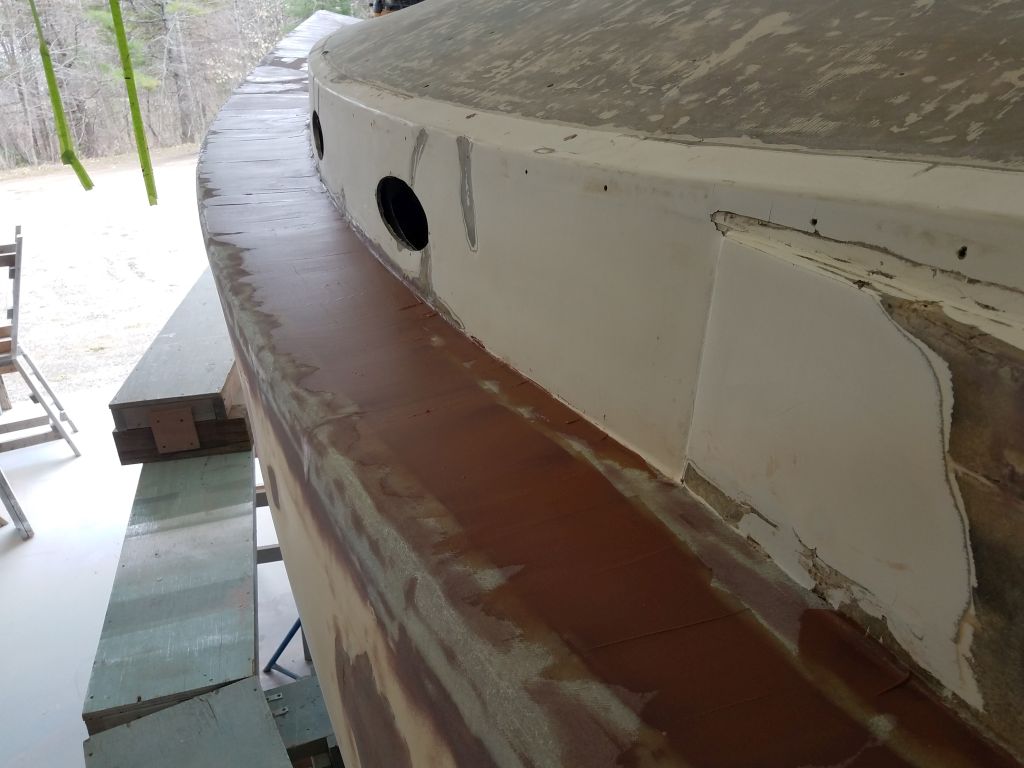
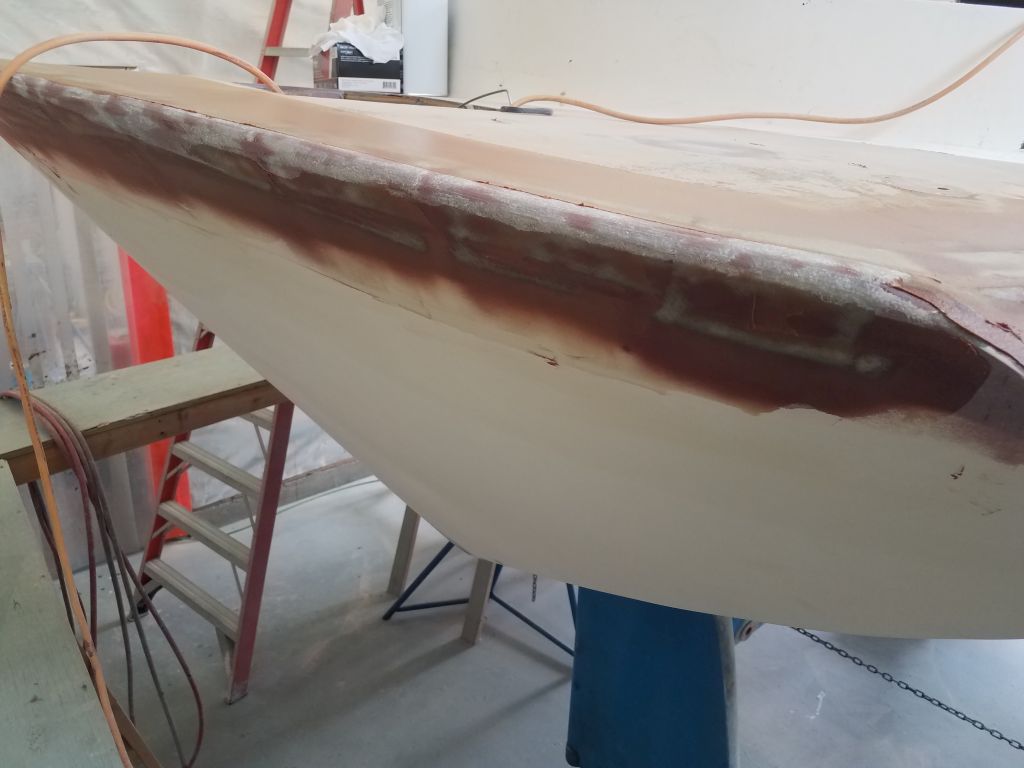
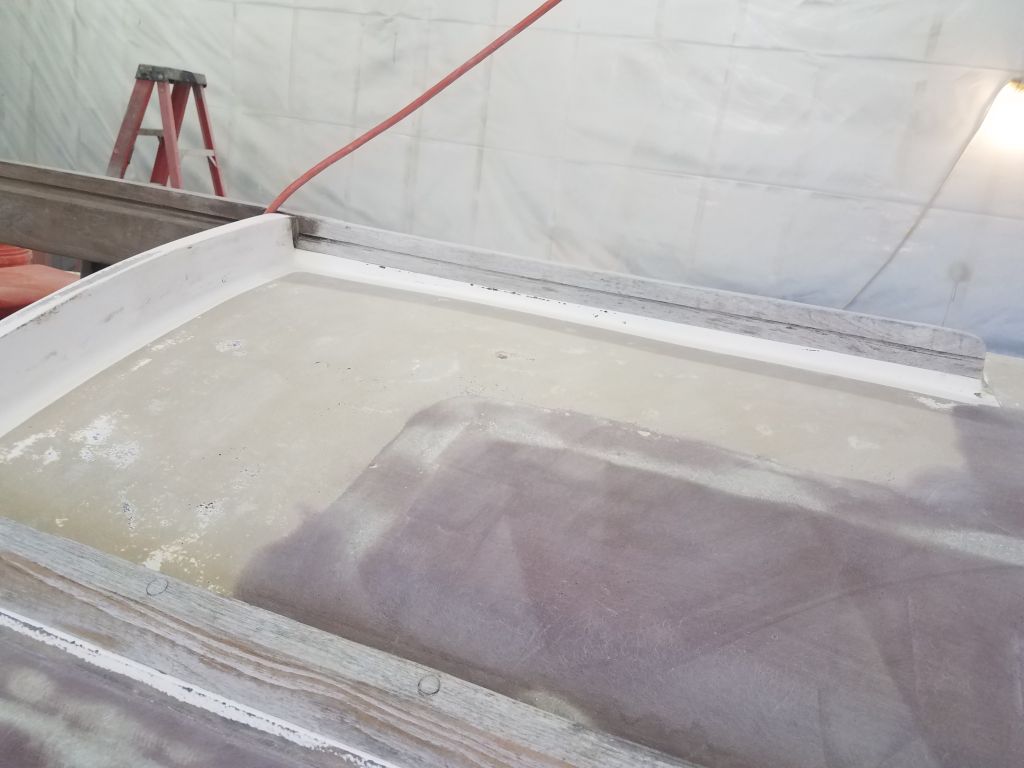
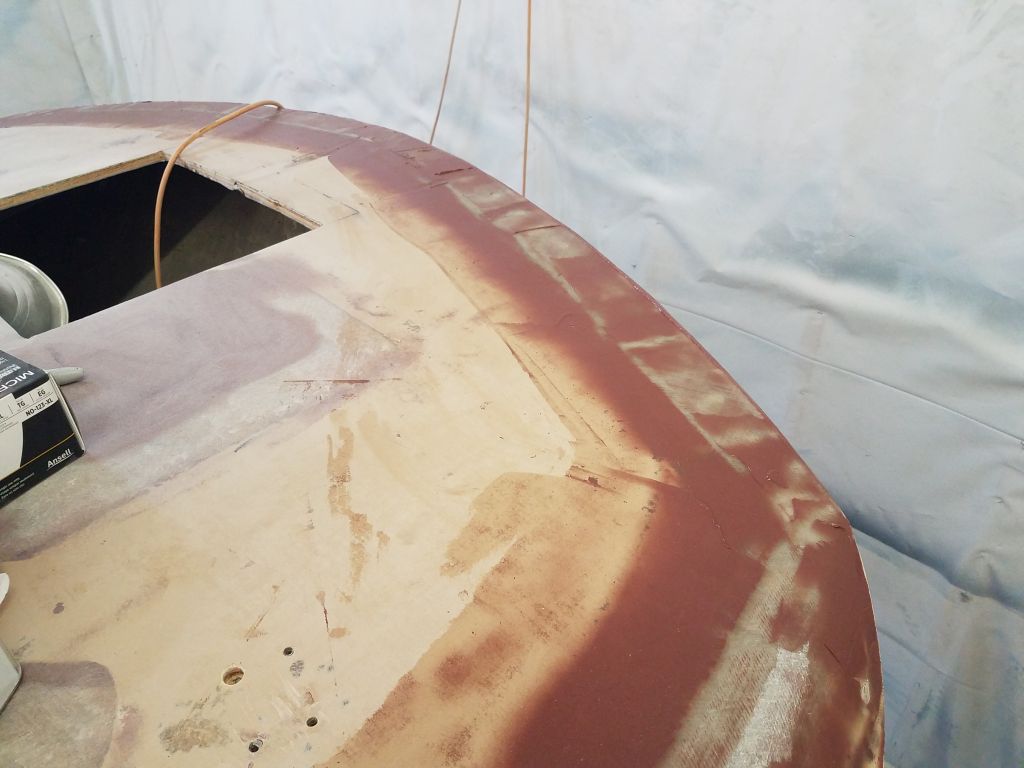
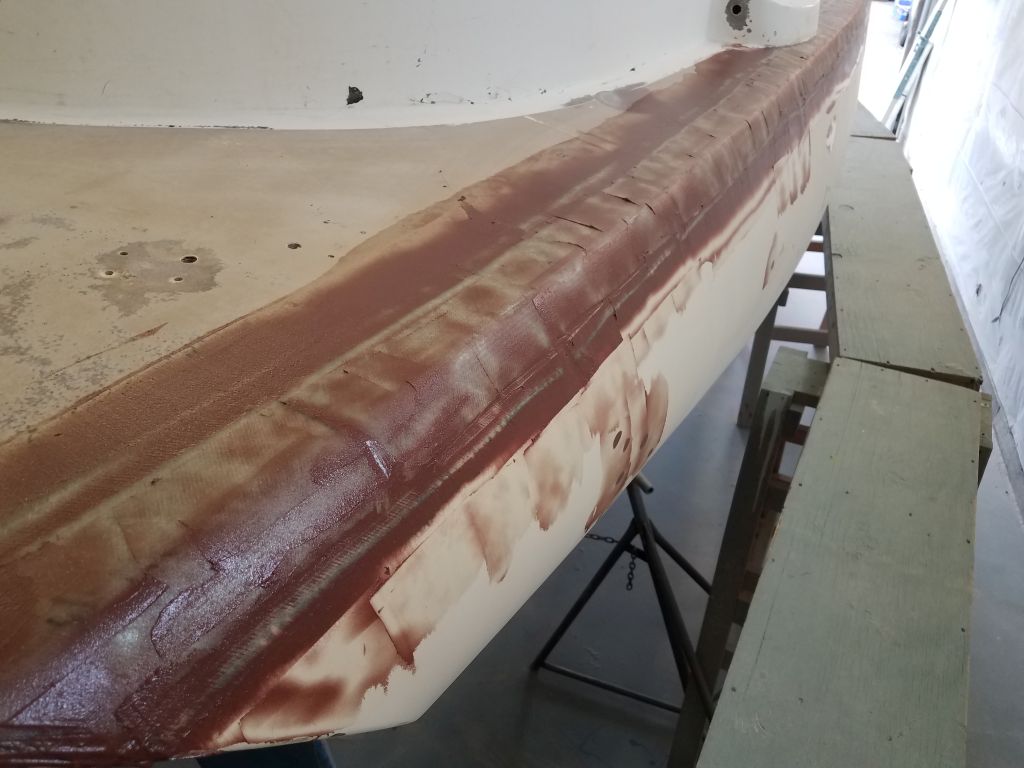
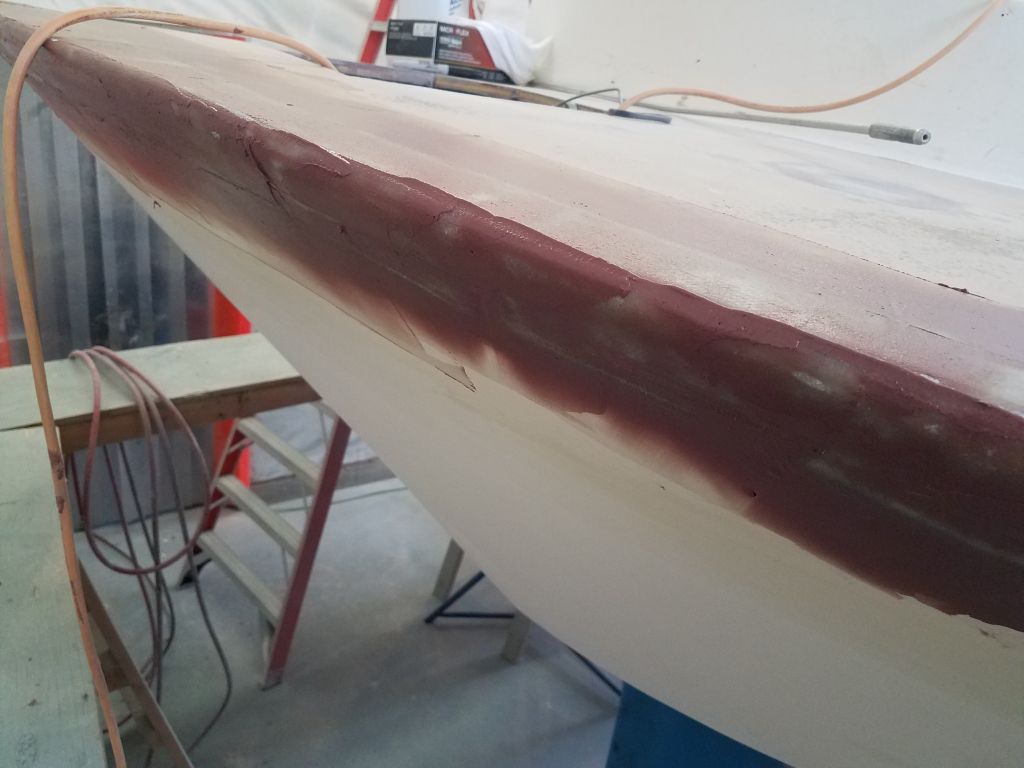
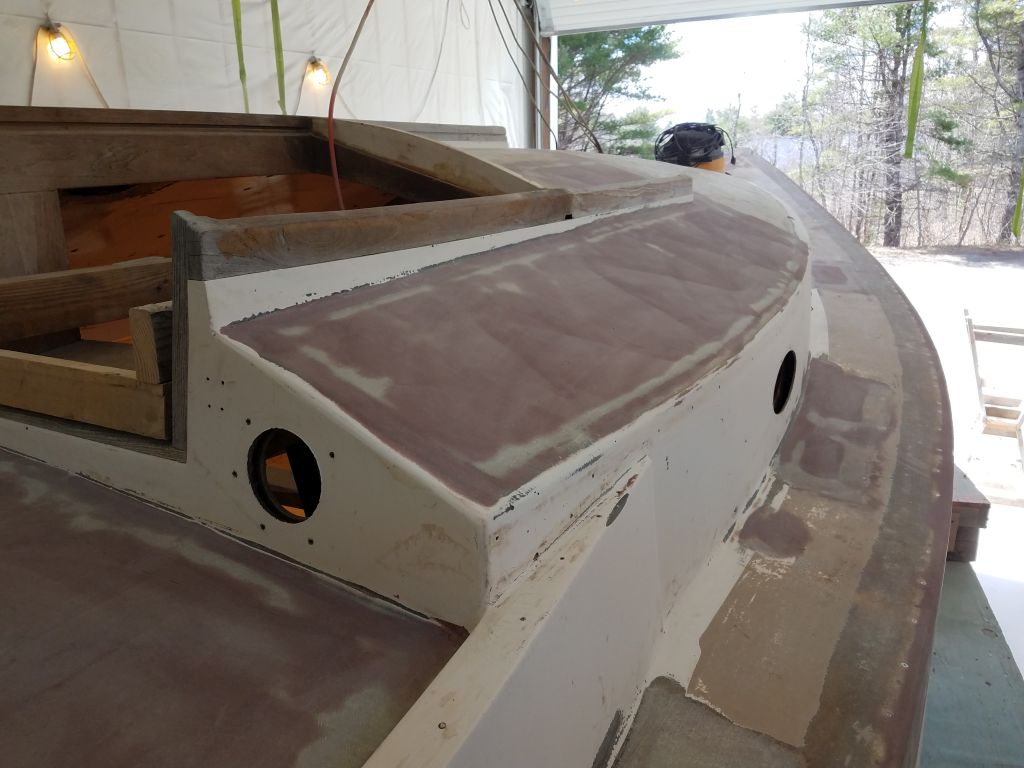
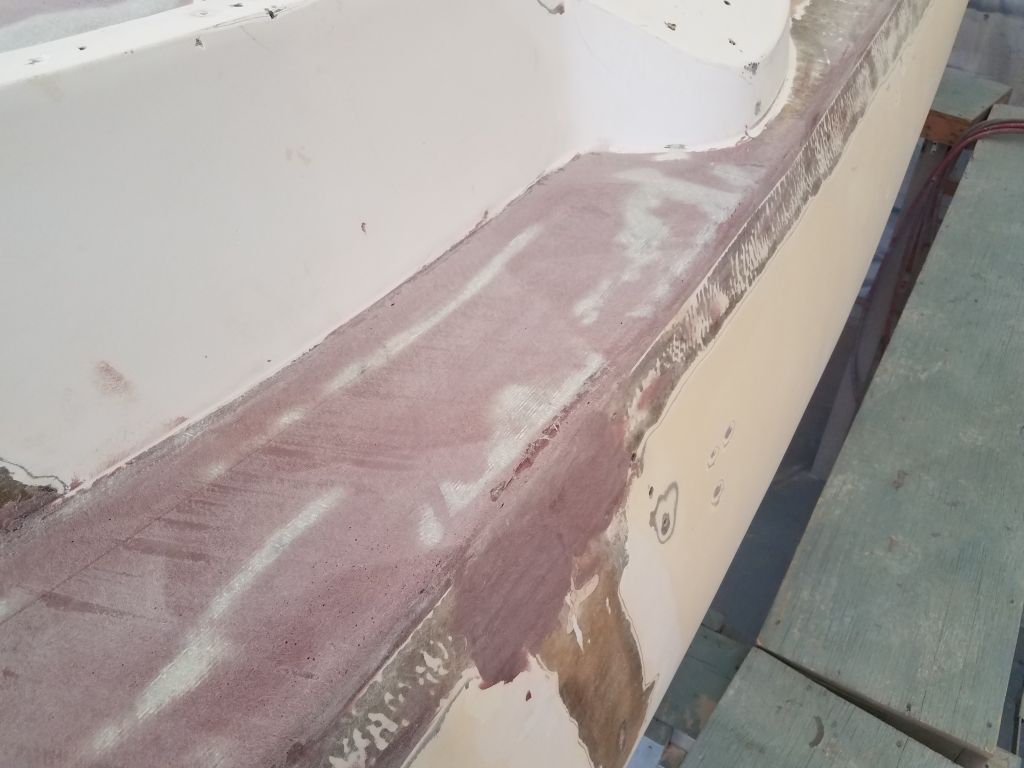
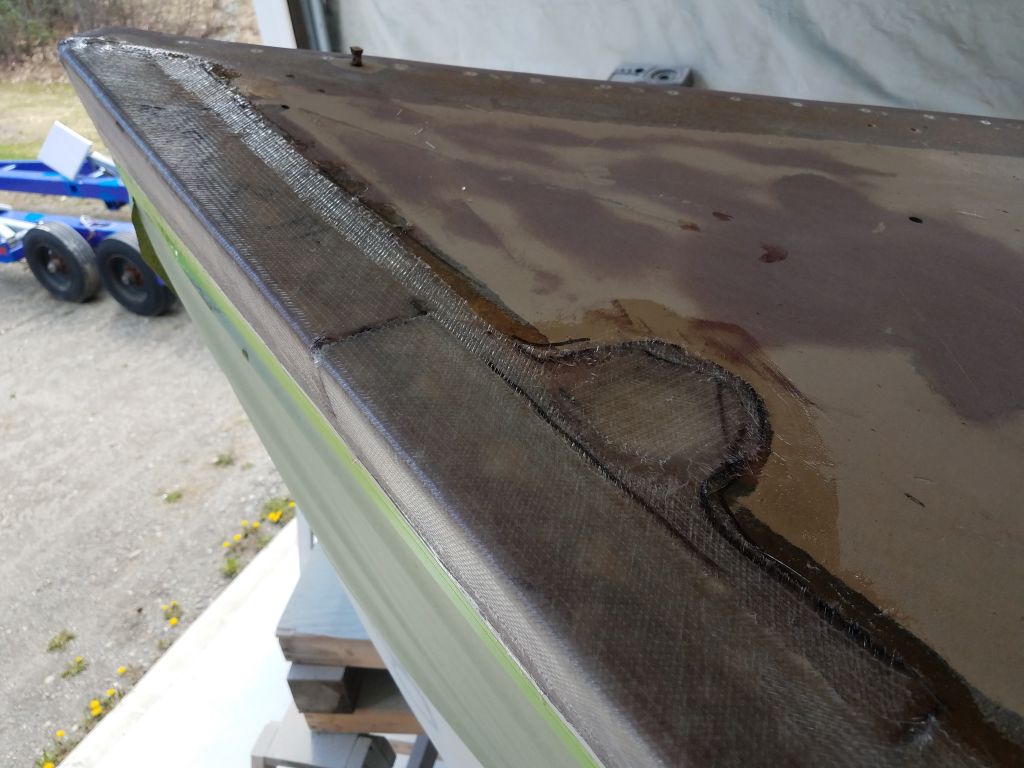
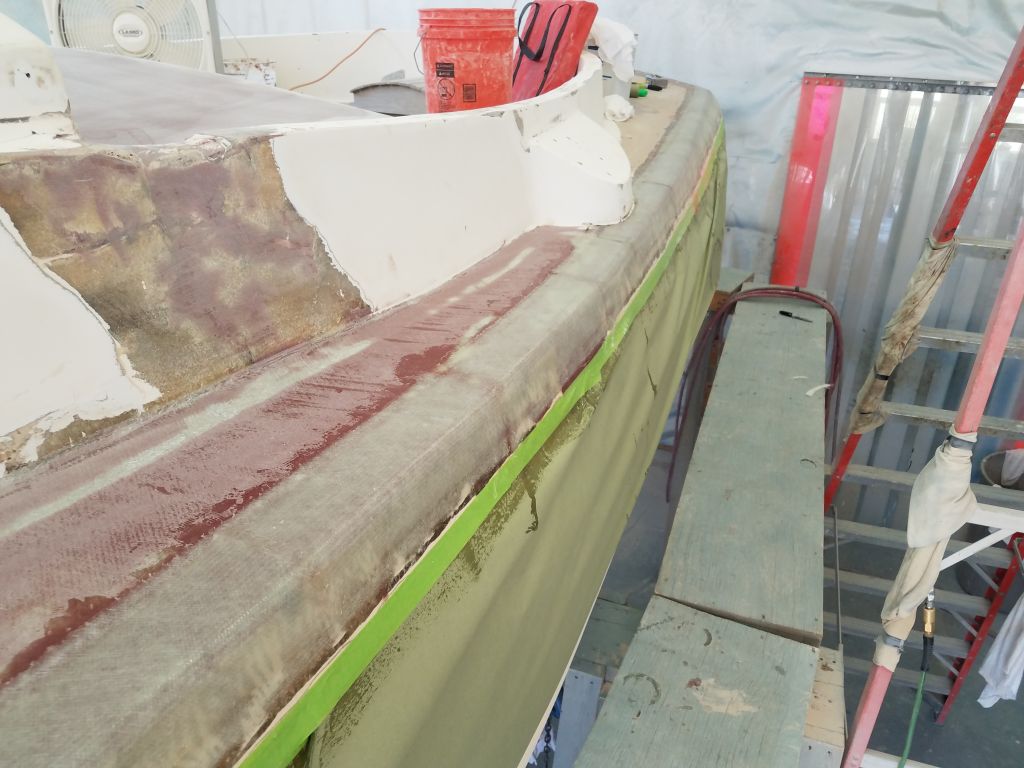
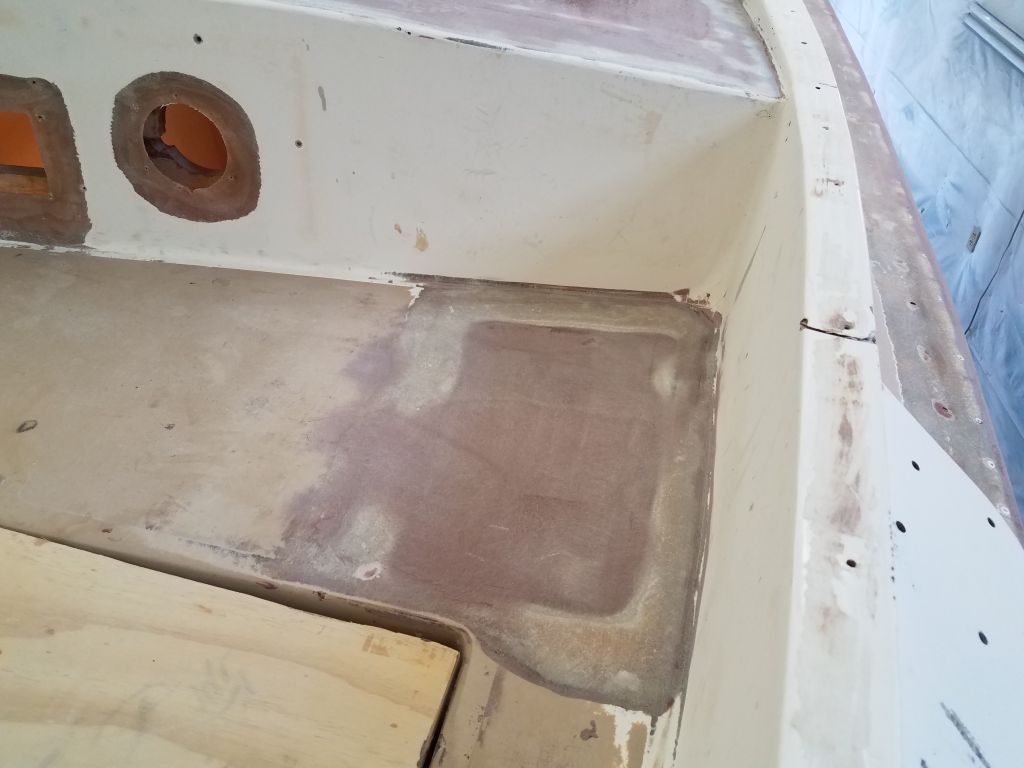
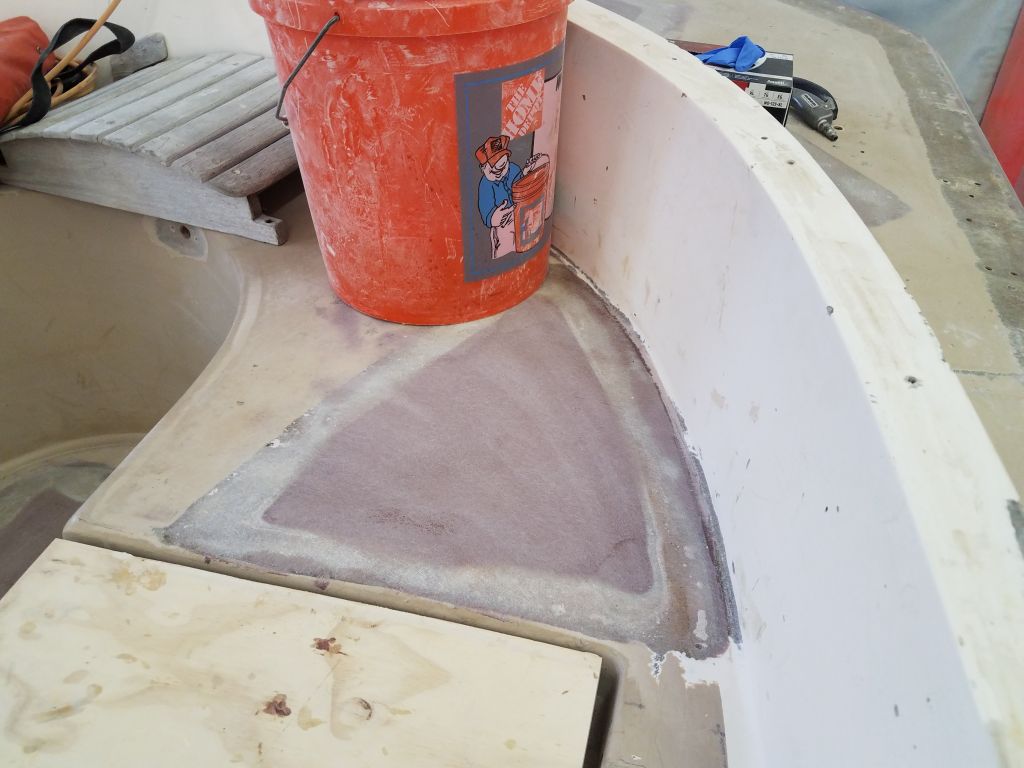
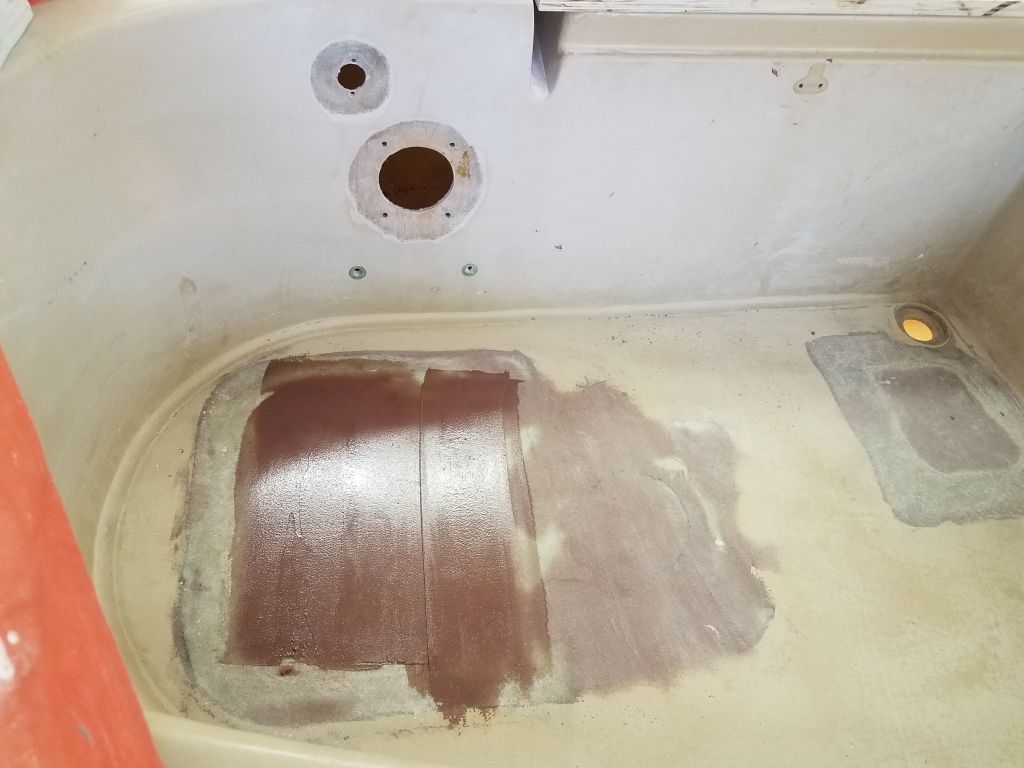
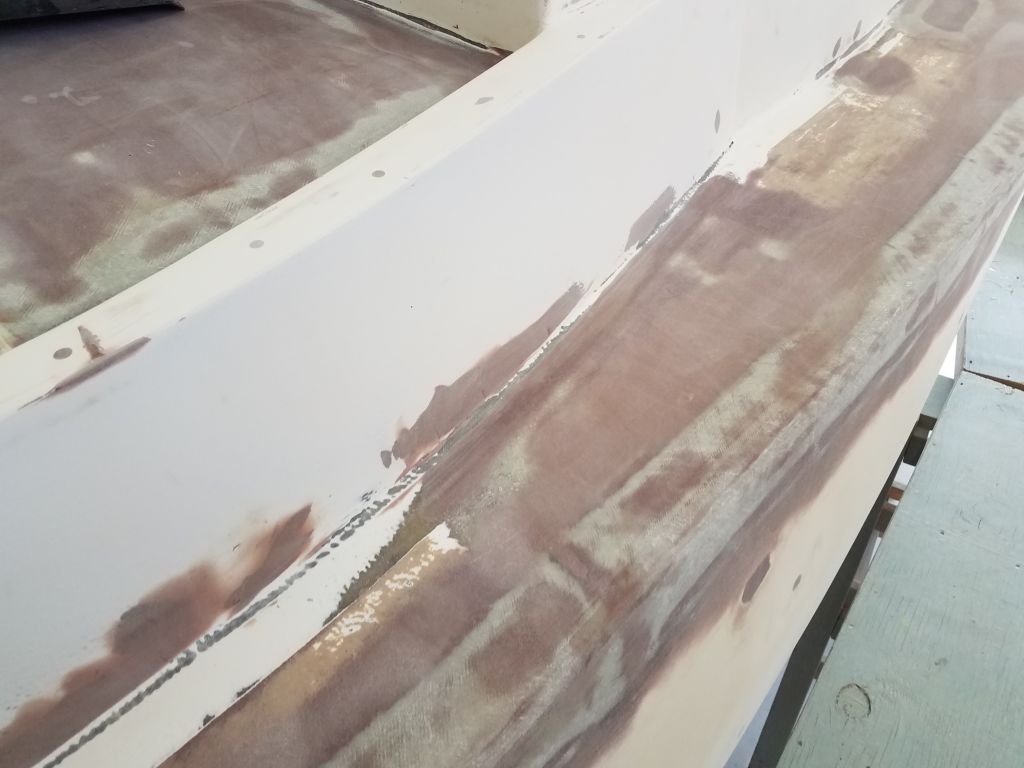
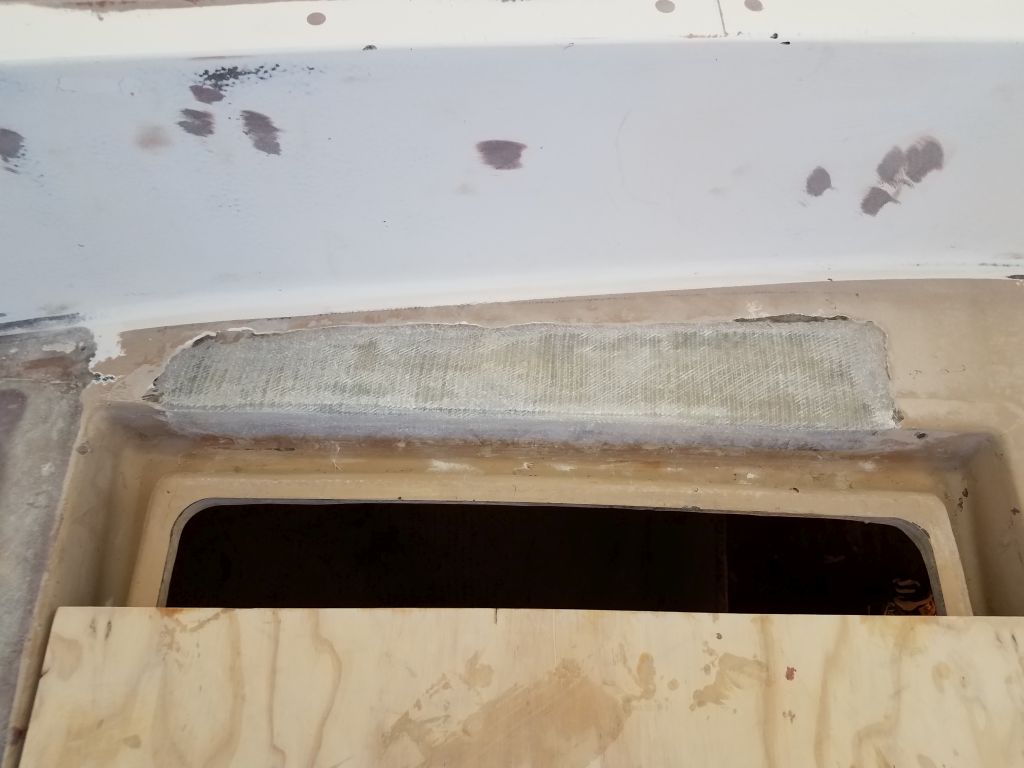
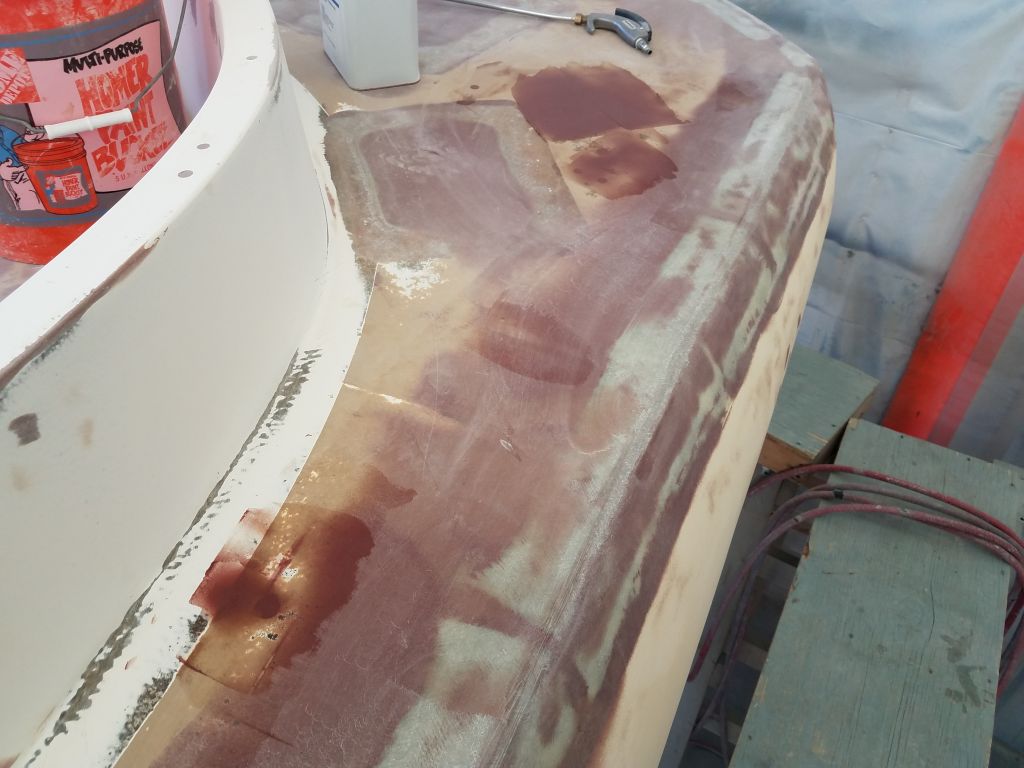
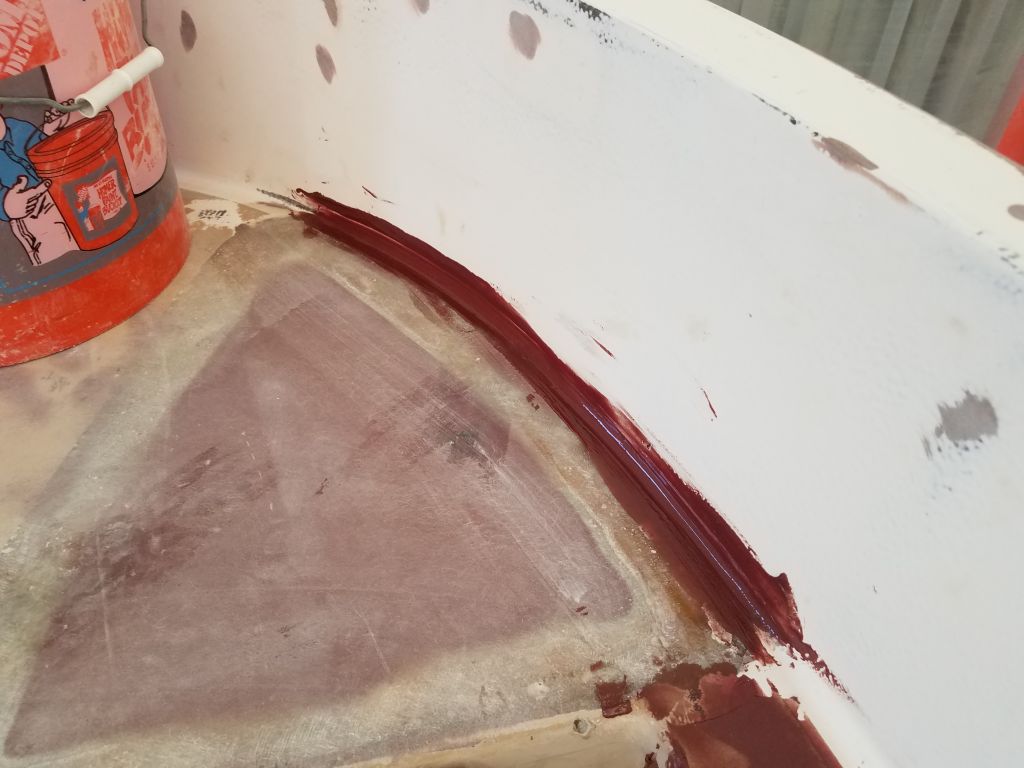
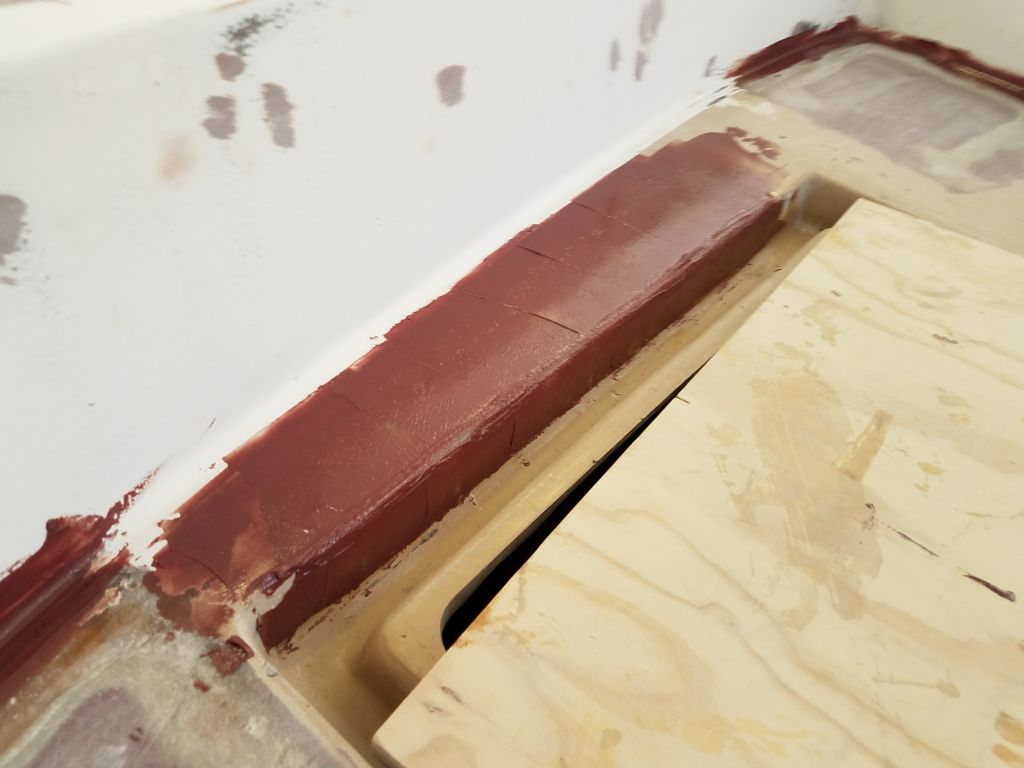
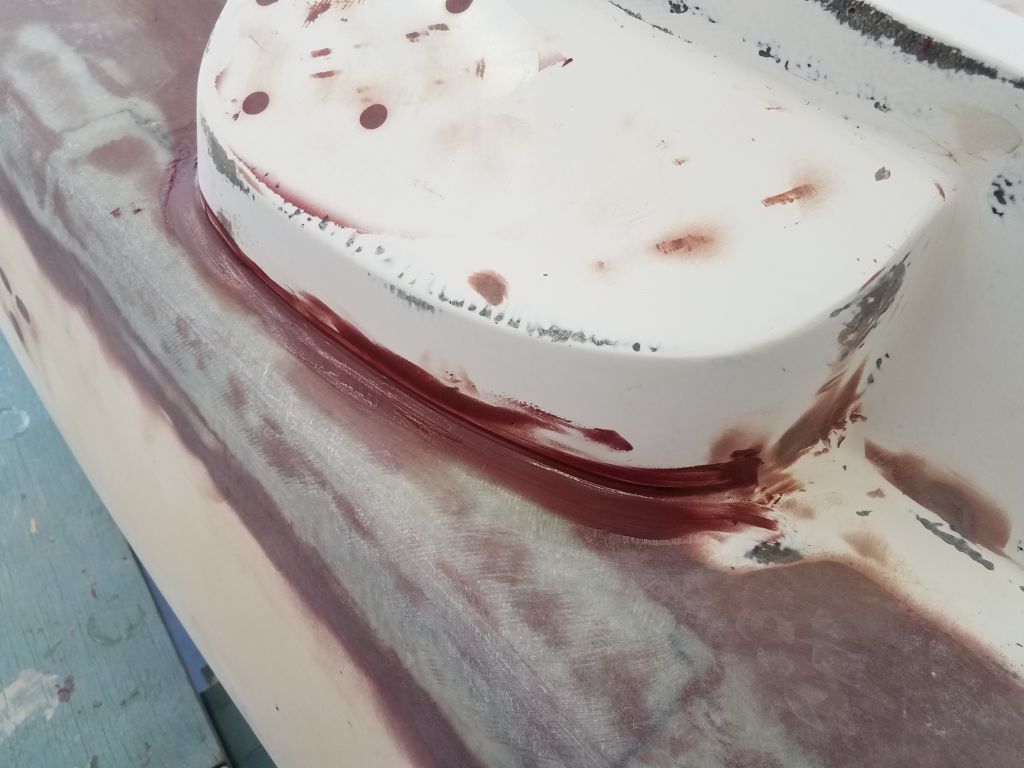
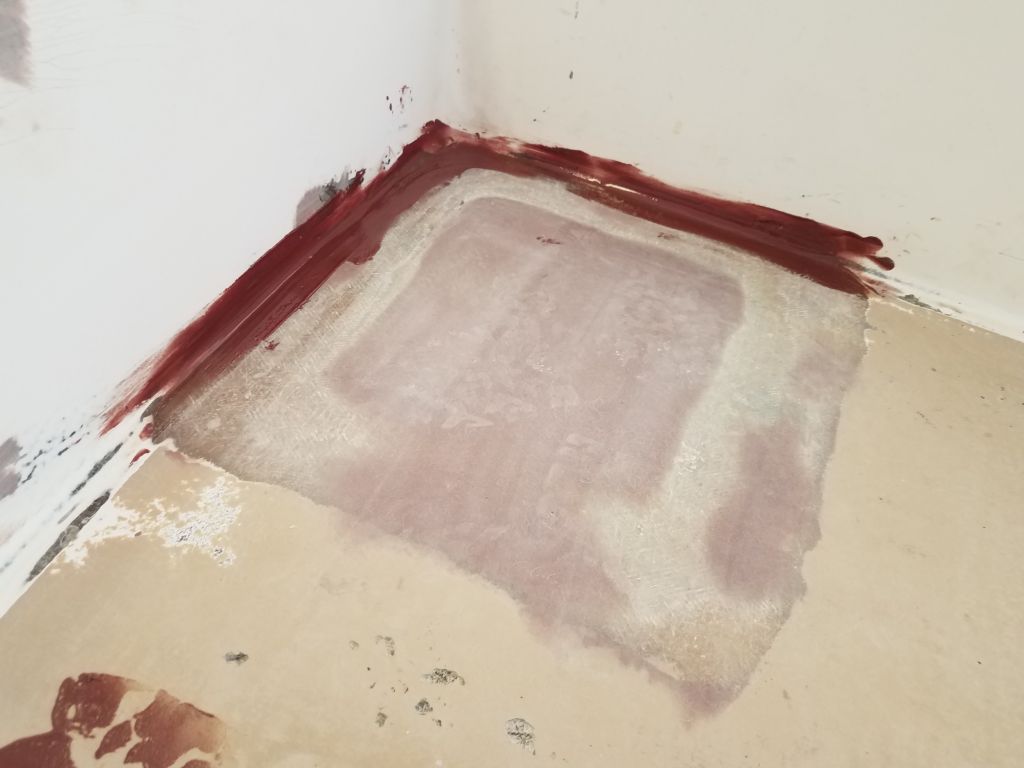
On the remainder of the deck, I focused mainly on little details, like cleaning up and re-filleting some of the corners in and around many of the areas I’d repaired earlier and between deck and cabin trunk/cockpit coaming, and continuing to fair in the large coaming repair on the port side and the repair to the port cockpit locker opening.


Total time billed on this job today: 5.25 hours
0600 Weather Observation: 42°, fog. Forecast for the day: Fog lifting, sun for most of the day, around 70°