(page 110 of 168)

Scupper 56

< Back to Scupper

Friday

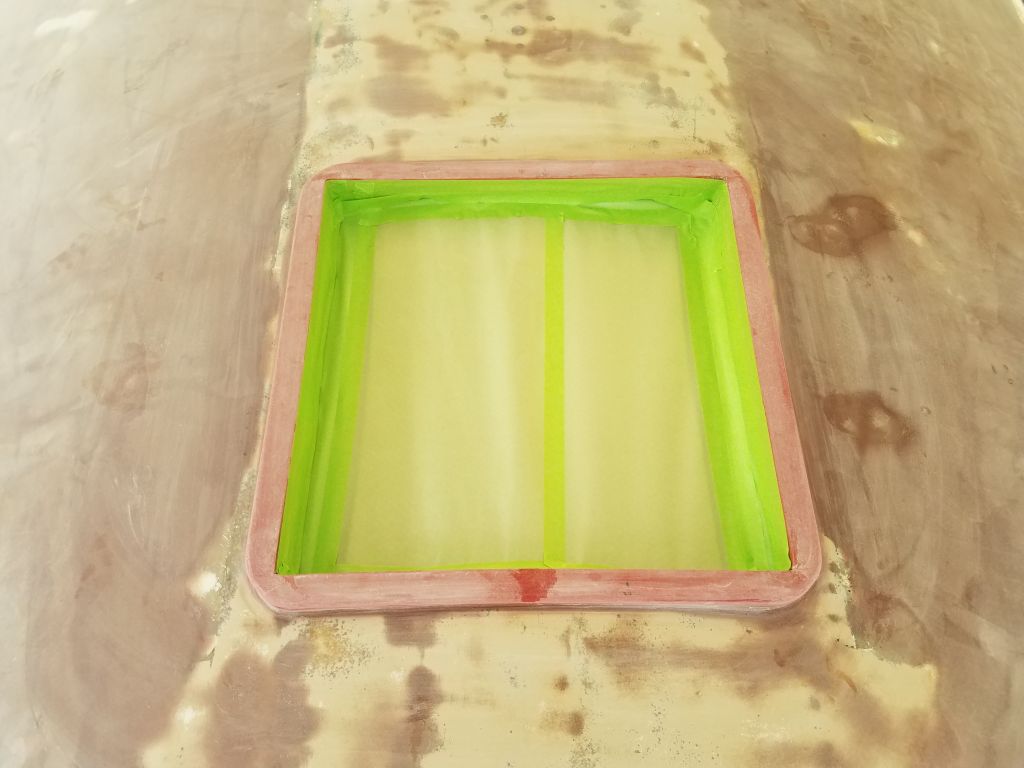
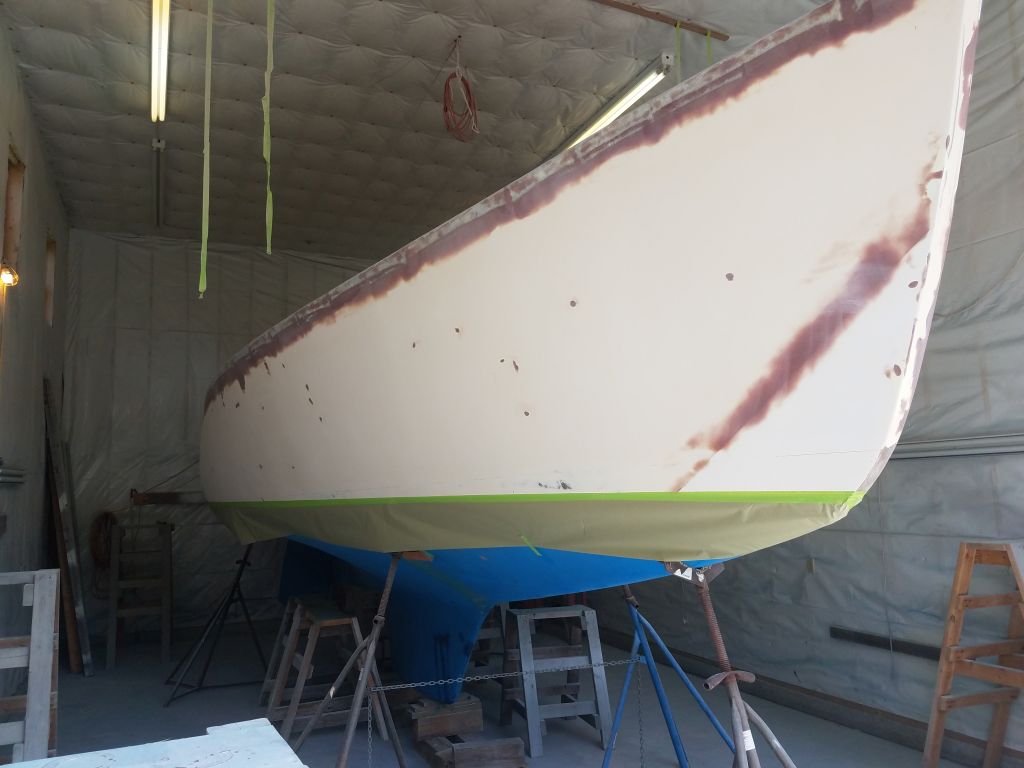
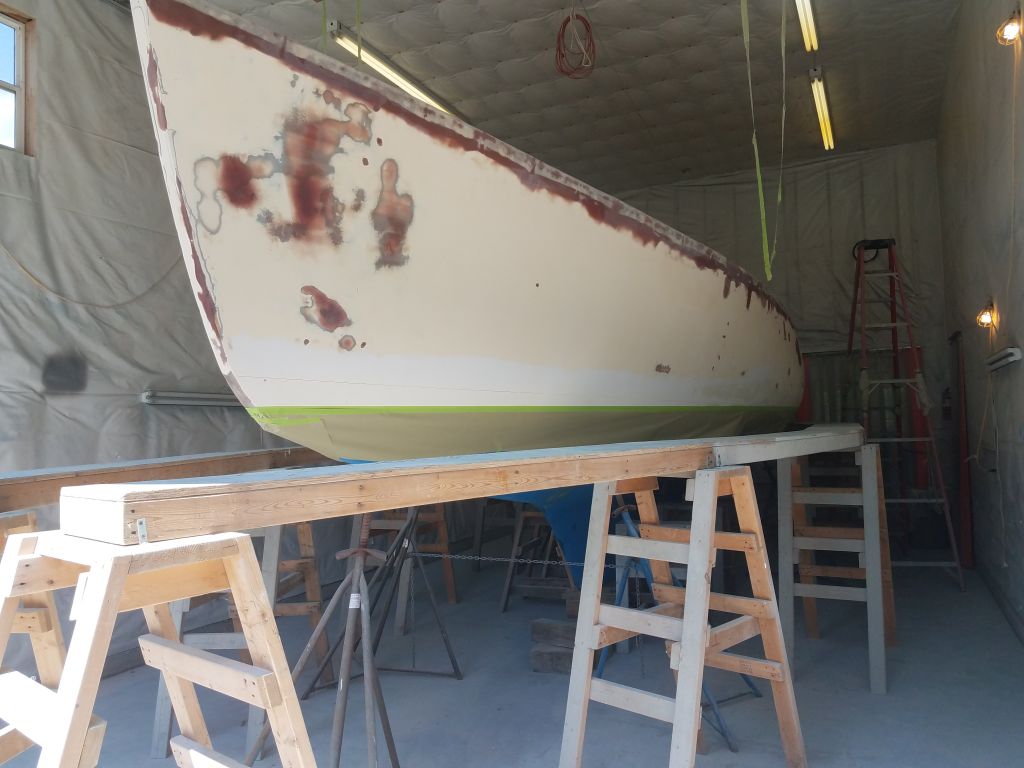
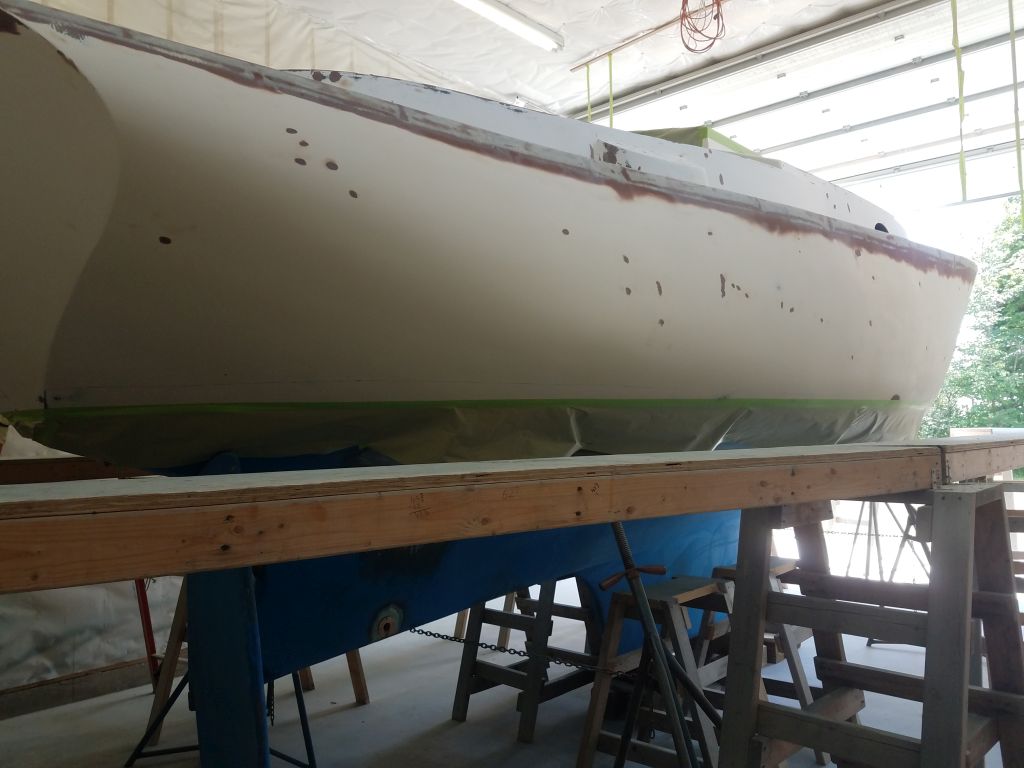
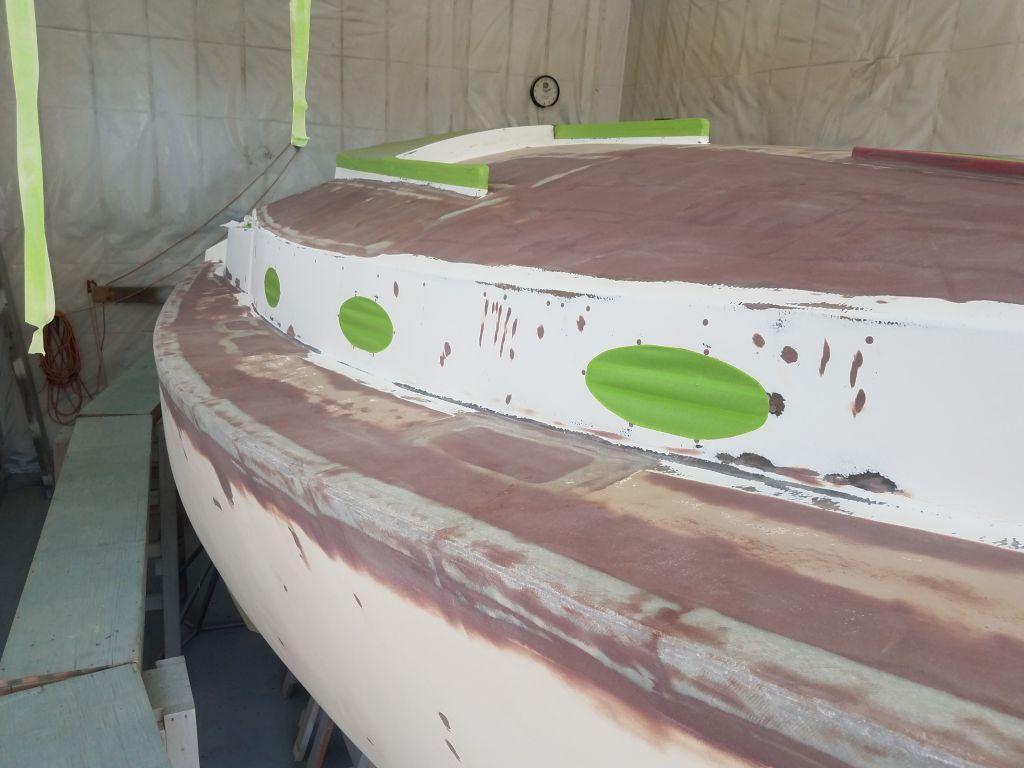
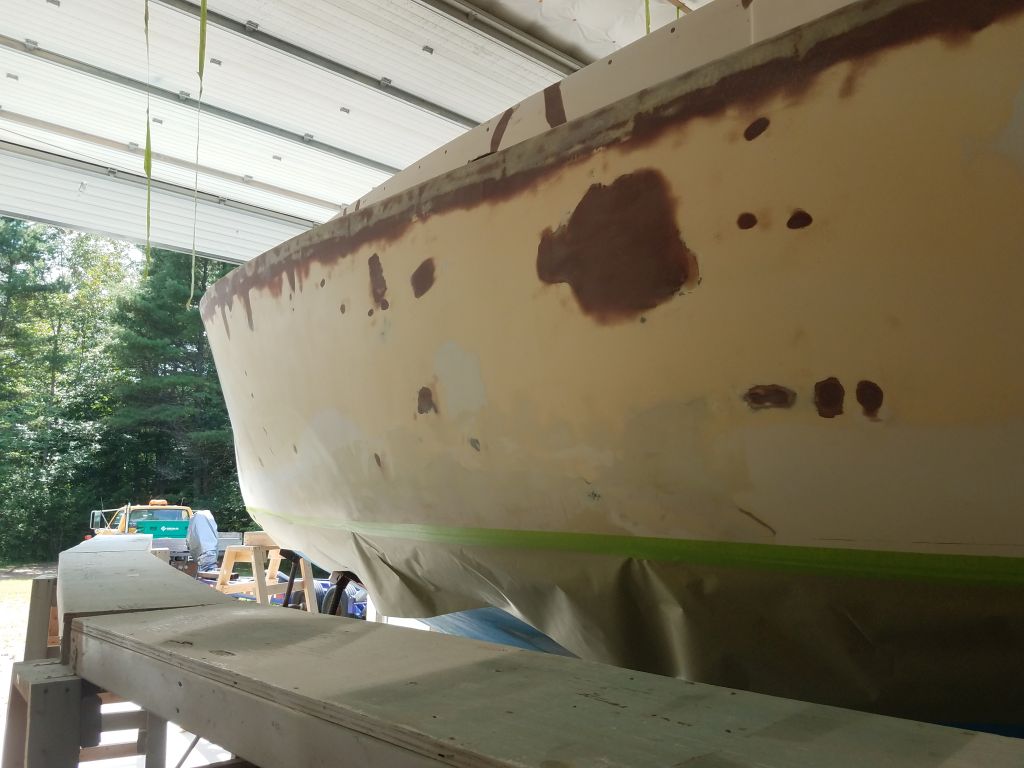
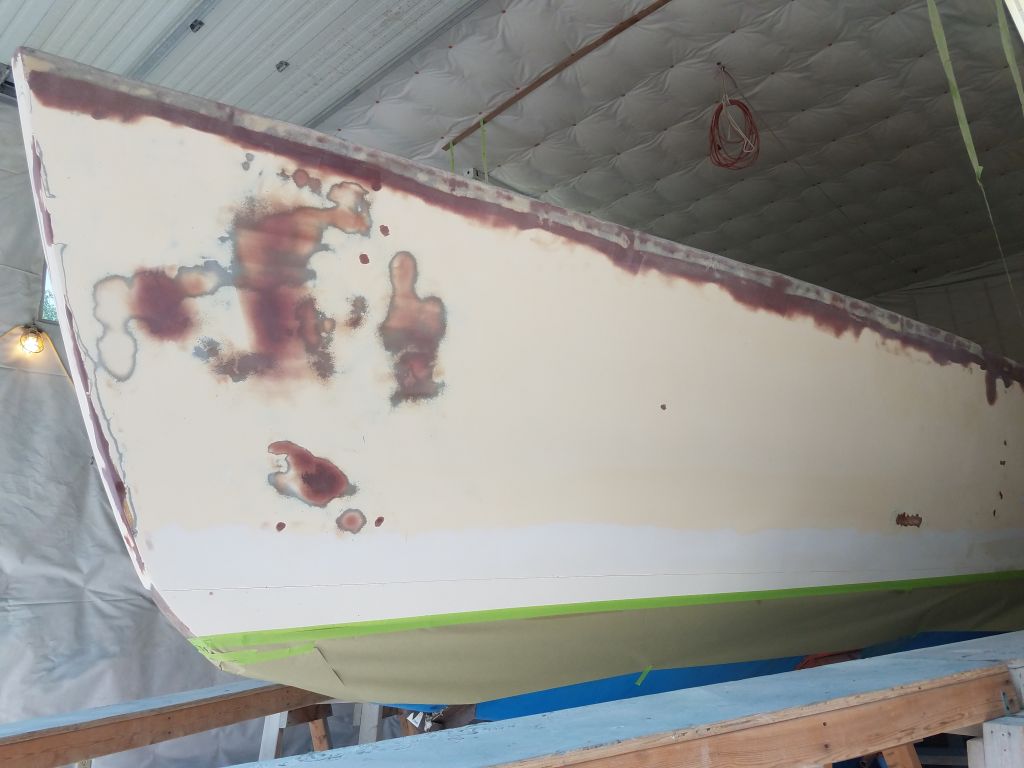
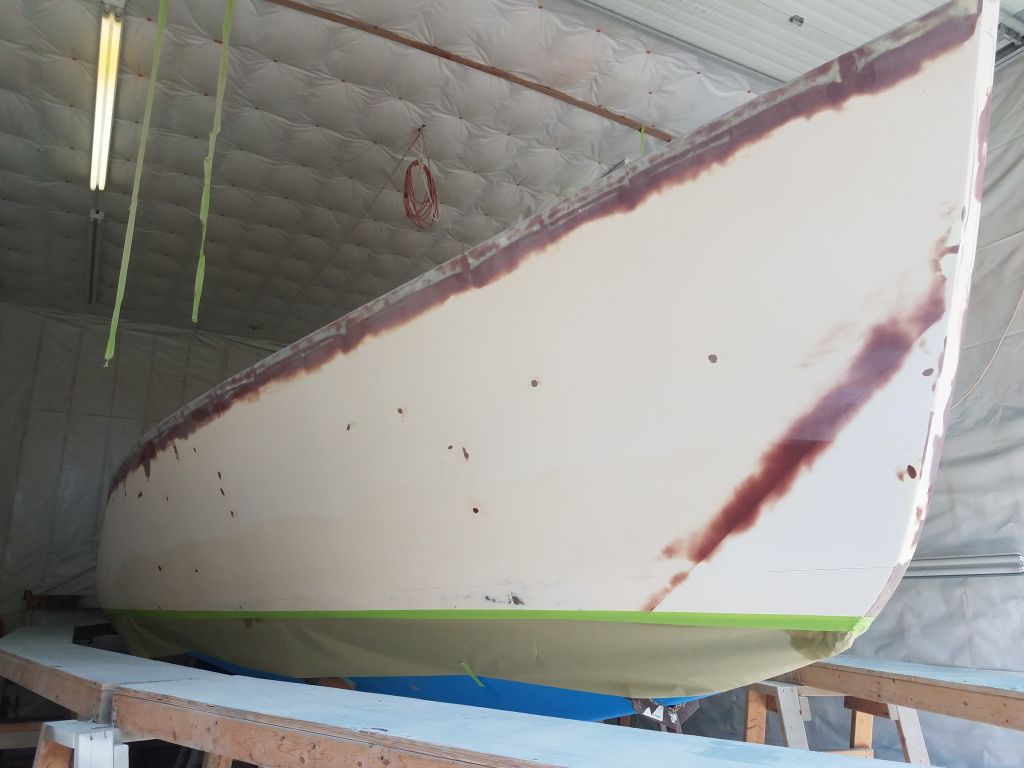
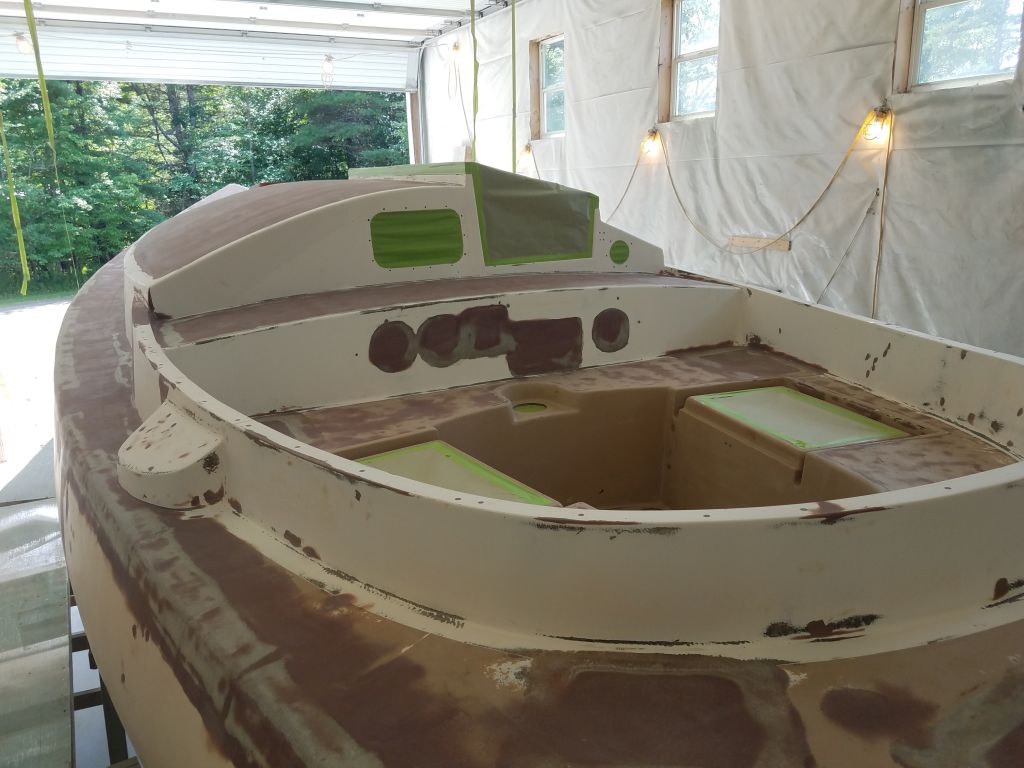
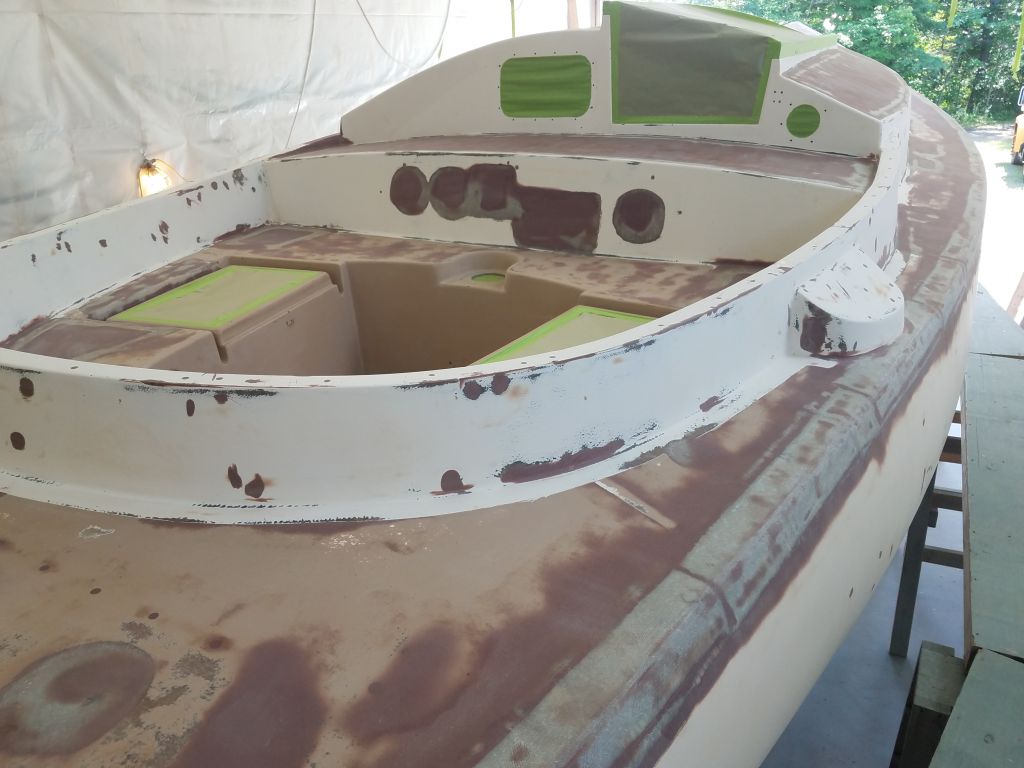
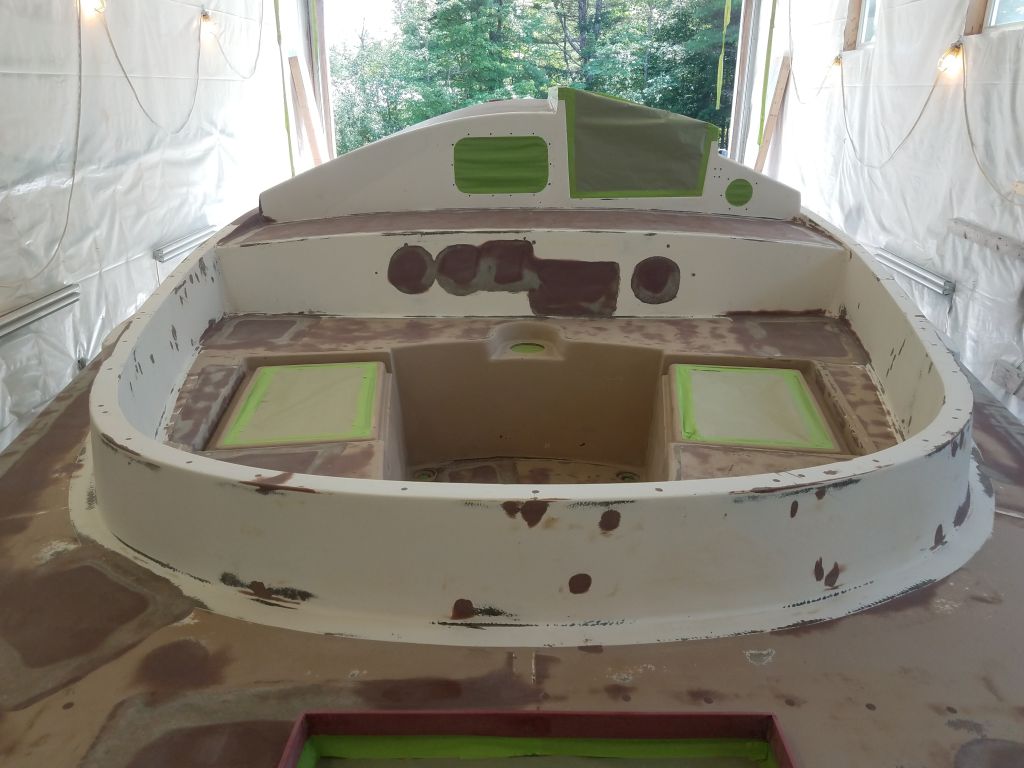
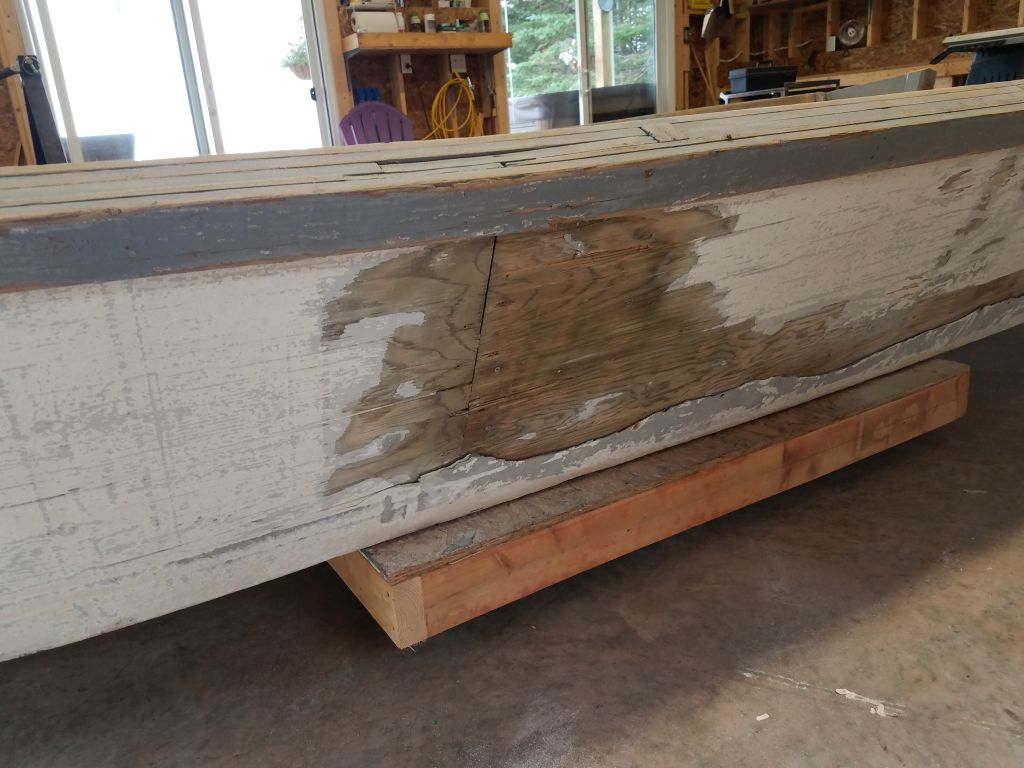
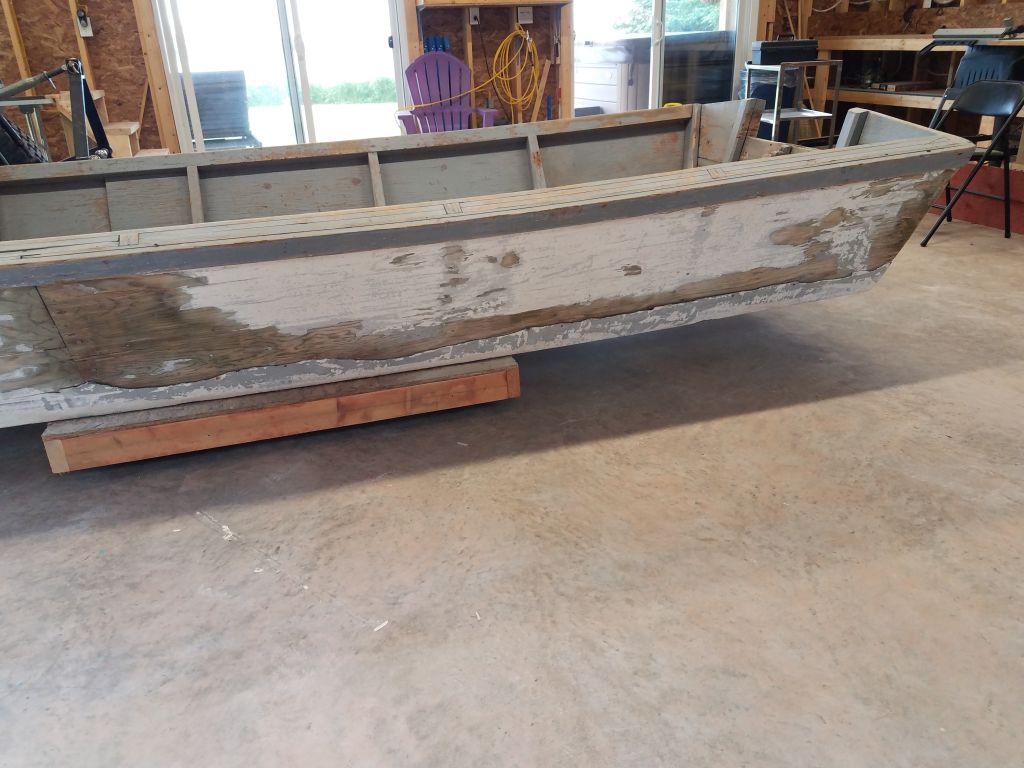
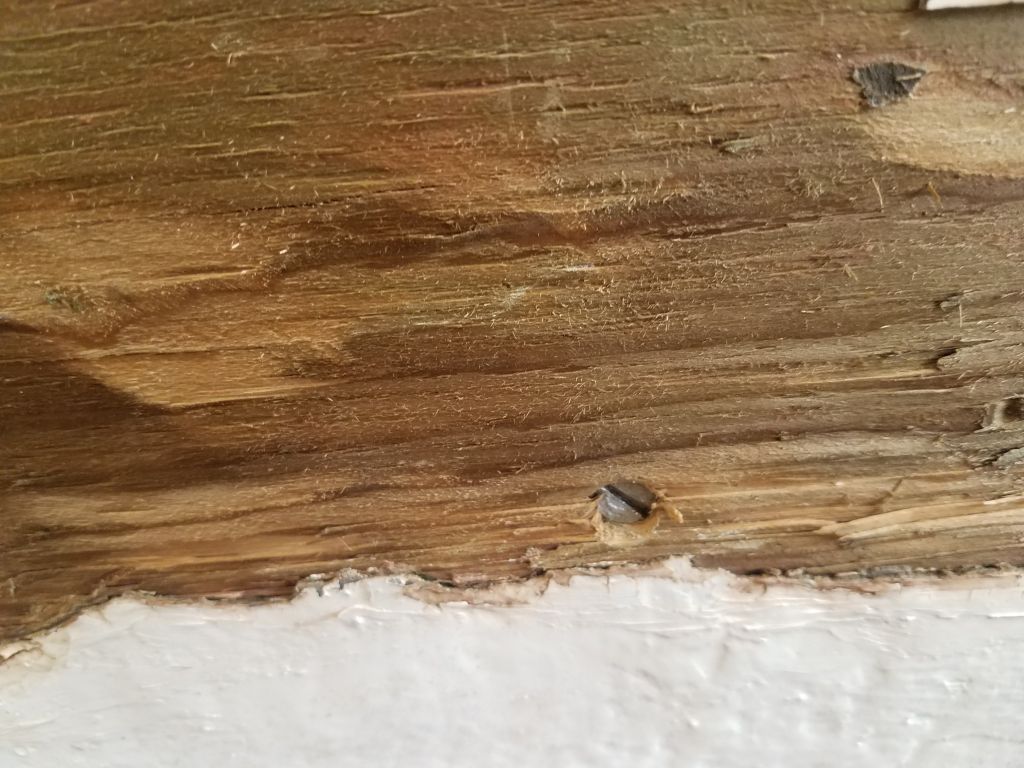
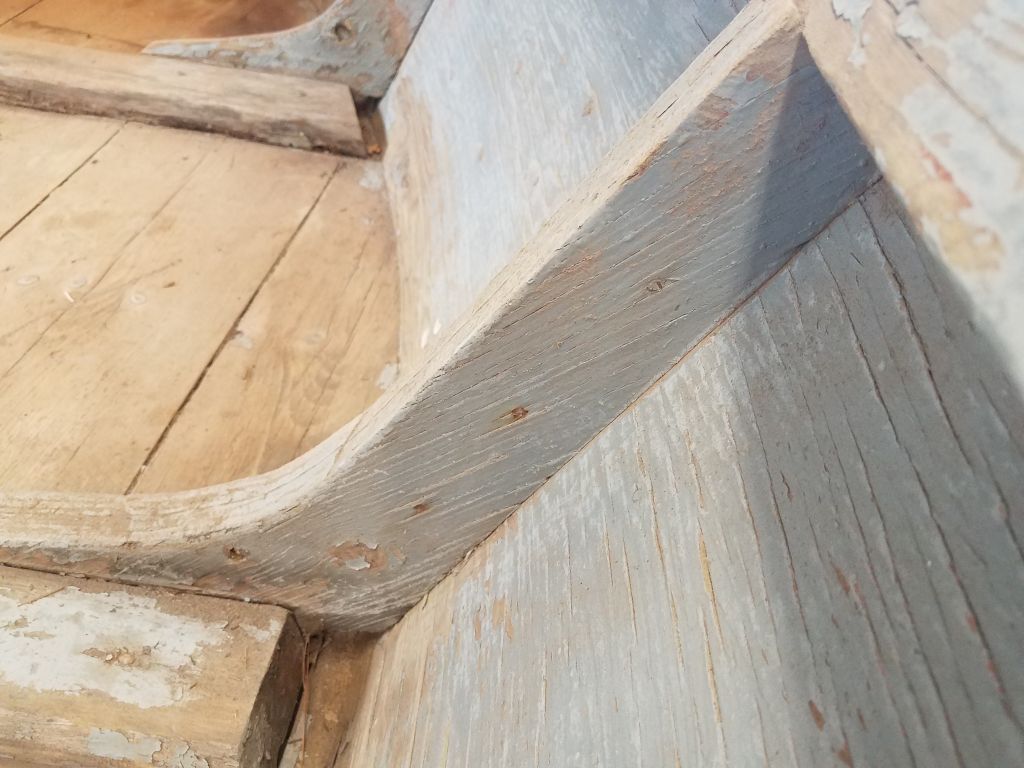
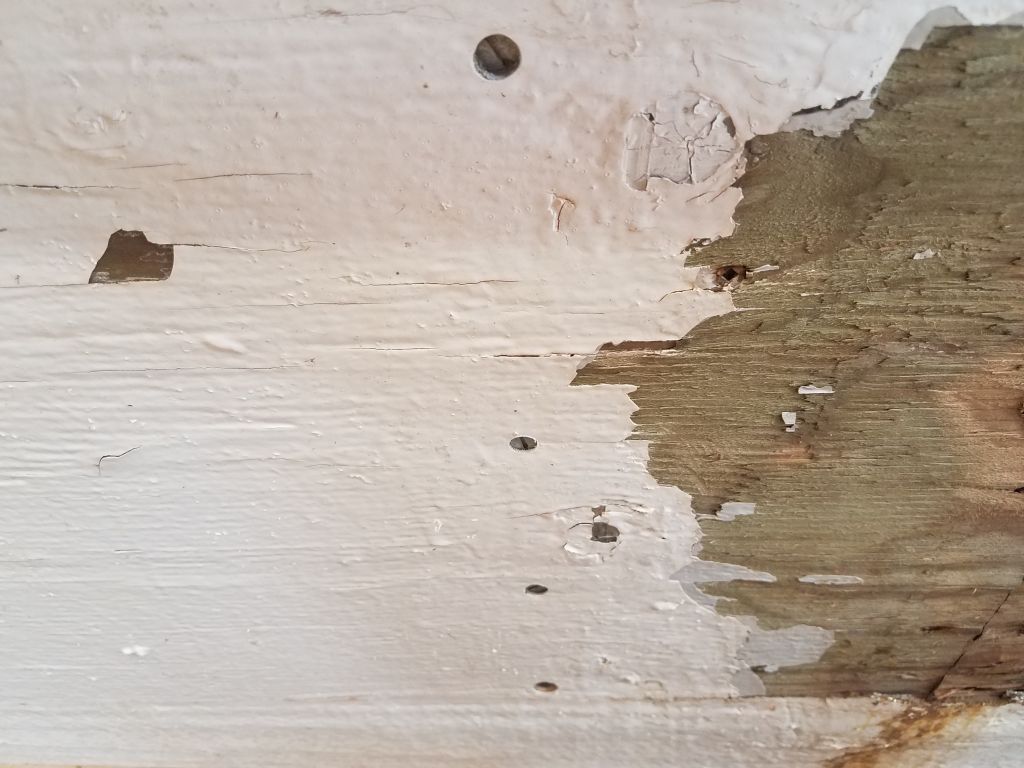
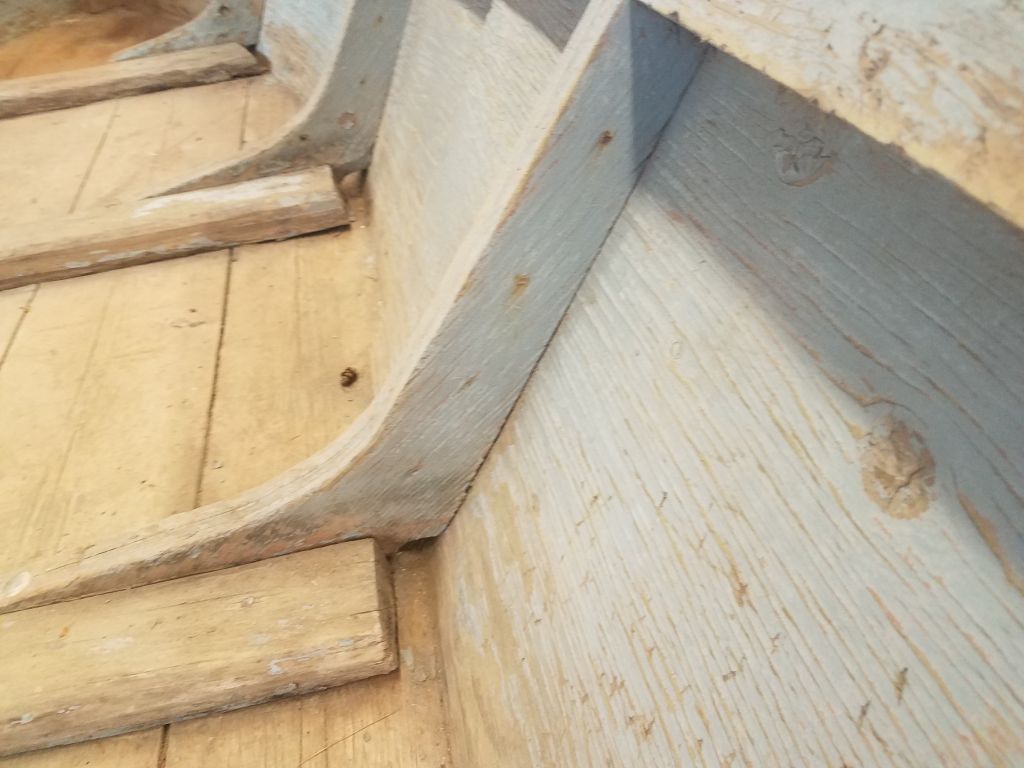
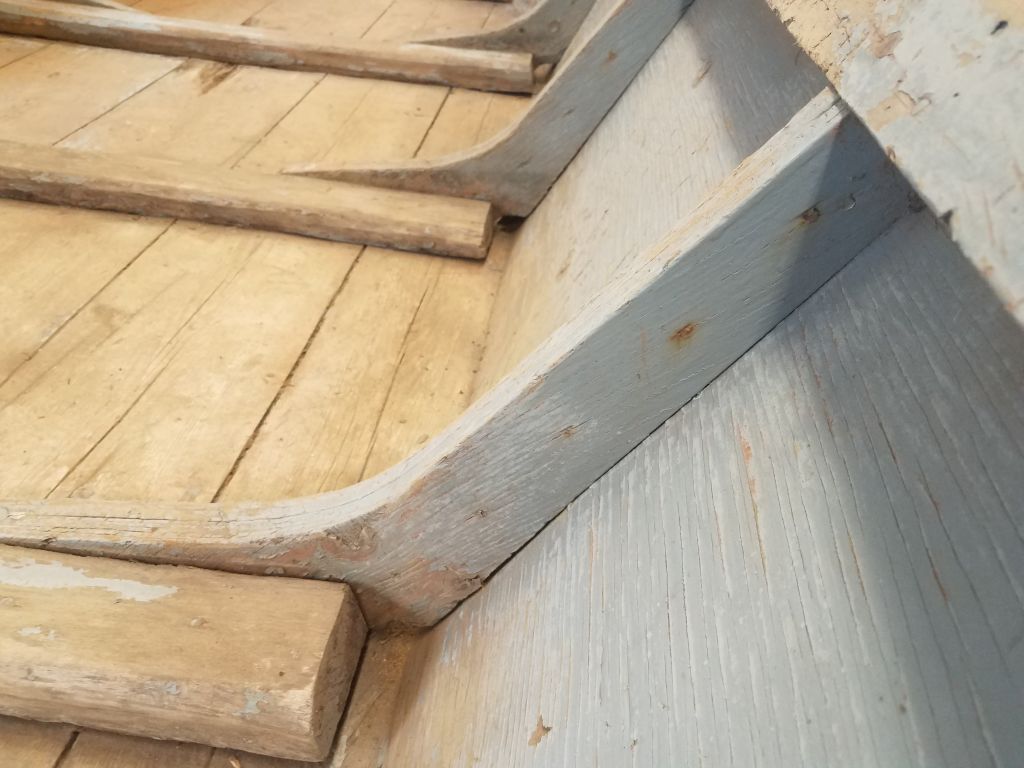
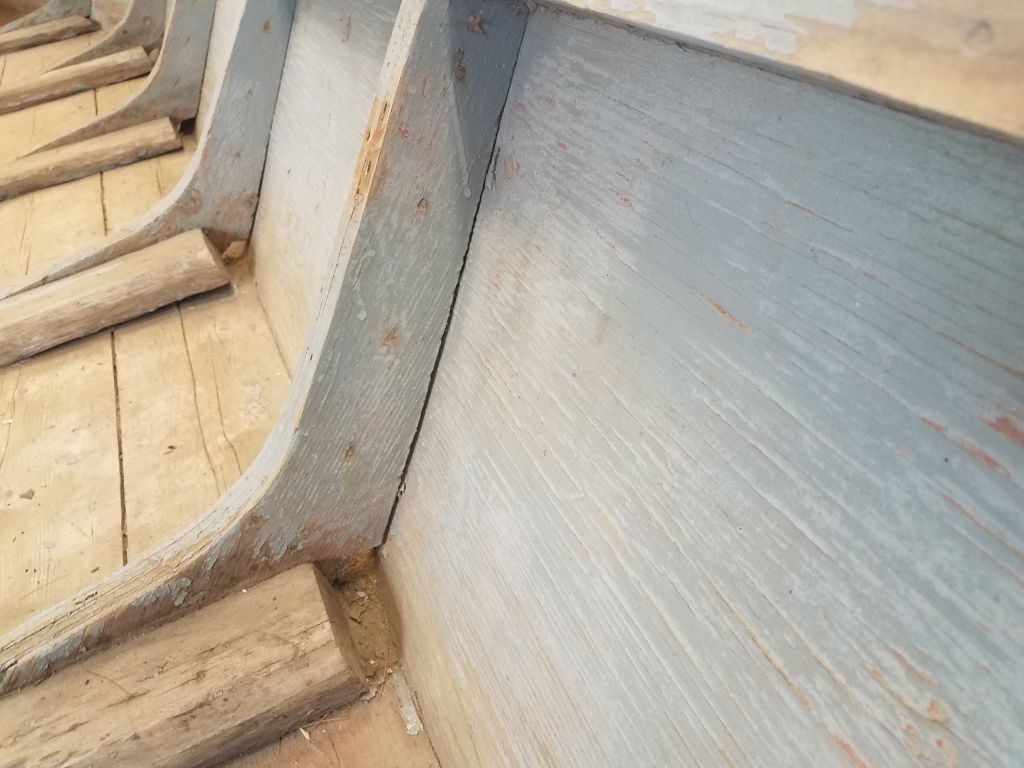
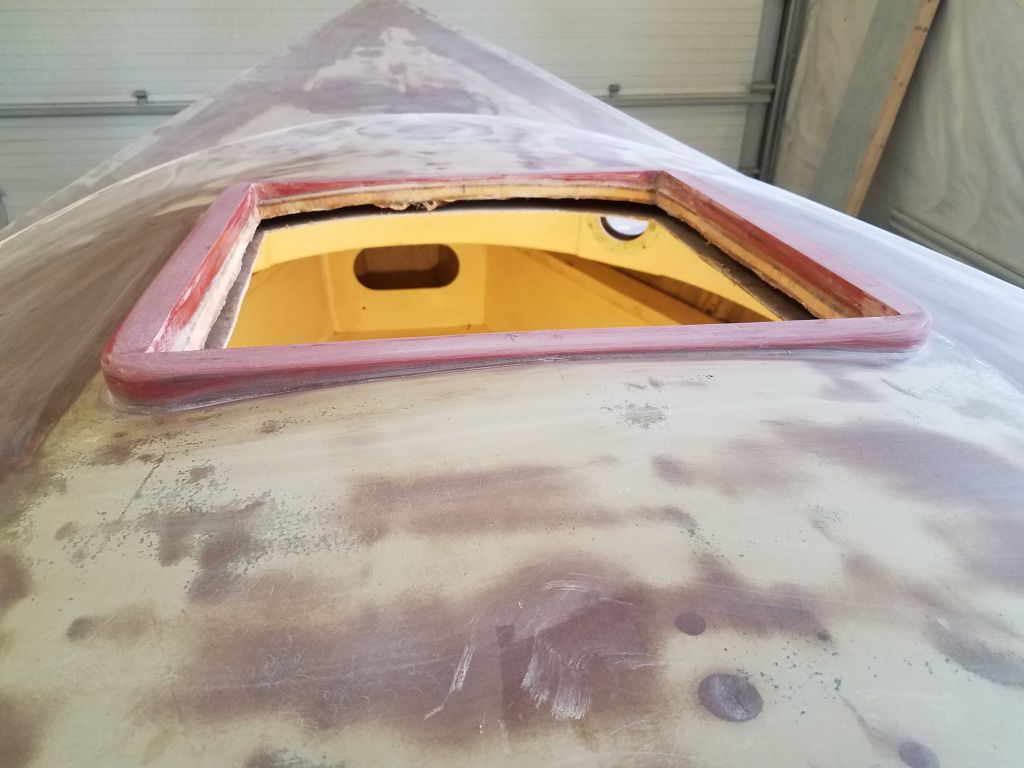
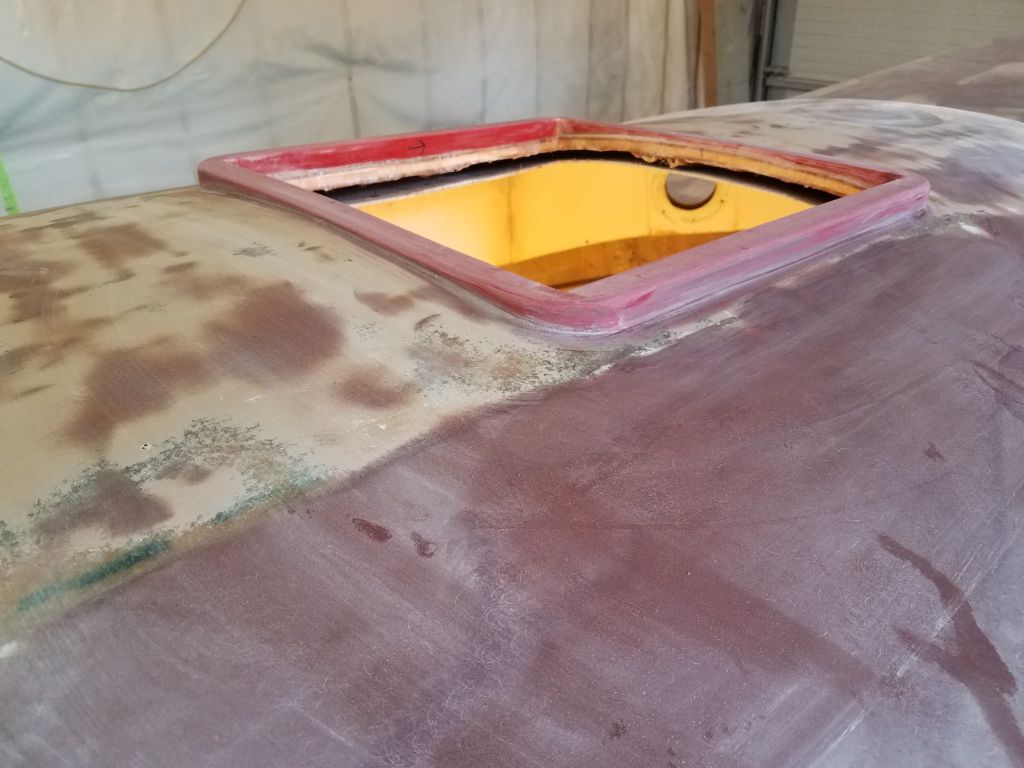
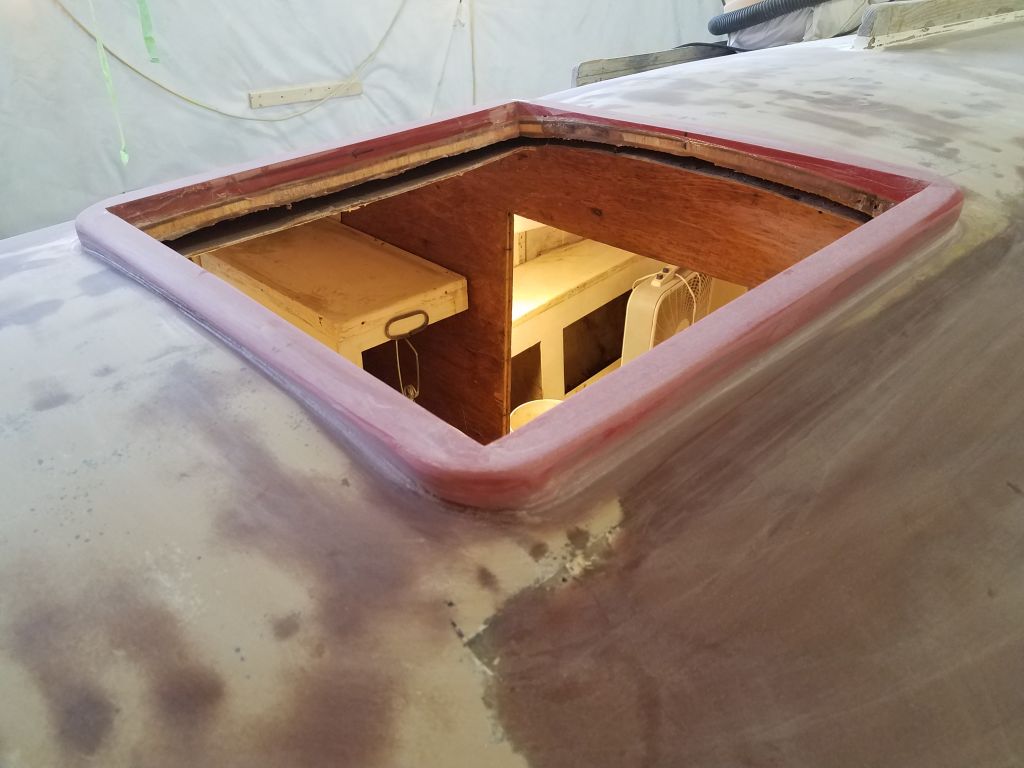
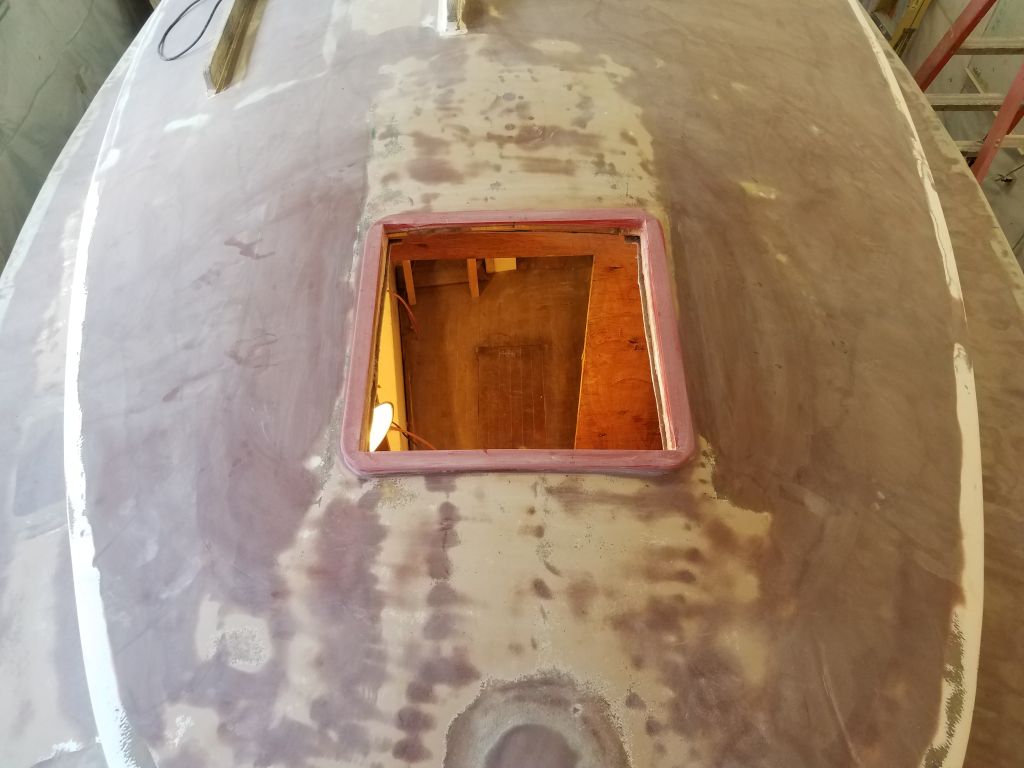
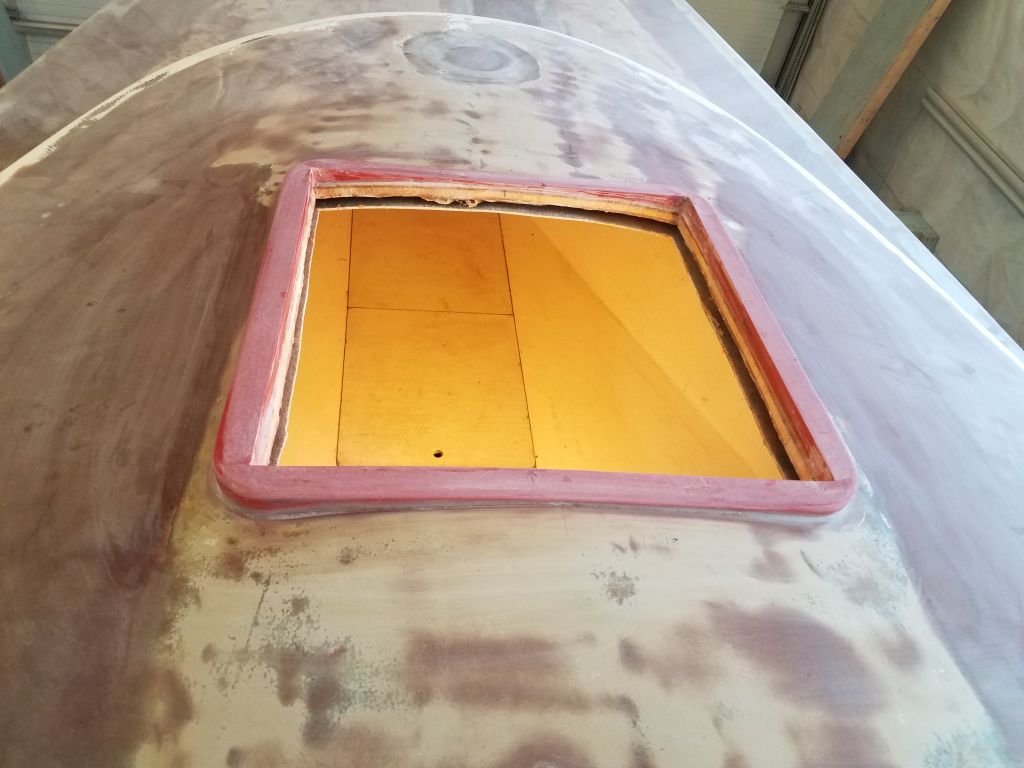
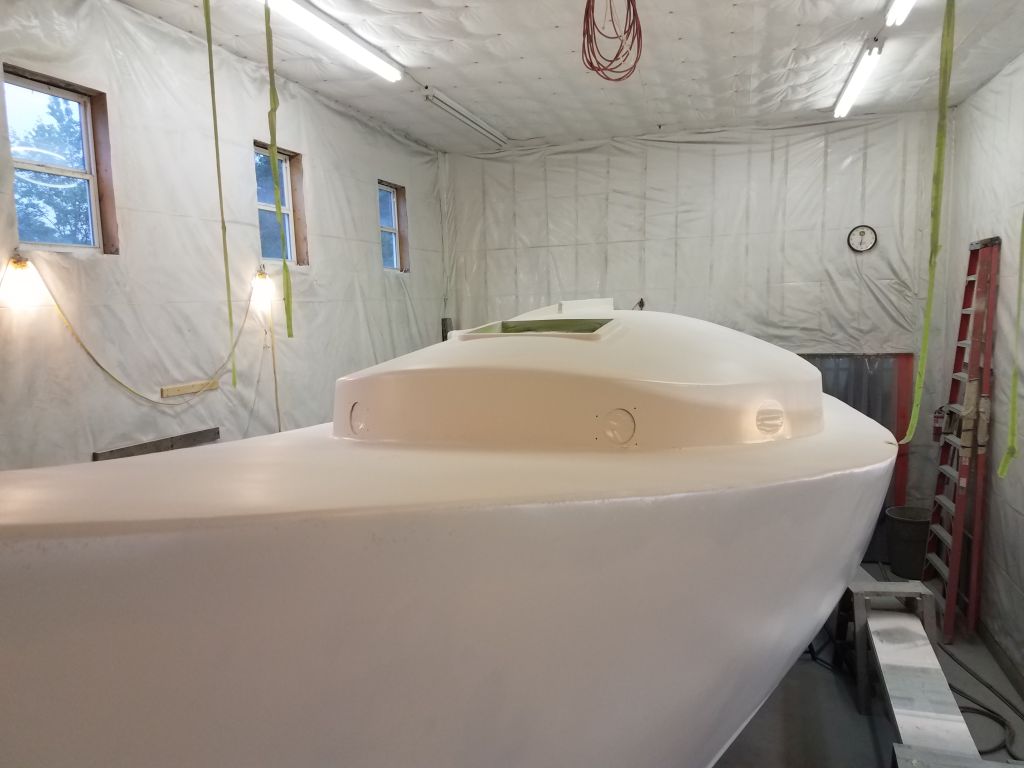
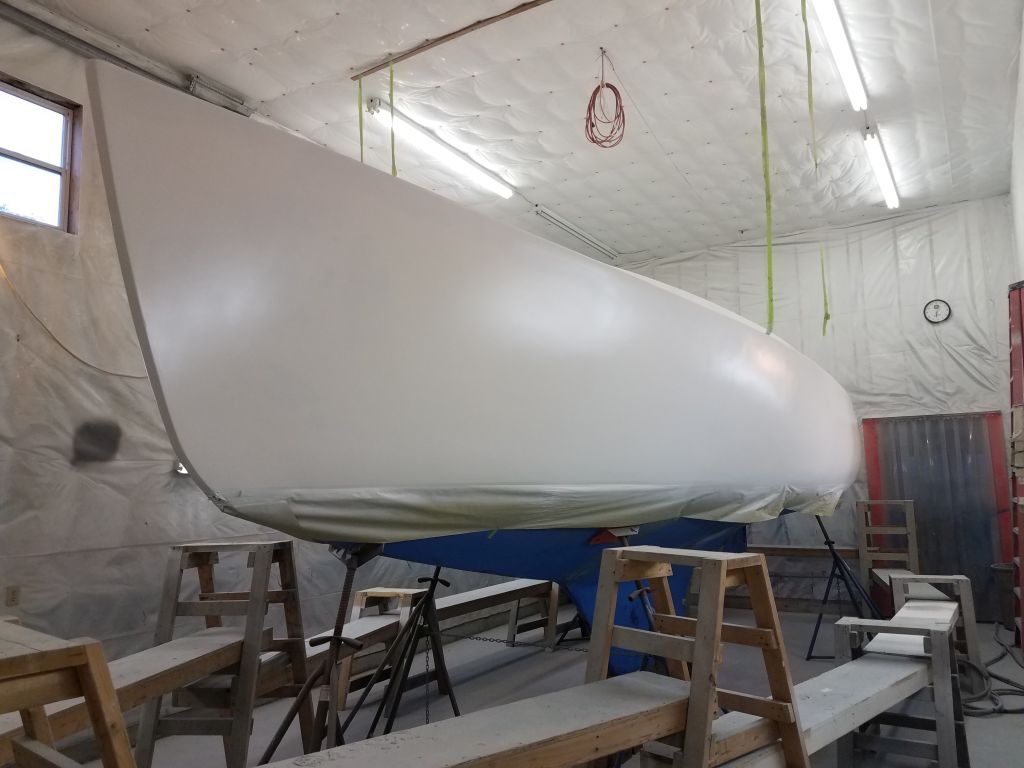
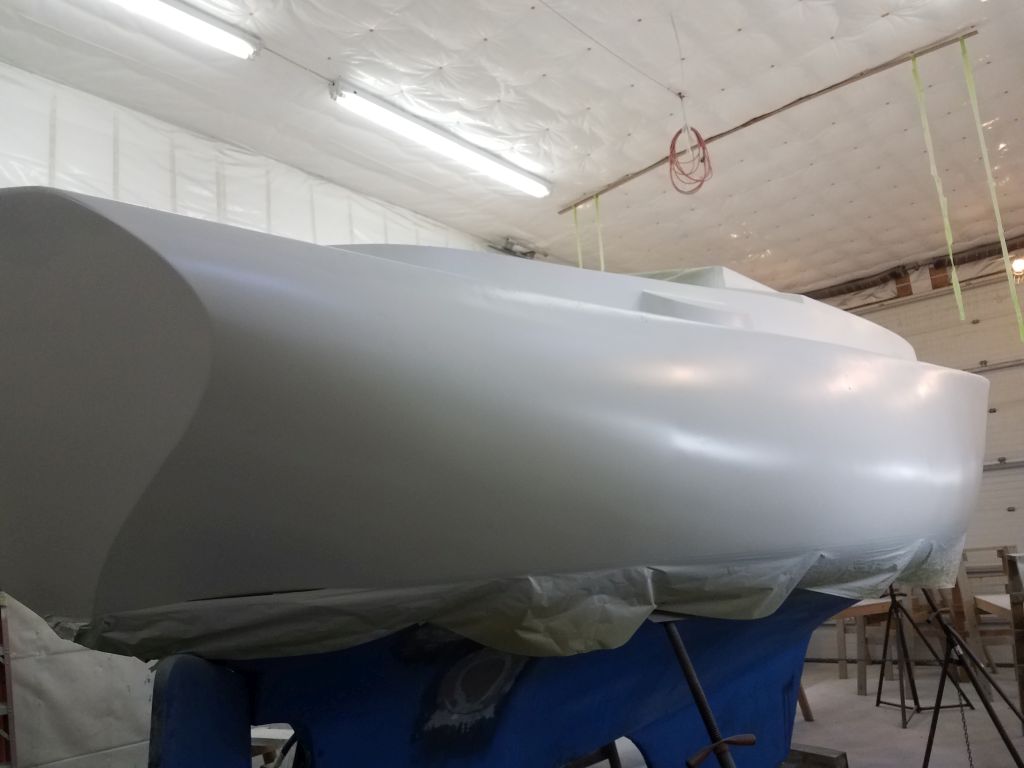
High build primer is essentially a surfacing primer, and as such represents one of the last most important steps in the hull and deck repair work and surface preparation.  This primer helps to even out the various textures left behind during the previous work–original gelcoat, new fiberglass cloth, and fairing compounds–and serves to highlight pinholes and areas requiring additional fine filling, all of which are an inevitable part of the overall process.

The primer is also an important psychological step, as it signals new beginnings and fresh hope, and marks a significant change of appearance of and direction in the project.  On a large, long-term project like Scupper, I like to do the high build earlier in the process and at the end of repair work, a true dividing line between structural work and finish work, and this also gives me the opportunity to approach the final fine filling and detail sanding at a more leisurely pace while continuing work on other areas of the build.  Finish primer and paint would come substantially later in the process.

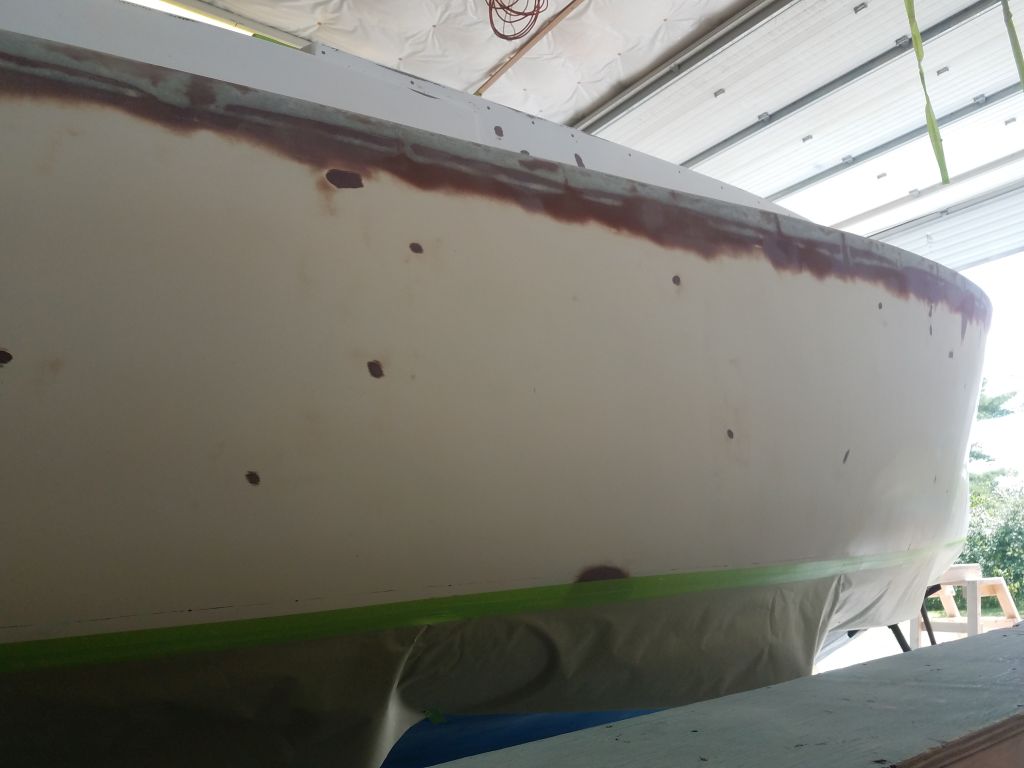
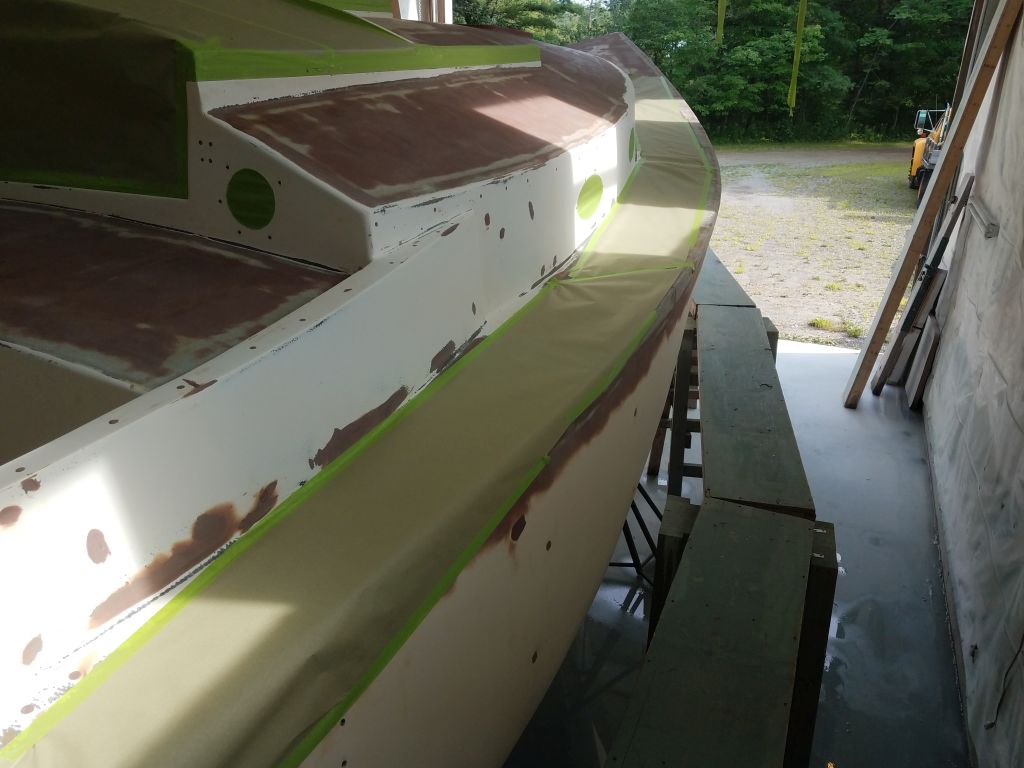
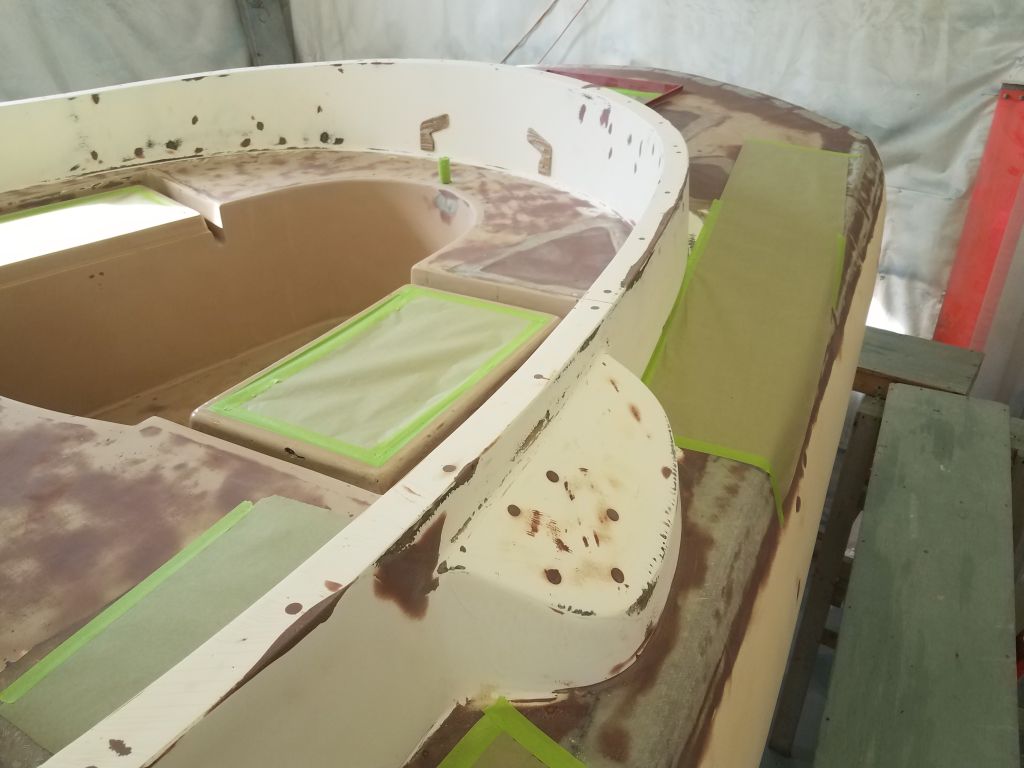
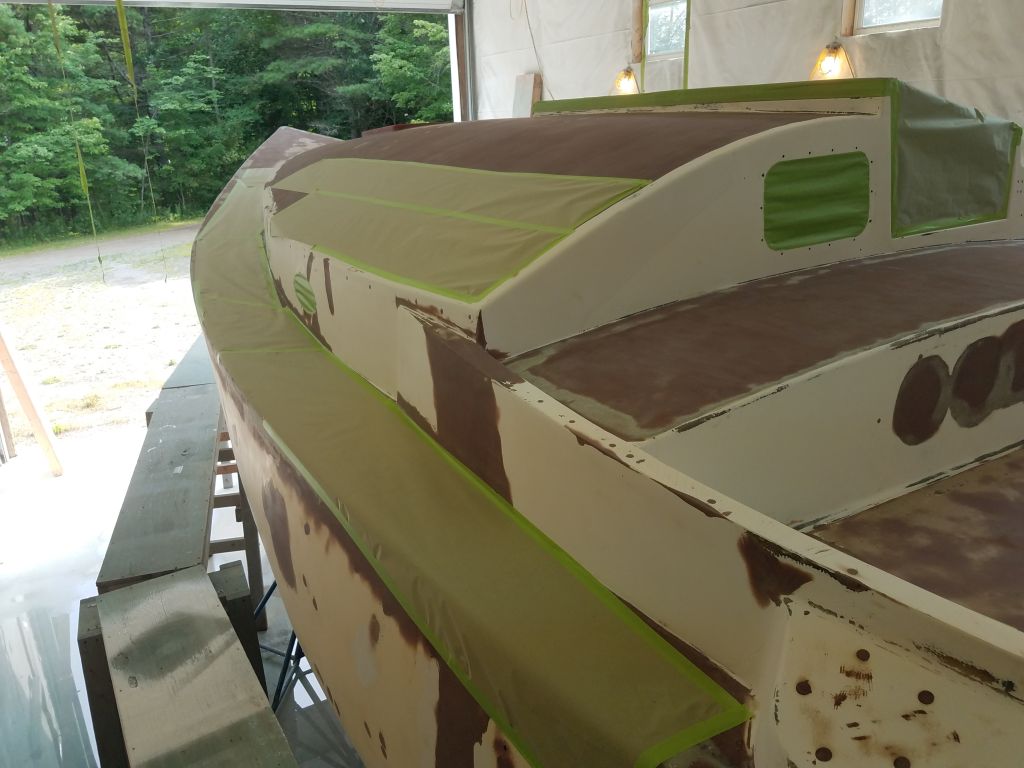
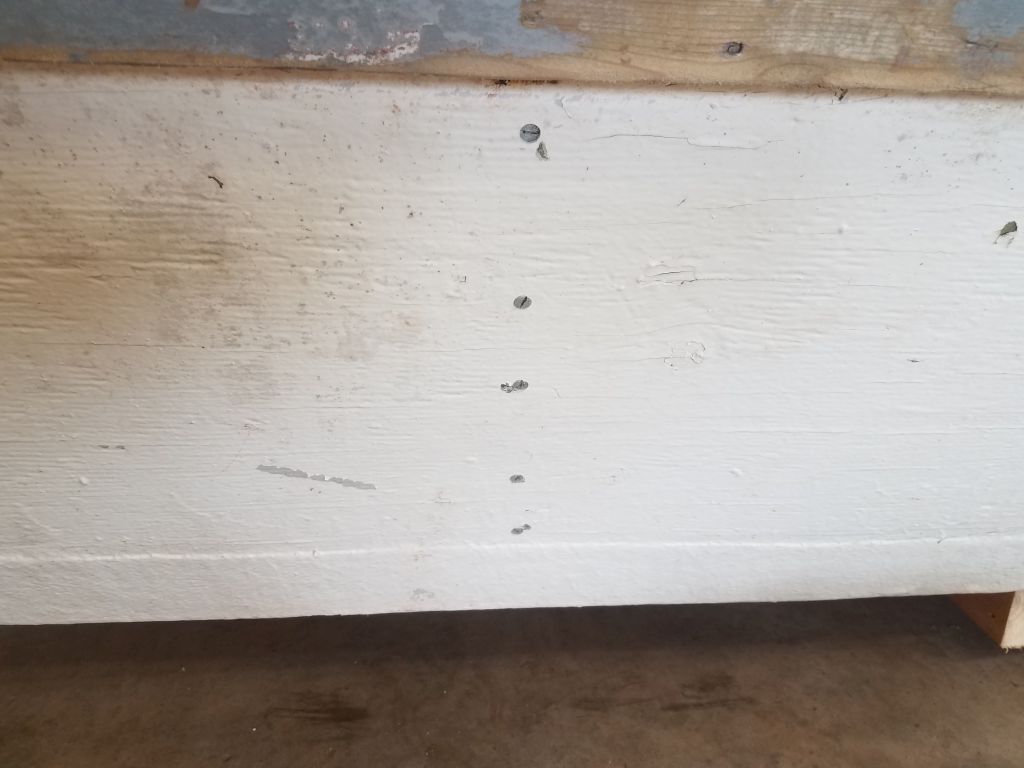
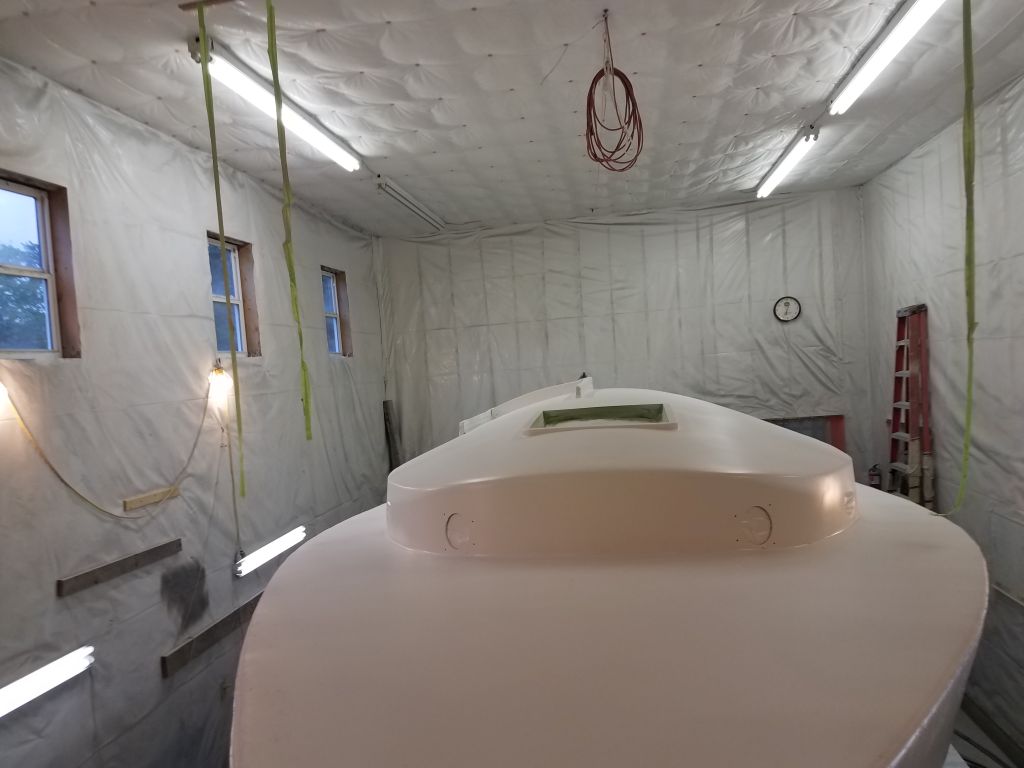
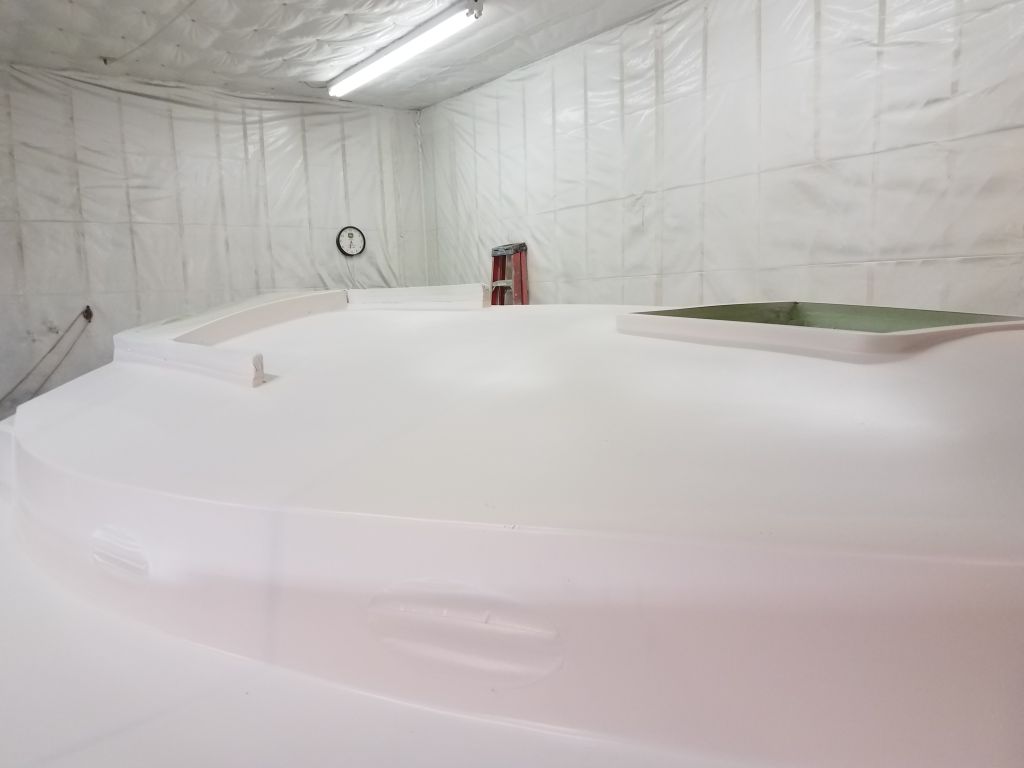
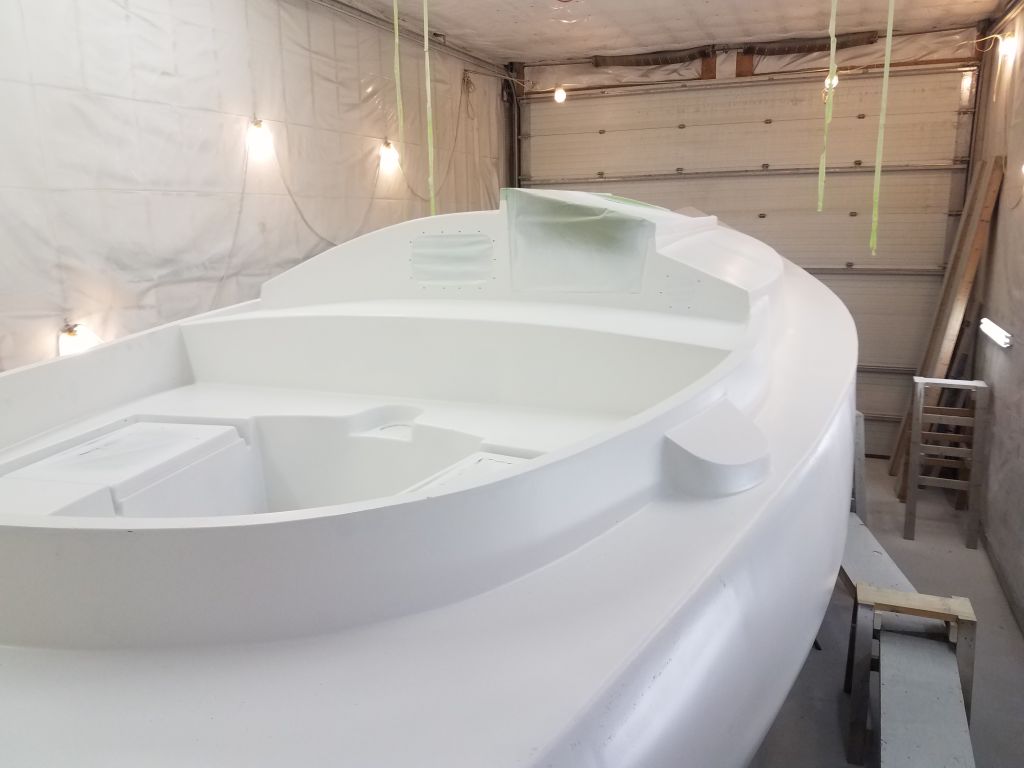
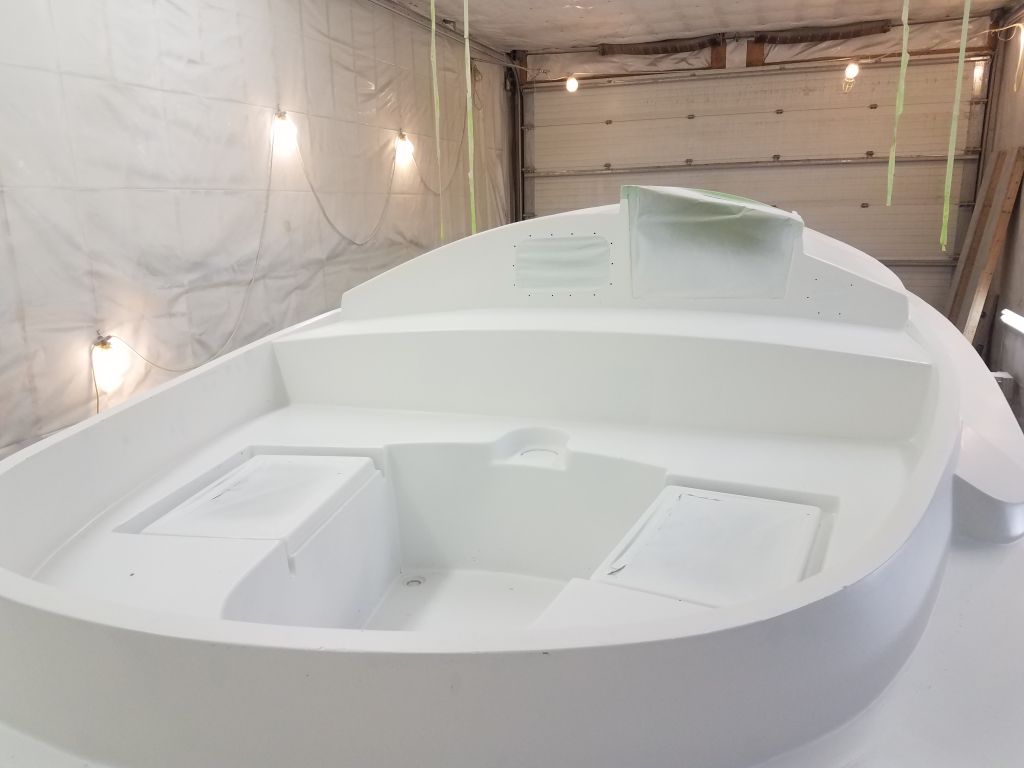
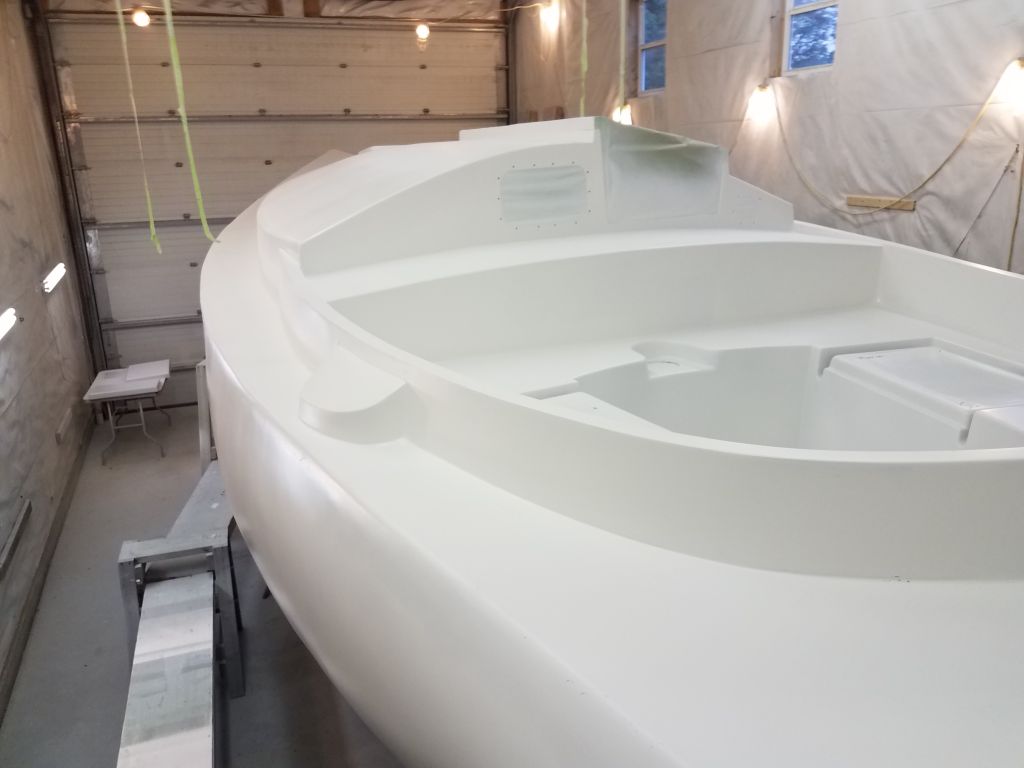
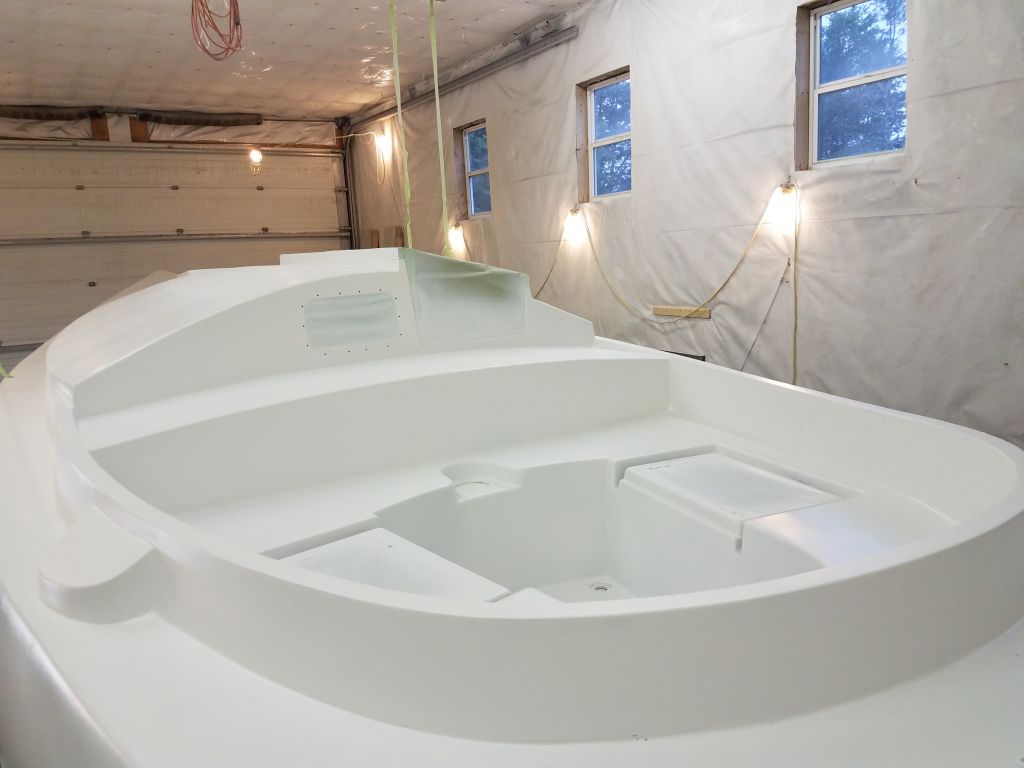
After final preparations, I began the high build application with the most central portions of the deck:  the cockpit well, bridgedeck, and coachroof.  I trod upon the masking paper I’d set up previously to avoid stepping on the clean, prepped deck.  I applied three sprayed coats of Alexseal epoxy high-build primer to these areas, then removed the paper and applied three coats of the primer to the remaining deck areas, including the cockpit seats, coamings, remainder of the coachroof, foredeck, cabin sides, and sidedecks.

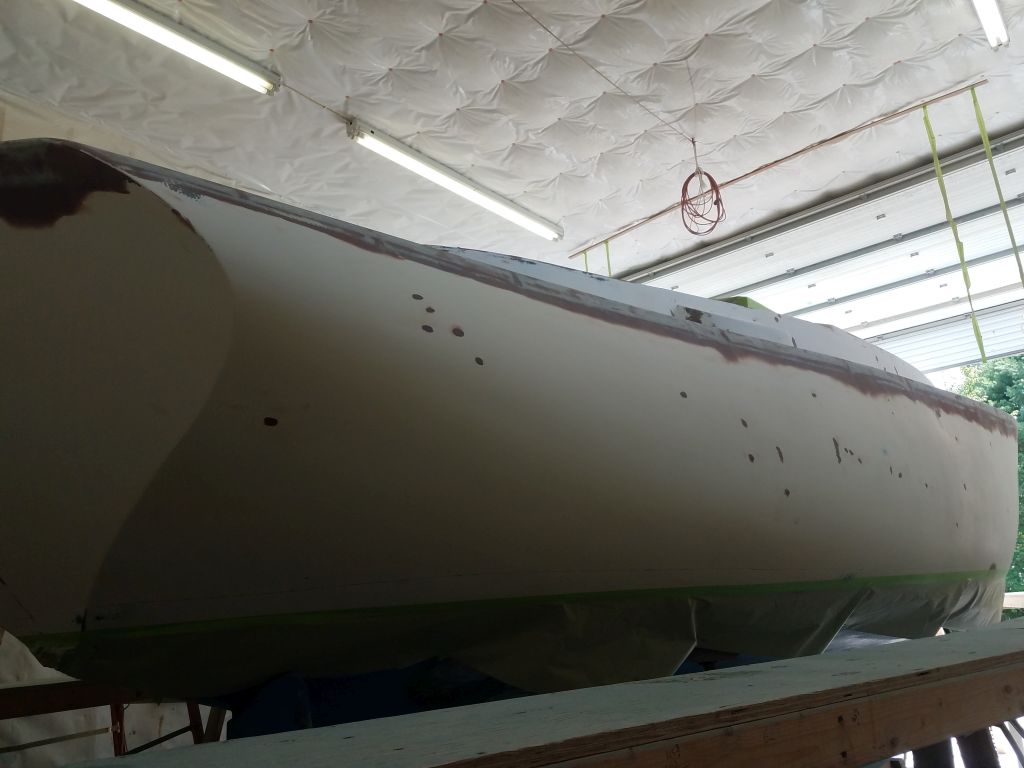
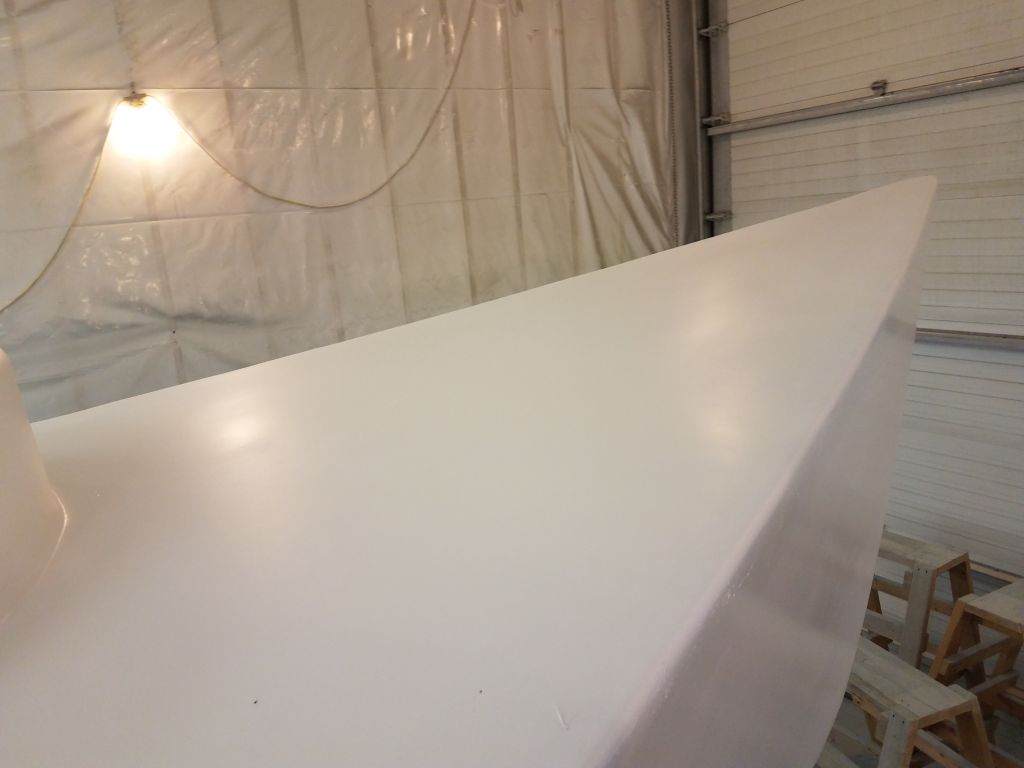
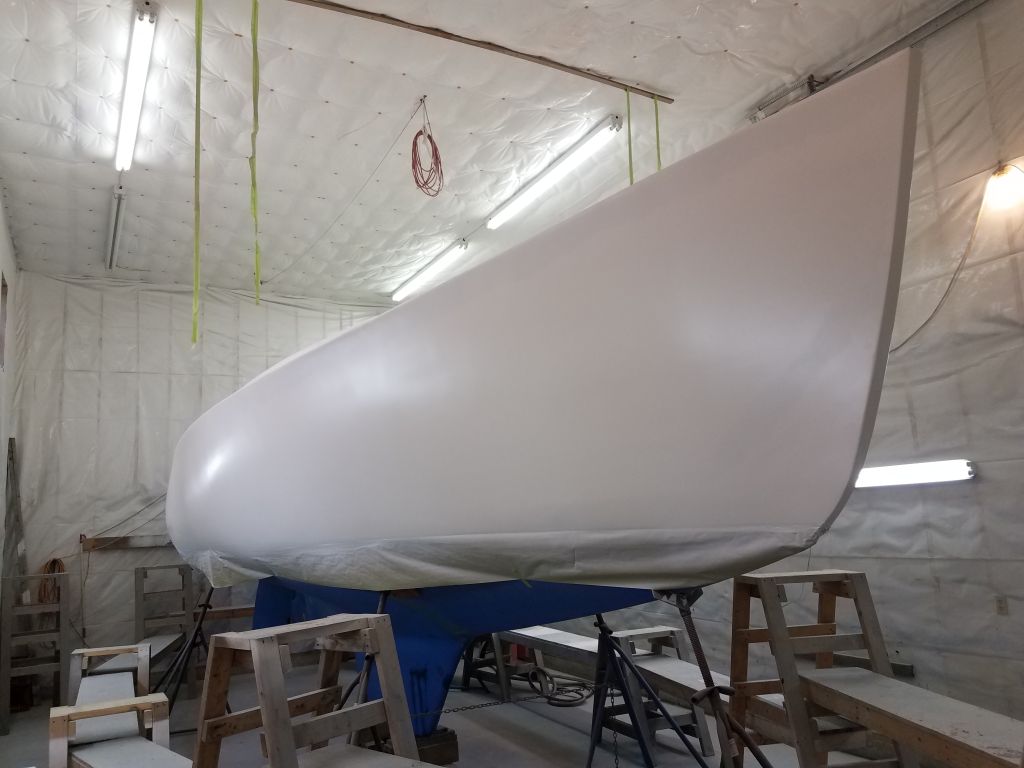
With three coats on all deck areas, I moved the staging planks down to the lower height required for hull access, and sprayed three coats of the primer on the hull as well, completing the day’s work and transforming the appearance of the boat.

Total time billed on this job today:  8 hours

0600 Weather Observation:  48°, clear.  Forecast for the day:  Sunny with increasing clouds, chance of a thunderstorm later, 74°

Scupper 55

< Back to Scupper

Thursday

I spent the morning working on the final details of pre-primer prep, including setting up spray gun equipment, pre-stirring the always-settled paint cans, final deck and hull preparations including tack-off, and other related tasks.

Next:  high build primer.

Total time billed on this job today:  2.5 hours

0600 Weather Observation:  Mostly cloudy and low fog, 68°.  Forecast for the day:  Partly sunny, 82°

Scupper 54

< Back to Scupper

Wednesday

Moving forward with the final preparations leading to high build primer, I began the day vacuuming the interior and decks, and cleaning up the boat and shop to remove dust.  Afterwards, I solvent-washed the decks so I could start to mask off the various openings before spraying, starting with forward hatch and any other openings accessed from the cabin, including the two forward-facing port openings.  In the engine room, I masked over the cockpit scuppers and compass hole from beneath, and I crawled aft to mask over the new lazarette hatch from within as well.

With interior work complete, I masked over the companionway opening and wooden slide rails, as well as the large opening port in the aft end of the cabin.  In the cockpit, I masked the rudder post and the two locker openings.

To continue working on deck, as well as prepare for spraying ahead, I had to set up the staging to deck height again.  Before I did so. and while access to the hull was clear, I applied some masking paper below the previously-masked waterline mark, to protect the bottom from overspray when I sprayed the hull.  Then, I set up the staging as needed.

Continuing on deck, I solvent-washed the cabin sides and sidedecks, then masked over the six elliptical port openings in the cabin sides.

Now I solvent-washed the hull, getting what I could reach from the staging, then moving to the floor to finish up the last parts.  Like the decks, this was a basic solvent wash with paint thinner to remove the bulk of the dust and/or prepare for masking  tape.

With all the other prep now complete, I washed down the staging and floor with water to calm and remove any final dust, then turned to the final solvent wash of hull and deck, this time with the paint system’s proprietary wipe-down solvent intended for the task.  On the decks, I added some paper, well-taped in place, on which I’d need to stand or kneel during the first parts of the spraying later on, so I could reach the centermost portions of the coachroof and the cockpit well.

Several final preparation steps remained, and I’d complete those next time.

Total time billed on this job today:  7.5 hours

0600 Weather Observation:  Clouds, fog, drizzle, humid, 75°   Forecast for the day:  Clouds and sun, humid, chance of showers or a thundershower, low 80s°

Dory 7

< Back to Oyster Dory

Friday

Now that the fairing filler had cured, I lightly sanded it as needed, completing the initial rounds of prep work.  The boat was now ready for new fiberglass (to over-tab the existing seam near the bottom of the topsides), and, eventually, primer, paint, and other new work on the interior.

Total time on this job today:  .75 hours

Dory 6

< Back to Oyster Dory

Thursday

After lightly sanding the initial epoxy work and cleaning up, I continued with a round of fairing filler (epoxy) to clean up some of the areas and to smooth the transition between the now-secure old fiberglass and the surrounding hull.  I planned to retab (or, more specifically, tab over) this seam once all the prep work was complete.

Total time on this job today:  1.5 hours

Dory 5

< Back to Oyster Dory

Tuesday

After final preparations and cleanup, I used a mixture of thickened epoxy to begin some of the minor repairs needed, including filling some of the dry-rotted areas of transom and “sole” inside the boat, and regluing the loose existing fiberglass on the port side of the hull (and a smaller area to starboard).  As needed, I used temporary screws (covered with tape to avoid epoxy getting in the screw heads) to secure the tabbing to the hull while the epoxy cured.

Total time billed on this job today:  2 hours

Dory 4

< Back to Oyster Dory

Thursday

Once I received a replacement pad for my sander, I could turn to the exterior of the hull and sand/prep this area for the work ahead.  I concentrated on the areas requiring fiberglass work, but went over the entire surface as needed to remove loose paint and otherwise prepare the surface for new work.

Total time billed on this job today:  1.5 hours

Dory 3

< Back to Oyster Dory

Wednesday

To begin the surface preparations, I used a putty knife to scrape away any loose paint and fiberglass sheathing from various areas, especially the transom (which had been fully sheathed on the outer side) and portions of the lower hull on each side.  I had to stop short of what I might do in other circumstances–i.e. additional. more complete surface prep–because frankly, the boat simply wasn’t worth that amount of effort given its entry price, existing condition, and my intended use.  I kept repeating the mantra:  workboat finish, workboat finish.   This is not to excuse poor work, but simply the practical understanding that this old boat was basic in nature, old and well-used, and my time didn’t need to be spent on spit and polish–and indeed, any such attempts would be wasteful.  That said, I wanted the boat to be sound, and to look decent when complete, but in the end if I wanted it to be more of a showpiece, I’d be better off simply building new.  But for now, I just wanted to bring this particular boat back and up to a usable and acceptable standard.

With the scraping complete, I began to sand the inside of the boat to remove loose paint and clean up any areas as needed to prepare for new finish and repairs.  Before long, though, the pad on my sander disintegrated, forcing me to use a less-aggressive sander that I had on hand to continue the work.  No replacement pads were available locally, so I had to order what I needed before I could continue using my favorite and most effective sander.   As a result, I worked only on the interior for now, as I knew I wanted/needed the better sander for the hull and to prepare the damaged fiberglass areas for repair.

With the interior sanding complete–this was where I really had to start saying “good enough” for my prepwork–I turned to the first of the repairs I had in mind:  refastening the plywood hull panels to the interior frames.  There were four double-thick plywood frames on each side, plus a single thickness of plywood for the forwardmost frame on each side.  The hull had pulled away from the frames, and I planned to install new screws from outside to pull the hull back in tightly.

At each of the eight frame locations (I didn’t need to fasten to the forwardmost pair of frames, as these areas were tight as is), I drilled pilot holes and counterbores for #10 x 2″ galvanized screws, which I installed and used to pull the hull sheathing back tightly to the frames.  I used three to five screws at each frame location as required.  Please refer to some of the original-condition photos to see the gaps between the frames and hull in their original condition.

Total time on this job today:  3.5 hours

Scupper 53

< Back to Scupper

Monday

Now that the hatch frame was secured in place, I cleaned up and lightly sanded the area as needed to remove any excess epoxy and otherwise prepare the surfaces for the next steps.

Afterwards, I applied a cosmetic epoxy fillet to the transition between the frame and the deck.  I kept the fillet radius small because the frame itself was nearly flush with the deck amidships, at the height of the crown, and there was no need for a large fillet in any event.  The fillet roughly matched the contour of the top edge of the frame, which I’d eased during construction.

Once the new fillet cured overnight, I water-washed, then lightly sanded as needed to prepare the exterior of the hatch frame for high-build primer, after which I’d complete any further fine-tuning if necessary, along with additional work on the inside of the frame to finish off and better secure the opening from within.

Next:  final hull and deck preparations before high-build primer

Total time billed on this job today:  1 hour

0600 Weather Observation:  62°, fog.  Forecast for the day:  Clearing, 80s

Dory 2

< Back to Oyster Dory

Friday

The first steps in any project always involve assessment and dismantling, and the dory was no exception.  Now ready to begin the restoration (using the term quite loosely), I once more inspected the vessel and documented the initial condition for posterity.  The nature of the boat’s requirements and design mantra meant that construction was basic and functional–no frills or fancy detail to be seen in this pure workboat.  The bottom and transom were constructed of 2″ thick rough planks, while the topsides were 3/8″ thick plywood (it appeared to be pressure-treated ply), with laminated plywood frames, solid wood floors (using true nomenclature here to refer to the structural cross members across the bottom of the boat and connecting the frames), and gunwales formed from basic inexpensive strapping material.

At the bow, there was a built-on, raised section, known as tong boards, where an oyster fisherman would stand and rest the long-handled oyster tongs for harvesting the shellfish.  While the tong boards had no particular use for me and how I planned to use the boat, I liked the look and planned to keep them.

Most of my work on this project would revolve around various fiberglass repairs to deal with the loose sheathing on portions of the hull, and to generally clean up and improve the appearance of the boat.  In the main, the overall structural condition was fairly sound and would do what I needed (which wasn’t much), and my biggest challenge with this project would be to limit my natural inclination to do more or make a better finish, rather than keep this basic boat at the workboat-level finish and quality of repair needed.

To begin, I removed whatever I could from the interior, including the cross thwarts, some stringers at the transom corners, wooden blocking on the bottom (purpose still unknown), and some of the aluminum sheathing from the tops of the tong boards.  I was interested to see that these sheets were actually recycled road signs–the real question was, were they old signs that someone repurposed, or (just as likely) did someone help themselves to the handy supply of road signs still in use by the side of the road?  During this dismantling, I had to wait several days before I could remove all the through-bolts securing the aluminum signs fastened to the transom, as the threads were stripped on several bolts and I didn’t have a cutting tool on hand at my remote shop.  Eventually, I got the tool I needed and removed the offending bolts, completing the dismantling process.

Total time on this job today:  1 hour

Older posts Newer posts