(page 1 of 3)

Skeedeen 22

Monday

Over the weekend, I finished up the work on deck with the new hatches.  Satisfied now with the state  of cure of the deck paint, I went ahead and installed the four new rectangular hatches in the existing openings, following all my usual installation standards:  mask, sealant, install, clean up.

I continued with the two small round hatches above the fuel tanks.

Once the sealant had a chance to cure, the project  was complete, and I got ready to move the boat outdoors for storage.  Using an existing framework provided by the owner, I set up the support for the boatcover while the boat was still indoors, then, later, moved her out and installed a new tarp.  This ended up just short at the gunwale amidships on on one side, but I planned to install another, smaller tarp over the top to take care of this minor area.

Total time billed on this job today:  5 hours

0600 Weather Observation:  31°, light snow.  Forecast  for the day:  light snow throughout the day, insignificant accumulation, around 32°

Dharma Rose 1

Tuesday

Earlier, I moved the boat indoors; she had her own trailer, making this move, and future moving needs, quite convenient.  There was a bit of snow on deck from a storm a few days earlier, so I left the boat overnight to melt off before getting down to business.

The first thing to do was to remove the mast from its deck storage position, which I did with my gantry.  I stored the mast outdoors, where my rigging contractor would soon be able to access it for rigging replacement and other work as needed.

She was a little askew on the trailer, angled slightly fore and aft and listing to starboard, so I spent a little time straightening her up and leveling the boat side to side.    The project would begin in earnest after the holiday weekend.

Total time billed on this job today:  1.5 hours

0600 Weather Observation:  31°, cloudy, maybe a snowflake.  Forecast for the day:  Snow, 3-6″ expected

Skeedeen 21

Friday

I felt comfortable now doing some work while walking on the cockpit sole (stocking feet only), so I got to work finishing up installing the rest of the varnished trim, including the companionway doors, side panels, and other trim pieces, along with the forward bow for the bimini top and whatever remaining miscellany there was.

I really wanted to install the four new deck hatches, pretty much the last item on my list, but I just didn’t think the decks were quite ready for the final installation with sealant and required masking and cleanup steps.  Reluctantly, though not unexpectedly, I decided to postpone it till after the weekend, which would give the new paint a lot of additional cure time.  The paint was dry and harder than the day before, but full cure takes time and I didn’t want to risk damage.

I did lay out the hatches and double-check the fastener locations, which lined up with the originals, and prepared each screw hole with a little countersink at the top edge in my usual way.  Then, I set the hatches aside to await the beginning of next week, when I could wrap up the installation and also this project.

One little detail remained.  When I removed the windshield wiper motor (erroneously, as it turned out), I’d also removed the little trim piece hiding the wiring, and while I could have re-used it if I’d had to, it had suffered a little damage, and it was hard to remove the tiny nails without causing even greater damage.  So I decided to build a new one, which I did.  I made it a bit larger in width so there would be enough wood there to accept screws, rather than nails, to secure it, making it removable down the line.  It was just a simple piece with a dado in the back to accept the wiring, cut to angles at the ends to match the original.  Once I’d completed the milling and screw holes, and sanded it smooth, I applied the first of several coats of varnish that I’d do before installing it on the boat (which probably wouldn’t happen till spring, or at least not till the boat was back outdoors).

Total time billed on this job today:  3.5 hours

0600 Weather Observation:  26°, snow, about 2″ down.  Forecast for the day:  Snow and mix, a couple more inches or so, 29°

Skeedeen 20

Thursday

The new nonskid had cured overnight, and now I could remove the final bits of masking tape and paper from around the boat, exposing the final product.

The paint was still pretty soft, so I didn’t want to overdo how much I walked on it, so while I wanted to continue the work to wrap up the project, I avoided the cockpit and focused on the areas I could reach from staging or the coachroof, and over the course of the morning I reassembled the various hardware I’d removed at the beginning of the project, including the enclosure snaps, windshield wipers, chafe protectors at the breast cleats, anchor roller, and bow chocks.

Later, I reassembled the hinges and hardware on the companionway top and bi-fold doors, but I waited on doing any additional work in the cockpit for now to avoid overtaxing the fresh deck paint.

Total time billed on this job today:  4.5  hours

0600 Weather Observation:  12°, clear.  Forecast for the day:  Sunny, around 30°

Skeedeen 19

Wednesday

Starting with the cockpit, I applied the second, textured coat of the KiwiGrip paint.  The top of the engine box, a small and separate area, served as a good test bed for the application and to fine-tune the desired texture, which is variable depending on roller pressure, amount of paint, and how much one rolls the surface for the desired appearance.   I removed the tape from this area once I’d finished rolling the paint.

Afterwards, I continued with the rest of the cockpit, starting forward and working my way aft down both sides.  I removed the tape as I went, and was grateful for the extra masking and paper I’d installed, as it helped minimize damage from paint splatter, which was a considerable factor at all times.  Removing the tape covered in the thick wet paint was messy, as expected, and though in some areas it also pulled off some of the tape at the bottom of the masking paper–which had not been the plan–this didn’t cause any undue issues.  I focused only on the tape immediately bordering the paint; the remnants I could take care of later, when the paint was dry.

I continued the application on the sidedecks and foredeck.  Once more, I was grateful for the additional masking area I’d set up, as there was plenty of splatter from the application, and I only wished I’d masked off the entire area around the breast cleat and tank fills, the one area where I’d not completely covered things, but I had a wet rag ready to wipe up the inevitable splatter.  I didn’t make any attempts to remove the tape from around the hardware bases, as doing so risked too much damage to the fresh paint, so I’d have to work that off carefully once the paint dried.

The paint color was a bit lighter than I’d expected, at least immediately following application, but I thought it would darken as the paint dried, as the dried stir sticks looked like a good match to the original color choice.  In any event, the end result looked good to me.

Total time billed on this job today:  2 hours

0600 Weather Observation:  24°, clear, windy.  Forecast for the day:  Sunny, windy, 26°

Skeedeen 18

Tuesday

After final preparations, I applied the base coat of the new nonskid to all deck areas.  For this coat, I used a normal roller, the goal being to lay down a clean and consistent undercoat of the paint and color over the existing surface.  This would ensure good coverage when I did the texture coat next.

Total time billed on this job today:  1 hour

0600 Weather Observation:  34°, rain.  Forecast for the day:  Rain, 43°

Skeedeen 17

Saturday, Sunday, Monday

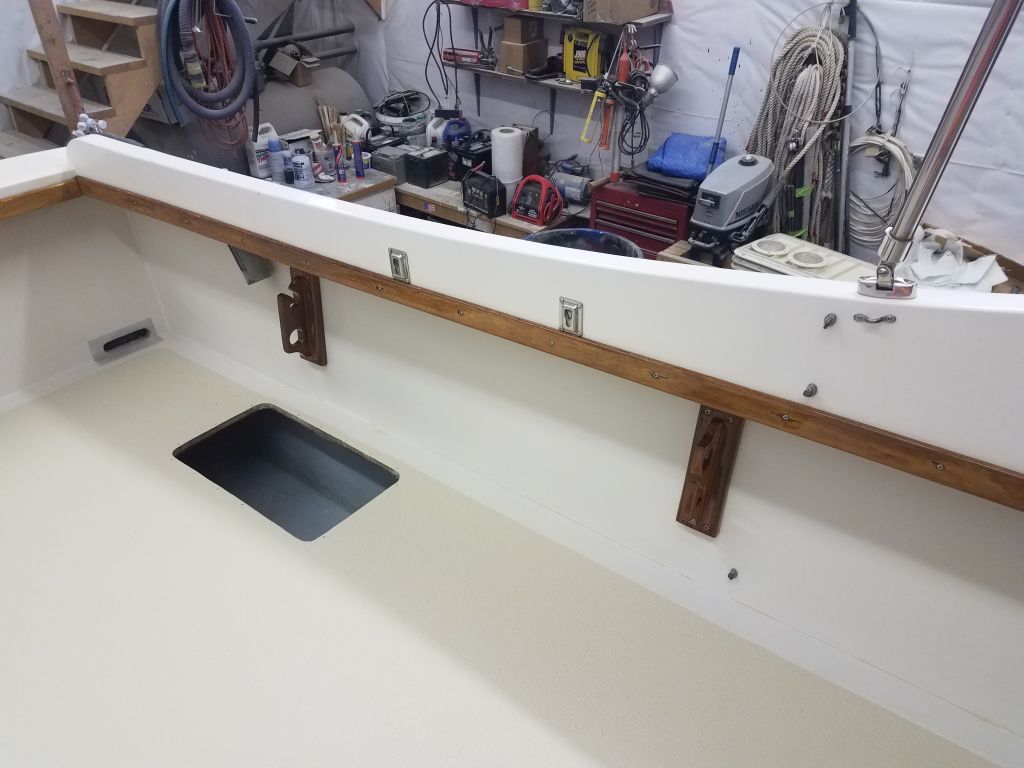
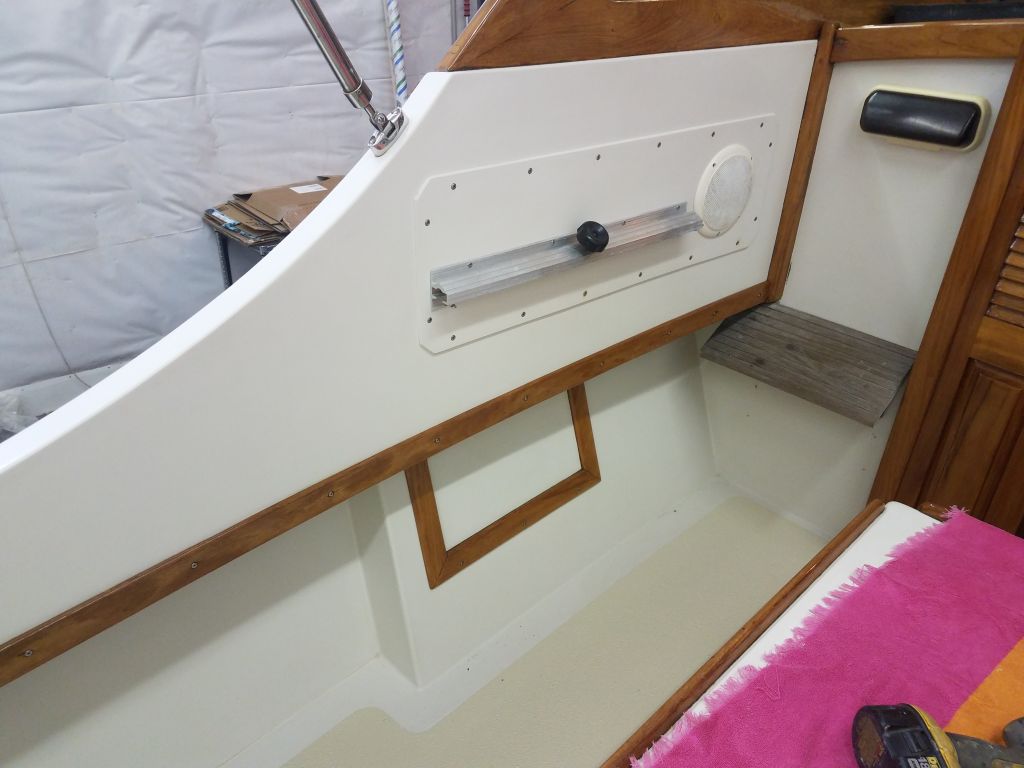
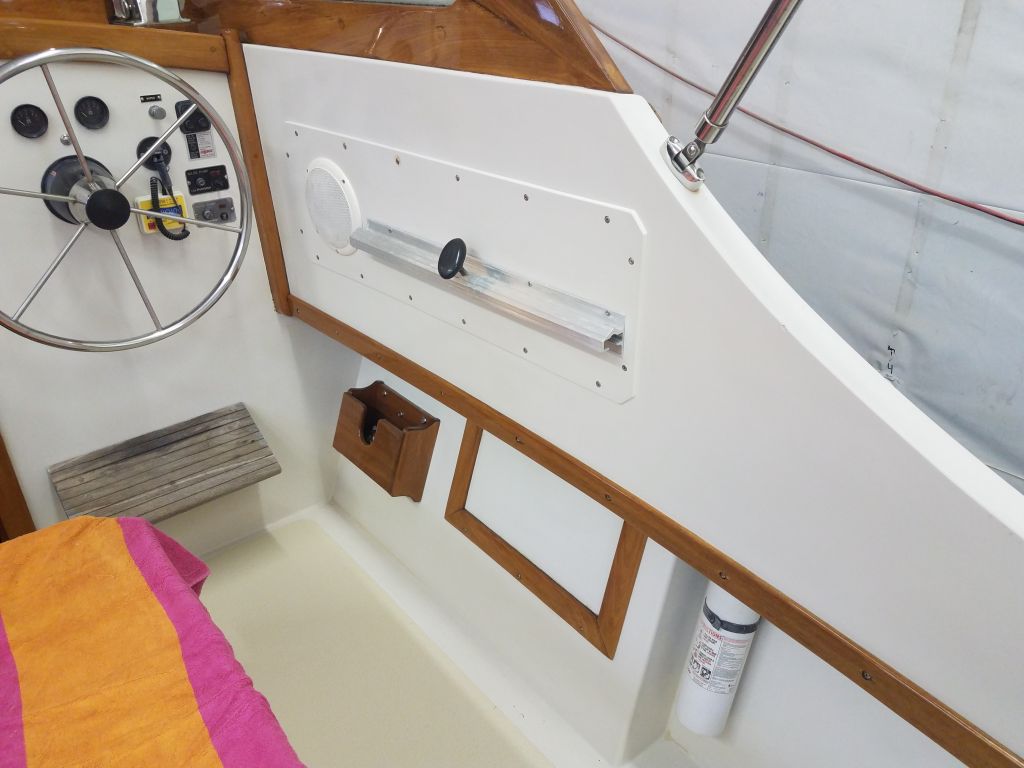
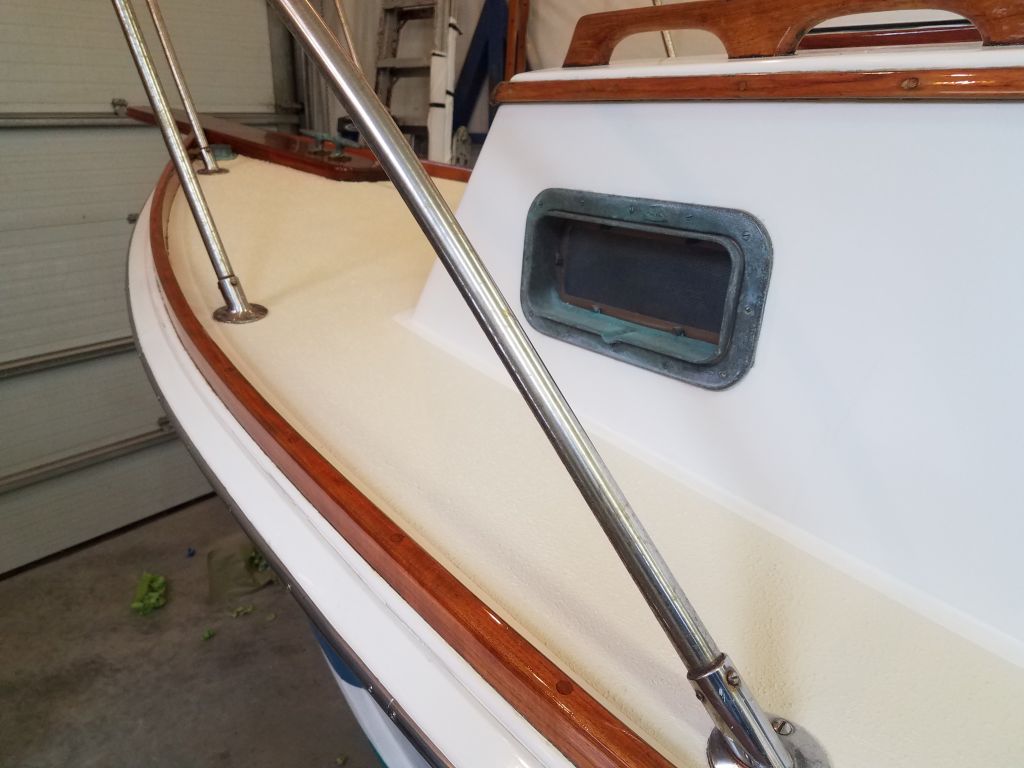
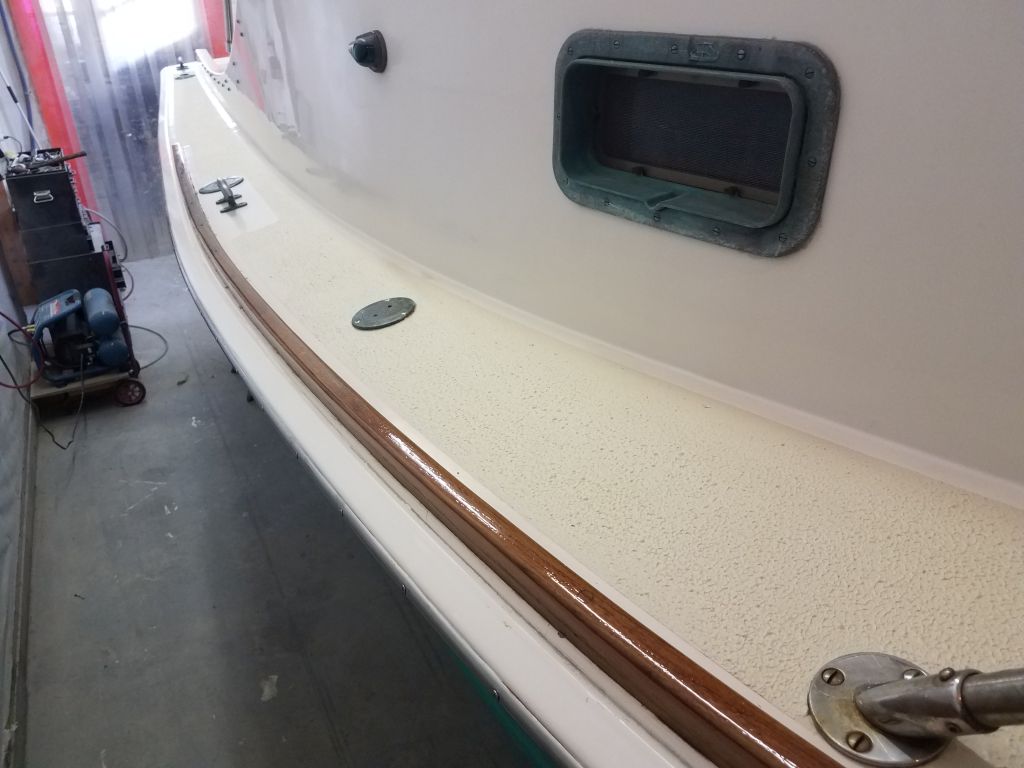
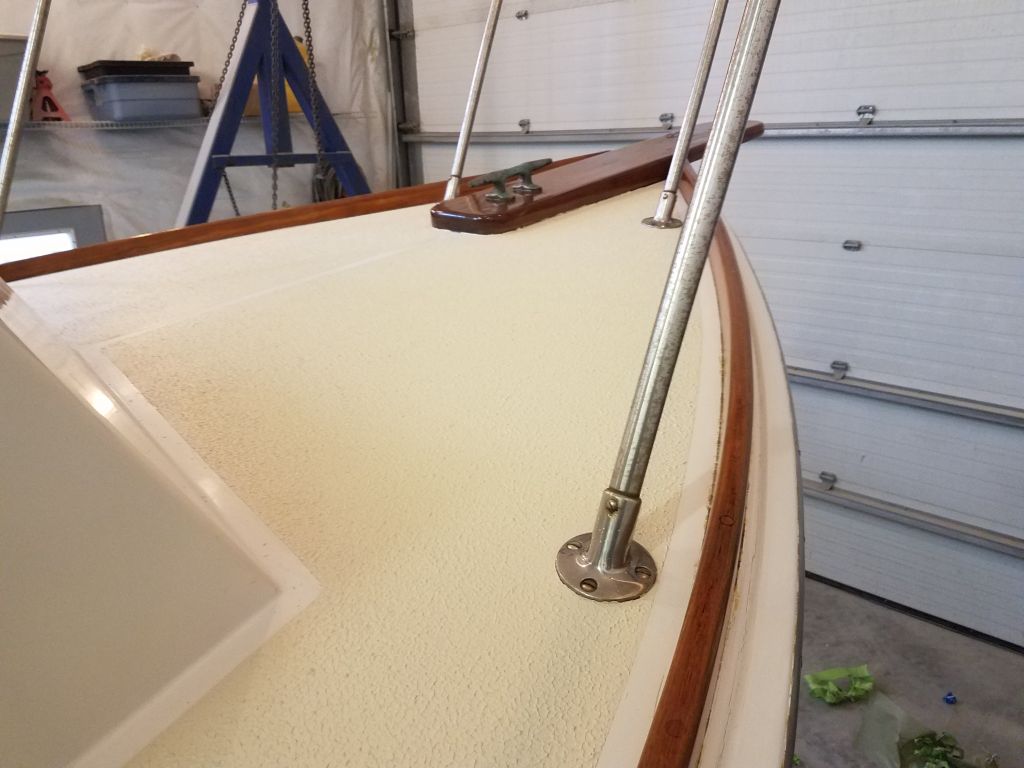
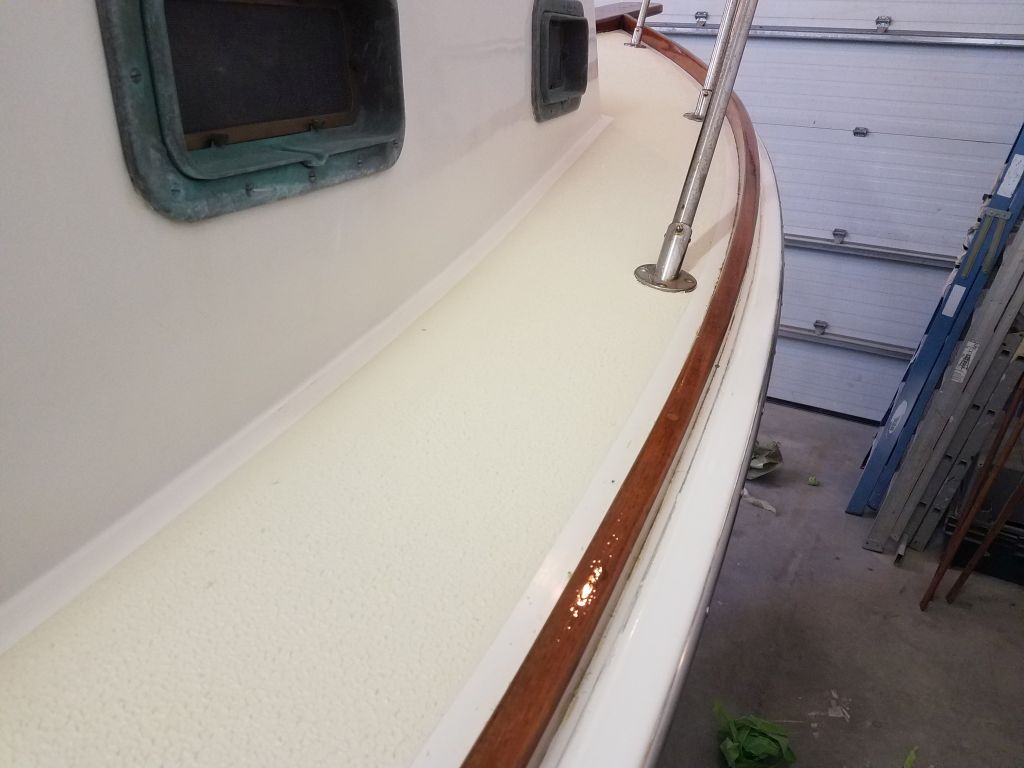
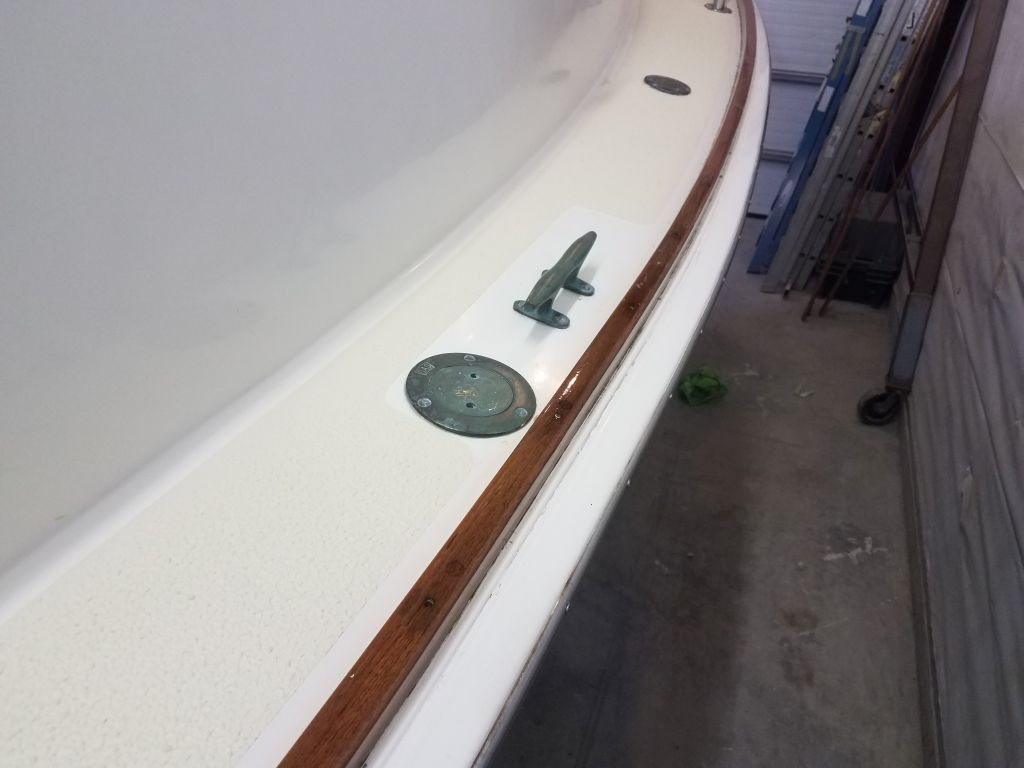
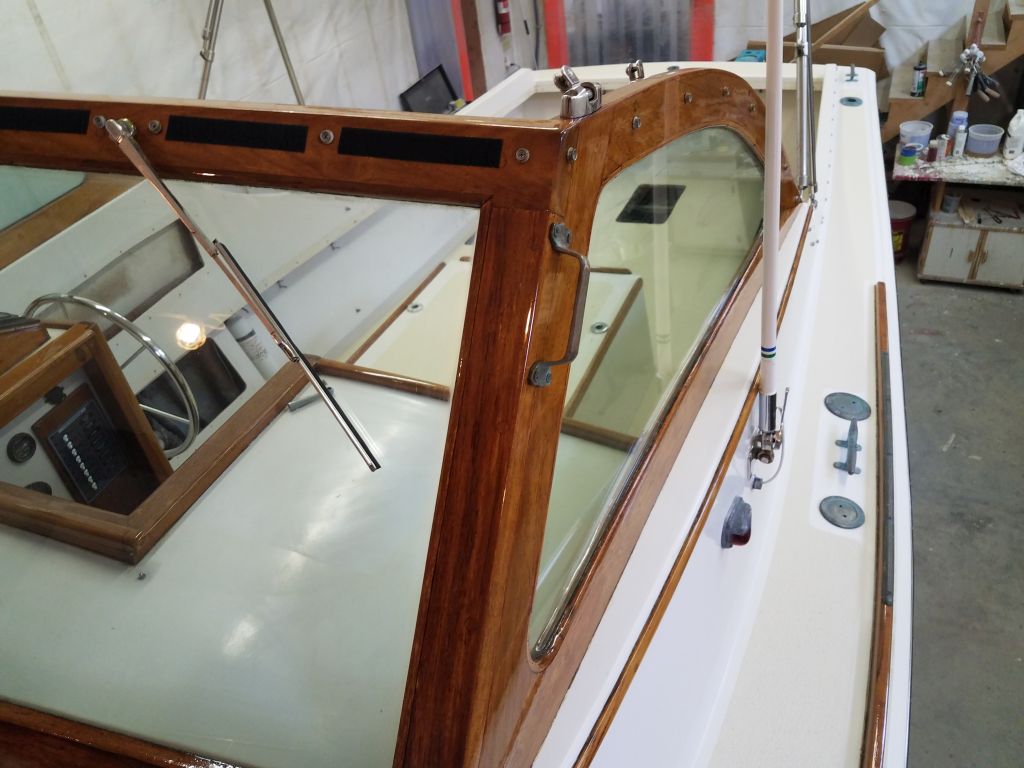
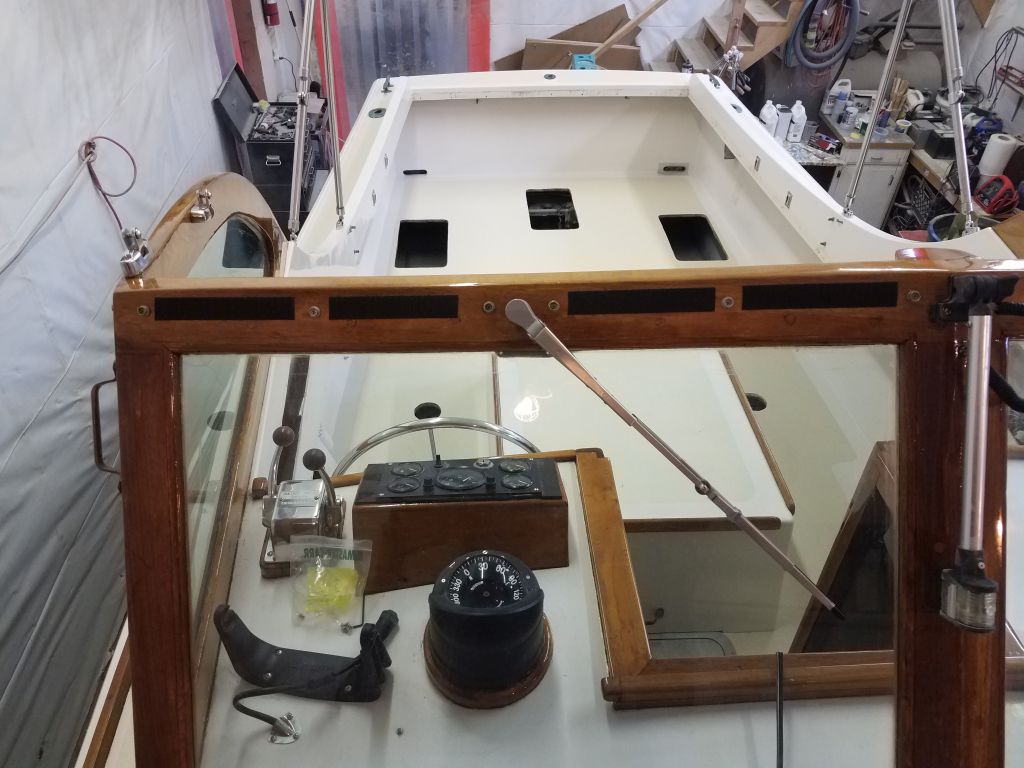
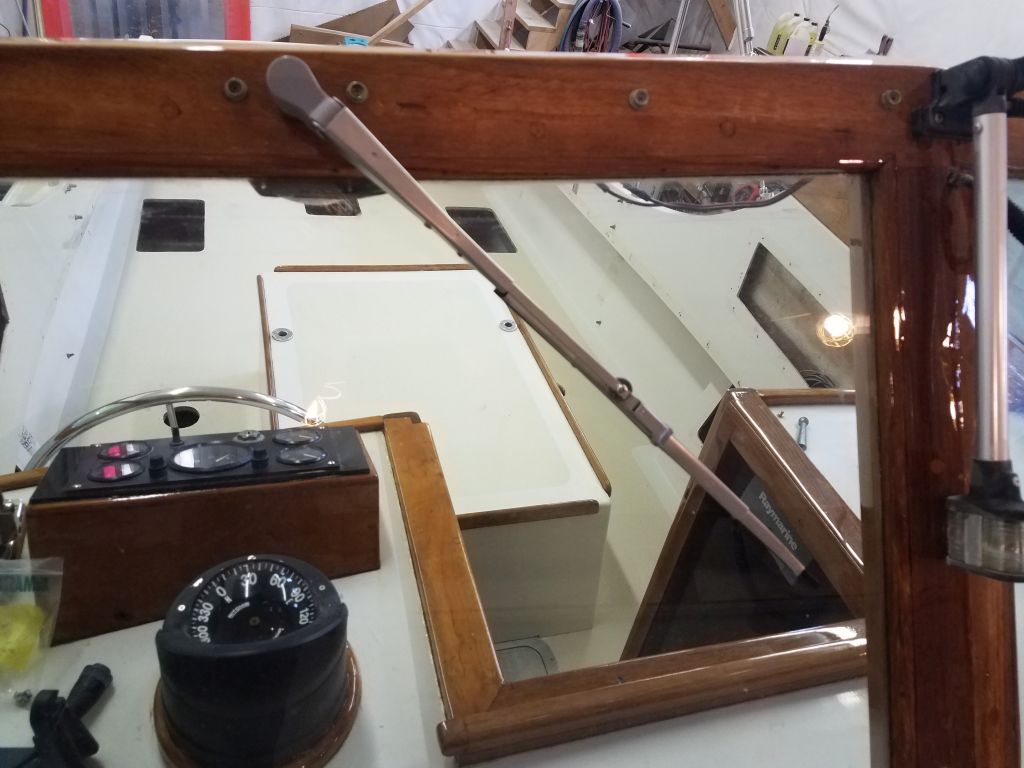
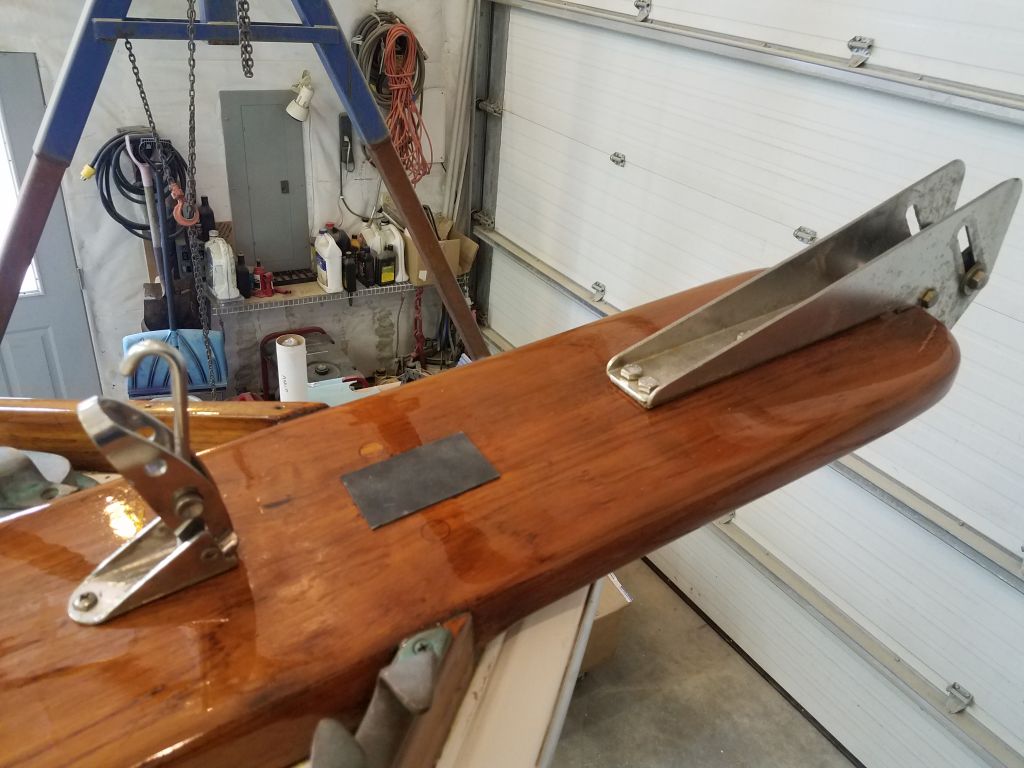
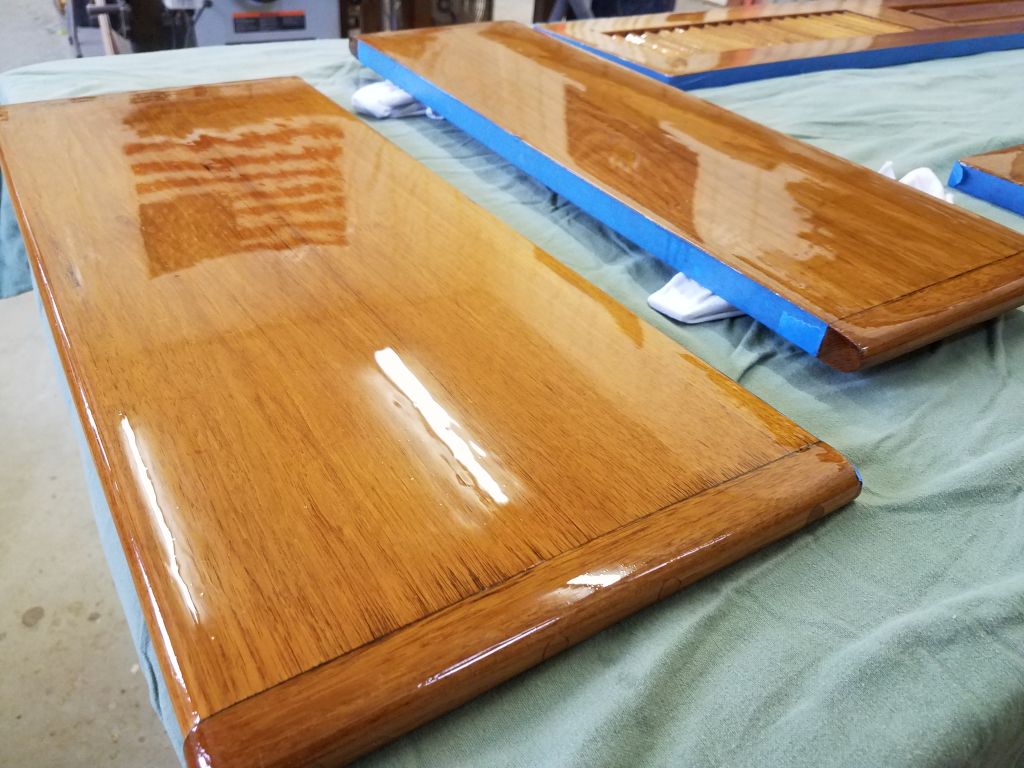
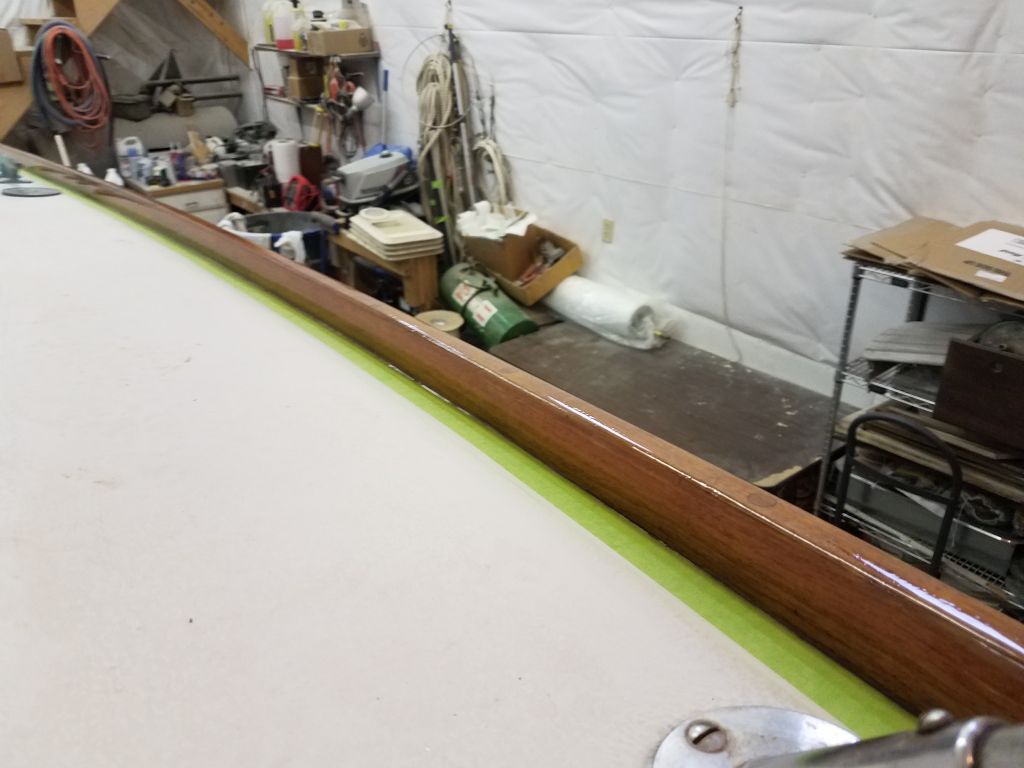
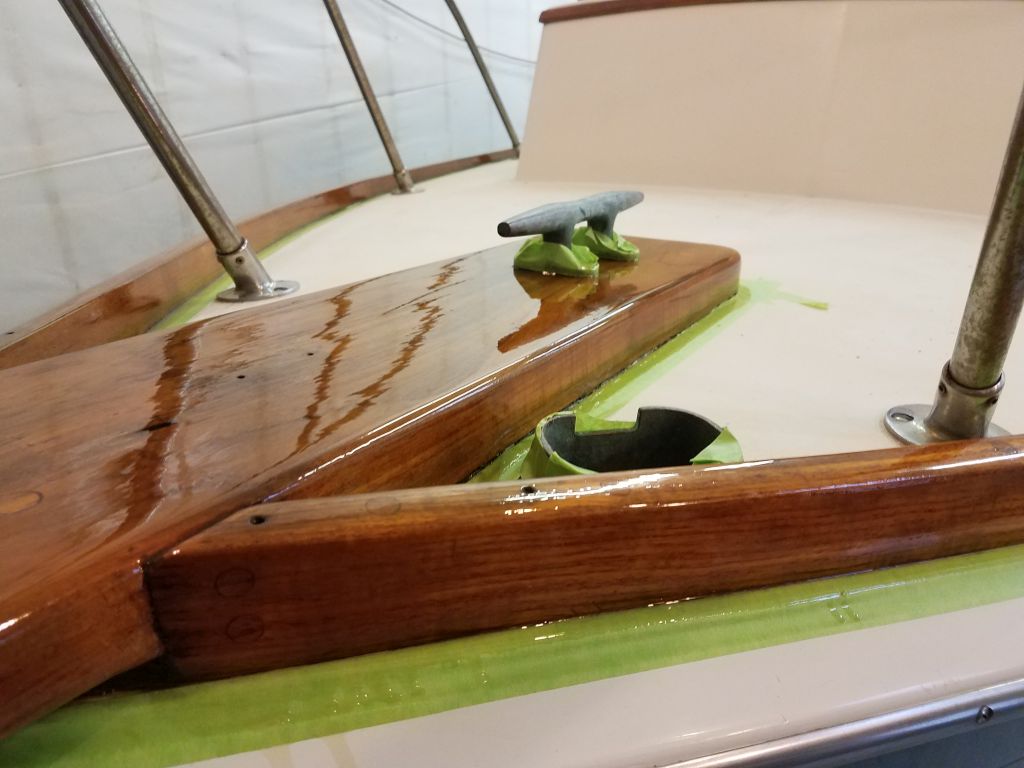
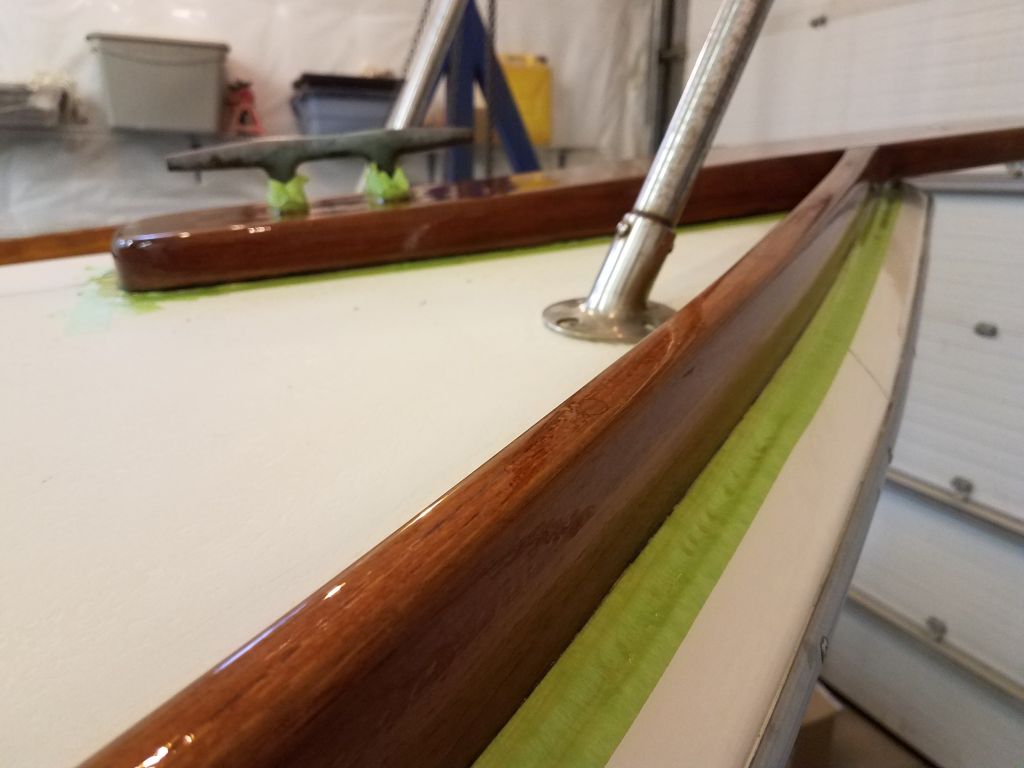
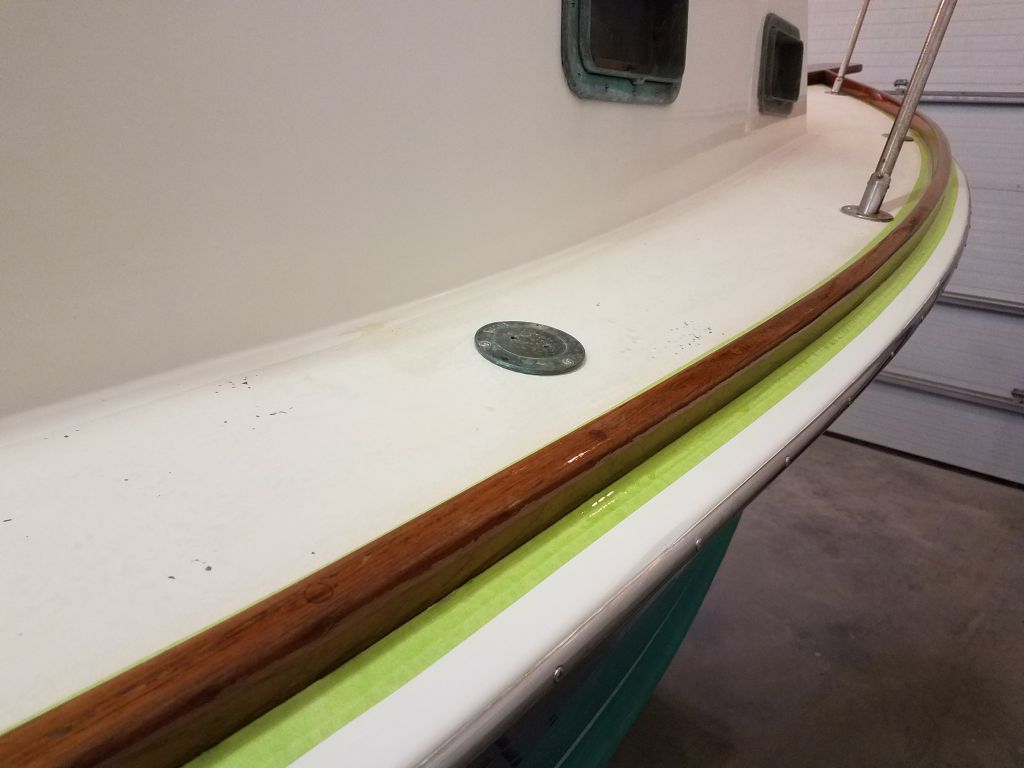
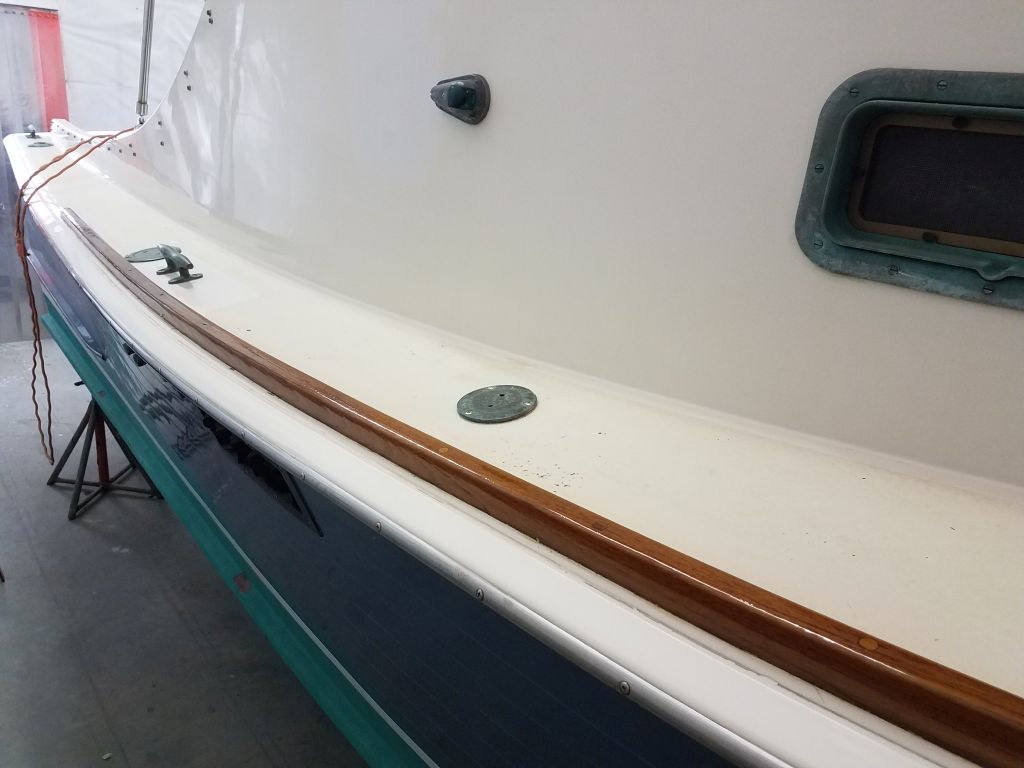
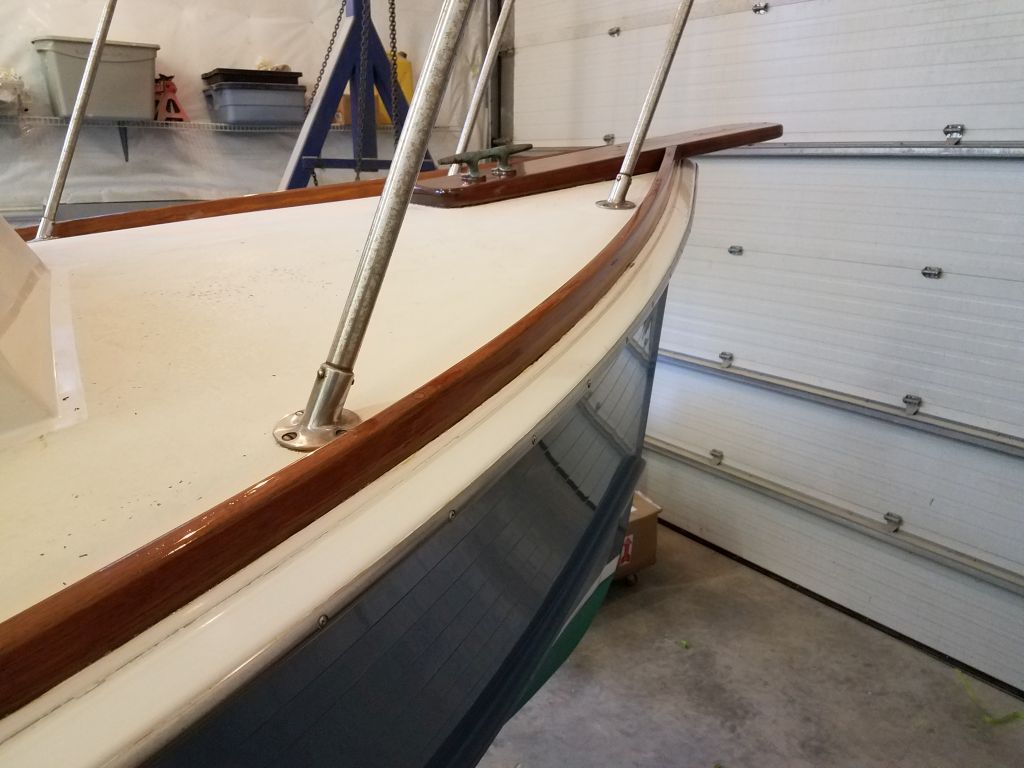
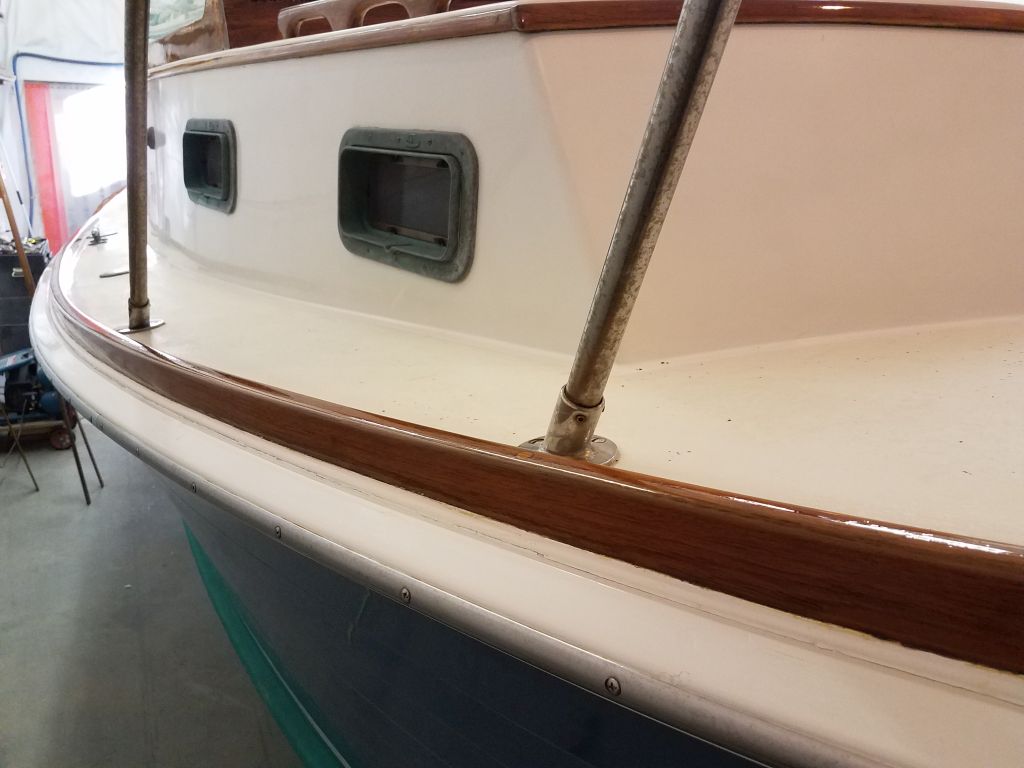
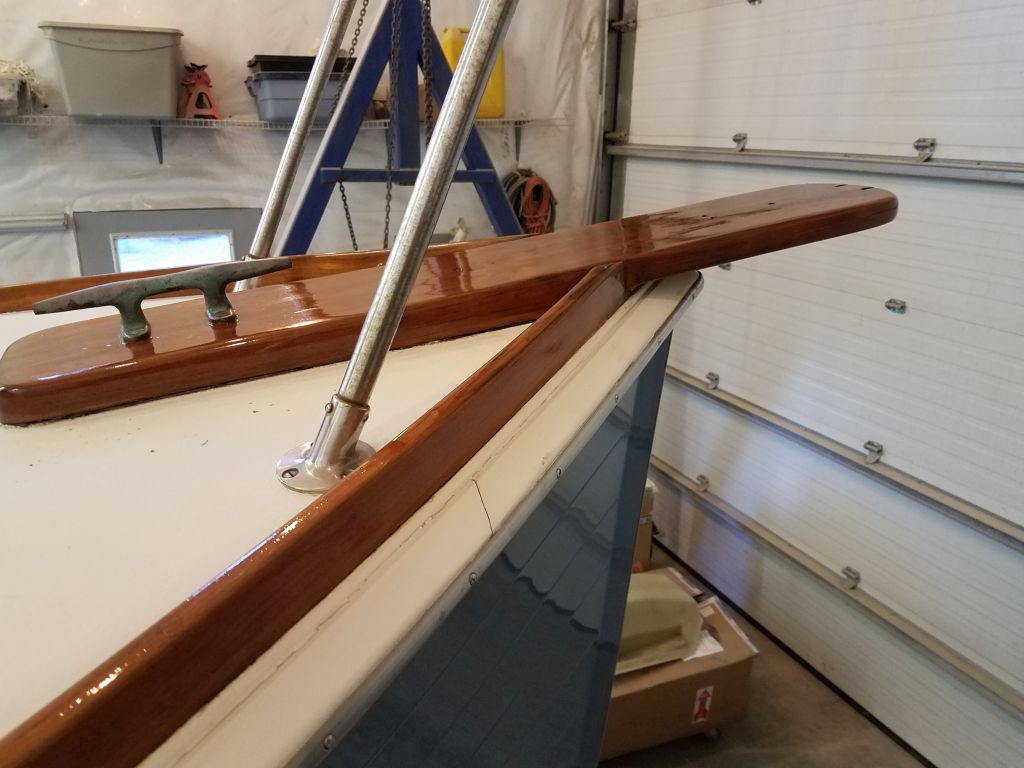
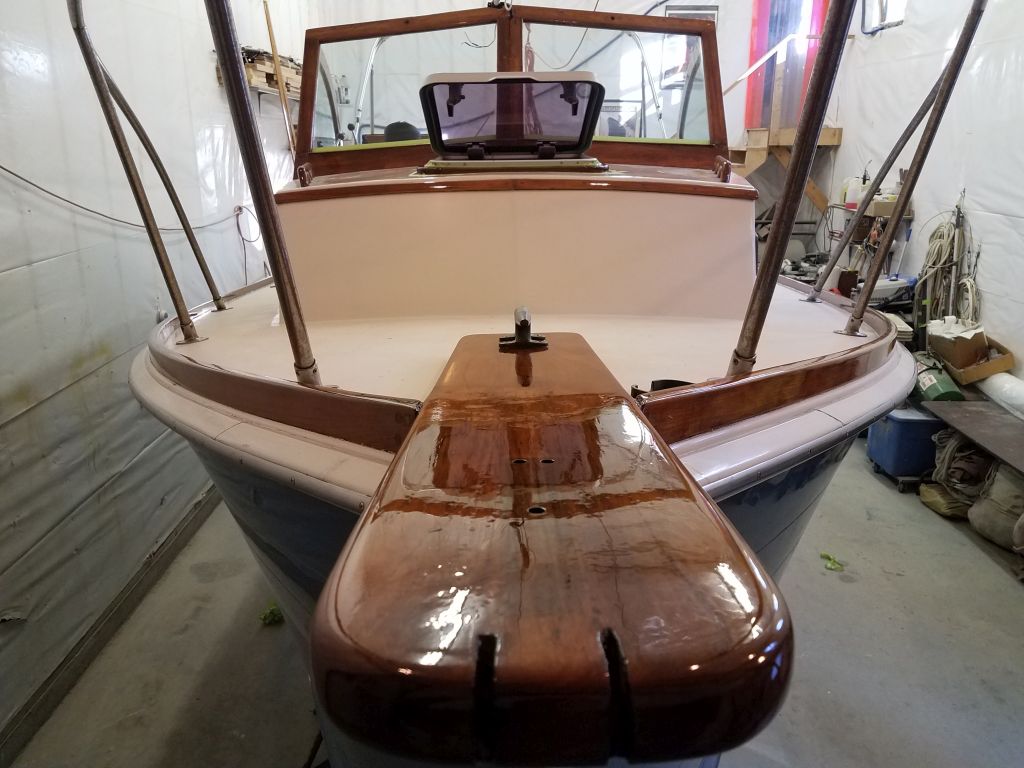
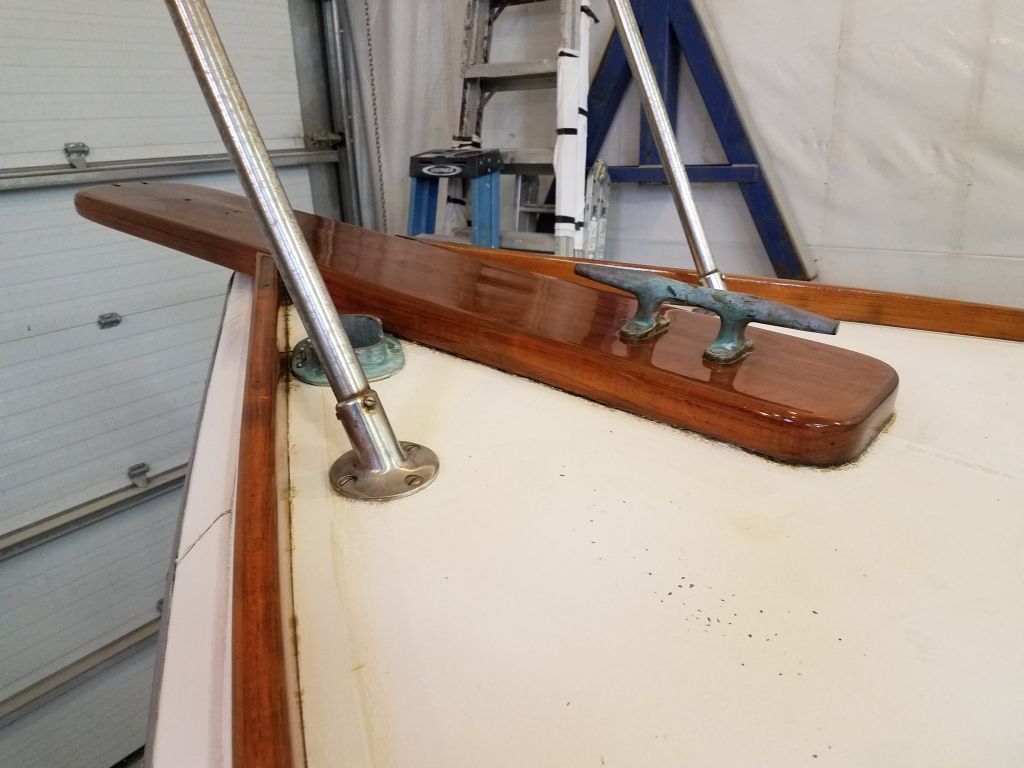
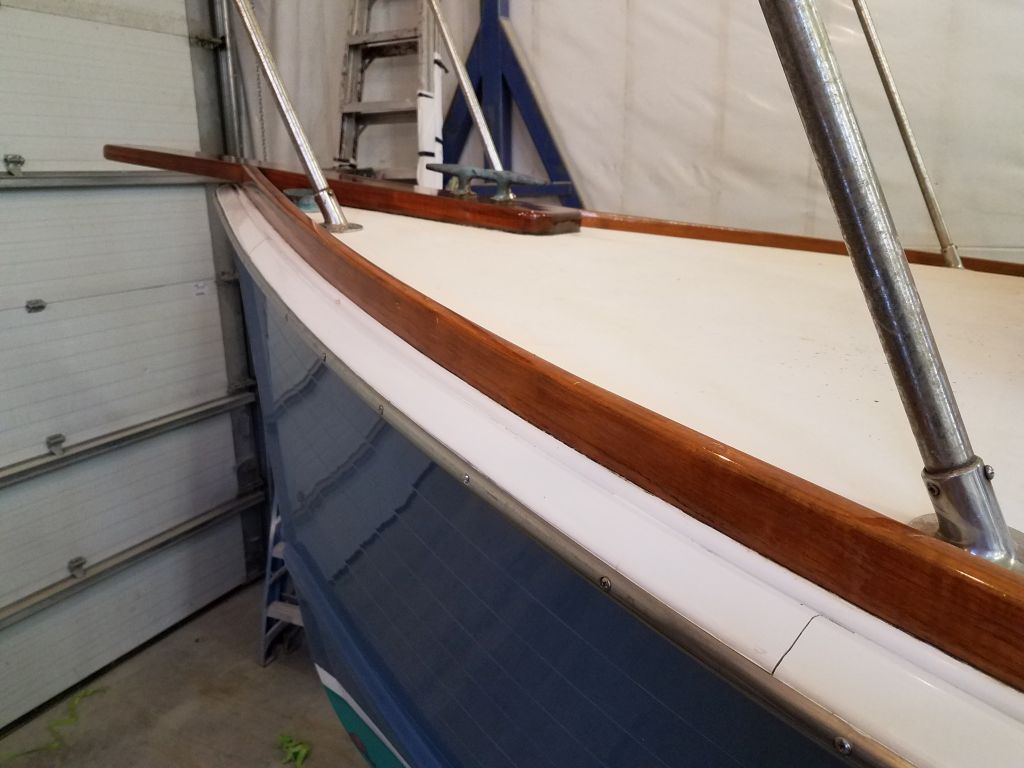
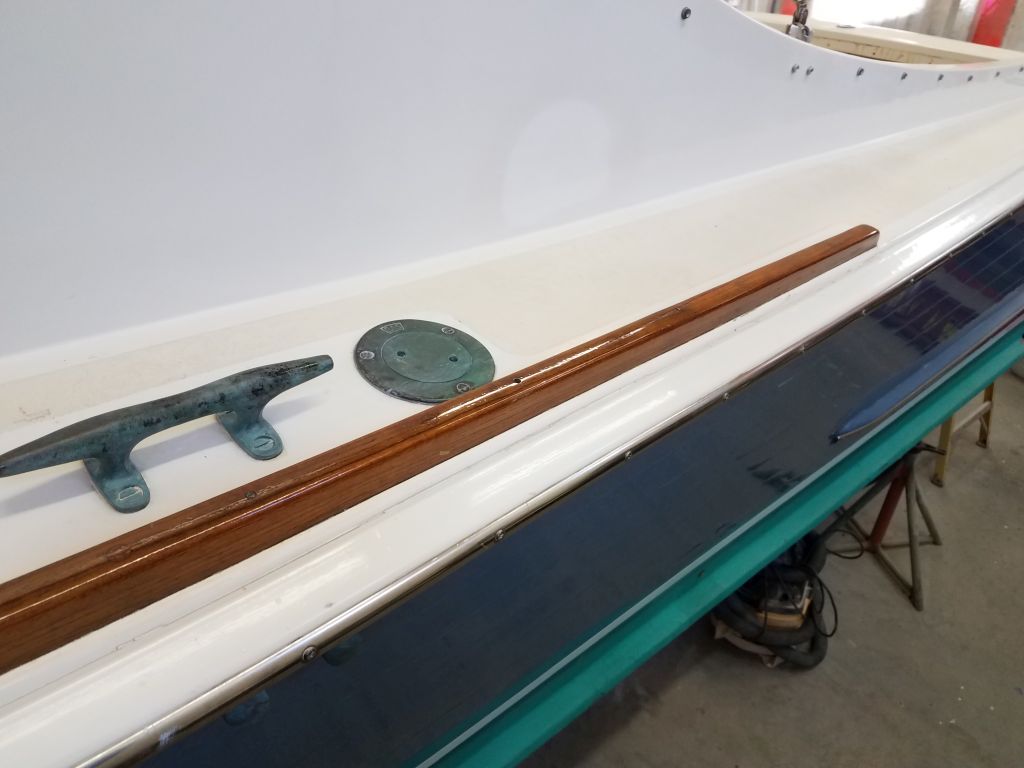
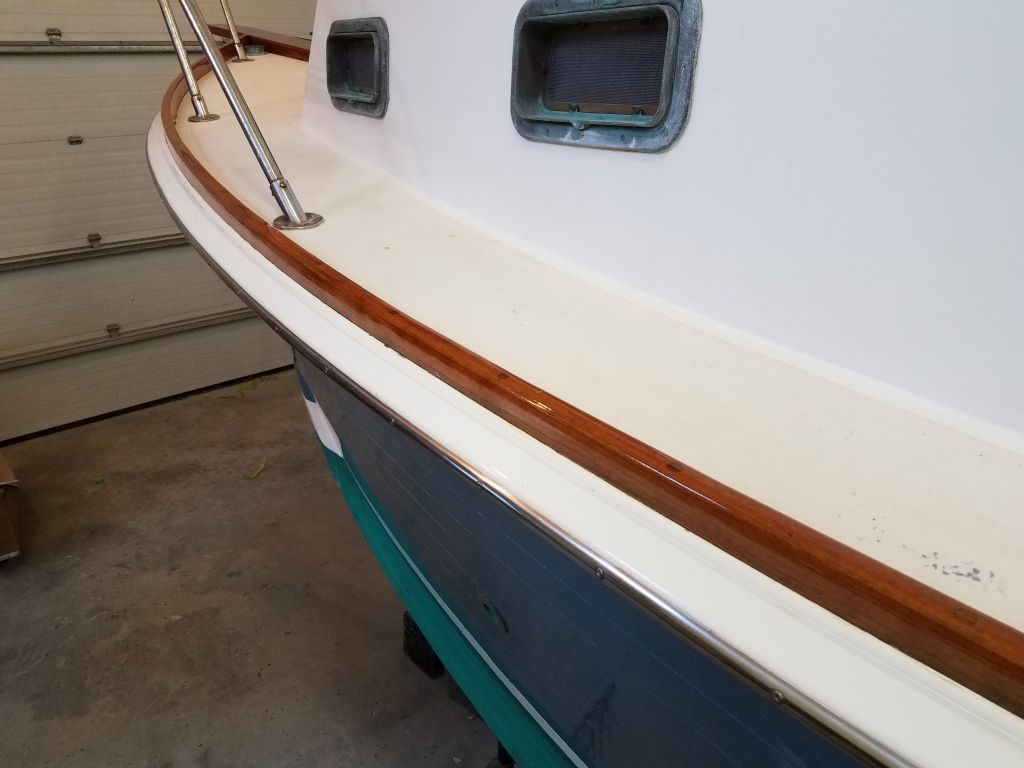
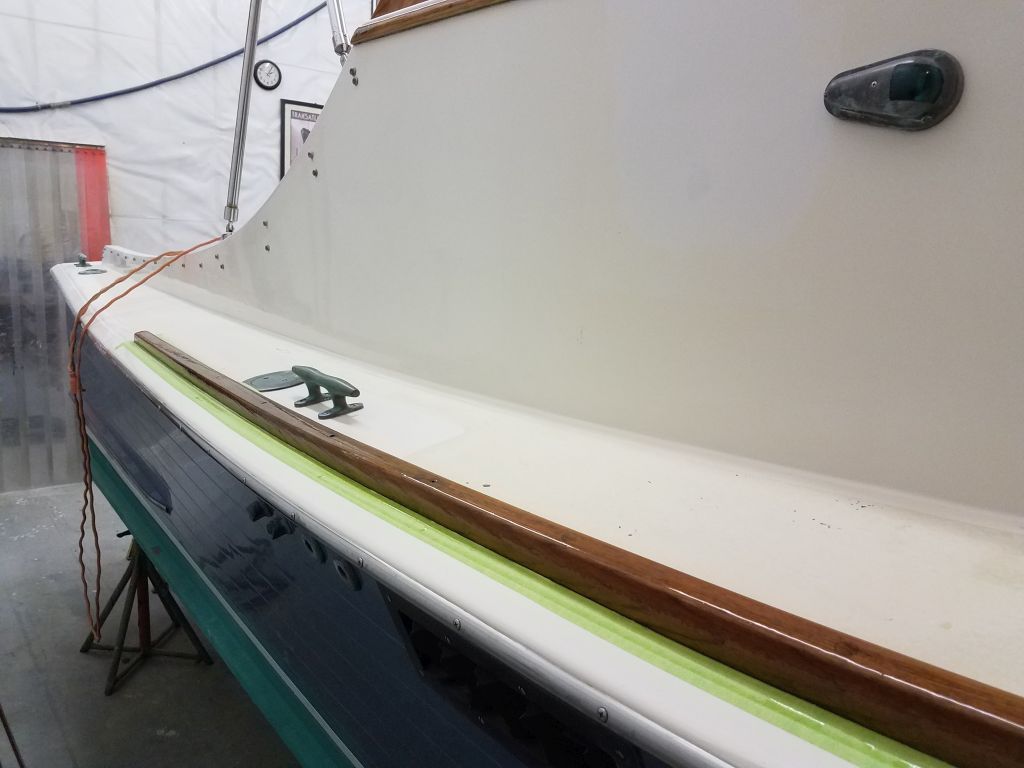
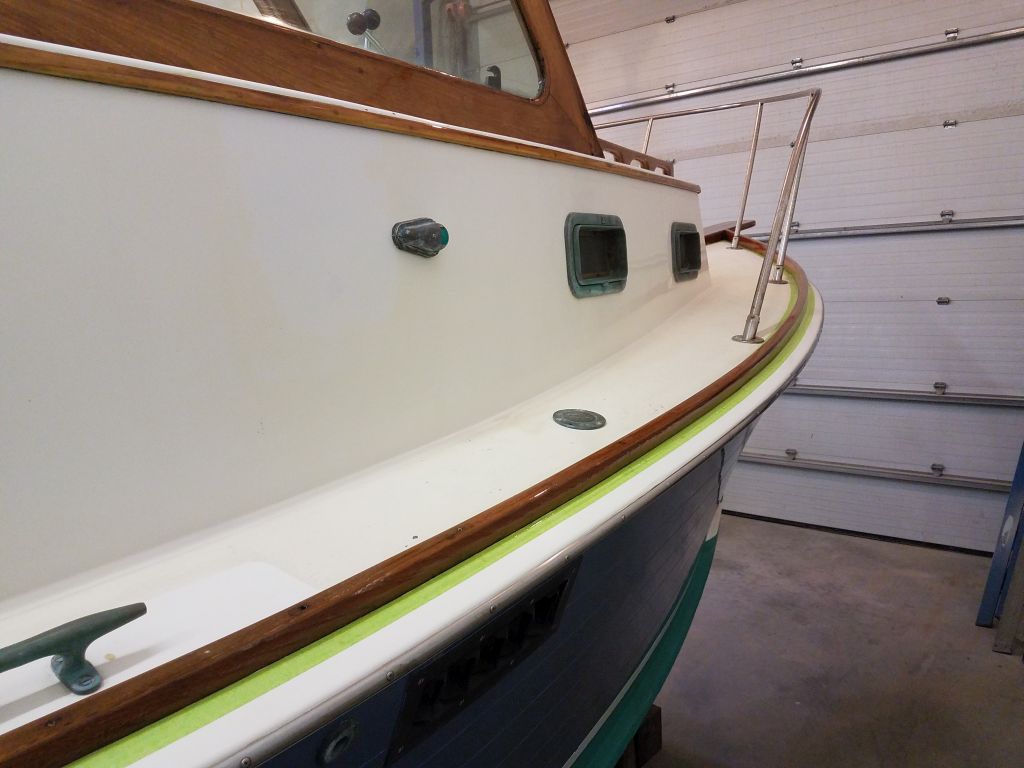
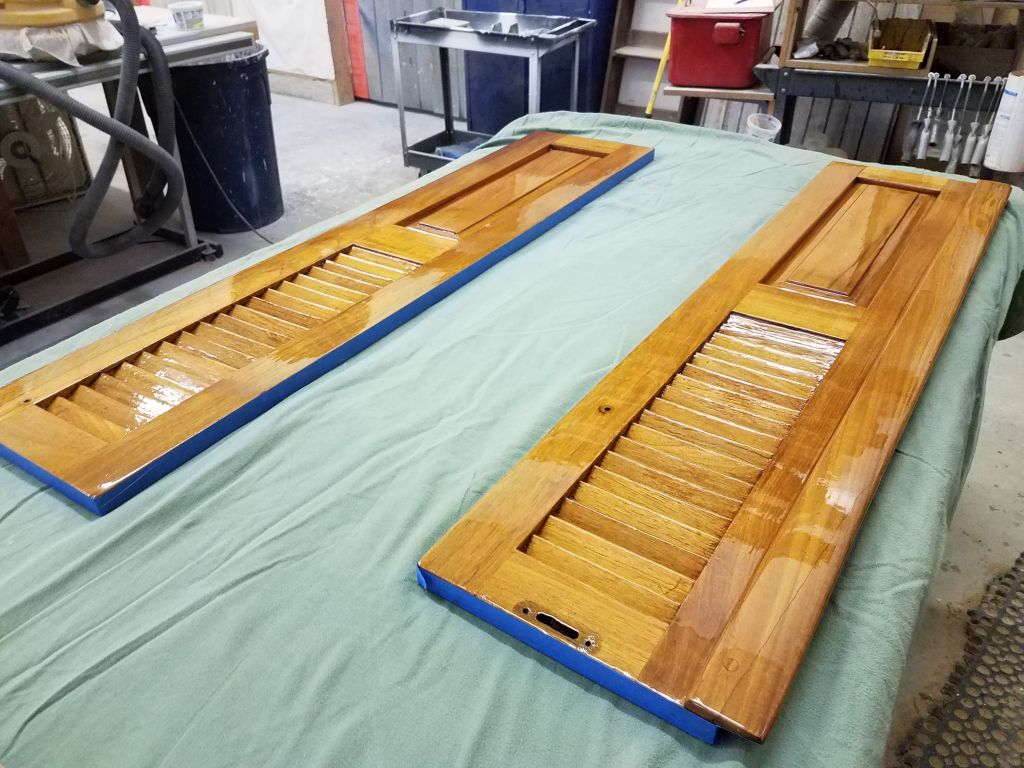
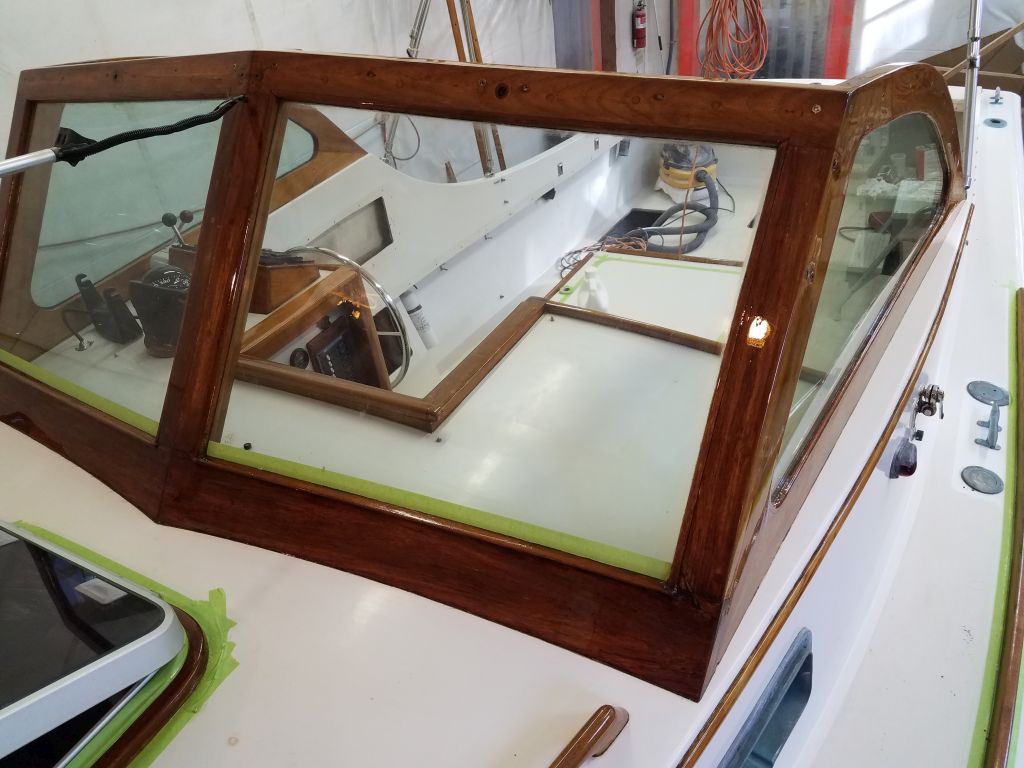
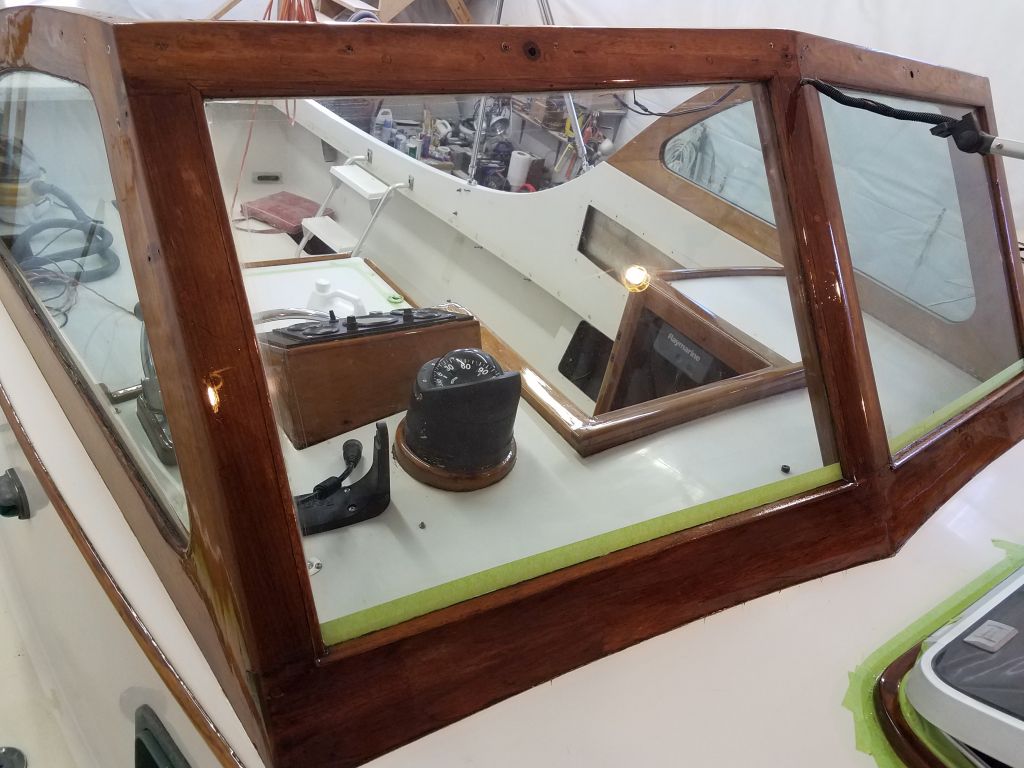
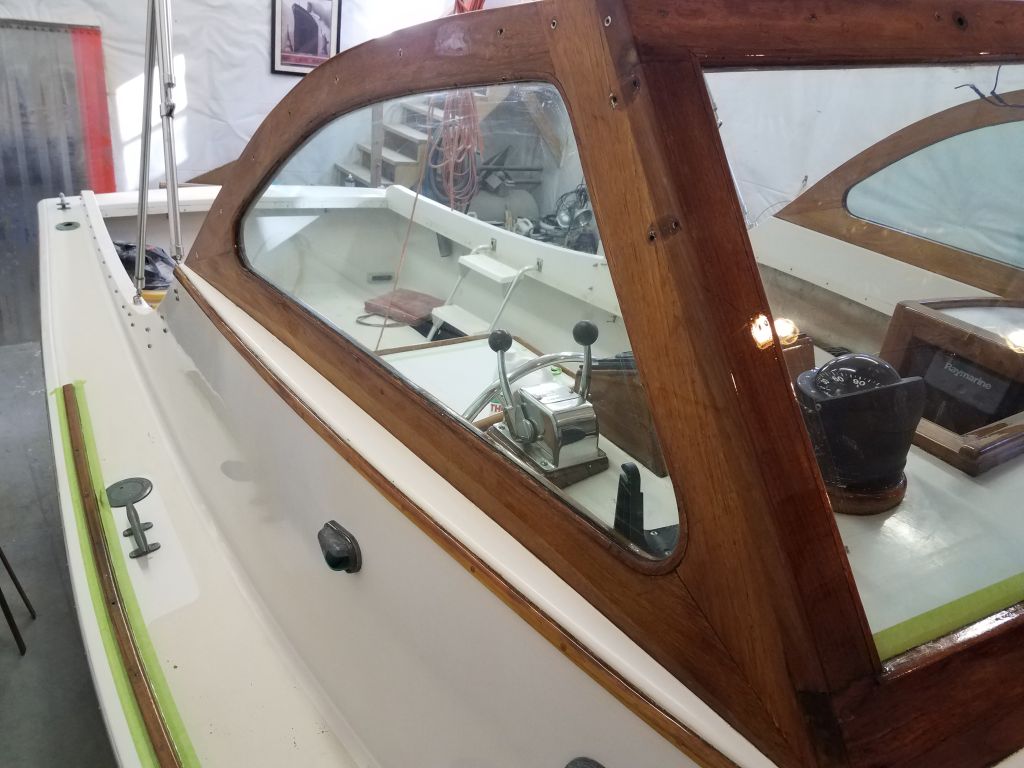
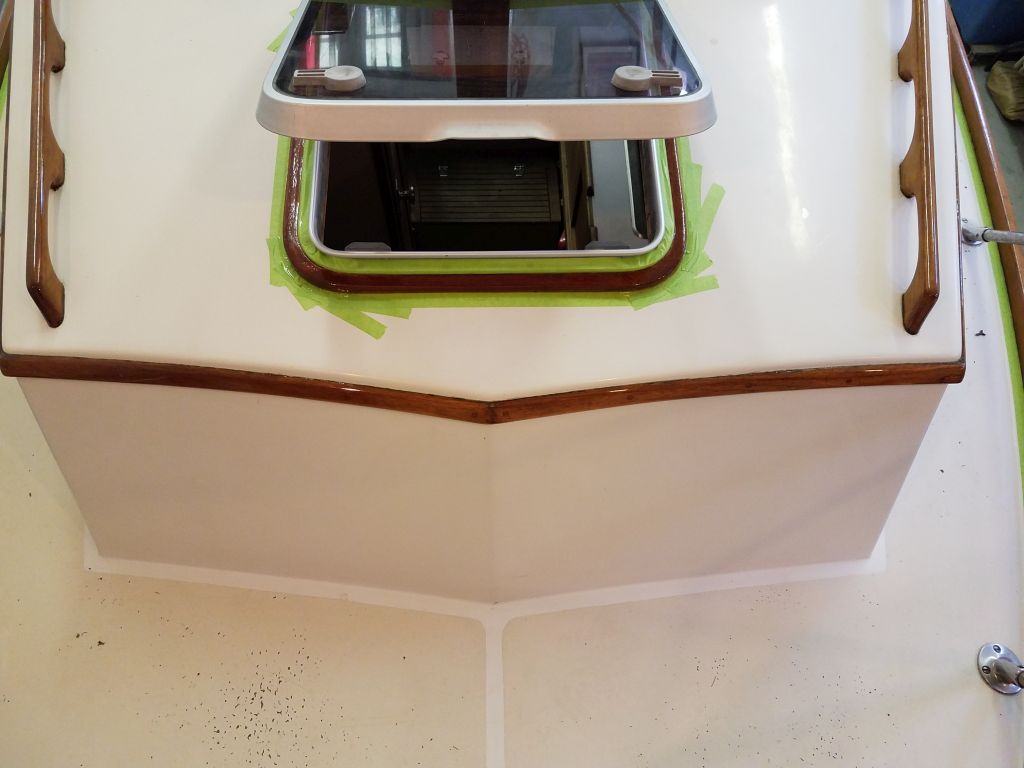
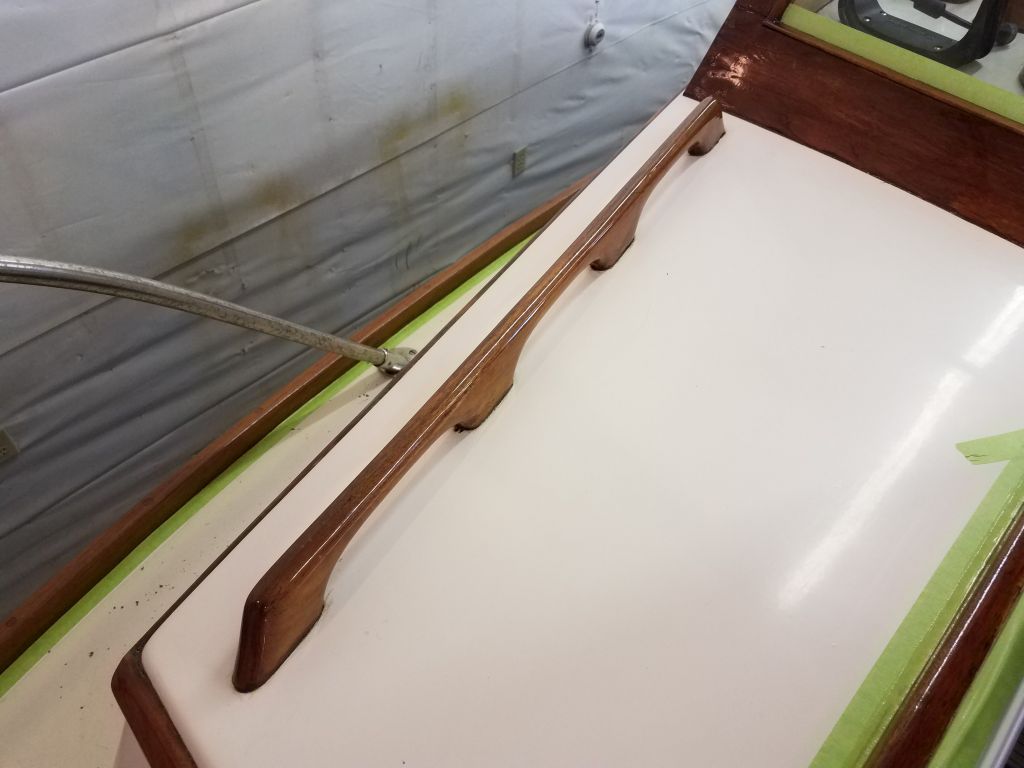
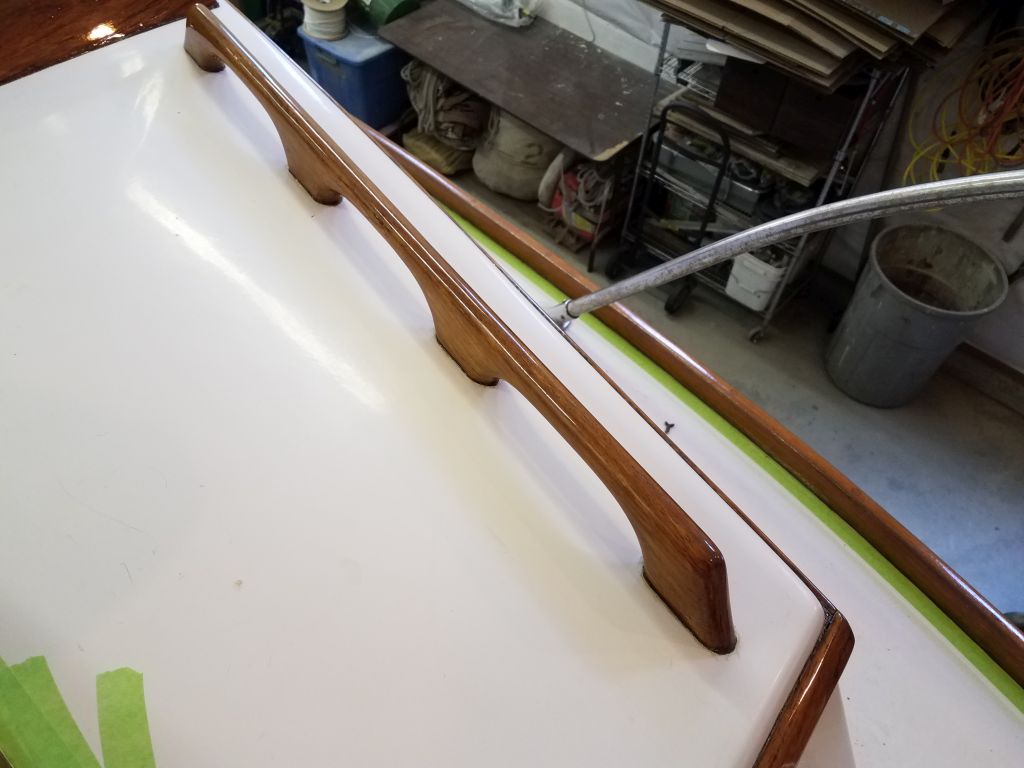
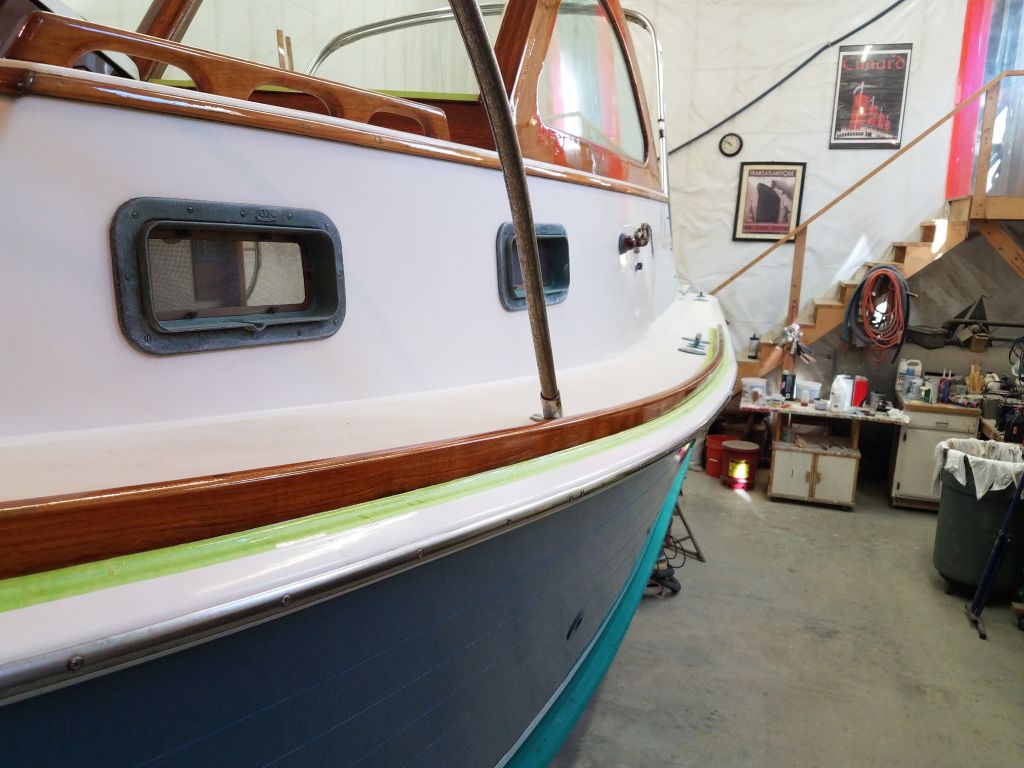
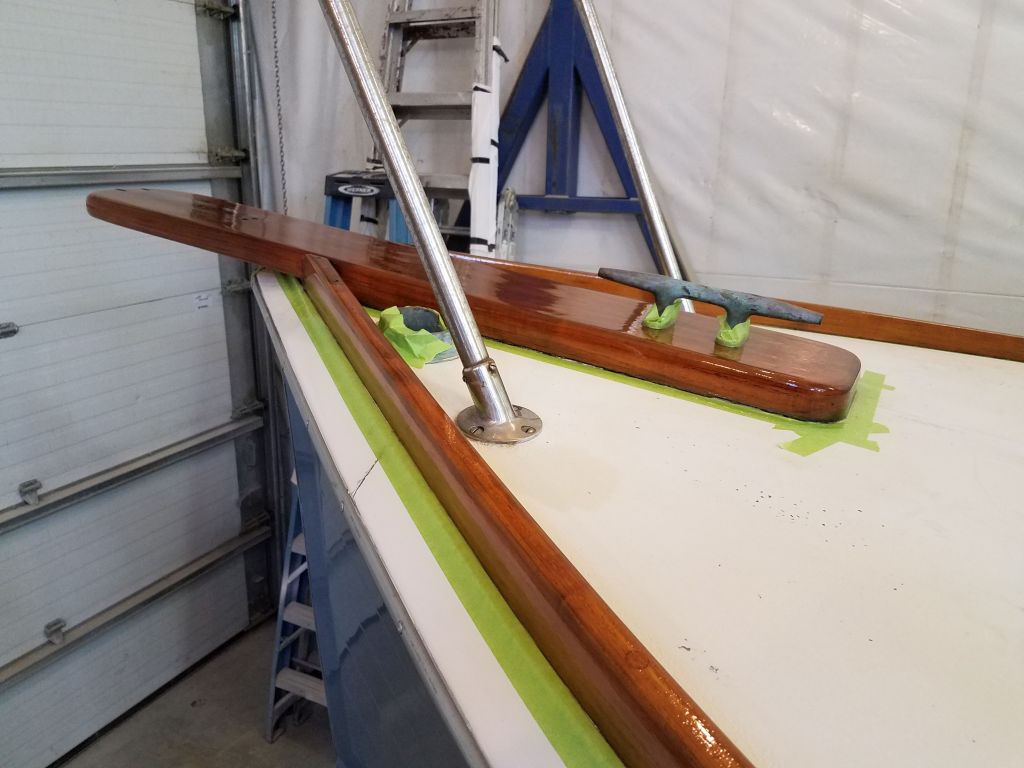
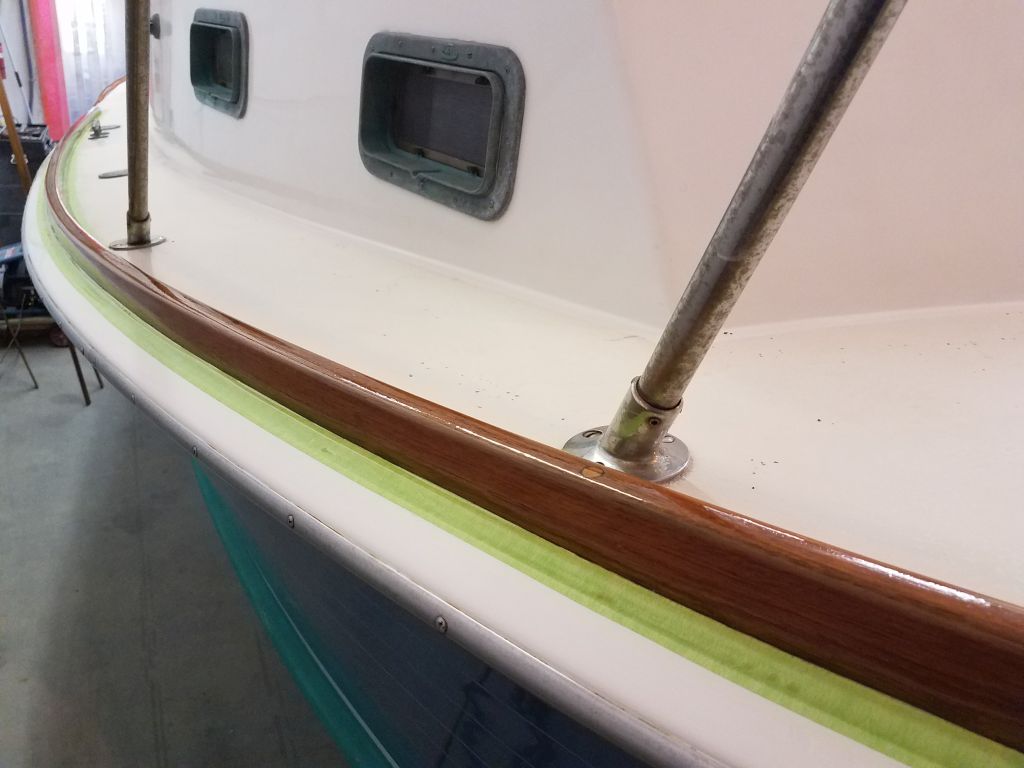
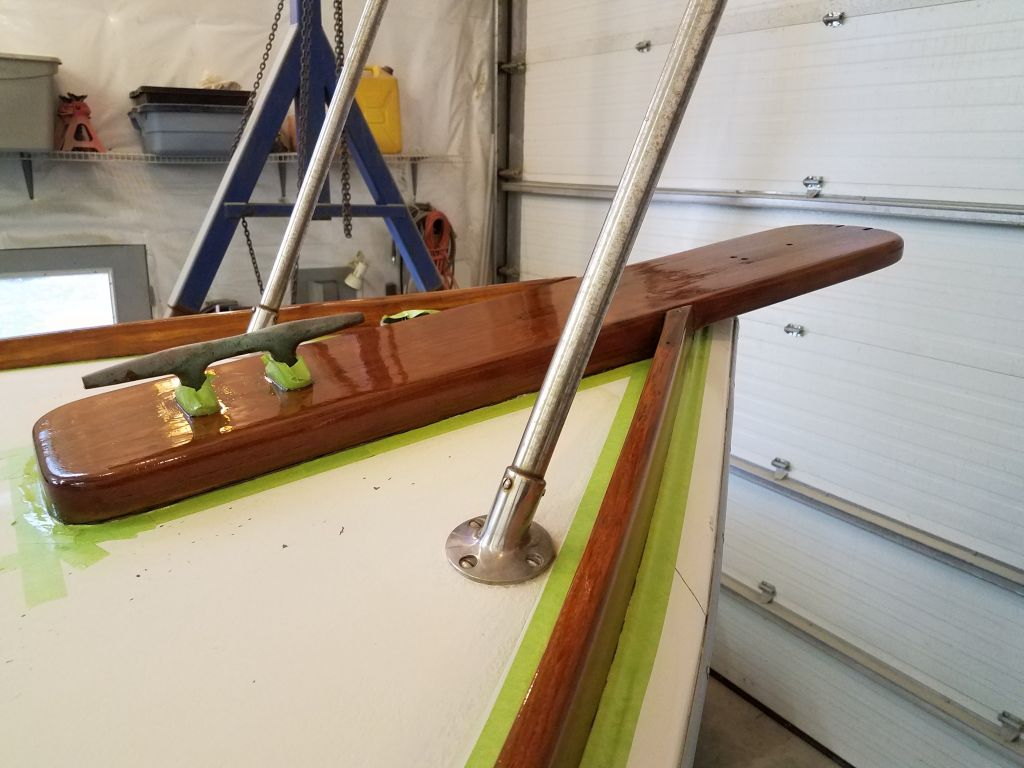
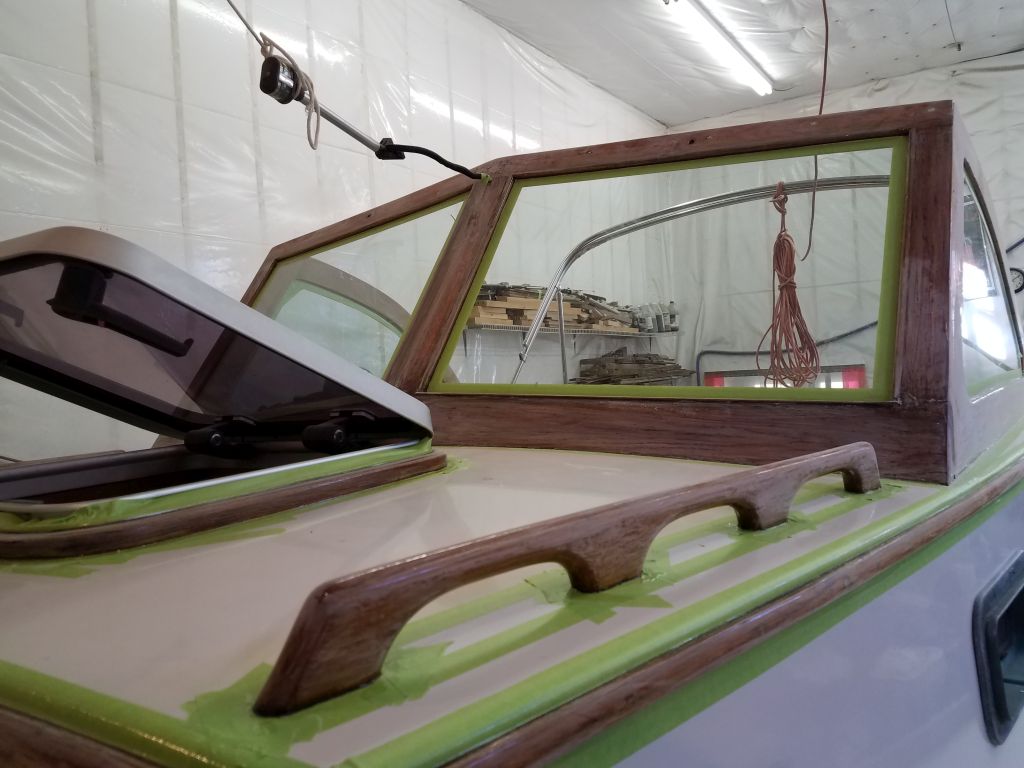
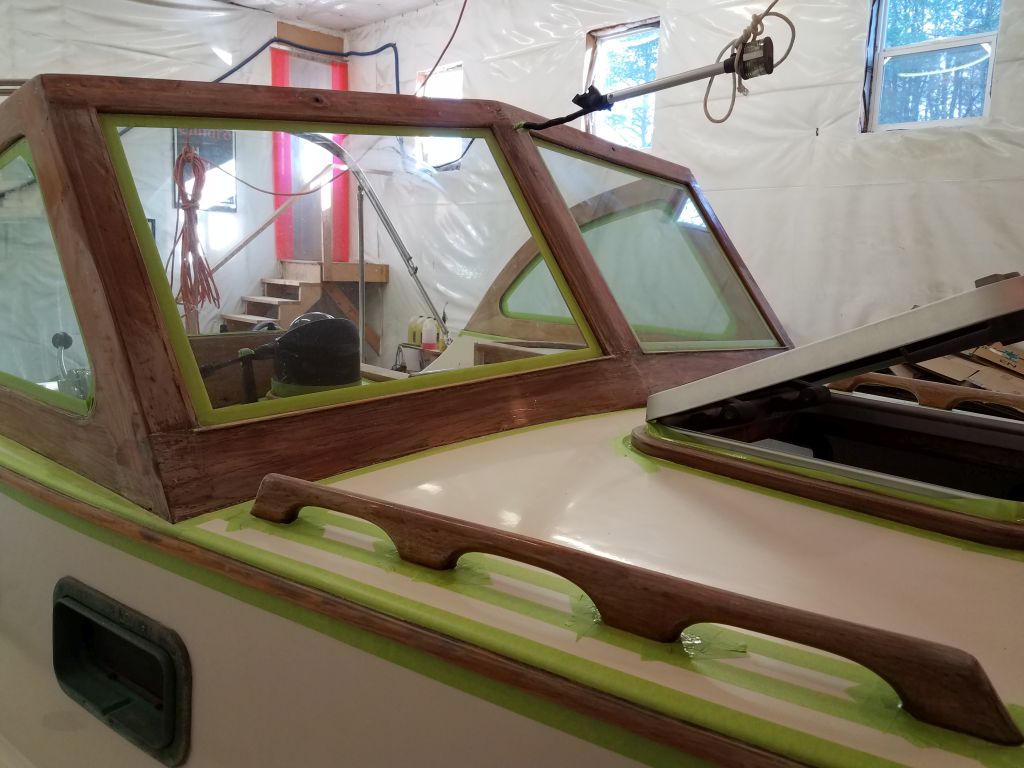
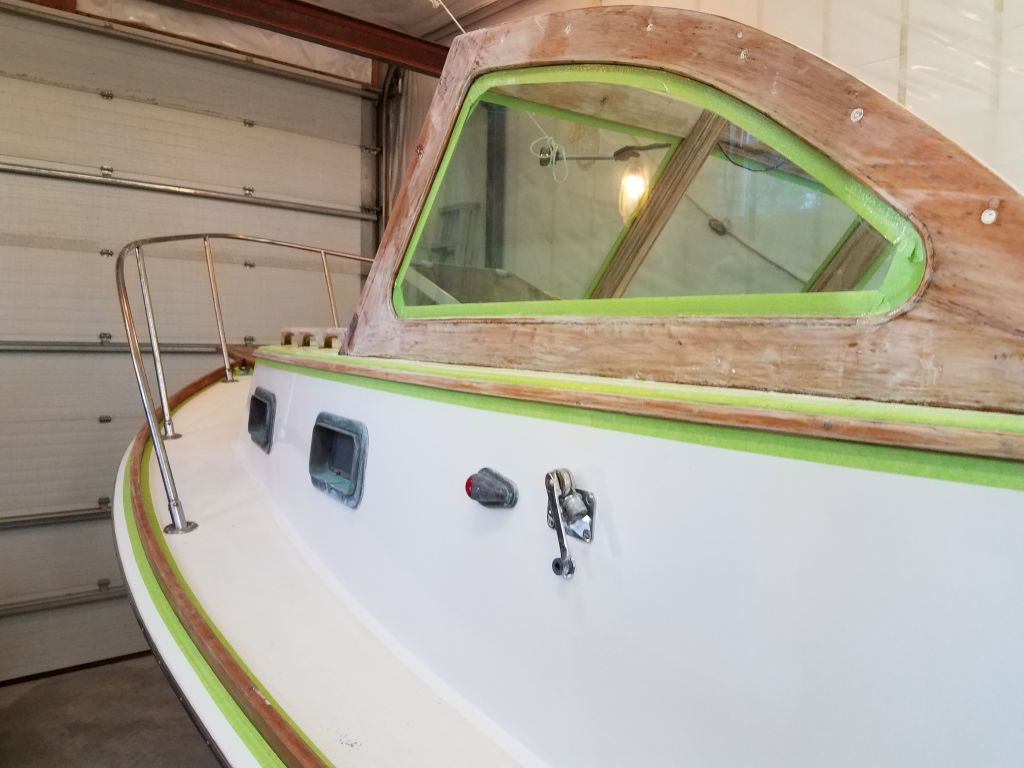
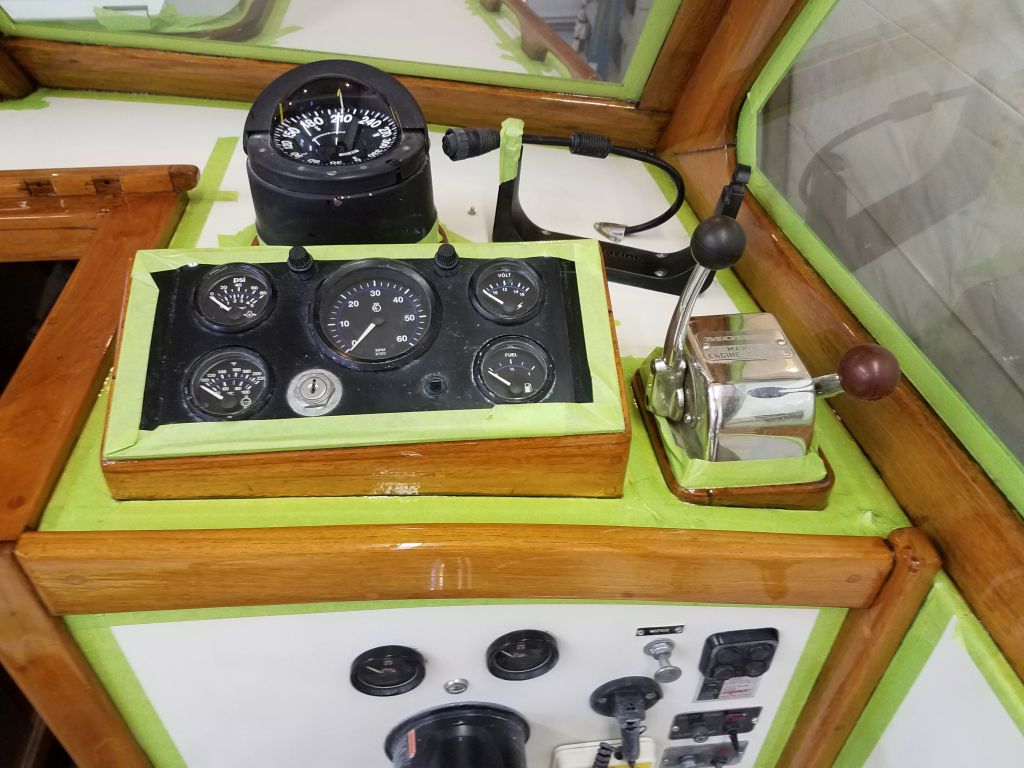
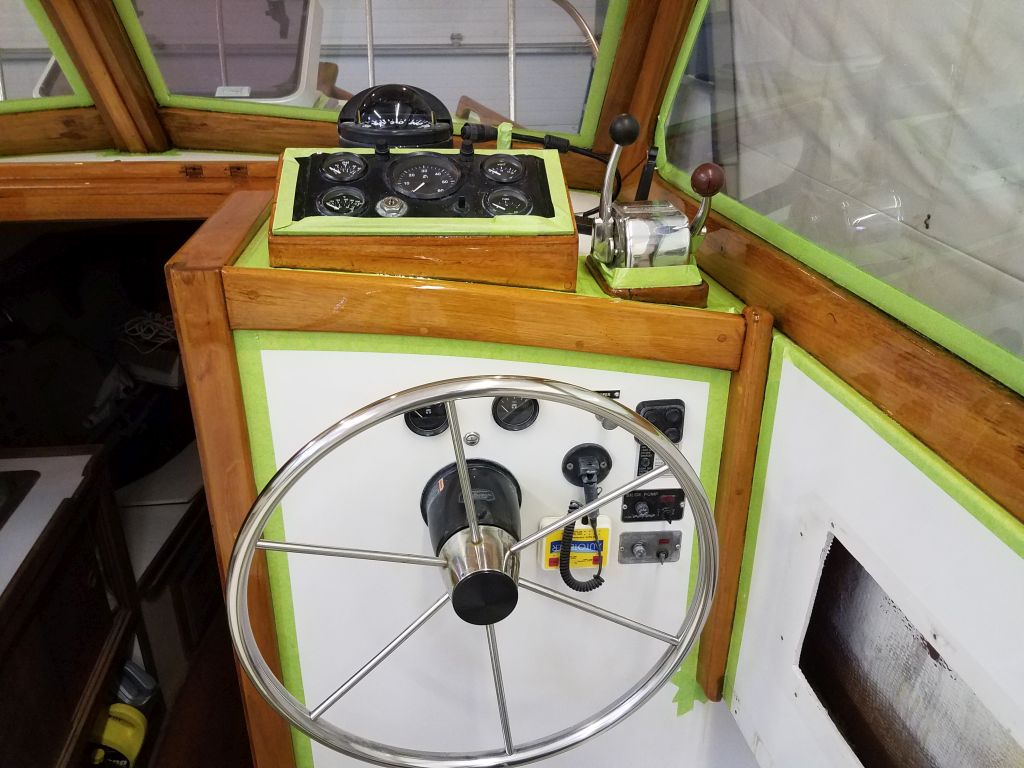
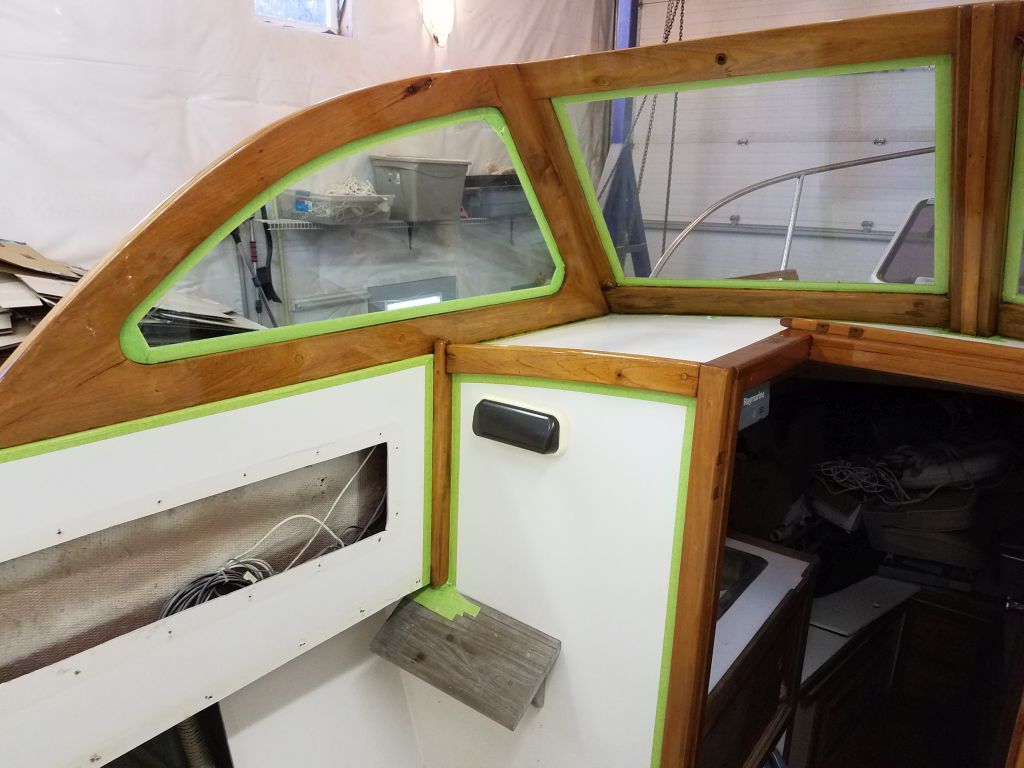
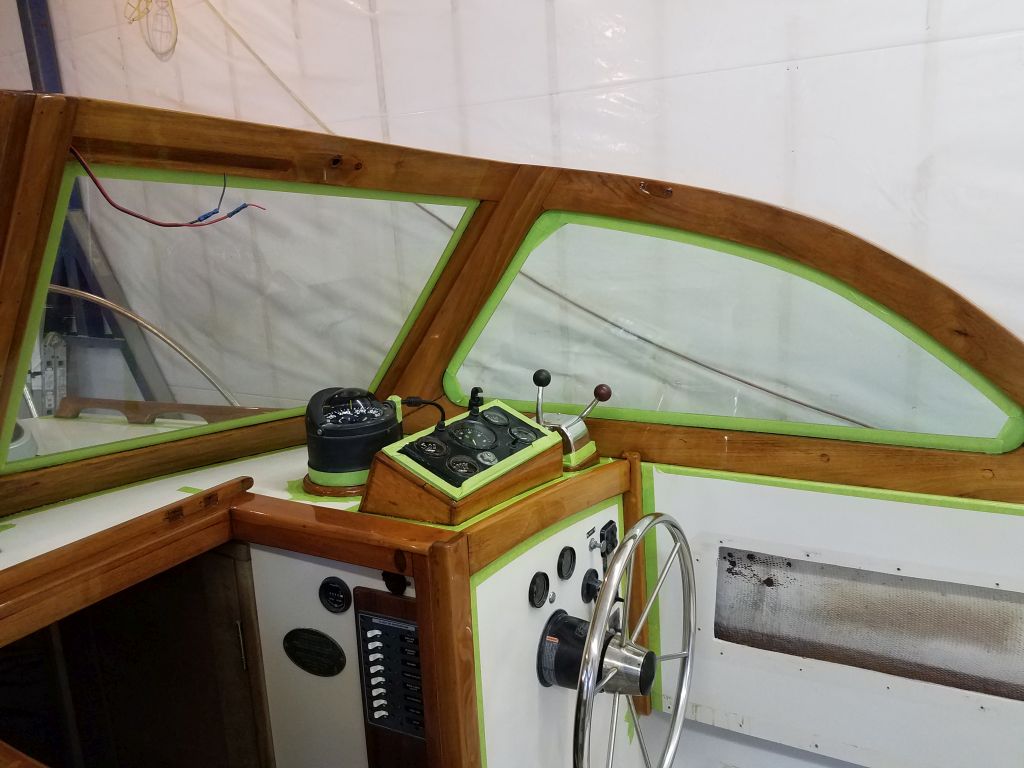
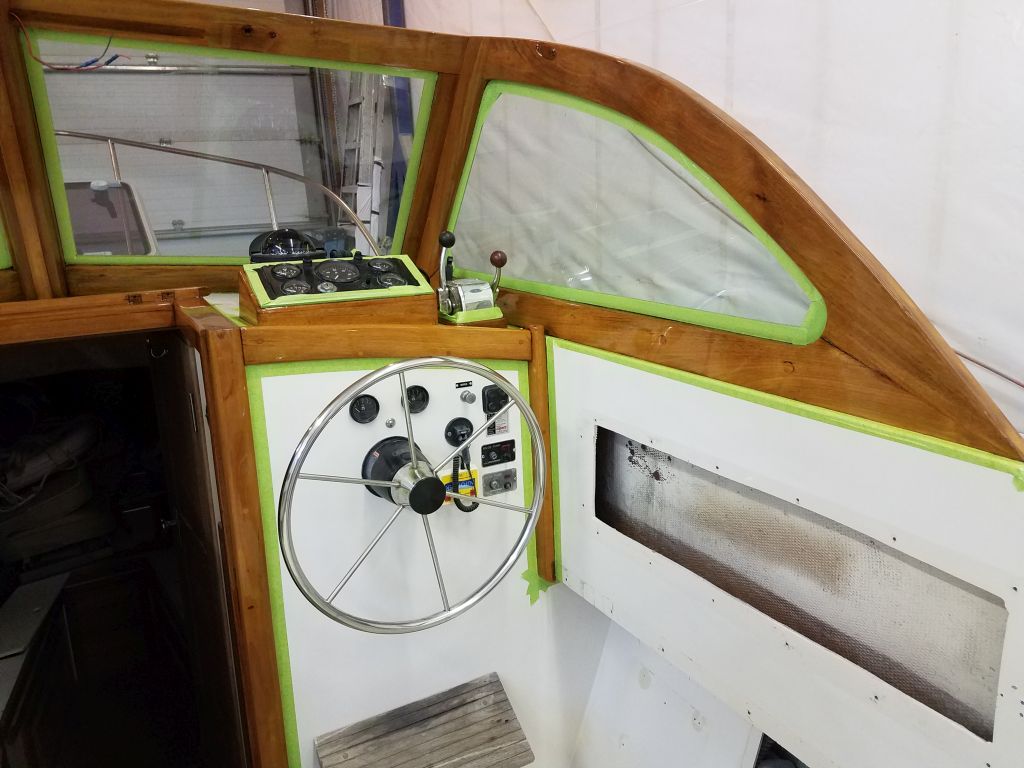
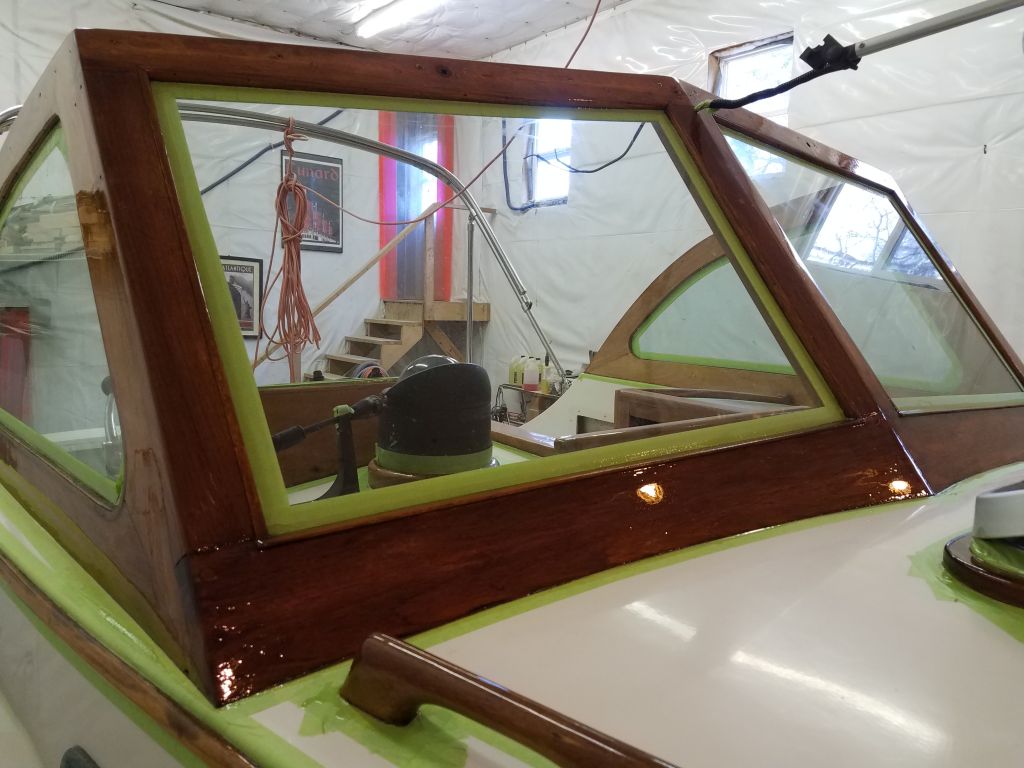
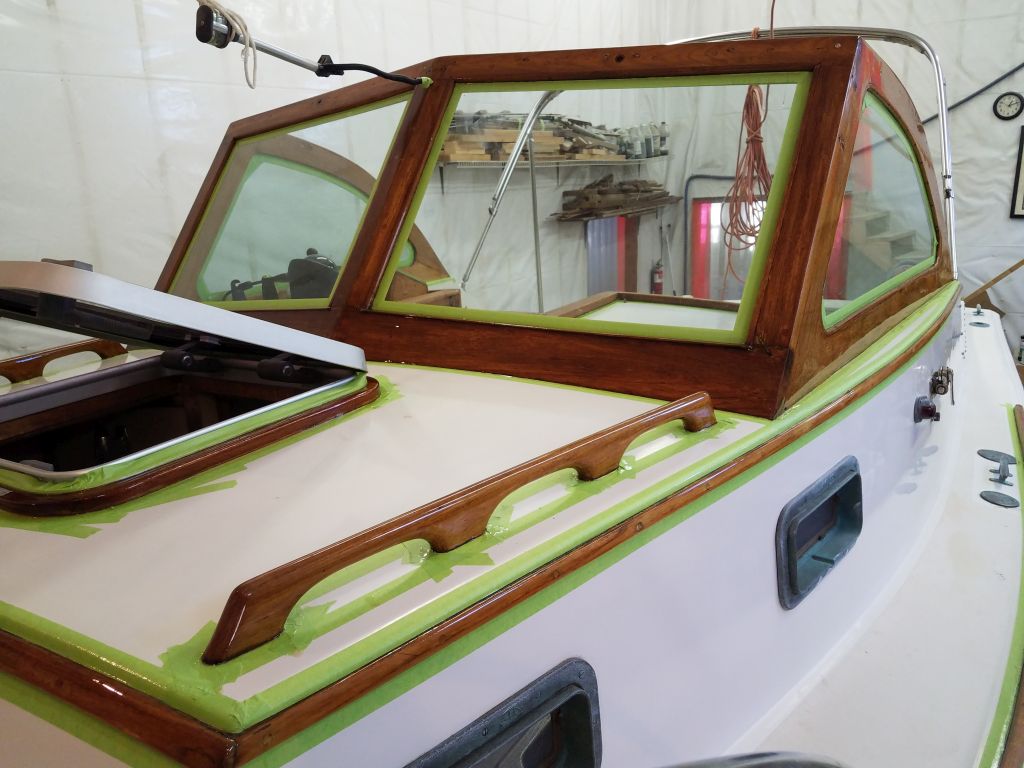
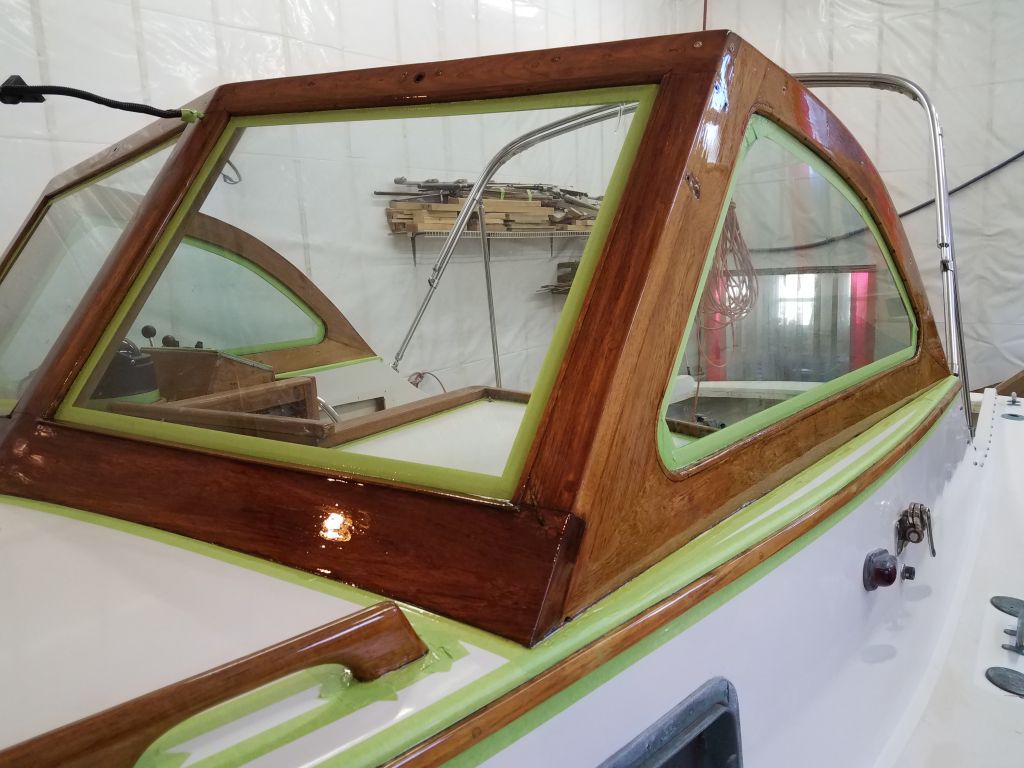
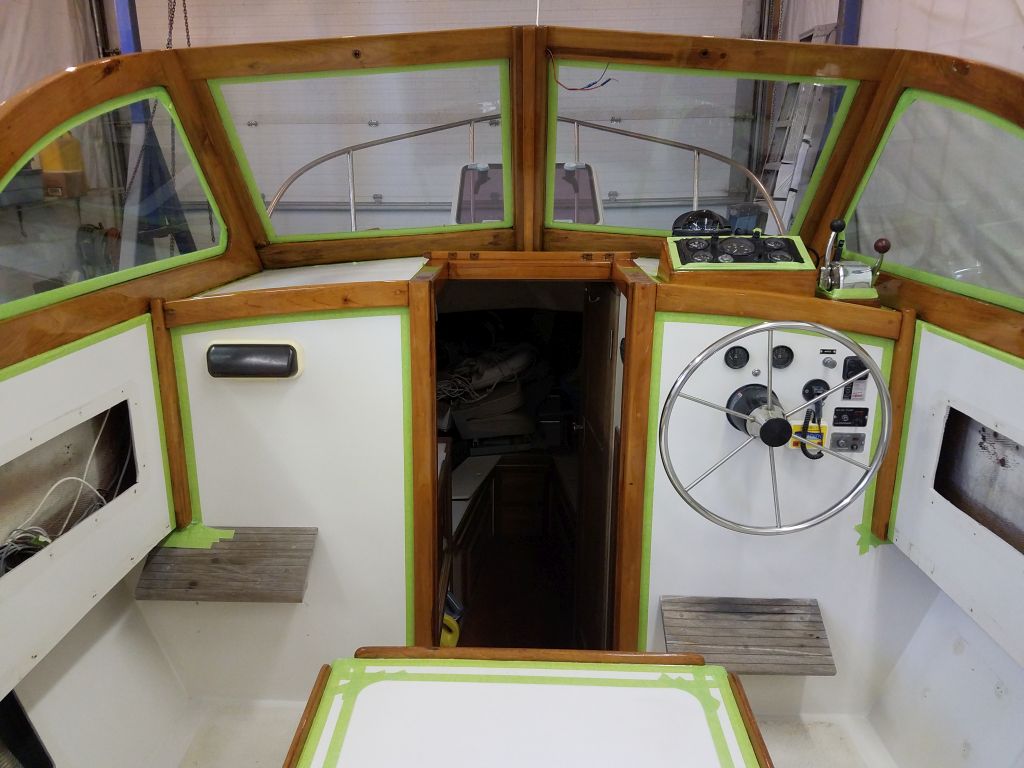
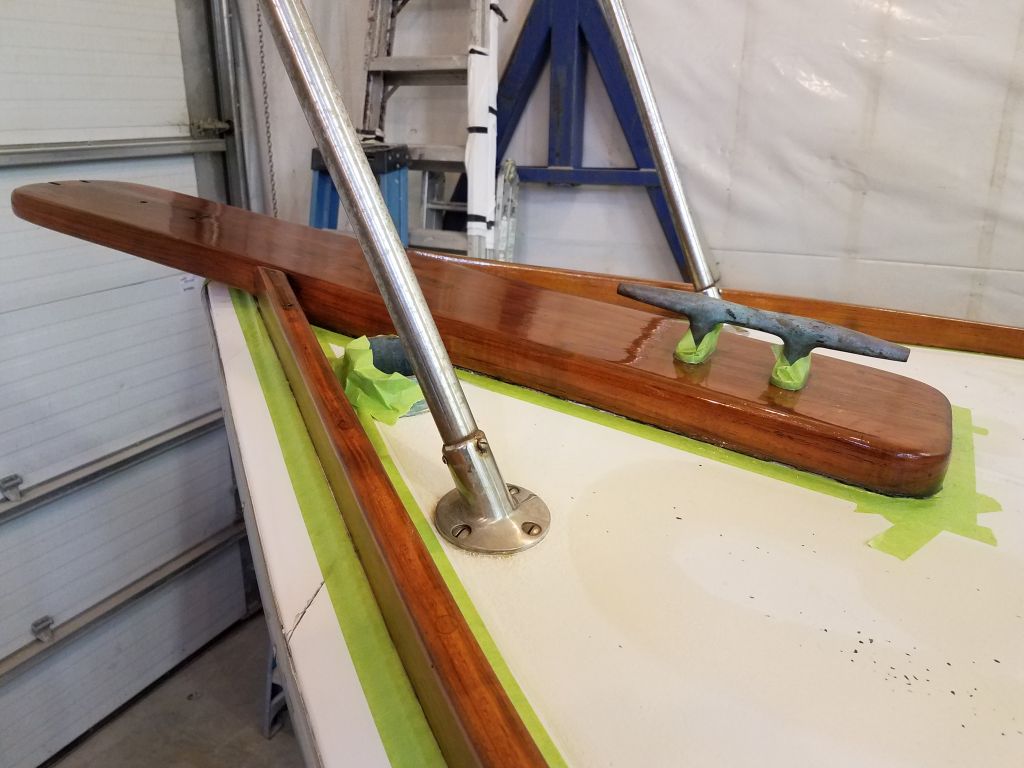
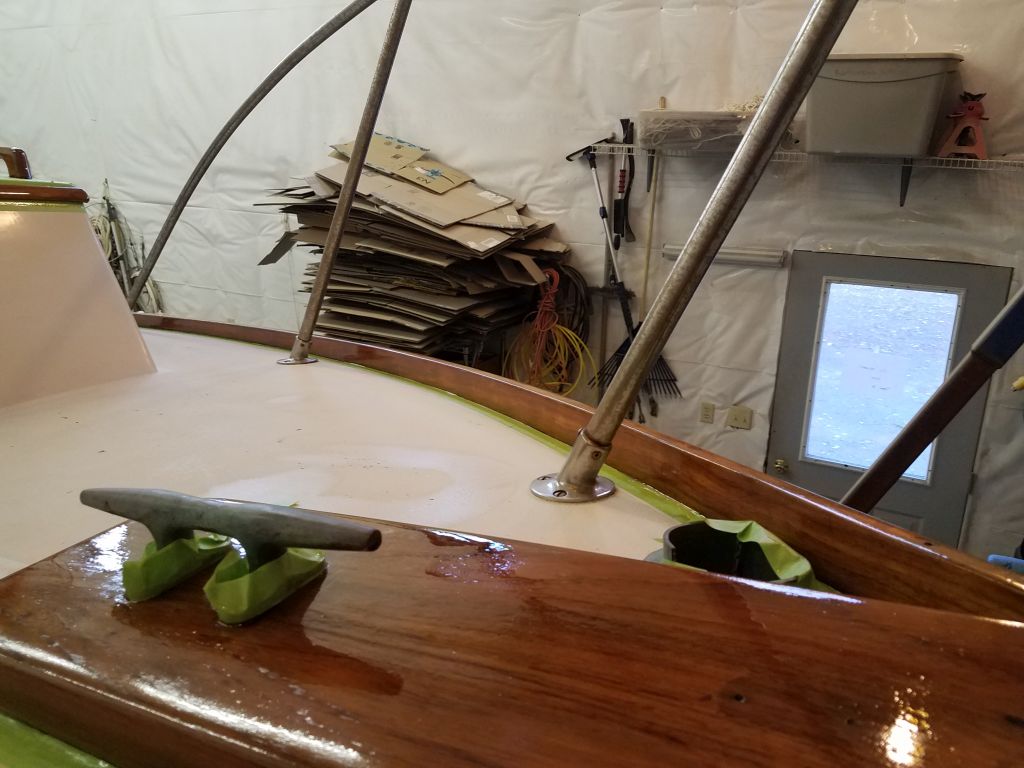
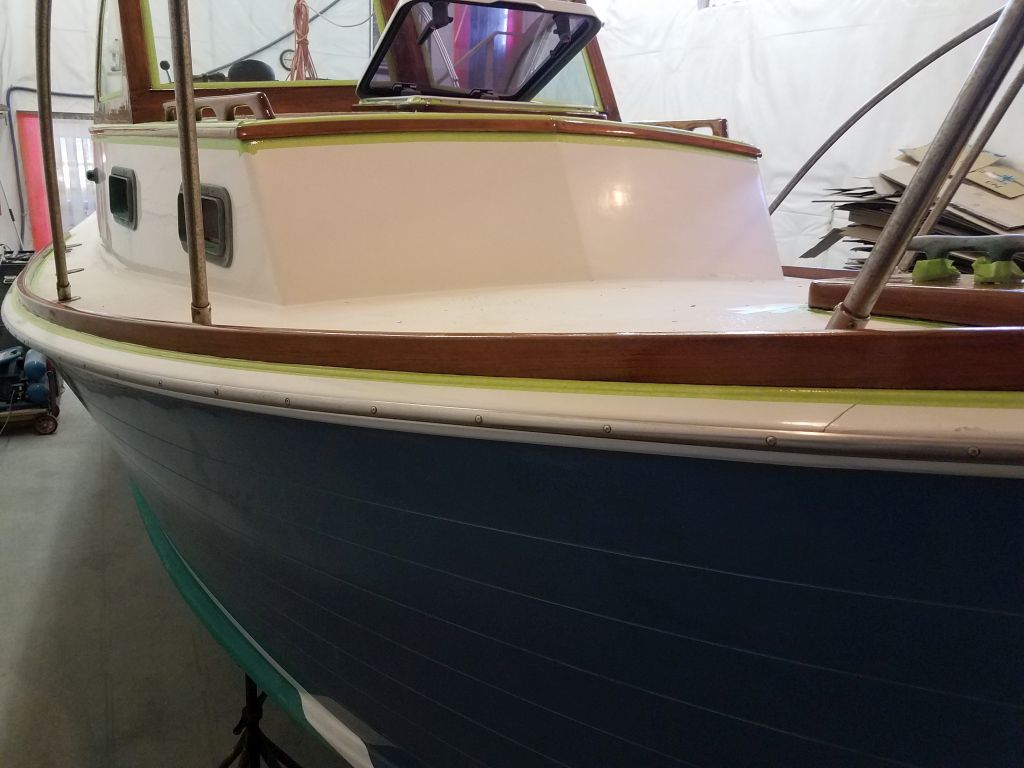
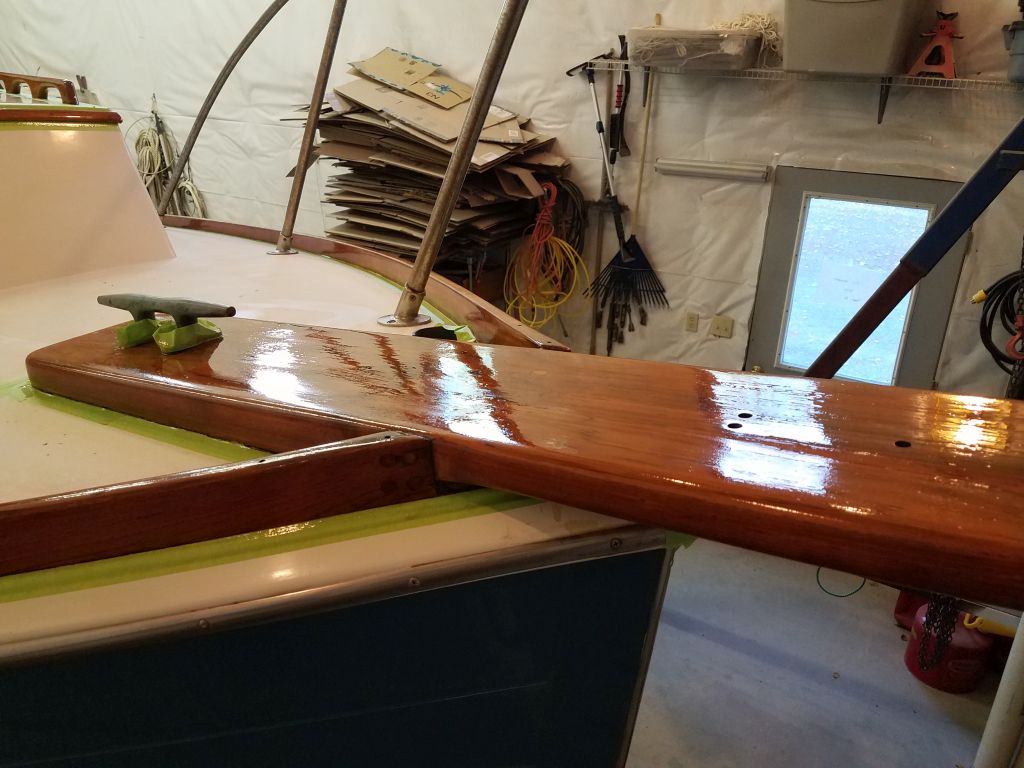
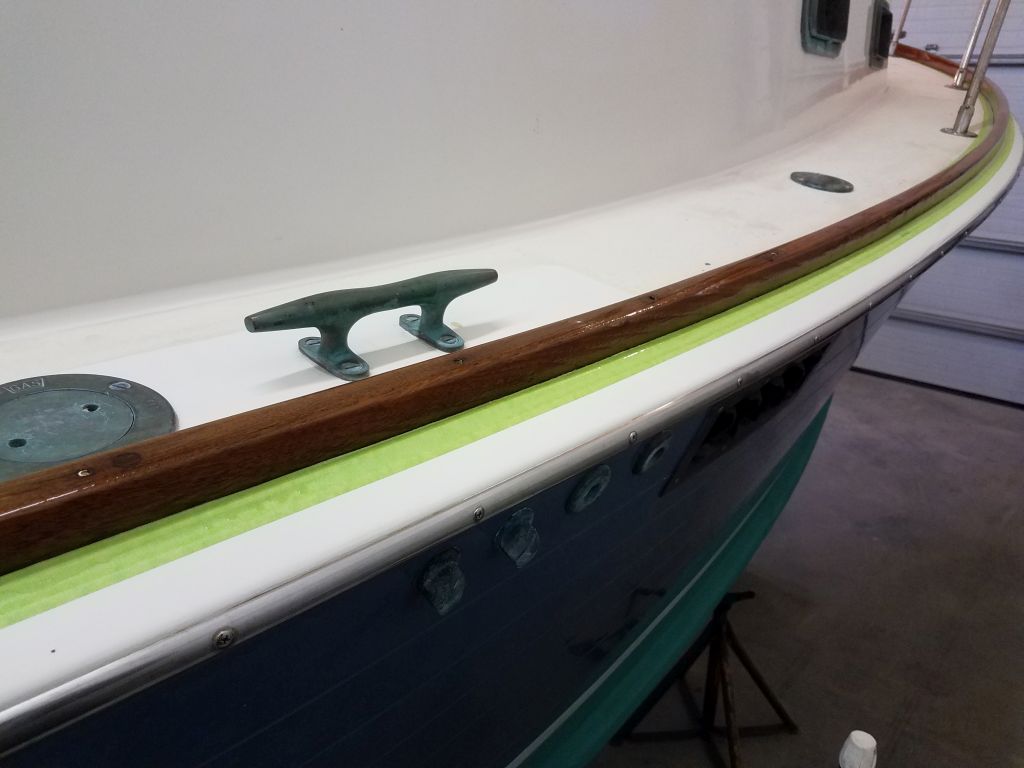
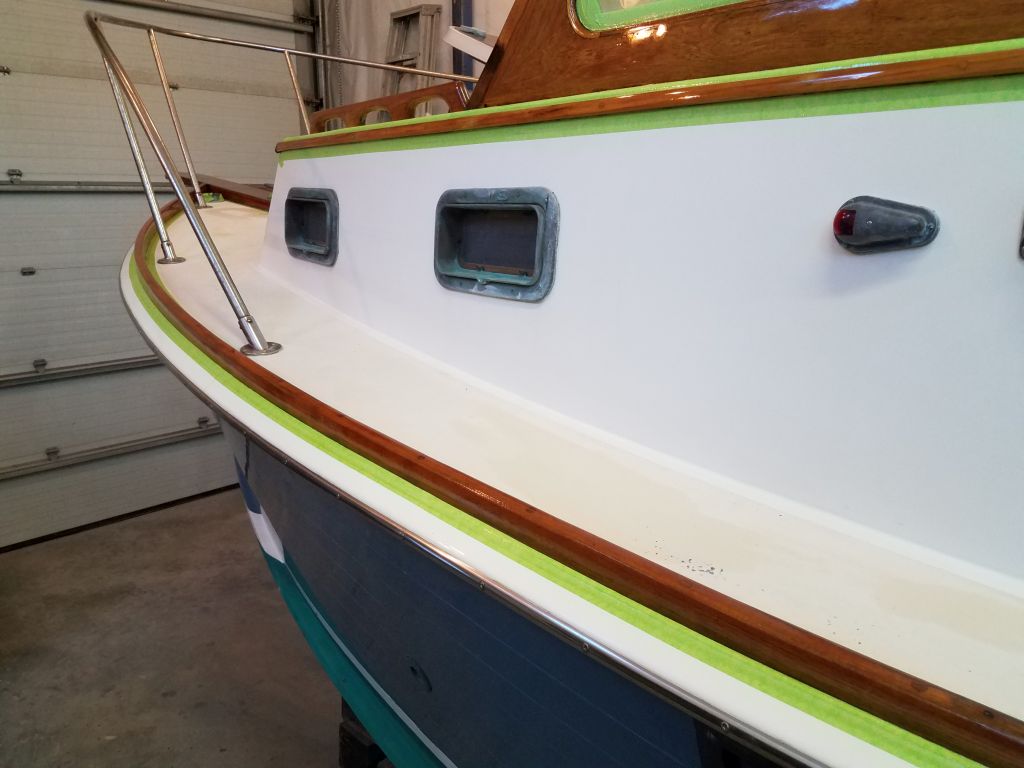
Over the weekend, I applied two additional coats of varnish to everything as needed, wrapping up the maintenance varnish work.

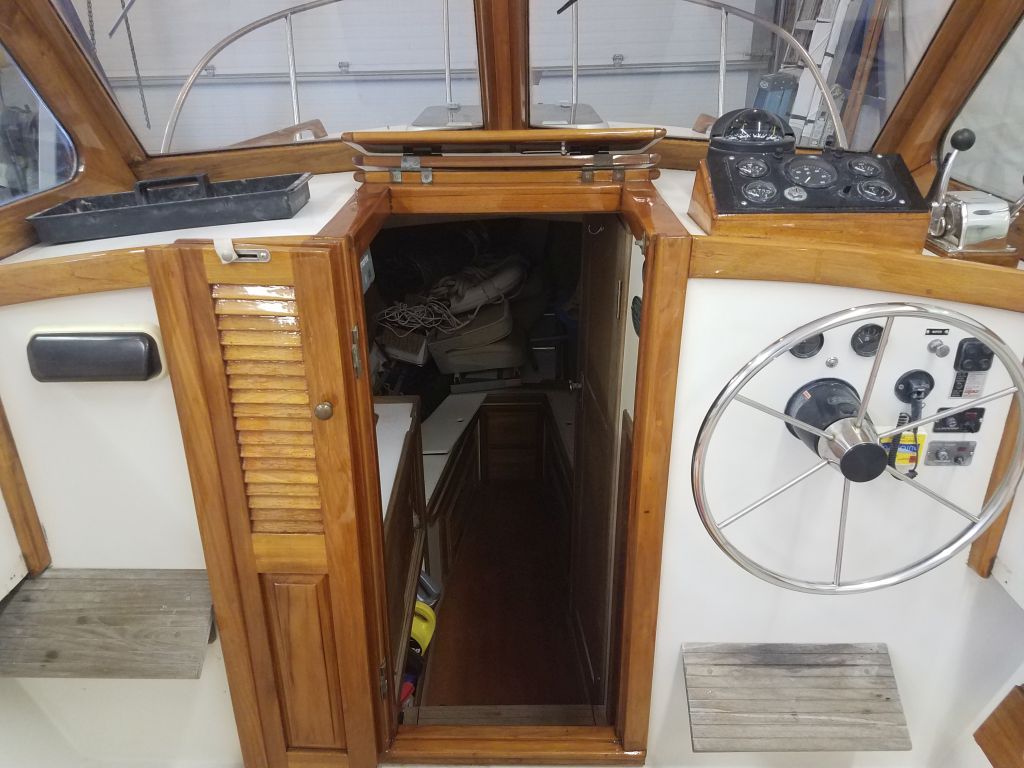
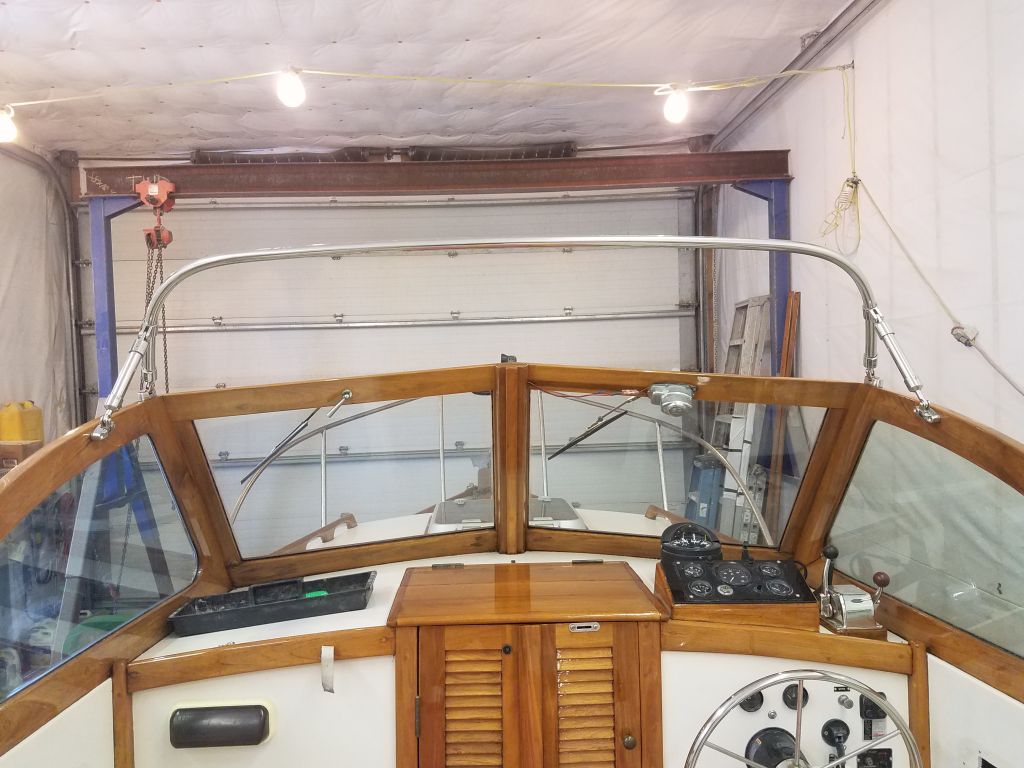
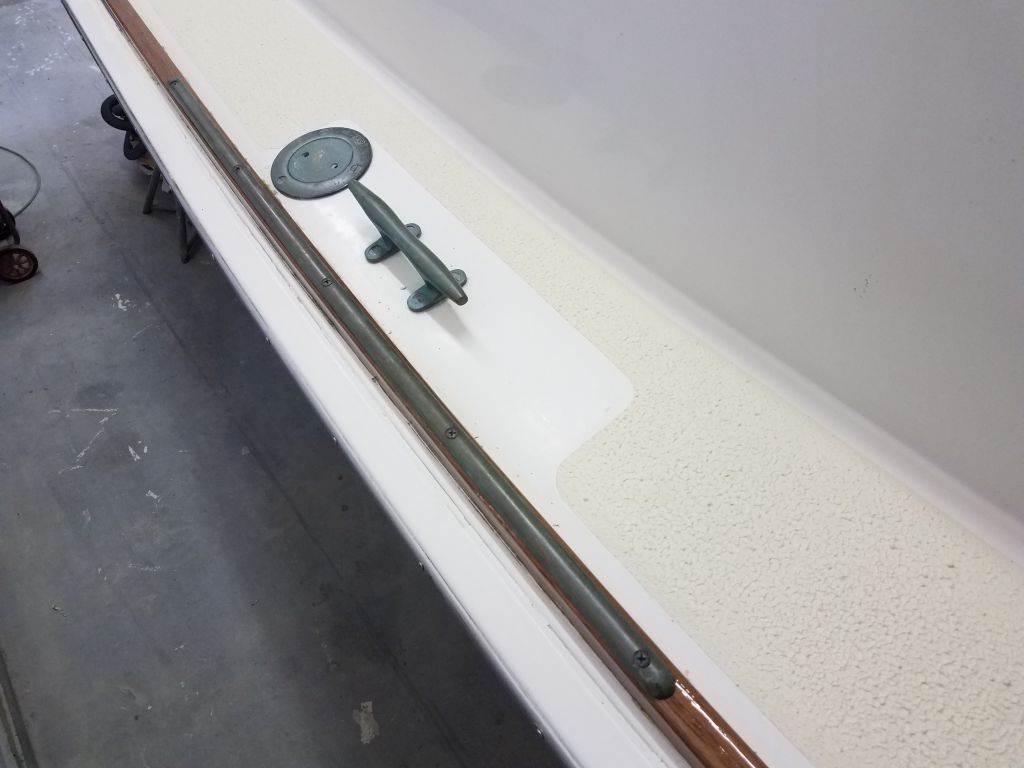
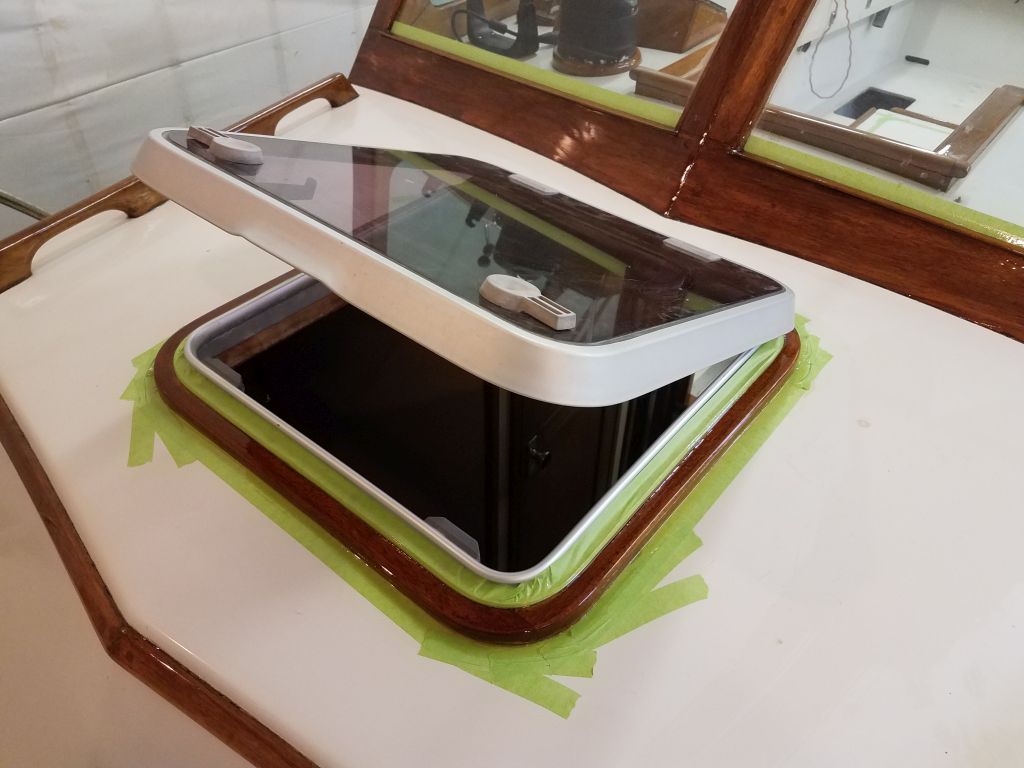
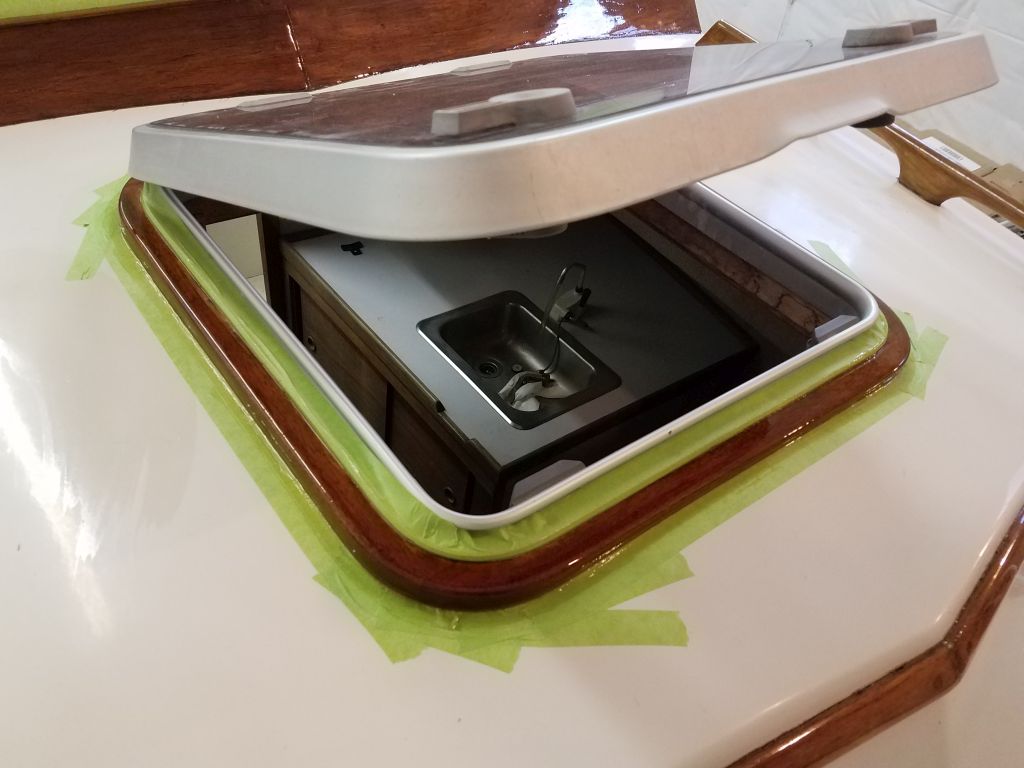
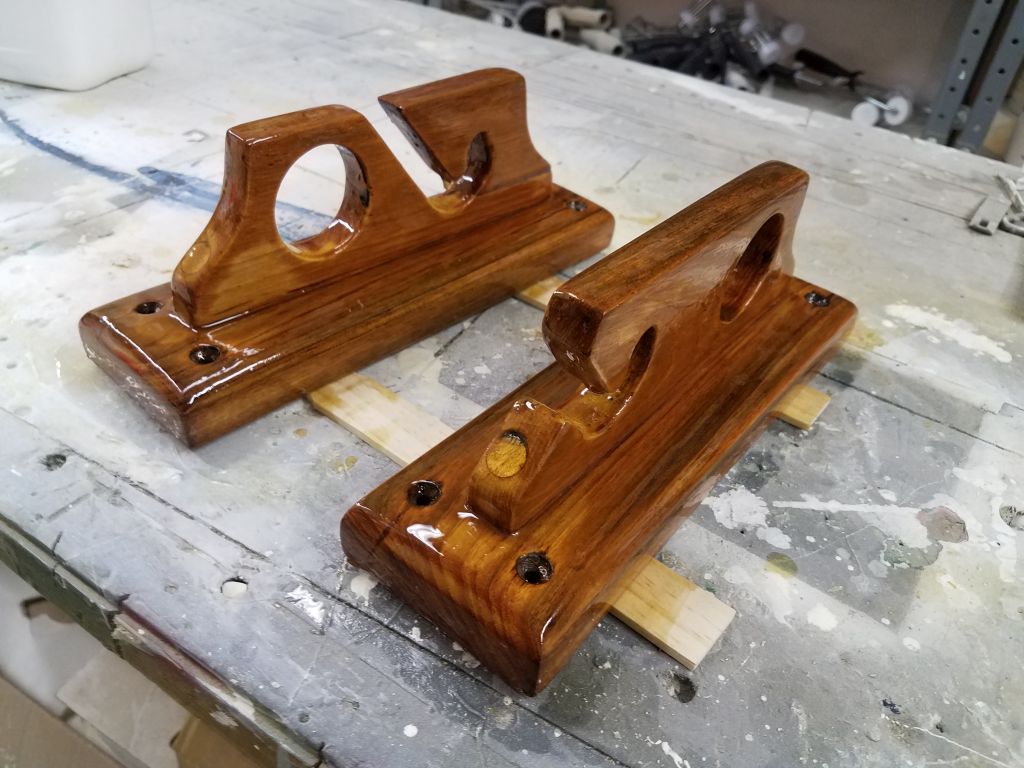
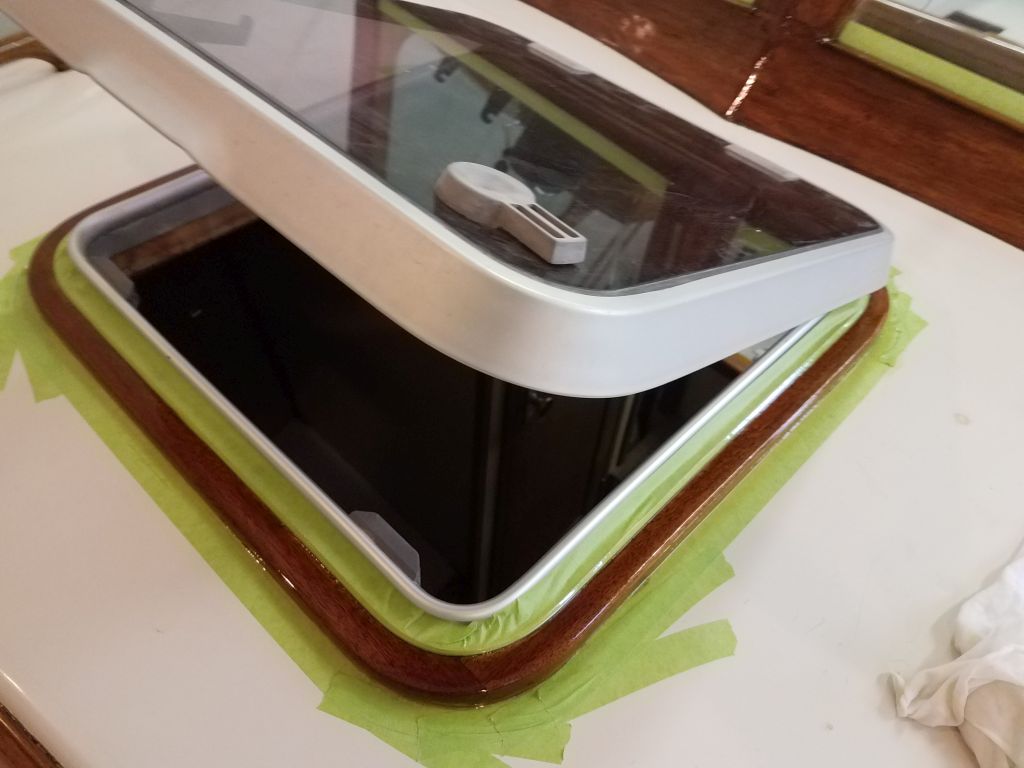
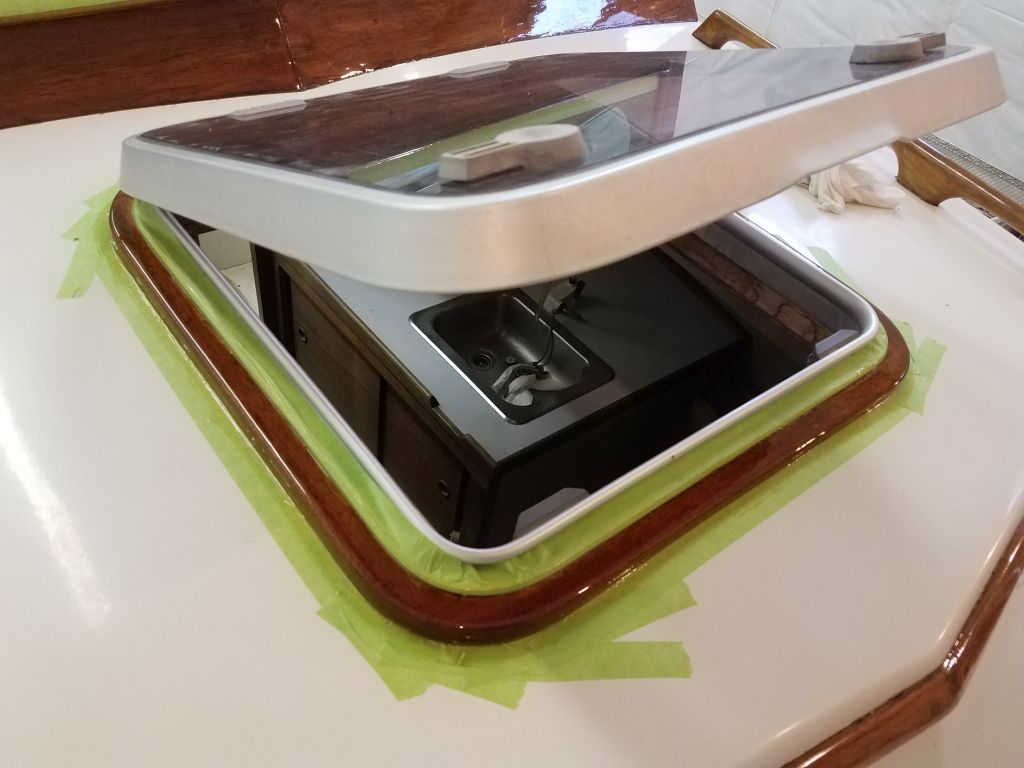
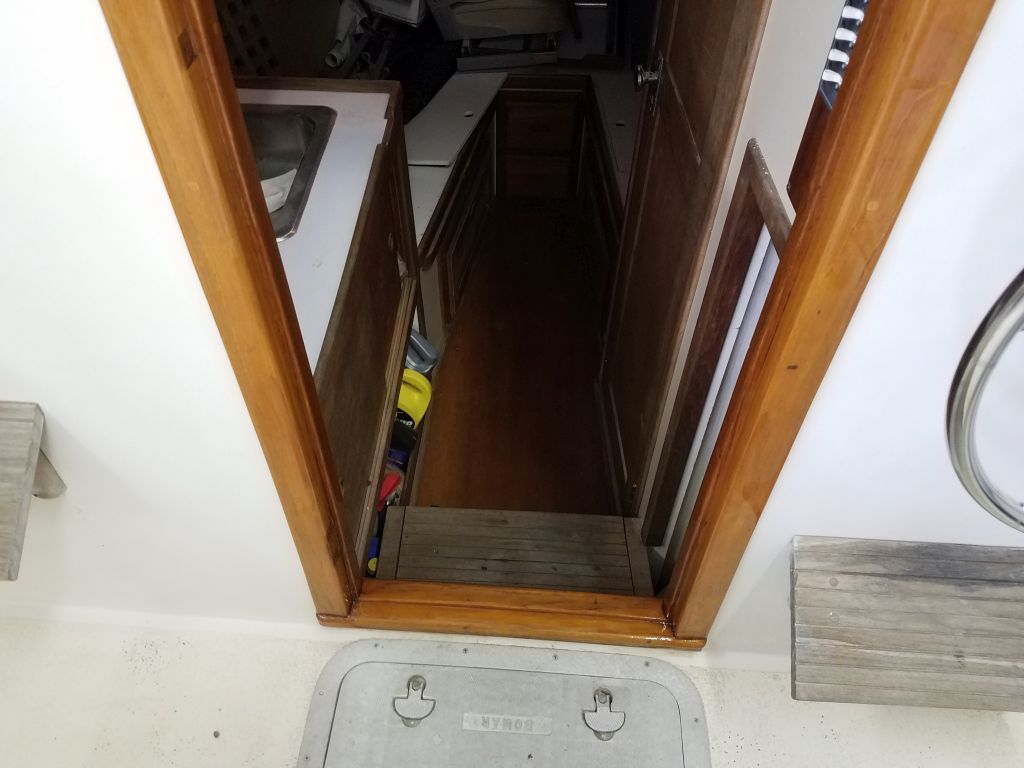
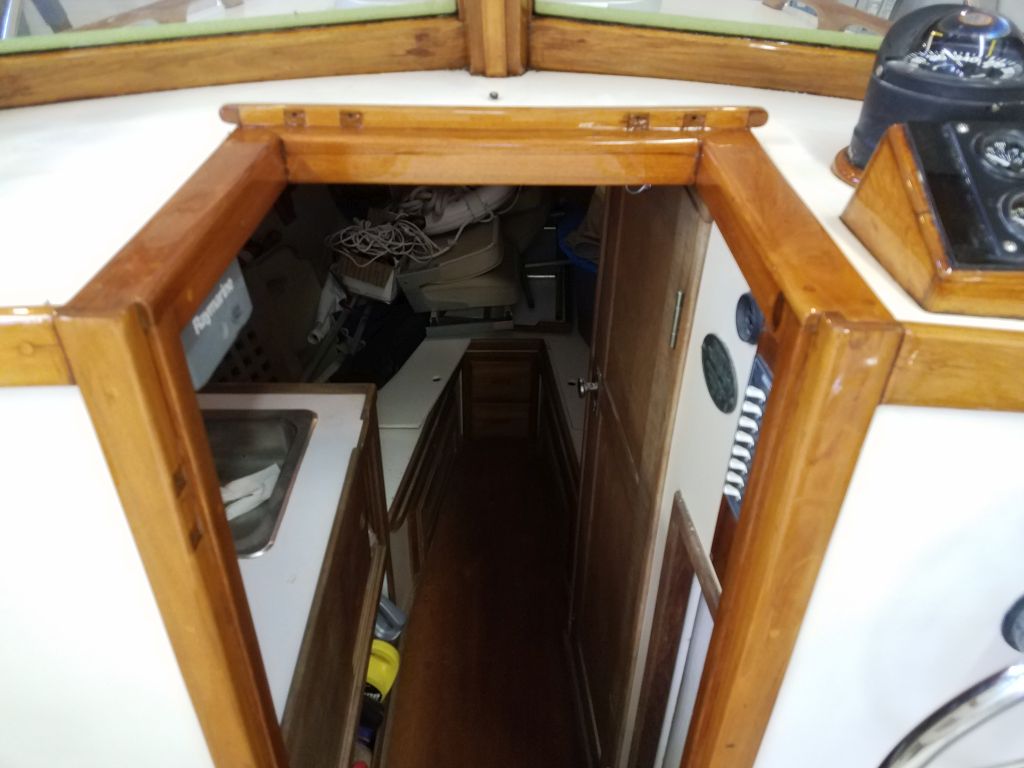
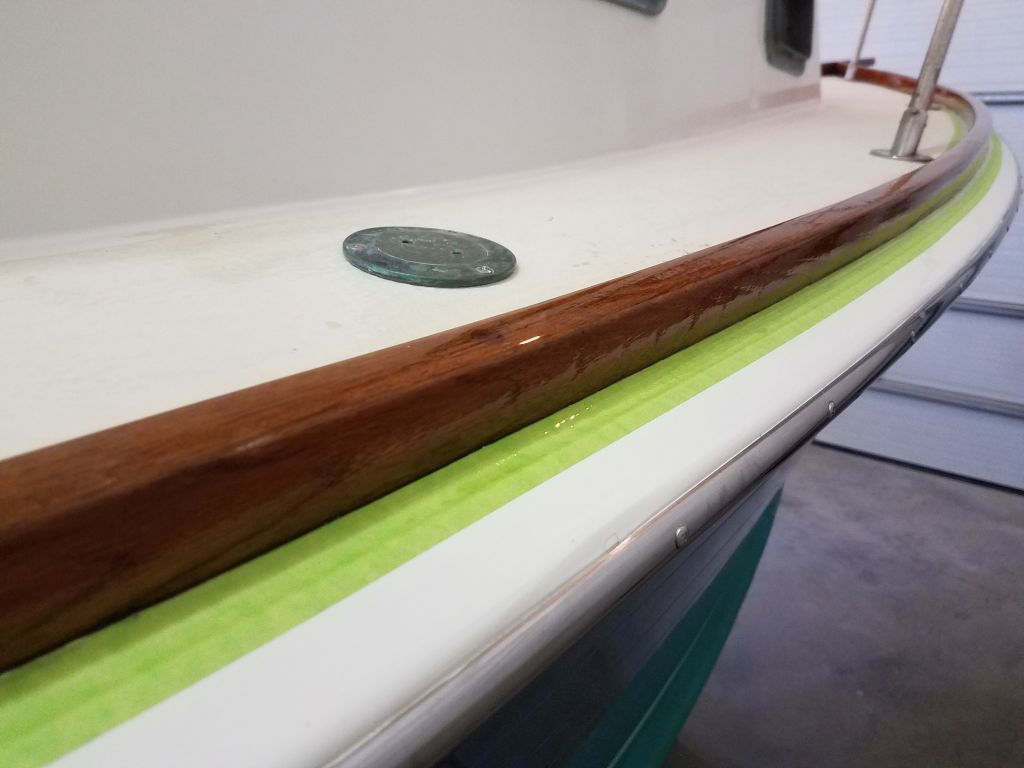
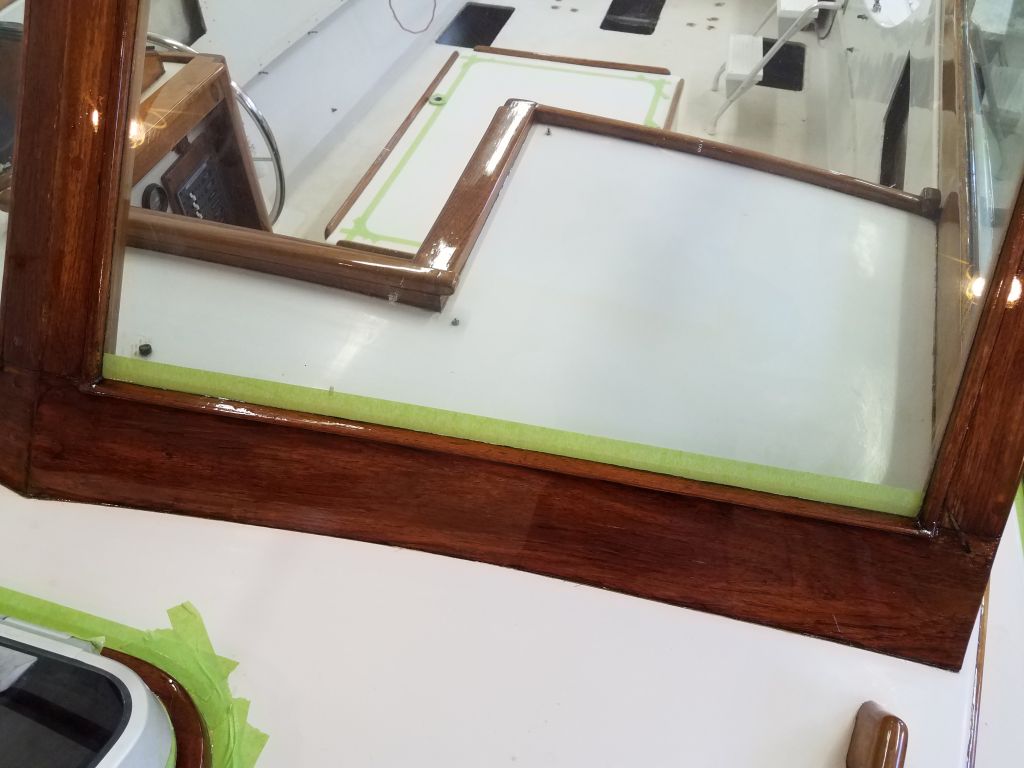
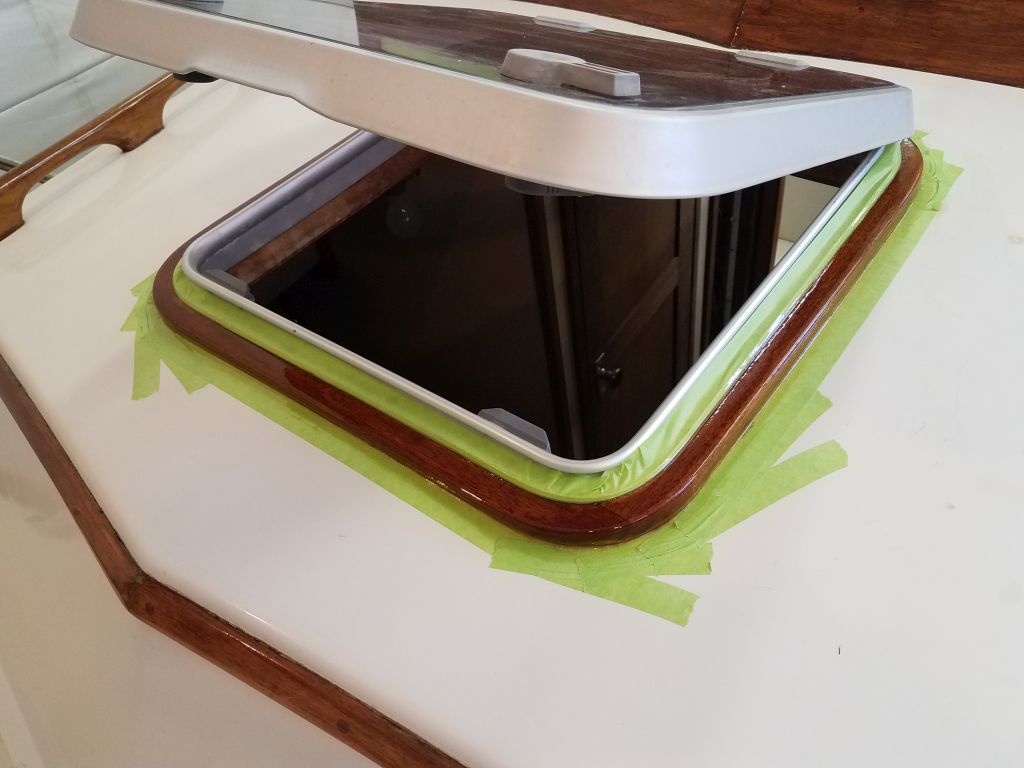
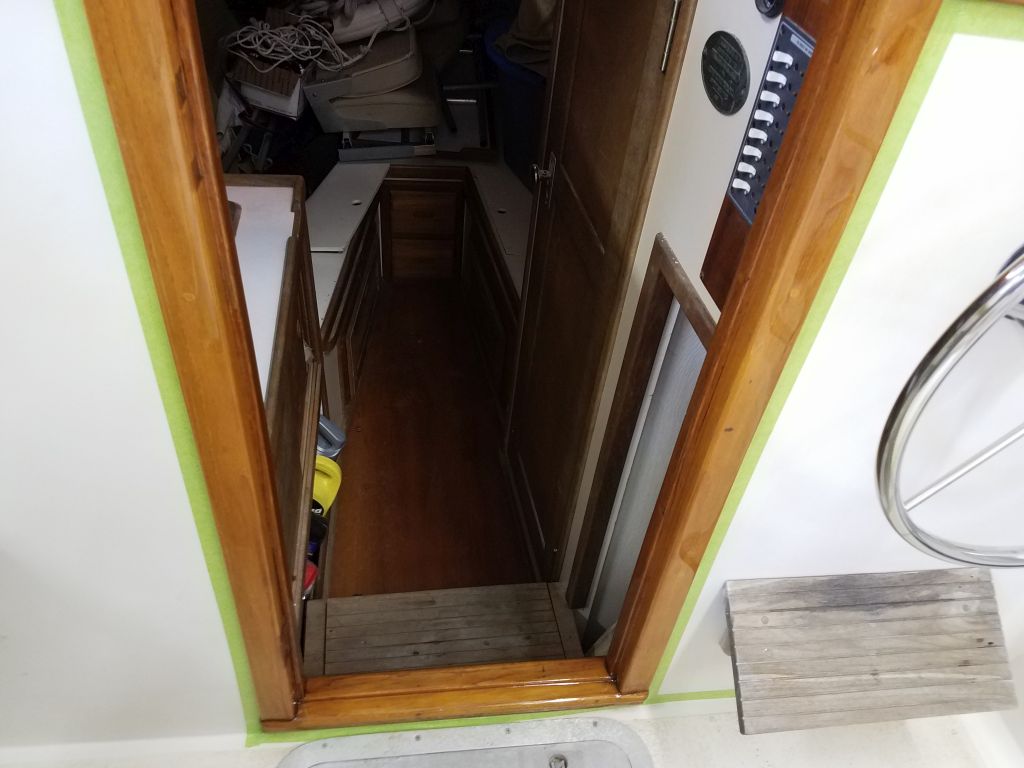
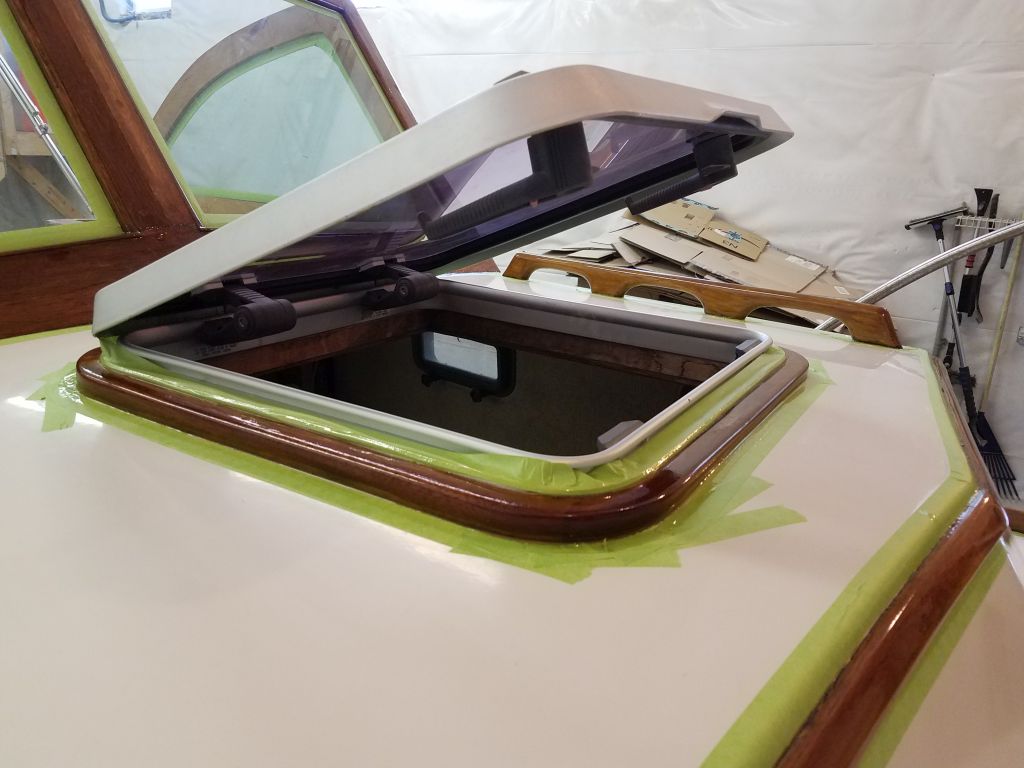
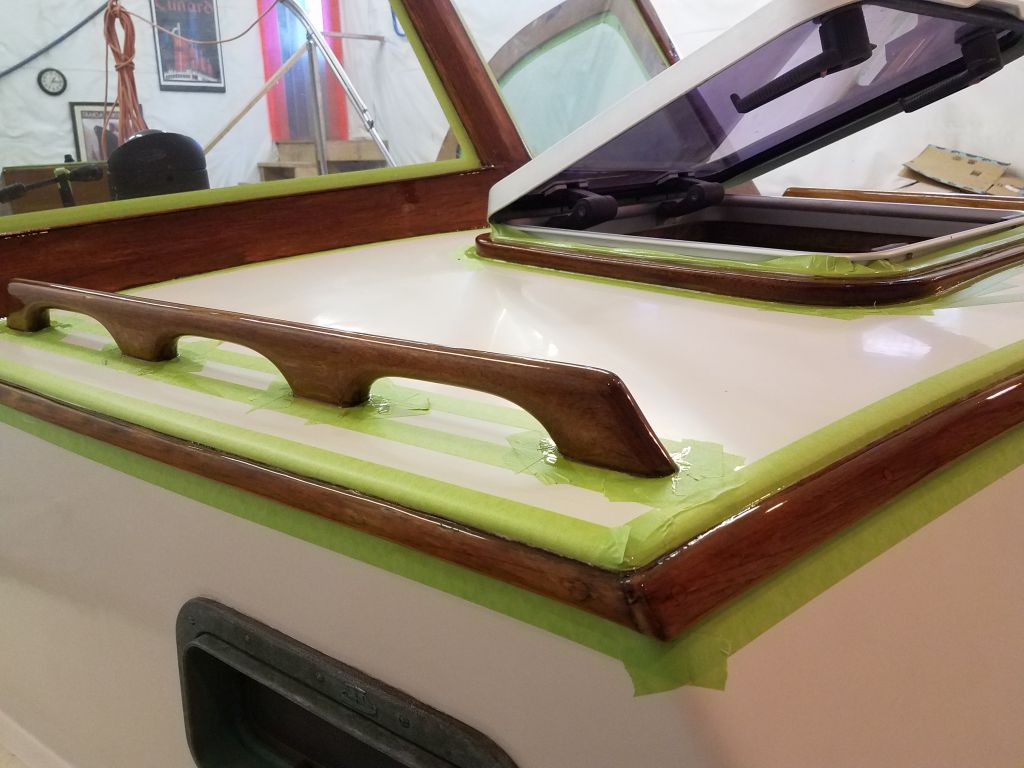
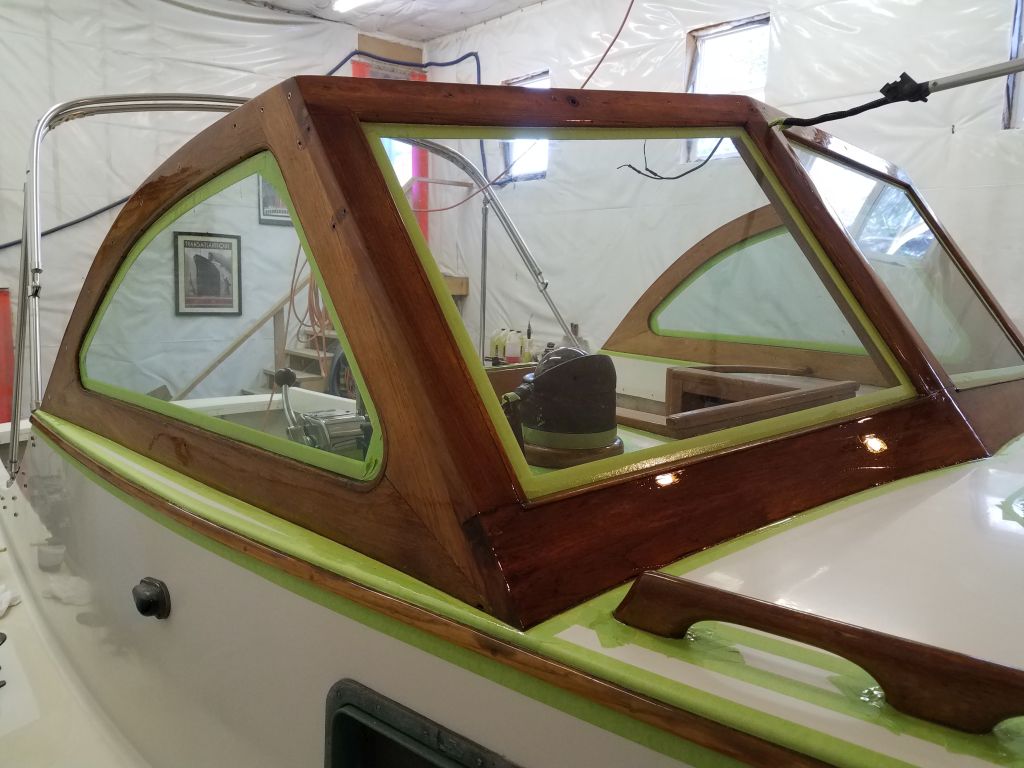
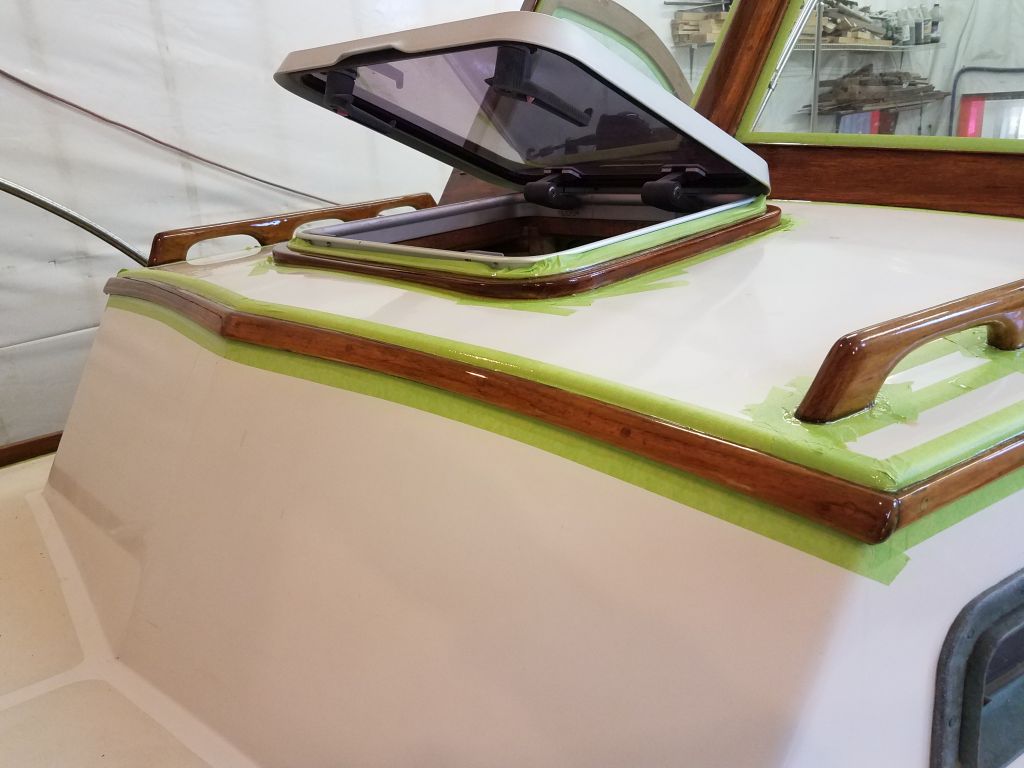
On Saturday, I sanded and applied a fifth coat on toerails, sixth on the hatch surround, and the second maintenance coat on the companionway pieces:

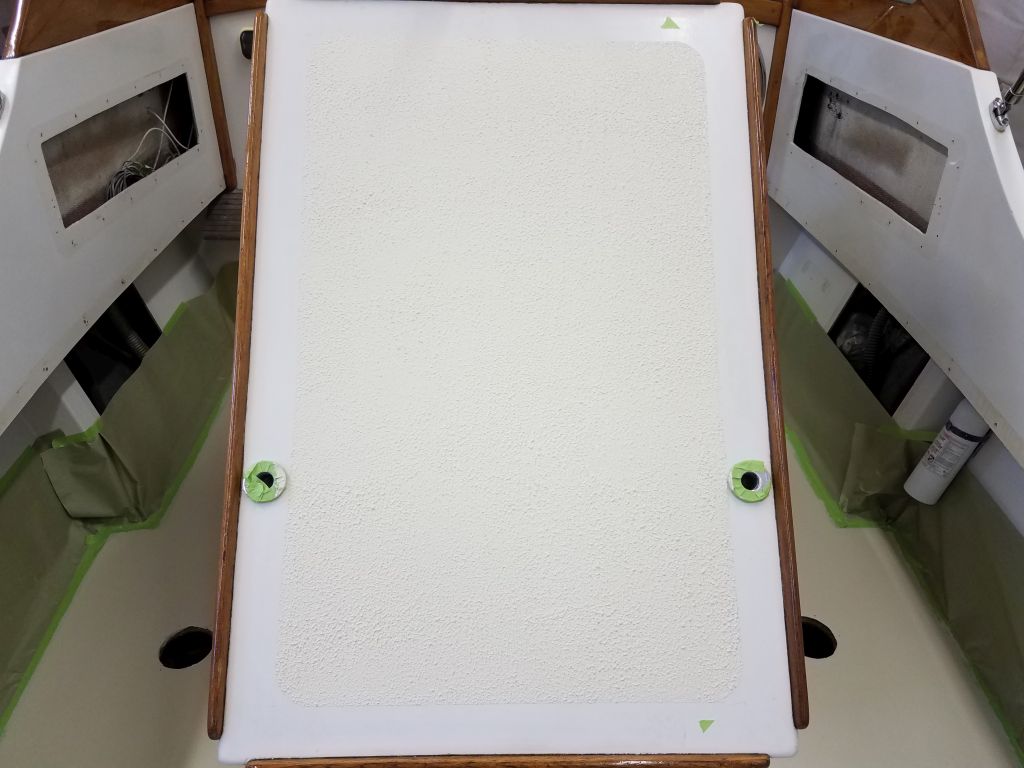
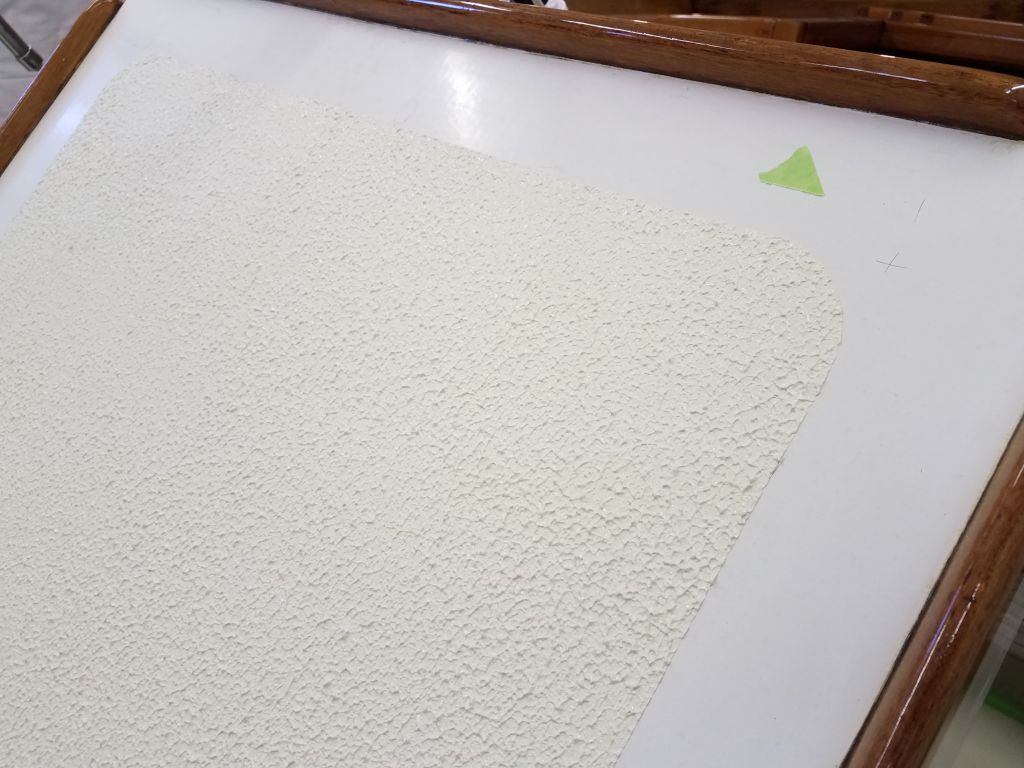
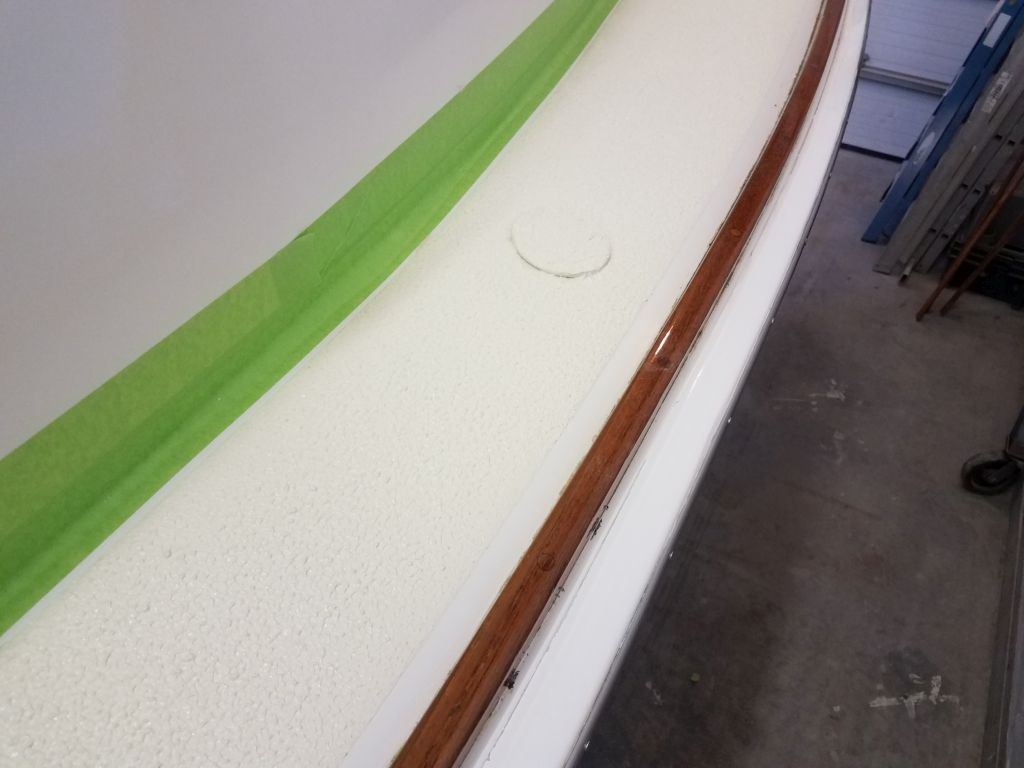
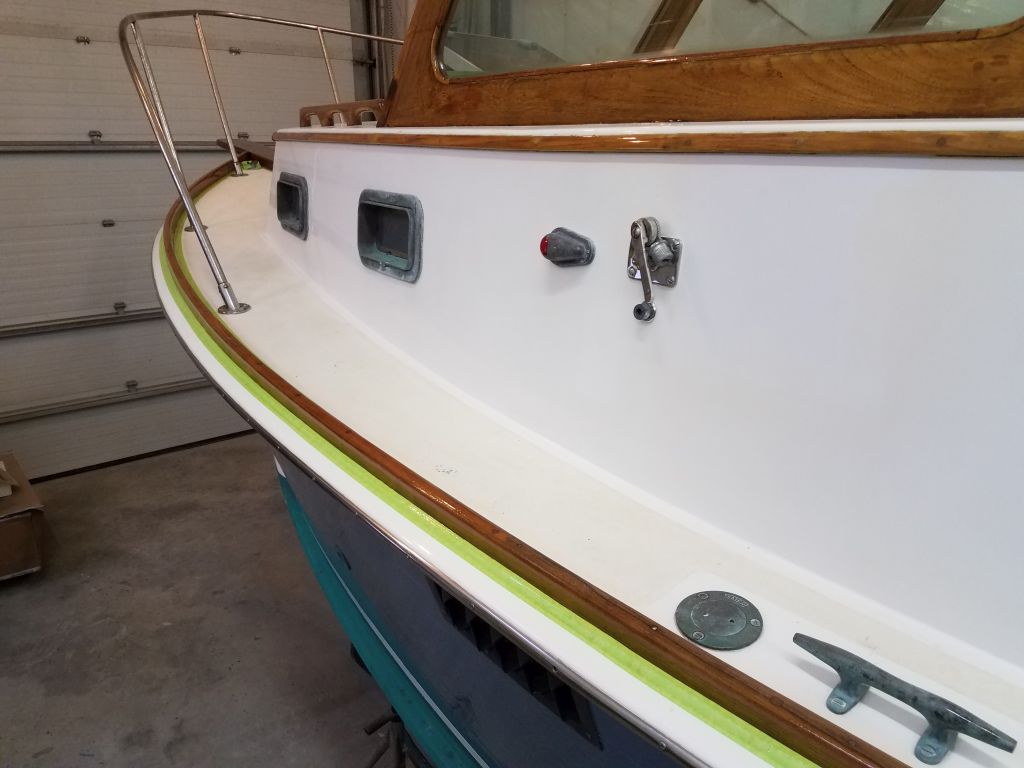
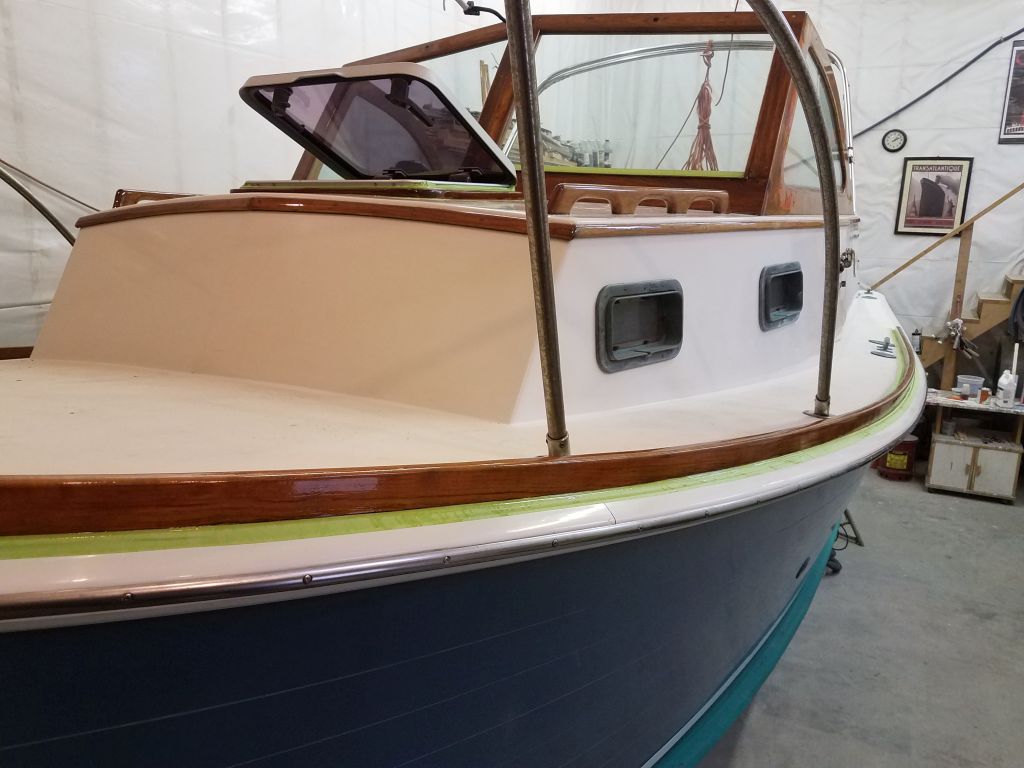
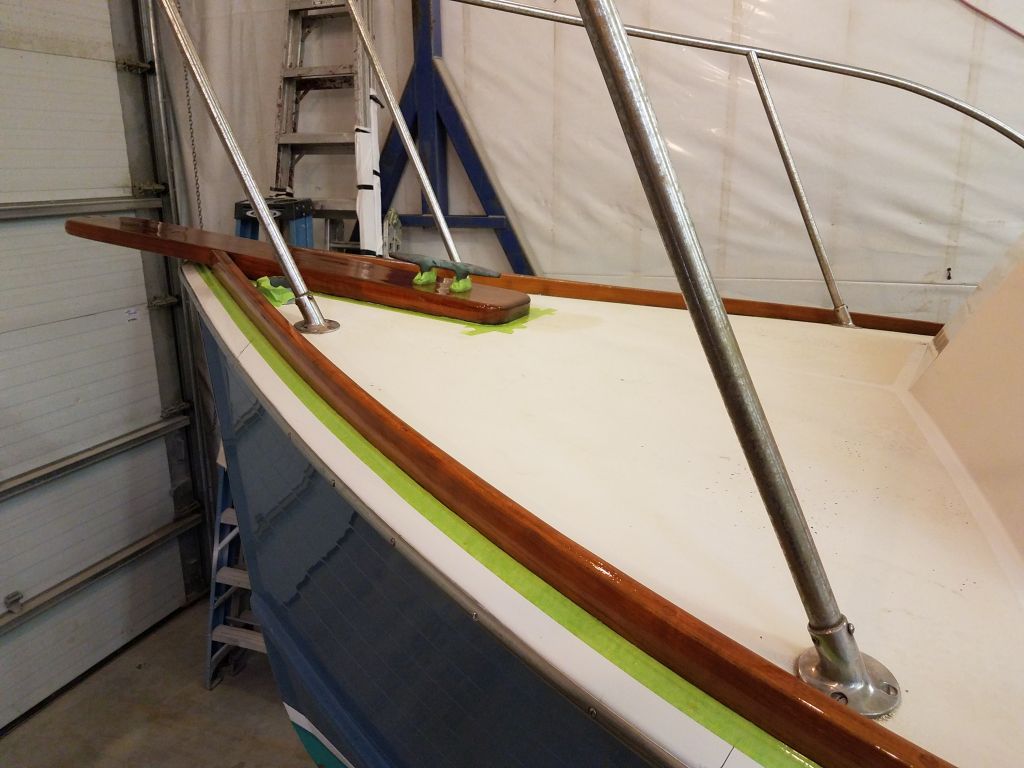
Sunday, I finished up with the sixth coat on toerails and seventh on the hatch surround (I had a holiday in the sixth coat).  I took the photos below the next morning, after I’d removed the masking tape following the final coats.

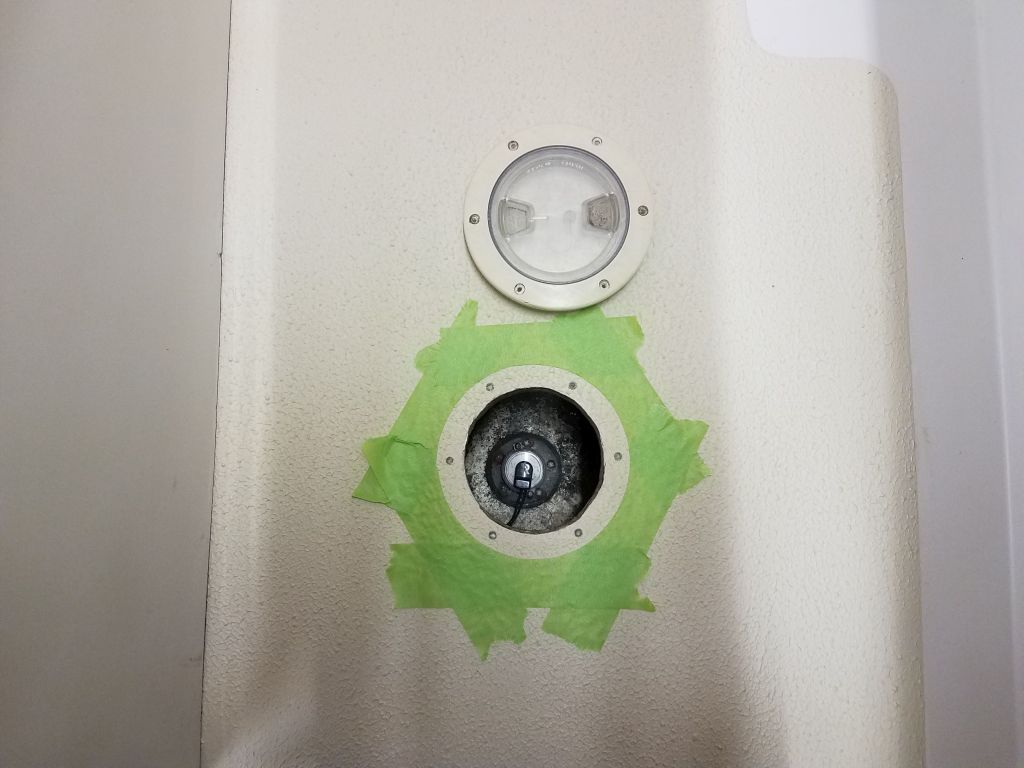
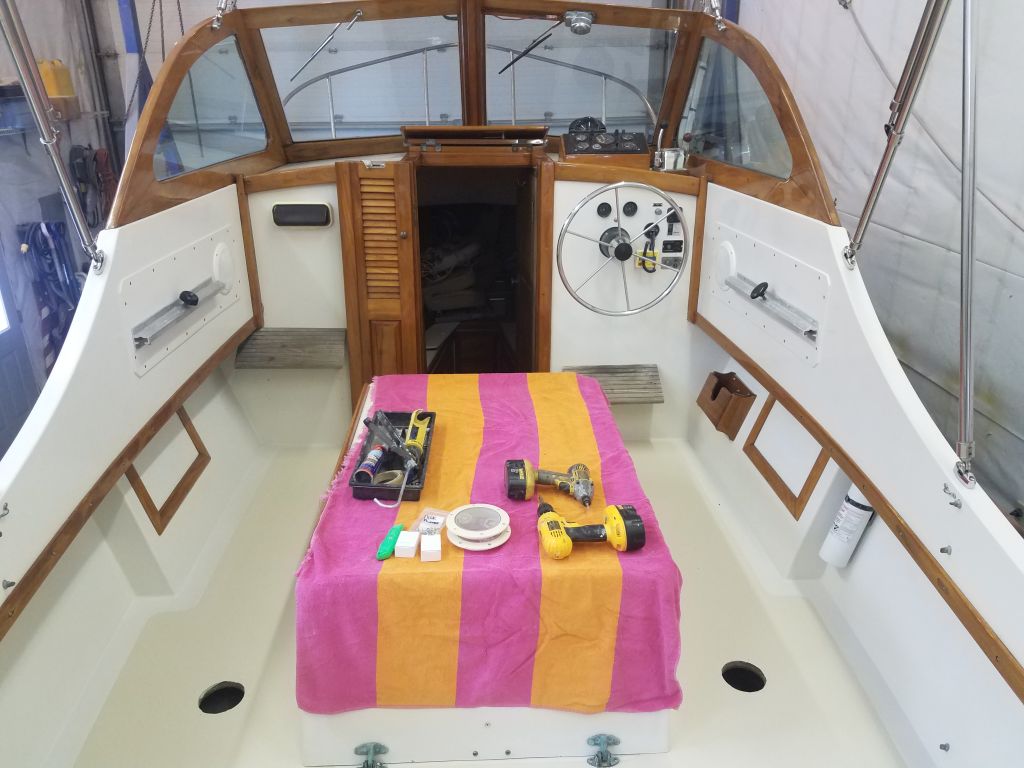
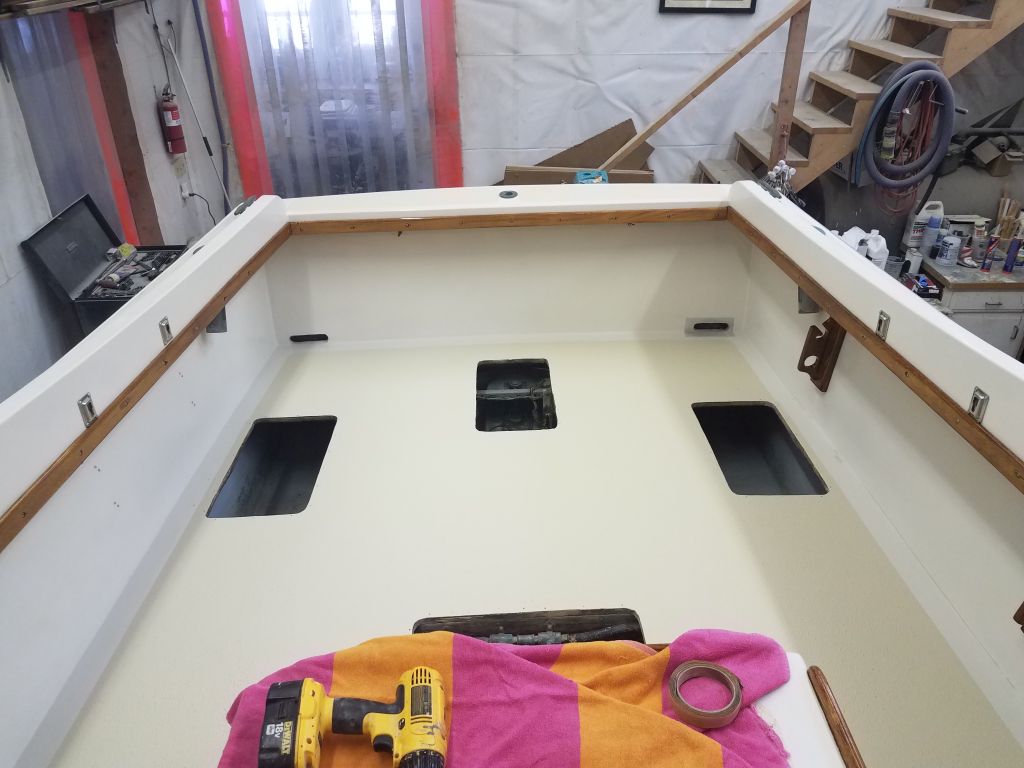
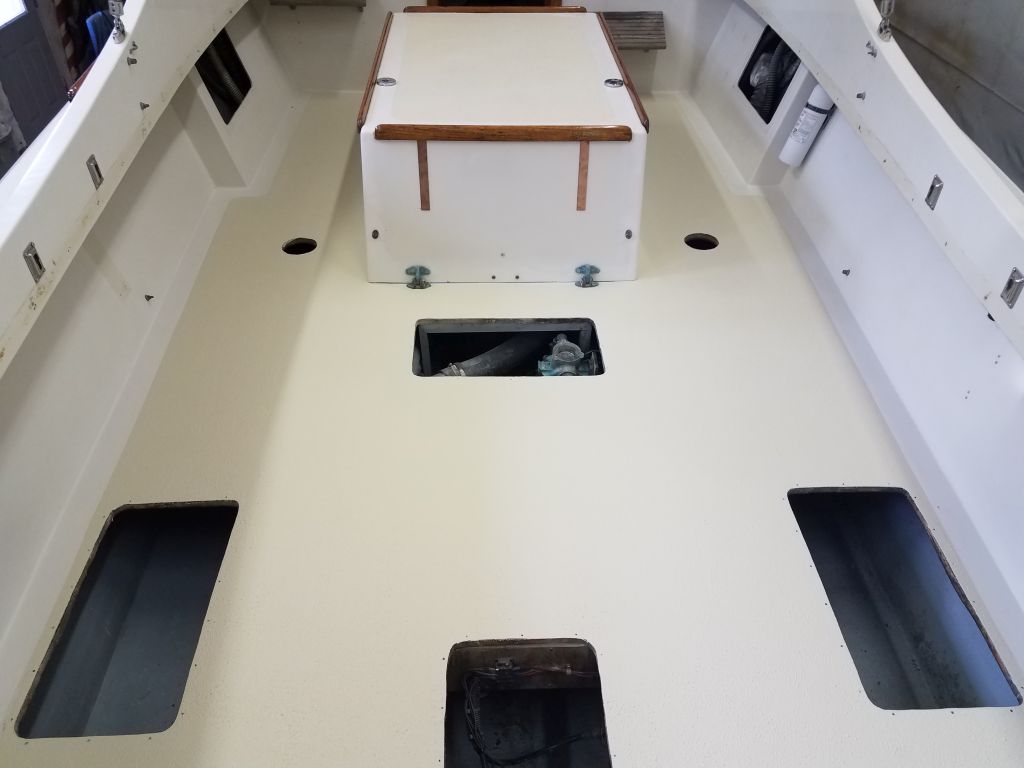
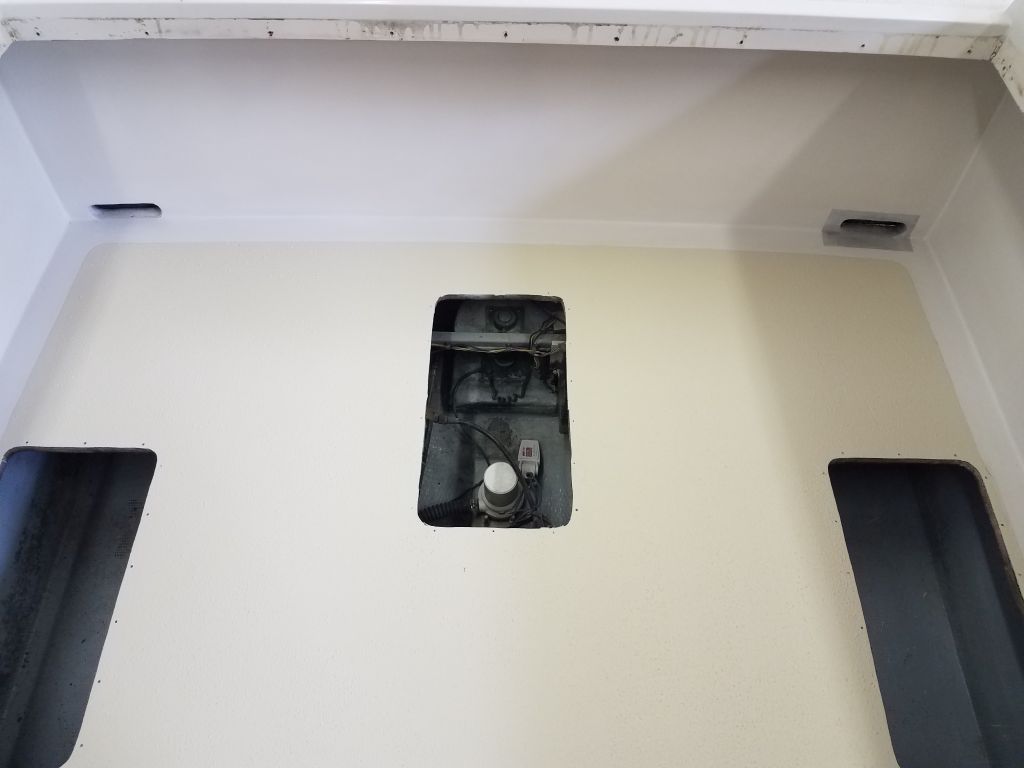
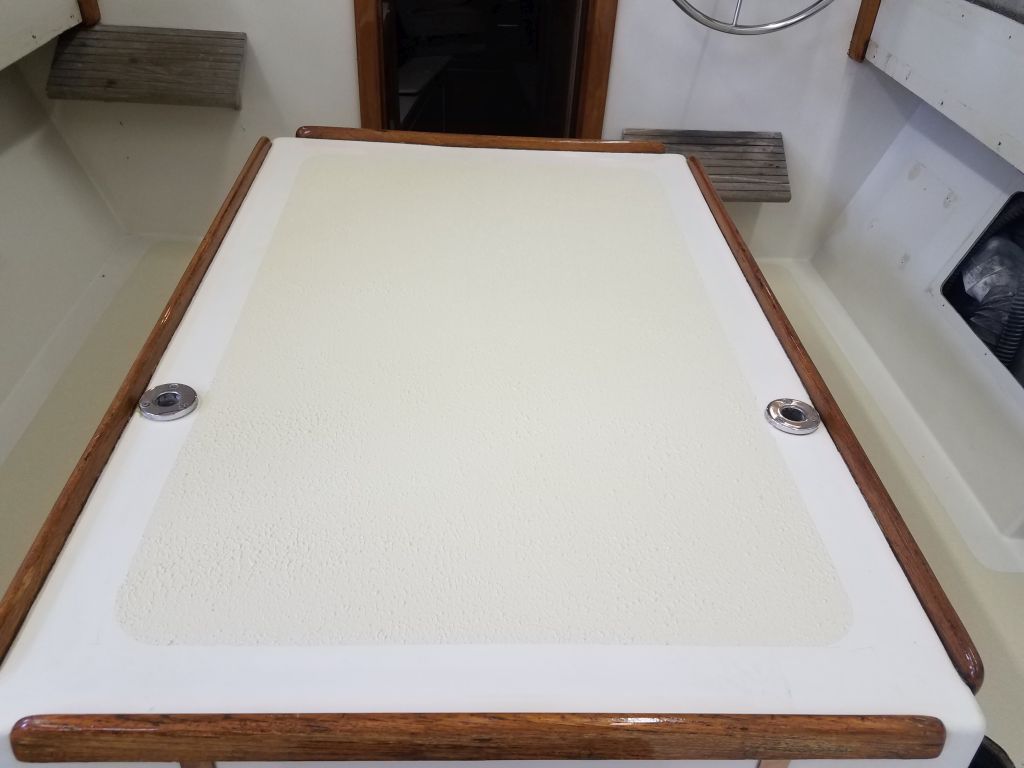
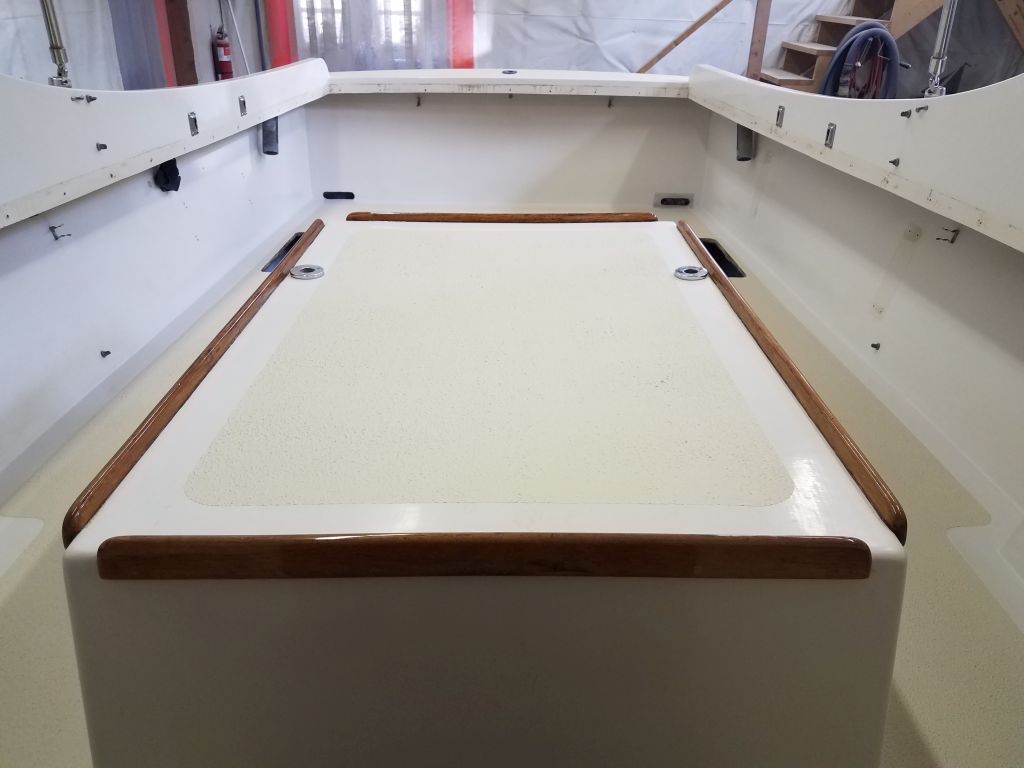
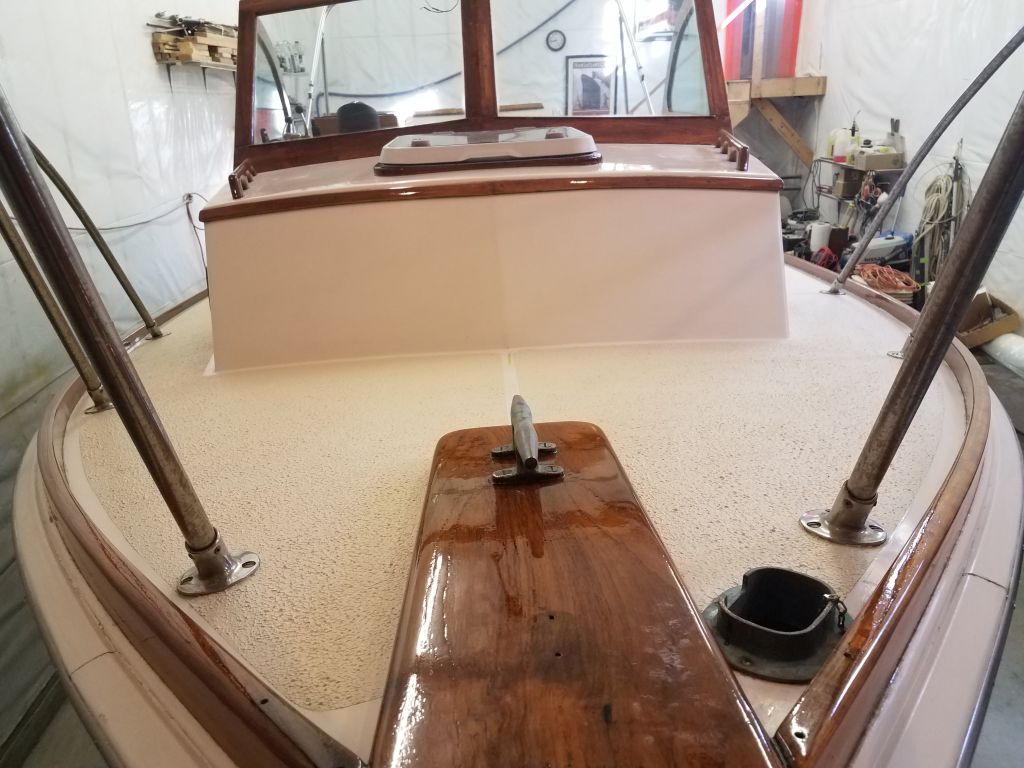
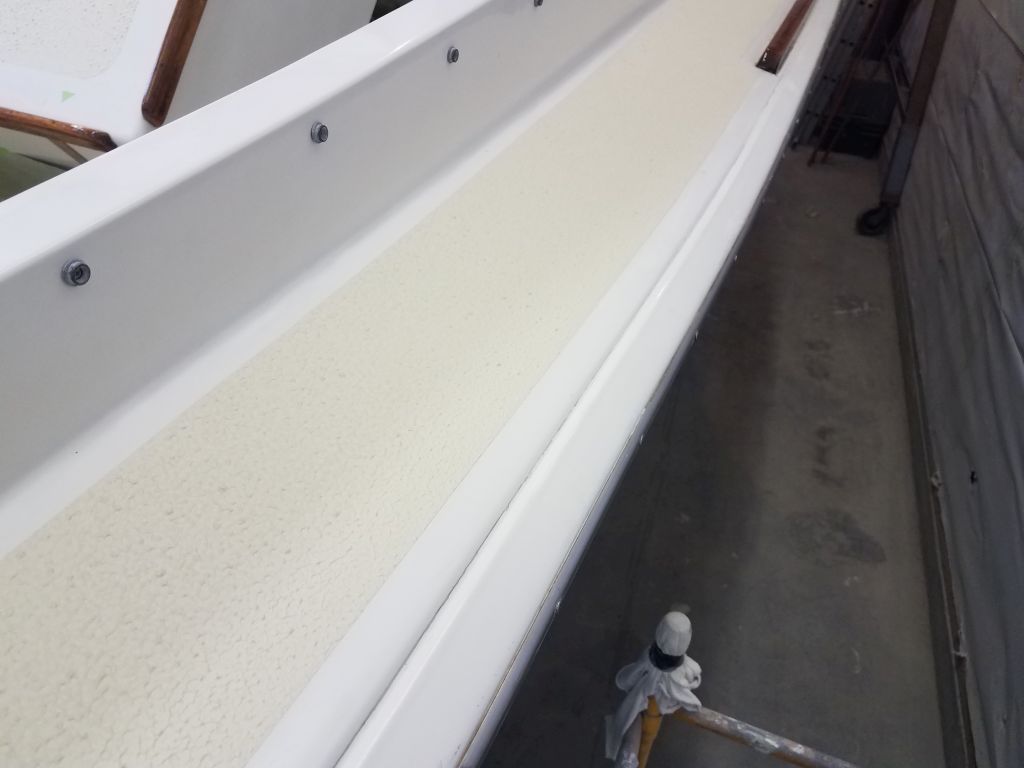
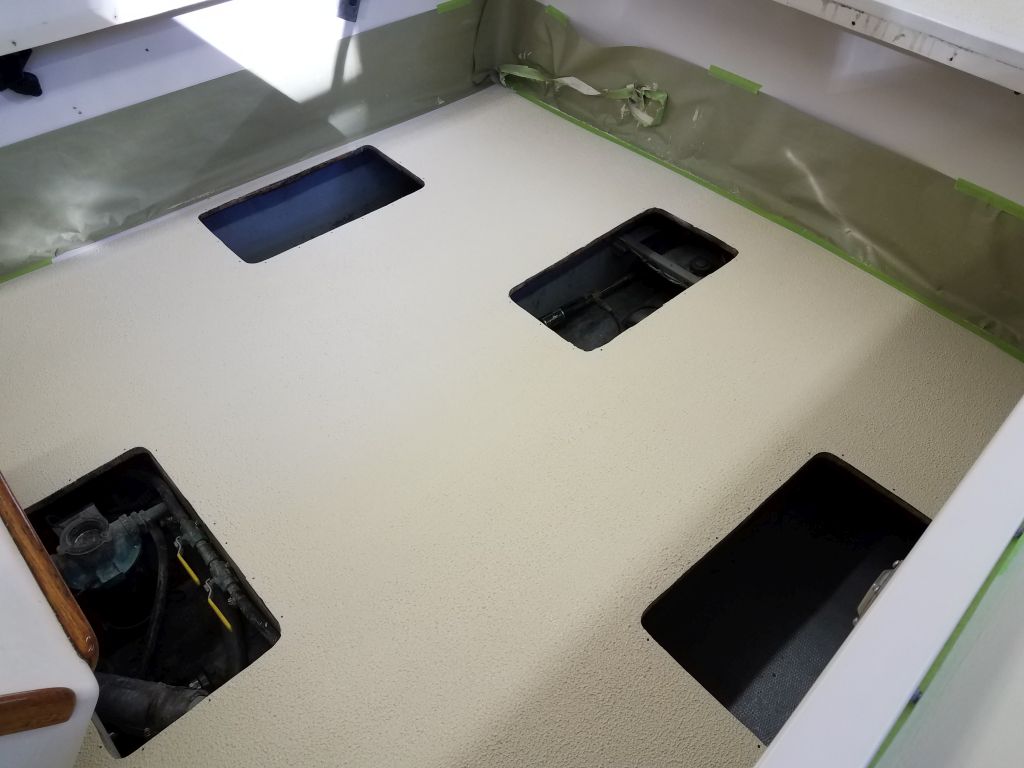
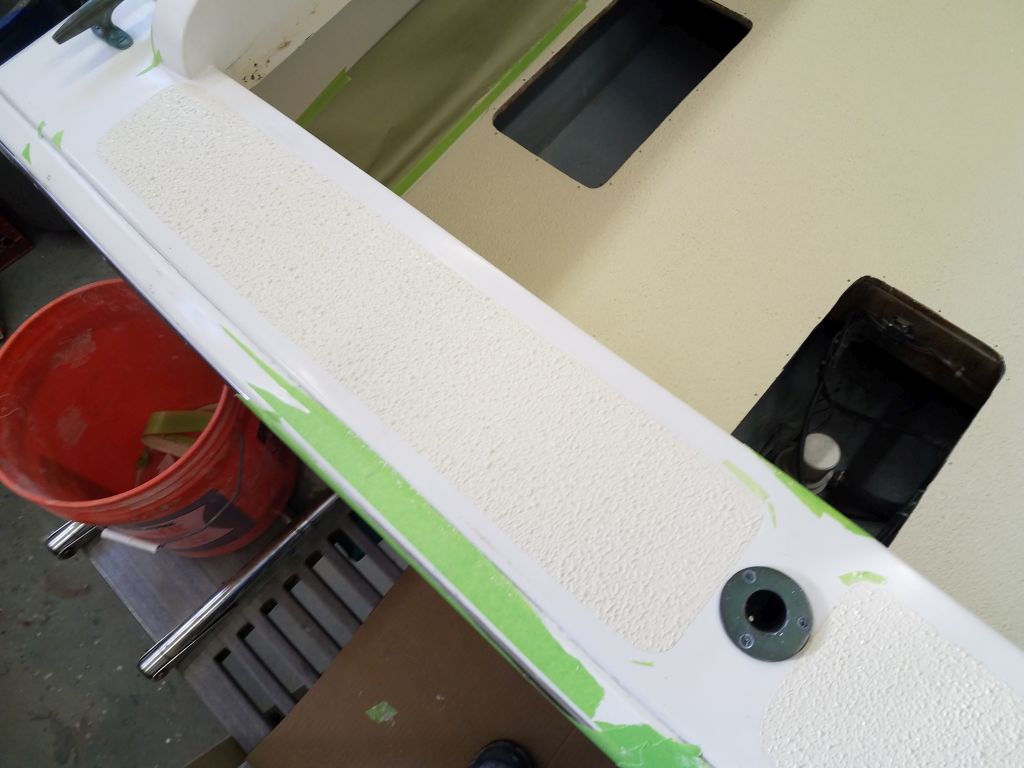
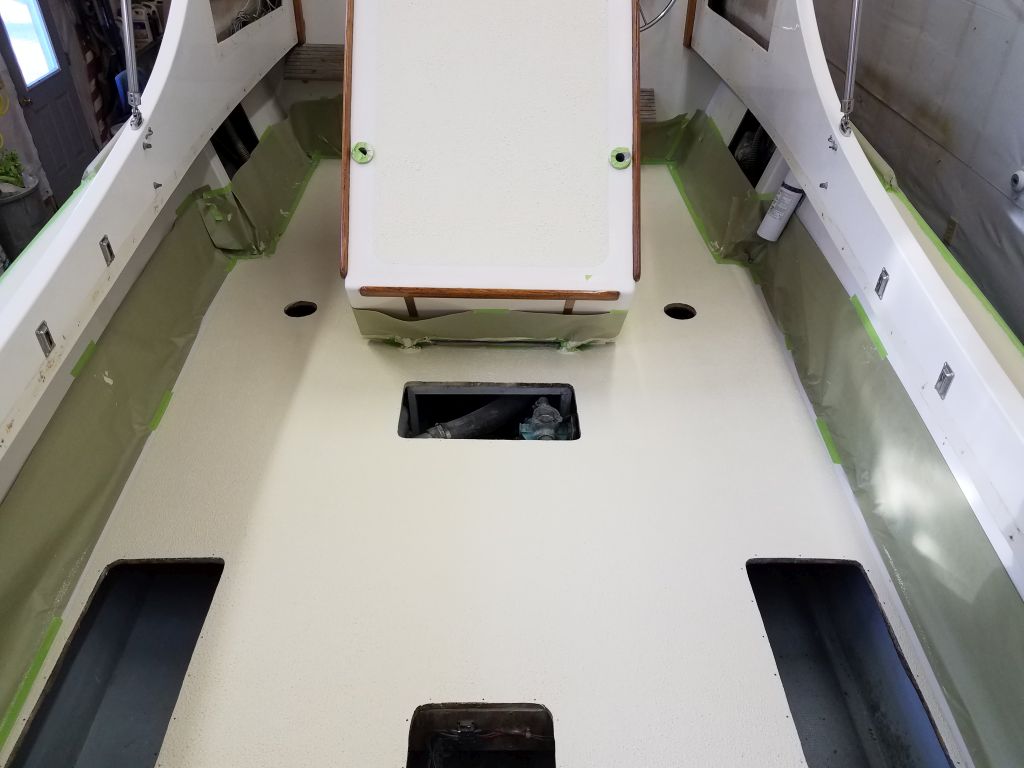
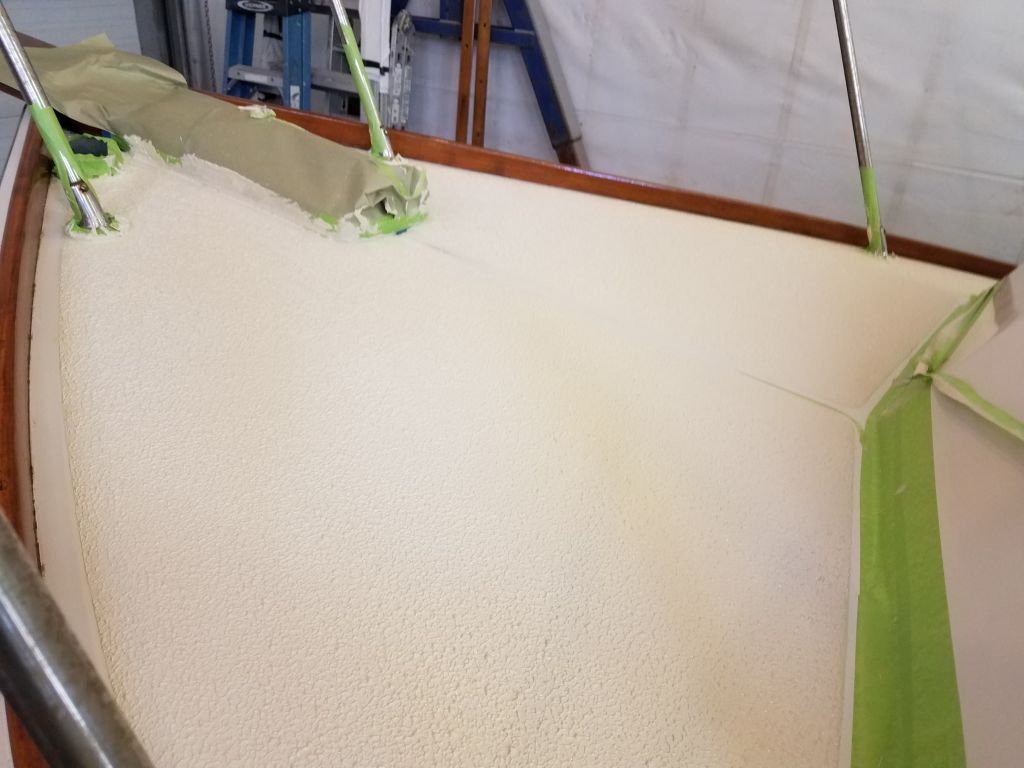
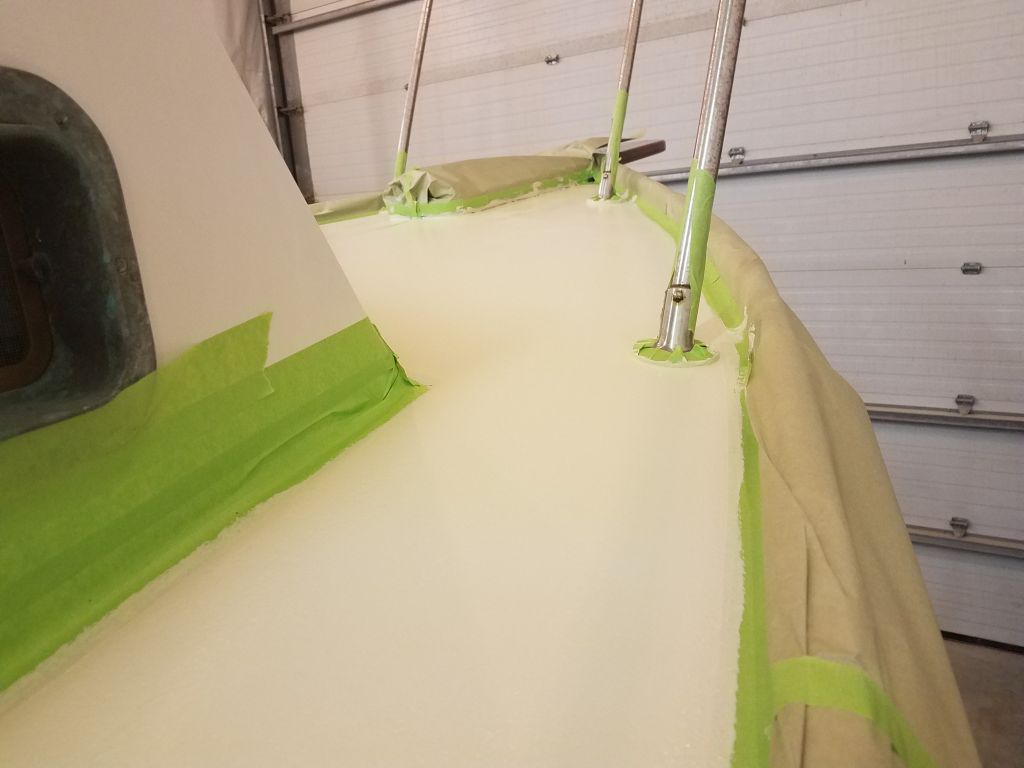
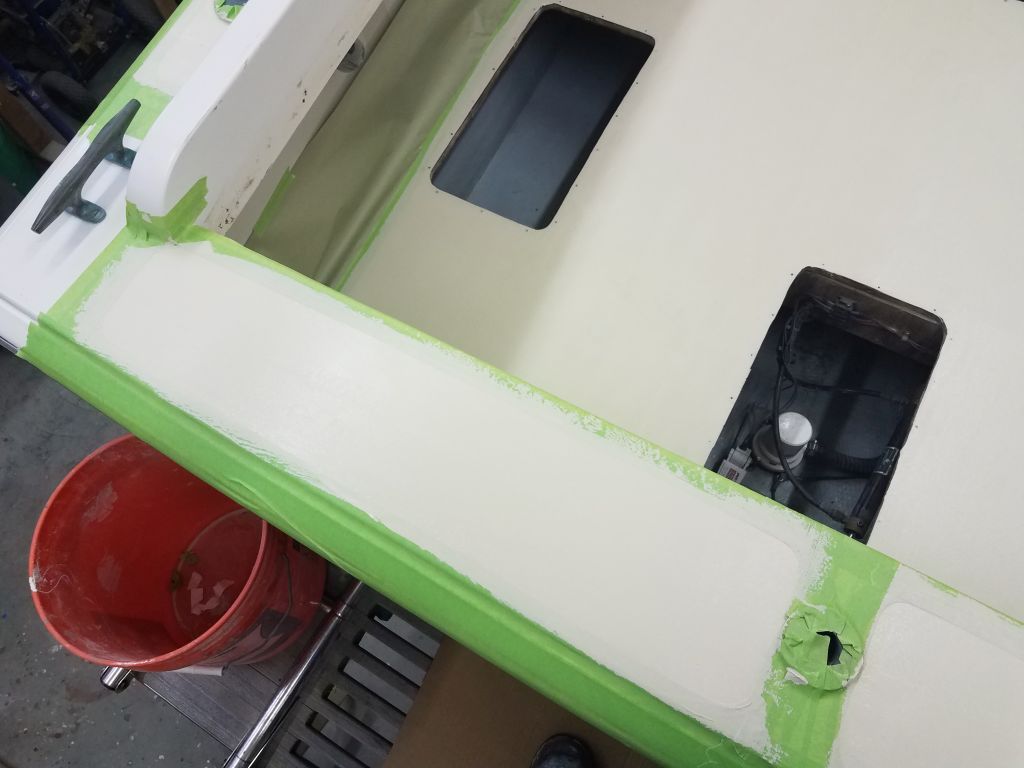
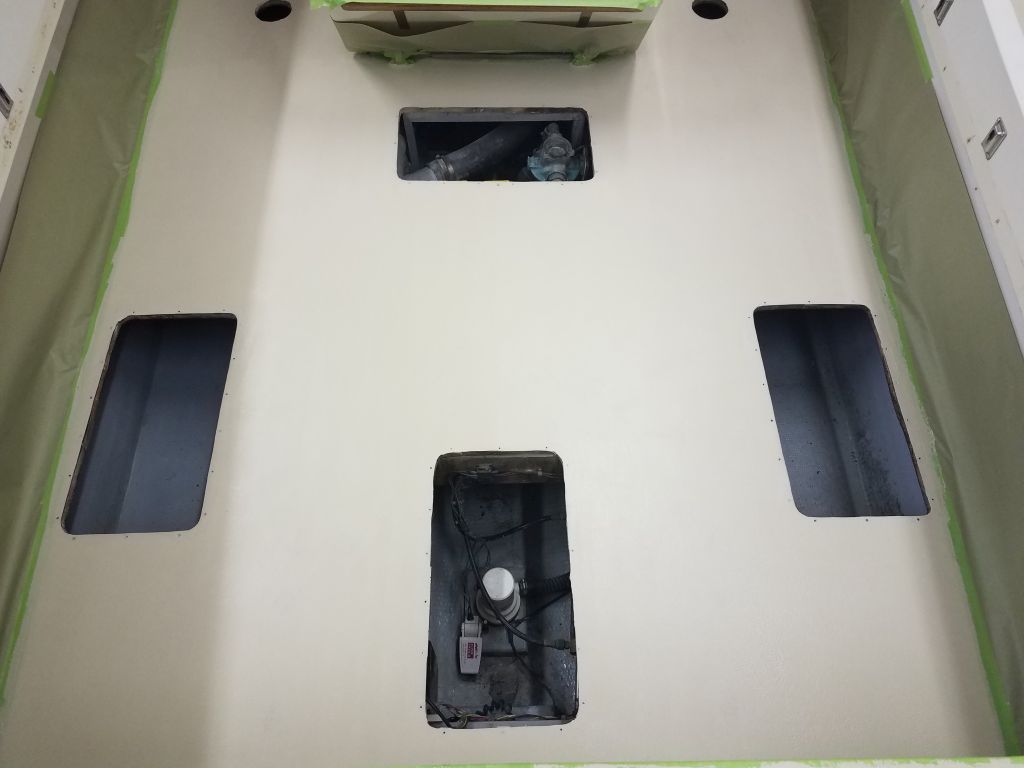
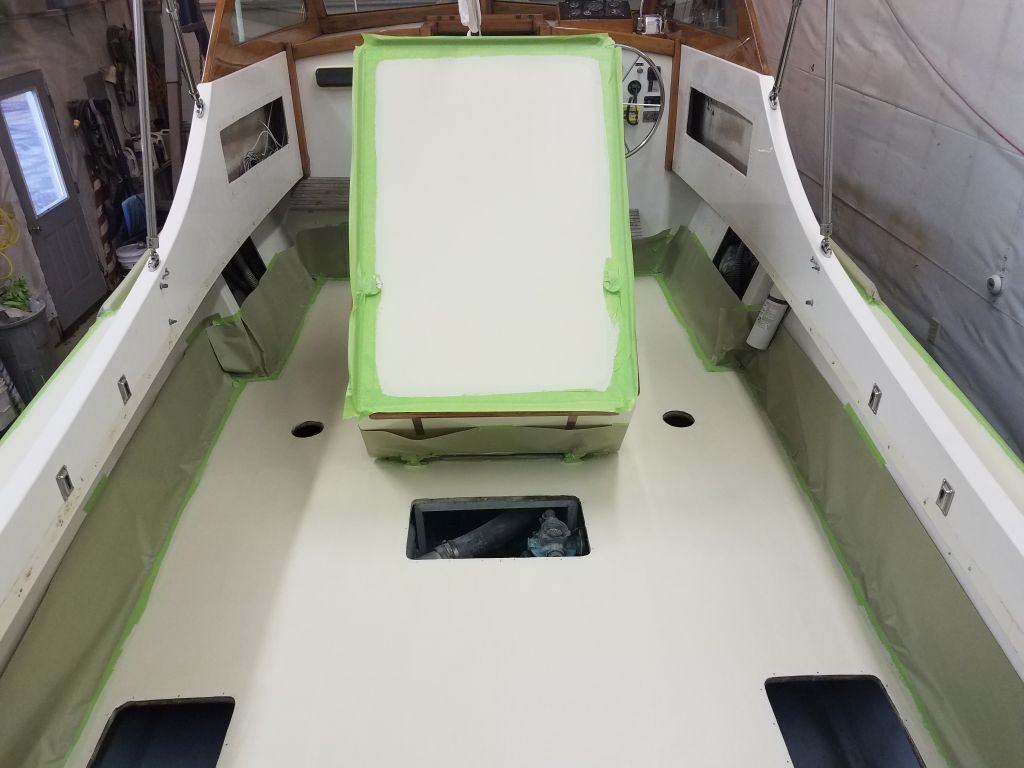
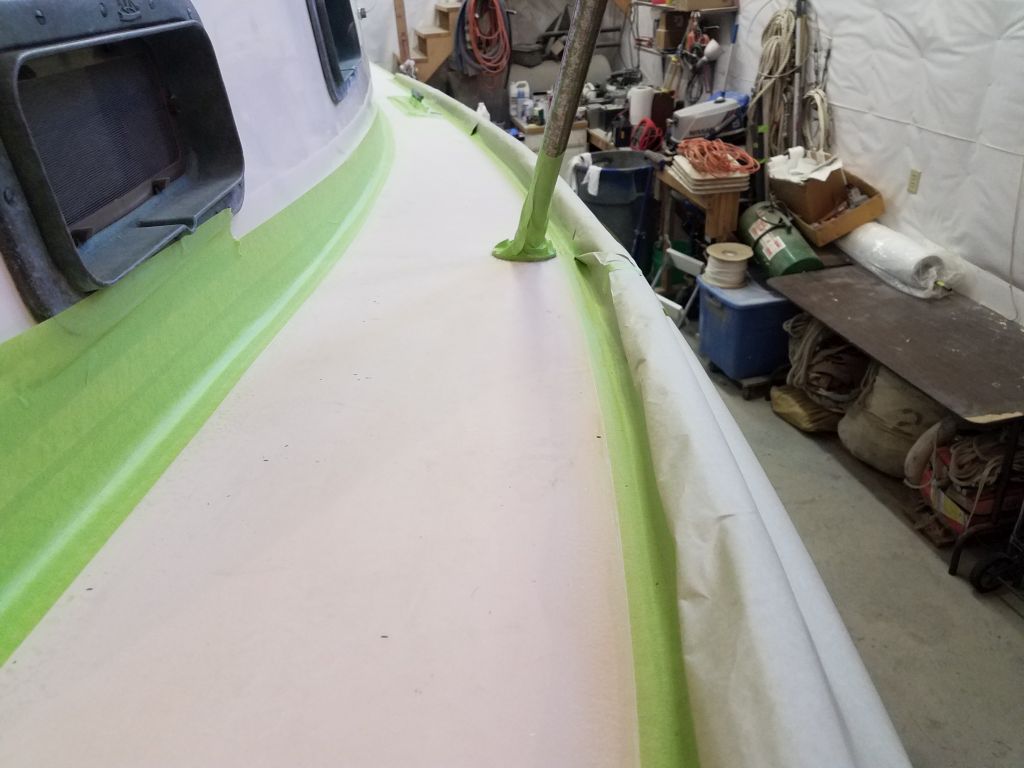
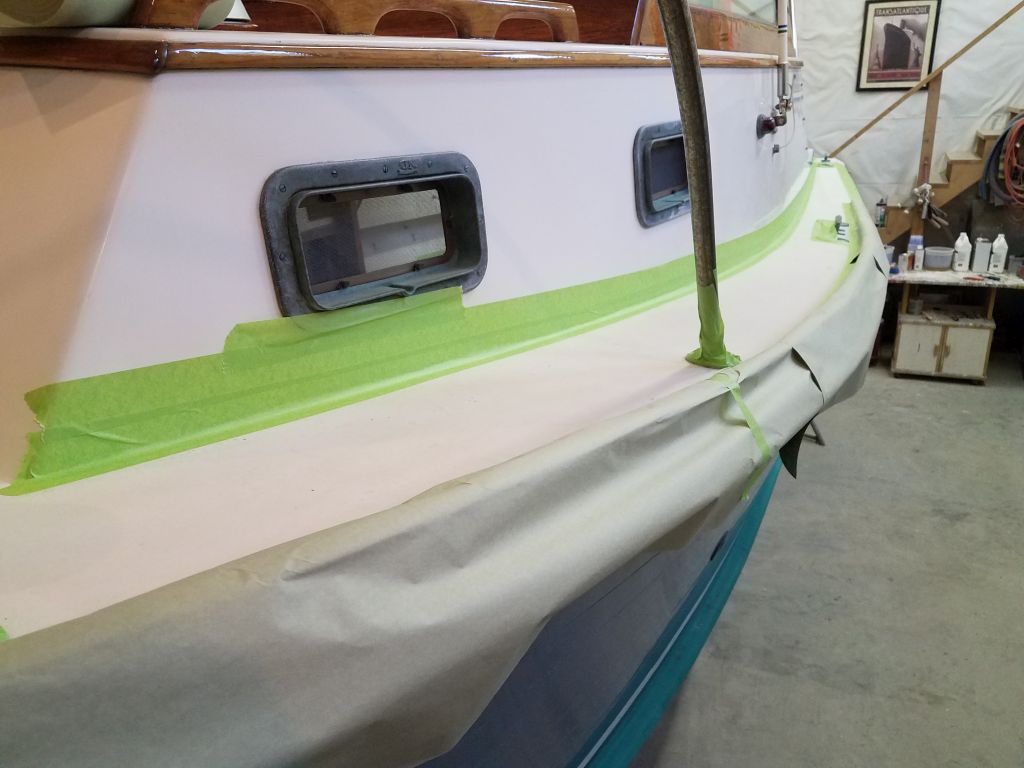
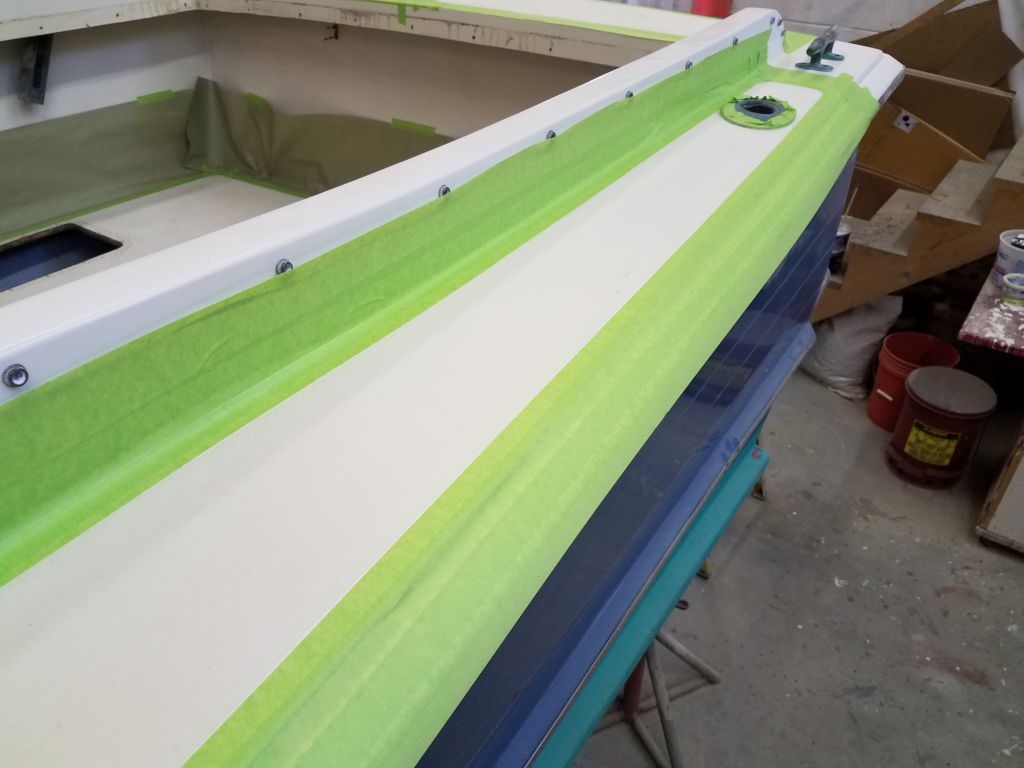
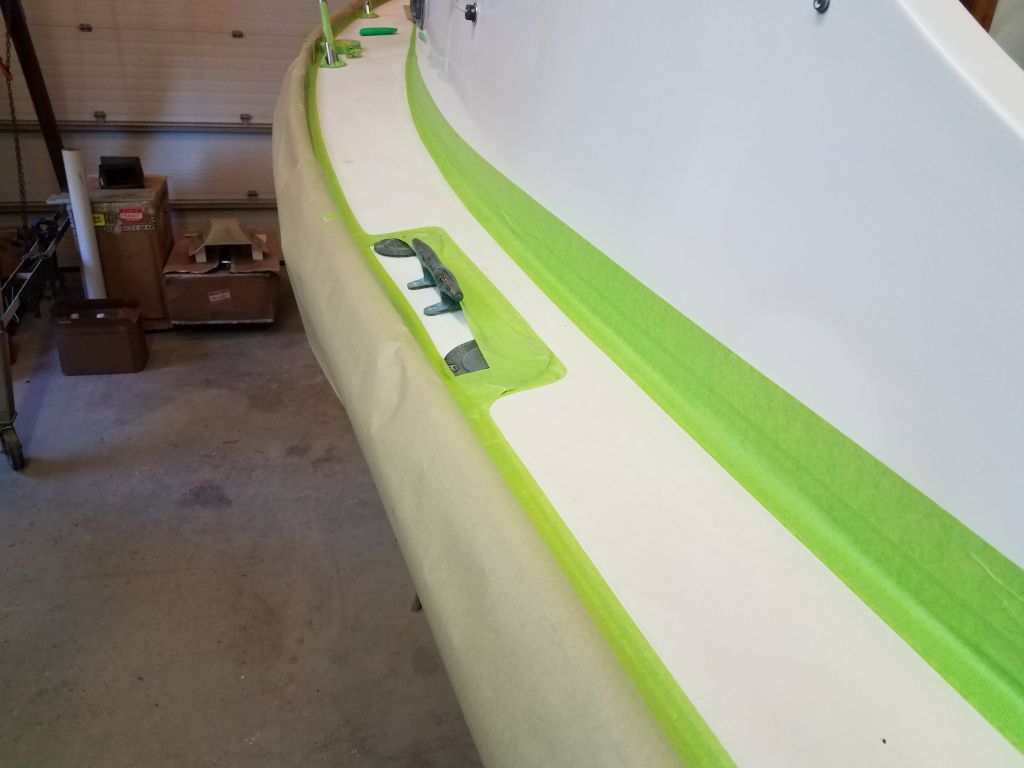
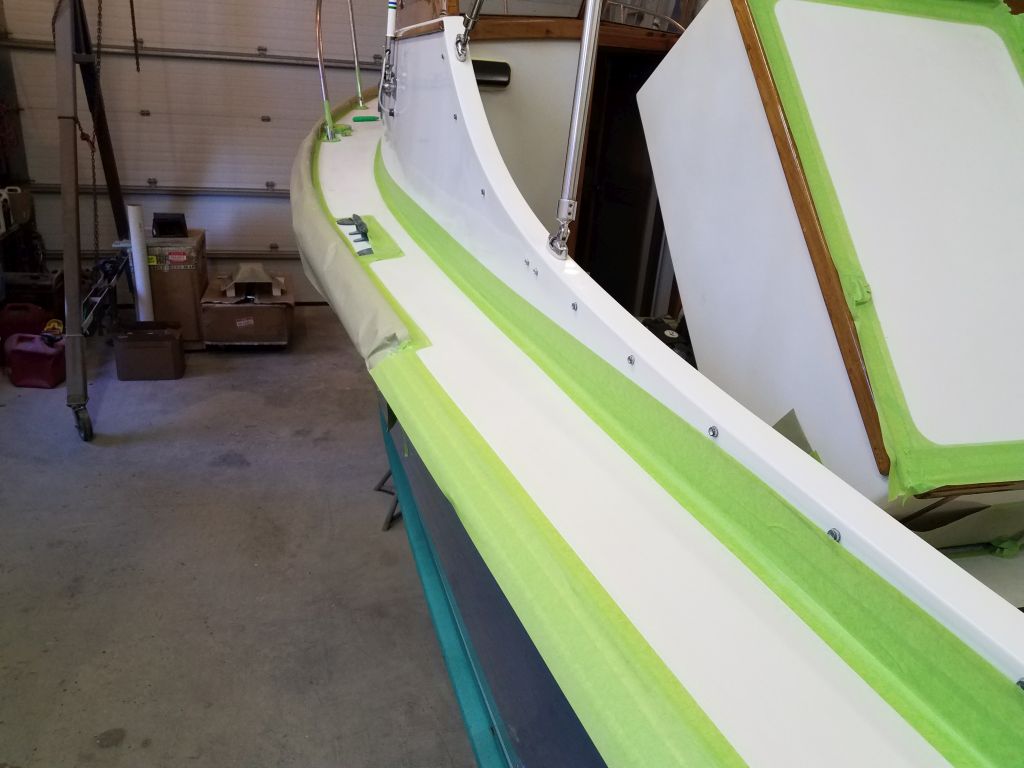
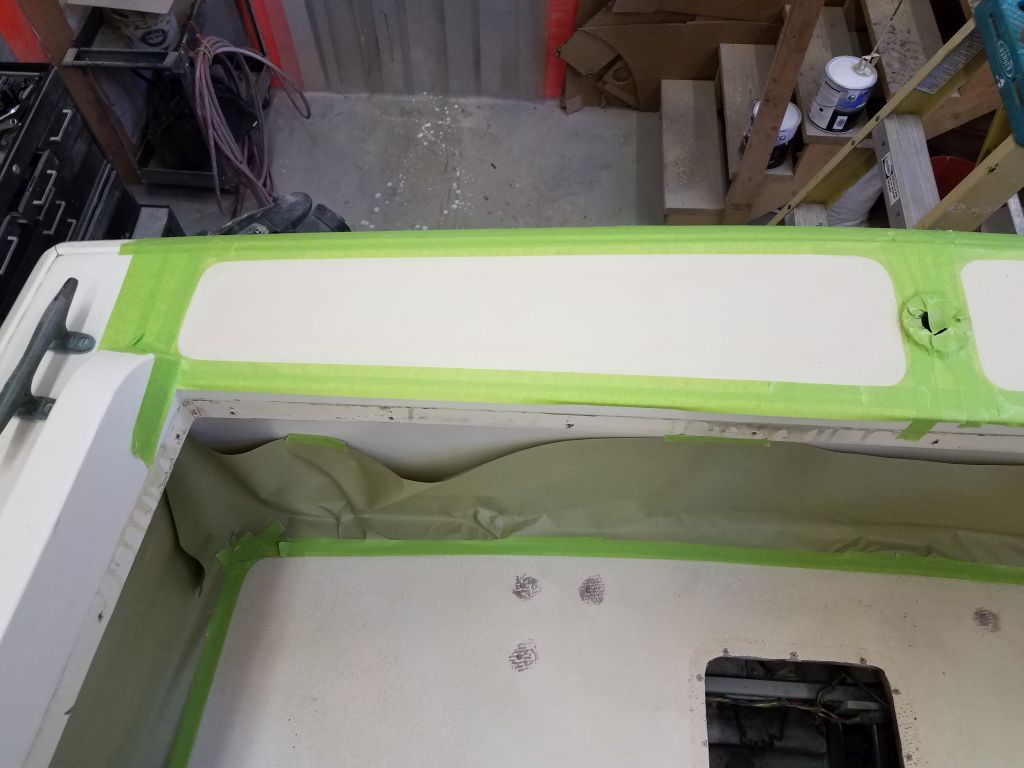
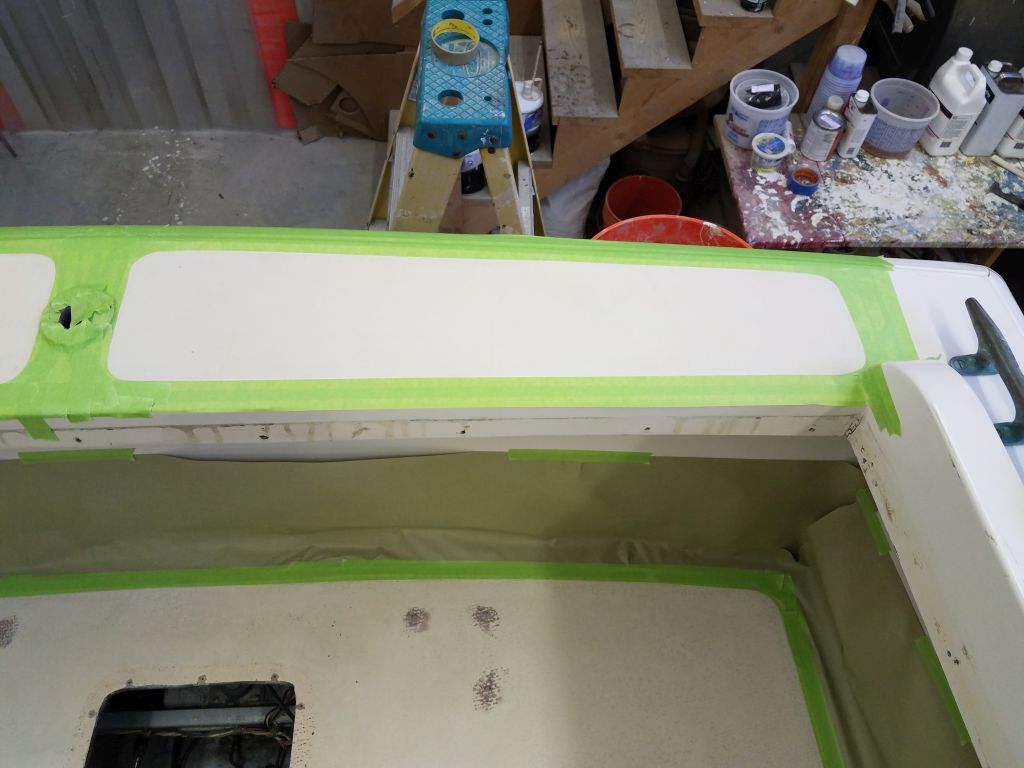
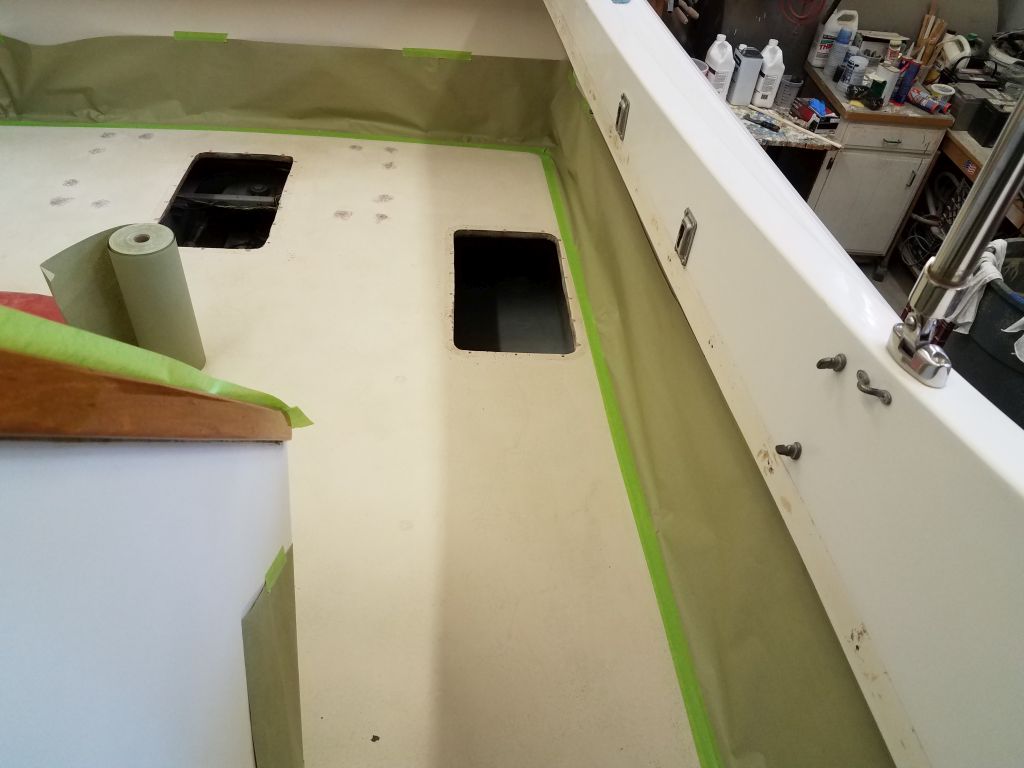
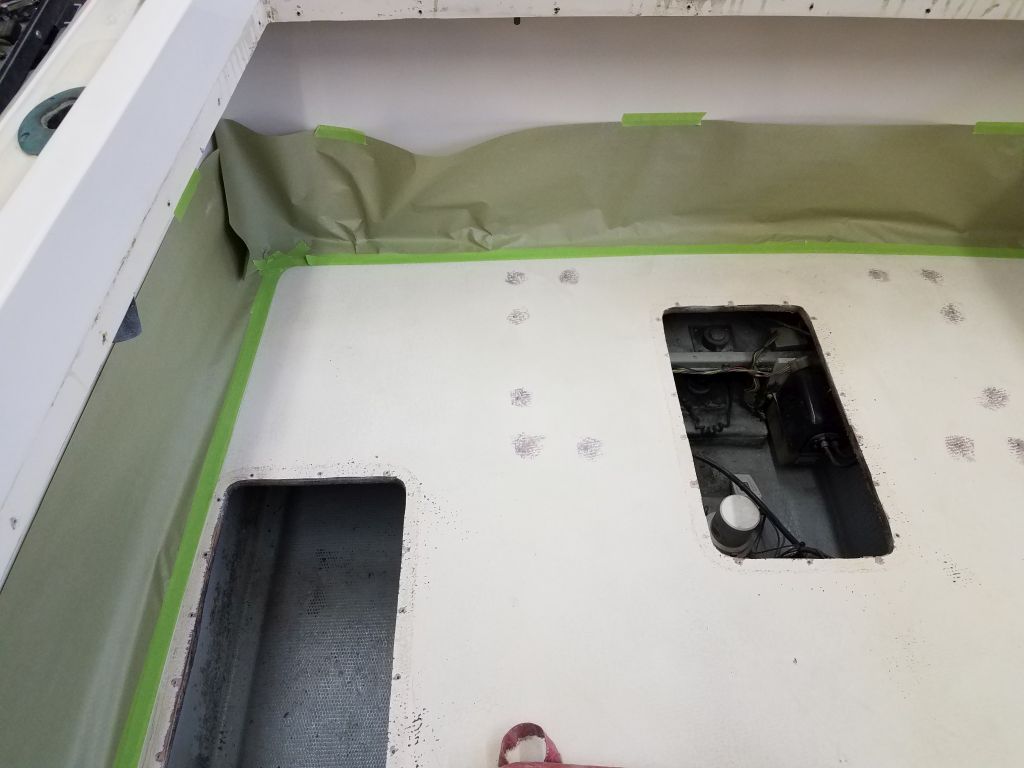
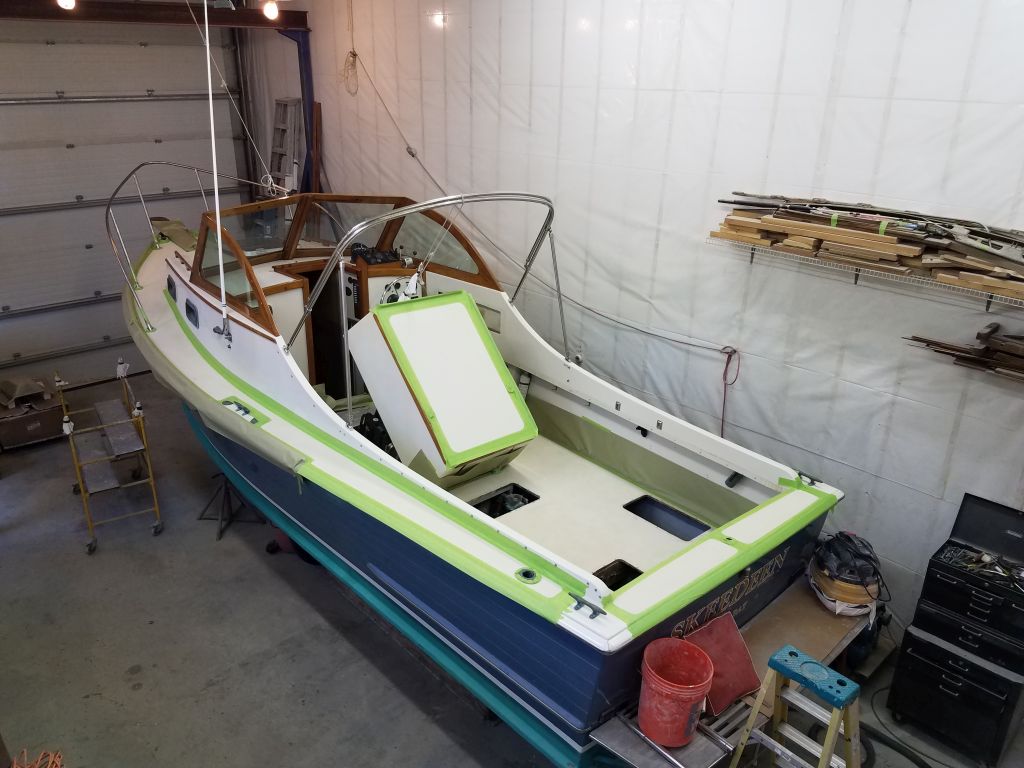
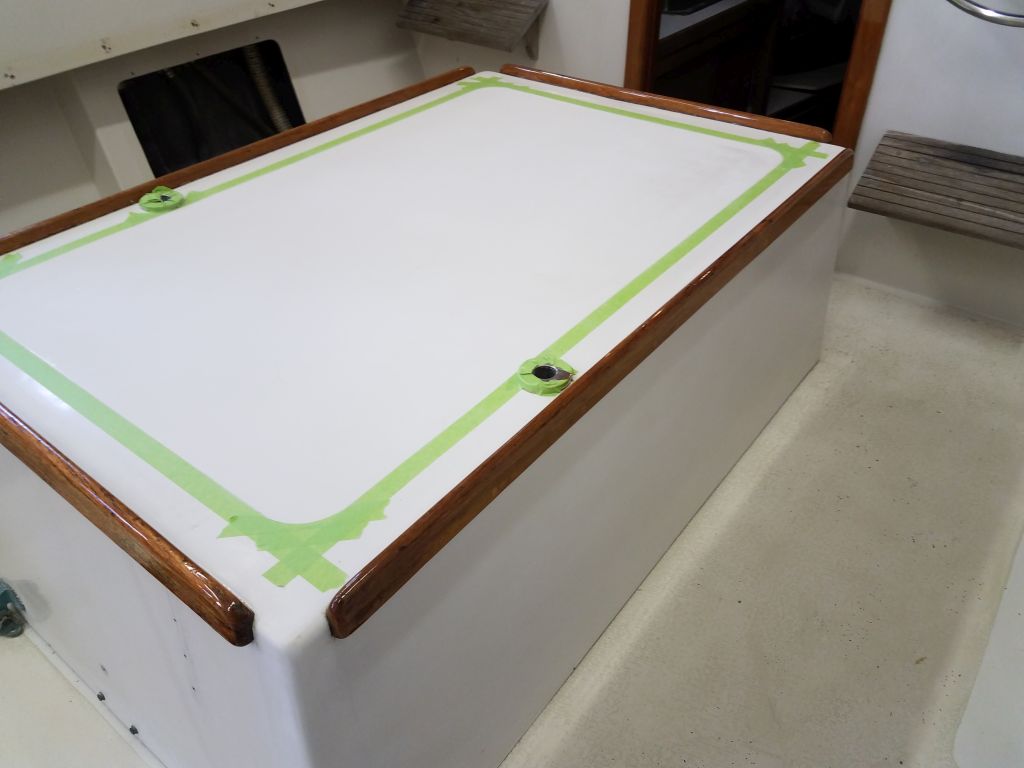
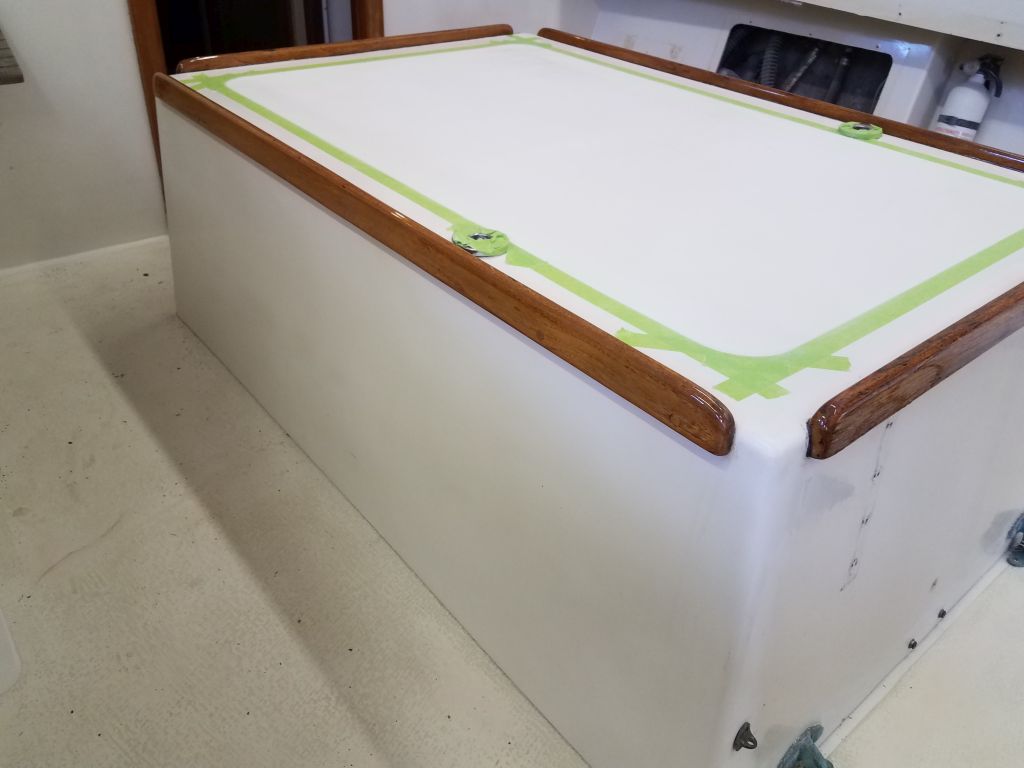
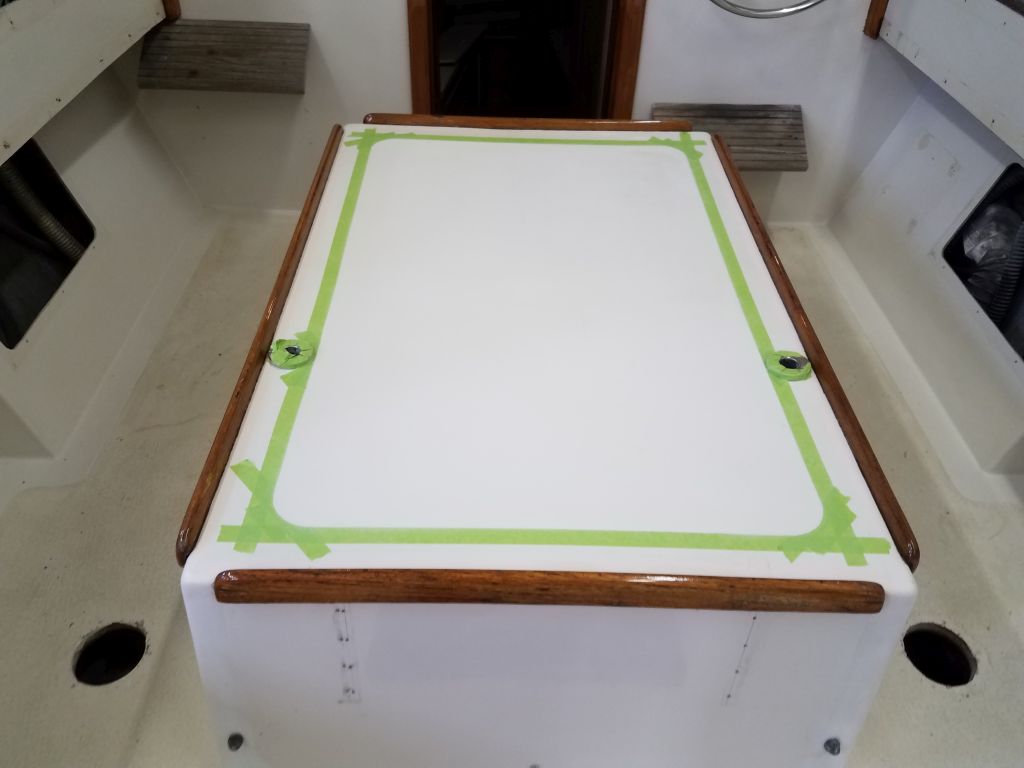
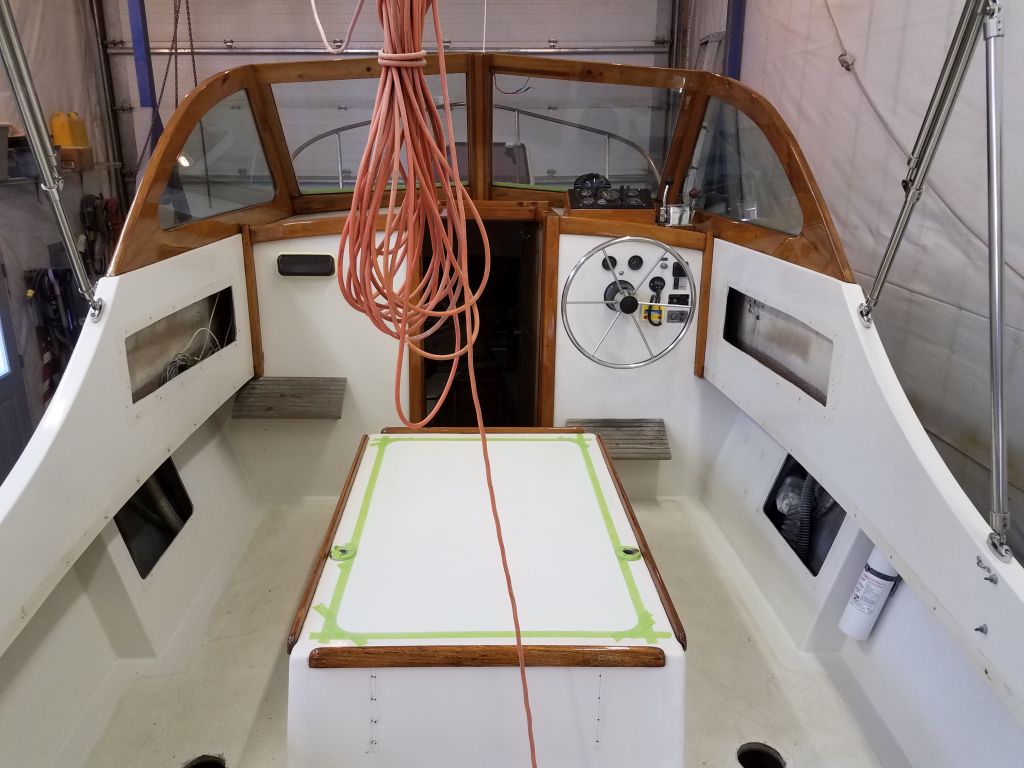
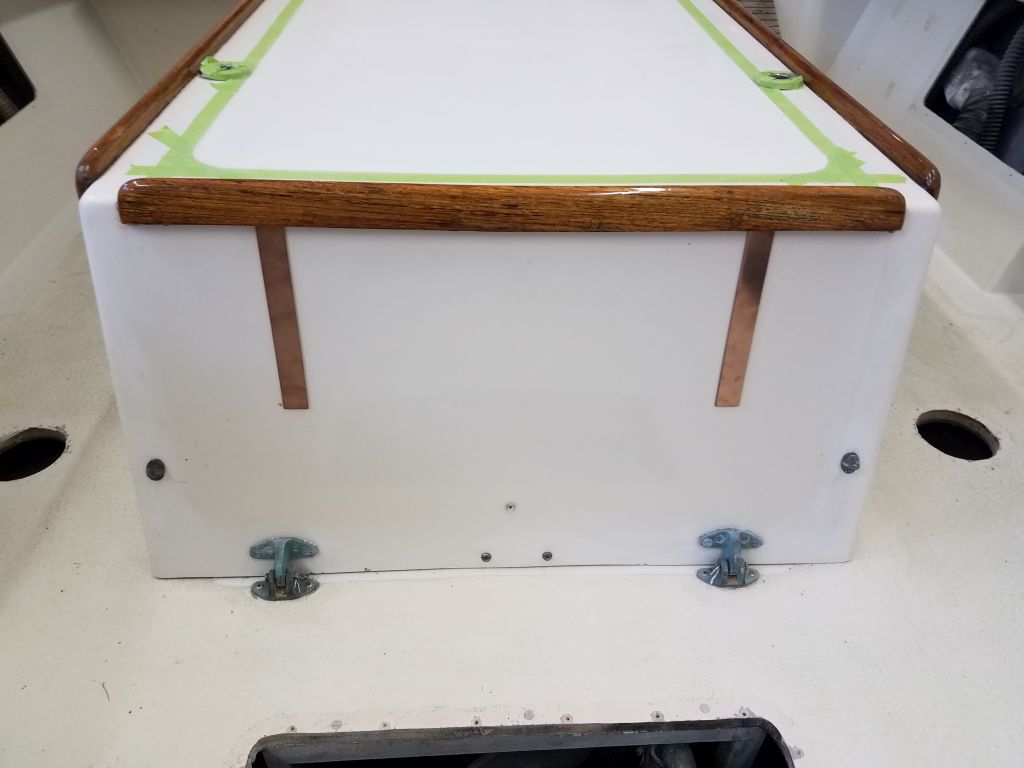
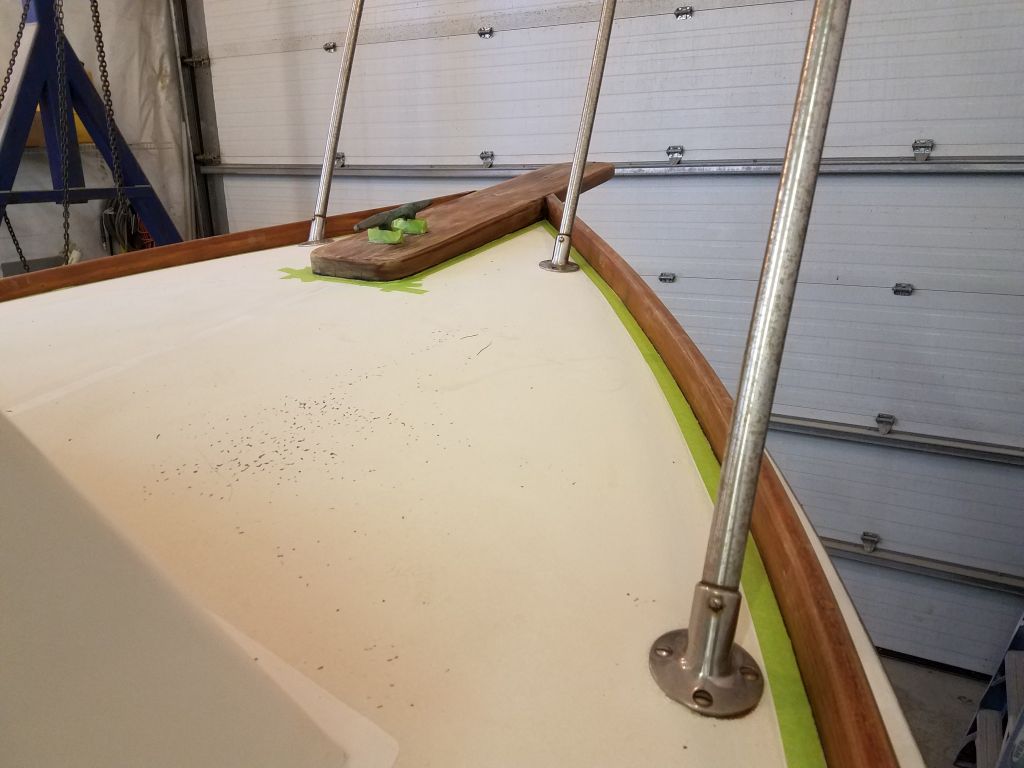
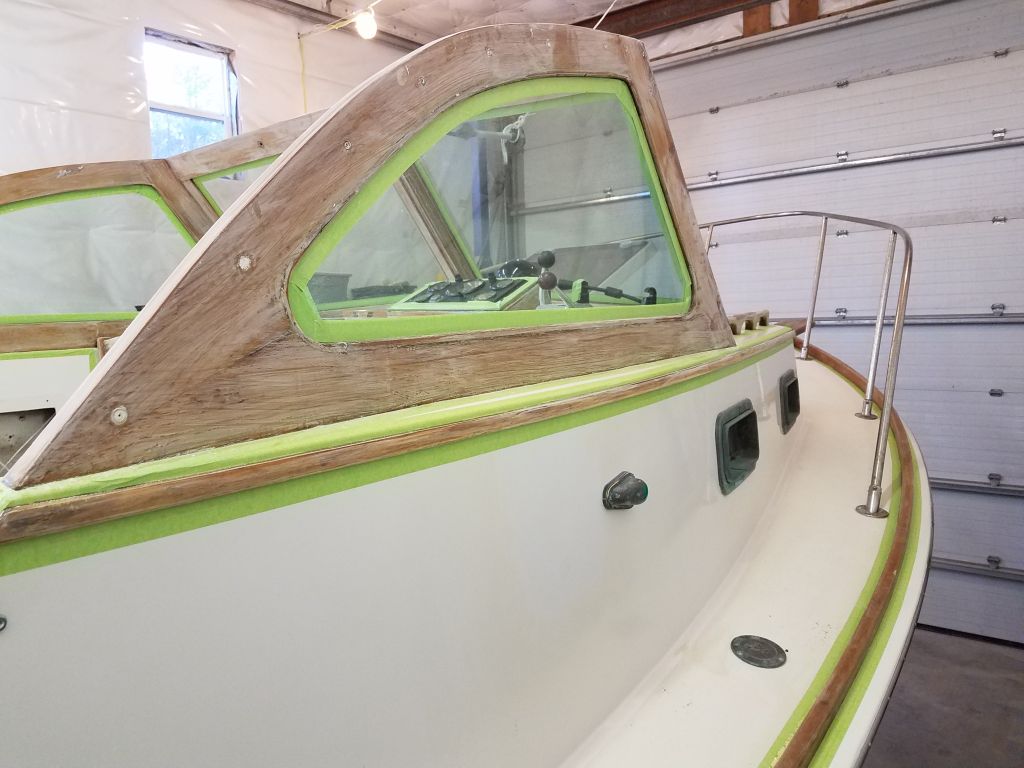
With the varnish work complete, and the masking tape cleaned up, I turned to the next job on my list, which was to finish up the new nonskid paint for the decks.  This meant that I spent the day masking.

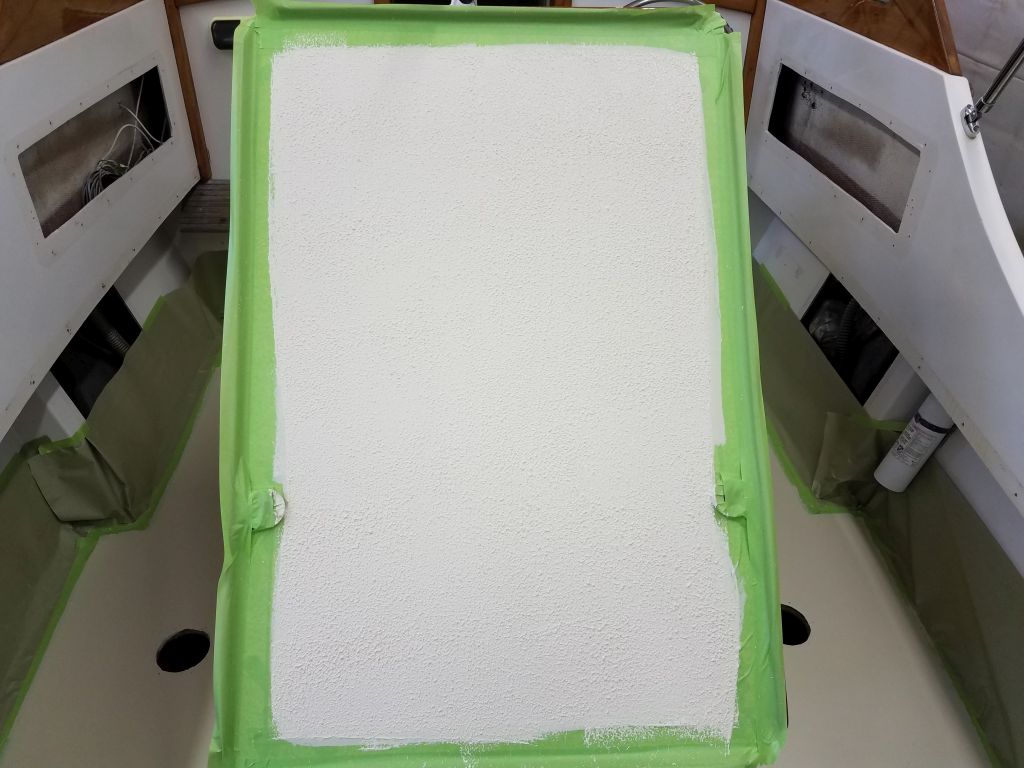
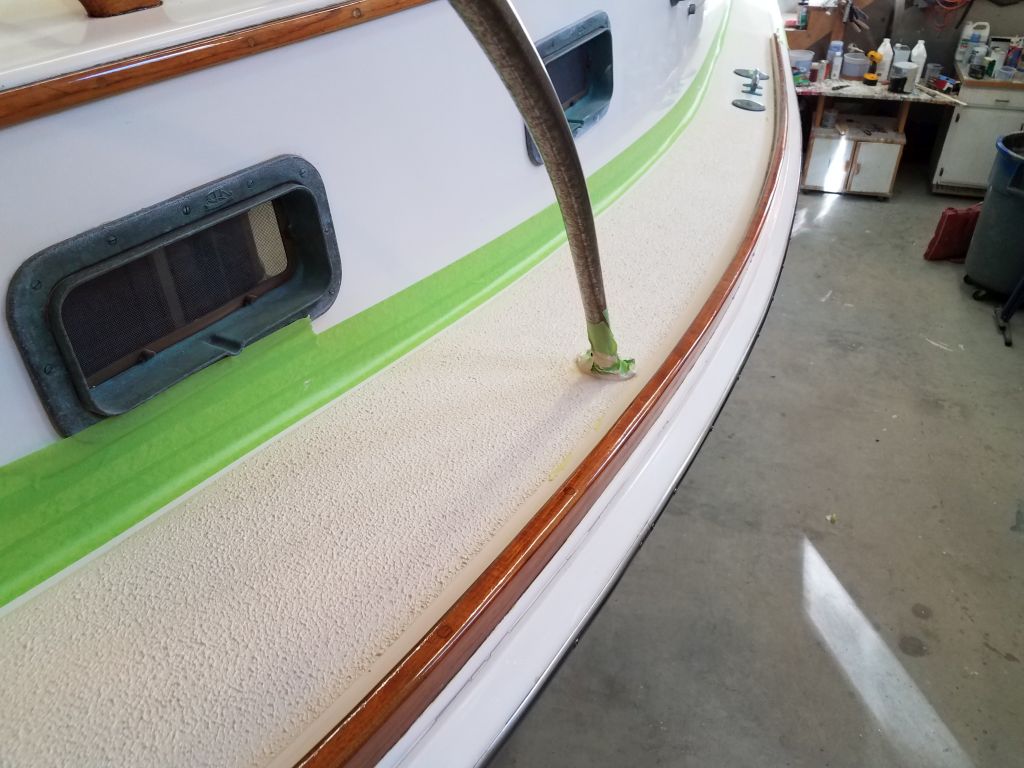
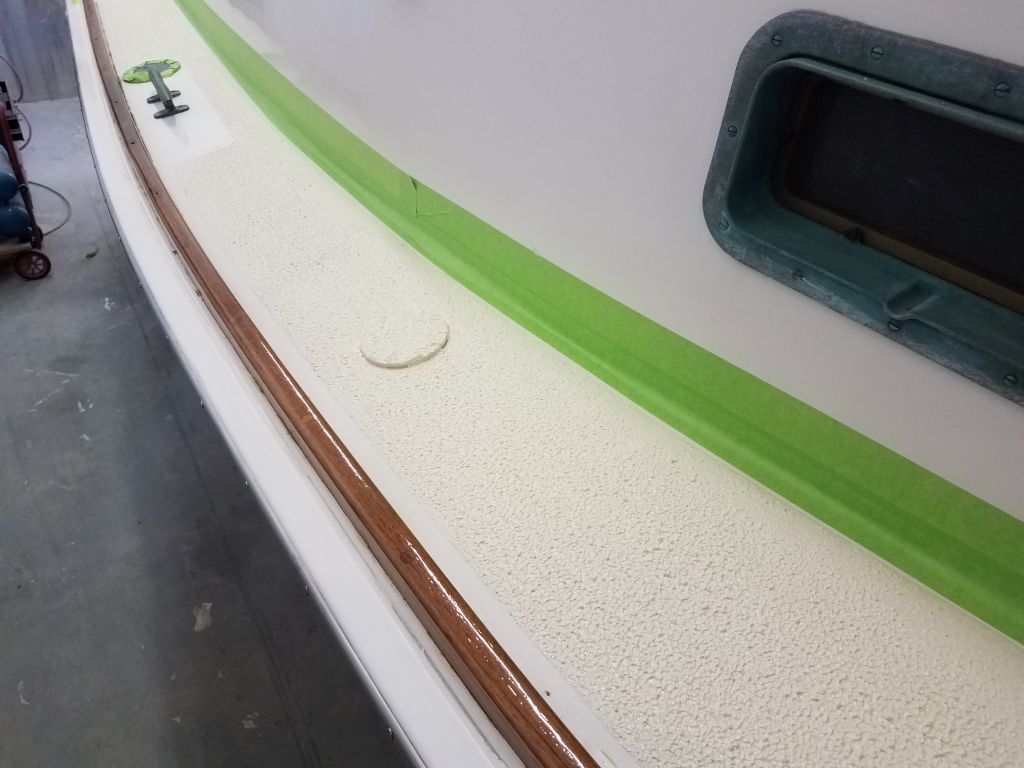
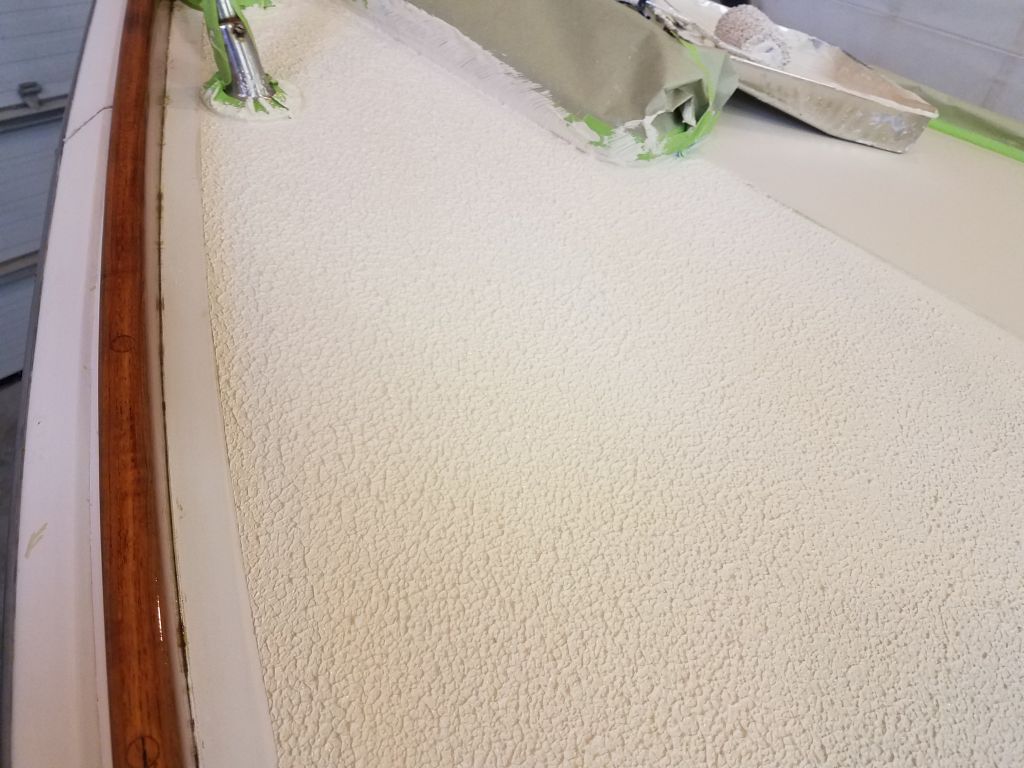
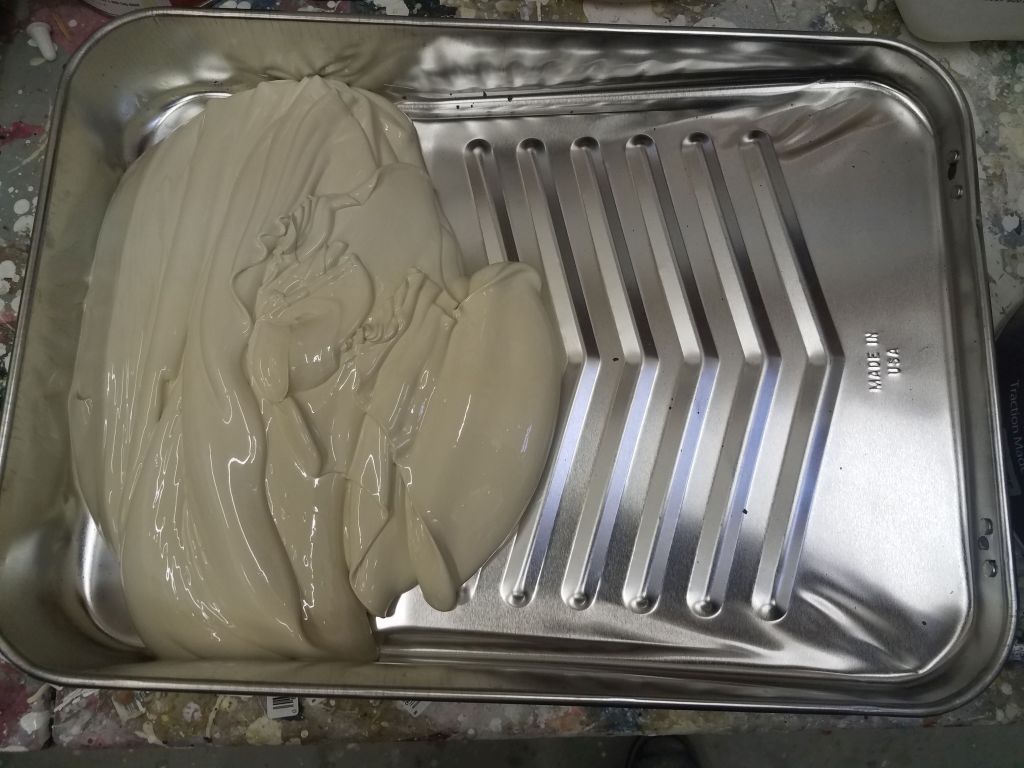
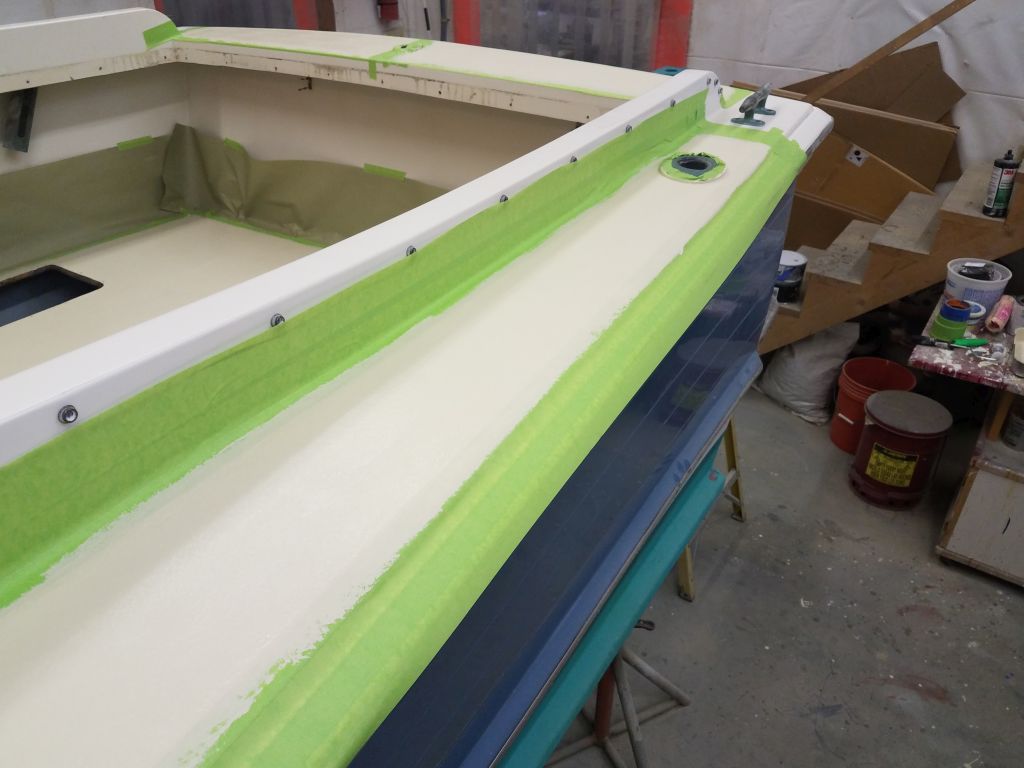
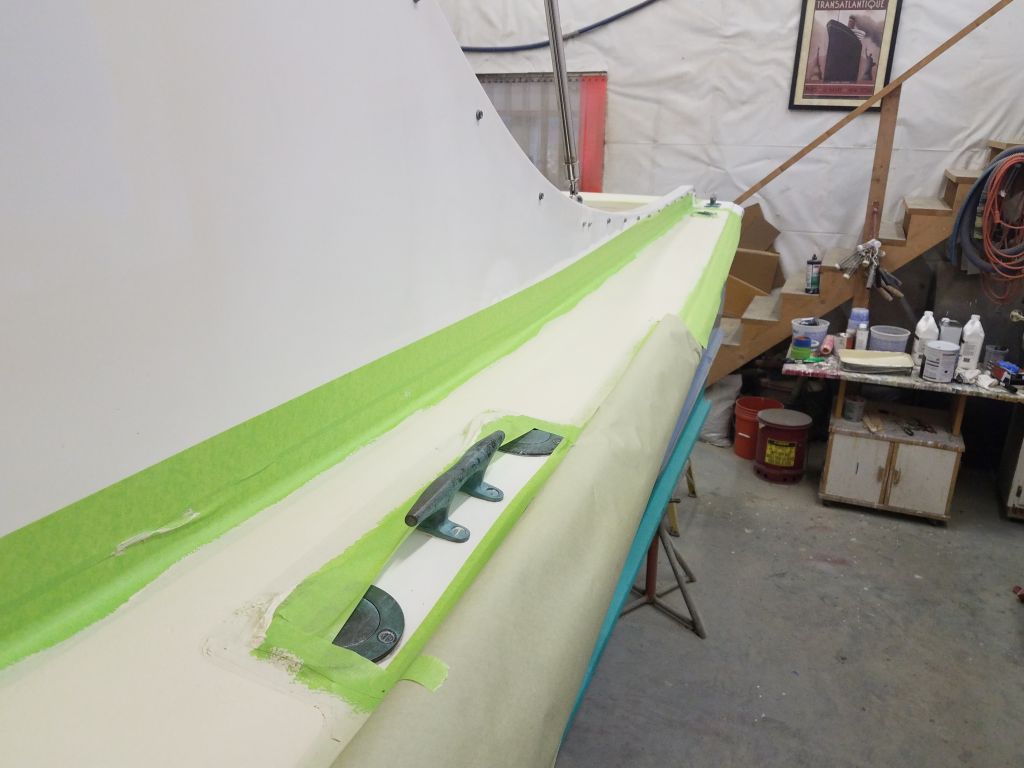
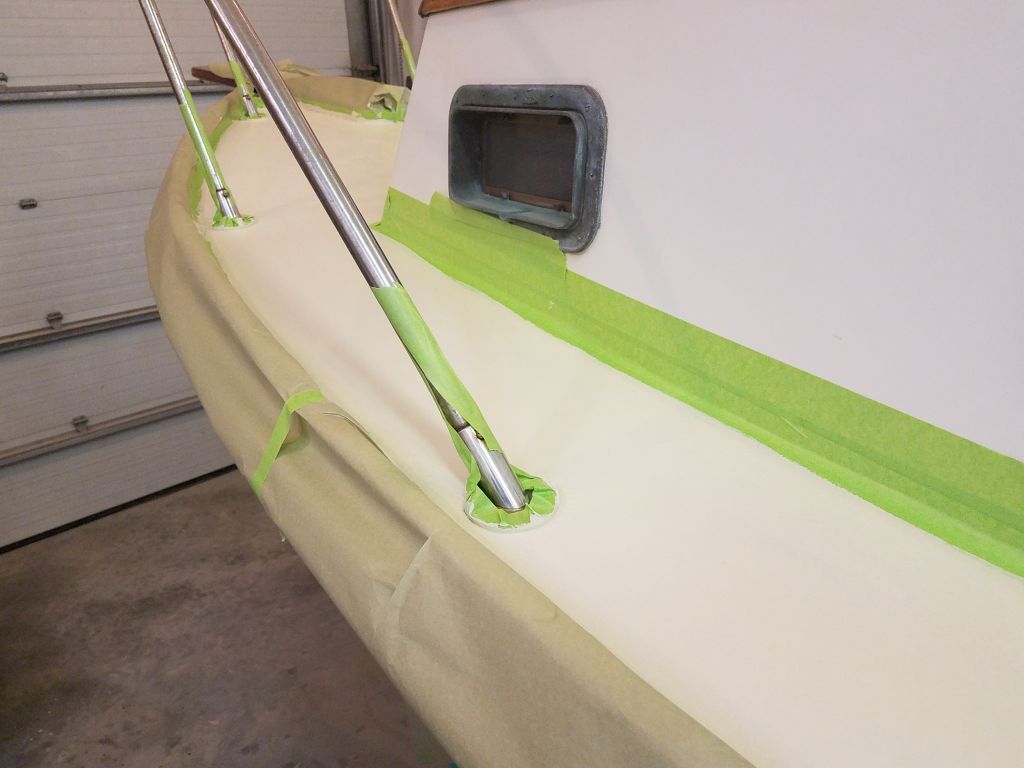
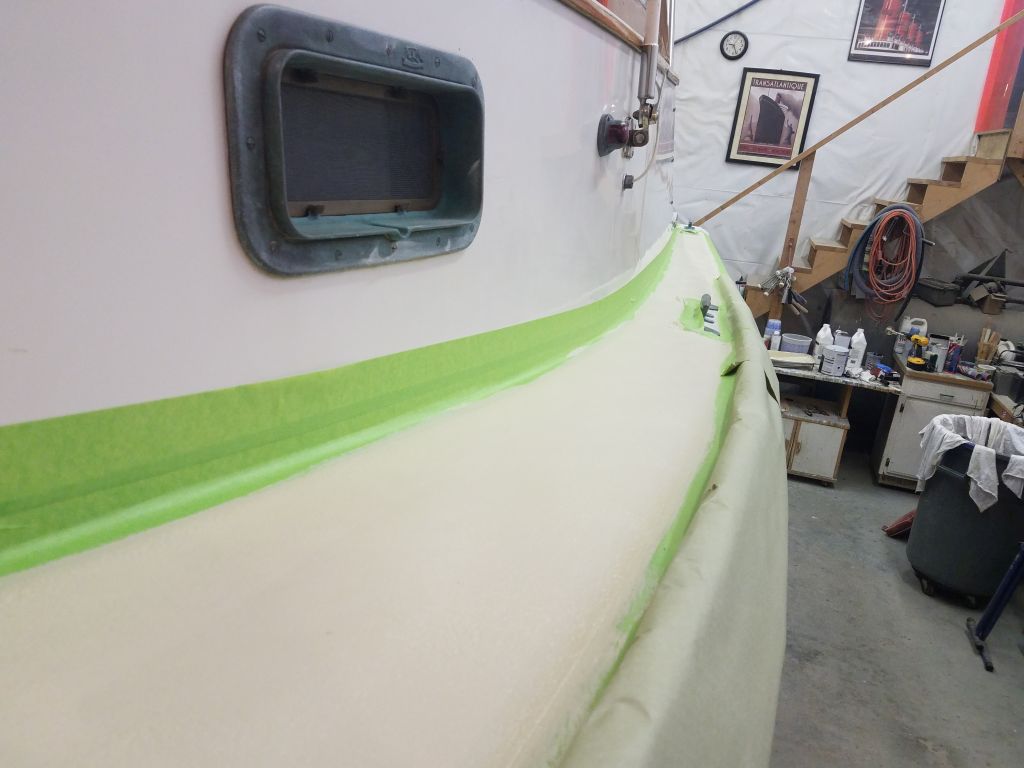
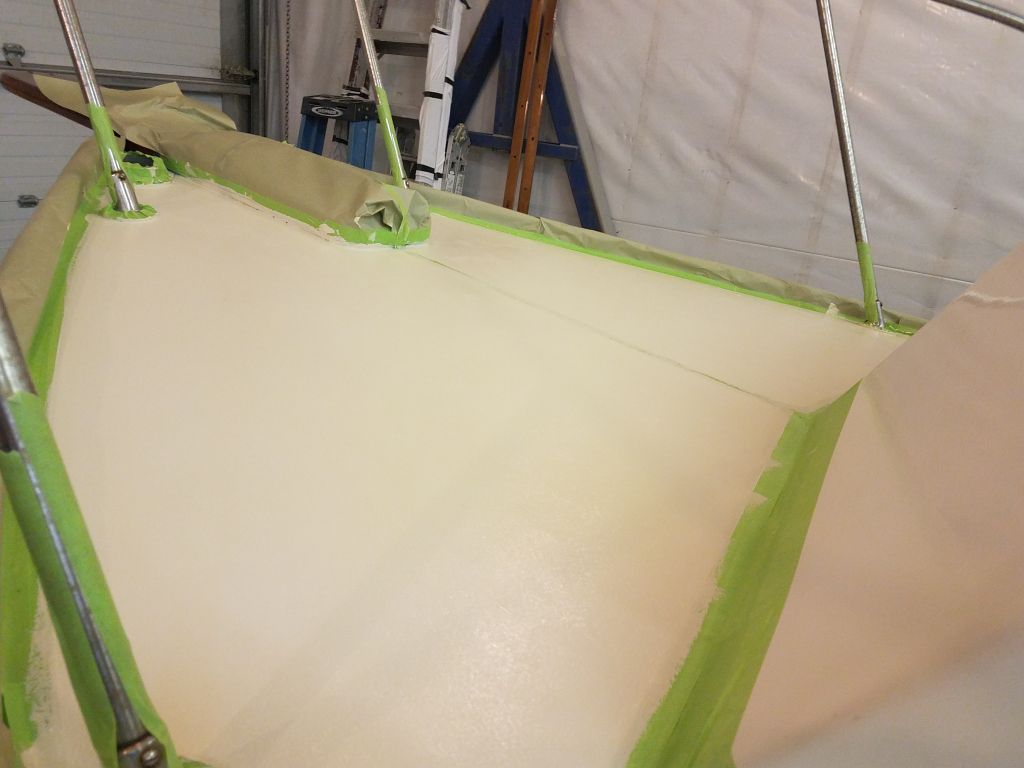
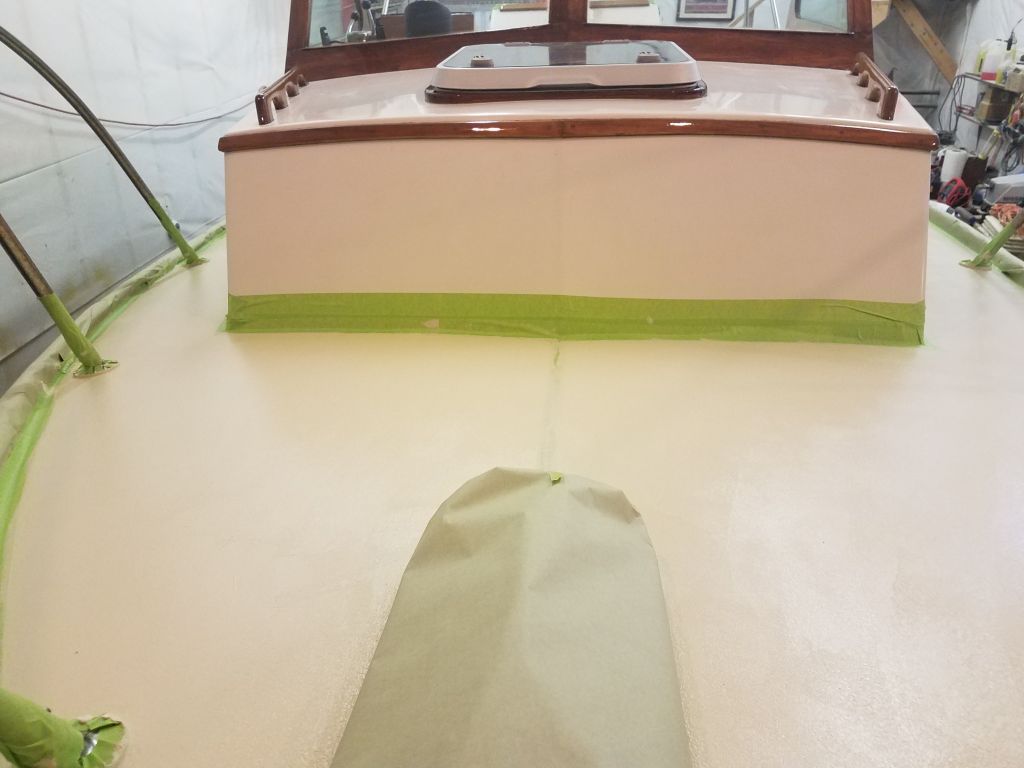
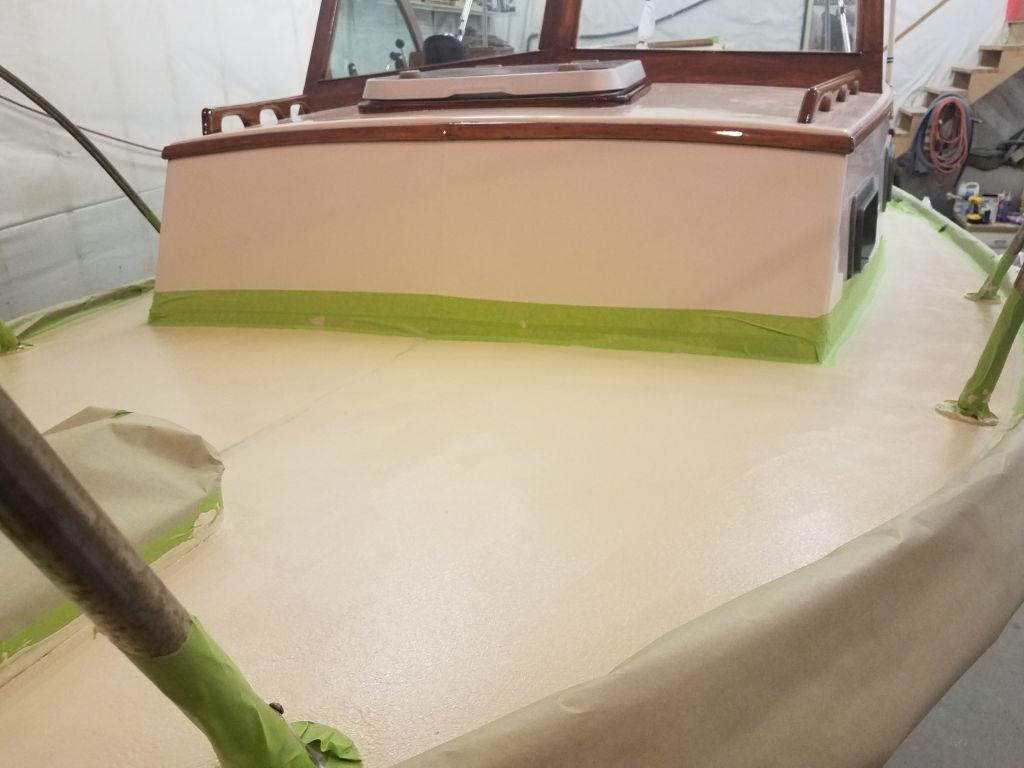
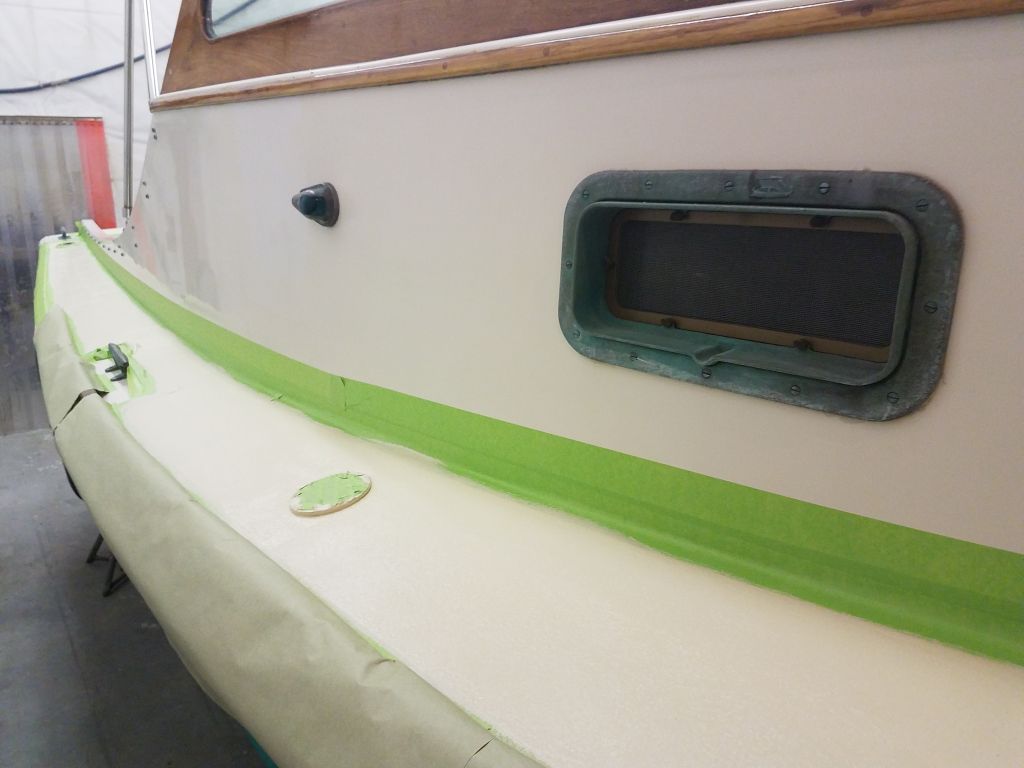
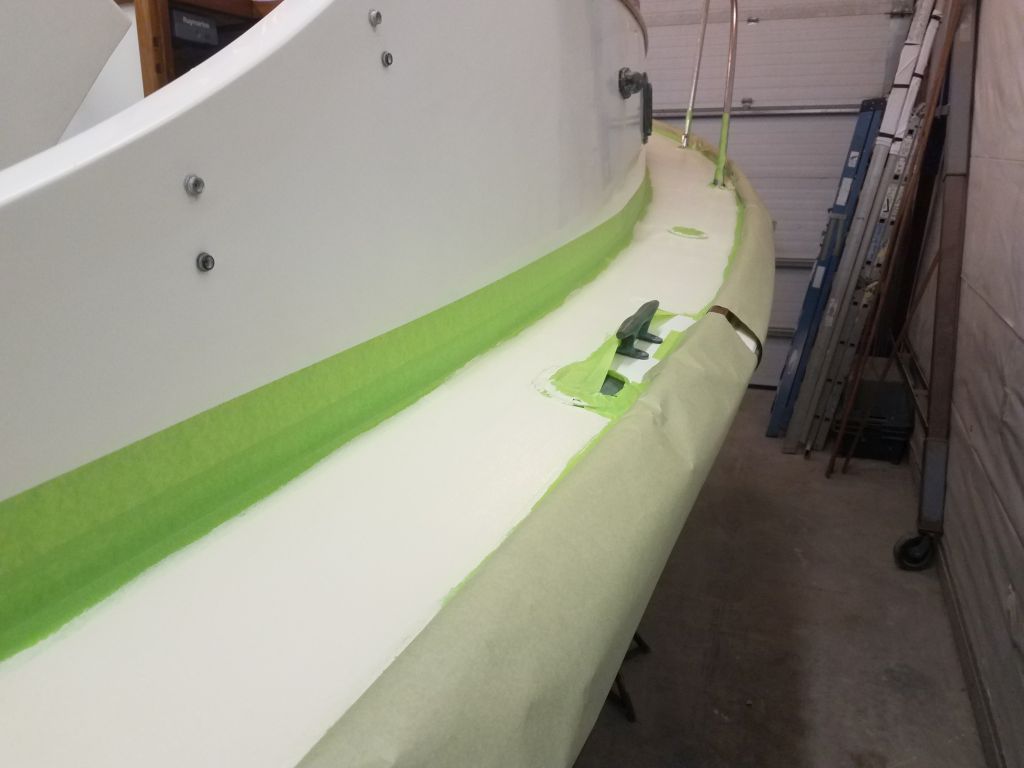
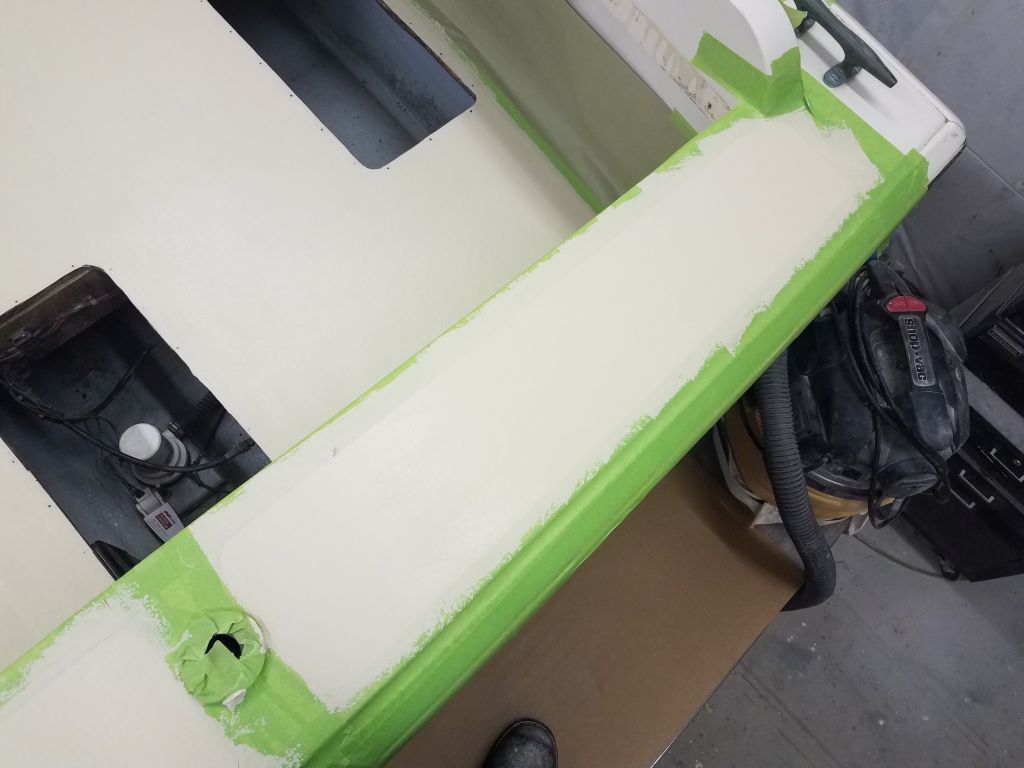
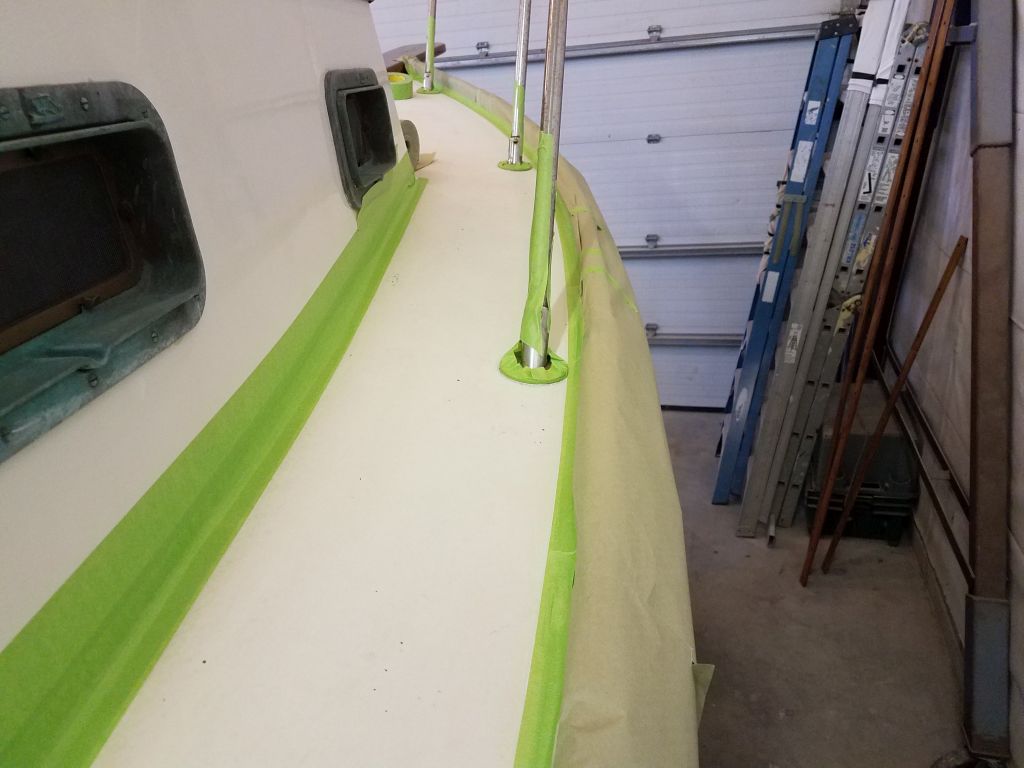
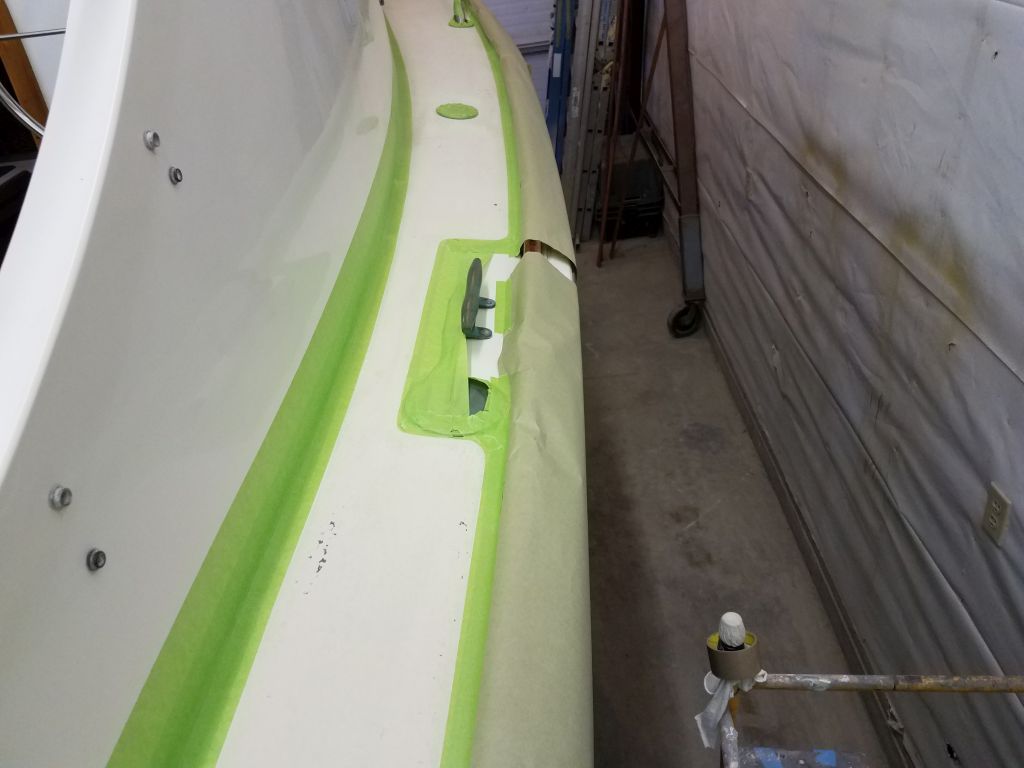
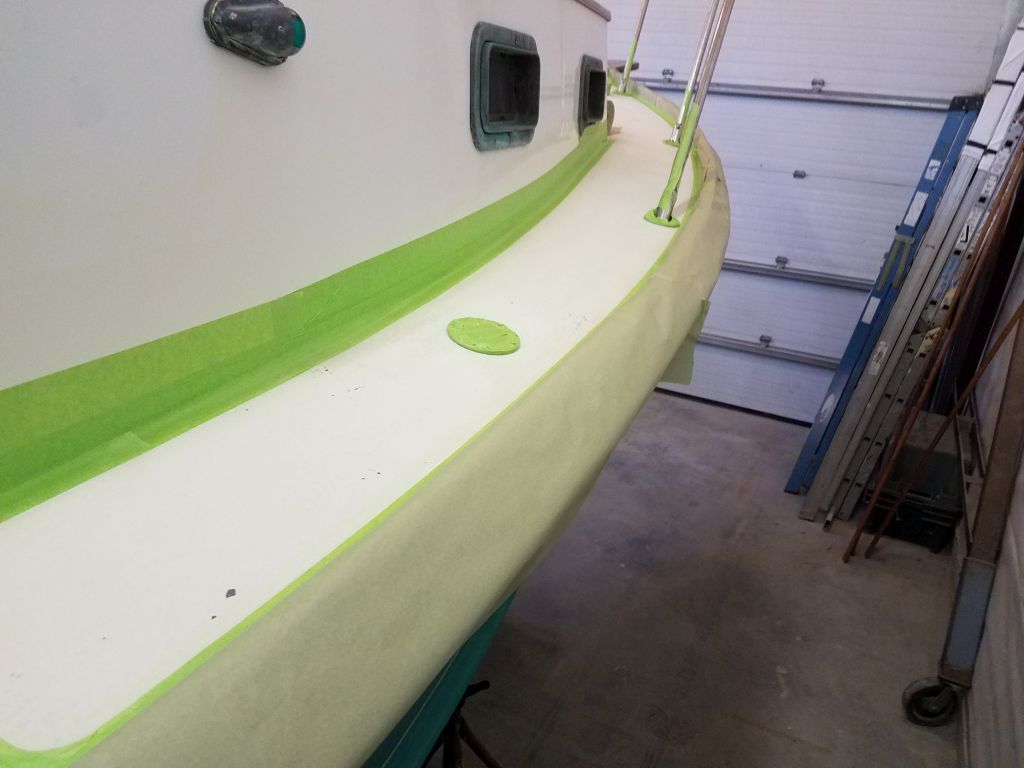
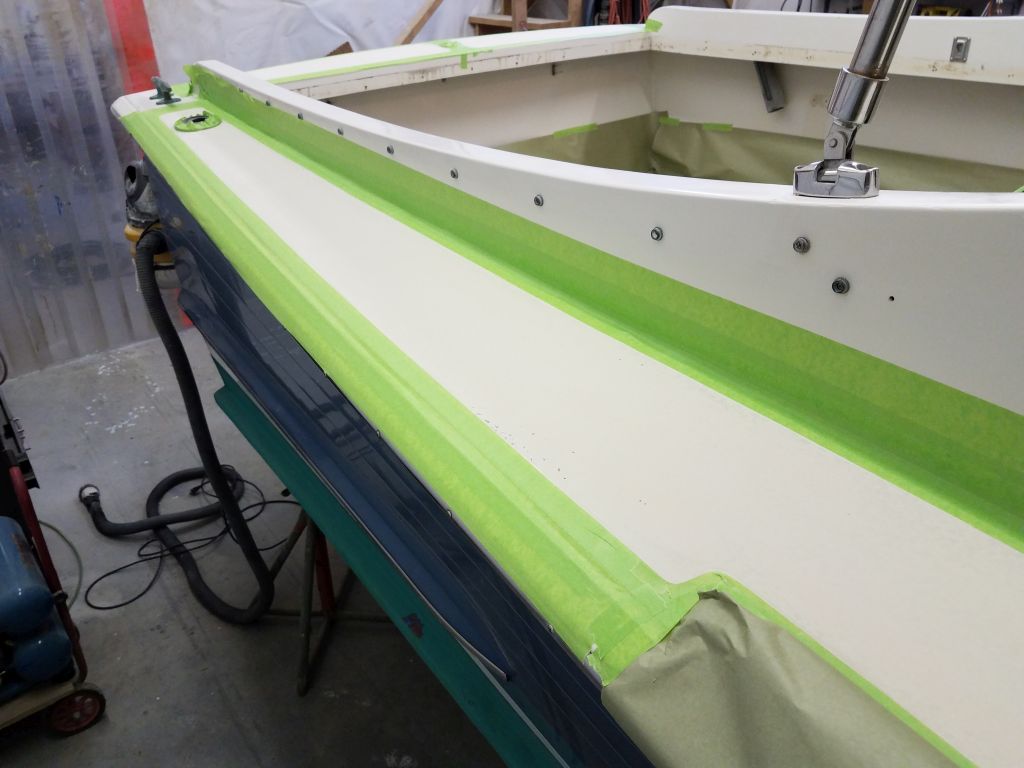
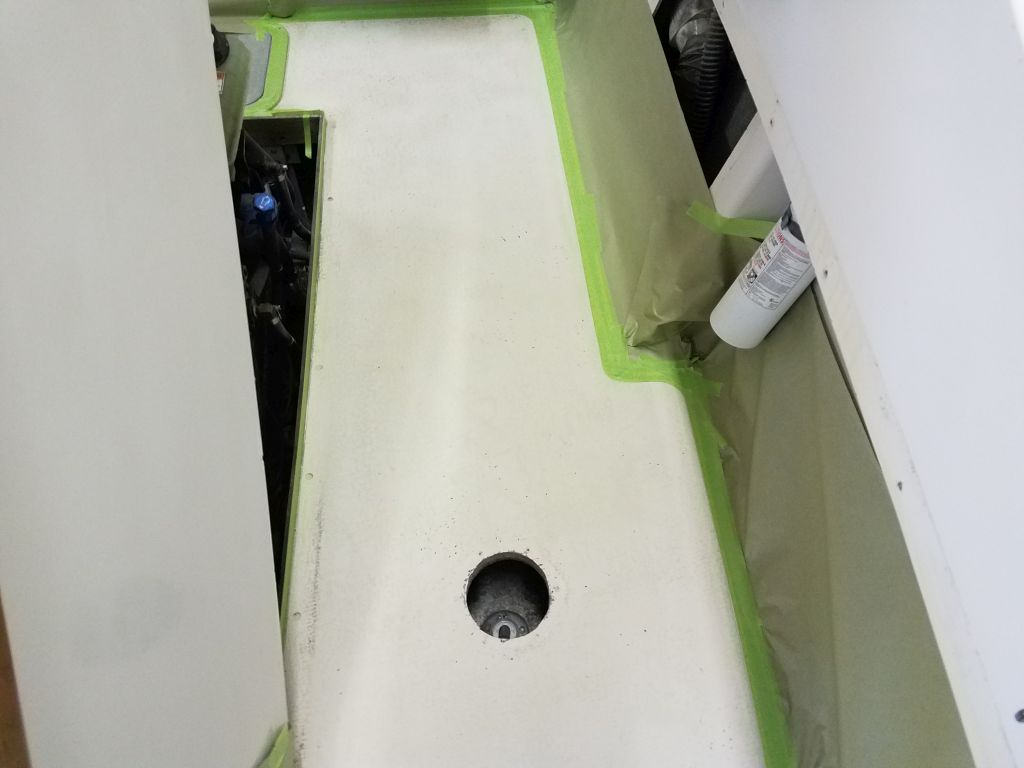
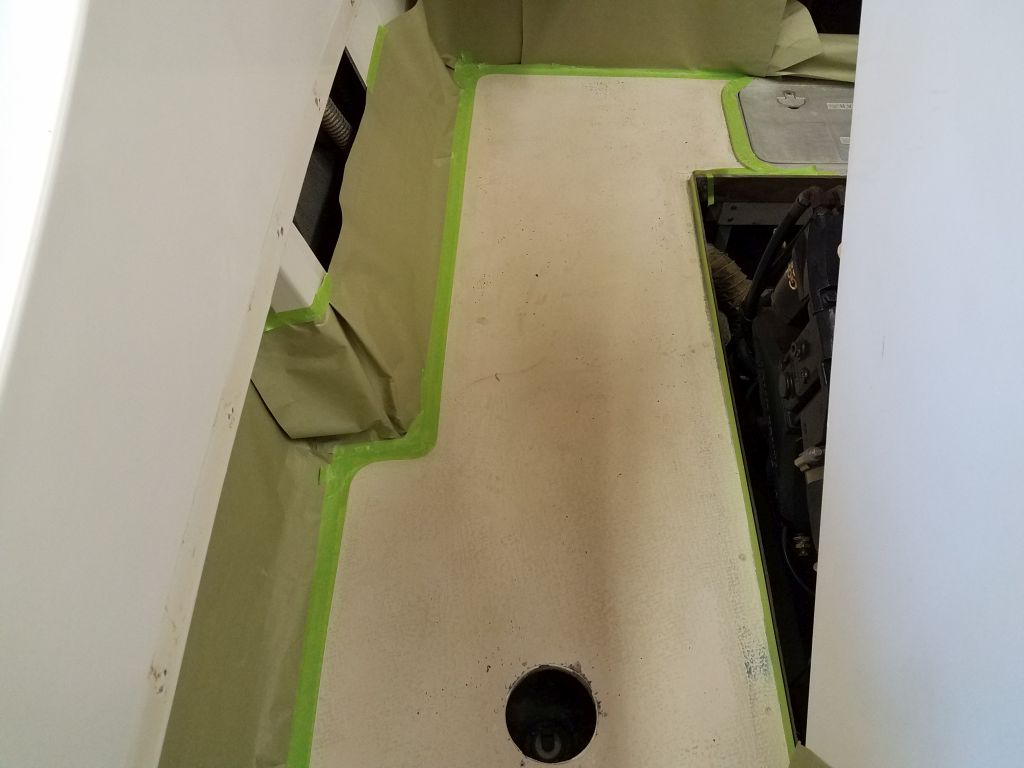
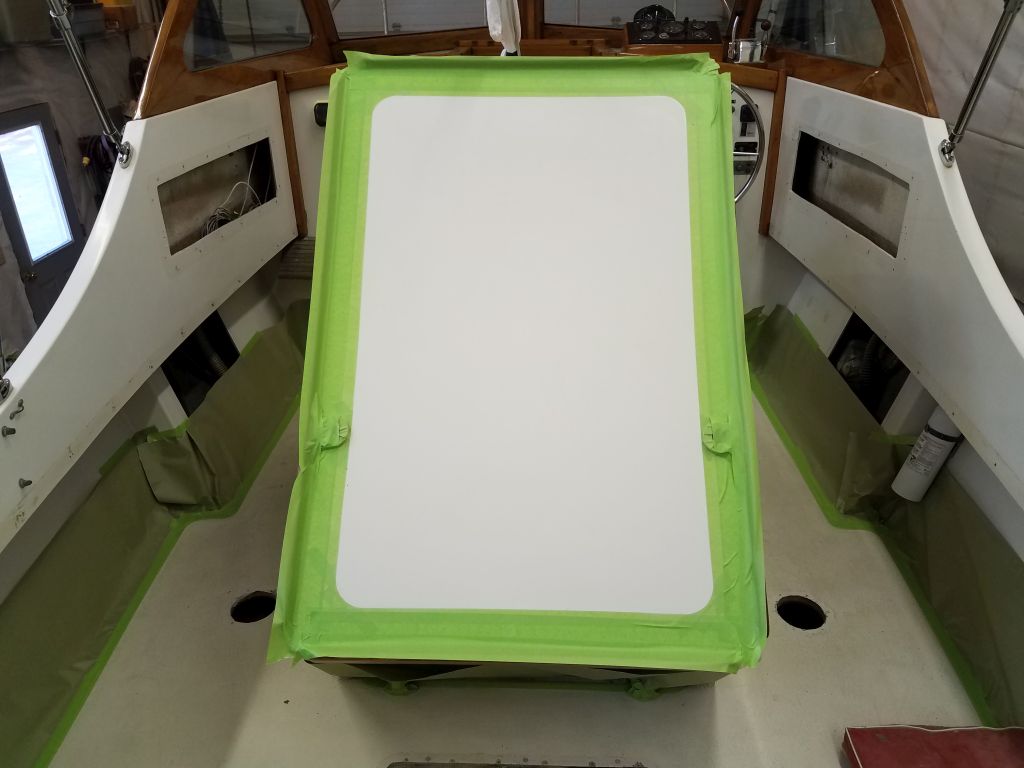
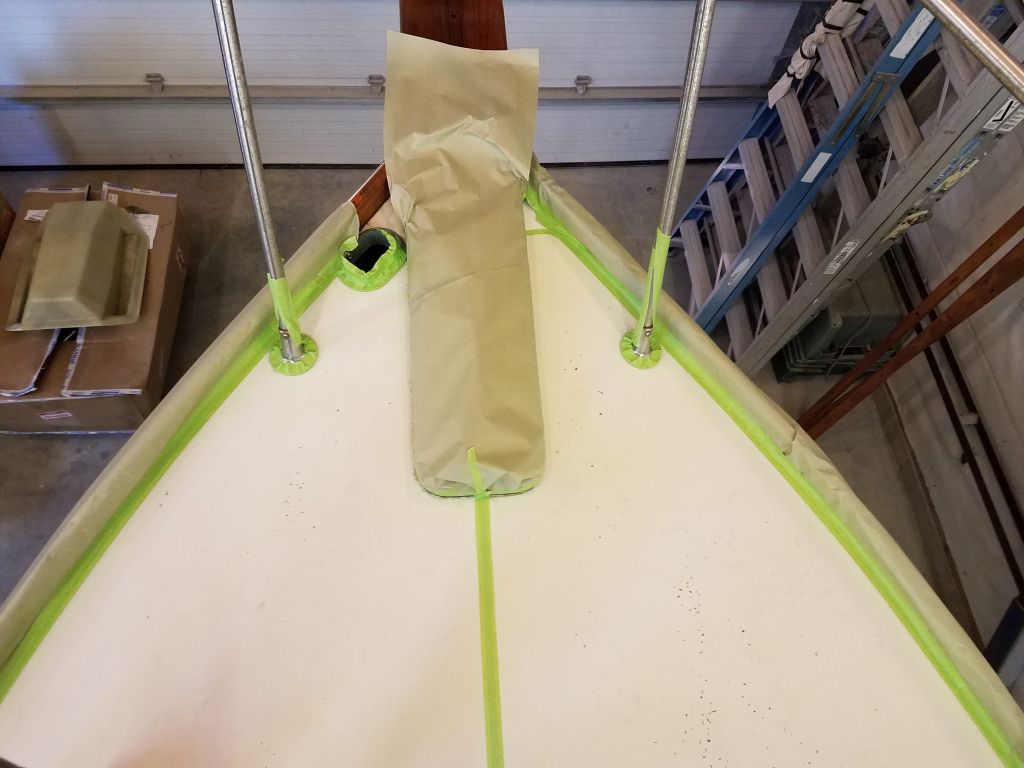
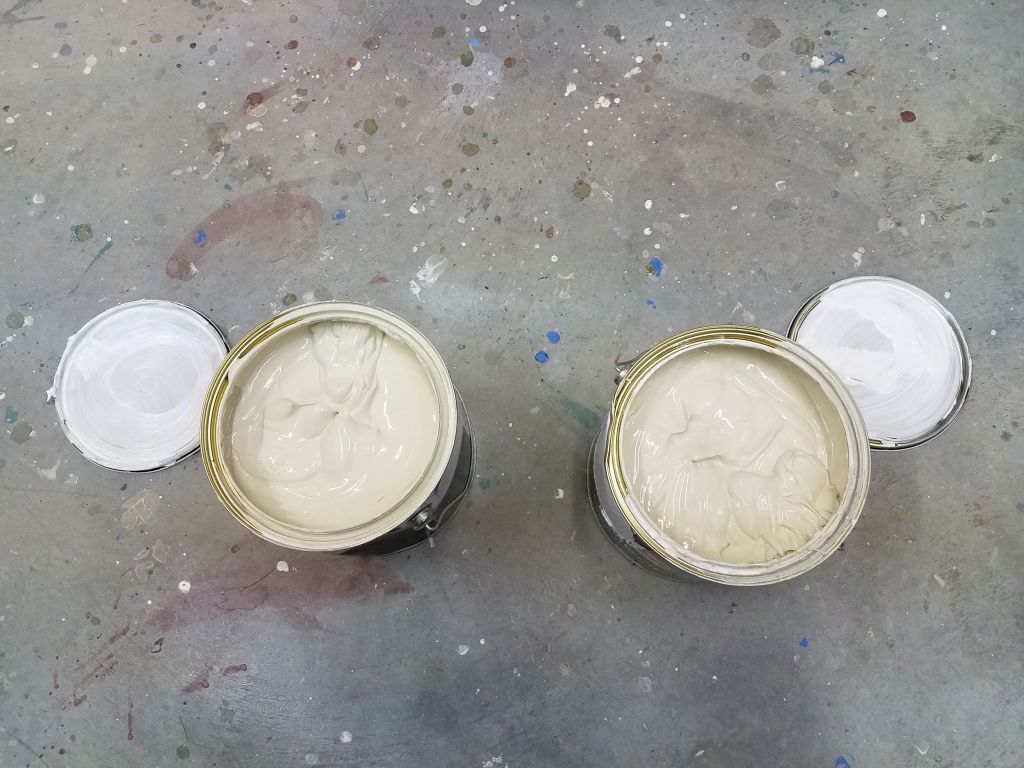
My past experiences with KiwiGrip, which is an extremely thick water-based acrylic paint with a consistency like sour cream that works as a nonskid because it is laid down in a heavy texture with a special roller, had proven that the paint is messy in application, so I took the extra precaution of adding swaths of masking paper and additional masking tape to give me added protection against the inevitable splatter from the application process.  Also, because it’s required to remove the masking tape while the paint is still wet, I planned my masking with easy removal in mind, particularly in the cockpit, where lack of access after painting meant that I’d need to remove tape section by section as I went; the tape removal is also a messy proposition, so I hoped these steps would minimize collateral damage.

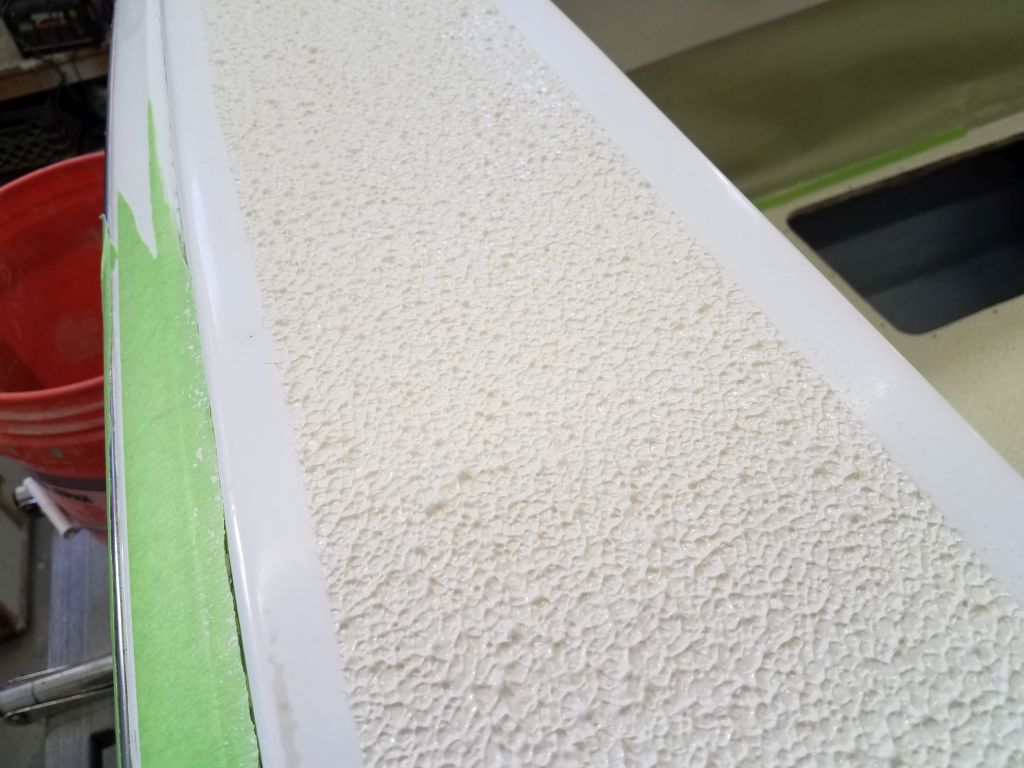
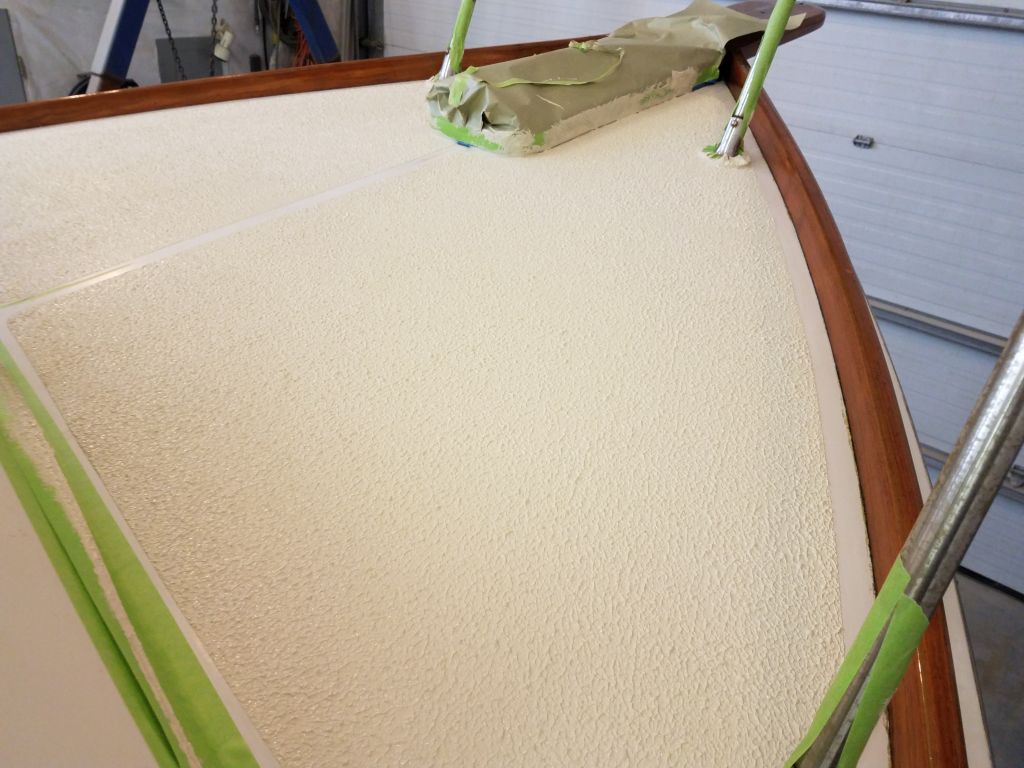
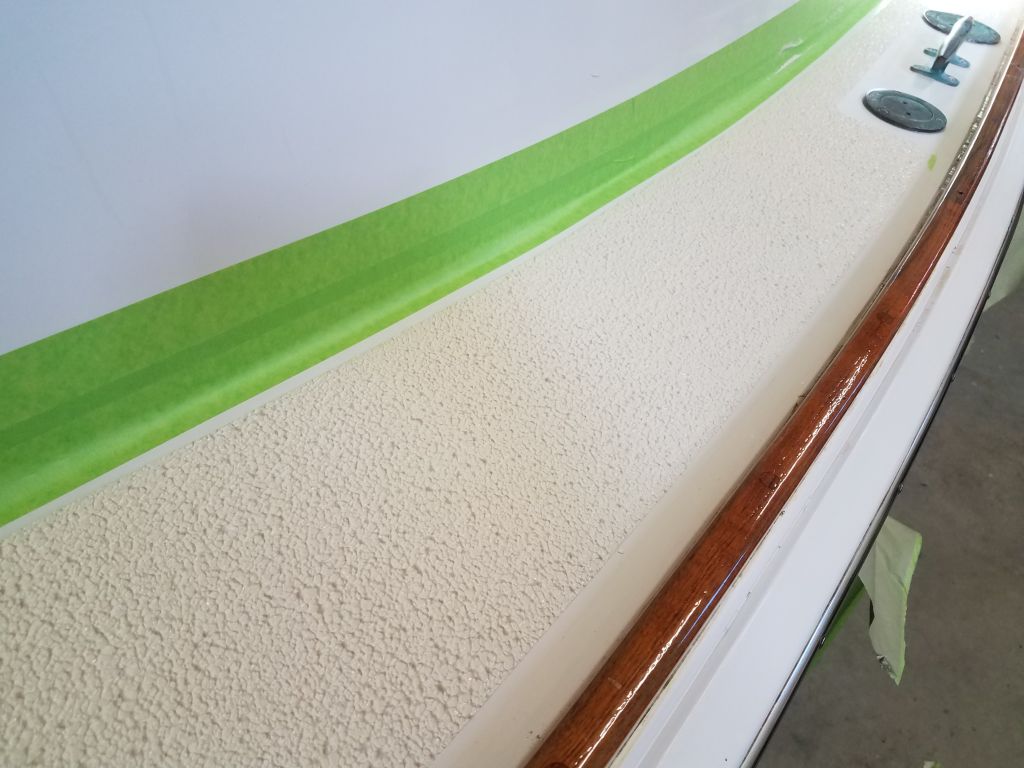
I also found, during my early experiences with the product, that it didn’t cover adequately in the single coat called for in the directions–and the first time I learned this, it meant that I had to go back and remask everything again.  So with that experience under my belt, and unamused by it, I tried some experiments on test pieces first, and then on an actual boat, by applying the coating with a regular non-textured roller first, just to lay down a consistent base coat of the new color, and which didn’t require unmasking.  Then, once it cured, I could do the texture coat over the top, completing the job.  This worked successfully, and I’d followed this procedure each time I’d used the product since–and would do so in this case as well.

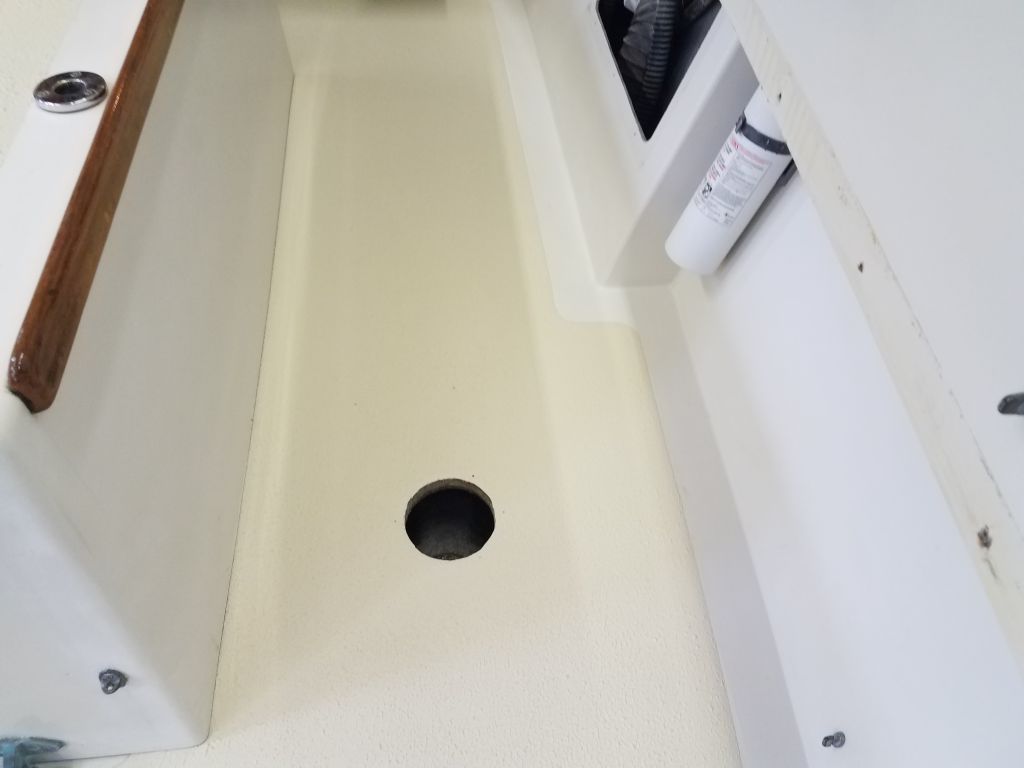
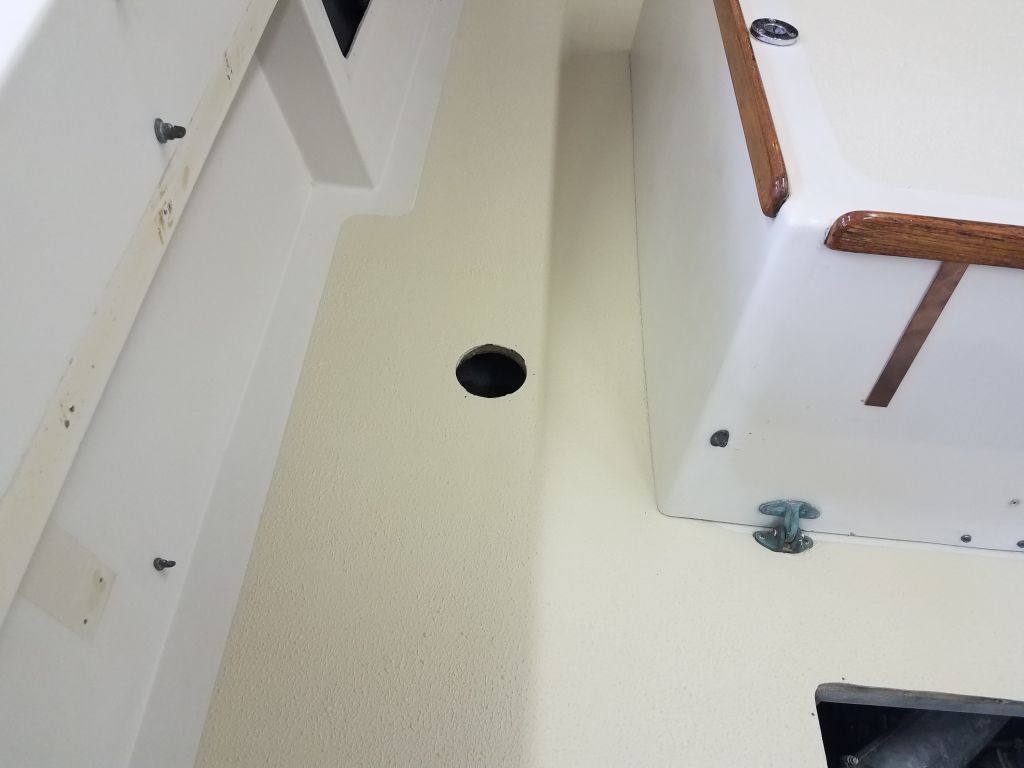
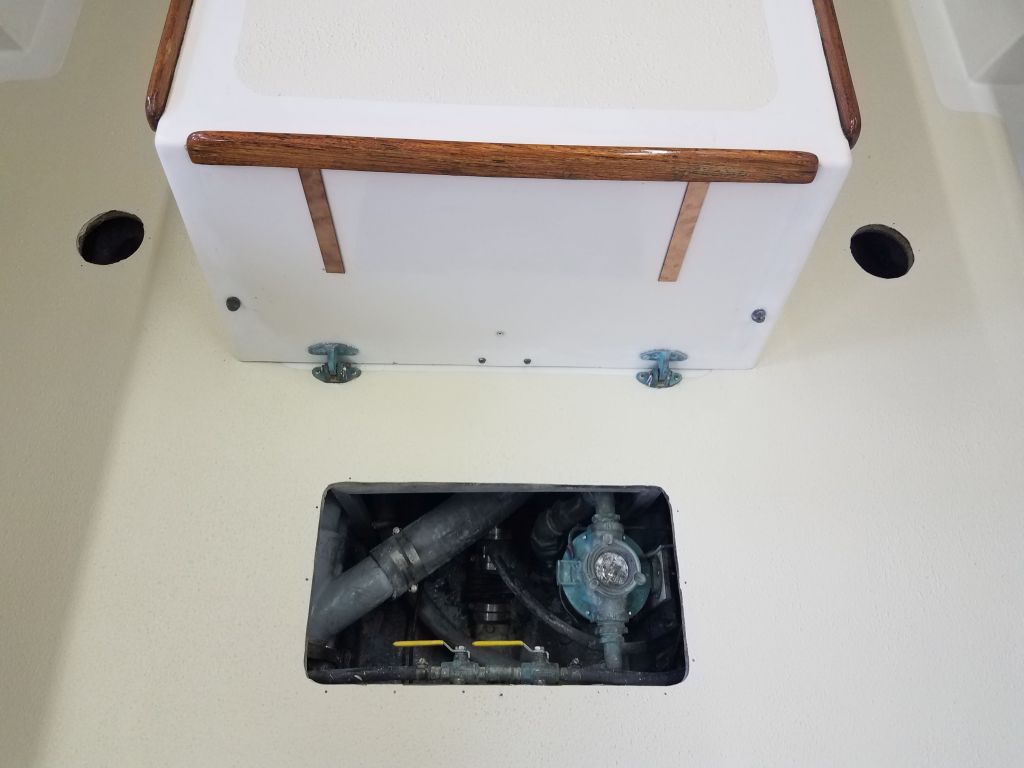
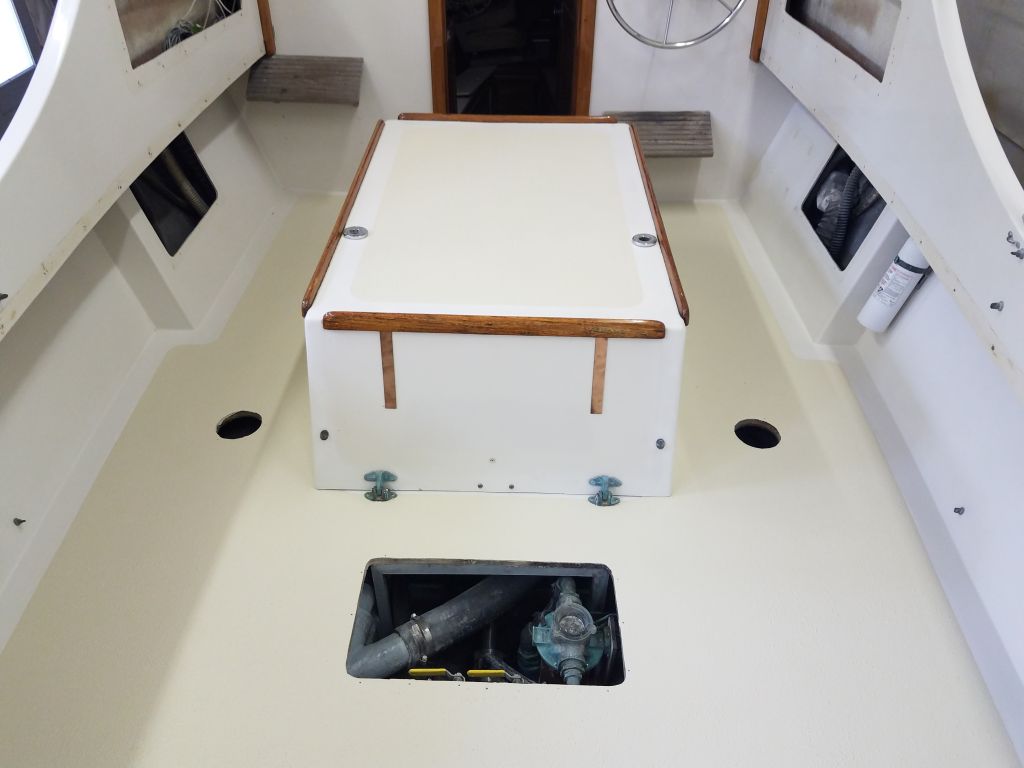
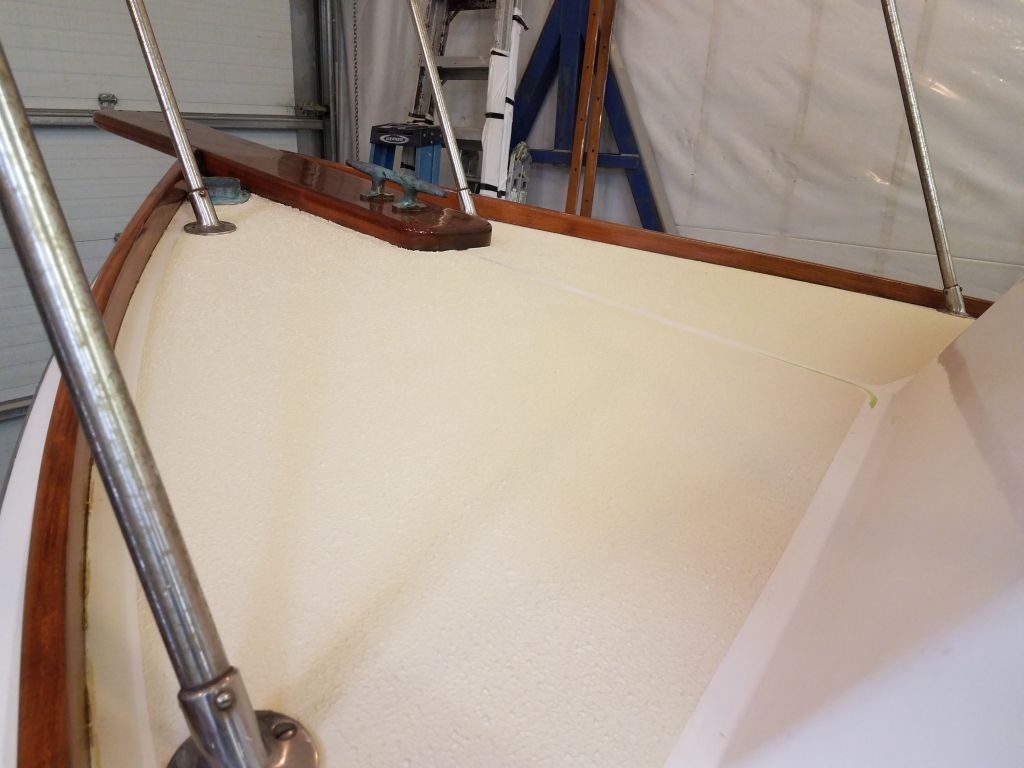
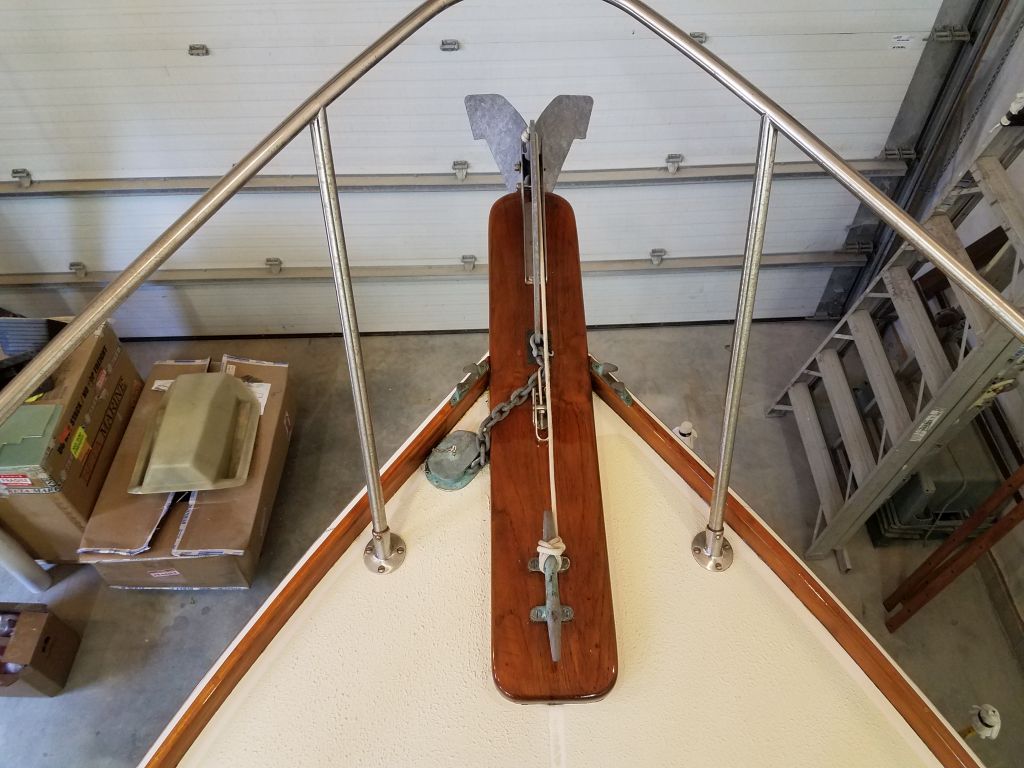
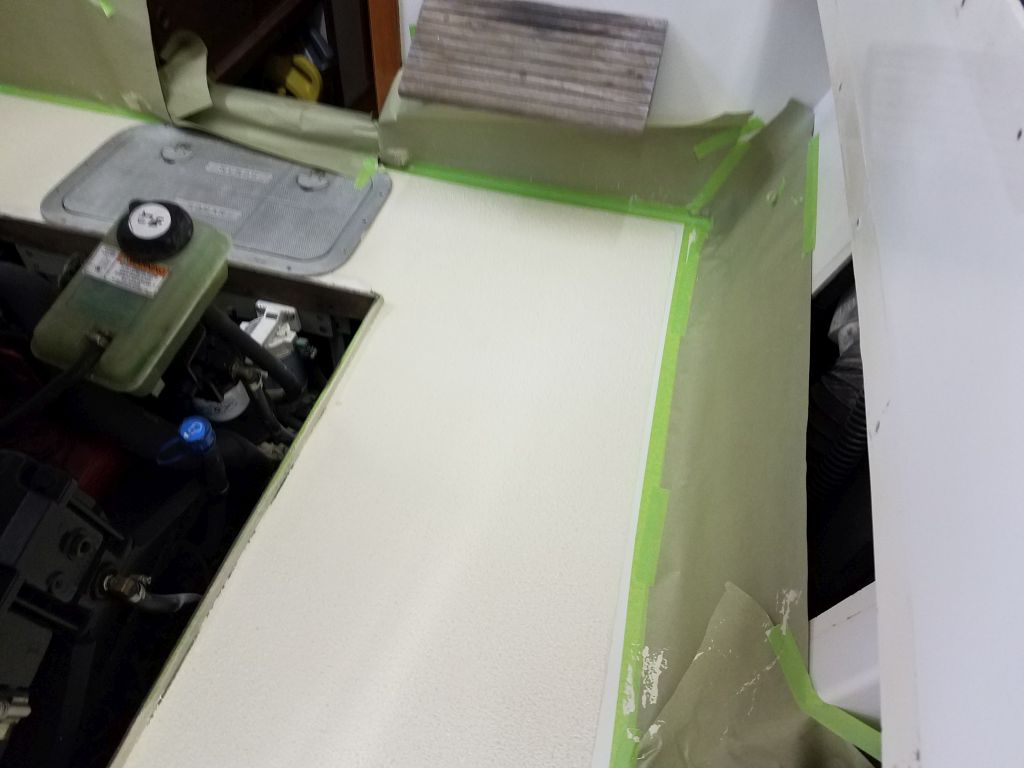
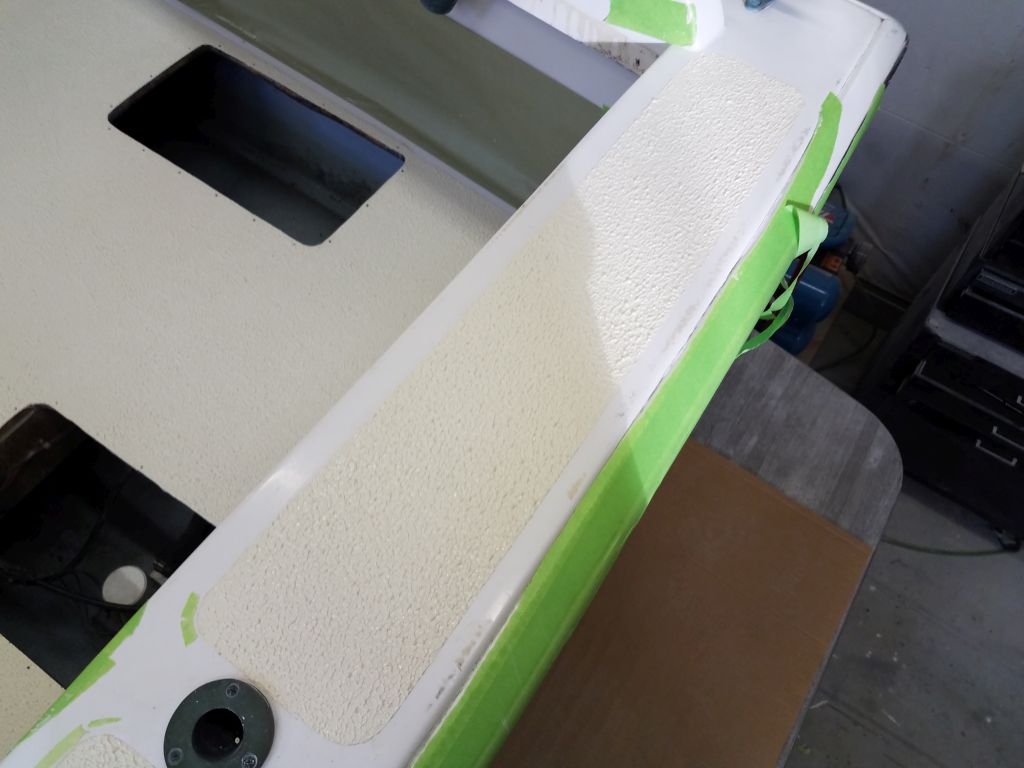
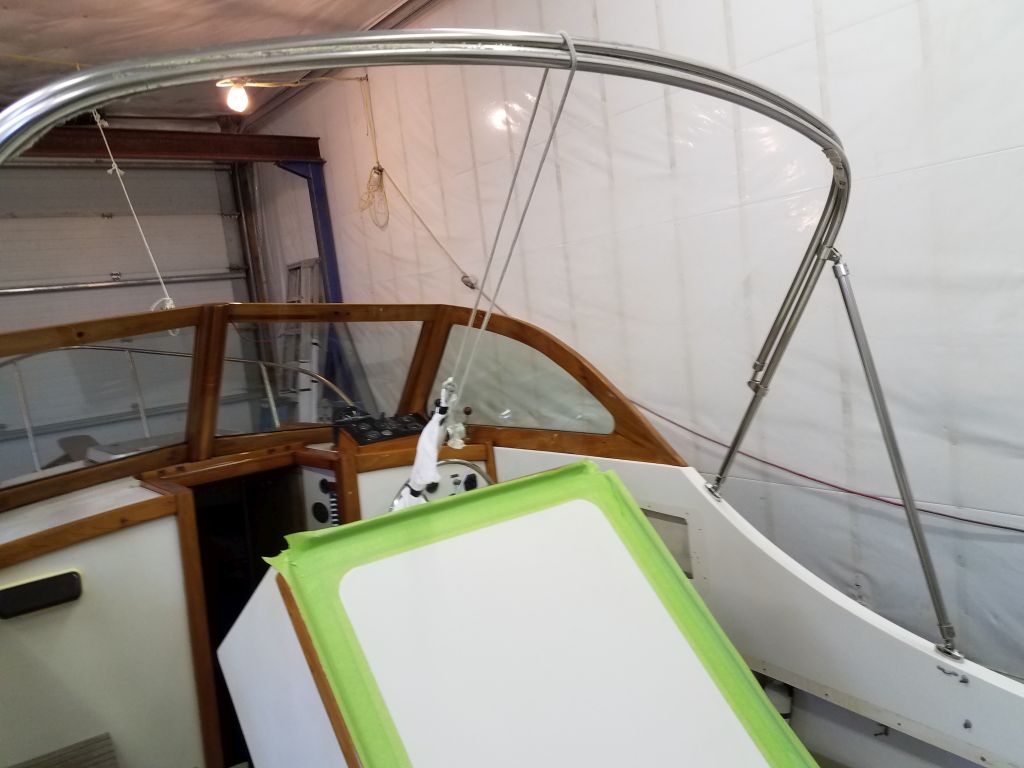
To give me access to the portion of the deck beneath the engine box, I raised it partially and tied it to the bimini frame, which still allowed me access to all areas as well as to the engine box top itself.

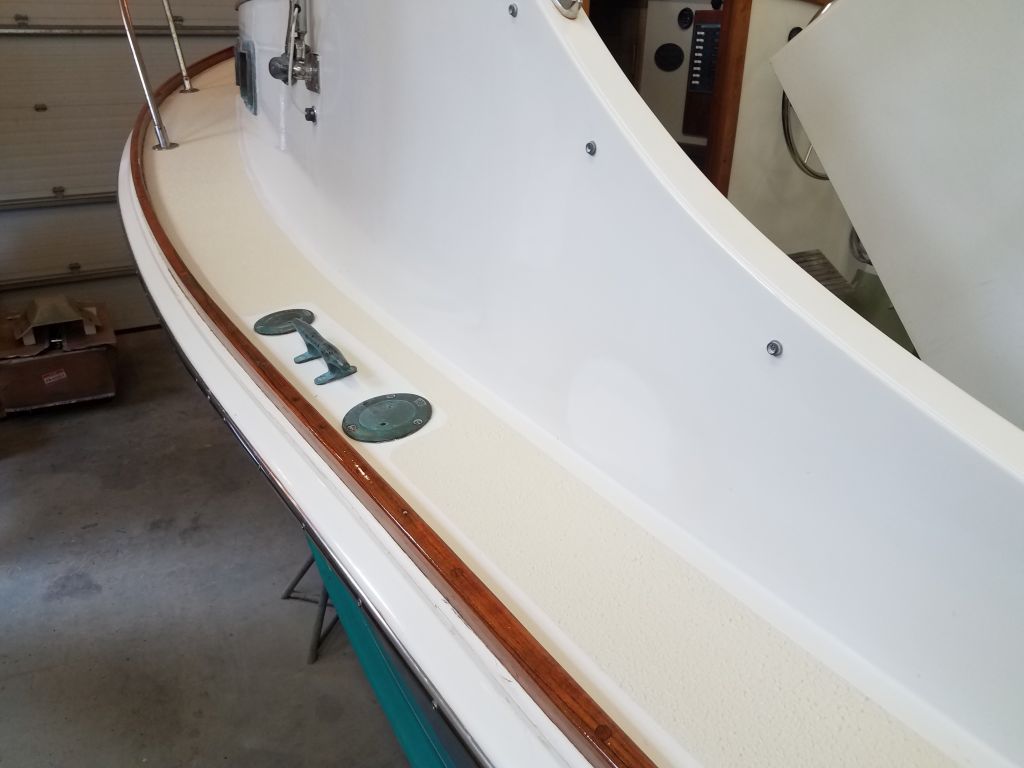
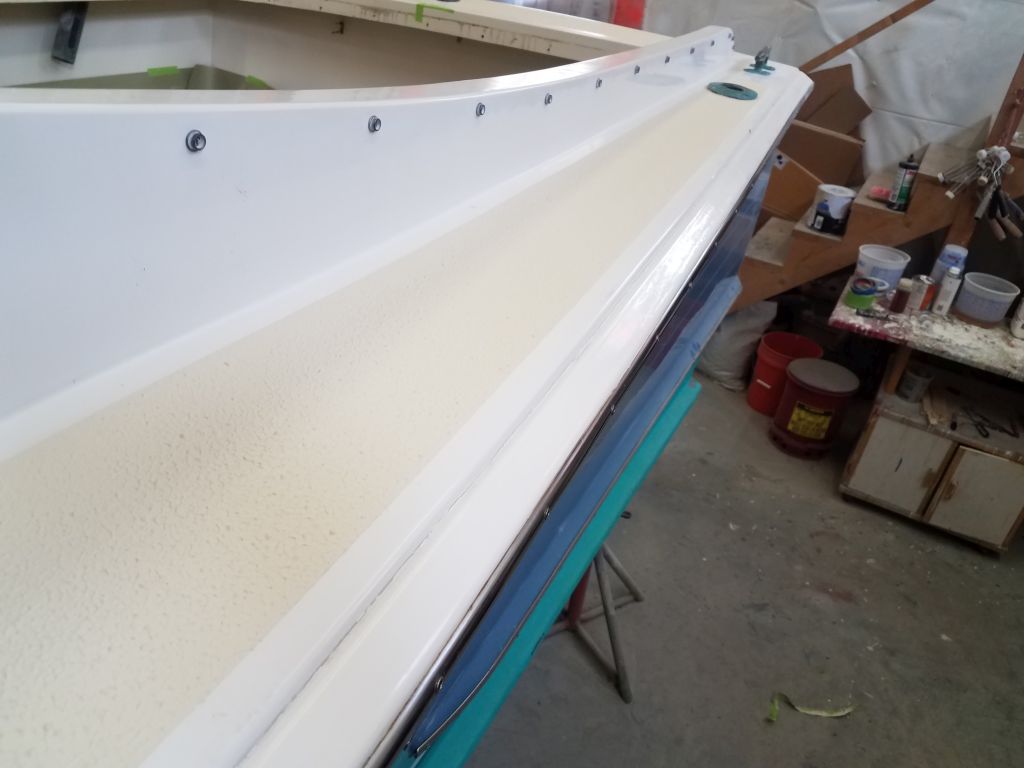
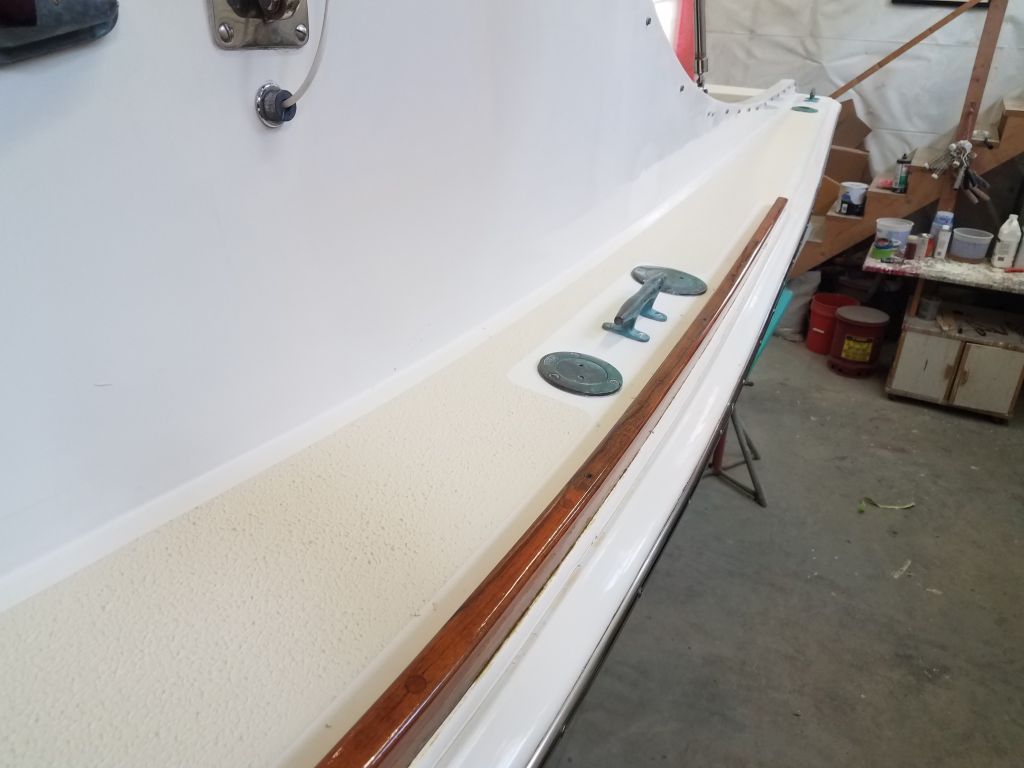
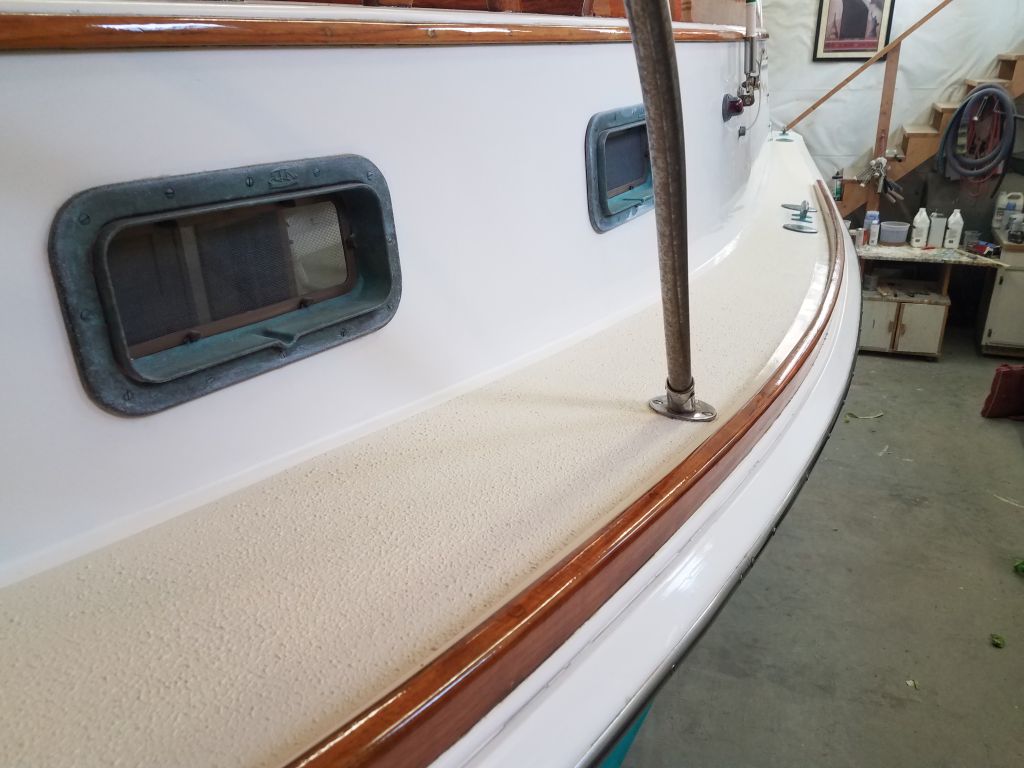
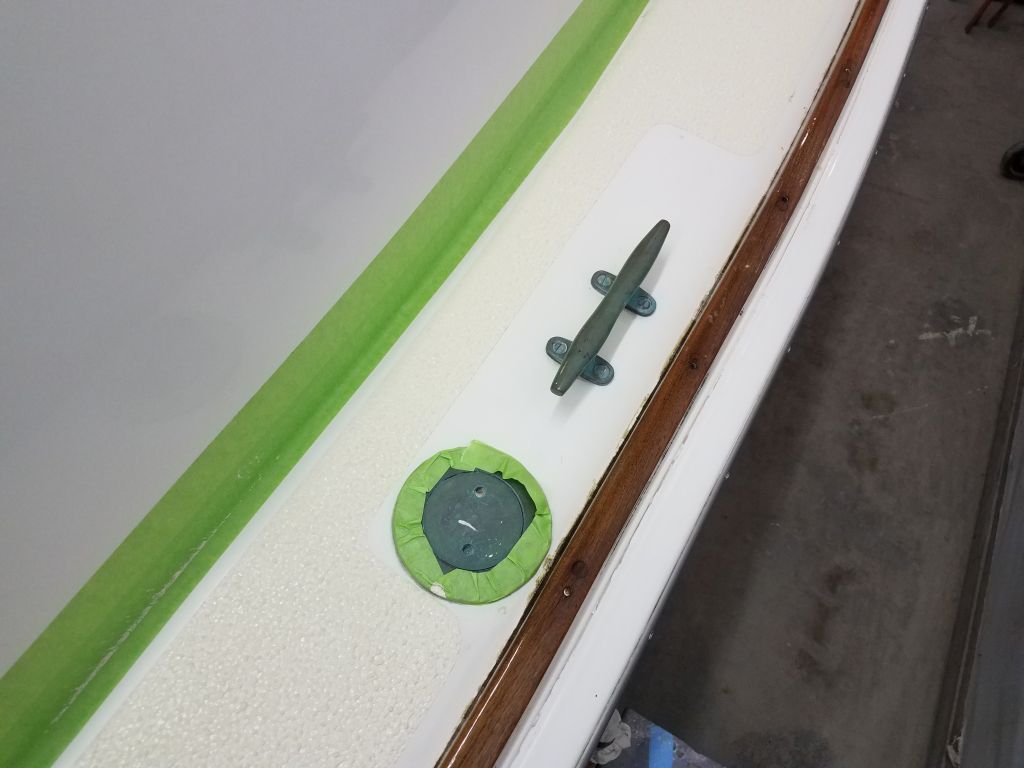
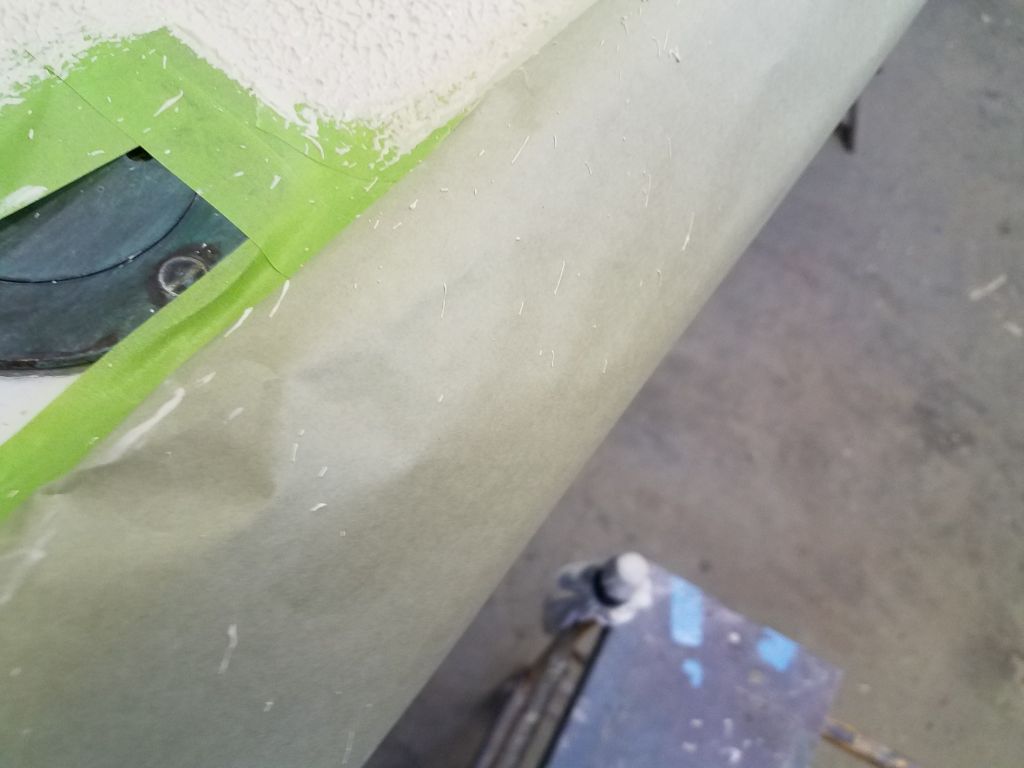
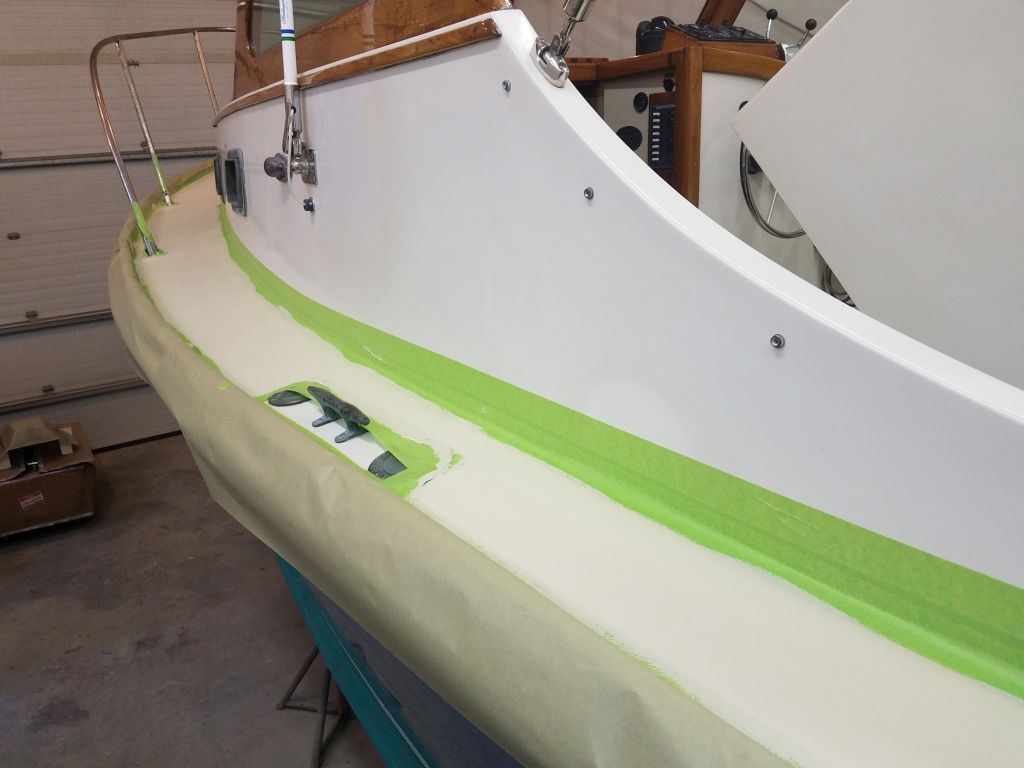
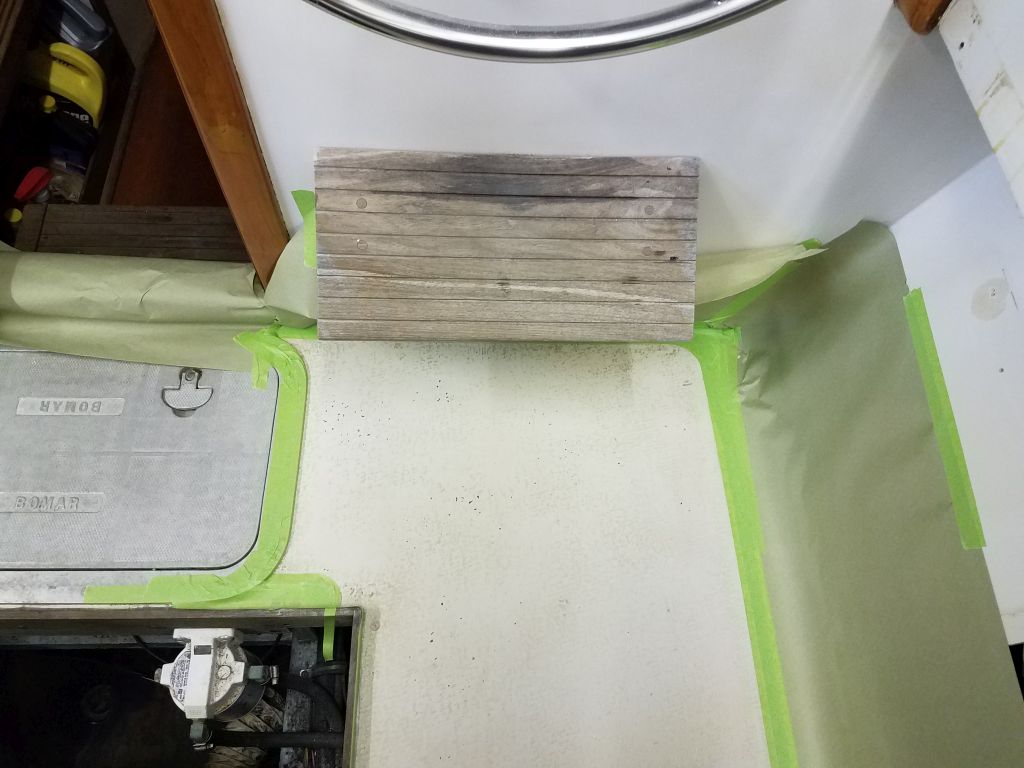
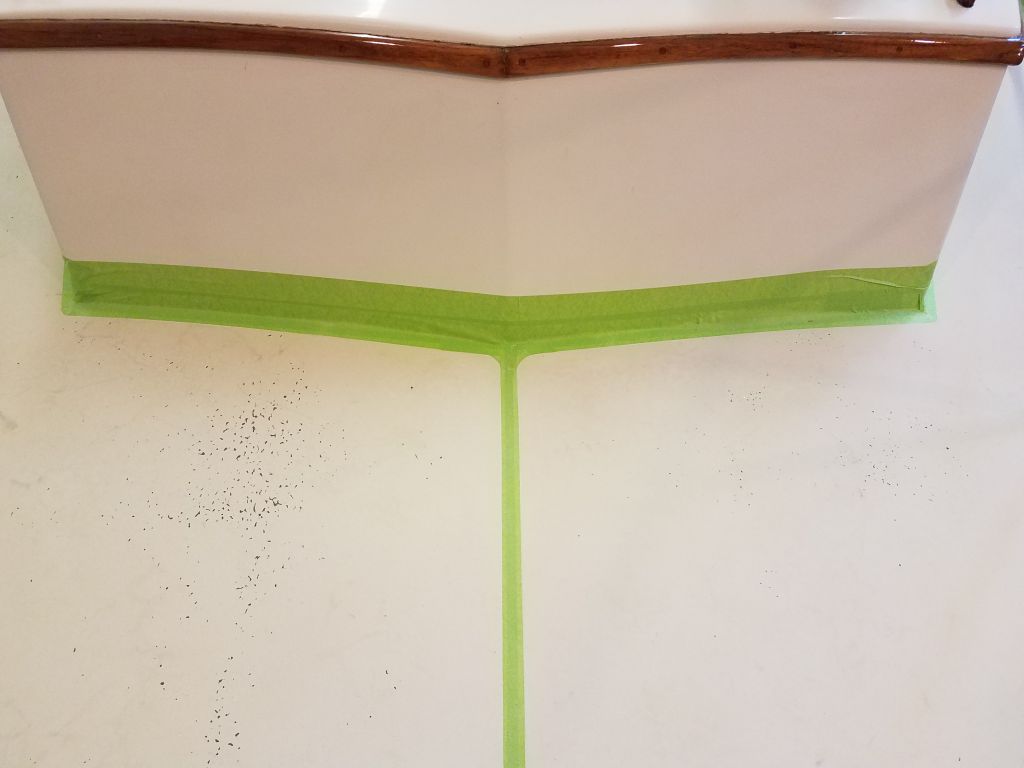
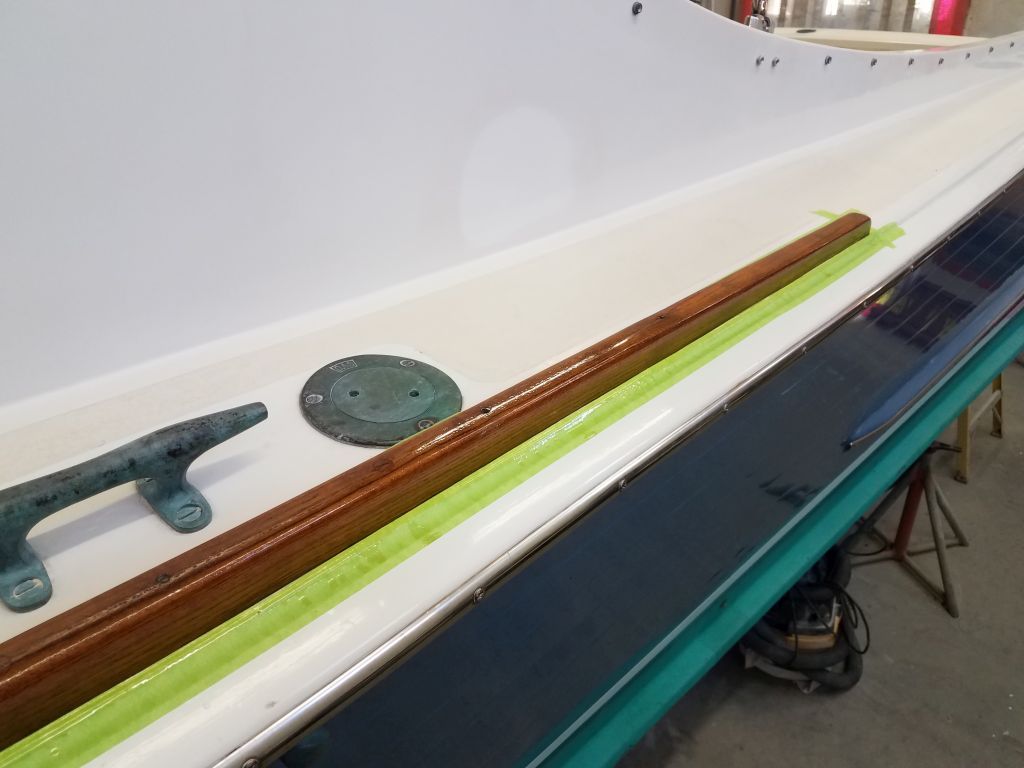
On the sidedecks, the toerail varnish was still fresh, so I didn’t mask directly to it in any areas, choosing instead to cover it with masking paper.

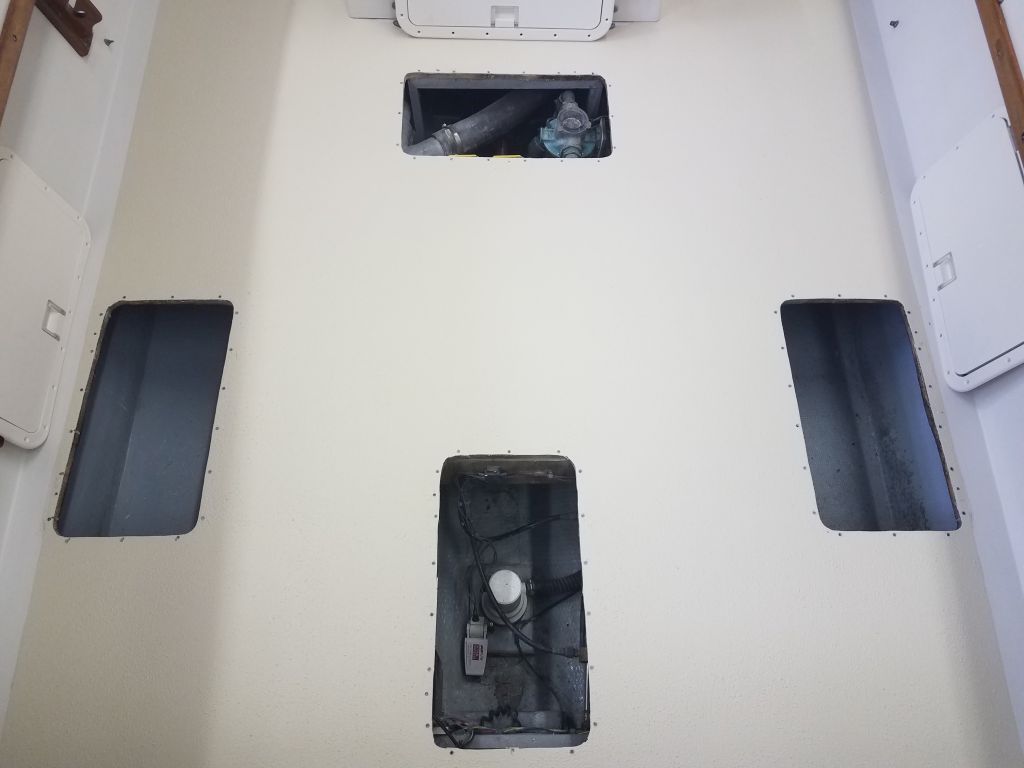
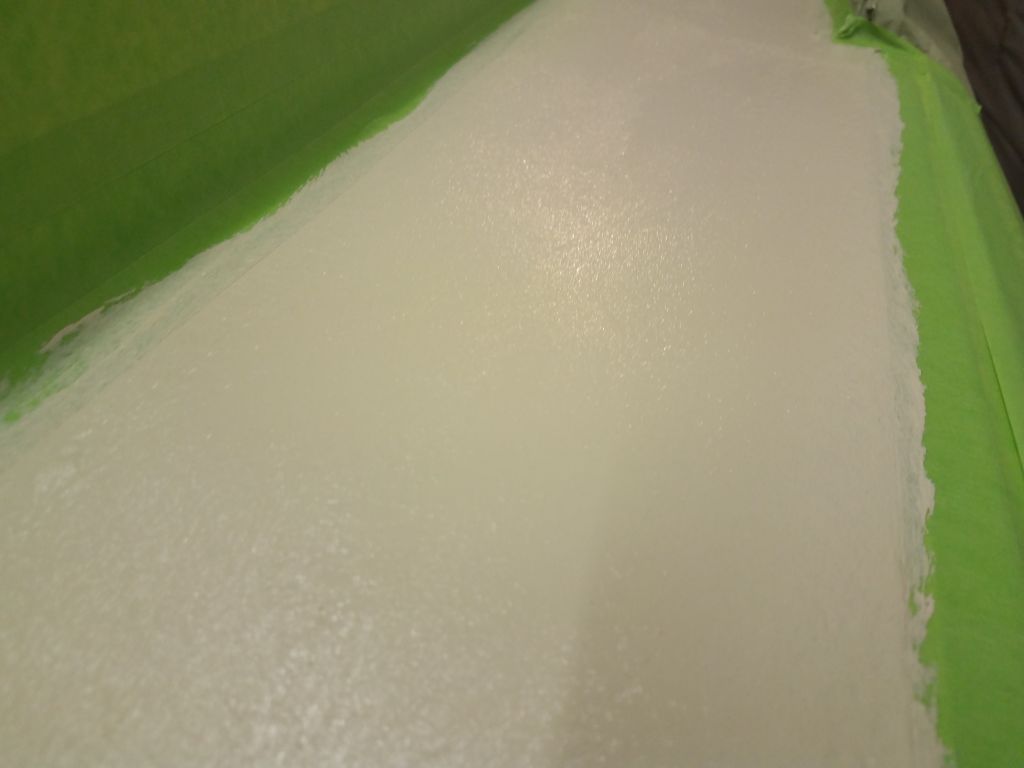
Once I’d masked all the borders, following the existing lines and pattern (but fairing by eye when I could, since the existing lines were anything but consistent), I finished up the nonskid prep by cleaning and solvent-washing all the deck surfaces, leaving things ready for the first flat coat of paint next time.

Total time billed on this job over three days:  9 hours

0600 Weather Observation:  36°, rain.  Forecast for the day:  Showers, clearing late. 45° (Saturday)

Skeedeen 16

Friday

After my usual morning round of sanding and cleanup, I continued the varnish work on the toerails and forward hatch:  4 coats on the toerails, and five on the hatch and rod holders.

The two-sided companionway parts, including the folding top hatch and bifold doors, were ready for work on the second side now, after a couple days’ worth of cure time.  After some final preparations to the unfinished side, I applied the first of a couple coats of varnish to these pieces.

Total time billed on this job today:  2.5 hours

0600 Weather Observation:  25°, clear.  Forecast for the day:  Increasing clouds in the afternoon, rain overnight, 45°

Skeedeen 15

Thursday

With two good maintenance coats of varnish on the dash area and windshield, along with the handrails and eyebrow trim, I deemed these areas complete and removed the masking tape.

Meanwhile, I took care of a few small jobs, including reaming out and filling a series of small holes in the aft part cockpit sole, where I’d removed some screws apparently leftover from a set of cooler mounts.  Once the epoxy cured, I’d sand it as needed before applying the nonskid coating later.

I’d planned to ream and fill all the fastener holes around the deck hatches, but it appeared these holes had previously been so treated, surprisingly enough.  I also installed some little bronze trim pieces to cover the holes left from the engine box extension that I’d removed.  These would soon weather to match the other bronze on the boat.  I used VSB tape to install the trim pieces.

Continuing with the varnish work on the toerails and forward hatch, as well as the rod holders from the cockpit, I lightly sanded, cleaned, and applied a third (toerails) or fourth (hatch and rod holders) coat of varnish.

For this project, the owner and I selected KiwiGrip paint for the nonskid, partly because its aggressive texture was practical, and would also adapt to the existing surface without undue preparation efforts, but also because the product was easily tinted to any reasonable color, and the owner specifically wanted Moon Dust, a standard Awlgrip/Alexseal color.  With the white base paint now on hand, I headed to a local paint store to match the color from the chip and get the paint tinted accordingly.  The only hiccup in this process, and I’d found this during previous experiences with the paint and tinting, was that the gallon-sized paint mixers at many paint stores don’t fit the 4-liter KiwiGrip cans, so when I got back to the shop I had to hand mix the pigments into the paint with a drill mixer.  This took about 15 minutes for the two cans.

Total time billed on this job today:  4.5 hours

0600 Weather Observation:  32°, clear.  Forecast for the day:  Sunny, 50°

Skeedeen 14

Wednesday

To begin, I lightly sanded all the fresh varnish on the boat with 320 grit paper.

The companionway and loose trim pieces had two good maintenance coats, other than the rod holders, which I’d stripped and required several more coats of varnish, and I deemed most of these trim pieces complete for now.  The two-sided door and hatch pieces from the companionway required another day or so of cure time before I wanted to turn them over to work on the opposite sides, so I set these aside.

After the usual rounds of vacuuming, solvent wash, and tack-off, I applied a second coat of varnish to the windshield, dash area, companionway trim, eyebrows, and handrails, along with a third coat on the hatch surround.

Afterwards, I applied the second coat of varnish to the toerails, which would require a number of additional coats to achieve the desired buildup.

Finally, I applied more varnish to the little rod holders, along with one other piece of trim that I though required an additional coat.

Total time billed on this job today:  6 hours

0600 Weather Observation:  48°, clear.  Forecast for the day:  Sunny and windy, near 60°

Older posts