110 Cookson Lane | Whitefield, ME 04353 | 207-232-7600 | tim@lackeysailing.com
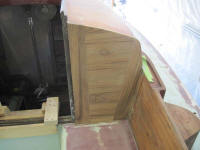
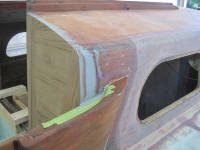
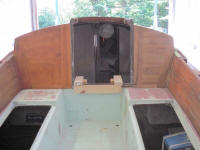
After removing the clamps, I sanded the new teak starboard cockpit bulkhead to remove excess epoxy and bring the top and side edges, which I'd left a bit proud, down even with the adjacent surfaces. I sanded the teak through 220 grit, then cleaned up and applied some fine filler to the cabin trunk edge to provide a fair transition to the wooden edge.
The wooden bulkhead had been the last significant chore required on deck for this stage, so I prepared to move down and get the hull ready for high-build primer. The first order of business was to prepare several through hull openings for patching. I'd removed the fittings last week, leaving small holes behind, including a couple through hulls left over from the old closed cooling system; the engine exhaust and old LPG locker drain; and a hole on the starboard bow from an old tank vent fitting. I each case, I sanded the inside of the hull first, to remove paint and prepare the areas for an eventual fiberglass patch, then, from outside the hull, I ground tapered circular depressions around each opening to accept the fill and patch material.
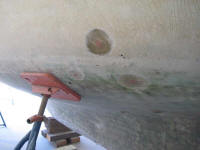
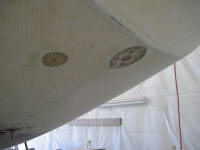
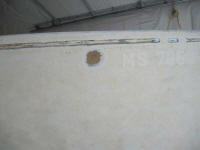
After taping over the holes from inside, I applied some thick epoxy to fill the body of the holes and let it cure for an hour or so over lunch. Afterwards, I installed circular patches, cut to appropriate size based on the size of the circular tapered areas, made from two layers of 1708 biaxial cloth. Later on, I'd add additional material to the inside of each hole.
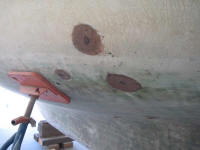
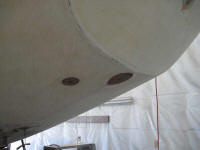
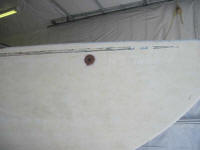
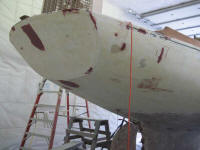
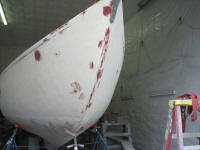
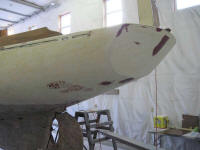
Next, I worked my way around the hull, locating and marking any areas that would require minor grinding and filling: old filled areas that looked weak and loose and the usual minor dings, gouges, and scratches. Despite the heavily-crazed condition of the gelcoat, the hull was actually in surprisingly good shape, with minimal places requiring attention.
I had a shop visitor during part of the afternoon, but later I had enough time to lightly grind out the areas I'd marked, using a small grinding disc to open up the area, remove bad material, and provide a wide, tapered area to hold fill material. After removing dust, I applied a first coat of epoxy filler to all the ground areas, and left it to cure overnight.
Total Time Billed on This Job Today: 5.5 hours
