
110 Cookson Lane | Whitefield, ME 04353 | 207-232-7600 | tim@lackeysailing.com
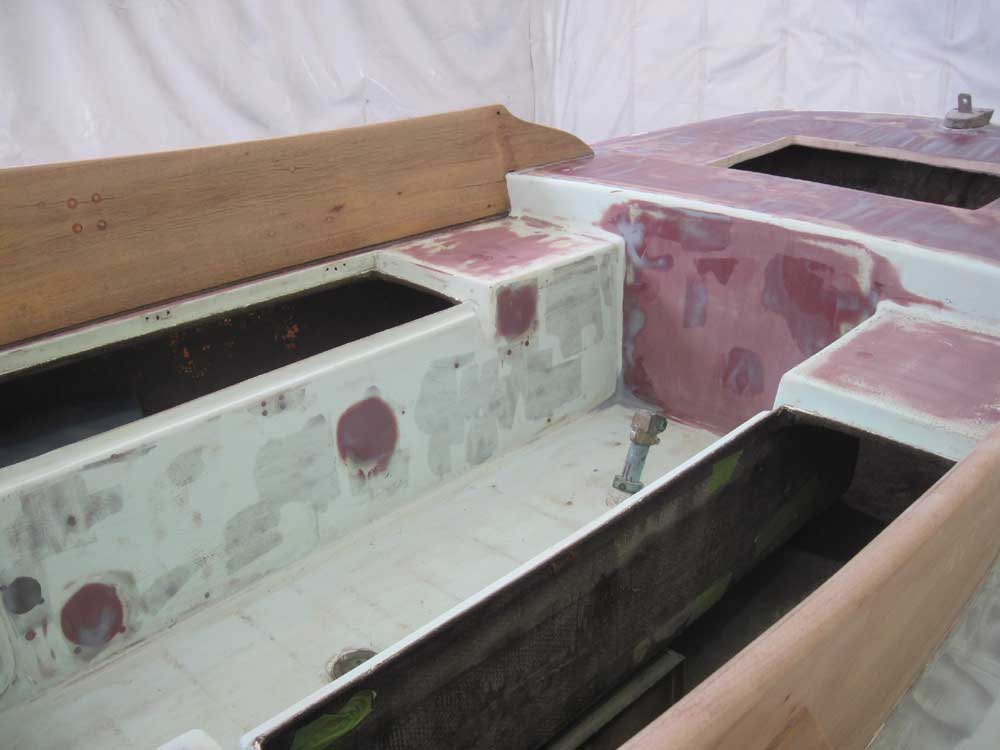
Beginning, as usual, with a sander, I sanded the areas in the cockpit and poop deck to which I'd applied filler yesterday. When complete, I sanded smooth the new bungs in the coamings, and finally sanded the entire coamings all the way to 220 grit, as I planned to apply a sealer coat of varnish in the near future.
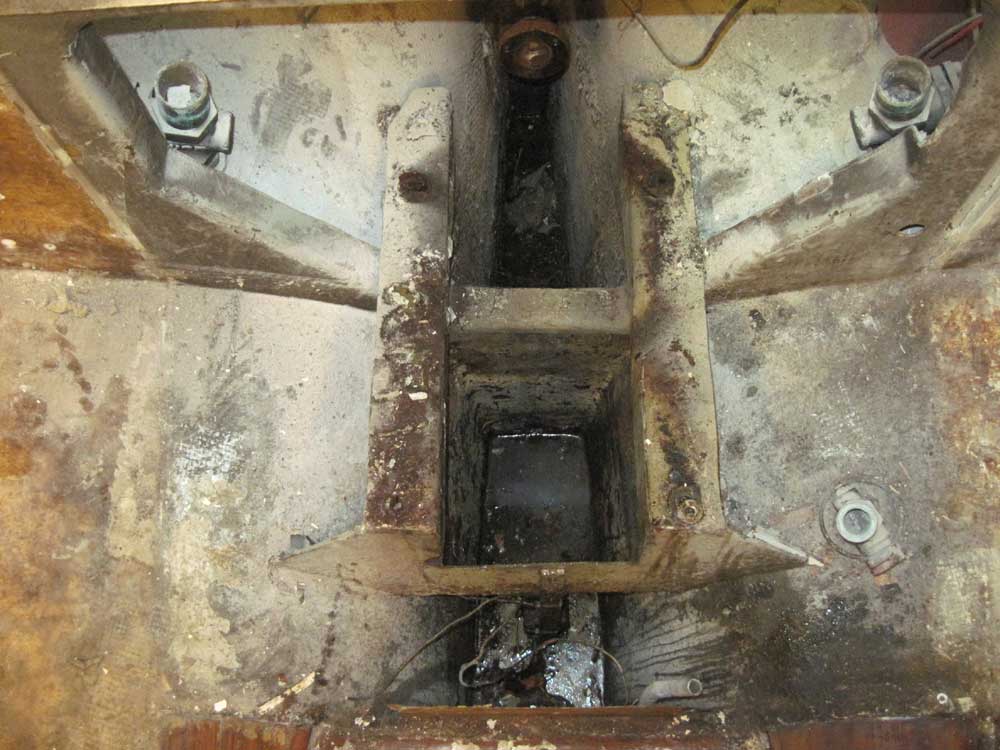
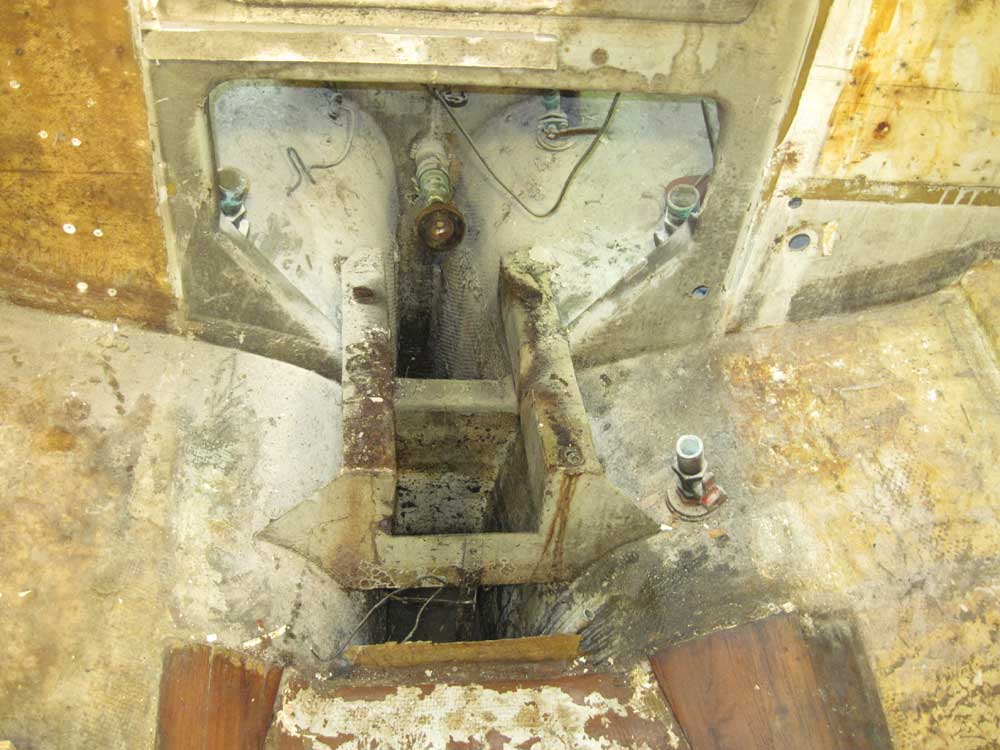
I made a spur of the moment decision to pull the engine out of the boat. While the decision on the engine's ultimate fate remained unknown, the engine had to come out to provide better access to the fuel tank behind, and the bilge beneath, so that I could clean out the accumulated gunk address whatever the fuel tank needed.
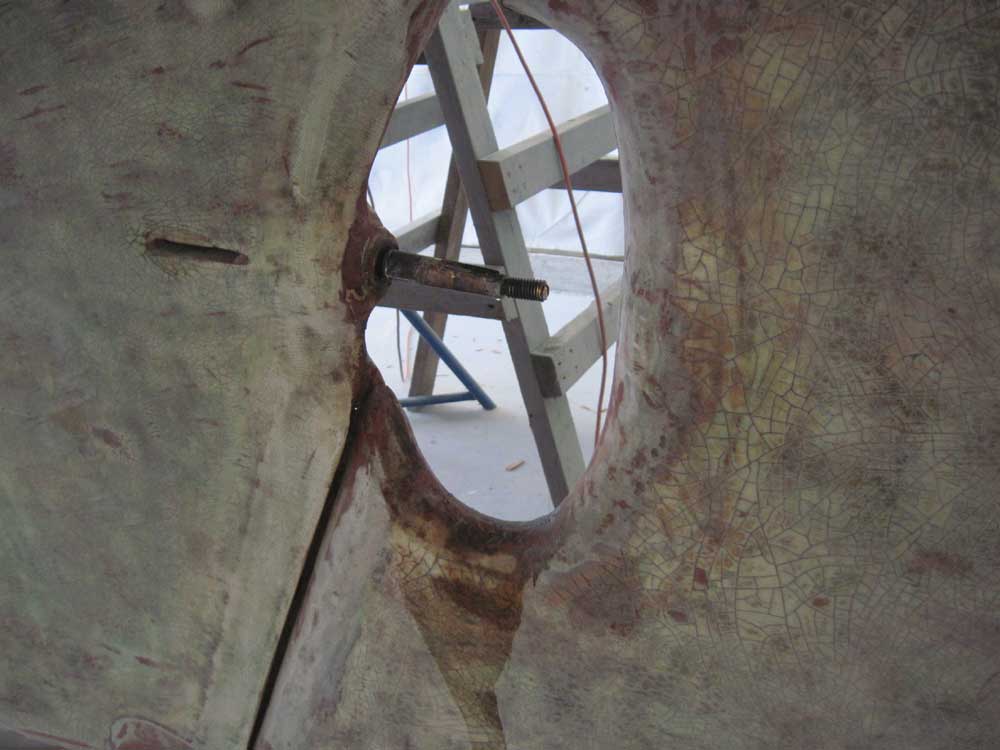
Since old engines tend to be greasy and grimy, I decided it'd be best to get it out of the boat now, before my deck prep work proceeded any further. First, though, I removed the propeller, so that the puller would have something to bear against. I'd actually started this process several days ago, but found that the prop was well stuck in place, so I'd been applying penetrating solvent periodically. Even so, it required a fair bit of heating of the prop hub before it finally released its grasp on the shaft; the shaft key remained jammed in place and would require additional efforts to remove later.

I'd previously disconnected just about everything that needed disconnecting. All that remained was to remove the fuel line, detach the shaft coupling, and remove the four mounting bolts. Much earlier in the project, I'd sprayed the coupling heavily with penetrating solvent, and found that now the three bolts came out easily even though I was working blind behind the engine. I managed to drop a pipe wrench, which I was using to hold the shaft in place, into the bilge beneath the engine, but I'd be able to retrieve it once the engine was out.
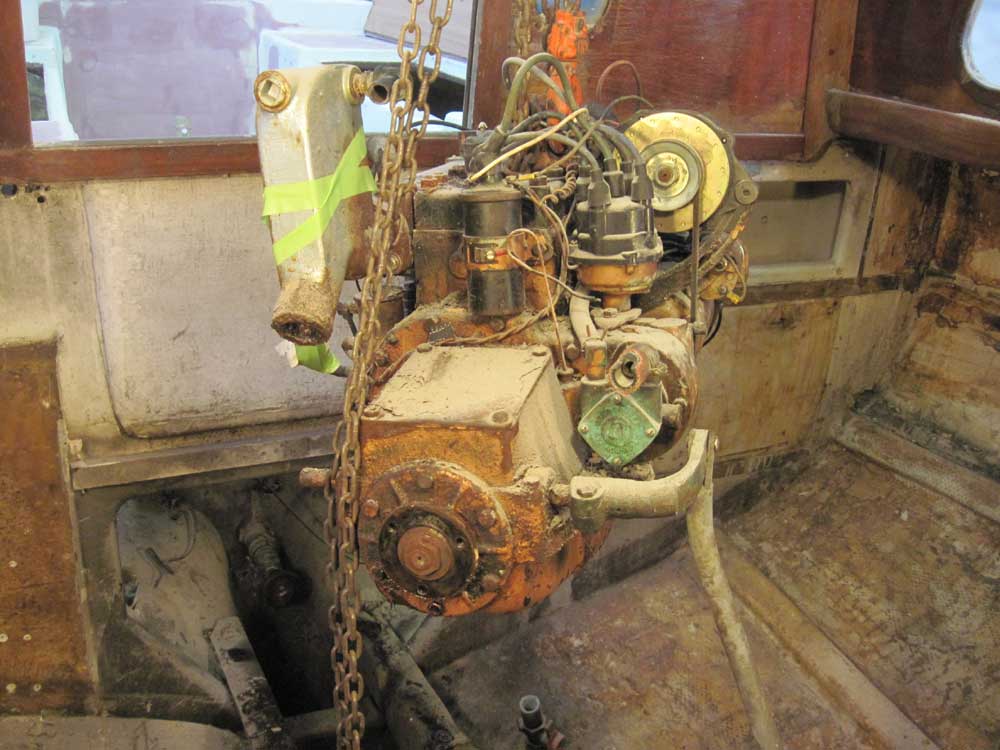
The four mounting bolts came out easily with no binding, after which I could pull the engine forward and out. I'd not been able to remove the large mechanical arm attached to the transmission lever; the clevis pin was stuck, and I determined it wasn't worth the effort and pain of taking additional steps to remove until after the engine was in the clear.
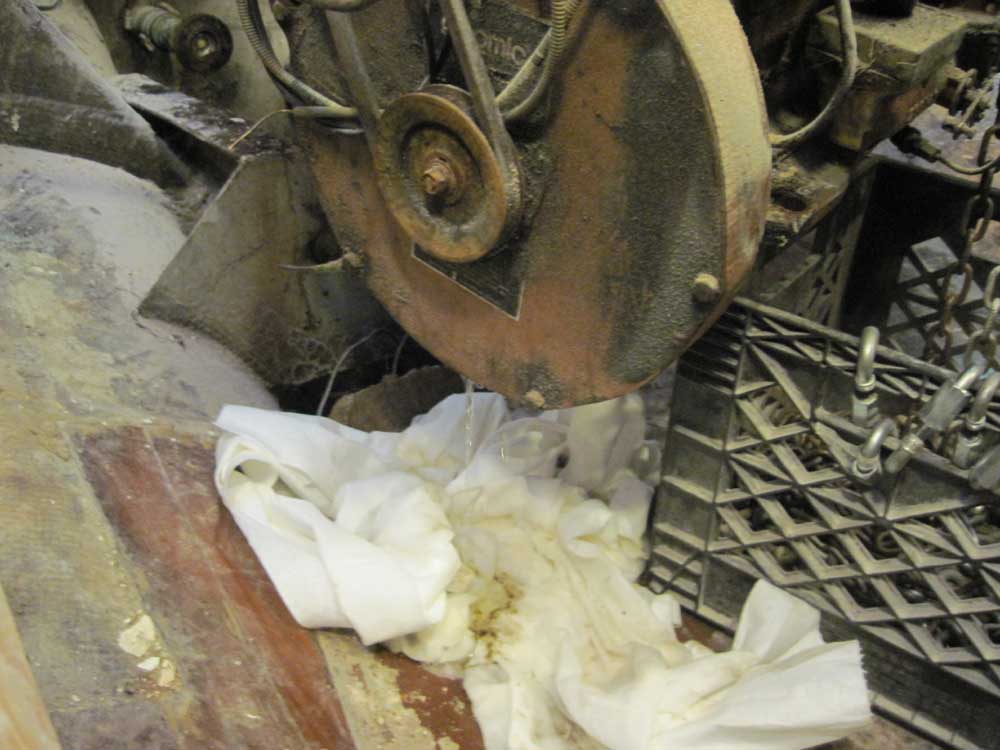
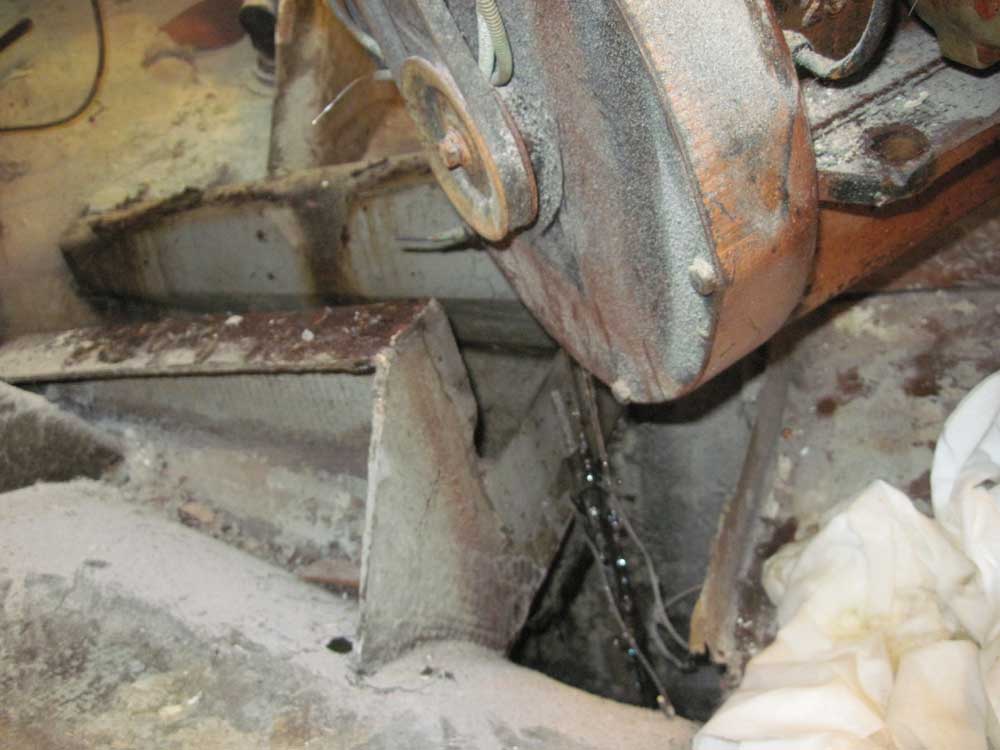
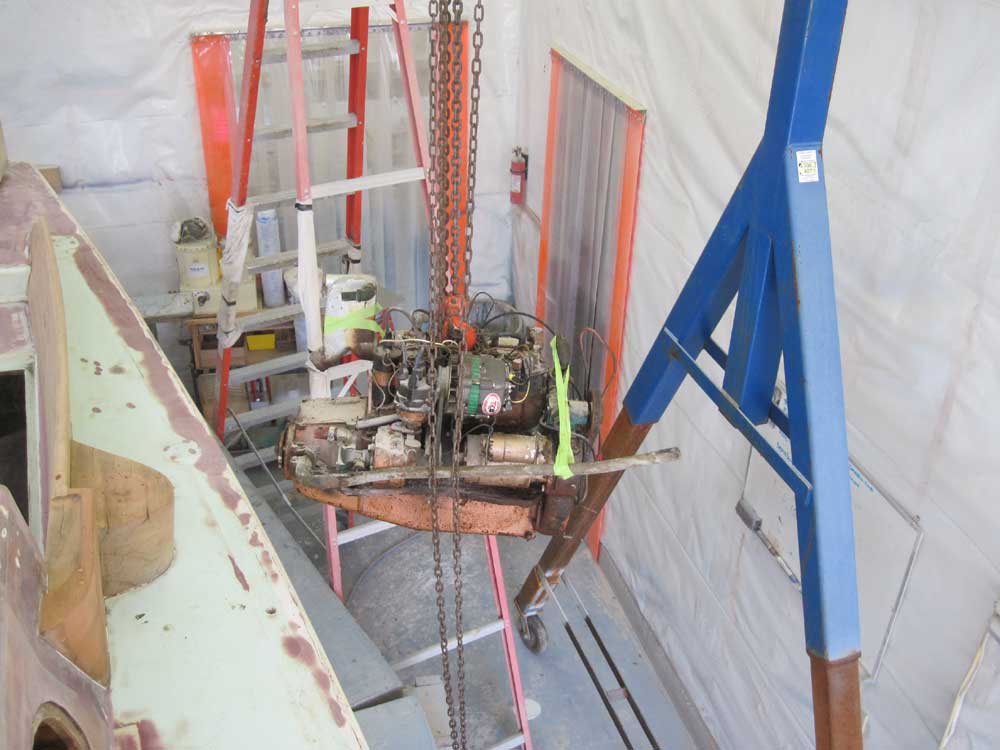
Once the engine was clear of the foundations, it tipped forward a bit as it reached its natural balance beneath the single hoist point. At this time, a steady stream (or streams) of water tinged with oil ran out from beneath the front cover of the engine, which went on for some minutes. I let the engine drain into some rags and, when I determined it might go on for a while, into the bilge until the stream became more sporadic. Apparently, the engine had had opportunity to fill with water at some point during its convalescence, though I'd not been aware of any flooding in the boat's history.
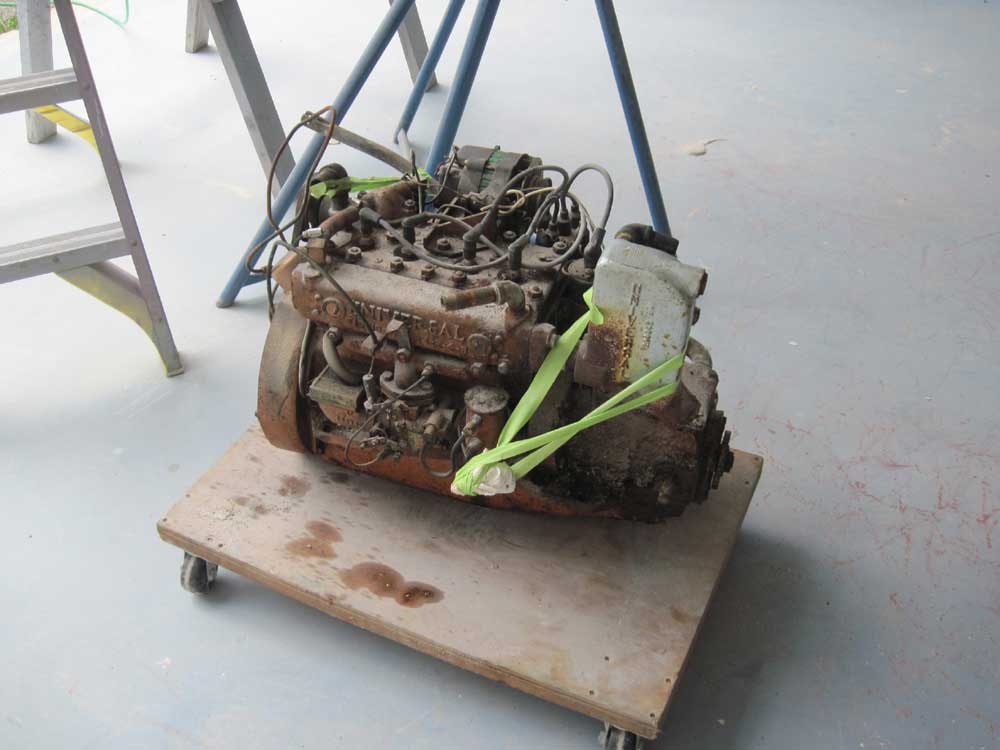
When the drainage had stopped, I lifted the engine through the hatch and over the side, where I secured it on a dolly for future assessment.
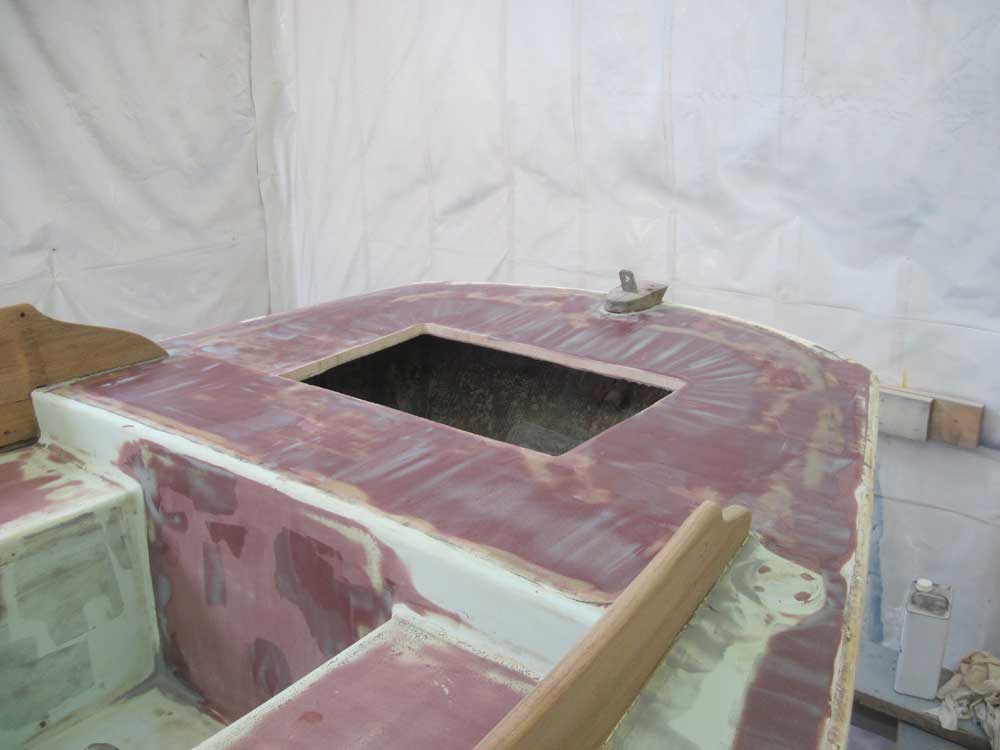
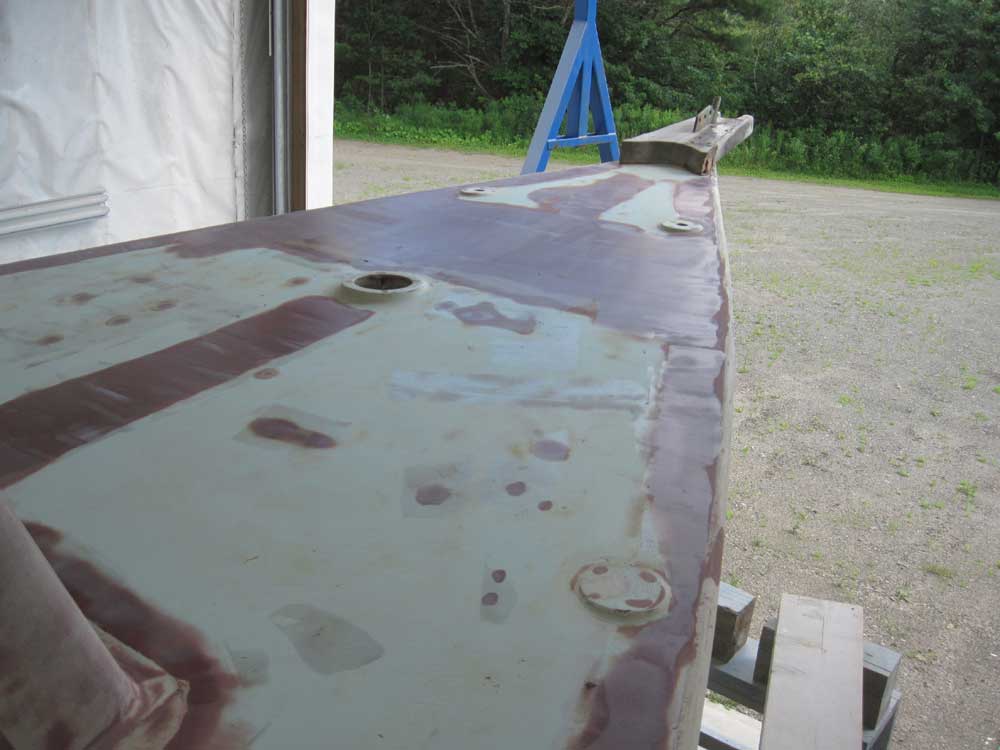
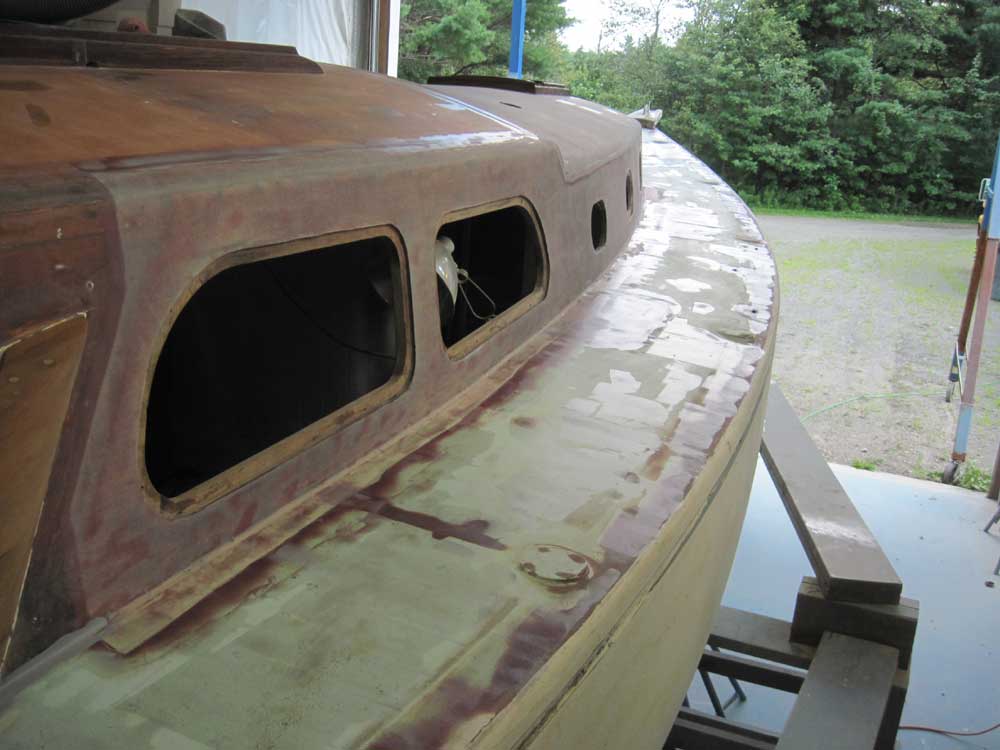
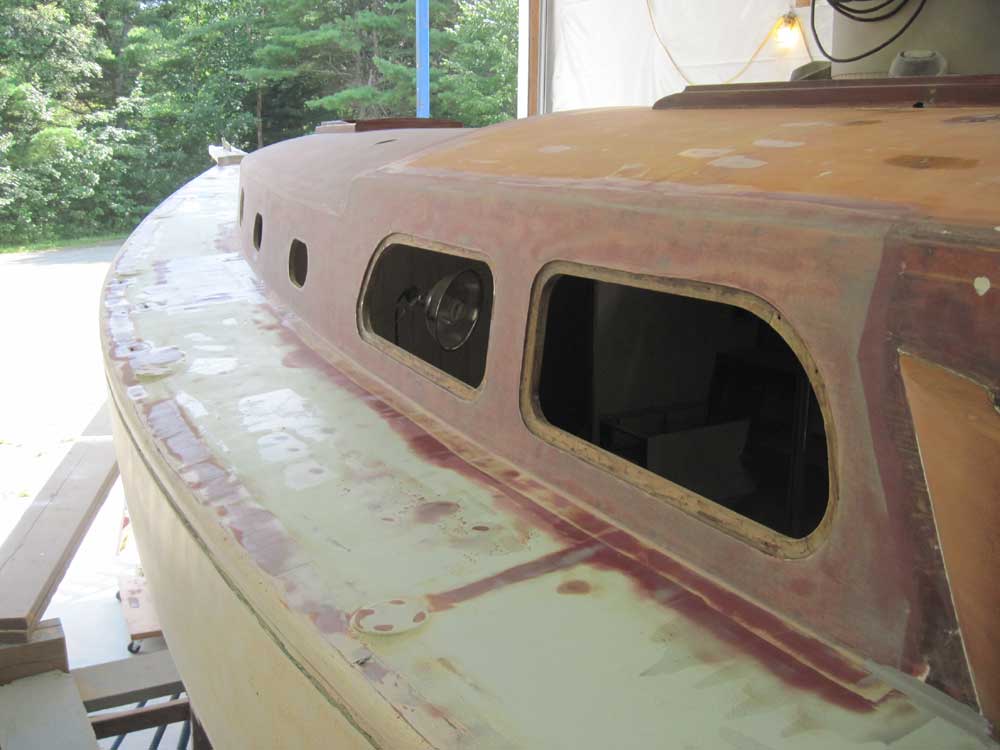
With the engine out of the way, I made final preparations to the entire deck--cockpit, sidedecks, and cabin trunk--and then applied a fine filler material as needed. The fine filler, a very smooth epoxy-based product, was intended to fill minor voids, pinholes, and so forth as left behind from the previous filling and fairing steps. As such, the application was generally just a skim coat. It took three batches of filler and a couple hours to complete.
With a bit of time remaining in the day, I thought I'd try to drain the fuel tank. I couldn't put my hands on a deck plate key for the fuel fill plate in the cockpit--though I knew I had to have one somewhere--so instead, I hooked a length of fuel hose to the end of the remaining copper line leading from the bottom of the tank, planning to let the tank gravity-drain into a container on the shop floor by leading the hose through the garboard drain and out. But when I opened the valves, I had no fuel flowing. Further investigation led me to believe that perhaps the tank was already empty; I'd simply assumed it had fuel in it, as they usually do. There was a drain valve located at the very bottom of the tank--something not approved today for gasoline tankage--but a quick attempt to remove the plug from the fitting, and to turn the valve handle, resulted in similarly quick failure. By now, though, it was the end of the day, so I left further steps till tomorrow.
Total Time Billed on This Job Today: 7.75 hours
