110 Cookson Lane | Whitefield, ME 04353 | 207-232-7600 | tim@lackeysailing.com
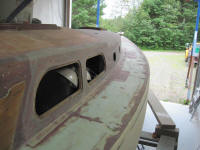
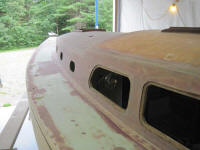
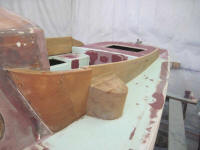
Beginning on the cabin trunk, I sanded yesterday's light fill application with 120 grit paper, then used the same paper and machine over the entire cabin trunk, coachroof, and sidedecks and foredeck to prepare these areas for the fine filler application that would more or less wrap up the deck preparation work. The fine filler would fill pinholes in the existing material and take care of any final and minor filling that might otherwise be required.
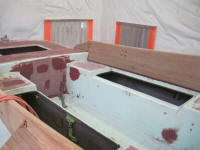
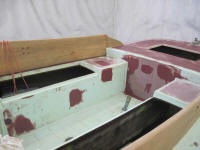
I continued in the cockpit, where I sanded the areas I filled yesterday. At the same time, I sanded the varnish off the port cabin bulkhead, and prepared the starboard side so that I could soon begin to lay out and install a similar teak veneer on that side.
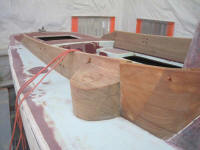
I'd already sanded the coamings a couple times, but there was still detail work to complete in order to remove varnish and weathering from some of the tighter spots, which I finished up now. I also drilled out all the existing fastener holes in the coamings to accept either 3/8" or 1/2" bungs, which I'd install a little later to patch these holes.
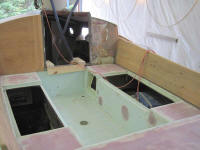
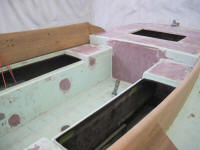
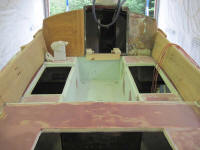
With approval for my lazarette hatch layout, I proceeded to prepare for the cut. I first trimmed down my template by a small amount to account for the hatch overlap and frame system, then marked off a centerline on the poop deck and laid out the lines for the cutout. Finally, I drilled 1/2" holes at each corner to provide a small radius, then cut out the hatch opening.
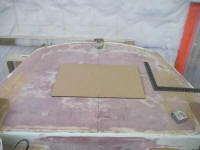
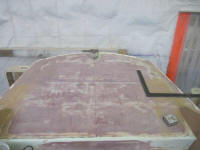
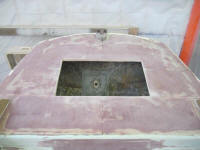
Rounding out the day's work, I applied another coat of filler to the areas in the cockpit that needed it--only a few small areas, and around the edges of the large patch at the aft end--and also applied a coat to the poop deck, now that I could fair a smooth line between the edges of the new hatch opening and the boundaries of the deck itself. Then, I installed mahogany bungs in the various holes in the coamings (about 45 holes total).
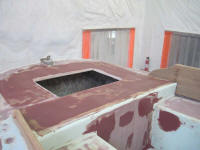
Total Time Billed on This Job Today: 8 hours
