110 Cookson Lane | Whitefield, ME 04353 | 207-232-7600 | tim@lackeysailing.com
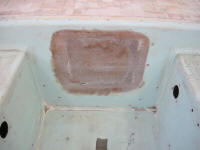
After a quick sanding of the poop deck to remove any rough edges left over from the adhesive and to otherwise prepare the area for additional steps, as well as some additional sanding in the cockpit to bring a pre-existing patch on the aft bulkhead down flush with its surrounds, I prepared to move ahead with the new skin lamination on the poop deck. (As expected, sanding the aft cockpit patch down flush required nearly sanding away most of the new material, so additional work would be required to strengthen and fair in the area.)
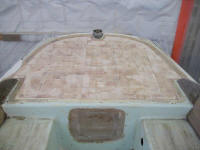
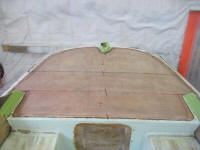
Over the course of the morning, I pattered and laid out the new layers of material. I used the pattern I'd made for the core last week, setting it in place and then making notations as needed to demark the additional width required to overlap the adjacent deck areas.
The area was too wide to be covered in a single width of the material, so each layer required two pieces; I staggered the seam between the layers, offsetting the seam on the top layer by more than 12" from that on the lower layer. As before, I used two layers of material to approximate the existing thickness of the original top skin, or around 3/16"; I cut the second layer about 1" smaller in all dimensions. Since the poop deck was more or less its own, separate area, however, I considered whether I might add a third layer of material for additional overall strength, but decided for the moment to stick with the two layers and only add the third later if I felt it was truly necessary (which I didn't, but would reserve judgment all the same).
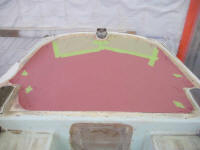
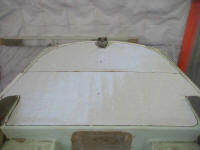
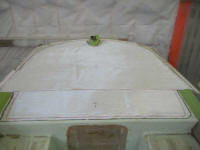
It was an extremely warm and oppressive day, and I knew I'd have to have all my ducks in a row and move very quickly once I started the new lamination in order to stay ahead of the epoxy. The warmth of the day was also a factor in my decision to avoid a third layer of material at this stage, as I knew I'd not have time to apply all three layers at once.
With the area completely prepared and all four pieces of new fabric at the ready, I began the installation right after lunch. The forward corners of the newly-cored area had ended up a bit lower than the inside edge of the existing lip, so I first added some thickened epoxy fill material here to ease the transition. Once that had set briefly, I installed the two layers of material, working quickly and nonstop to wet out the top of the core and surrounding areas, apply the material, and roll it out, all before the epoxy started to cure. I had no time to spare, but completed the job without incident.
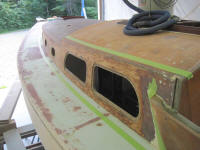
I spent the remainder of the afternoon preparing the new Dynel fabric for the resheathing of the cabin trunk sides. From oversize strips of the fabric that I draped over the cabin trunk, each piece about 24" wide by 15' long, I marked and then cut out the appropriate shape.
Because I planned also to cover the longer, forward section of the coachroof with an additional layer of material (but not the raised doghouse), I cut the side pieces so they extended only to the top edge of the cabin trunk sides; later, the new sheathing on the top would hang down and overlap the other seam, ending an inch or so below in an area that would later be covered by the eyebrow trim.
I allowed the material to lap over onto the top of the coachroof on the after portion, however, to ensure complete coverage since I didn't need to resheathe the top section of the doghouse; instead, I'd simply fair the new material out onto the existing top. I used strips of masking tape to demark the desired cut lines, which allowed me to see the lines through the fabric once I'd laid and secured it over the area.
Where the fabric met the sidedecks, I overlapped it out onto the deck by about 2" to ensure a watertight juncture. Before final installation, I planned to add a smooth fillet to this transition as well.
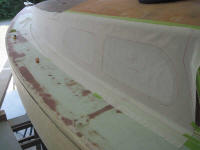
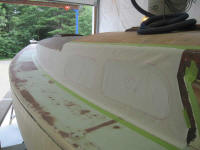
With the Dynel cut to size and shape, I was ready to begin its installation tomorrow.
Total Time Billed on This Job Today: 7.25 hours
