110 Cookson Lane | Whitefield, ME 04353 | 207-232-7600 | tim@lackeysailing.com
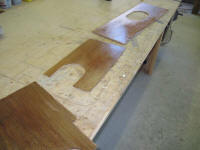
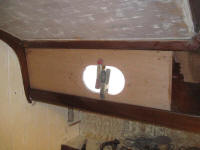
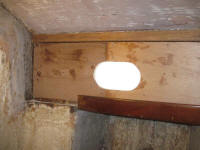
I transferred my paper patterns onto some 1/4" Meranti marine plywood and cut out the new panels for the head and starboard cabin trunk areas. Each panel required a bit of fine-tuning to fit, plus marking and cutting out the openings for the ports.
With the panels fit and prepared, I solvent-washed the bonding surfaces of the panels and insides of the cabin trunk, then applied a coat of unthickened epoxy to the surfaces.
Then, I installed the new plywood in a bed of thickened epoxy adhesive that I applied with a notched spreader; I secured the new panels with clamps and small screws. Since the surfaces would be painted, I could use the screws, as I could fill and hide the screwholes.
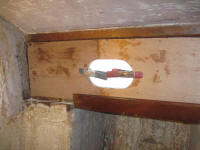
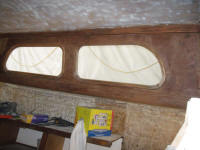
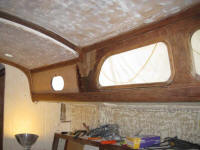
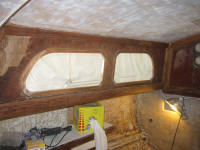
Most of the interior work would wait till the second phase of the project, but in order to weatherproof the boat by installing ports, I'd need to prime and paint the inside surfaces of the cabin trunk. Towards that end, I spent the afternoon with a heat gun and scraper removing the bulk of the varnish and epoxy coating from the remaining plywood and adjacent mahogany trim on the starboard side of the cabin trunk, and also in the head. I'd continue with the port side in the morning.
In the finished cabin, the upper and lower mahogany trim, plus the mahogany frames around the deadlights, would be finished with varnish, with the field painted semi-gloss white.
Total Time Billed on This Job Today: 7.25 hours
