
110 Cookson Lane | Whitefield, ME 04353 | 207-232-7600 | tim@lackeysailing.com
With an appointment scheduled away from the shop in the afternoon, it was a short day on the boat.
To begin, I scrubbed the detergent-filled bilge, then drained the water and rinsed out the space. While things were cleaner than before, the deeply oil-stained bottom section remained; even direct scrubbing didn't affect this area. In any event, the surface oil and grease was gone, so the space was much better than before.
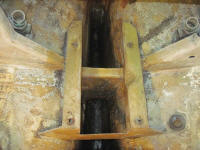
Anticipating a mutually-planned work stoppage six weeks or so hence, at which time I'd shift my attention to another project for a couple months, I focused on the work list required to prepare the boat for temporary outdoor storage--namely to ensure that the boat was weathertight. Essentially, this meant I had to complete certain jobs in order to reinstall the ports and deadlights before moving the boat in October.
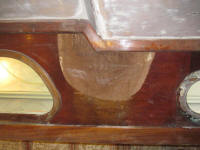
First on that agenda was to repair the damaged plywood on the inside of the cabin trunk. Long-standing water damage from around some of the ports had damaged not only the varnished finish of the mahogany plywood, but also the plywood laminations themselves in some areas, most notably the head (where I removed the damaged wood several weeks ago) and the forward starboard saloon, in way of the opening port there.
Back then, some weeks ago, the original plan had been to remove all the old 1/4" mahogany-veneered plywood from the inside of the cabin trunk (the structural sides of the cabin trunk were built from a separate piece of 1/2" plywood) in order to replace in kind. However, as I dug into and better learned the means by which the cabin trunk had been constructed, I determined that the job would be too significant in scope, at which time we decided to repair the damaged areas only, blend them with the existing areas as needed, and finish the inside of the trunk with a white-painted surface rather than a varnished surface. This would allow more minor spot repairs to the minimally-damaged areas, and better hide the transitions between repaired and existing sections.
To that end, I removed the damaged plywood from around the opening port on the starboard side of the saloon and back to a point where the adjacent plywood remained sound, and cutting back the old 1/4" plywood as far as the upper and lower trim pieces on the cabin trunk.
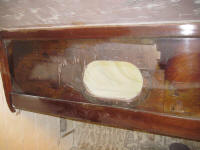
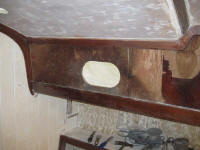
The damage to the port side of the saloon was less significant, with an area where the varnish and mahogany veneer alone had lifted beneath a leak that had occurred where the doghouse bumped up (which leak had probably come from the old eyebrow trim or old, damaged exterior sheathing, I guessed--both potential issues had been addressed with the resheathing of the trunk, I hoped). Here, I removed just the damaged veneer.
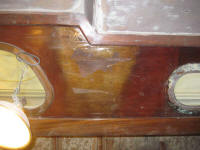
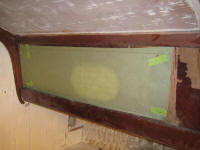
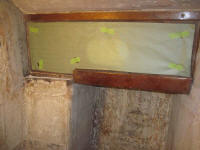
With the old material removed as needed, I made paper patterns (using a steel rule to transfer the actual shape of the area onto the undersized paper patterns) of the two areas requiring new plywood inserts: in the starboard saloon (on the left below) and in the head compartment (on the right below).
I spent the remainder of the time available before I had to leave taking inventory of the boat's existing bronze ports, as well as an identical set of ports that the owner also had on hand in order to determine what level of cleanup/restoration would be required on the units before reinstallation; I prepared a separate report on this for the owner.
Total Time Billed on This Job Today: 3.5 hours
