
110 Cookson Lane | Whitefield, ME 04353 | 207-232-7600 | tim@lackeysailing.com
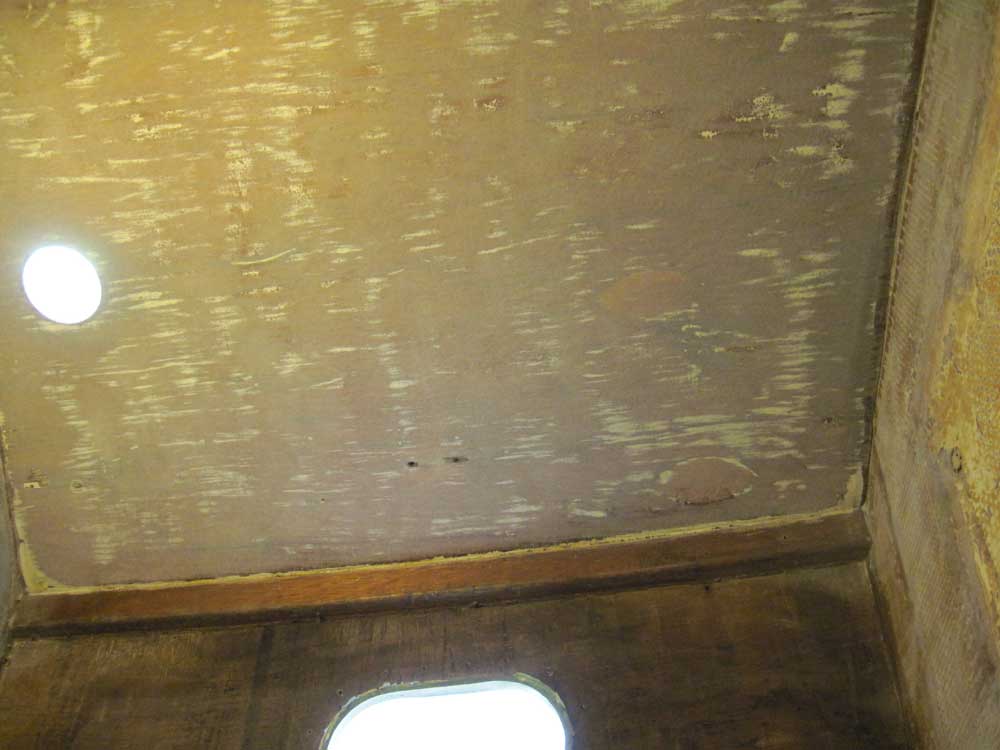
There were two small sections of overhead remaining to be sanded: in the head, and in the short passageway opposite. I completed these areas, then moved on to the bulkheads in the saloon.
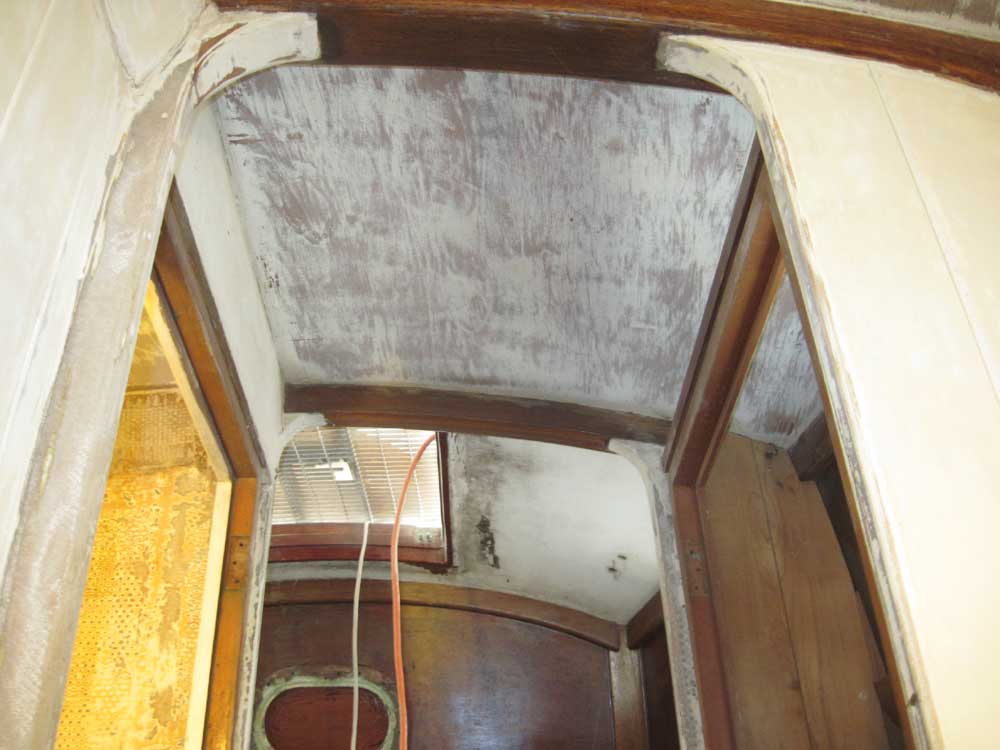
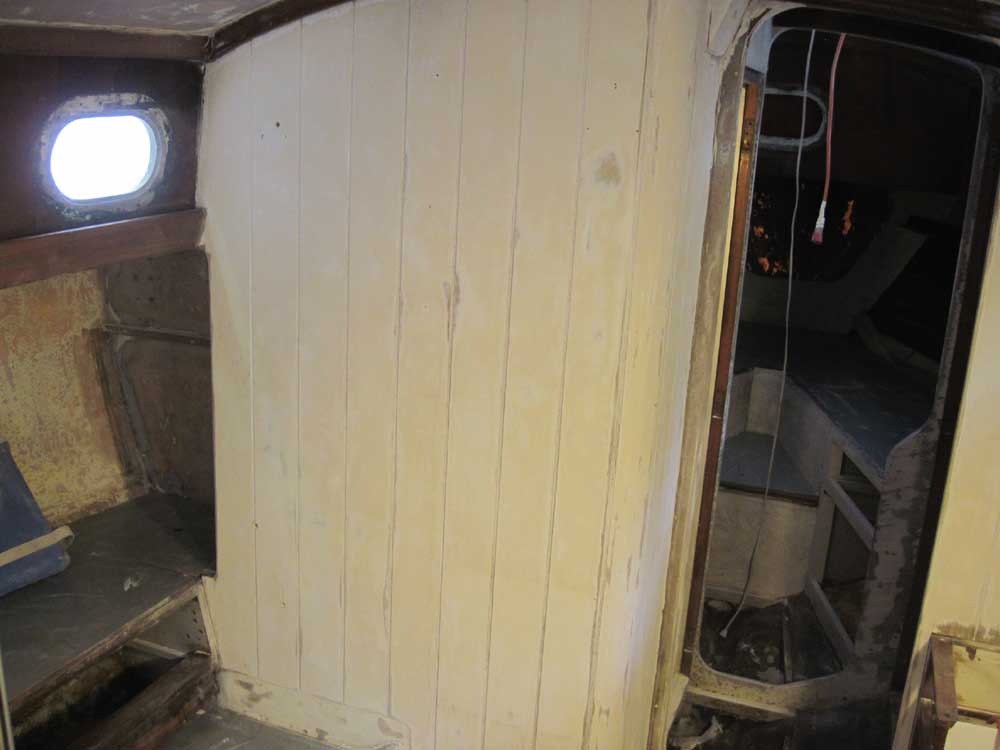
The main bulkhead, like all the structural bulkheads in the boat, was built from laminated fiberglass and covered with vertically-oriented V-match boards, painted white. Despite a coating of grime and mildew, the paint was in good condition, and test-sanding with a vertical axis random orbit finishing sander and 80 grit revealed a firm, solid base of primer. Therefore, I decided to sand off only the top layers of paint, leaving the primer in place as a substrate for new coatings later.
With the non-aggressive tool, it took a couple hours to sand both sides of the main bulkhead, as well as the forward side of the remaining galley bulkhead and the settee bases.


With that, I'd completed the bulk surface prep in the main cabin and other areas I'd be addressing (the V-berth and hanging locker were not part of the job scope this time around). There was more sanding ahead--detail and edge sanding, and additional sanding to fully prepare the various surfaces for their individual future treatments--but I decided to take a break from sanding in the afternoon and work on something else.
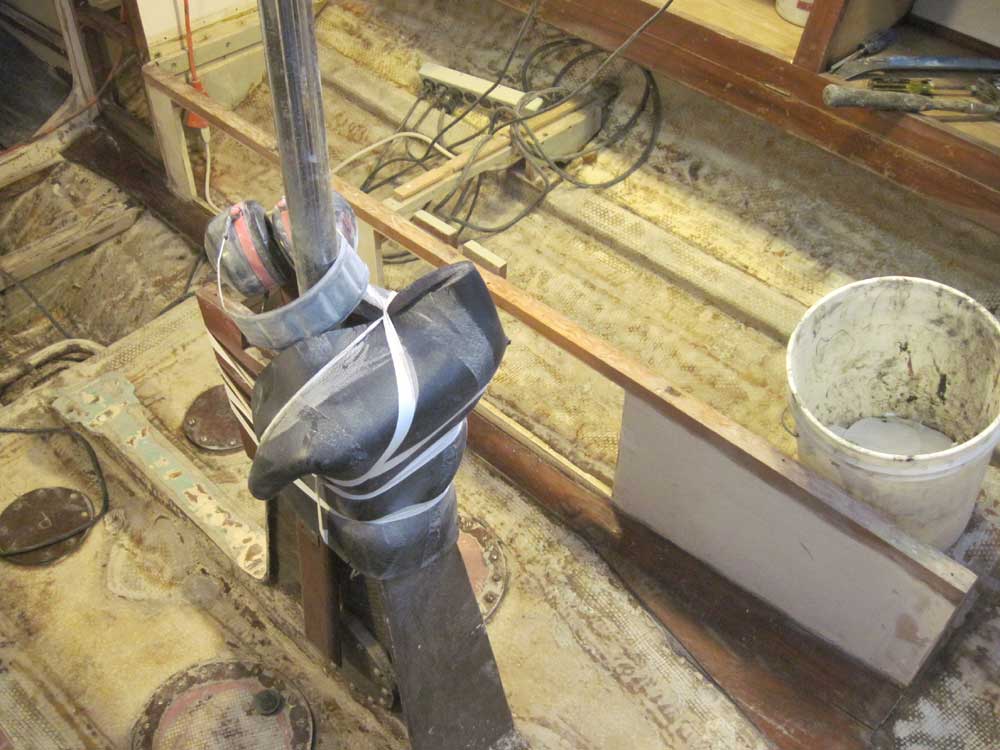
After cleaning up from the morning's work, I installed a rubber plug in the garboard drain and filled the deep sump beneath the engine room with detergent and water, which I could allow to soak over the weekend.
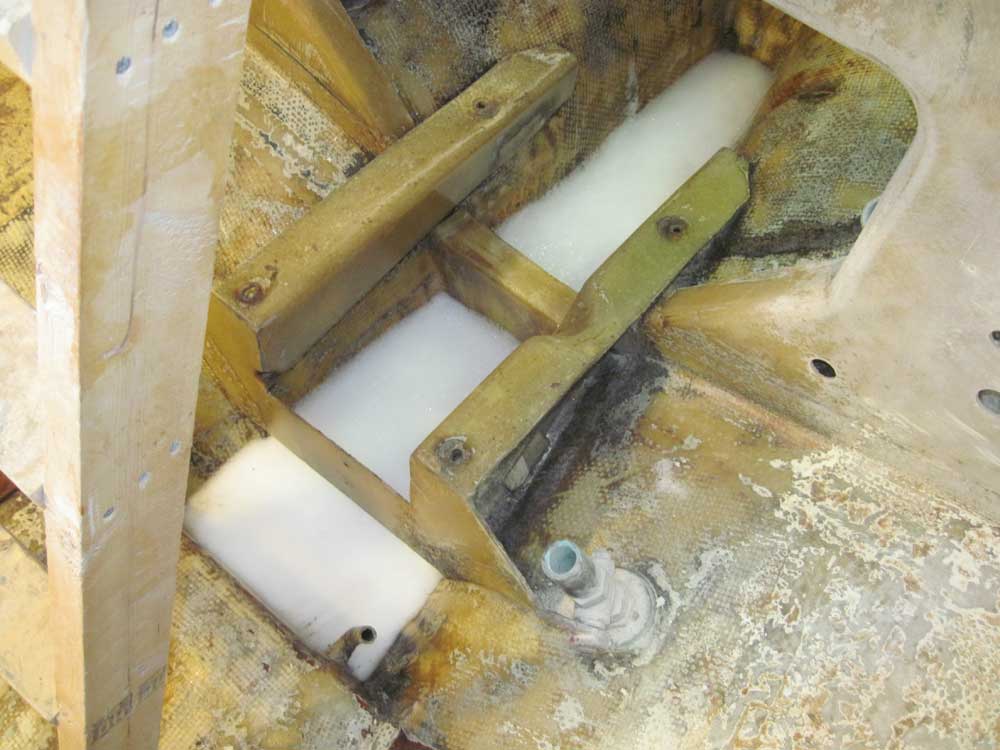
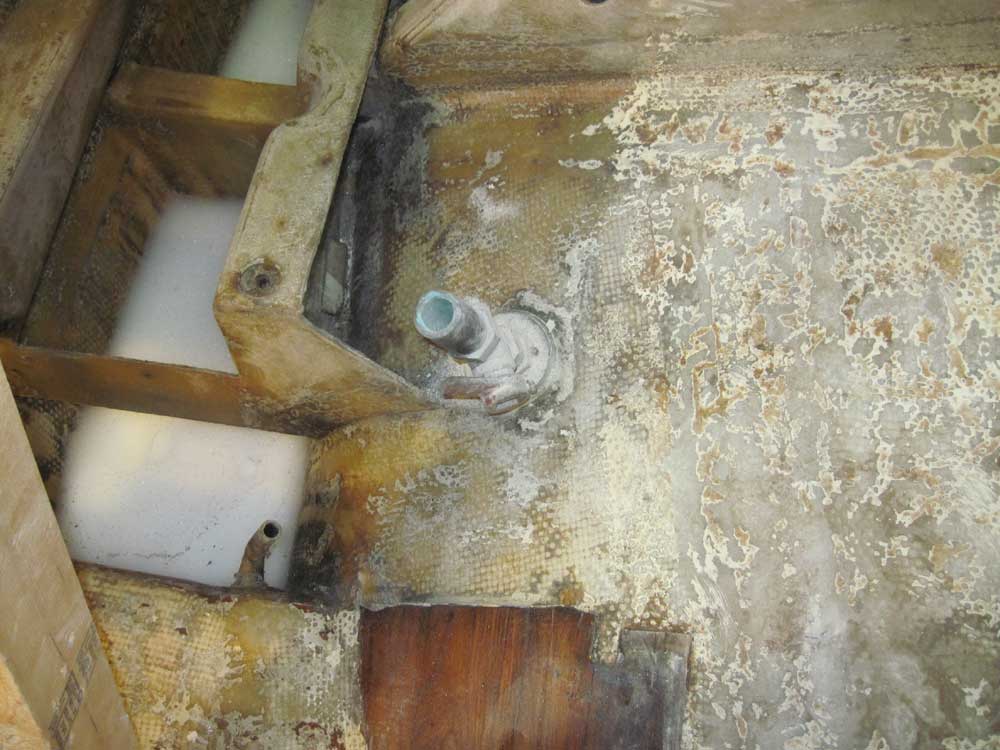
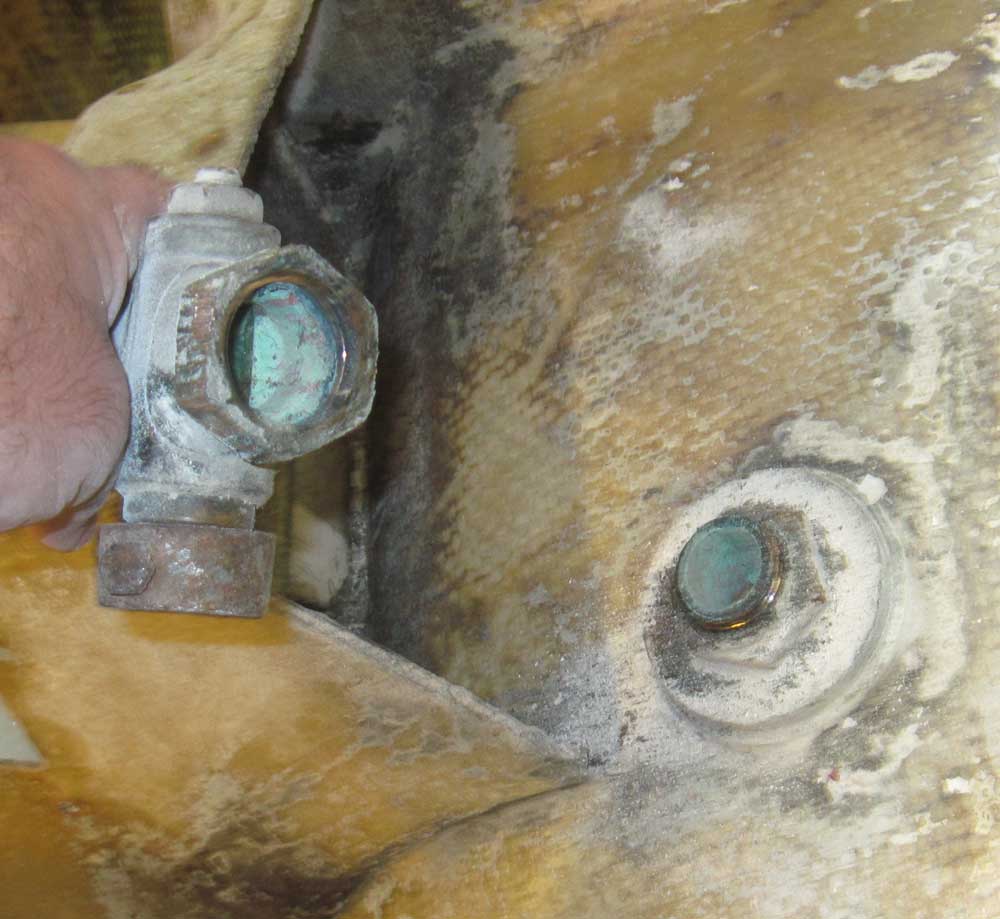
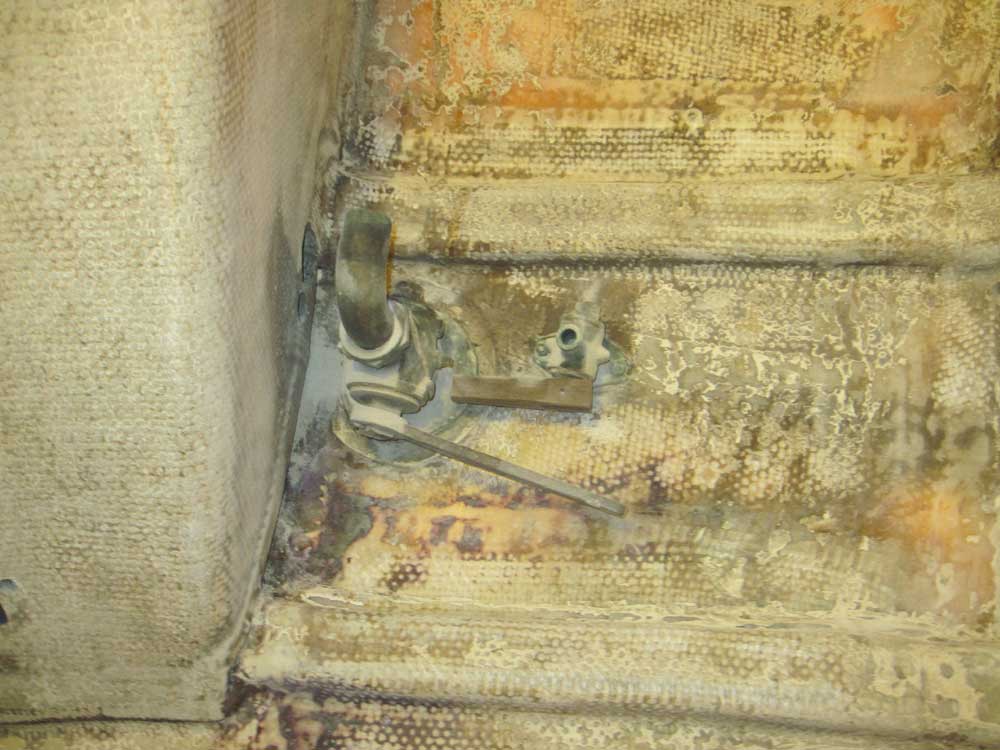
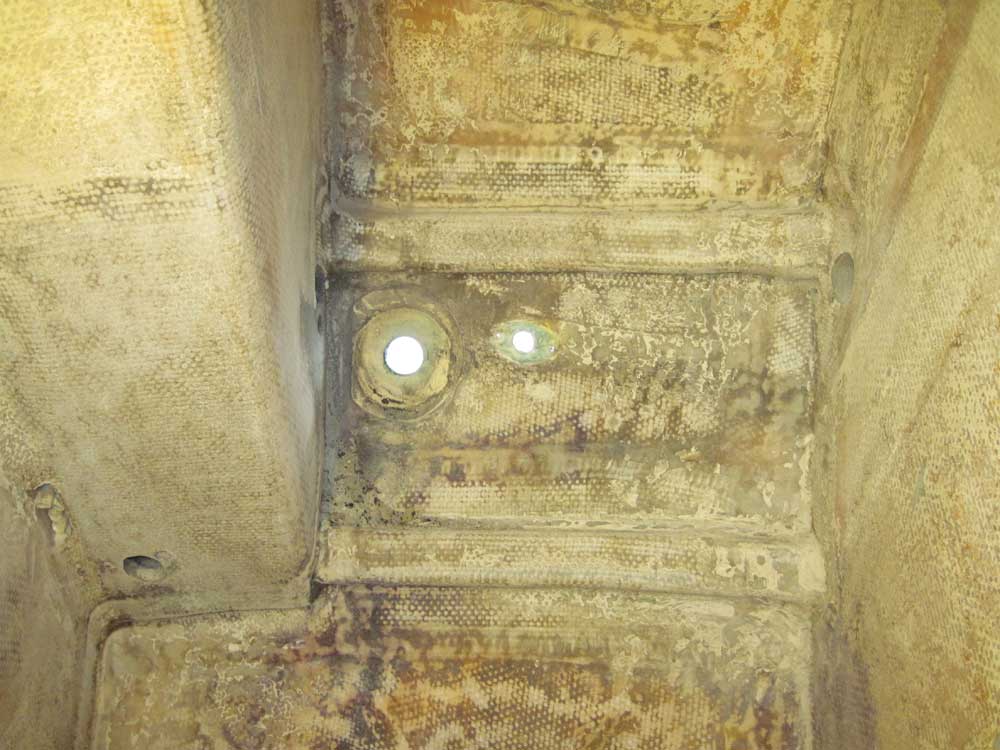
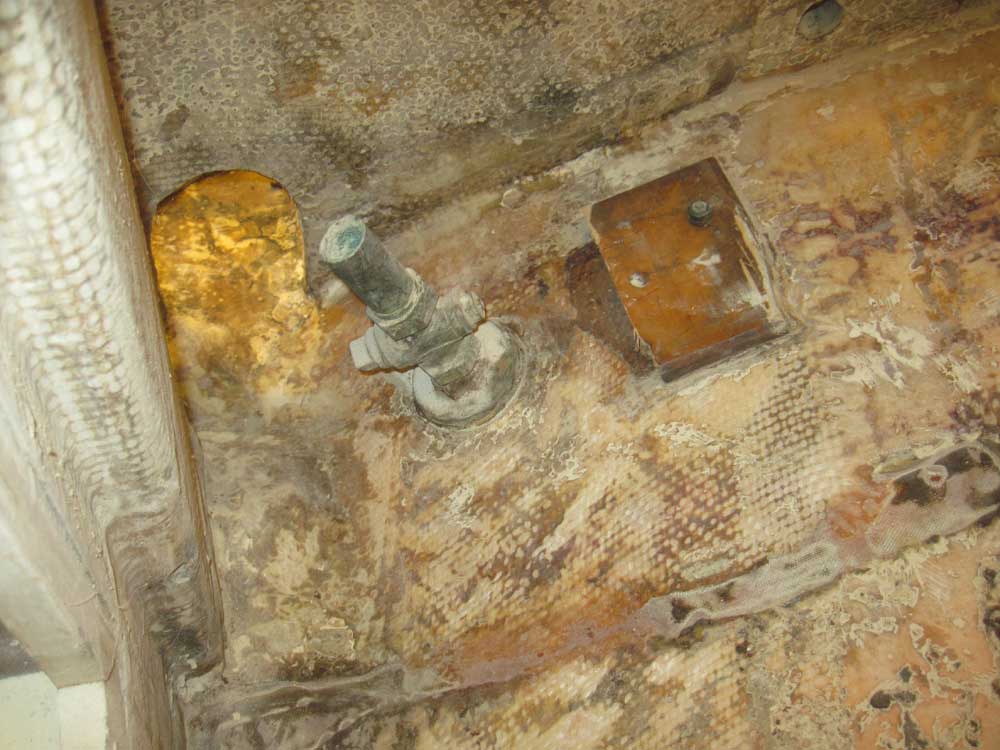
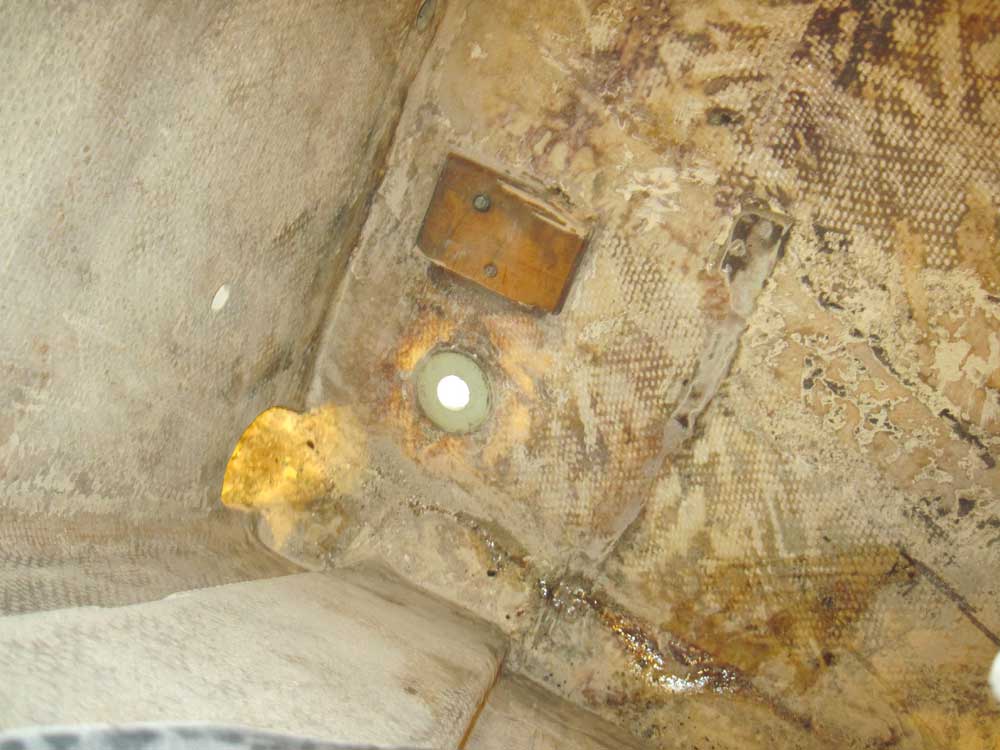
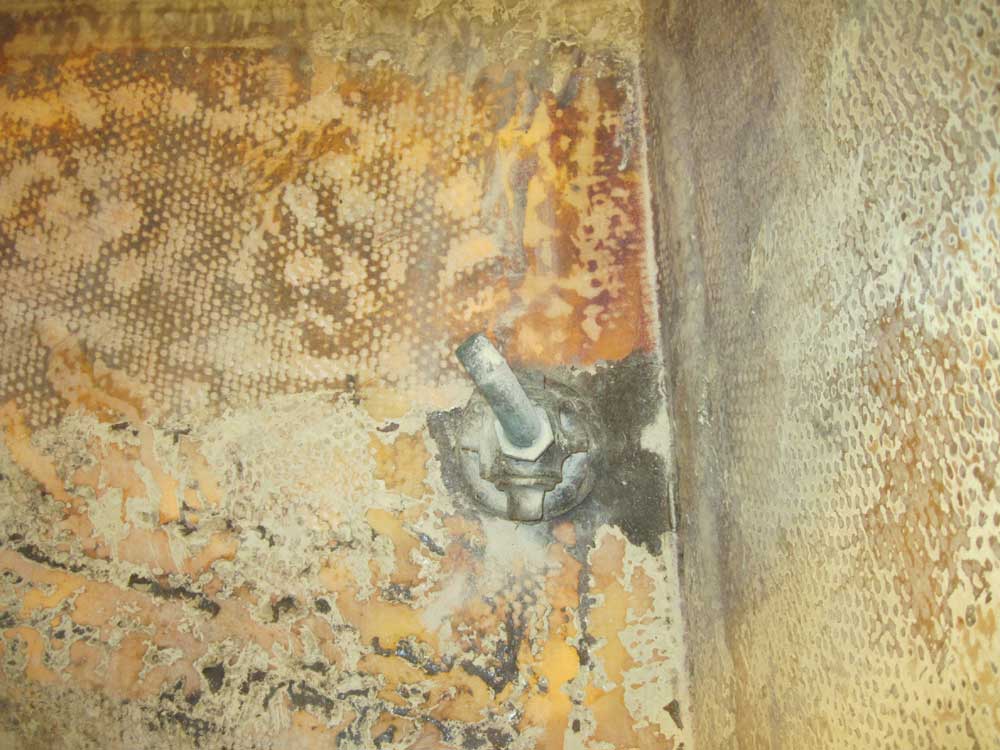
Earlier, we'd decided to remove most of the existing through hull fittings, in part because the old seacocks ranged from marginal to questionable in terms of quality and operation, there seemed to be too many seacocks for the generally simple nature of the boat's systems, and also because starting fresh meant that we could better locate the fittings where they made the most sense for the way the boat got put back together, particularly in the head, where there were 4(!) seacocks in the tiny space, all awkwardly and inconveniently located.
I'd already removed three seacocks from the port cockpit locker, part of the old complicated engine cooling system. For the moment, I left the large cockpit scupper fittings in place, pending further inspection and maintenance attempts; one operated, the other was frozen, but the fittings could be disassembled (probably) for inspection, so I'd look at that later.
However, I removed all the remaining seacocks in the boat: one in the galley, and four in the head. I reserved the old valves; several were marginal at best, with older ball-valve type valves secured over a through hull stem with no flanges, and only two or three threads fully engaged.
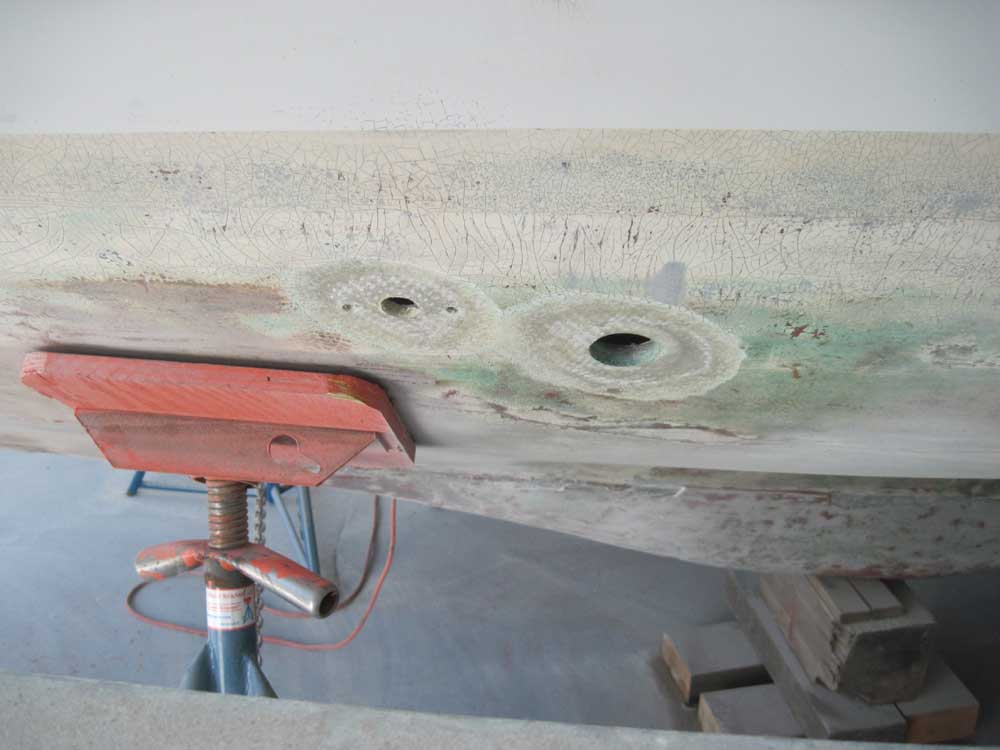
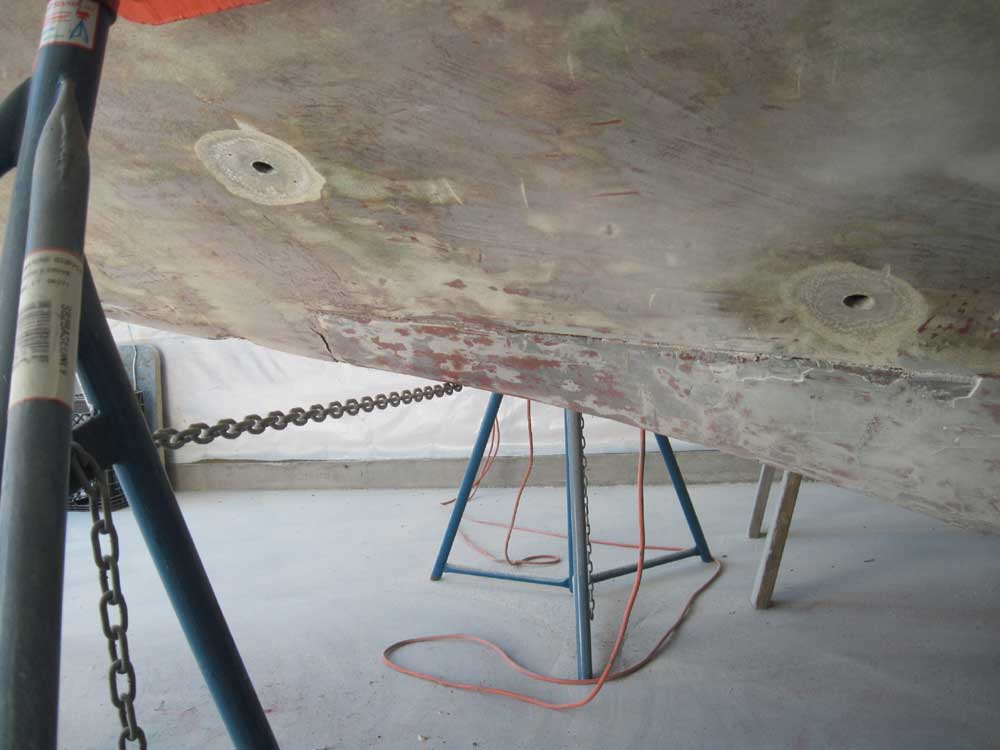
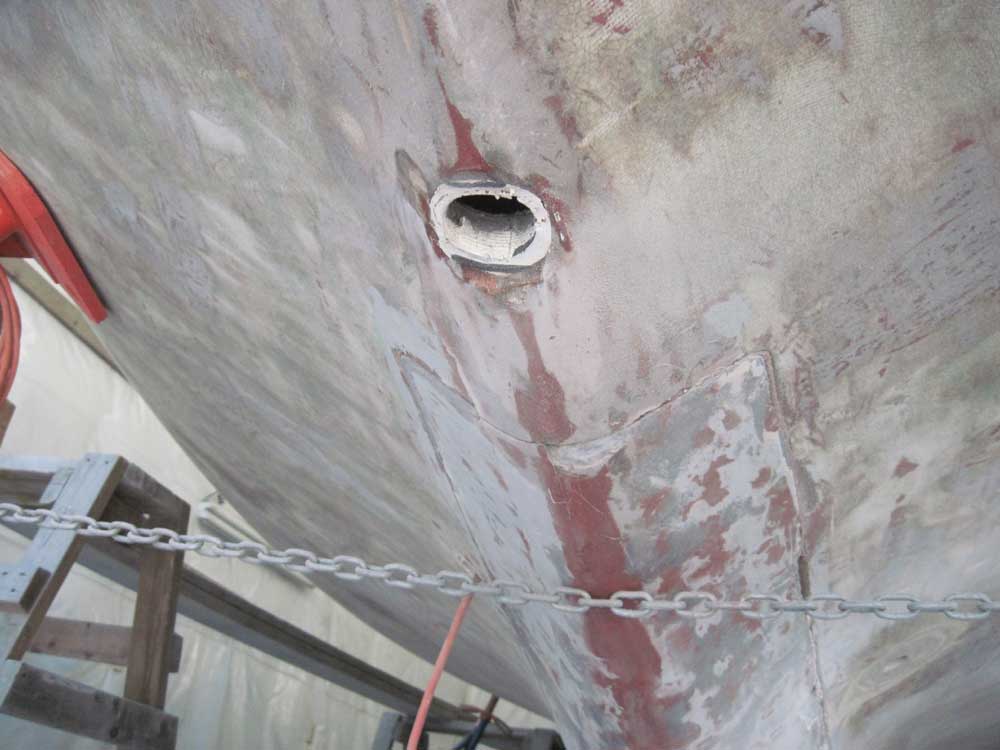
In each case, I also prepared the outside of the hole for patching by grinding a circular, tapered area to accept patch material later.
Galley:


Upper Head:
Lower Head 1 & 2

Old Valves:

With difficulty, I also removed the old depthsounder transducer, located on the centerline in the forward cabin. The fitting--probably reinforced nylon--was extremely well adhered, probably with polyurethane adhesive sealant, and eventually I had to more or less cut and chip the fitting out of its rubbery confines, piece by piece. I reserved this location for installing a new depth transducer later.
After cleaning up, I called it a week.


Total Time Billed on This Job Today: 7 hours
