
110 Cookson Lane | Whitefield, ME 04353 | 207-232-7600 | tim@lackeysailing.com
Summer Song | Wednesday, January 29, 2014
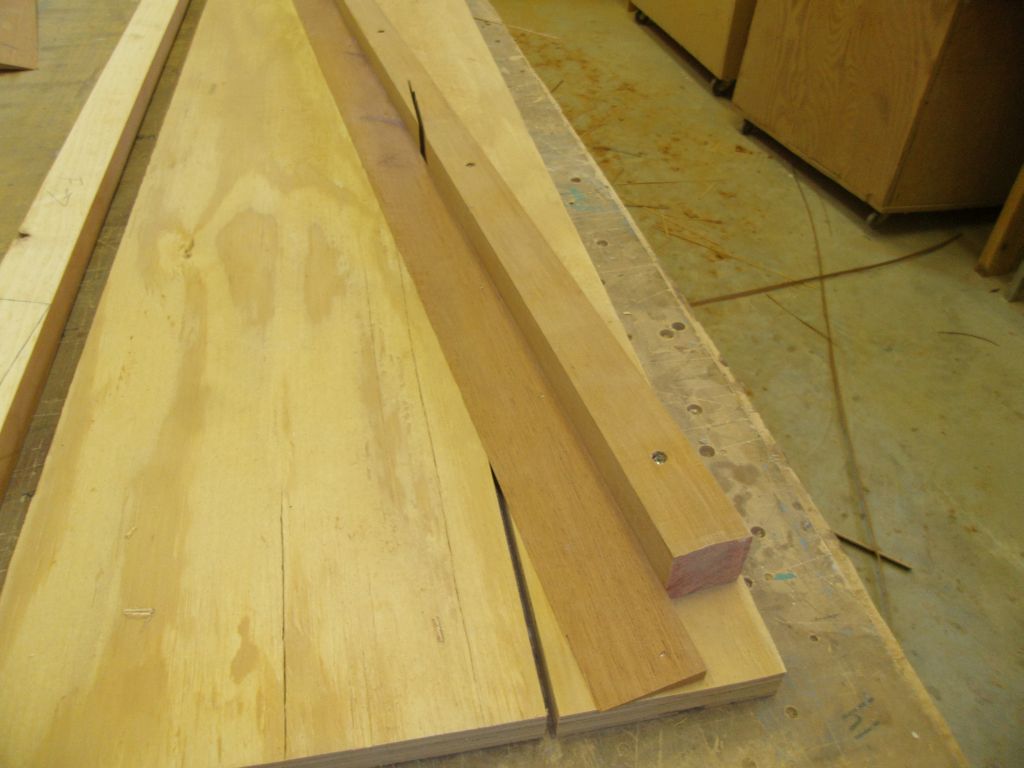
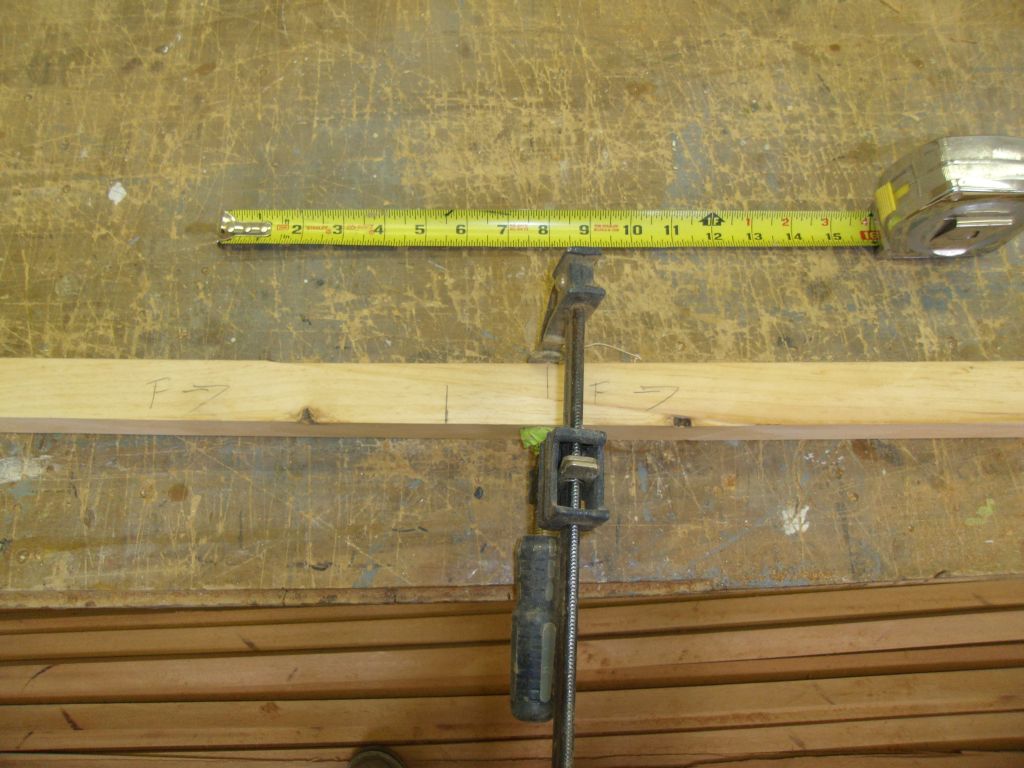
To join the sections of the toerail into the full length required for the boat, I needed to cut scarf joints in the ends of the sections, using an 8:1 ratio (length of the scarf to height of the rail). To work out the setup, something always made more complicated by the various angles of the individual toerail profile, I started with the pine rail mockups that I prepared earlier for this purpose.
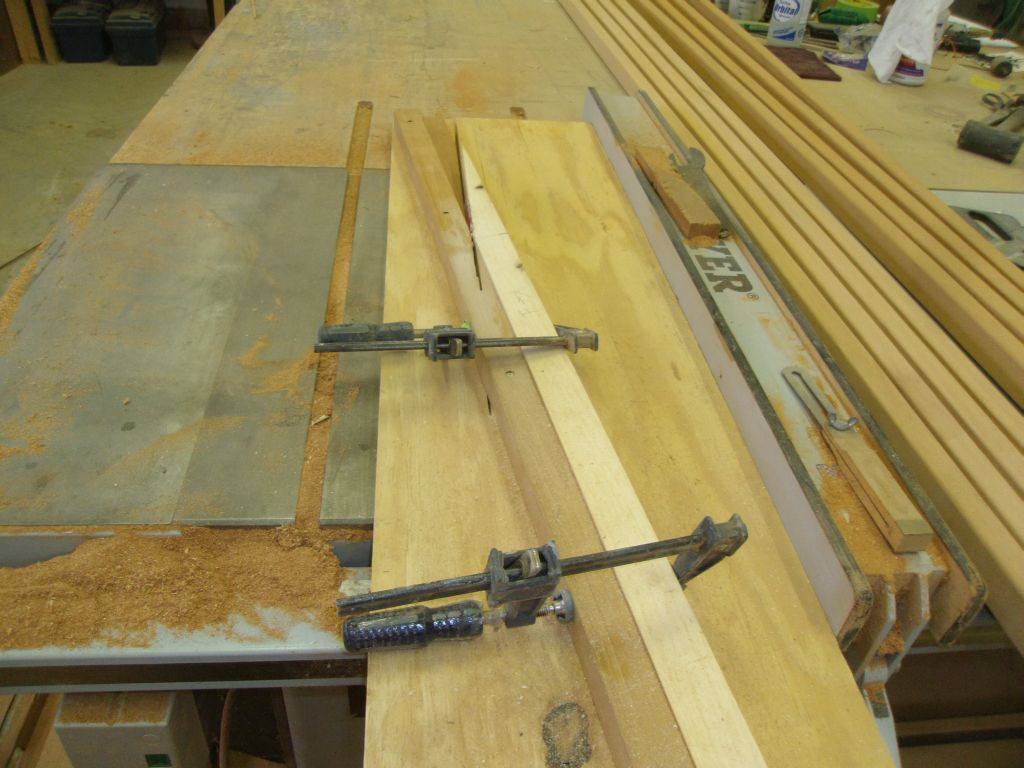
Using a sled jig I built for another project--the jig was already prepared for the appropriate angle to hold and run the stock through the saw blade--I started by adding an 8-1/2° wedge on the base of the sled to allow the toerail, with its 8-1/2° angled sides, to pass through the blade in a perpendicular manner.
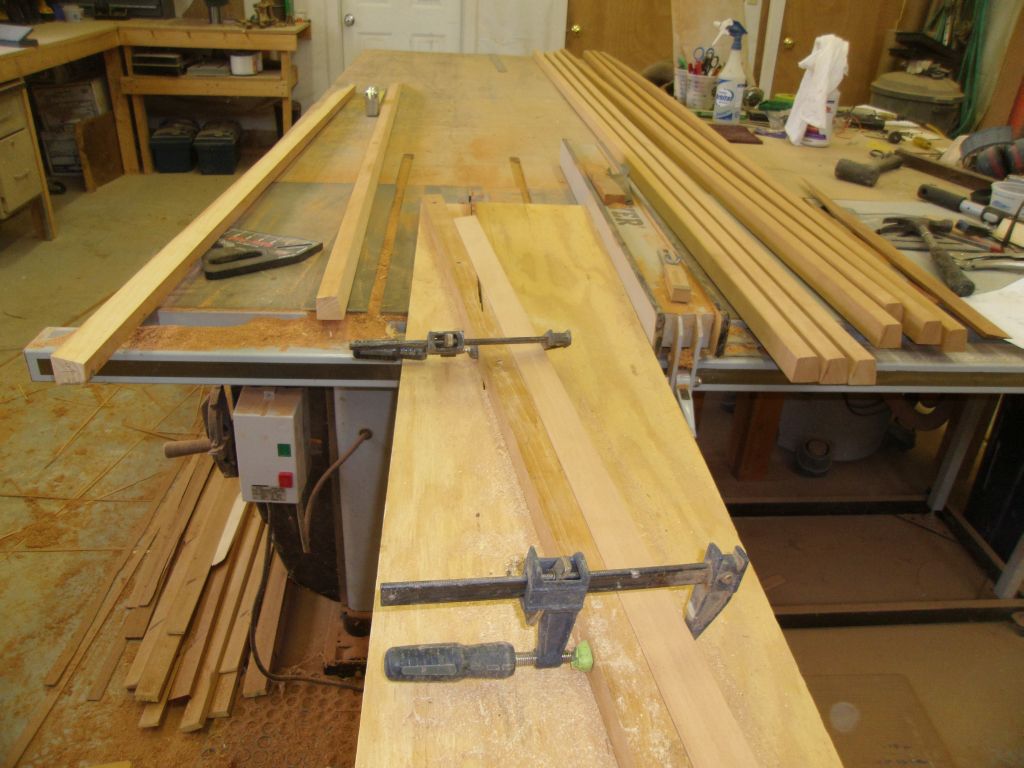
This worked well for one of the two cuts required, but running the corresponding side of the joint on the next piece, I discovered that I needed to wedge the piece differently in order to make the cuts come out correctly, so I removed the wedge that I'd tacked in place and prepared two different wedges (one at 5° to match the bottom angle of the rail, and one at 8-1/2° to match the side angles) to alternate between depending on which cut I was making and how the rail was positioned and clamped in the jig in order to make the correct cut at either end of the sections.


Since every toerail is different, this learning process continued each and every time I laid out and cut scarf joints, but once I worked out how to arrange and clamp the mockup pieces, the cuts went smoothly and made a clean and effective joint.


Satisfied with the jig layout and the milling process, I cut all the required joints in the actual toerail pieces.
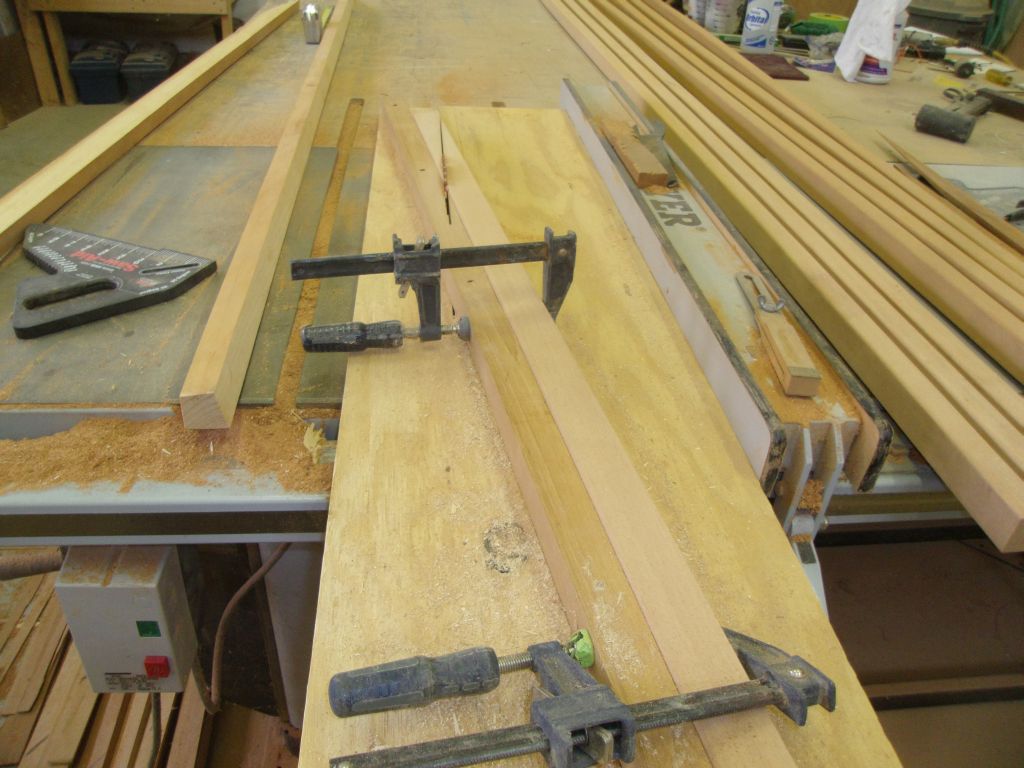
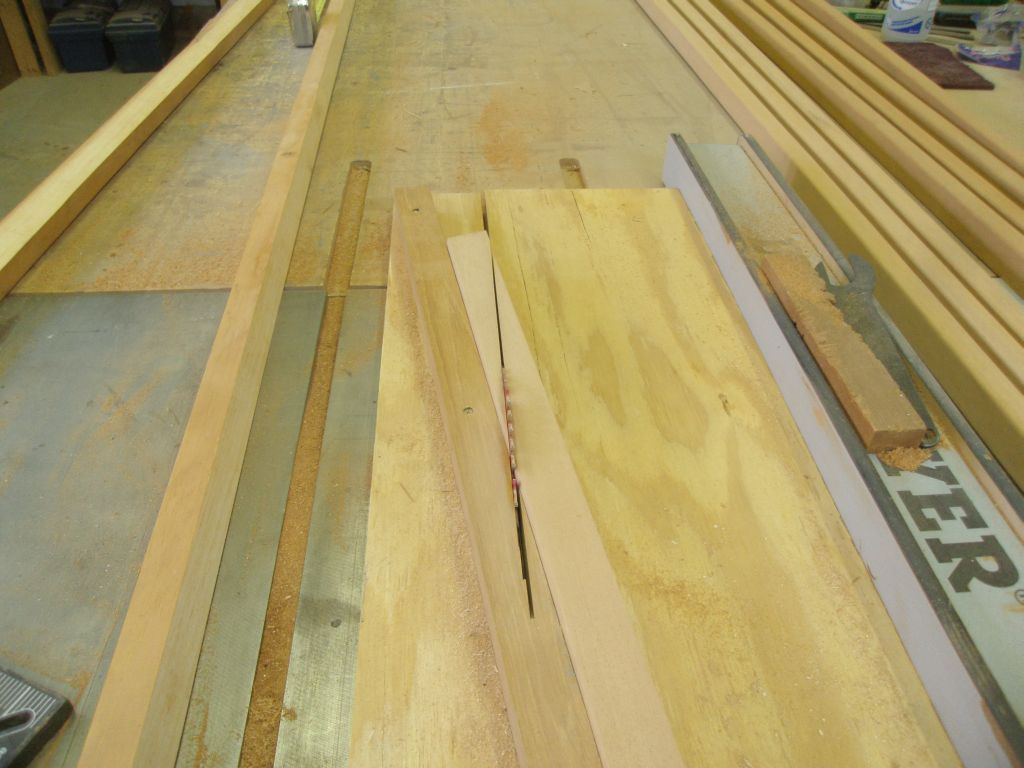
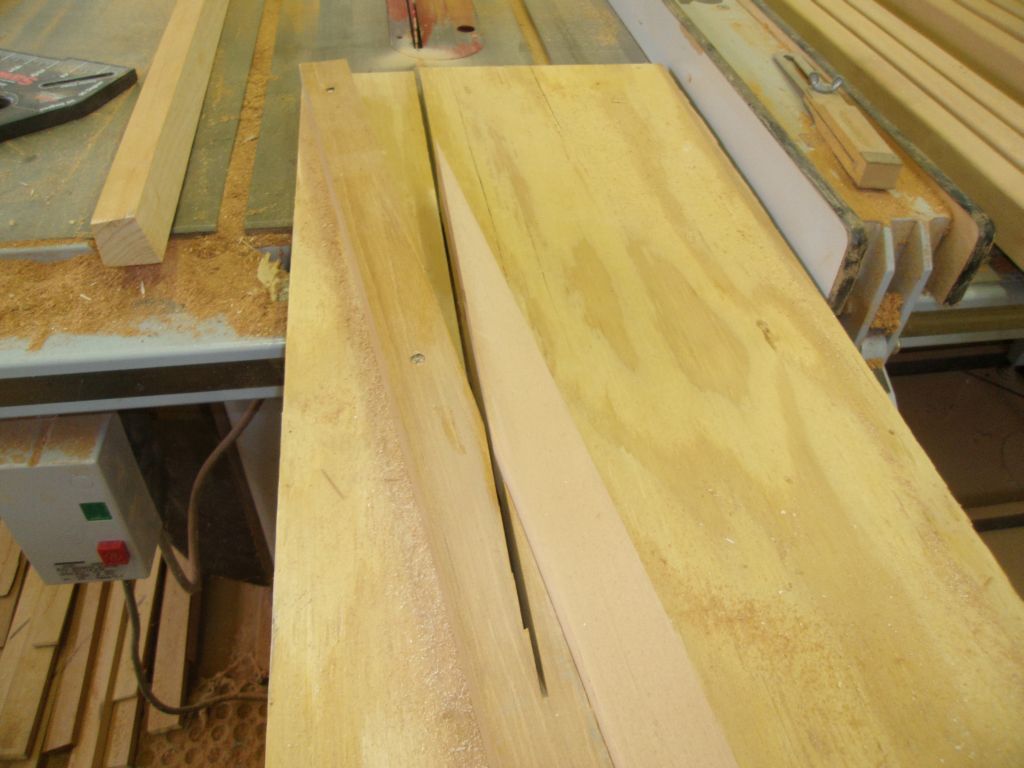
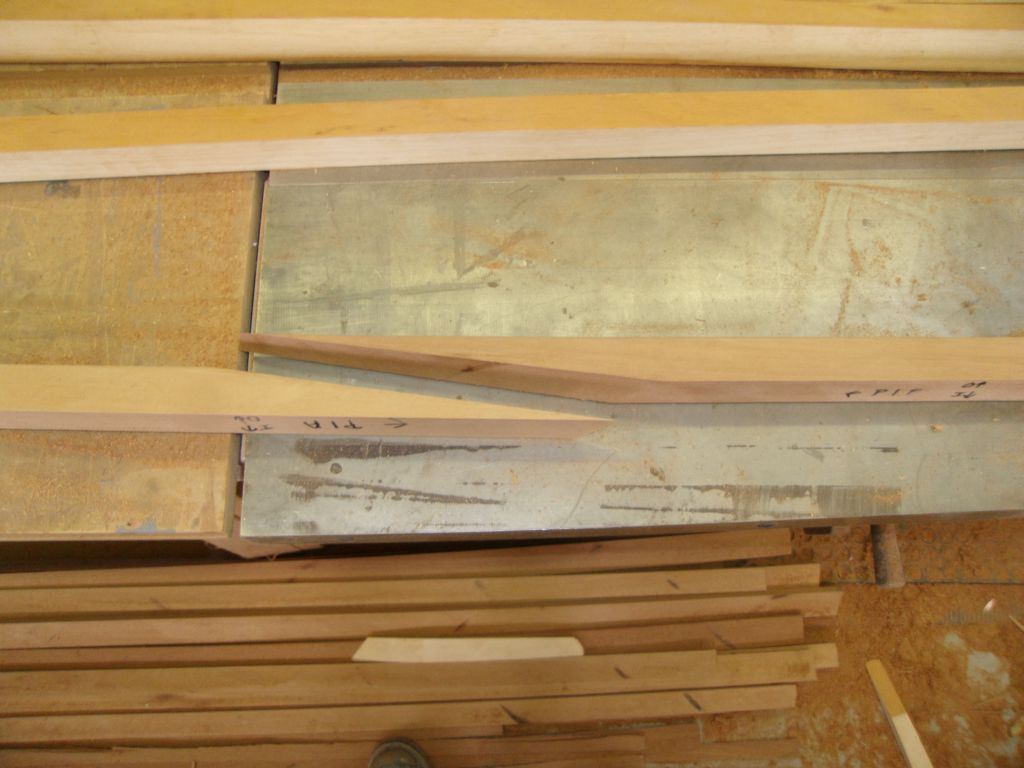
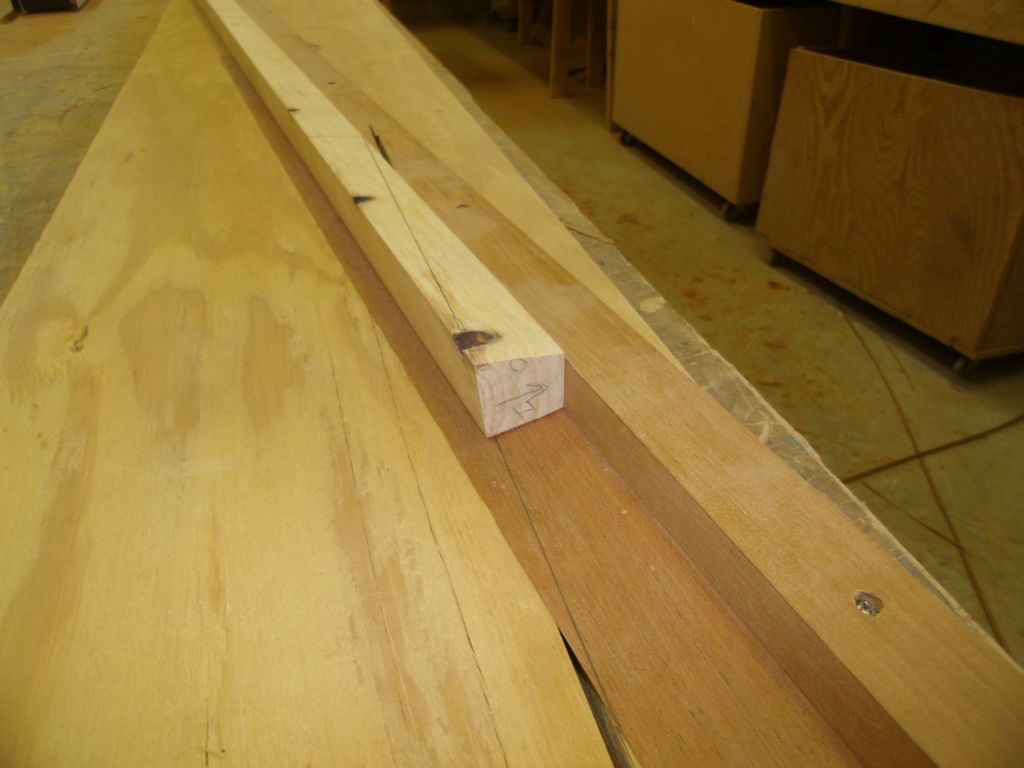
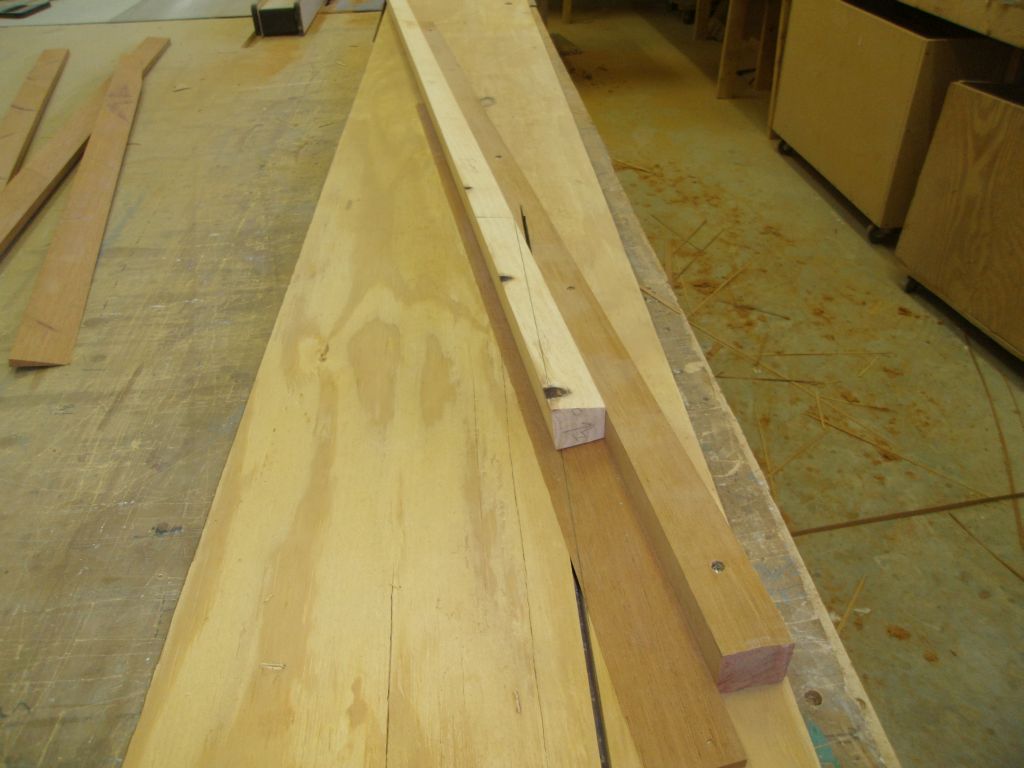
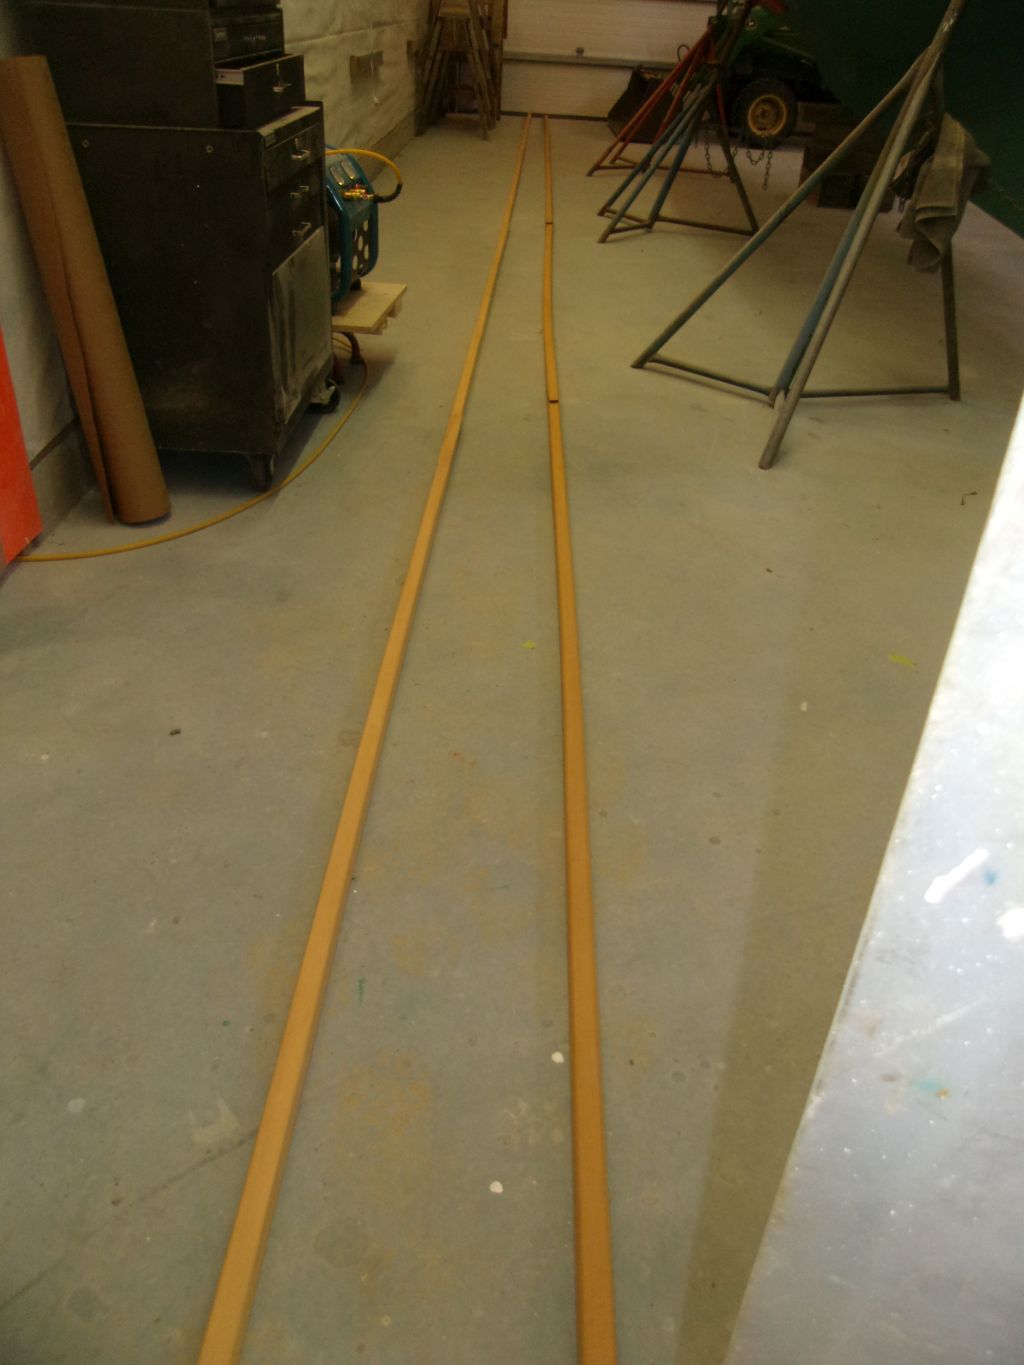
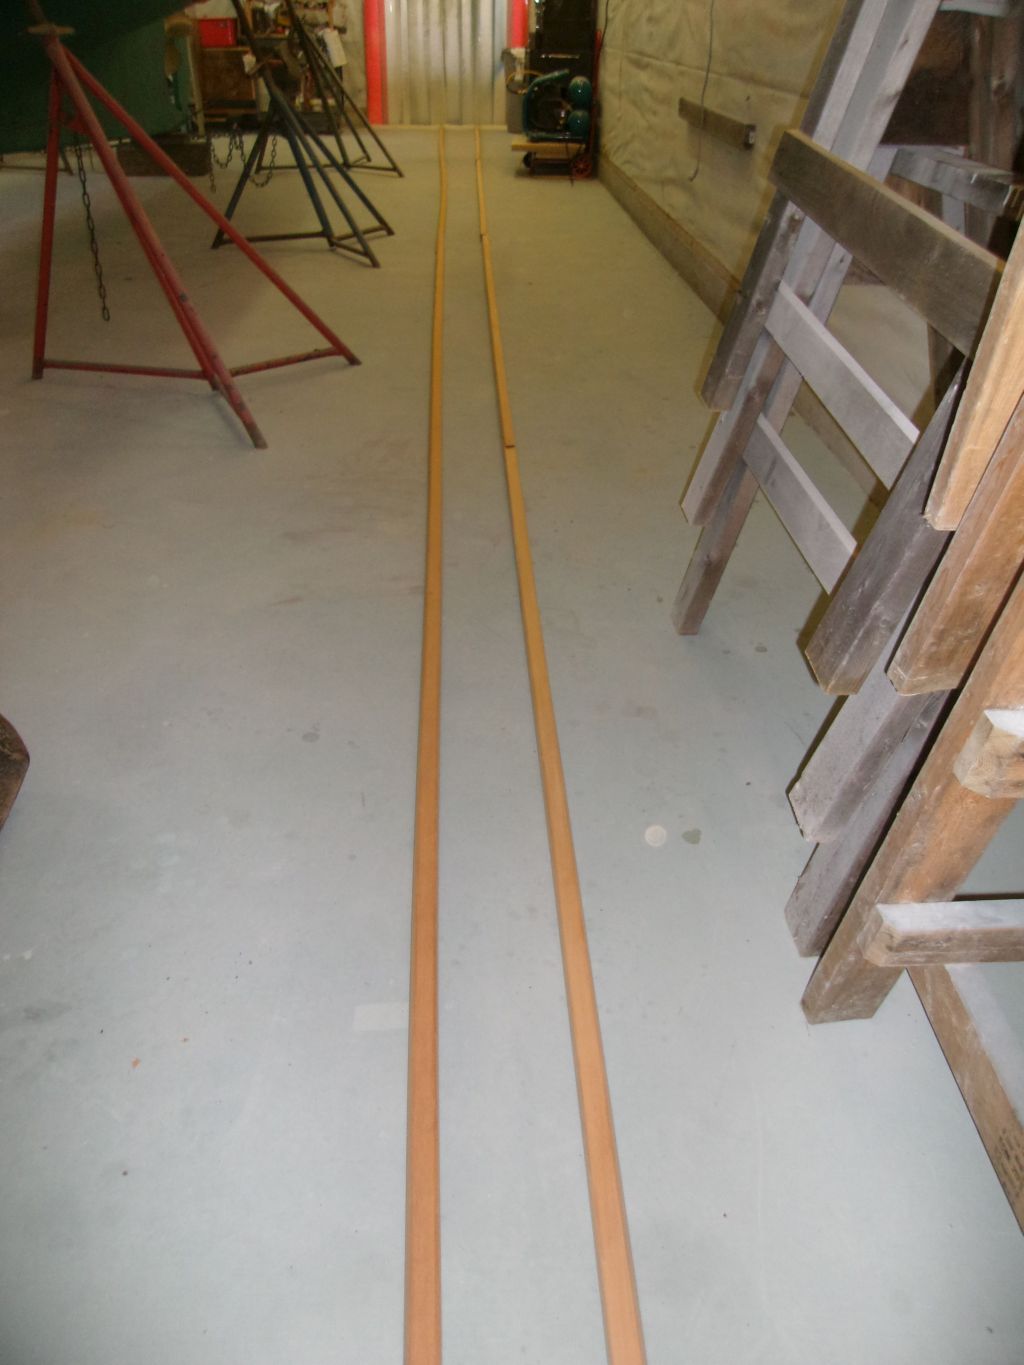
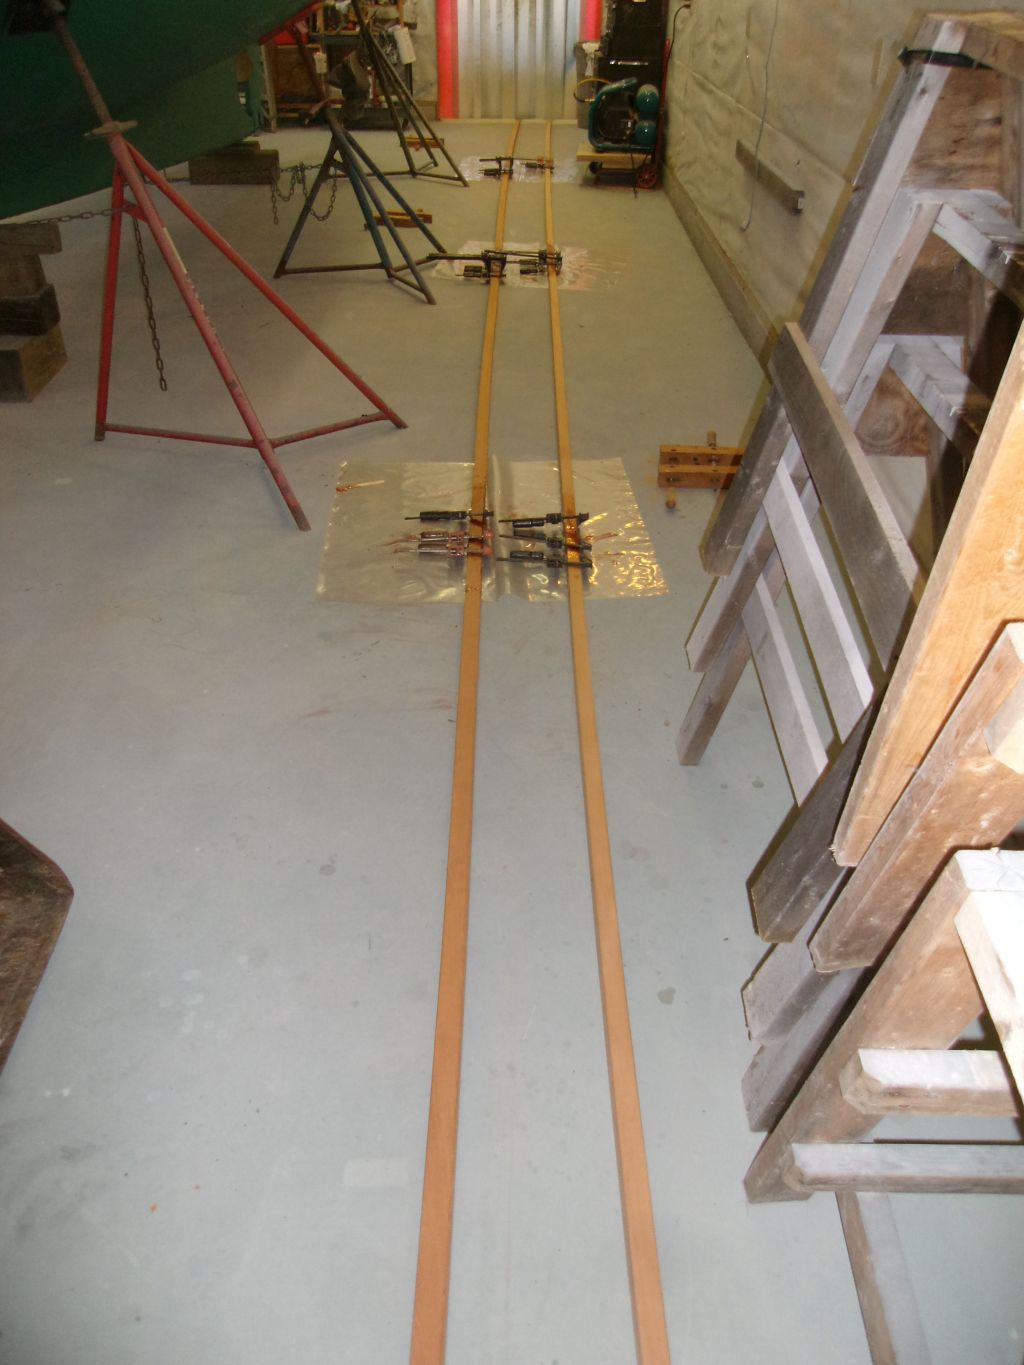
With the pieces carefully labeled as to their proper orientation and position, I checked the position and fit of the scarfs as I cut them, and laid out the rails in turn on the floor in the shop to ensure I kept things sane. It can get very confusing flipping nearly--but not quite--symmetrical rail pieces end for end and cutting the same angle but in different directions at either end of eight different pieces.
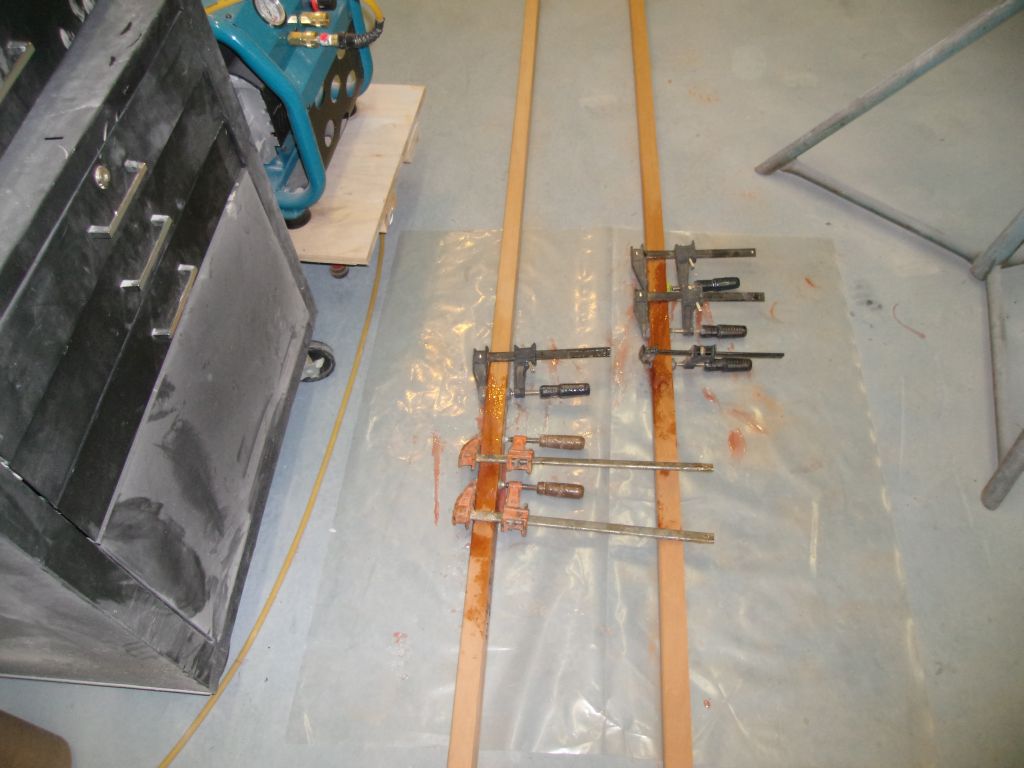
After final preparations and cleaning, I prepared the joints for gluing by first coating with unthickened epoxy, then a layer of thickened epoxy as an adhesive. I clamped the joints securely; I planned to leave the glued-up sections for several days before unclamping and continuing work to ensure that the epoxy had plenty of cure time.


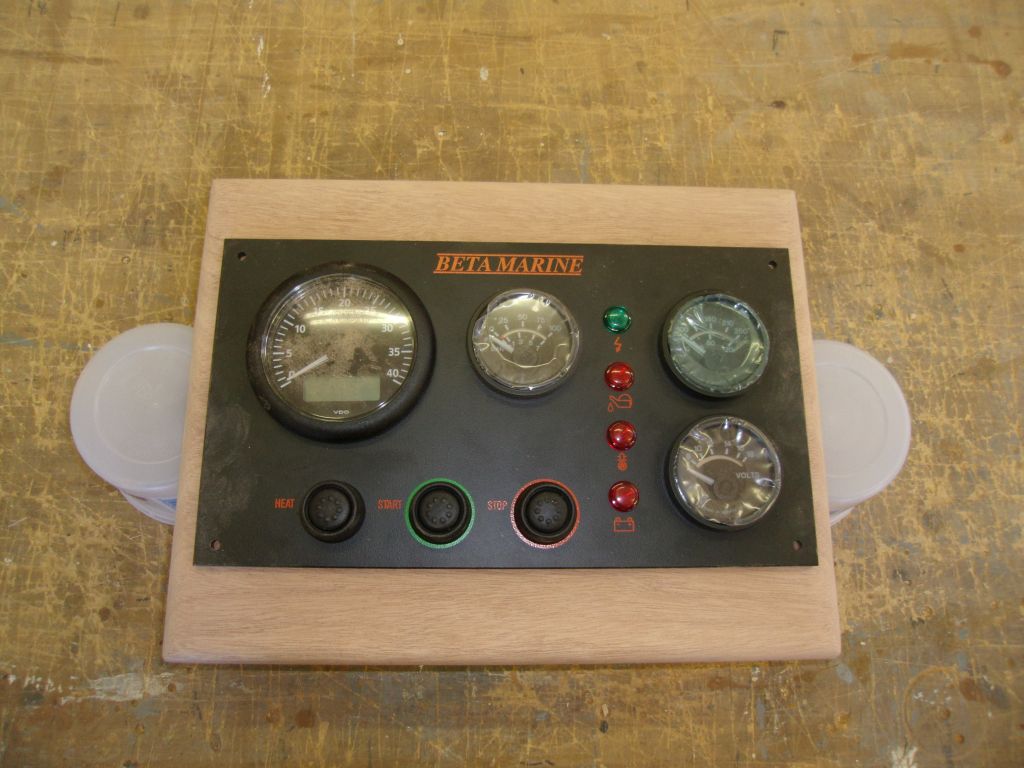
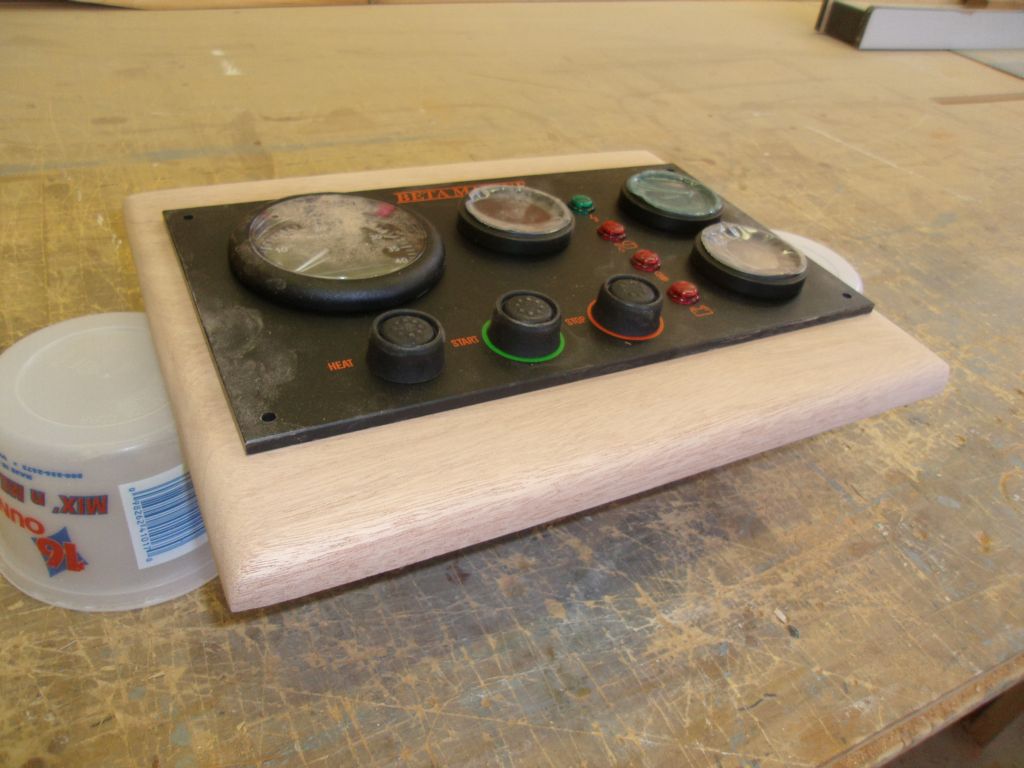
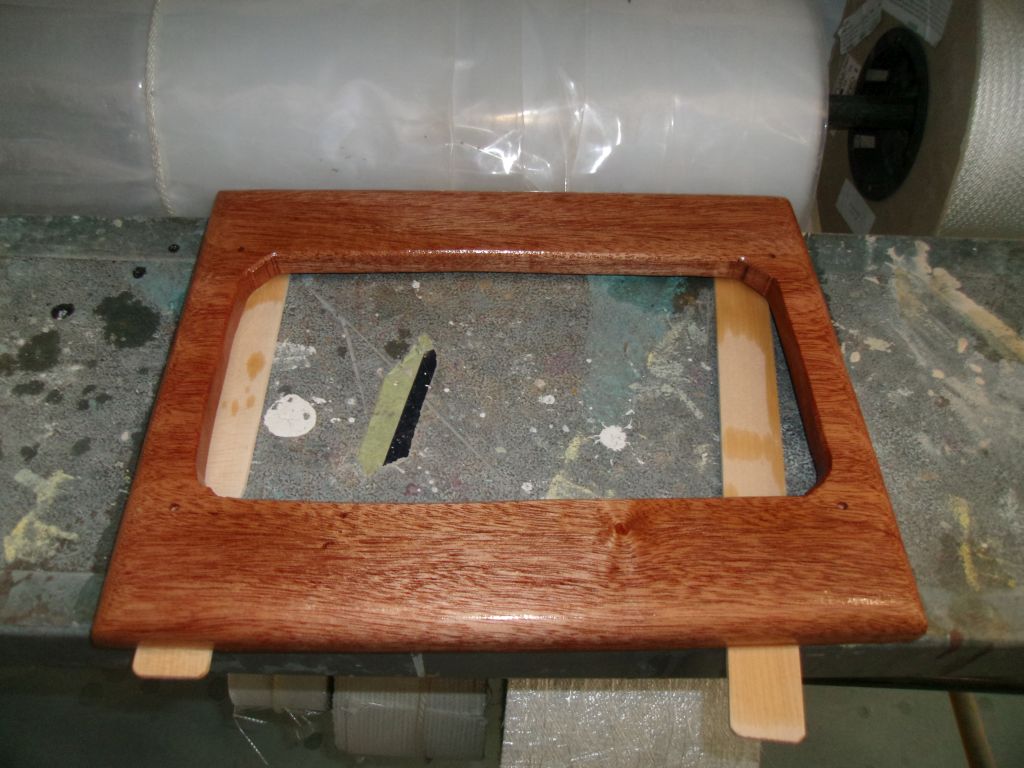
After cleaning up the horrendous mess left from the milling and sanding operations, I went back to work on the wooden support panel for the engine instrument panel, which I'd glued up into an oversize blank earlier. After trimming the panel to its final dimensions and cutting the required opening for the panel, I milled a smooth roundover on the edges and sanded the piece smooth before applying a sealer coat of varnish. This panel was a newer version of the instrument panel, touted as waterproof by virtue of its sealed set of pushbuttons and no key switch, though to all other appearances it seemed to be identical to the regular panel.

Total Time Billed on This Job Today: 5.75
Hours
