110 Cookson Lane | Whitefield, ME 04353 | 207-232-7600 | tim@lackeysailing.com
Summer Song | Wednesday, February 5, 2014
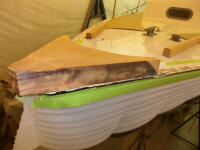
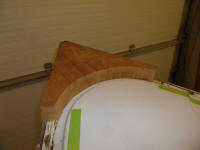
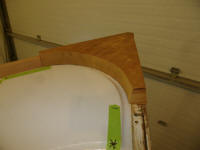
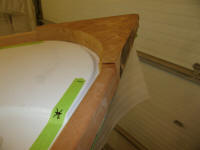
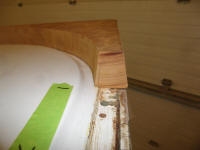
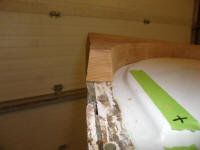
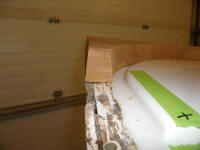
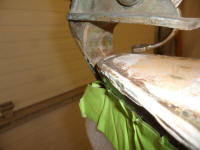
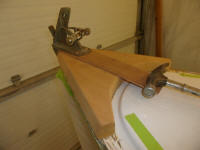
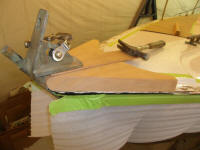
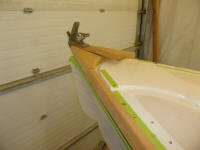
With a sander and coarse paper (sorry, I forgot my adze), I hollowed out the bottom side of the wooden stem piece, cutting to the scribed line at the aft end and eyeballing elsewhere, till it approximated the required shape. After several trips up and down the ladder, with additional hollowing, trimming, and fine-tuning in between, the piece fit the contours of the deck acceptably. This allowed me to mock up the toerail sections behind it, and make marks showing the final height of the stem piece, plus the profile of the toerail so I could shape the aft end of the stem piece.
The stem piece was too wide for my planer, so to remove the excess thickness--about 3/8"--I had to come up with another way. Setting the table saw blade as high as I could, and the fence in the appropriate location, I cut around the perimeter of the piece as deep as I could, then finished the cut with a chisel and sander, eventually sanding the entire piece smooth and clean while also blending the tails at the aft end close to the shape of the adjacent toerails.
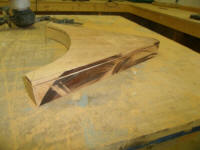
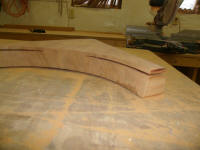
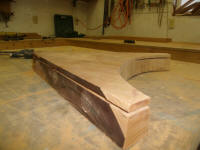
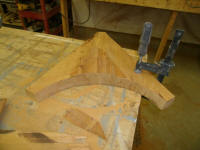
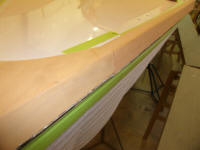
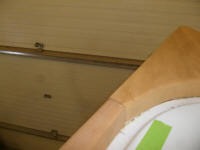
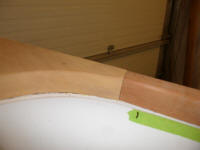
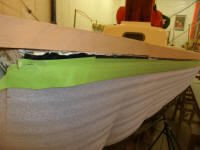
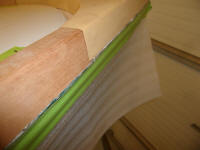
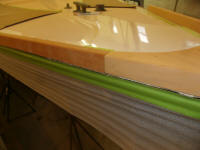
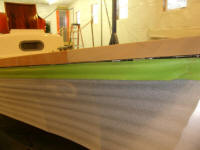
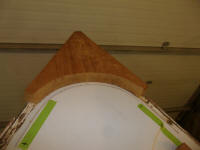
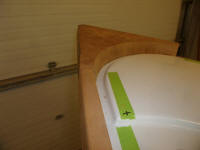
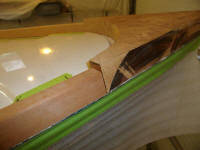
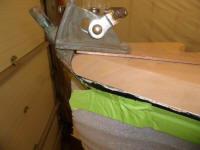
Finally, I marked and trimmed the forward end of the stem piece as required to mate with the bronze stem casting. The casting featured a curved inner surface that required a bit more fitting to the leading edge of the wooden base.
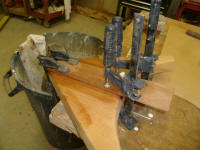
After quite a bit of sanding and fine-tuning, I completed the contour required to fit behind the stem casting. The final height of the new toerail and wooden stem piece was just slightly lower than original, so I created a slim filler piece to make up the difference. In test-fitting the oversized piece, which had an interesting grain pattern, I thought it would make an interesting detail if I kept the full length rather than cutting it off just aft of the casting, creating a sort of slightly-raised king plank on the otherwise featureless base, so after making reference marks I glued the thin strip on top of the base, leaving the aft end for later trimming.
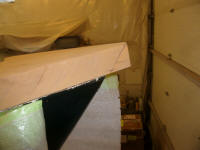
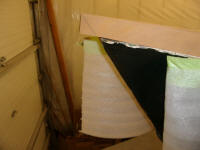
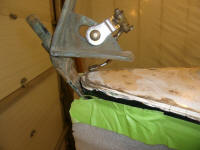
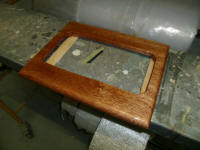
To round out work for the day, I sanded and revarnished the engine instrument panel surround.
Total Time Billed on This Job Today: 4
Hours
