110 Cookson Lane | Whitefield, ME 04353 | 207-232-7600 | tim@lackeysailing.com
Summer Song | Tuesday, February 4, 2014
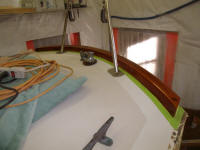
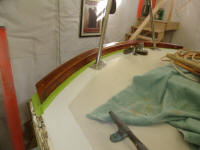
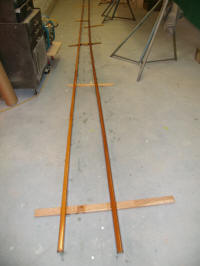
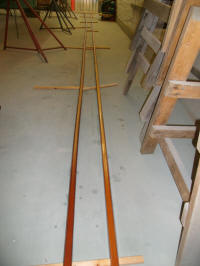
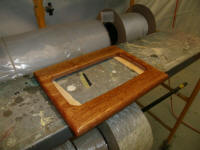
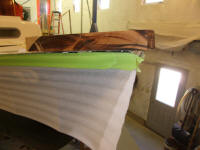
To begin, I applied a second coat of varnish to the new toerails, and to the taffrail. At the same time, I applied more varnish to the instrument panel surround.
Continuing preparations for the toerail installation, I milled shallow countersinks at all of the old fastener holes in the edge of the deck, then filled the holes with a thickened epoxy mixture to seal them. The countersinks provided additional surface area for increased bonding power. I also marked (on the nearby paper or on strips of tape as needed) the locations of all the old fastener holes, plus any remaining fastener studs, for ready reference in drilling new holes for the new rail.
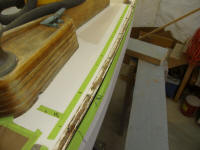
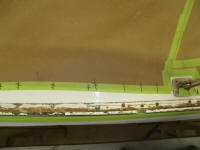
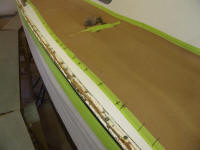
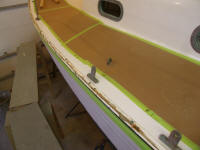
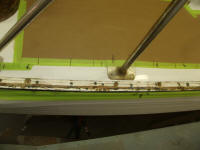
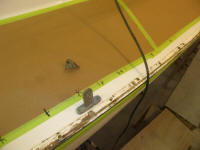
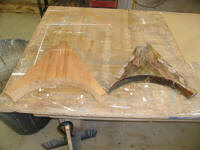
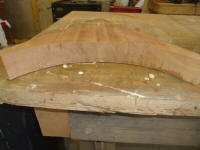
The glued-up blank for the wooden stem piece was cured enough to continue work, and working on the final shaping and fitting of this piece consumed what remained of the day's available time before I had to leave on other business. I started by trimming the forward end square, leaving it overlong for now, and traced out the general shape of the arc at the after end before cutting to the line with a saw to remove the bulk of the waste. I knew there'd be additional trimming work at the after ends, but that would come in due course as I fine-tuned the whole thing.
For now, I'd made it possible to fit the rough piece in place so I could make additional layout marks and trim it further. From beneath, I traced the shape of the hull on the bottom edge all the way around and removed the blank to the shop for additional trimming.
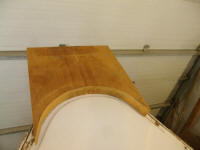
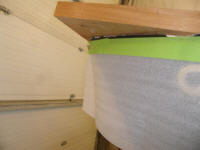
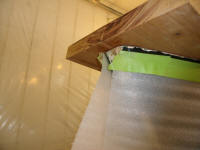
I was able to set up the blank in a compound miter saw so I could make the angled side cuts, which required an 8-1/2° bevel on the outboard sides to match the toerail shape, as well as the angled cut to approximate the shape of the hull. I made the cuts, leaving a bit of extra for later trimming if needed. One side was a bit wide, so to trim it further I temporarily hot-glued the offcut back in place on the opposite side, which gave me a surface to bear on the saw fence so I could retrim the angled side, bringing both edges of the stem piece essentially flush (allowing for final sanding) with the hull edge.
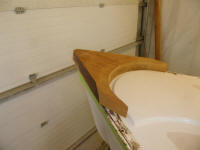
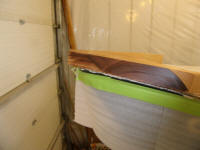
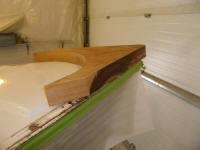
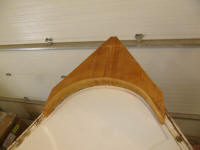
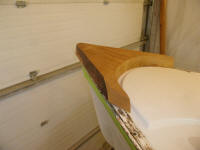
I made some additional layout to demark the continuing shape of the arced after end at the after corners, and trimmed as needed before resawing the entire arc at an 8-1/2° angle to match the toerails once more.
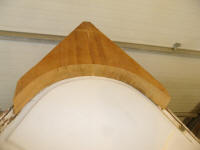
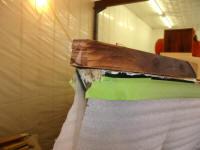
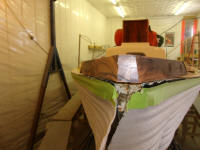
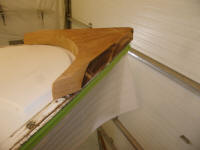
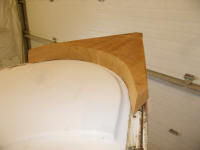
After additional layout and cutting, I approximated the after ends of the piece, cutting them off square to the outboard edge where they would eventually meet with and accept the toerail sections beyond. There'd be additional fine-tuning work here. Also, I neglected to pre-dimension the stock I used to build this piece, so at the moment it was a few fractions of an inch thicker than the final height of the toerails--about 3/8" or so too thick. It would have been easier to run the two small pieces of stock through the surface planer before I glued them up, but for whatever reason I never even thought of it, so I'd have to surface the finished piece to bring it to appropriate dimensions later, hopefully with the planer.
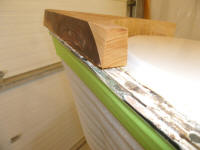
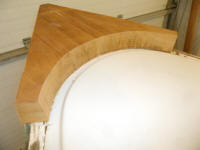
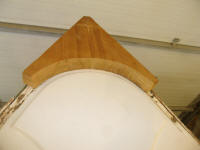
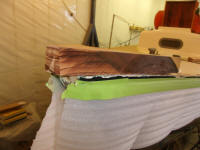
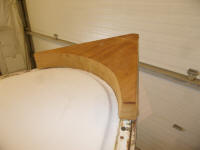
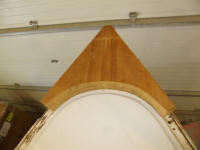
The deck had a slight camber even this far forward, so the stem piece didn't fit flat on the deck but rocked side to side and left gaps at the outer edges. So I scribed the curvature on the after side of the piece, which would give me guide marks to scrub out the underside for a tighter fit. That would wait till next time, as for the moment I was out of time.
Total Time Billed on This Job Today: 3.5
Hours
